Embelish a 16th century Shirt

I knew I wanted to push my bounderys with the 4th HSF Challenge: Embelishment, last spring.

Since I’m not much for the over-the-top, decorated things, I decided to make something quite stylished yet advanced.

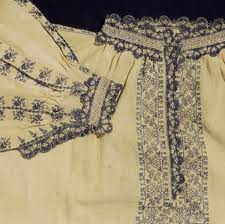
I’ve been wanting to make one of these shirts, decorated with an embrodery technique called blackwork, for a long time. And this seamed to be the time to make it.

images

hämta

I used Janet Arnolds “Patterns of Fashion nr 1” as a reference.img303

And designed my pattern of flowers and shapes.img303 - Kopia

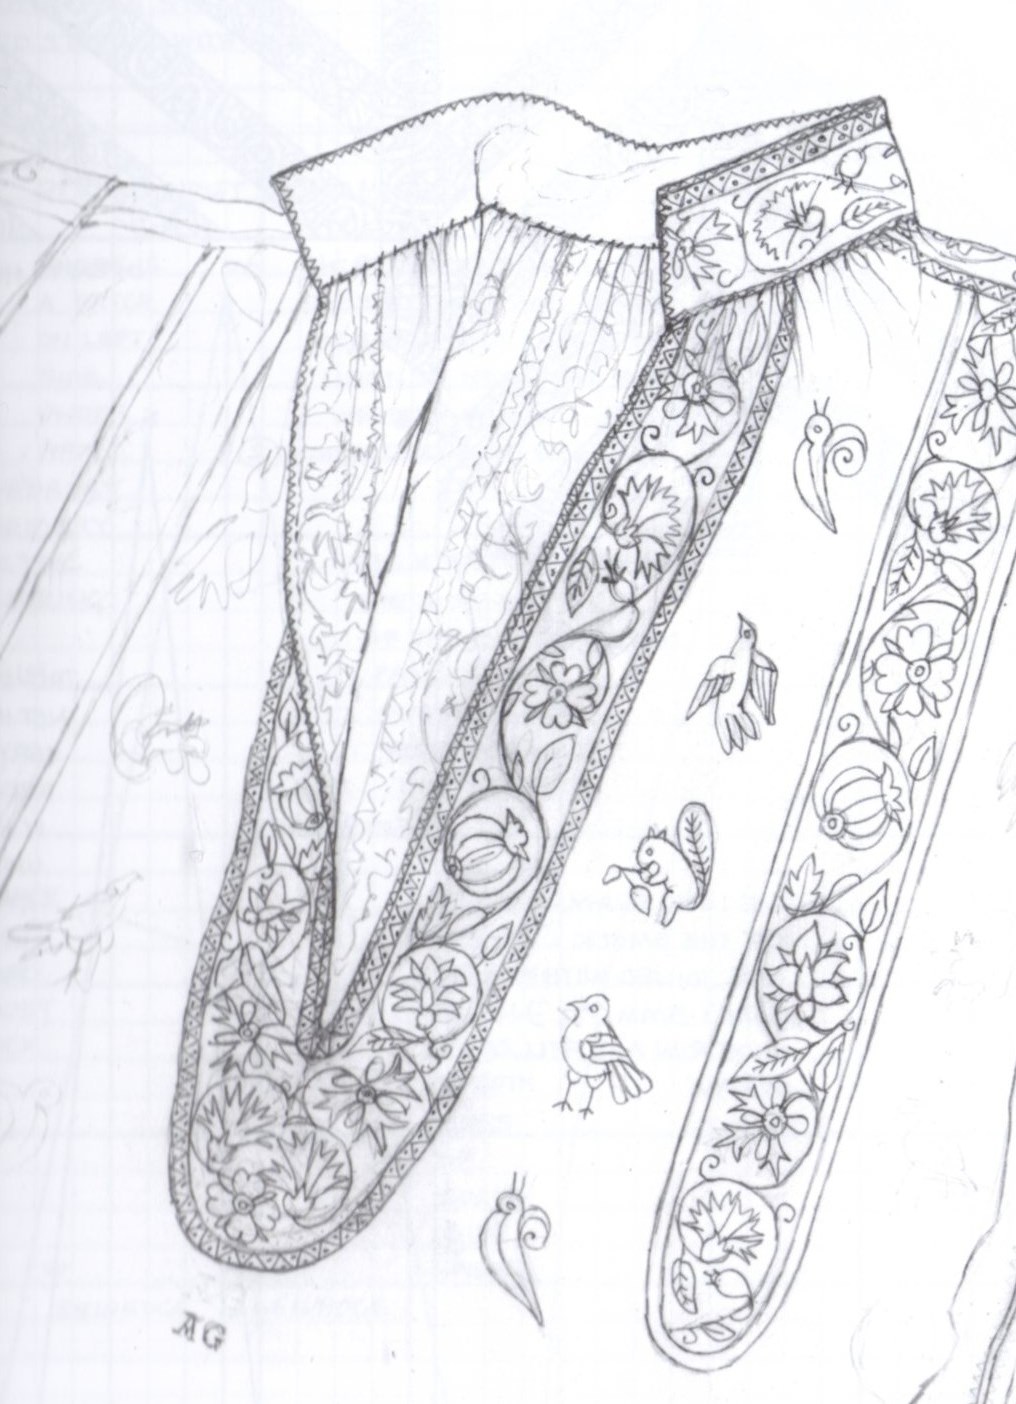
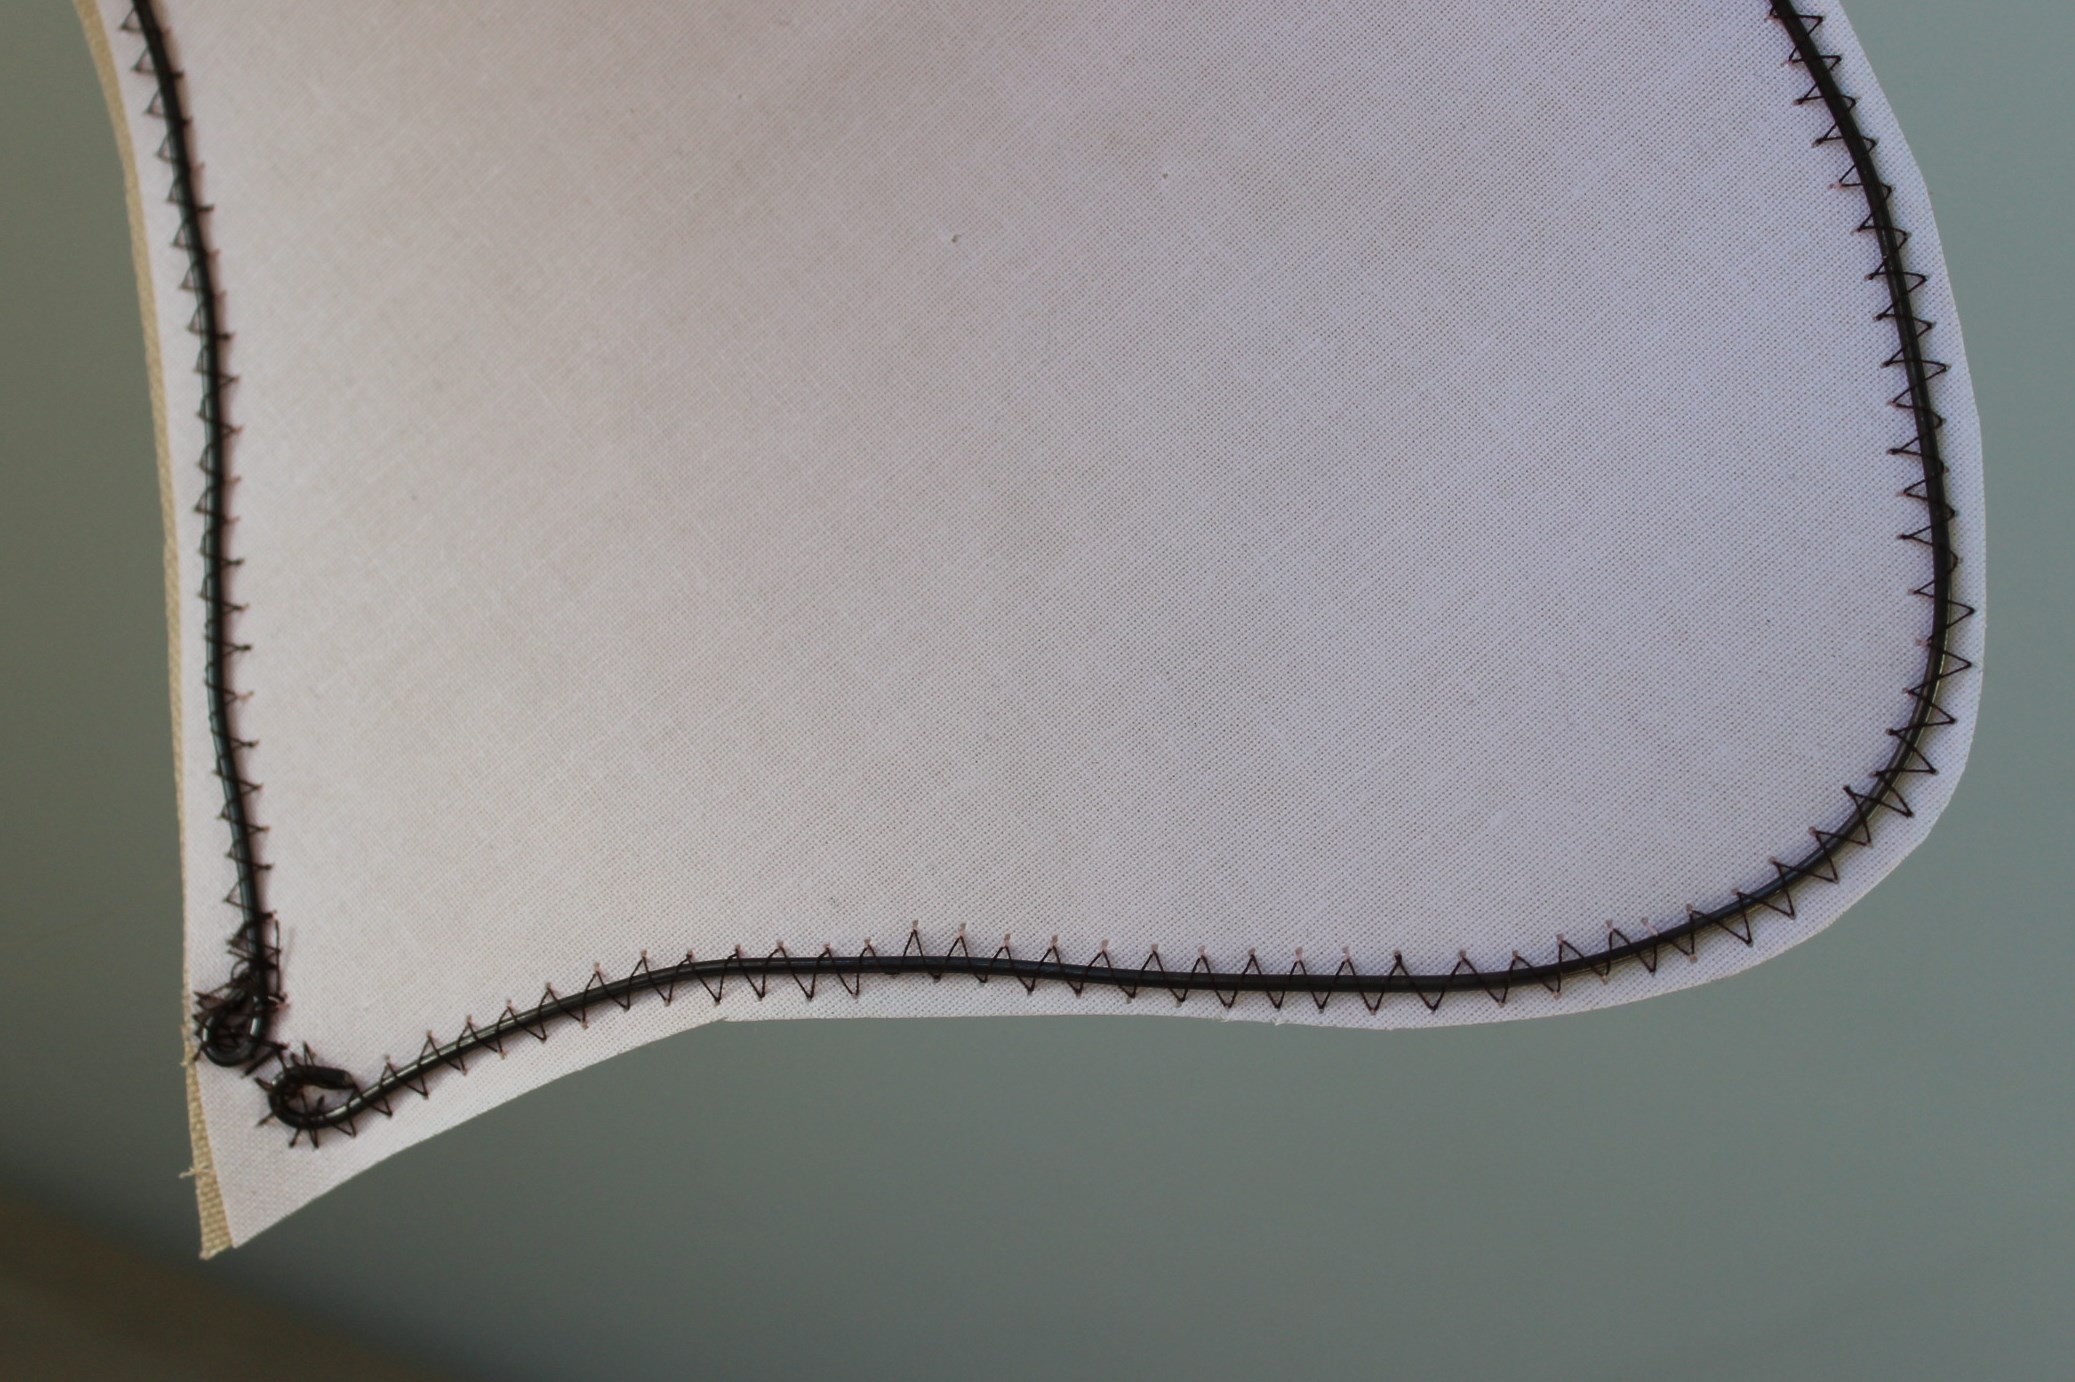
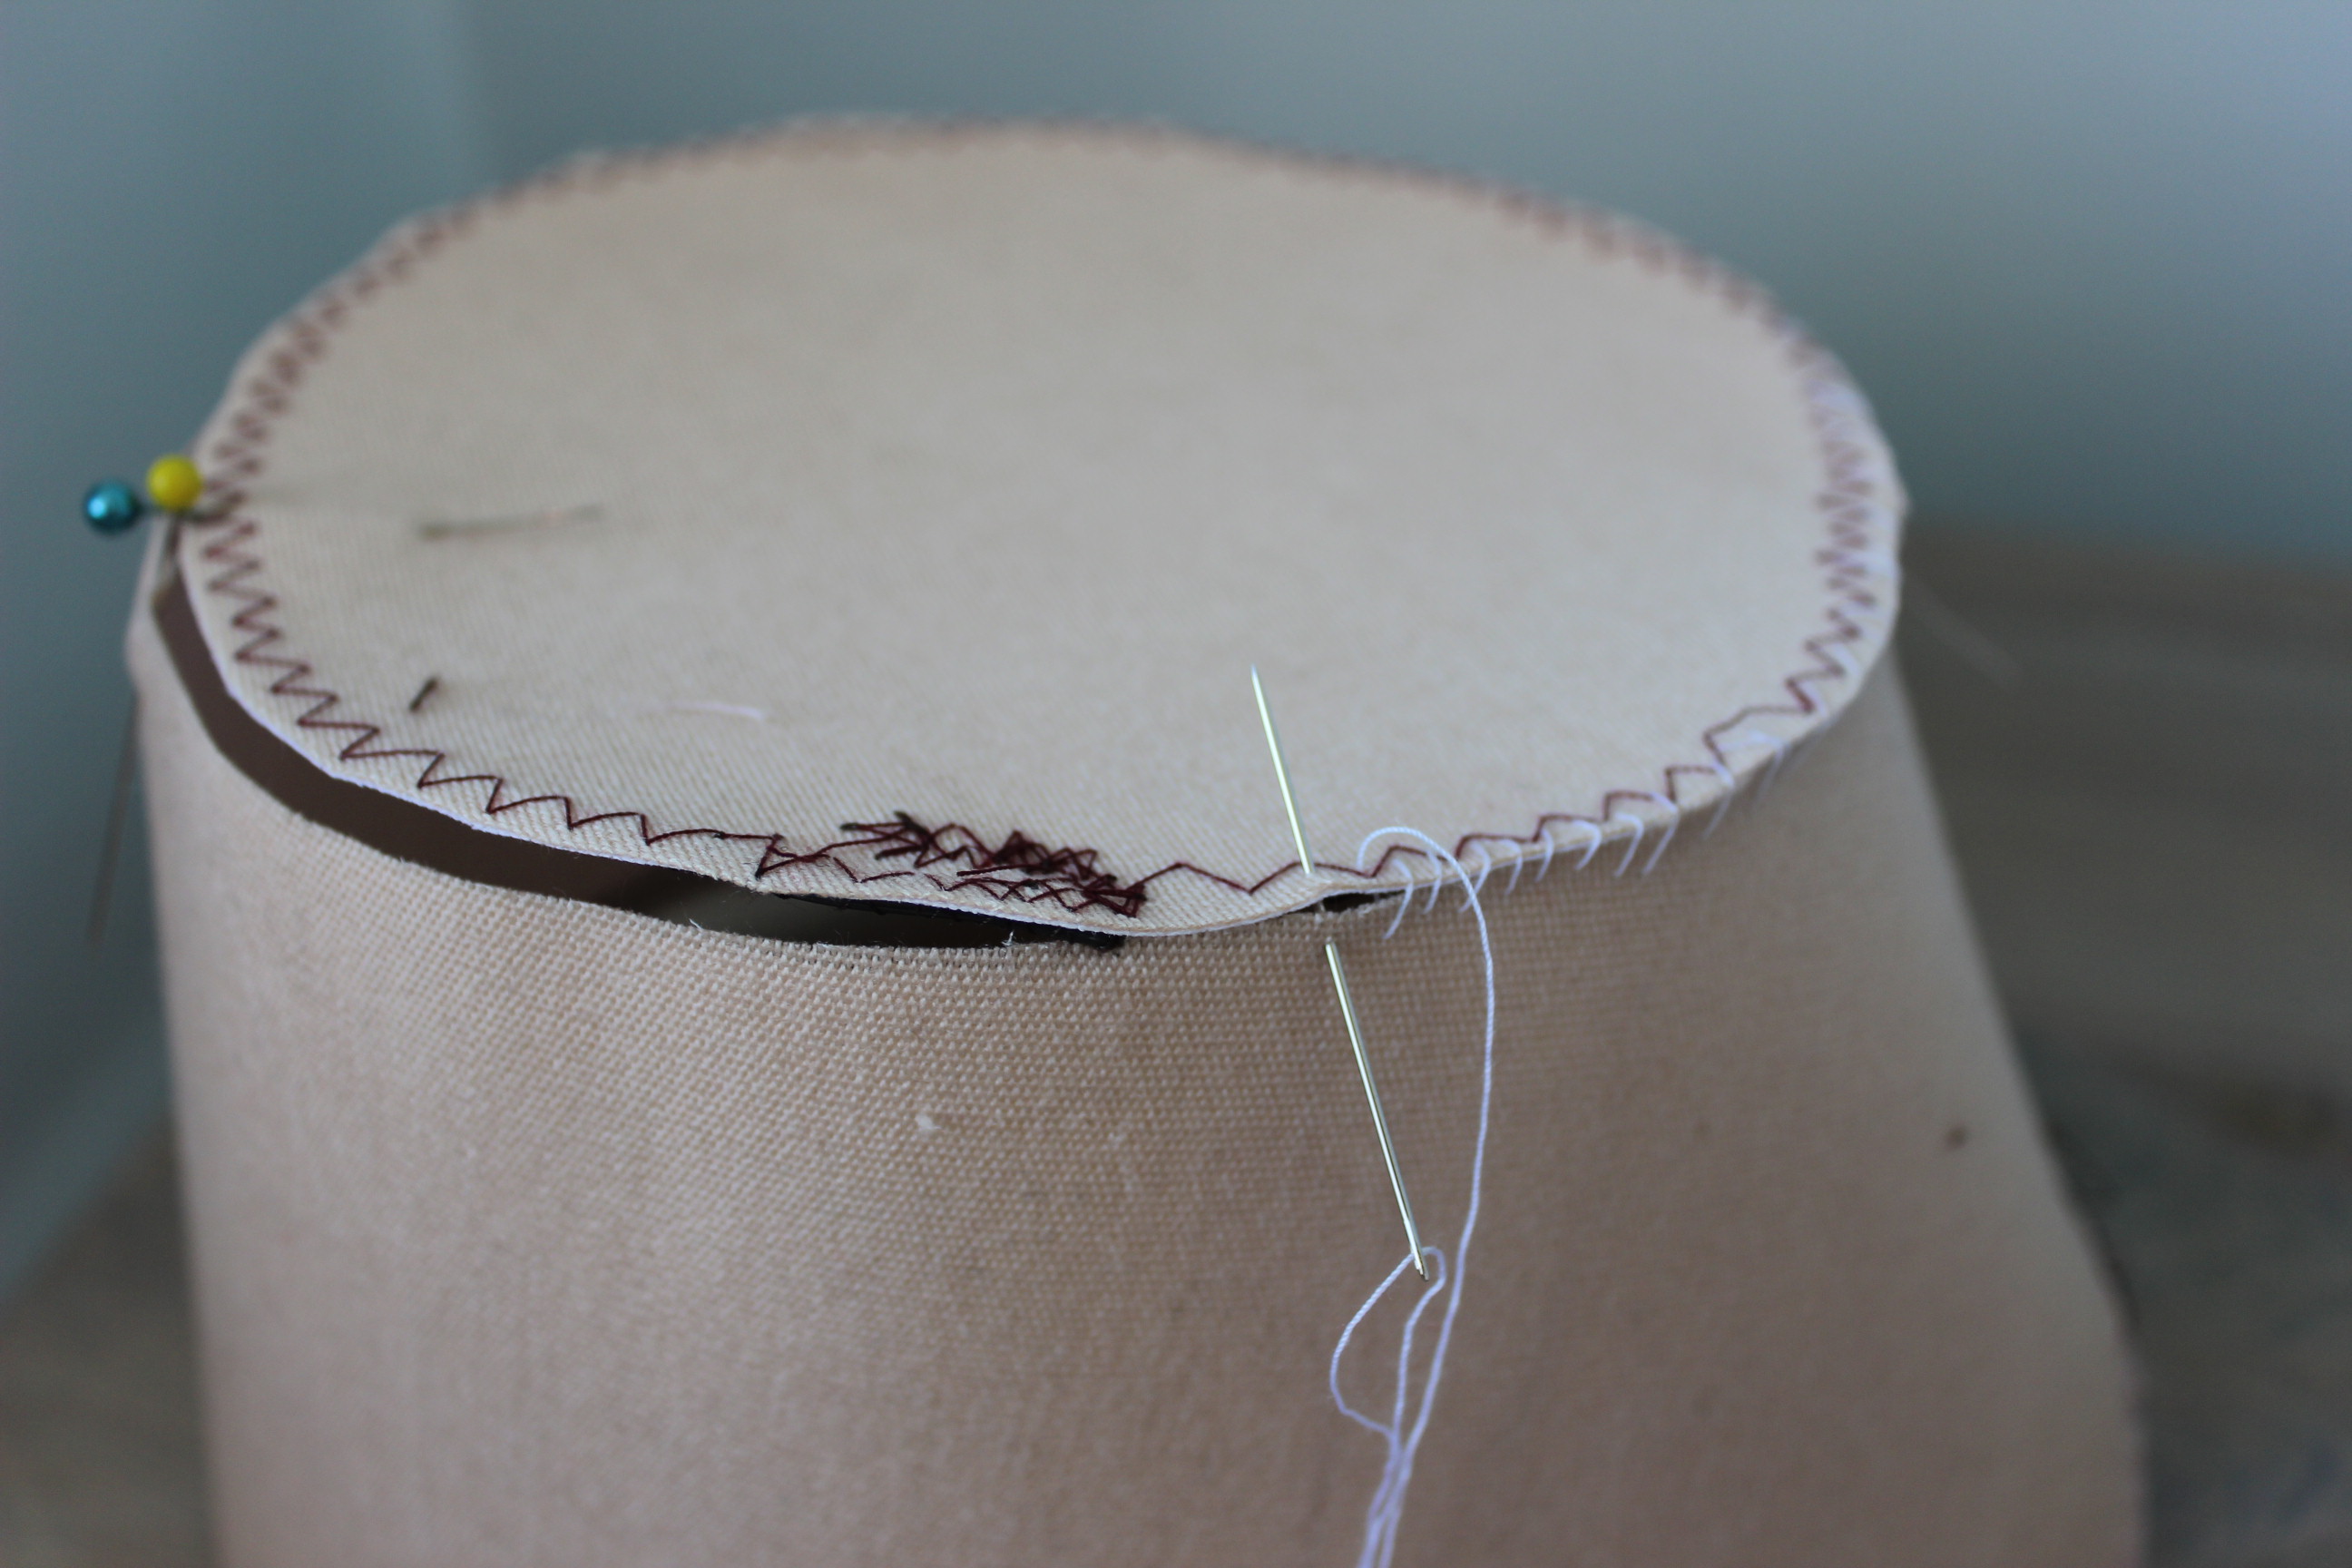
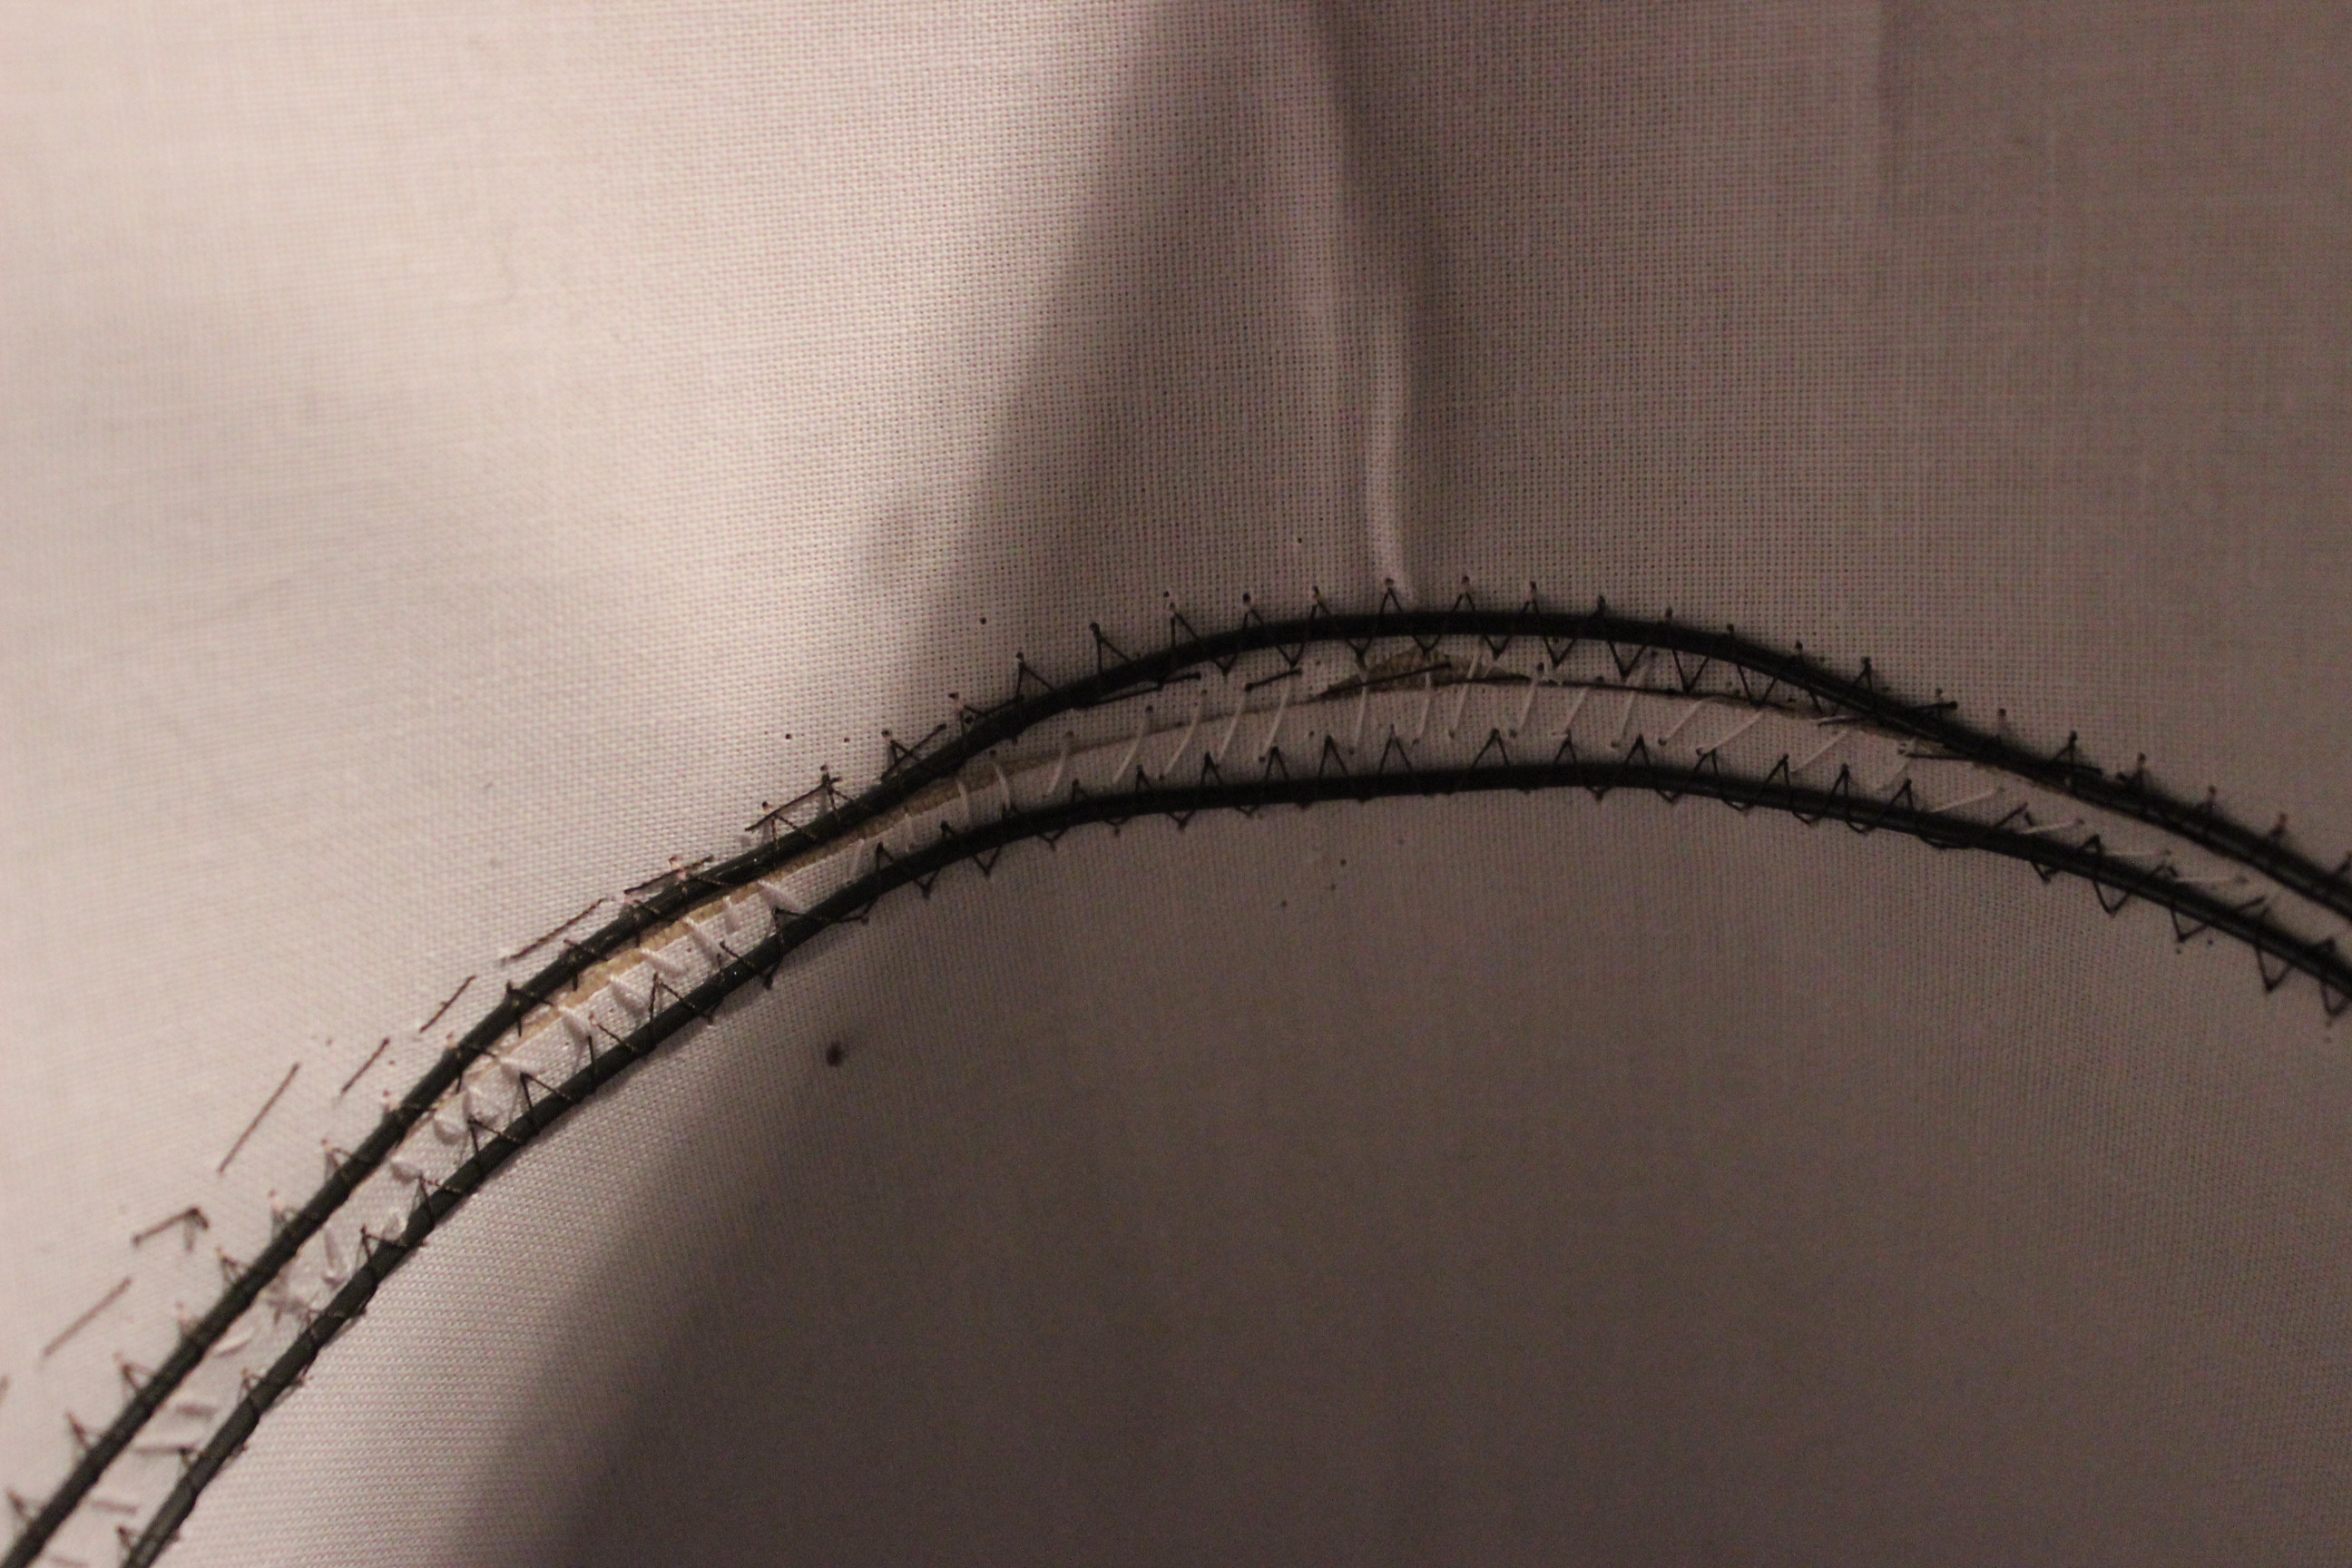
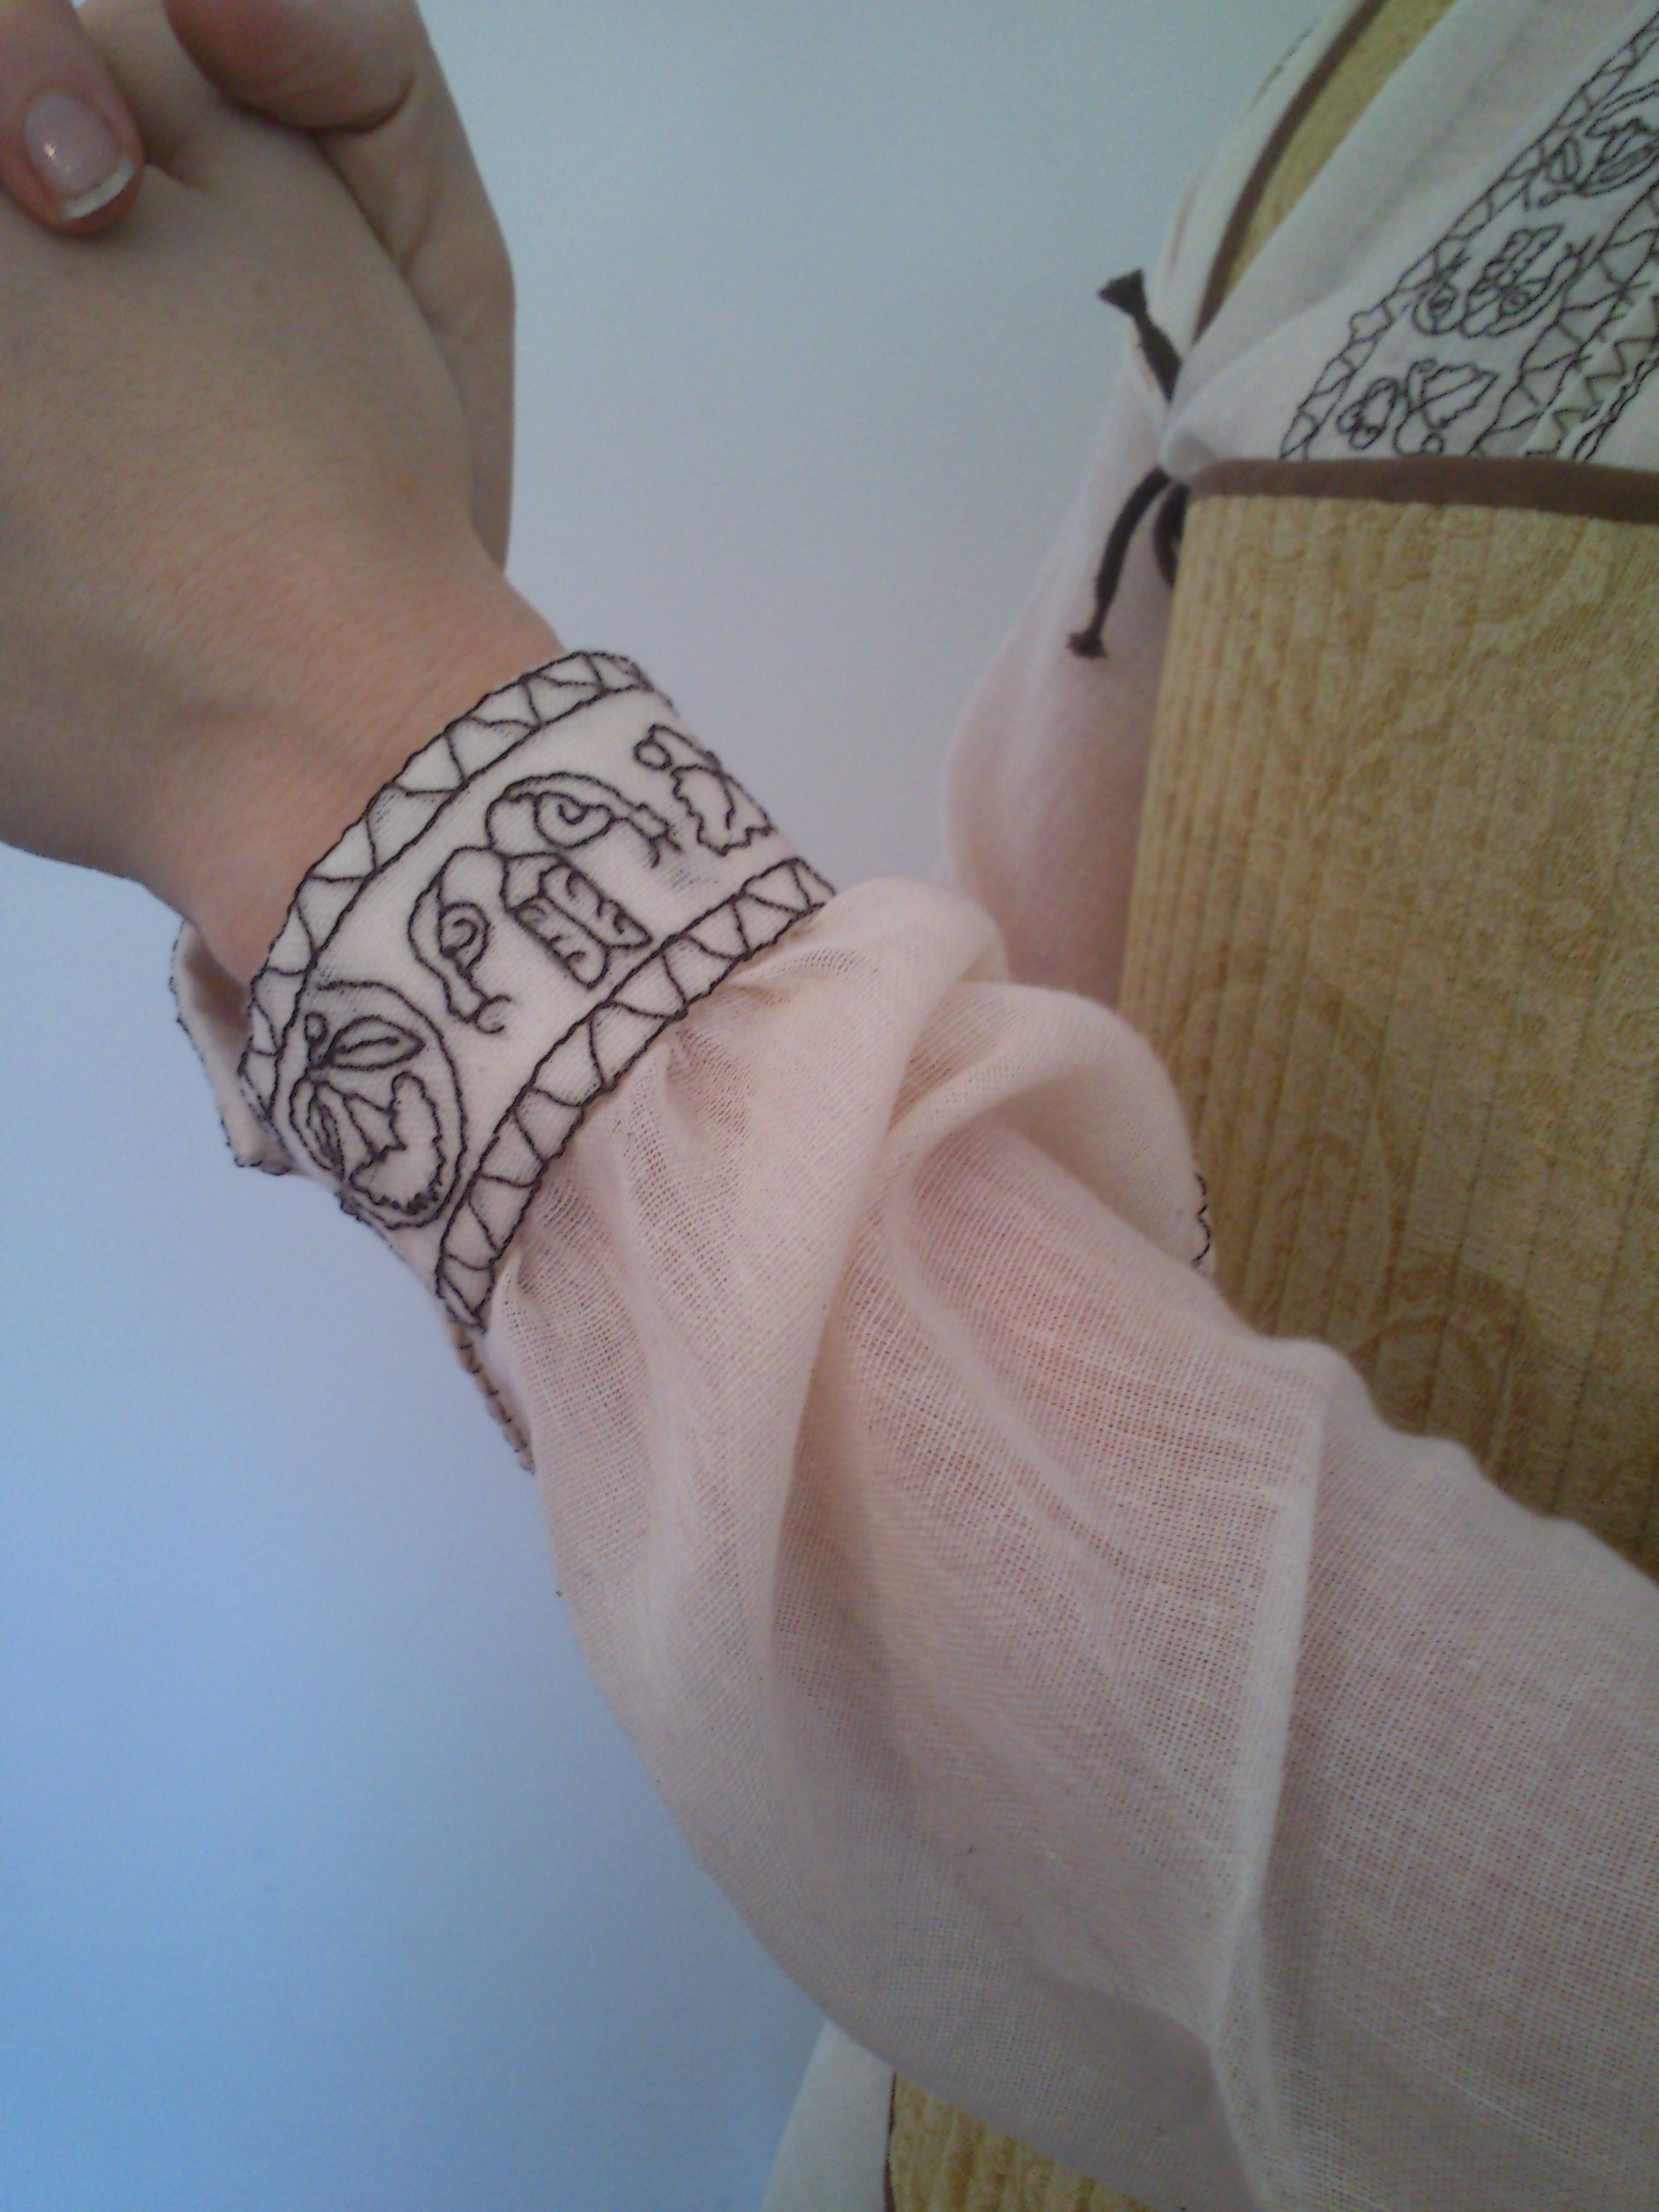
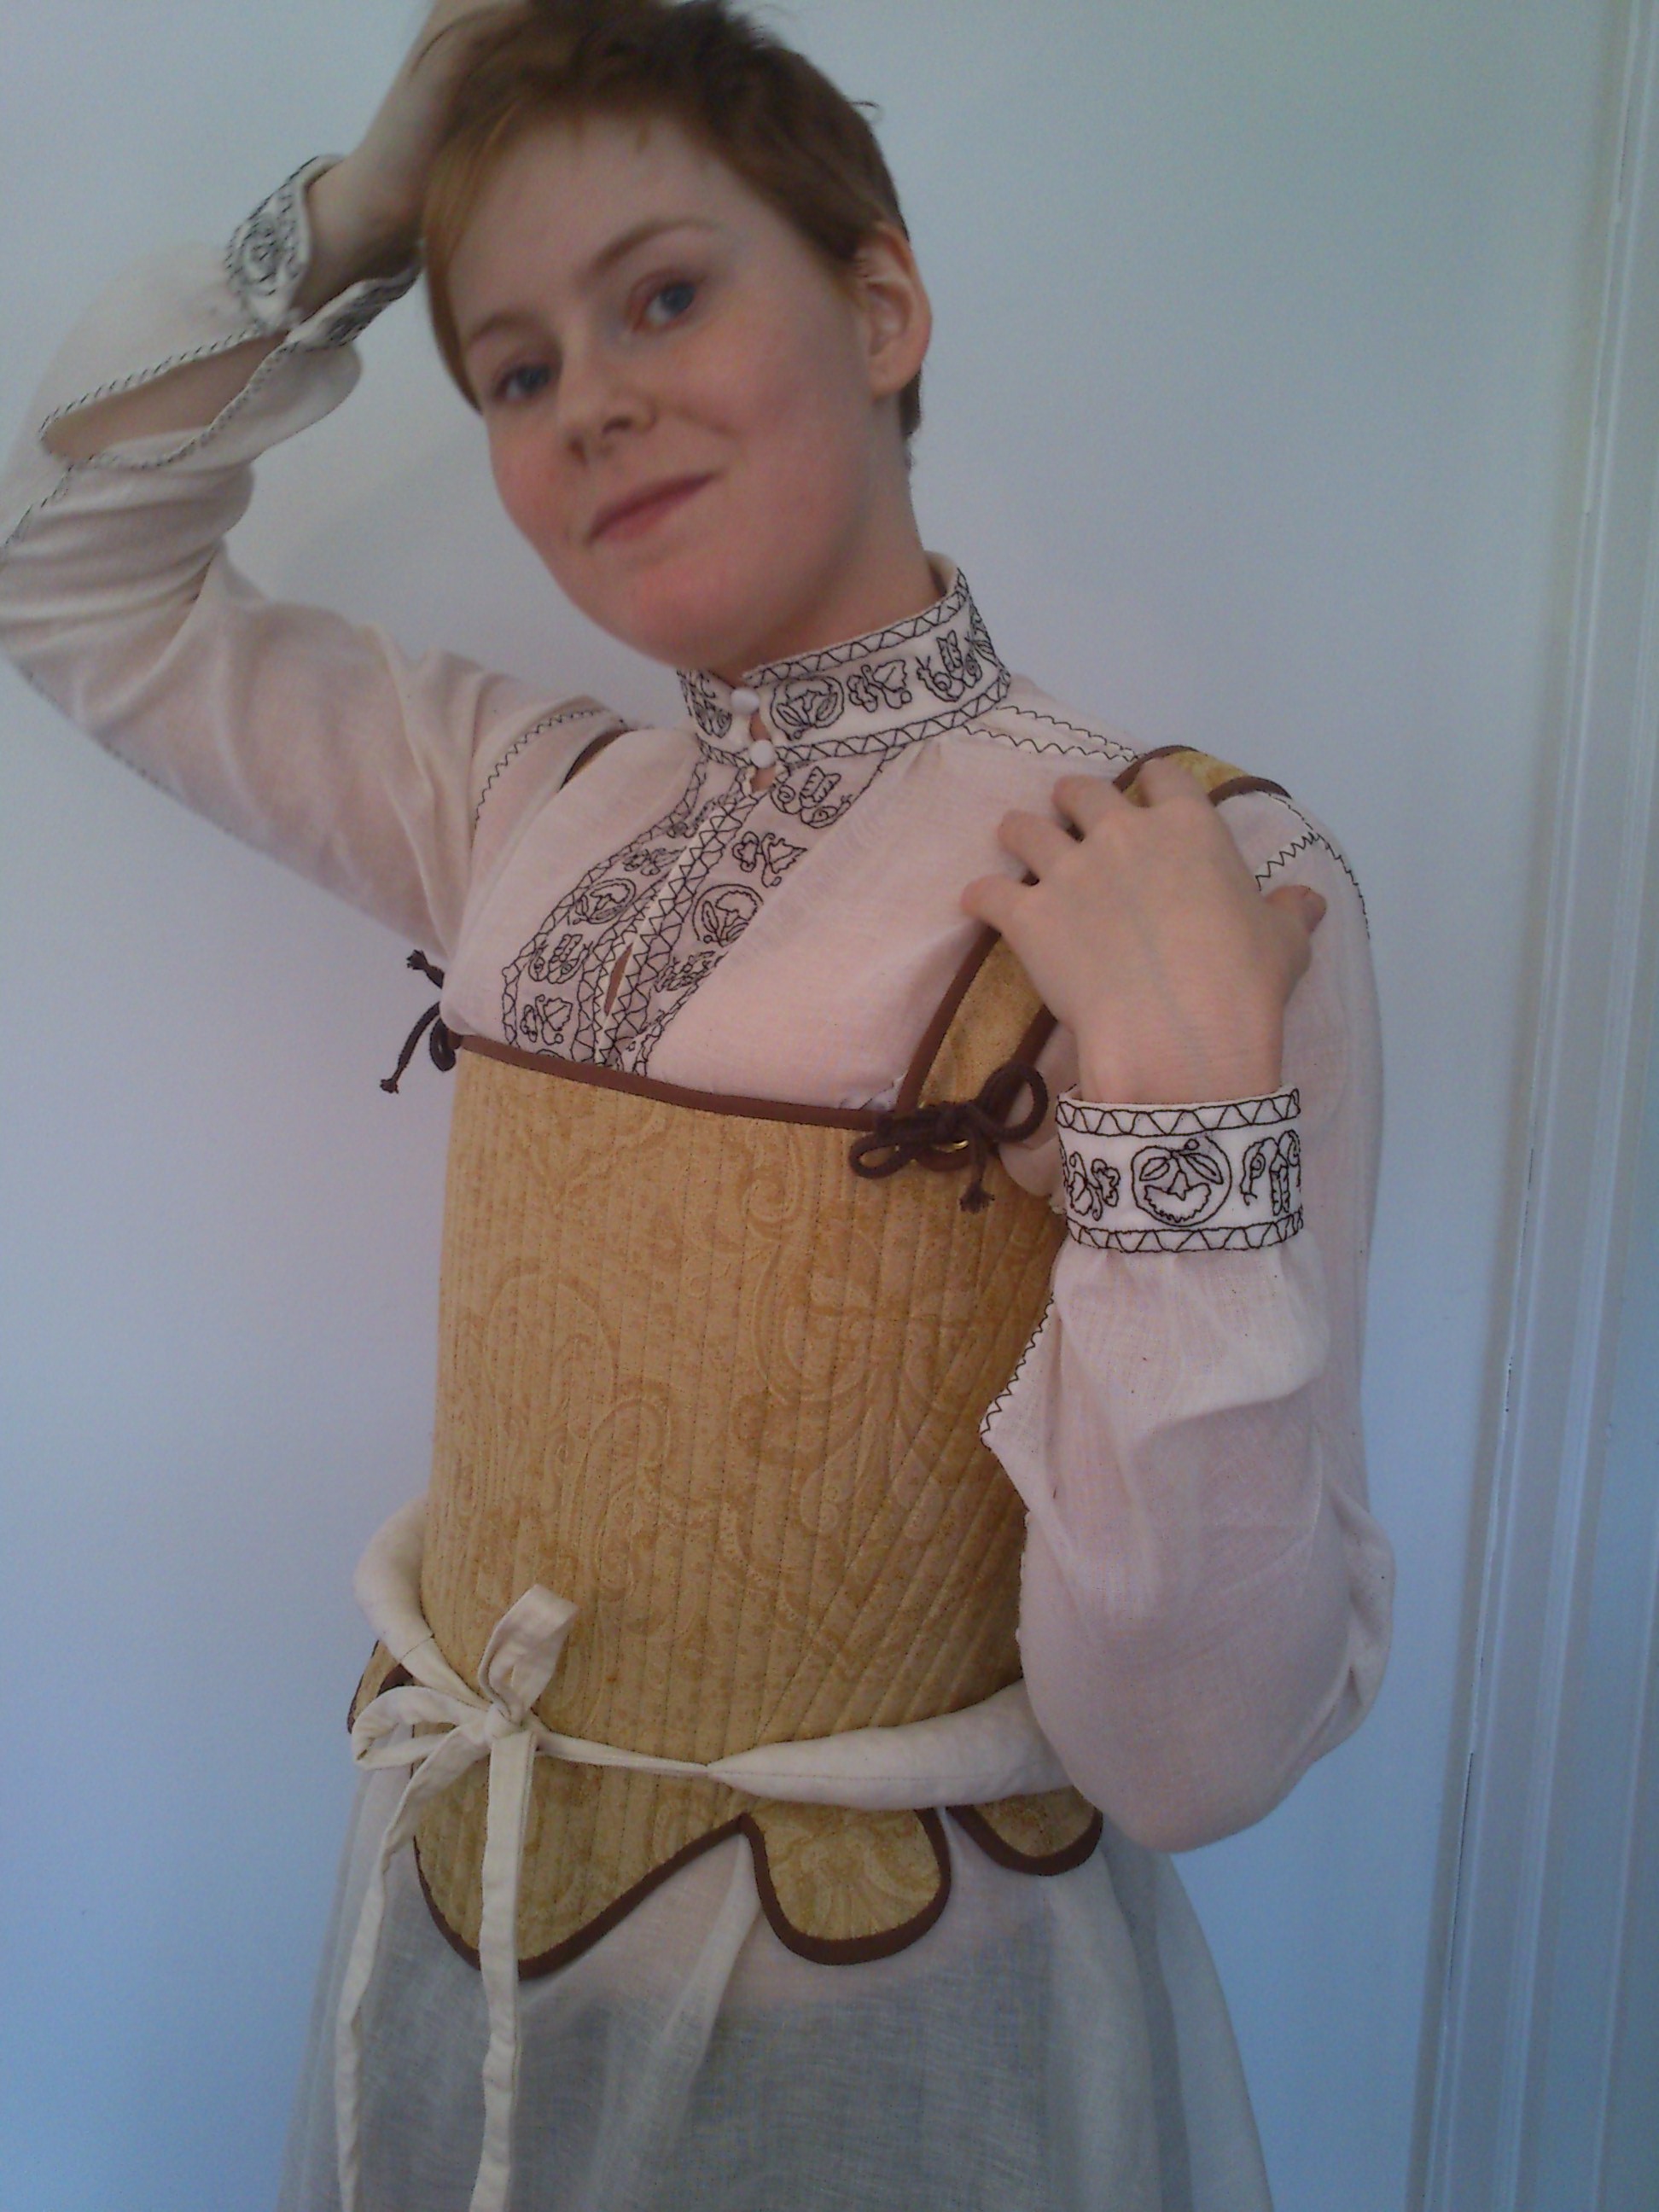
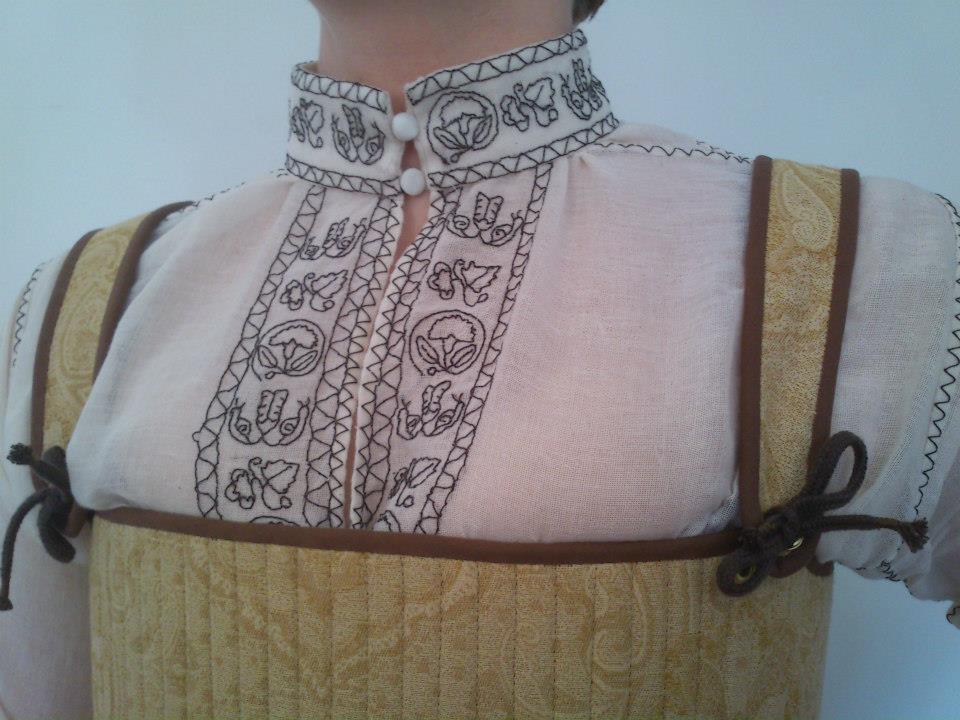
I drew a design of 3 diferent flower/animal shapes and traced them to the sheer linen fabric. Then I used a heawy buttonhole thread to work the embrodery.

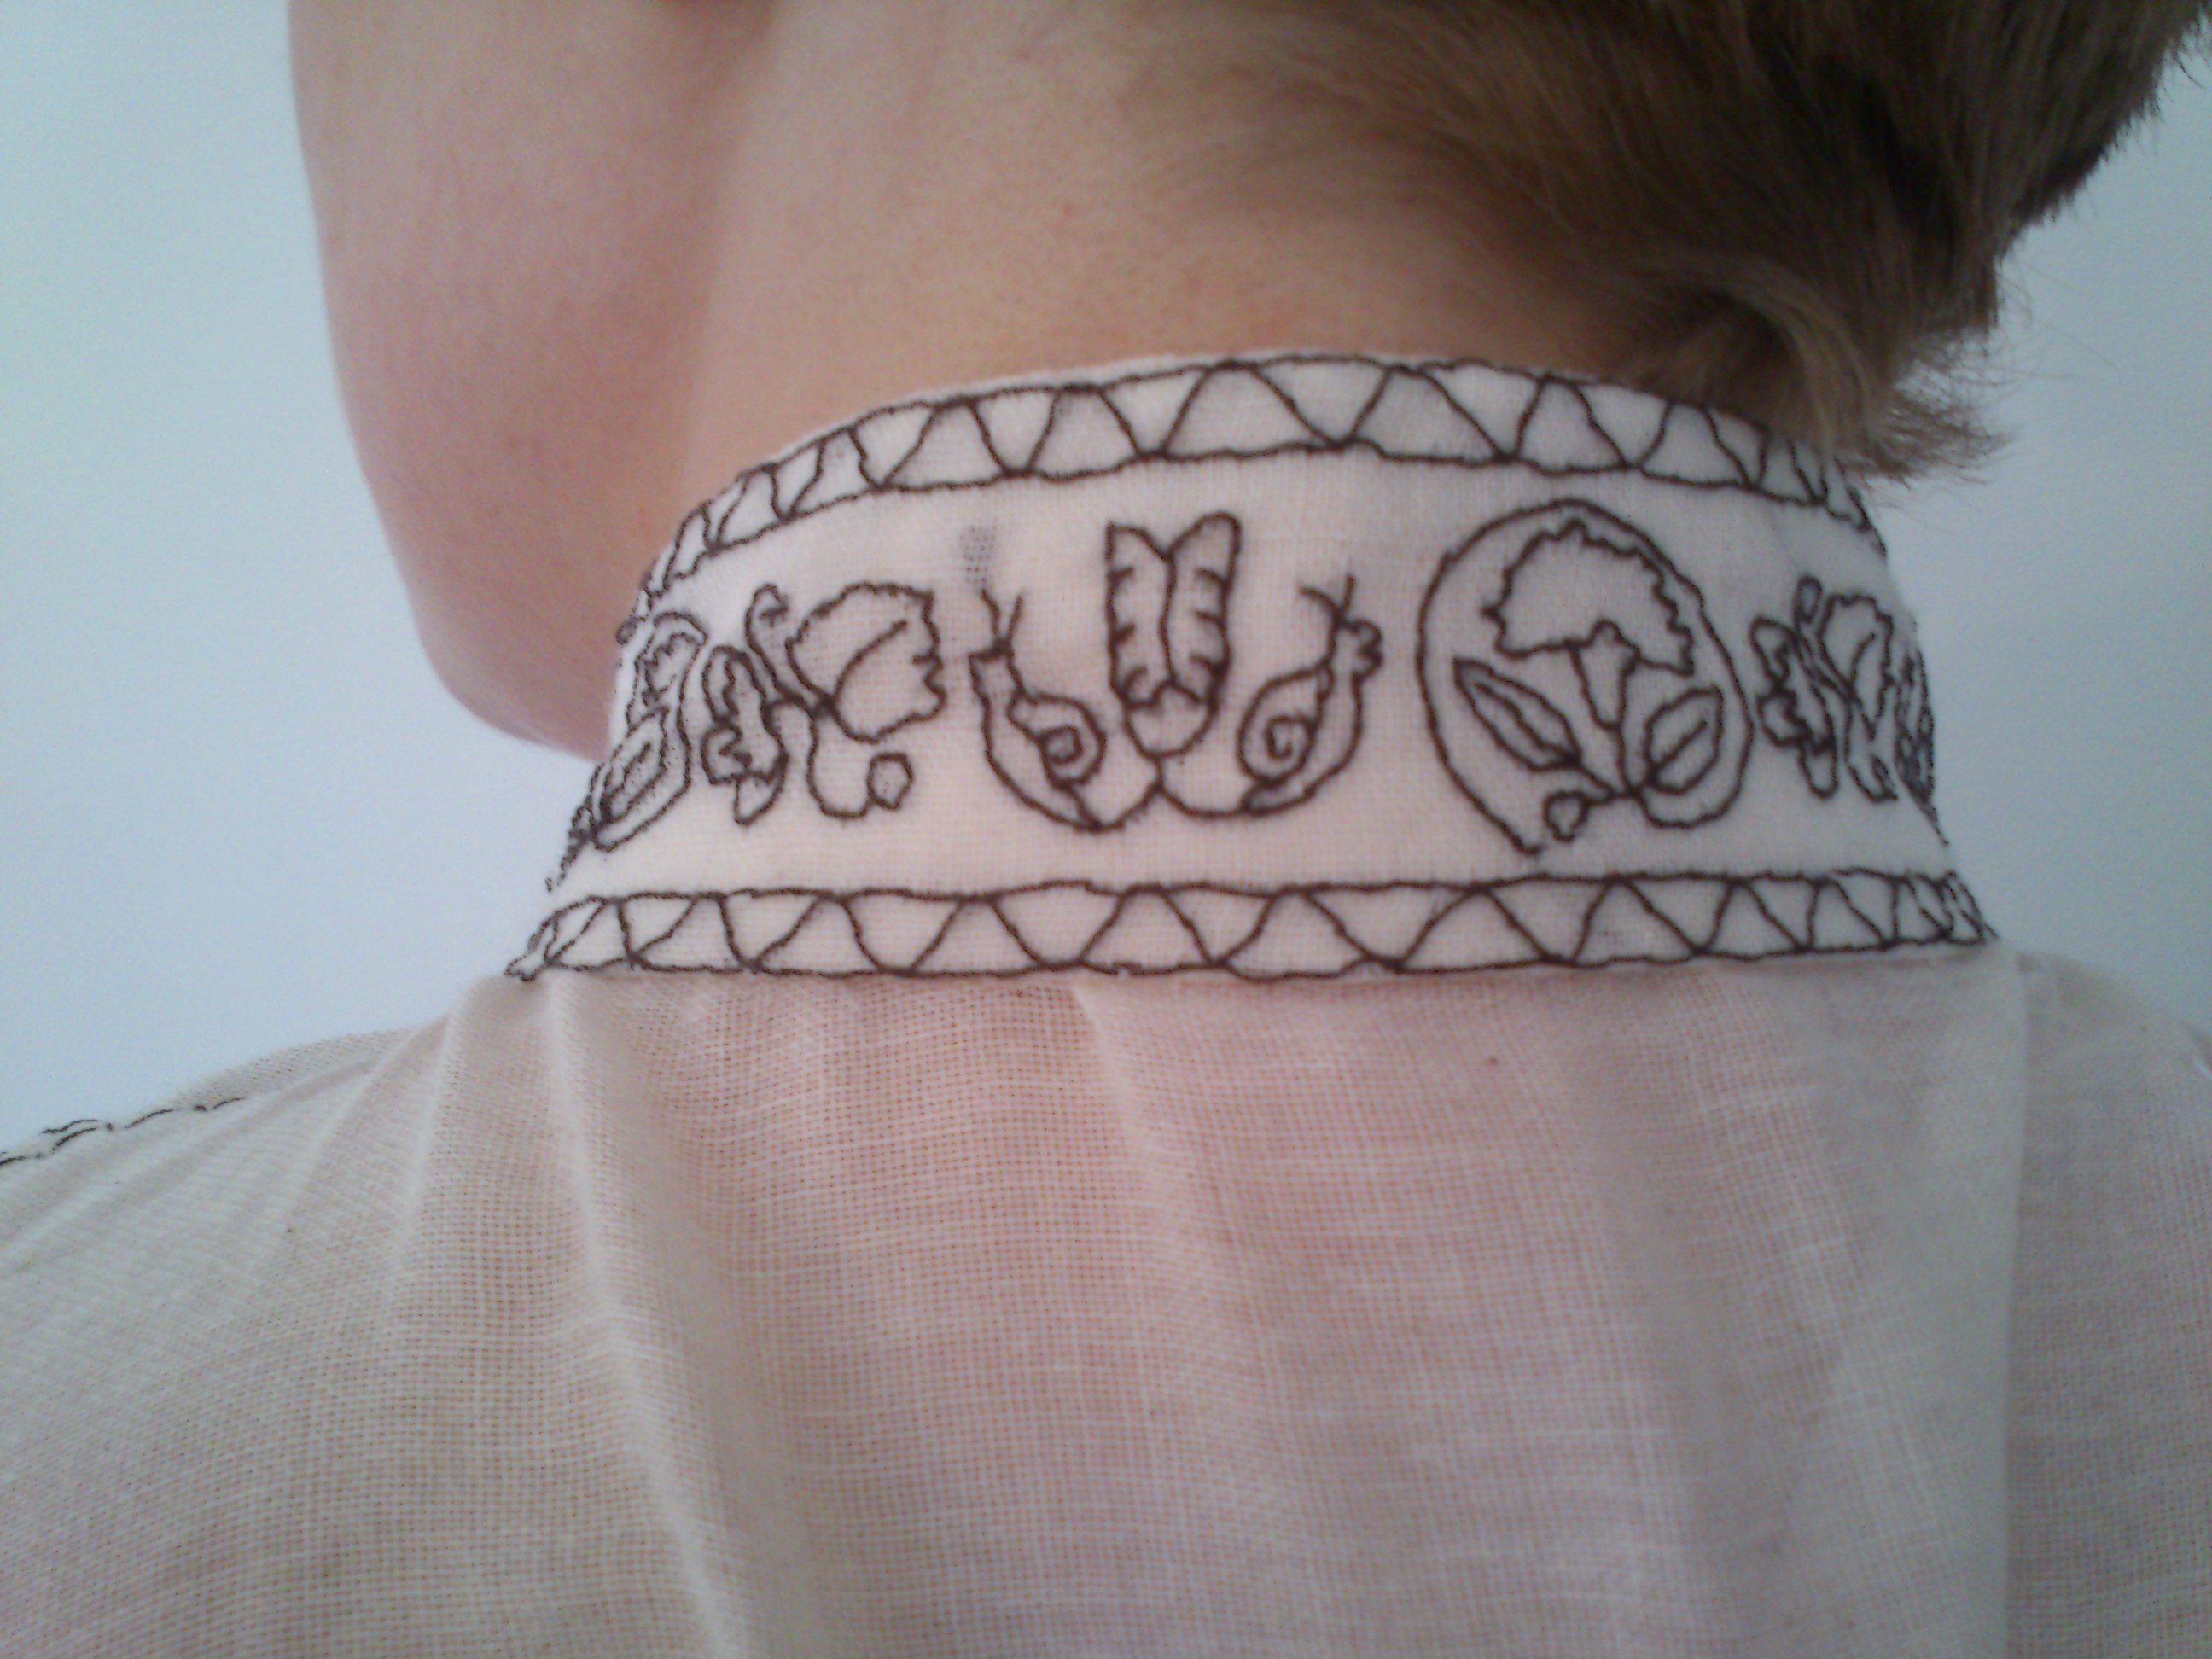
I knew it would take some time to embroder the shirt, but I was shocked to discover exactly HOW slow it went. Each little flower took about 45-55 min and each row of rick-rack took 2 hours.

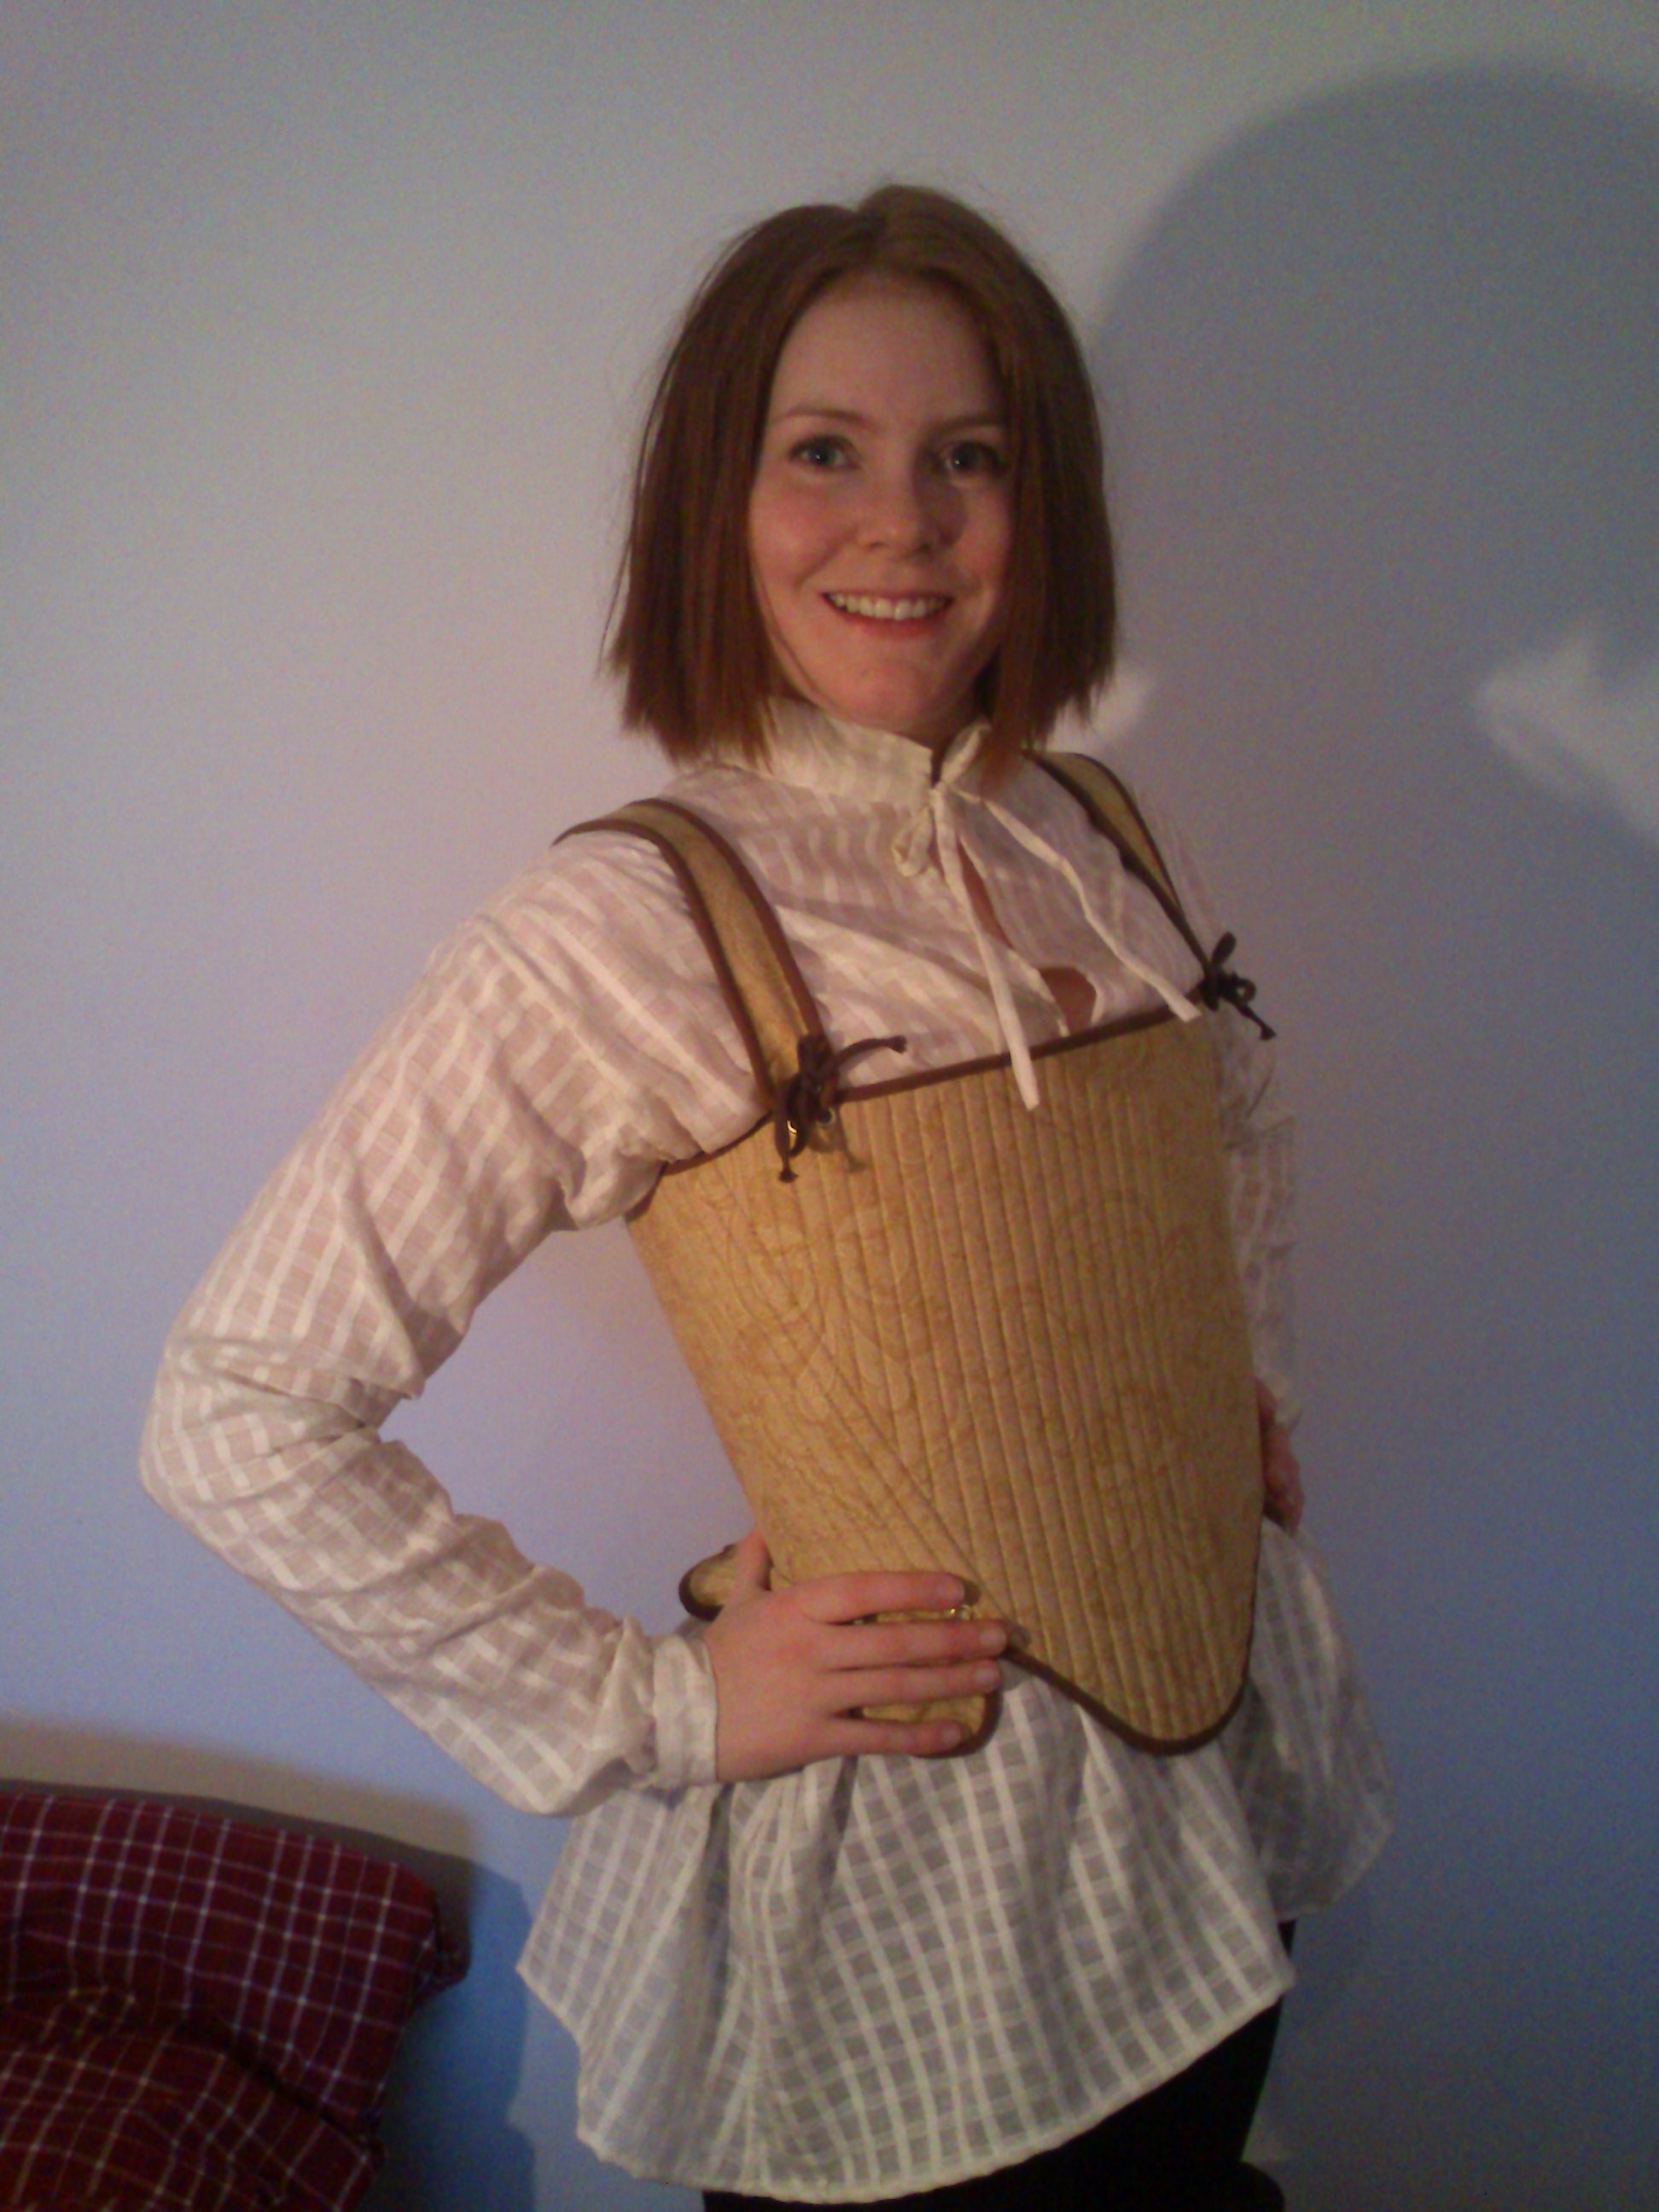
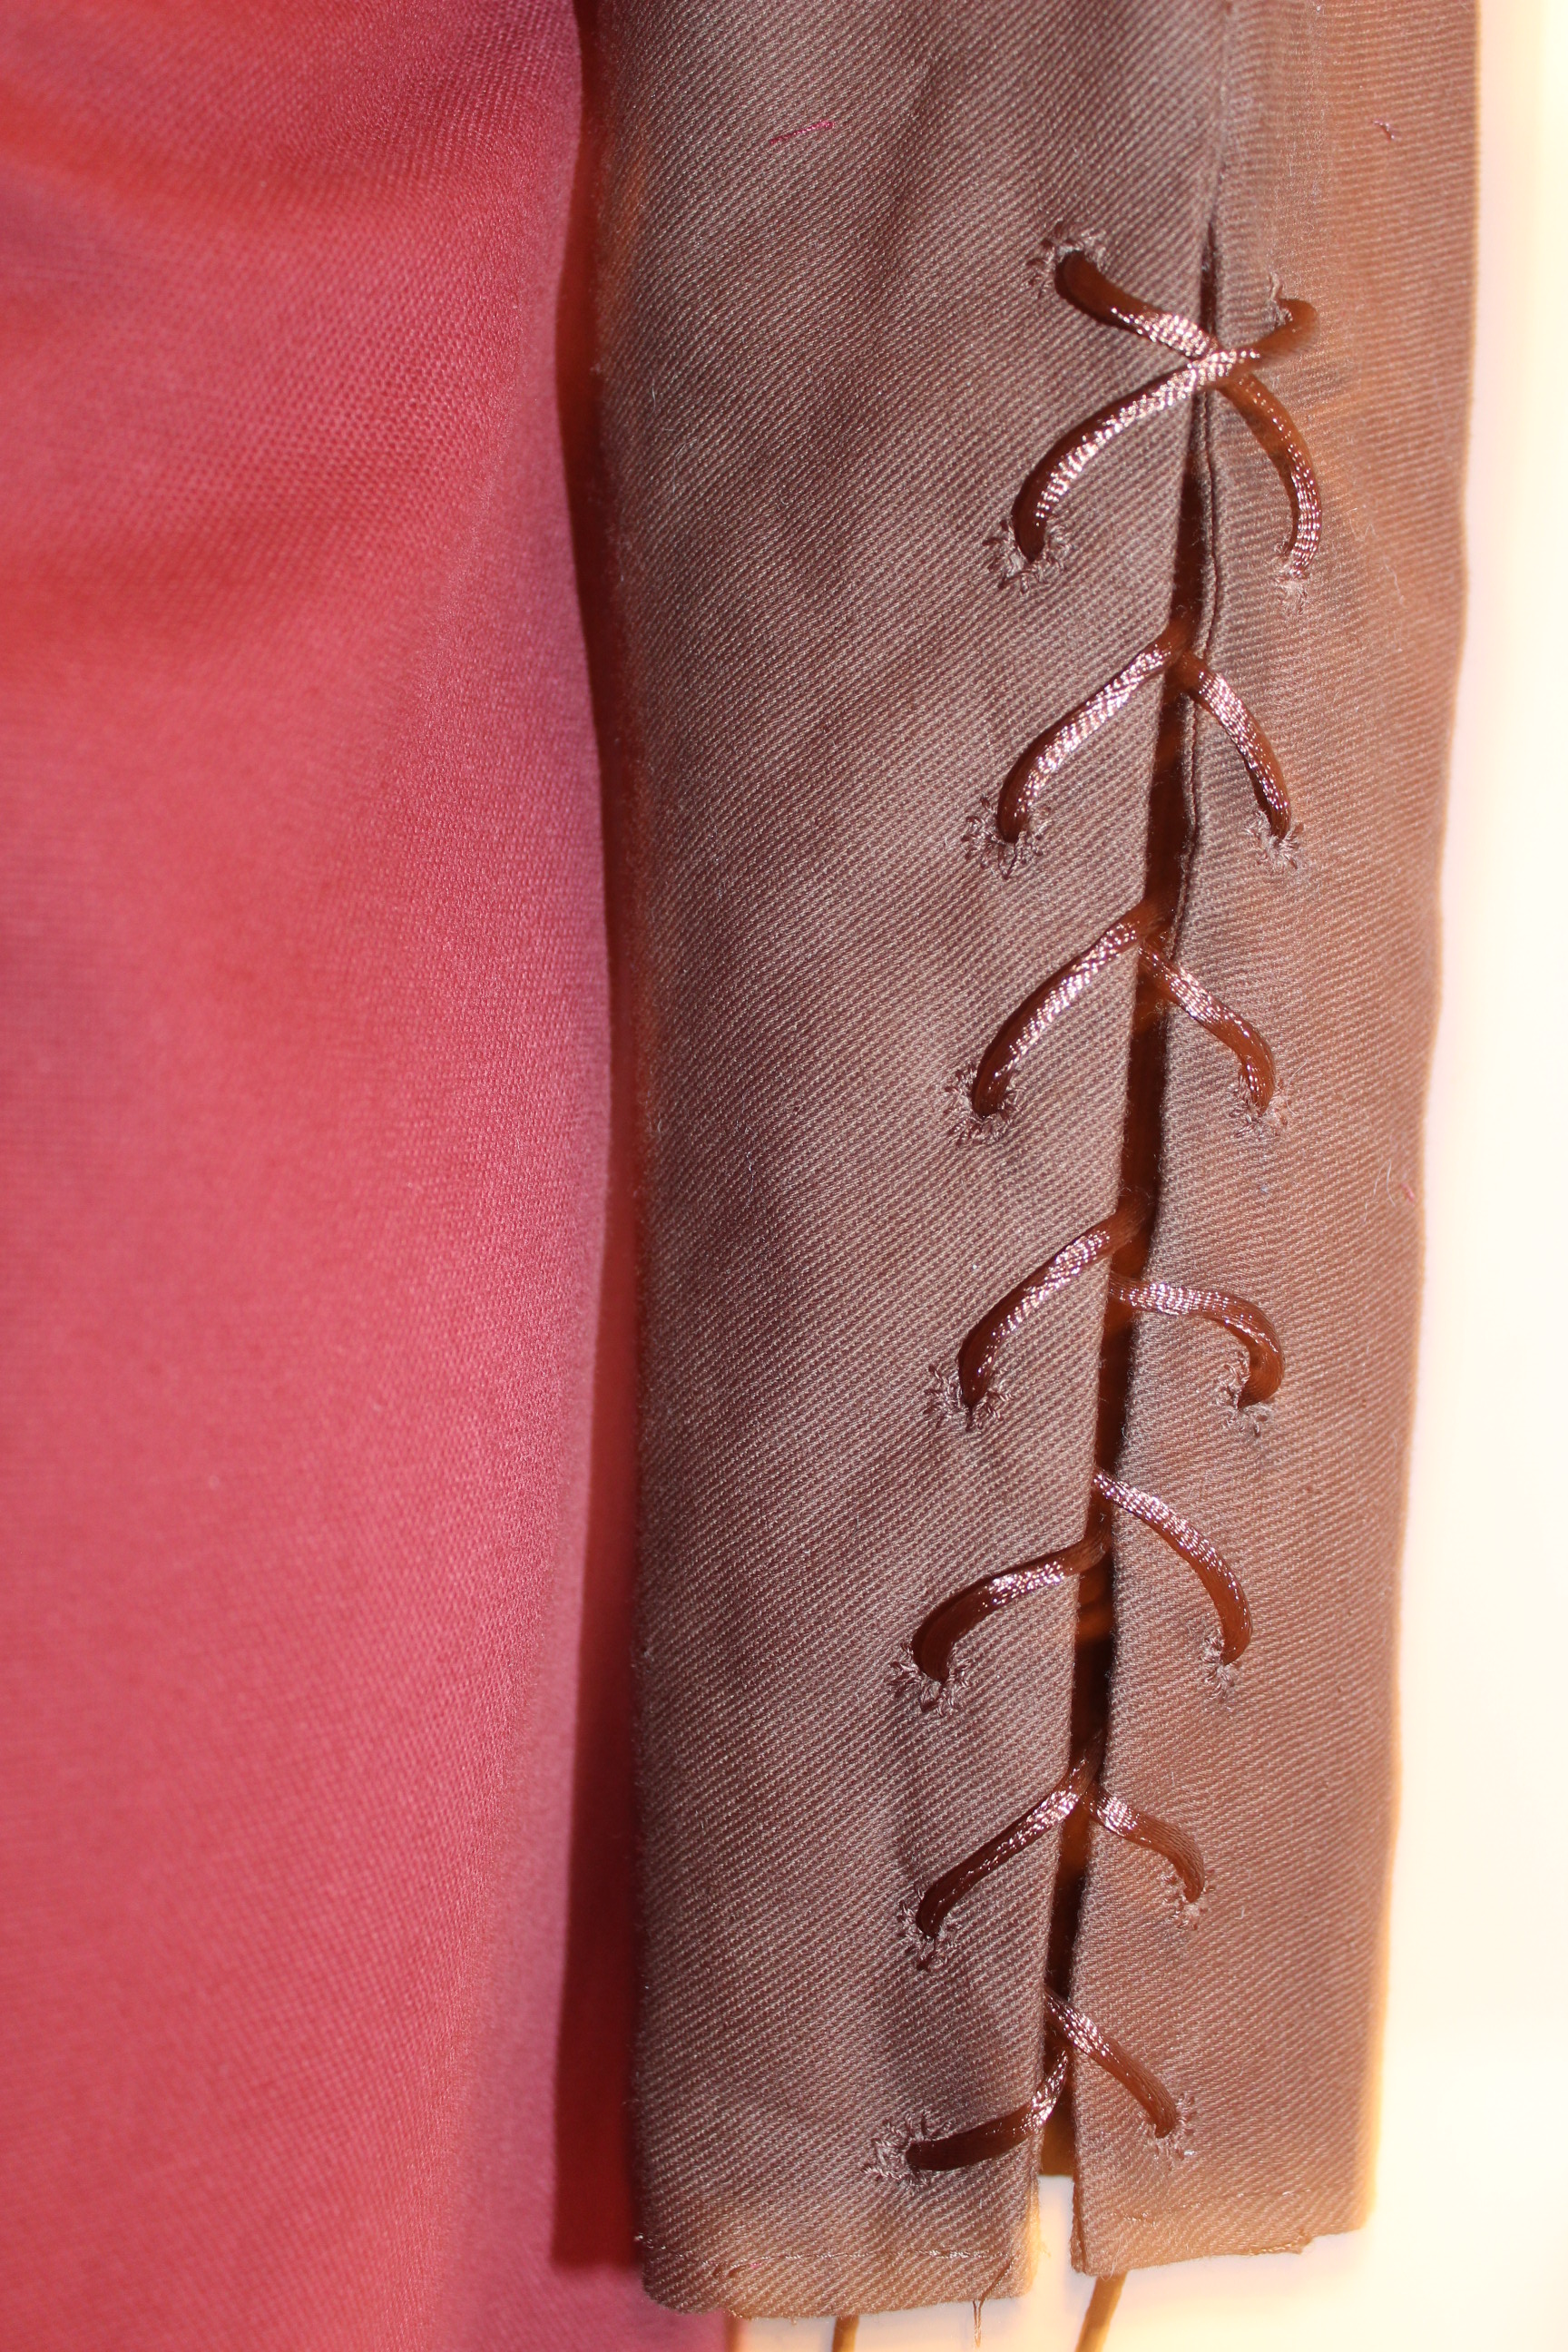
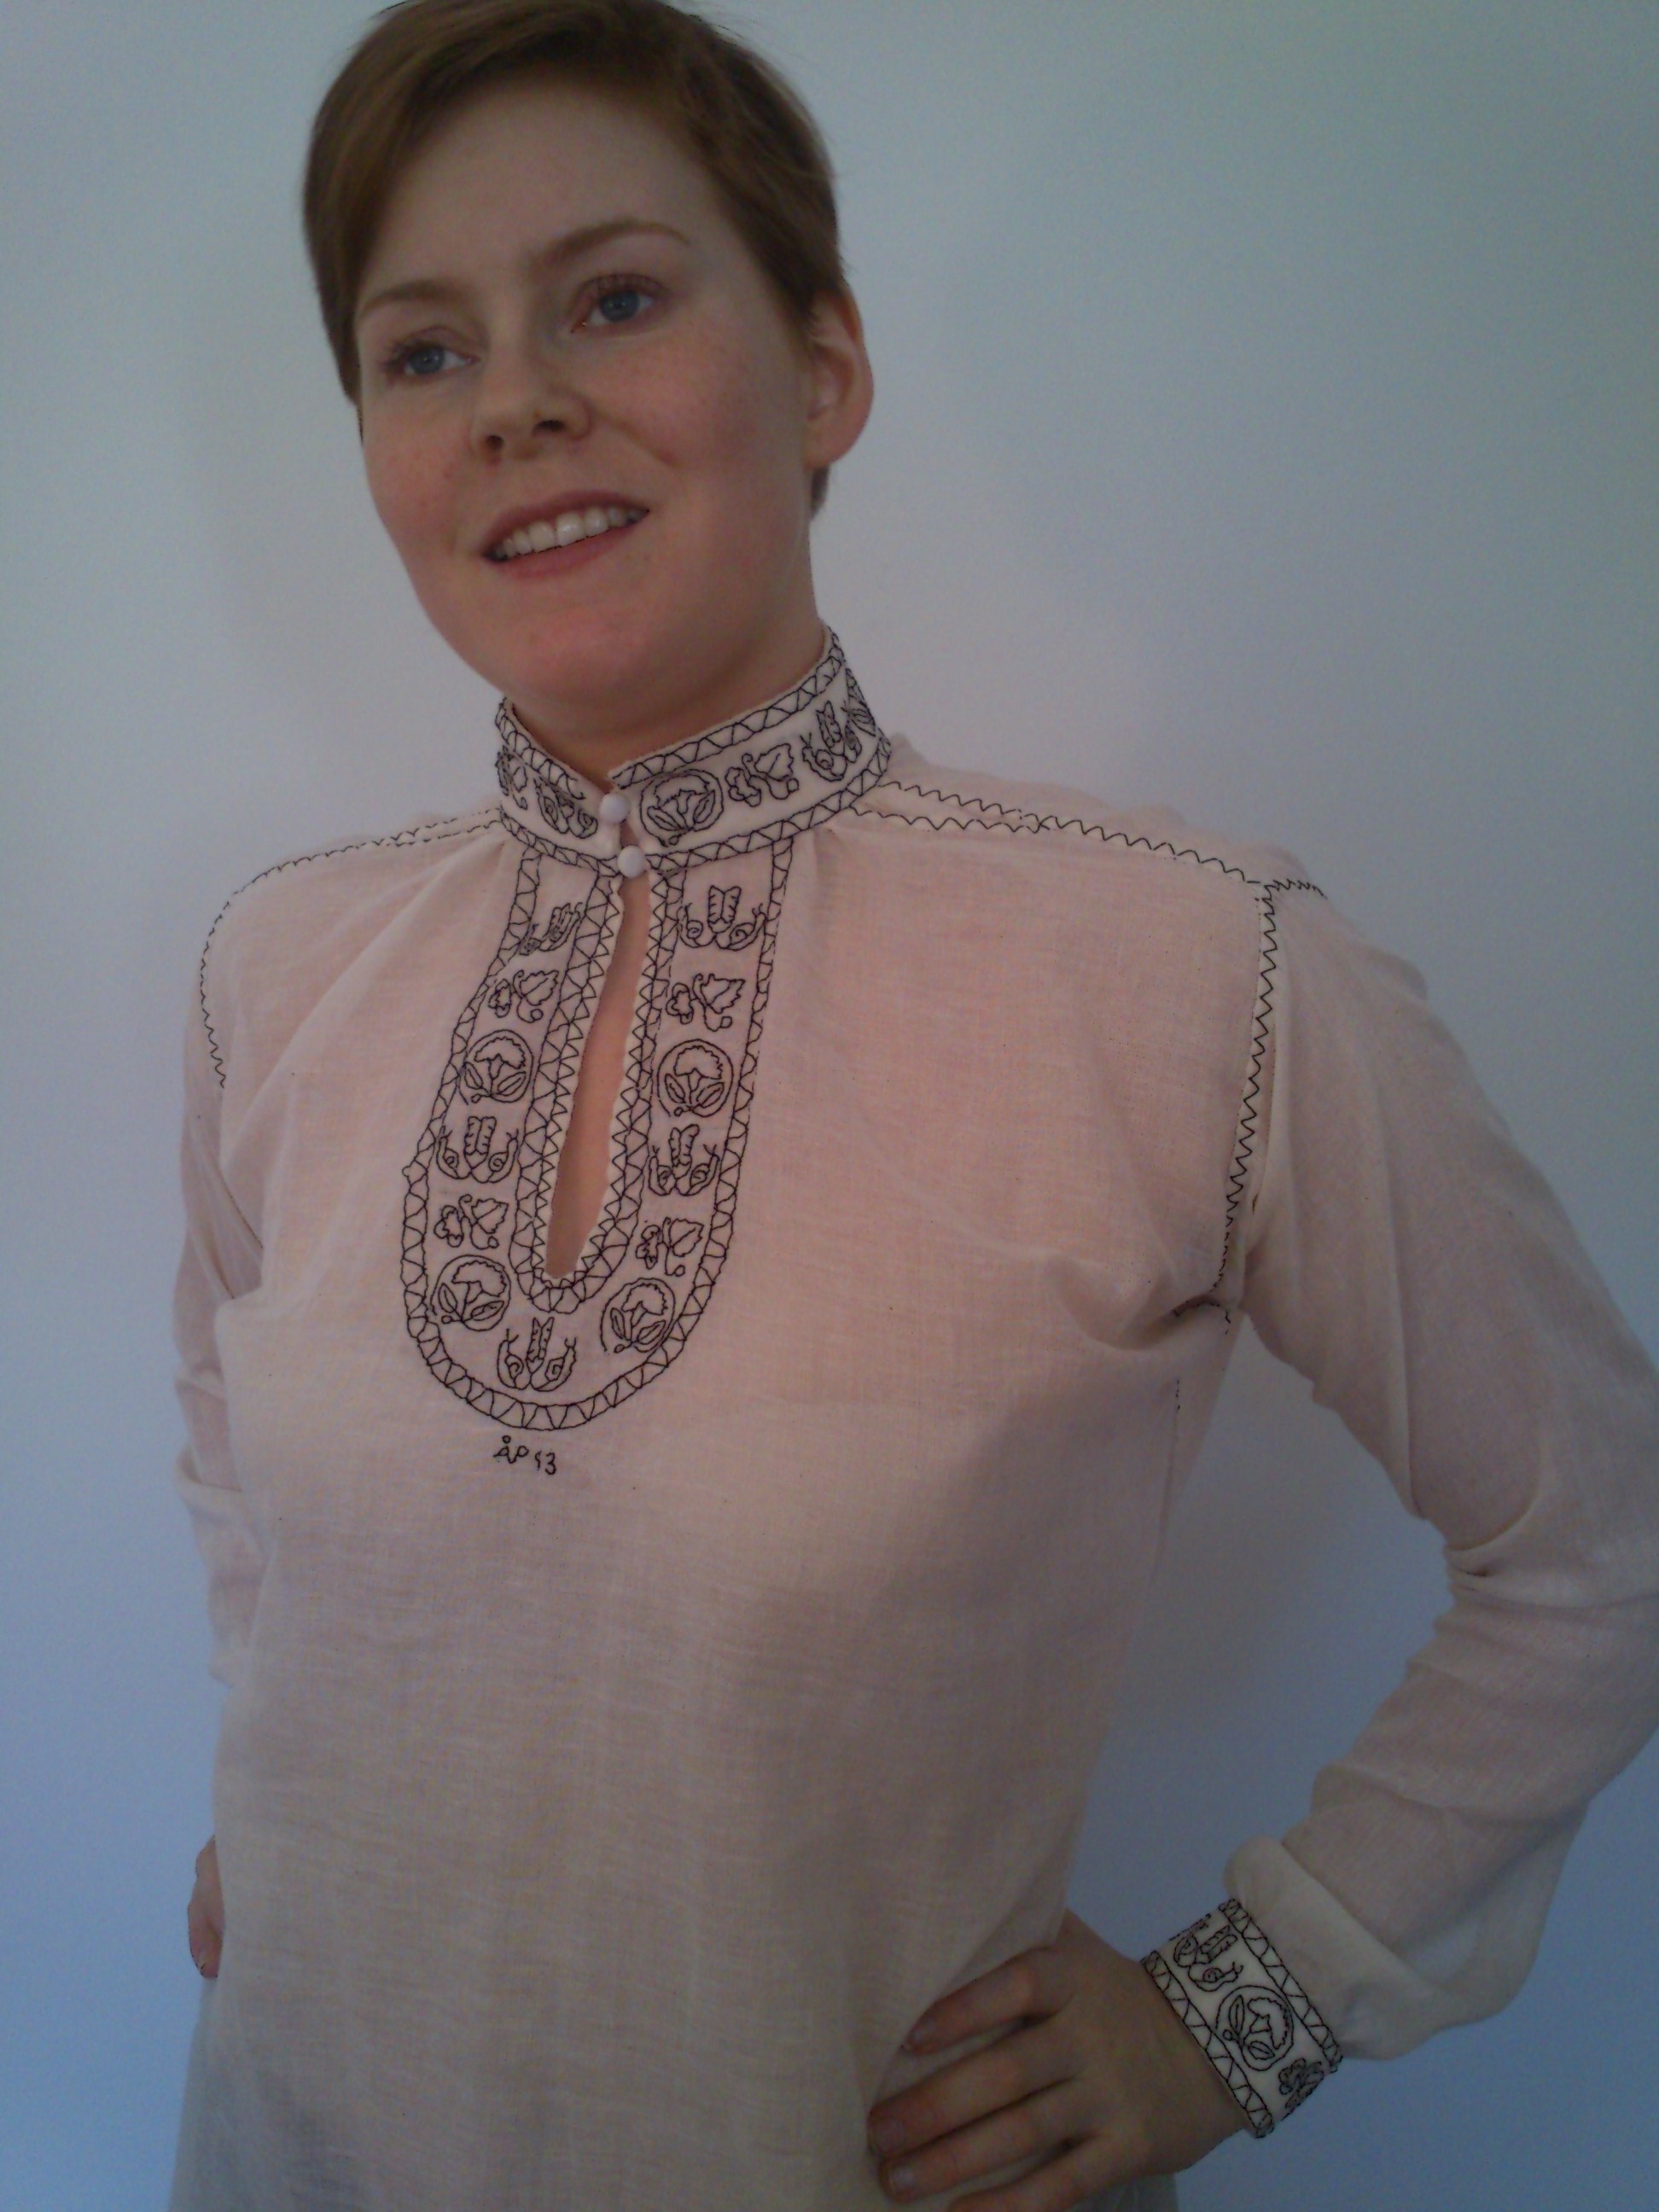
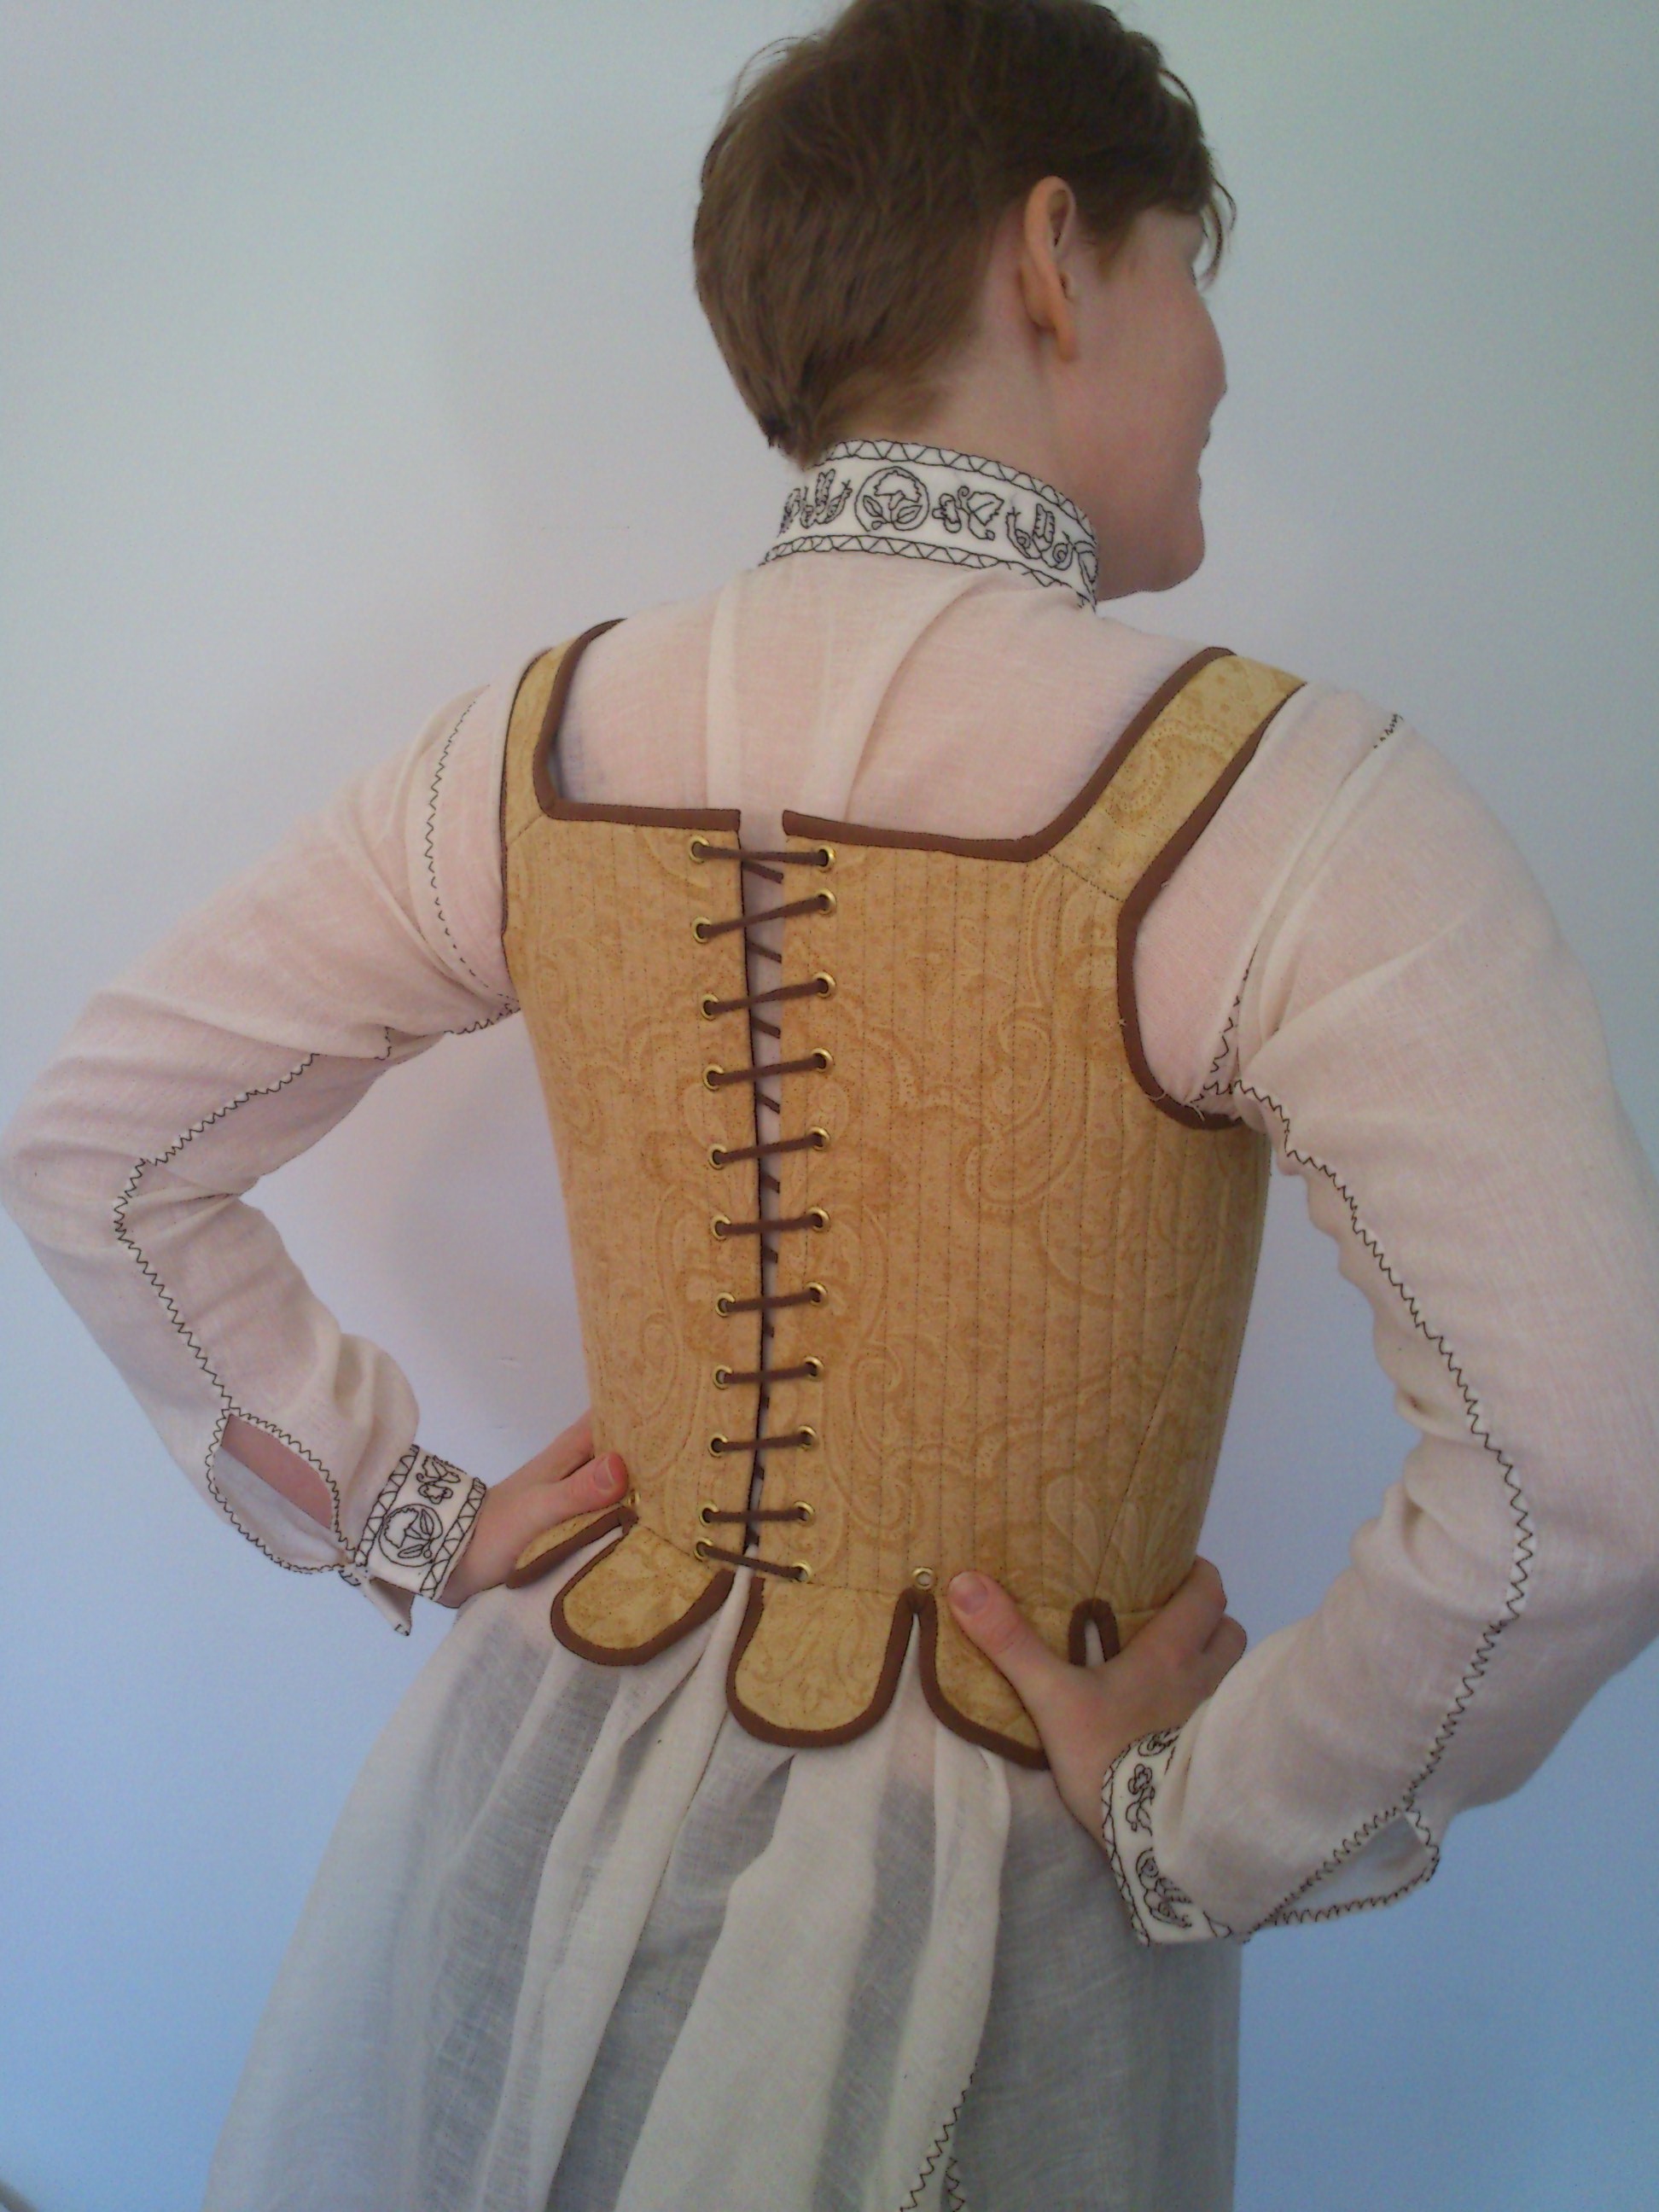
This slow paste made me change the original plan of embroder the whole shirt, to only doing the cuffs, collar, neck border and rick-rack on the seams.

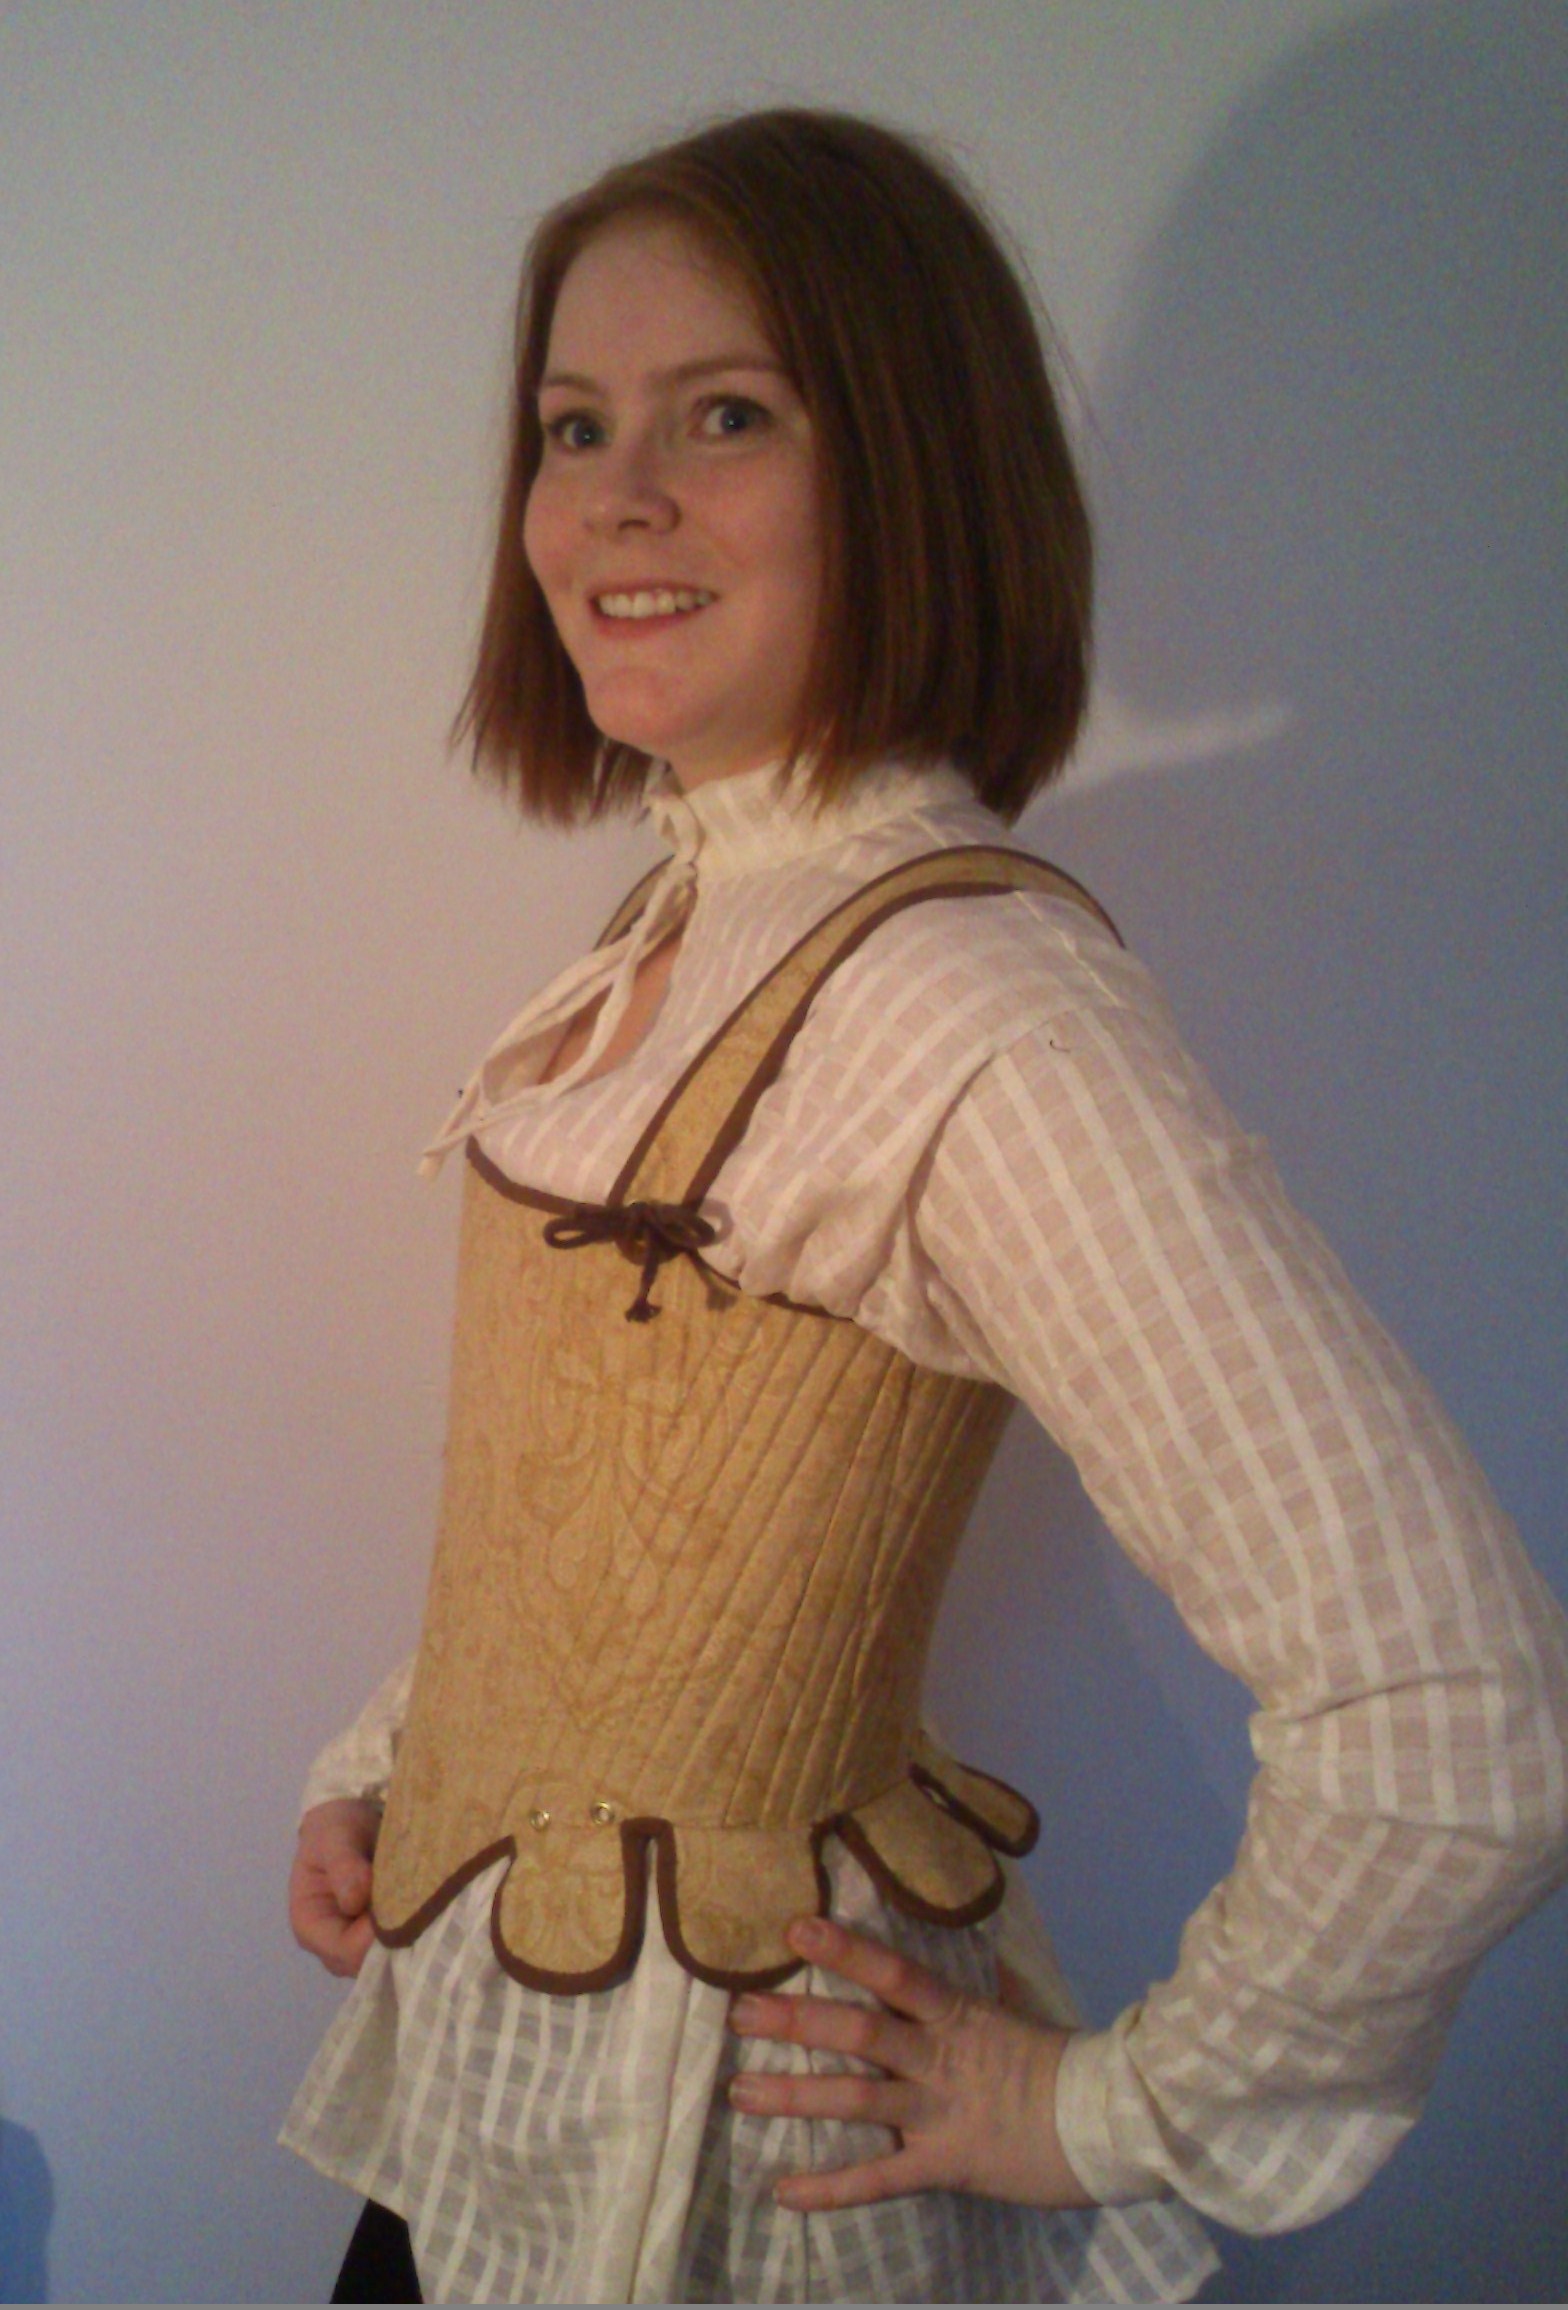
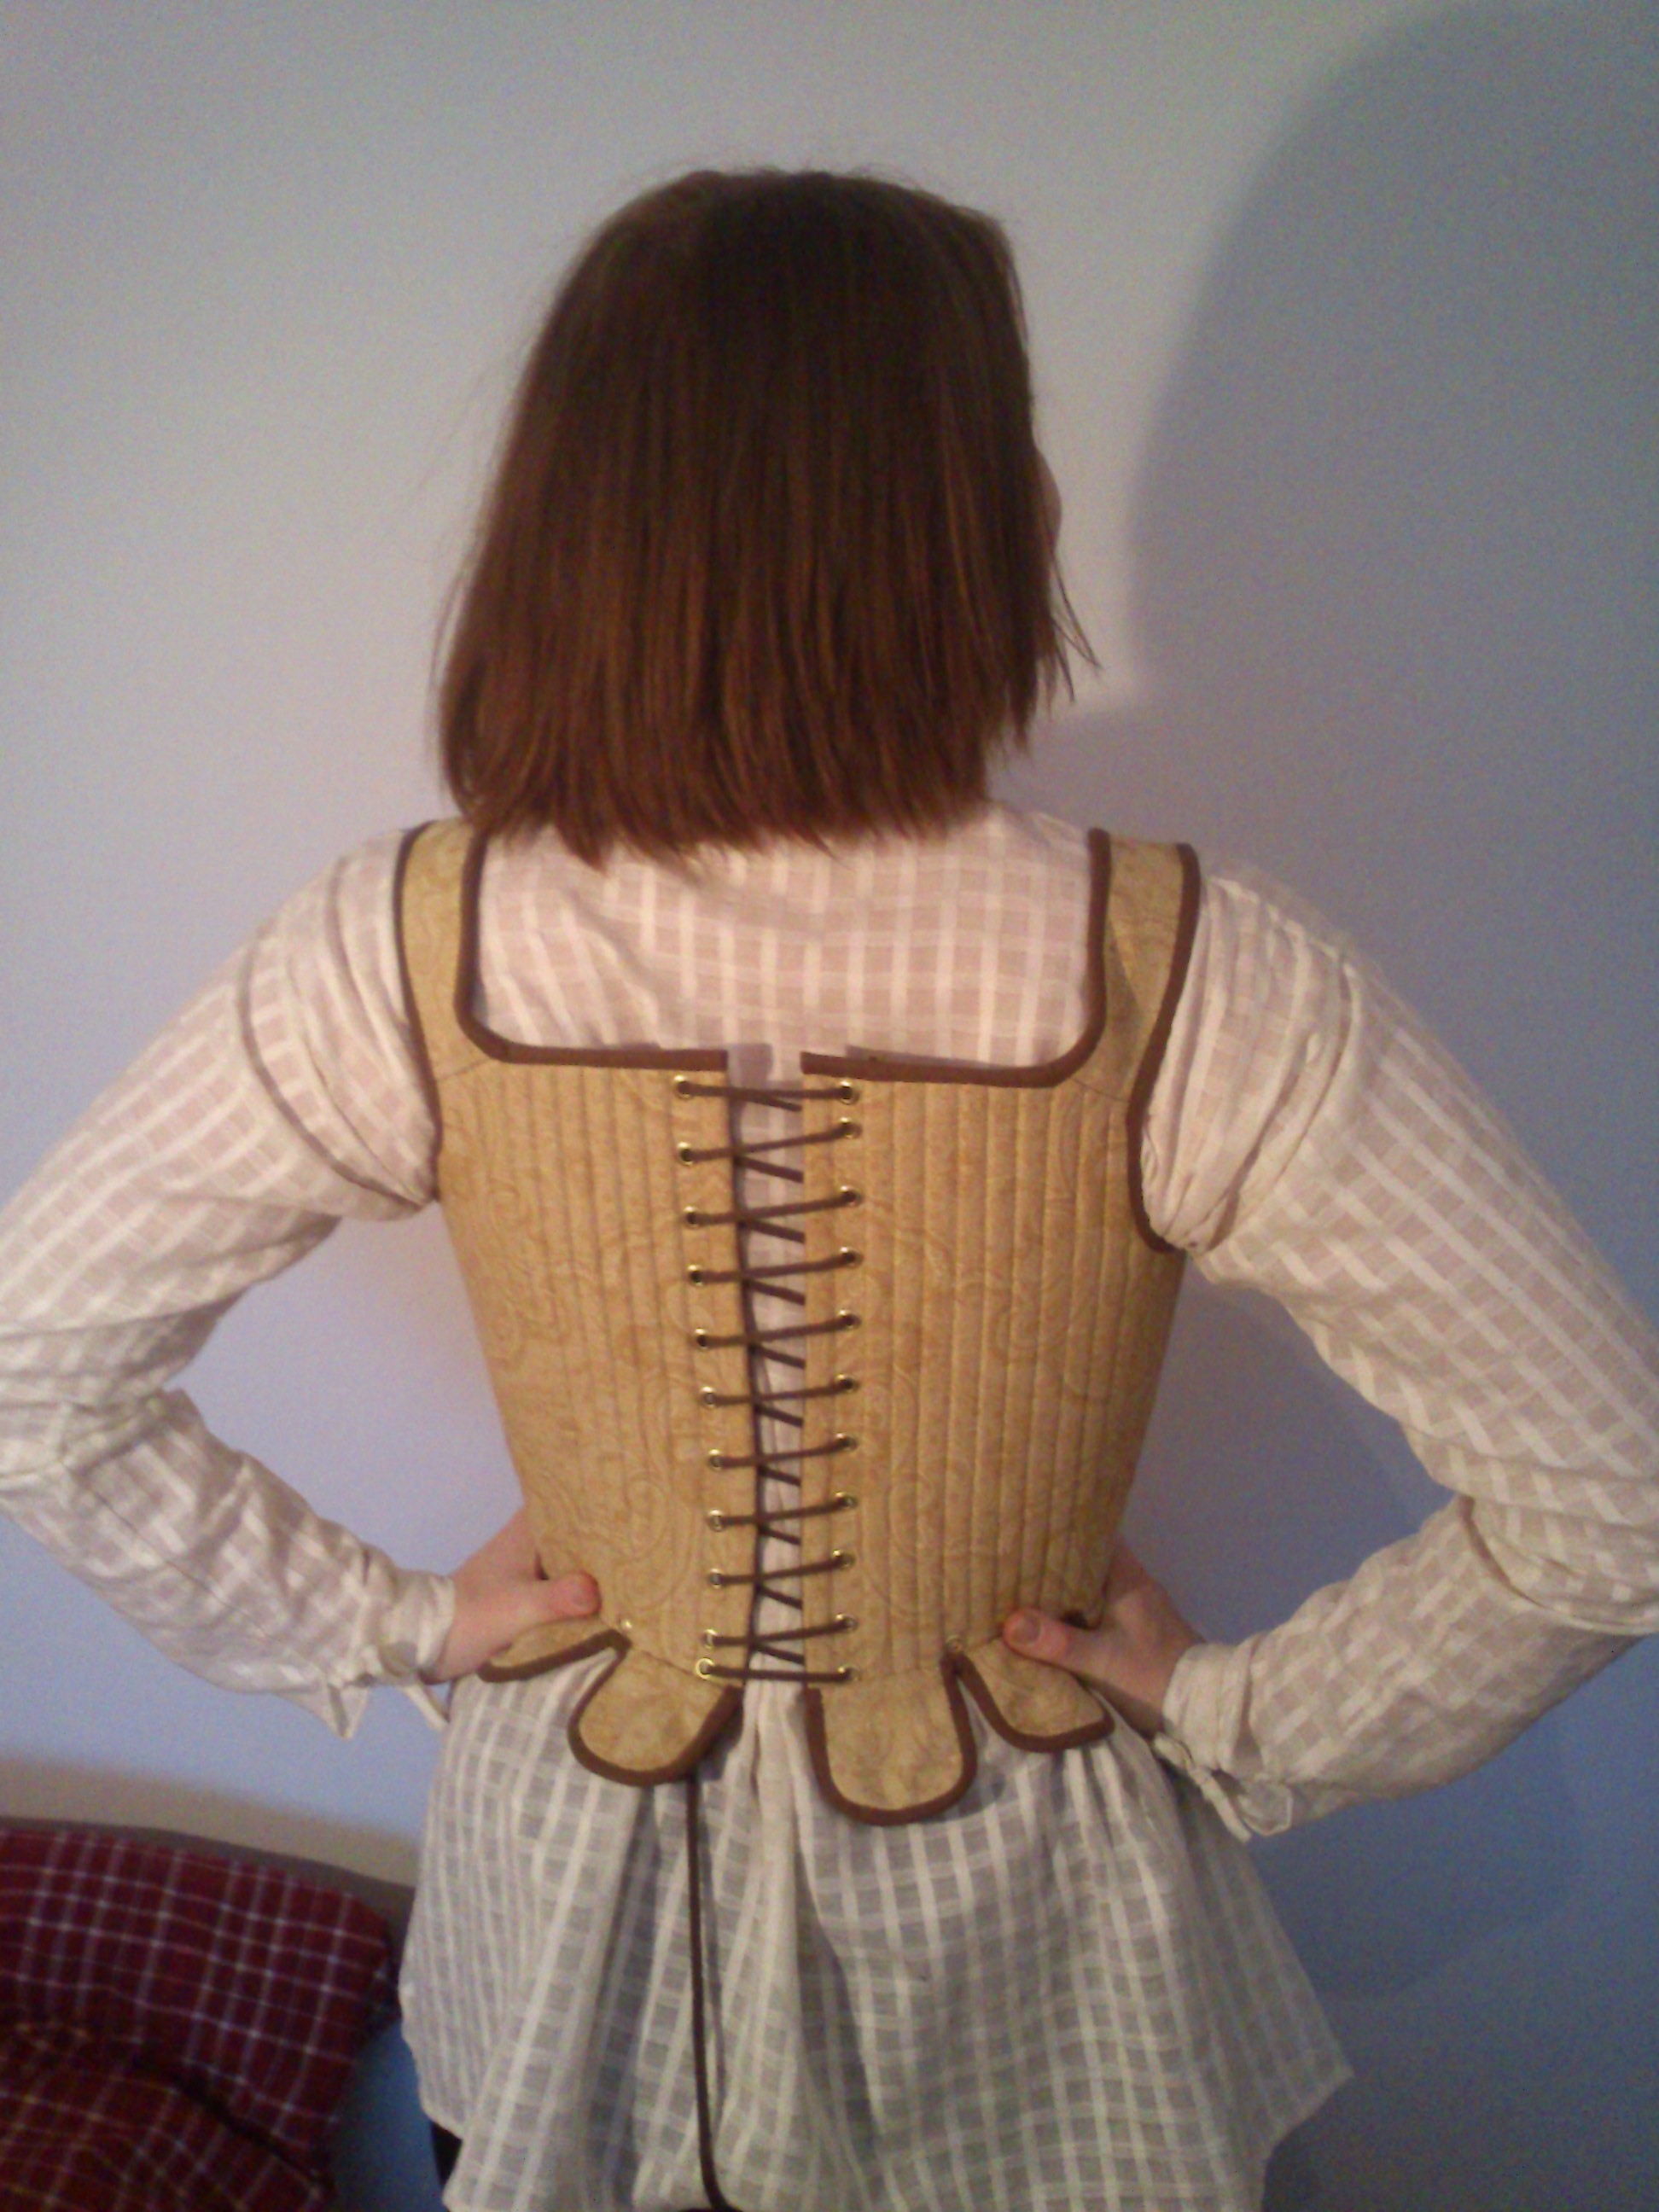
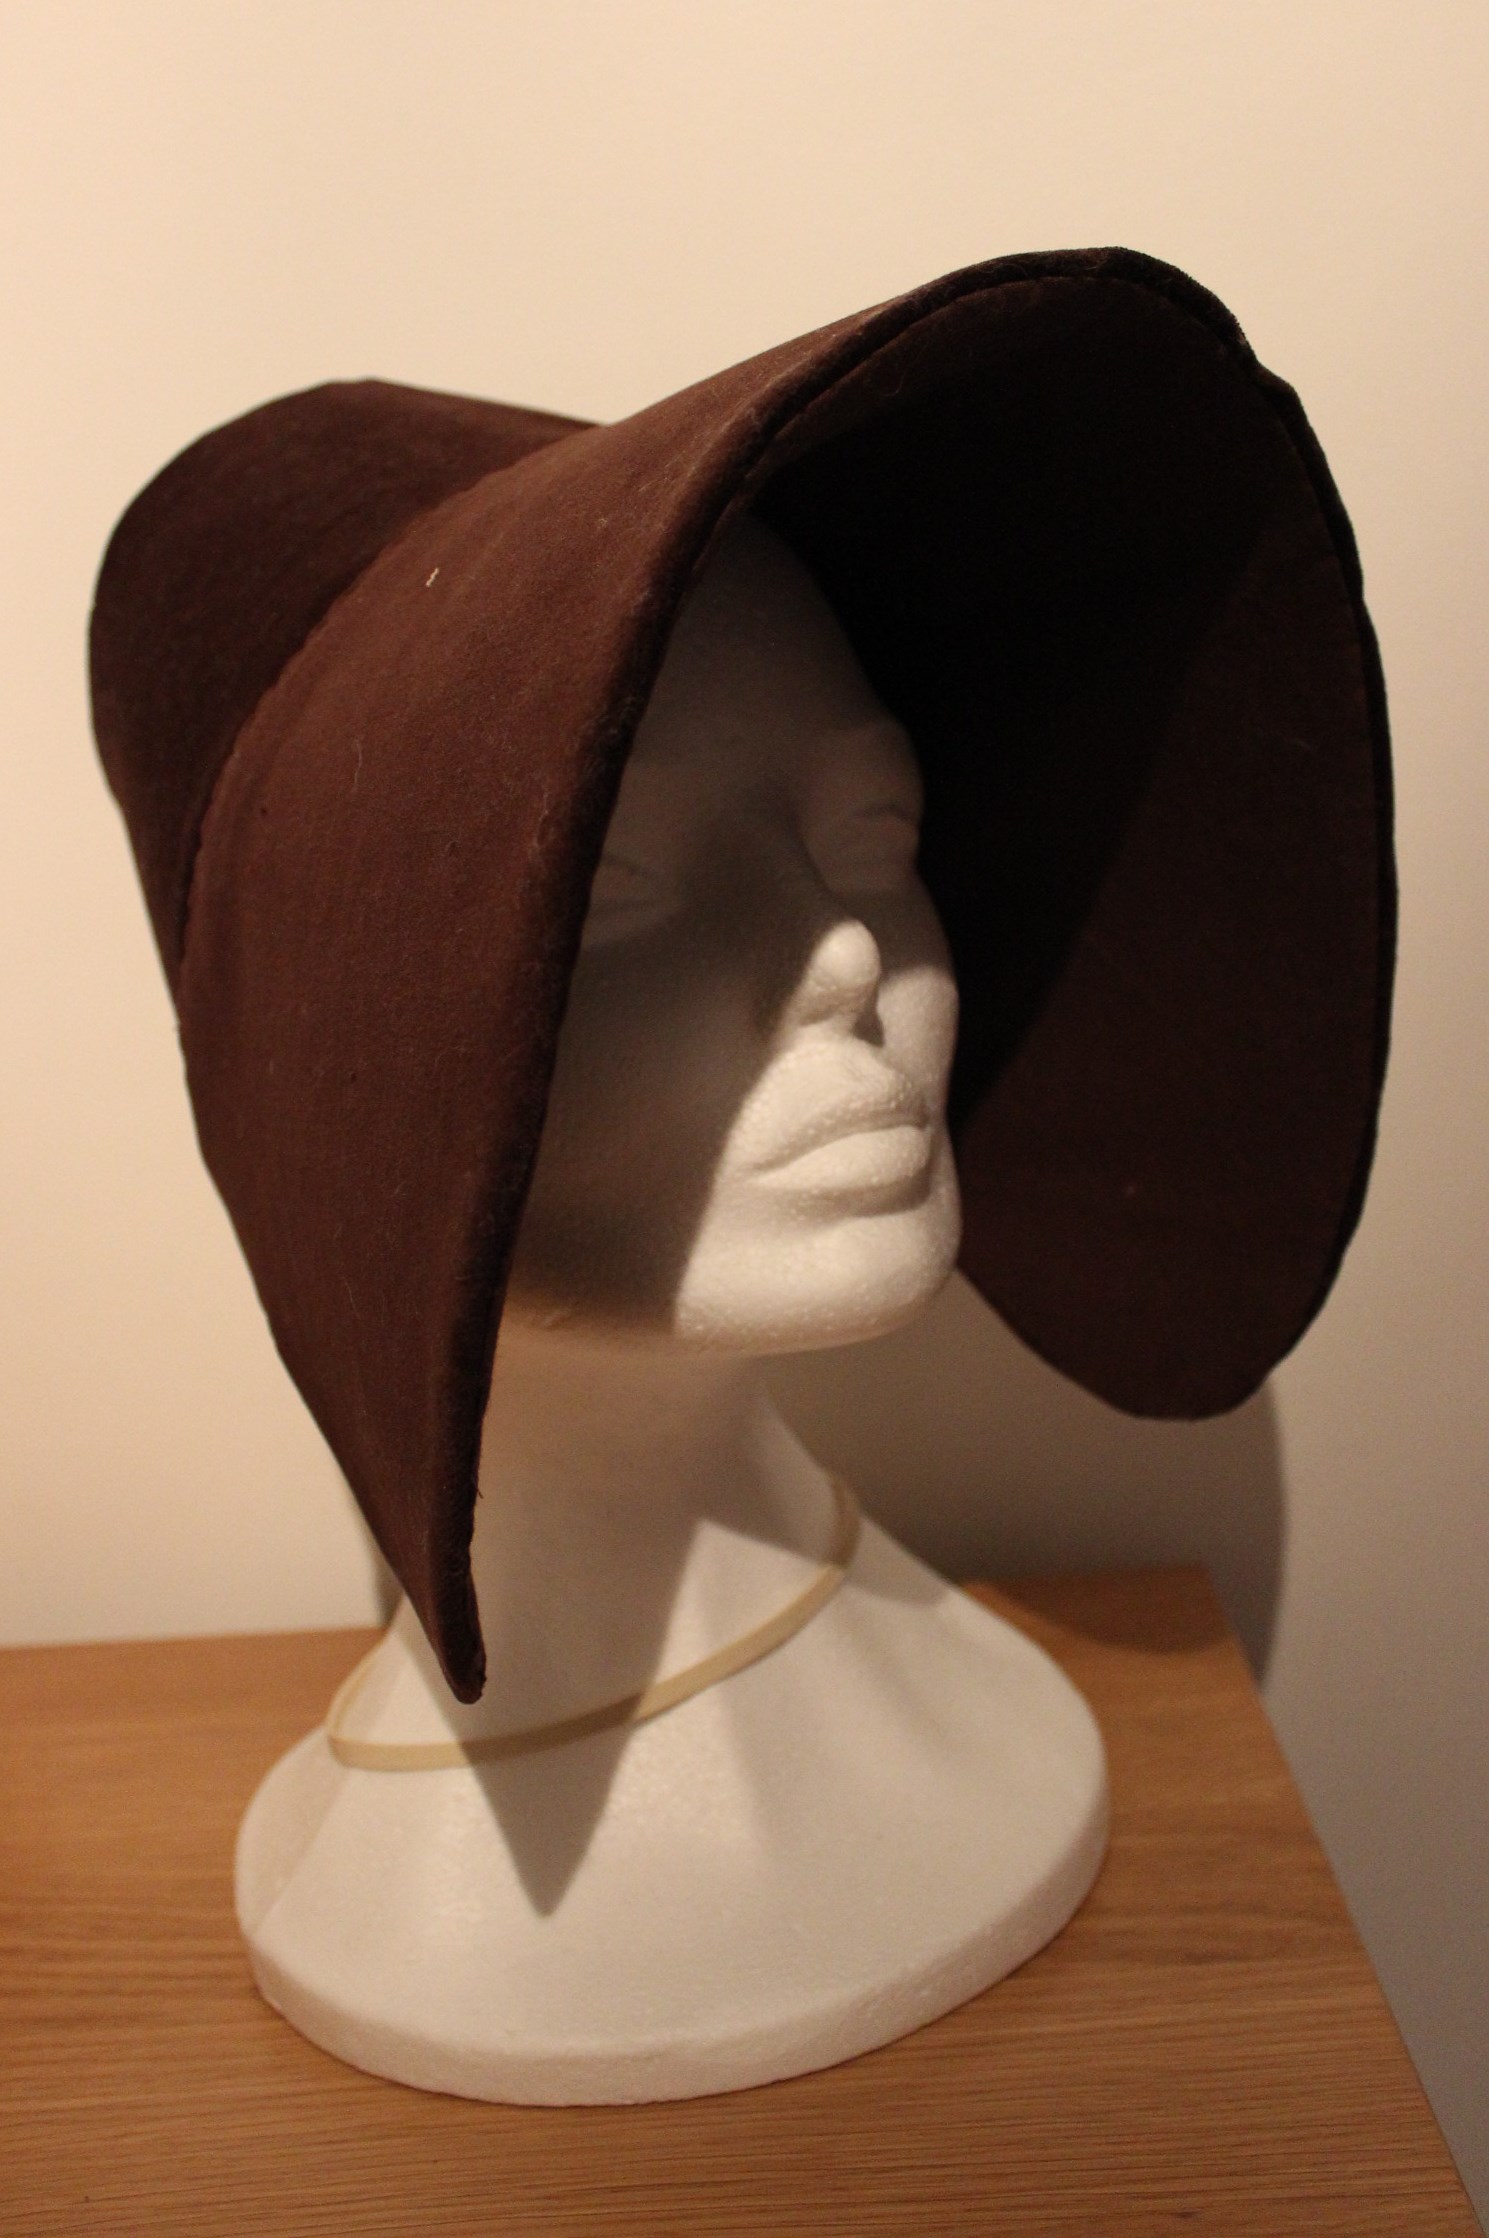
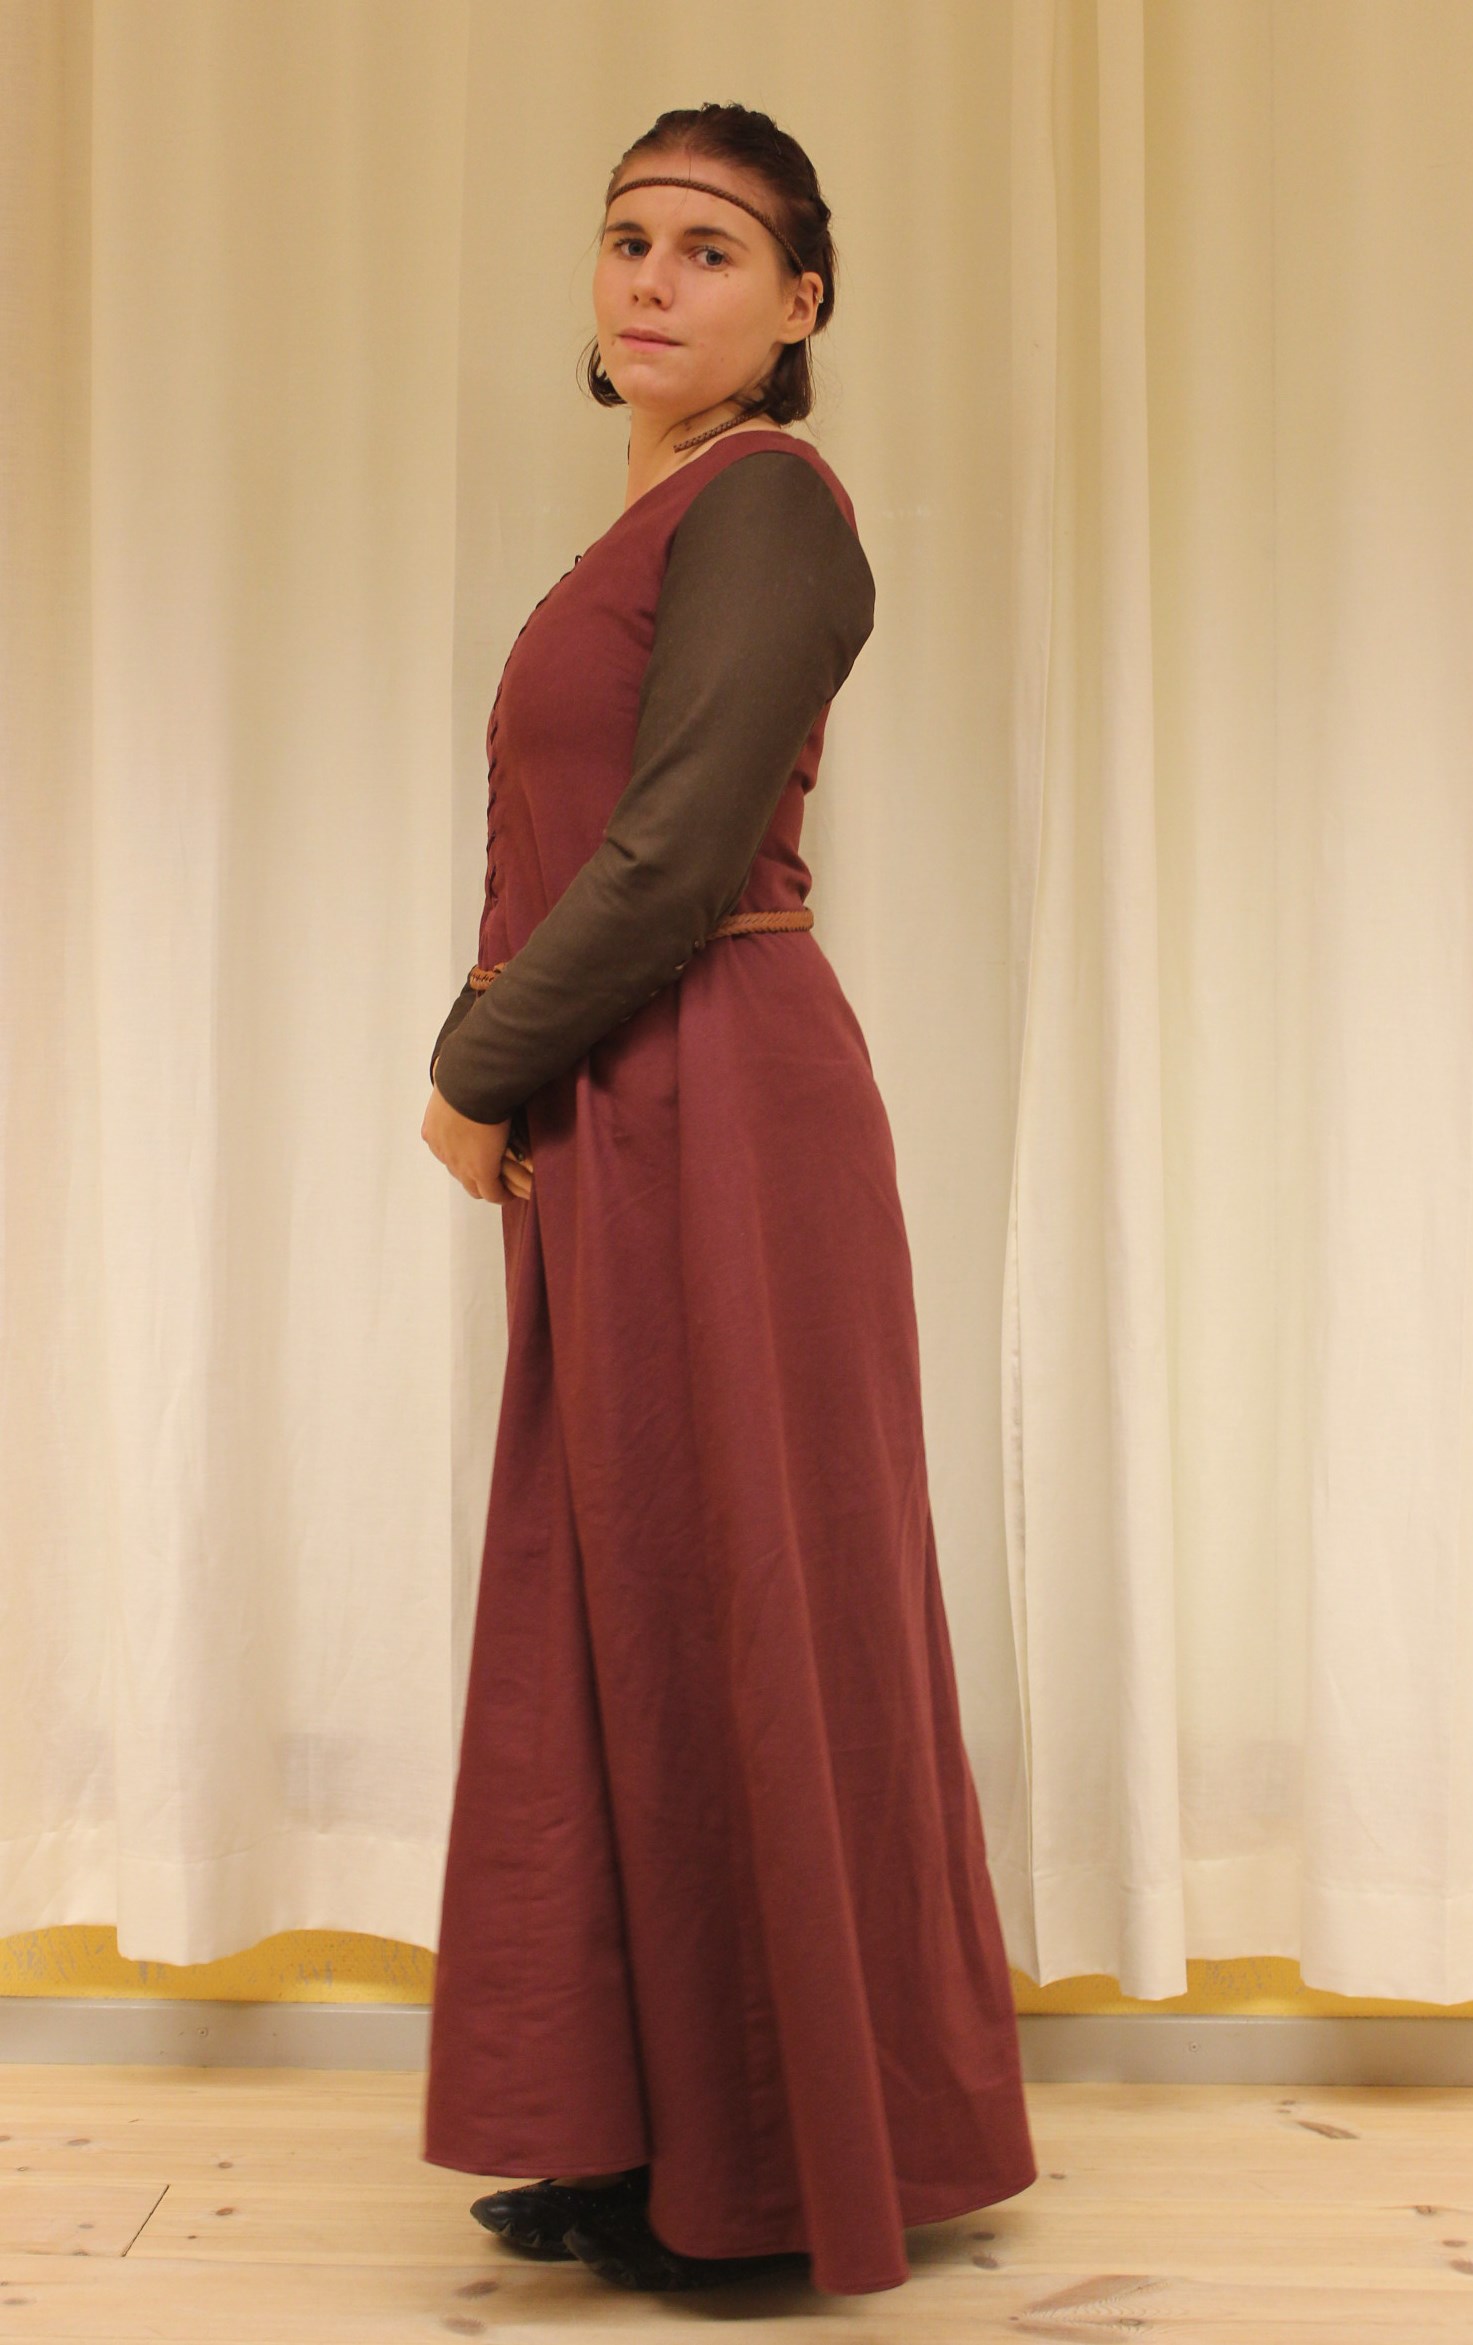
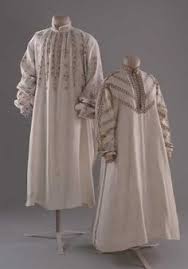
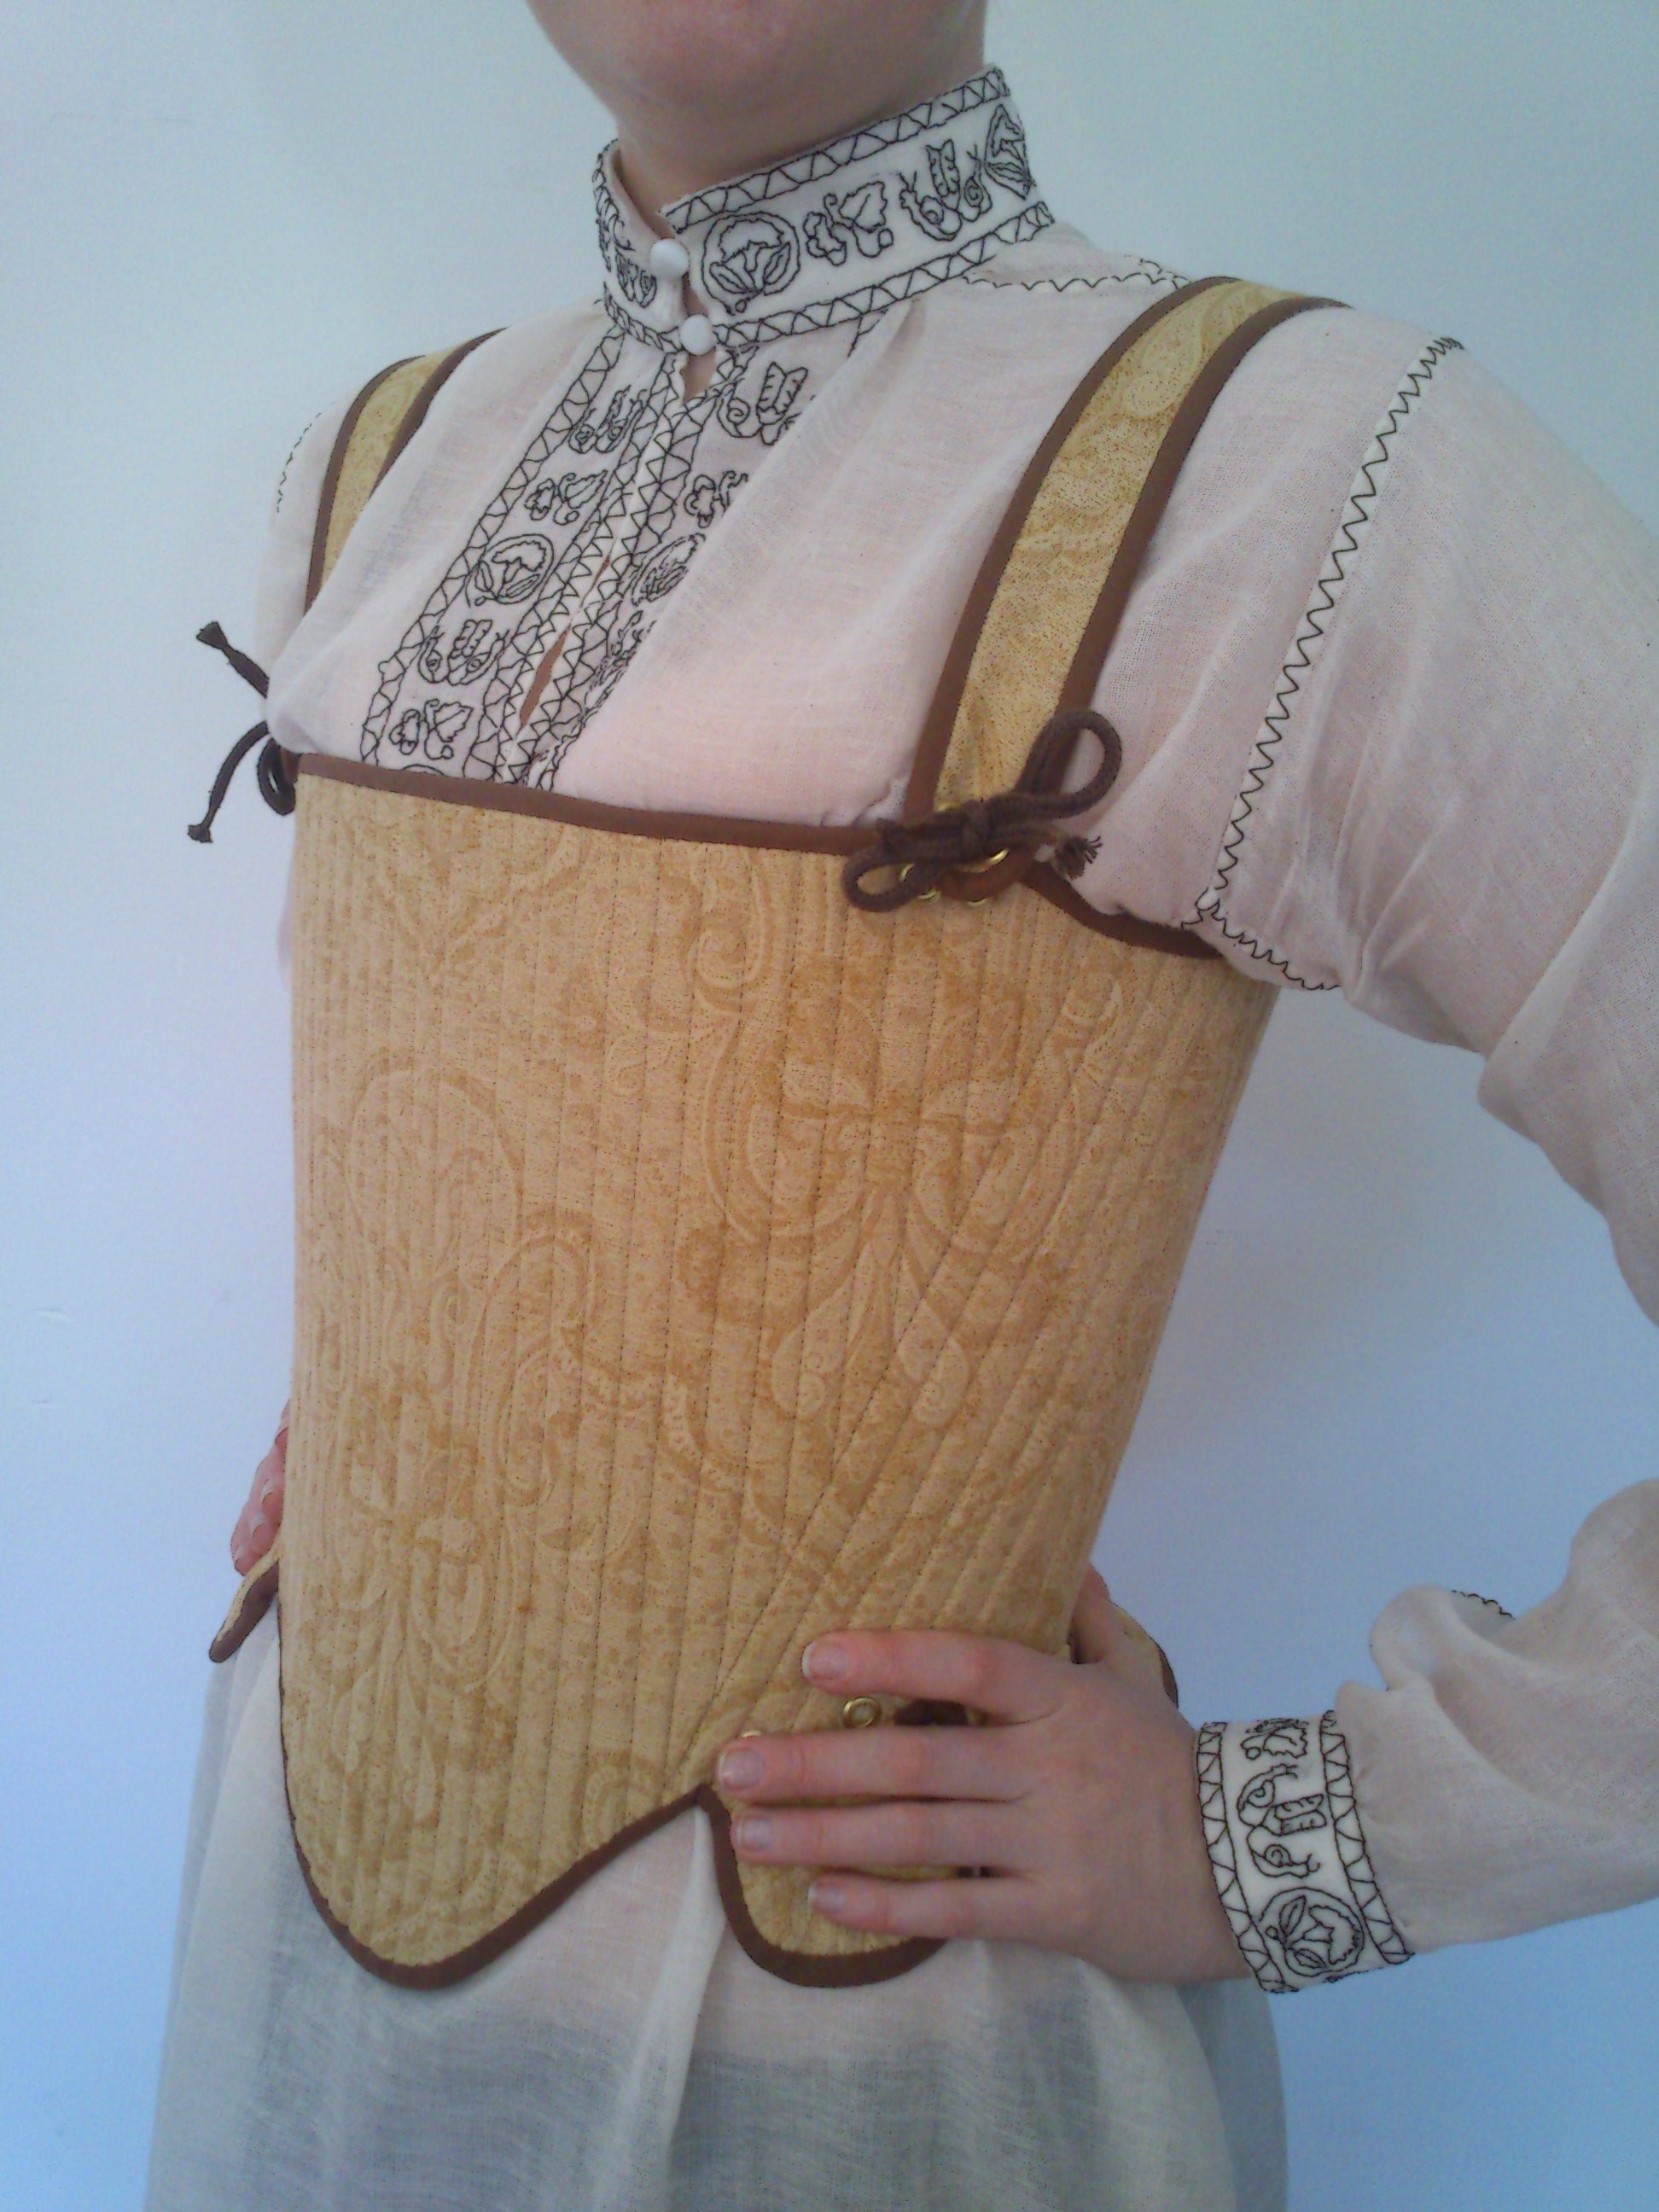
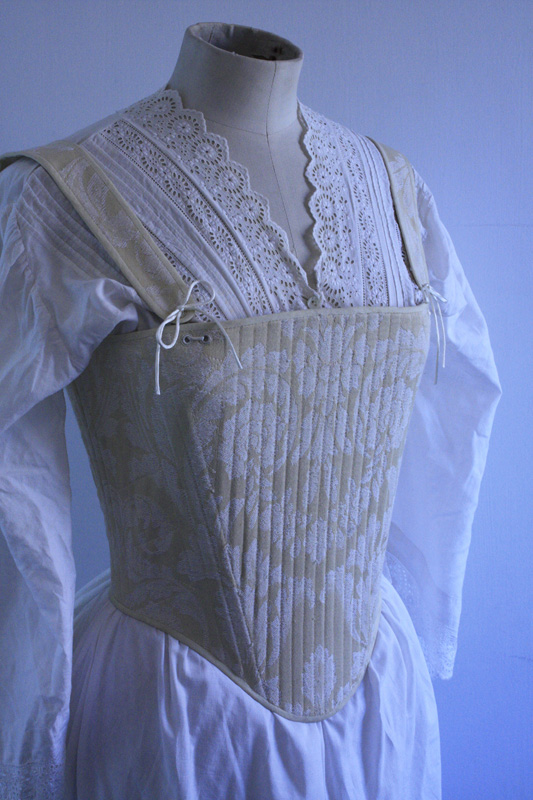
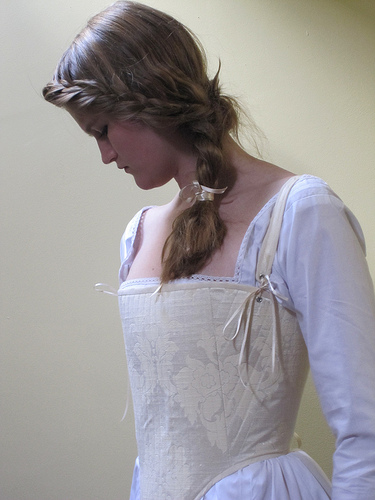
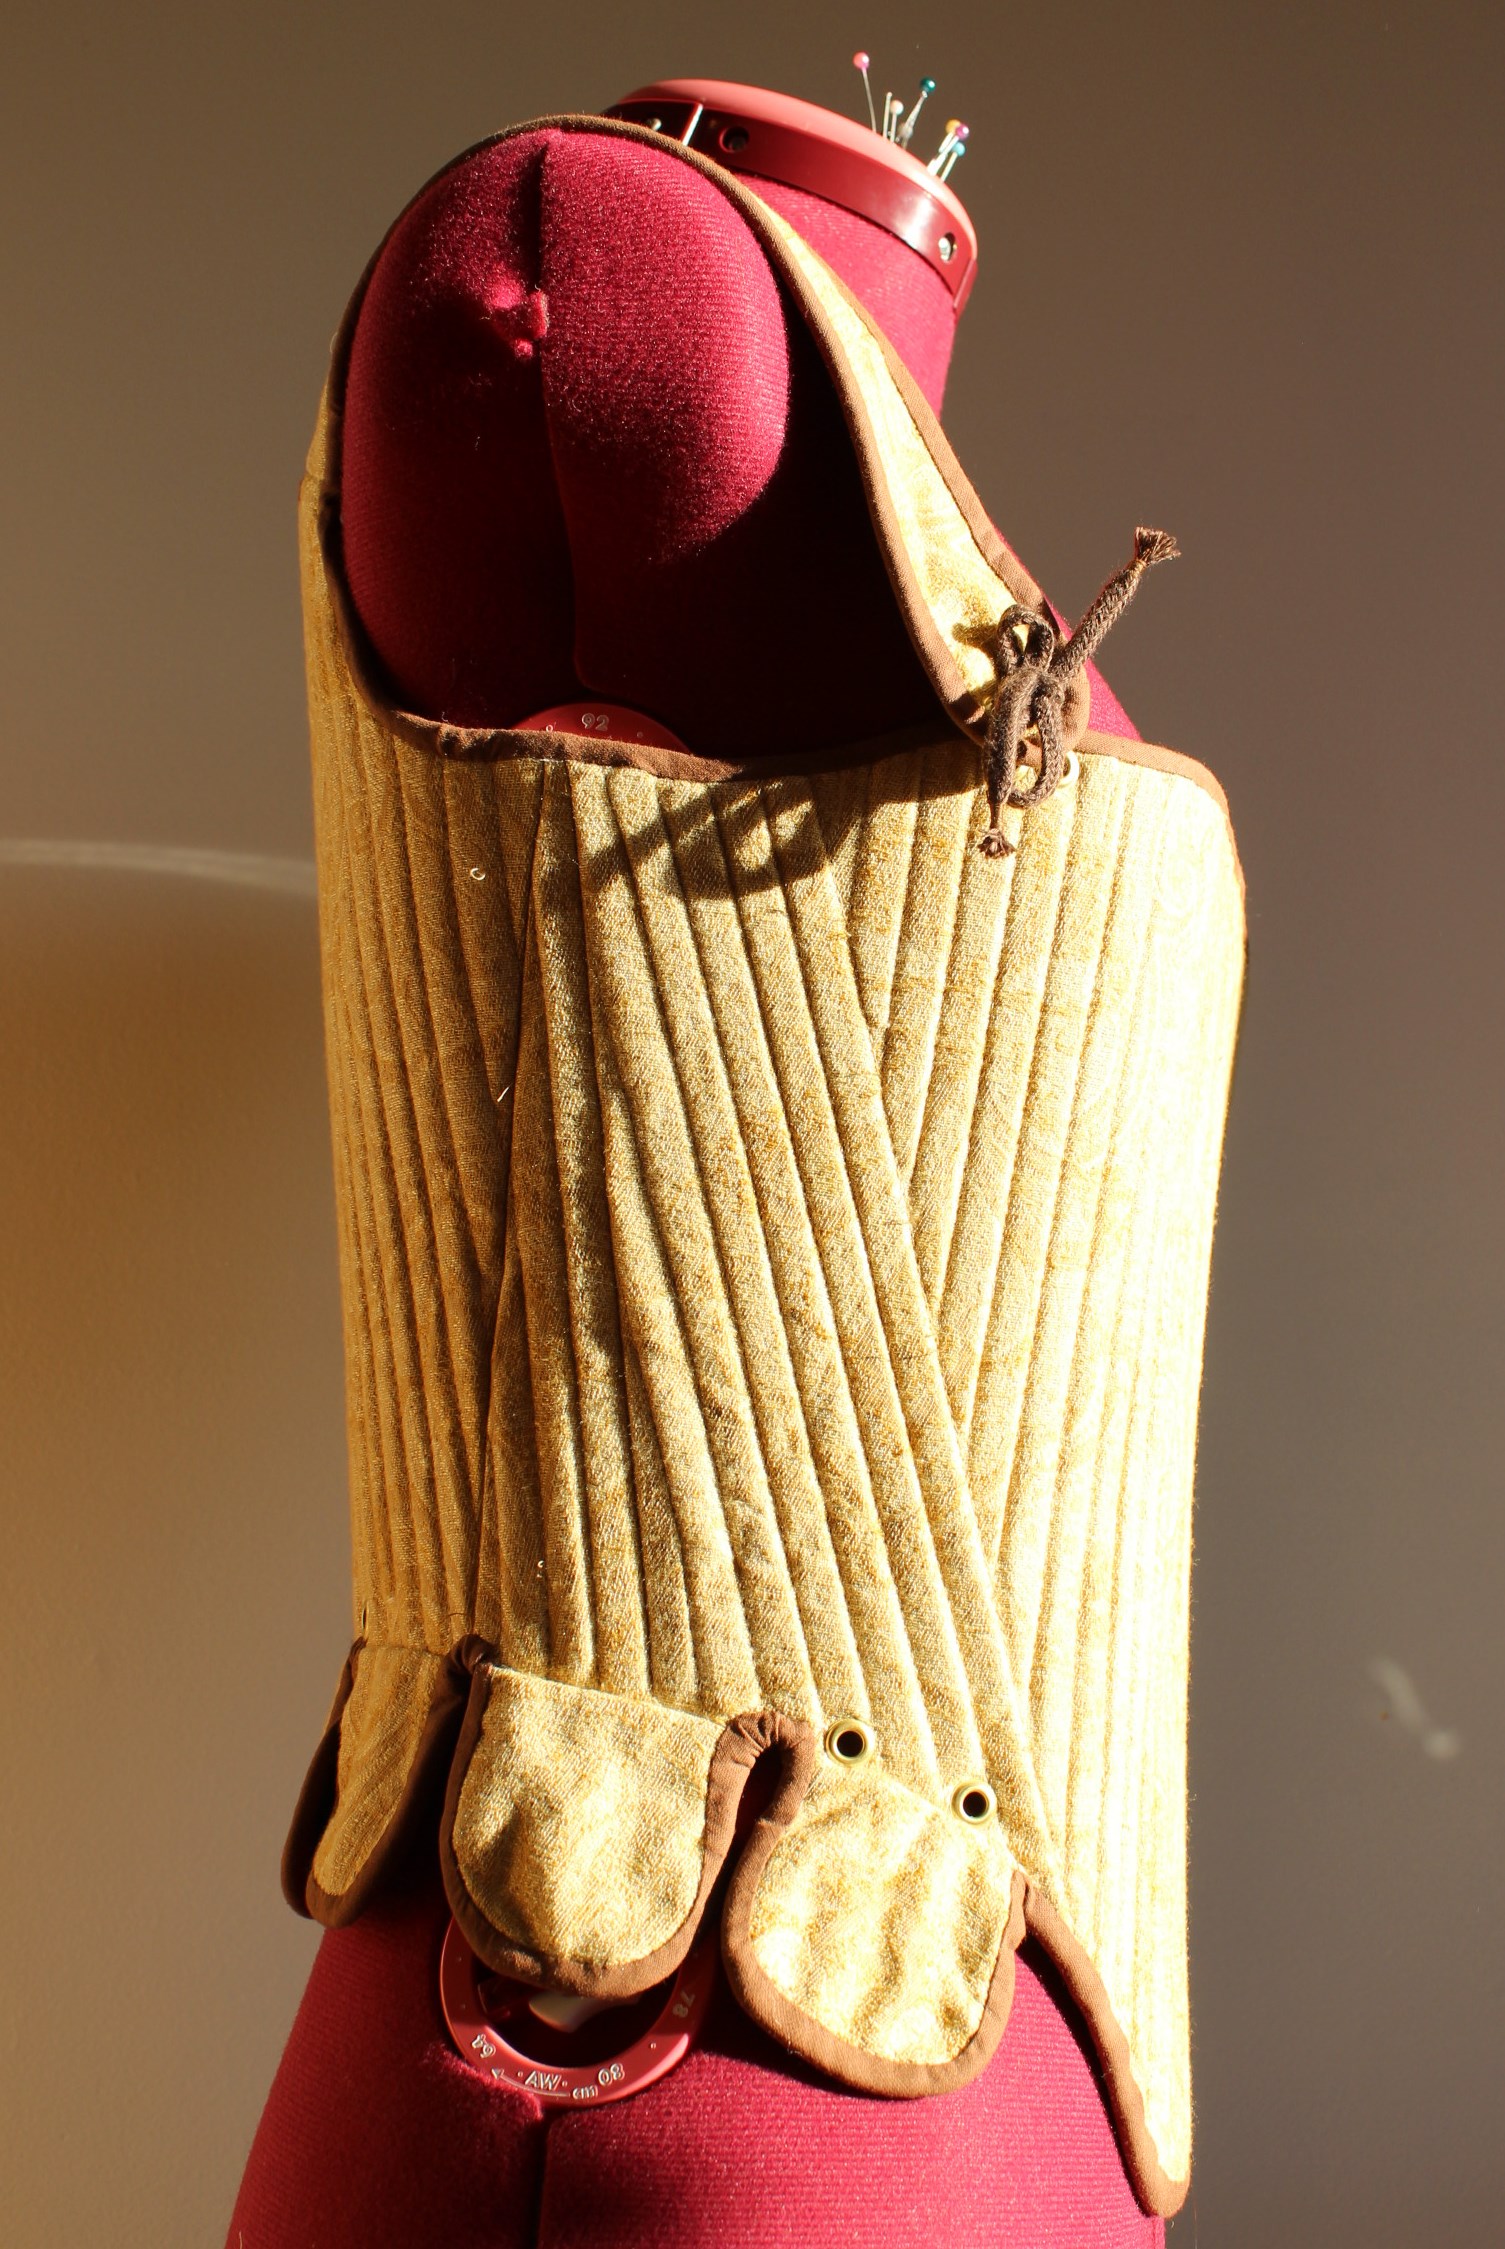
Sadly I seem to have lost all my in progress shoots, but here are some of the finished shirt.

2013-03-01 14.41.06

2013-03-01 14.33.45

2013-03-01 14.34.51

2013-03-01 14.32.22

2013-03-01 14.35.30

63268_10200634023514639_769913574_n

2013-03-01 14.33.57

Just the facts:

Challenge: nr 4 Emelishment.

What: A 1550-1600s shirt.

Pattern: Janet Arnolds “Patterns of Fashion nr 1”

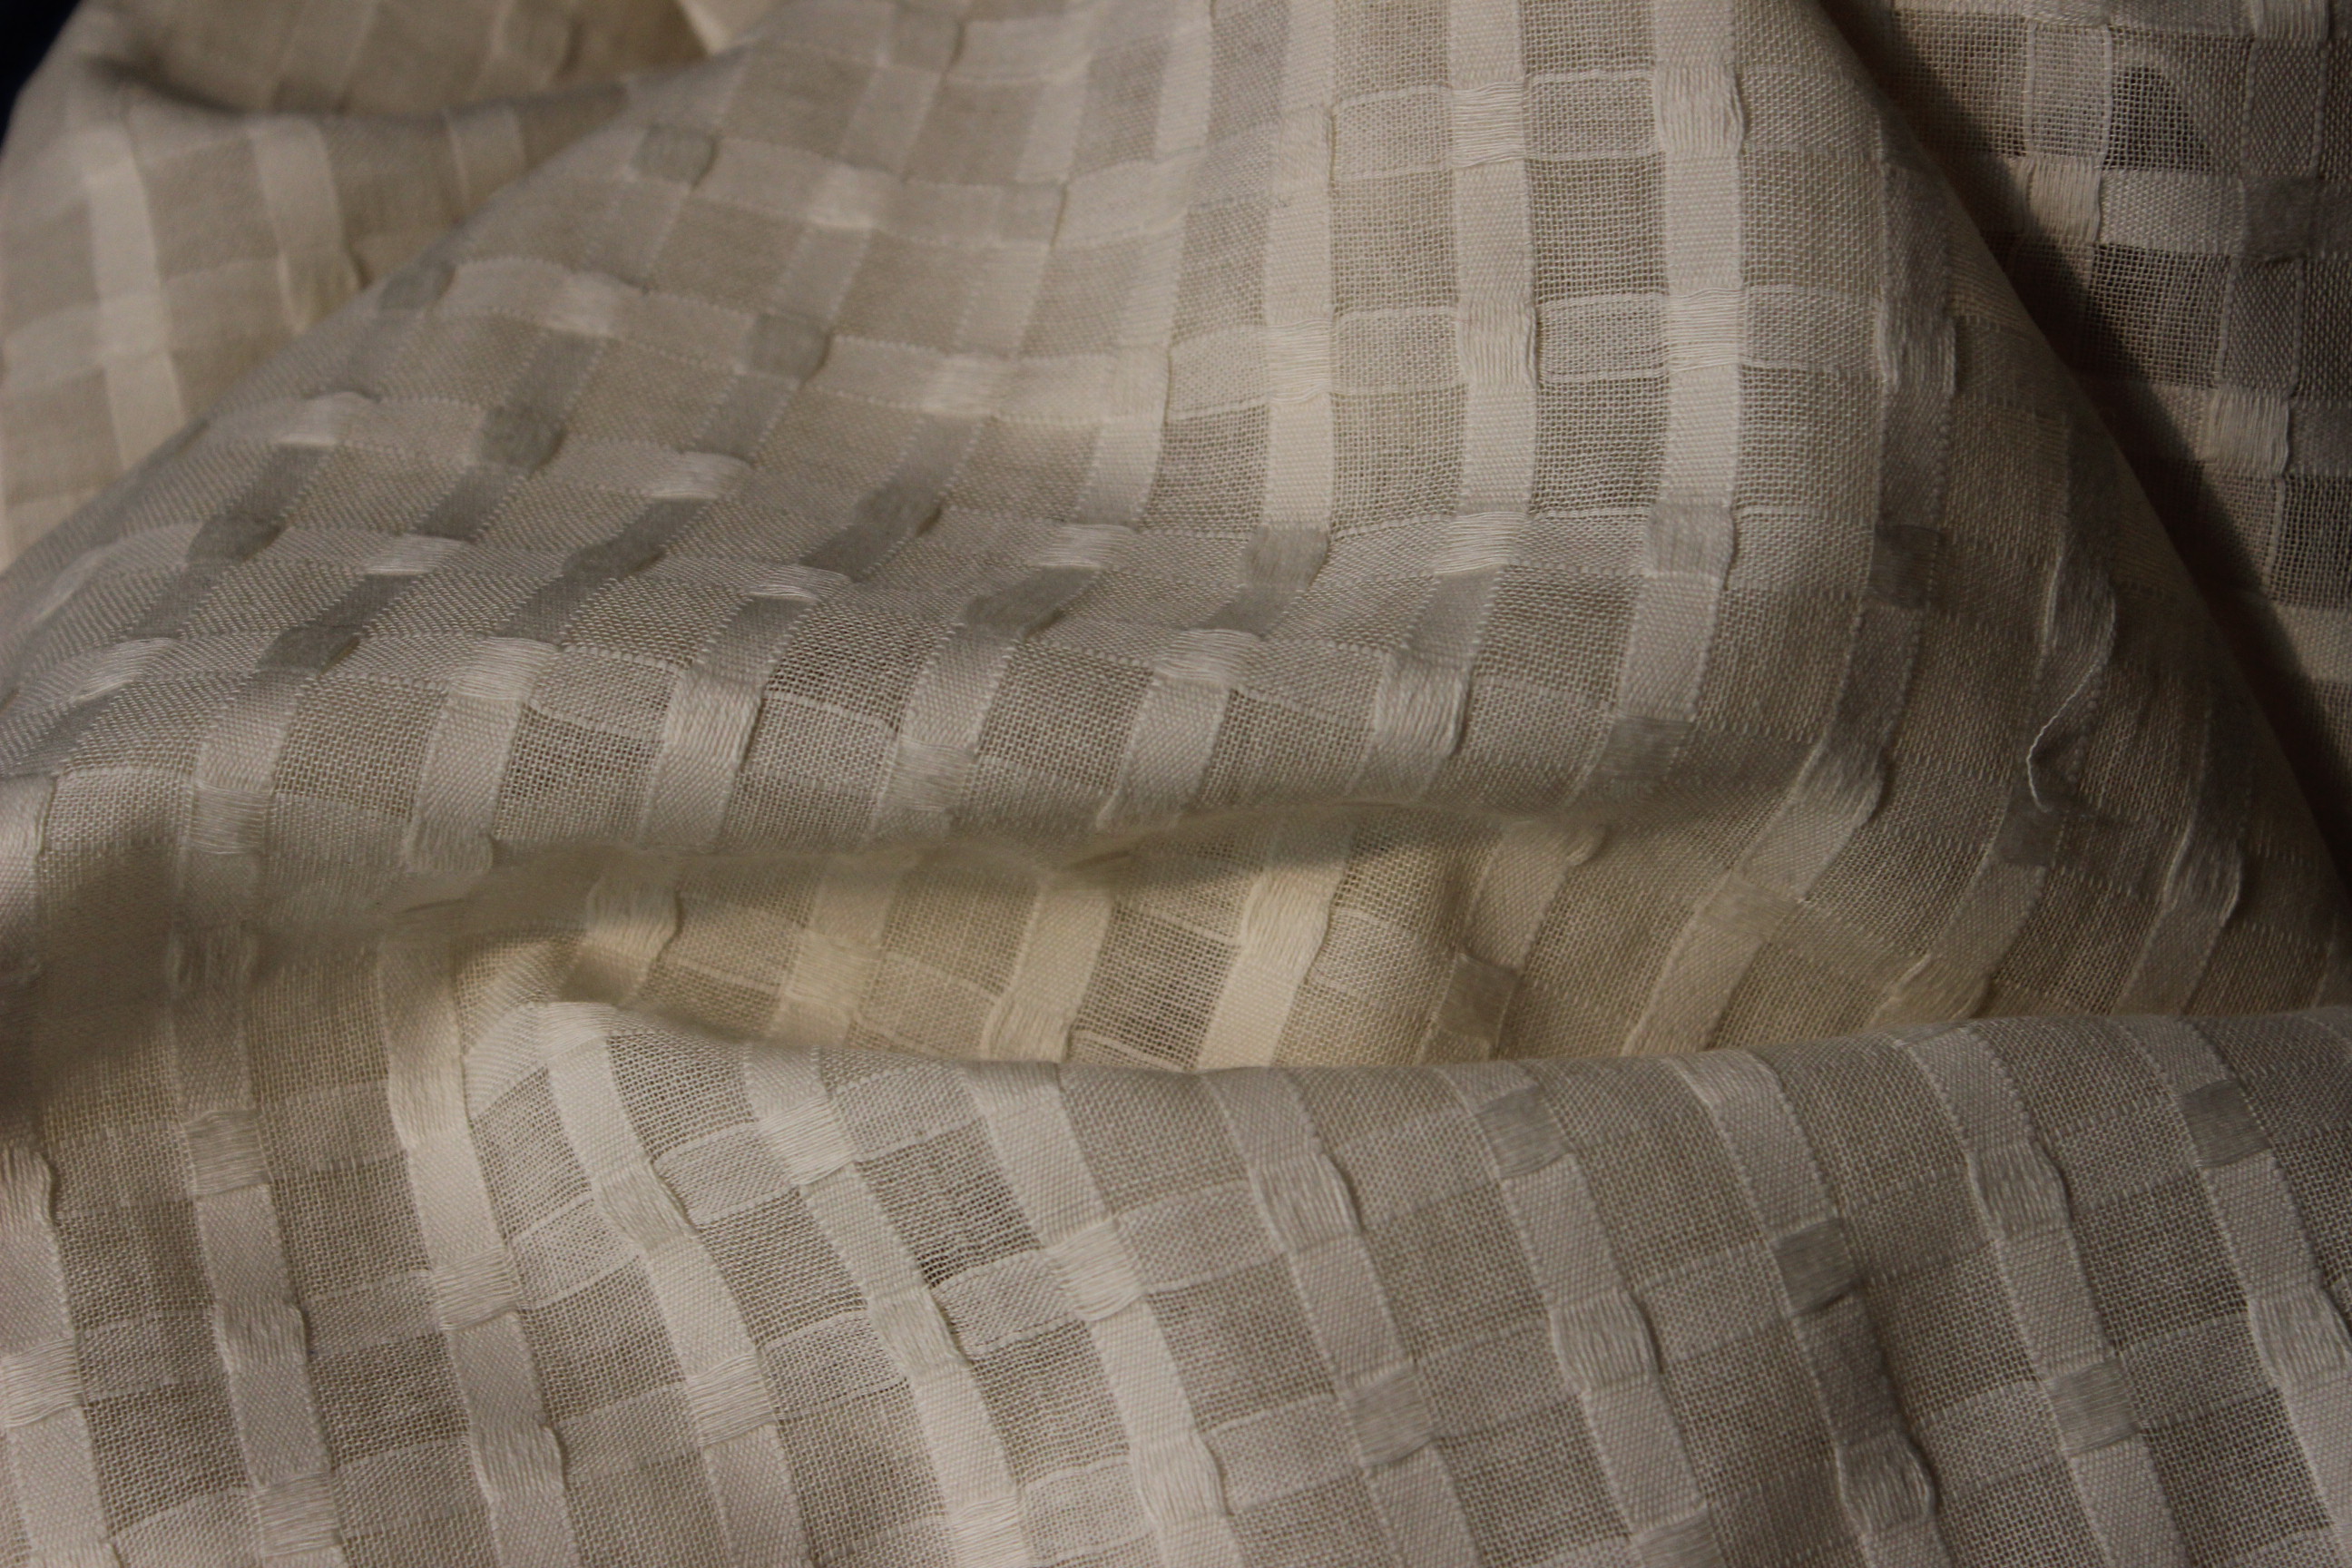
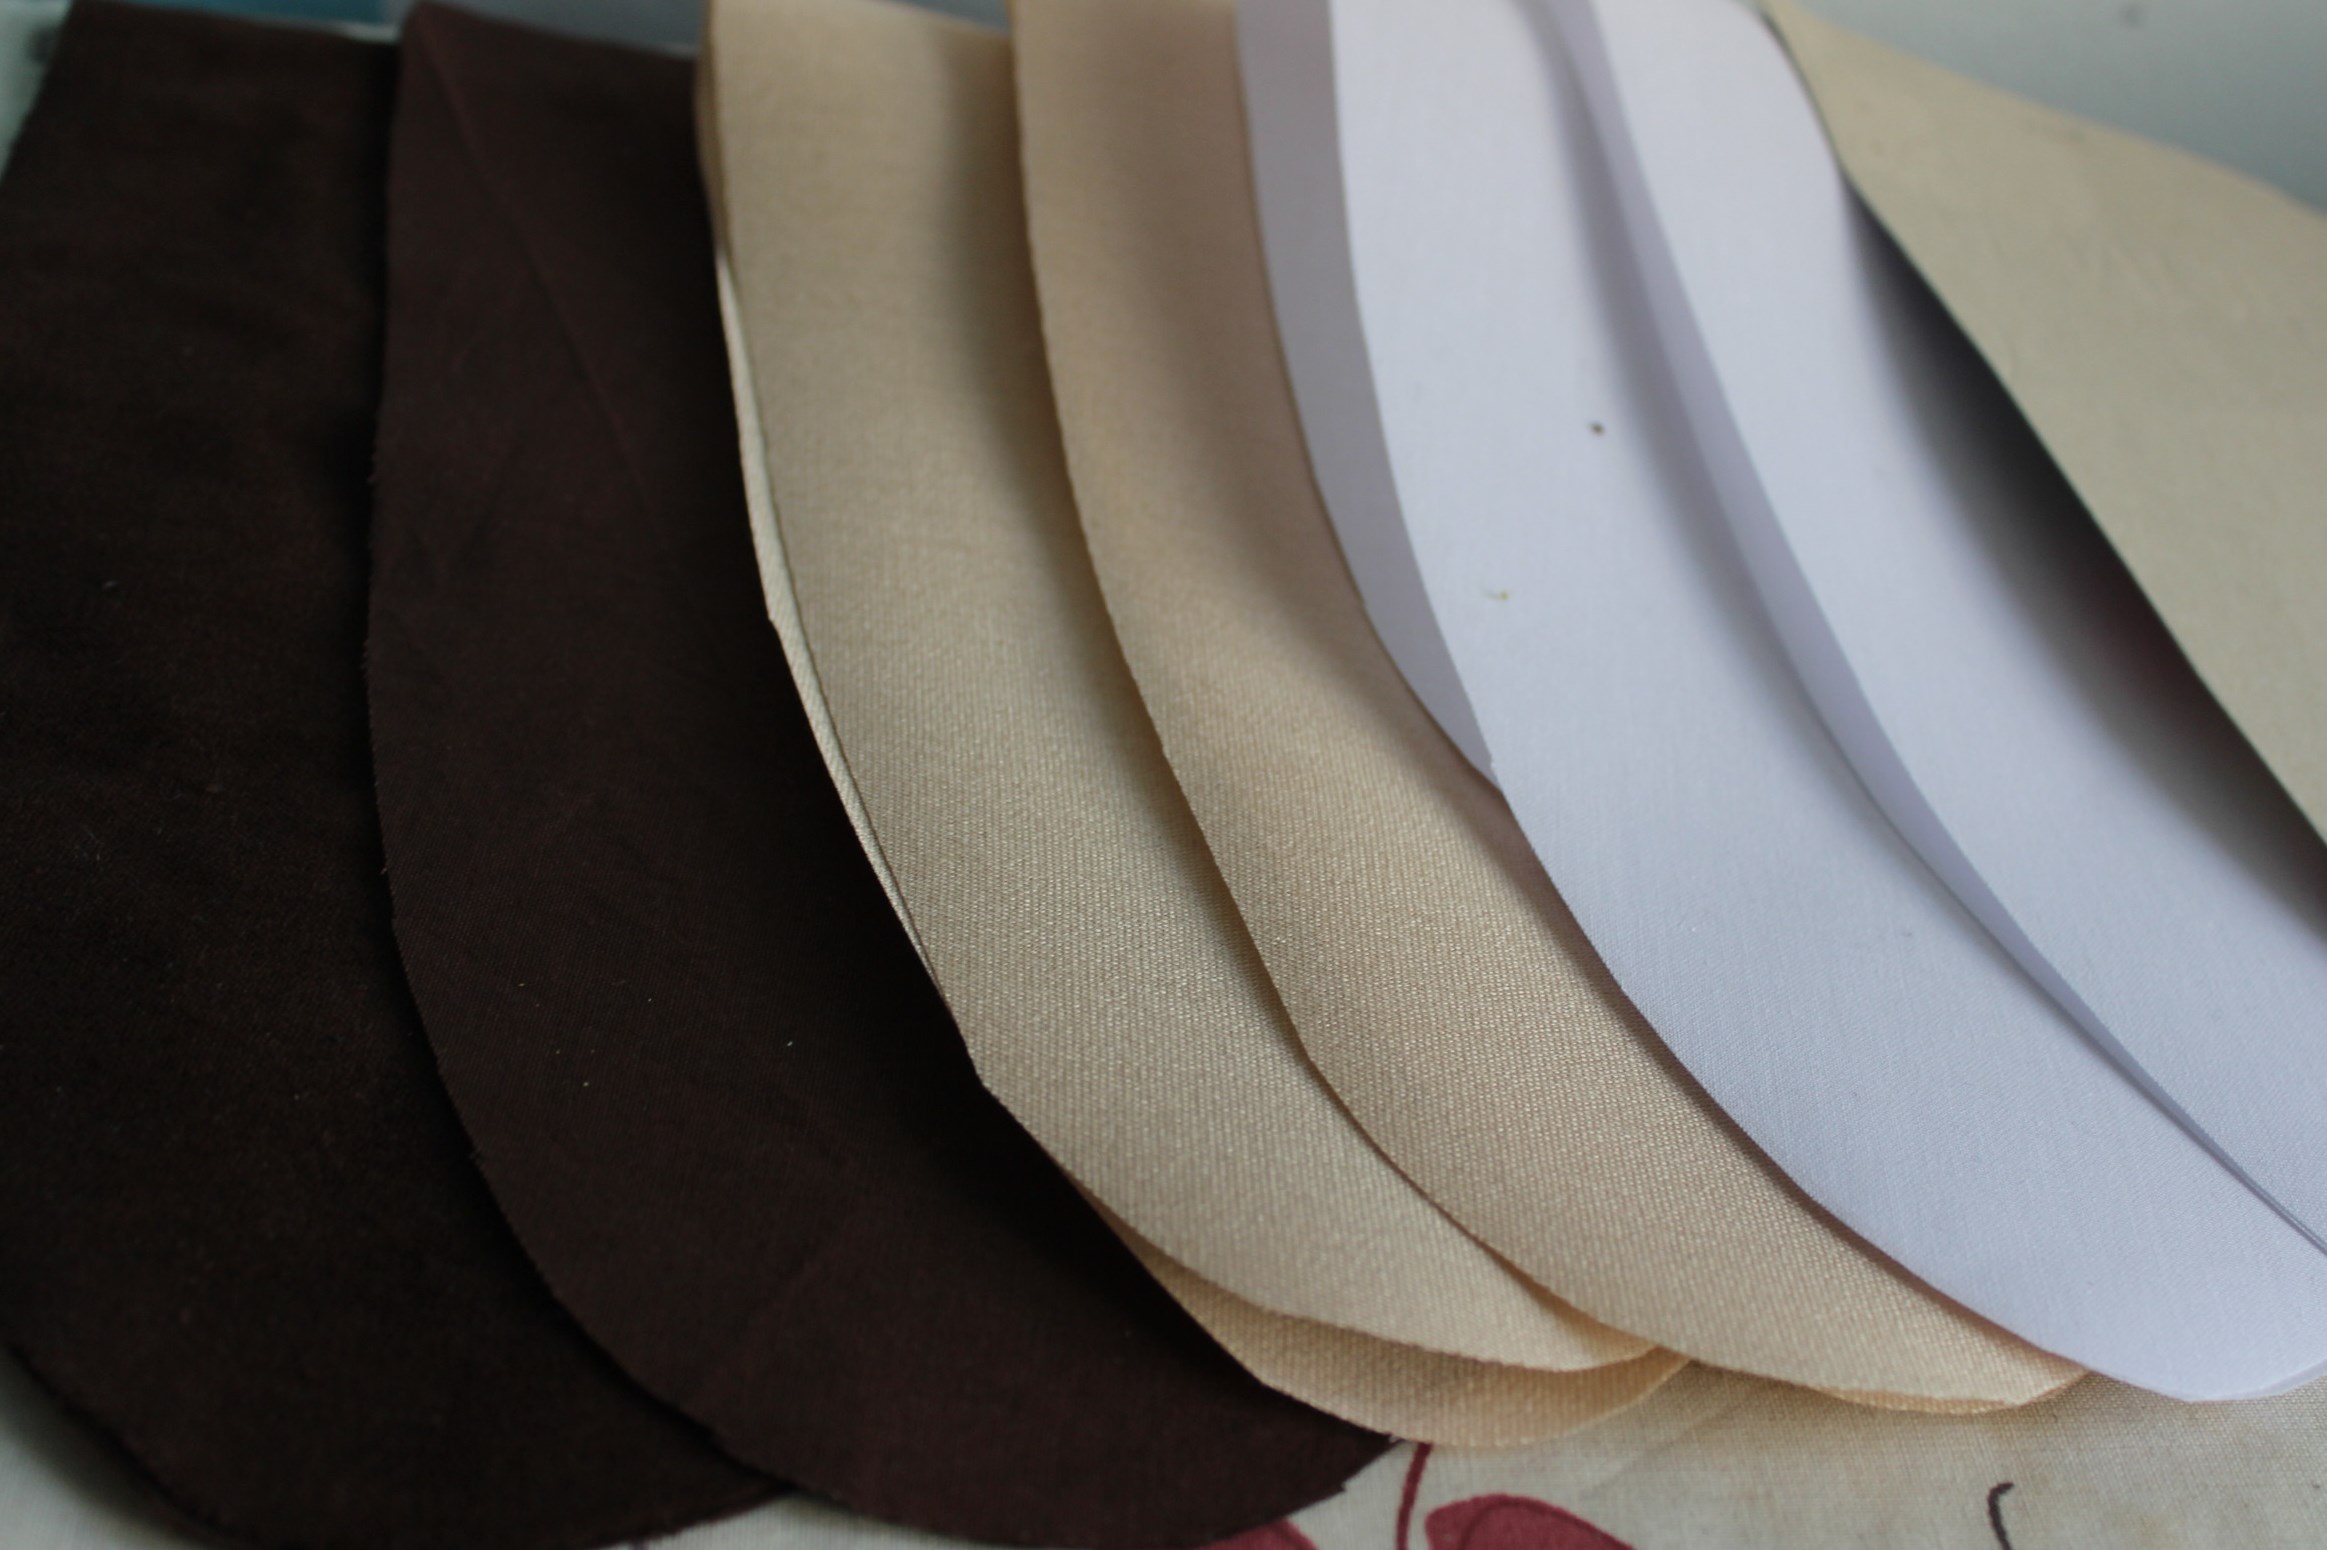
Fabric: 1,5m of sheer soft linnen.

Notions: white sewing thread, 2 spols of brown buttonhole thread and 4 buttons.

How historical accurate: Pretty good, except the terrible quality of my stiching, and the fact that it will be worn by a woman. But it is totaly hand sewn and have the right look of it. So mabe 7/10.

Time: (Way to long) About 100 hours.

Cost: about 100 Sek (11Usd)

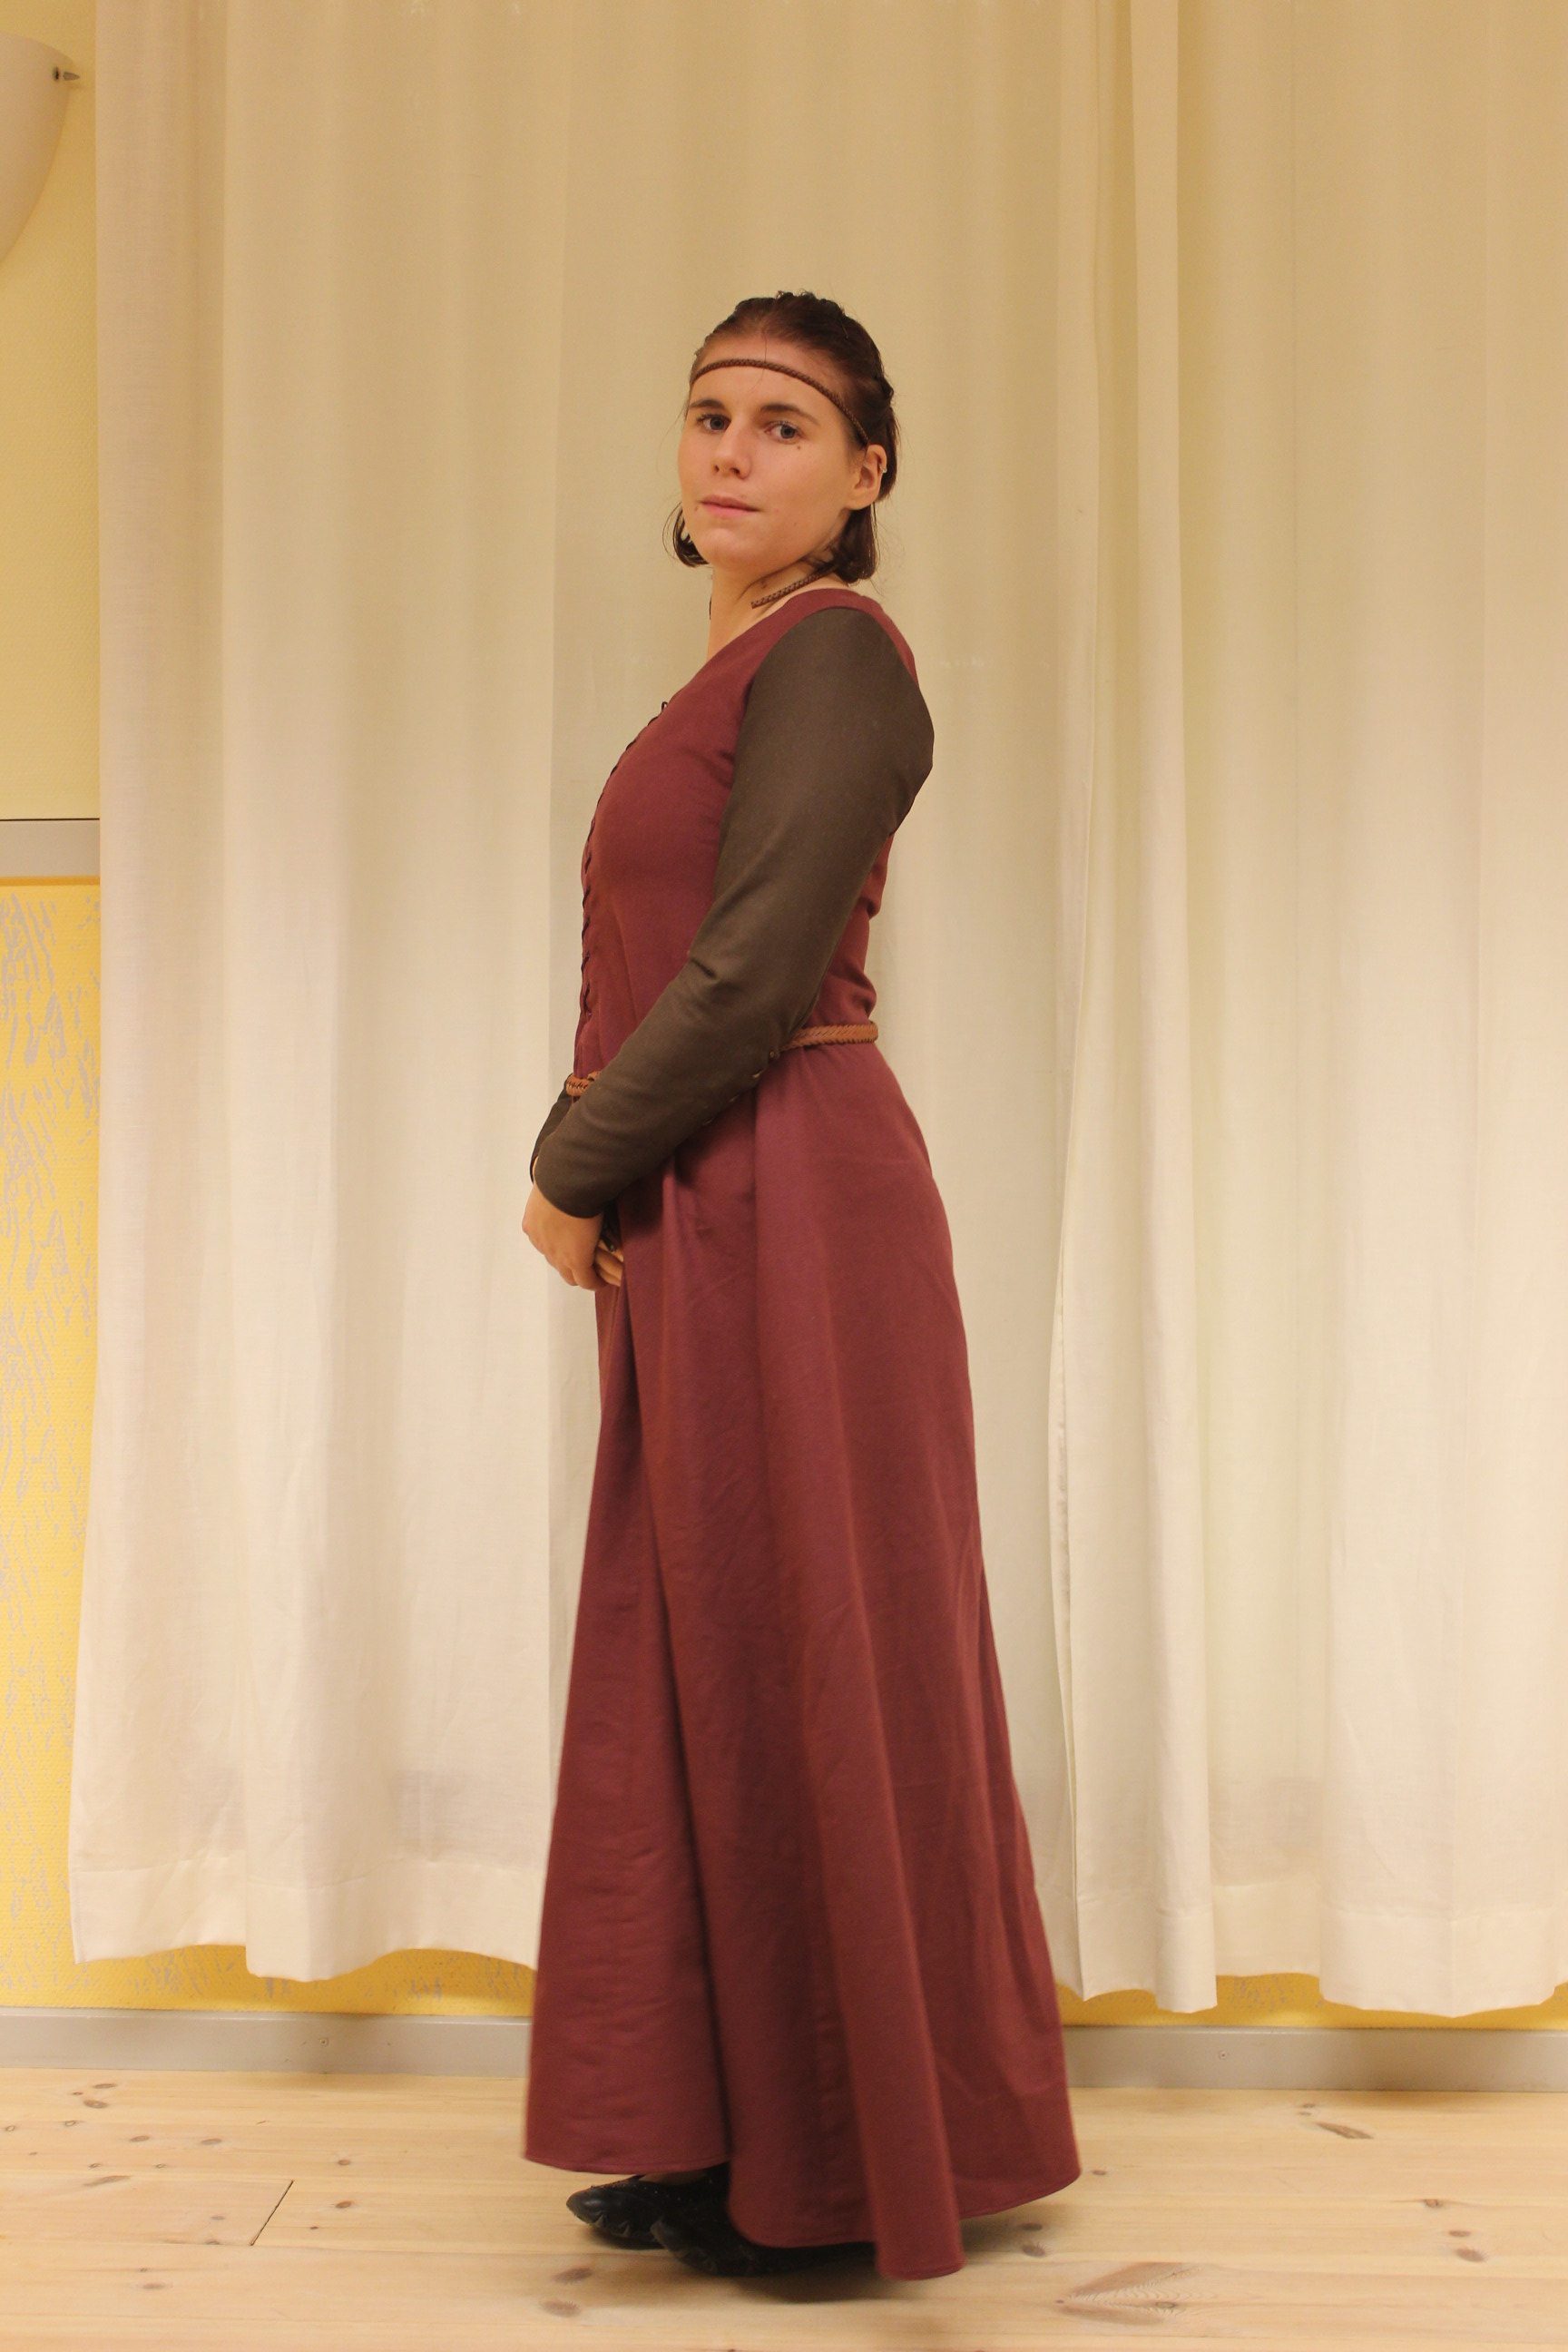
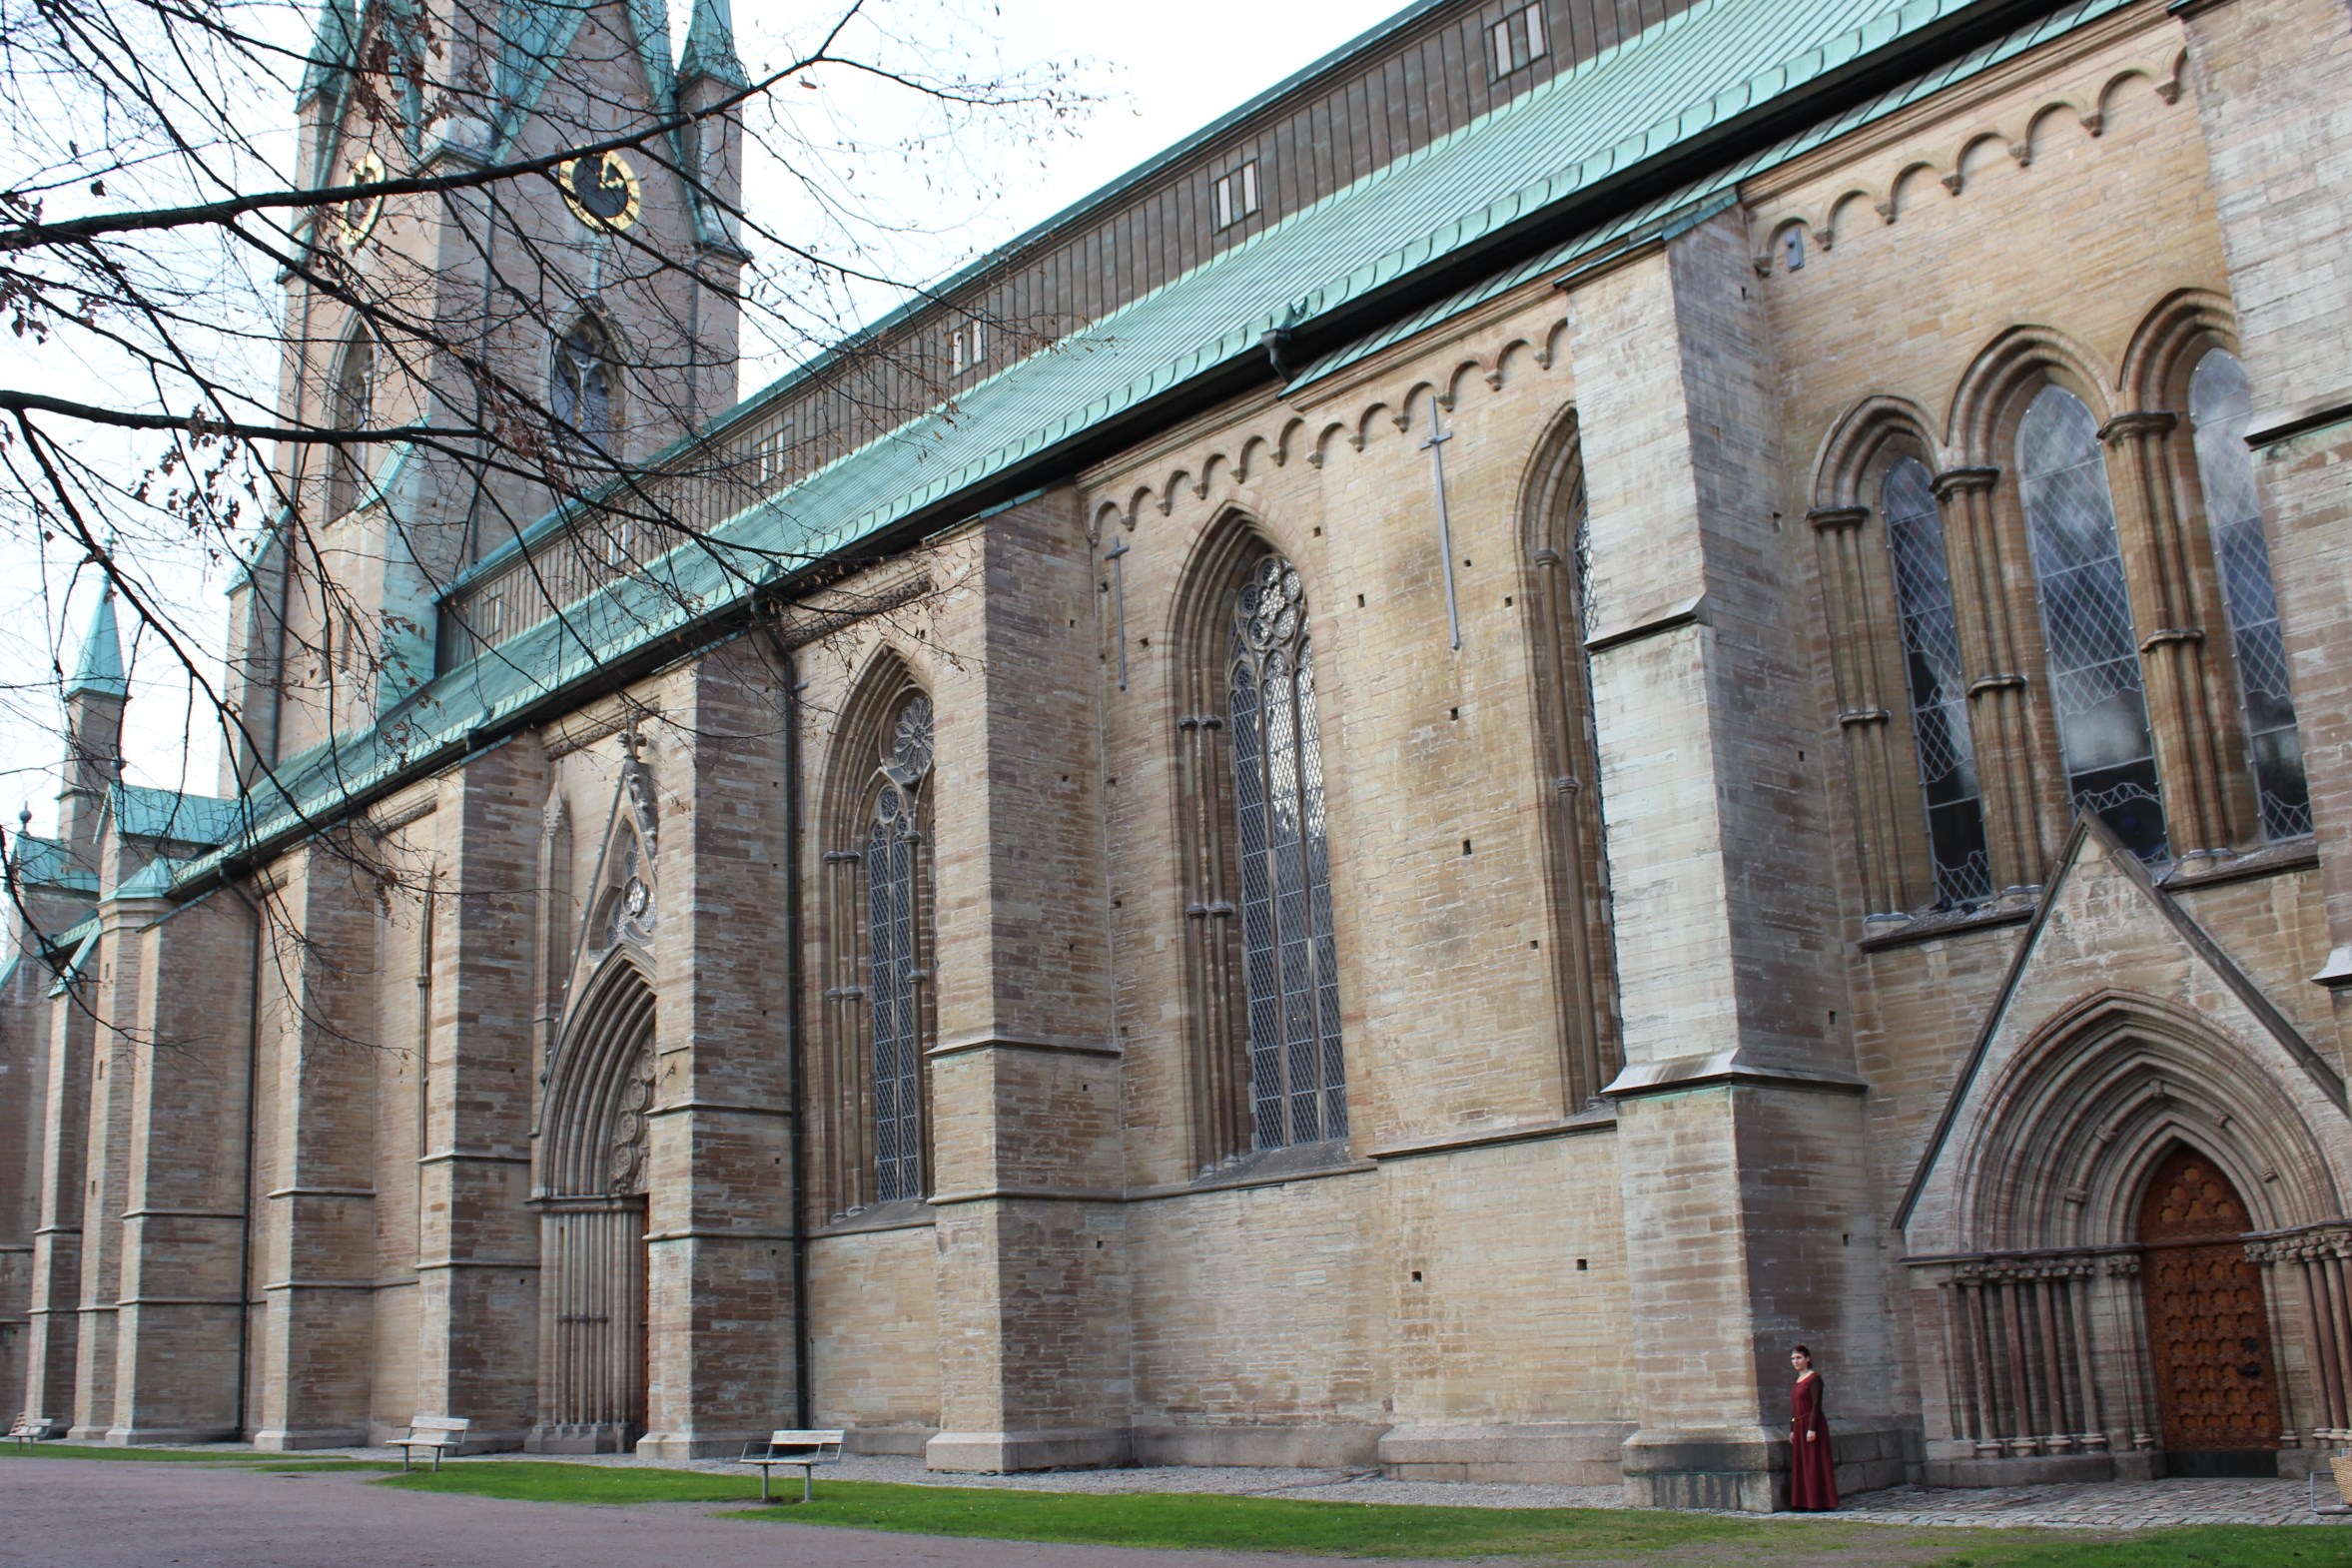
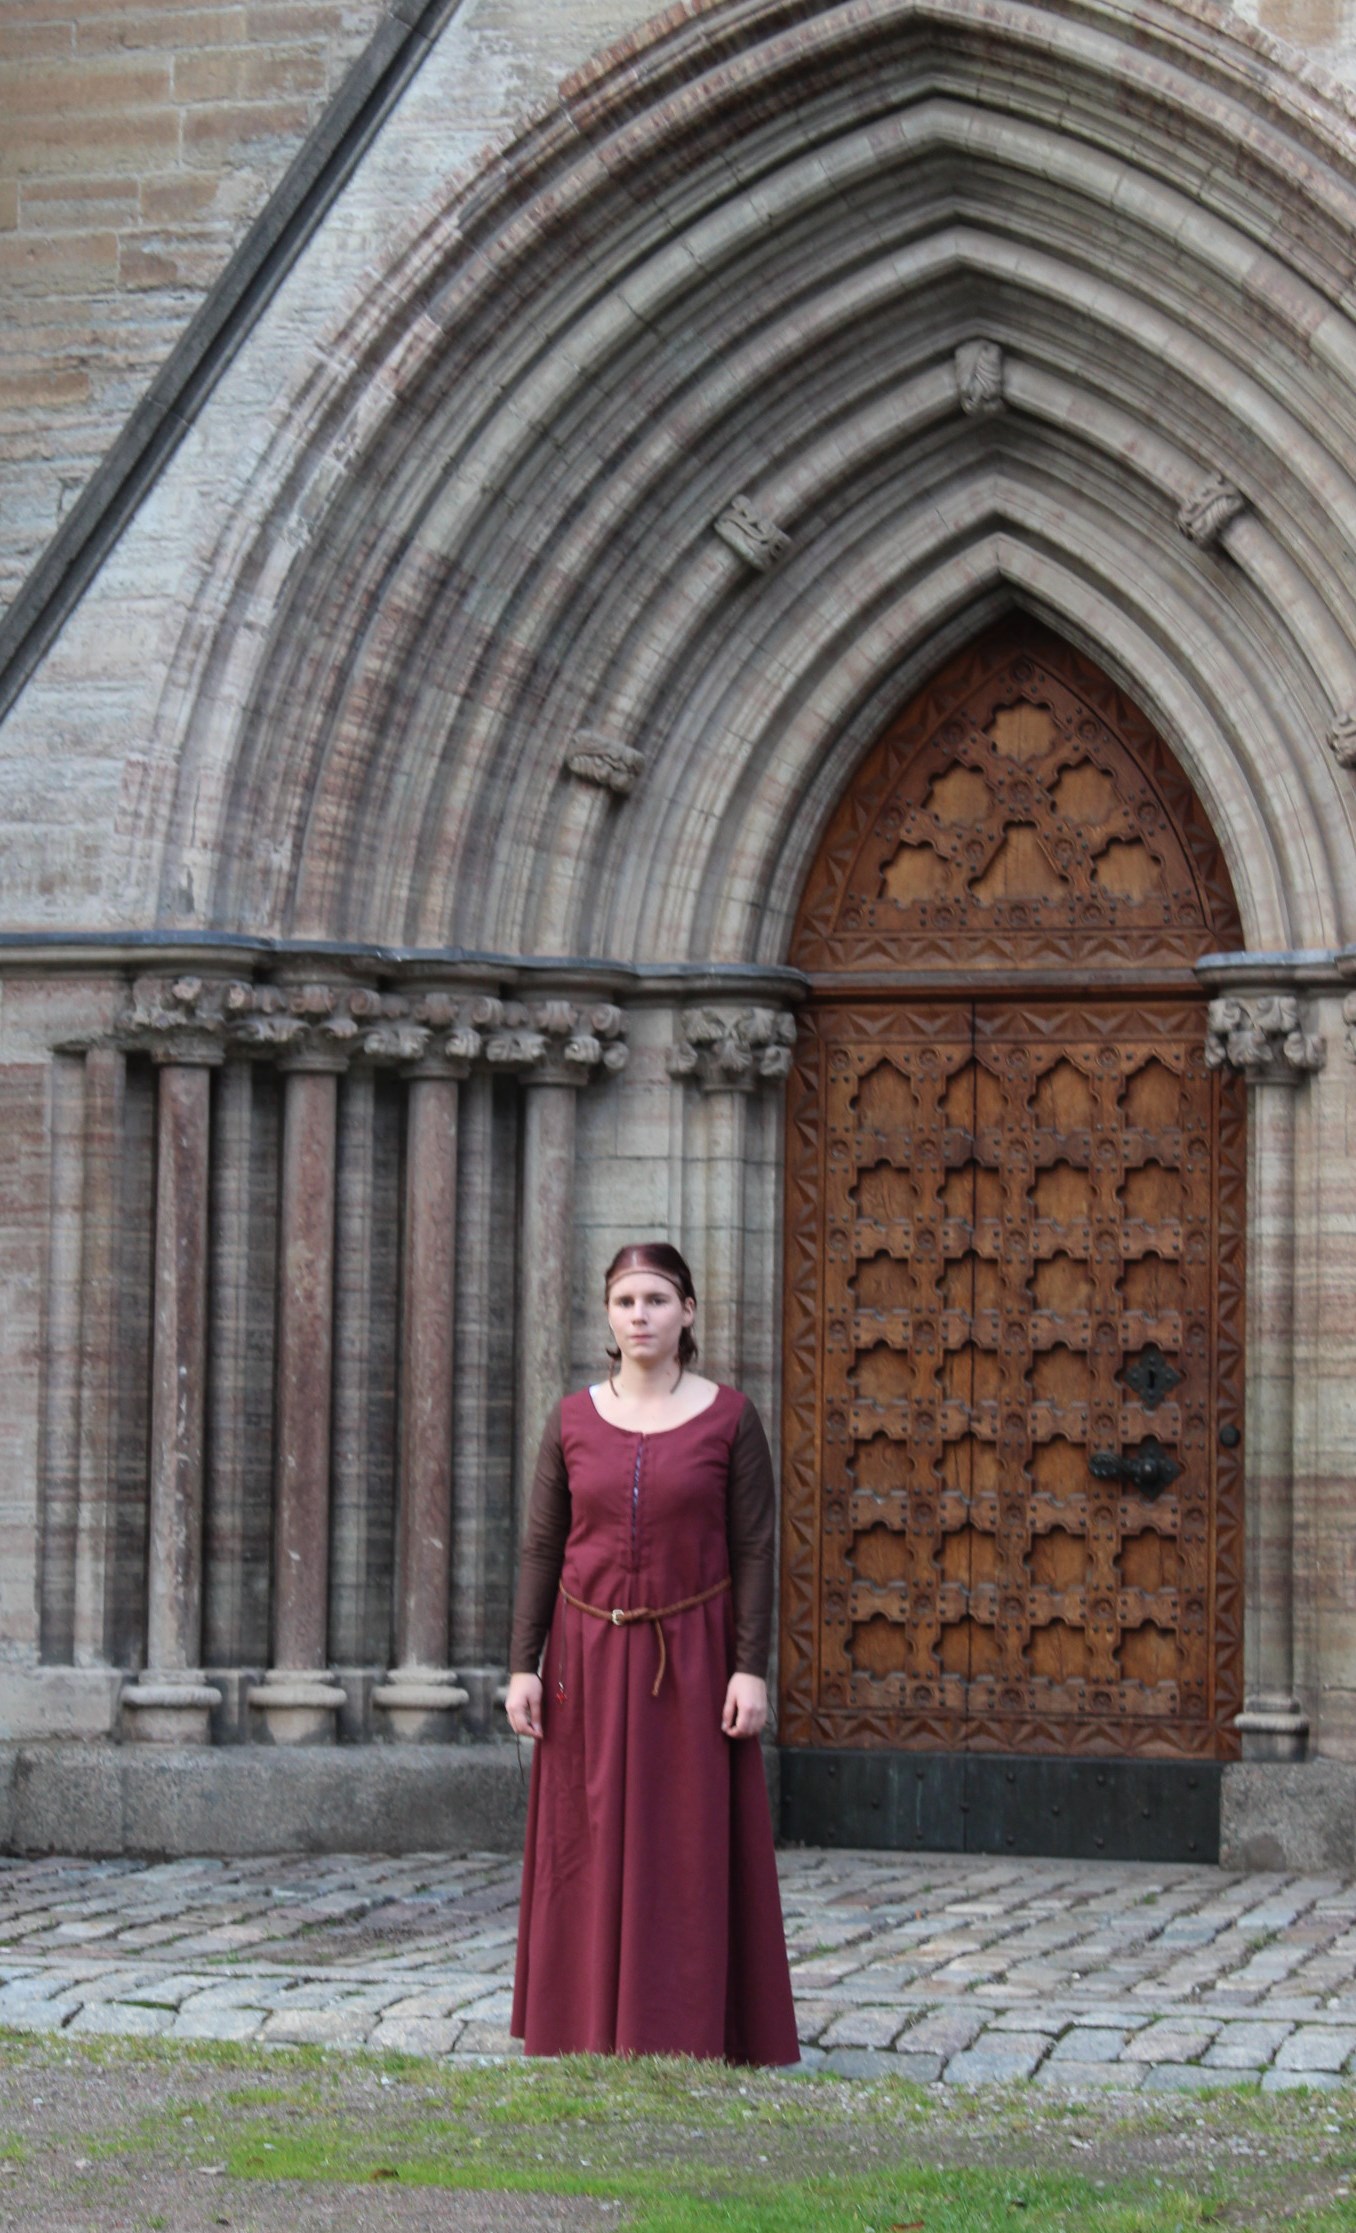
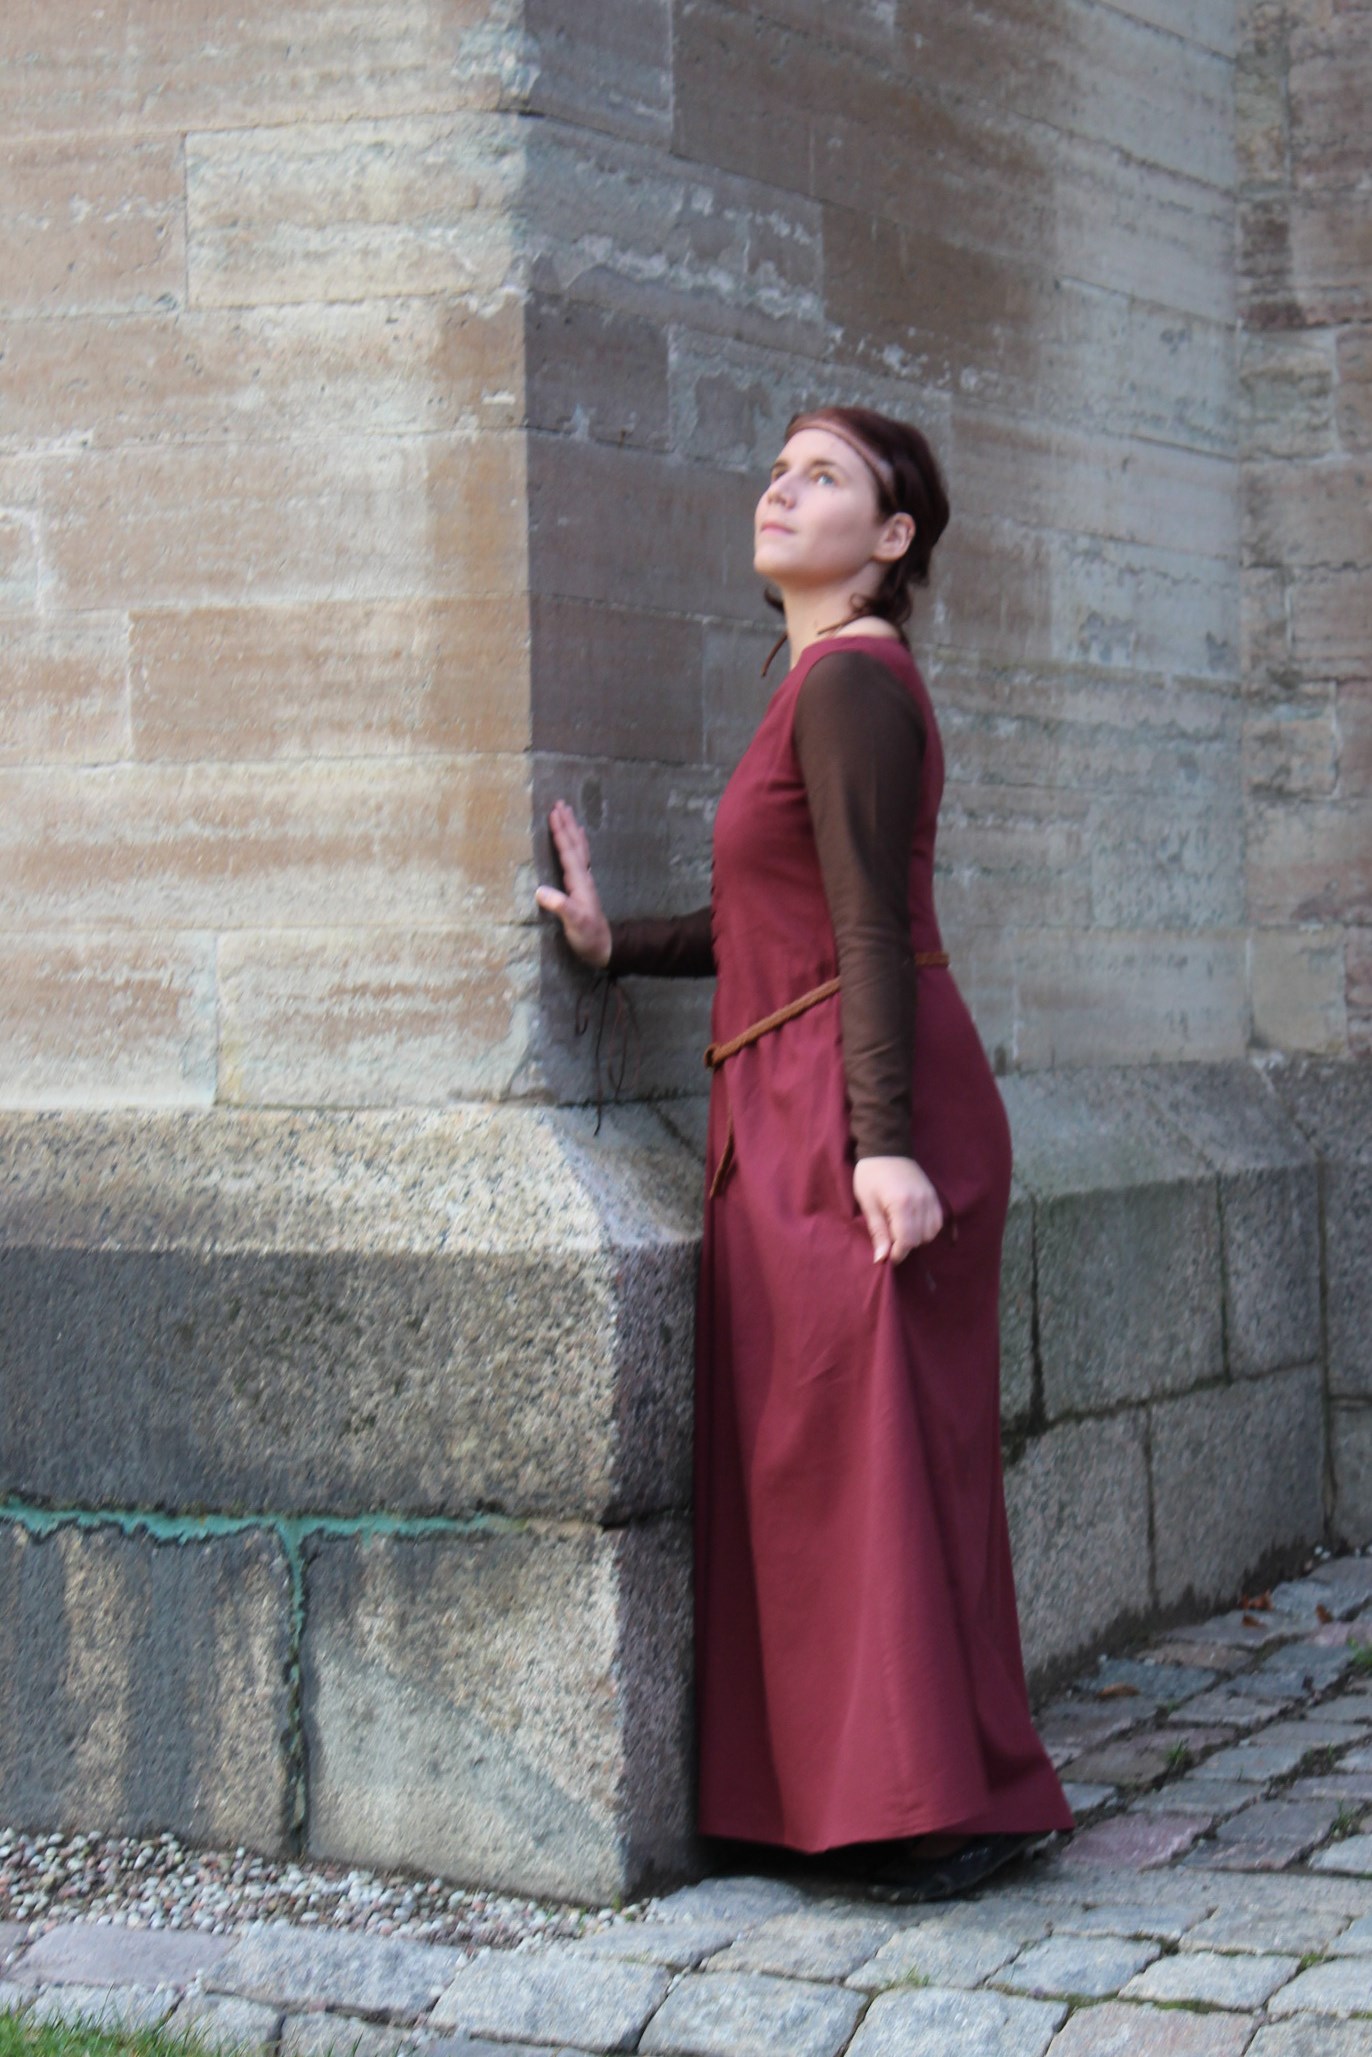
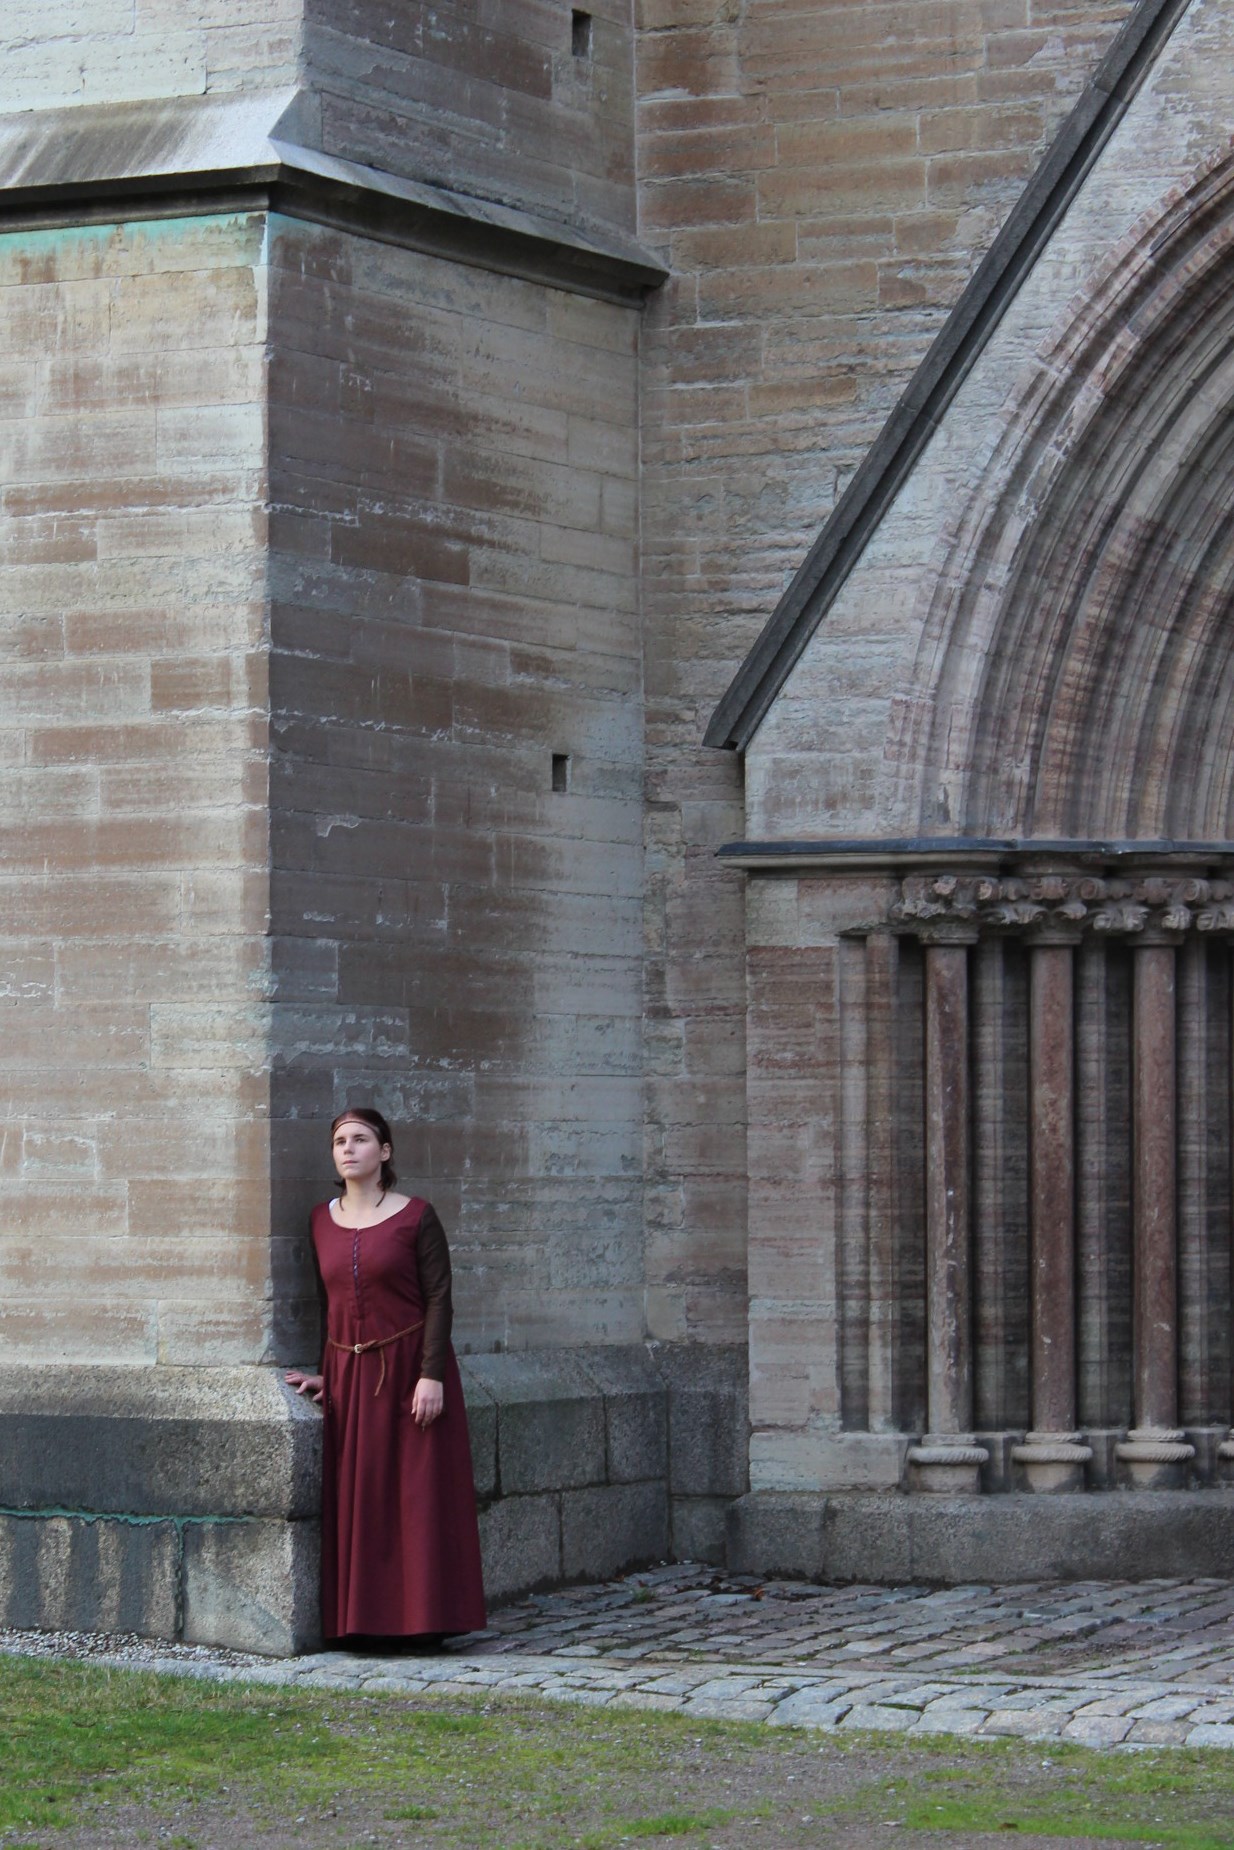
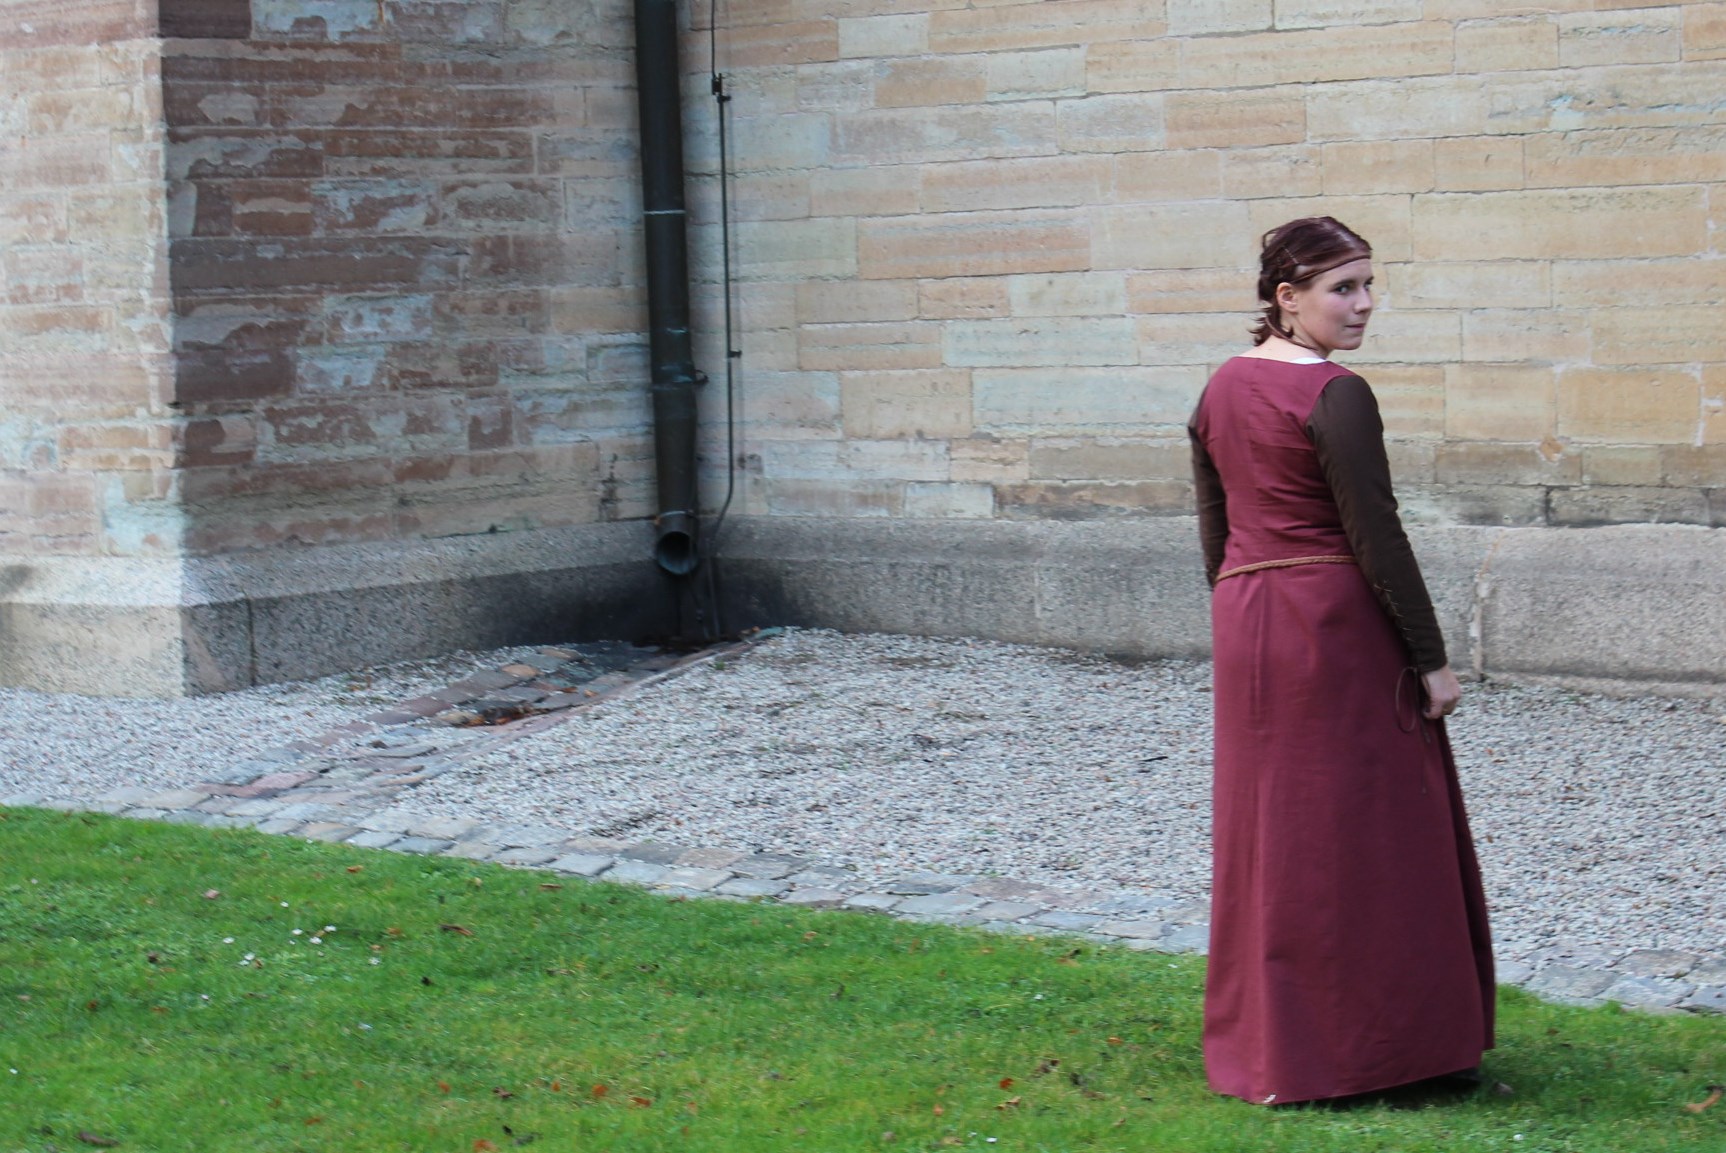
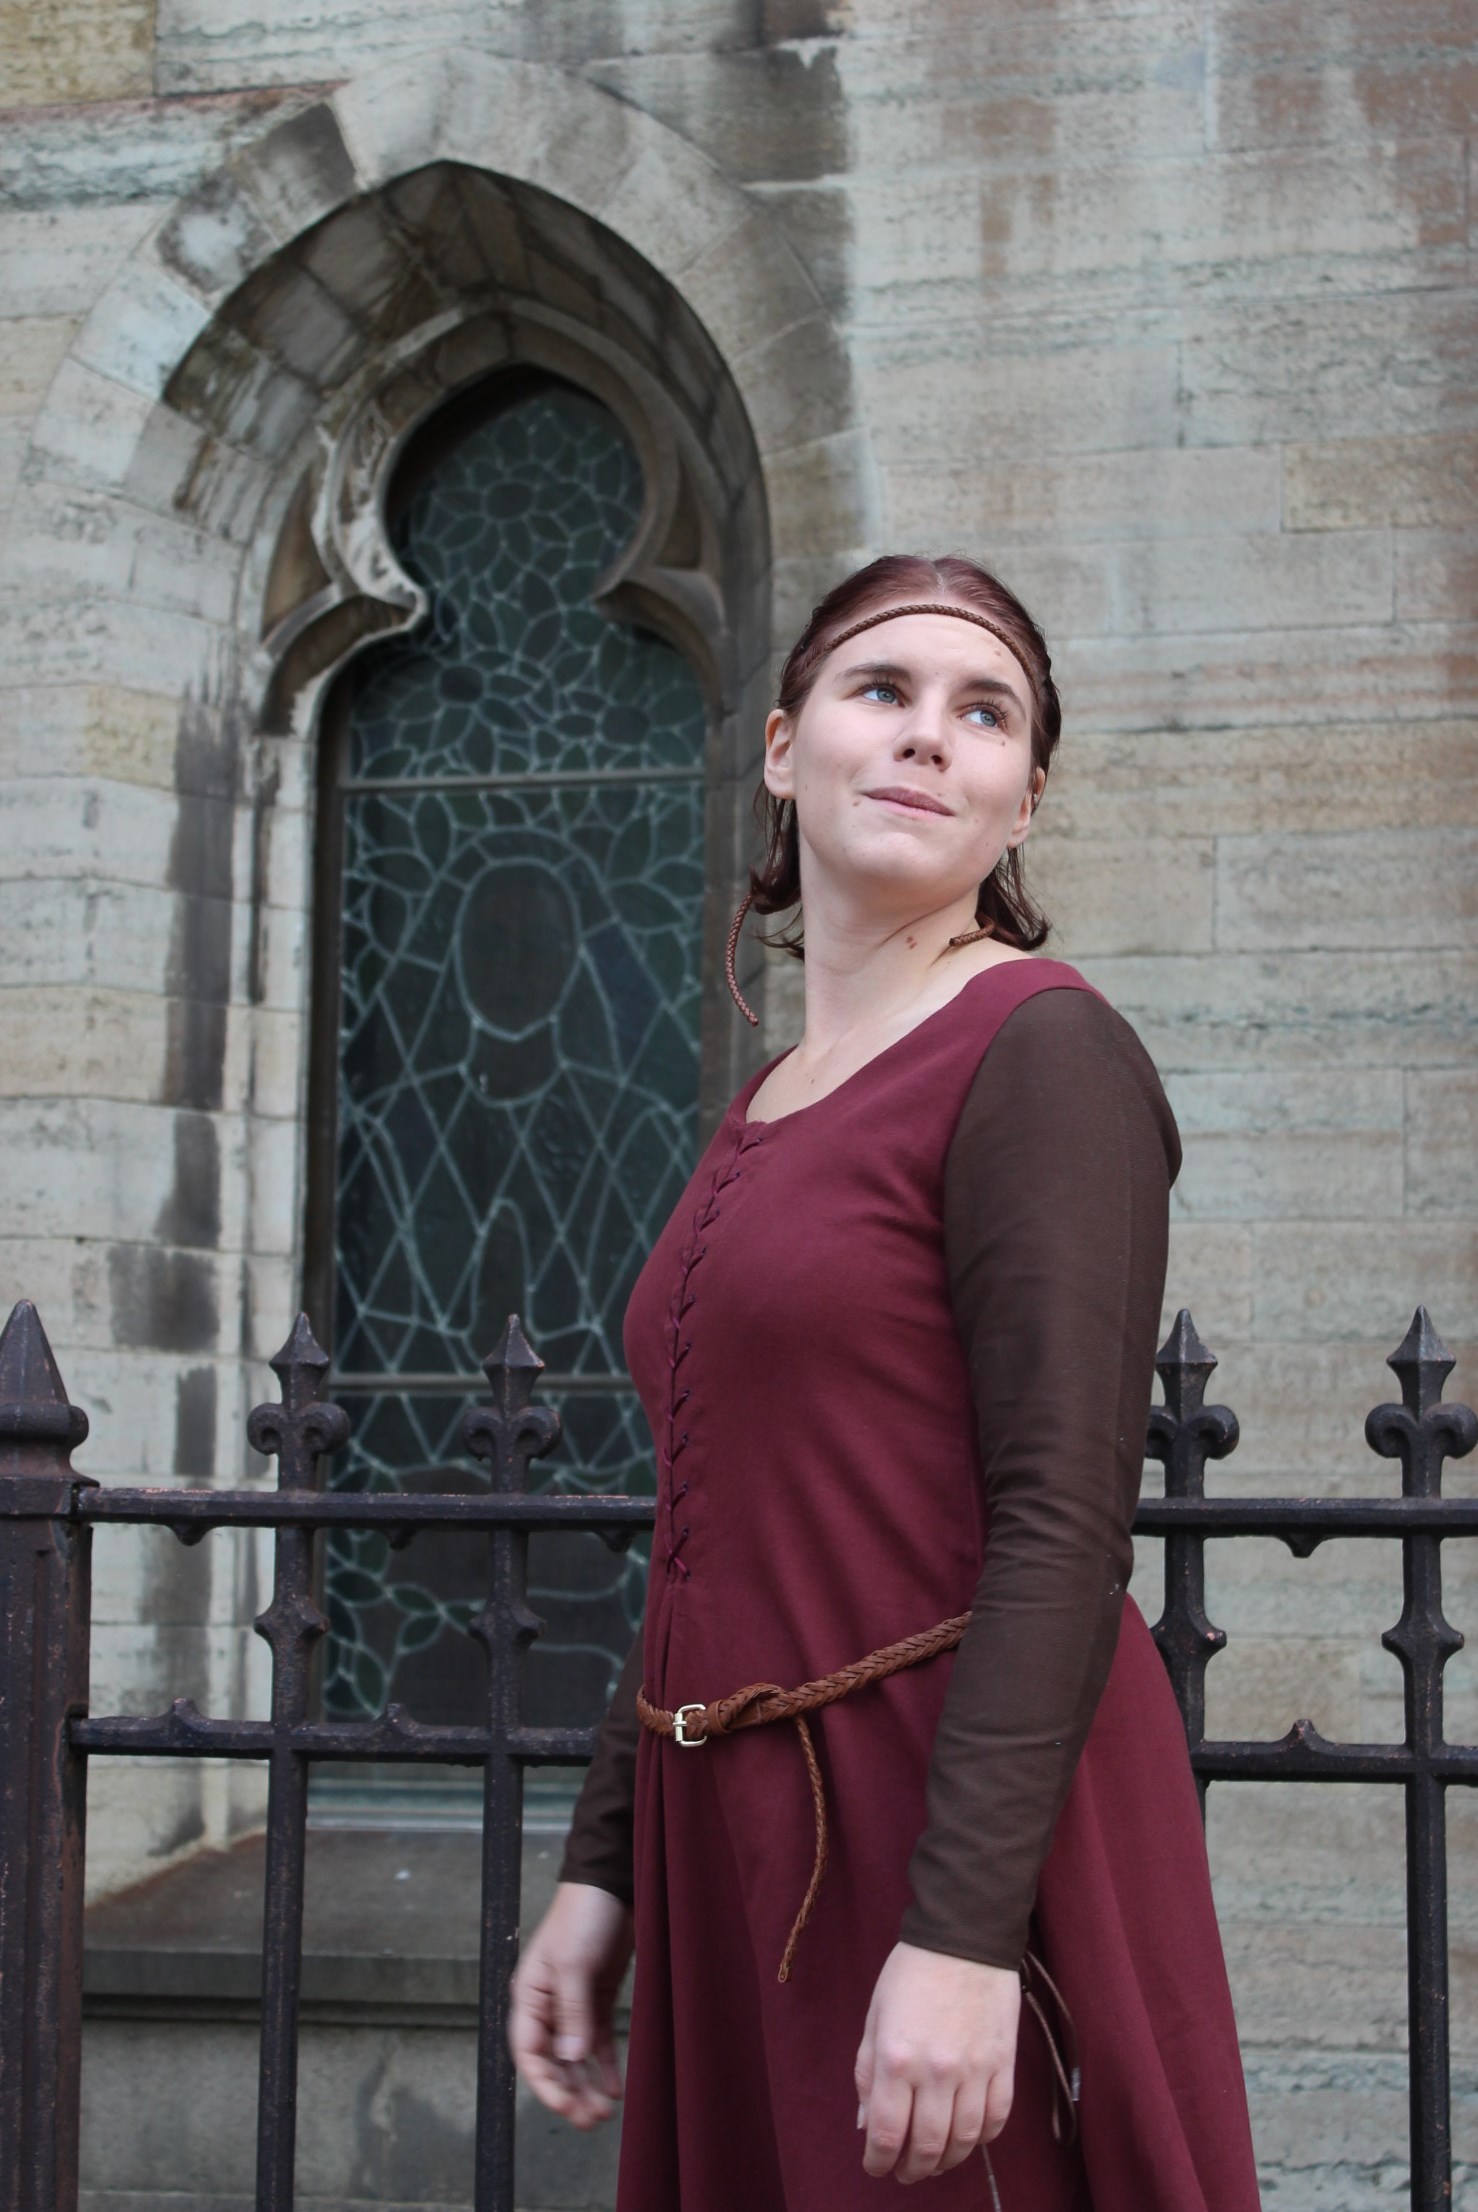
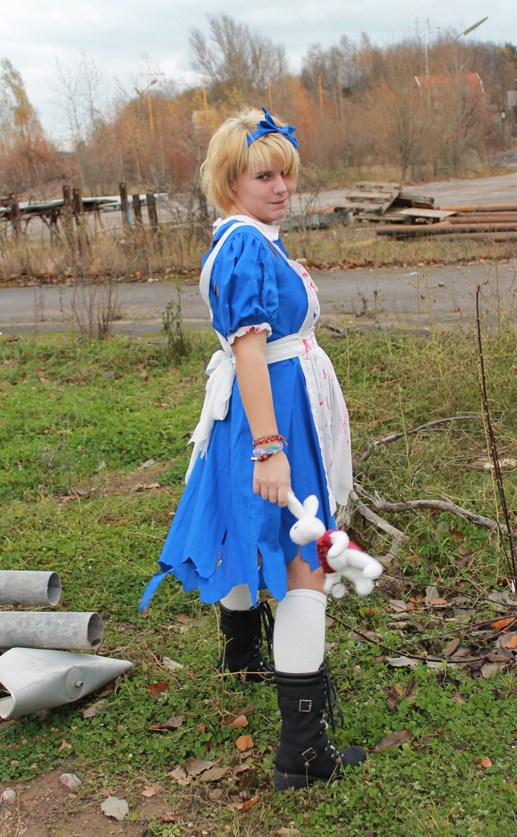
Fist worn: For a photoshoot in mars 2013.
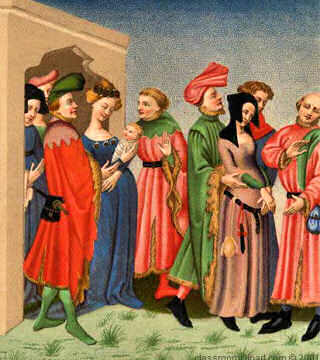
16th century Corset & Shirt

For the HSF Challenge 3: Under It All, back in february, I decided to start the foundation on my planed 1550s dress (which I still haven’t gotten around to make).

So I decided to make a corset similar to theese two.

MG_7070

4538806930_7ed18b9605

Using the corset pattern from “The Tudor Tailor”. I printed the pattern and made some changes to match my mesurments.

500%-förstorad

Then I cut the fabric, interlined it, and stiched the corset compleatly on the machine. I inserted the bonning, set the gromets and sewed on the bias-tape.

Unfortanly I didn’t think of documenting the steps while sewing (this was before my bloging days) so there are no construction photos.

But there are finished ones.

IMG_4026IMG_4032

IMG_4027

IMG_4036

IMG_4033

One thing I didn’t accounted for was the amount of fabric the bonning would “eat”. While inserting the bonning the corset shrunk quite a bit, and I ended up needing to do some piecing to make it fit properly.

IMG_4039

When the corset was finished I decided to also make a shirt to wear underneath.

images[4]

I used a lovely cotton voile, and sewed the shirt compleatly by hand (and still didn’t take any construction photos).

IMG_4023

Finished Shirt and Corset.

2013-02-09 15.45.57

2013-02-09 15.46.02

2013-02-09 15.46.25

2013-02-09 15.46.30

Just the facts:

Challenge: Nr 3 Under it All

What: A 1550s Corset and Shirt

Pattern: Shirt – Janet Arnold “Patterns of Fashion 4 – c.1600-1610 smock. Corset – “The Tudor tailor” Dorothean bodies.

Fabric: Shirt – 2 m of checkered cotton voile. Corset – 0,5 m of leftover golden/yellow curtan-fabric, 1 m brown cotton for lining and interlining.

Notions: Shirt – Thread. Corset – Thread, Bias-tape, gromets, boning and lacing cord.

How Historical Accurate: Shirt – Completly hand sewn, but the cotton tread and fabric is not correct for the period. Corset – Not realy. The achived shape is just about right, but all the sewing and material is modern.

Time: Shirt – about 8 hours. Corset – 3 Days of work.

Cost: Shirt – 150Sek (16Usd). Corset –  300 Sek (40Usd).

First worn: Only at photoshoots so far.

1840s bonnet (Gratetude)

As my entry for the HSF Challenge 23 Gratetude, I decided to make a 1840s bonnet.

This desicion was made based on multiple things: I wanted to make something I never done before in a tecnique I never tried, and keeping myself outside the comfort zone.

And I think the early Victorian headwear are both pretty, interesting and would provide a suitable challenge because of the millenery parts.

I also really need to make myself some 1840-1850s headwear to wear to an upcoming event.

This is what I whant to accomplish.

56809-large

I found this great and informative blogpost on how to make a bonnet by Susan Biscoe. This post gave me the curage to give it a try.

So I started by draping a pattern.

IMG_3825IMG_3822

I used the left-over velvet fabric of the Masquerade cape, and started to cut the multiple layers.

IMG_3831

All the pieces cut out. From left to right: Velvet, cotton lining, interlining, intefacing and the pattern piece. (I later decided to only use one layers each of the interlining and interfacing).IMG_3836

Using a sick-sack stich to attach the wire to the pattern pieces.IMG_3842

I used a plier to bend the wire into shape.IMG_3846

All wired brim piece.IMG_3851

The crown being attached.IMG_3855And the inside.IMG_3864

Sewing the velvet to the crown.

IMG_3867IMG_3881IMG_3877

IMG_3869

And finished with the trimings attached.

IMG_3895IMG_3885

IMG_3891

IMG_3892

IMG_3883

Just the facts:

Challenge: 23 – Gratetude

What: A 1840s bonnet

Pattern: I draped and drafted my own.

Fabric: 0,4 m of: brown cotton velvet, brown cotton lawn, heavy upholstery fabric and 0,2 m of golden satin.

Notions: Thread, heavy interfacing and steel wire.

How Historical Accurat: The shape is pretty good but the construction and sewing are modern, even though it is mostly hand sewn.

Time: 10 hours.

Cost: About 100 Sek (11 Usd)

First worn: Not yet, but will be on dec 16th for a 19th century Christmas party.

Thanks to: First of all I whant to thank the whole costuming comunity, and all the help and support you can find there. You are all great!

A special thanks goes to Leomoni of “the Dreamstress” who got me interested in historic costuming, and through the HSF made me inspired to continue to make historic clothes this past year.

Then I whant to thank Susan Briscoe for the great blogpost who made it look so simple (to make a bonnet) and thous gave me the currage to give it a try.

Last thoughts: I really loved making this bonnet and are already thinking about making an other one. Mabye I should venture deeper in to millenery…

Medieval dress in a day

Ok, I must admit it did take me a bit longer then one day. But if I would have had one whole day (morning to evening) and not 3 short evenings to make it, I’m sure I would have finished to.

With less then one week left to the Medieval Feast my sister decided she wanted to go to. So we started bouncing dress ideas (while being at work/school) and decided the style of the dress on thuesday, while bying fabric.

Even though the dress was to be made by machine, with only the eyelets worked by hand, I’ve been to busy sewing to take any “in progress photos”. Sorry…

But I do have finished photos, and this is how it turned out.

IMG_3216IMG_3218

Made out of burgundy and brown cotton twill.

The eyelets on the front and sleeves are all worked by hand, and closes with a syntetic cord.

IMG_3102IMG_3103

My sister really liked the dress and looked totaly great in it.

The day after the party we went to the cathedral near by to take some pictures.

IMG_3345

IMG_3341

IMG_3350

IMG_3348

IMG_3369

IMG_3396

IMG_3413

IMG_3424

IMG_3359

IMG_3354

IMG_3421

IMG_3432

IMG_3442

IMG_3444

My Green Medieval dress – photos

The day after the Medieval Feast me and my sister went outside to shoot some pictures of our dresses. And since the medieval clothes feels and looks best in religous and grand settings, we walked the 500m to the city Chatehdral.

I wore my new green dress, the whimple, the braids and velvet cape.

IMG_3684This beautiful “Mary and child” statue sits right outside the museum.

IMG_3676

The Chathedral of Linköping is a beautiful building finished in the 1490s, and restorated and added to since.IMG_3343

IMG_3578

IMG_3561

IMG_3600

IMG_3614

IMG_3634

IMG_3625

IMG_3663Not exactly the right footwear…

IMG_3454

IMG_3473

IMG_3501

IMG_3534

IMG_3546But what happened here?

I do think the Gothic building style come into fashion a bit sudden…

Medieval Feast

Yesterday (nov 9th) It was finaly time for the medieval feast, arranged by my dancing company. And as this was to be my first medievel event I’ve planed and prepered my dress for weeks.

I wore my new Green Cotehardie with the Outerwear Sleeves and a new pair of white tippets.

IMG_3077IMG_3086

On my head I wore my new whimple and faux braids. (read more here)  IMG_3081IMG_3107And I actually managed to ge them to look like I wanted.

The feast started with some mingel, walking around and talking to the other guests (and I’ve forgot to grab my camera, bummer).

Then we all sat down to dine. IMG_3139

Me and my sister.IMG_3153

The food was really cool, and well planed – and must have taken forever to prepare…

We got: Boiled eggs in a bowl made of bread, with a bird made of butter sitting on topp.  IMG_3120

Salmon served with hearbs on enormous plates.IMG_3136

Soup made of peas, serwed in desposabe “wooden” plates, and fruit stuffed with meat.IMG_3130

Chees, fruit-cream and peaches with nuts.IMG_3192

Cookies.IMG_3197

And wine pored from a guilded tower into animal-shaped wine-jugs. IMG_3202

But wait a minute, Im sure I’ve forgot something…

Oh yes! A grilled pig served whole, with a chicken “knight”on top. IMG_3177

Omg, look at that little chicken rinding the pig! IMG_3168

He actually wears a helmet, shield and sword.IMG_3182

My amusment faded fast when they started to cut it up…IMG_3187Yuk…

After dinner it was time for some dancing.IMG_3270

IMG_3257

IMG_3265

In a dancing break I grabbed my sister and some friends and we snaped some quick photos in the basment.

My sister in a dress I finished just hours befor the feast.IMG_3218

And a friend from my dancgroup, who also made her outfit herself. IMG_3227

The mandetory “Ugly-shoot”IMG_3235

Then I got he whole “sewing group” togheter for some photos.IMG_3306 During the autumn we have all taken a medieval sewing class, held by the “medieval all-knowing” Karin (front left). It’s been so much fun learning authenticity, and to watch everybodys cloths coming togheter. (Even though I’ve heard we have a few cheeters in the group, bying theire clothes…)

Doing the “14th century everyday pose”.IMG_3287

And the mandetory “Jump shoot”.IMG_3335

I’ve had so much fun at the feast – eating, dancing and meeting new interesting people.

But most of all I liked wearing and feeling pretty in my dress and braids. Looks like there will be some medieval fairs to get o this summer…

Busy scrambeling medivel pieces

Today I was going to post about my medievel hair and head-cloth, but I haven’t even started with it.

I’ve been so busy sewing all the litle details that takes so much more time then you expect. And on top of that I just yesterday started on my sisters medieval dress (also to be finished by saturday).

This is sewing madness and I don’t have time to take any pictures. Right now I’m not even sure there will be any dresses done by saturday…  How come it’s so much harder finding sewing time when working full time then being a part time student…?

I will give you proper description and photo posts when this qrazy time is over. But for now I will leave you with a pic of some fancy dressed people from my saved folder.

medmirror1

A 1913s hat

When posting about my To late for Titanic 1913s dress I got quite a few remarks on my hat, and the ladys who went with me to the Titanic exhibithion also admired it and asked where I bought it.

Well, It is a totaly modern and ordinary sun hat from any clothing store.

IMG_0297All that’s needed was a bit of re-styling.

IMG_0296

So I bought some fejk flowers for decoration. And pleated a white ribbon, and sewed it to the hat in order to hide the black stripe on the crown.

And turned the brim up on one side to get those 1910s look.

IMG_0300I only used the orchids, so the rest of the flowers will be left for some other time.

And the hat being worn.

IMG_0640

IMG_0558

IMG_0589

IMG_0582

IMG_0562

IMG_0638

It was only a happy coincident that the violet flowers together with my green and white “Titanic dress” symbolizes the collors of the suffragetts.

Past Halloween Costumes – Alice part 2

Last year when making the halloween costume for my youngest sister I got my first try out at disressing clothes.

I started with a cute little outfit in white and blue, with an adoreble toy bunny to match.

IMG_0698

Then I grabed the scissors and the faux blood and got to work. Ripping, cutting and dripping blood on both the dress and the apron.

I even “killed” the bunny by stiching X-s as eyes, and making the head removable (and attacheble) with a hidden snap.

2012-10-30 11.21.03

And the we did an other photoshoot.

IMG_0777-(1)

IMG_0781

IMG_0798

IMG_0830

IMG_0835

IMG_0836

IMG_0852

She had realy fun at the pary and the “White Rabbit” was the evenings most popular guests…

Past Halloween costumes – Alice part 1

Last year my youngest sister asked me for some halloween inspiration, as she was attending a masqurade party at the university.

We sat down and searched the internet, and came across this outfit.

16814xl“Alice in Crazyland”

We both liked it and decided to make it.

I bought 2 m blue cotton and found some white cotton in my stash. I draw a simple pattern and cut and sewed the dress and apron in one day. I also made a bow headband and bought some white stockings.

2012-10-31-14.06.172012-10-31-14.05.46

Then we whent looking for a stuffed bunny. But time was running out, and no white bunnies was to be found, so I decided to make one.

I found the pattern for this little cutie on the web.

Blog bun 006

And made my own version of it, adding a waistcoat and a clock.

2012-10-30-22.09.08

Then we did a quick photoshoot.

IMG_0698

IMG_0711

IMG_0717

IMG_0738

IMG_0730

IMG_0734

IMG_0733

By now I’m sure you all think – “Hey, didn’t the inspiration picture show an evil Alice?”

Well, yes it did. And I will show her to you in my next post…