
My original plan for the HSF15 challenge 5 – Practicality, a regency day-dress, needed to be postponed so to get time to finish this springs biggest undertaking – a hole new 1850-1860s wardrobe.
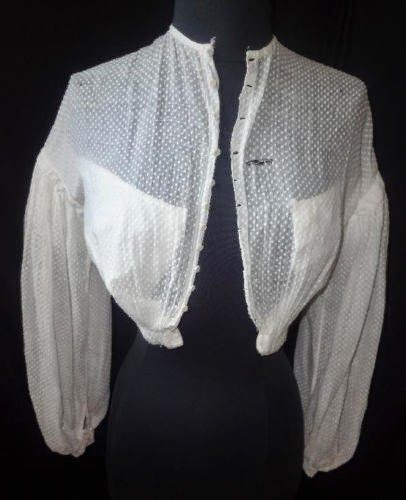
So after finishing my not a Garibaldi blouse a few weeks ago, I decided I needed yet another blouse in almost the same style, for my sister to wear at the upcoming “Crinoline day”.
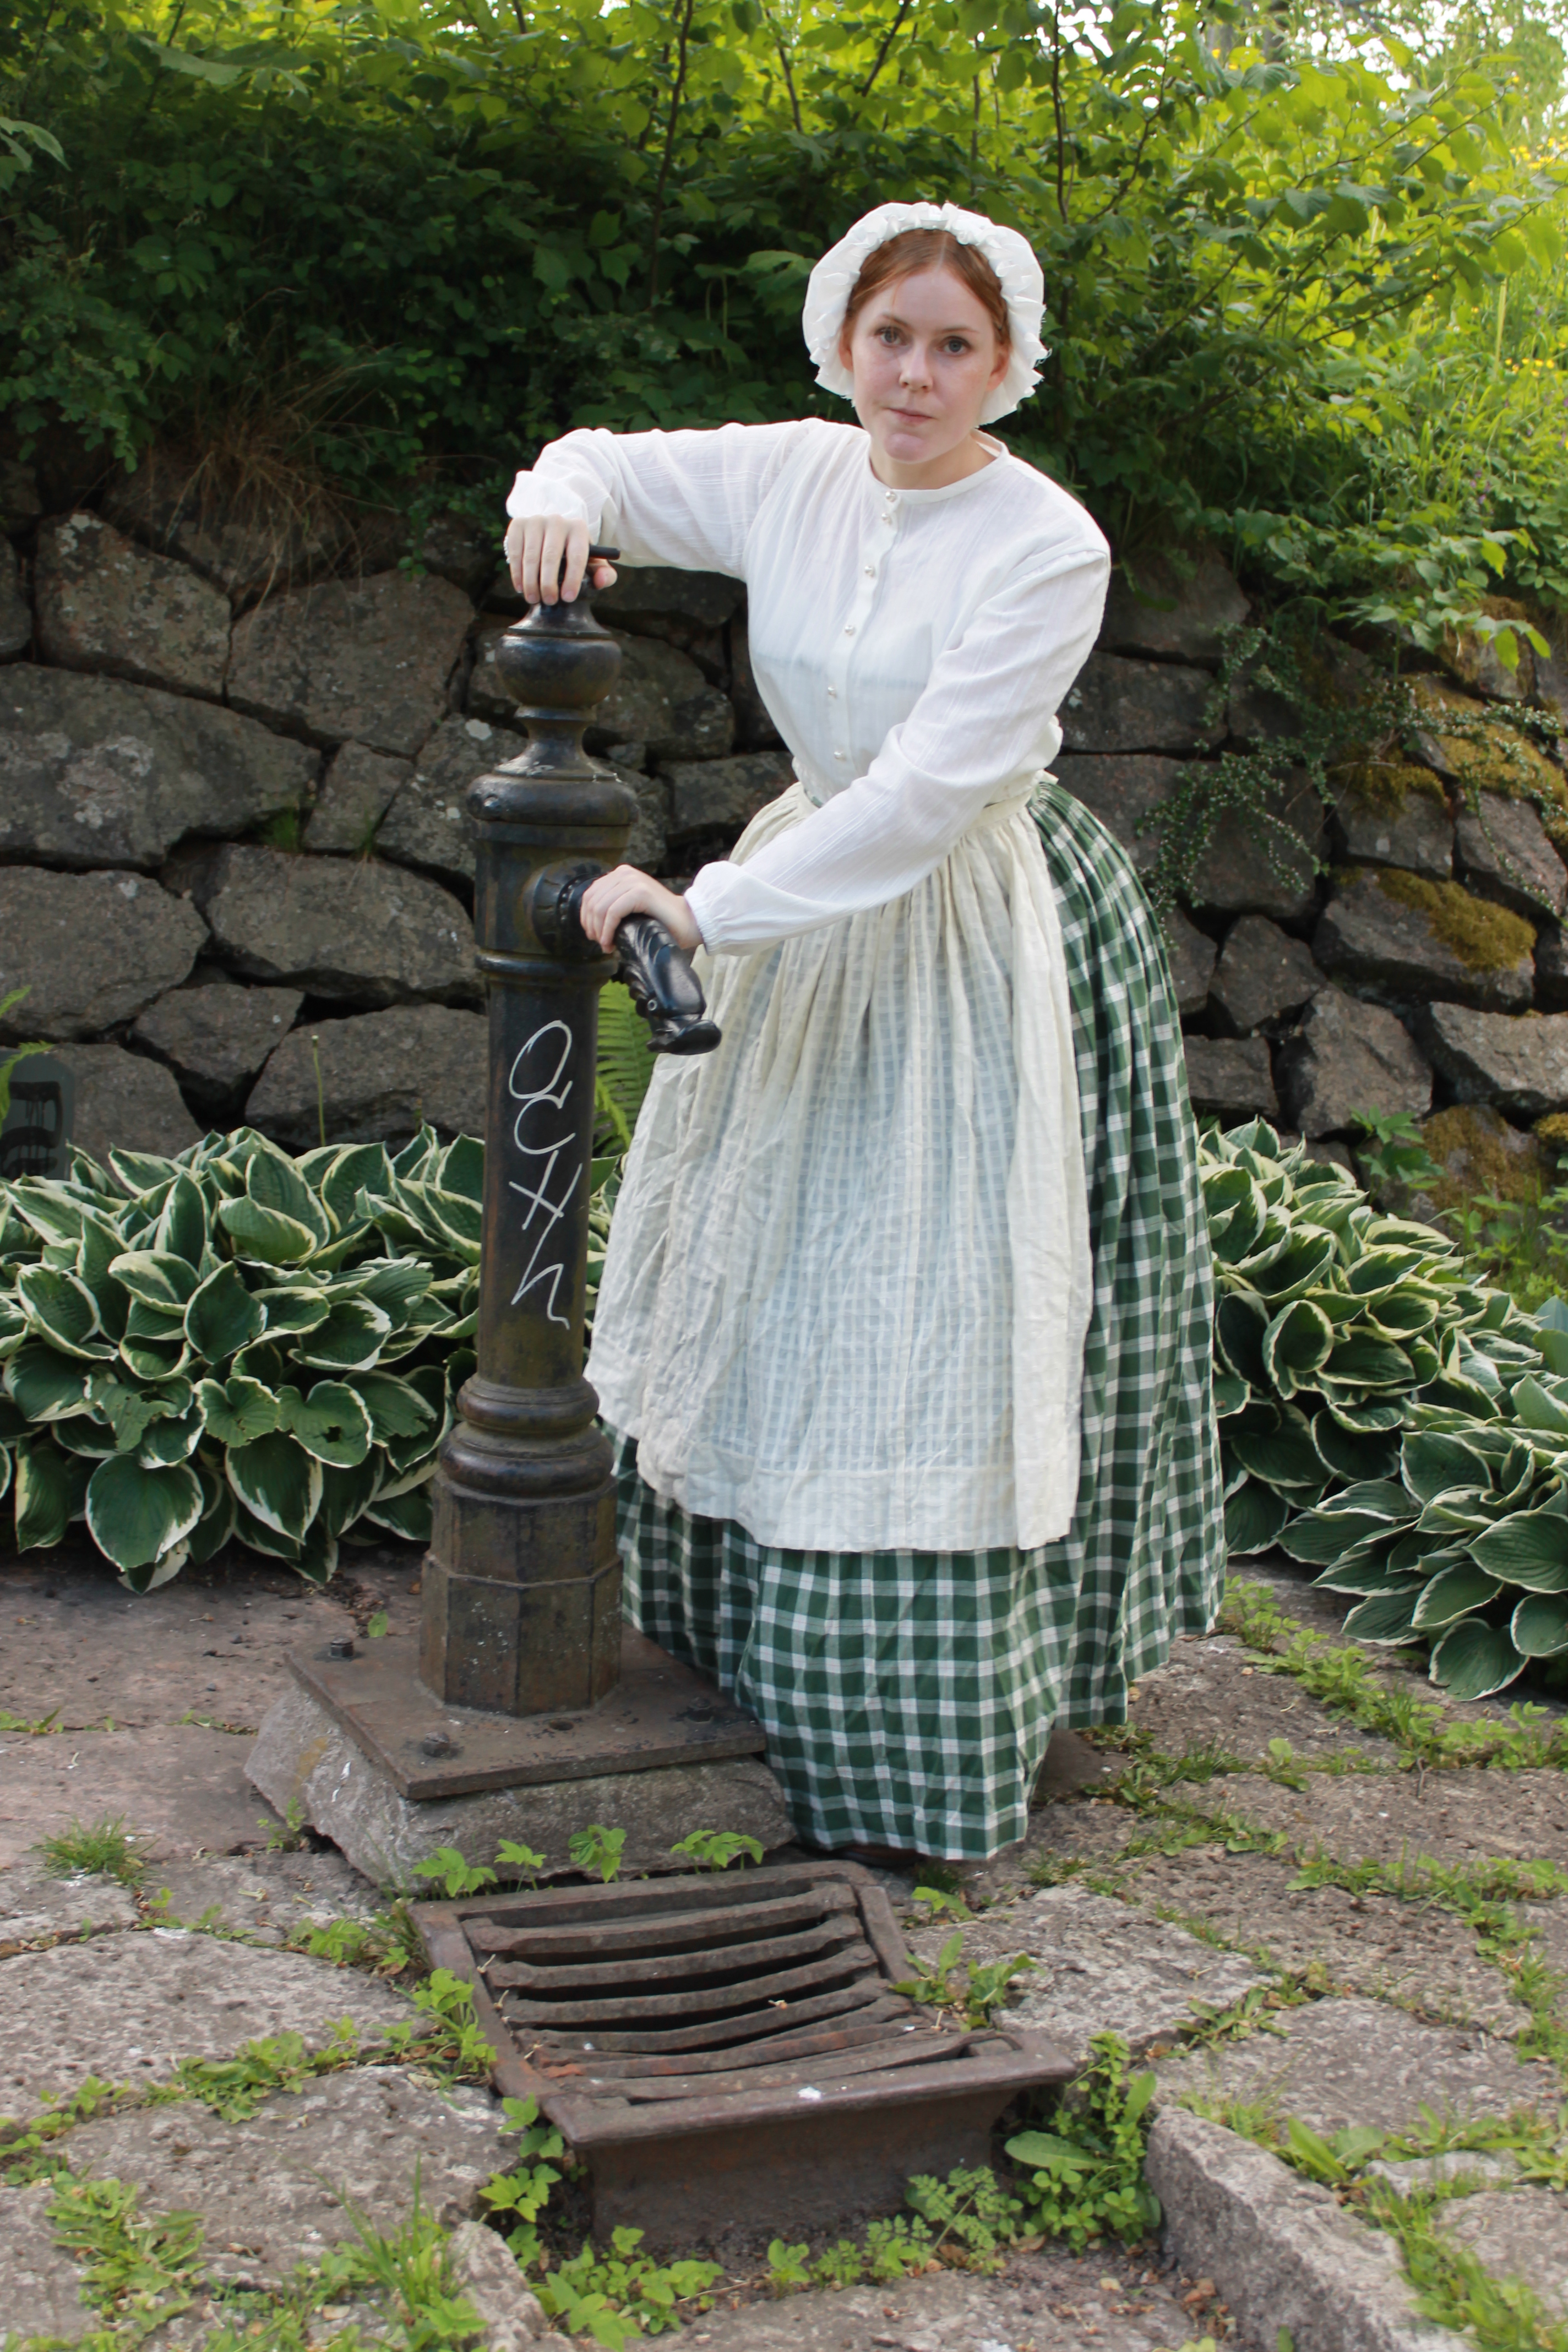
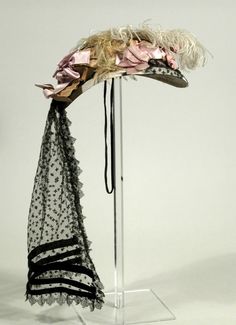
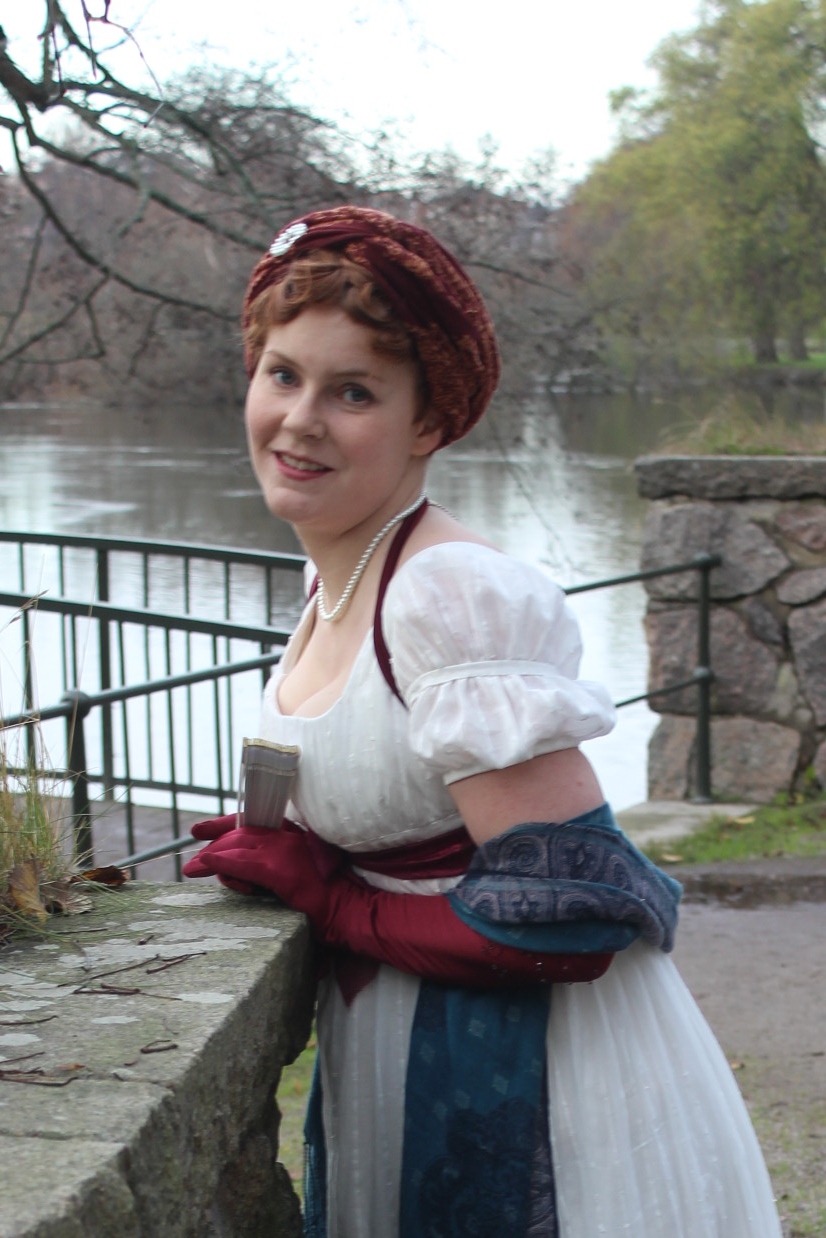
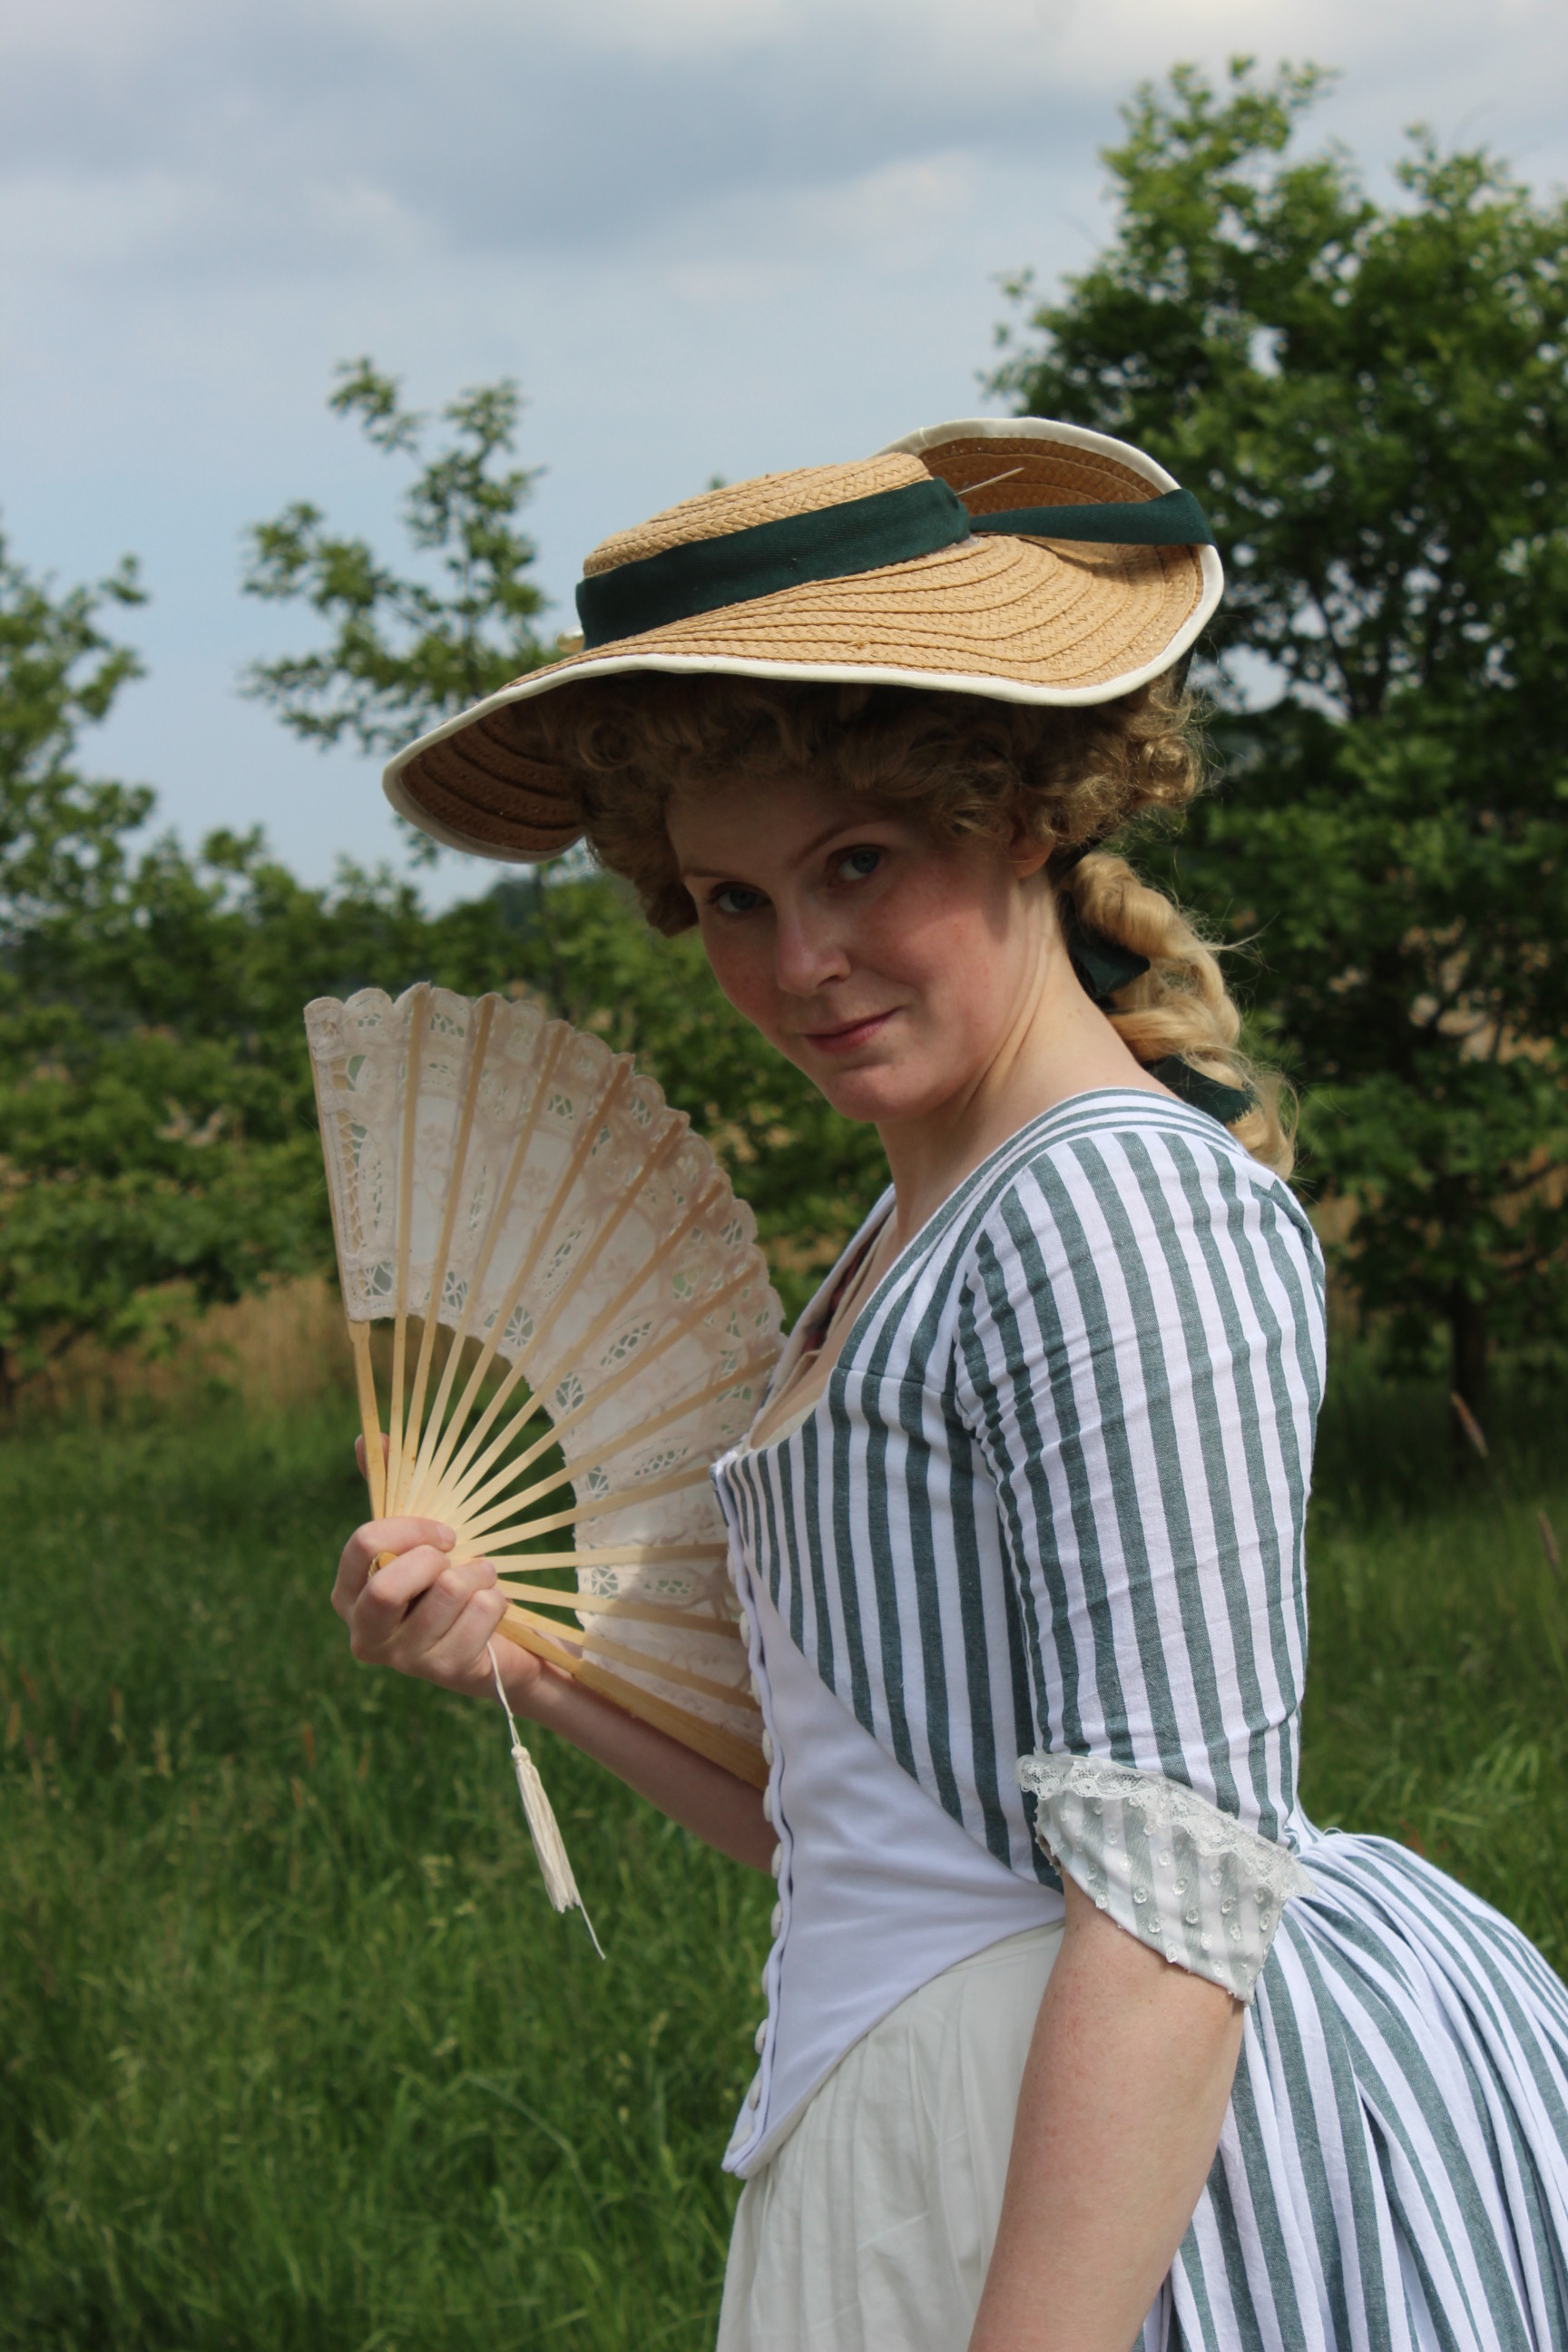
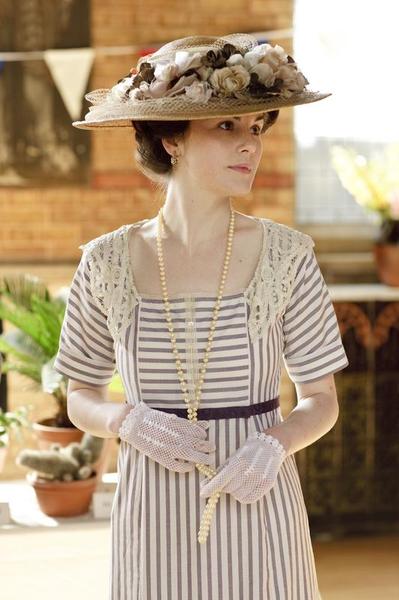
 My main inspiration was this sever looking young lady.
Since time was sparse, I decided to use the simplest way possible in all things for this blouse.
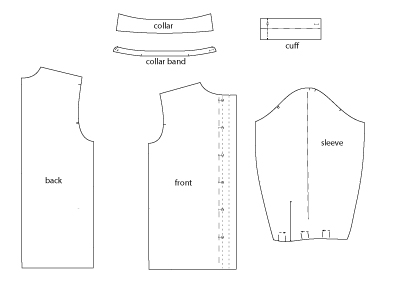
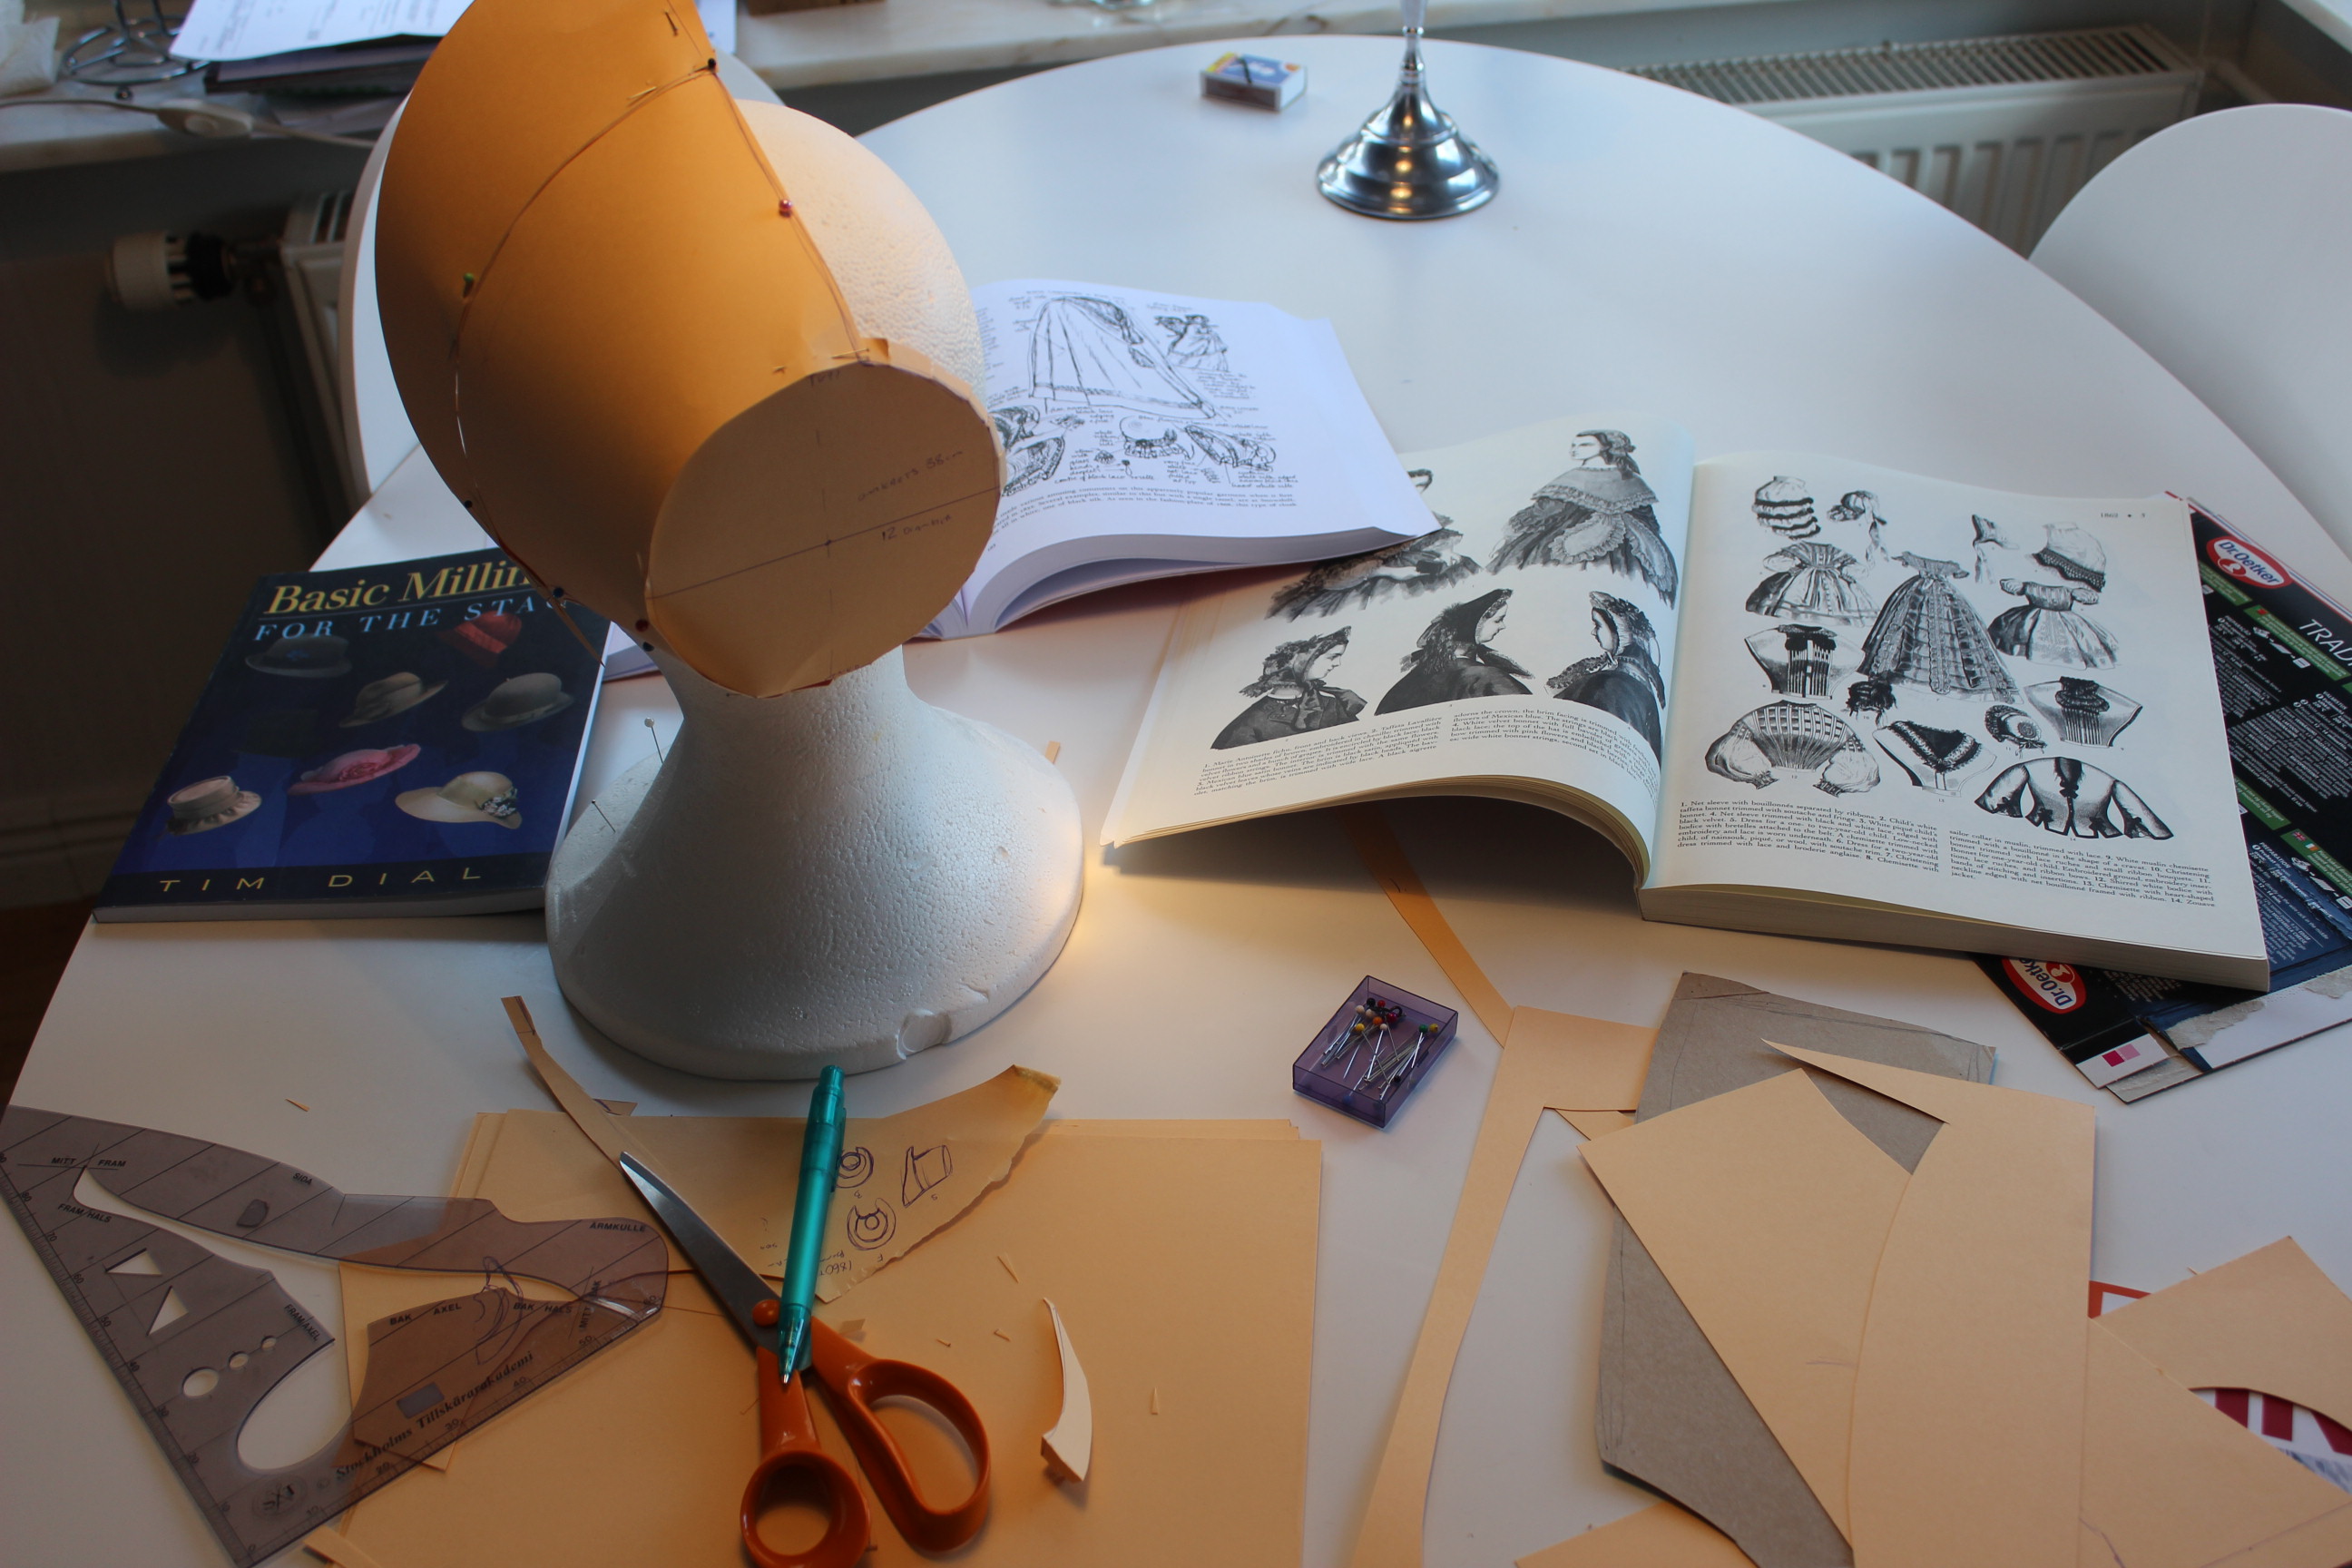
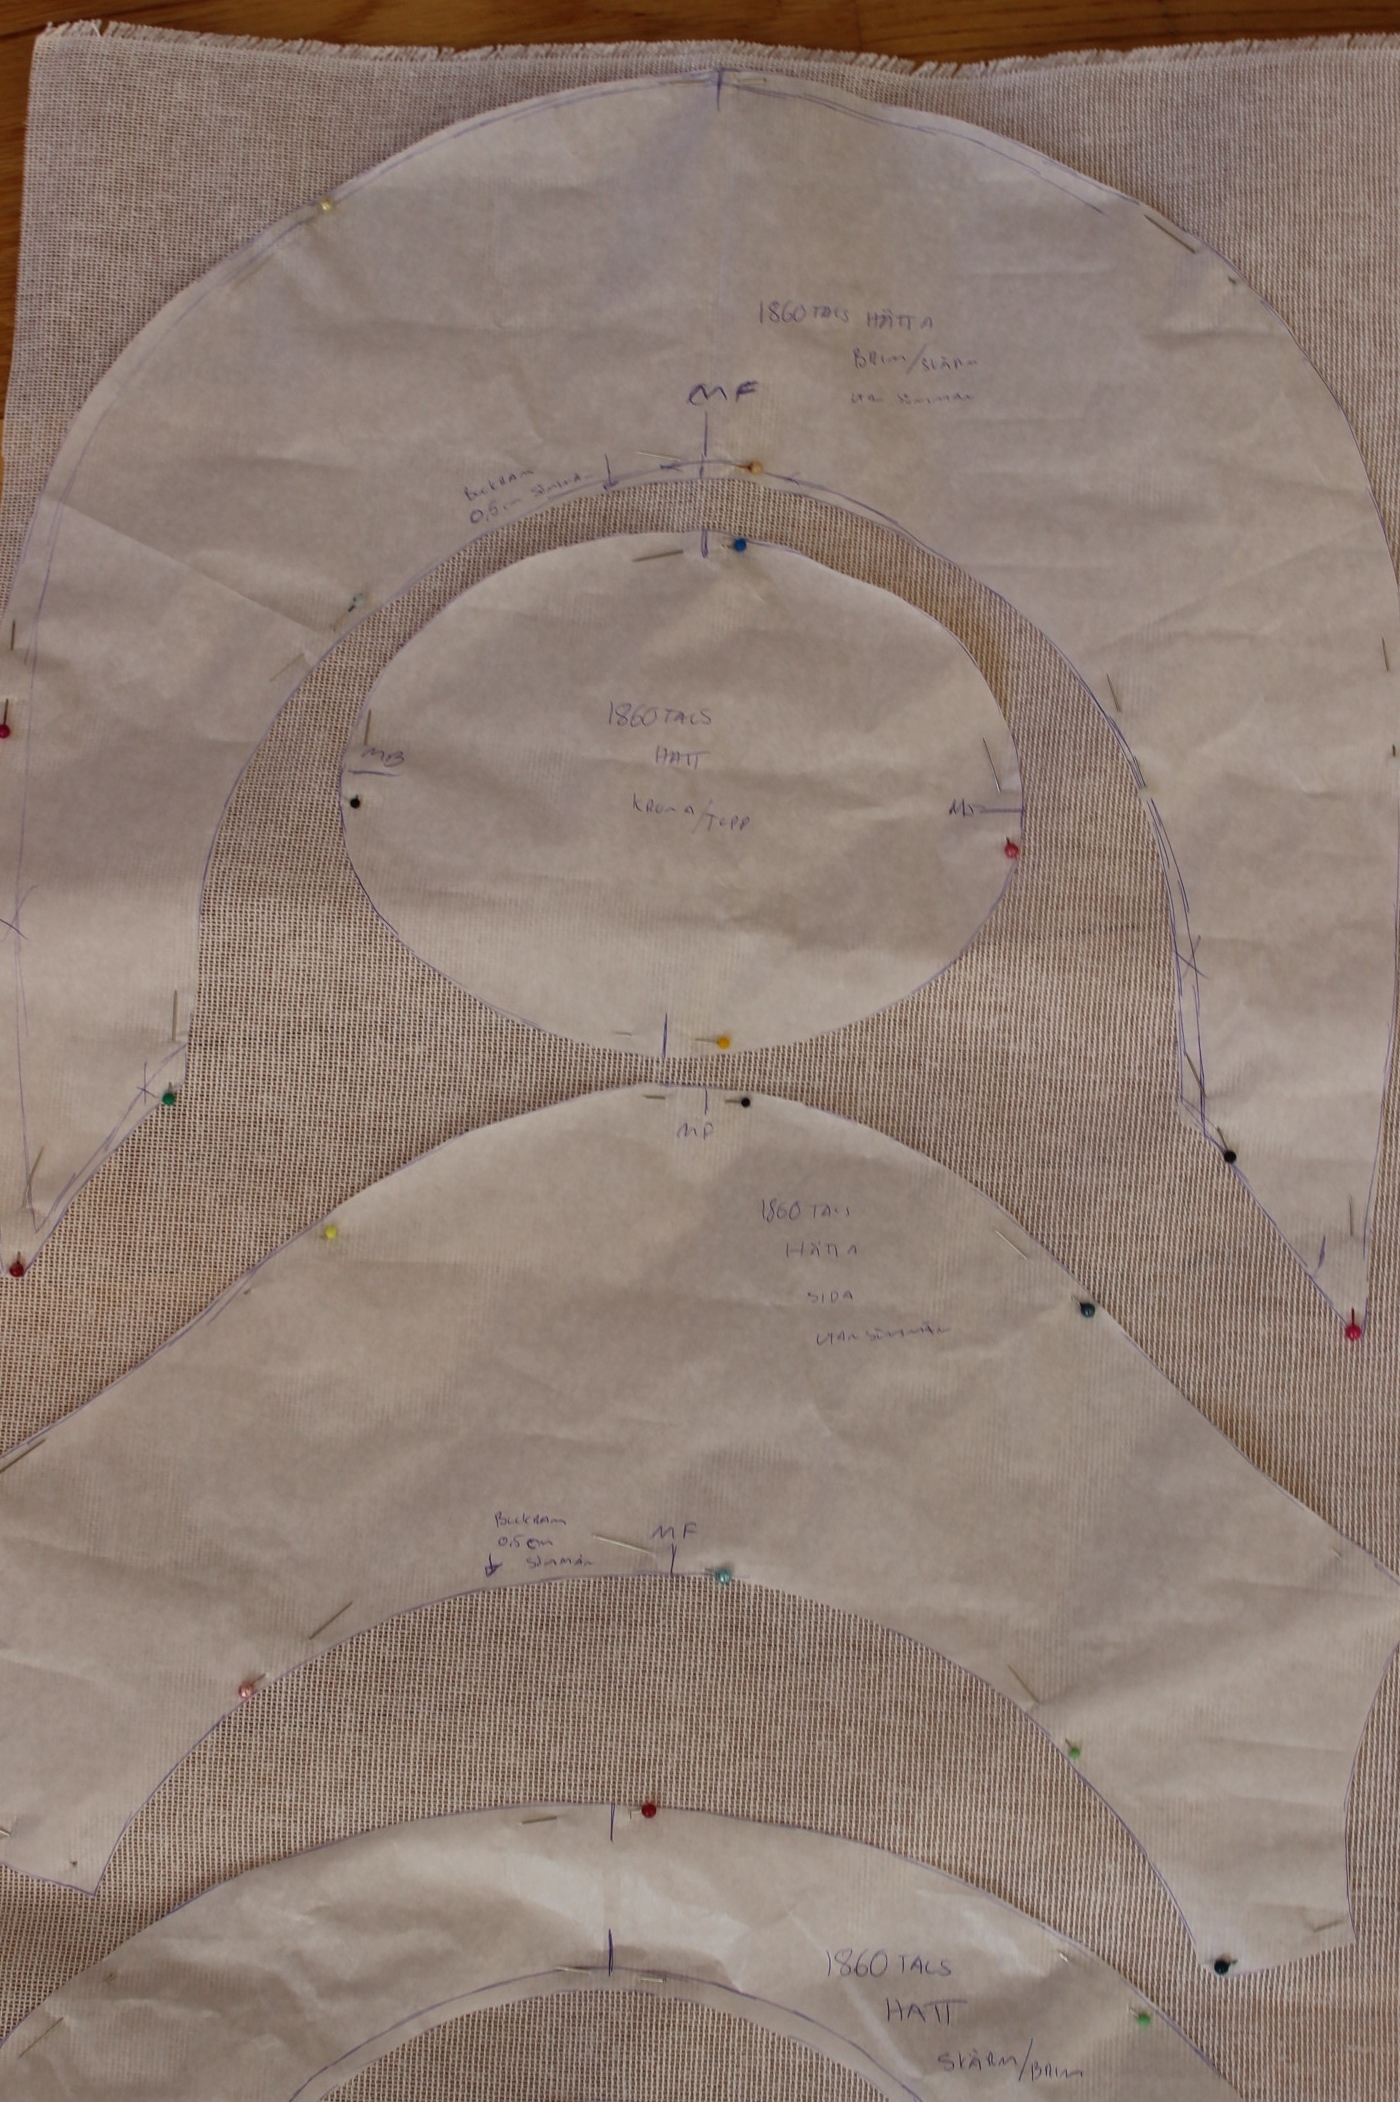
Staring with the pattern, I used the basic pattern blocks for a regular shirt (just like the picture below), and omitted the collar and cuff.
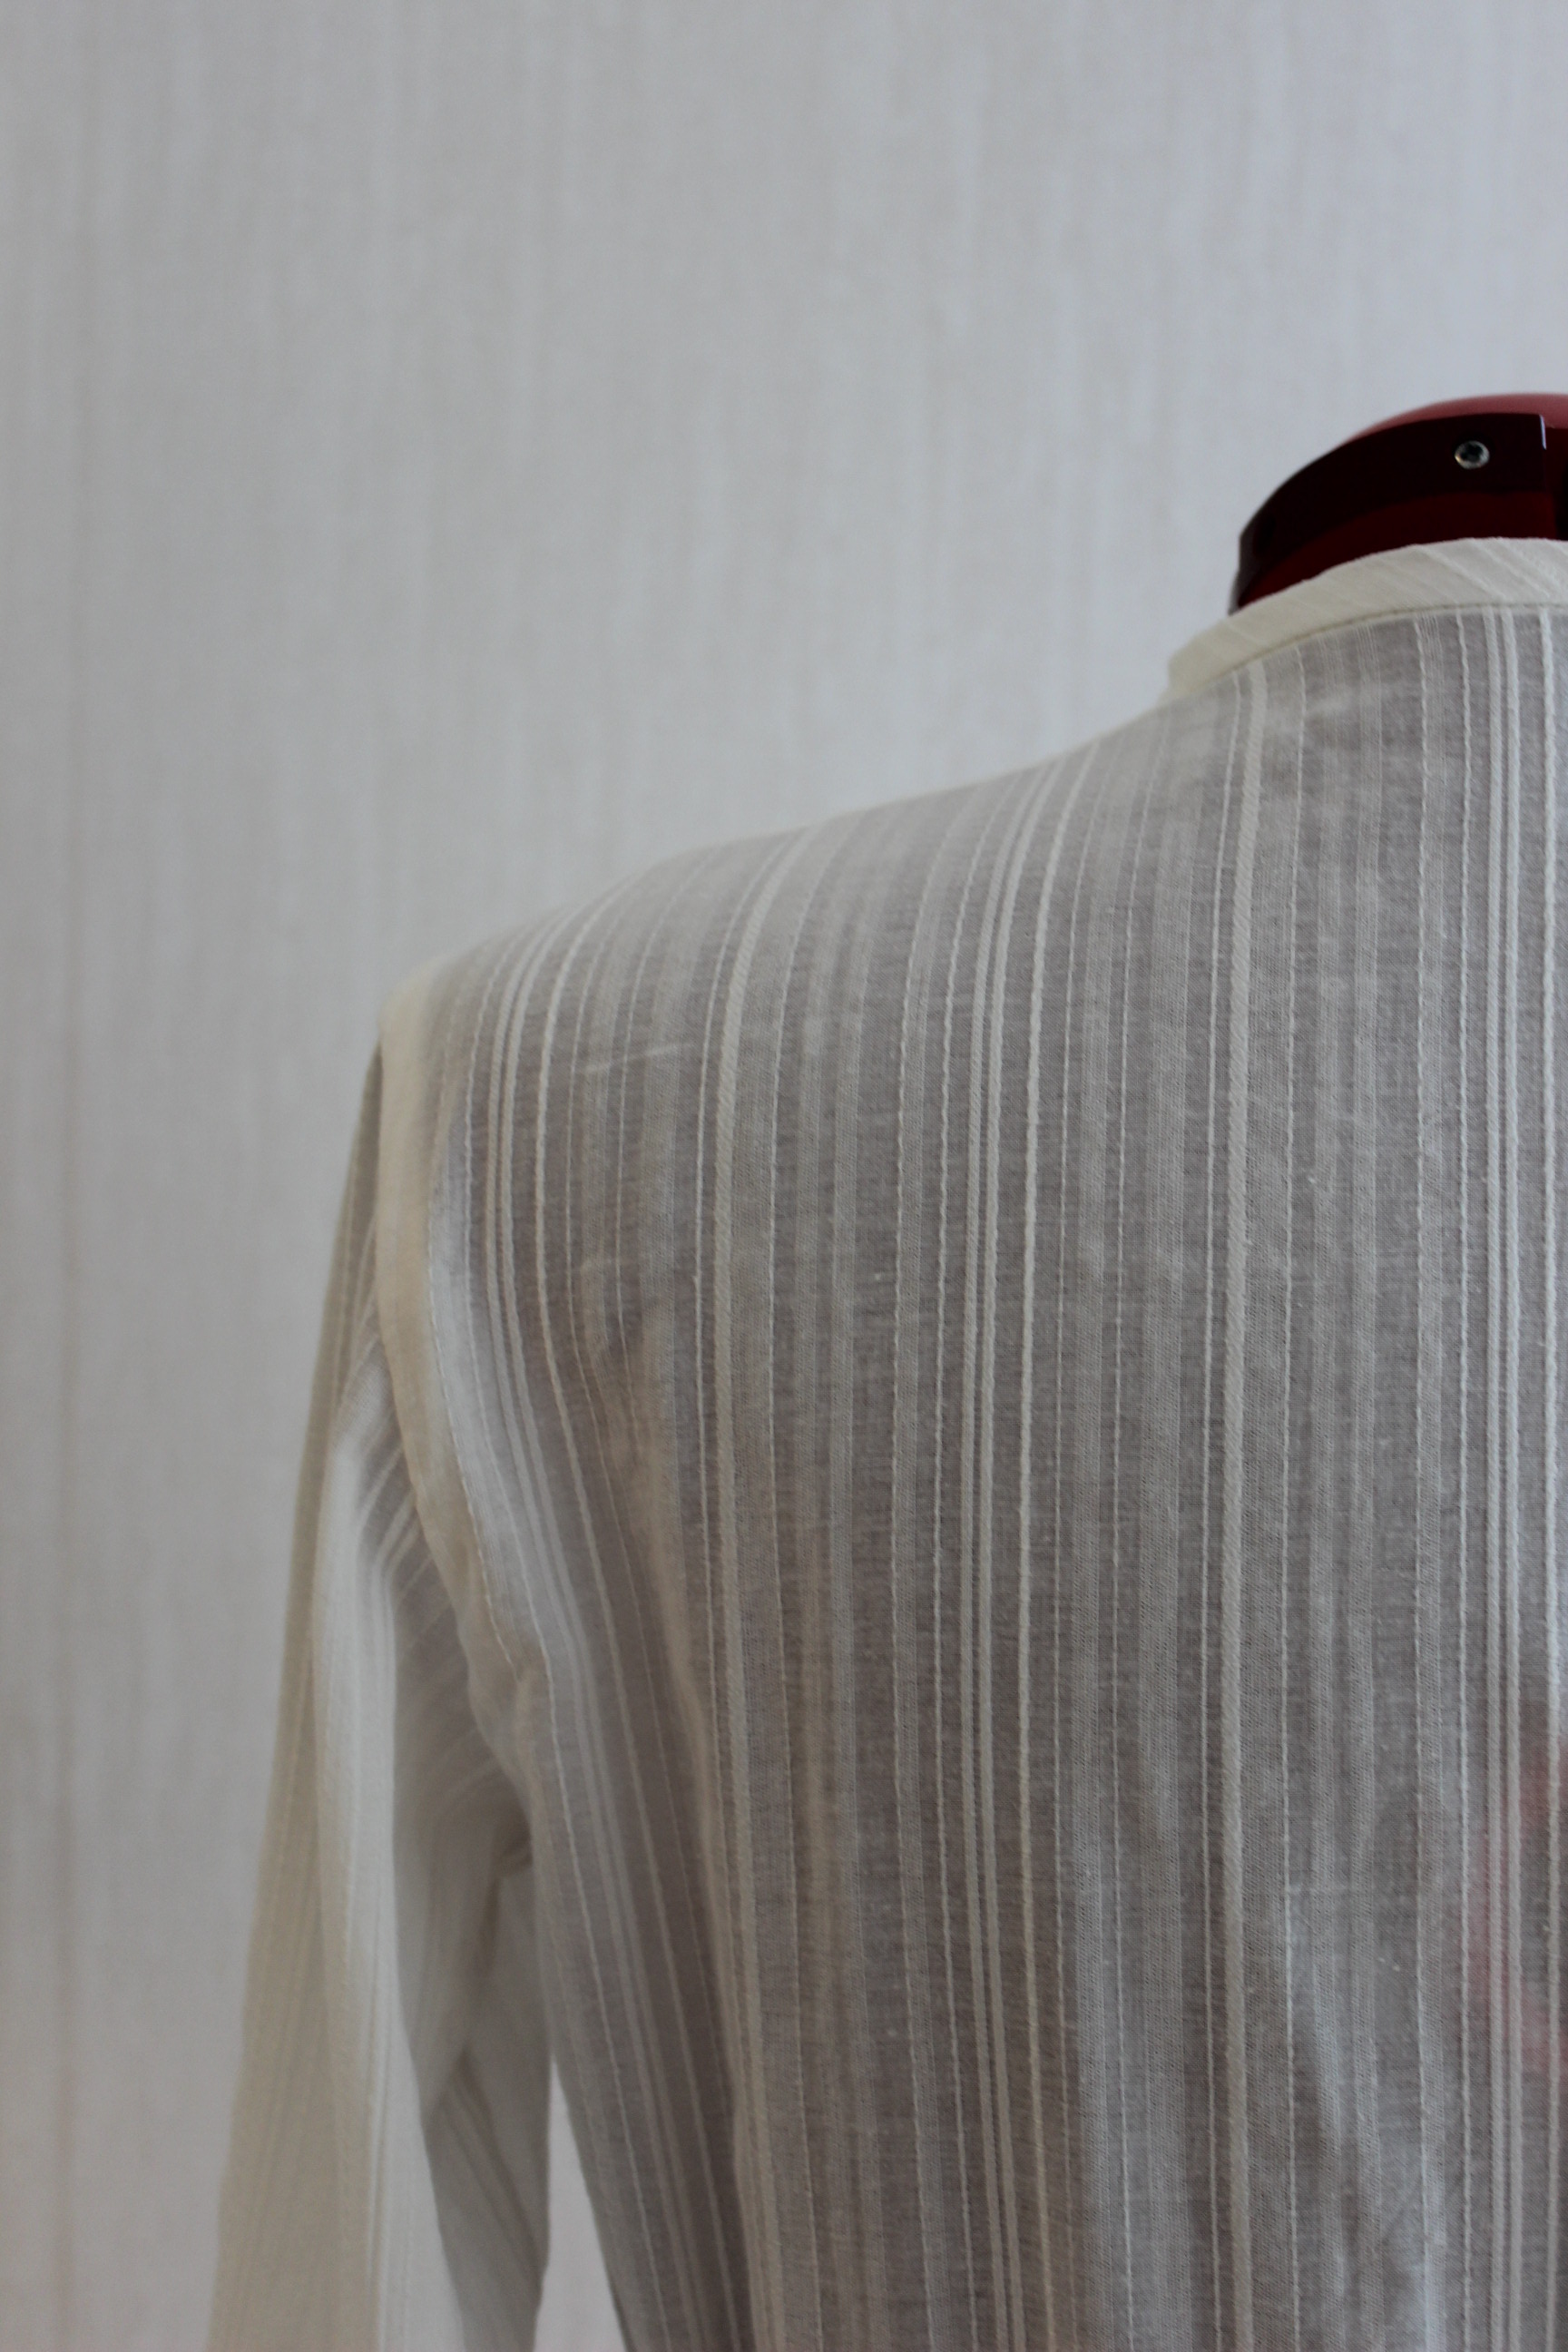
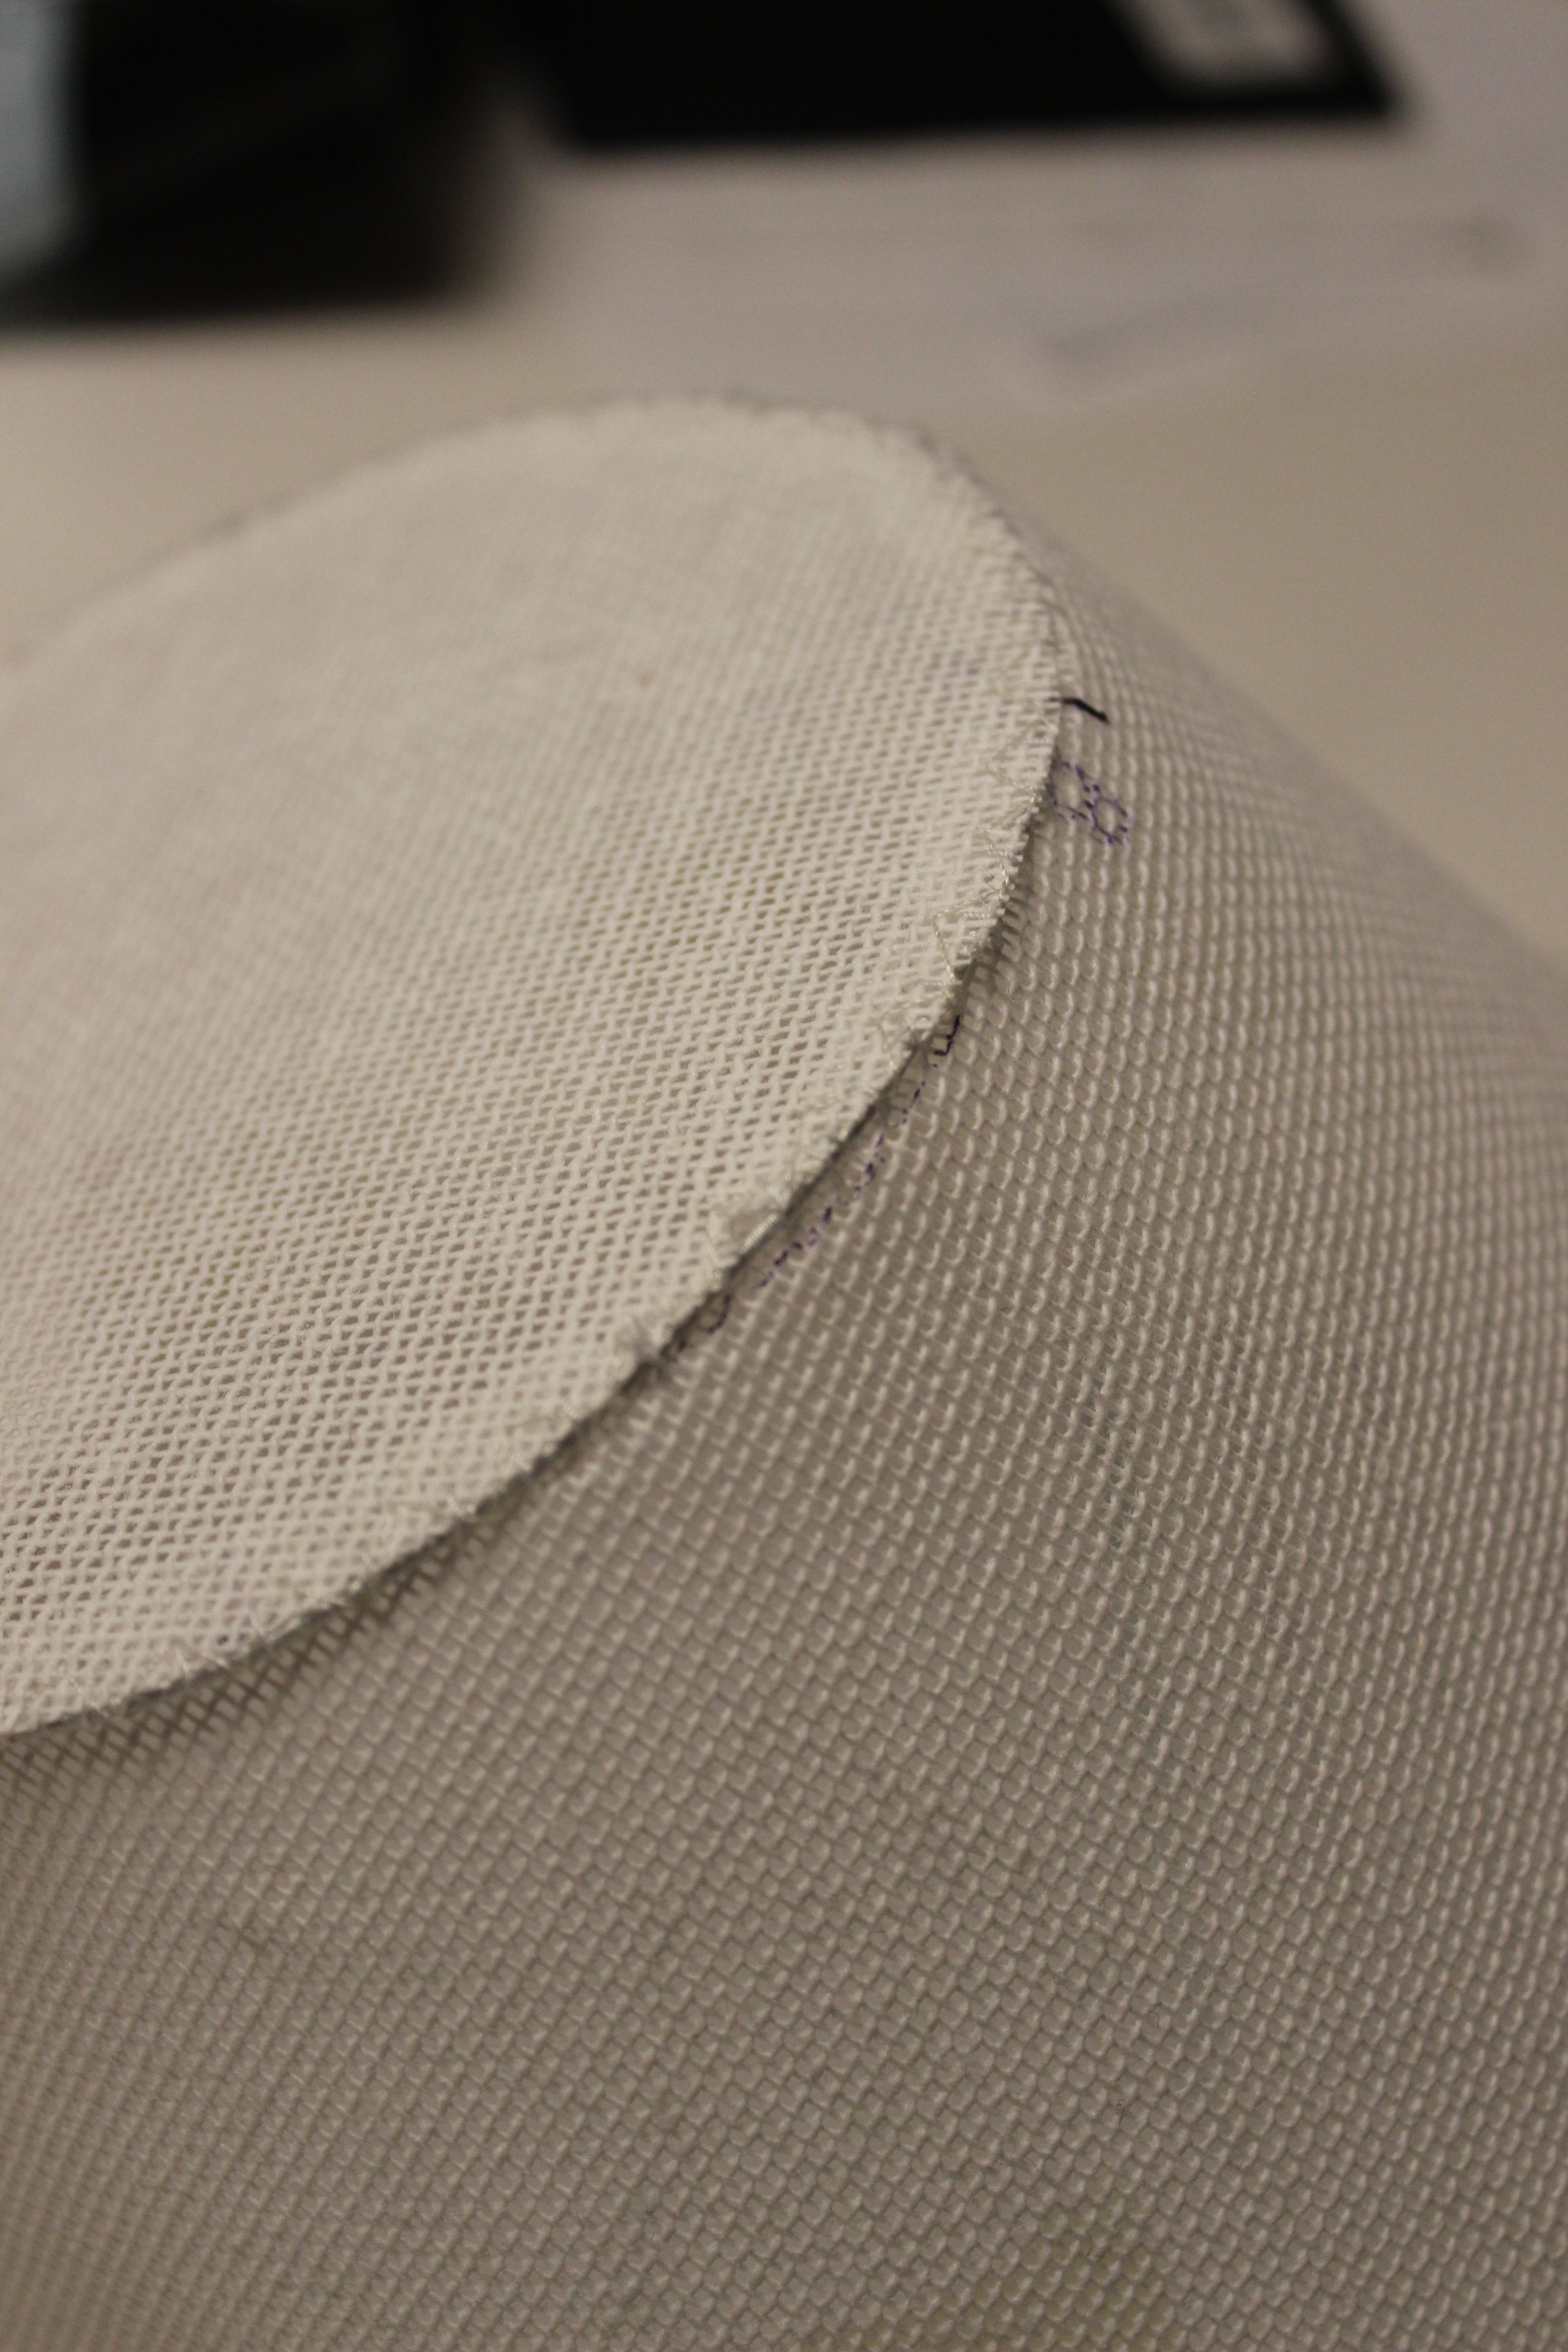
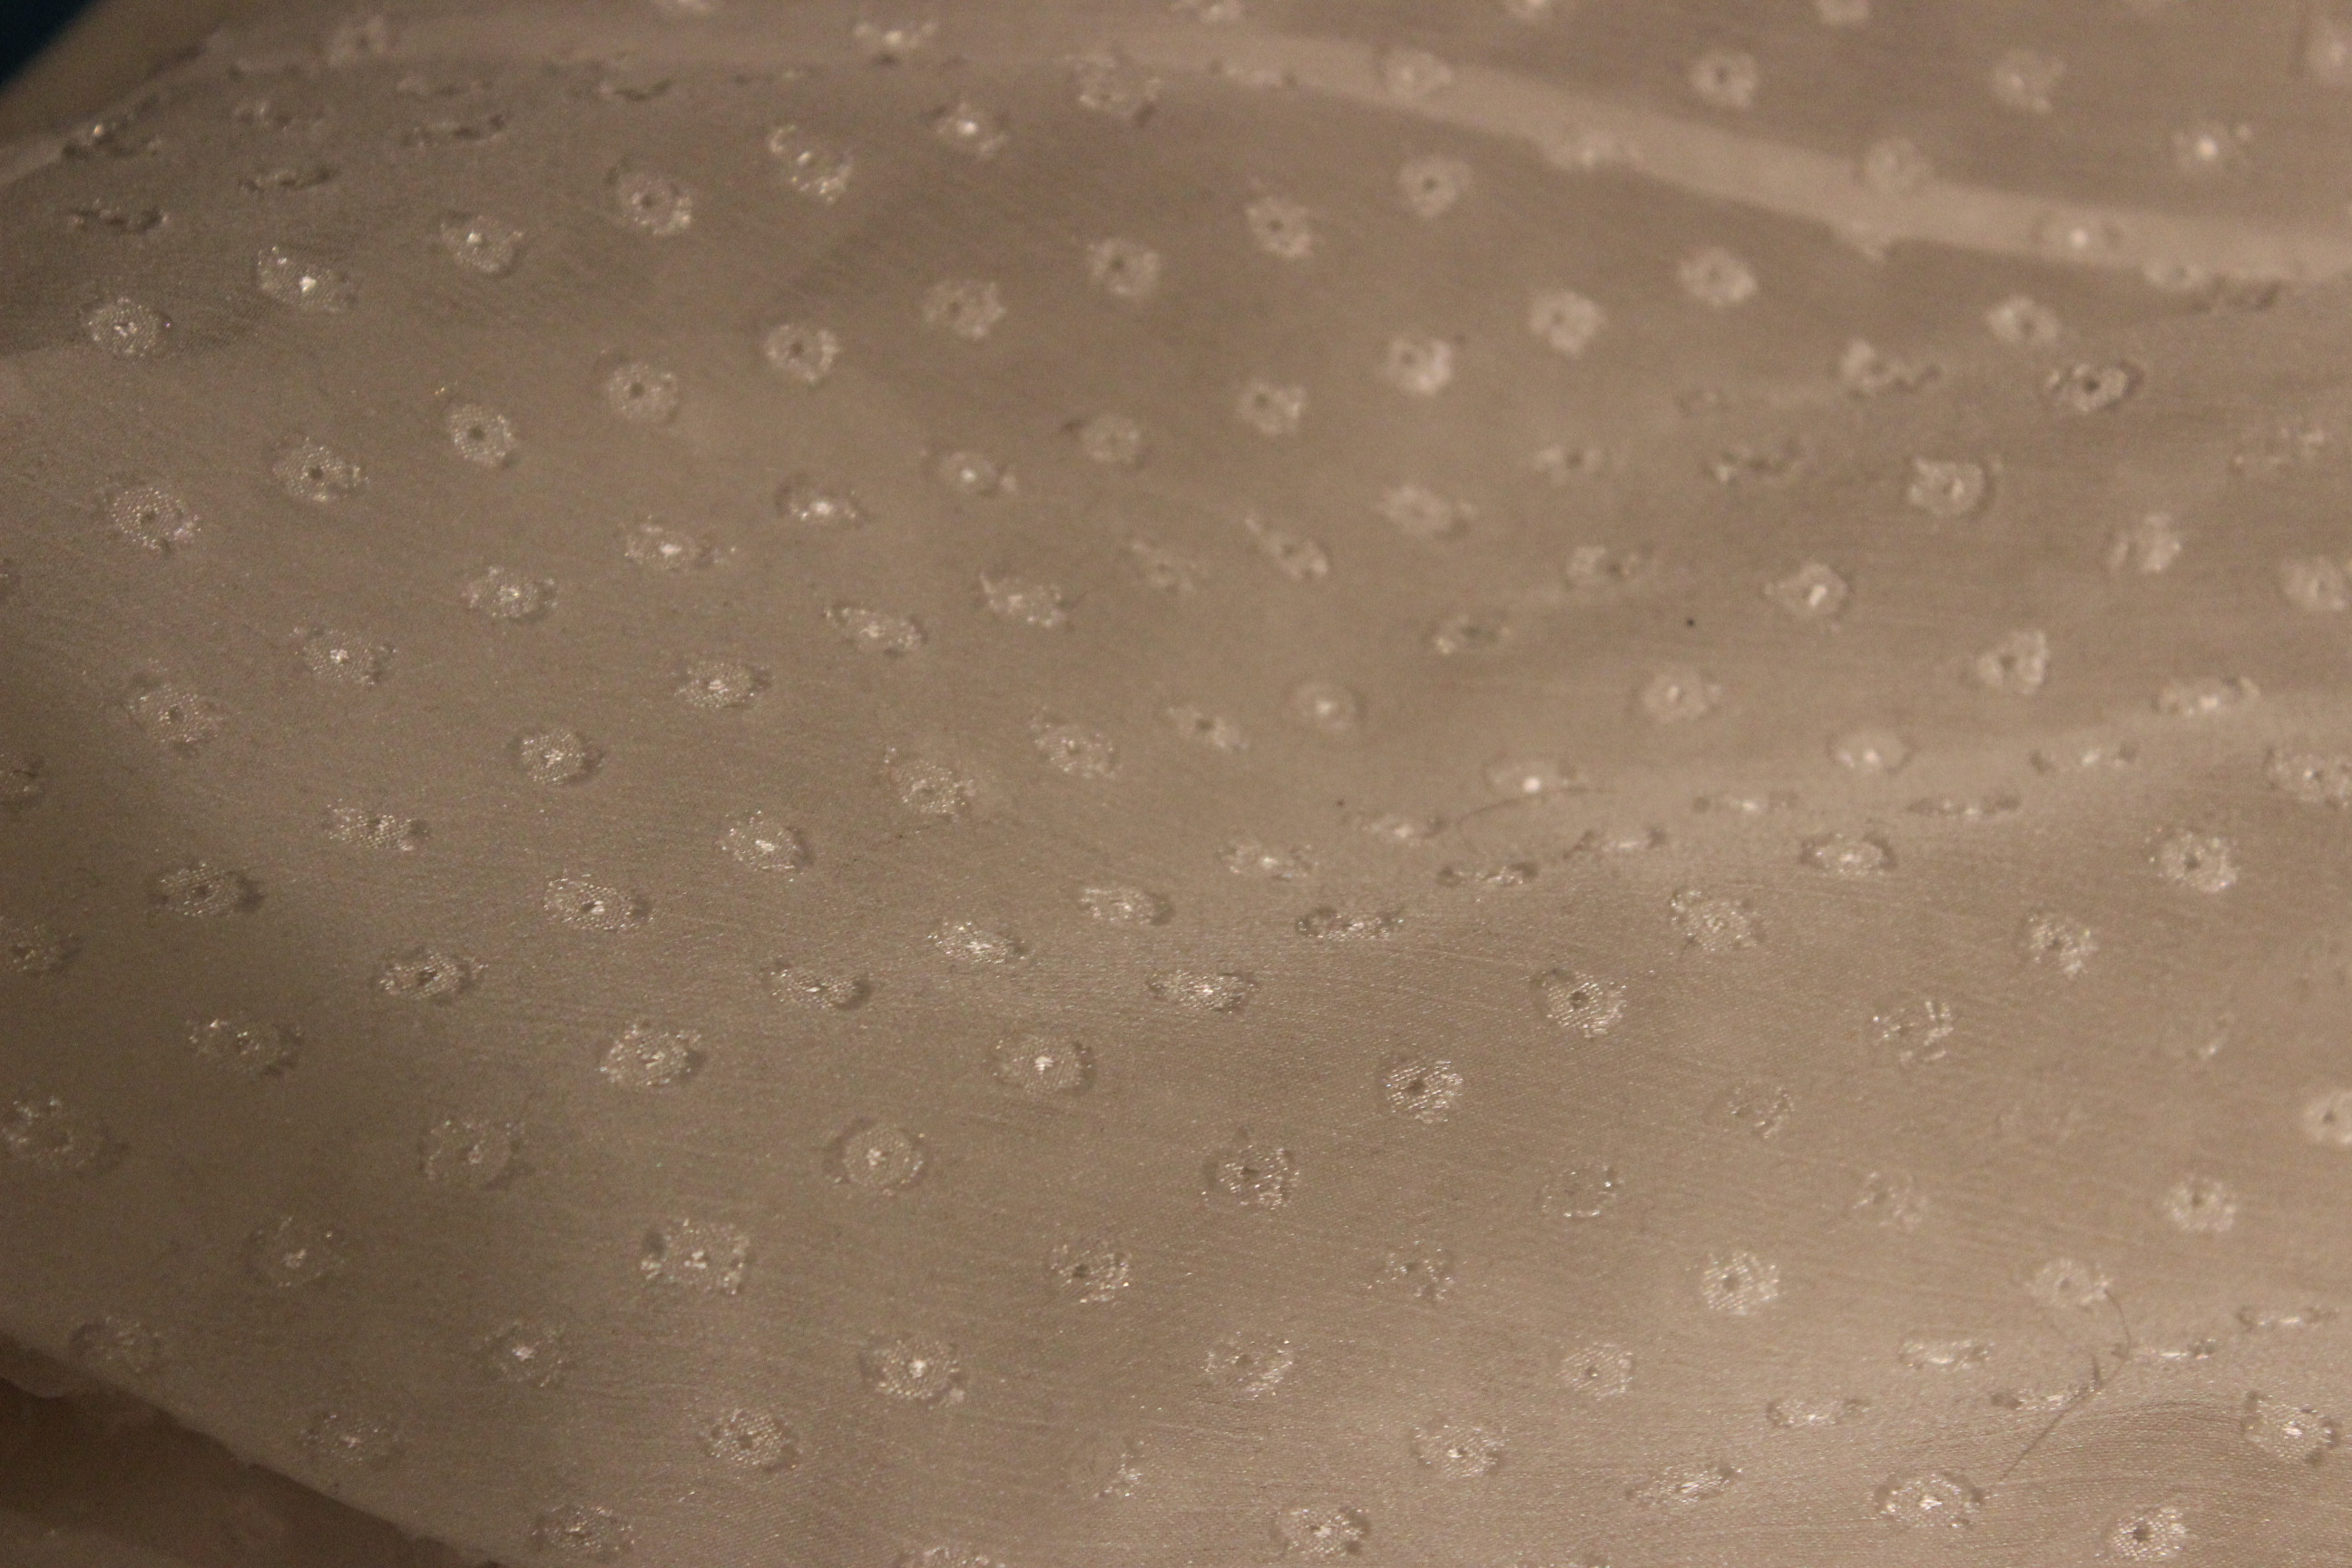
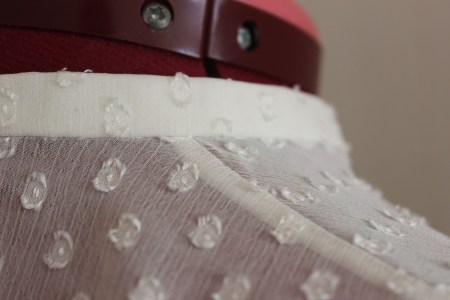
For fabric I used leftovers from my “Chemise a la Lambelle” & ” Ariel/Camille” dresses, A really nice and strong structured cotton voile(?)
Unfortunately I forgot to take any photos of the construction process, but it was so simple and went so smooth that I just kept sewing and finished over one afternoon.
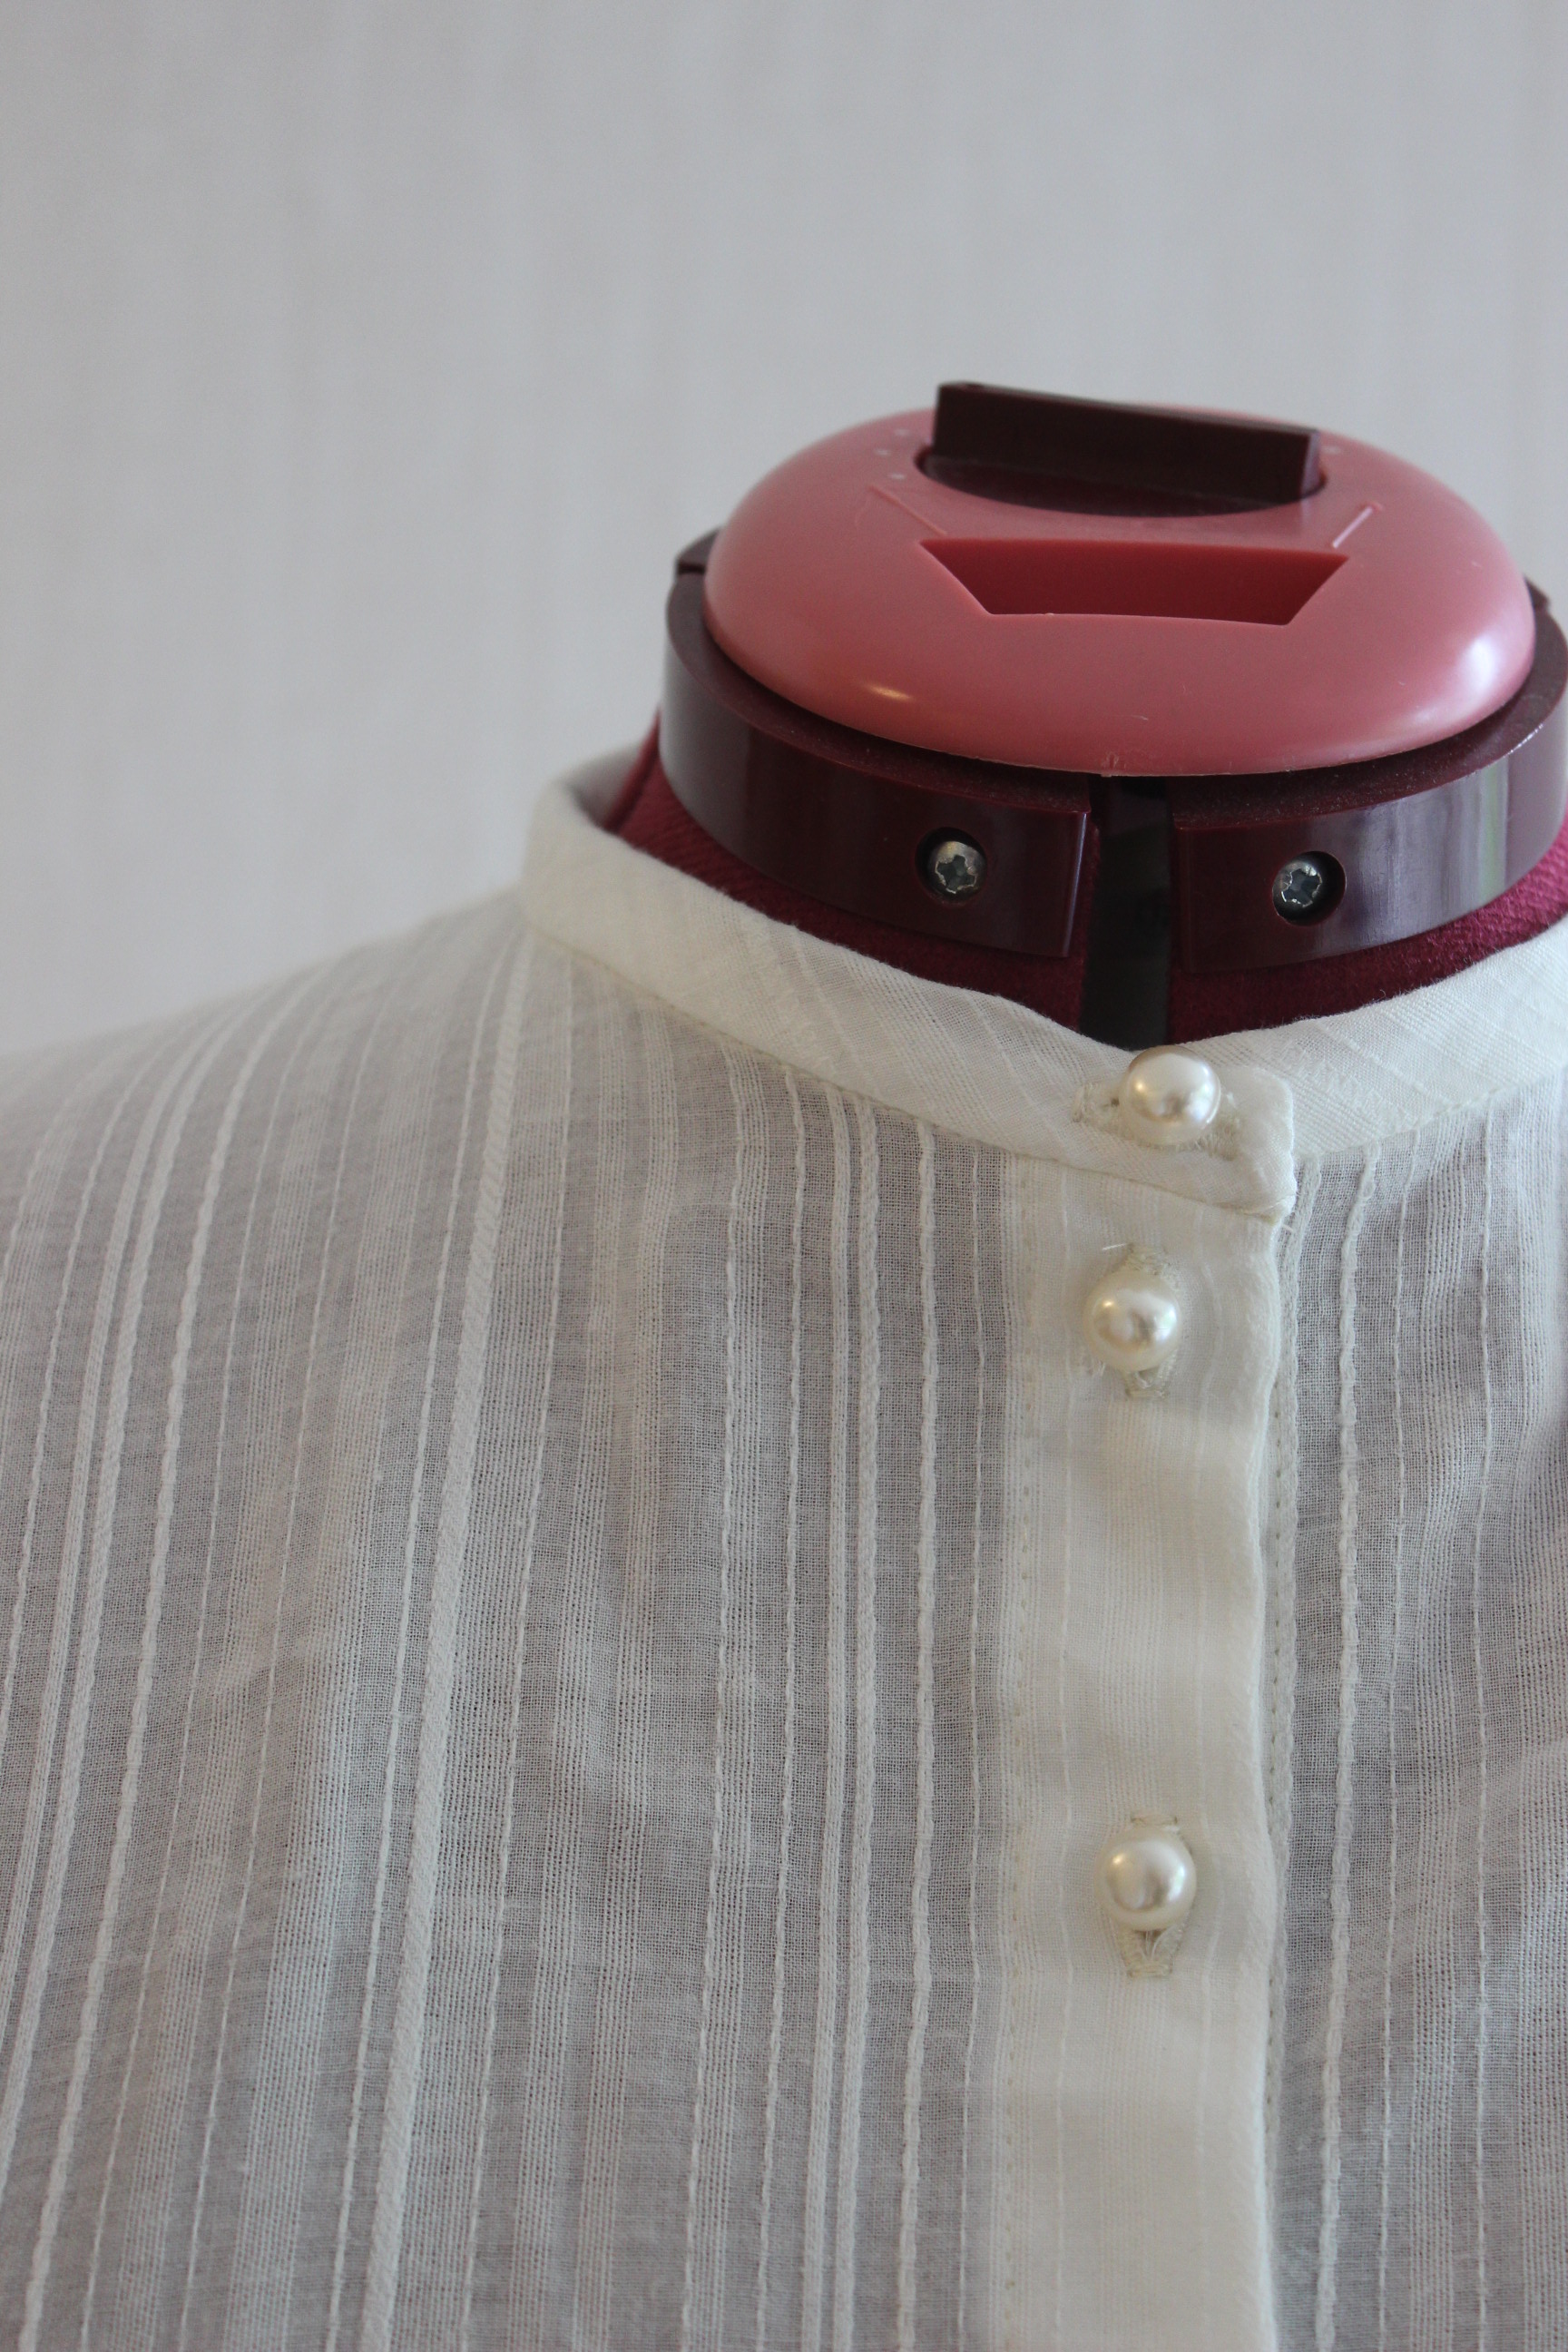
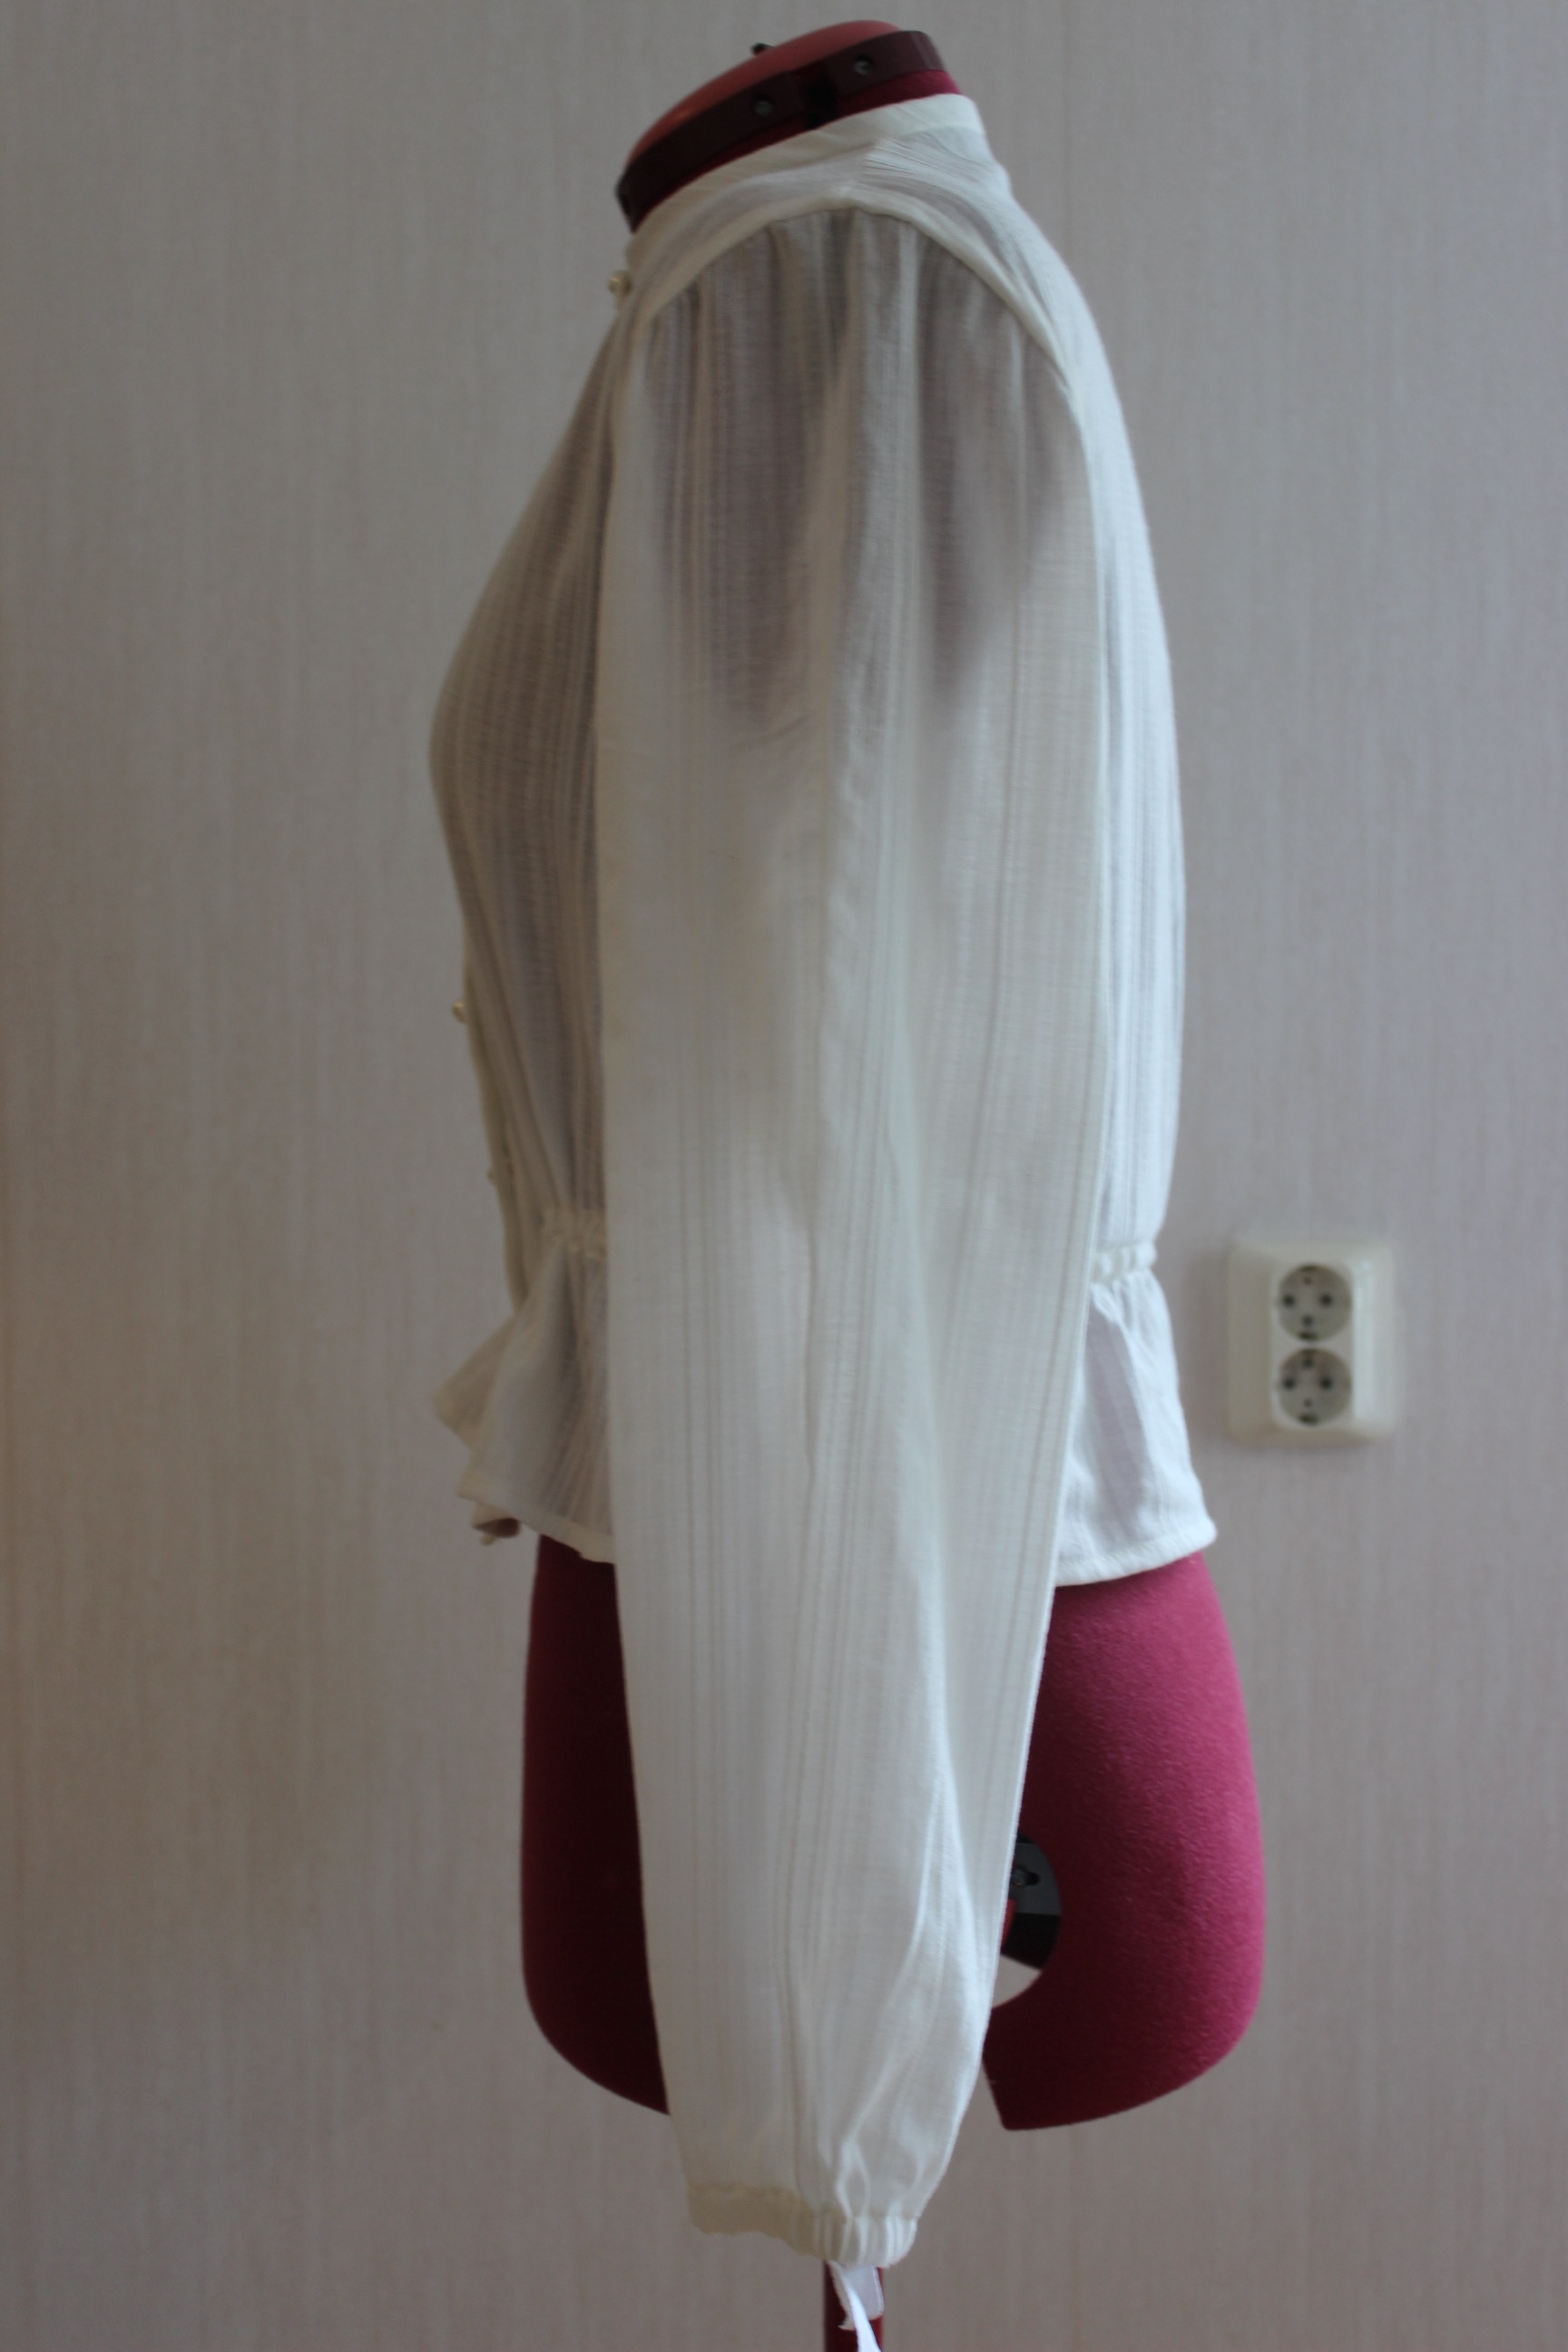
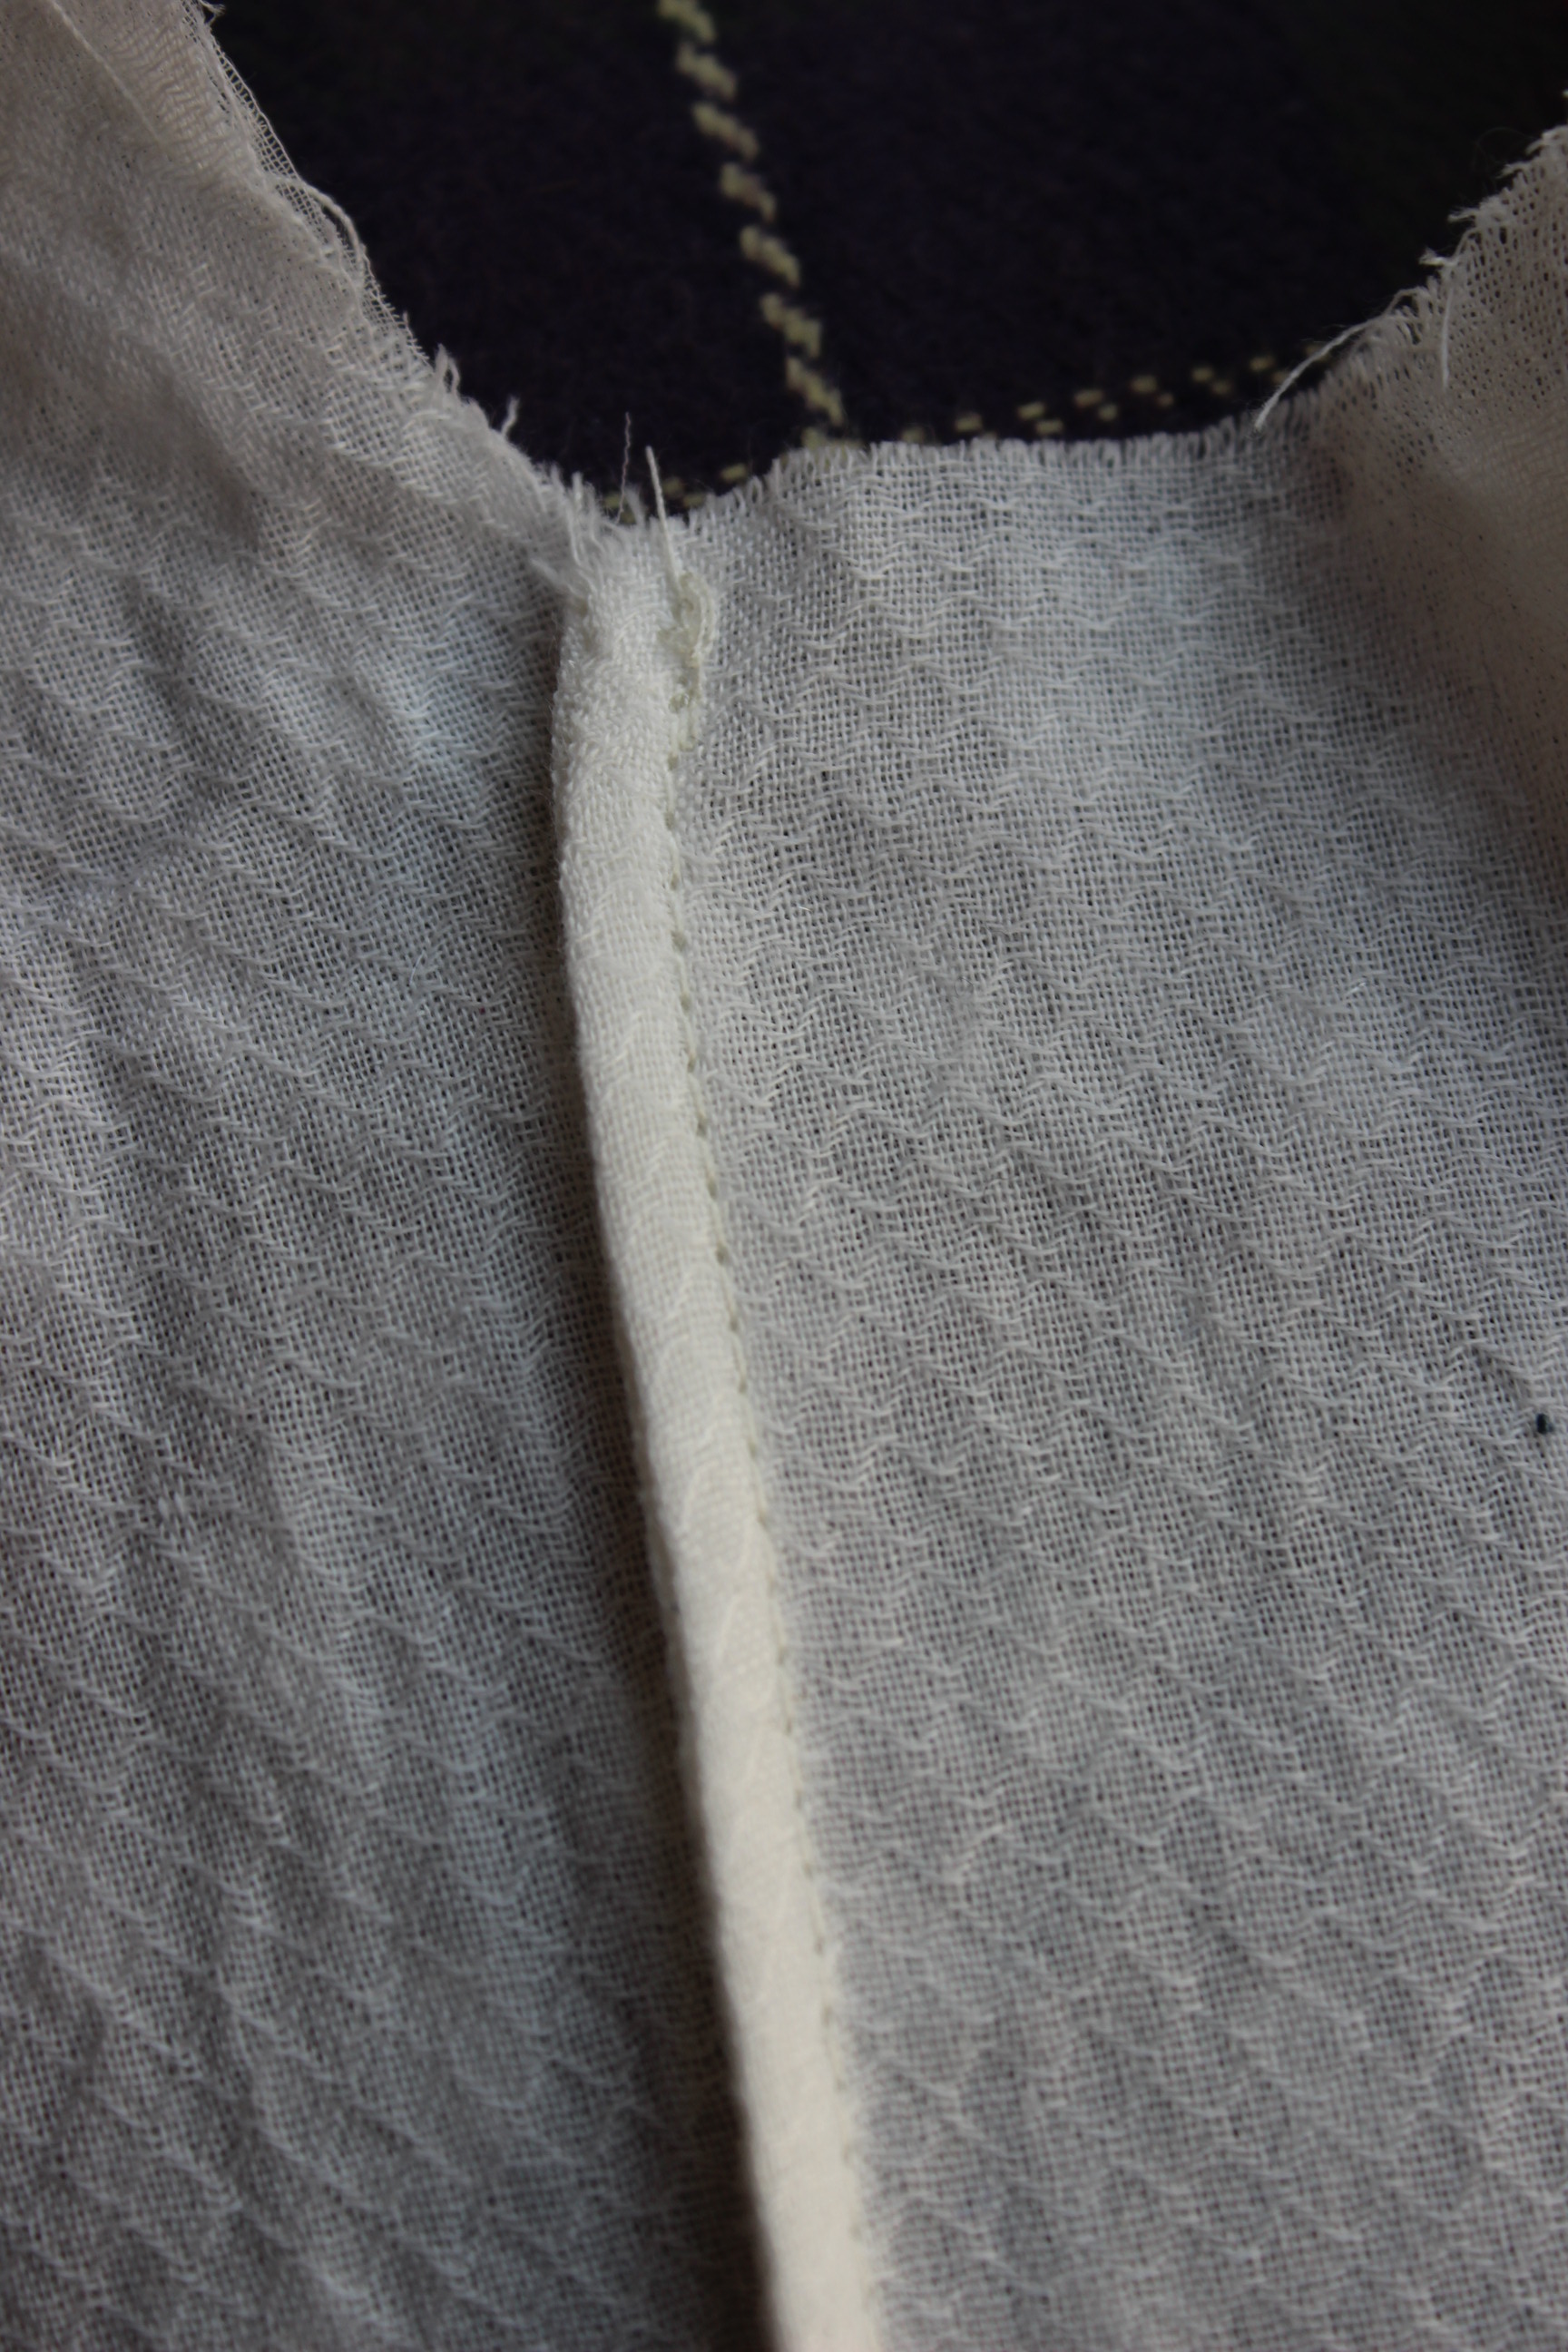
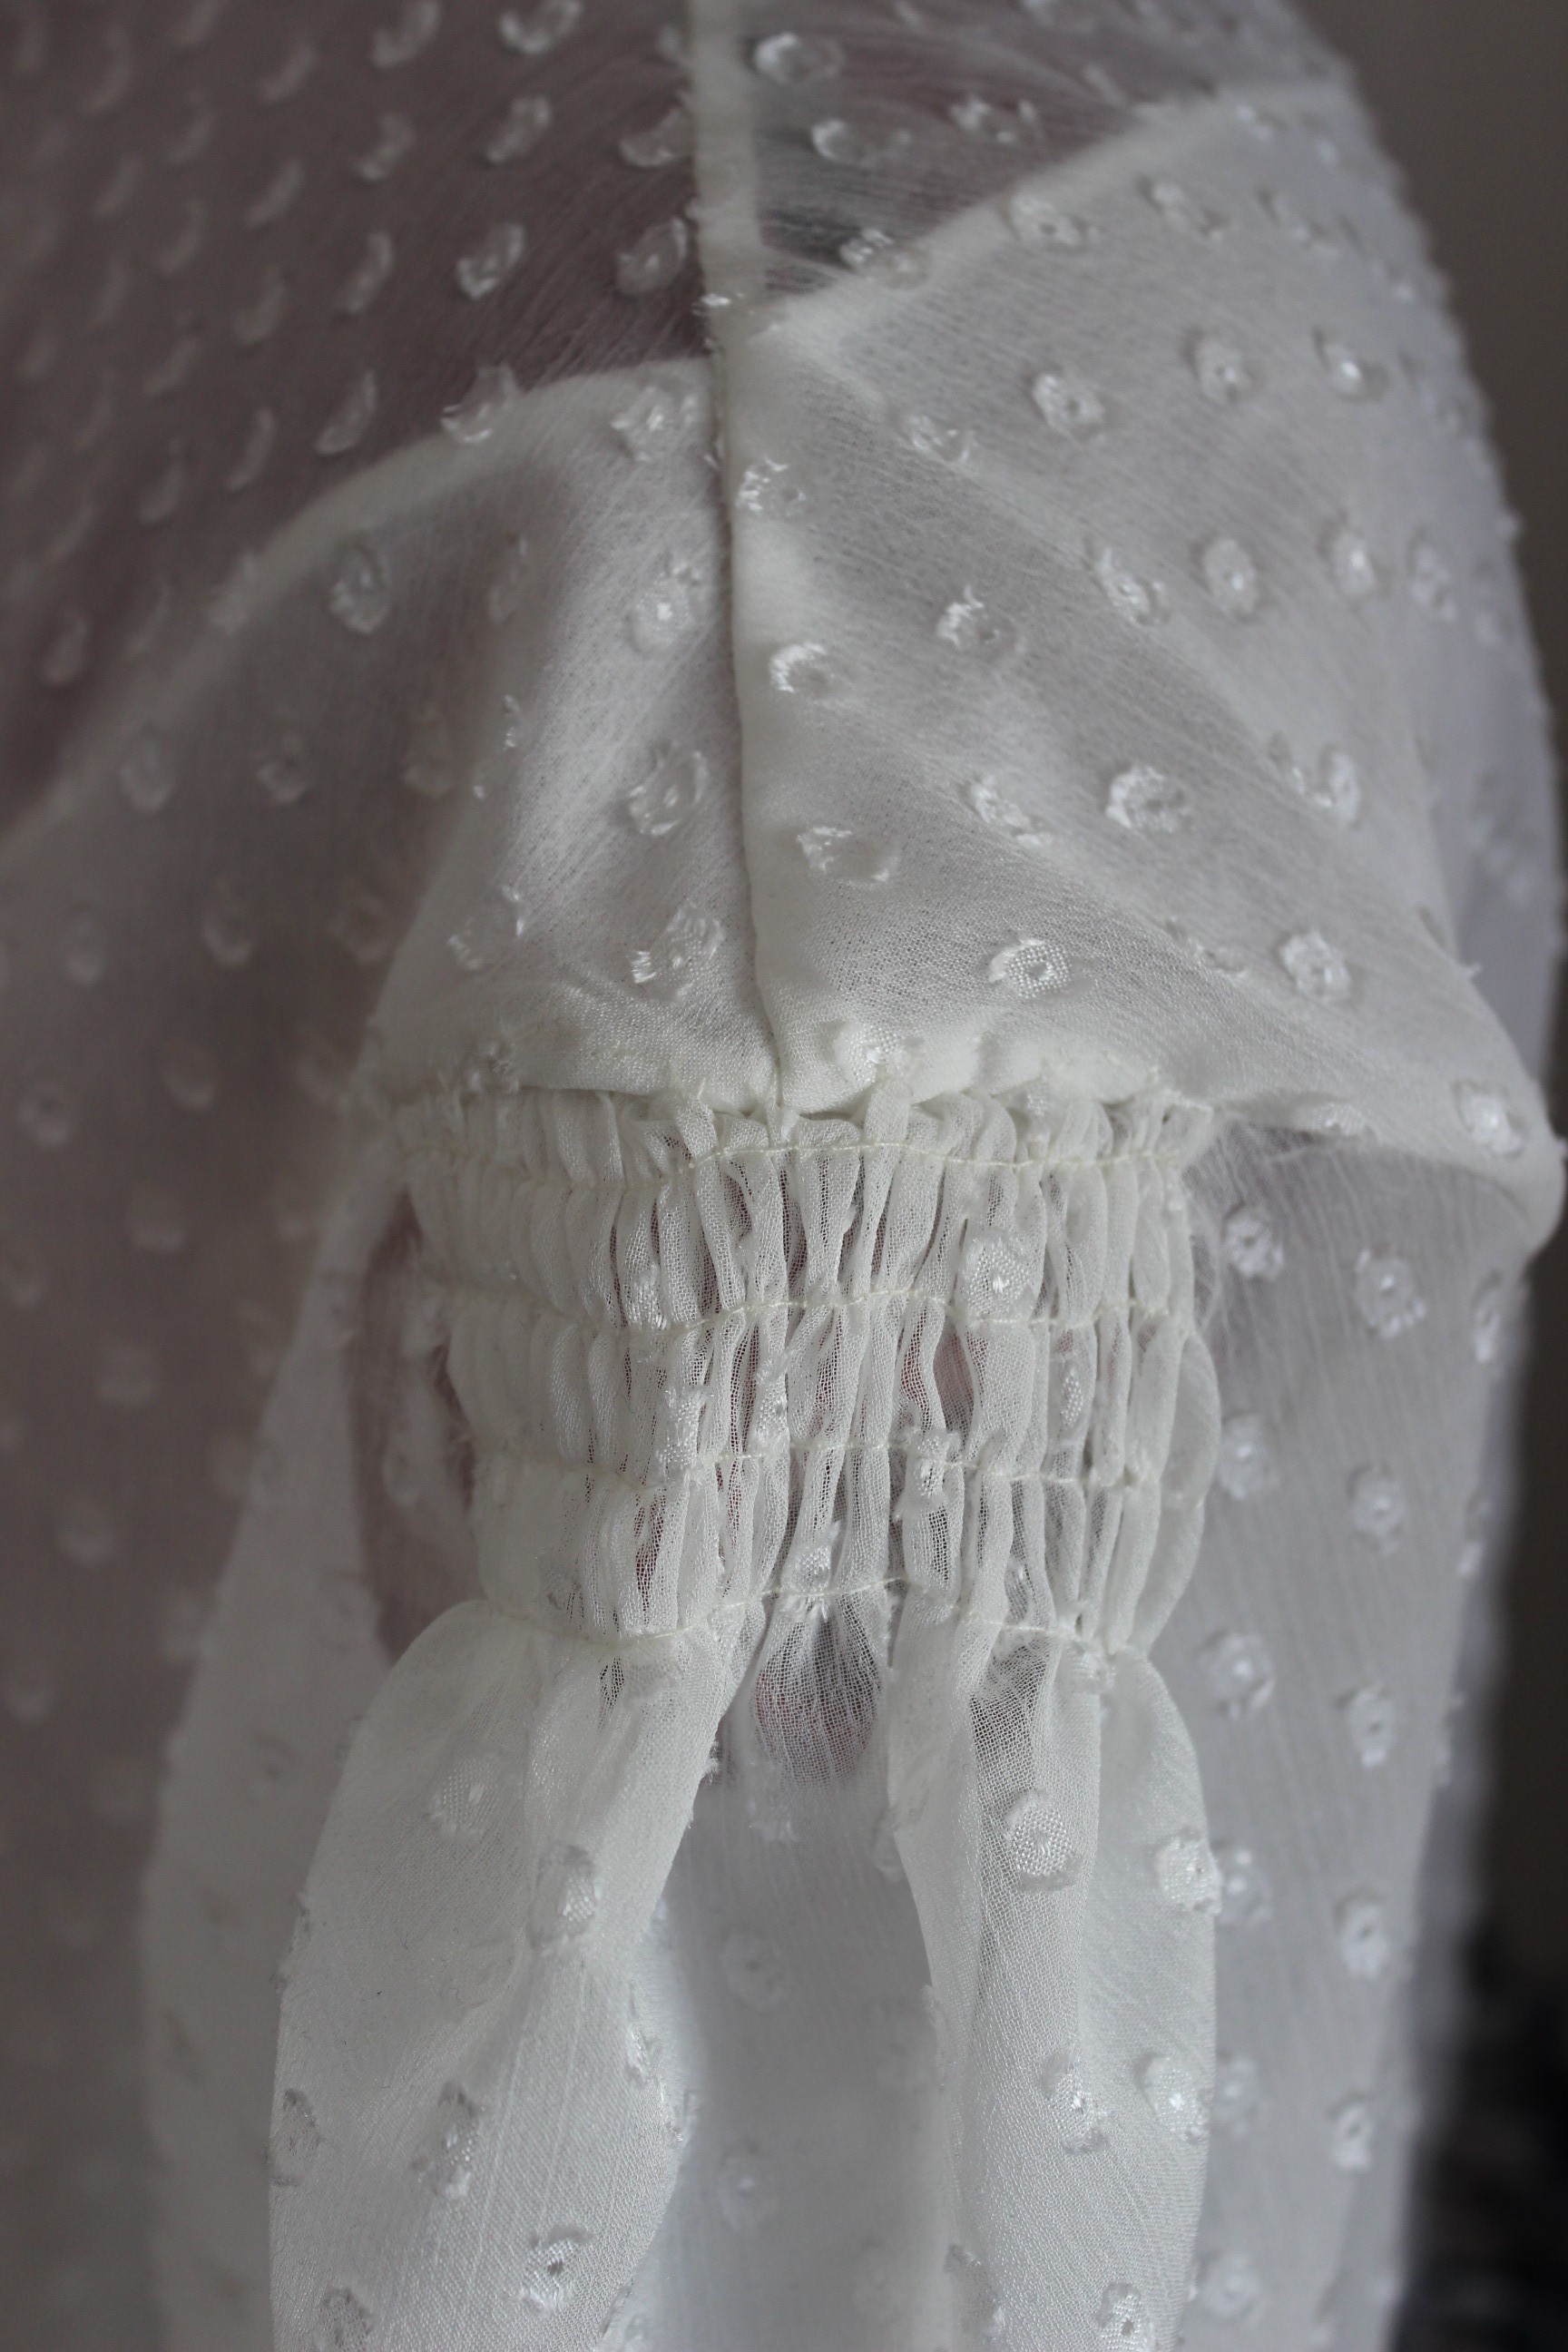
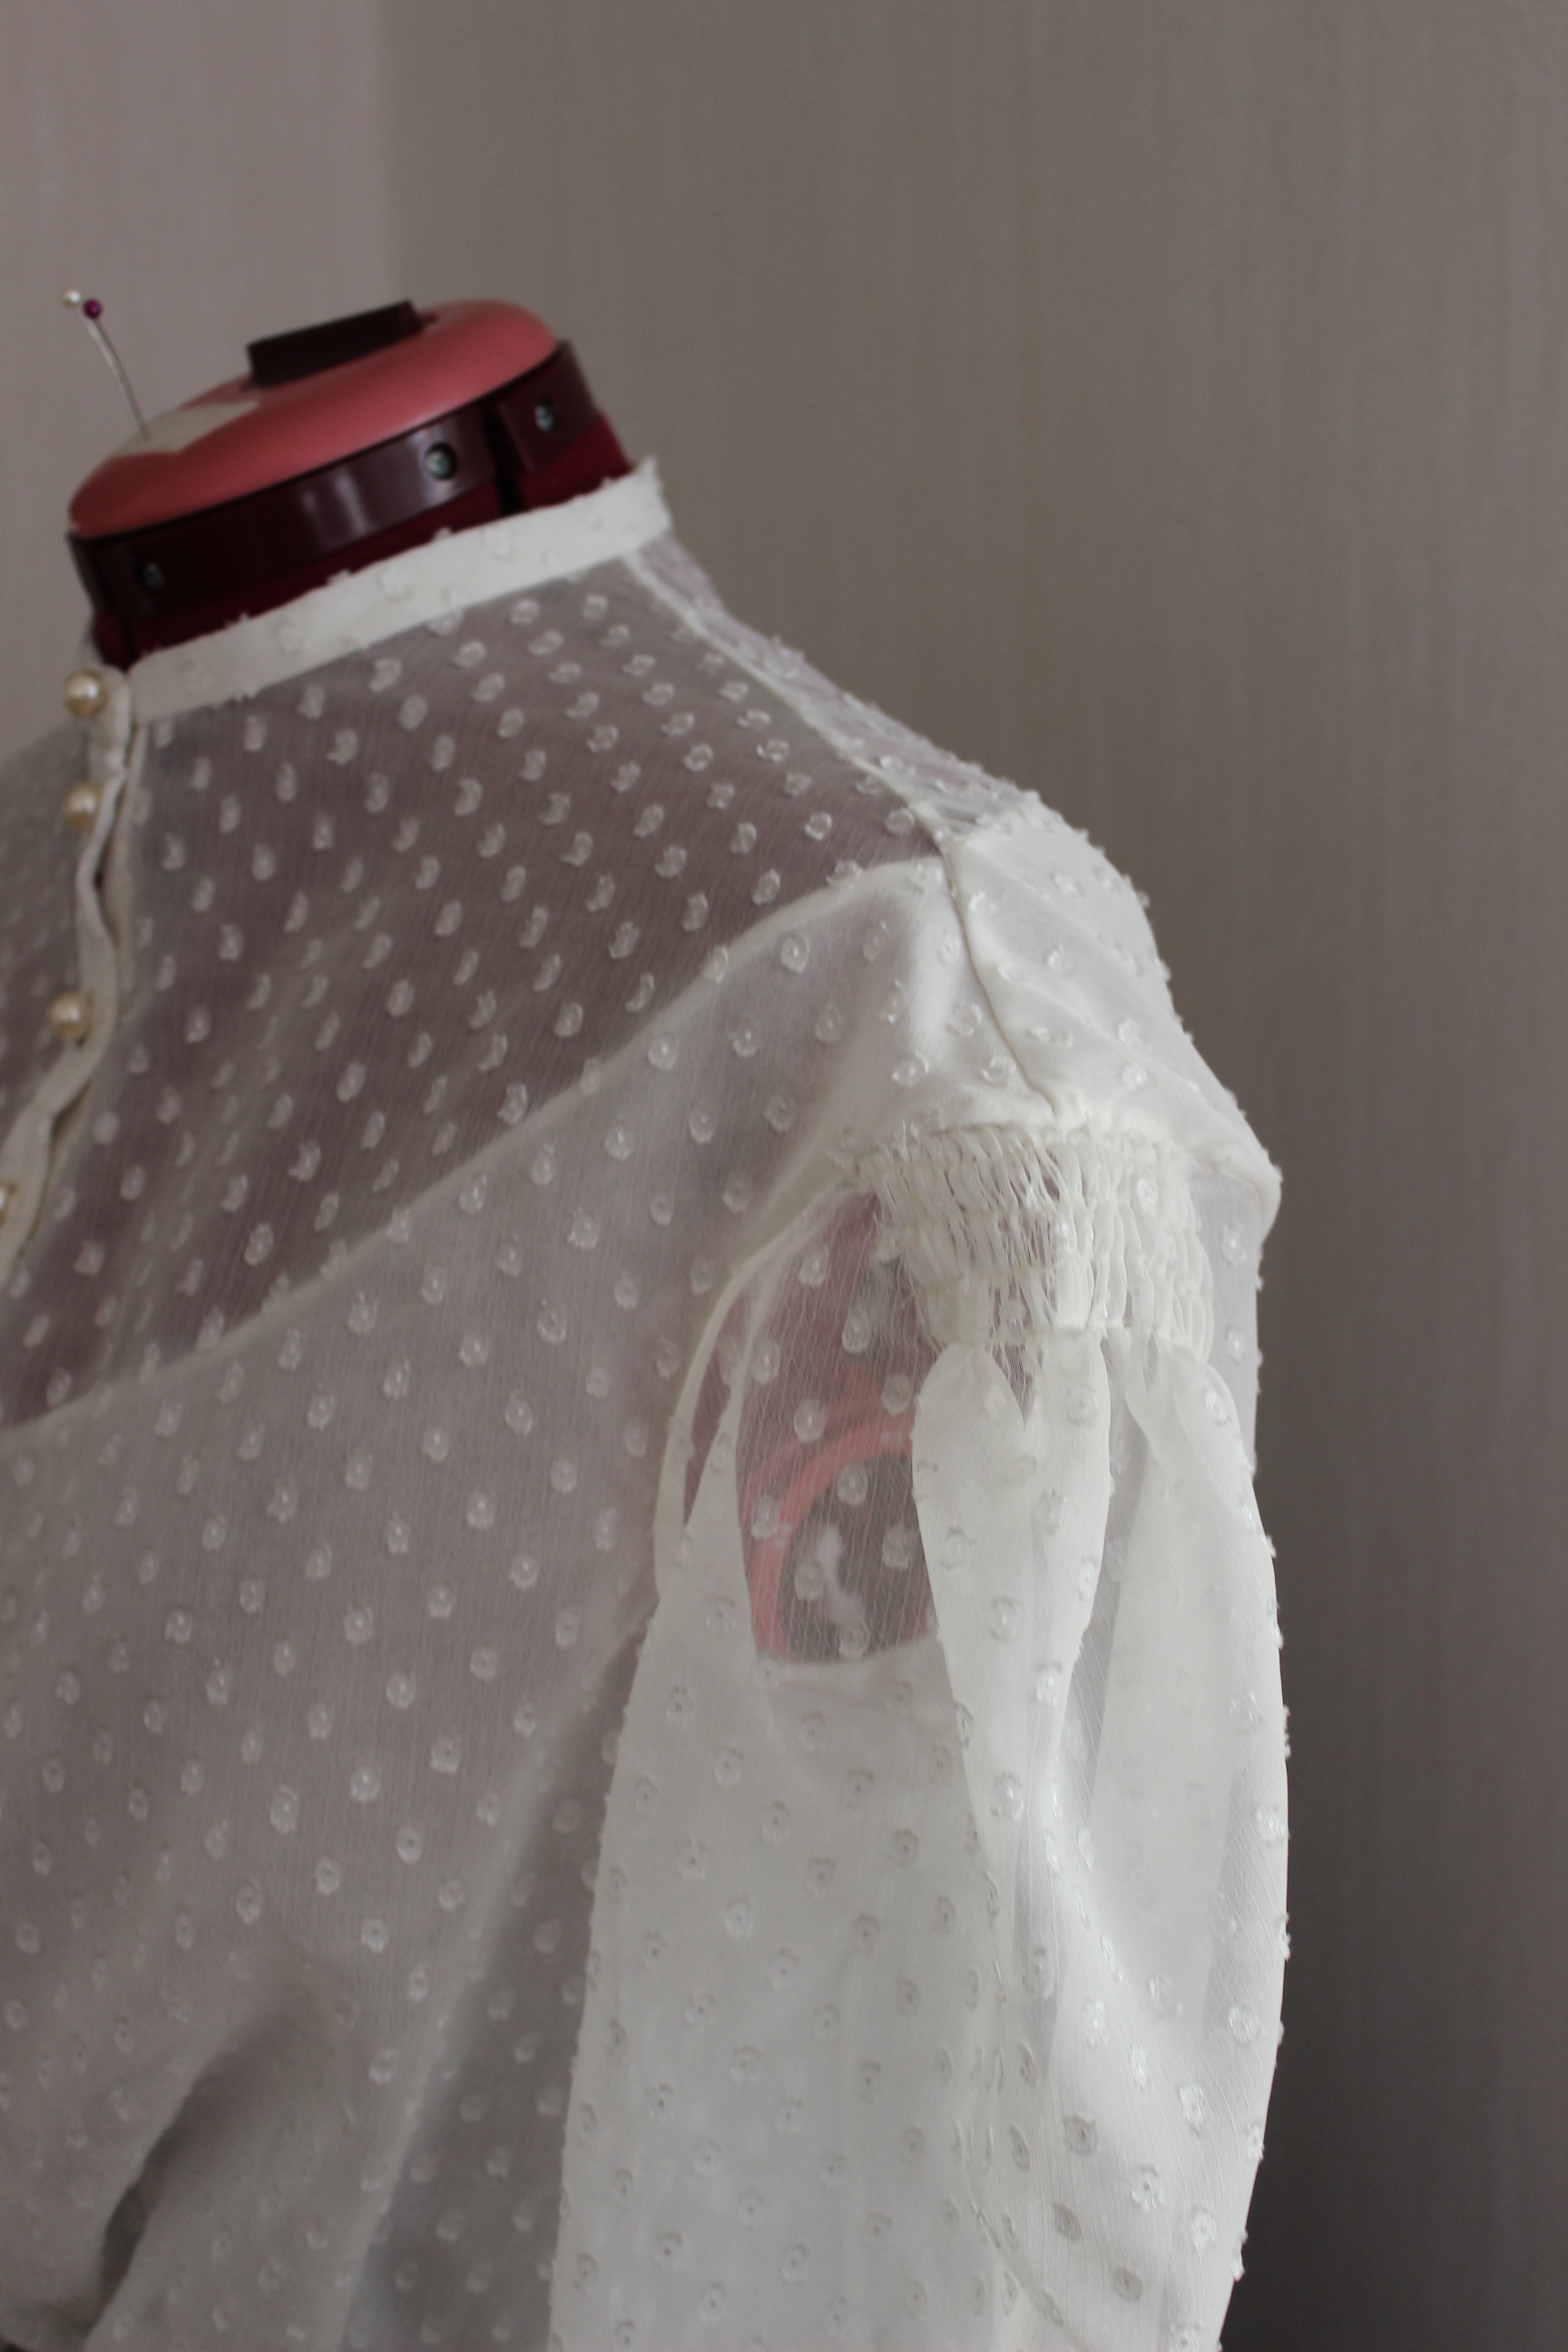
Basically I just stitched the bodice together using french seams, added the small collar, sewed the buttonhole-stand and added buttons and (machined) buttonholes. Sewed and set the sleeves, covering the seams with bias-tape to get a clean finish. Then I hemmed the shirt, added the bias-tape for the drawstring waist.
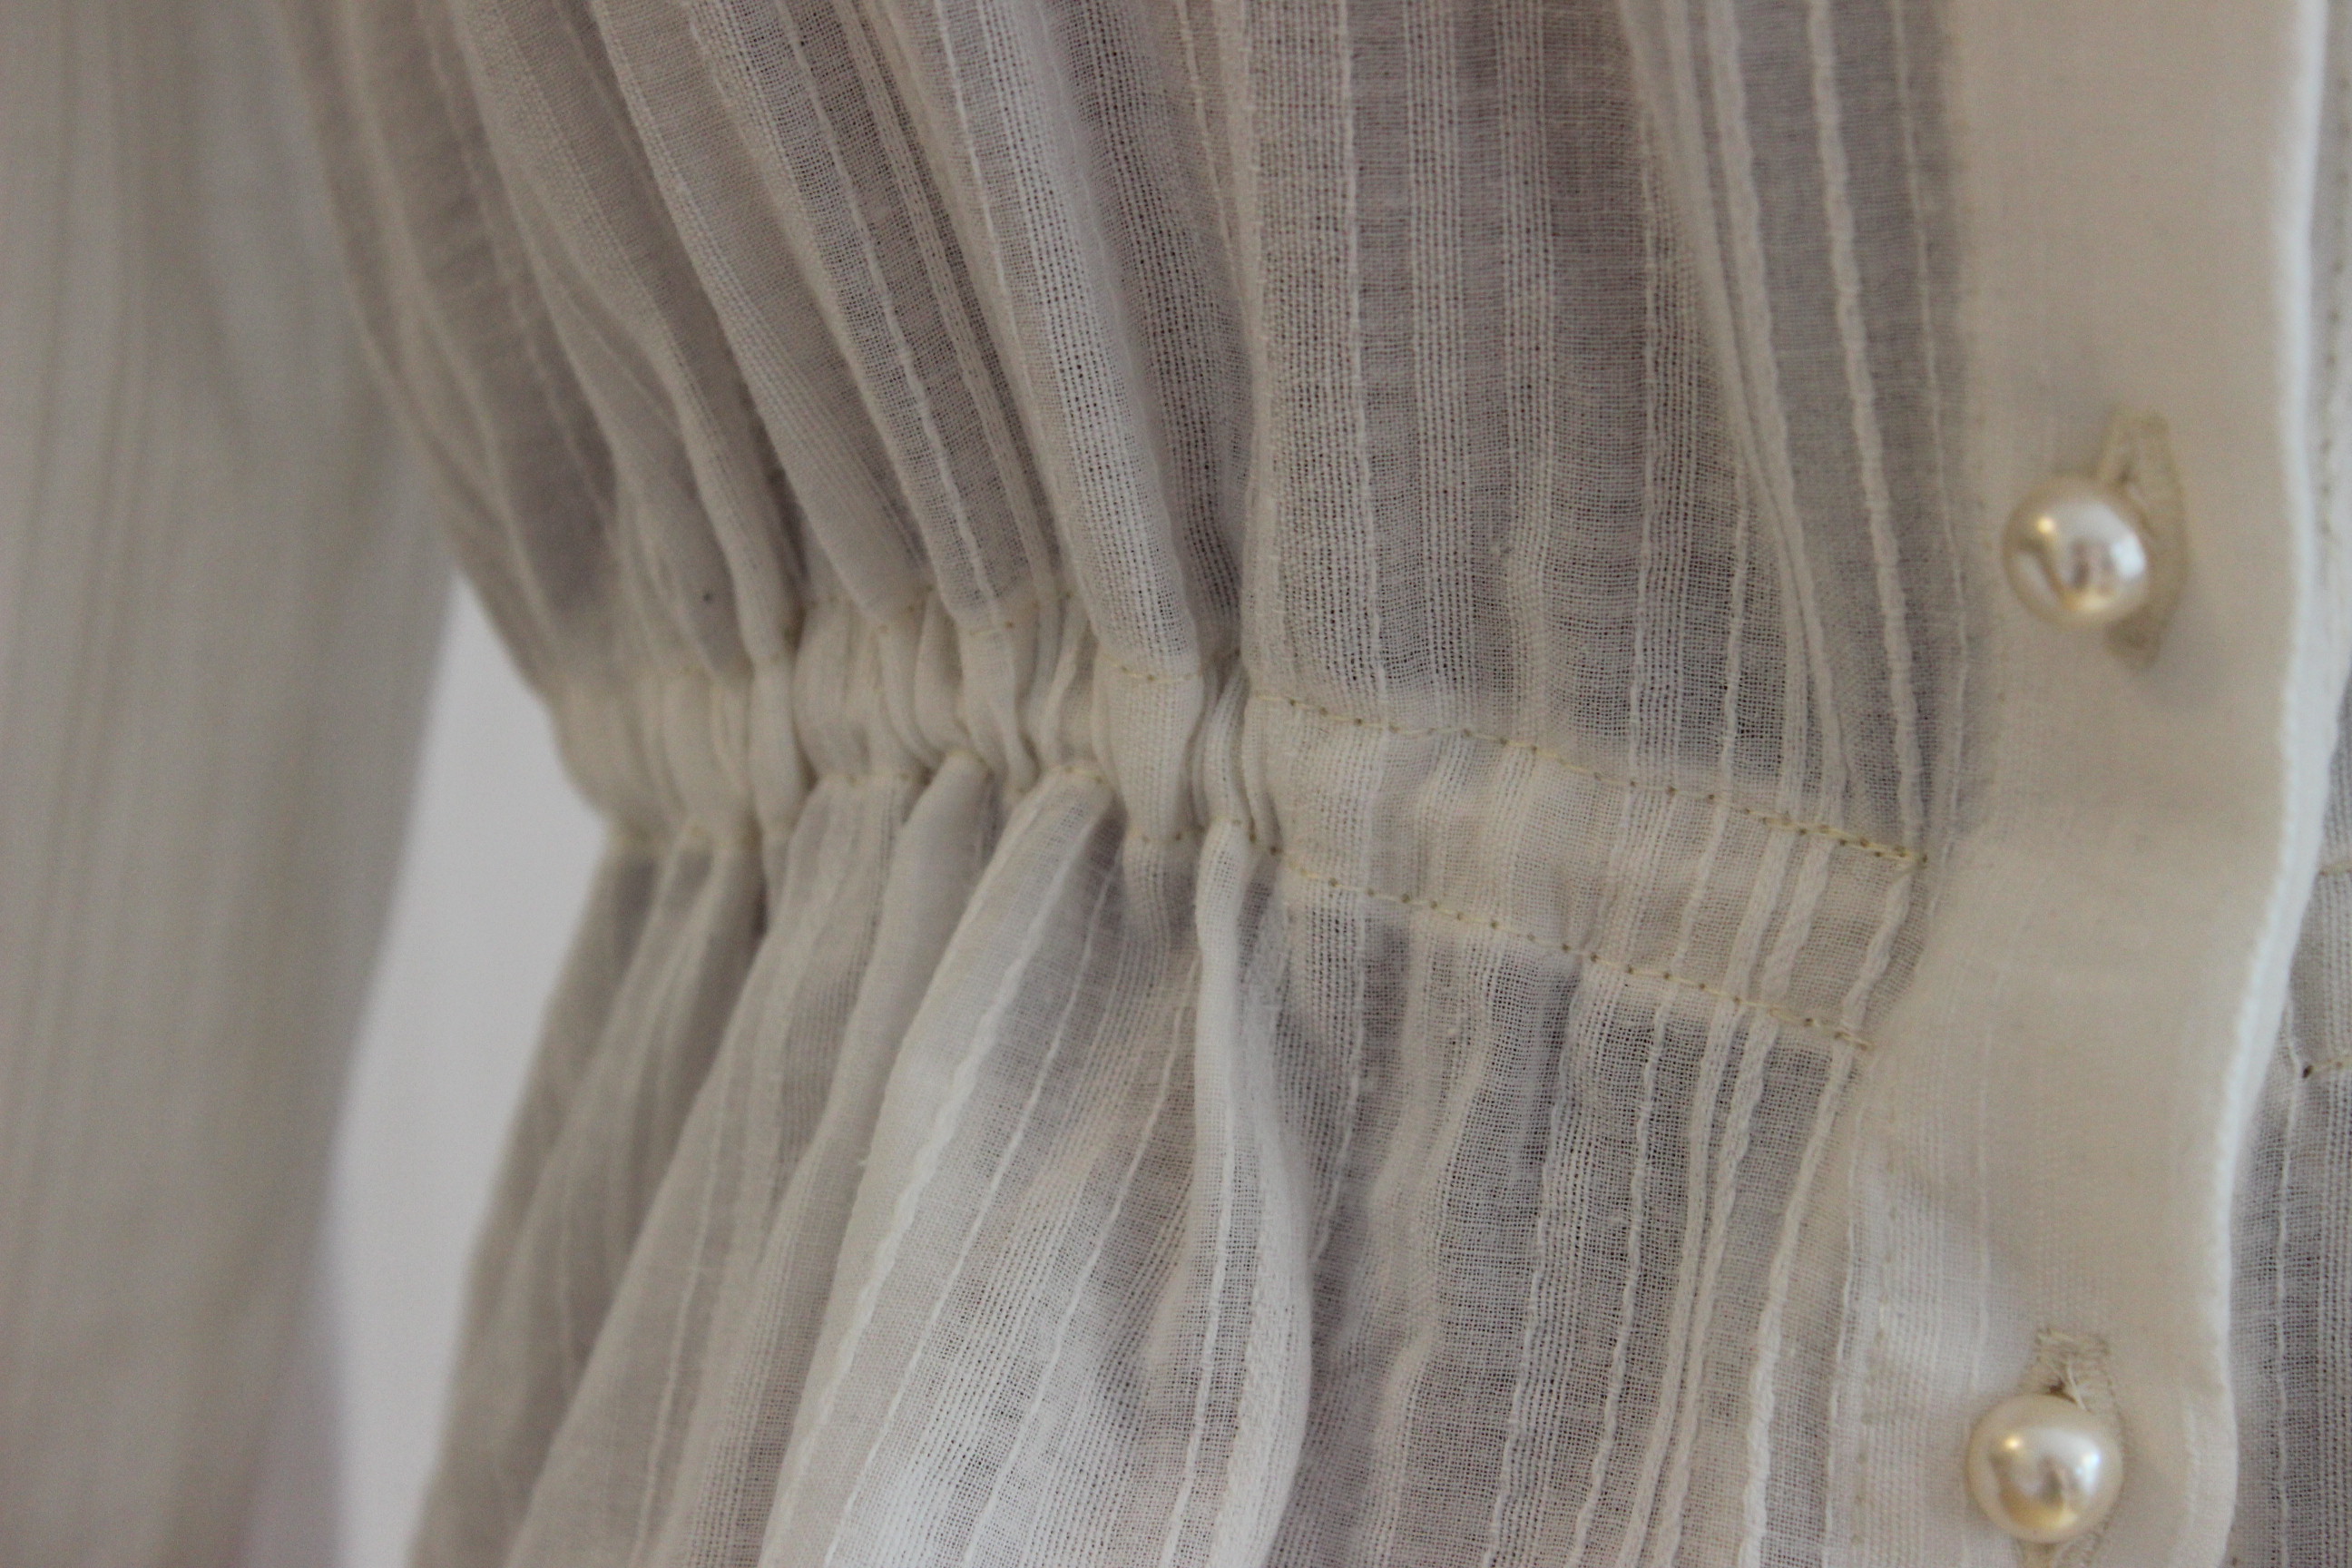
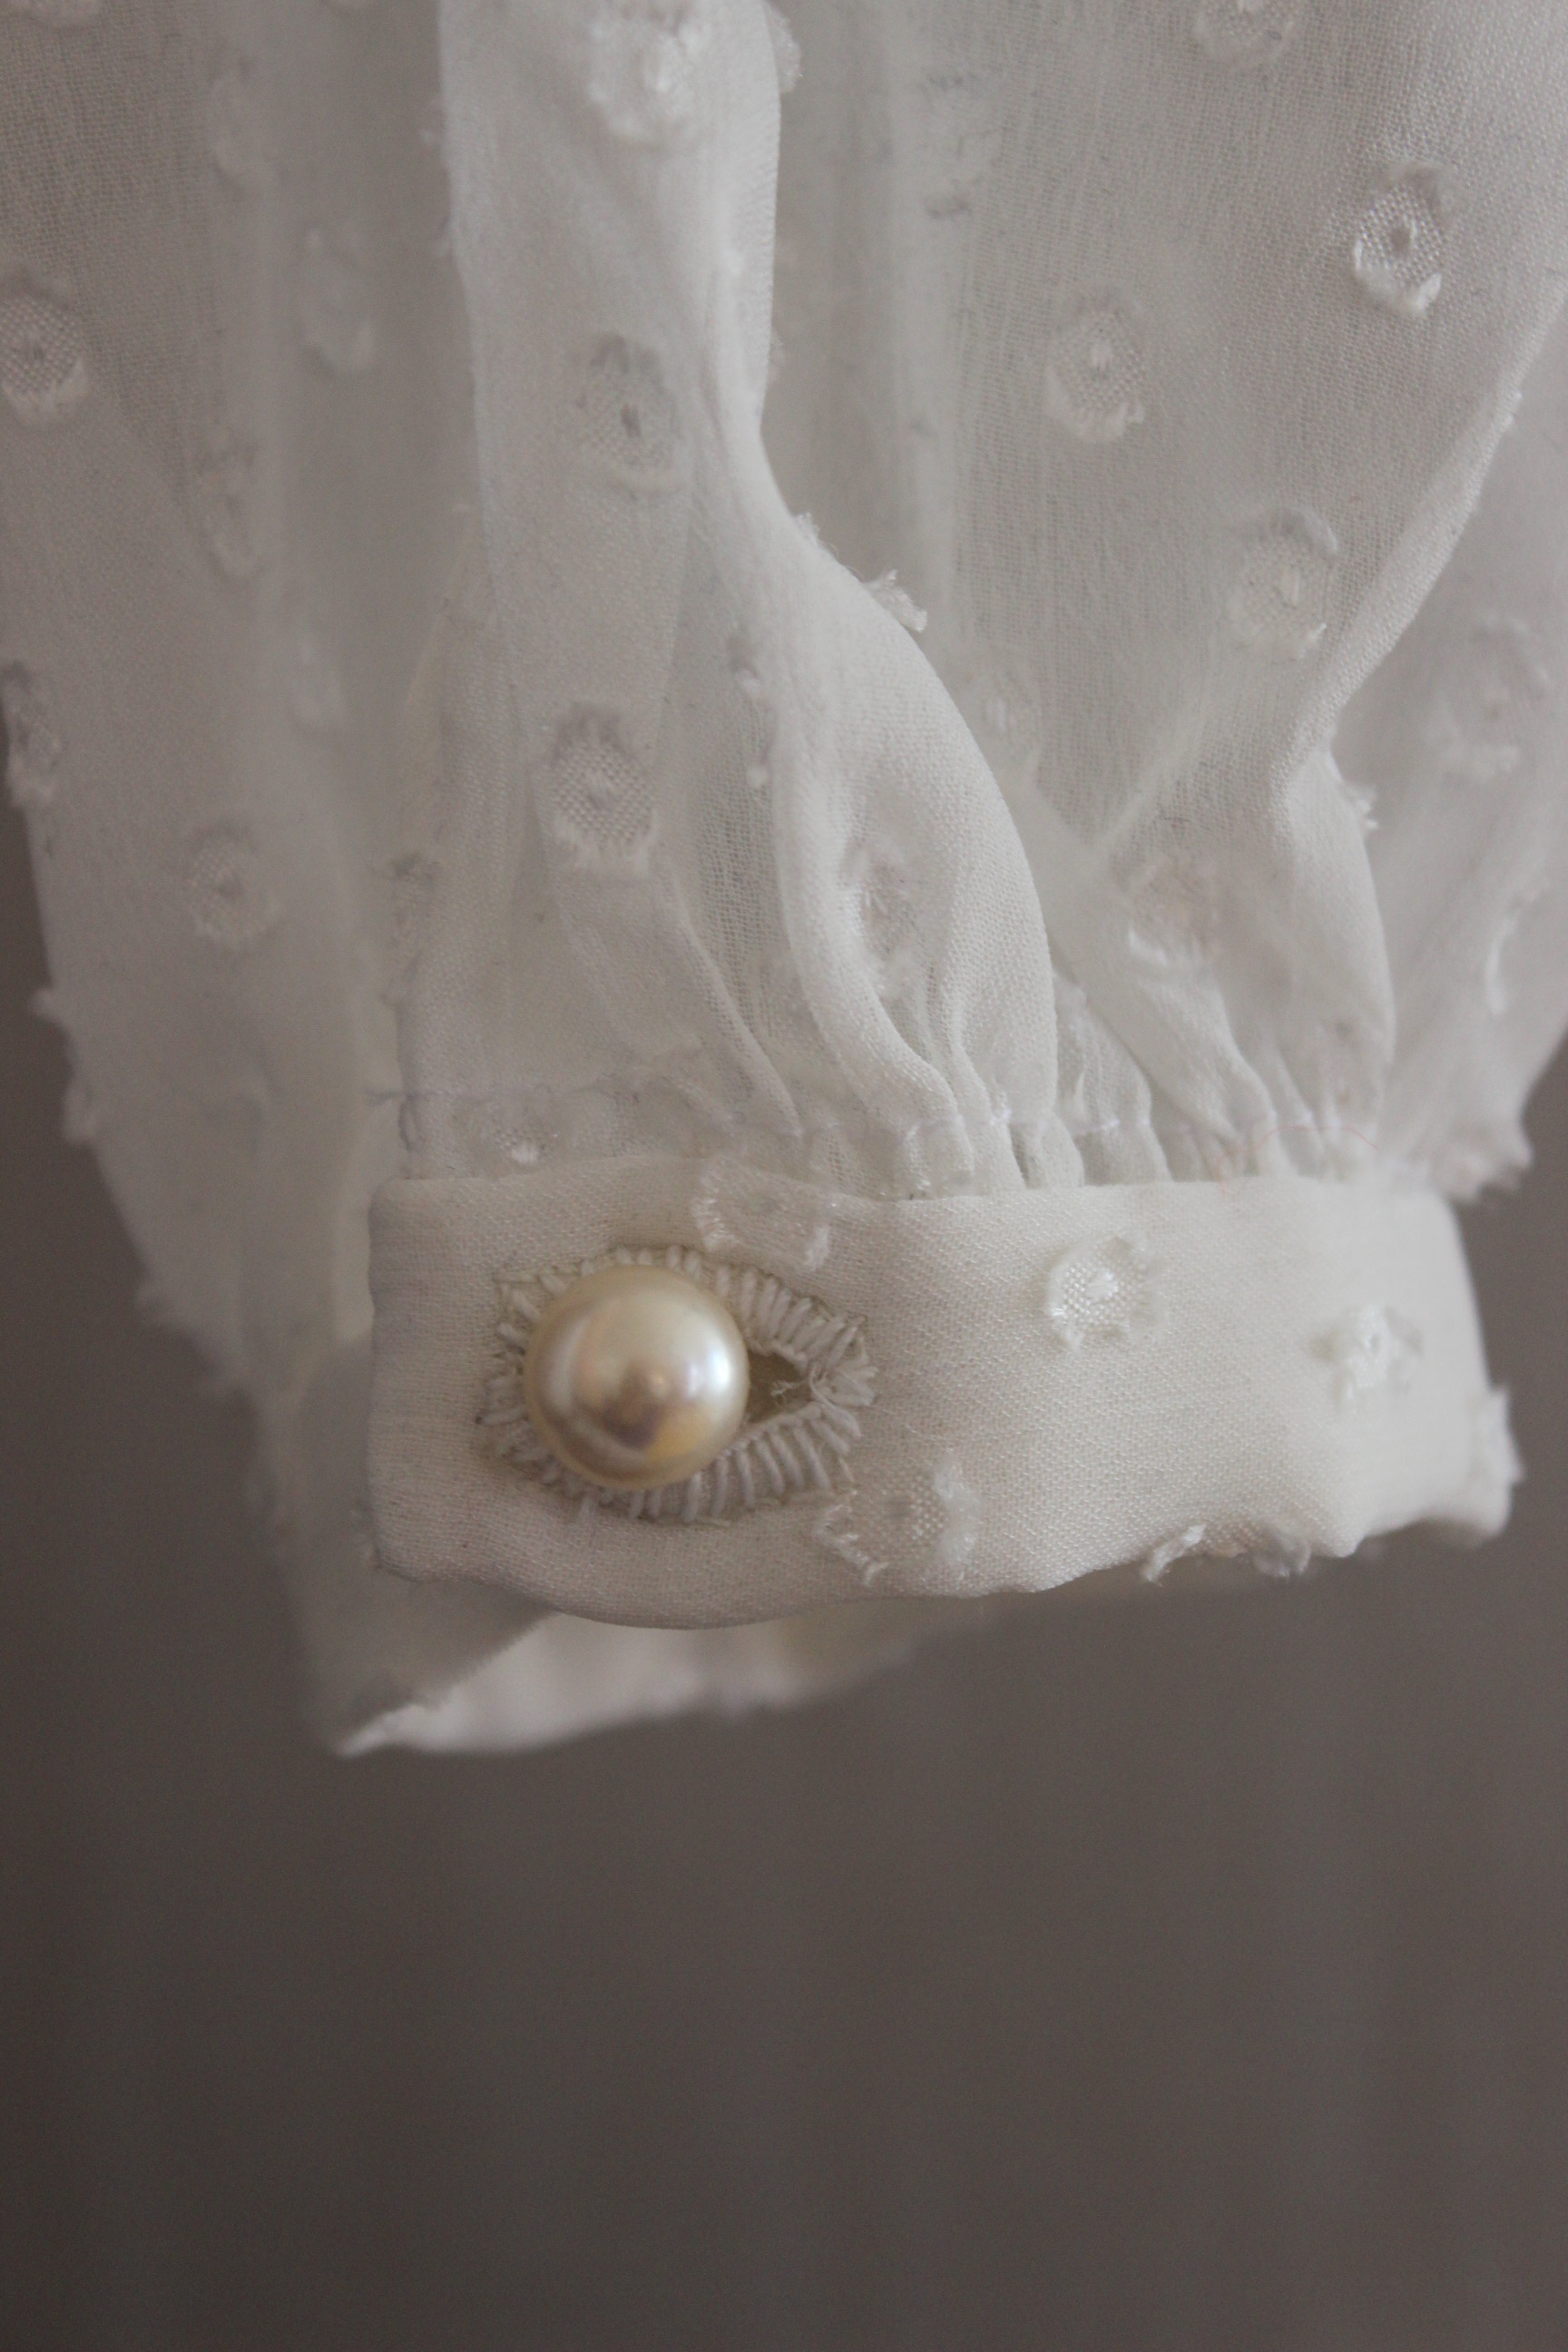
And finished of by folding, stitching and adding the ribbons for the wrist ties. 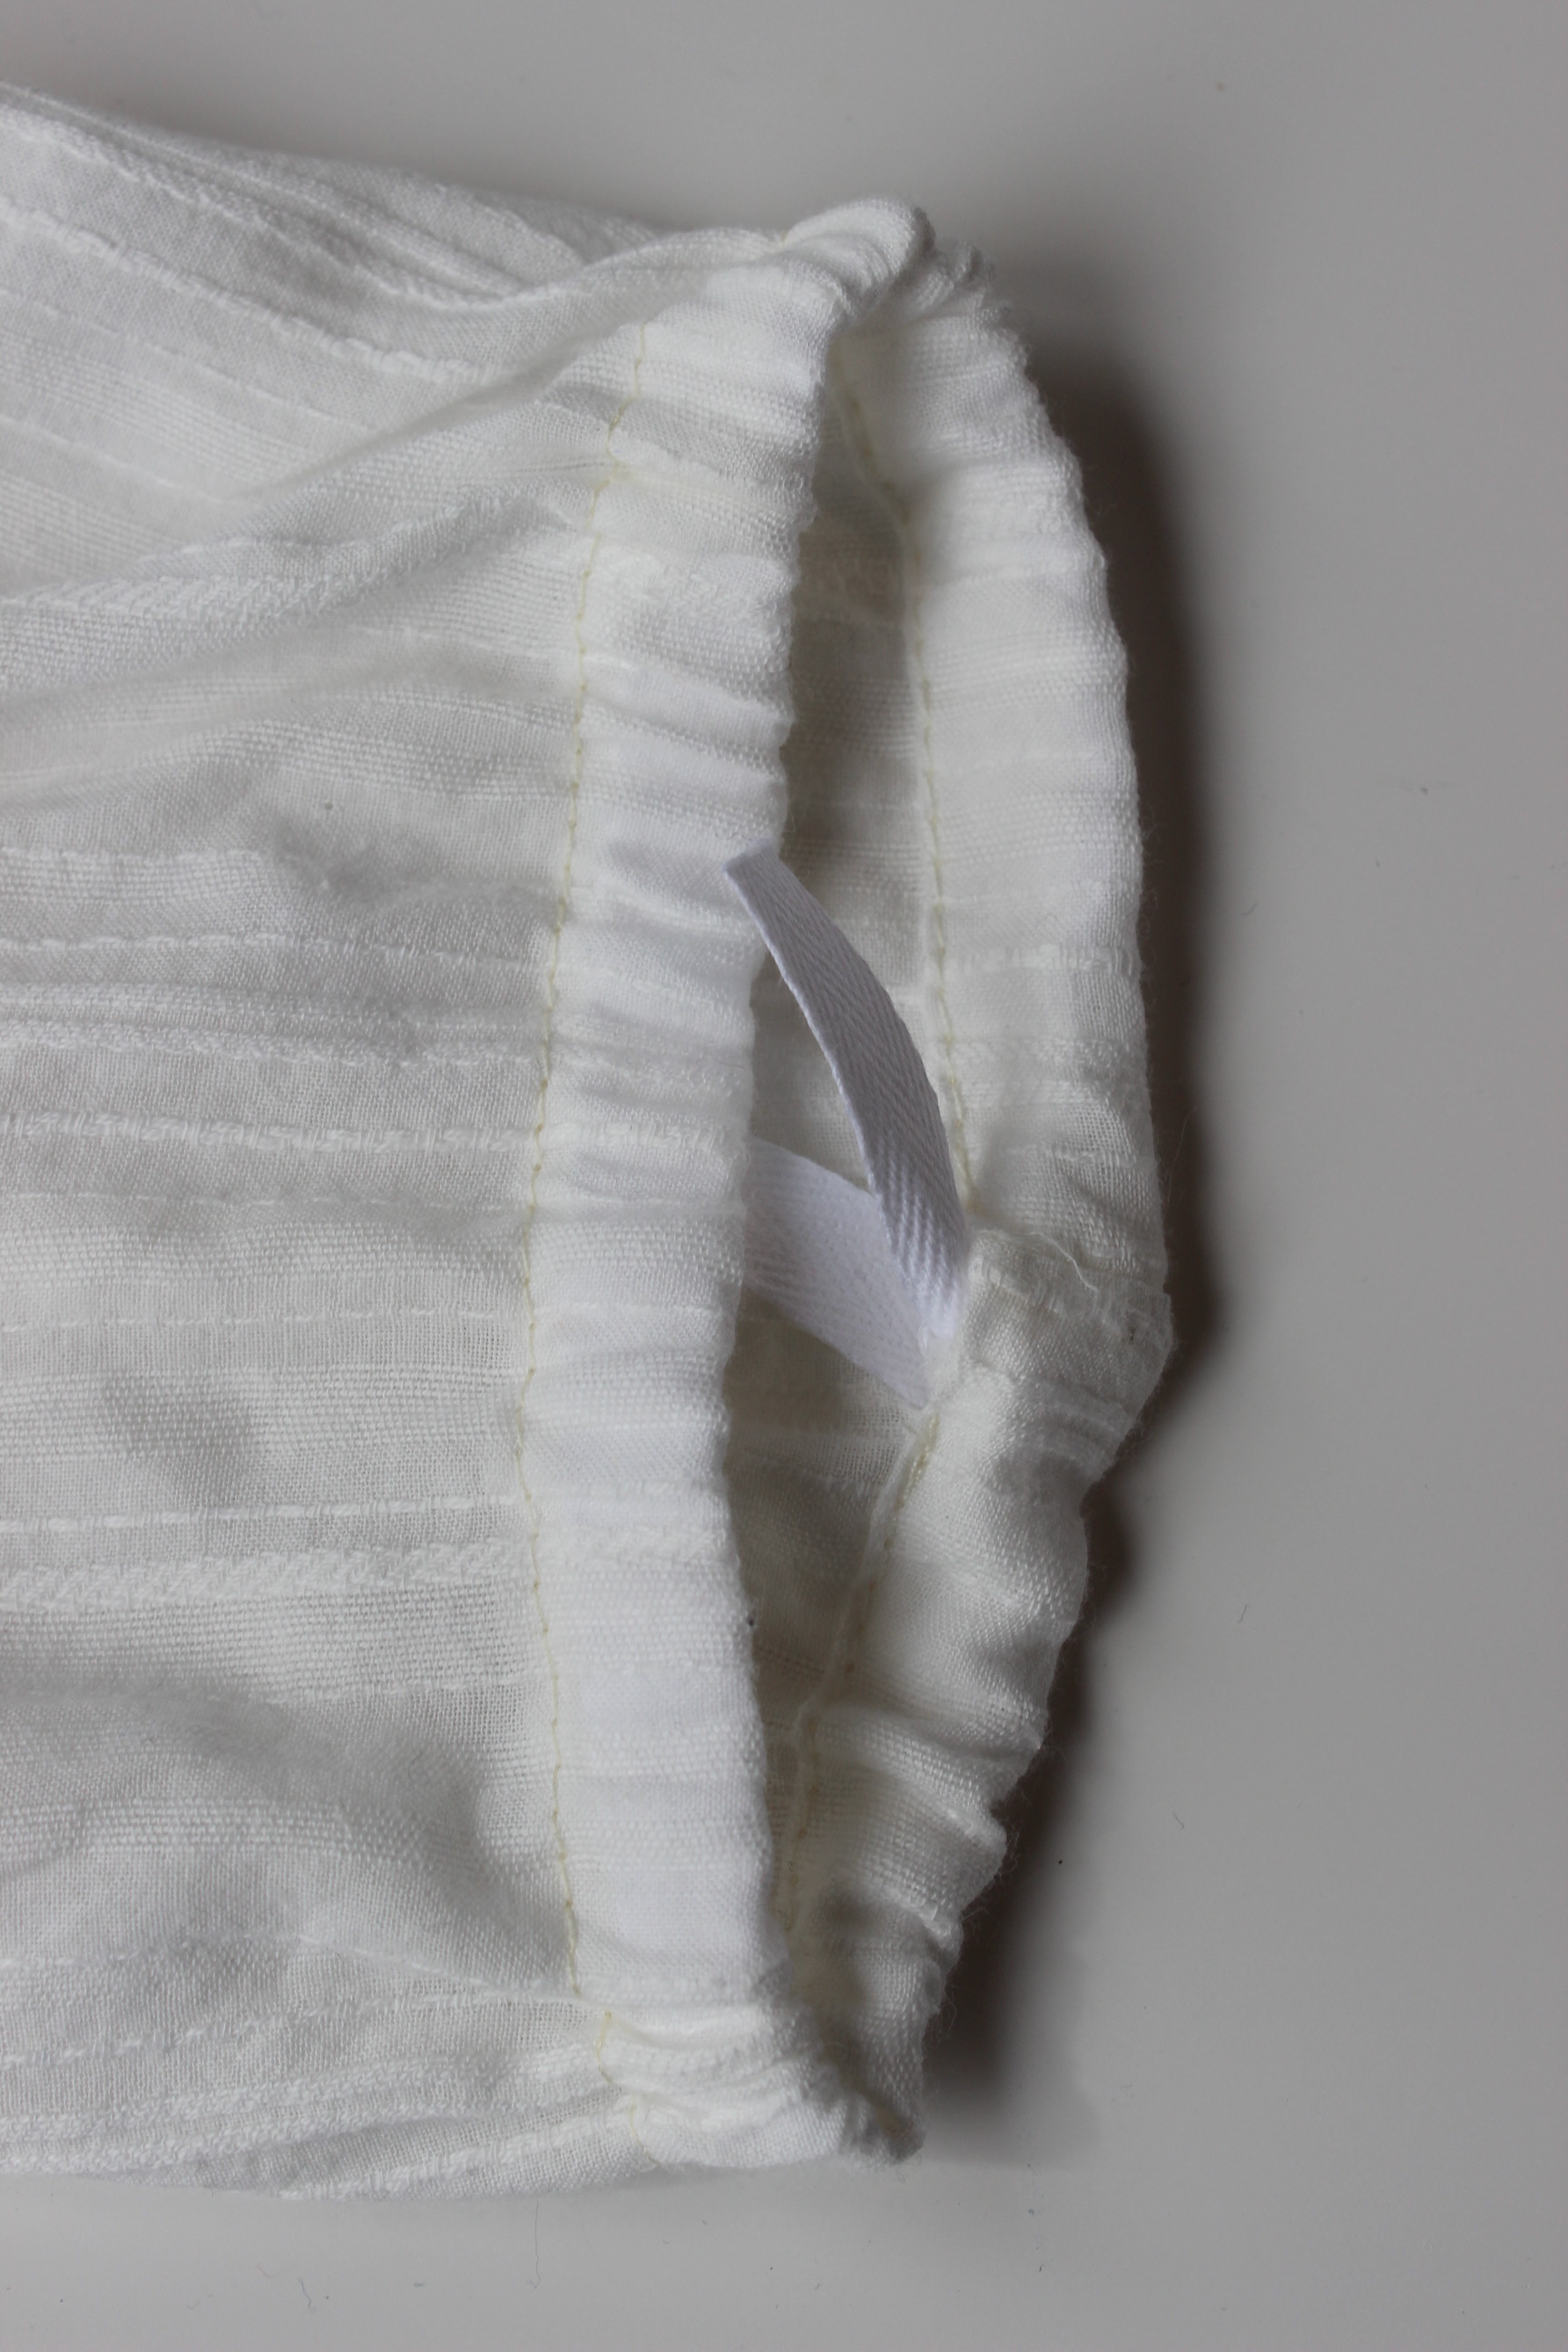
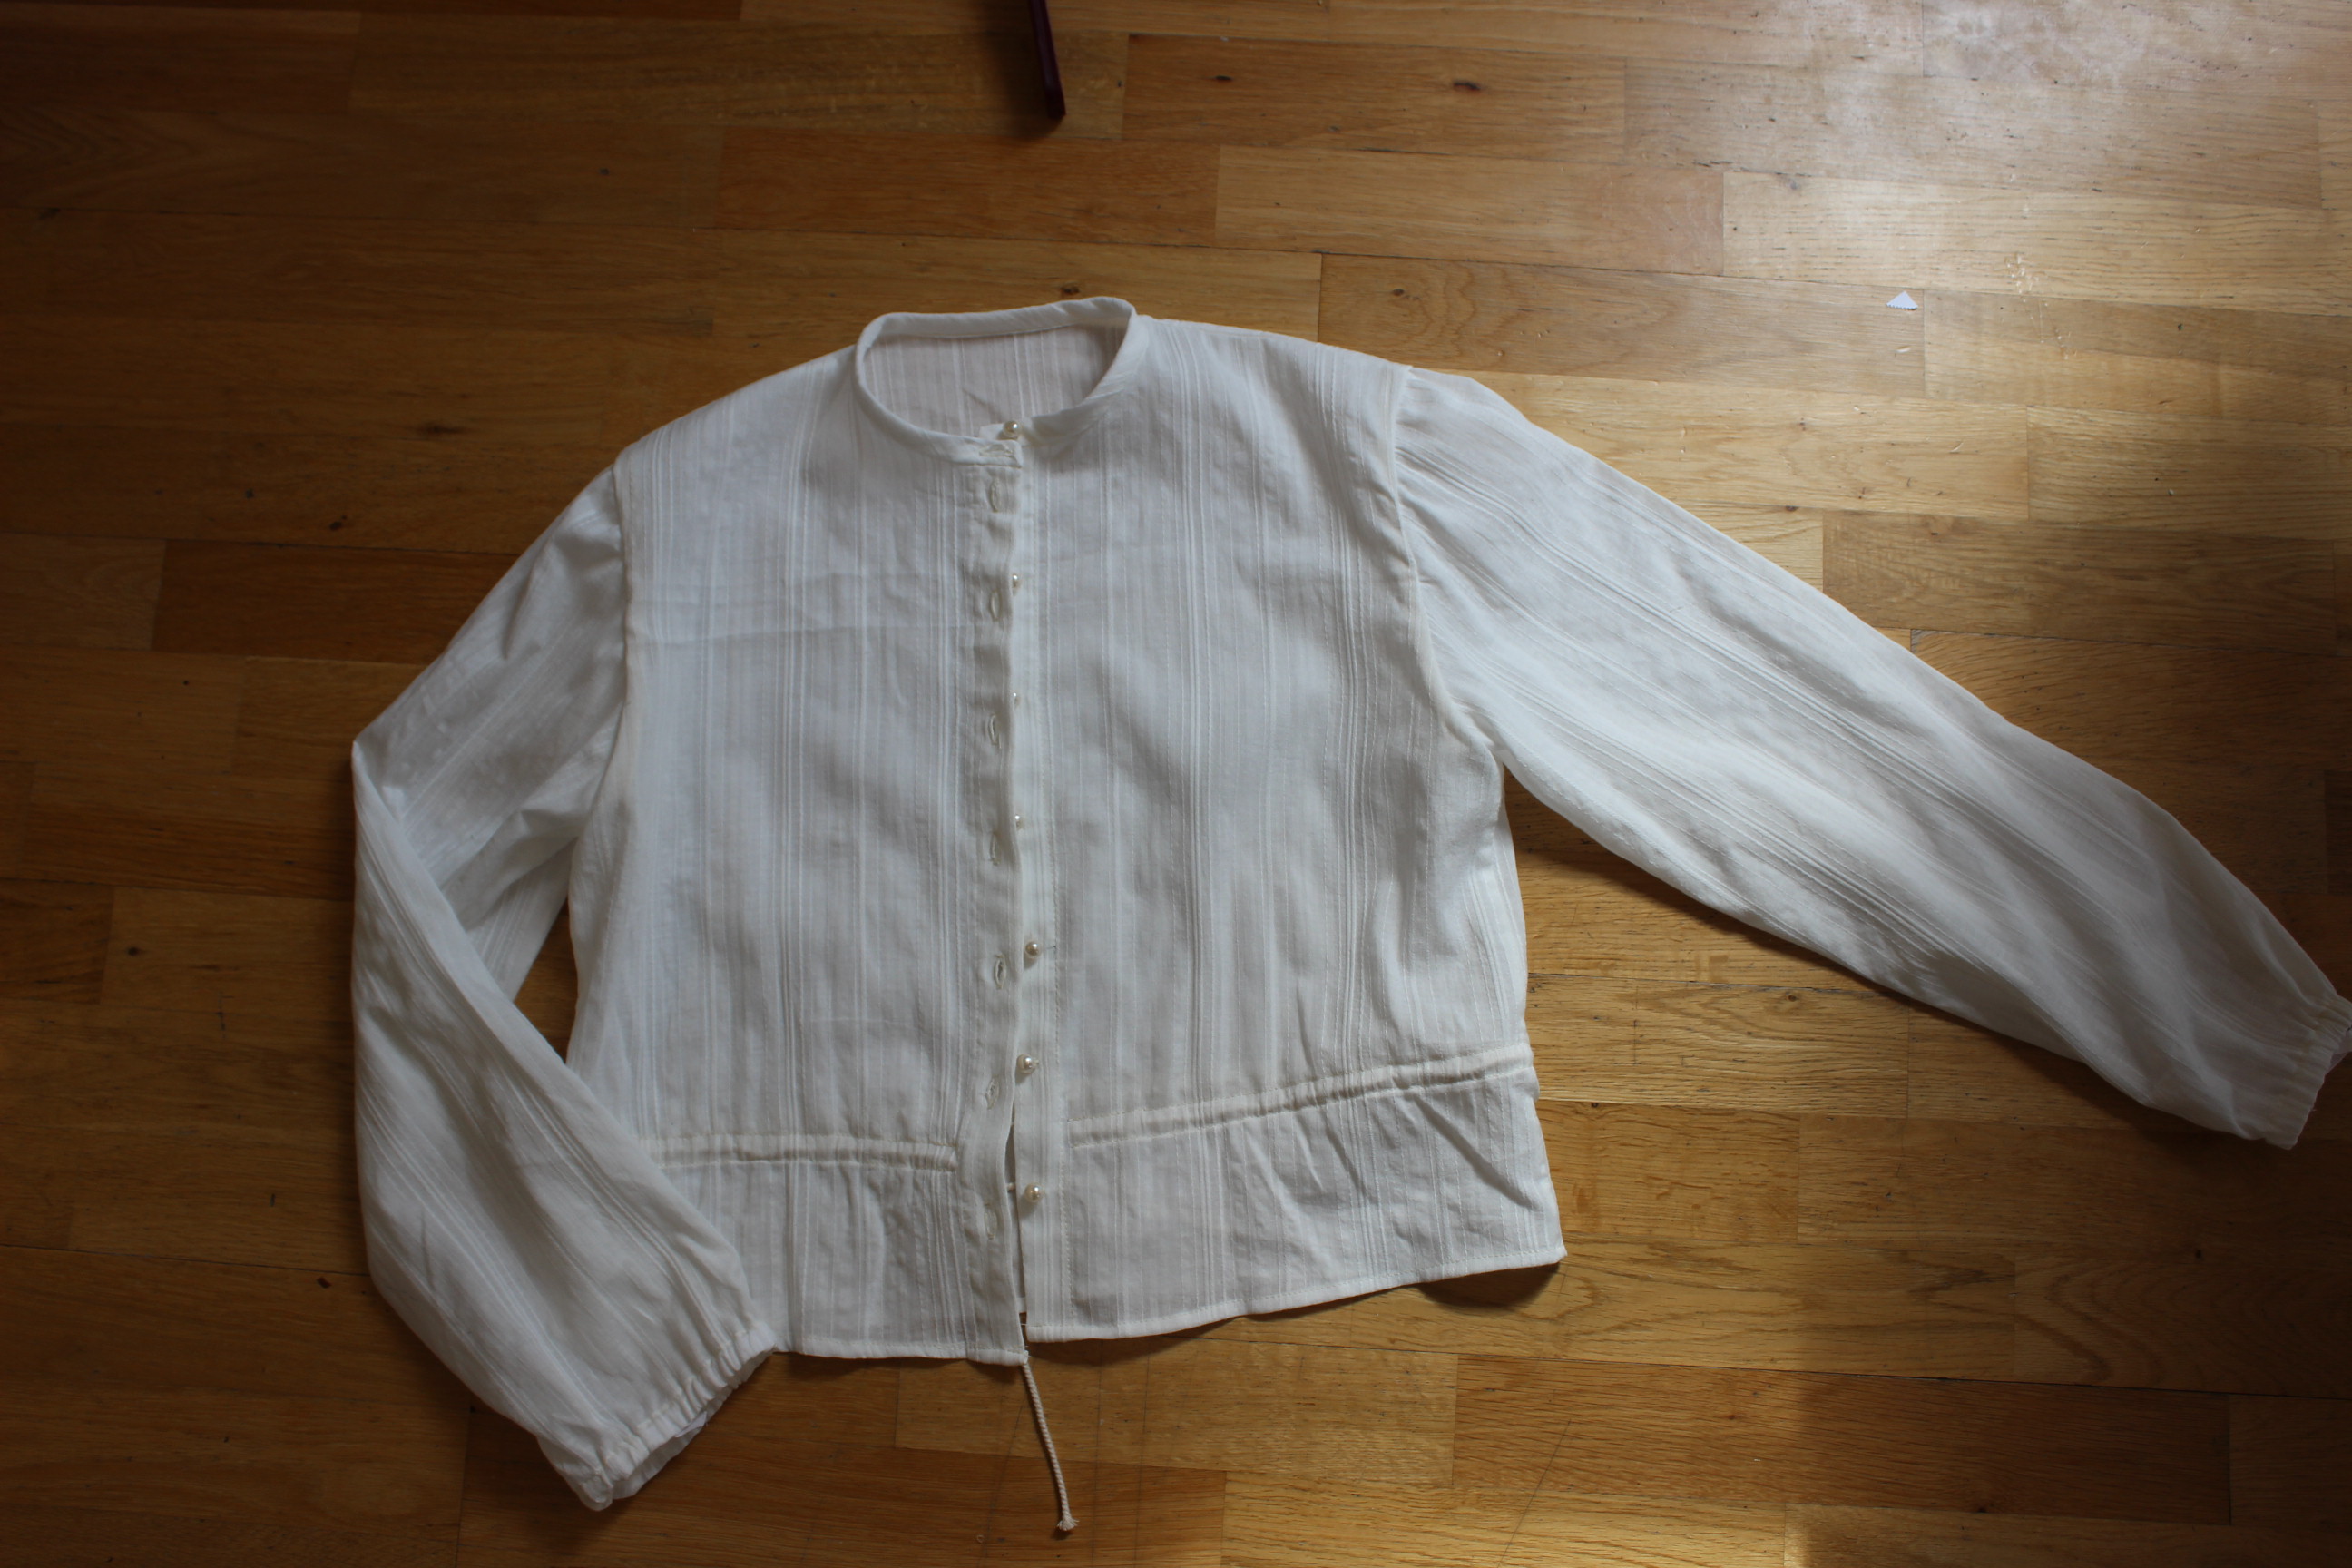
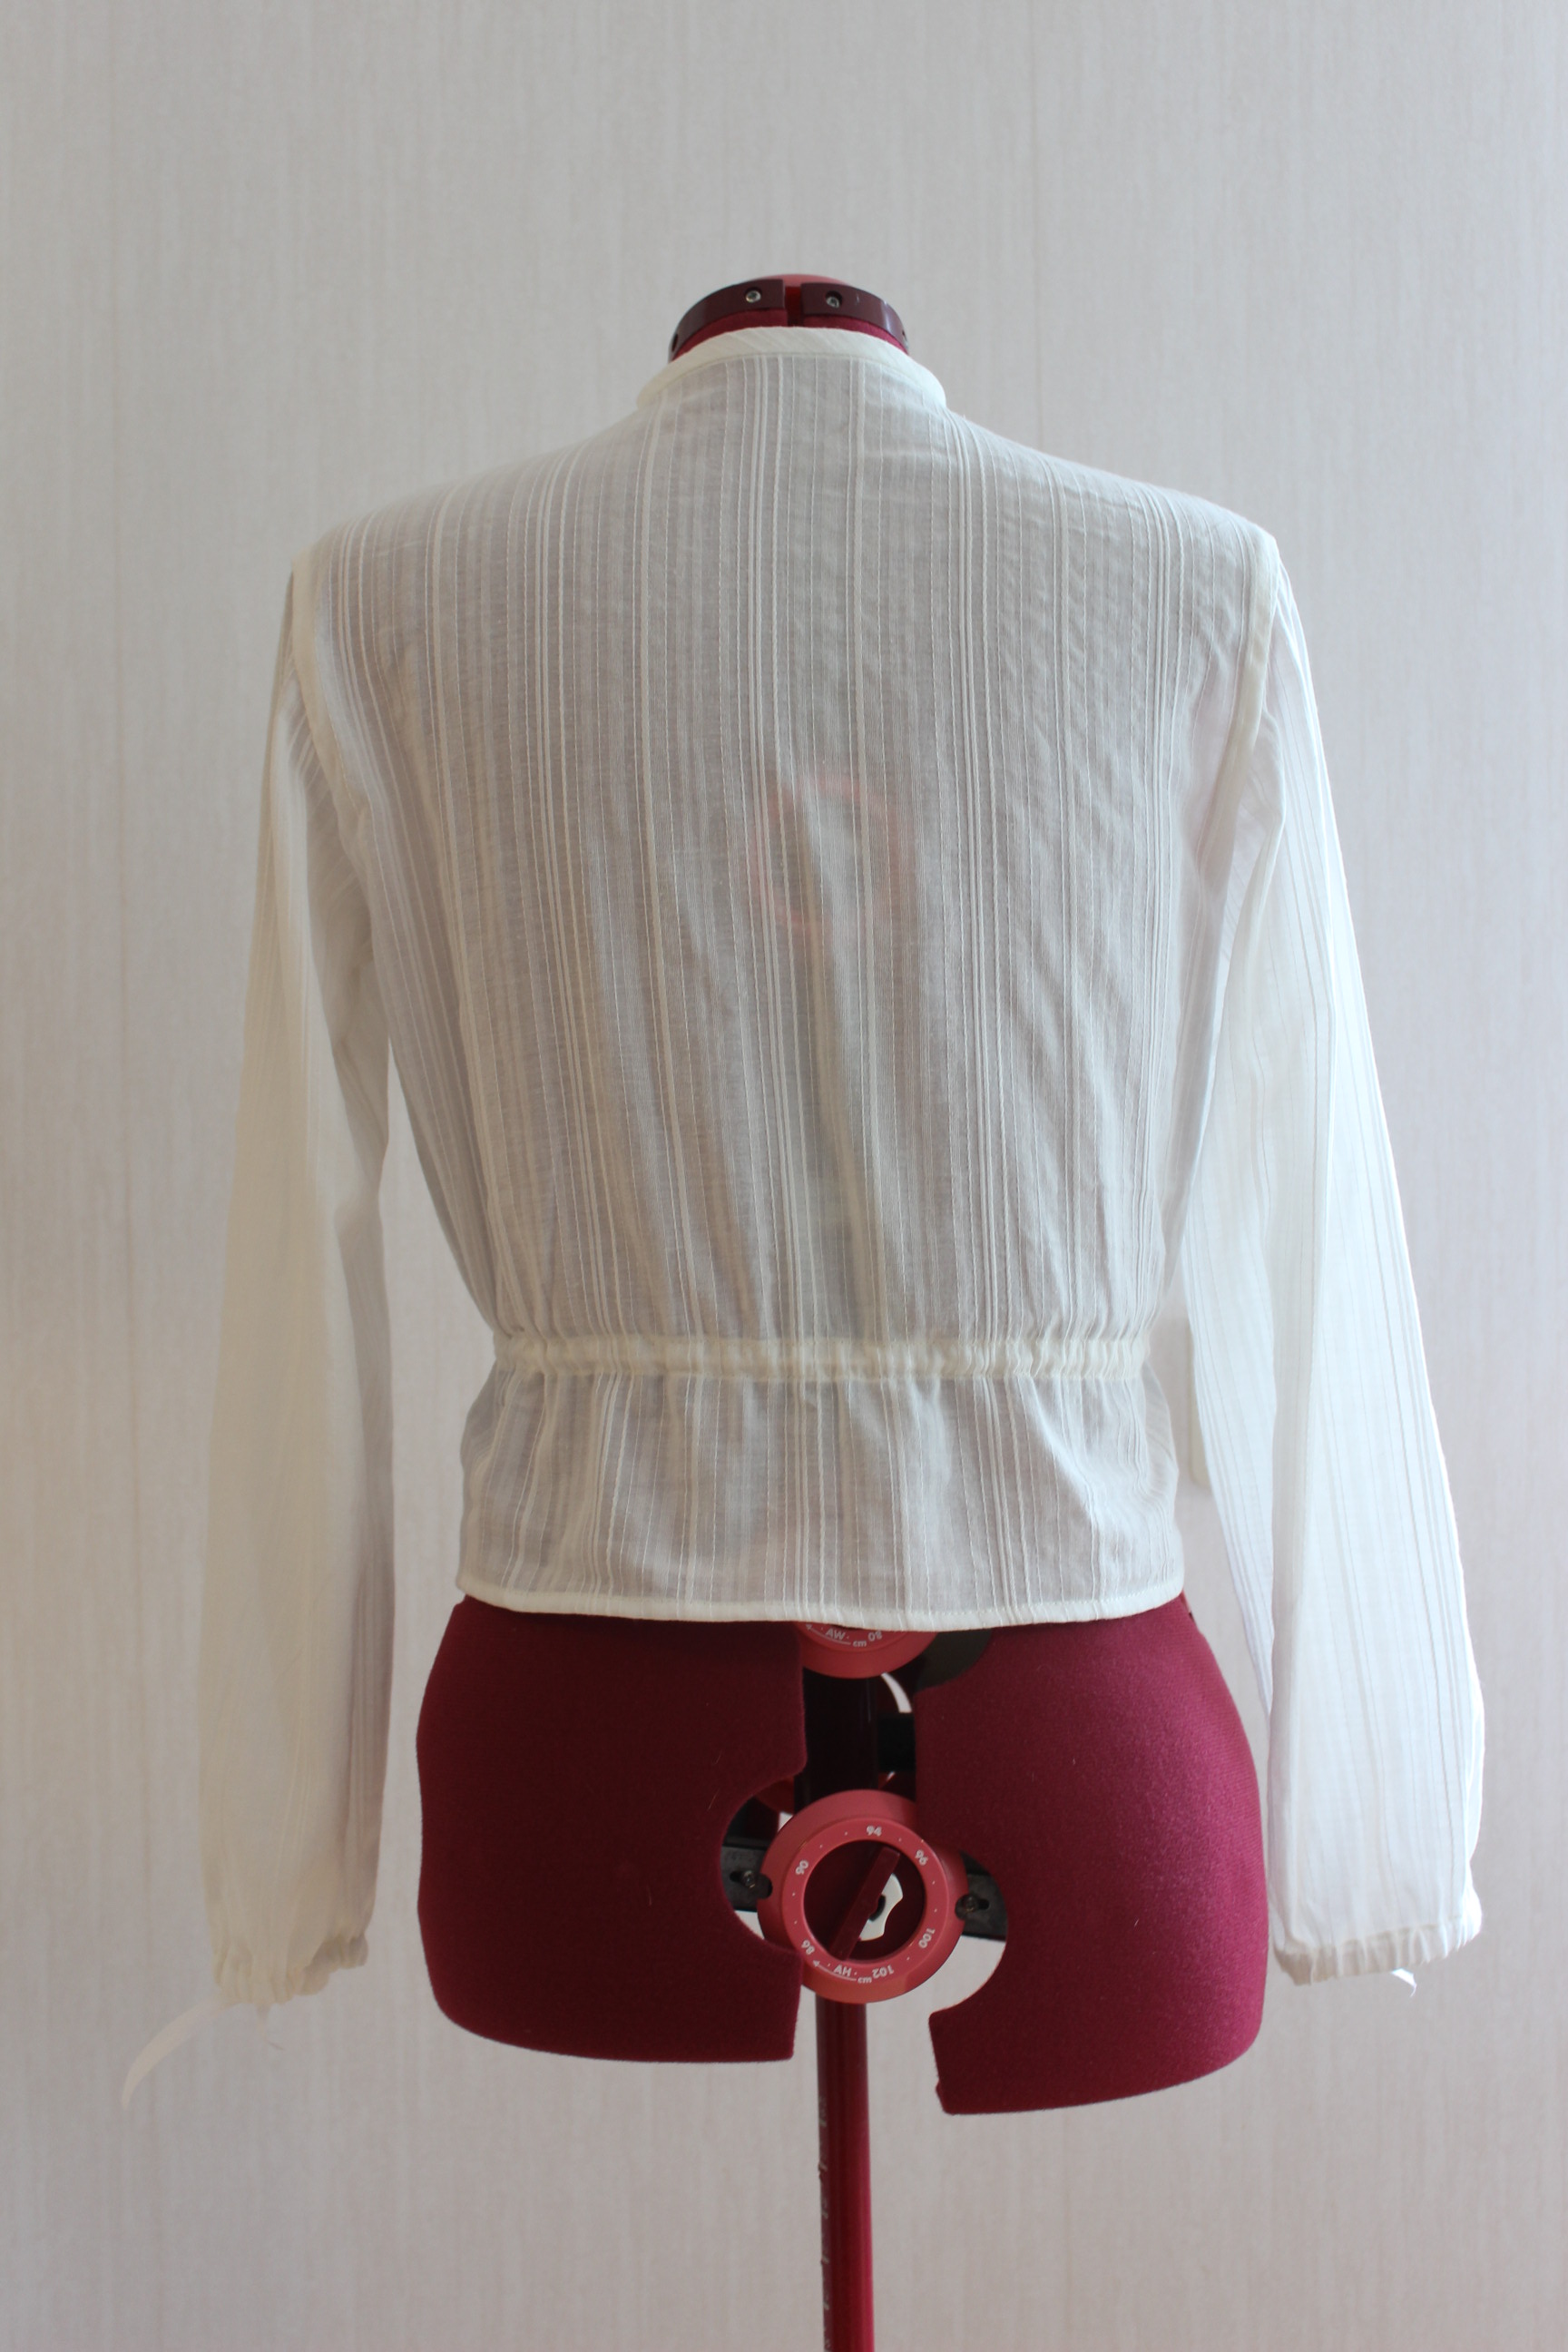
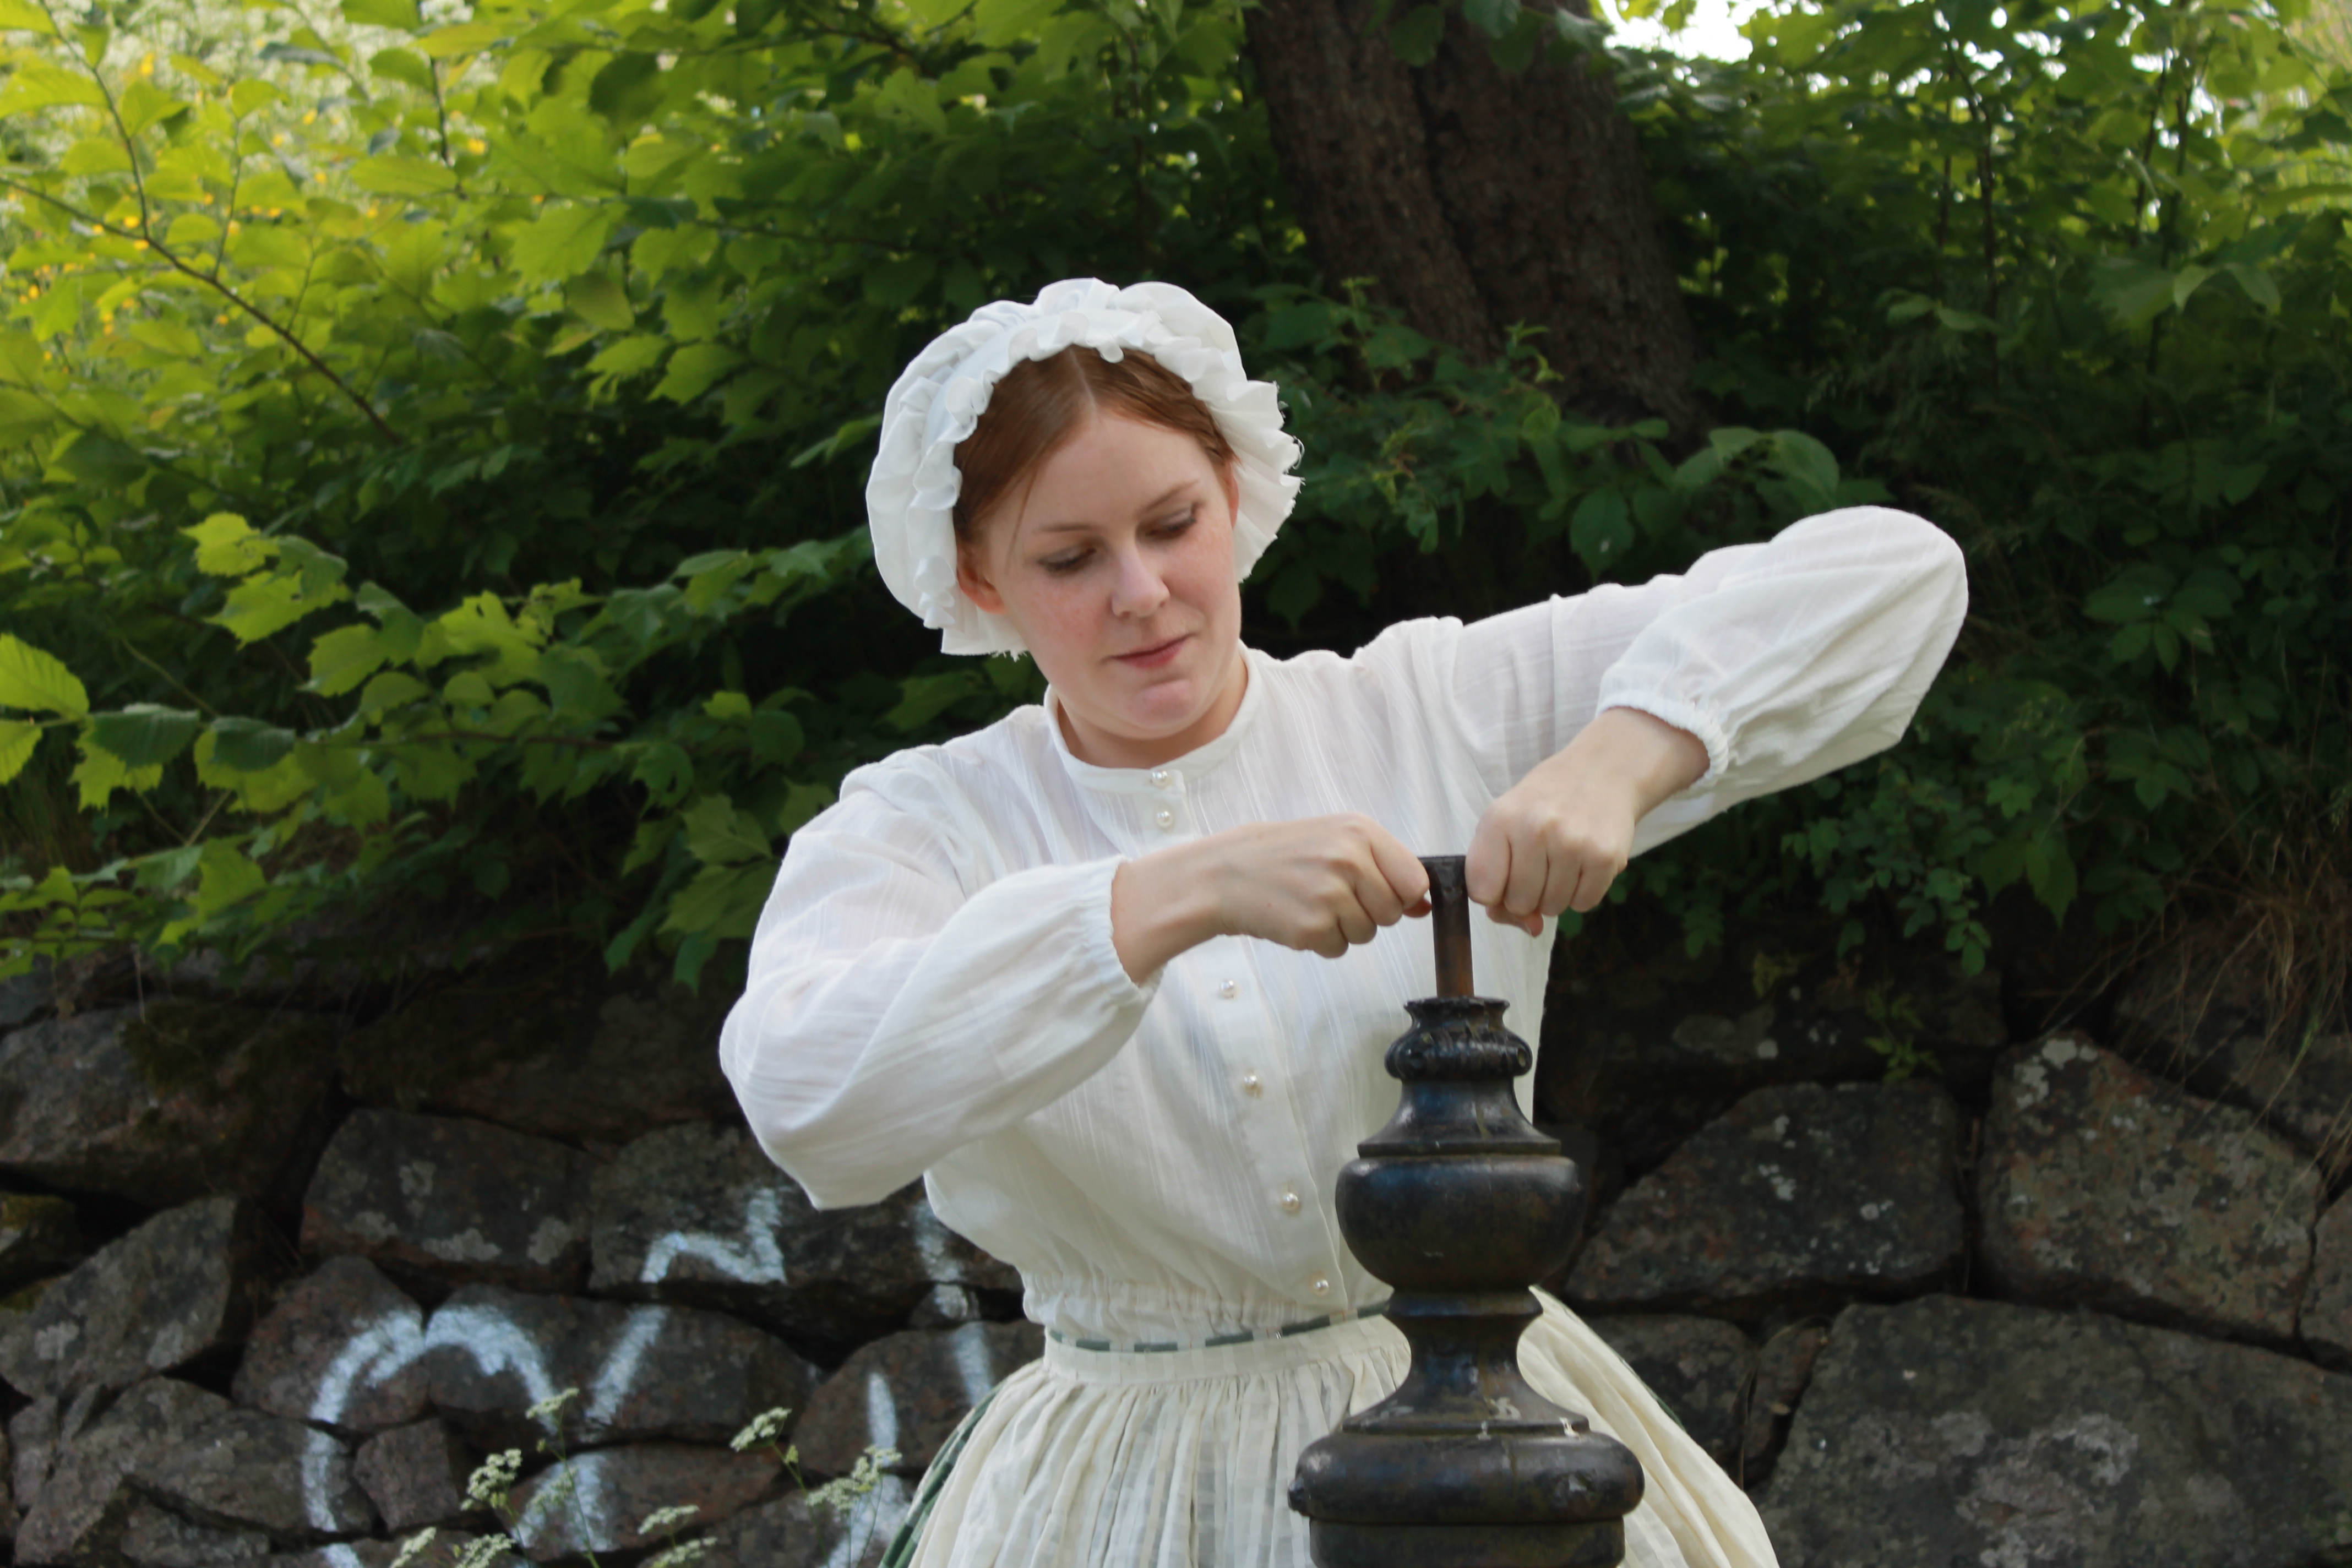
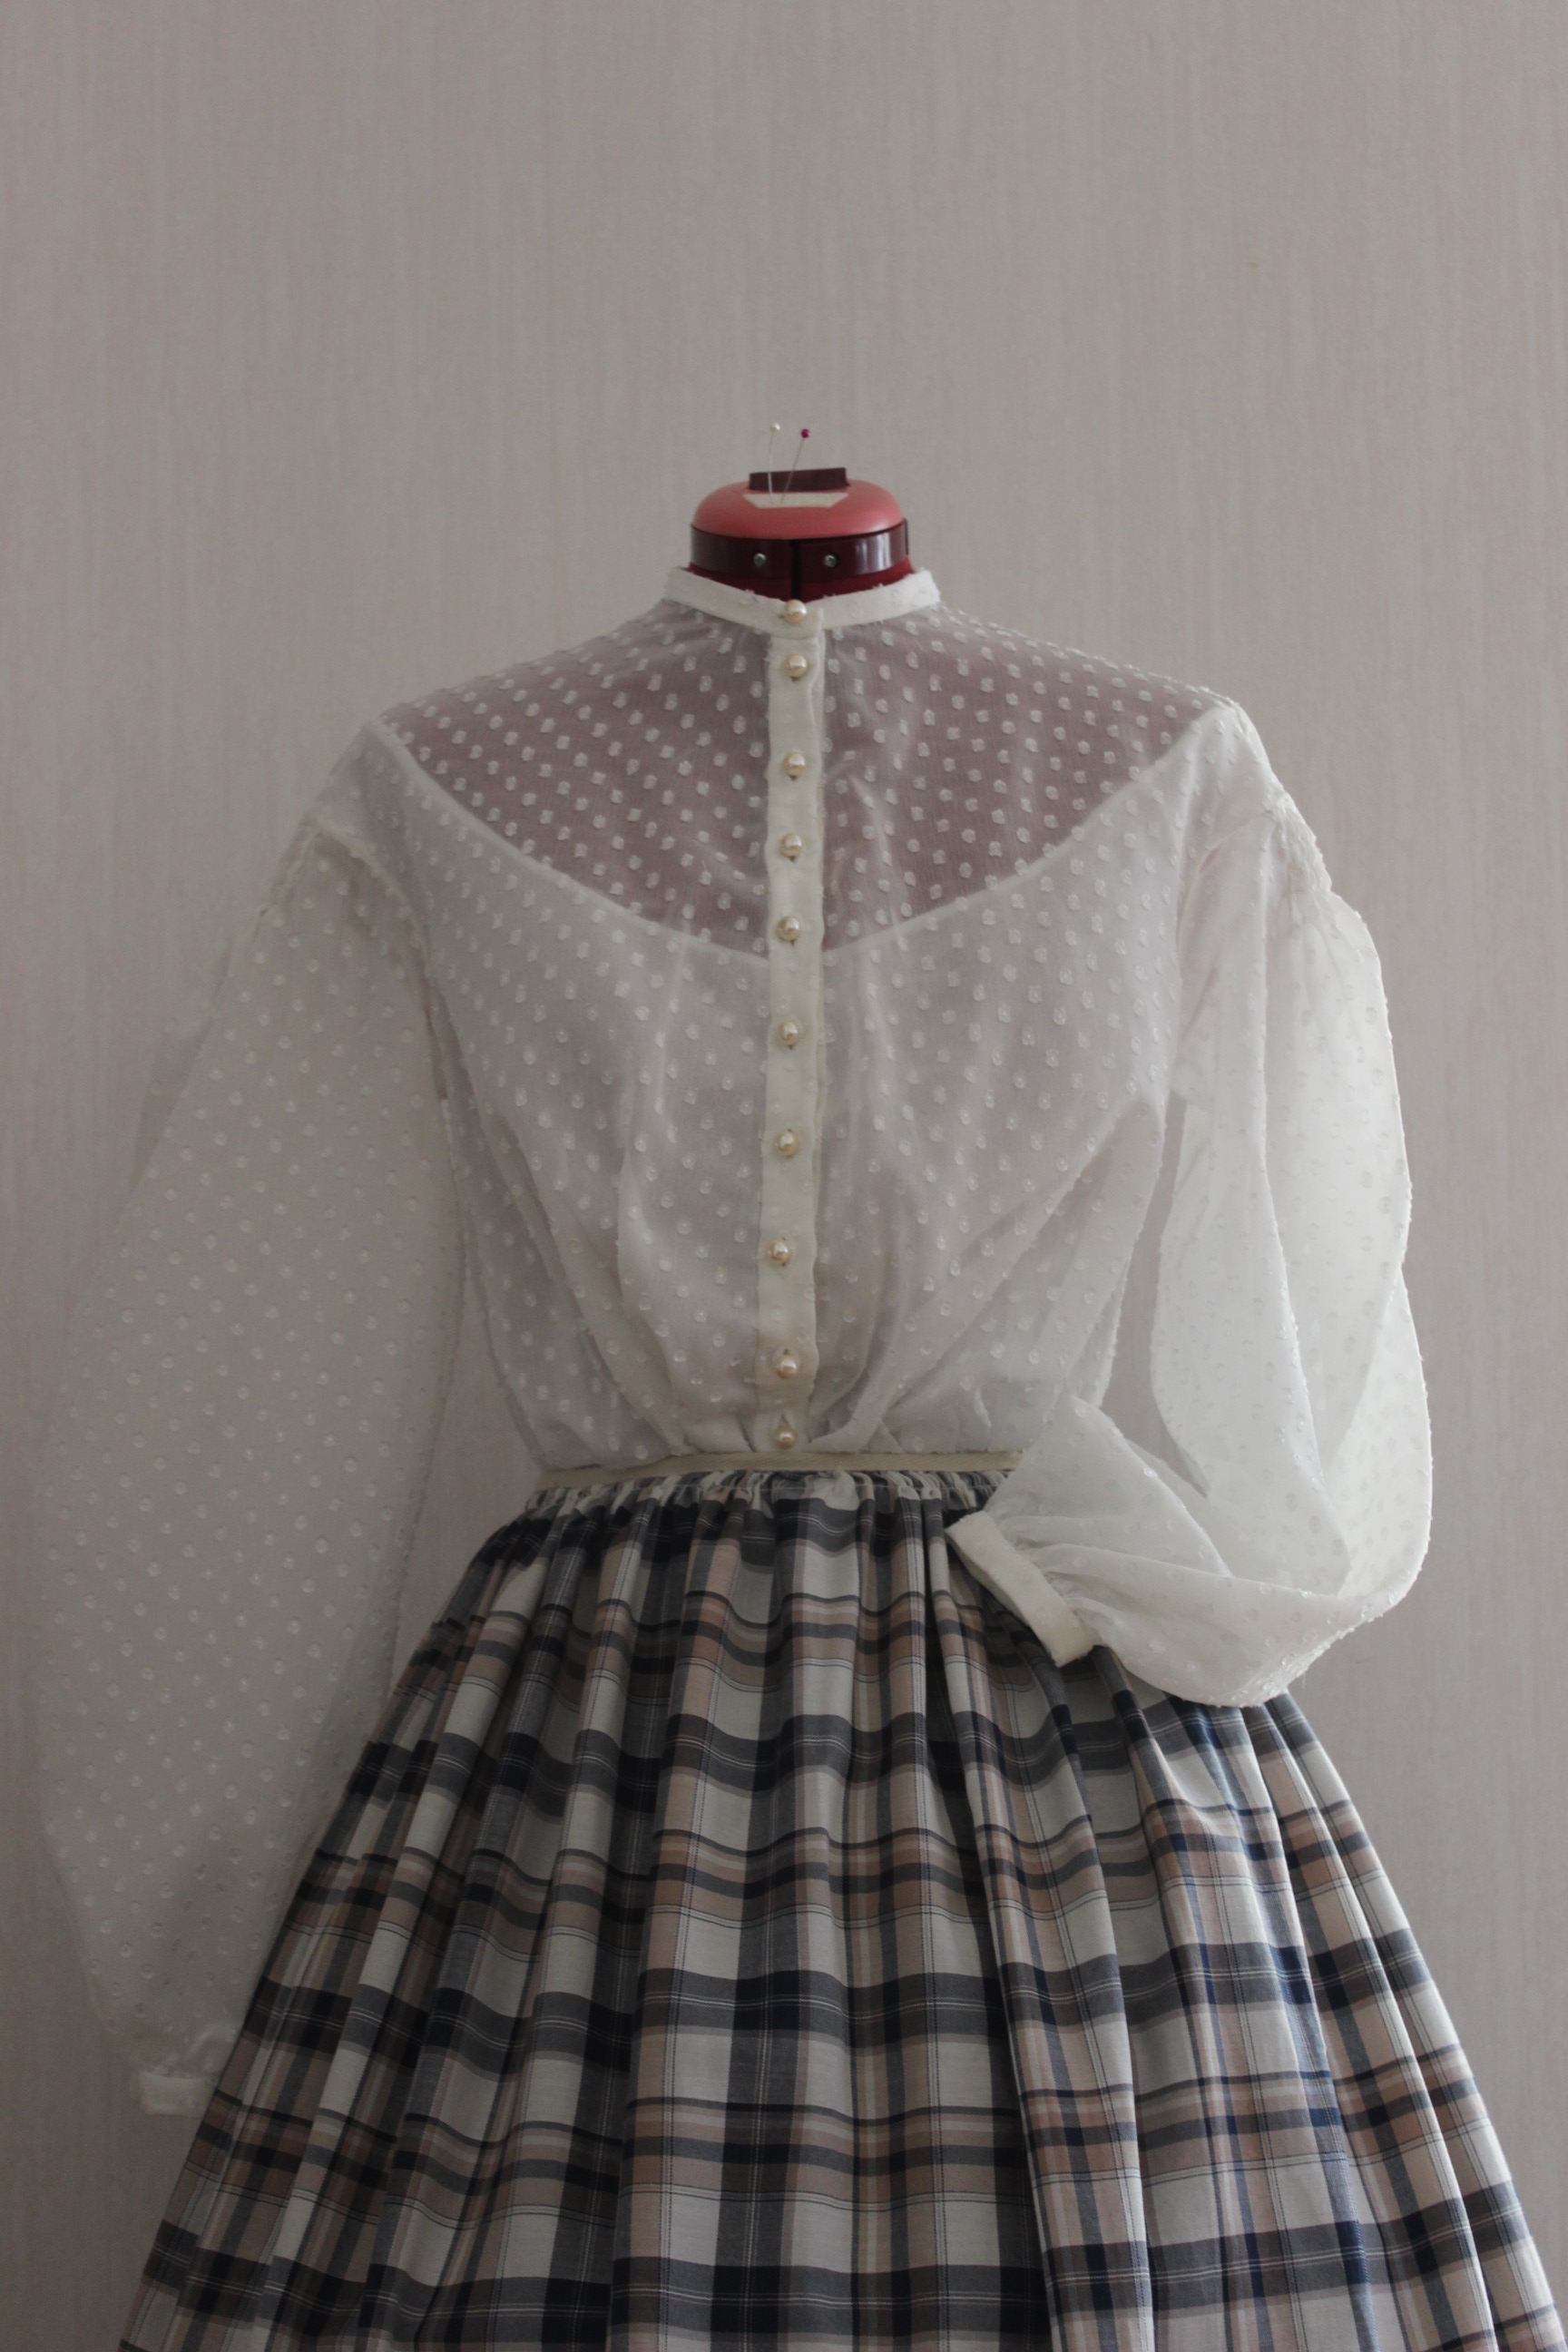
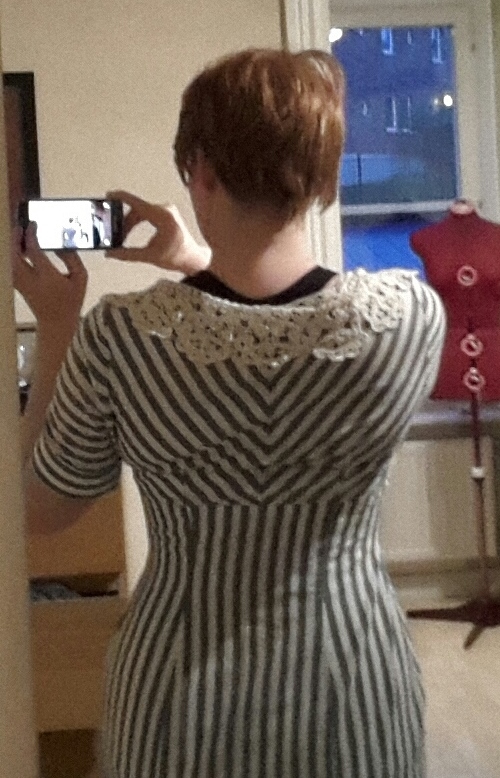
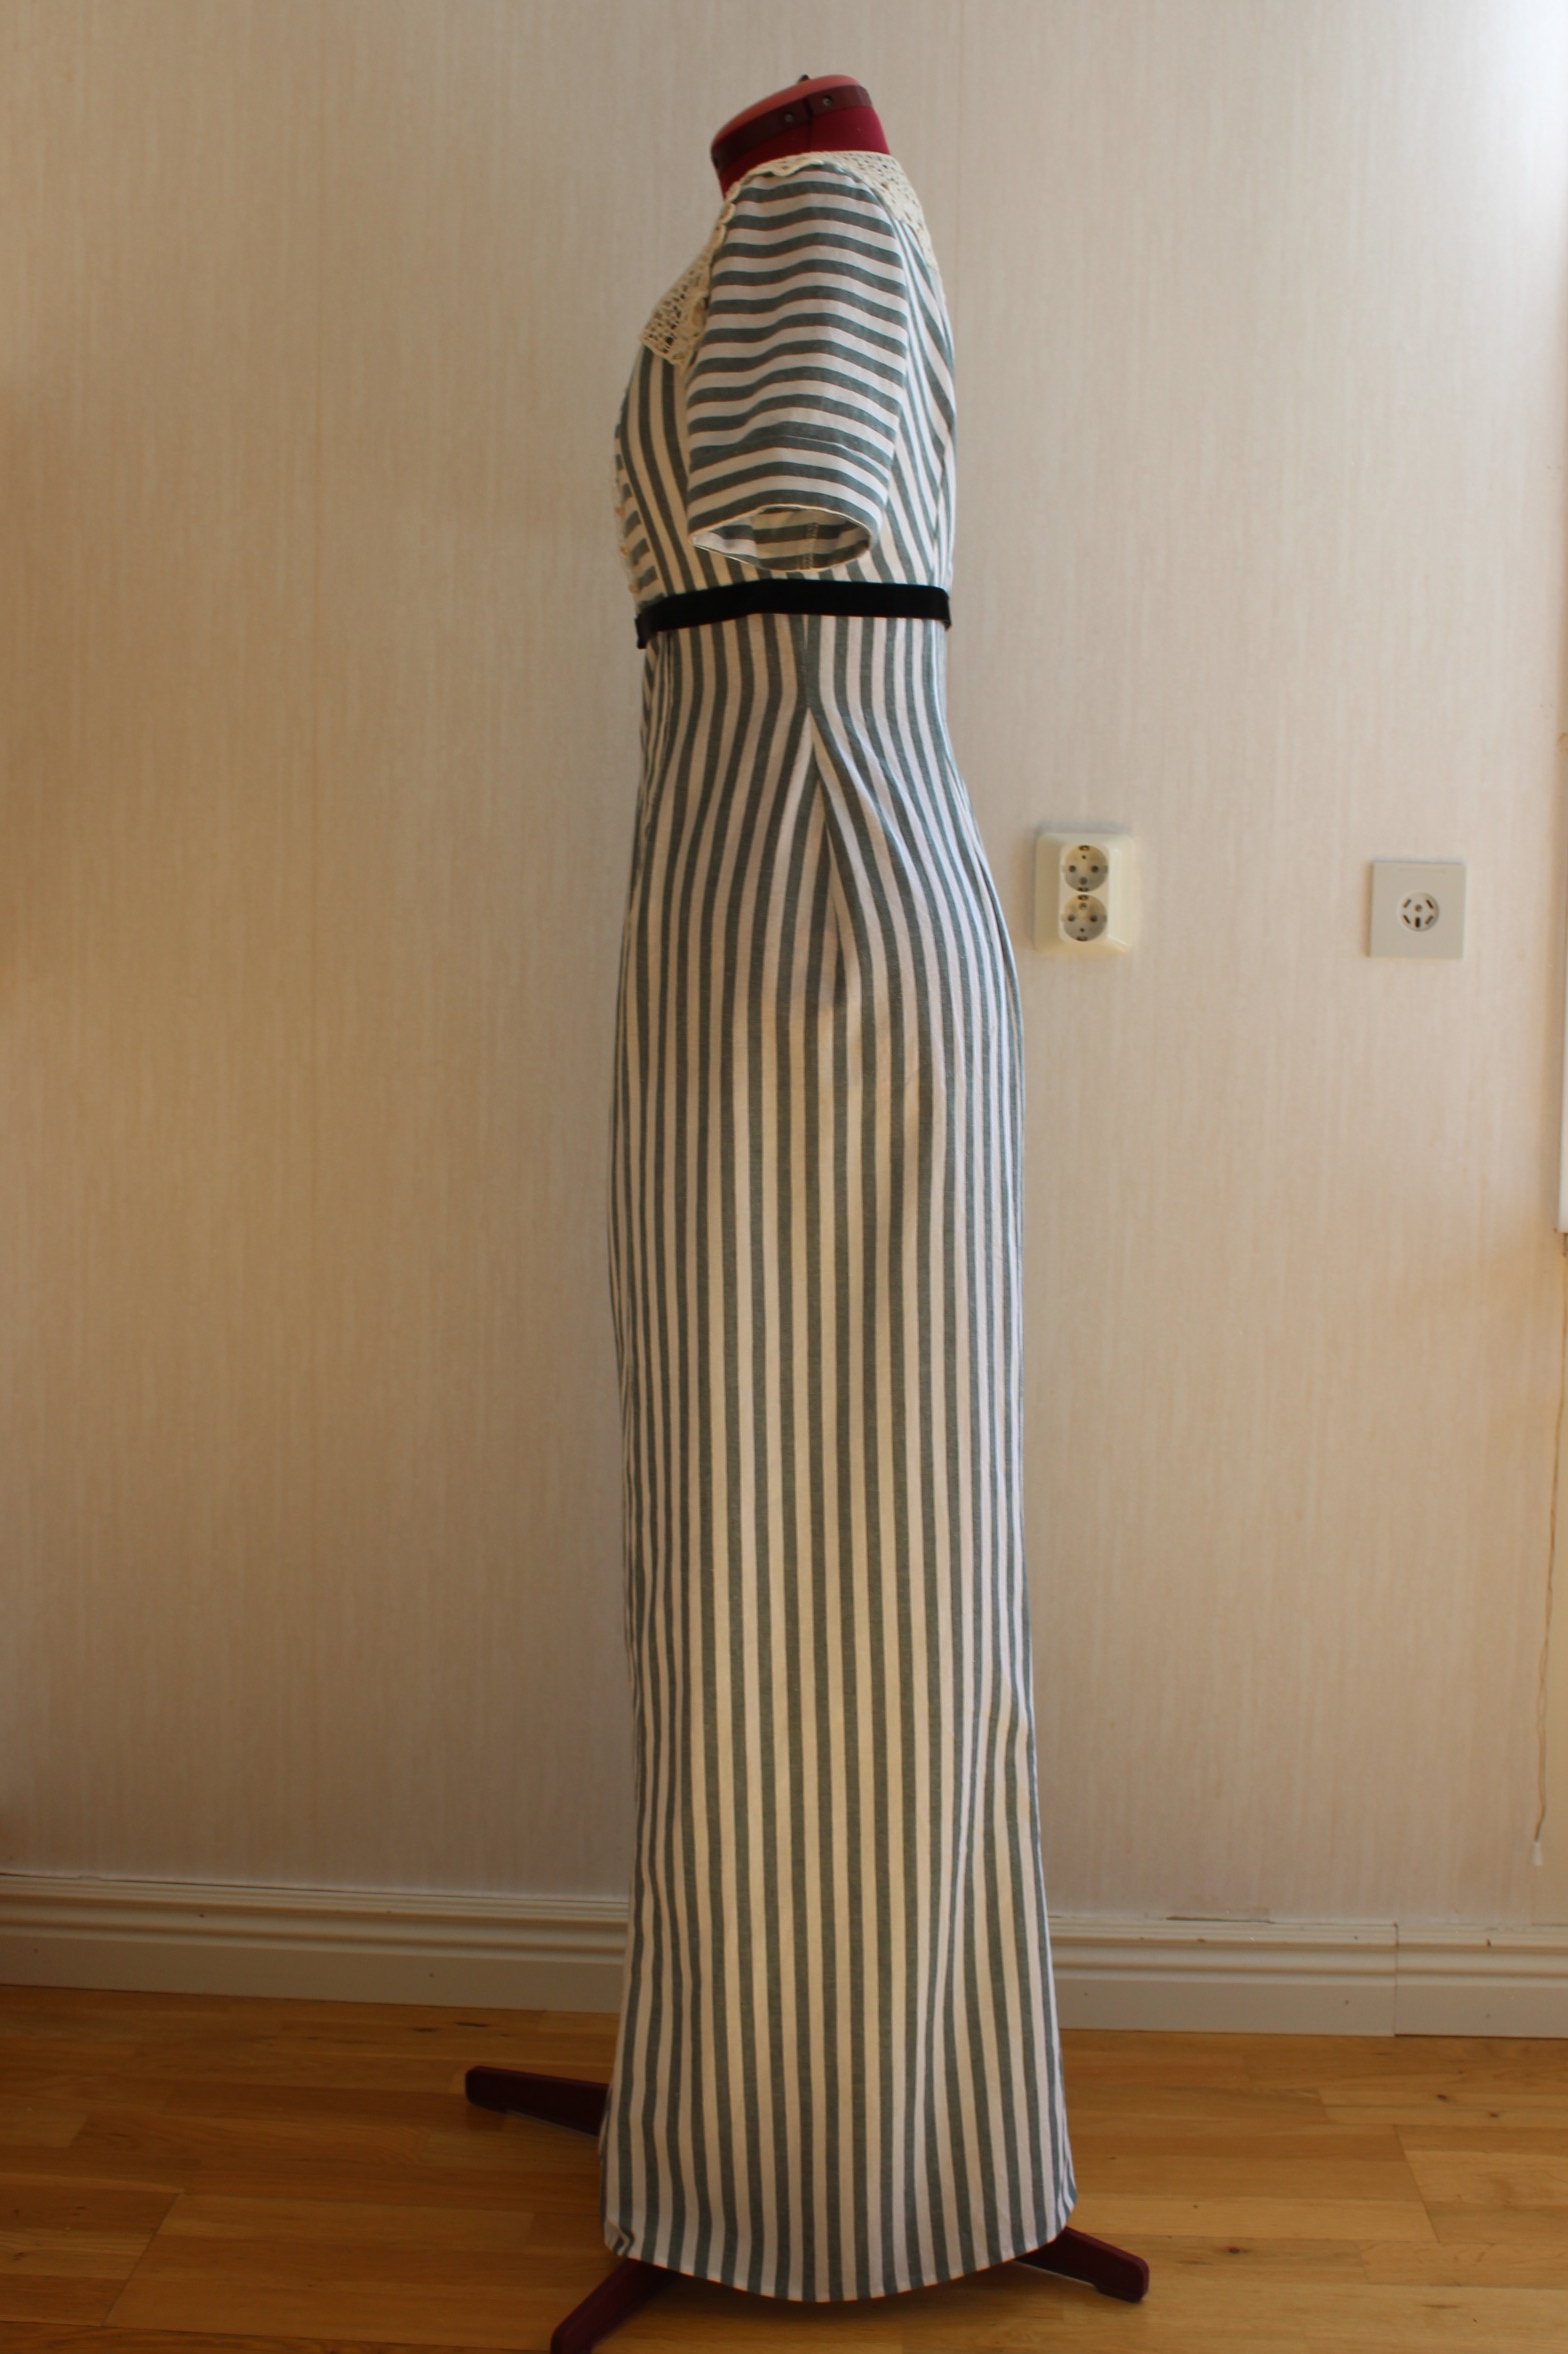
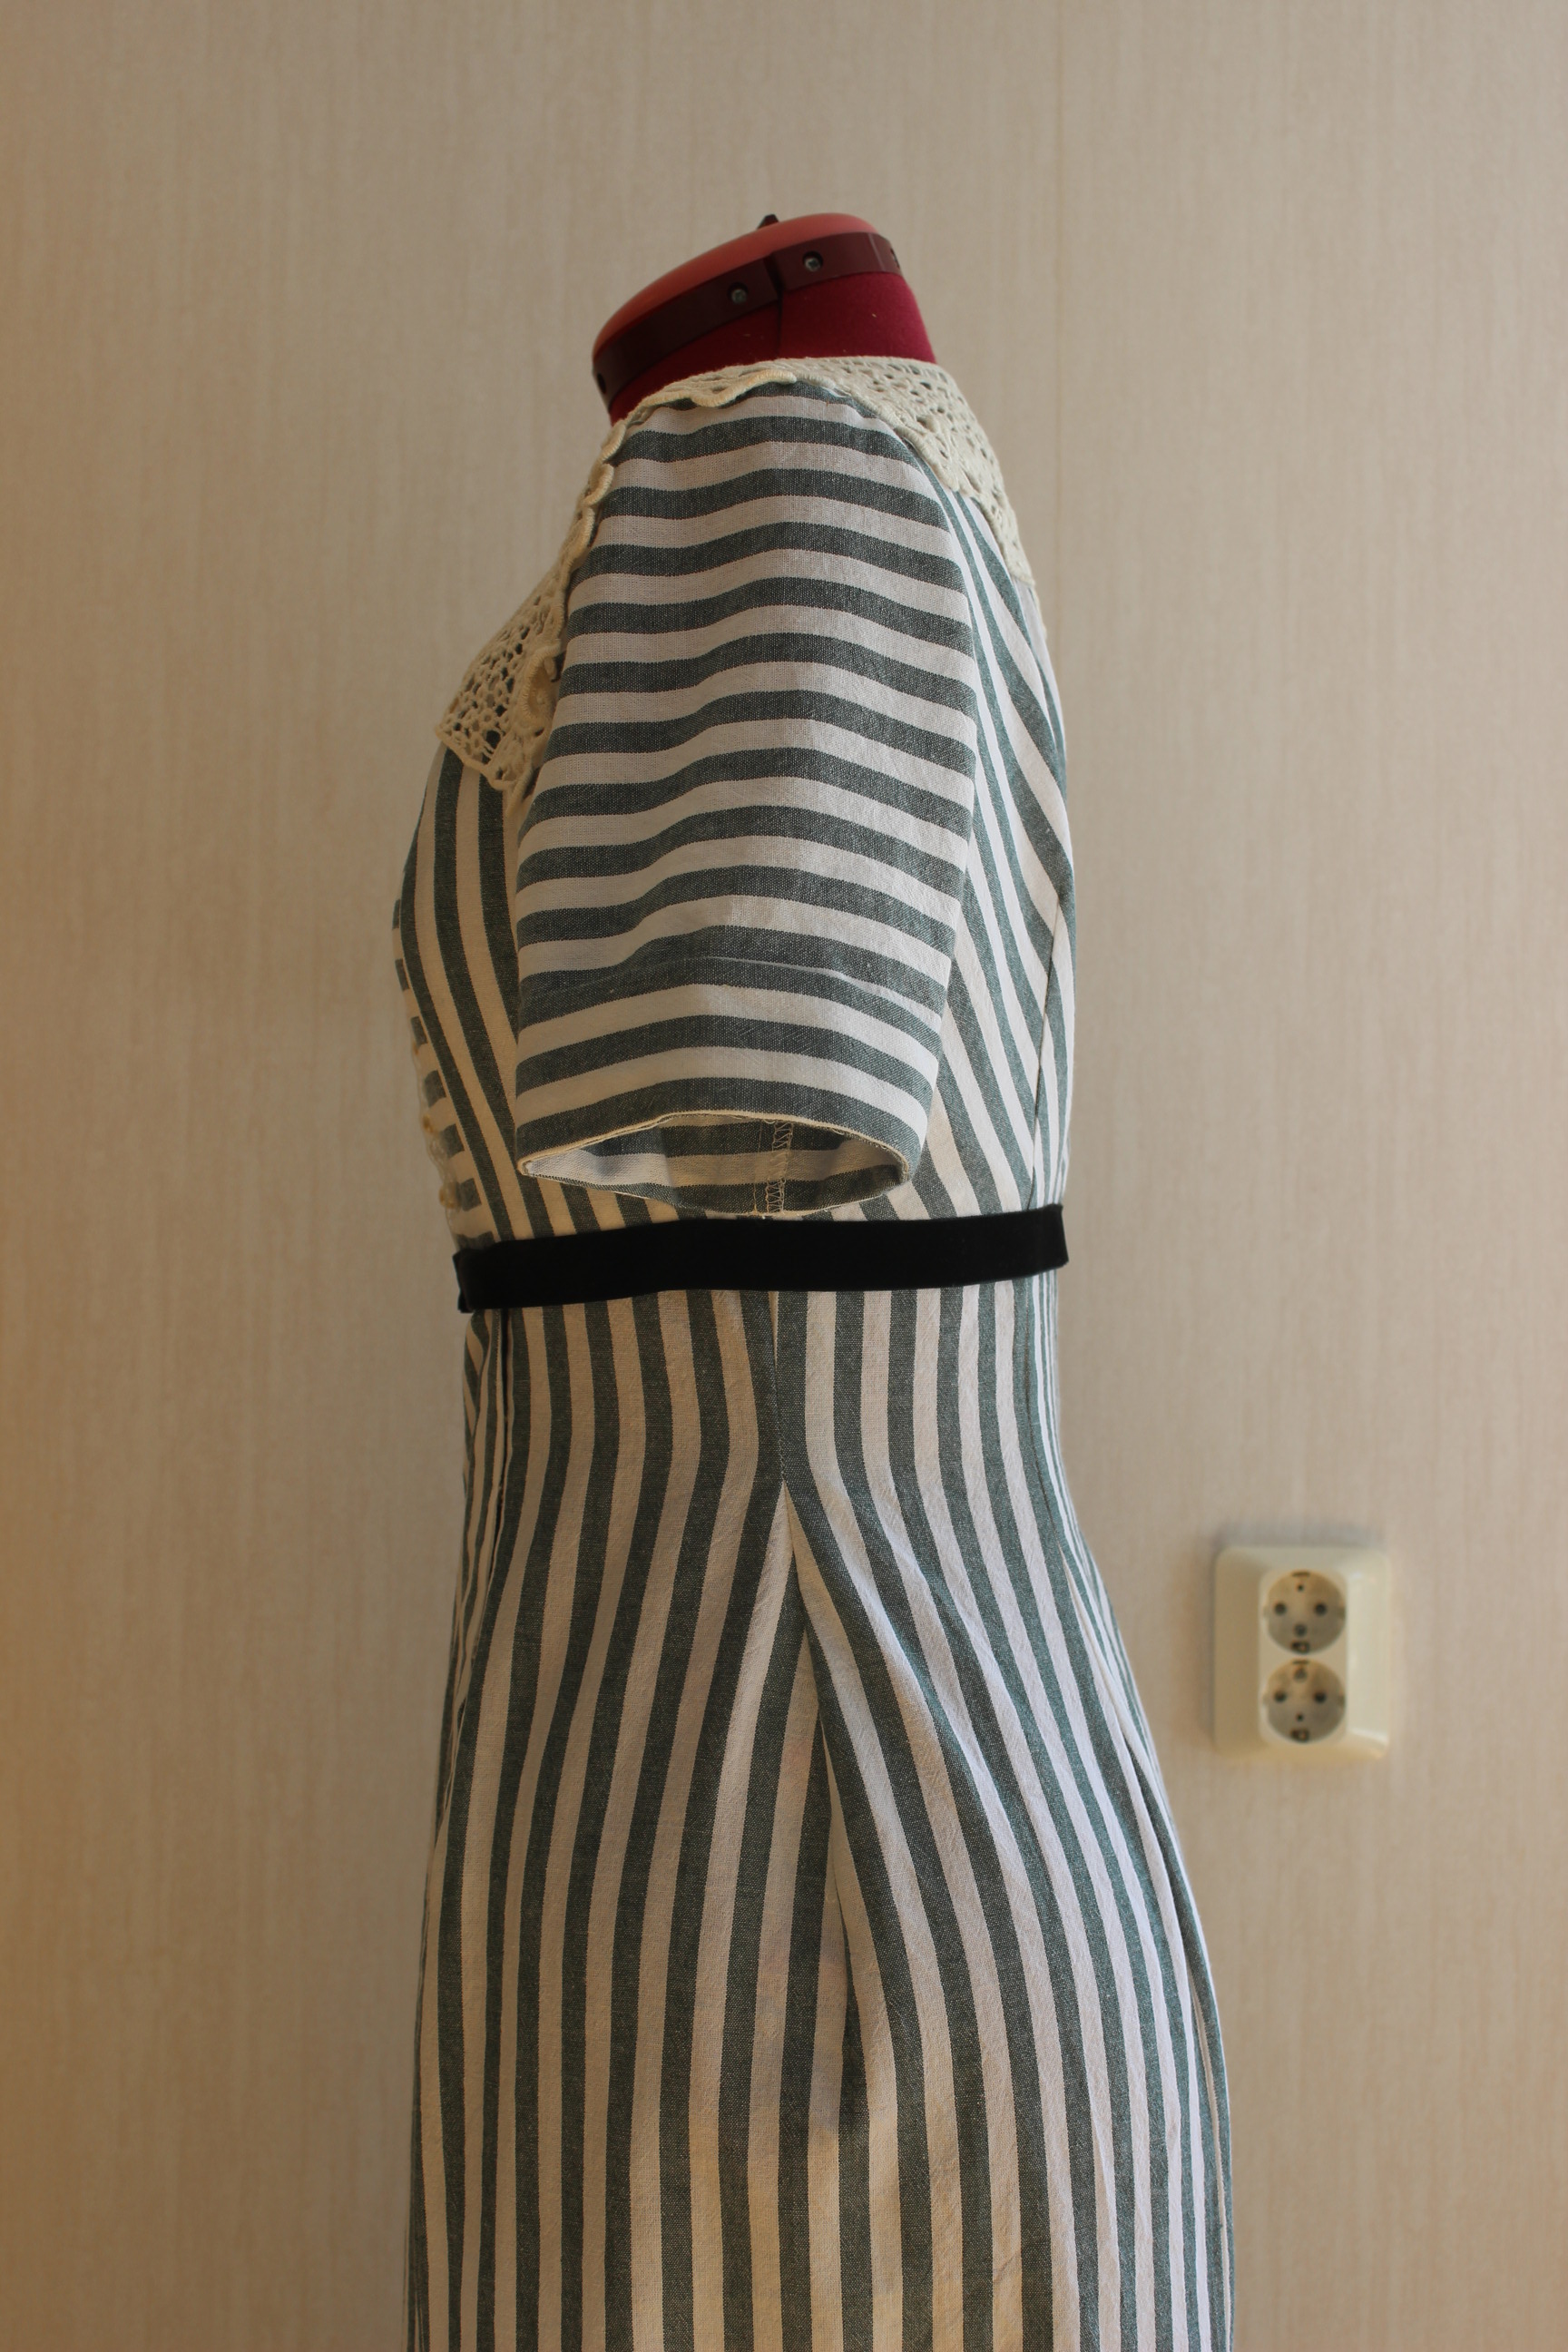
The finished Shirt: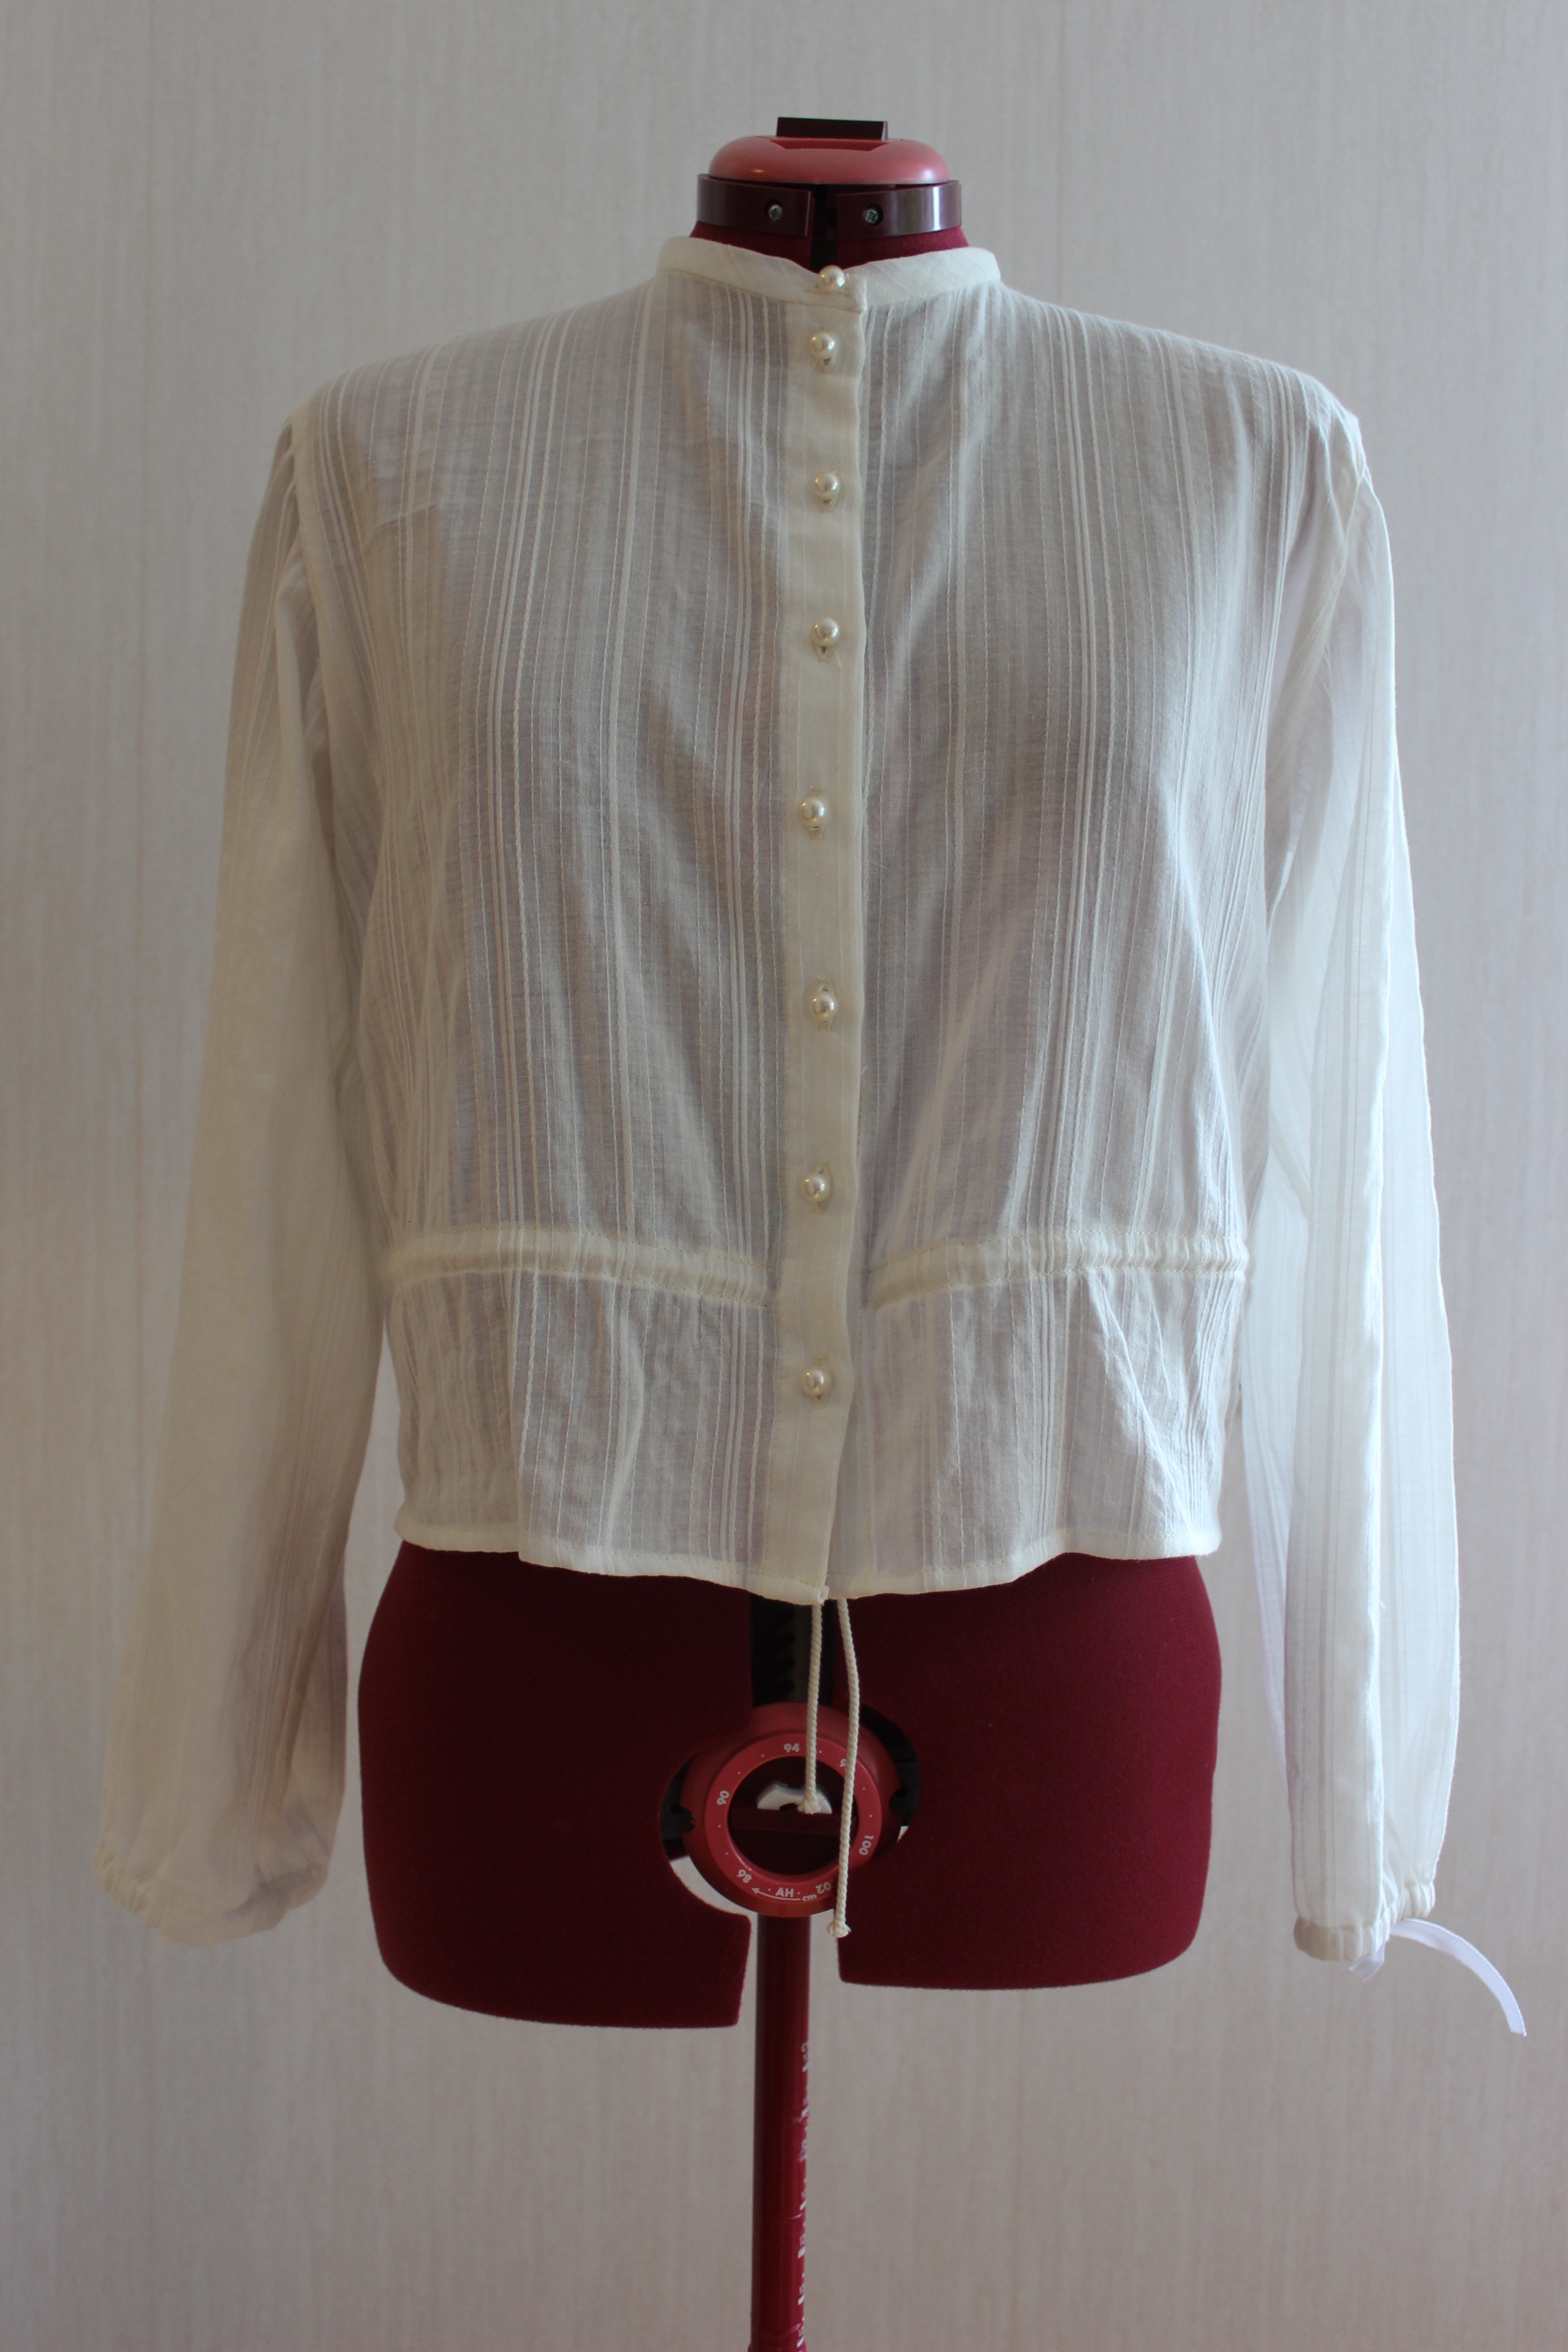 As its biggest size


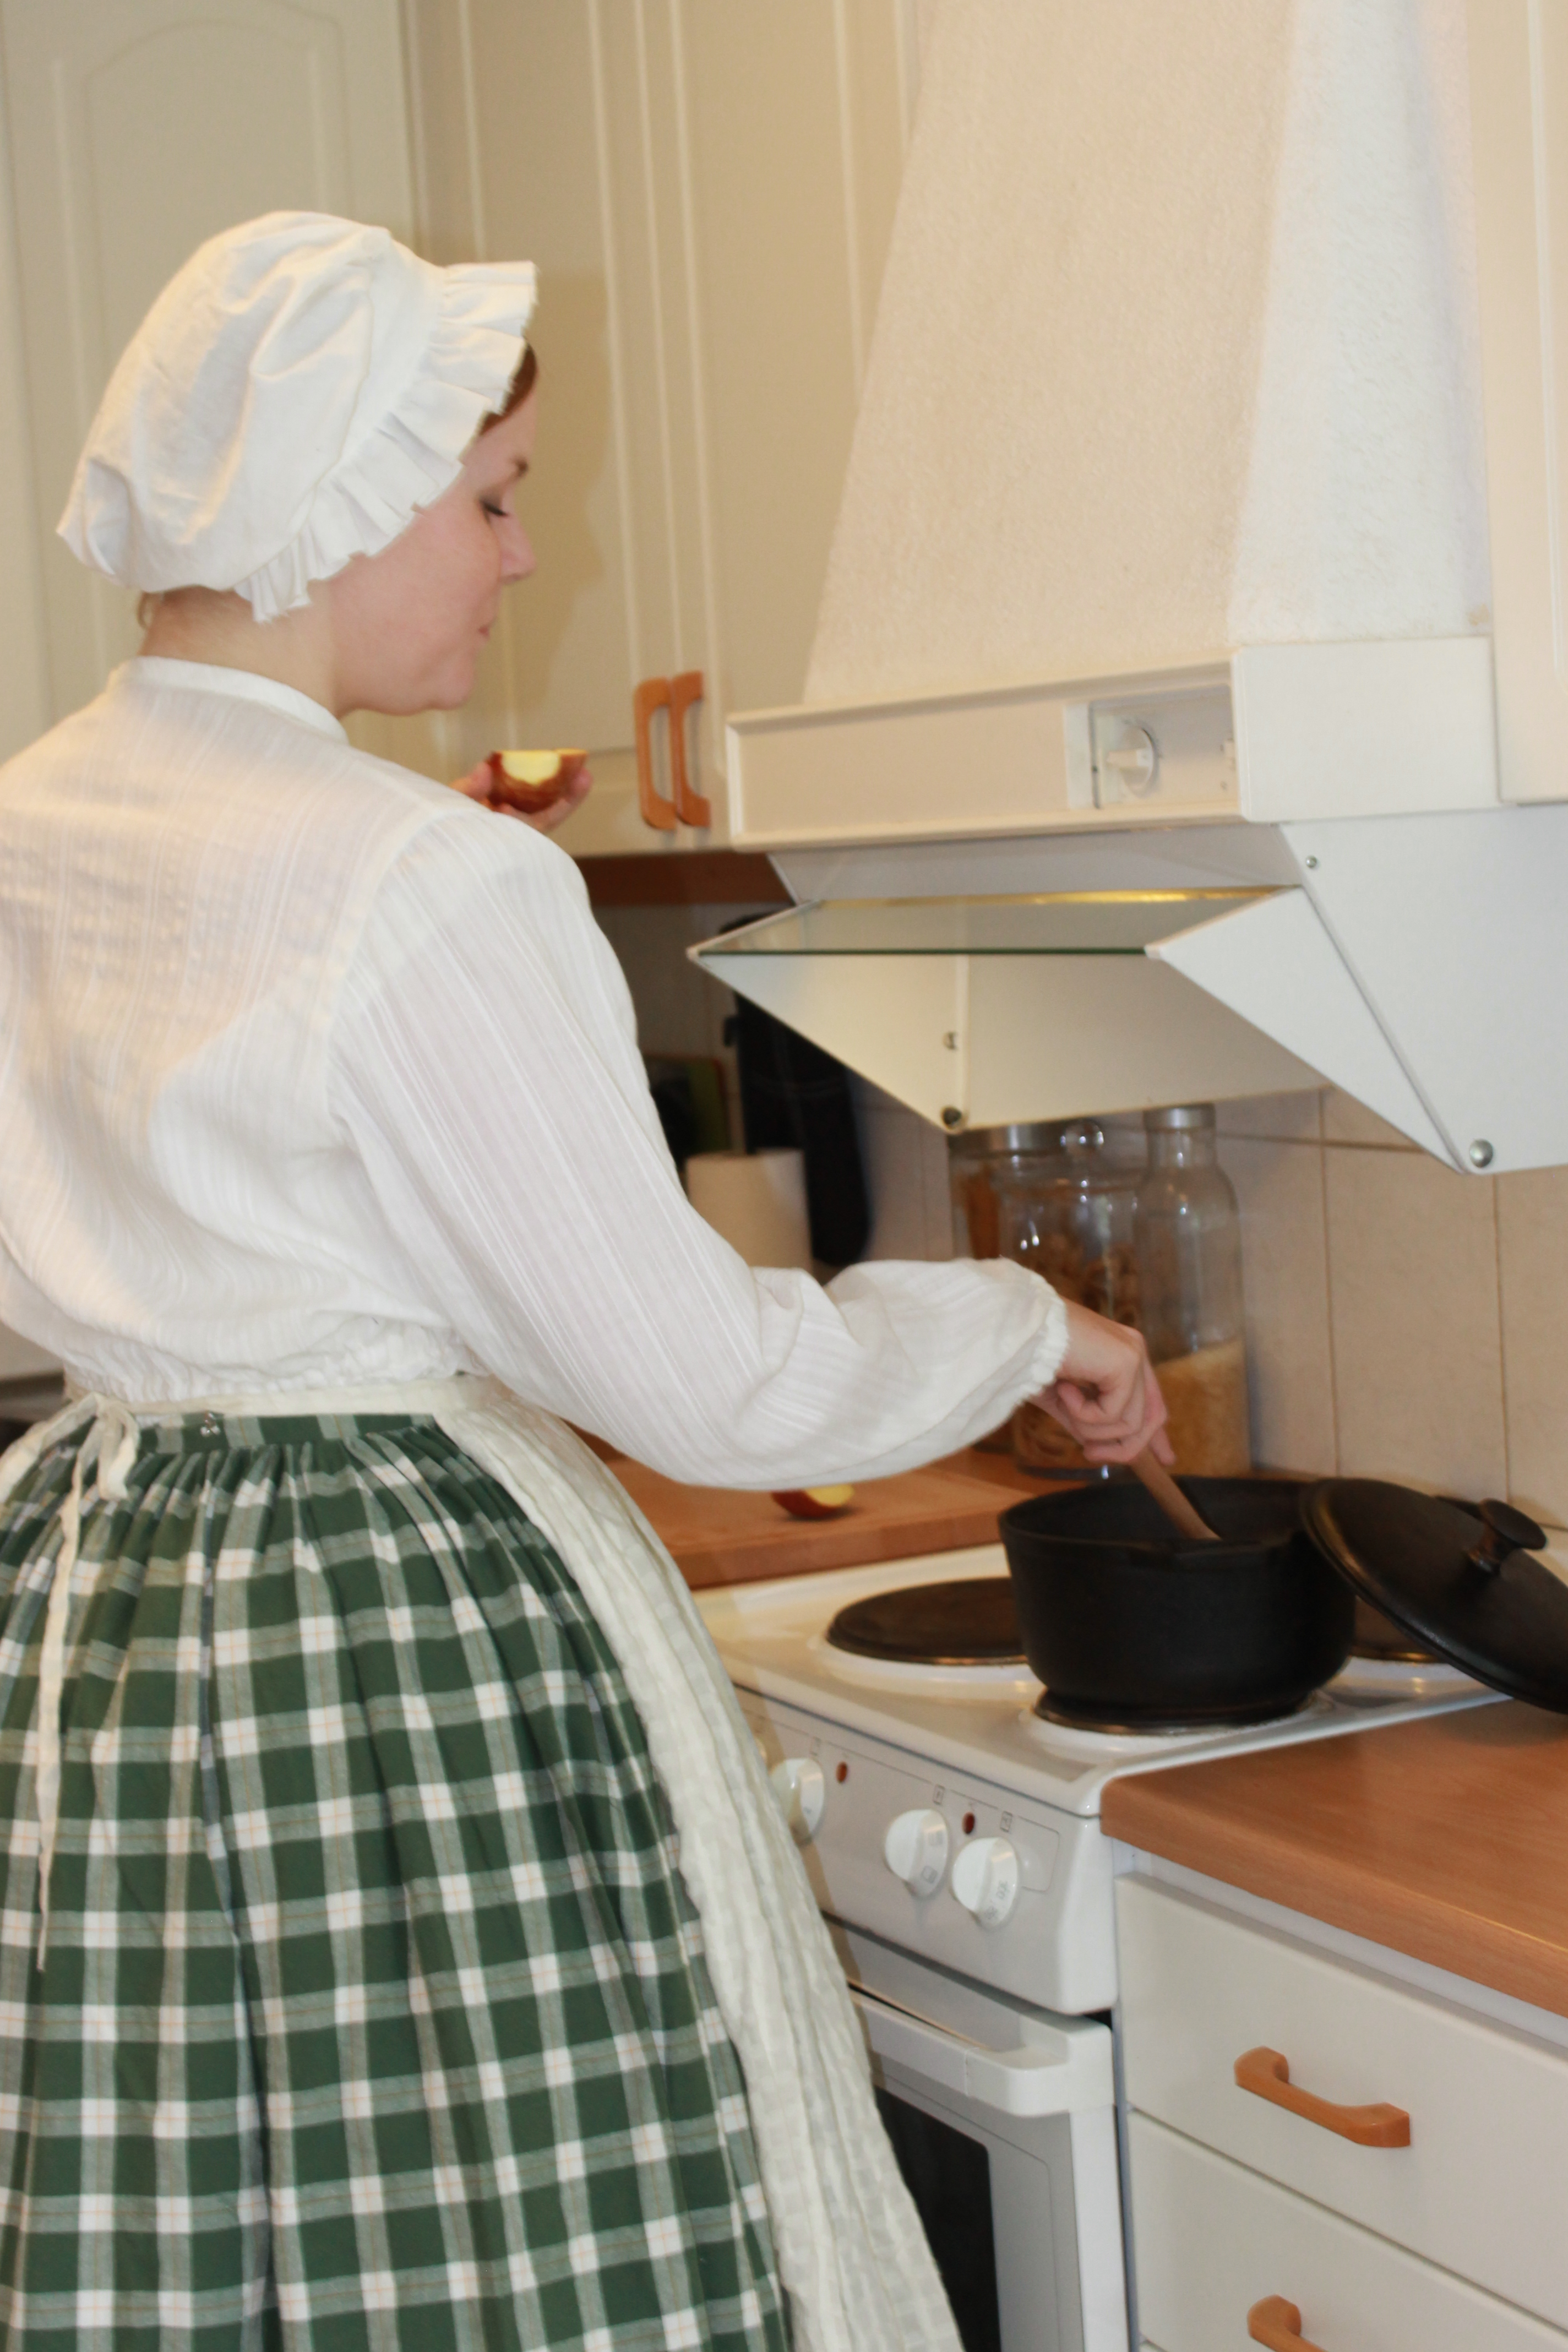
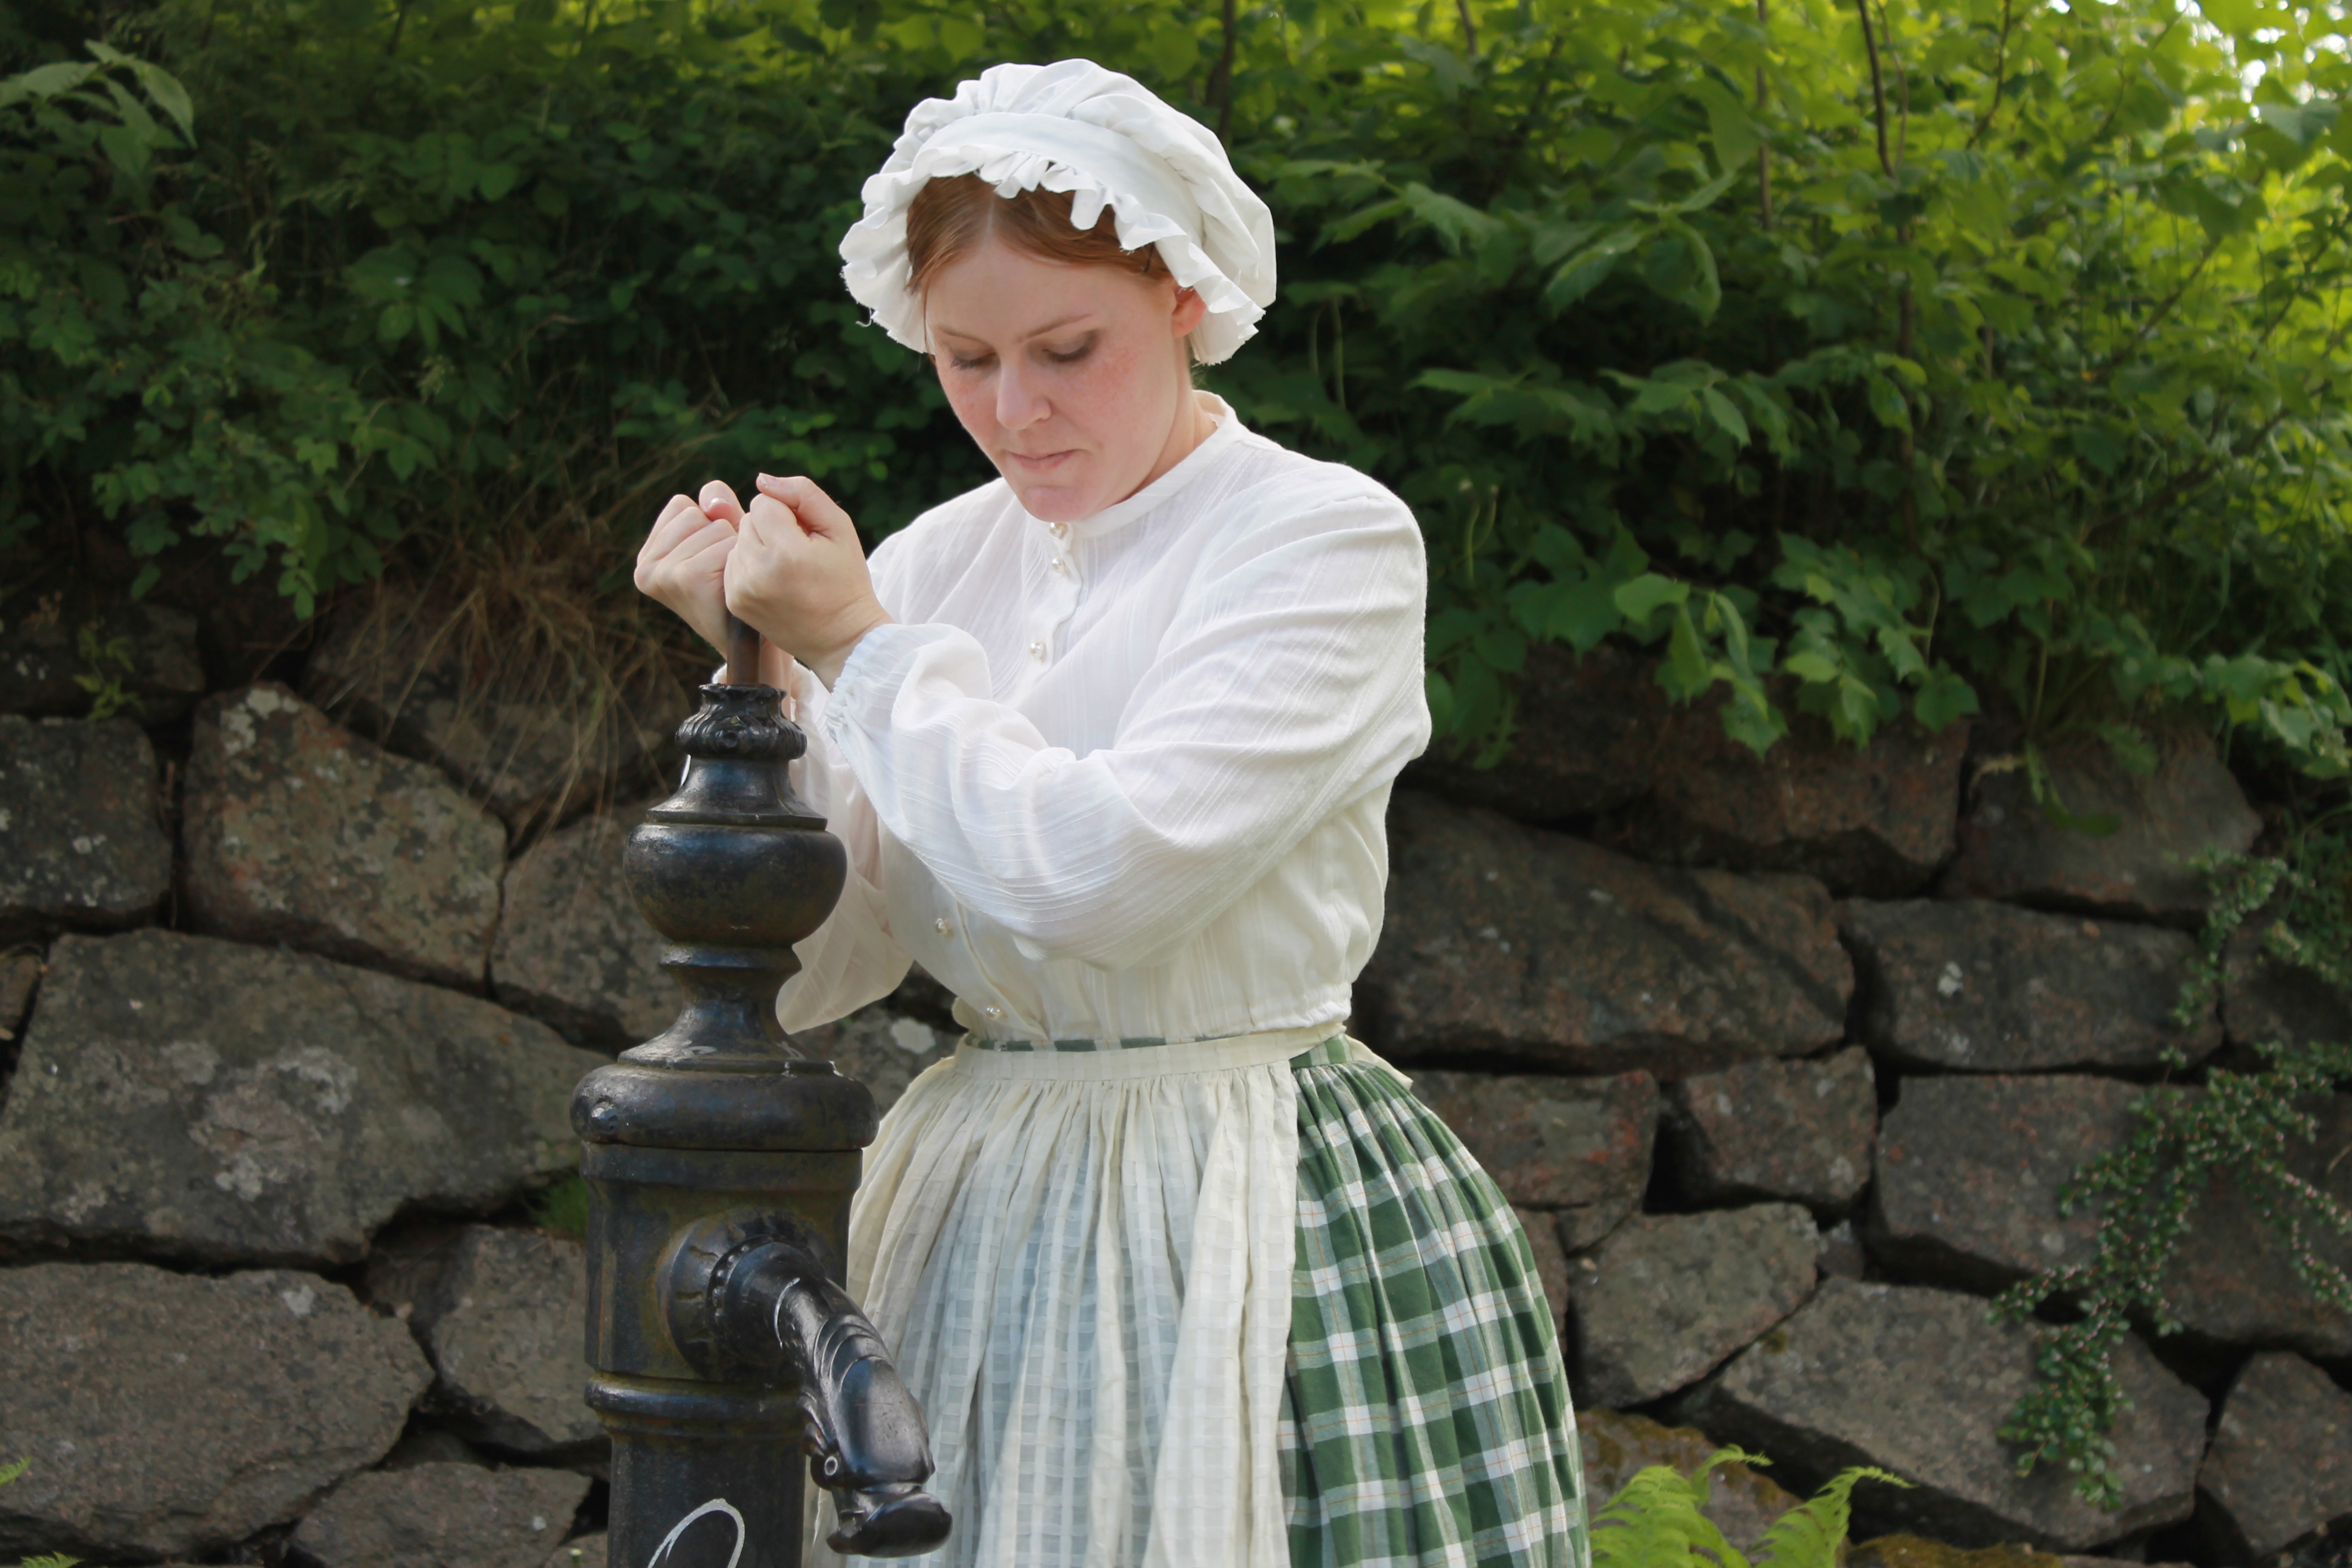
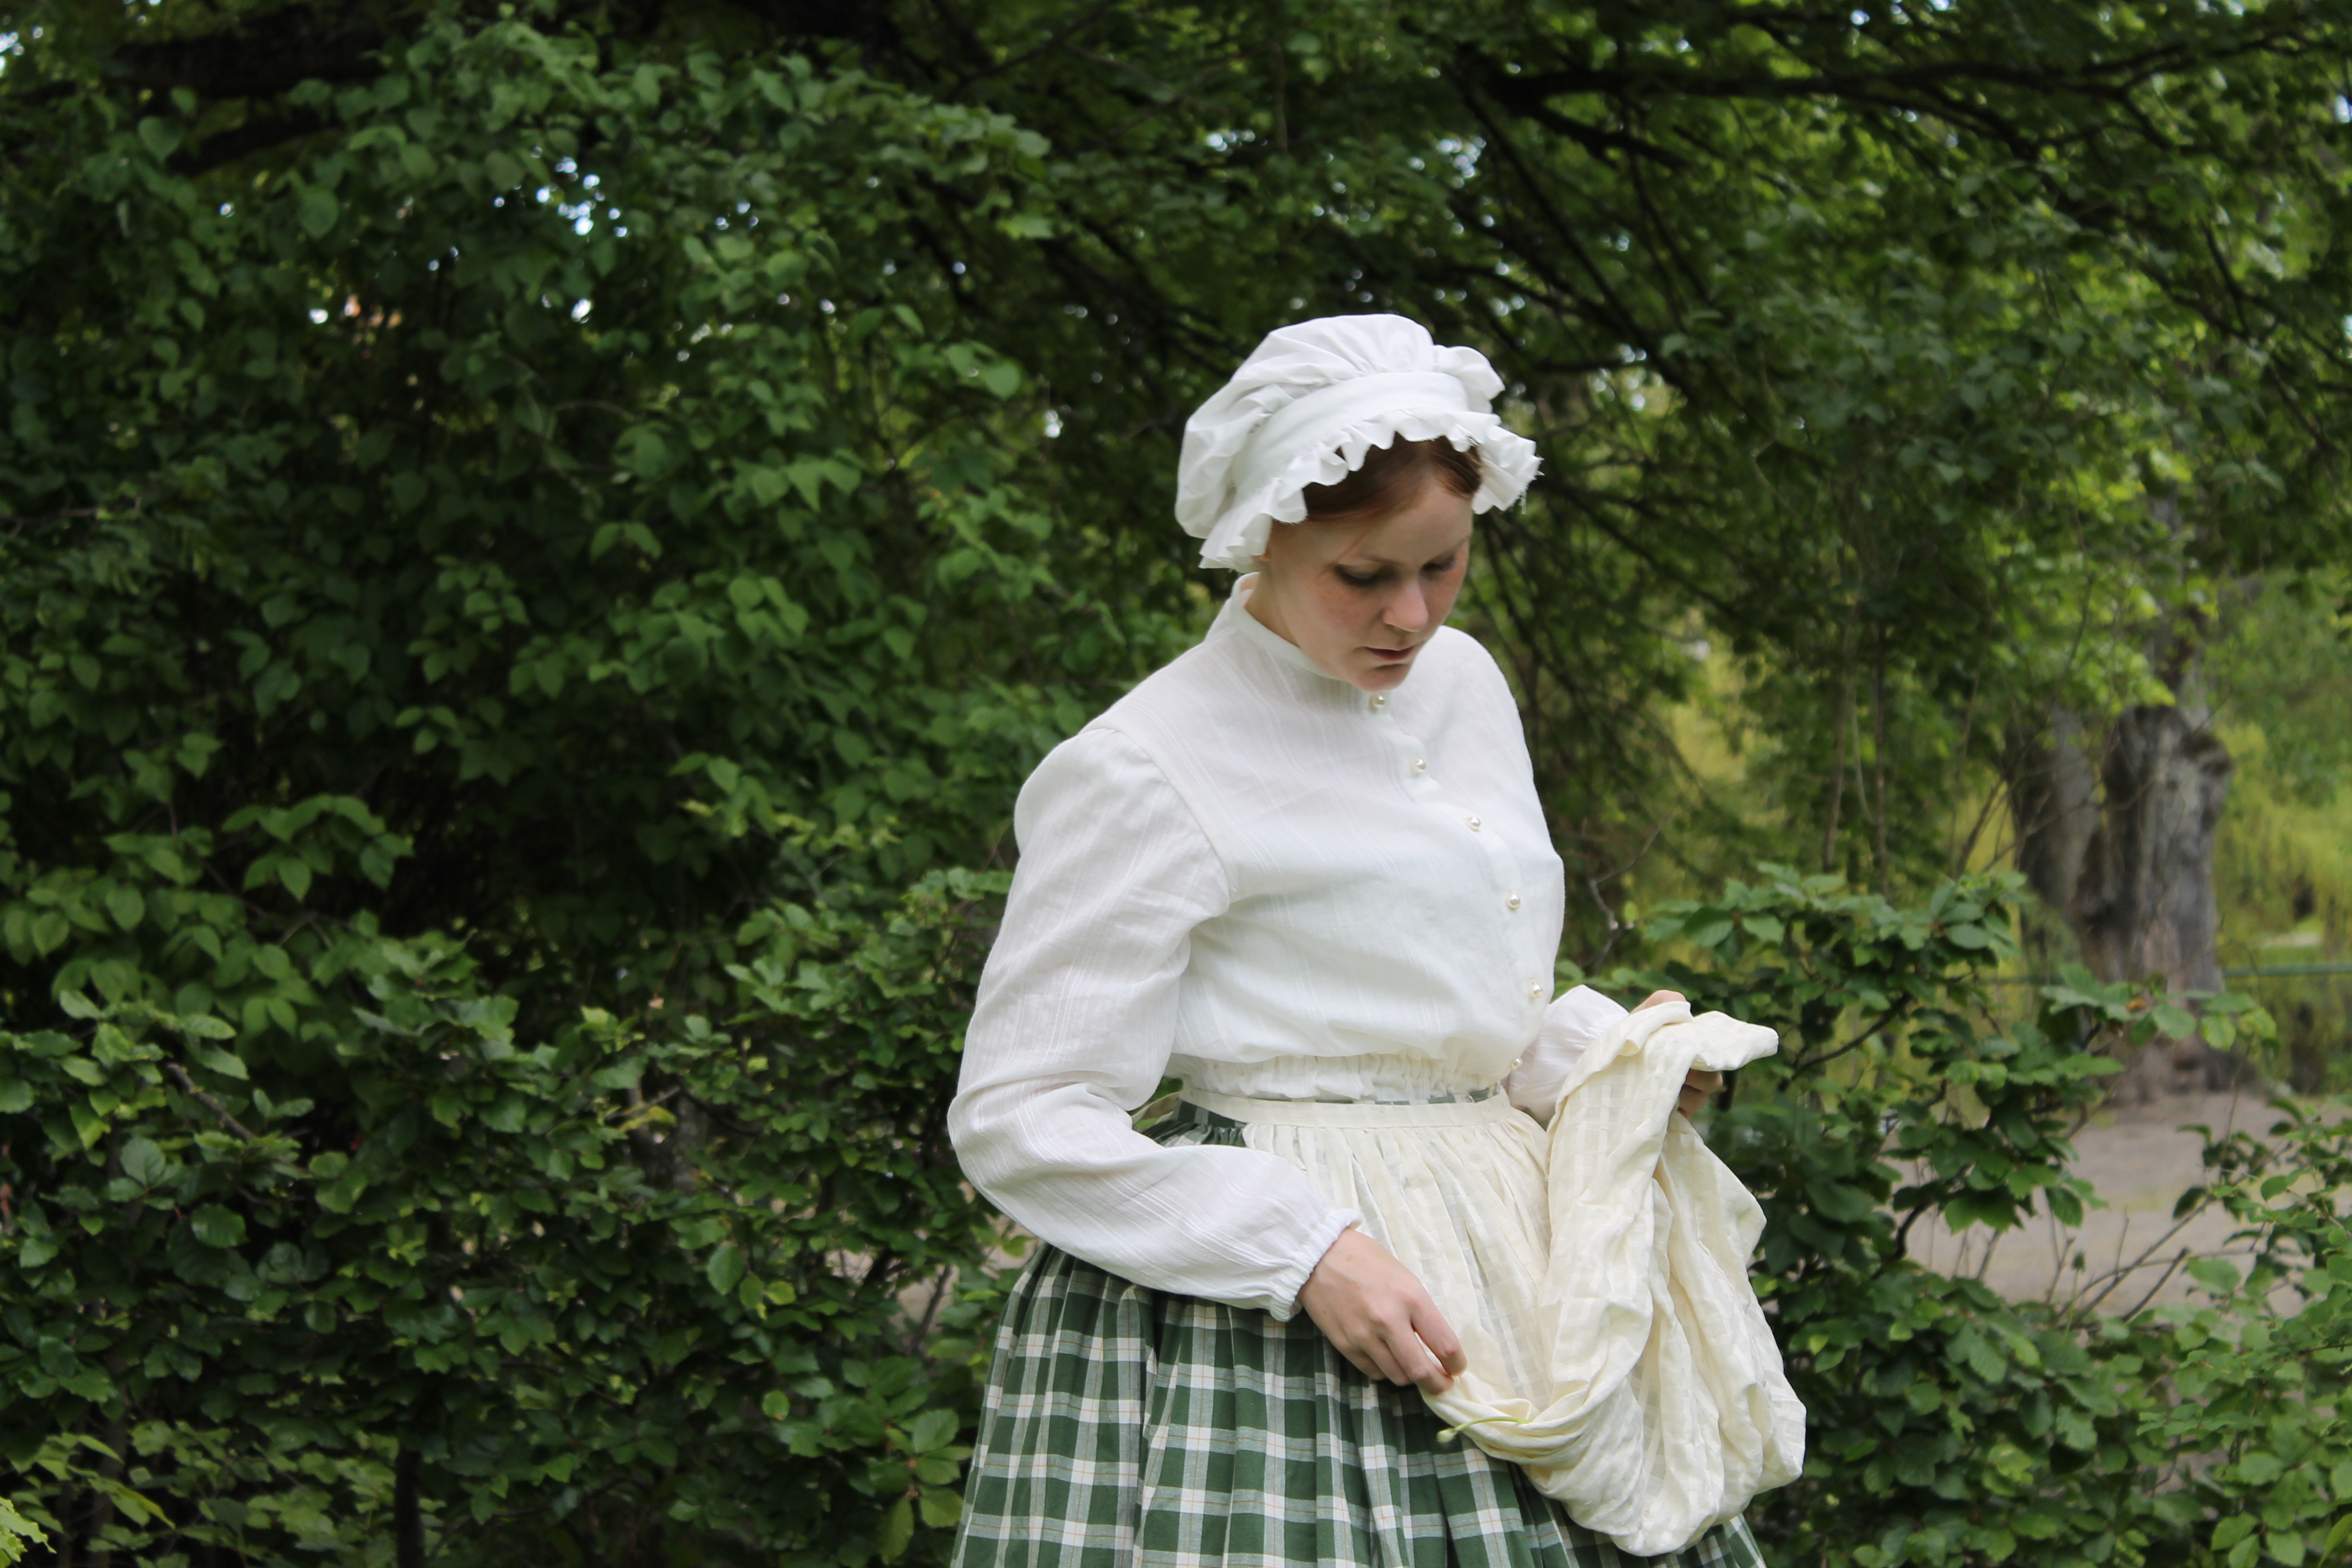
And a quick “practicality” photoshoot: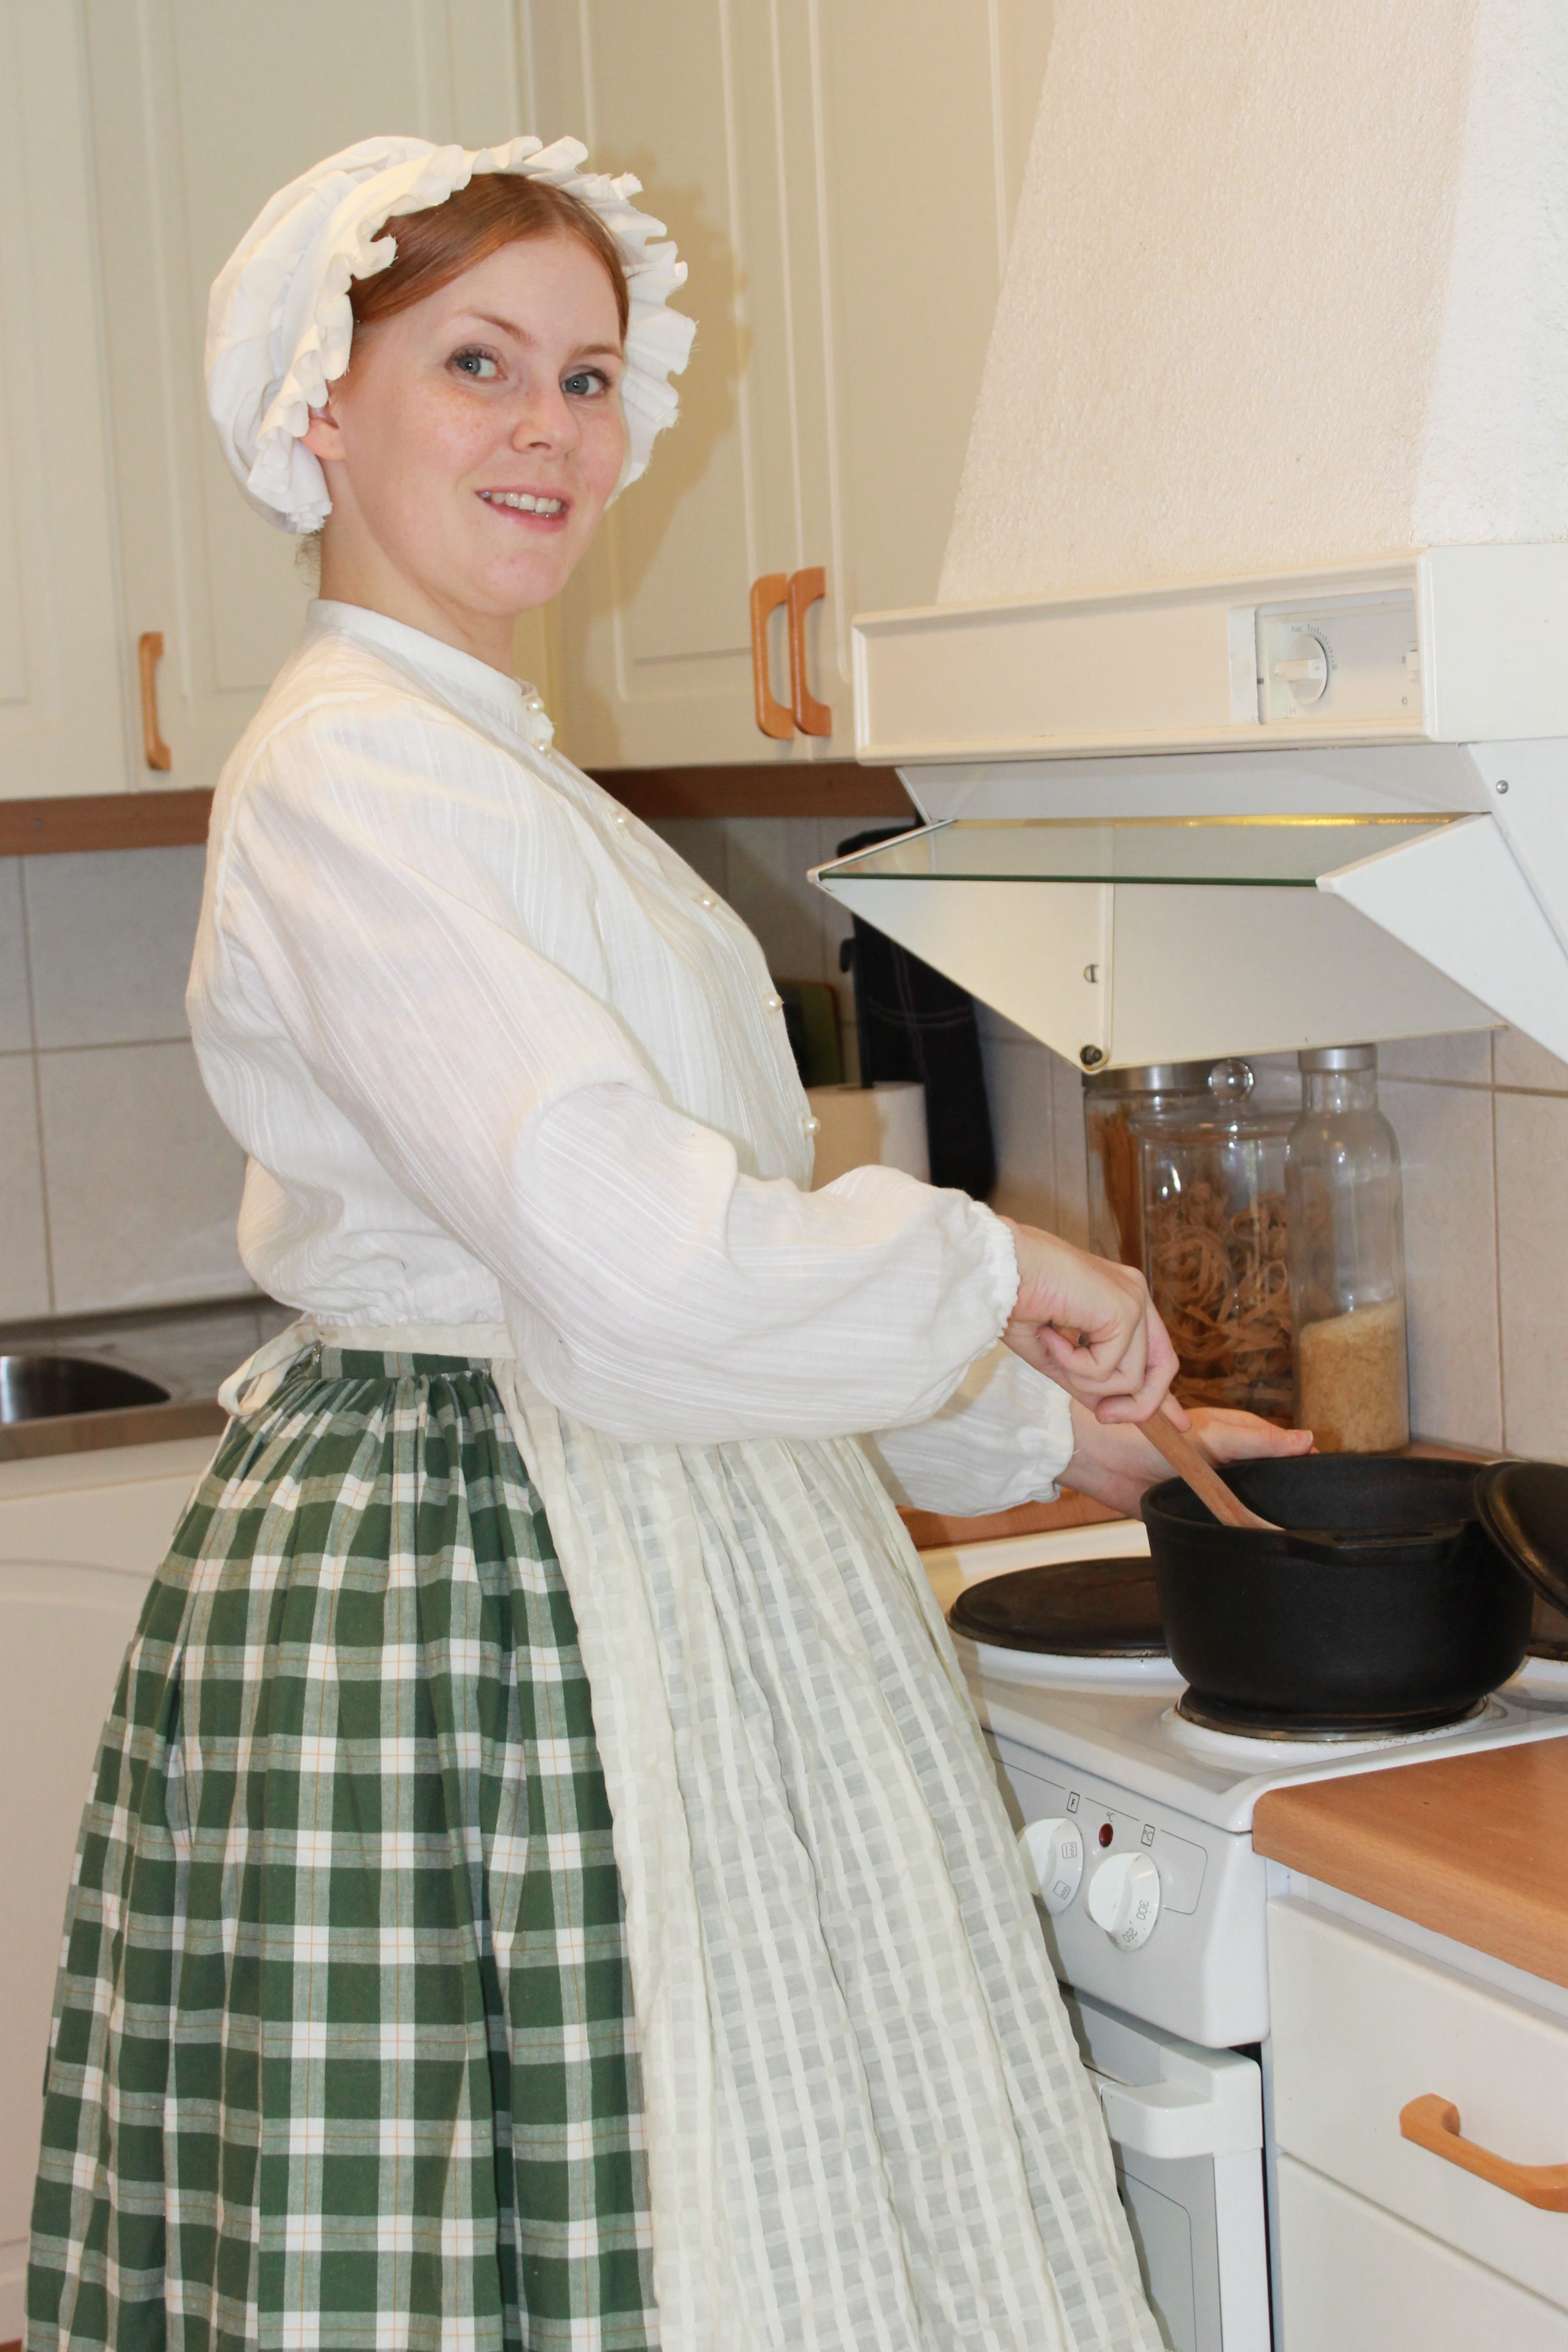 Cocking food in my extremely old fashioned kitchen…
Just the facts:
Challenge: nr 5/2015 “Practicality”
What: a 1850-1860s shirtwaist
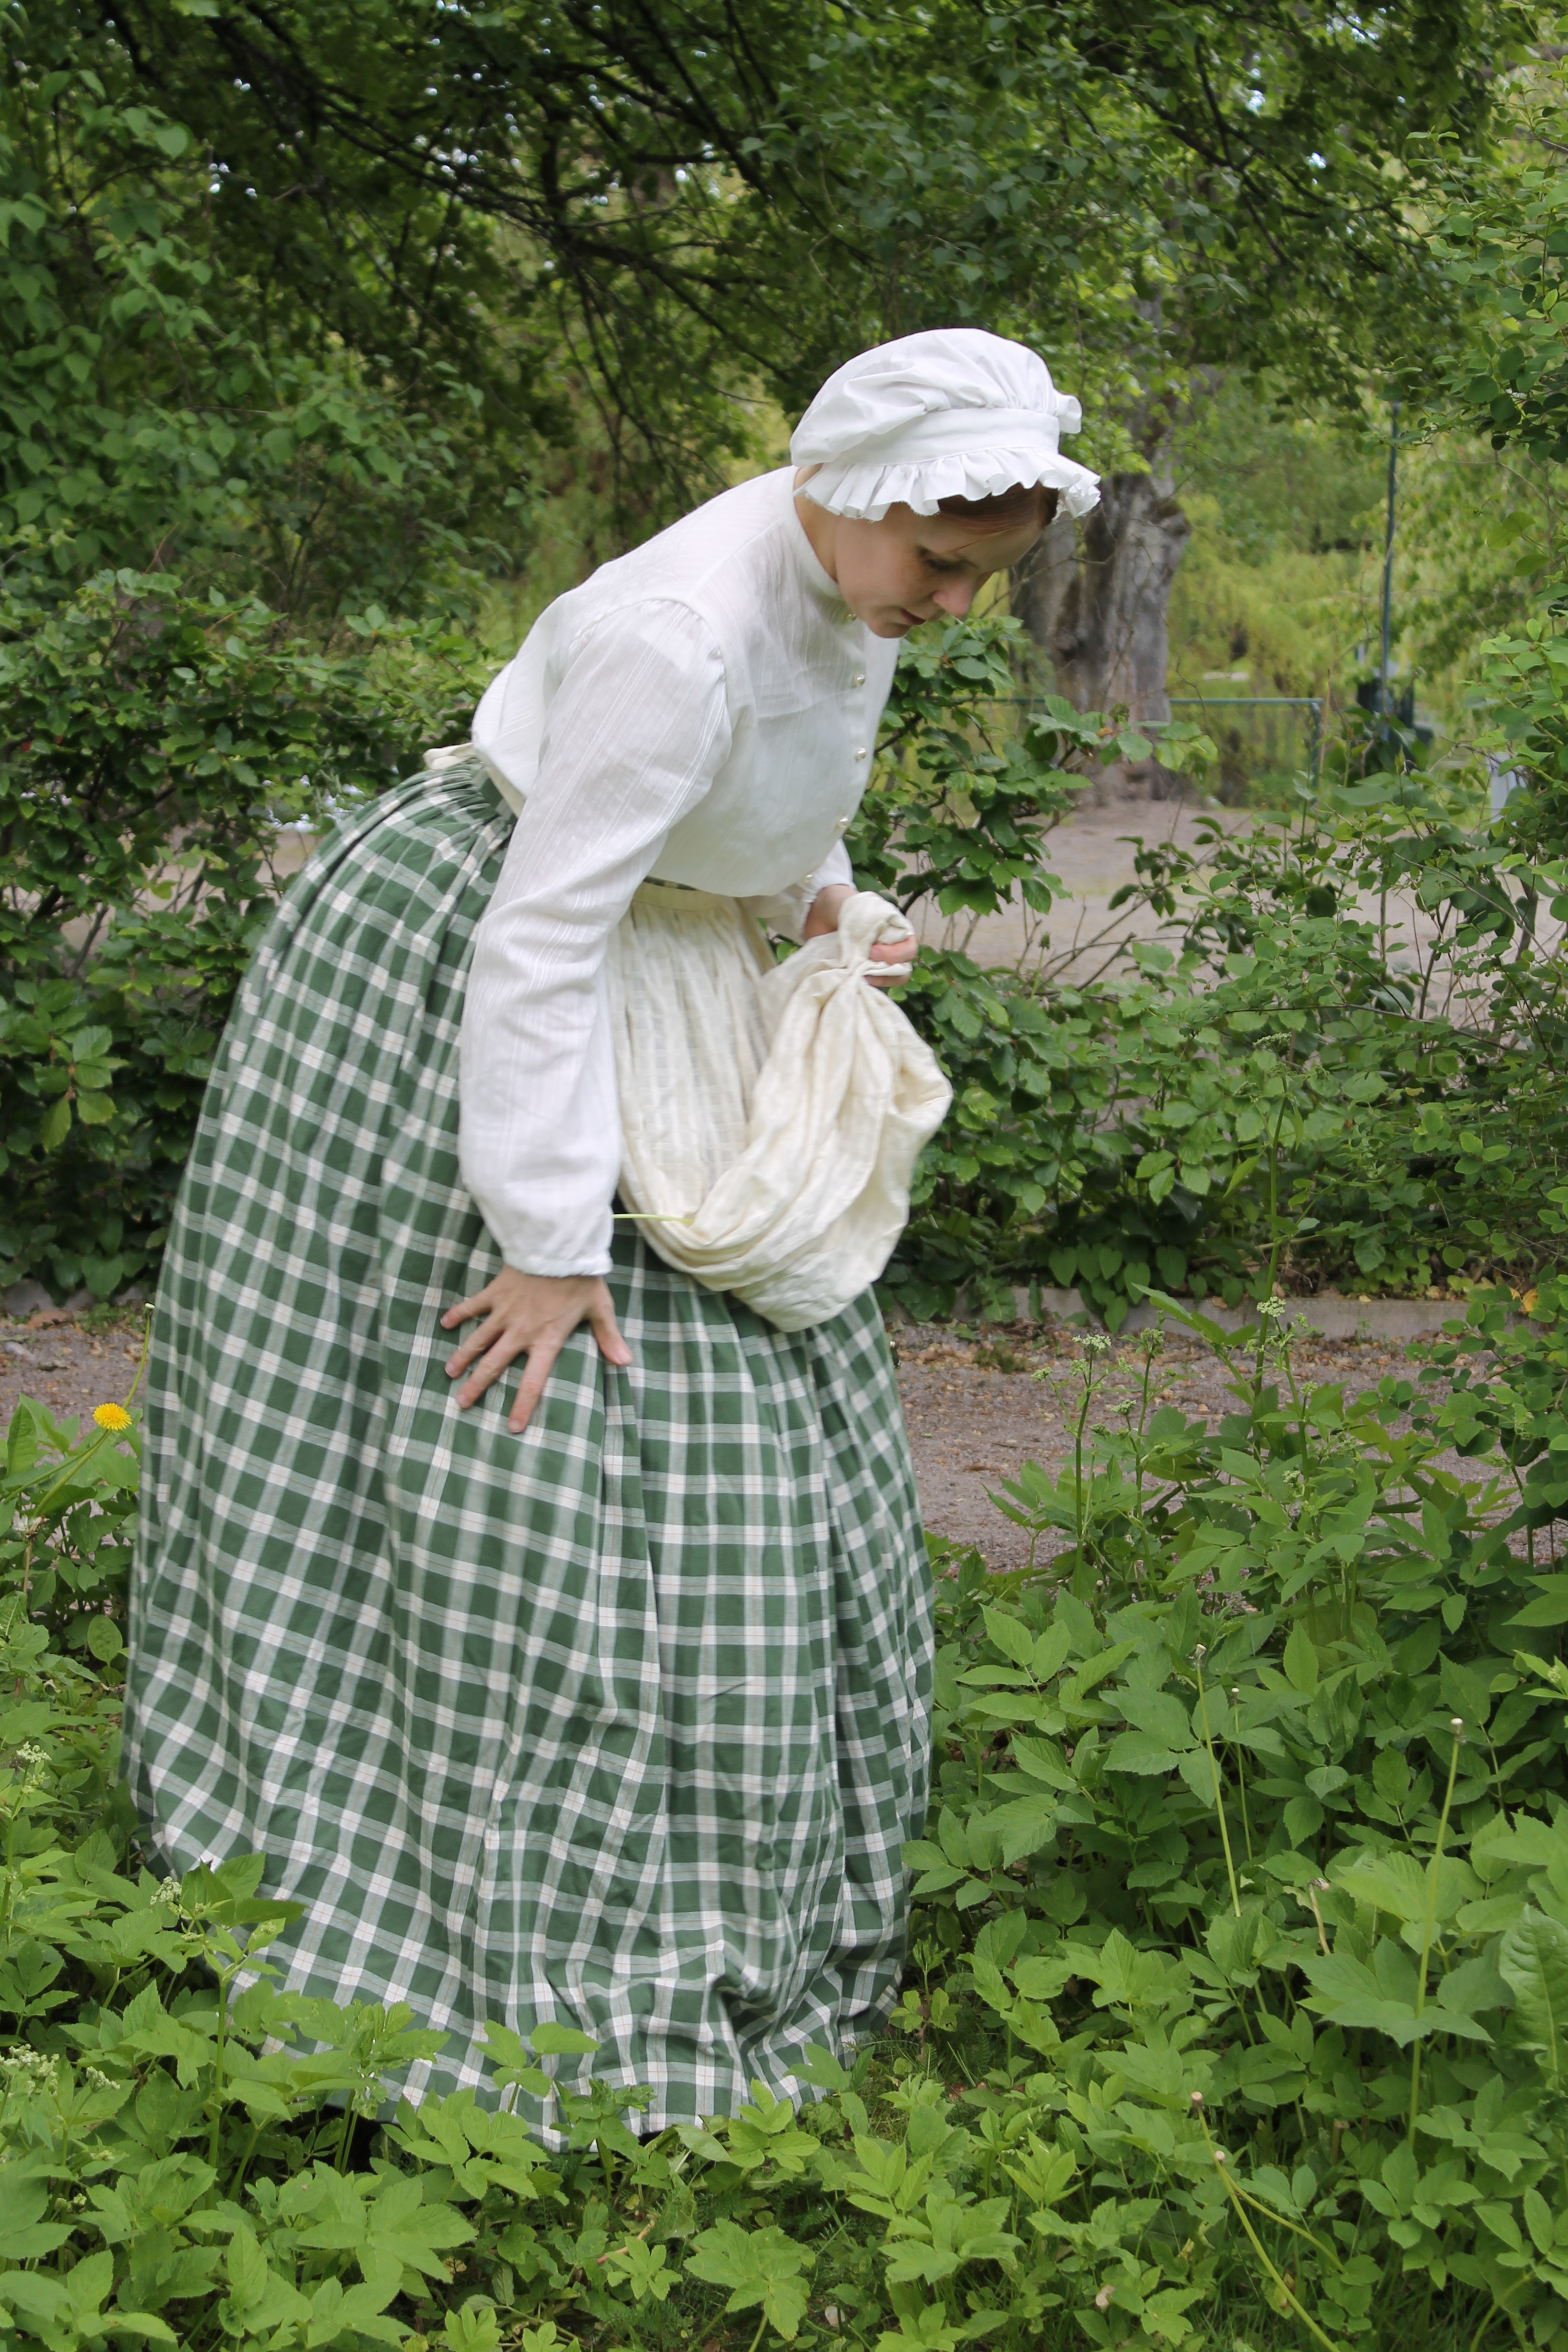
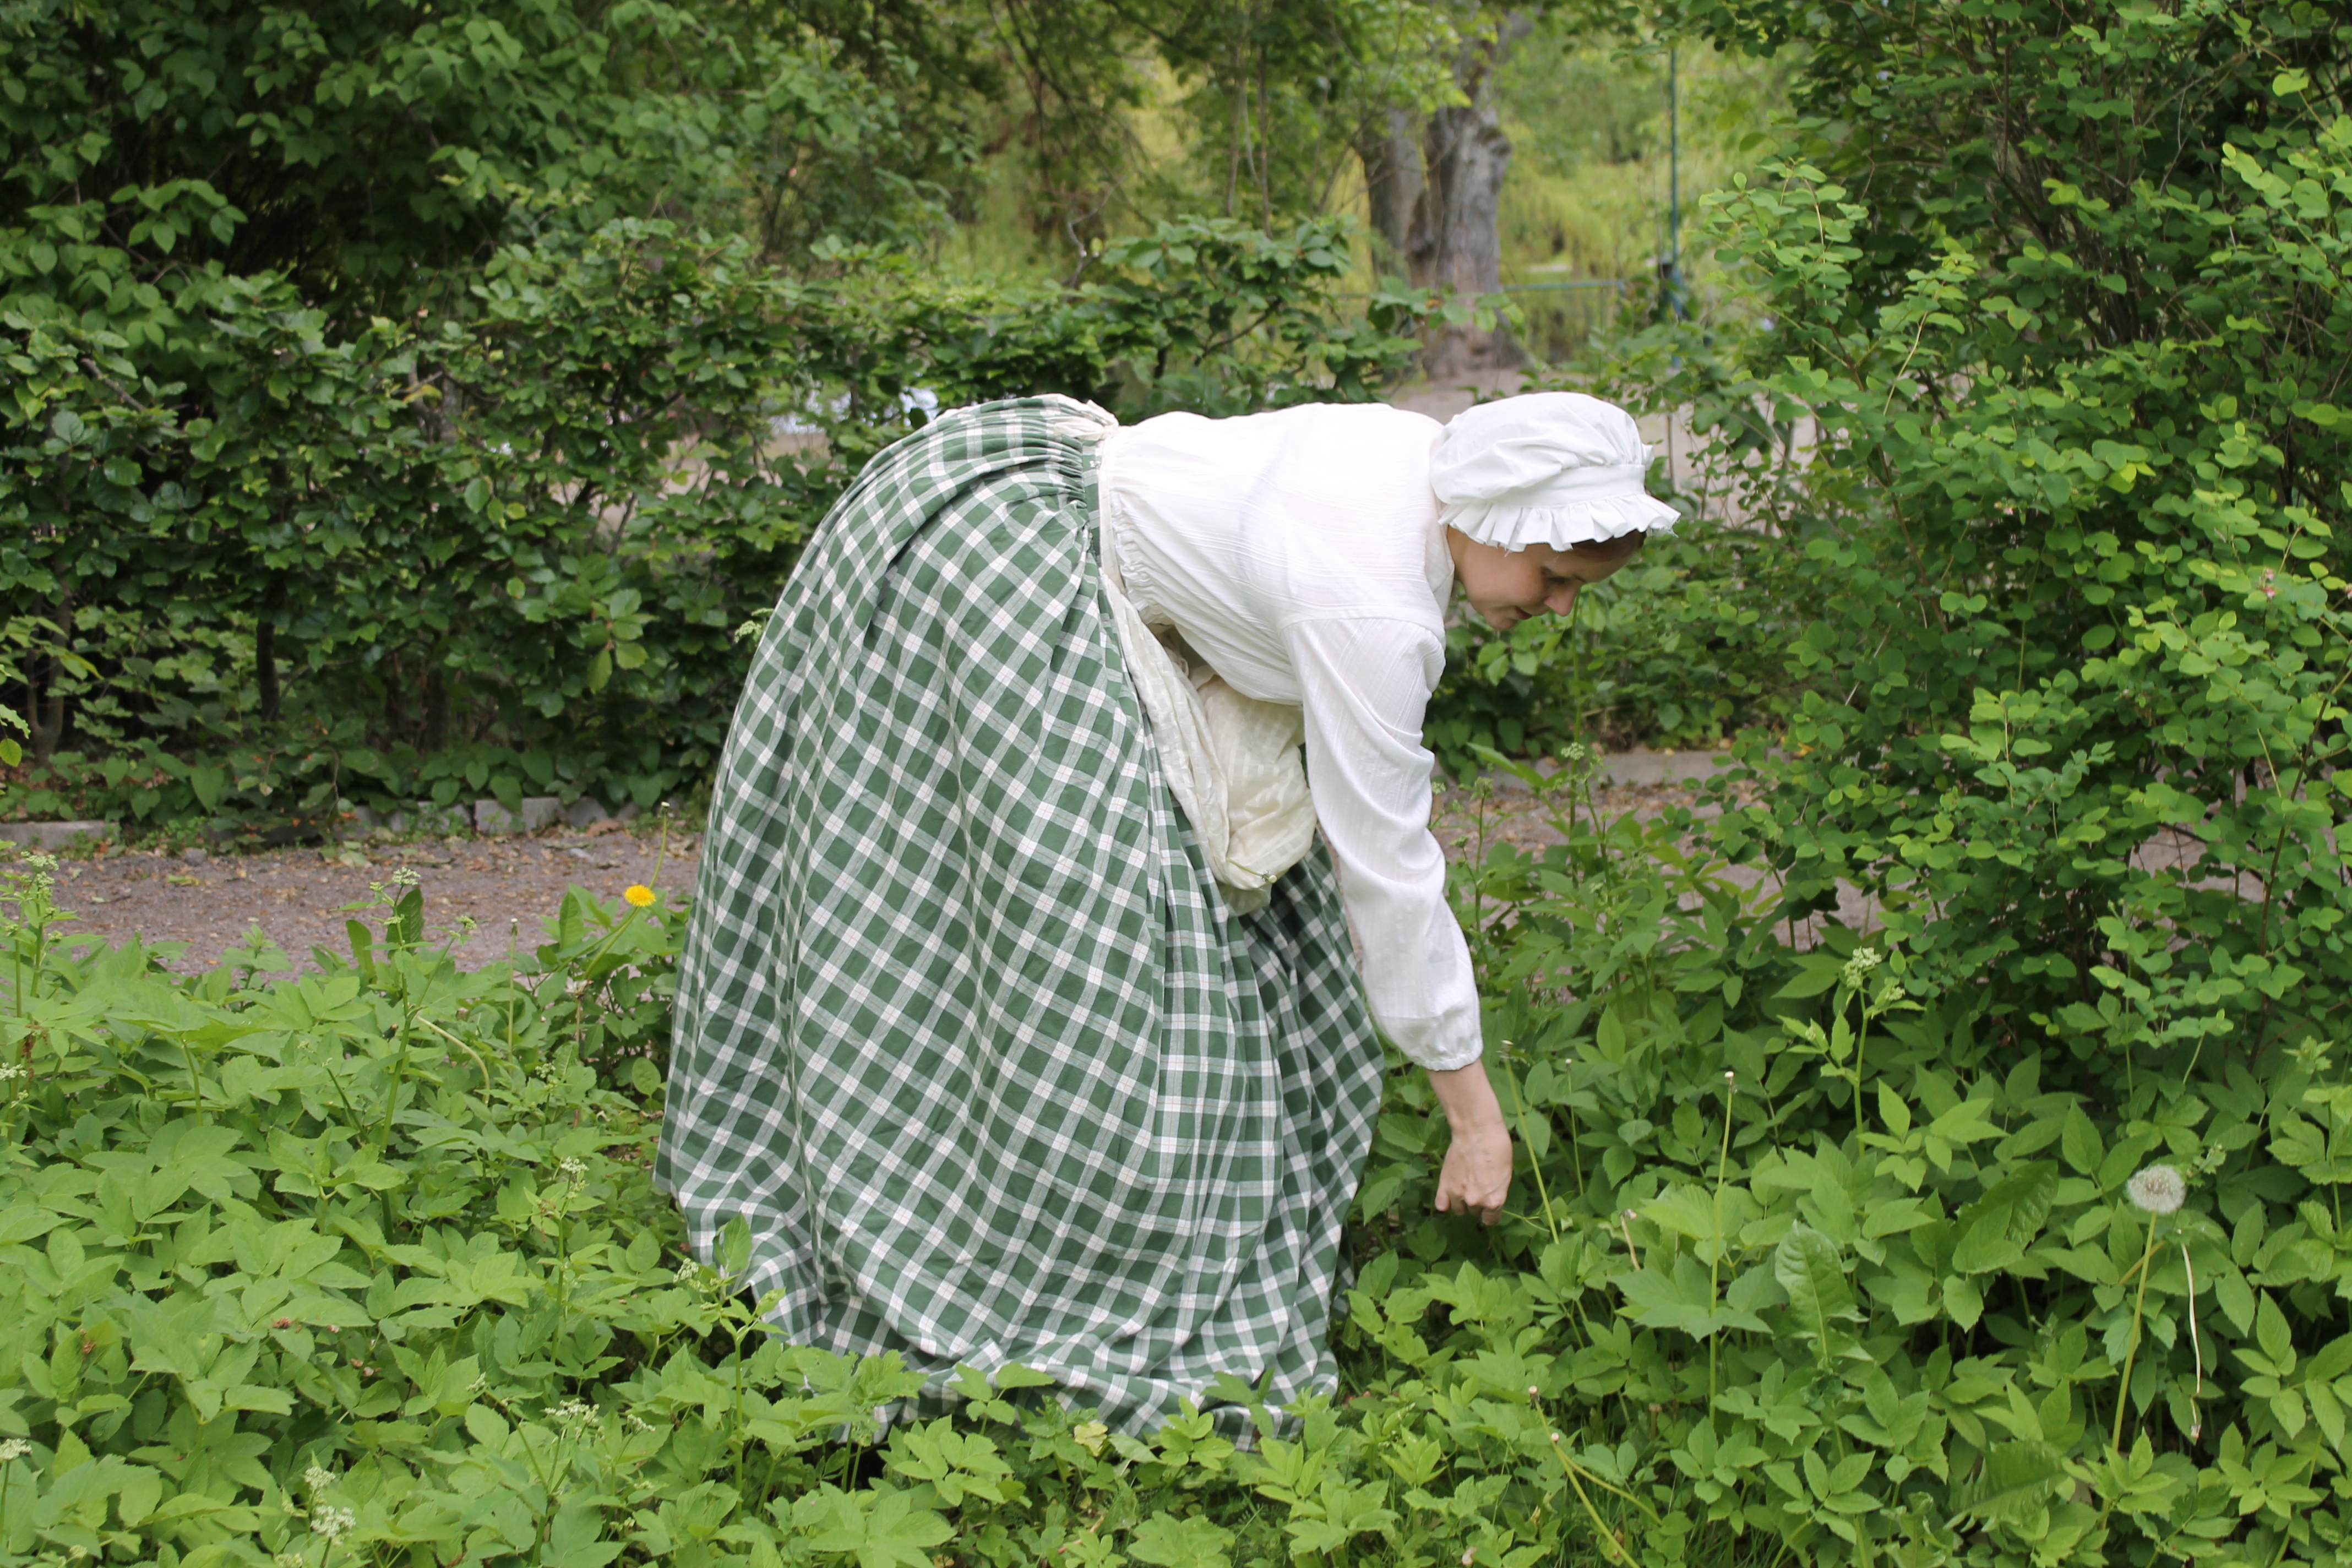
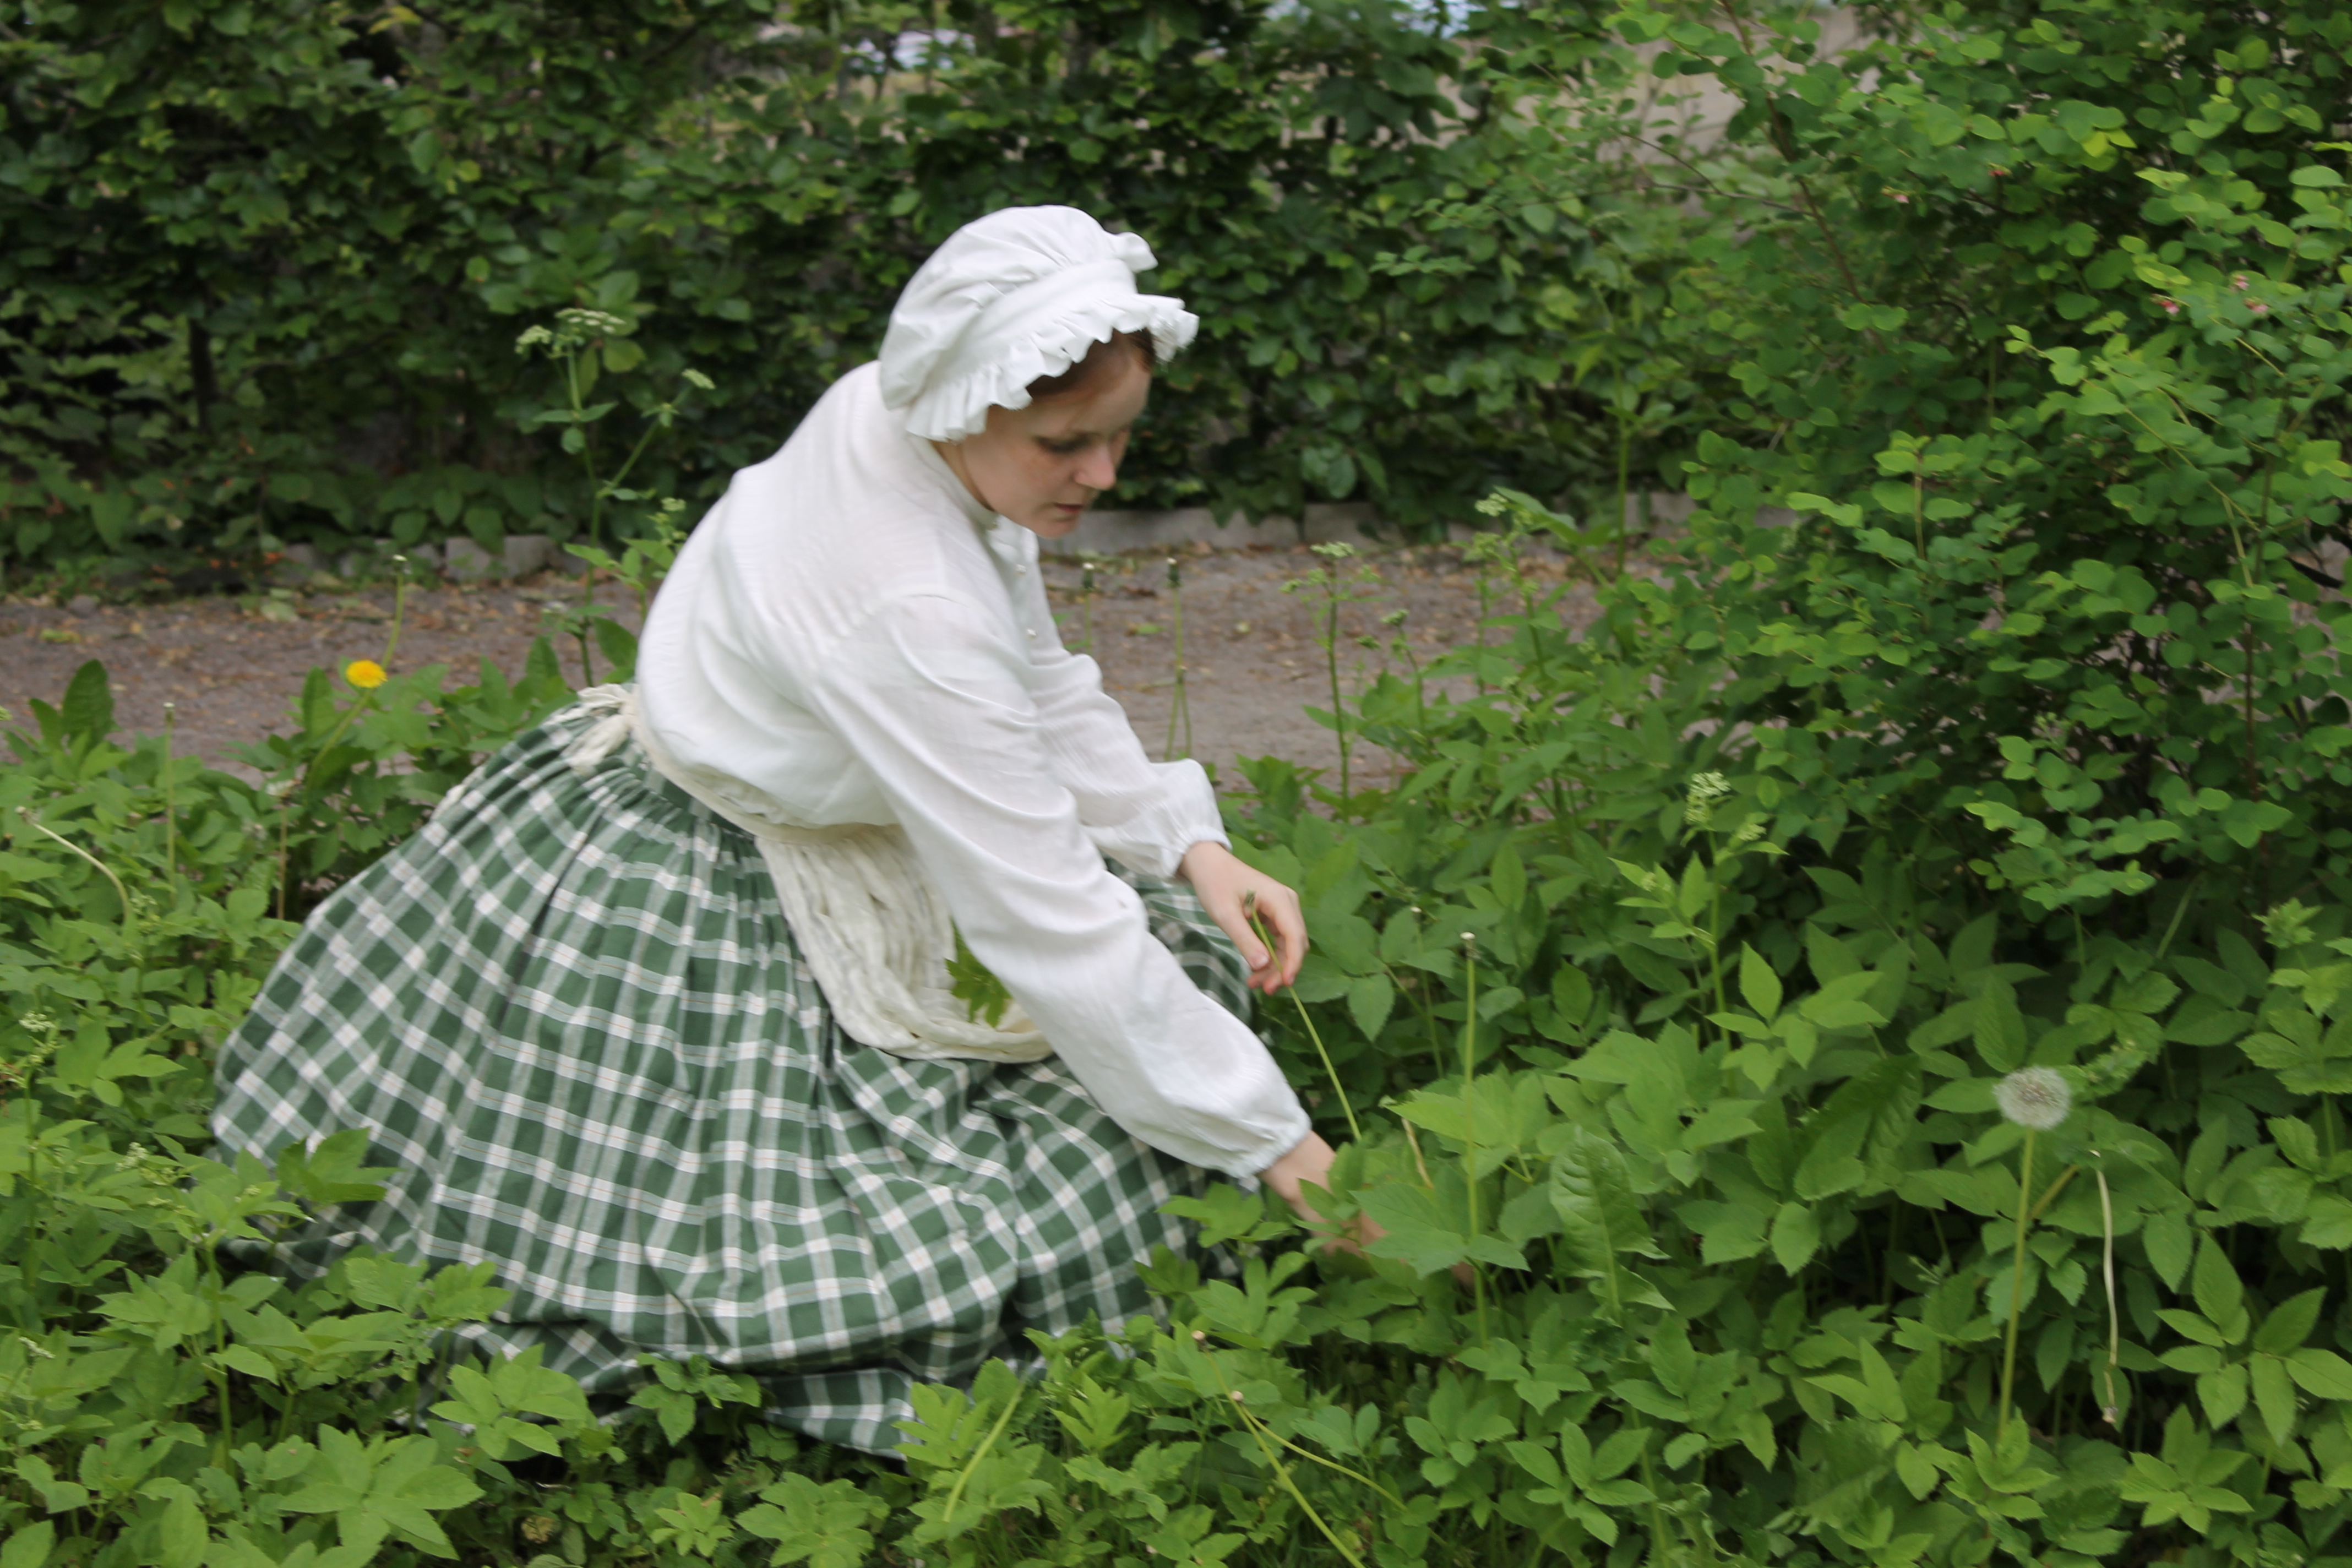
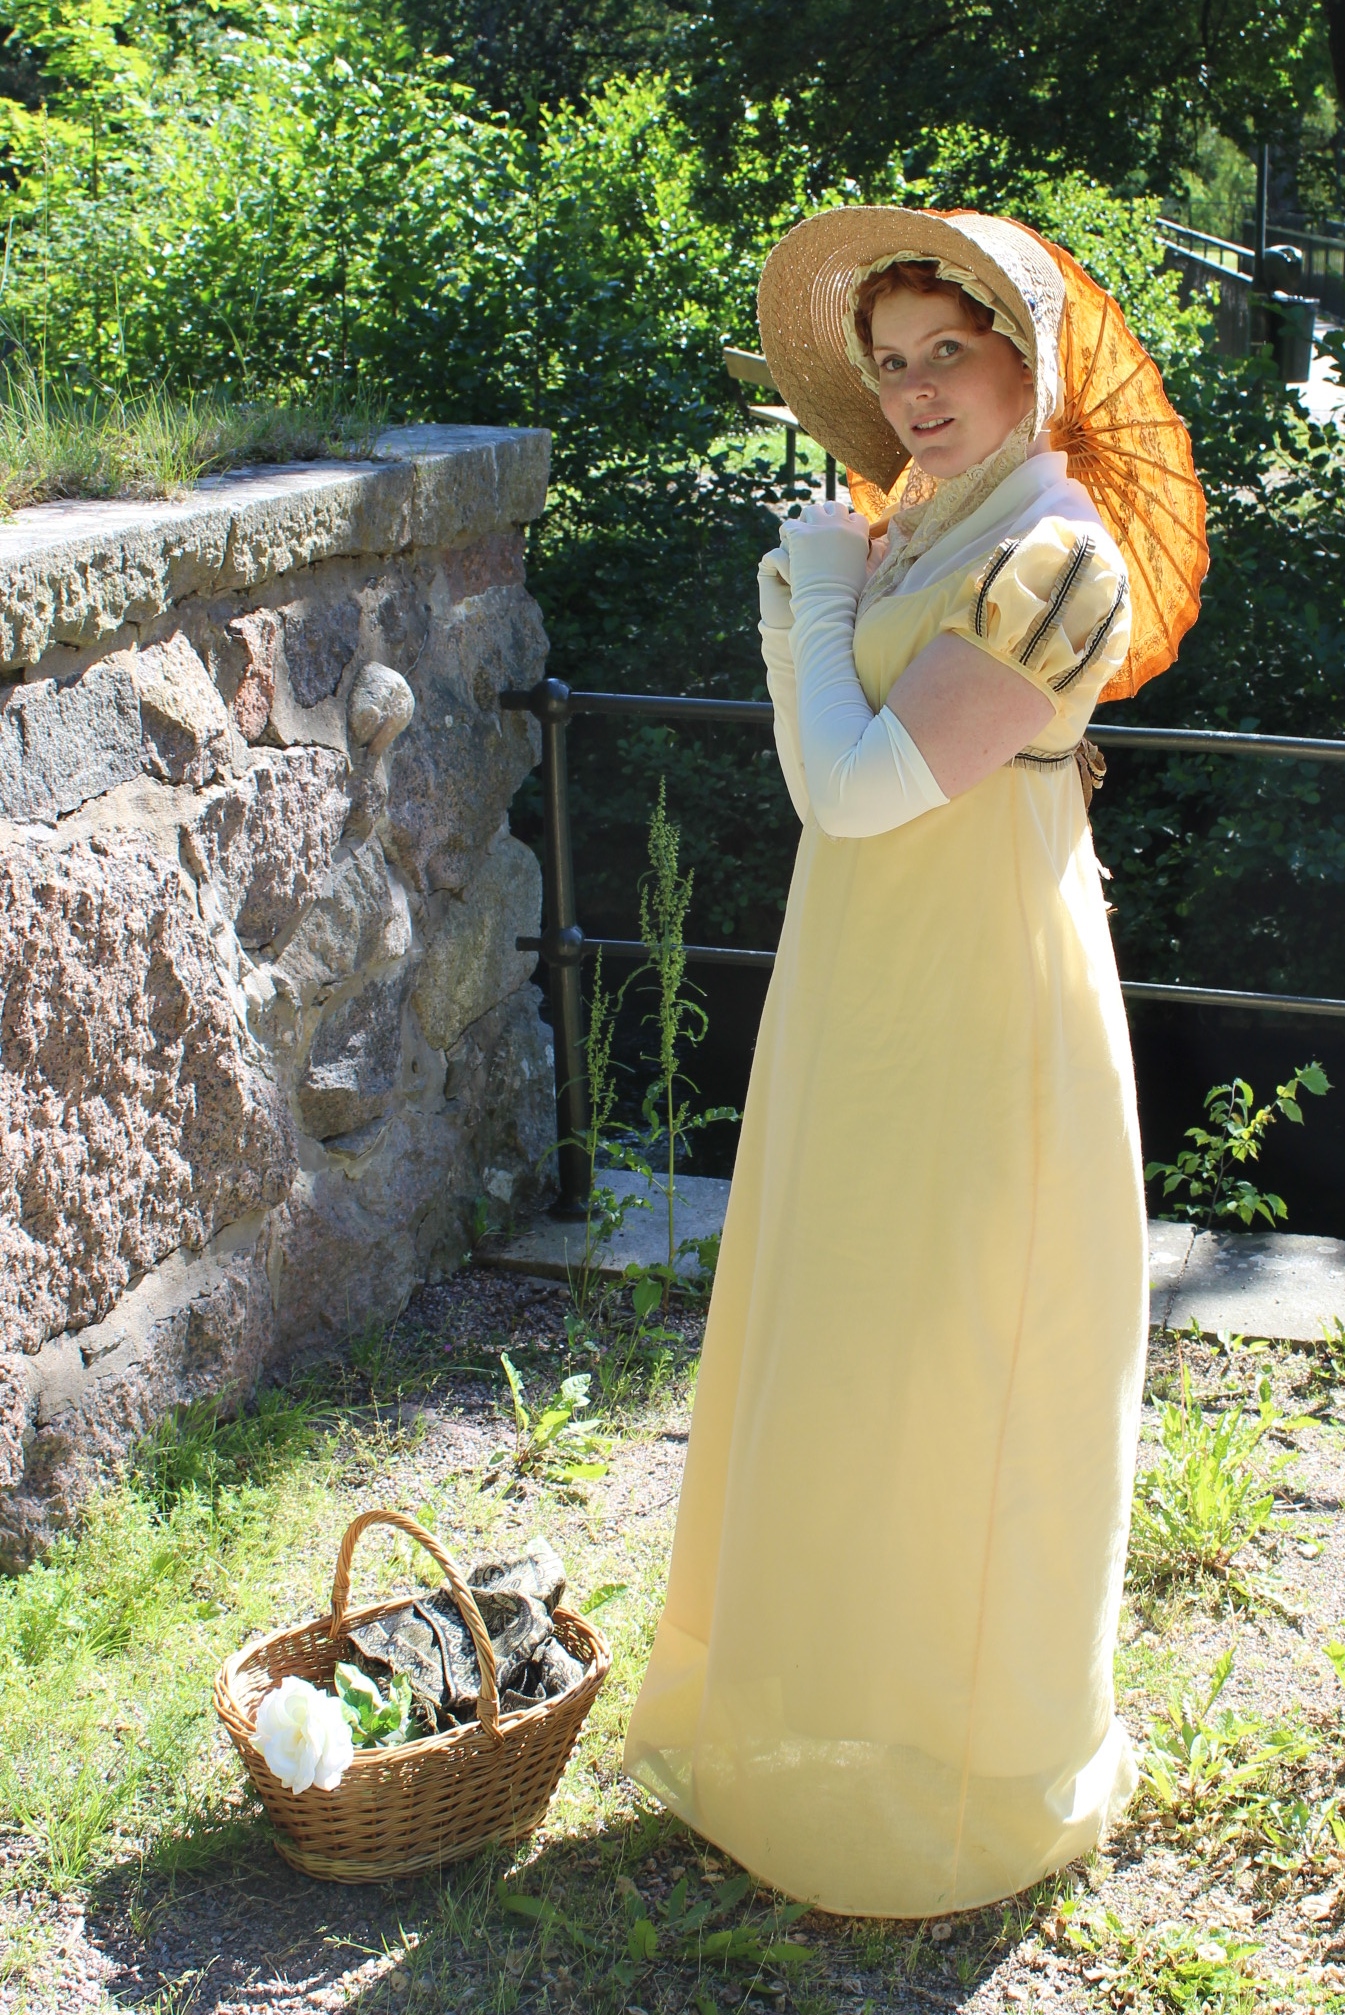
How it fit into the challenge: The shirt is perfect for the everyday wear of a lower(or higher) class women doing households chores or taking a stroll in the park. That fabric is durable and easily washable and the style of the shirt with its drawstrings at waist and wrists makes it fit several different sizes of women.
Pattern: None, I just used the basic shapes of any shirt pattern.
Fabric: 1 m of structured cotton voile.
Notions: Thread, buttons, scraps of cotton ribbon at wrists, cotton string and bias tape for waist shaping.
How historical accurate: So so, the garment (and fabric) did exist, but I didn’t used any accurate pattern, and I did sew it all on my sewing machine – even the buttonholes. I would say about 5/10
Time: about 4 hours
Cost: at most 100Sek (16Usd) – Everything was from stash and leftovers from other projects.
First worn: at June 6th for photos, but will get a proper outing June 13 when my sister wears it for our “Crinoline day”
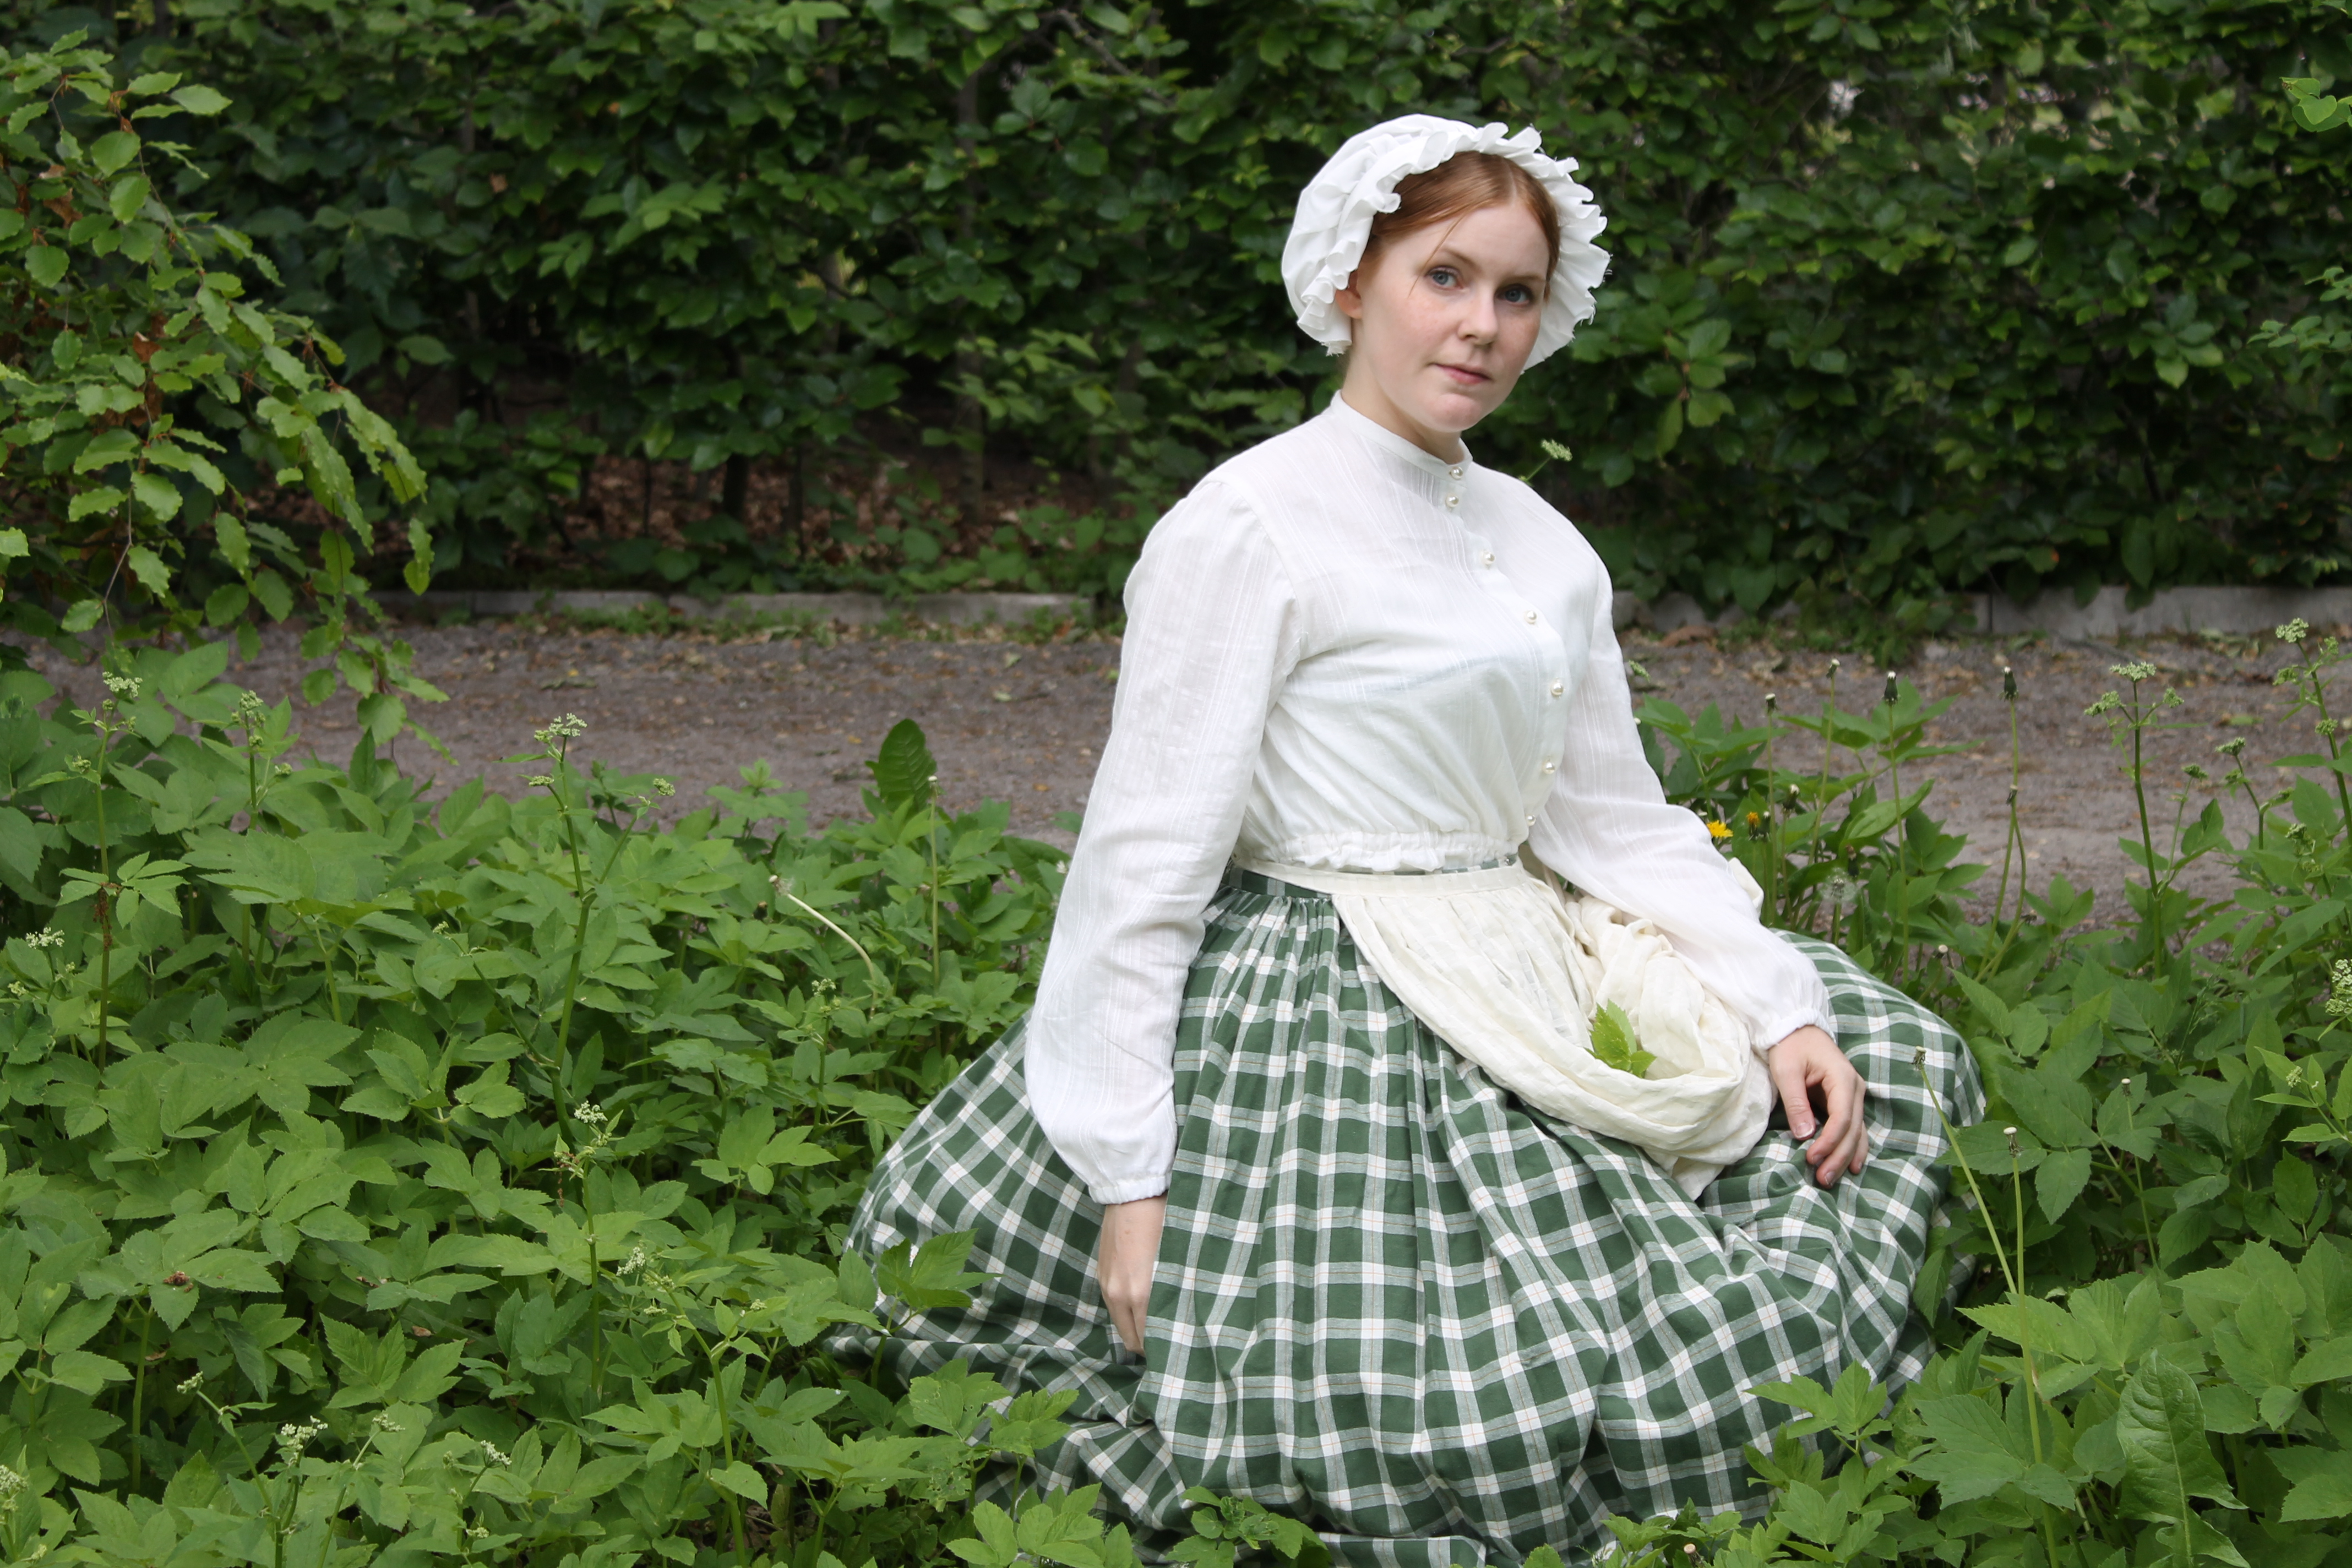
Final thoughts: I loved how fast and easy it went together, and I think it looks great both paired with”Peasant” garb and “finer lady’s” garb (as is the way my sister will wear it).


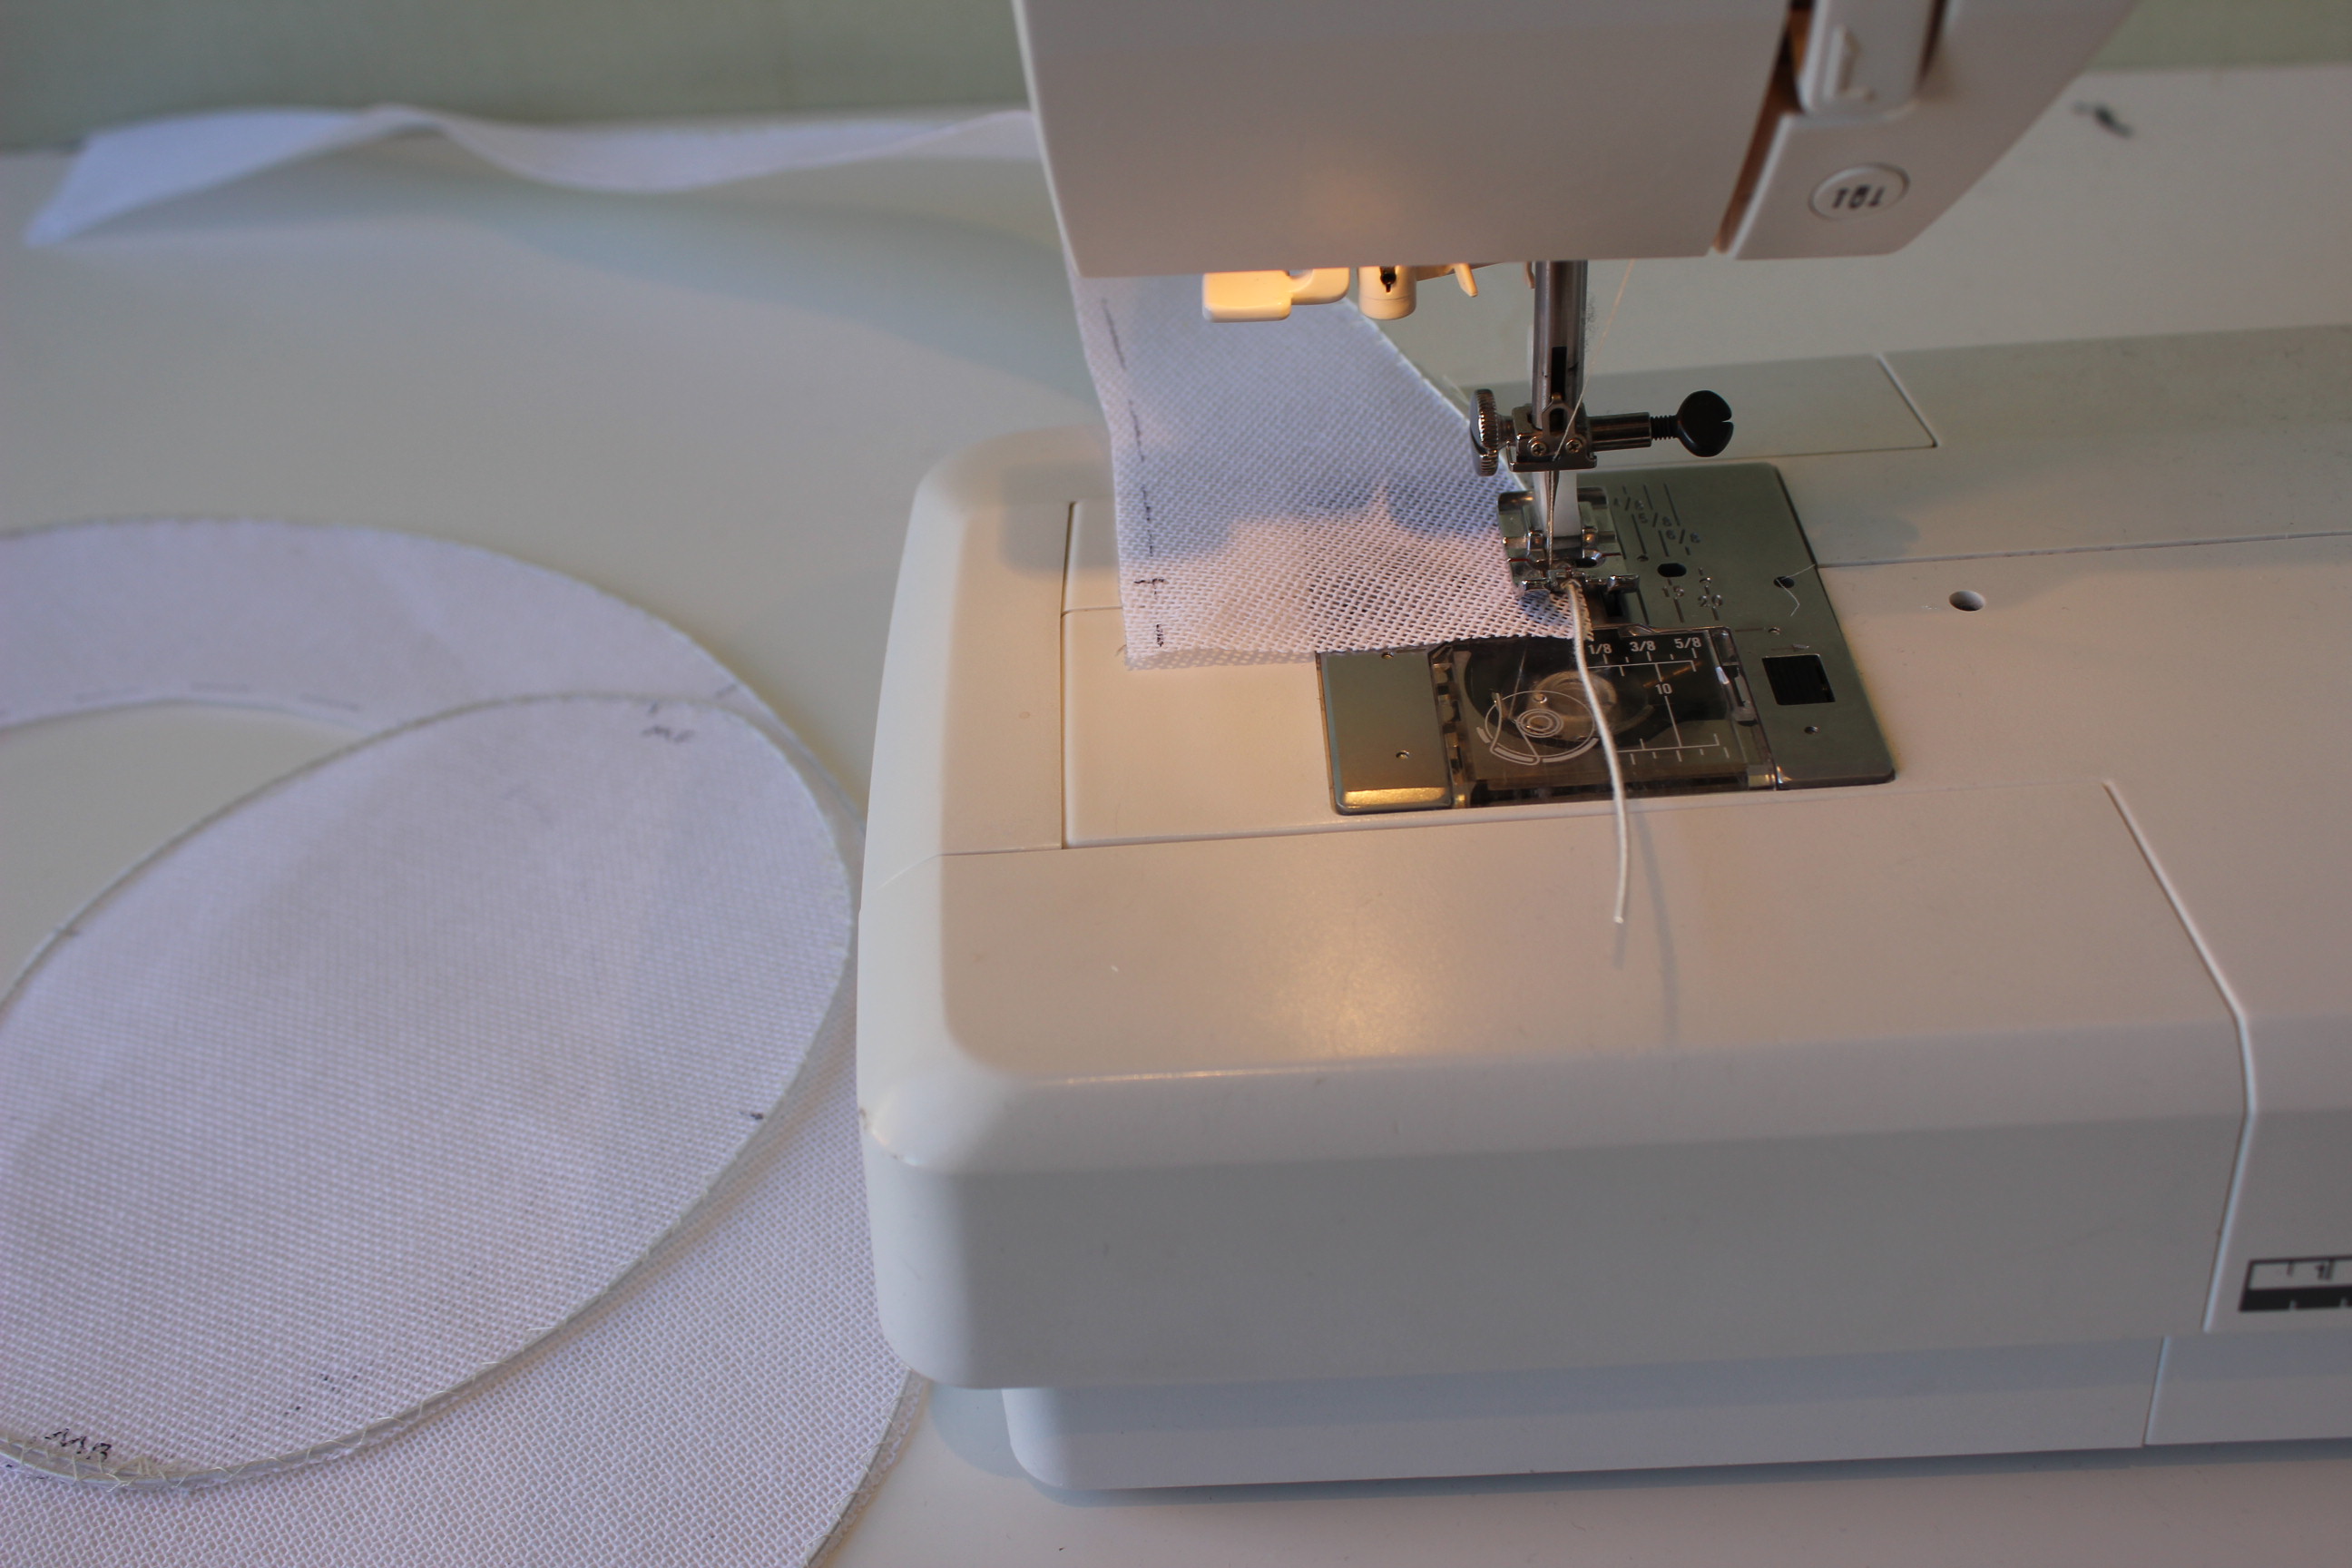

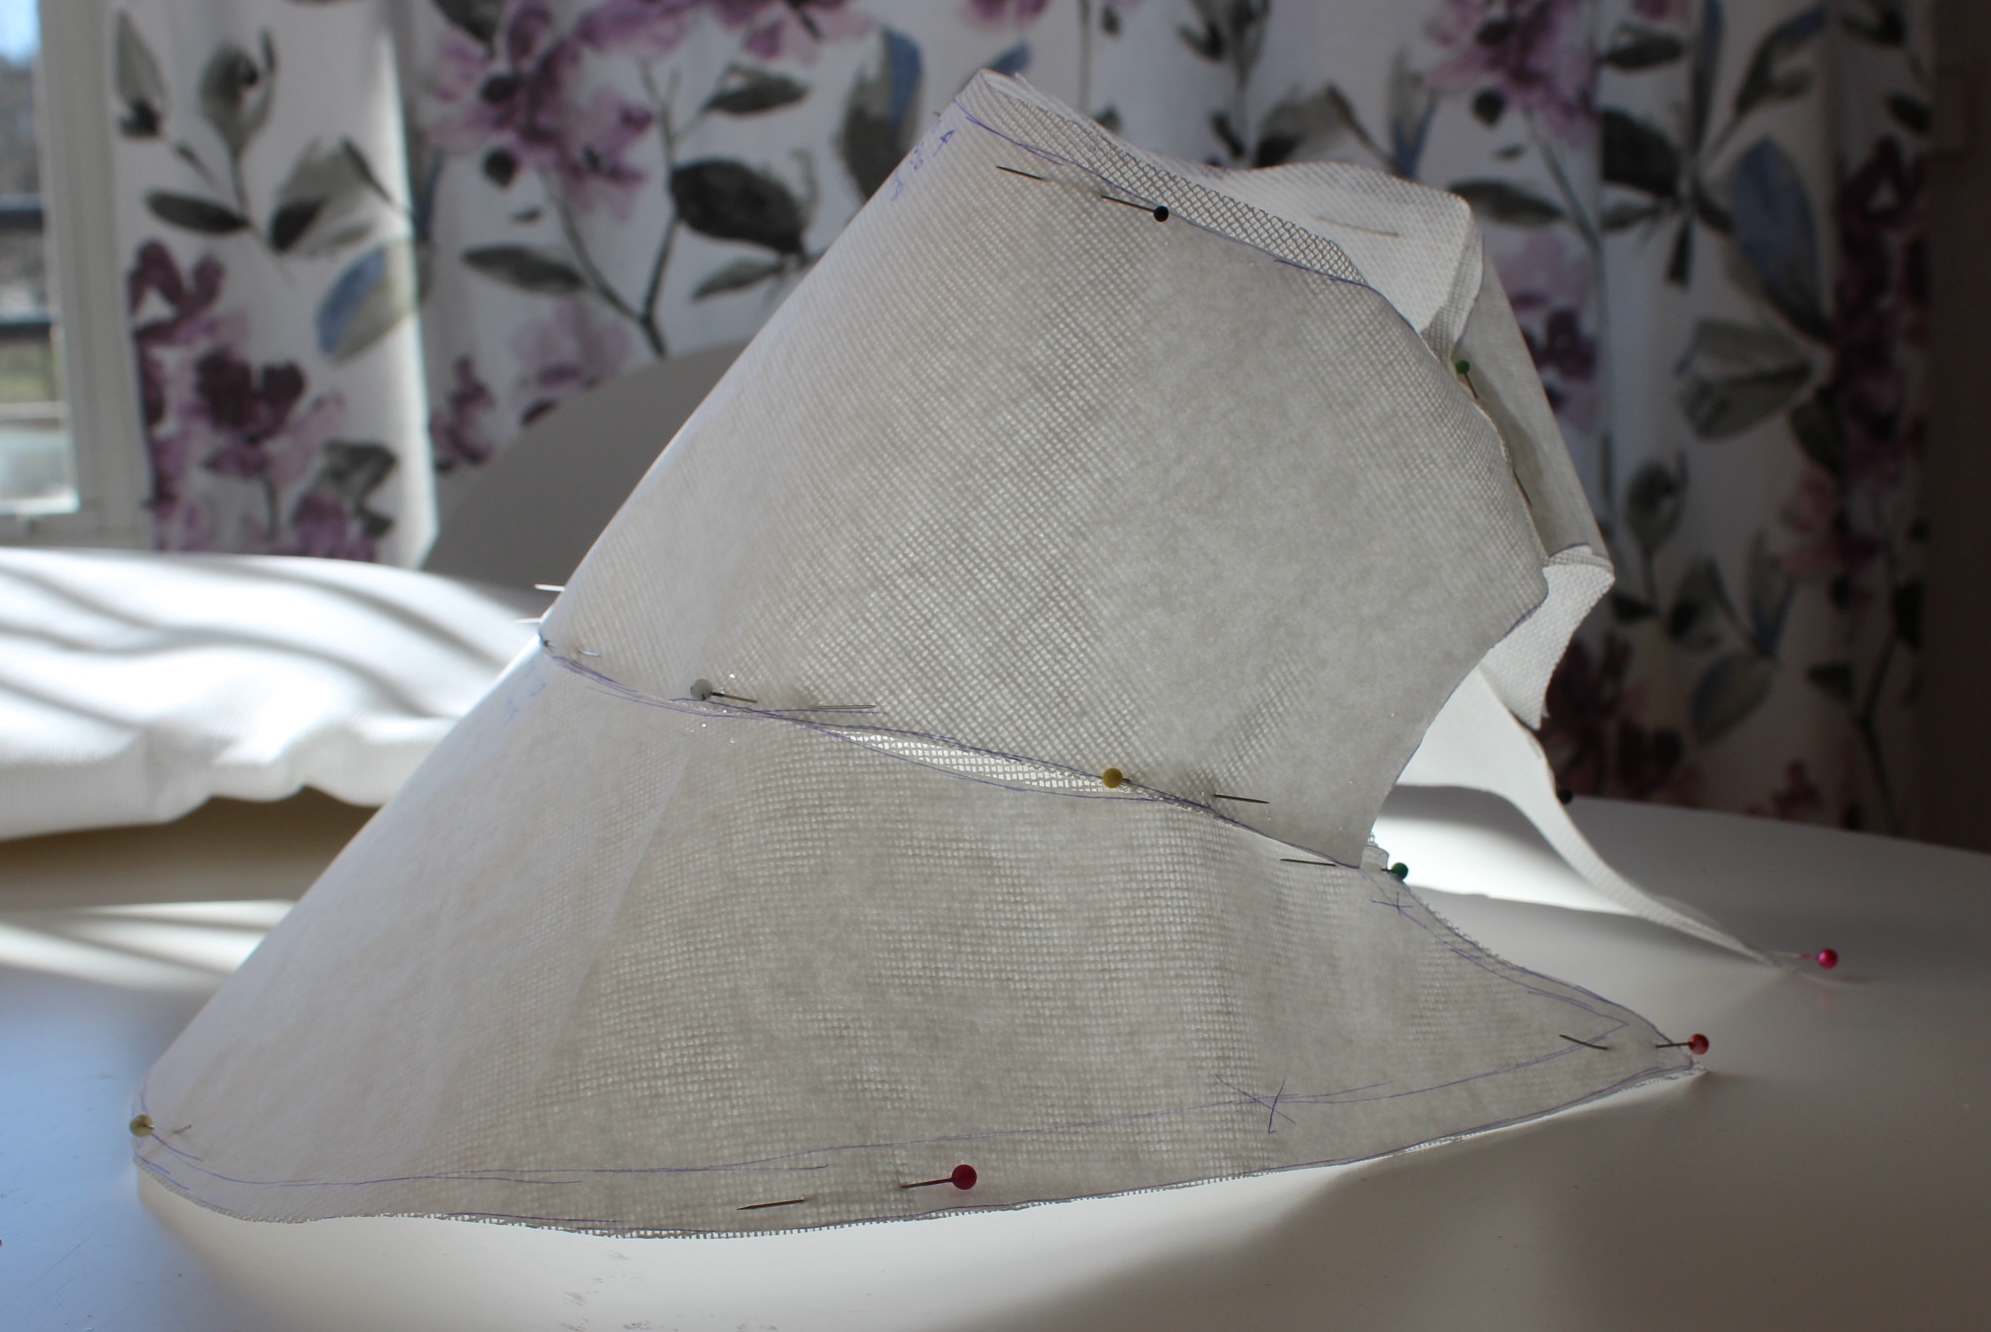
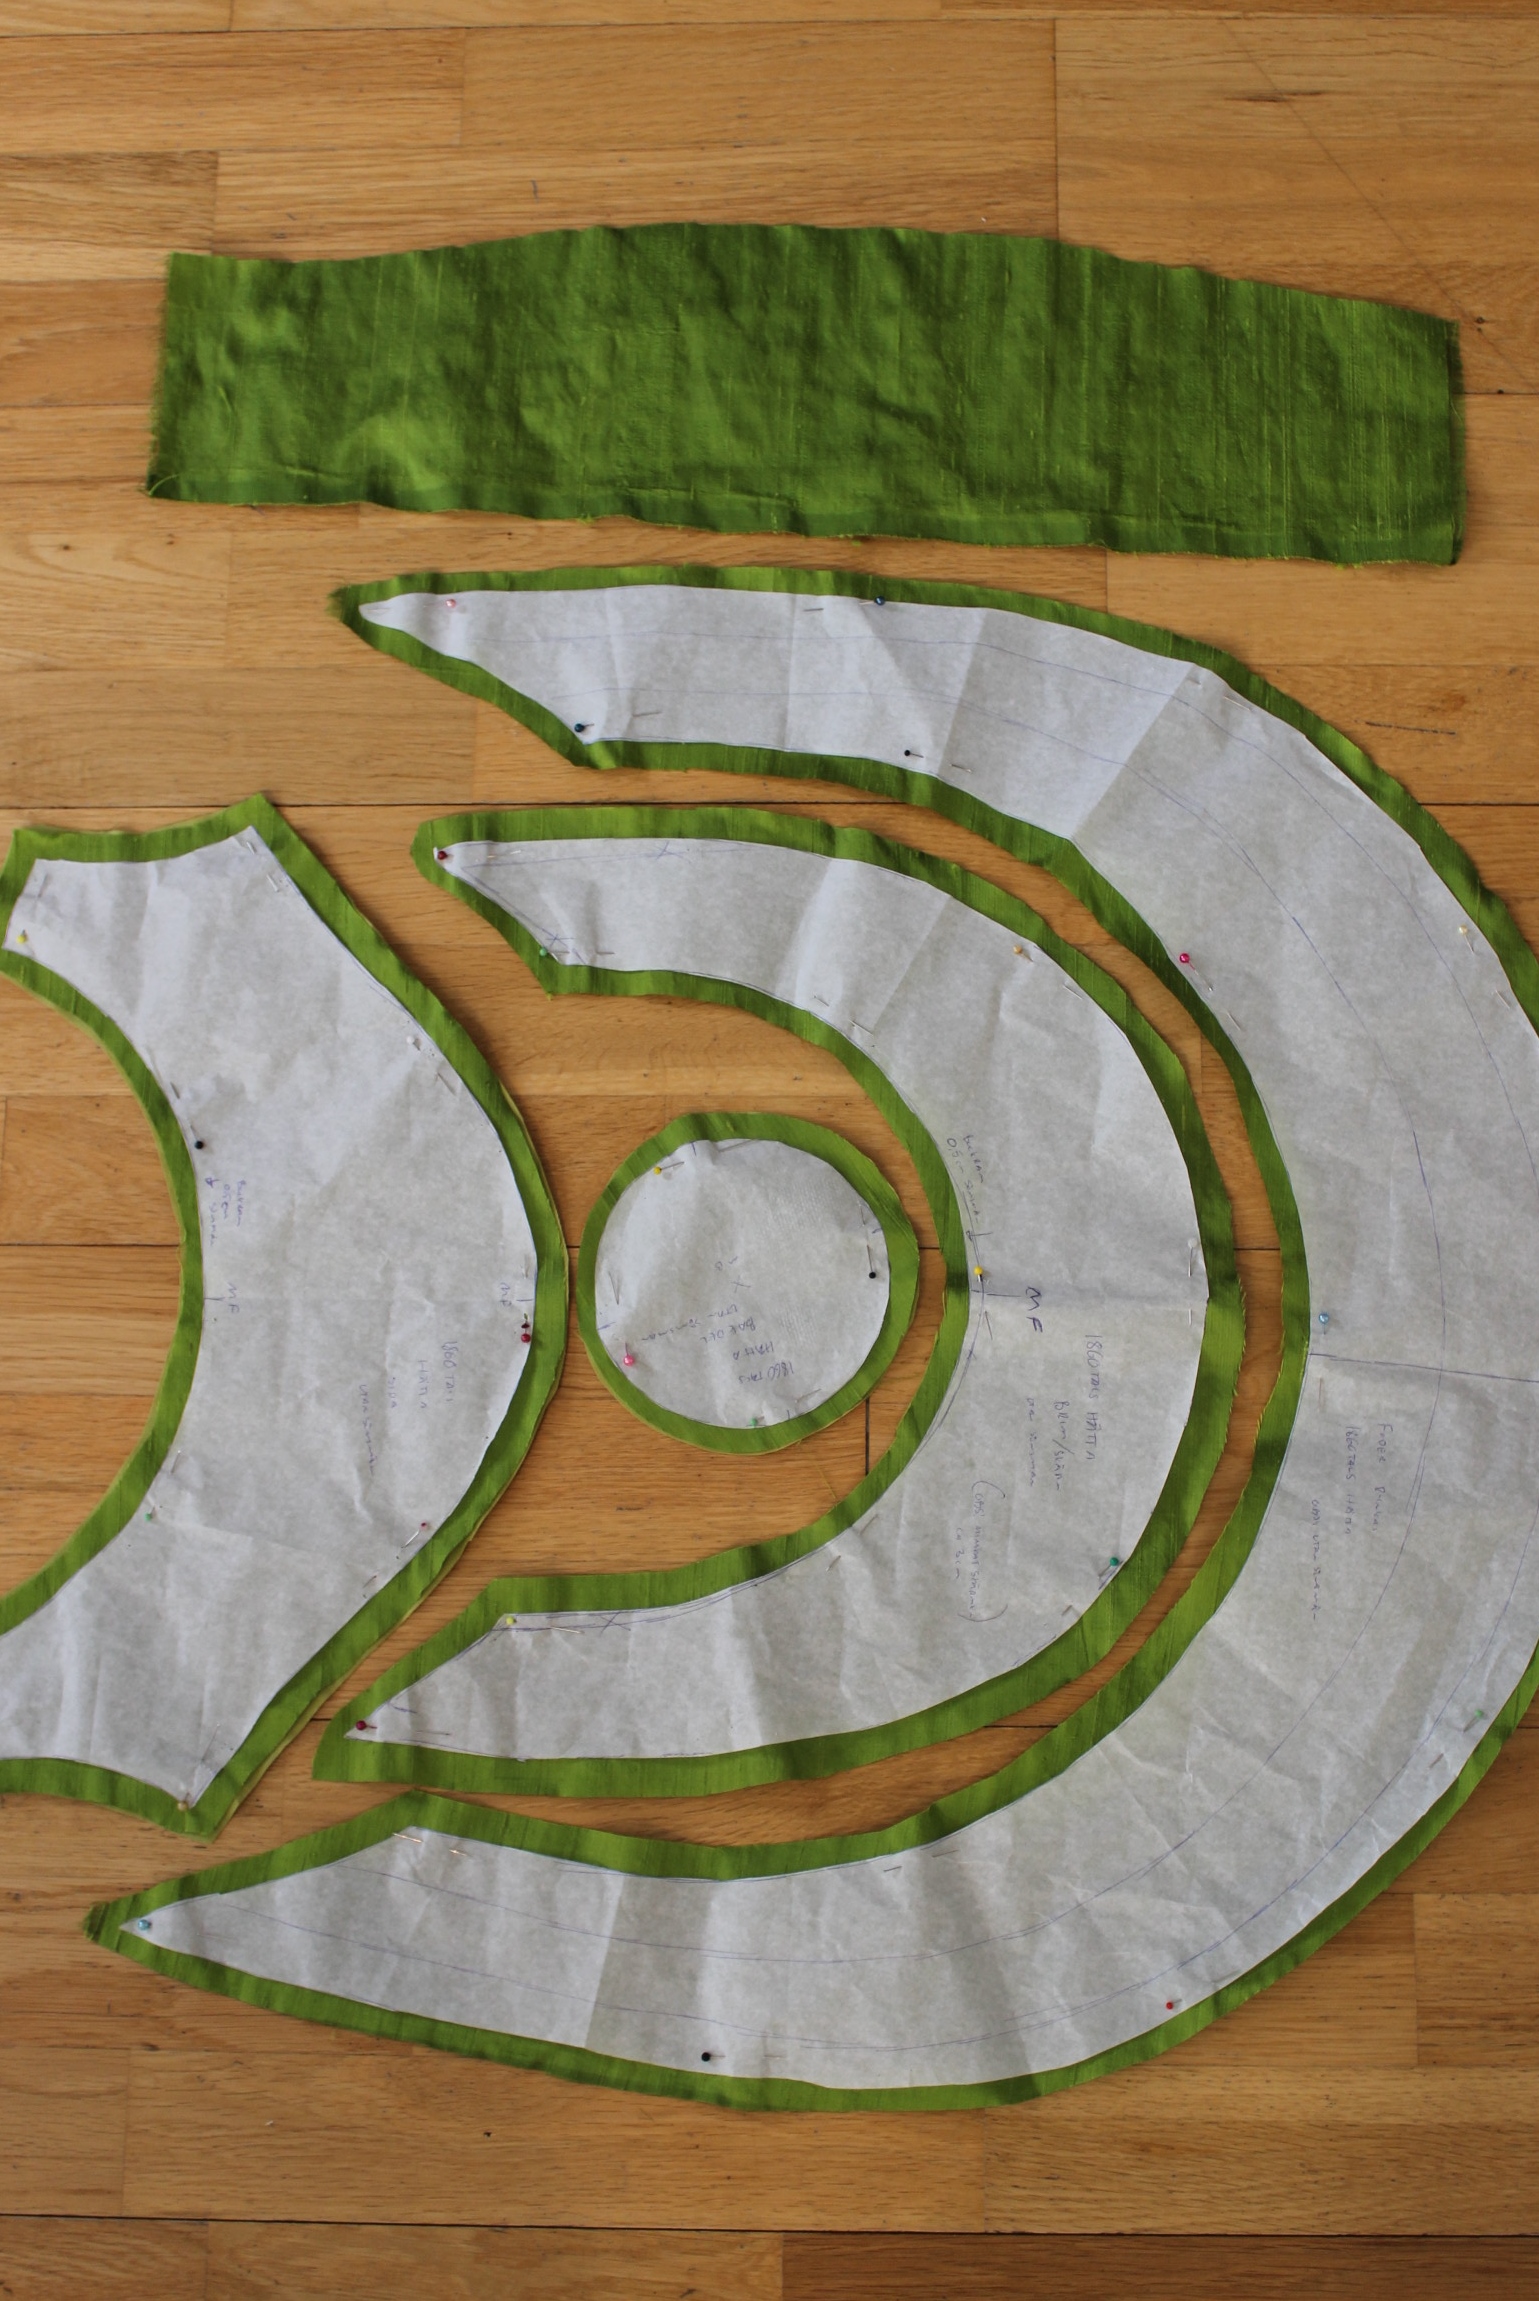
 Cutting the wool.
 left to right: Buckram, bathing, blue wool, pattern piece and linen lining.


 ..But decided not to since it looked so stupid, and I doubt my sister would want to wear it like that.
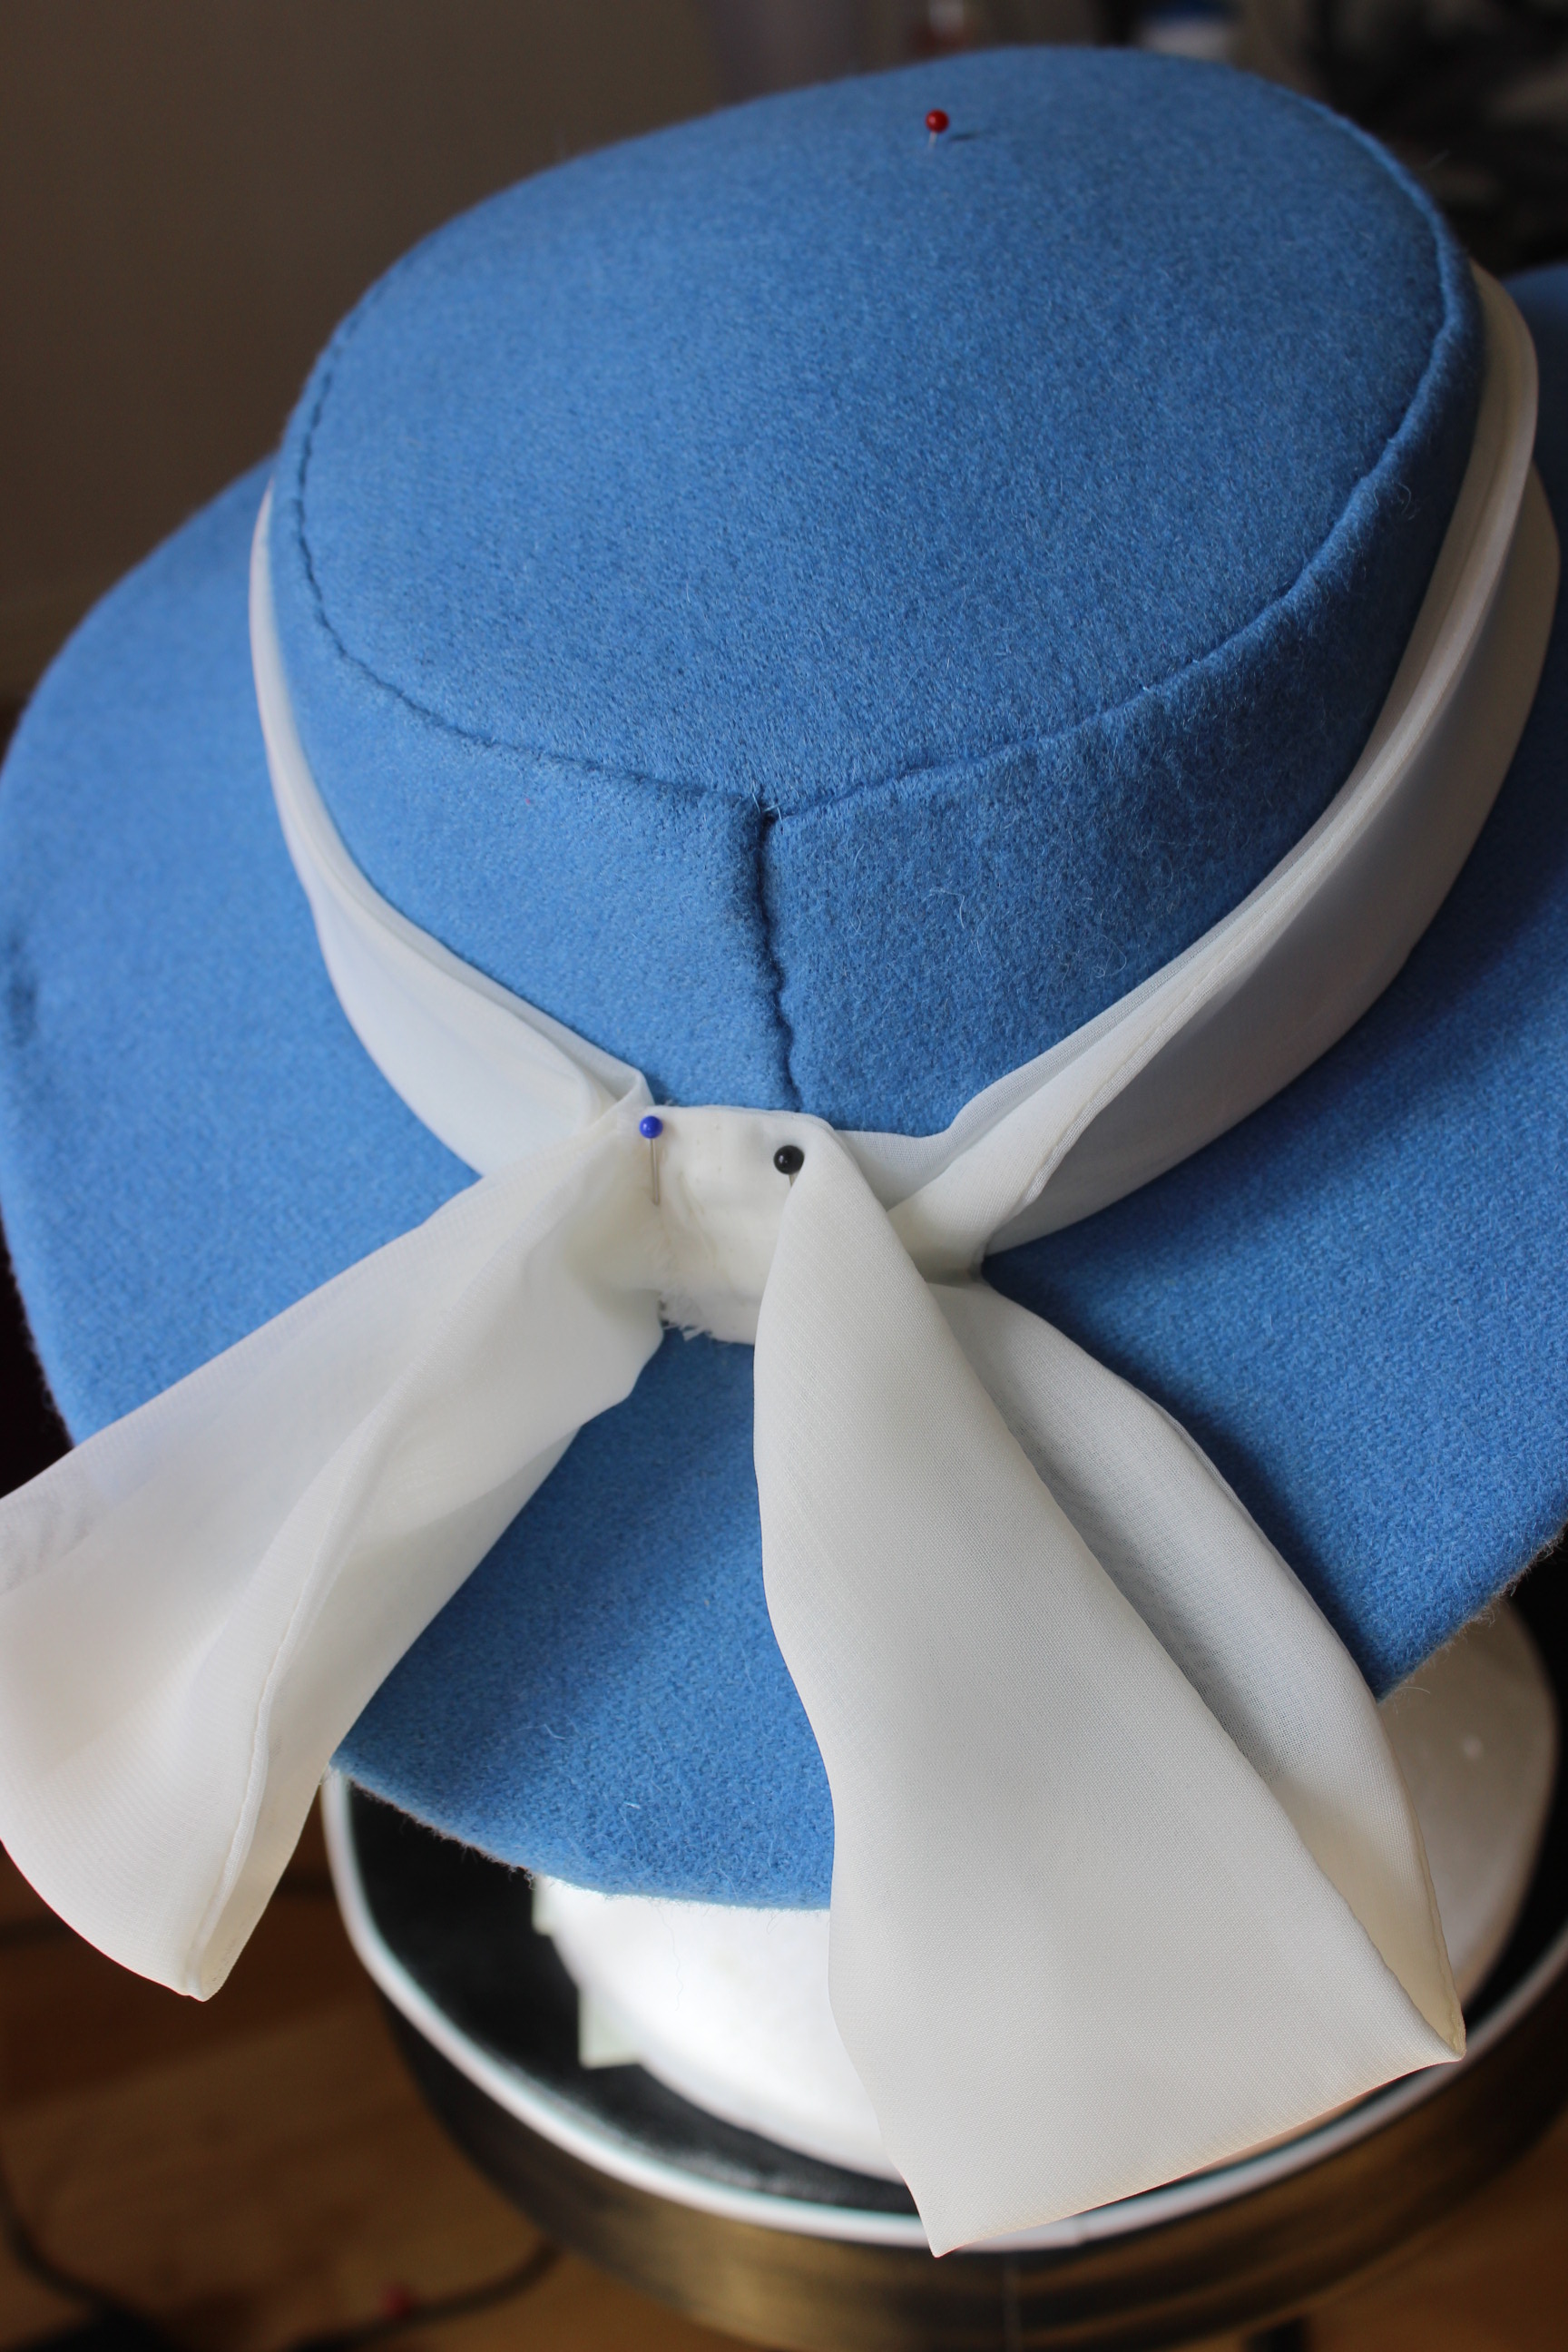


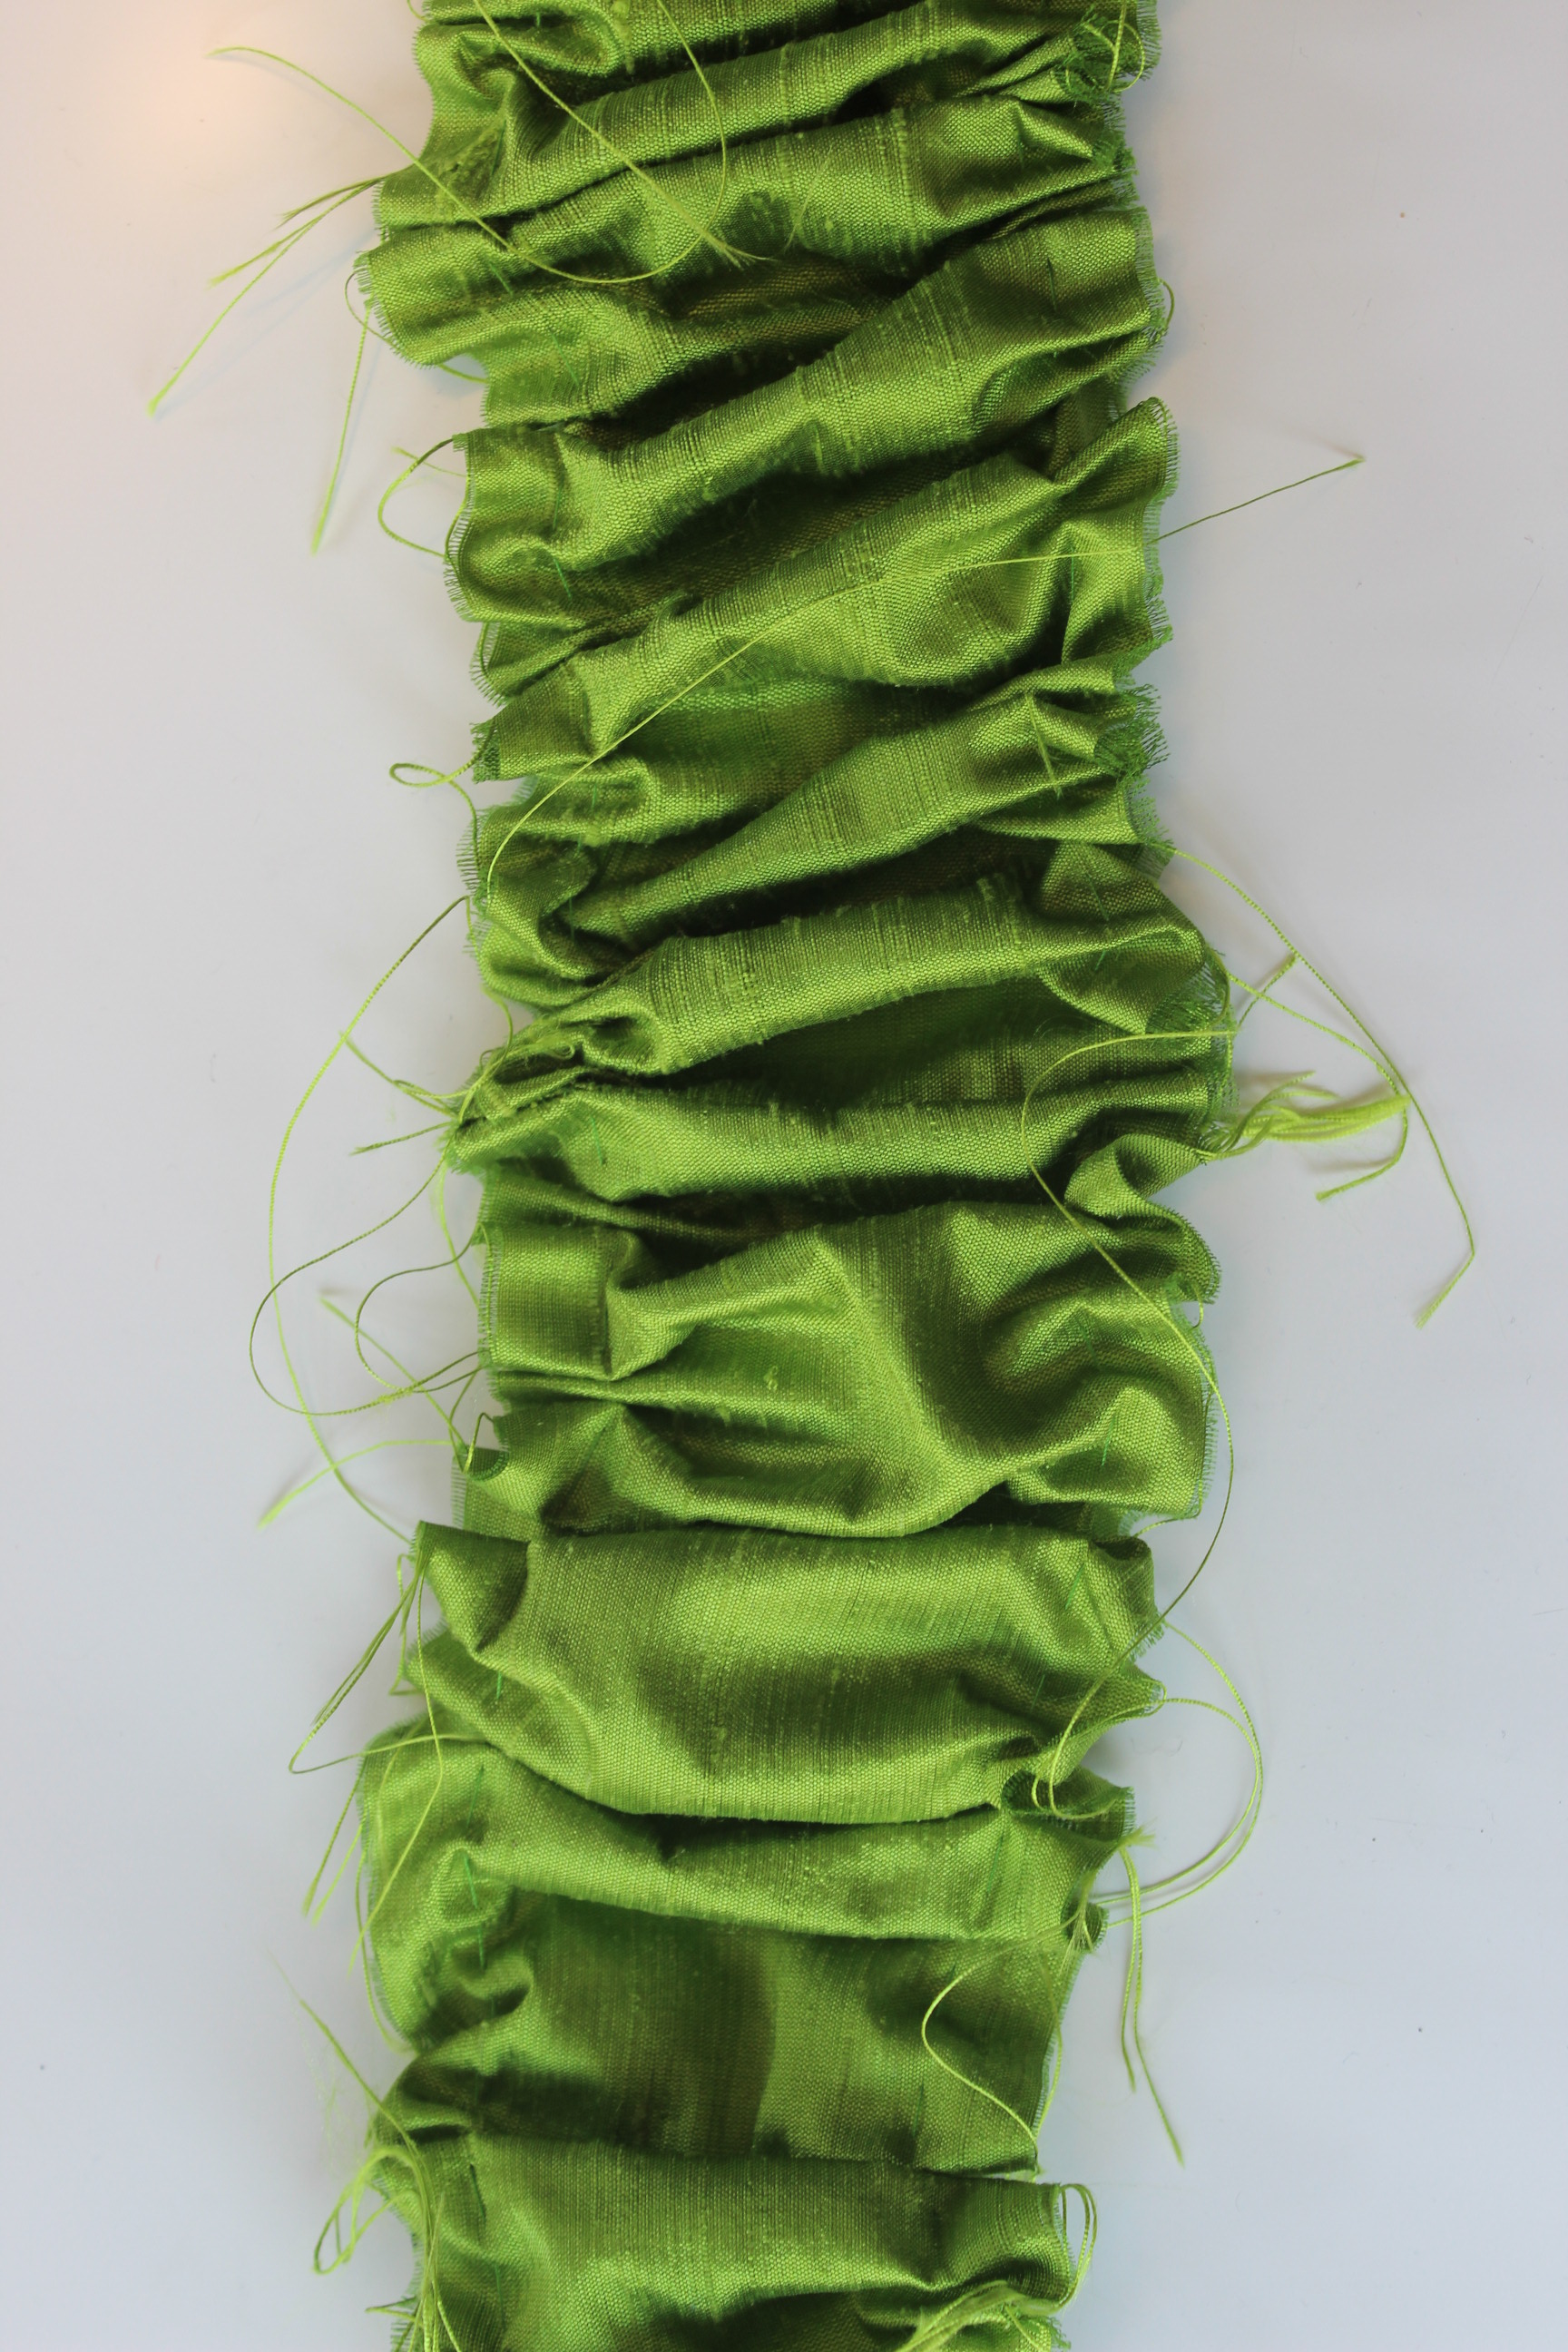
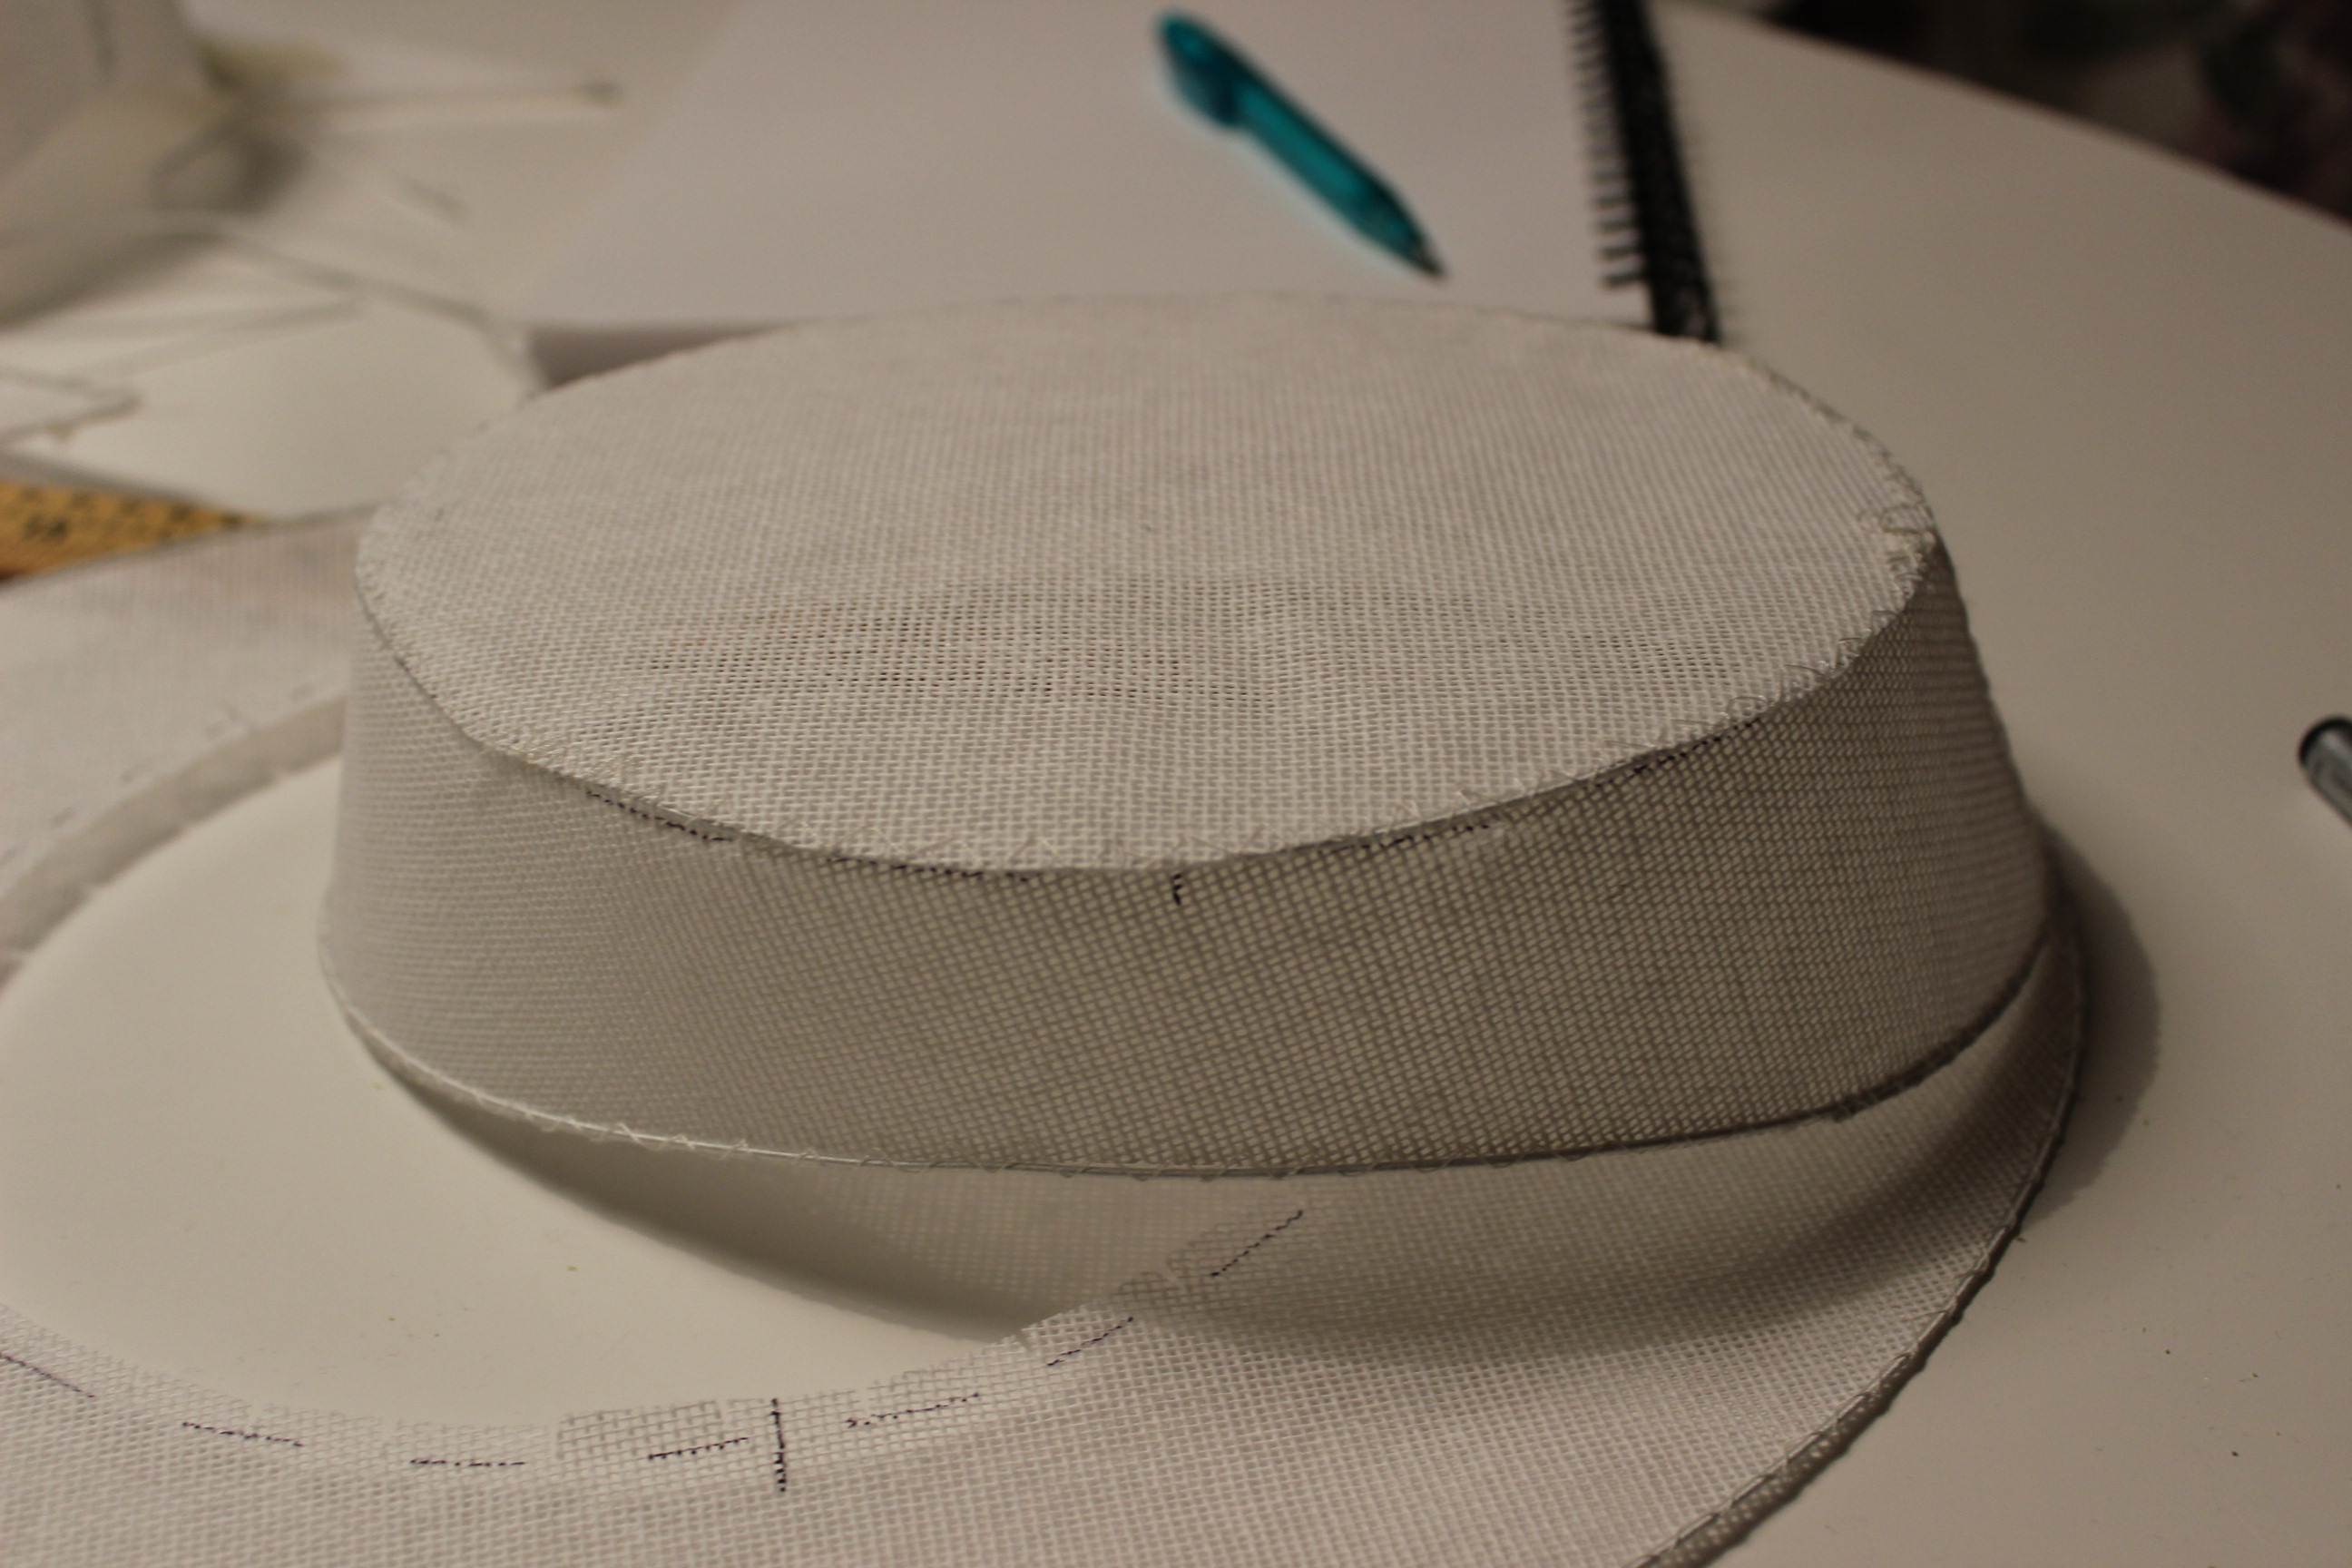
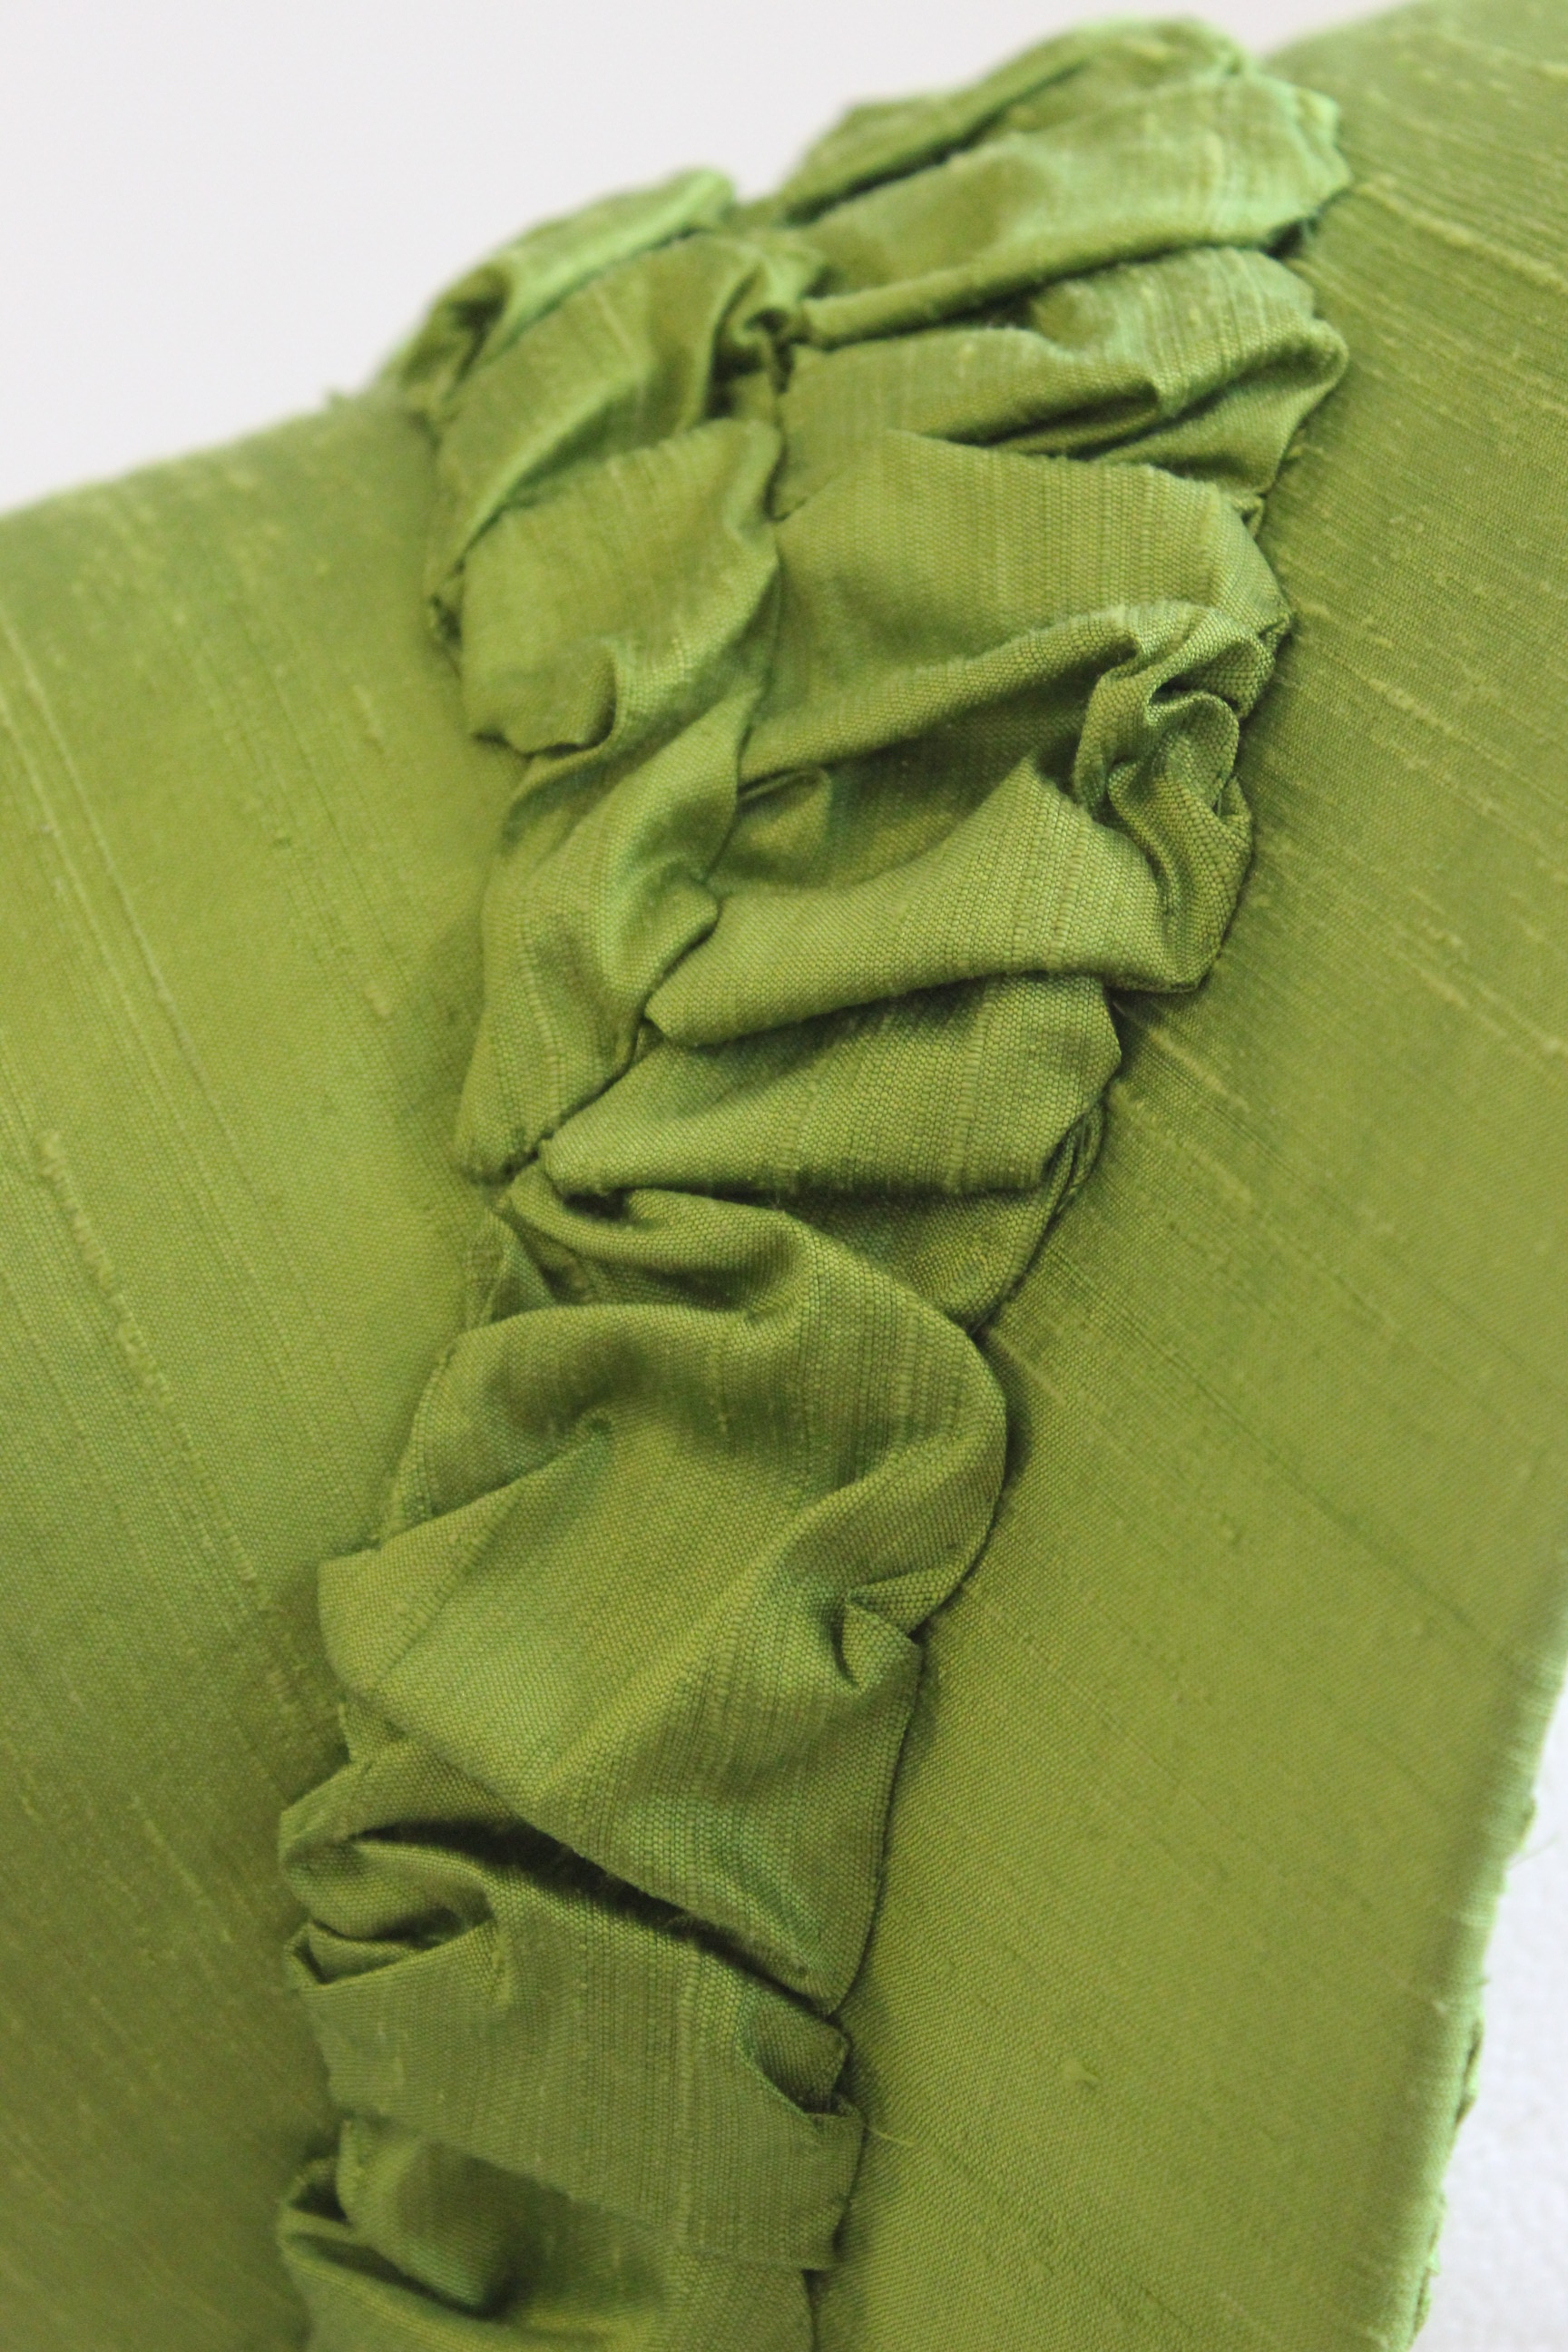
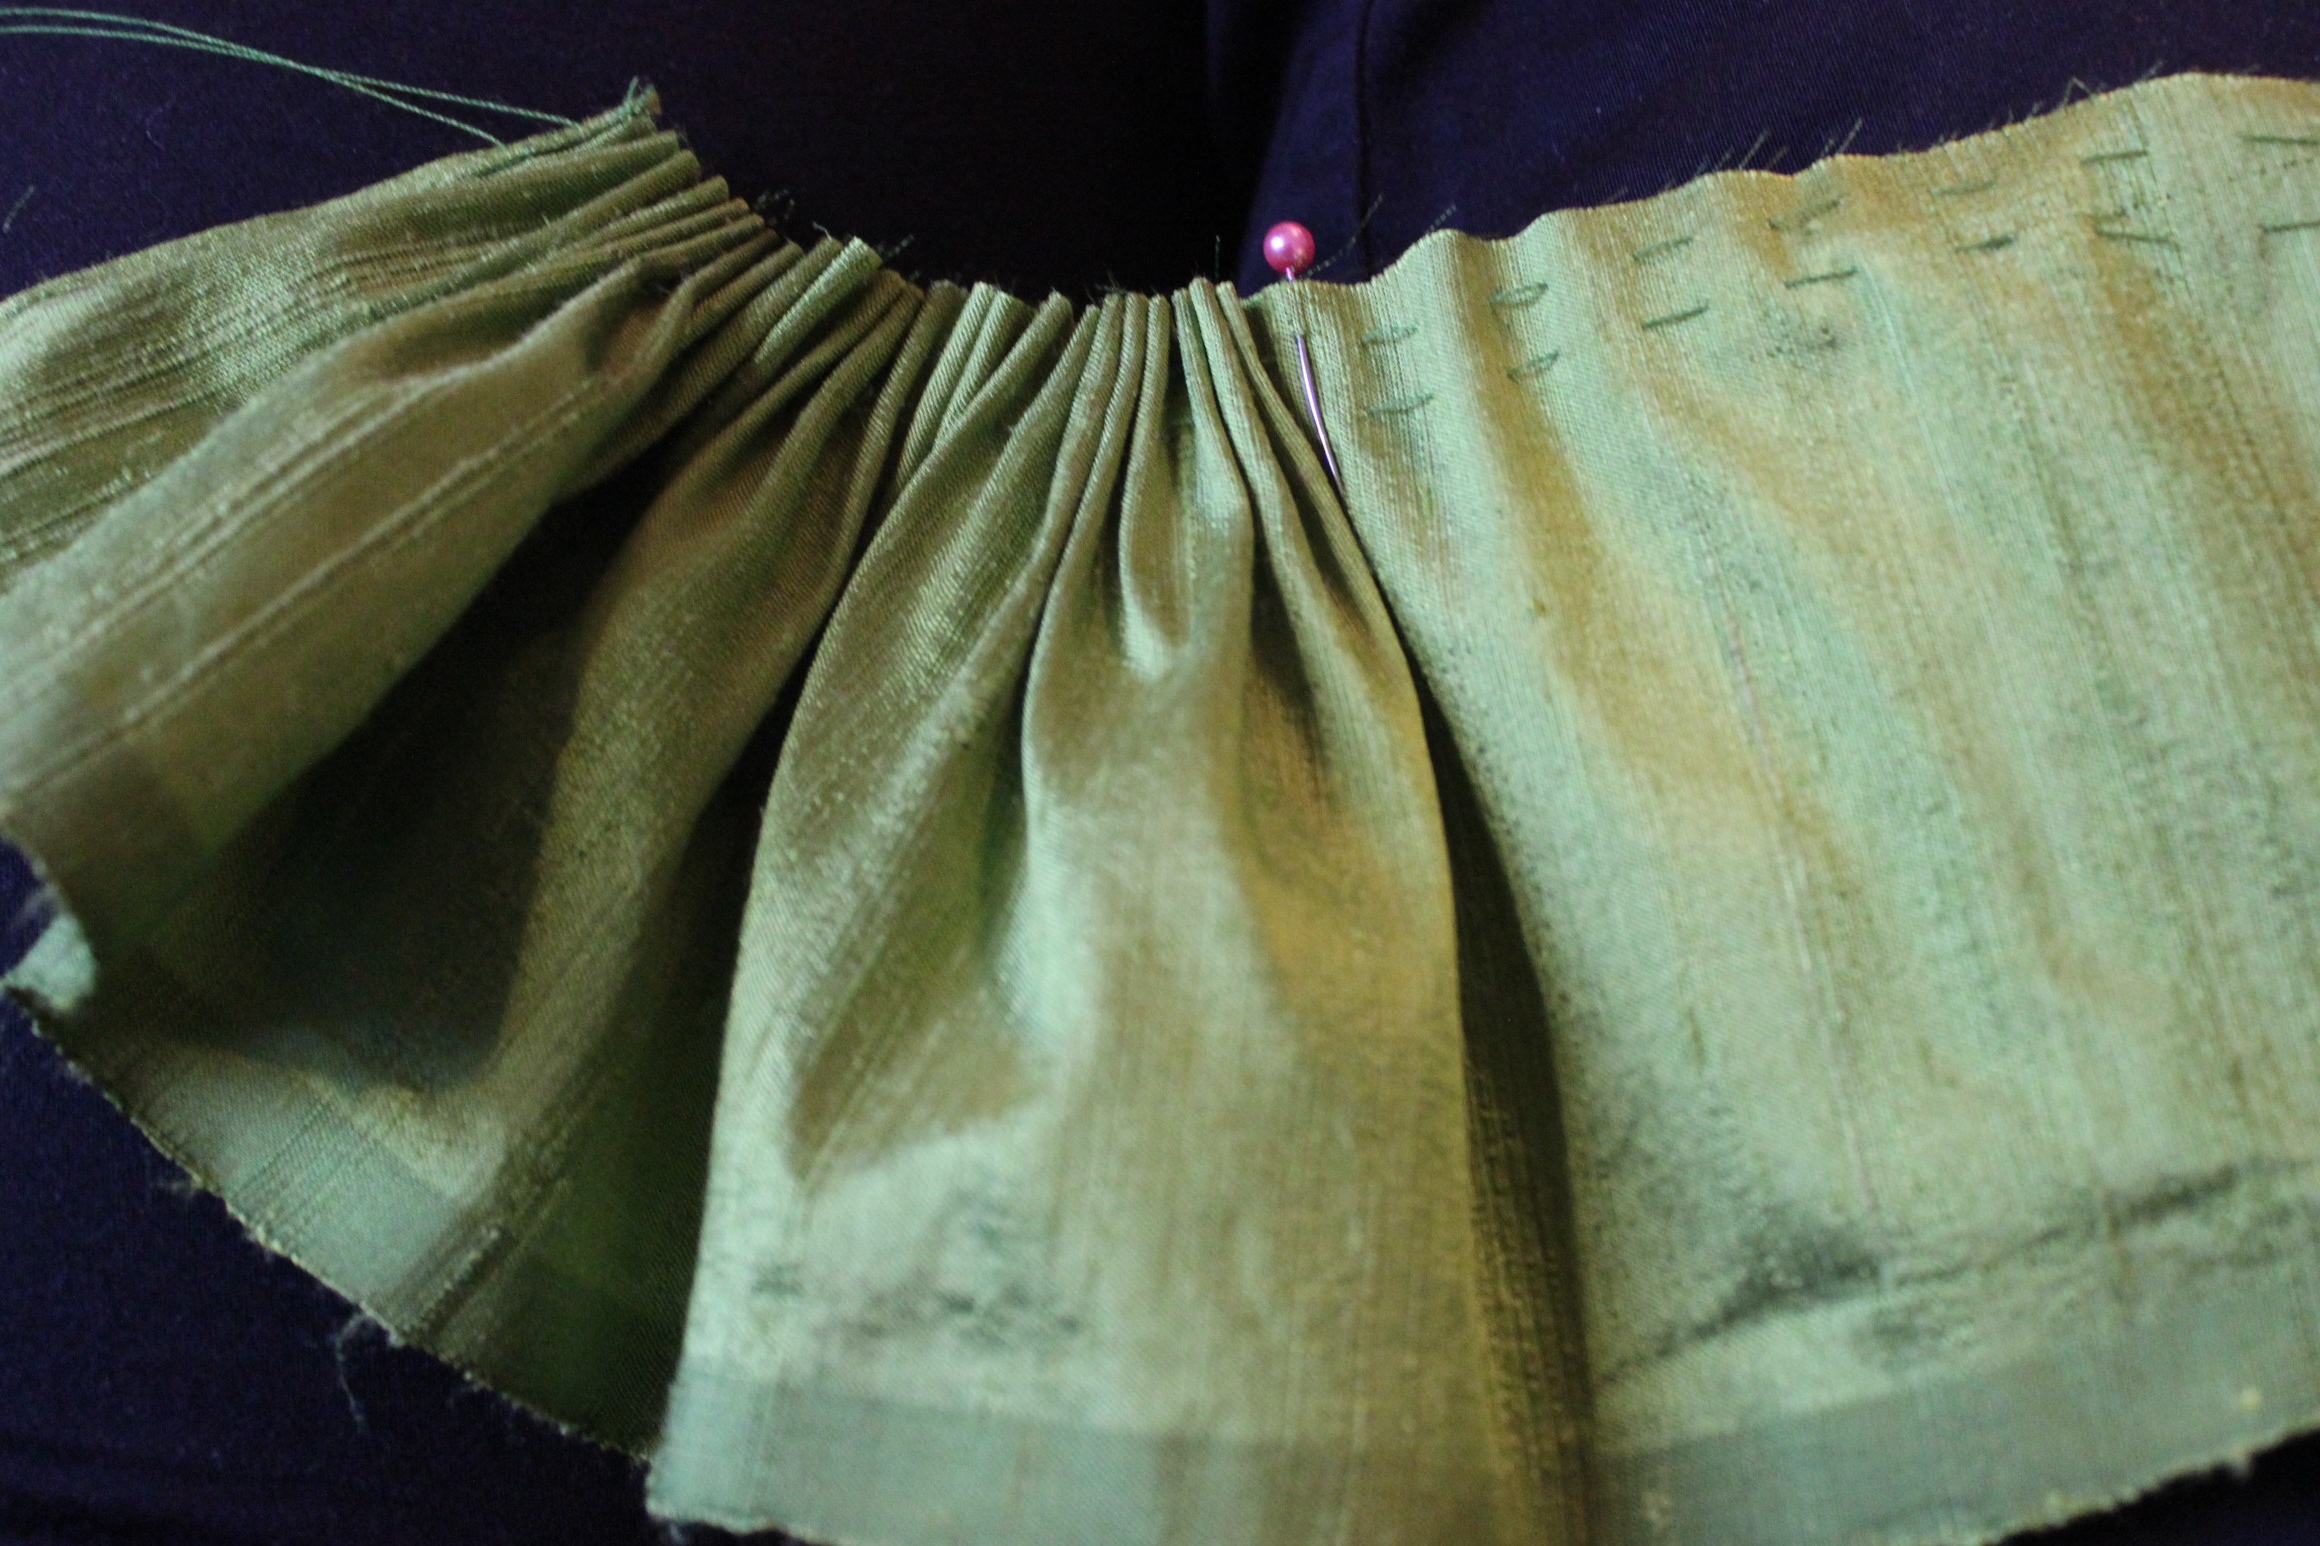
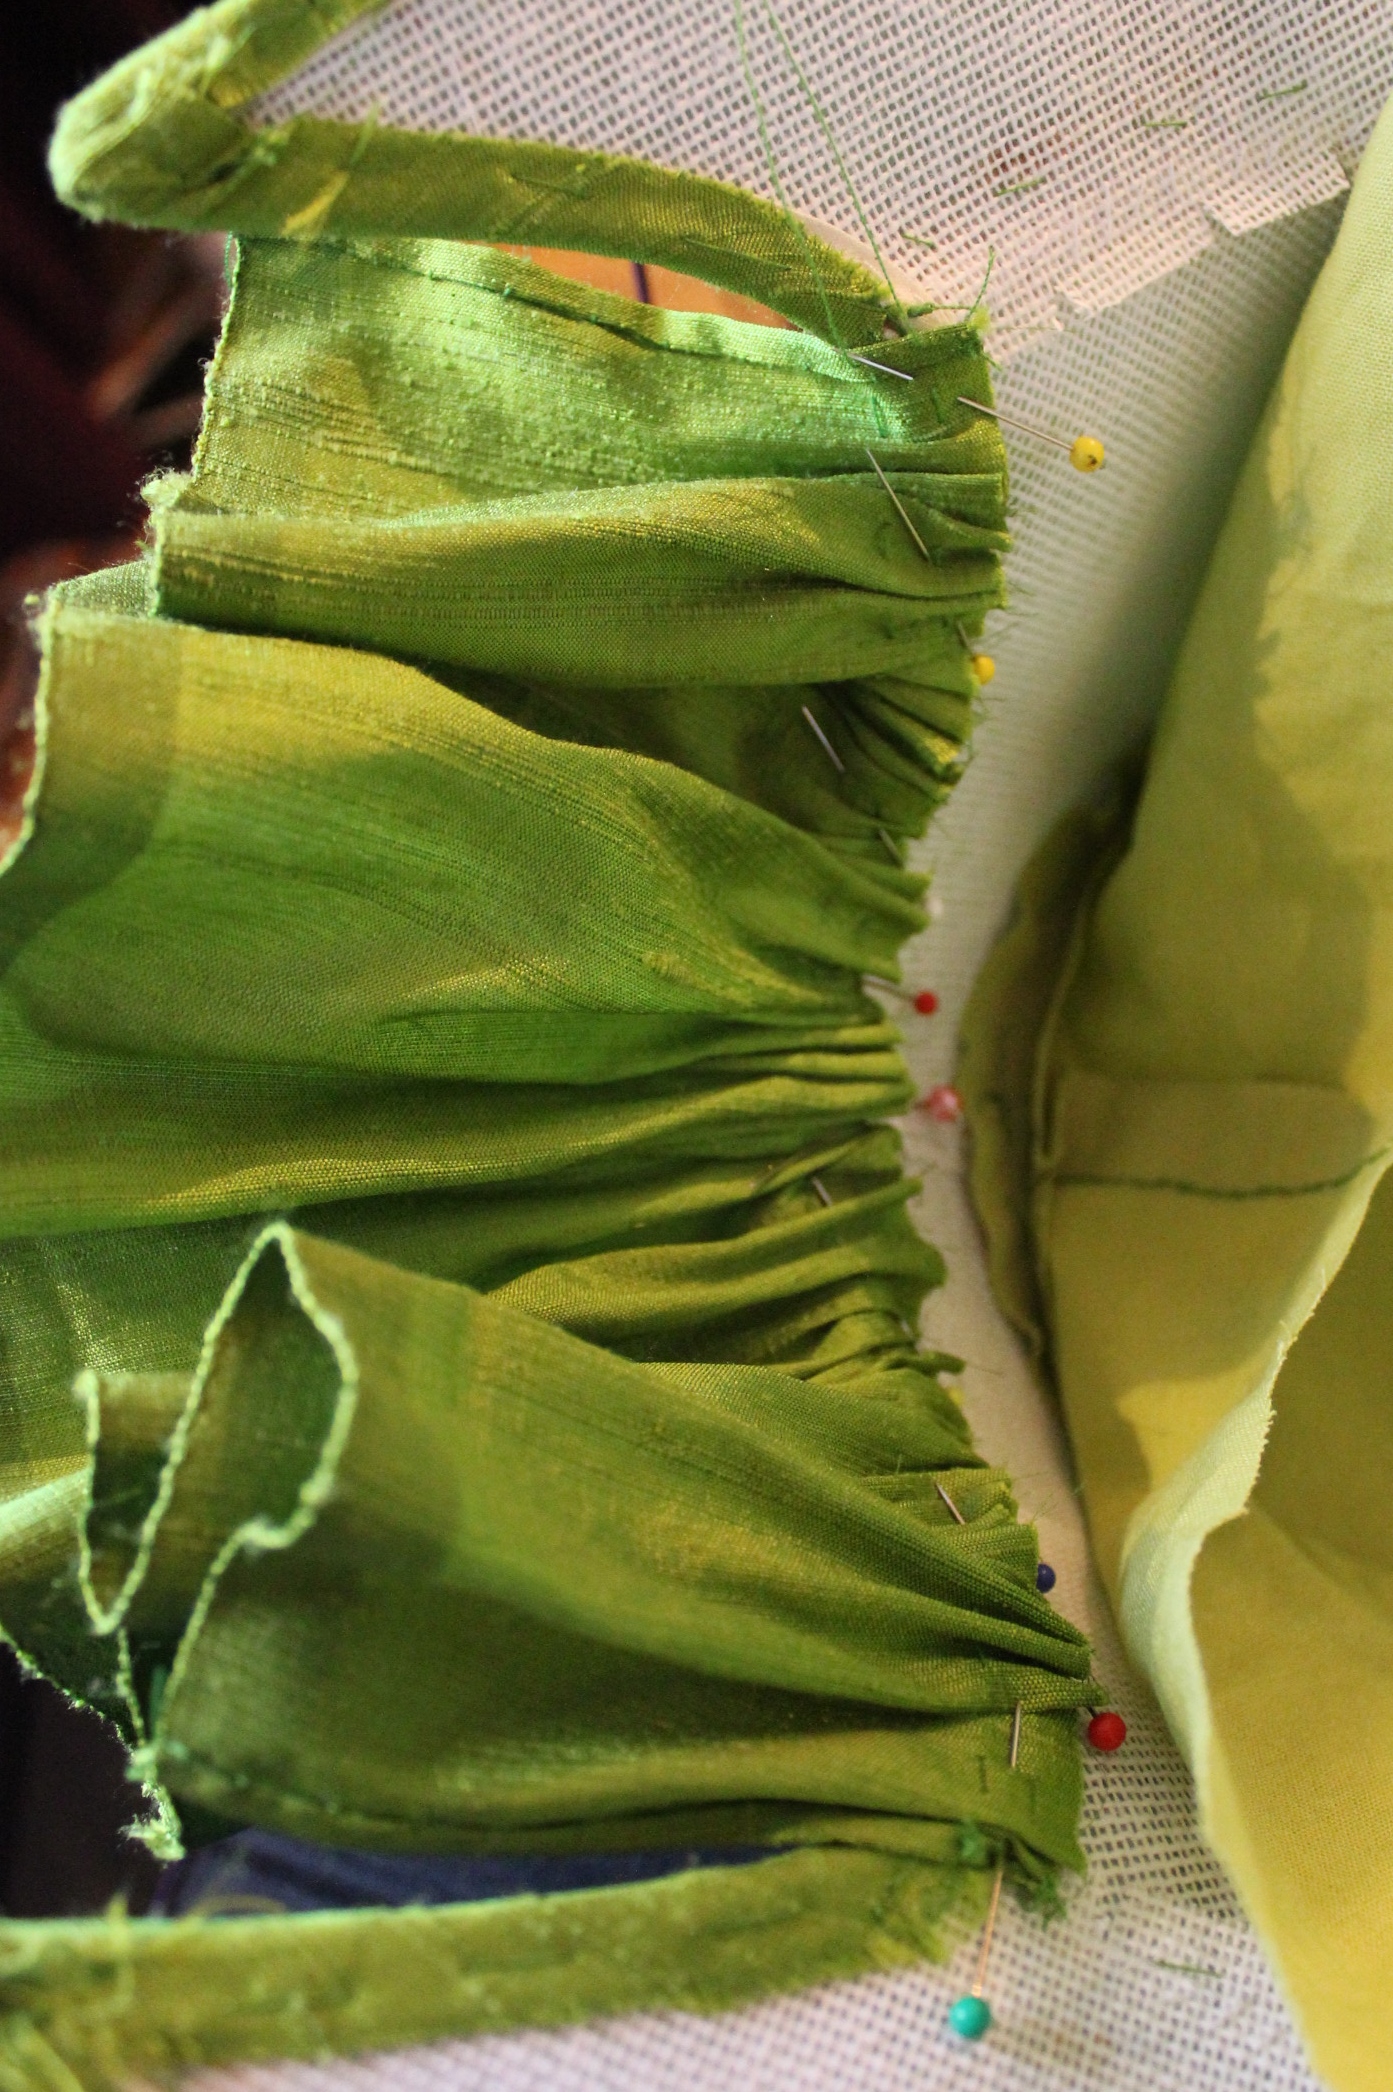
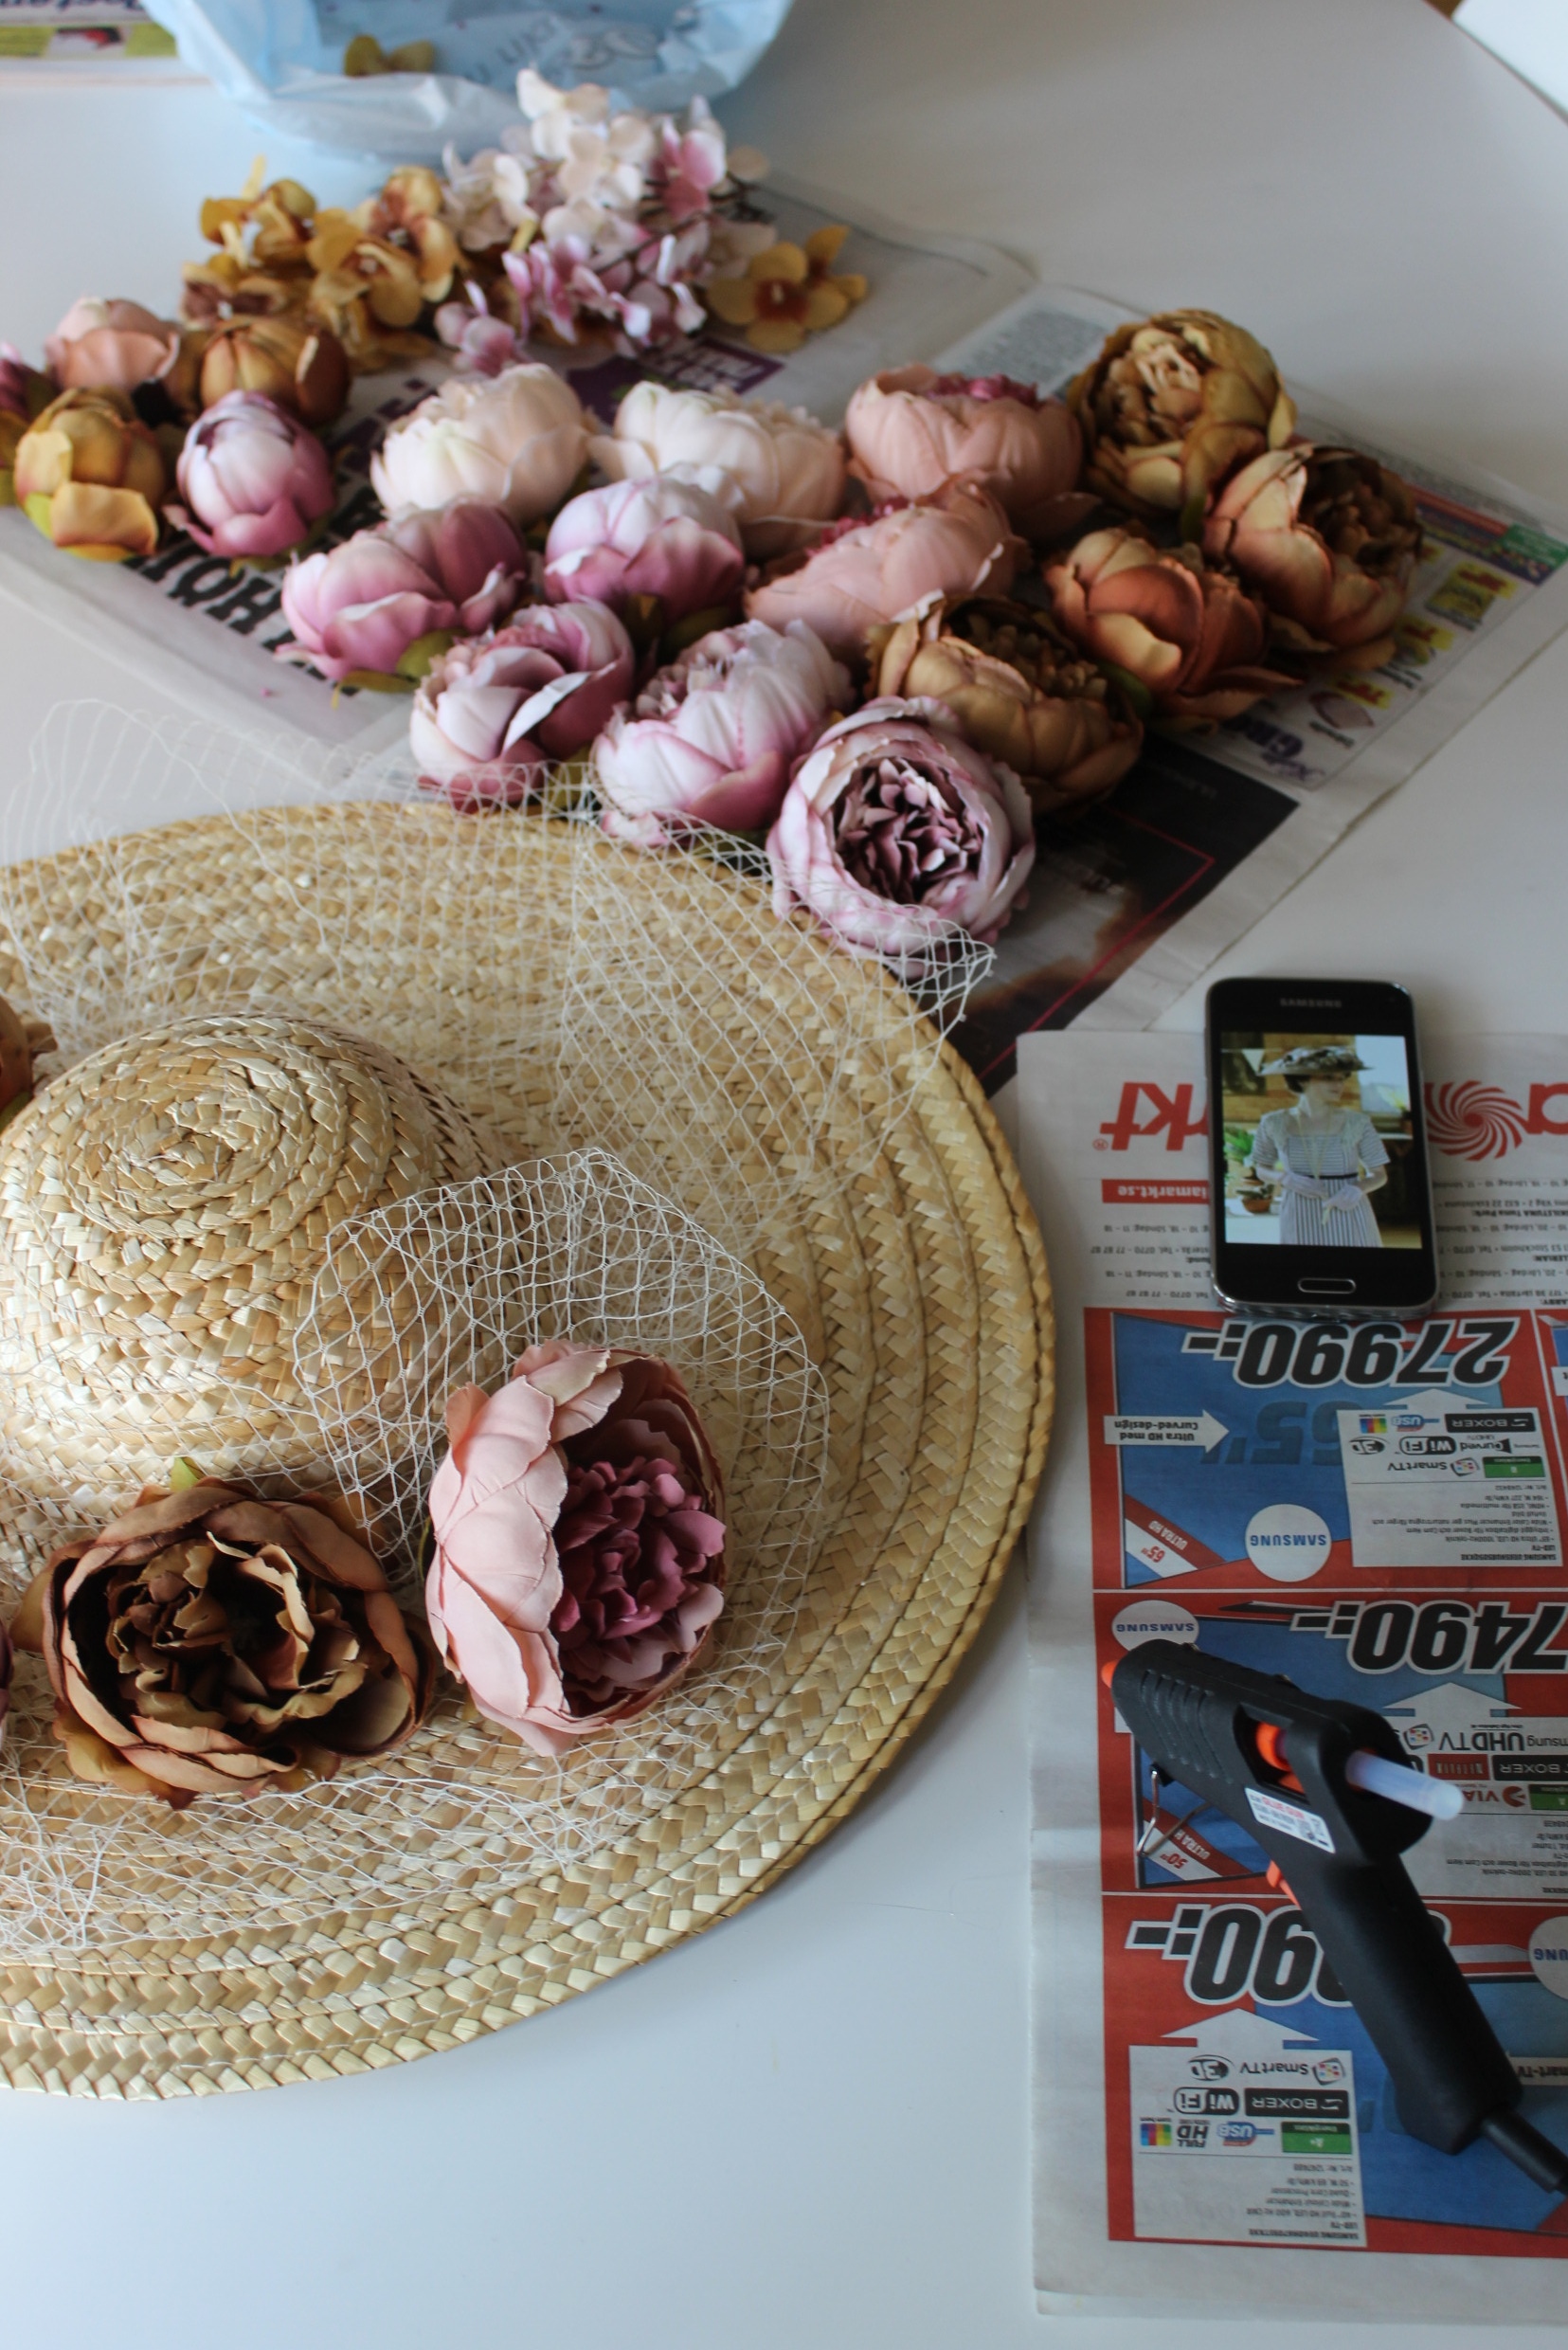
 These are so easy to make and takes really no time at all.


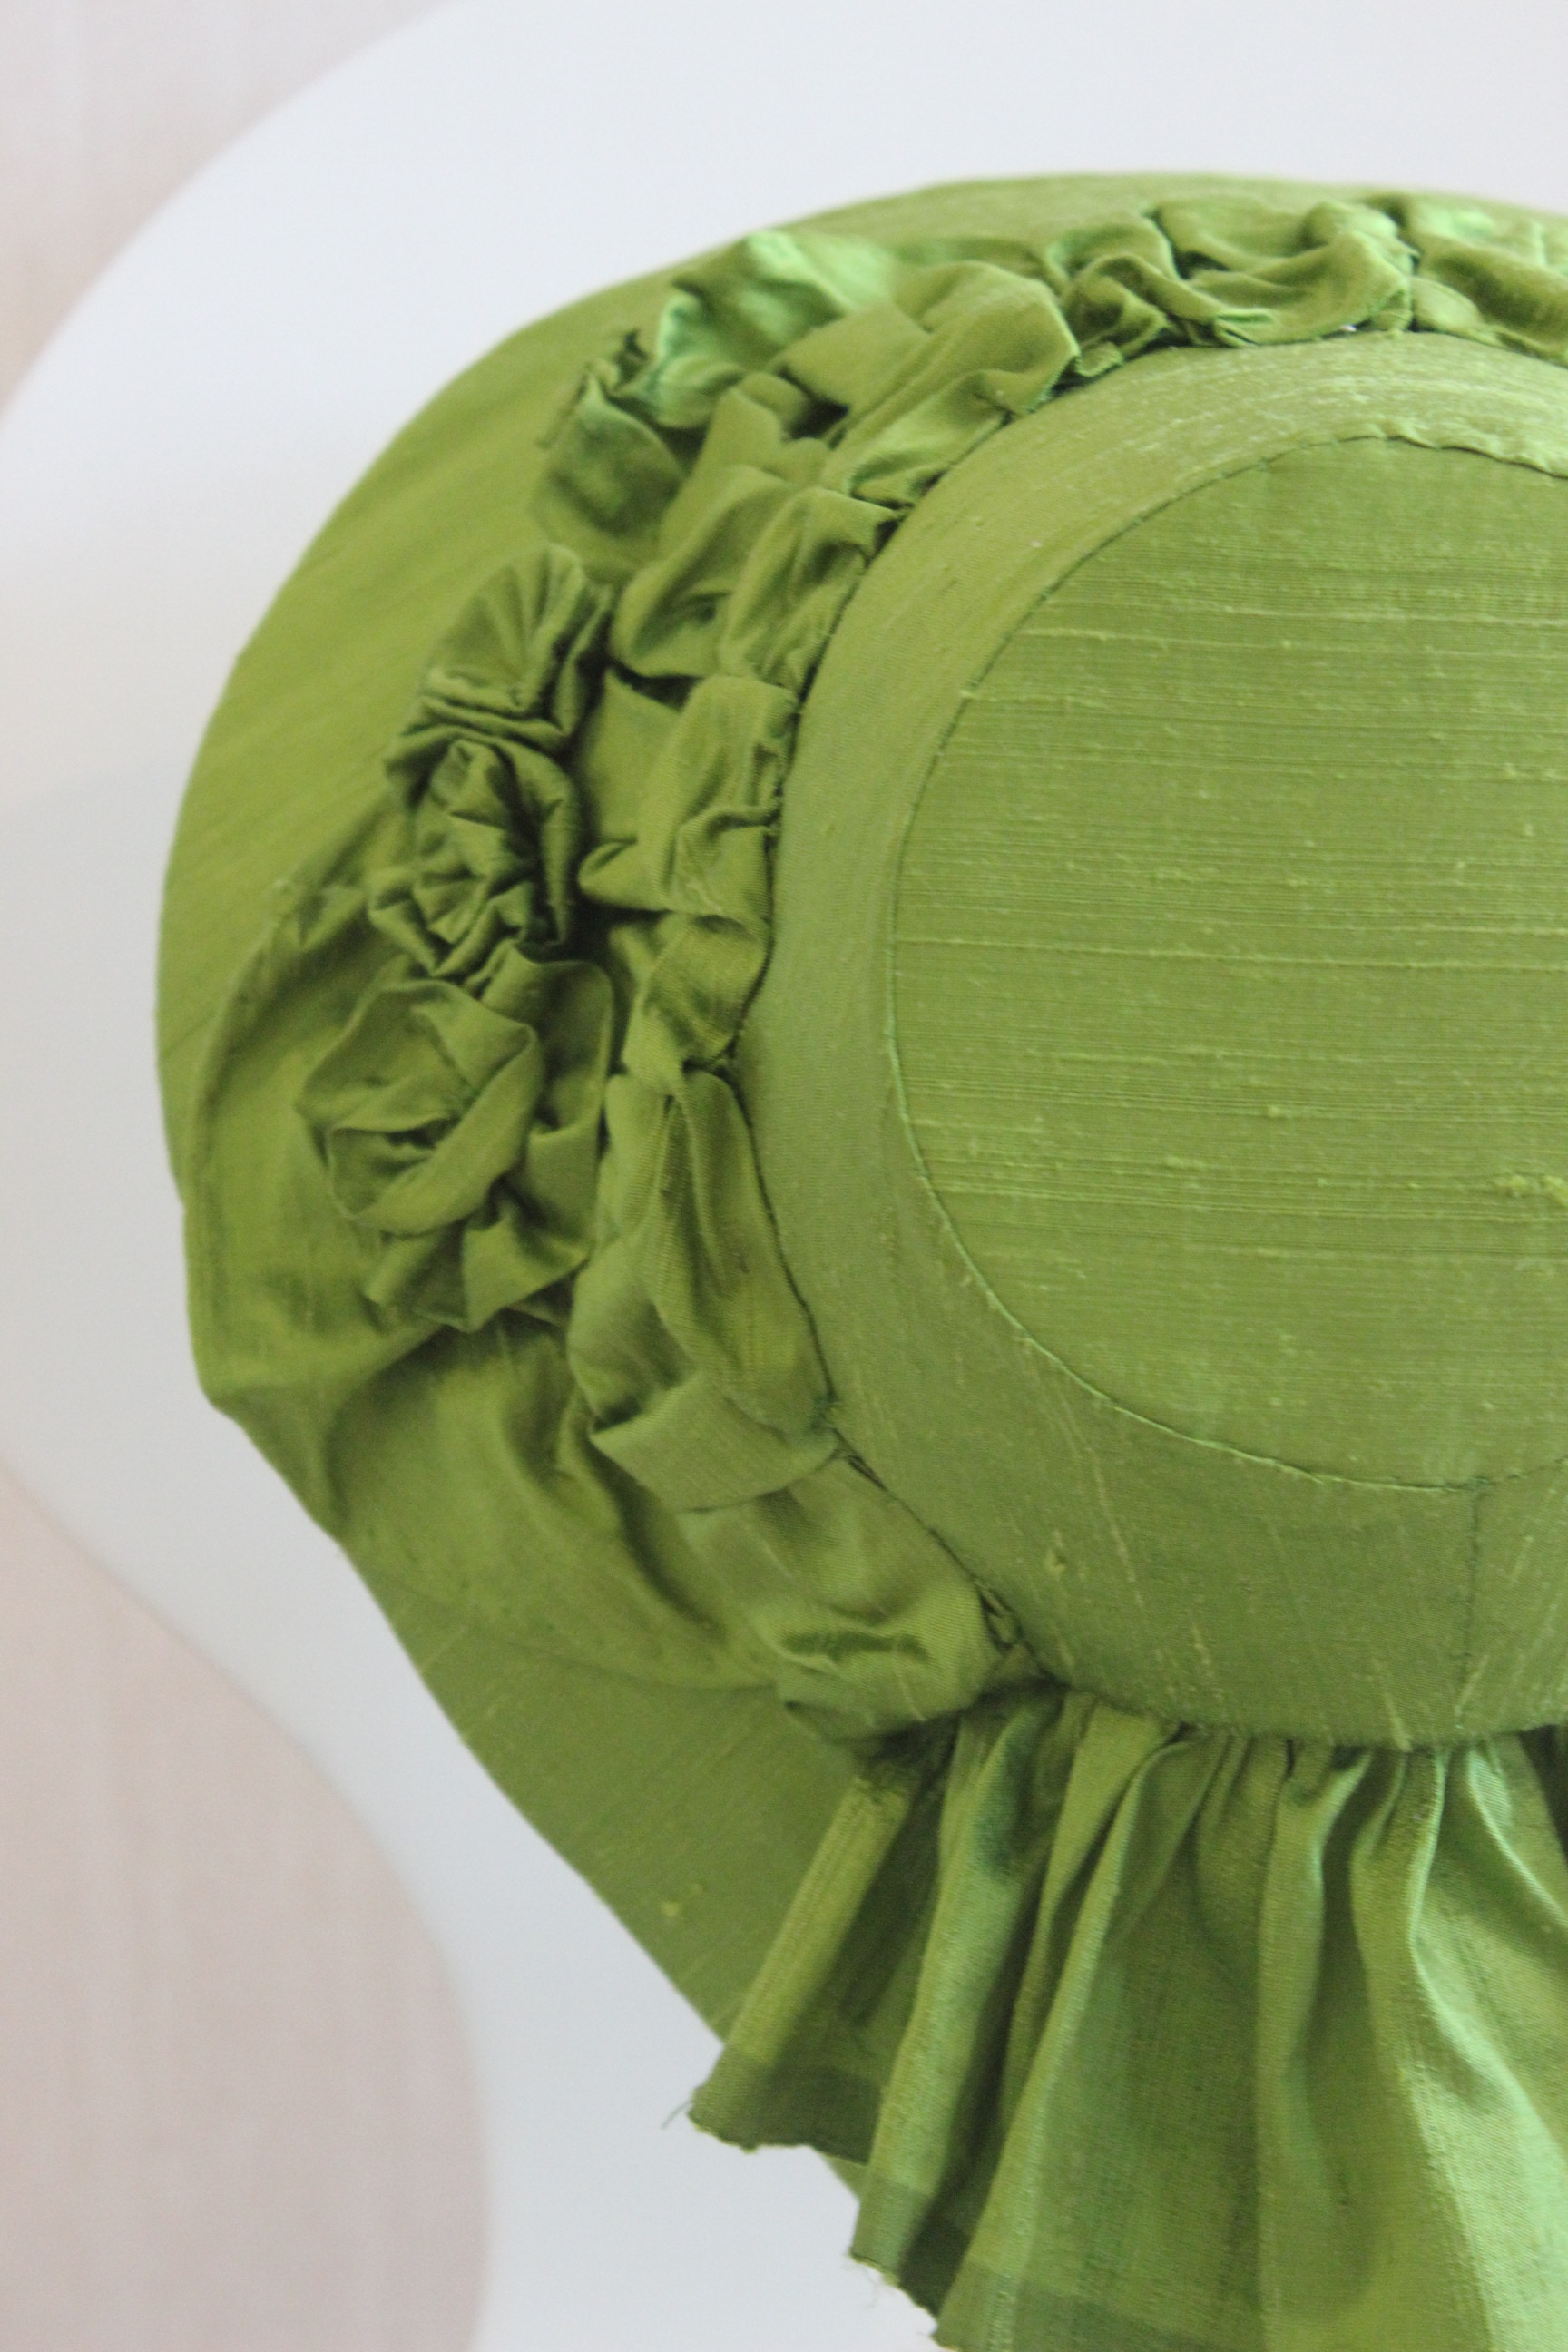


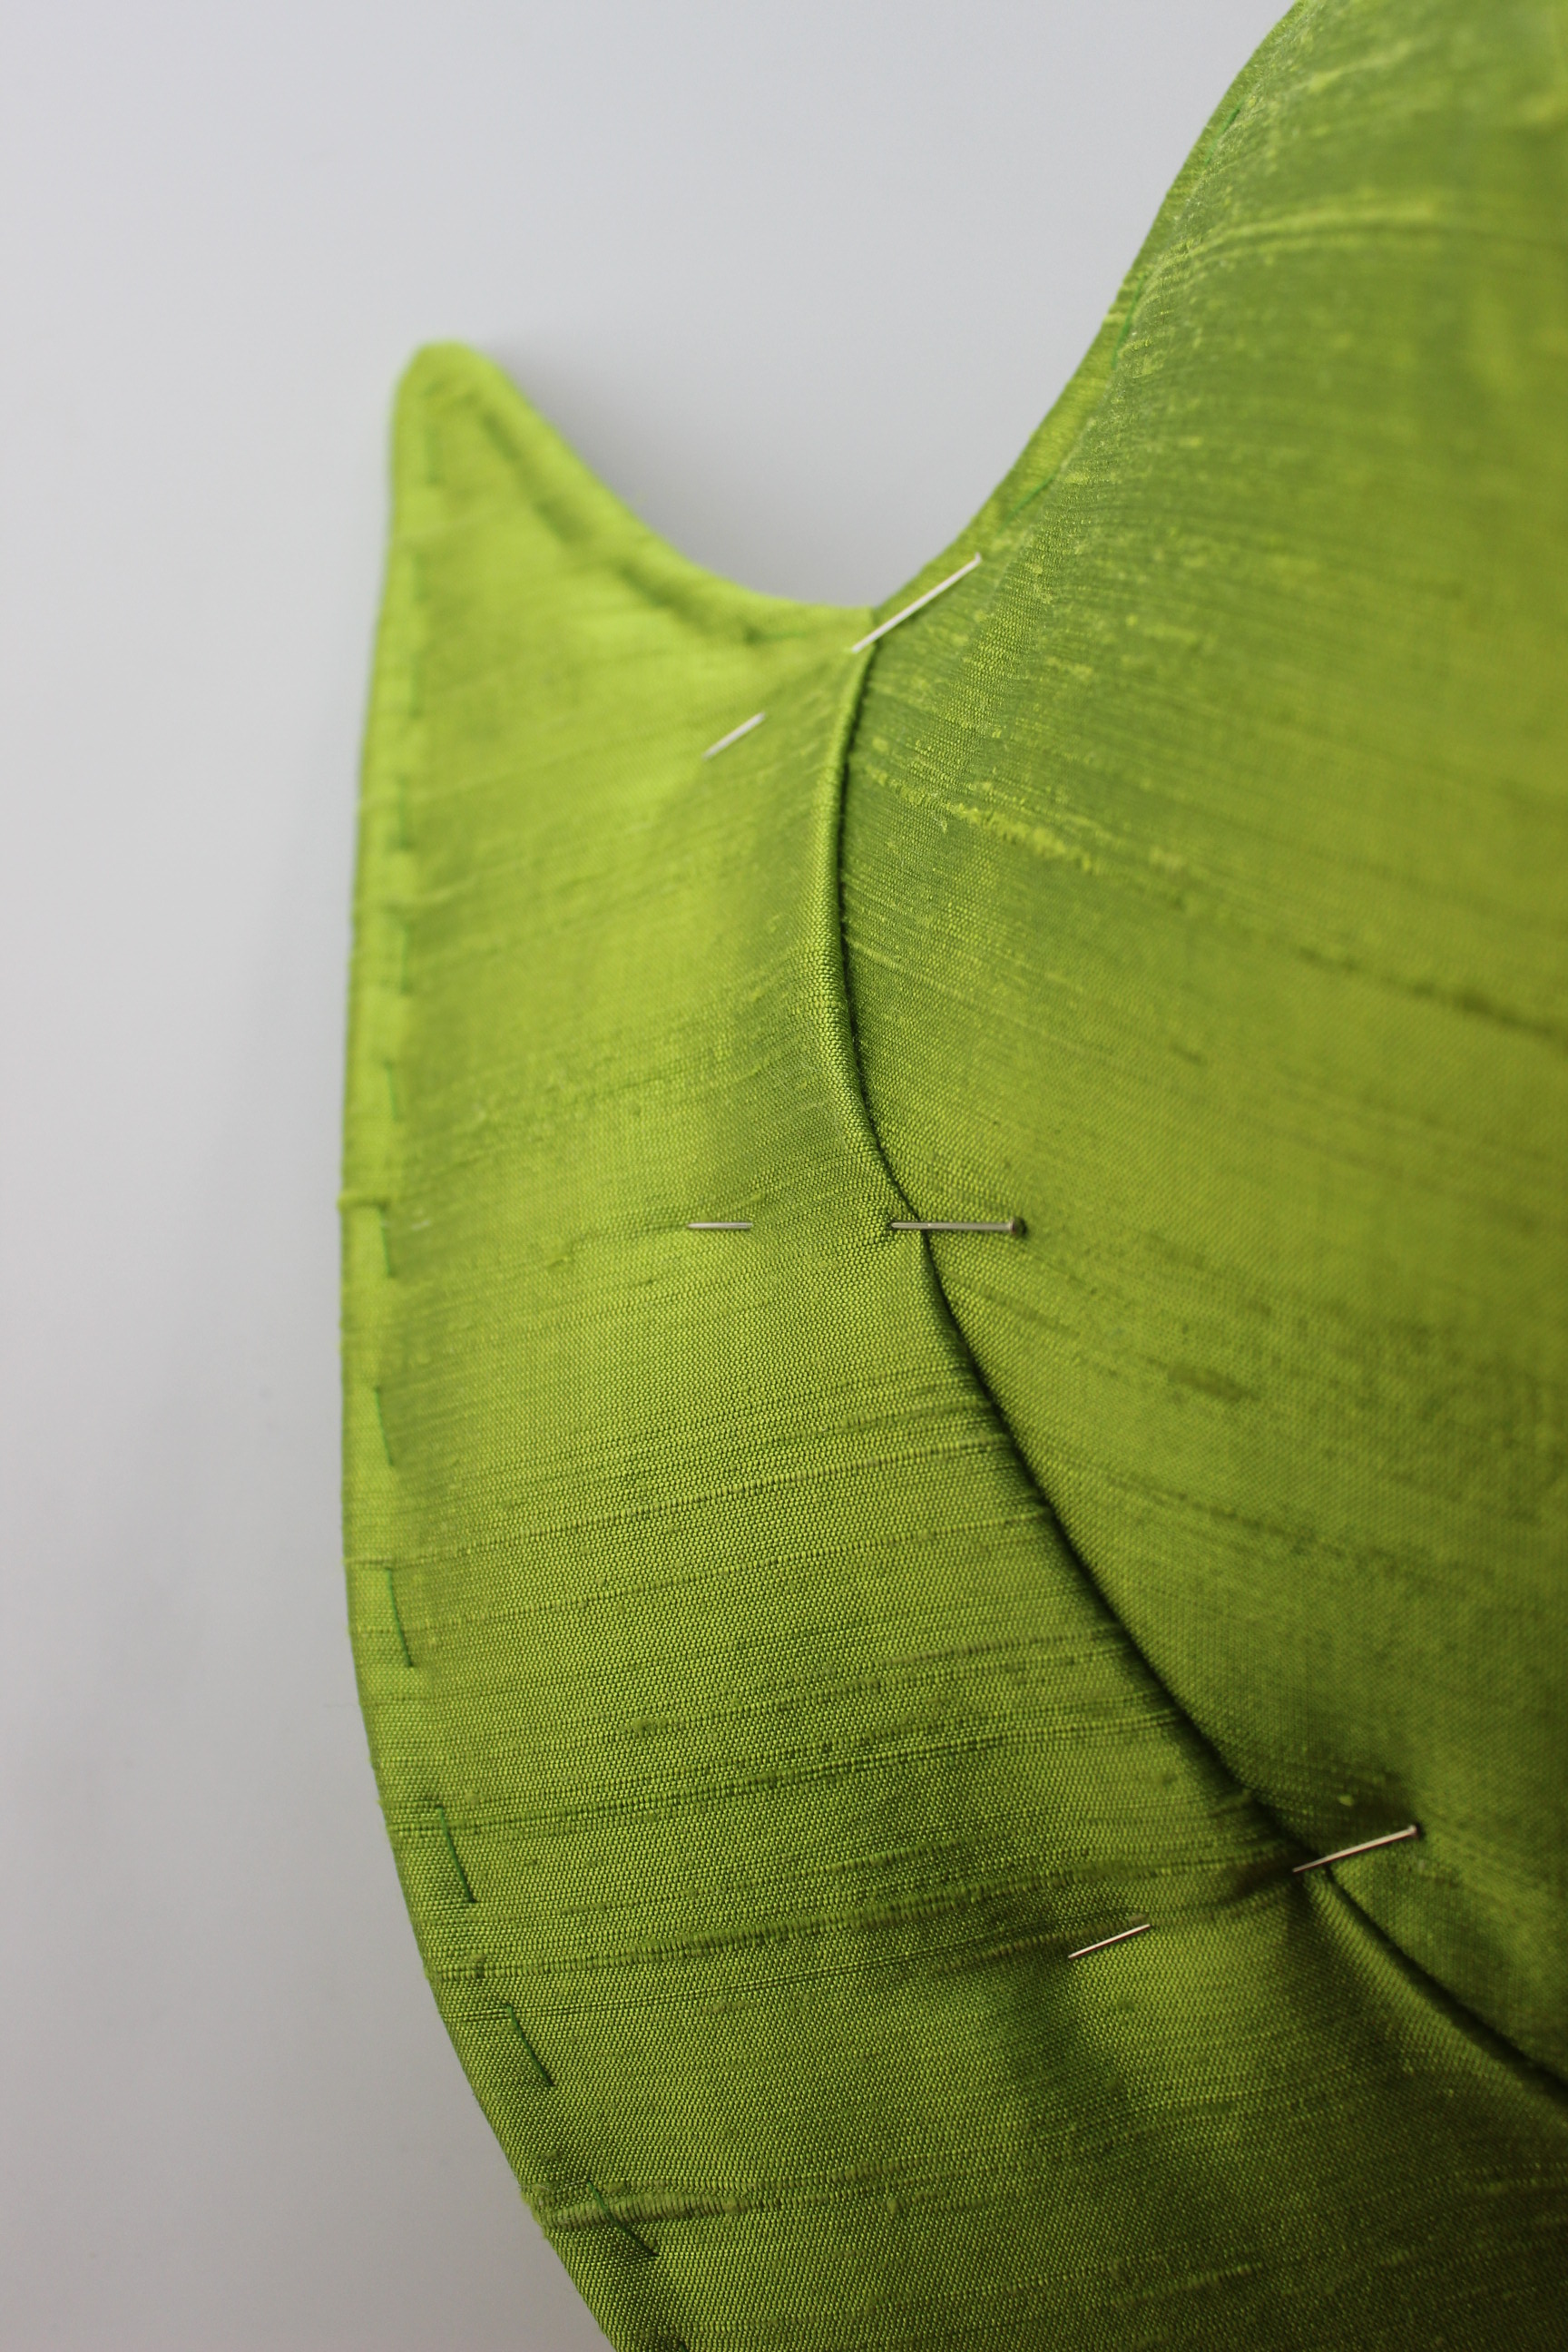
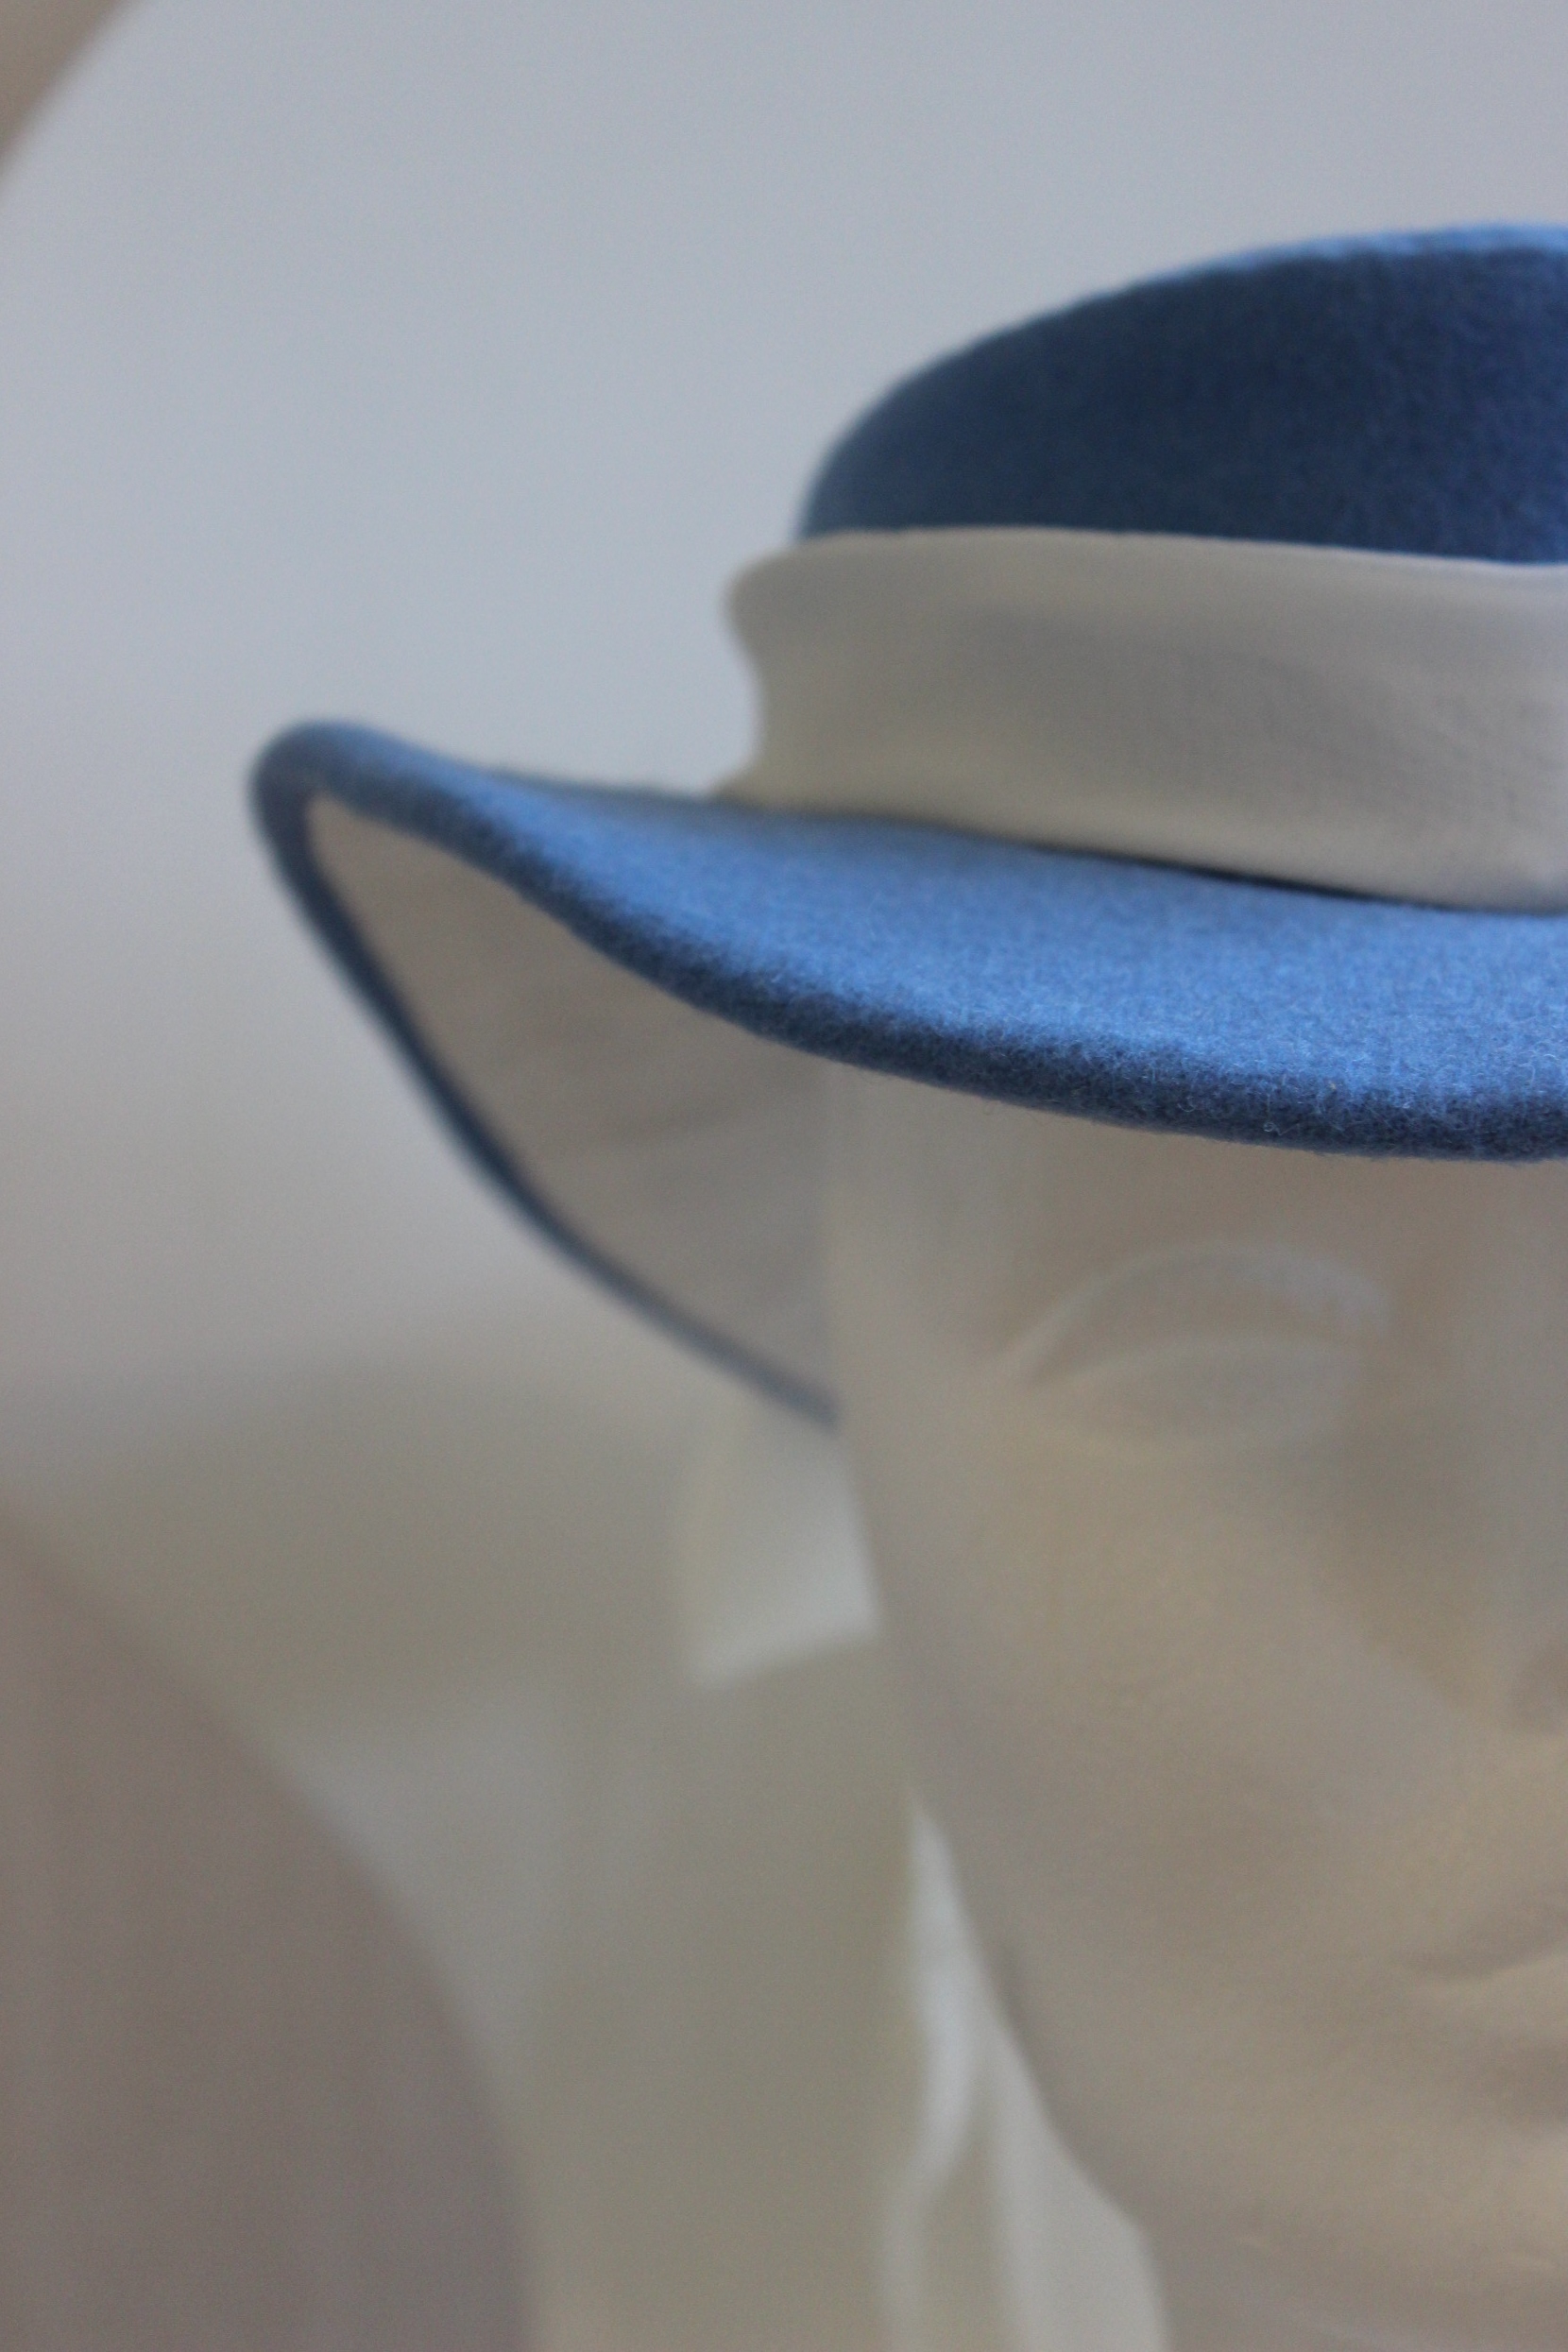
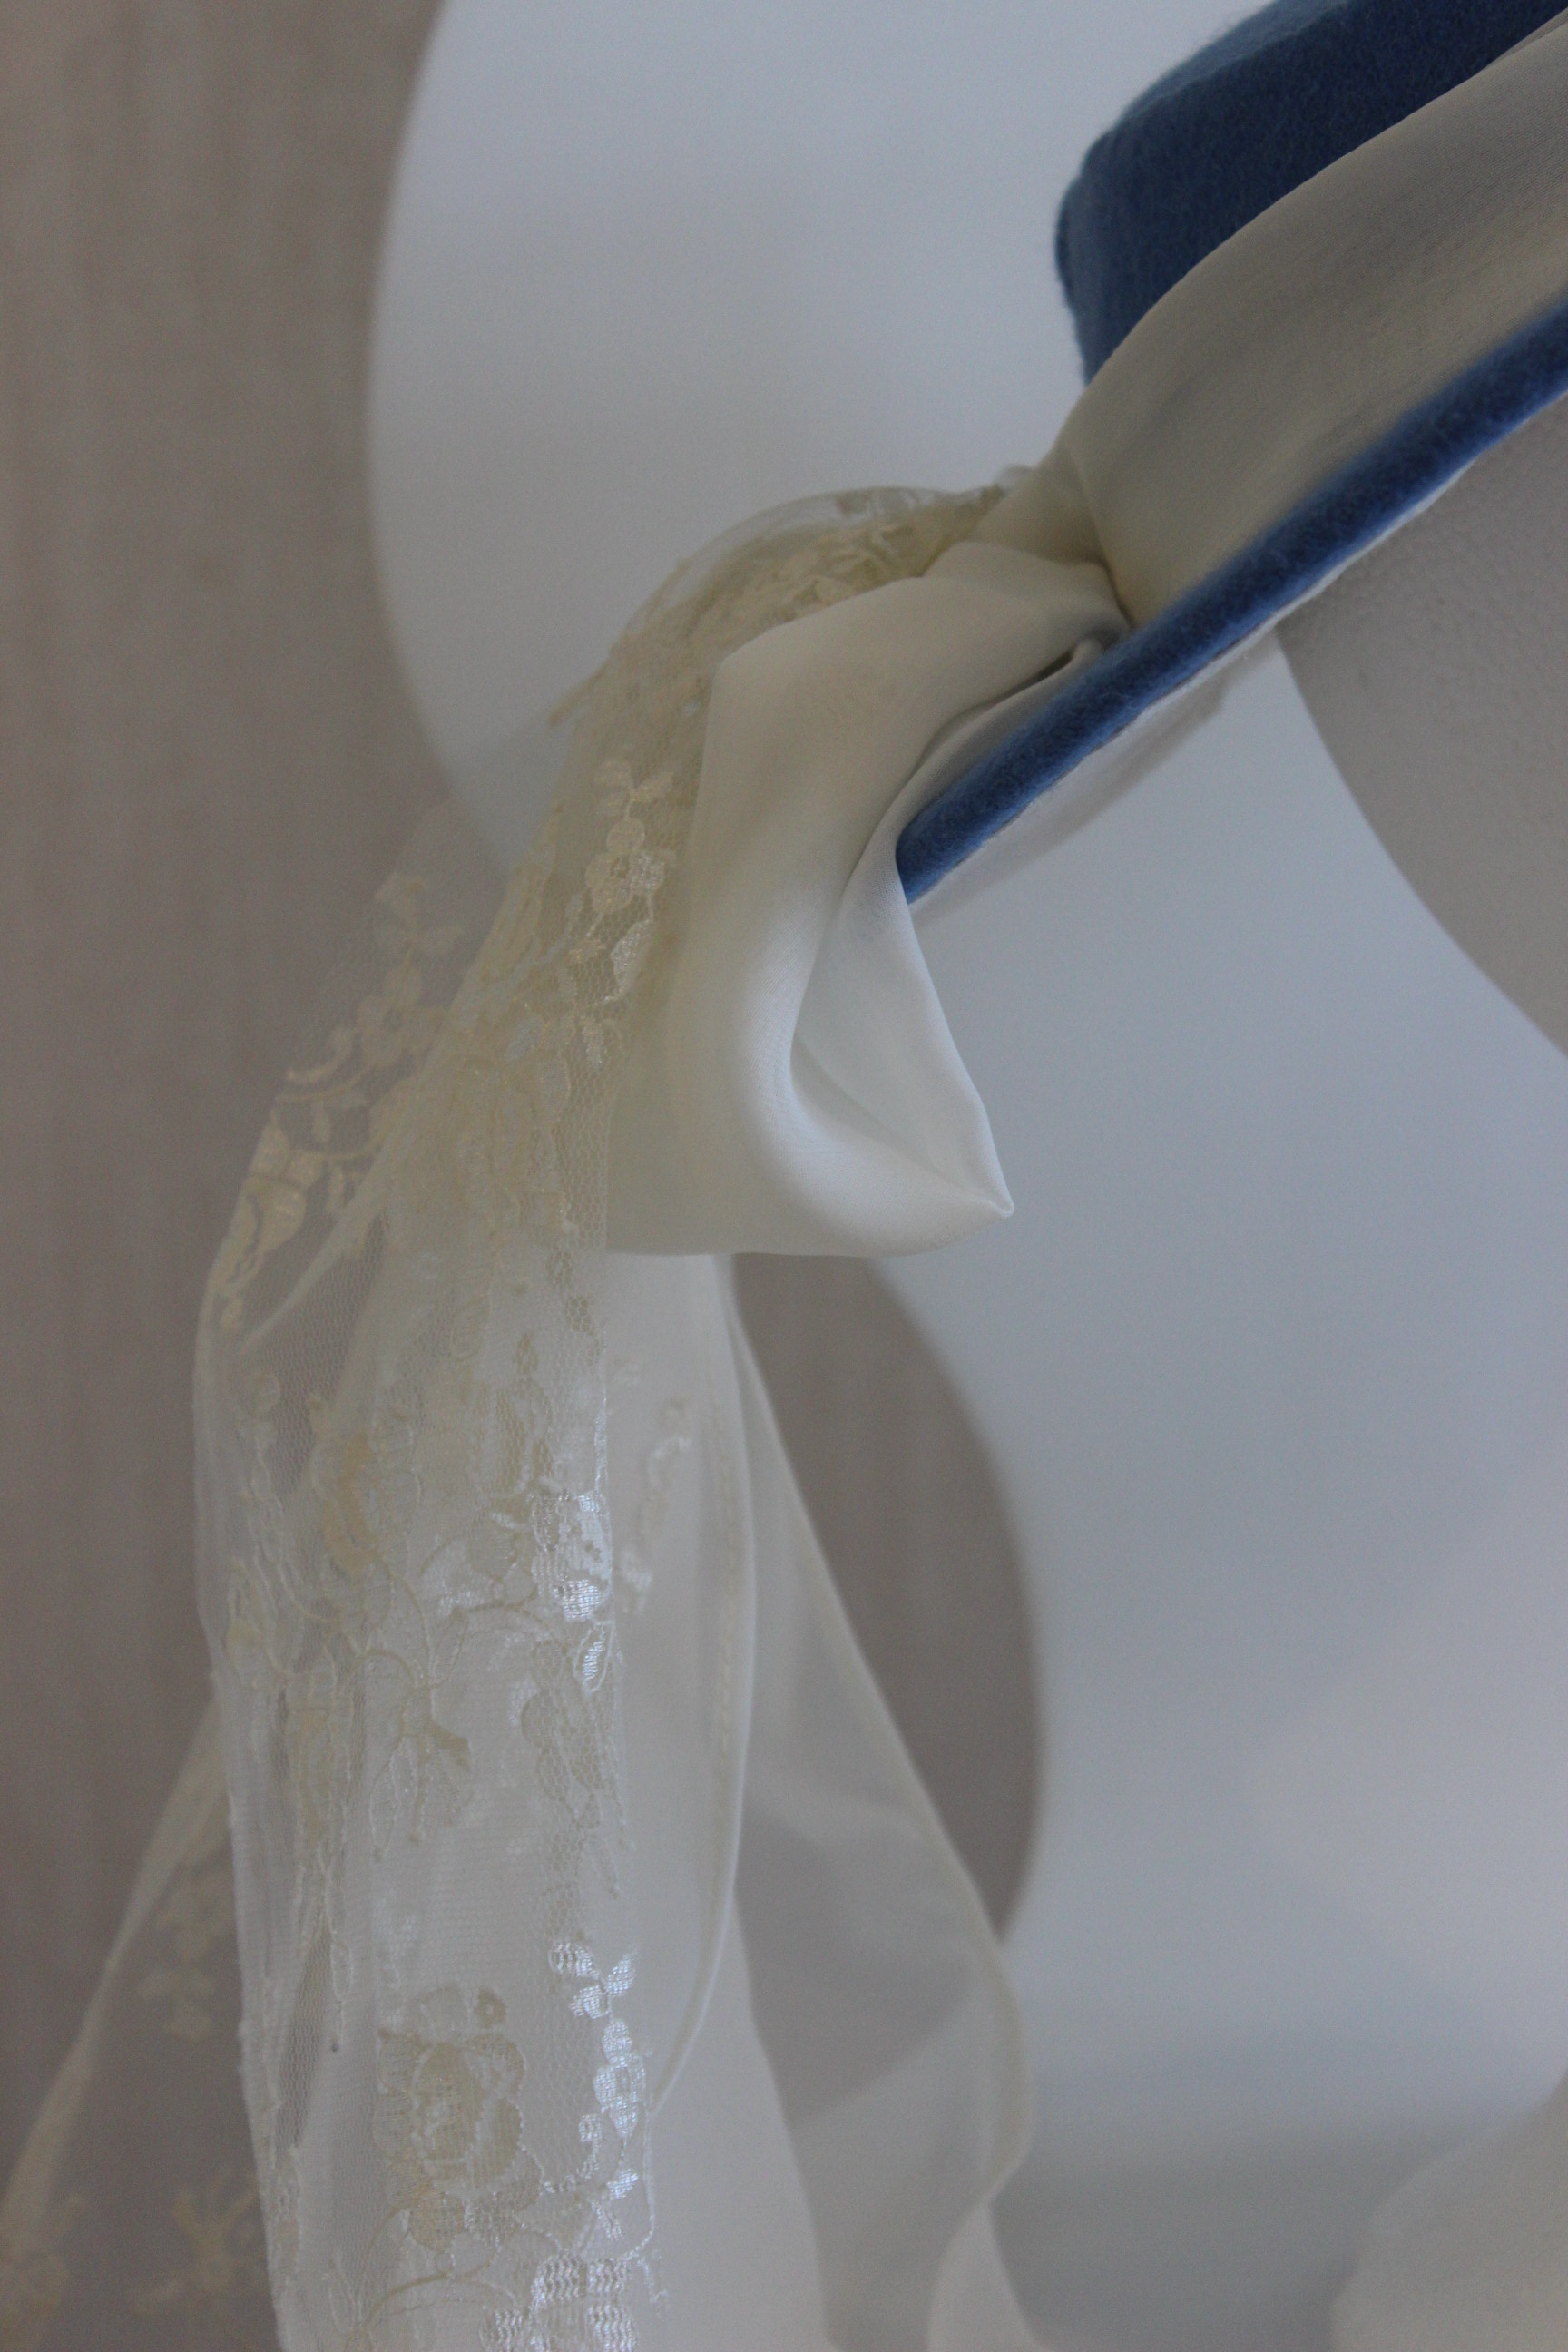
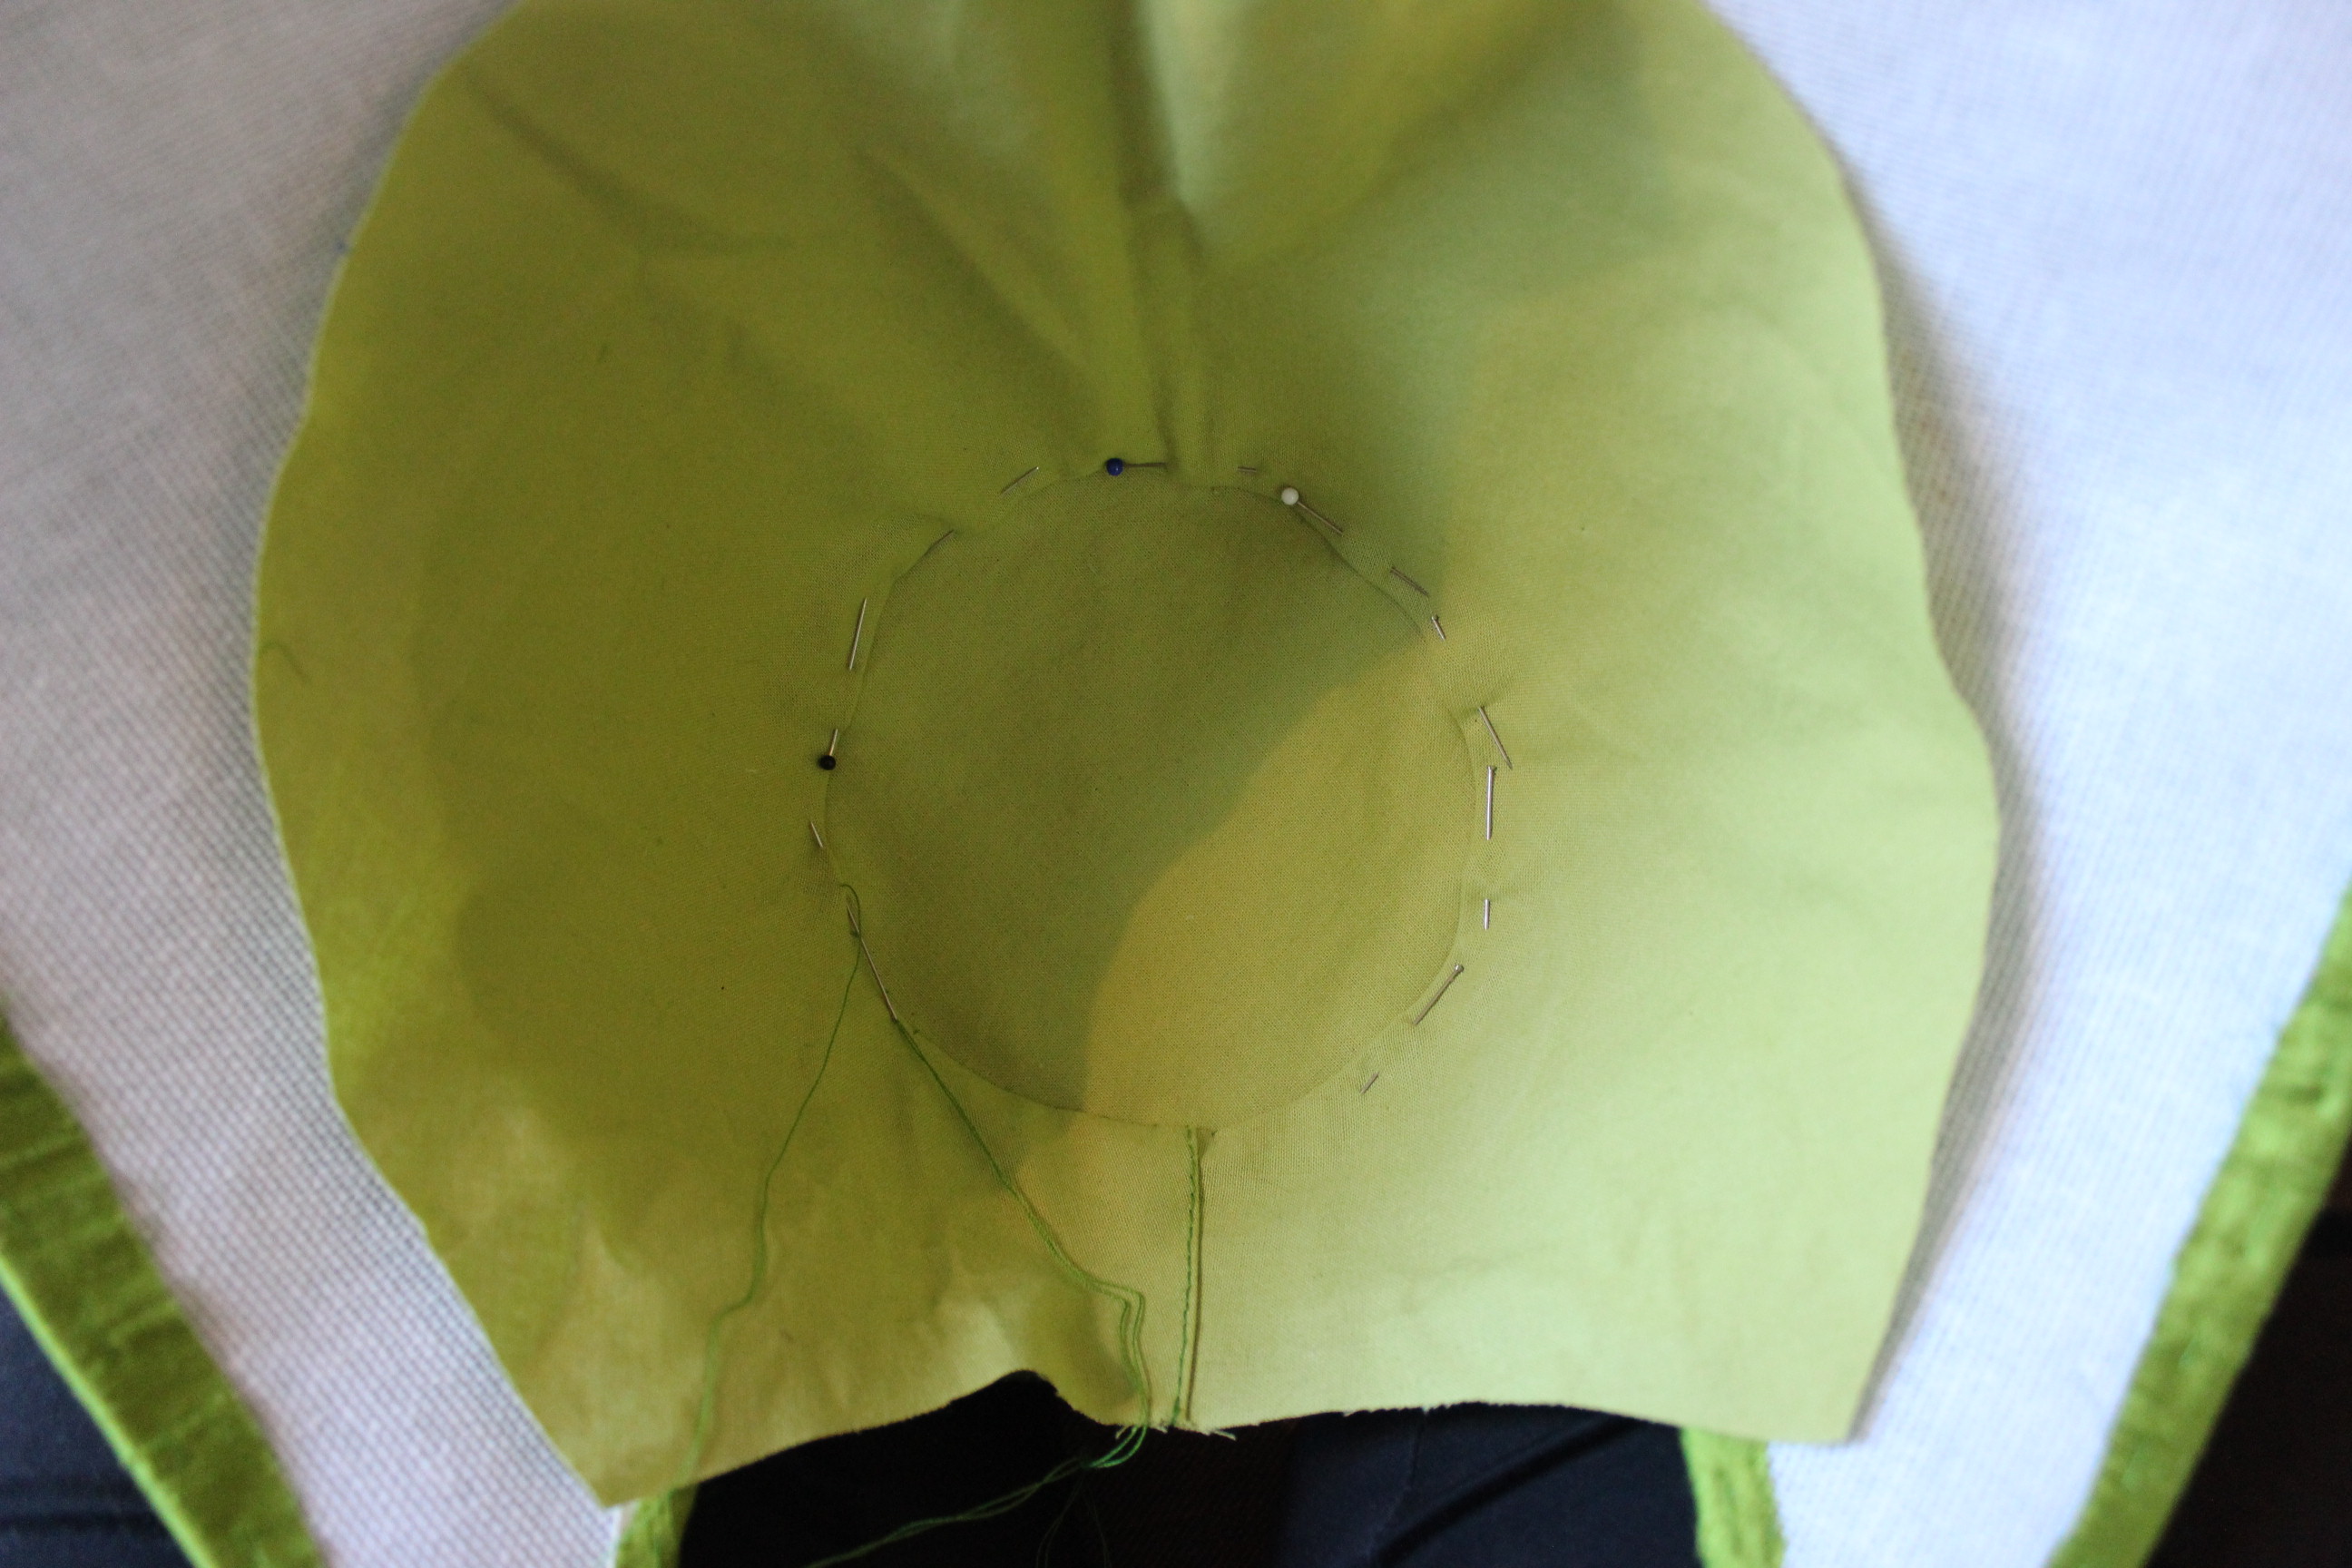
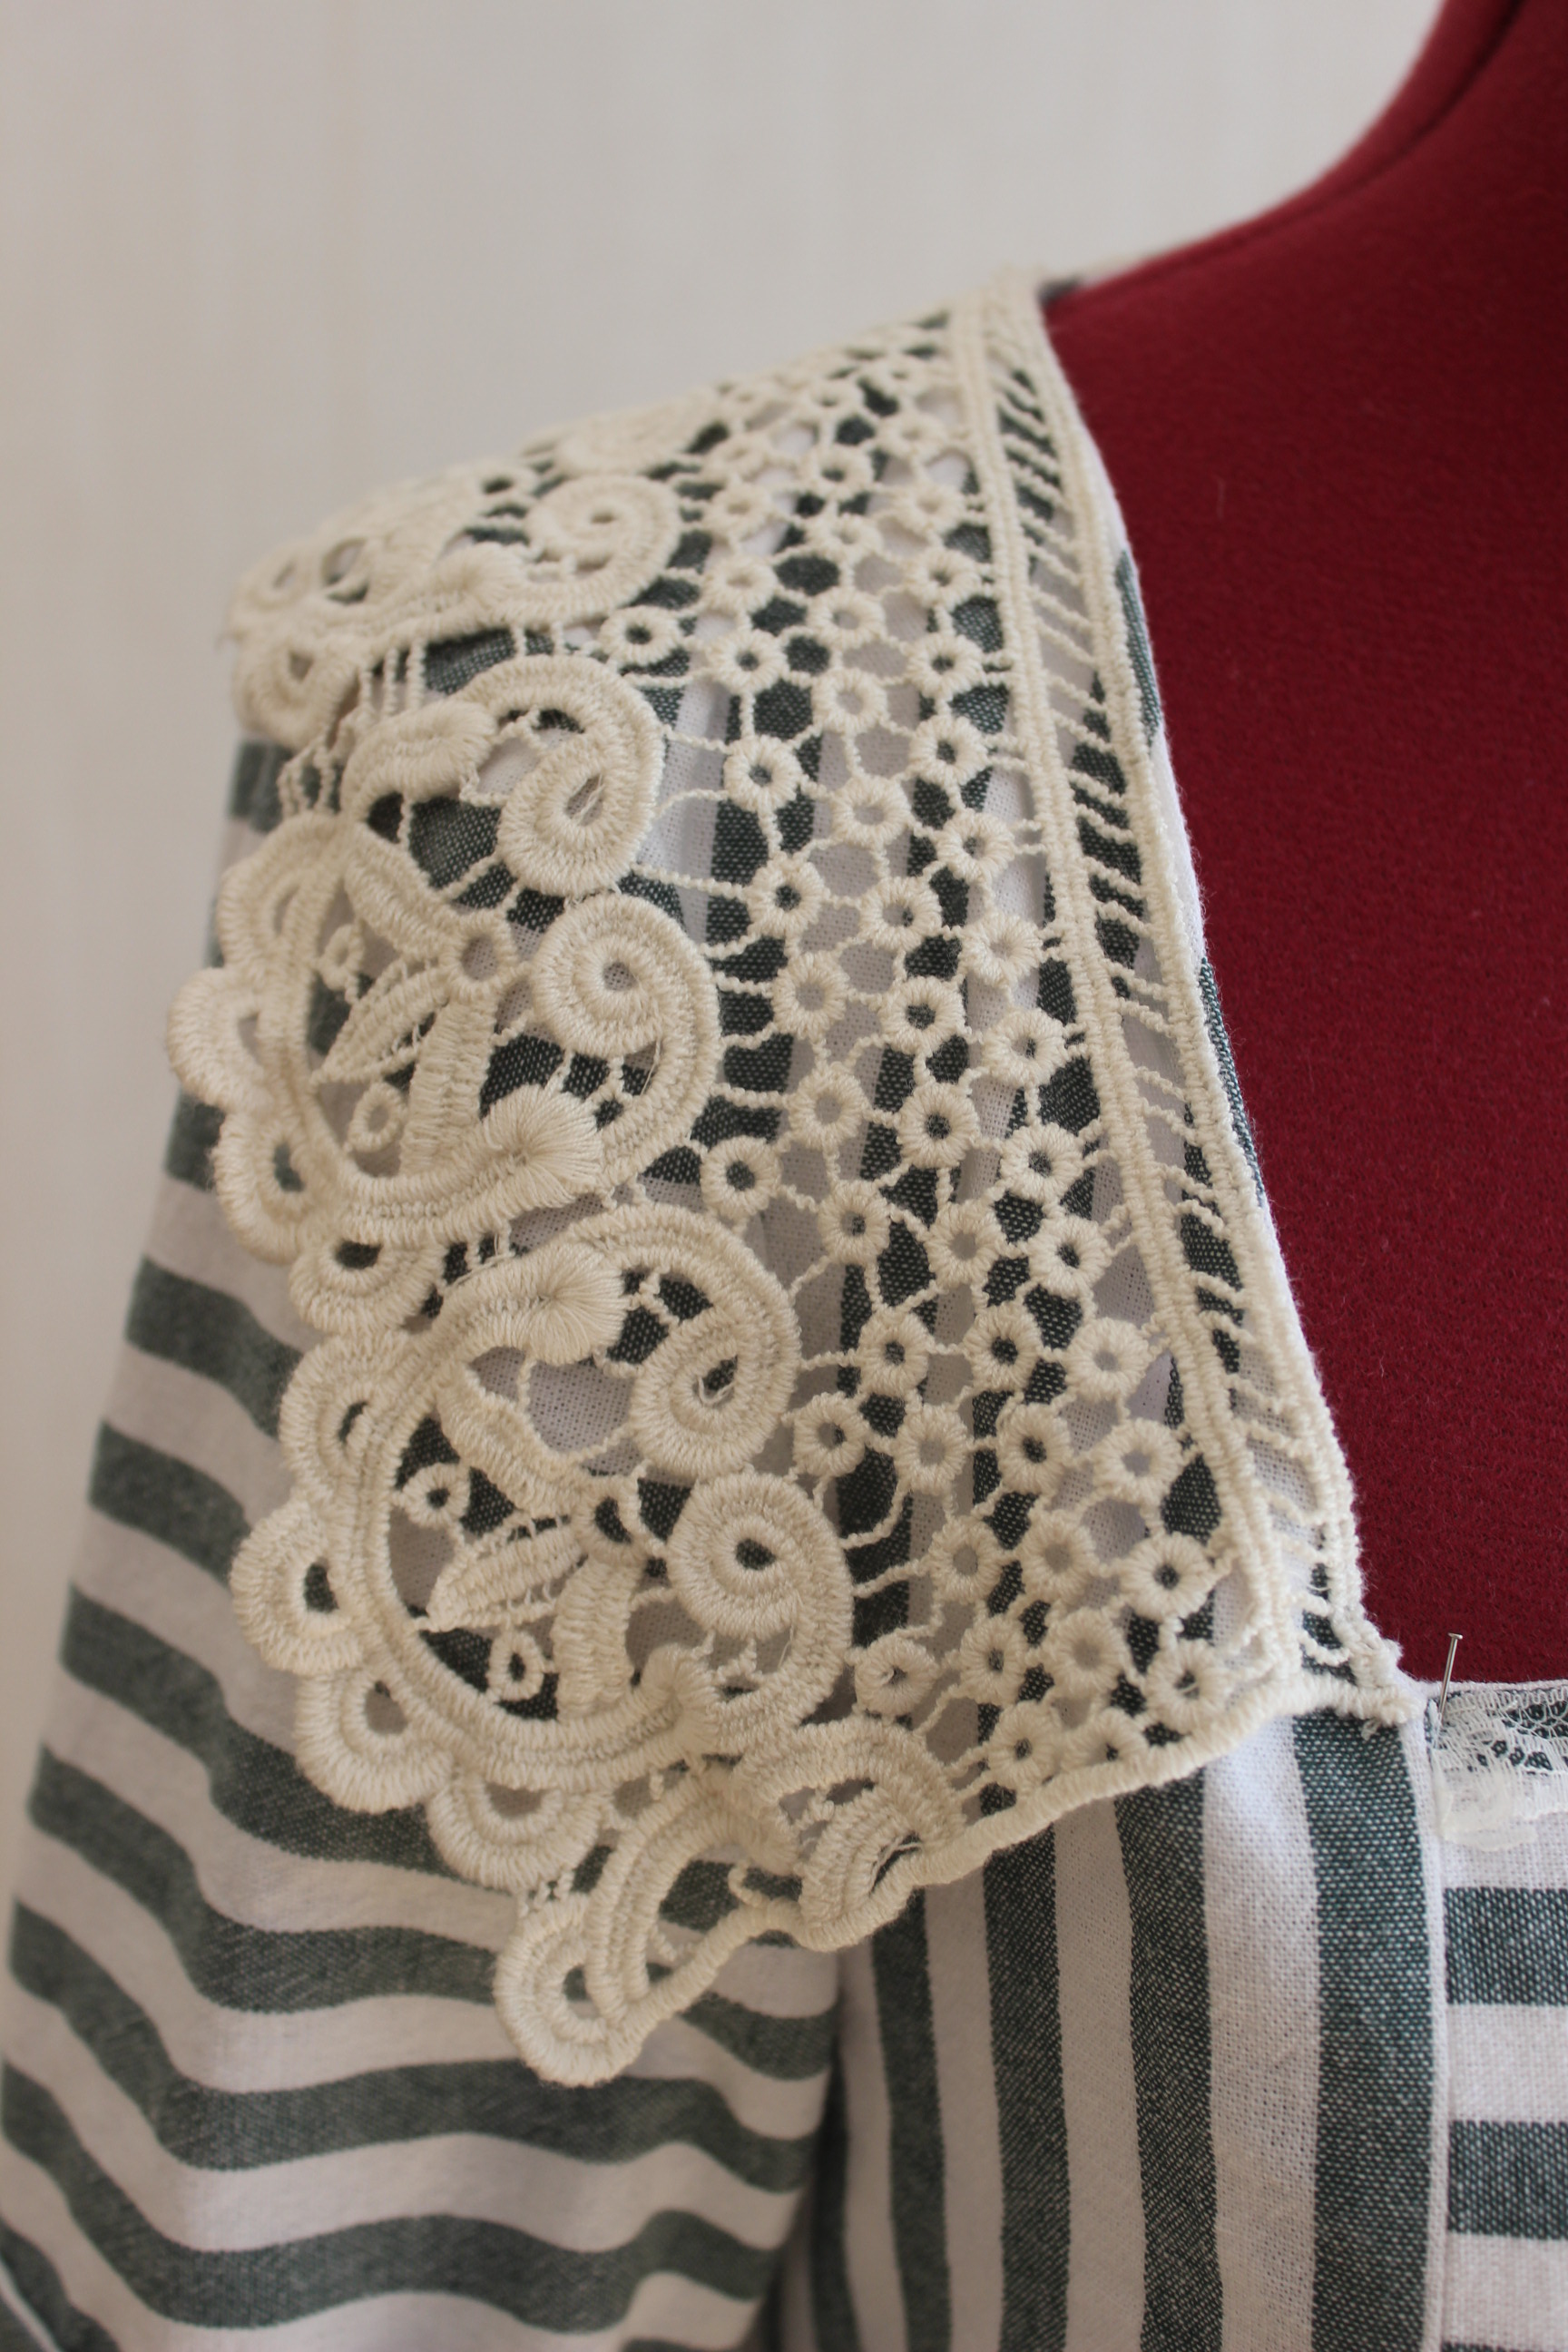
 Silk all stitched on.
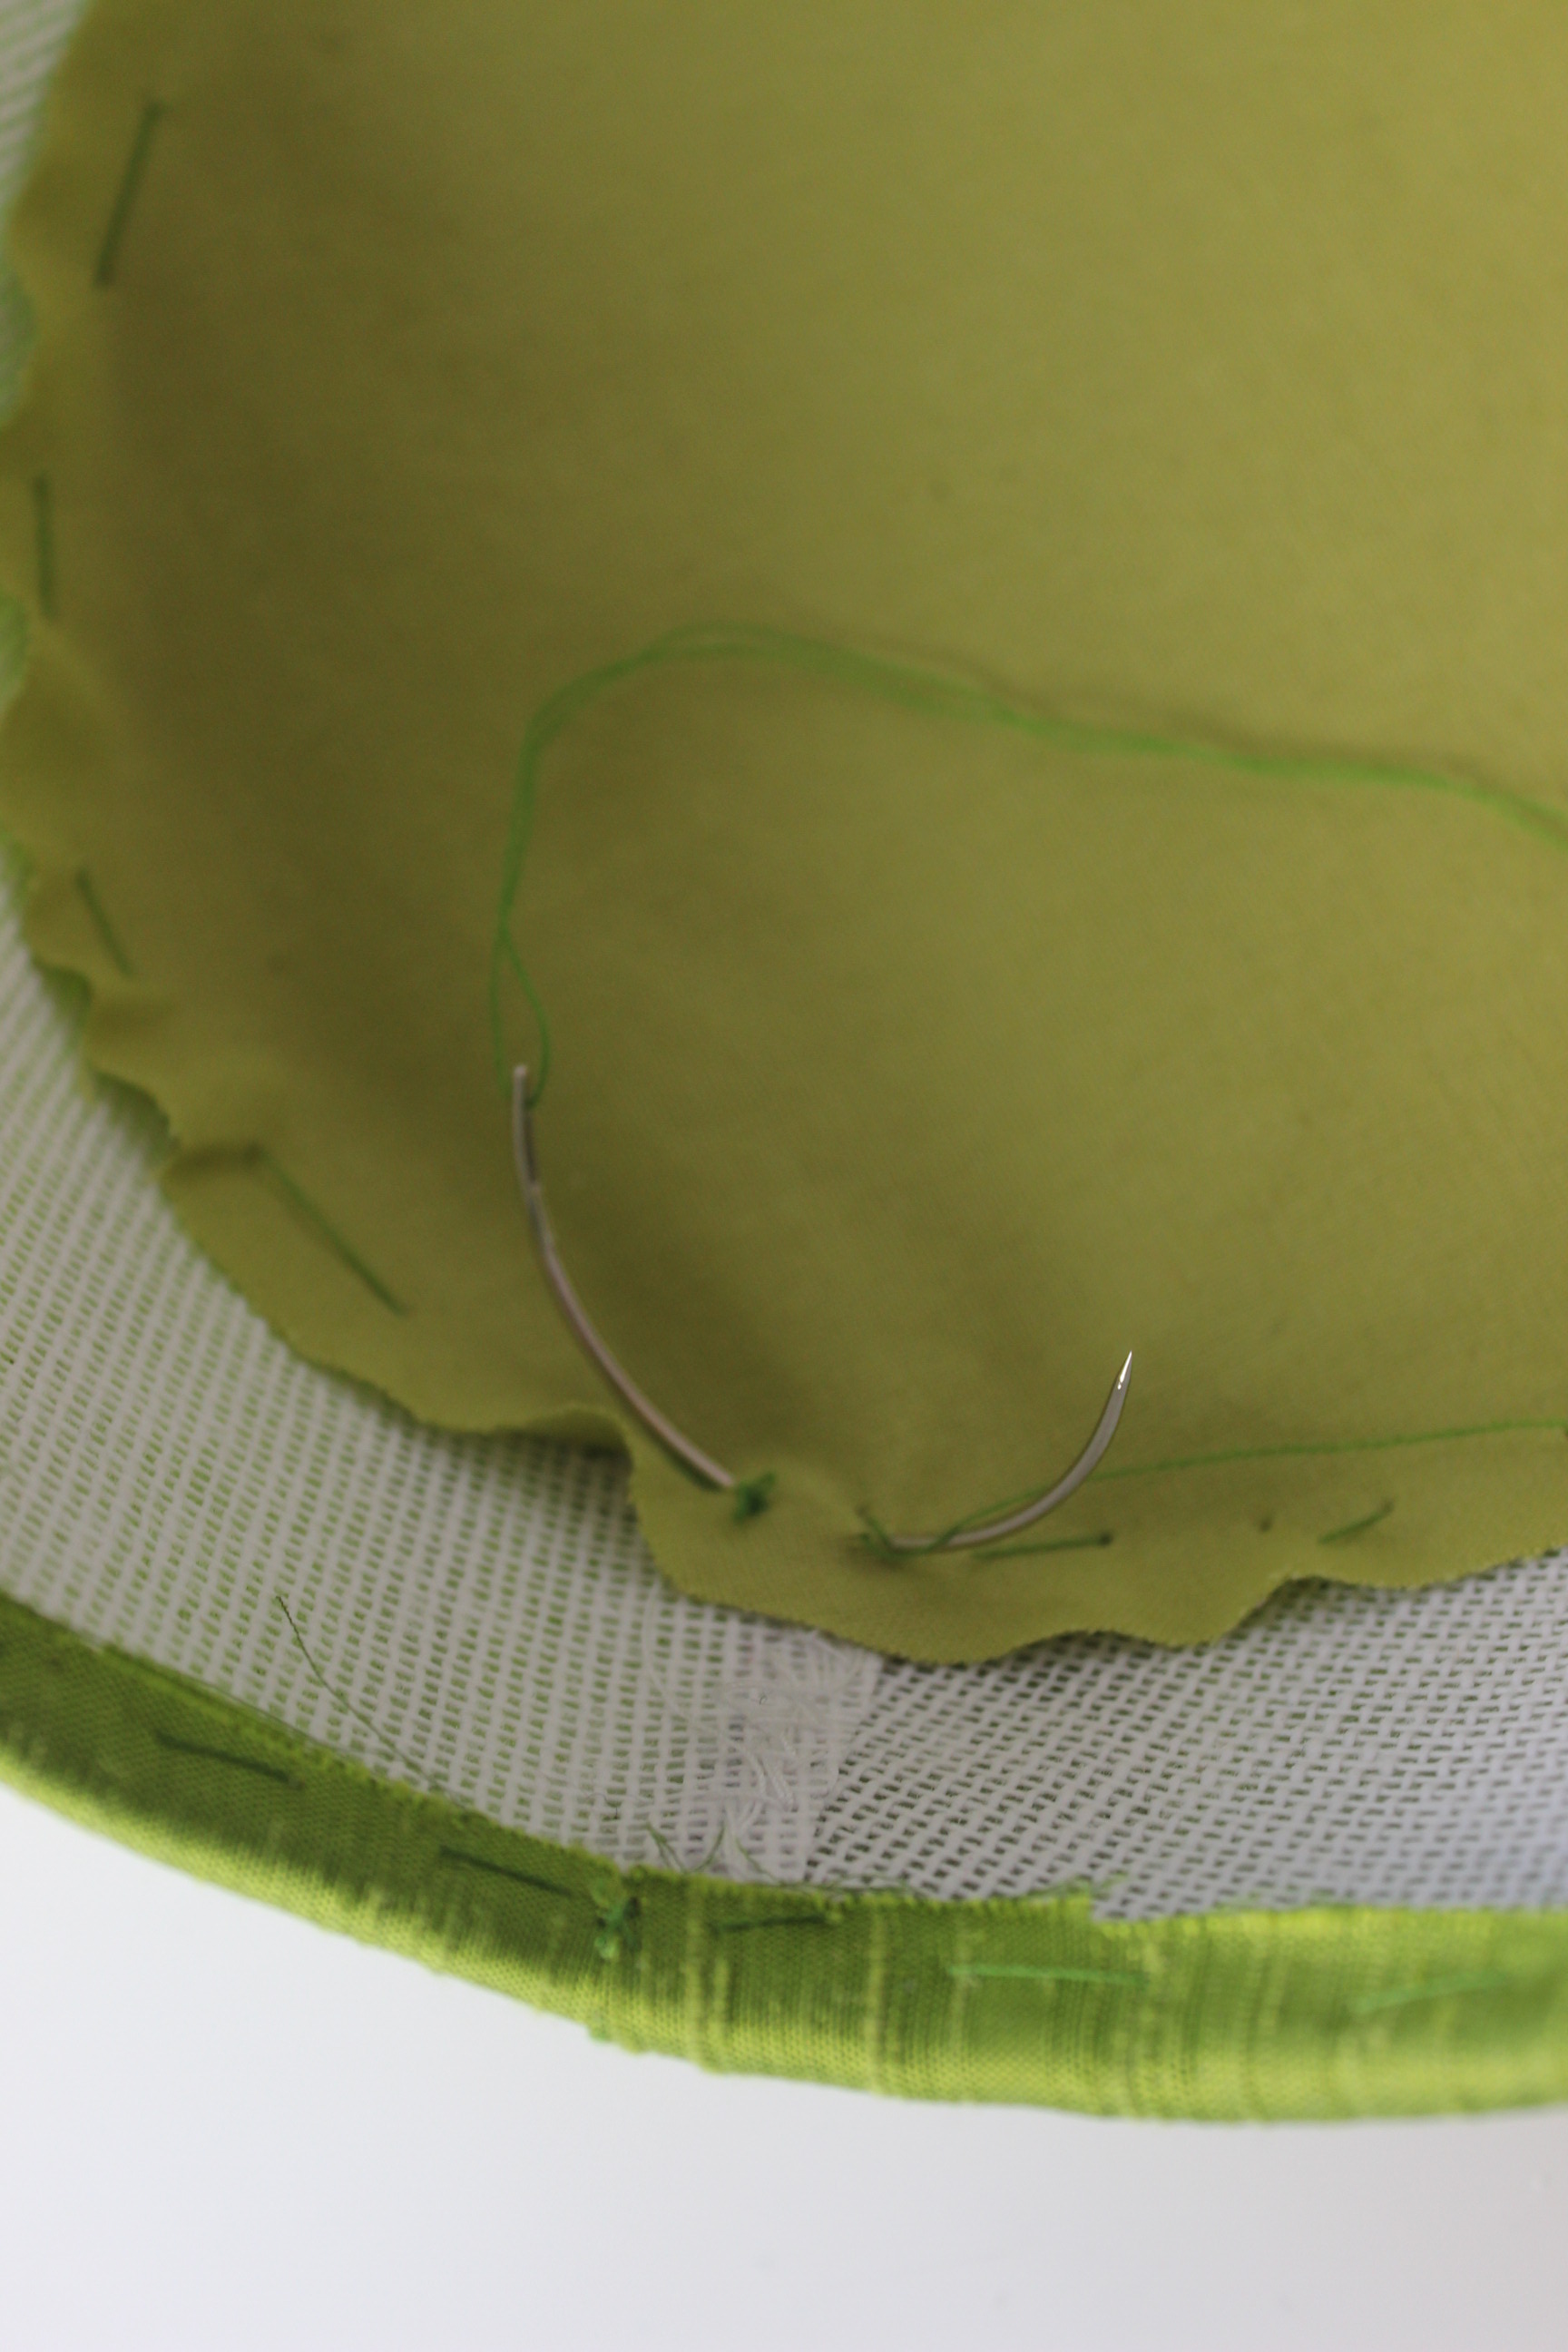
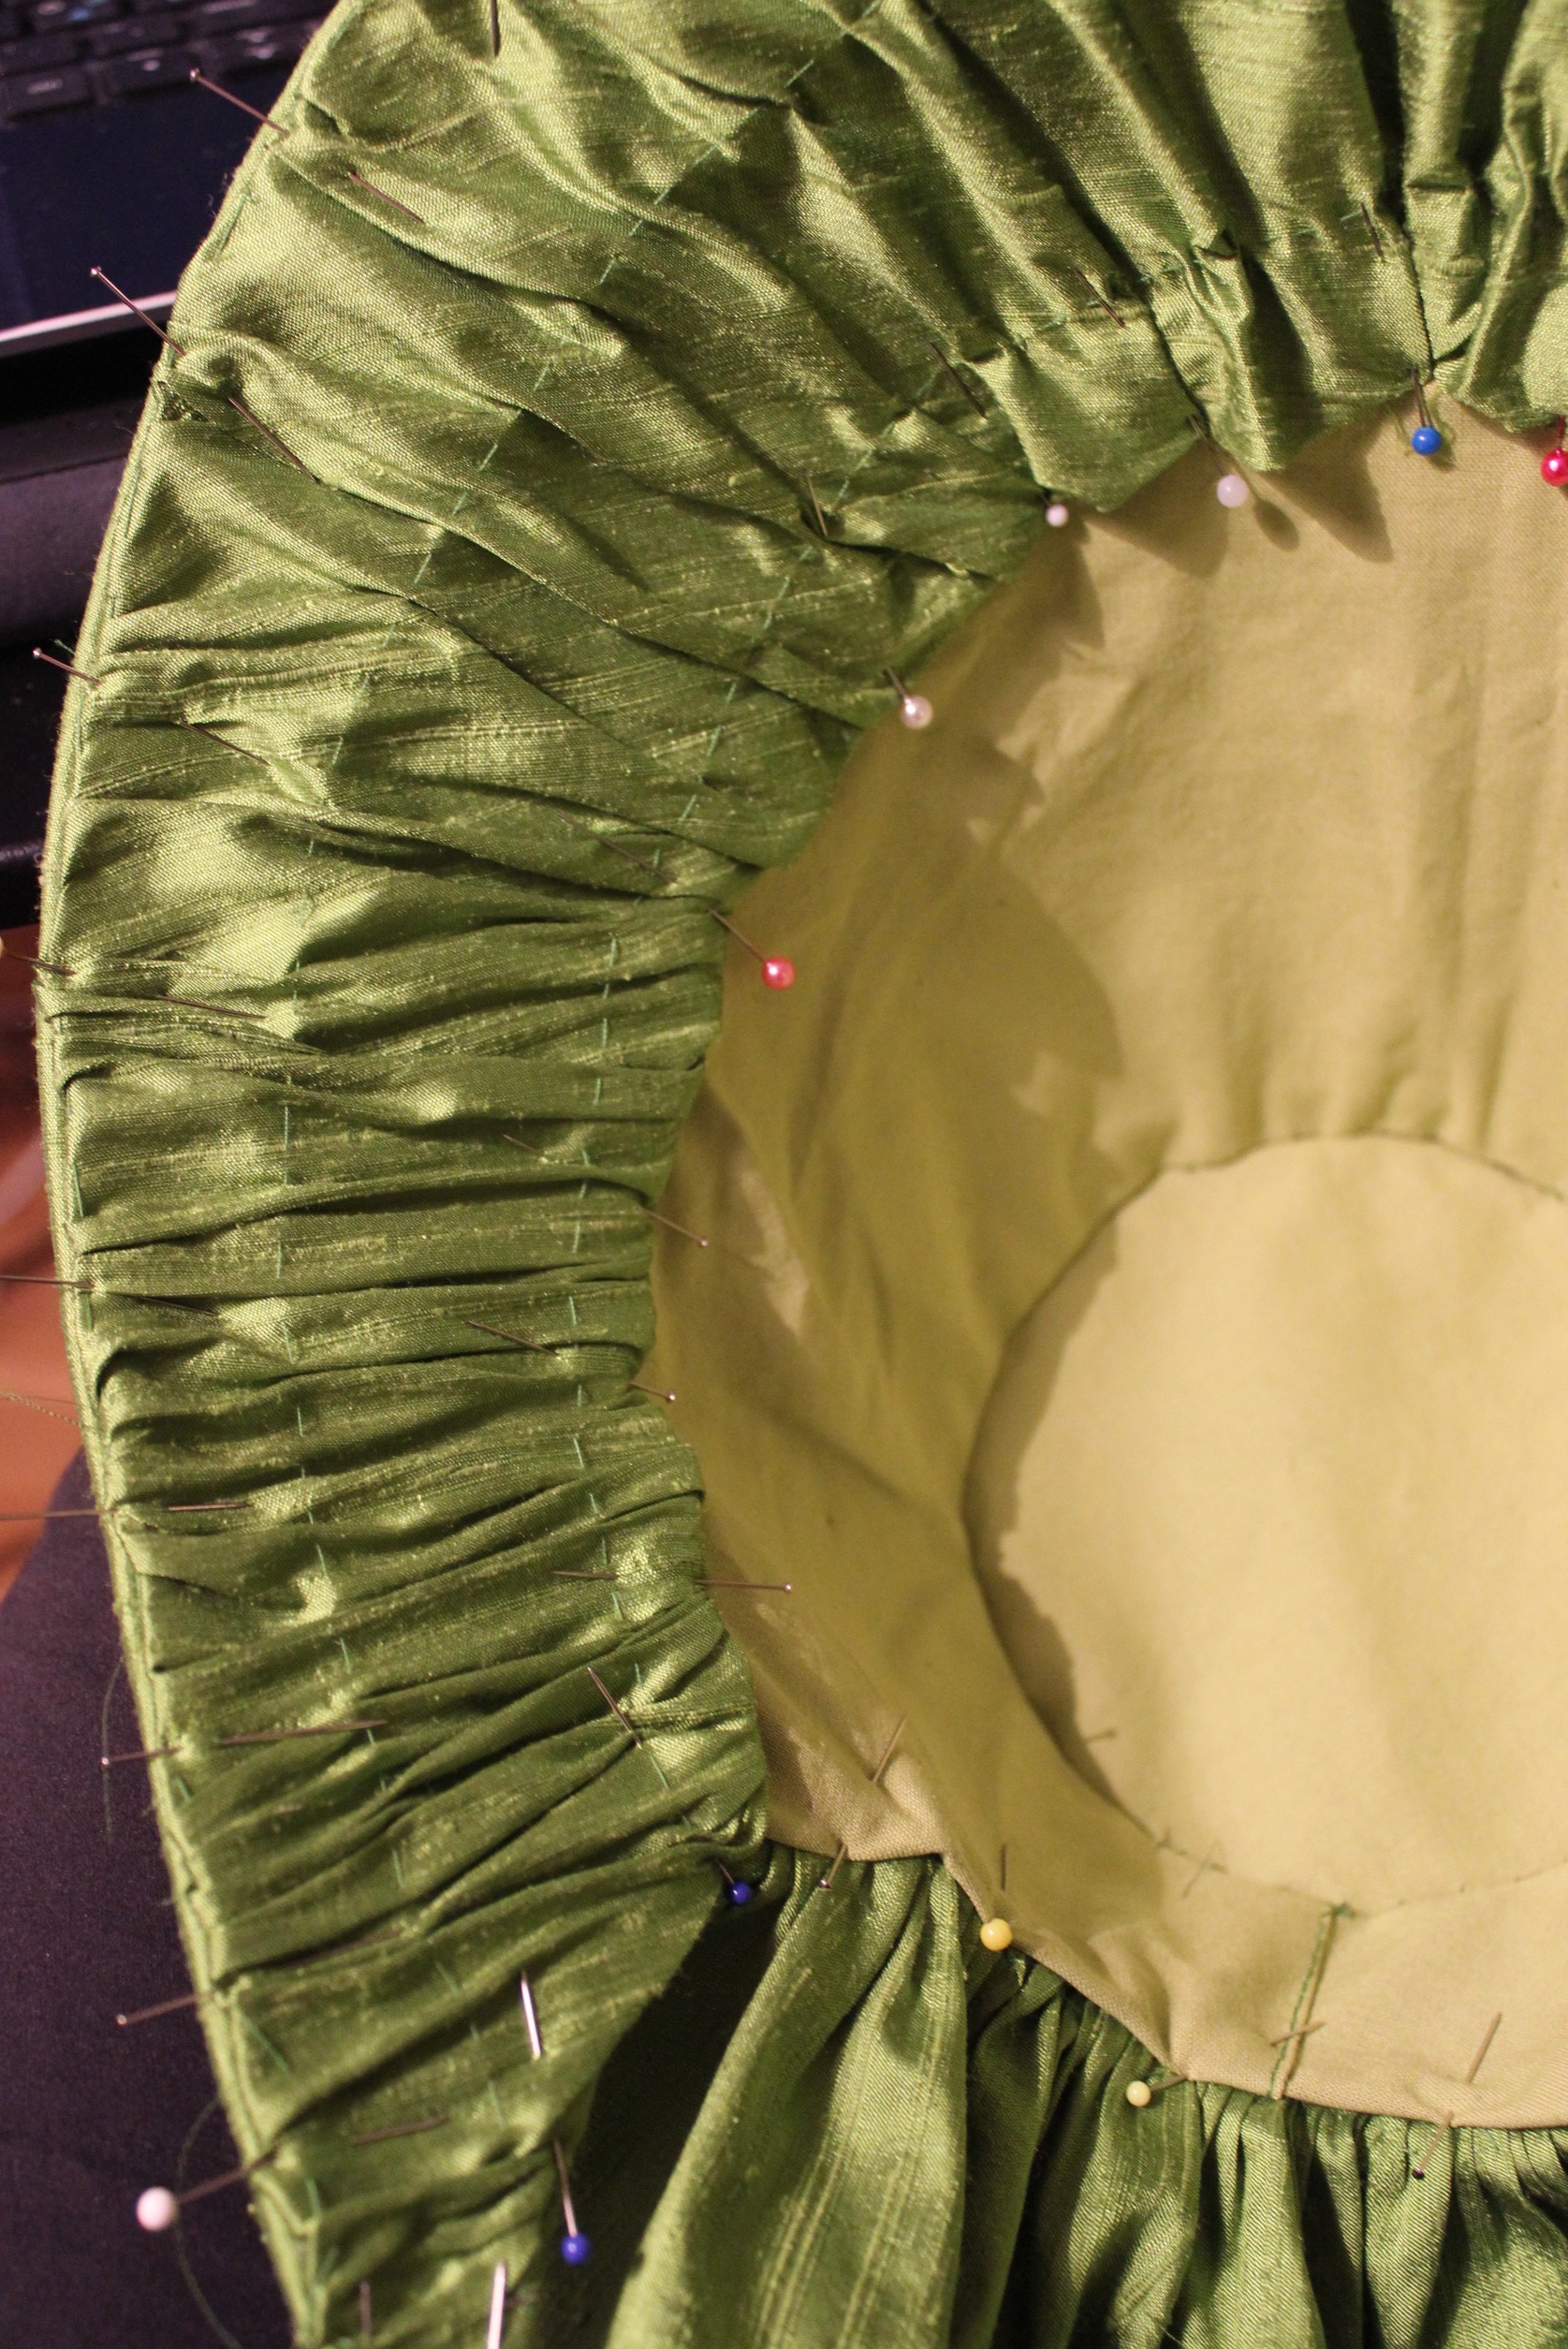


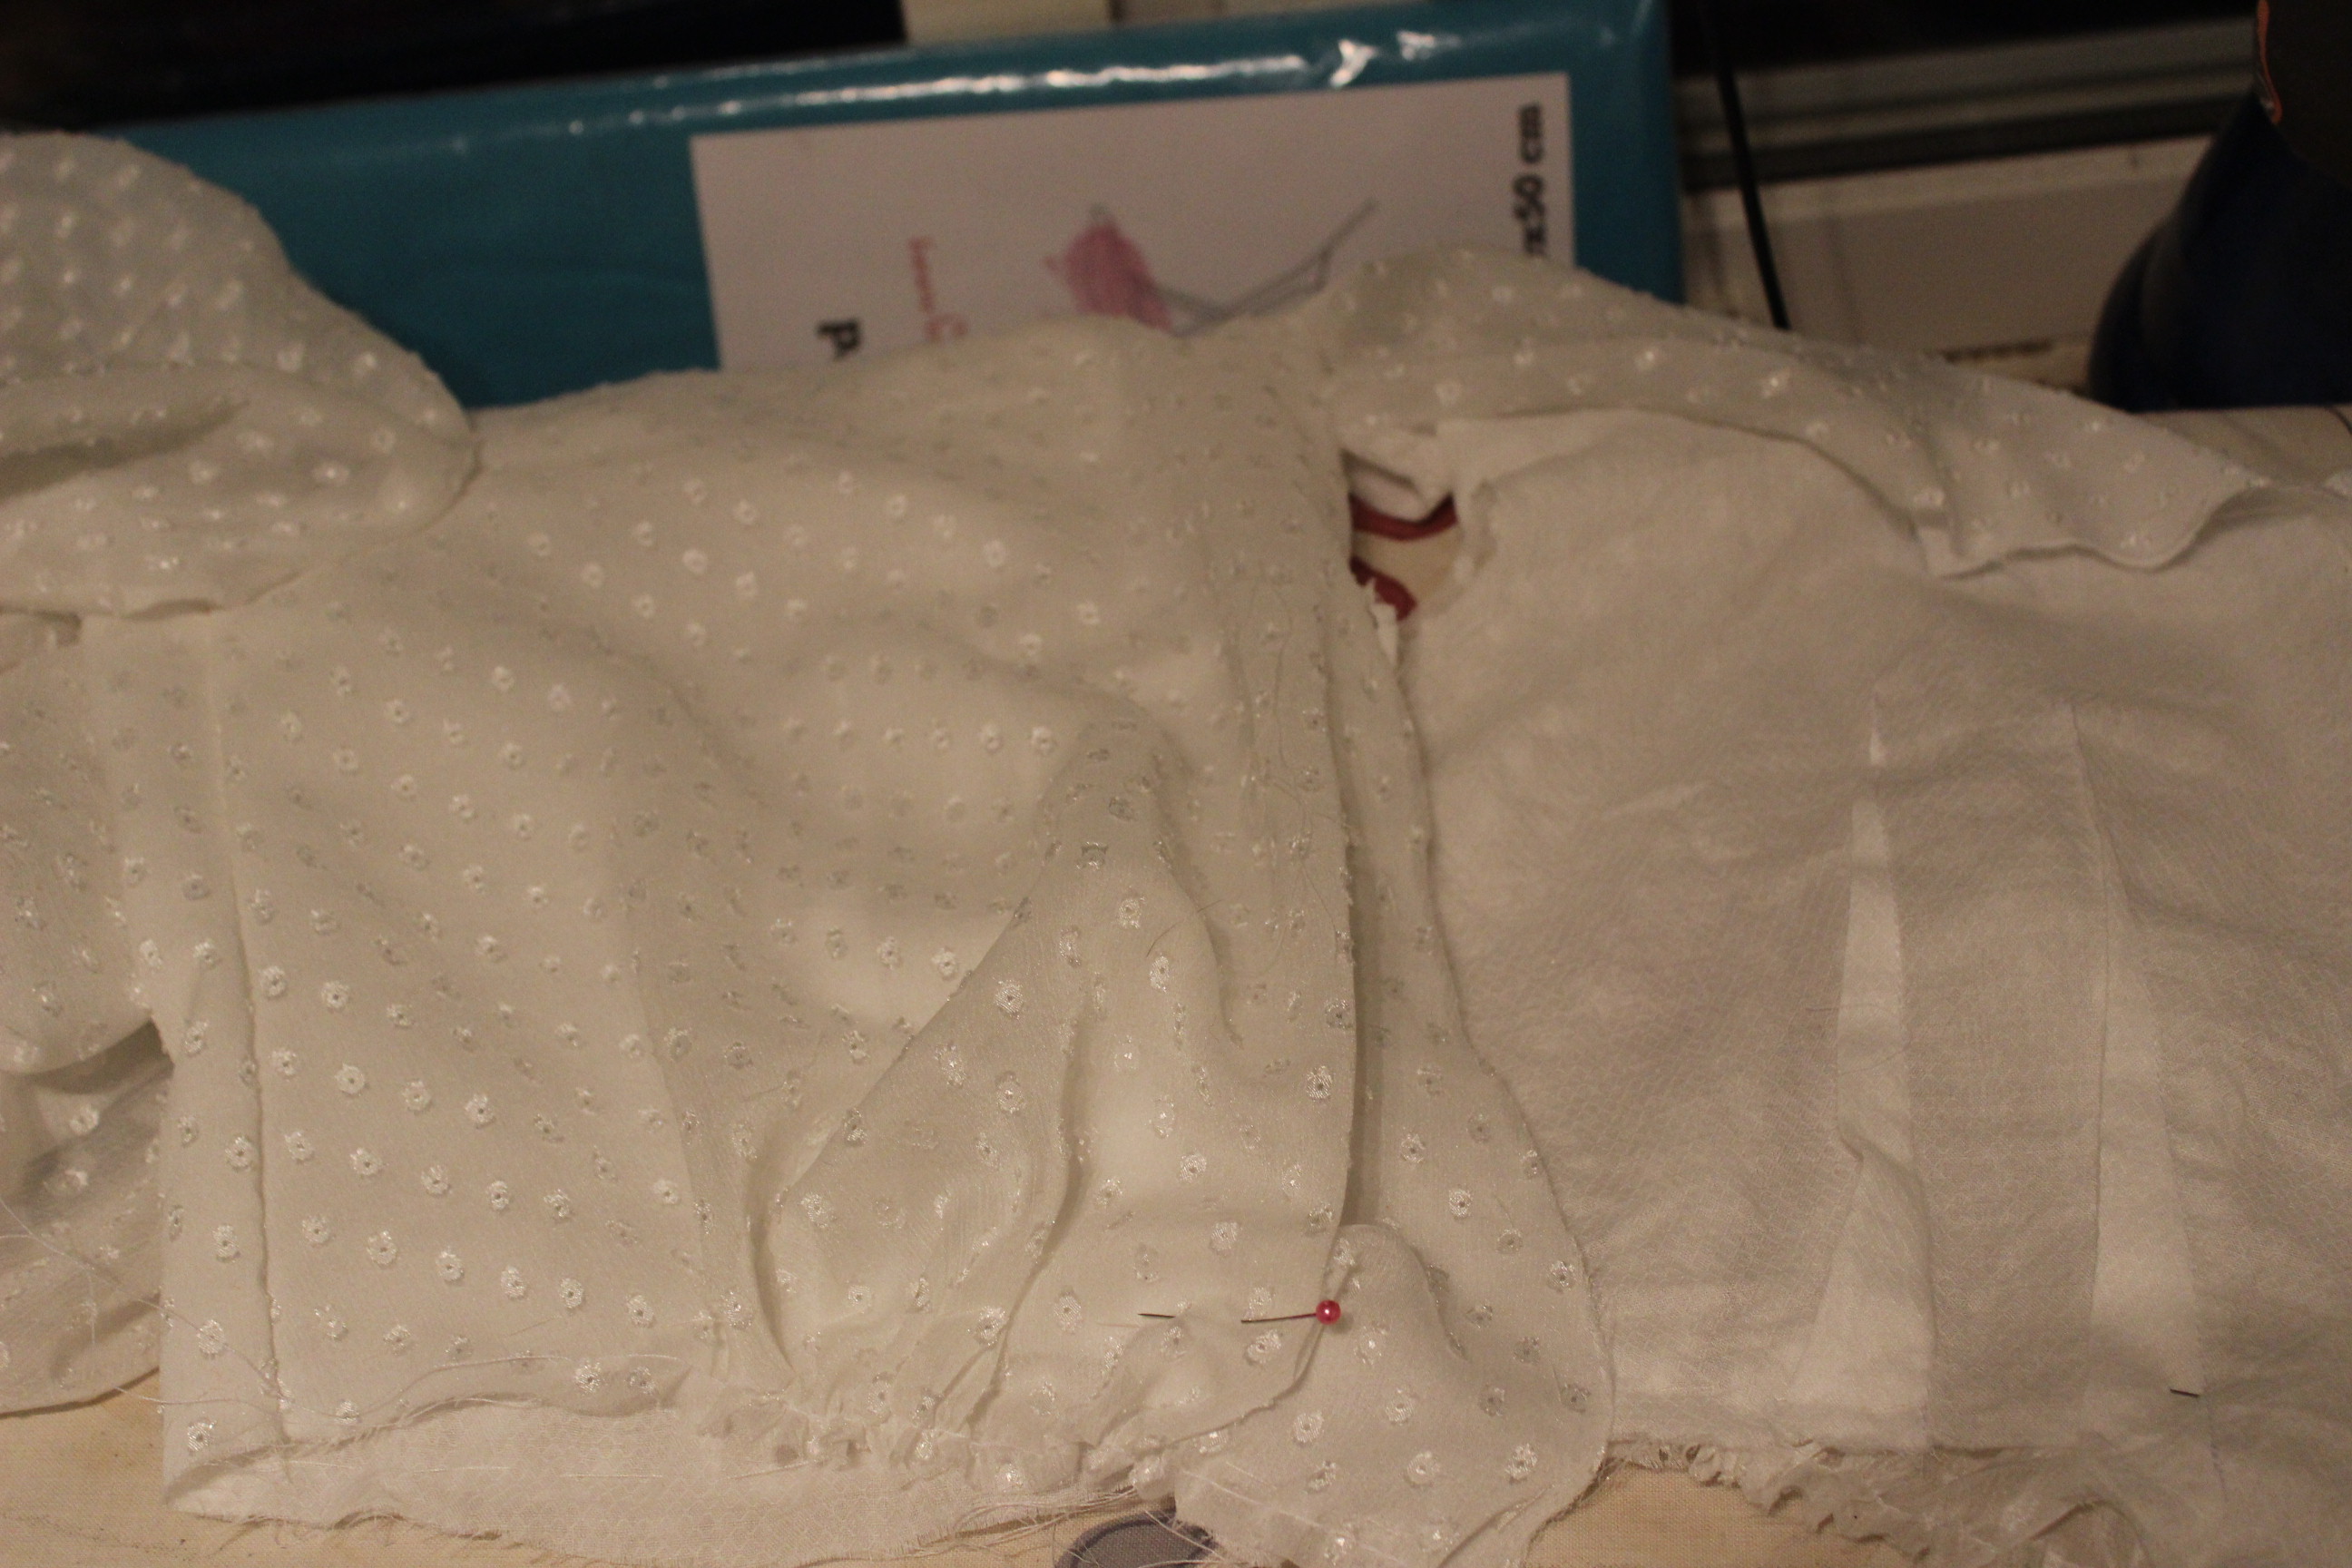


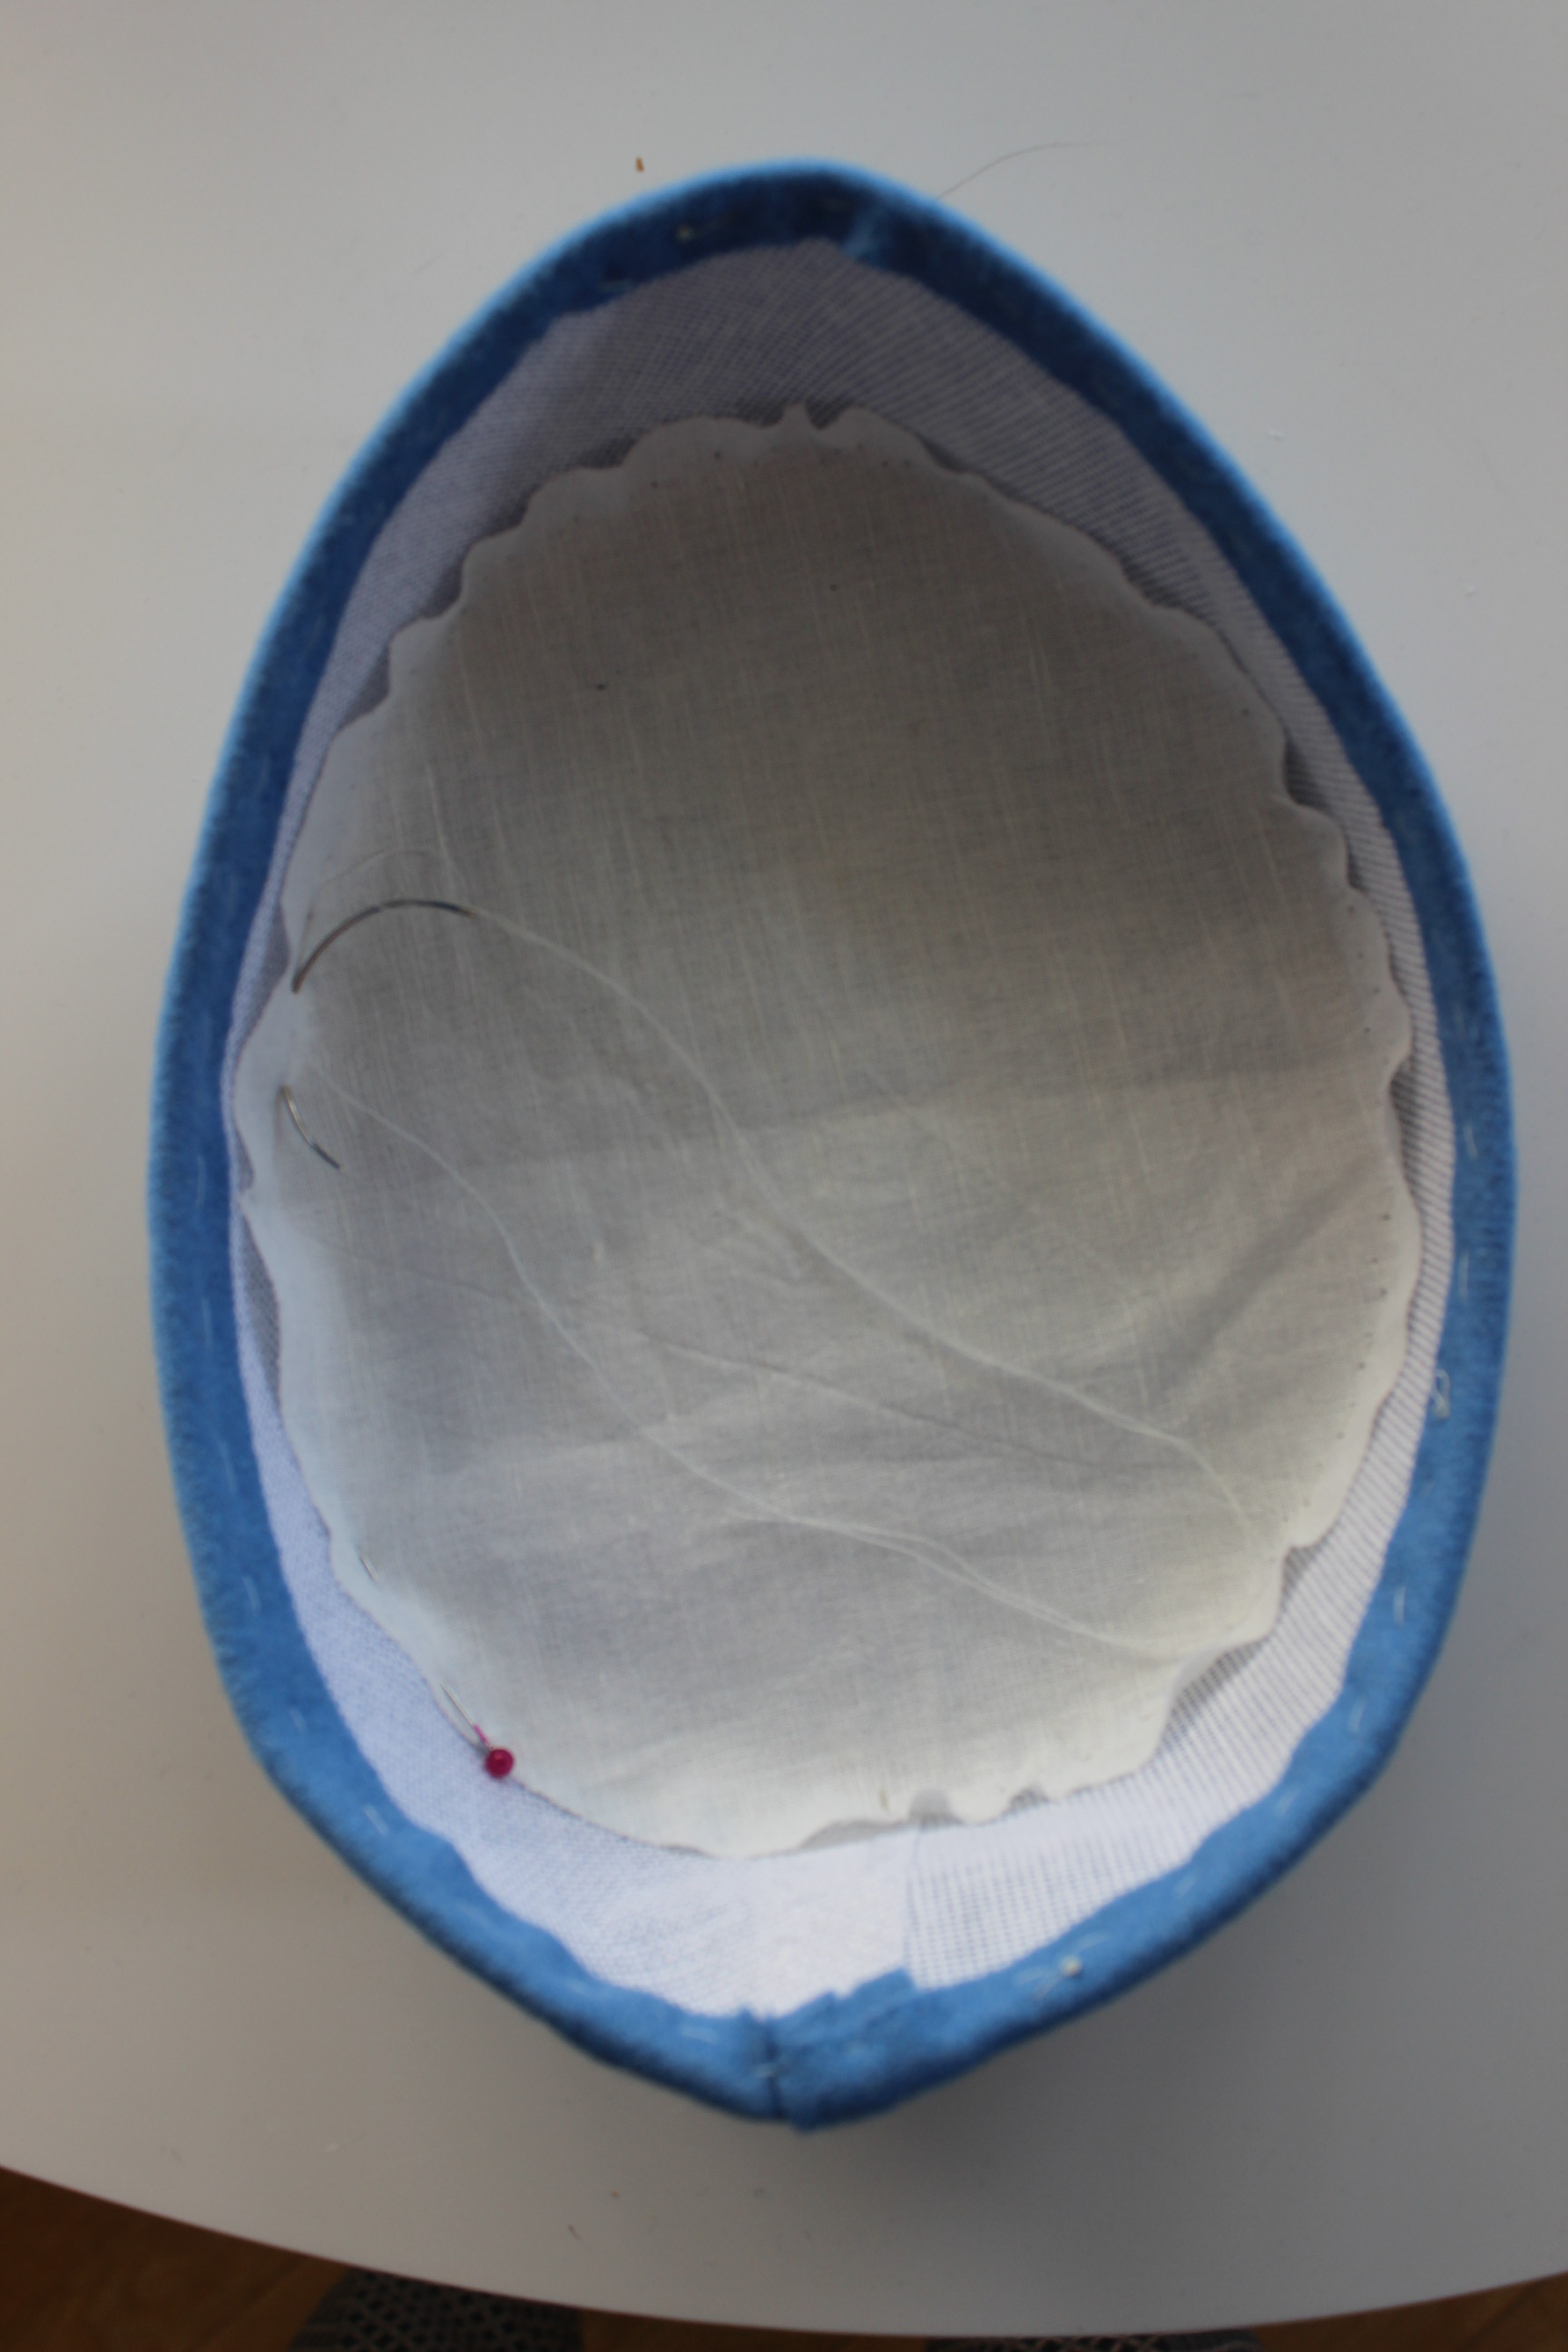
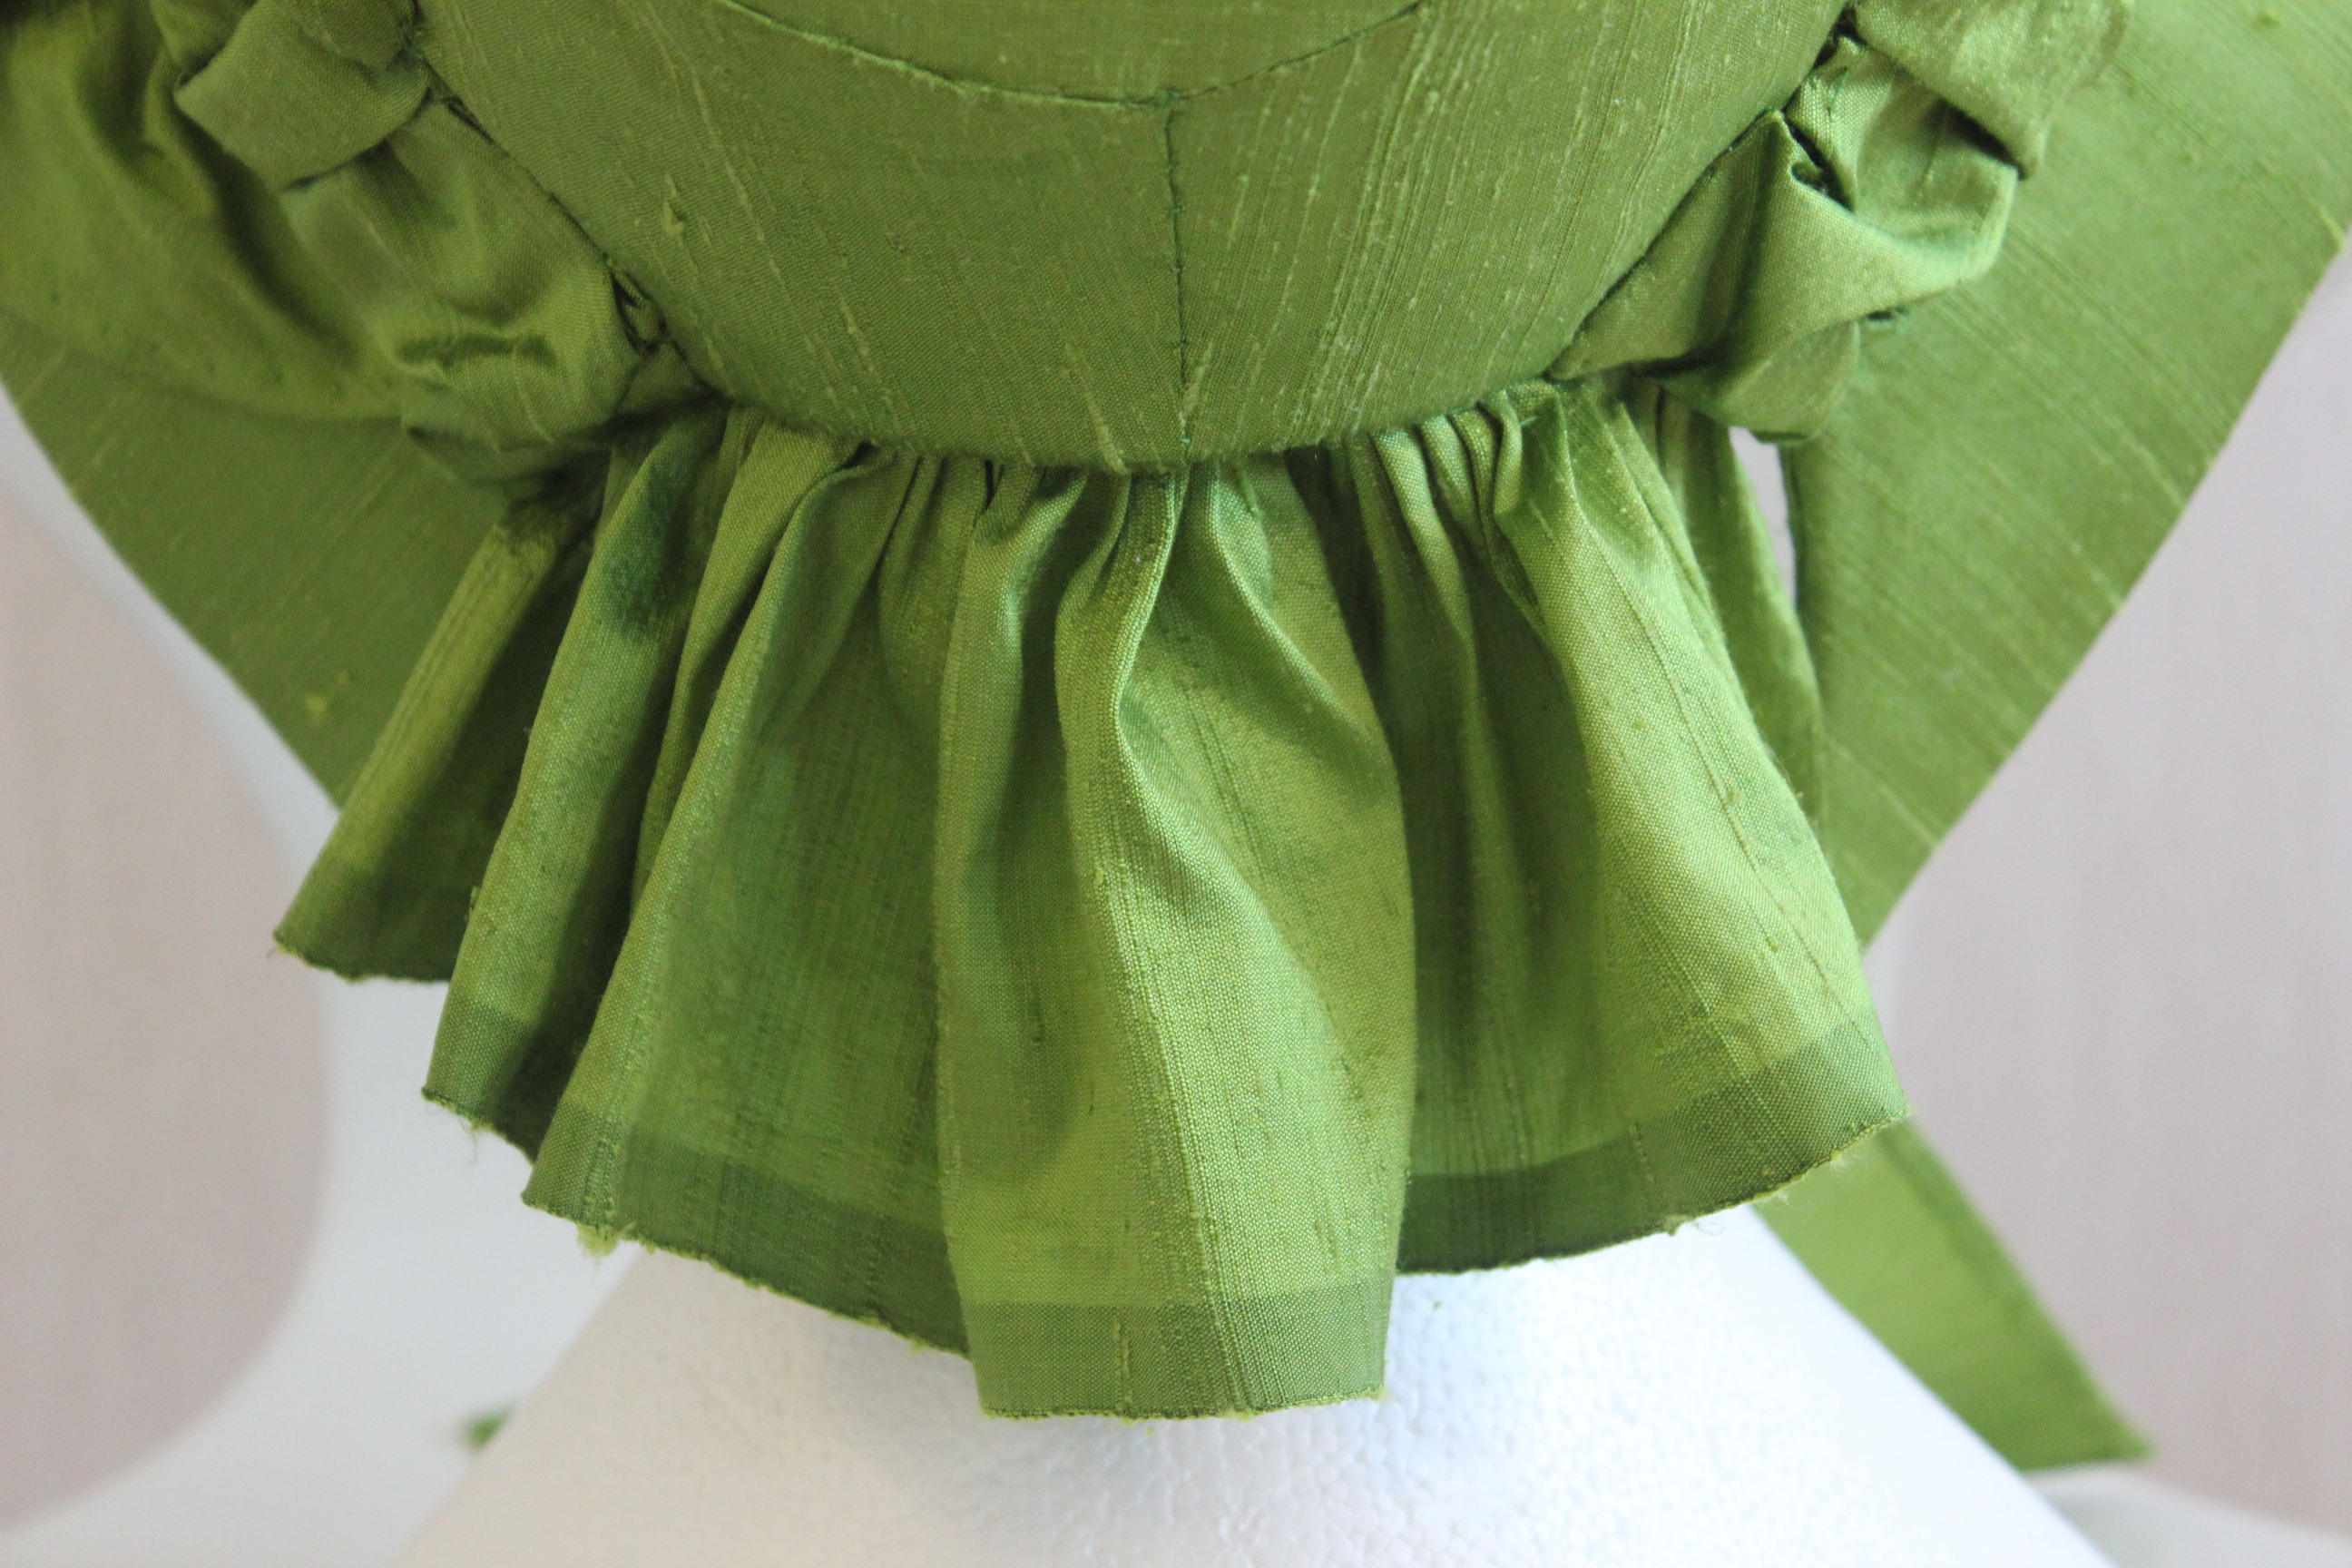
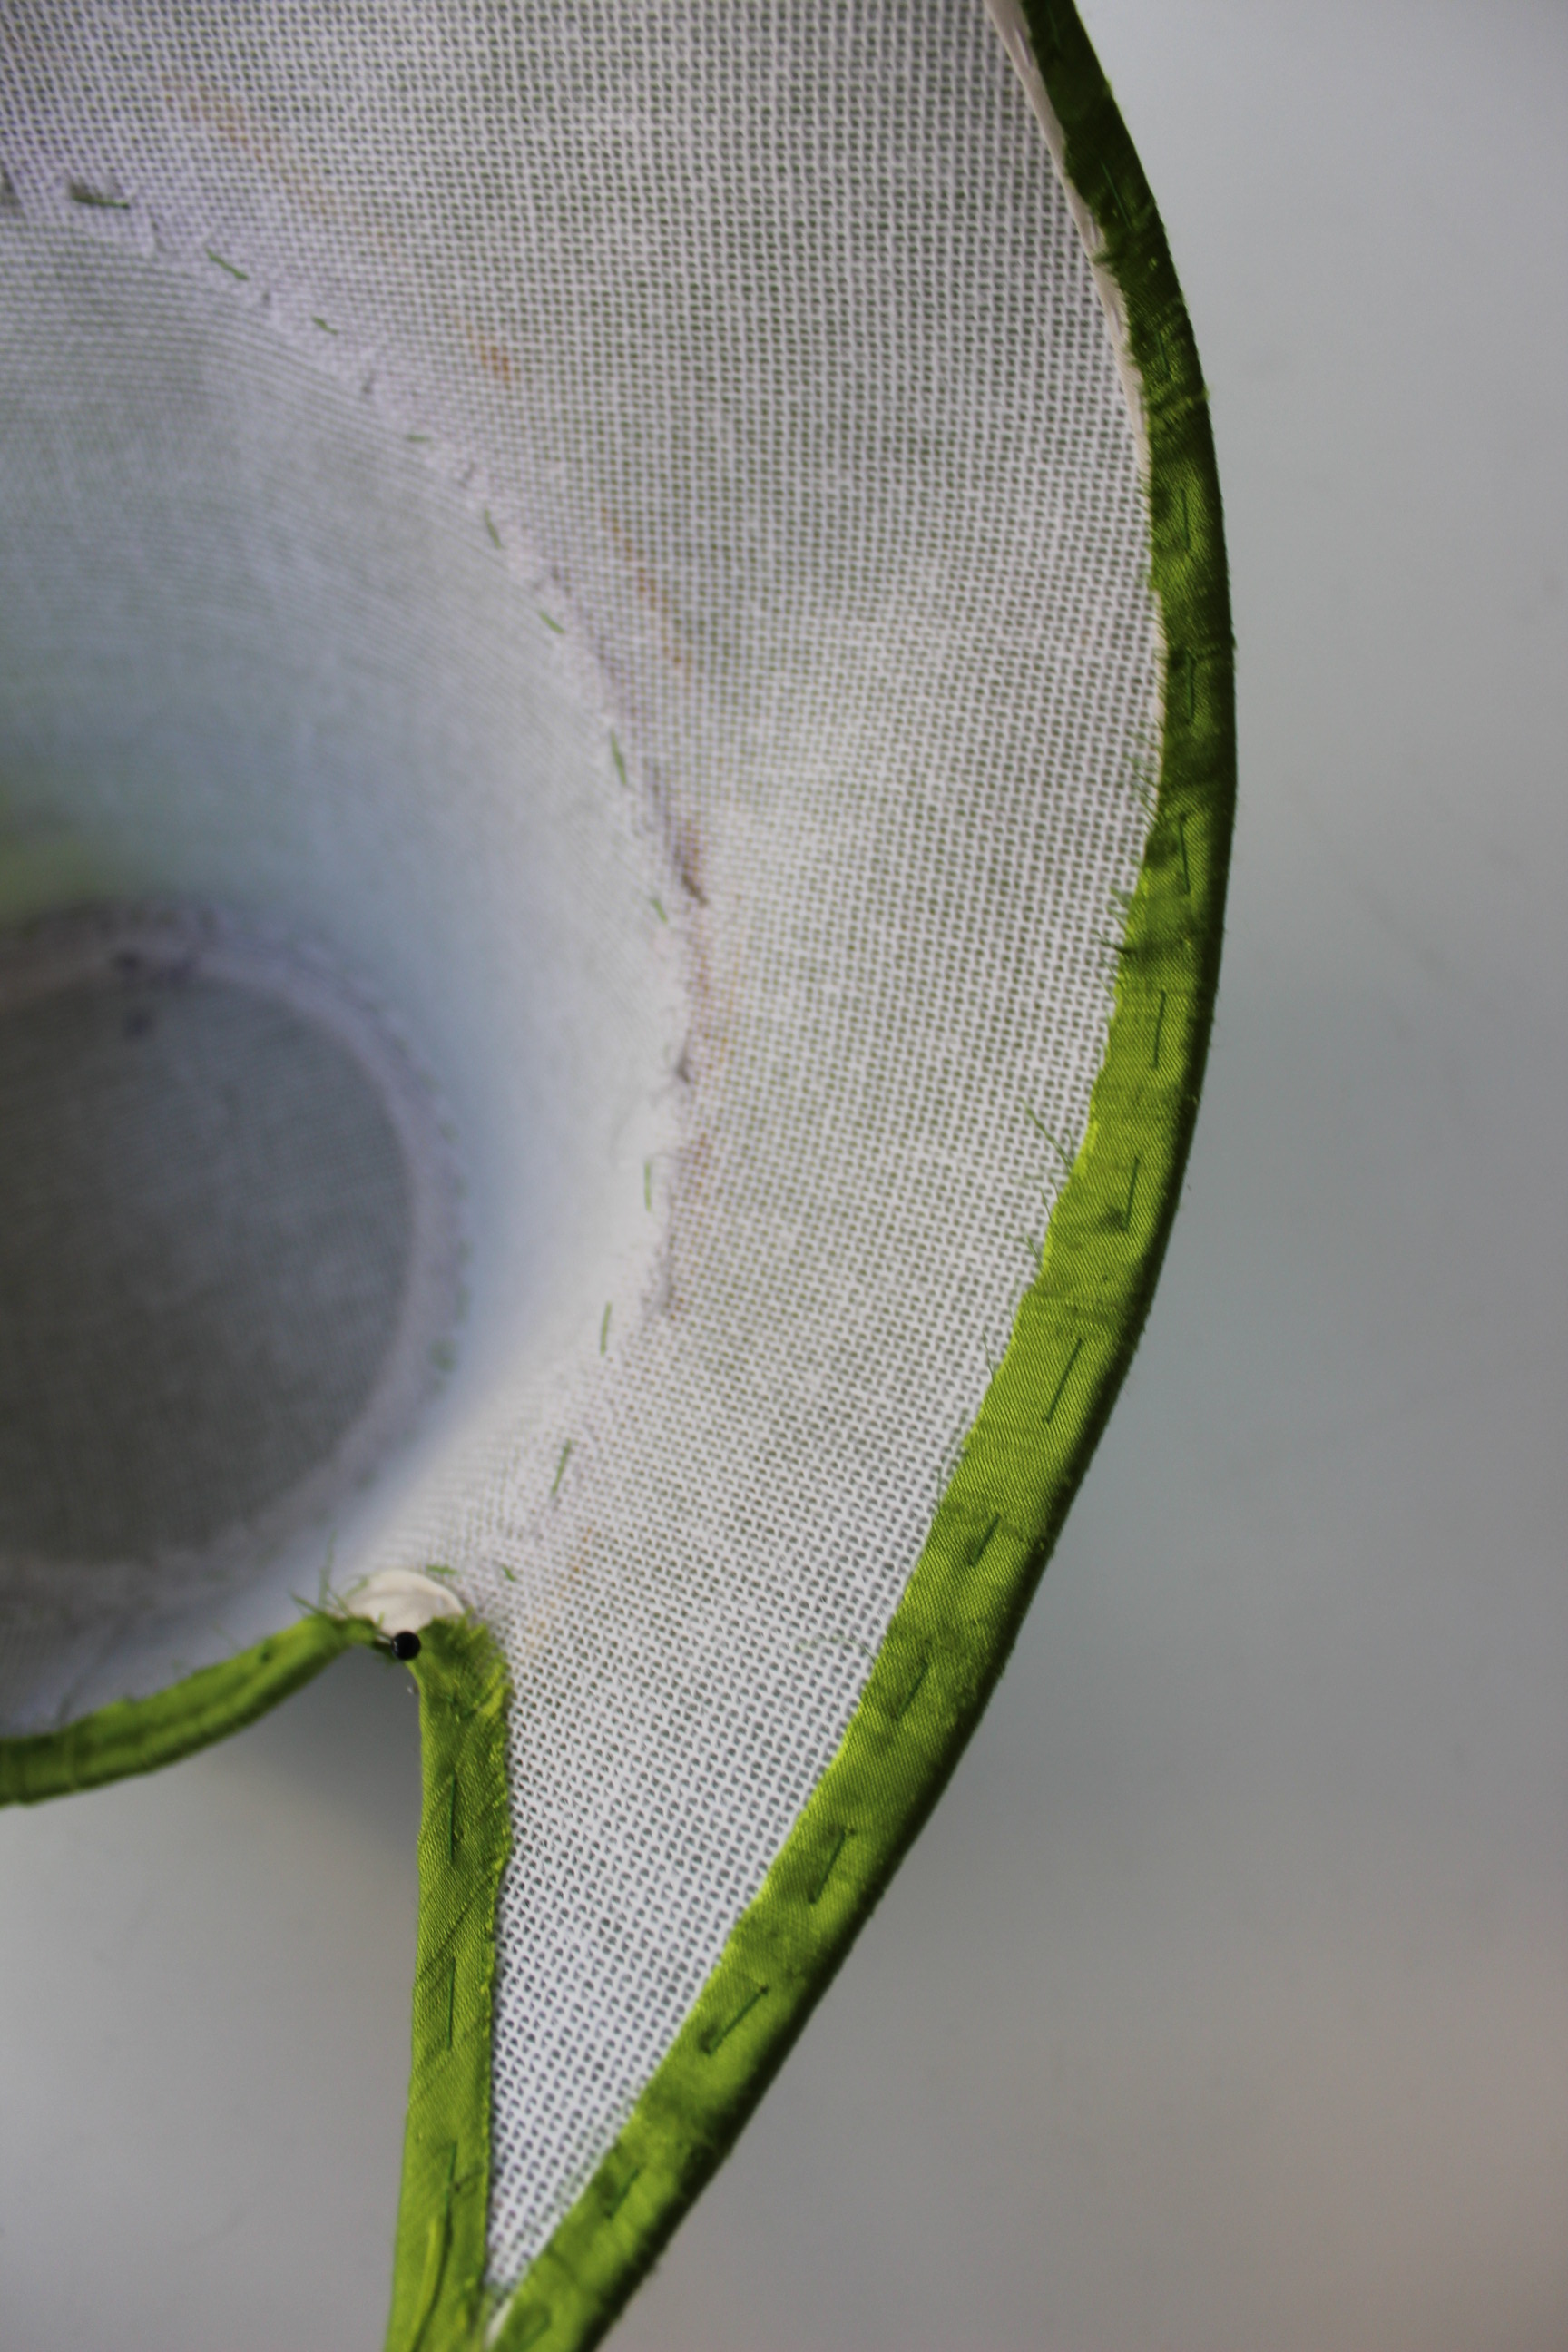
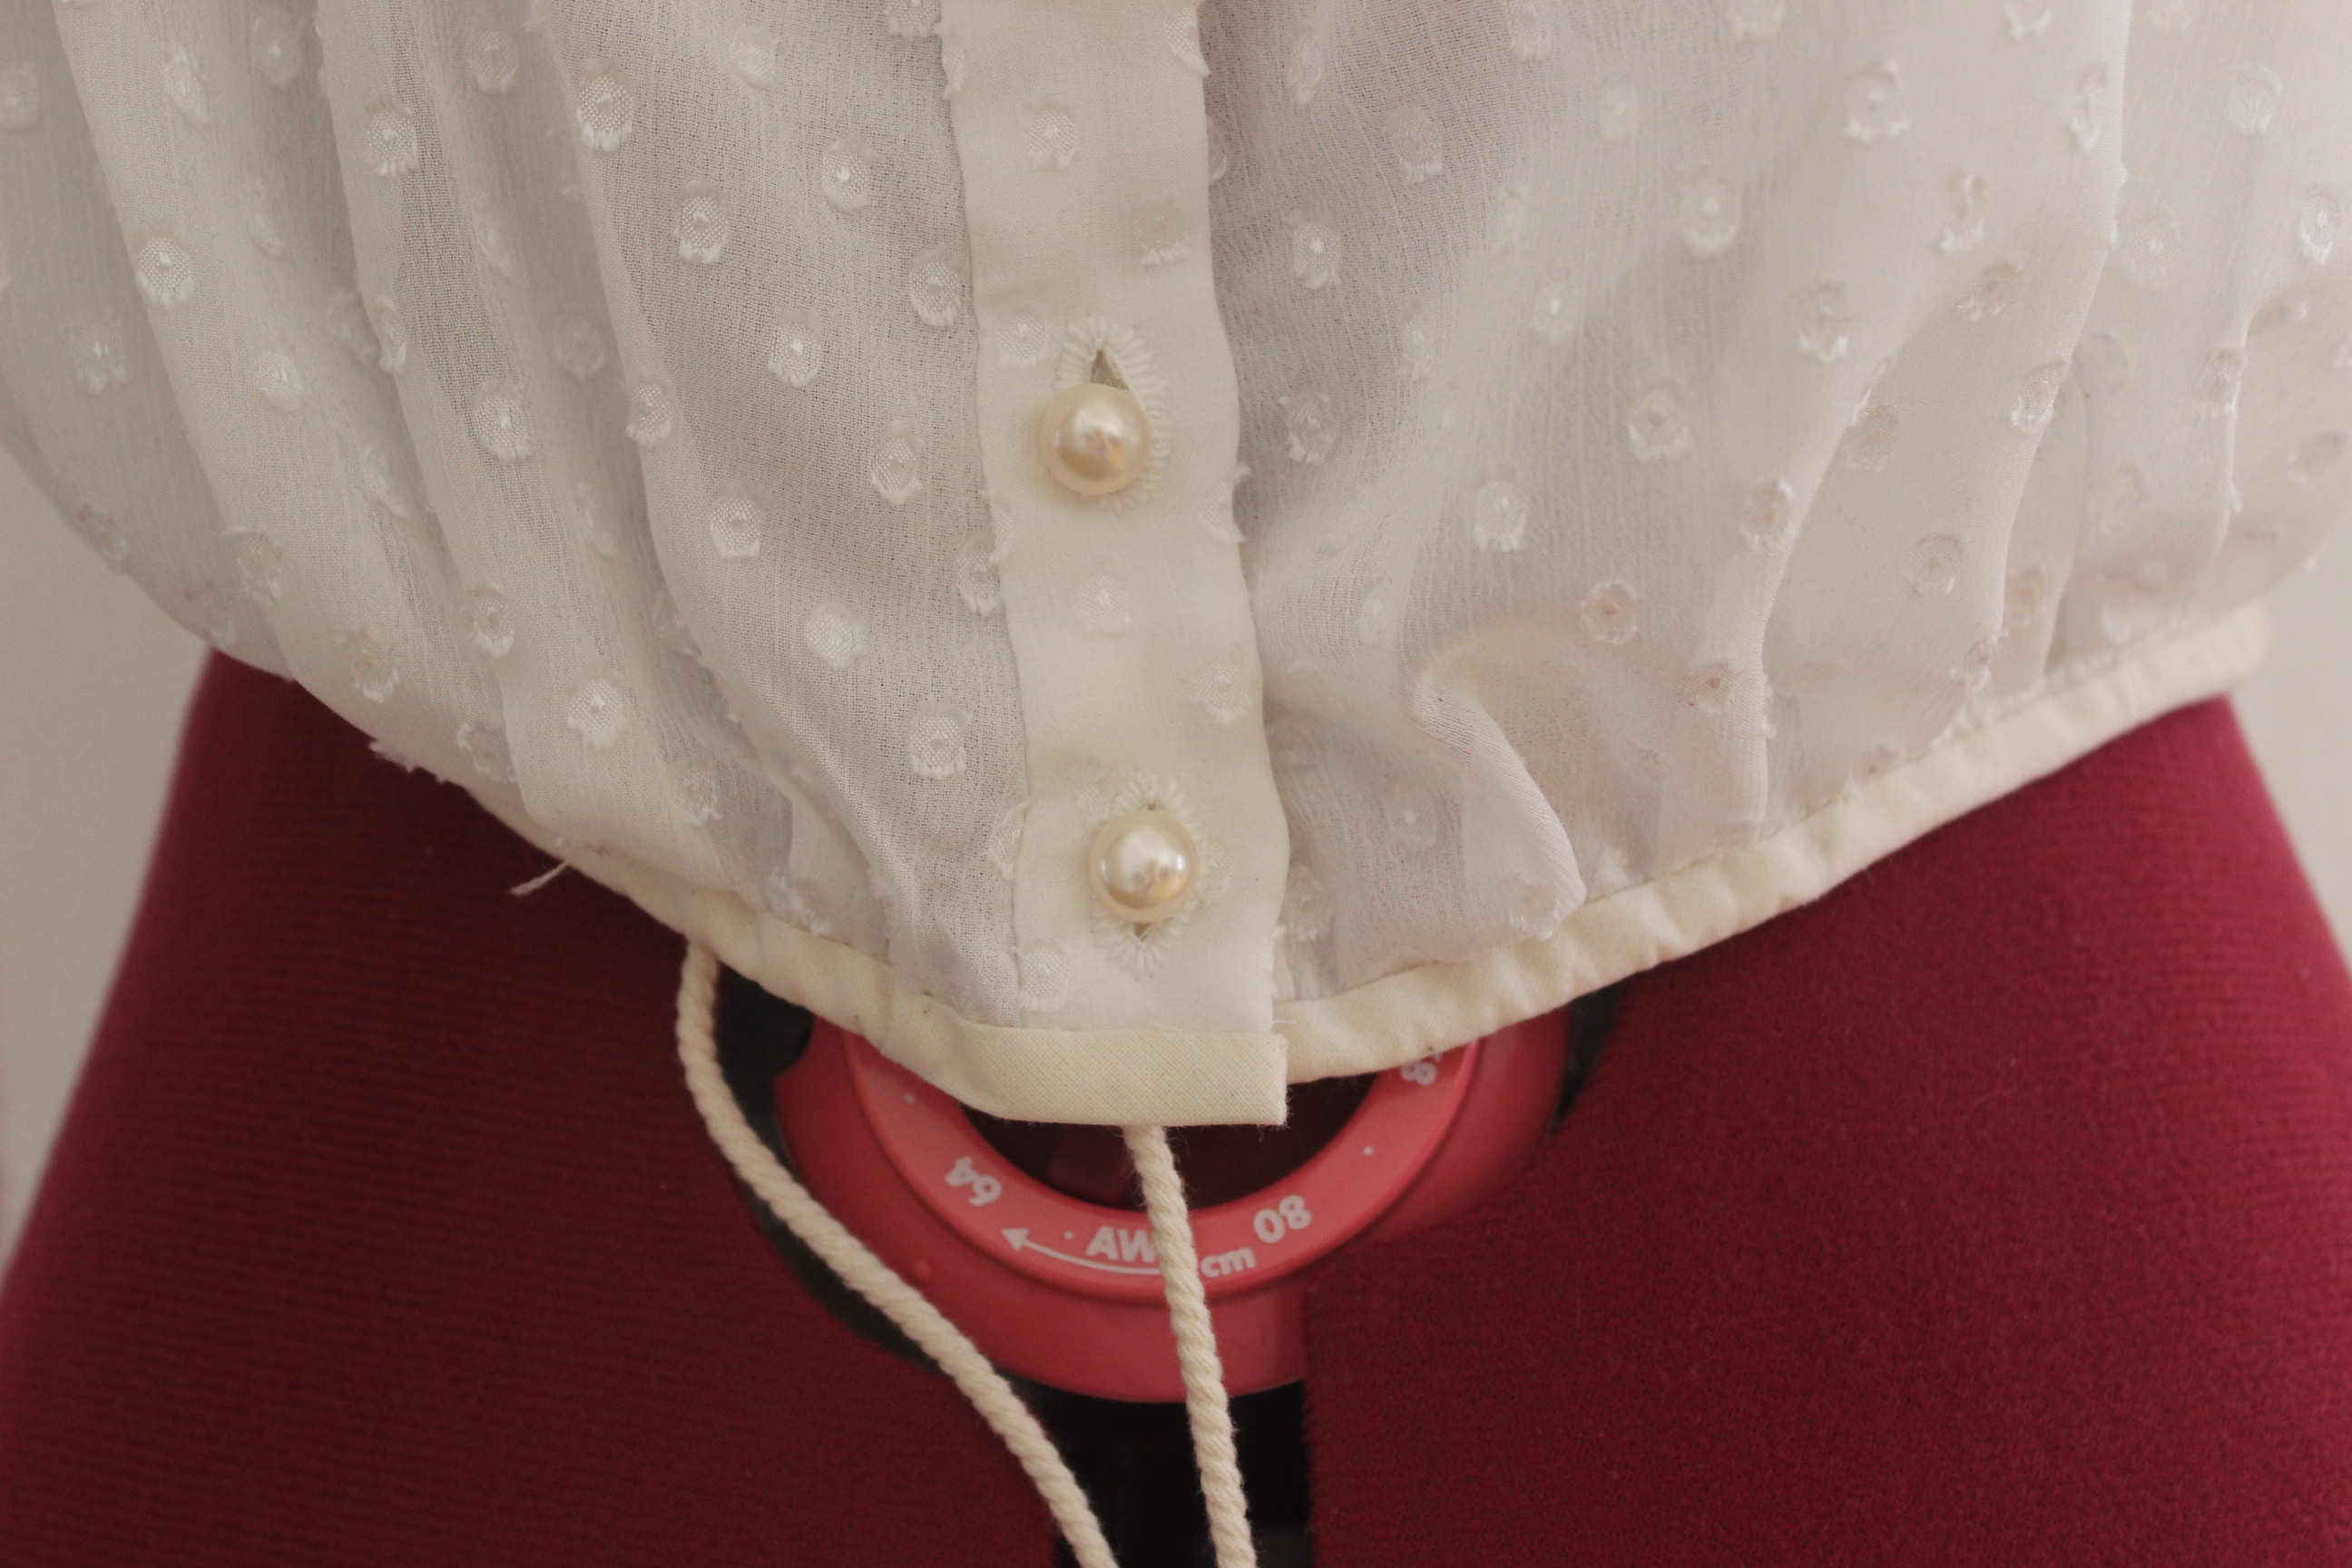
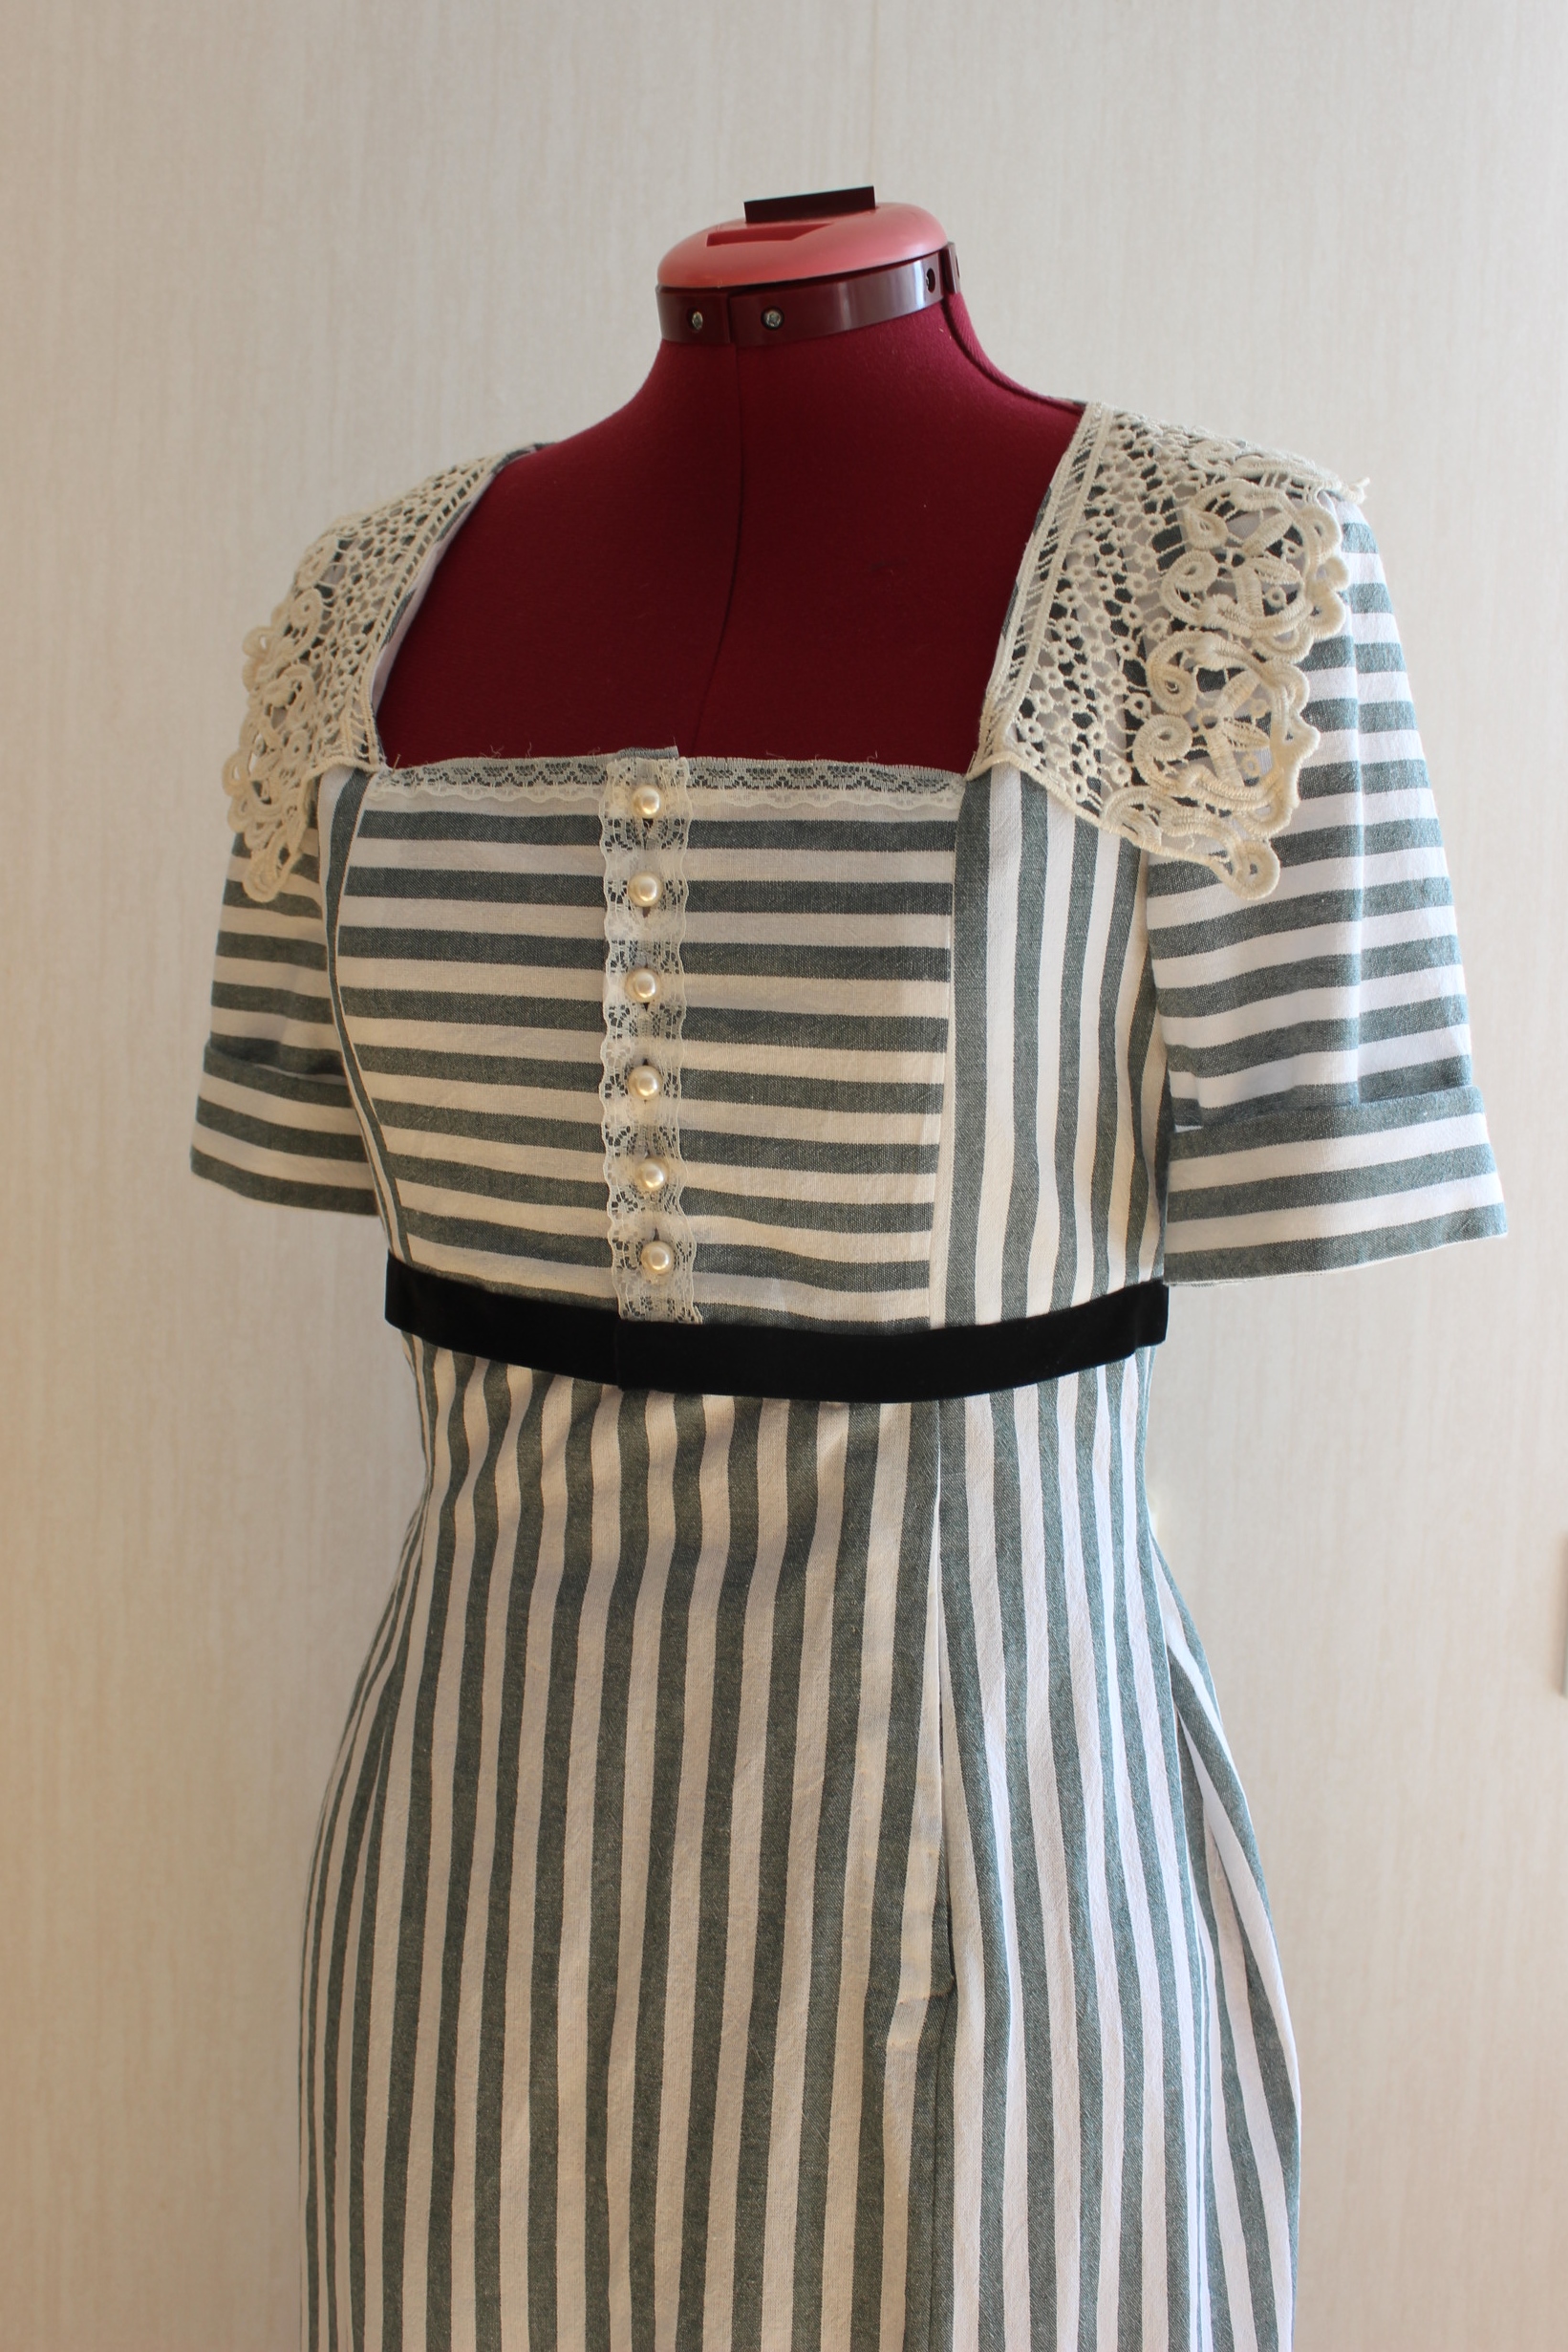
 Then I made all the button holes by hand, added the pearl buttons and sewed on a piece of bias tap to make a casing for the cotton cord used to control the fullness and size at the waist.
 Looking neat from the outside…
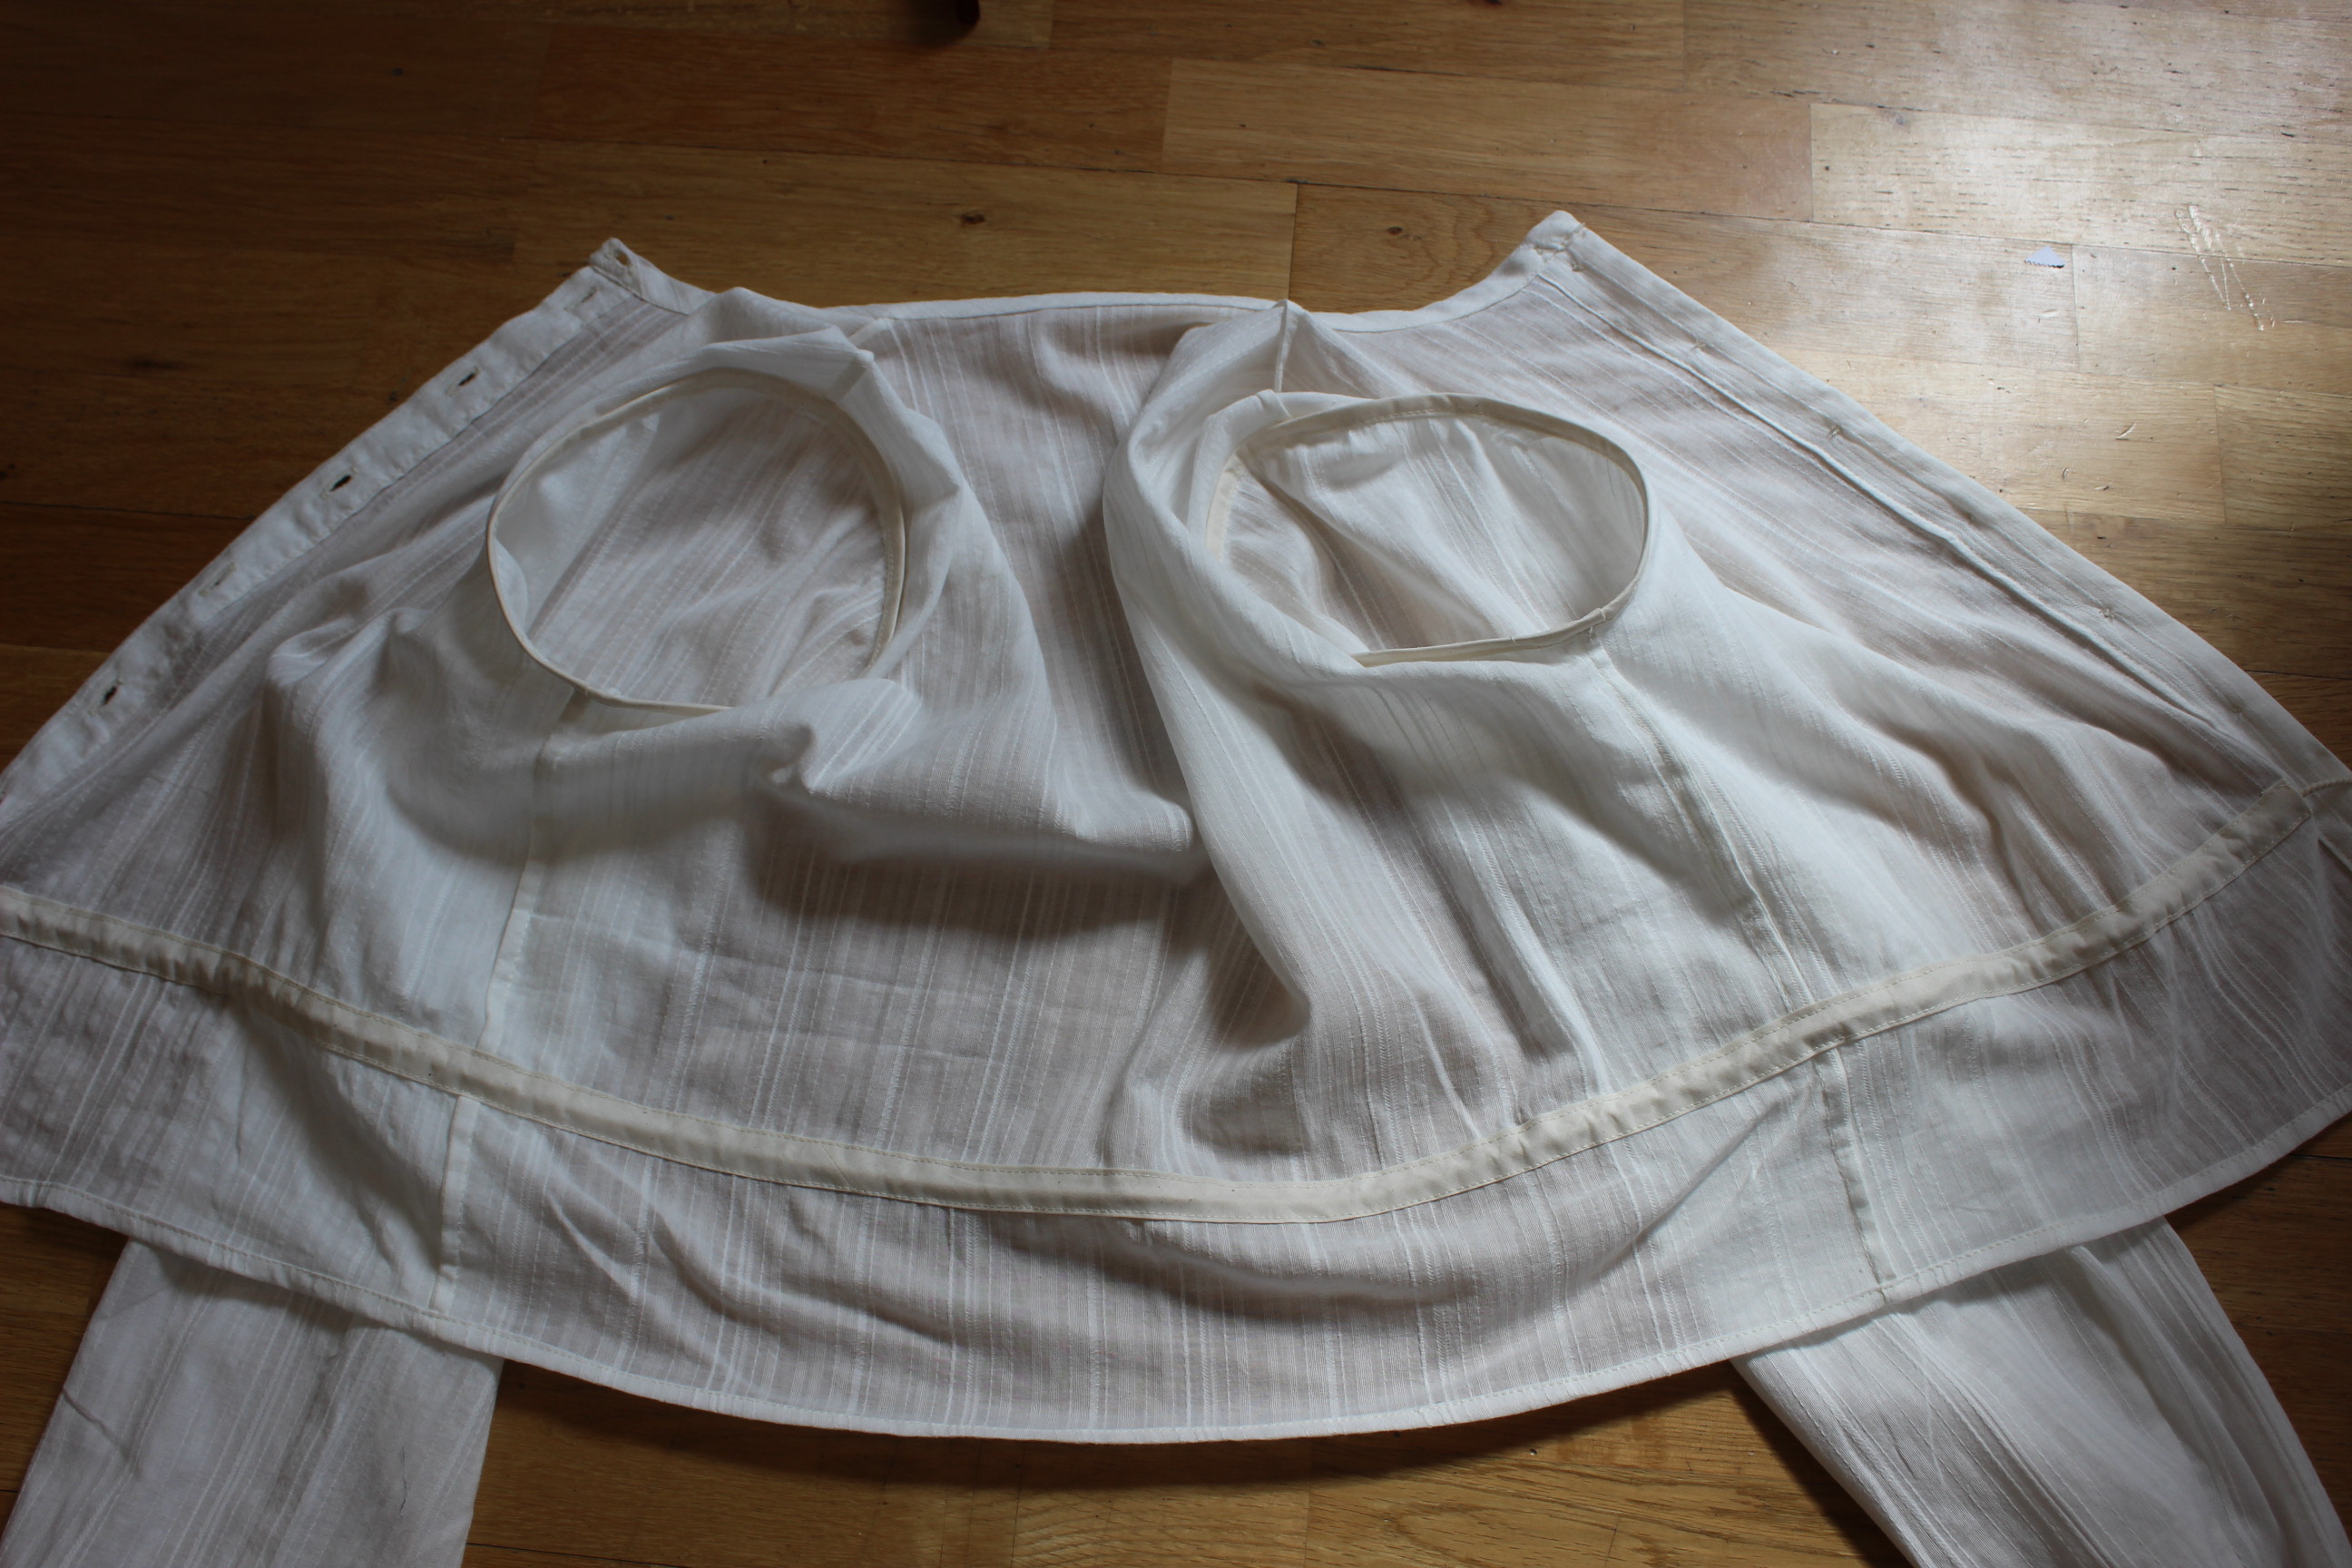
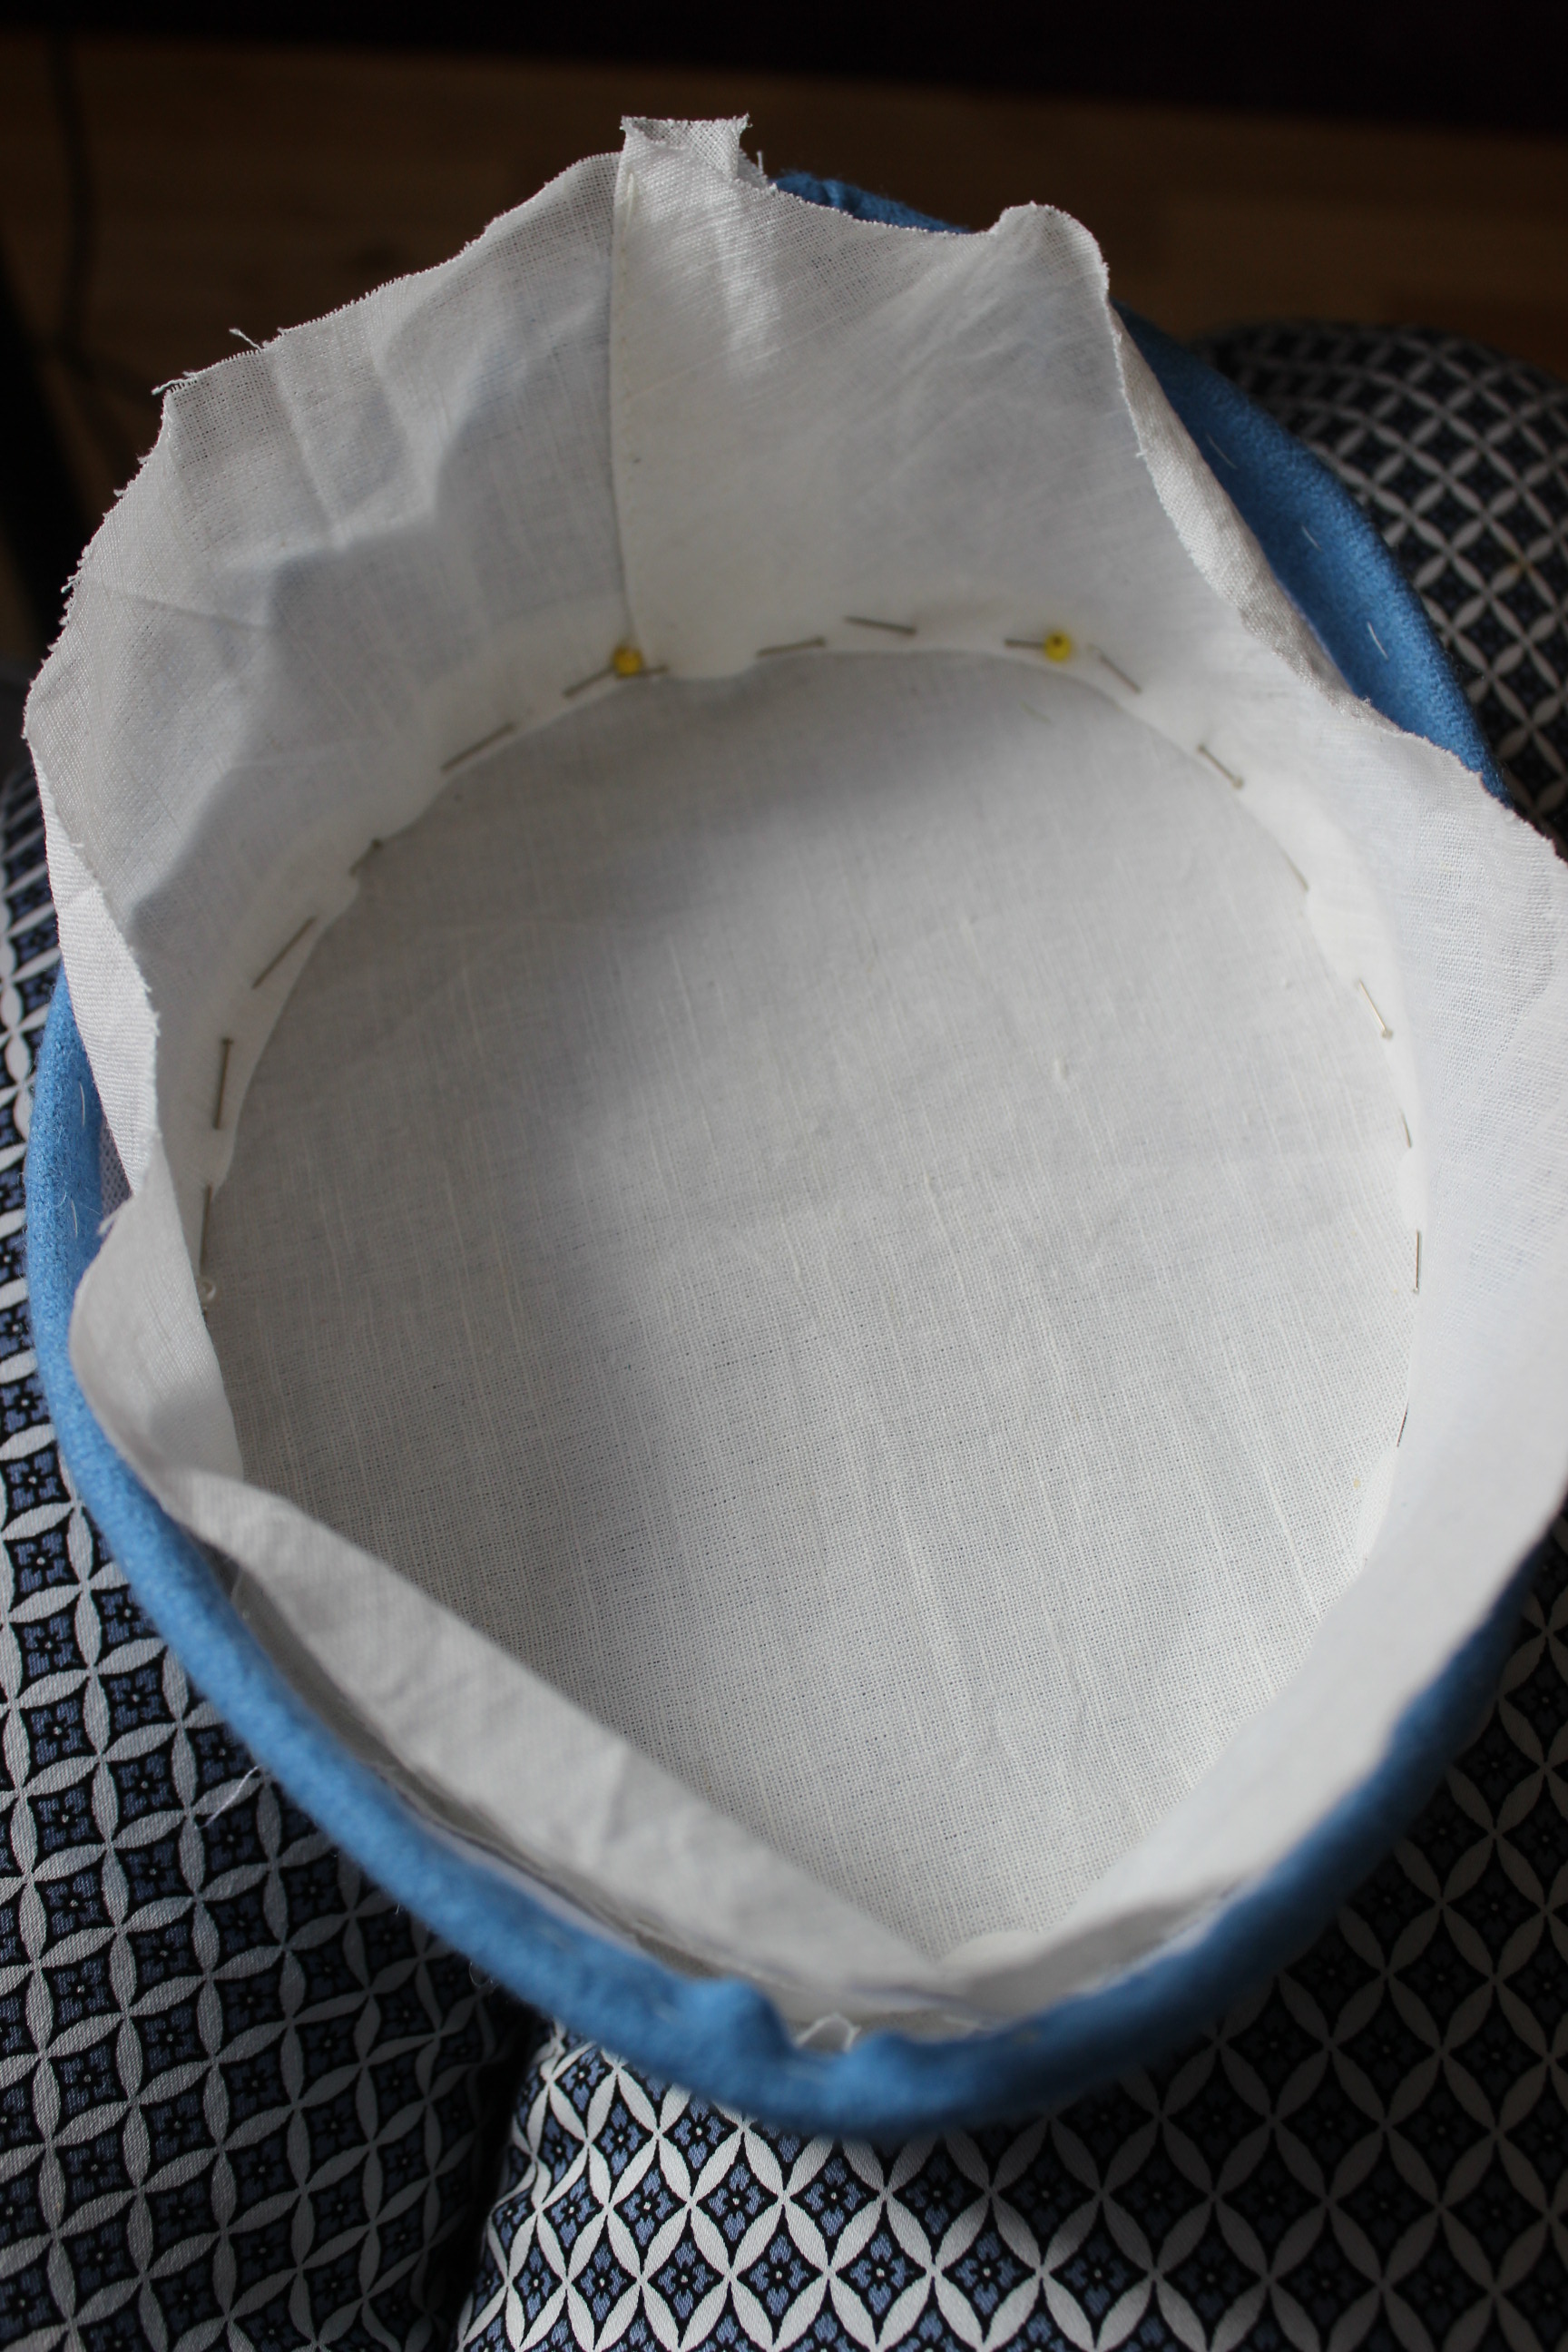
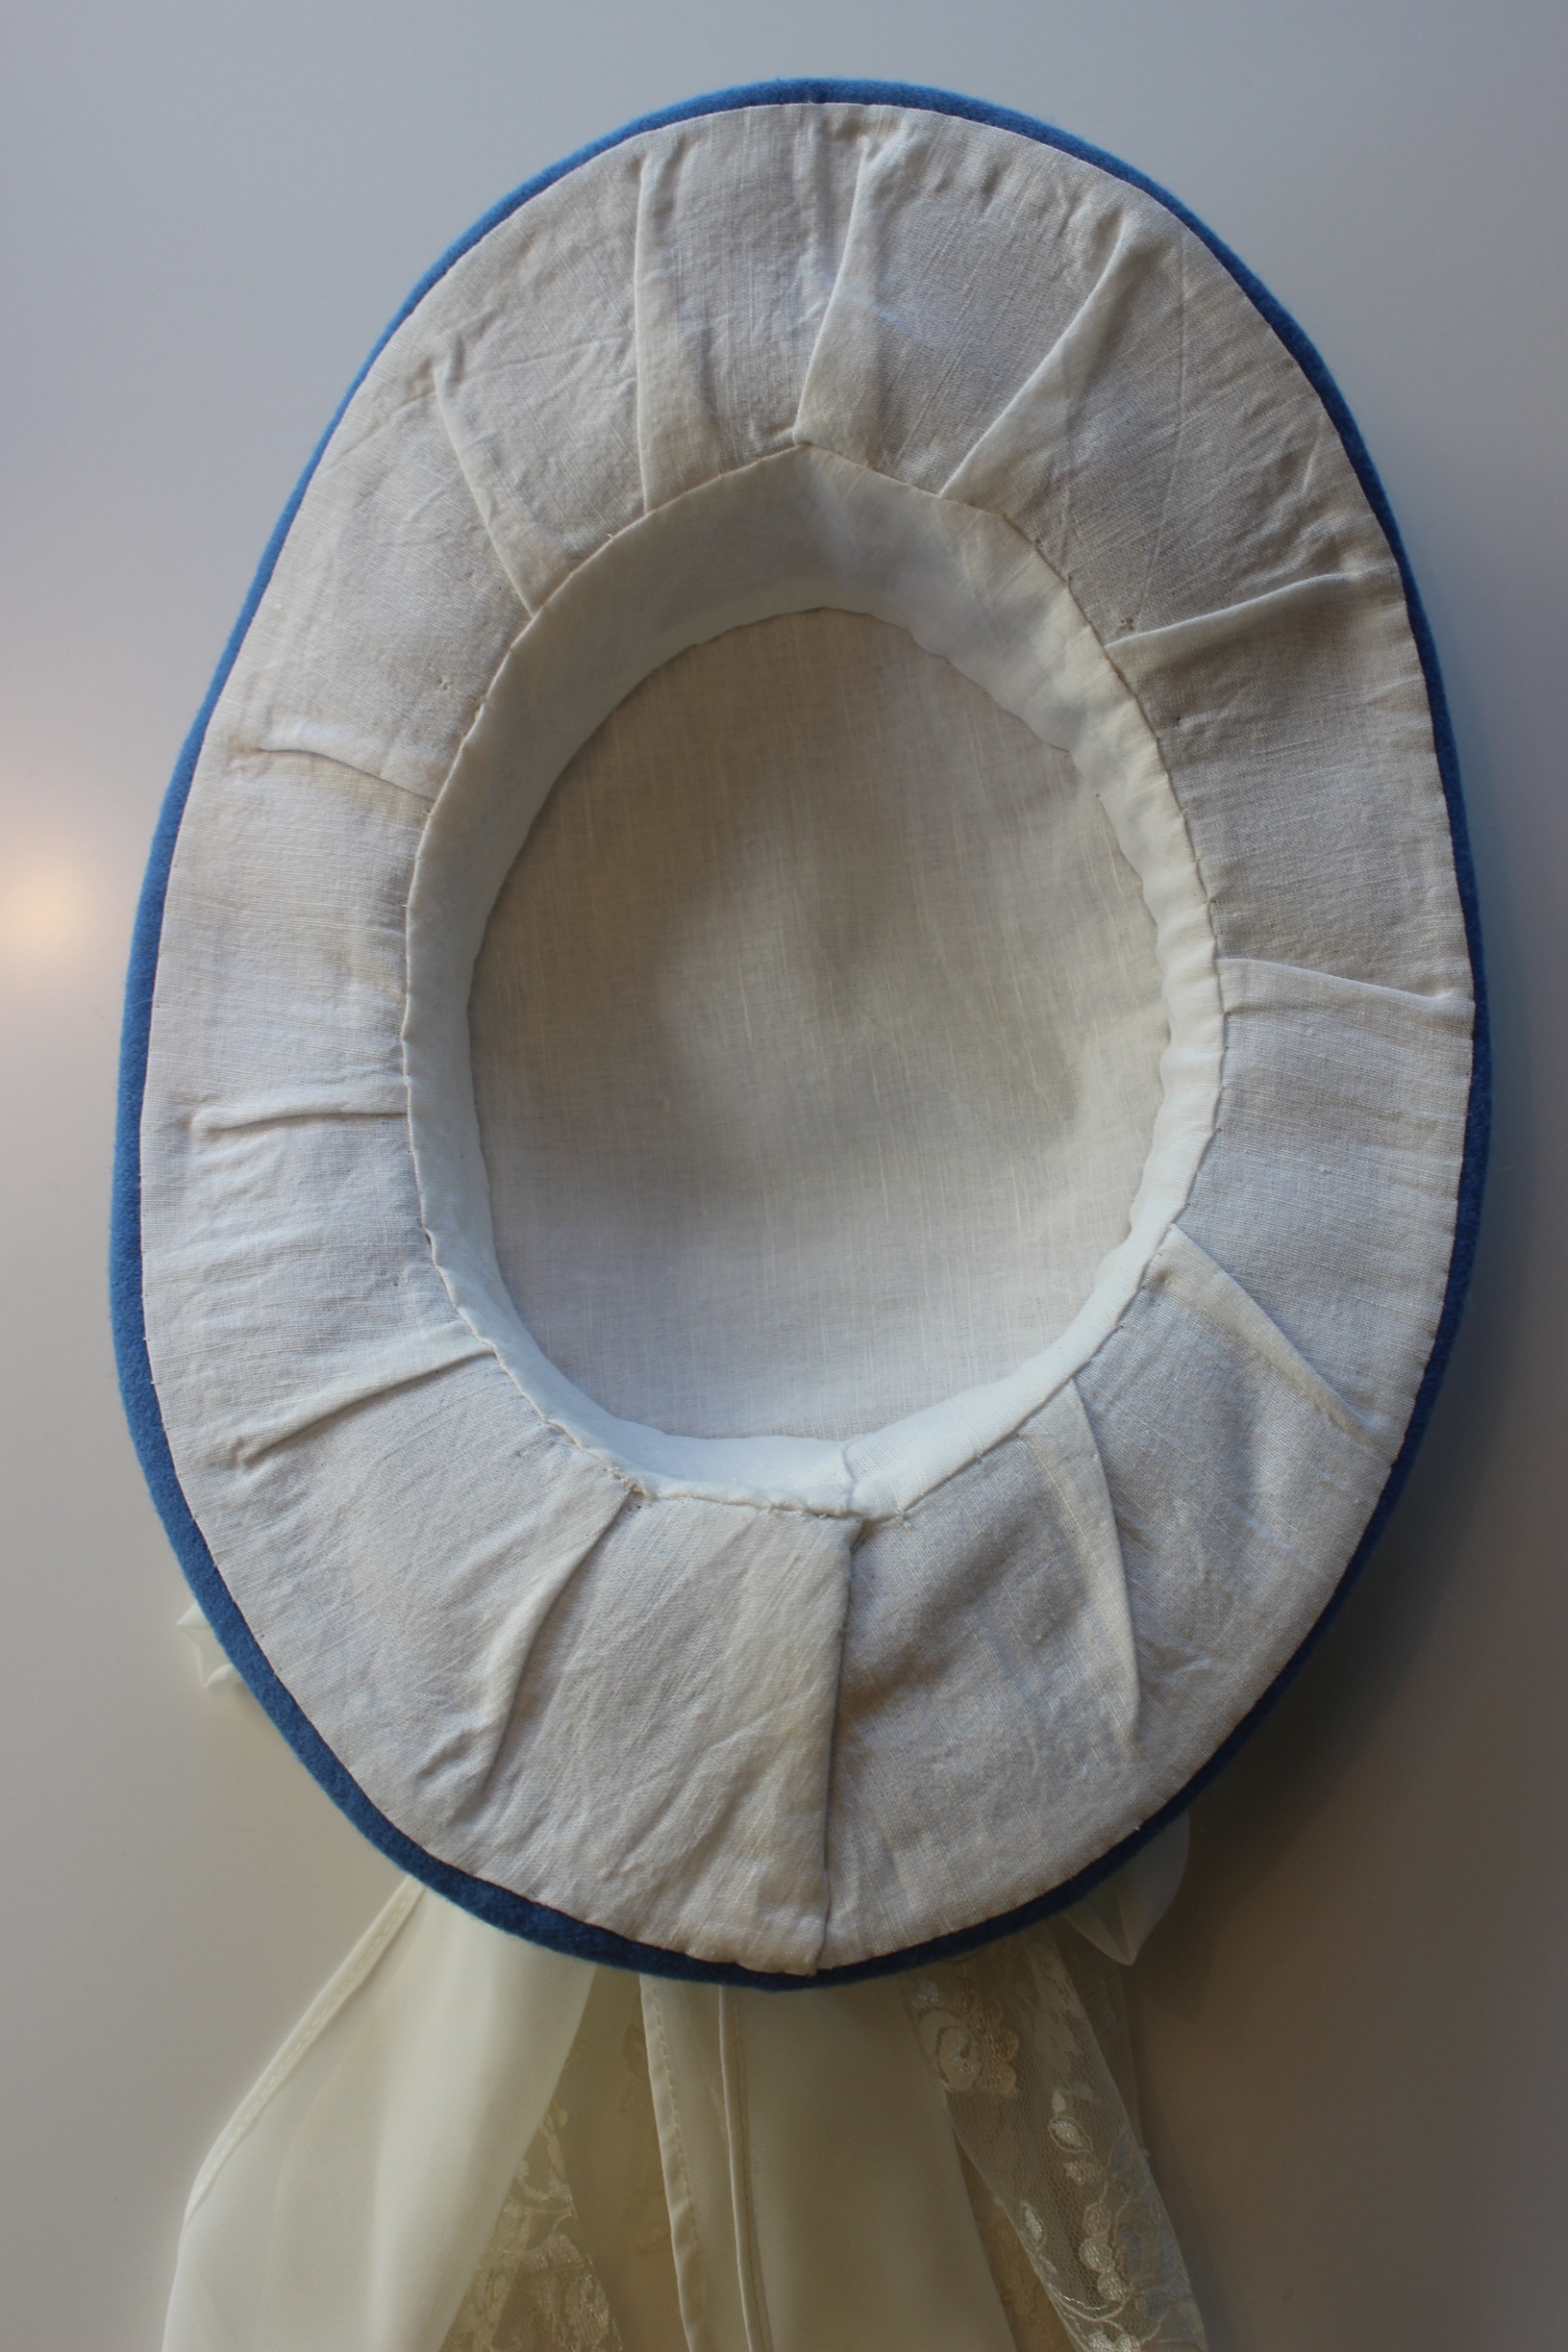
 …And just as neat from the inside.
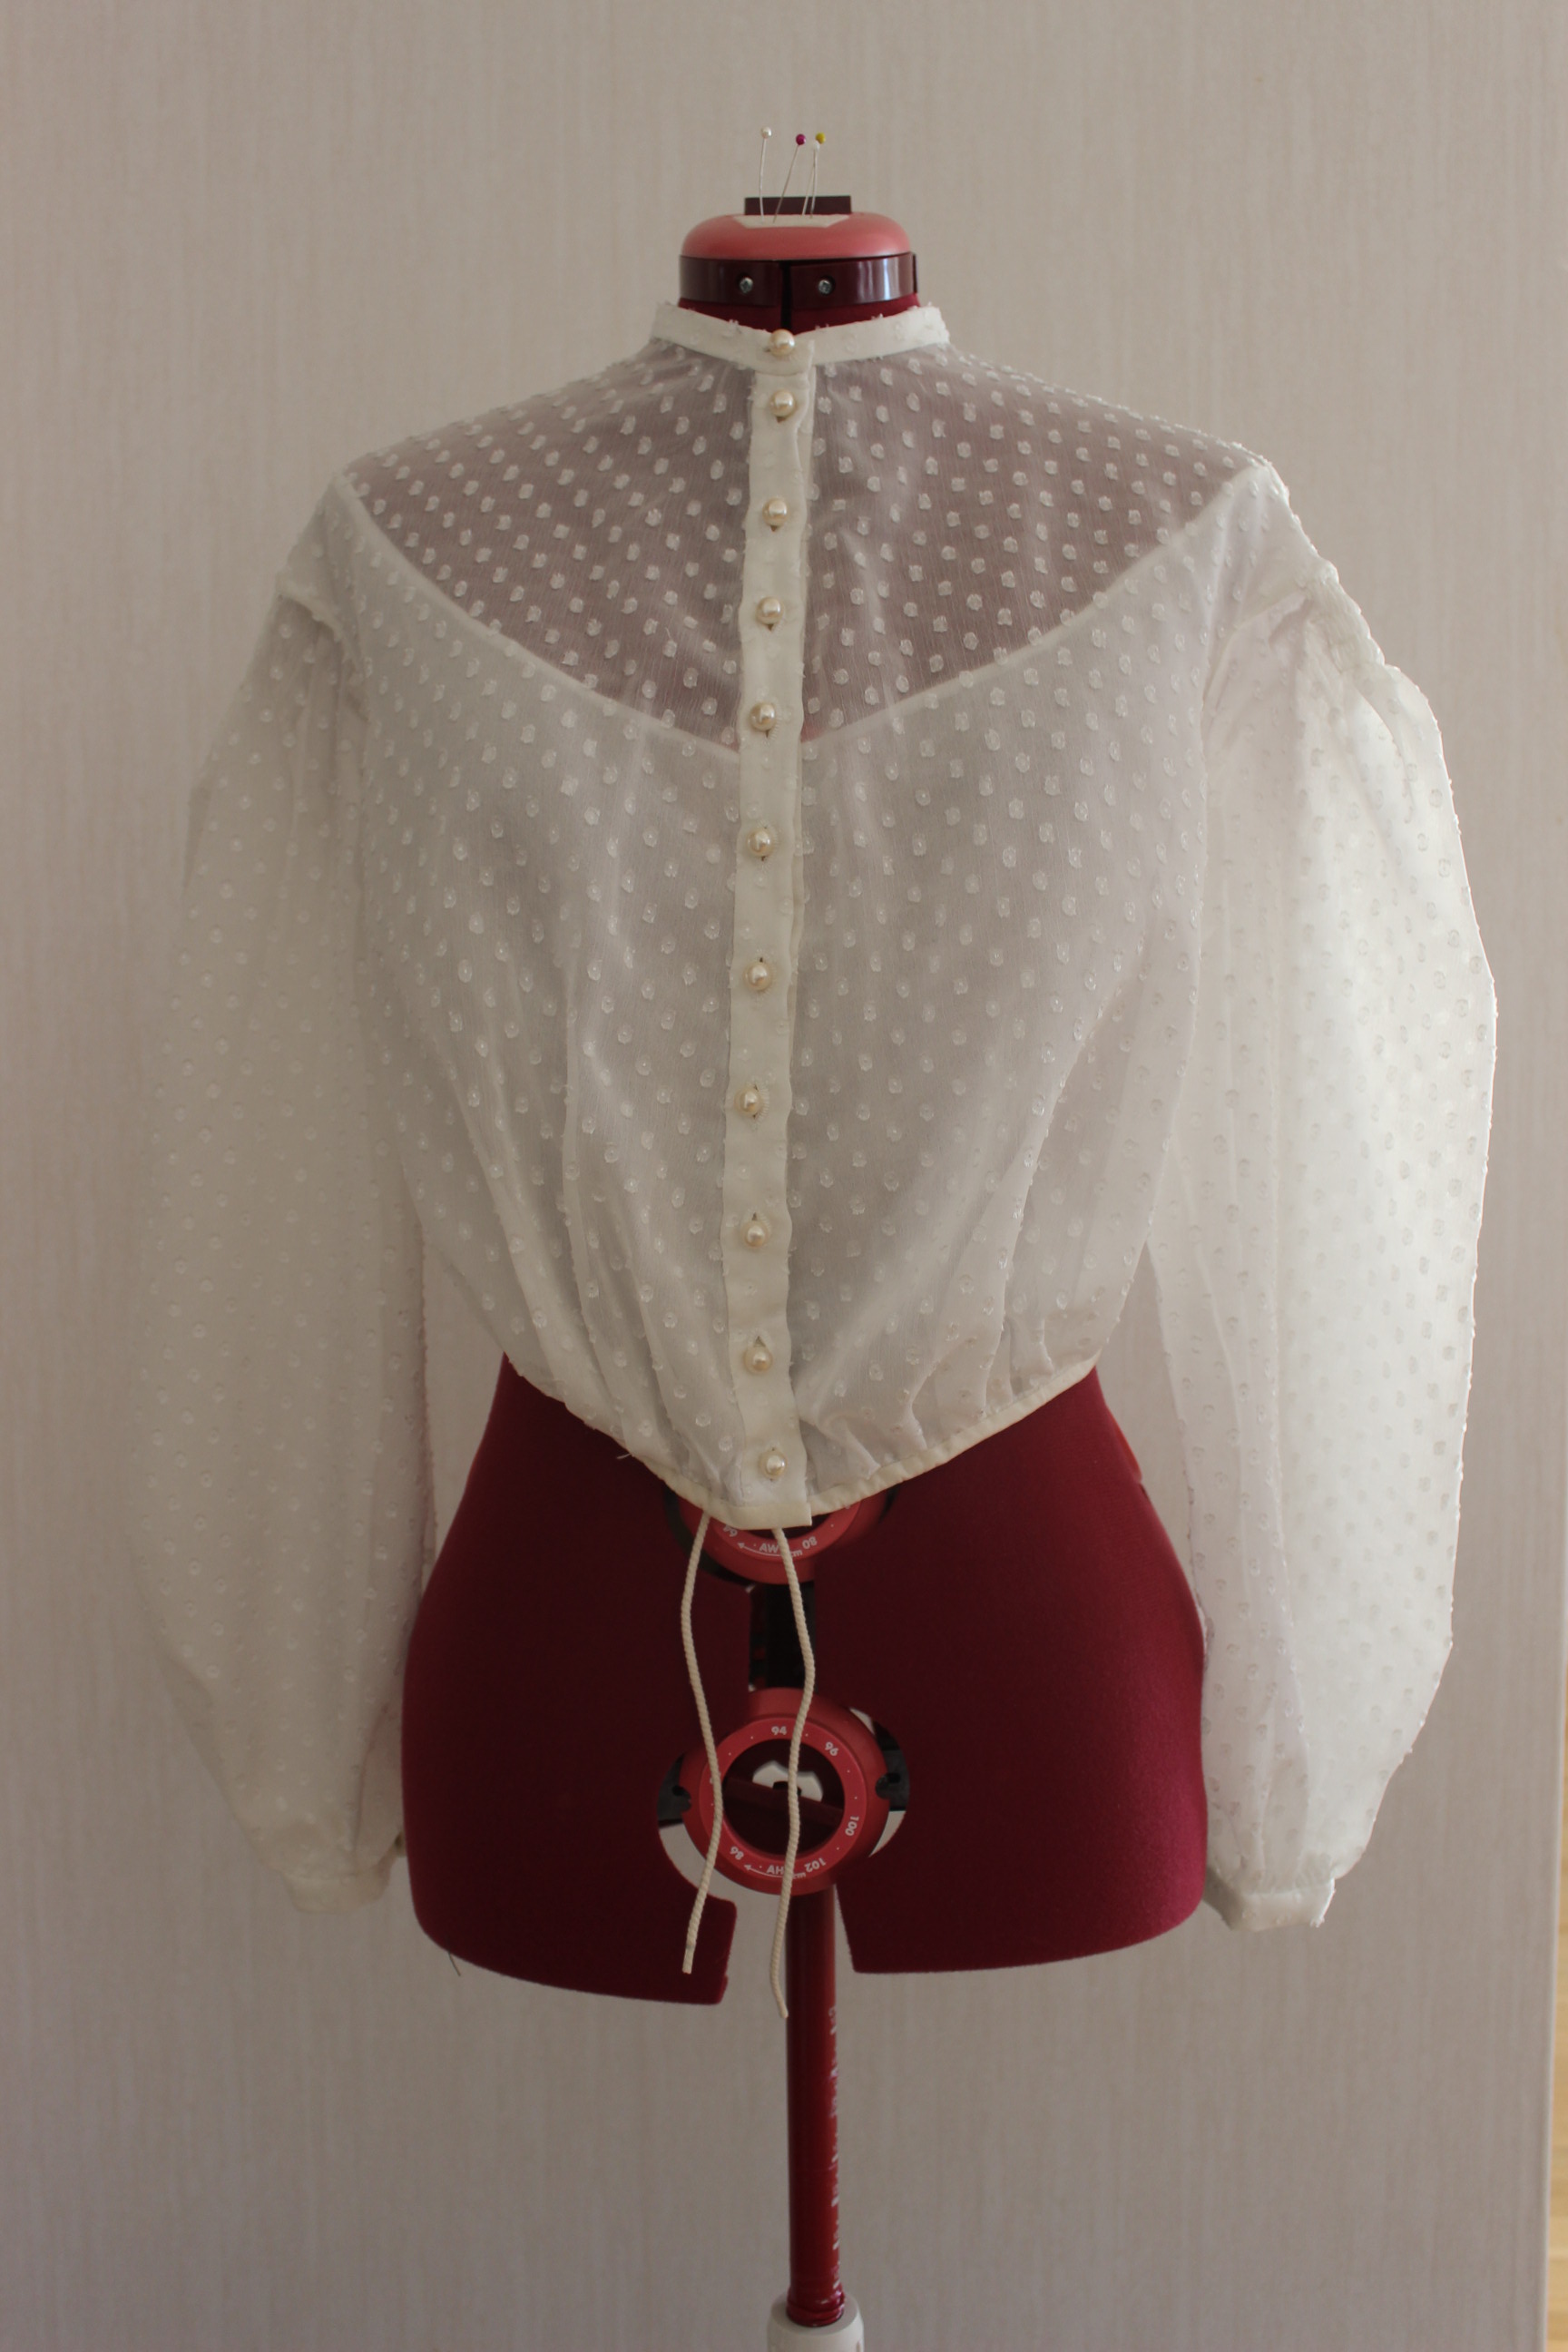


 My legs was so sore and my feet so full of blisters, due to a rapid increase in my running schedule, I could barely walk and never the les wear my shoes.


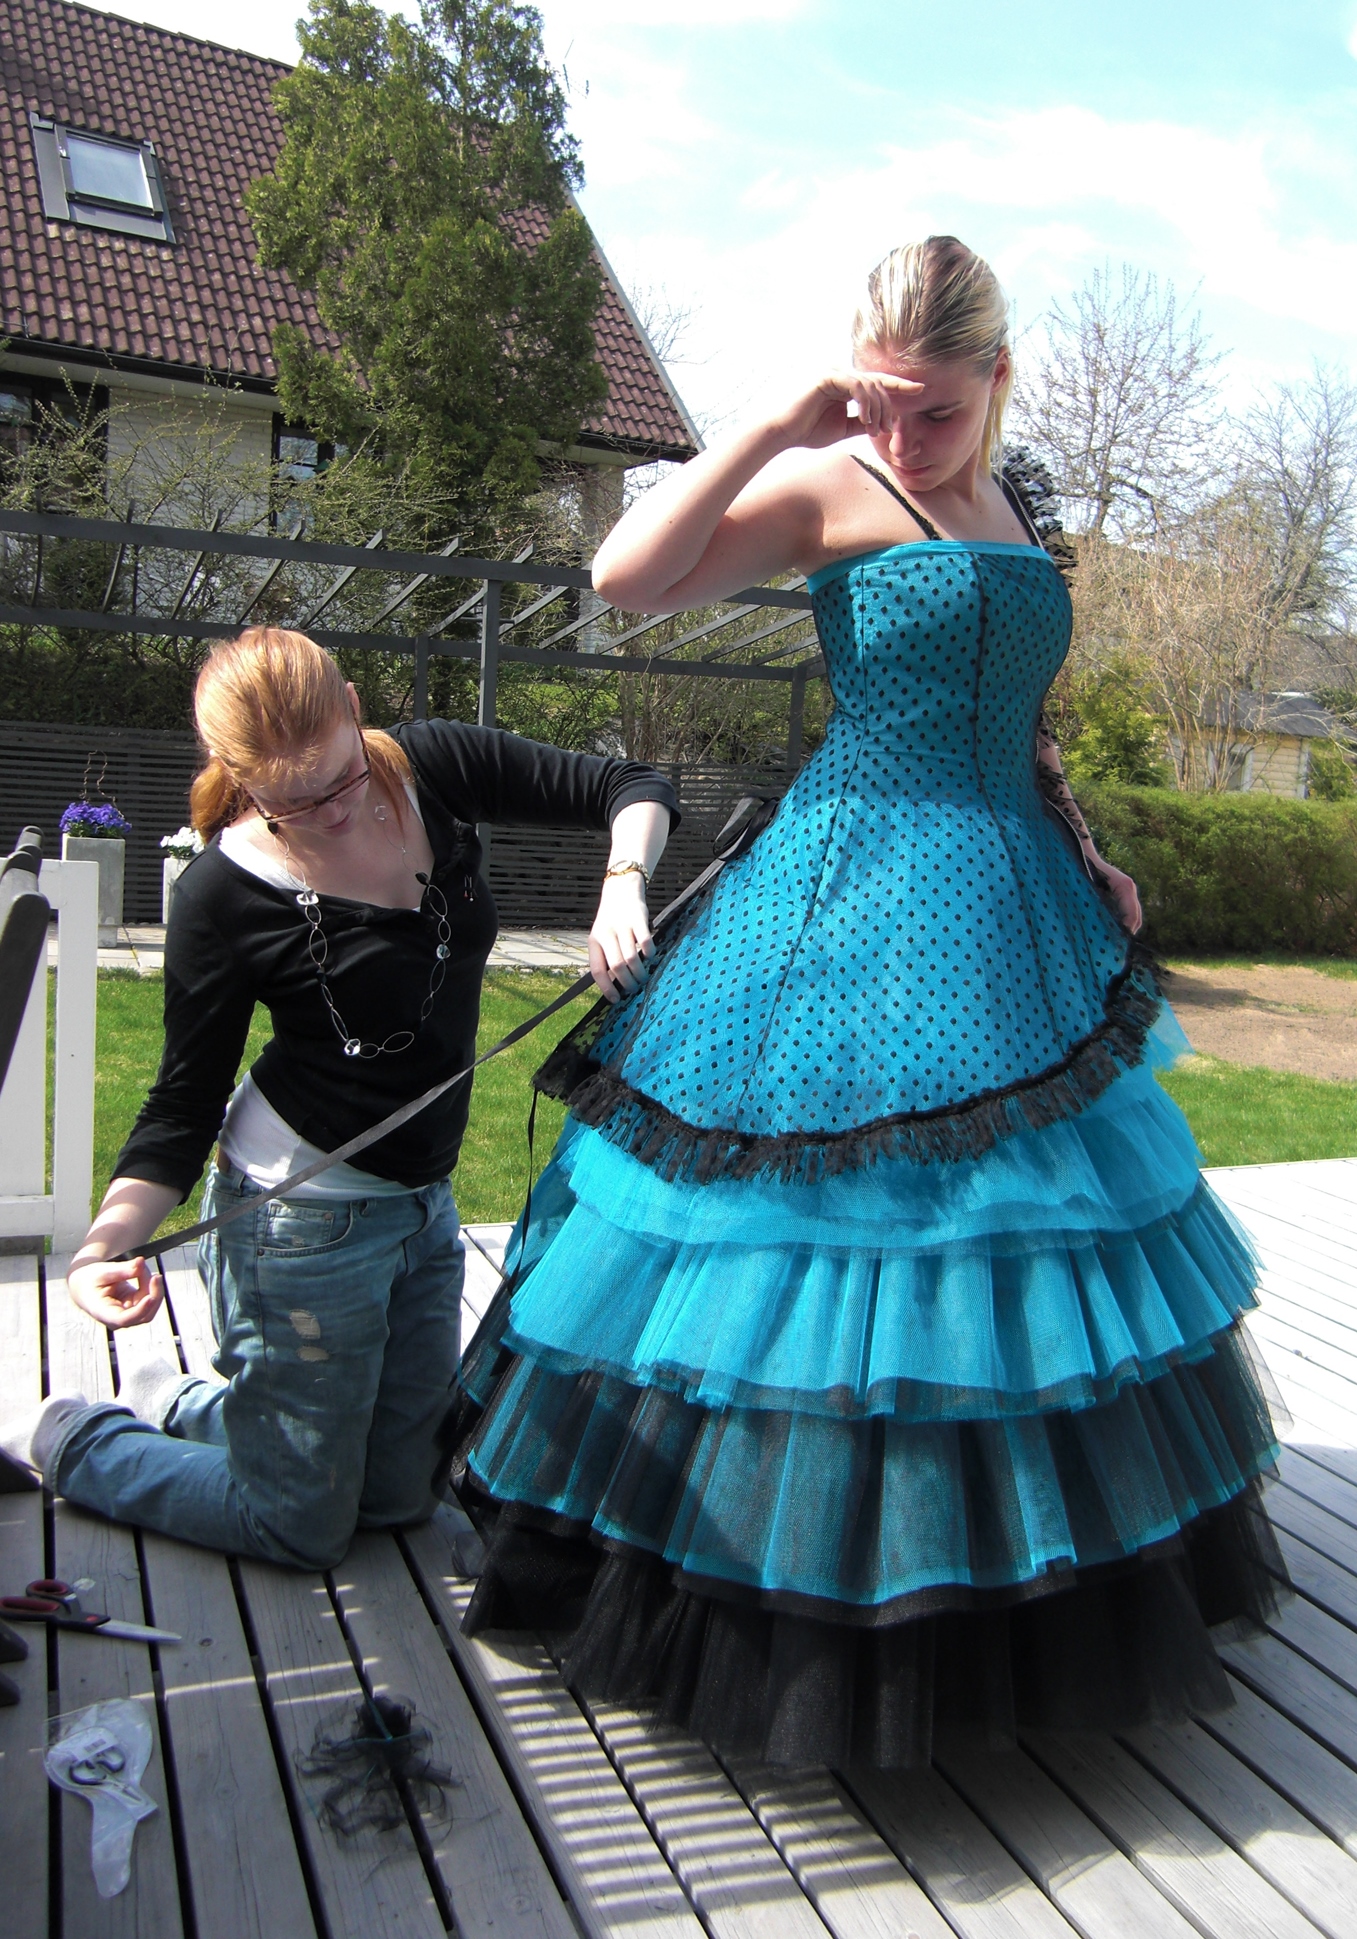
 I was suffering from the exertions of the day before (see above) and had the migraine from hell.

 My sister was in the hospital – fighting for her life in IVF related complications.


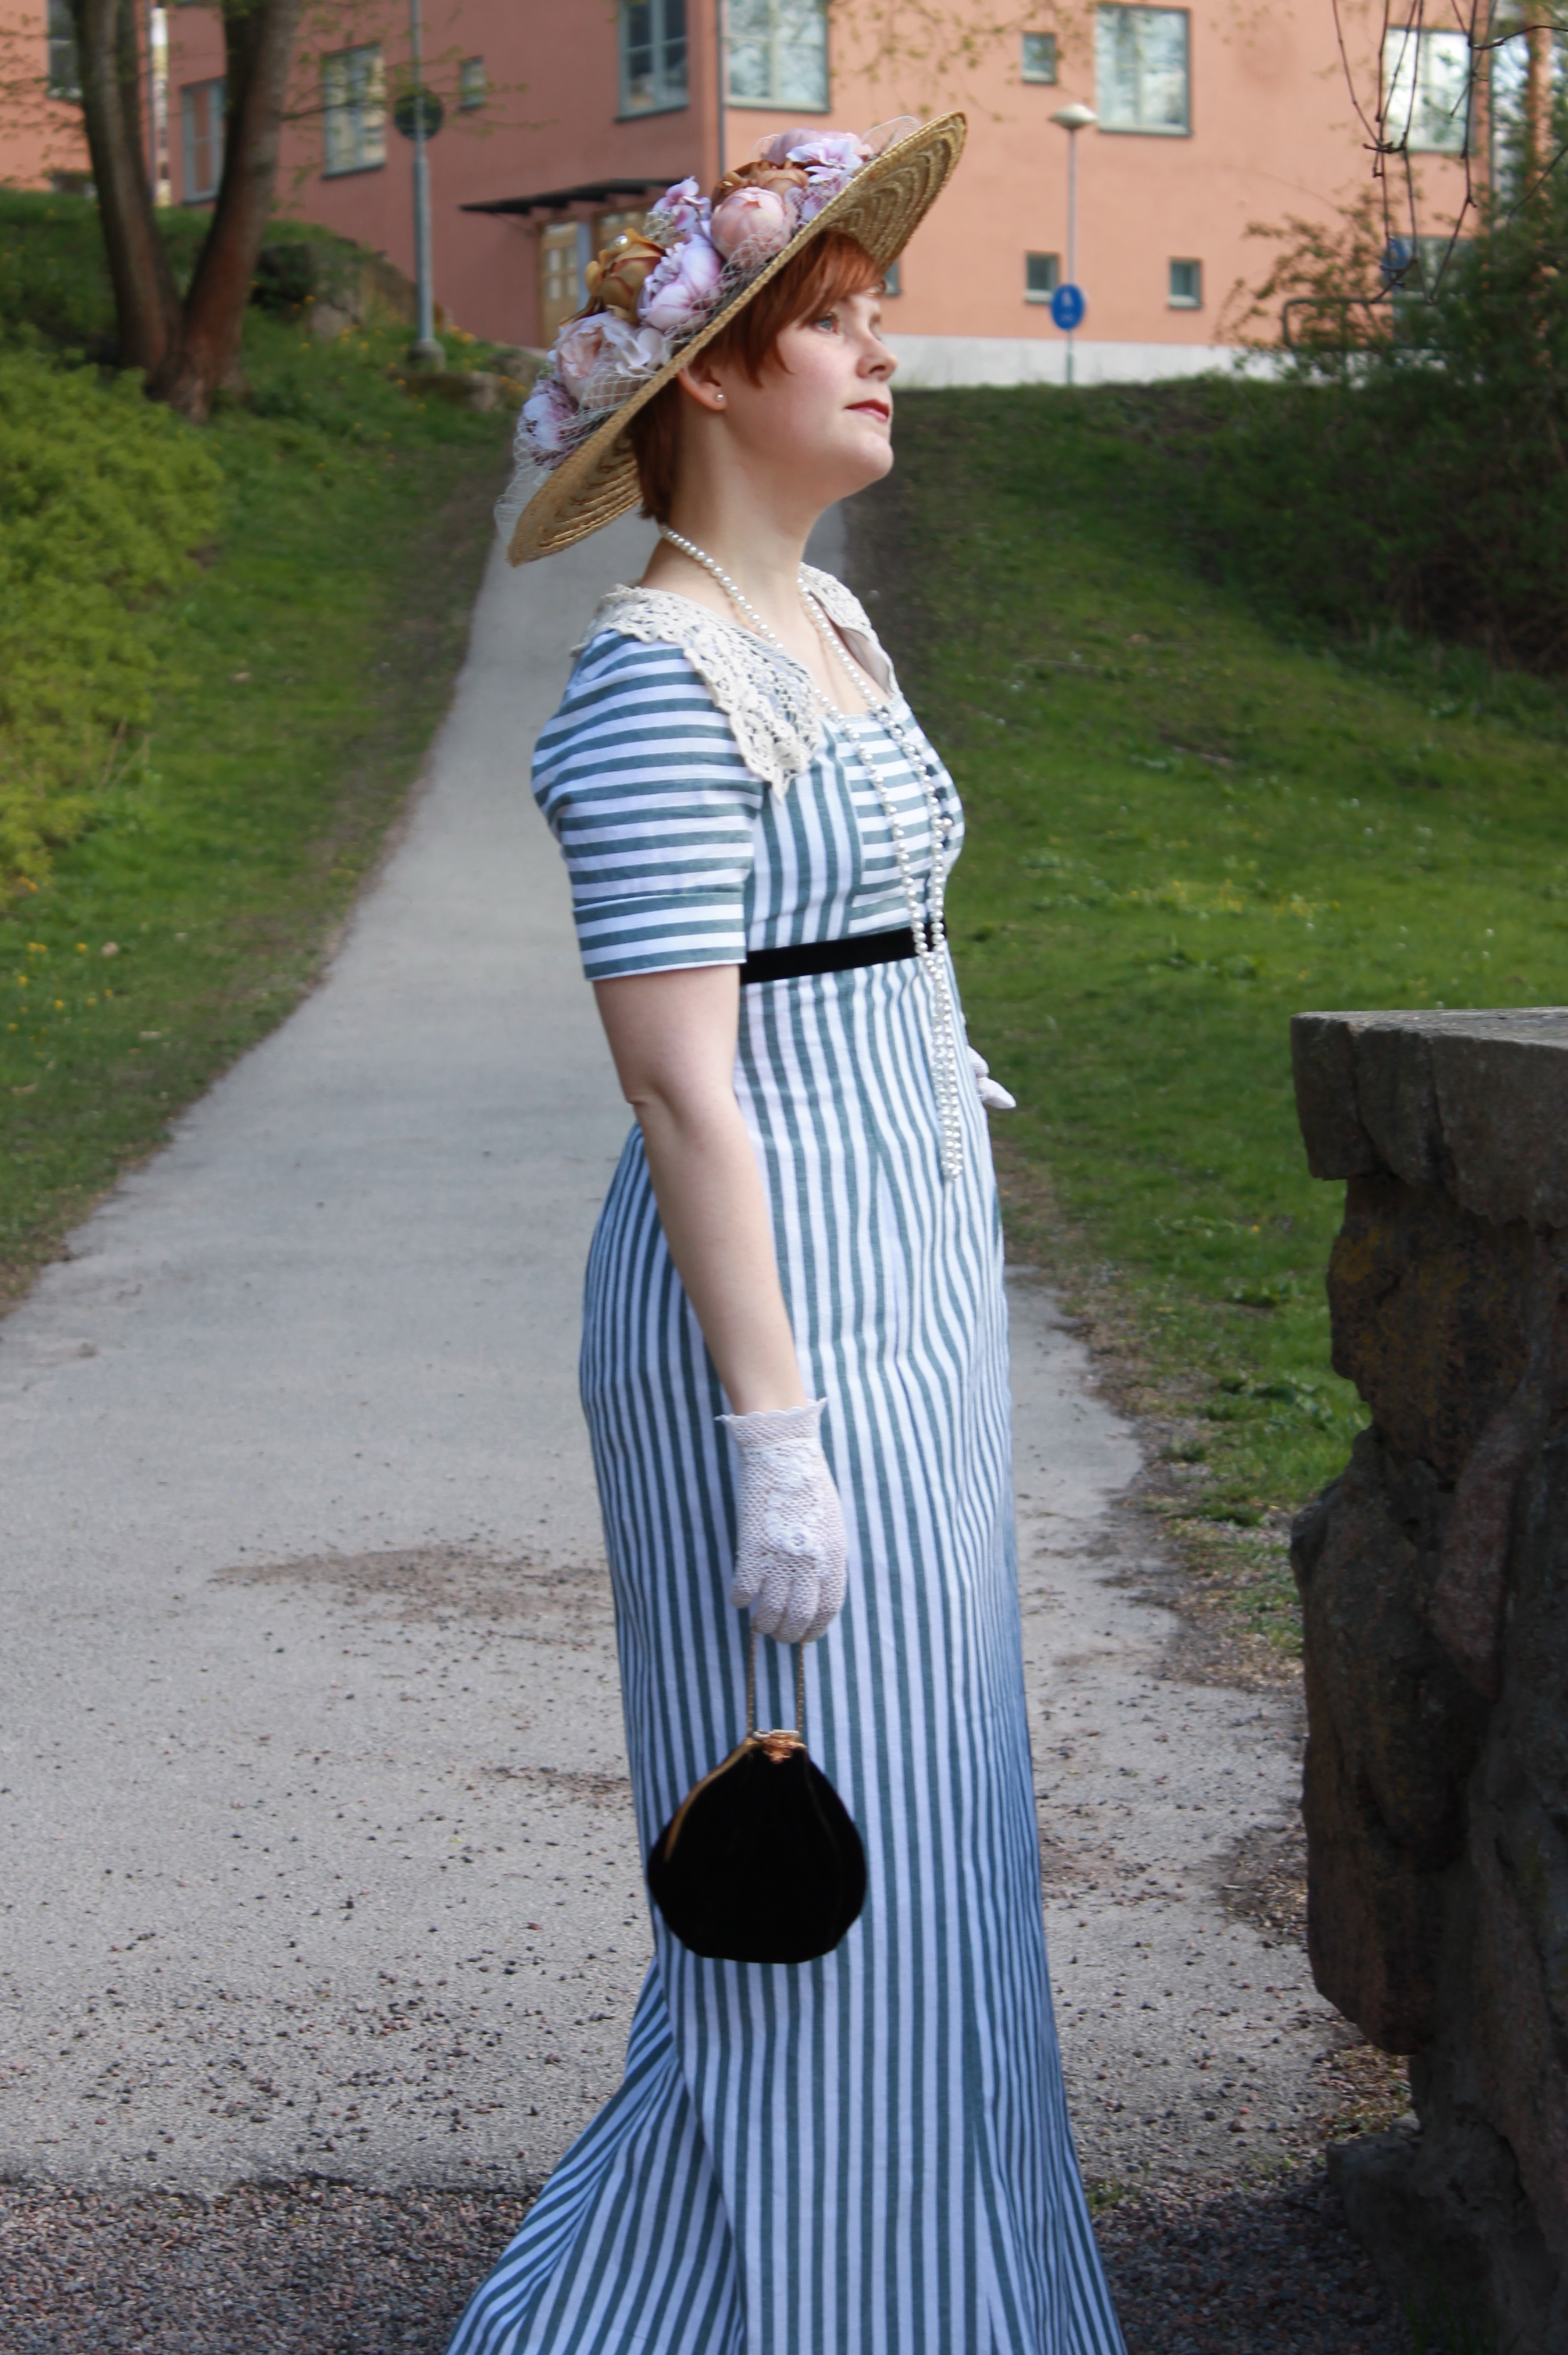
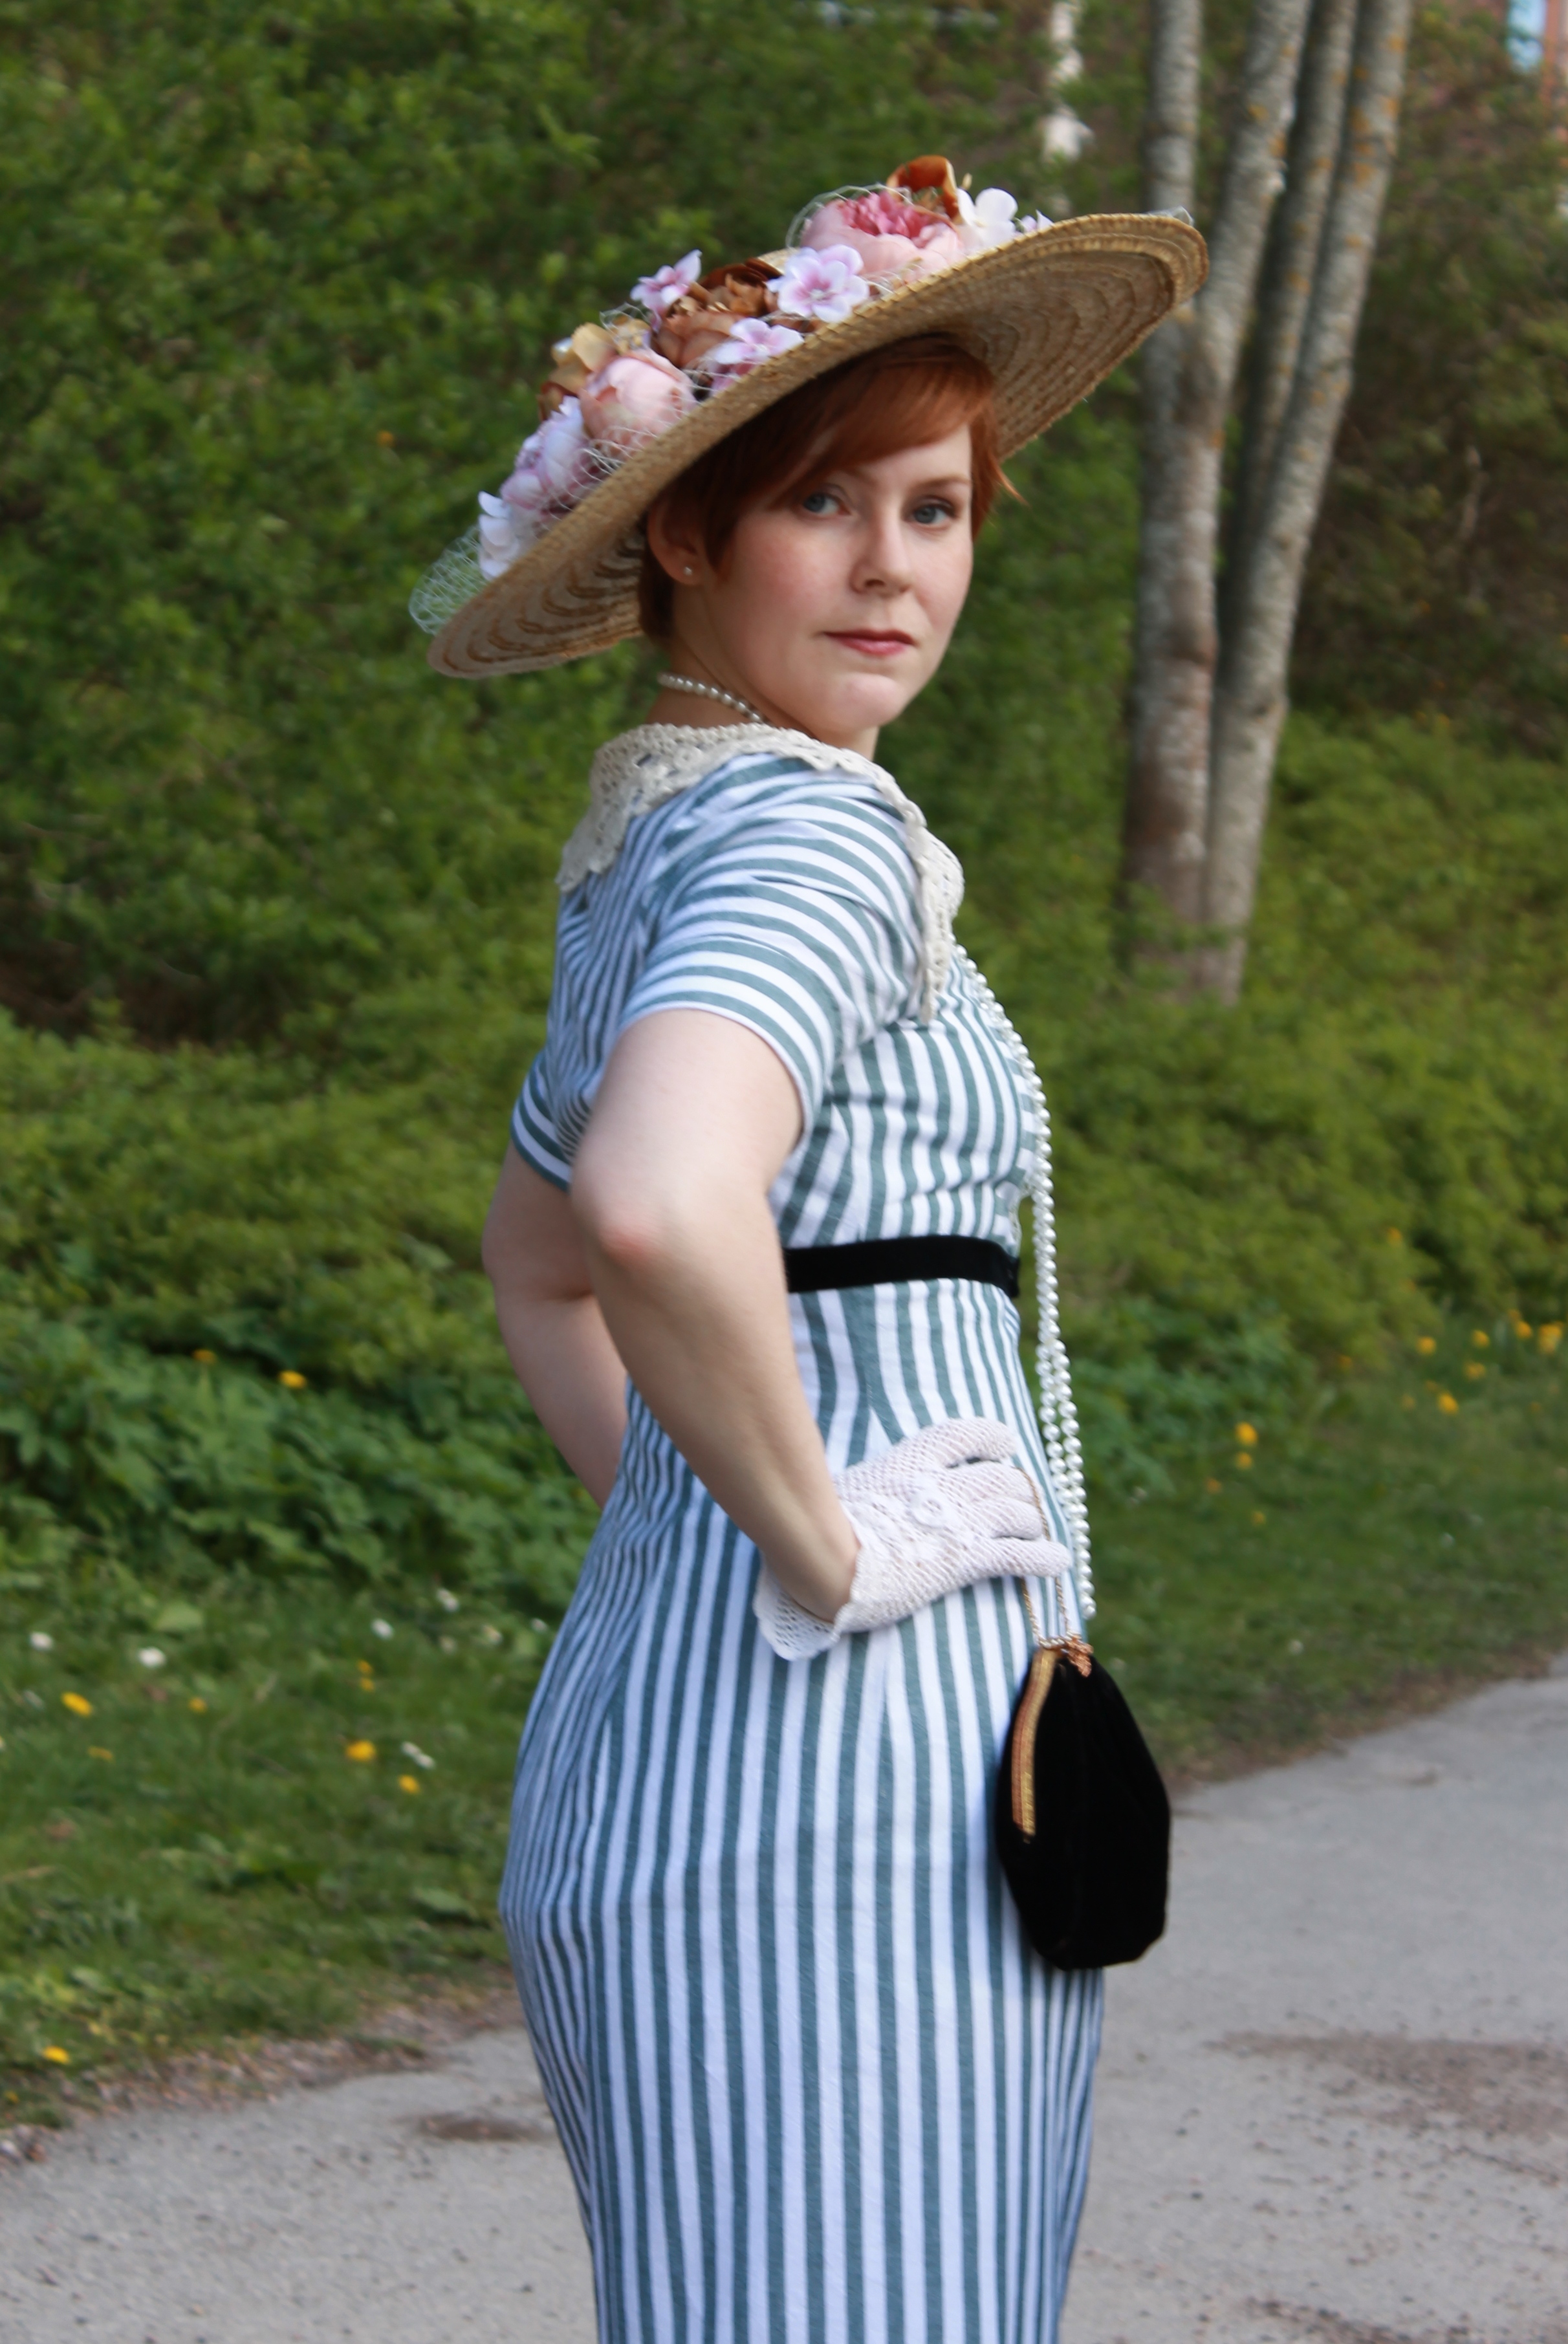
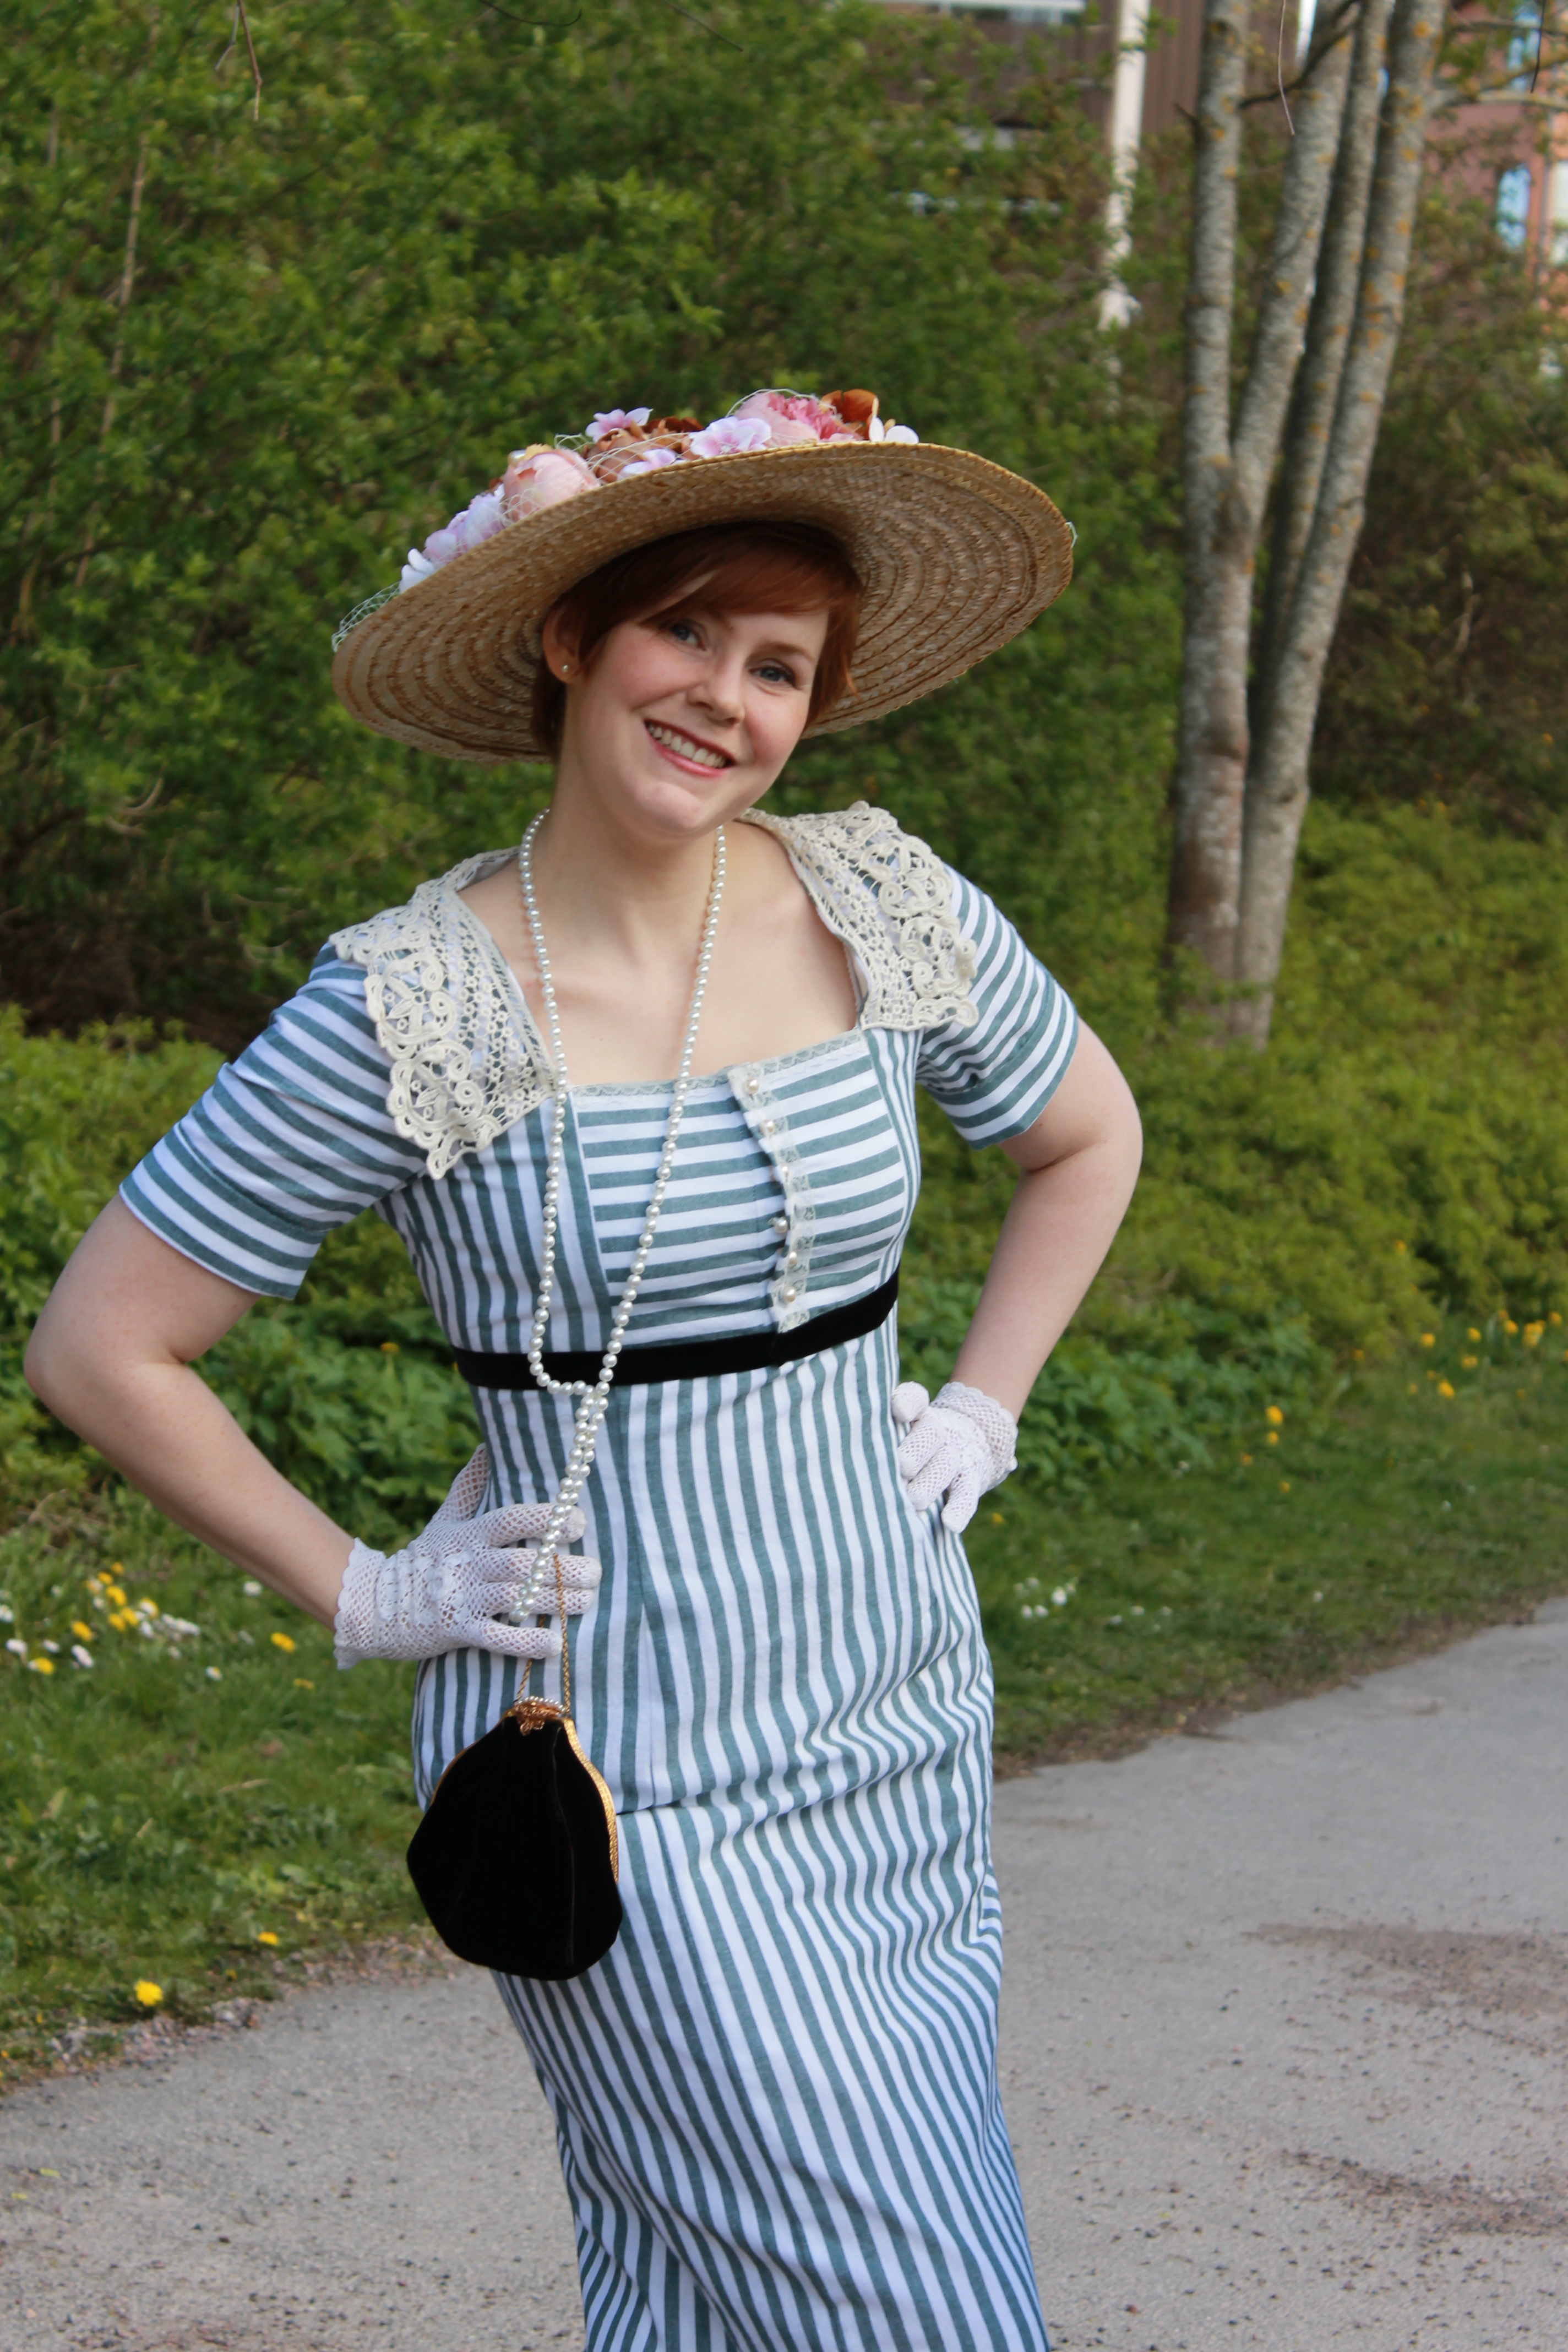
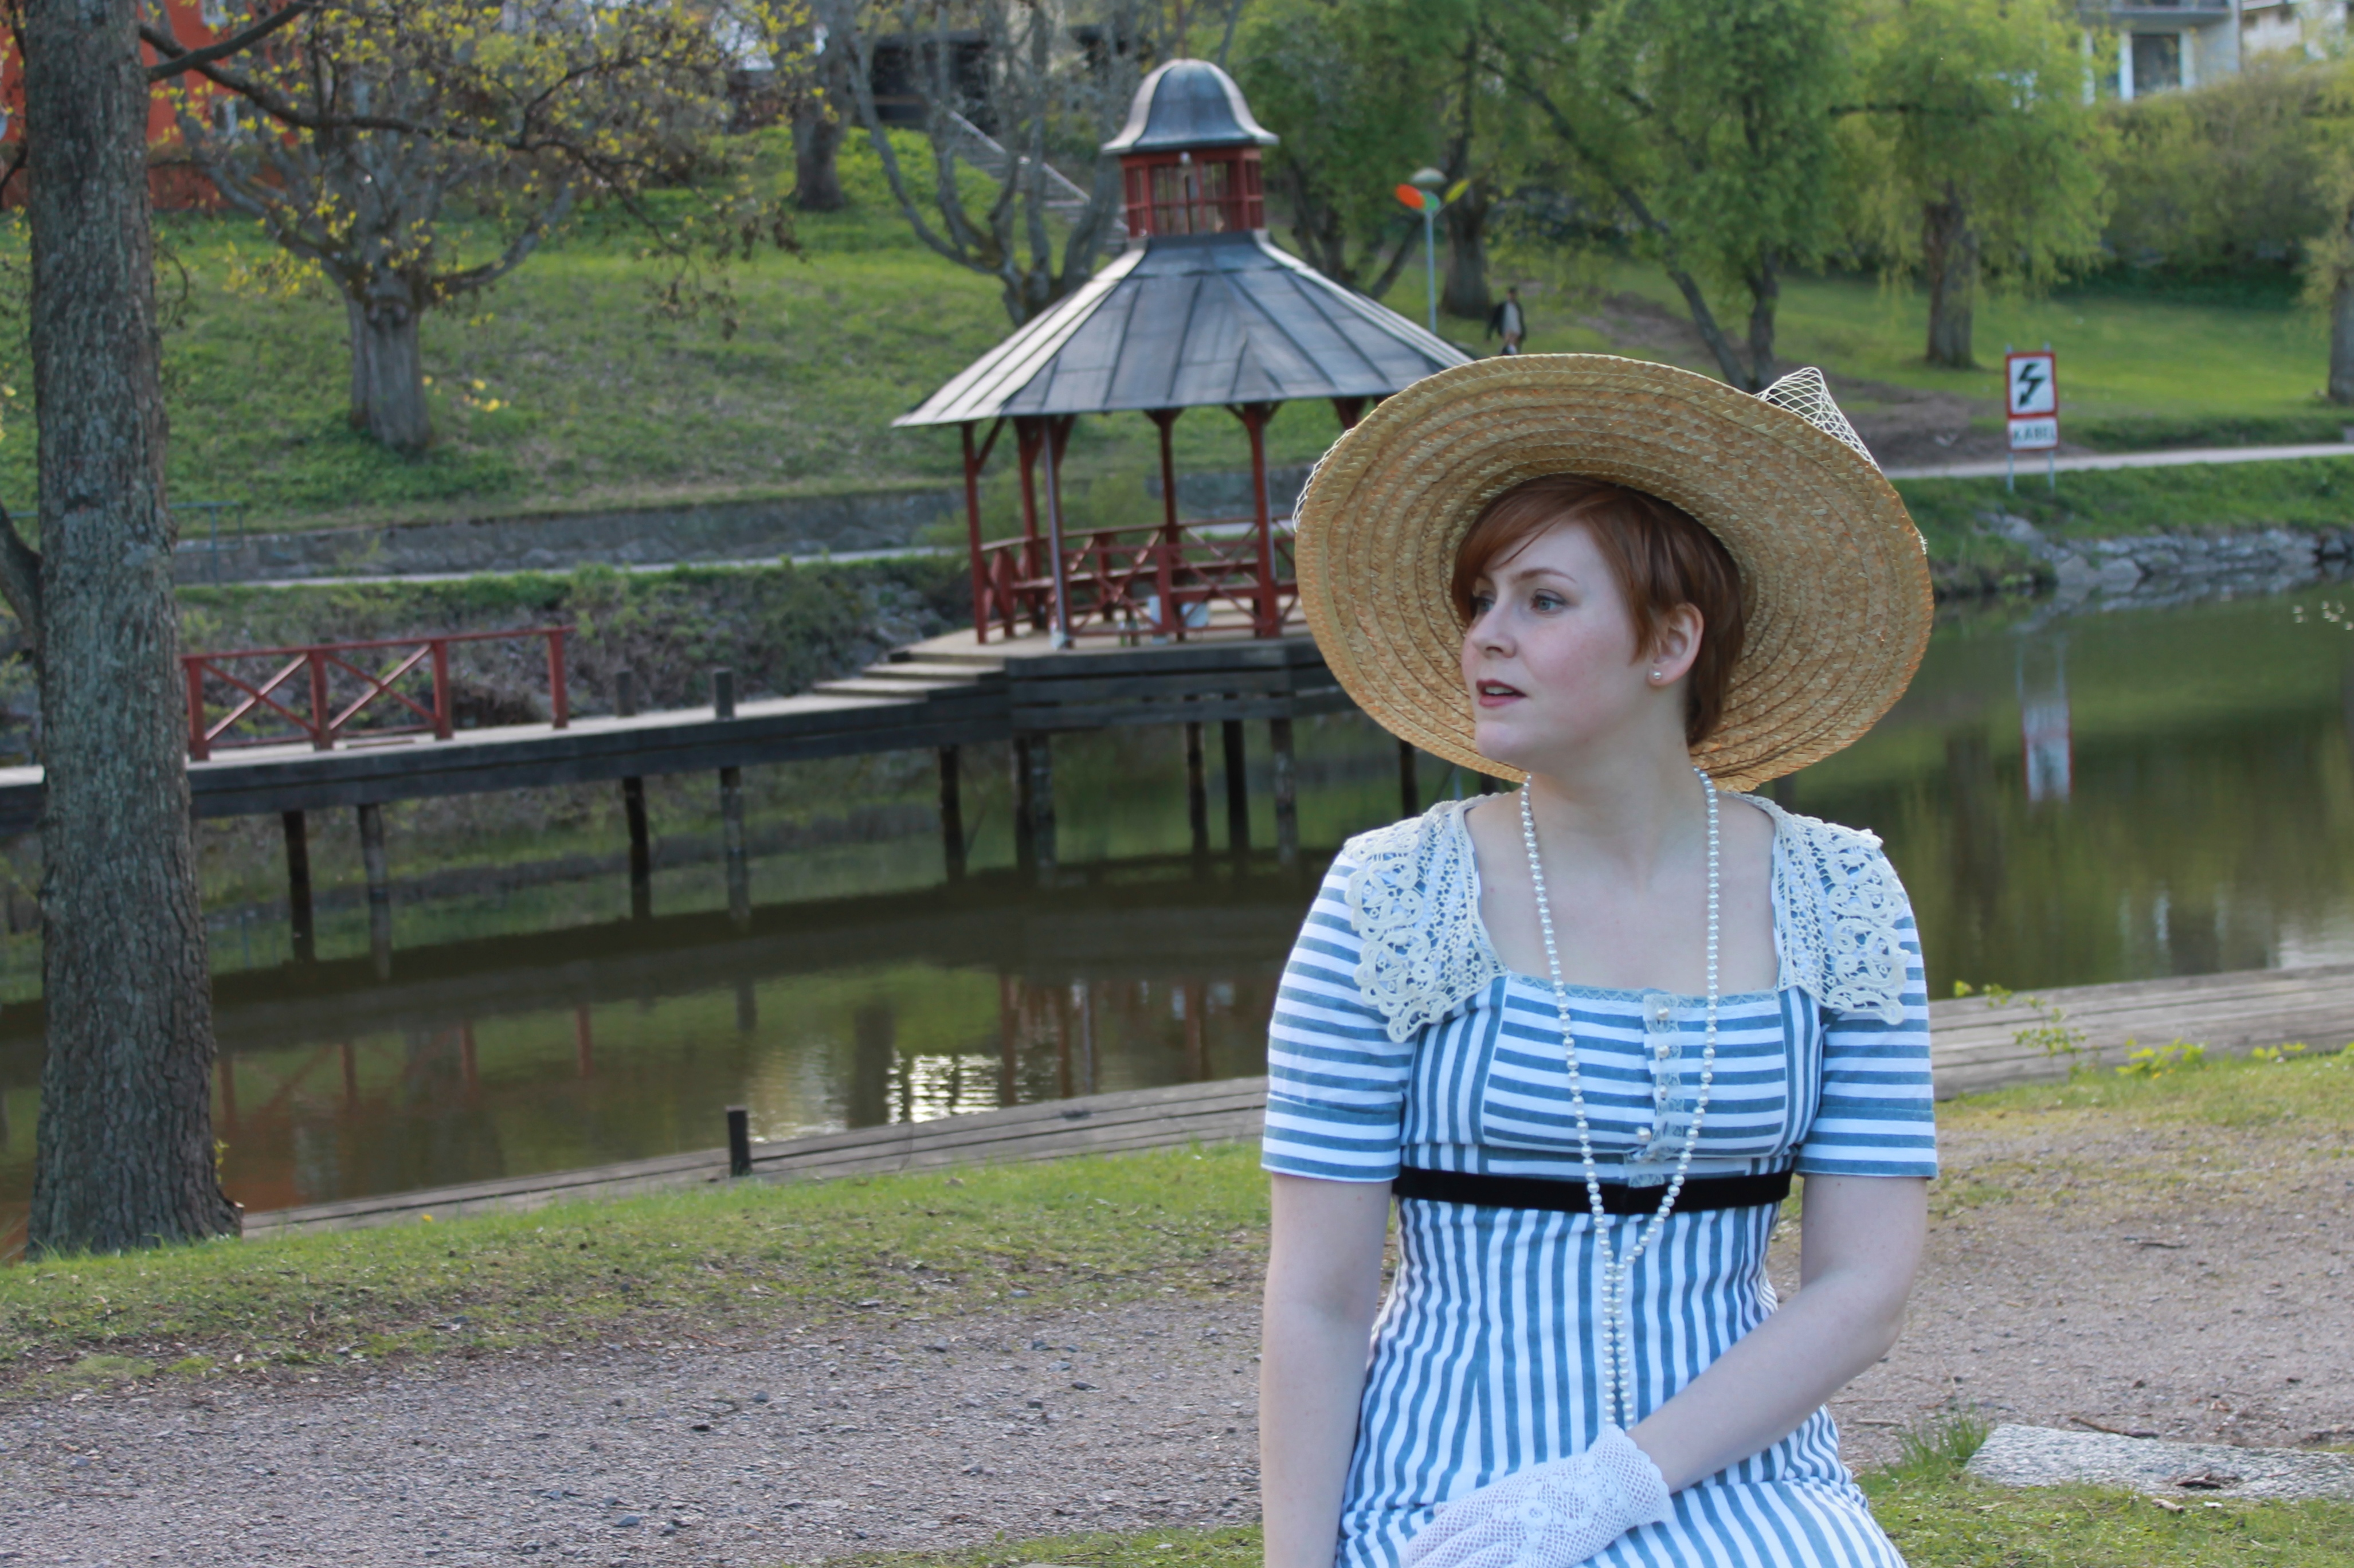


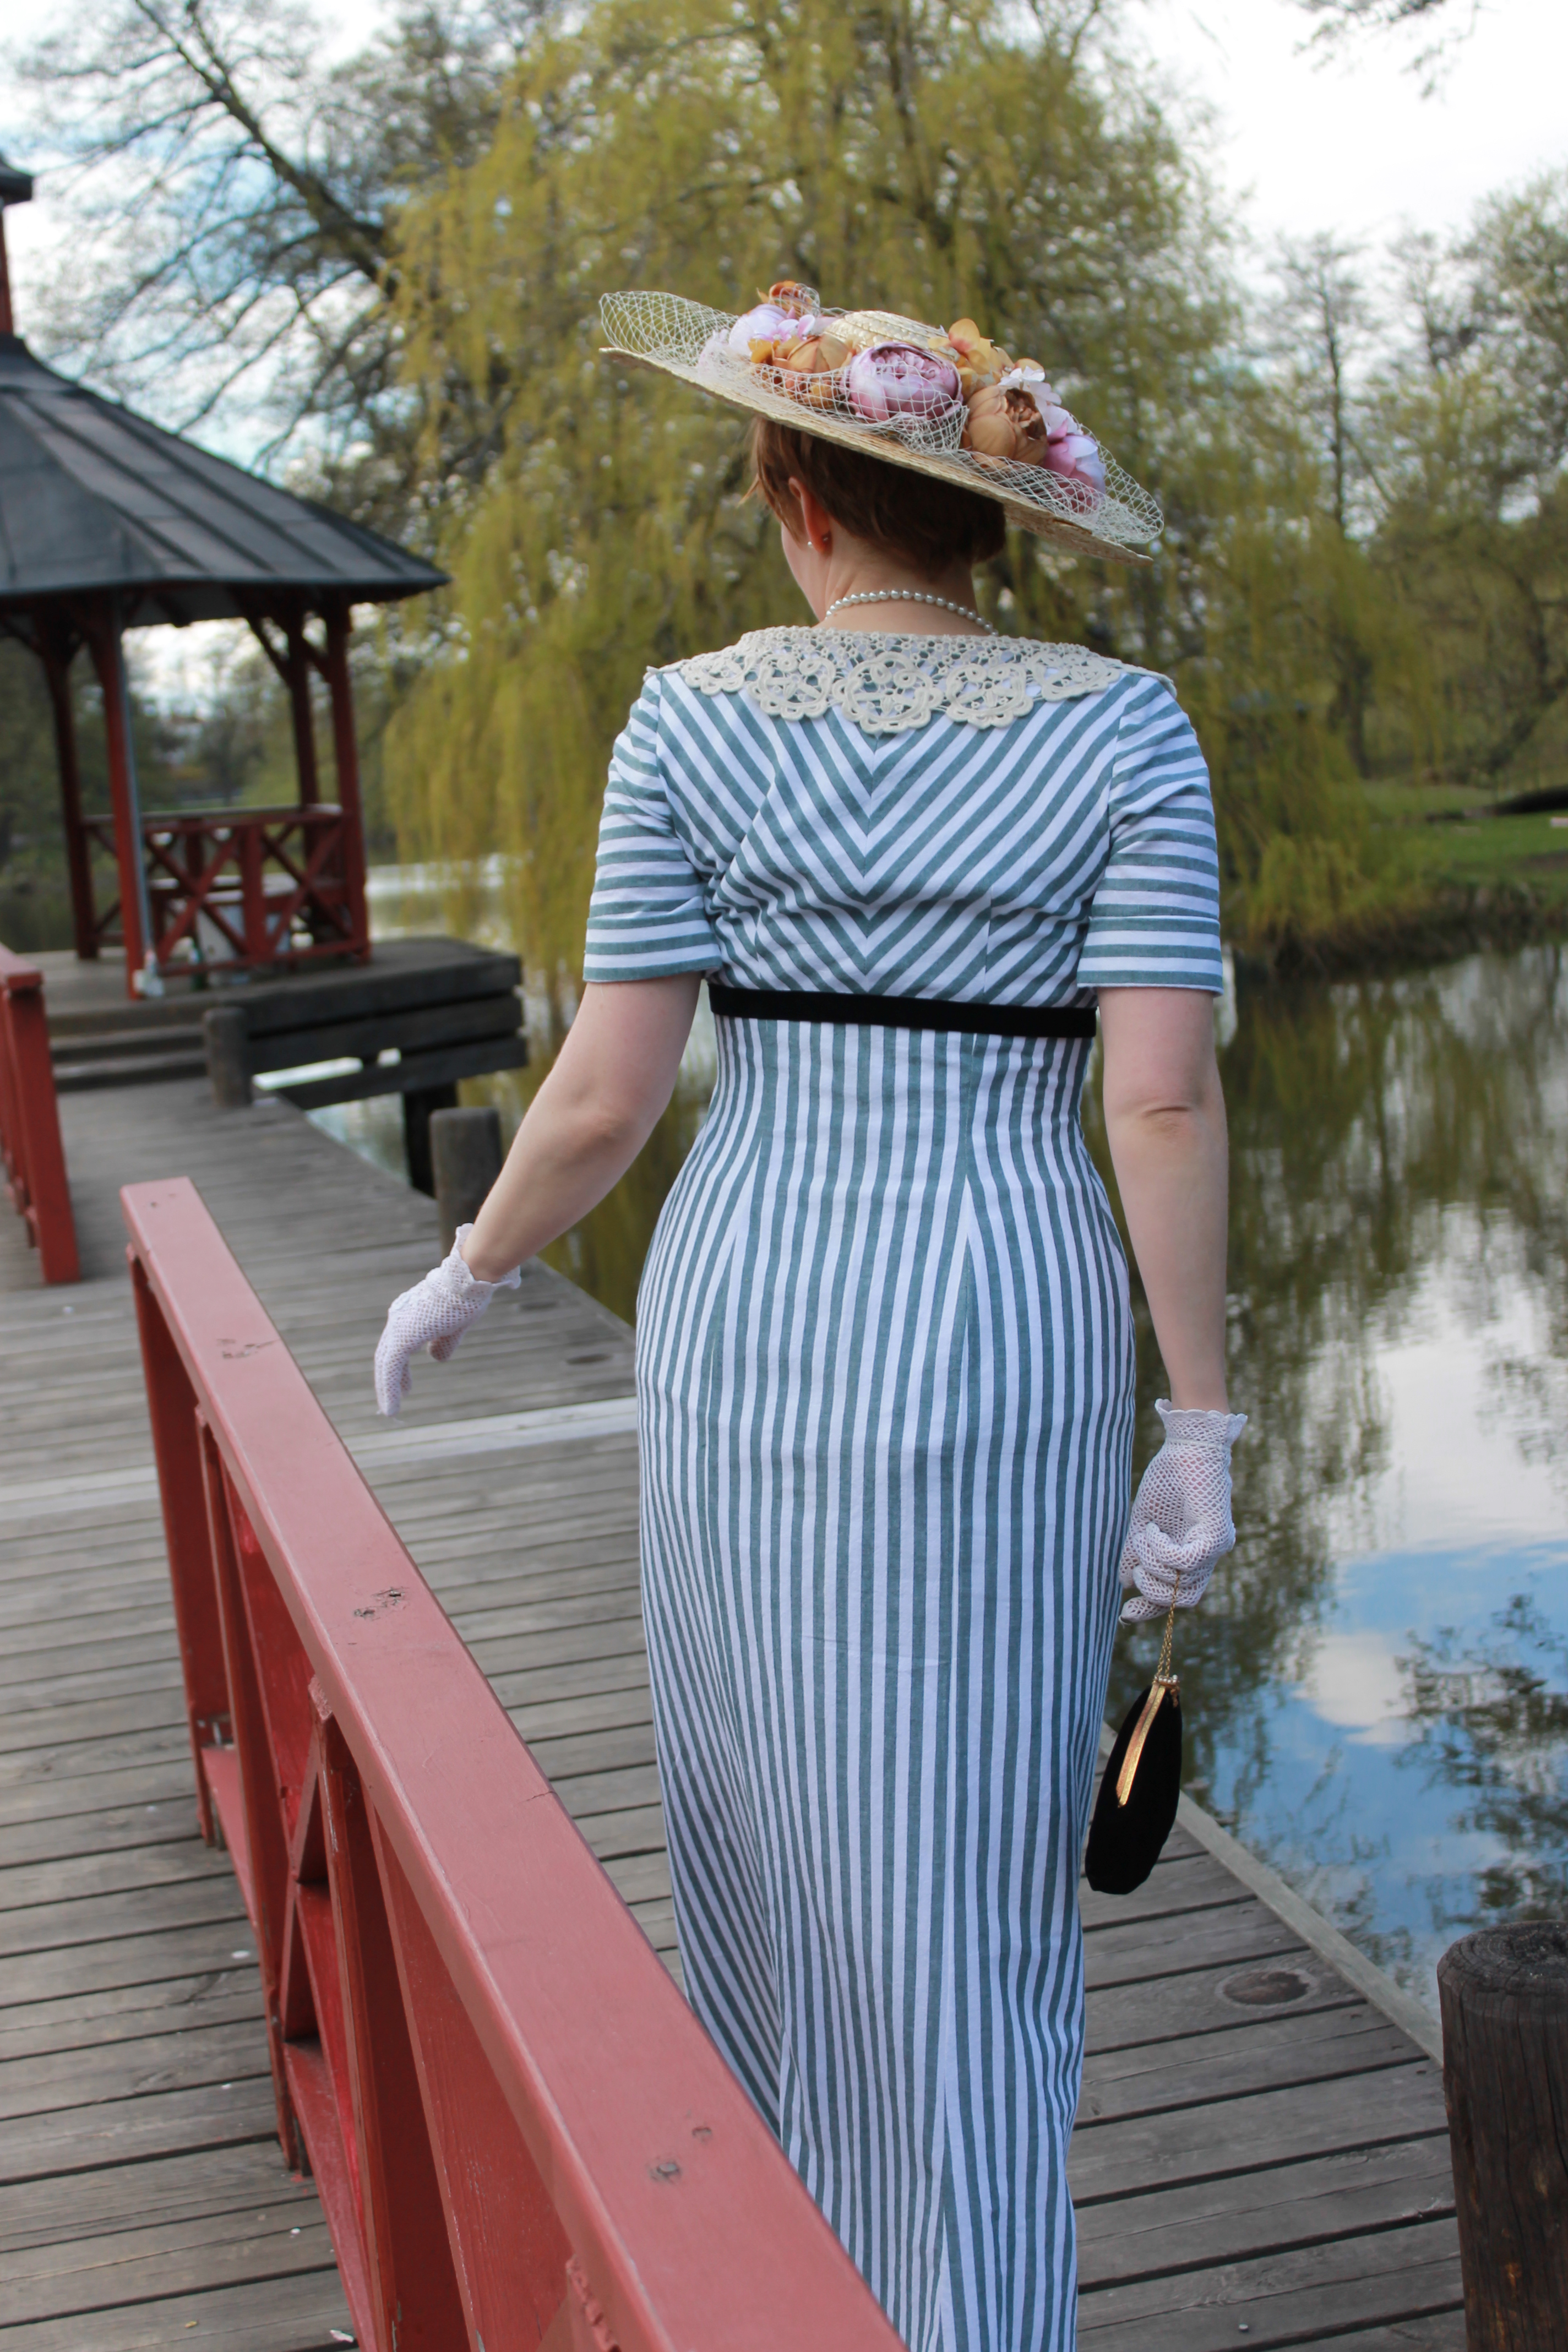
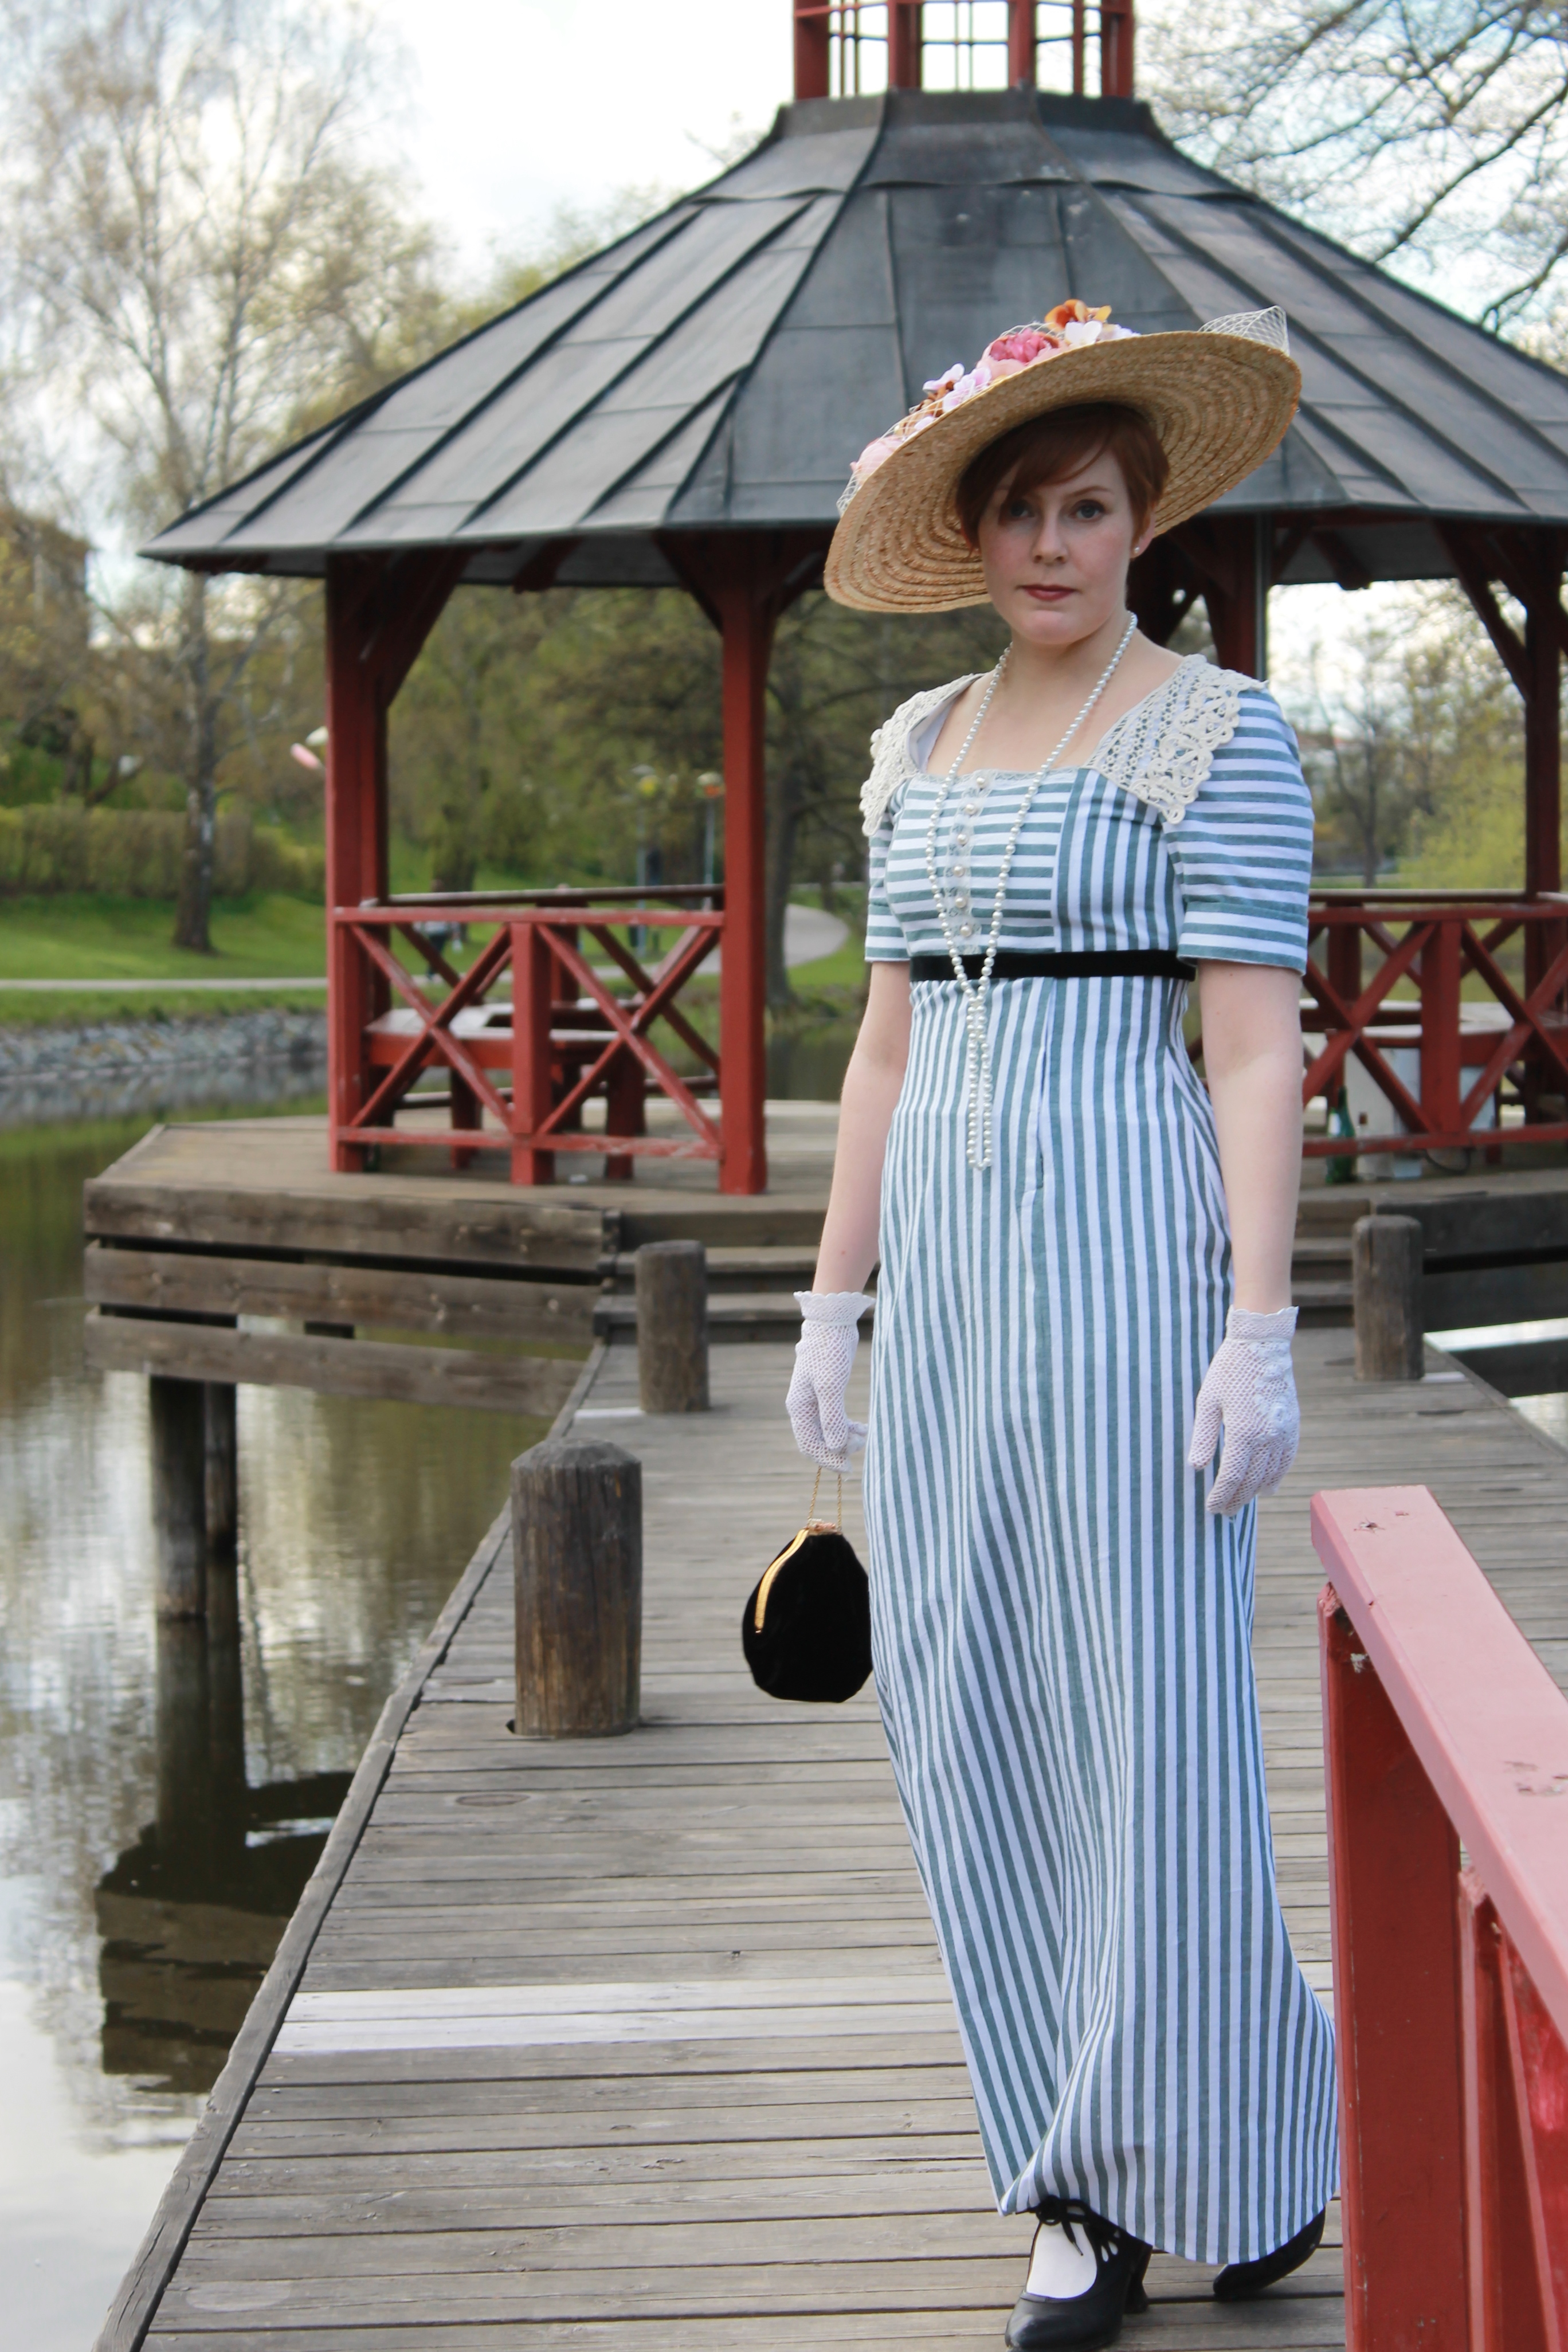


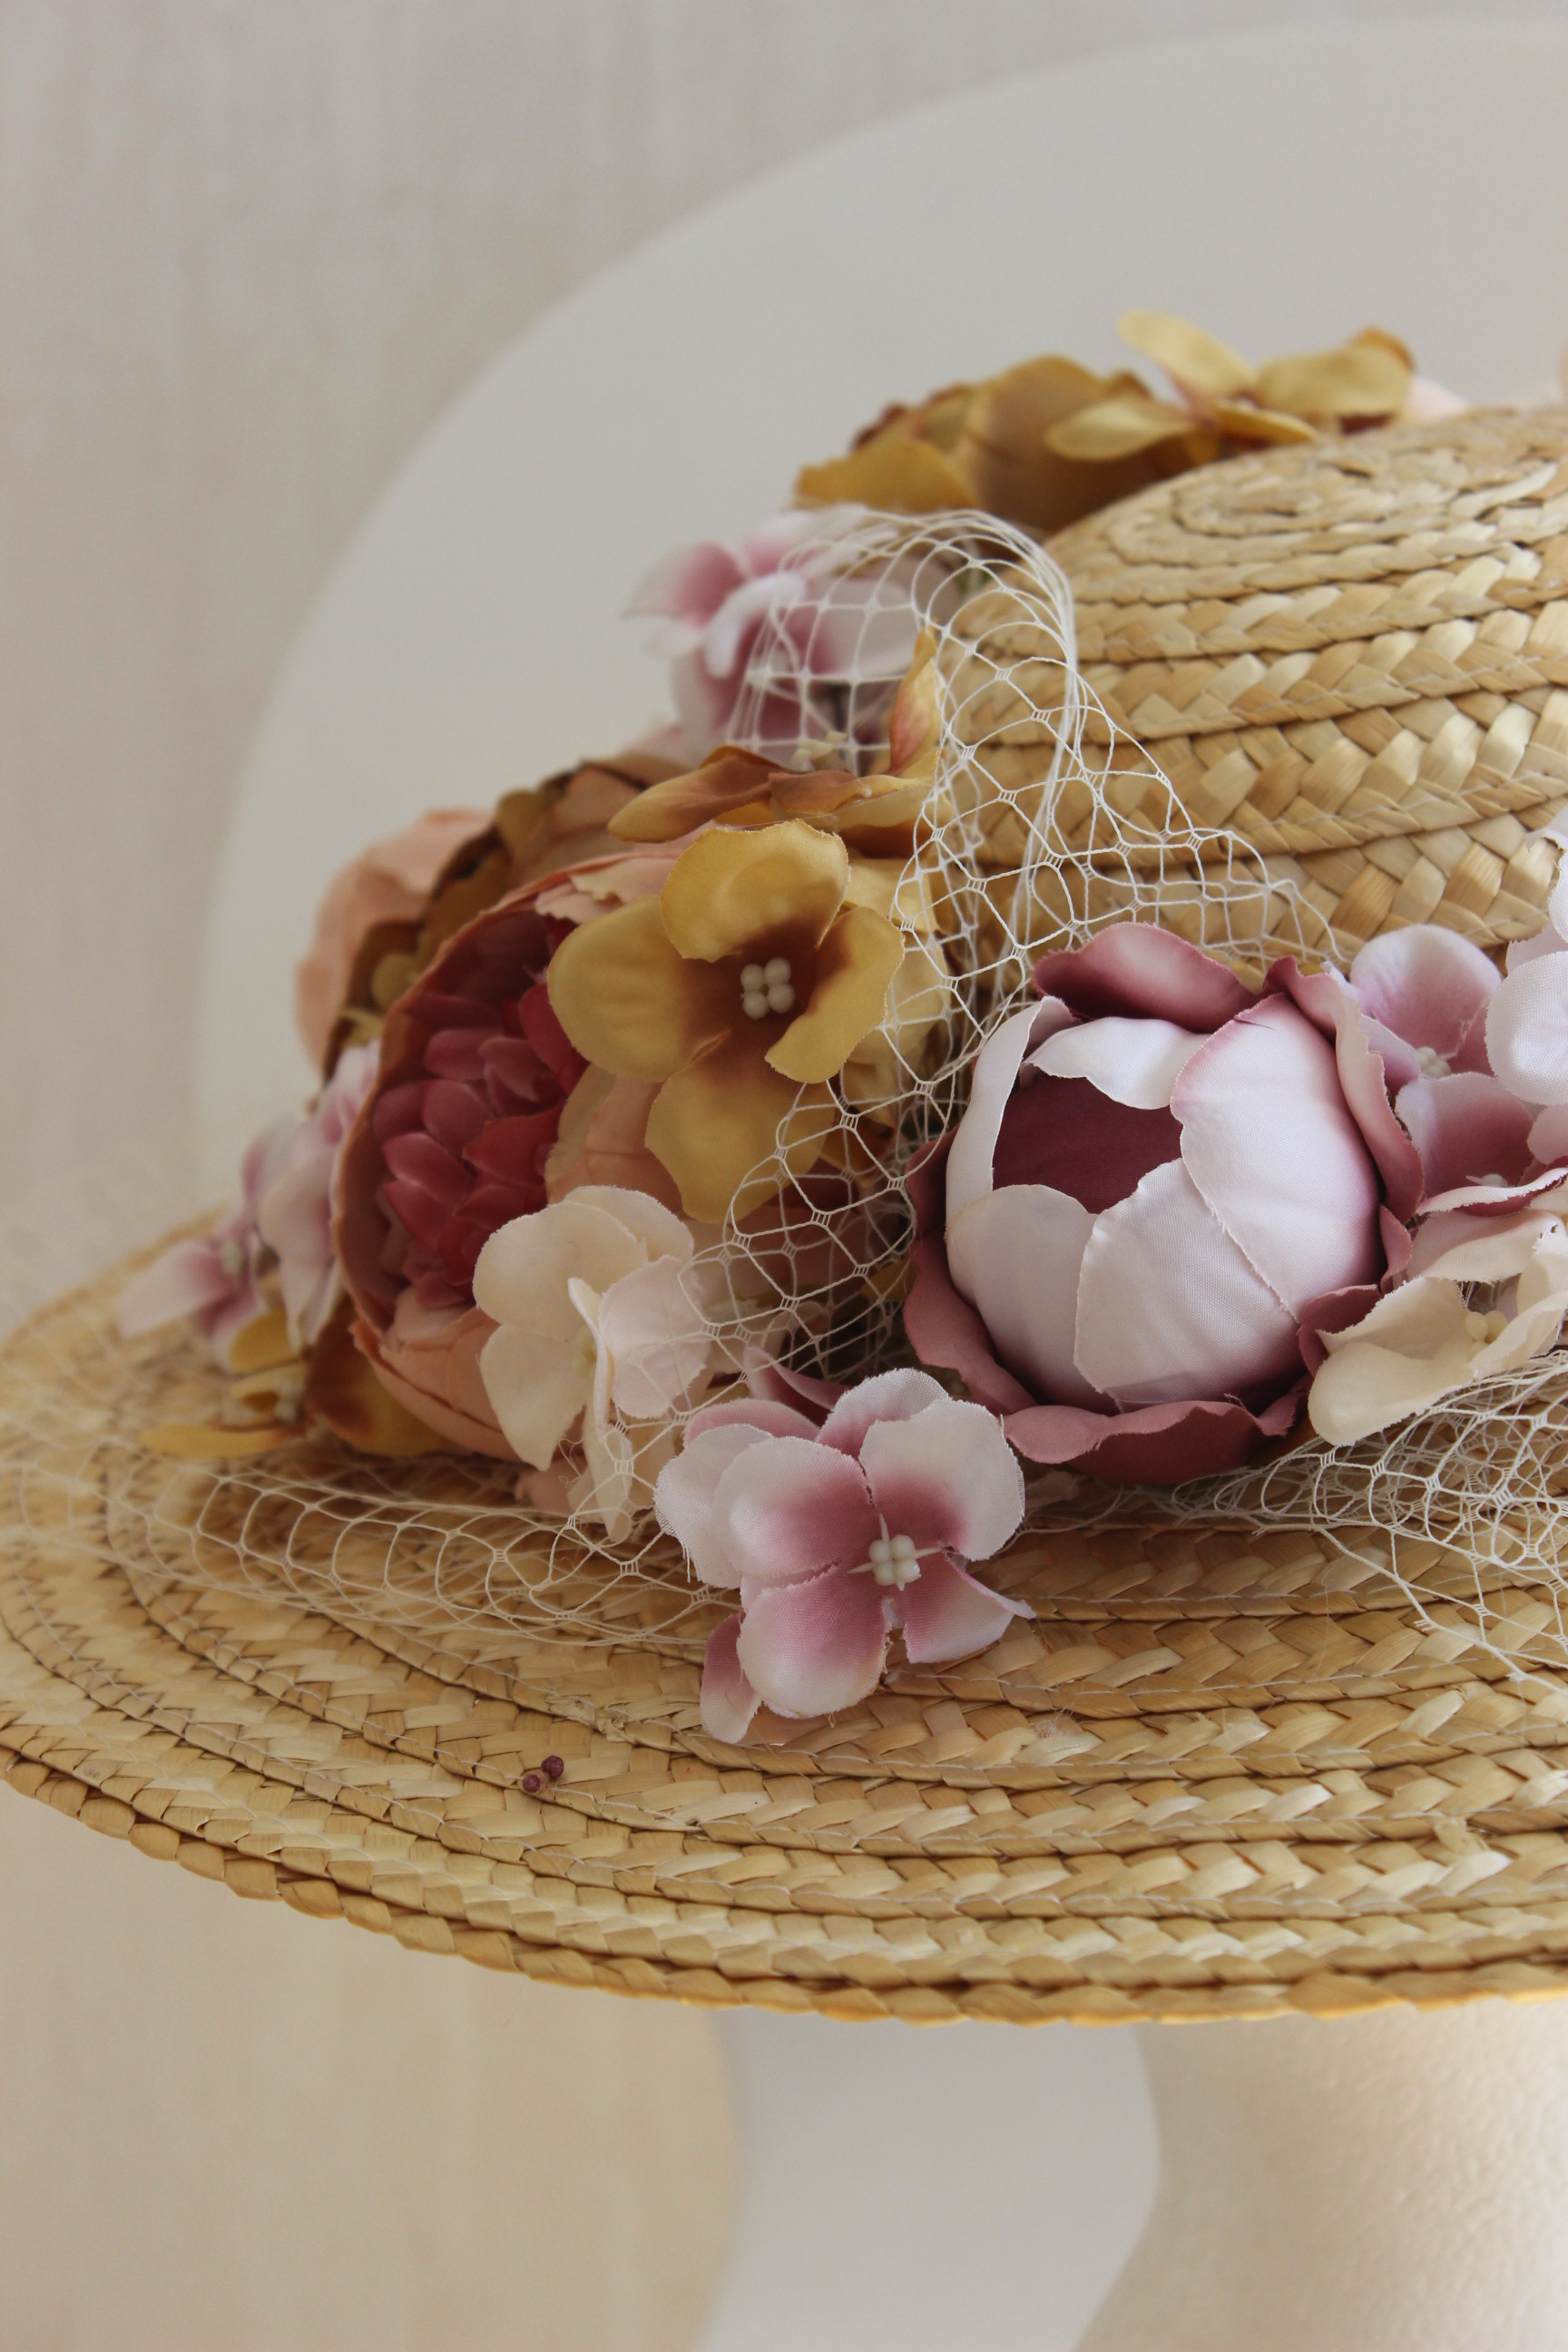
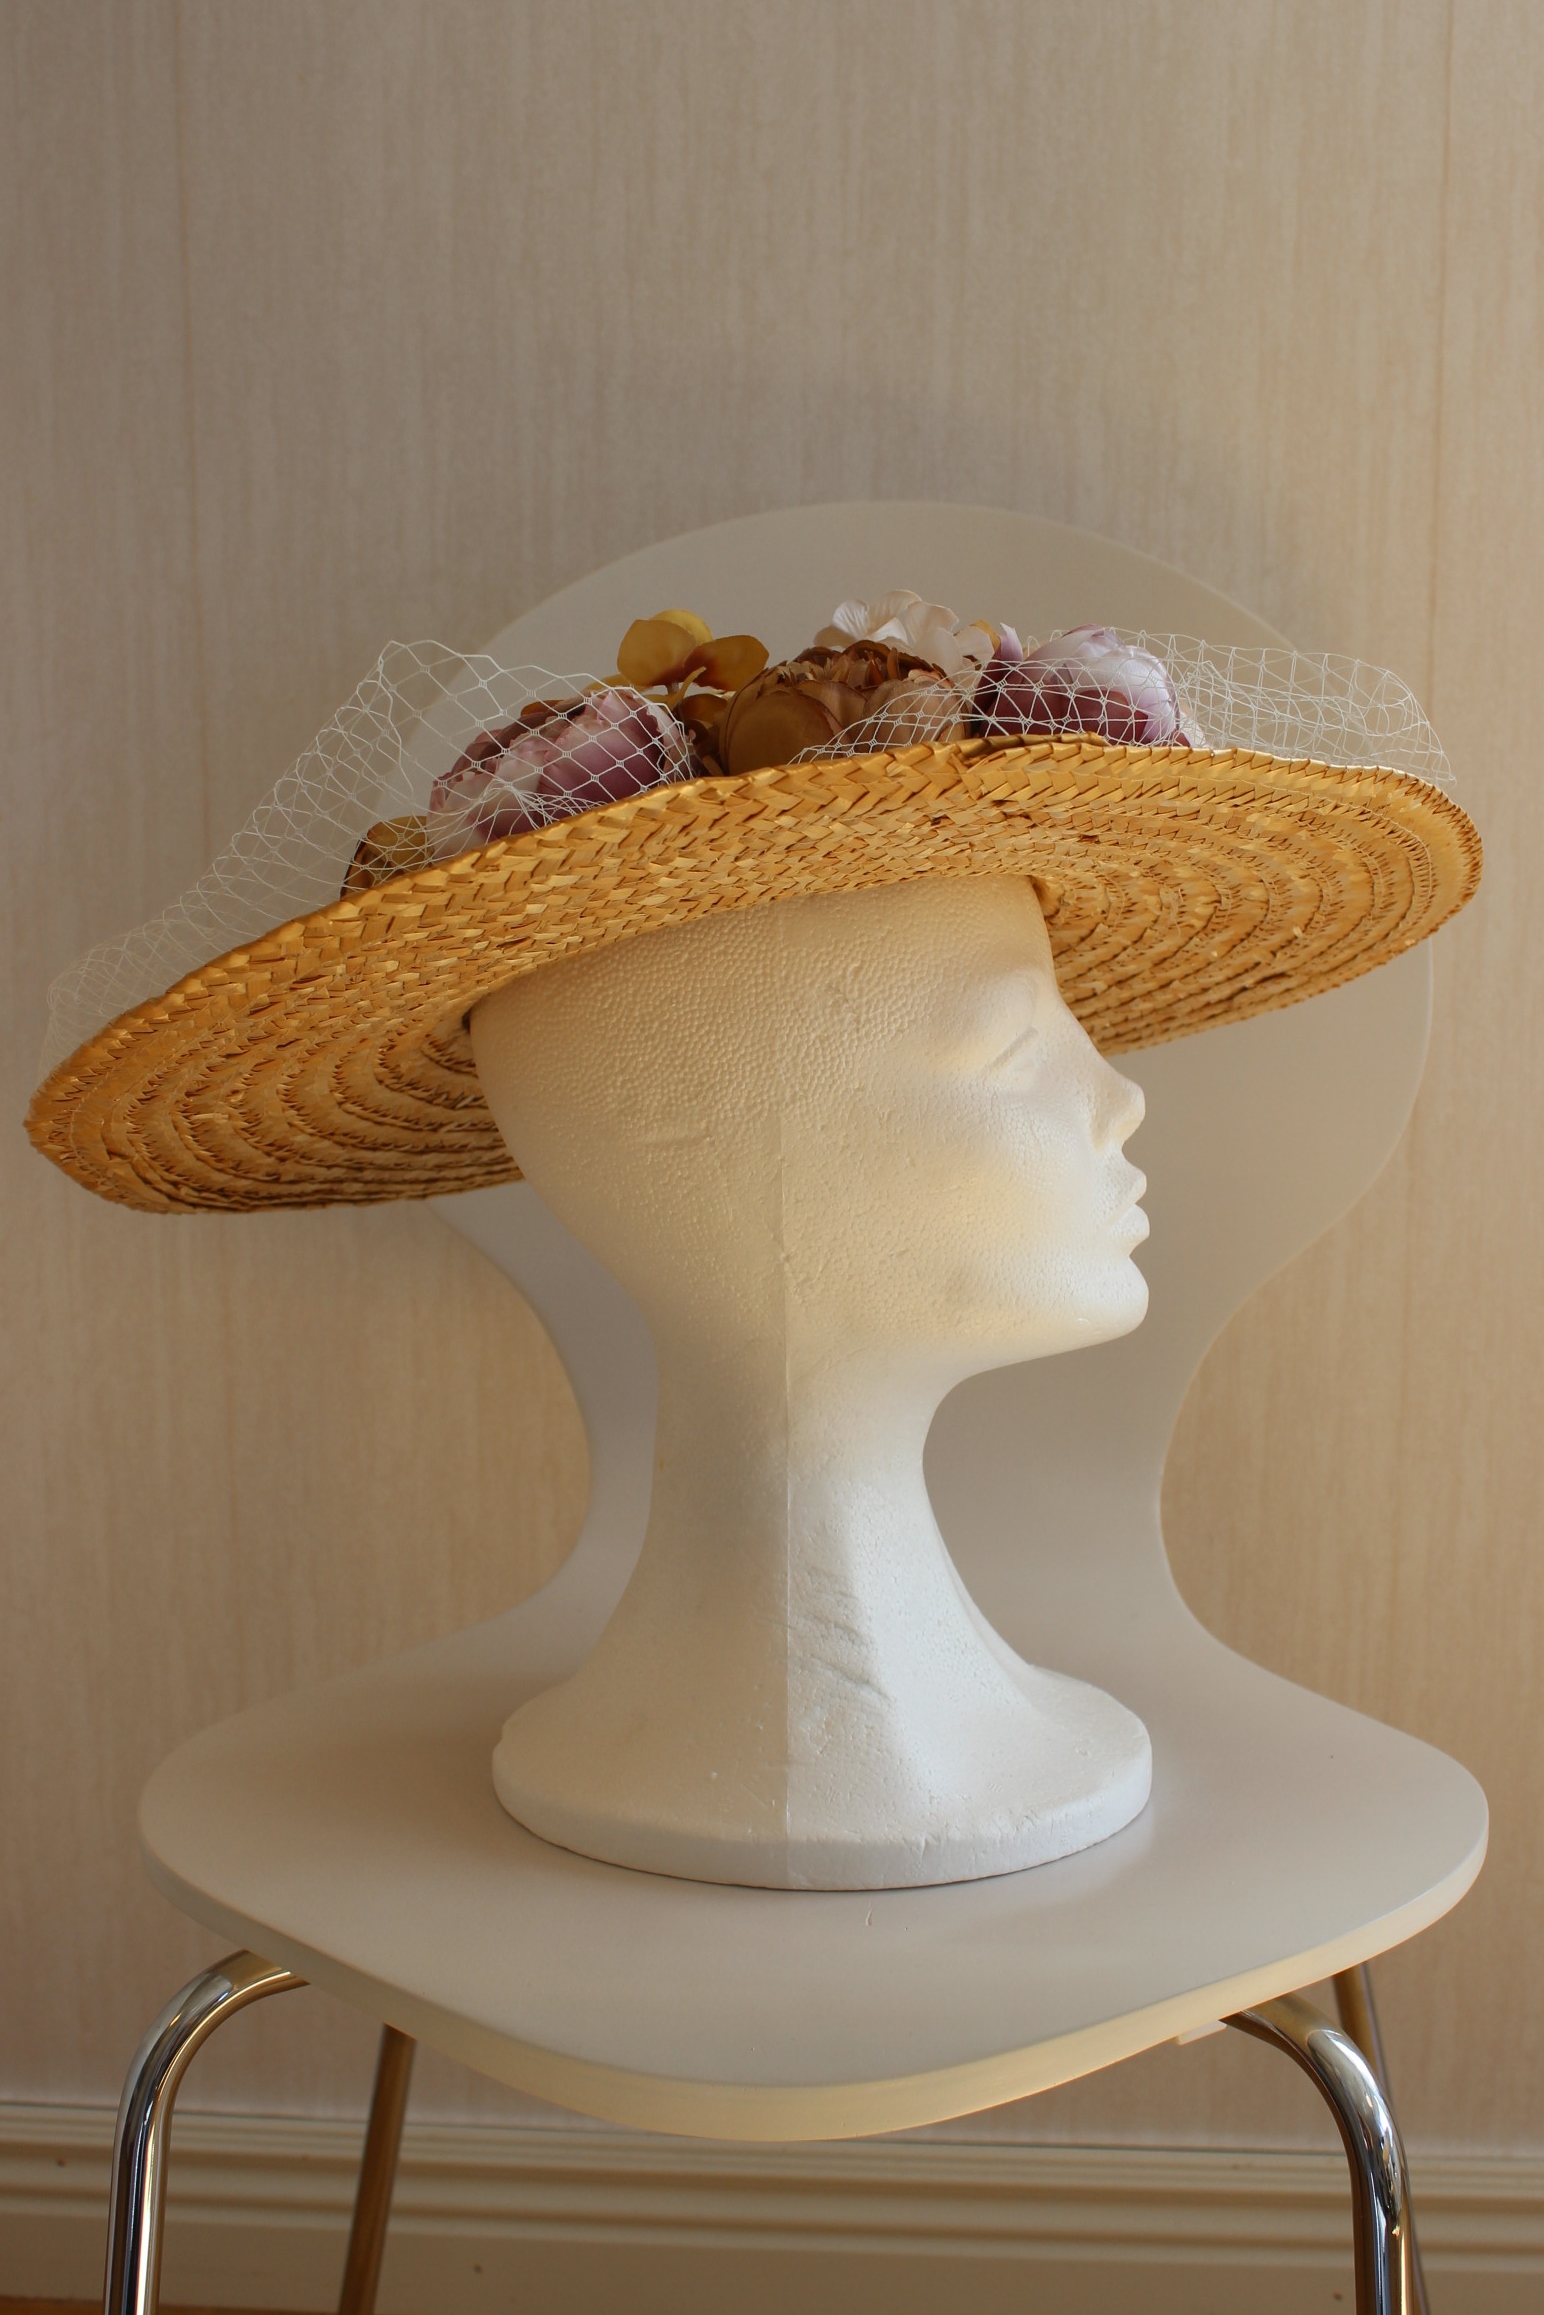
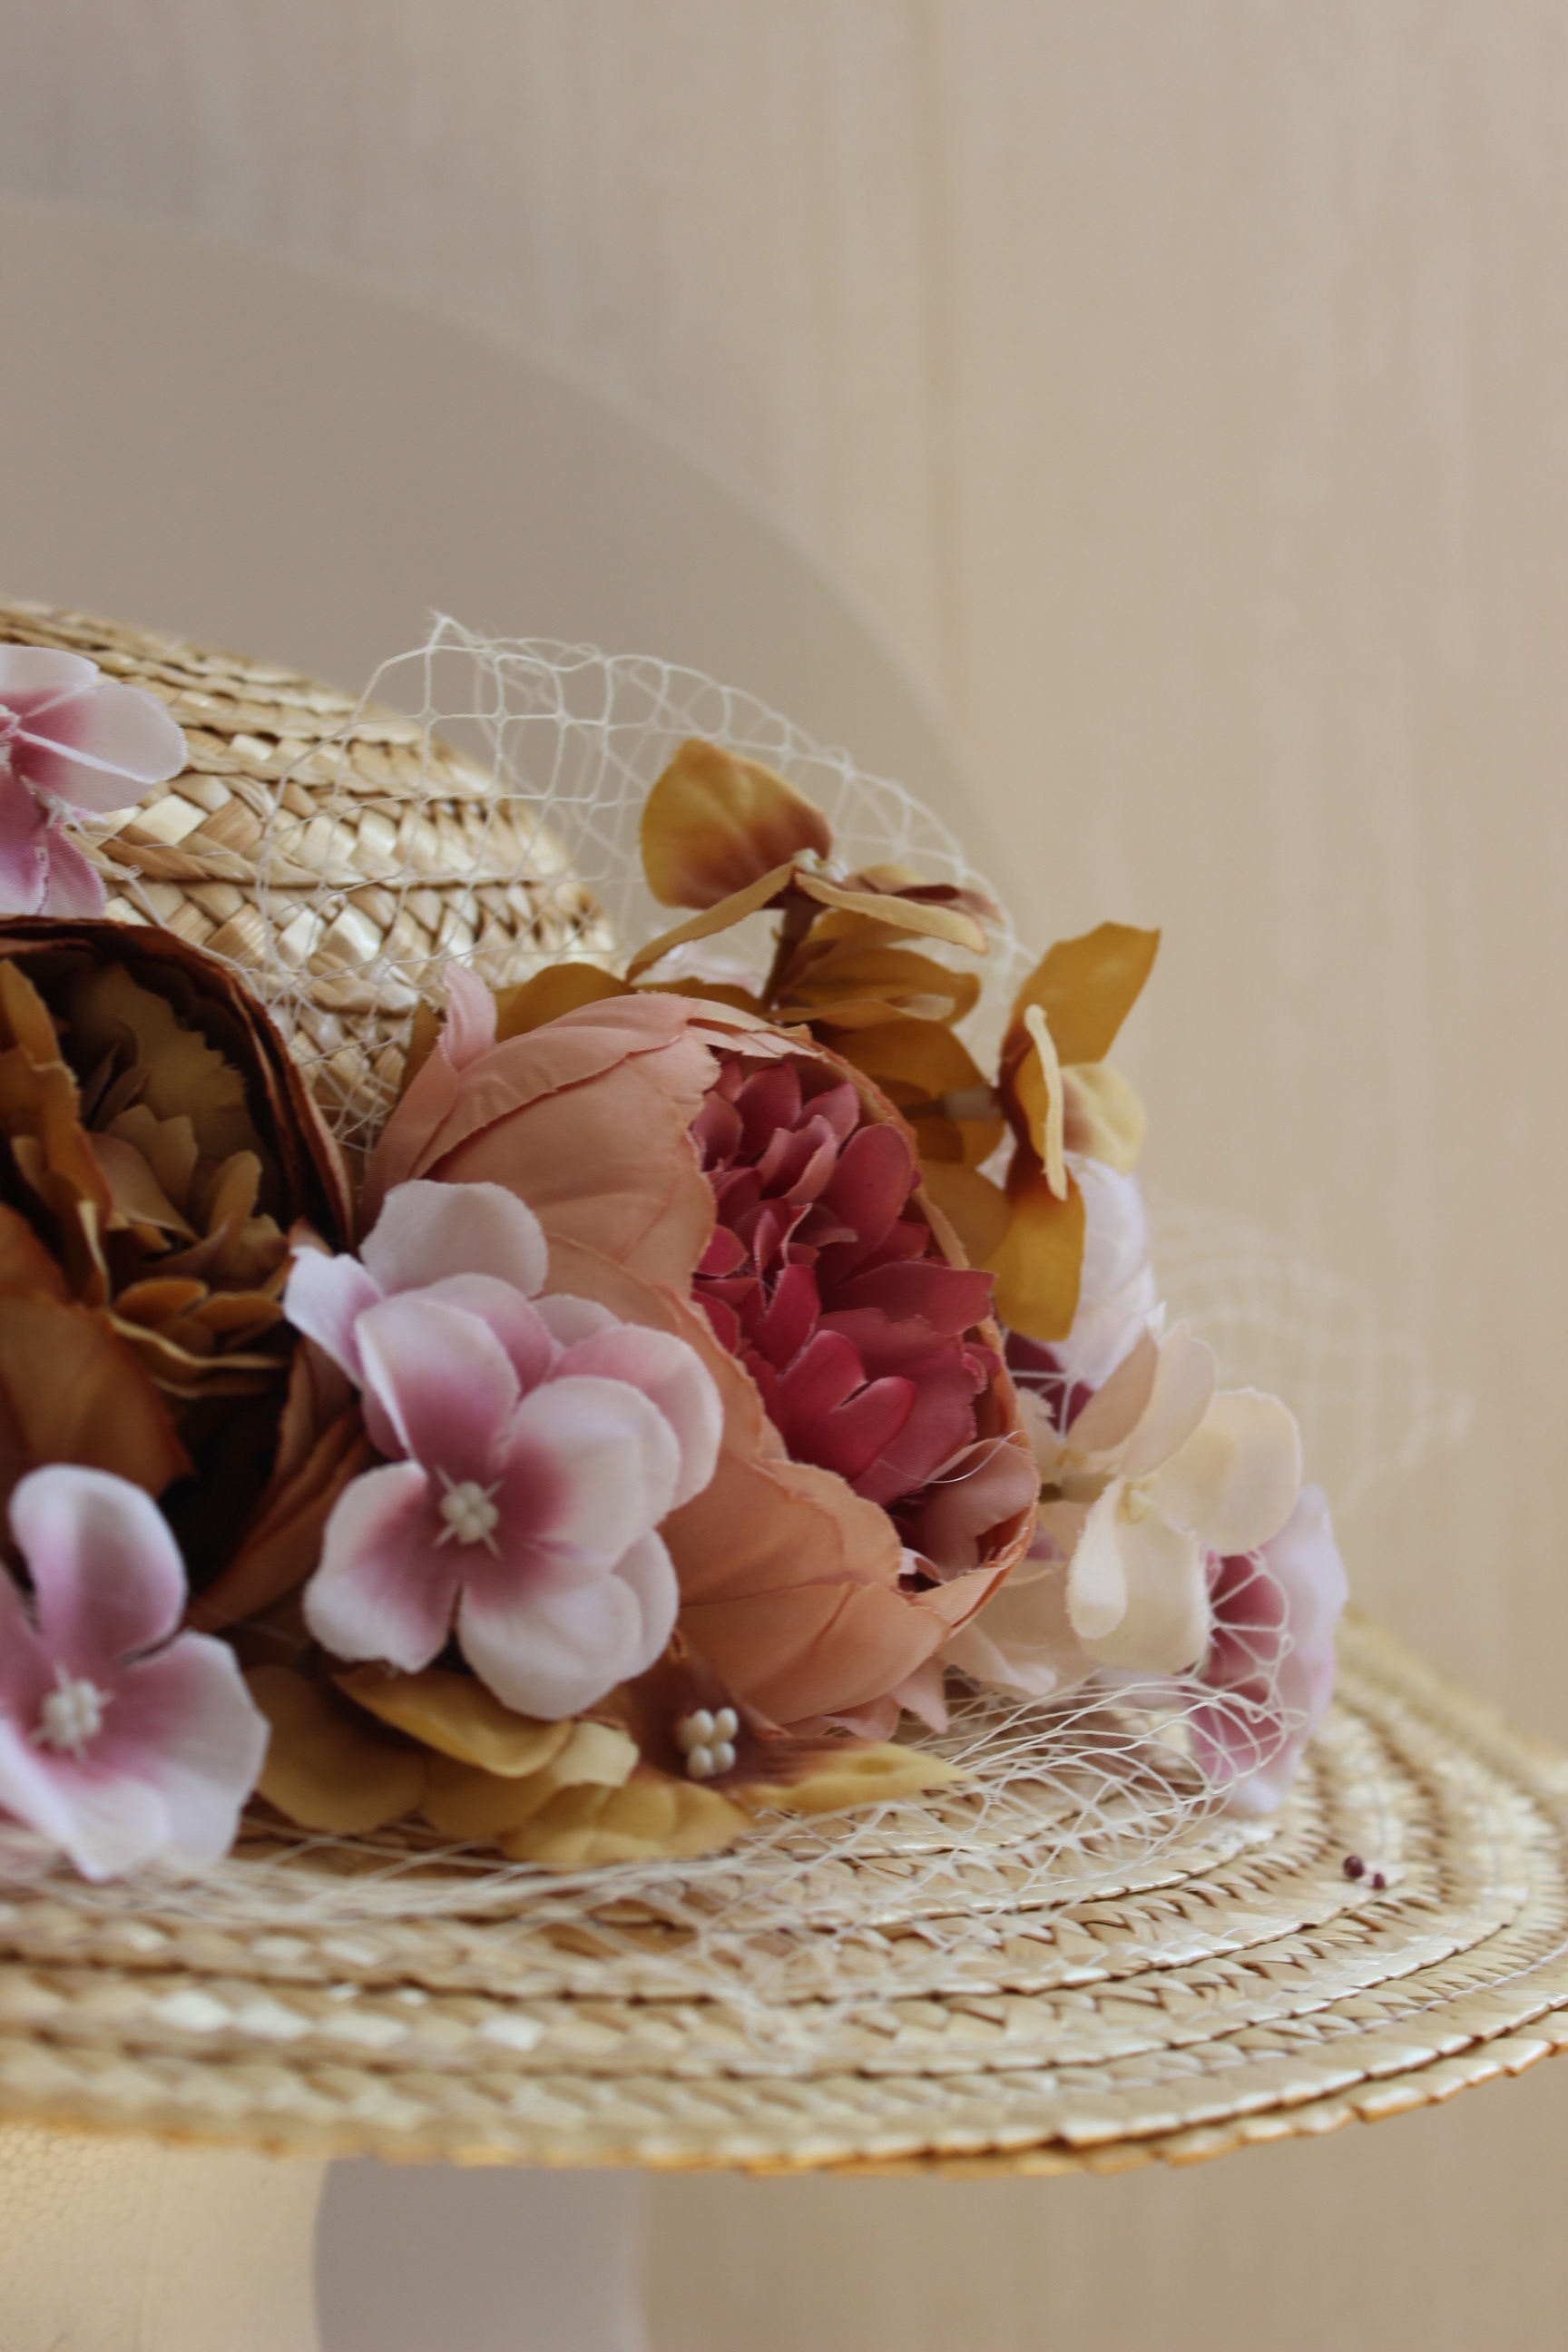

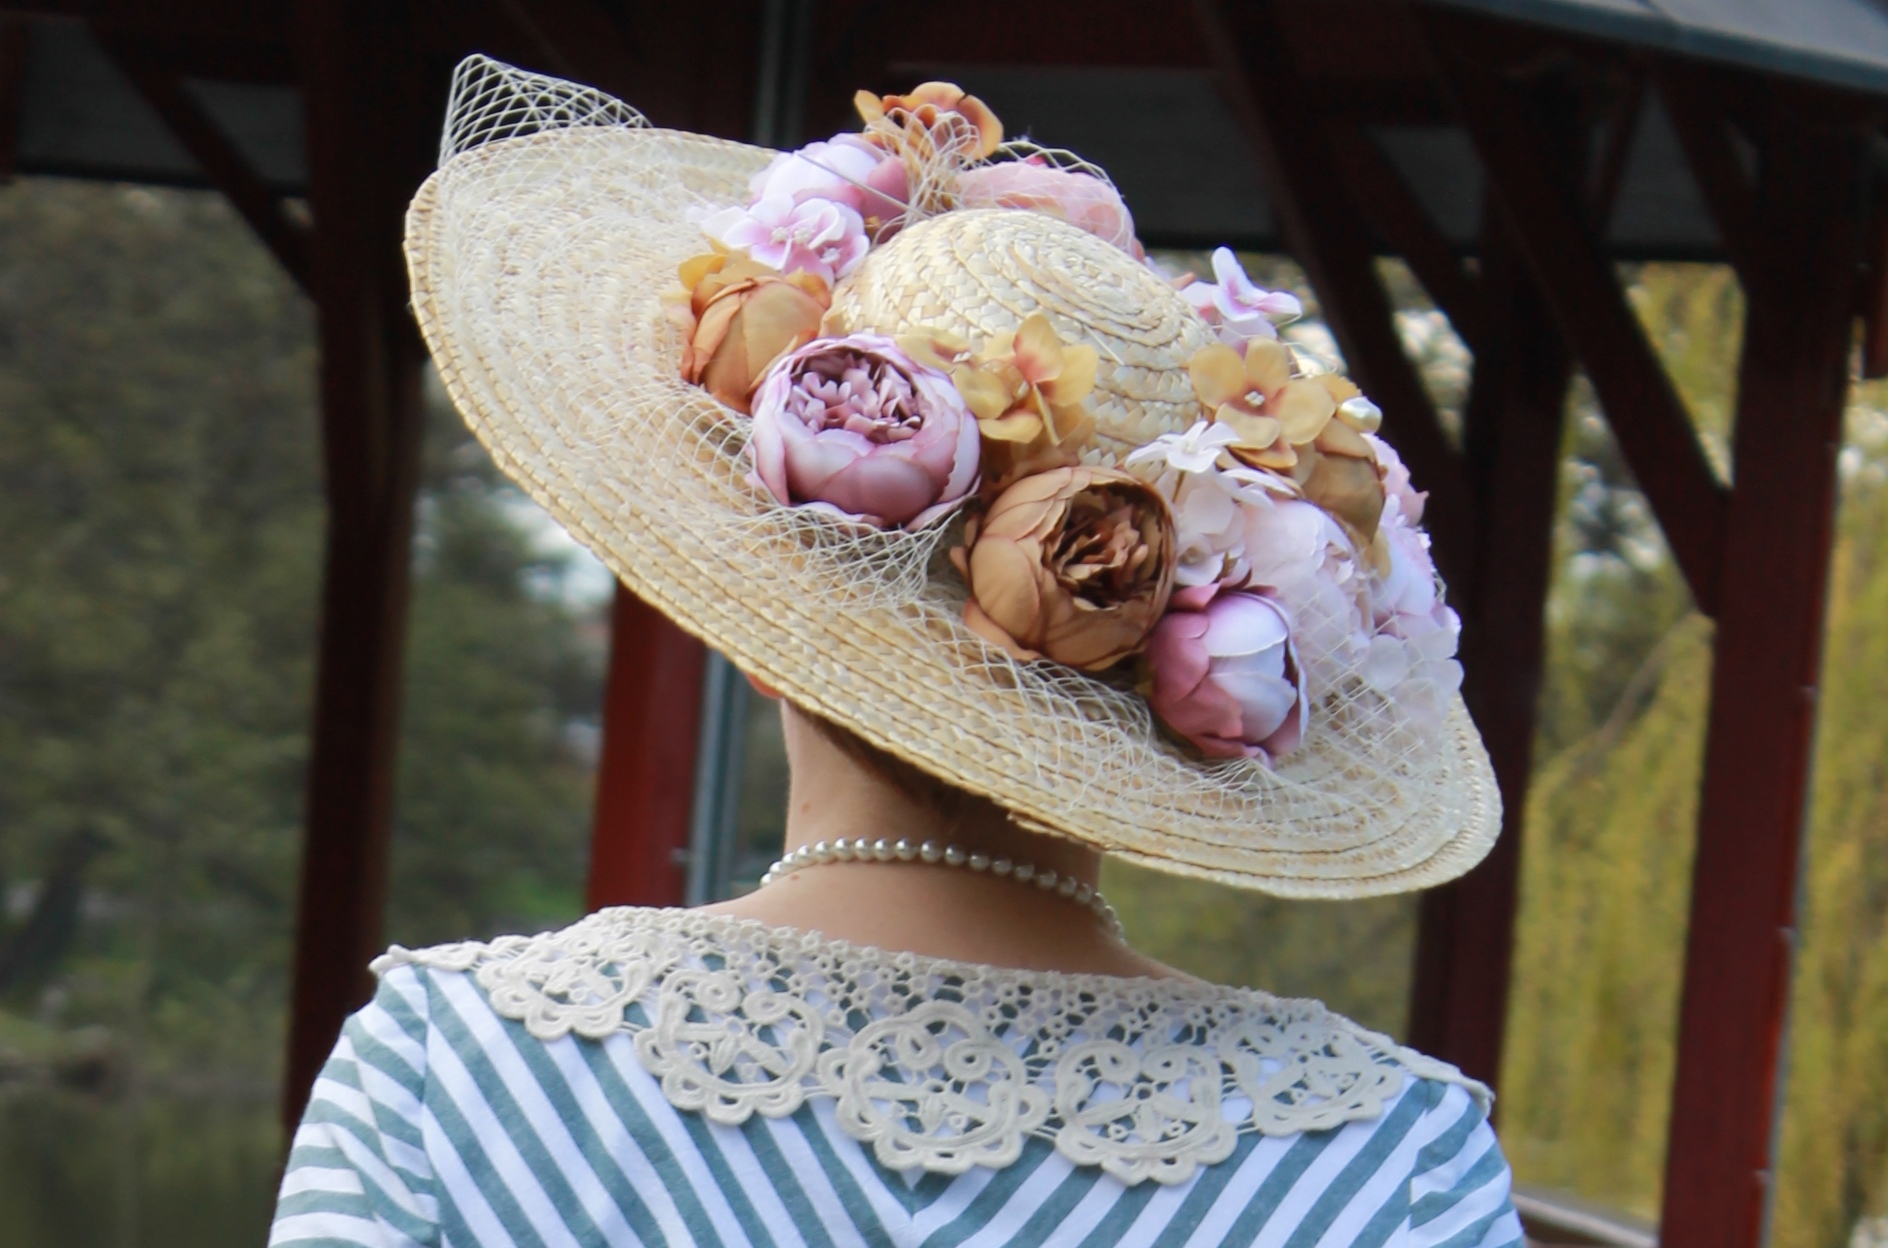


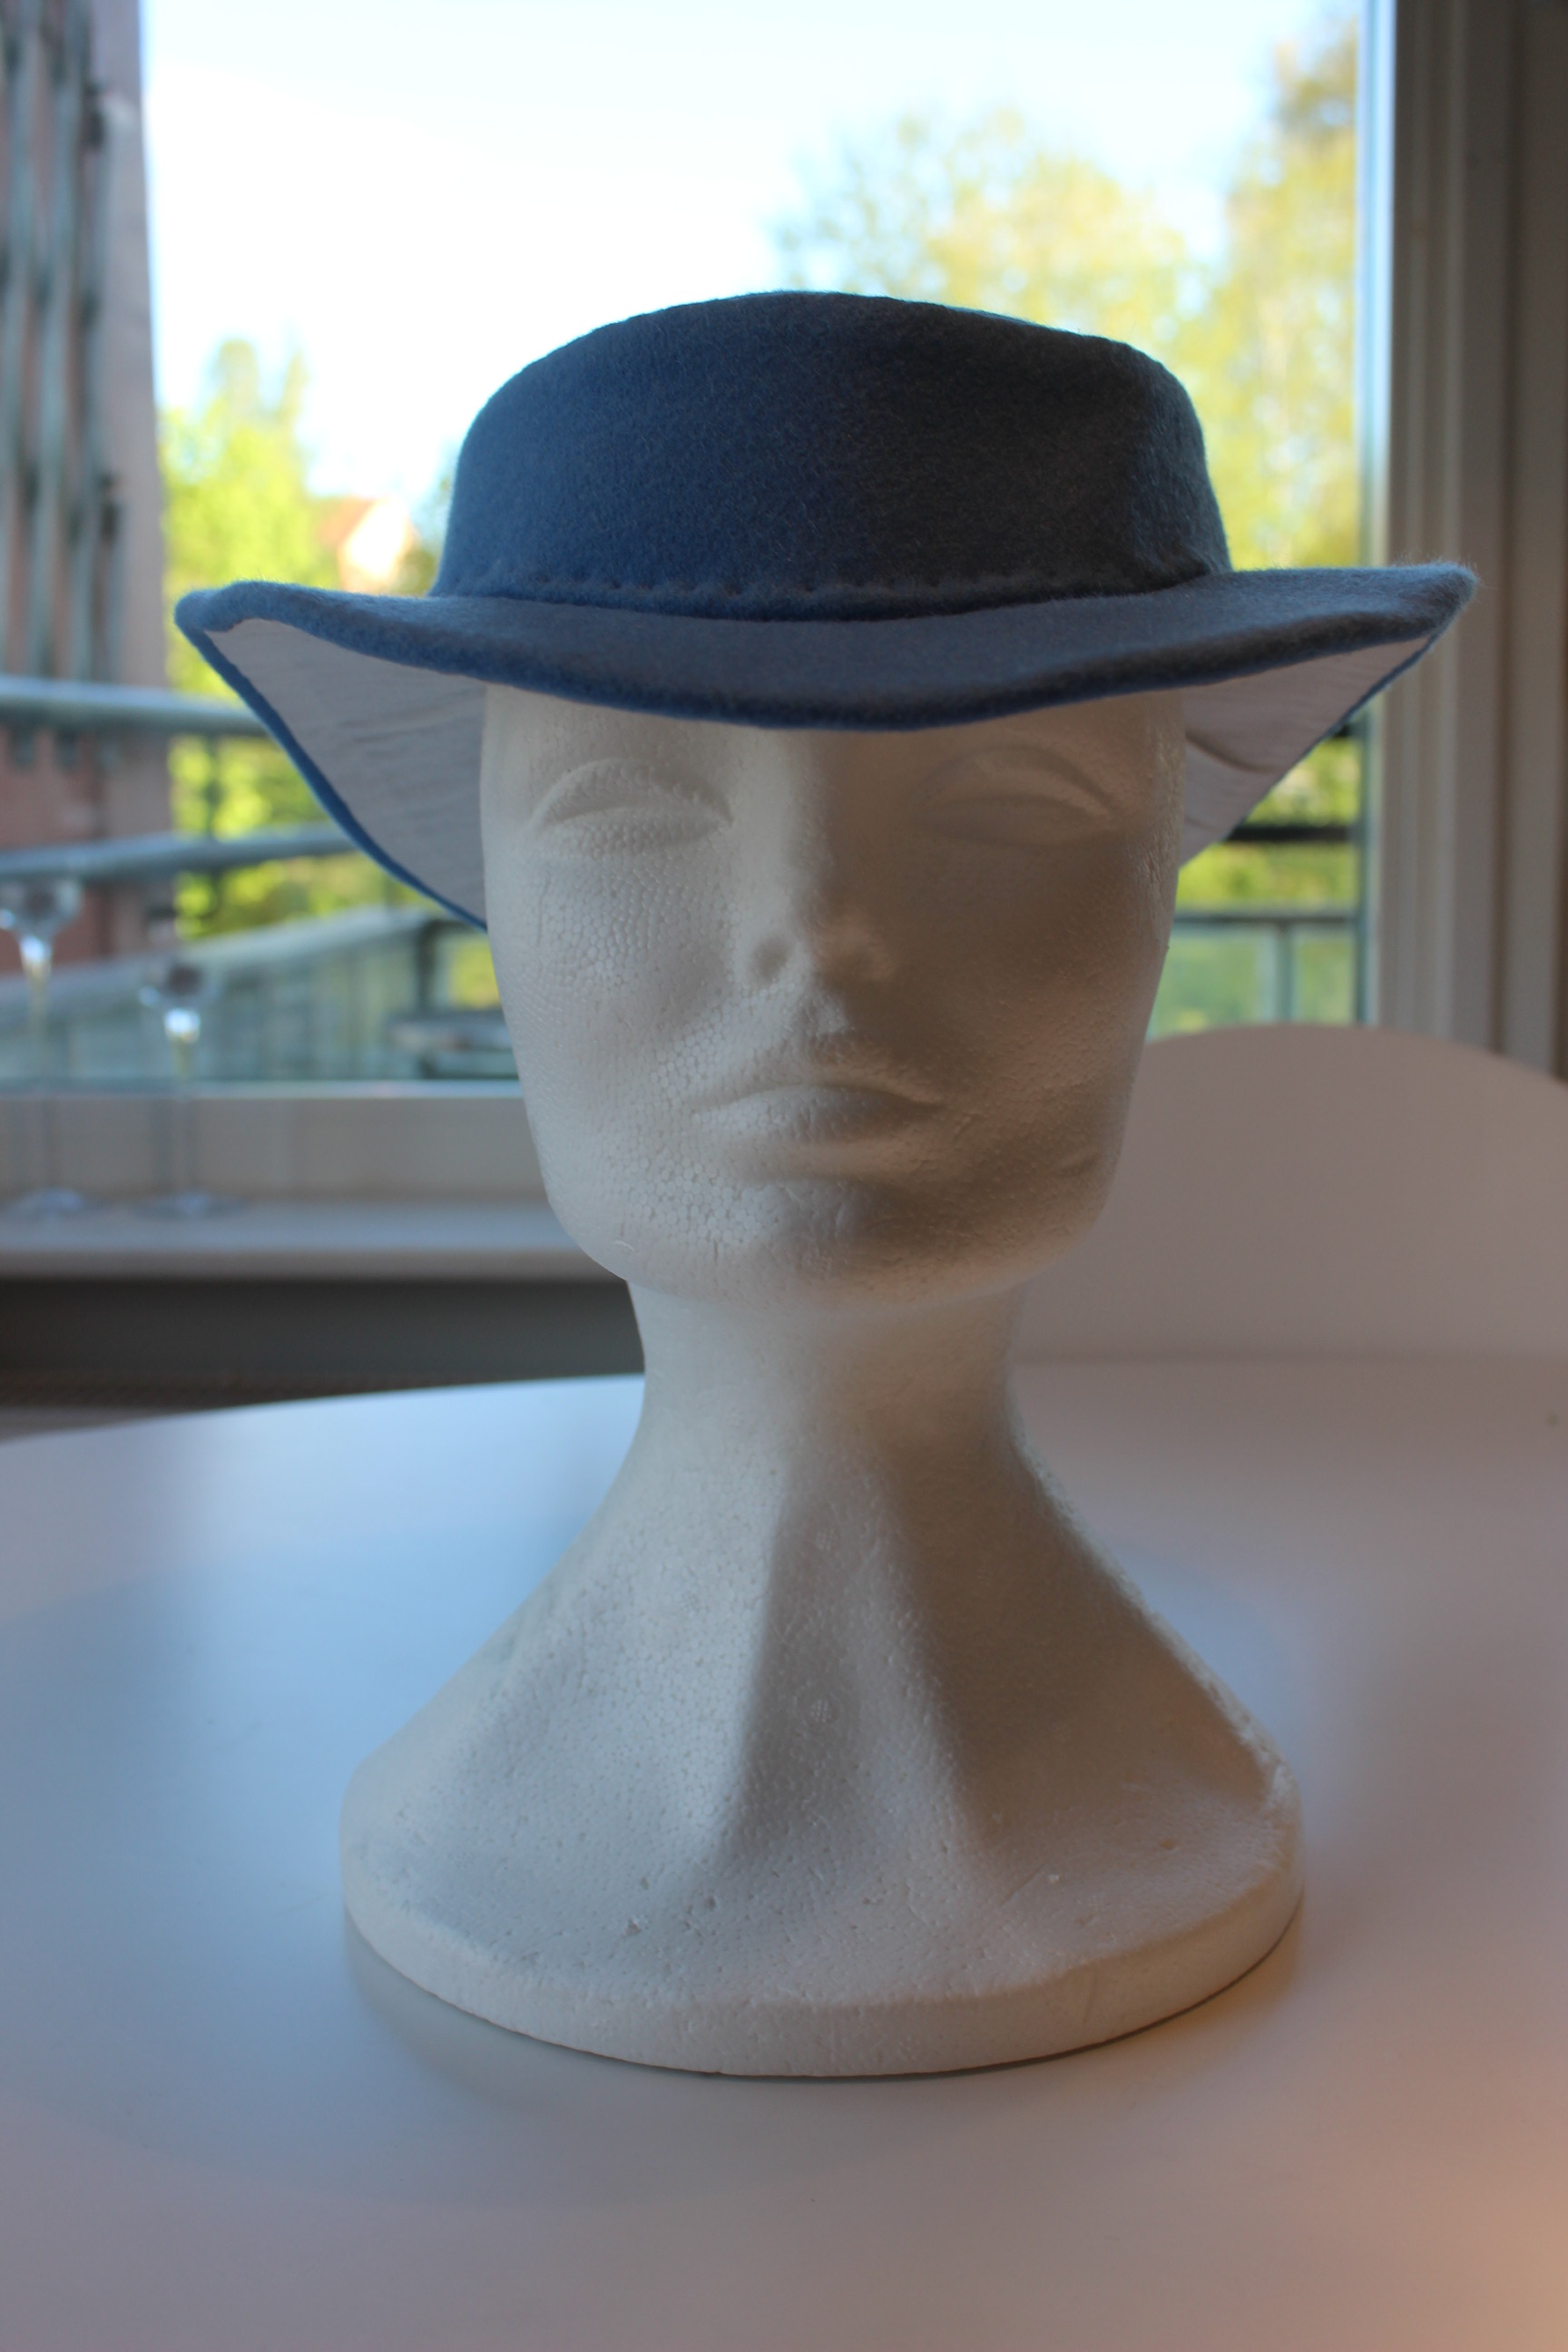
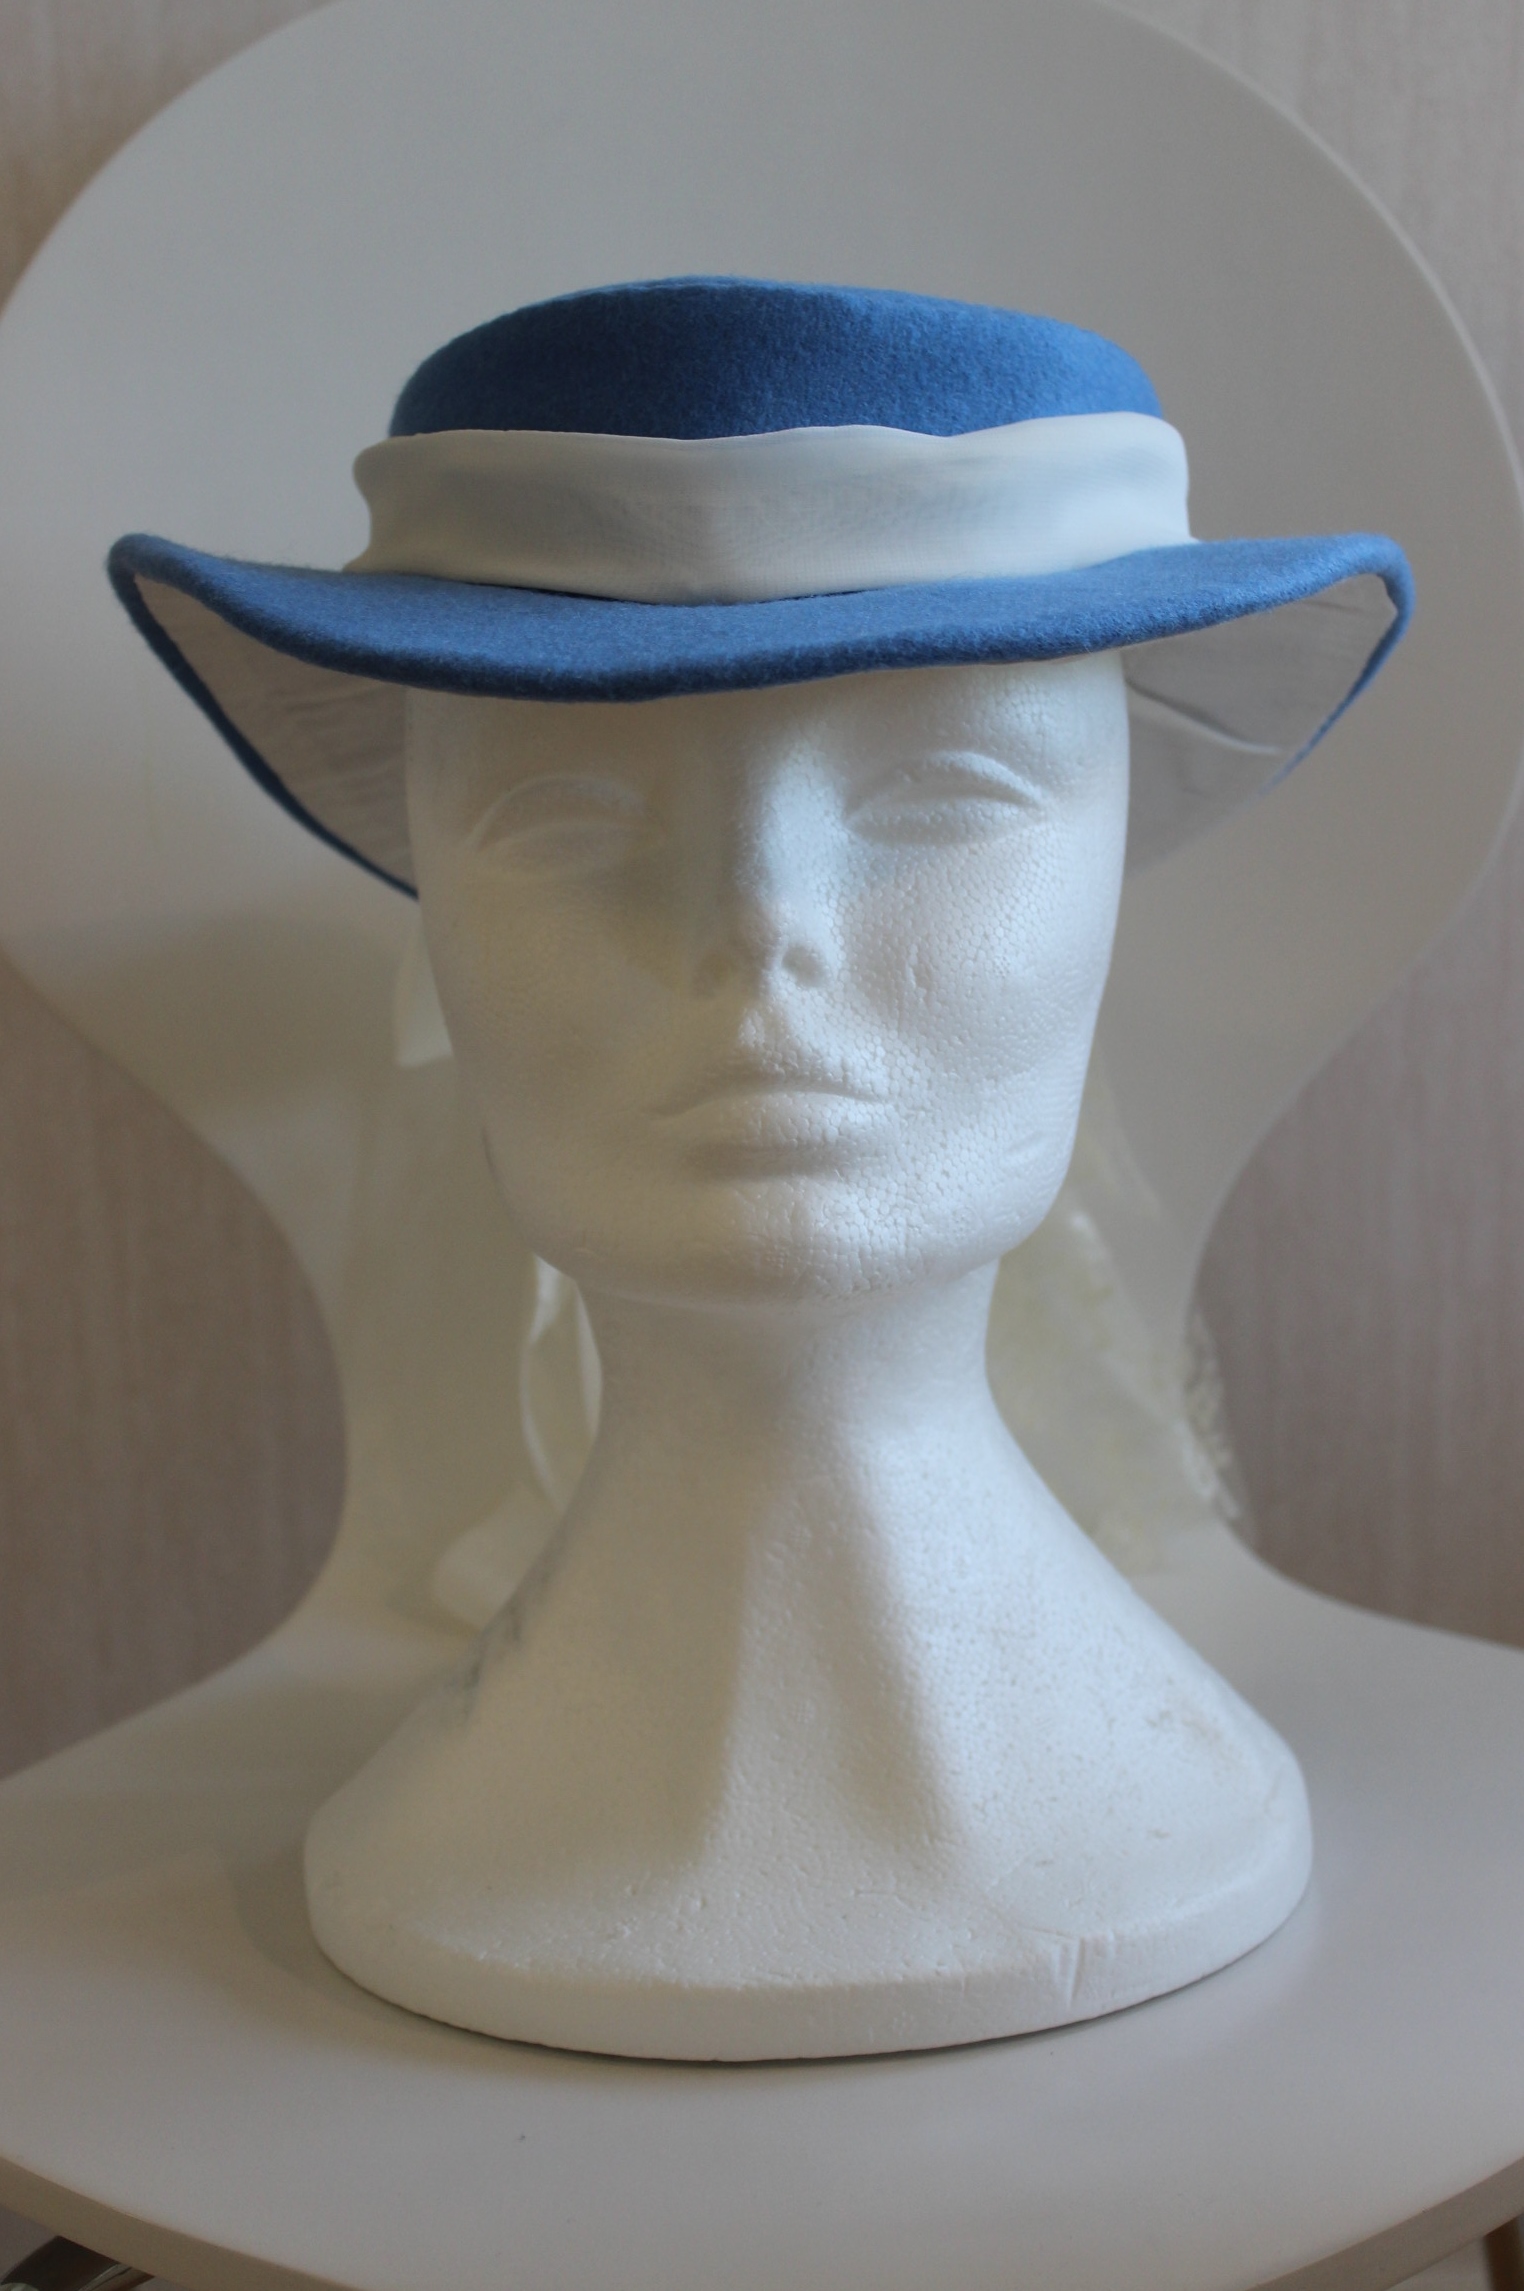
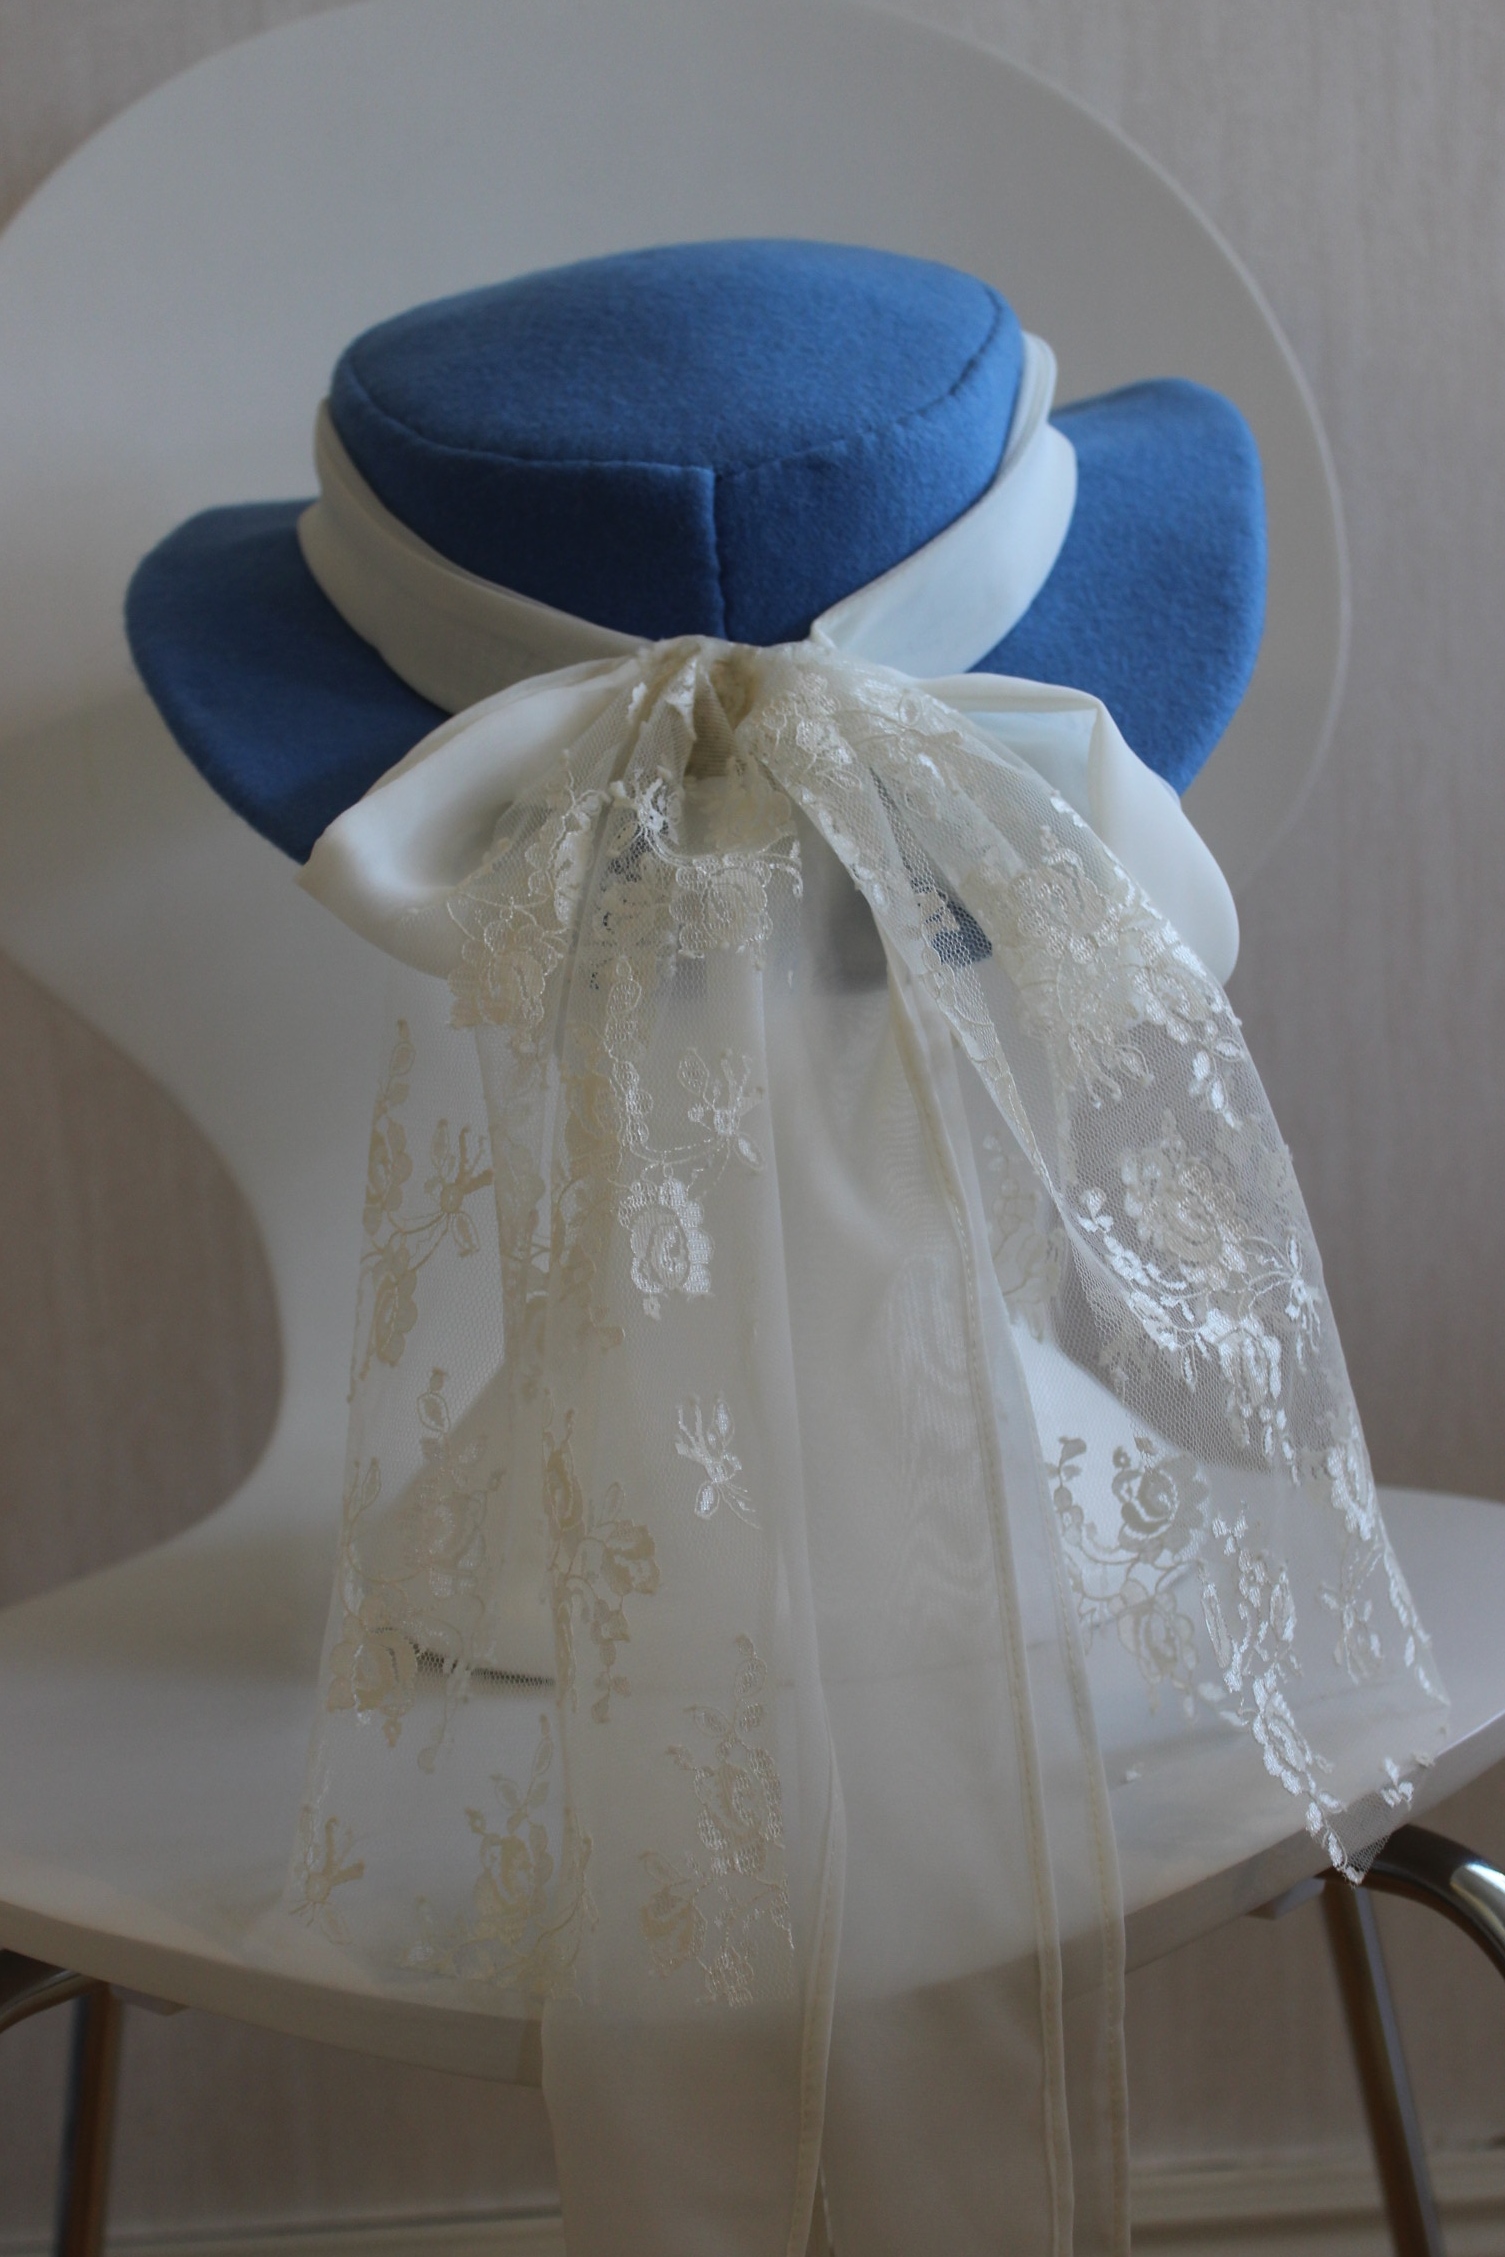
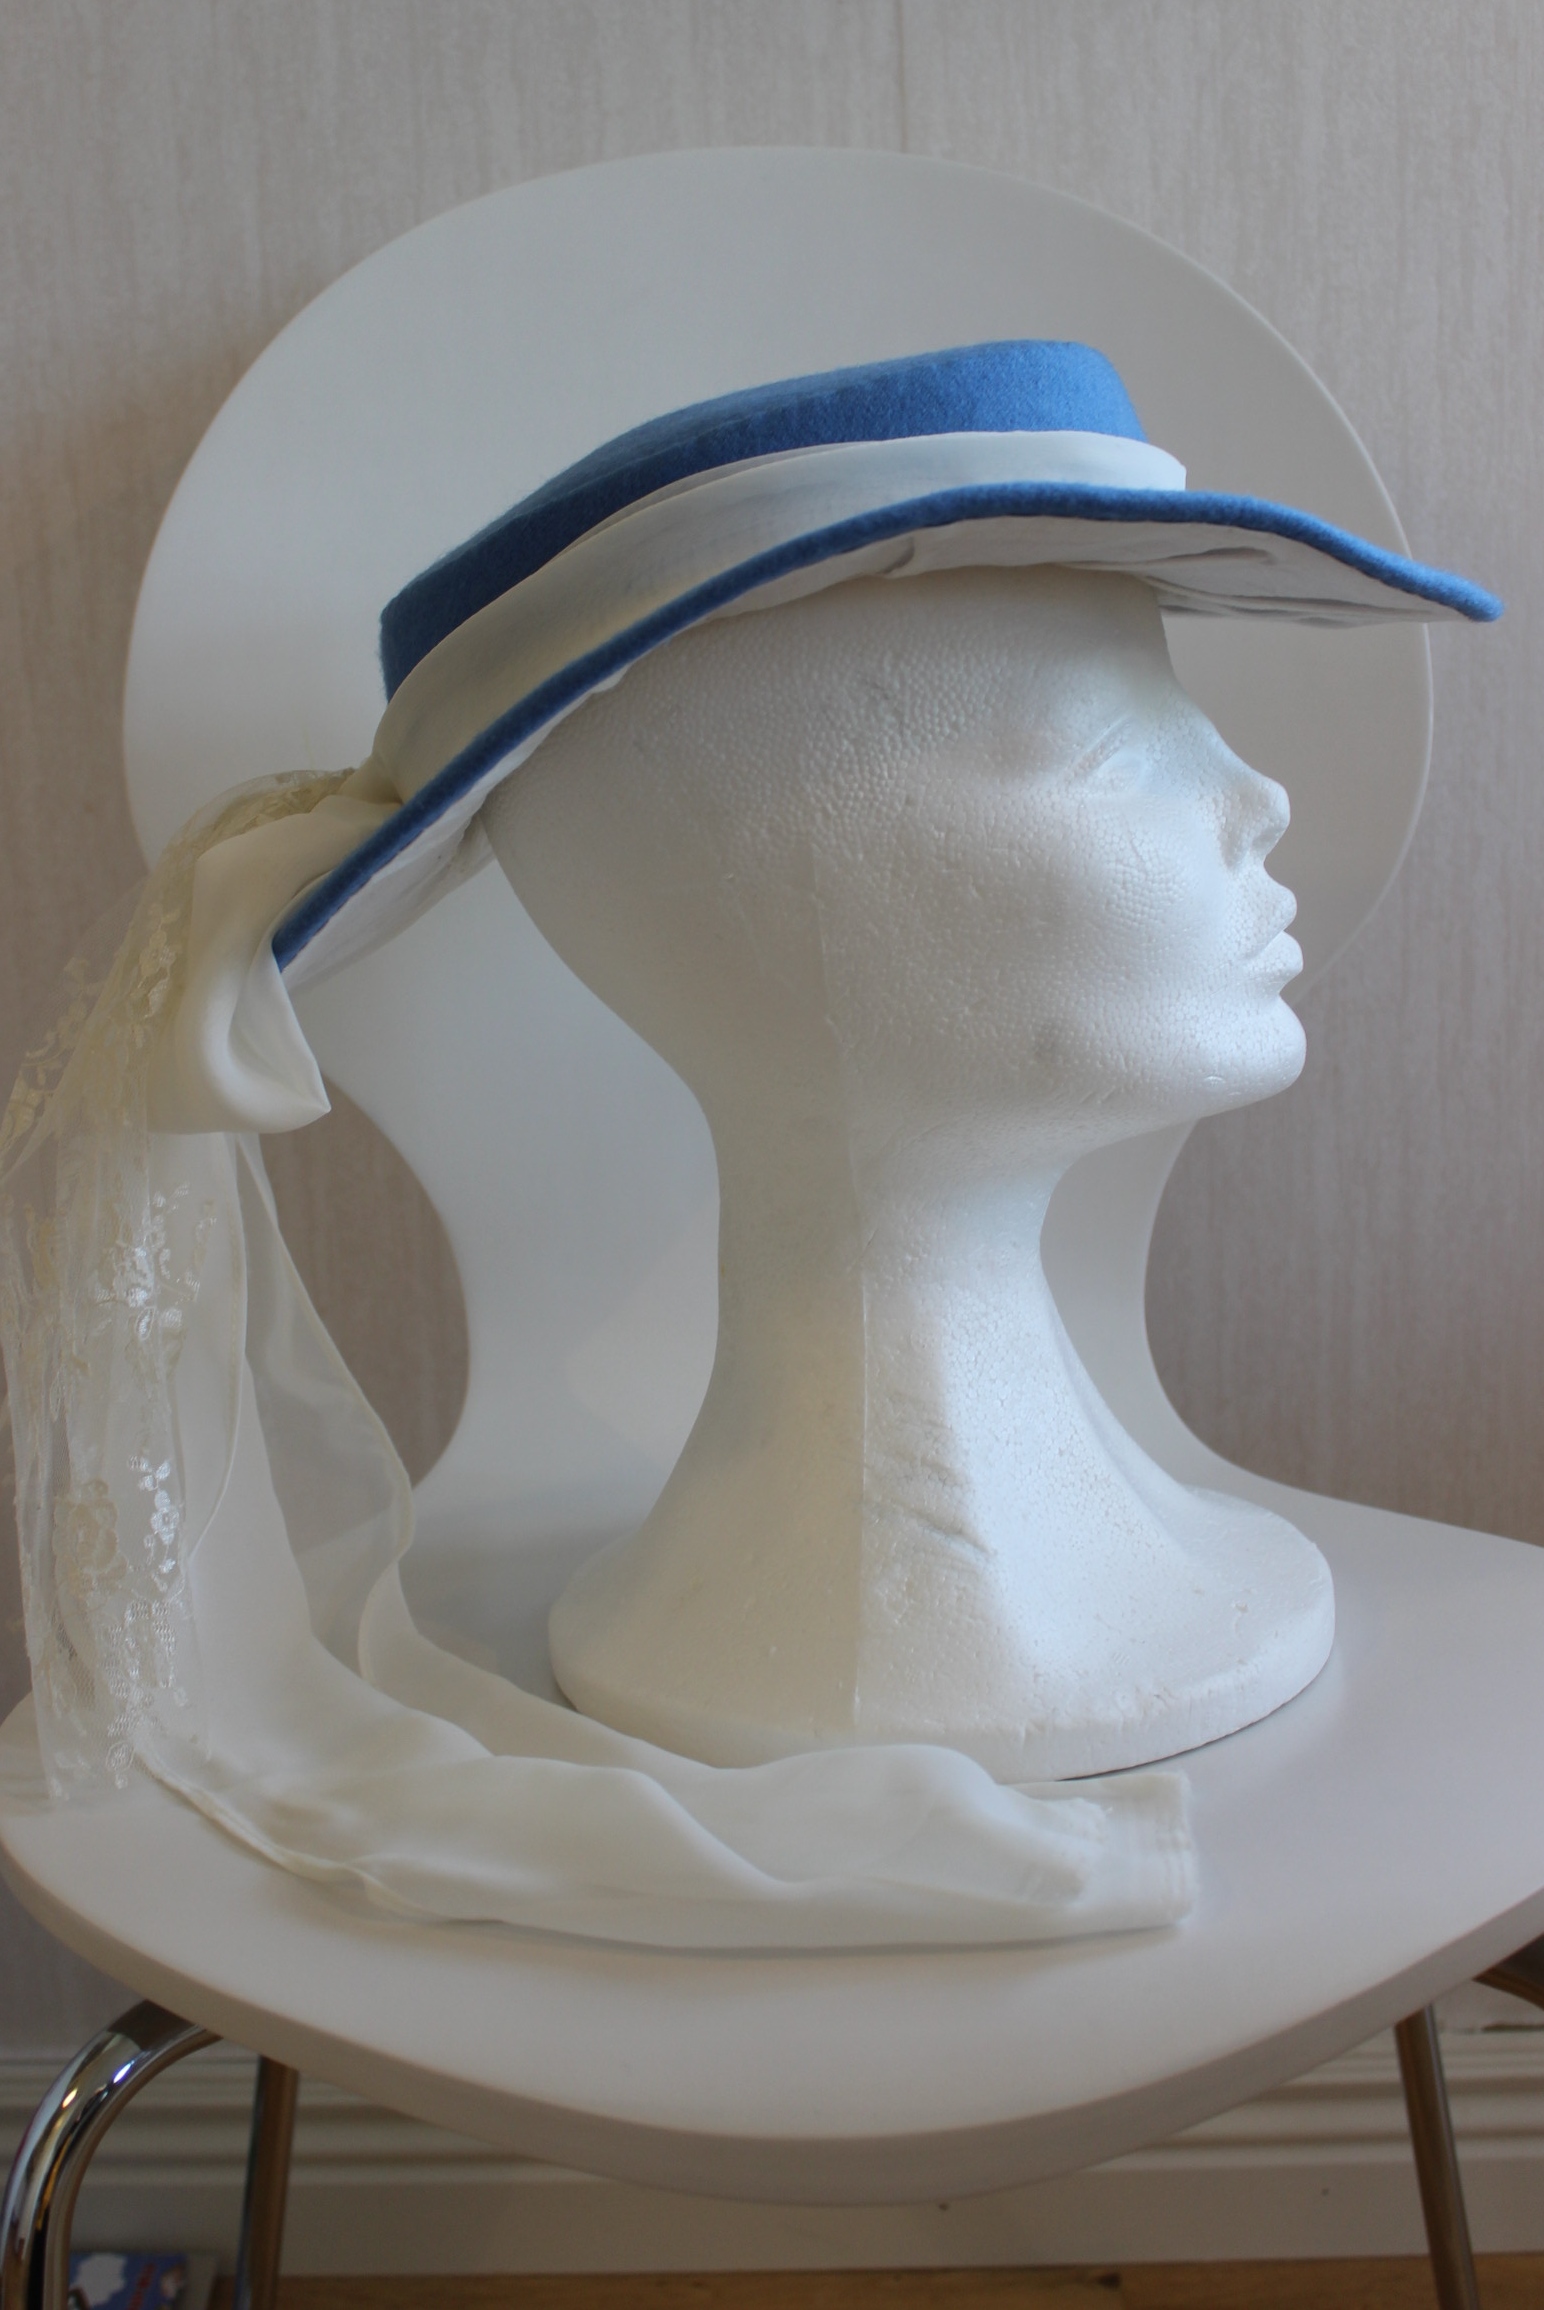
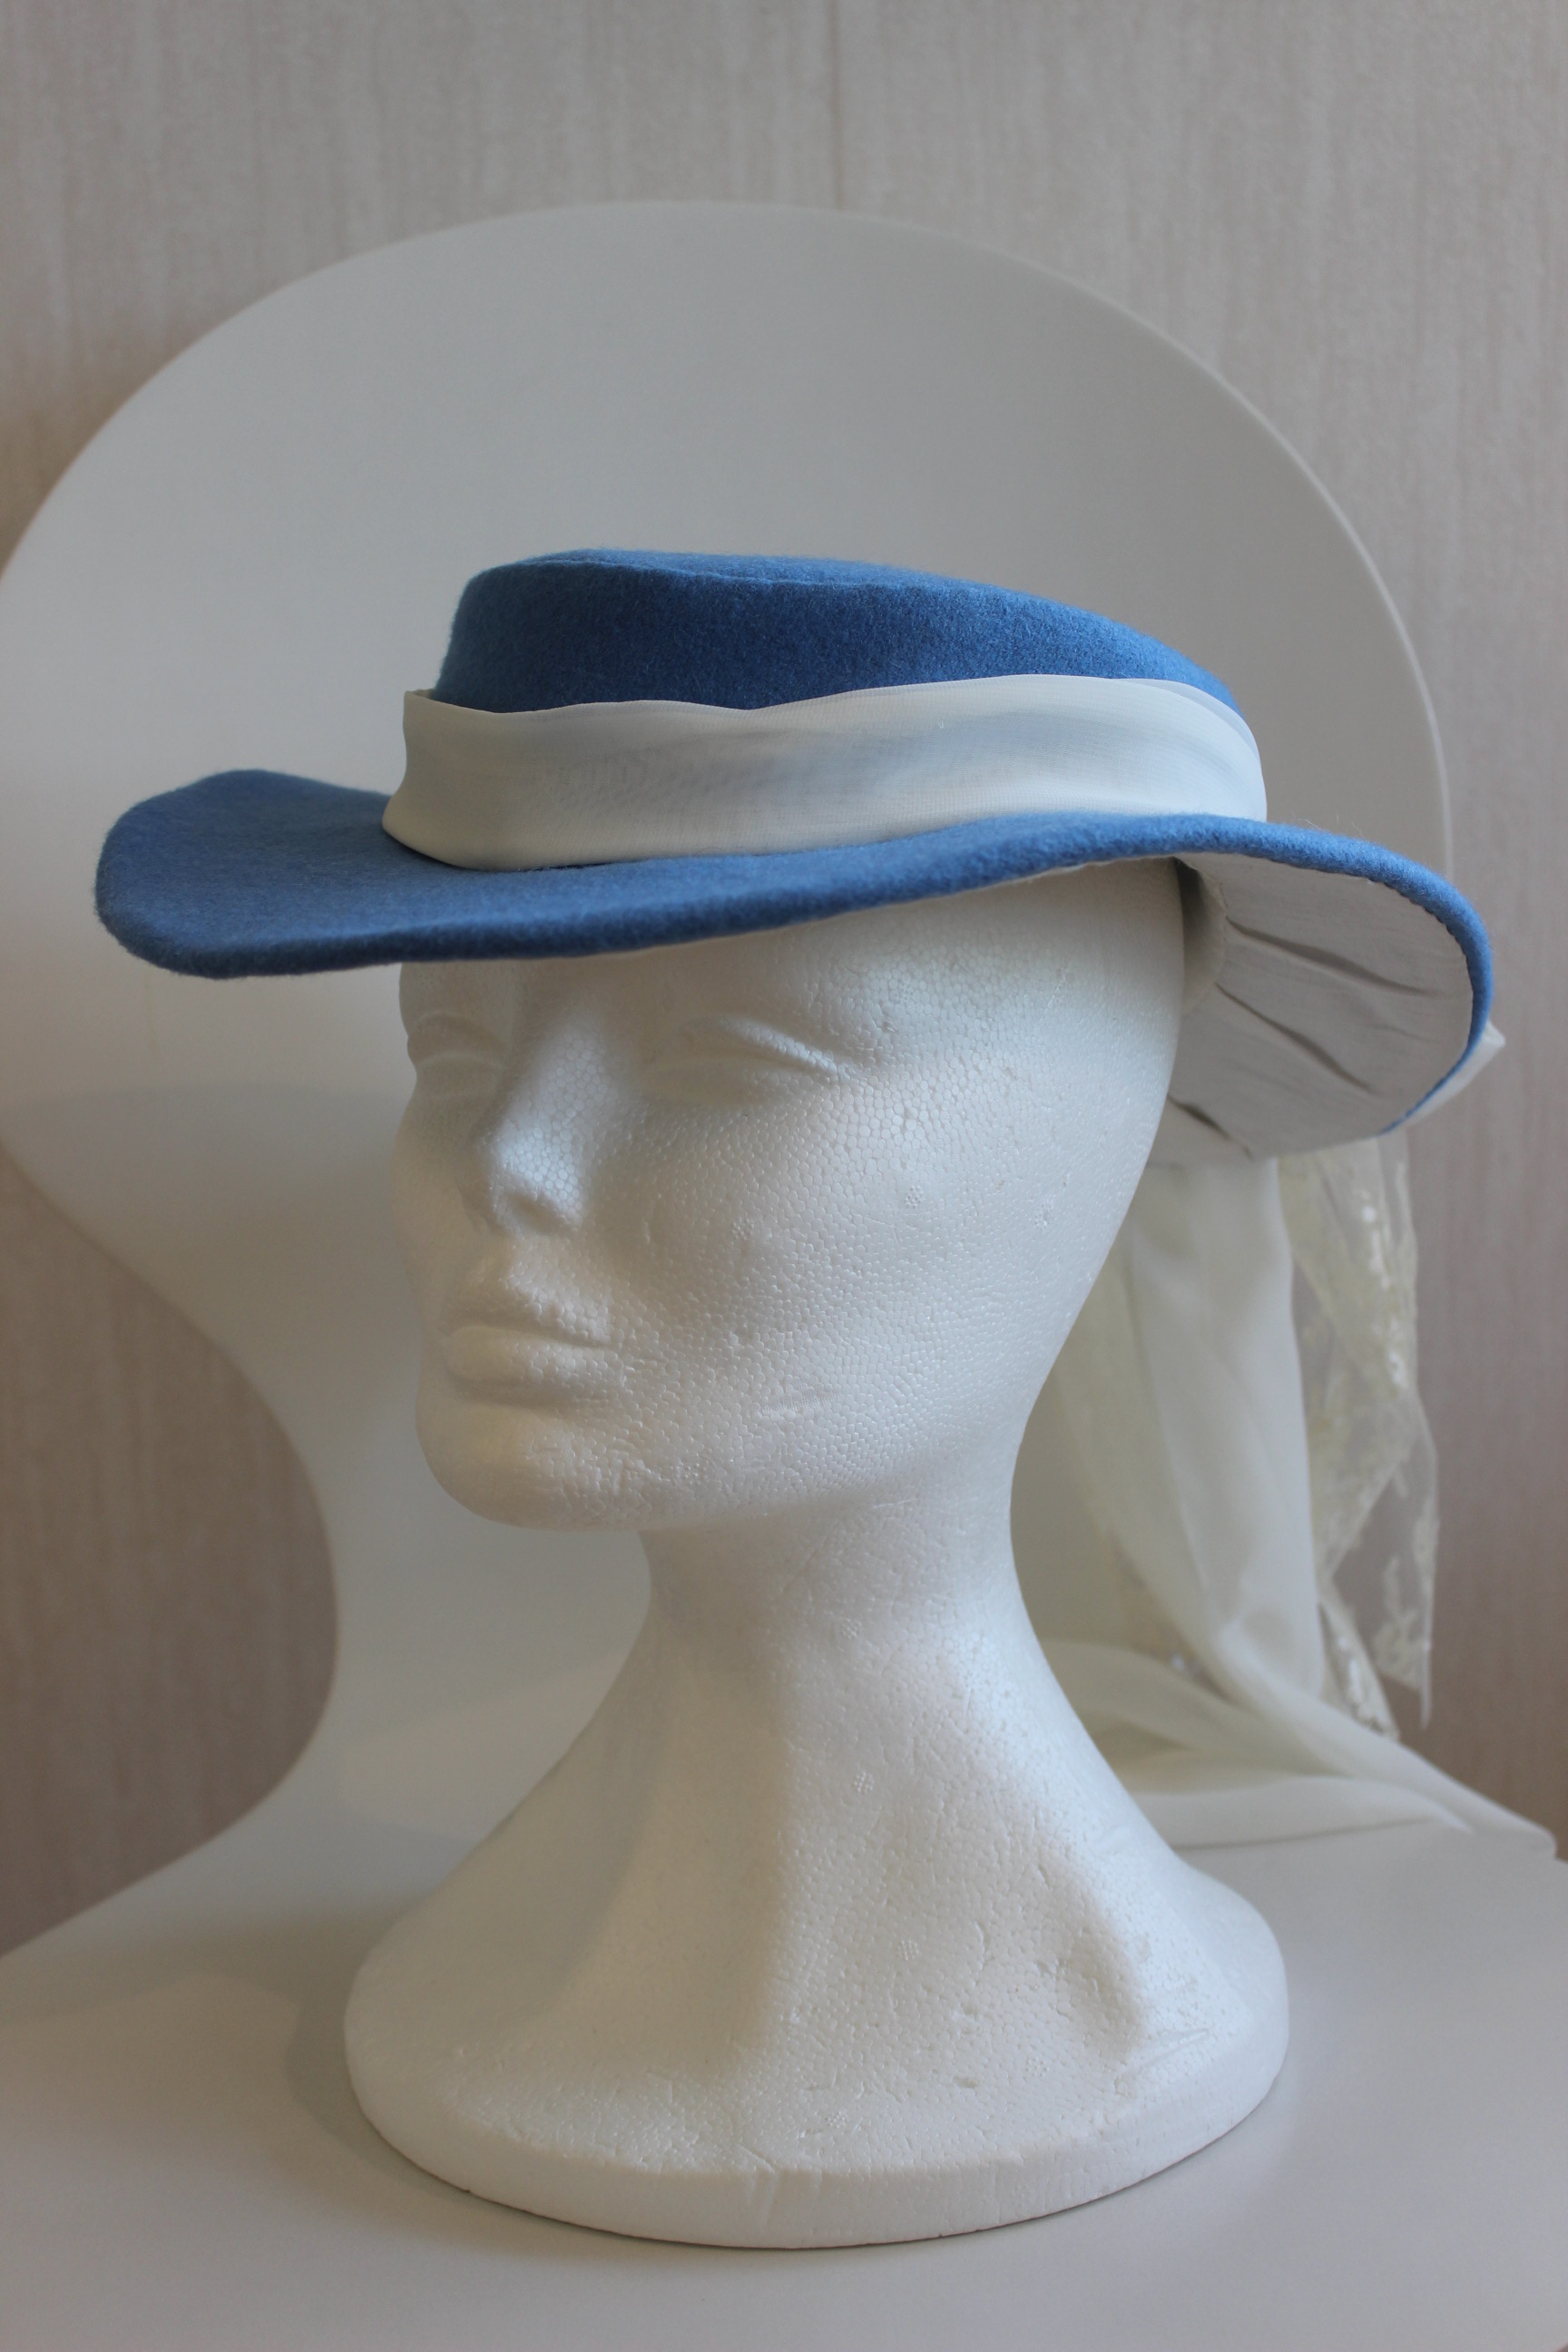
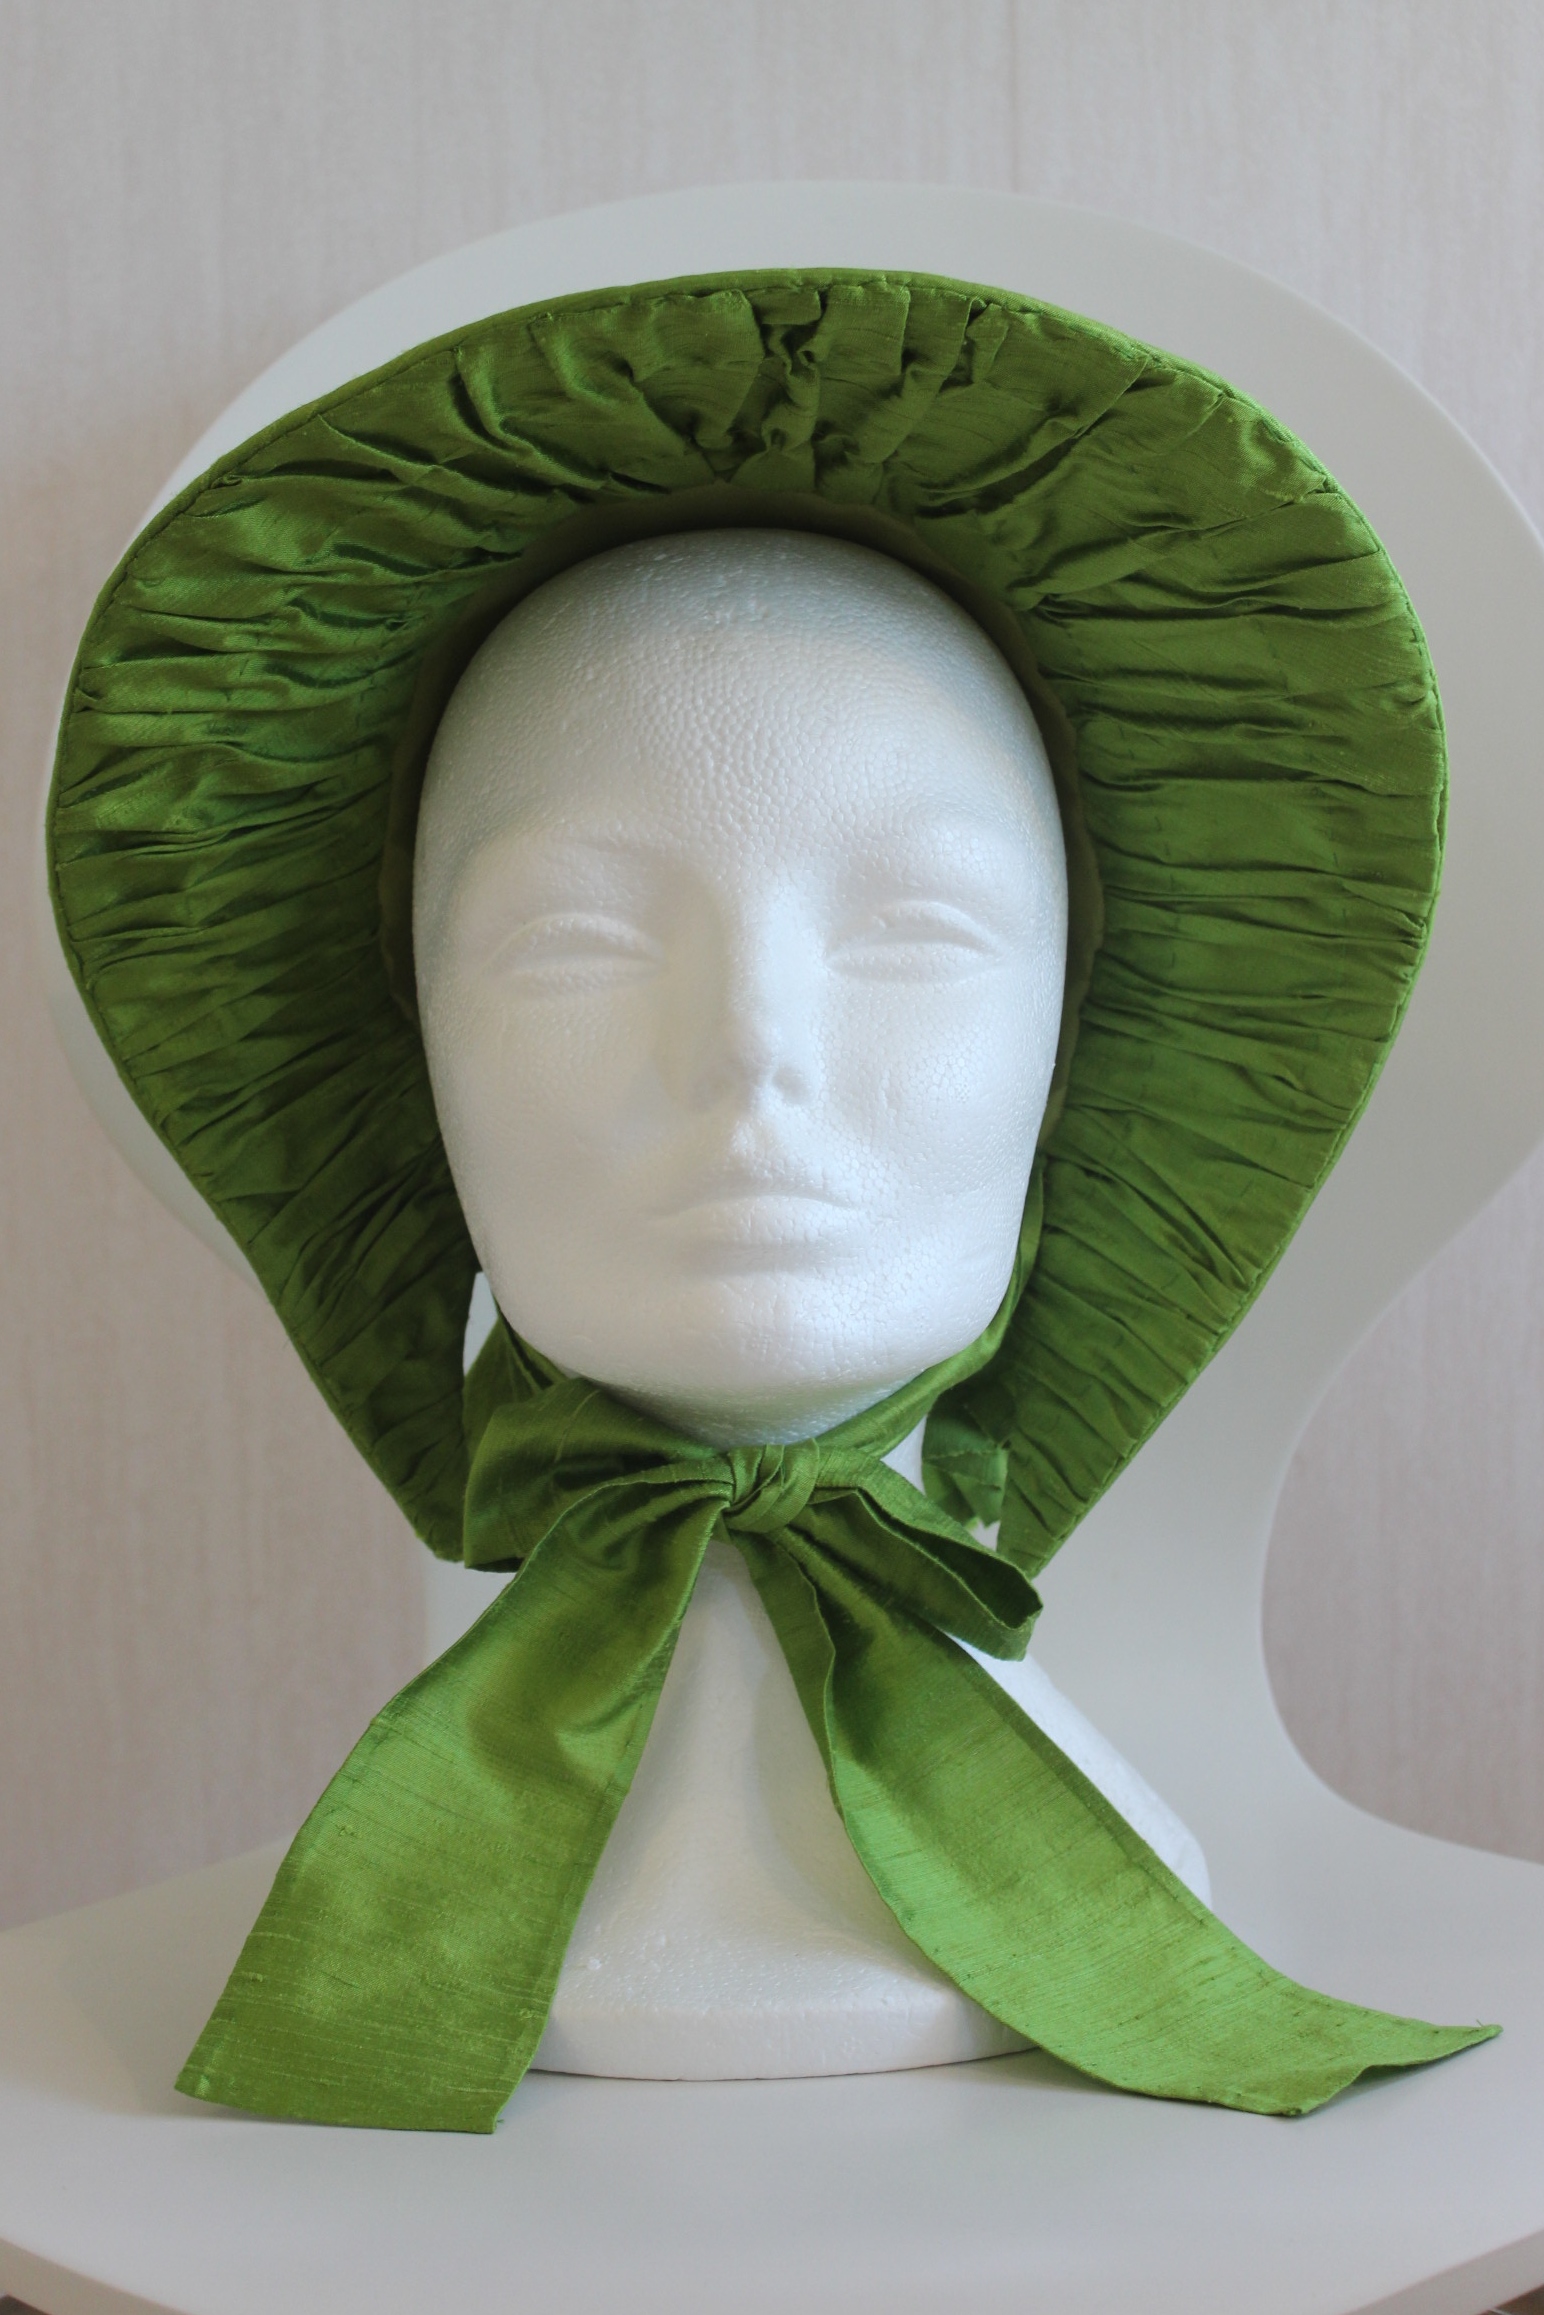
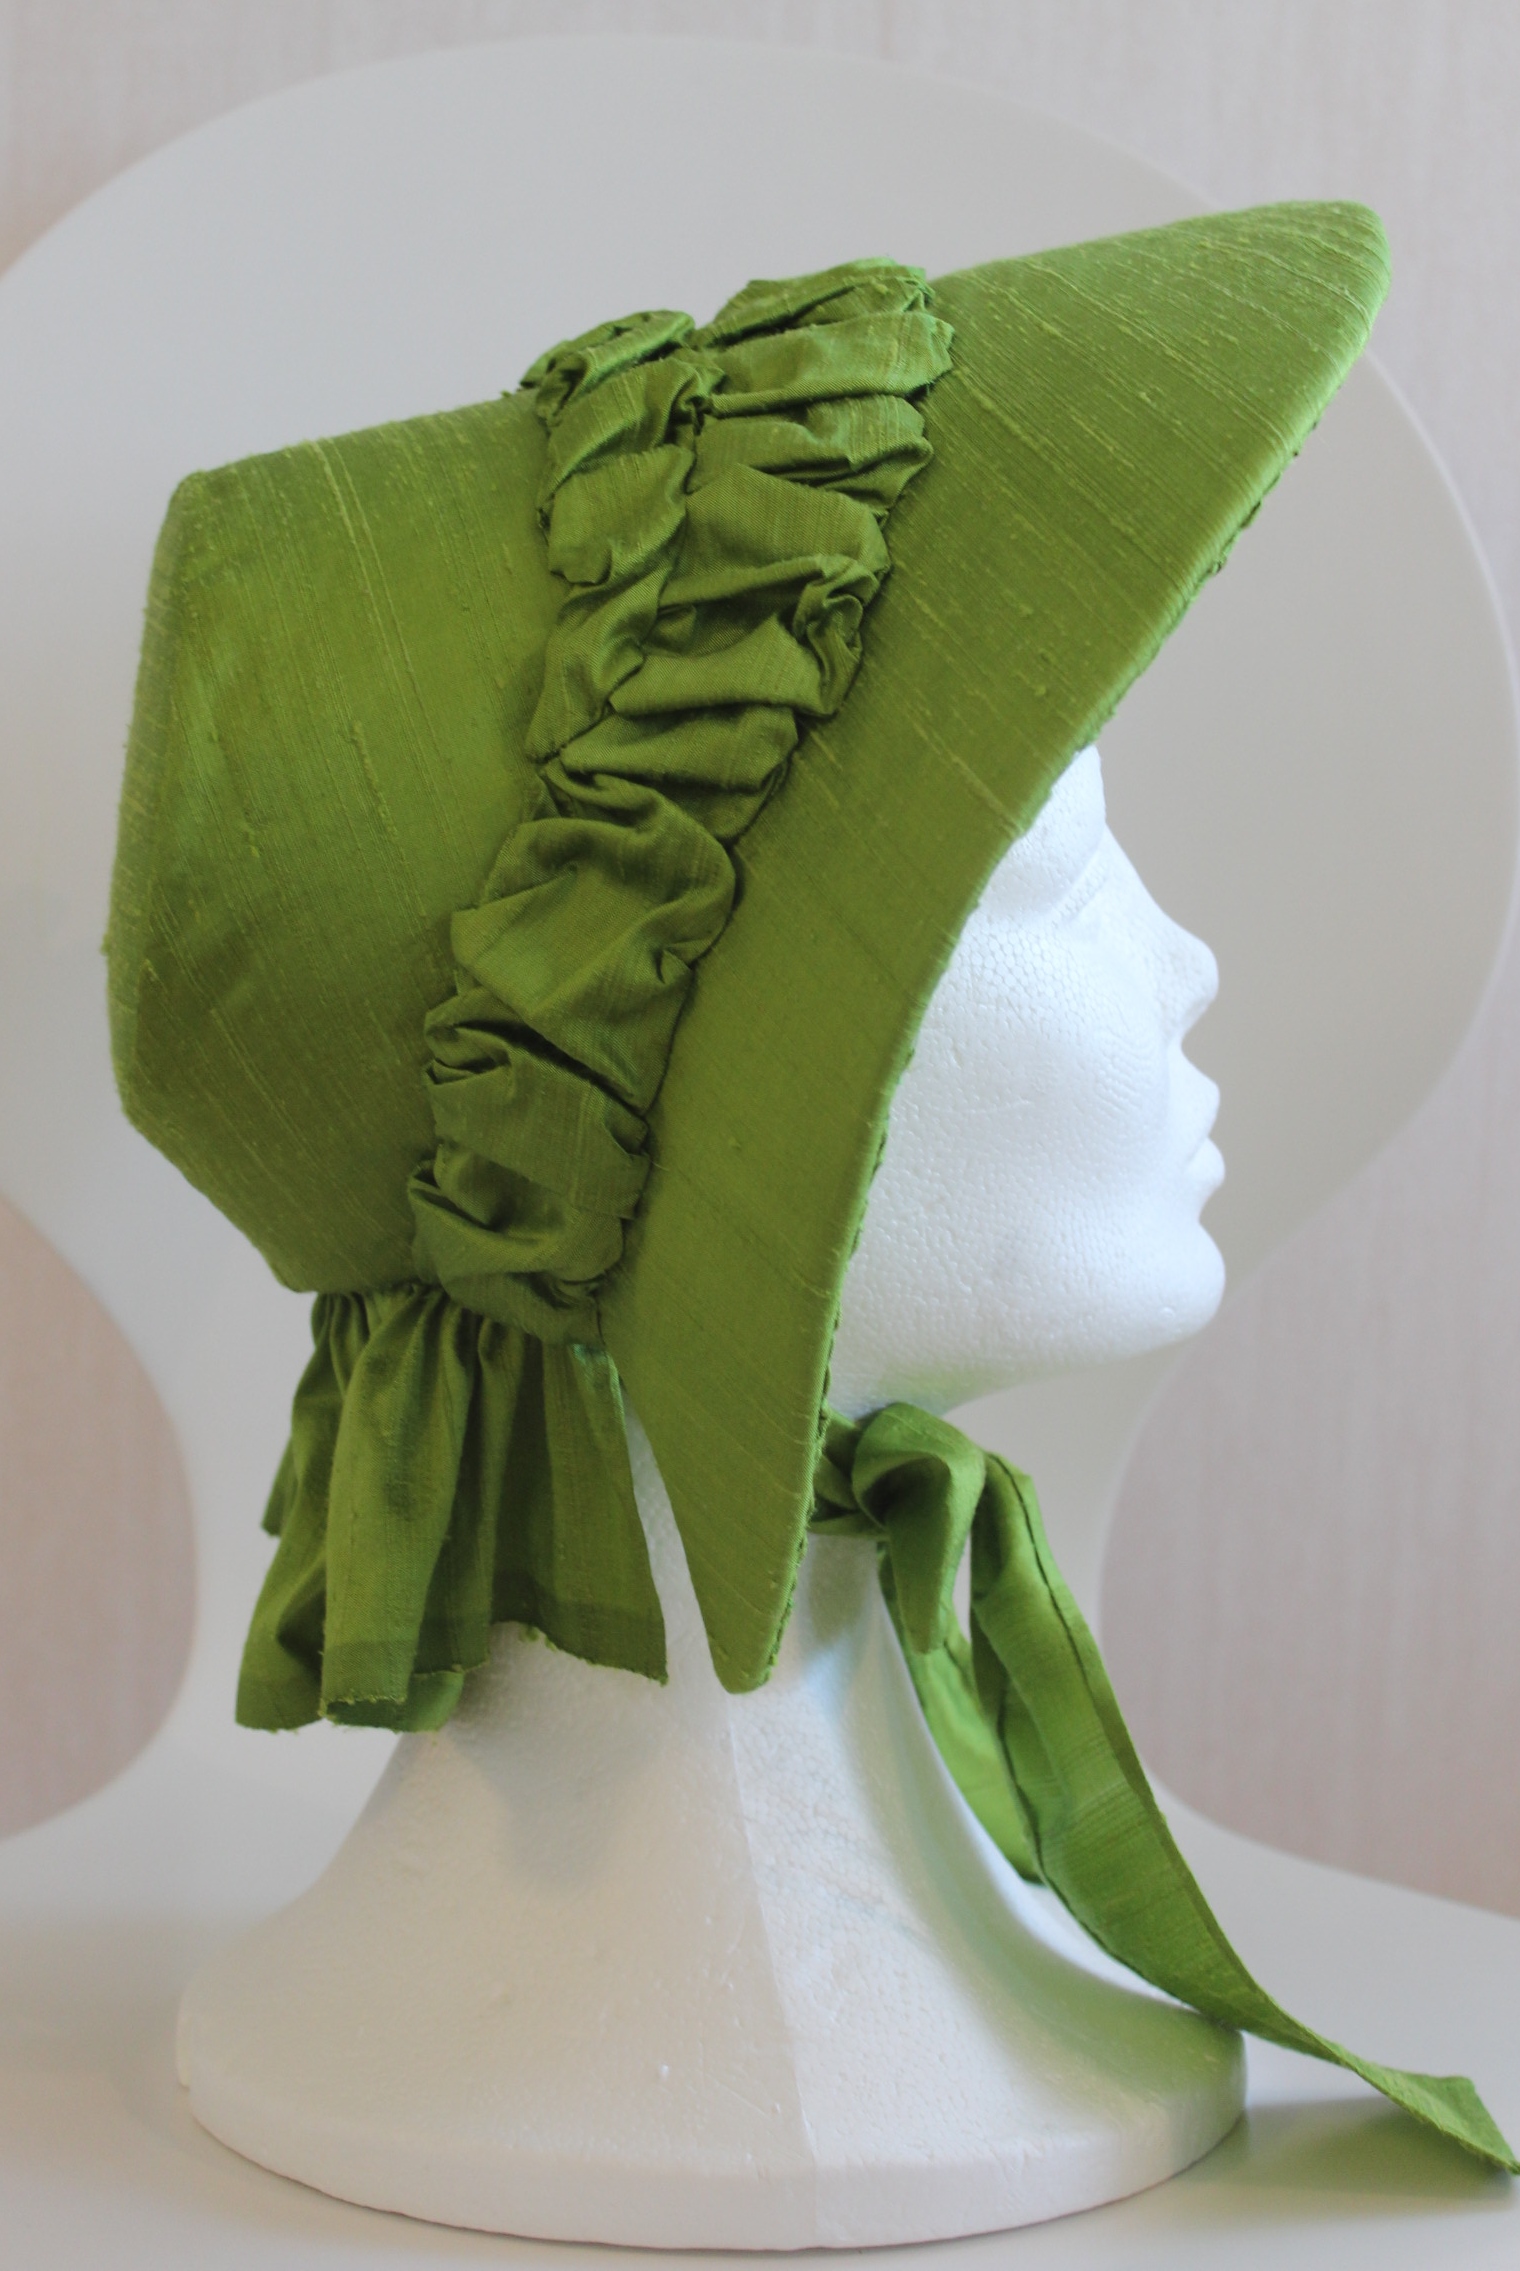
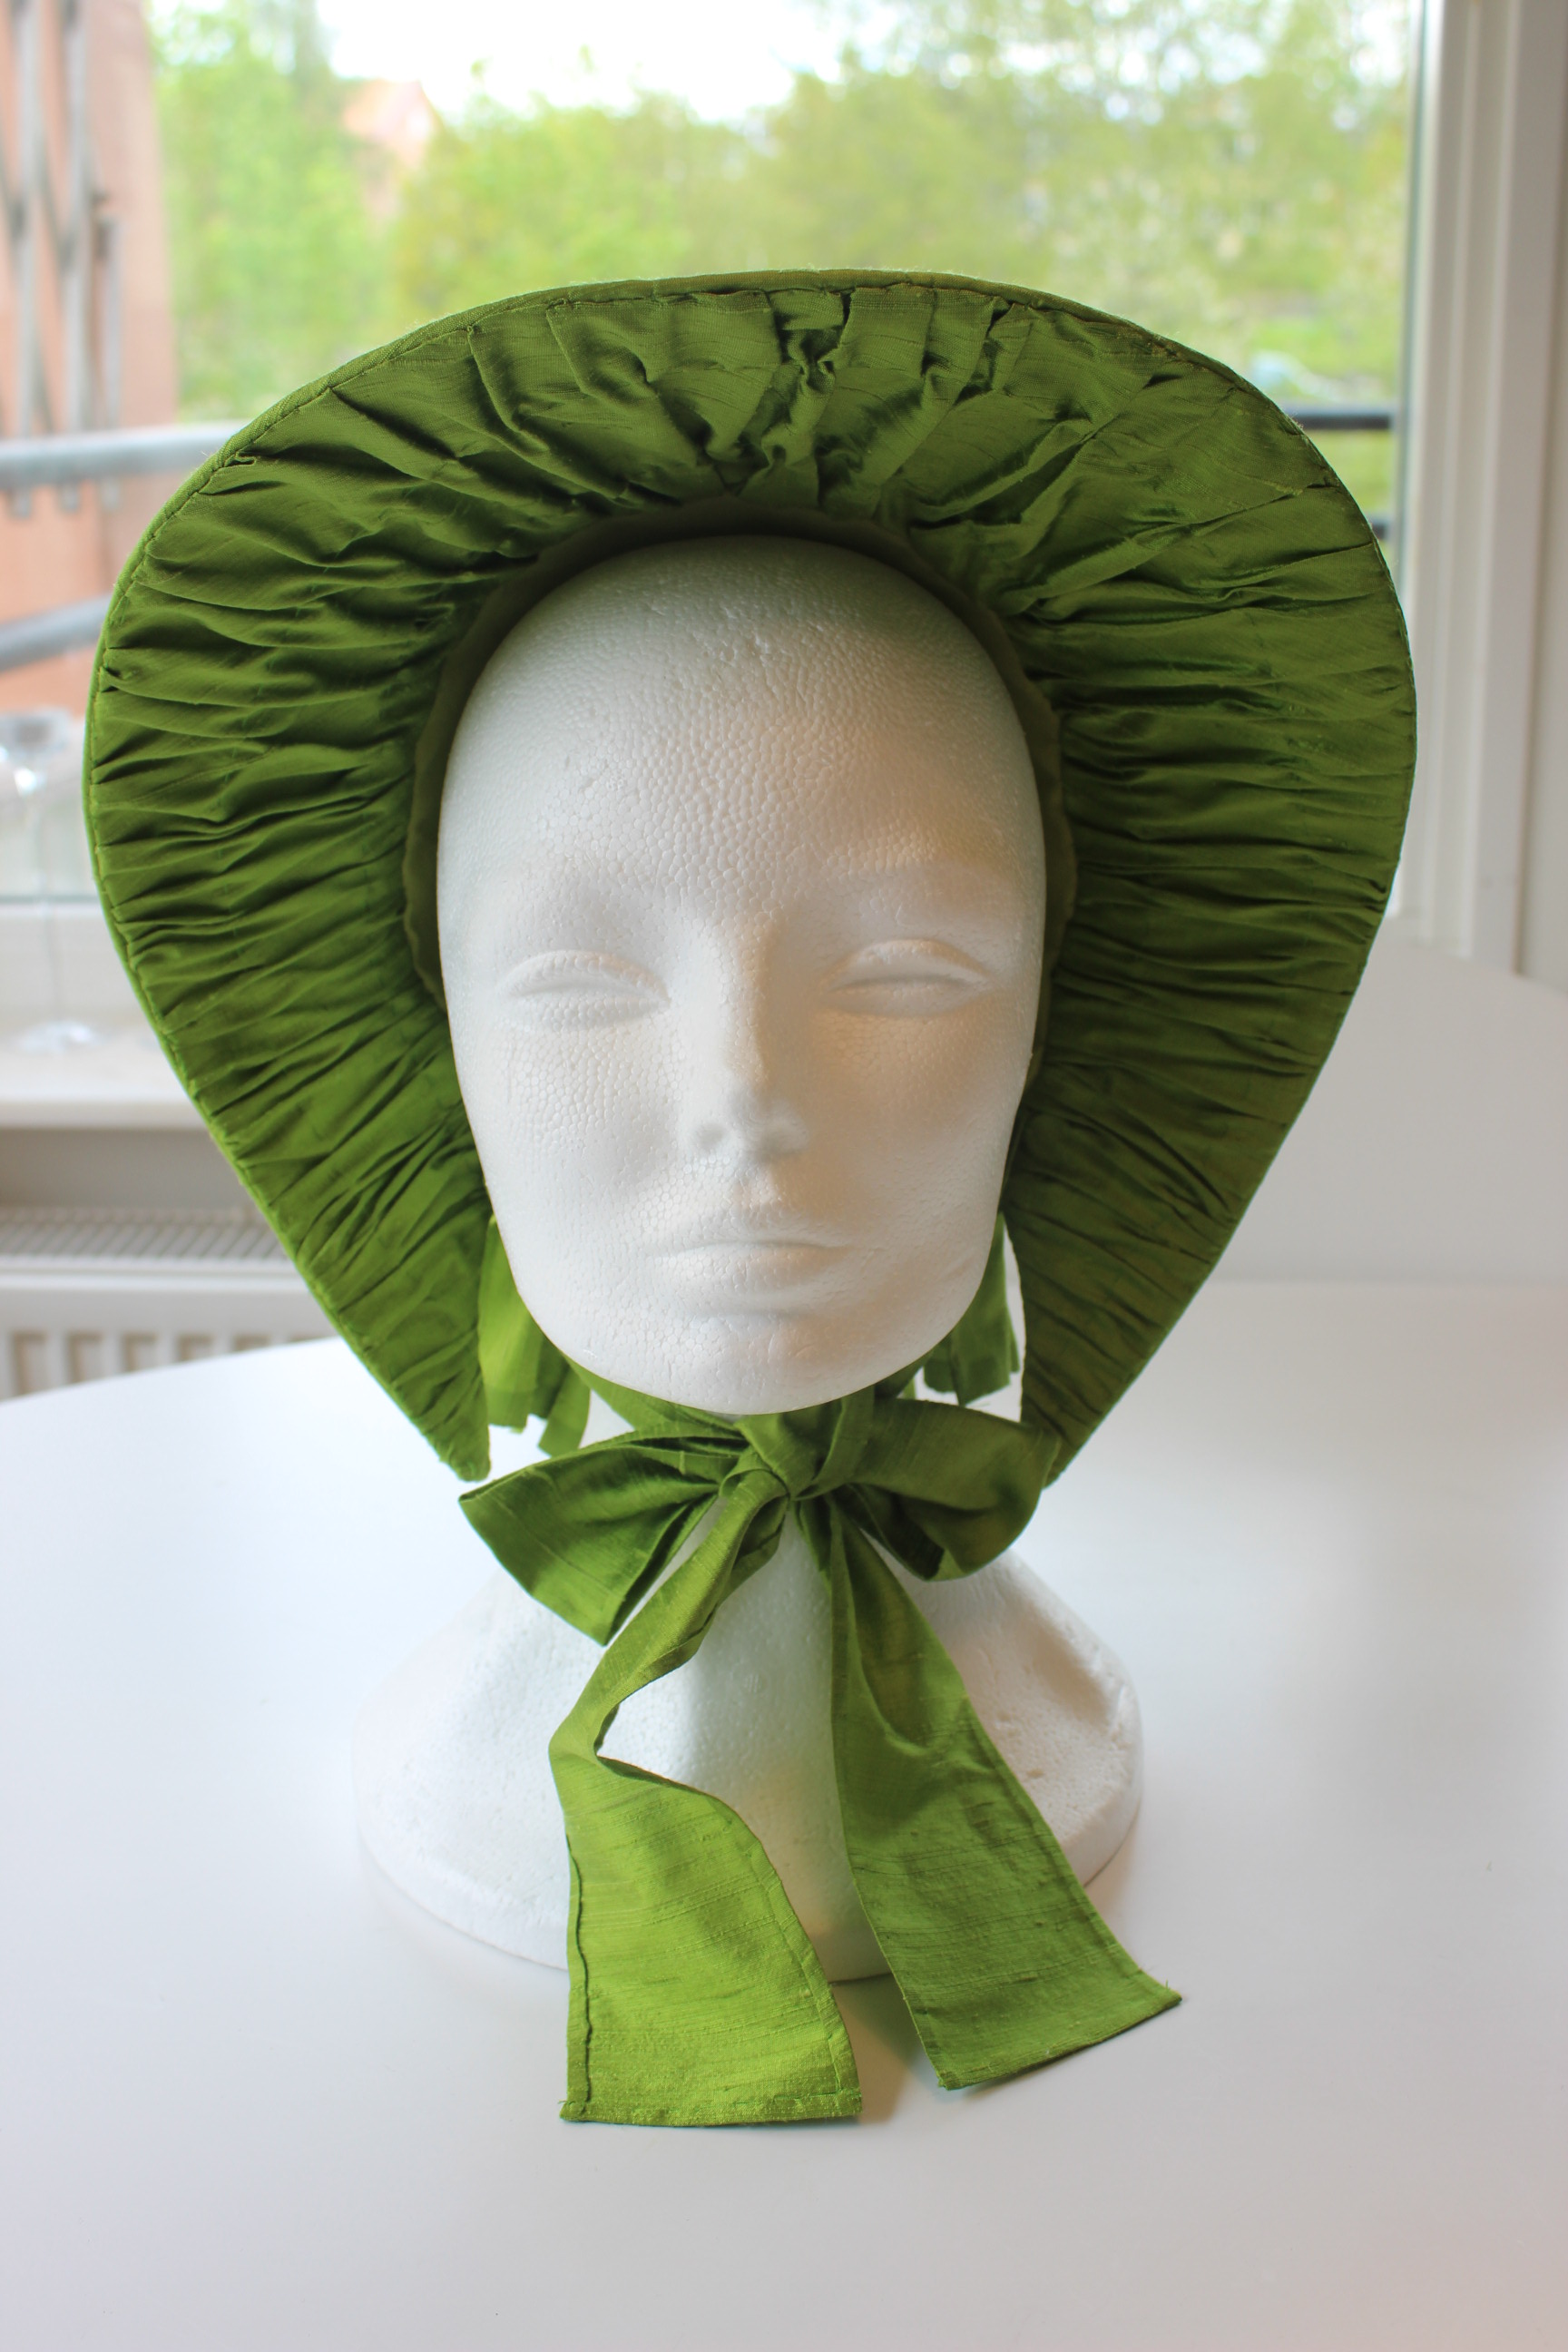
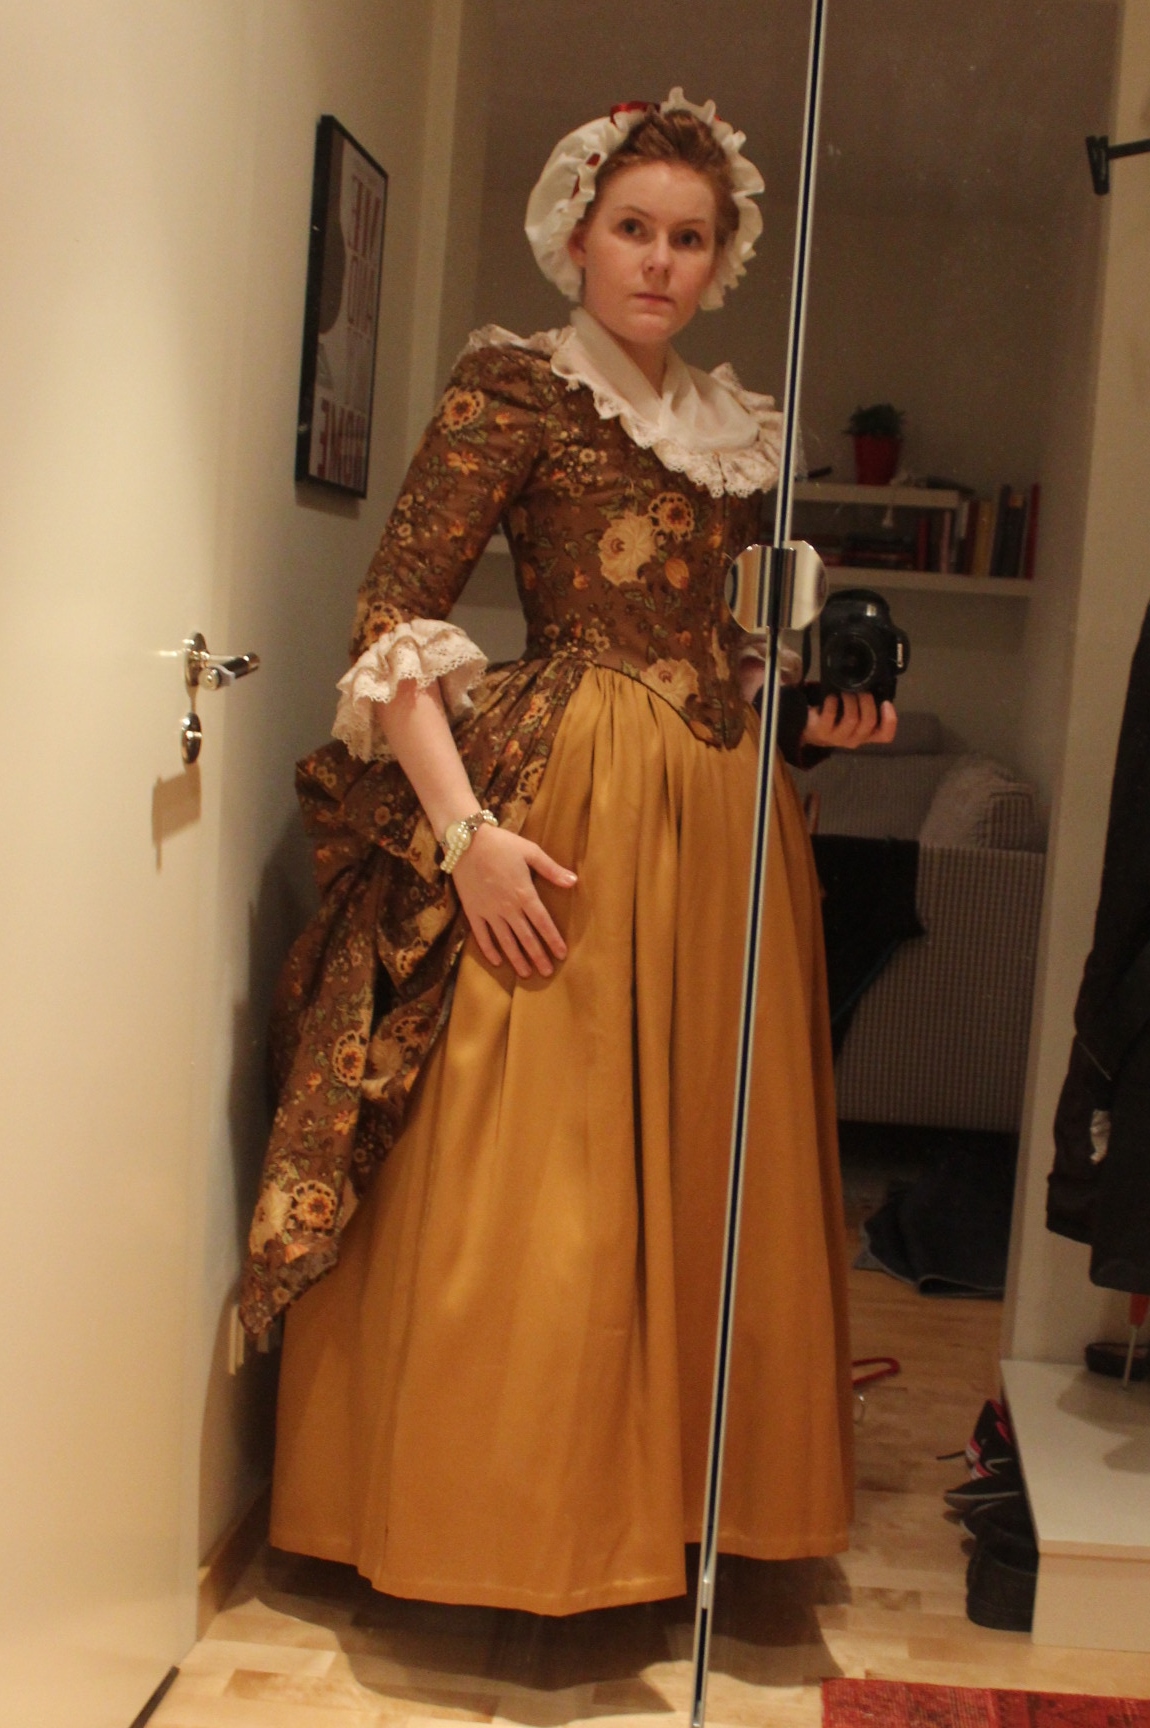
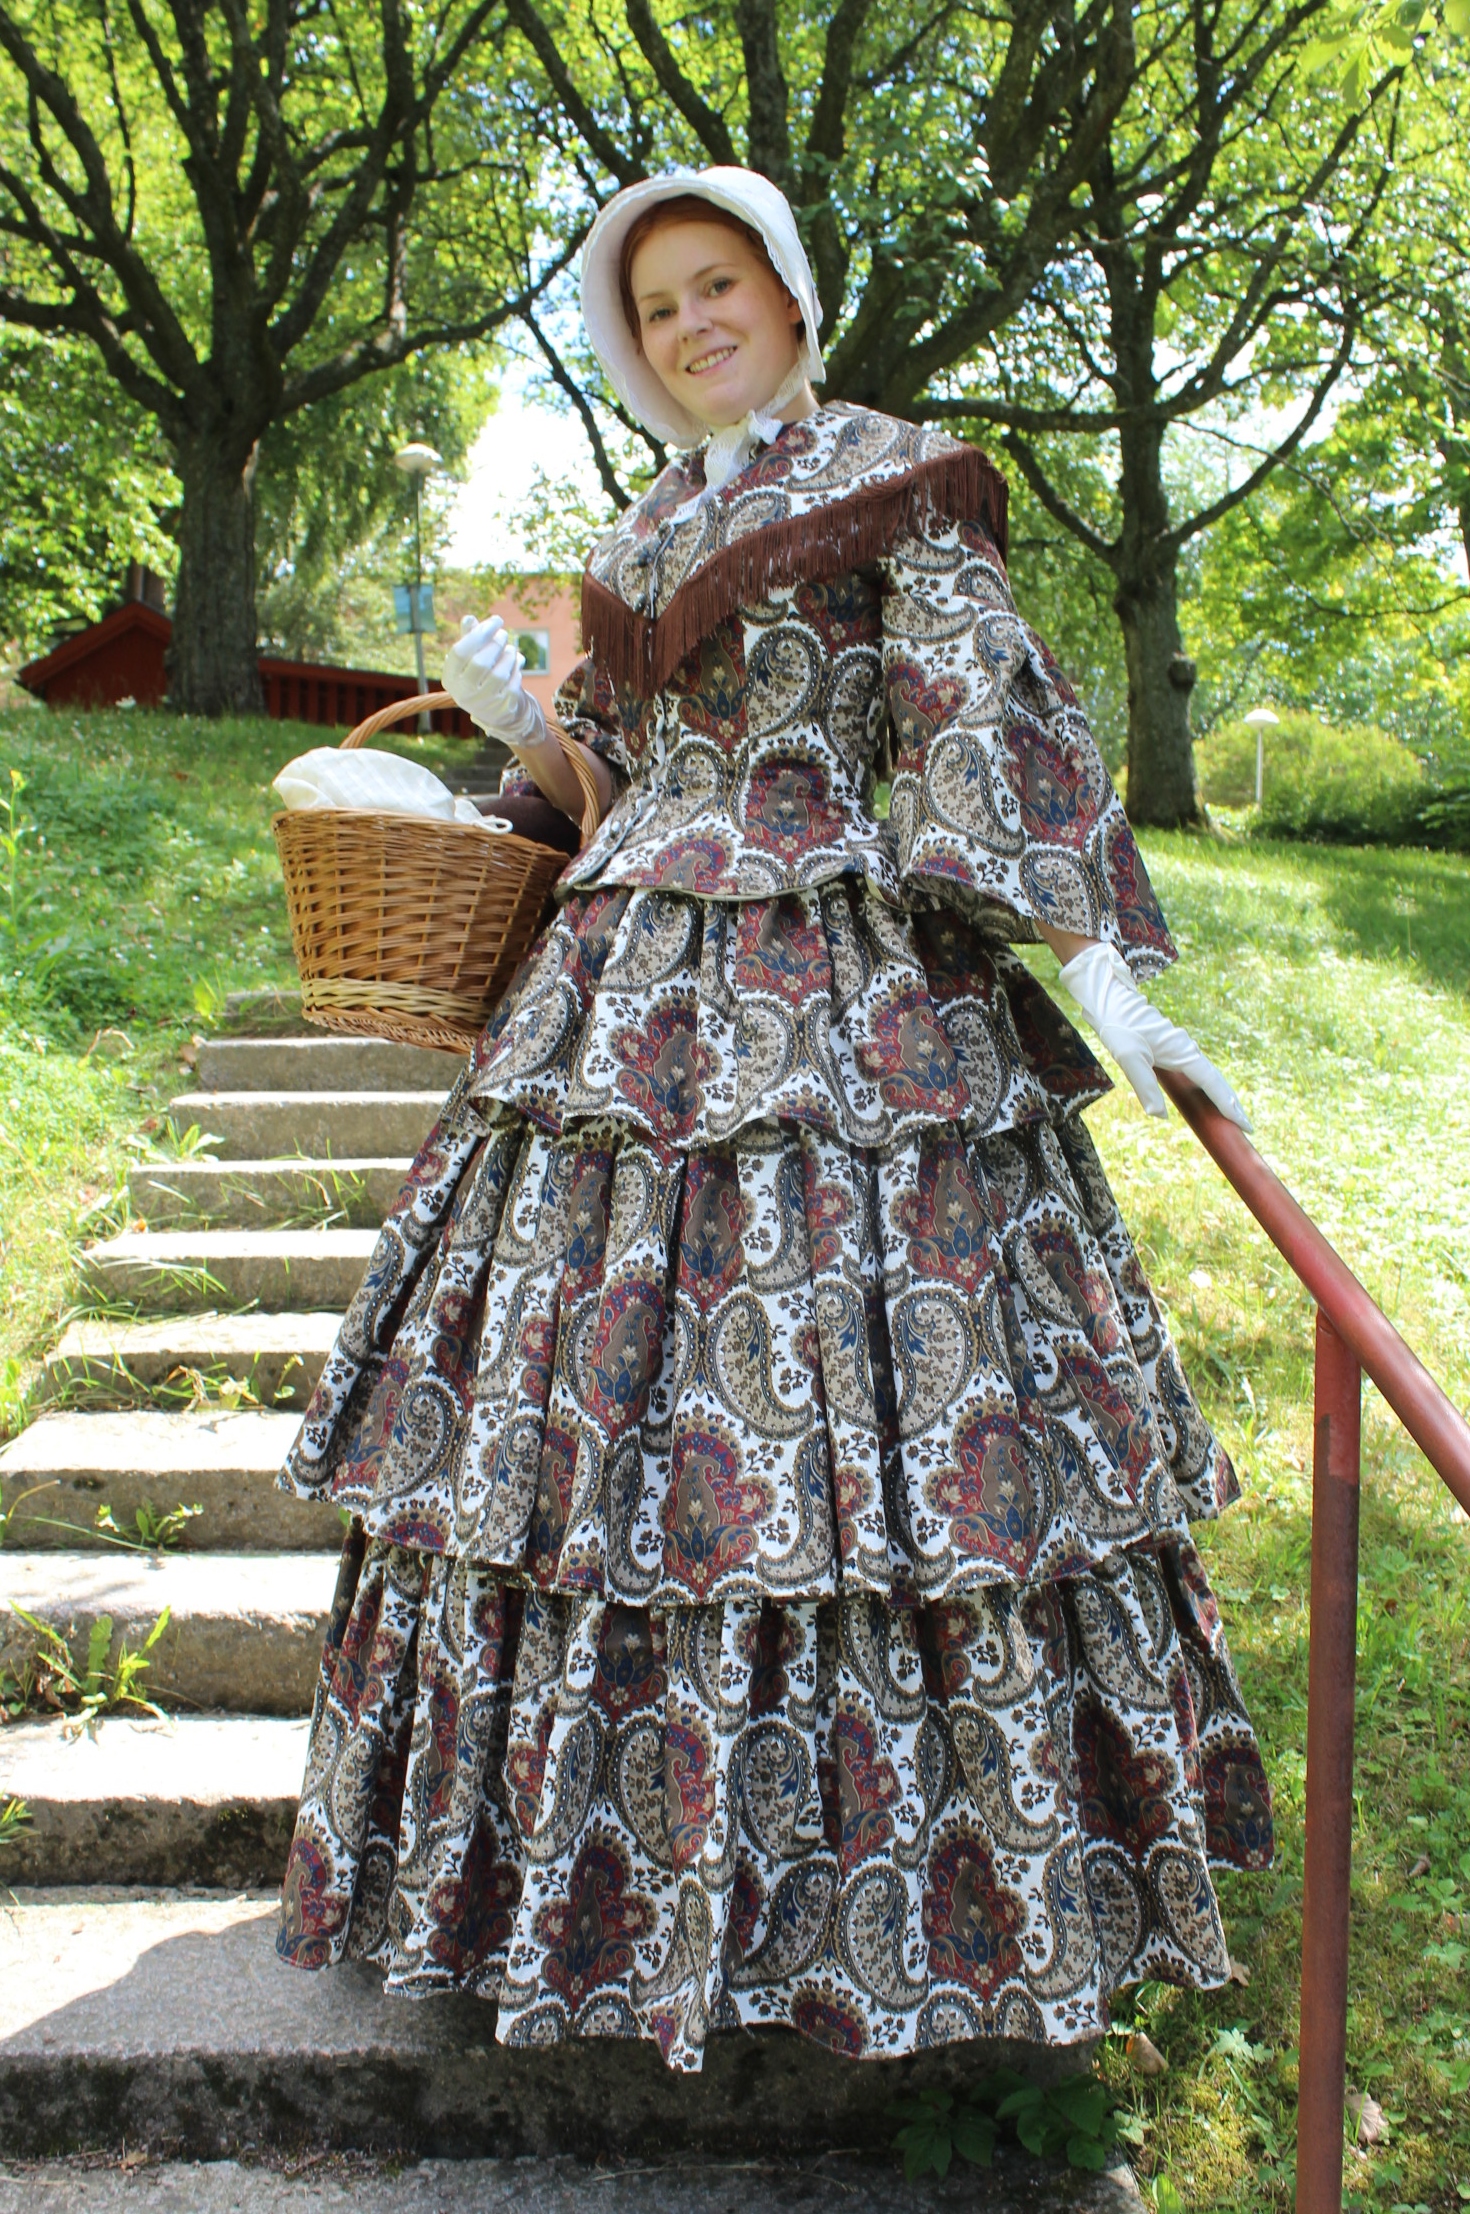
 Accessorized and ready for a photoshoot.