
Before I could call it a day and be finished with the Striped Lady Mary dress (part 1 & part 2) I needed to make the most vital (and biggest) of her accessorizes – The hat.
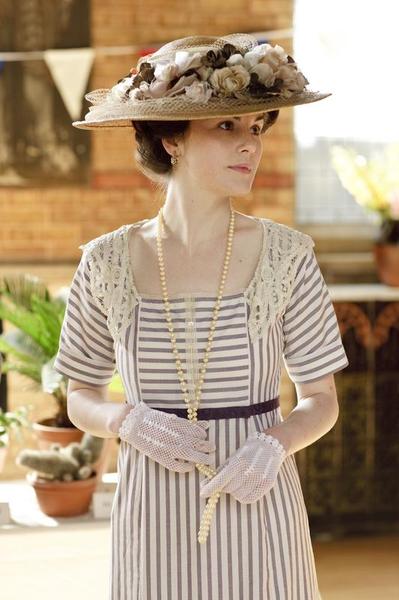 The Hat Lady Mary wears in the series are huge and awesome – of course I needed one just like it.
I started with a cheap straw hat as a base.
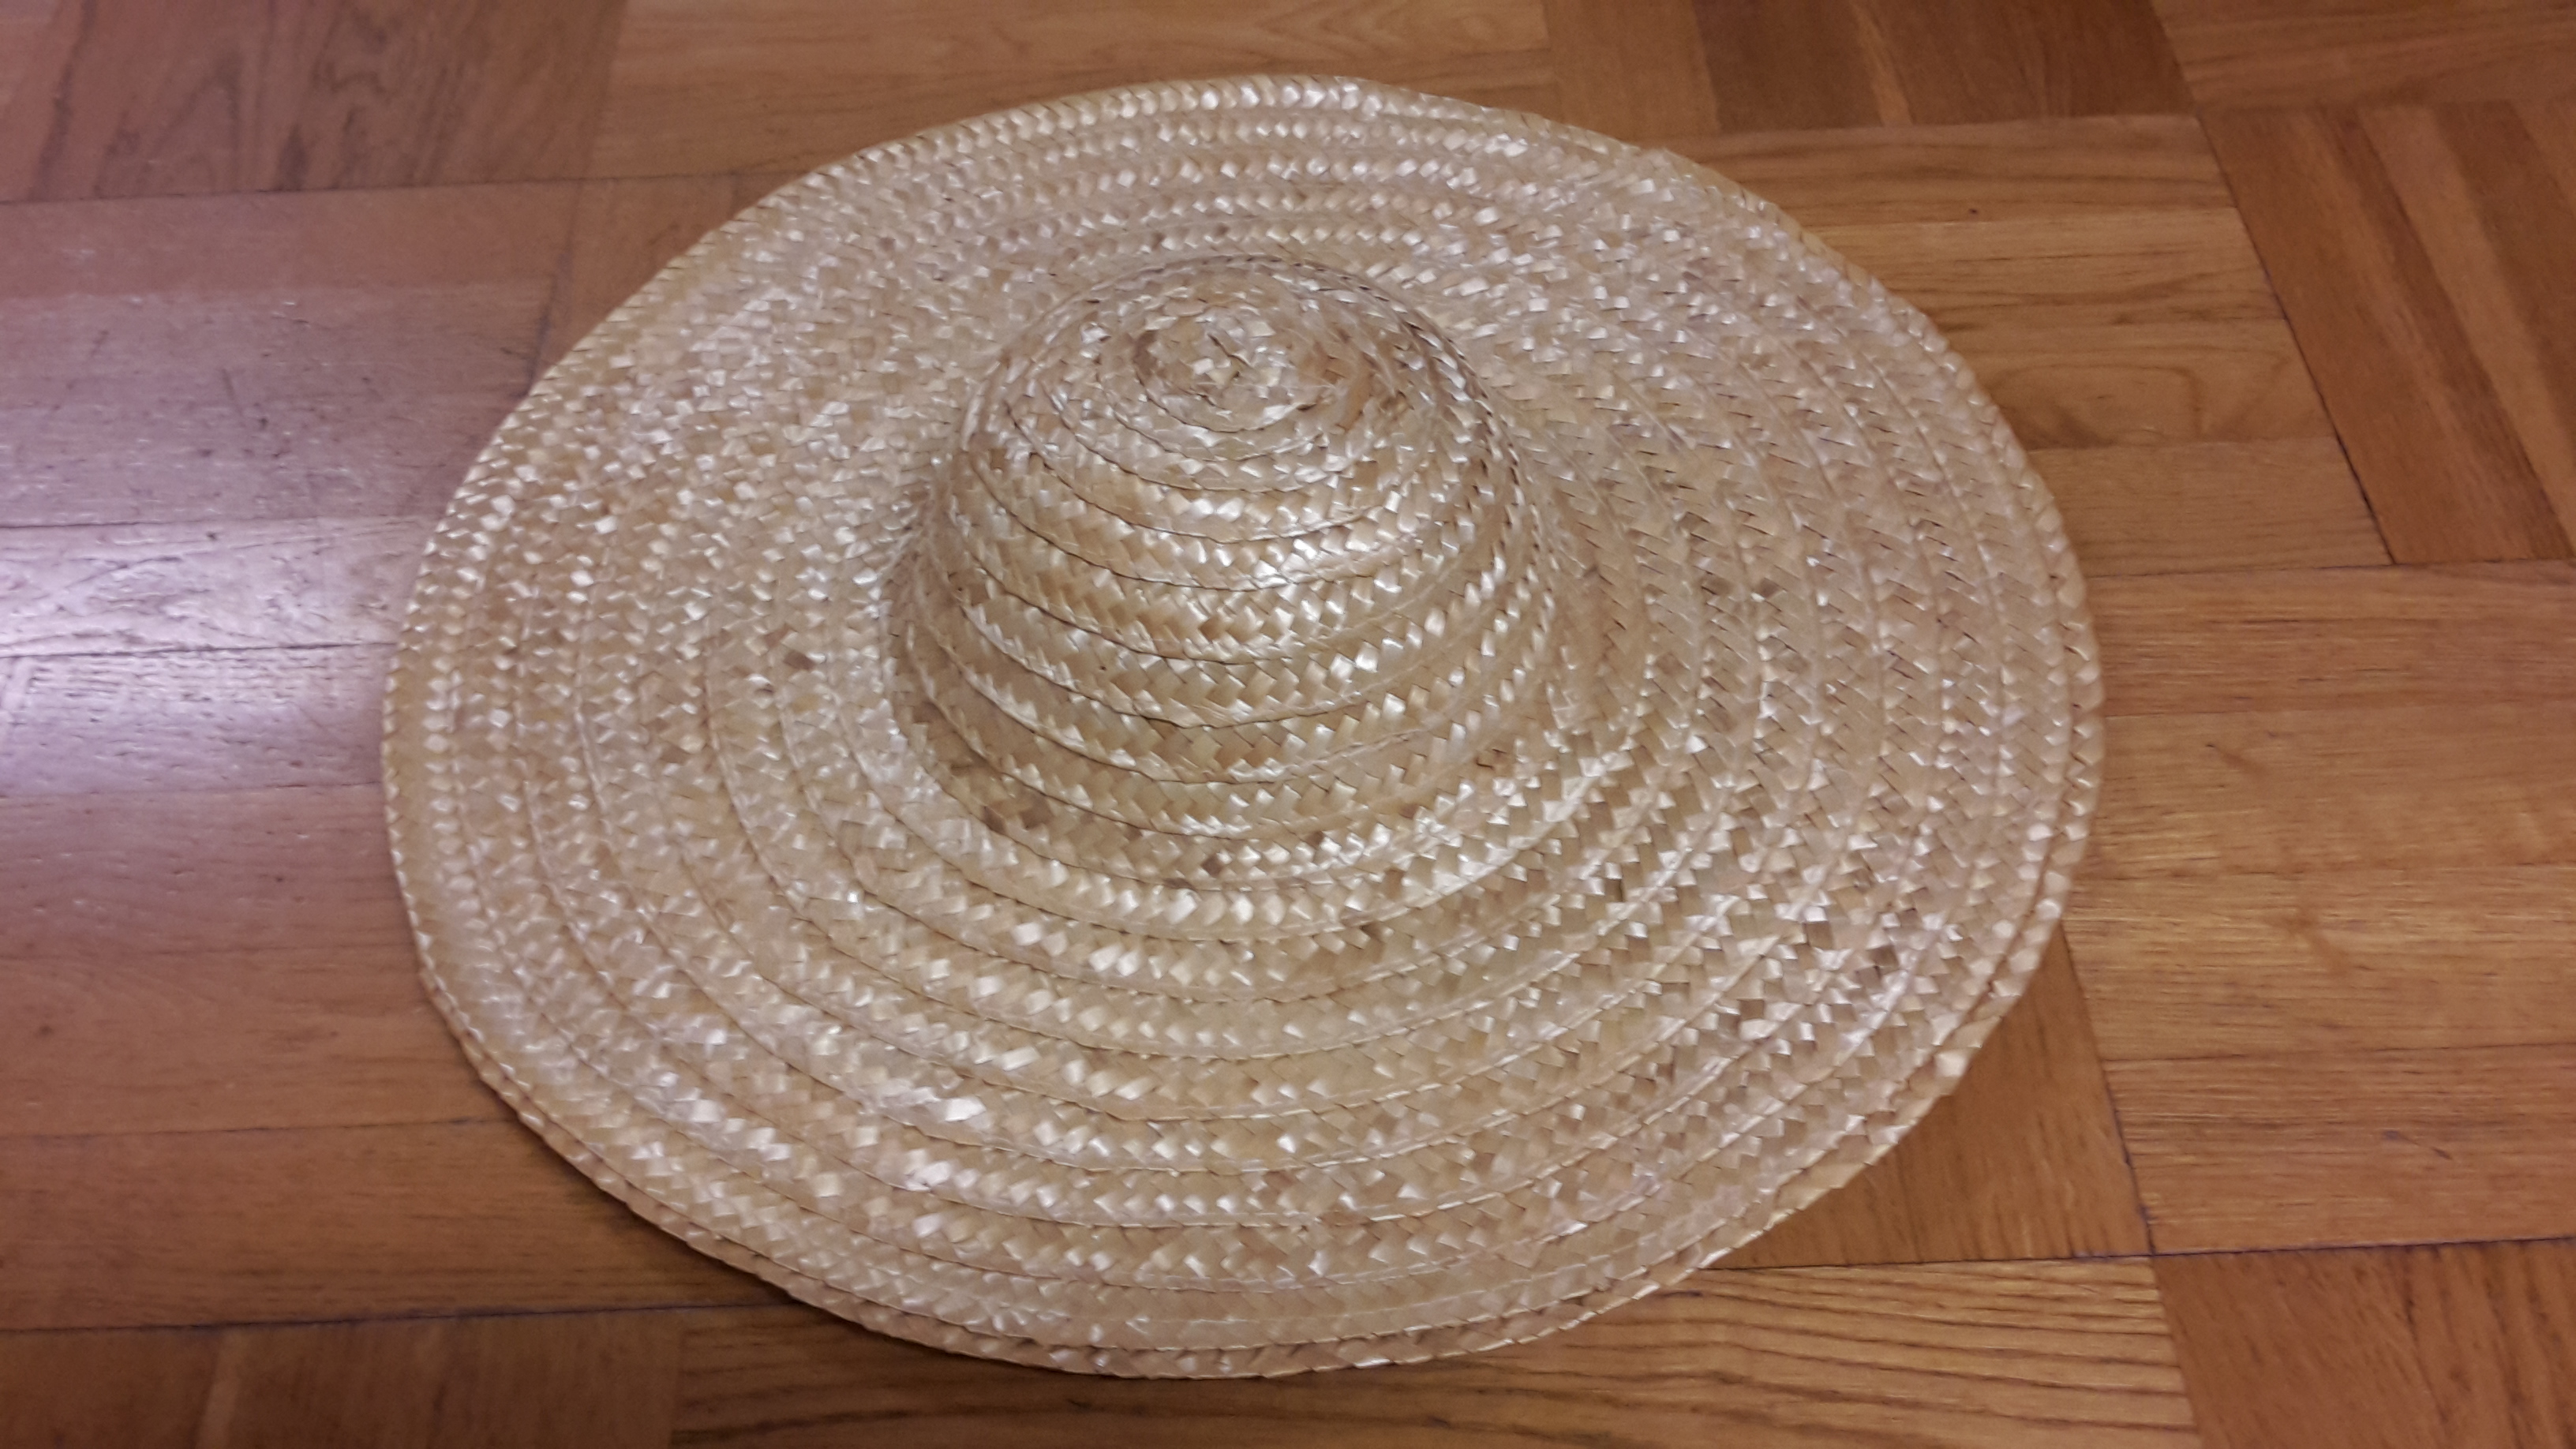
The most important things I needed from the hat was a straw base, lightly colored and strong enough to carry all the decoration.
I stitched the netting irregularly and random to the brim of the hat. 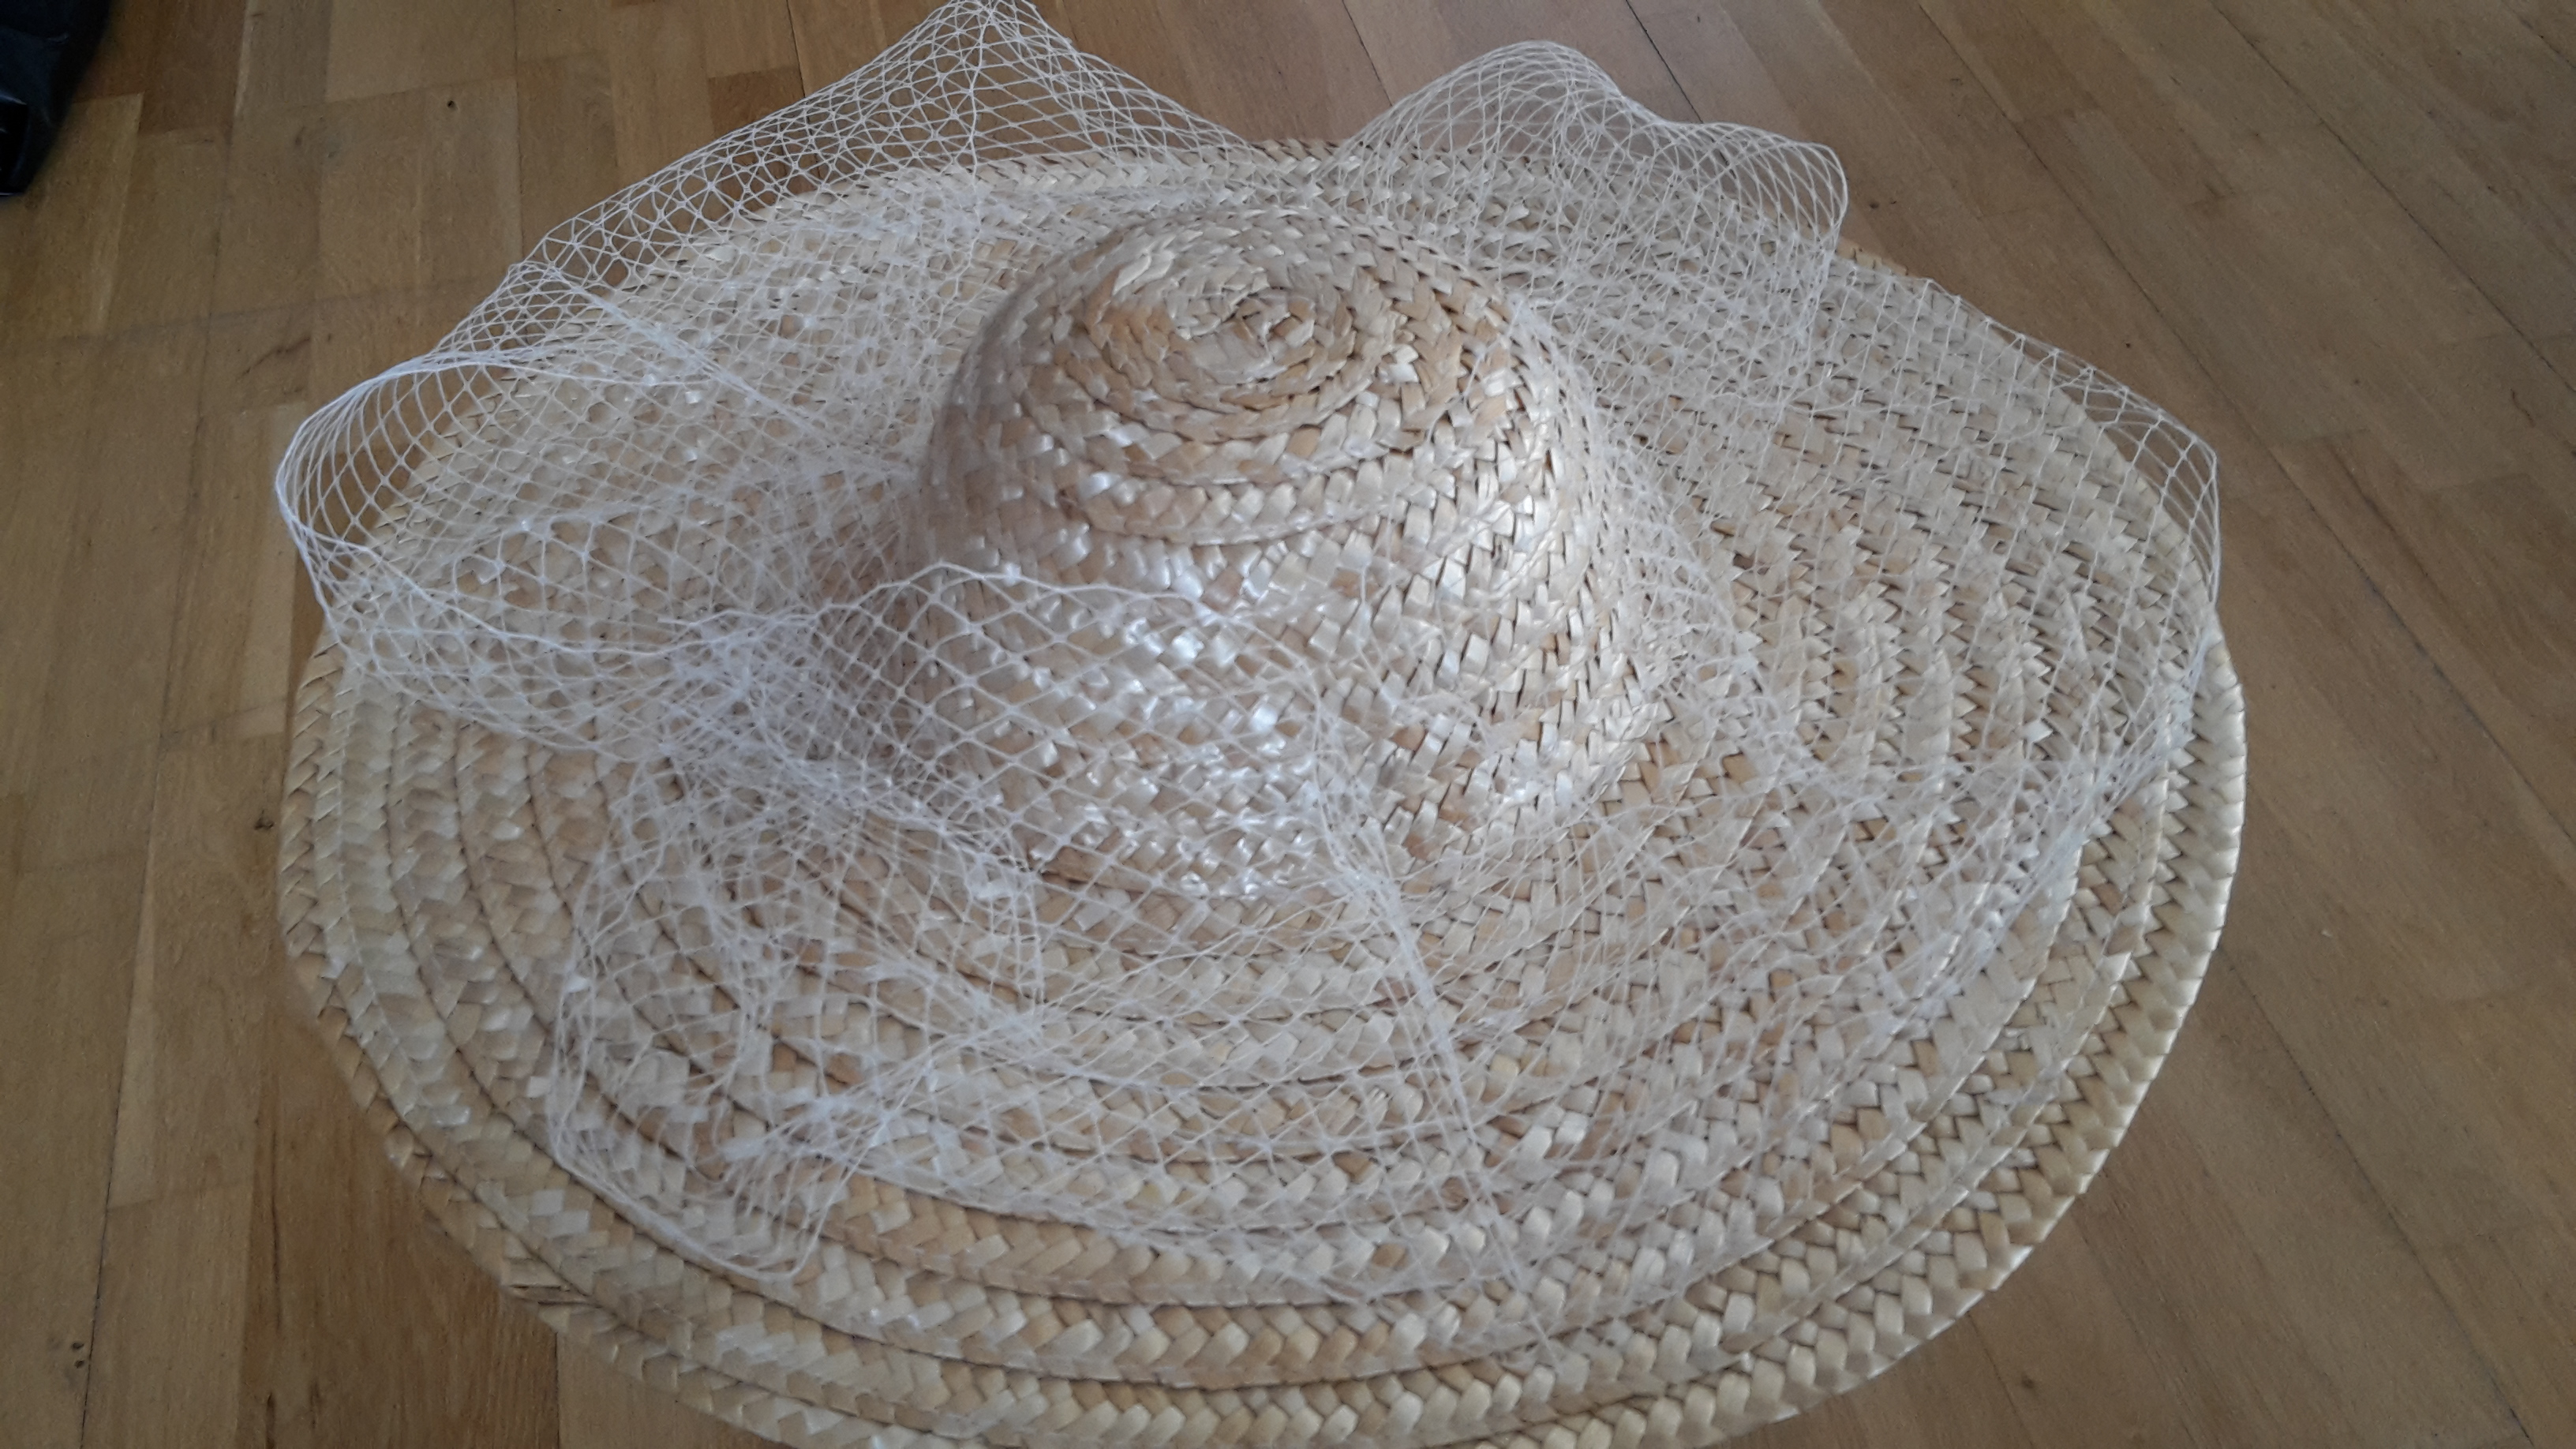
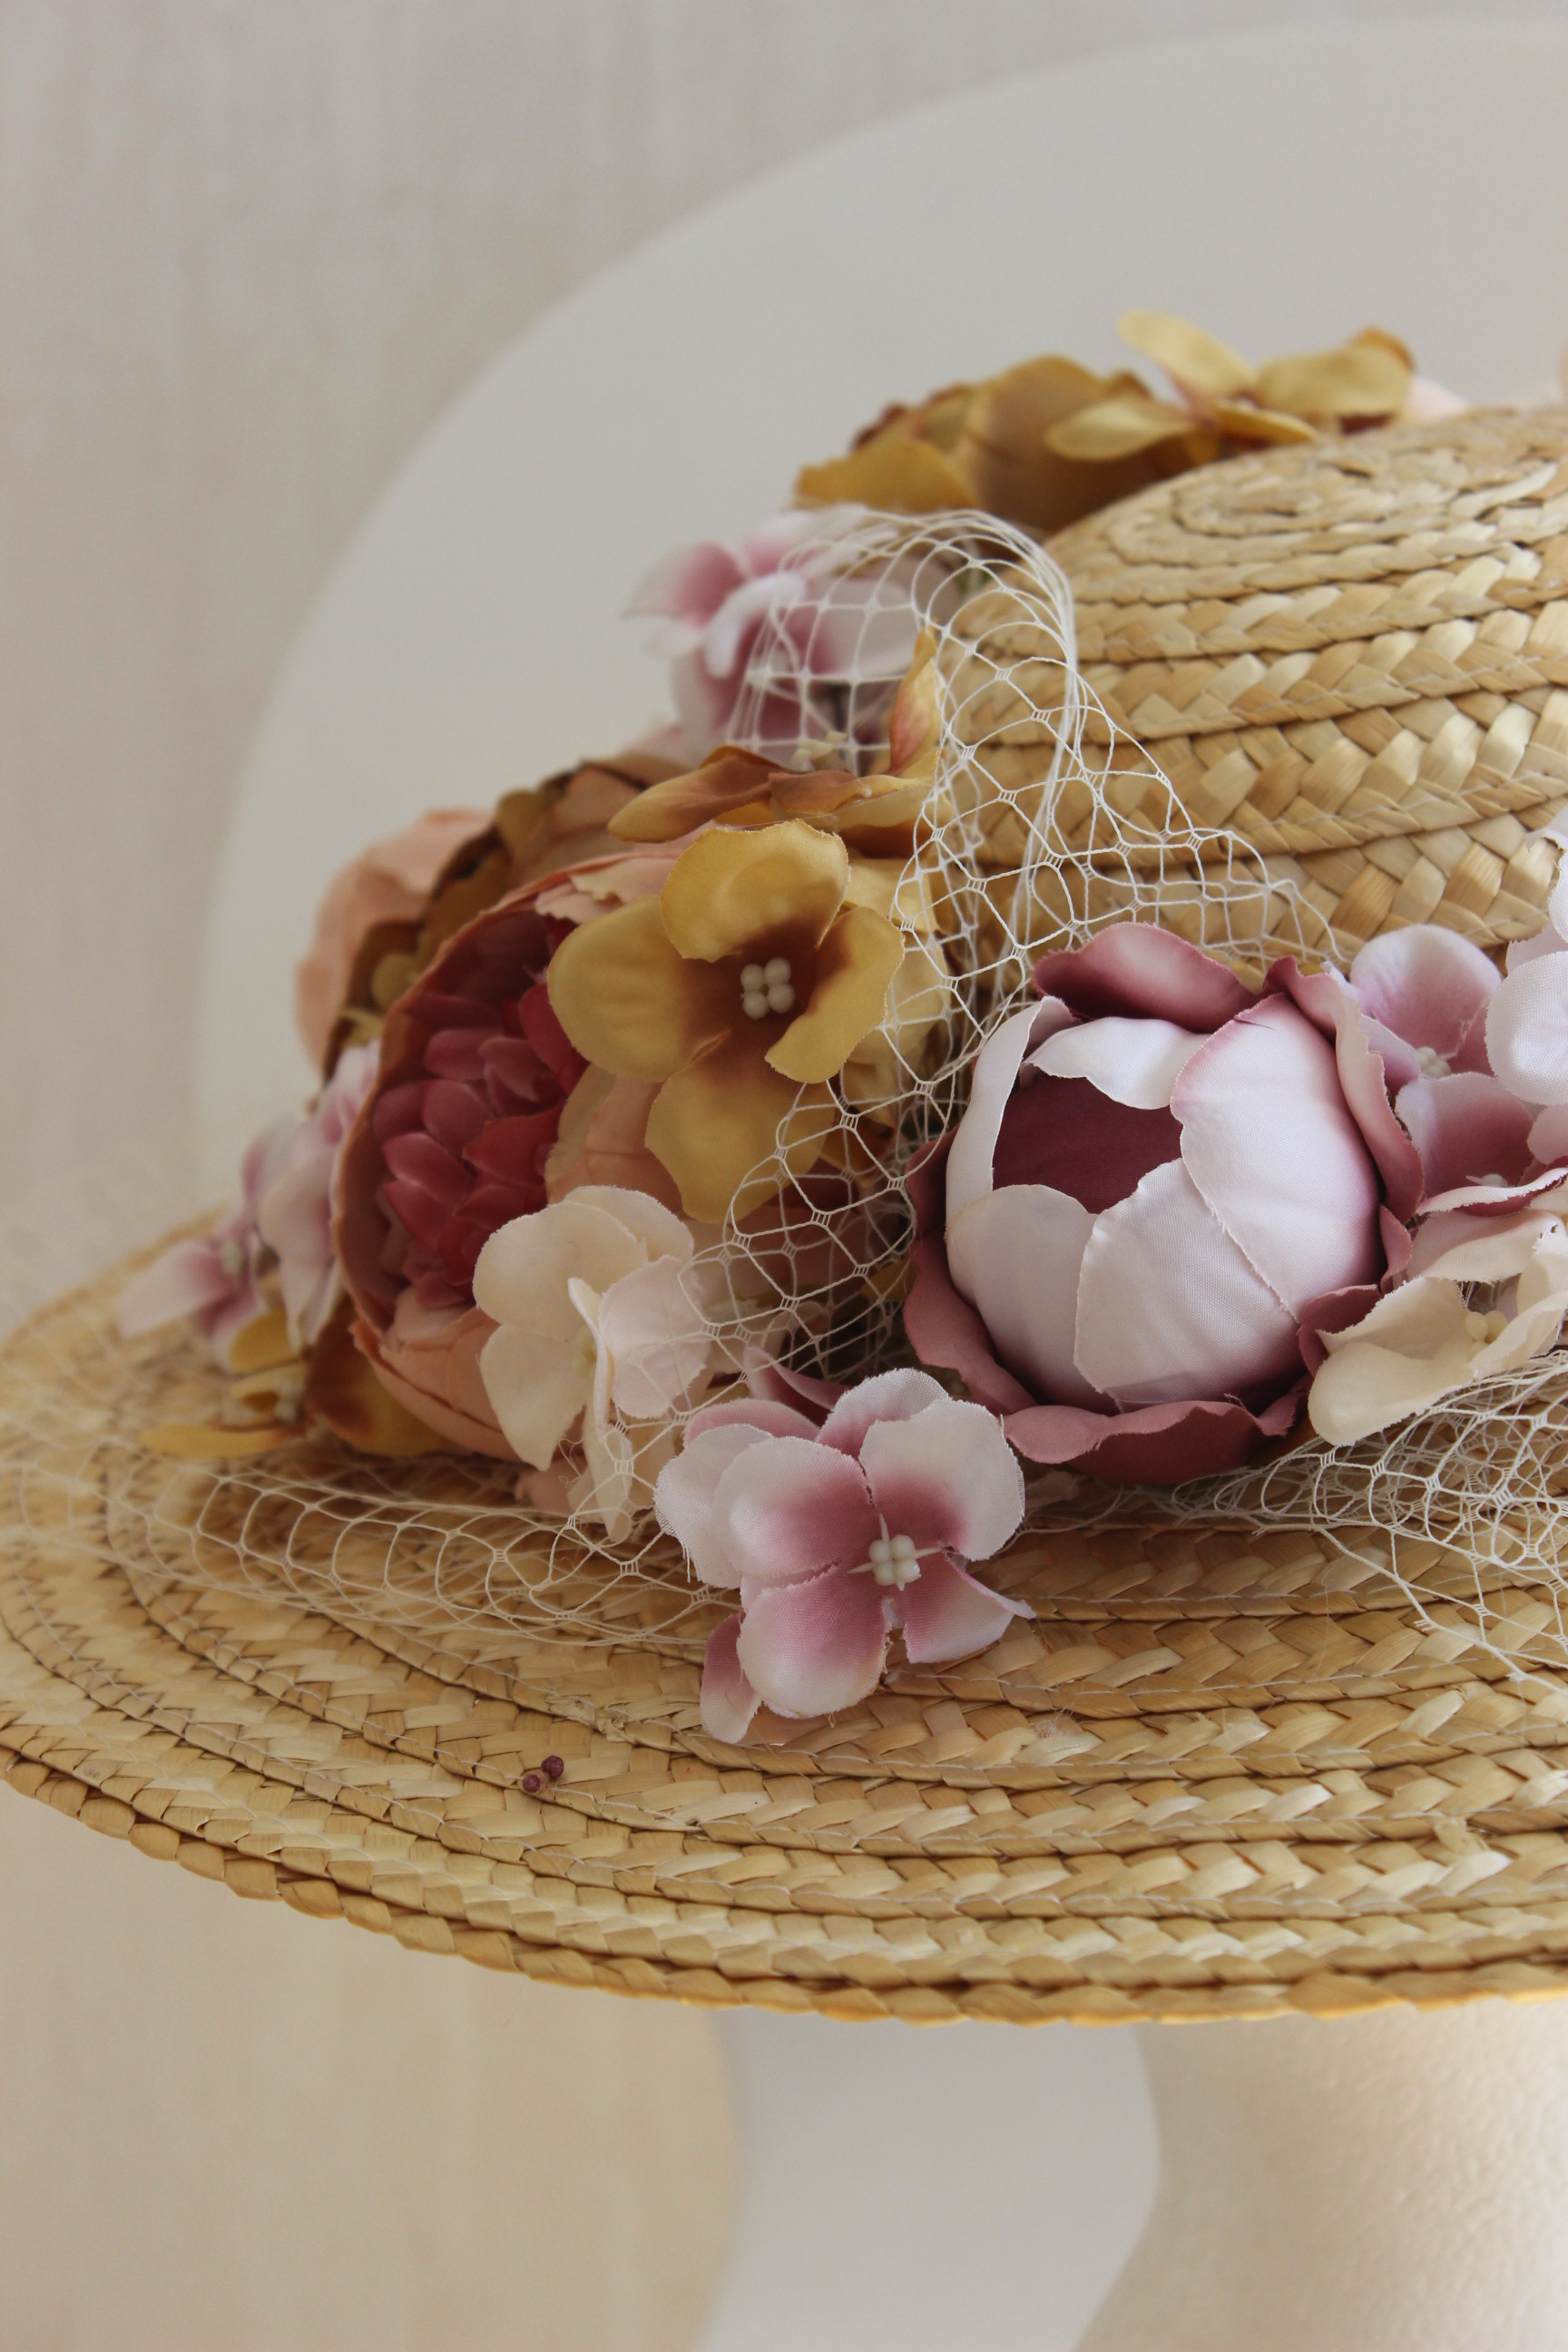
For the flowers I visited E-bay before Easter and ordered tree silk flower bouquets in muted brown, beige and violet colors, and the arrived in perfect time a week ago.
I needed to cut the flowers from the stems on each of the bouquets, but that went really easy and fast using a nippers, and then they were ready to be attached.
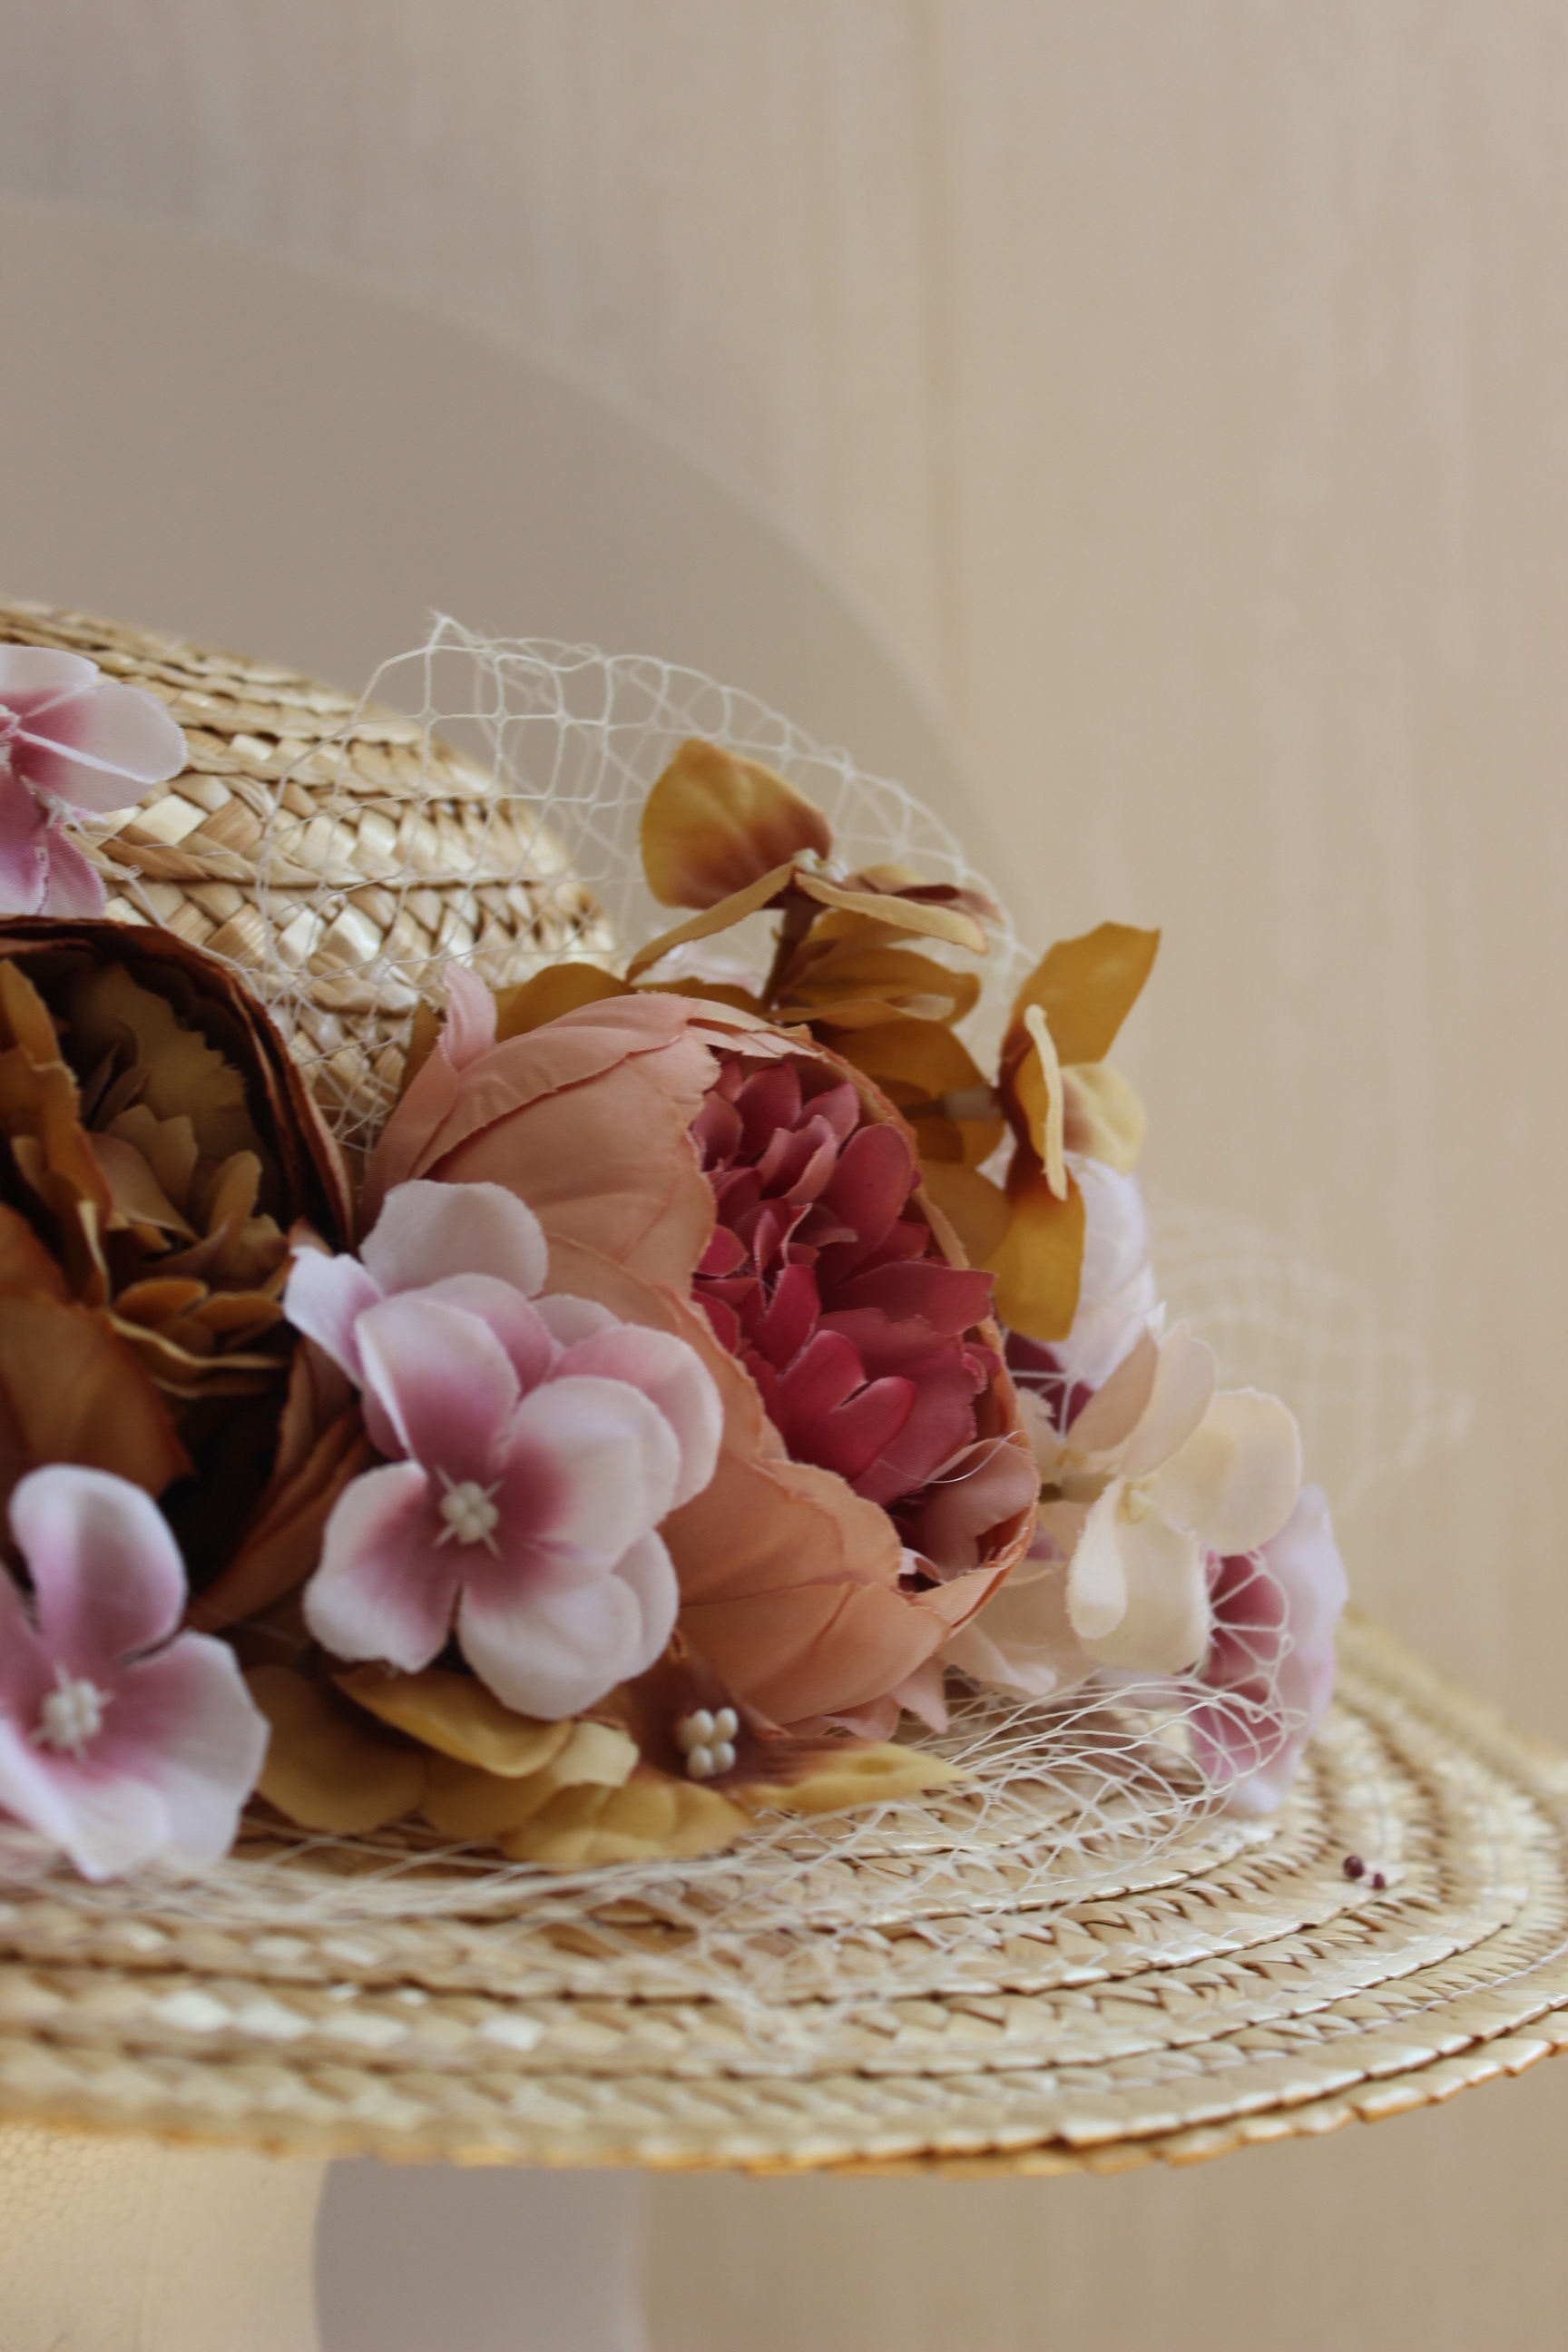
I placed a few flowers on the hat just to get a feeling for how many I would need, and how to best arrange them to get the flowing organic look of the original.
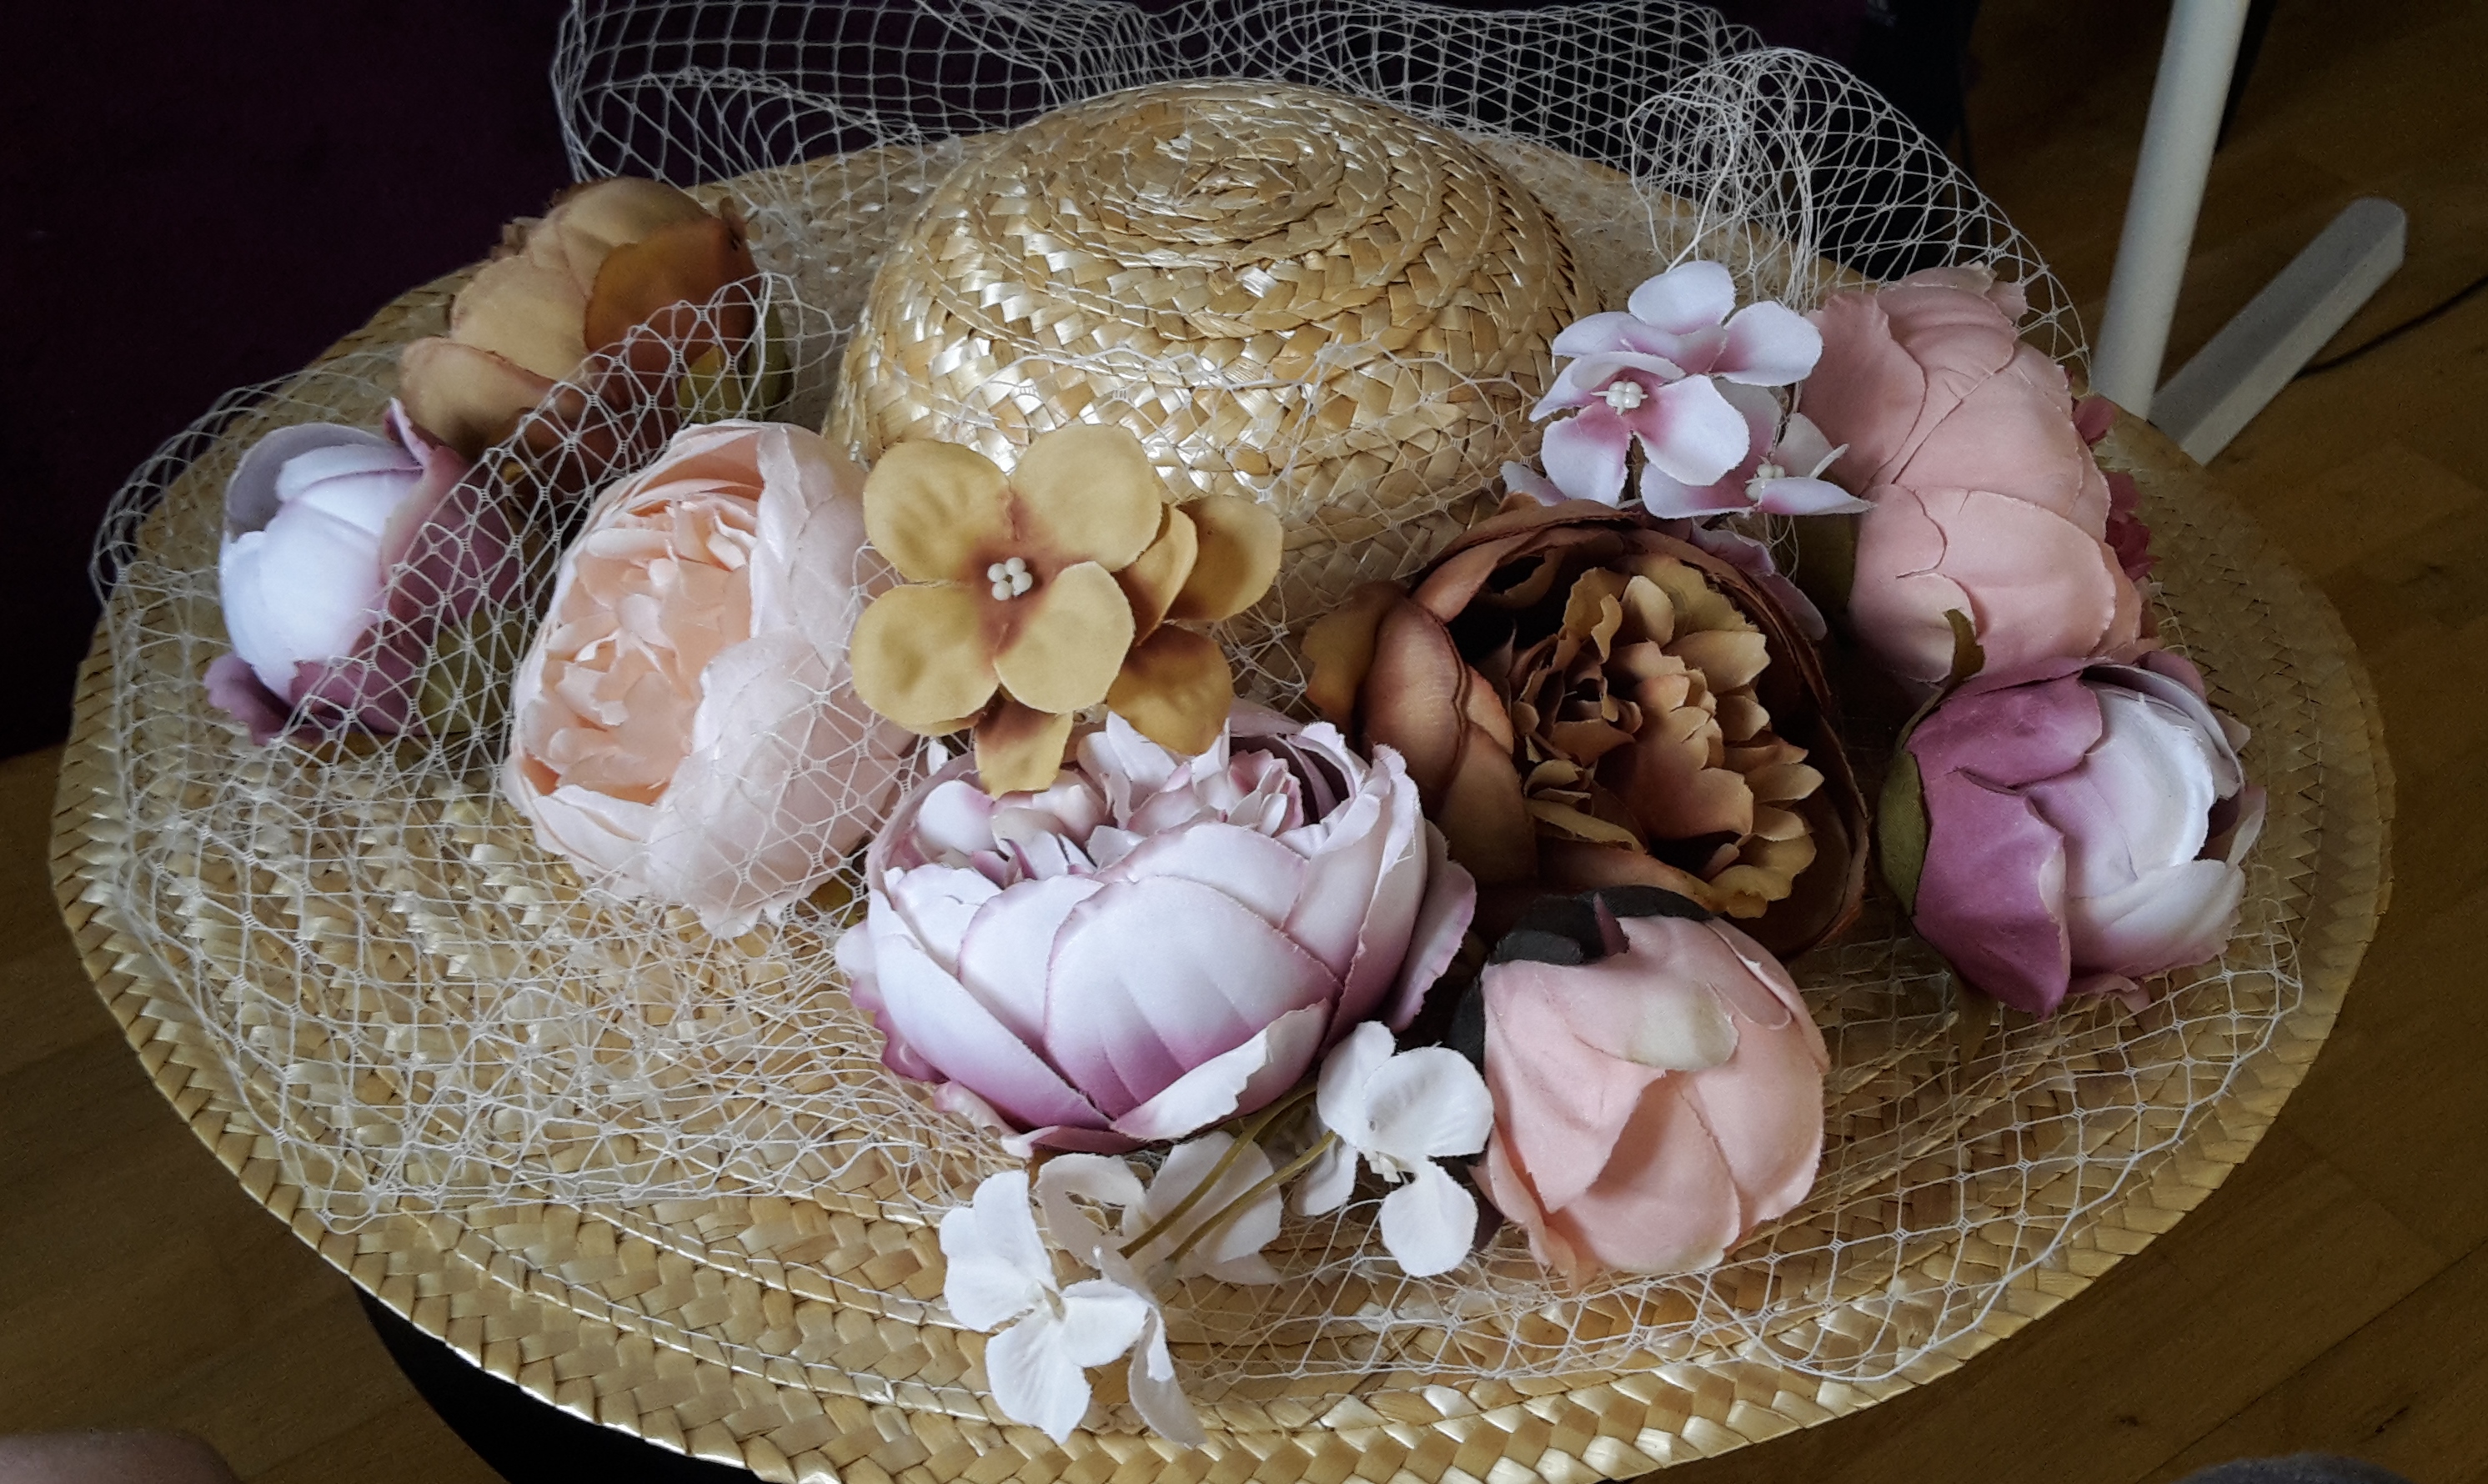 Looks pretty good I think.
I tried to stitch the flowers down but It didn’t work, so after some hesitation I decided to use the most loved (and hated) tool of them all – hot glue.
Then I got to work arranging and attaching the flowers as I went.
It was so easy, and went so fast, it almost felt like cheating.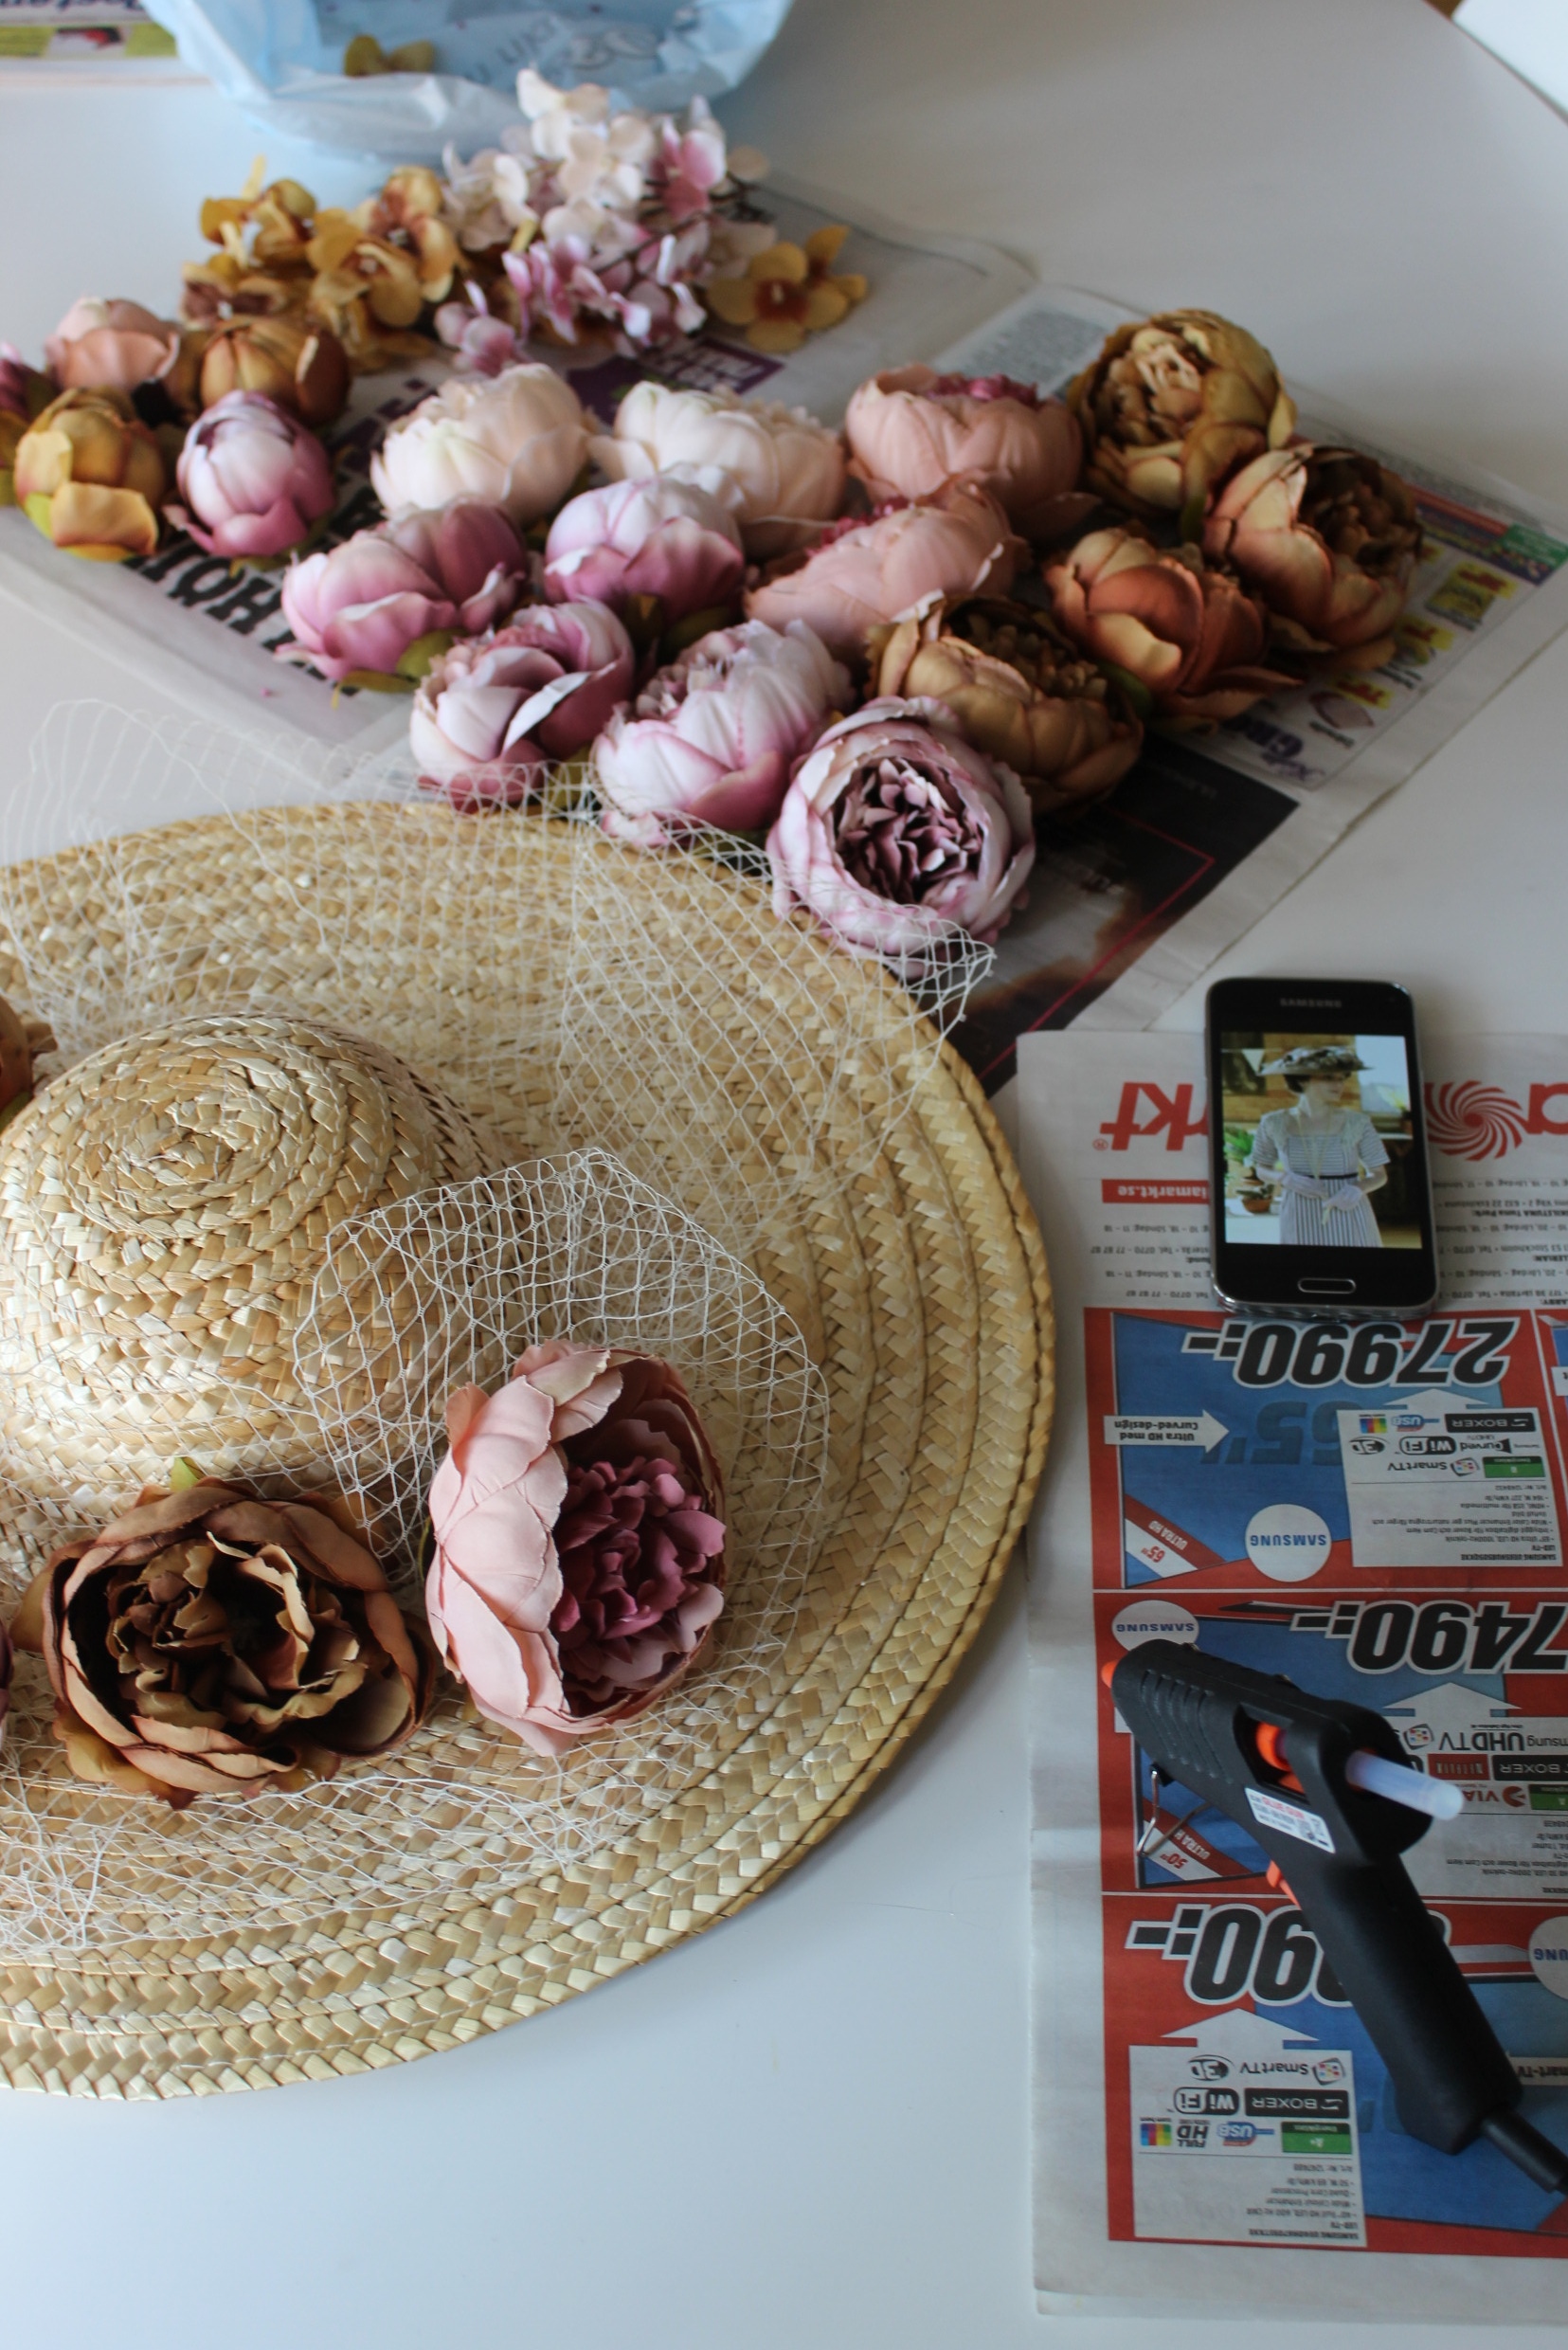 All you need for your hat project: Hat, Netting, Flowers, Inspiration pic and hot glue…
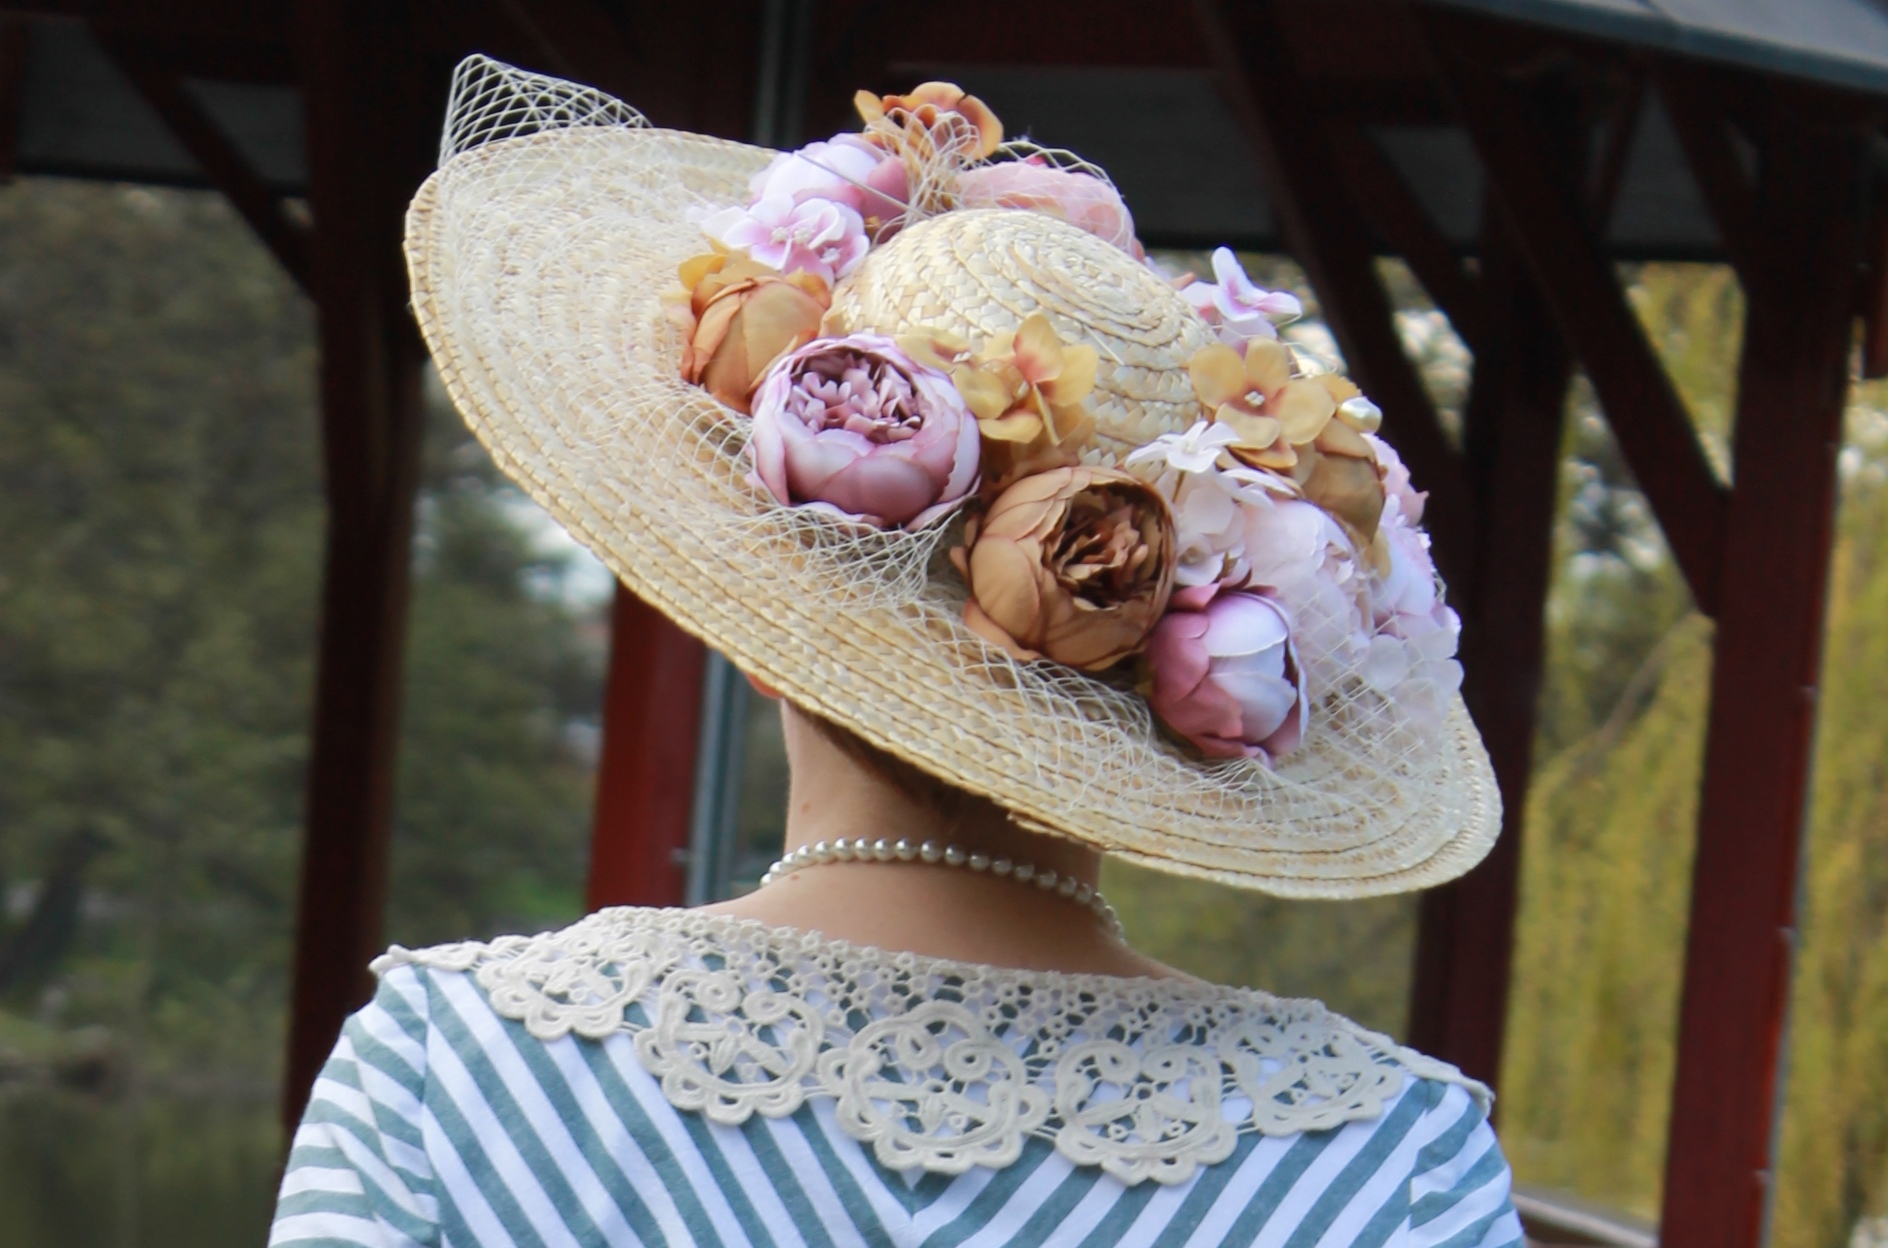
Finished Hat: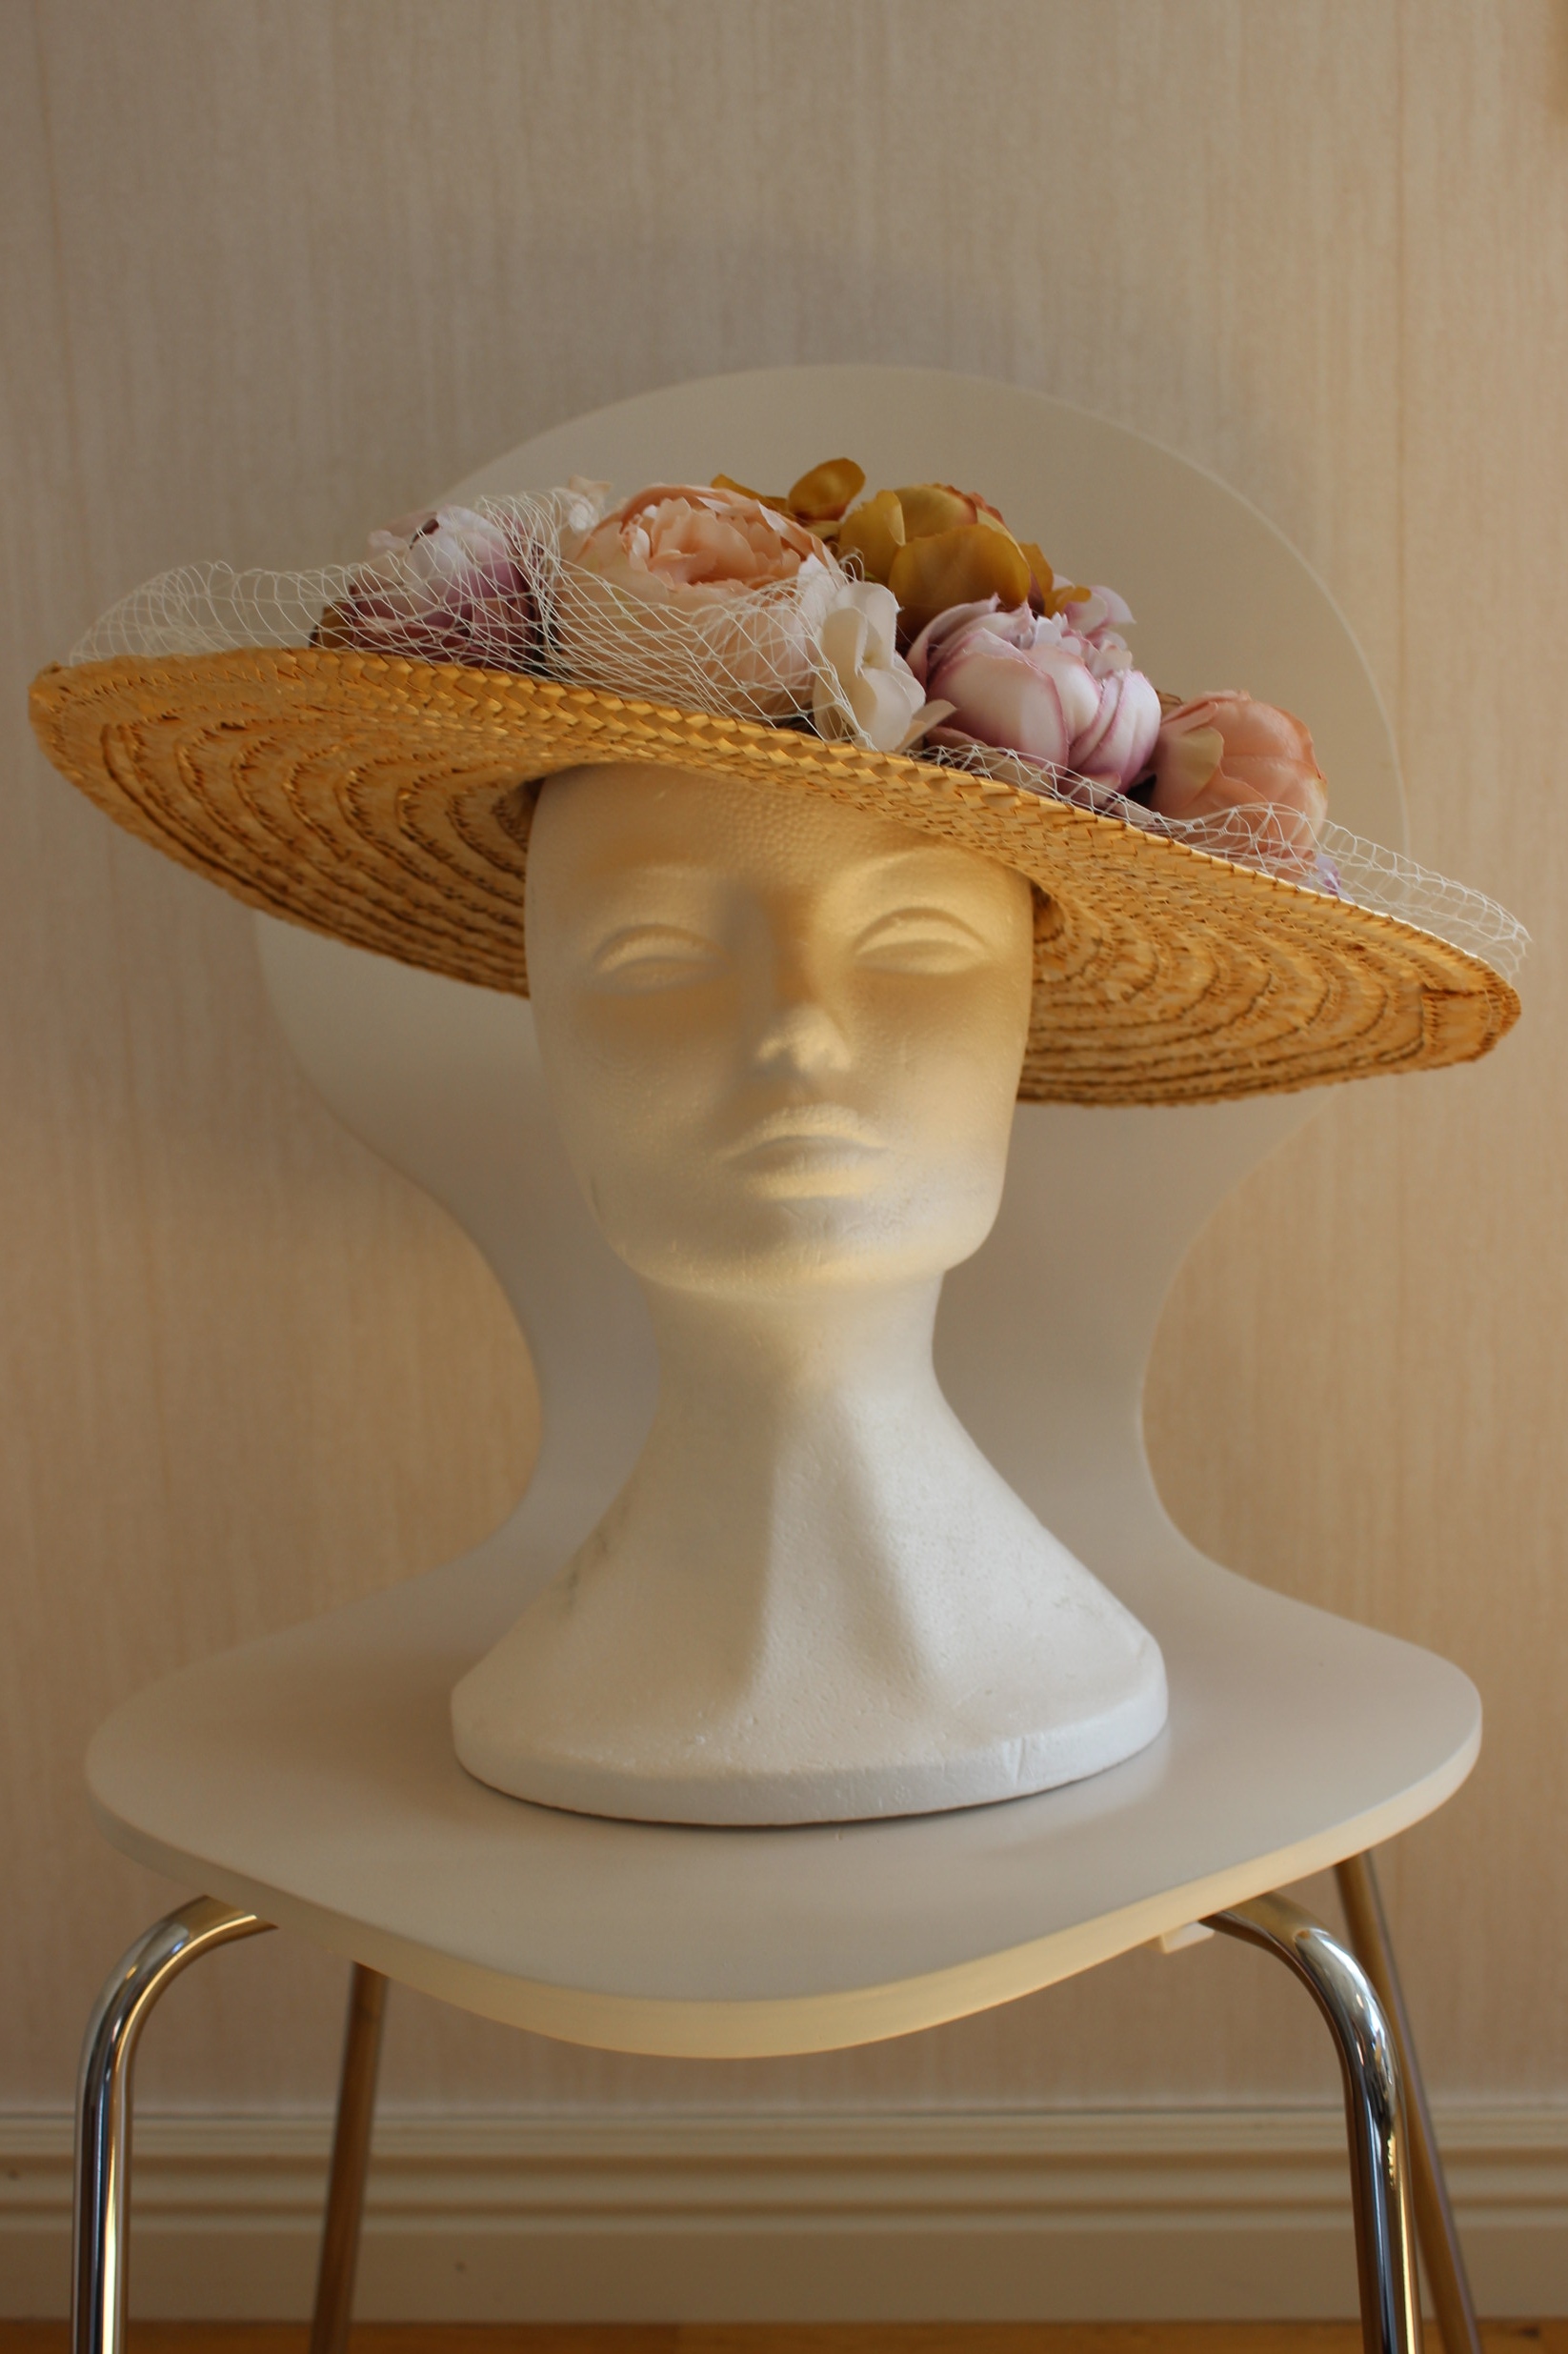

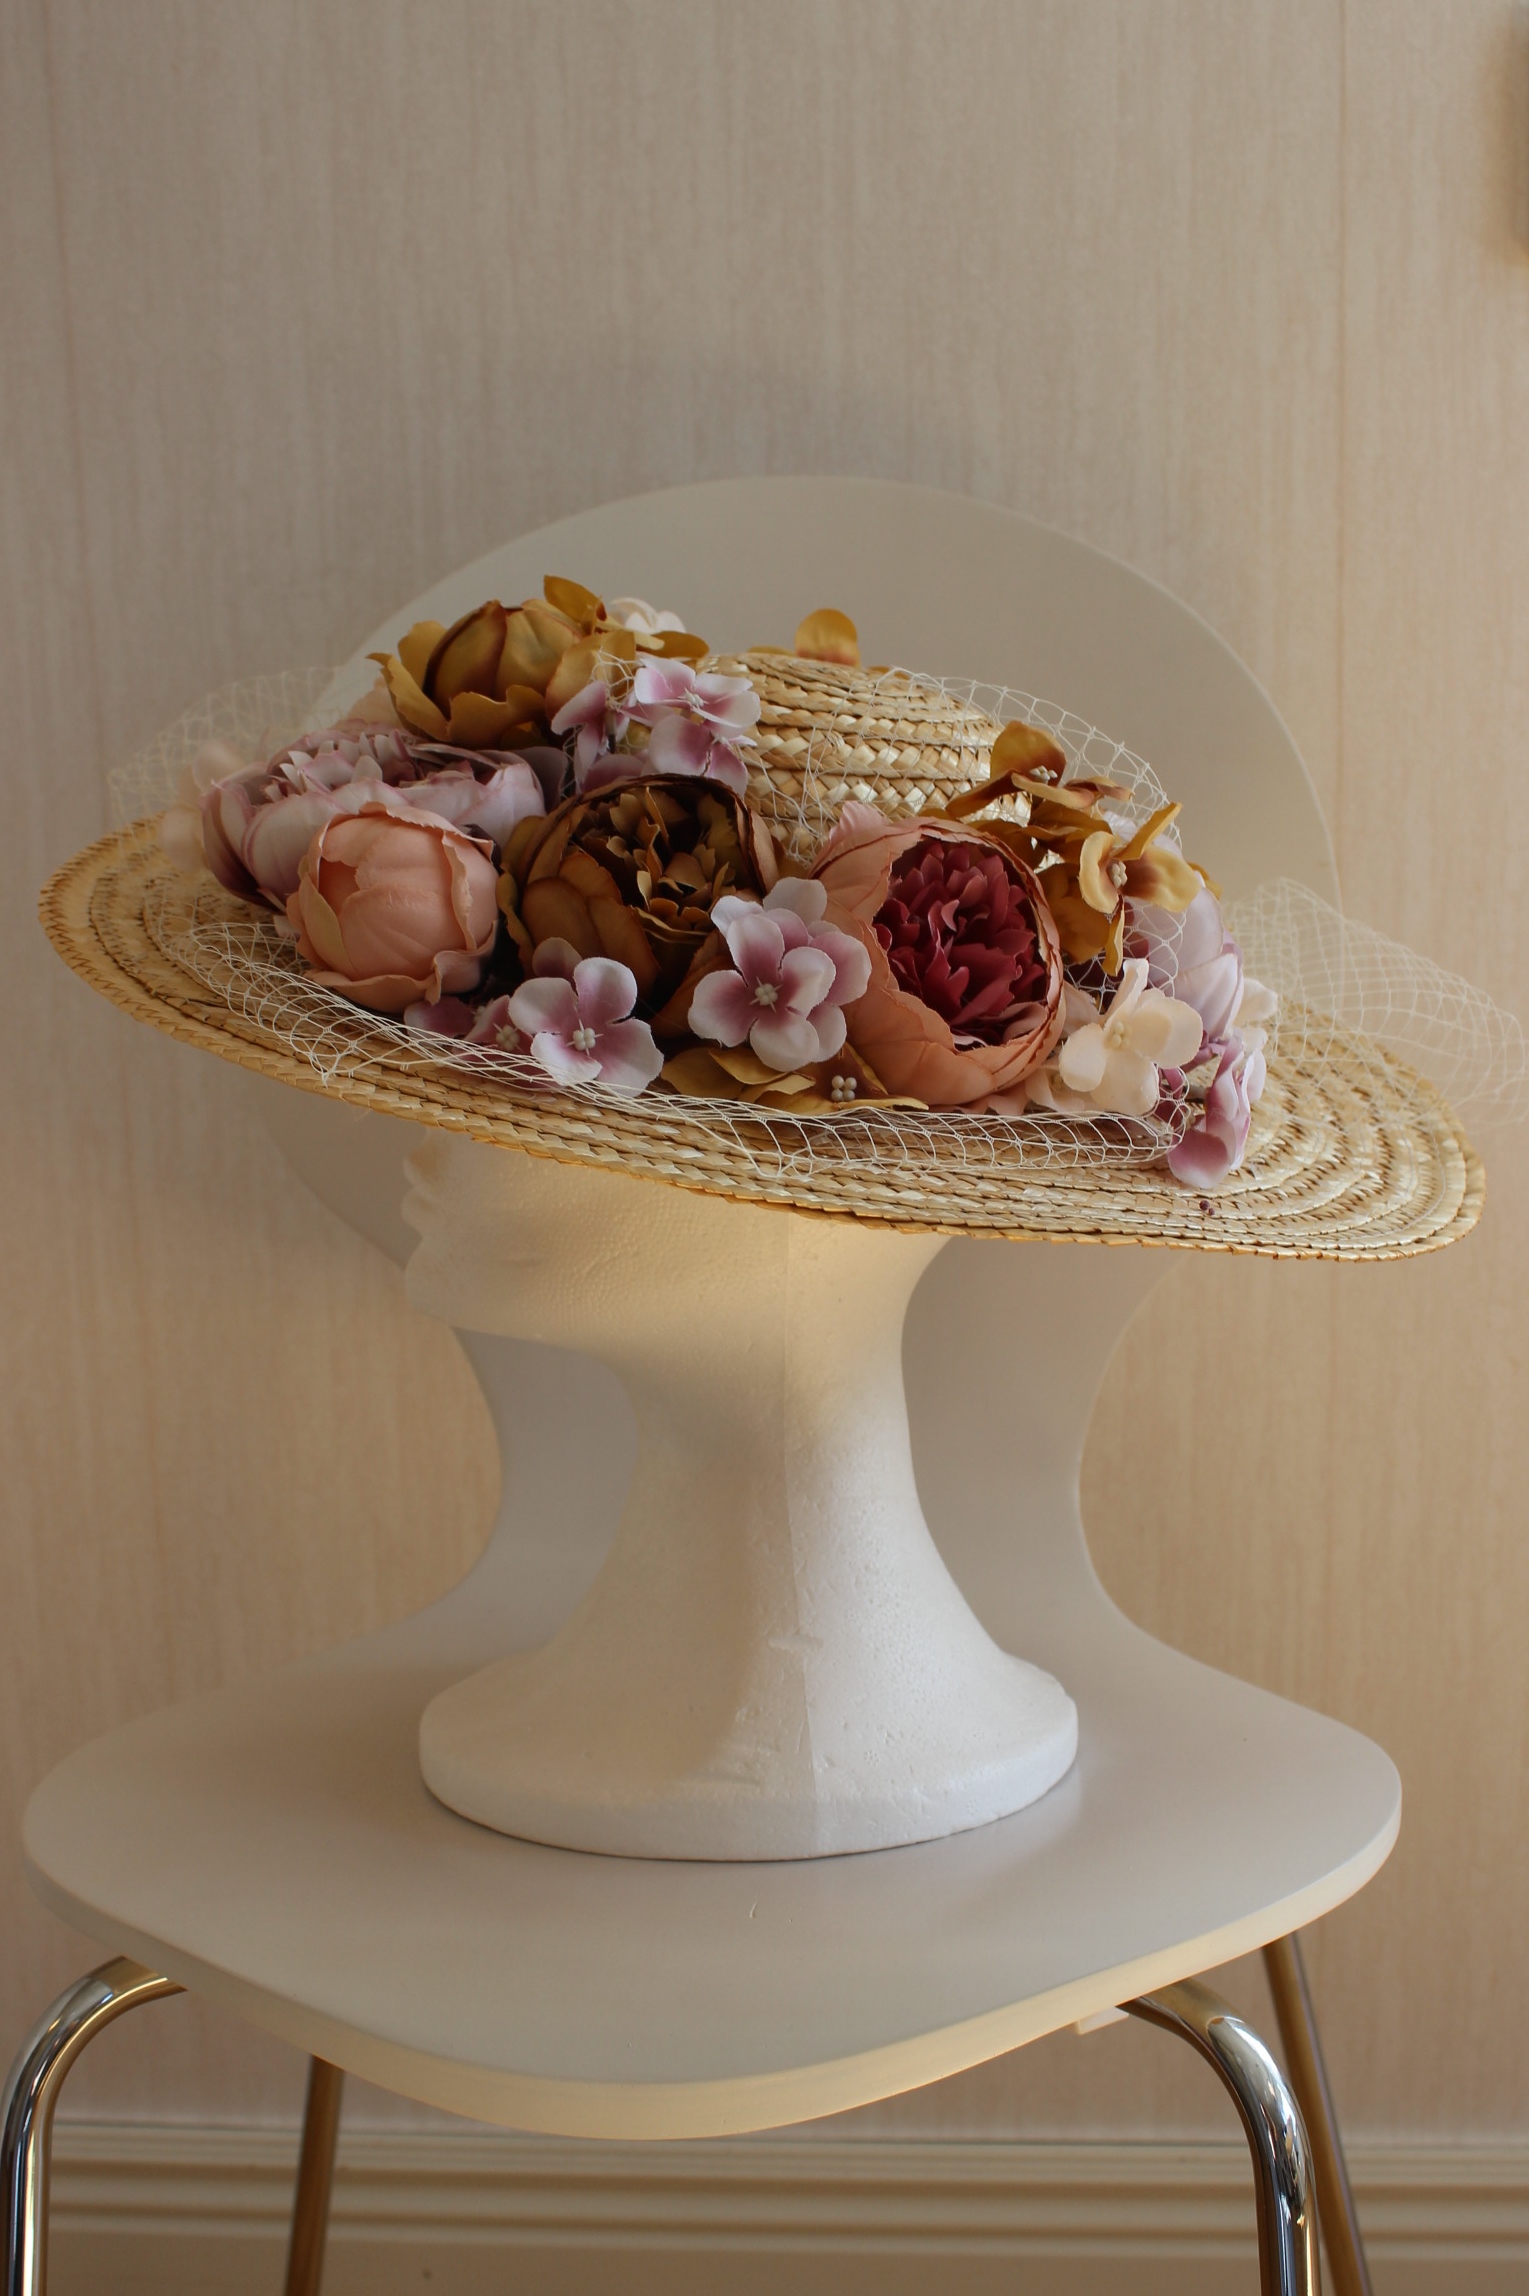
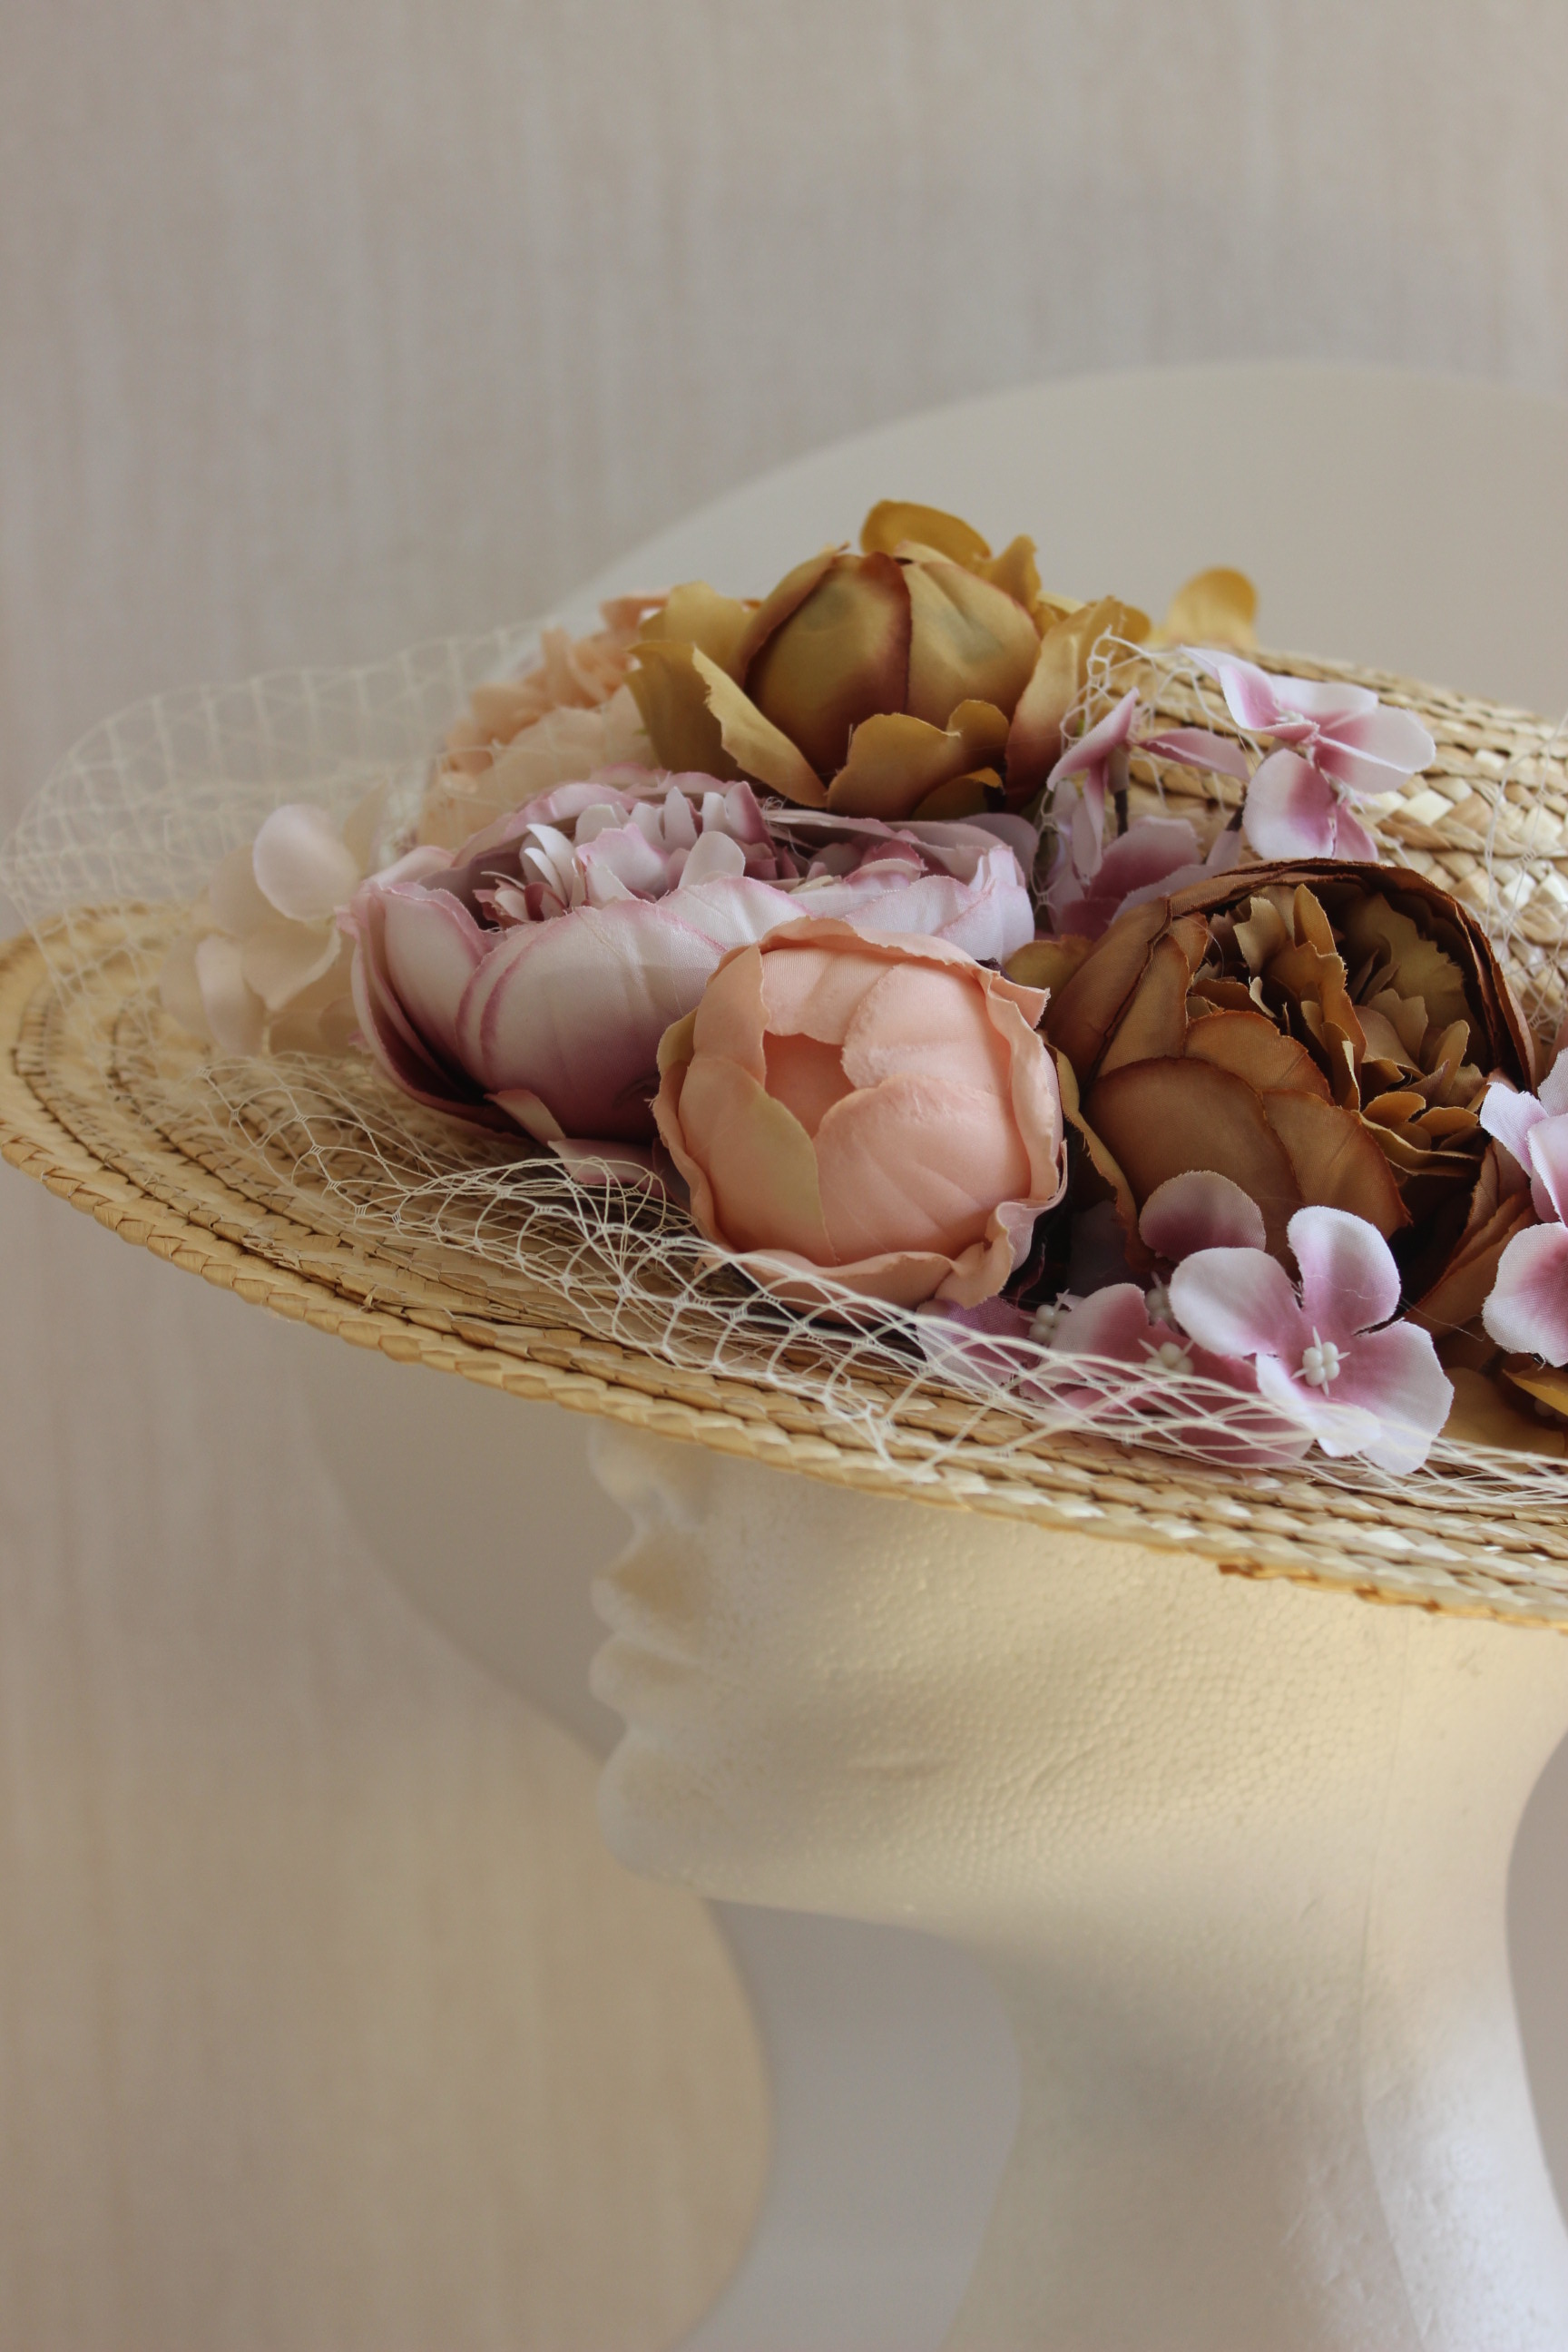
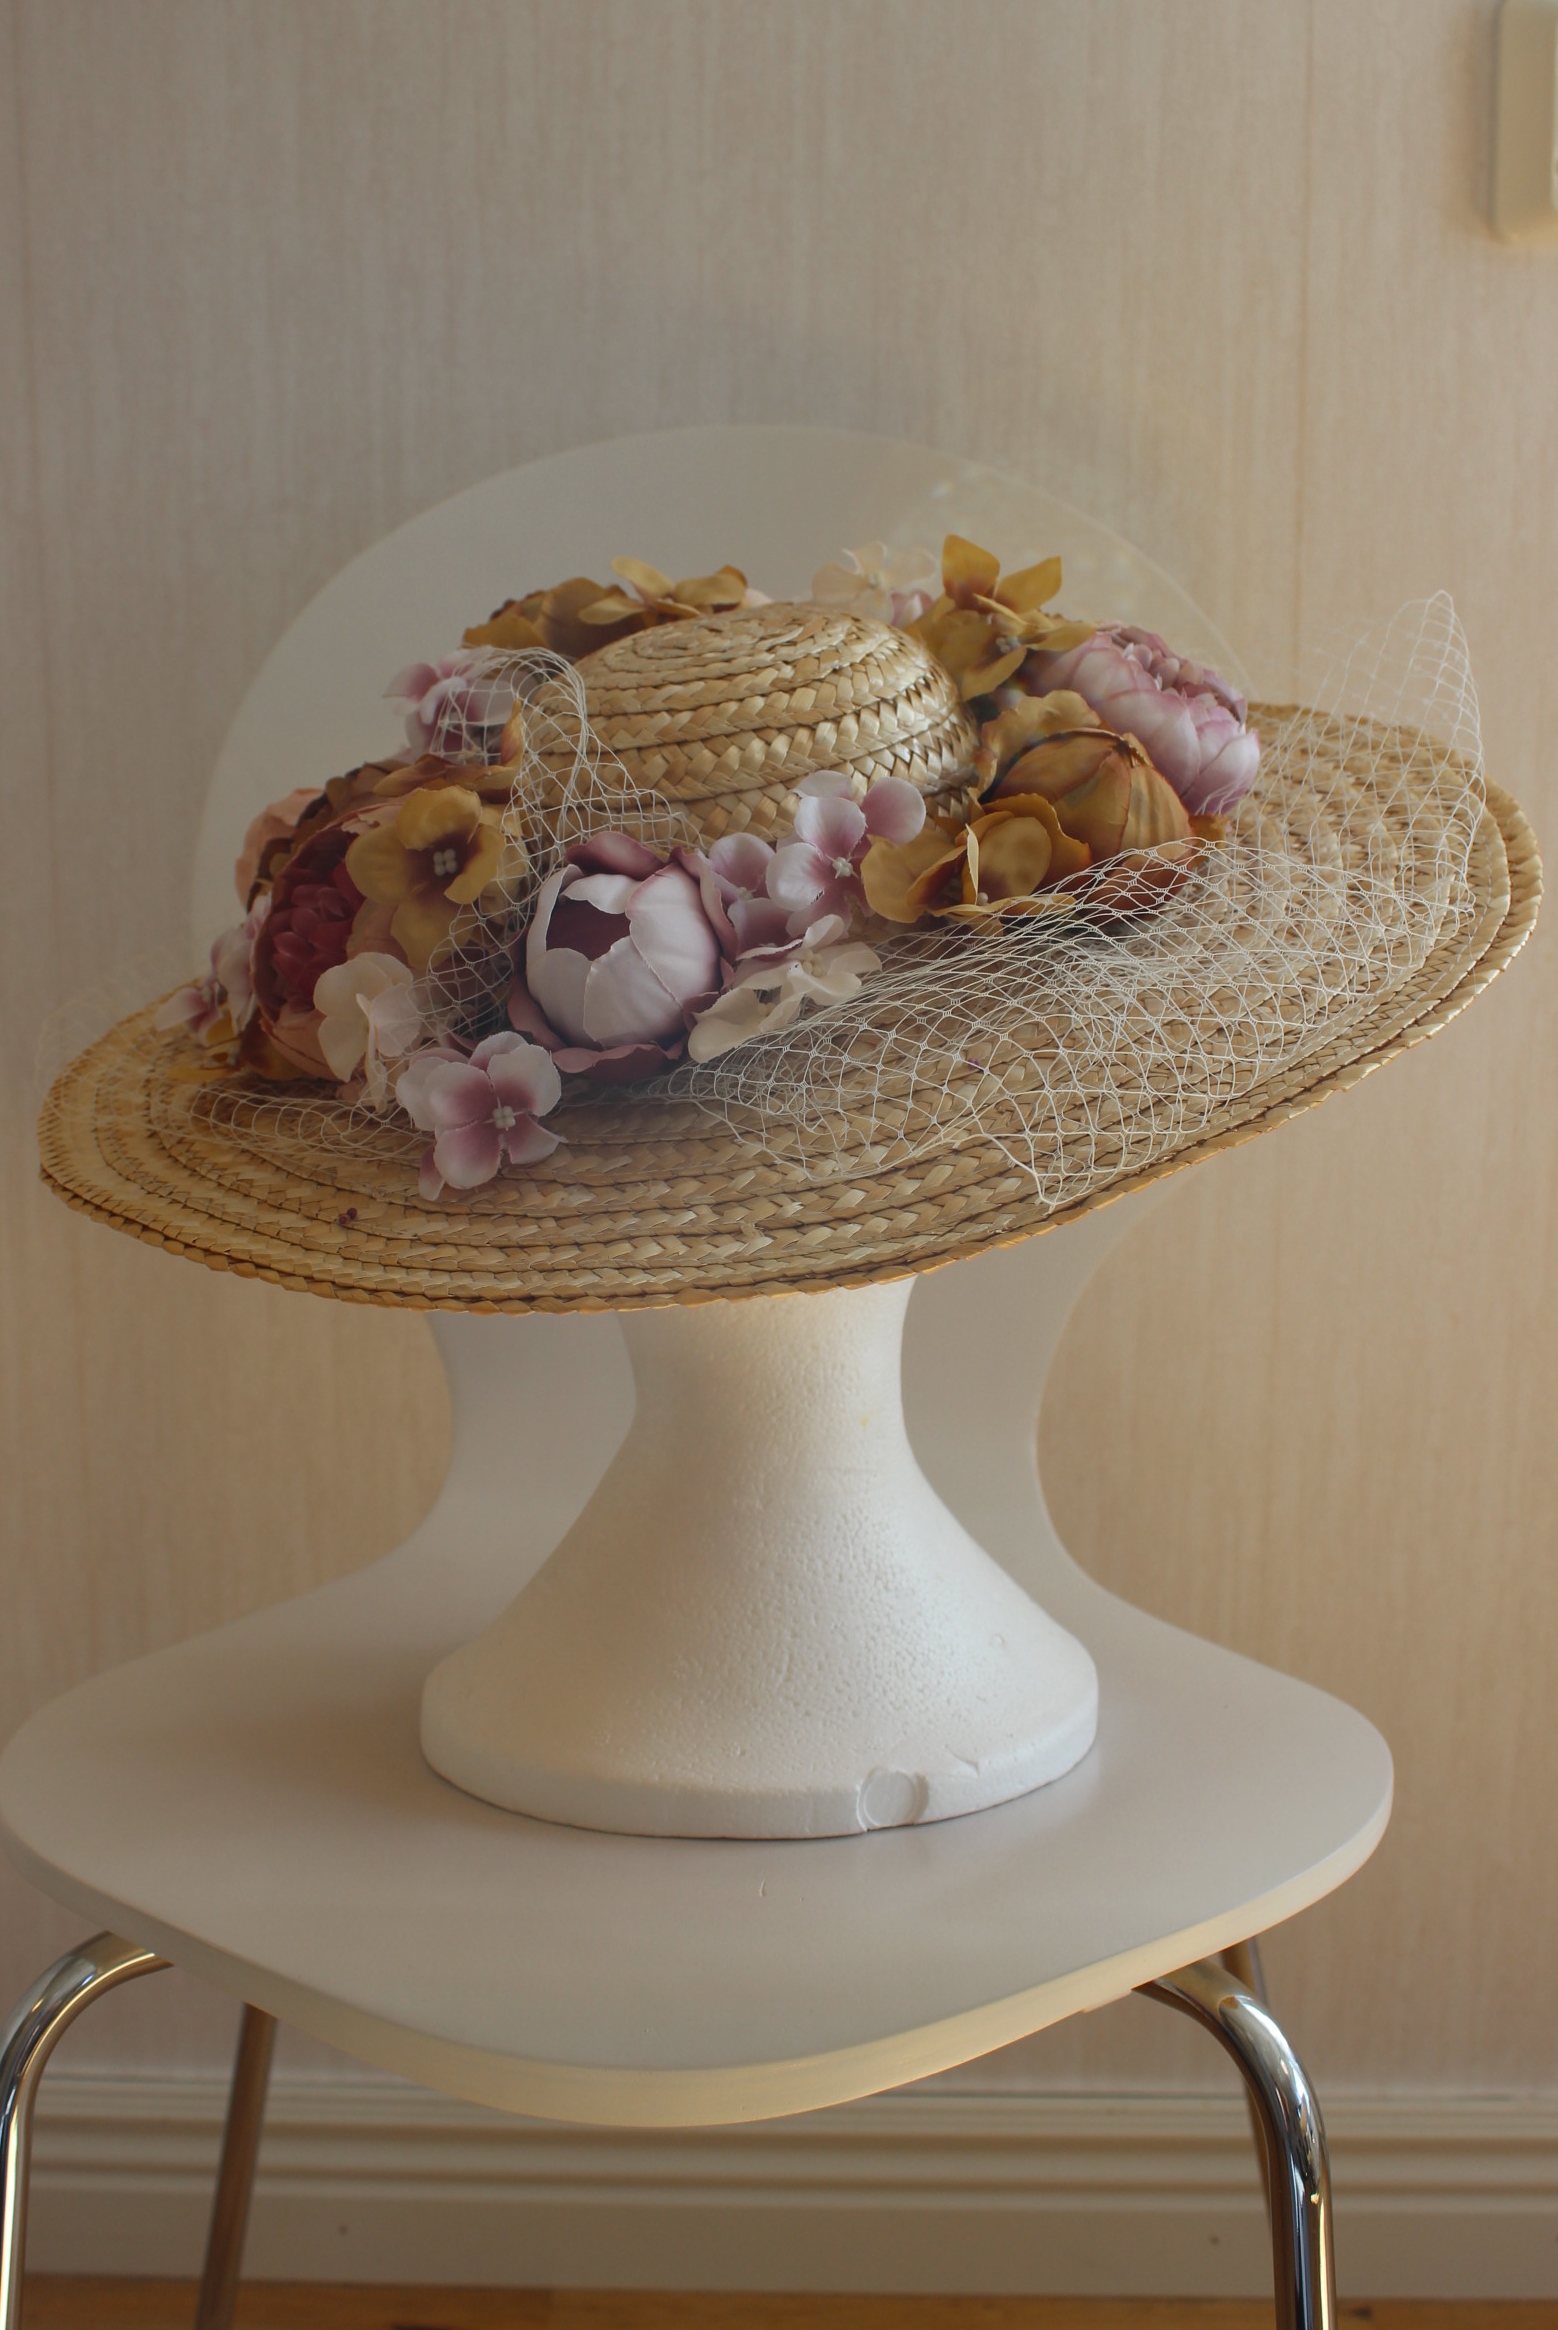
And a few pics from the photoshoot:

The facts:
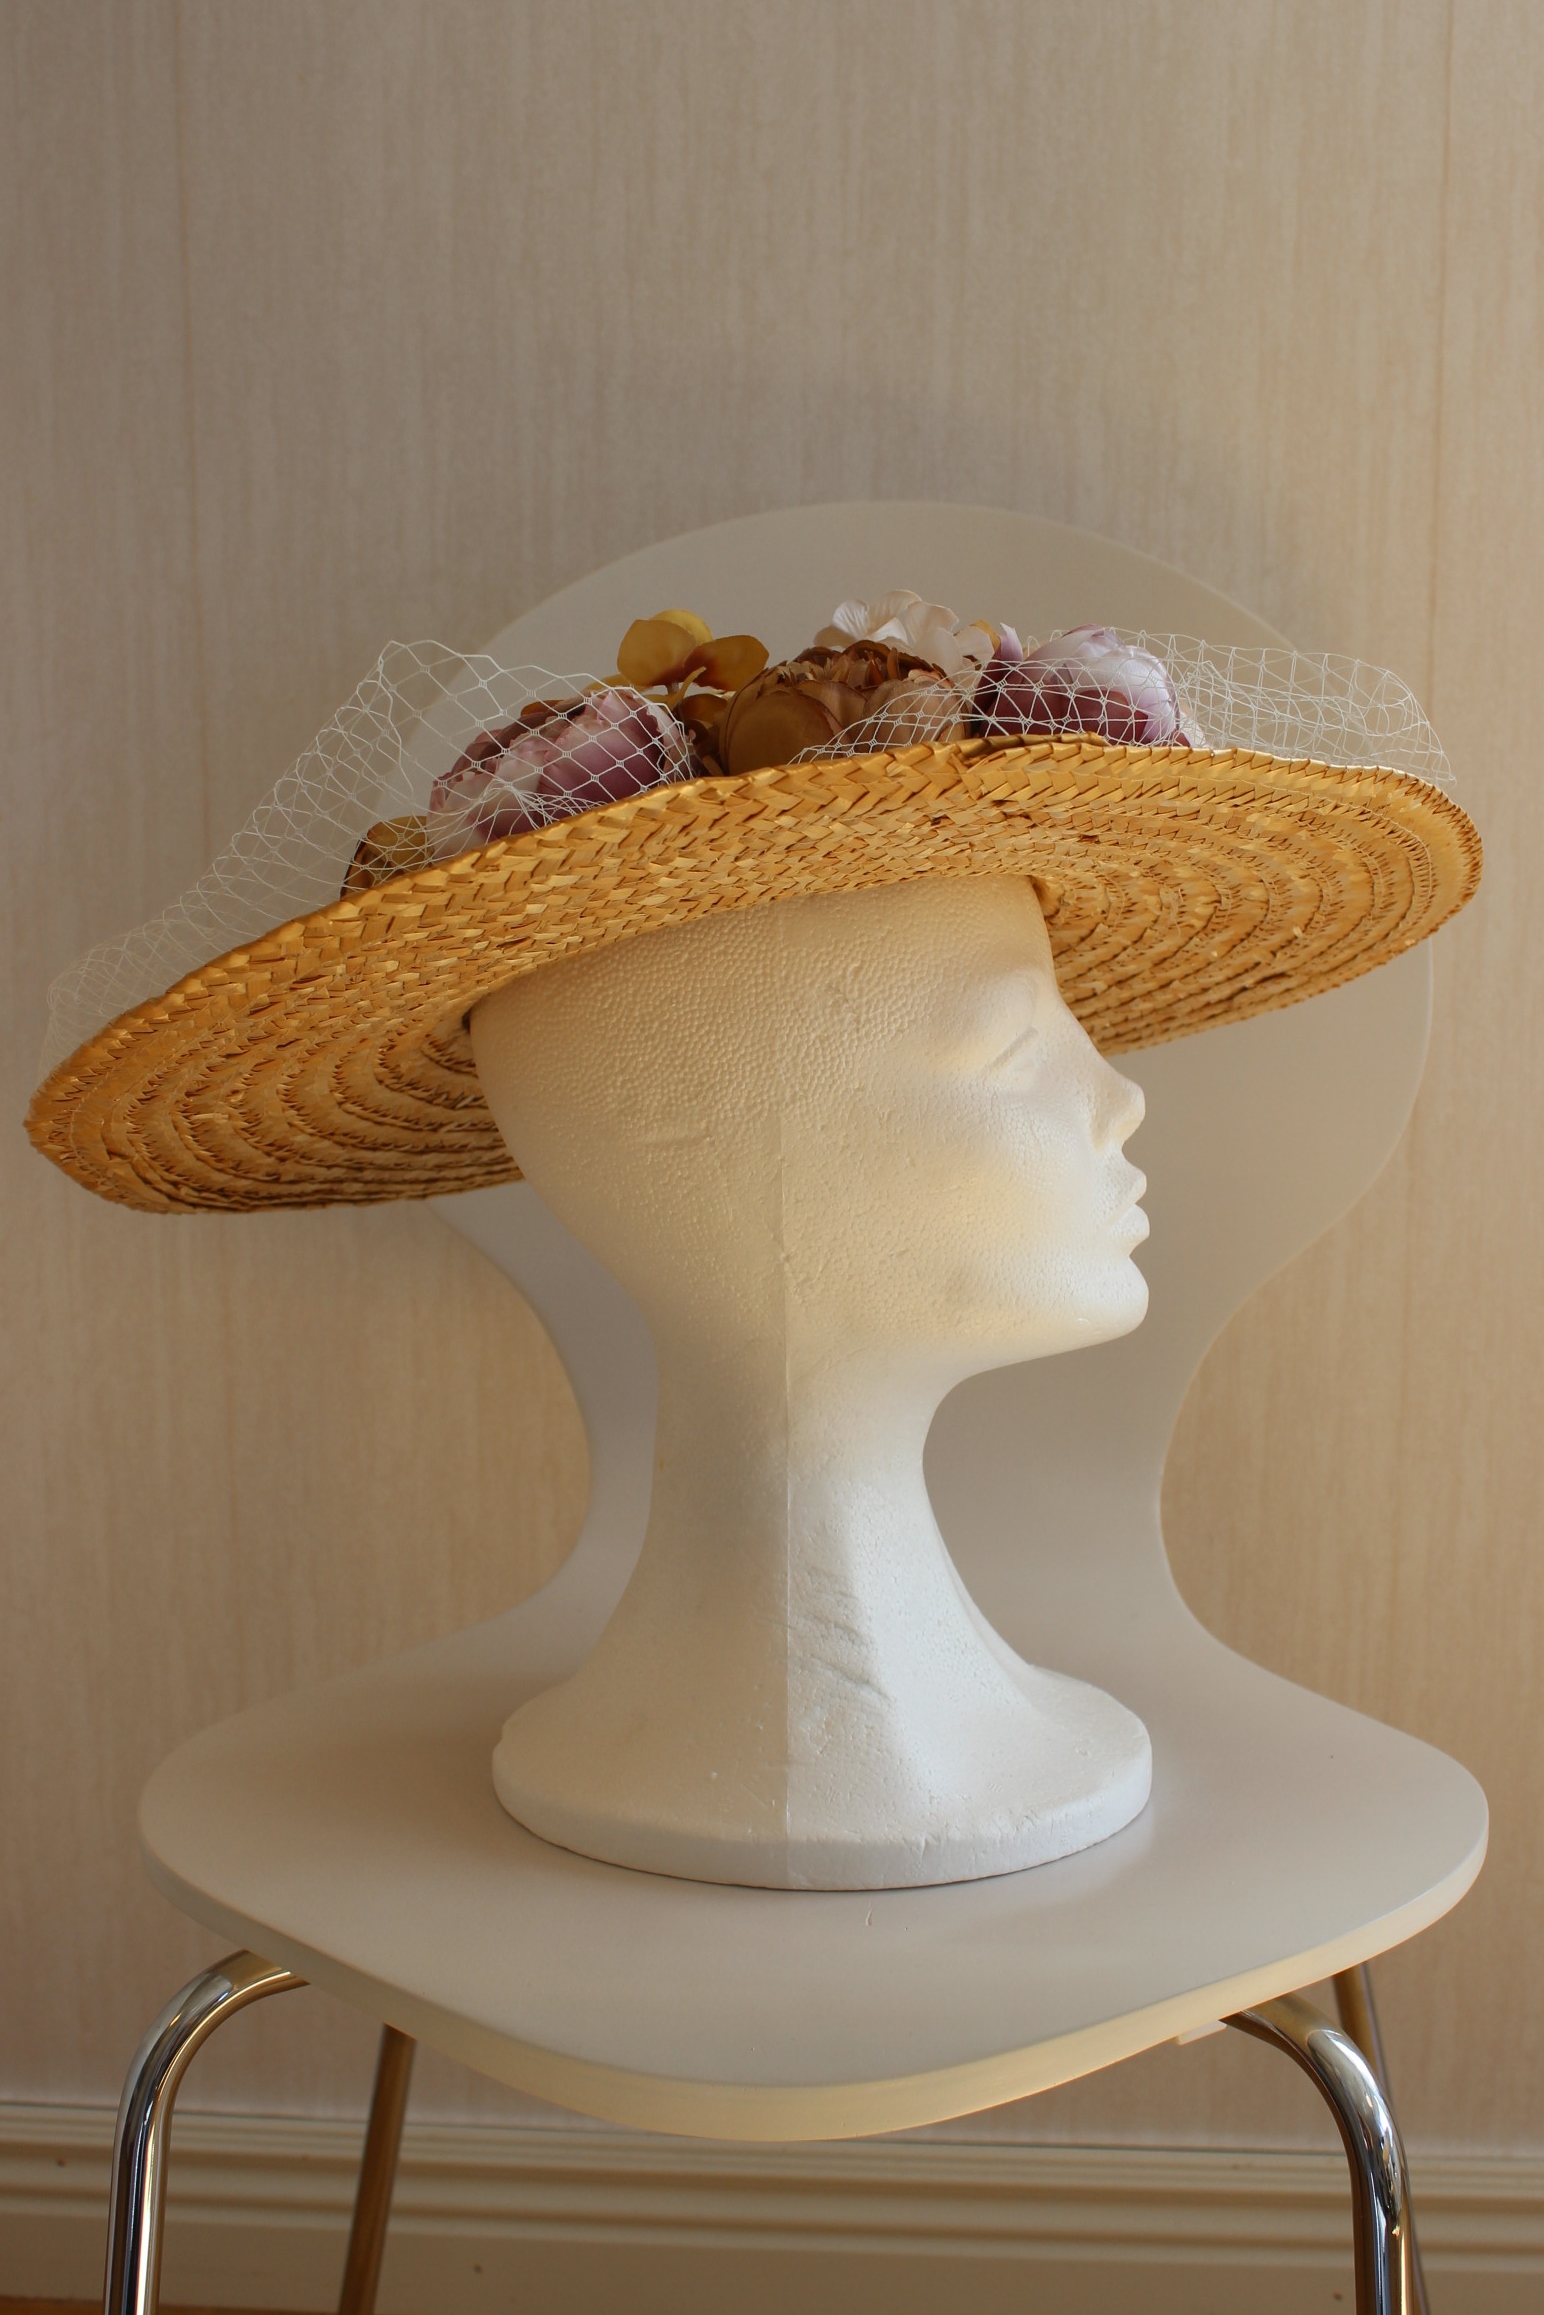
What: a 1914s summer hat (with autumn colored flowers)
Notions/Materials: A big brimmed straw hat, synthetic flowers in different muted colors, white hat netting, thread and hot glue (ops…)
Time: 1 hour
Cost: 250Sek (40Usd)
Final Thought: The hat is a bit to wide in the brim and a bit to small in the head to be perfect. Put considering the shape (and look) of most modern straw hats I won’t complain.
I think it turned out beautifully, and think it fits my “Lady Mary” dress just perfect.
