A 1929s picture dress

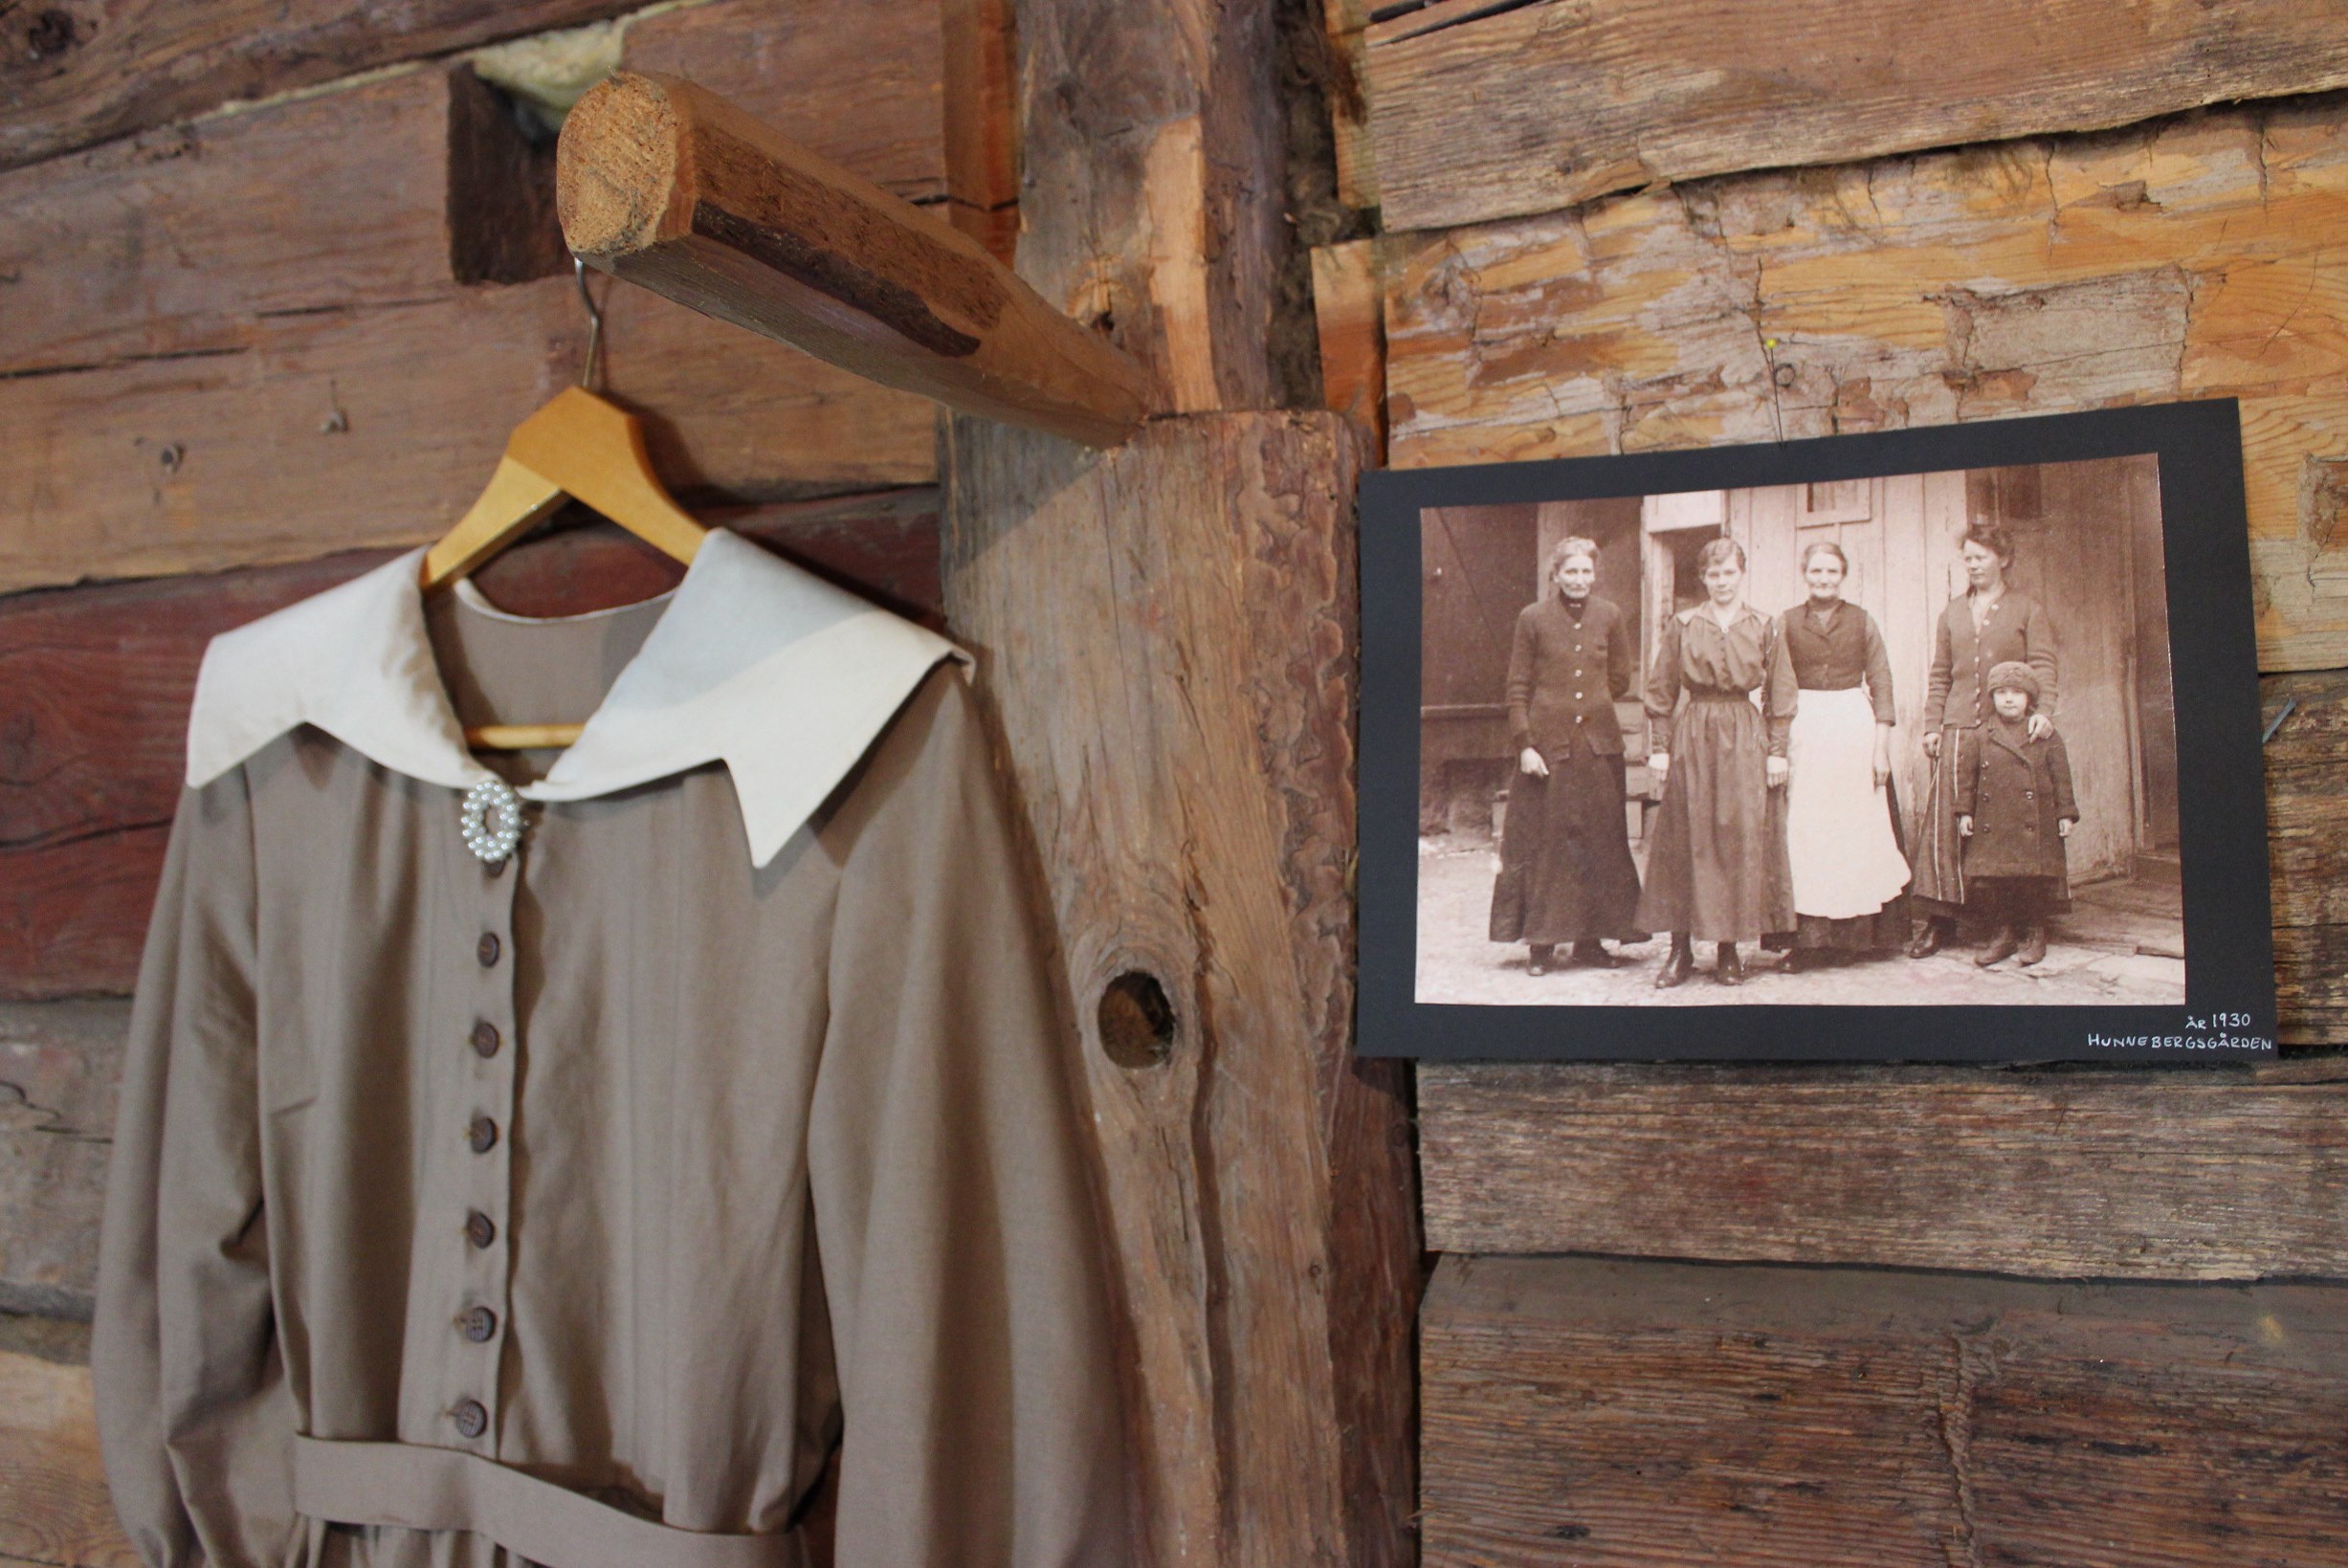
When looking at the pictures for my boyfriends exhibition I emedetly fell in love with the photo of the 4 women and the little girl.

CApettersson1 - Kopia

3 generation of women who, probably dresses in their finery for the photograph, all look so severe and sad. It makes me wonder who they where and what there lives was like.

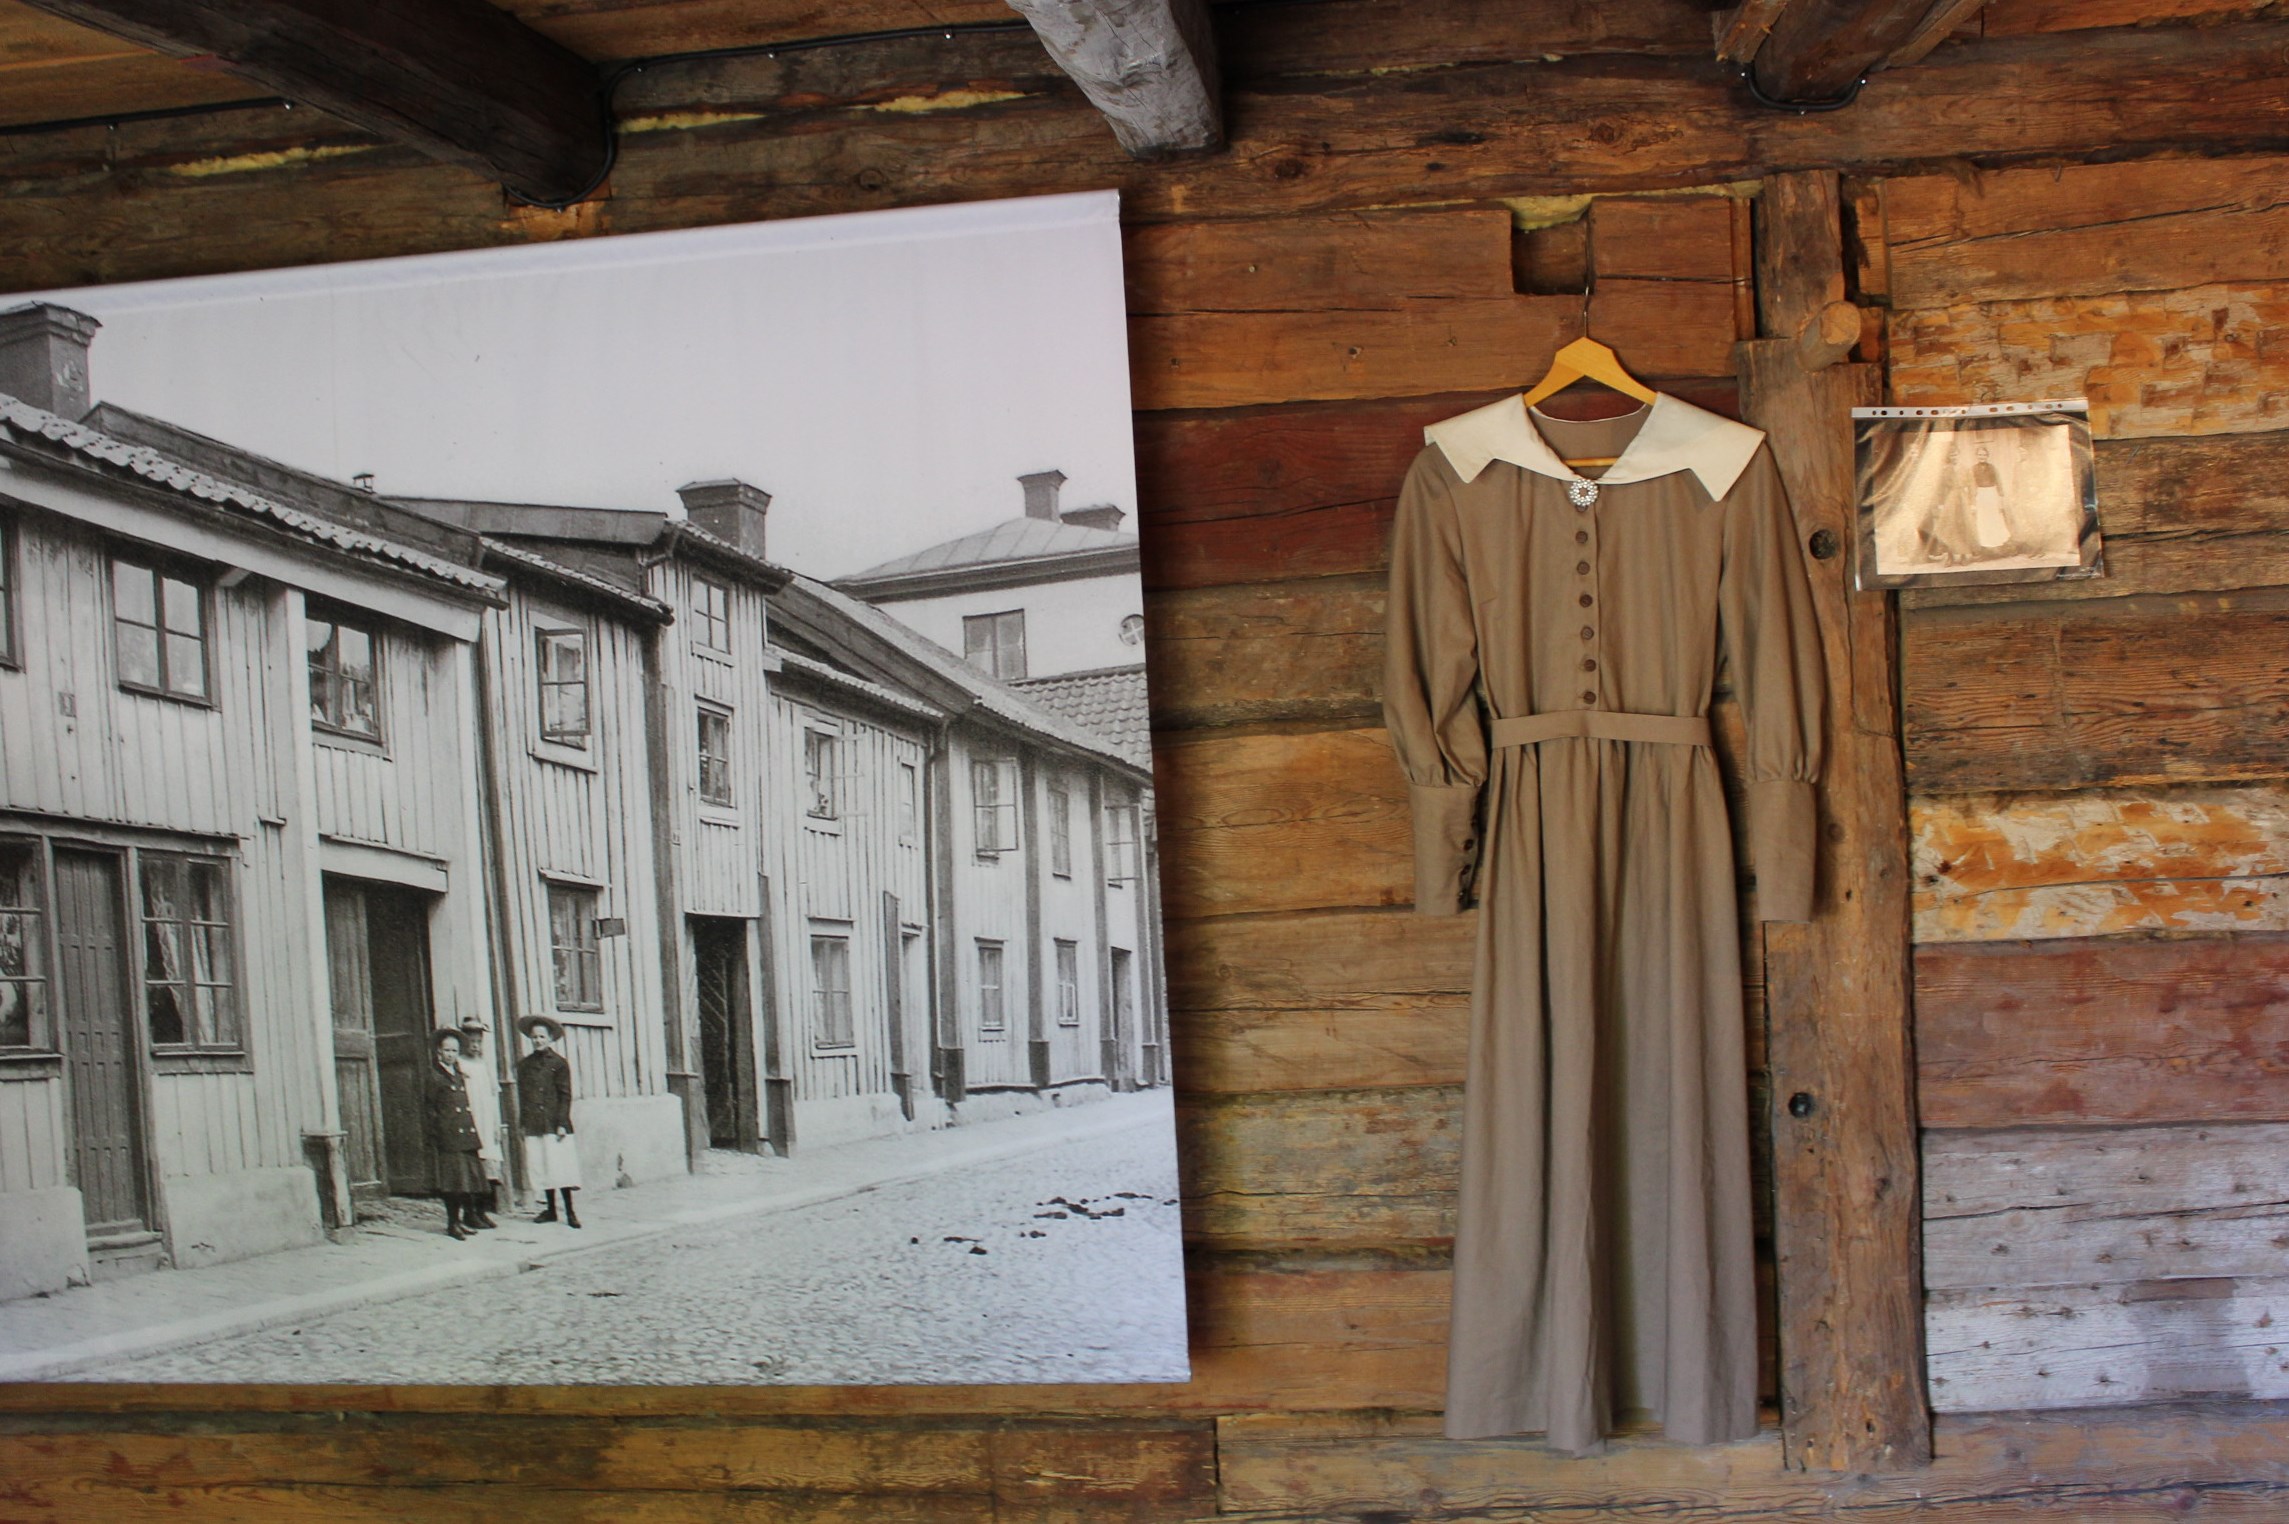
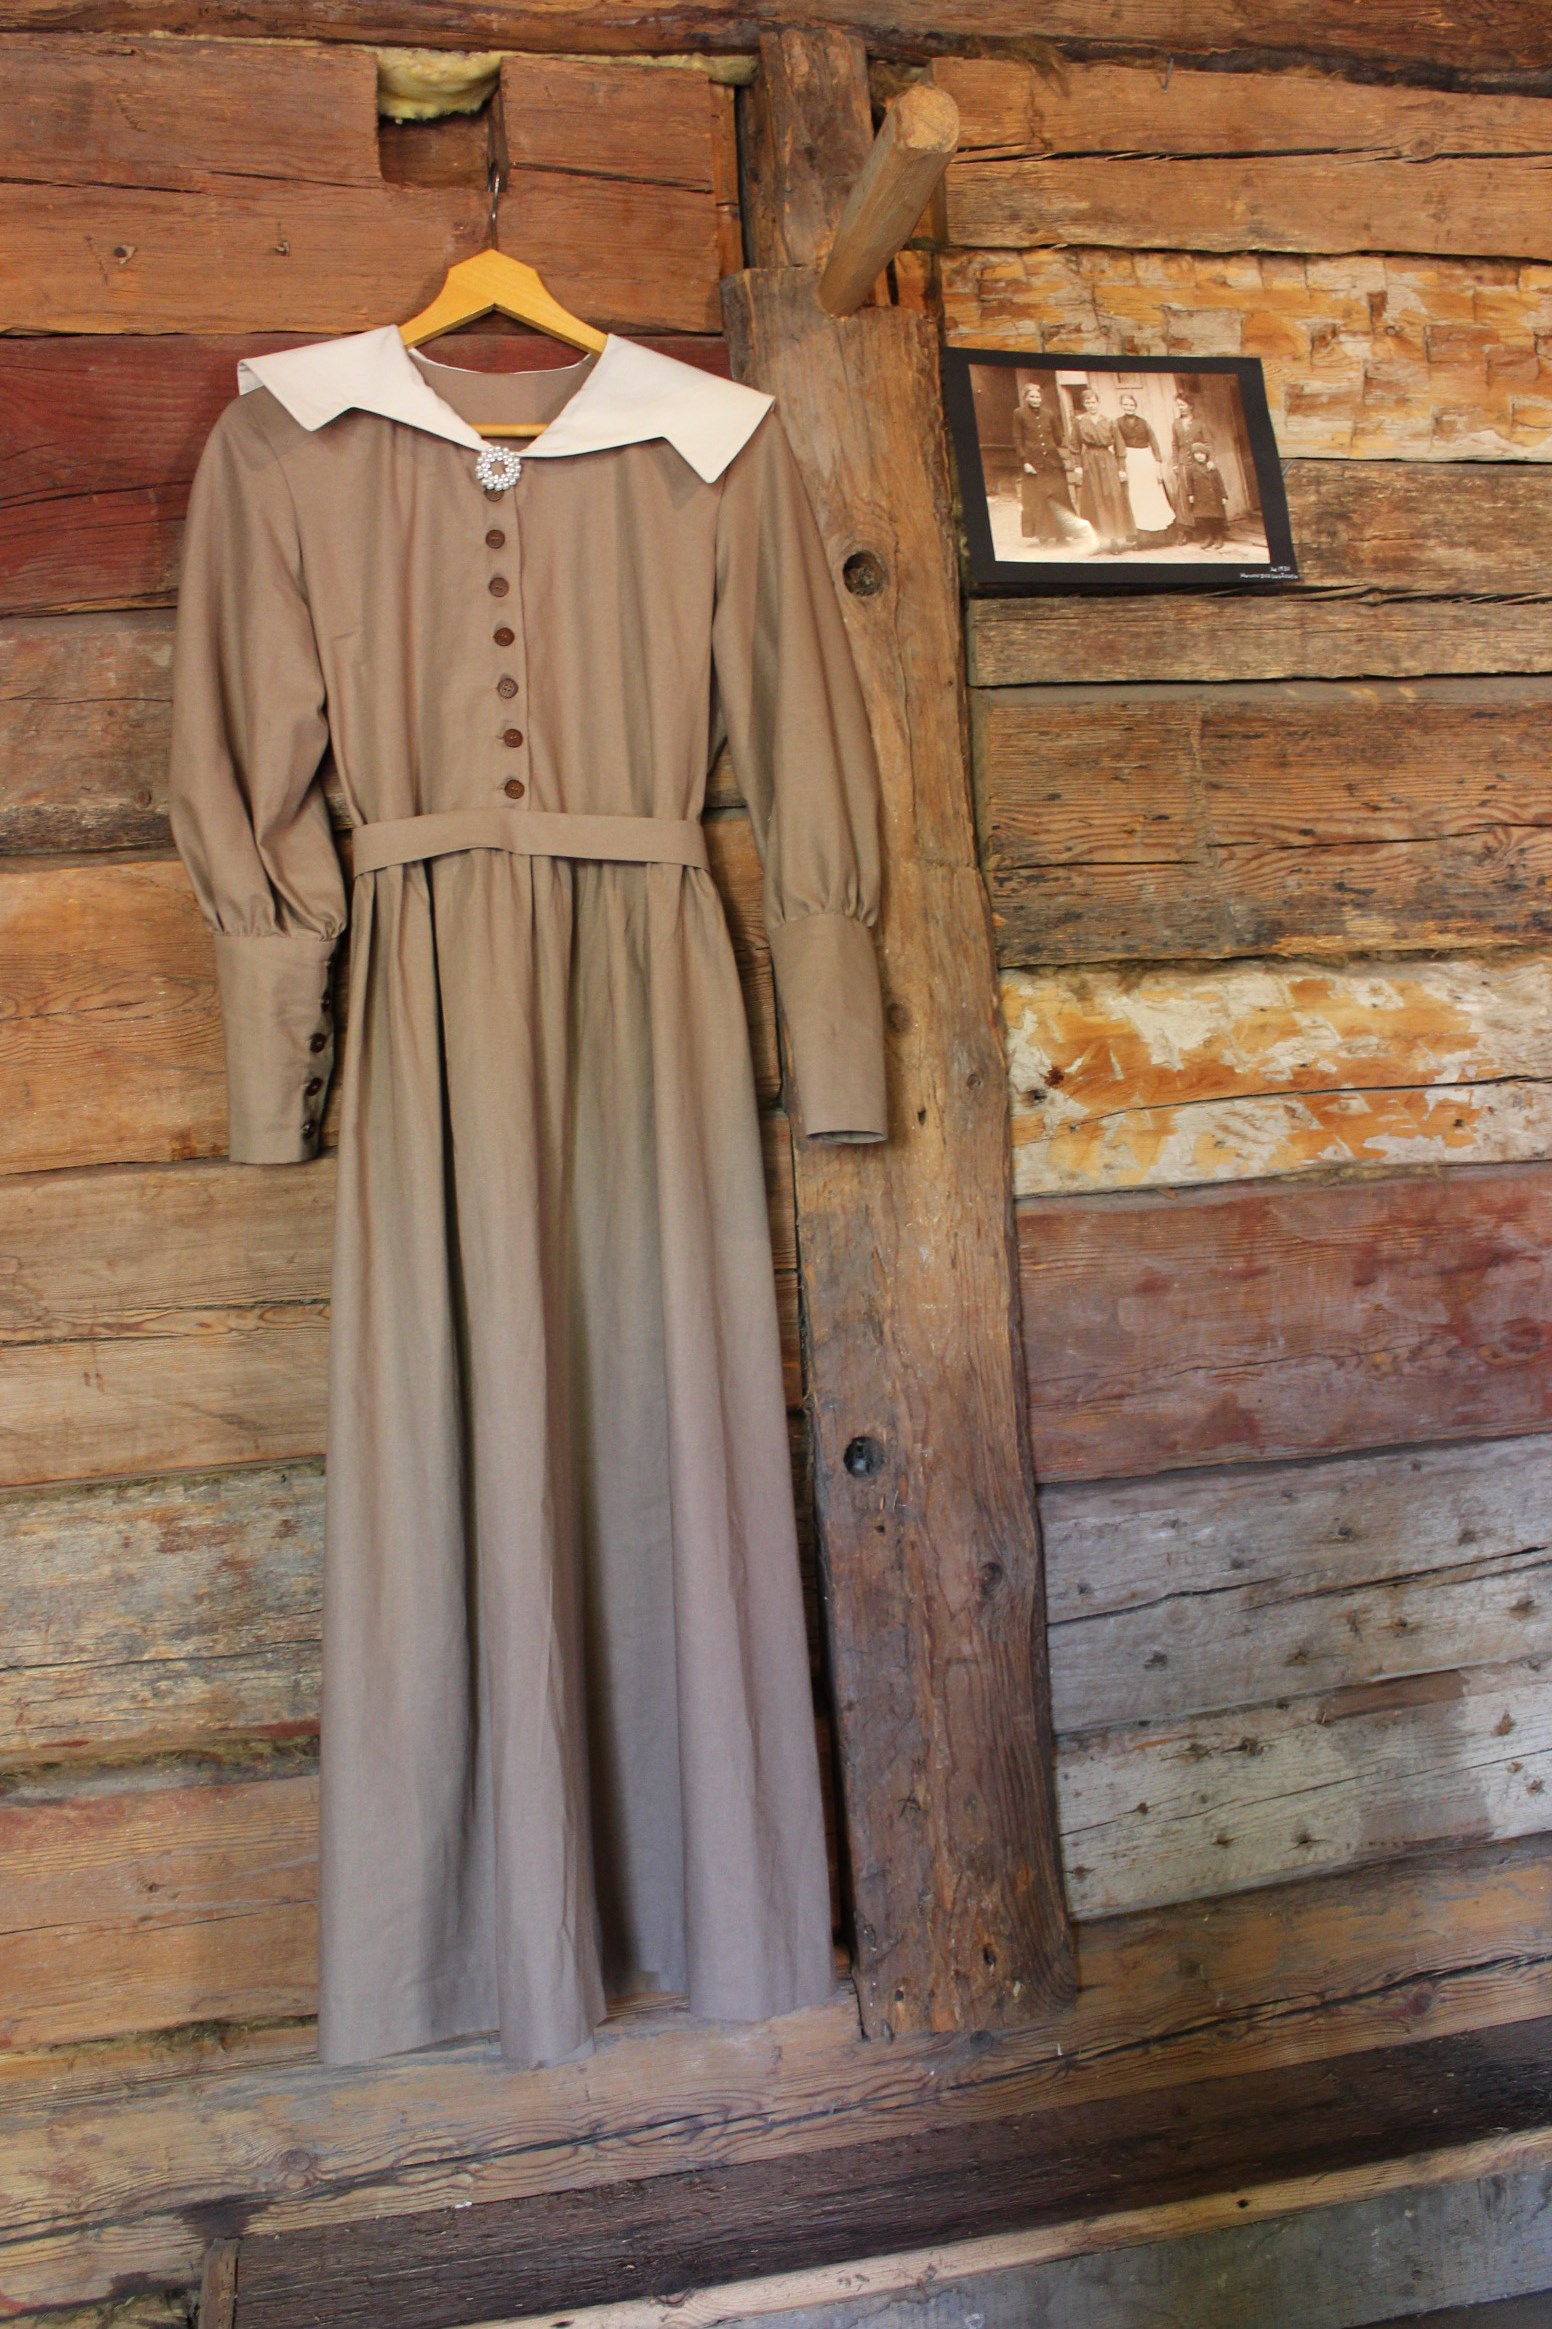
I decided to make one of their garnments, and really wanted to make the little girls jacket. But since the time was limited, I only had two late nights to do it, I decided to make the teenage girls dress instead.

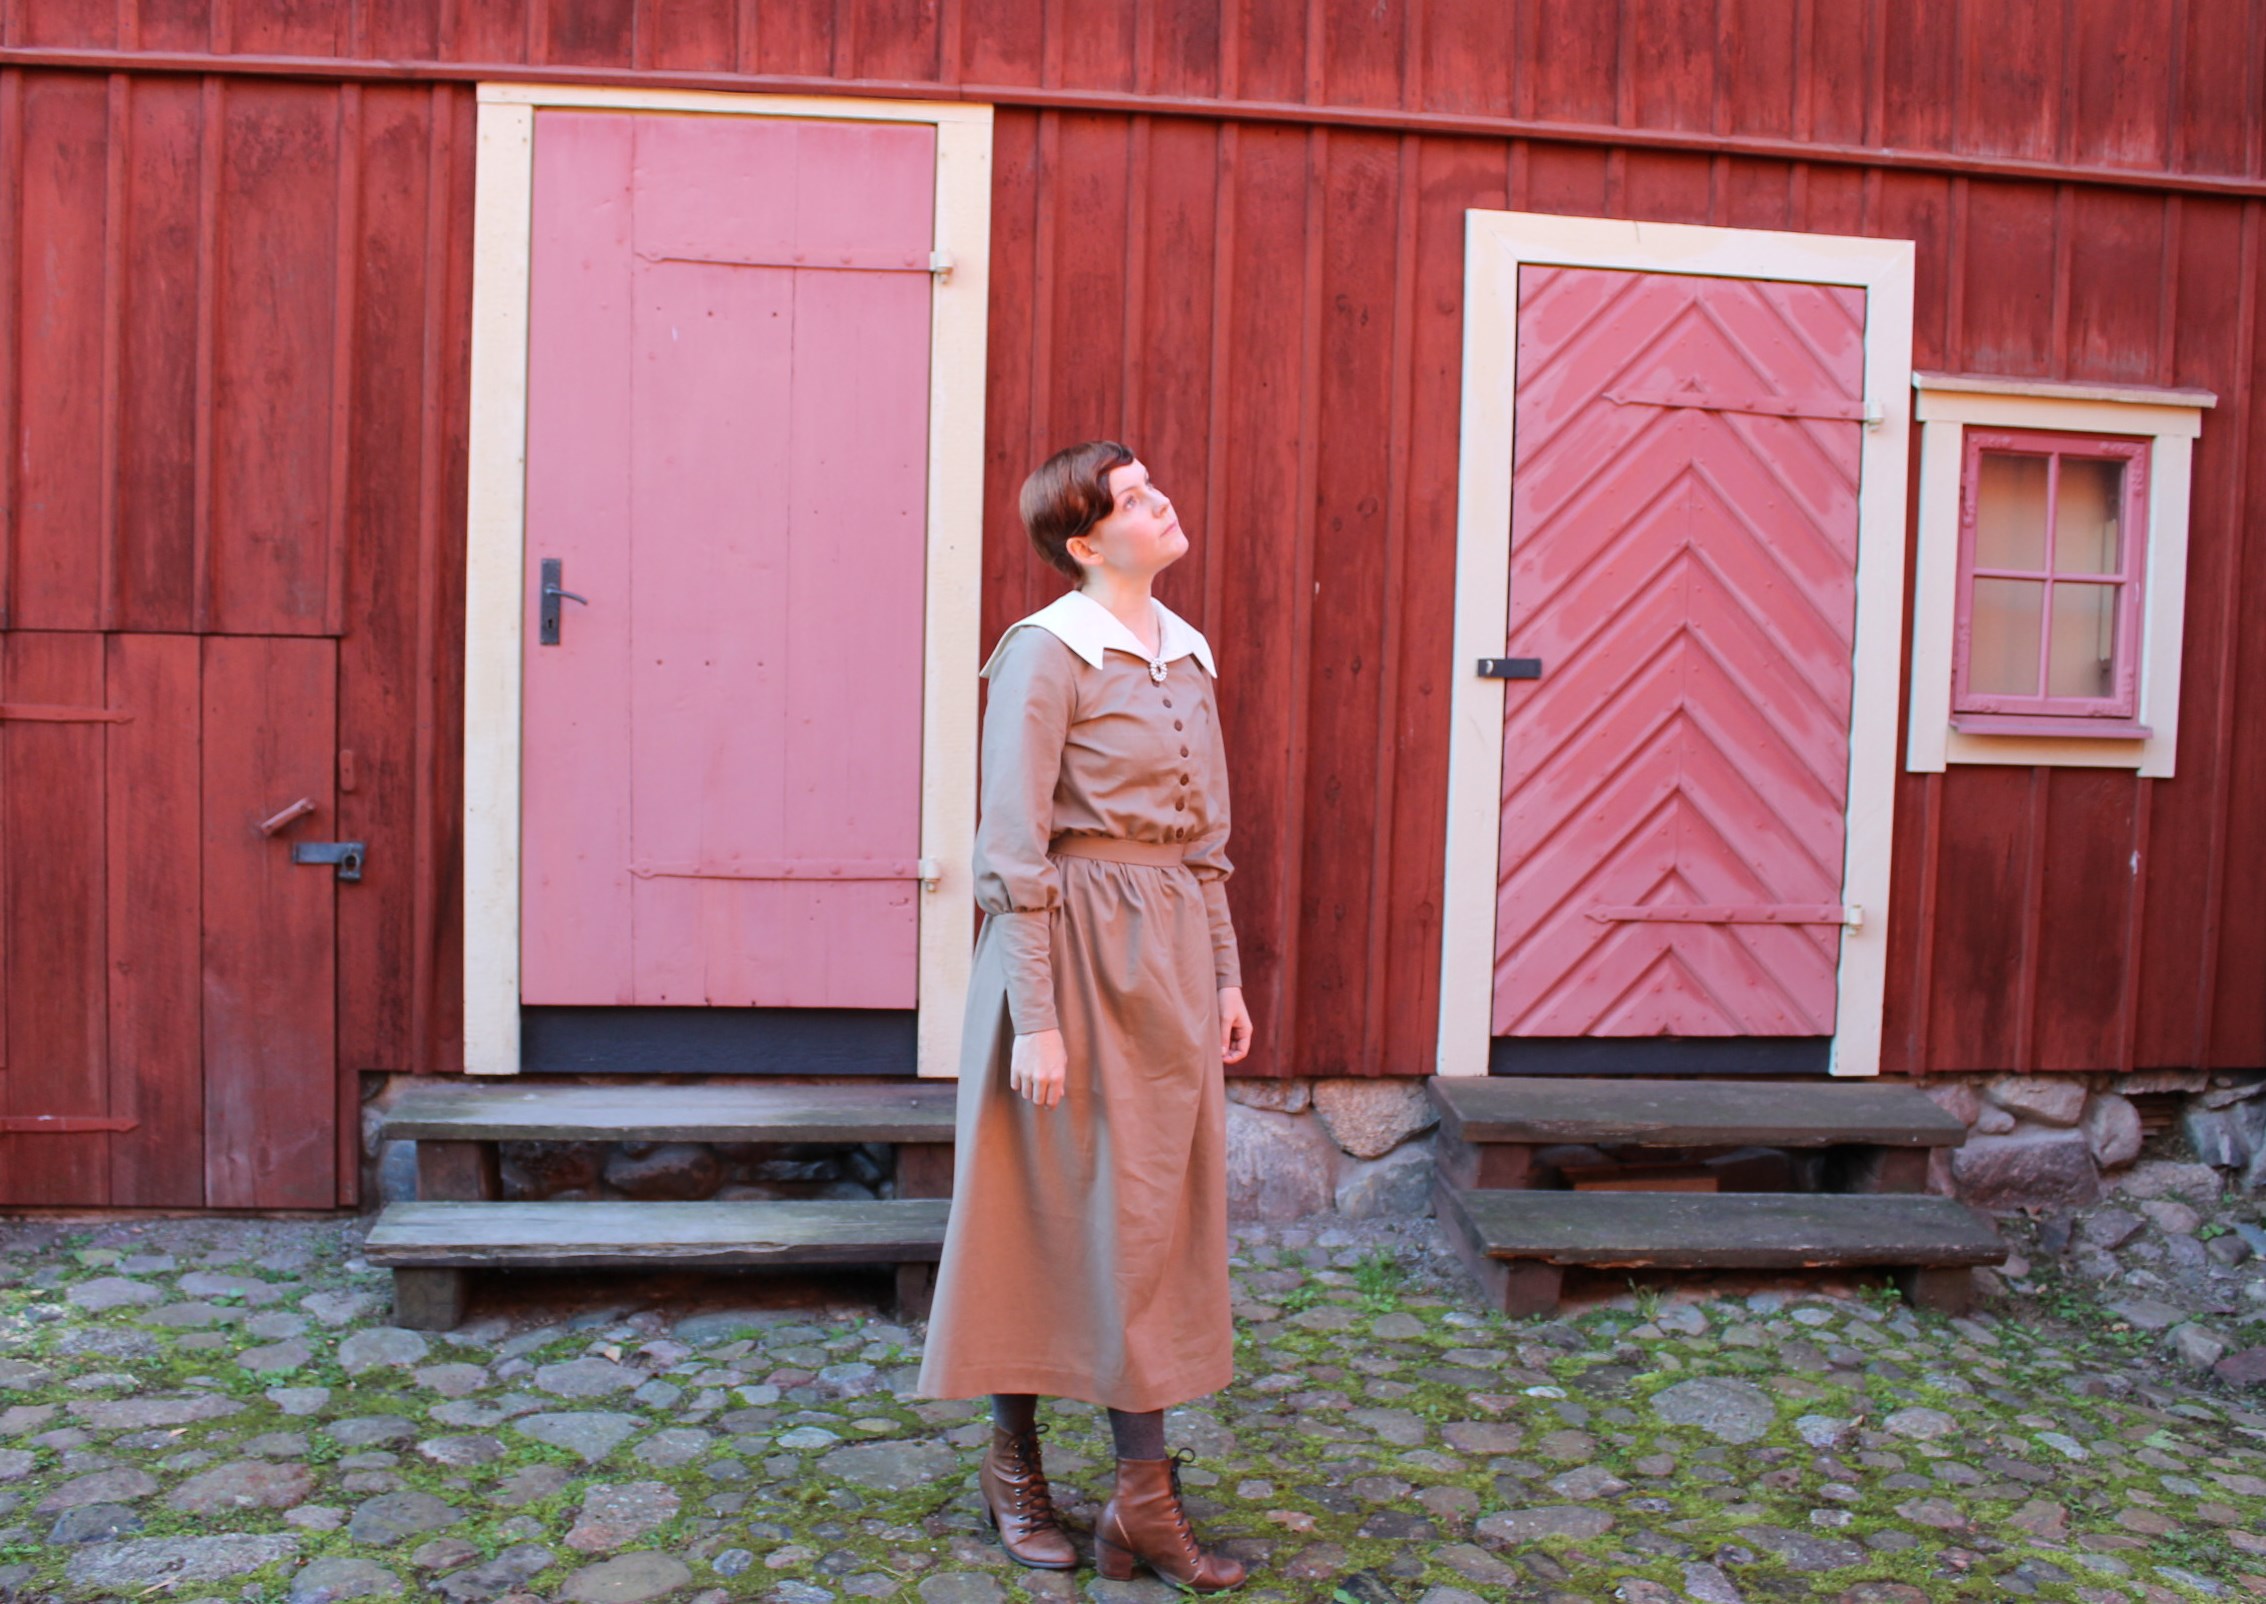
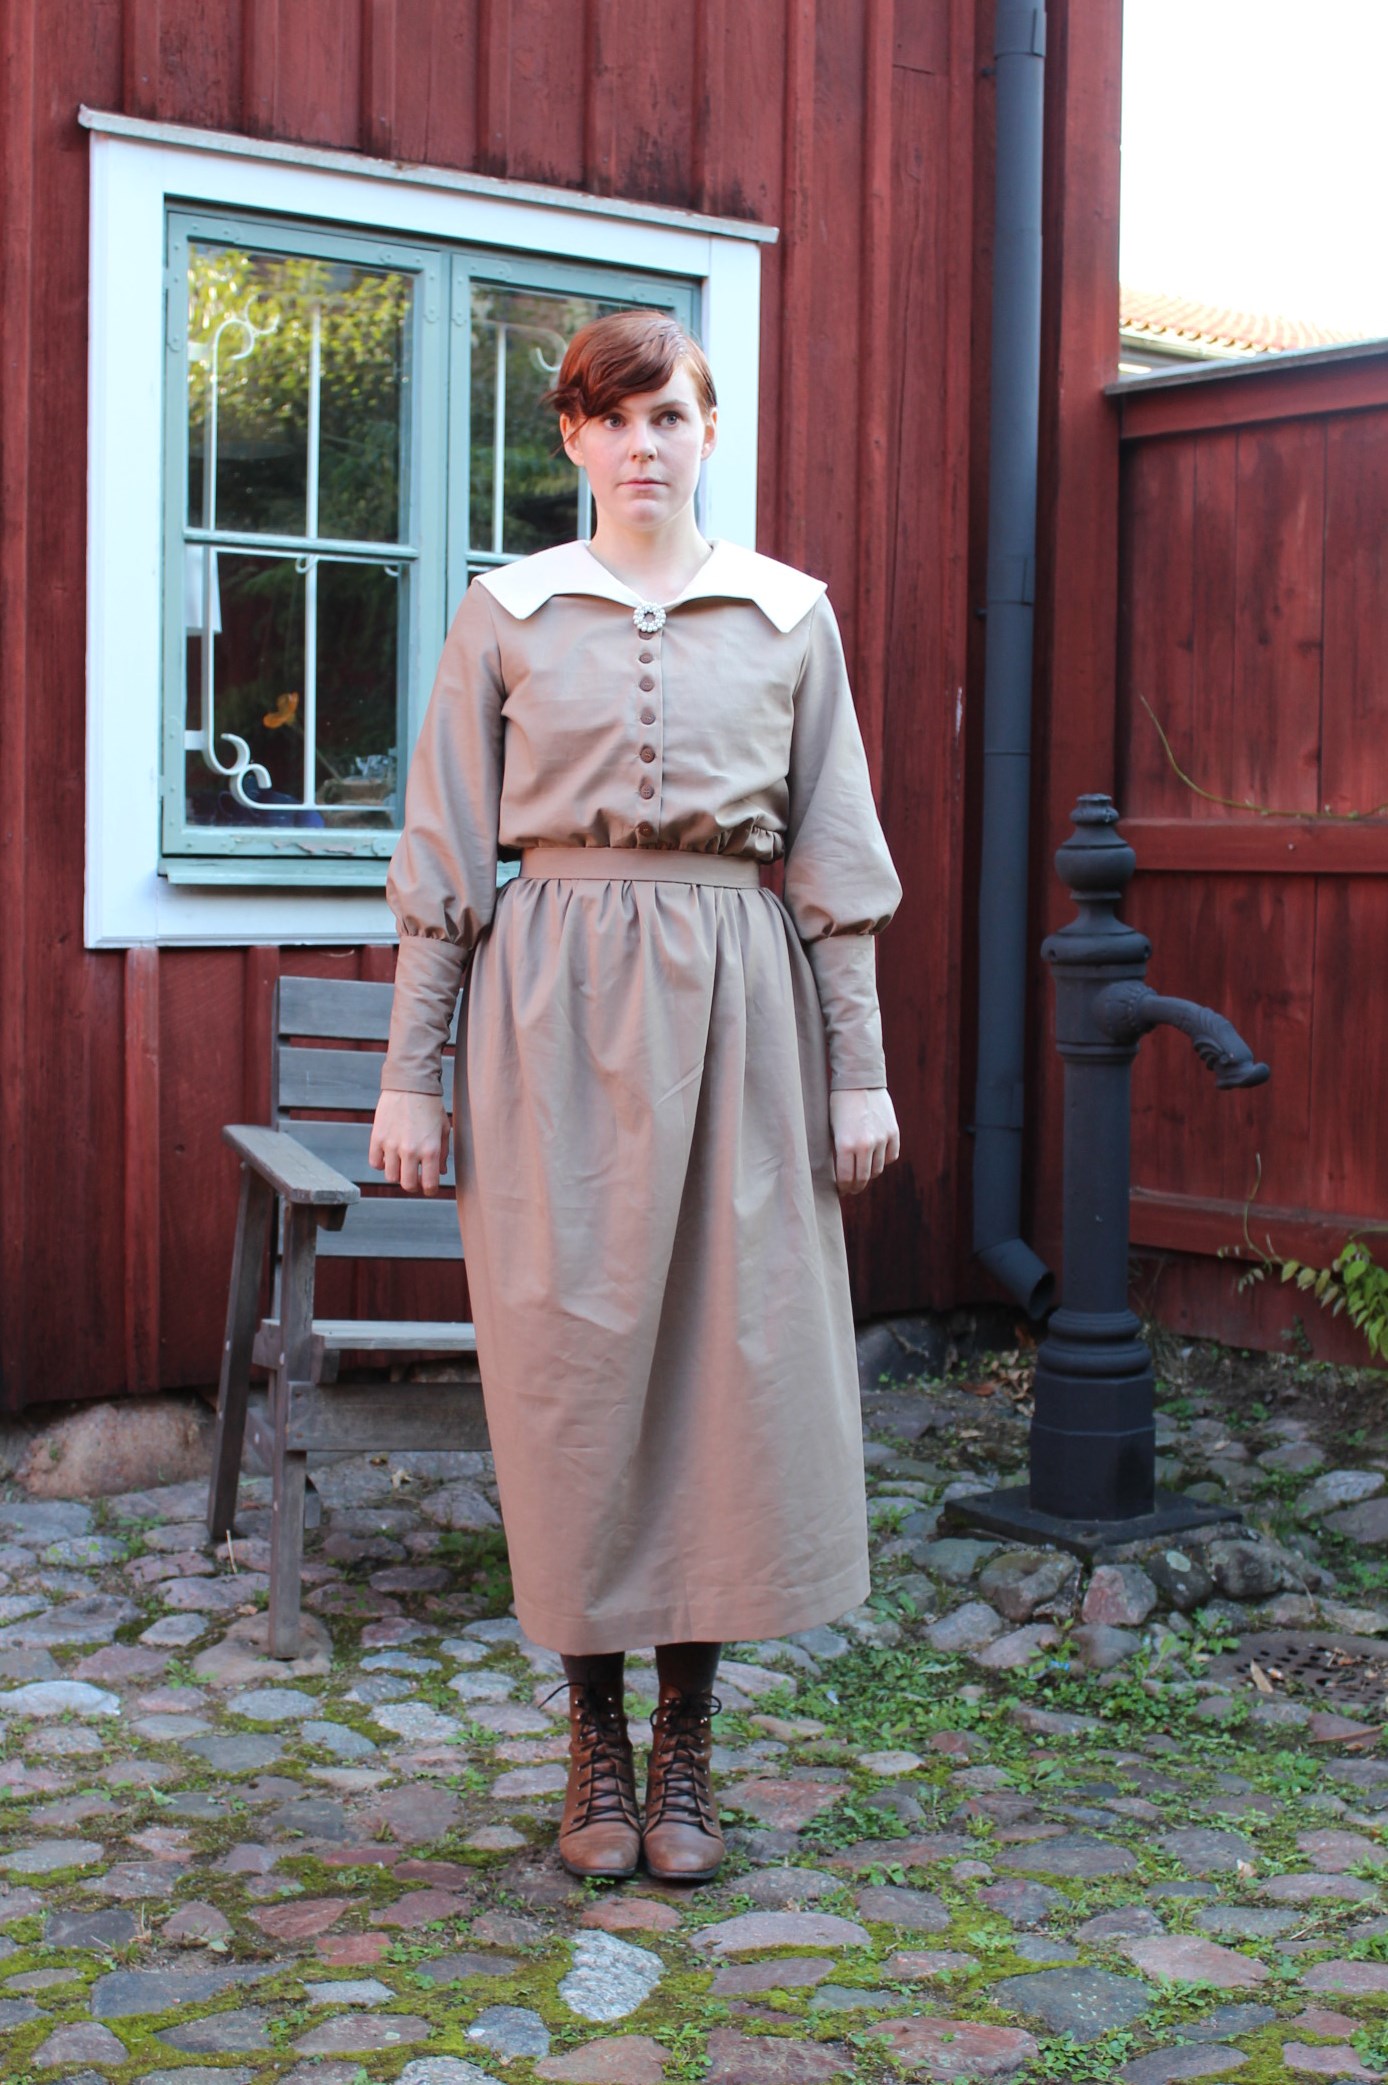
After studying the picture, I drafted a pattern for a straight skirt, a straight bodice with button clouser and a sleeve with a long slim cuff.

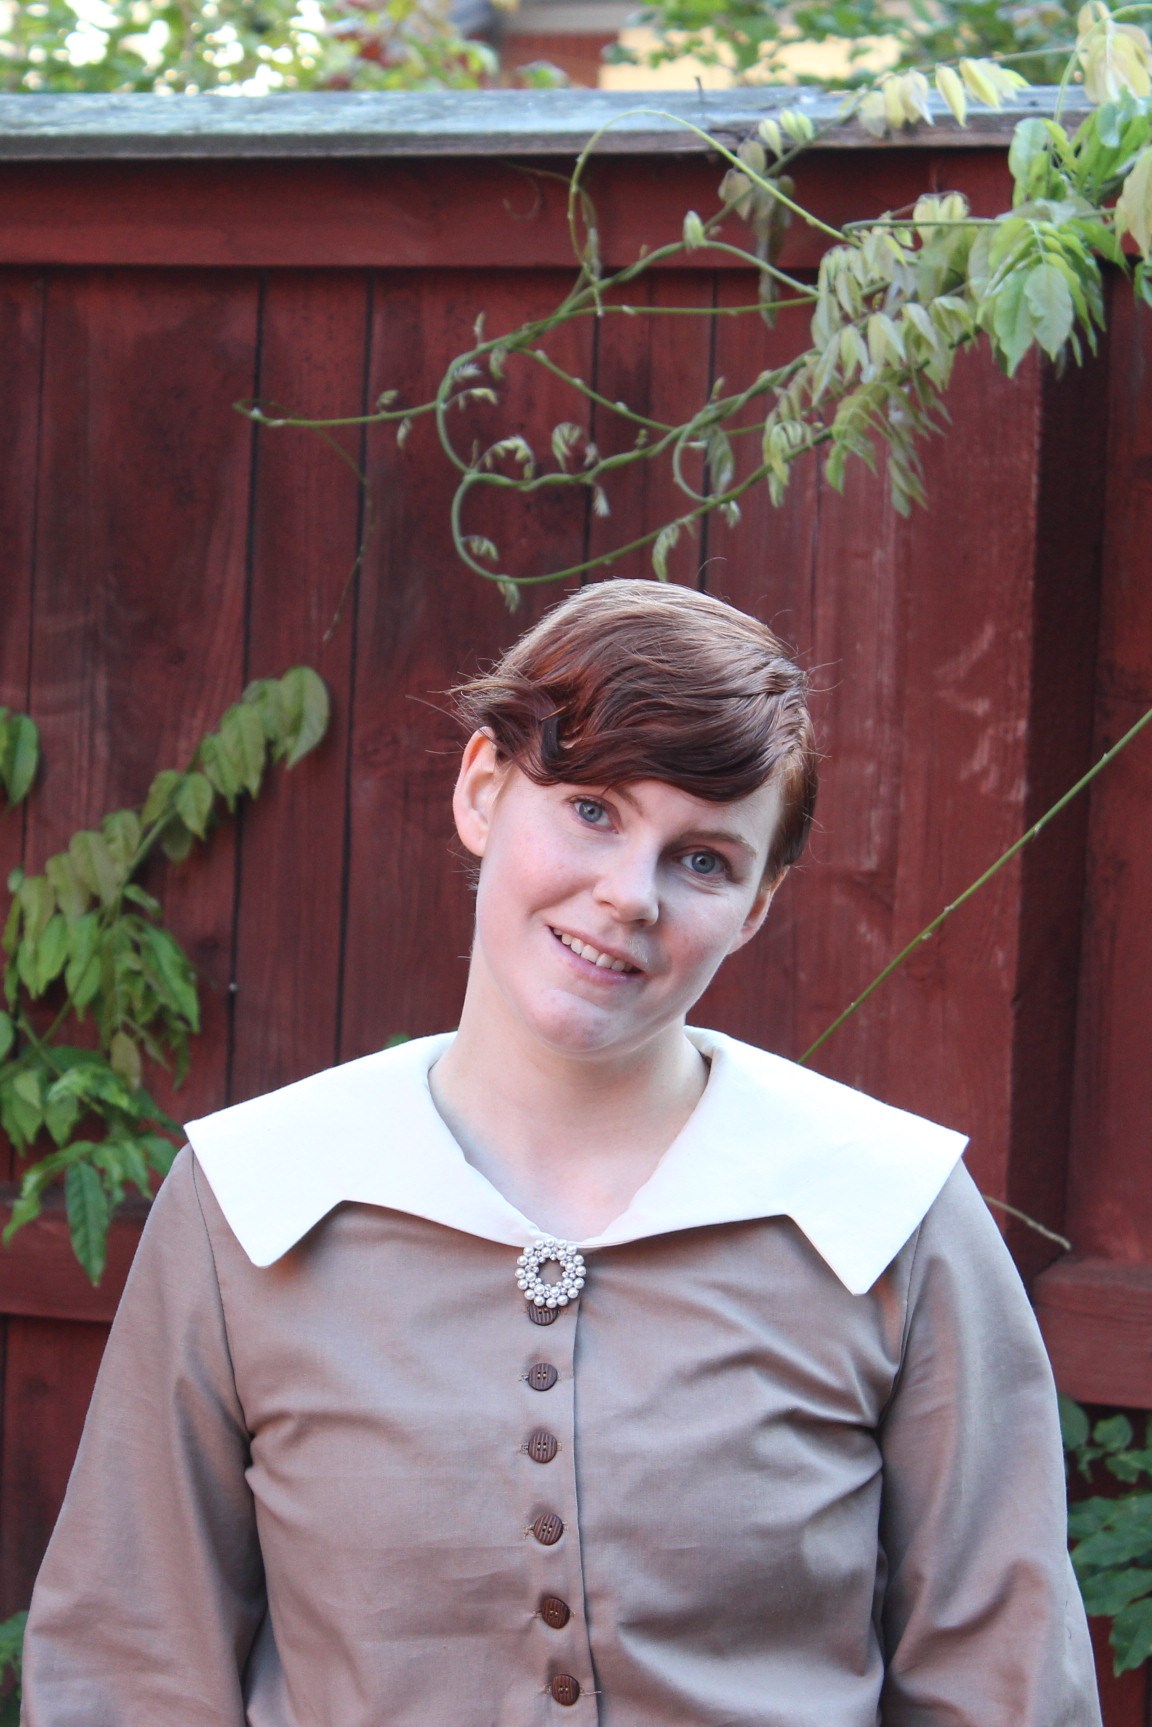
And a big white collar…

Those of you who know some of my previous work will recognize the collar.

It is almost the exact same collar as in The 30s sailor dress and in the 1913 to late for Titanic dress!

Buggers.

And yet, I do have historical evidence for all of these dresses (well, I do if you count fashion plates).

I have no idea why, but apperently I’m drawn to dresses with big white collars…

Well, back to the construction. The fabric is a cheap brown cotton and the collar is the exact same fabric, just a lighter shade of colour. The buttons is cheep brown wooden buttos which works verry well with the brown of the fabric.

The whole dress took about 6 hours to make, and I manadged to have it ready and hung 10 minutes before the opening of the exhibition.
IMG_2079

IMG_2084

IMG_2081

IMG_2136

The original…CApettersson1 - Kopia - Kopia

And the copy.IMG_1979Hm, maybe not that good…

IMG_1990

IMG_2004

IMG_2010

IMG_2011

IMG_2038

IMG_2032It was really hard to try to mimic the stiff, severe look of the girl in the photo. But I did my best.

Suffragett Metal Brosches

For the HSFs 19 challenge: Metal, wood and bone I decided to make yet another simple piece.

I’ve been in need of some Suffragett symbols and ribbons, to wear to an upcoming event.

So I searched the internet and fell in love with these beautiful suffragett brosches. images

Portrait_Badge_of_Emmeline_Pankhurst_-_c1909_-_Museum_of_London

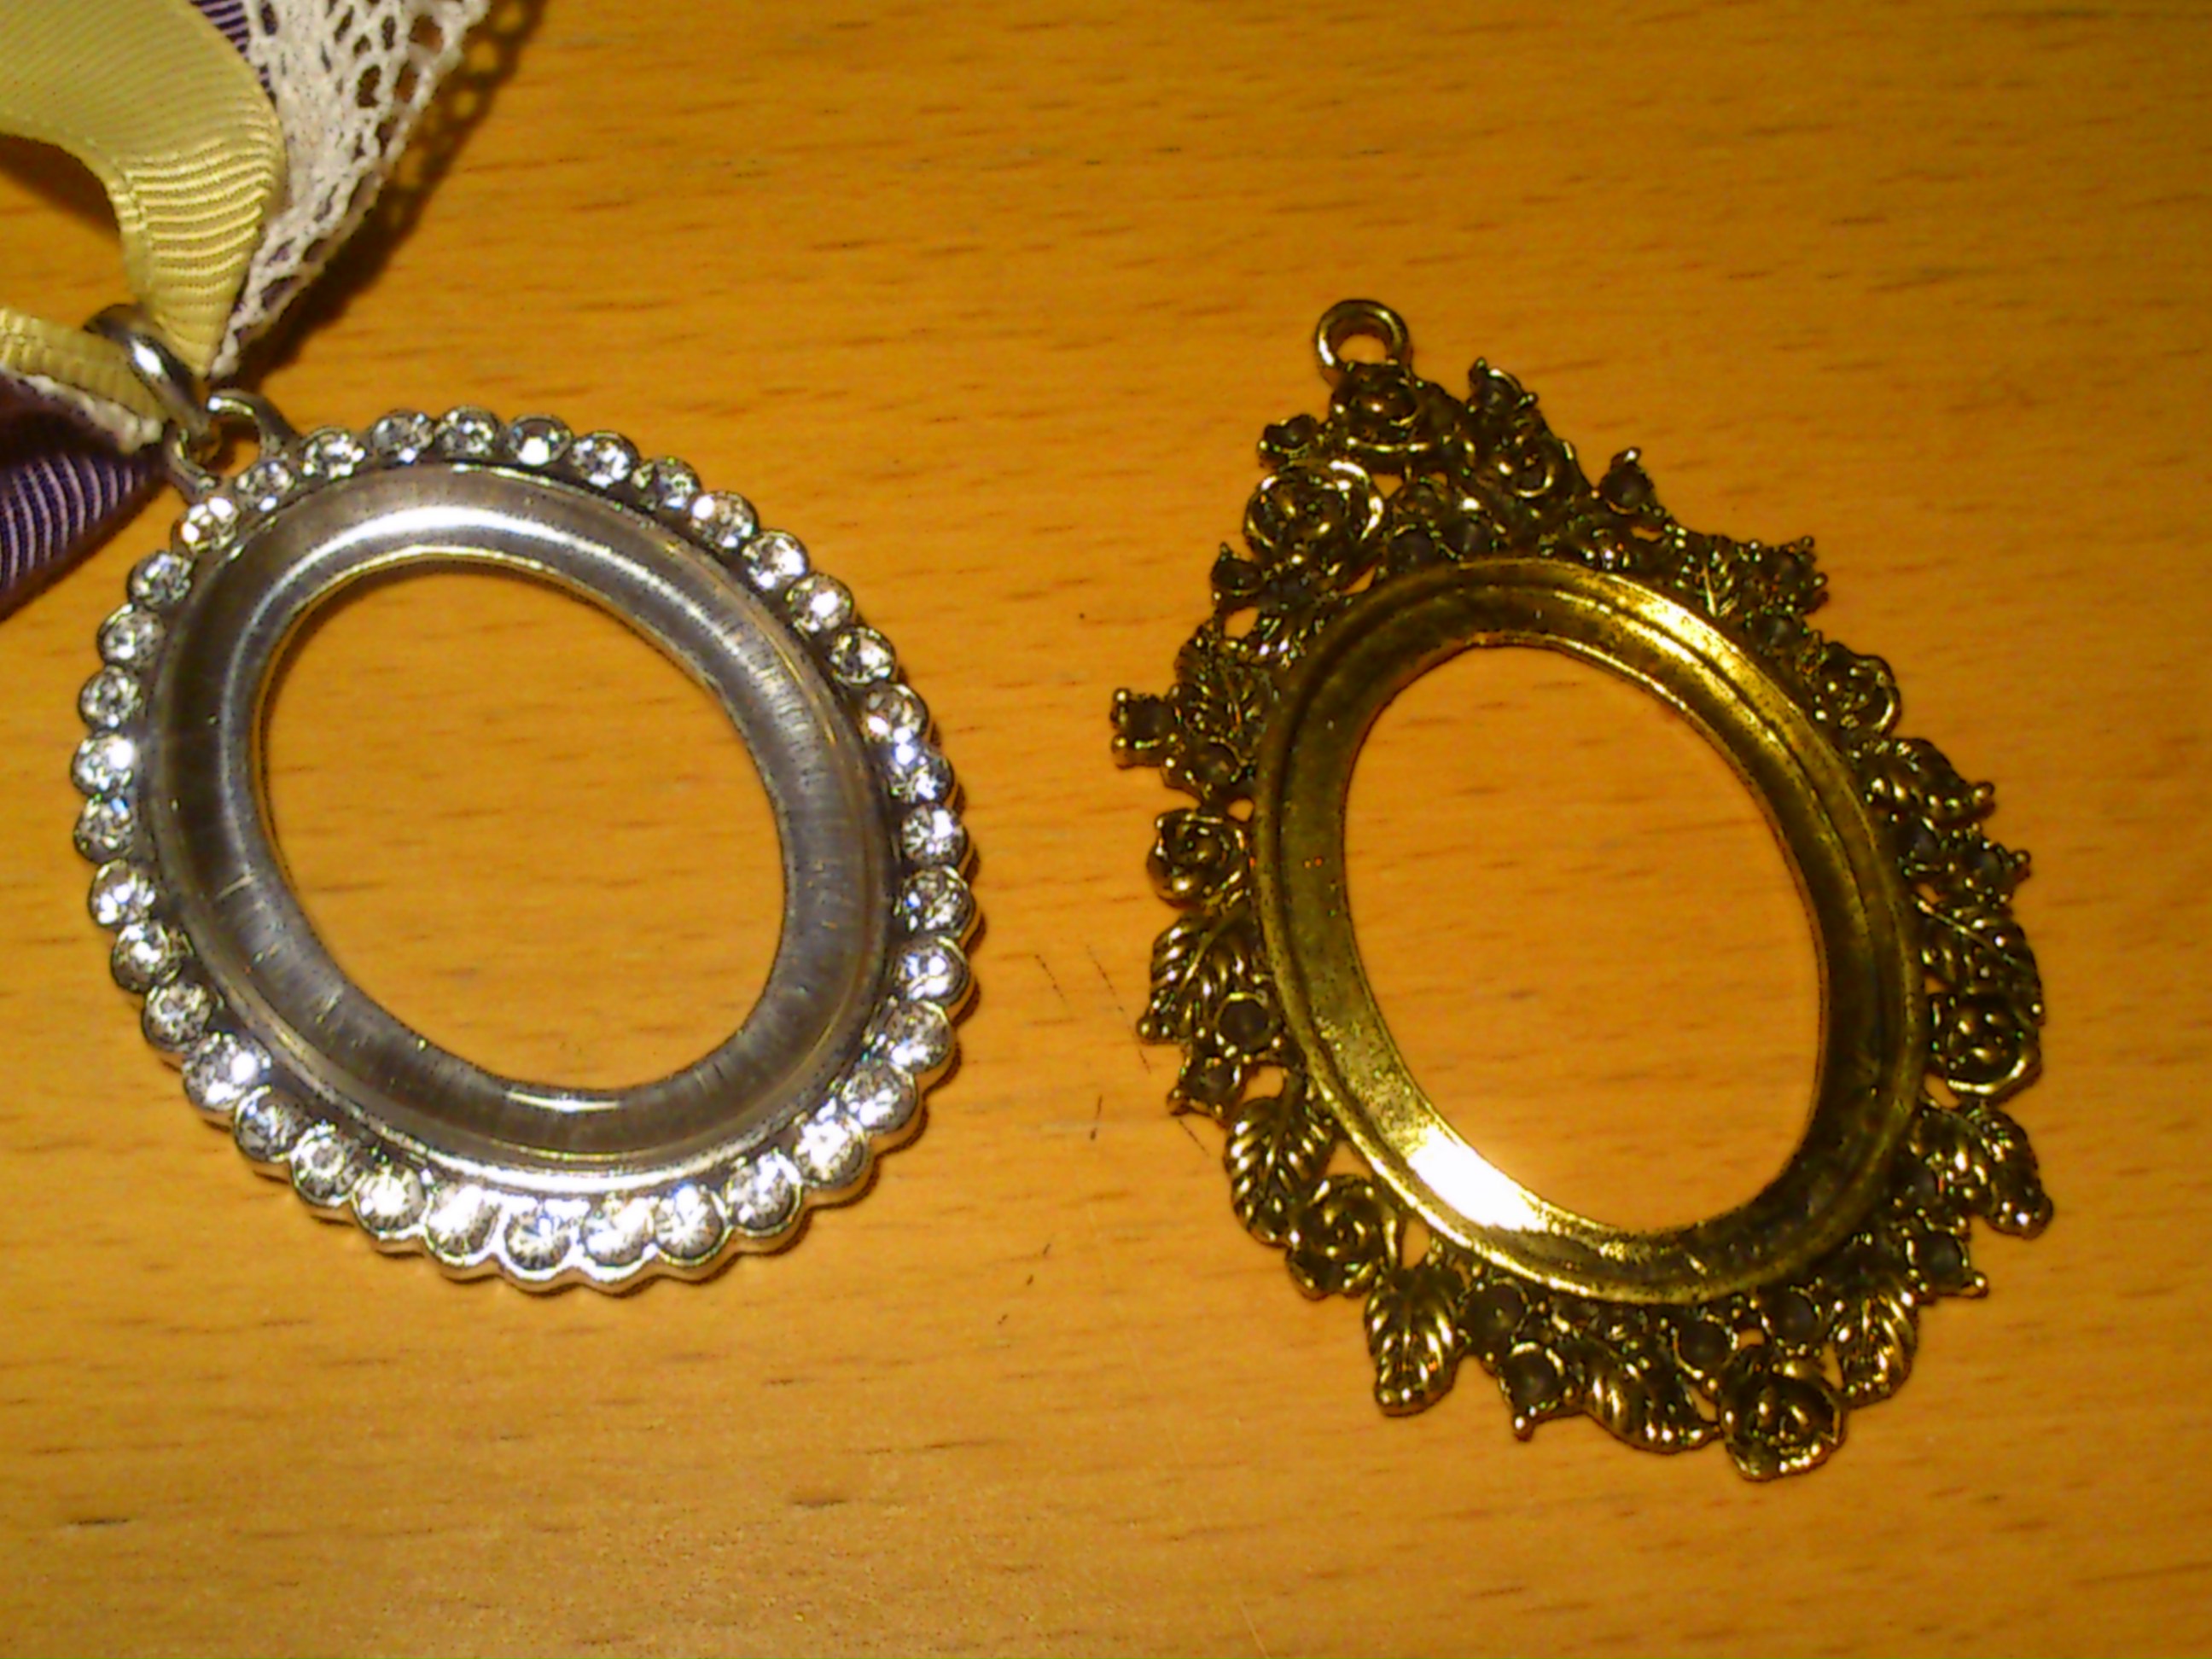
So I bought three frames from the local craft store. 2013-09-23 22.05.35

I also got some ribbon (violet, green, yellow, white and lace) and started to tie rosettes.

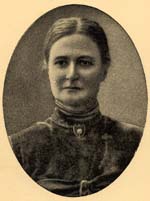
Once by my computer I searched and found some fascinating Swedish women who fought for the rights of women in the beginning of the century.

442px-Signe_Bergman

carlberg2

Rösträttsvykort. Anna Wicksell

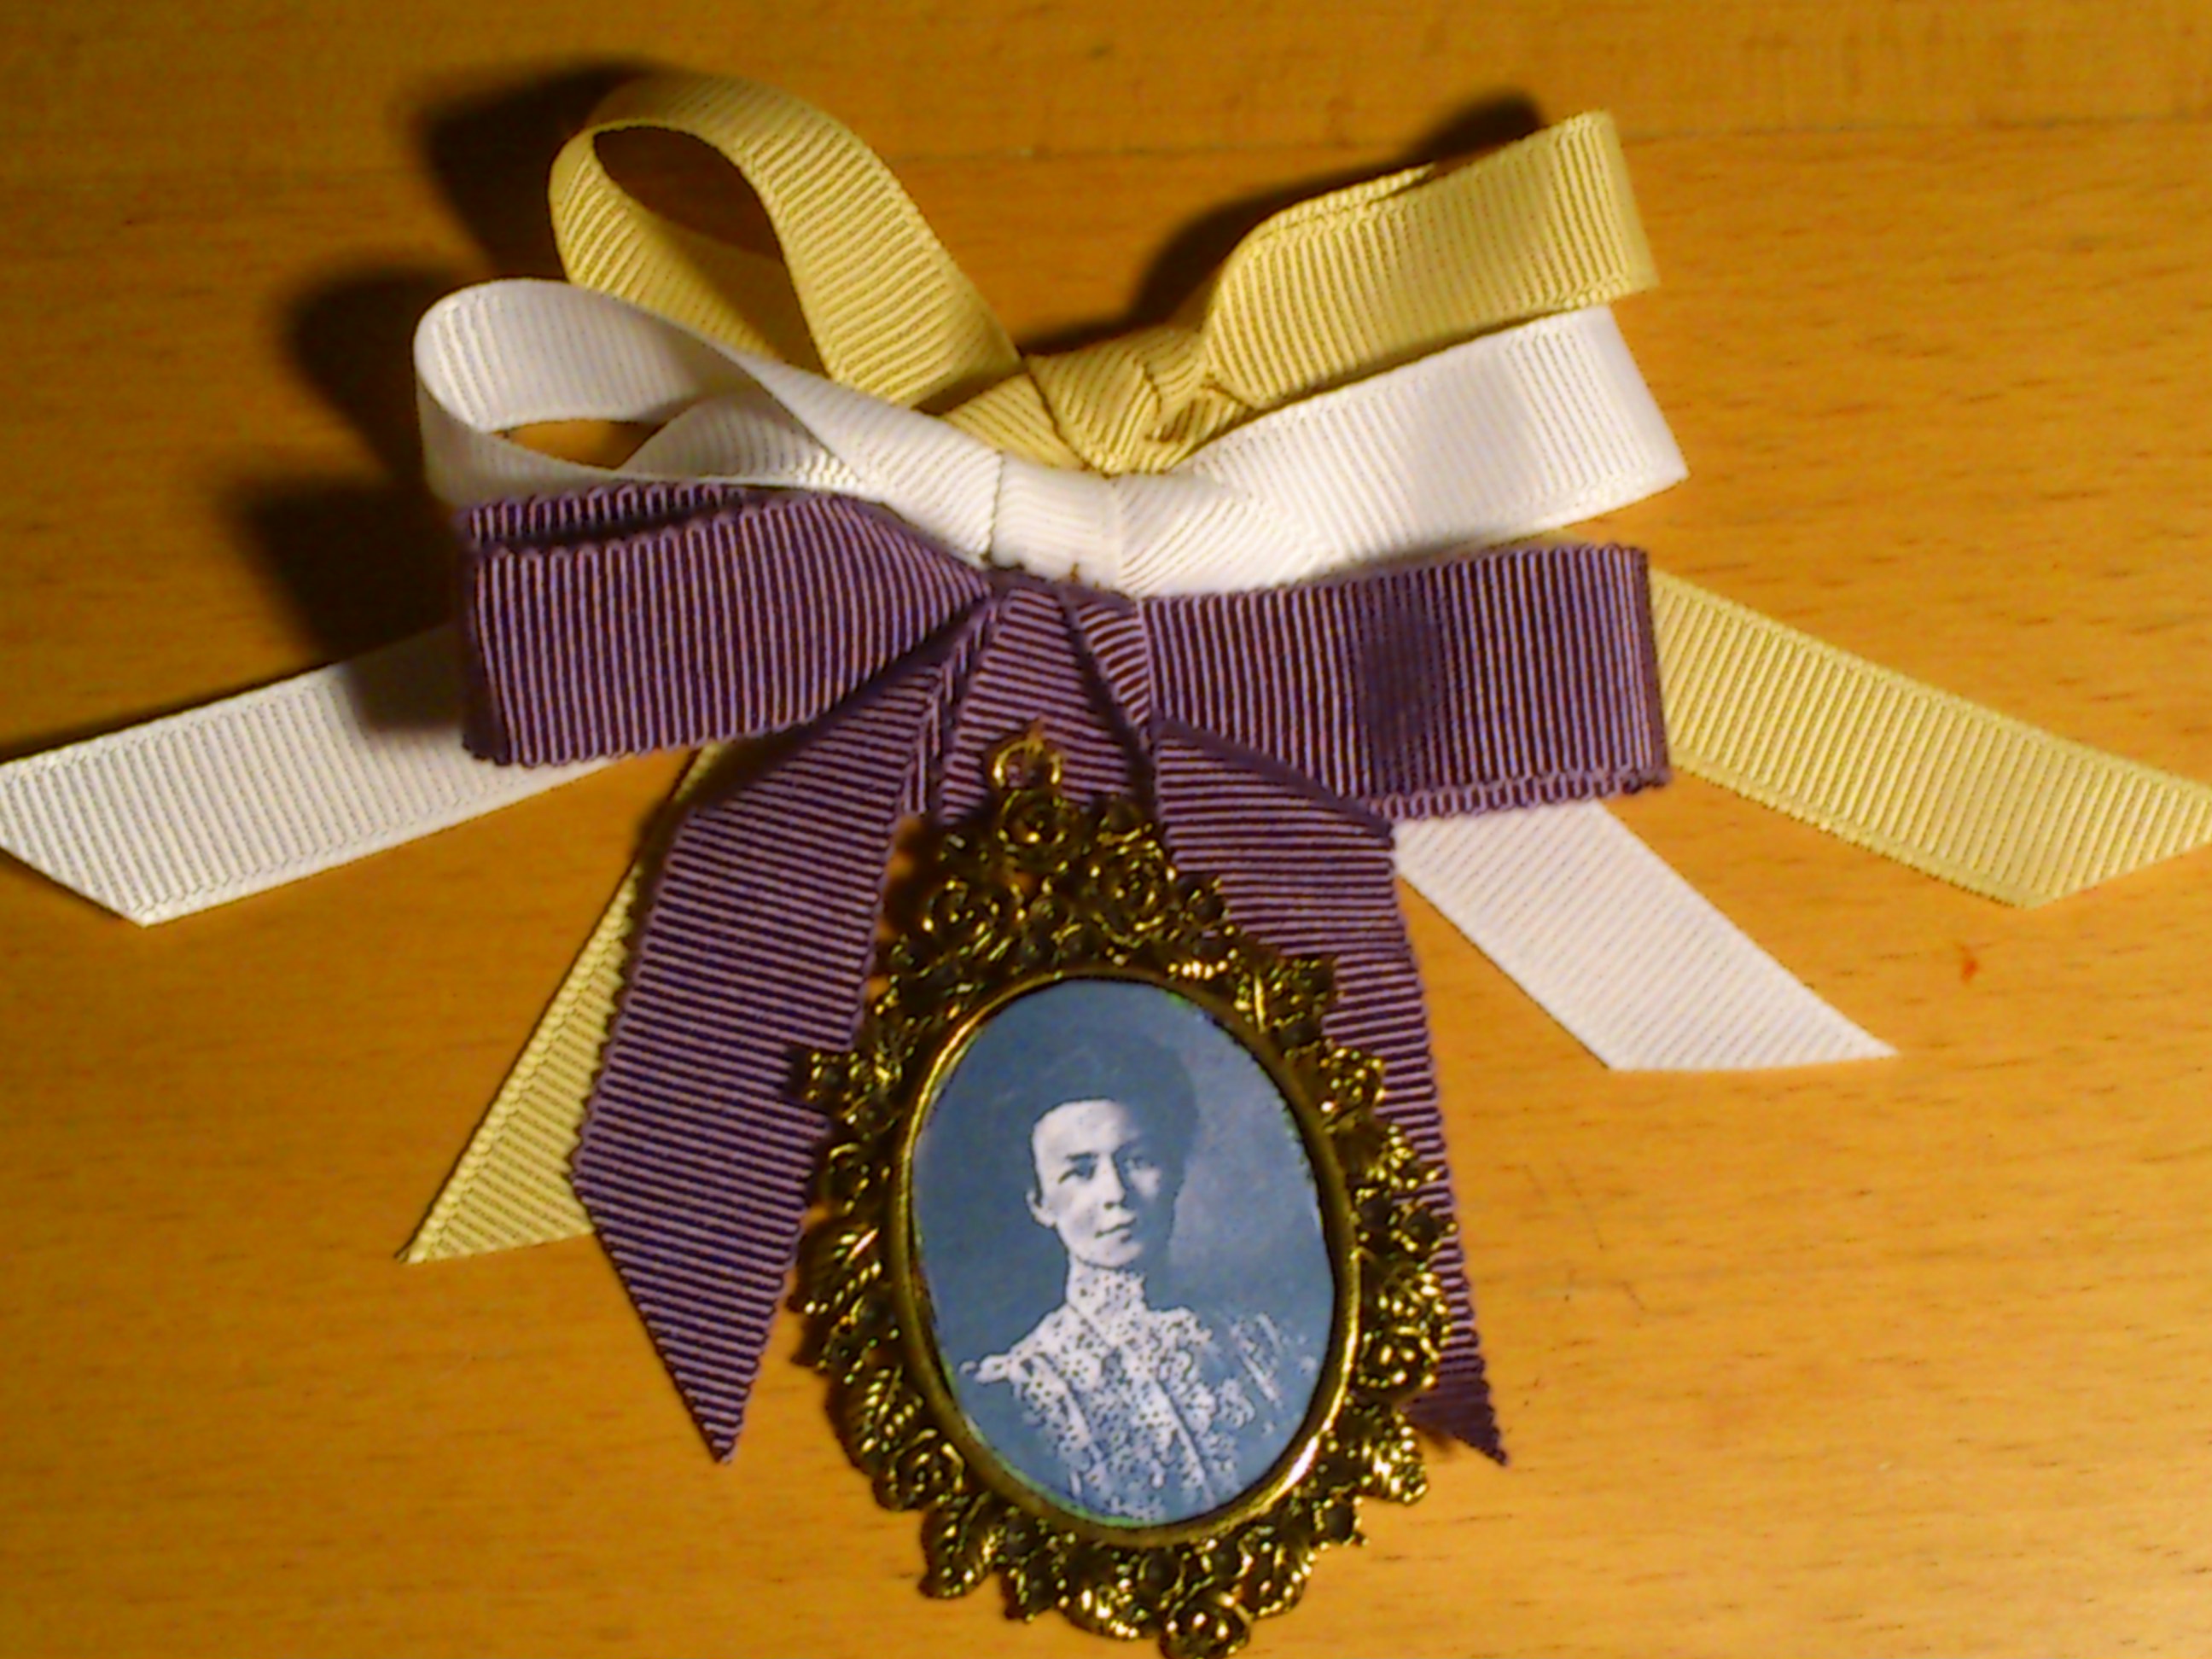
I printed and glued the pictures into the frames, and then sewed the ribbons to the frames. So simple.2013-09-23 22.47.33

2013-09-23 22.46.28

2013-09-23 22.46.01

I think they look lovely, although I do not know if this was something who actually was being worn by the women’s rights movements at the time, or a more recent invention.

Just the facts:

Challenge: 19 Wood, metal and bone

Year: 1900-1920s

What: Womens rights brosches

Fabric: None

Notions: metal frames, ribbons, glue, hot glue, paper, thread.

Historical accuracy: I have no idea, but ribbons in violet, white and green/yellow was the symbol of the movement.

Time: 1 hour

Cost: 100Sek (11 USD)

First worn: Not yet, but will be on the 5 okt for a Suffragett brunch.

a Separate Robe – Photoshoot

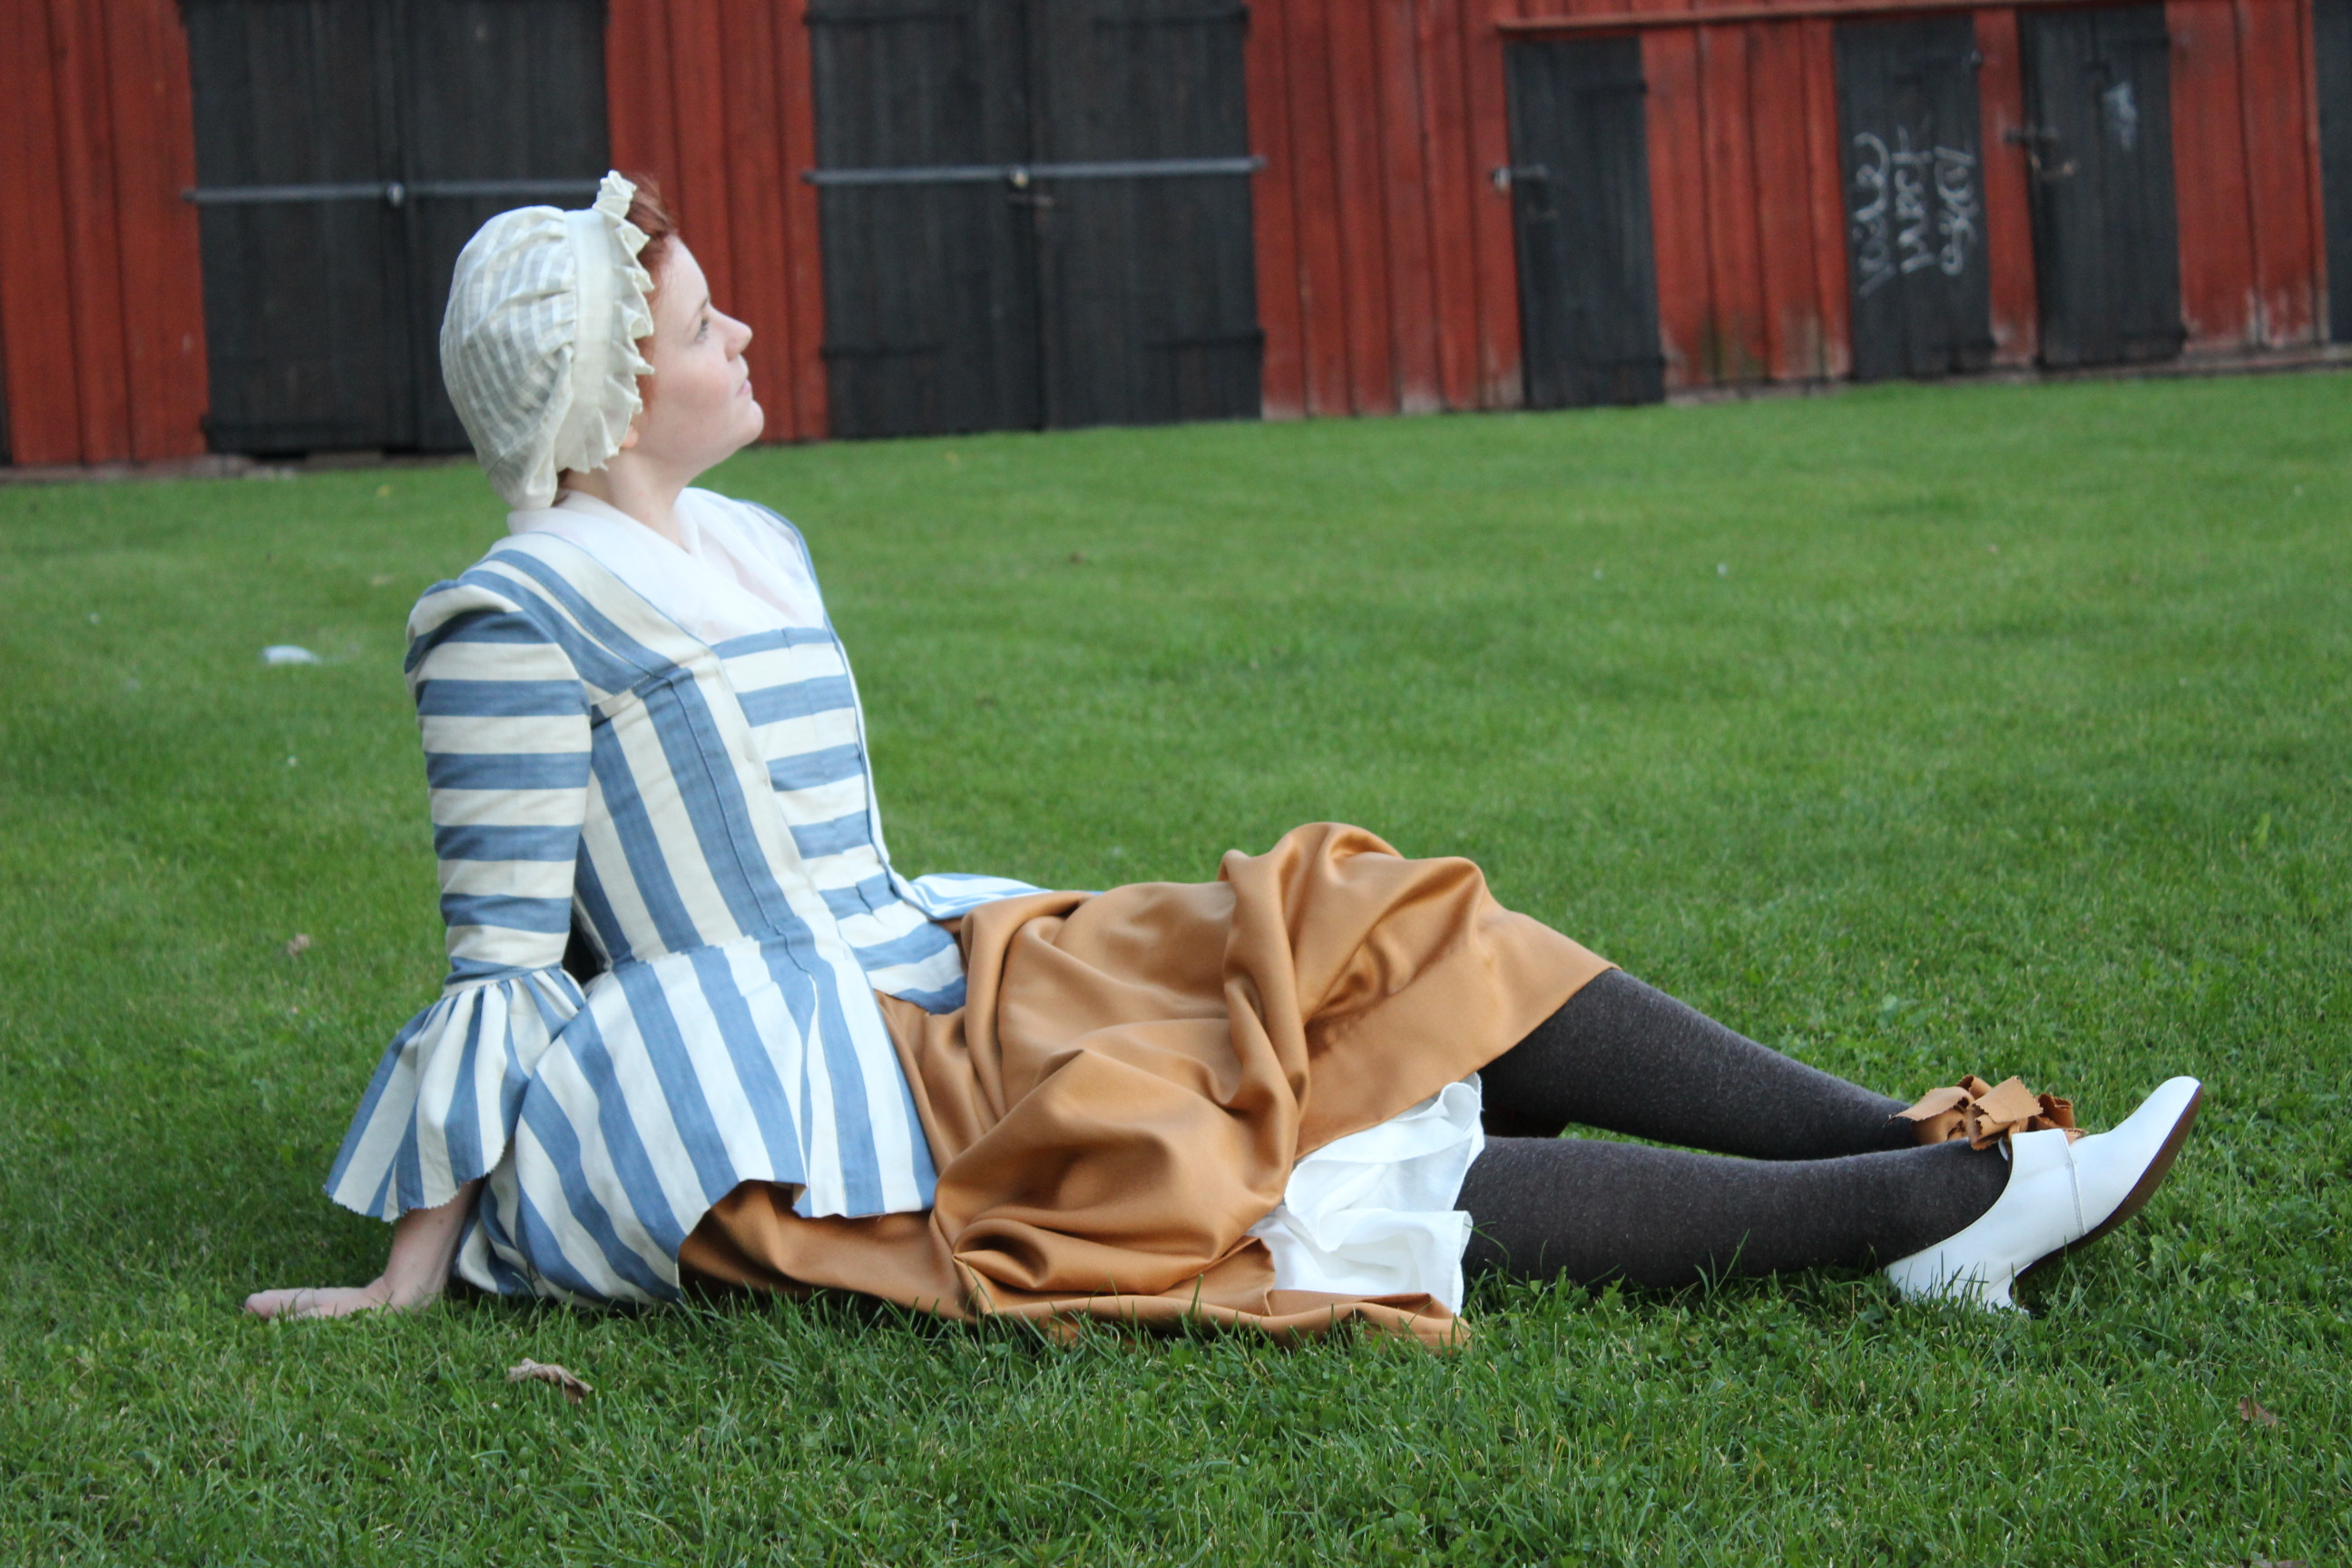
Since I was already running late with both the 16th and the 17th challenge for the HSF, I decided to wait to photograp the skirt, and instead do a combined photoshoot when both items was ready.

So this weekend me and my sister went for a walk, and shoot some pictures at a couple of beautifully historical location close to my home.

The only truble was the swedish fast fading autumn light. For this photoshoot I wanted to show the versatility of the garmnents, and styled the jacket and skirt in two different ways, using only accessories.

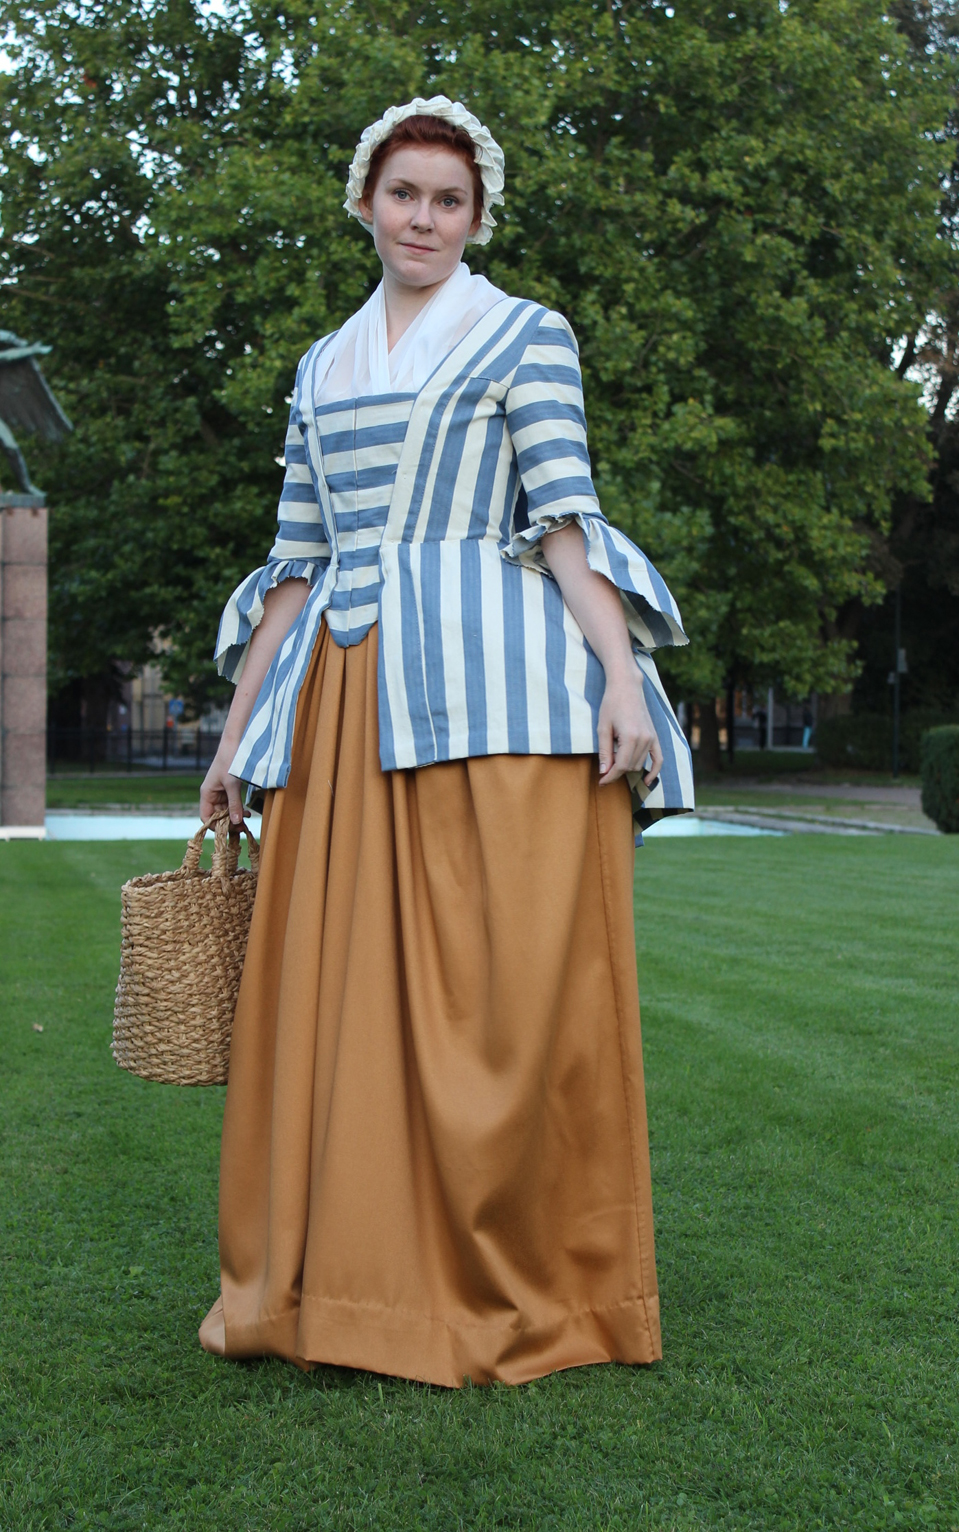
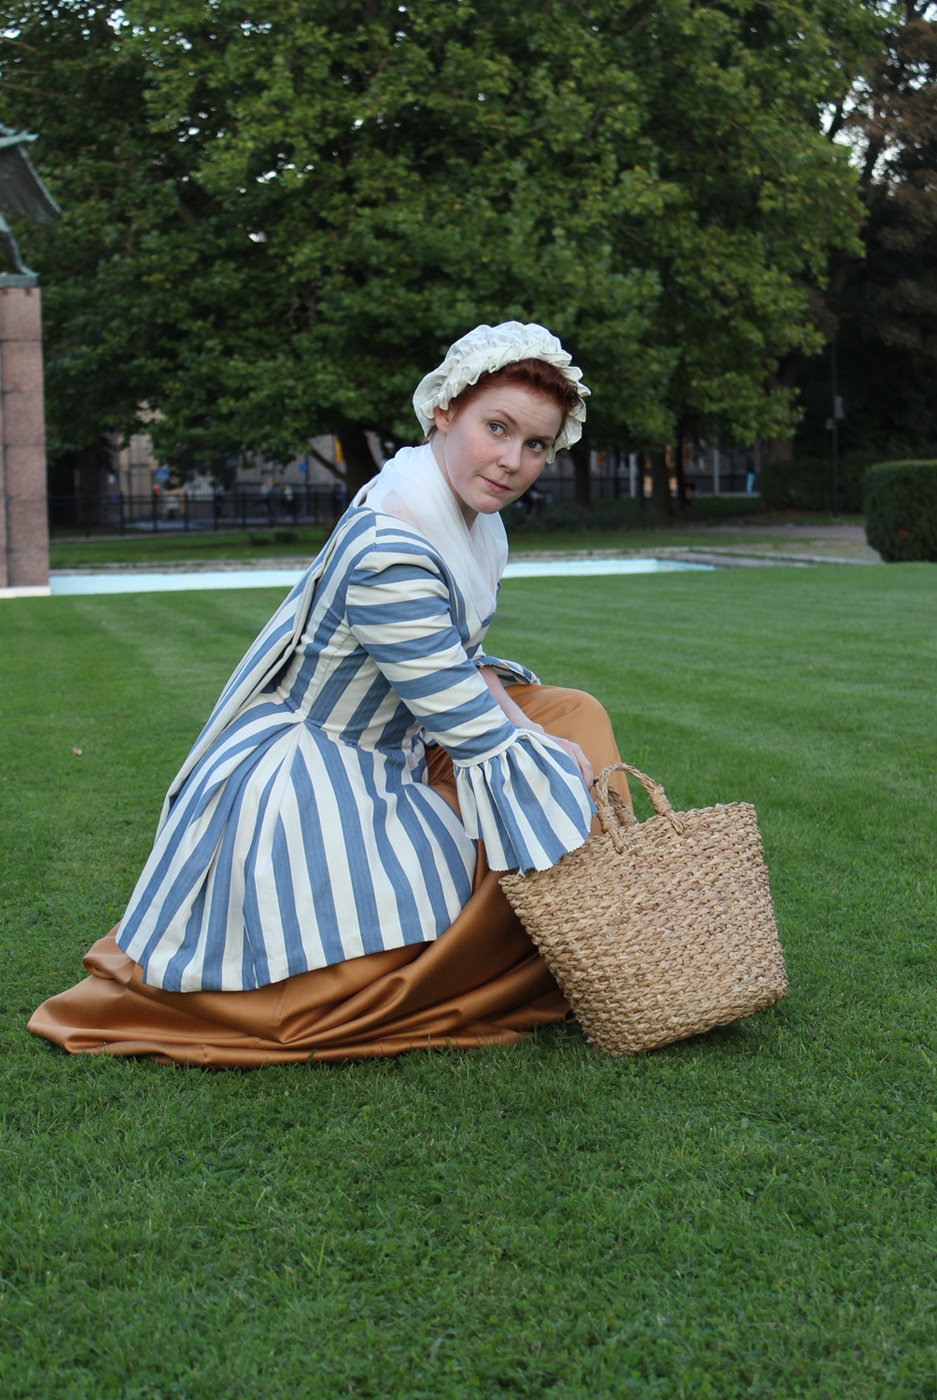
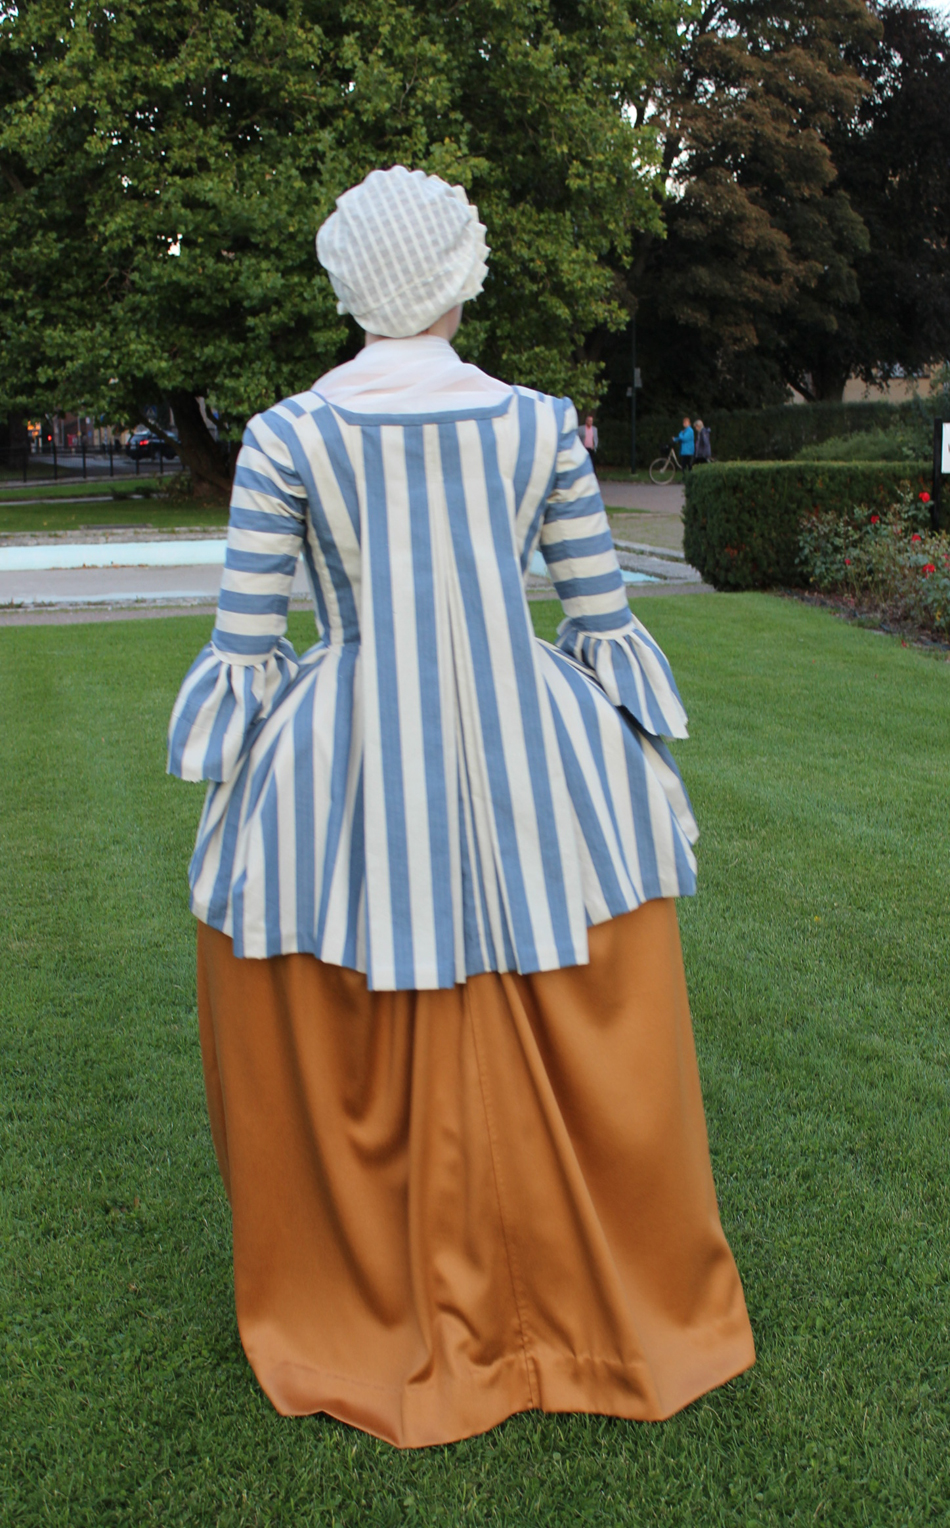
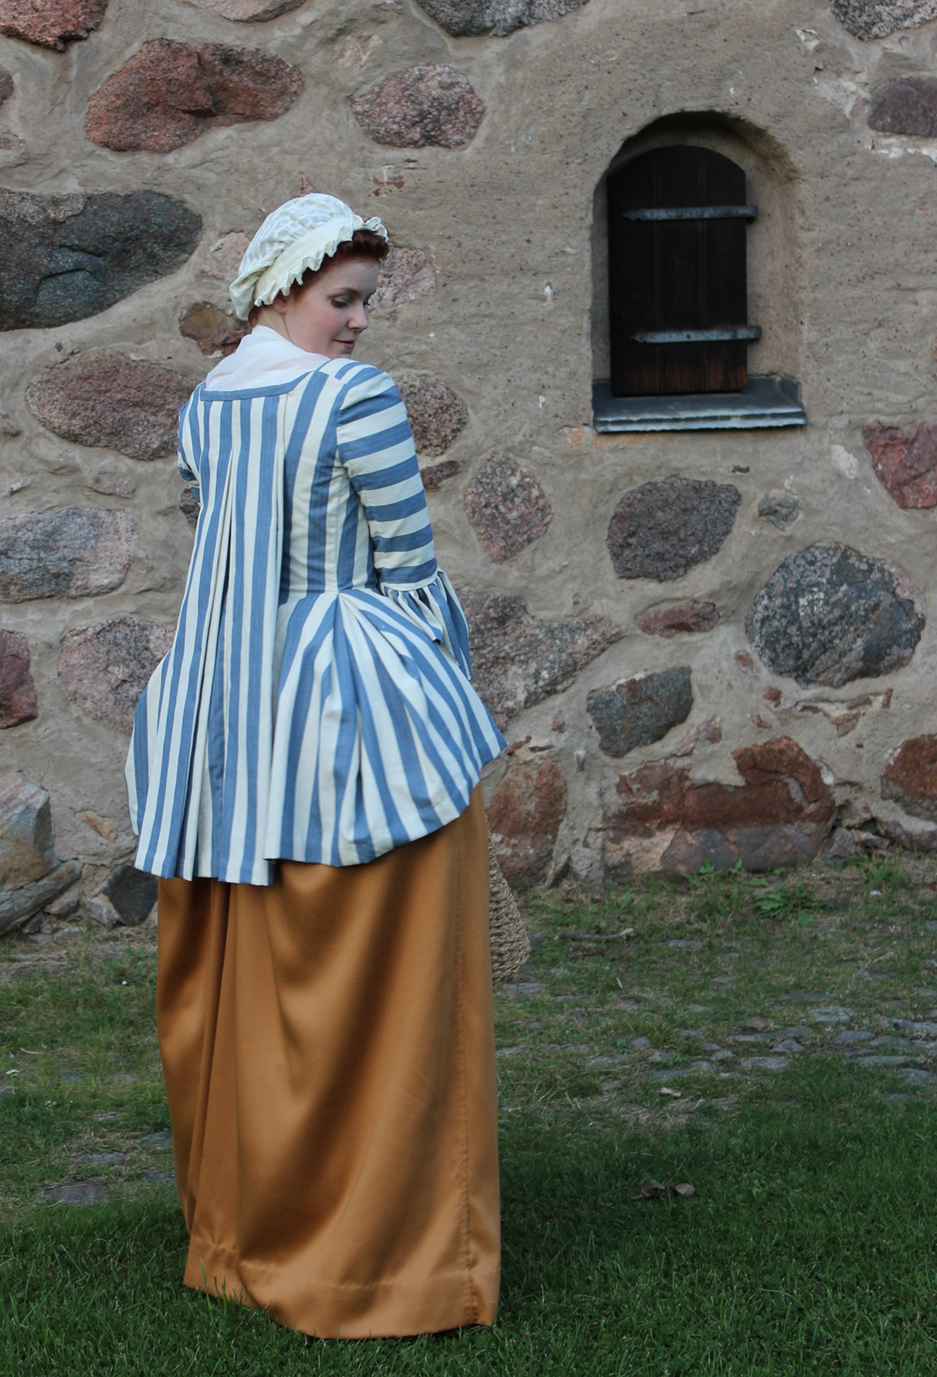
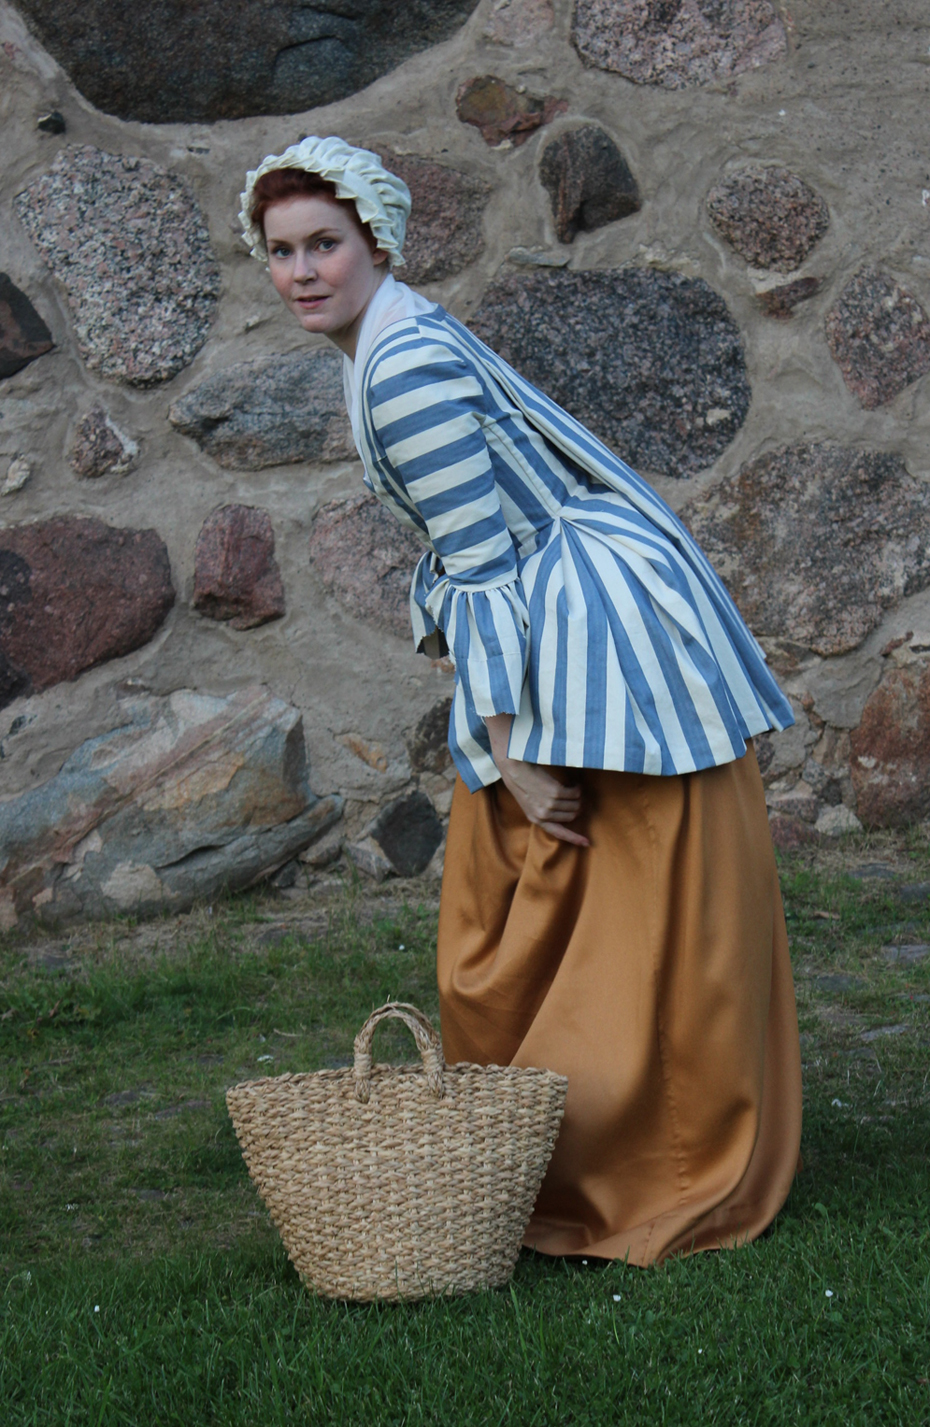
The towns woman: IMG_1594

IMG_1598

IMG_1617

IMG_1630

IMG_1647

IMG_1650

IMG_1664

IMG_1667

IMG_1728

IMG_1705

IMG_1742

The court lady:

IMG_1801

IMG_1751

IMG_1756

IMG_1824

IMG_1876

IMG_1784Foto: Maria Petersson

Robes and Robings

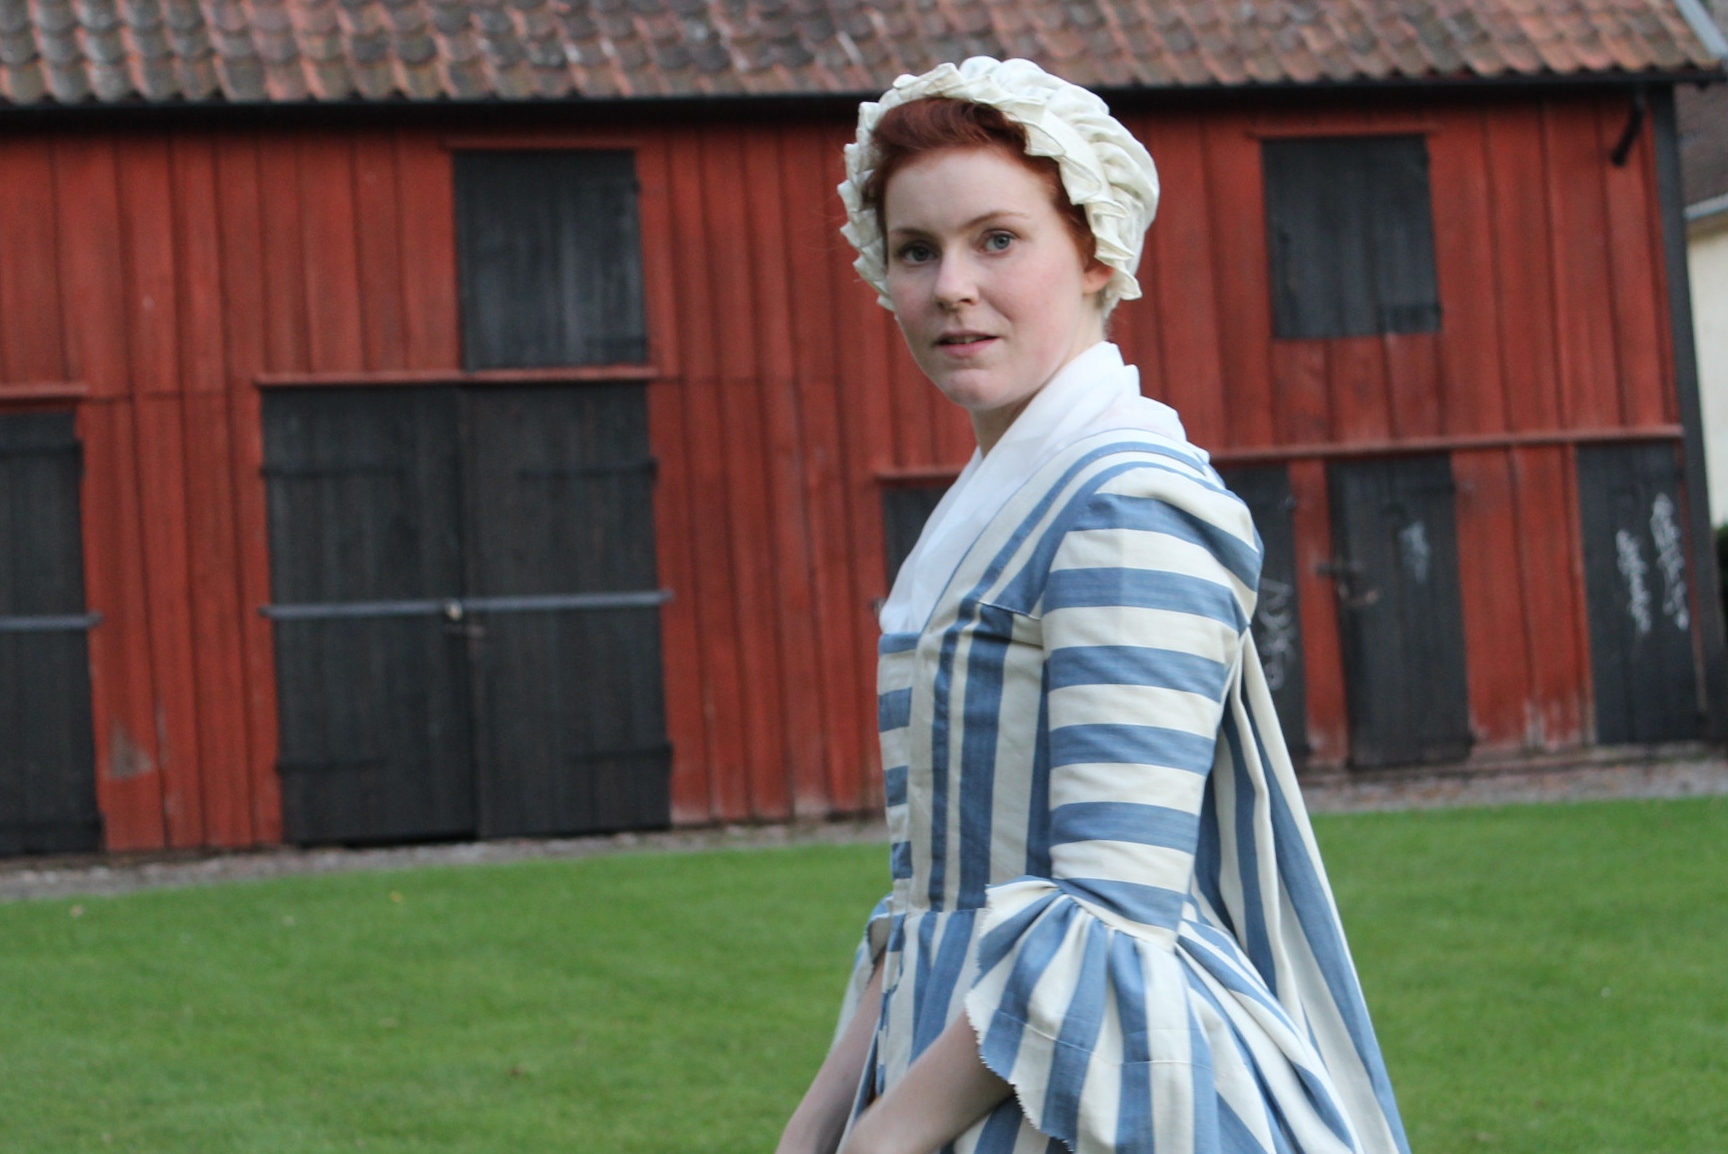
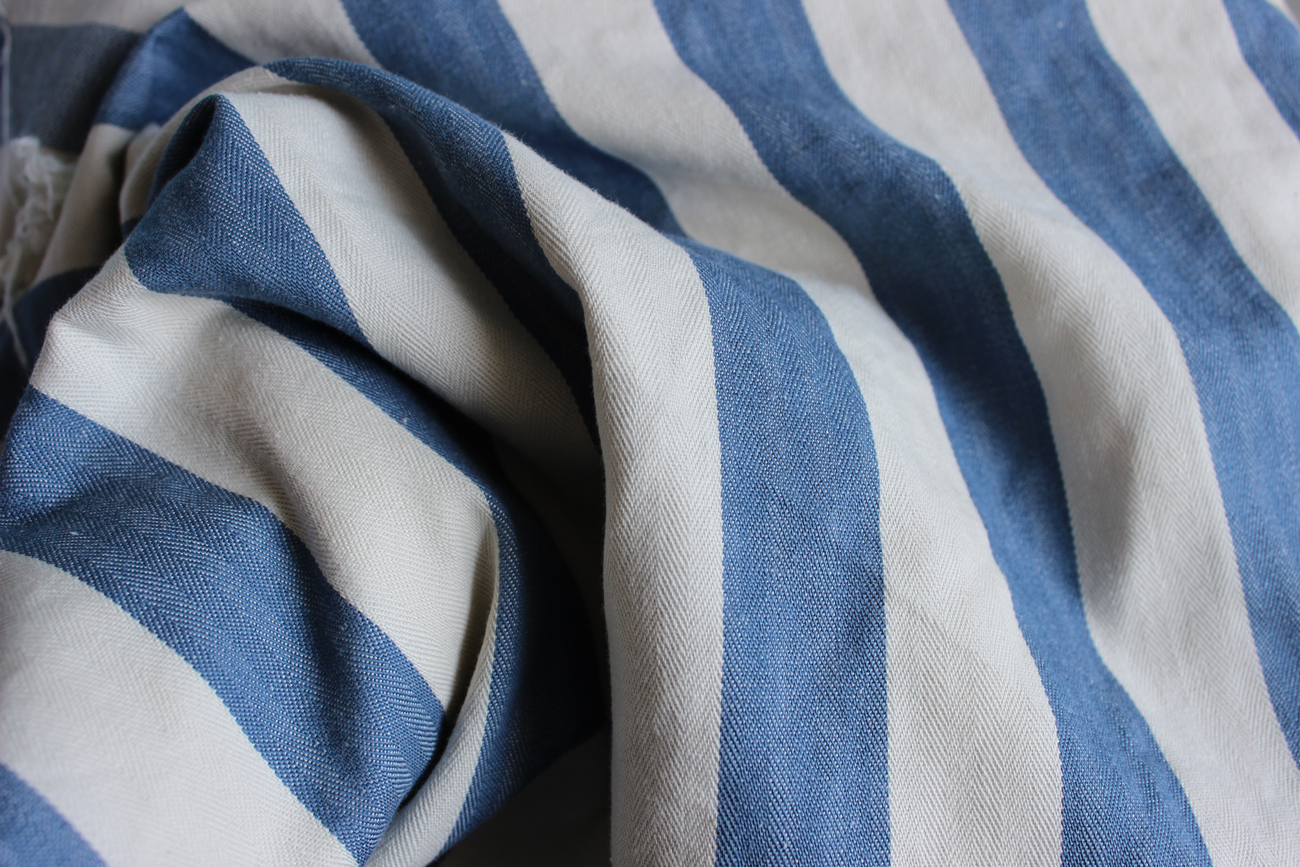
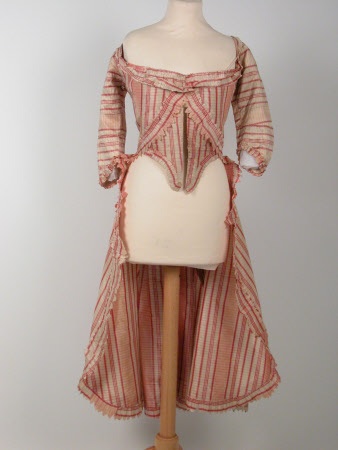
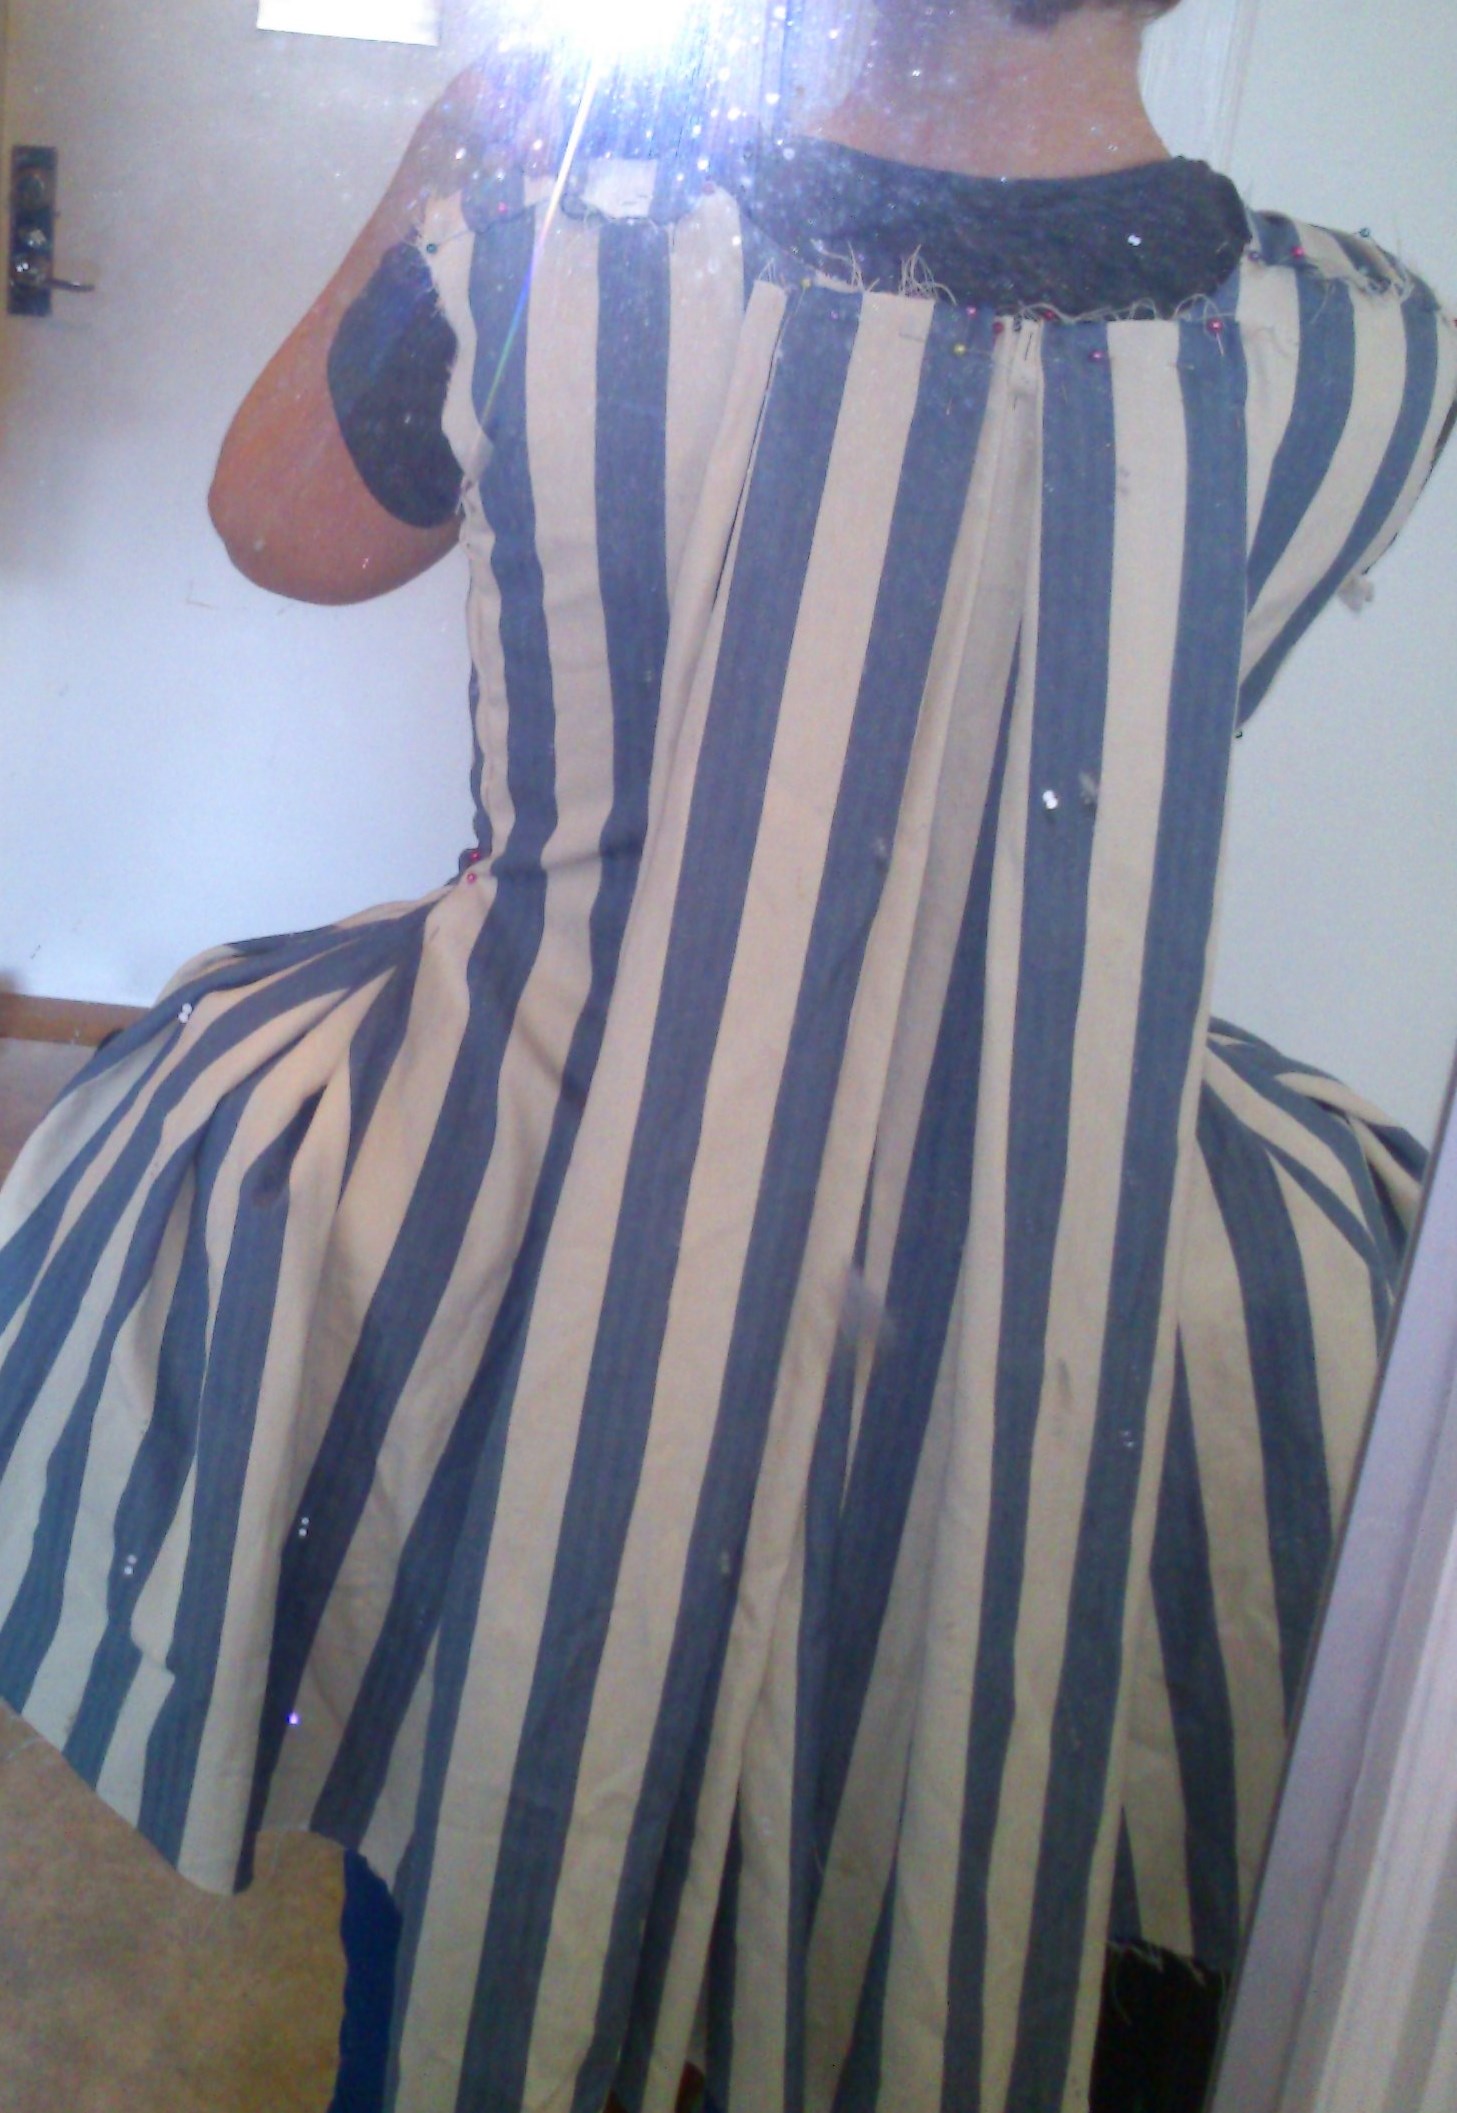
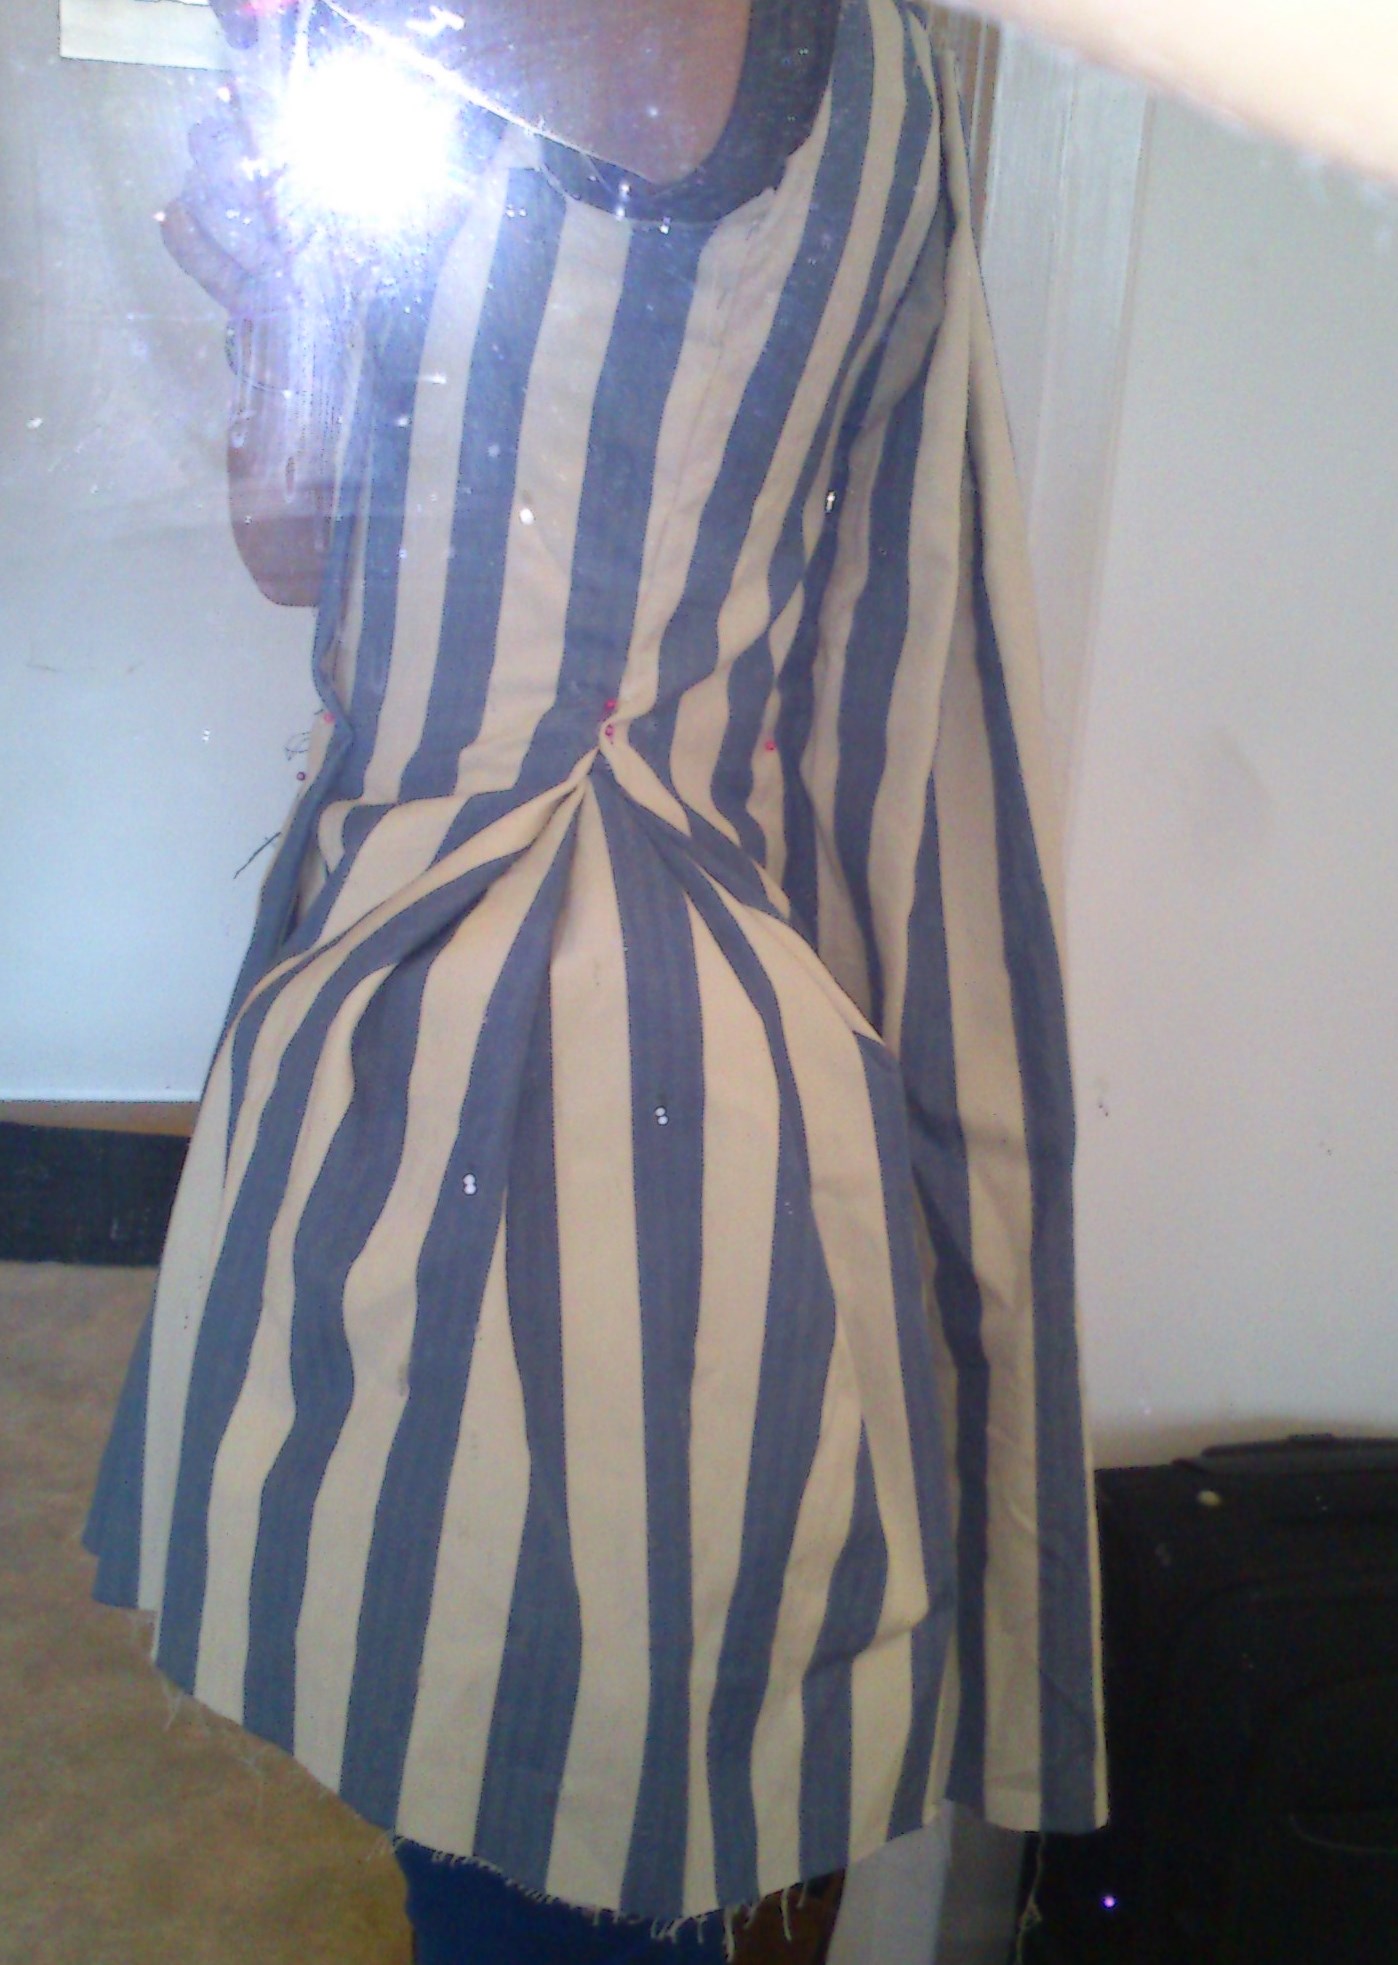
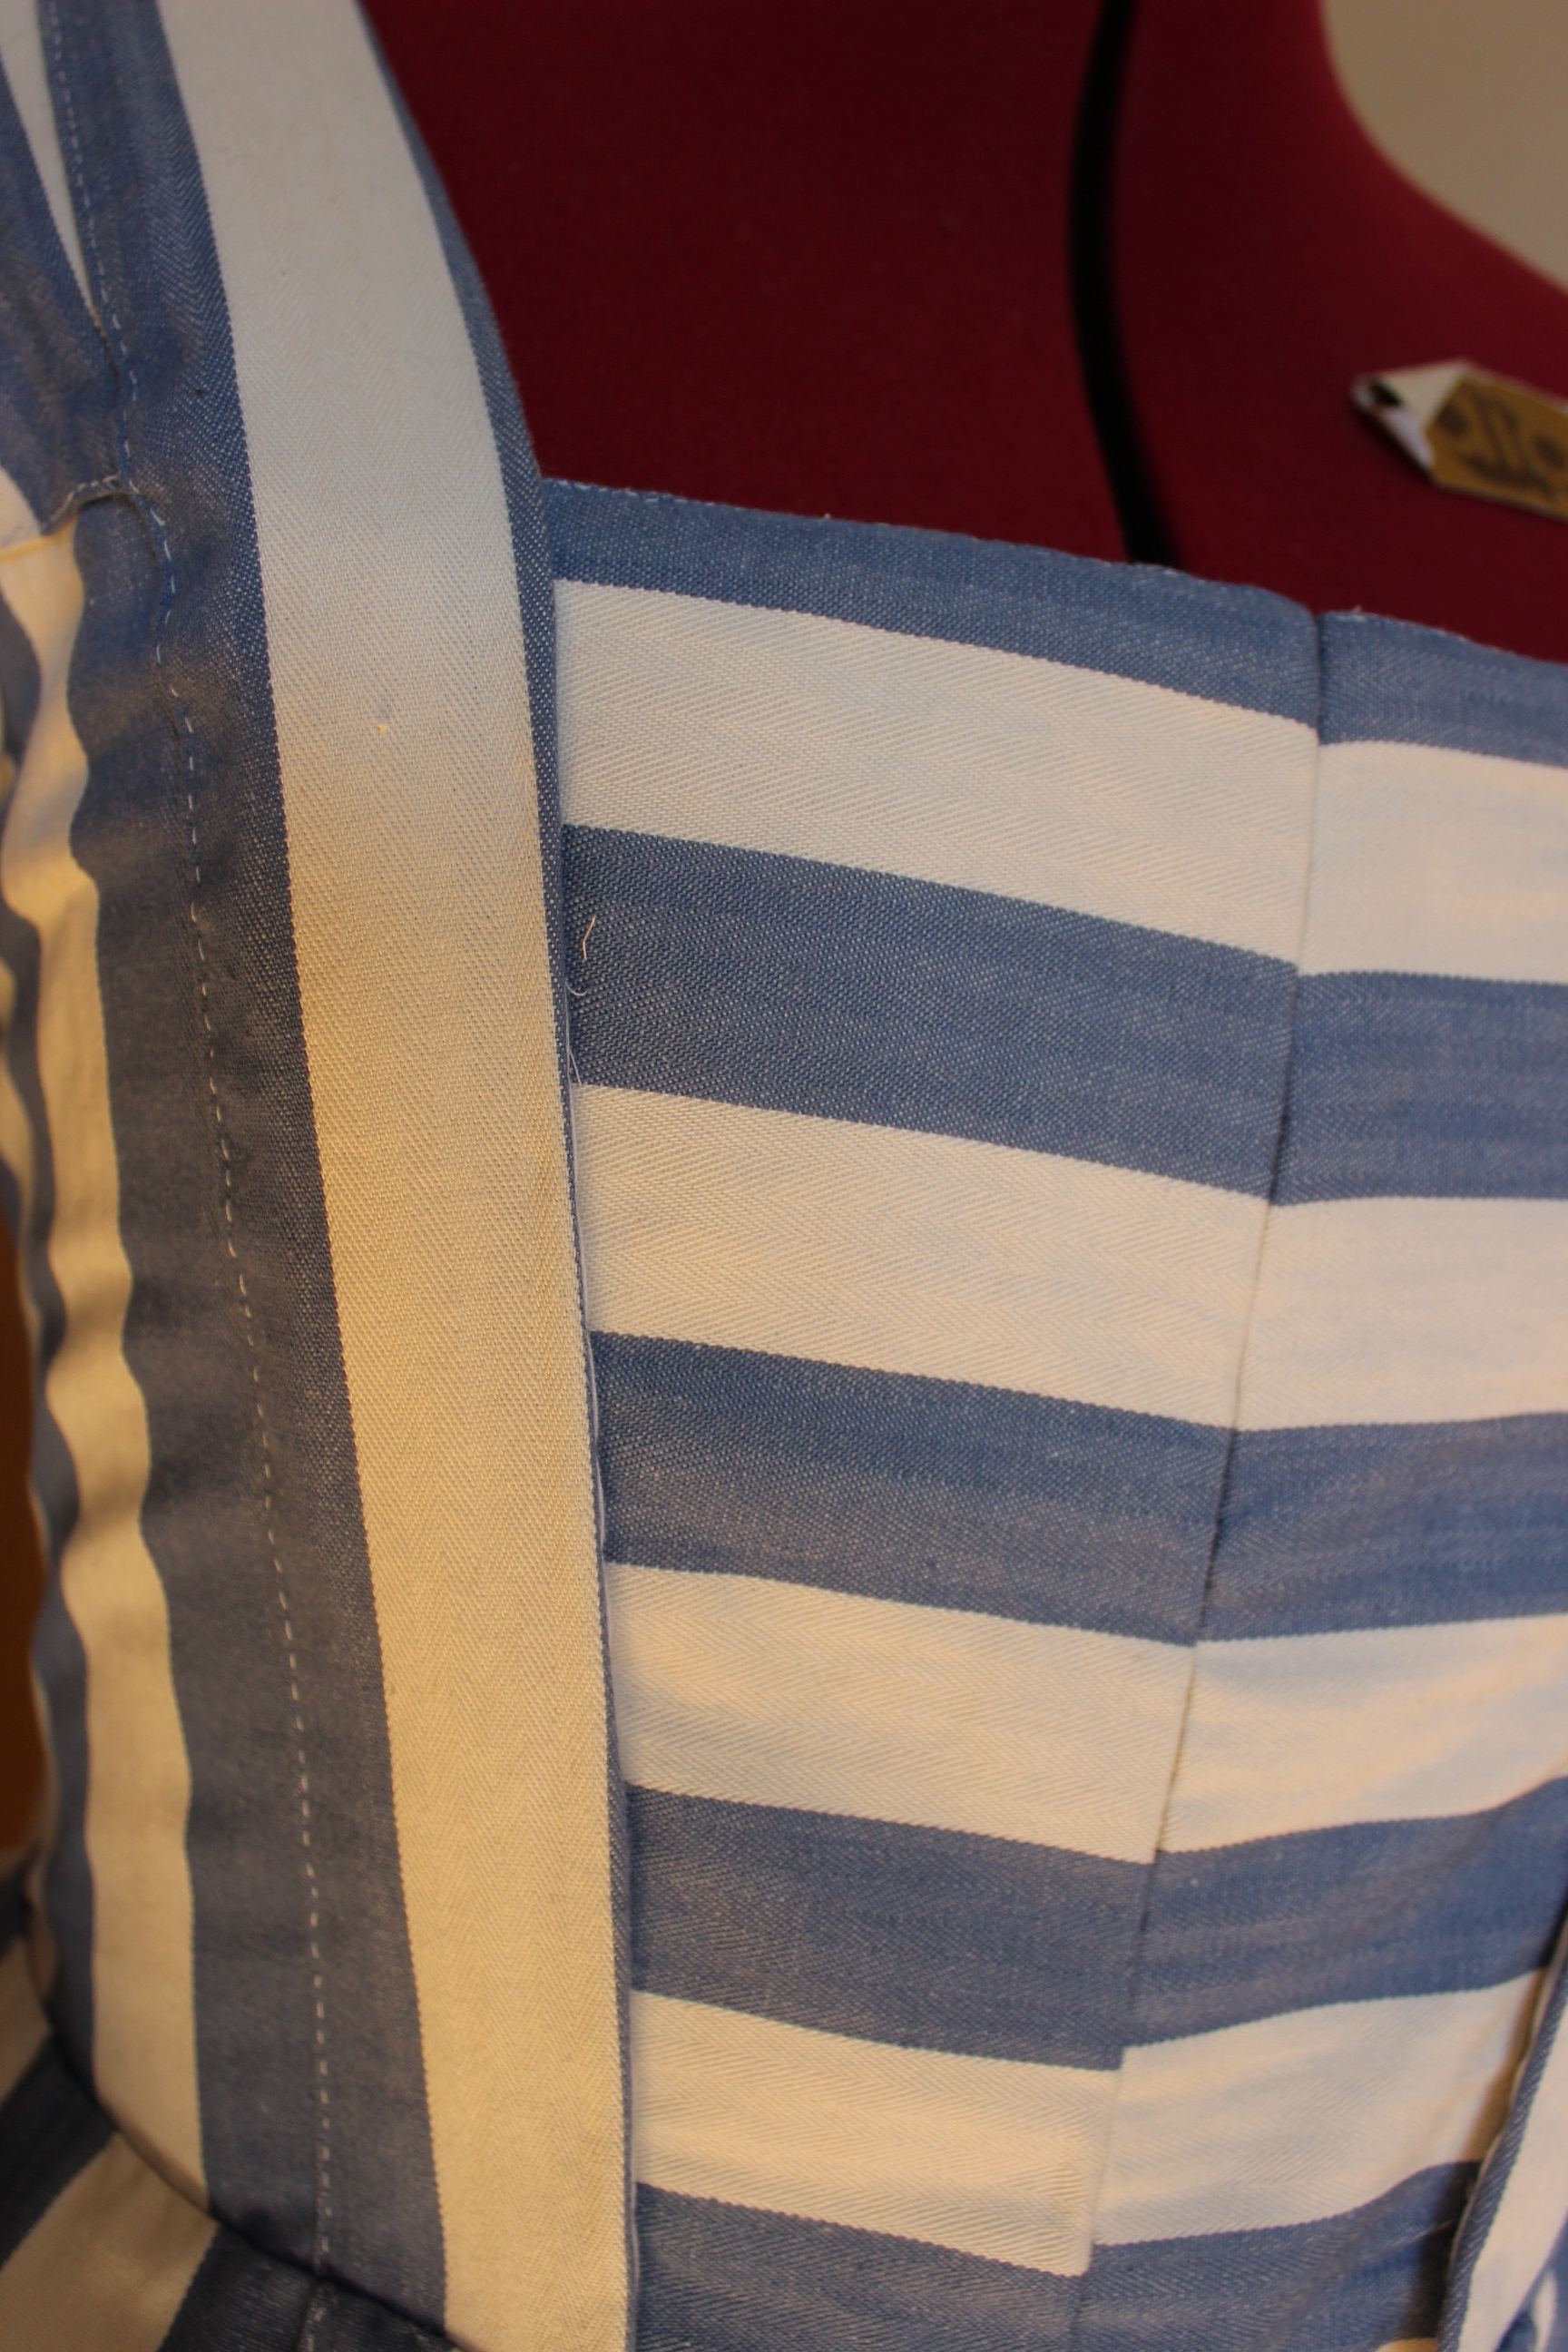
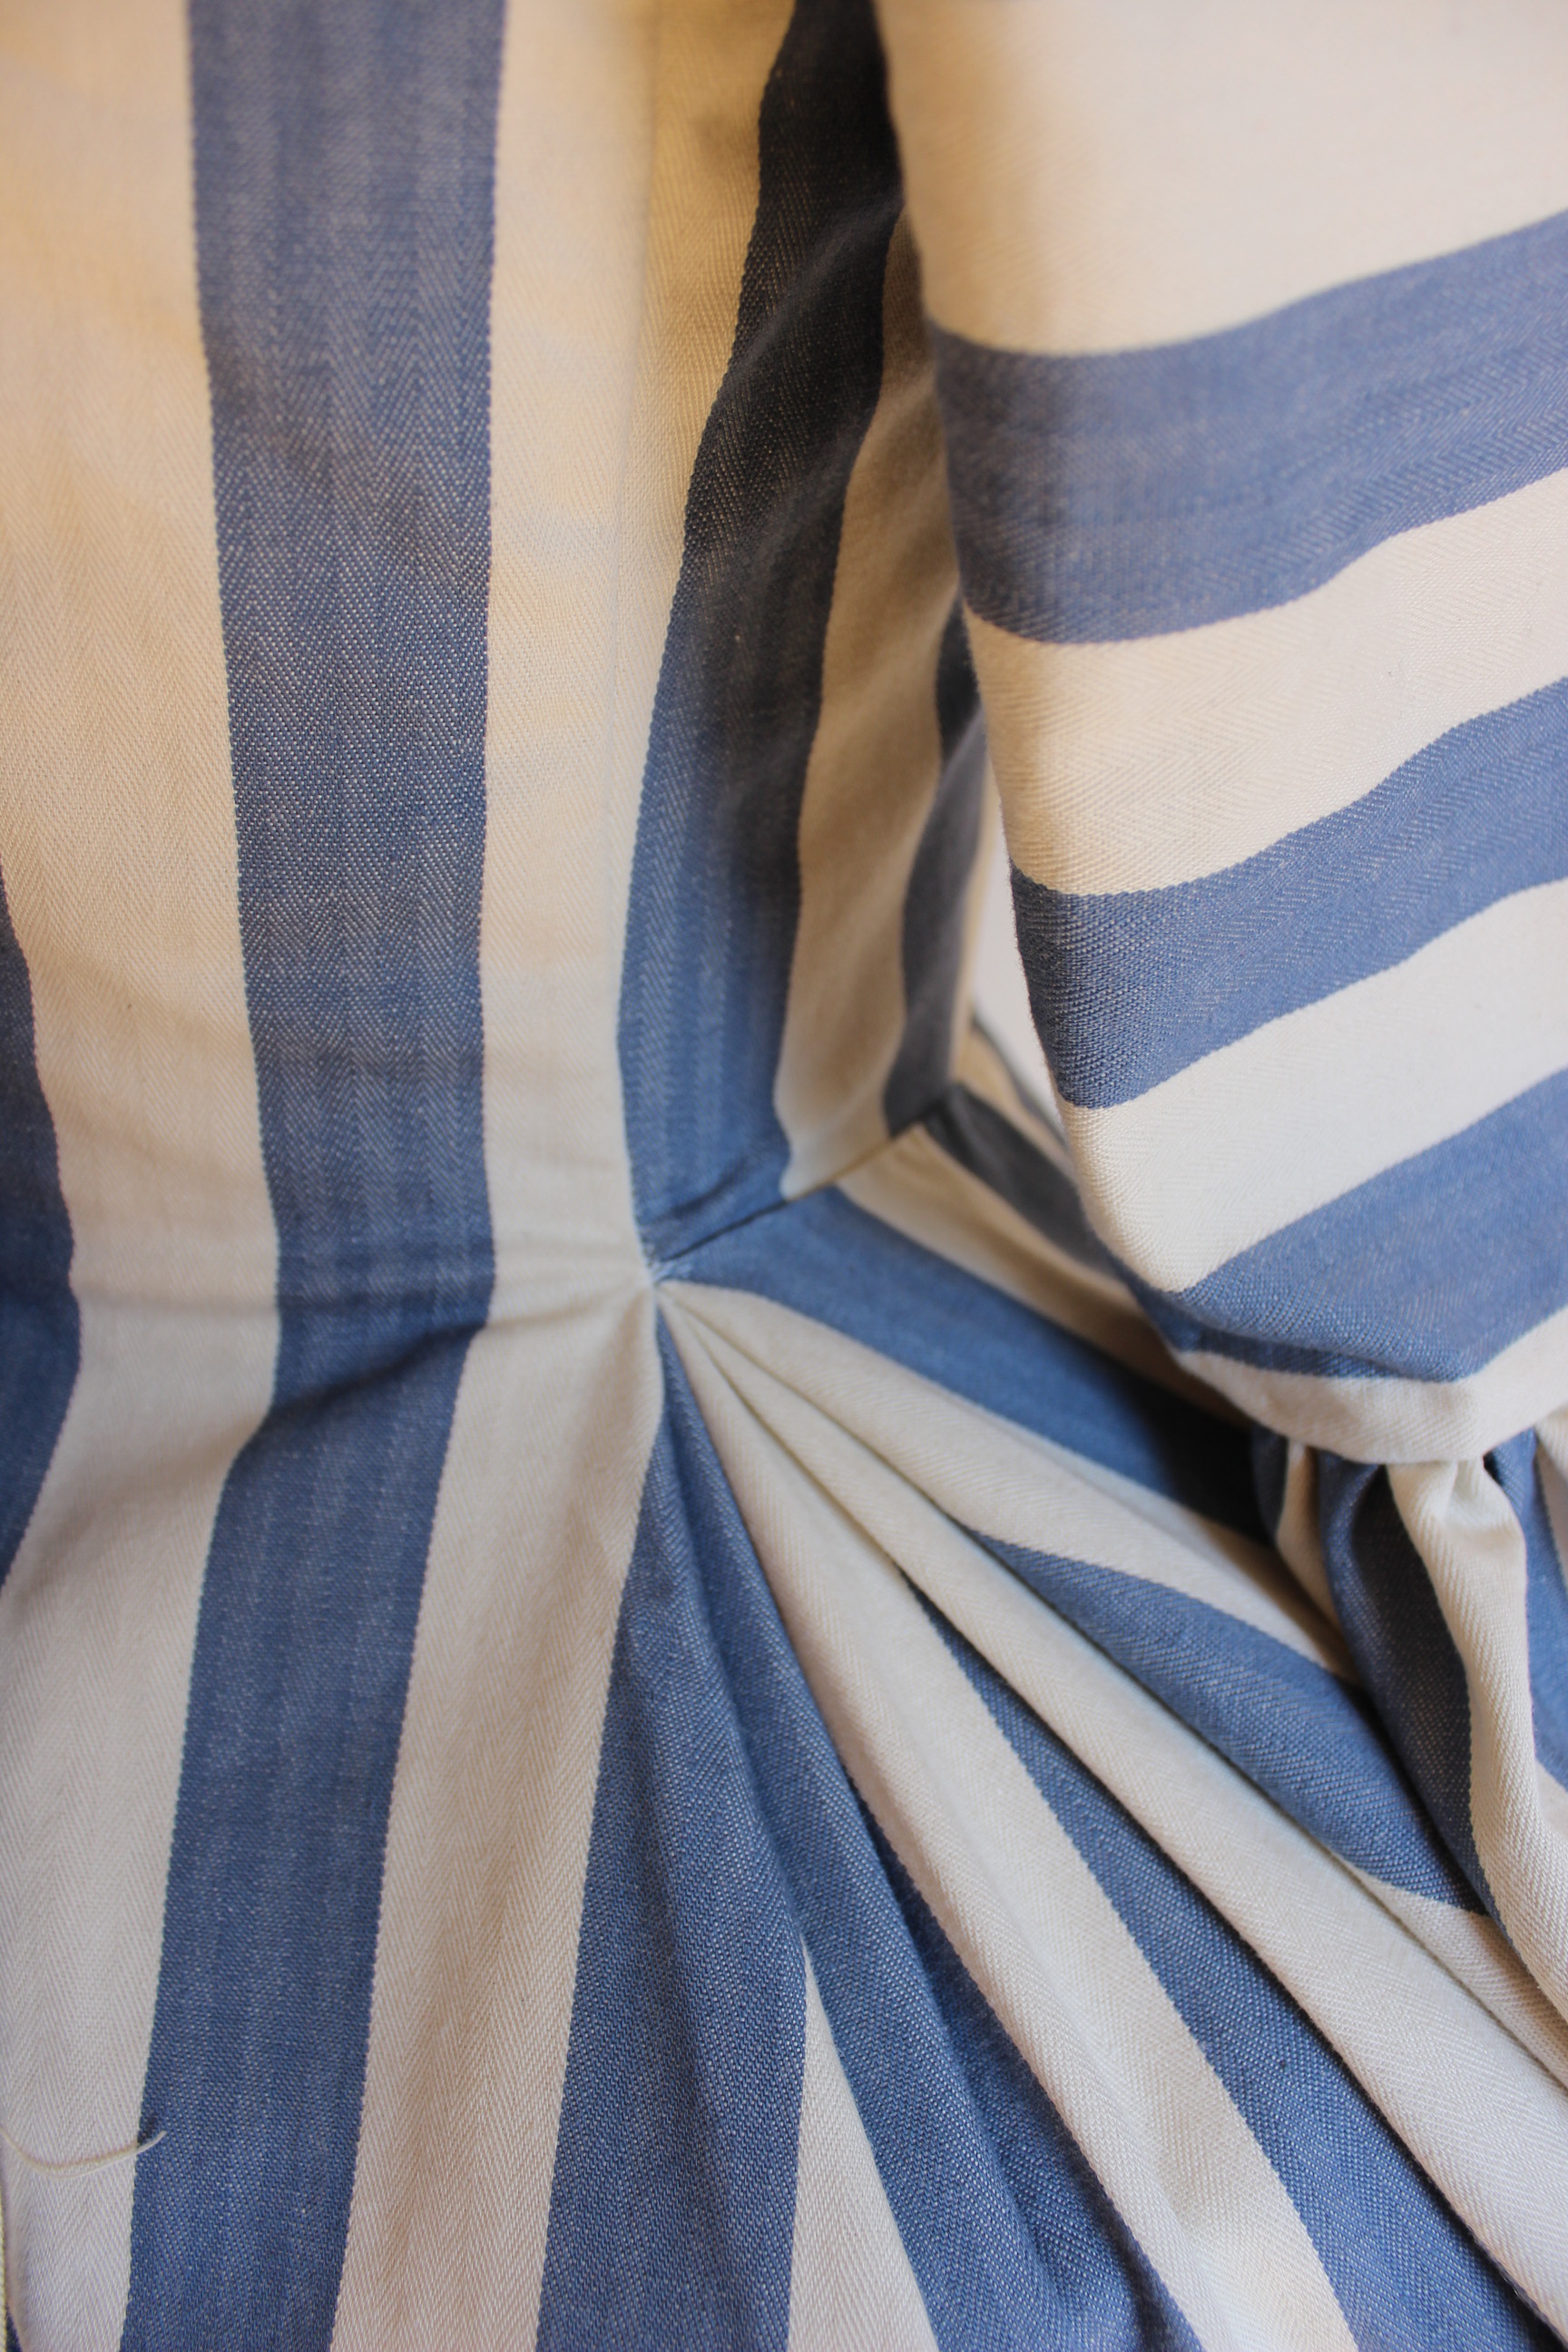
I bought this blue and white striped cotton for 15 Sek/m a while back, and since it was the last 2,5m on the bolt I decided it would make a perfect 18th or 19th century jacket.

IMG_0026

So when the 17th HSF challenge was announced as – Robes and Robings, it was the perfect opportunity to use the fabric.

“And what are robings?  They were also called robins and round robins.  Basically they are the trimming round the neck and down the front of 18th and early 19th century gowns and pelisses.” quote from the Dreamstress in her annoncement of the challenge.

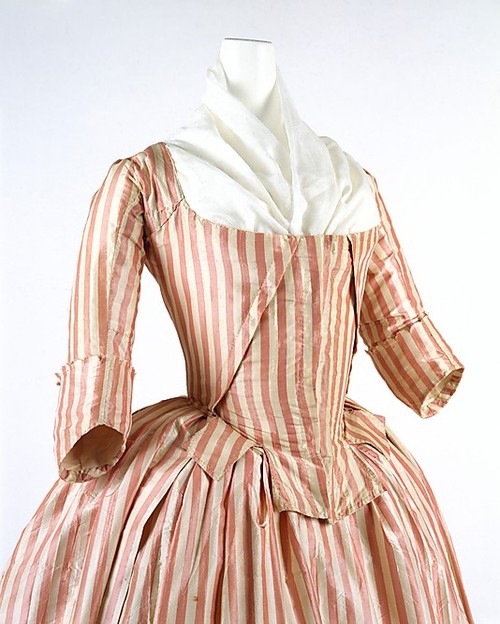
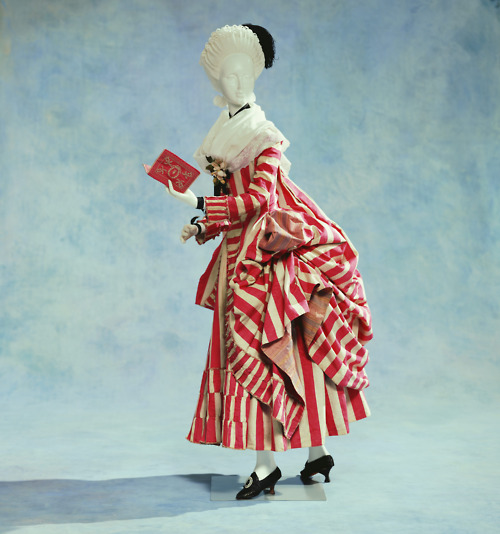
As usual I started with some inspirations pictures.

tumblr_m7dx481rUn1r7jdxuo3_500

Killerton-Kil-W-04253

Kyoto red stripe(quite a pink-orama)

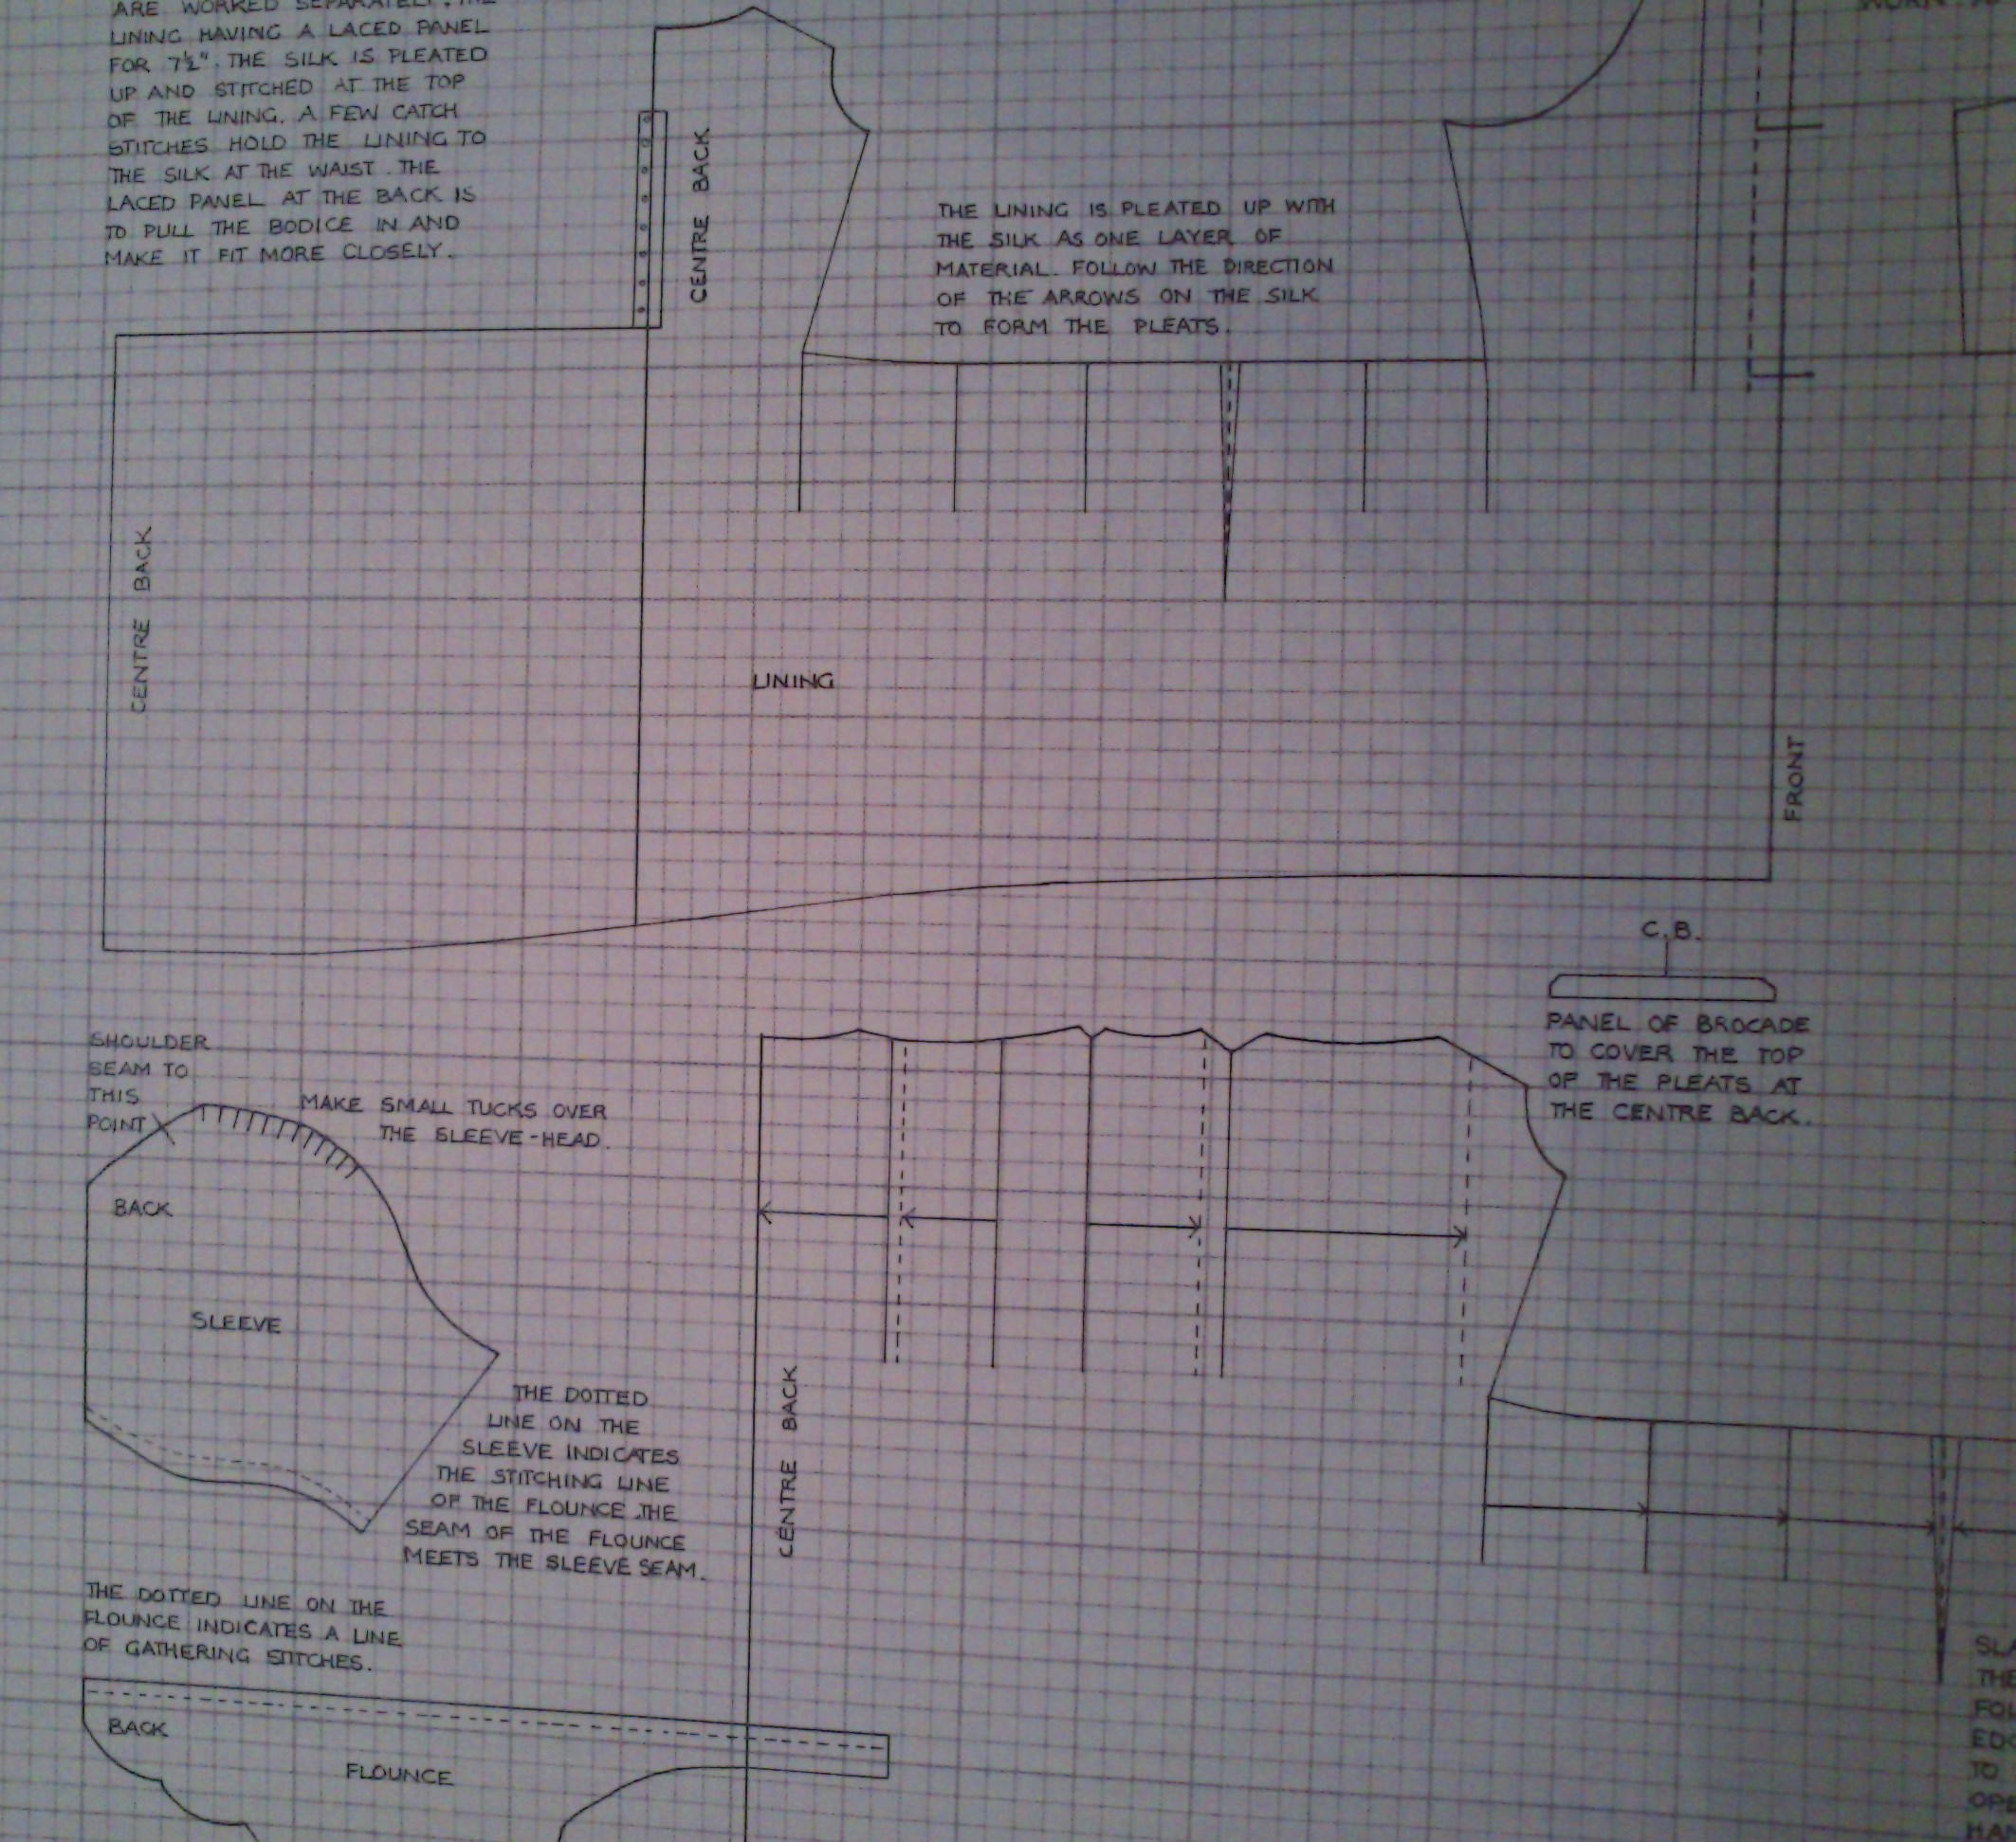
As pattern for the jacket I turned to Janet Arnold, and her beautiful 1750s pet-en-l’aire (jacket).

2013-09-14 16.42.23

2013-09-14 16.44.11

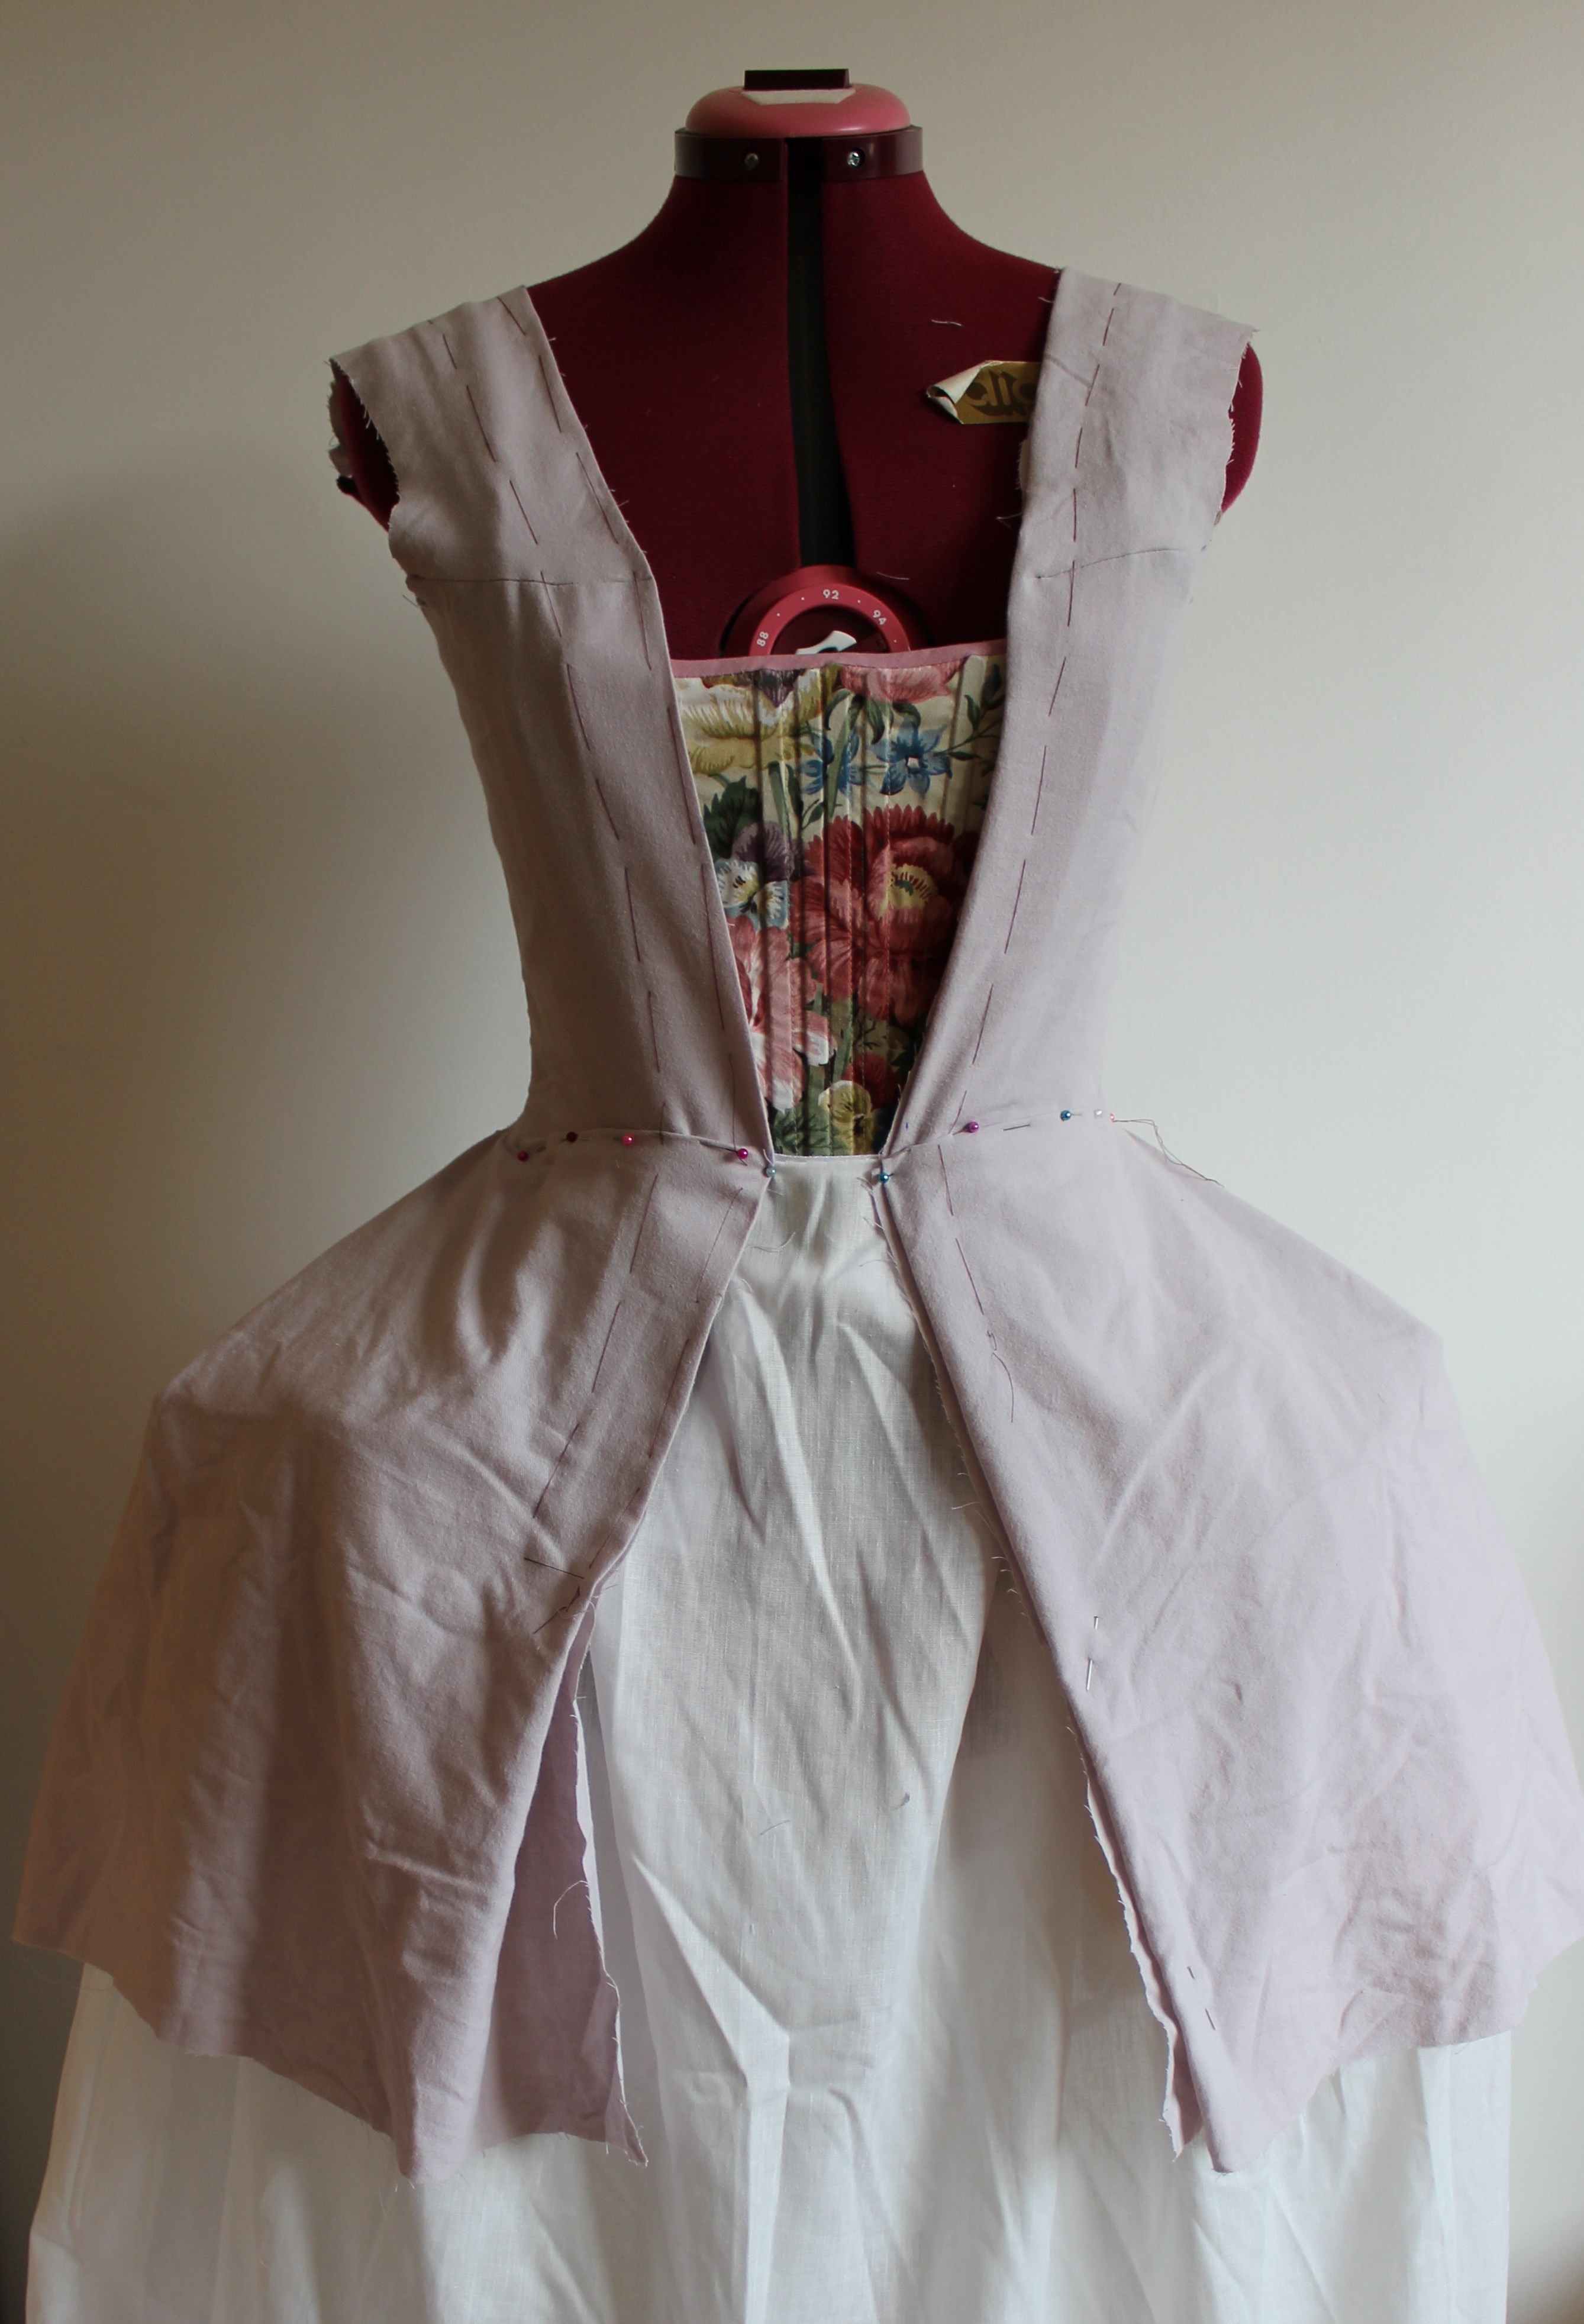
So I put the corset and pocket-hoops on my dressform and started to drape a pattern.

IMG_0794IMG_0793

IMG_0797

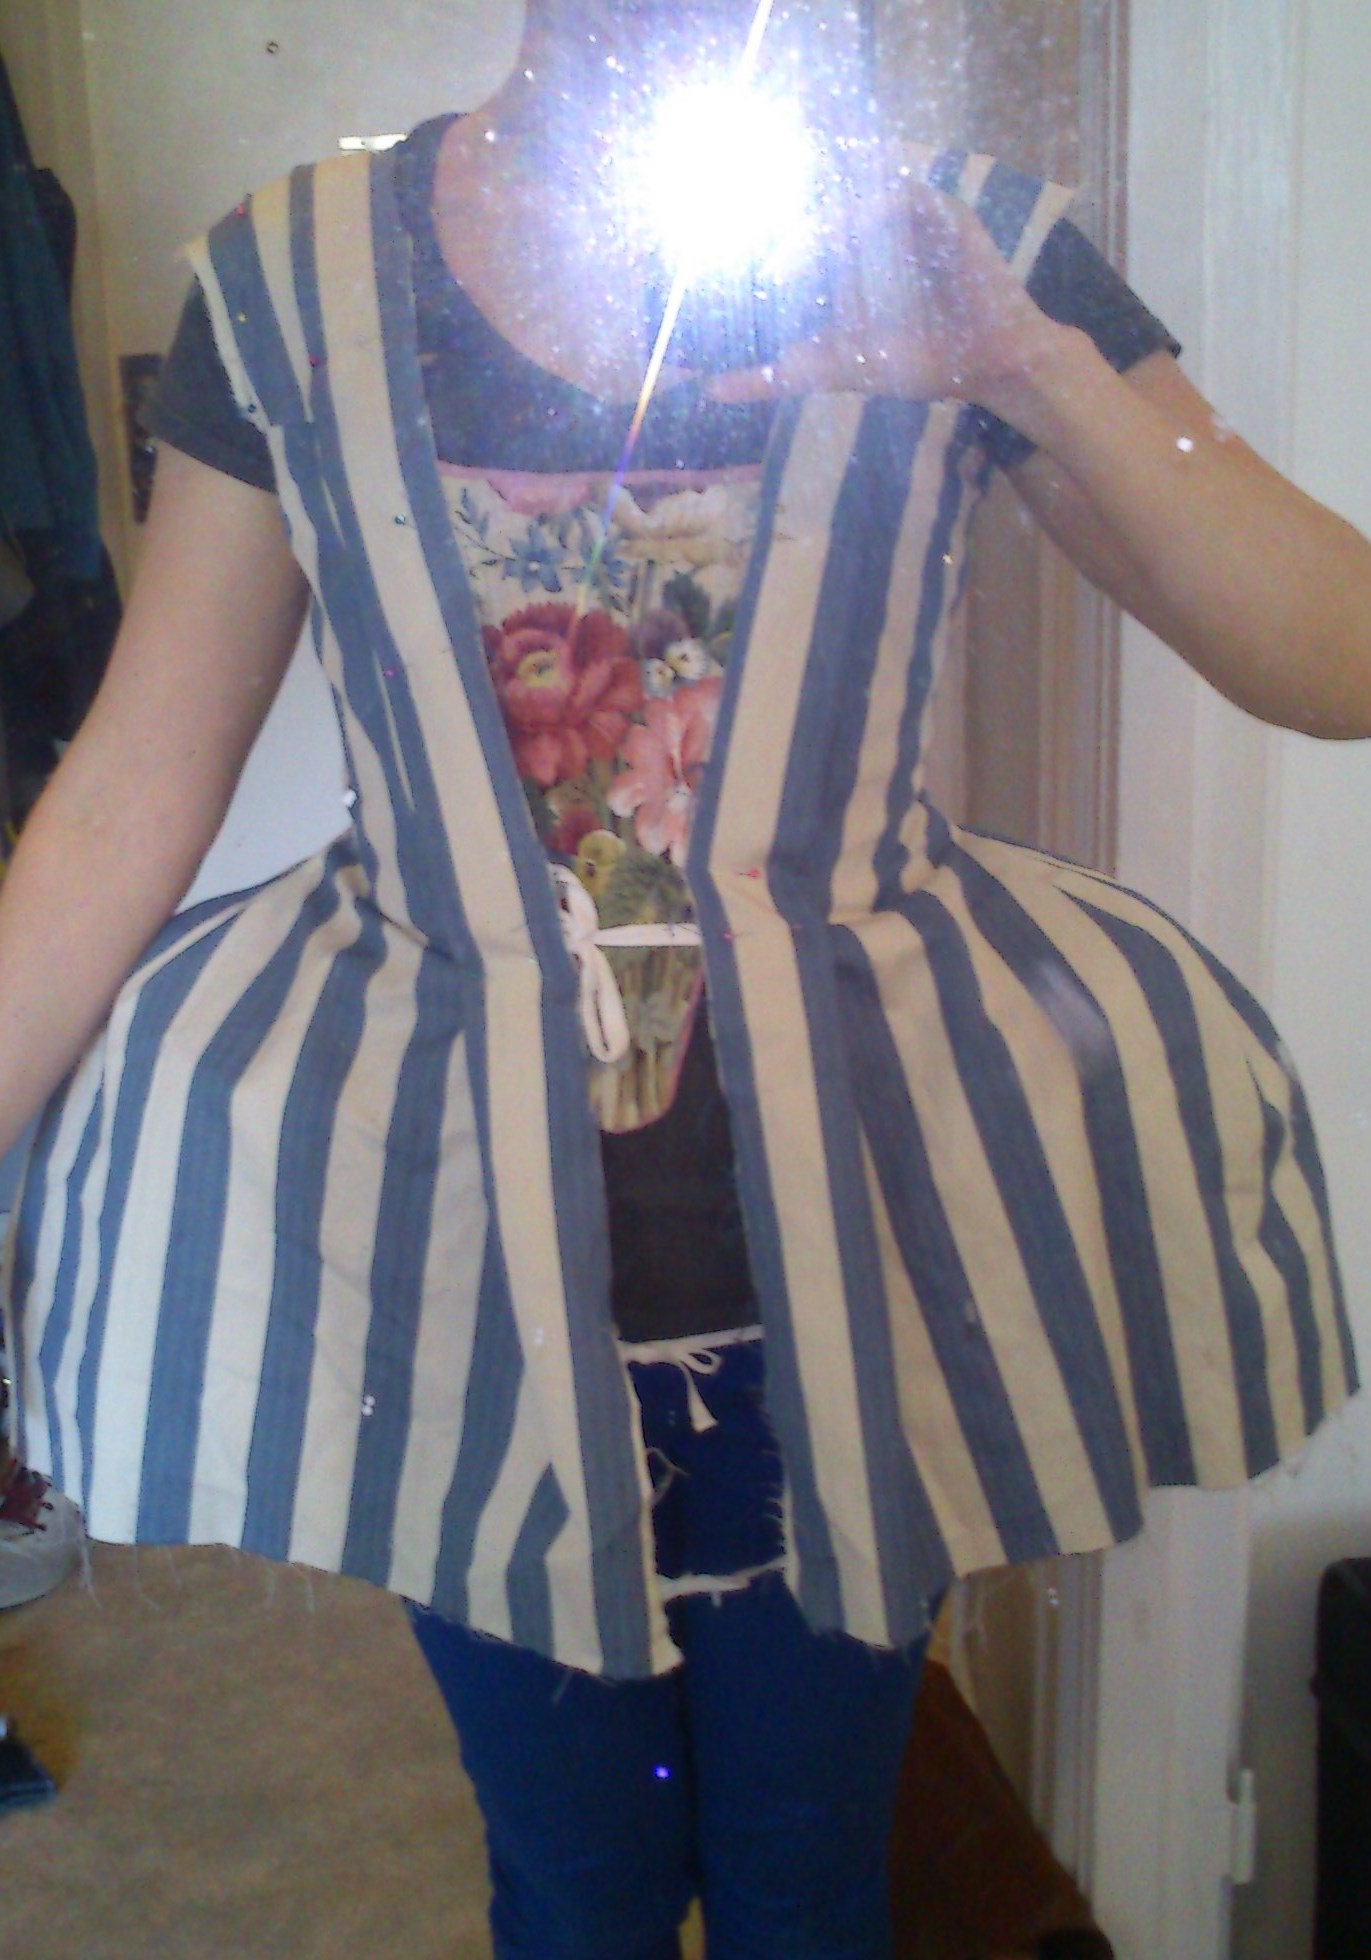
Then I removed it, sewed and tried it on as a mock-up.

IMG_0803IMG_0805

IMG_0811

After a few alterations it was time to cut the fabric.

IMG_0826 left and right sides being cut separatly so to mach the stipes perfectly.

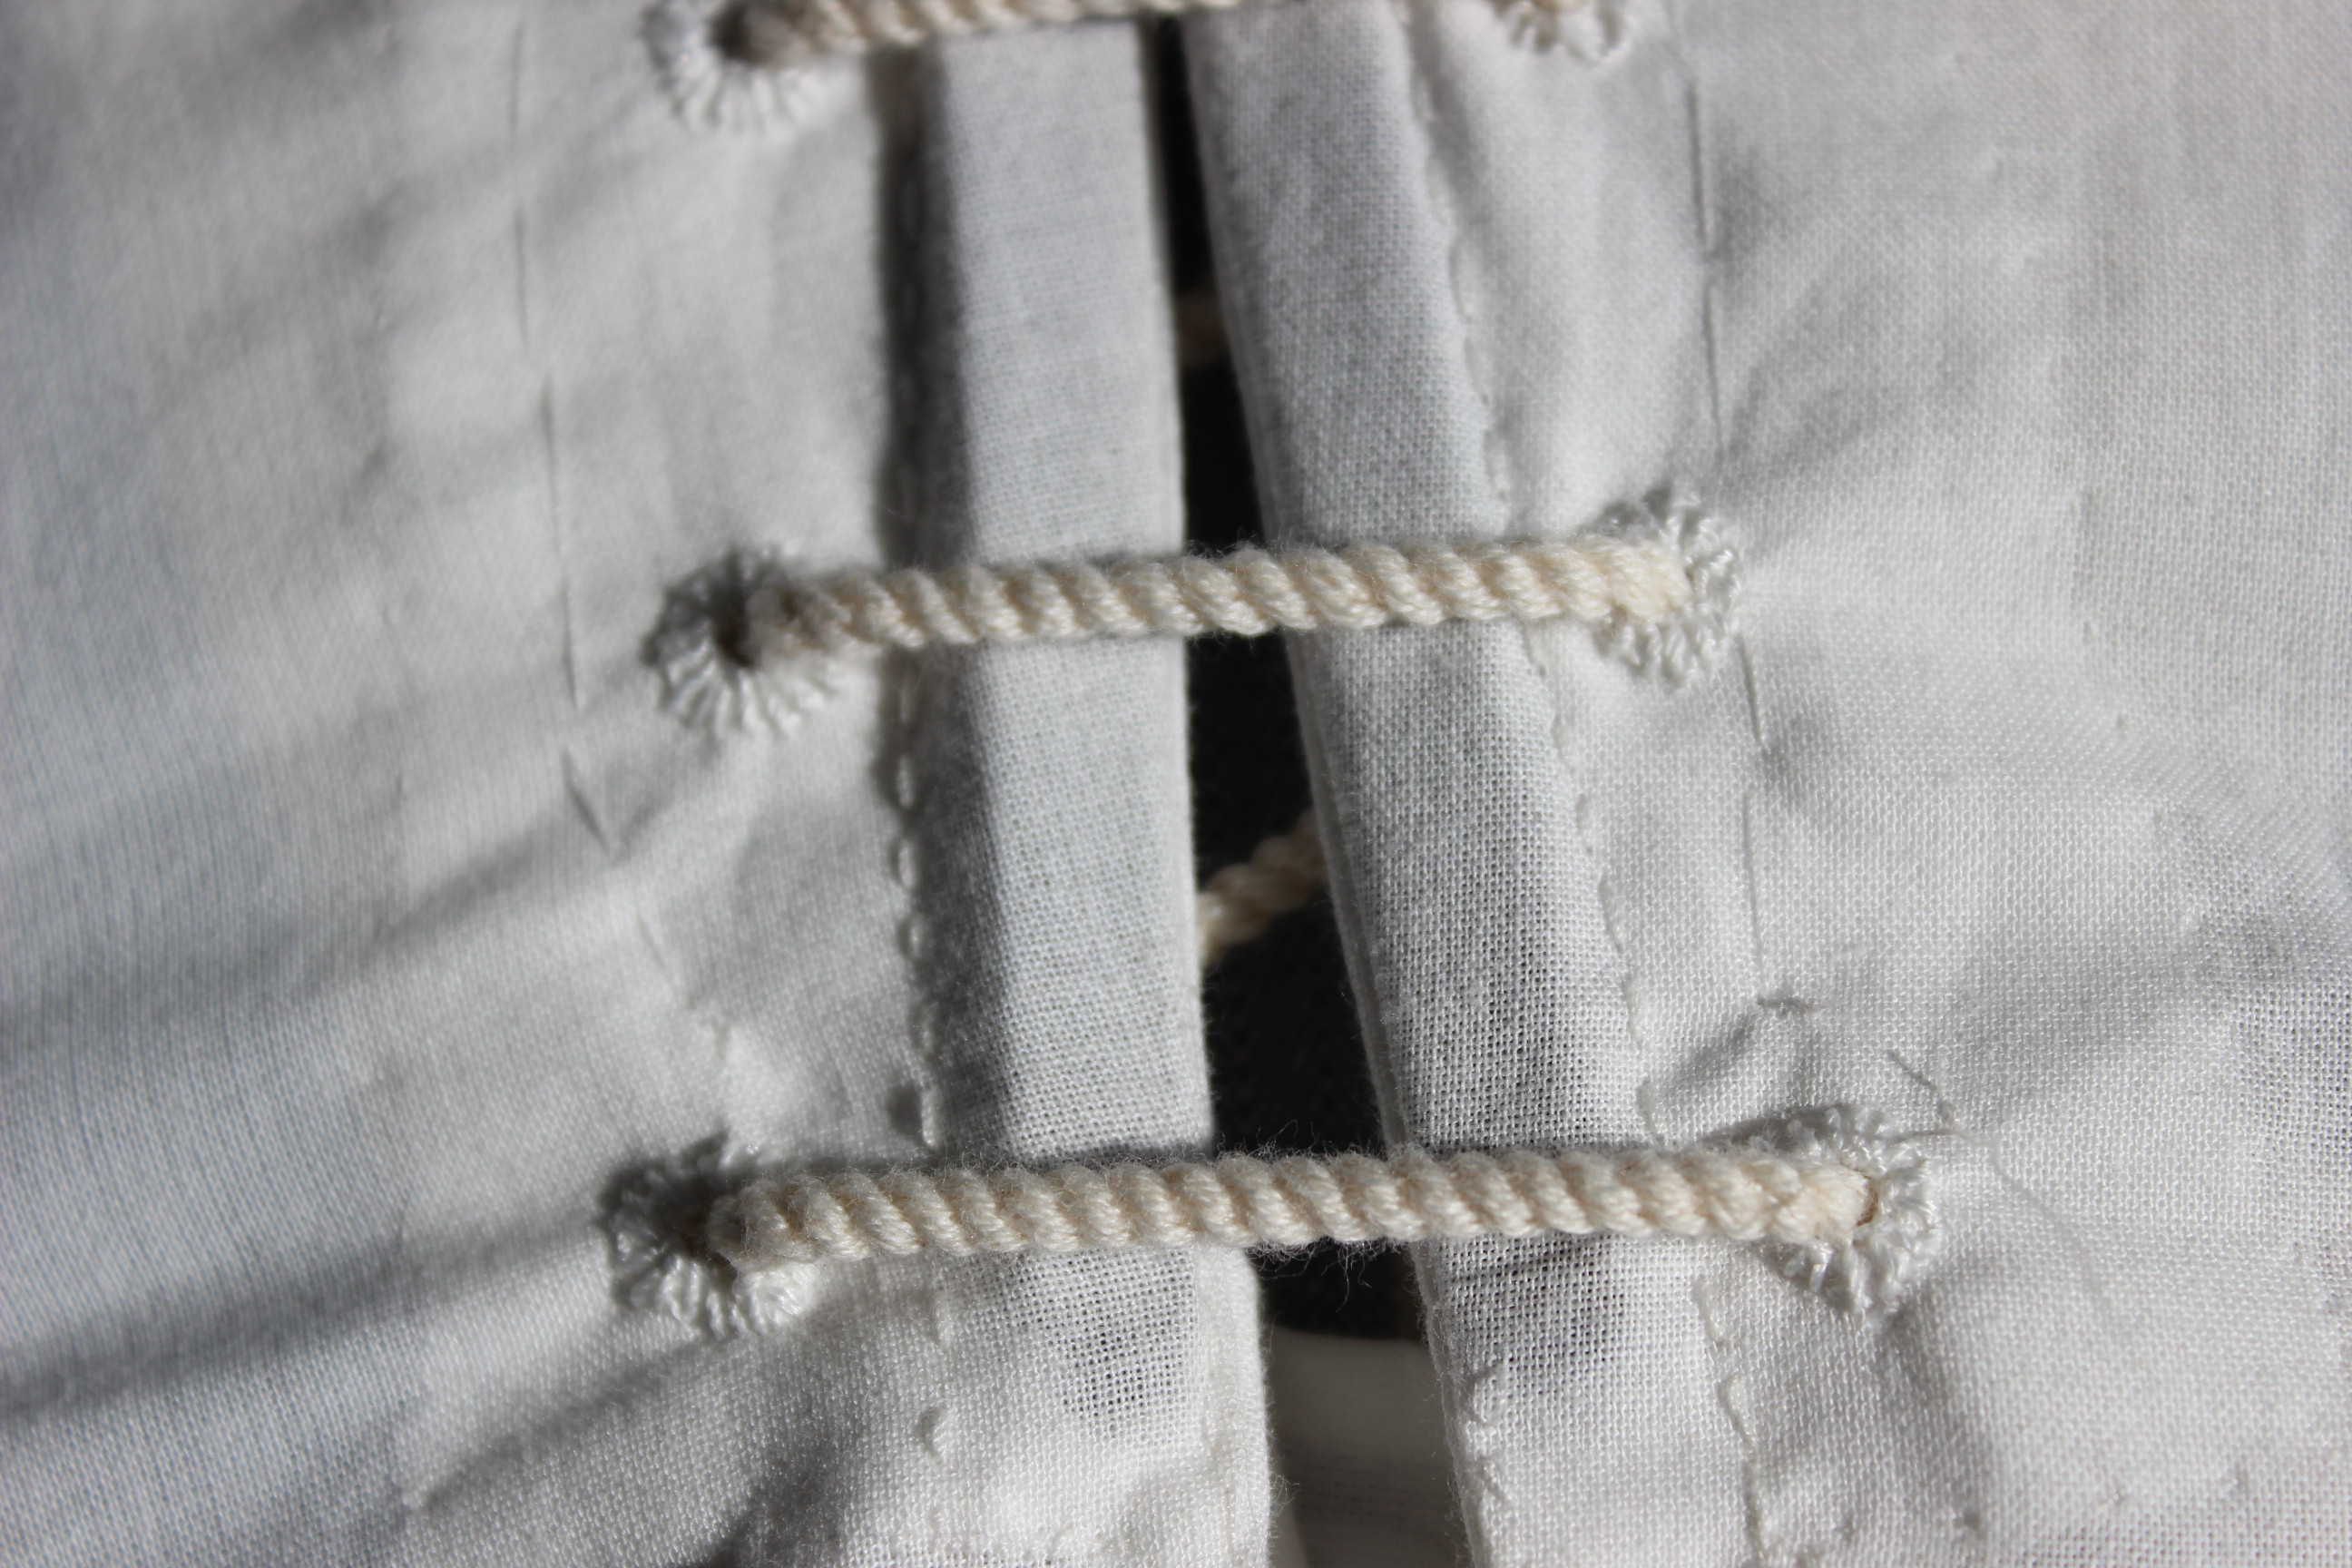
I used plain white cotton as lining, and started the handsewing by working the eyelets into the back of the linning.

IMG_1549IMG_1542

I basted the lining to the striped fabric as a interlining.

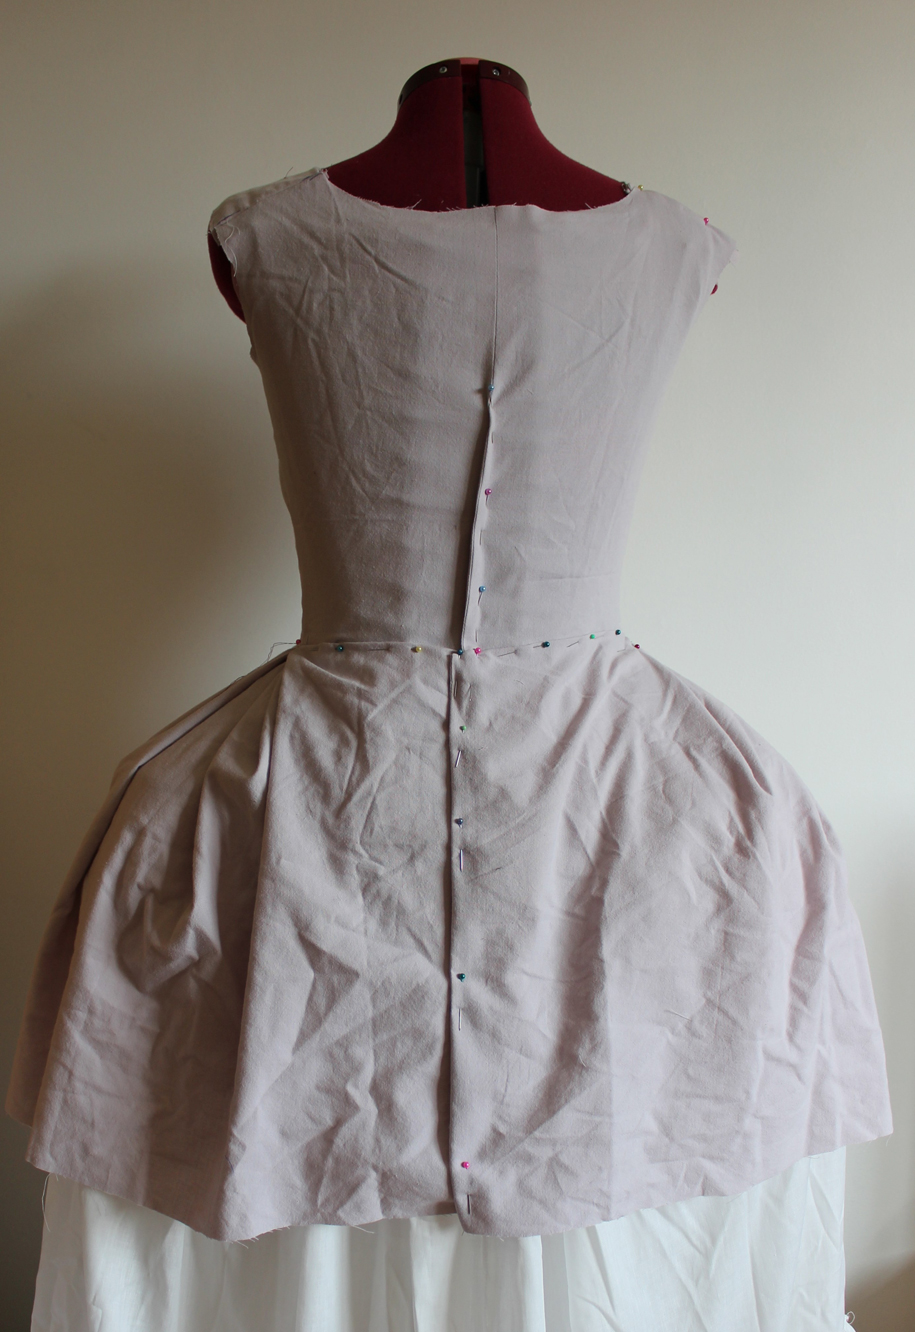
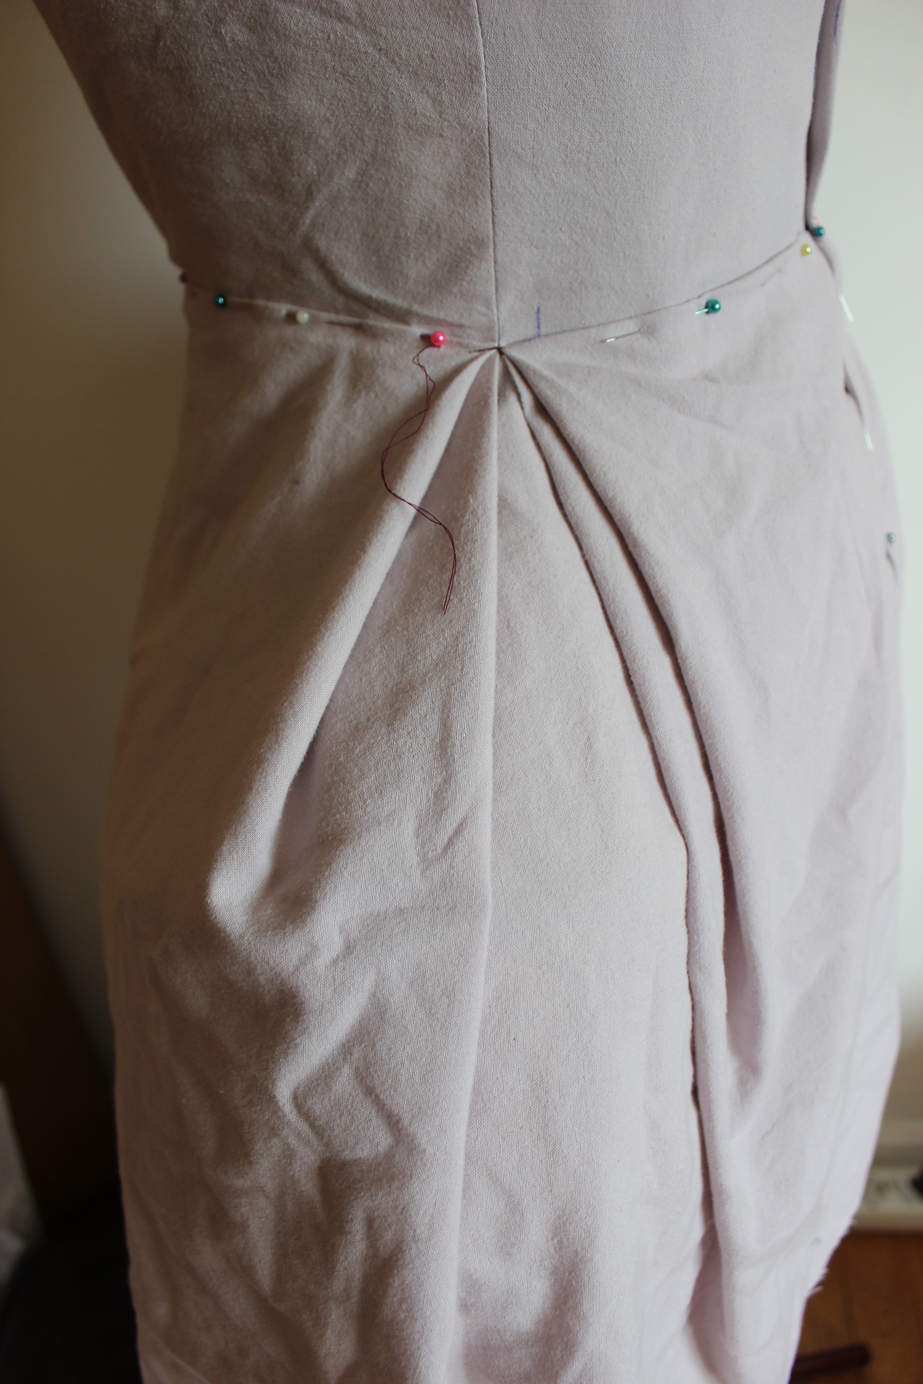
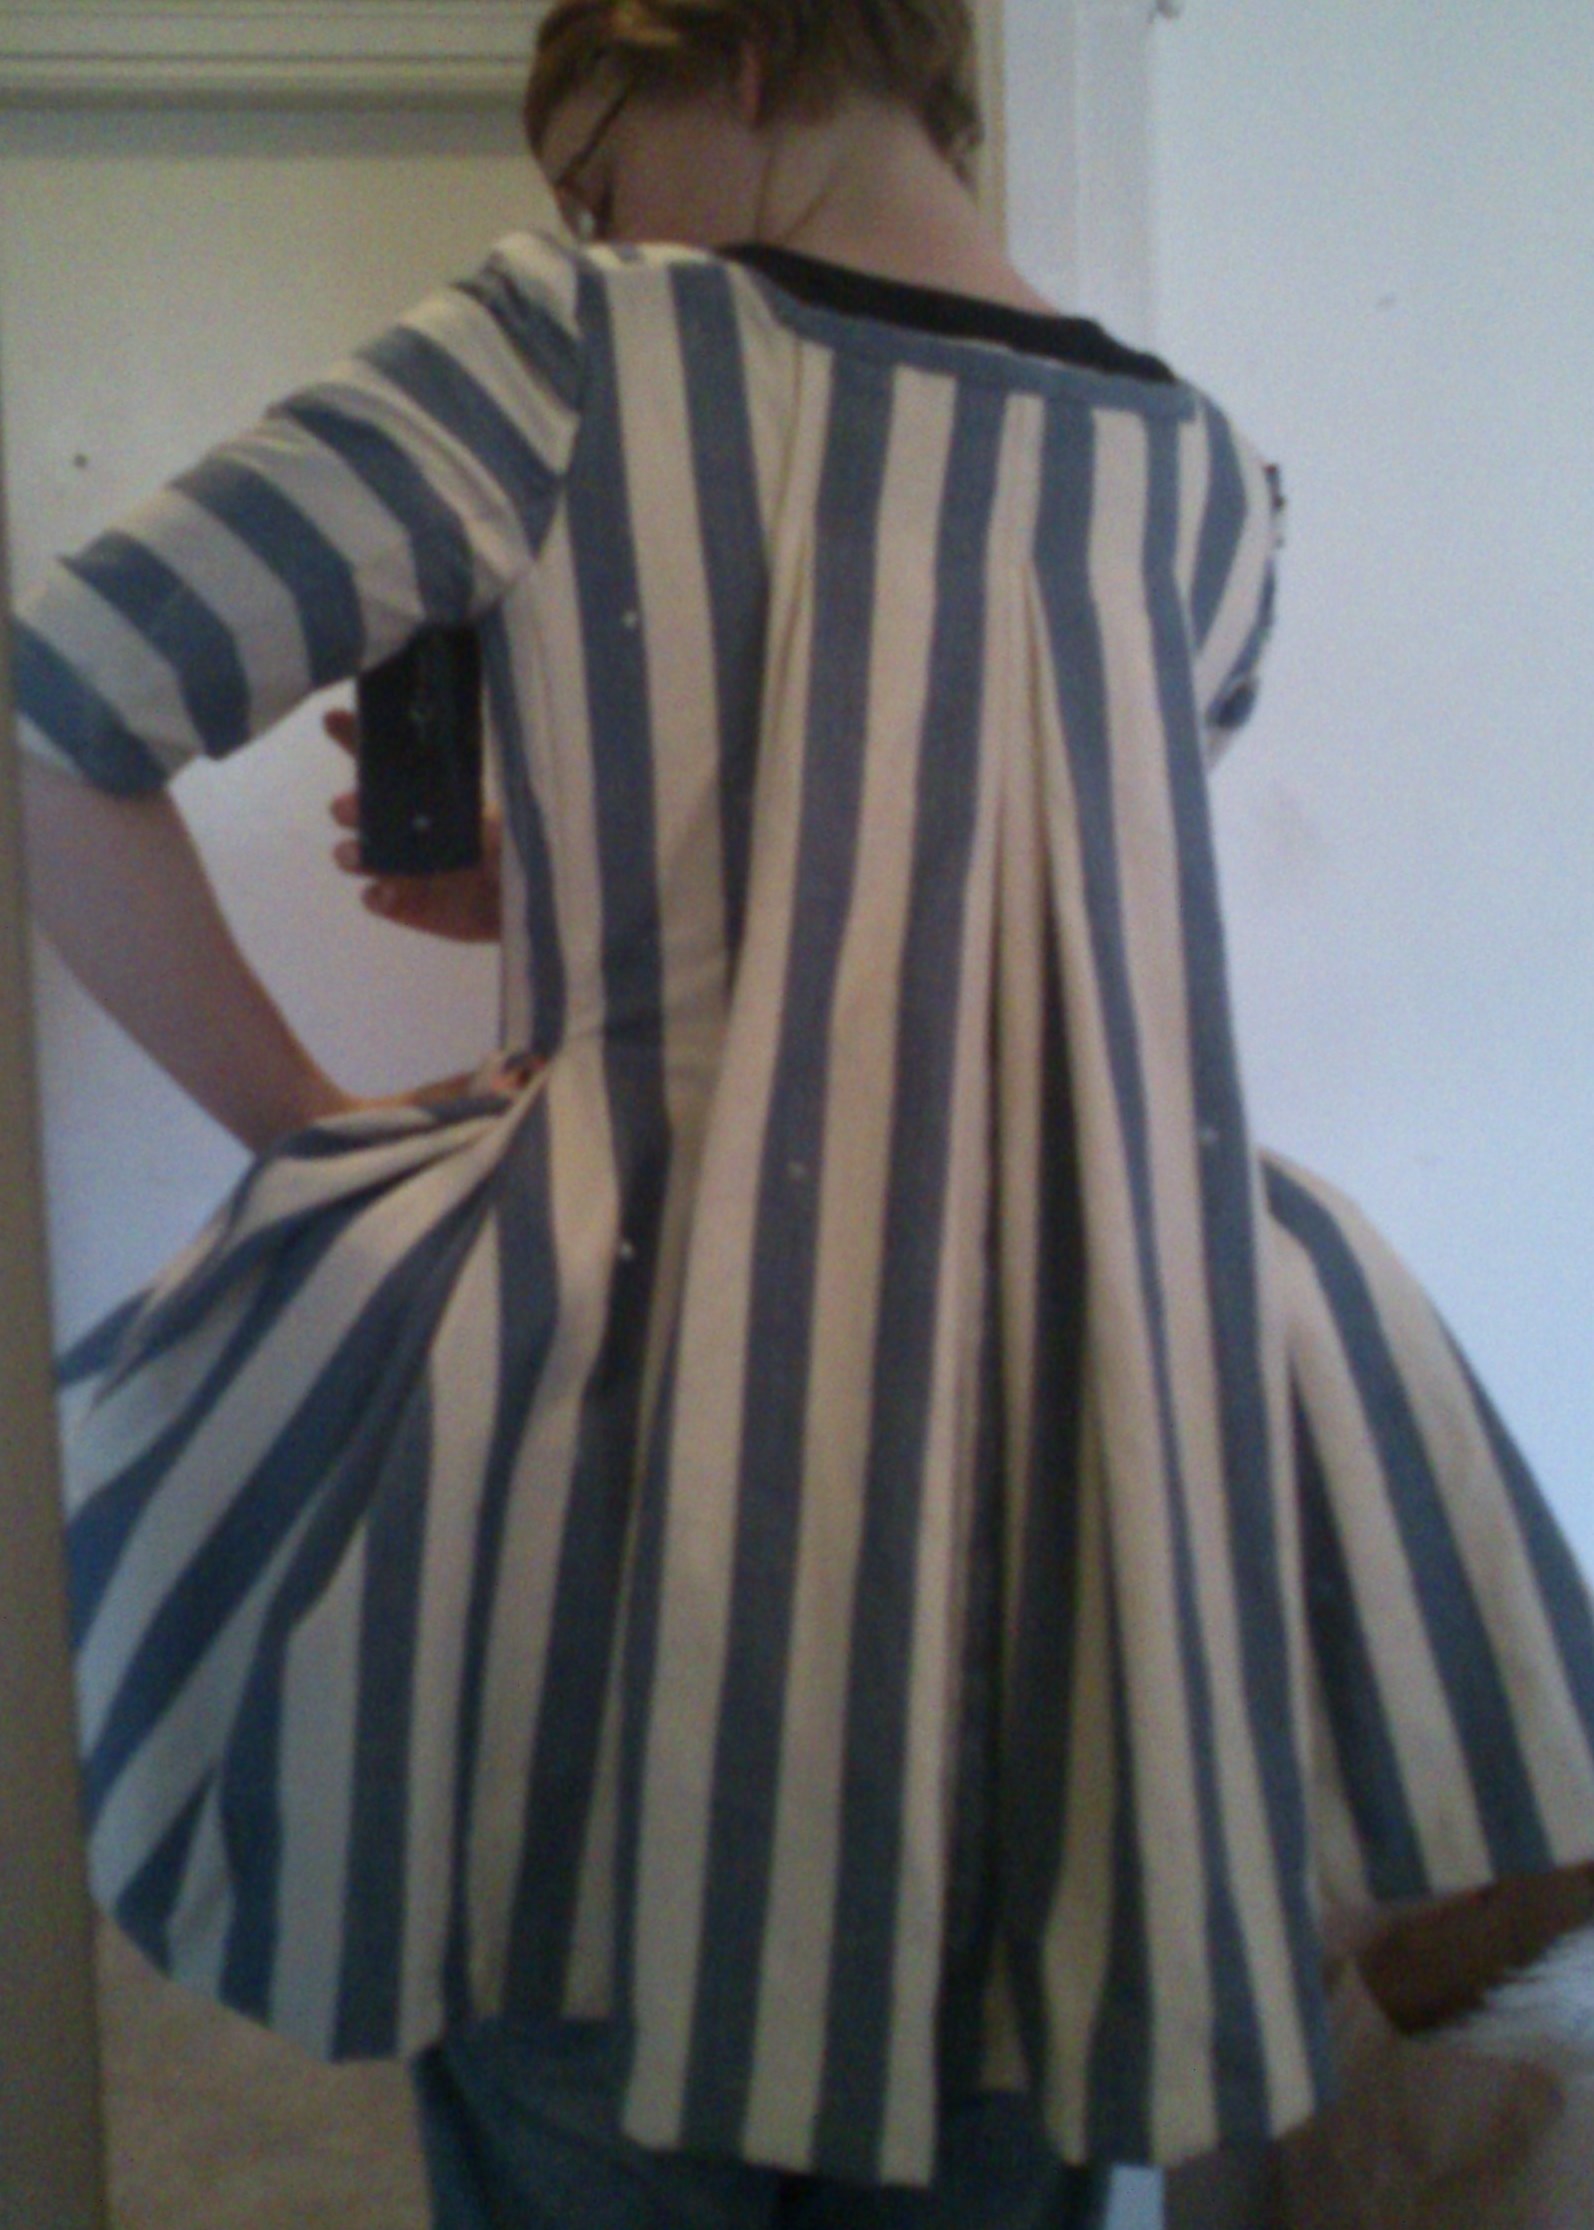
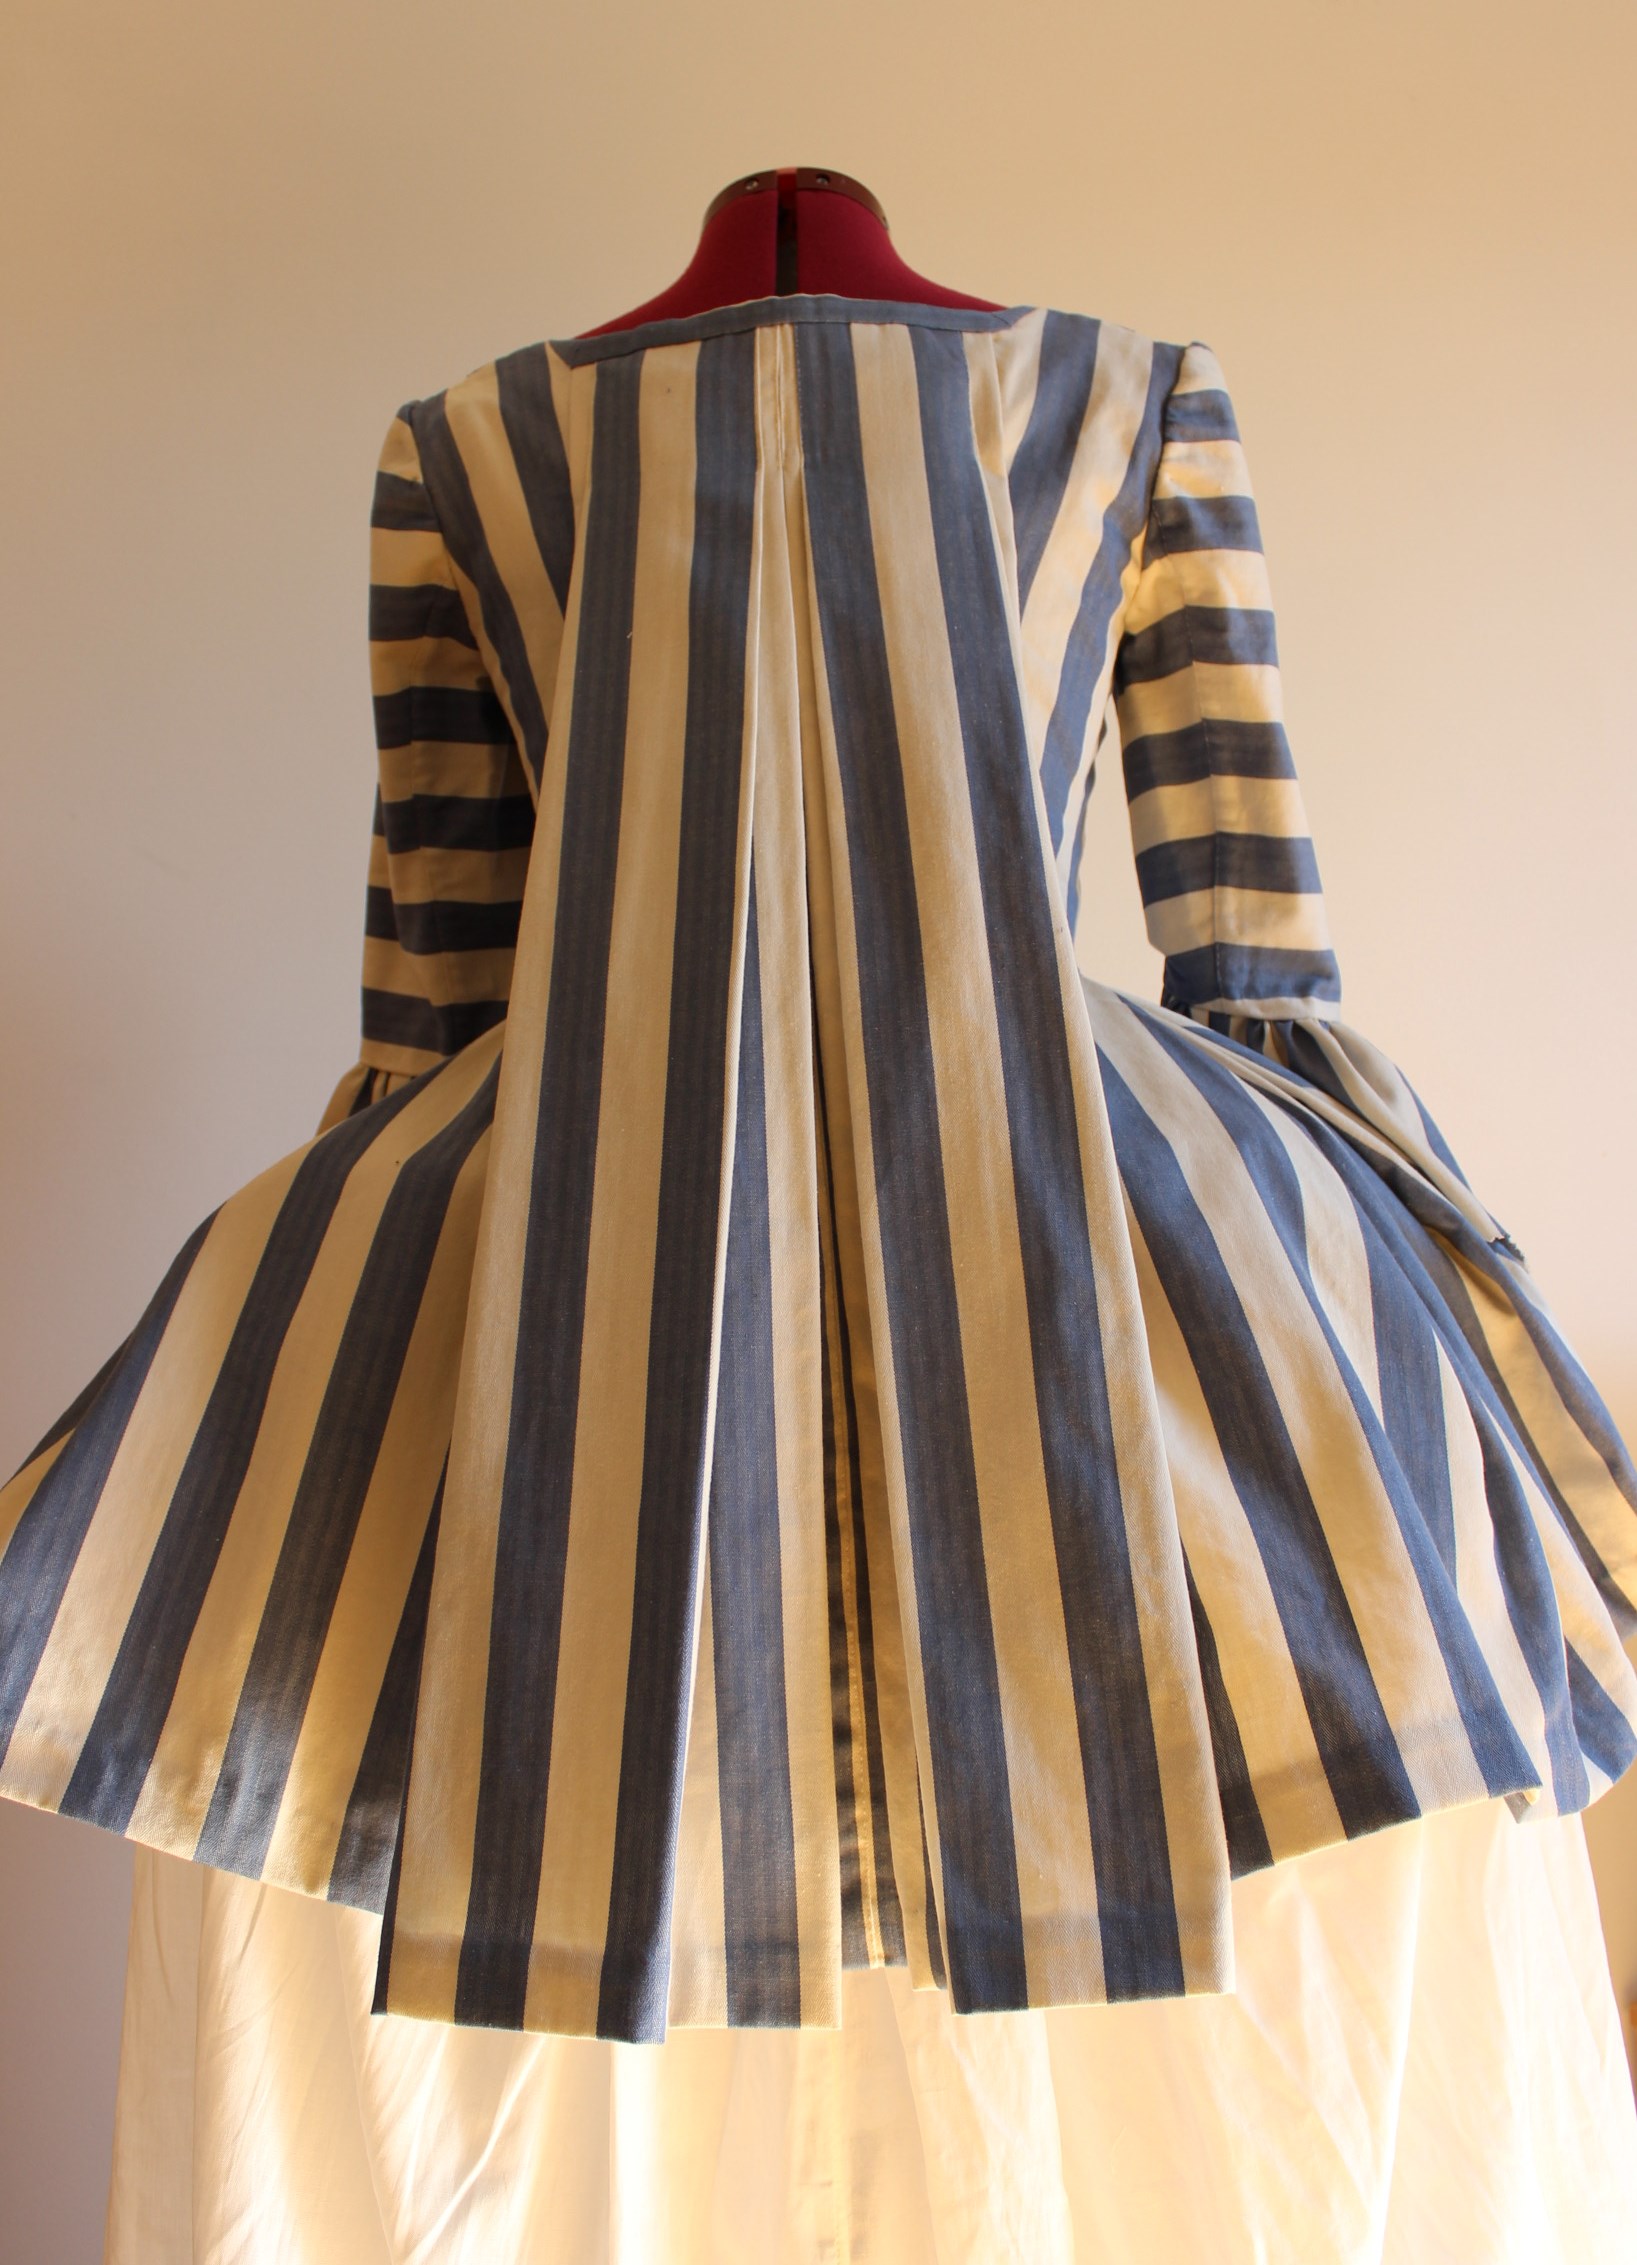
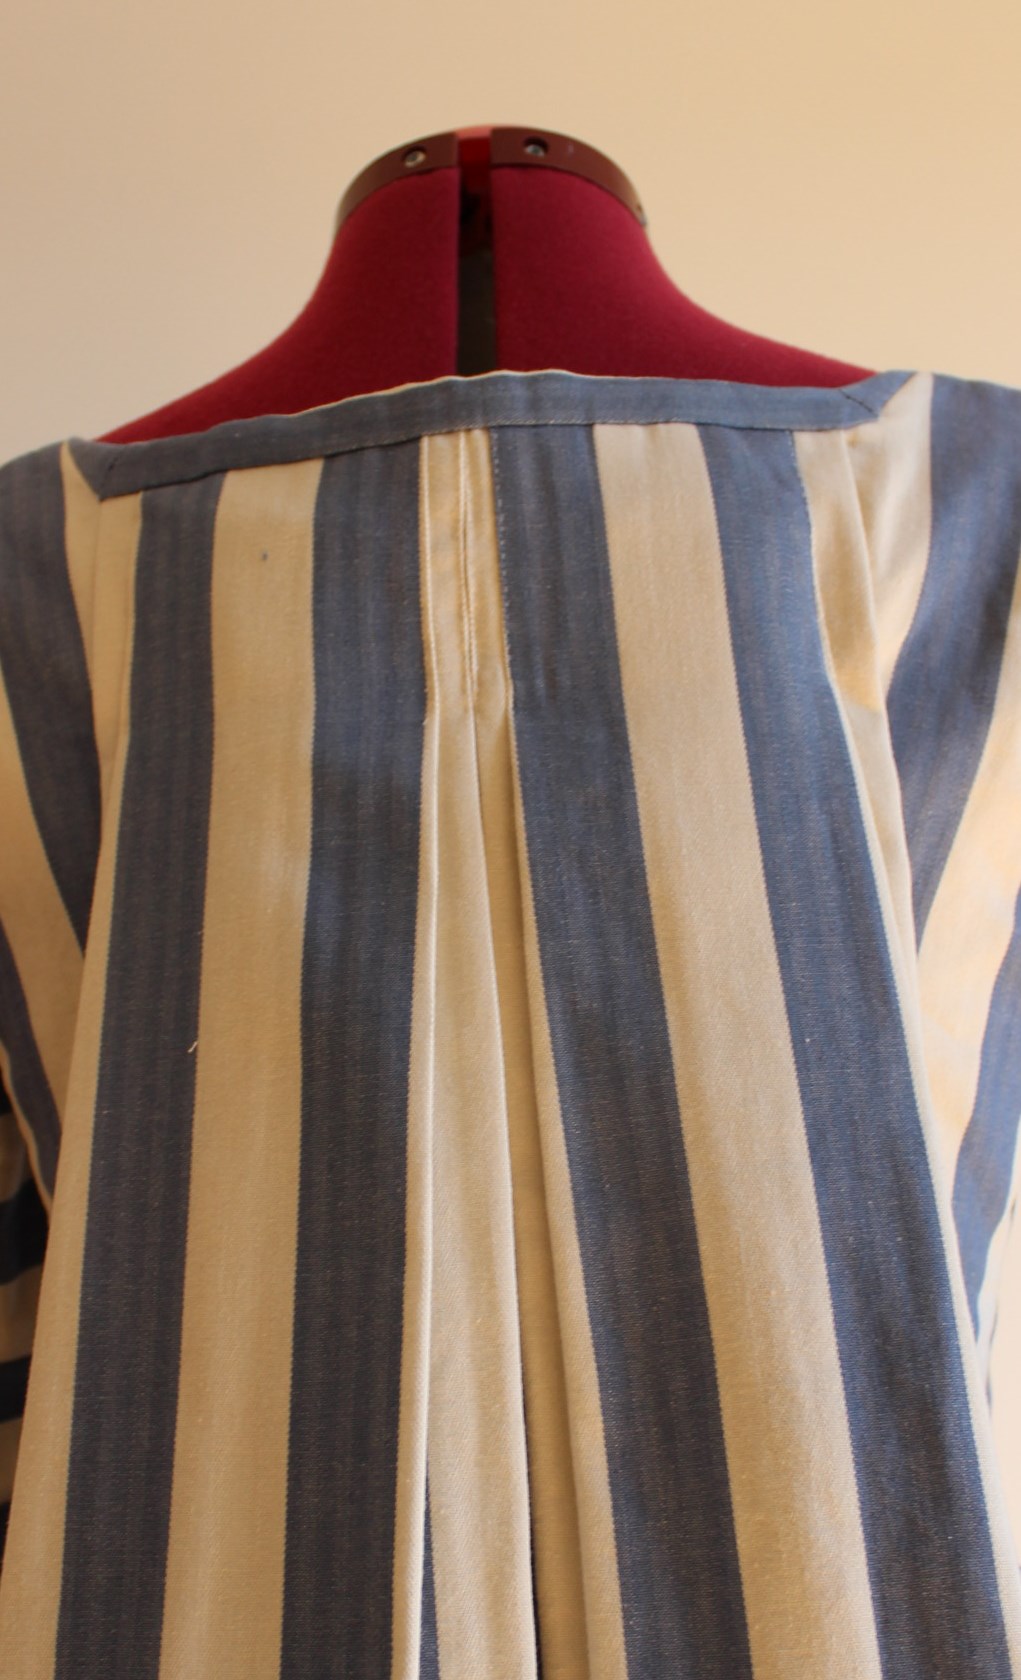
Now it was time to arrange the backpleats. Something that took a bit of time and carefull forcing of the fabric.

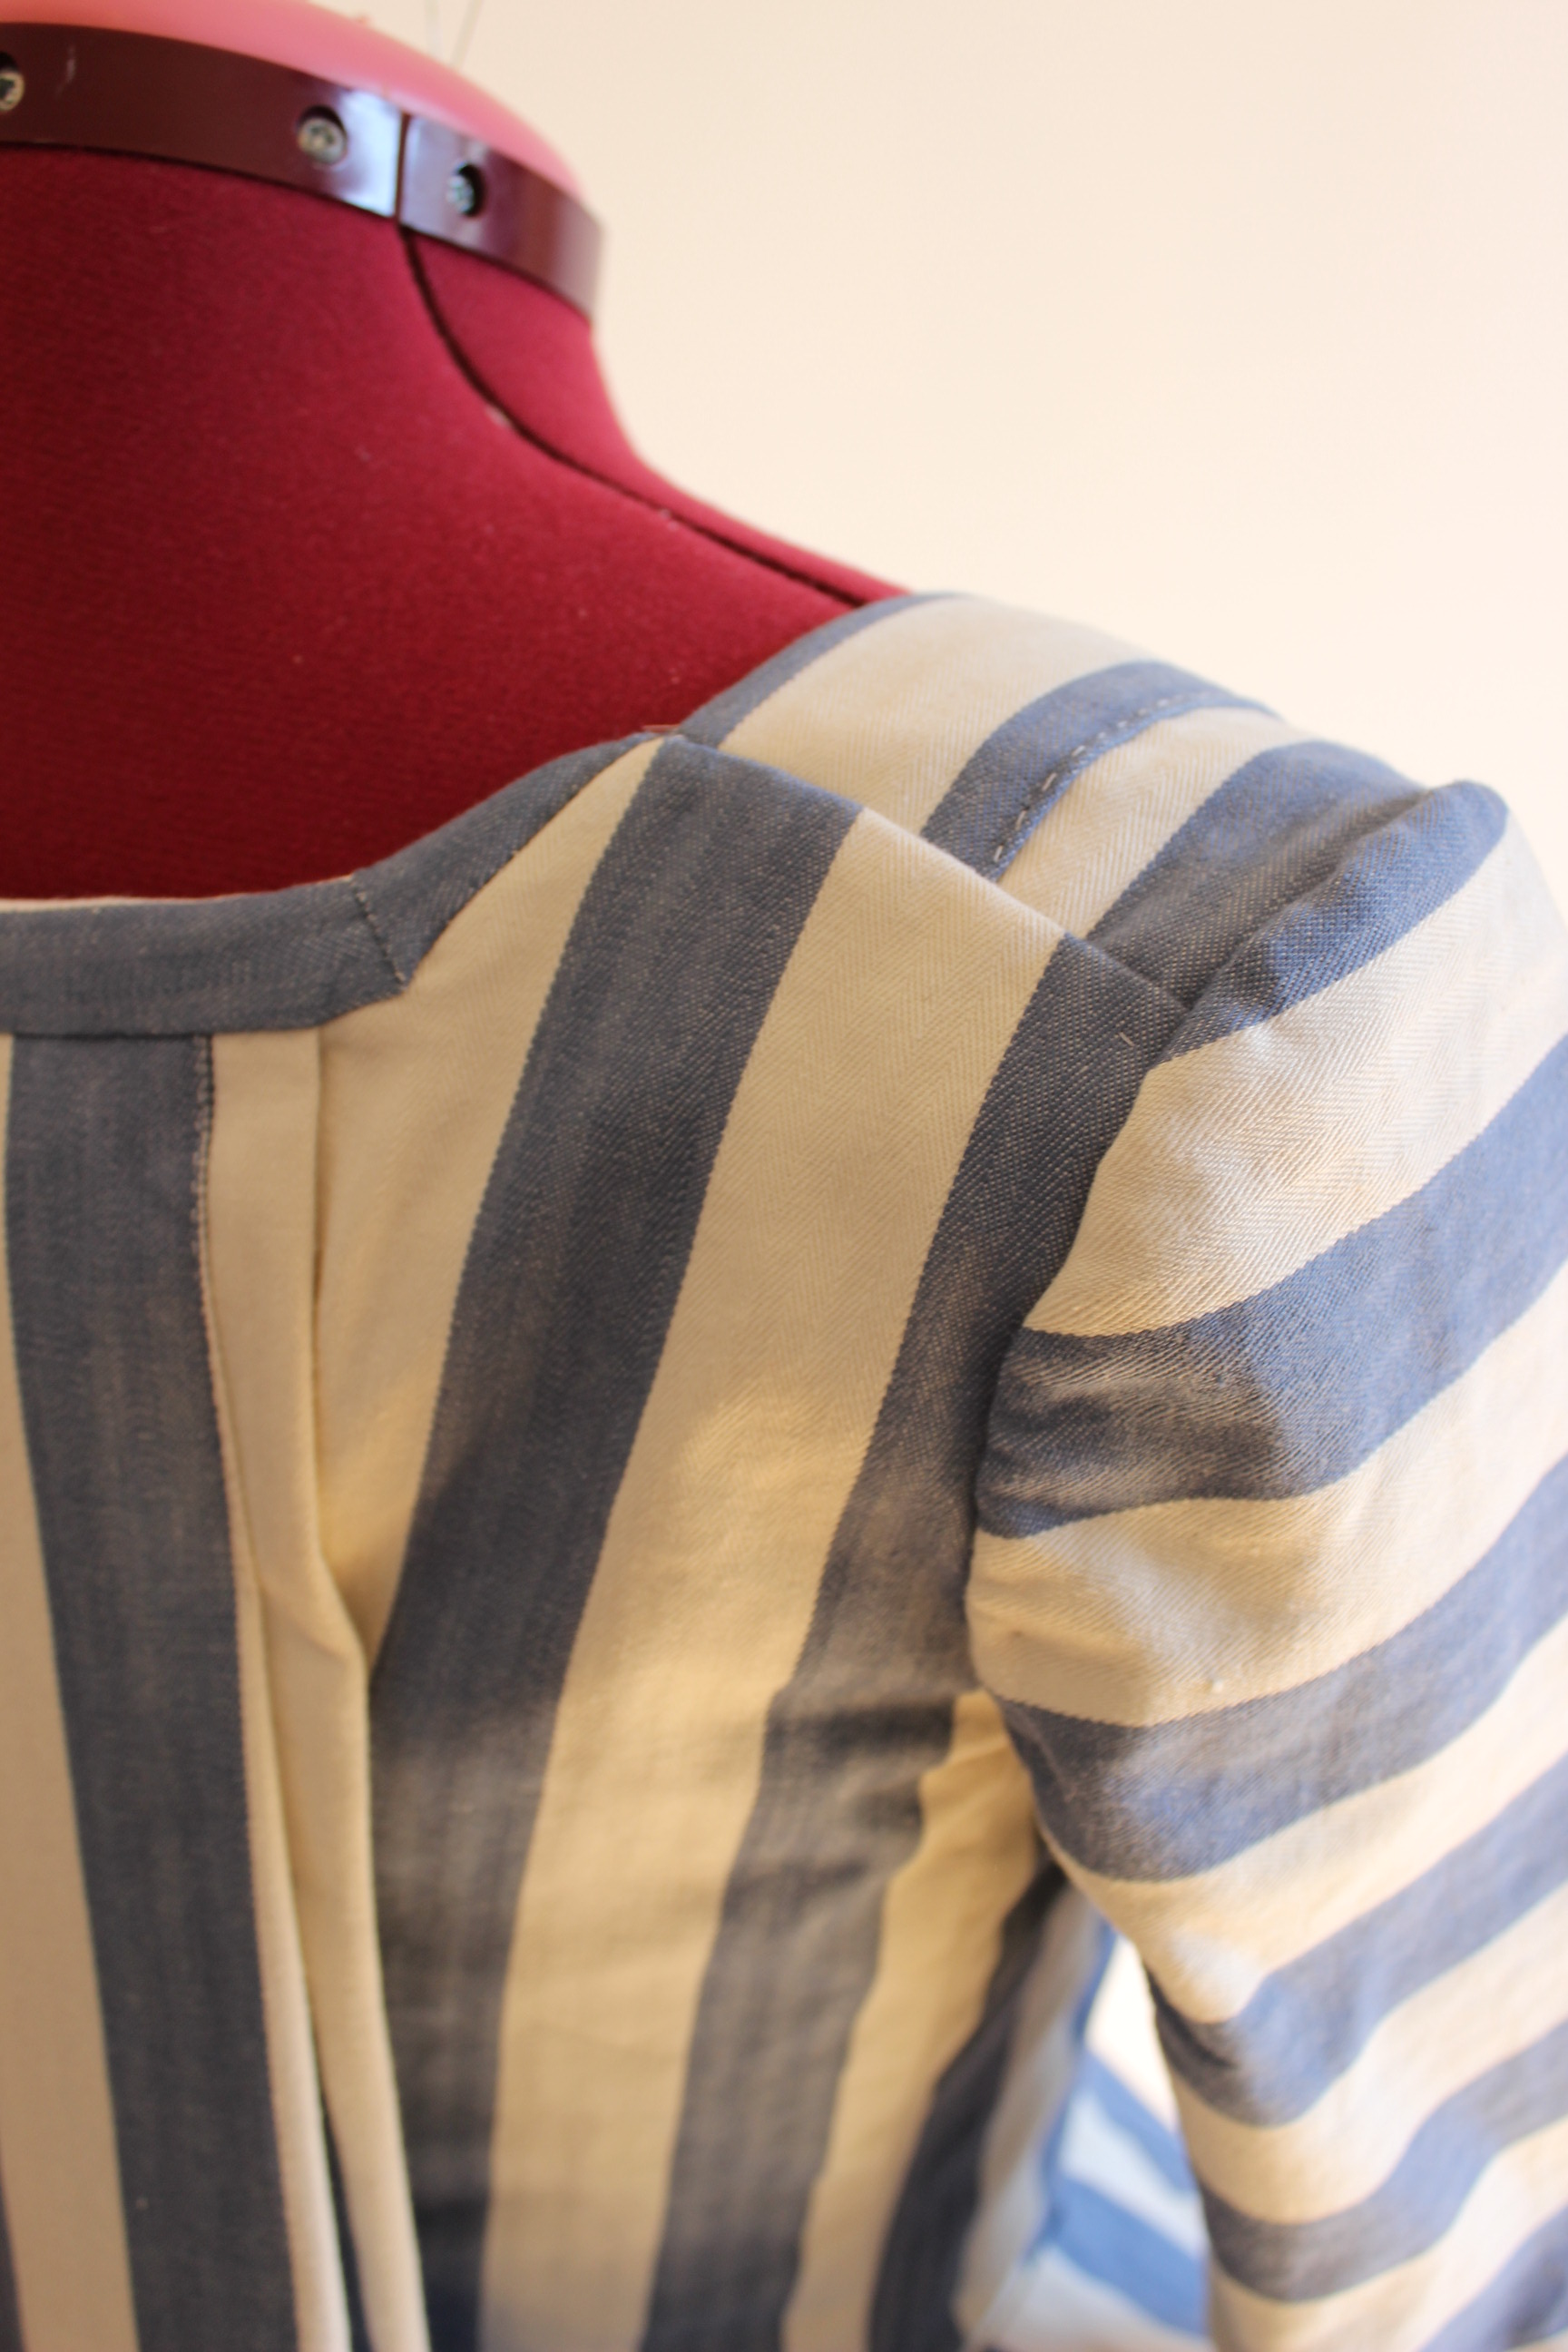
Then everything went pretty fast, and I sewed the shoulders, the hip-pleats and the side seams. And I tried it on for further adjustments.

2013-08-25 16.24.522013-08-25 16.26.28

2013-08-25 16.25.35

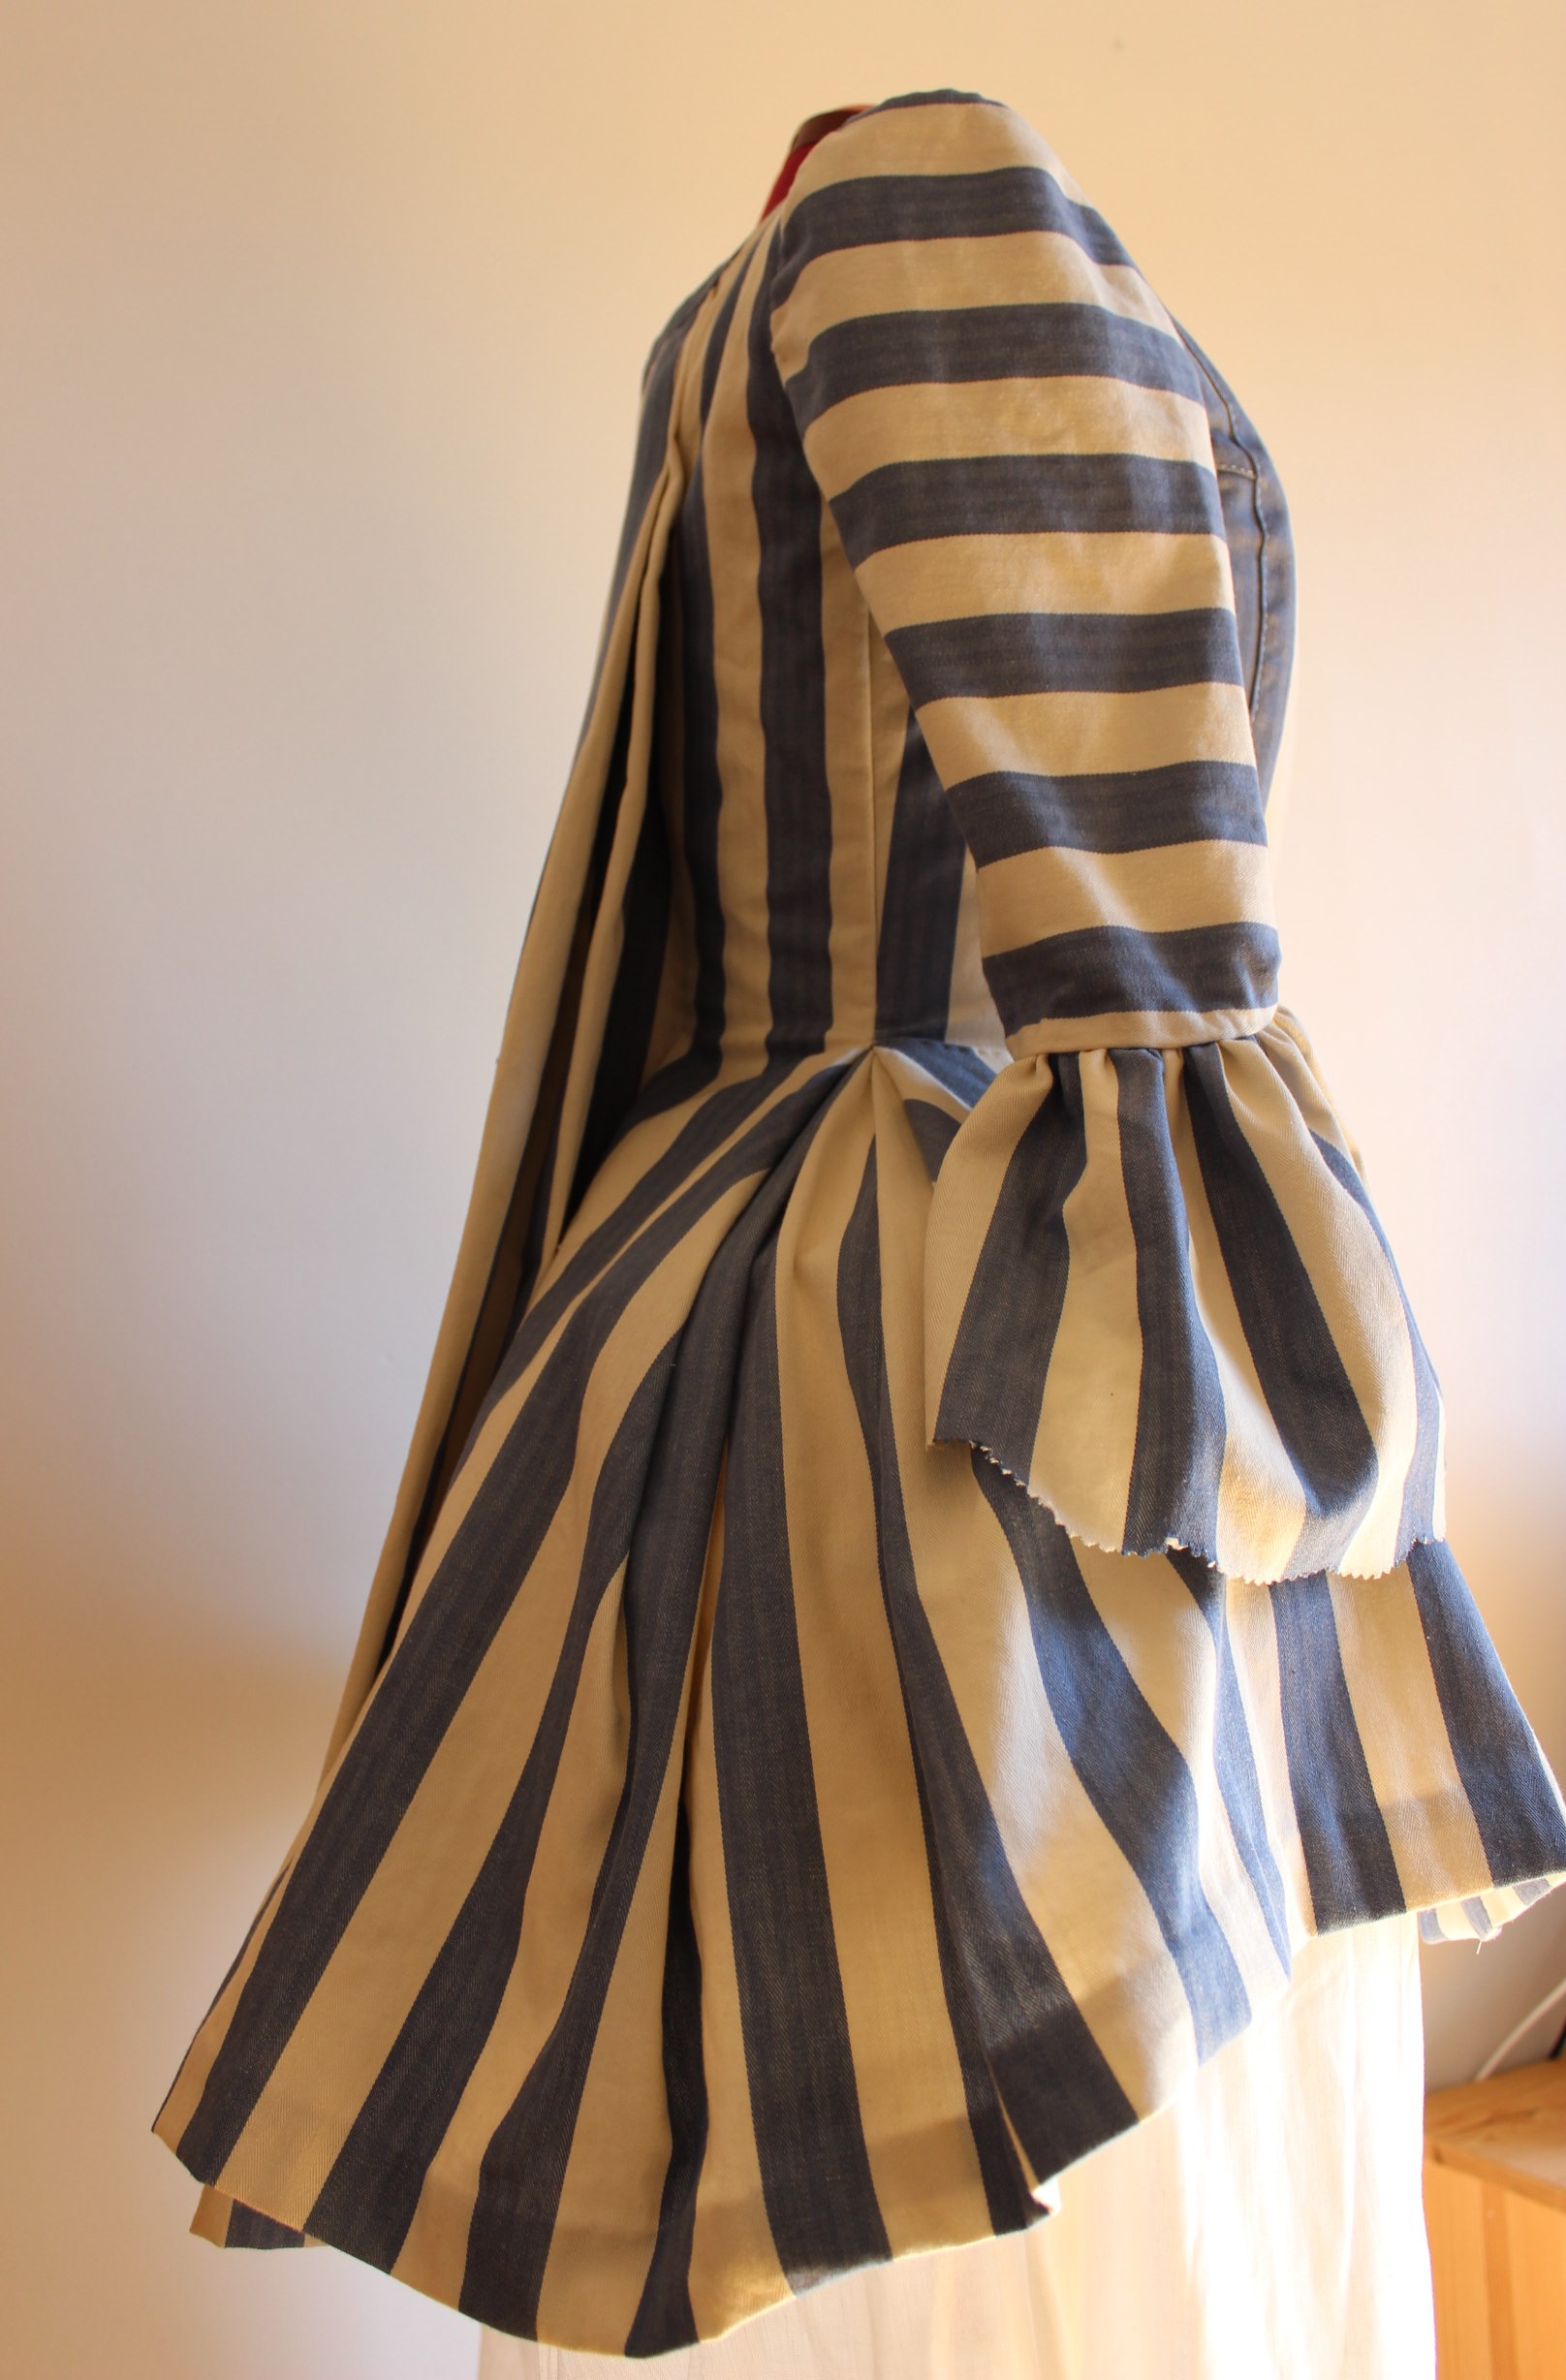
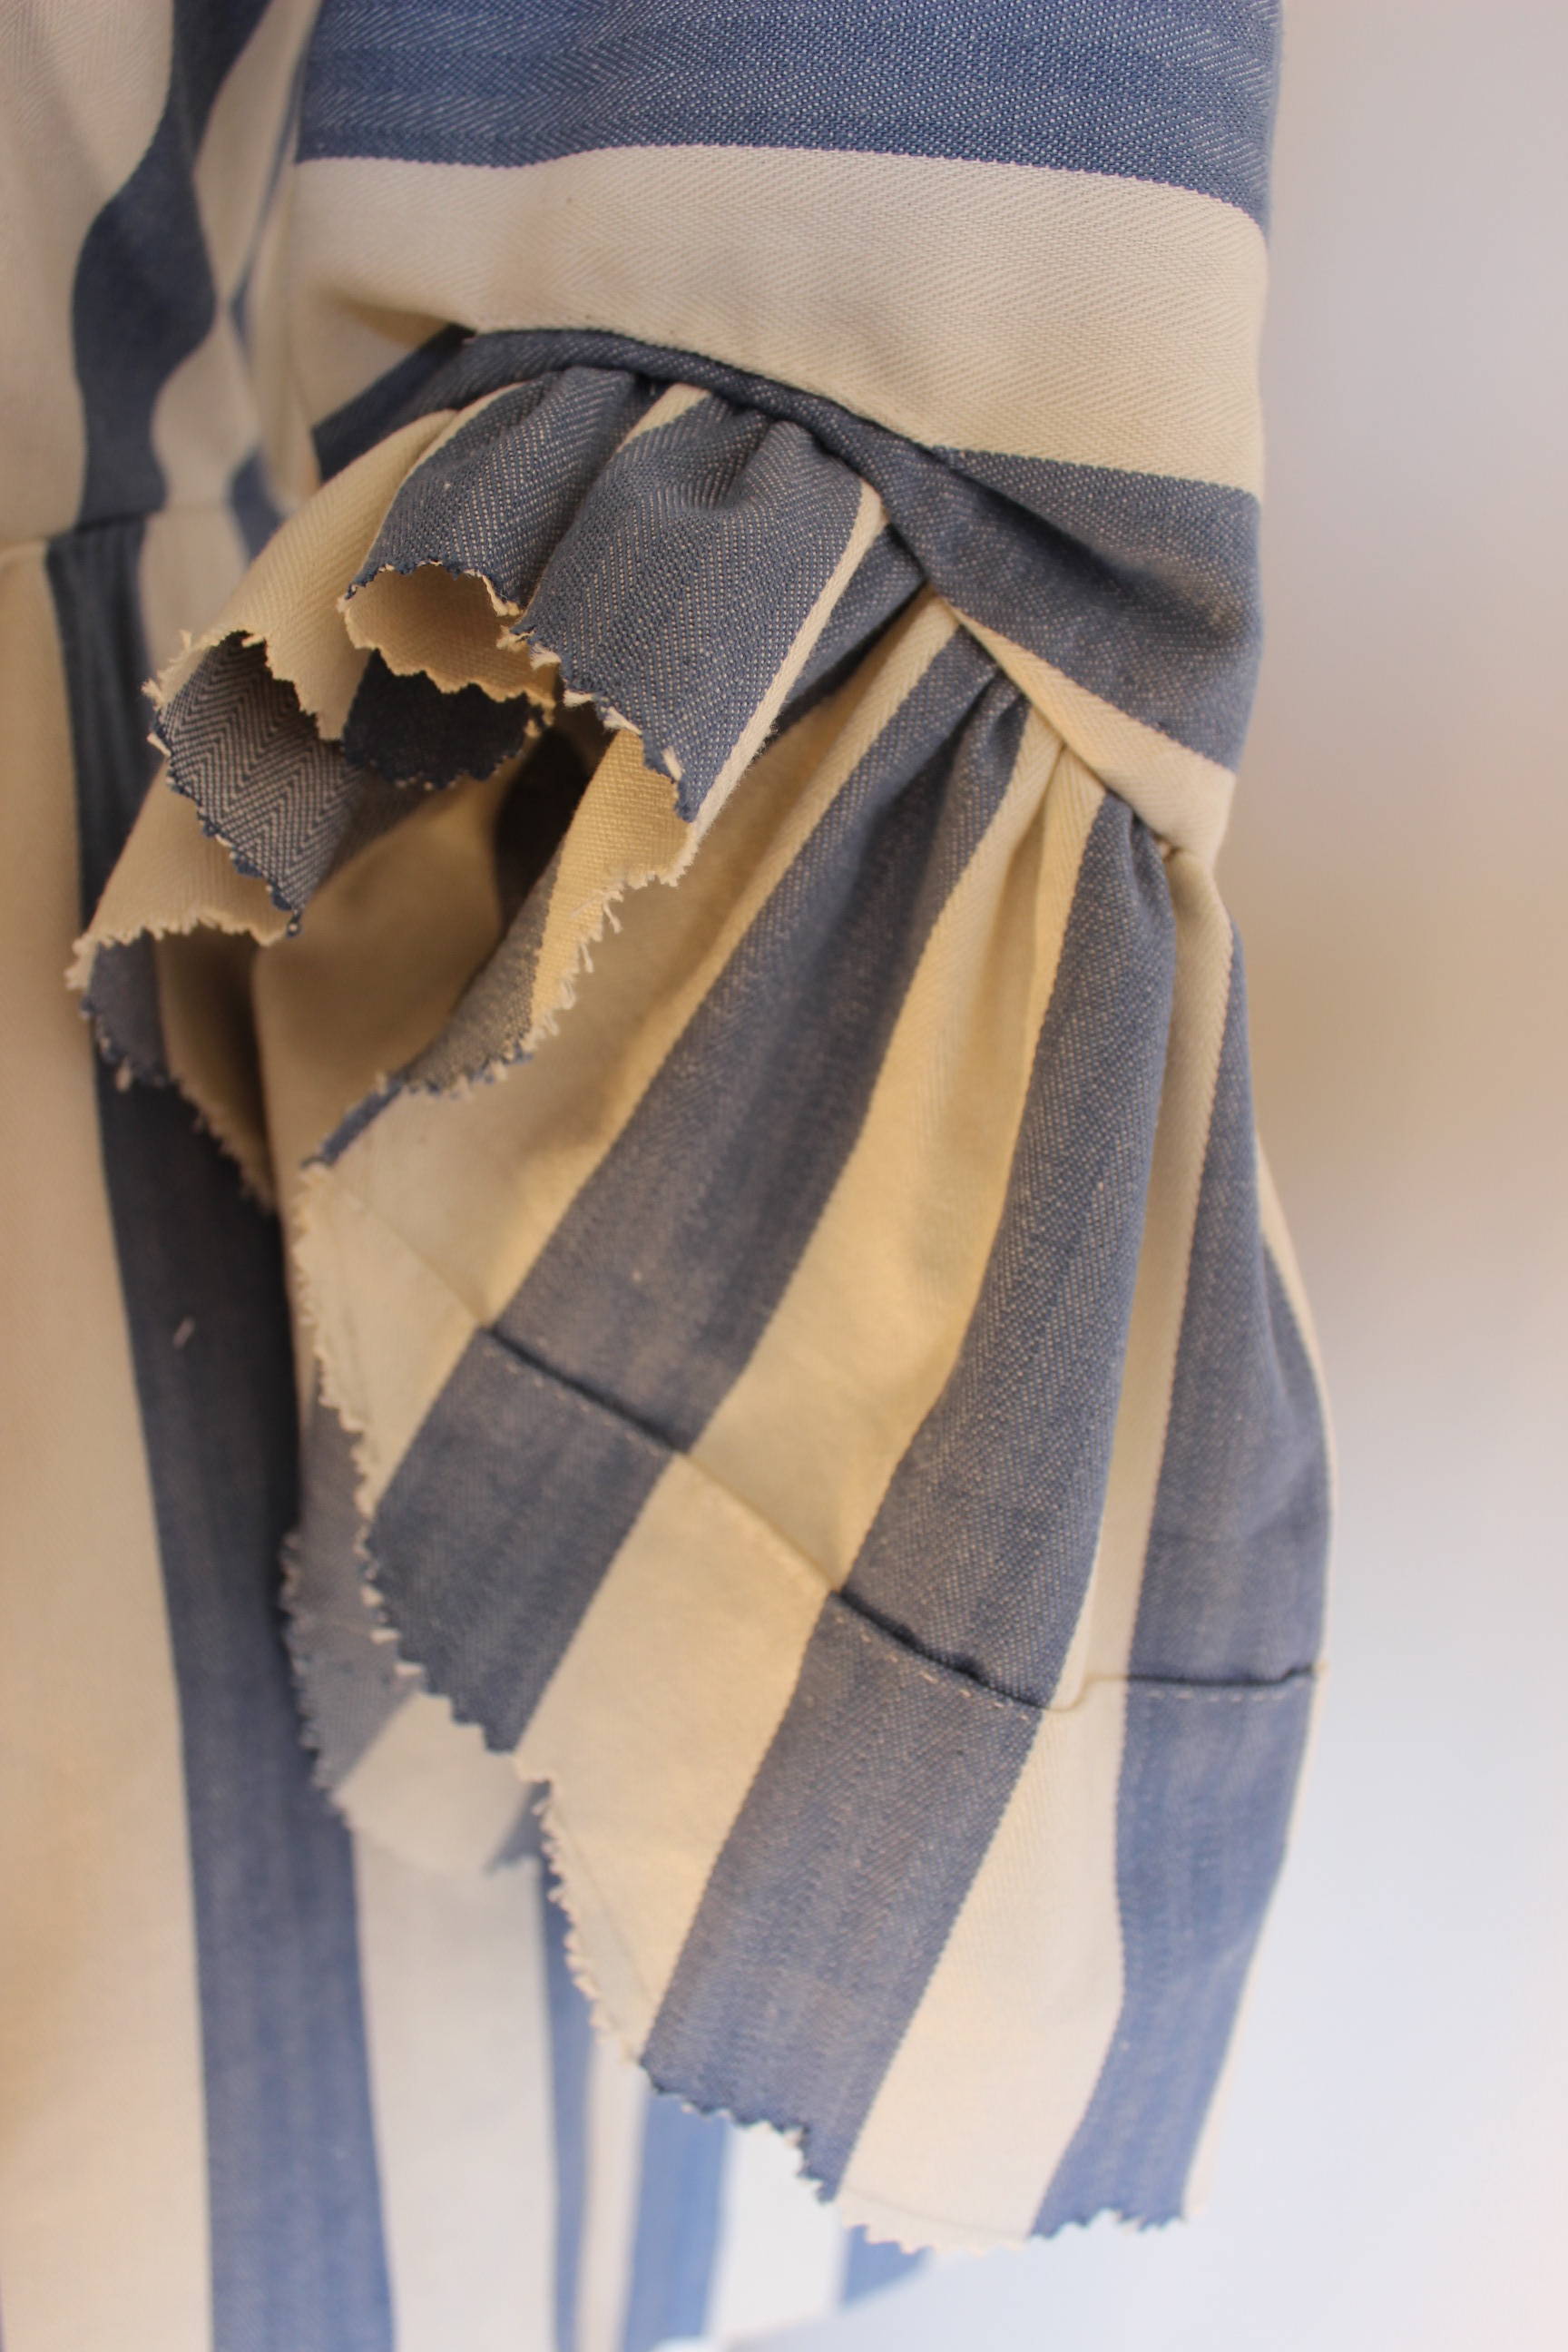
I needed to make a few alterations and then I continued by folding and hemming the layers seperatly, and cut and turned under all the seam-allowences. I attached the sleeves and made the elbow flounce.

2013-09-02 18.31.262013-09-02 18.32.08

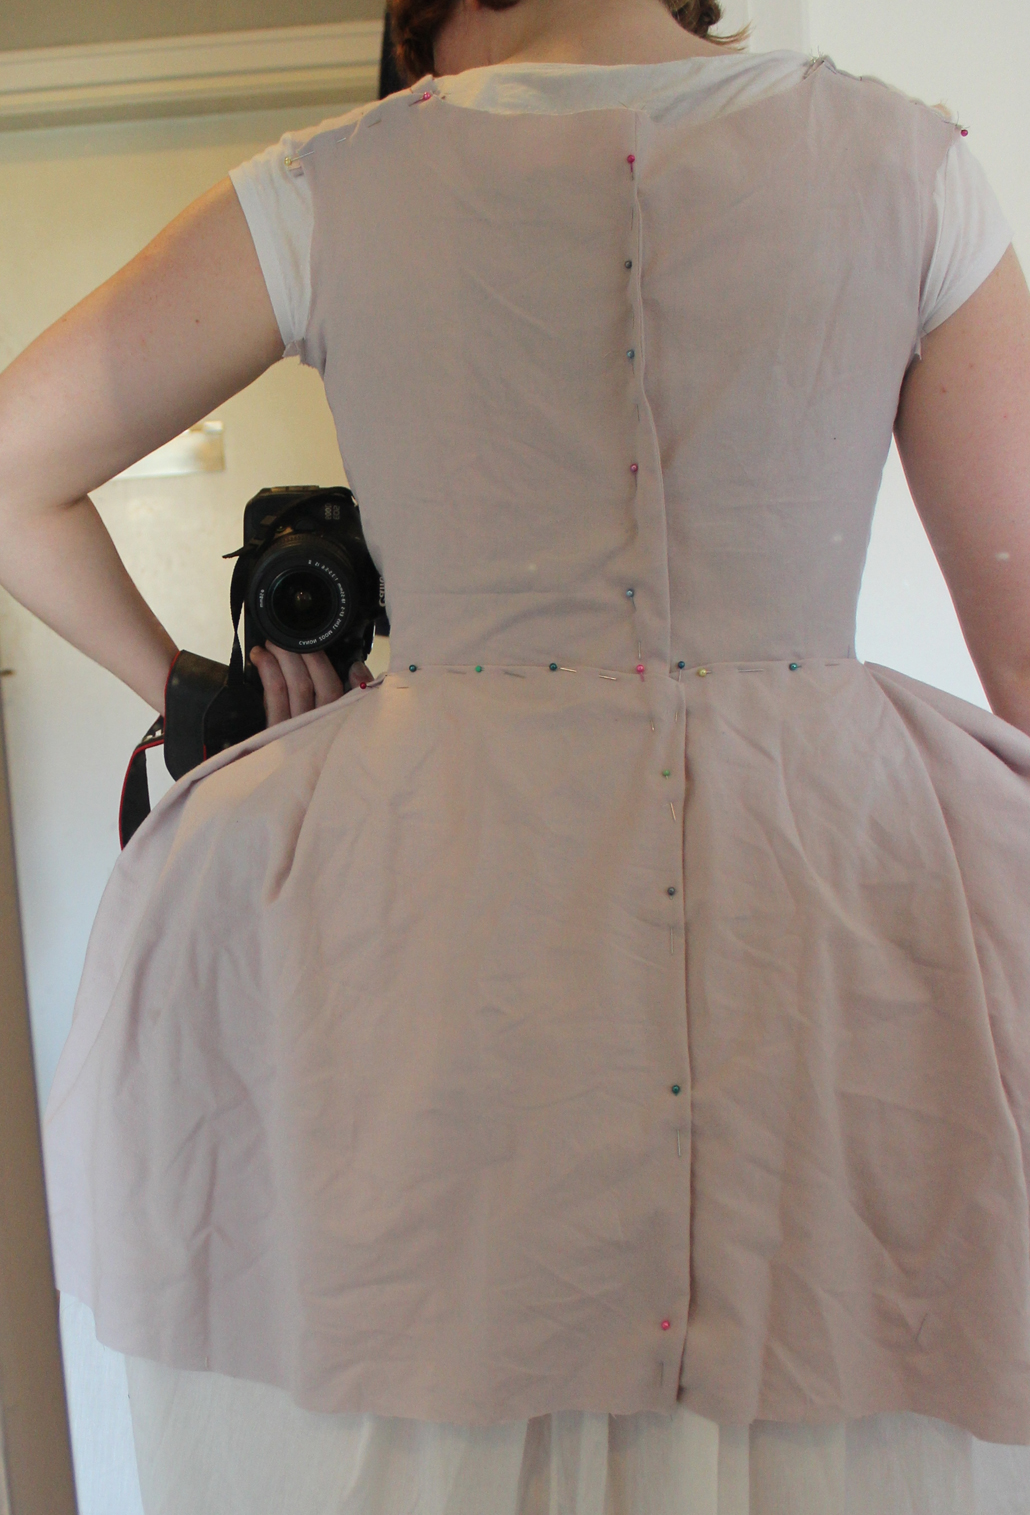
I’m a bit worried by the wrinkles in the waist. I had hoped to be able to make the jacket without a waist seam. But I had to give in to the wrinkles and decided to sew them down as they lay, creating a false seam.
2013-09-02 18.30.53

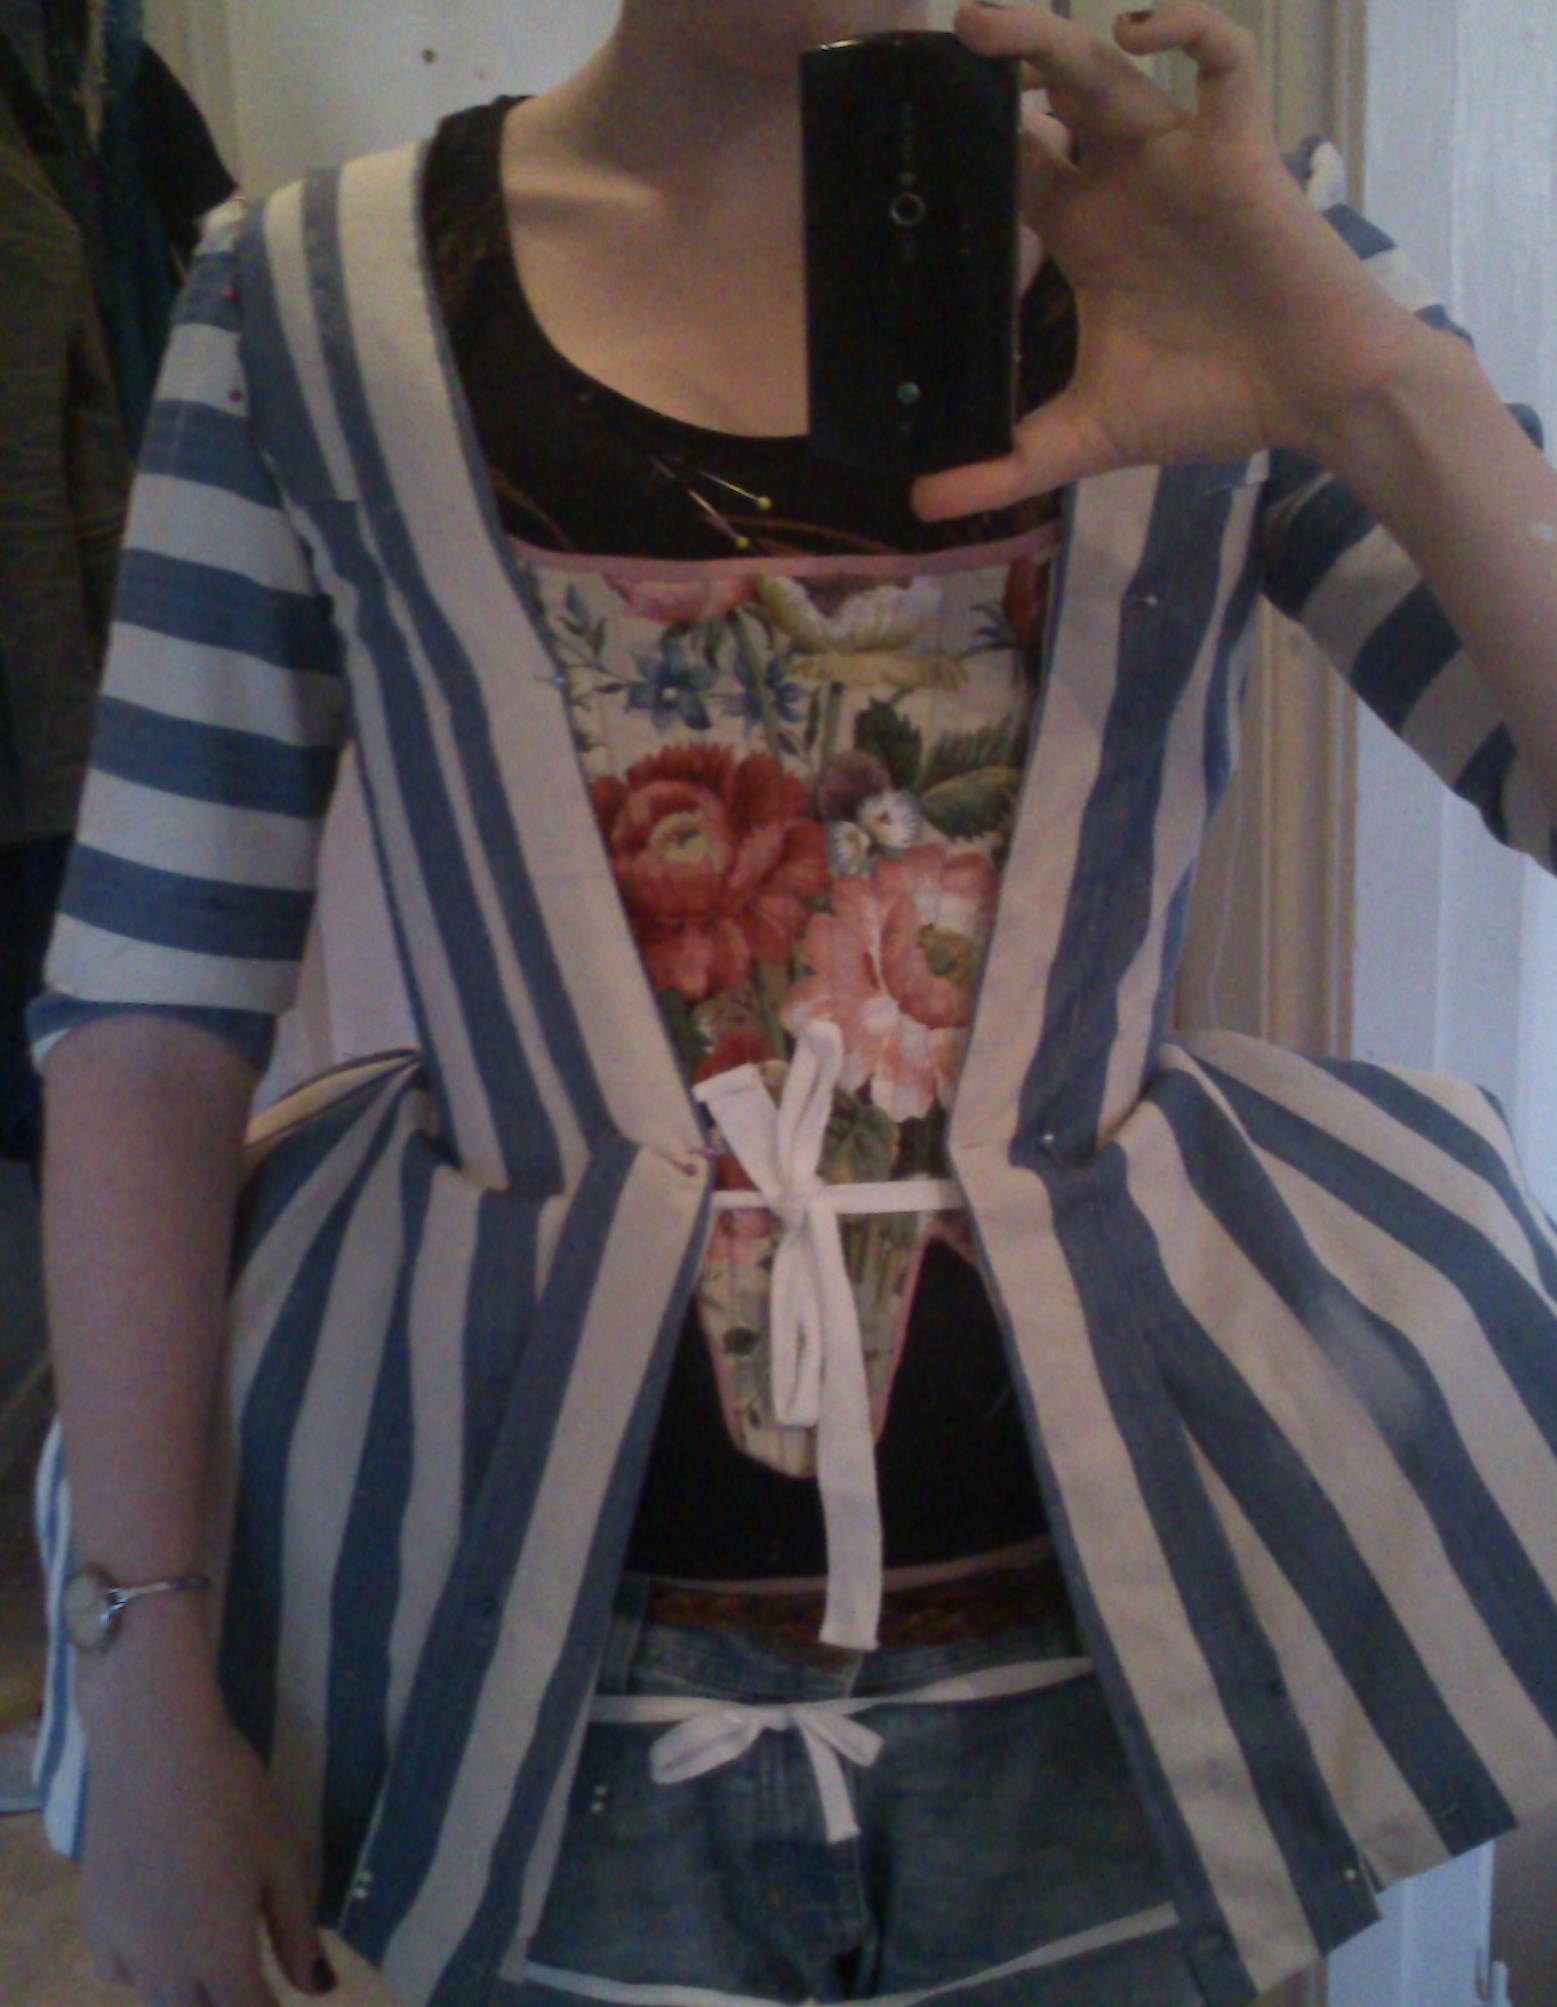
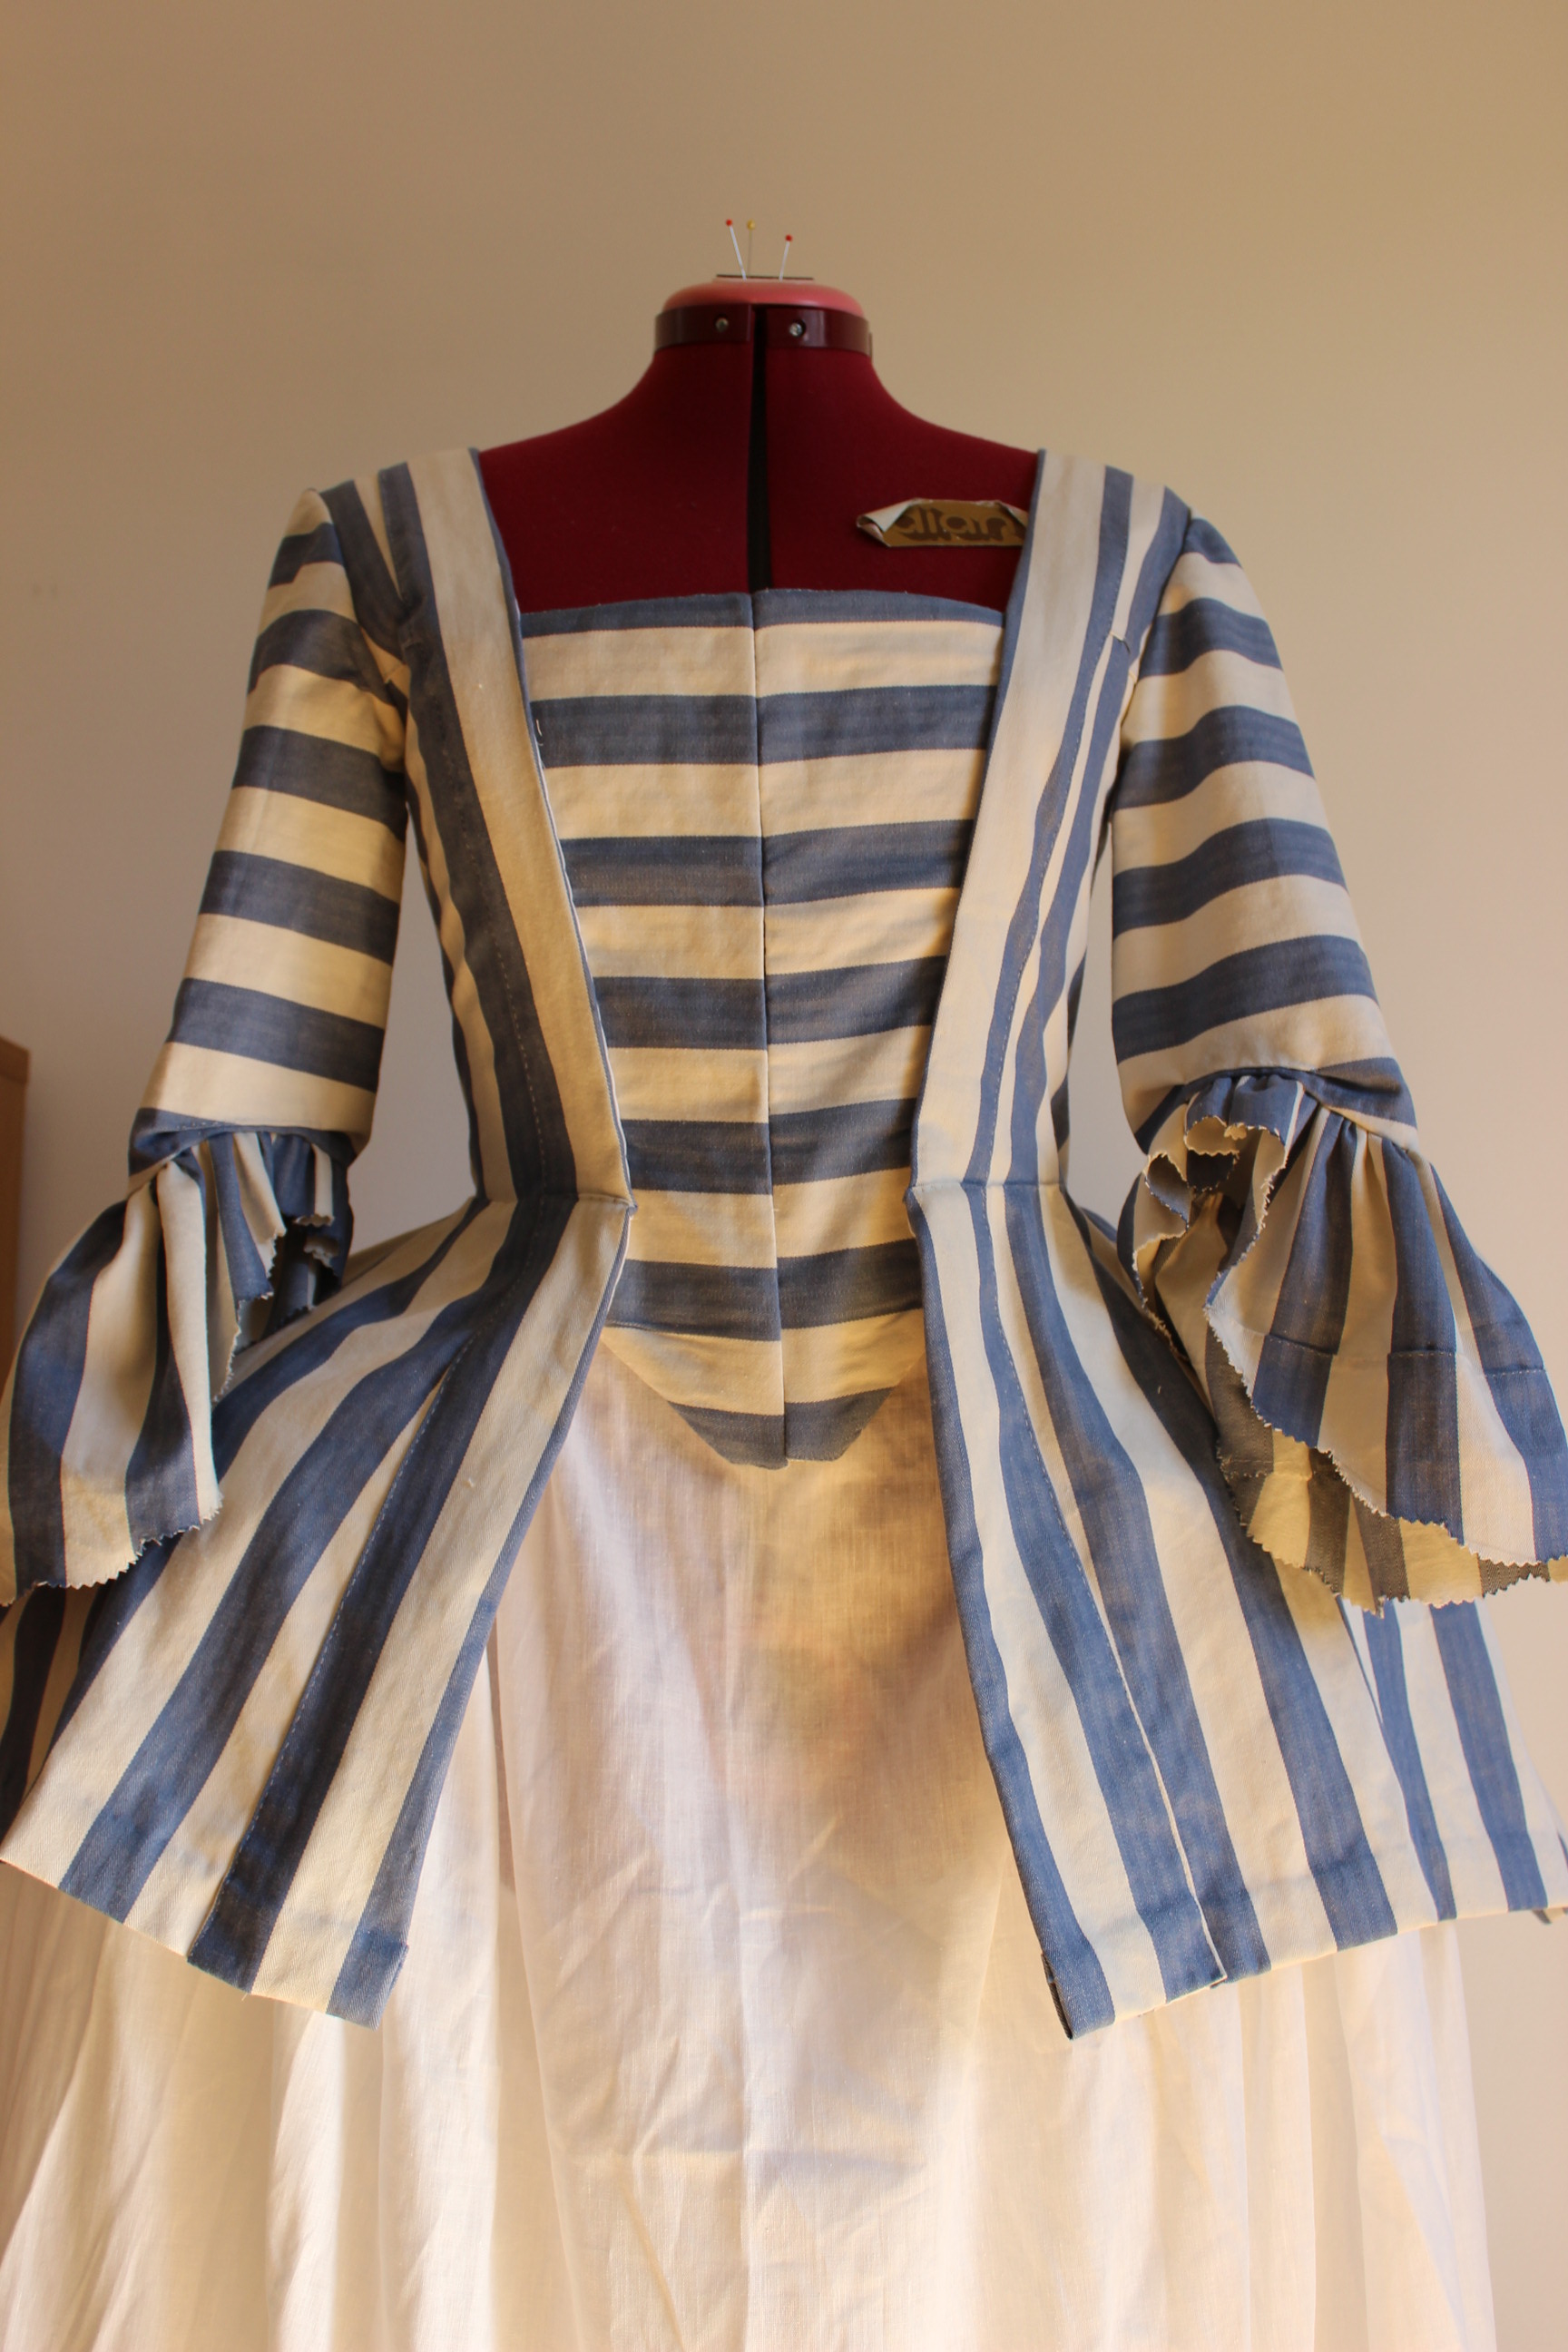
I draped the stomacher straight to the body when wearing the jacket, to get the opening and sizing right. I cut the stomacher in two parts, who closes at center front by hooks and eyes.
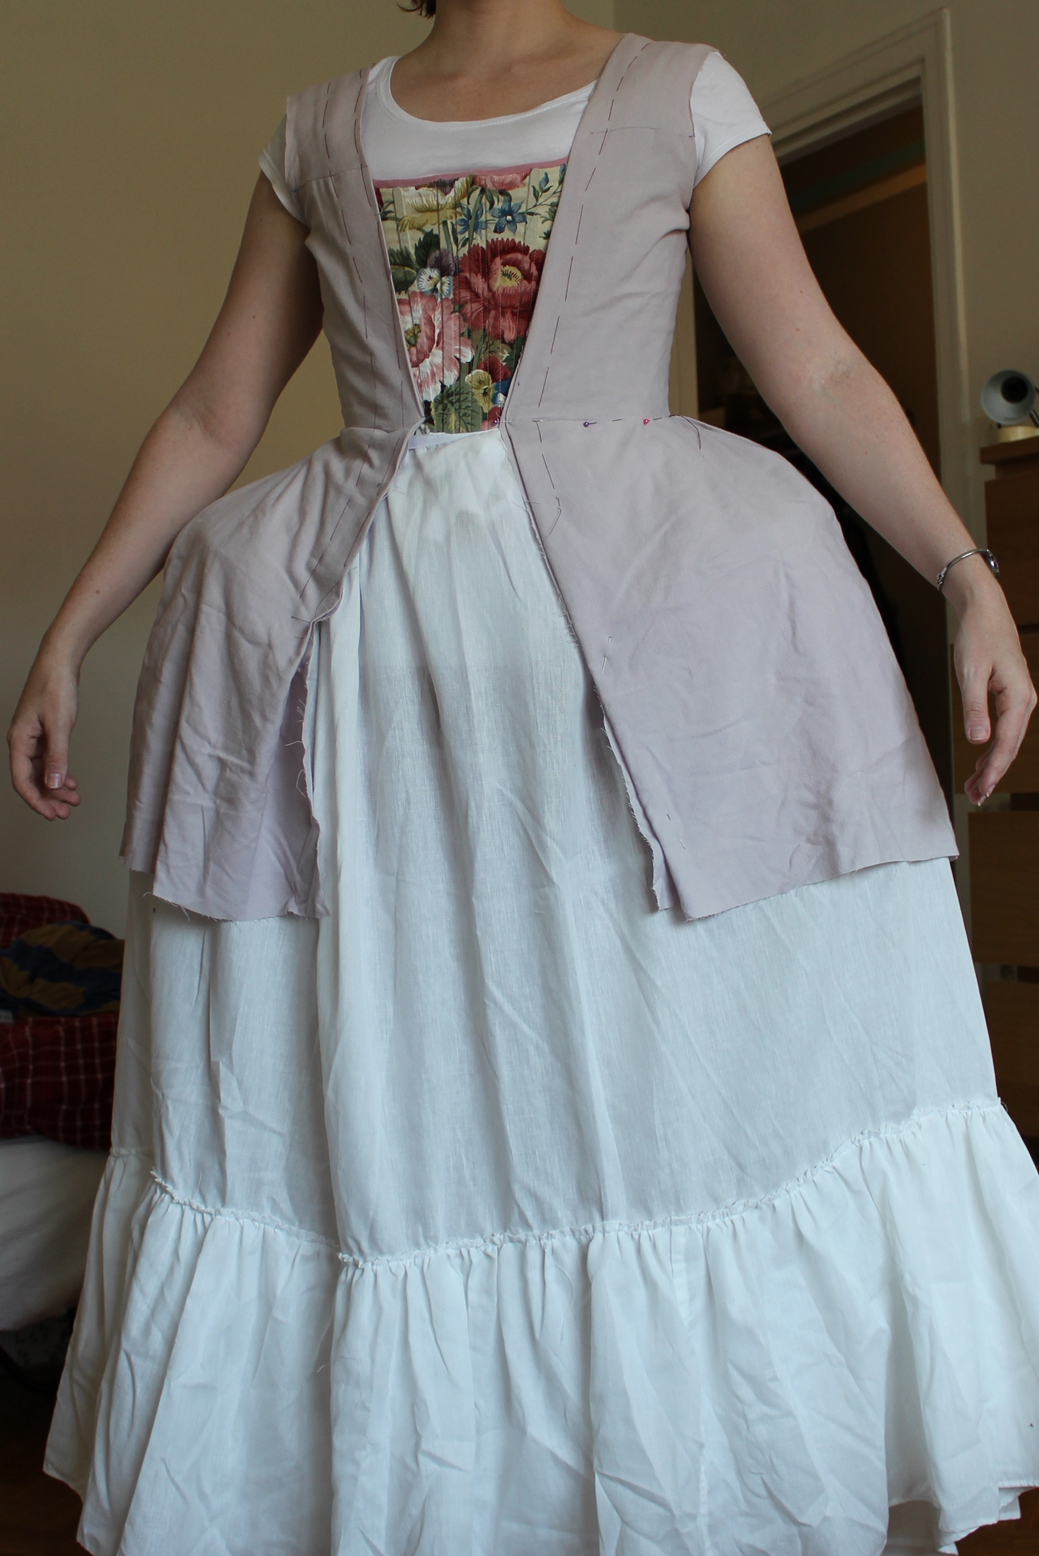
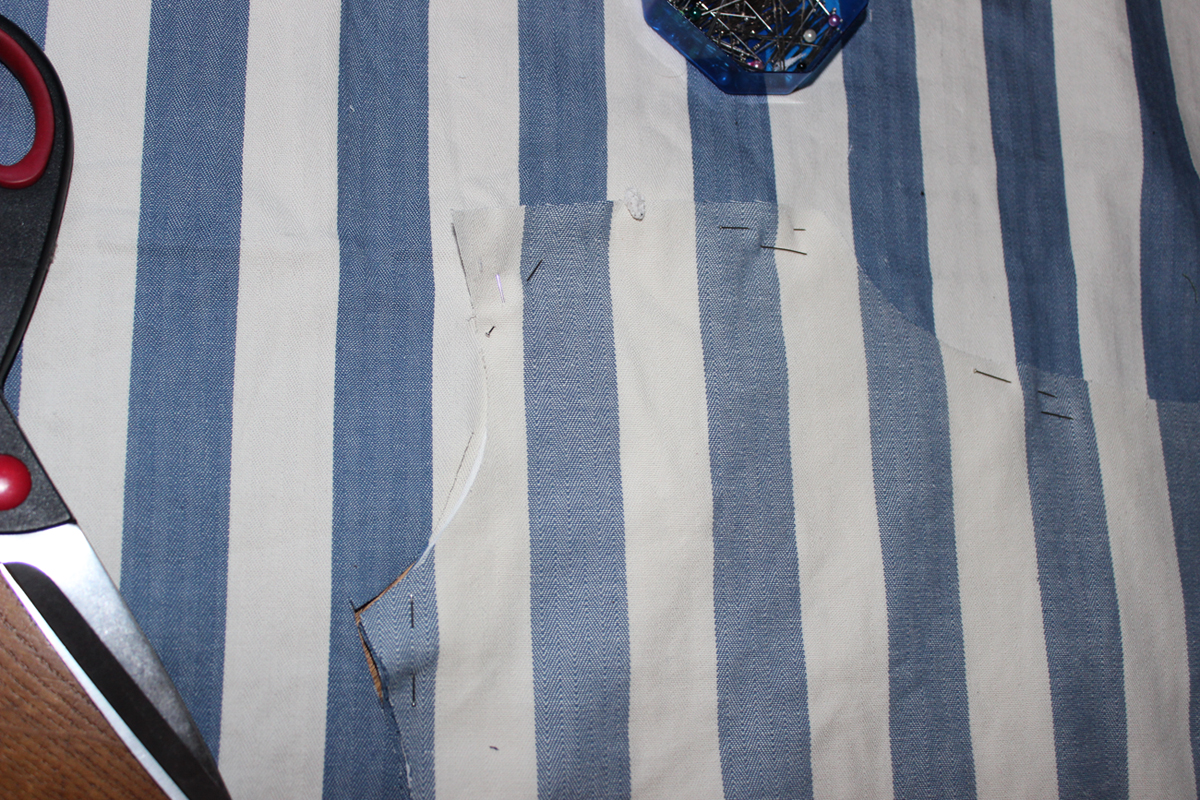
The hole jacket are compleatly handsewn and I’m very proud of it. I used up every single piece of the fabric and manadge to only piece it in one place – the left sleeve flounce.

And thisweekend me and my sister had a photoshoot of the jacket paired with the separate skirt, that I will show you pictures of in my next post.
Some finished pictures on the dressform.

IMG_1561

IMG_1565

IMG_1564

IMG_1575

IMG_1567

IMG_1573

IMG_1578

IMG_1570

Just the facts:

Challenge 17. Robe and Robbings

What: A pet-en-l’air (Jacket)

Year: 1745-1755.

Pattern: Janet Arnolds “Pattern of Fahsion 1” A pet-en-l’air

Fabric: 2,5 m of striped cotton, and 2,5 m white cotton-sheet for lining.

Notions: Thread, hooks and eyes, lacing cord, plastic boning for the stomacher and lacing.

How historical accurate: My closest yet. Compleatly handsewn with period stiching, pattern and cutting methods. I’d say about 90%.
Time: 25 hours

Cost: 100 Sek (11USD)

First worn: On the photoshoot mid sep.

16th century Peasant

One of the challenges in the HSF I found the most interesting was the nr 5 Peasants and Pioneres back in Mars. Since I’m obviosly a “princess” when it comes to historical costuming, I found it verry educative to force myself down the heraldic scale to the common people.

I serced my books and the internet, and pretty soon found the pictures to use as my inspiration.

peasant

It is a painting of dancing towns-people in the 16th century England, from the book “The Tudor Tailor”. A book who also had some suiting patter for the costumes.

img302

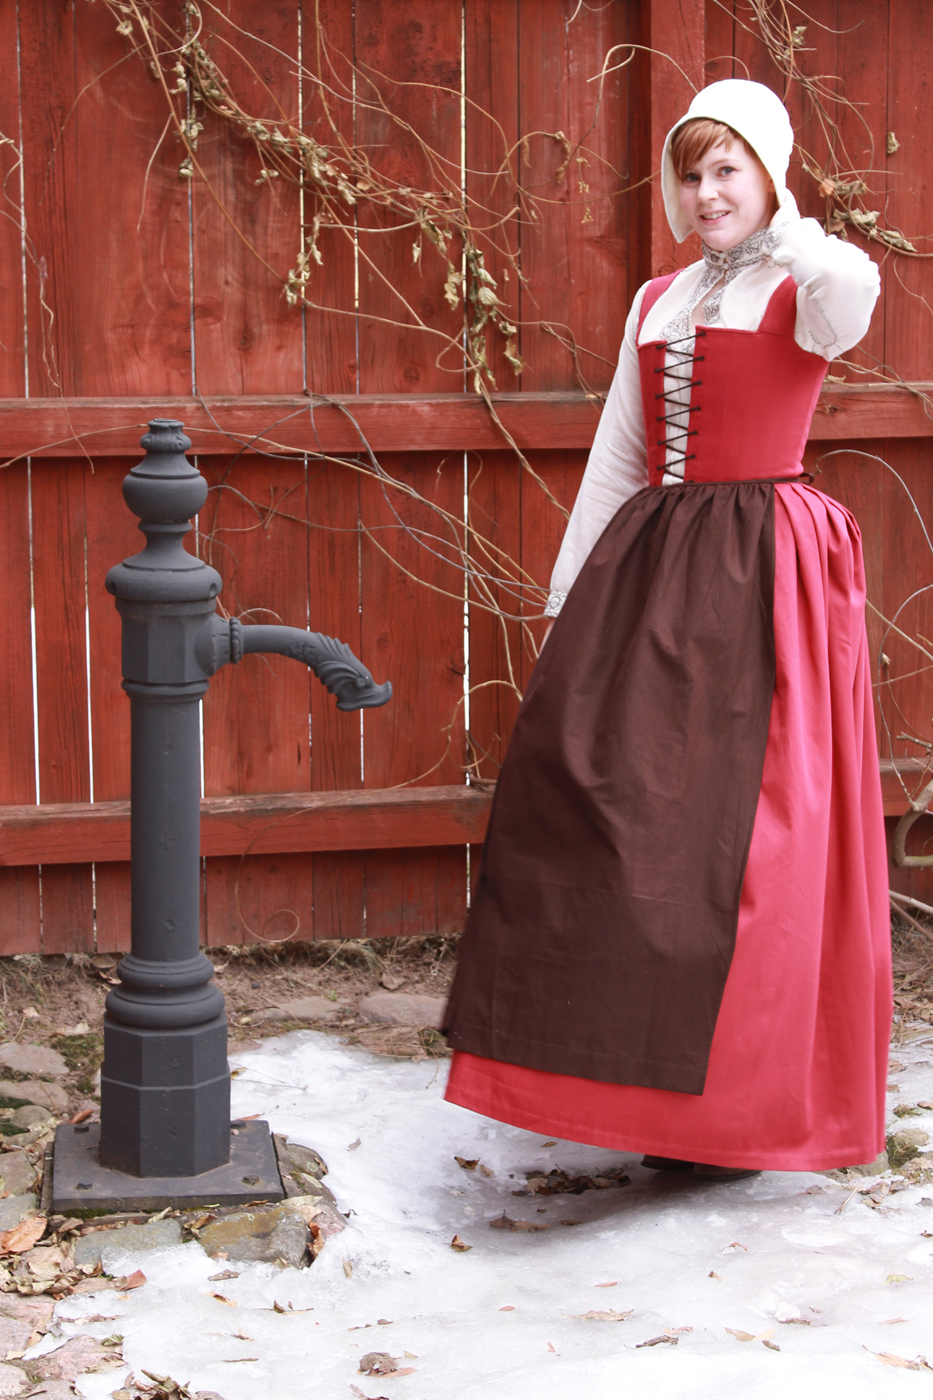
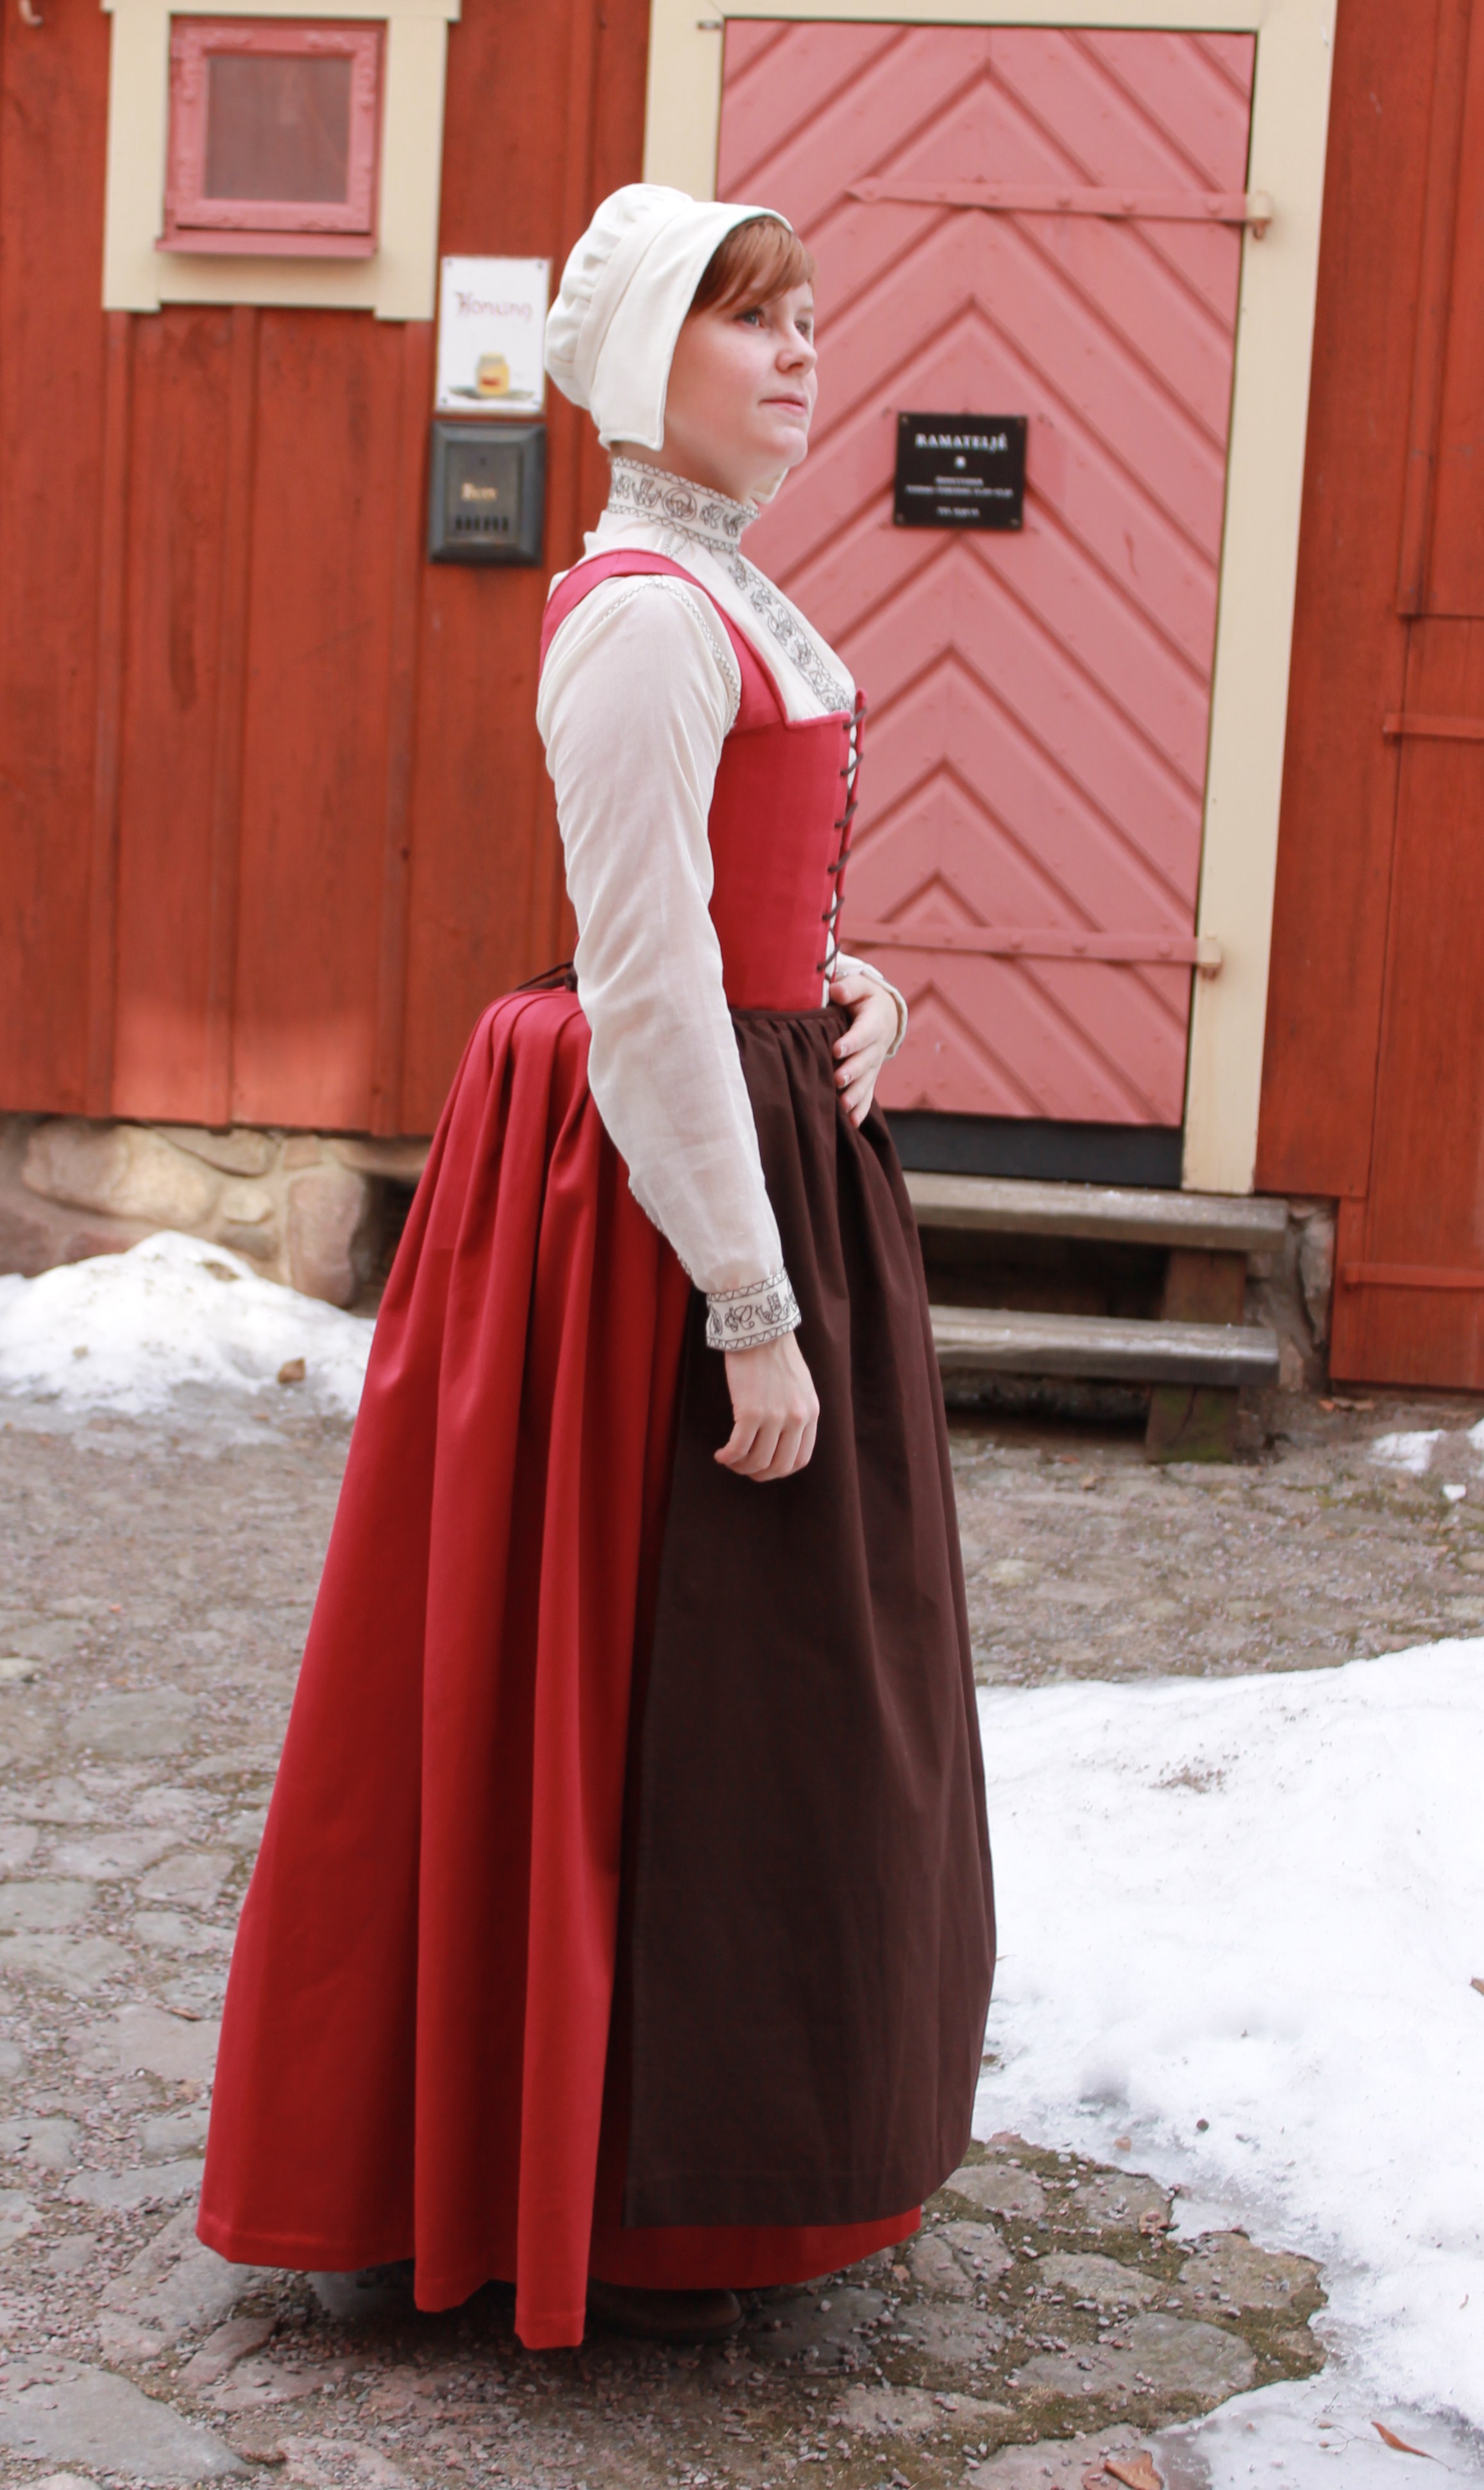
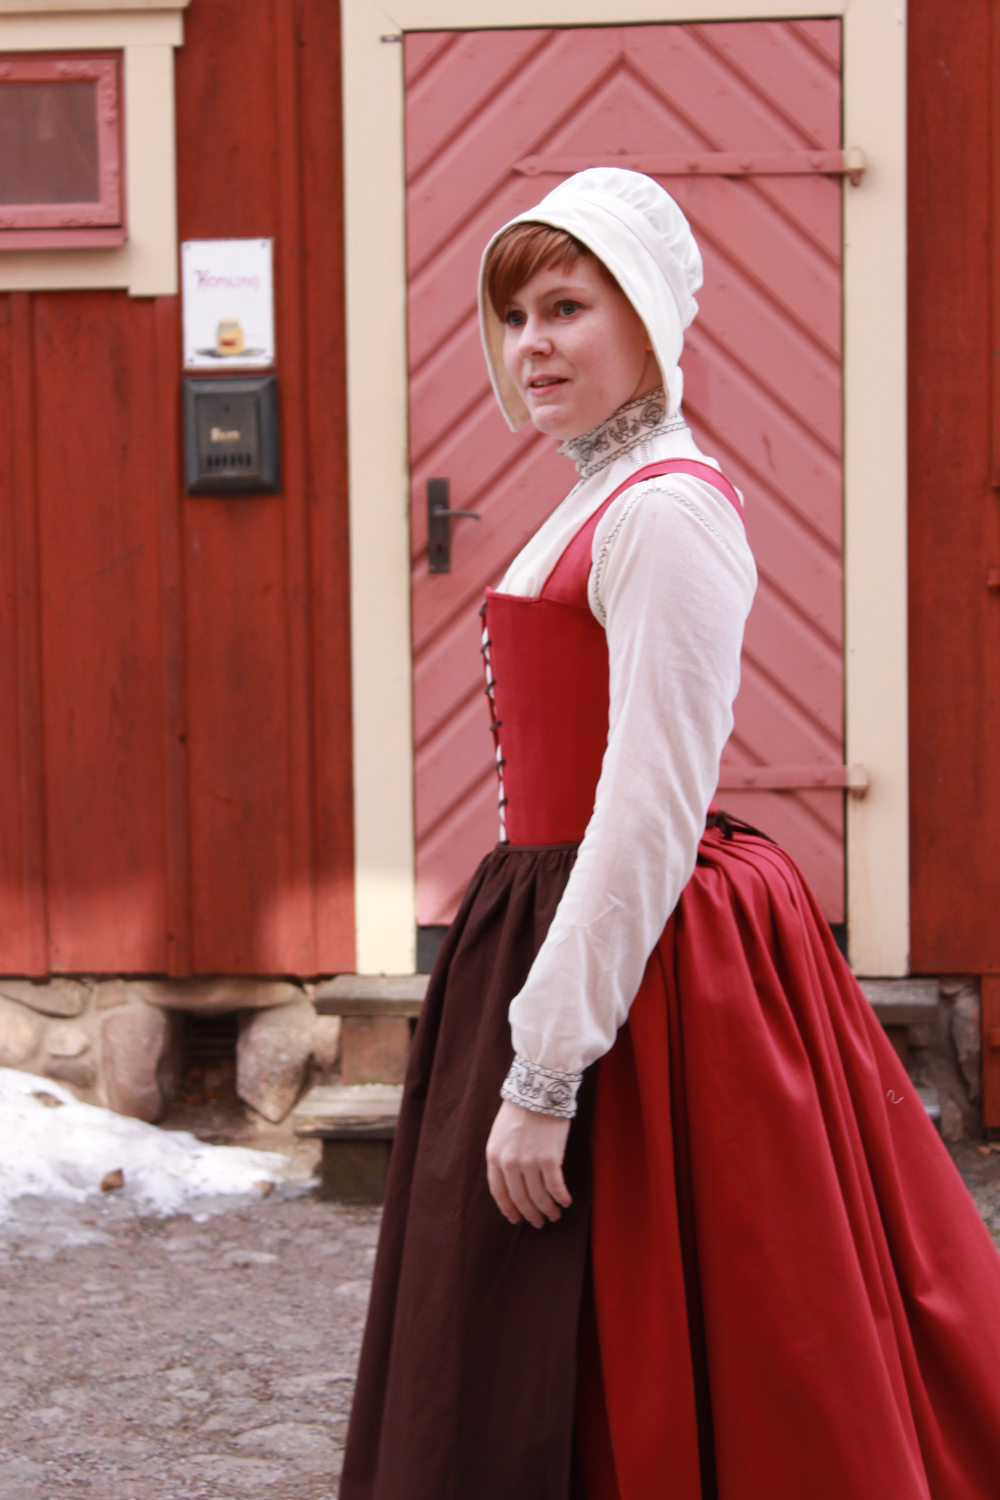
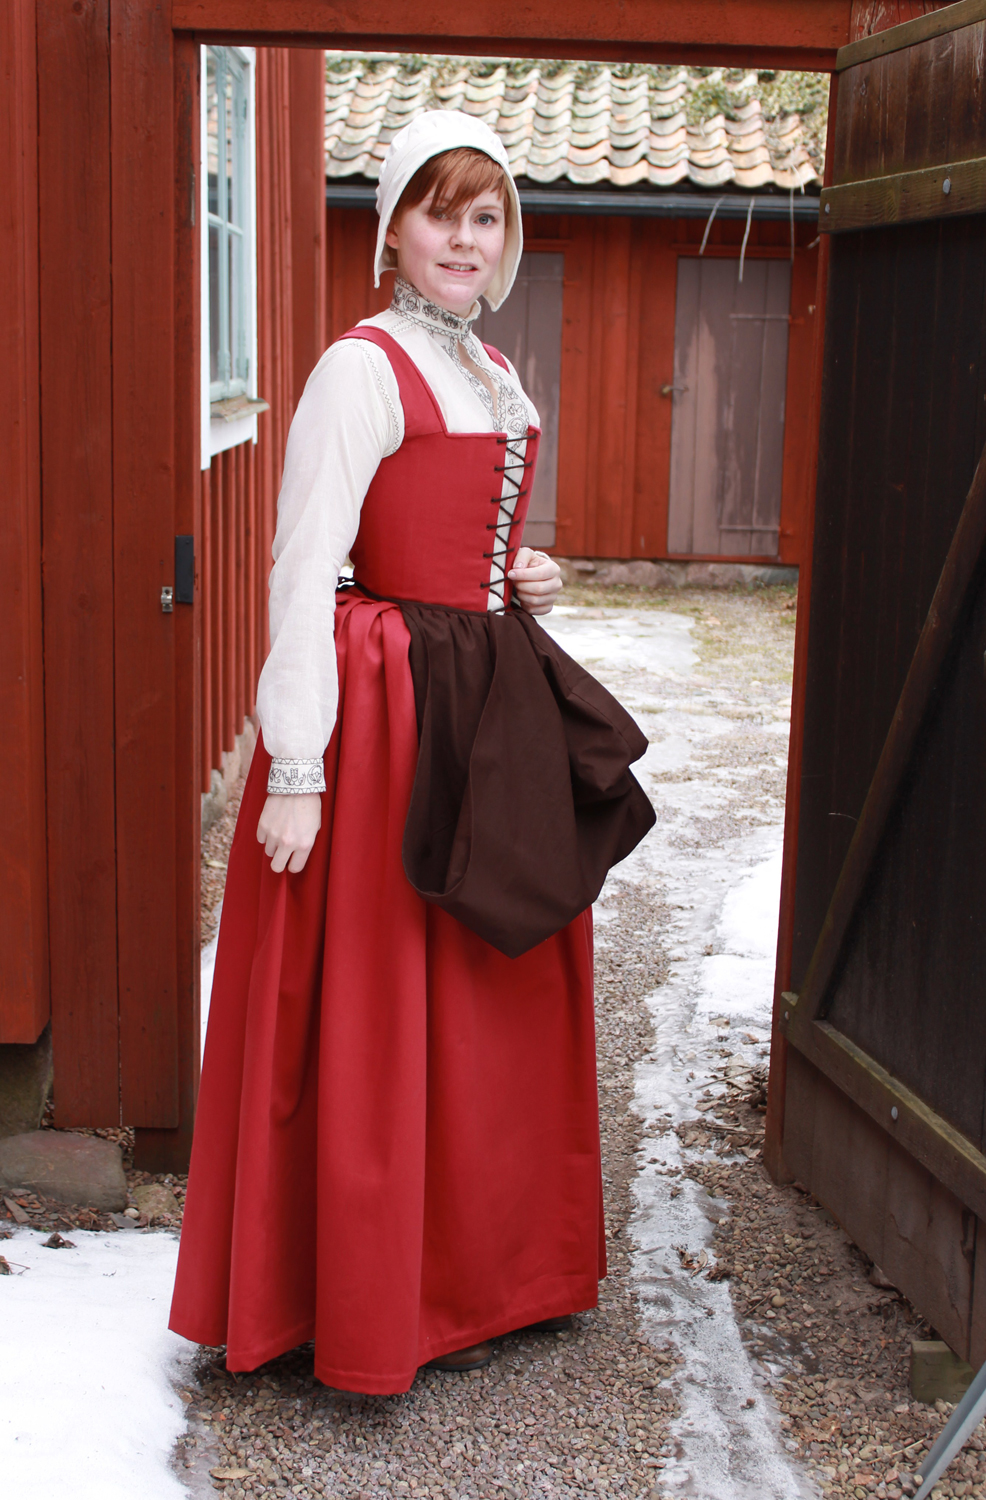
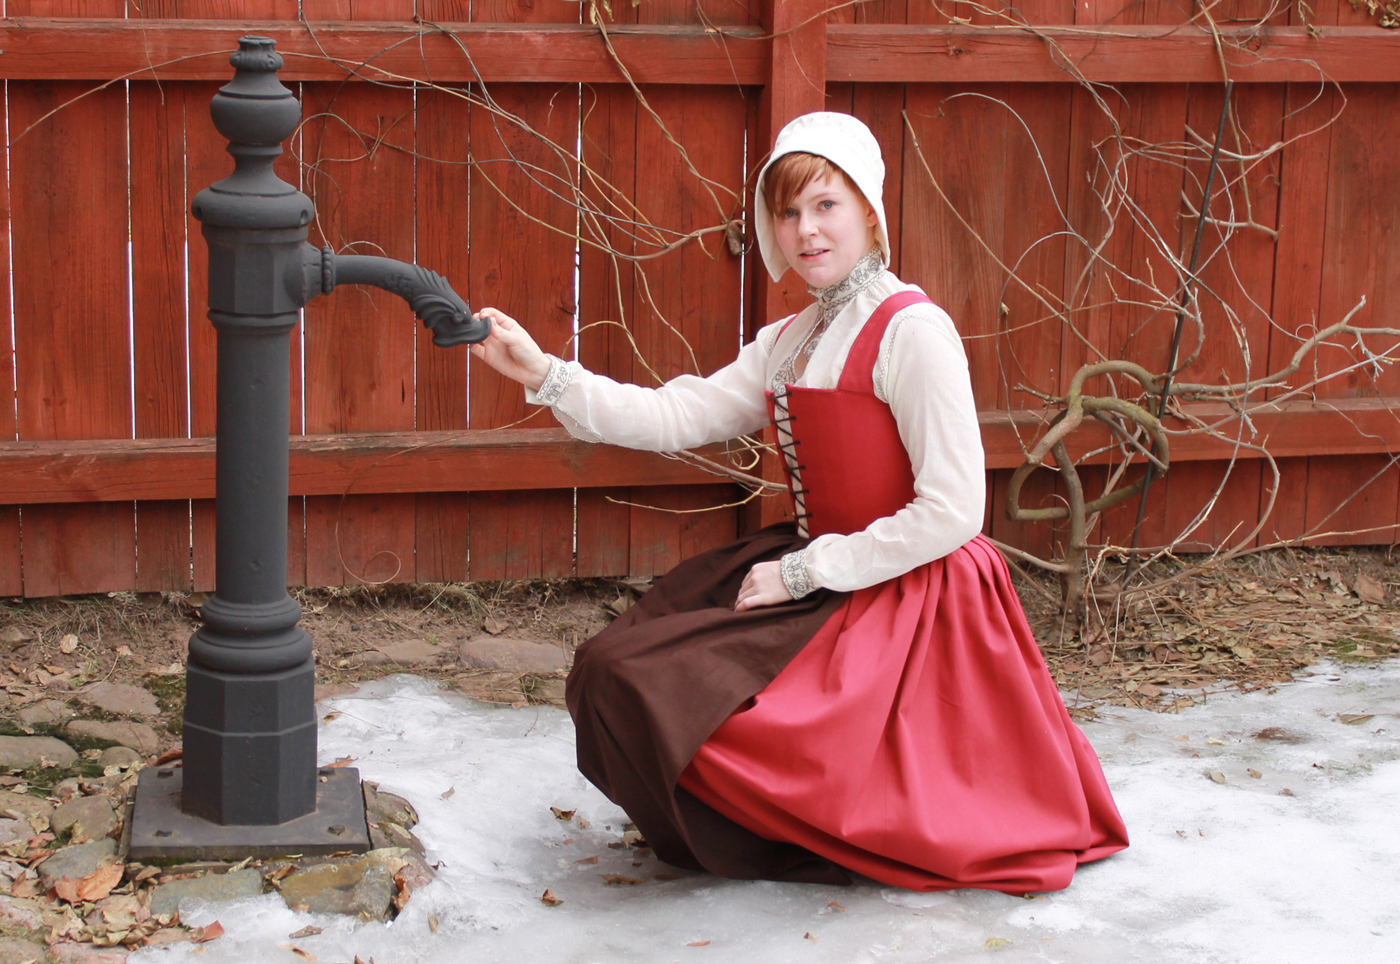
I decided on the pattern for the Kirtle (or underdress) with a front lacing and room for a smal bumroll. The fabric used where a red cotton twill.

The Kirtle went together pretty easy and I boned the bodice with some cable-ties, and handsewed all the lacing holes with brown button-hole thread. I pleated the skirt to the bodice and left an open slit in the front for size adjustments.

2013-03-03 18.37.38Pay no attention to the white sick-sack thread – For some reason I started to gather the skirt. But then I came to my sences and pleated it, as is the proper 16 th century way of doing this.

For the apron I used a brown cotton sheet from my stash and made the pattern as a rektangel gathered to a waistband.

I also needed to make some headwear, both out of decency and to cover my own short hairdo. I used the pattern for a Henrican coif in the same book. And made it out of some pieces of white cotton and some wire.

img301

When finished, me and one of my sisters went to my favourite location to shoot some nice pictures. I’m wearing the kirtle, a bumroll, the coif and apron, and an embroided shirt from a previous challenge.

Some finished Pictures.

pump-stå

IMG_1339

IMG_1340

IMG_1350

IMG_1414

IMG_1418

IMG_1361

IMG_1406

IMG_1397

pump-sitt

sidan-solPhoto: Elin Petersson

Just the facts:

Challenge nr 5: Peasent and Pioneer

What: Early 16th century handmaiden, – Kirtle, apron and coif.

Fabric: Kirtle – 3m of red cotton twill. Apron – 1m of brown cotton. Coif – 40 cm of white/ivory cotton.

Pattern: Kirtle – “The Tudor Tailor” Basic women´s clothing – kirtle and petticoats. Apron – none. Coife – “The Tudor Tailor” Hats and headwear – Henrician coif with plane brim.

Notion: Kirtle – brown buttonhole-thread for the handmade eyelets, plastic bonning in the front, and brown cord for the front clouser. Apron – Brown thread. Coif – White thread, thin steal wire(?) for the shaping.

Historical accurate: Pretty good (exept for the cotton fabrics, which should have been wool and linnen). Lots of handsewing and historical methodes where used. The Apron and Coif are totaly handmade, and so are all the visual seams on the Kirtle.

Hours: About 20 for everything (3 hours each on the apron and coif).

Total cost: About 35 USD.First worn: On this photoshoot. But I would love too wear it again on some event, or even whitout one…

Green Boleyn disaster

About 5 years ago I decided to try my hands at historic costuming for the first time.

I’ve always loved historical movies and don’t really care about the plott or the actors performance as long as you can look at some beautiful costumes.

So when the movie “The Other Boleyn Girl” came out I fell in love with the beautiful costumes the leading actresses wore. I must say I still think they are lovely even though I now realize they in no way resembles what women of the time realy wore.

I decided that I really wanted to make the green dress Anne Boleyn/Natalie Portman wears when she reurns from France and starts to seduce the king (Henry VIII/Eric Bana).

poster7

 I bought 5 m of emerald green taffeta, some dark green velvet and some lace – all of course in polyester. Back then I knew nothing about historical pattern-making and the importance of foundation wear, but realied on my “skills” at modern pattern making.

After studying pictures from the movie and the exibition of the costumes I started drafting the pattern.

green1

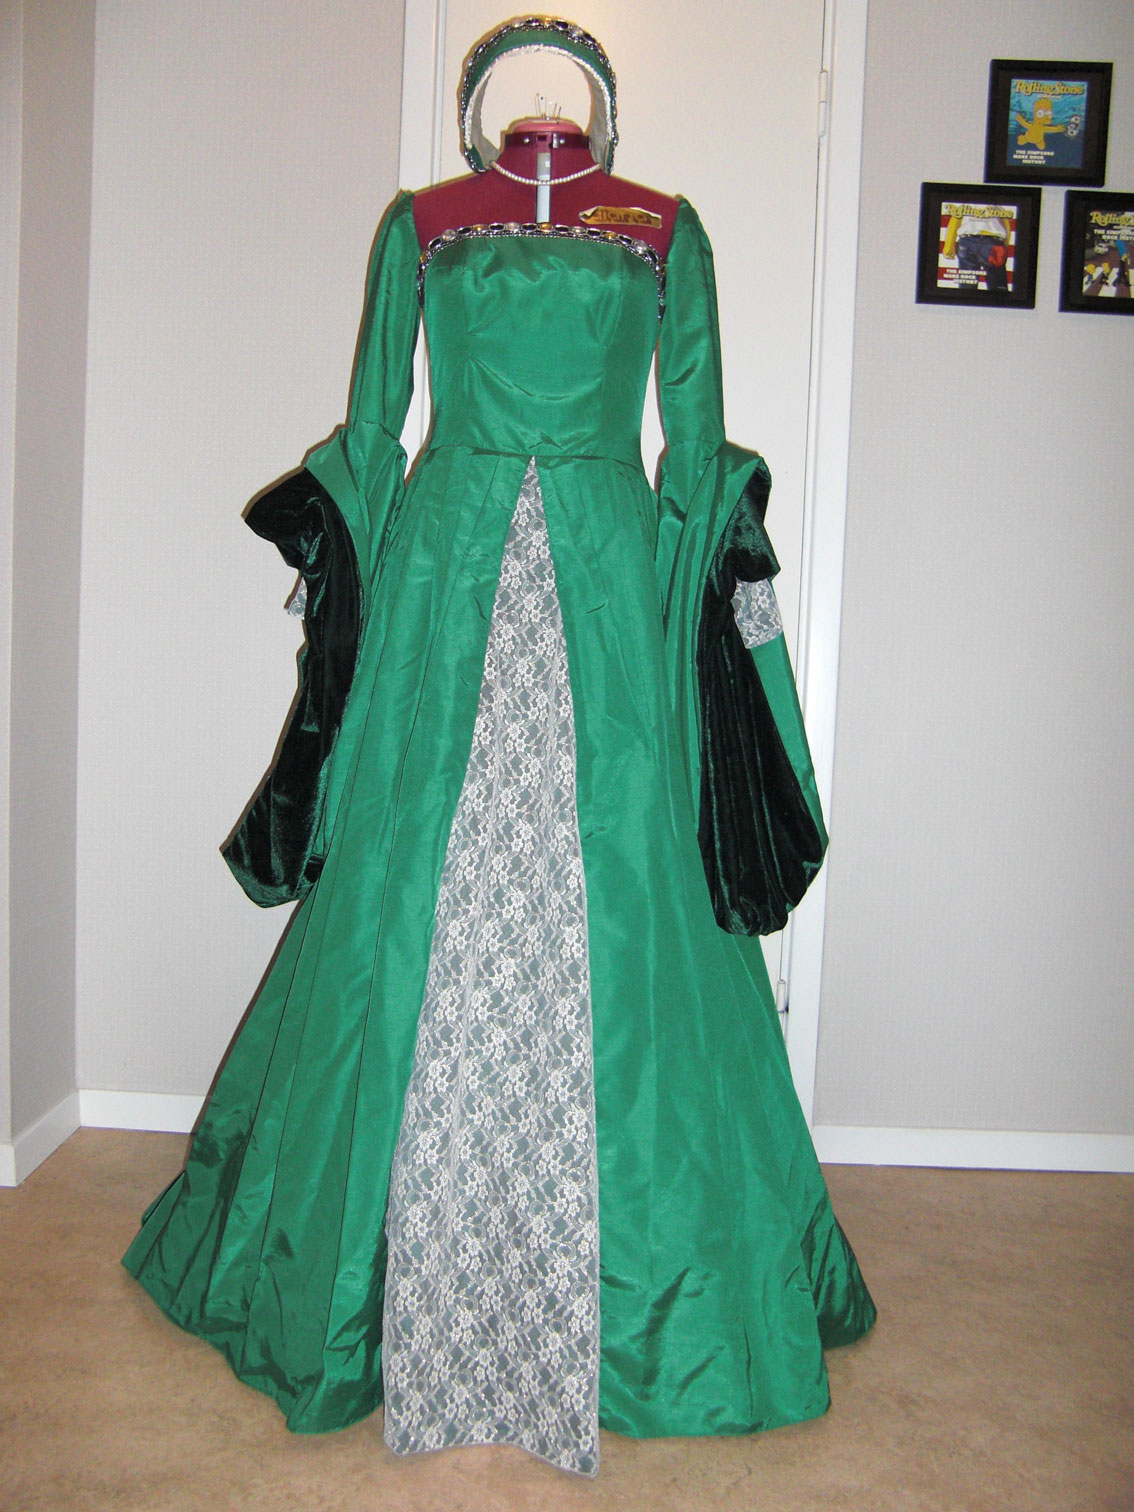
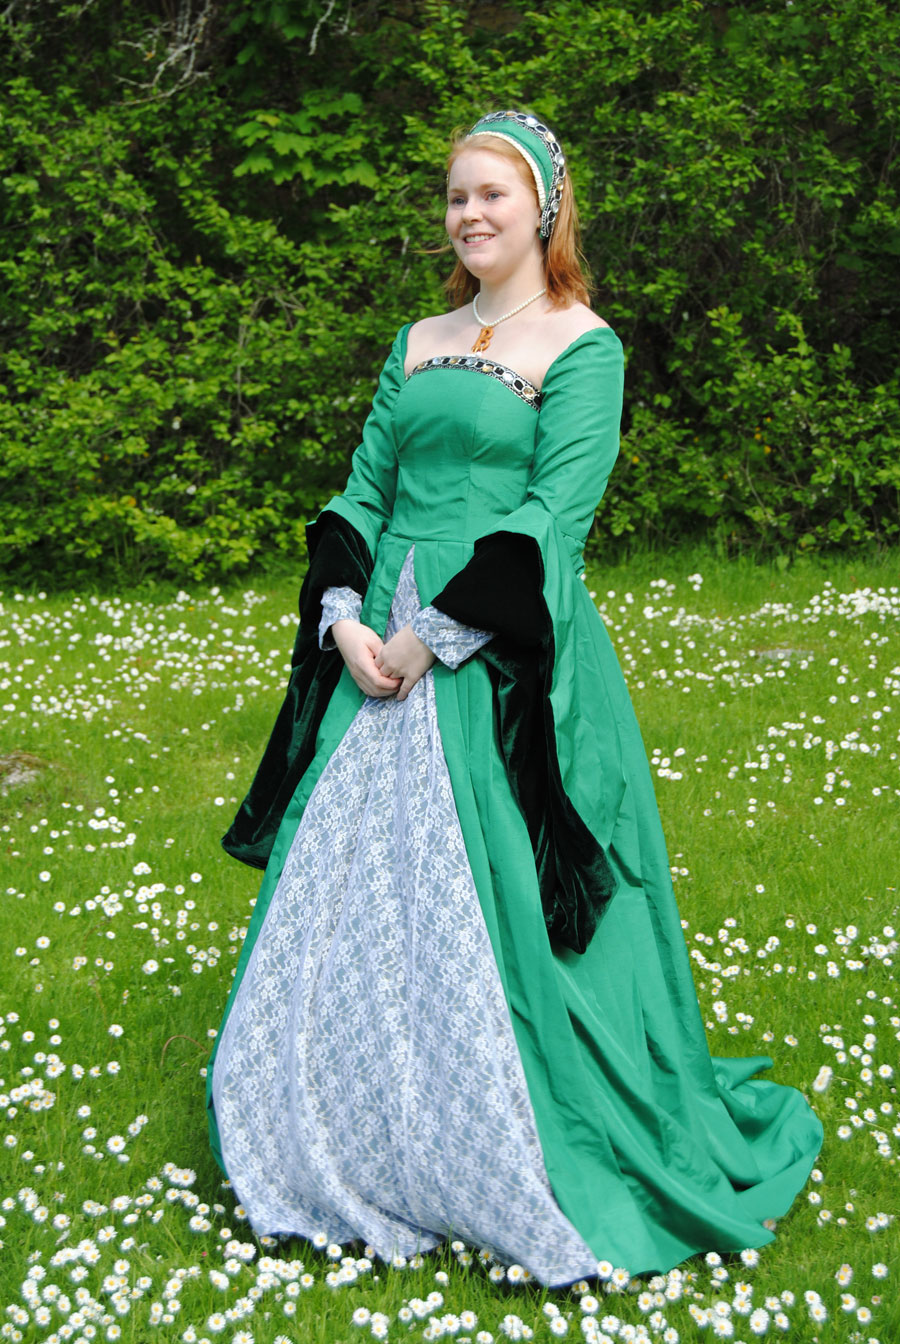
I made the bodice as an sleeveless gown with a higher back and the sleeves attached only at the armpitt. It closes in the back with a zipper. The lower parts of the sleeves consists of a big rectangel lined with the velvet, sewn into the elbow seam.

I cut the skirt as two rektangles and pleated them to the waist of the bodice. The “petticoat” is also sewn to the waistband and runs from the sideseams in the front. The whole dress are lined with green polysester lining, and decorated with a ribbon with plastic gemstones.

I also made the “french hood” and the “Boleyn necklace” to go with the dress.

This is what it looked like on my dressform.

fram

And at the phothoshootCIMG2308

DSC_0189At the time I vas really proude of the dress and tought it was beautiful.

A couple of years later (when I learnt a bit more about historic clothes) I really hated it, and decided to redo it.

So i ripped the skirt from the bodice and re-pleated it to a waistband, and made the petticoat as a separate piece. I also made sure the skirt would fitt over a bumrole and petticoat.

I ripped the bodice opened and got rid of the curved bust seams, boned the front and cut some shoulder straps to attach the sleeves on. I also took out the zipper in the back and replaced it with lacing.

I changed the decoration-band on the front and hood to a velvet ribbon and sewed on smal gemstones.

This time the dress looked much better, unfortanly I din’t had enough fabric (or knowlage) too make all the changes that was needed to make it really good. (And the hem of the petticoat is way too short worn with heels and a bumrole.)

DSC_0297

DSC_0307

I will probably try to redo this dress again some day, or at least re-use the fabric as I still think the colour is wounderful.

And now I must admit that I found the perfect opurtunity to pull it out once more…

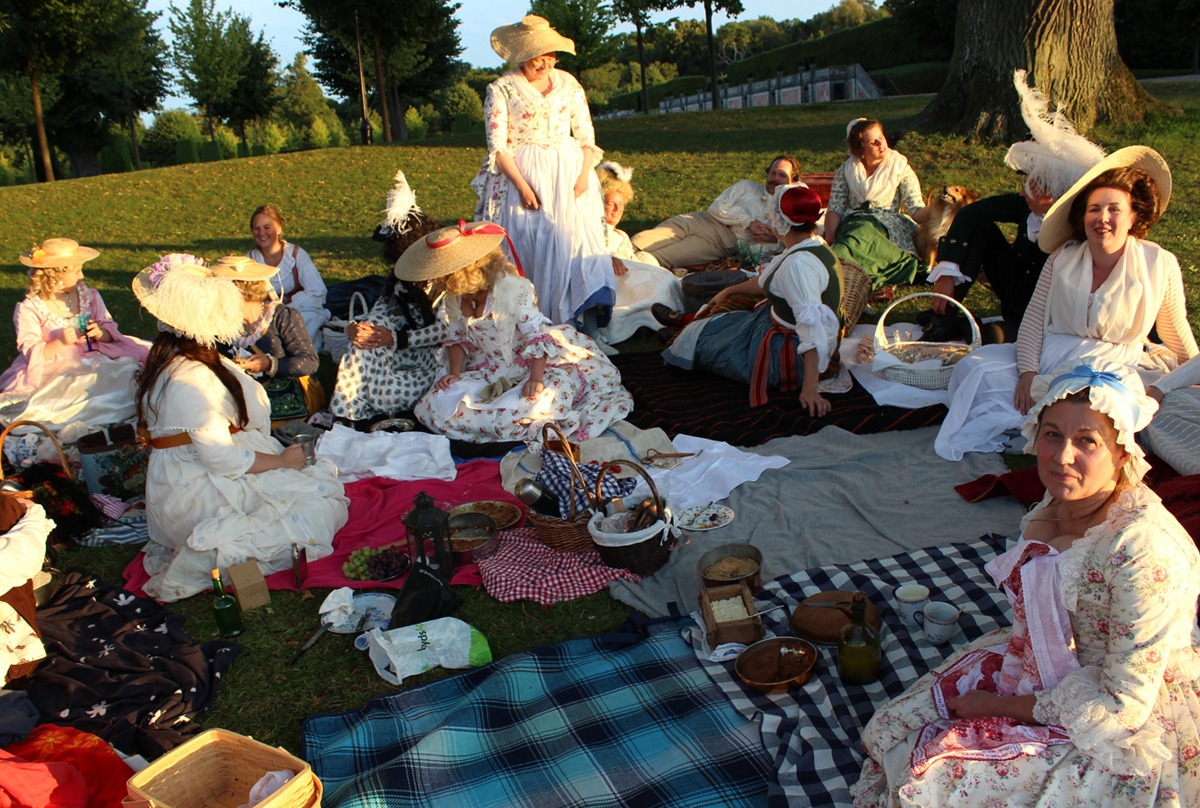
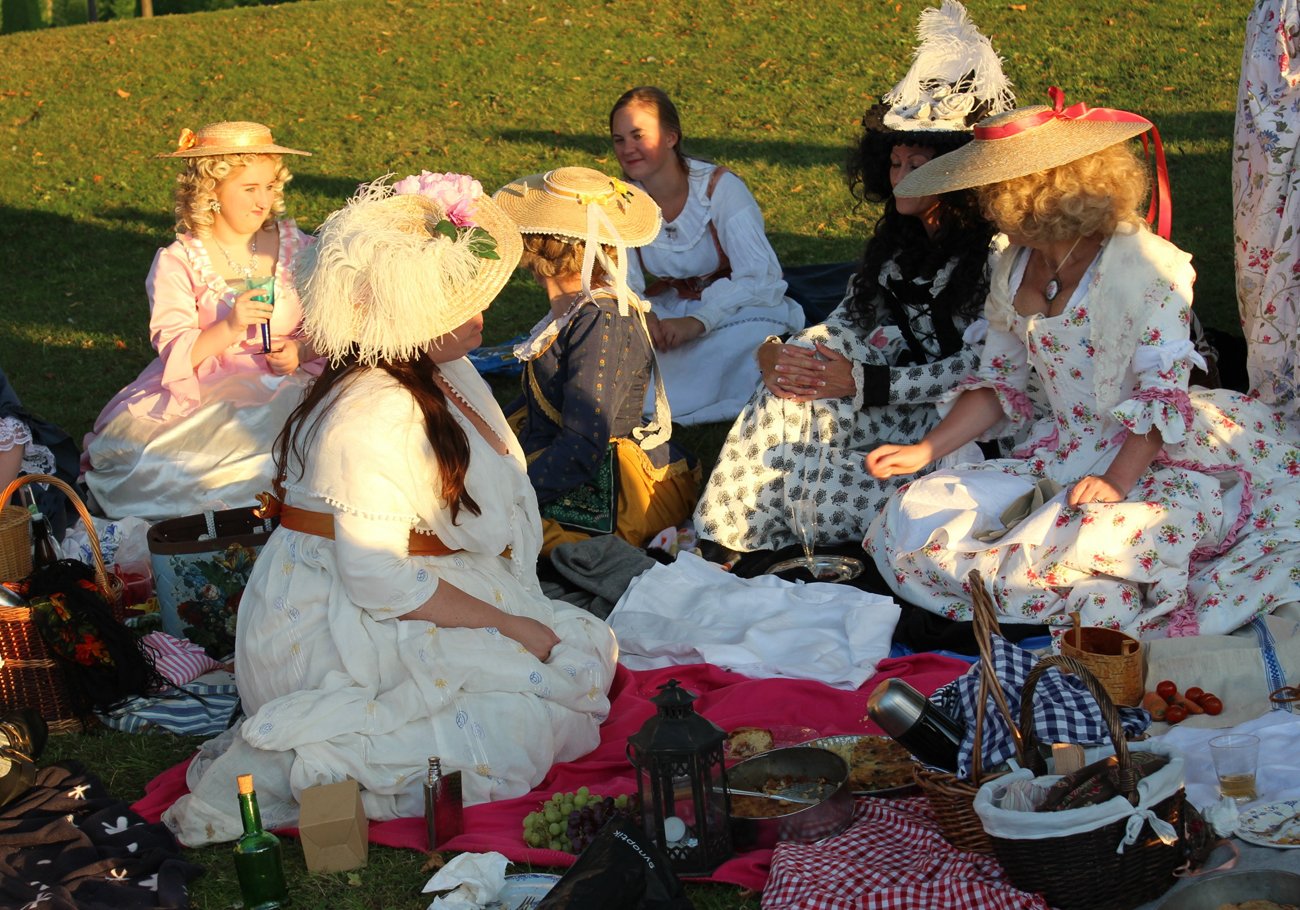
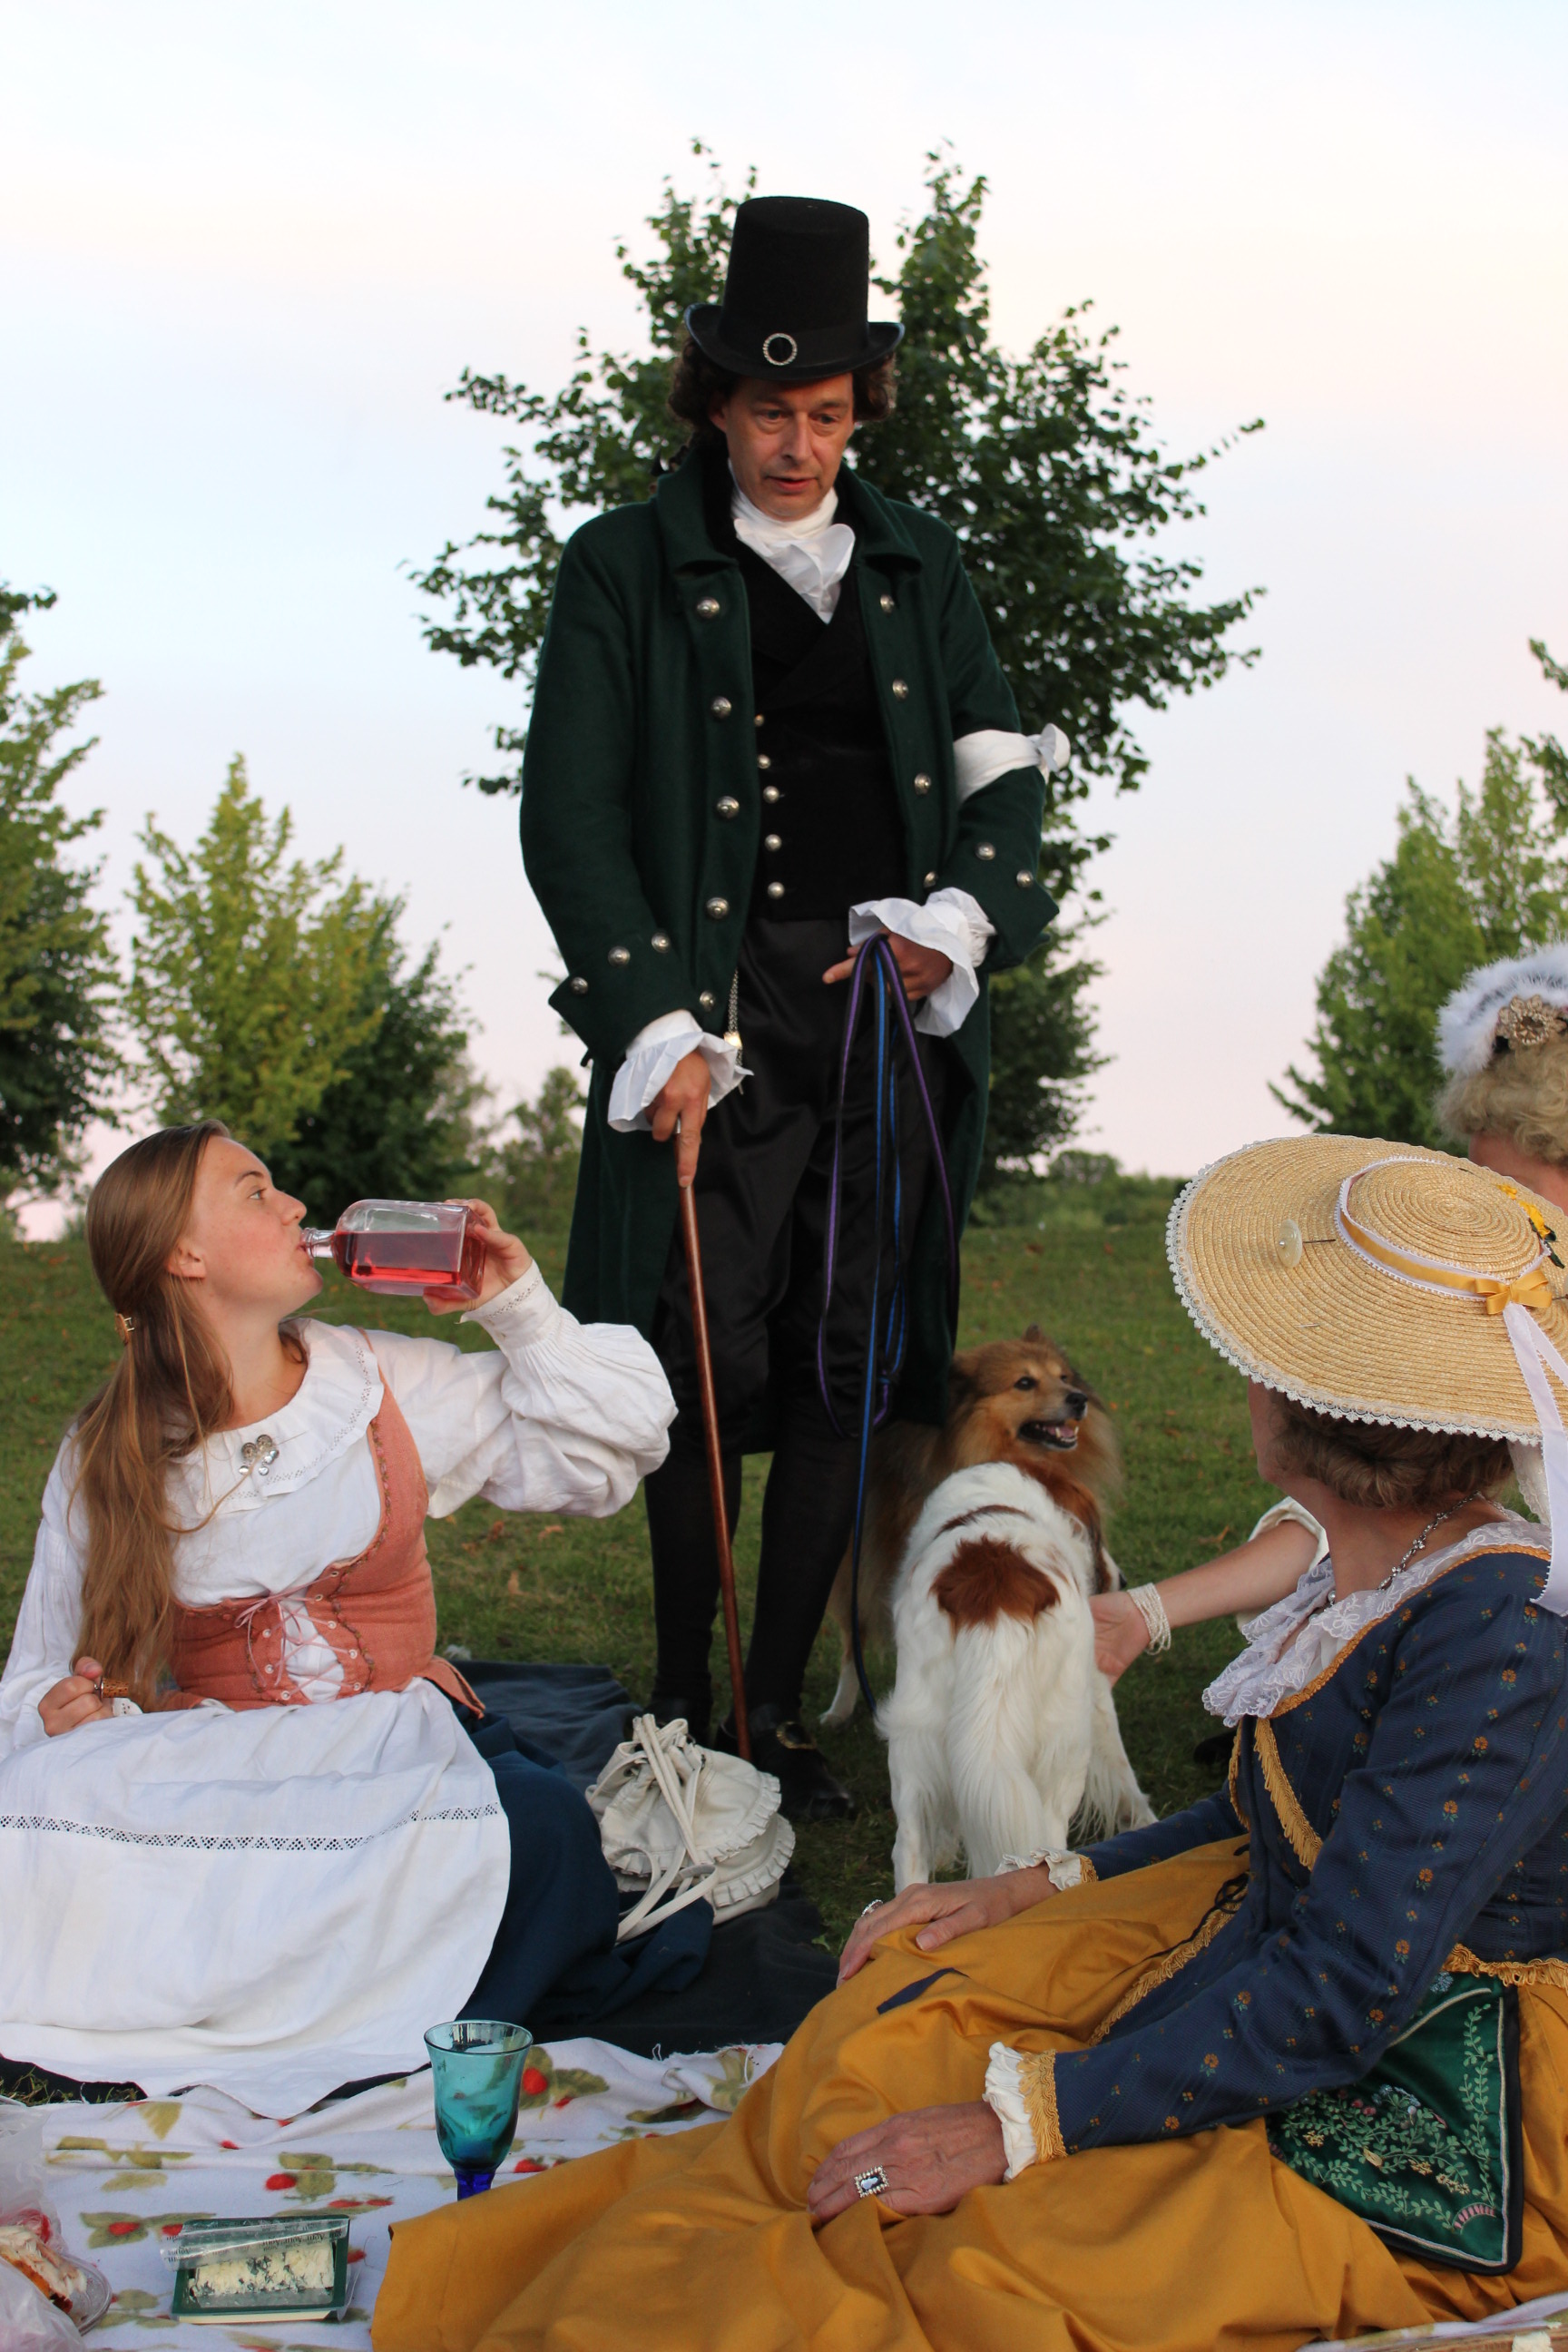
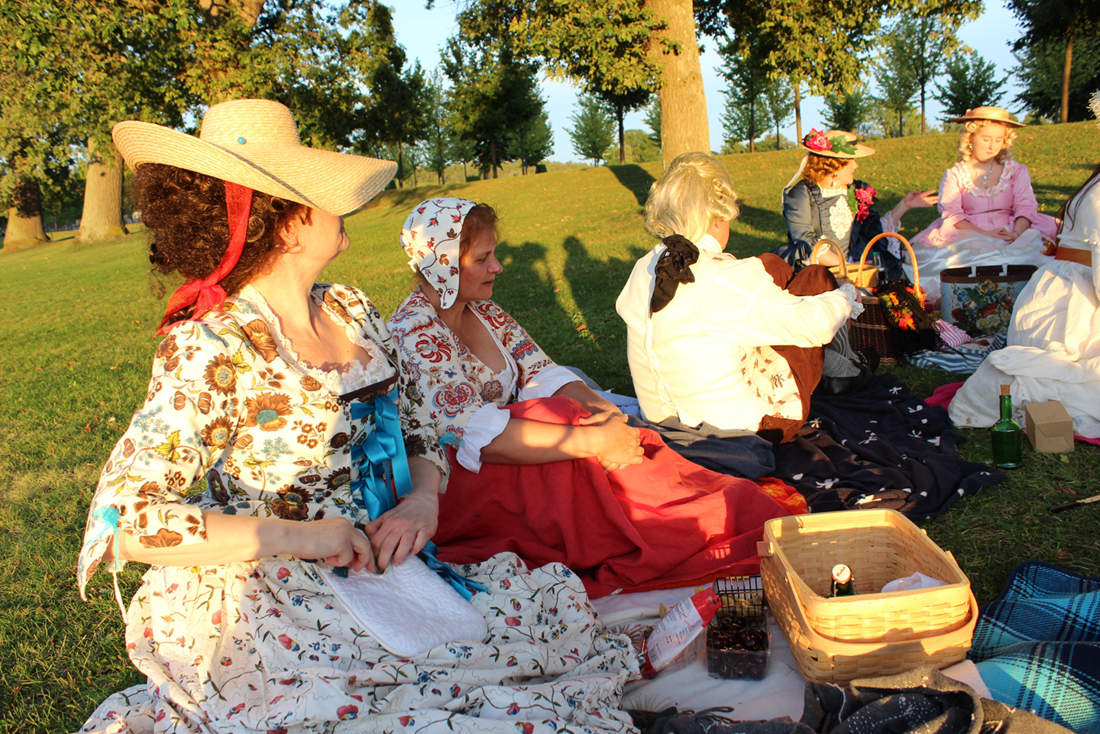
18th century picnick

Right in the middle of my stressfull work with the Huldra movie I got invited to join my costume group for a 18th century picnick.

At first I tought that I was not going to be able to come. But as the day drew neerer i decided that i was most defenetly going – I was desperatly in need for someting to take my mind of the endless work hours and this picknic seemed like the perfect thing.

So I dove in to my box of costumes (having a bit of a crizis over wich dress to wear), and left work early to get myself dressed.

The picnic it self was located in the beautiful park of Drottningholm (the royal castle). And even tough I had to stress like hell, changing into  the historical stockings and petticoats and wigs, and then ride the metro and the buss alone in my costume it was totaly worth it.

The weather was perfect and when I opened my picnic basket i found the most wounderful pacage of fruit, sandwishes, chocolate and juice – that my friend so thoughtfully packed when I was rushing around trying to find my bumroll and shoebuckles.

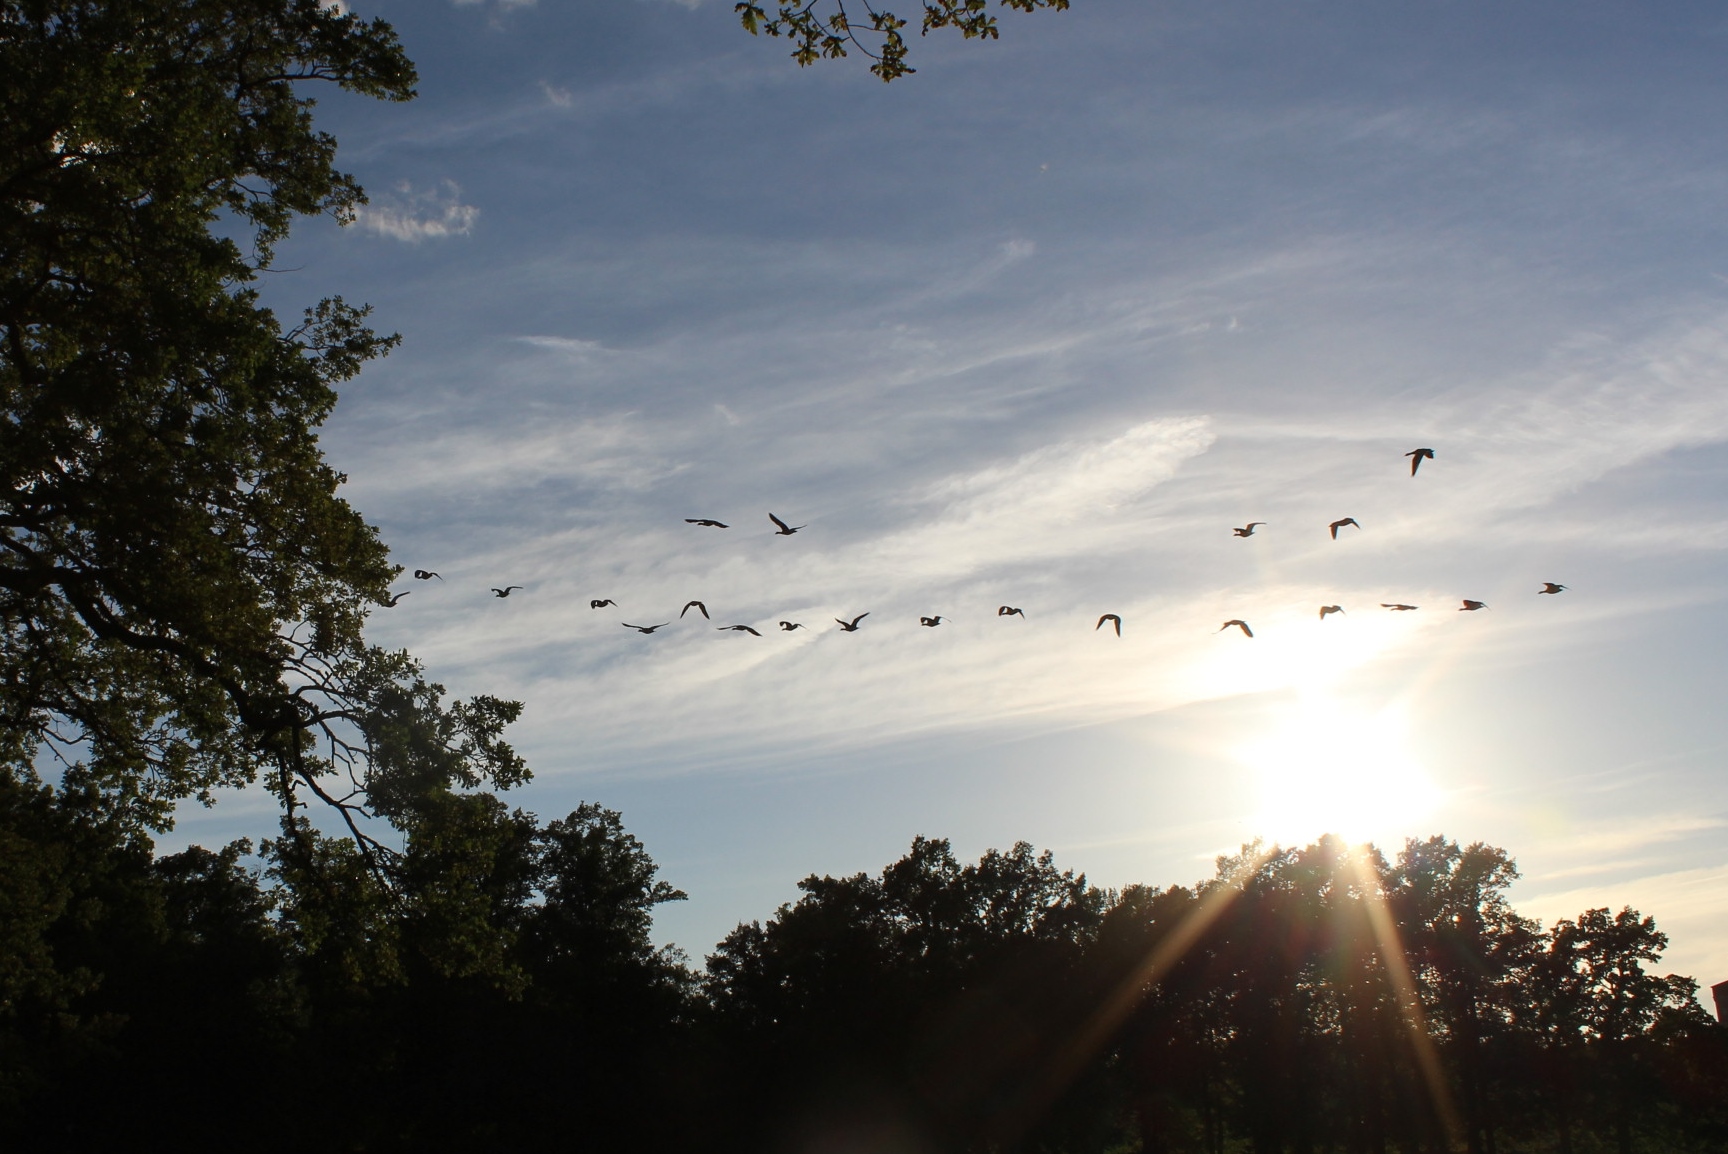
IMG_1376The birds take flight to warmer countryes.

IMG_1383

IMG_1385

V2_d5C6EEtZypsB8wdR1oPqzDQqwnP2edCYa-zFKJLk

IMG_1422Just look at all that lovely food.

sCaoxZkRHs-sbPivzomAkL6ALioZCEF6pgrgtyxhVgUA fancy and historical way of dressing a sandwich and a juice-bottle (Thank you Kristin).

1002907_10201590791868785_1548102523_n

IMG_1410Me in my Chemise a Lamballe.

IMG_1398

IMG_1402

IMG_1404We even had some gentlemen and some adorable dogs in our group.

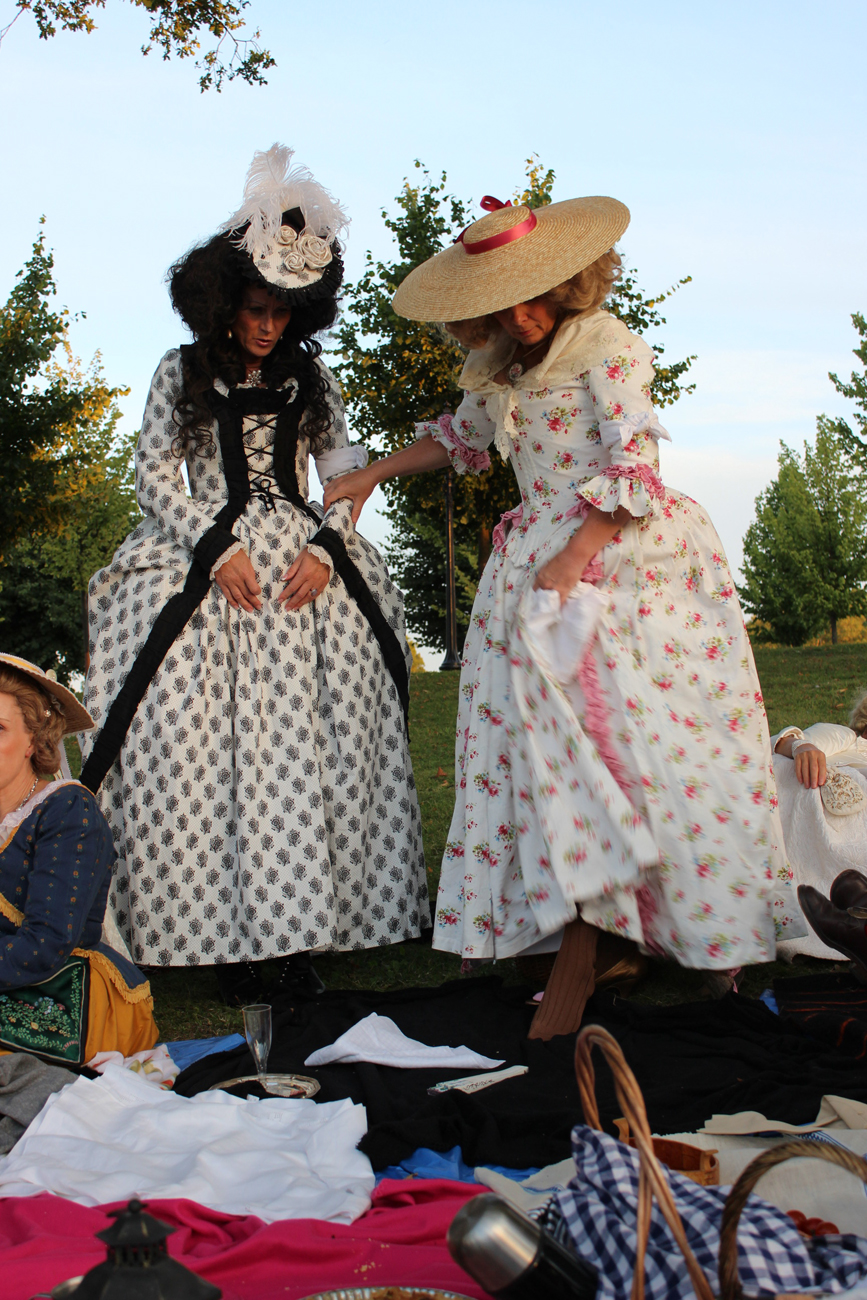
IMG_1388I love the mixing of patterns in thier dresses.

IMG_1380A story illustrated with papper-dolls was performed to our amusement.

IMG_1417Smoking pipe in the dusk.

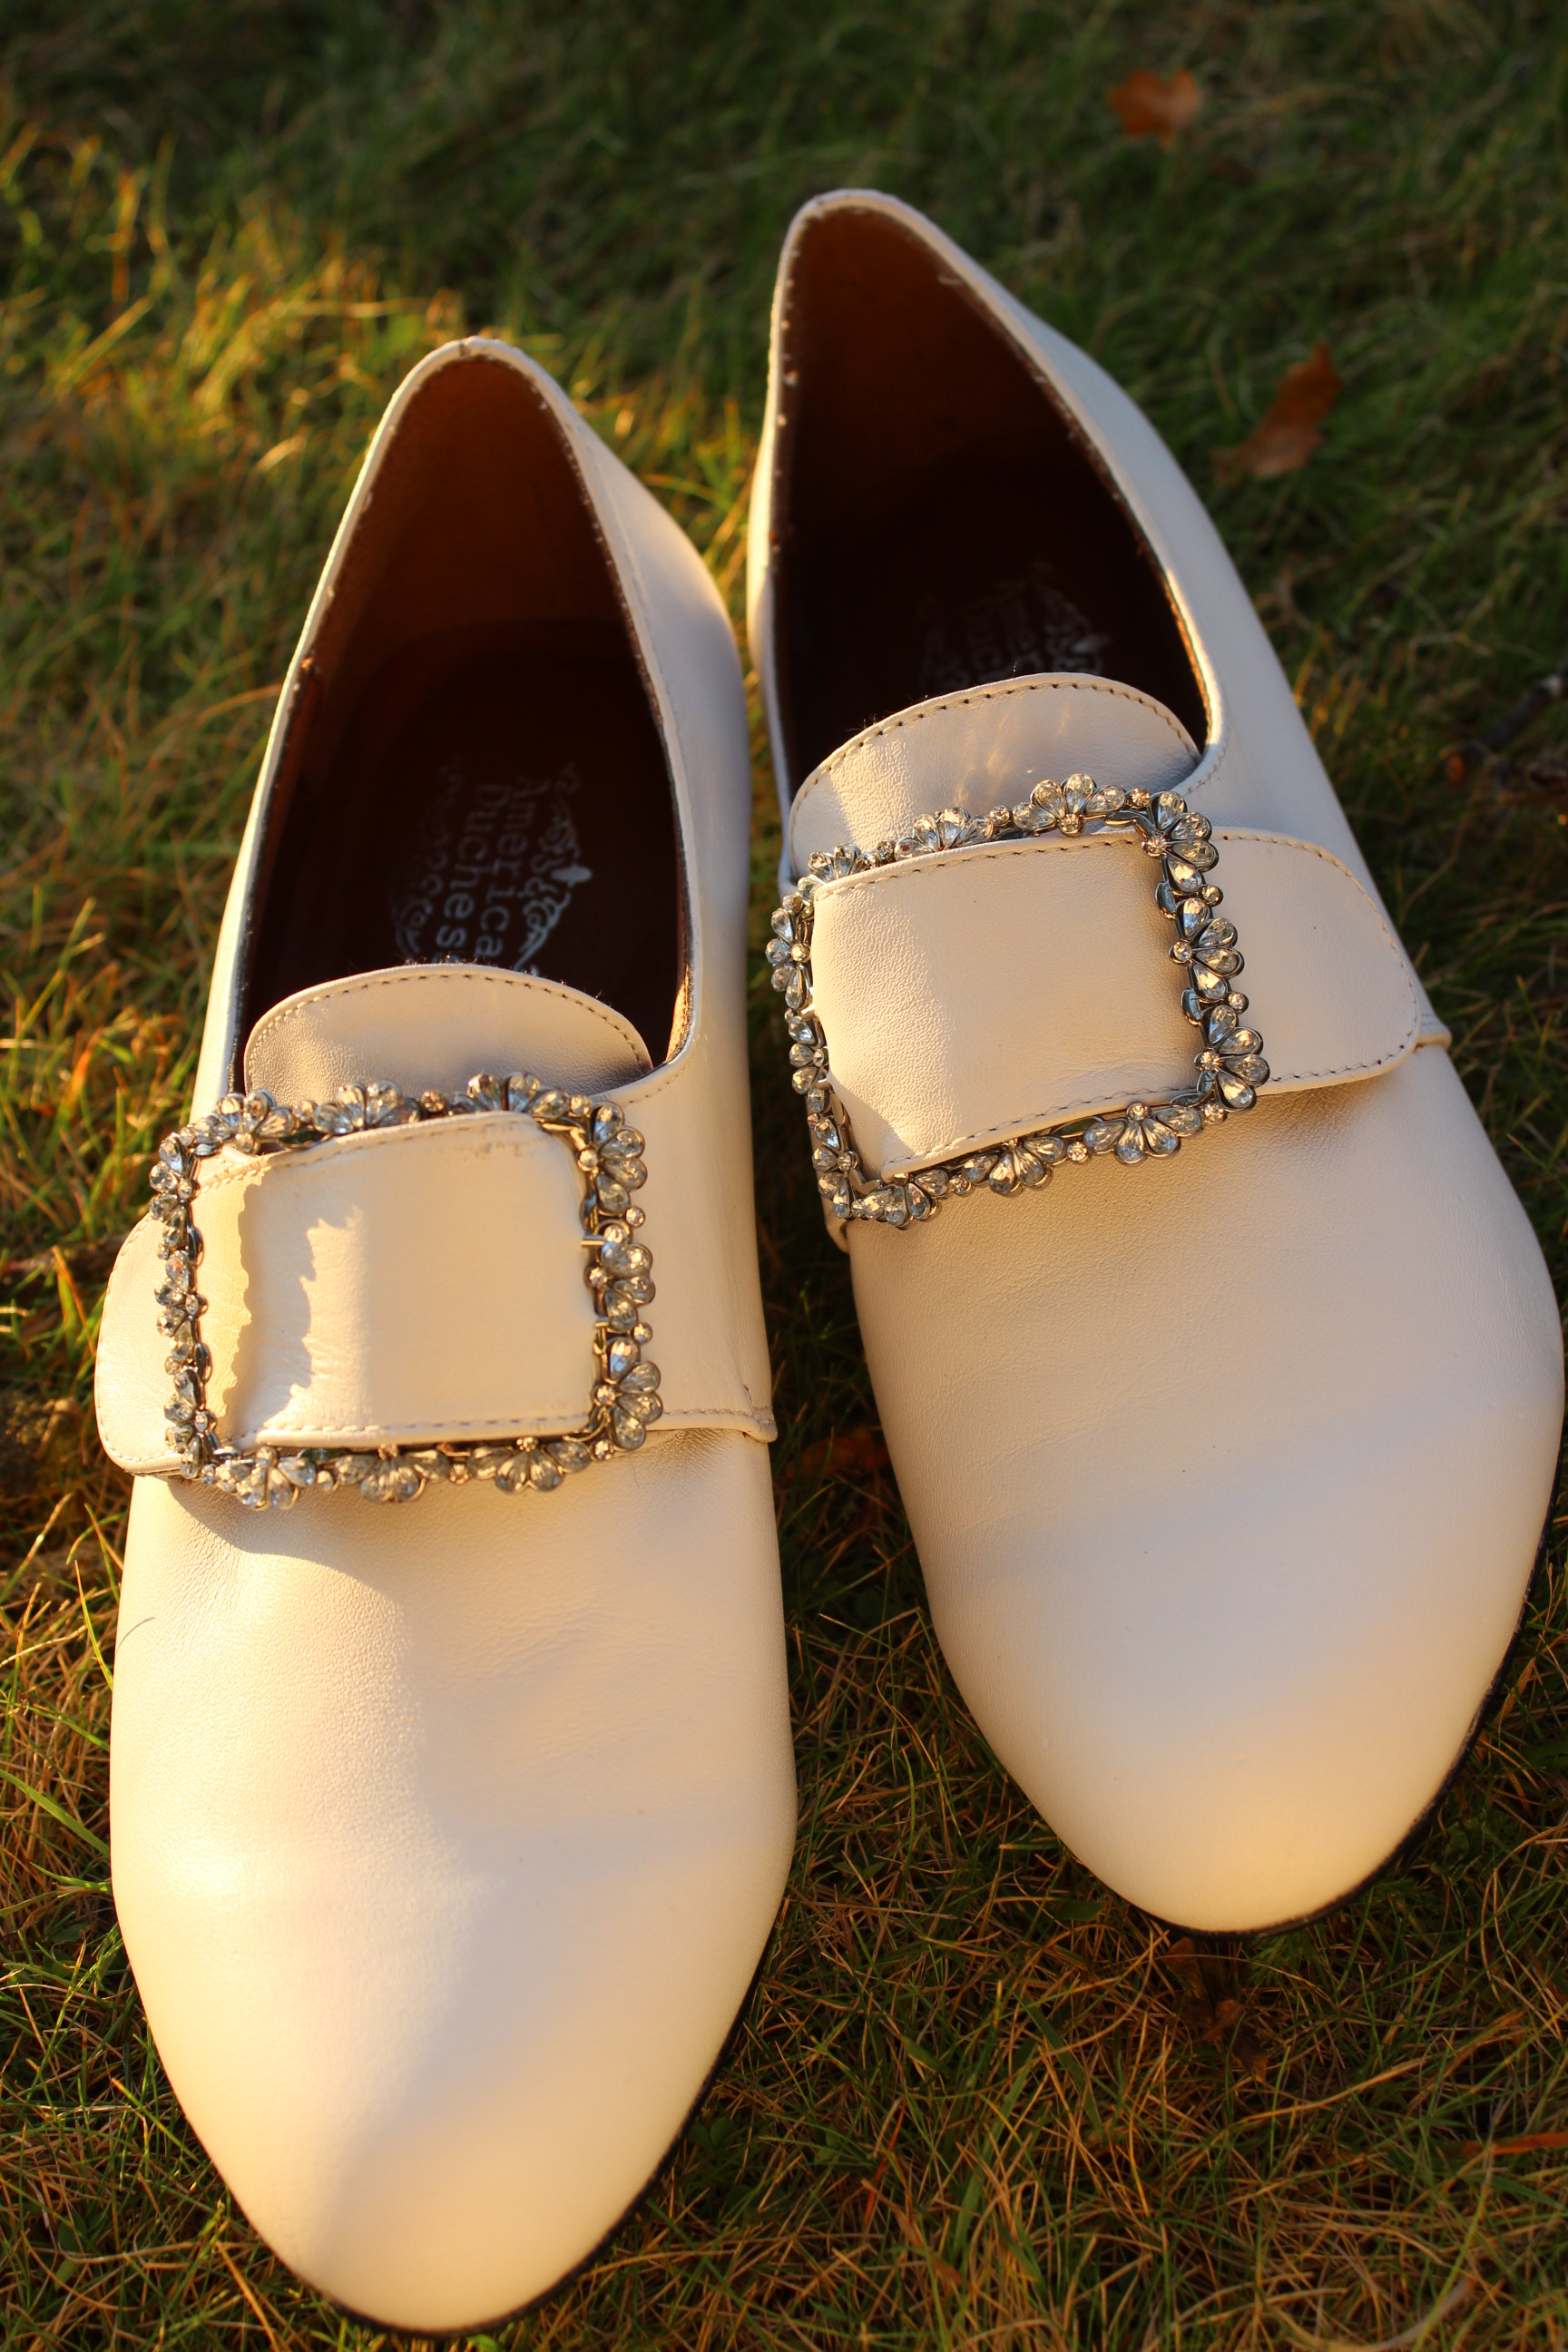
IMG_1382My American Duchess shoes.

IMG_1381Not mine, but so beautiful and autentic.

IMG_1391My favorite picture – Lady taking a strol while the sun sets.

Regency accessoars

To make a historical outfit all you need is the right undergarnments and a plausible fabric in a color or pattern used during the intended era. (Honestly, in most circles you can get away with lots of inaccuracies if you have the overall silhouette down)

But how to make your costume go from “nice” to “wonderful”?

It’s all in the accessories.

What would your Elizabethian dress be without the starched ruff, or your 18th century Anglaise without the headgehog-hair/wig.

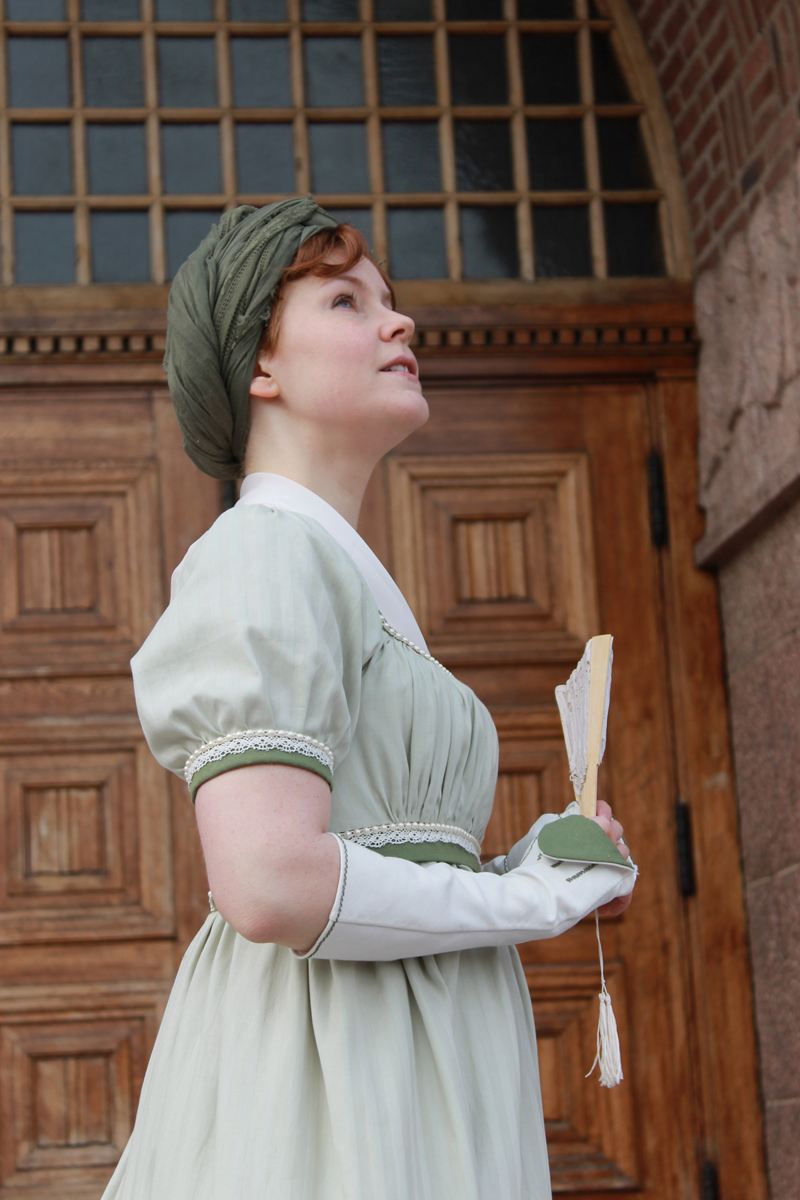
So for the HSF challenge 7 “accessorize” I decided to style my new Regency gown (which I made in the 6th challenge) with some matching accessories.

But what would I make? There are so many things the proper Regency lady would need.

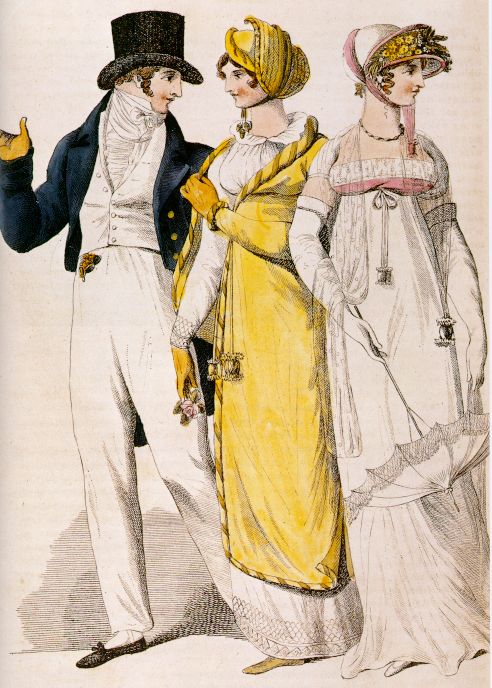
1817-walking-dress-la-belle-assemblee2Robes and ridicules …

imagesCAW6EP0V… turbans, open robe, spencer, fans and muffs …

regencyfashion… shawls, bonnets, gloves and parasols.

I decided to prioritate headwear – since my hair is cropped in a boyish style I would never be able to arrange it in the curly up-dos so popular at the time. So instead I need to cover it up.

I searched all the stores in town for a straw hat to make into a bonnet. But the sunbonnets was no where to be seen in the still cold and snowy march.

So I needed to re-think the bonnet and decided on the much simpler turban. I bouhgt a shawl in a similar green color as the trimmings on my dress, and practiced wraping and pinning the turban to my head. The American Duchess has a great tutorial which I used to get the shawl to co-operate.

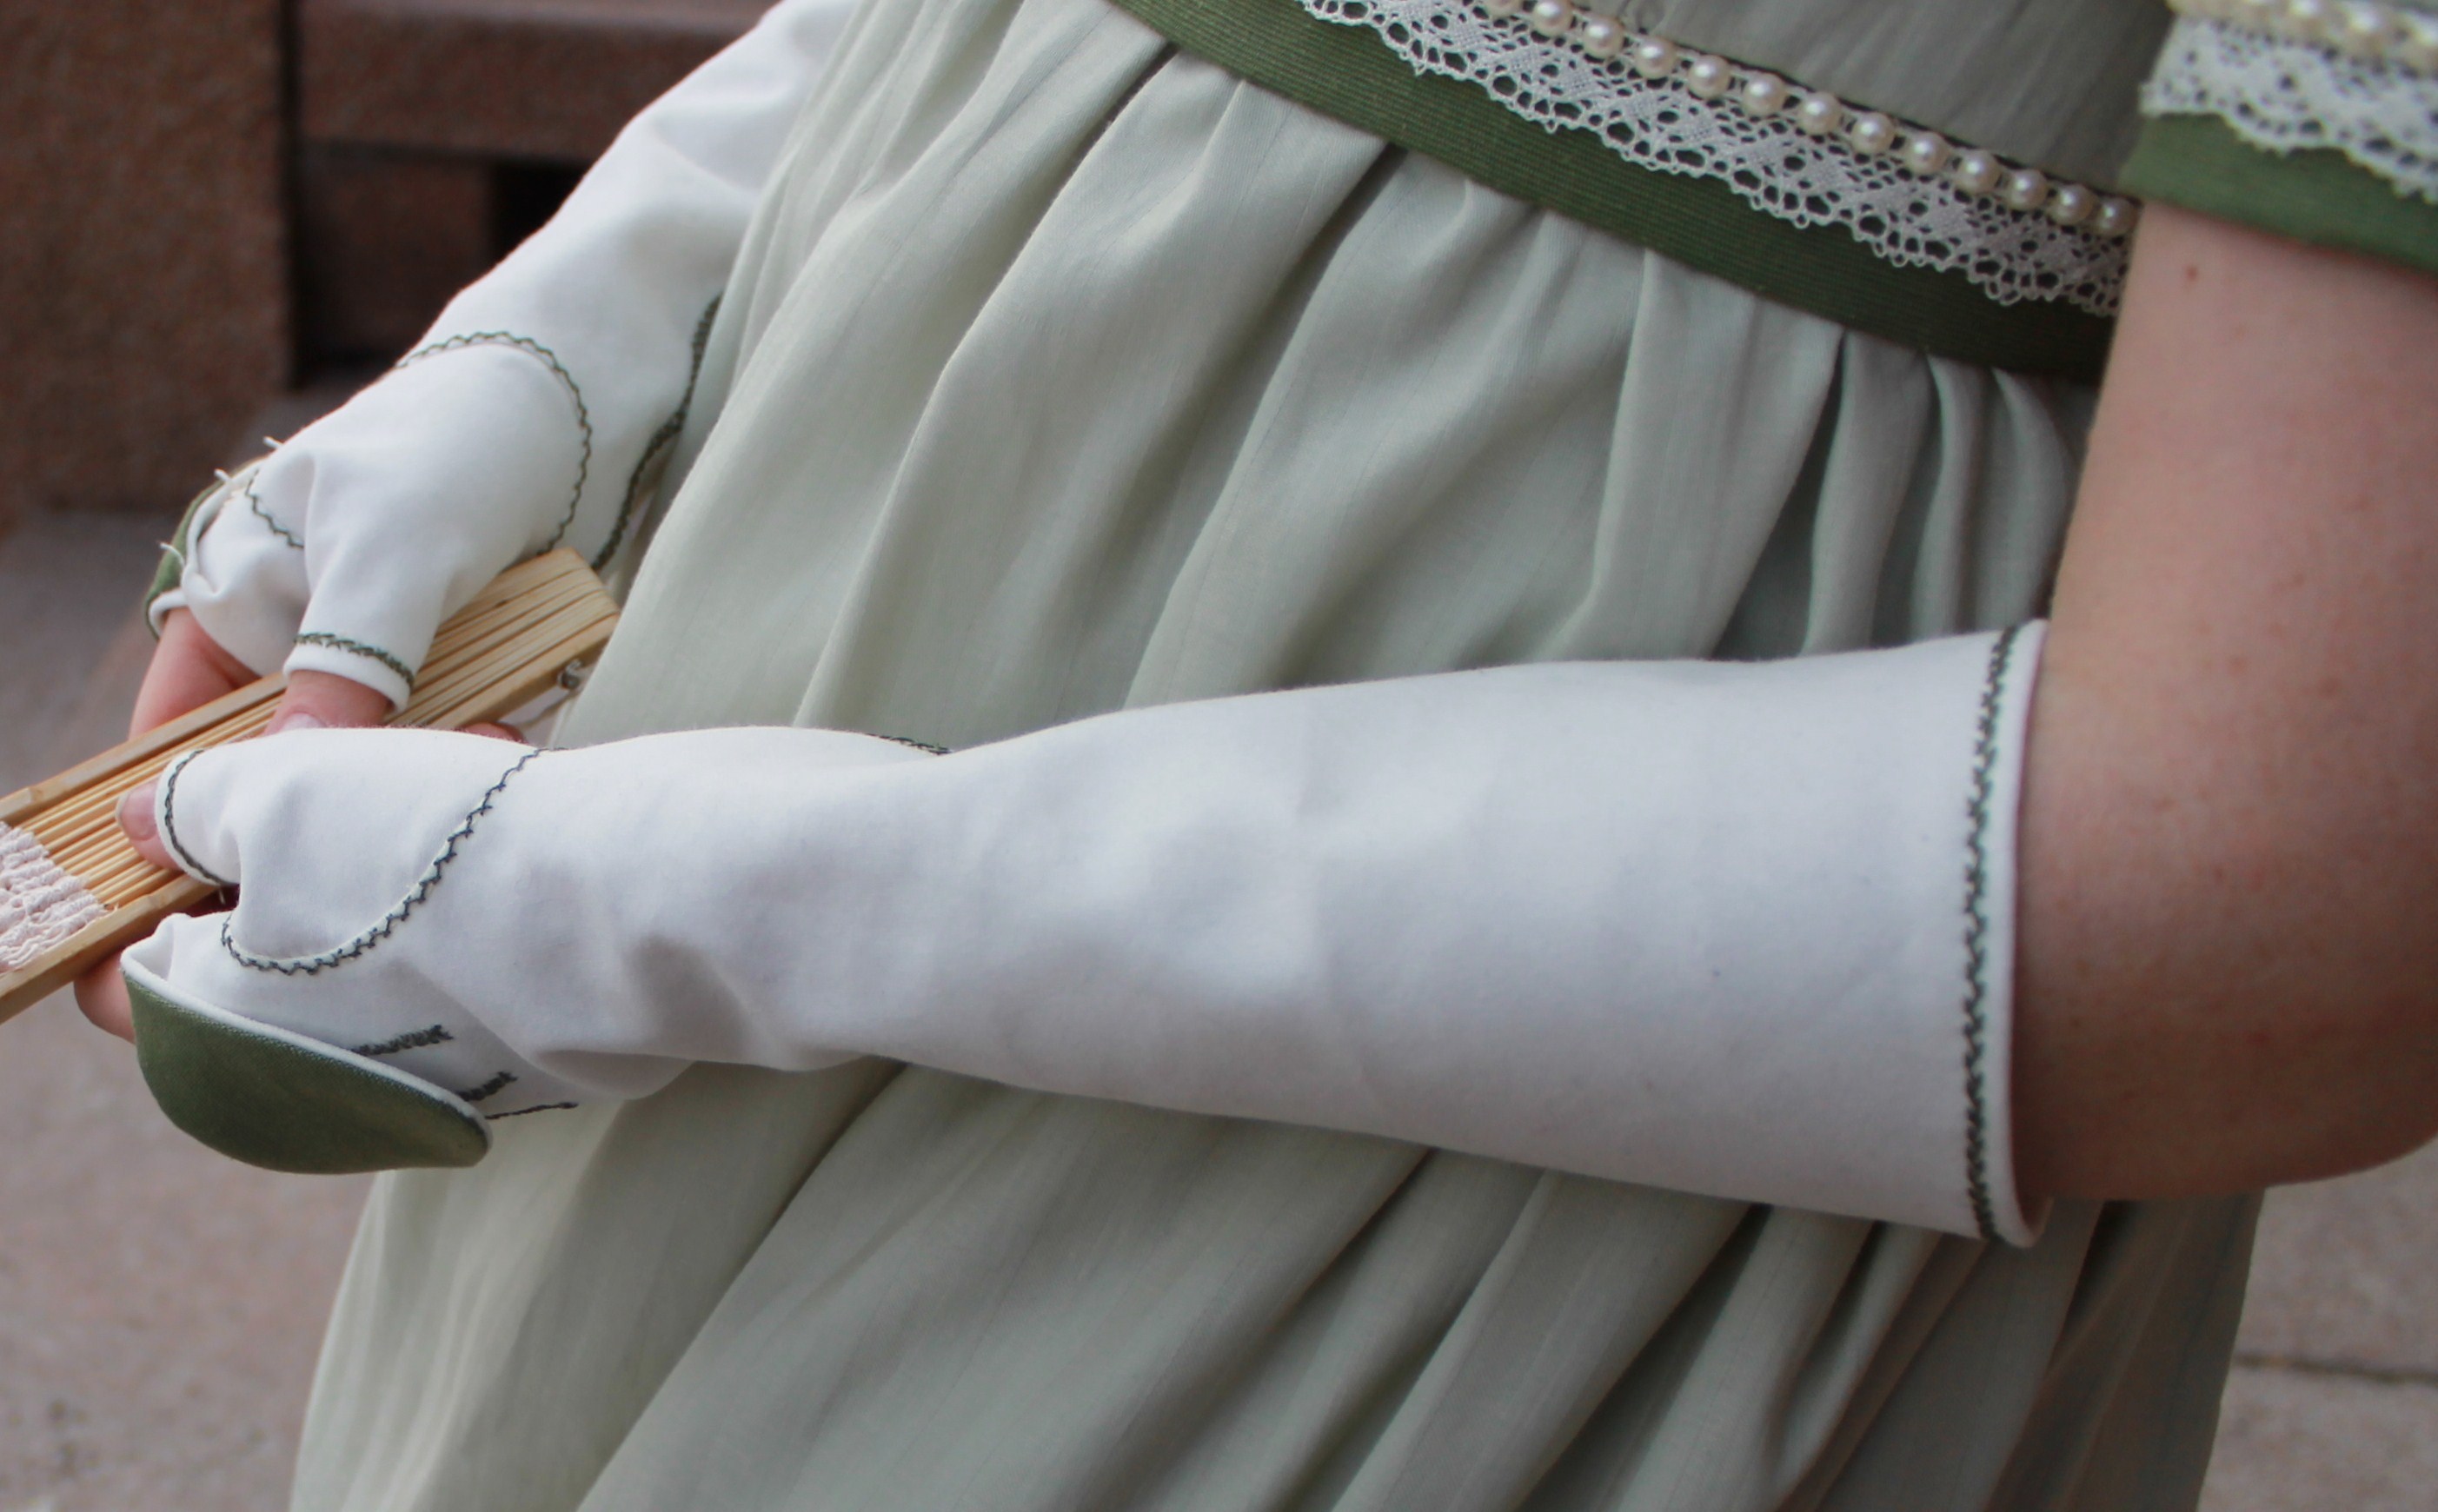
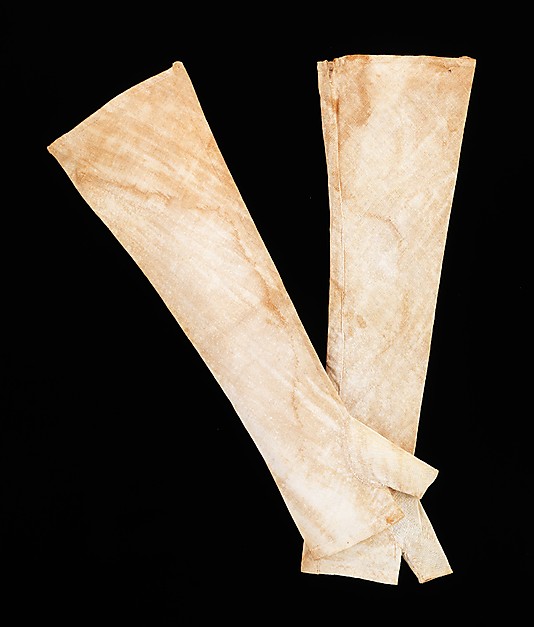
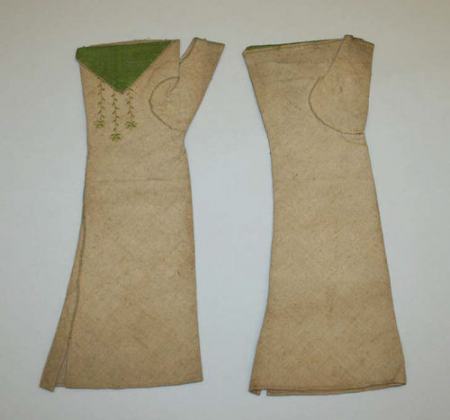
But since the turban seemed a bit too easy I also decided to make some gloves – or mittens to be exact.

26_598a-b_CP4

mittens-18th-c-met-musThese were my main inspirations

Using the pattern from “Costume Close-up”, I drafted and cut the pieces in an ivory cotton blend.

img311

They are completely handsewn and decorated with green buttonhole thread and the same green linnen as for the gown trimmings.

I also bought an ivory lace fan, and cut a big triangle of ivory organdy to use as a fichu (neck coverage) for the photoshoot.

IMG_1556

mittens

IMG_1614

accessorisePhoto: Elin Petersson

Just the facts:

Challenge nr 7 – Accessorize

What: White and green Regency mittens. And my light entries – the green turban (a scarf) and white fichu (a hemed piece of organza).

Fabric: 0,5 m cream colored, thick cotton fabric with a small soft nape.

Pattern: “Costume Close-up” By Linda Baumgarter – Mittens.

Year: 1740-1840.

Notions: Pieces of contrasting green fabric, sewing thread and green buttonhole thread.

How accurate: Pretty good – completely hand stitched with historical patterns and sewing techniques. So about 90 %.

Hours: 6 hours – lots of decorative handstitching.

Cost: 8 USD.

First worn: On Gods friday when we had the photoshoot.

Final thoughts: I love my mittens and plan to make lots of them in different colors and fabrics.

I also noticed that the hostess of HSF The Dreamstess mentioned my mittens as one of her favourite accessories for this challenge.