One of the challenges in the HSF I found the most interesting was the nr 5 Peasants and Pioneres back in Mars. Since I’m obviosly a “princess” when it comes to historical costuming, I found it verry educative to force myself down the heraldic scale to the common people.
I serced my books and the internet, and pretty soon found the pictures to use as my inspiration.

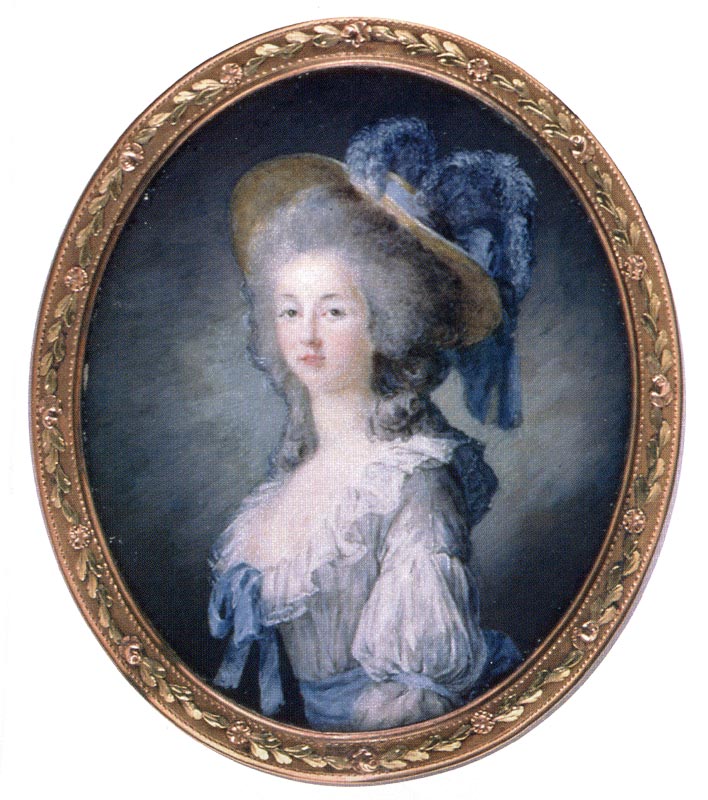
It is a painting of dancing towns-people in the 16th century England, from the book “The Tudor Tailor”. A book who also had some suiting patter for the costumes.

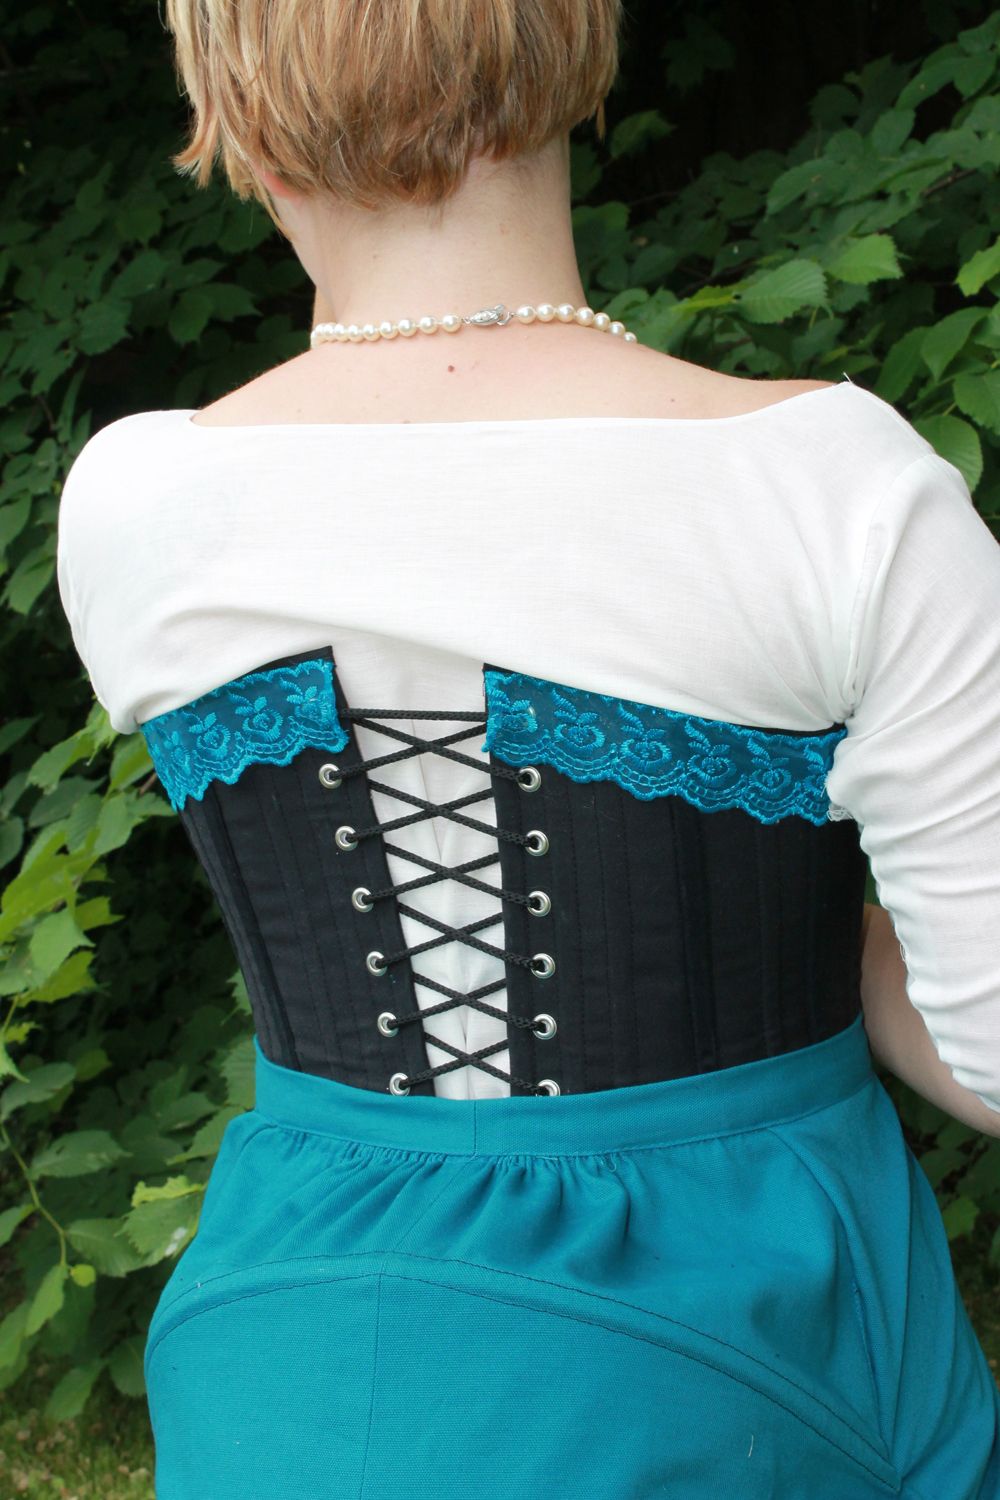
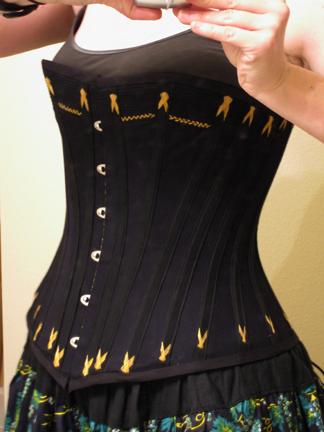
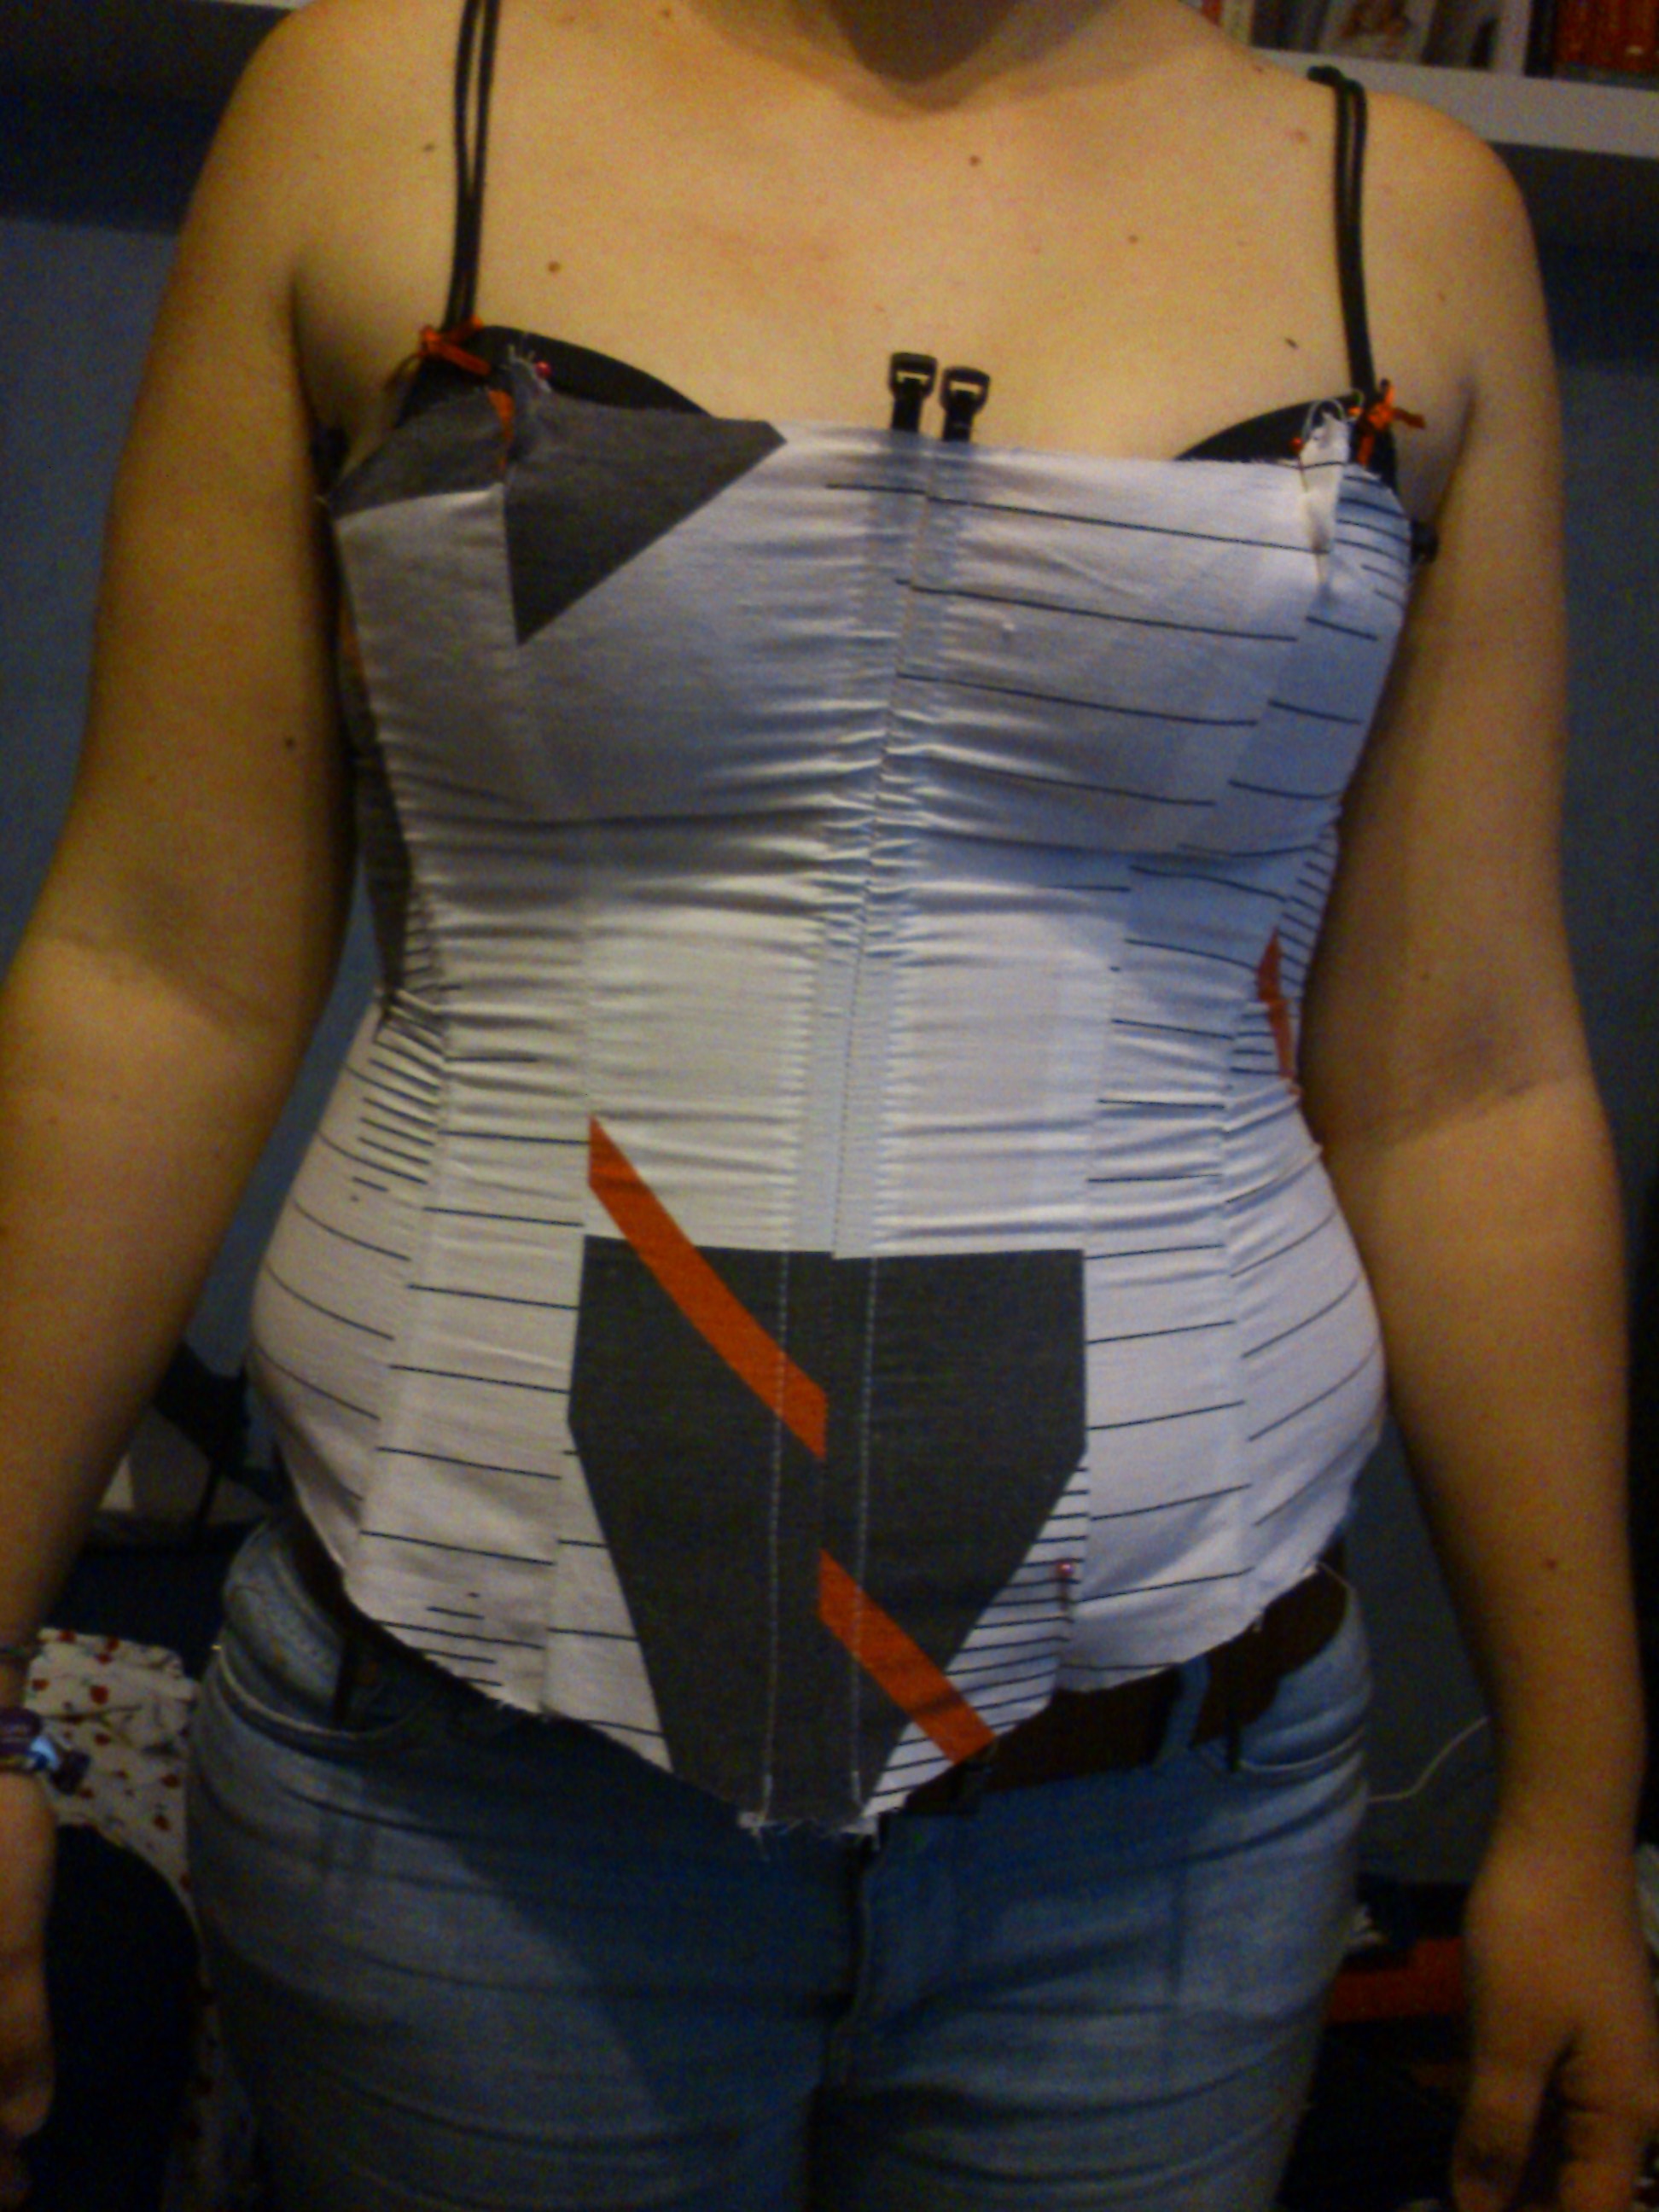
I decided on the pattern for the Kirtle (or underdress) with a front lacing and room for a smal bumroll. The fabric used where a red cotton twill.
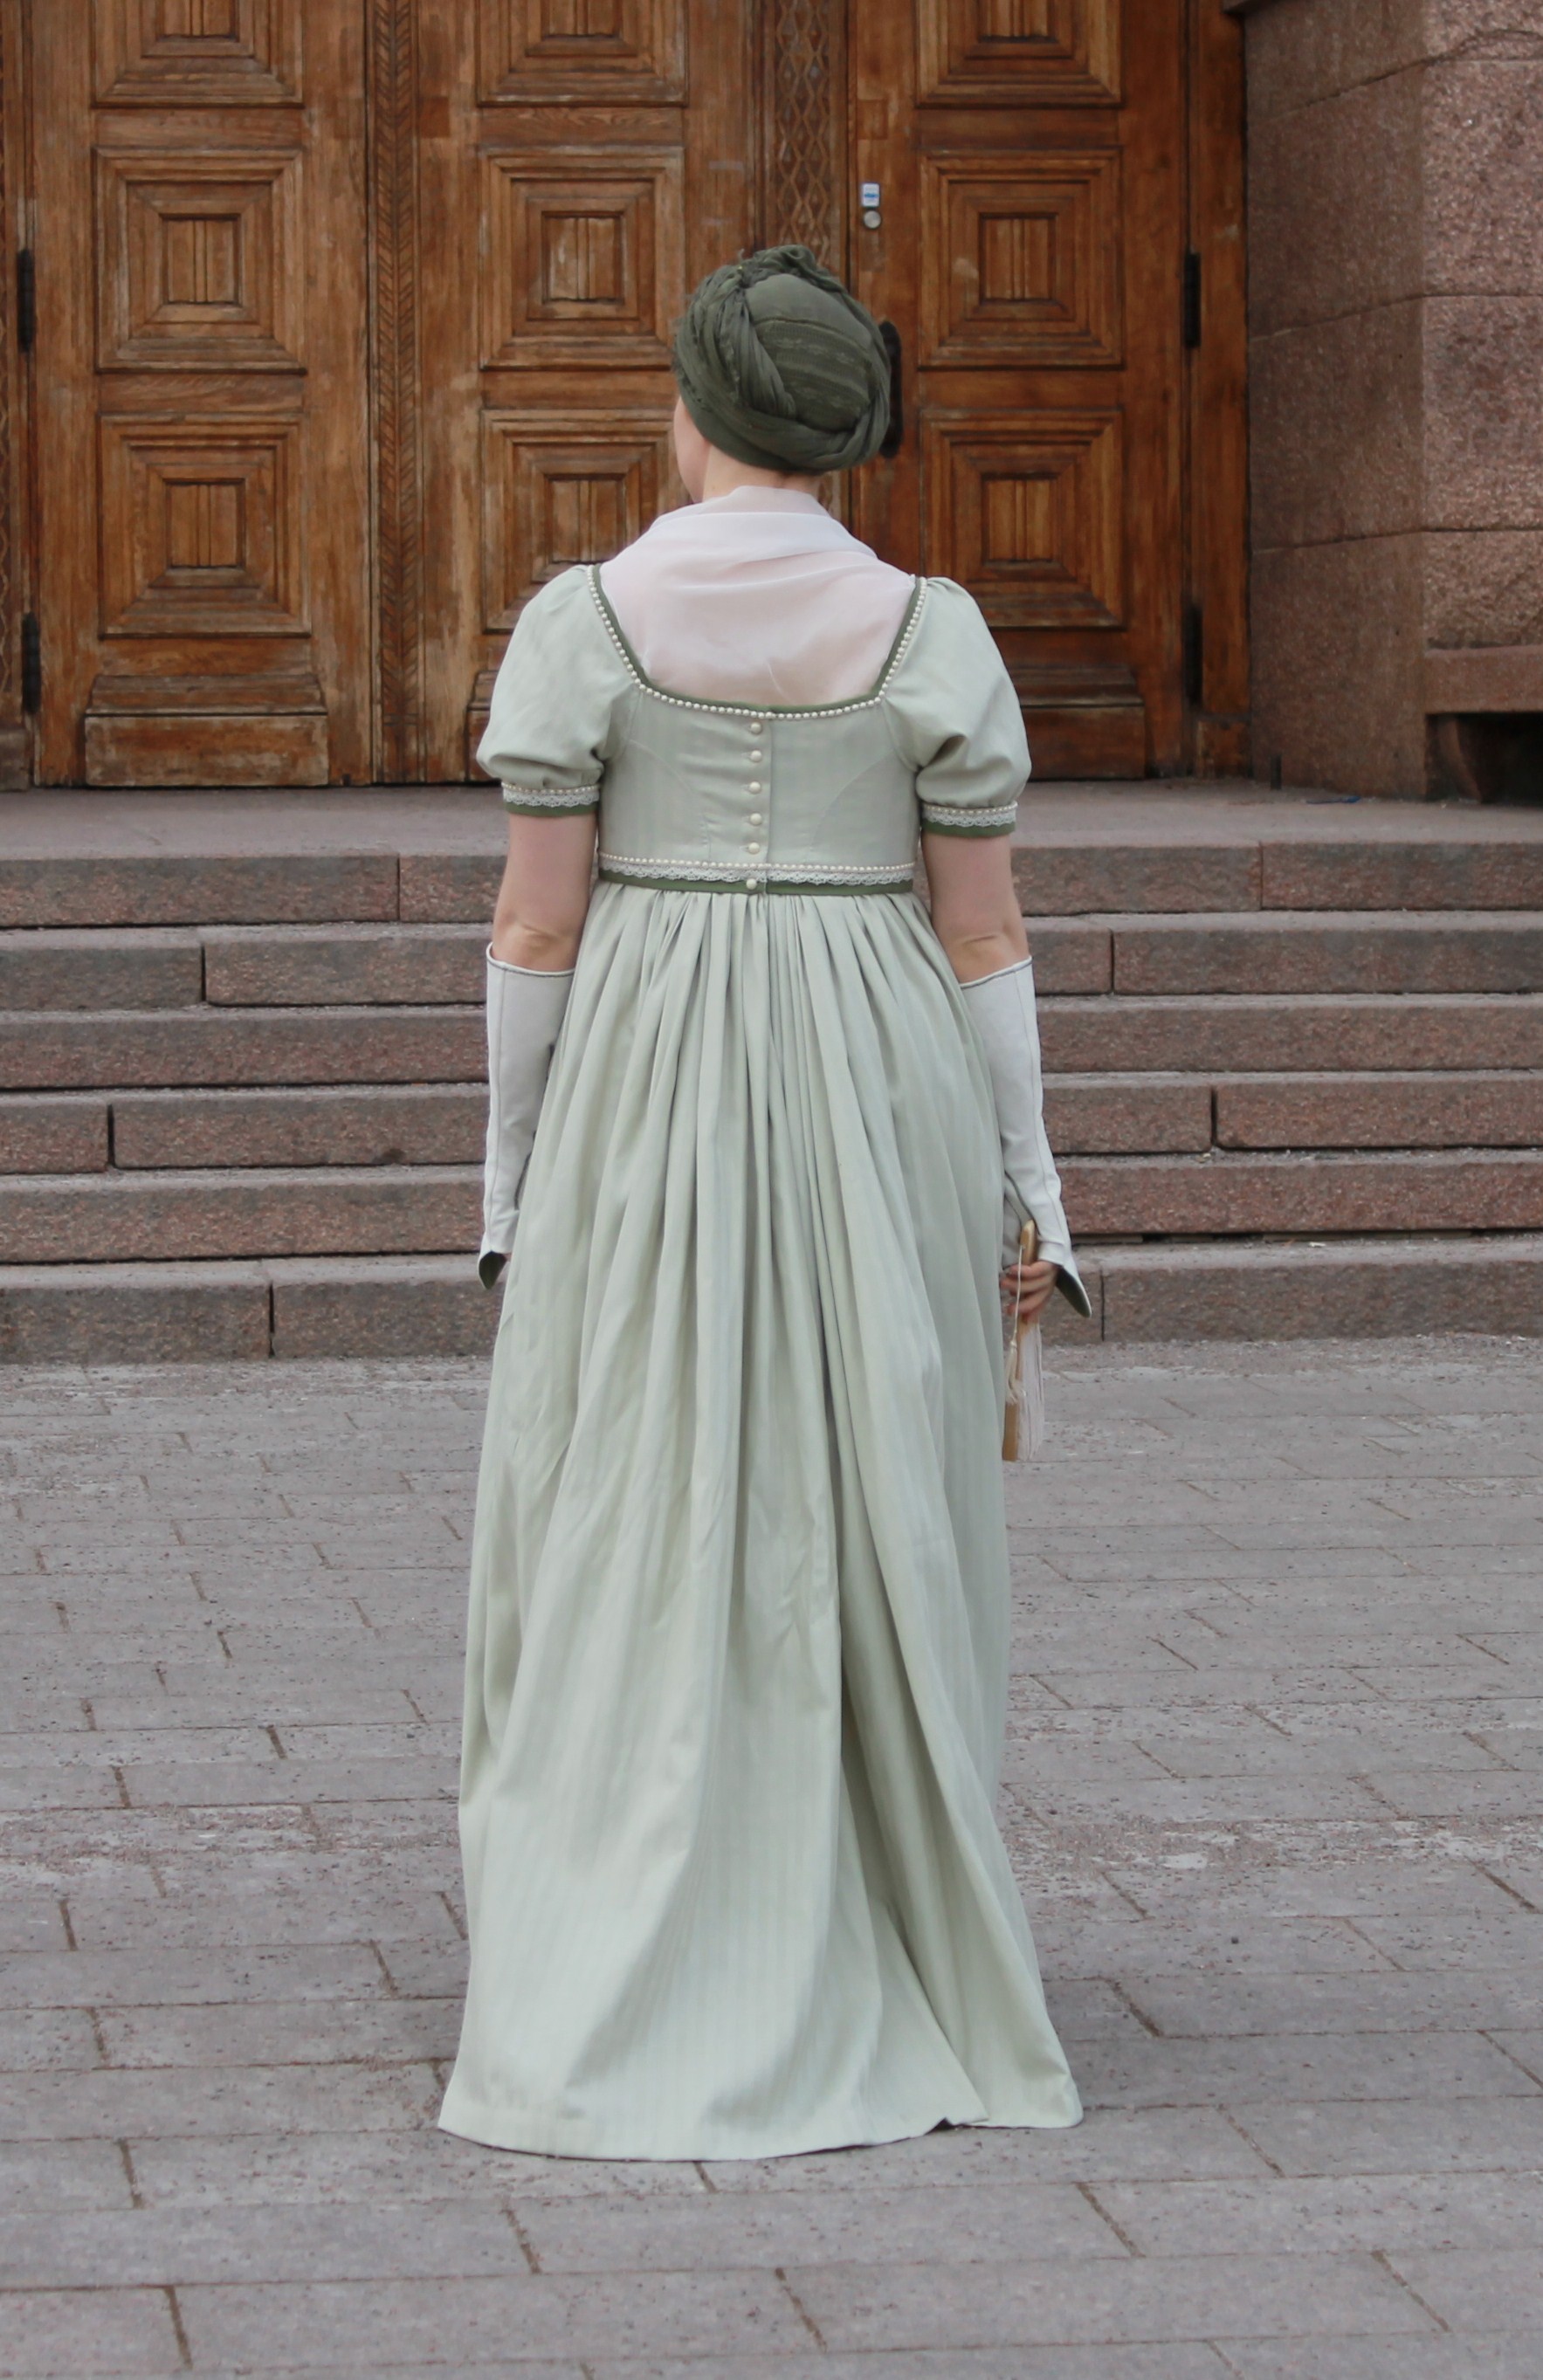
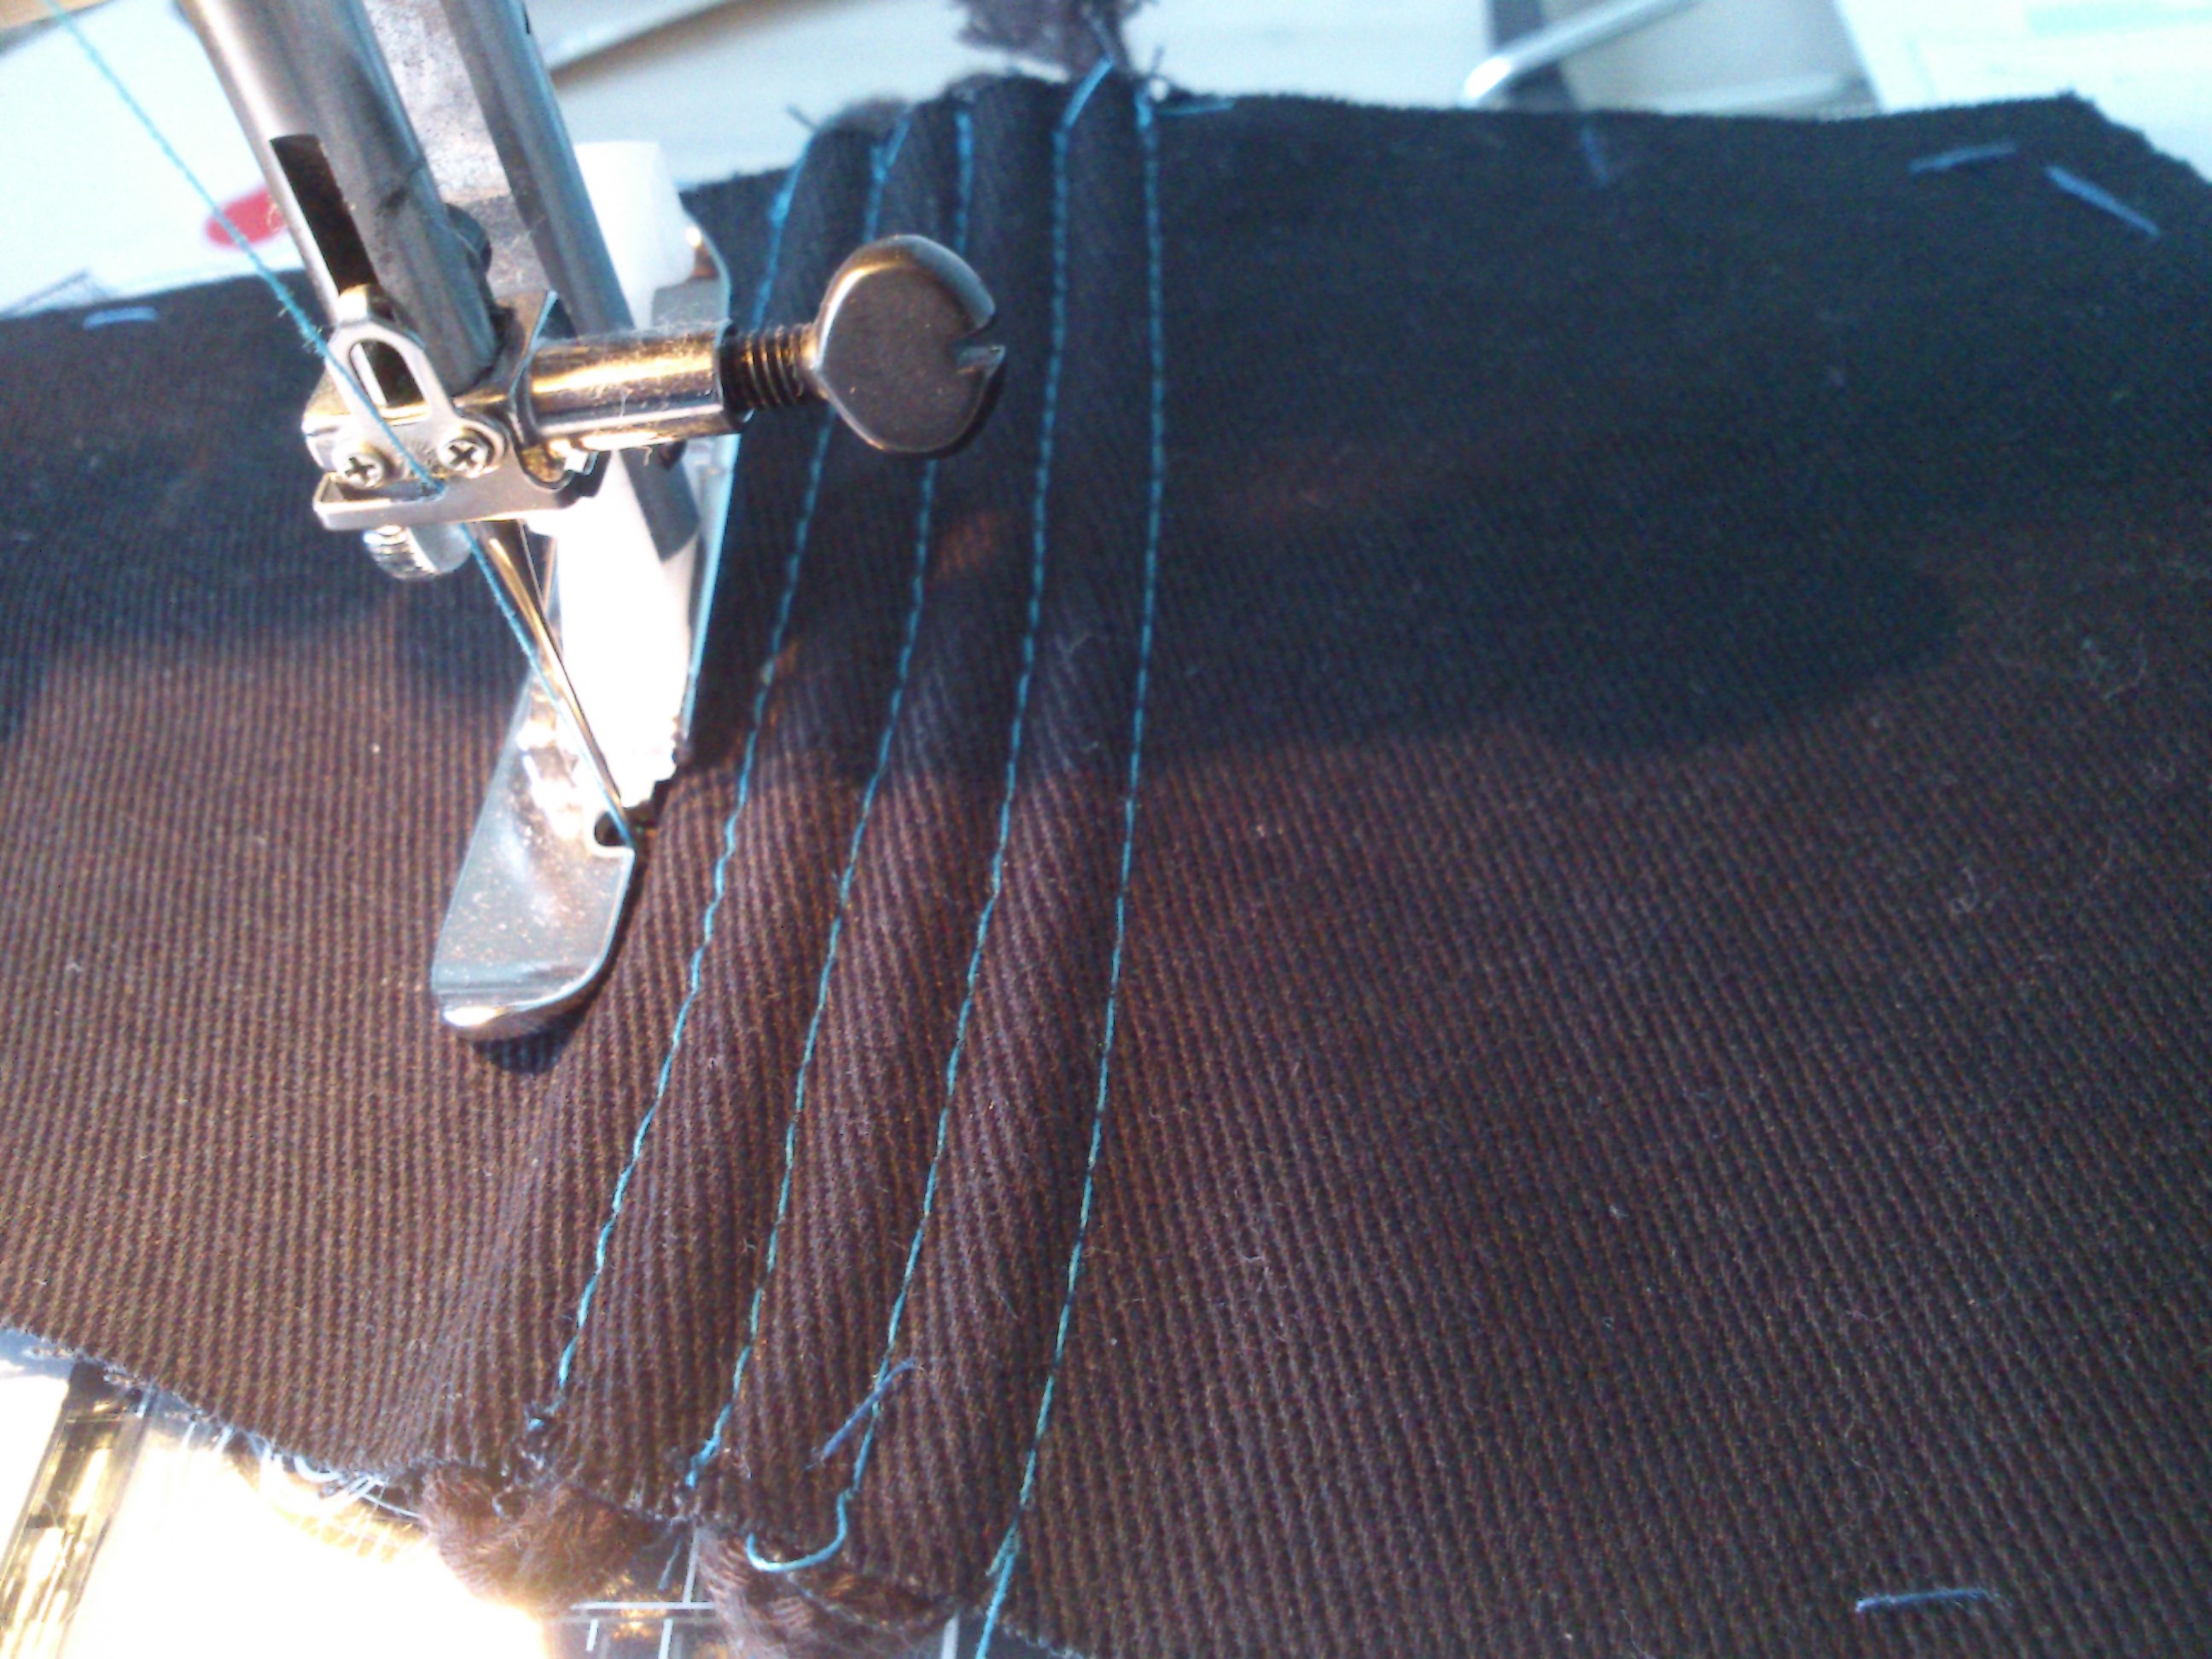
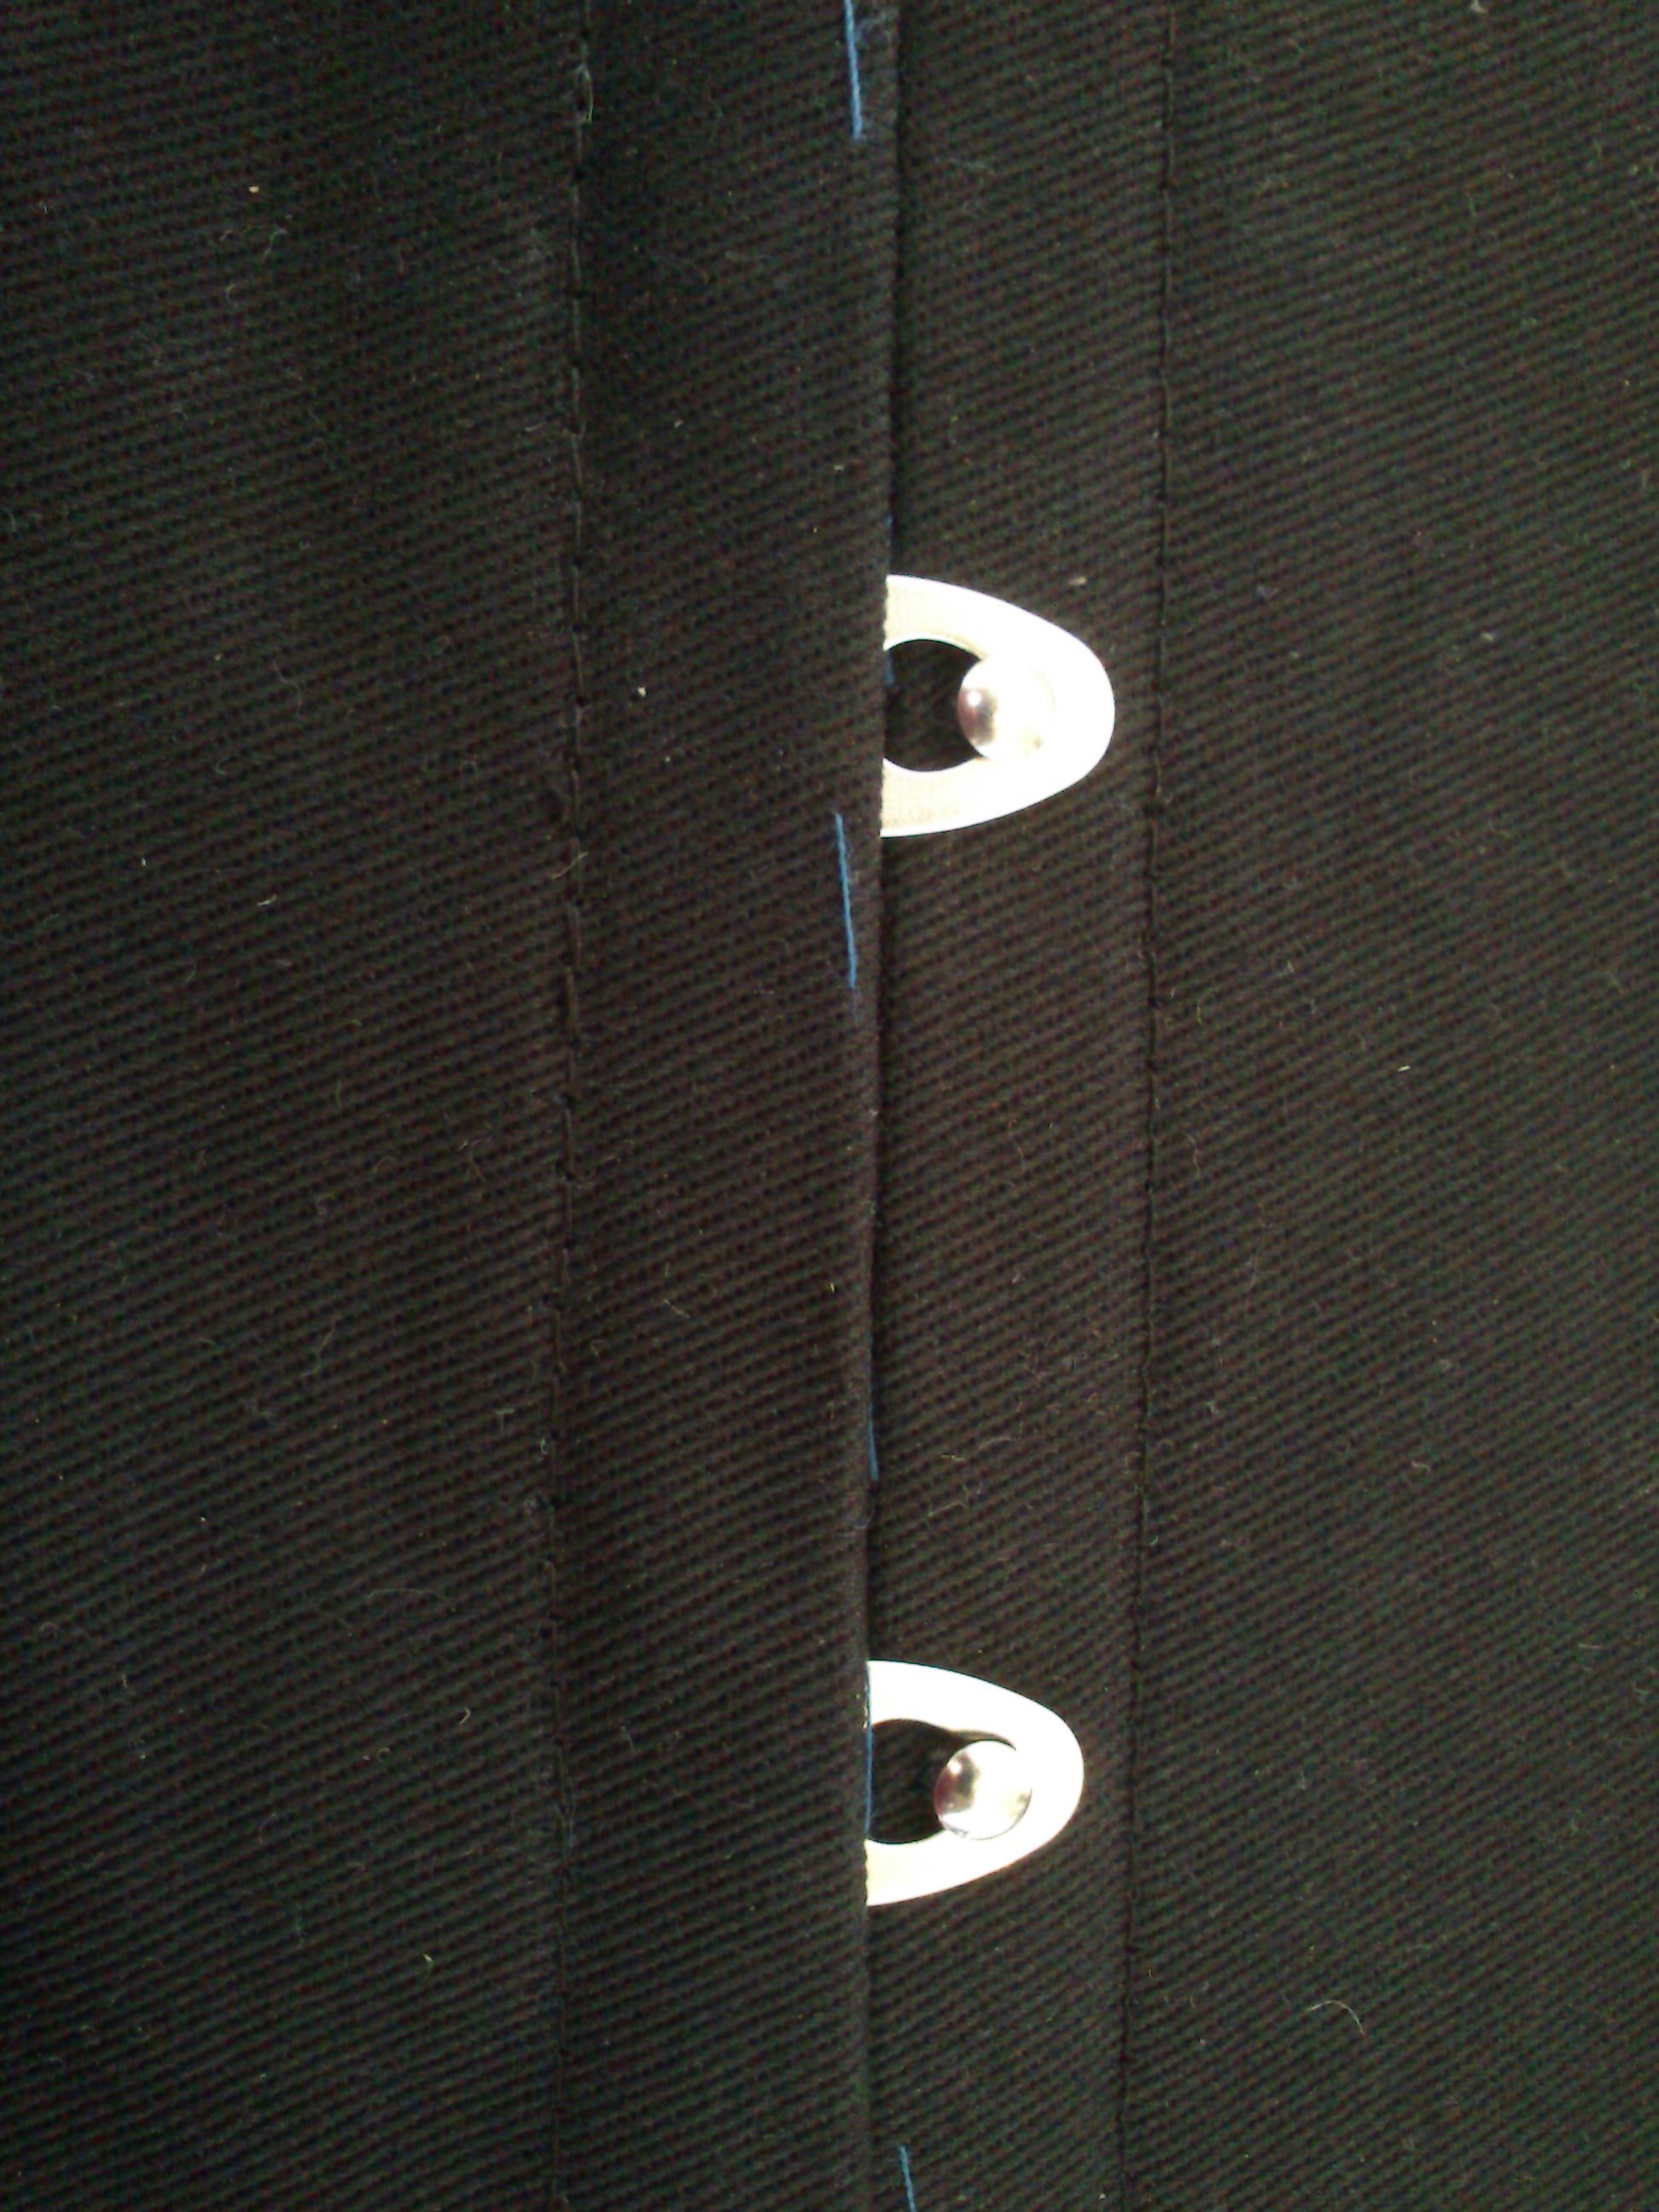
The Kirtle went together pretty easy and I boned the bodice with some cable-ties, and handsewed all the lacing holes with brown button-hole thread. I pleated the skirt to the bodice and left an open slit in the front for size adjustments.
 Pay no attention to the white sick-sack thread – For some reason I started to gather the skirt. But then I came to my sences and pleated it, as is the proper 16 th century way of doing this.
For the apron I used a brown cotton sheet from my stash and made the pattern as a rektangel gathered to a waistband.
I also needed to make some headwear, both out of decency and to cover my own short hairdo. I used the pattern for a Henrican coif in the same book. And made it out of some pieces of white cotton and some wire.

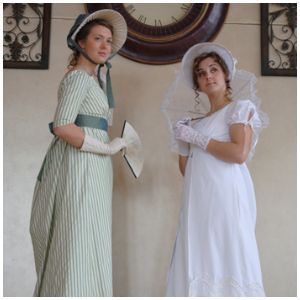
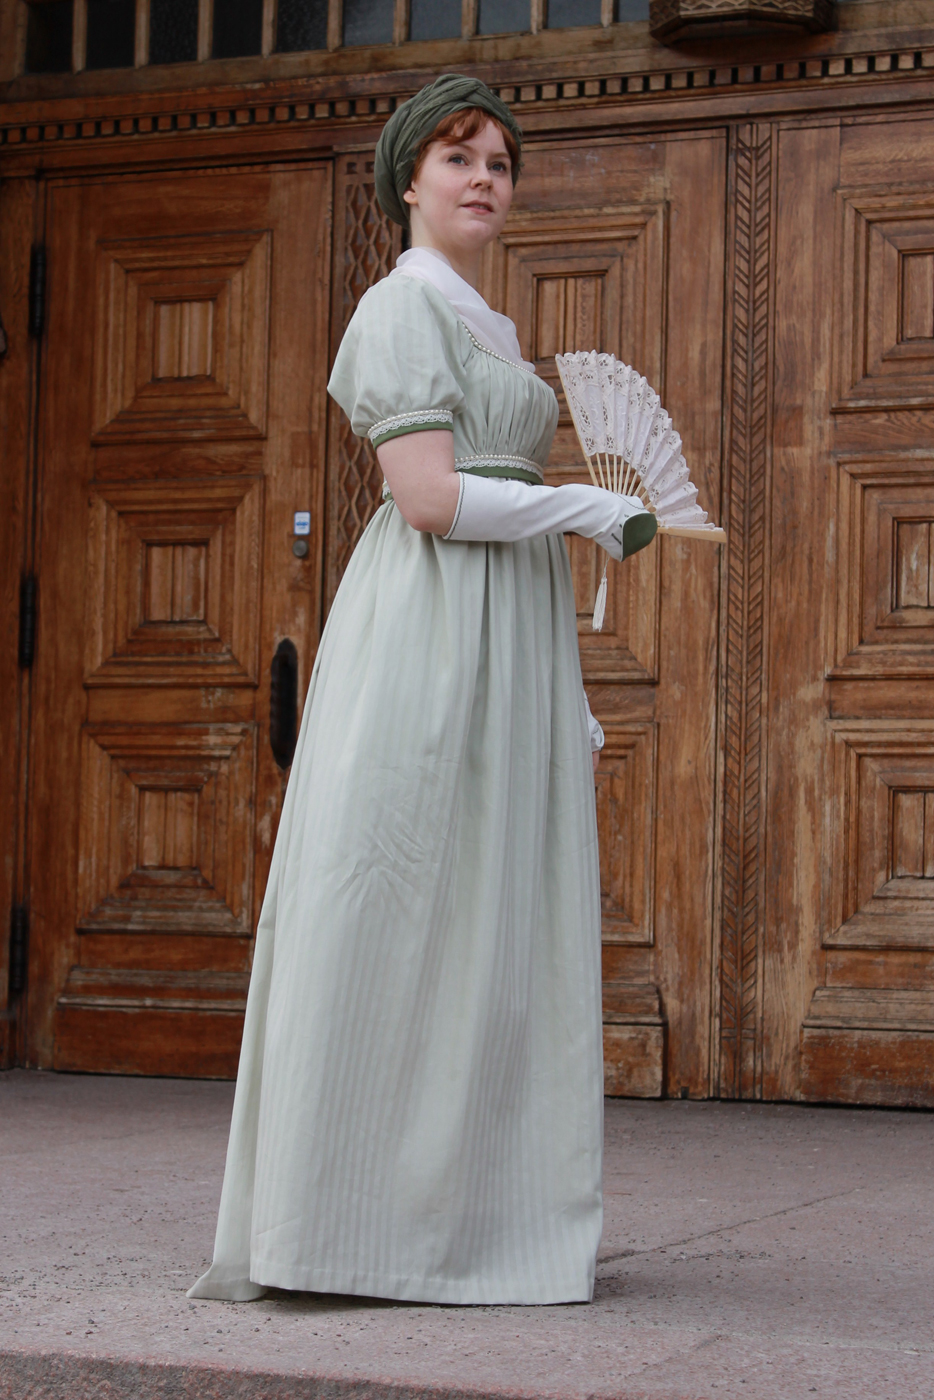
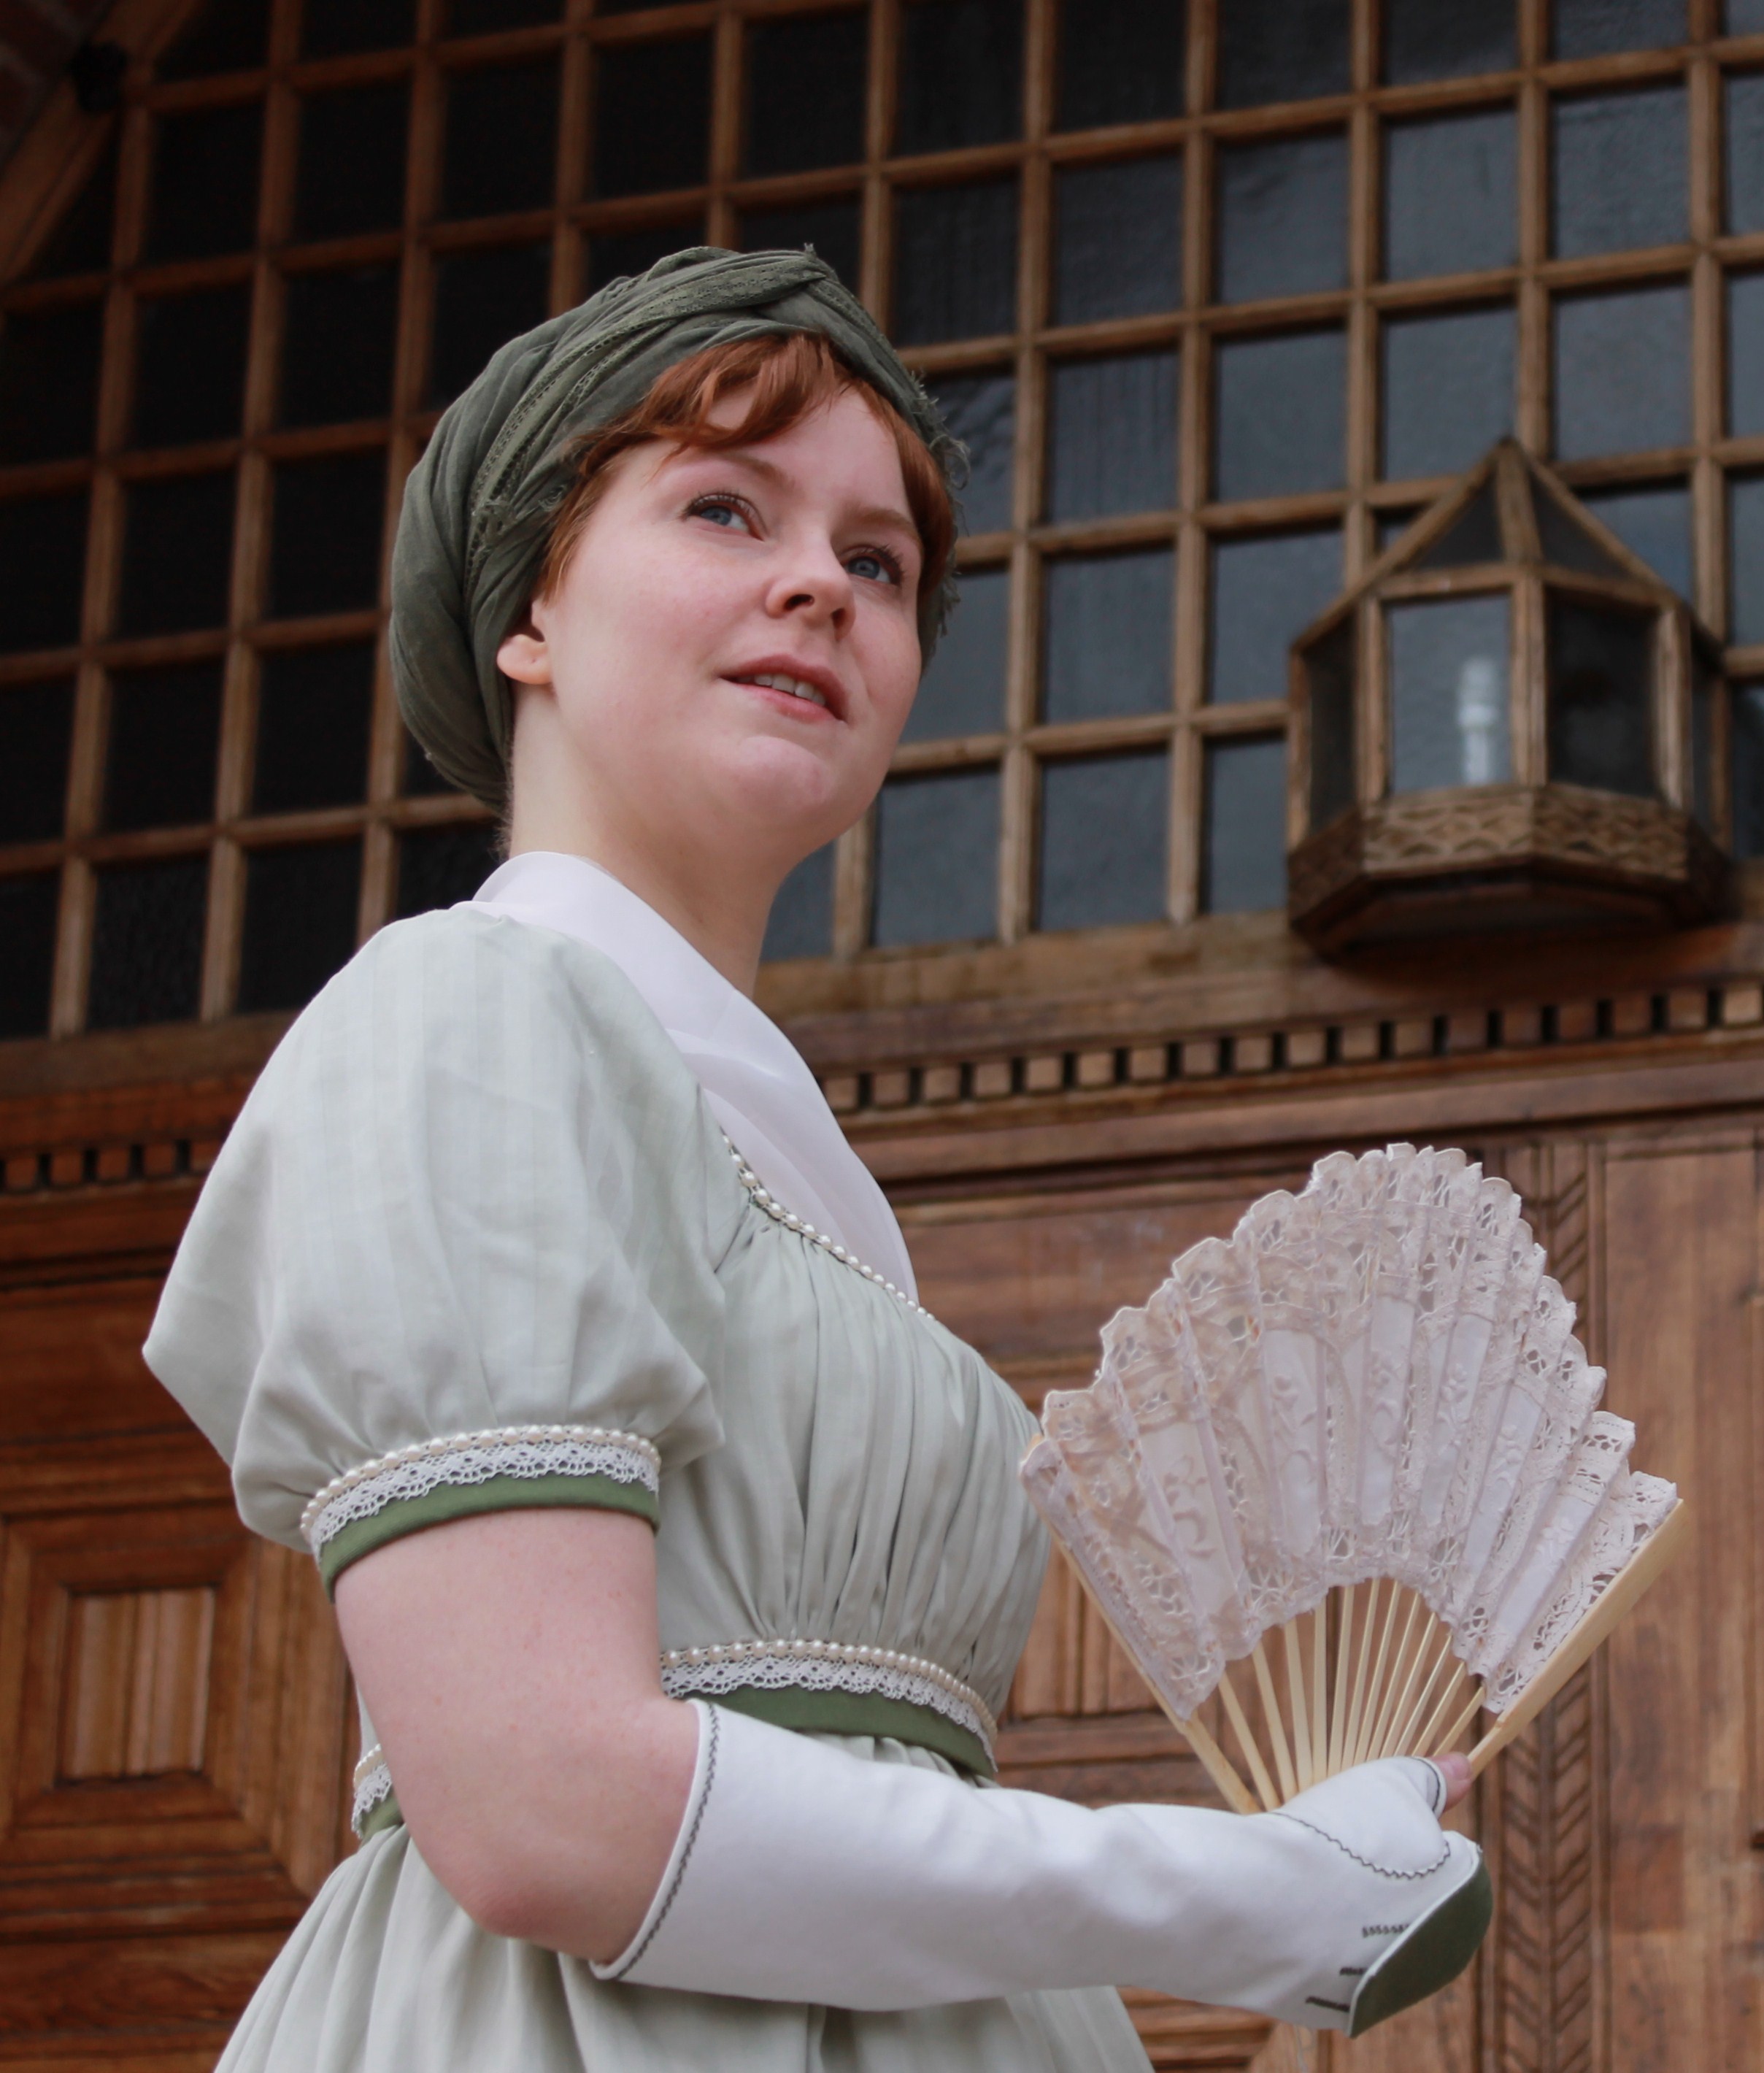
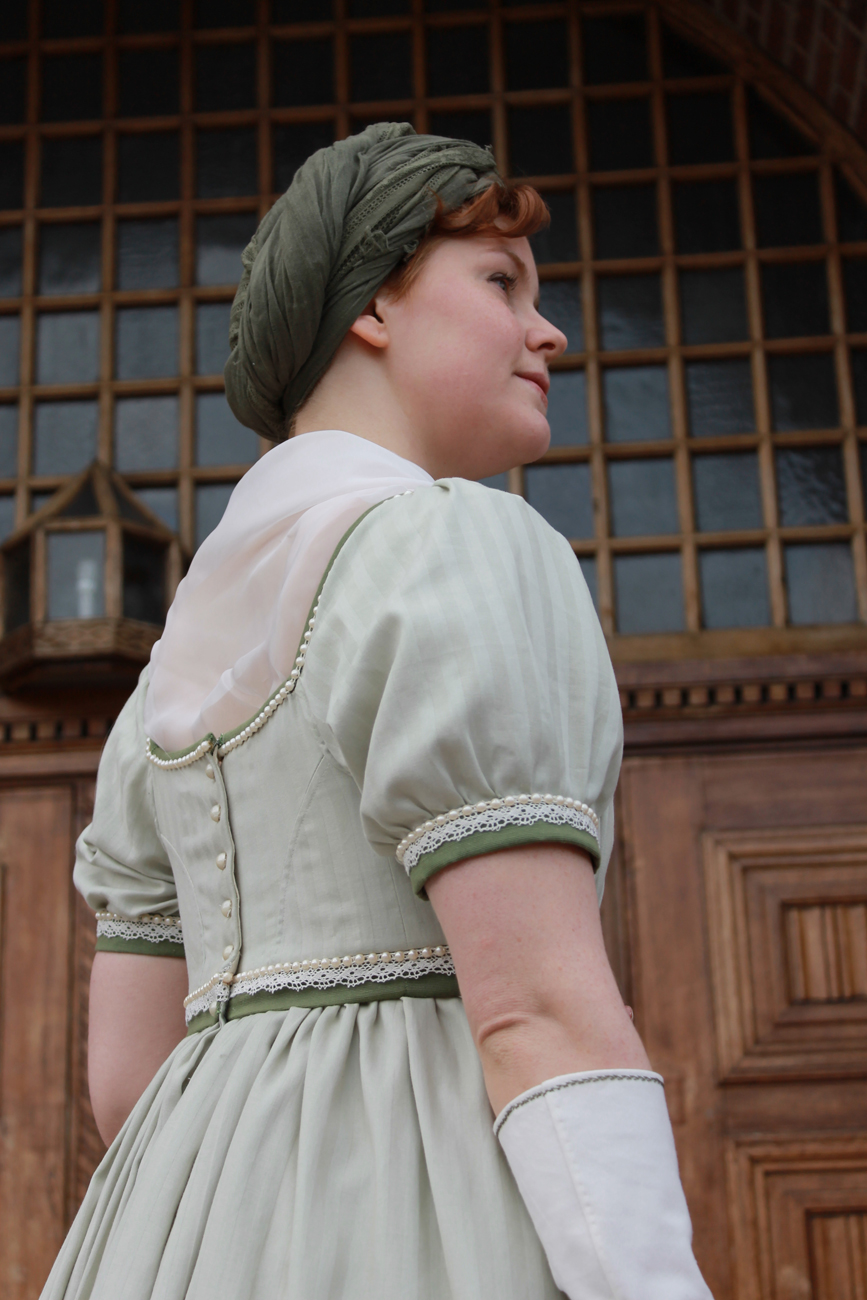
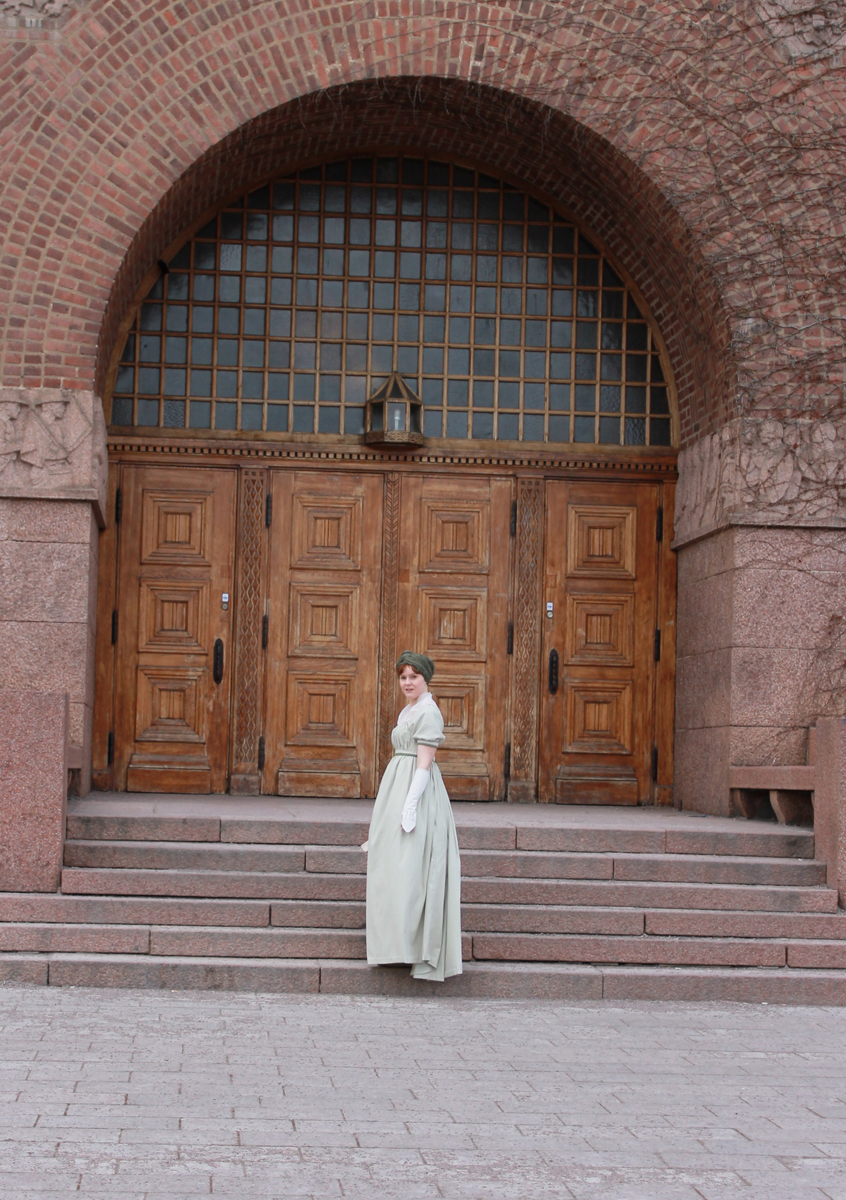
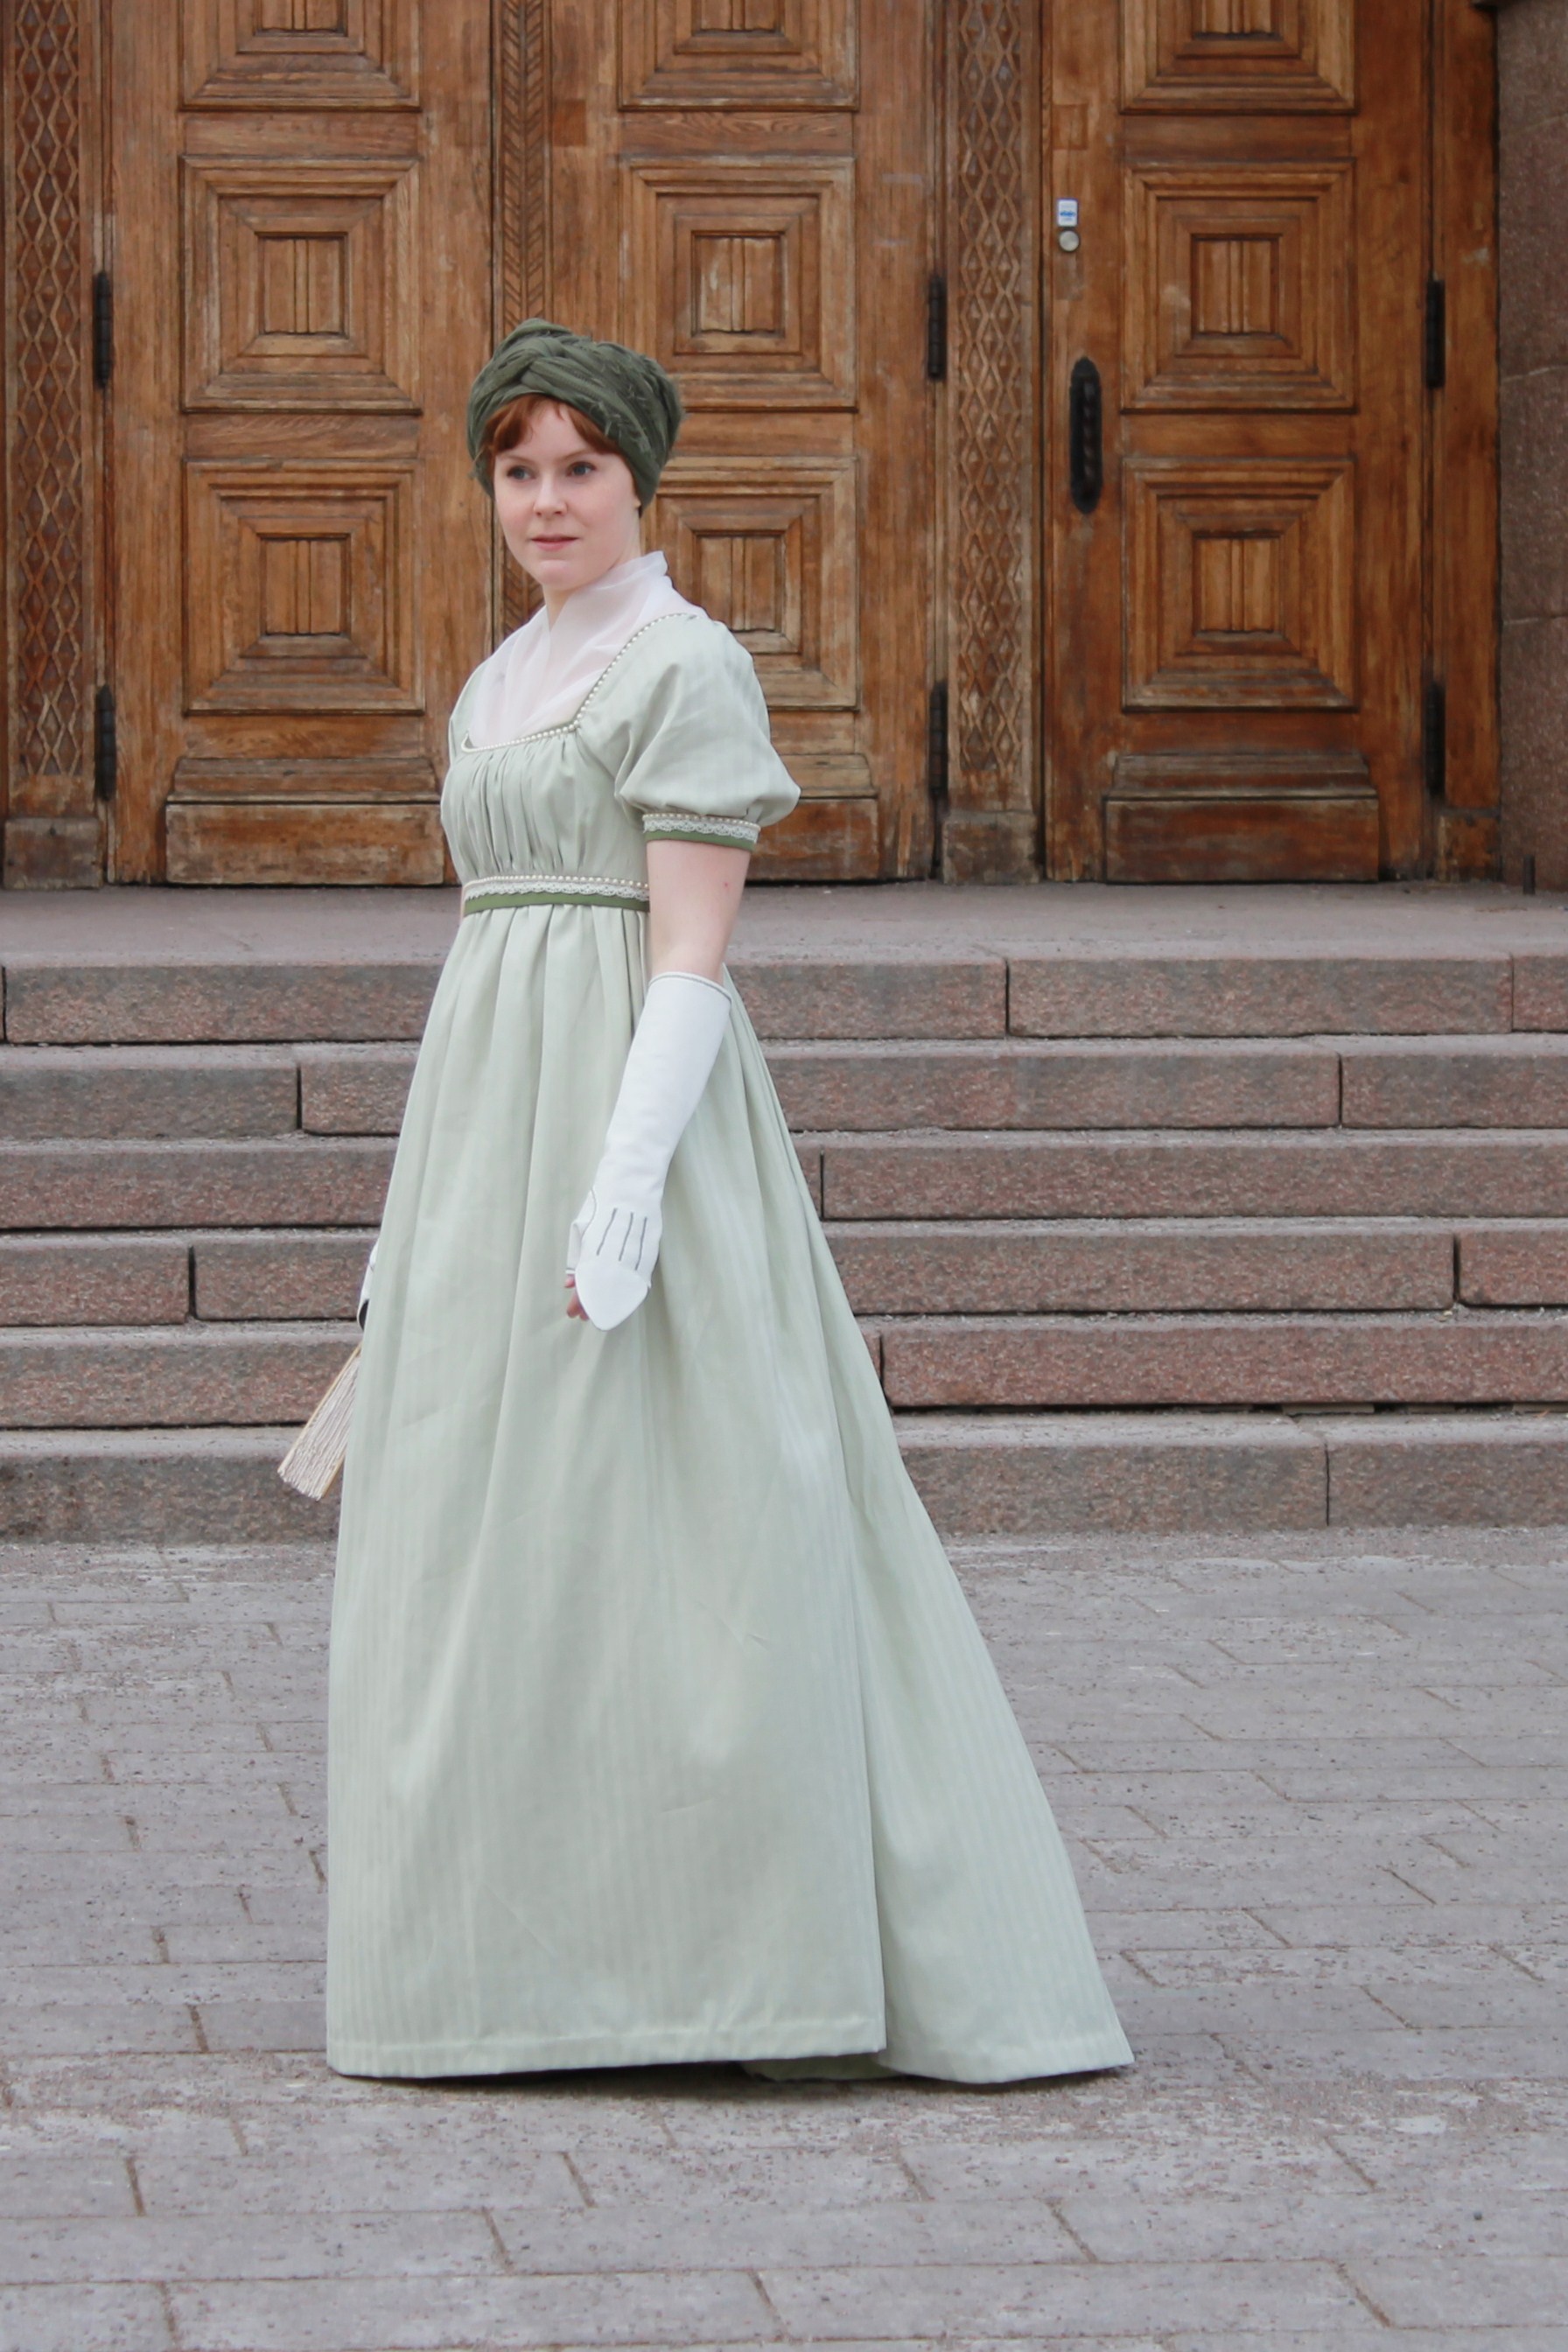
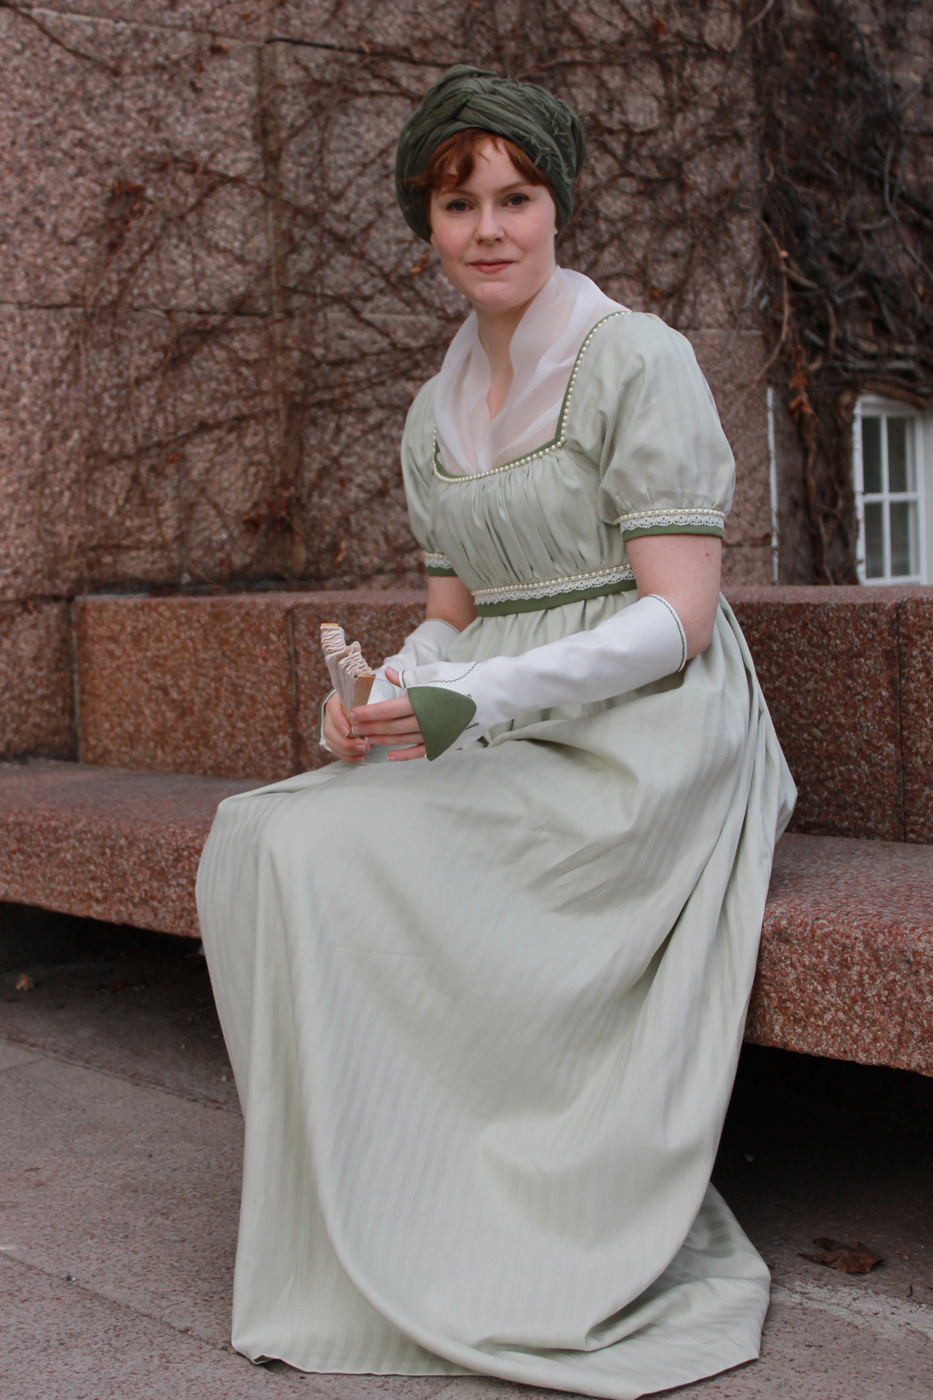
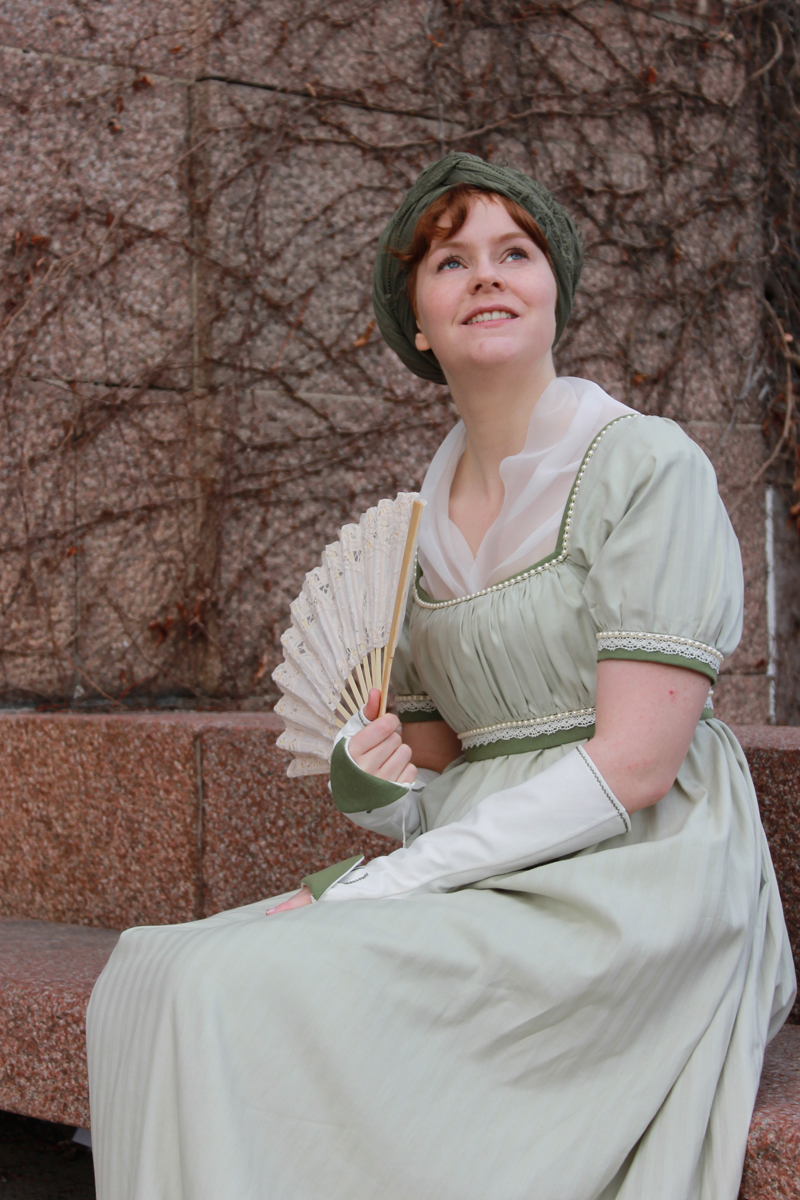
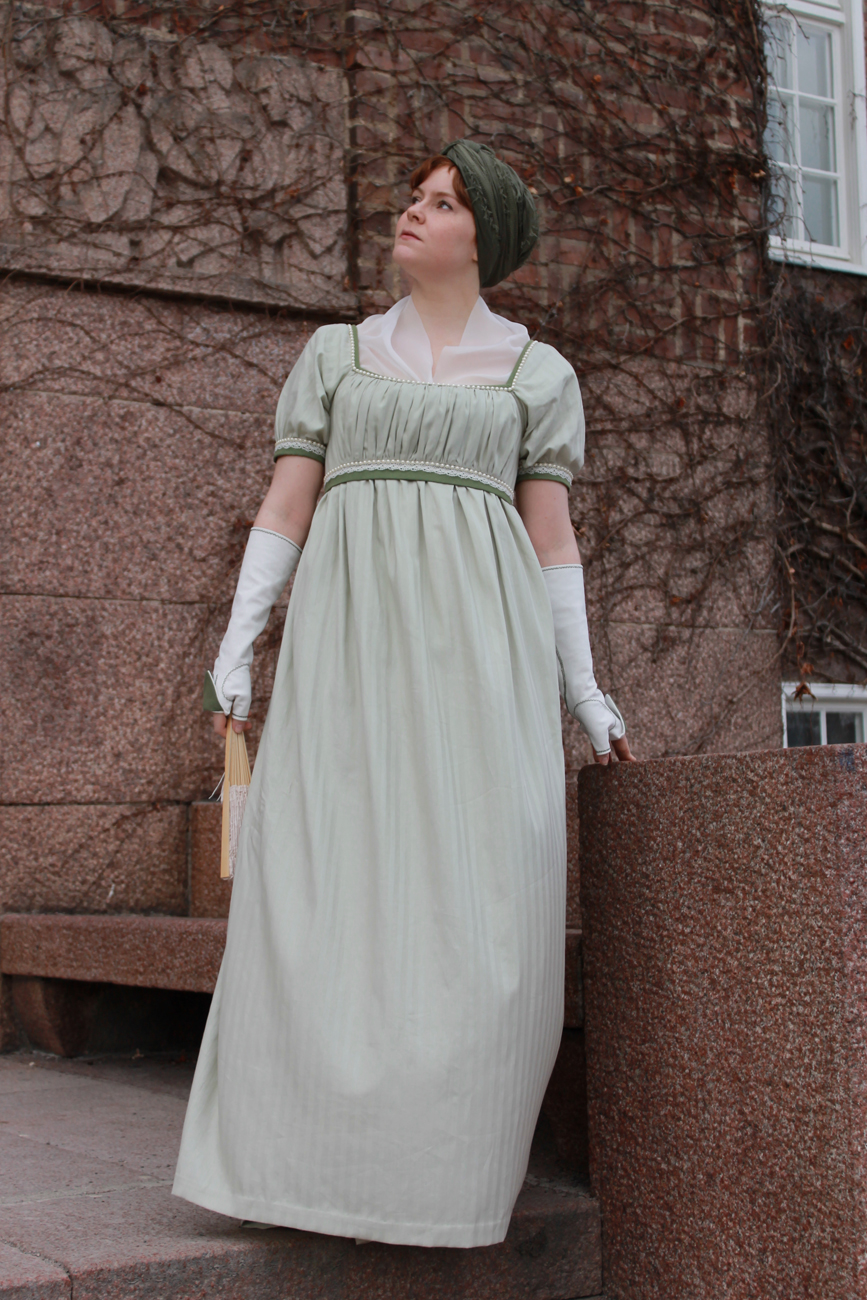
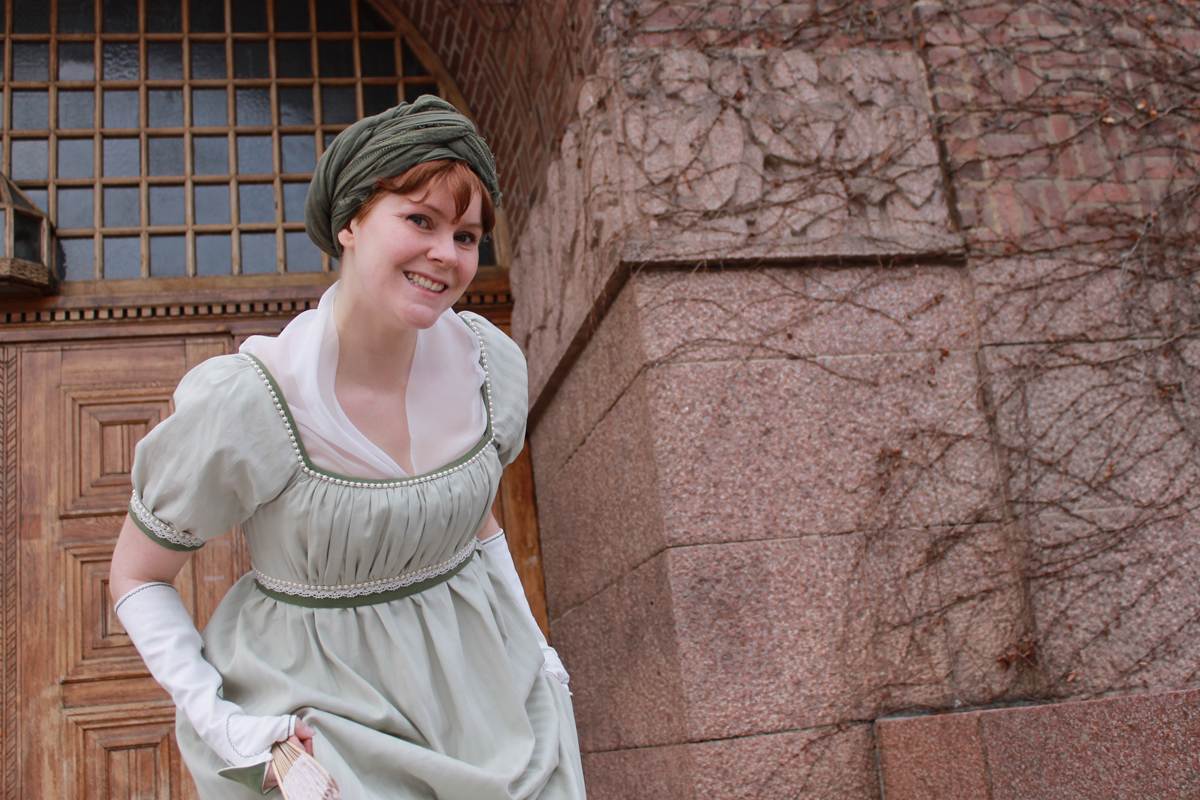
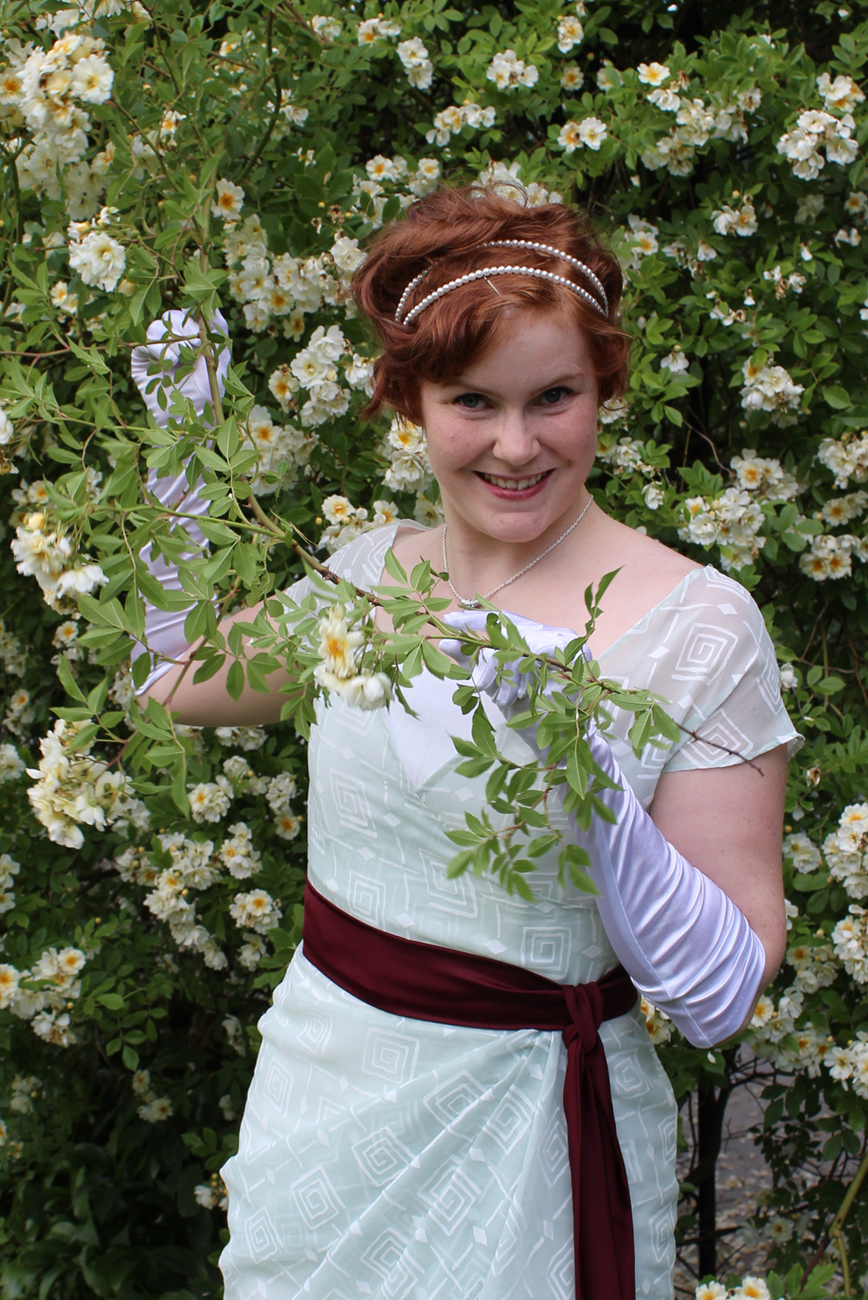
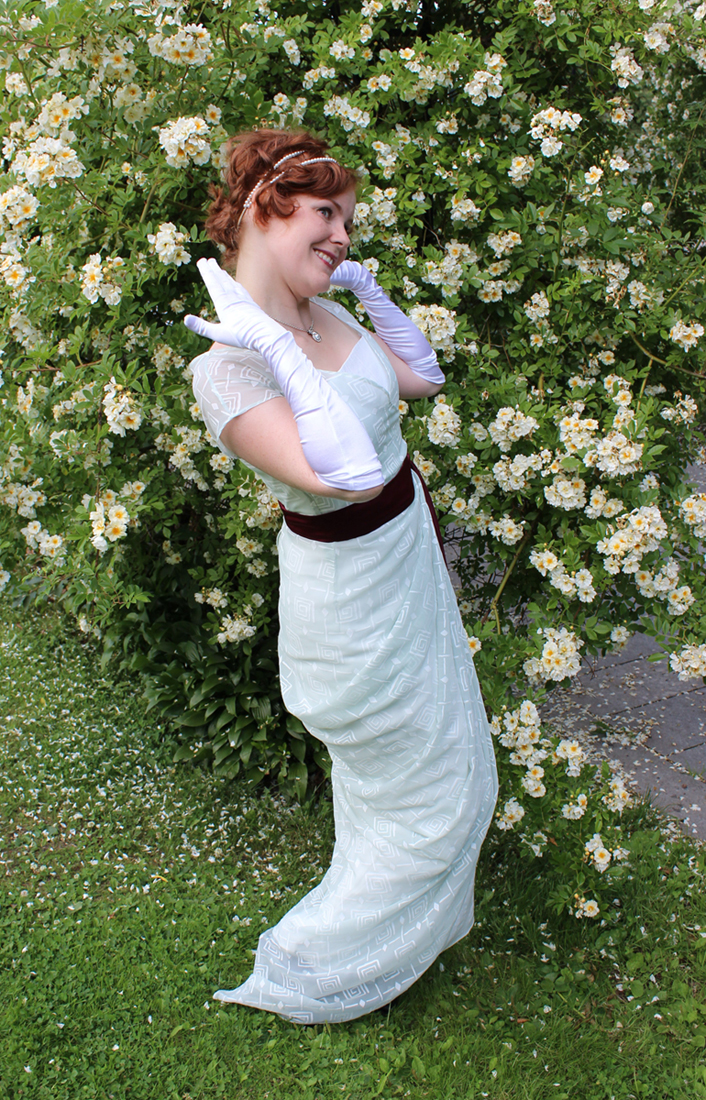
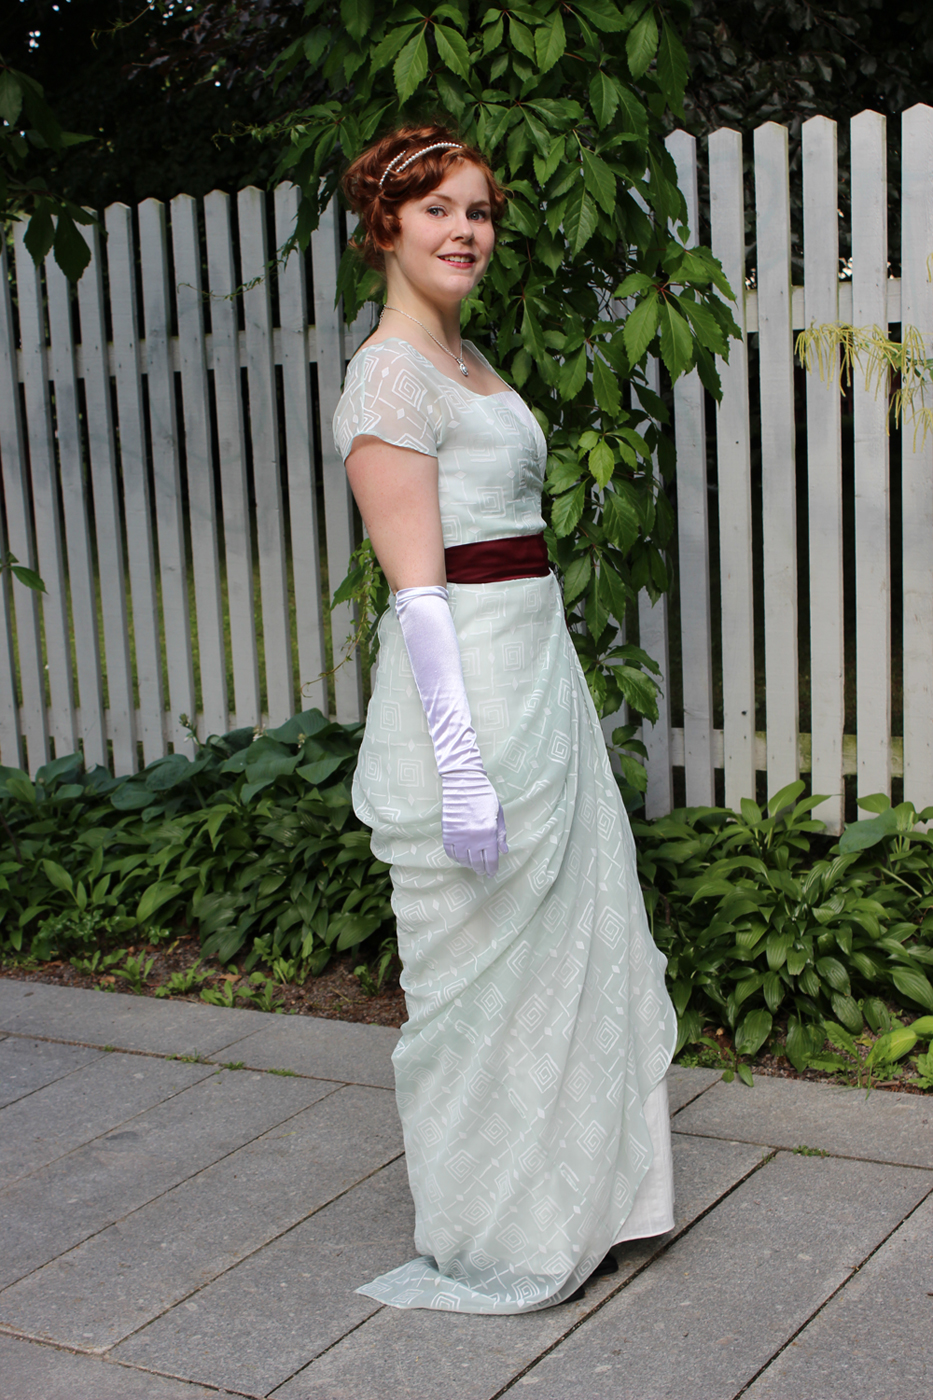
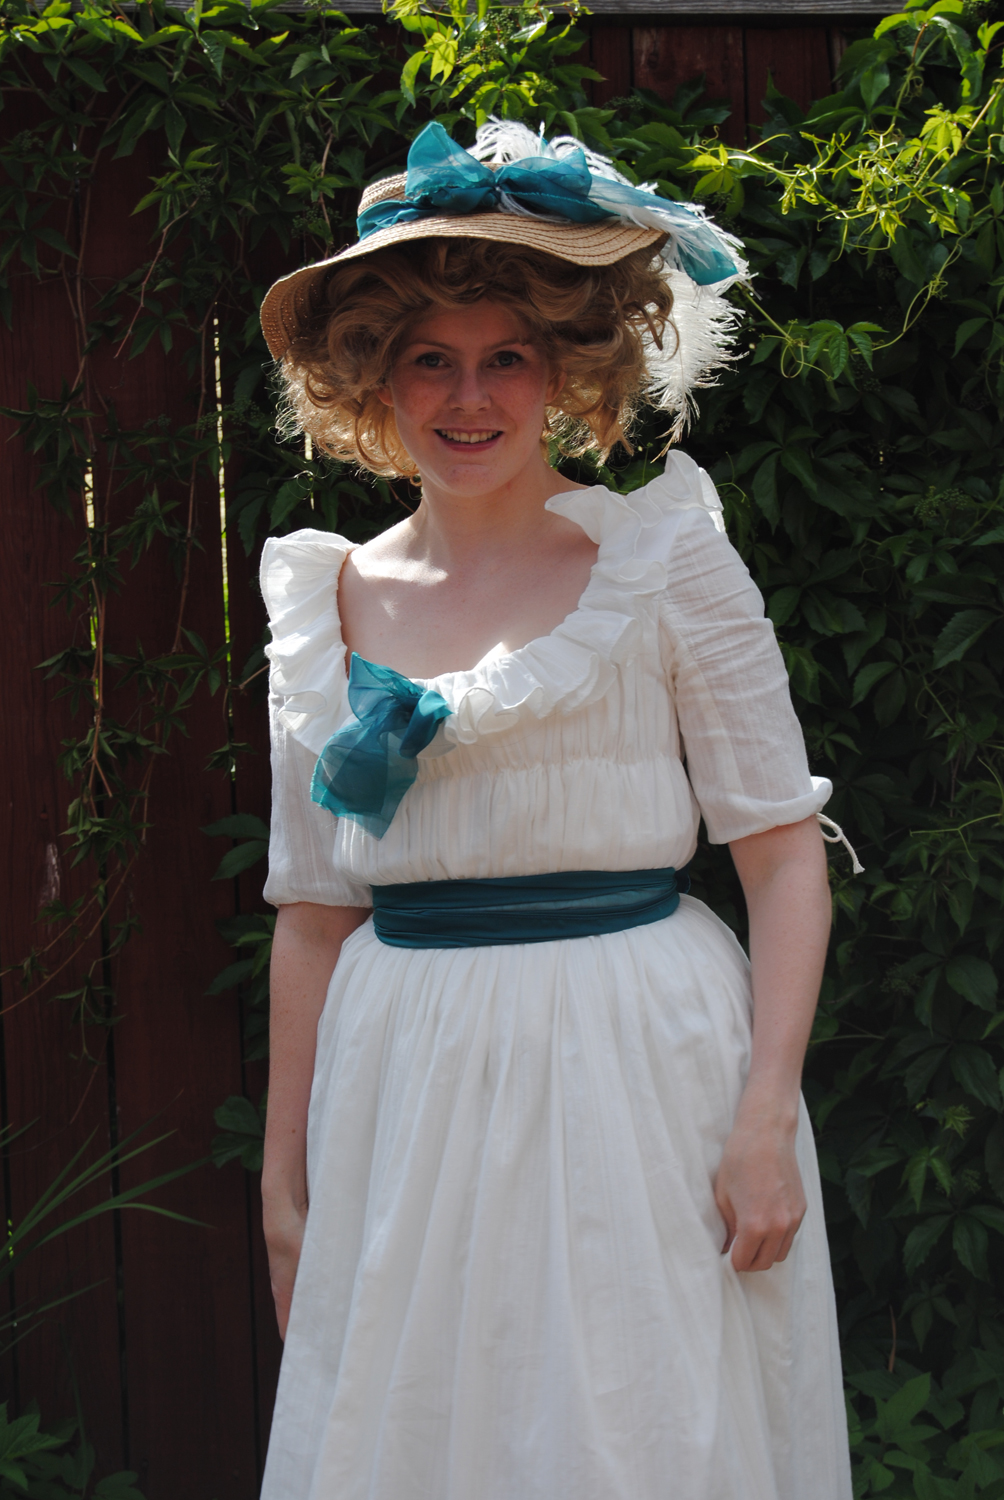
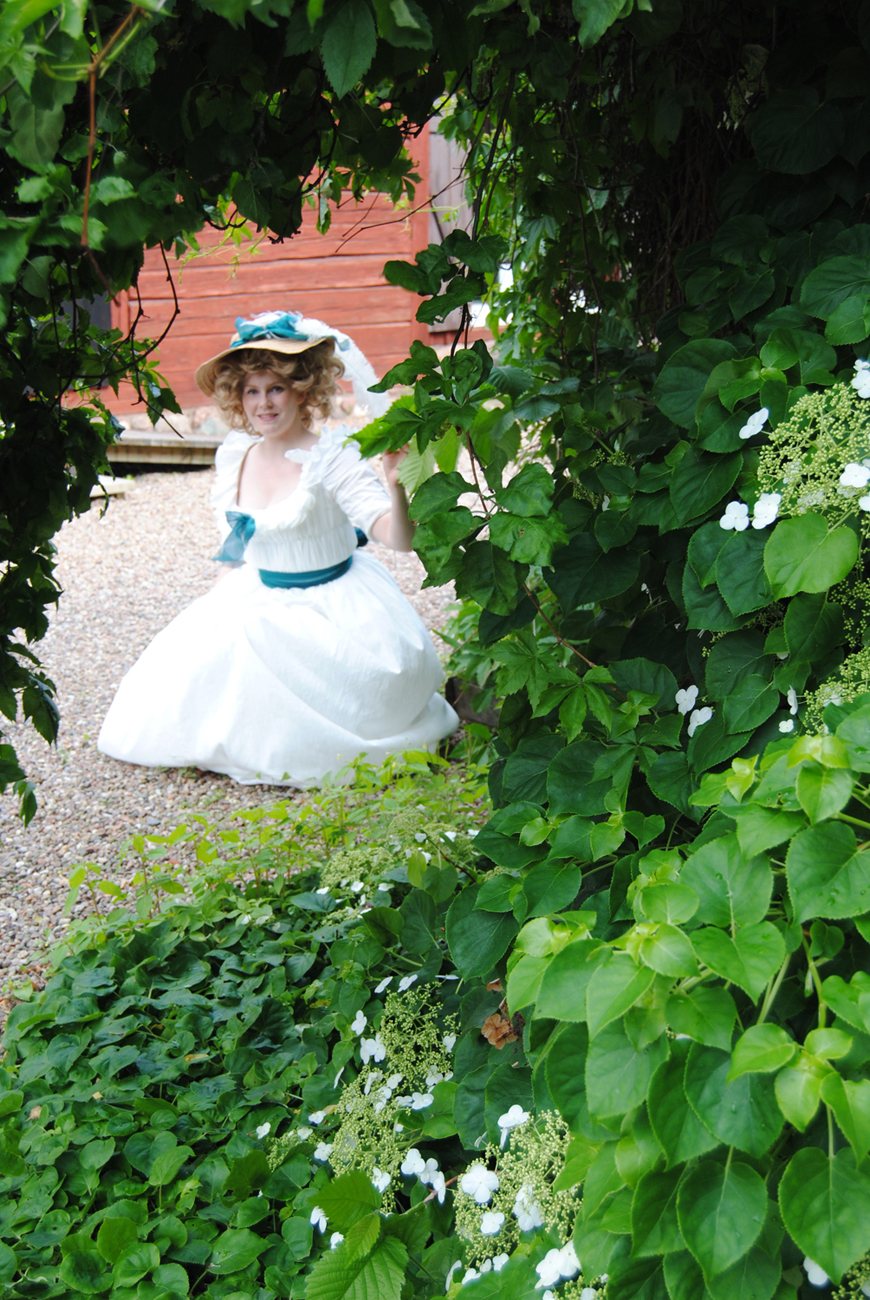
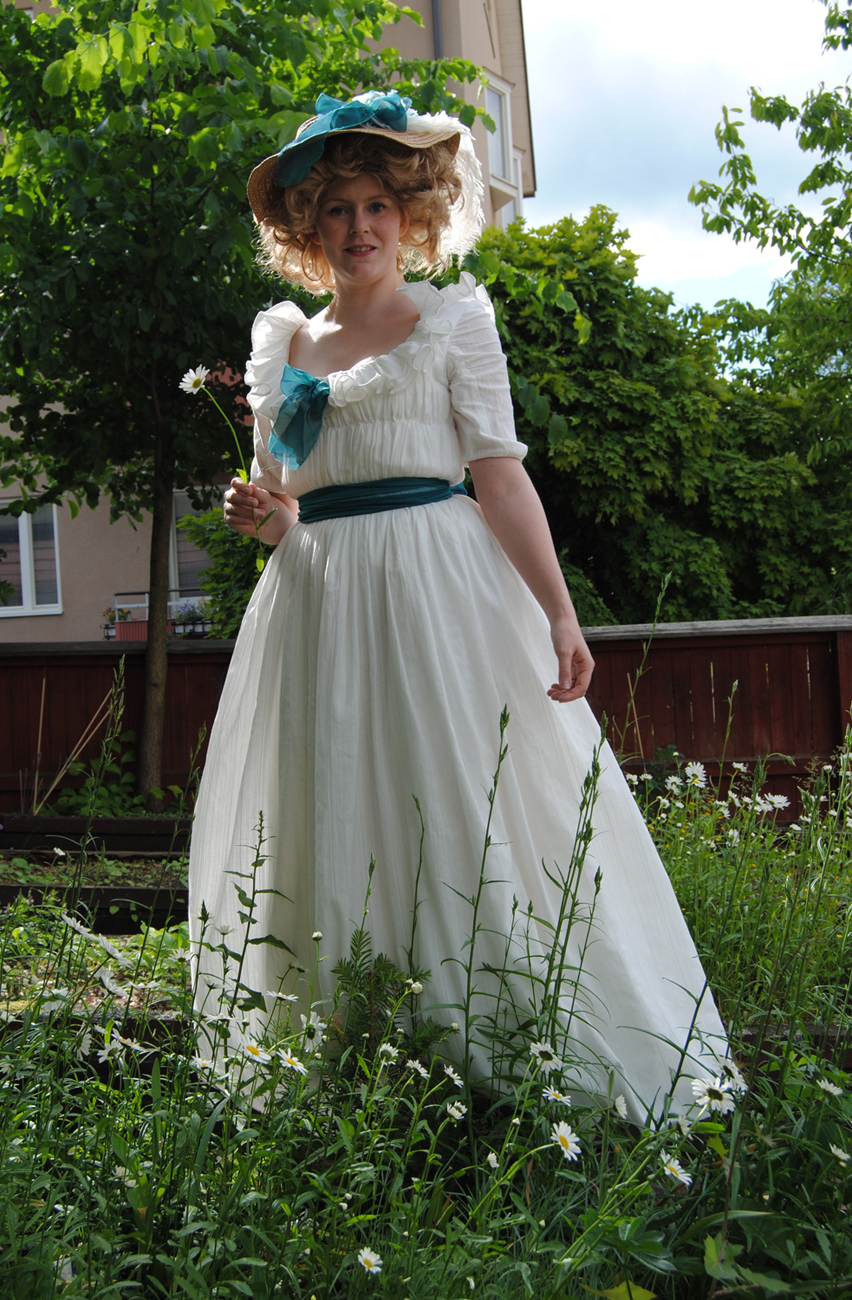
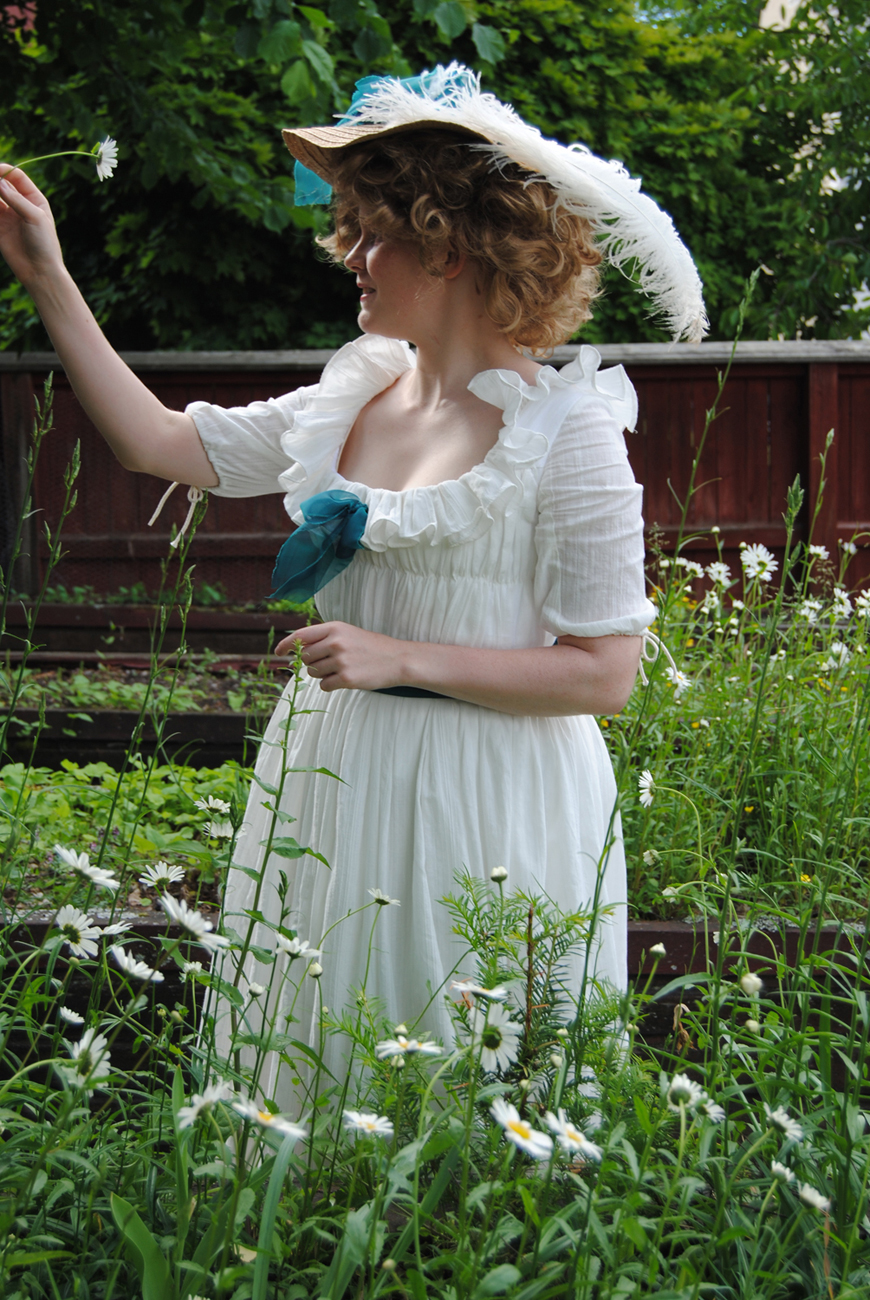
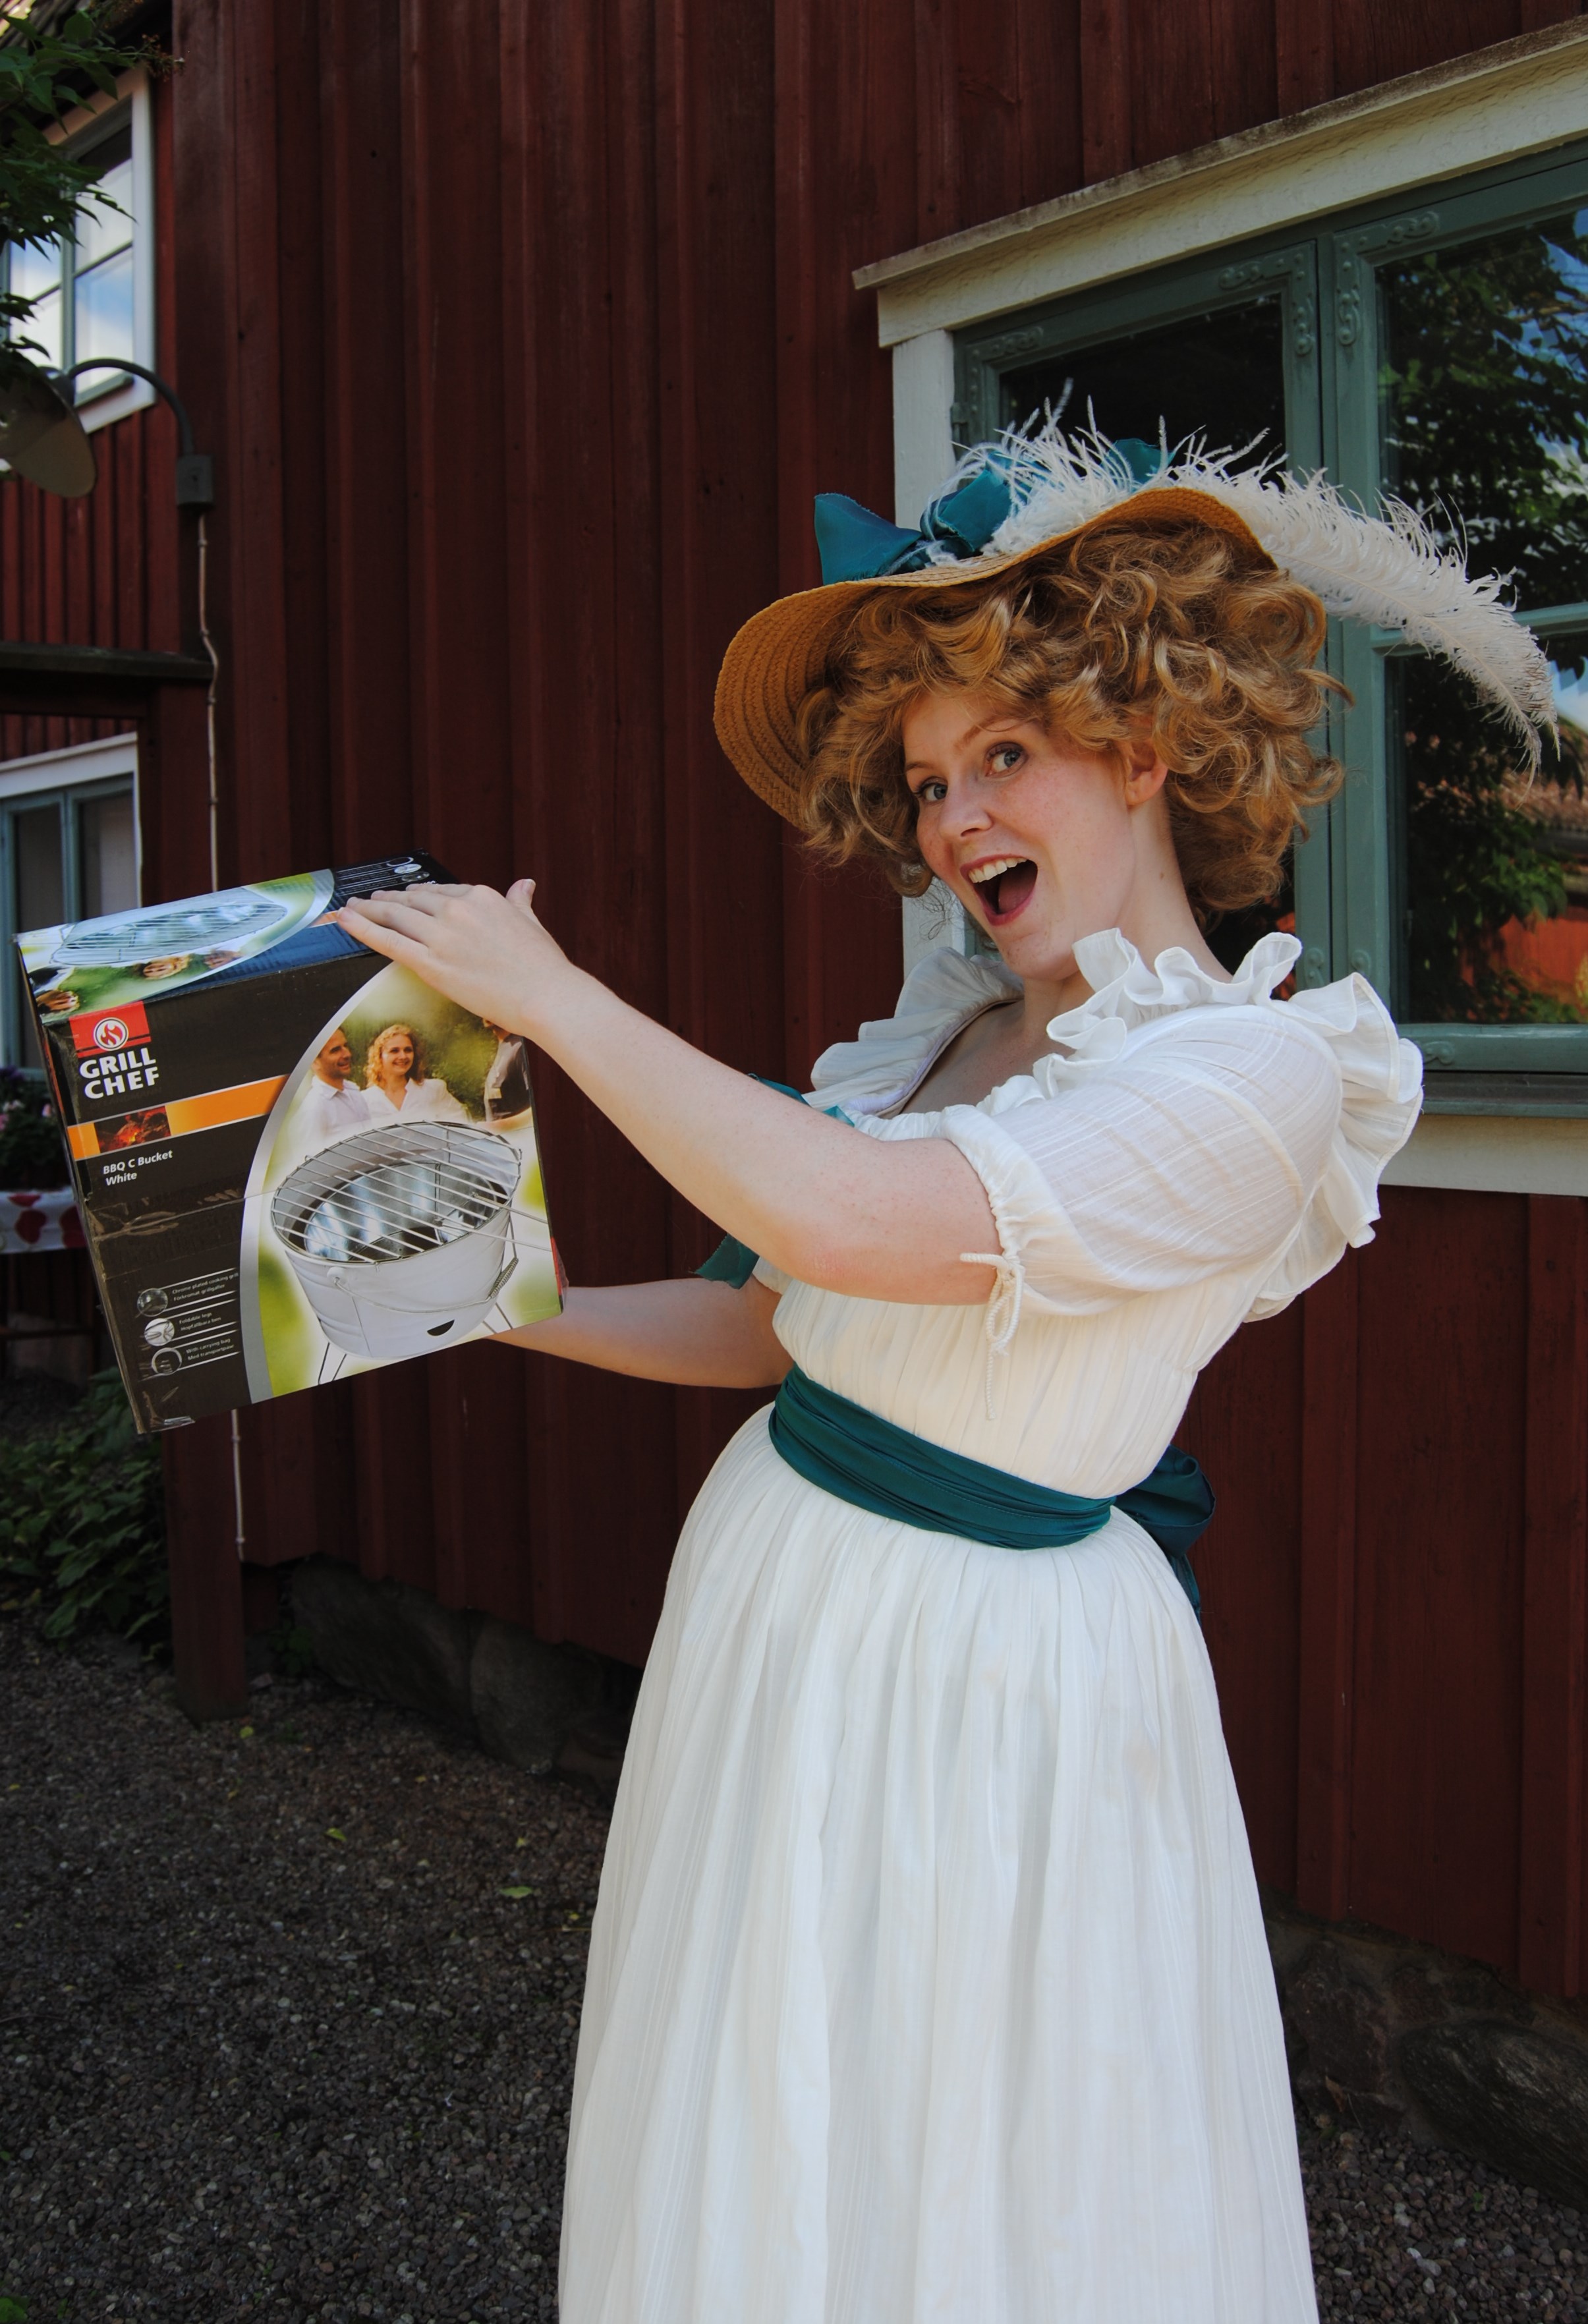
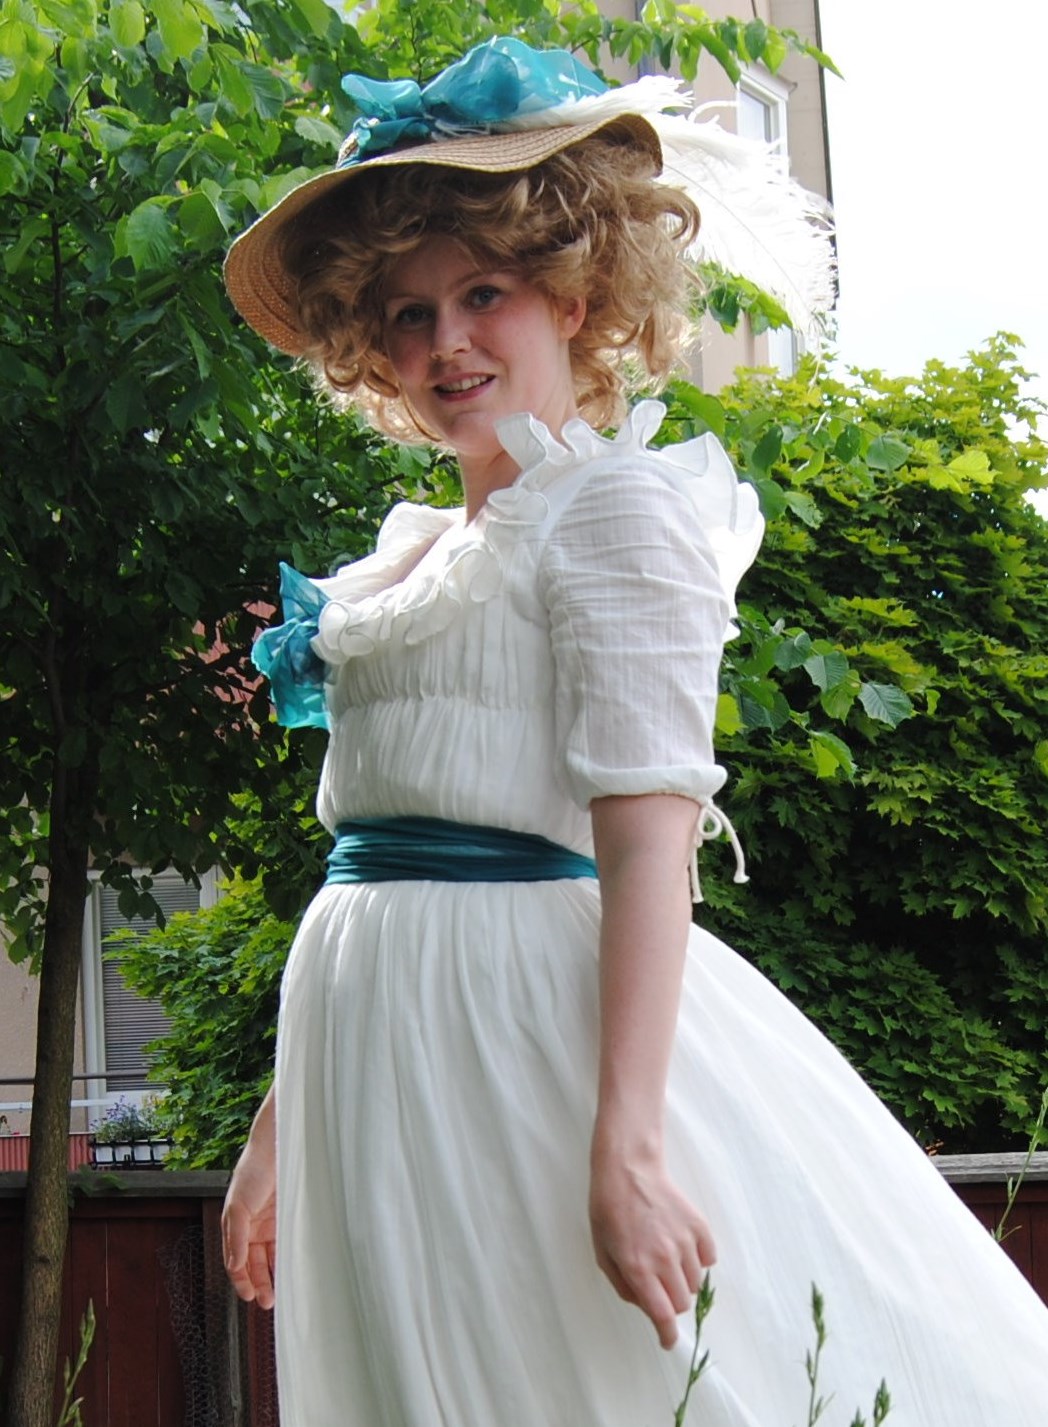
When finished, me and one of my sisters went to my favourite location to shoot some nice pictures. I’m wearing the kirtle, a bumroll, the coif and apron, and an embroided shirt from a previous challenge.
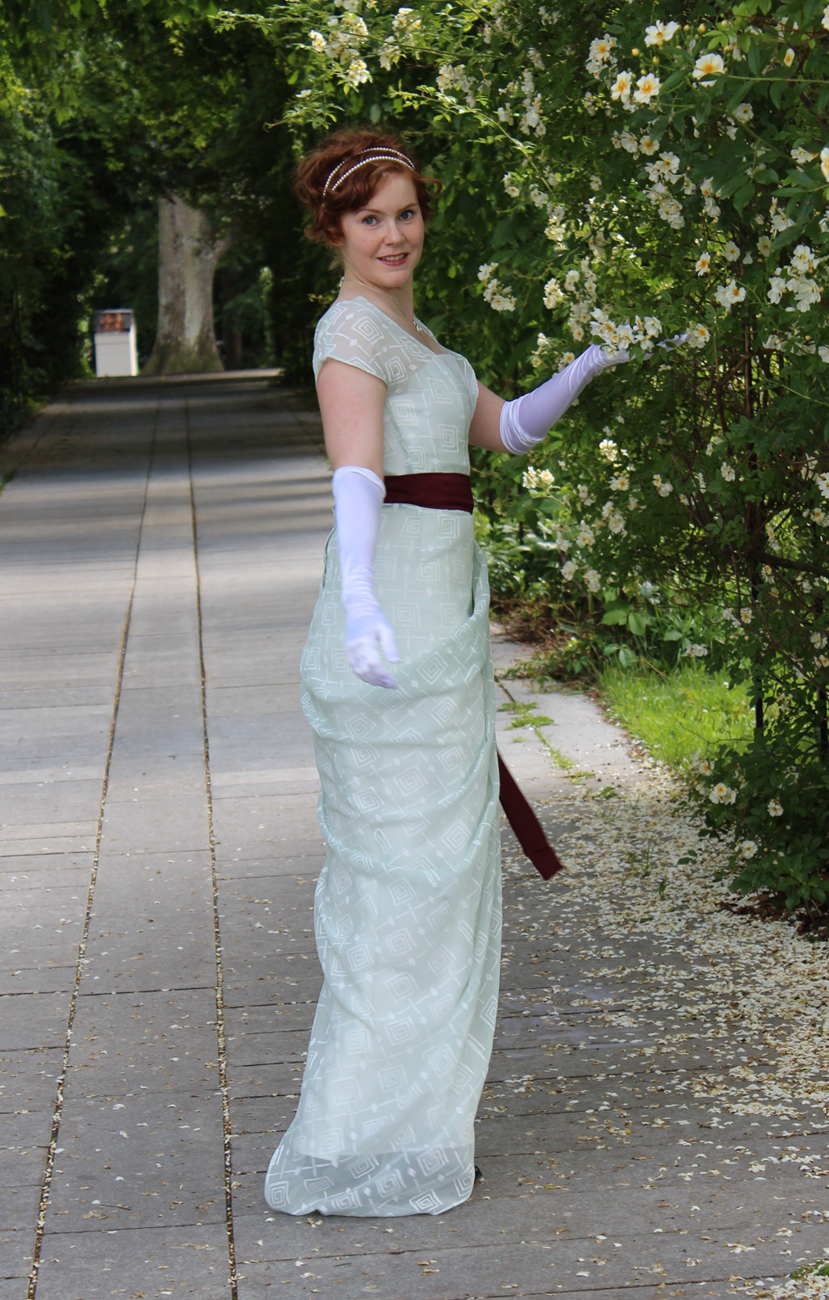
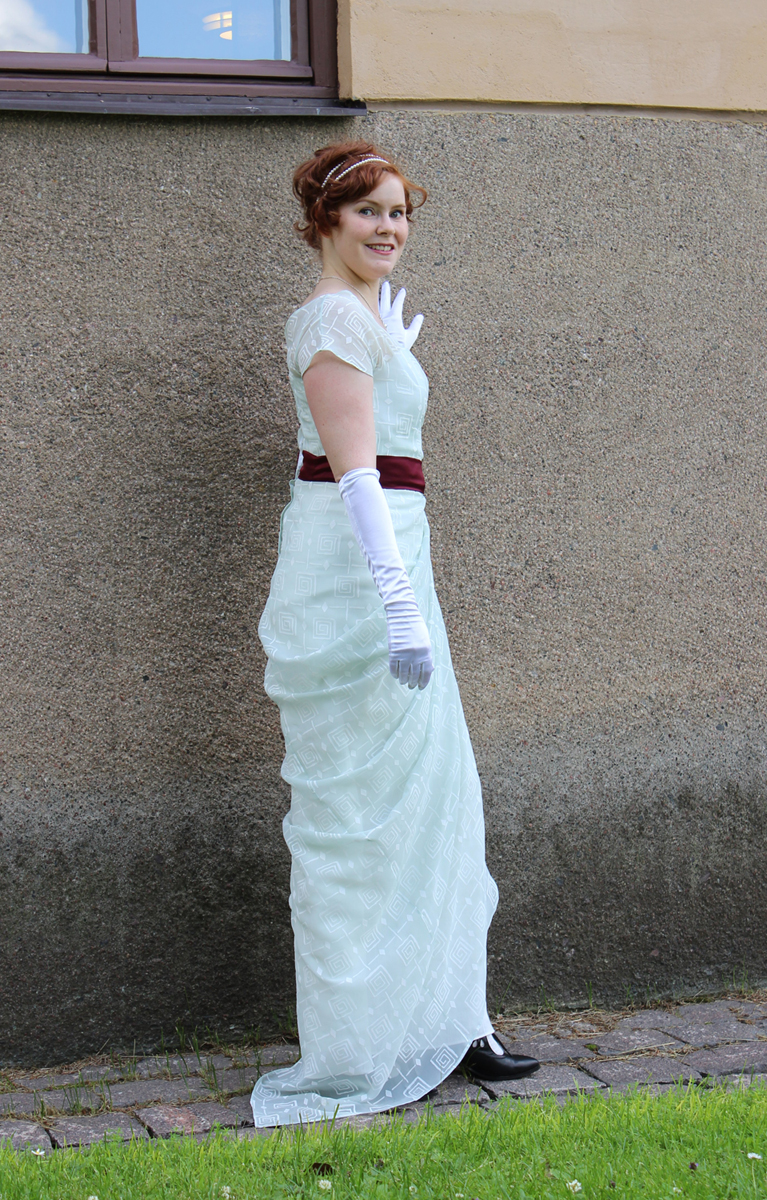
Some finished Pictures.
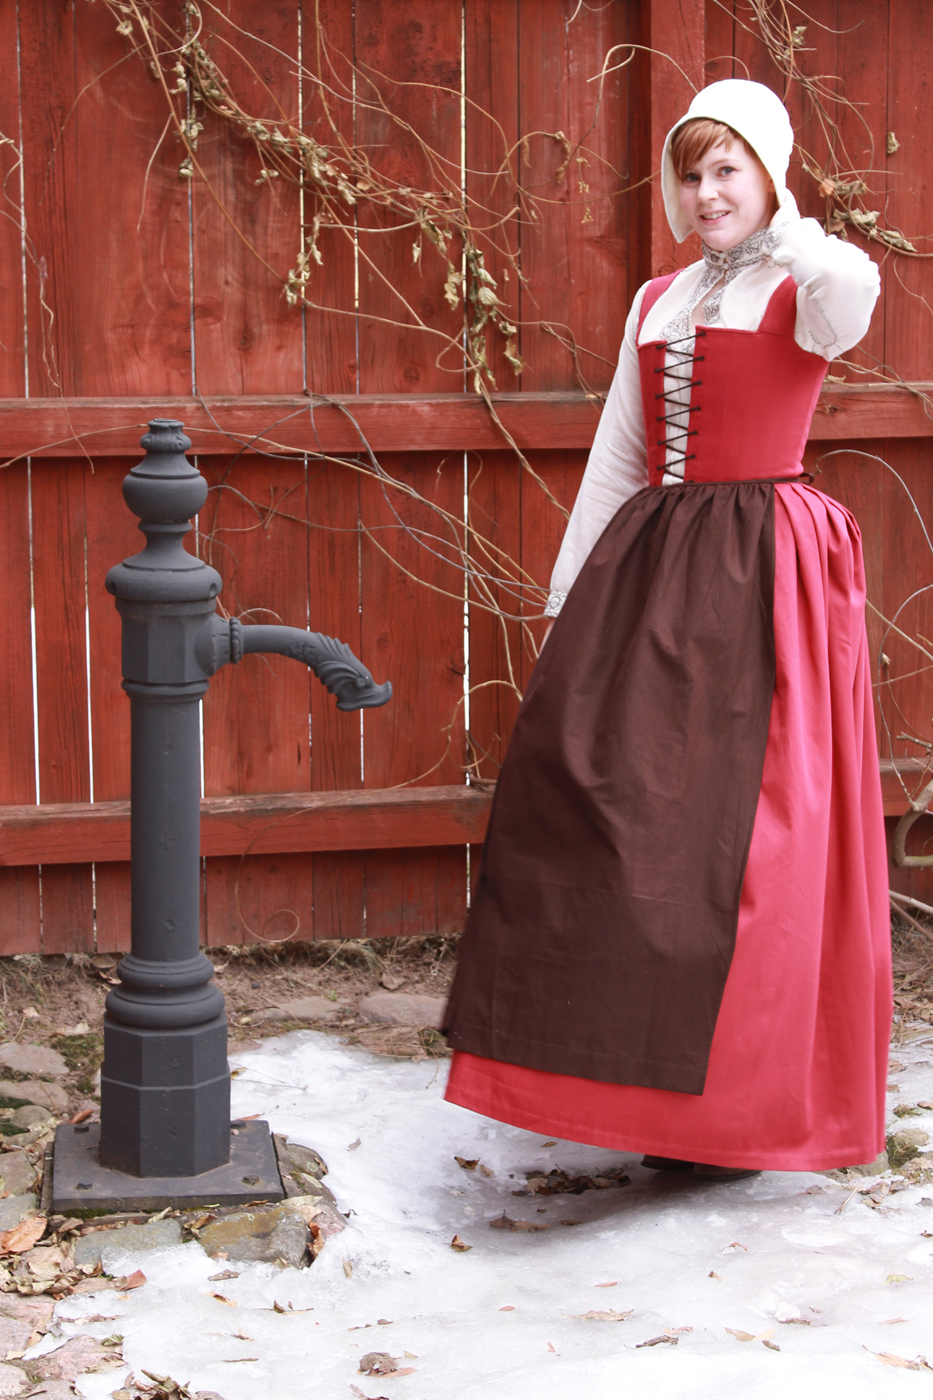
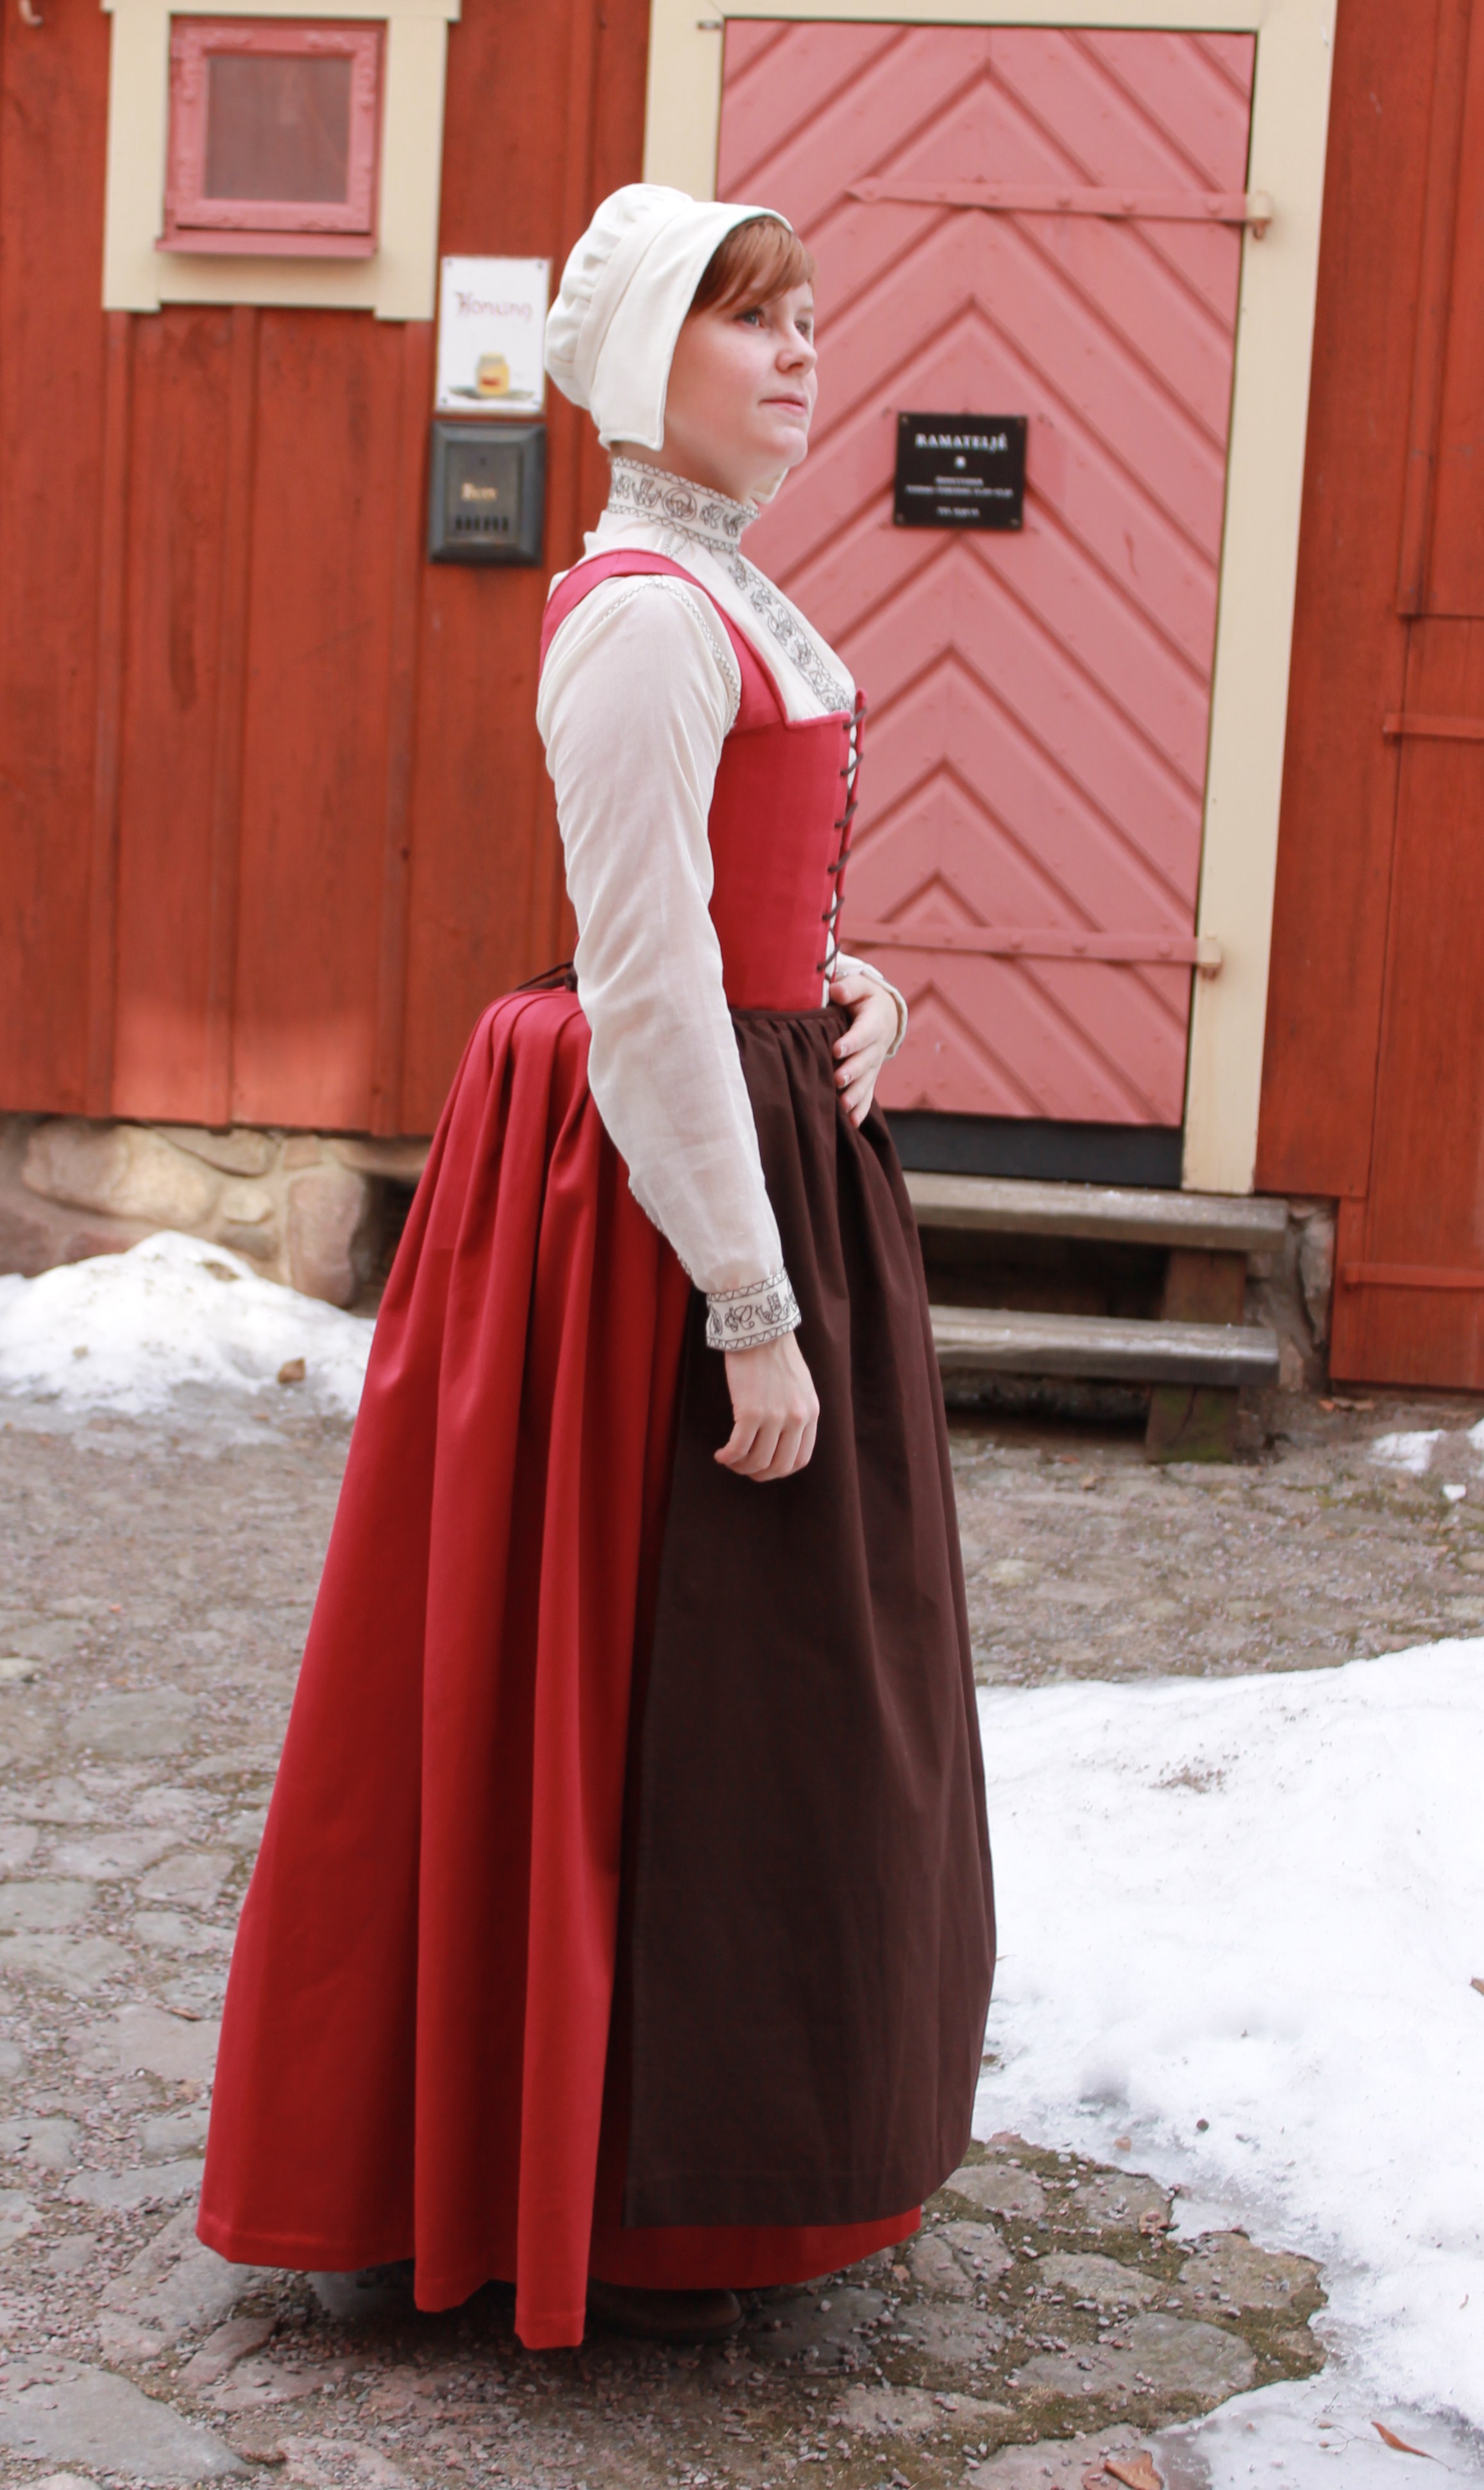
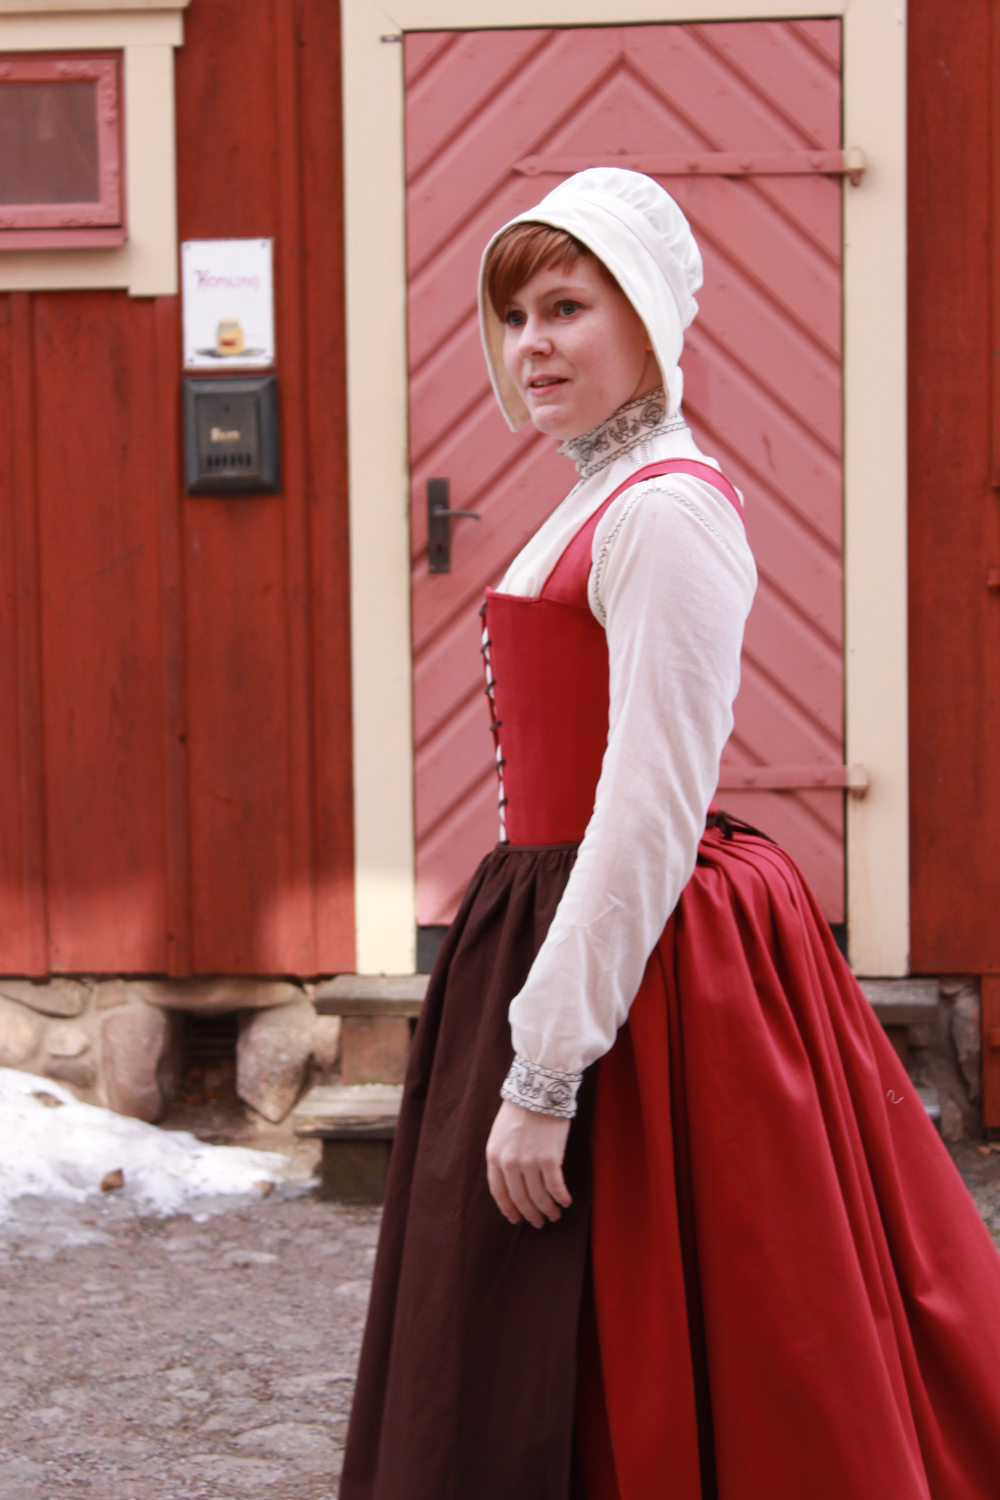

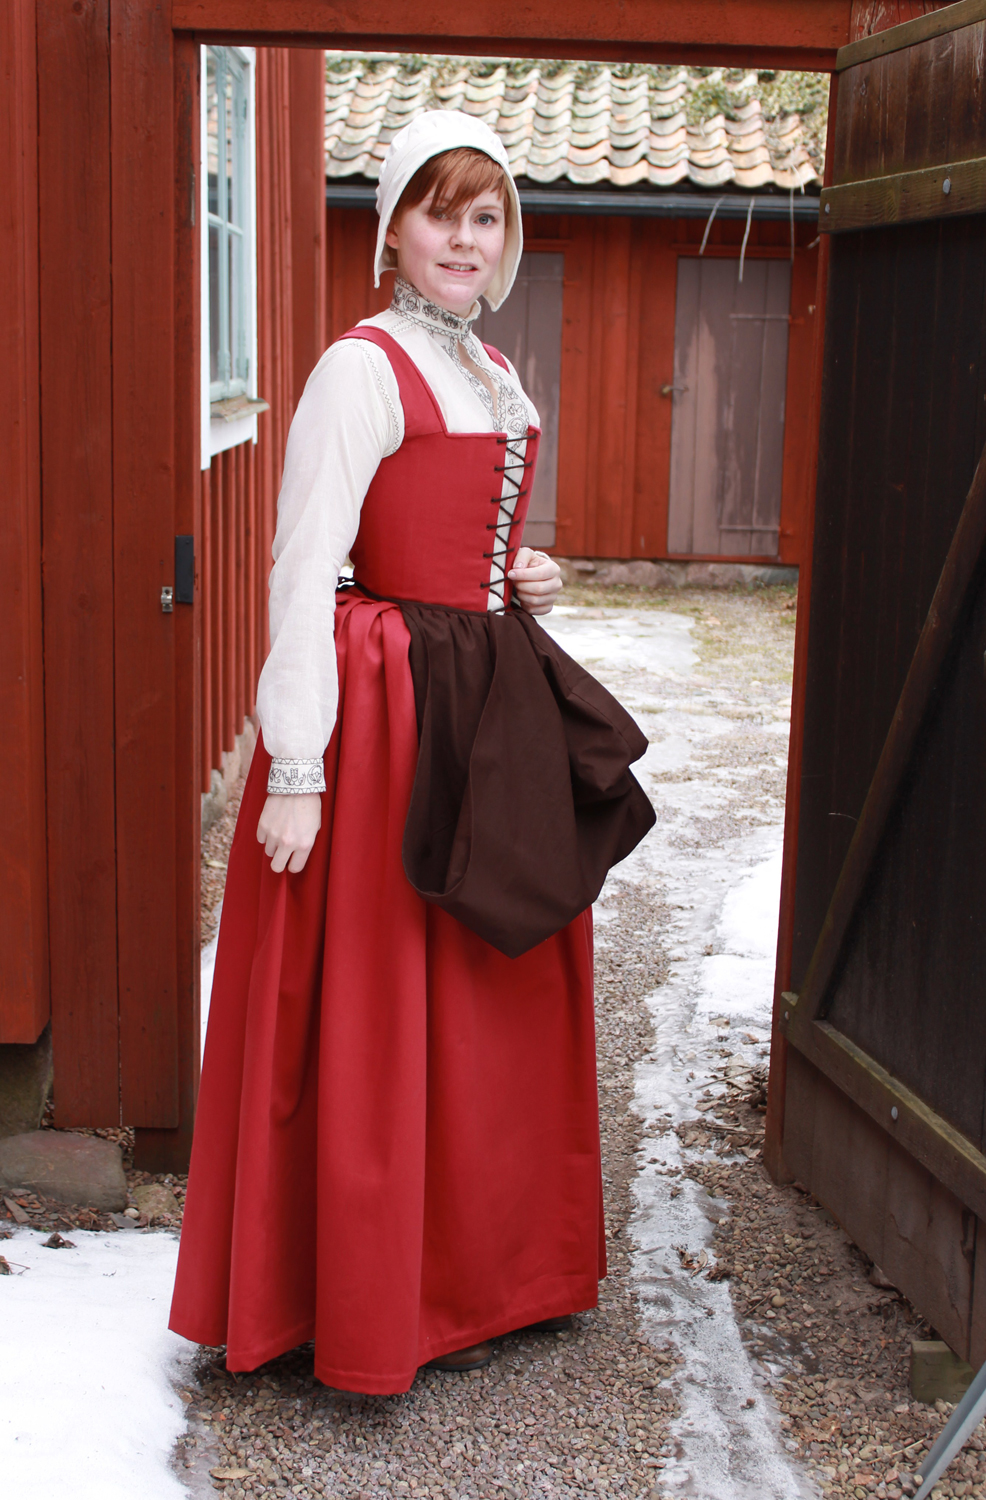


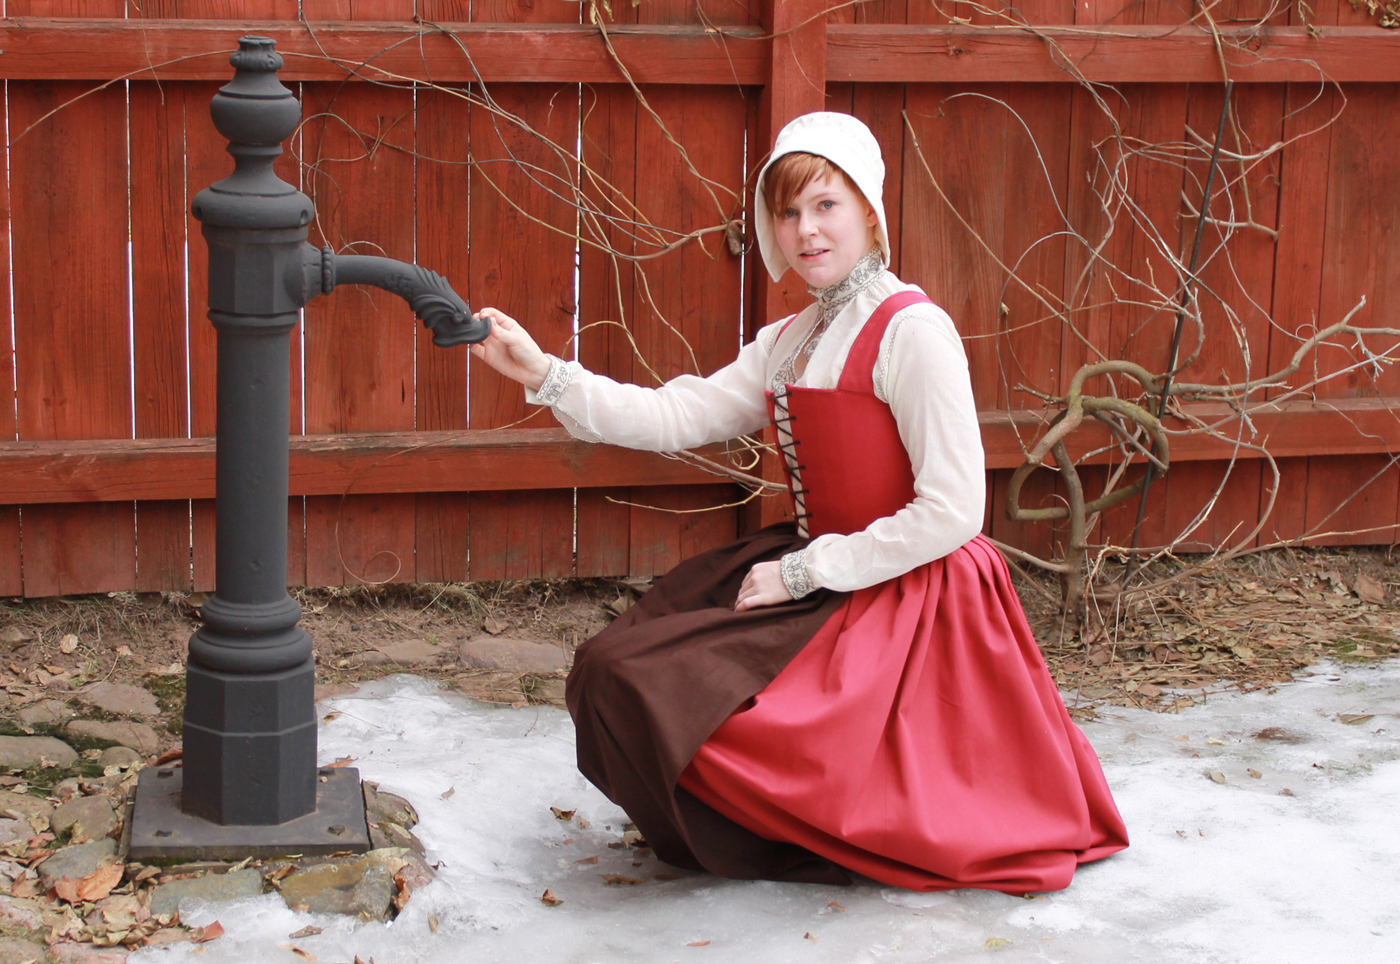
 Photo: Elin Petersson
Just the facts:
Challenge nr 5: Peasent and Pioneer
What: Early 16th century handmaiden, – Kirtle, apron and coif.
Fabric: Kirtle – 3m of red cotton twill. Apron – 1m of brown cotton. Coif – 40 cm of white/ivory cotton.
Pattern: Kirtle – “The Tudor Tailor” Basic women´s clothing – kirtle and petticoats. Apron – none. Coife – “The Tudor Tailor” Hats and headwear – Henrician coif with plane brim.
Notion: Kirtle – brown buttonhole-thread for the handmade eyelets, plastic bonning in the front, and brown cord for the front clouser. Apron – Brown thread. Coif – White thread, thin steal wire(?) for the shaping.
Historical accurate: Pretty good (exept for the cotton fabrics, which should have been wool and linnen). Lots of handsewing and historical methodes where used. The Apron and Coif are totaly handmade, and so are all the visual seams on the Kirtle.
Hours: About 20 for everything (3 hours each on the apron and coif).
Total cost: About 35 USD.First worn: On this photoshoot. But I would love too wear it again on some event, or even whitout one…