Have you seen the Showtime series “The Borgias”?
(I know it’s a few years old but I don’t care)
 It’s a wonderful series About the 15th century pop Alexander VI and it’s full of betrails, sex, murder but most of all gorgeous costumes.
As far as history is concerned the show does lack a bit (inspired by the life of Alexander, would be a more accurate description), but costume wise they pretty much nailed it. And it looks beautiful.
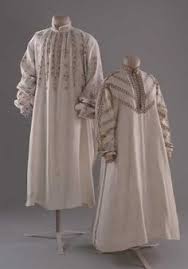
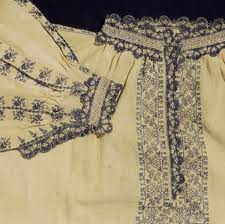
Some real inspiration:
 The left one is one of my favorite dresses and totally on my “to-do” list.


And some of my favorites from the show:


Pretty, Yes?
And before you have to ask, of course I wanted to make my own Italian dress.
After some thinking I narrowed it down to two main inspiration dresses from the series
Dress nr 1  I know he is gorgeous but lets try to focus on the dress…
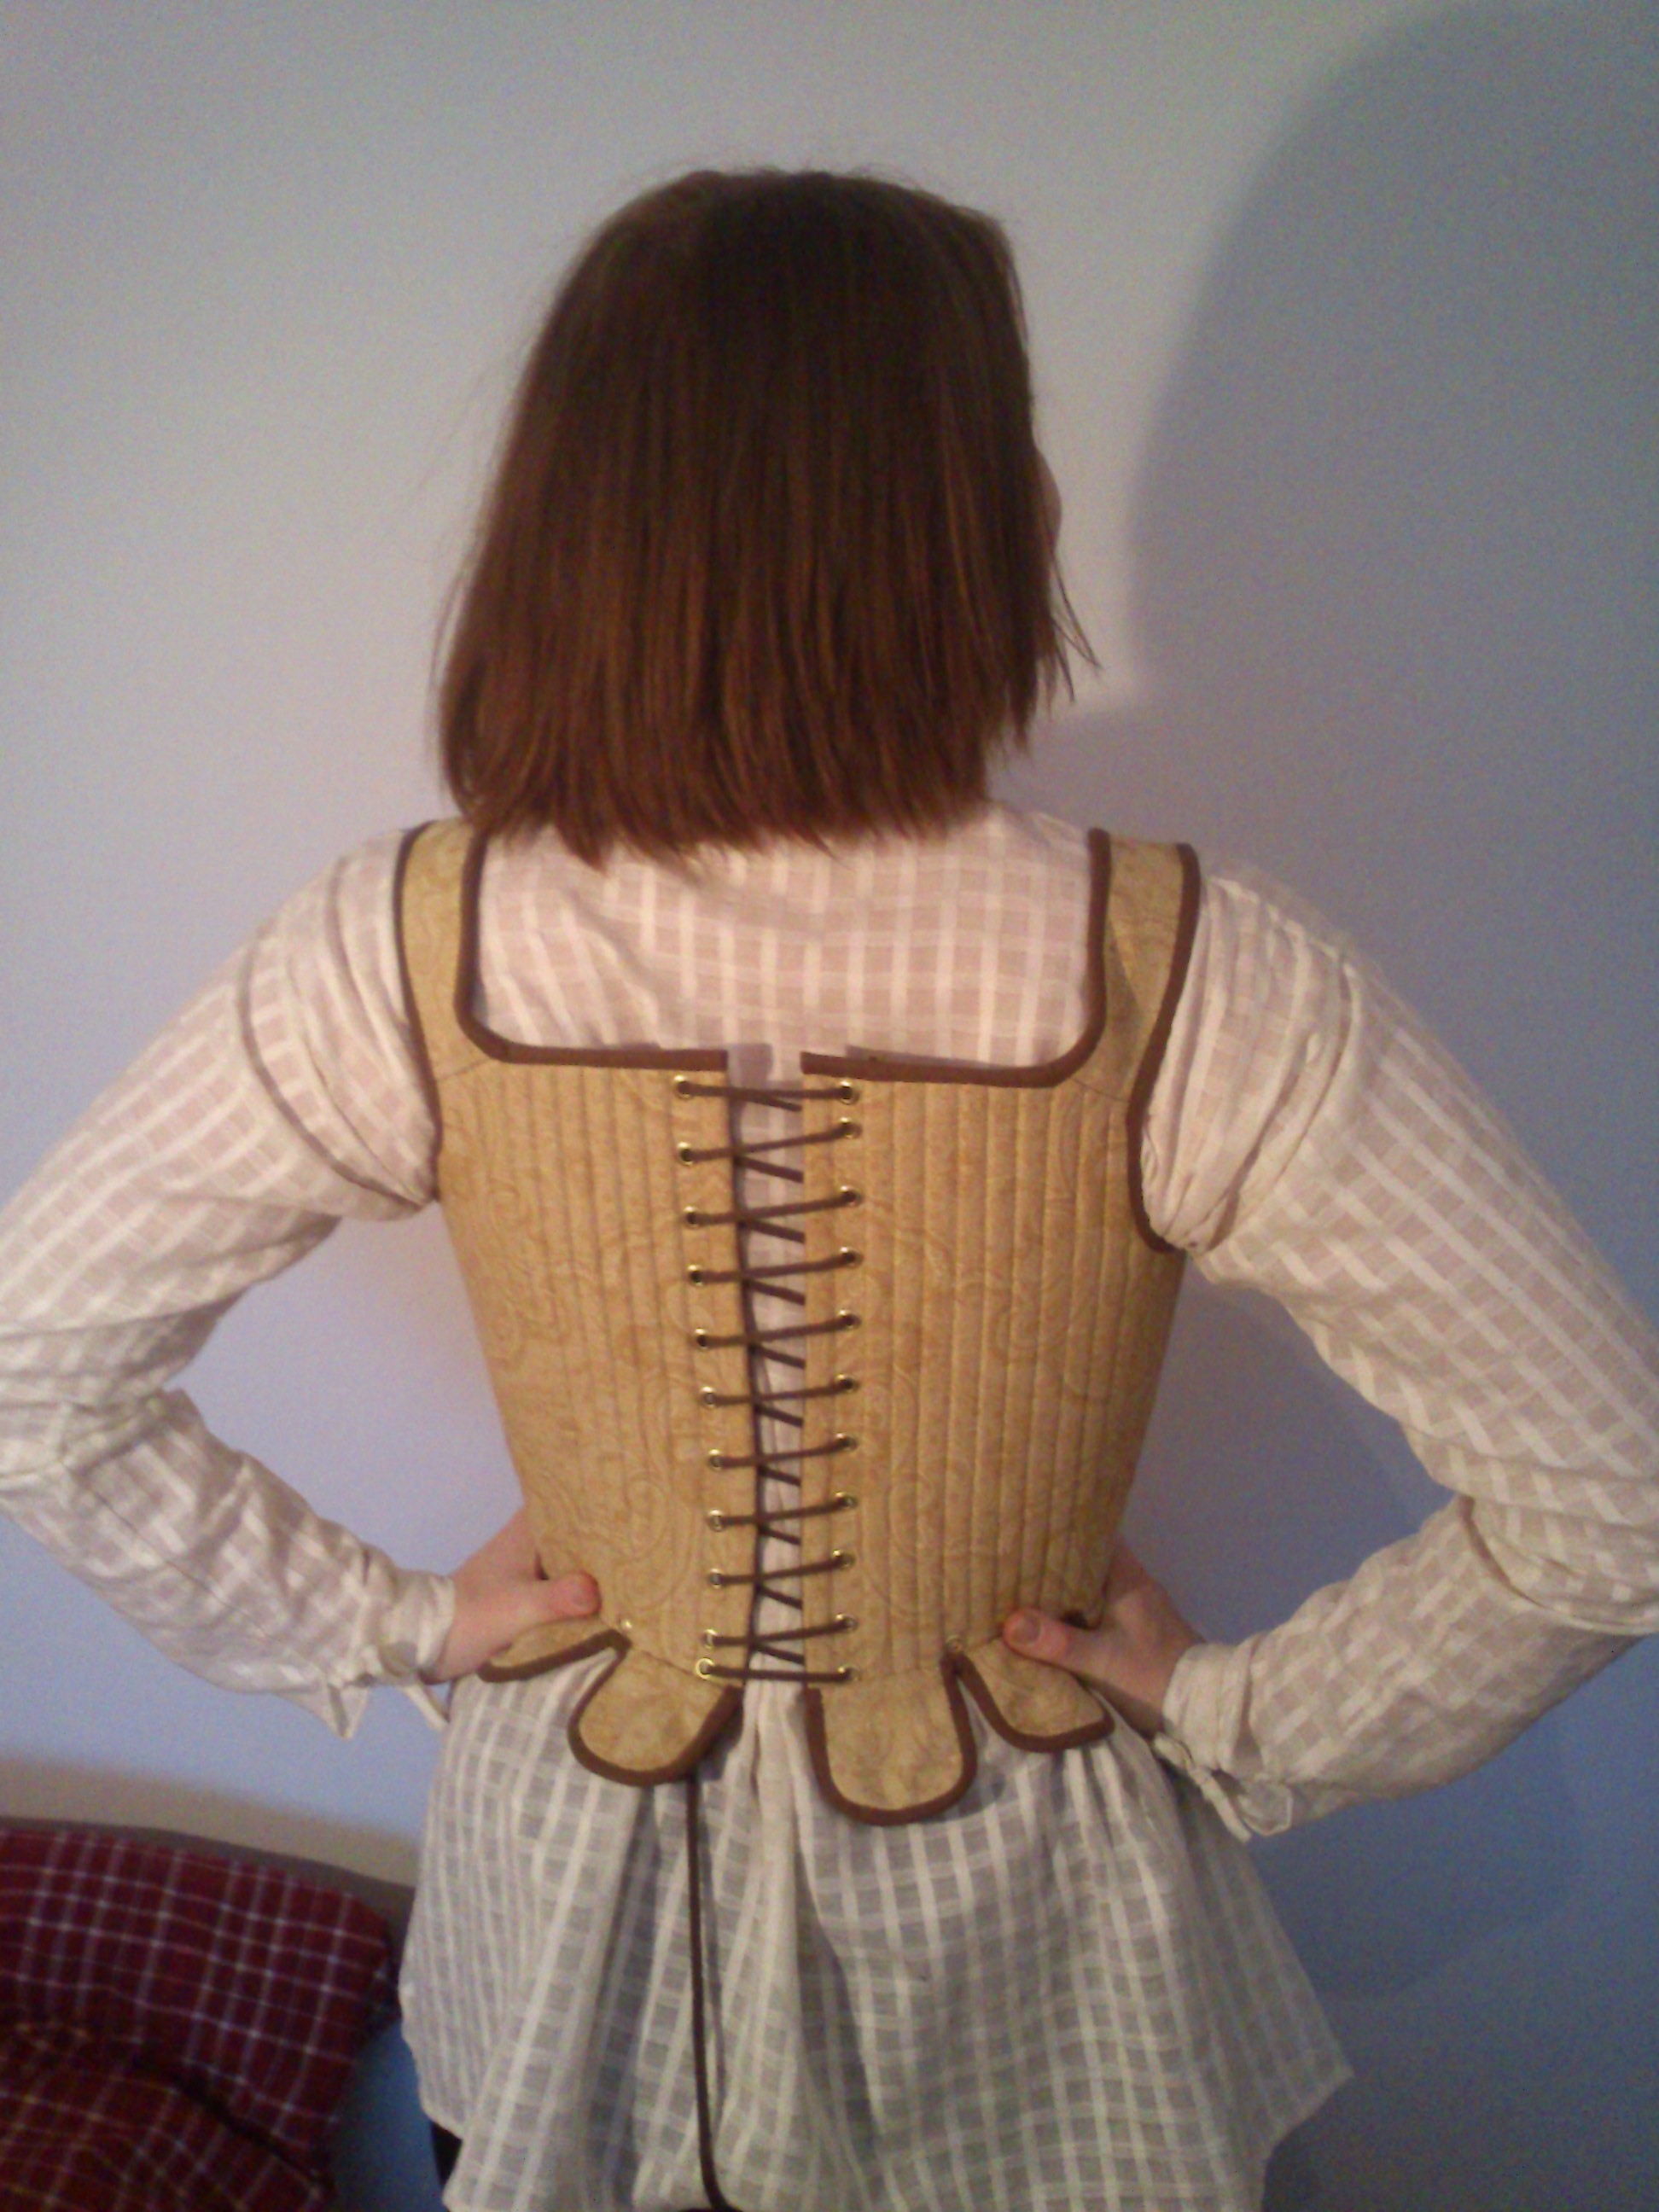
 Lovely light blue and gold coloring. I also love the lacing on the bodice and the sheerness of the chemise.

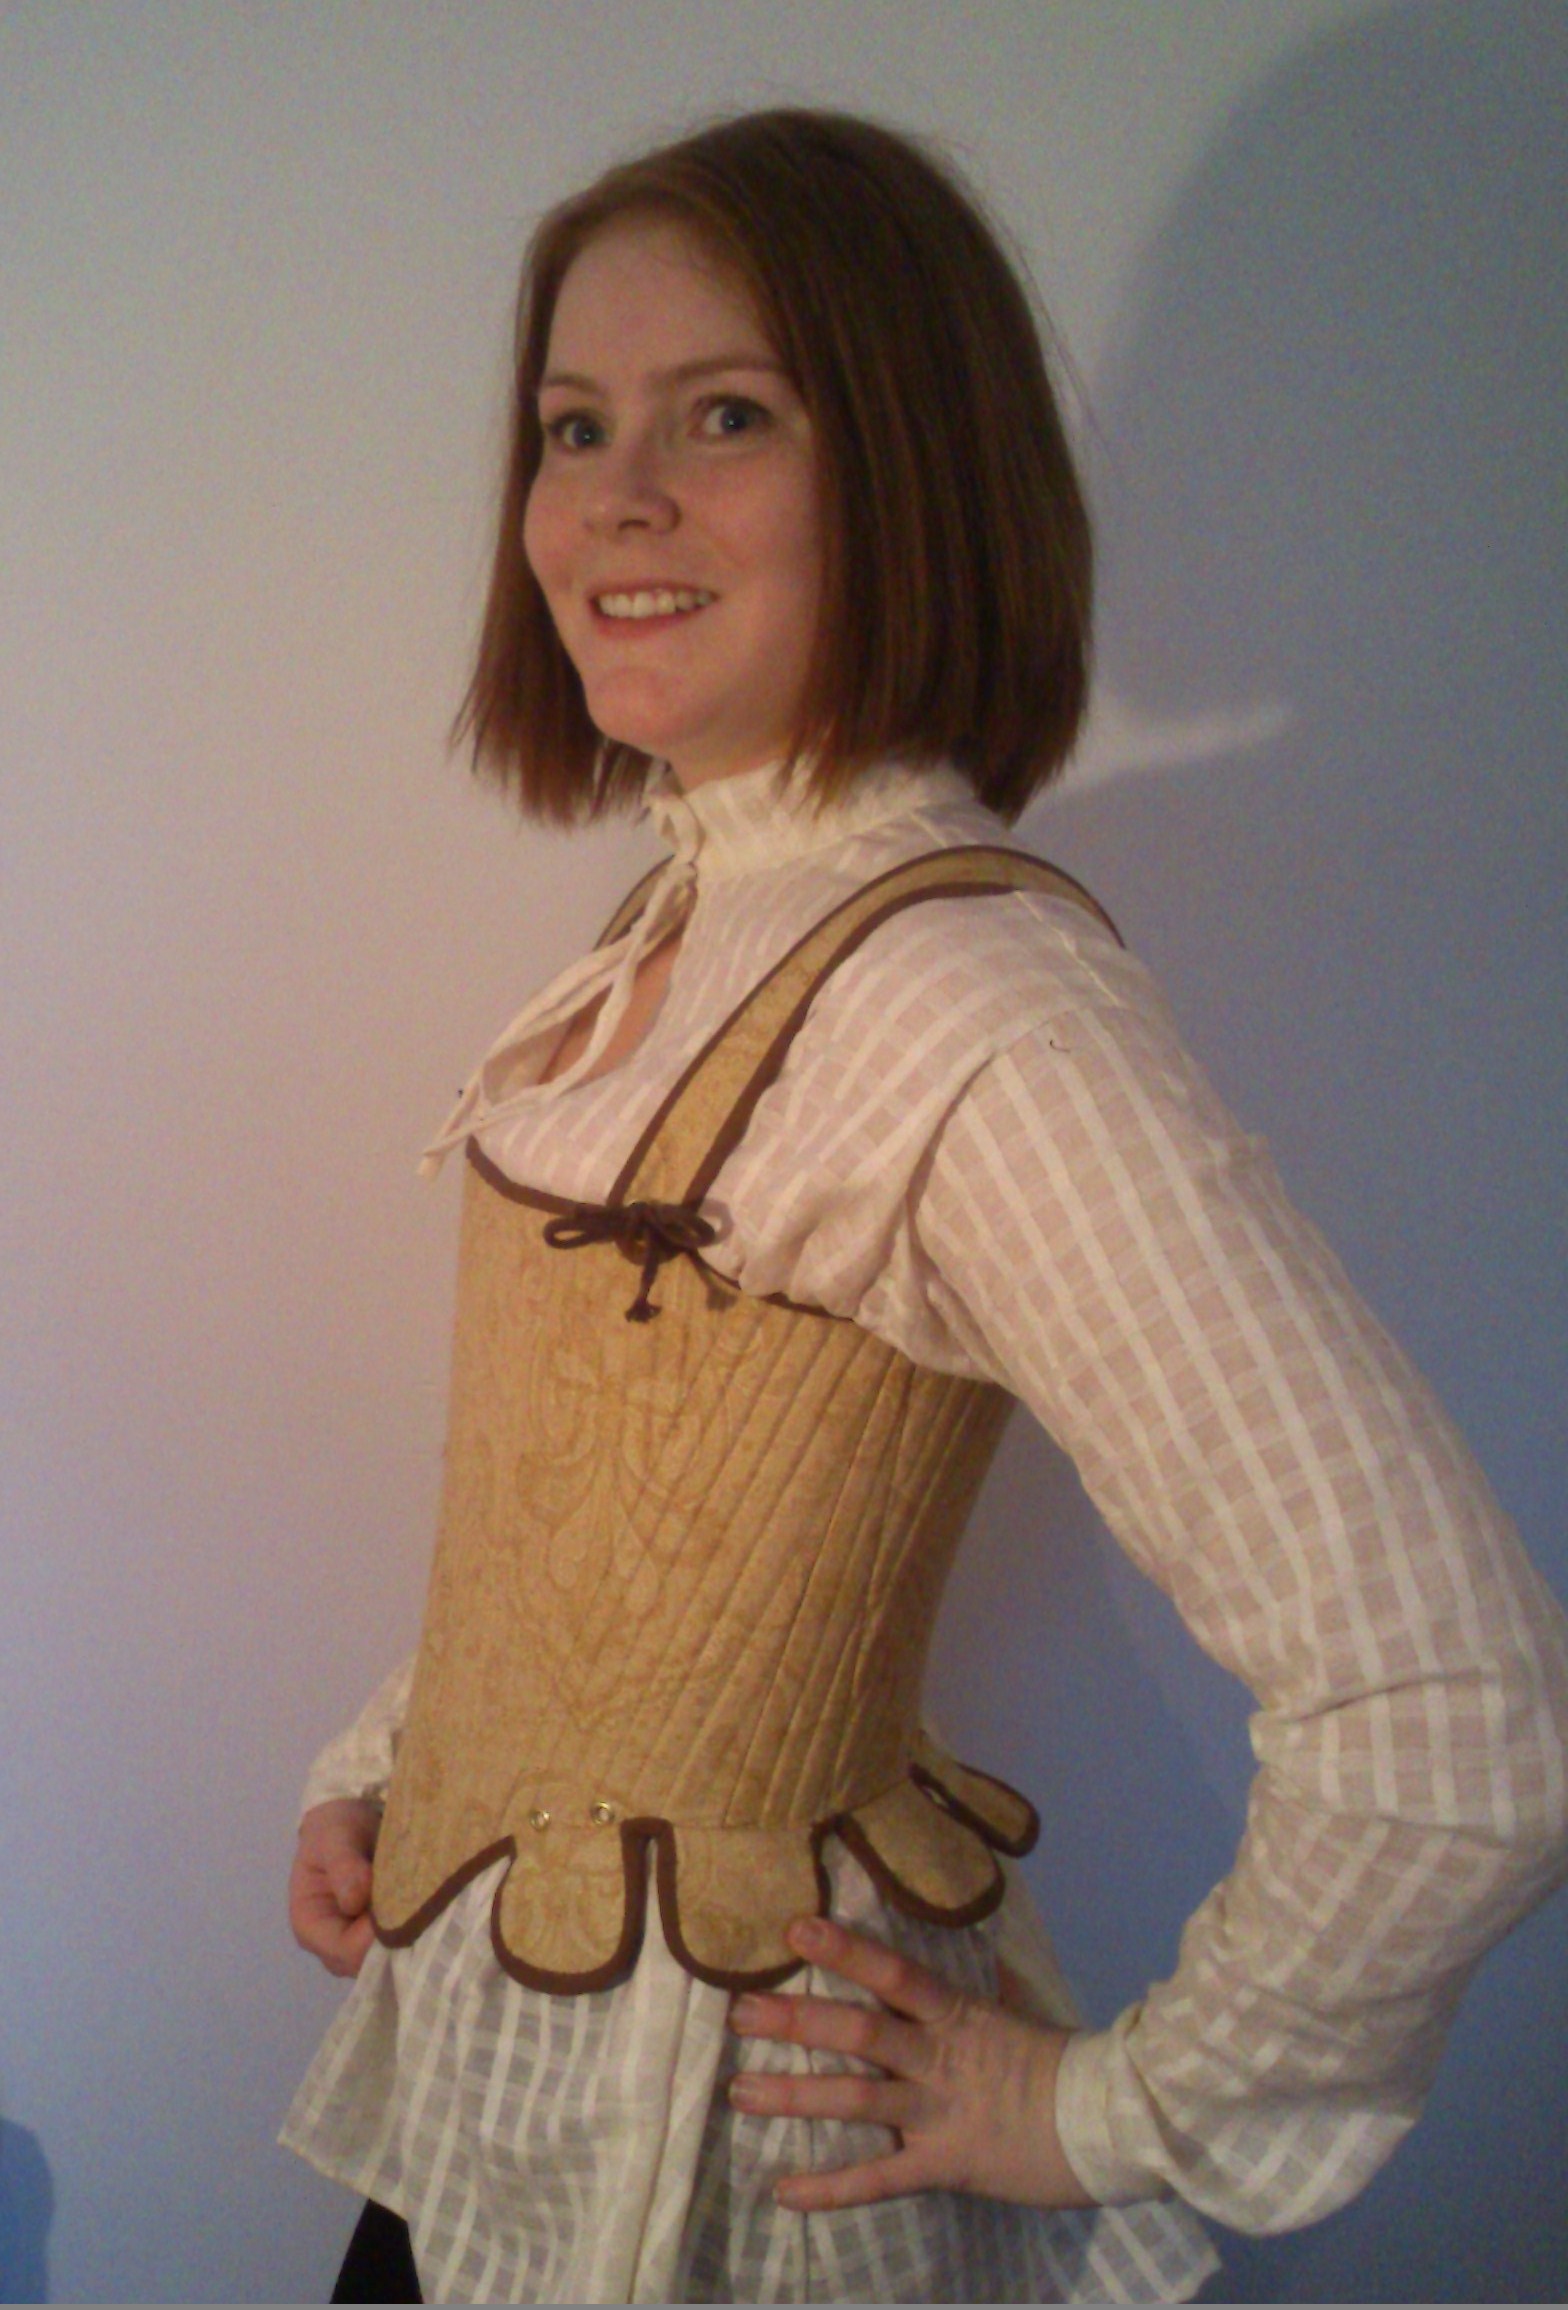
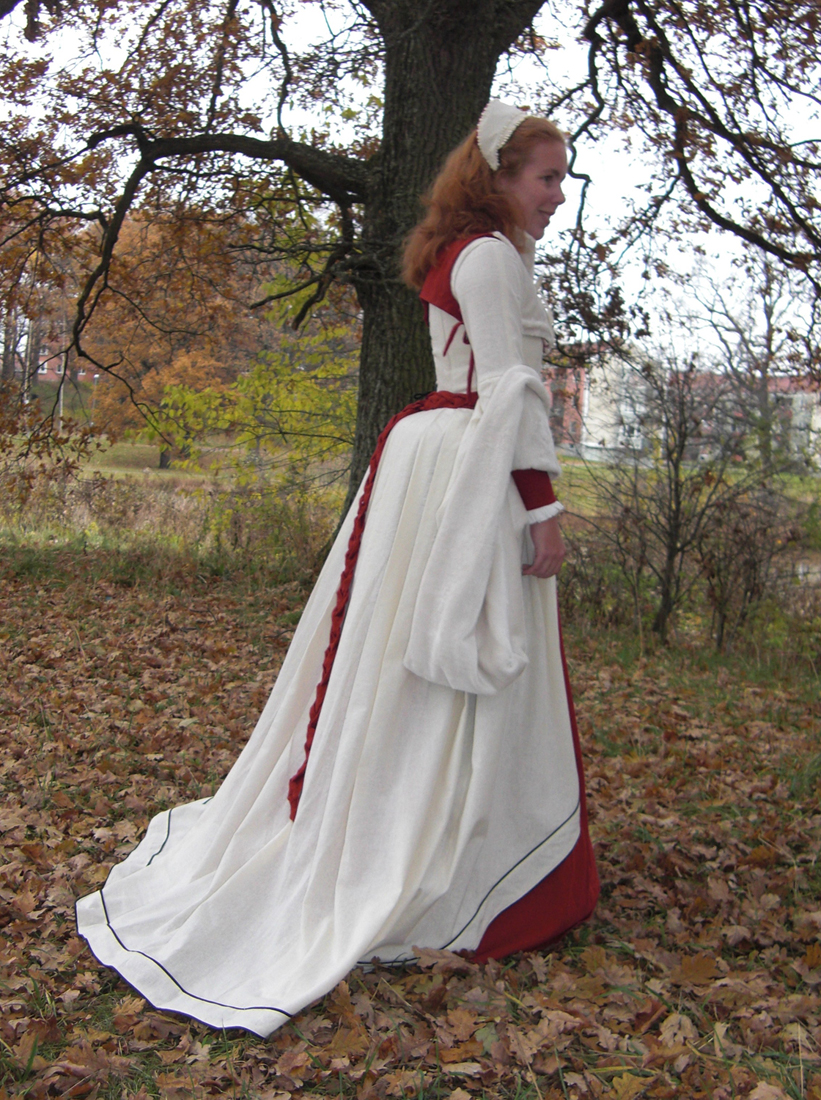
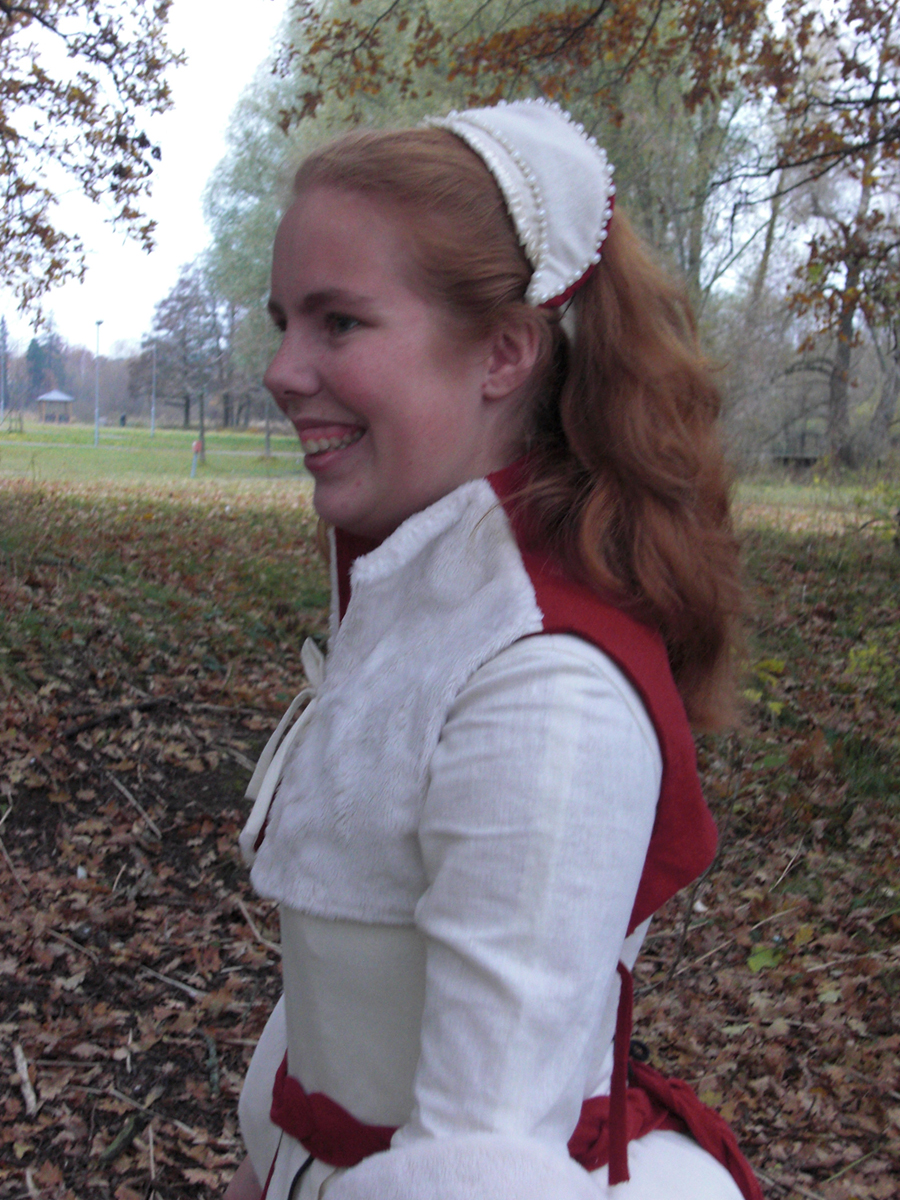
 pretty profile
Dress nr 2;
 Perfection
While studying the pics I noticed that they actually reused the dress above in season 2 with a few alterations (new sleeves).
I actually think it is pretty great that they re-used the dress. No one, no mater how rich you where, could afford a new dress every day and to newer up-cycle your old favorite styles to the current fashion.
I also got tipped of that Showtime was offering this exact dress up for sale on their website.
Caption:
“Lucrezia Borgia, played by Holliday Grainger wears a sky blue embroidered gown in Season 2 of The Borgias during the baptism of her son, Giovanni. Includes the sleeves later added to the gown.
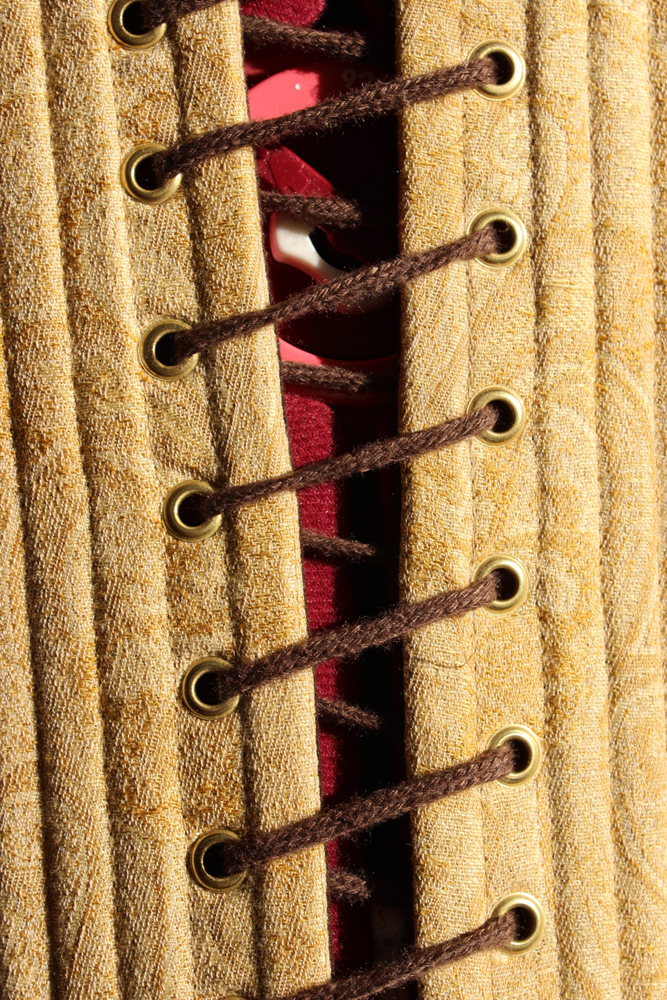
The gown is impeccably tailored with a full lining. The details are never ending, with each little turn revealing another pristine element. The piece was designed and constructed by expert period costume designer Gabriella Pescucci and worn by Holliday Grainger on set. The dress corset-laces up the back with the outer layer fastening by hook and eye.”


Did I mention these dresses are BEAUTIFUL… 😉


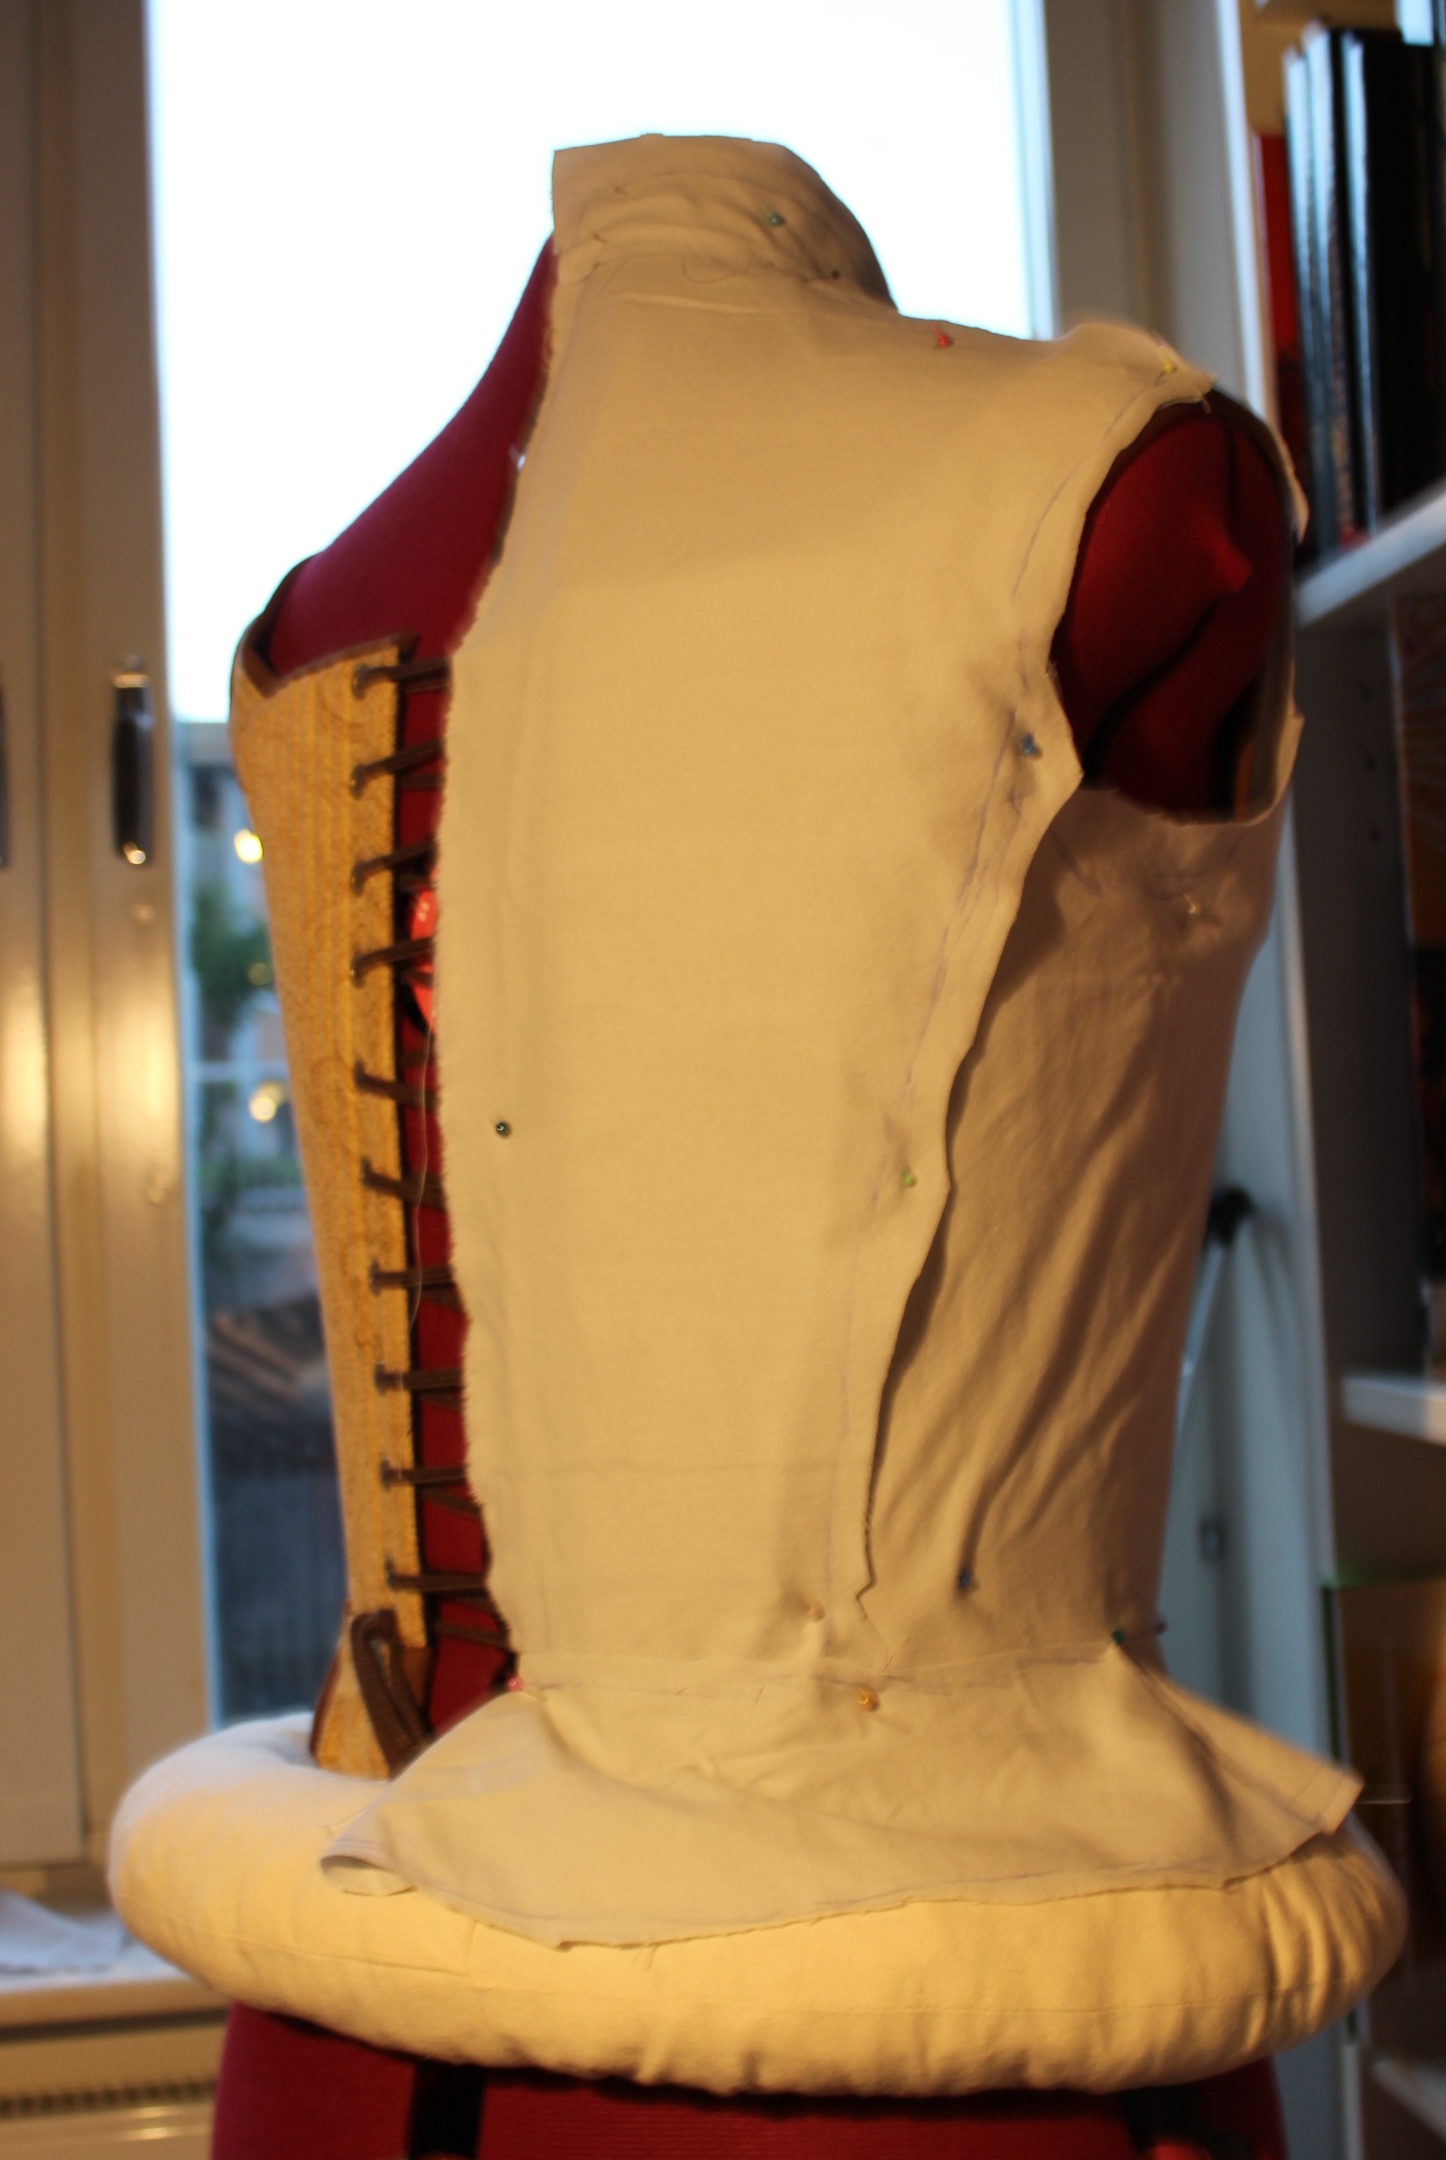
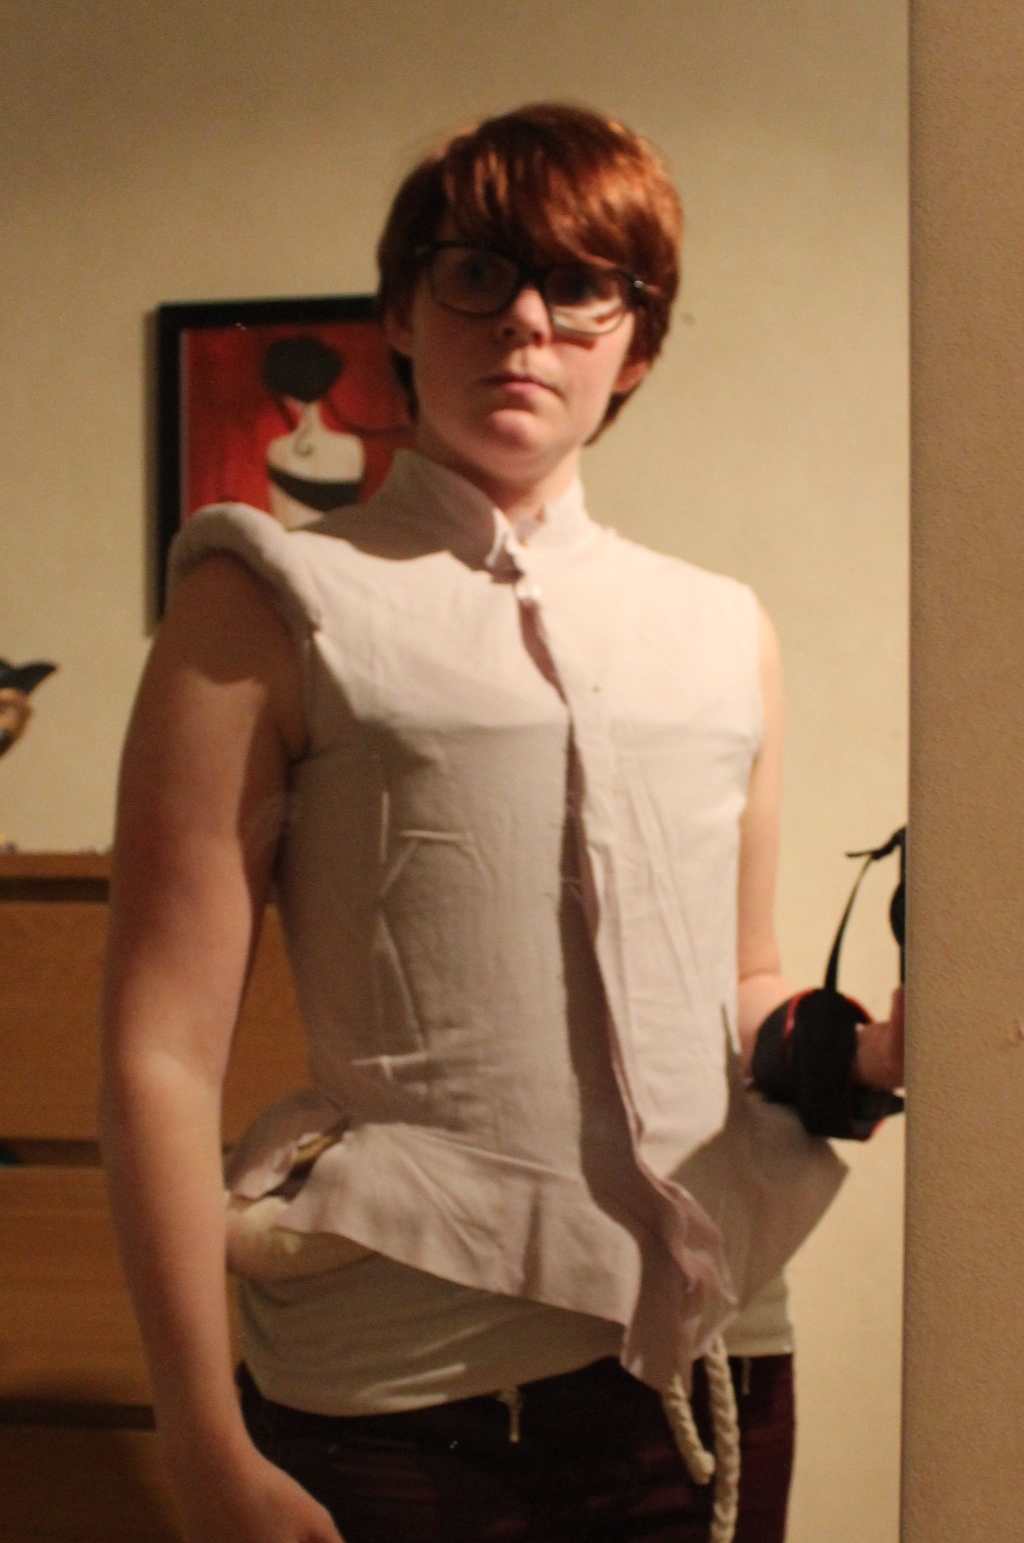


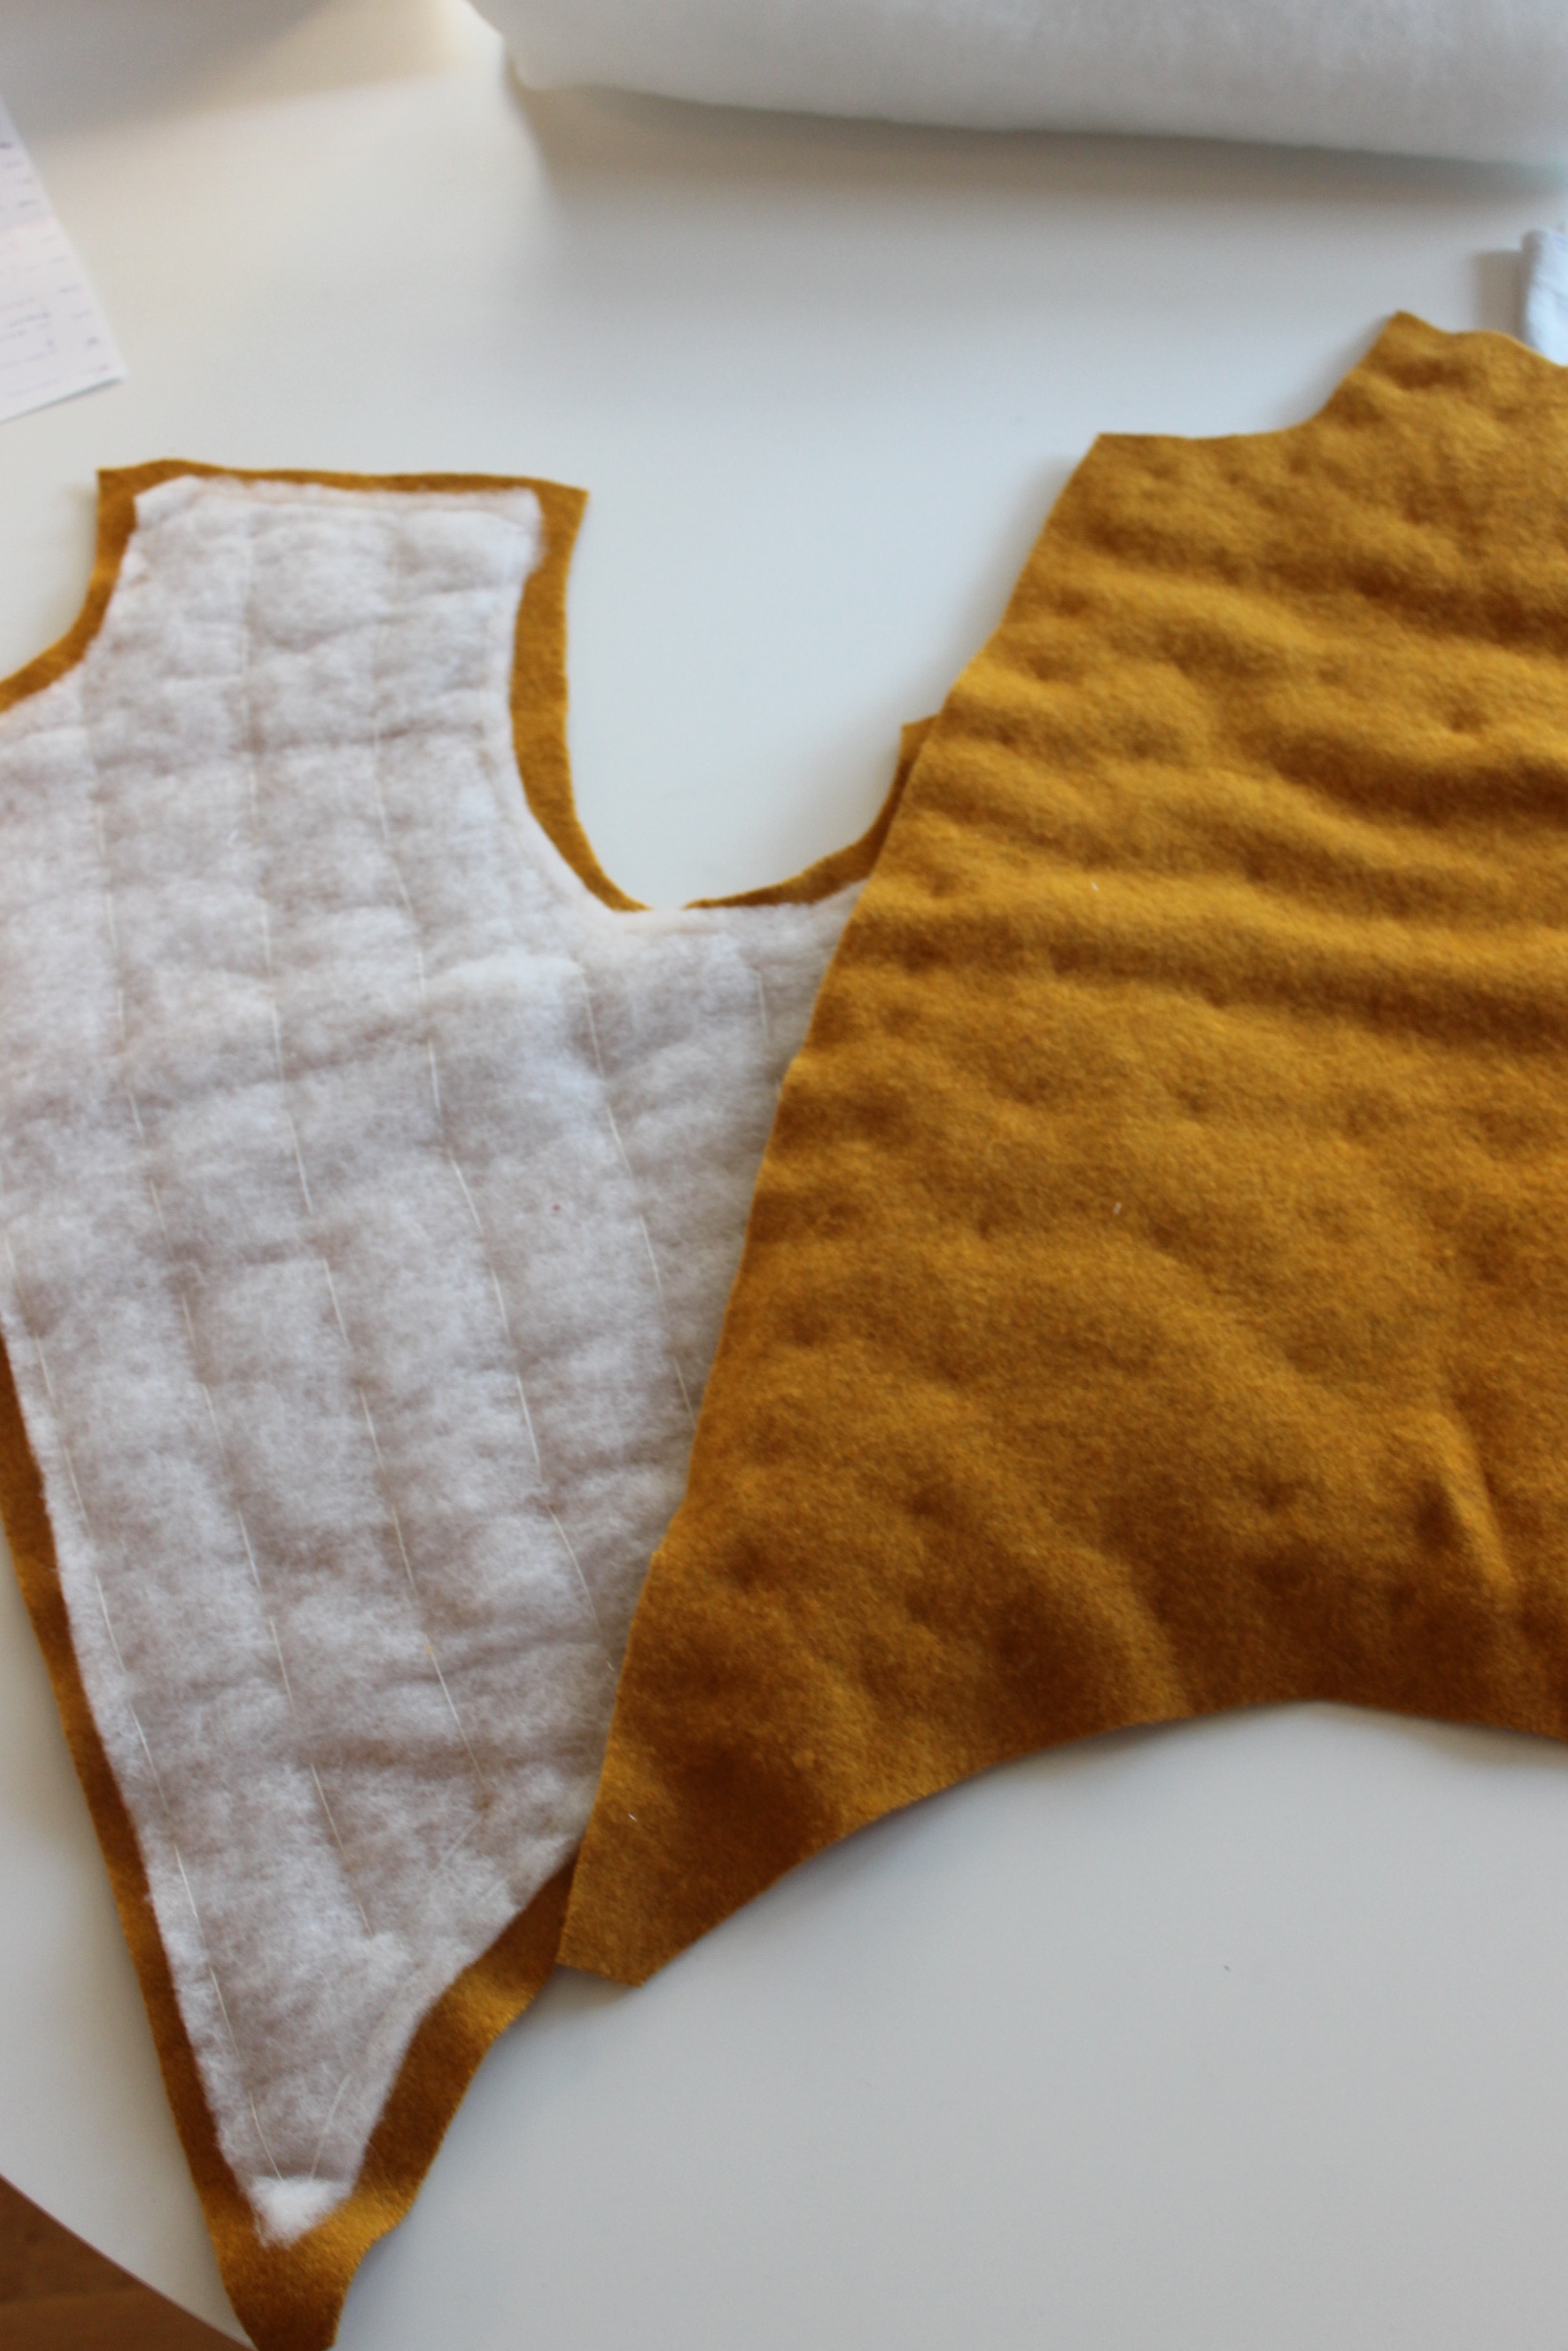


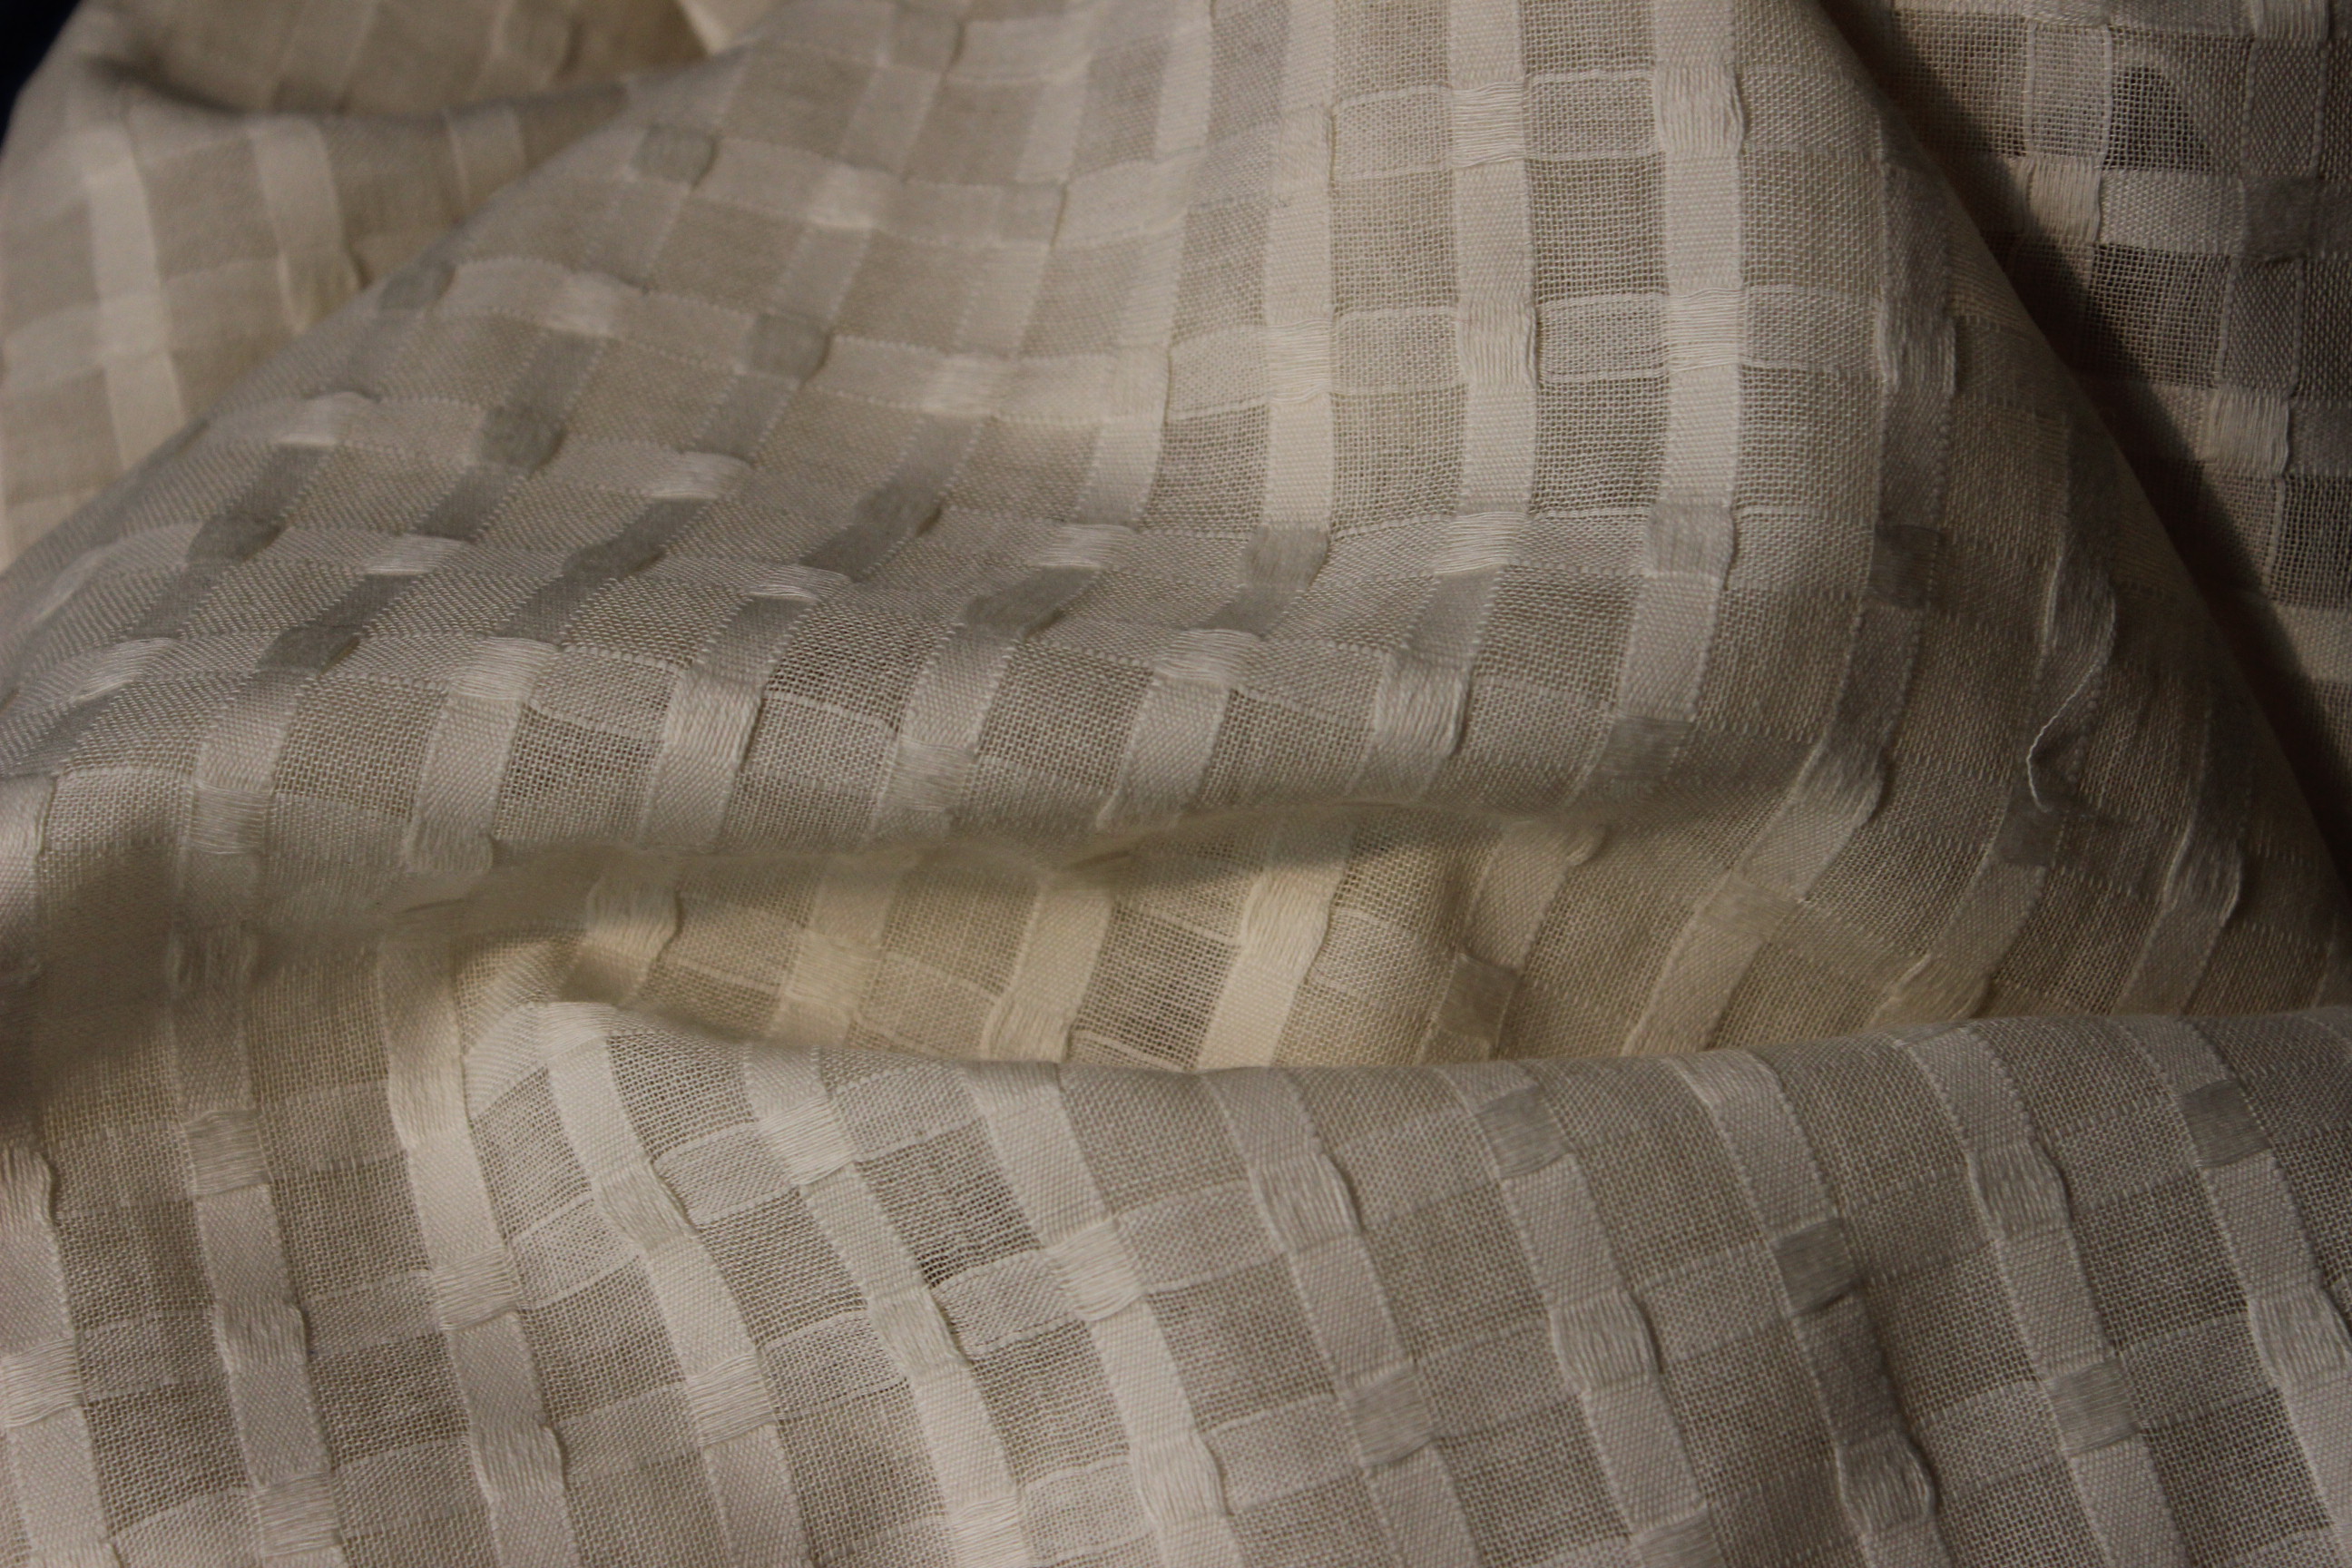
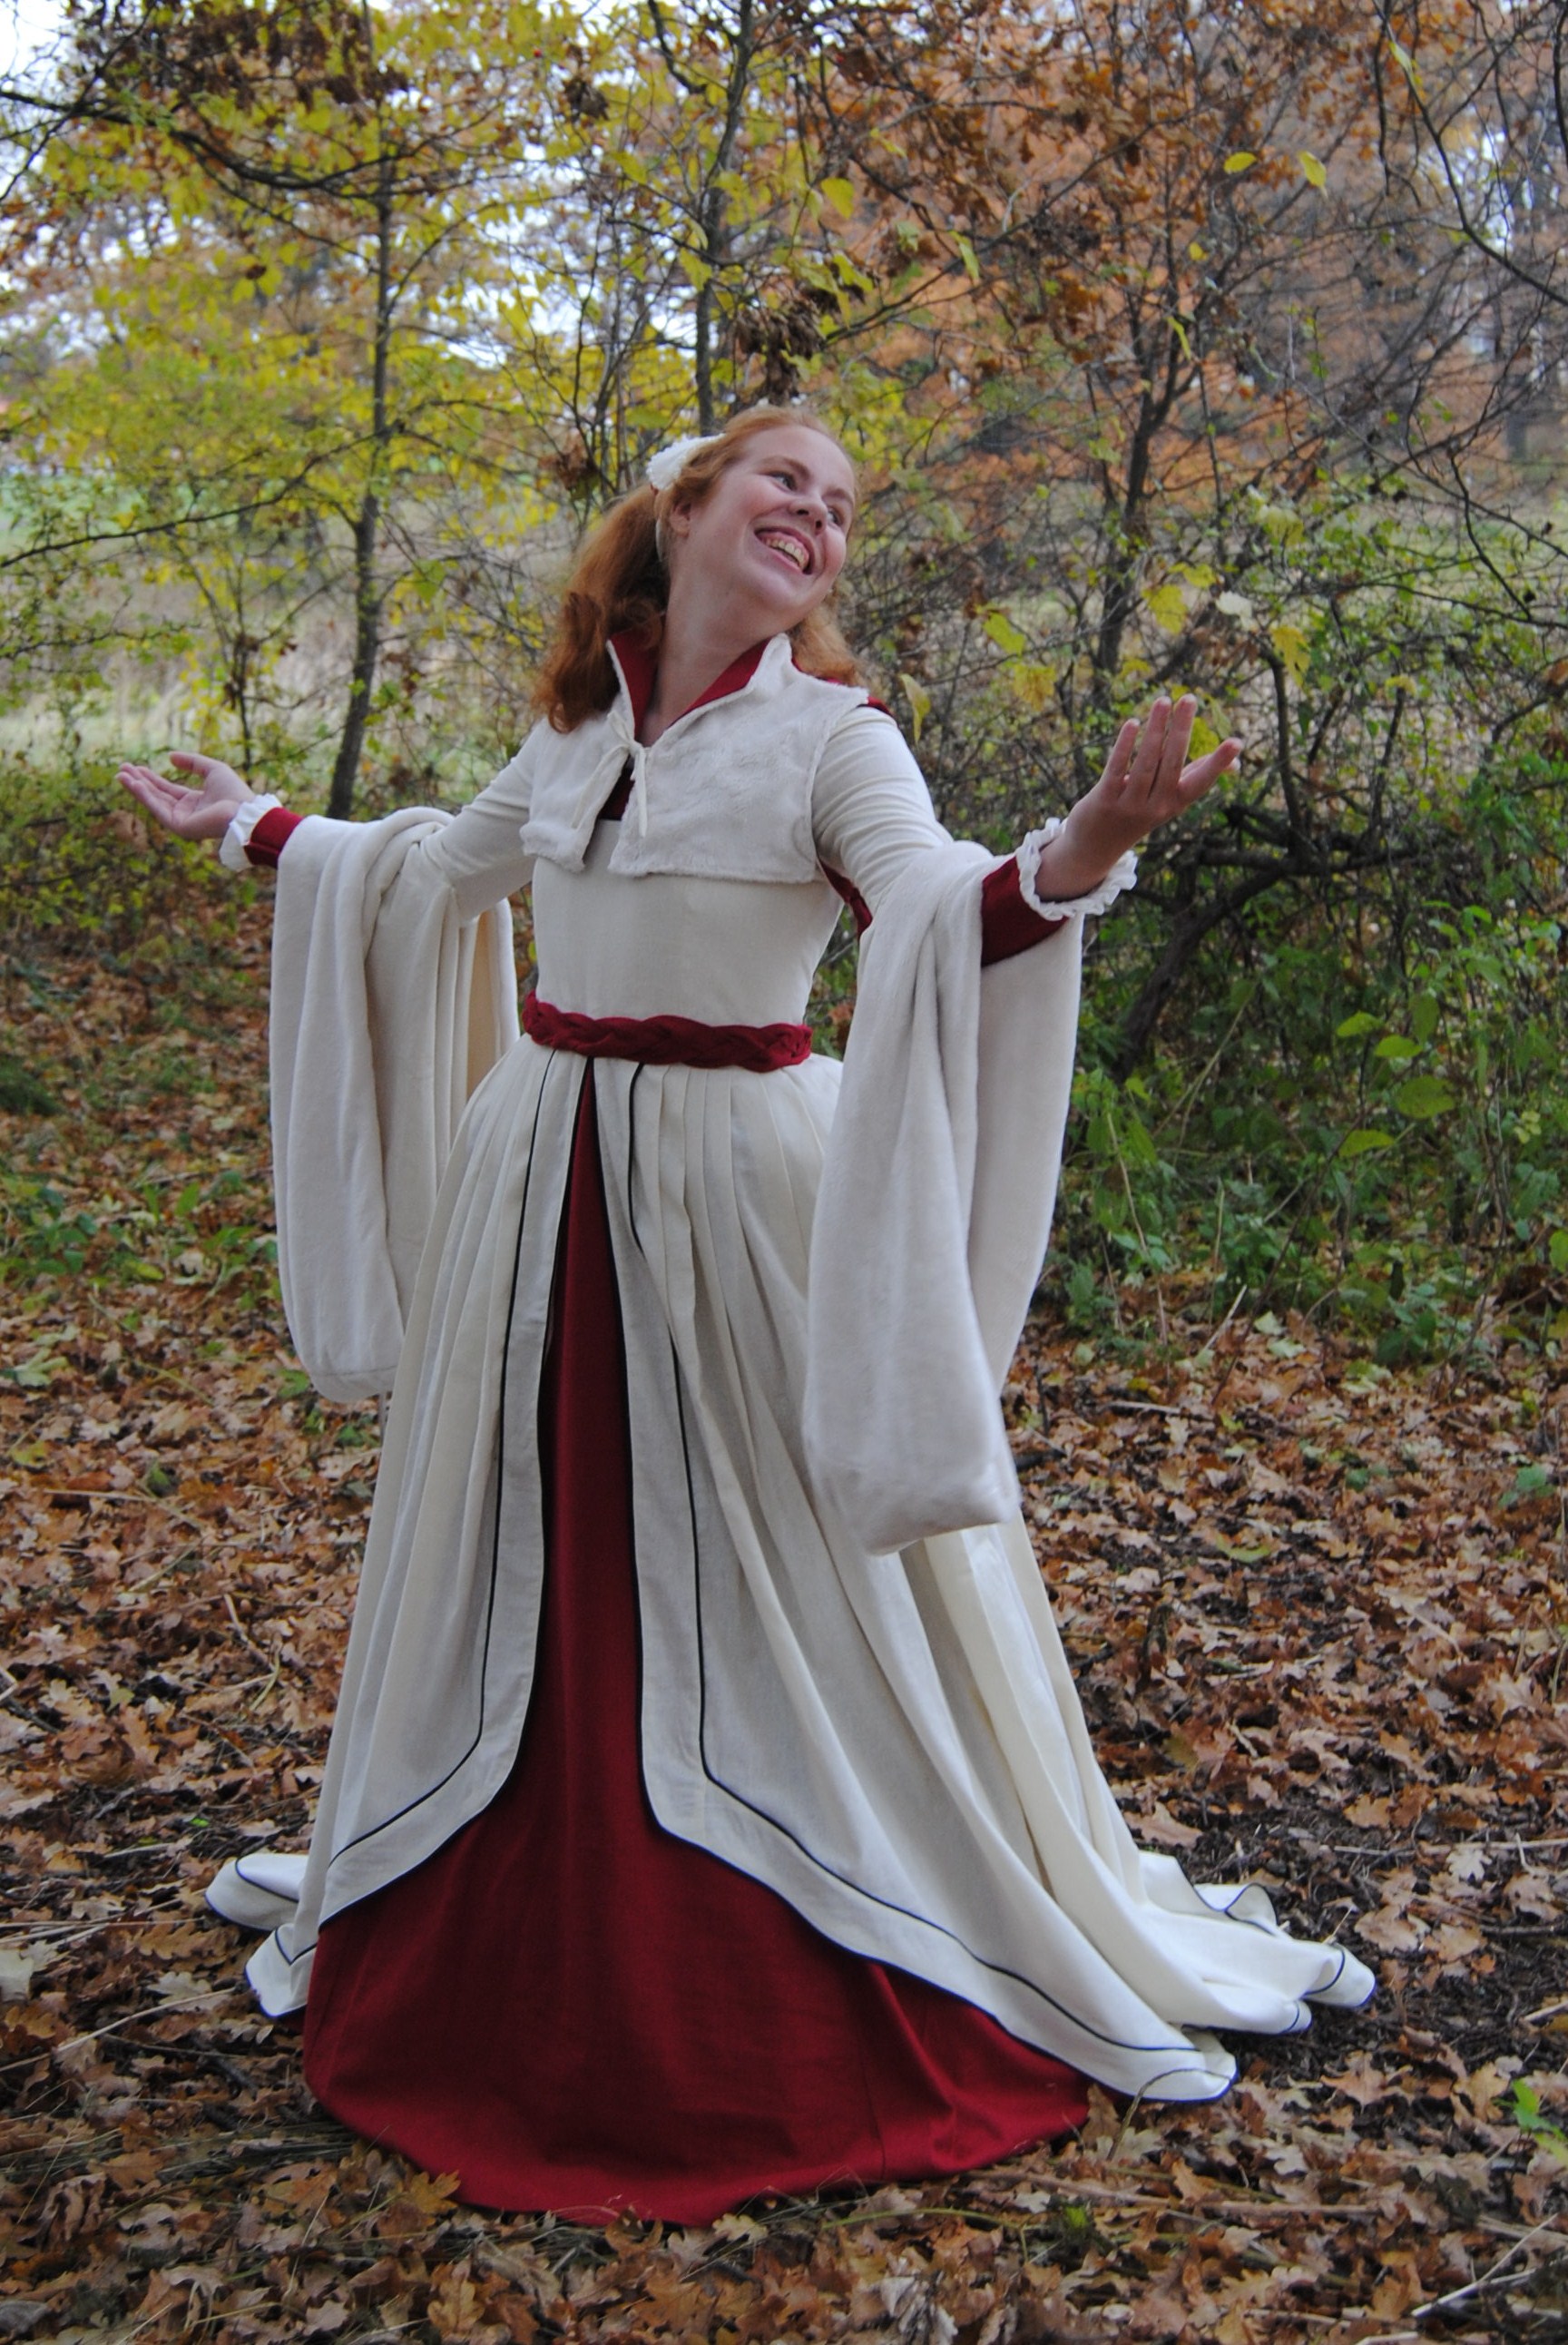
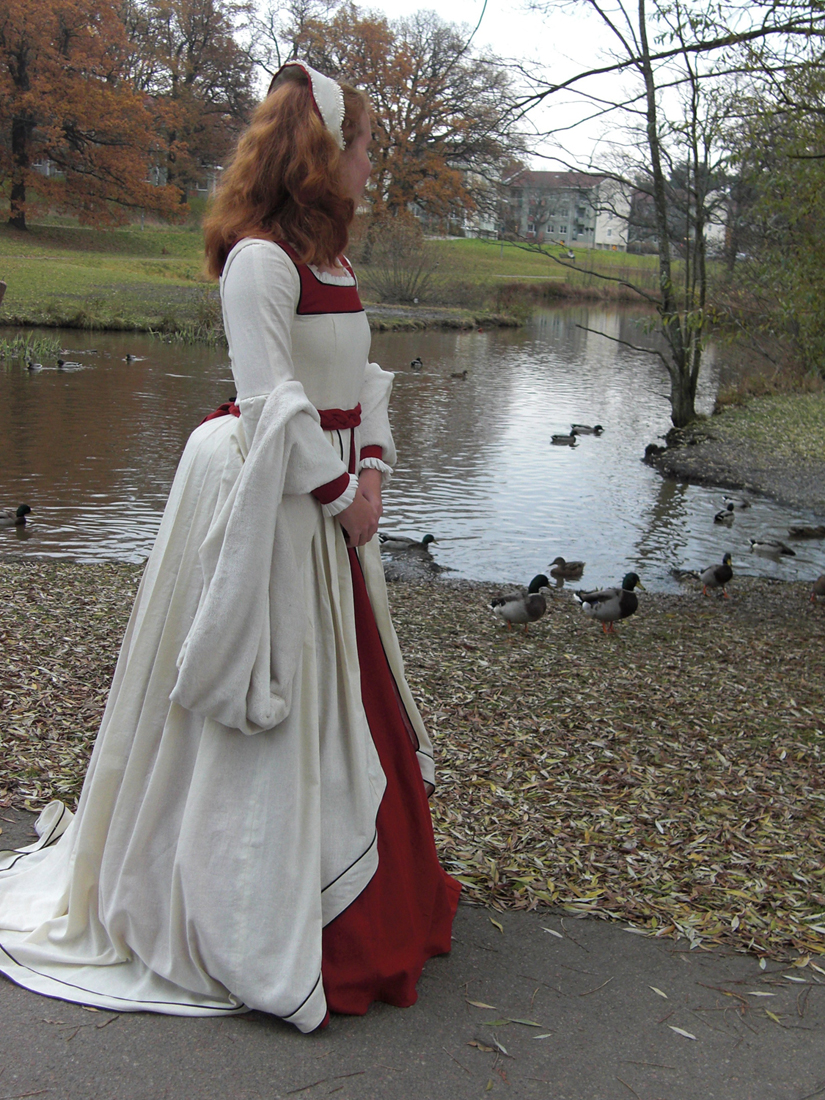
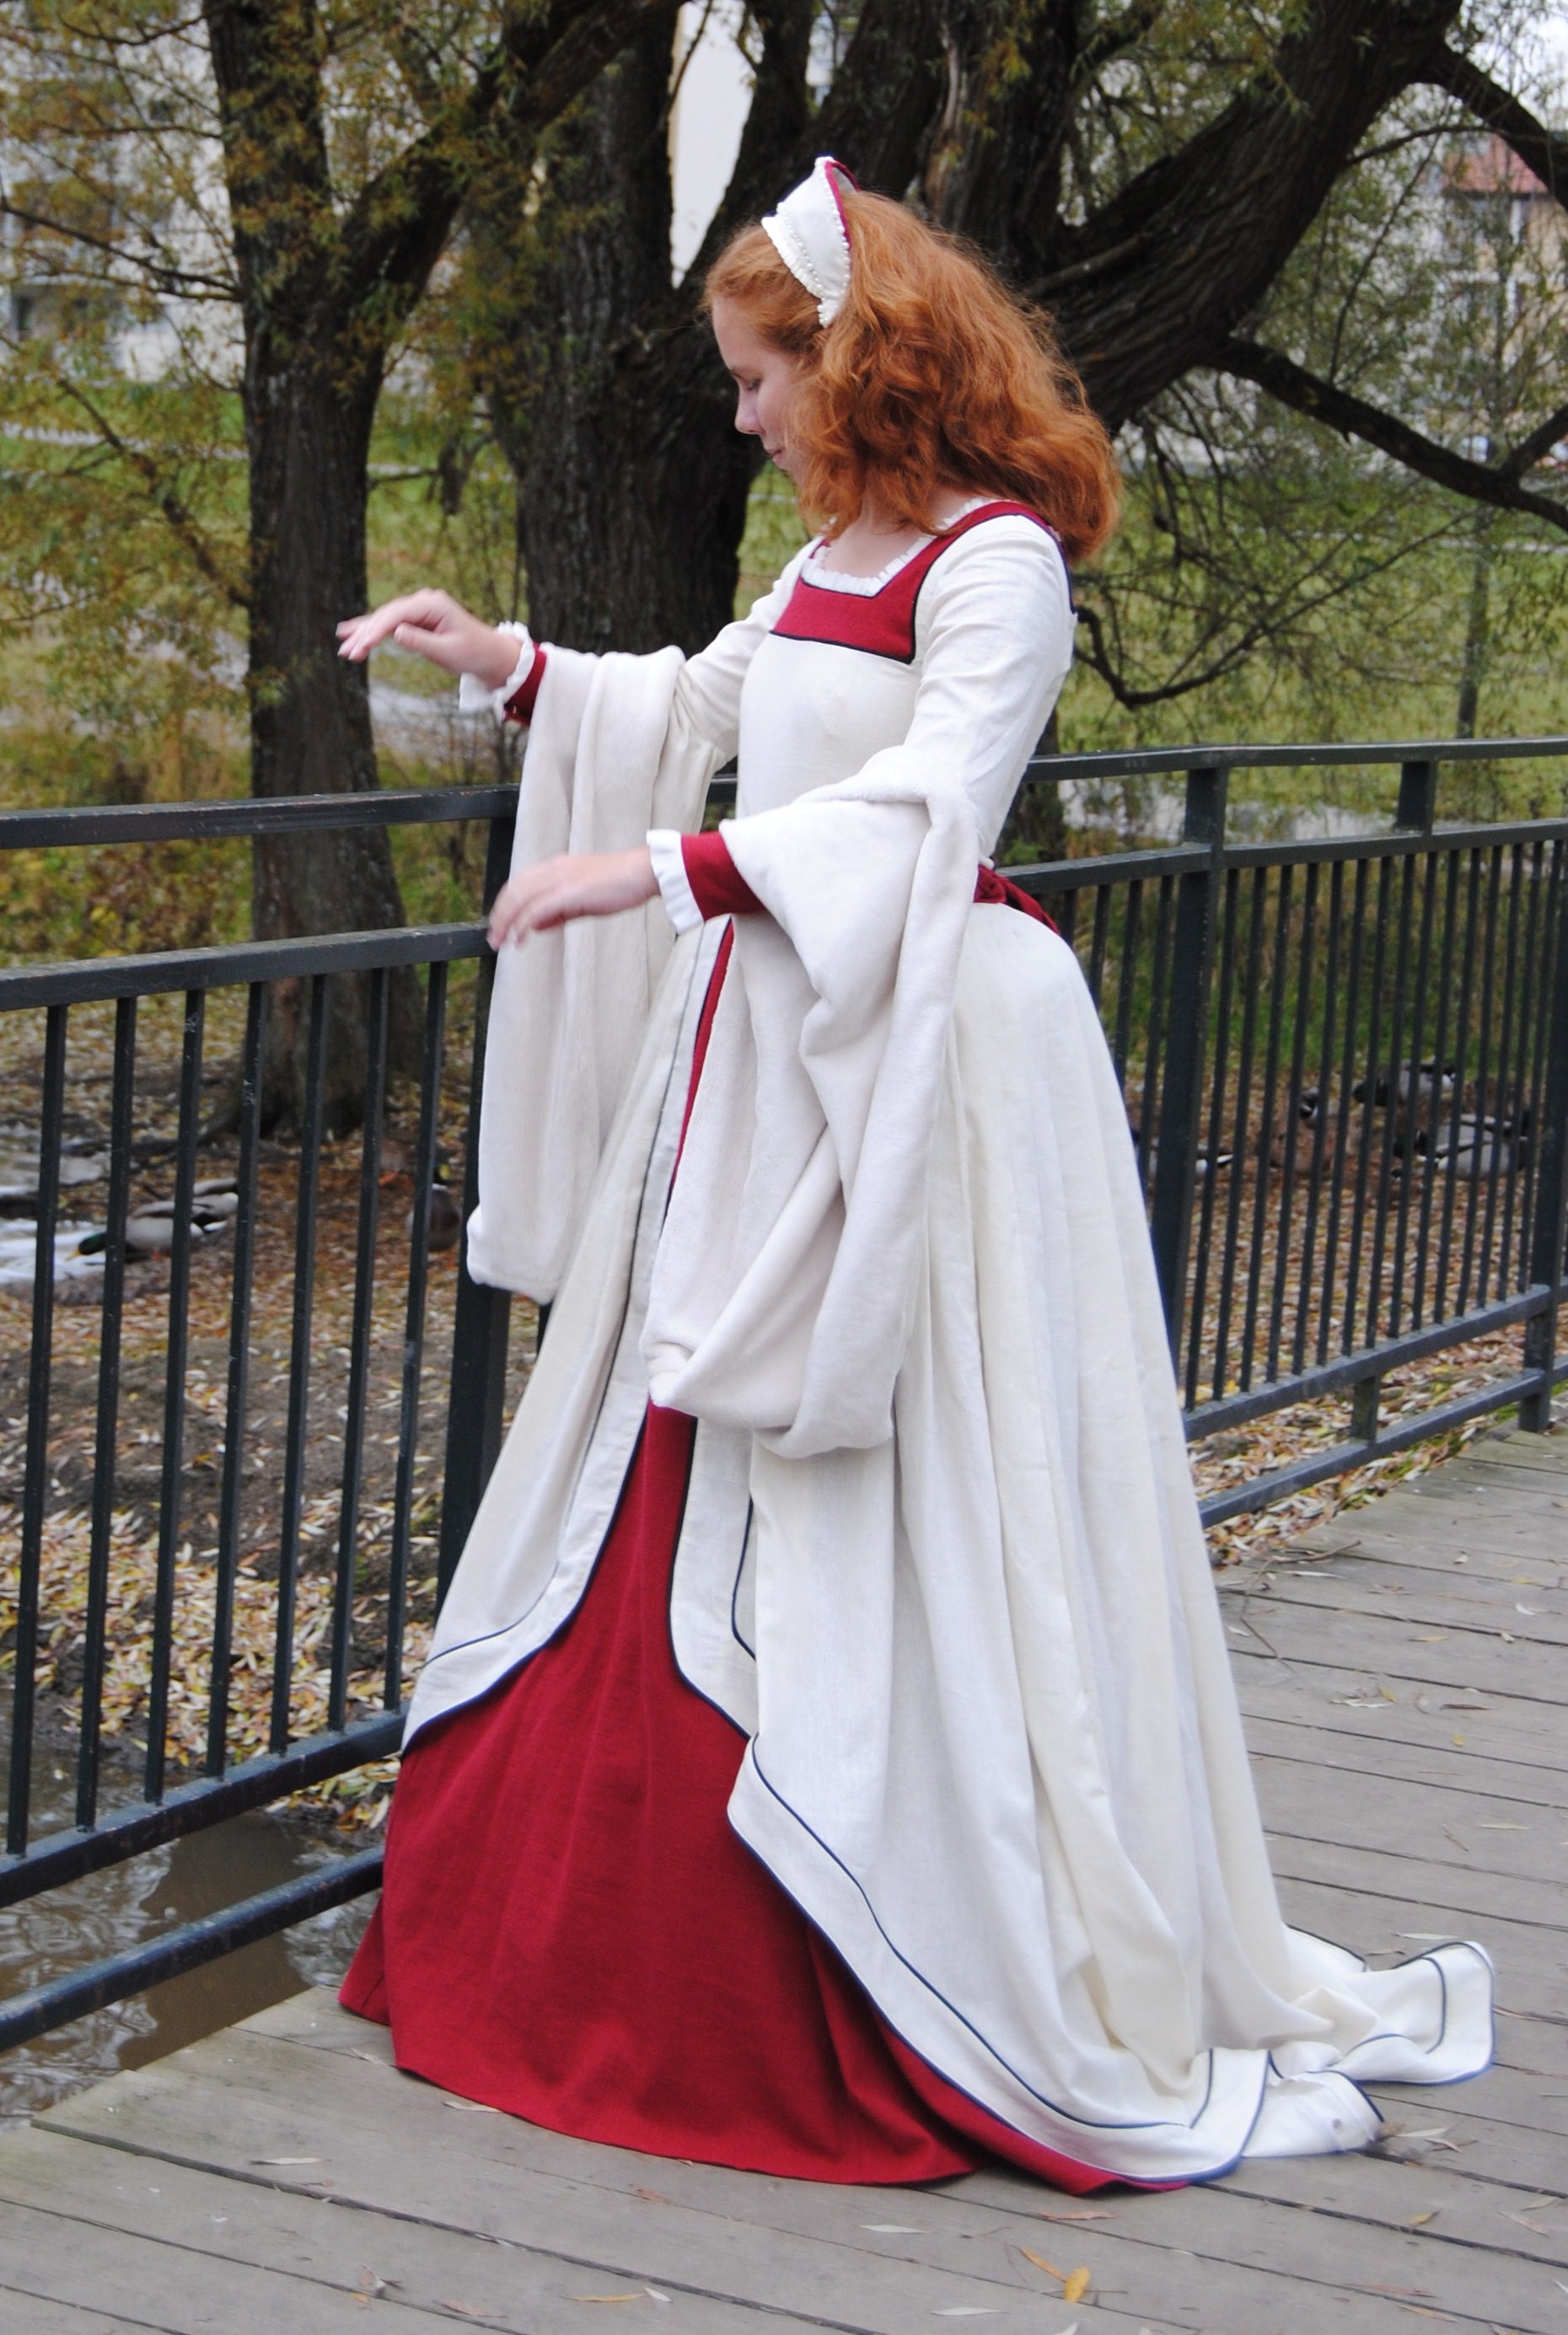
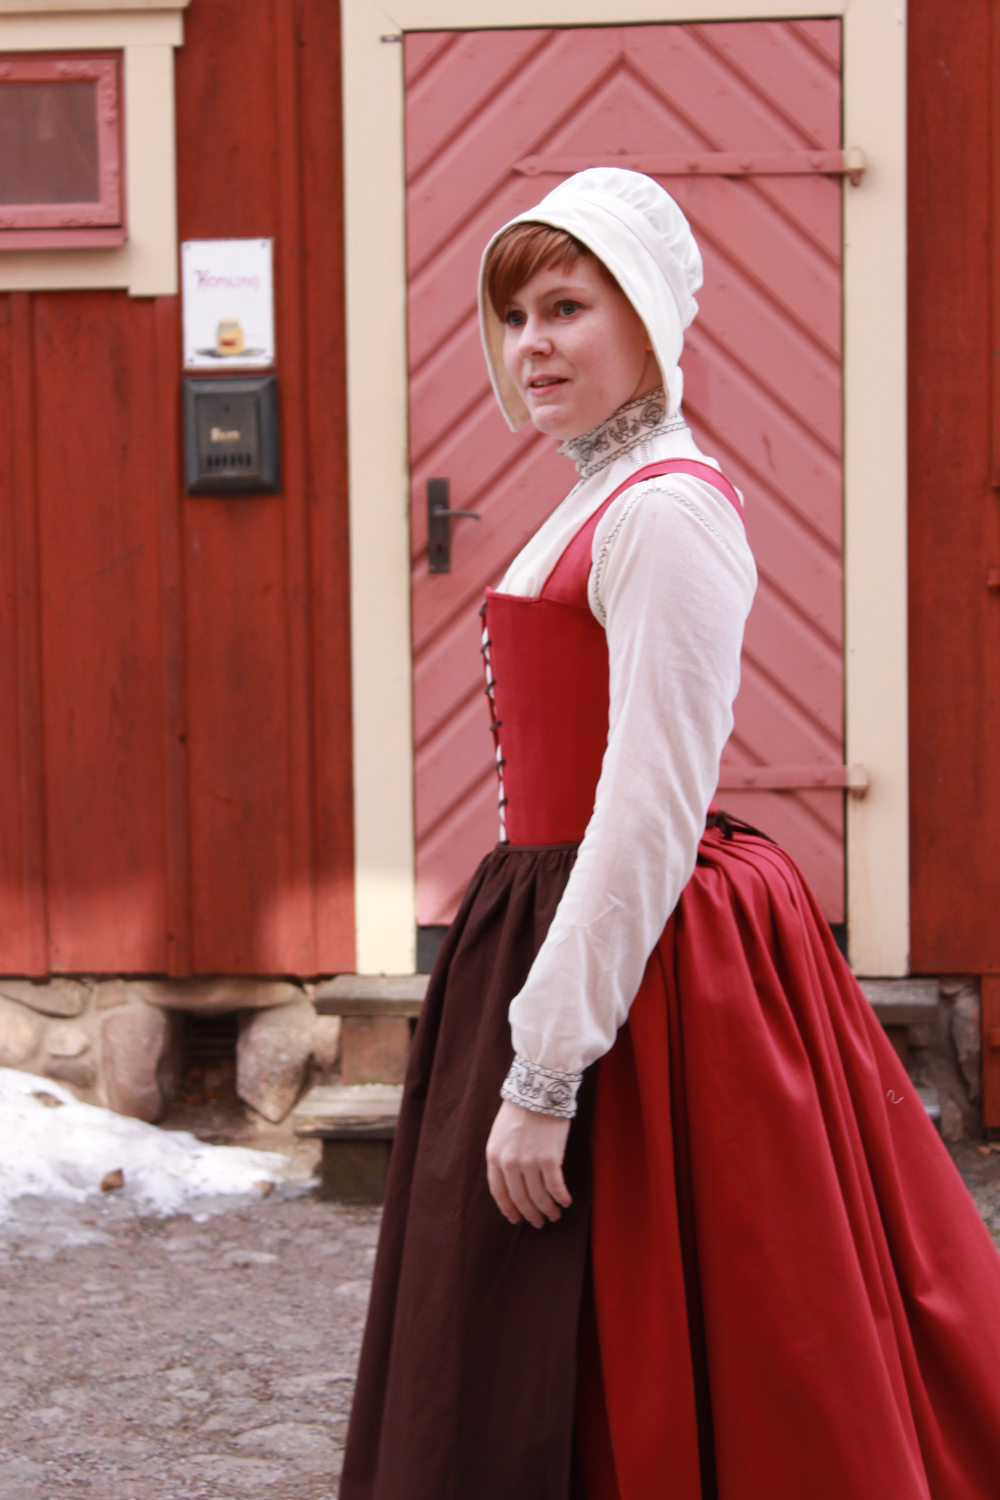
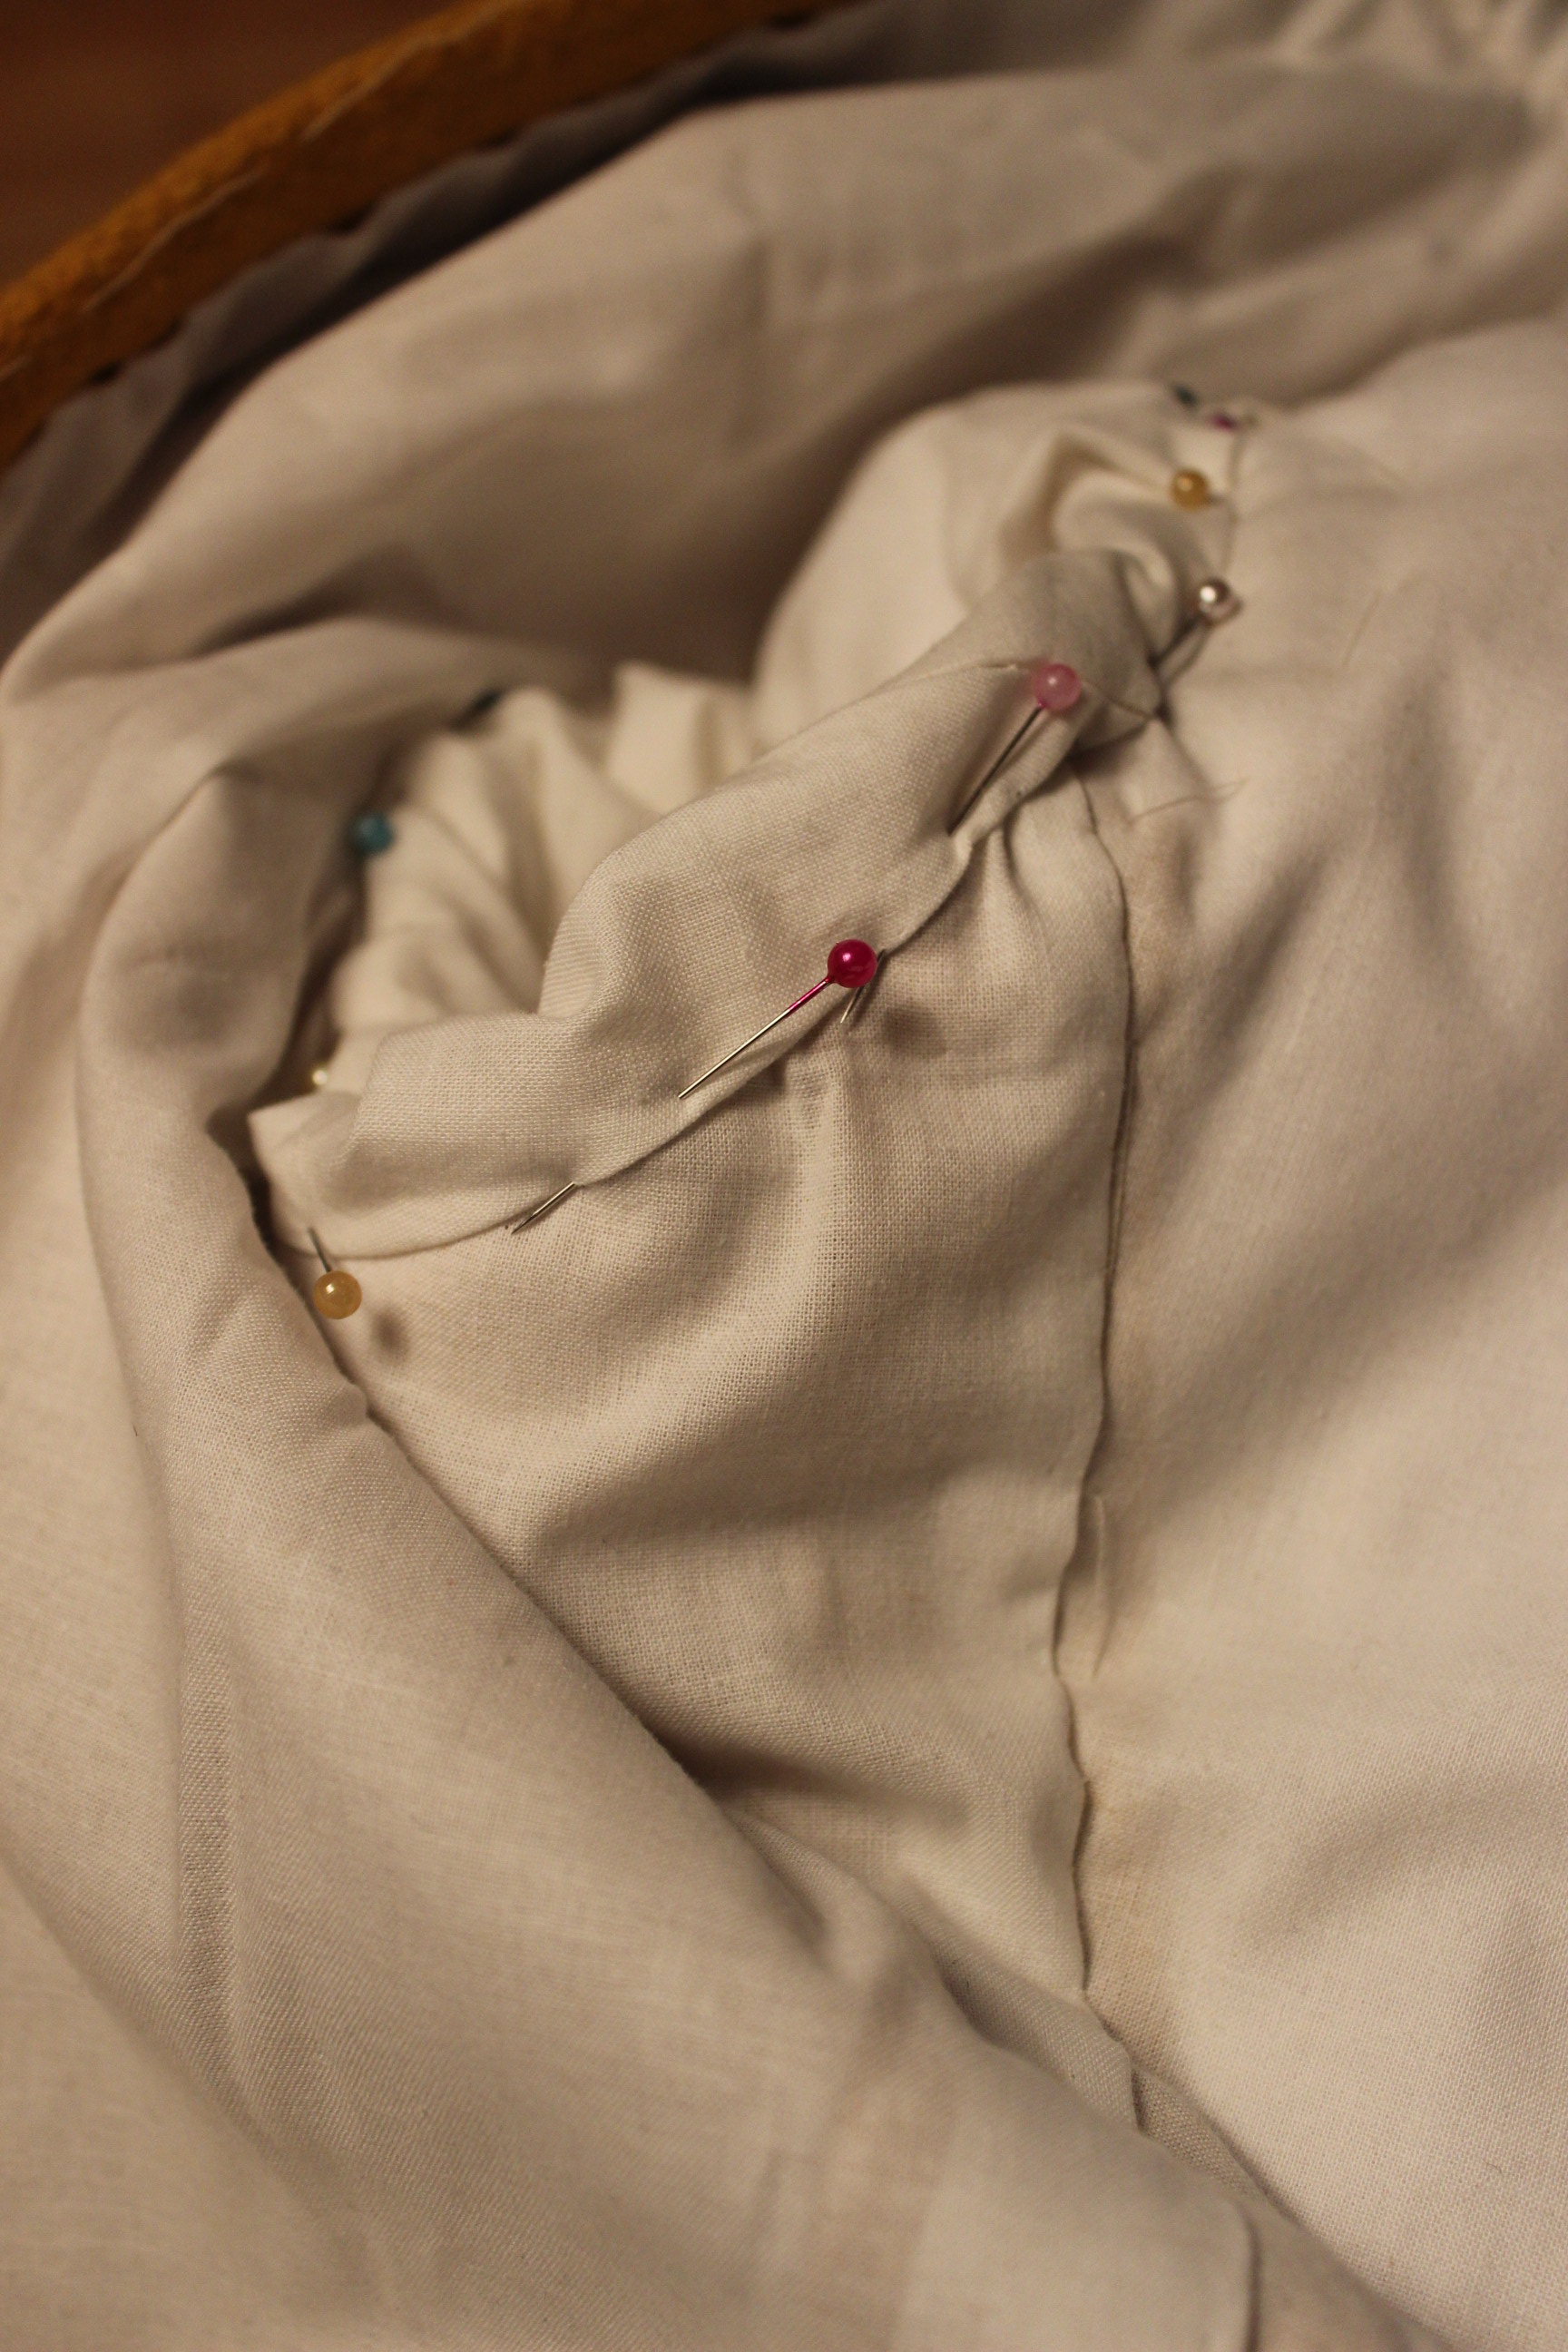
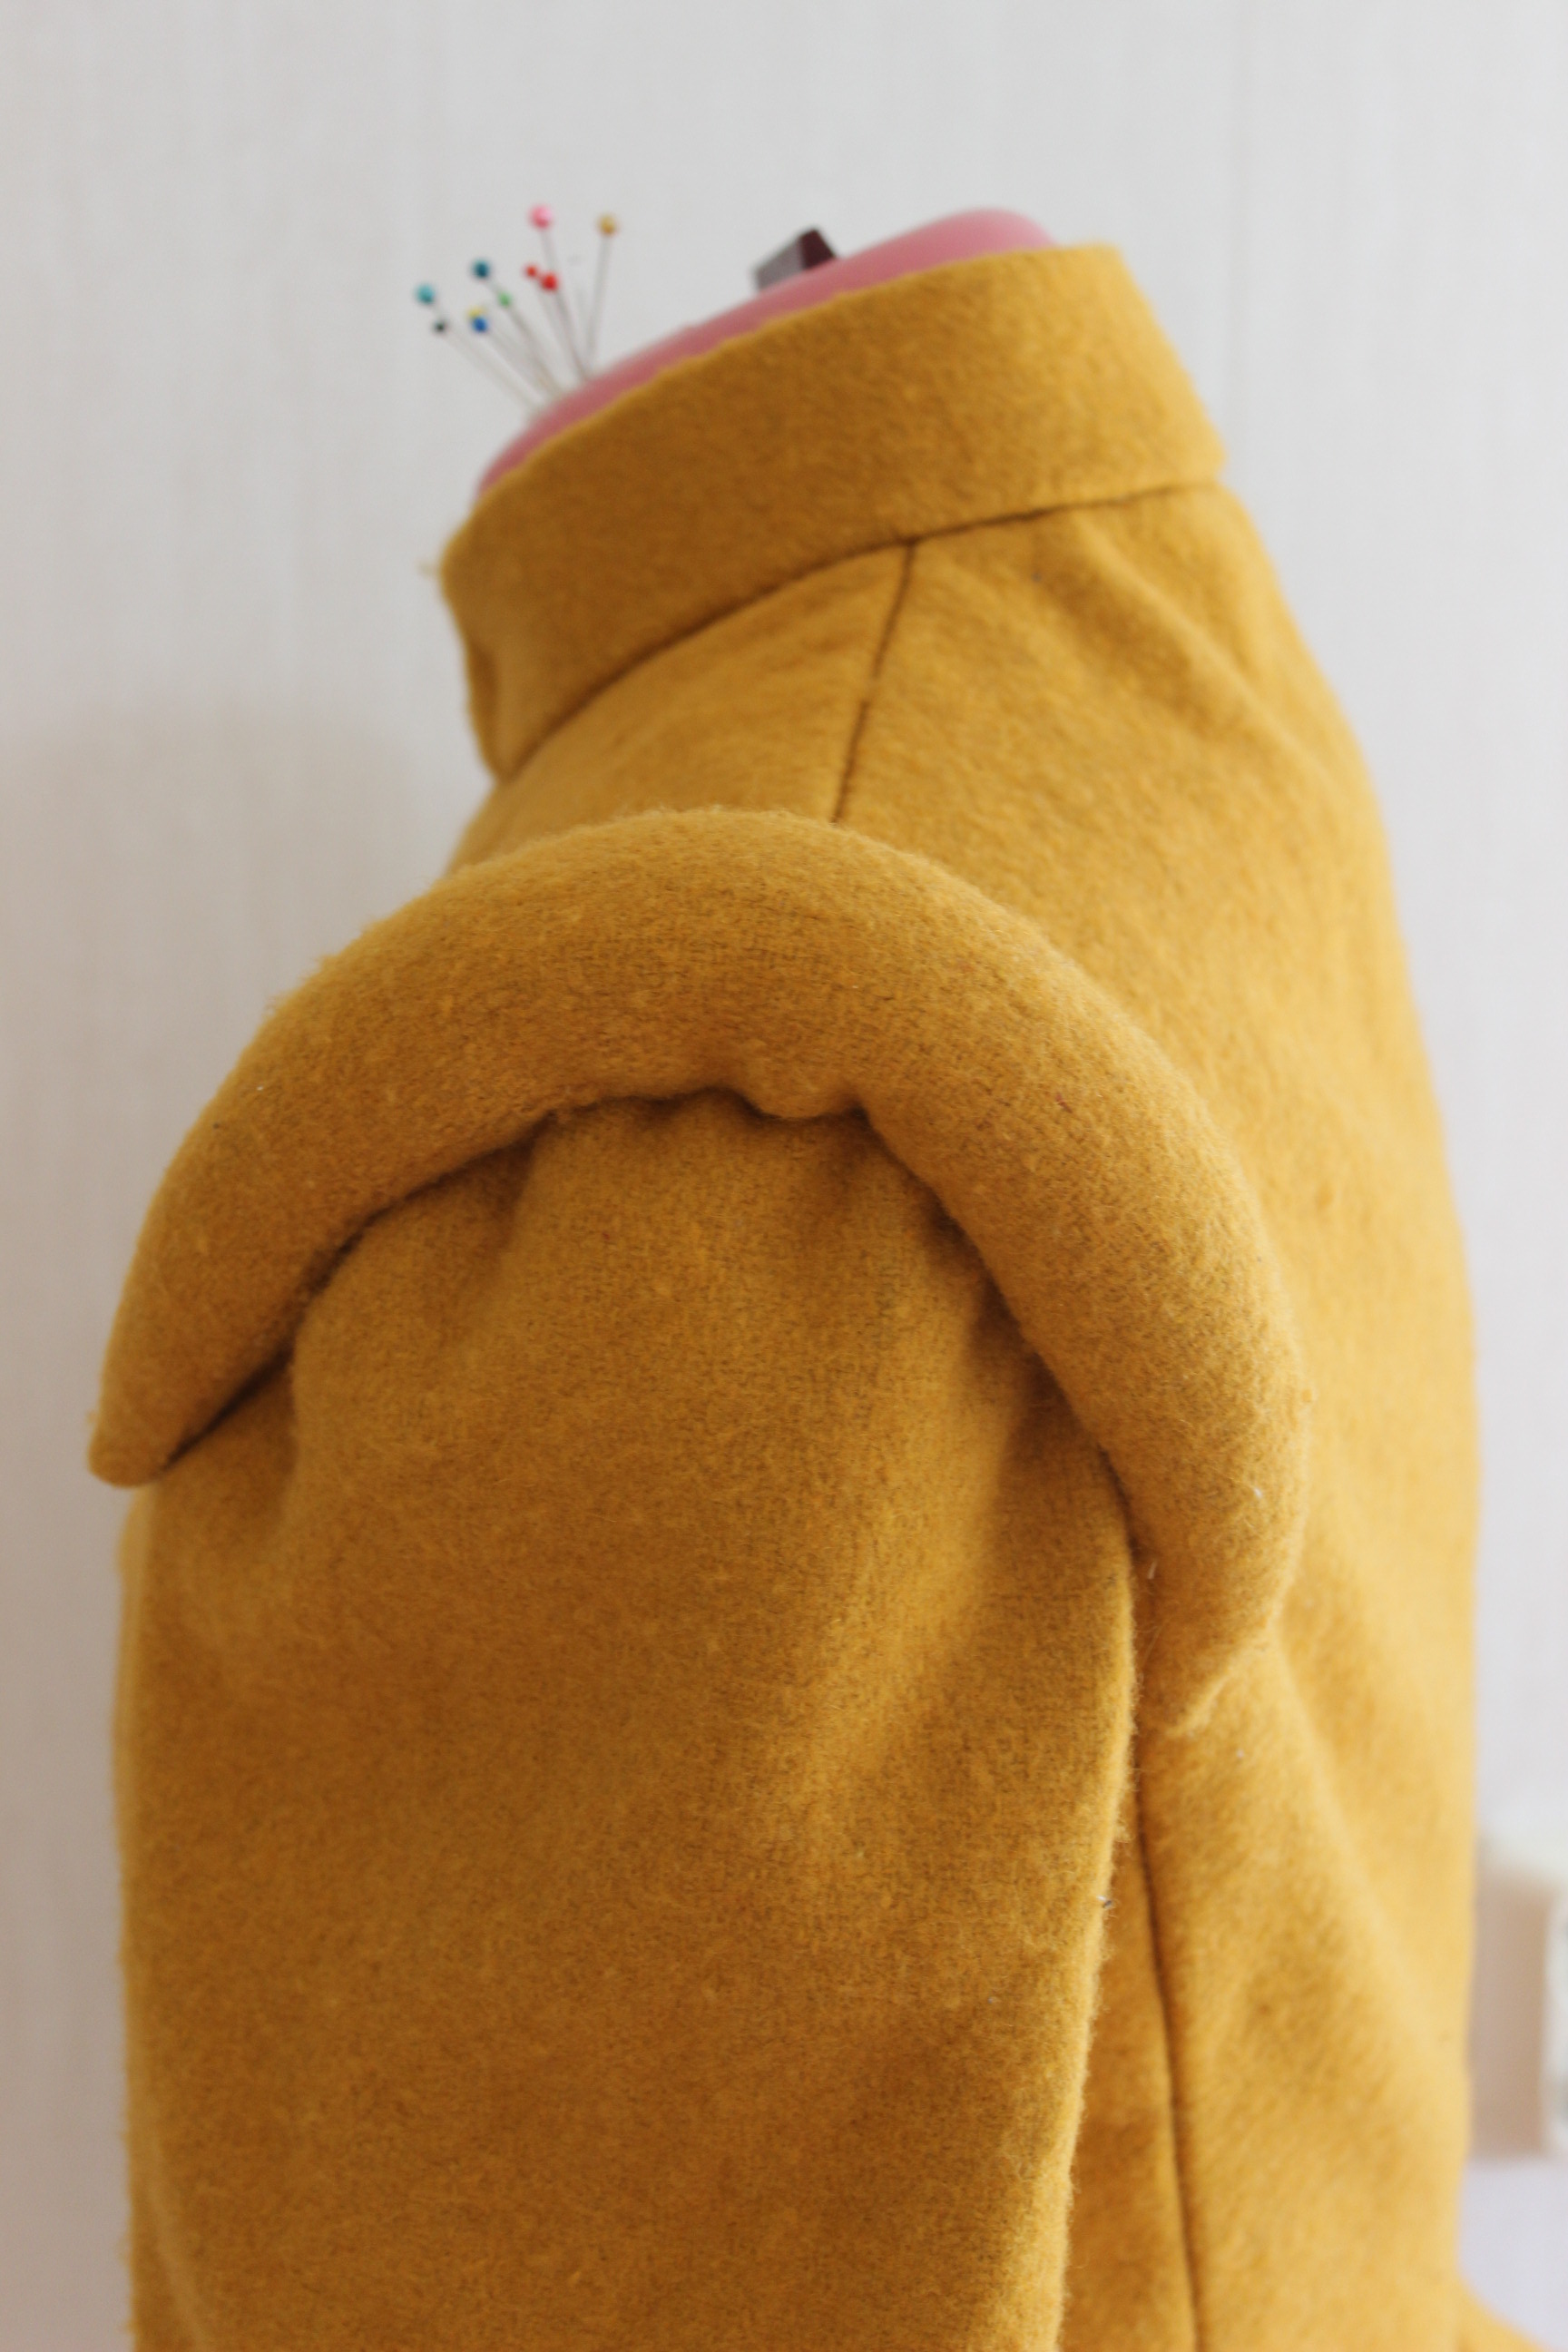
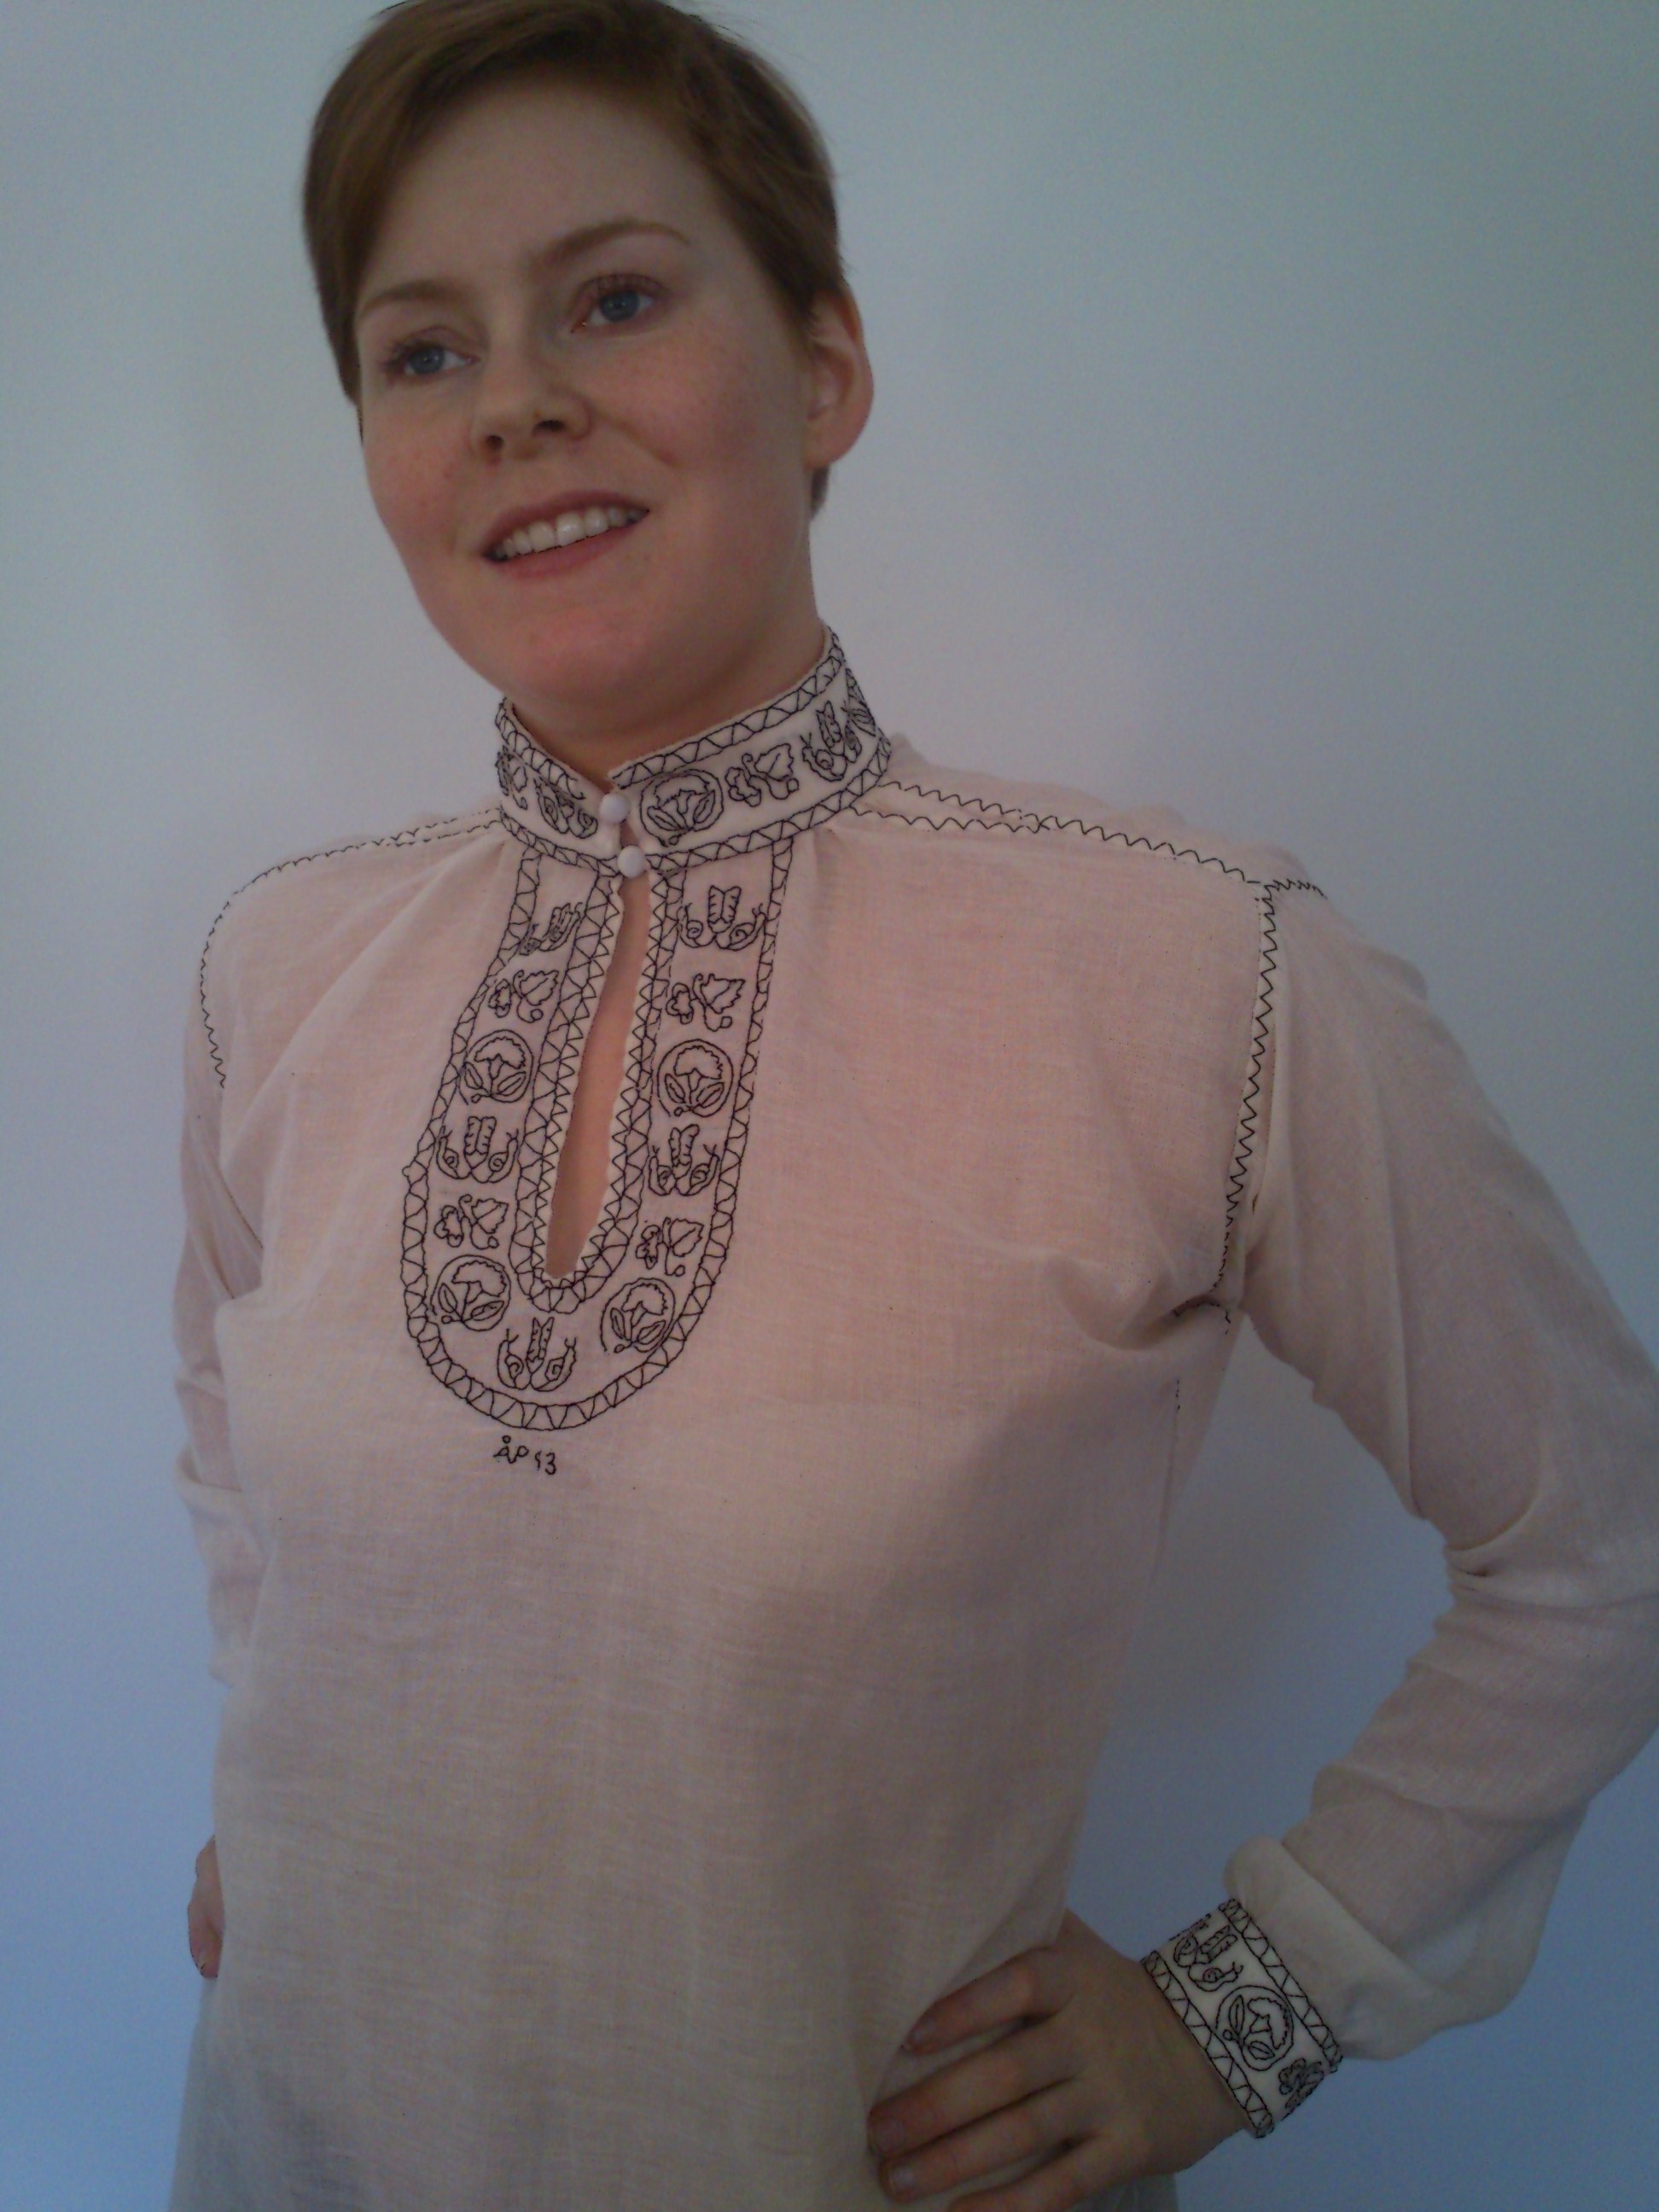
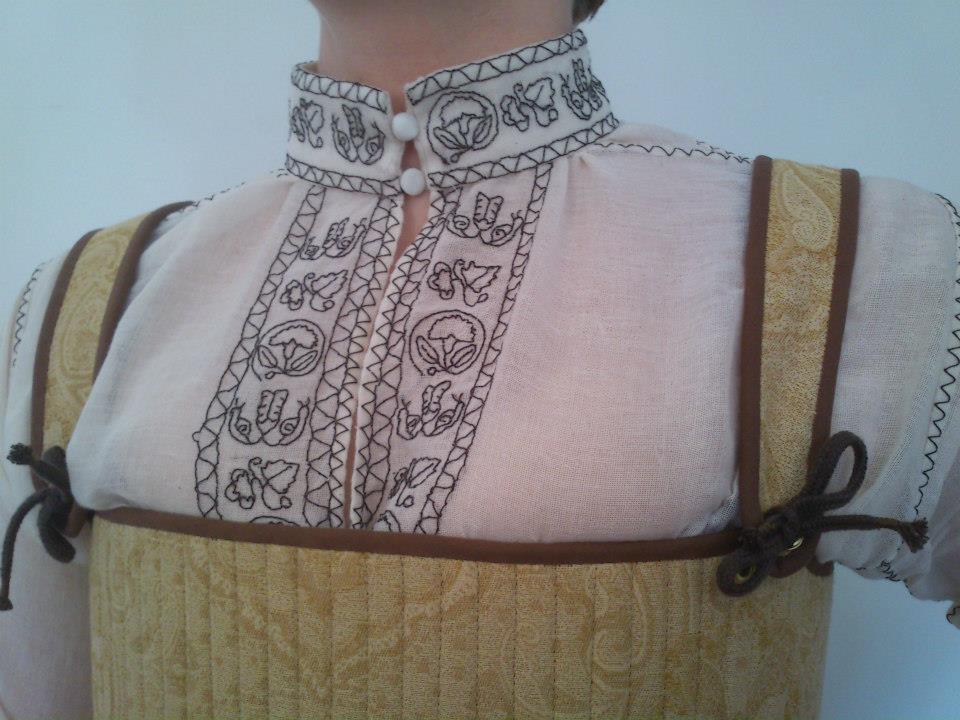
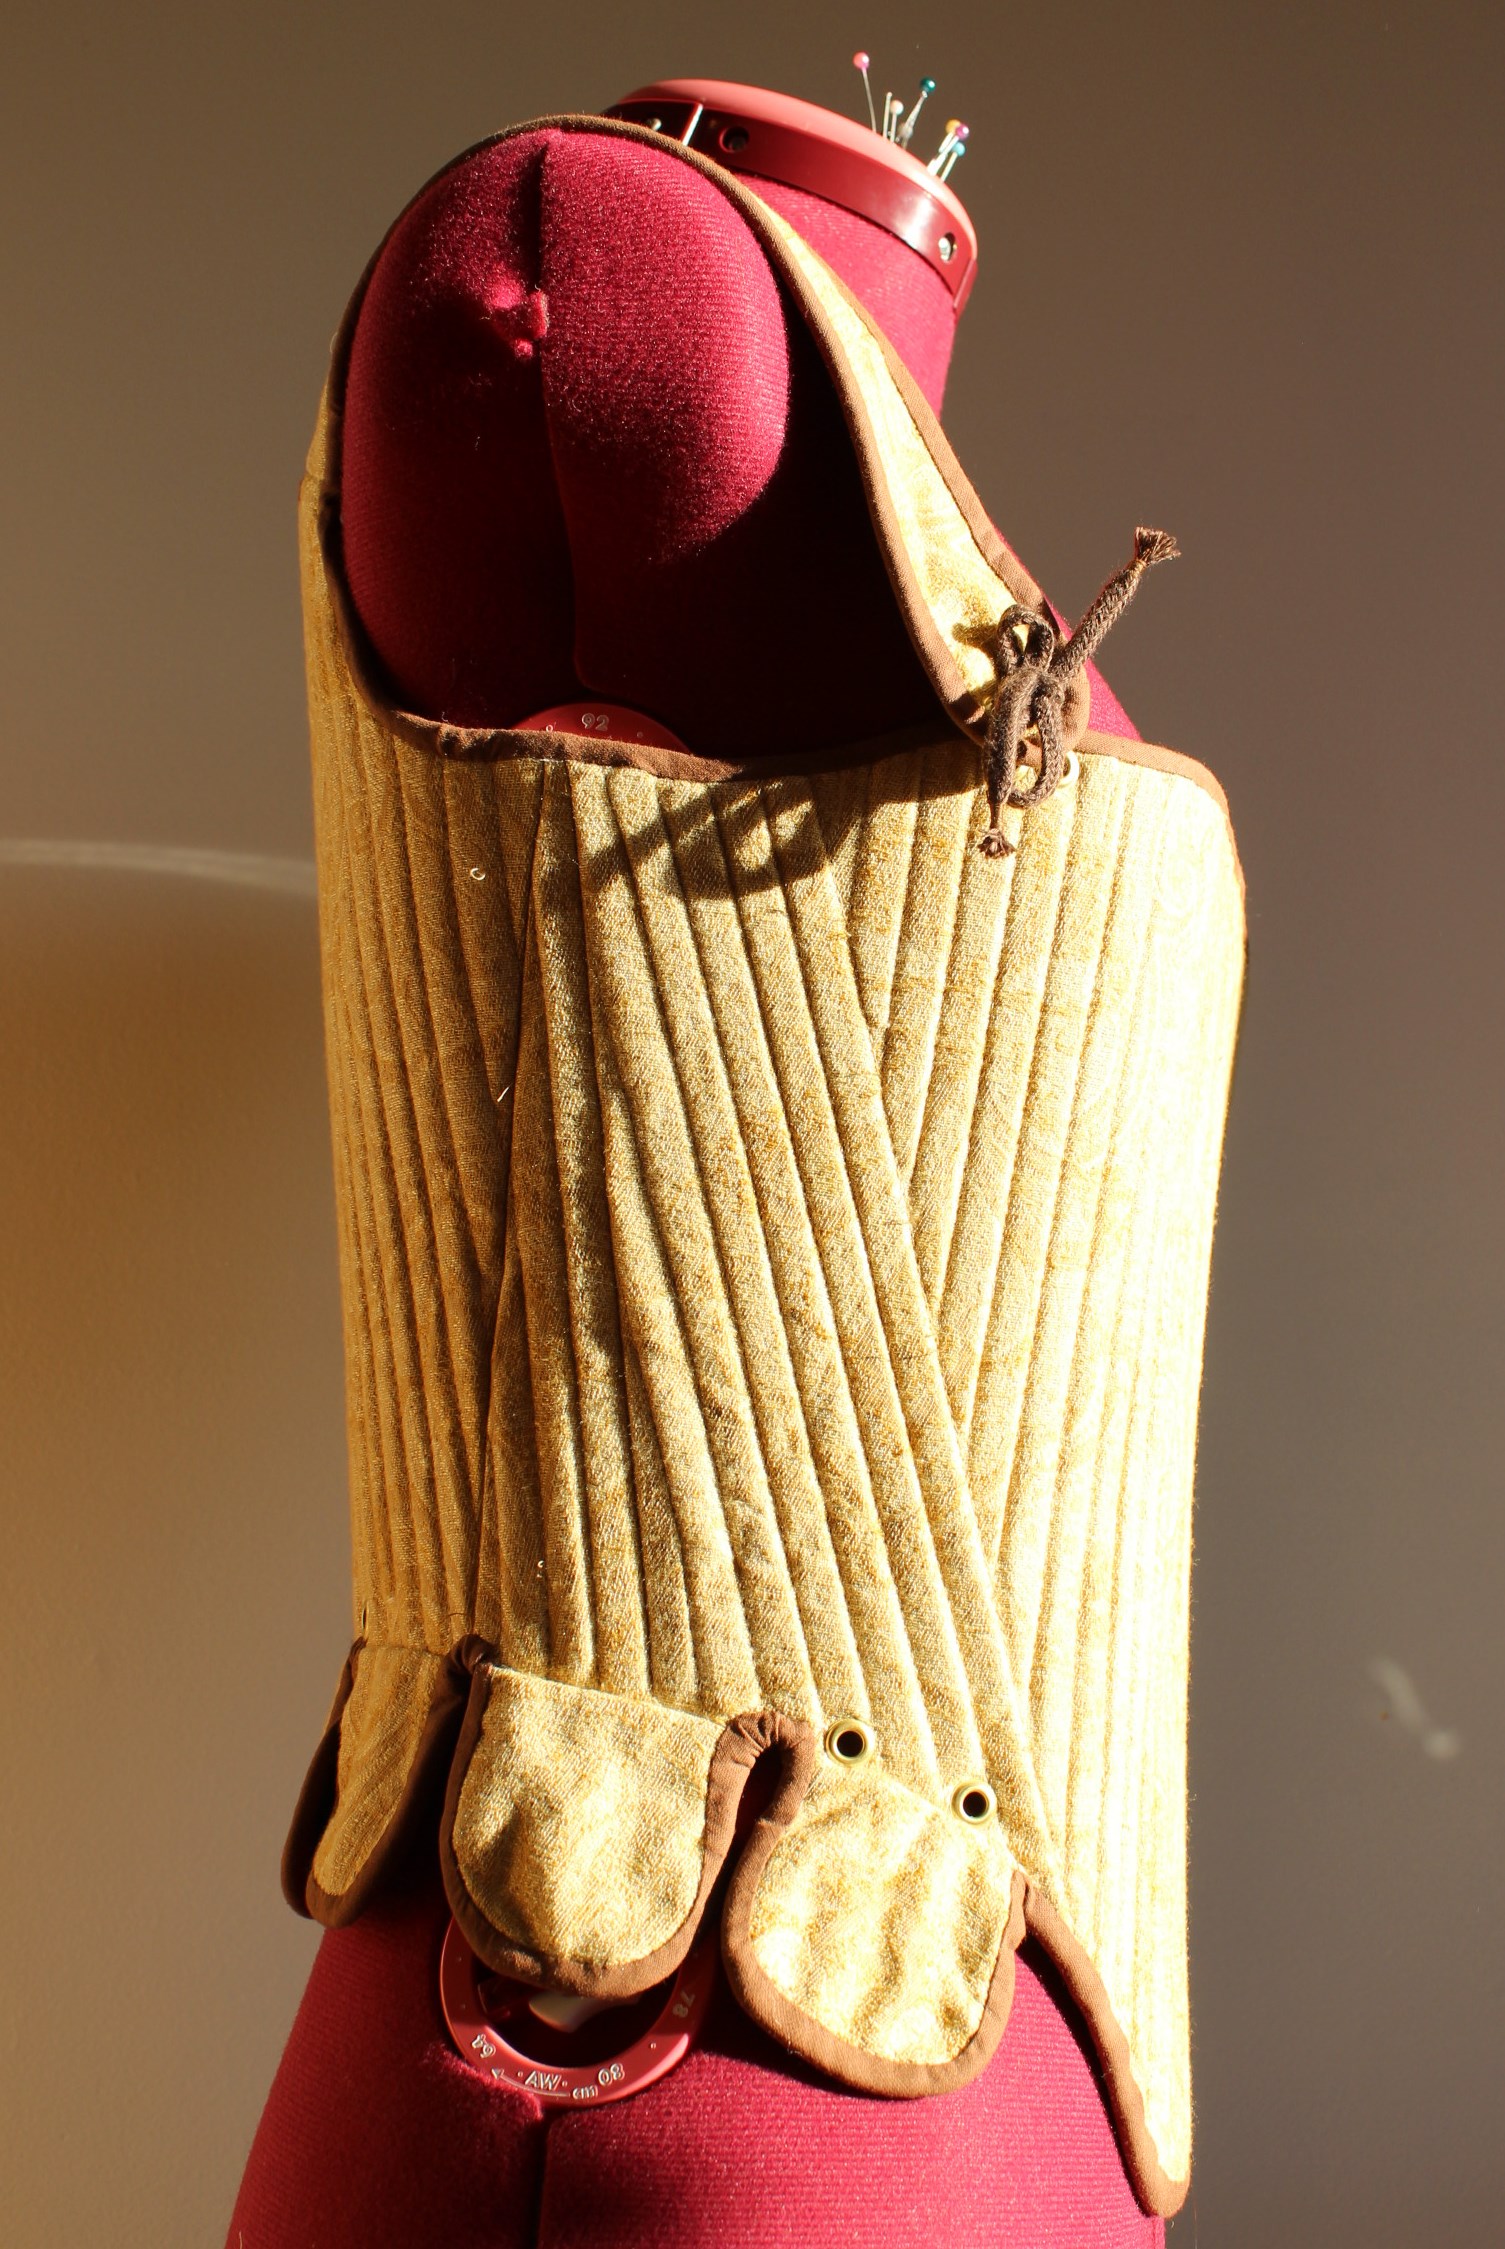
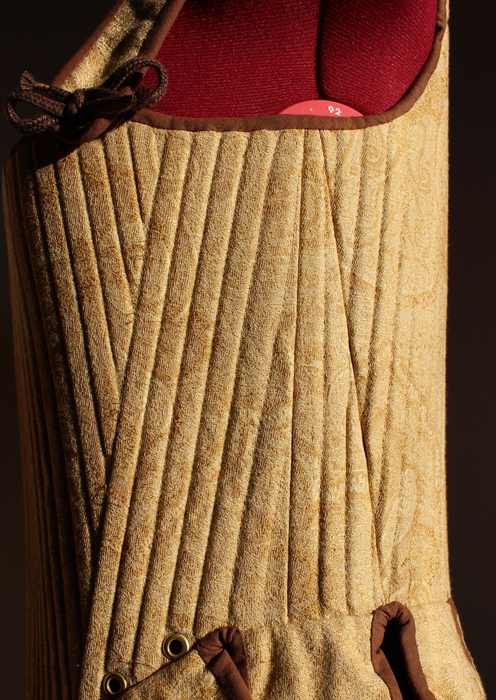
 Using white cotton twill, and heavy linen to give it shape.


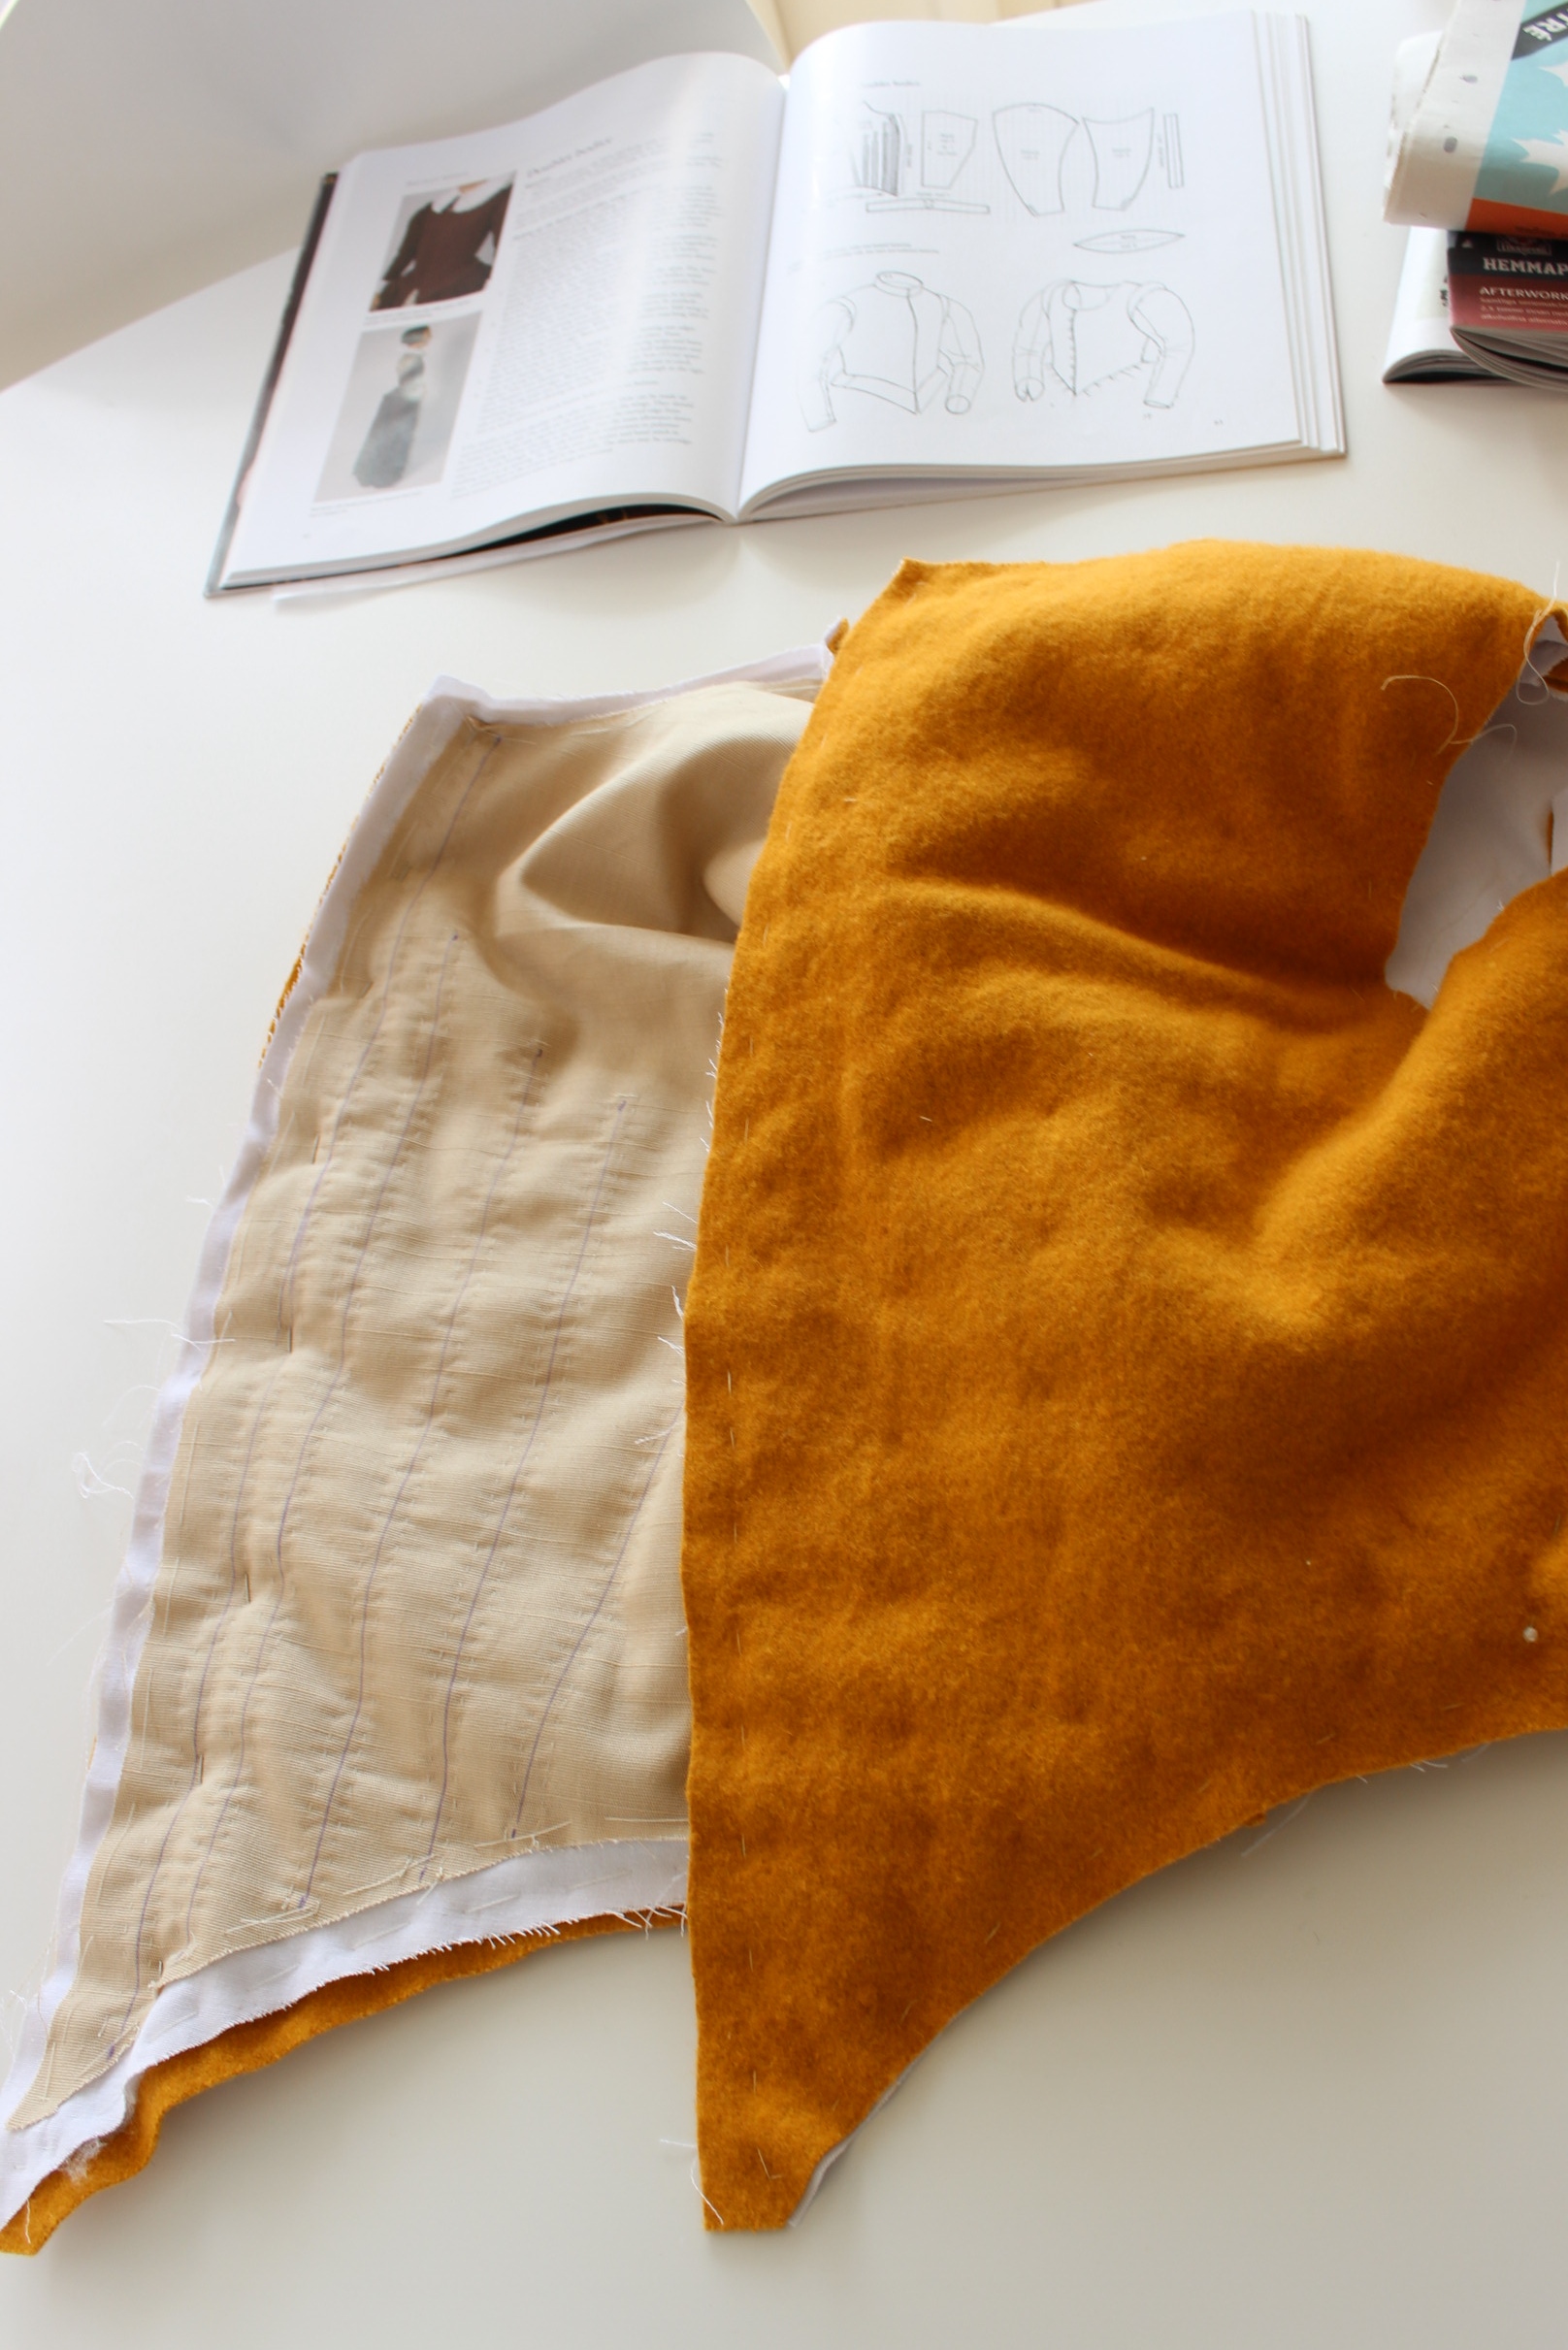


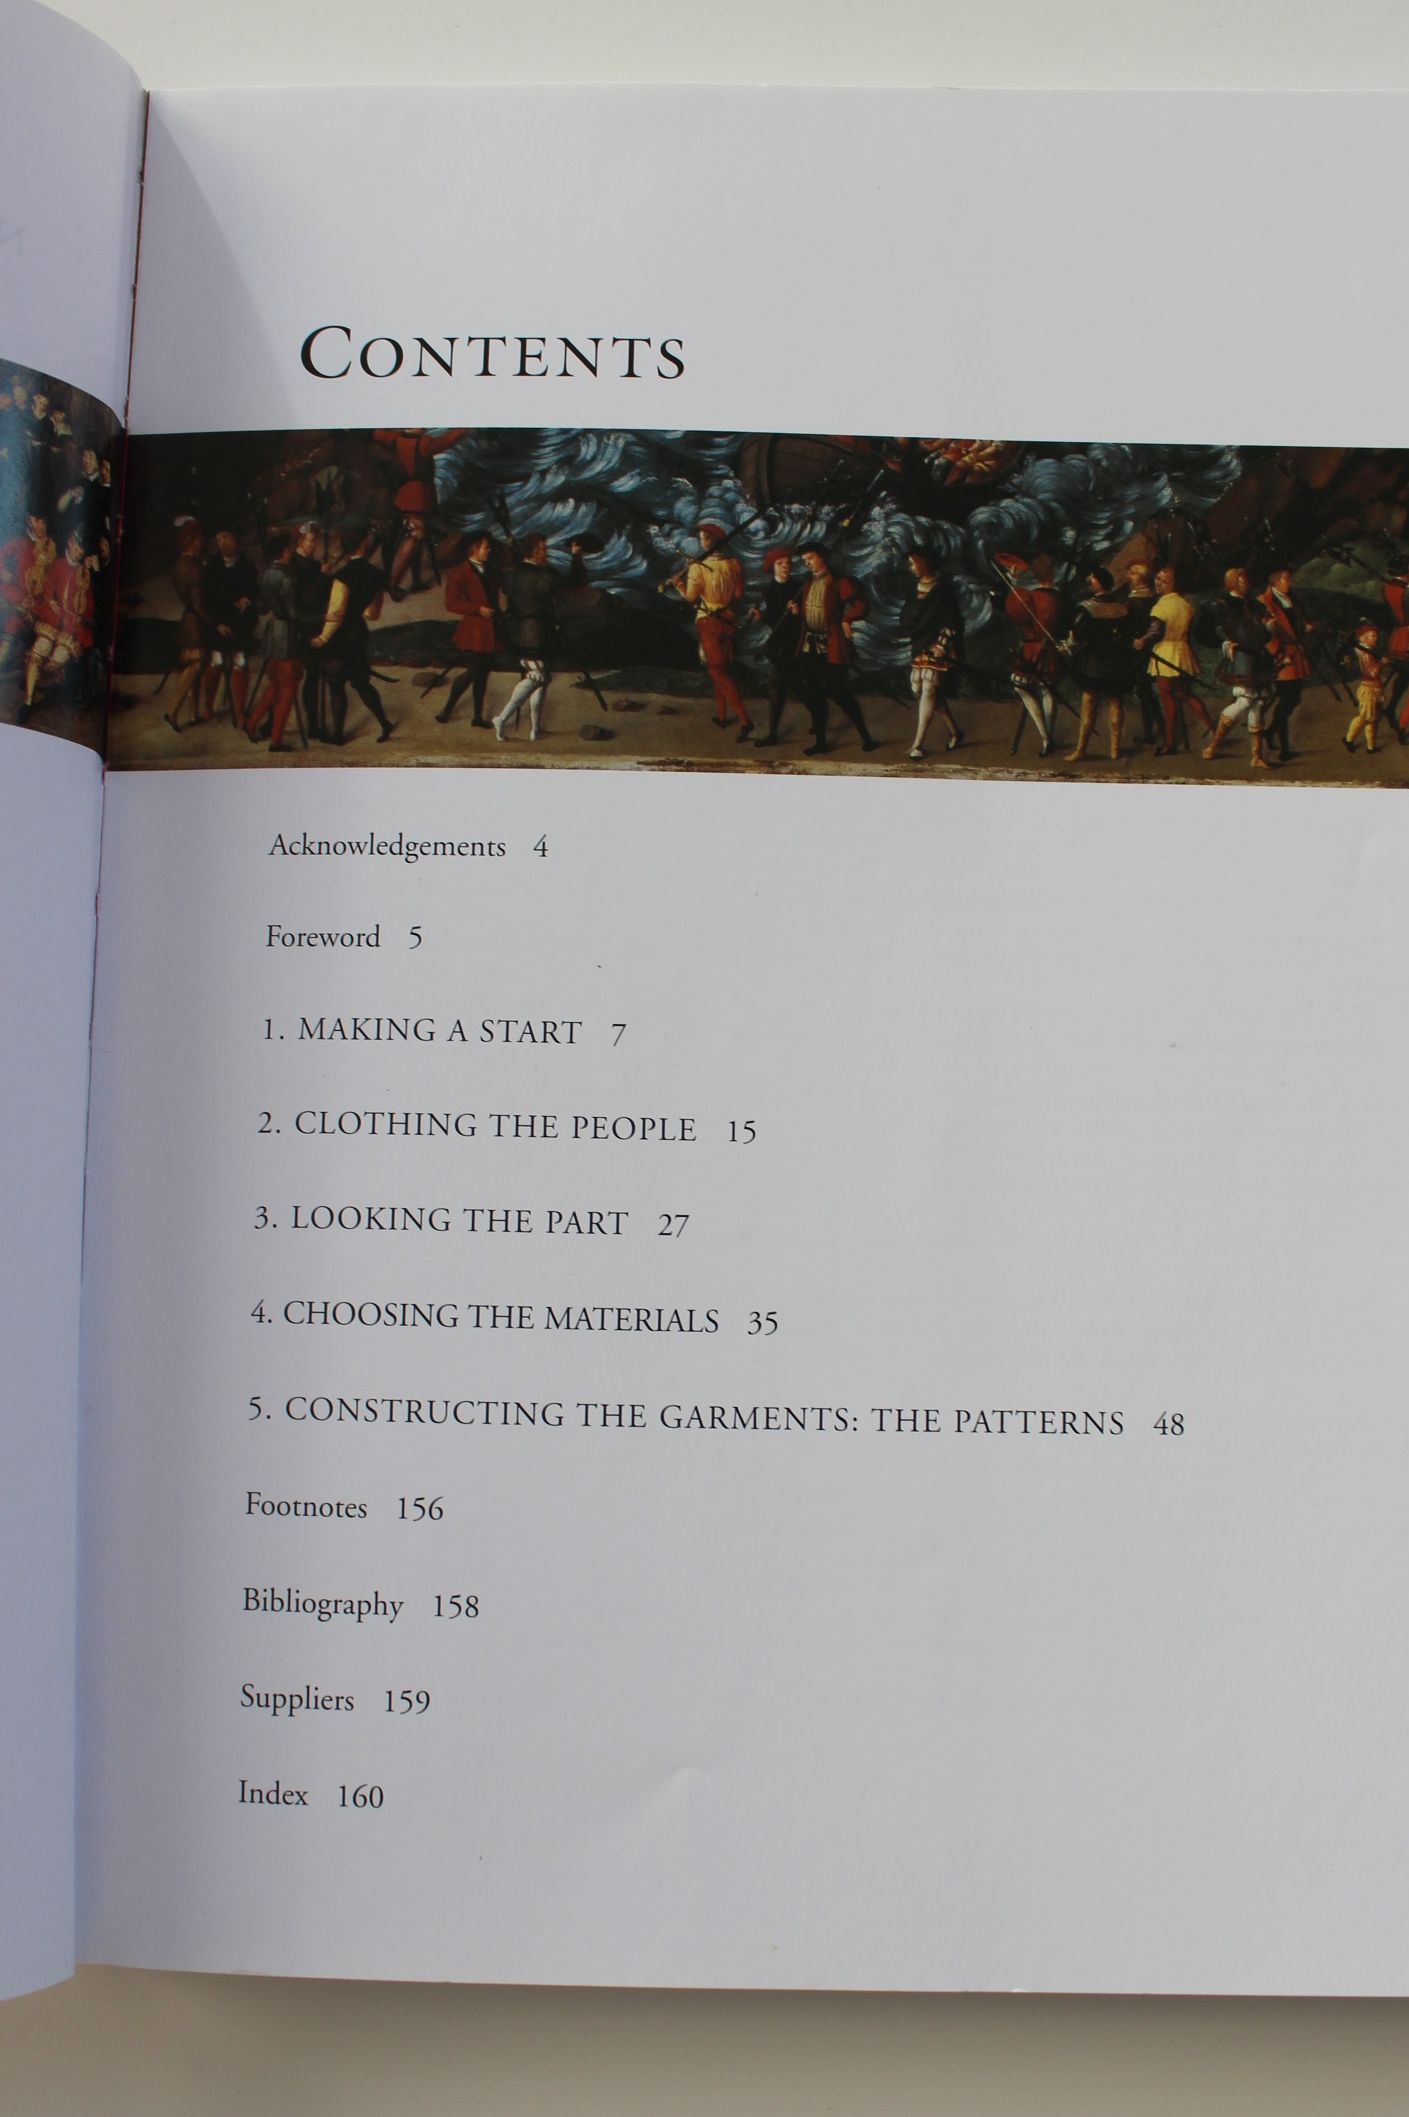
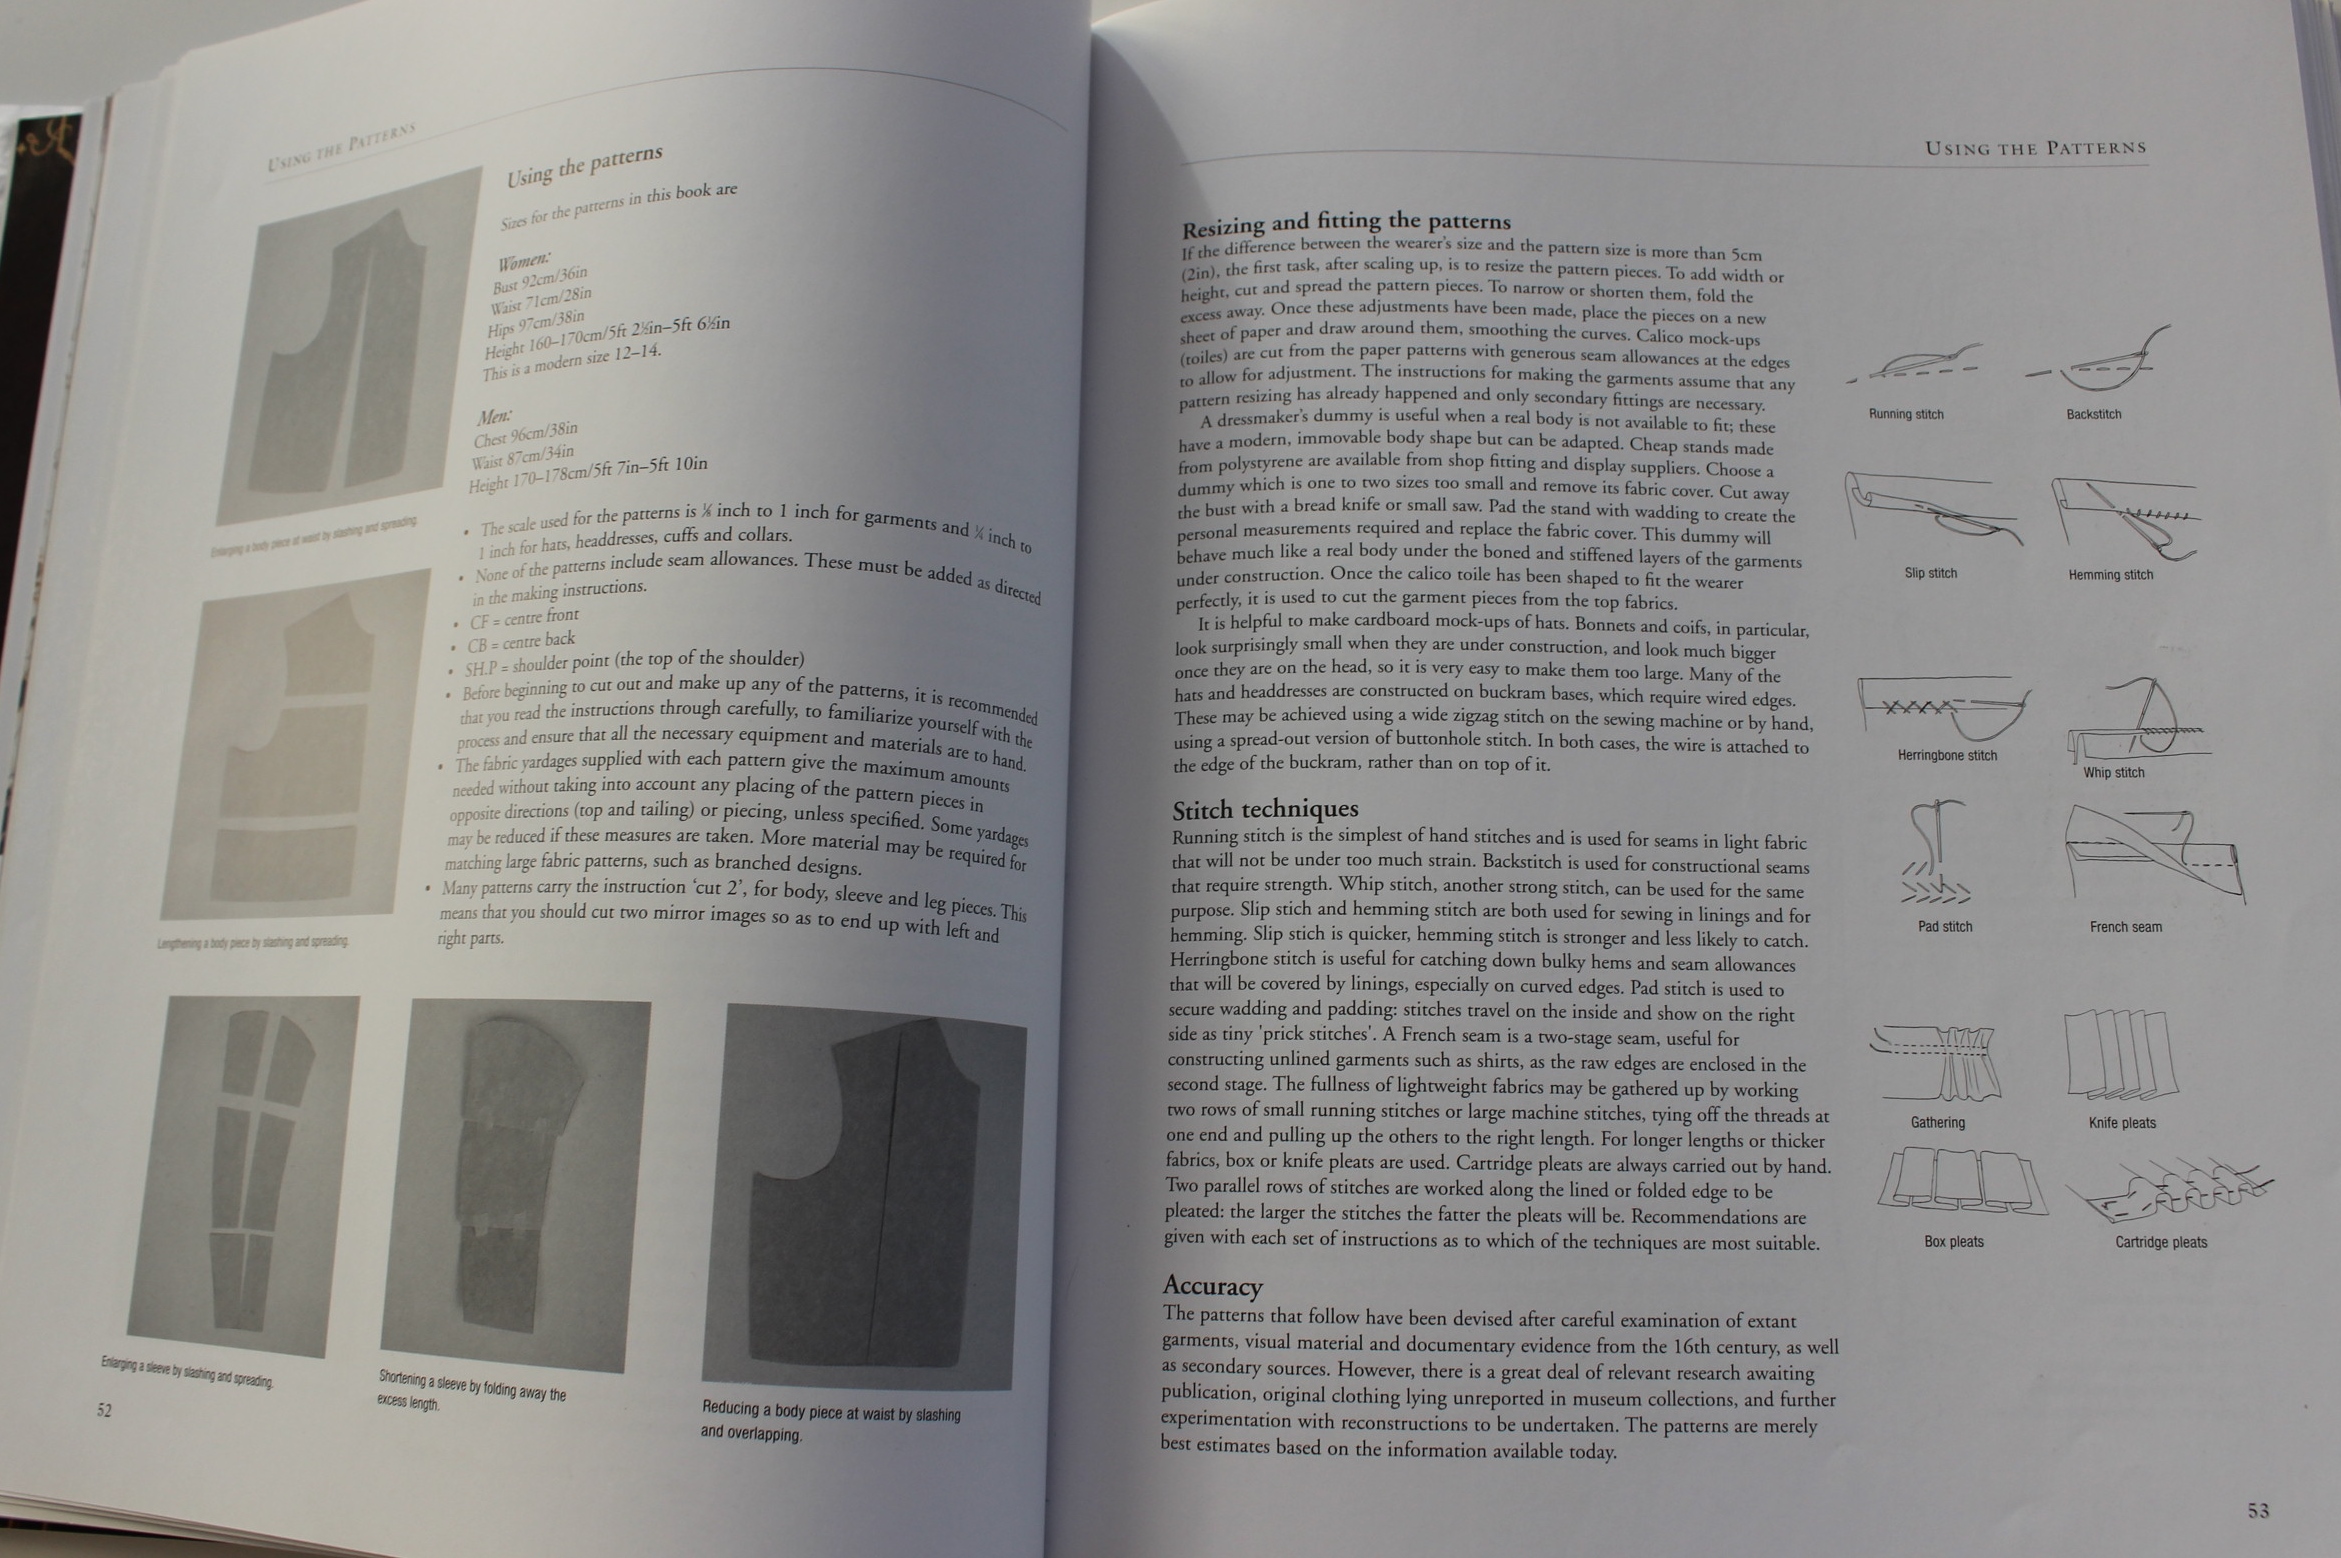


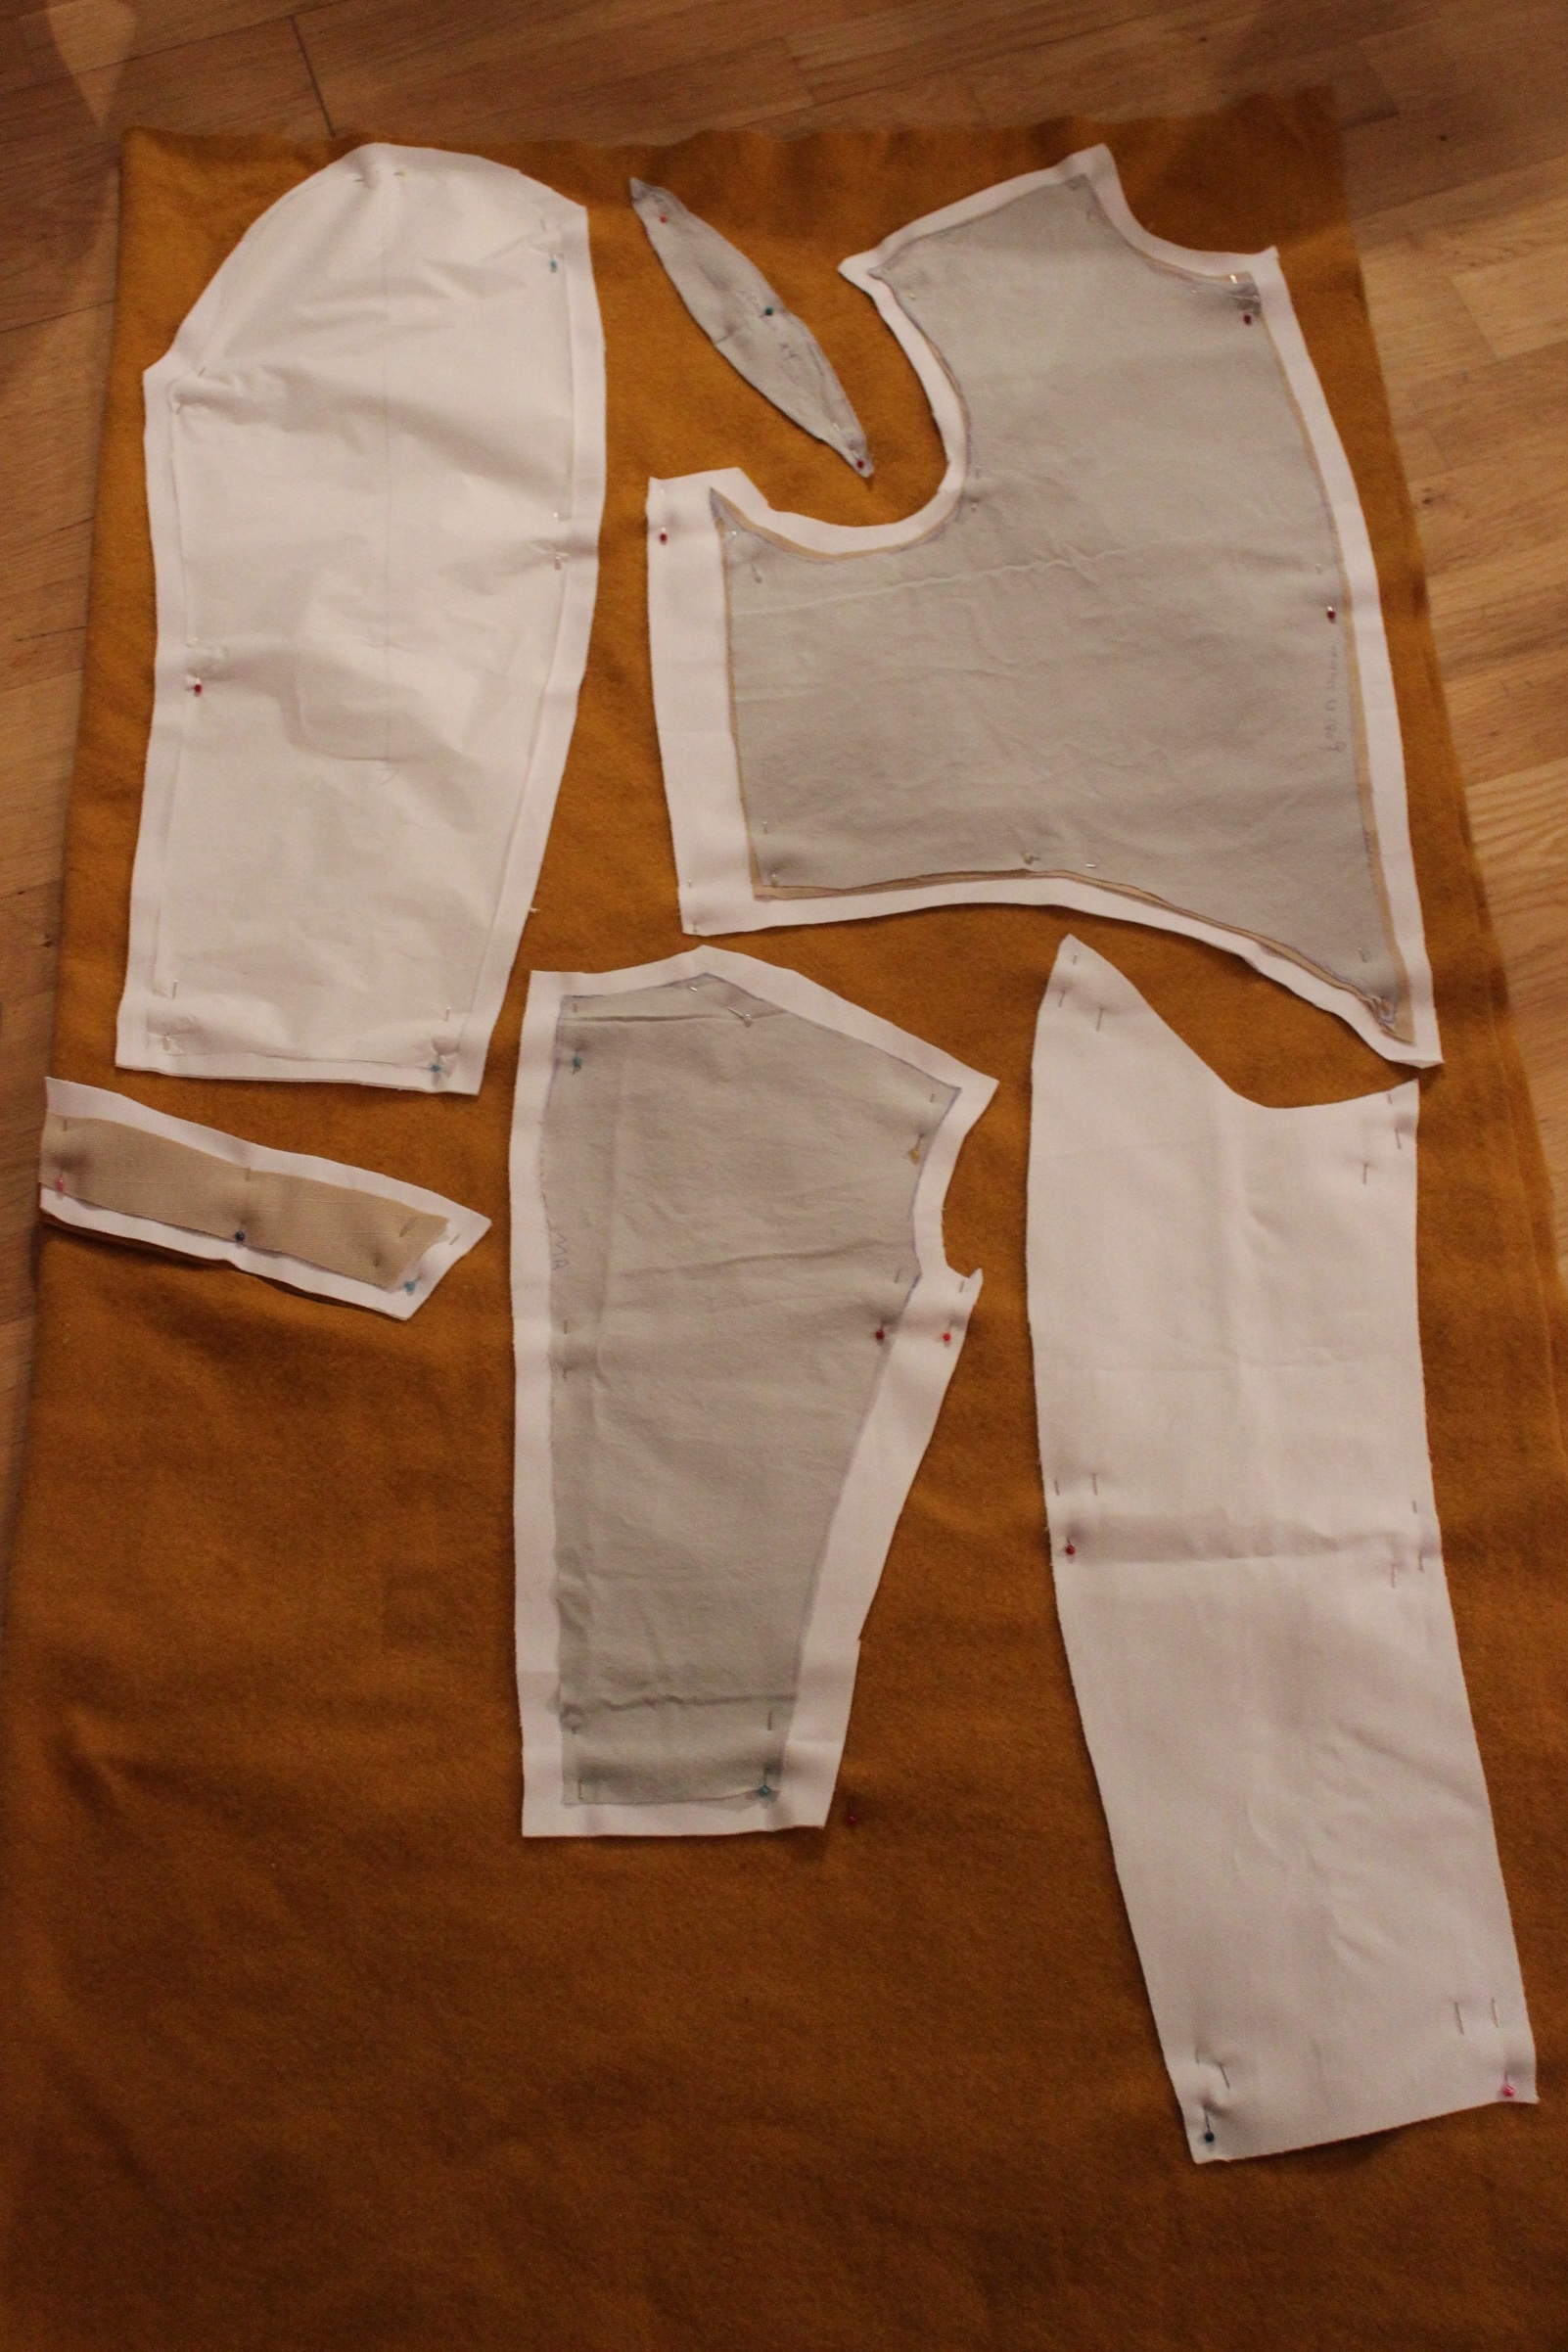
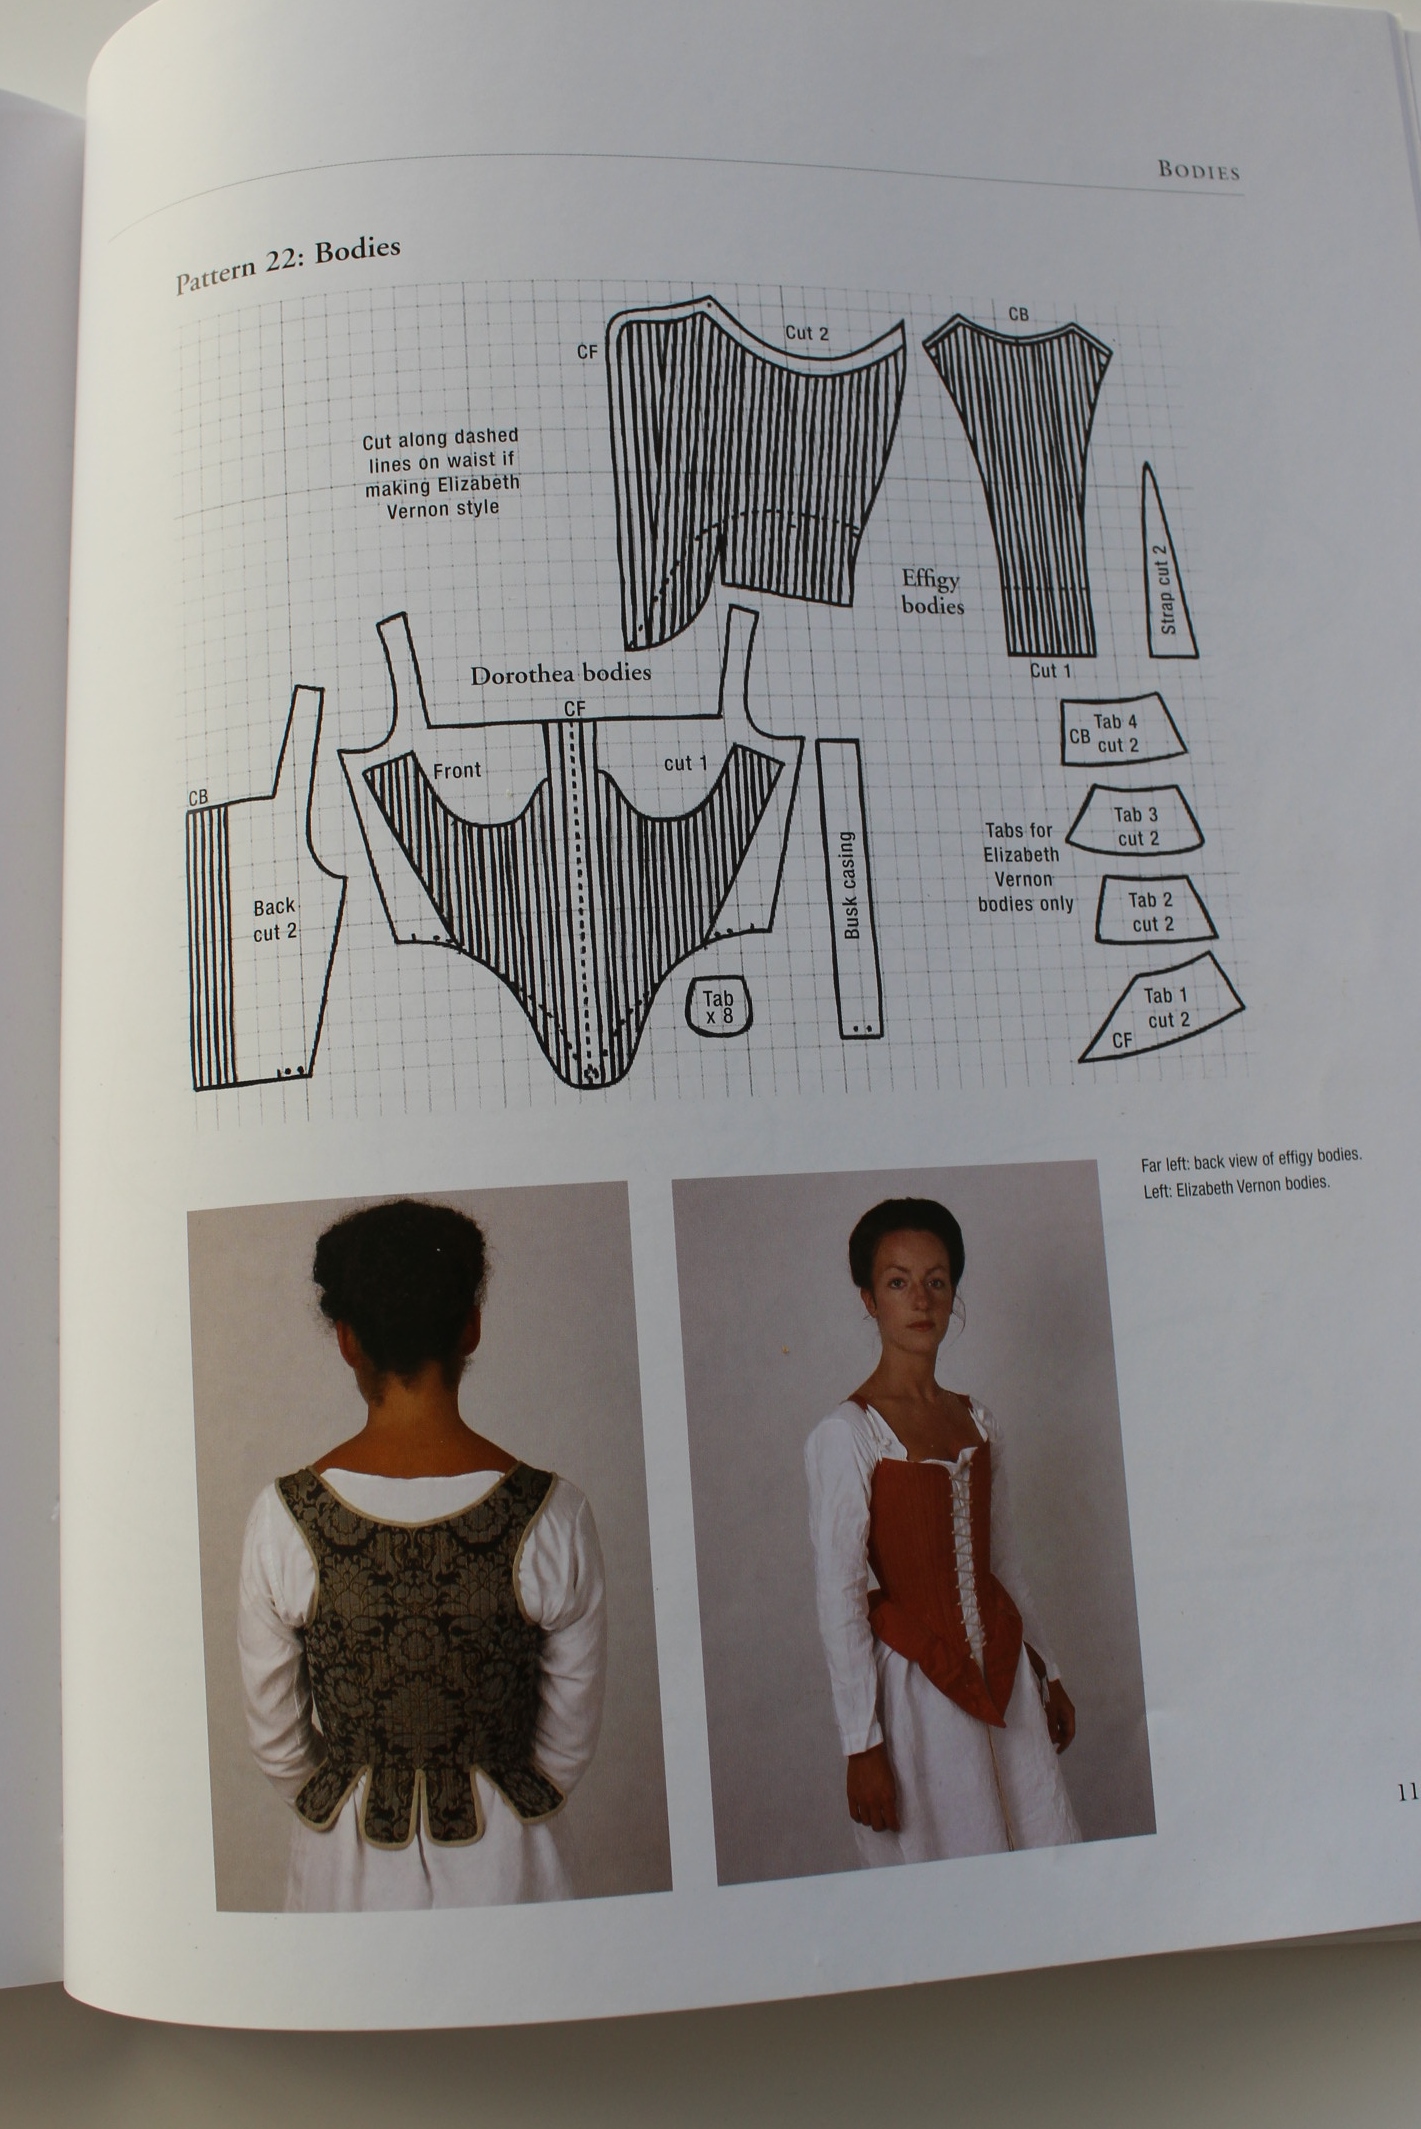
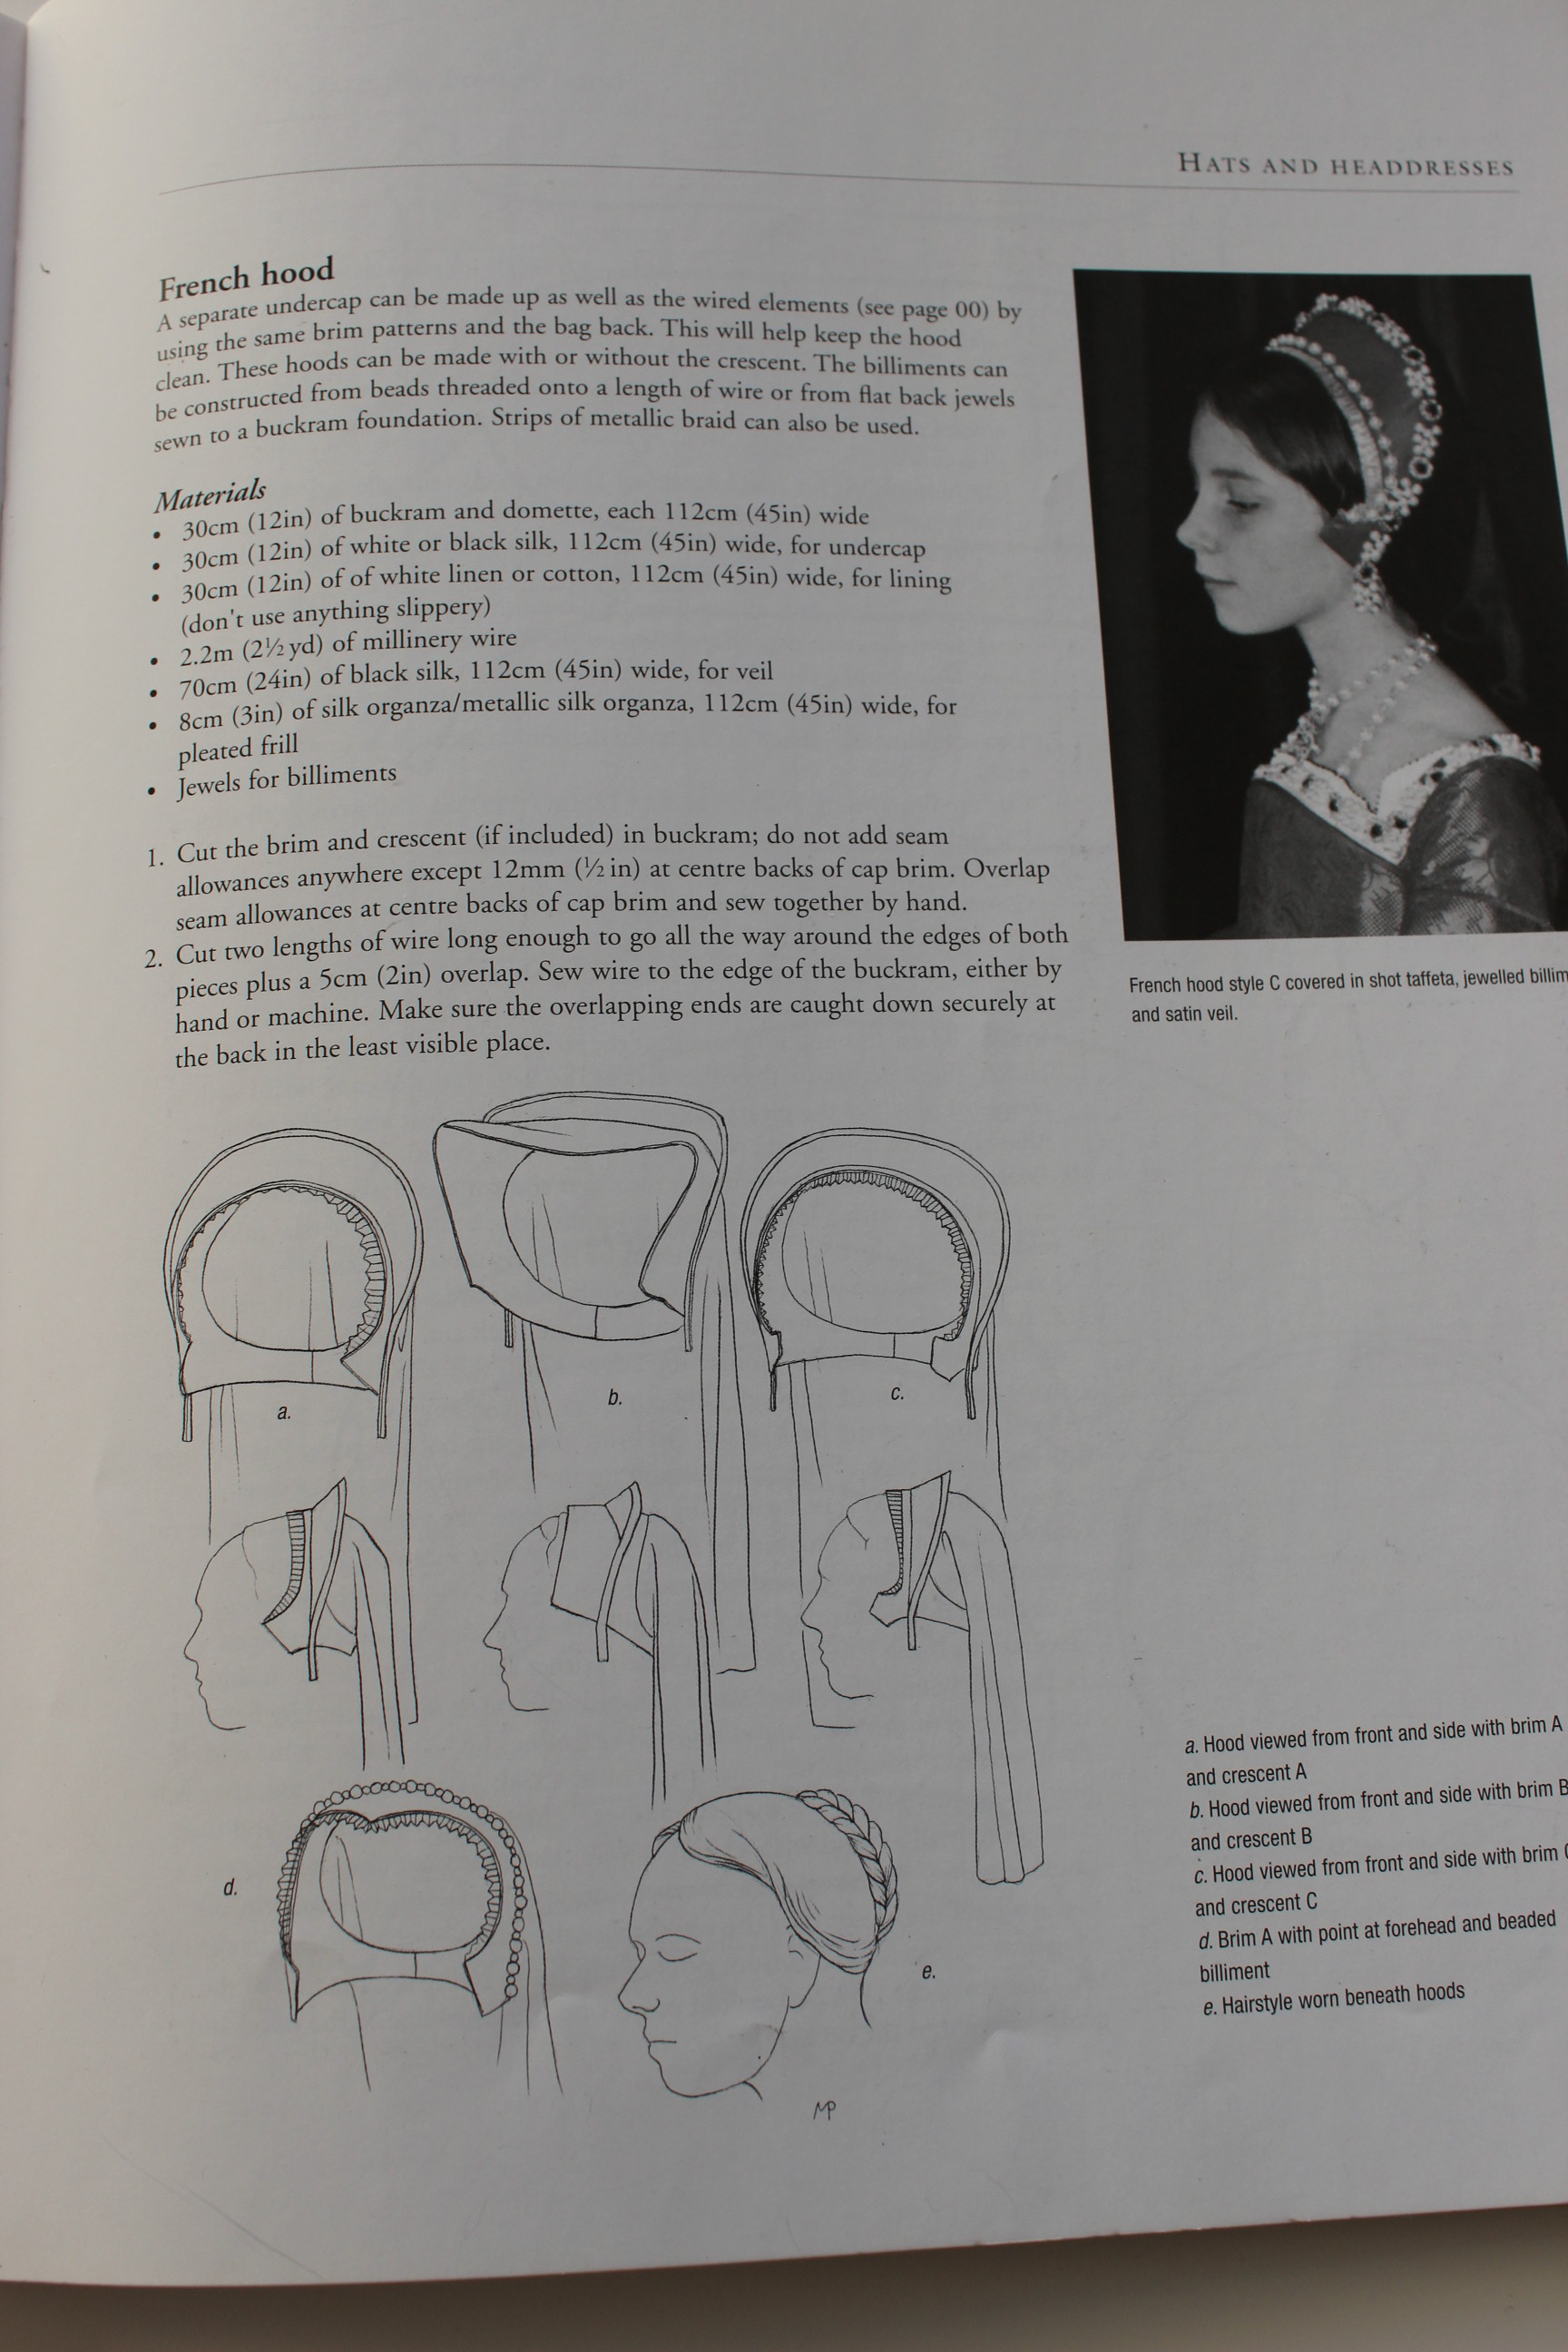
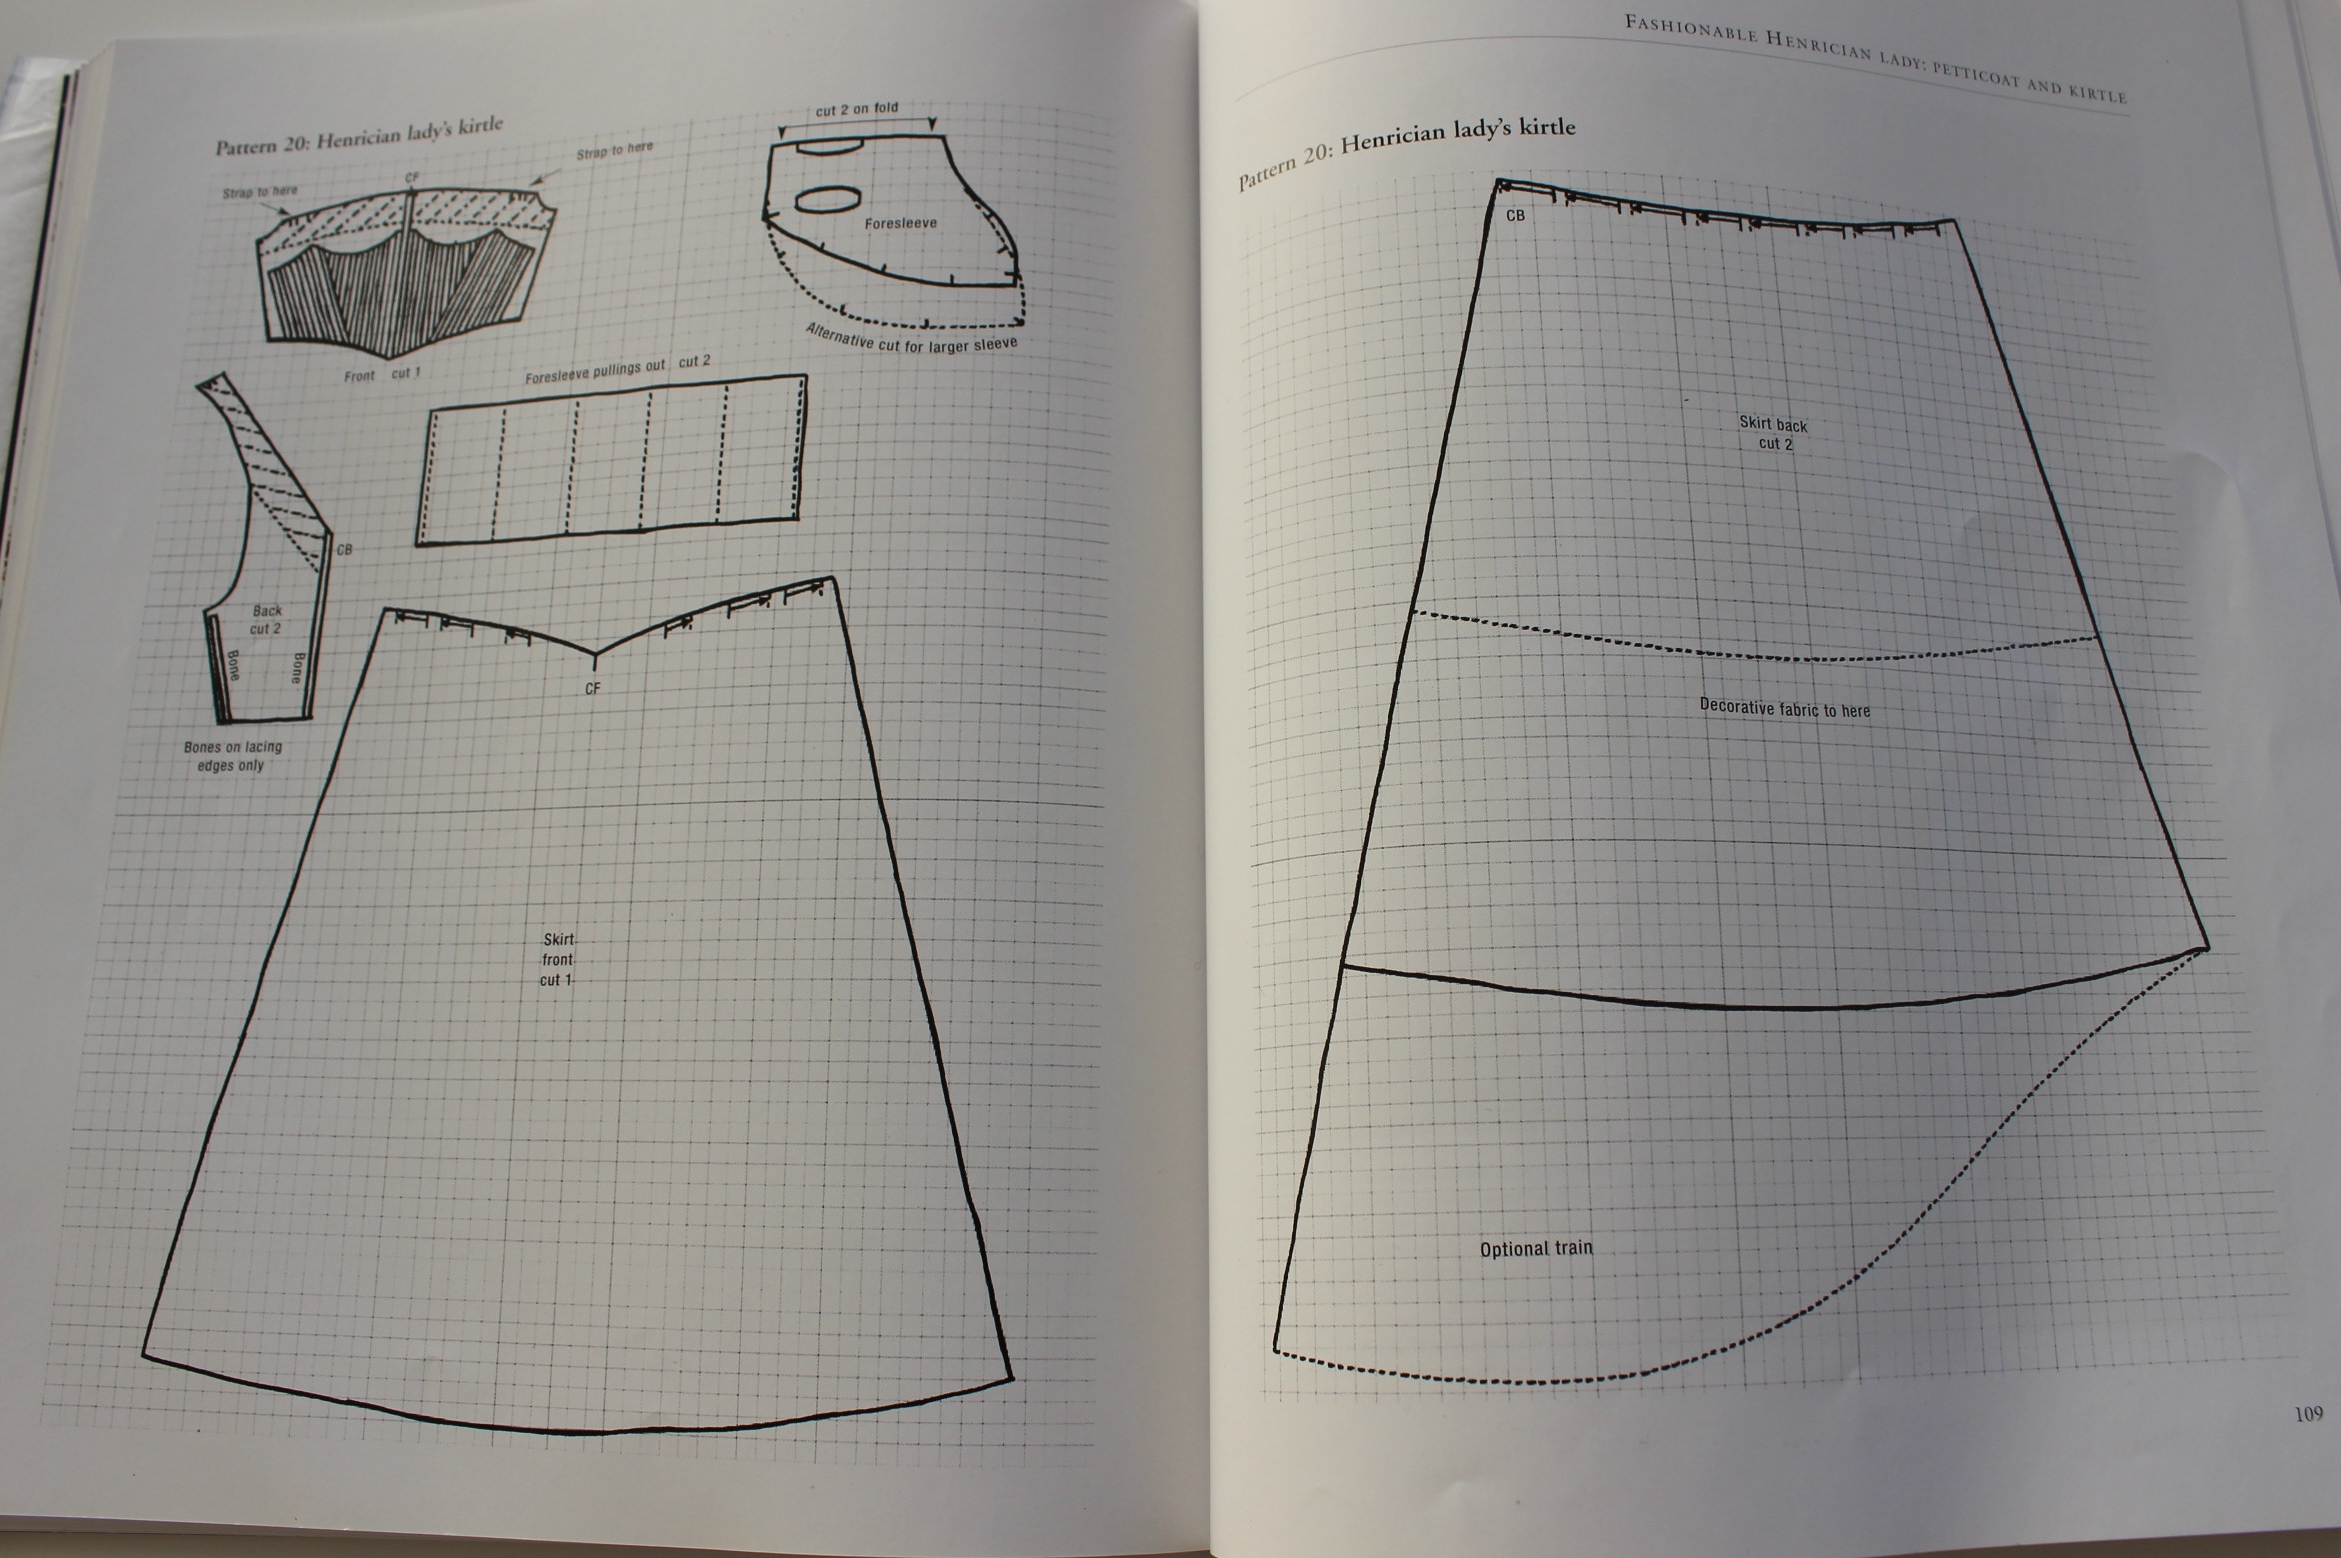
 I used the pattern for a


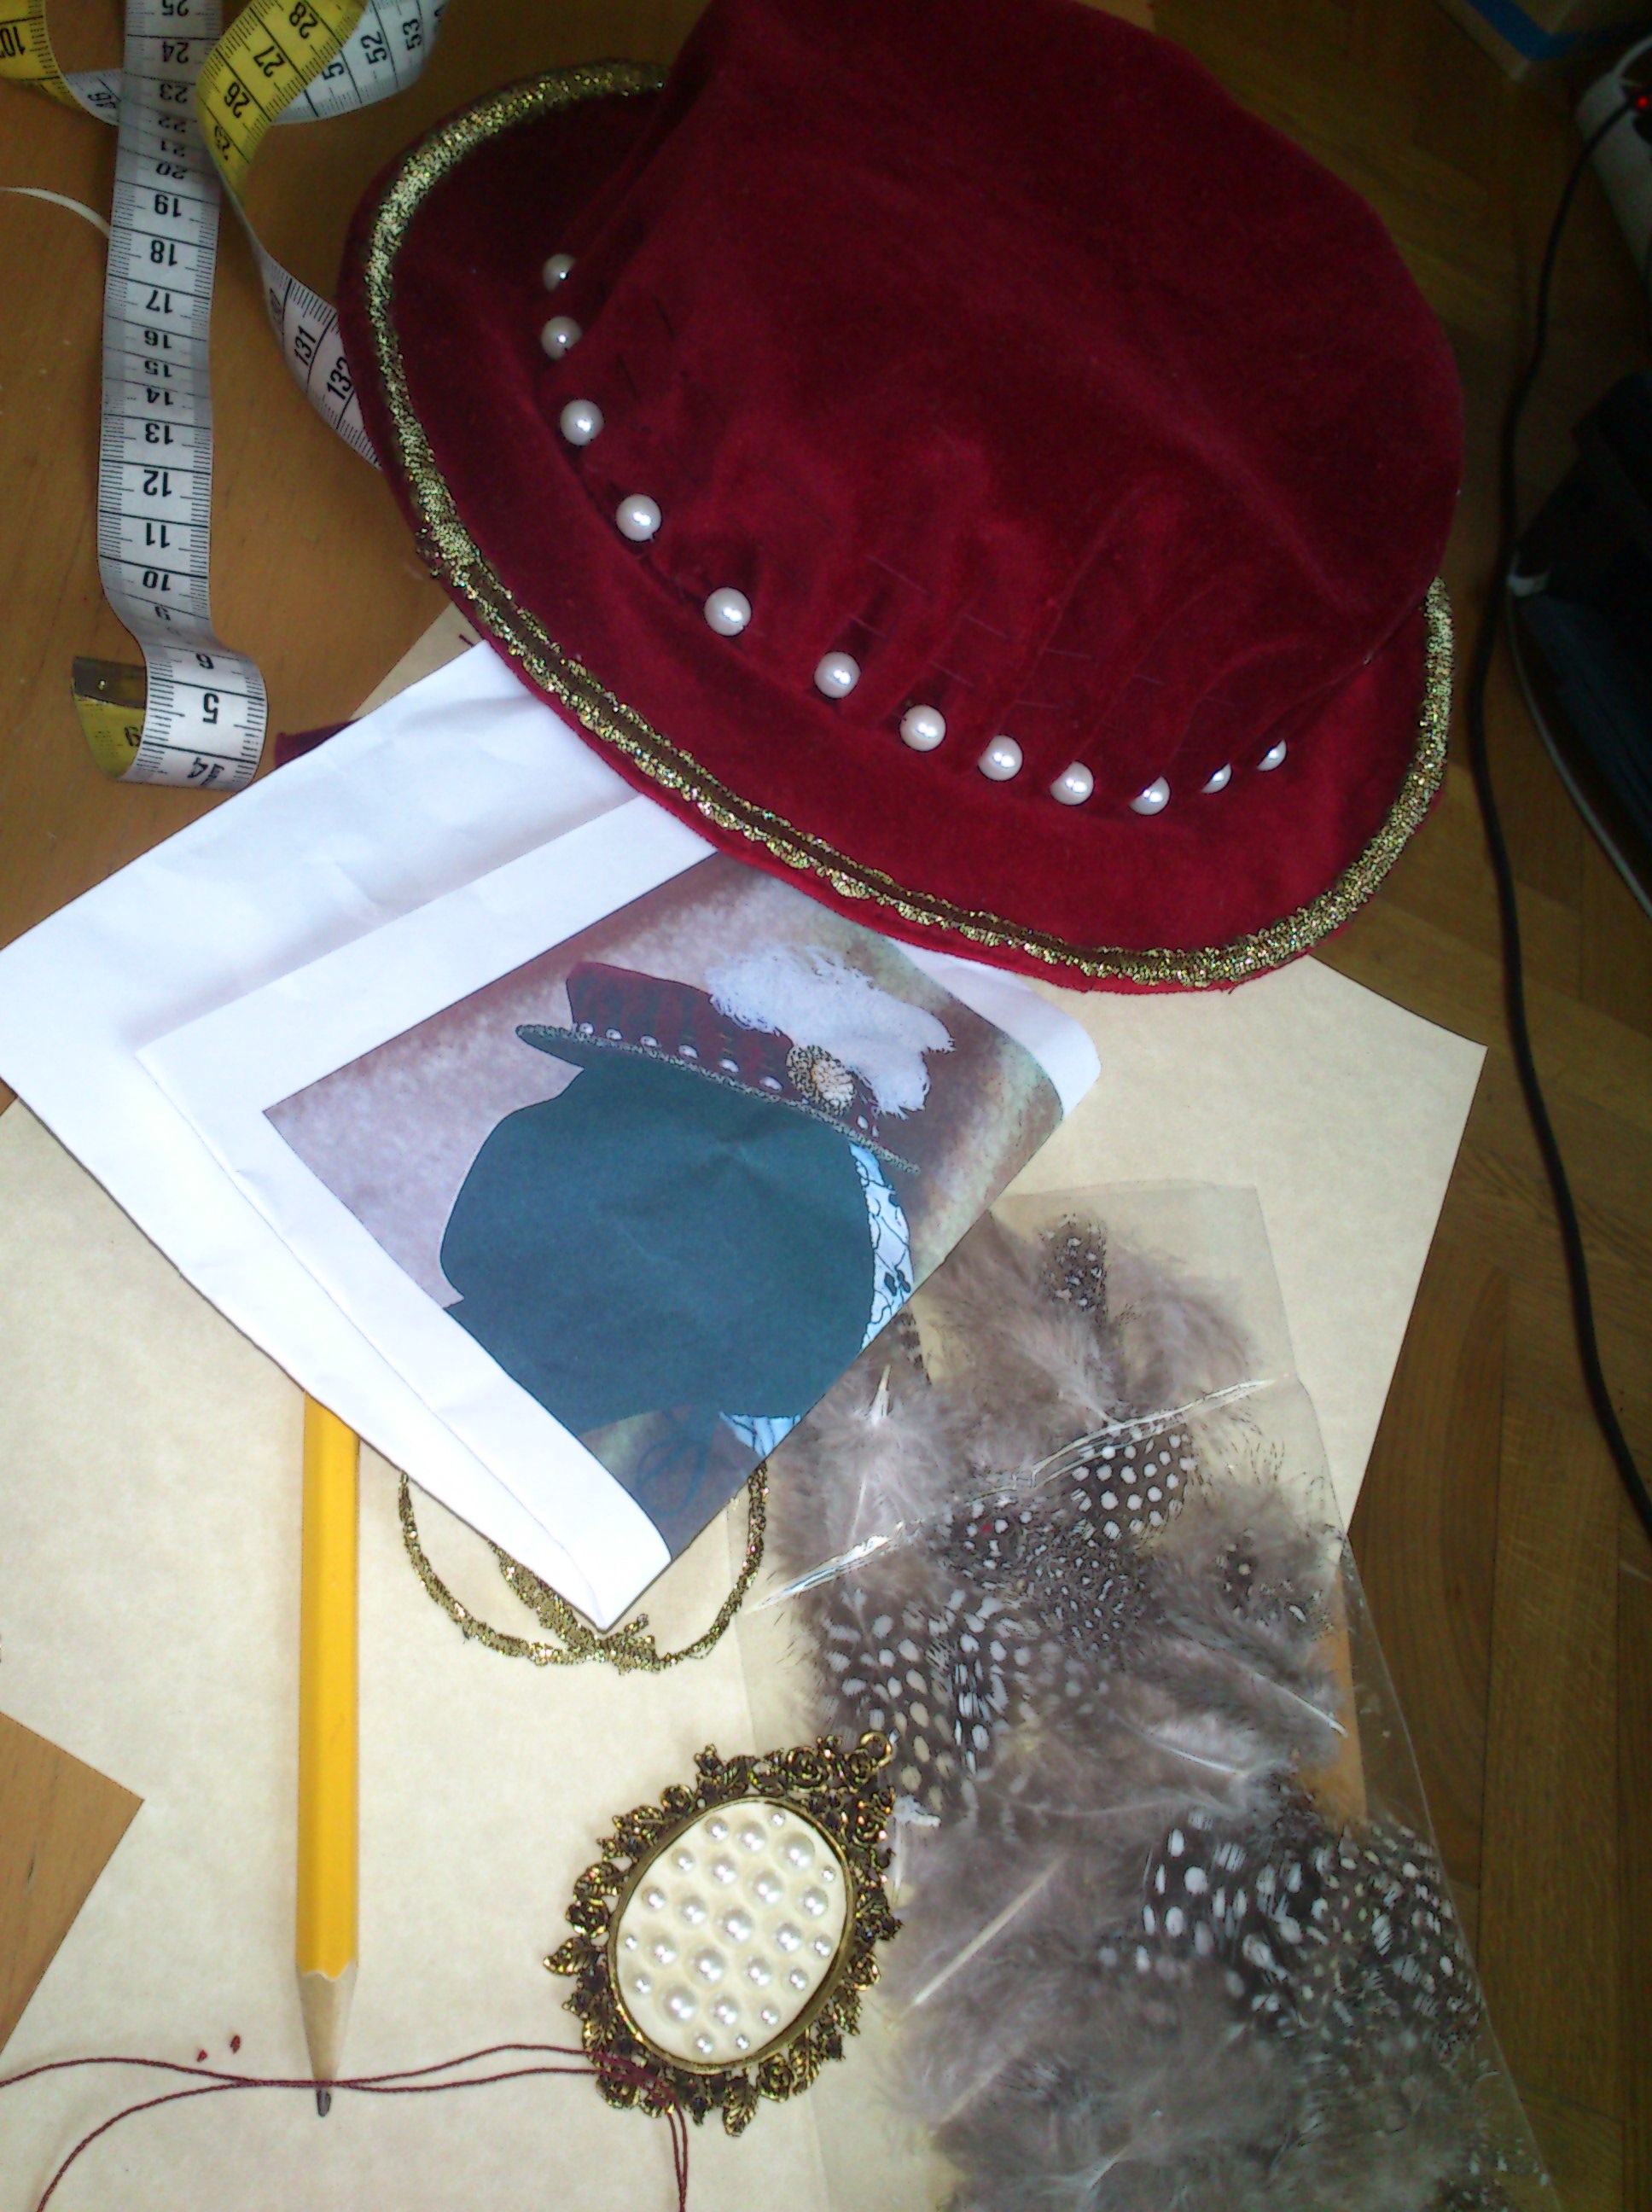


![images[4]](https://fashionthroughherstory.com/wp-content/uploads/2013/11/images4.jpg)