1850s plaid summer dress (Part 1- Skirt)

For the upcoming 1850s “Crinoline day” I decided i needed a new dress (even though I teqnicly have two perfectly functional ones already – Green 1840s and Brown 1850s Paisley)

This time I wanted to focus on the light summer dresses I’ve seen so many examples of lately.

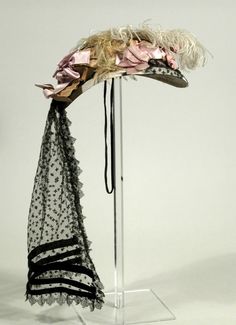
So I picked one of my favourites as my main inspiration and started looking for fabric.07176d121492c50c50ebd7441c72bcd5Main inspiration

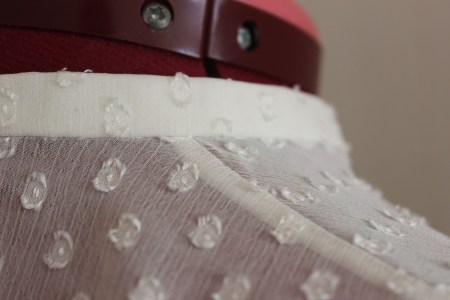
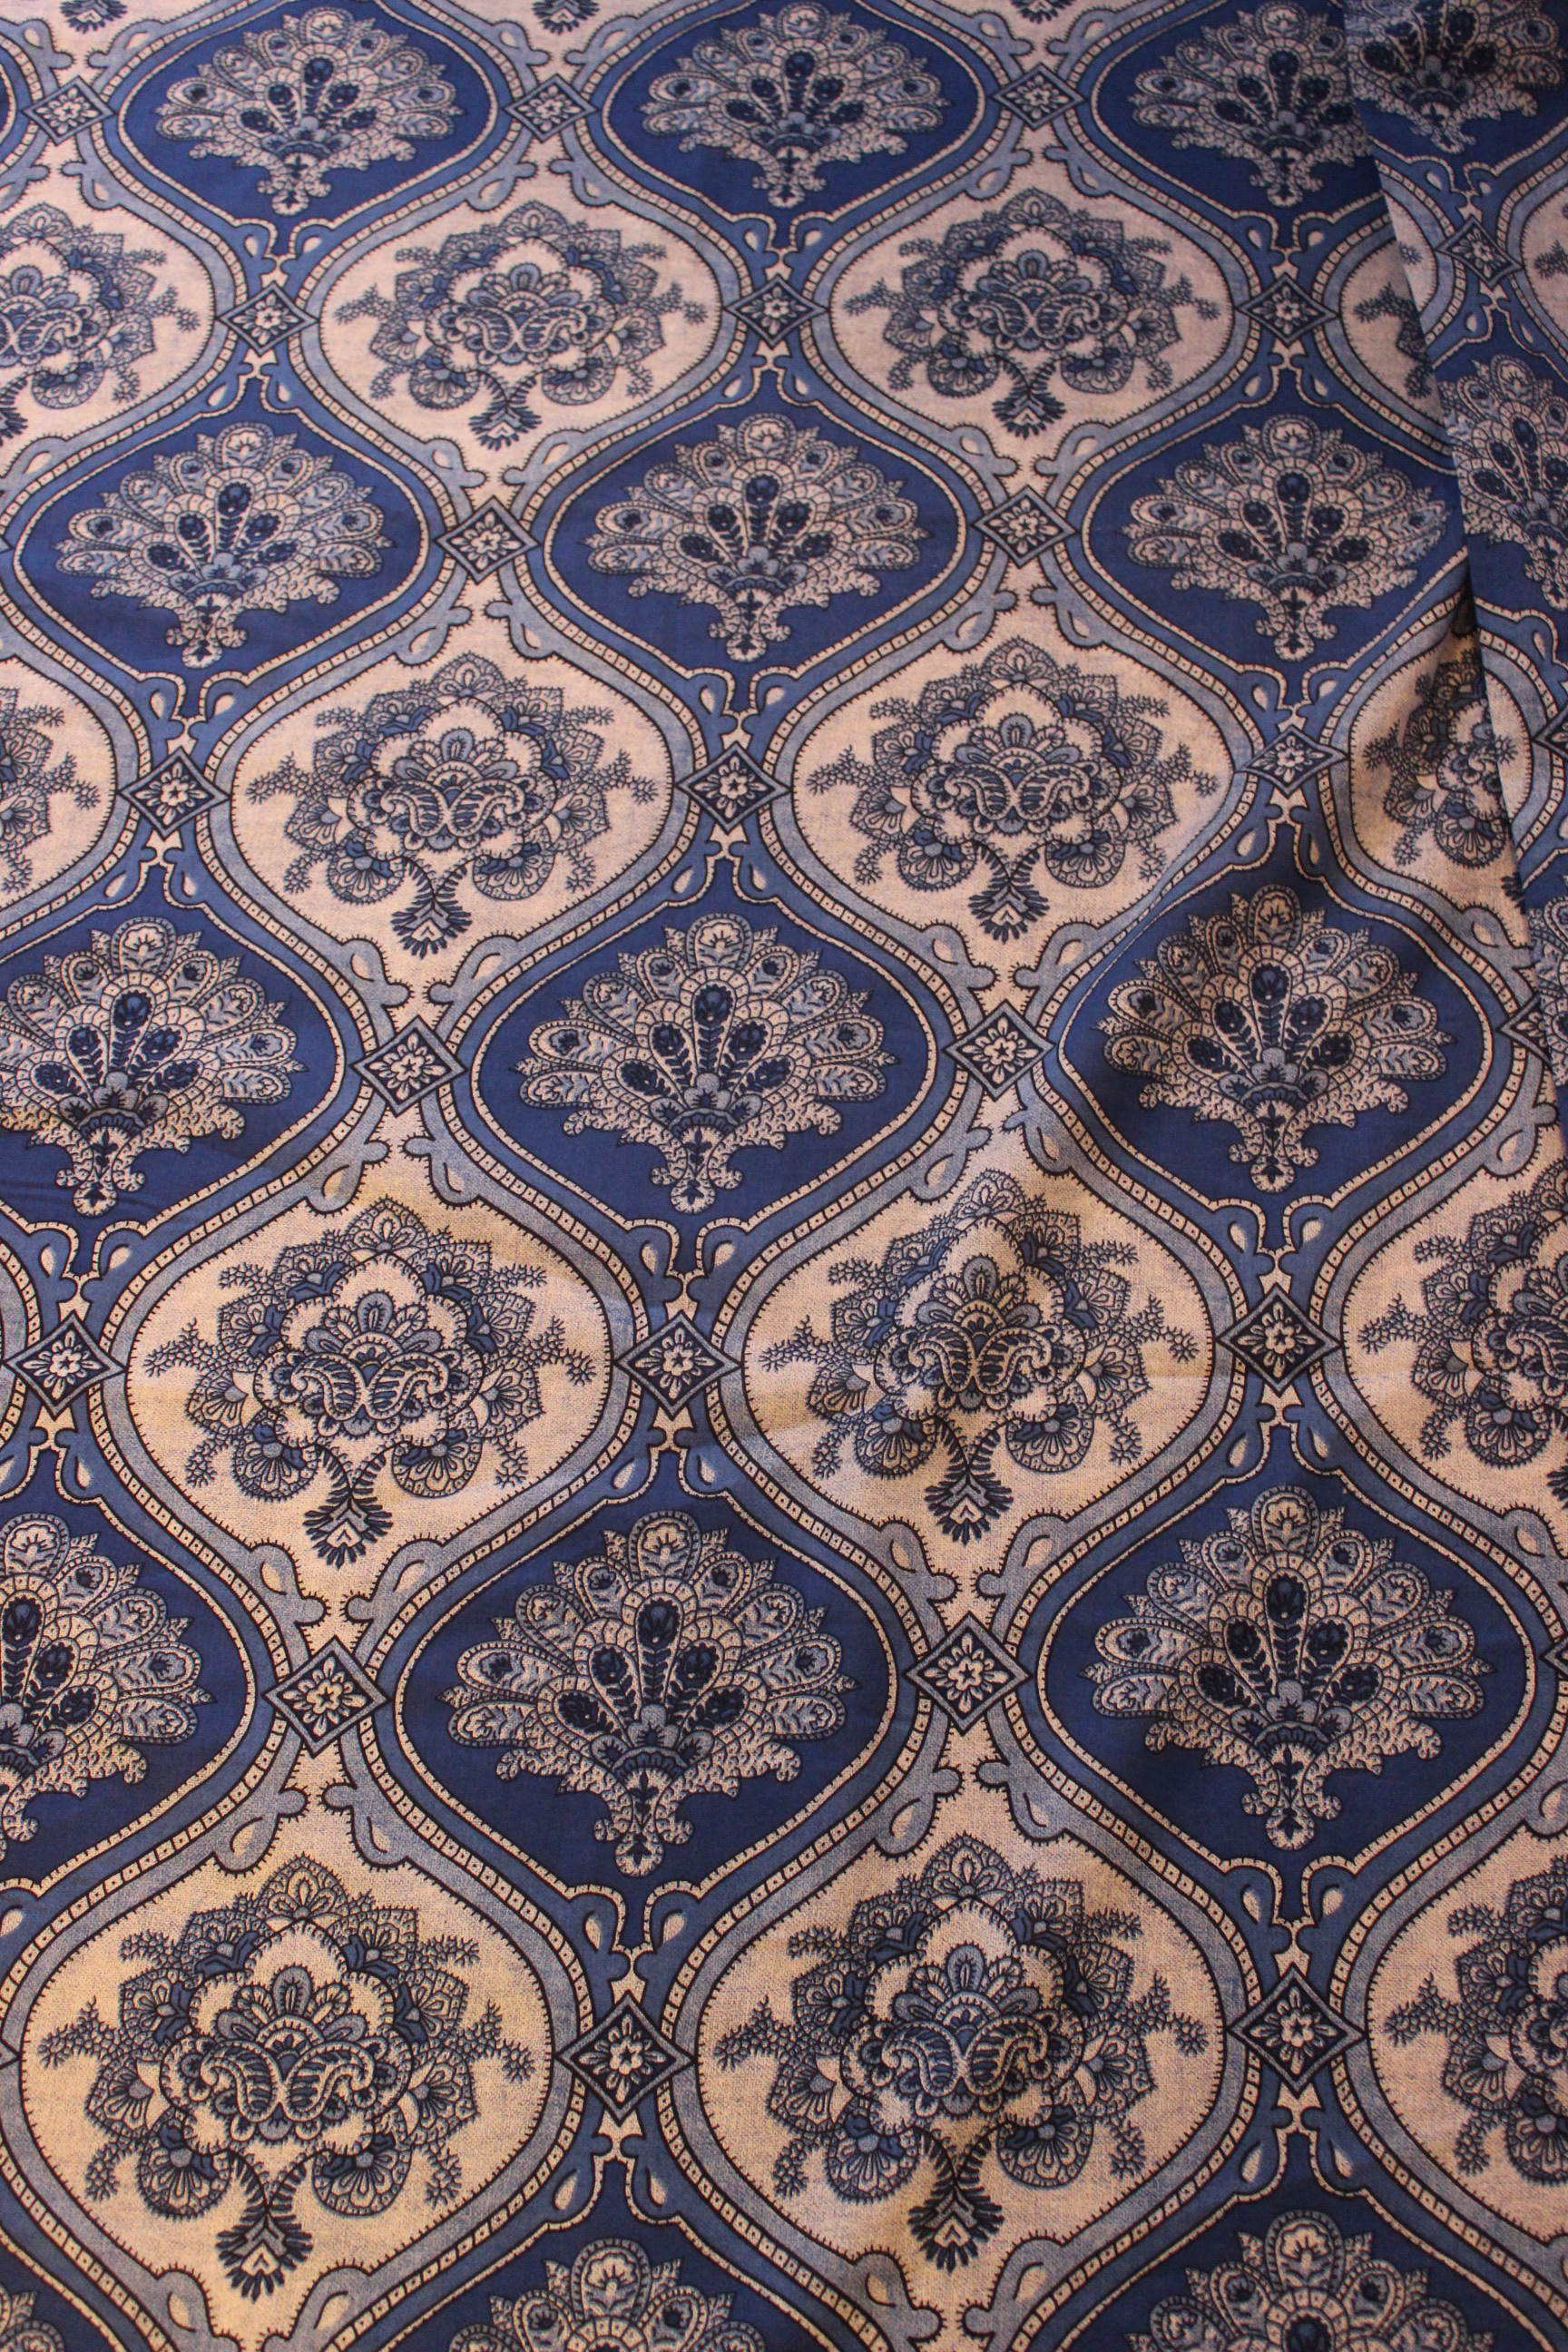
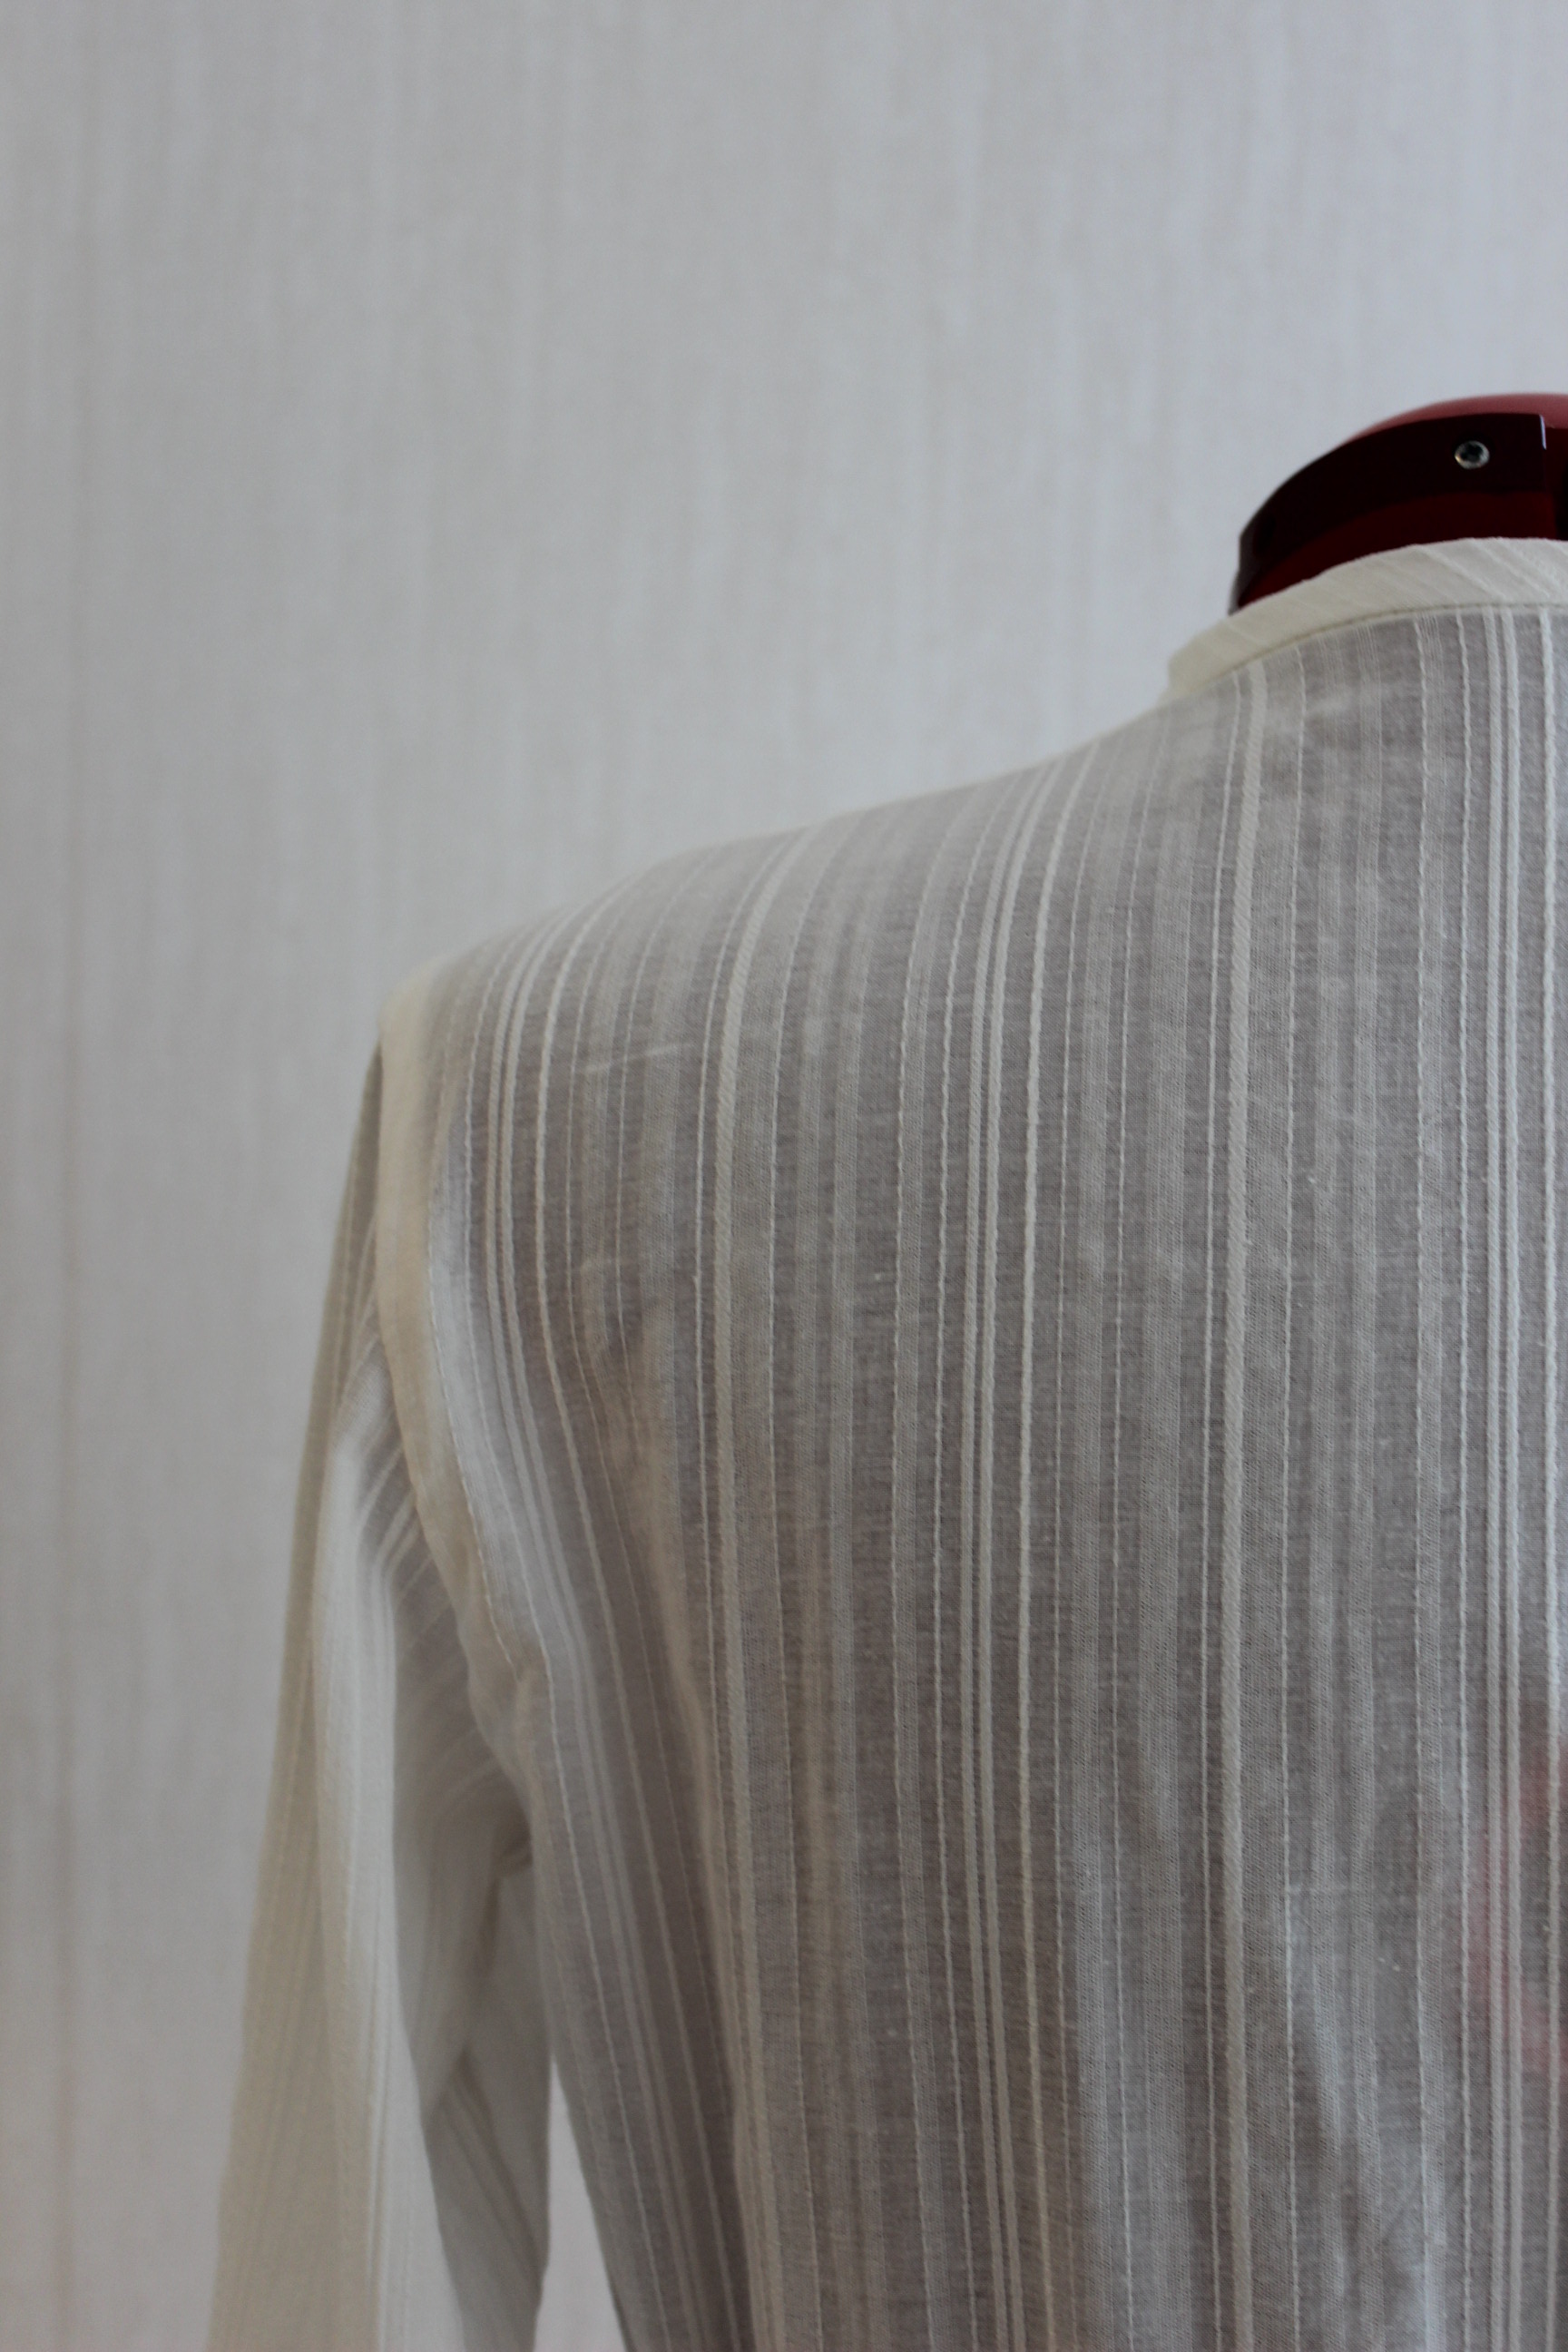
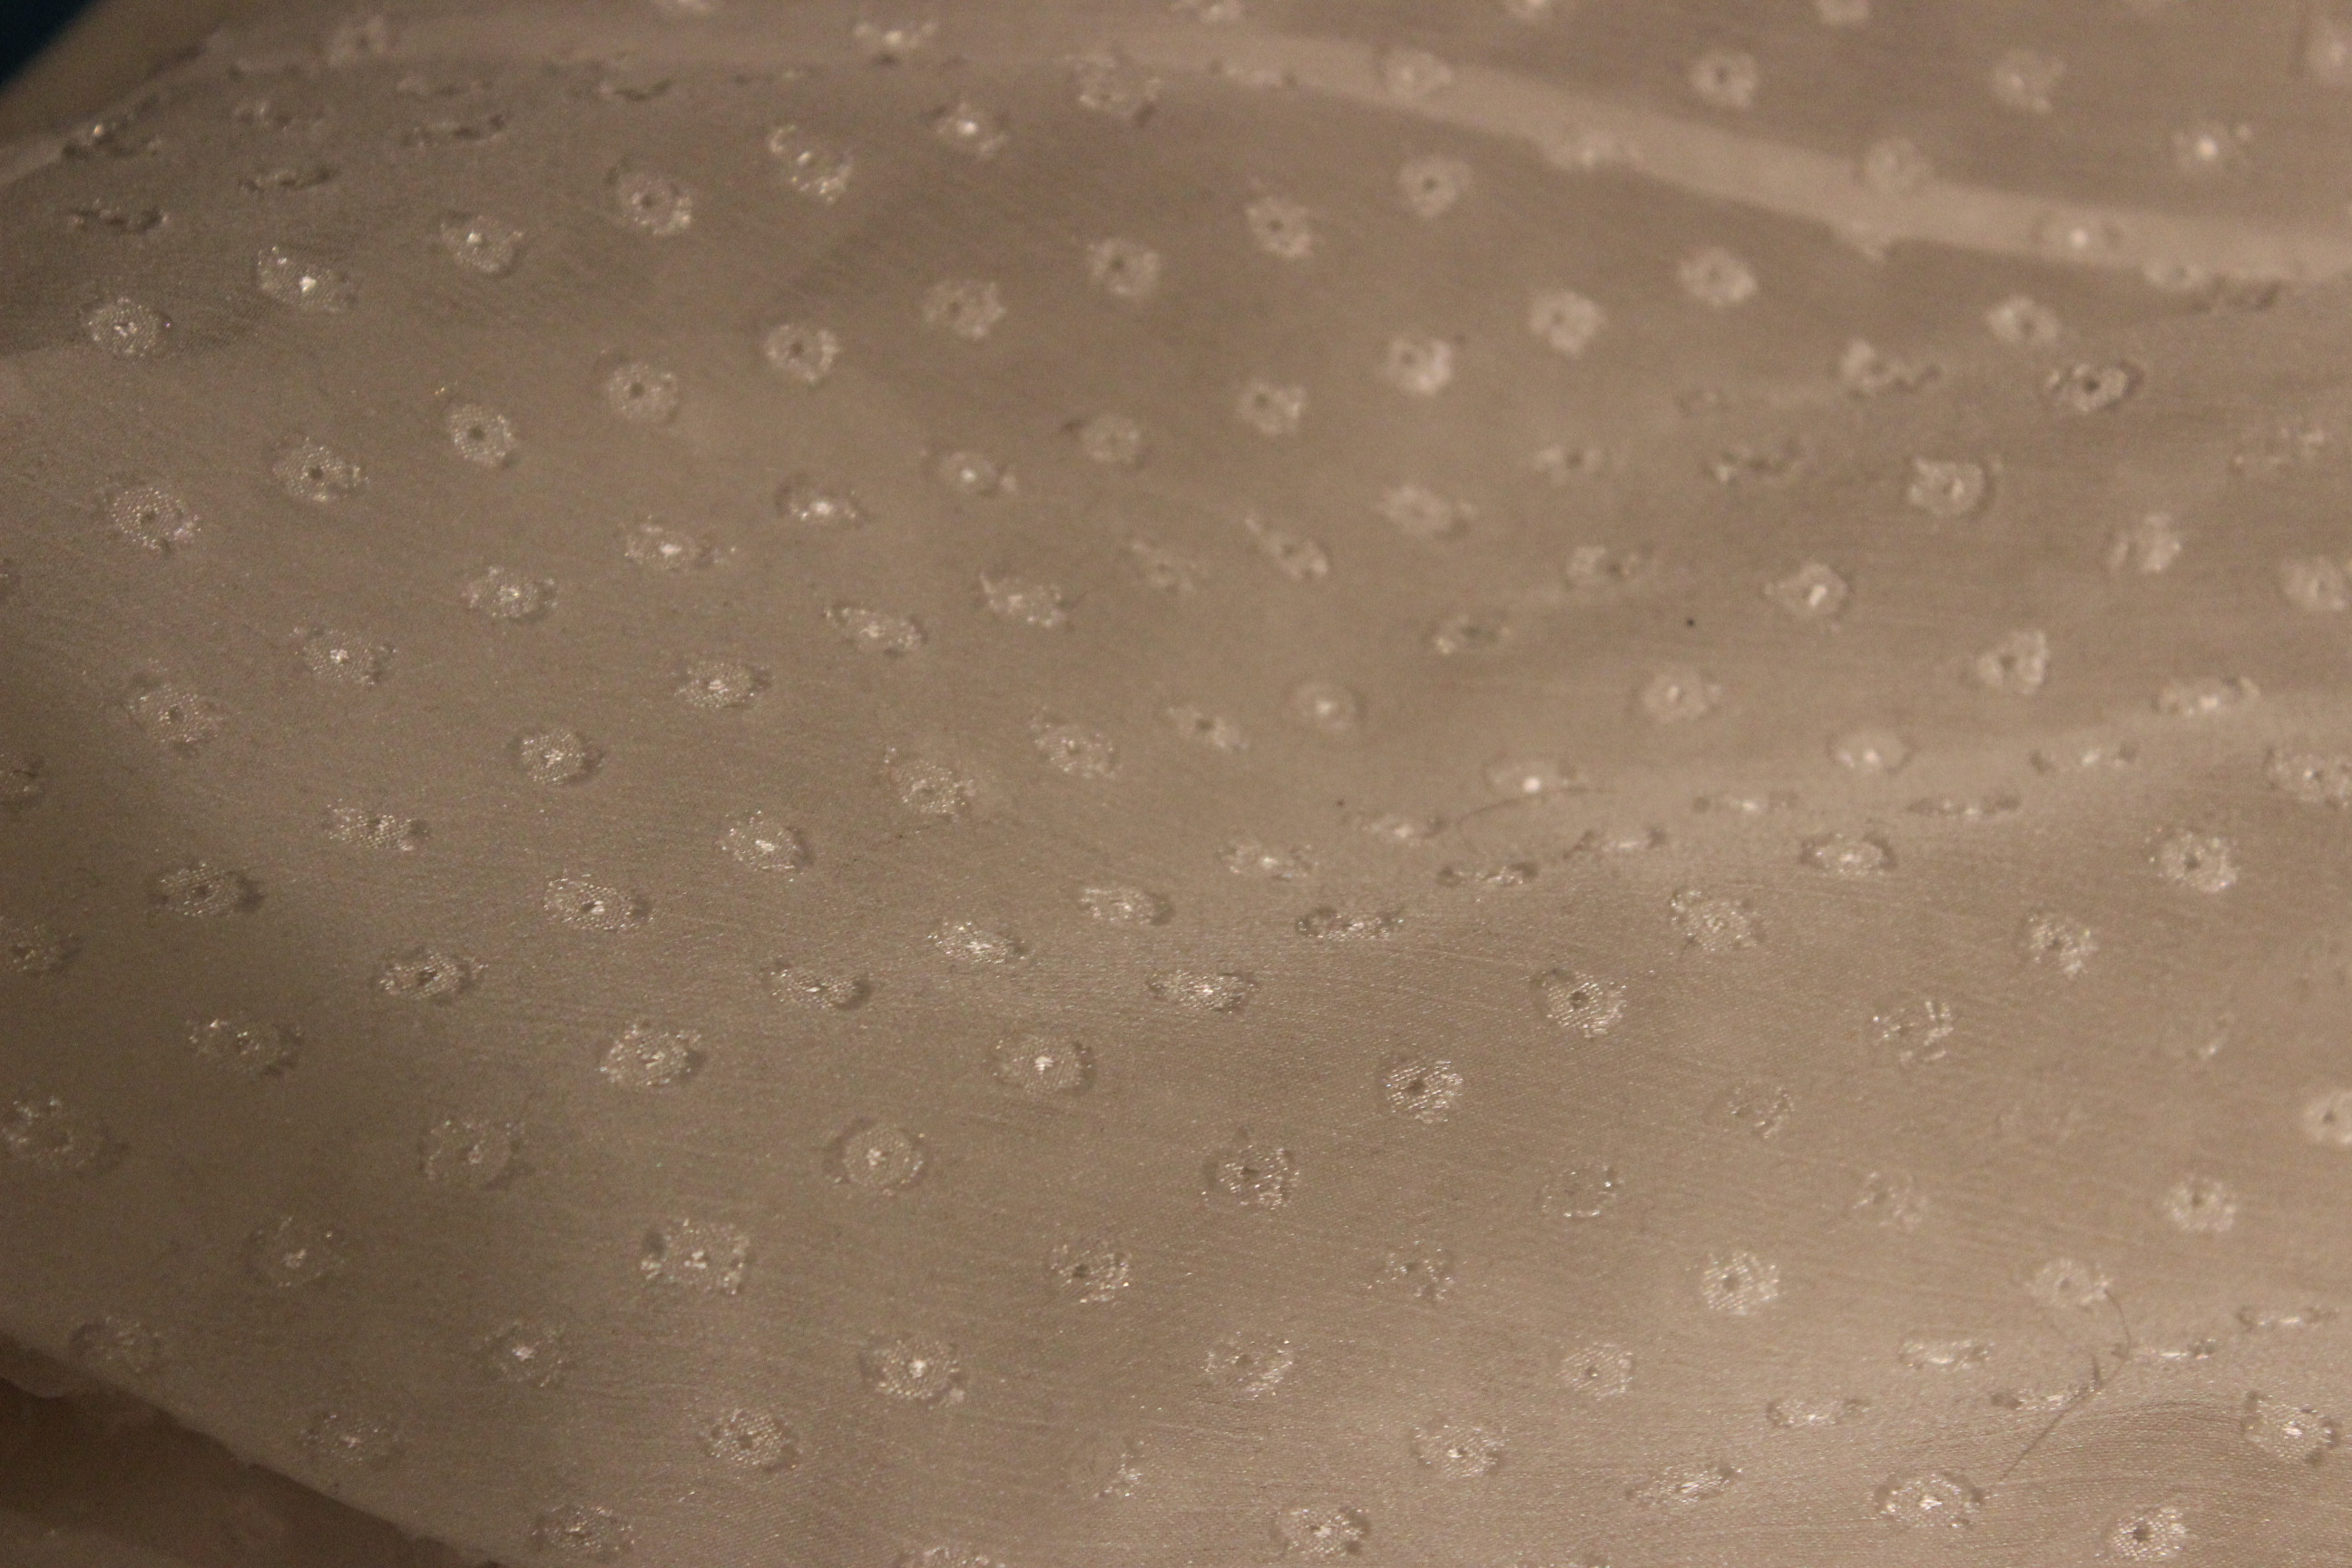
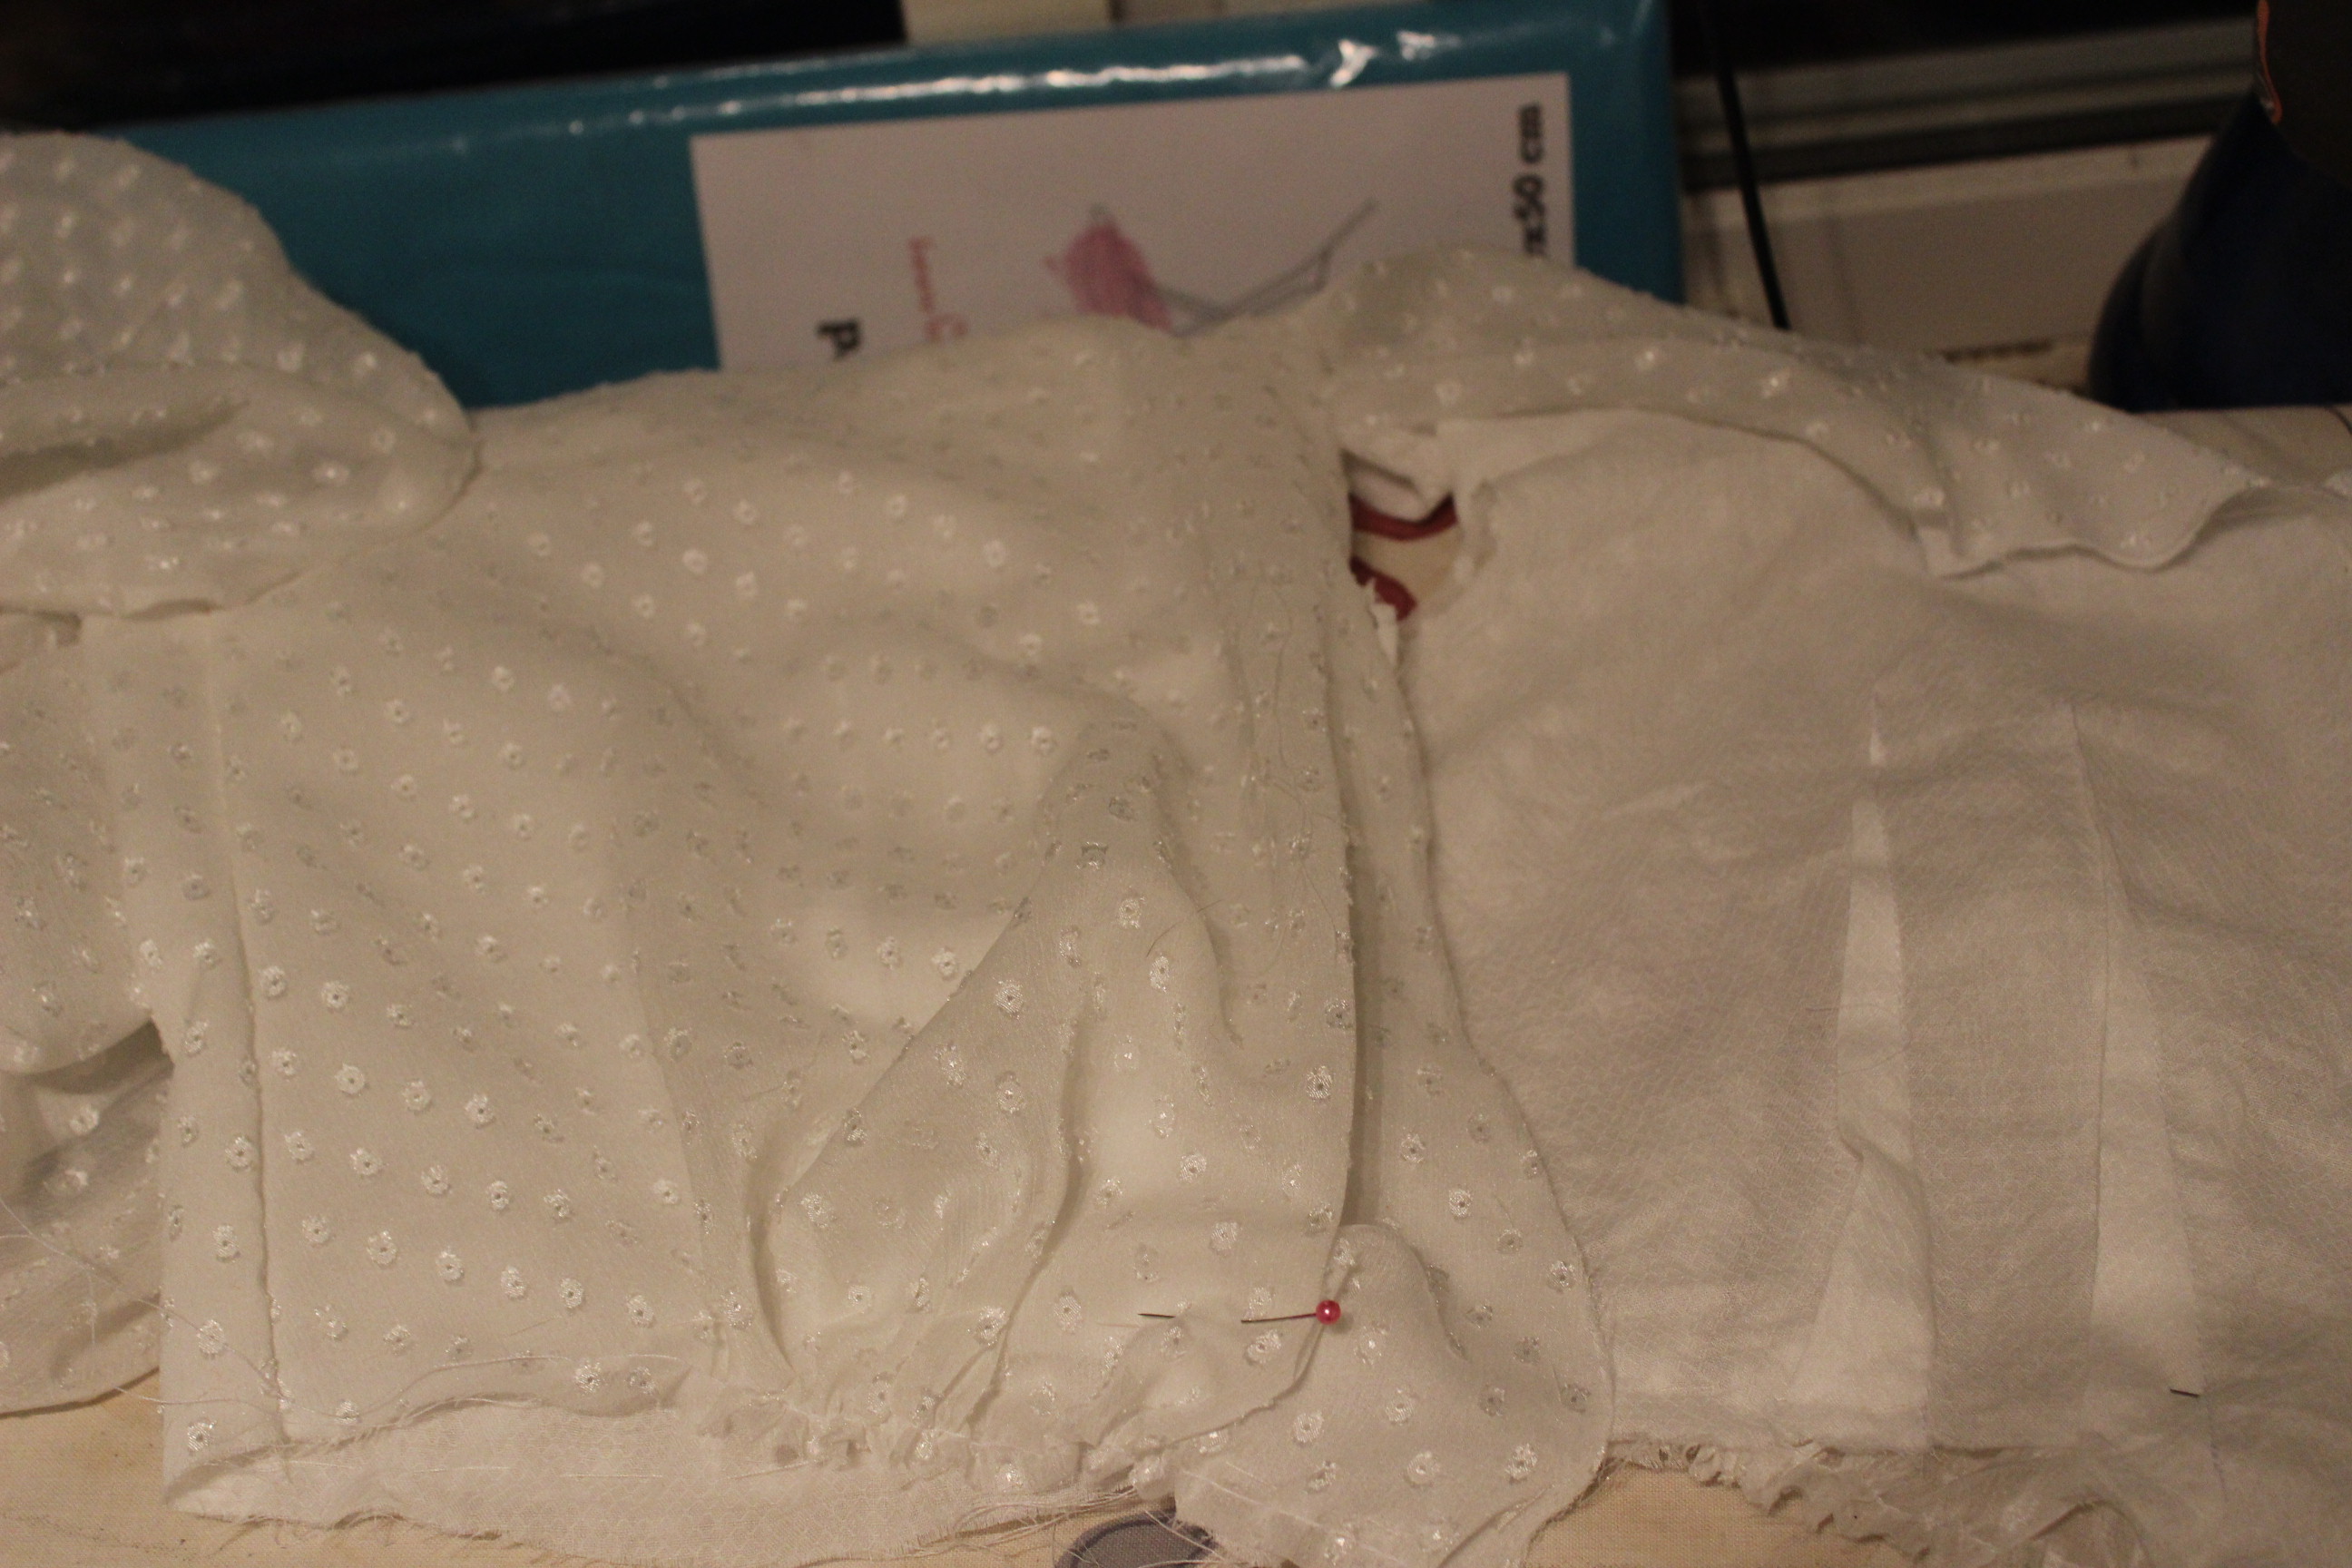
And to my surprise I found the perfect one straight away, and it was on sale. Yay! 20150325_080825_resized
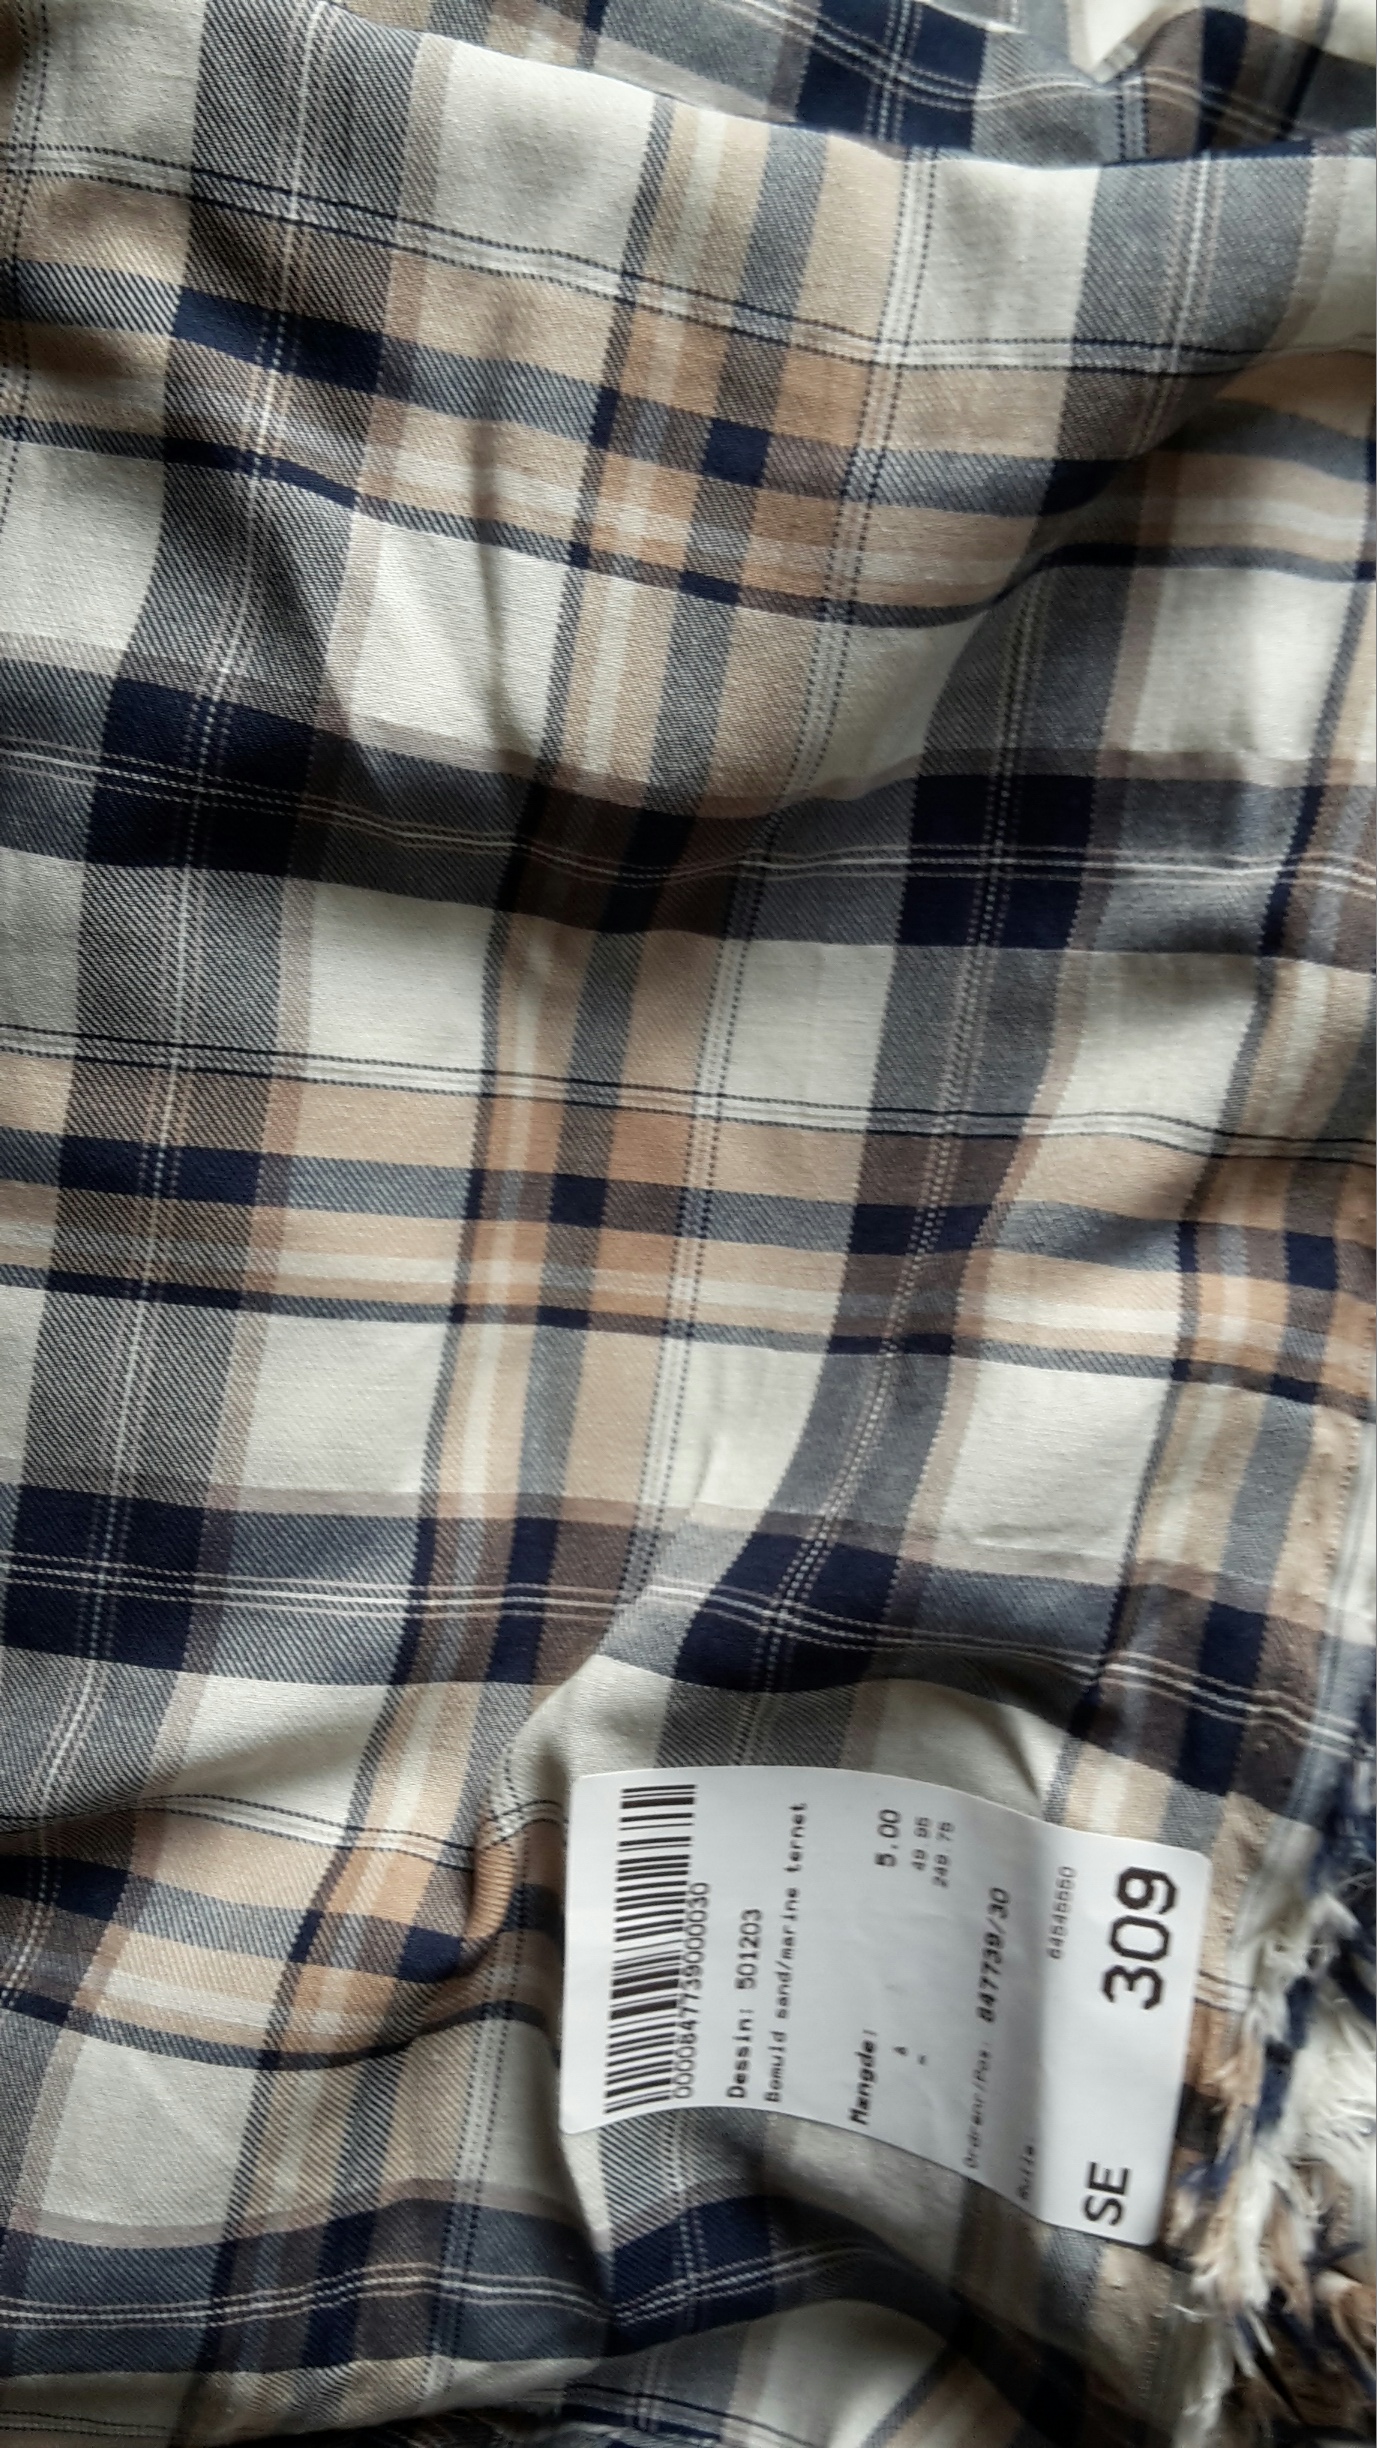
It’s a sheer cotton with the light feel of voile, and a pretty, light plaid pattern with lots of white to make the dress fit for summer.

At the moment I was rushing to finish my “Downton Mary dress“, so I couldn’t comit to the new project straight away, so to get tings moving I decided to start working on the skirt.

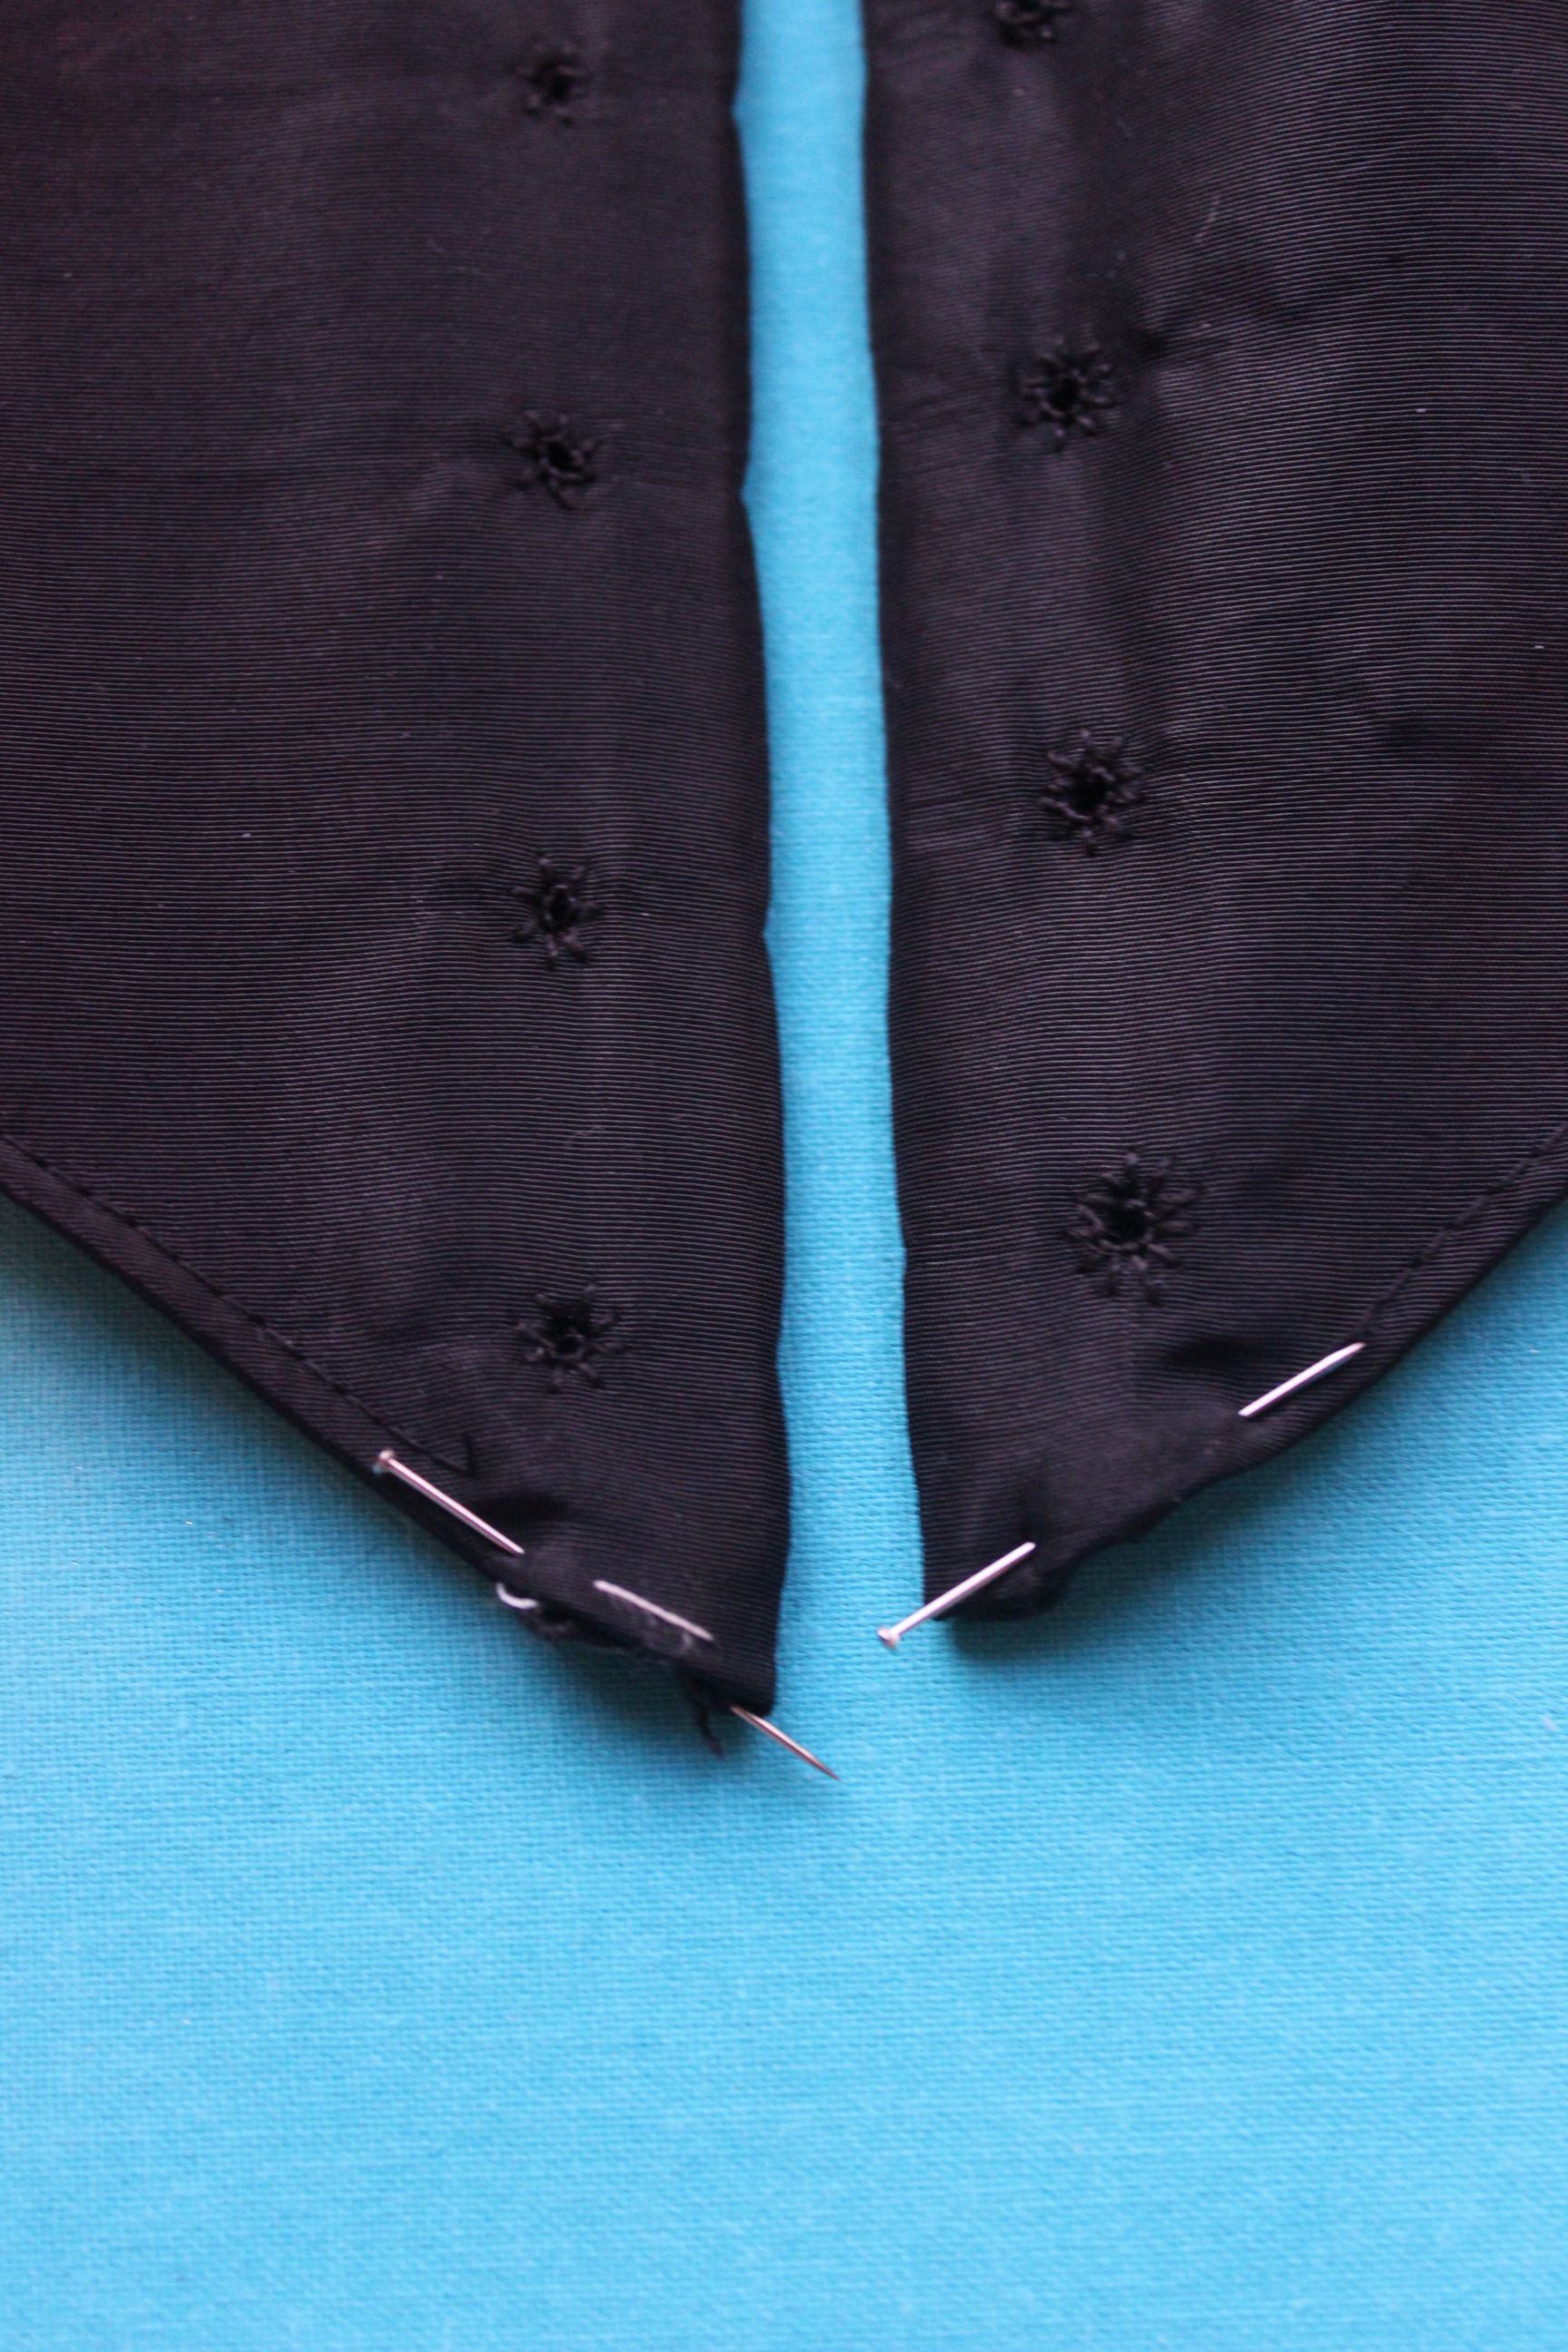
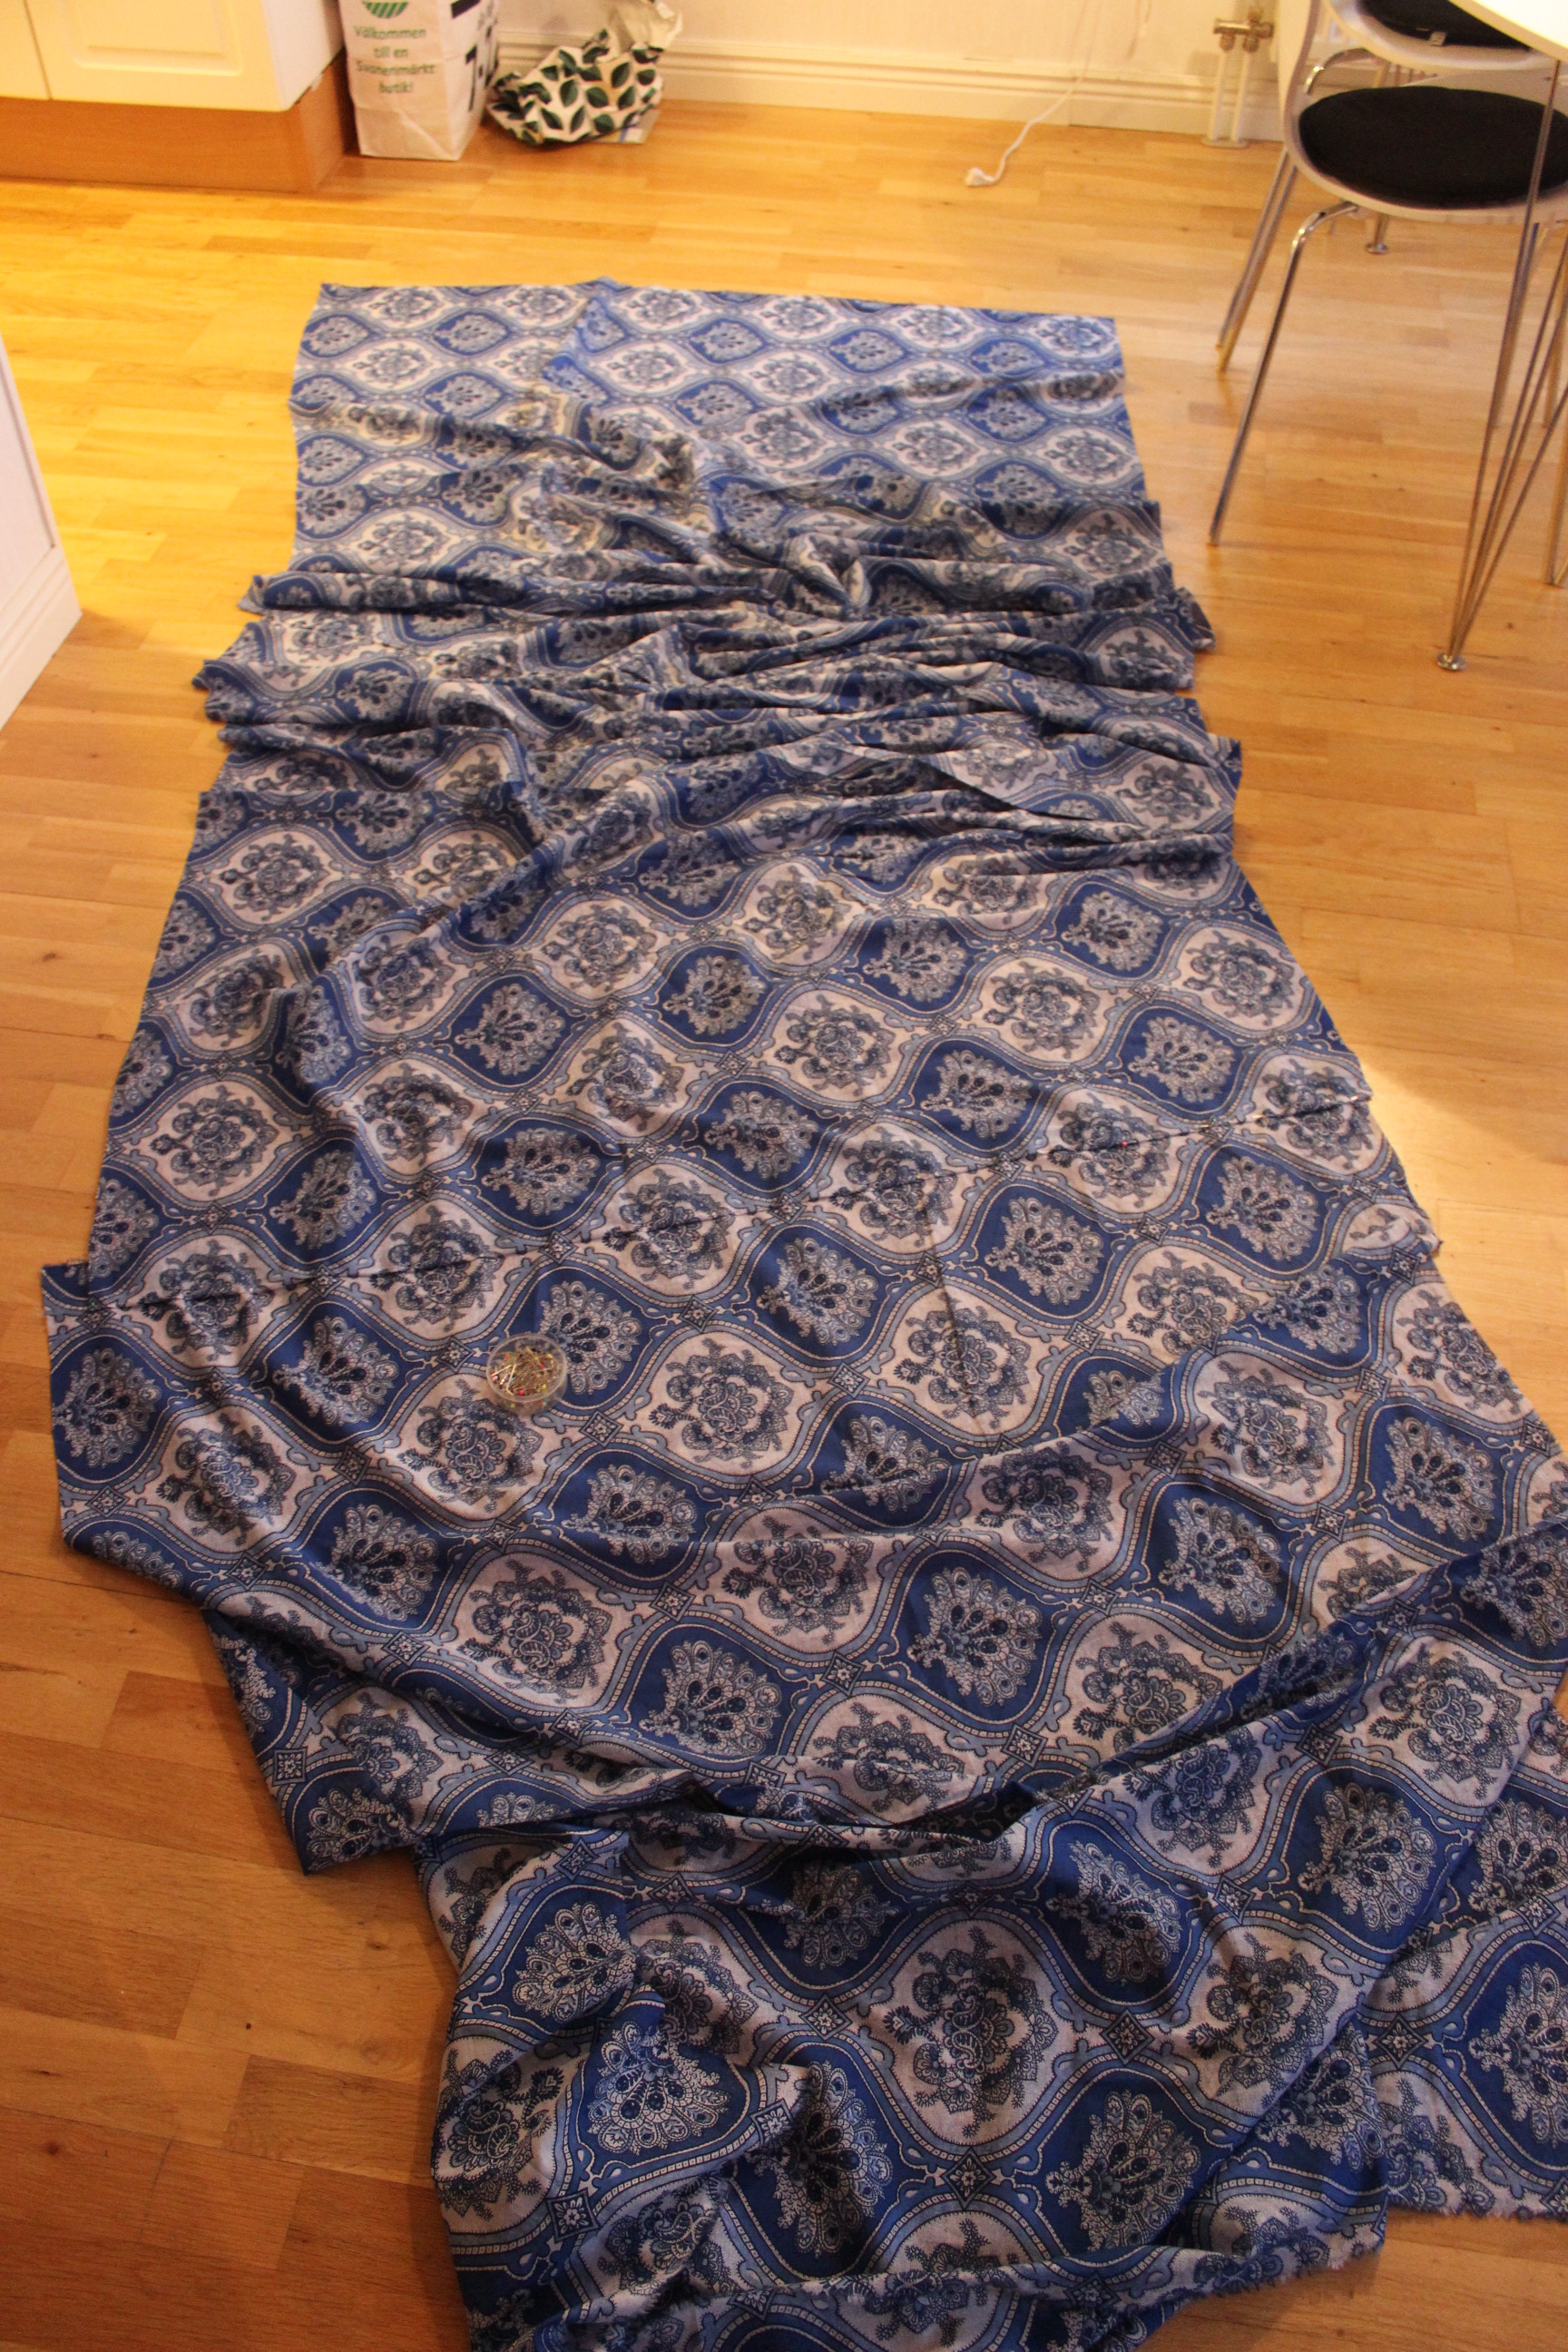
I almost used the same simple tequnices as in my sisters 1860s skirt (which I made a month later) – Cuting three skirt lenght of whole fabric widhts, matching the pattern and stitching them togeter to a huge circle.

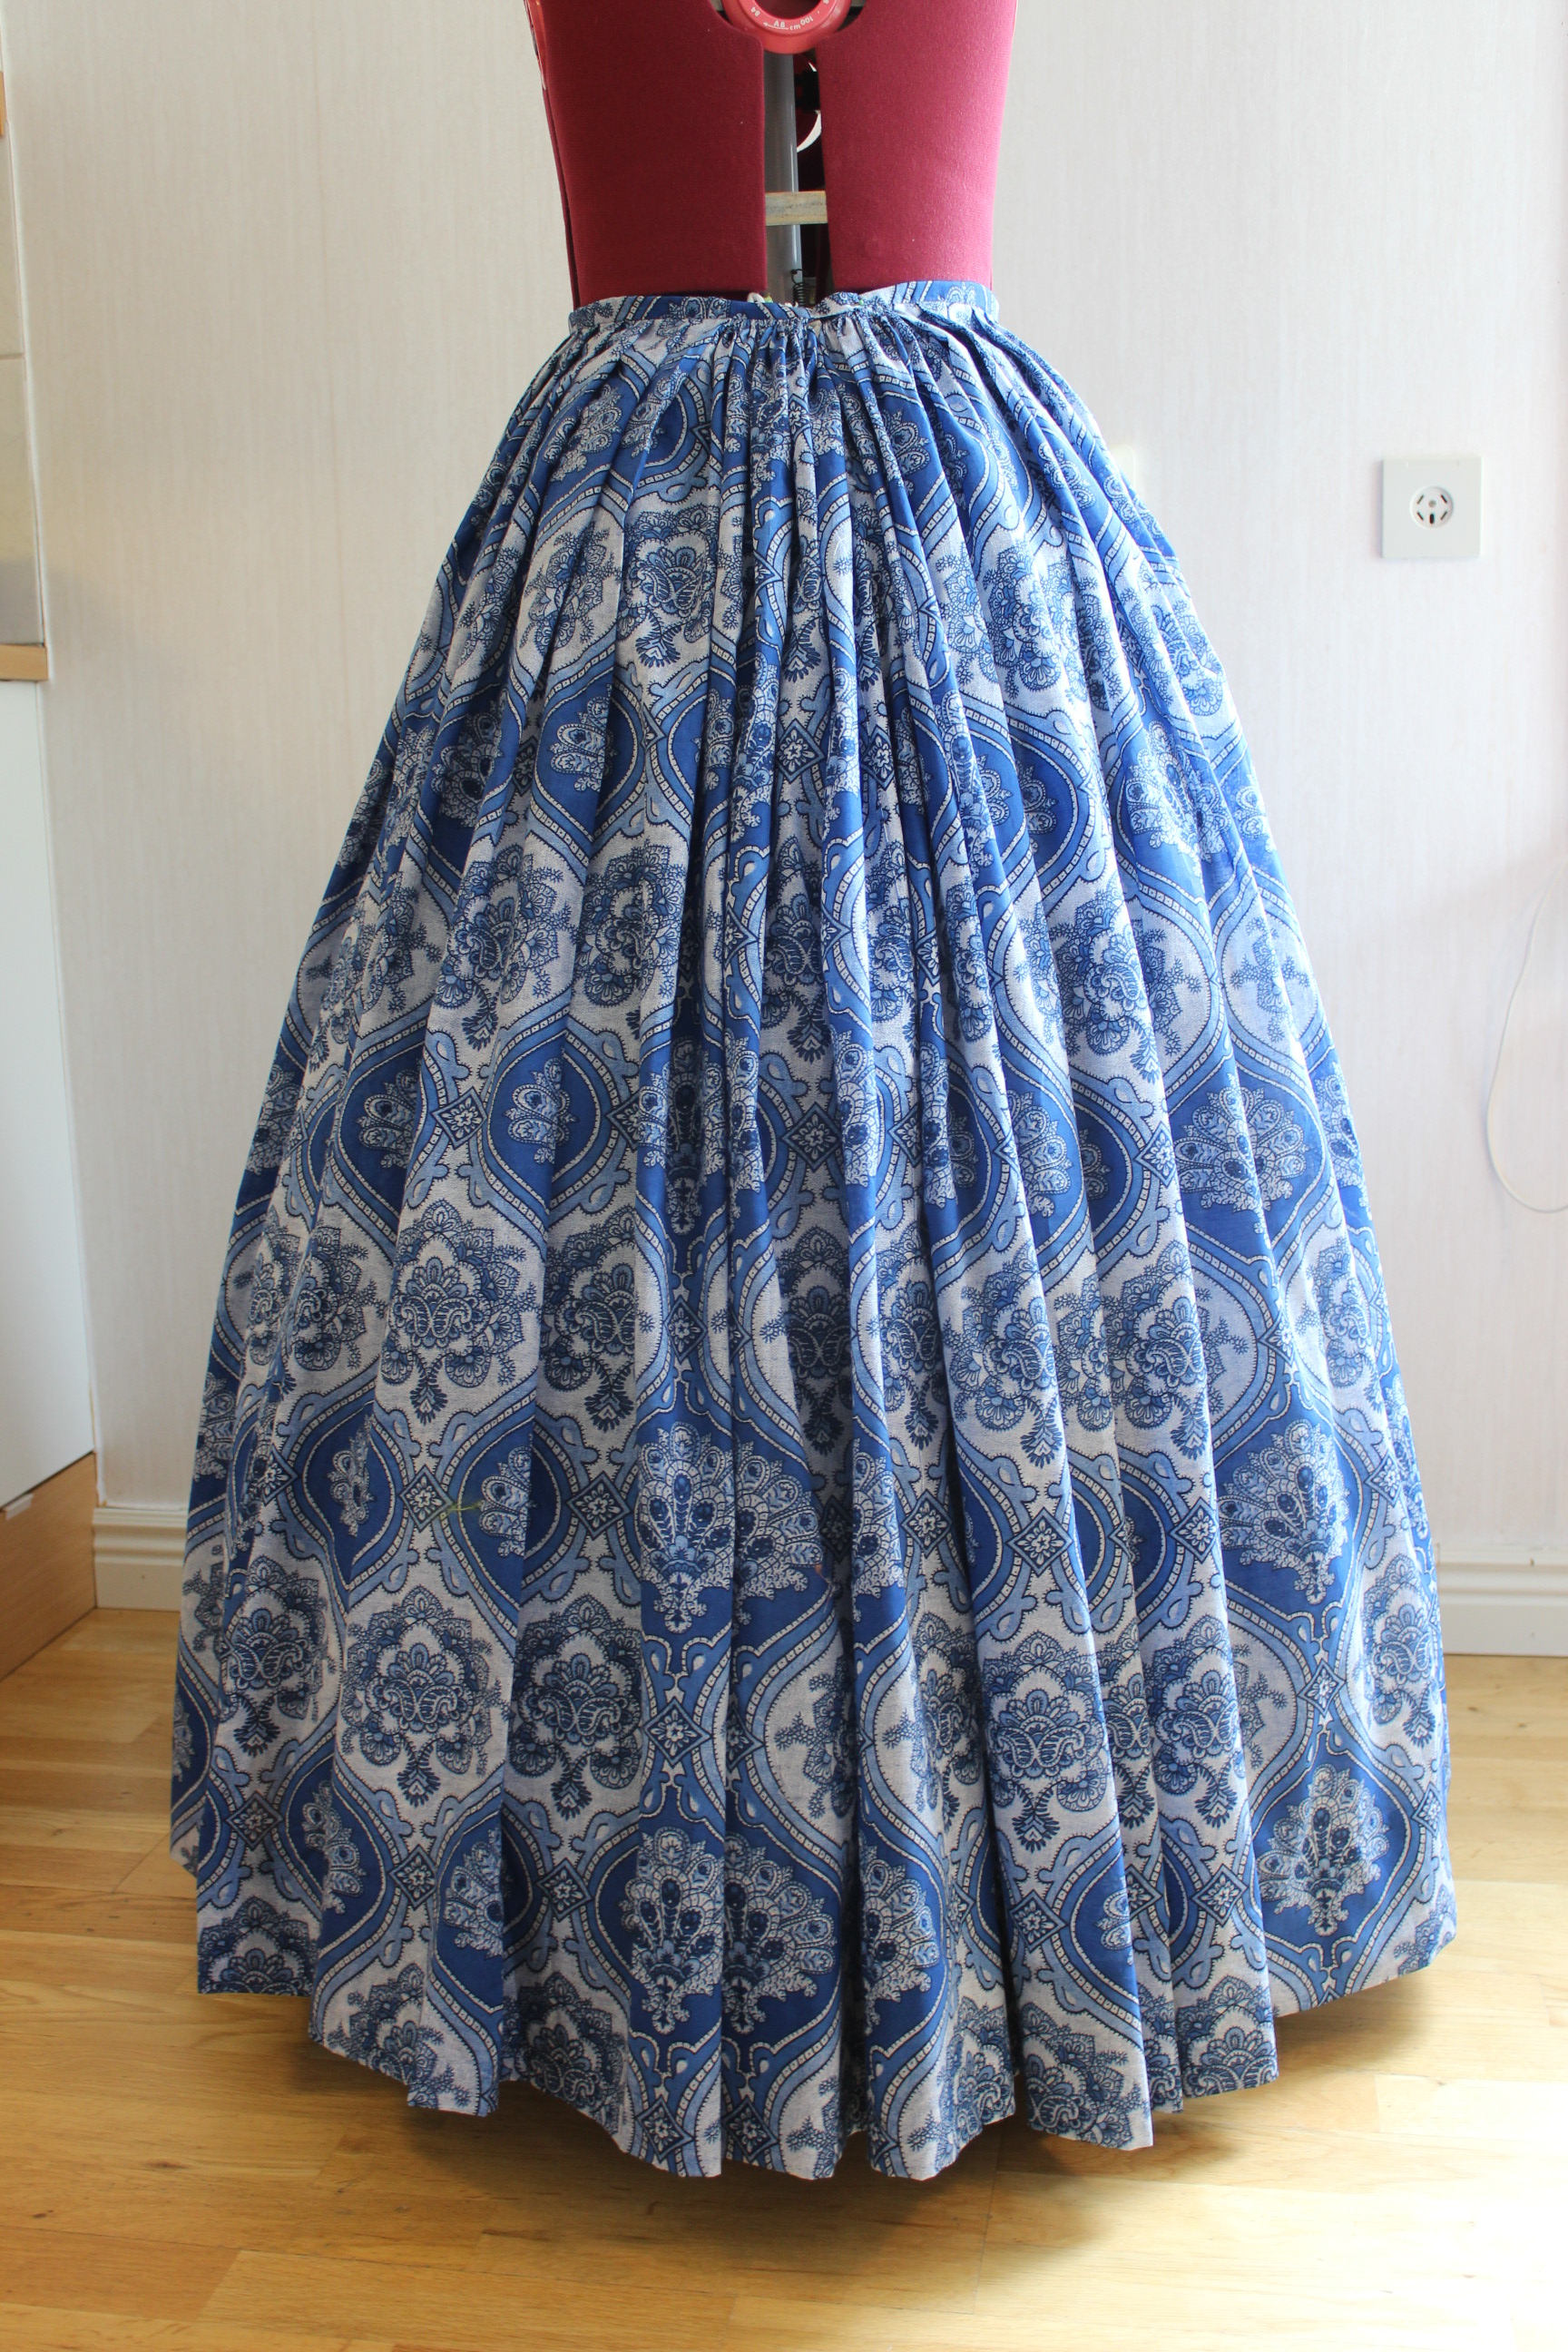
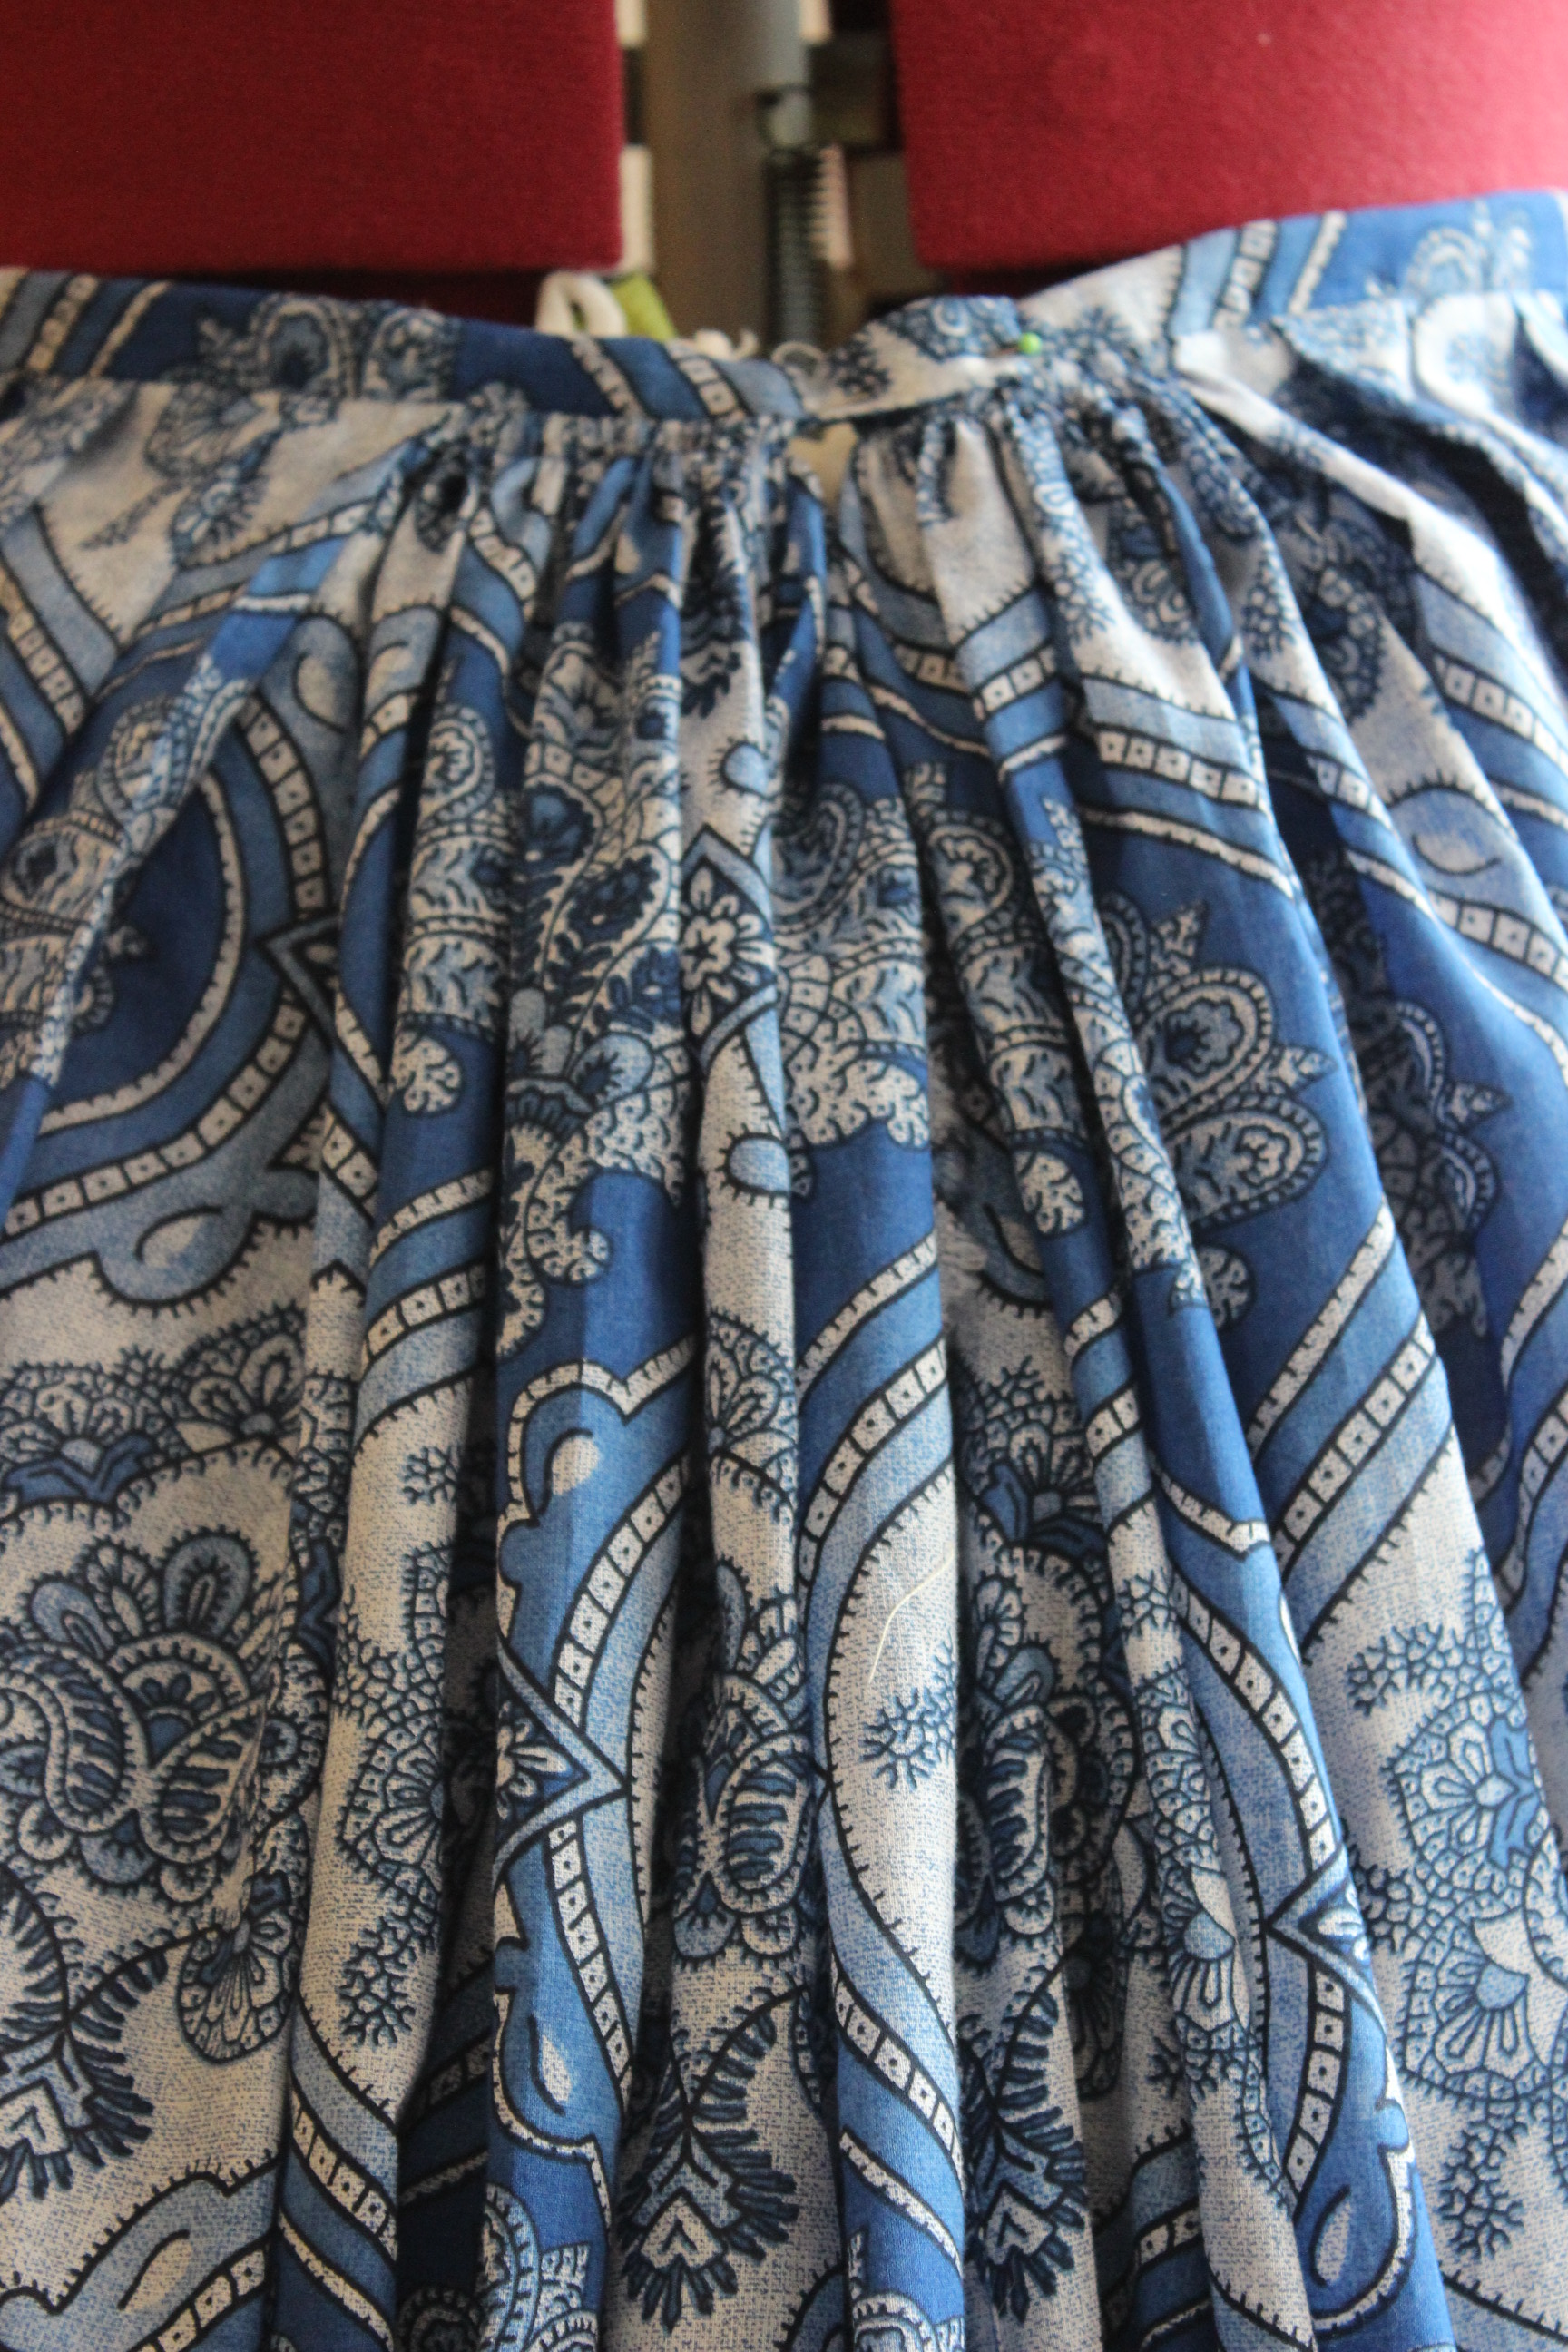
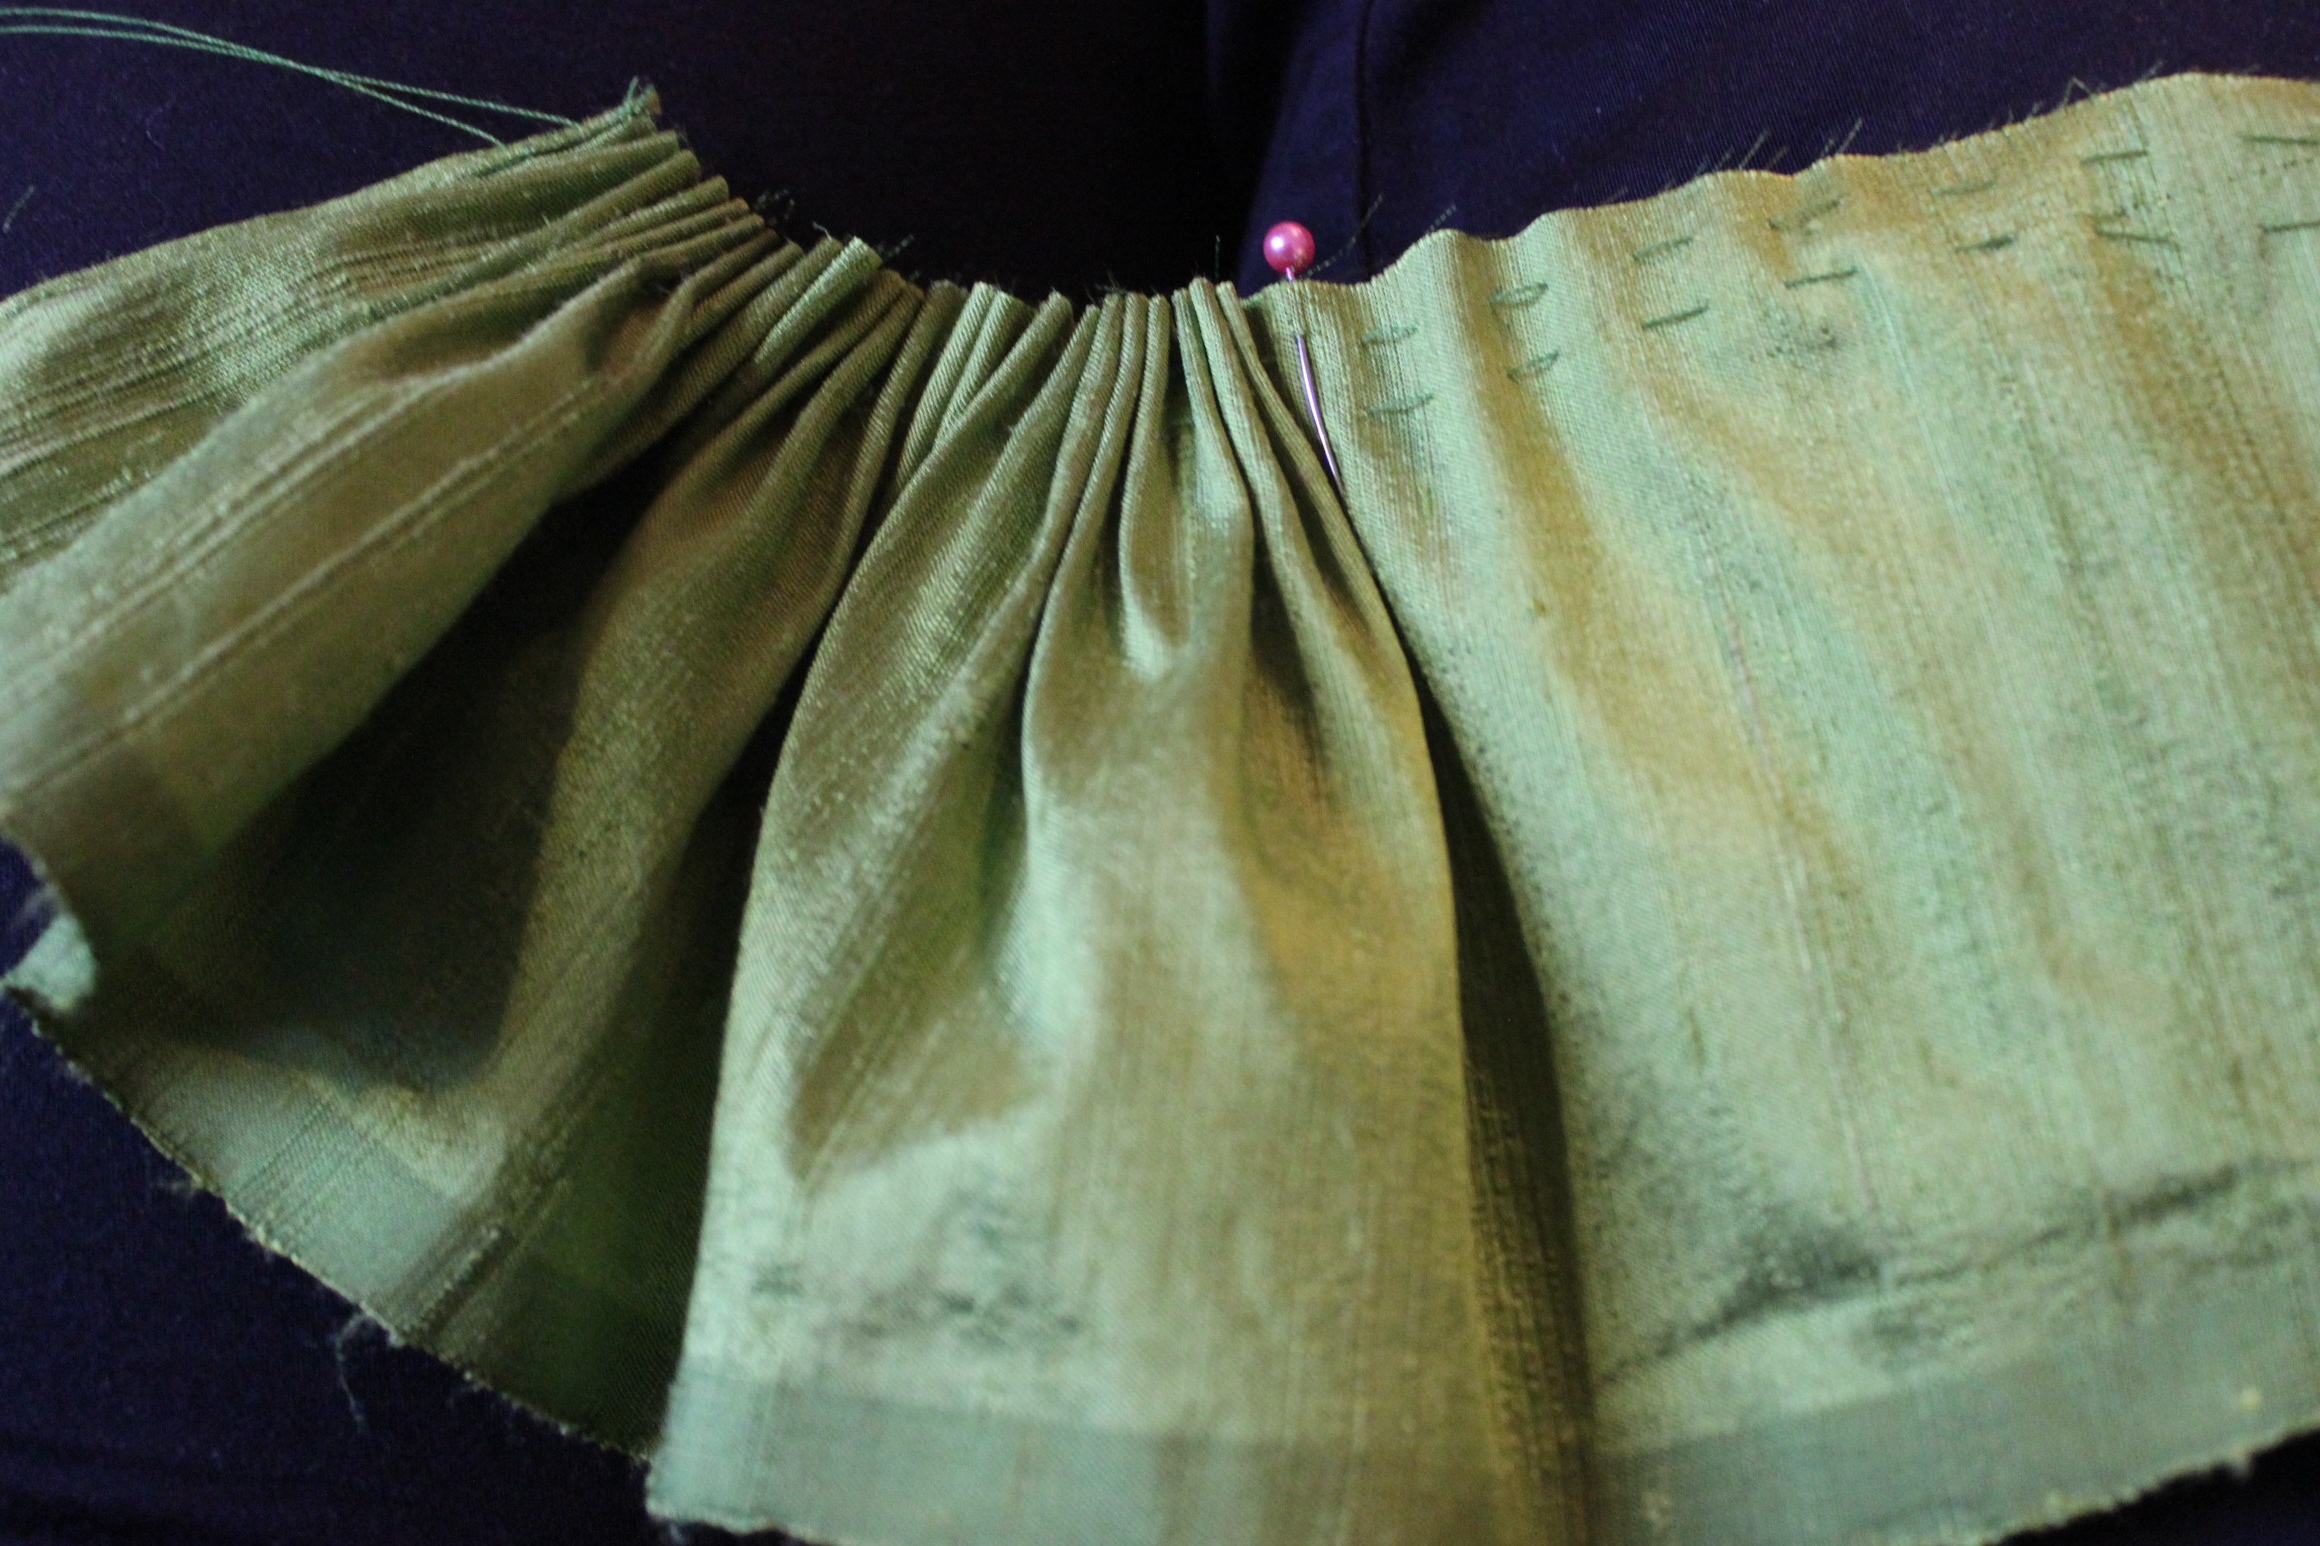
Then I stsitched two rows of gthering stistches at the top and pulled to get the right waist measurment. I purpusly used one fabic widht for the front and two for the back, to disturbute the poufiness to the back.

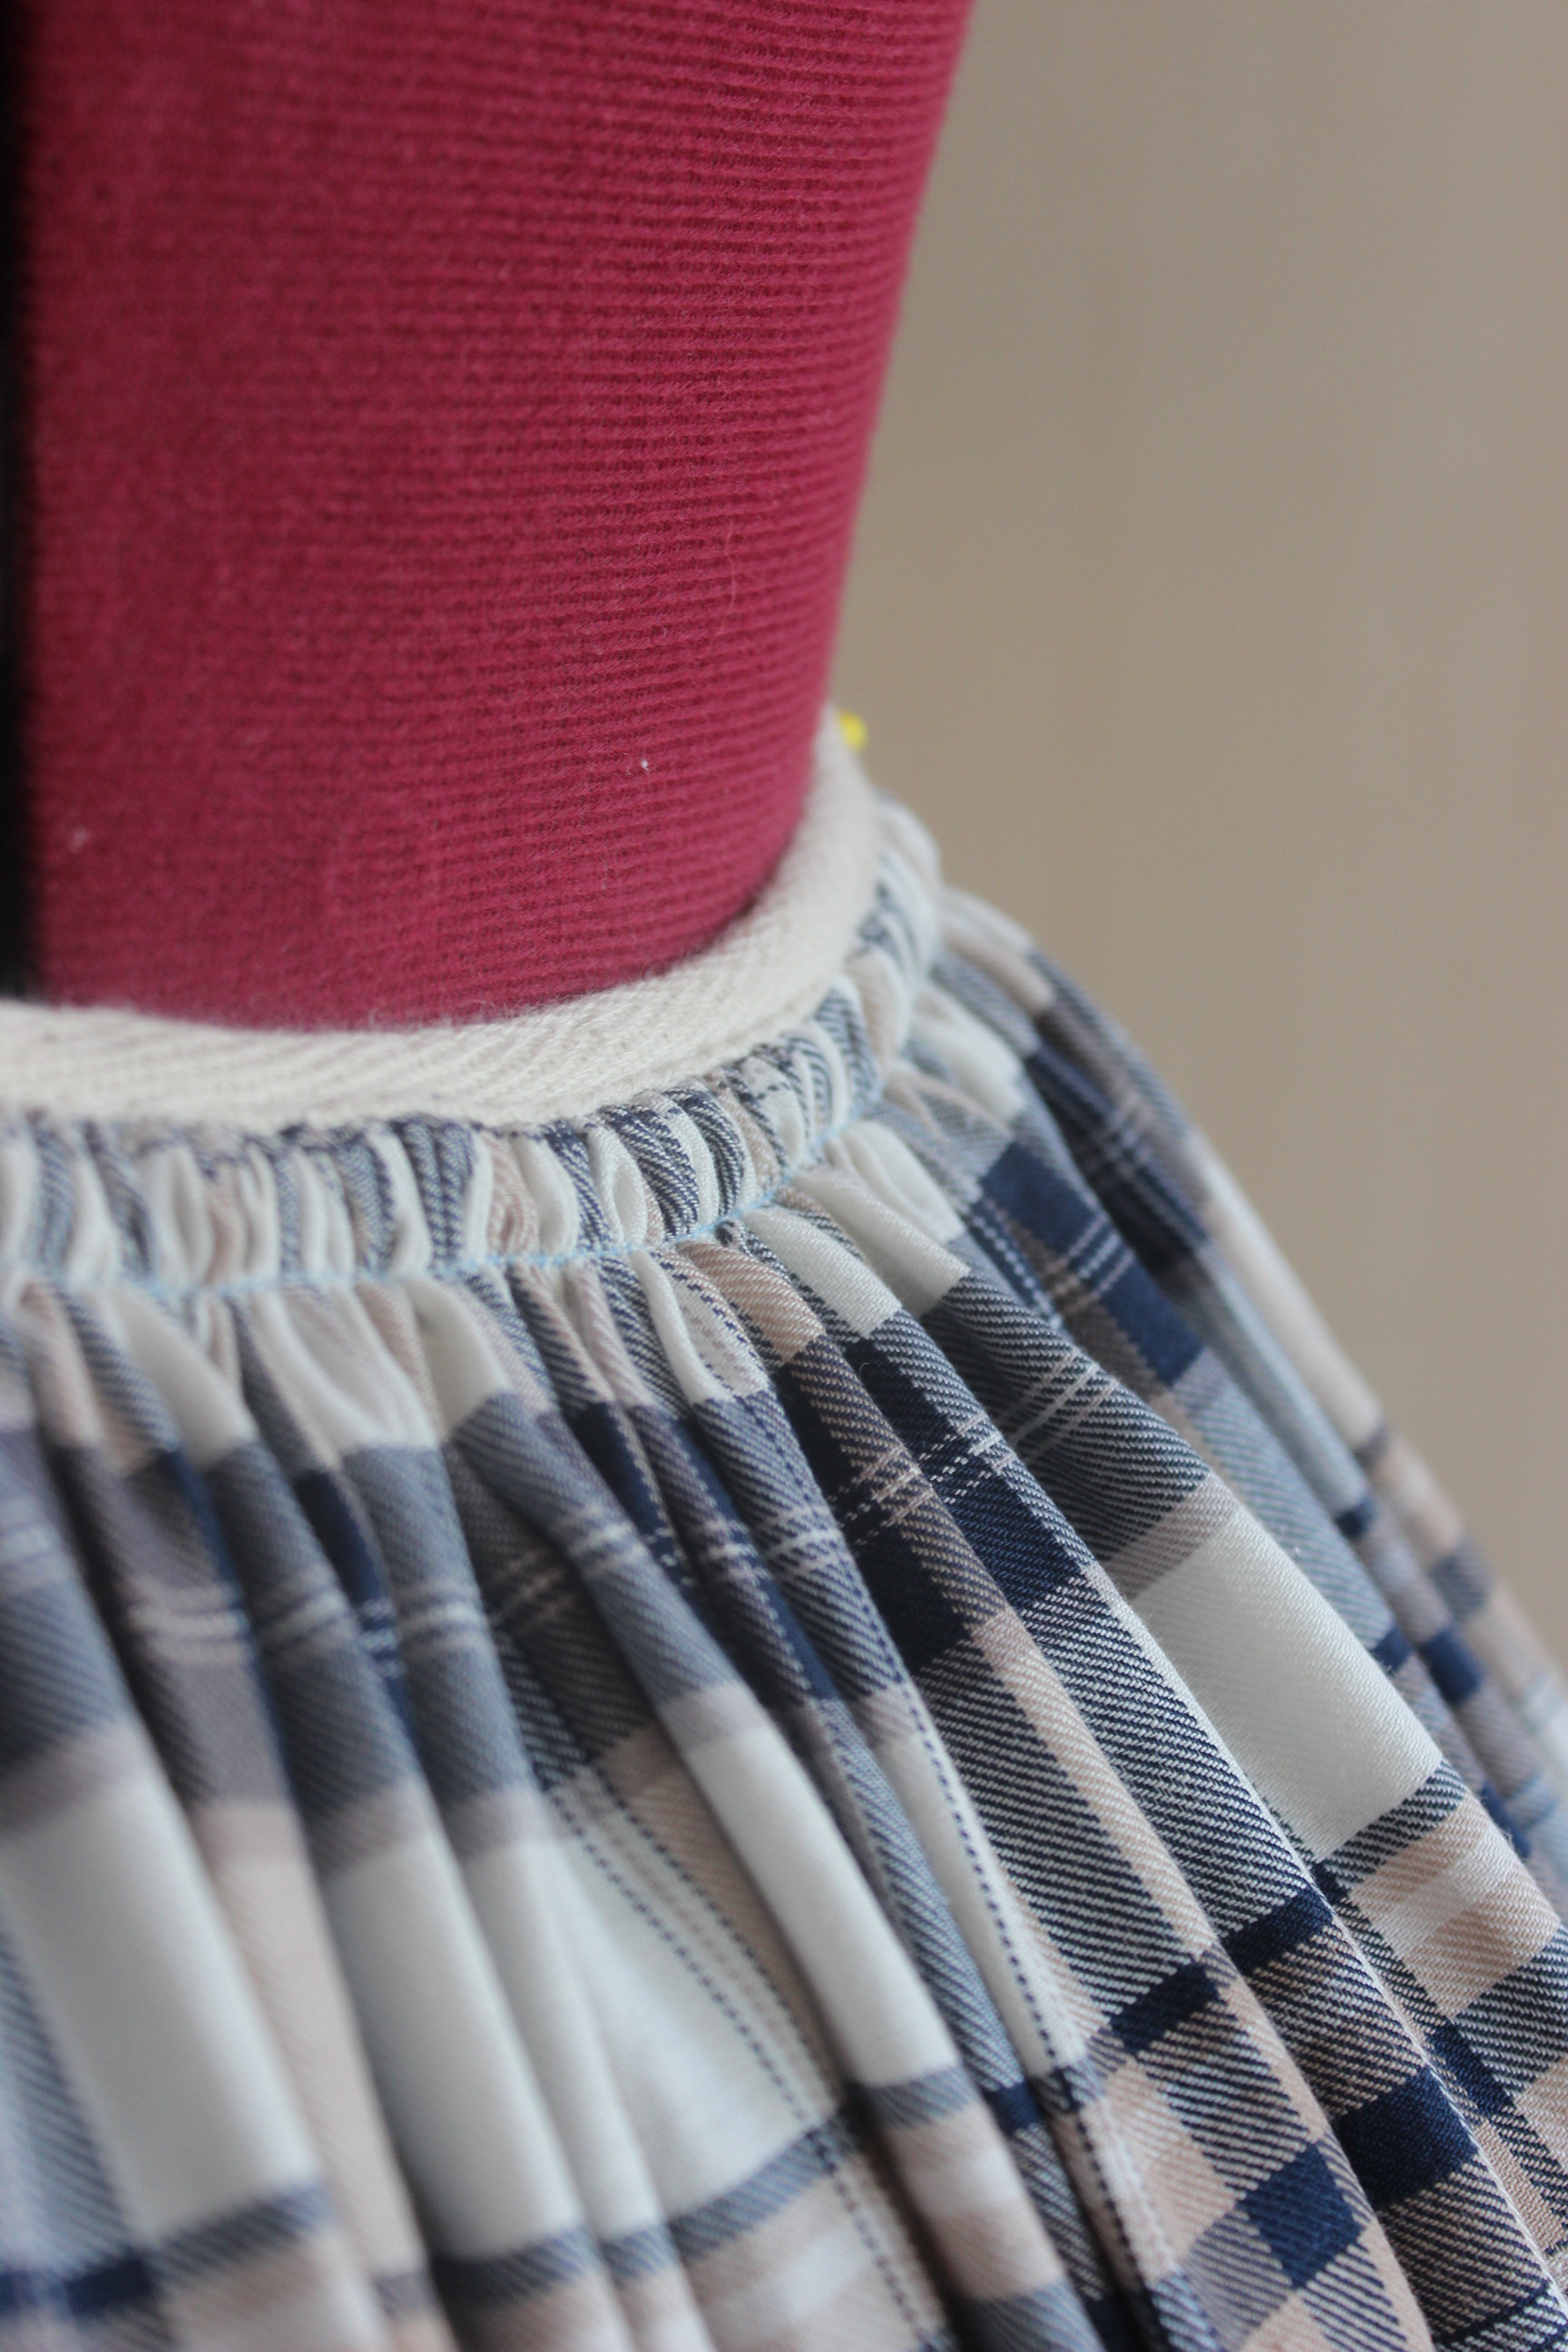
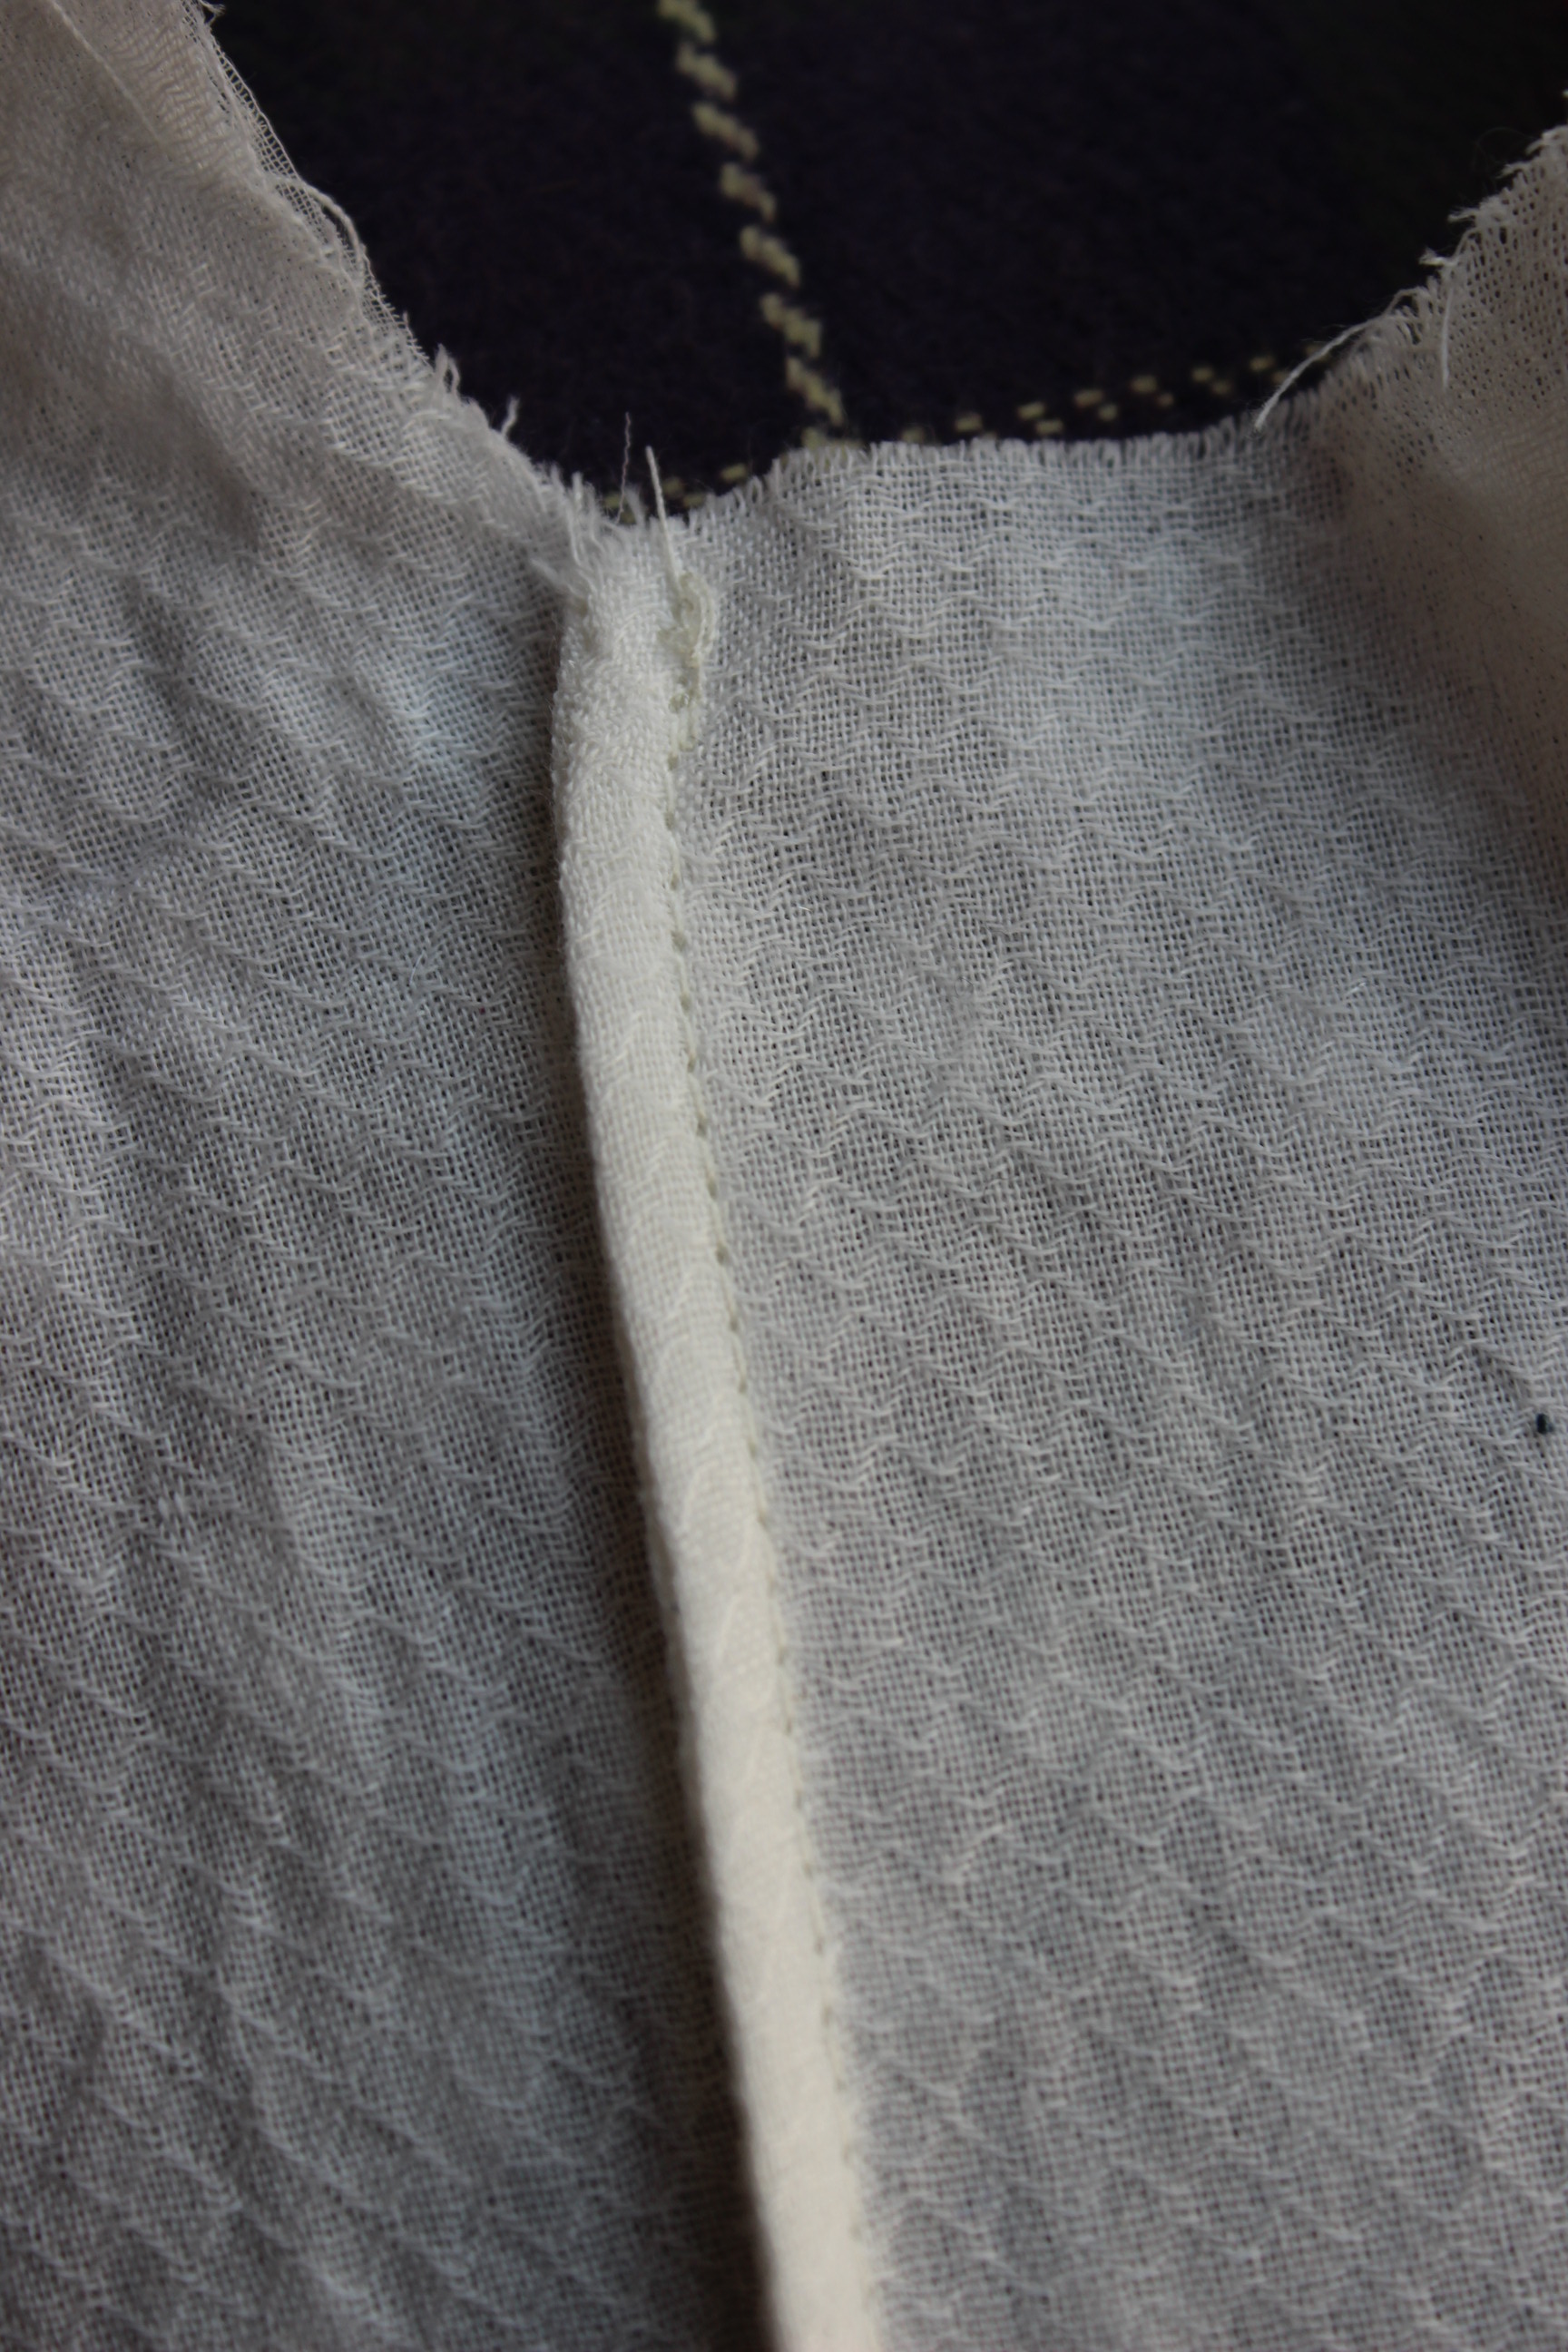
Then I stitched a cotton tape to the gathered waist IMG_6245and turn it under by hand to get a small but sturdy waistband.IMG_6258

I used my dressform to measure and pin the skirt lenght 20150411_142134Trying it out on my dressform

and make sure the back clouser looked good. 20150411_142206_resized

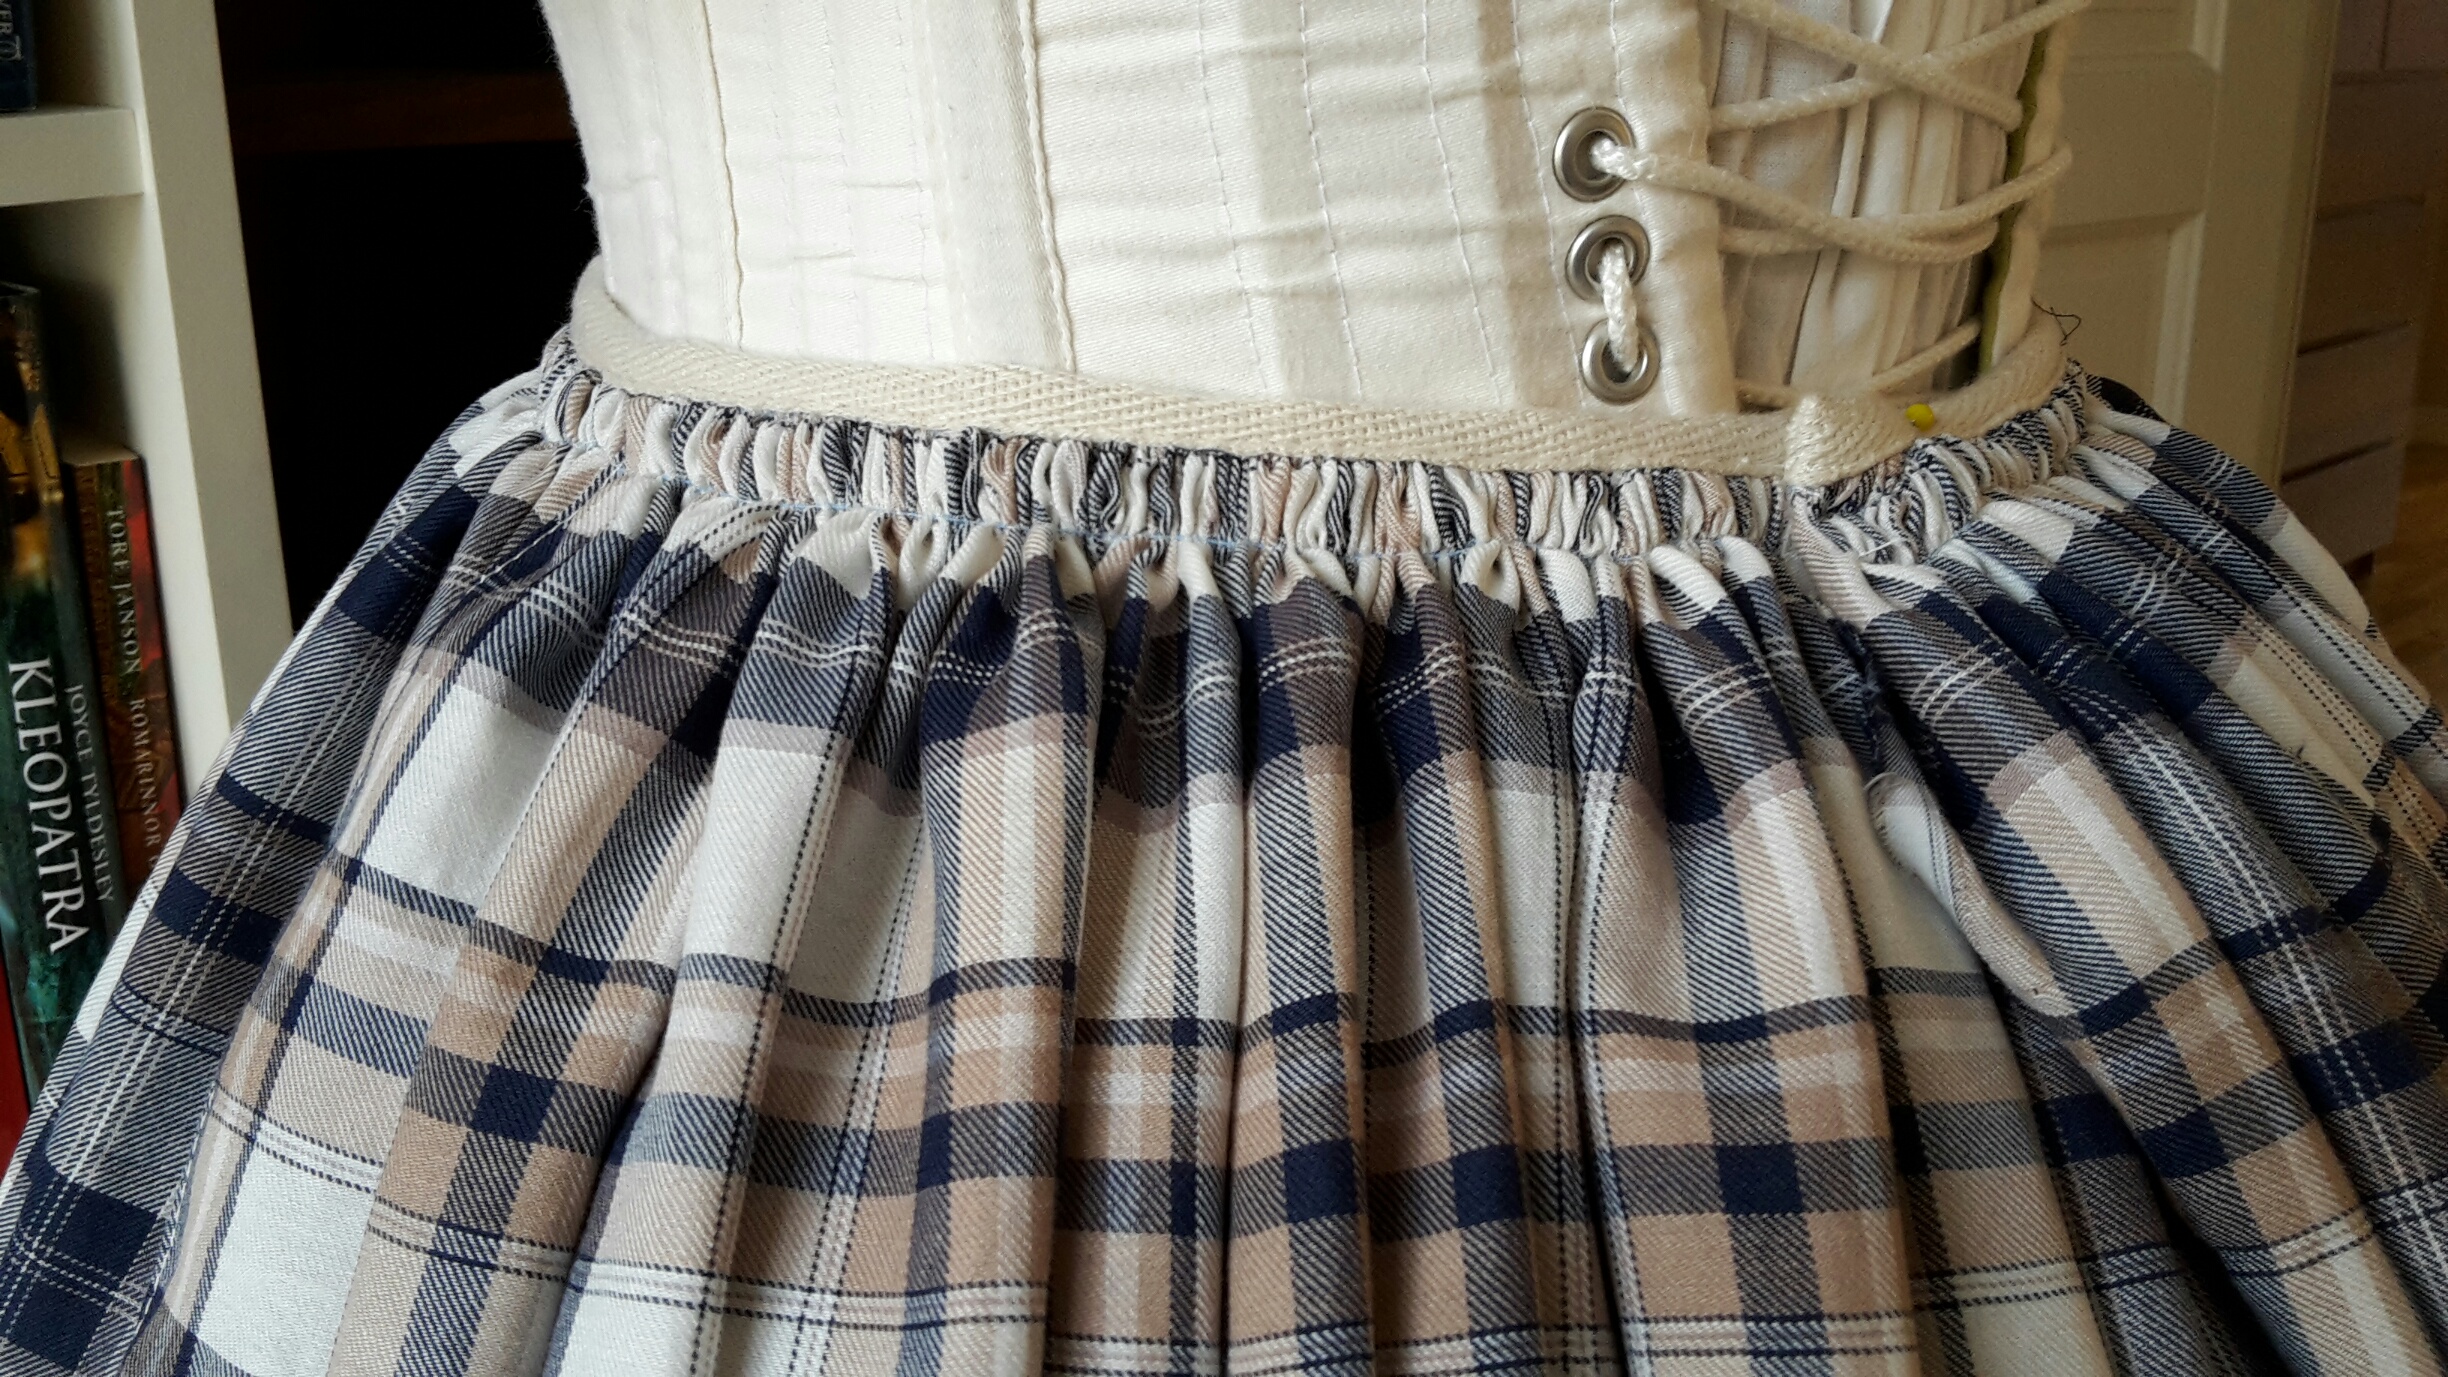
Then I folded, pinned and hemmed the skirt, using 1 cm long heming stitches.IMG_6837

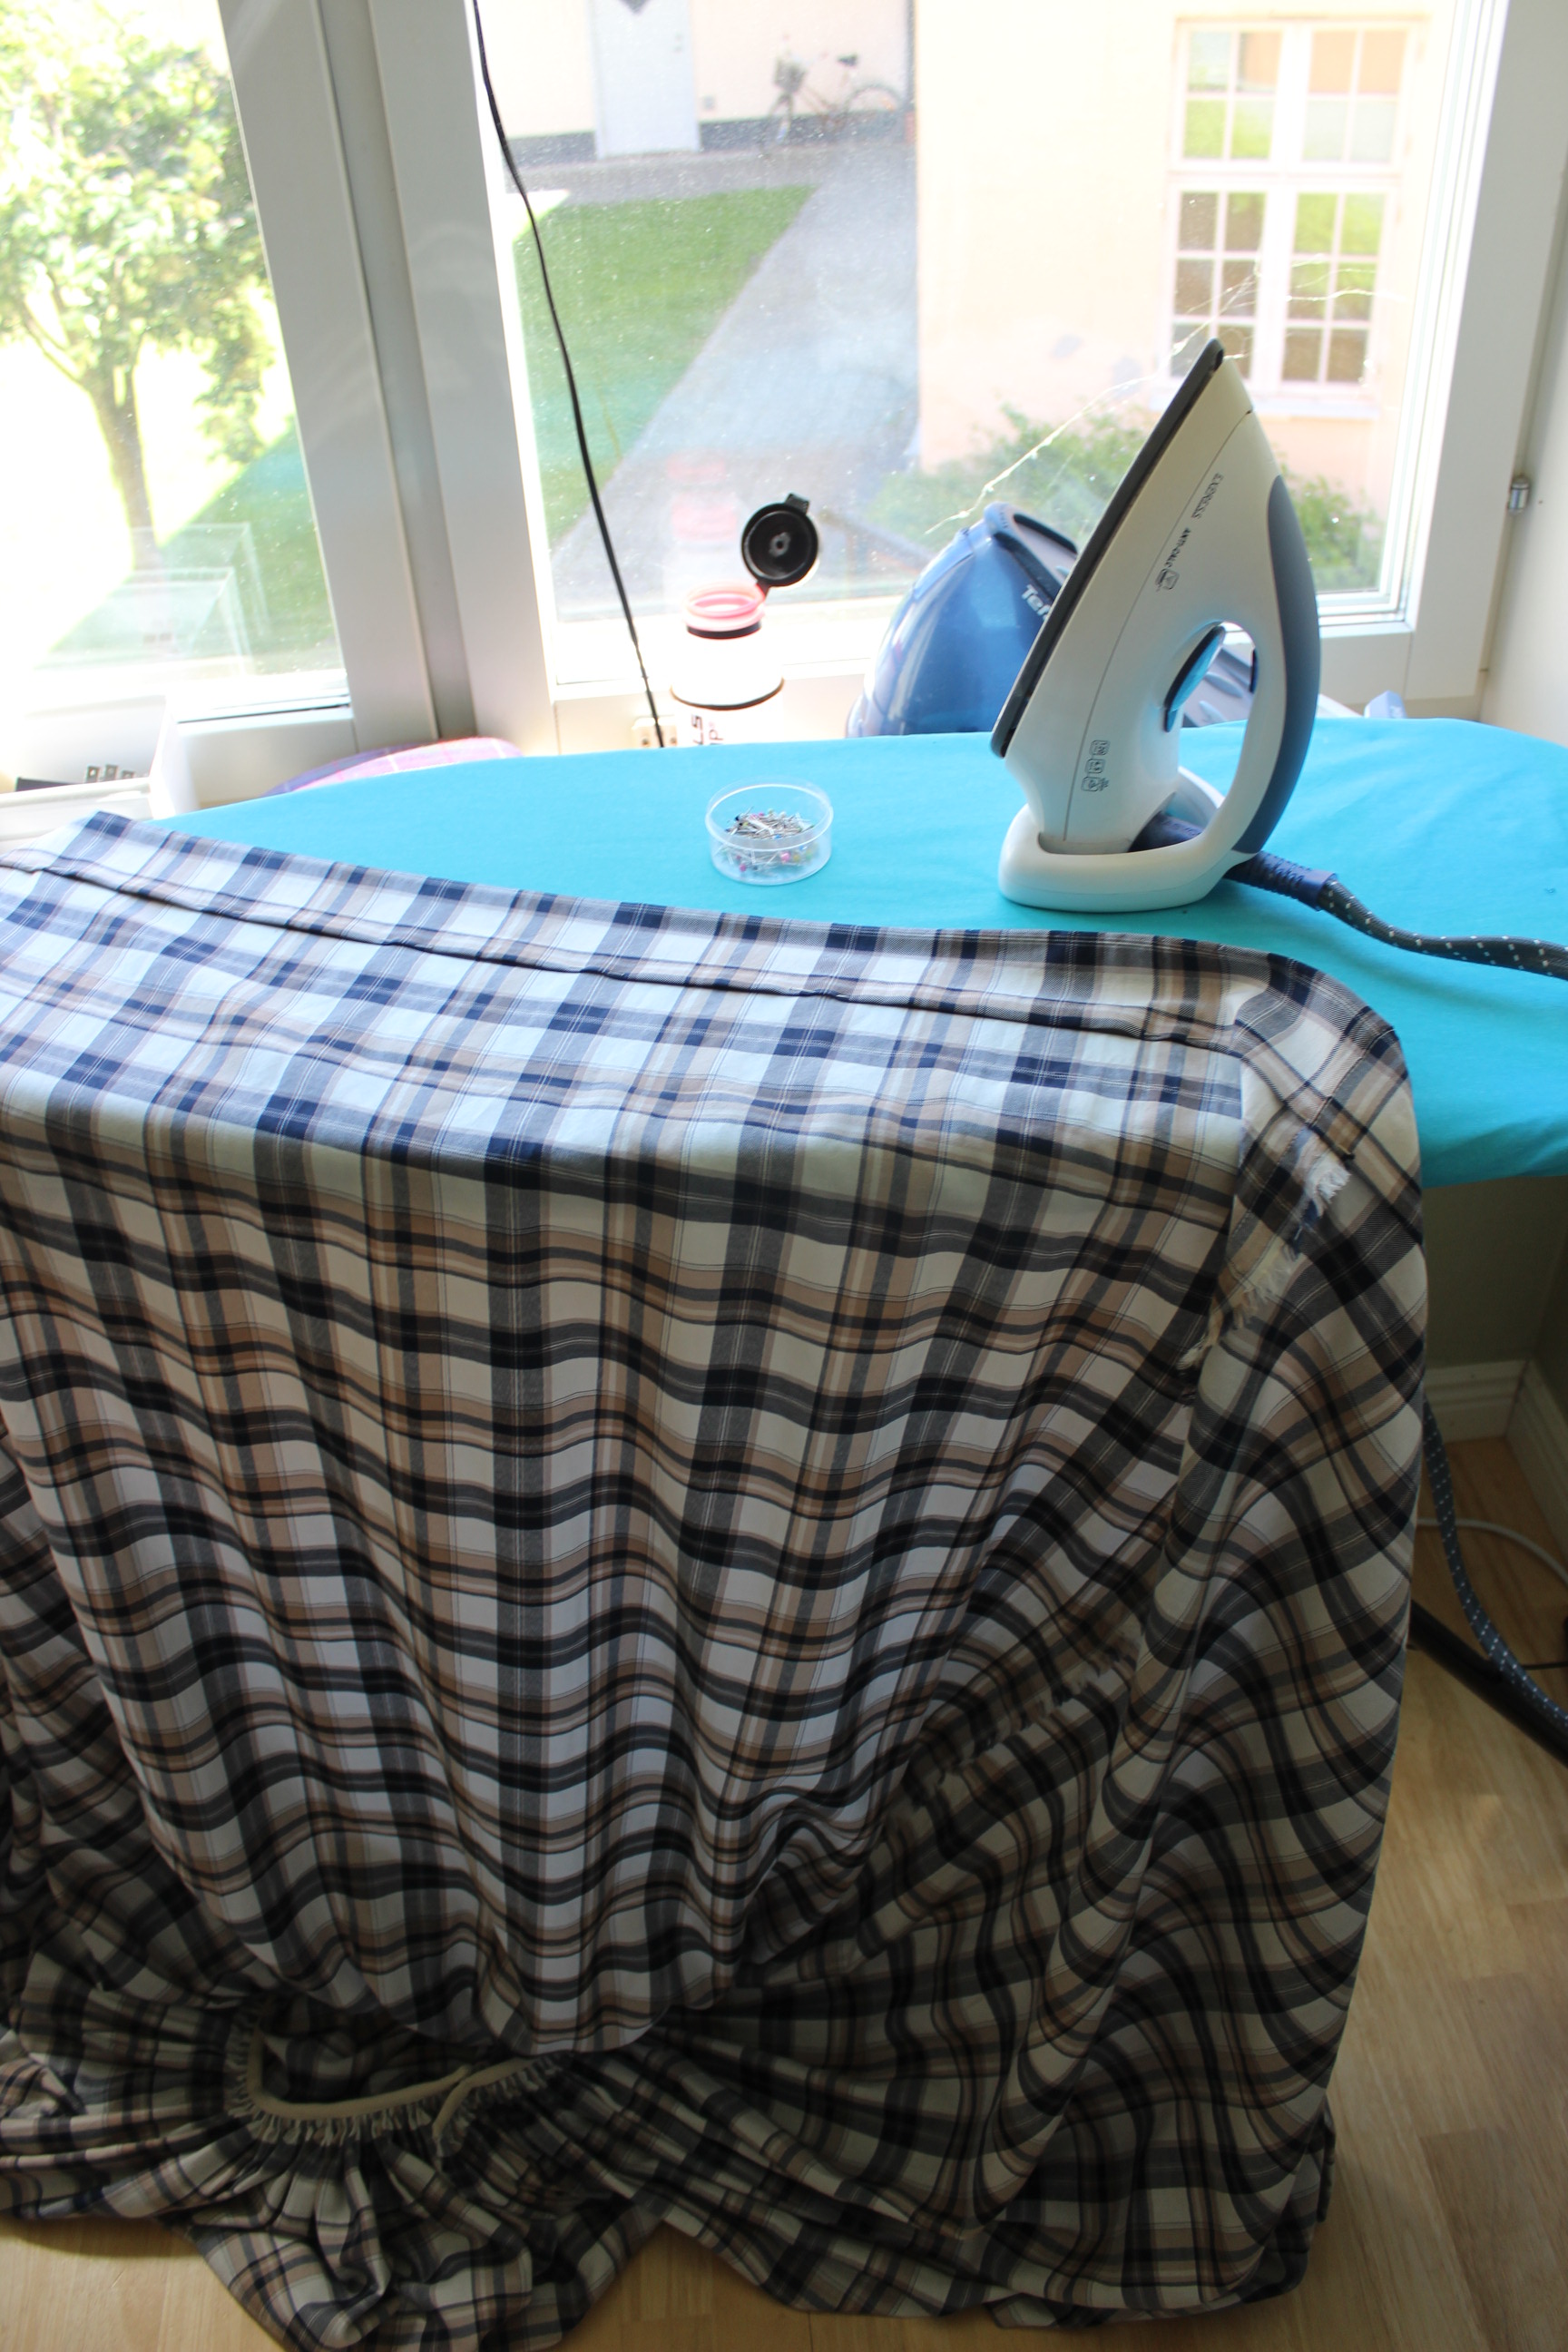
All and all it took about 4 hours and was an evenings welcome break from “Lady Mary”

The finished skirt:IMG_7298

IMG_7299

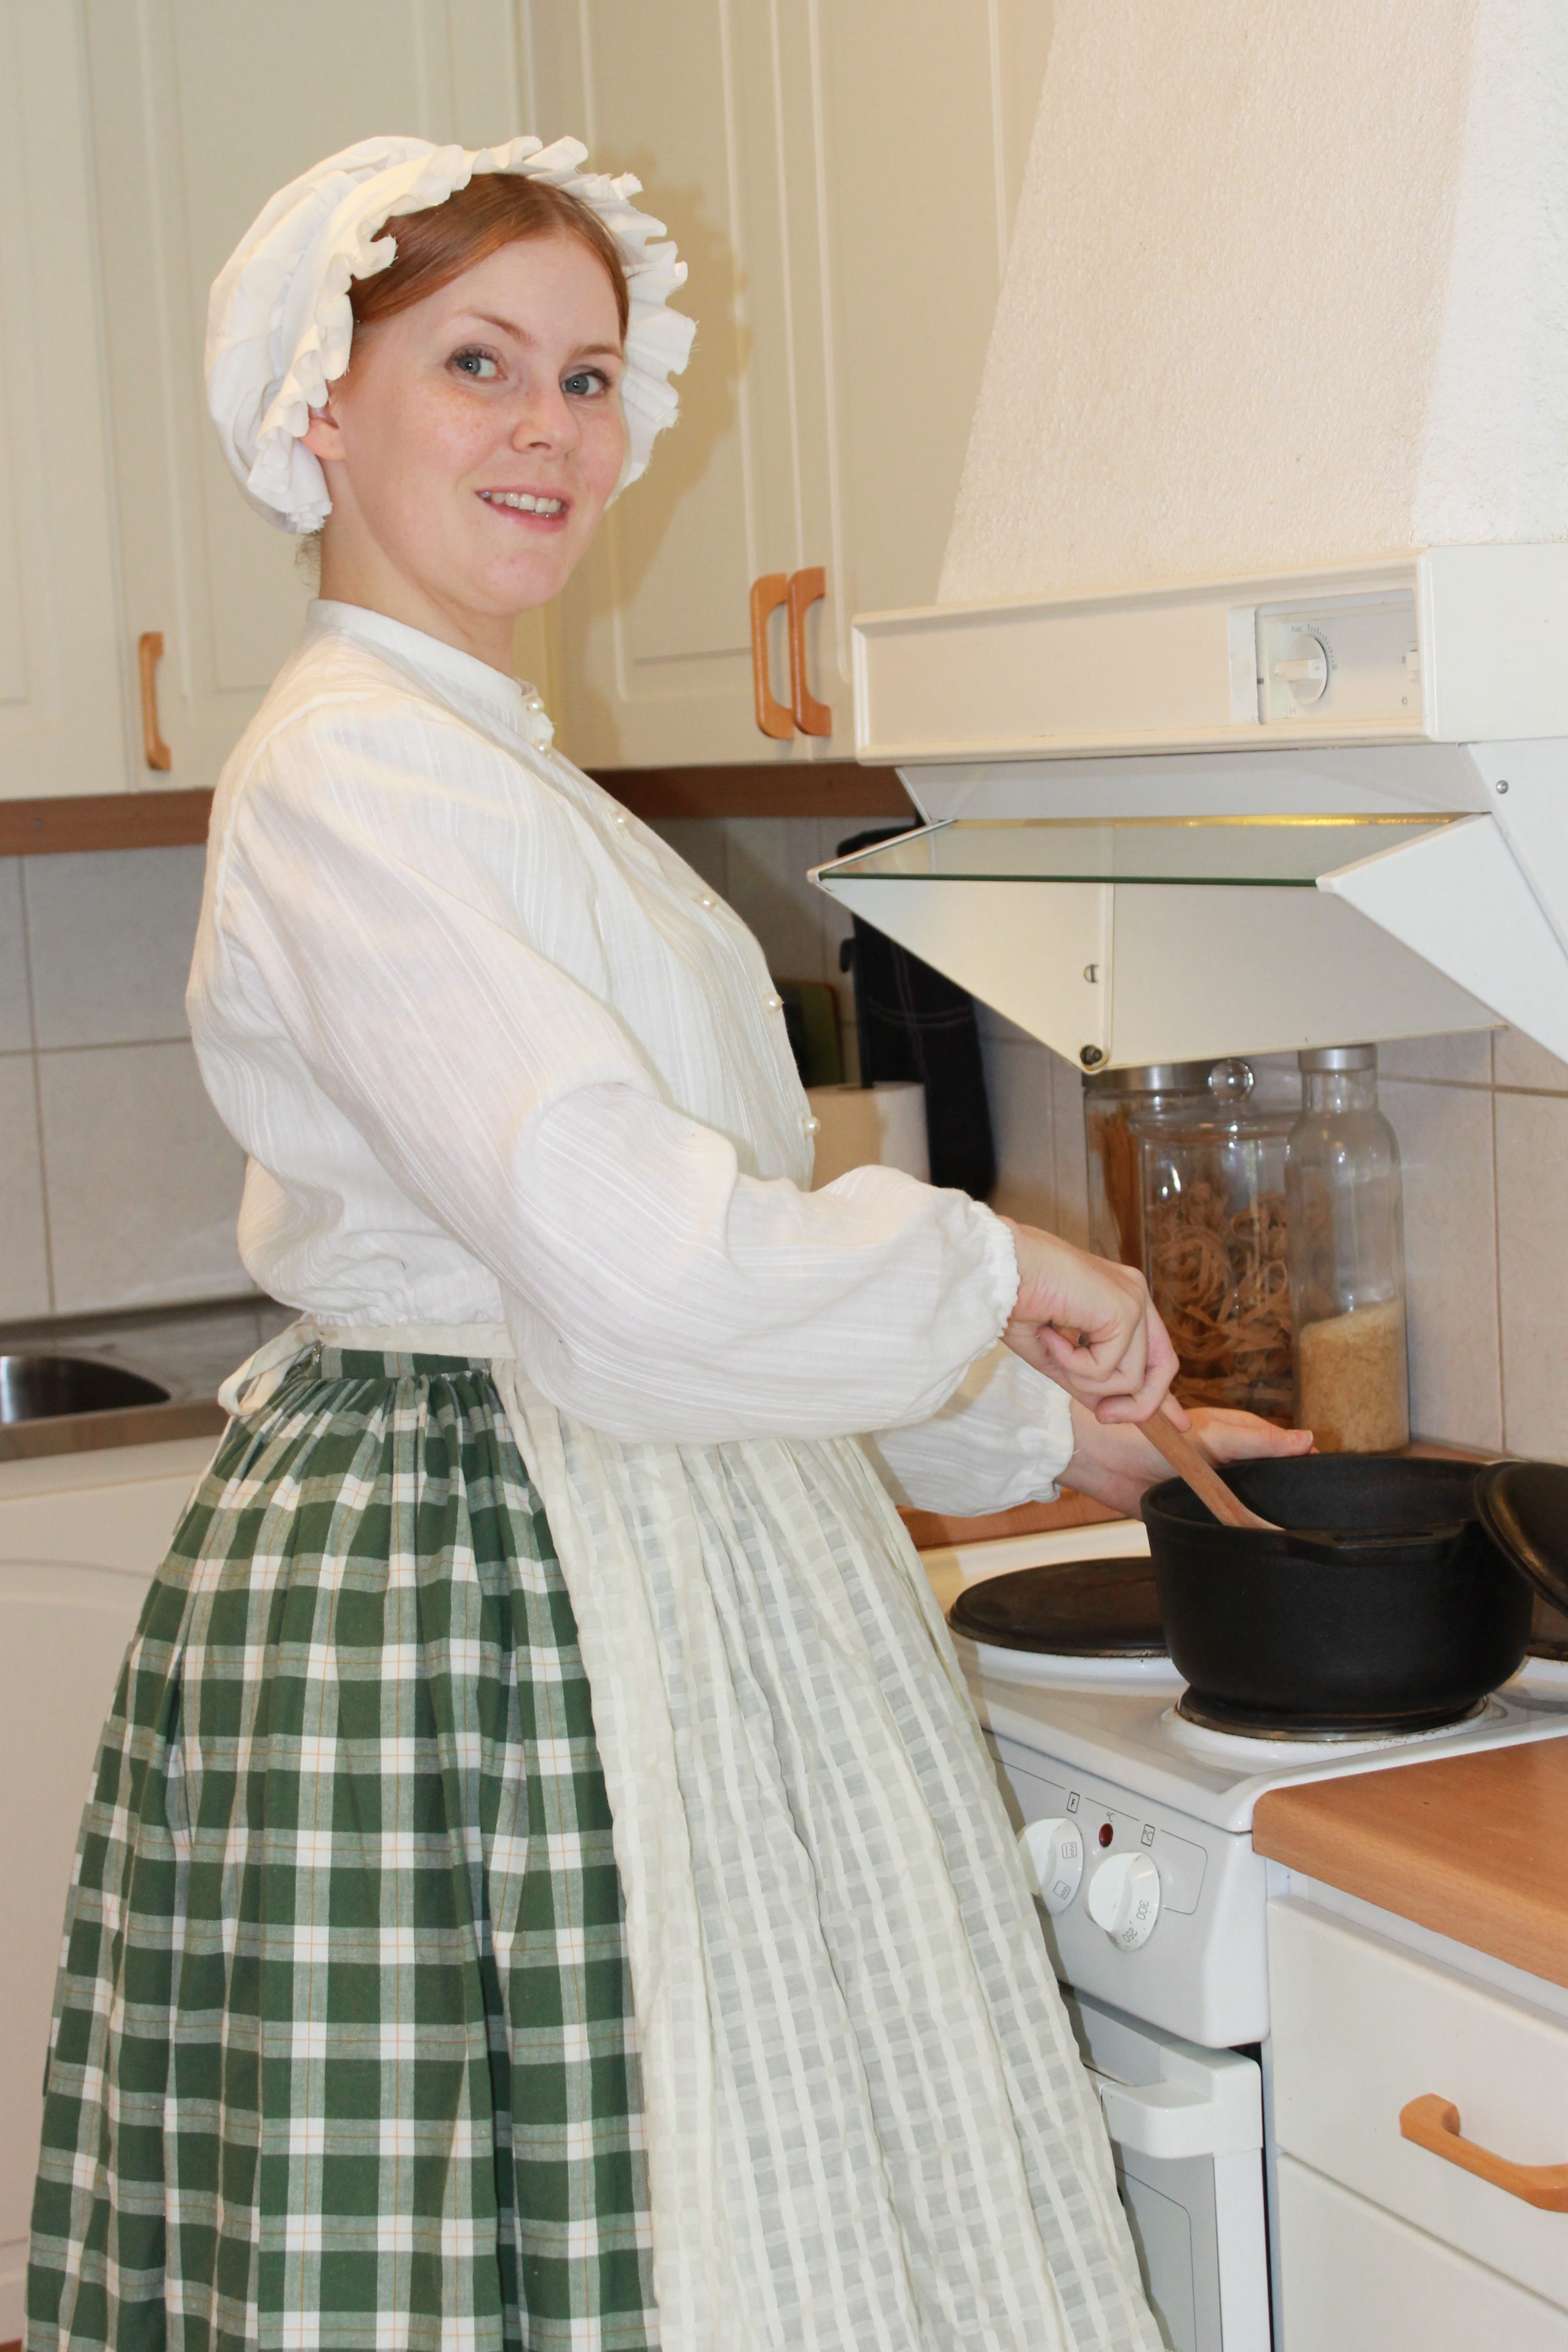
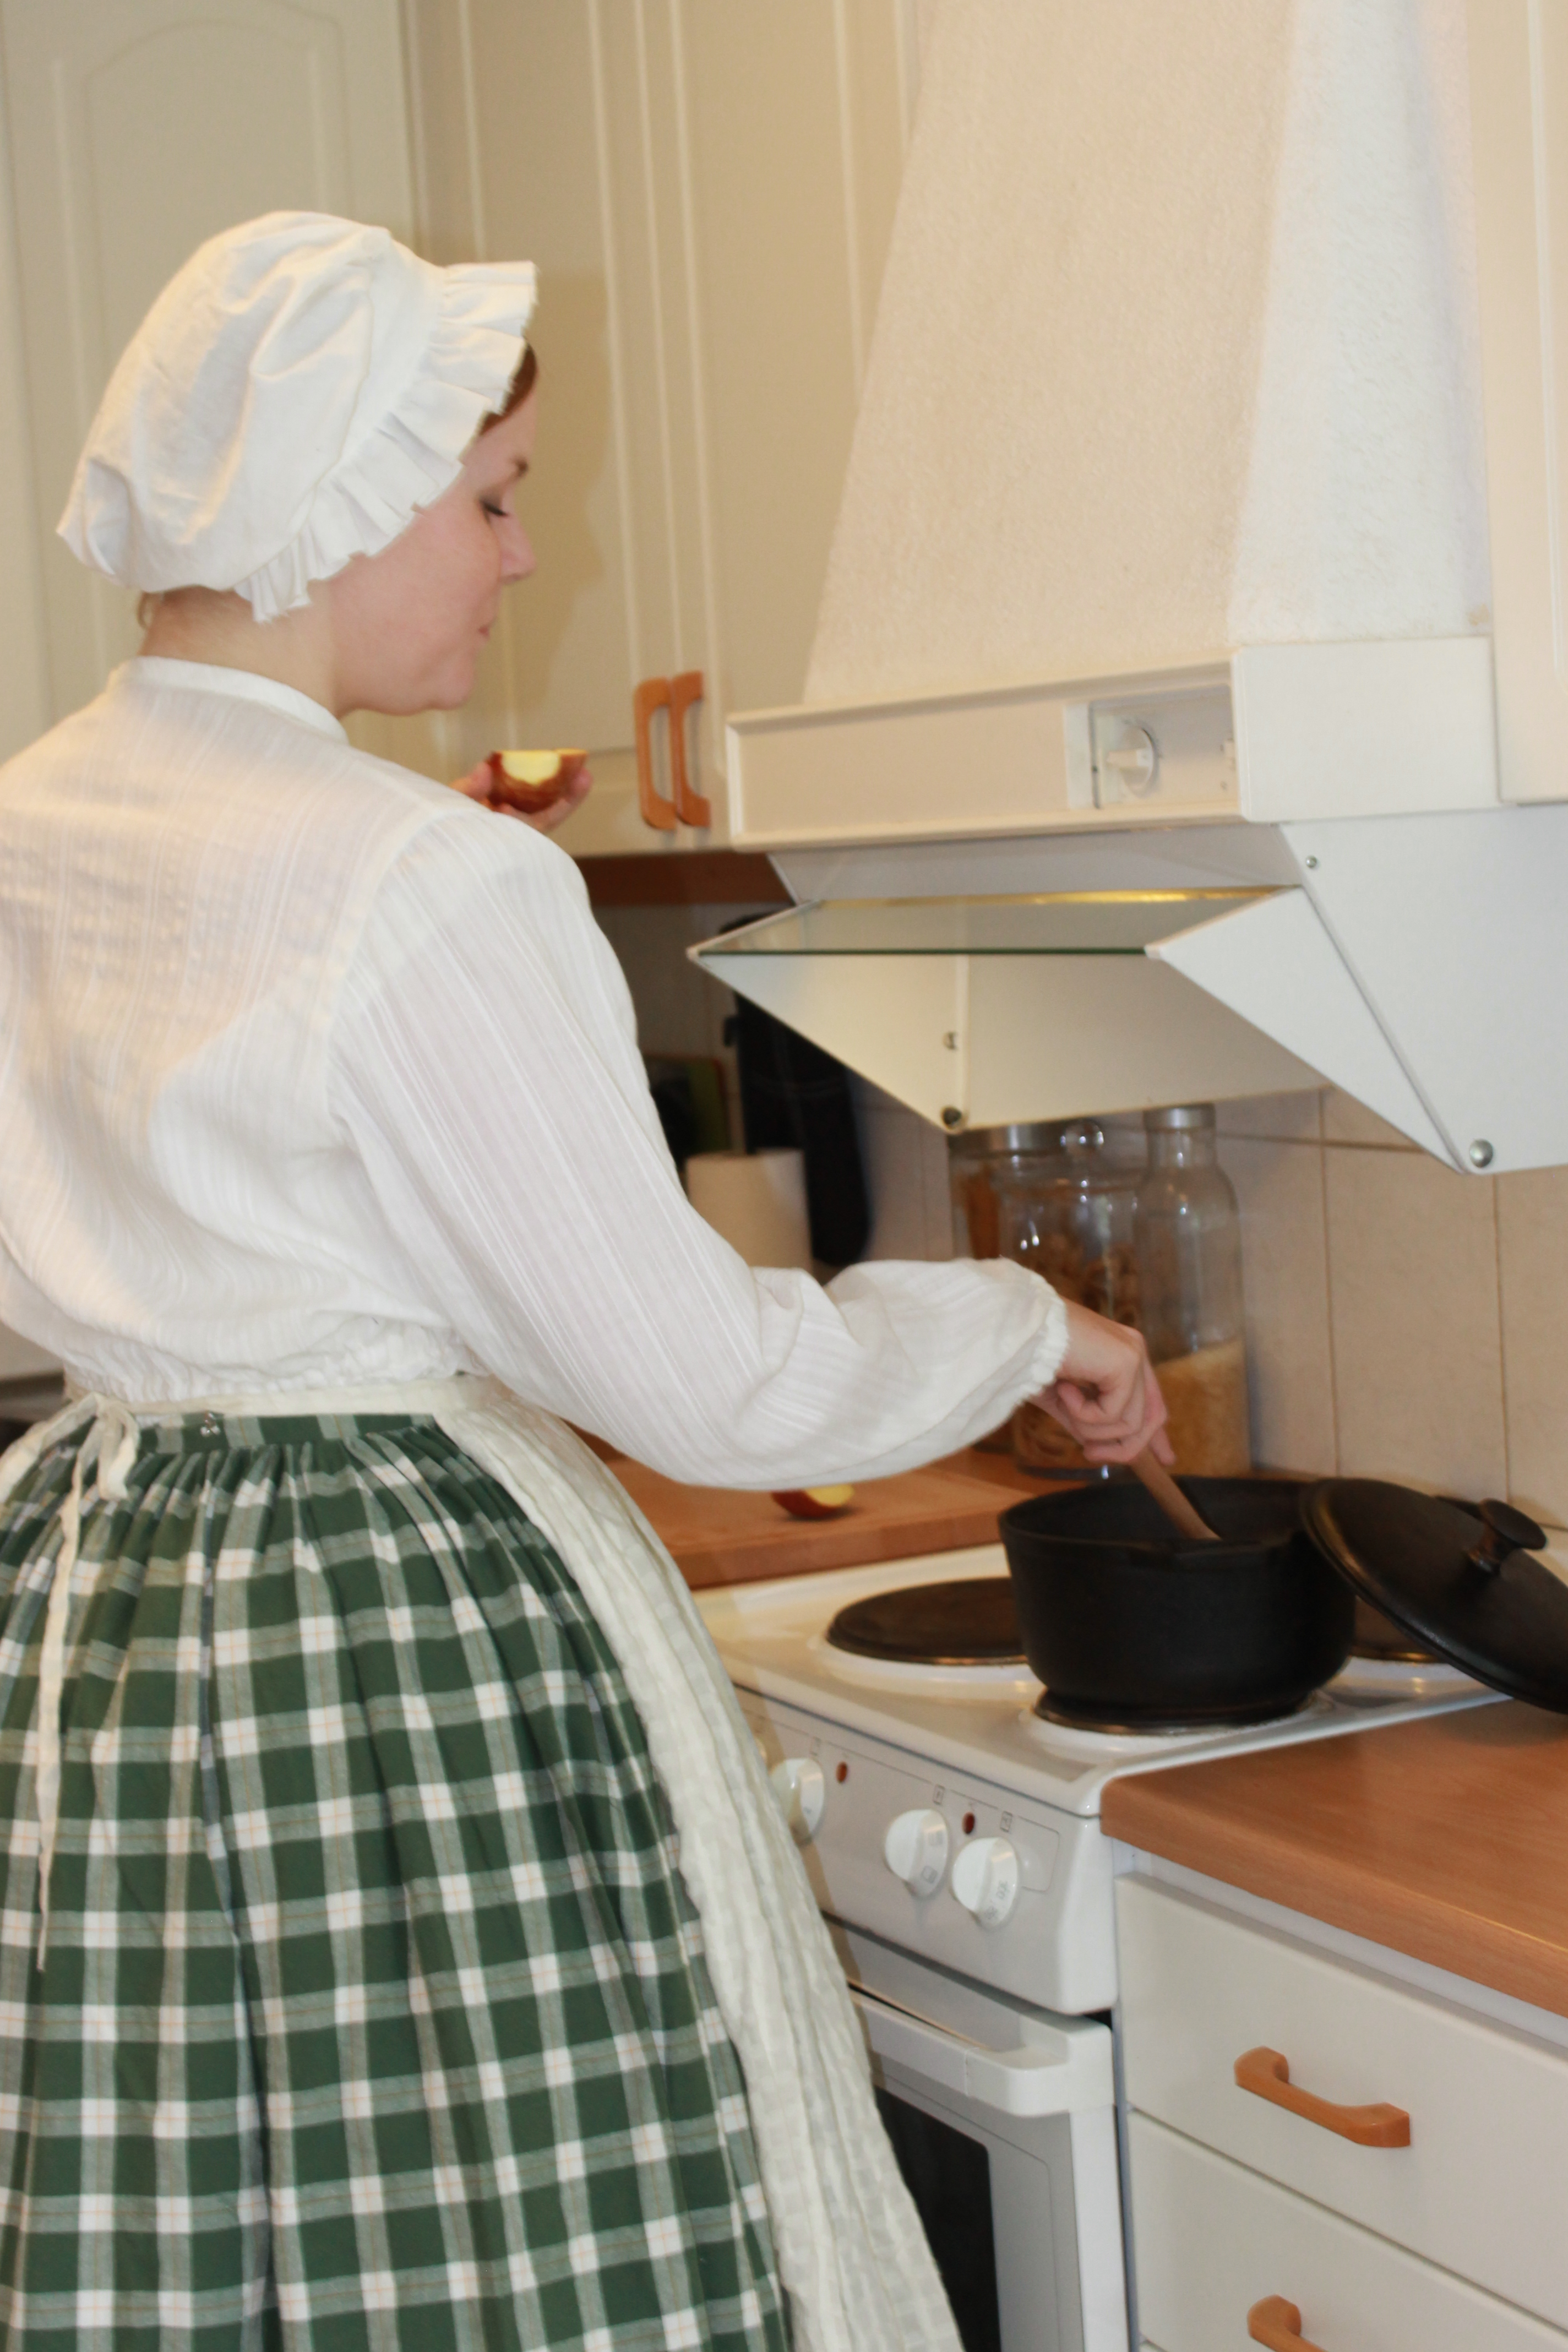
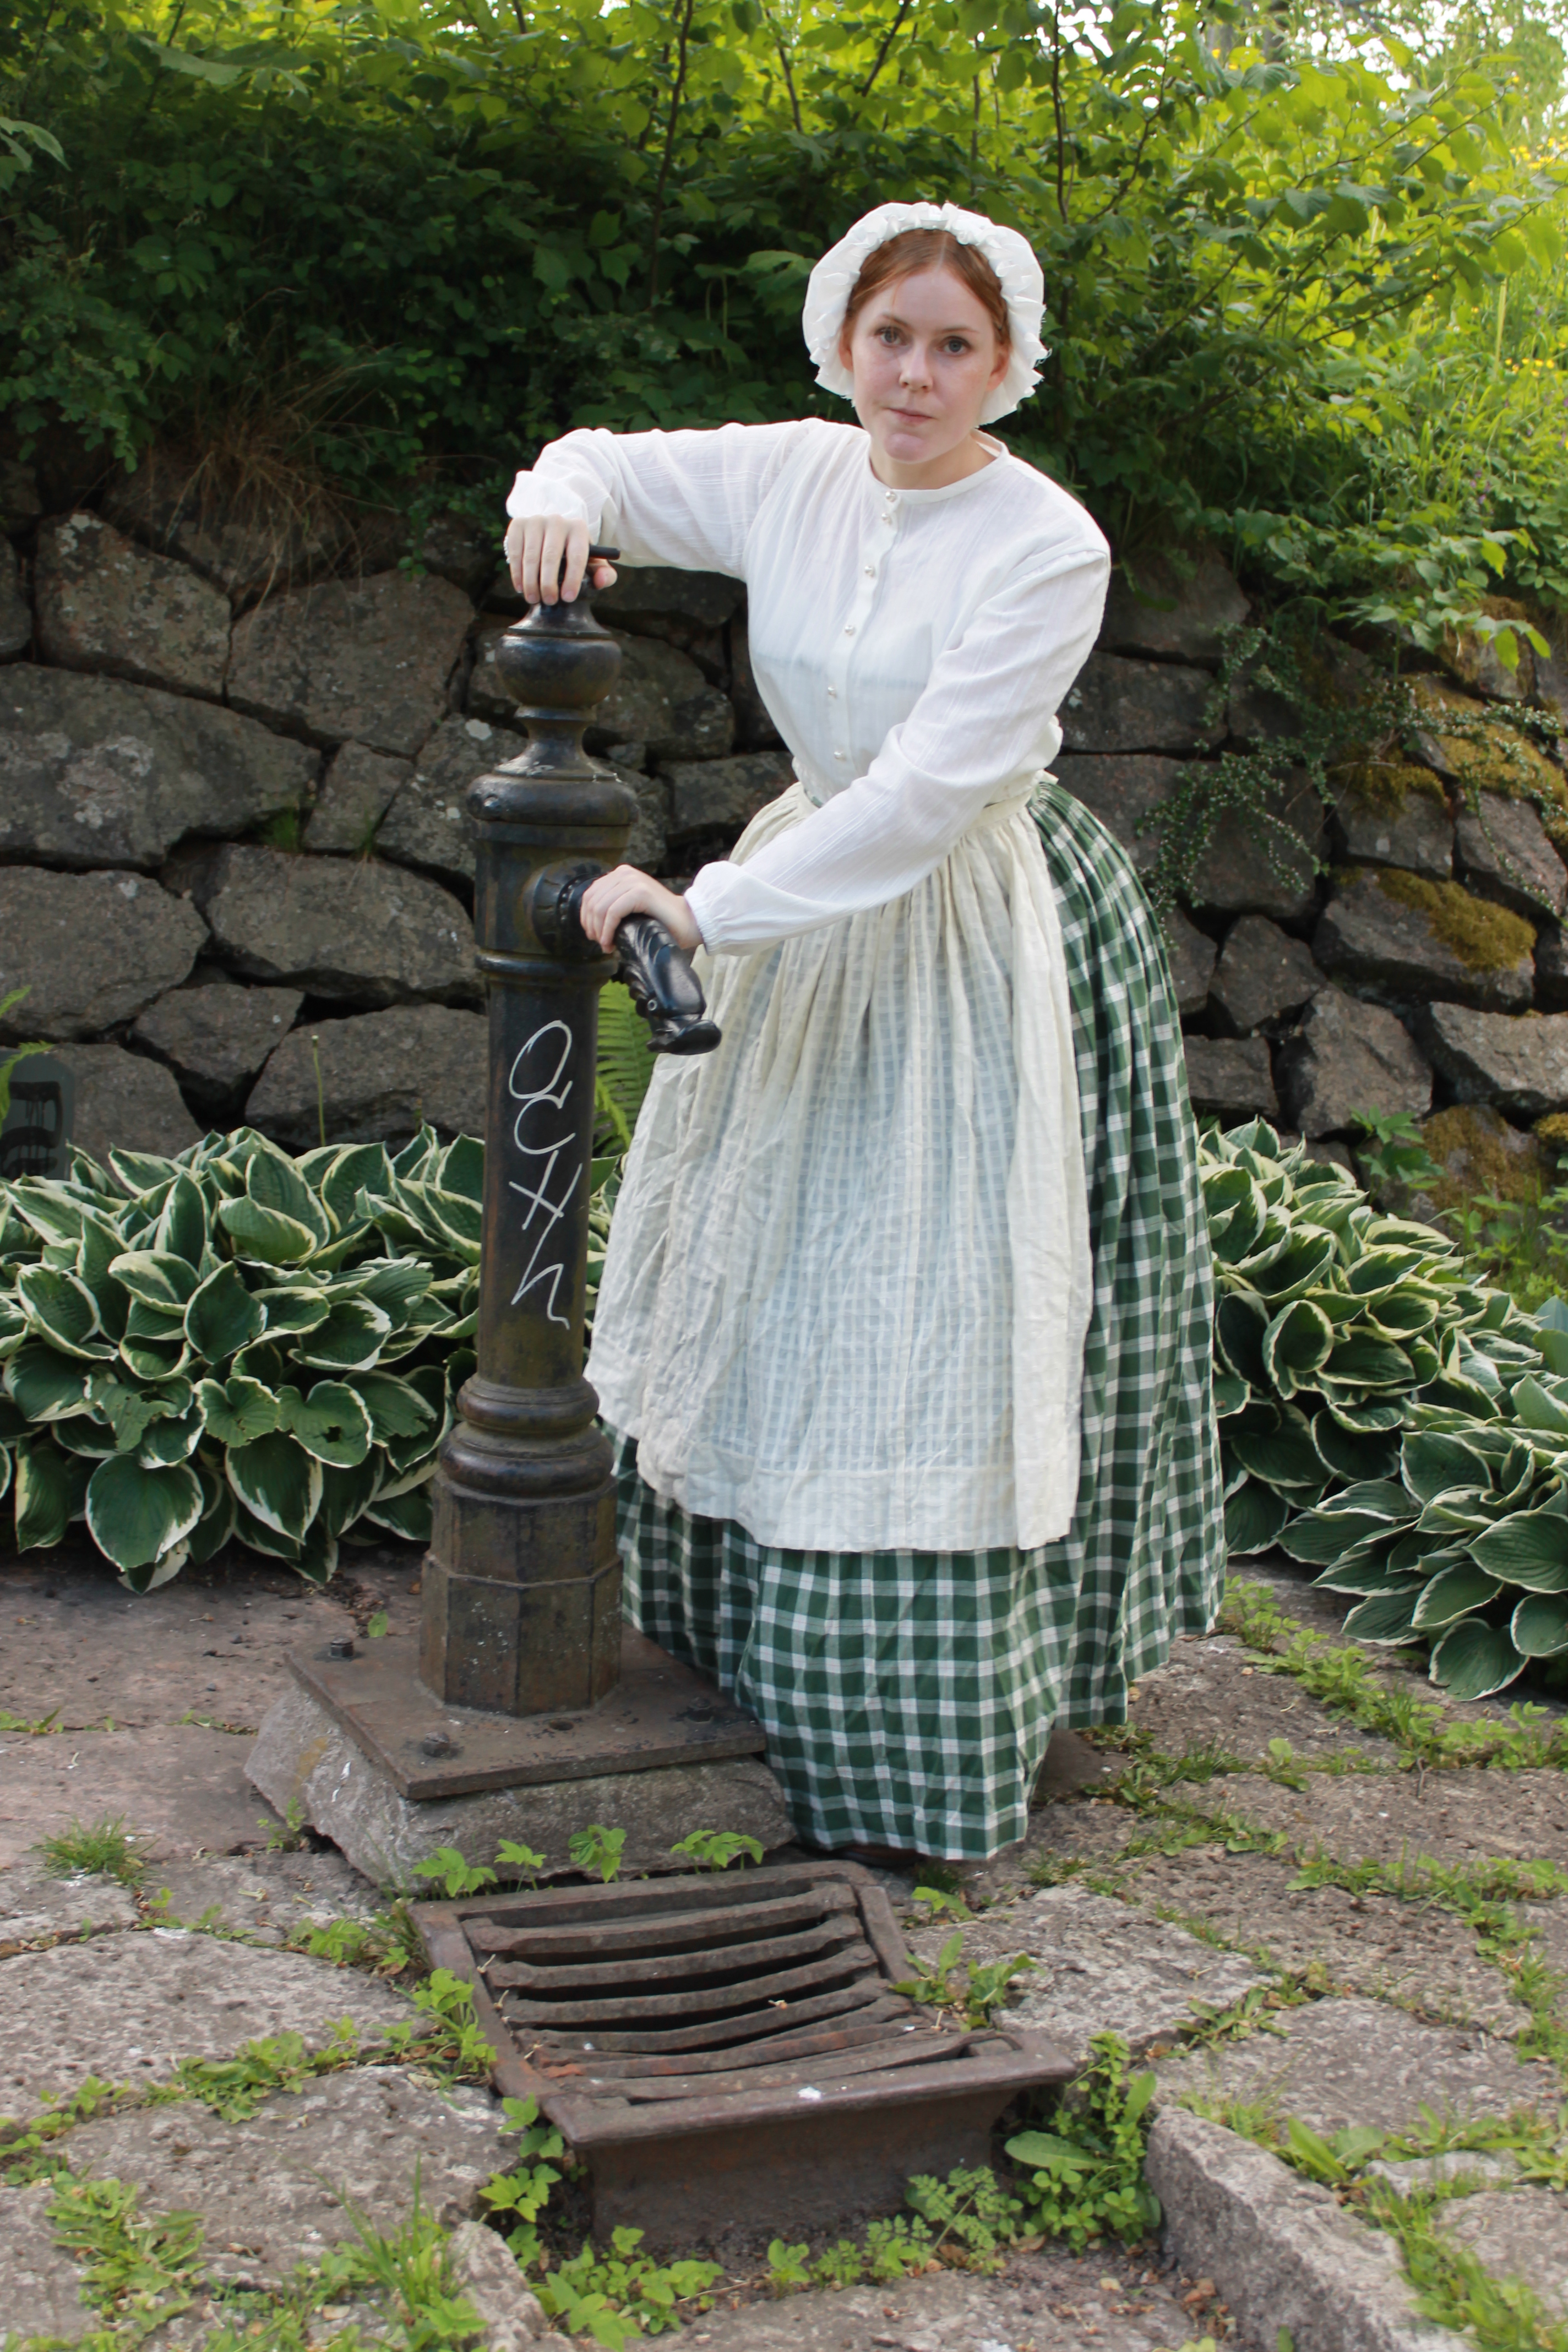
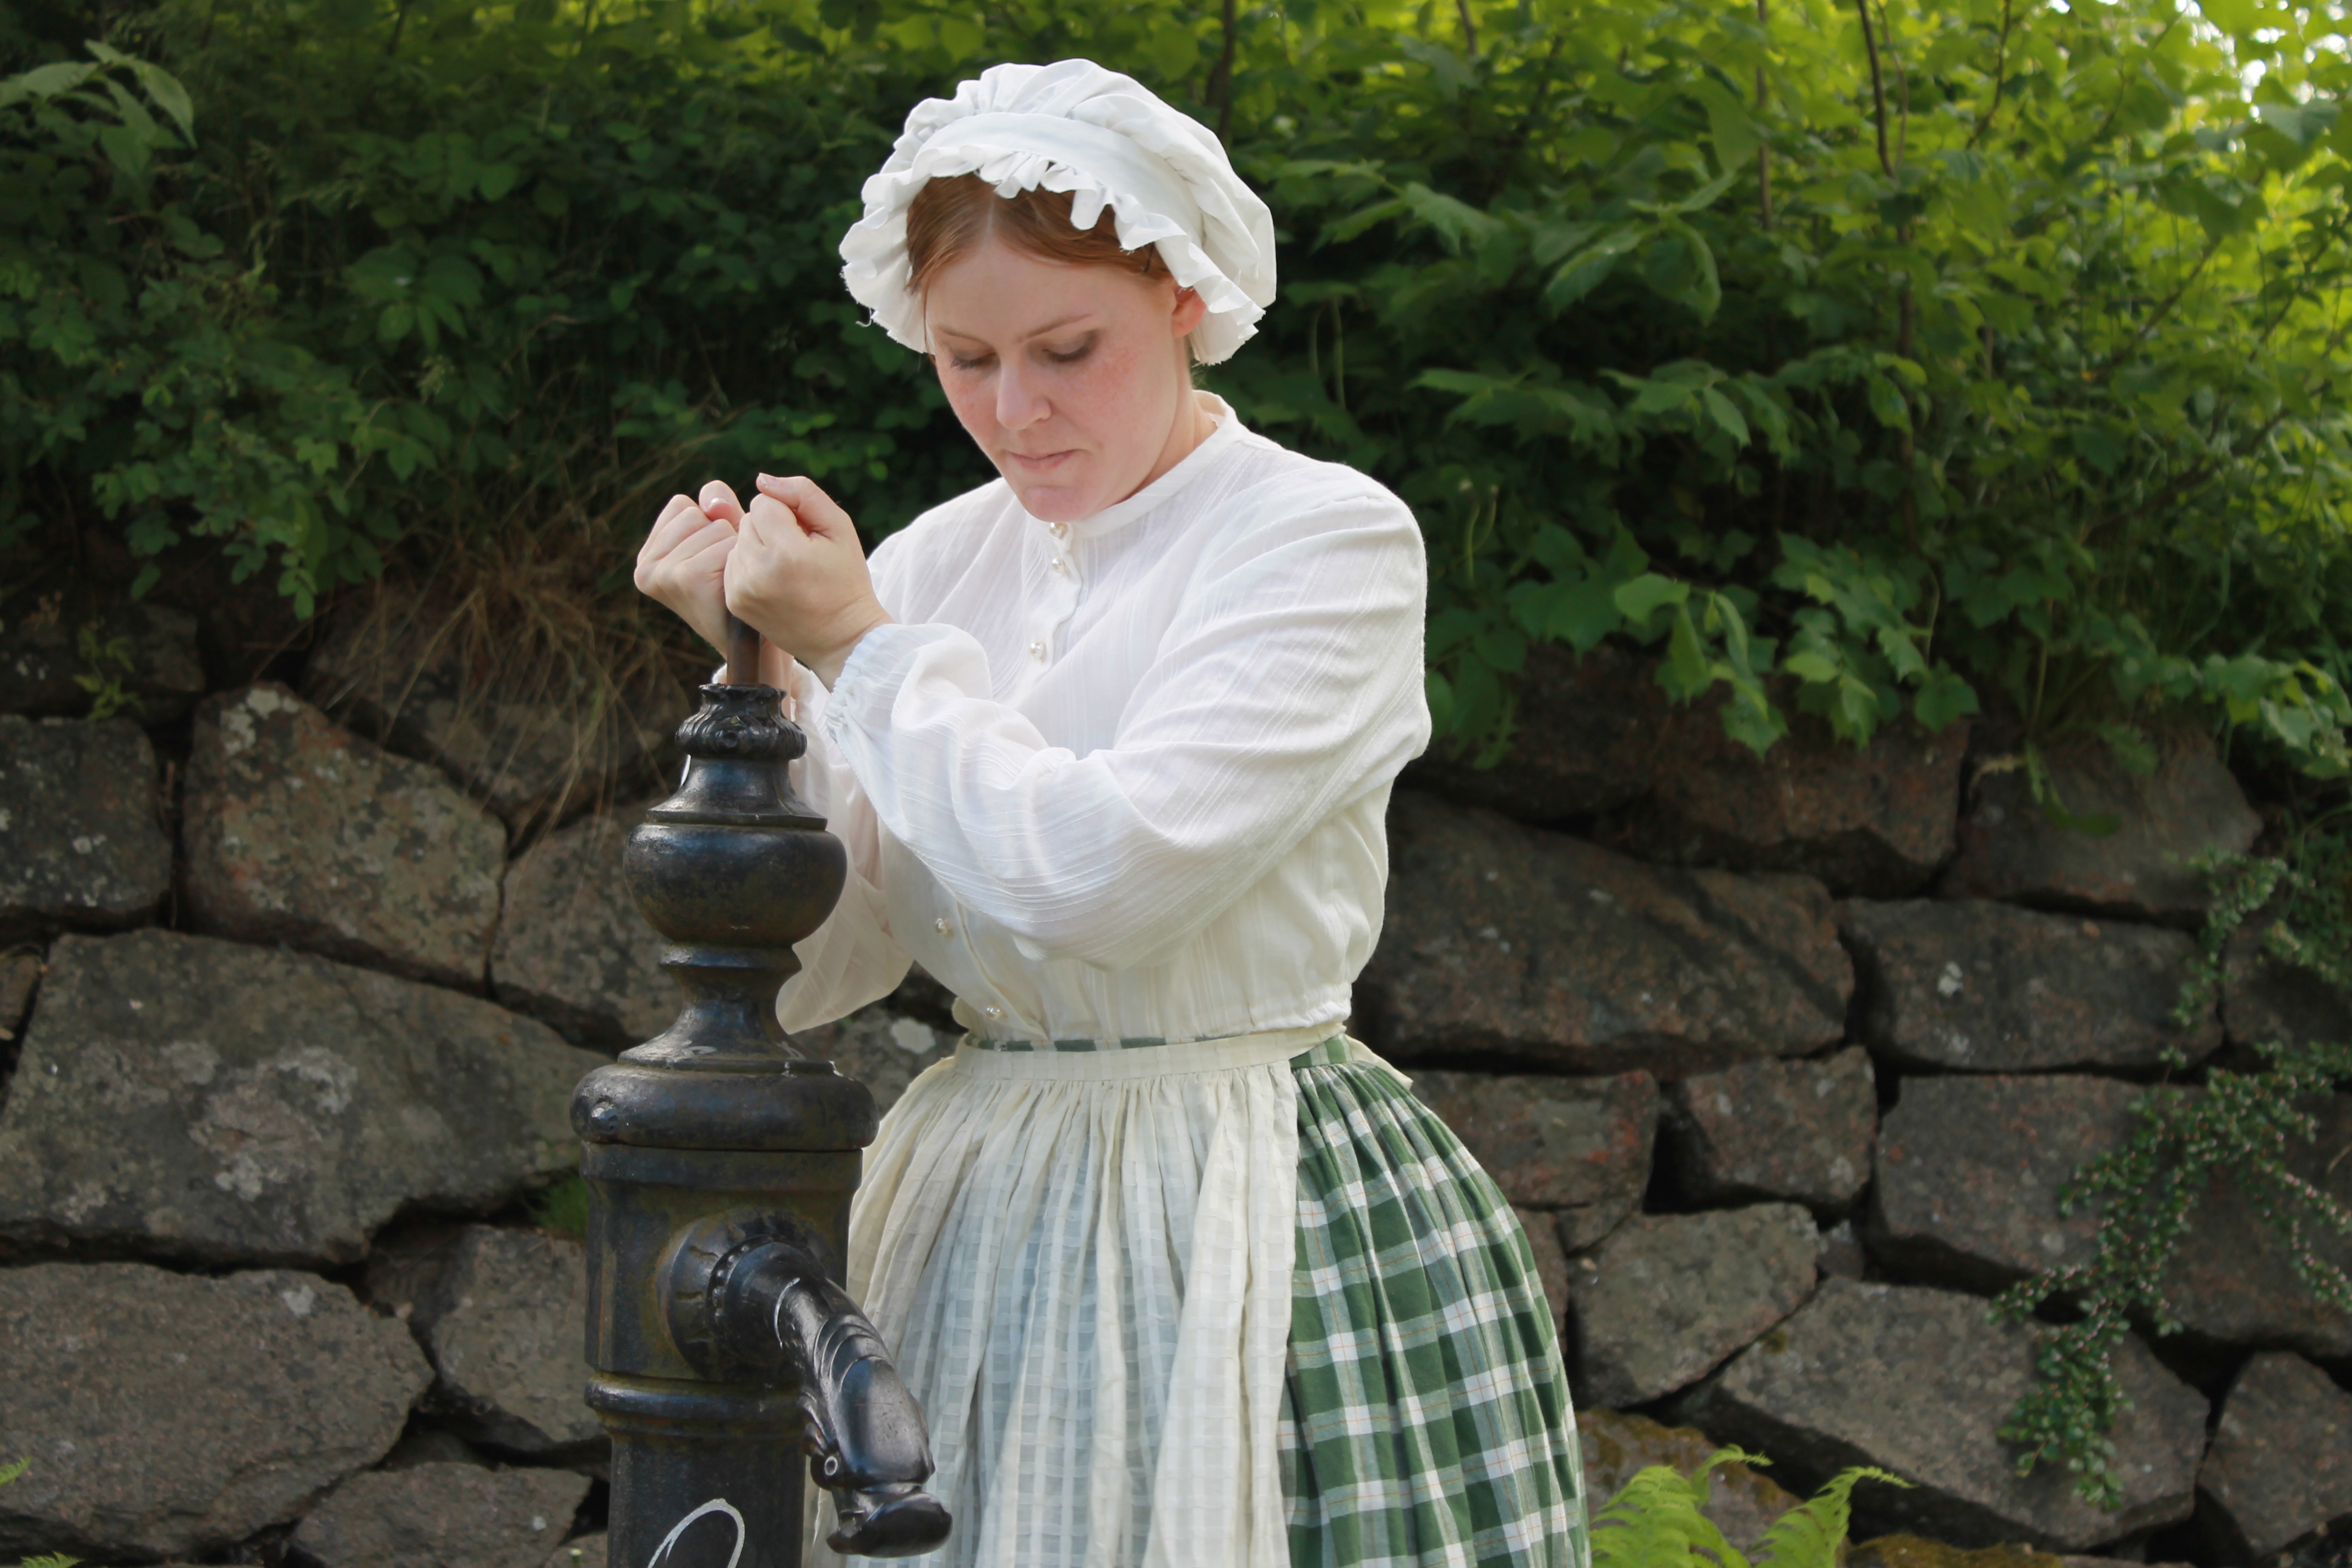
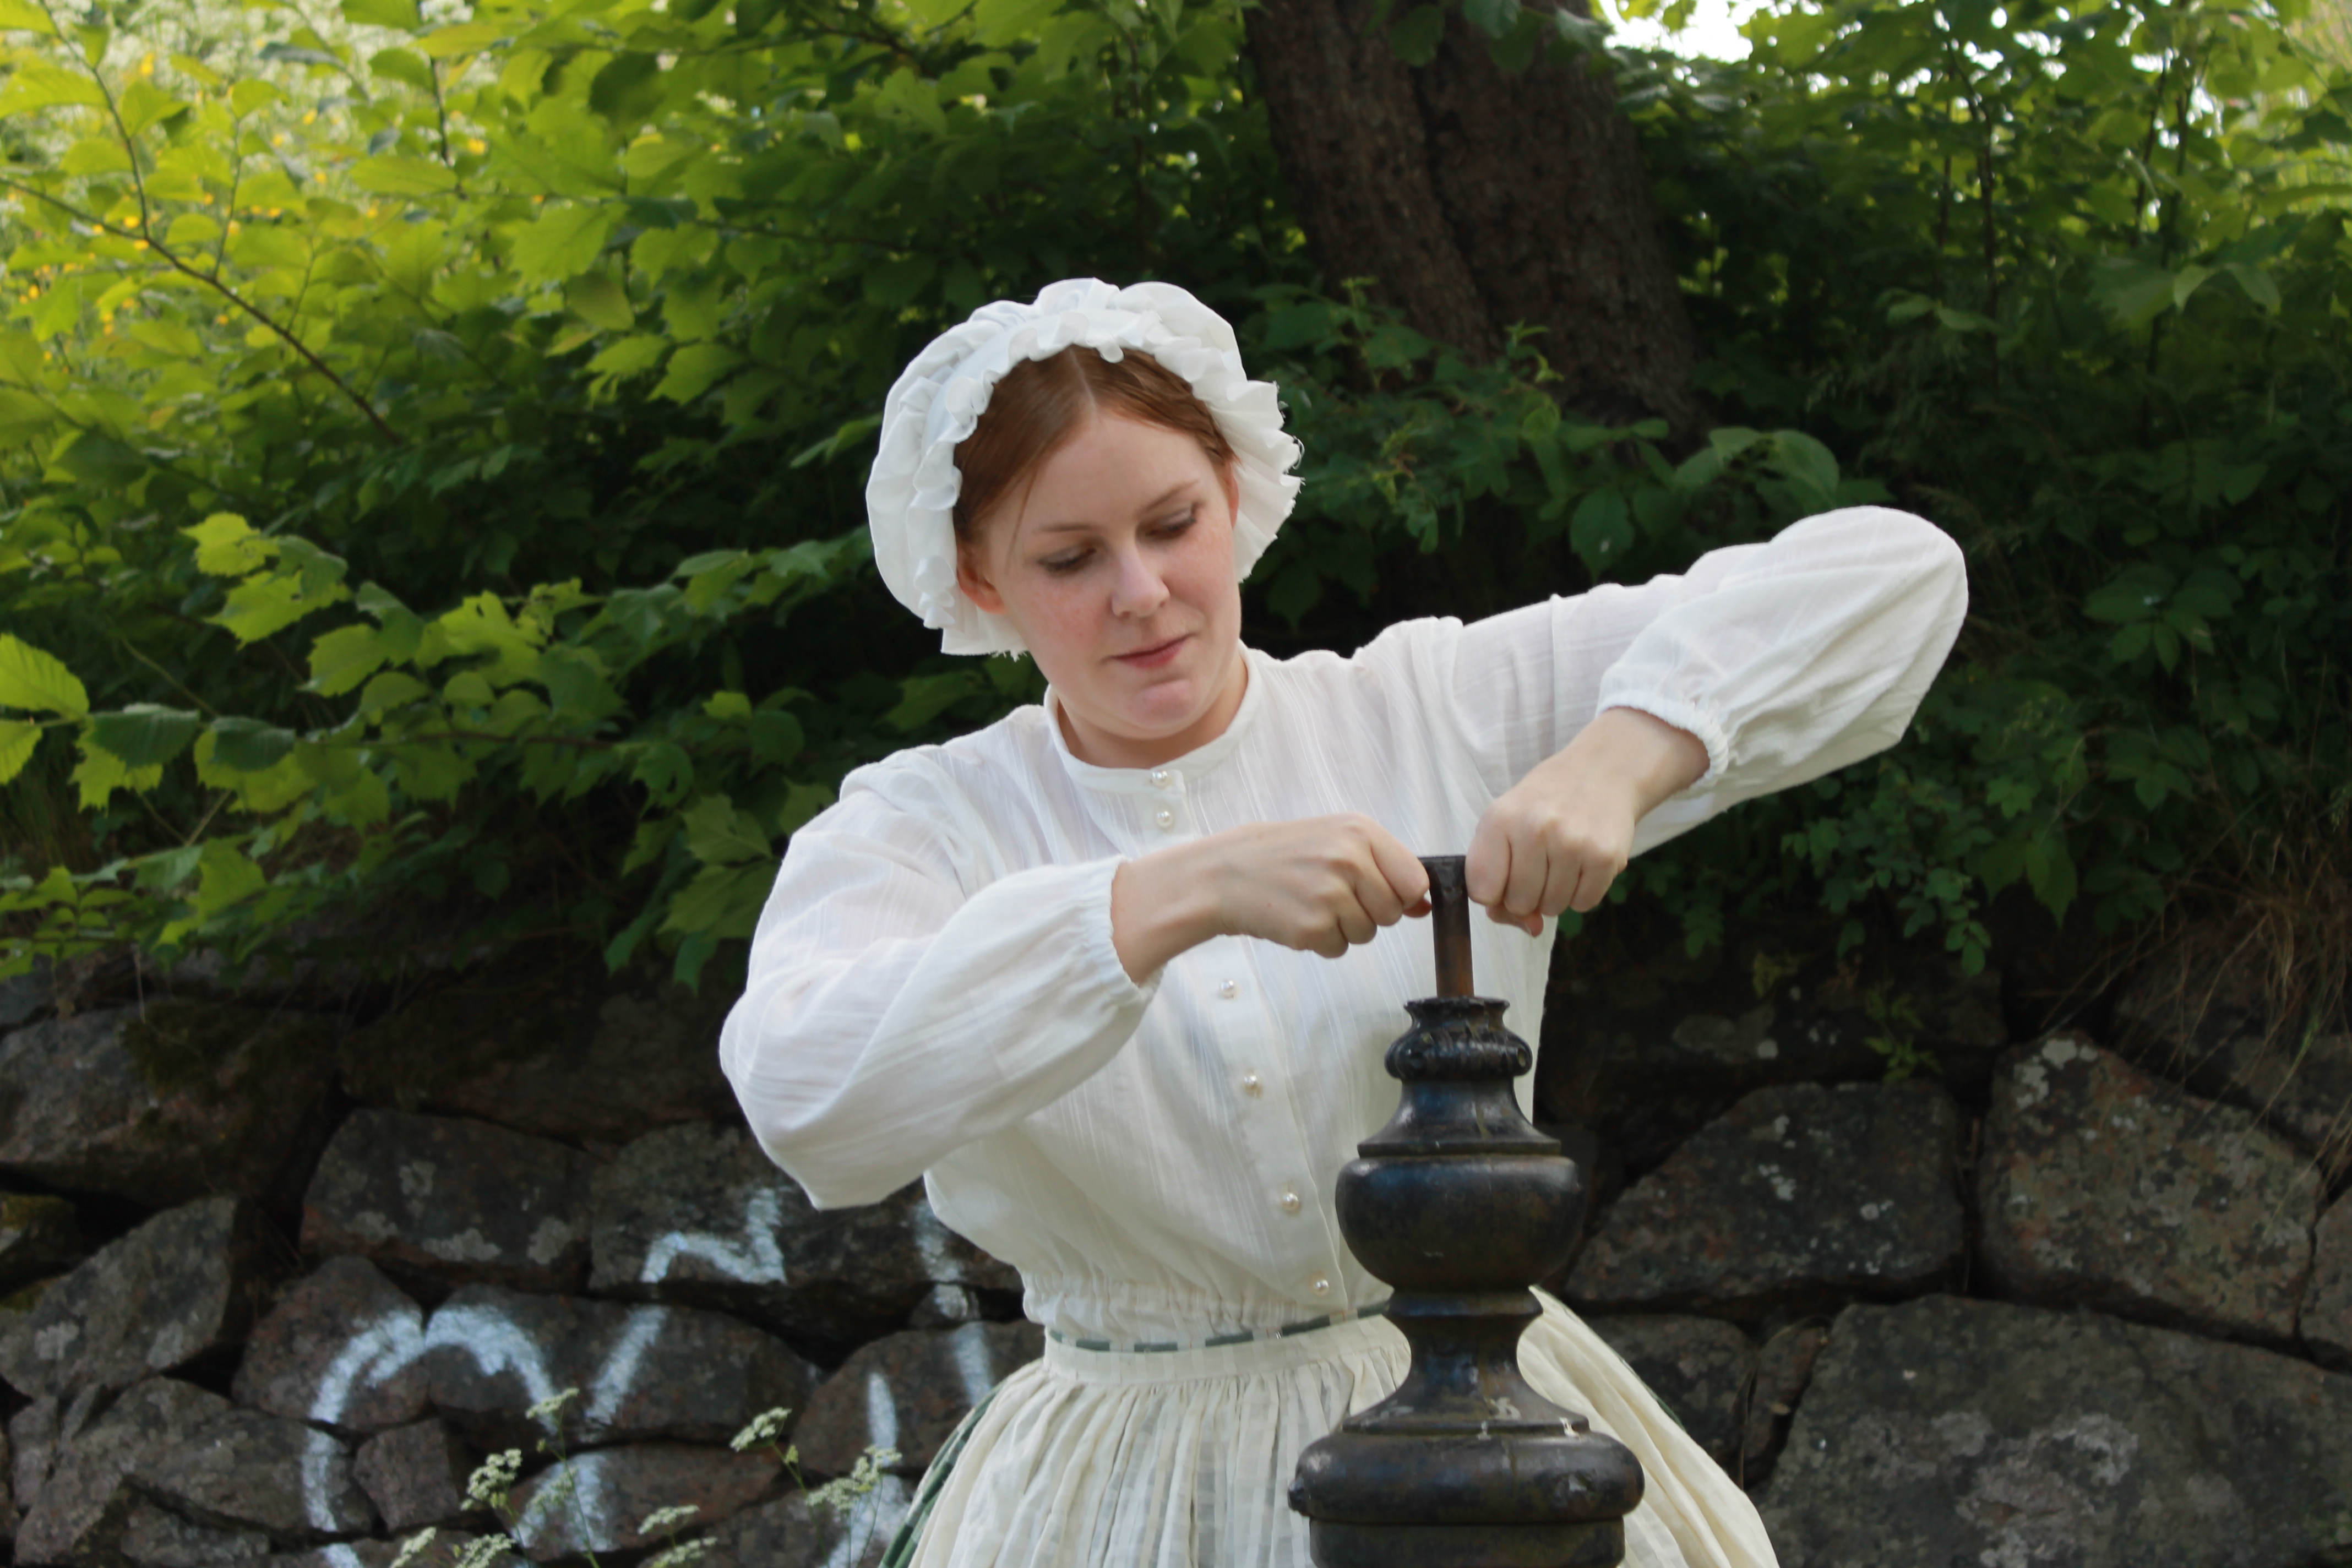
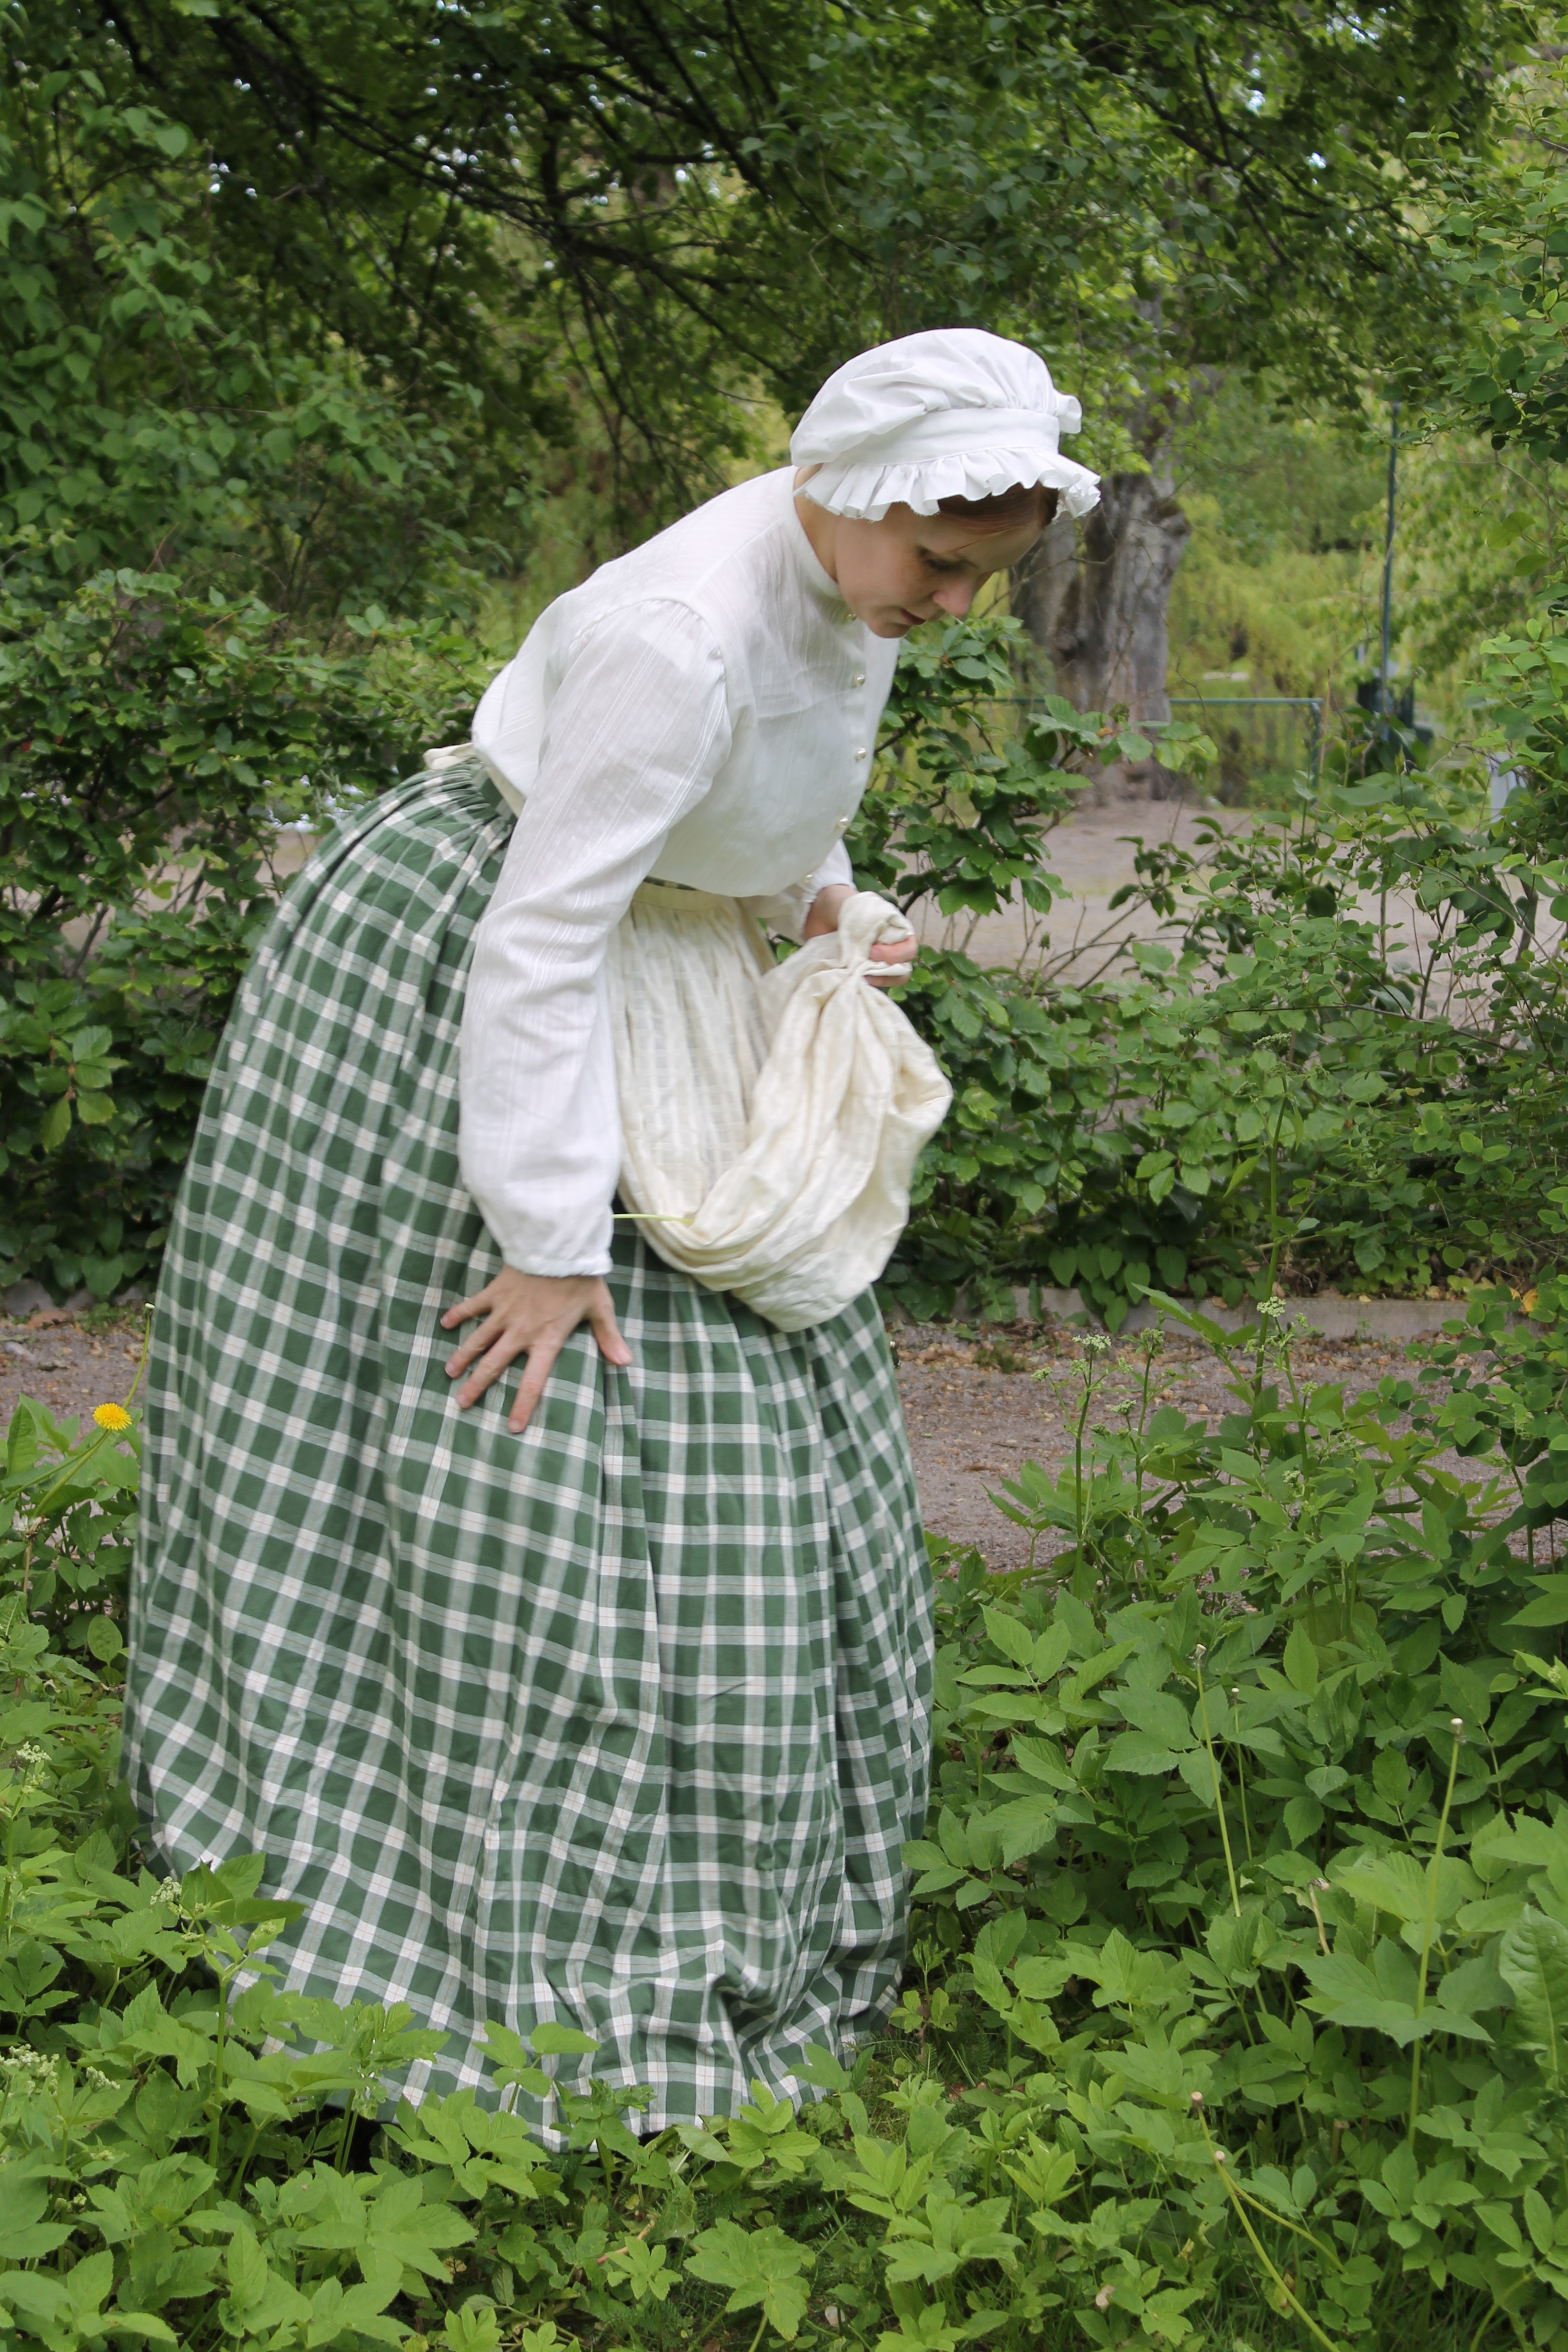
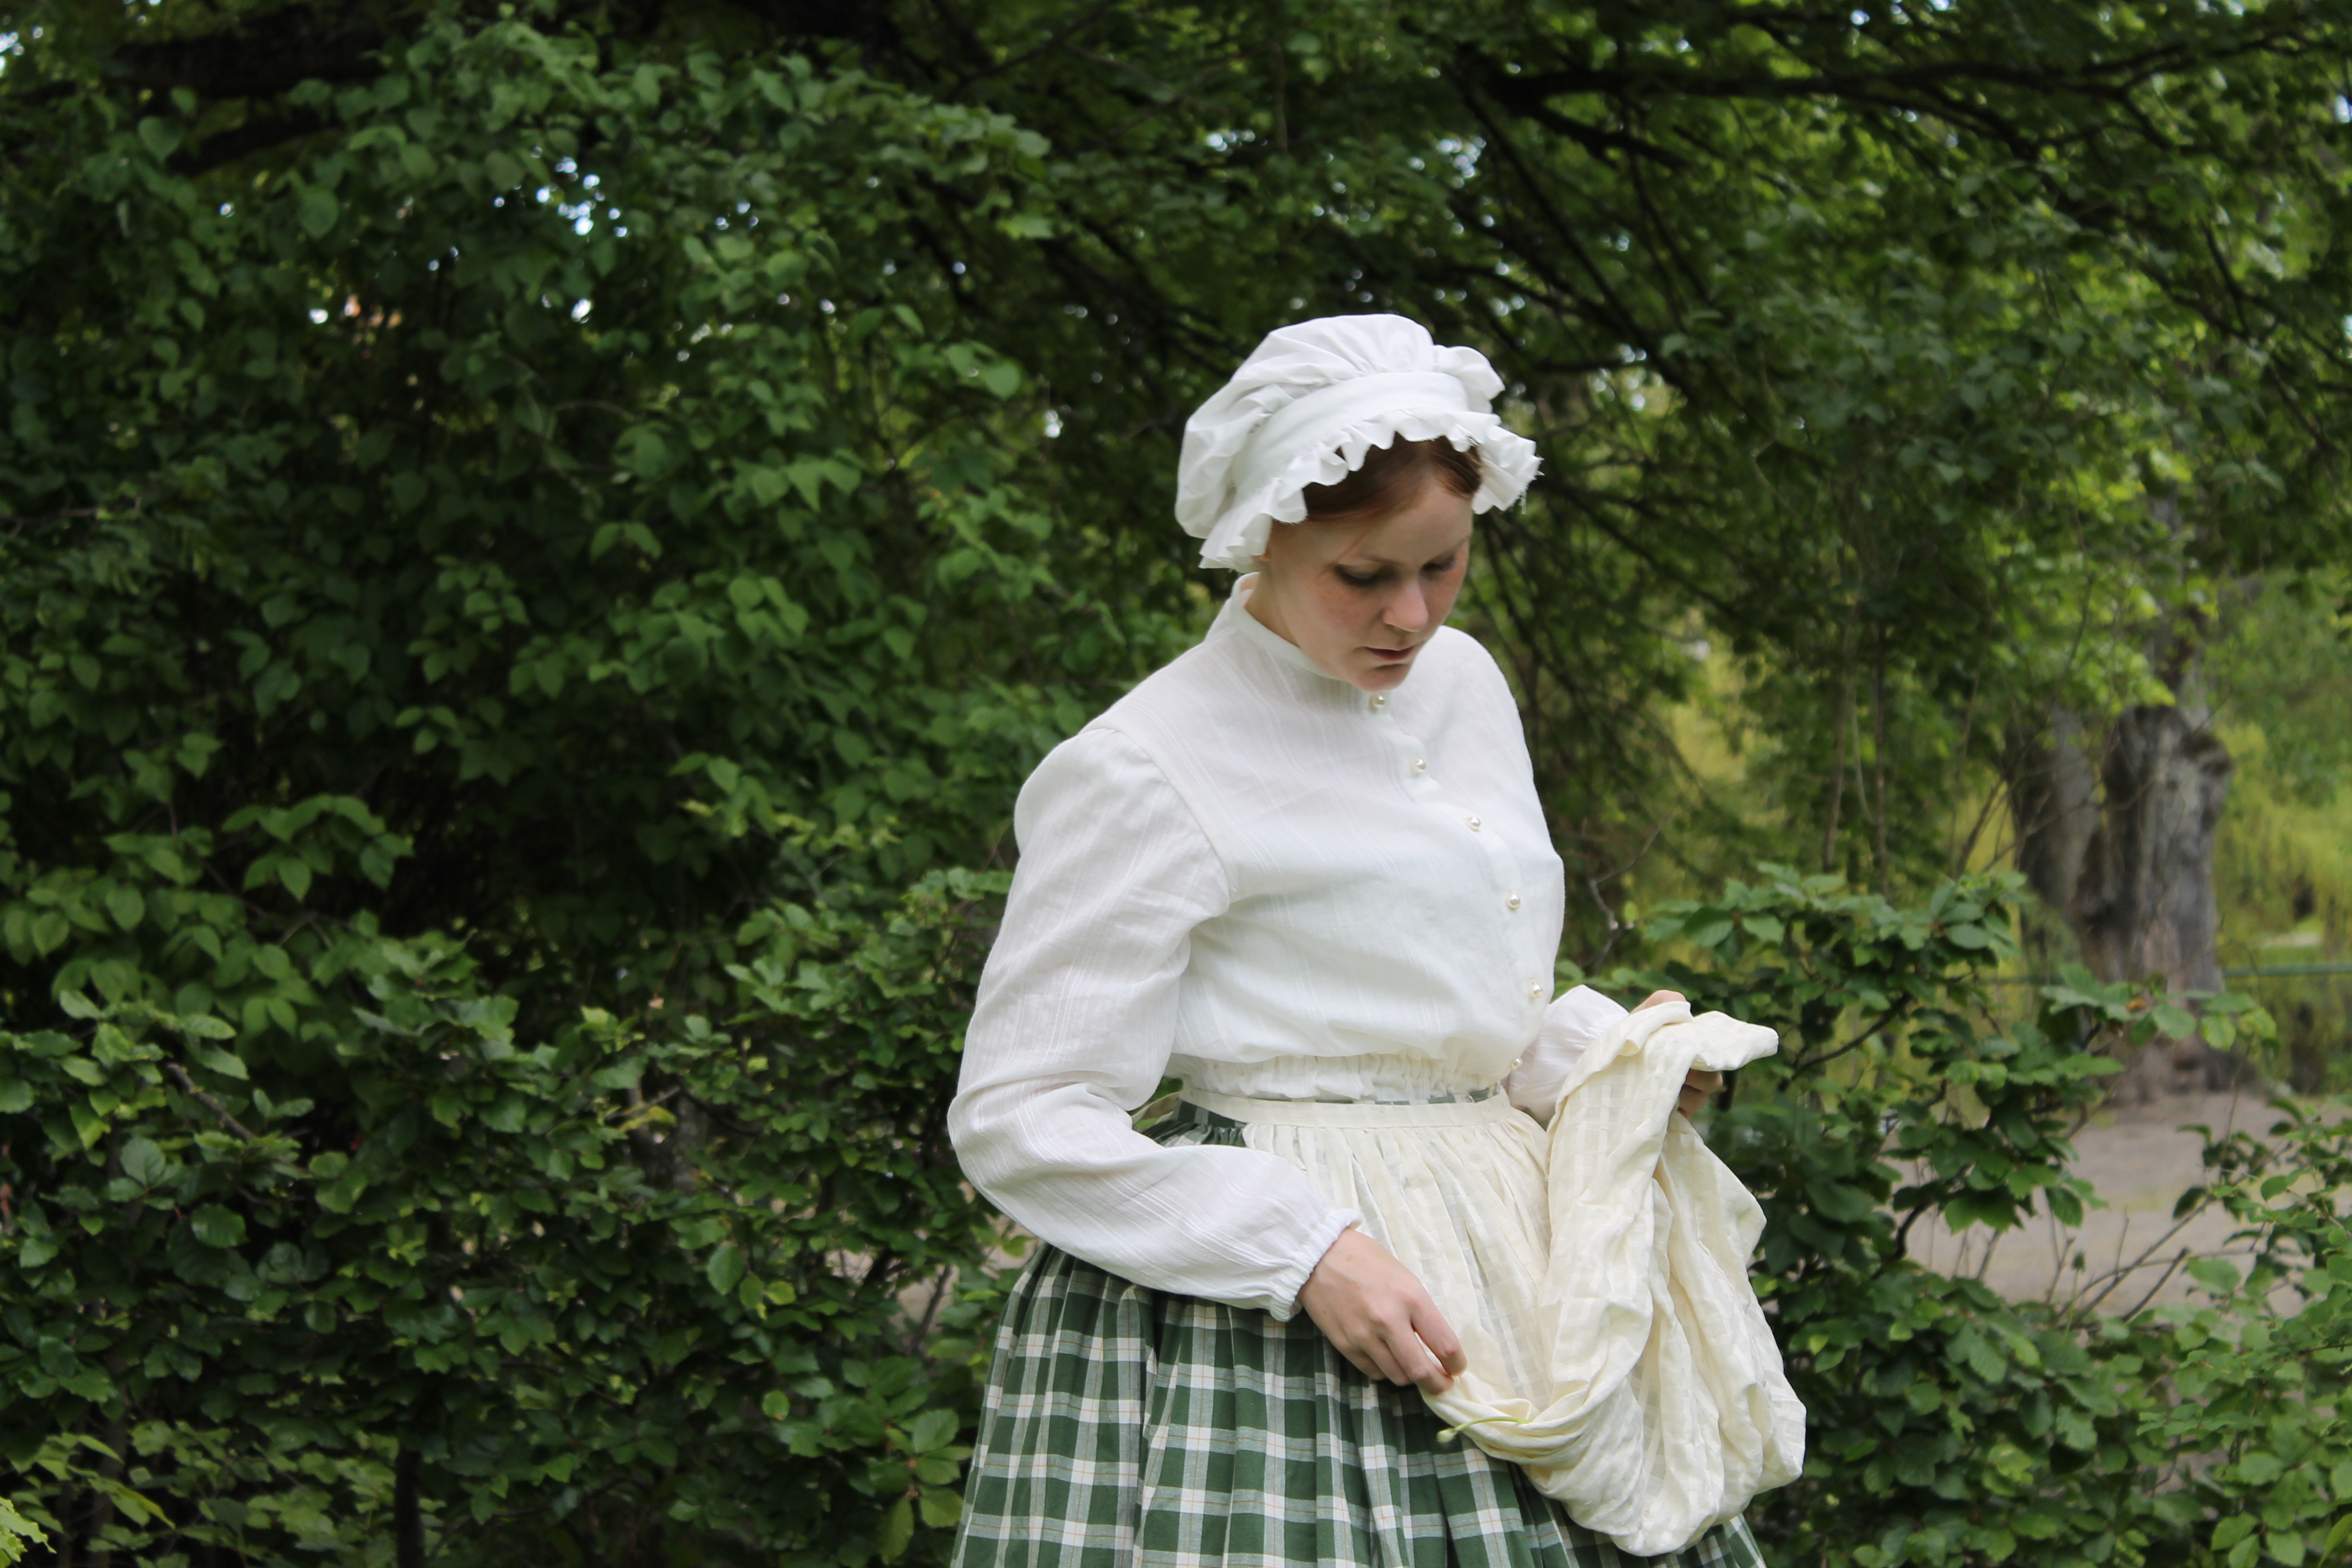
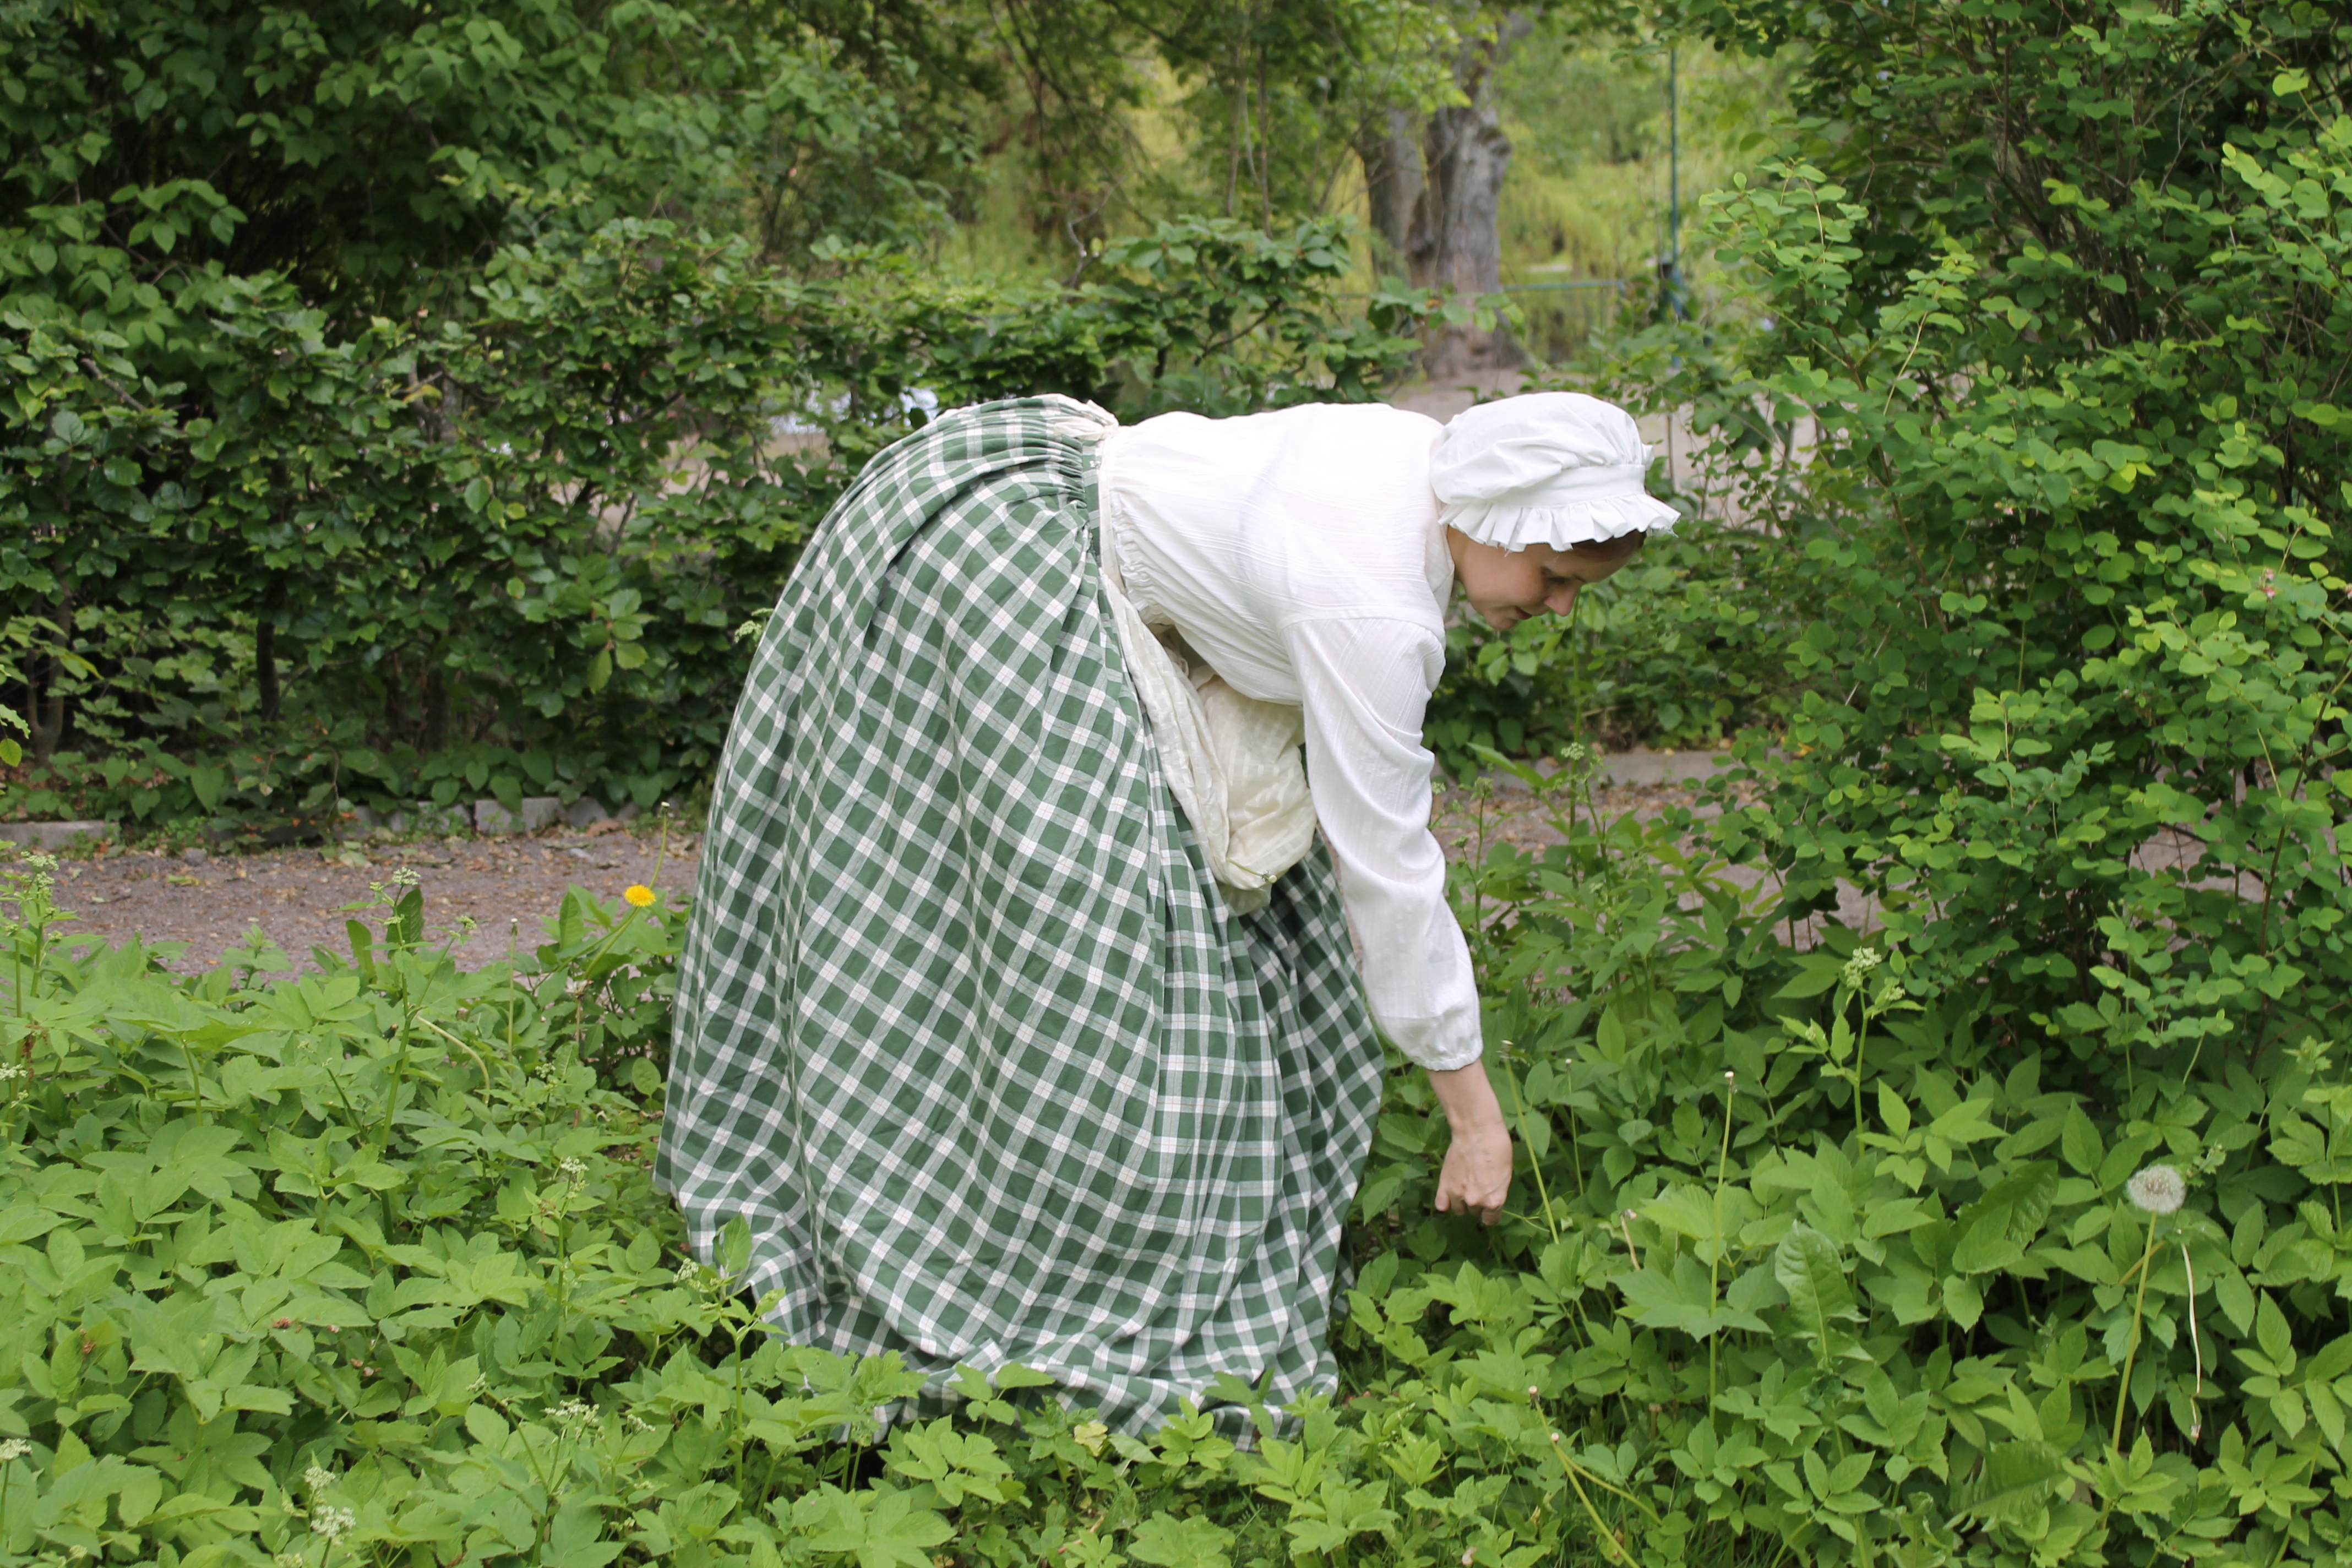
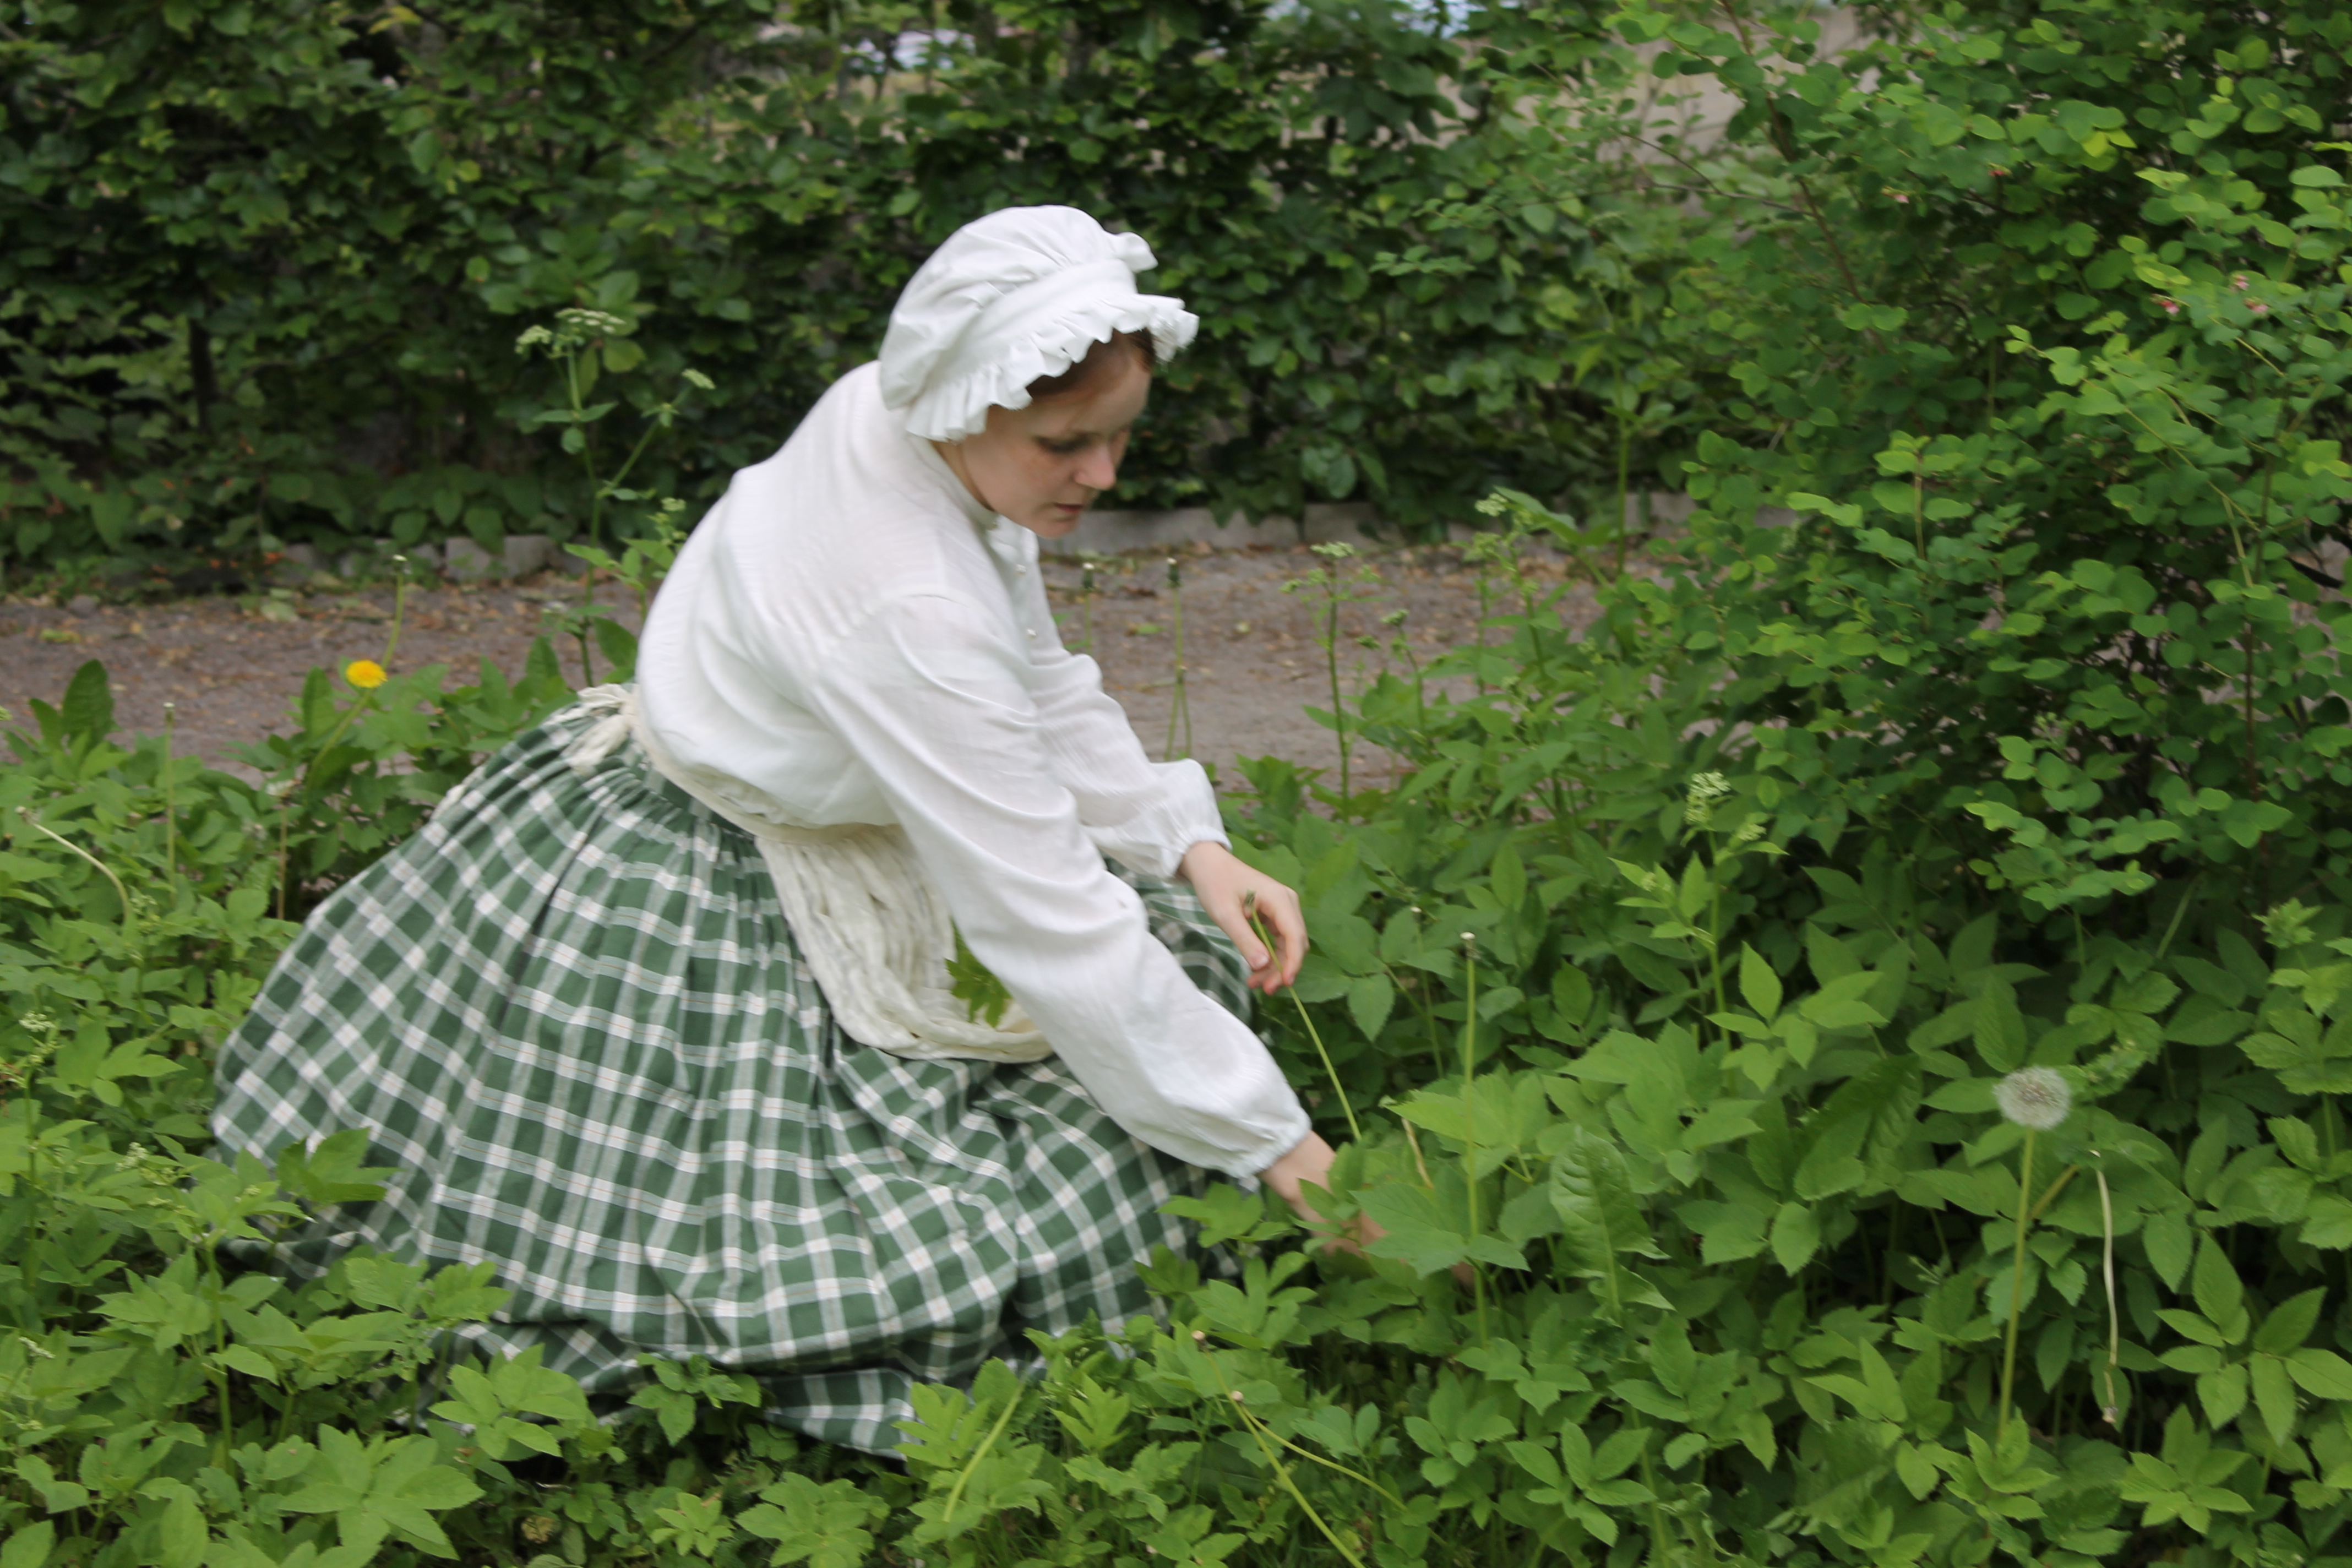
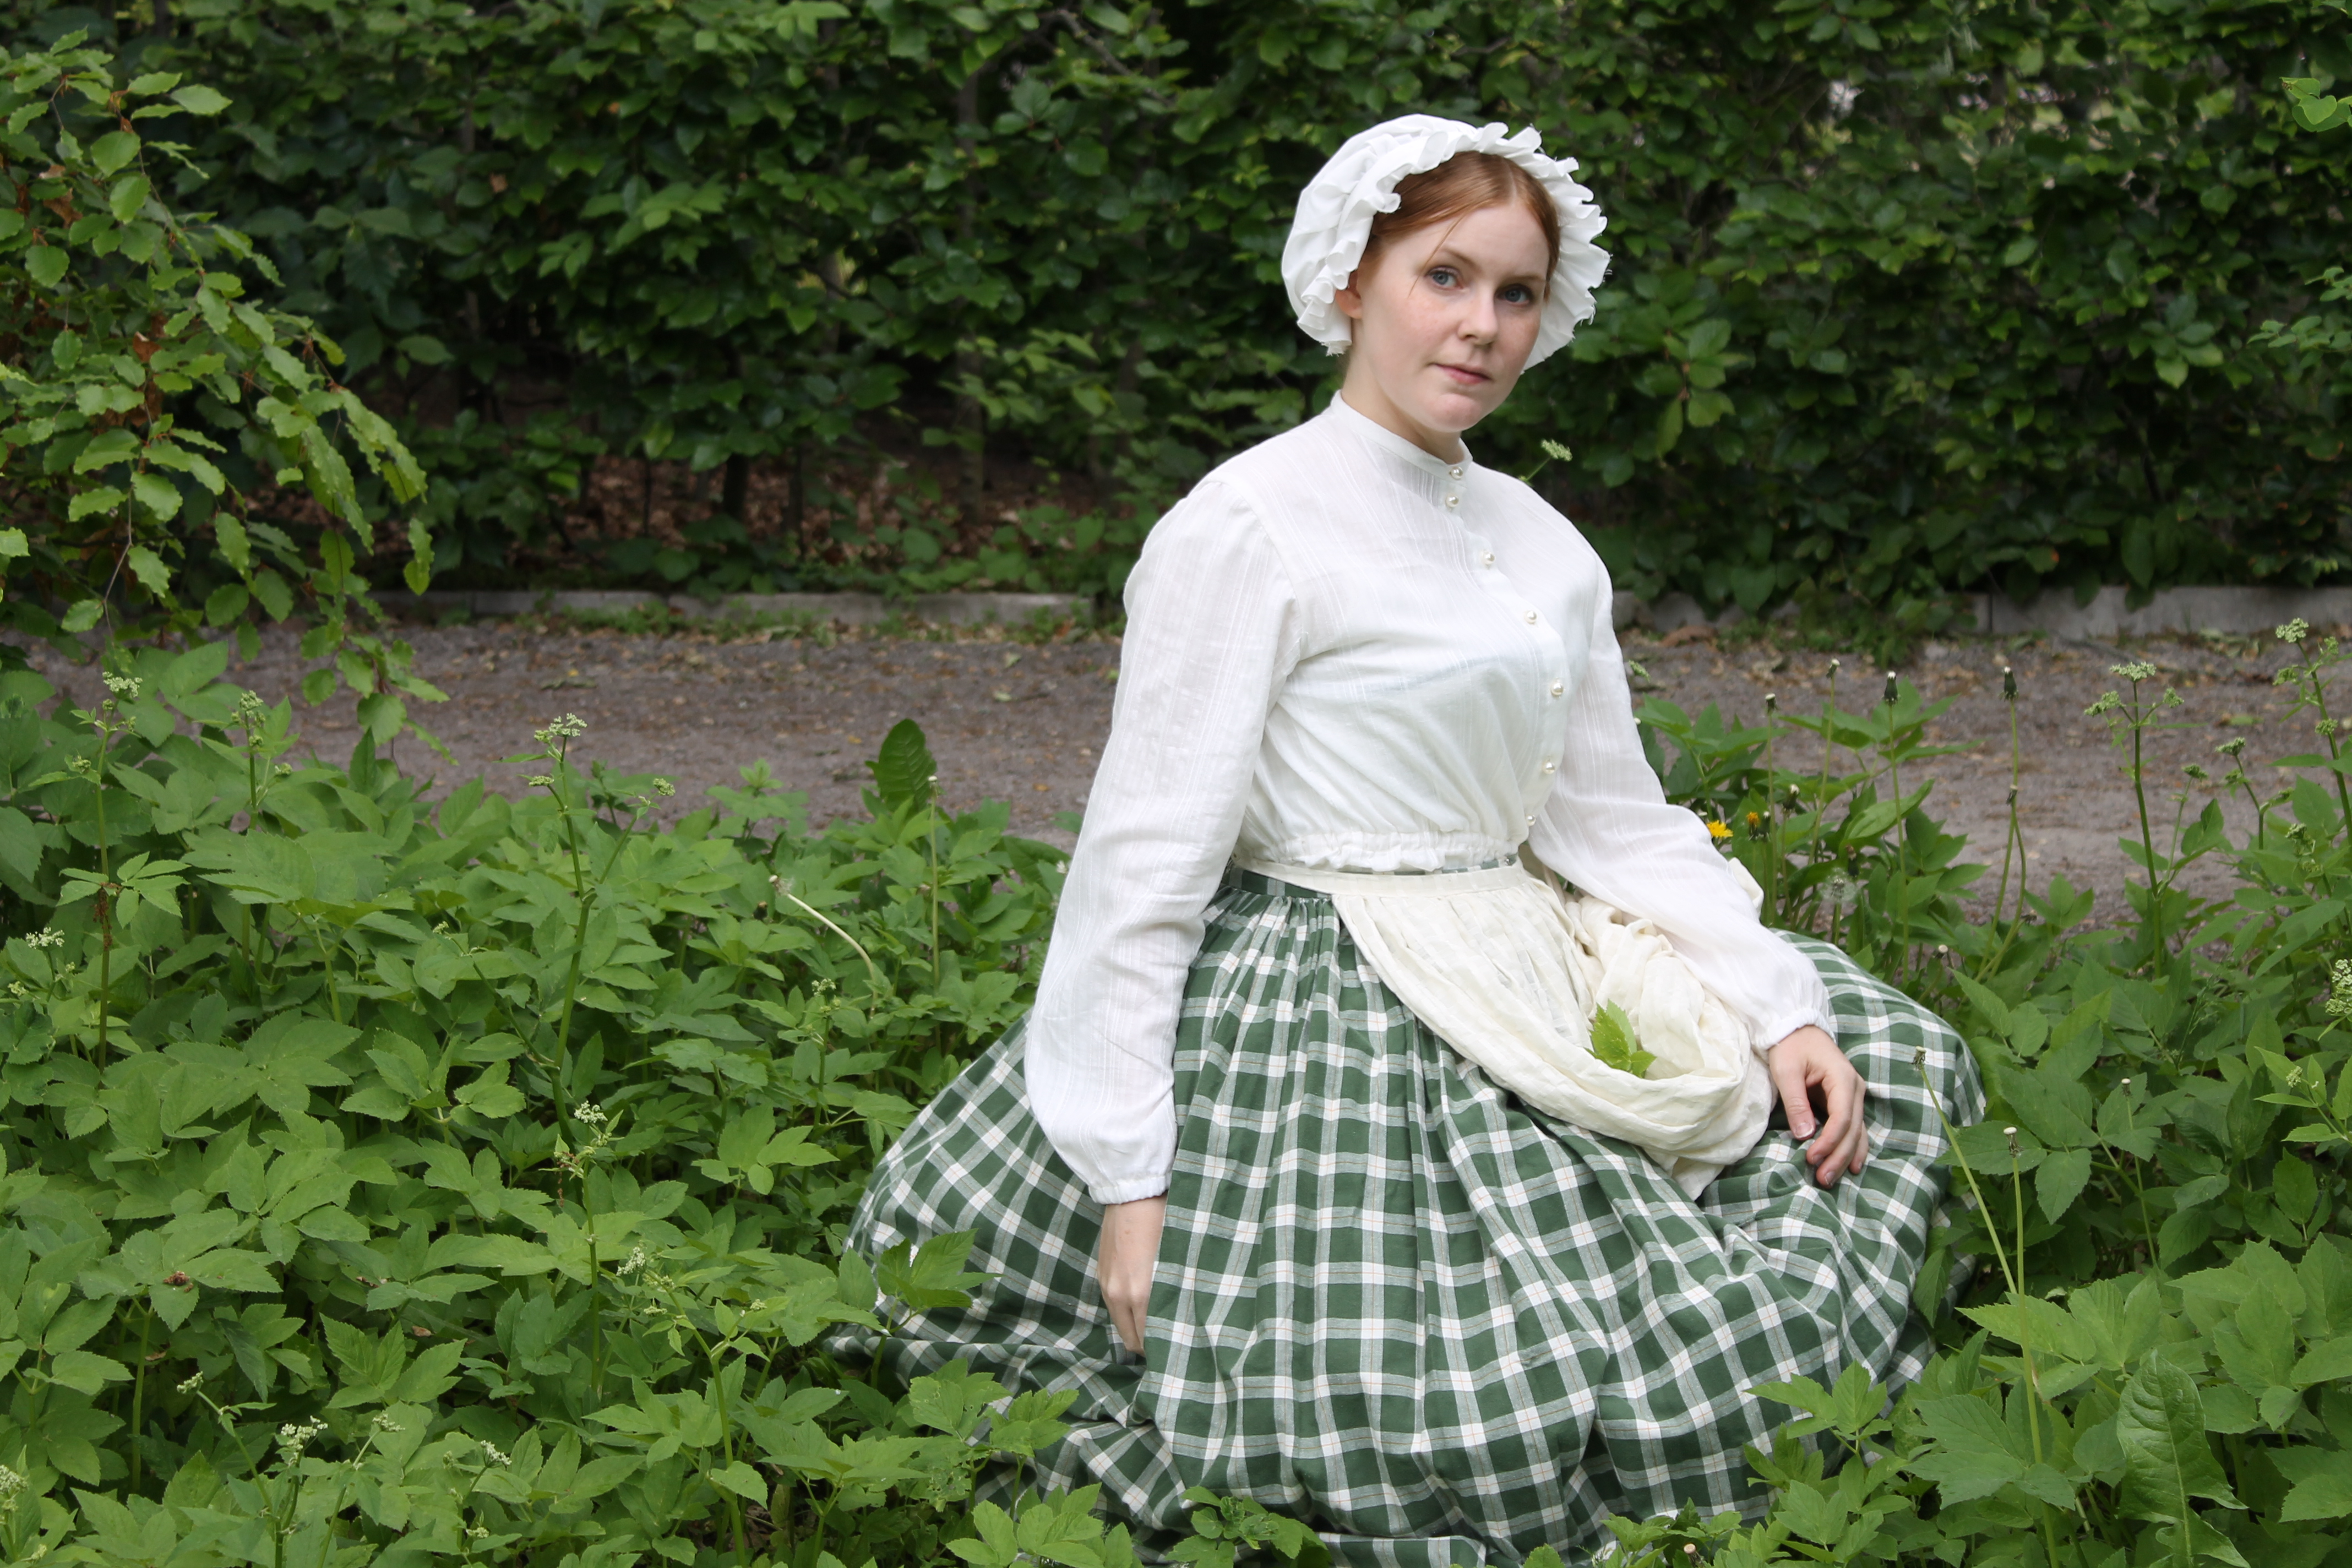
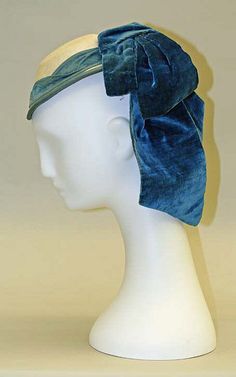
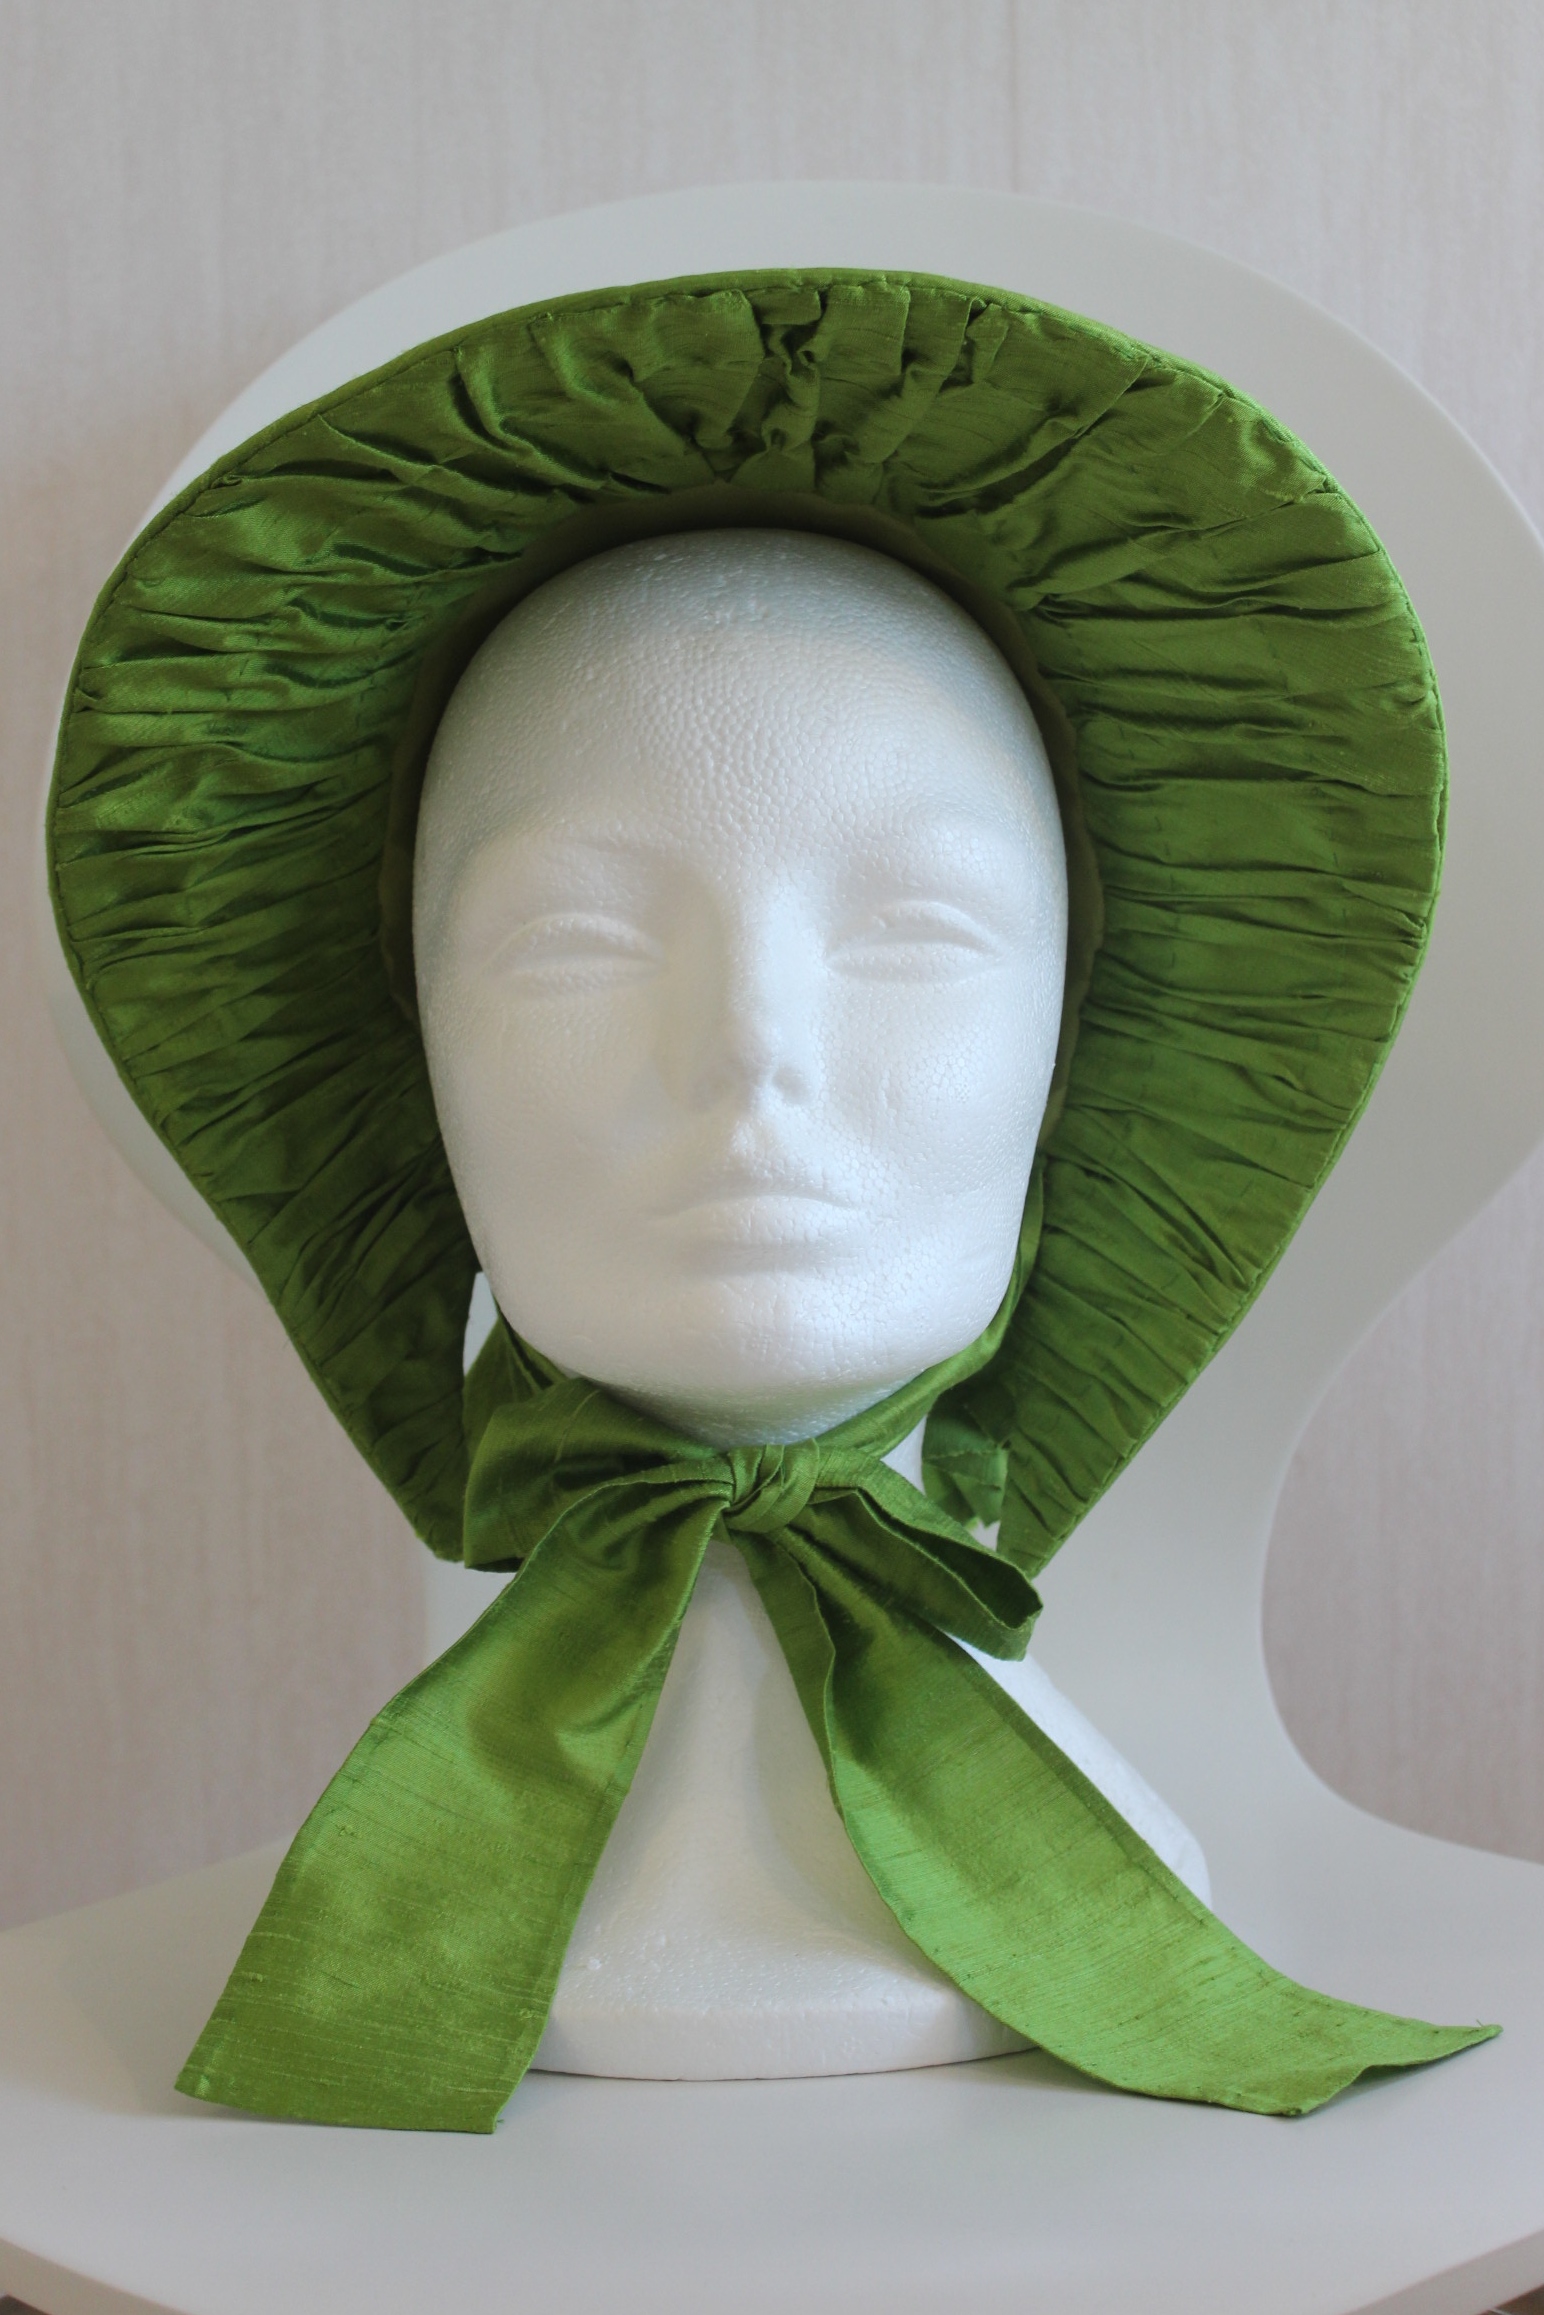
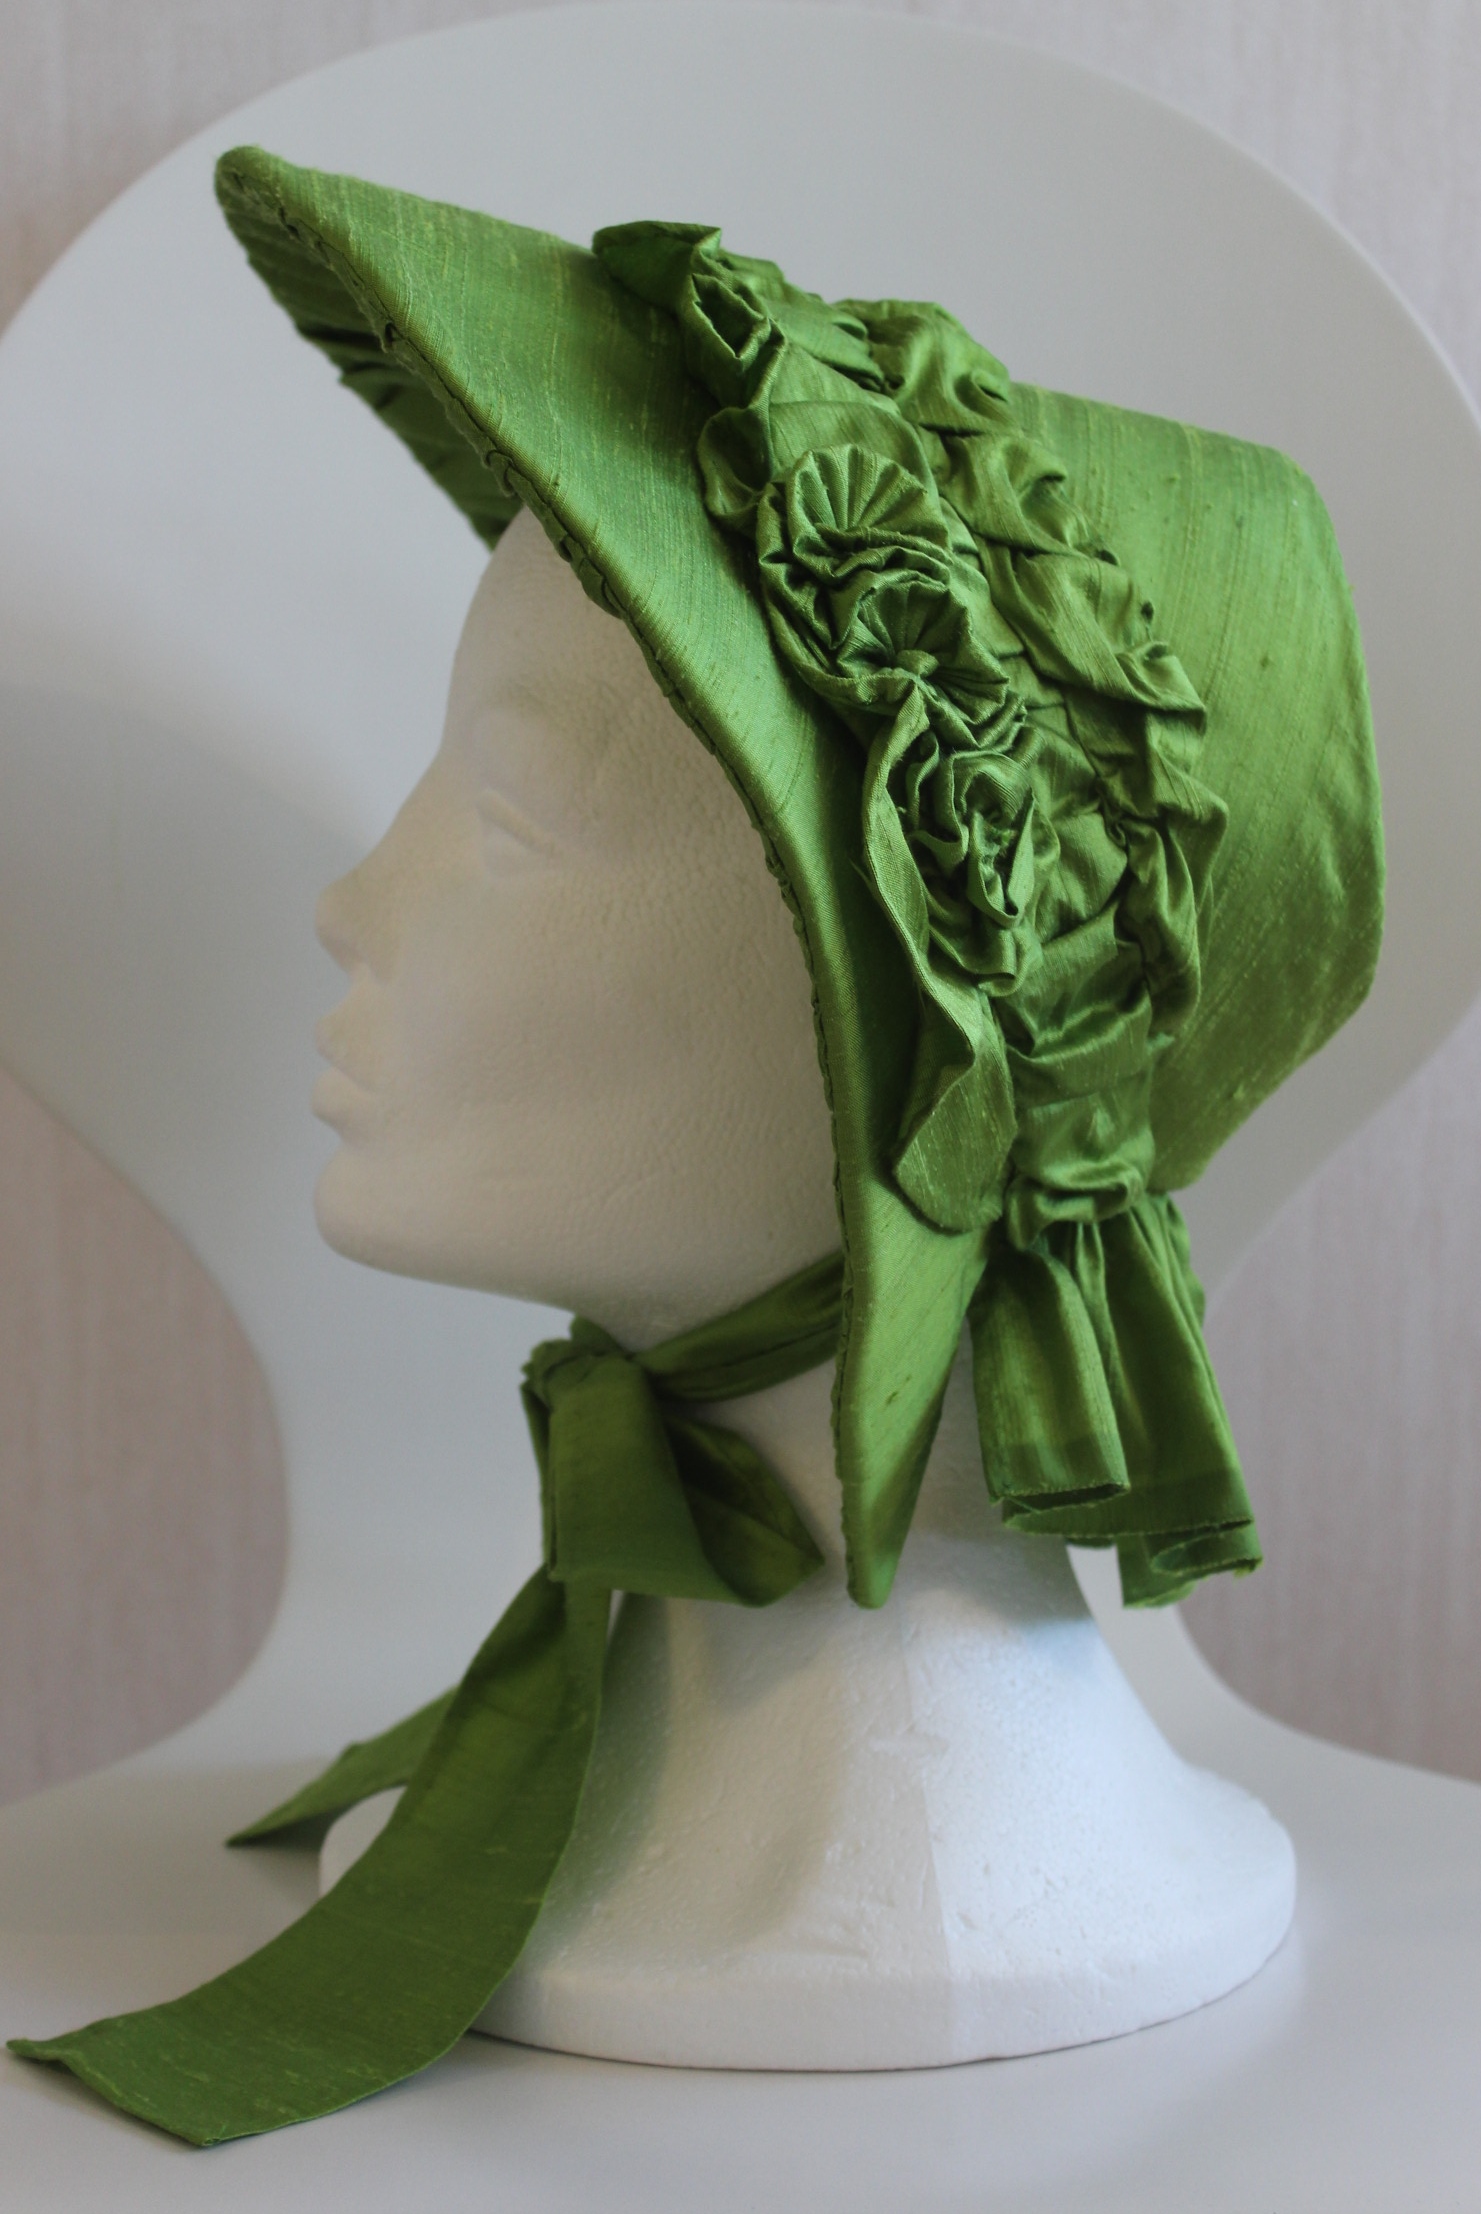
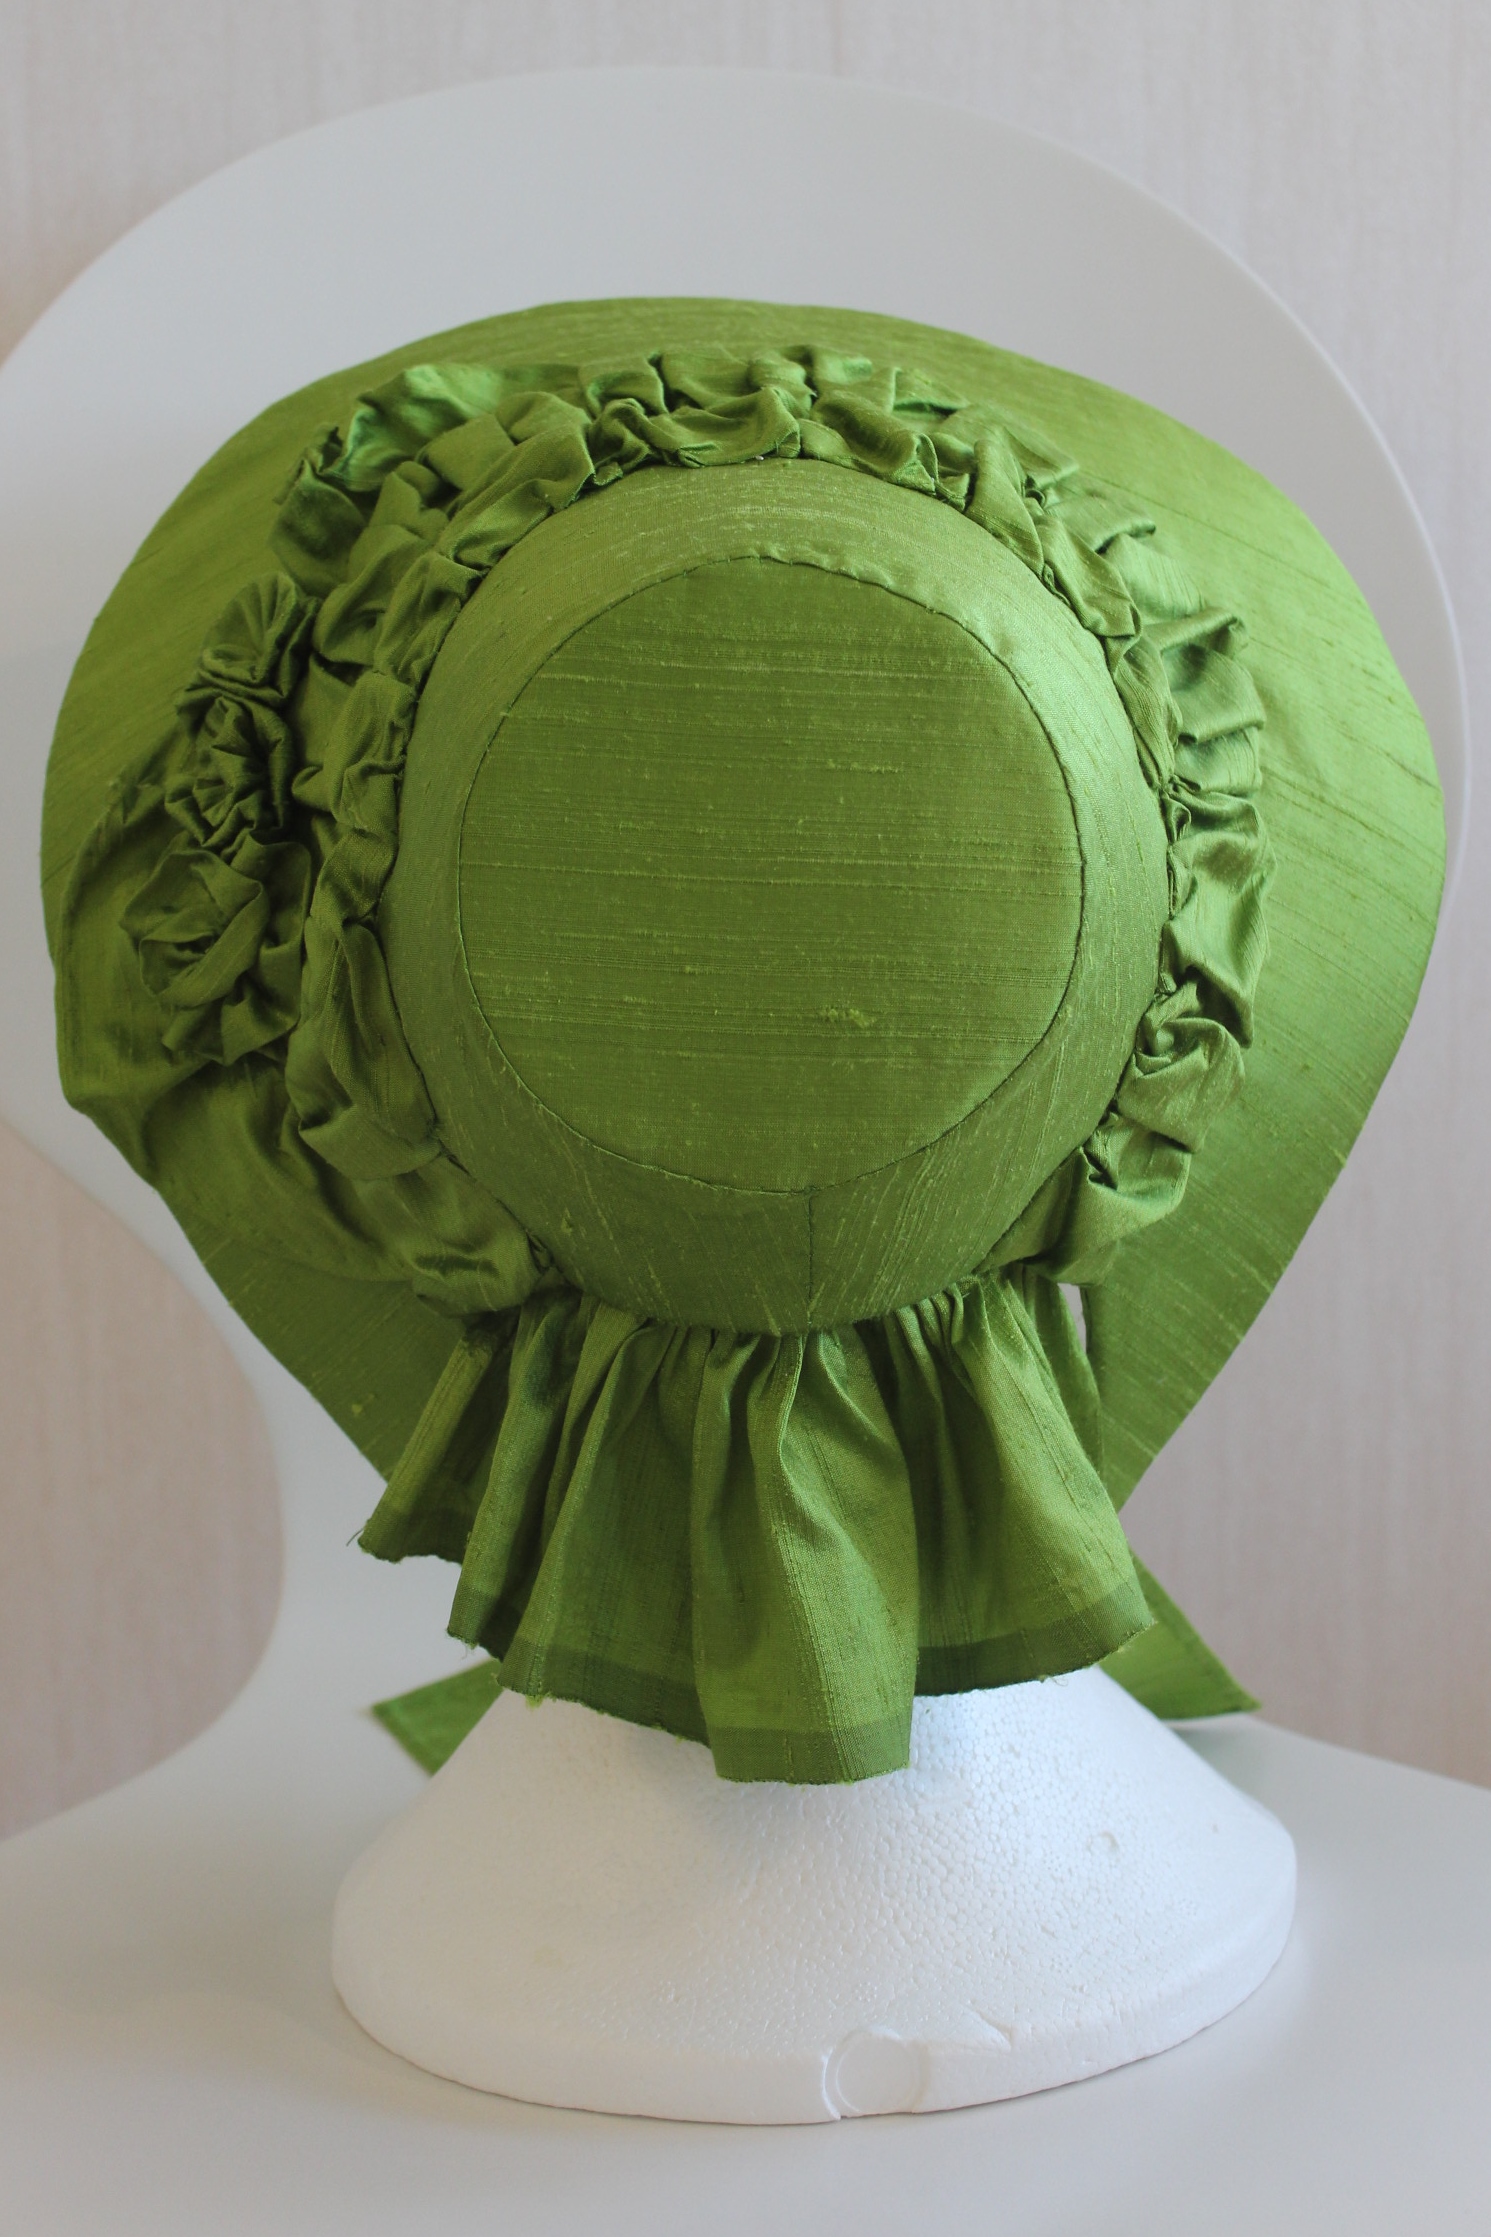
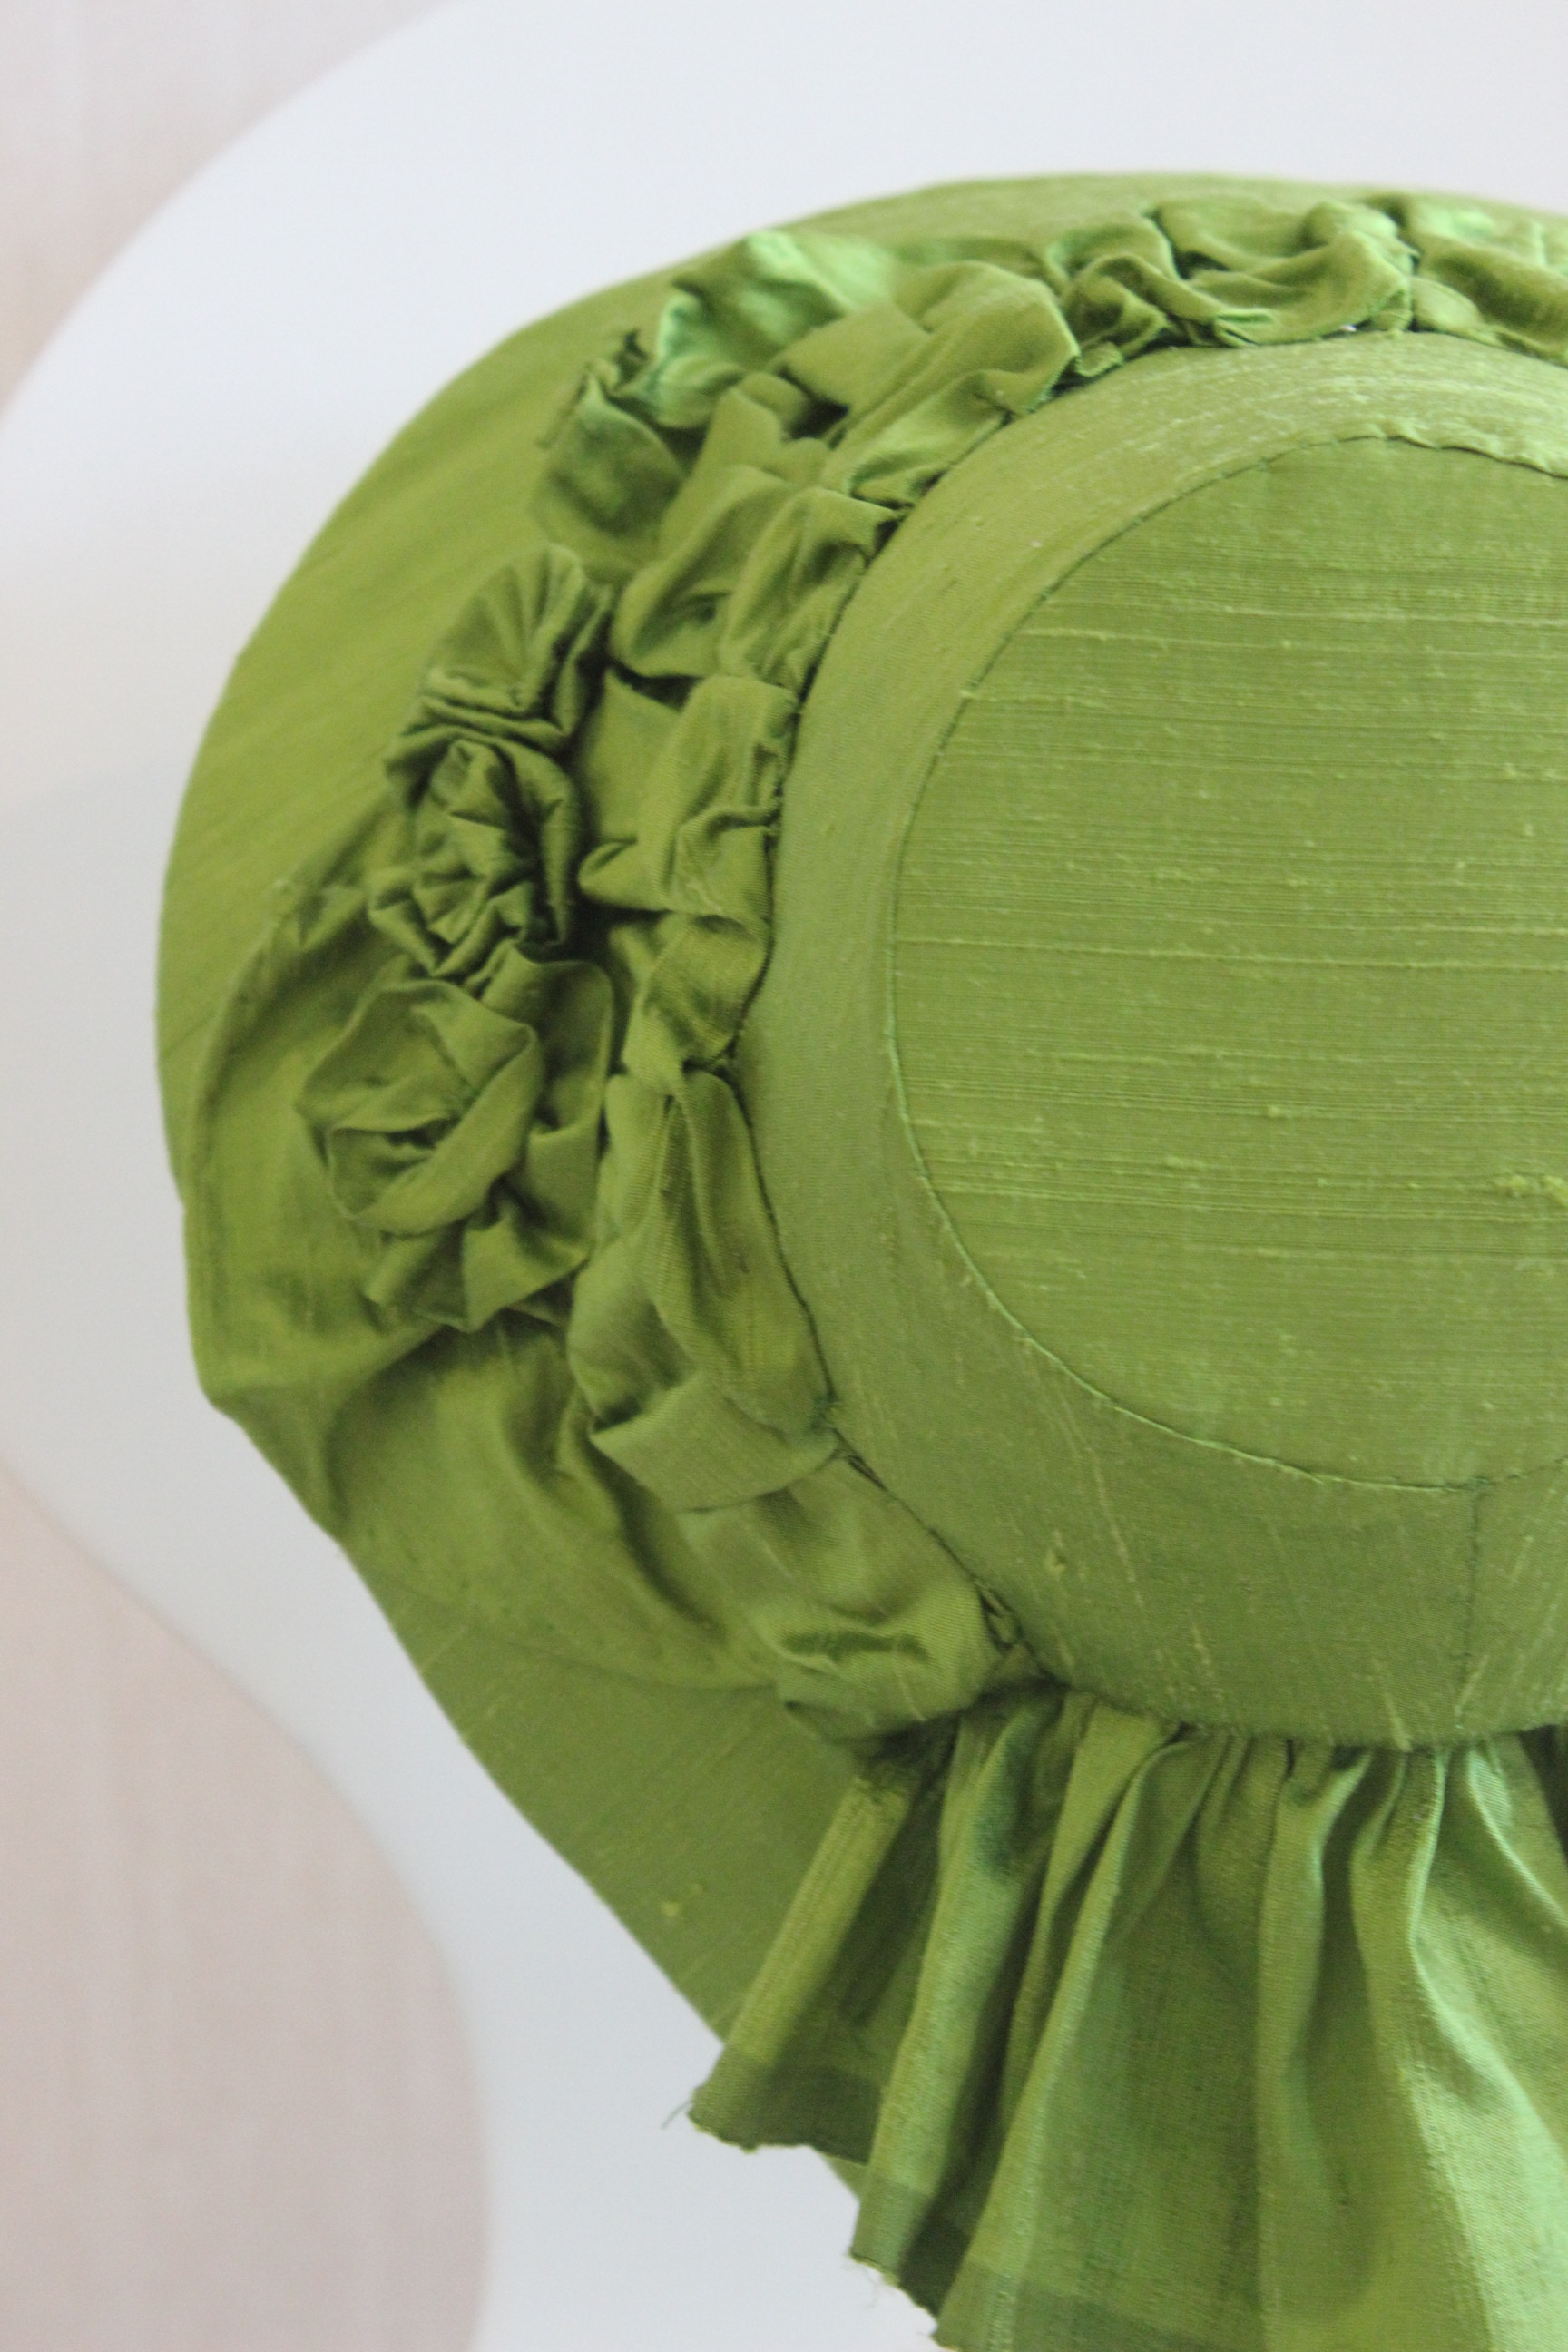
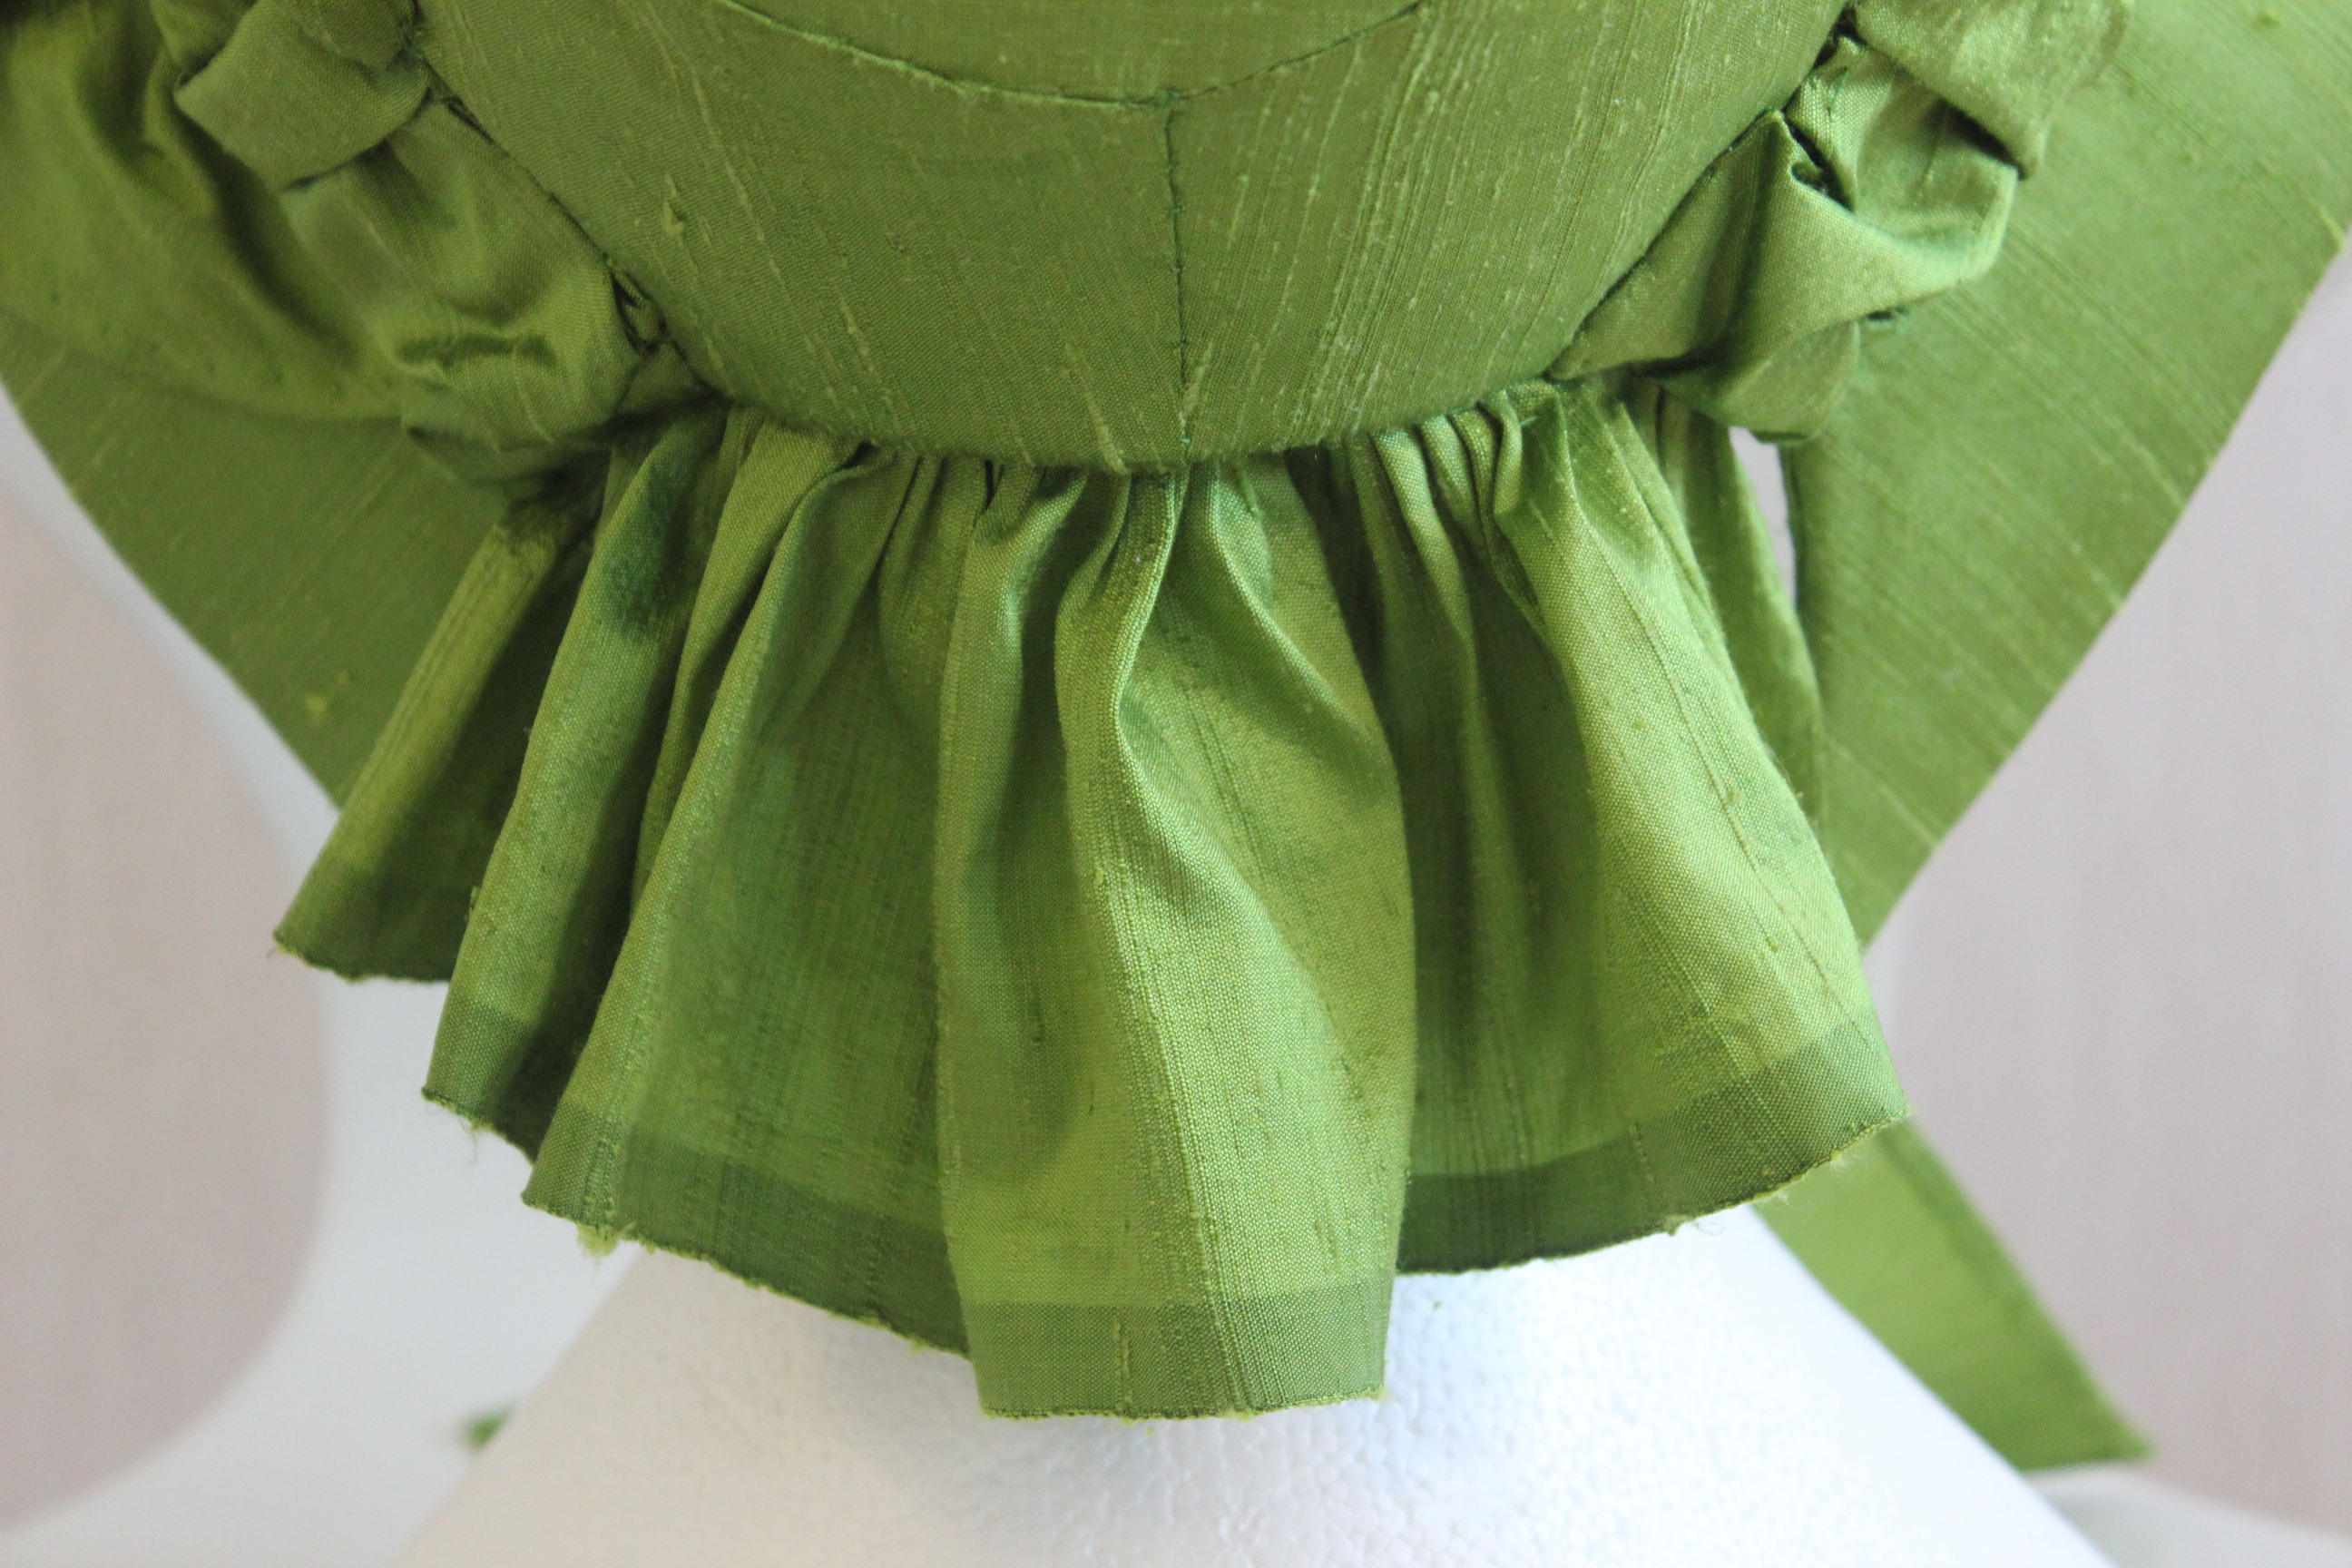
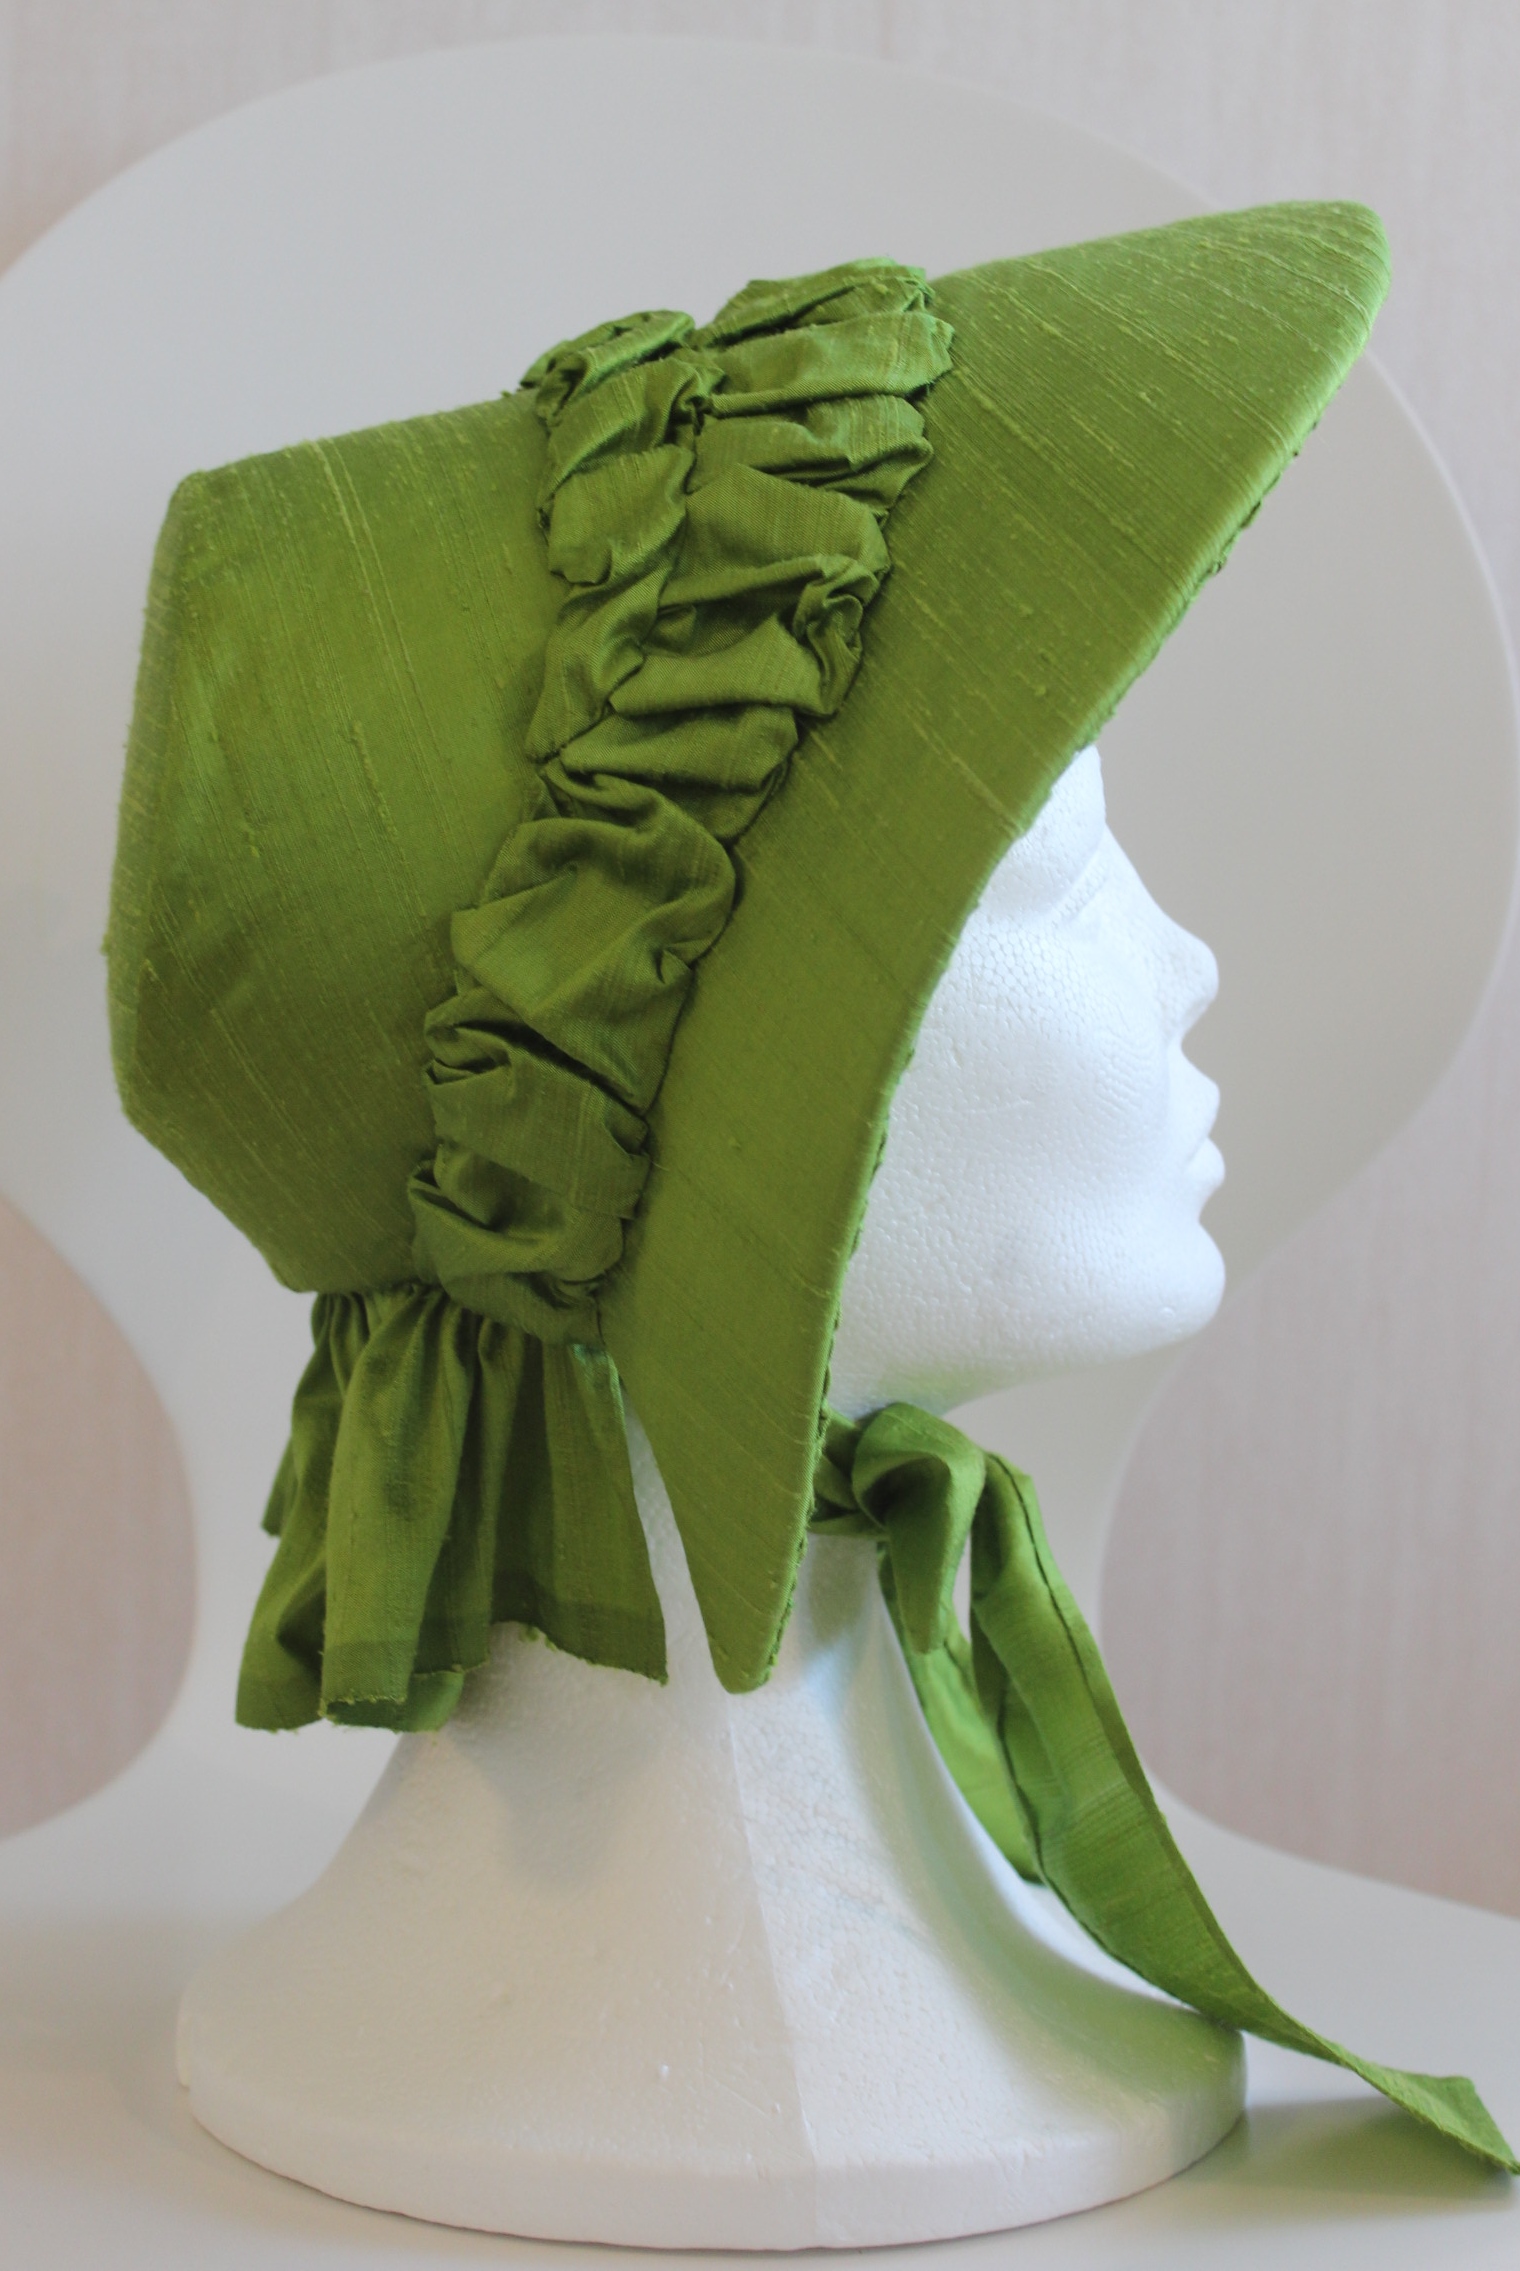
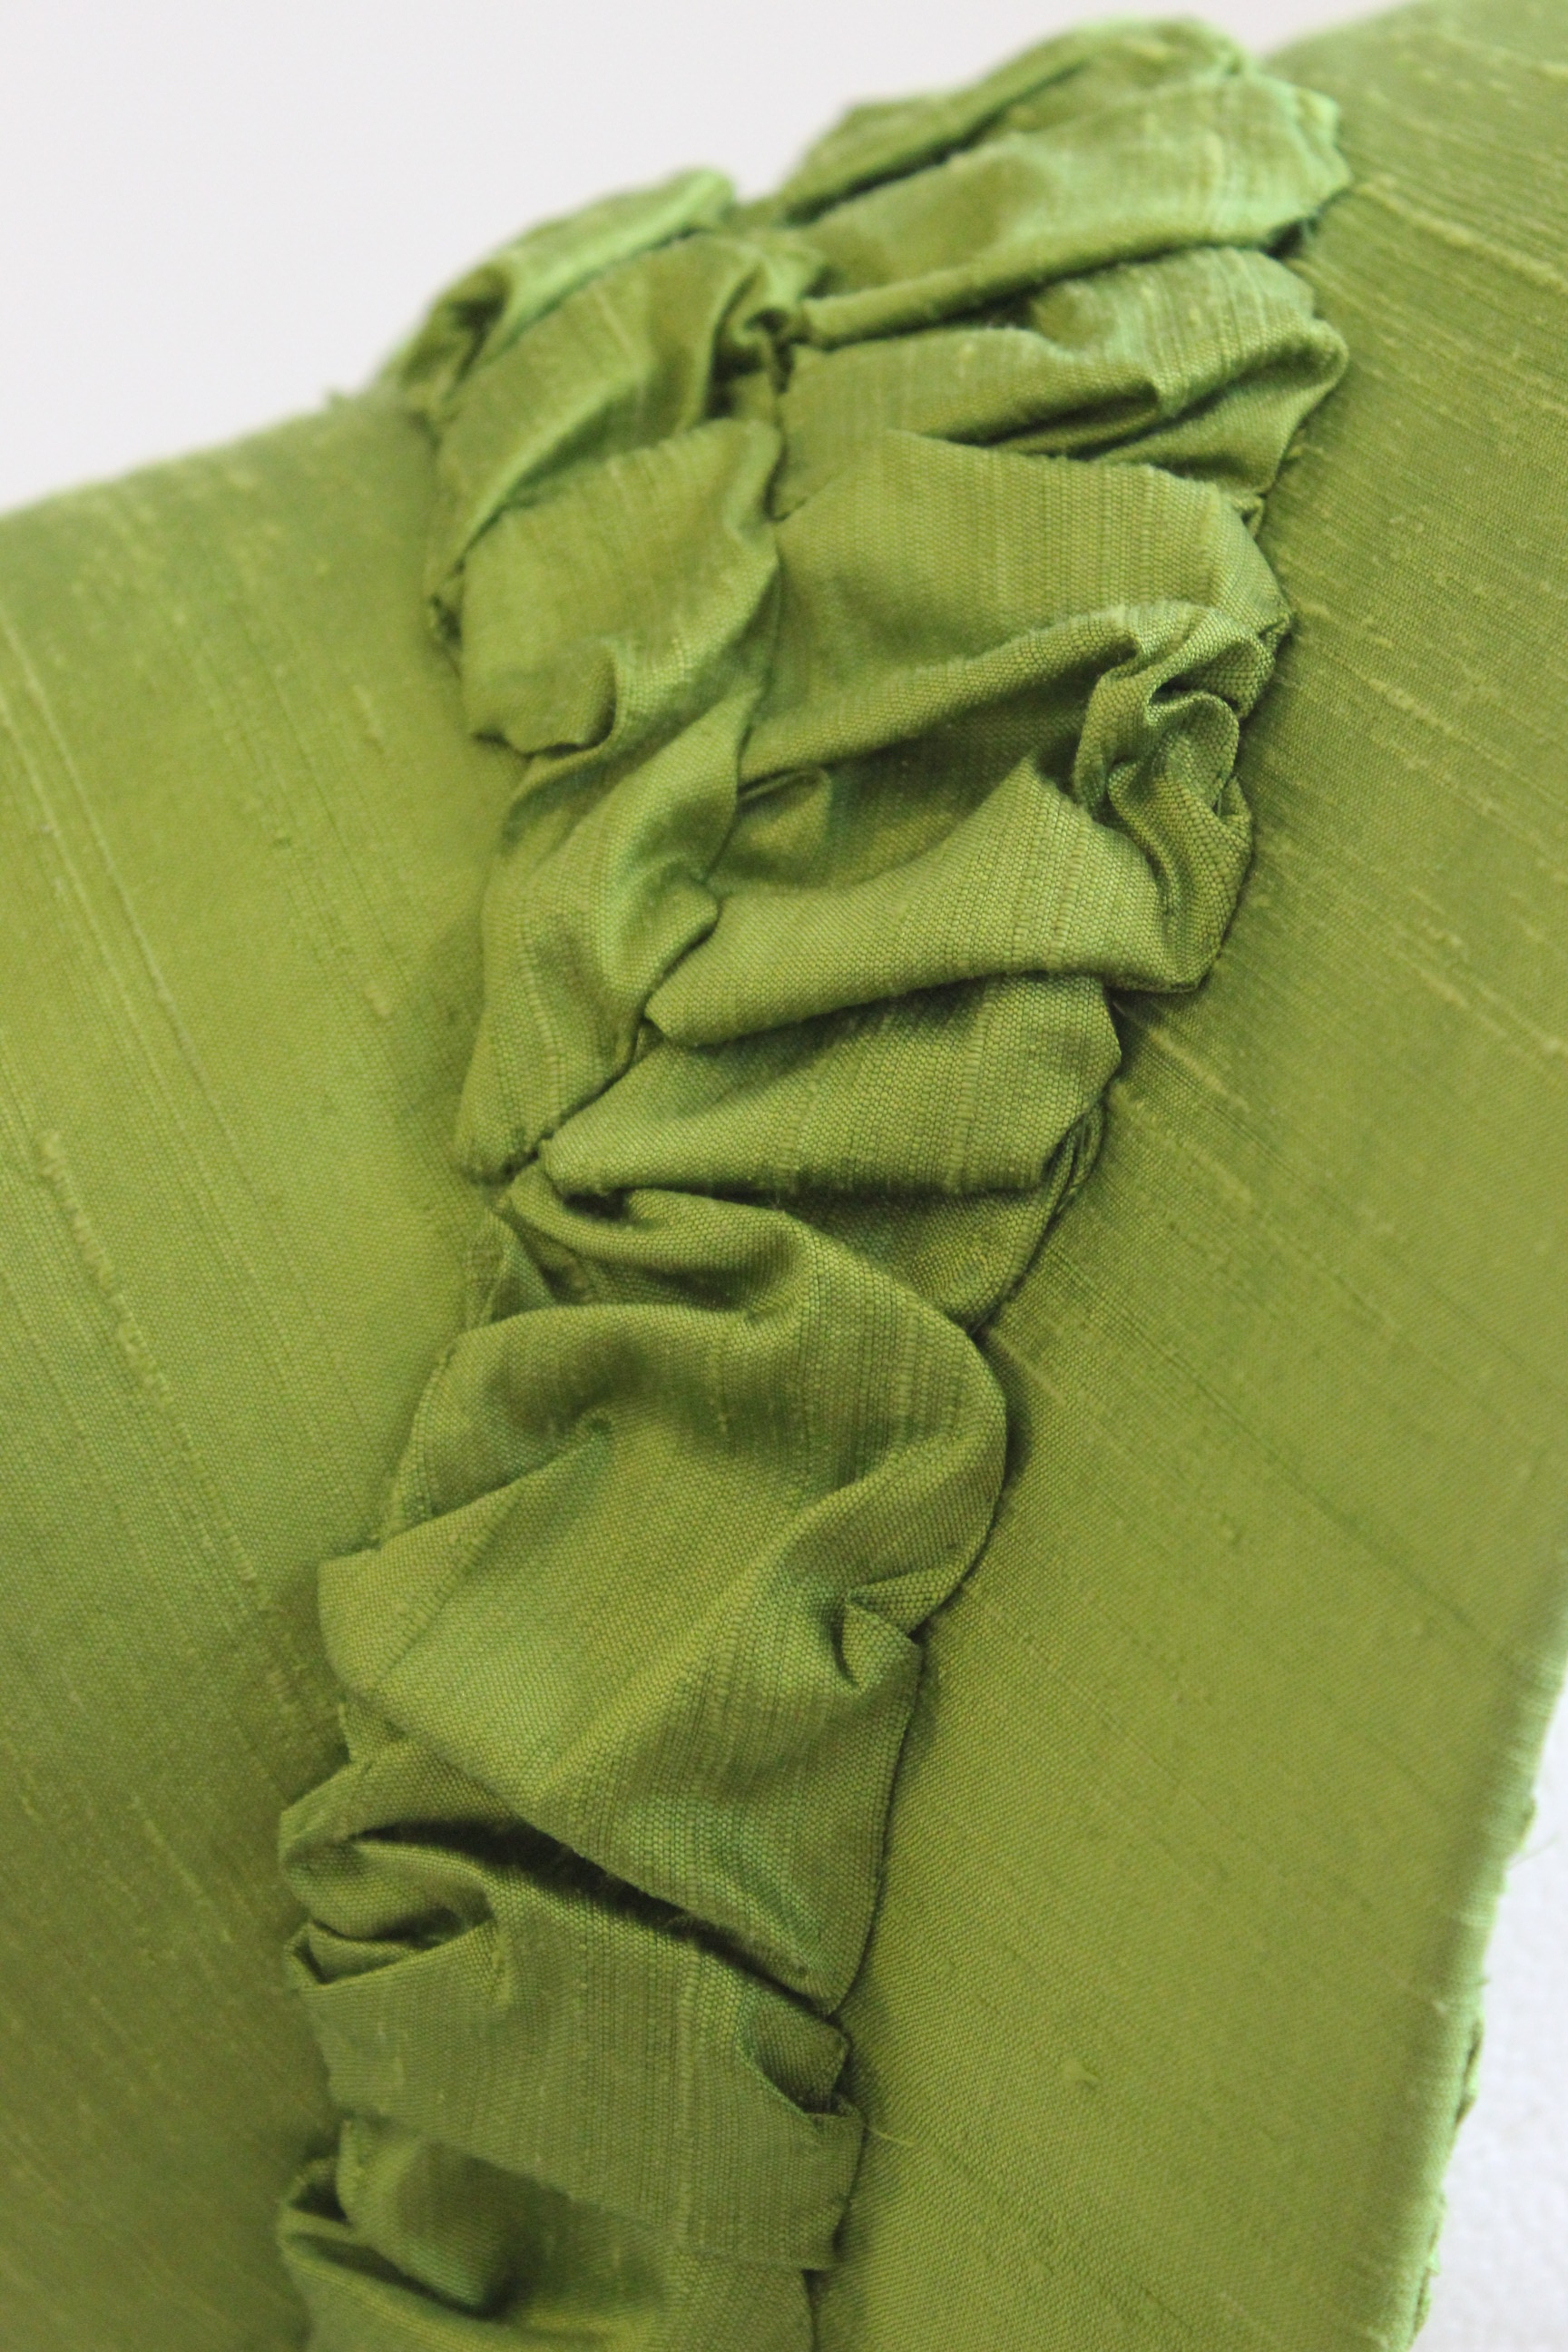
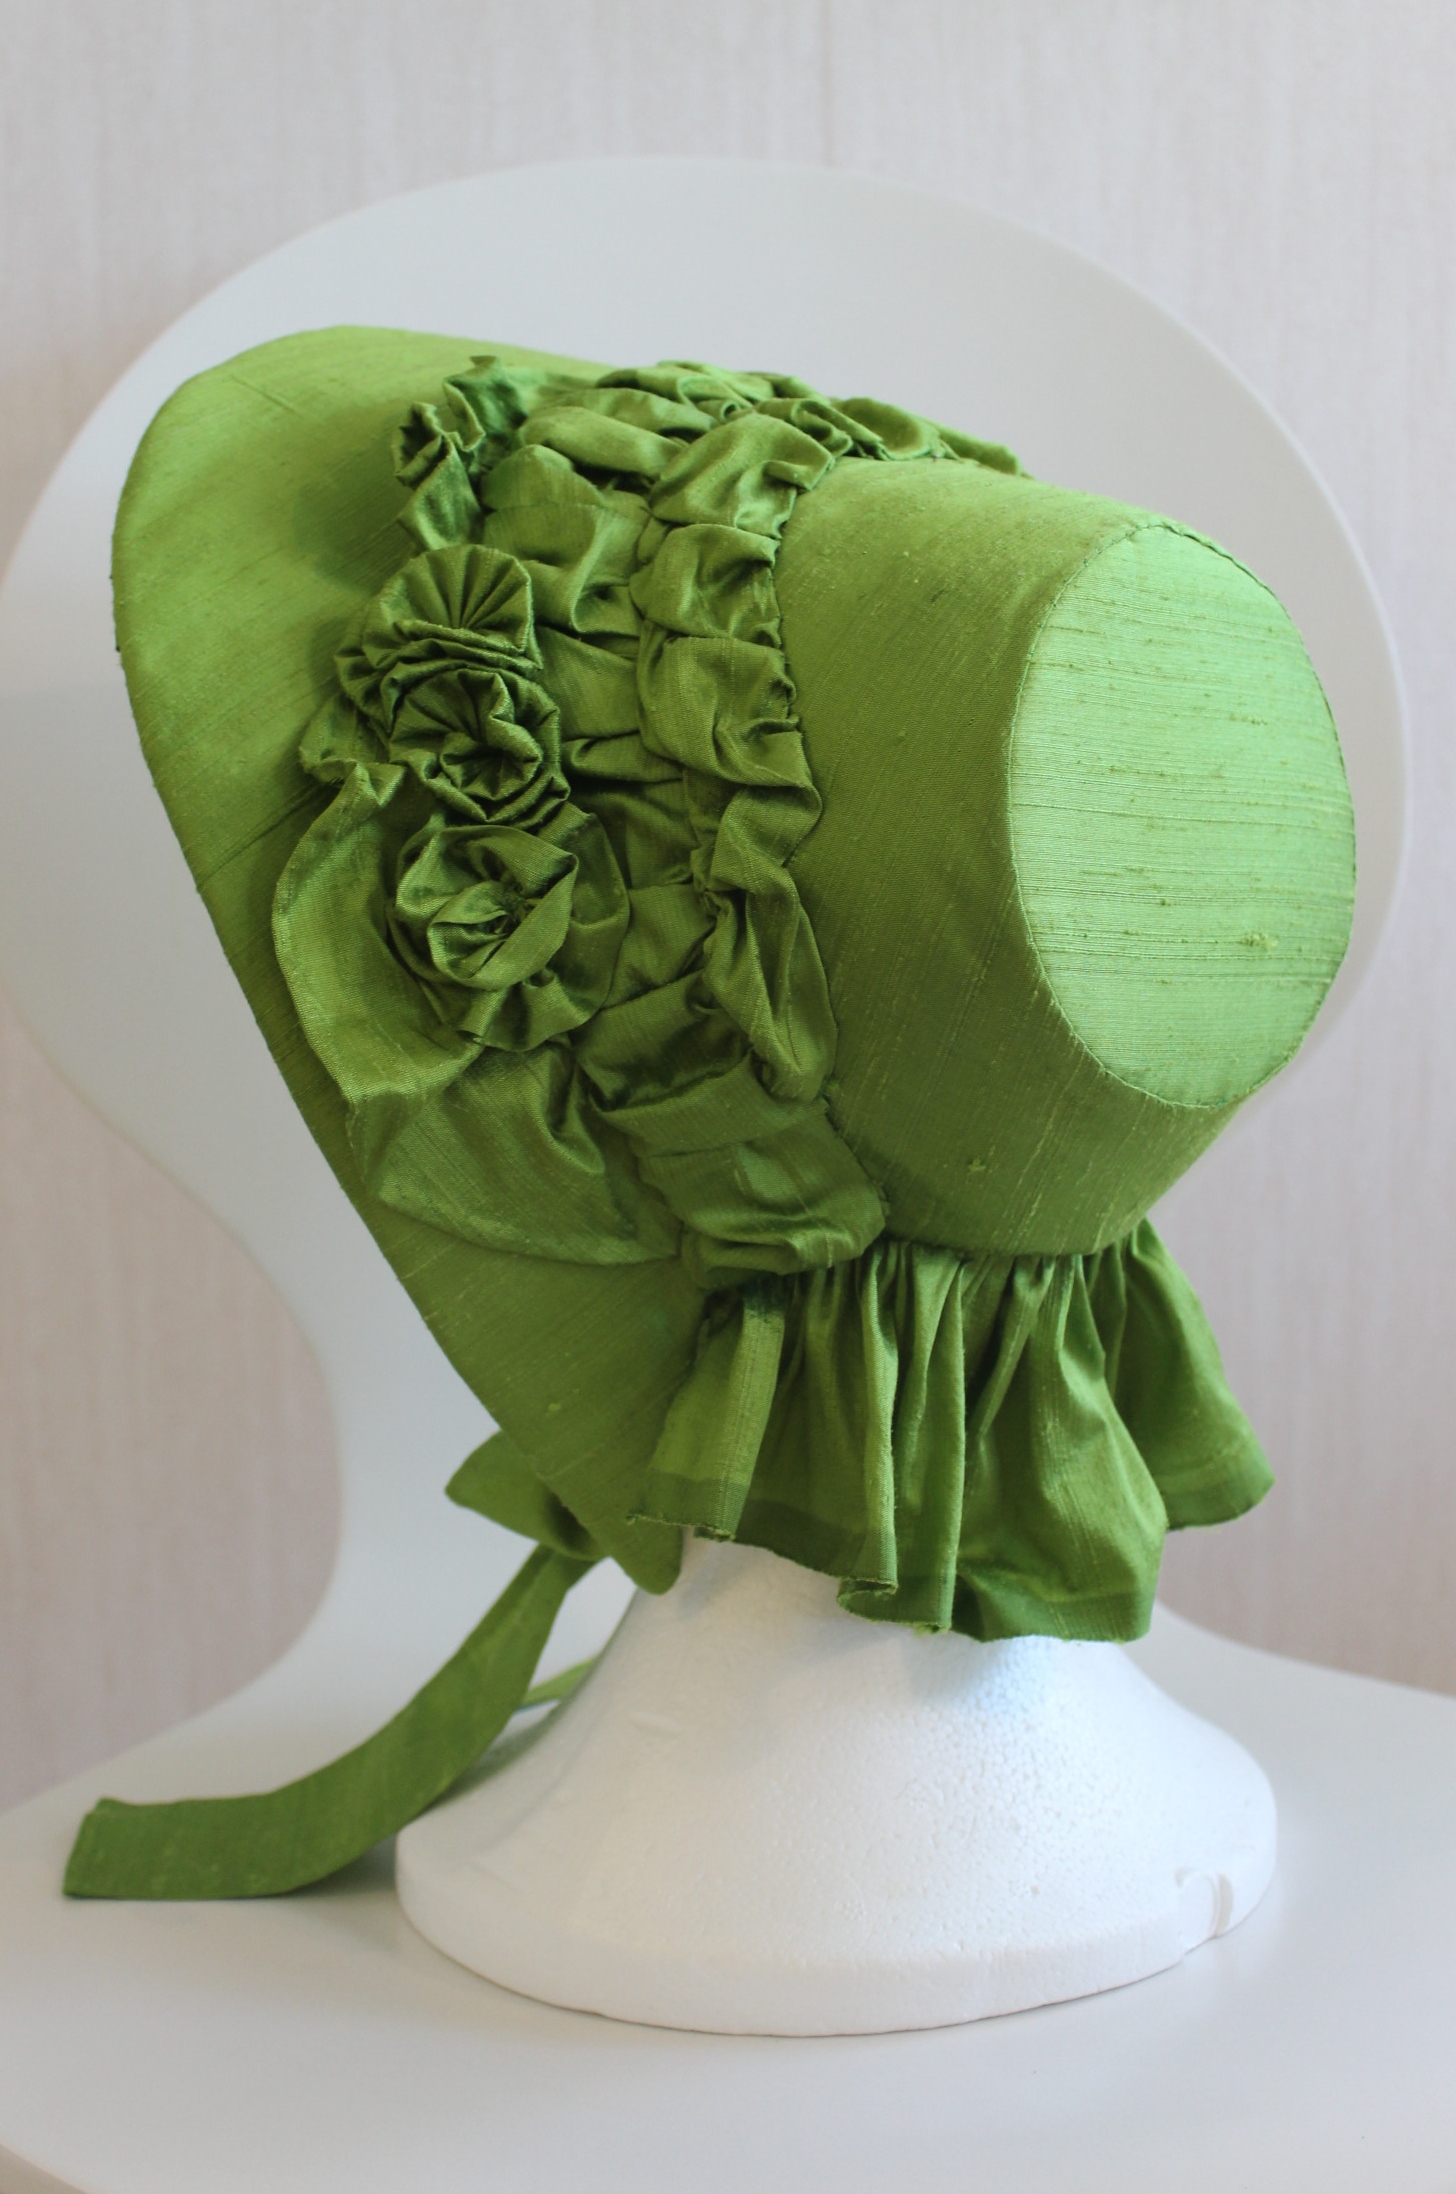
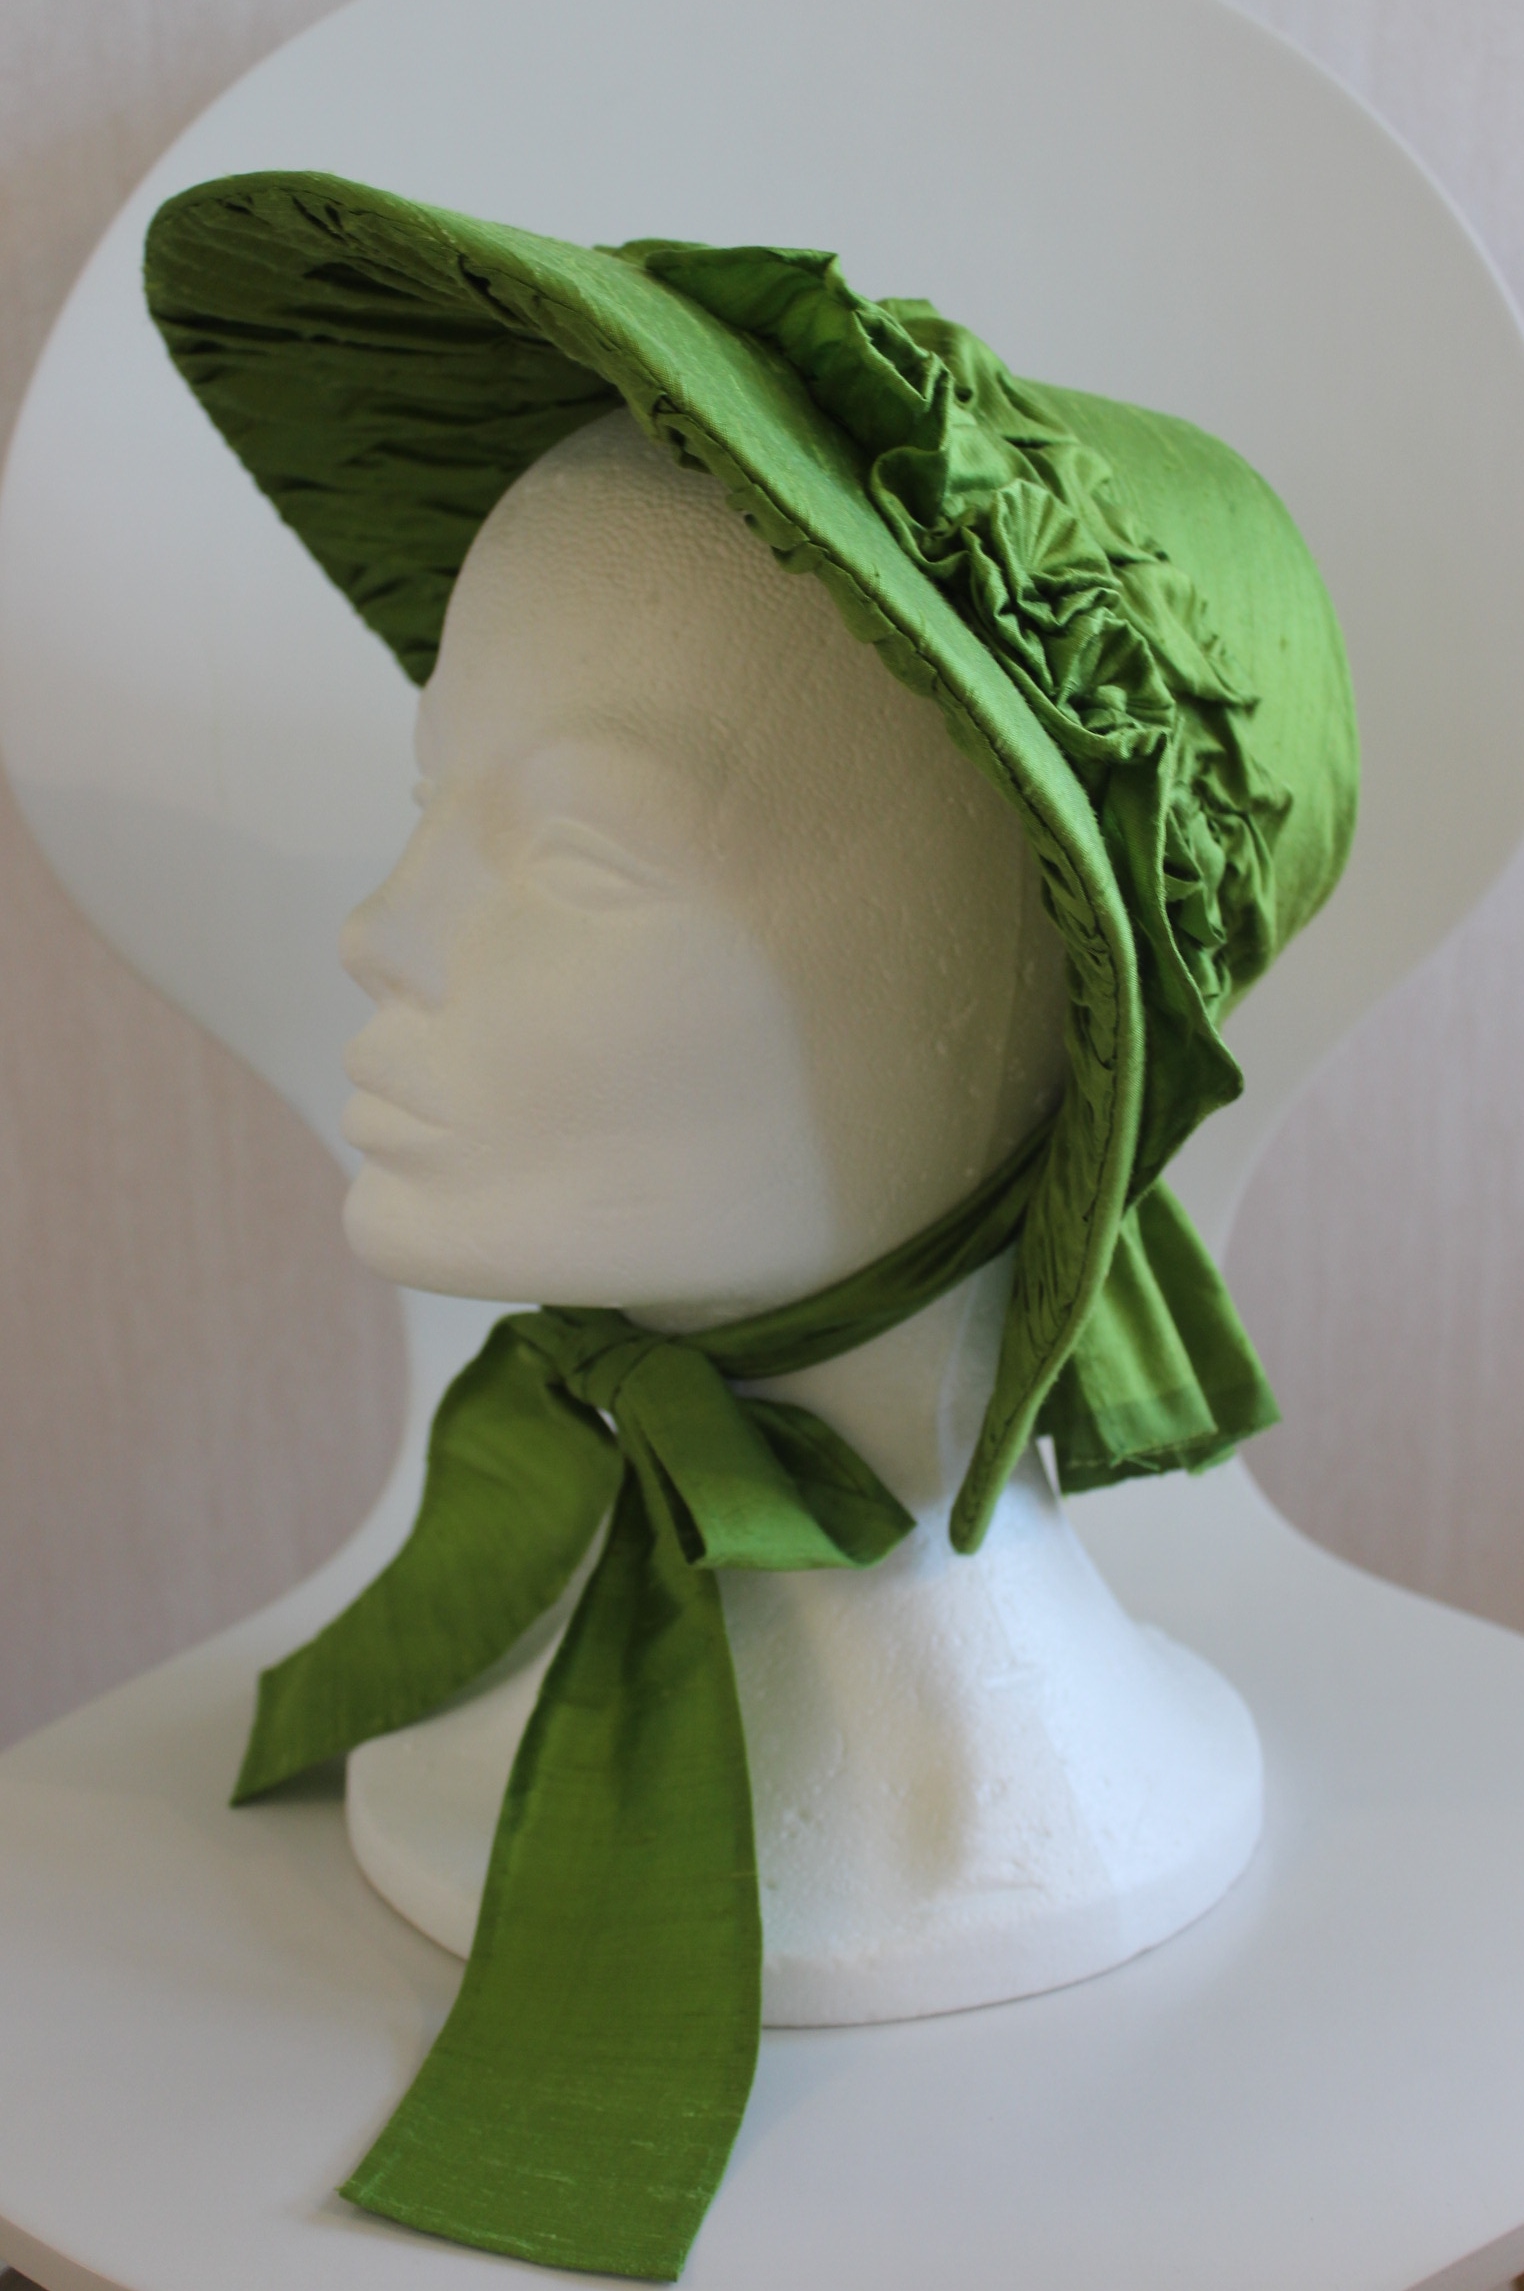
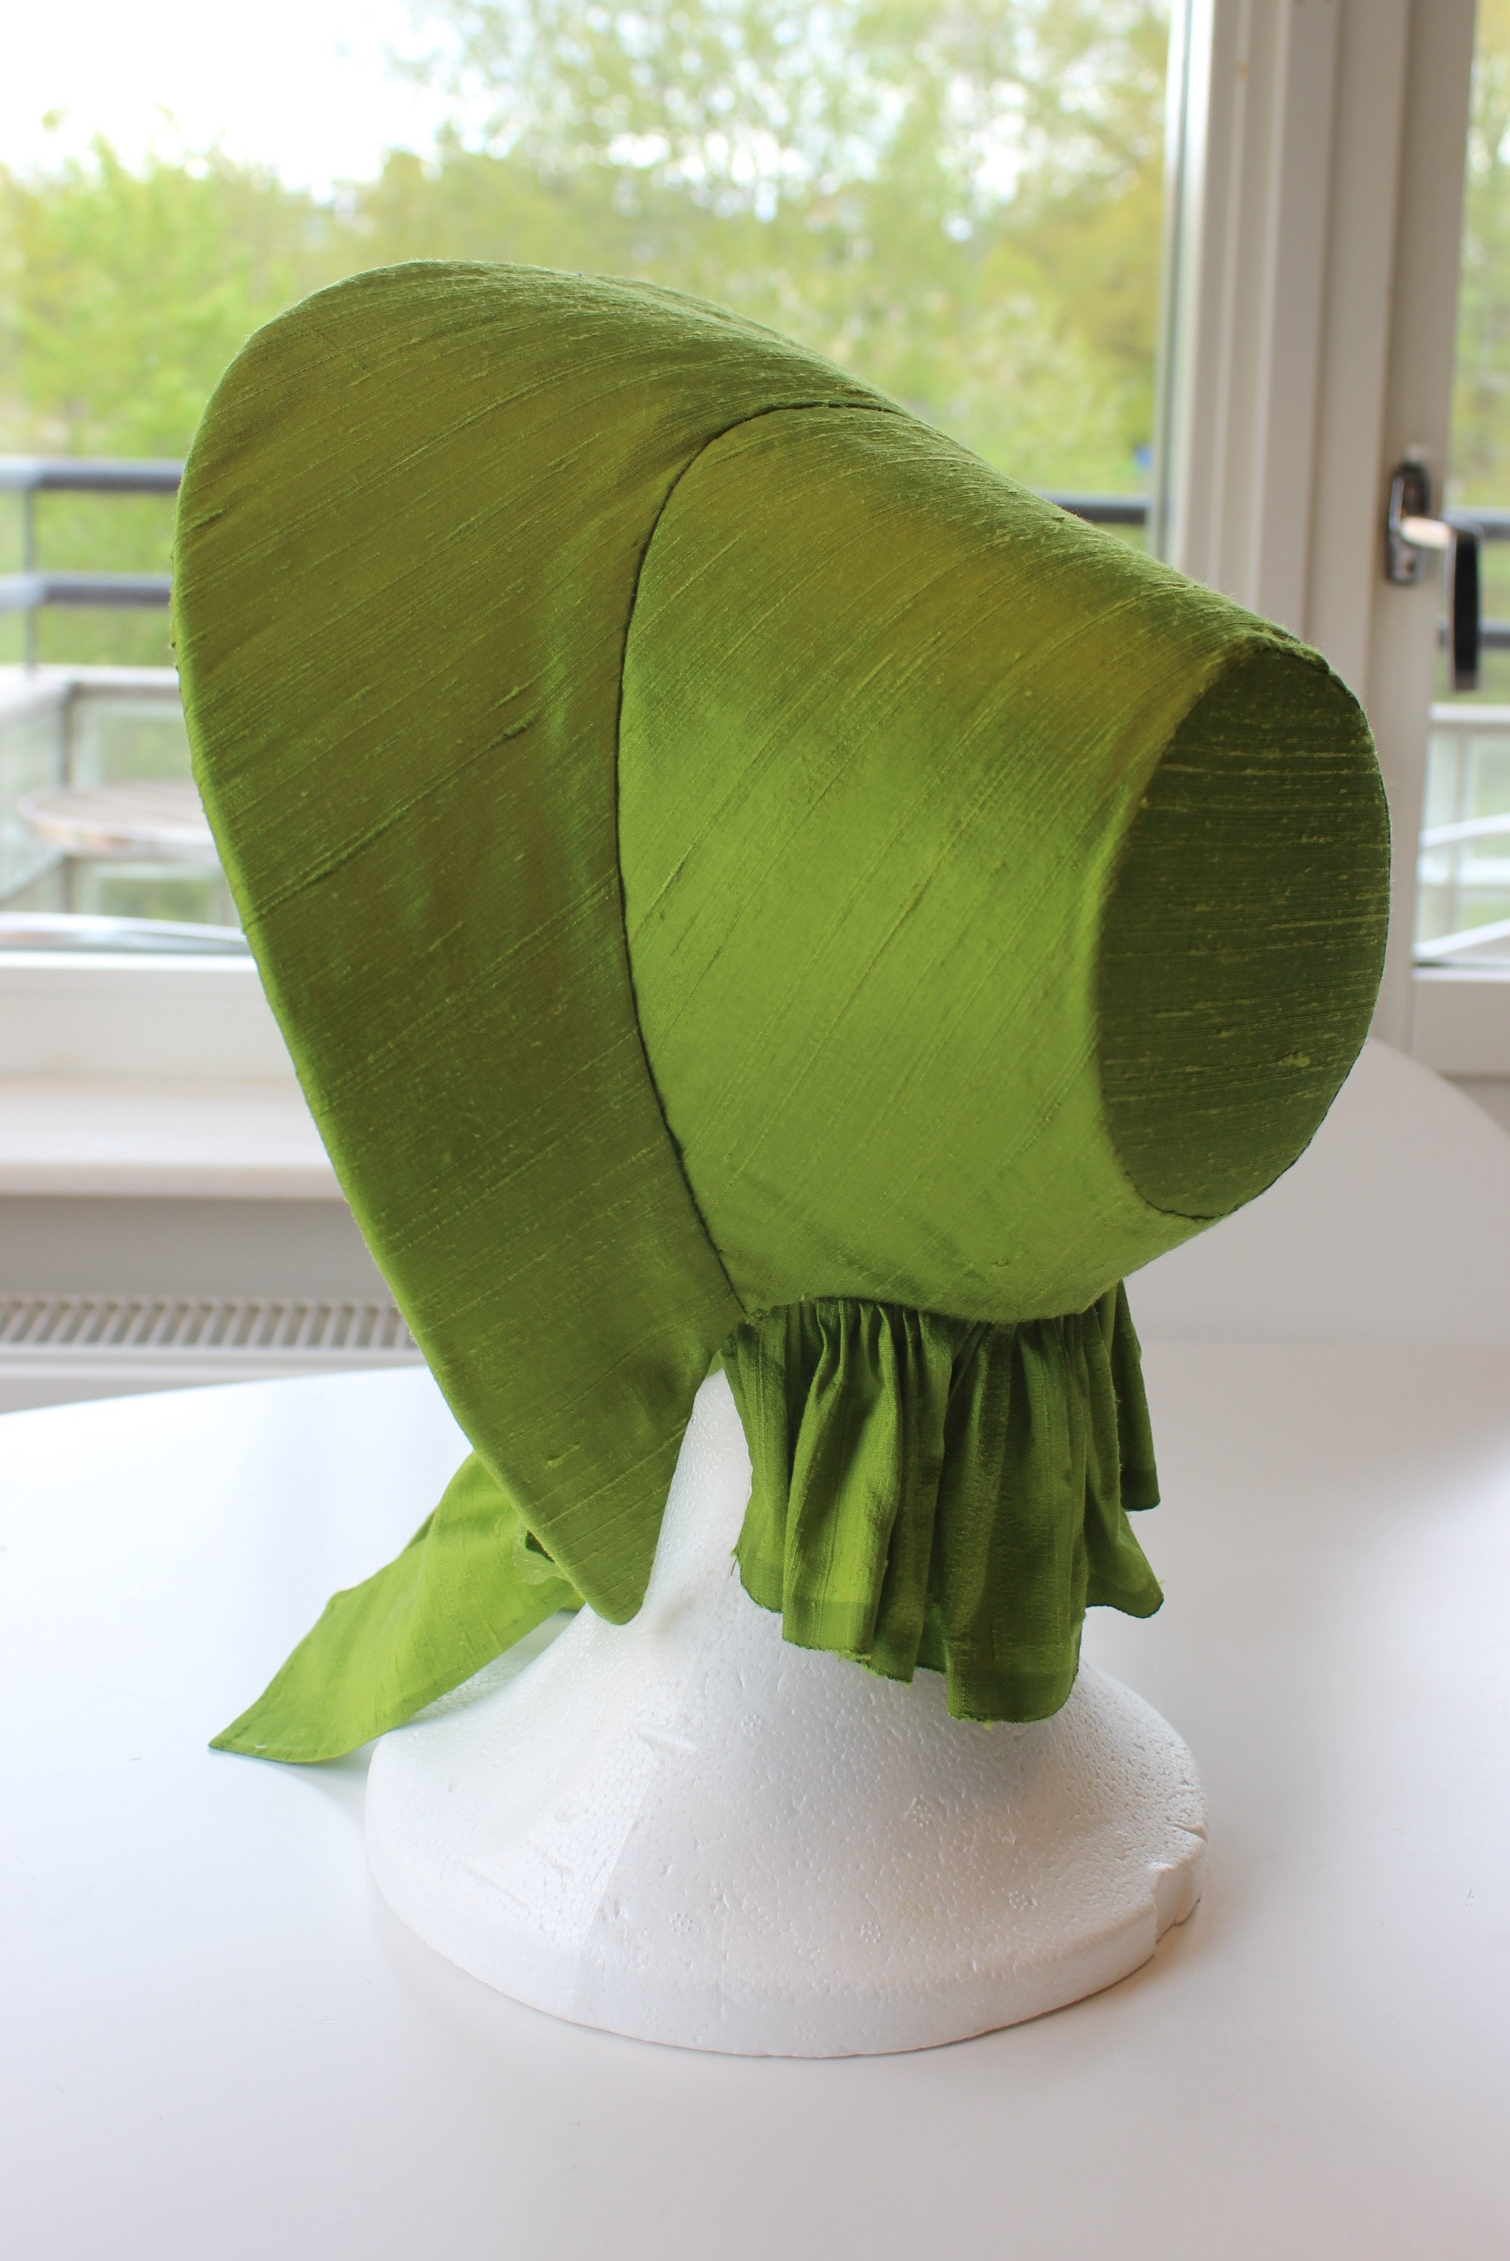
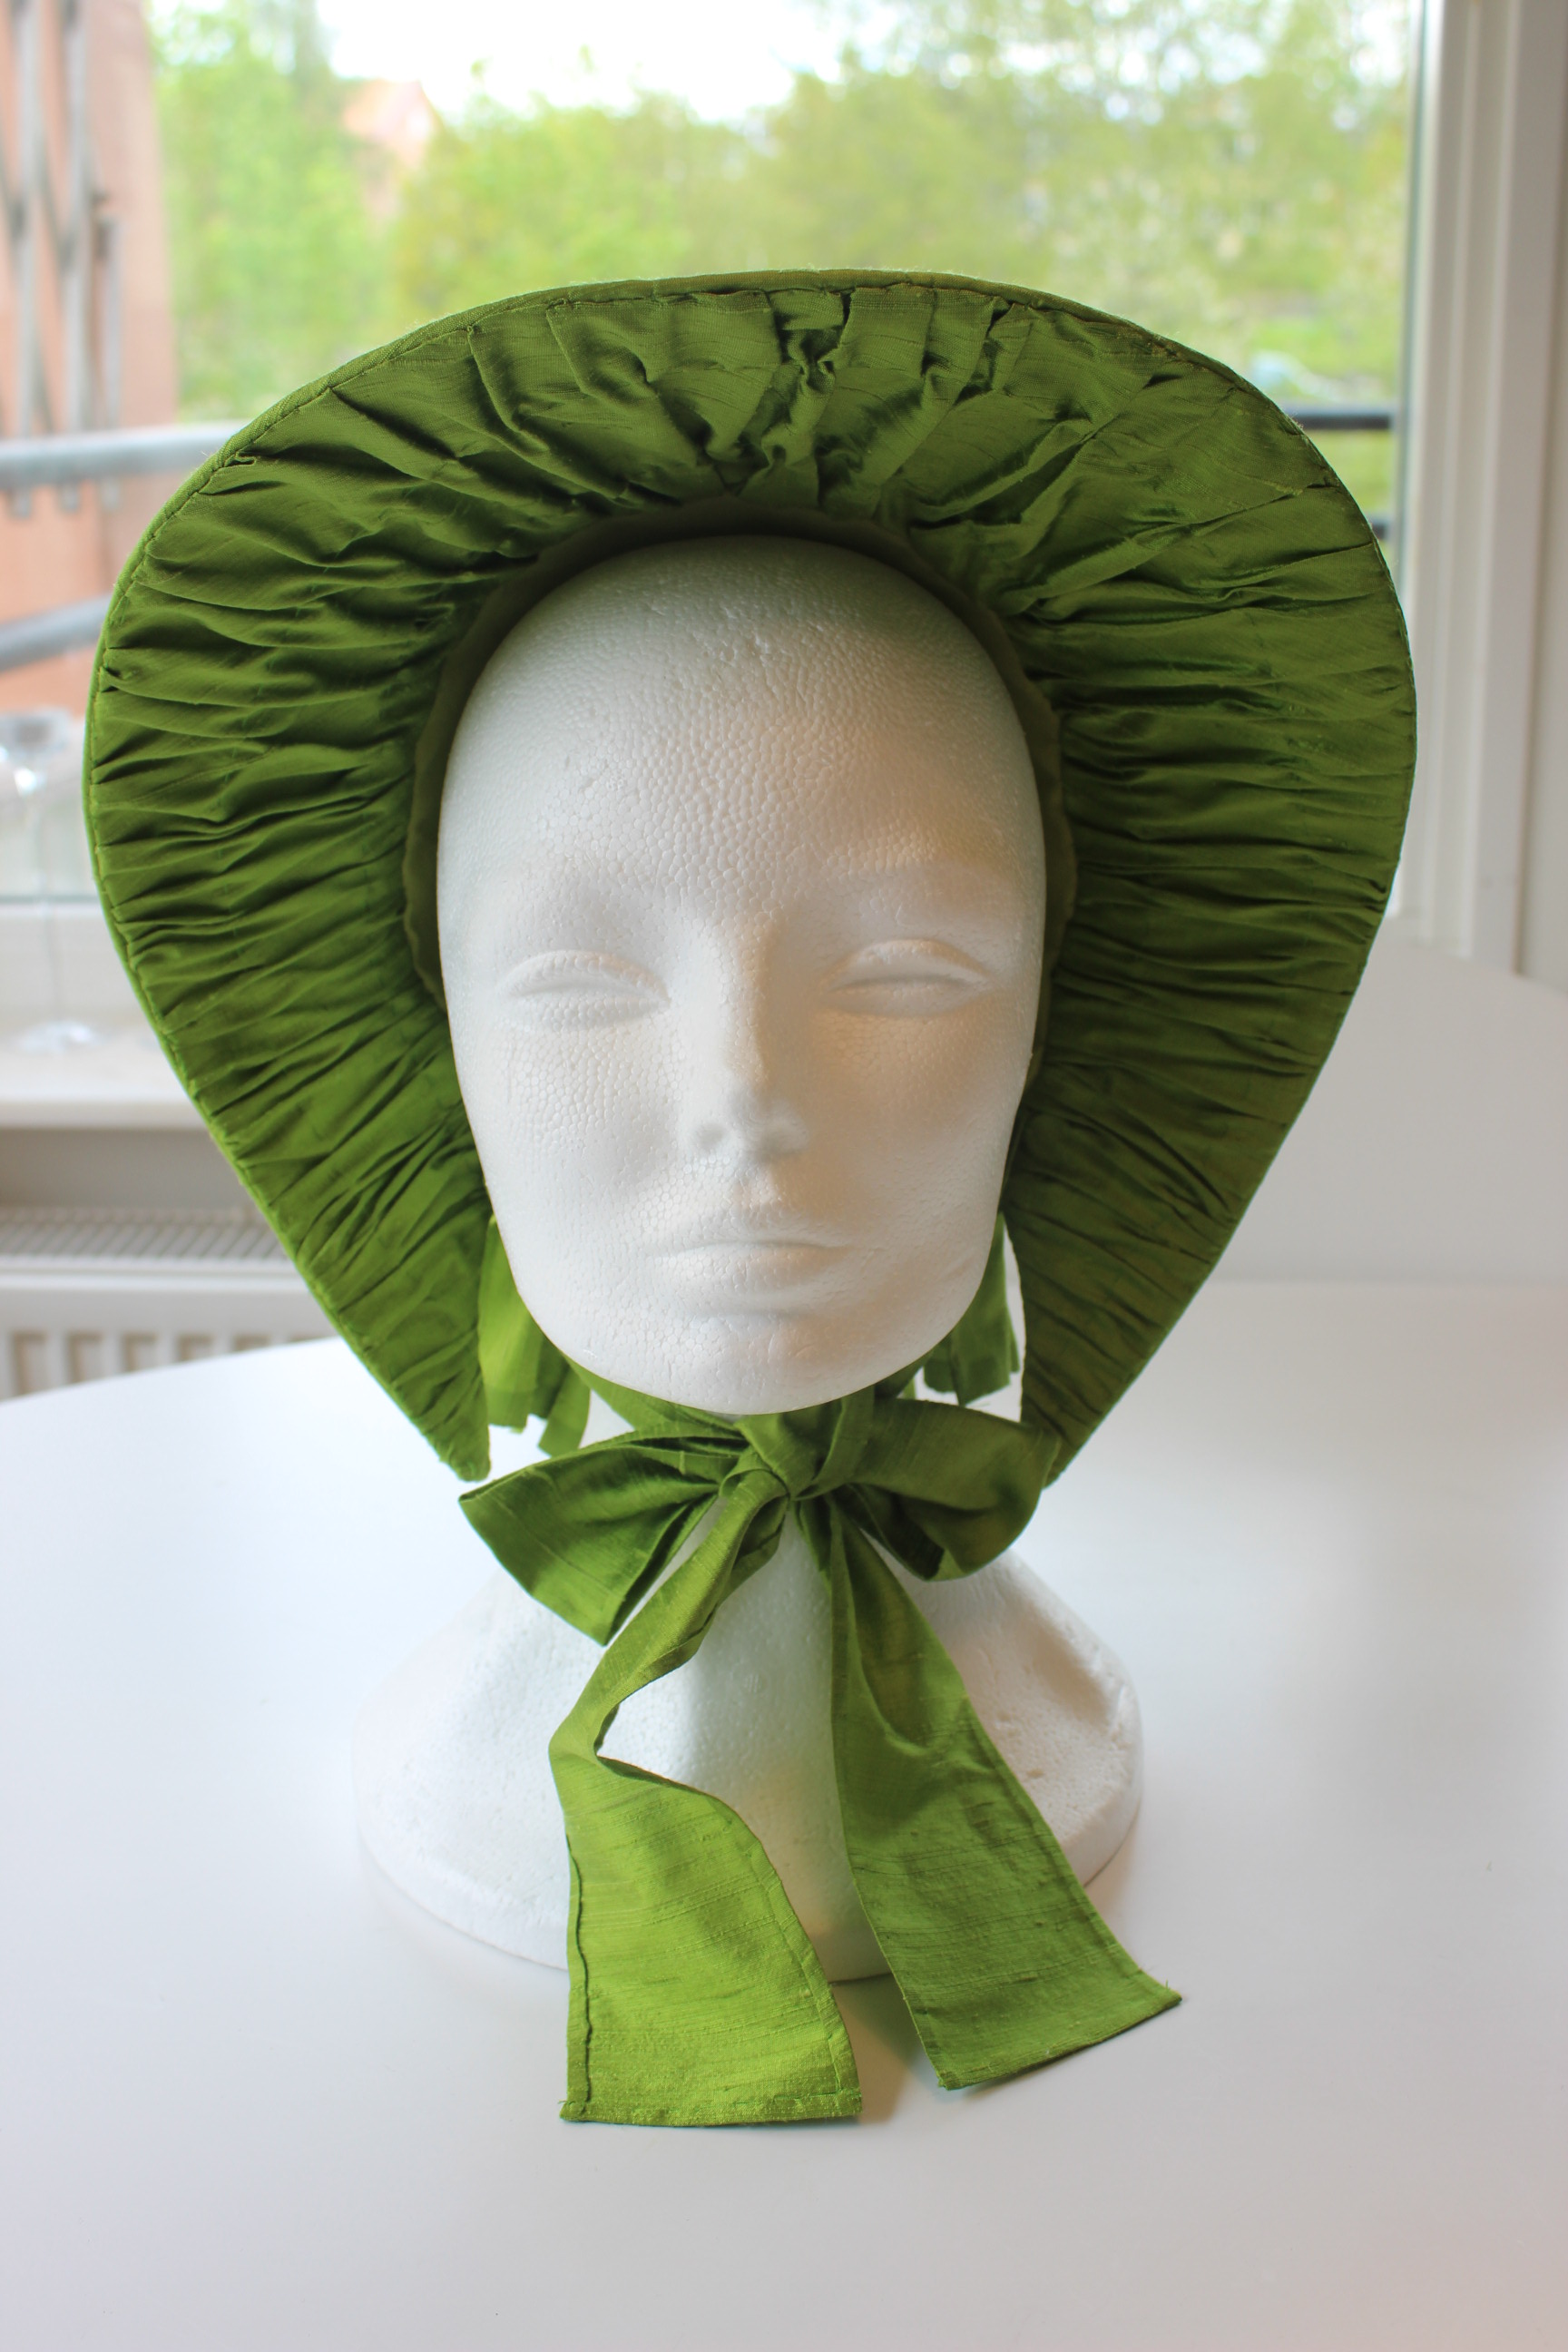
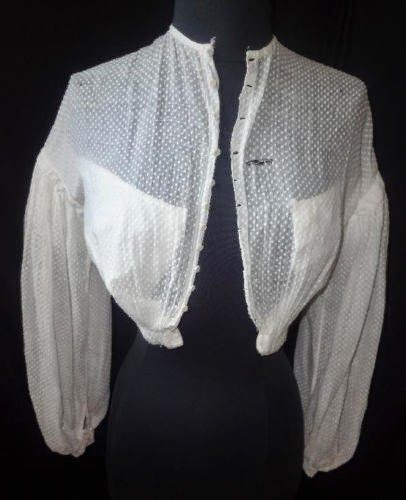
A couple of photos with the skirt, (not) Gabardi blouse and green bonnet:IMG_4962

IMG_4946

As you can see I also discovered I needed to shorten the skirt about 5-10 cm – great!
Back to the ironing table…

Nexts up: Construction for the dress bodice…

swiss Waist

As a final touch on my sisters 1860s outfit (Skirt, Blouse, Hat) I decided to make a Swiss waist. f0870122635b3a5962969592ceaf8851I love the look of so many of these pictures.

As it appers, Lots of other bloggers started to show interest in the small, but faboulus looking accessorie.
“Katie Lowely” made one as her HSM15 – Practiality entry.
And “Vintage Visions” examens one of her ancient ones using lots o new photos.

I’ve also had this pattern showing up in my Pinetest feed not long ago.d2a2d1a6a182f3d28fc757e8365d1e2dAnd following the link I discovered that Catheine of ” The fashionable Past” had drafted it from an extant piece in her colection (and also made a great tutorial for stitching it up, which I of course found only after I finished making my own…Doh)

Perfect!

As I wanted this project to be yet another fast one I dow into my scrap bin staright away and came up agin with two pieces of black fabric one cotton lawn and one piece of polyester taffeta.

So I copied the patten and altered it to my sisters measurments, then I cut 1 of each piec in taffeta and two in cotton.
I bsted the one of the cotton pieces to the taffeta as interlining nad pinned the pieces togeter or assemebly.

I stitched the cotton lining and the taffteta together at the front and back.IMG_6771IMG_6776

I made boning chanells from the selvedge at the side seam.IMG_6777

IMG_6778On pieces this uniform and simular, it is extra important to mark your front/back/up/down/right/wrong side.

The it was time to stitch the outer fabric to the lining. I tried the “sticth and turn” method, with bad result.IMG_6770
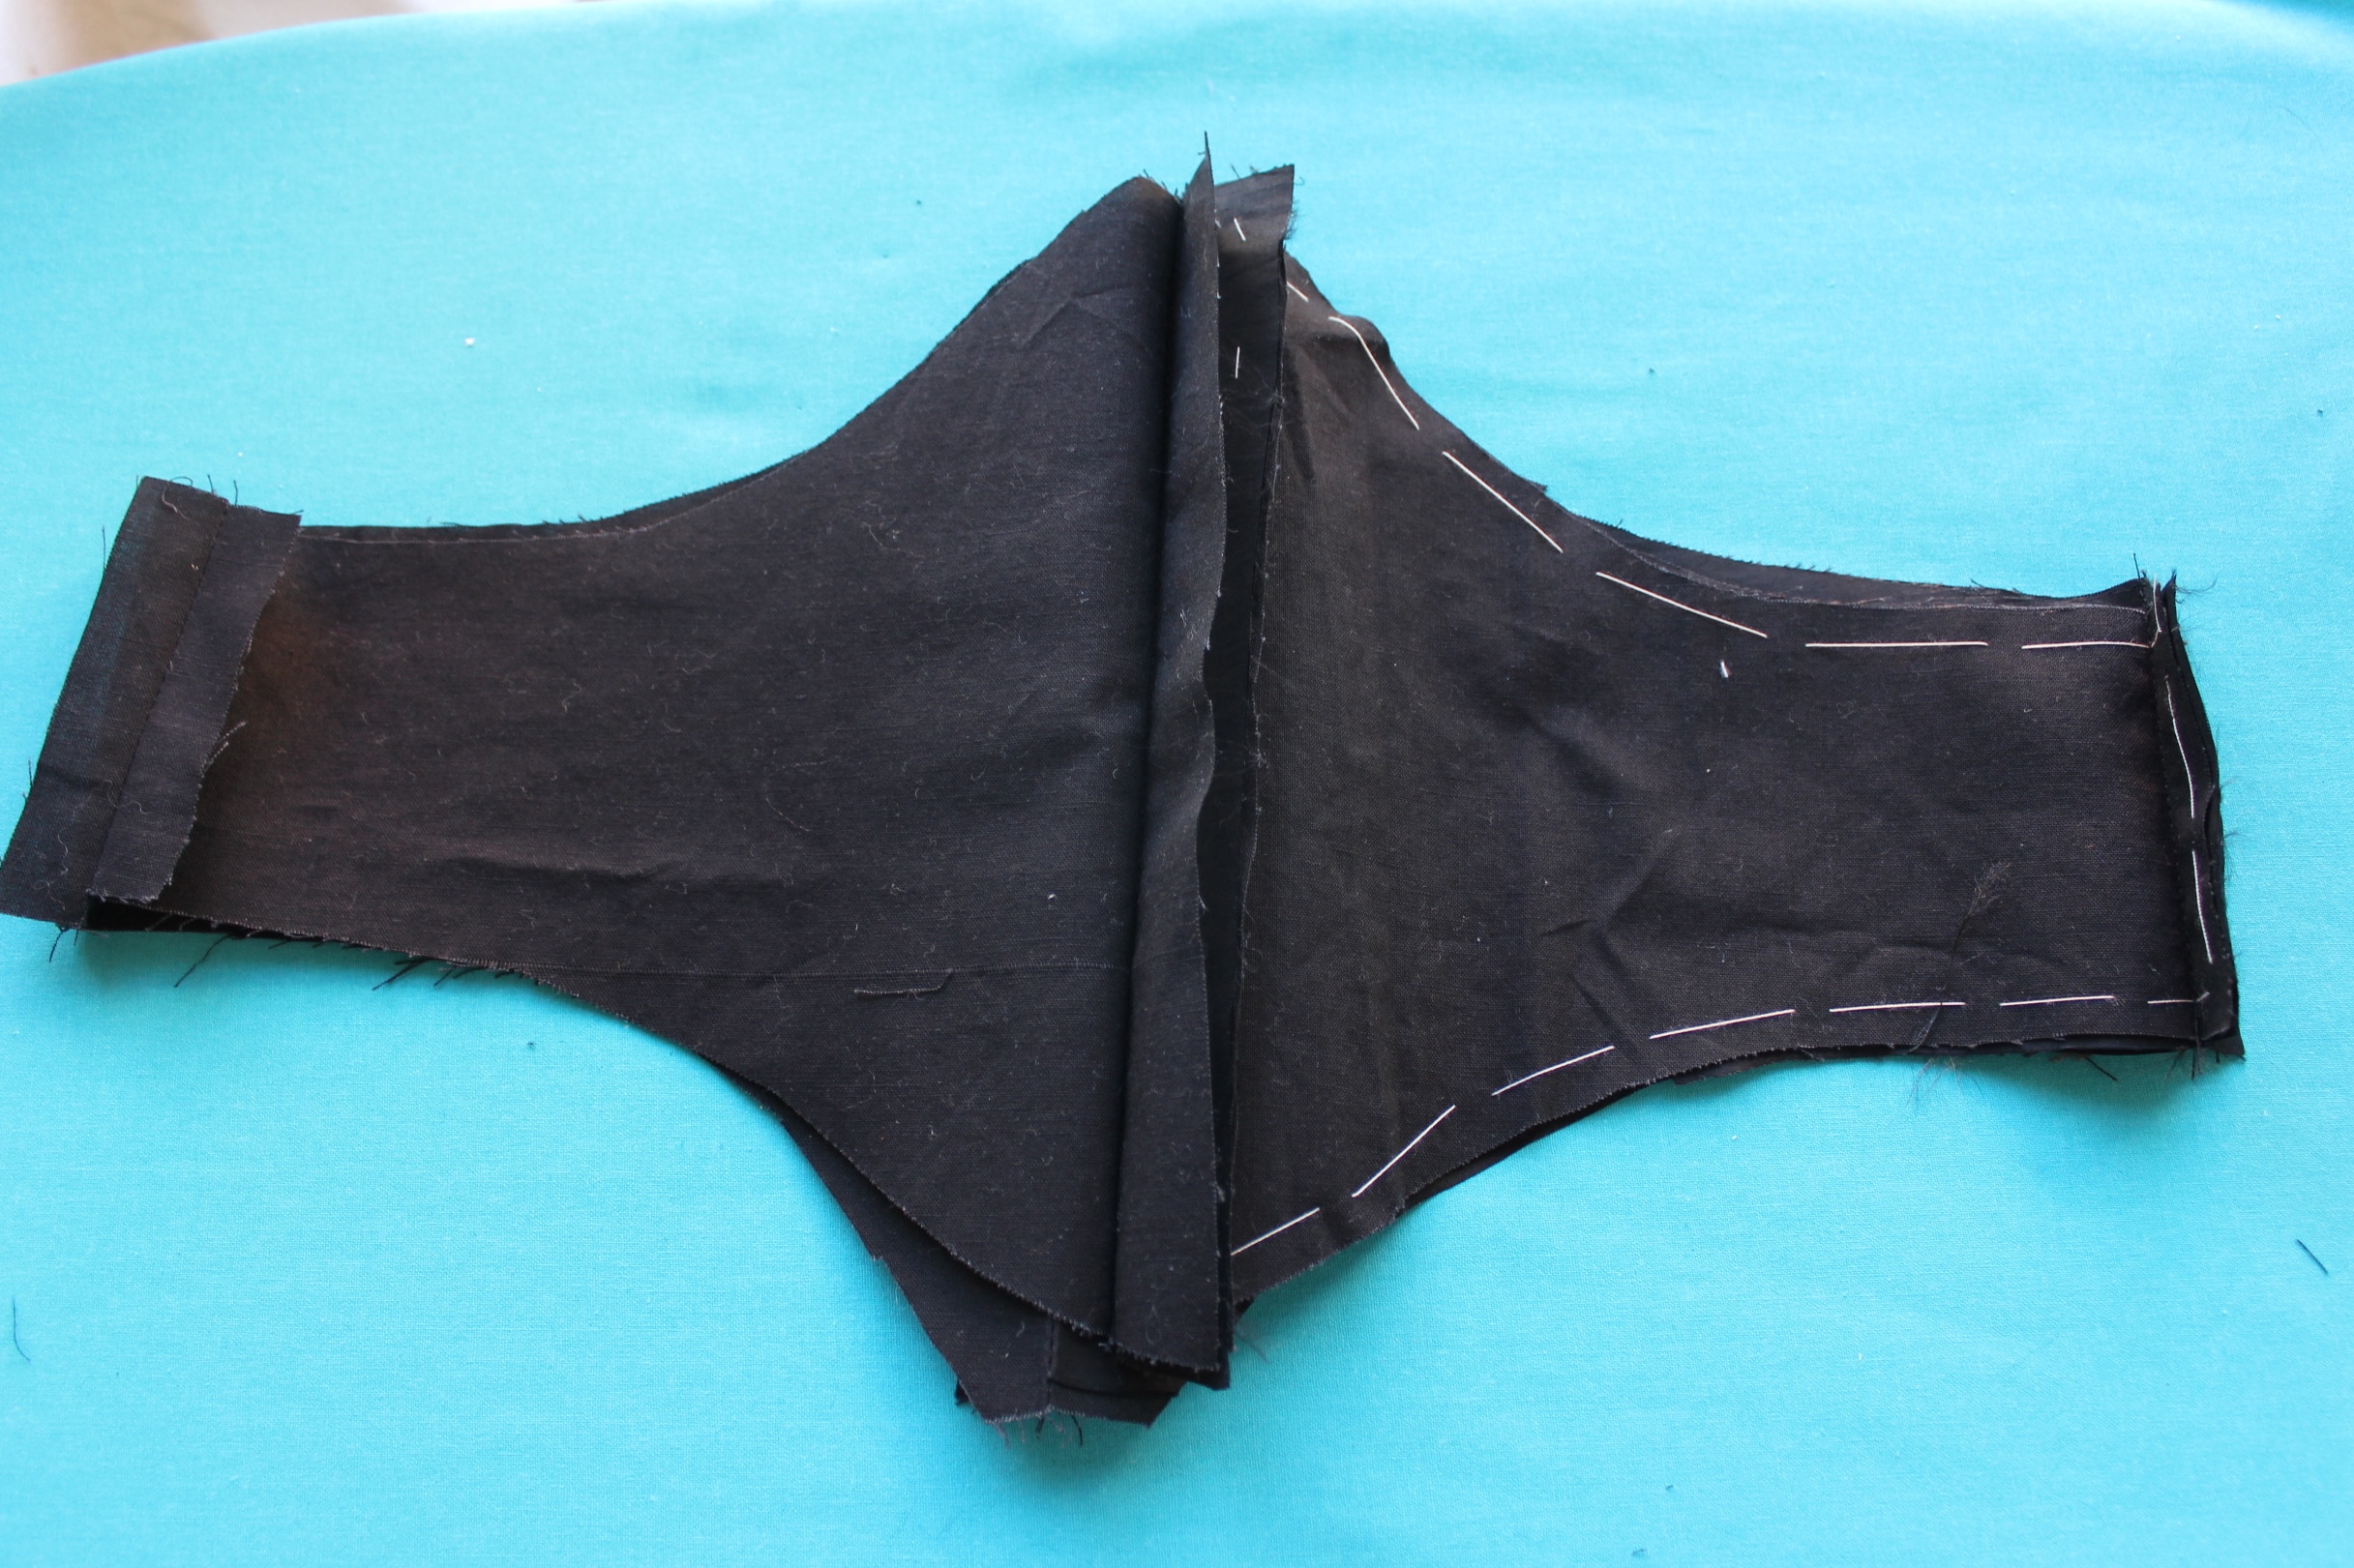
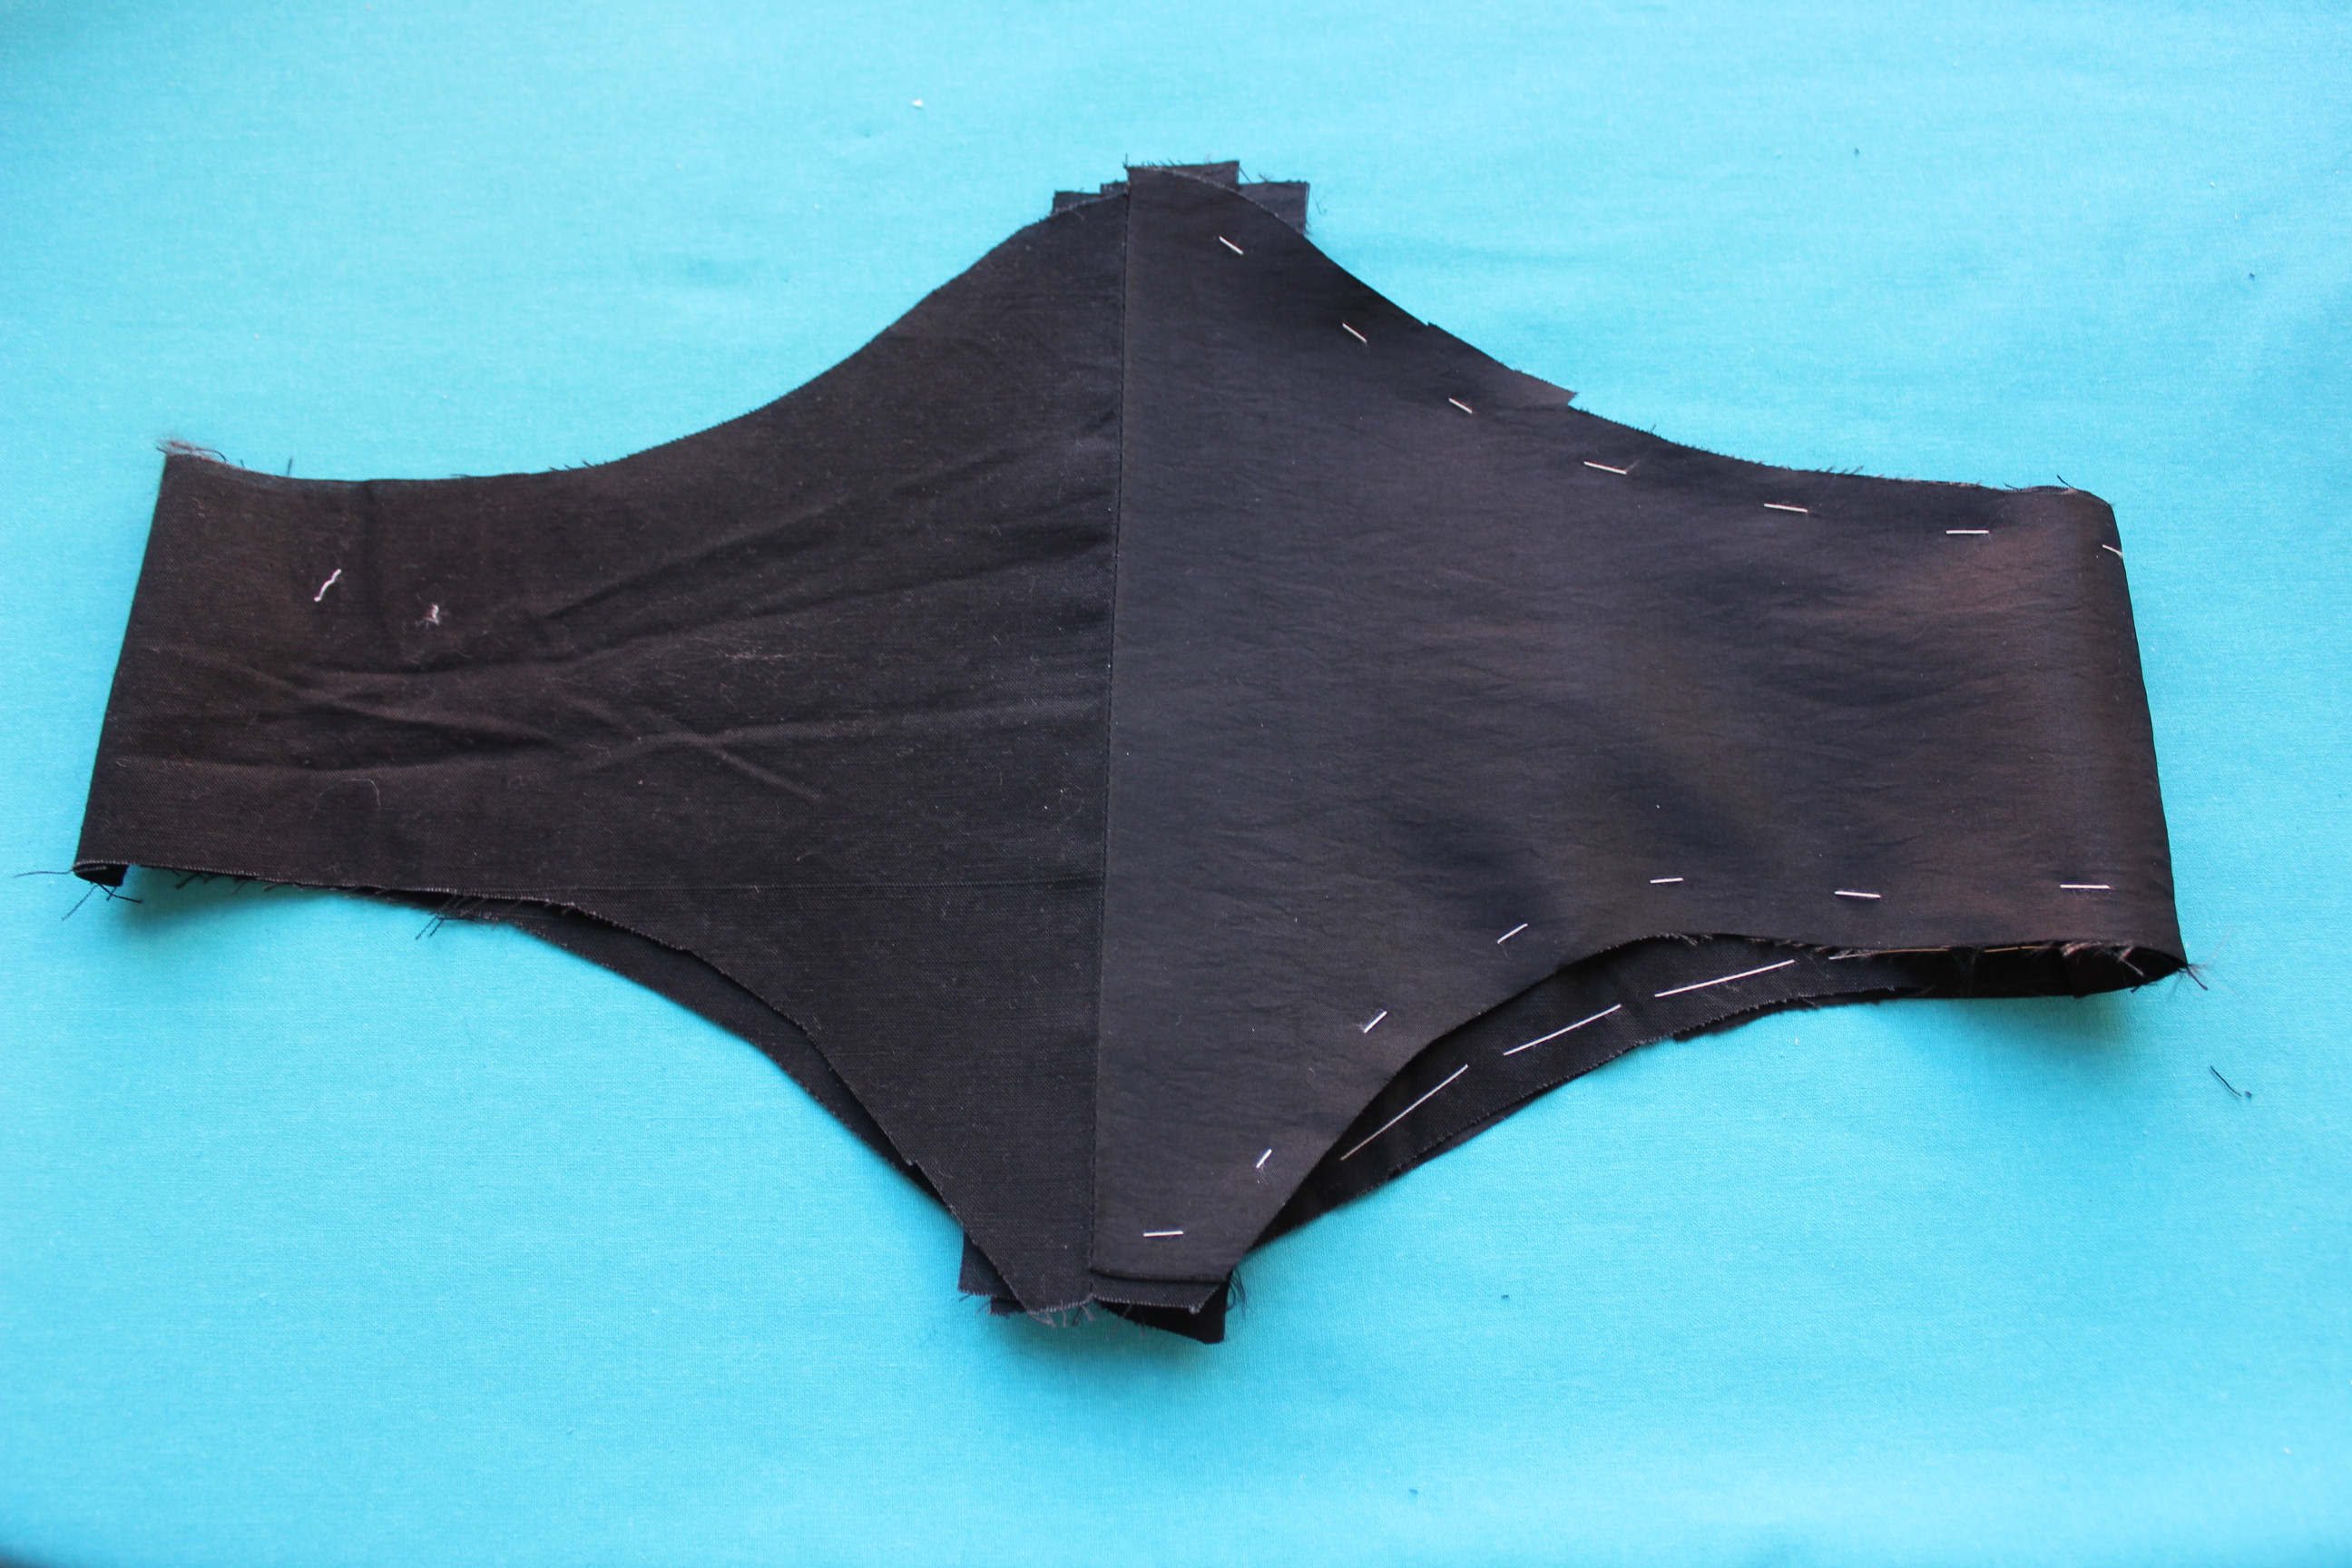
So I ended up ripping the seam out, turning the edges in from the outside and securing them with a wisible seam. (Totaly on purpose…)

Then I inserted the bones at the side seams.IMG_6784

I measured and marked the placeent for the lacing holes.IMG_6786

And spent one evening in front o the Tv sewing them.IMG_6787

Once the lacin holes was fininshed I inserted the last bones and stitched the edge closed by hand. IMG_6788IMG_6789

Then I finished of by adding hooks and eyes to the front edge.

The fininshed Swiss Waist (and whole outfit):IMG_6800

IMG_6798

IMG_6796

IMG_6801

IMG_6803

IMG_6804

IMG_6799

IMG_6794

The whole outfit including:
hat, Blouse, Skirt, Swiss wist and accessories like, fan, shawl, necktie and lace glowes.IMG_6792

The facts:

What: A 1860s Swiss Waist – Belt accessorie

Pattern: “Koshka the cats” pattern for “Swiss waist ca 1860s”

Fabric and notions: Scraps of black cotton and ployester taffeta, thread, scarps of boning, buttonhole thread and hooks and eyes.

Time & cost: About 4 hours and 50 sek (8Usd)

Final thought: It serves it’s purpose, but I think It nwould ahve benefitted from another fabric choise and some more boning.

1860s(ish) 2 hours blue skirt

To have something to go with the hat, and shirt/blouse, my sister also needed some other pieces to make her outfit (why do I do this to myself).

And to save my sanity, I decided on yet another quick and simple project.
A straight skirt sewn on machine.

I had some trouble finding a fabric I liked (and thought my sister would like)20150331_170650Lovely cotton prints, but none that would serve my purposes.

Then I stumbled over this great (and quite loud) print, which I immediately loved.IMG_6758

I started by cutting three widths of fabric the length the skirt needed. IMG_6757

Then I matched the prints at the seams and stitched the widths together.IMG_6756If you look closely you can see the edge.

Then I pleated the upper edge to the right waist measure and added a small strip of fabric for waistband.

I finished by folding and stitching the hem, and adding hooks and eyes for clouser.

The only thing that took some time was the hemming – if I’d sewn it by machine I could have called it my
“1 hour skirt”.

The finished skirt:IMG_6806

IMG_6808

IMG_6809

IMG_6810

IMG_6812

The facts:

What: A 1860s skirt

Pattern: None – just used rectangular pieces

Fabric & Notions: 3,5 m blue patterned light cotton, thread and hooks and eyes.

Time: 2 hours

Cost: about 300 Sek

Final thoughts: The skirt turned out just like I envisioned, and my sister likes it too, The only thing in need of change are to shorten the front a bit to keep my sister from stepping on it.

Practical (and quick) 1860s blouse

My original plan for the HSF15 challenge 5 – Practicality, a regency day-dress, needed to be postponed so to get time to finish this springs biggest undertaking – a hole new 1850-1860s wardrobe.

So after finishing my not a Garibaldi blouse a few weeks ago, I decided I needed yet another blouse in almost the same style, for my sister to wear at the upcoming “Crinoline day”.

89cd5d40c071b5494b98ca322cef5991My main inspiration was this sever looking young lady.

Since time was sparse, I decided to use the simplest way possible in all things for this blouse.

Staring with the pattern, I used the basic pattern blocks for a regular shirt (just like the picture below), and omitted the collar and cuff.

shirt-sewing-pattern-pieces-540

For fabric I used leftovers from my “Chemise a la Lambelle” & ” Ariel/Camille” dresses, A really nice and strong structured cotton voile(?)2013-05-29 17.38.05

Unfortunately I forgot to take any photos of the construction process, but it was so simple and went so smooth that I just kept sewing and finished over one afternoon.

IMG_6828

IMG_6826

Basically I just stitched the bodice together using french seams, added the small collar, sewed the buttonhole-stand and added buttons and (machined) buttonholes.IMG_6829
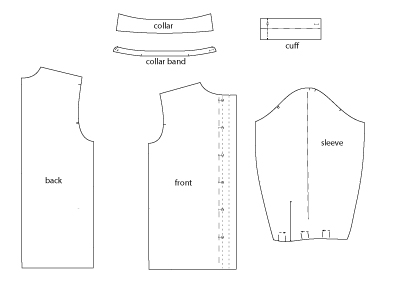
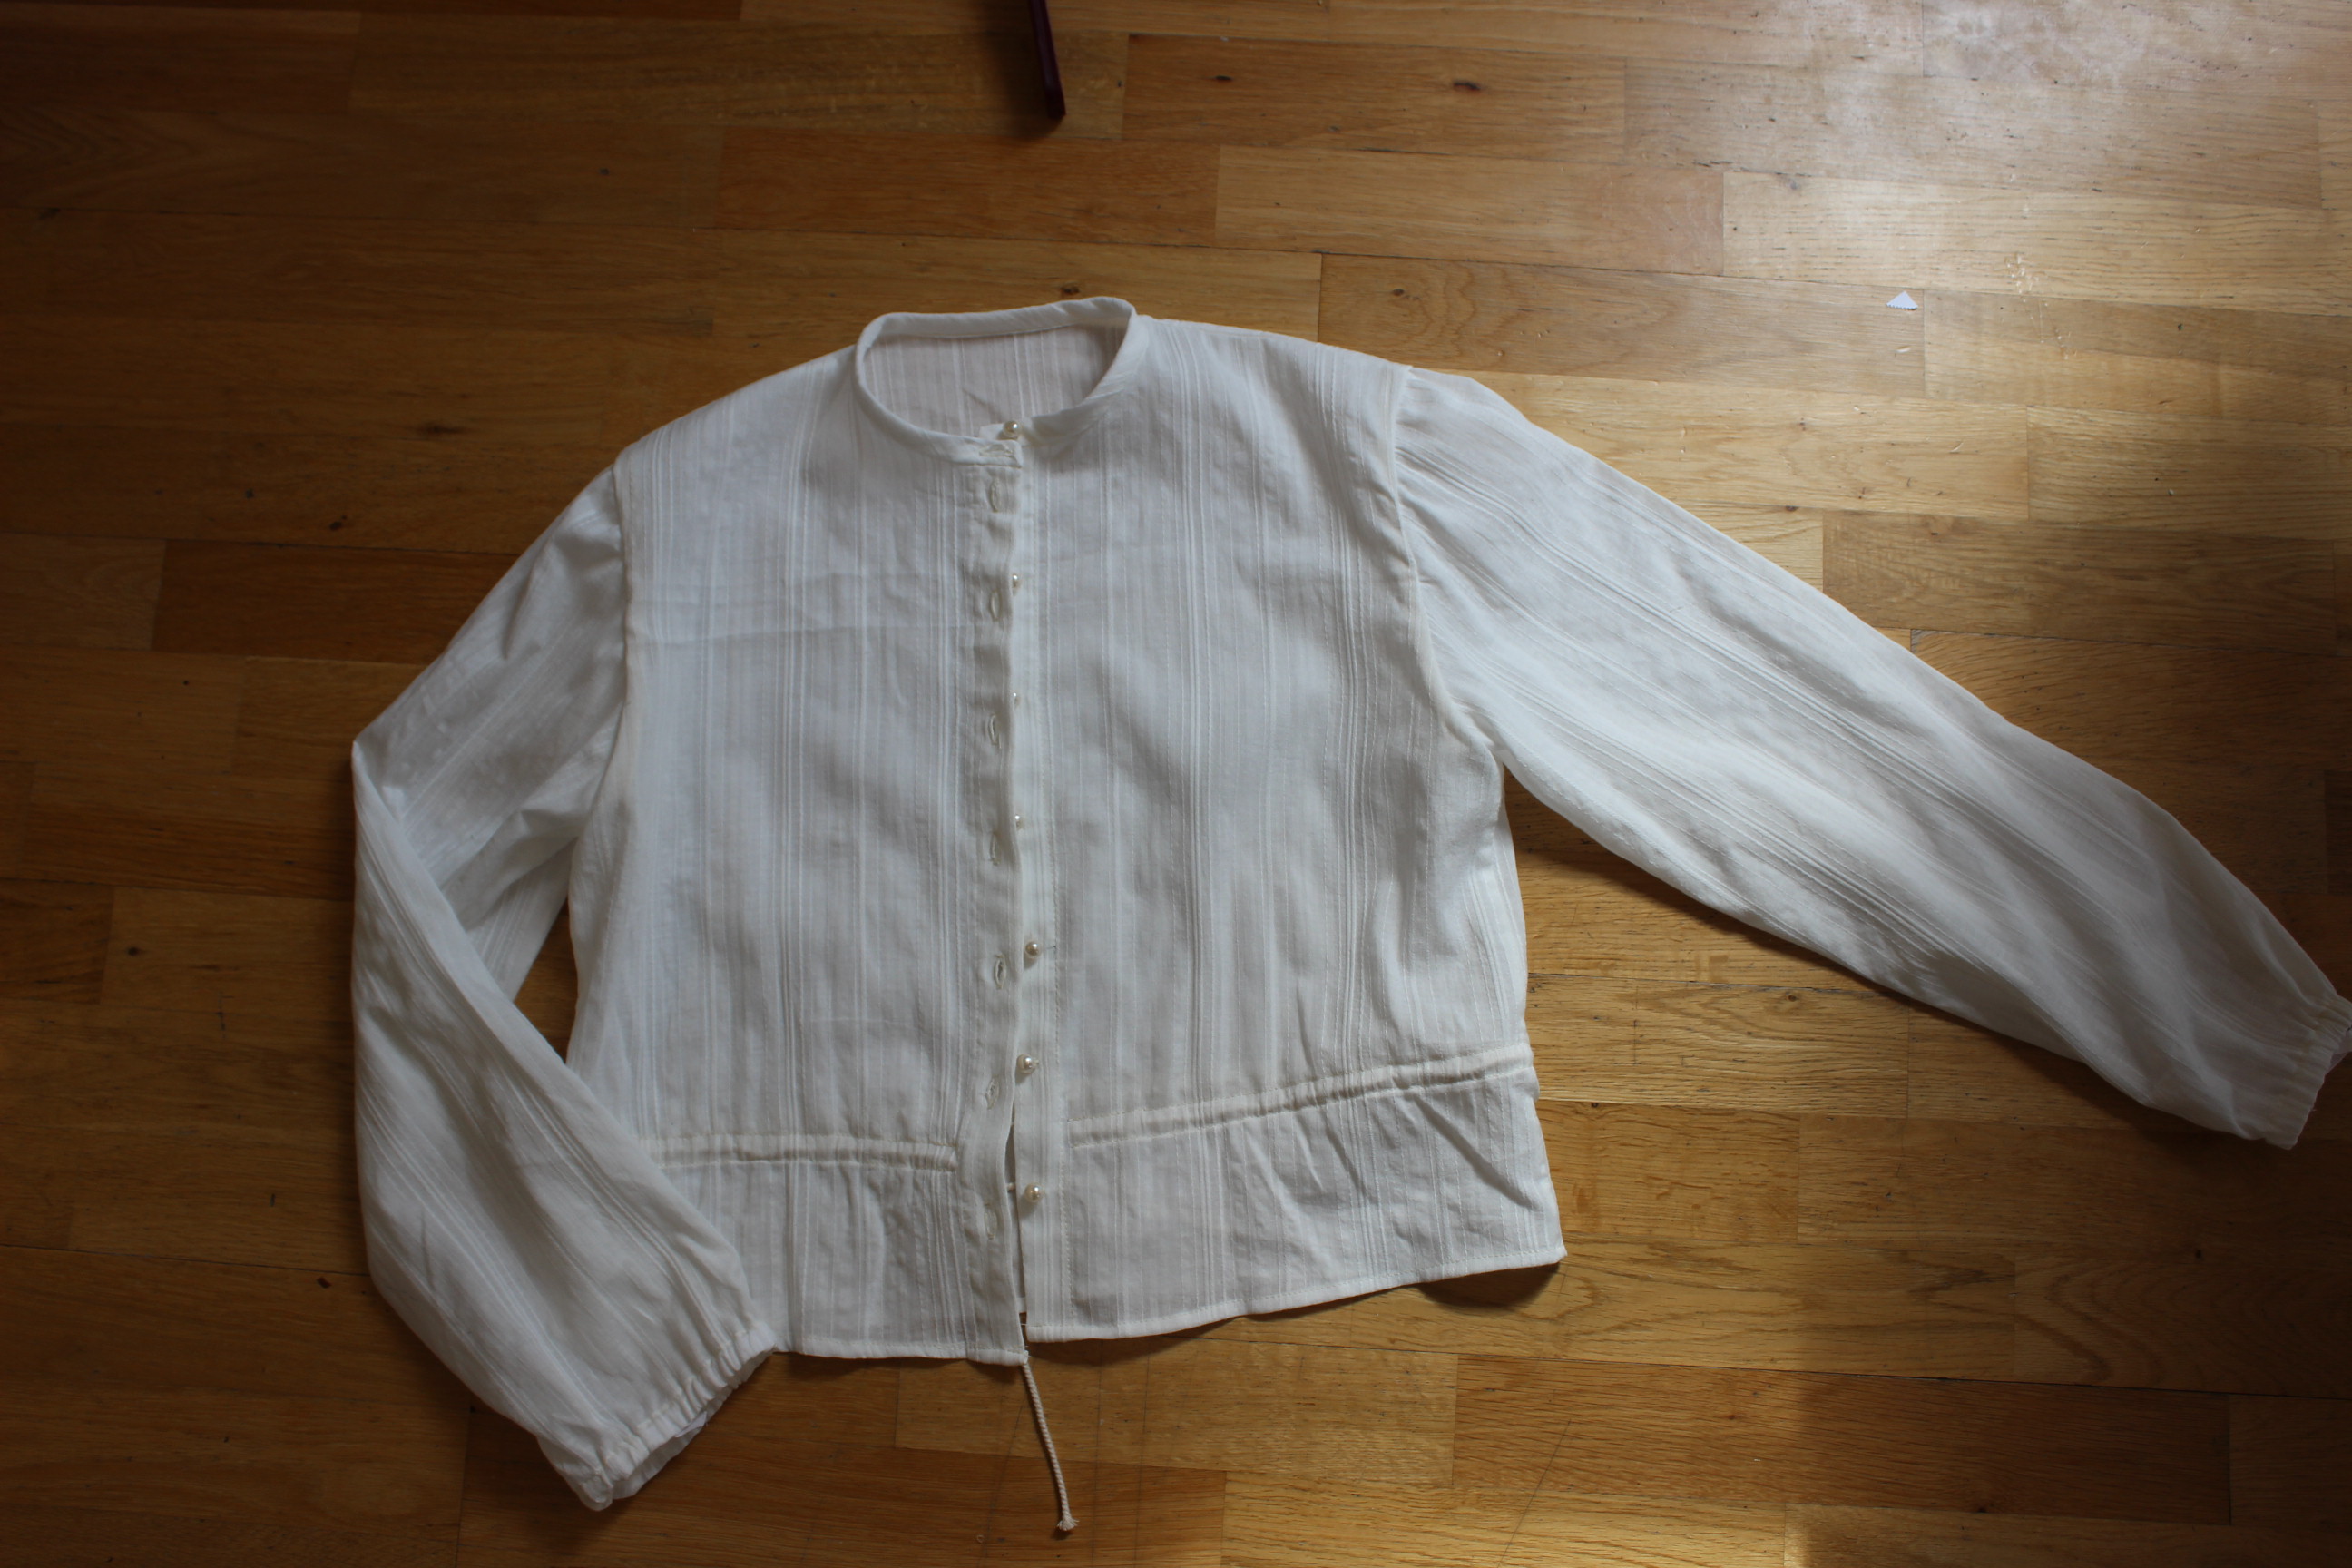
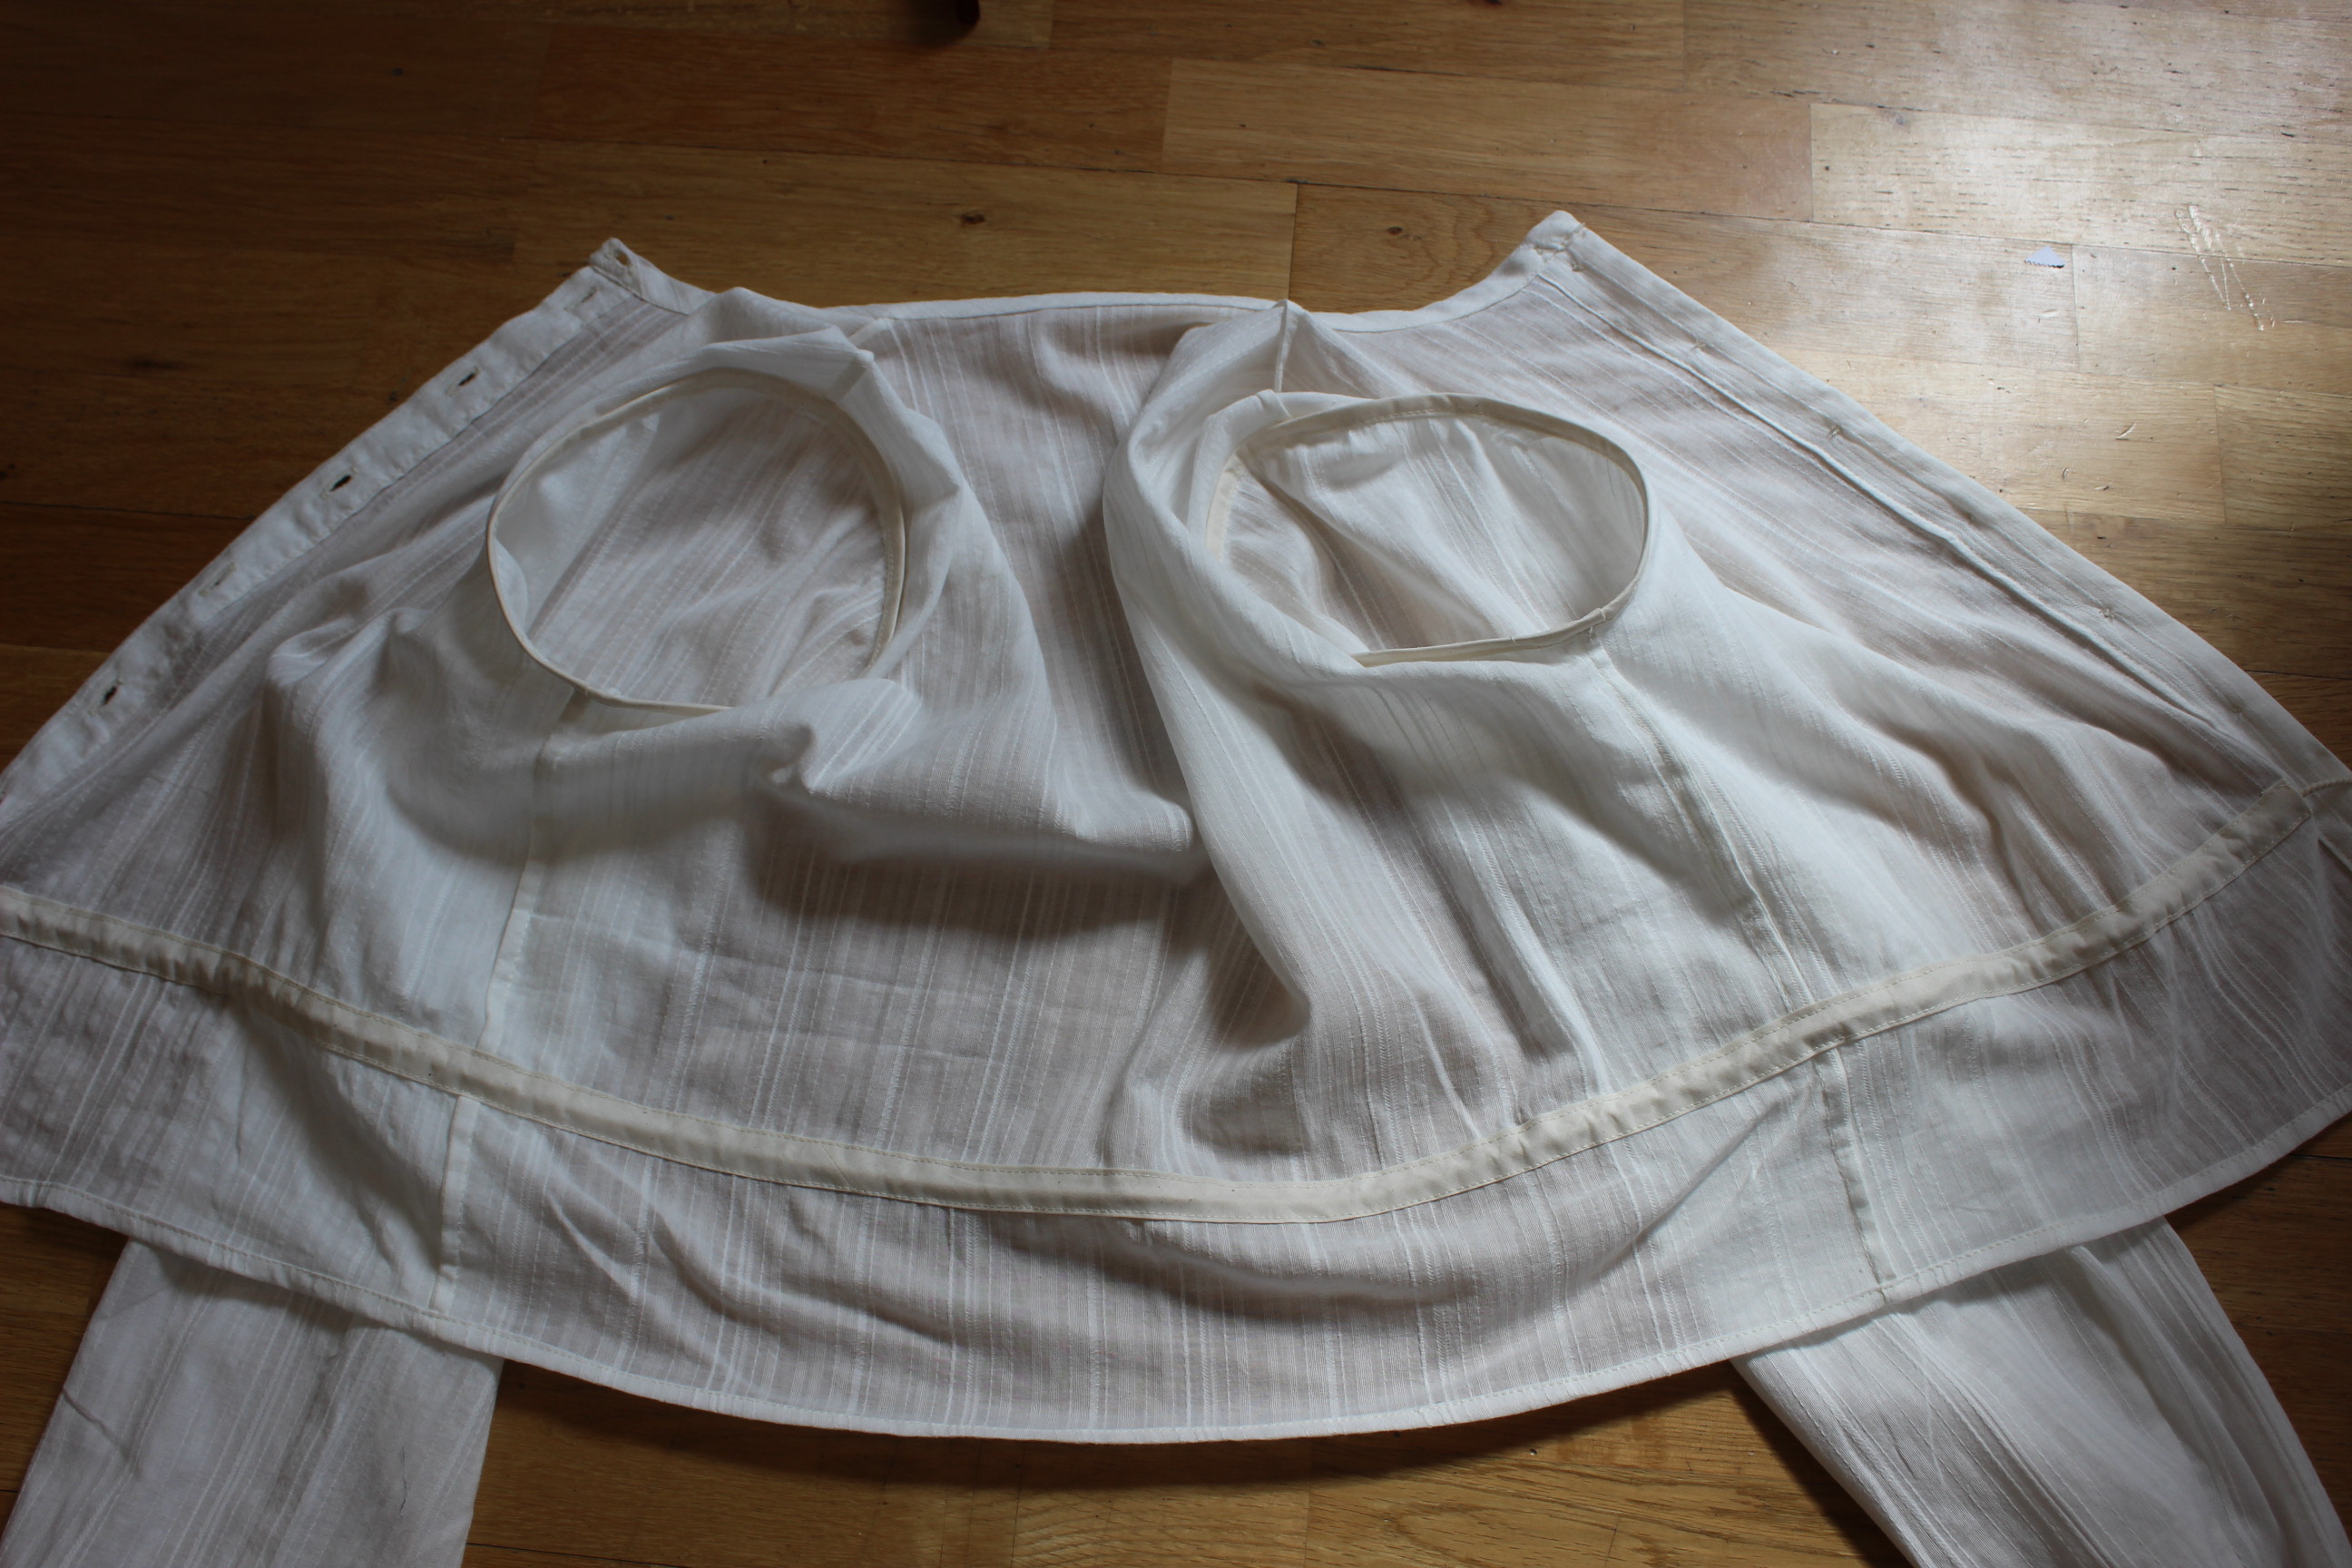
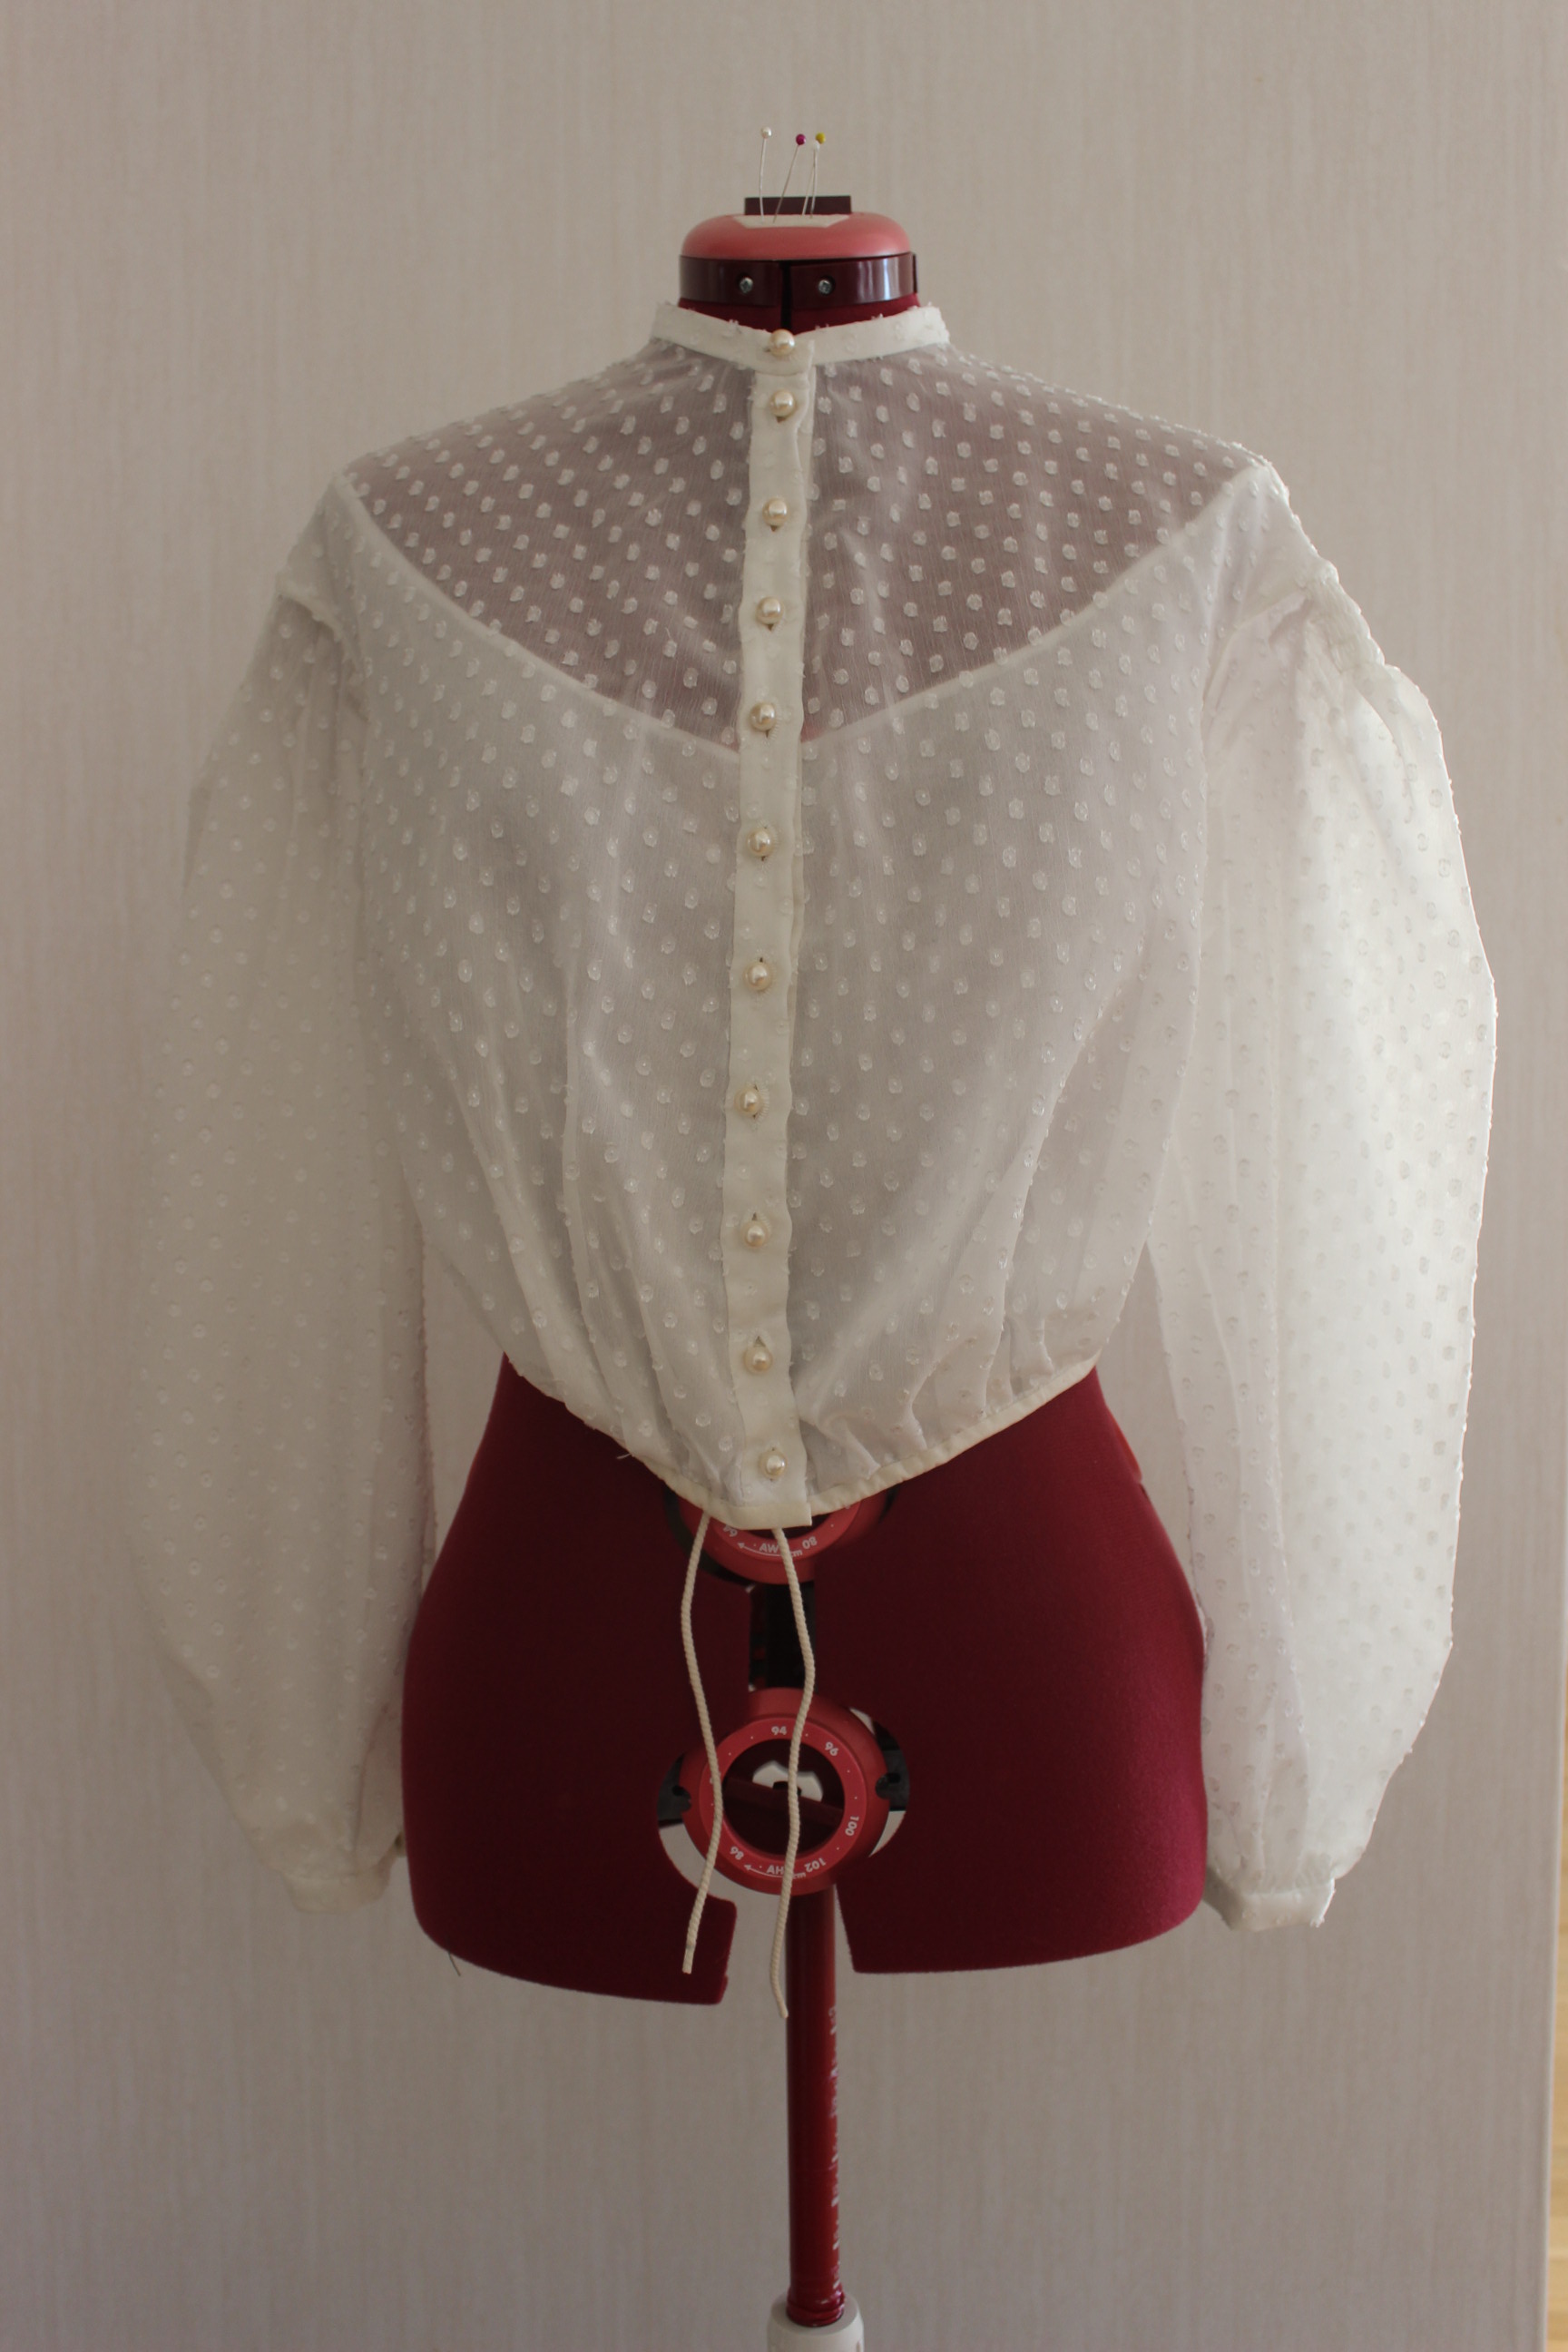
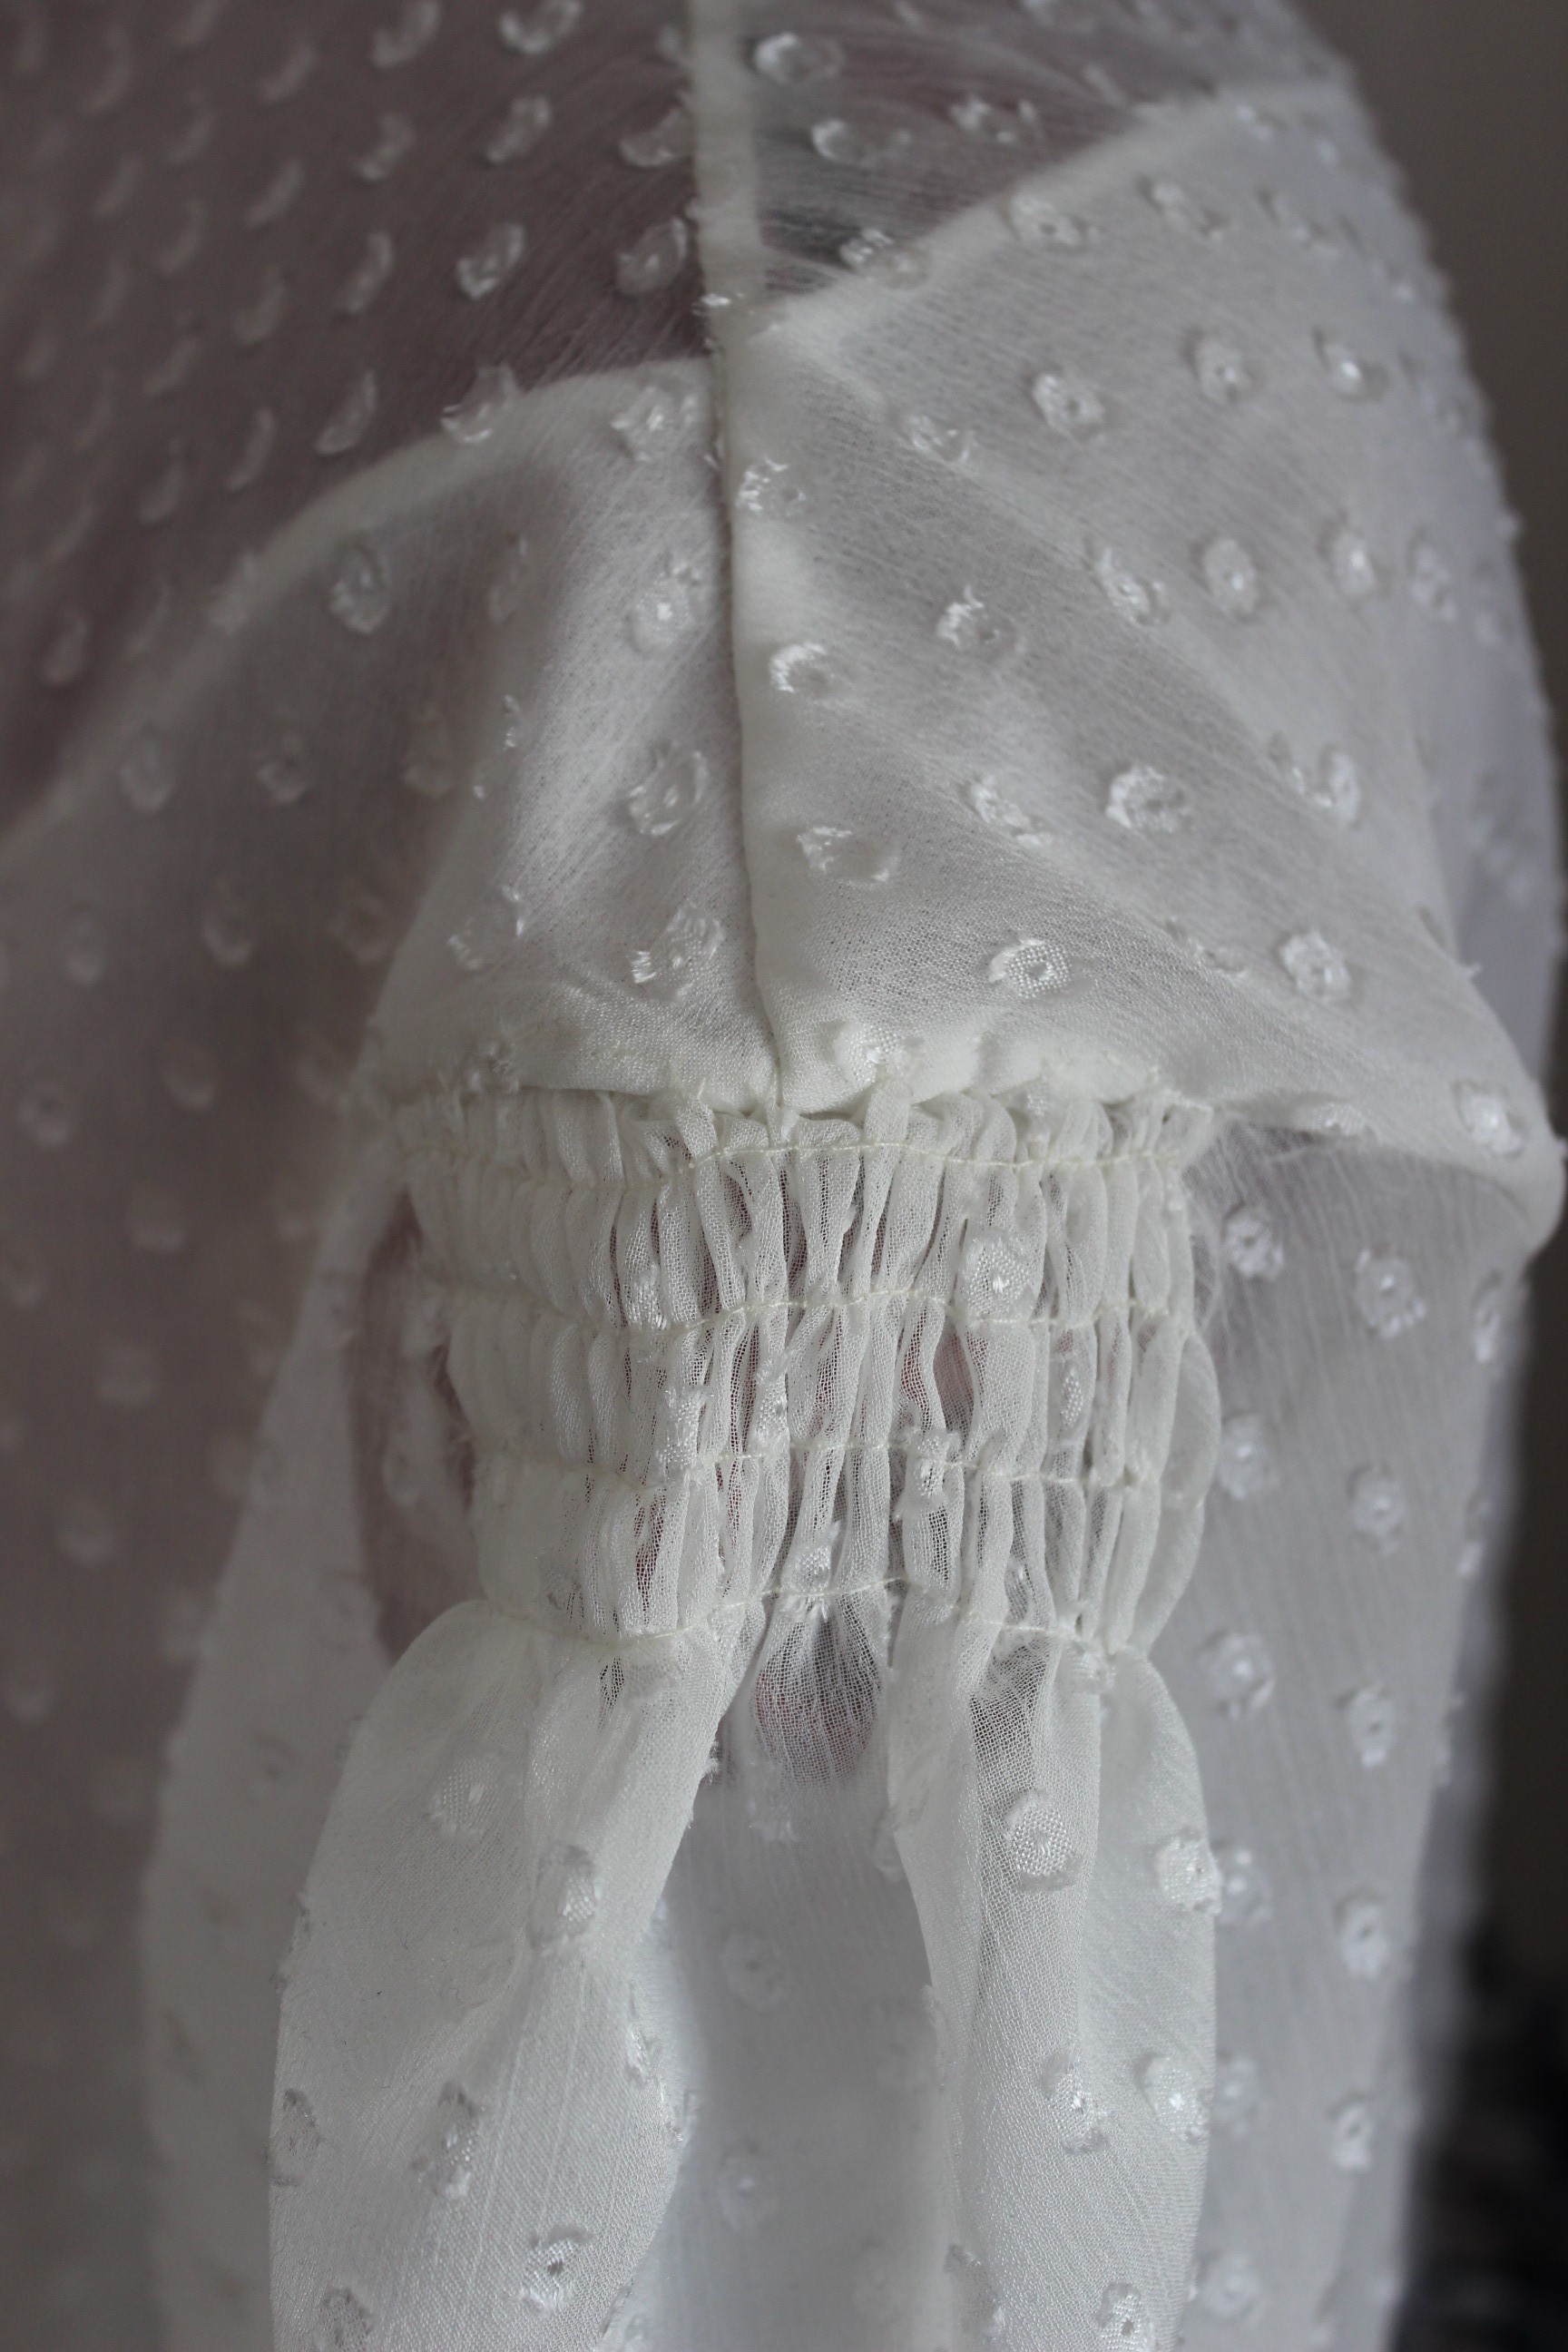
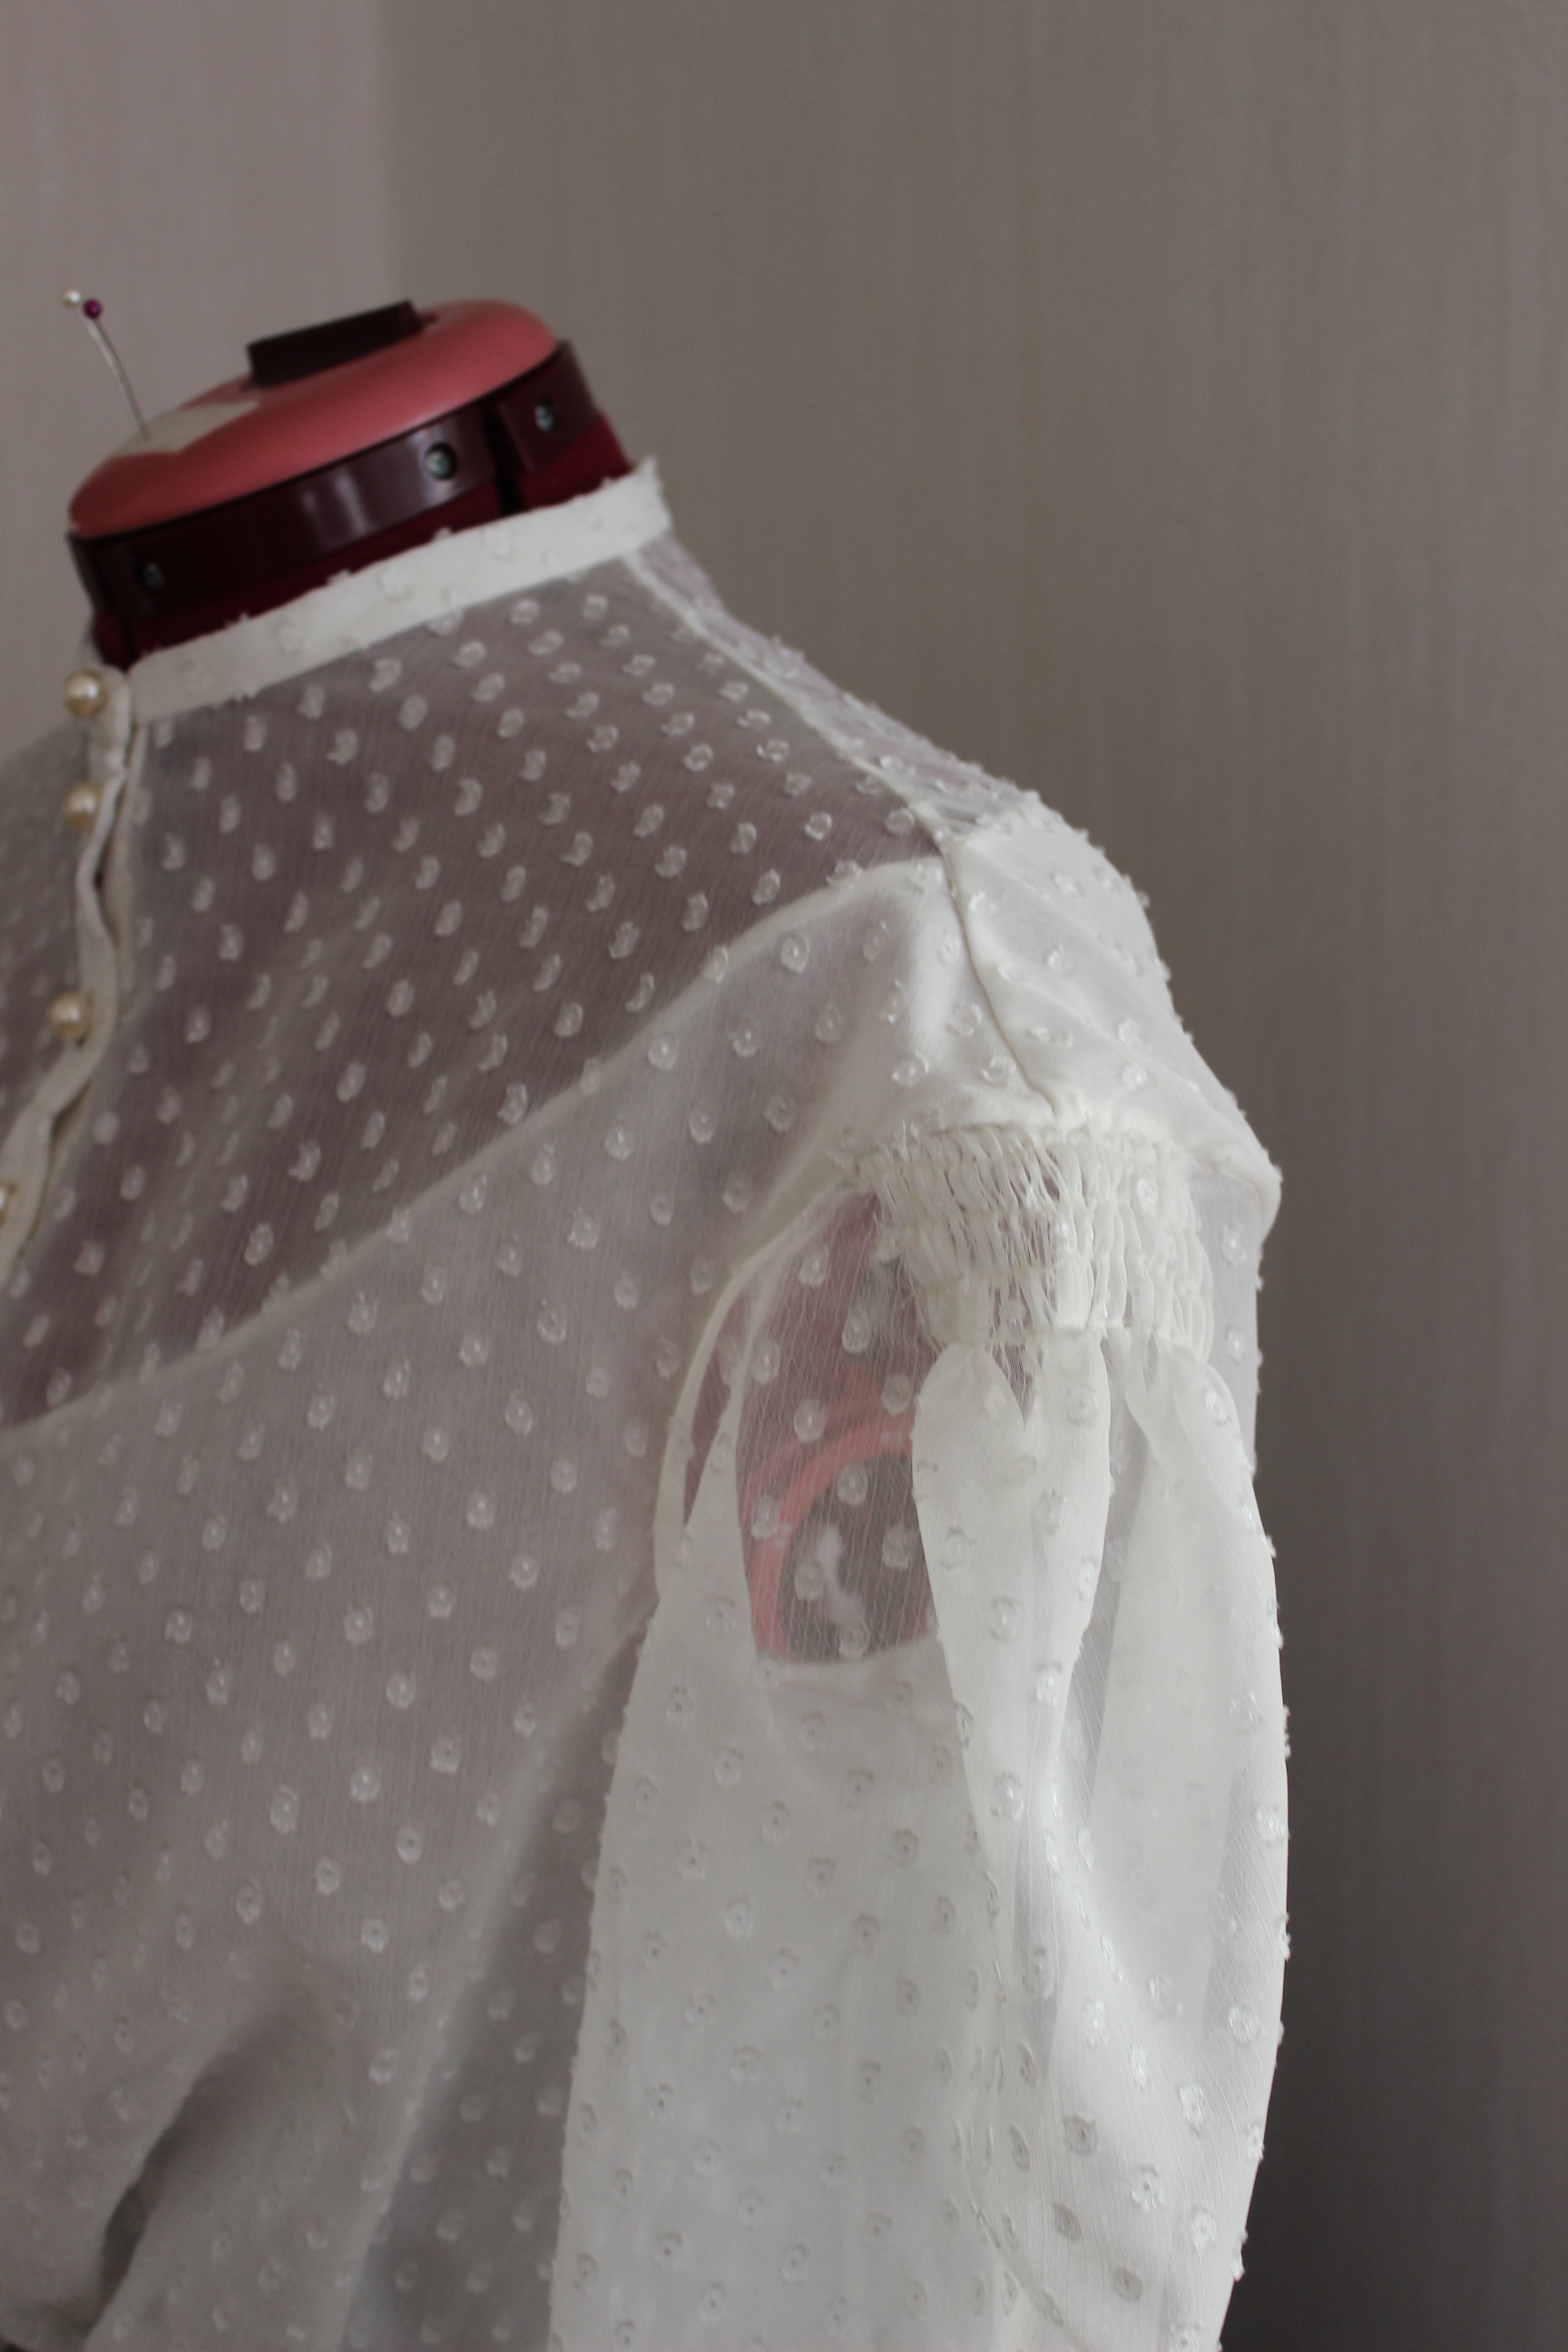
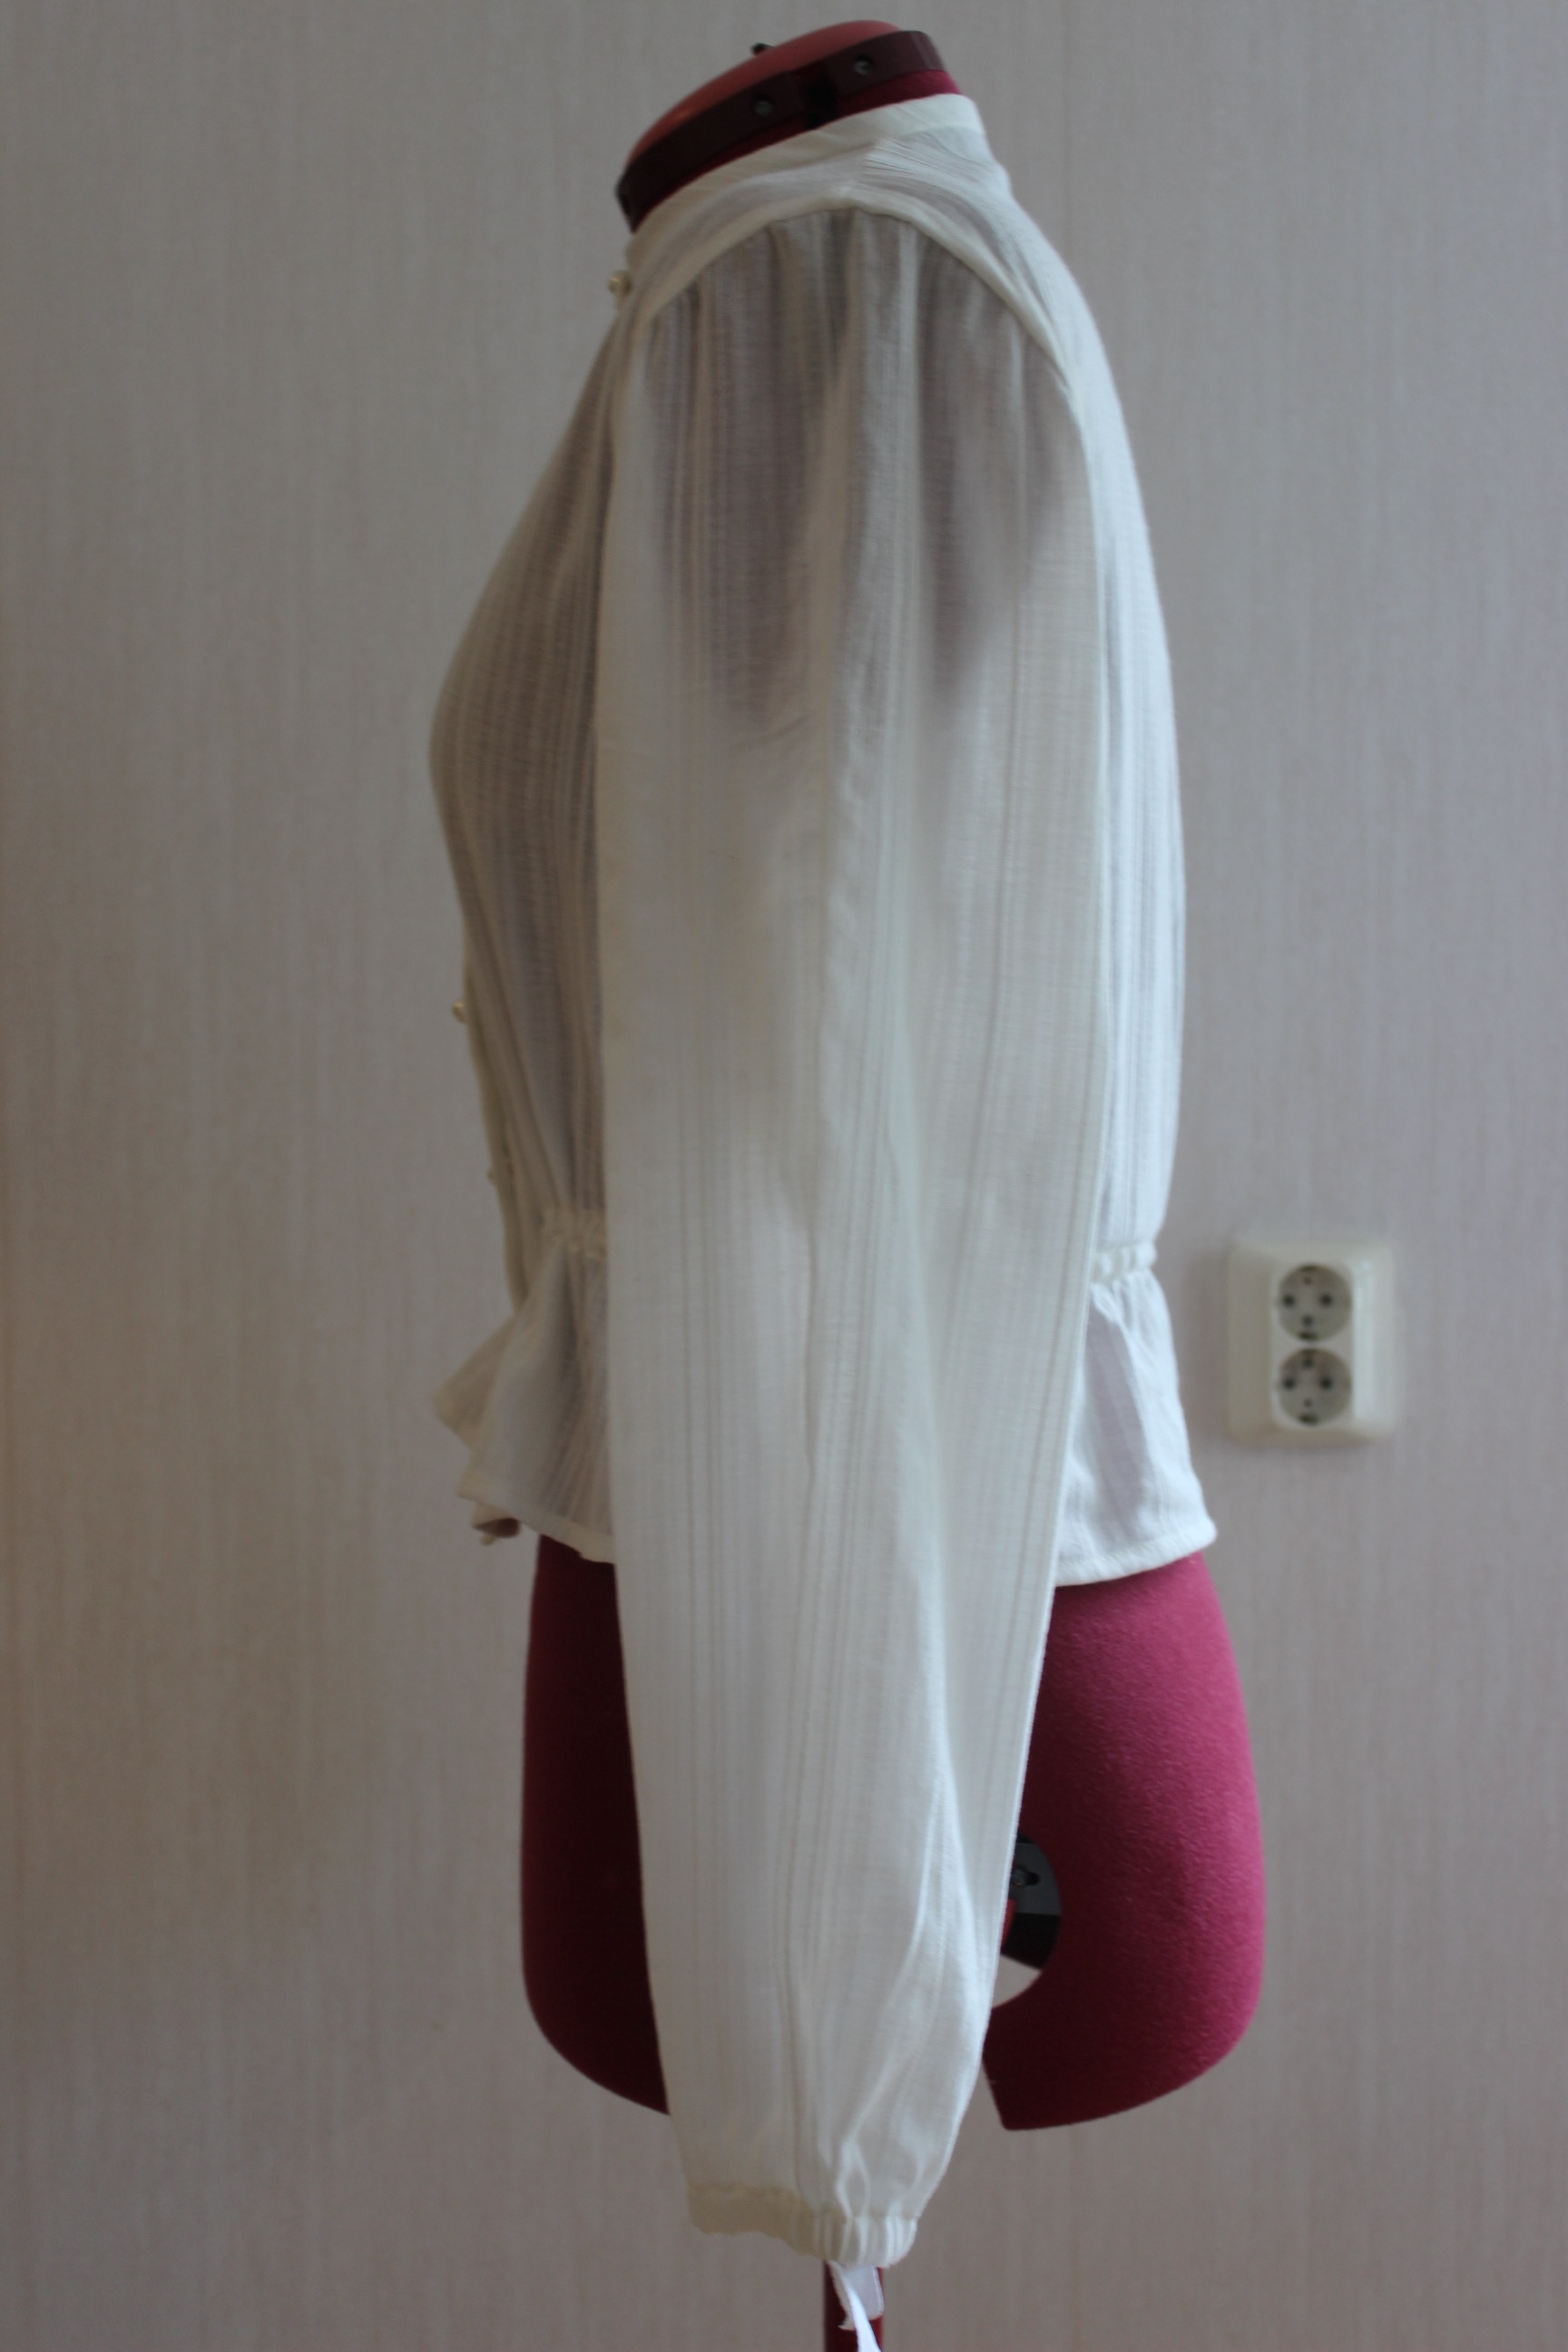
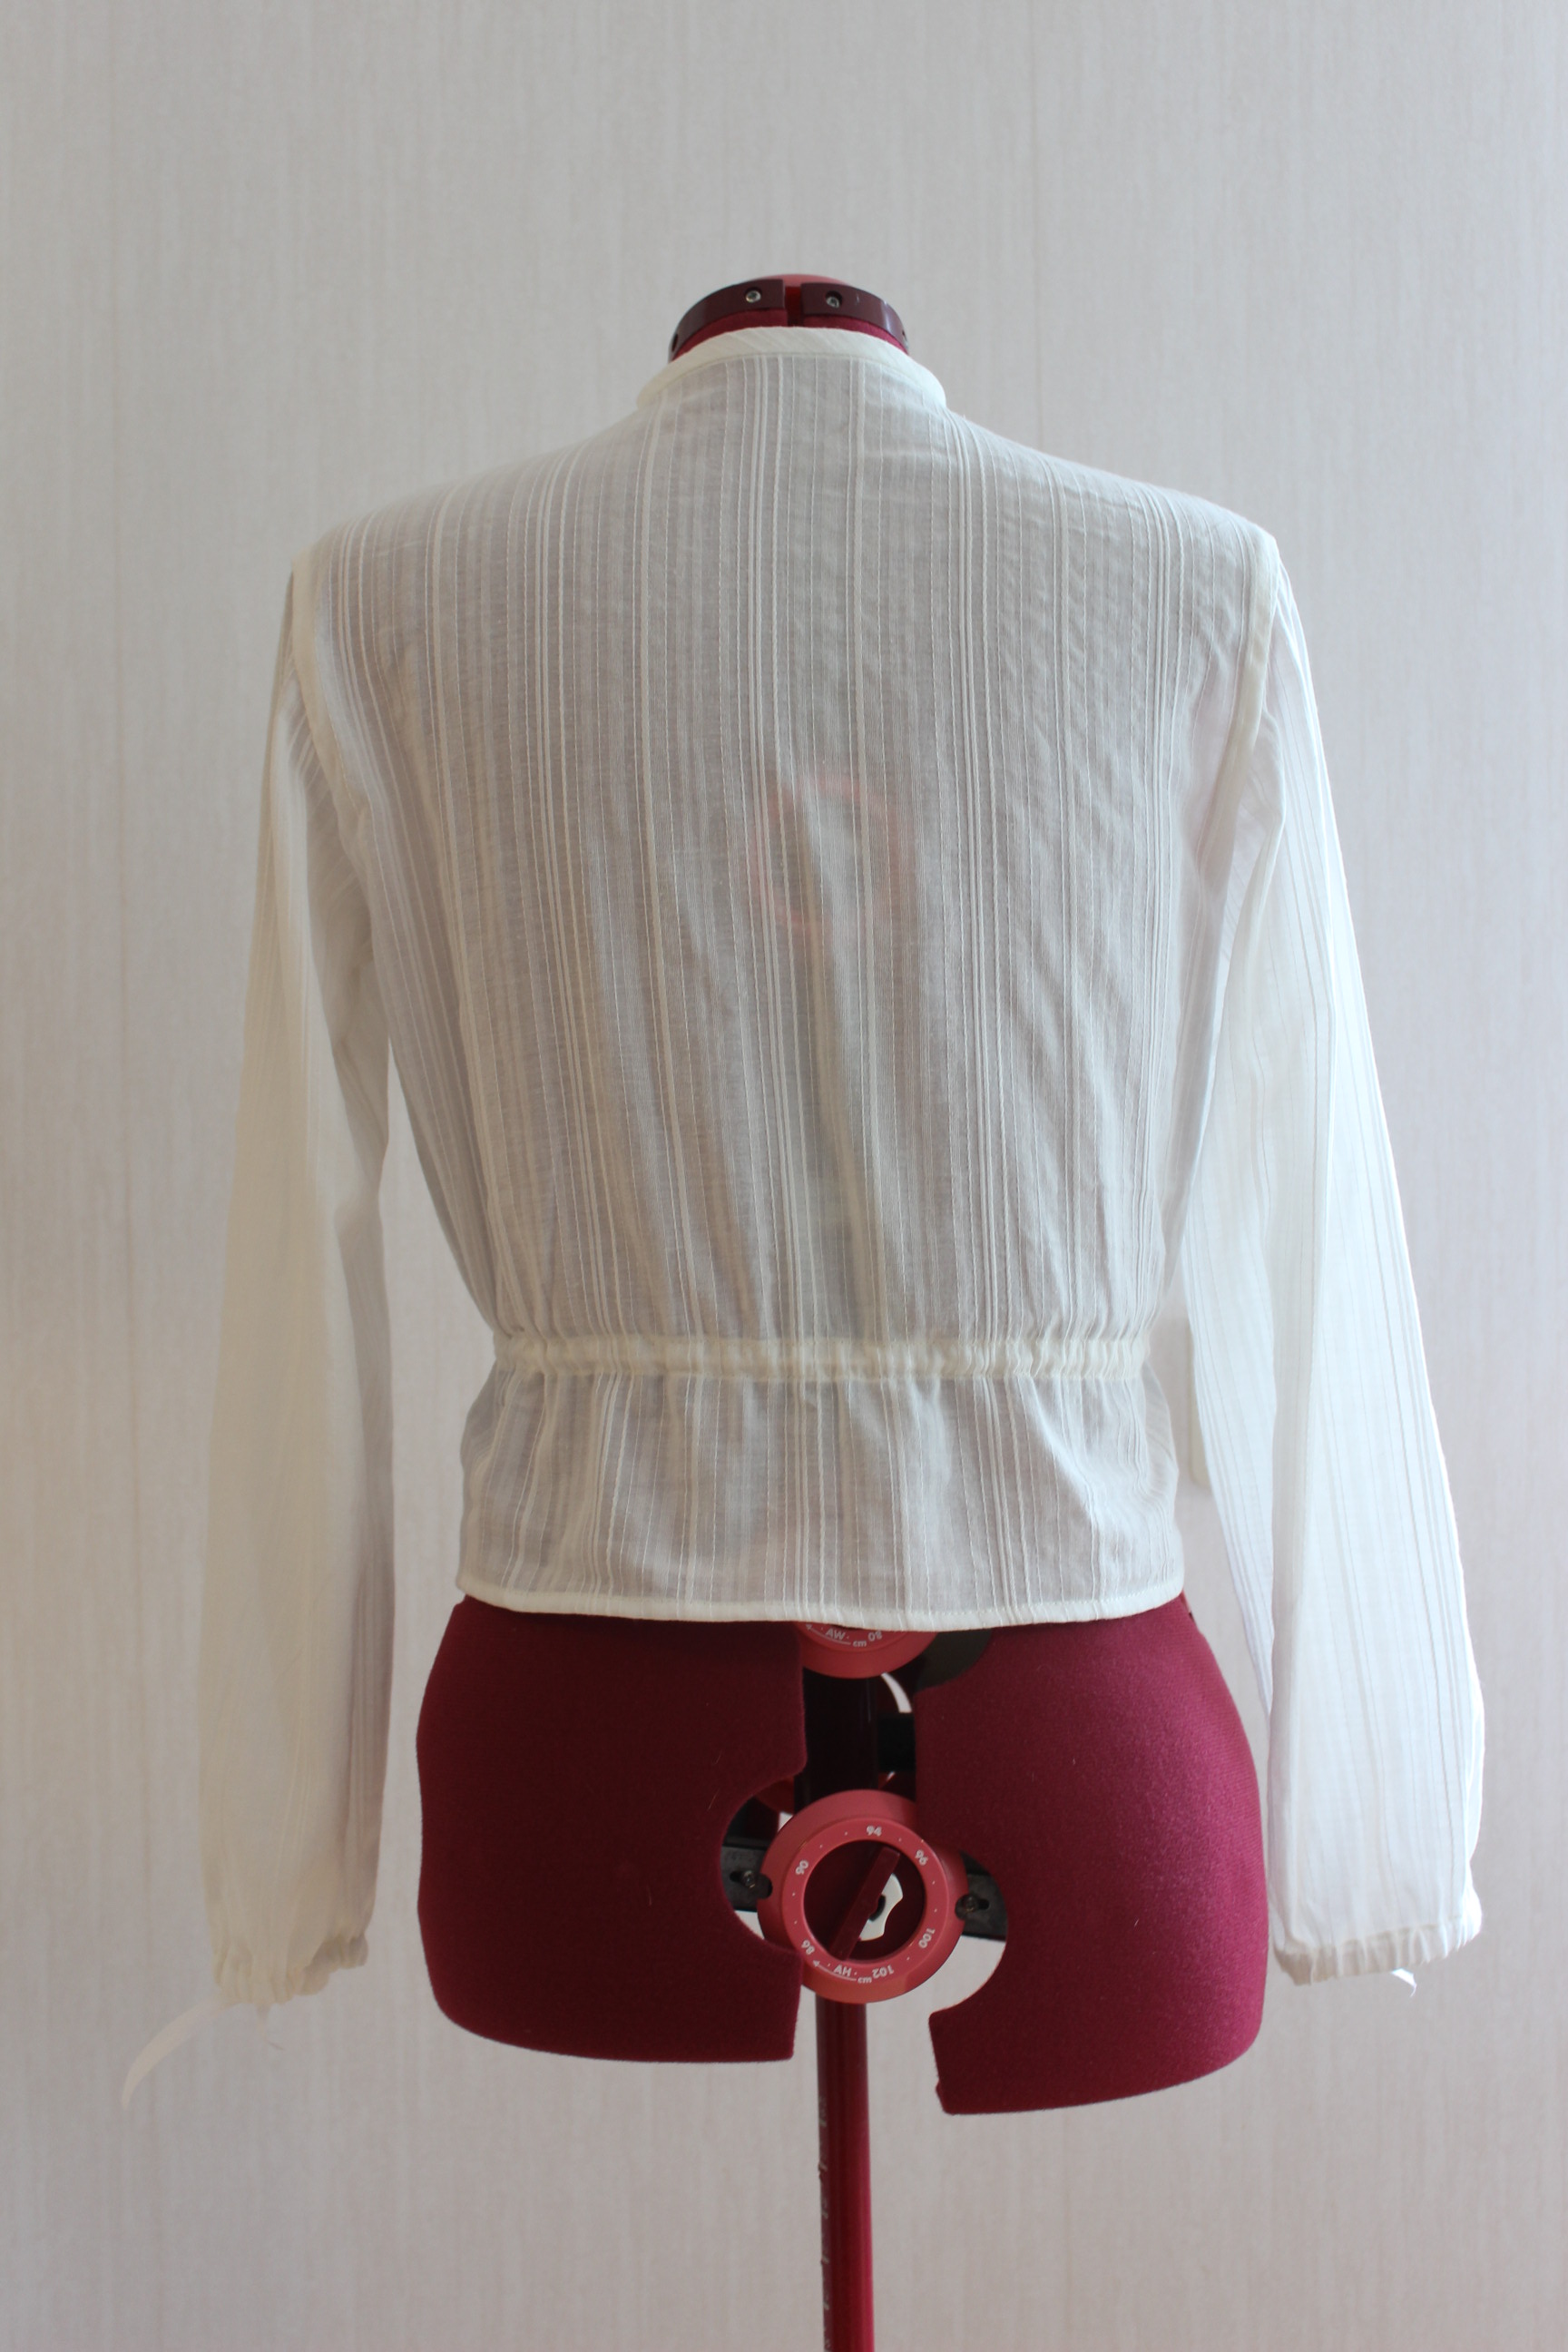
Sewed and set the sleeves, covering the seams with bias-tape to get a clean finish. Then I hemmed the shirt, added the bias-tape for the drawstring waist.
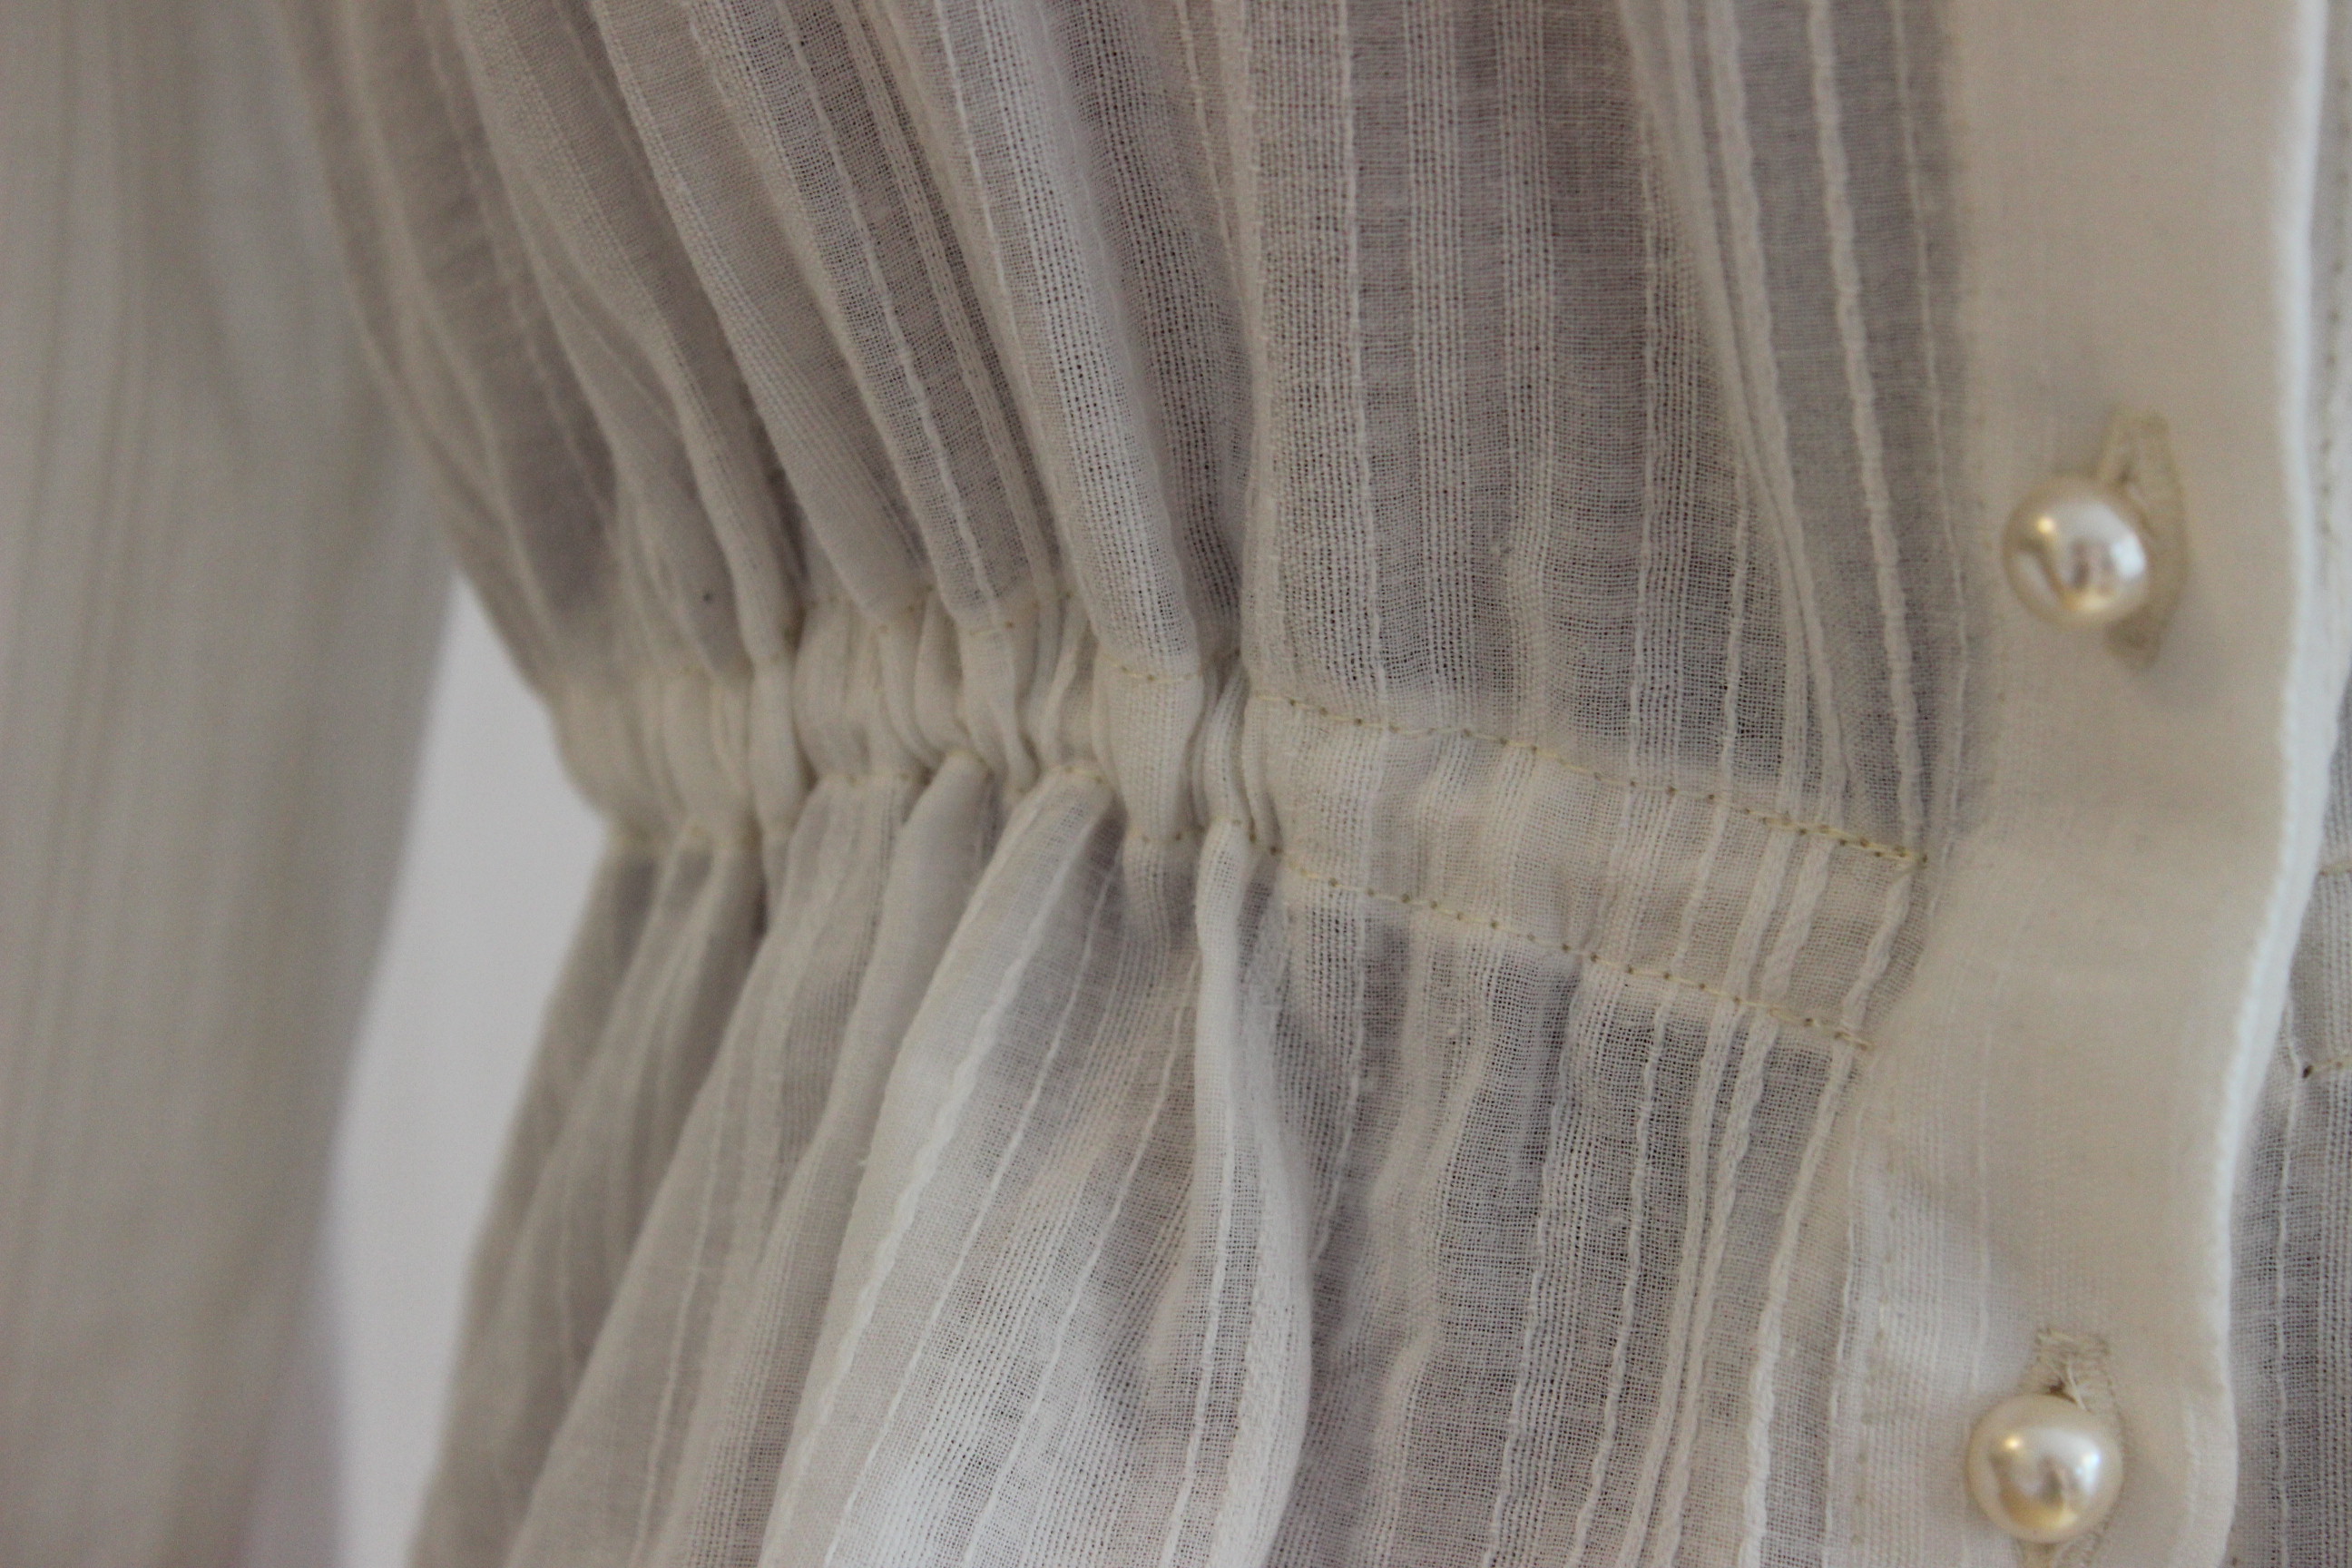
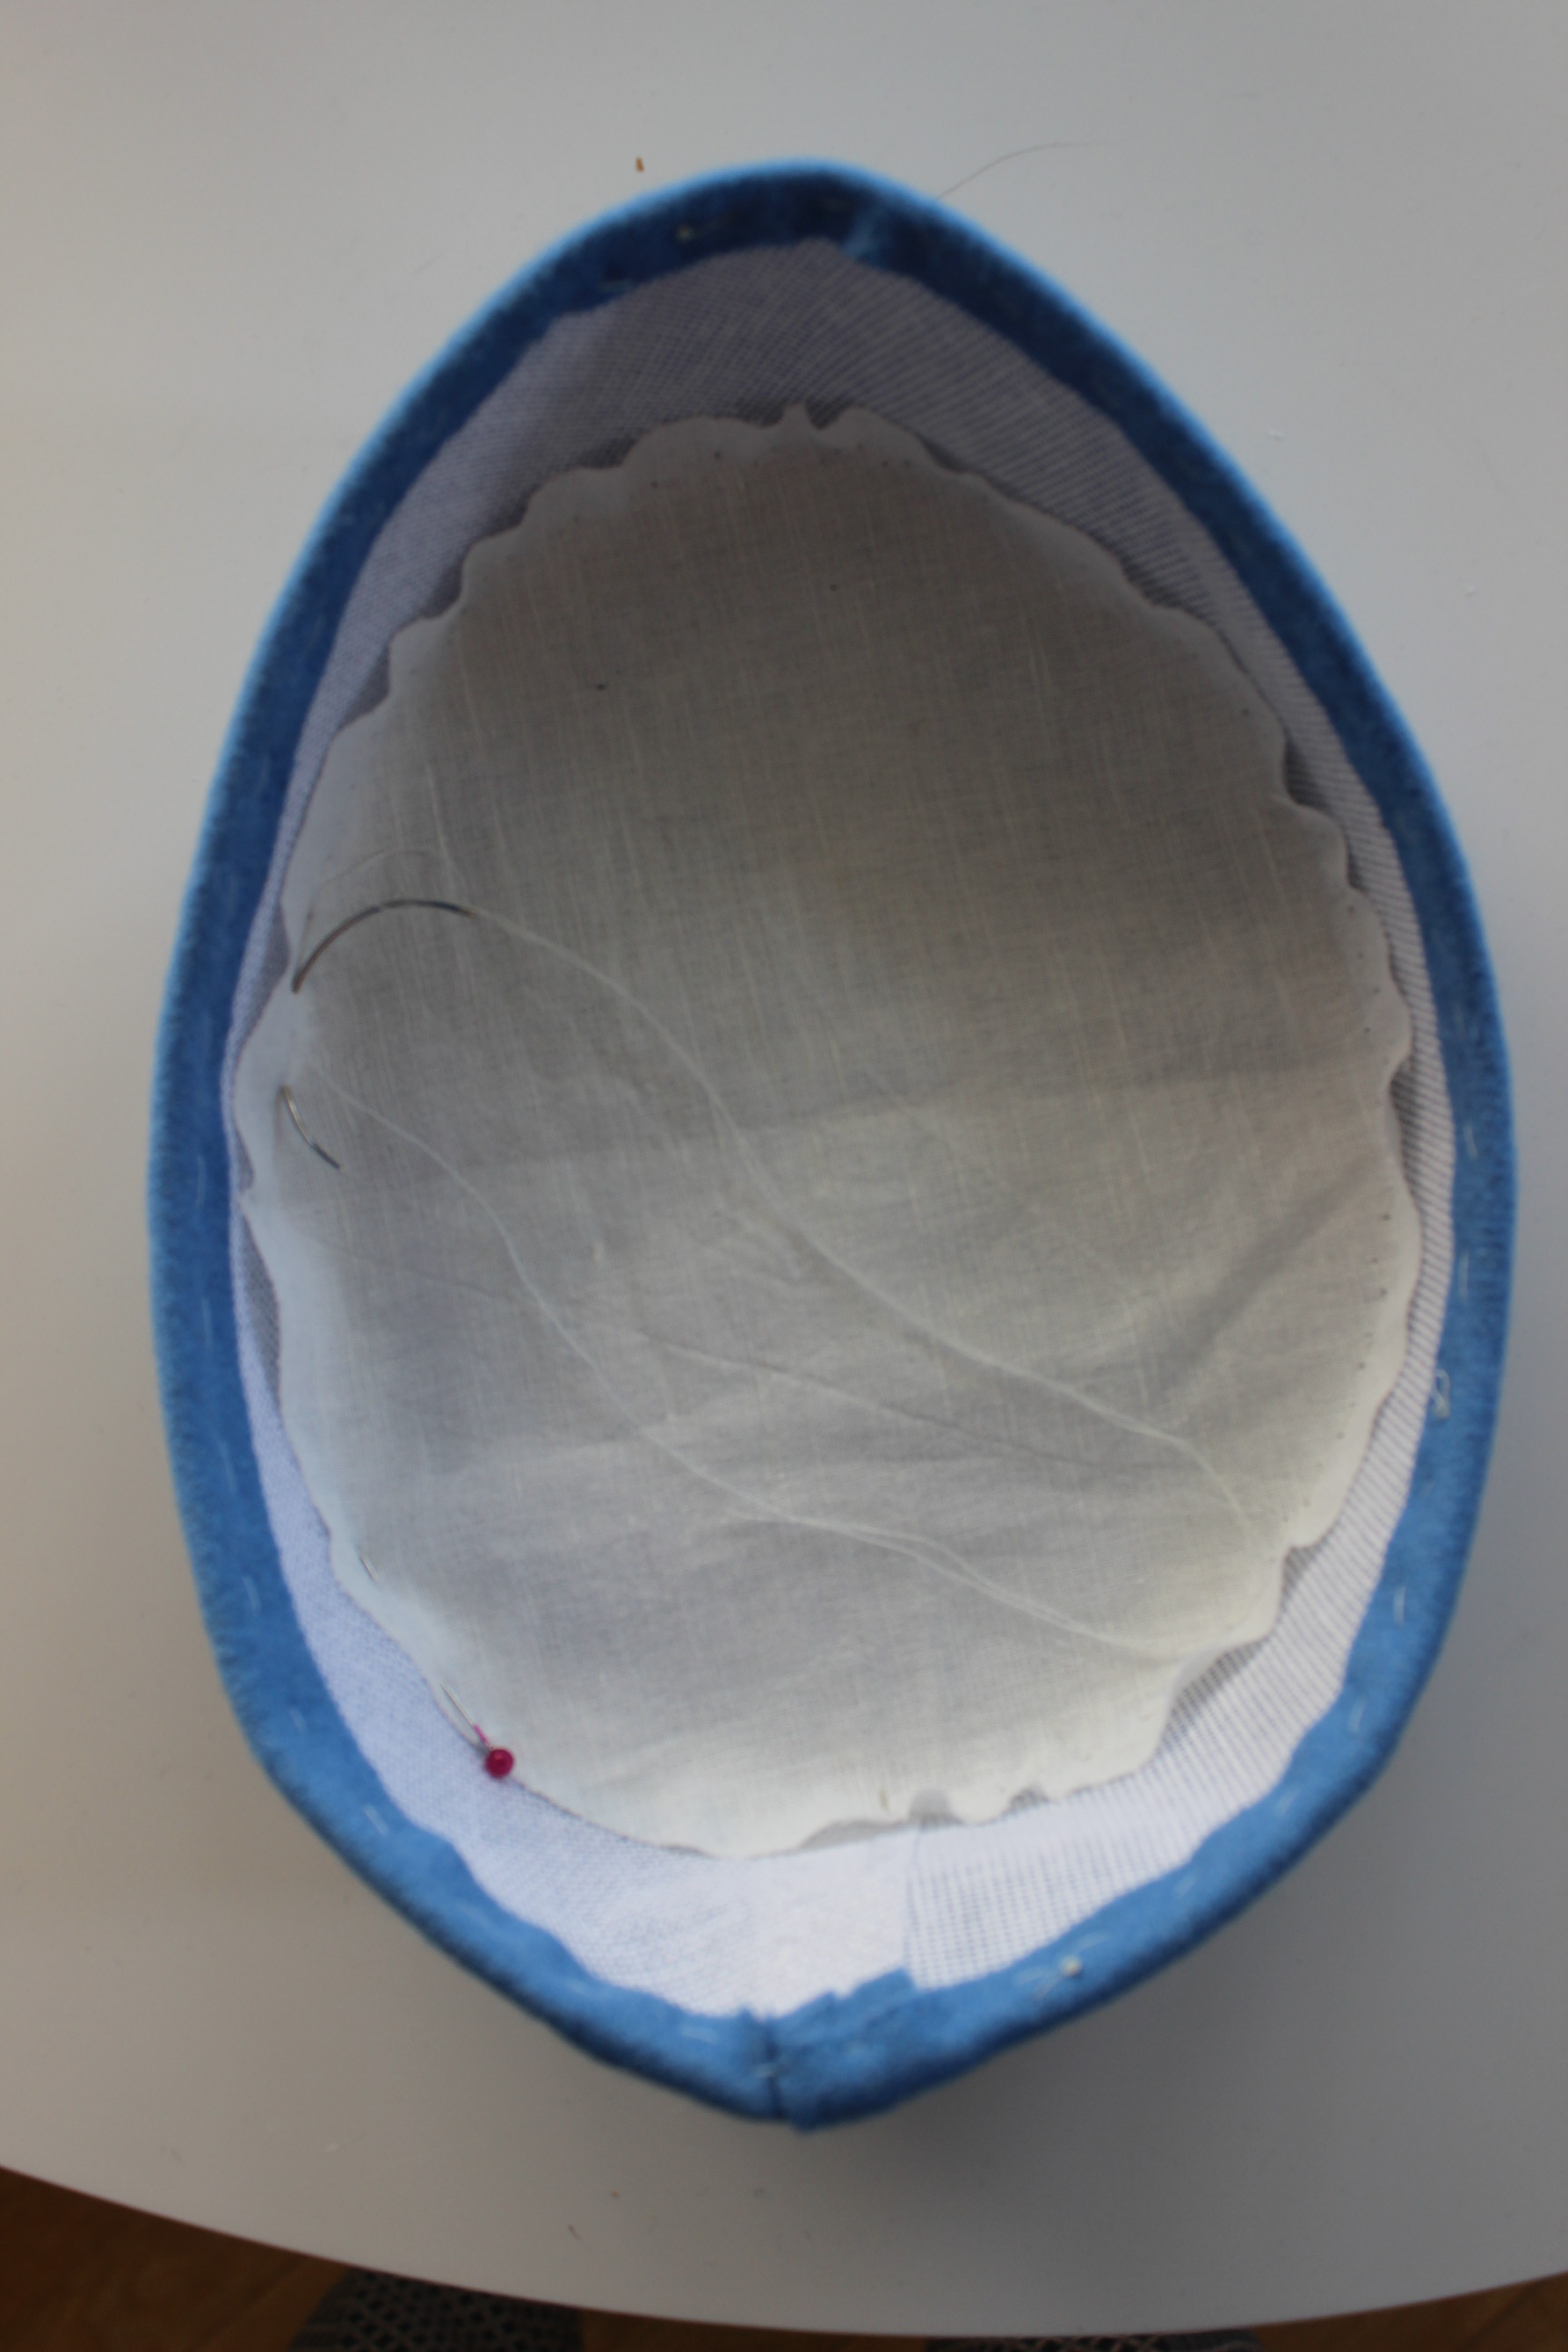
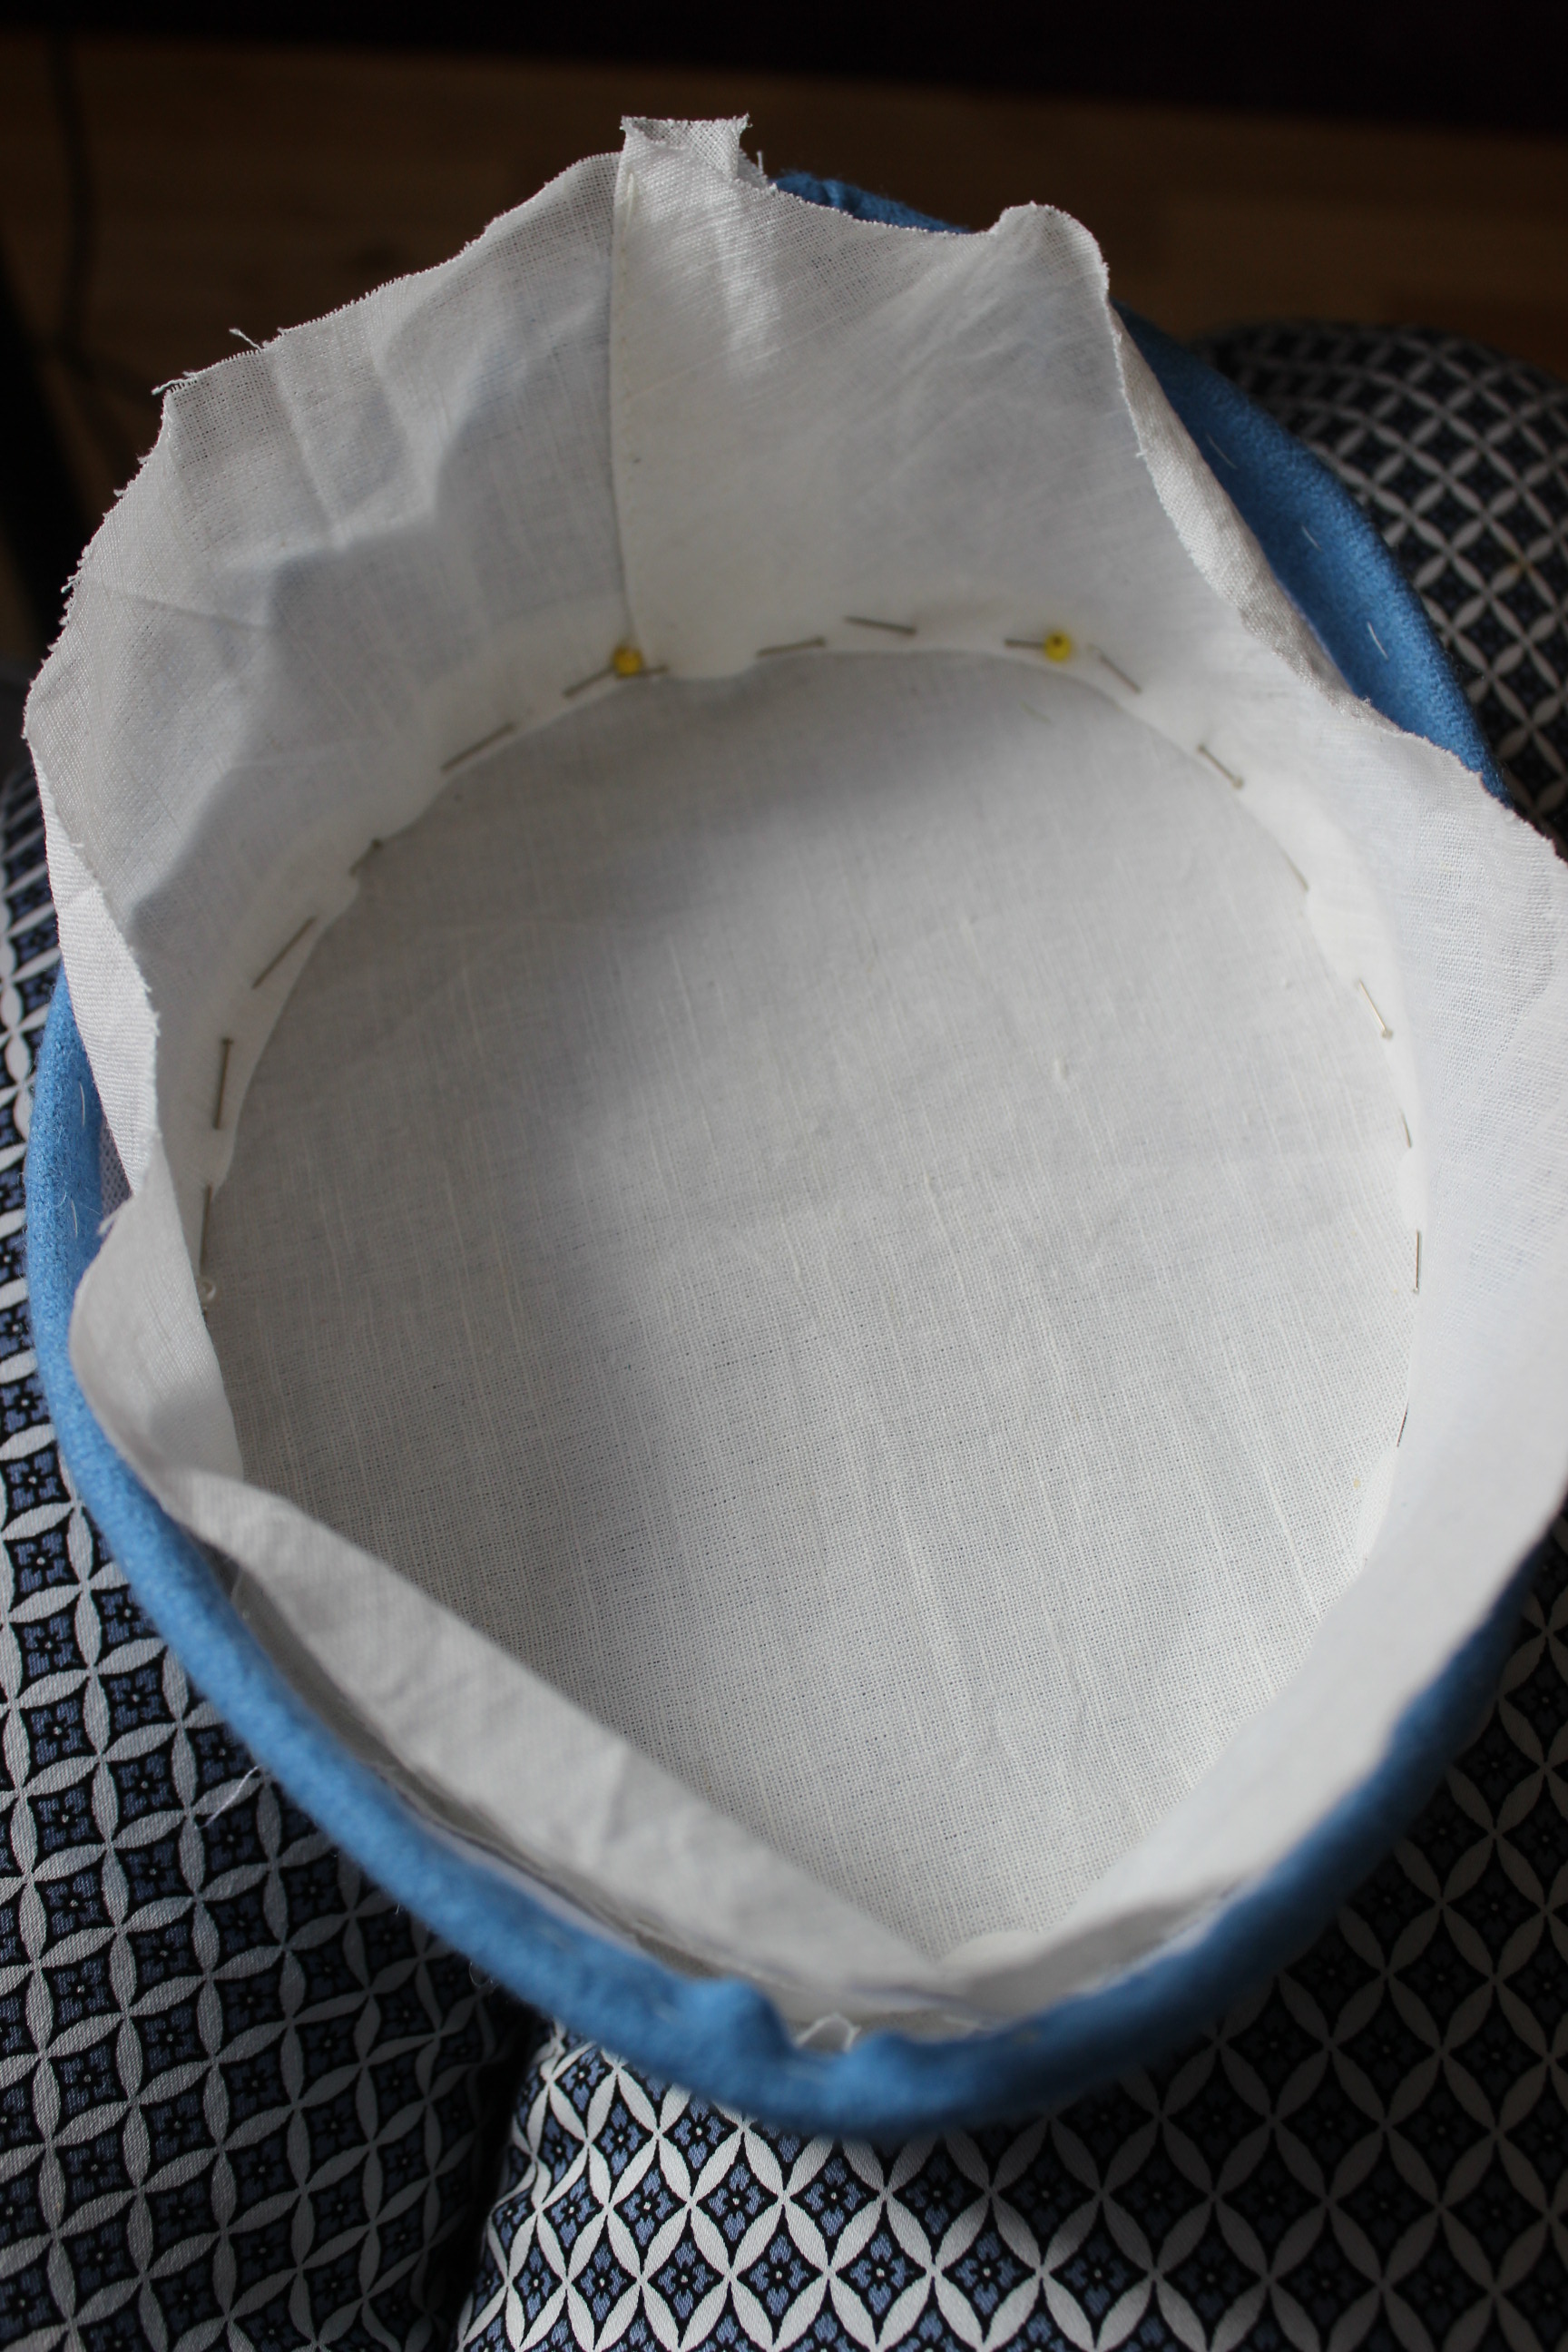
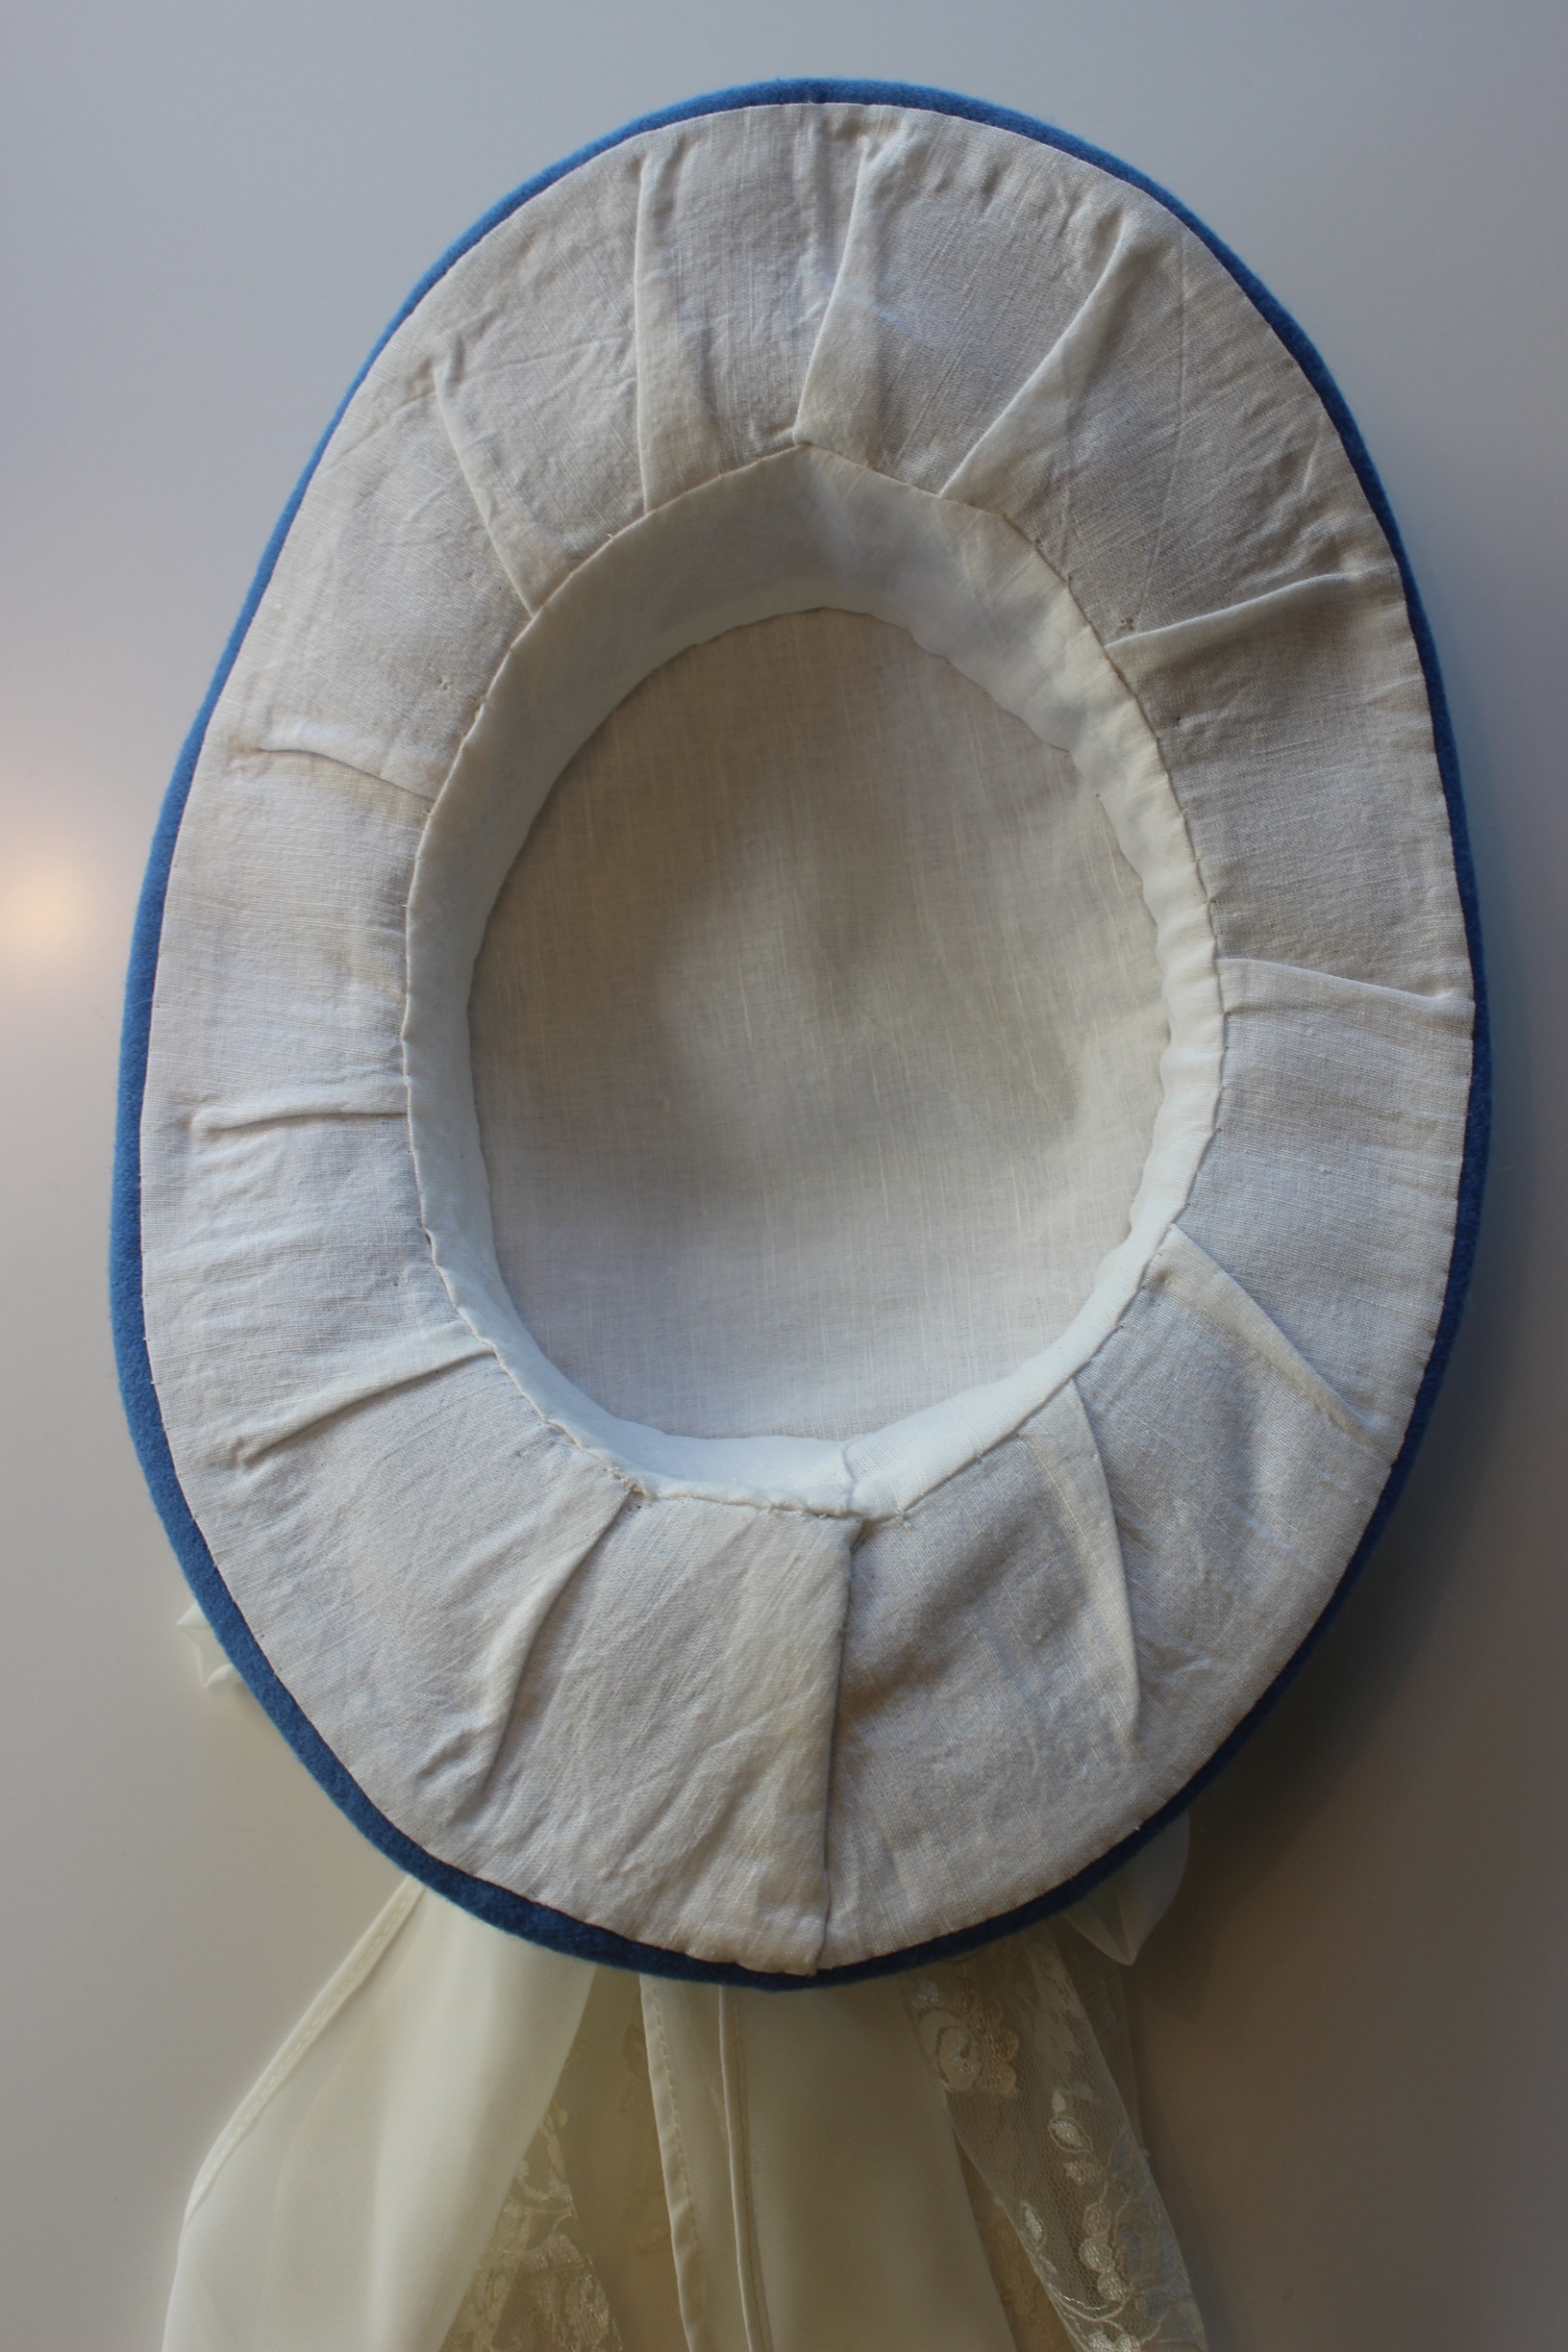
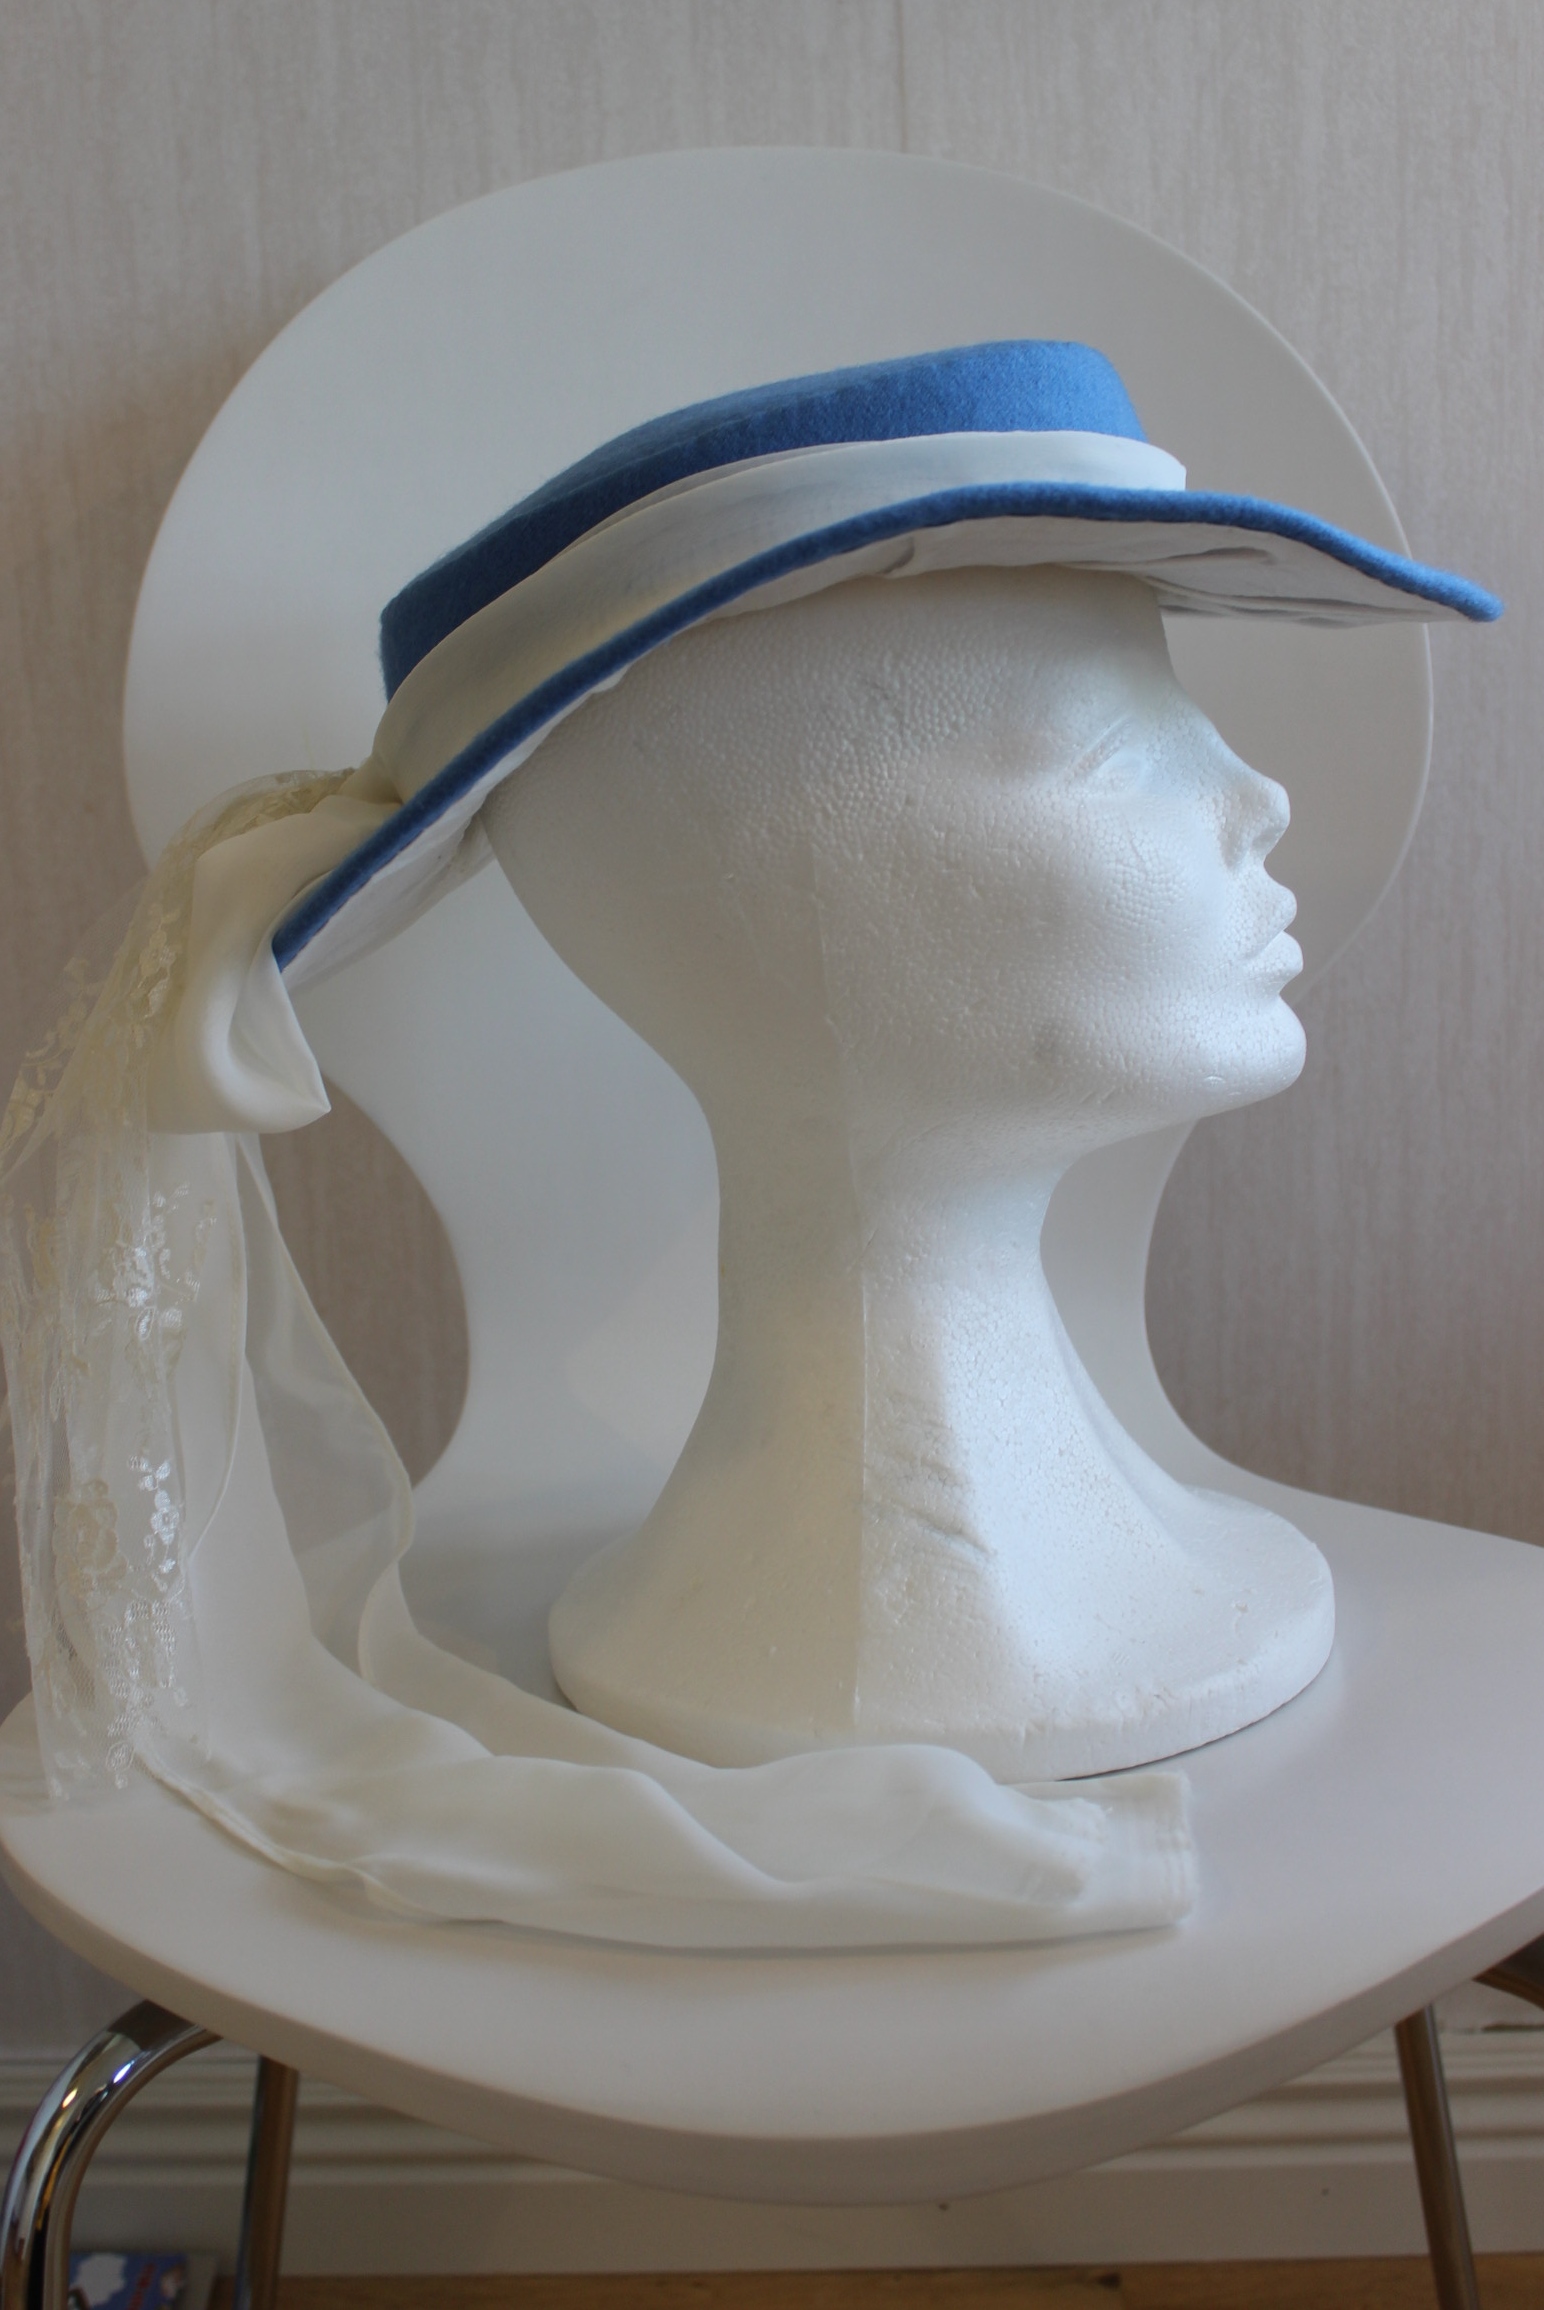
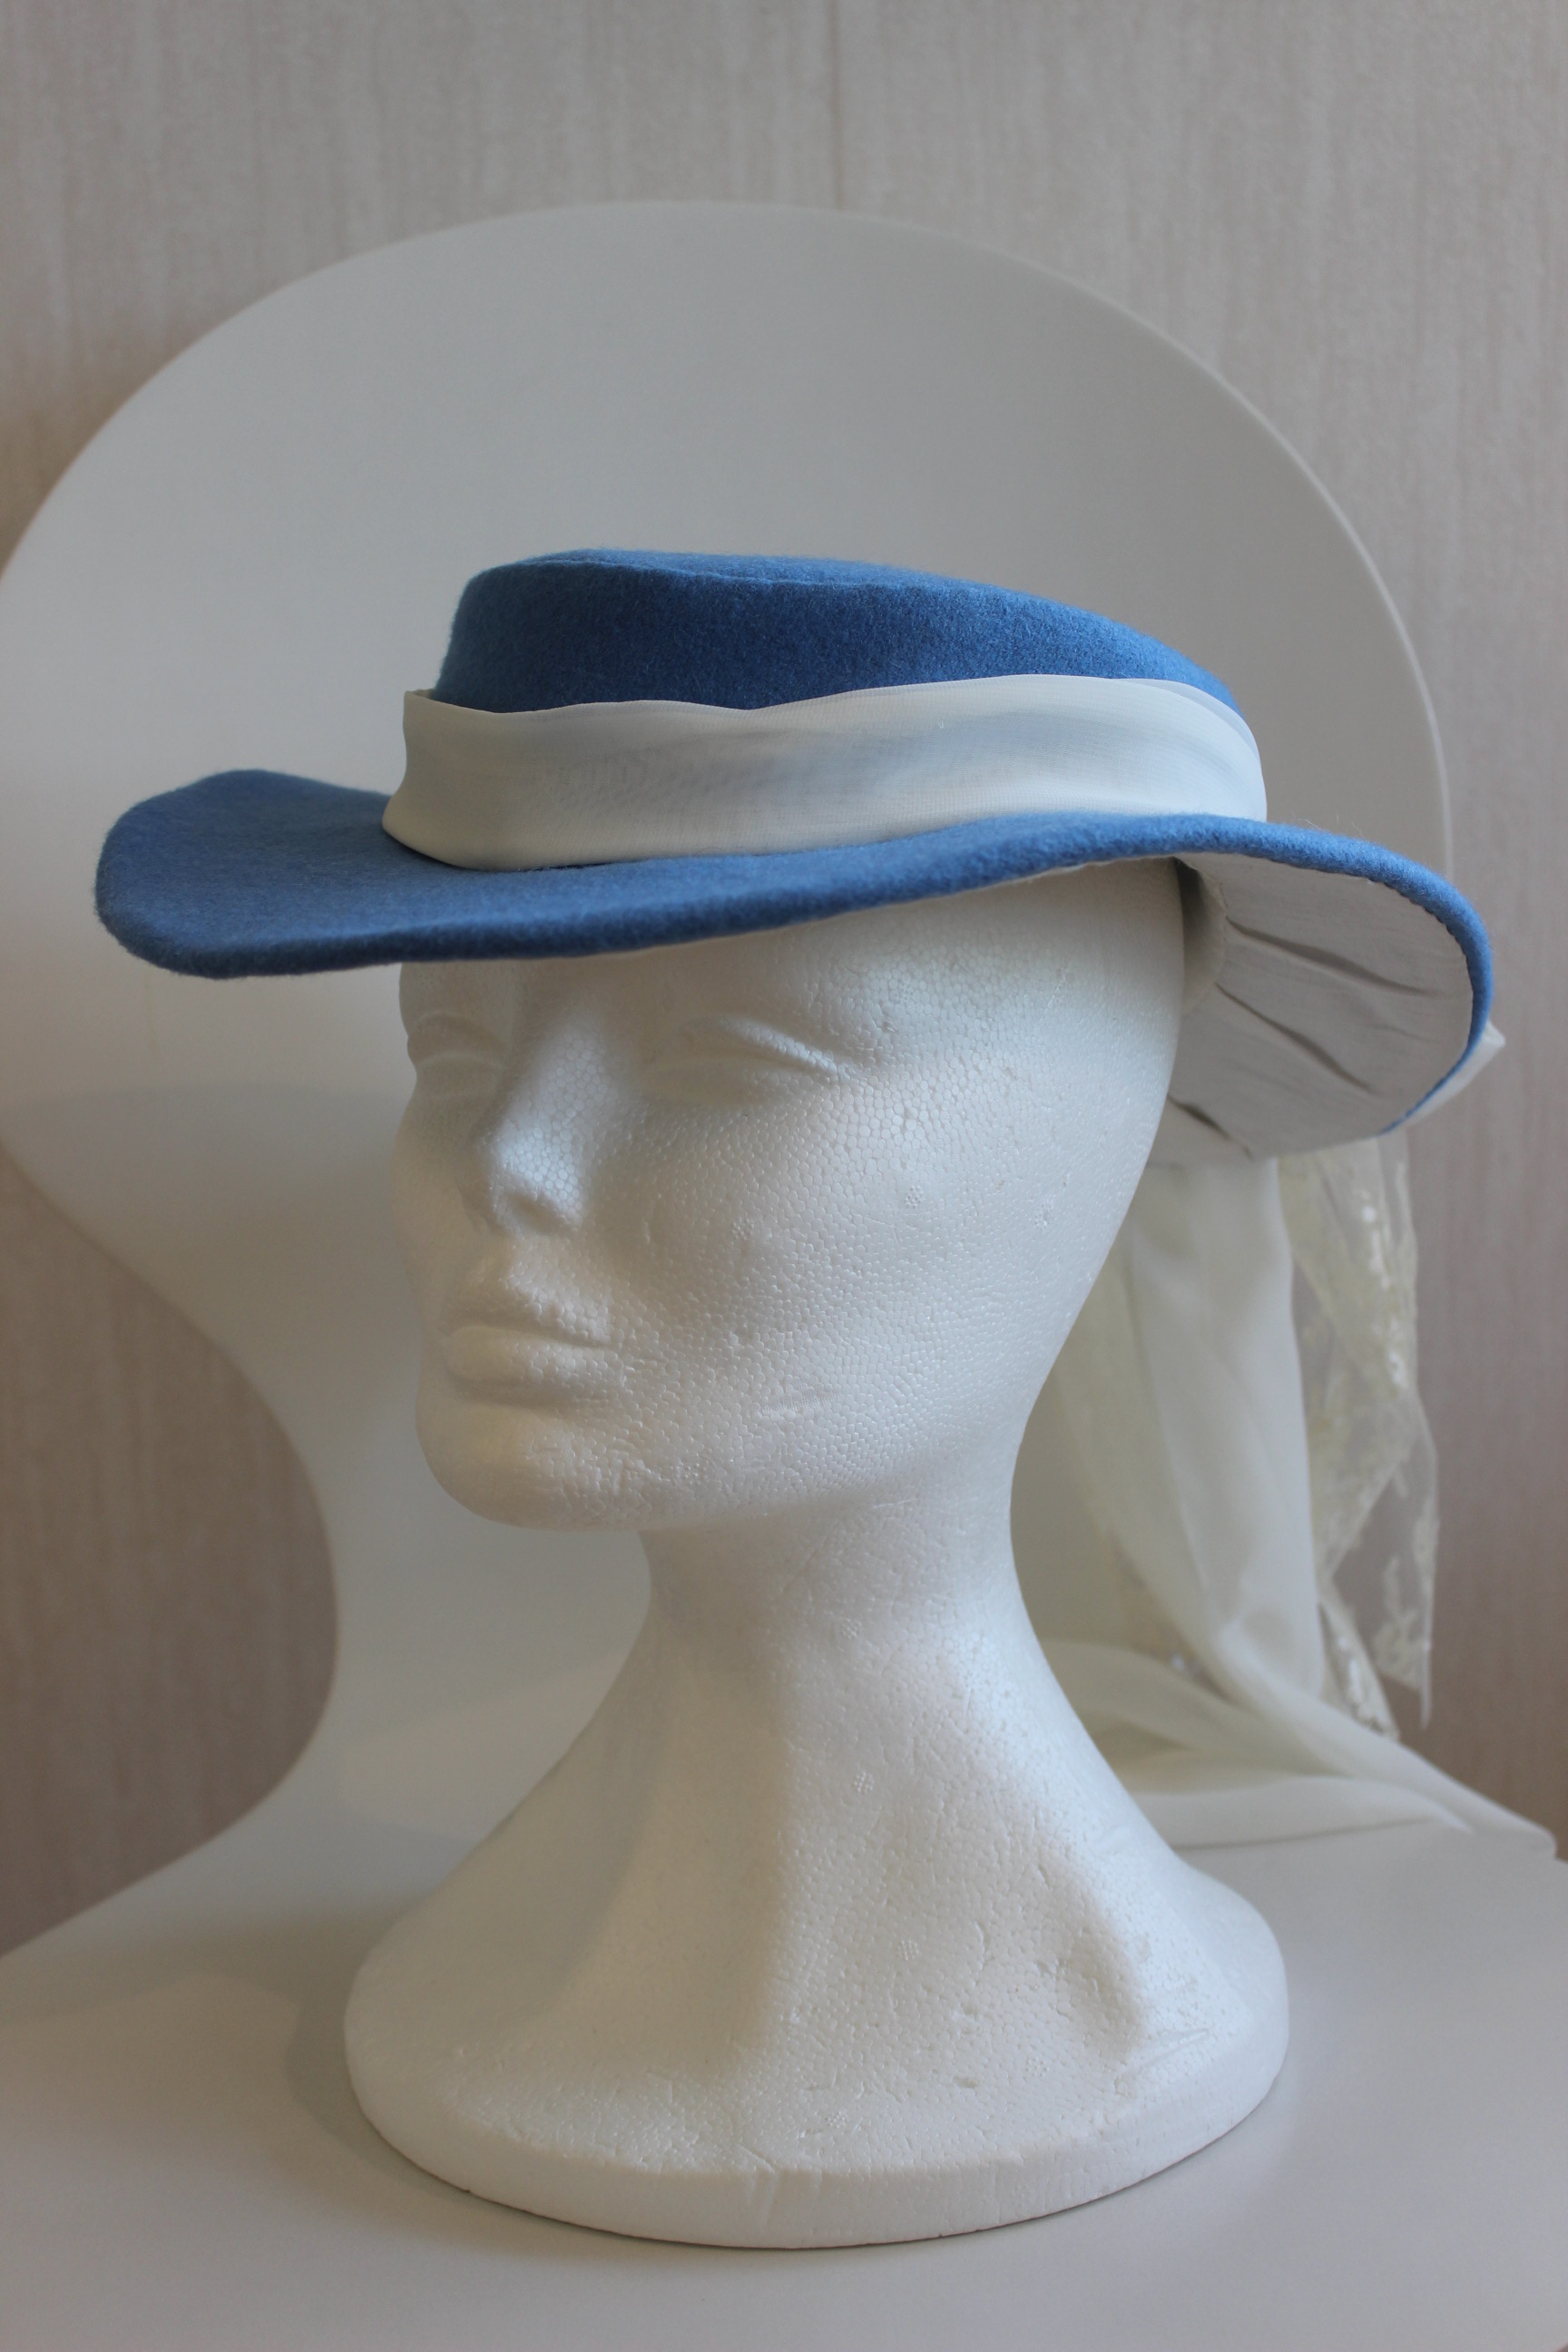
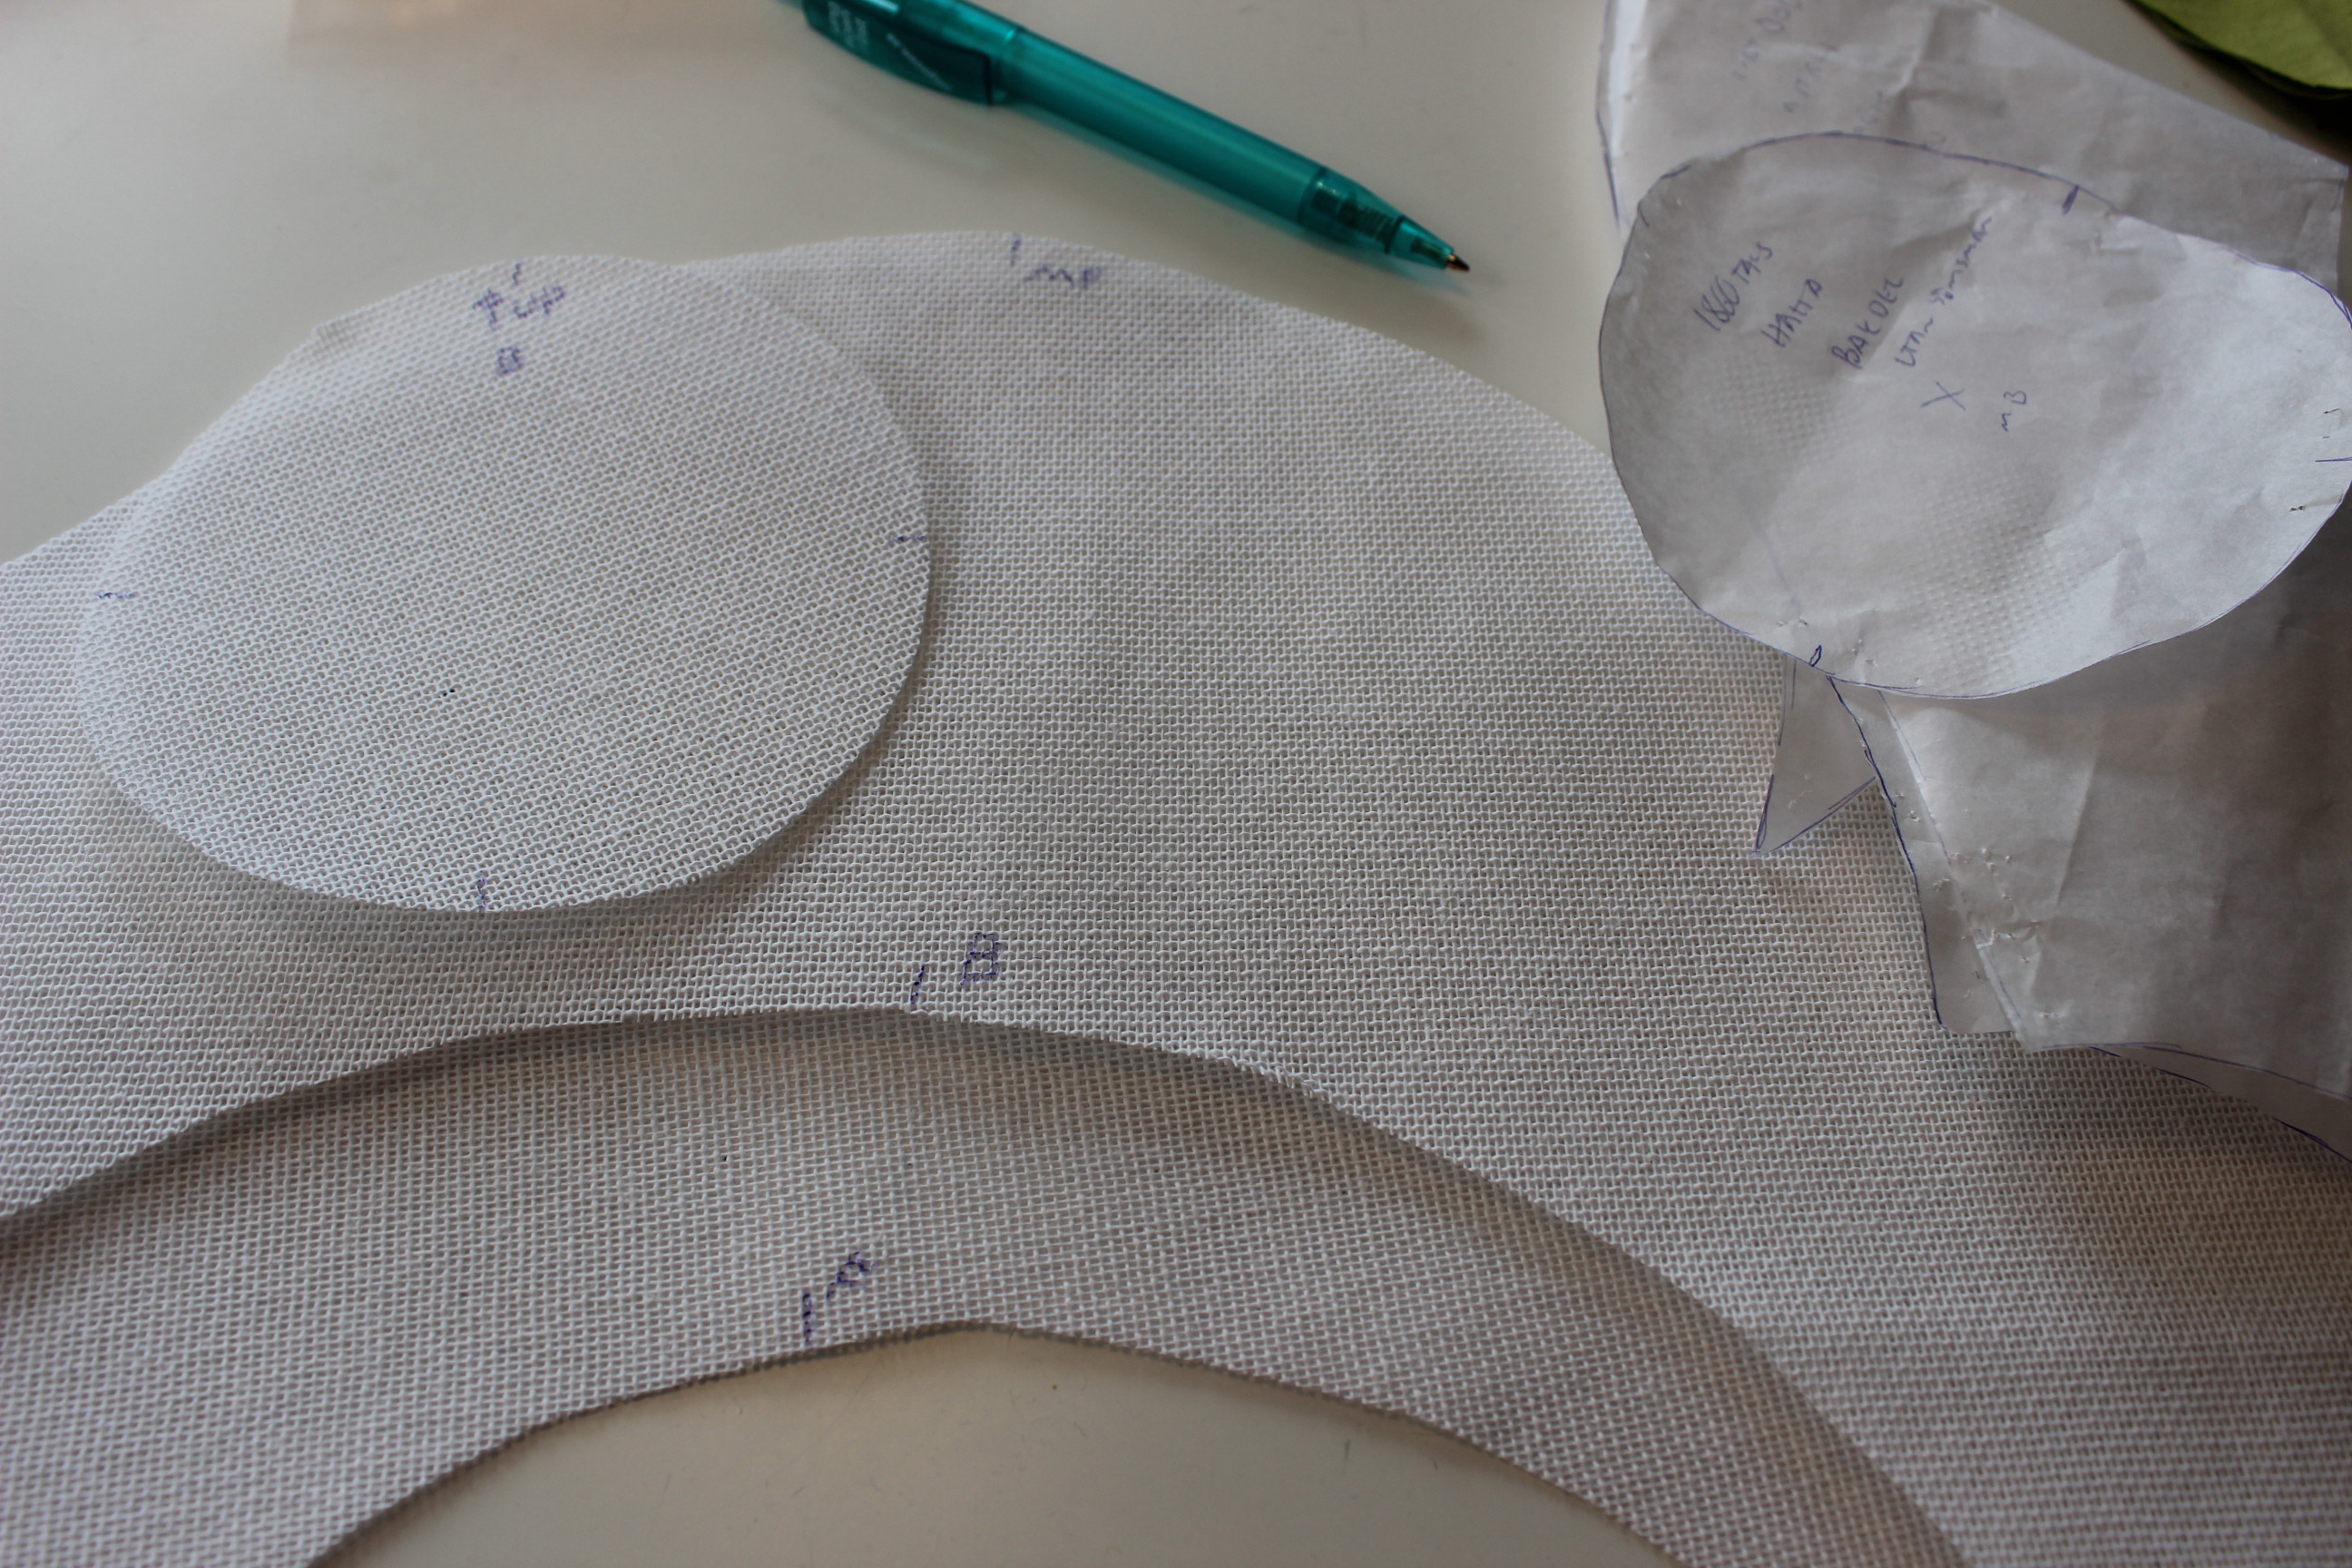
IMG_6819

And finished of by folding, stitching and adding the ribbons for the wrist ties. IMG_6835

The finished Shirt:IMG_6825As its biggest size

IMG_6813

IMG_6816

IMG_6814

IMG_6820

IMG_6821

IMG_6823

And a quick “practicality” photoshoot:IMG_4982Cocking food in my extremely old fashioned kitchen…

IMG_4989

IMG_5003

IMG_5012

IMG_5019

IMG_5043

IMG_5038

IMG_5030

IMG_5052

IMG_5057

Just the facts:

Challenge: nr 5/2015 “Practicality”

What: a 1850-1860s shirtwaist

How it fit into the challenge: The shirt is perfect for the everyday wear of a lower(or higher) class women doing households chores or taking a stroll in the park. That fabric is durable and easily washable and the style of the shirt with its drawstrings at waist and wrists makes it fit several different sizes of women.

Pattern: None, I just used the basic shapes of any shirt pattern.

Fabric: 1 m of structured cotton voile.

Notions: Thread, buttons, scraps of cotton ribbon at wrists, cotton string and  bias tape for waist shaping.

How historical accurate: So so, the garment (and fabric) did exist, but I didn’t used any accurate pattern, and I did sew it all on my sewing machine – even the buttonholes. I would say about 5/10

Time: about 4 hours

Cost: at most 100Sek (16Usd) – Everything was from stash and leftovers from other projects.

First worn: at June 6th for photos, but will get a proper outing June 13 when my sister wears it for our “Crinoline day”

Final thoughts: I loved how fast and easy it went together, and I think it looks great both paired with”Peasant” garb and “finer lady’s” garb (as is the way my sister will wear it).

1860s blue/white hat

Wise from my previous try at millinery, I ordered a pattern without even trying to draft my own for my sister 1860s hat.  IMG_6343Lynn McMasters “1860s summer hat”

I drafted and cut the pattern for a medium sized hat and got to work on the buckram.IMG_6372

IMG_6373Stitching the millinery wire to the buckram.

Then I taped and sewed the top and side piece together by hand.IMG_6427

I covered the edges with bias tape.IMG_6434

Then it was time to cut the fabric.
Knowing my sisters fondness for blue, and having just recently finished my 18th century Redingote in a lovely blue wool, I decided to use the scraps for her hat.
IMG_6352Cutting the wool.

I also cut the pieces in cotton thin bathing for interlining, and white linen for lining.IMG_6354left to right: Buckram, bathing, blue wool, pattern piece and linen lining.

I carefully covered the buckram base with first bathing and then wool.IMG_6570

Then it was time for the lining. The piece underneath the brim was pleated, pinned and stitched on.IMG_6564

And the crown part was covered in two steps – first the top, and then the sides.
IMG_6621 IMG_6626

Then I stitched the brim and the crown part together.IMG_6630

And flipped it over to sew the lining together.IMG_6629

The finished (un-trimmed) hat:
IMG_6636IMG_6641
 IMG_6638IMG_6645

But no hat is complete without some decoration…

I cut stripes of white chiffon to put on the hat. IMG_6653Looking pretty good.

I also wanted to ad a lace veil… IMG_6652..But decided not to since it looked so stupid, and I doubt my sister would want to wear it like that.

I pinned and sewed the chiffon to the hat in a shape of a bow with long tails.
To get some more interest to the look, I also added a bit of lace to the bow.IMG_6700

And that was that.
IMG_6736 IMG_6738

The finished hat
IMG_6739

IMG_6742

IMG_6743

IMG_6744

IMG_6746

IMG_6747

IMG_6749

IMG_6750

IMG_6752

The facts:

What: a 1860s hat

Pattern: Lynn McMasters 1860s summer hat

Fabric & Notions: scraps of blue wool, white linnen and cotton bathing, 30cm buckram, 2m millenery wire, thread, 30cm polyester chiffong and 10cm polyester lace for decoration.

Time: About 20 hours.

Cost: ca 200 Sek (32 Usd) – all fabric from stash.

Final thoughts: I think it look really good and I hope my sister likes it – because I do.

1860s silk bonnet (part 2) – decoration

Continuing on the 1860s green silk bonnet:

To get my bonnet to look like my inspiration it needed a bit more work (part 1 – making the bonnet)

IMG_66117a42b6b21b6ade8740f6dc978540db72
To make it go from this to this

For the trimmings I cut stripes of “whatever left of the silk” and gathered them by hand to get a nice and “poufy” trim. IMG_6617

I also made a few flowers using scraps of the fabric. IMG_6710
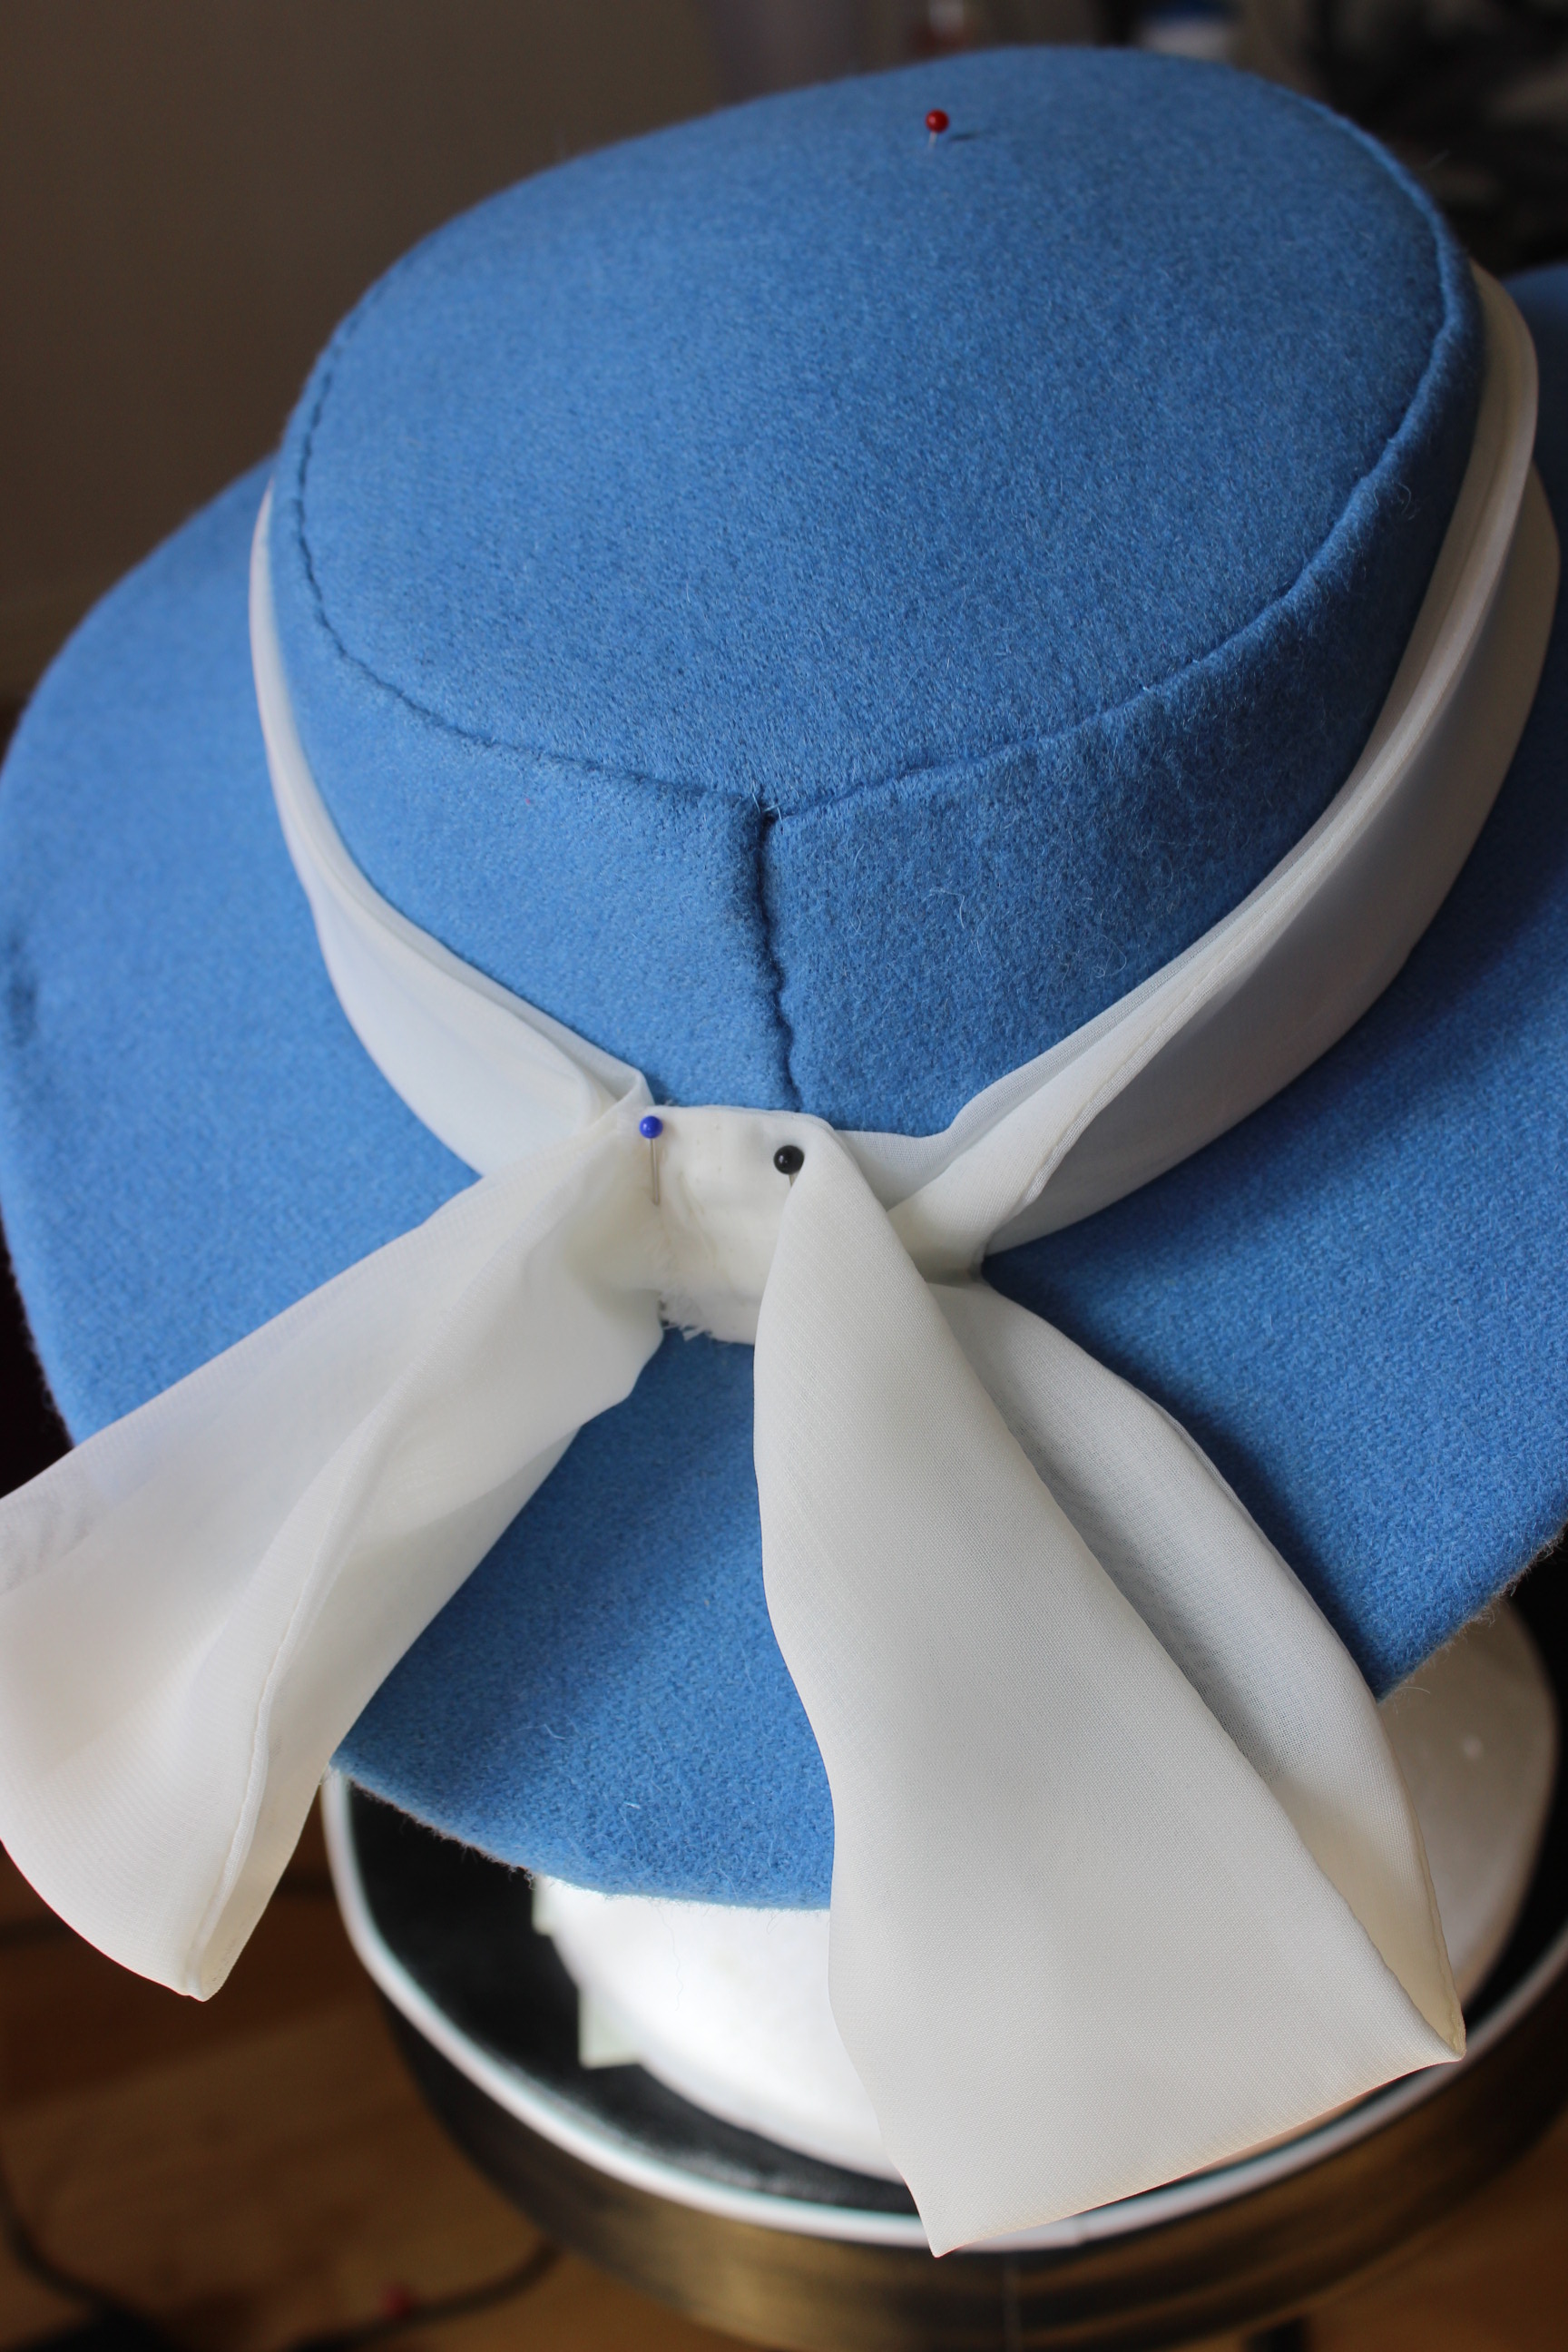
These are so easy to make and takes really no time at all.
I only wish I had more fabric to make more.

I then pinned the trimmings to the bonnet and stitched them on by hand, one by one until I was satisfied
(or ratter until I run out of scraps to turn into trim…).IMG_6619The first trims pinned on.

IMG_6734IMG_6735

The Finished Bonnet: IMG_6712

IMG_6615

IMG_6715

IMG_6718

IMG_6731

IMG_6720

IMG_6723

IMG_6724

IMG_6725

IMG_6726

IMG_6727

IMG_6729

IMG_6733

The Facts:

What: A 1860s bonnet

Pattern: Lynn McMasters “1860s civil war bonnet”

Fabric: 60 cm of green silk taffeta, 30 cm of green cotton for lining.

Cost: 350 Sek

Time: A lot – about 30 hours.

Final Thoughts: I think it came out really pretty, with enough decoration to look right for the period yet being pleasing in my modern styizied eyes.
I can’t wait o wear it.

1860s – silk bonnet (part 1) – making the bonnet

After the mandatory inspiration searching, were I decided on a style of bonnet to make, I got to work,

7a42b6b21b6ade8740f6dc978540db72Inspiration

I decided to drape my own pattern using thin cardboard, pictures and millinery books.IMG_6244

After some fiddling and pinning I got a pattern for a bonnet…IMG_6233Which looked like a total disaster…

No, this would not do, time for plan B.

I ordered Lynn McMasters “1860s bonnet pattern” and started all over again.IMG_6342

After copying the pattern I cut it out in buckram.     IMG_6339

To get a better view of how the bonnets shape, I pinned the pieces together for a better look.IMG_6346

After trying it on, I decided to cut a few cm of of the brim.IMG_6349

IMG_6370Marking the pieces

IMG_6373Sewing the millinery wire to the buckram pieces.

Then the pieces was ready to be stitched together.

To get them to line up perfectly I taped the together before I sewed.IMG_6429

IMG_6433Back piece stitched to side piece.

IMG_6468A pretty nice buckram frame

Then I stitched bias-tape round every edge to keep the corners smooth underneath the fabric.IMG_6472

Finished frames:
IMG_6469 IMG_6470

Then It was time to buy some fabric – deciding on green since that was one of the few colors in the store that would work with my dress (plaid white/blue) without being to obviously matching. IMG_6364

IMG_6366The cut pattern pieces.

As directed in the pattern I also cut cotton bating and some scraps of light green cotton for lining. IMG_6358

Before the fabric was to go on I needed to glue/stitch the batting on te frame to get an even smoother under layer for the silk.

Sadly I forgot to take pictures of this step, but basically I just glued around the edges of the frame pieces and carefully attached the batting to it.

Then it was time for the outer fabric.

(bad at photographing here too – I was working late at night, and didn’t had the camera on hand)

But I started with the crown, working downwards, basting all the edges and the carefully stitching the fabric pieces together.IMG_6580

IMG_6577 IMG_6585

IMG_6574
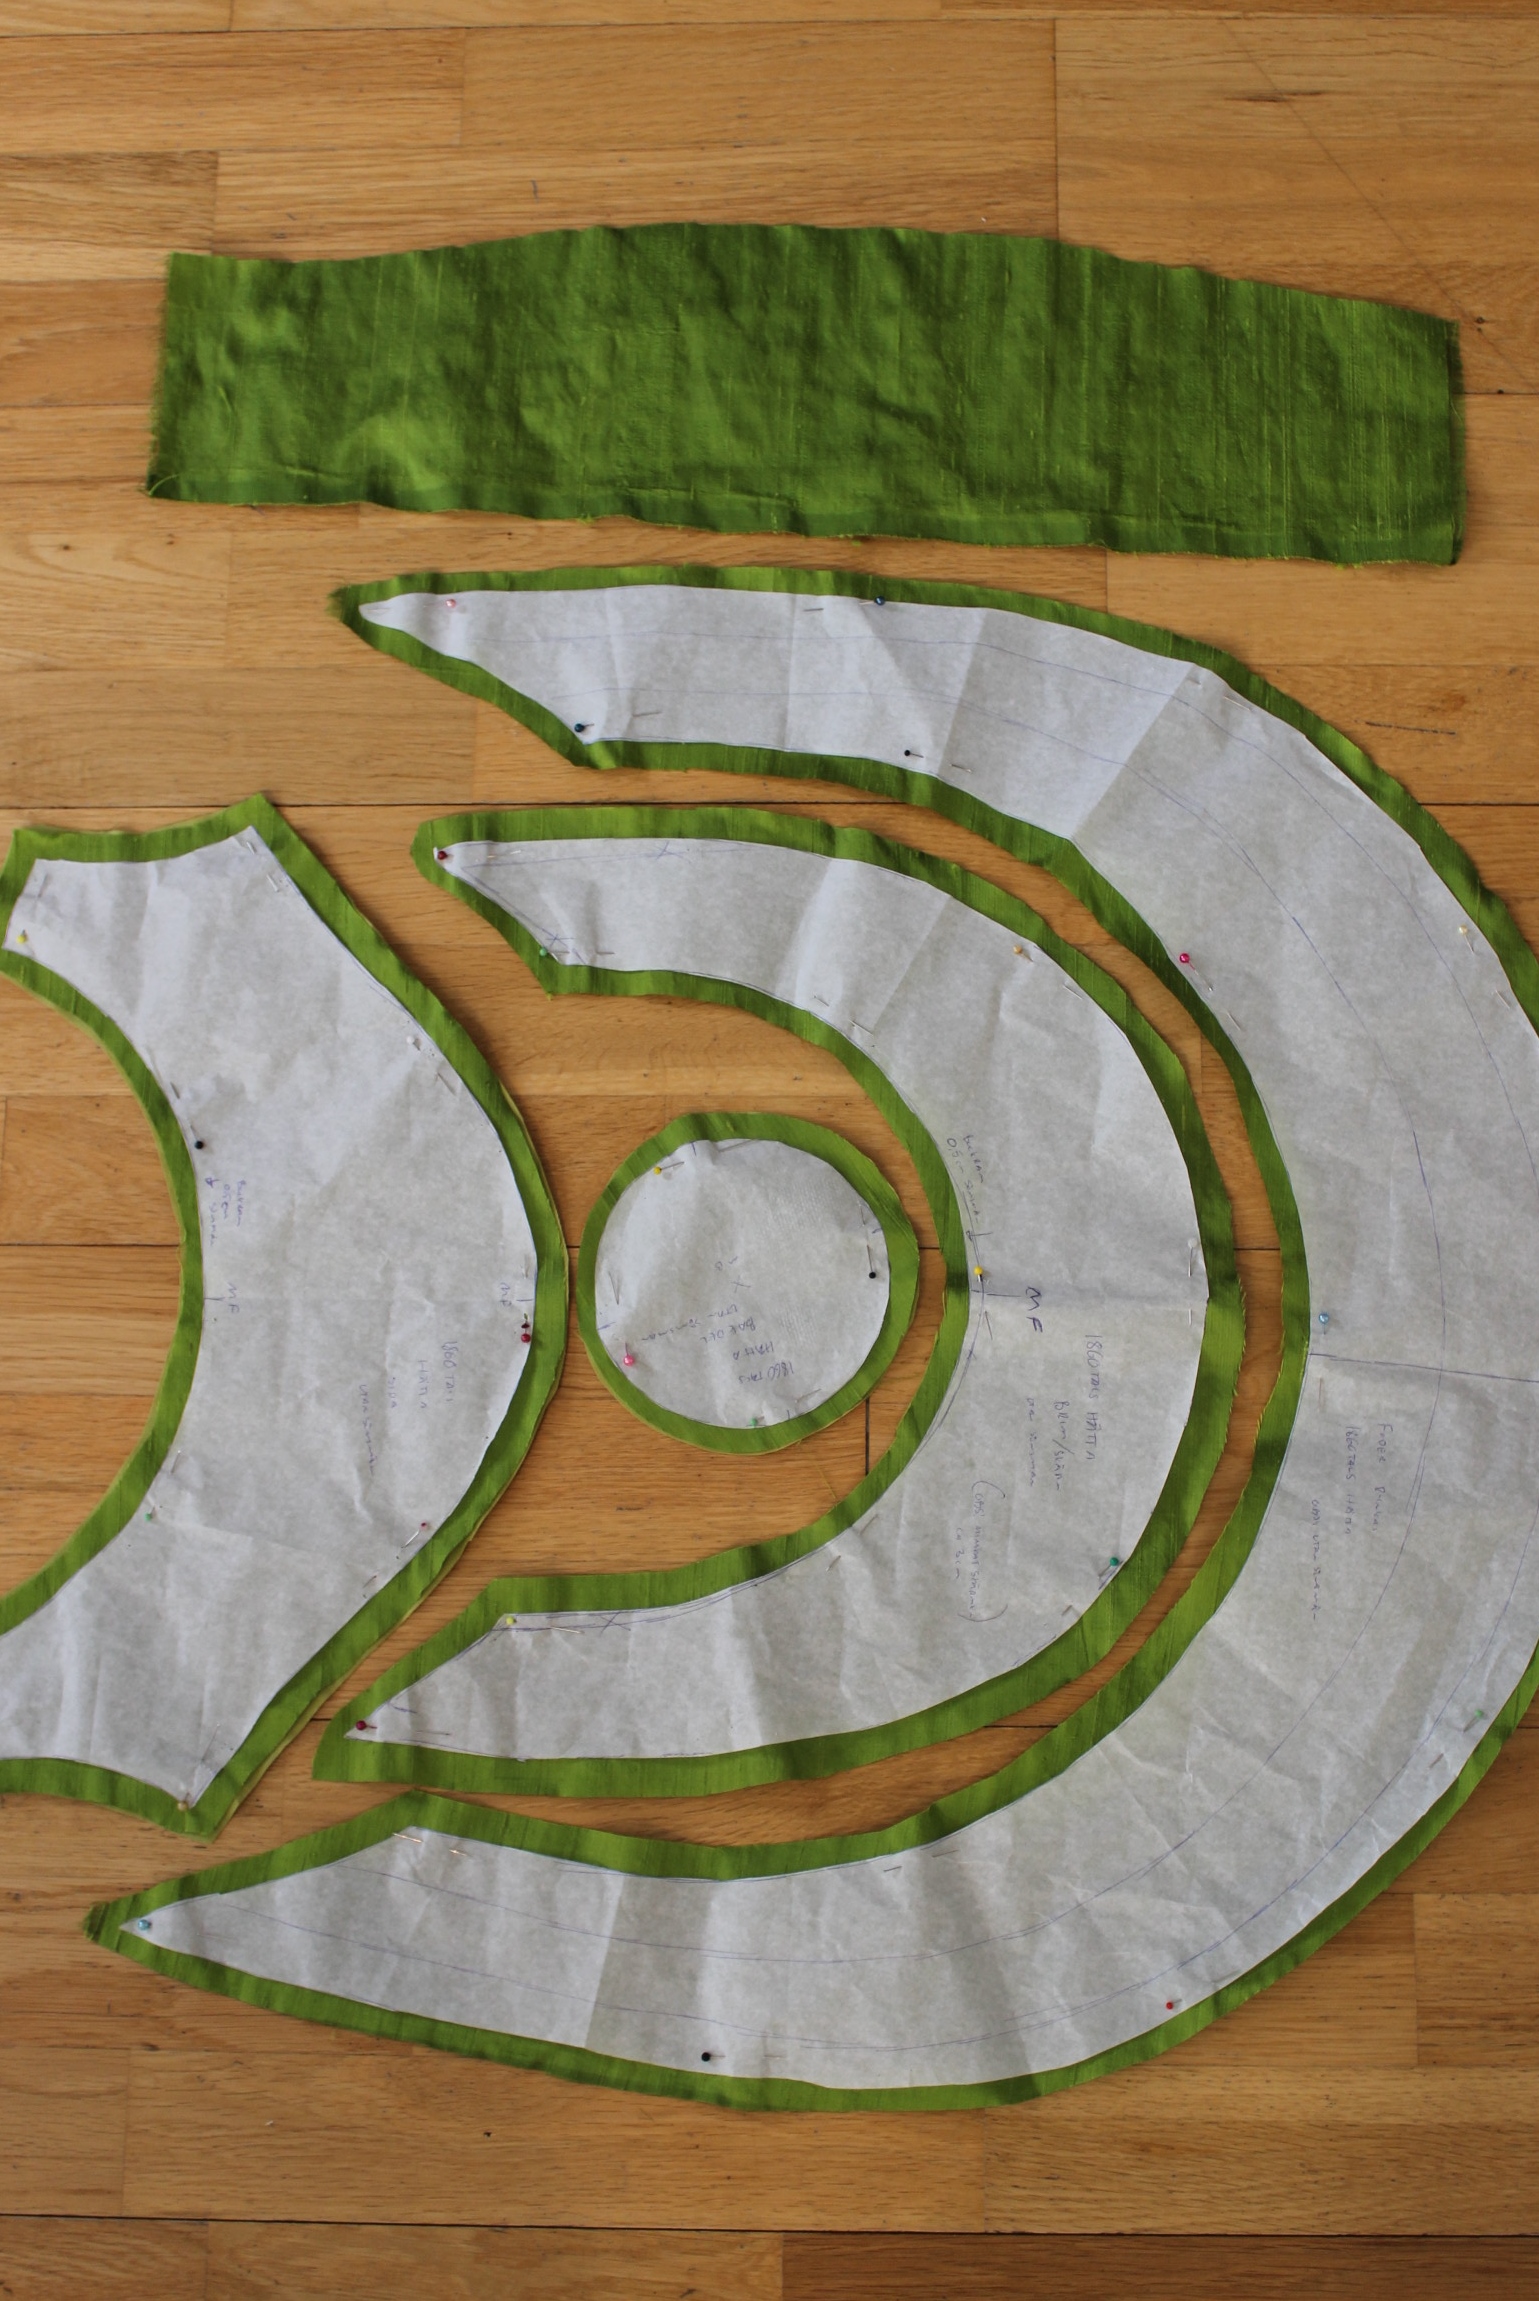
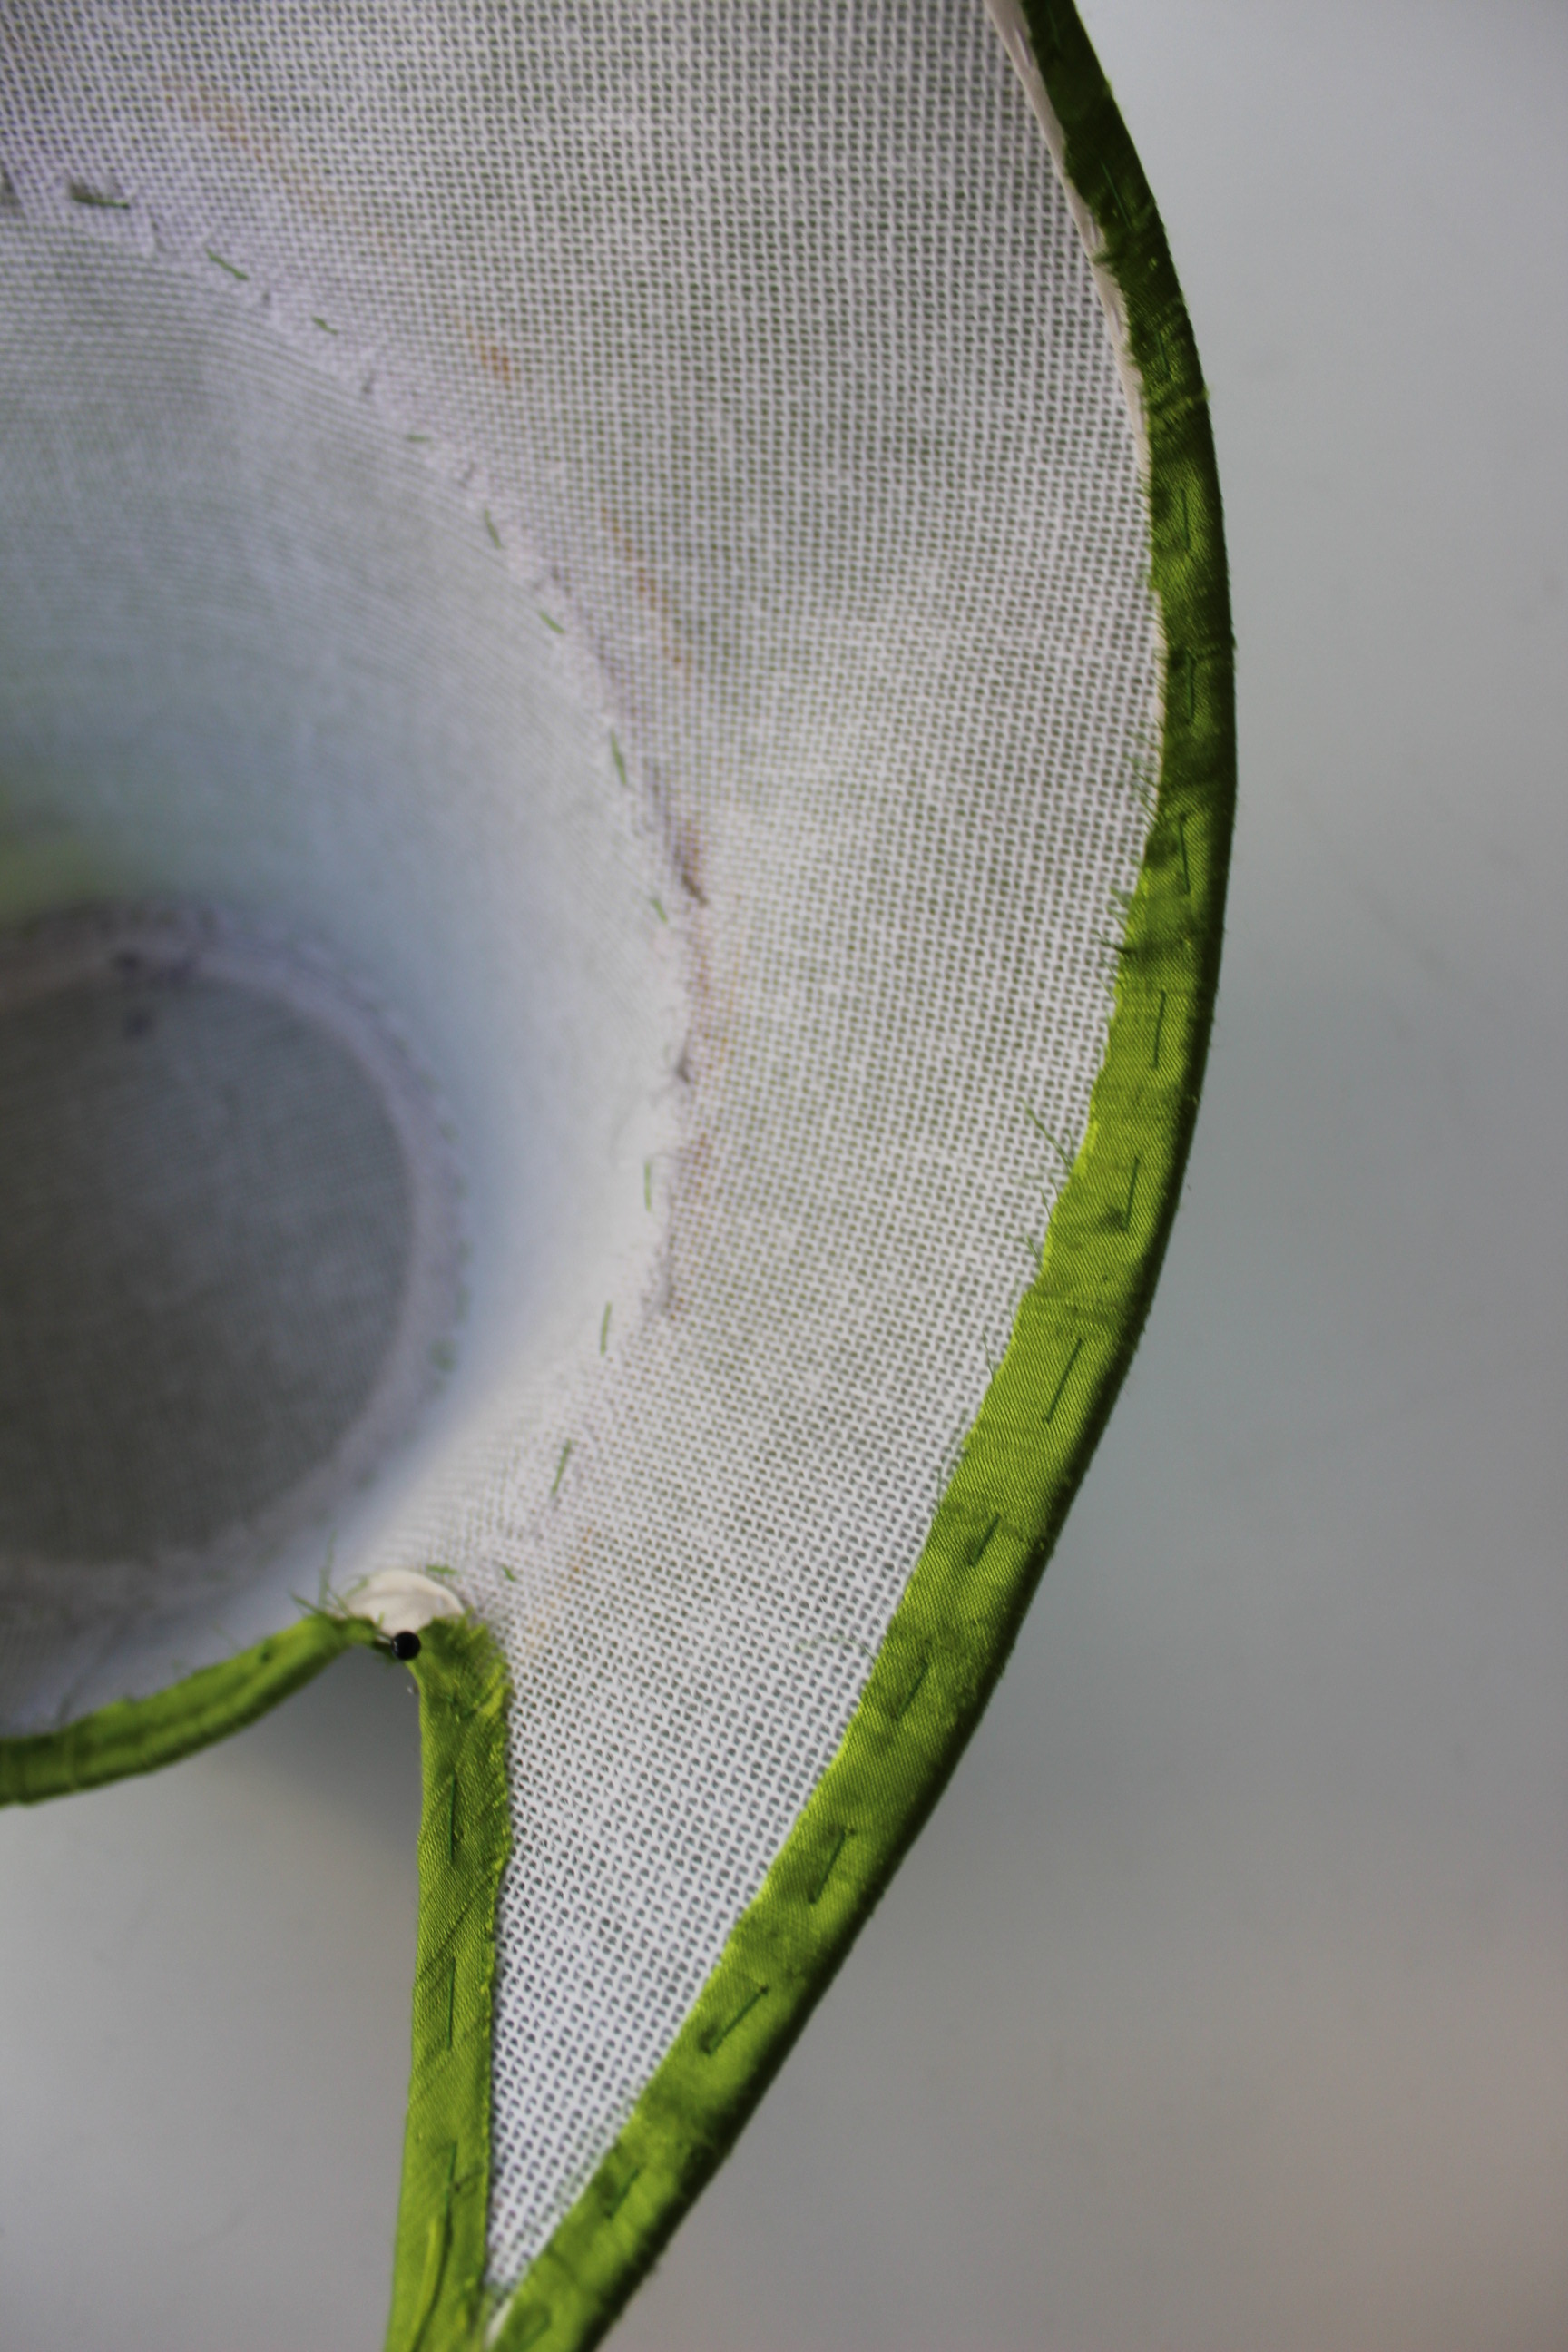
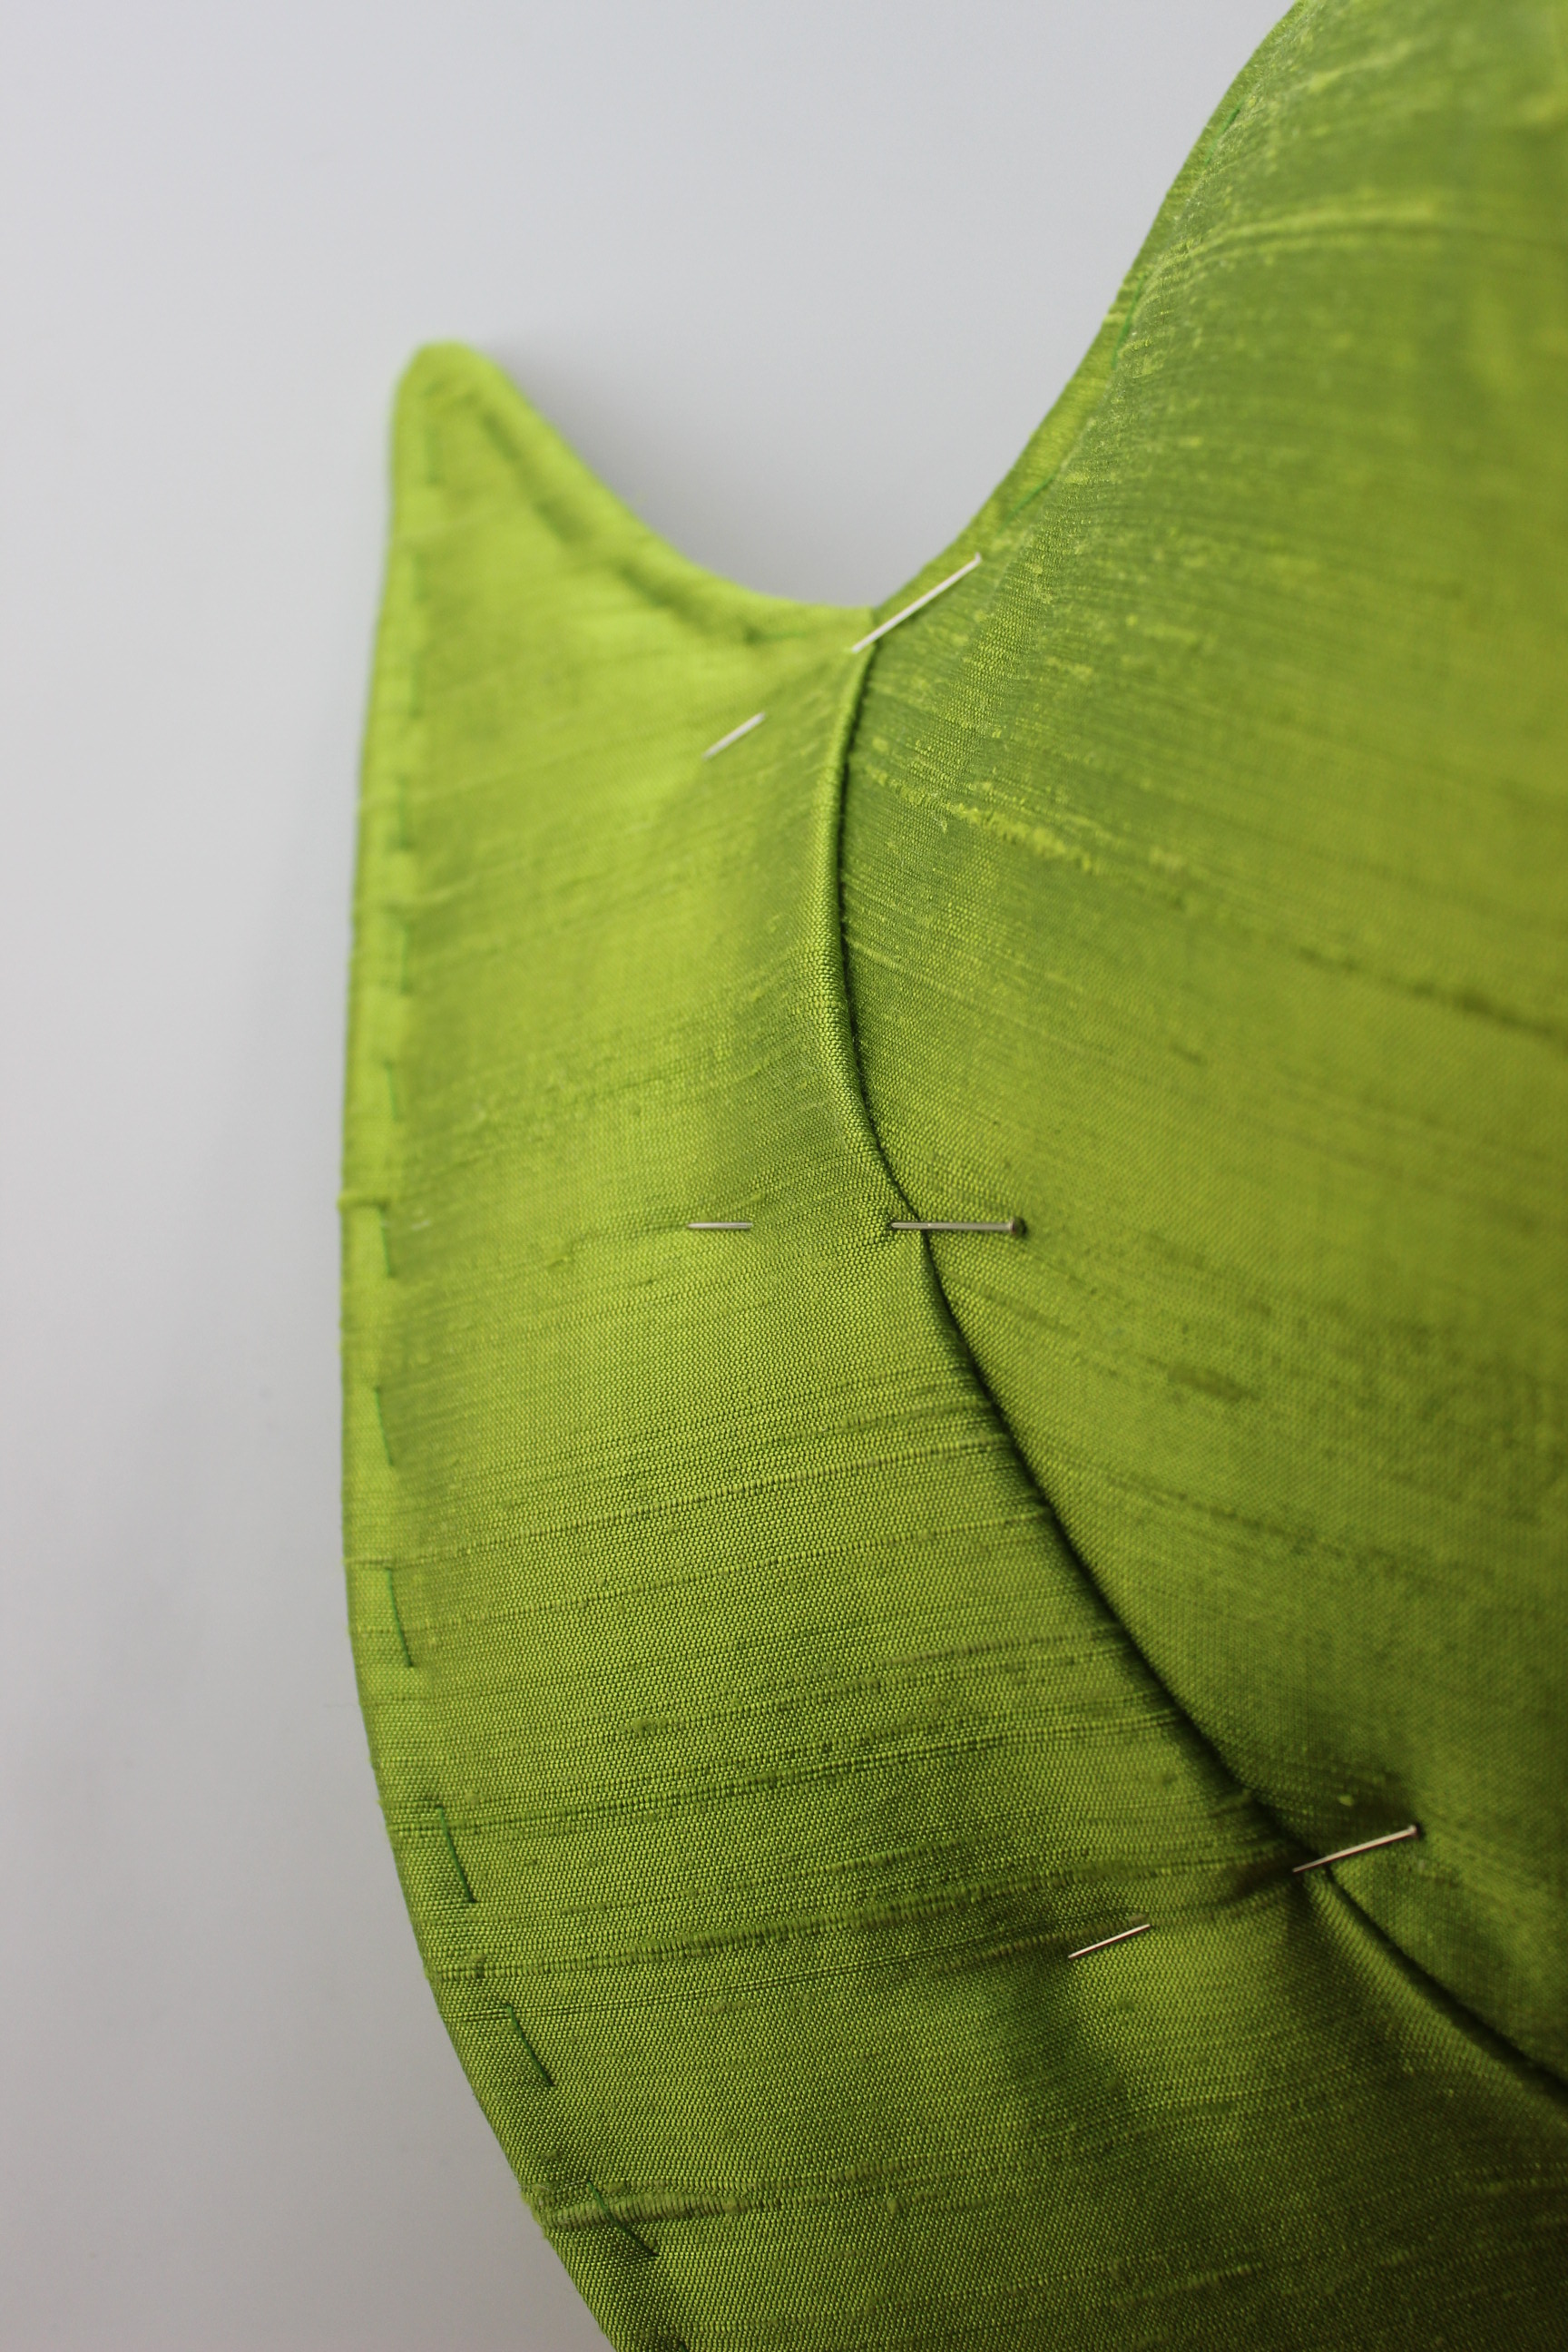
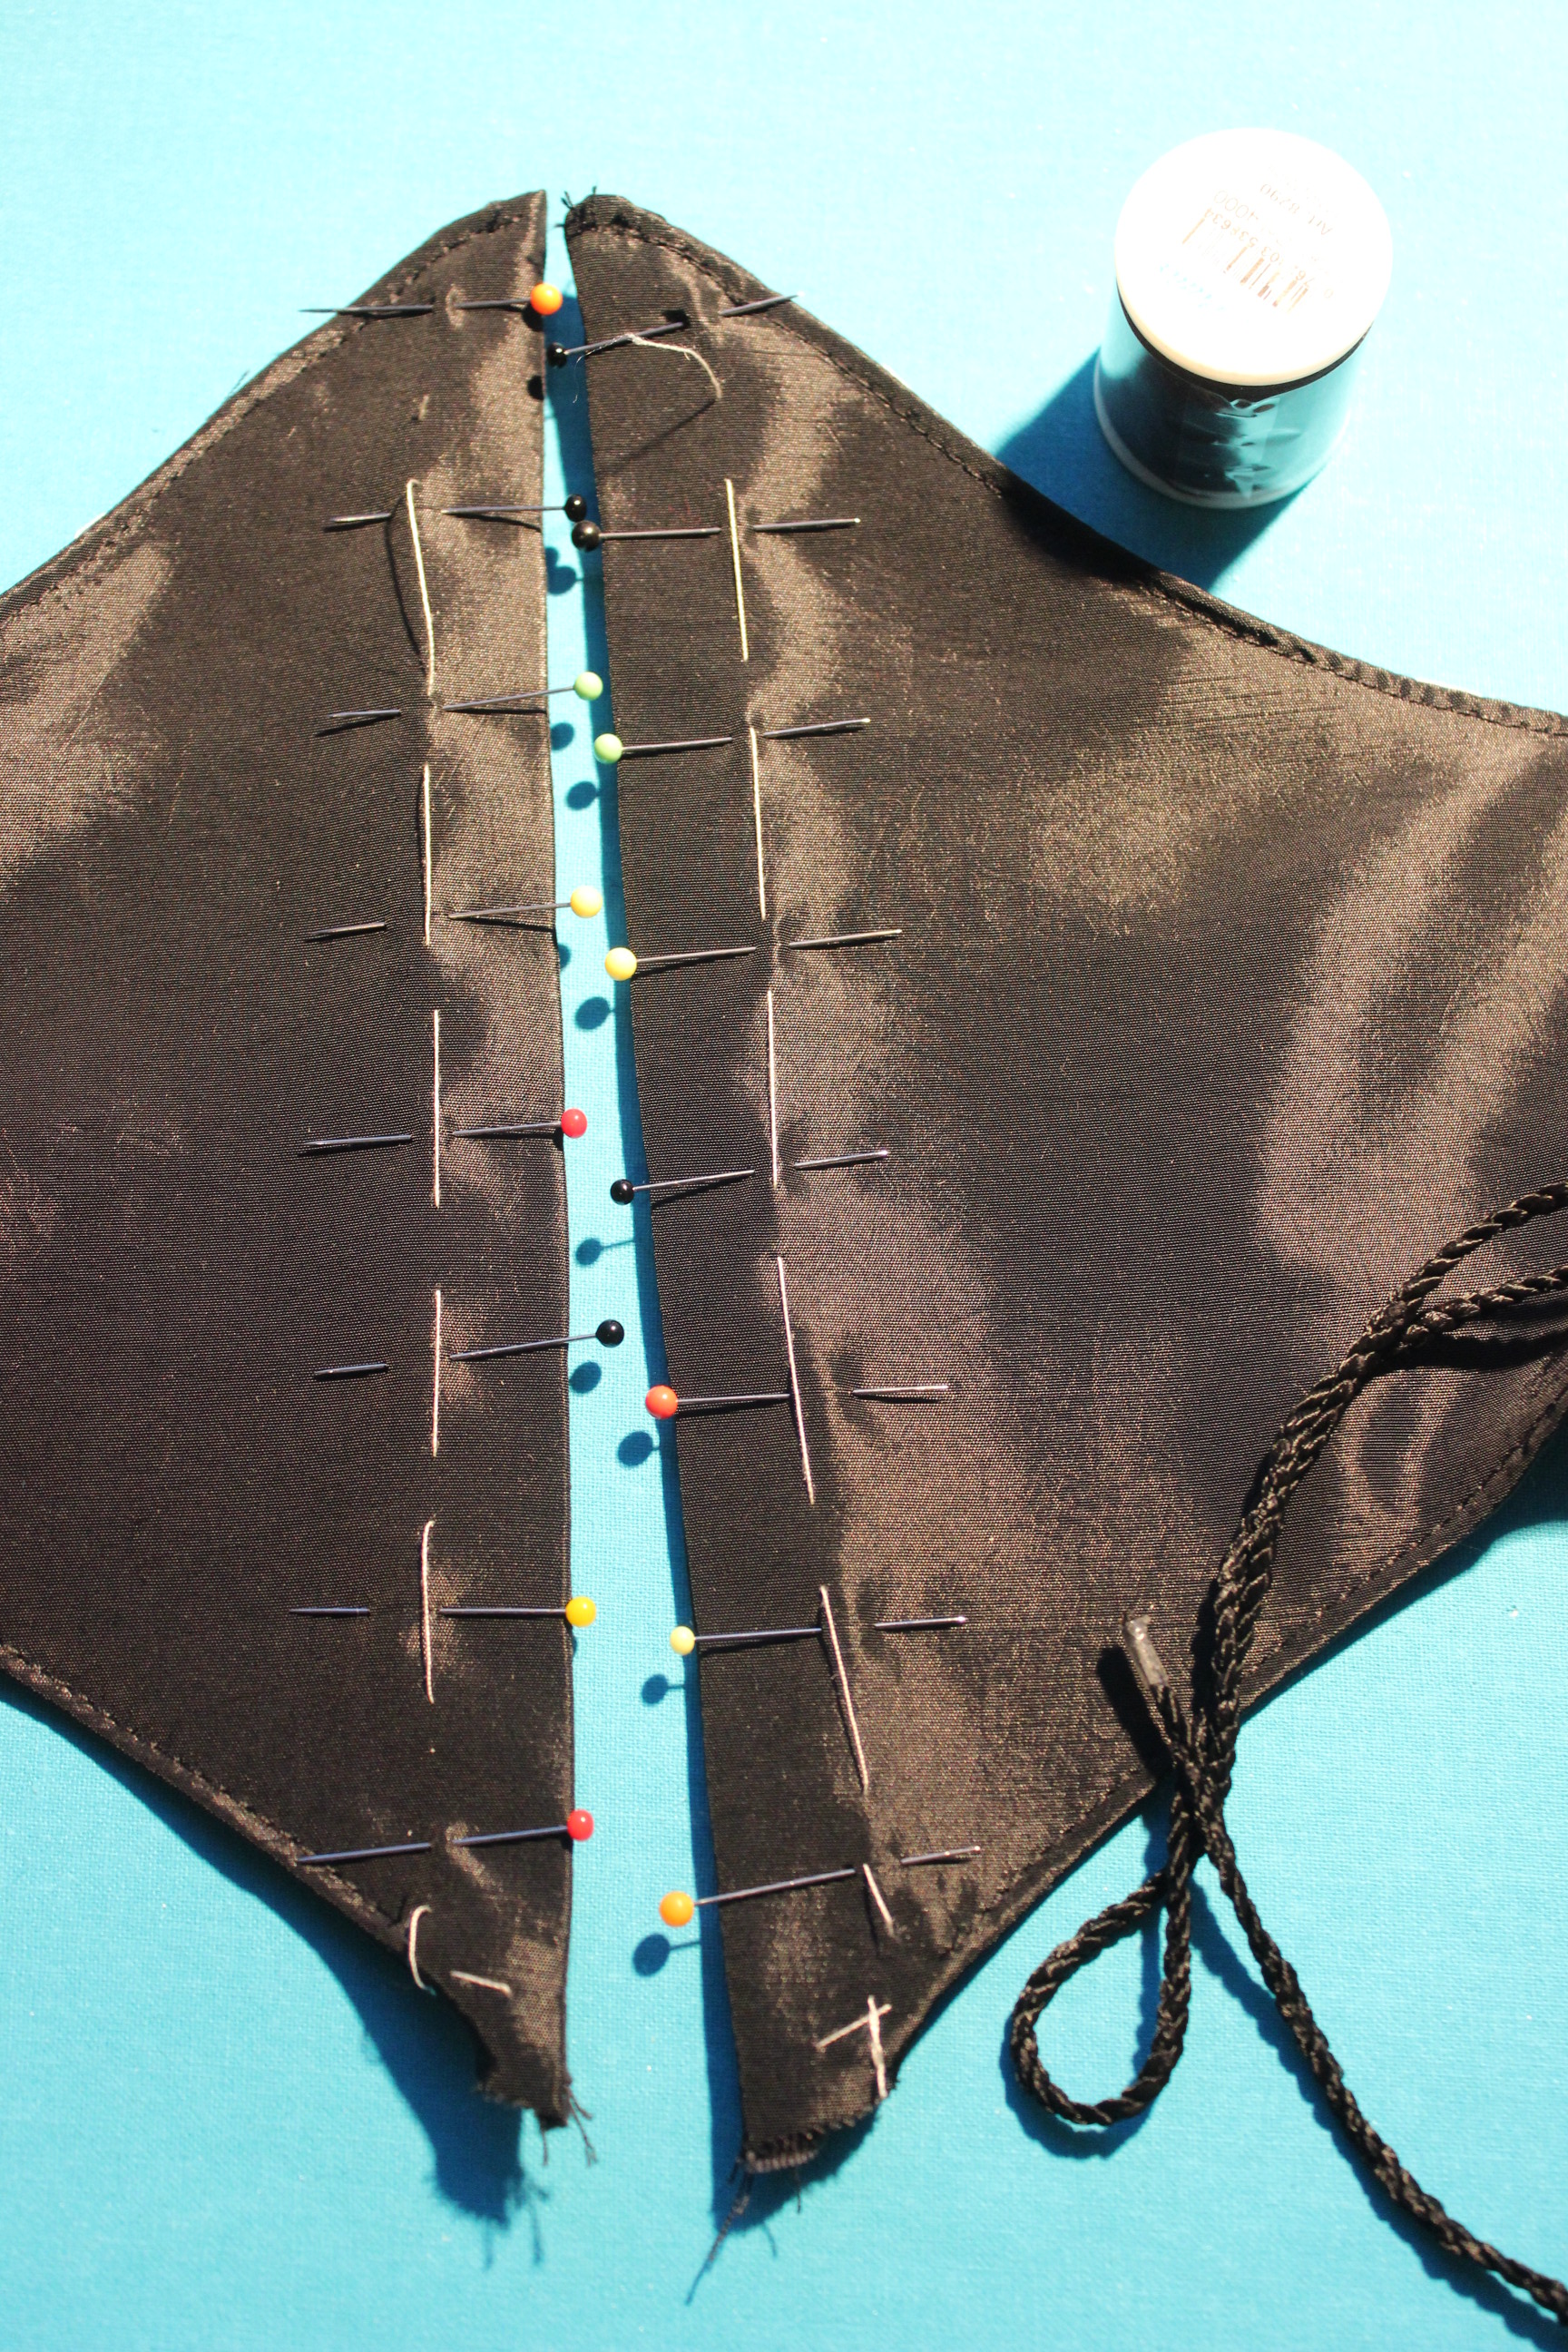
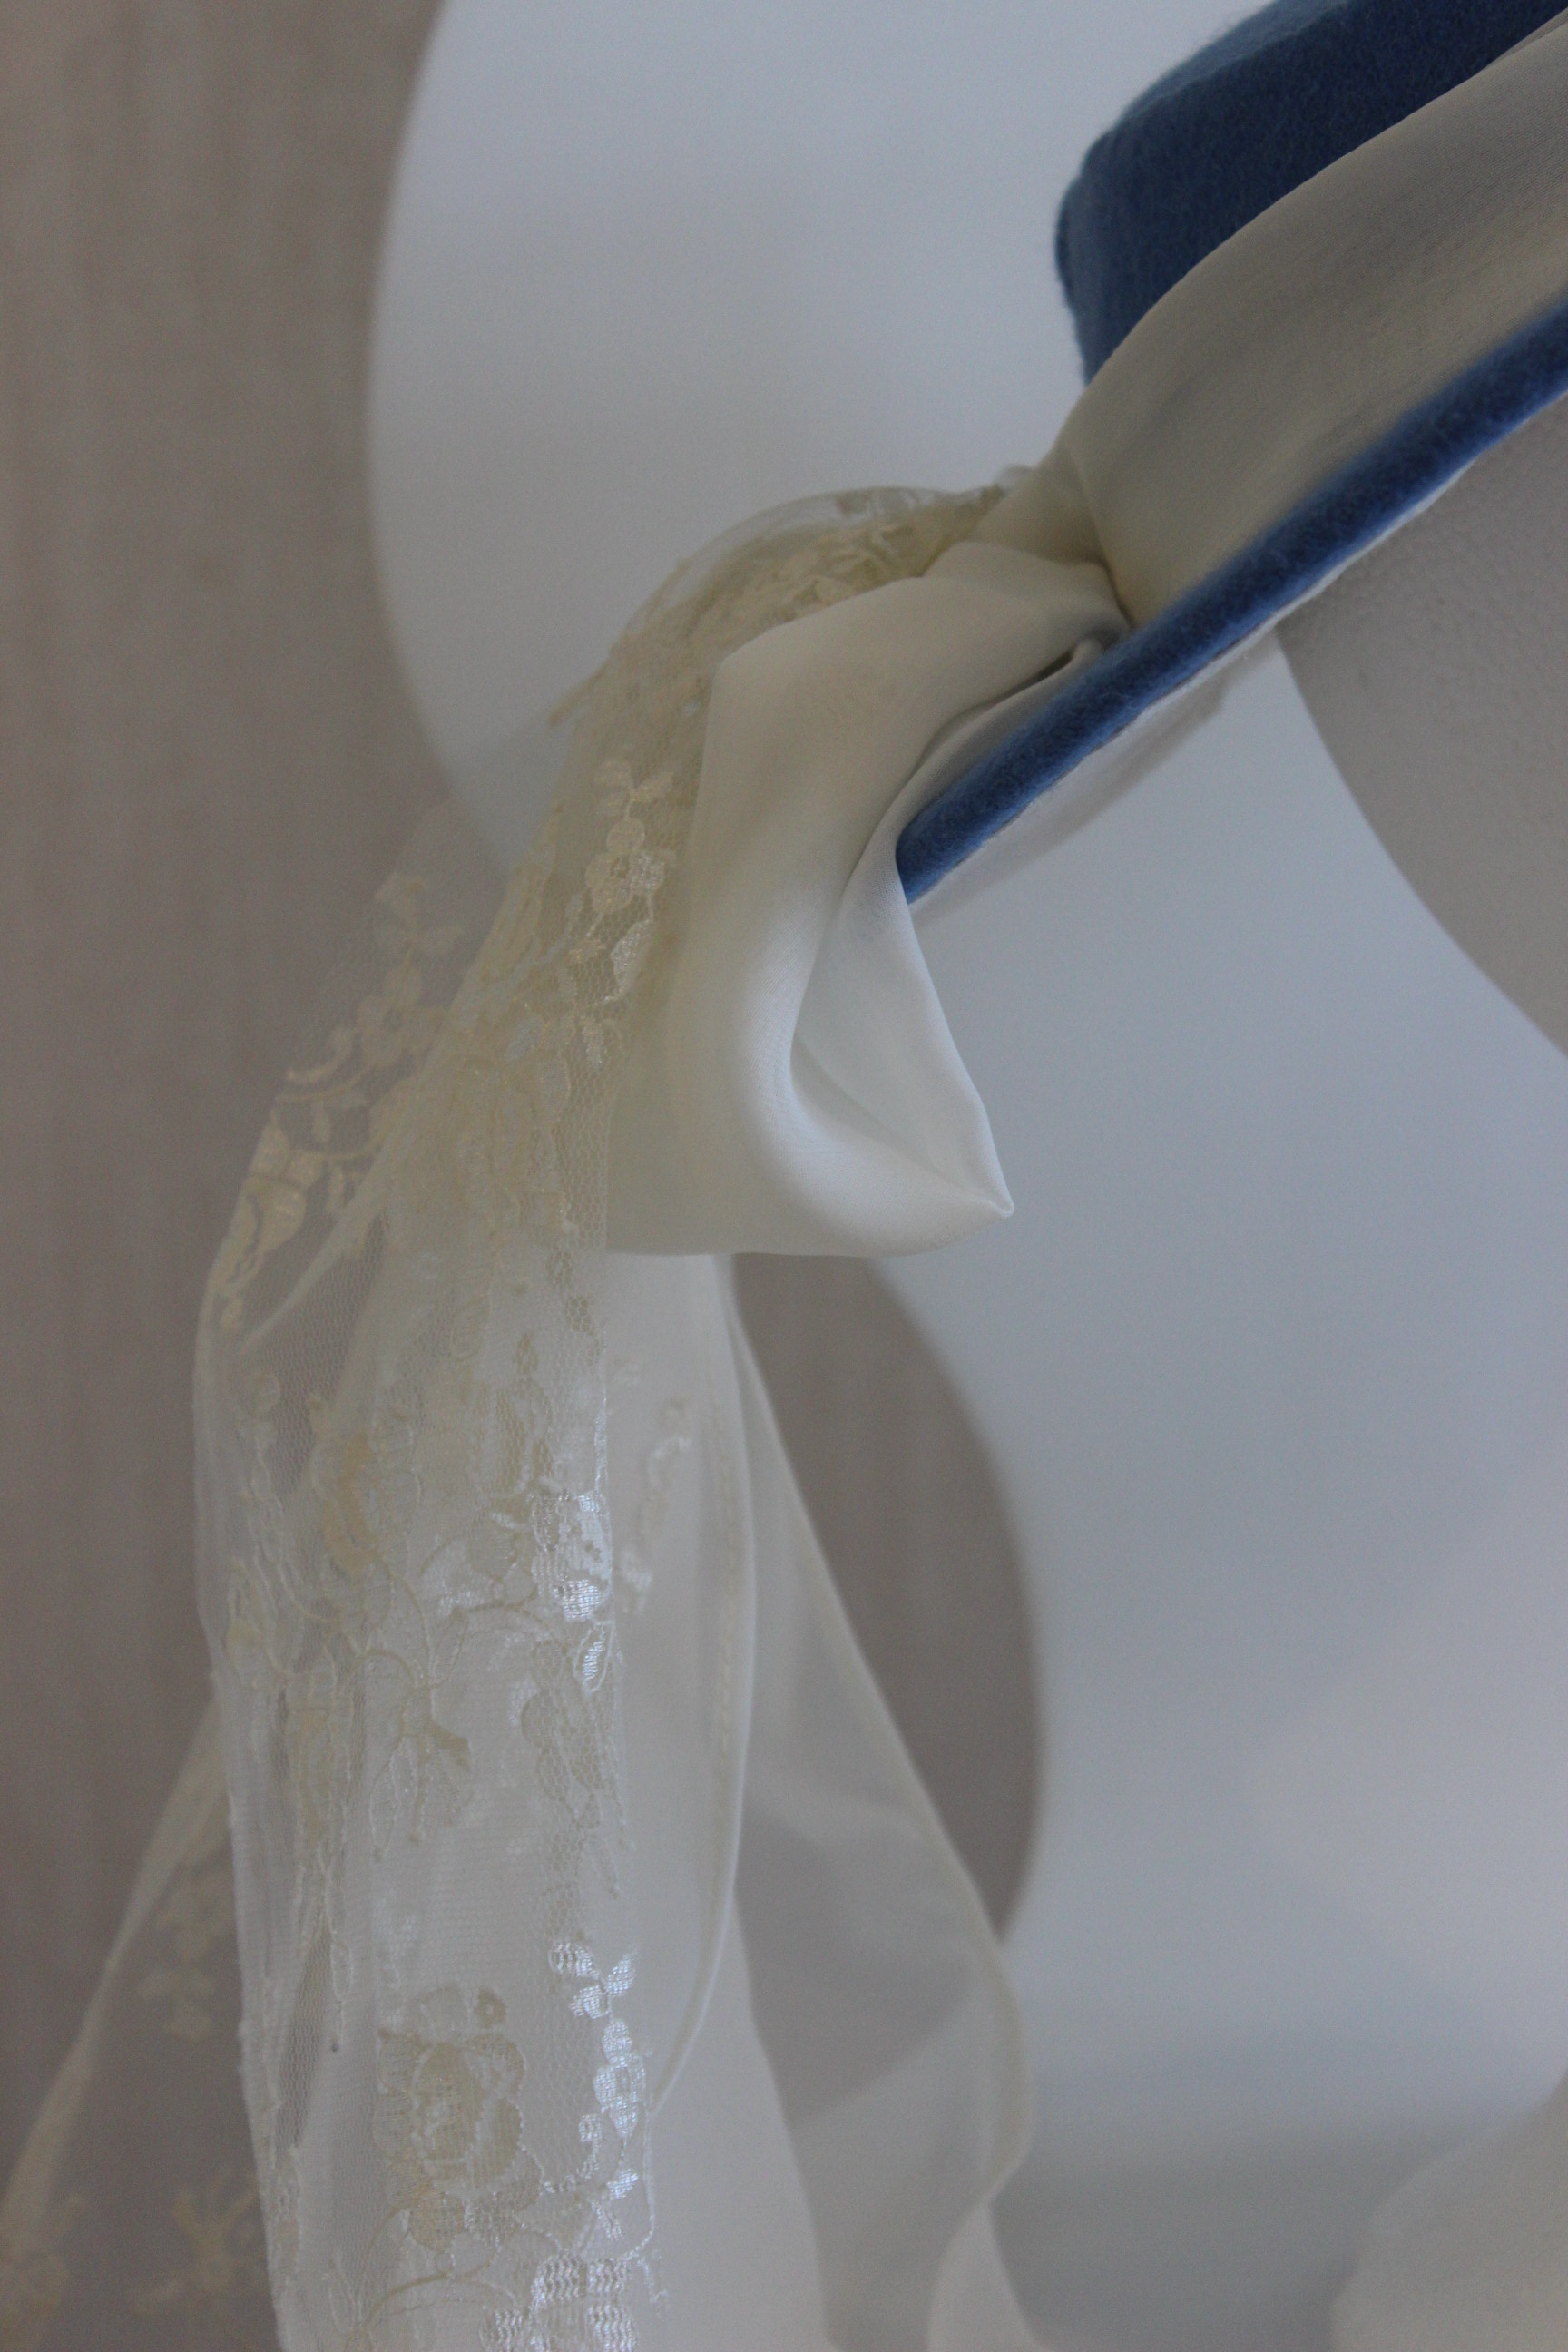
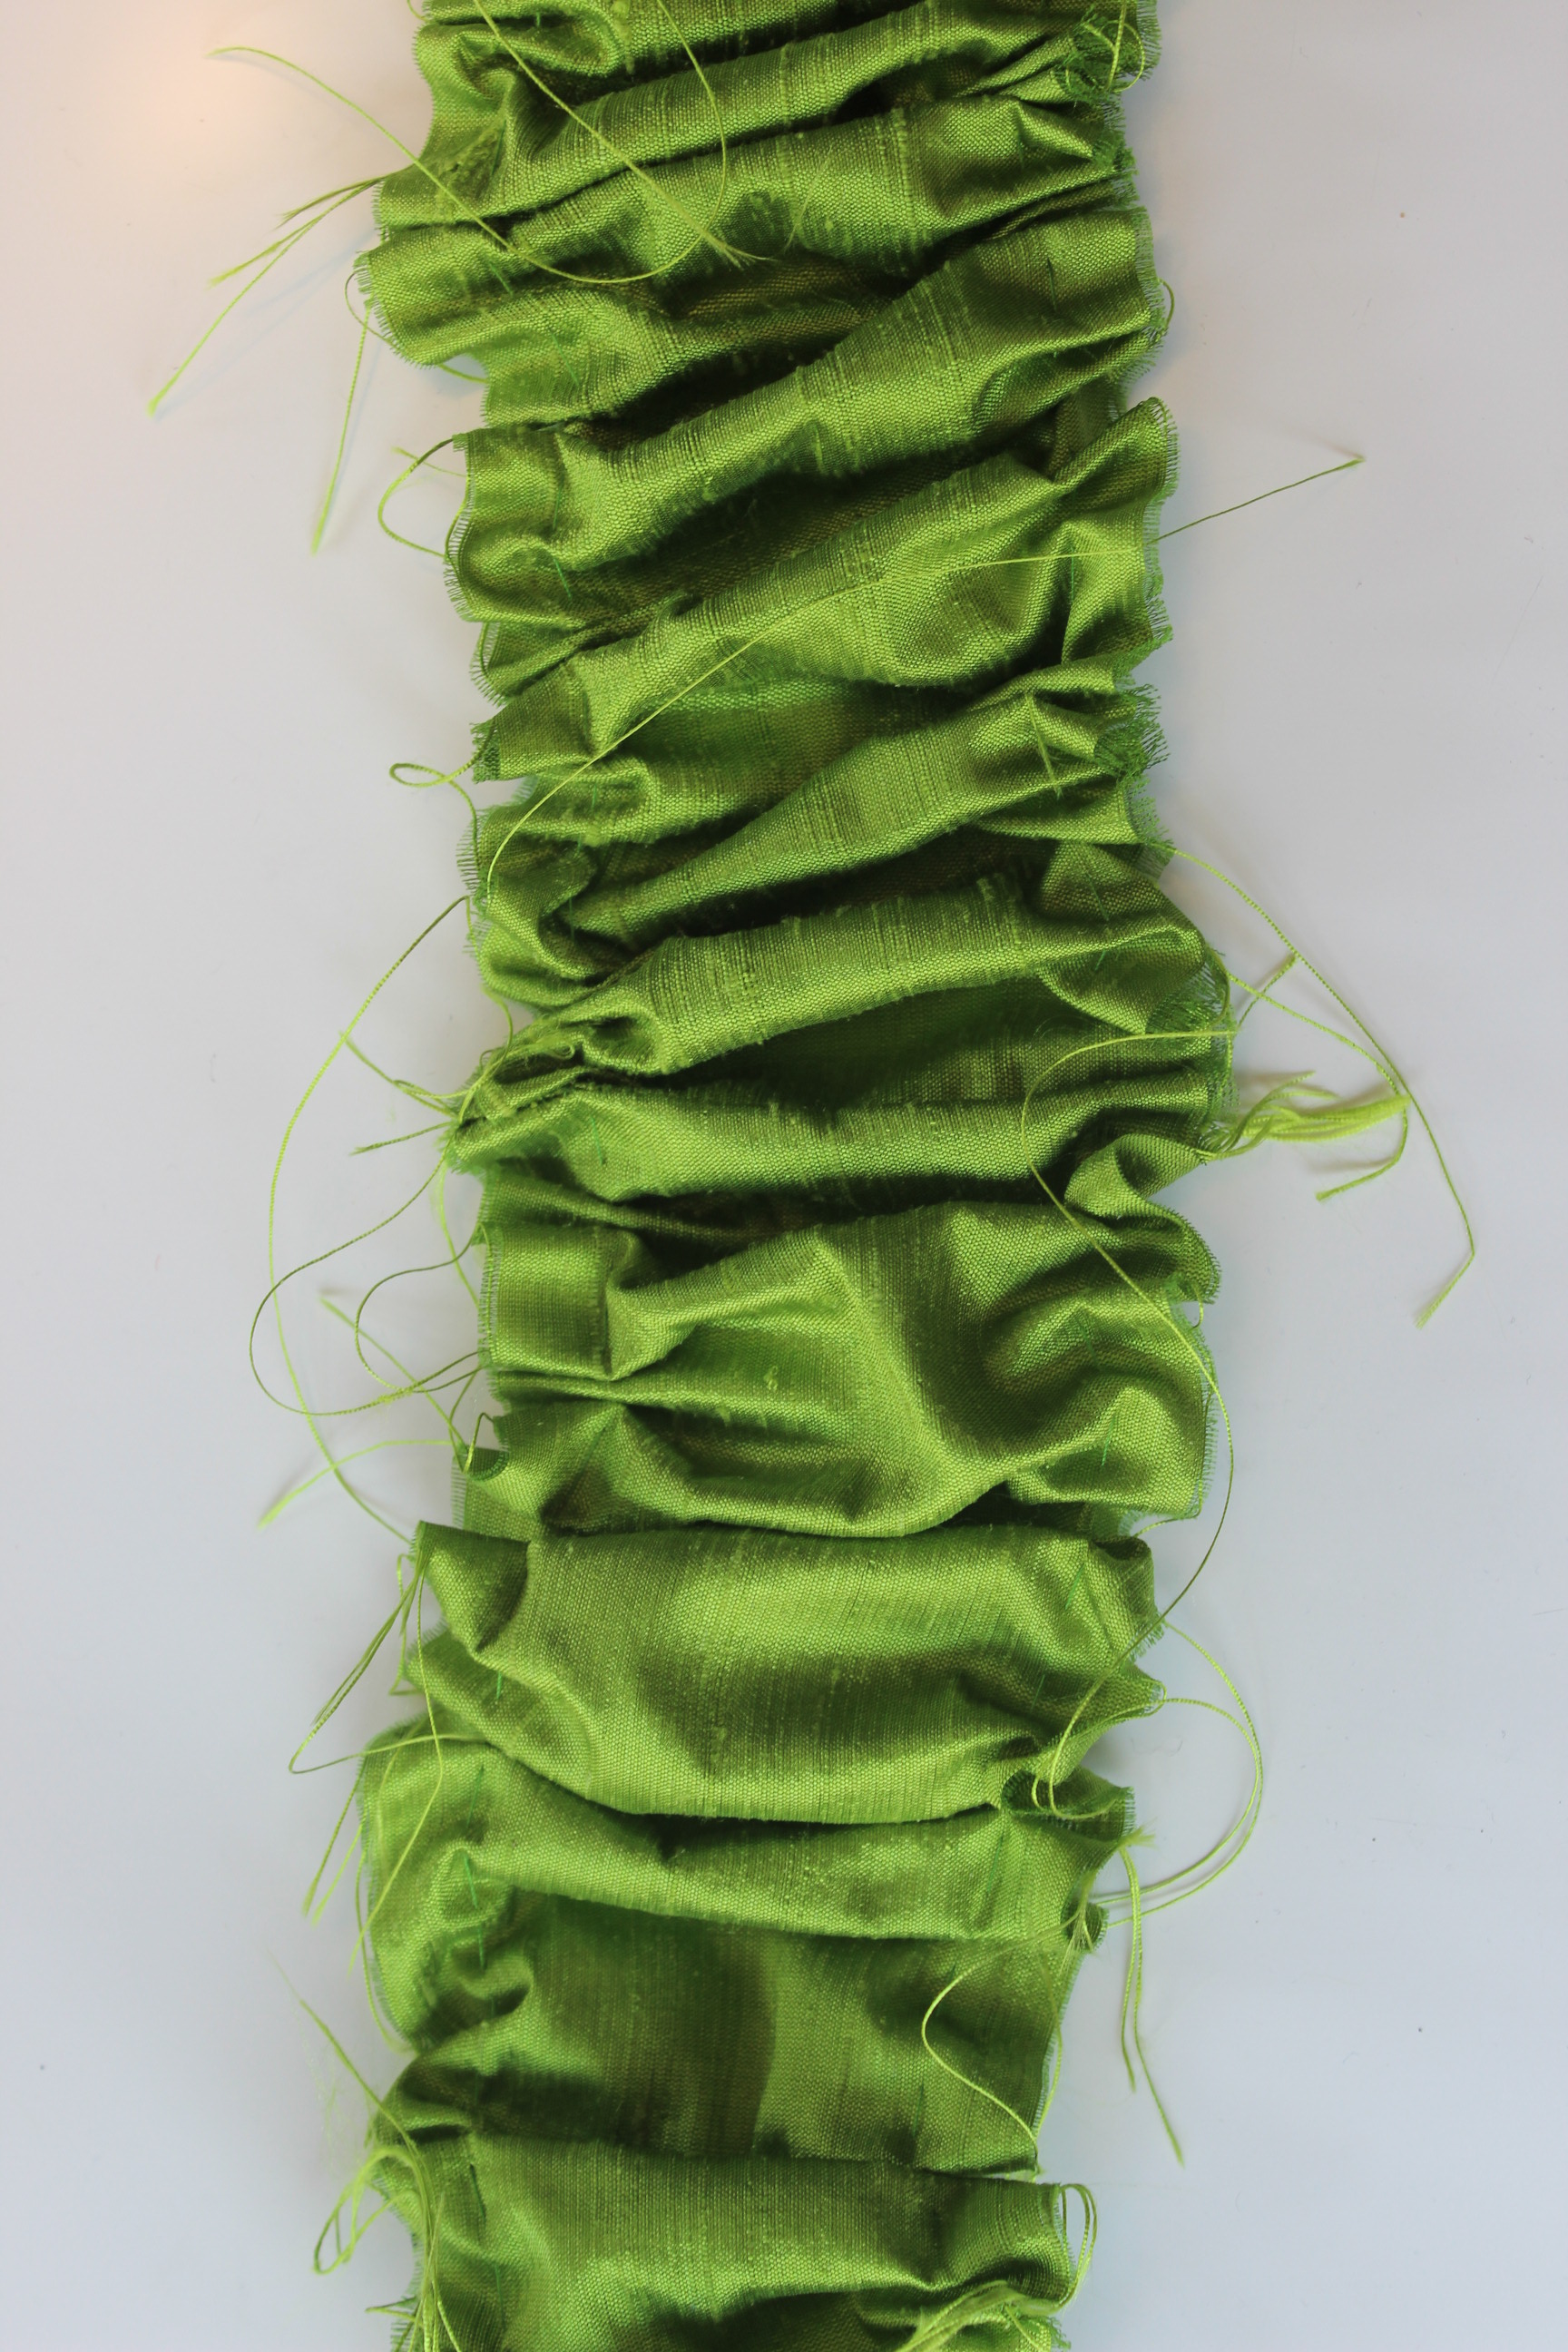
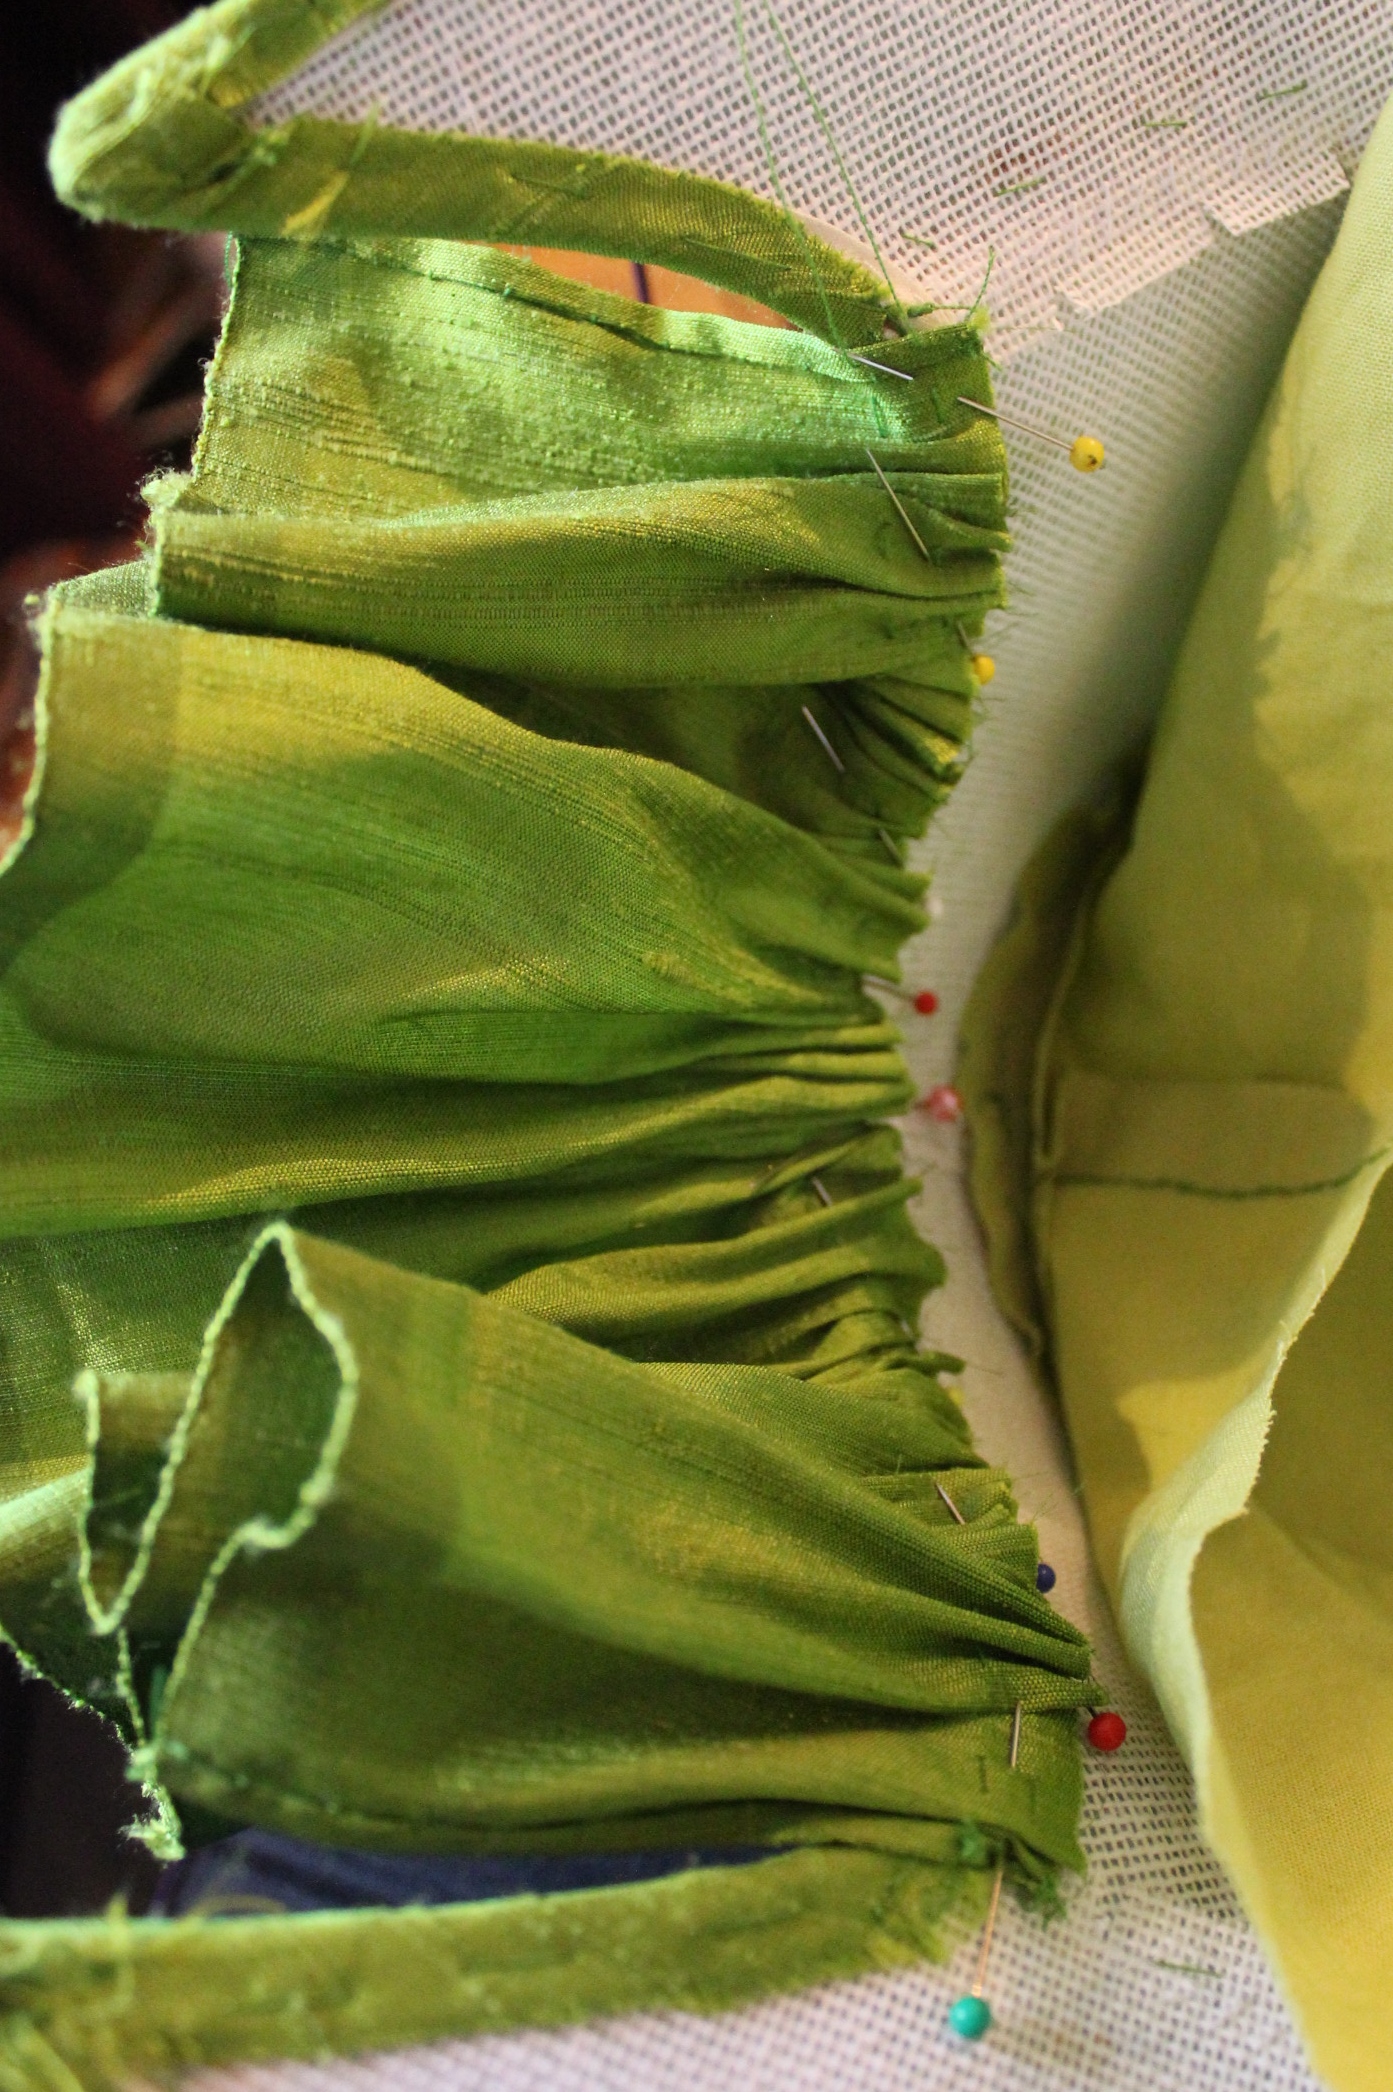
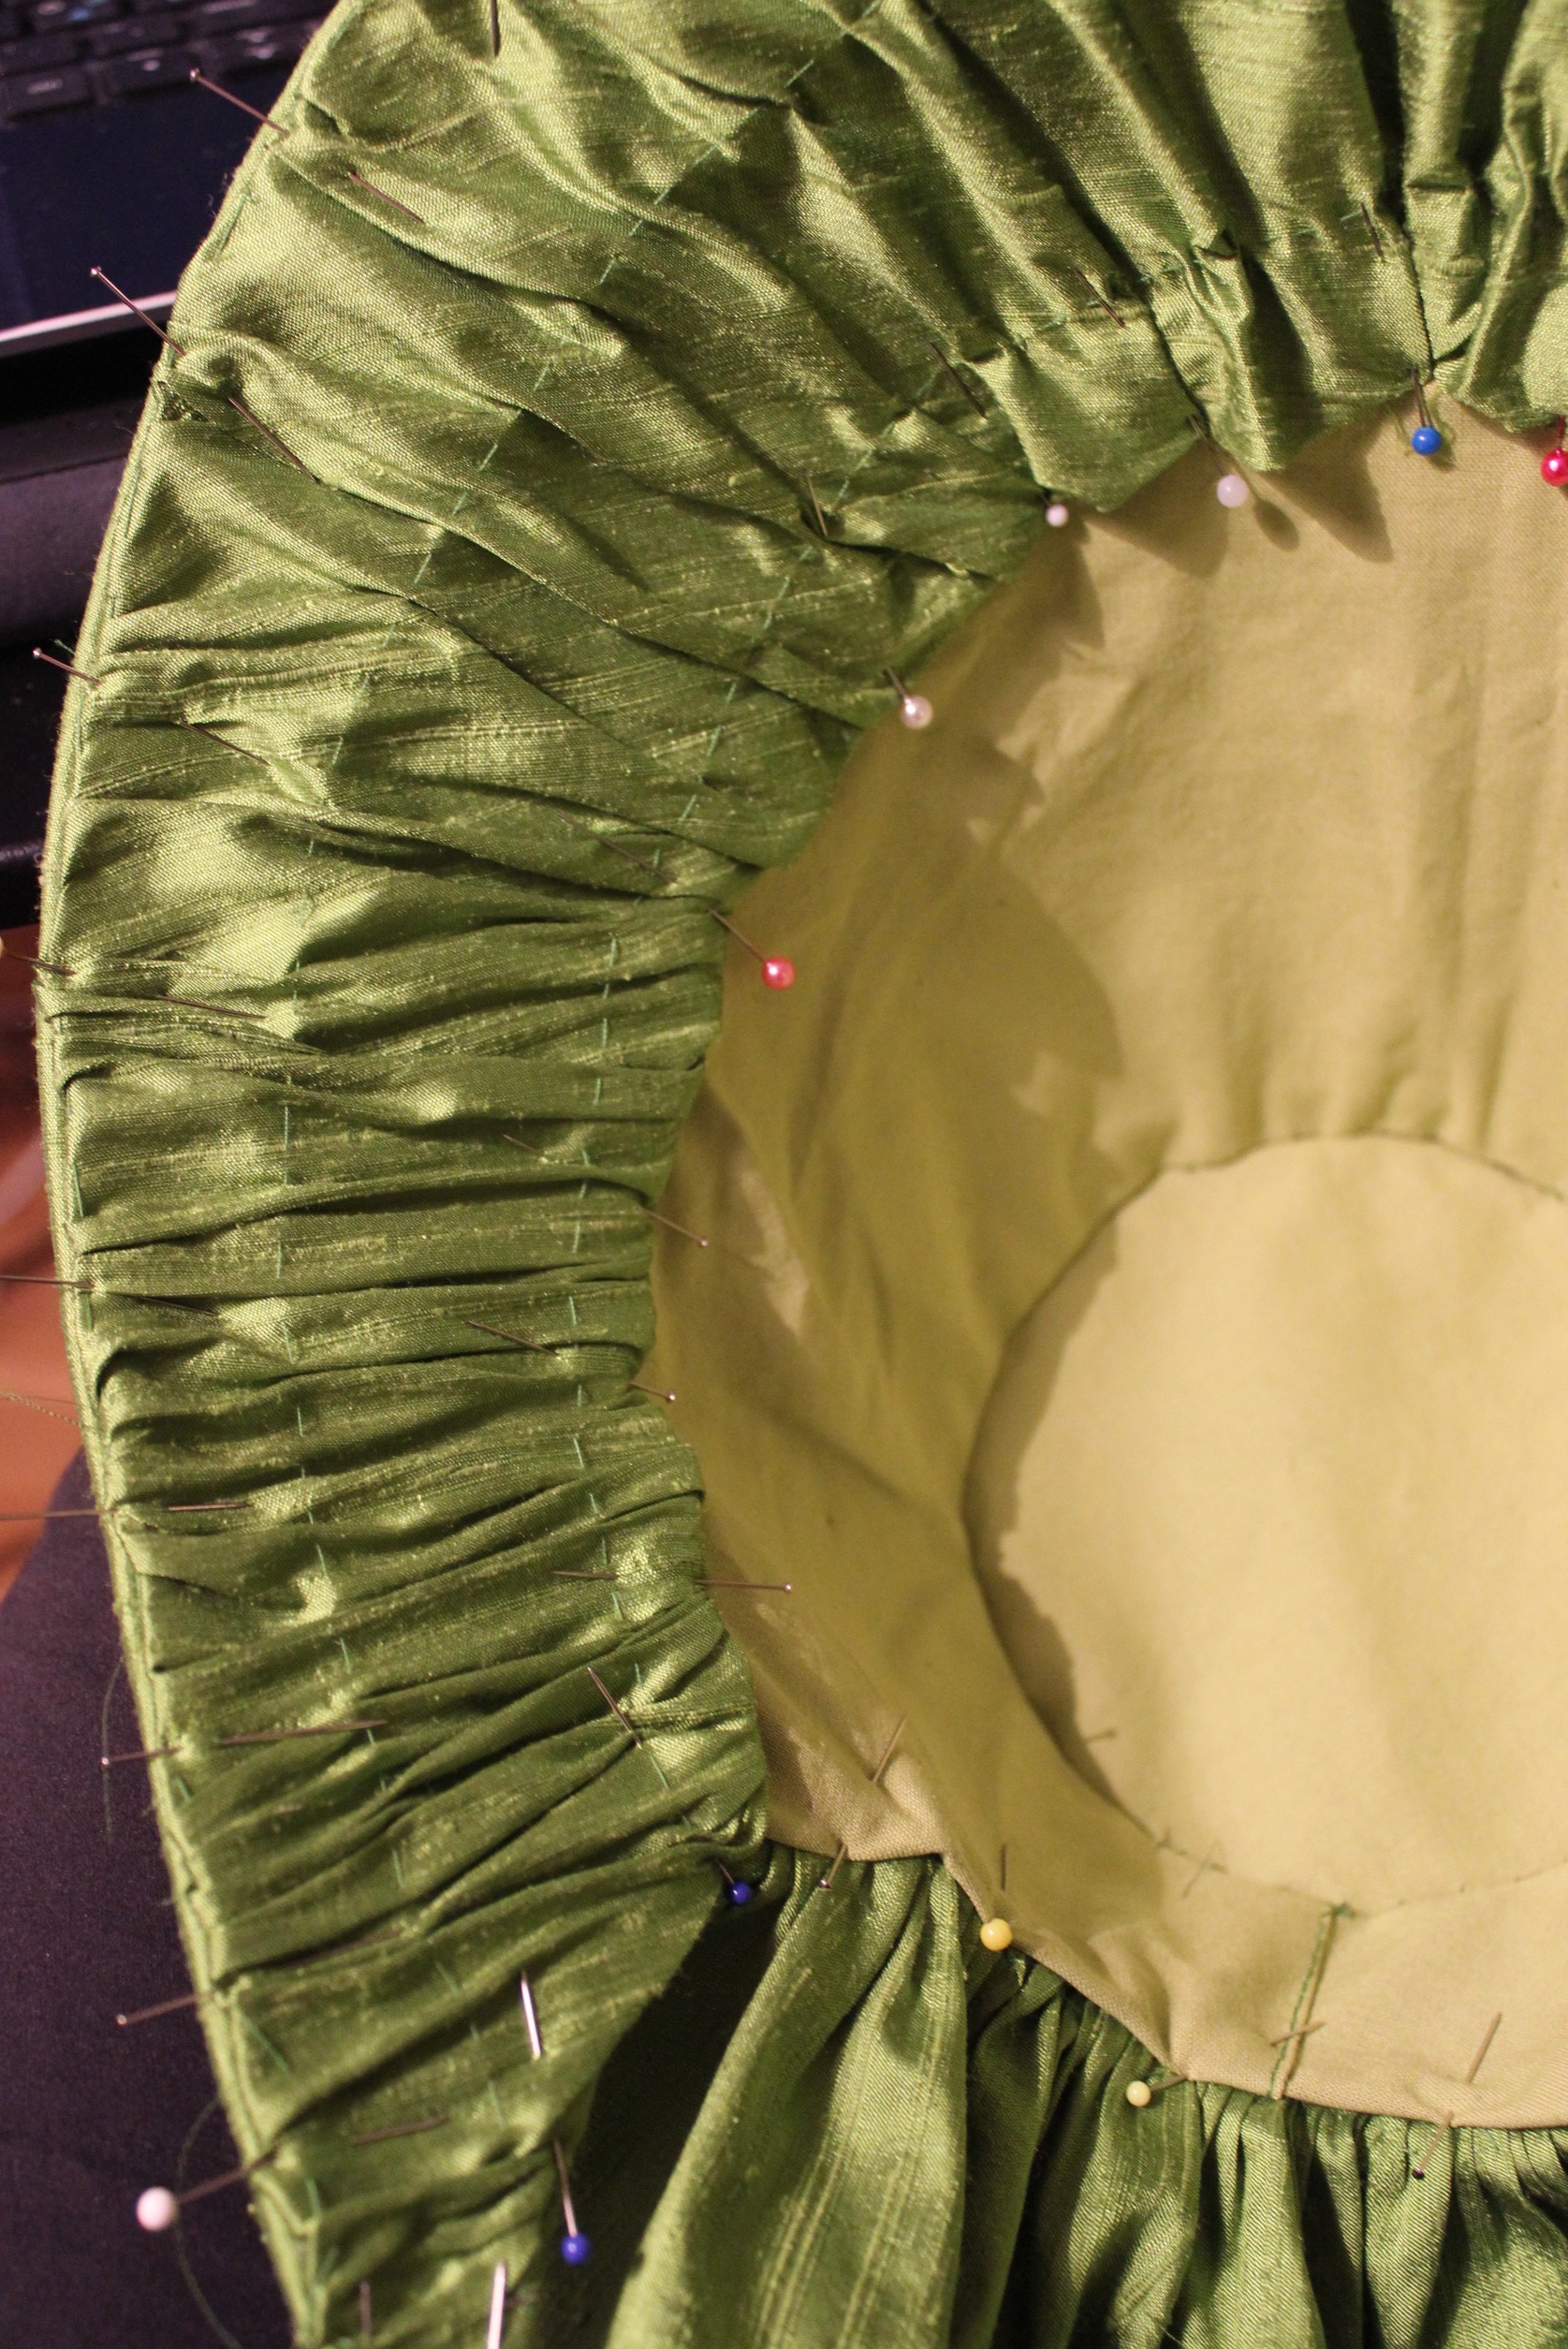
Silk all stitched on.

Then it was time for the lining.IMG_6589Using a curved needle to baste the crown to the inner corners.

Stitching the fabrics together using small invisible stitches.IMG_6591

Before finishing the last piece (the gathered front) of the lining, It was time for the “curtain”/neckpiece.IMG_6593I basically just gathered a straight piece of silk and pinned it to the curved neck of the bonnet.IMG_6596Then I stitched it on.

Then I gathered, pinned and stitched the last piece of lining to the inner brim of the bonnet, and added some silk ties.IMG_6598

The base for the bonnet was now finished, and all that’s needed was the decoration.
IMG_6609 IMG_6611

IMG_6613I think it looks stunning and was a bit hesitant of even adding trimmings and decorations.

To be continued…

1850/60s (Not a Garbardi) Blouse

Once I’ve decided to make a blouse for some upcoming mid 19th century events this summer it all went pretty fast.

I selected an inspiration pic to base my design upon.
7b7d4d08edbf772307a80f15be56bffc 22fcb4ef48632fecc39c391e2f9e1a89
059d04d3e45d5b72b7ba36bc6a2cd407Shoulder and sleeve detail.

I decided to use the white dotted organza I’ve bought on sale a year ago (which I also used as contrast in my Ariel/Camille dress)
IMG_6253Sorry for the dark photo – I was working late at night

I made a pattern using my green 1840s dress bodice as a base.IMG_6114

To keep the blouse from being totally see through I made a lining in a soft loosely woven cotton fabric. IMG_6267Thin french seams on the lining.

I basted the blouse together, combining darts (in the lining) and gathers (in the organza) to get the right look for the bloused waist. IMG_6255Here you can see the gathered organza (left) and the darted lining (right).

Once I tried it on I found the lining to be a bit high in the neck and cut it down about 4-5 cm.IMG_6259

I stitched the sleeves using french seams and rushing at the cap.
The cuff is just one reinforced, folded piece of organza, closing with a button, to which I gathered the sleeve to. IMG_6274

IMG_6281Sleeve set.

The biggest mistake I made on this project was steaming on fusible interlining to the buttonhole stands. Once sewn to the thin blouse the buttonhole stand looked really bulking and heavy (and white).
So I ripped them of, and not having enough lining fabric left to cut new ones I carefully peeled the interlining of the fabric. IMG_6269What a mess.

Once re-sew (without the interlining) the buttonhole stand looks much better, and it was time to move on to the collar and buttons.IMG_6283Its just a slightly shaped thin strip of organza and lining folded over to make the low standing collar.IMG_6311
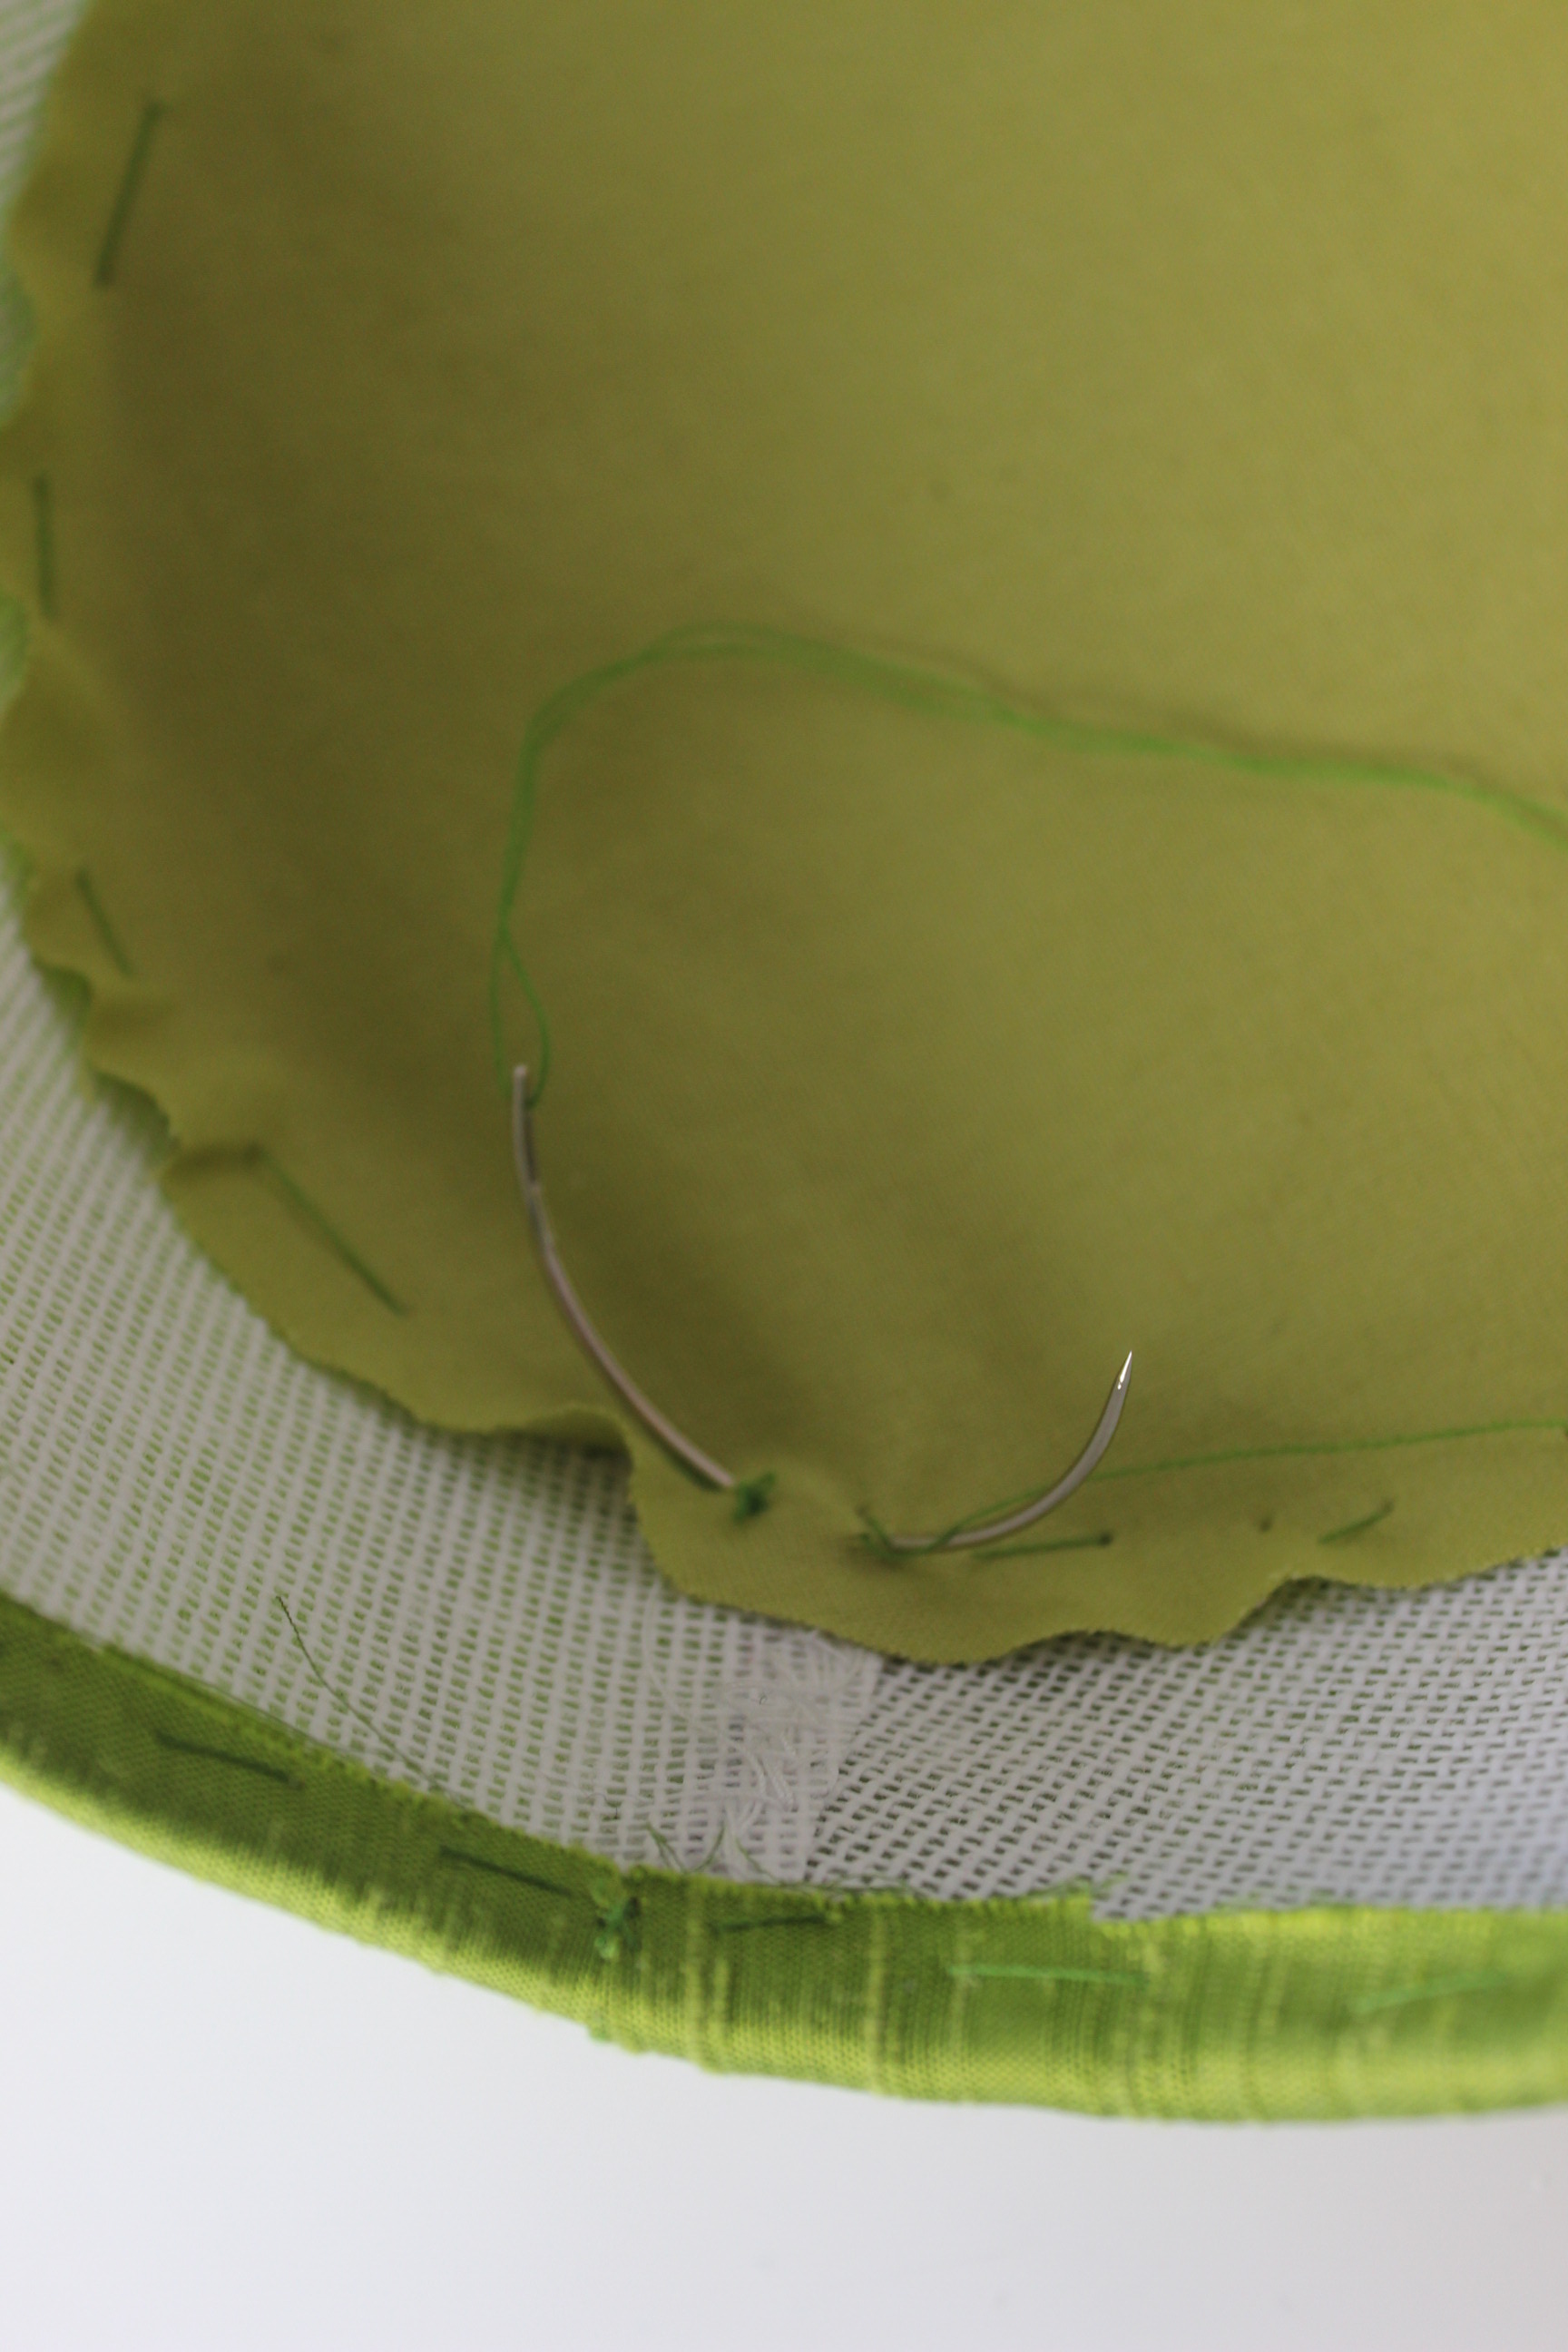
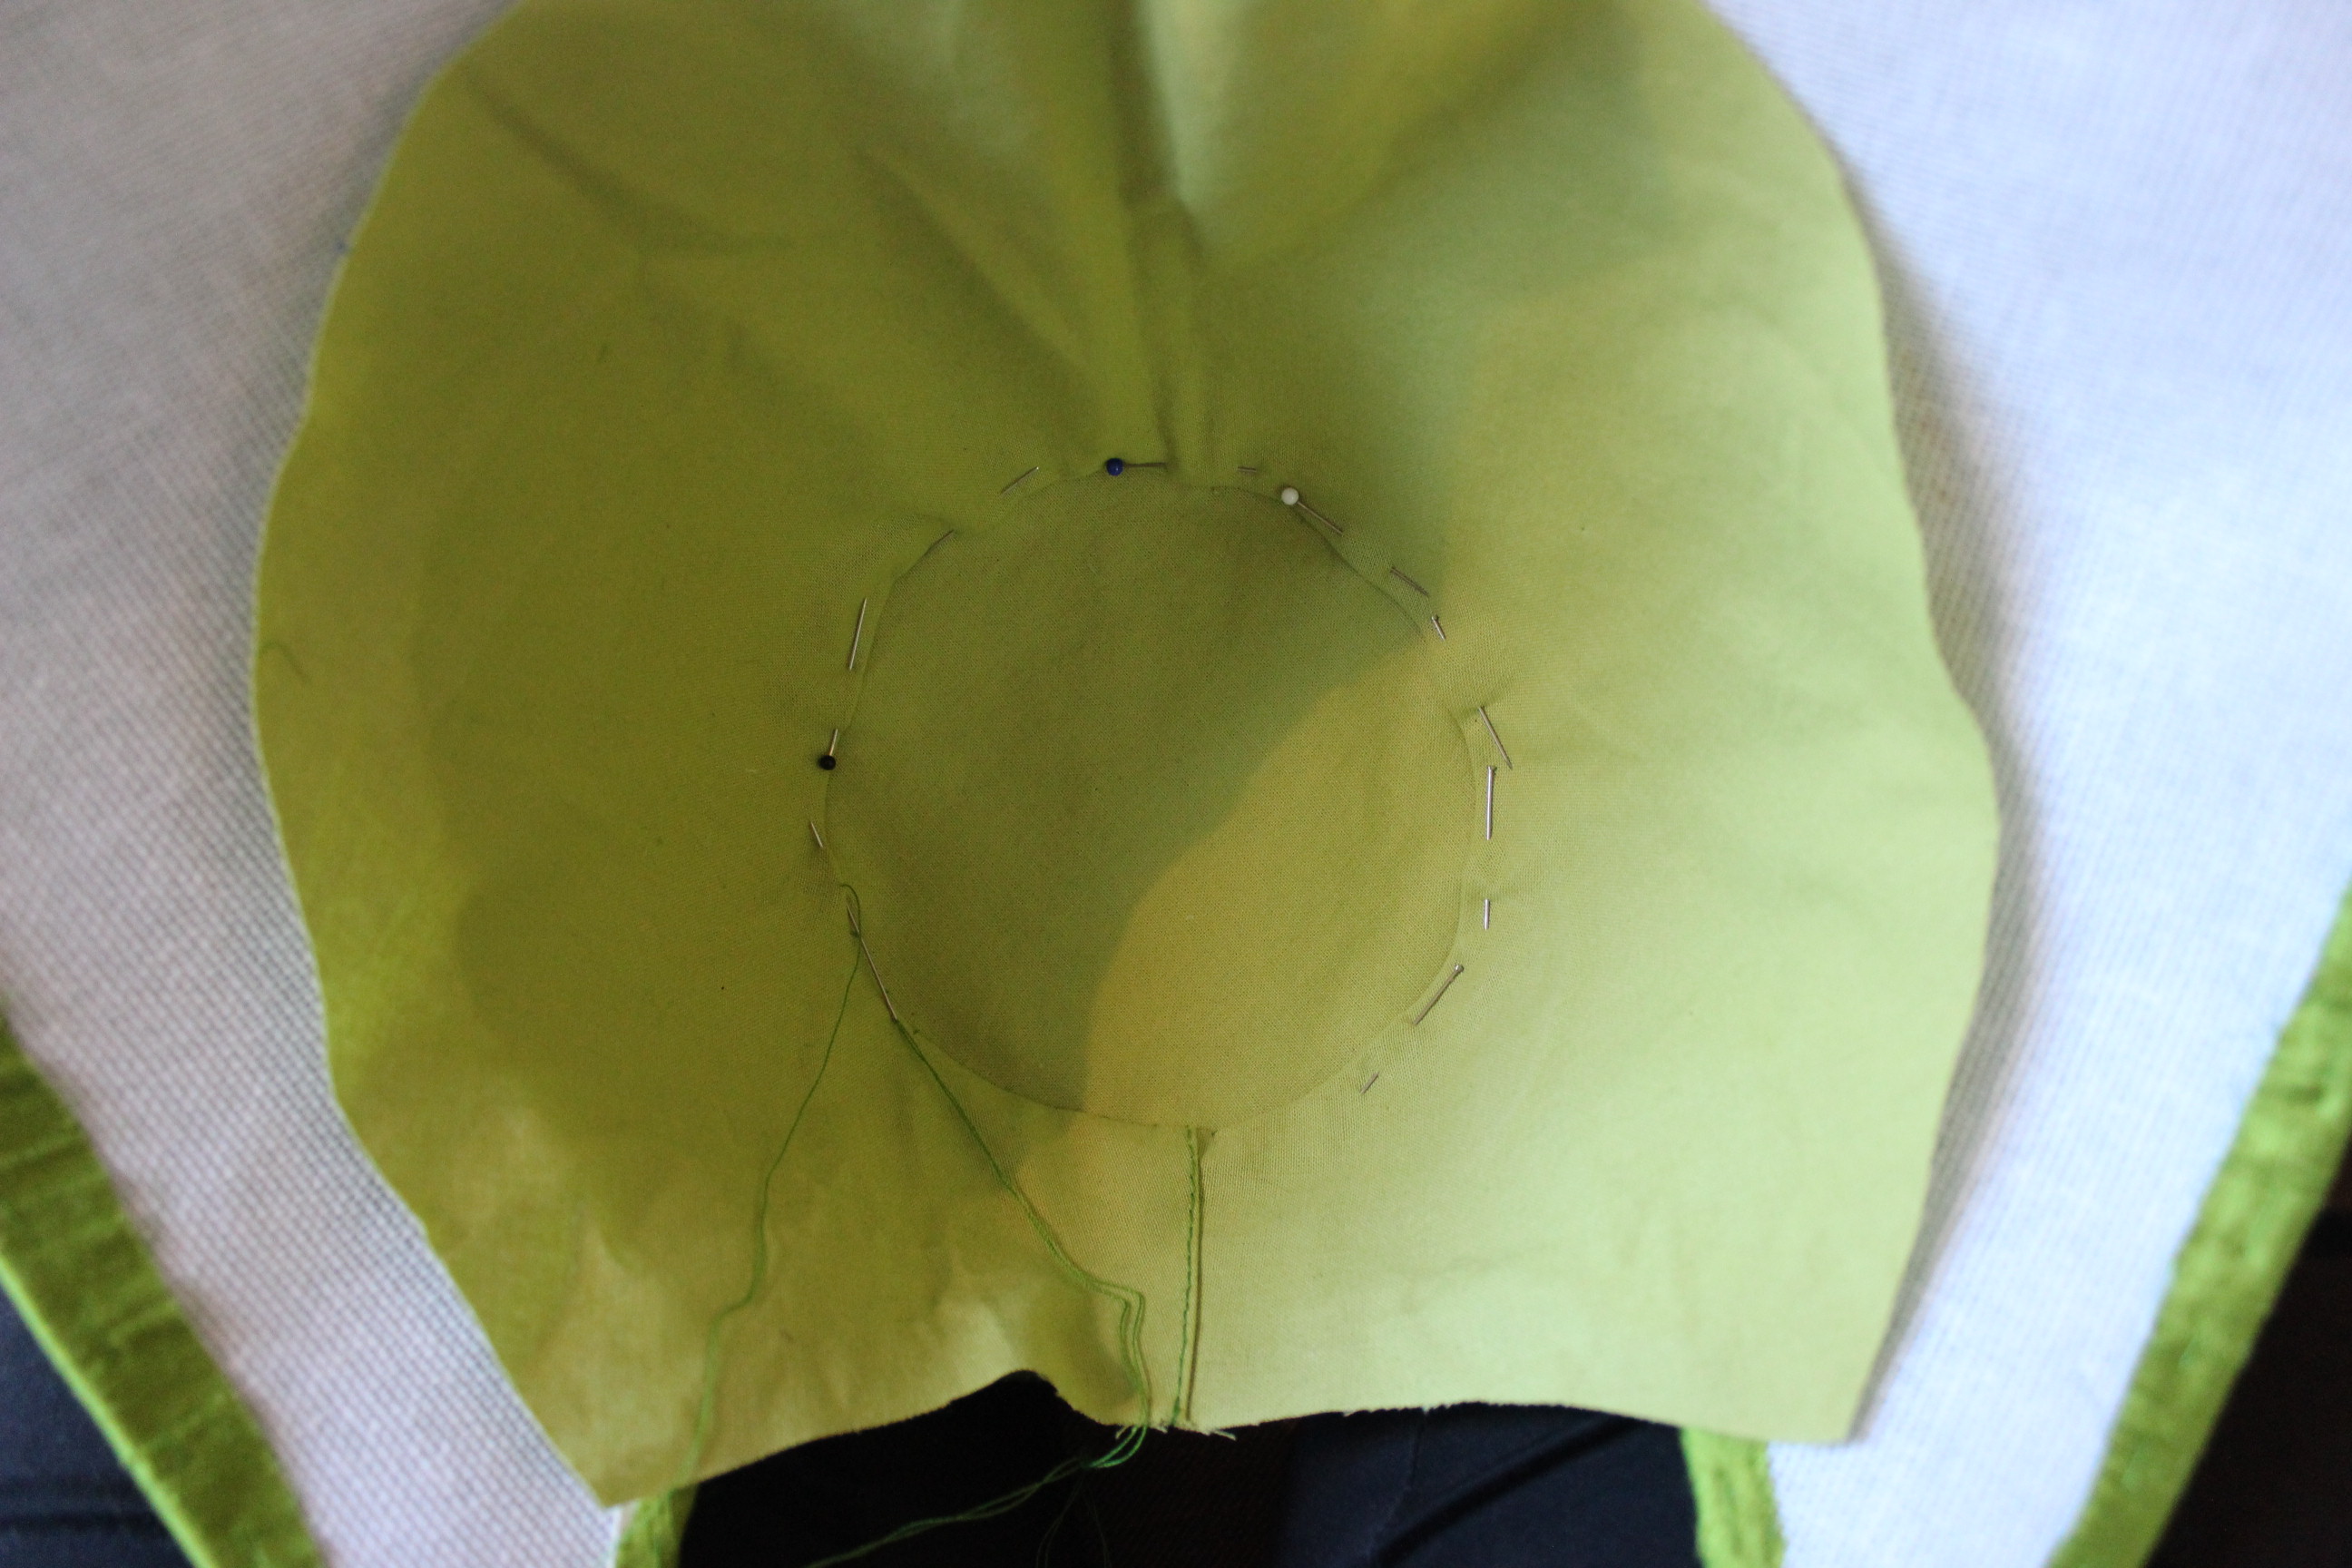
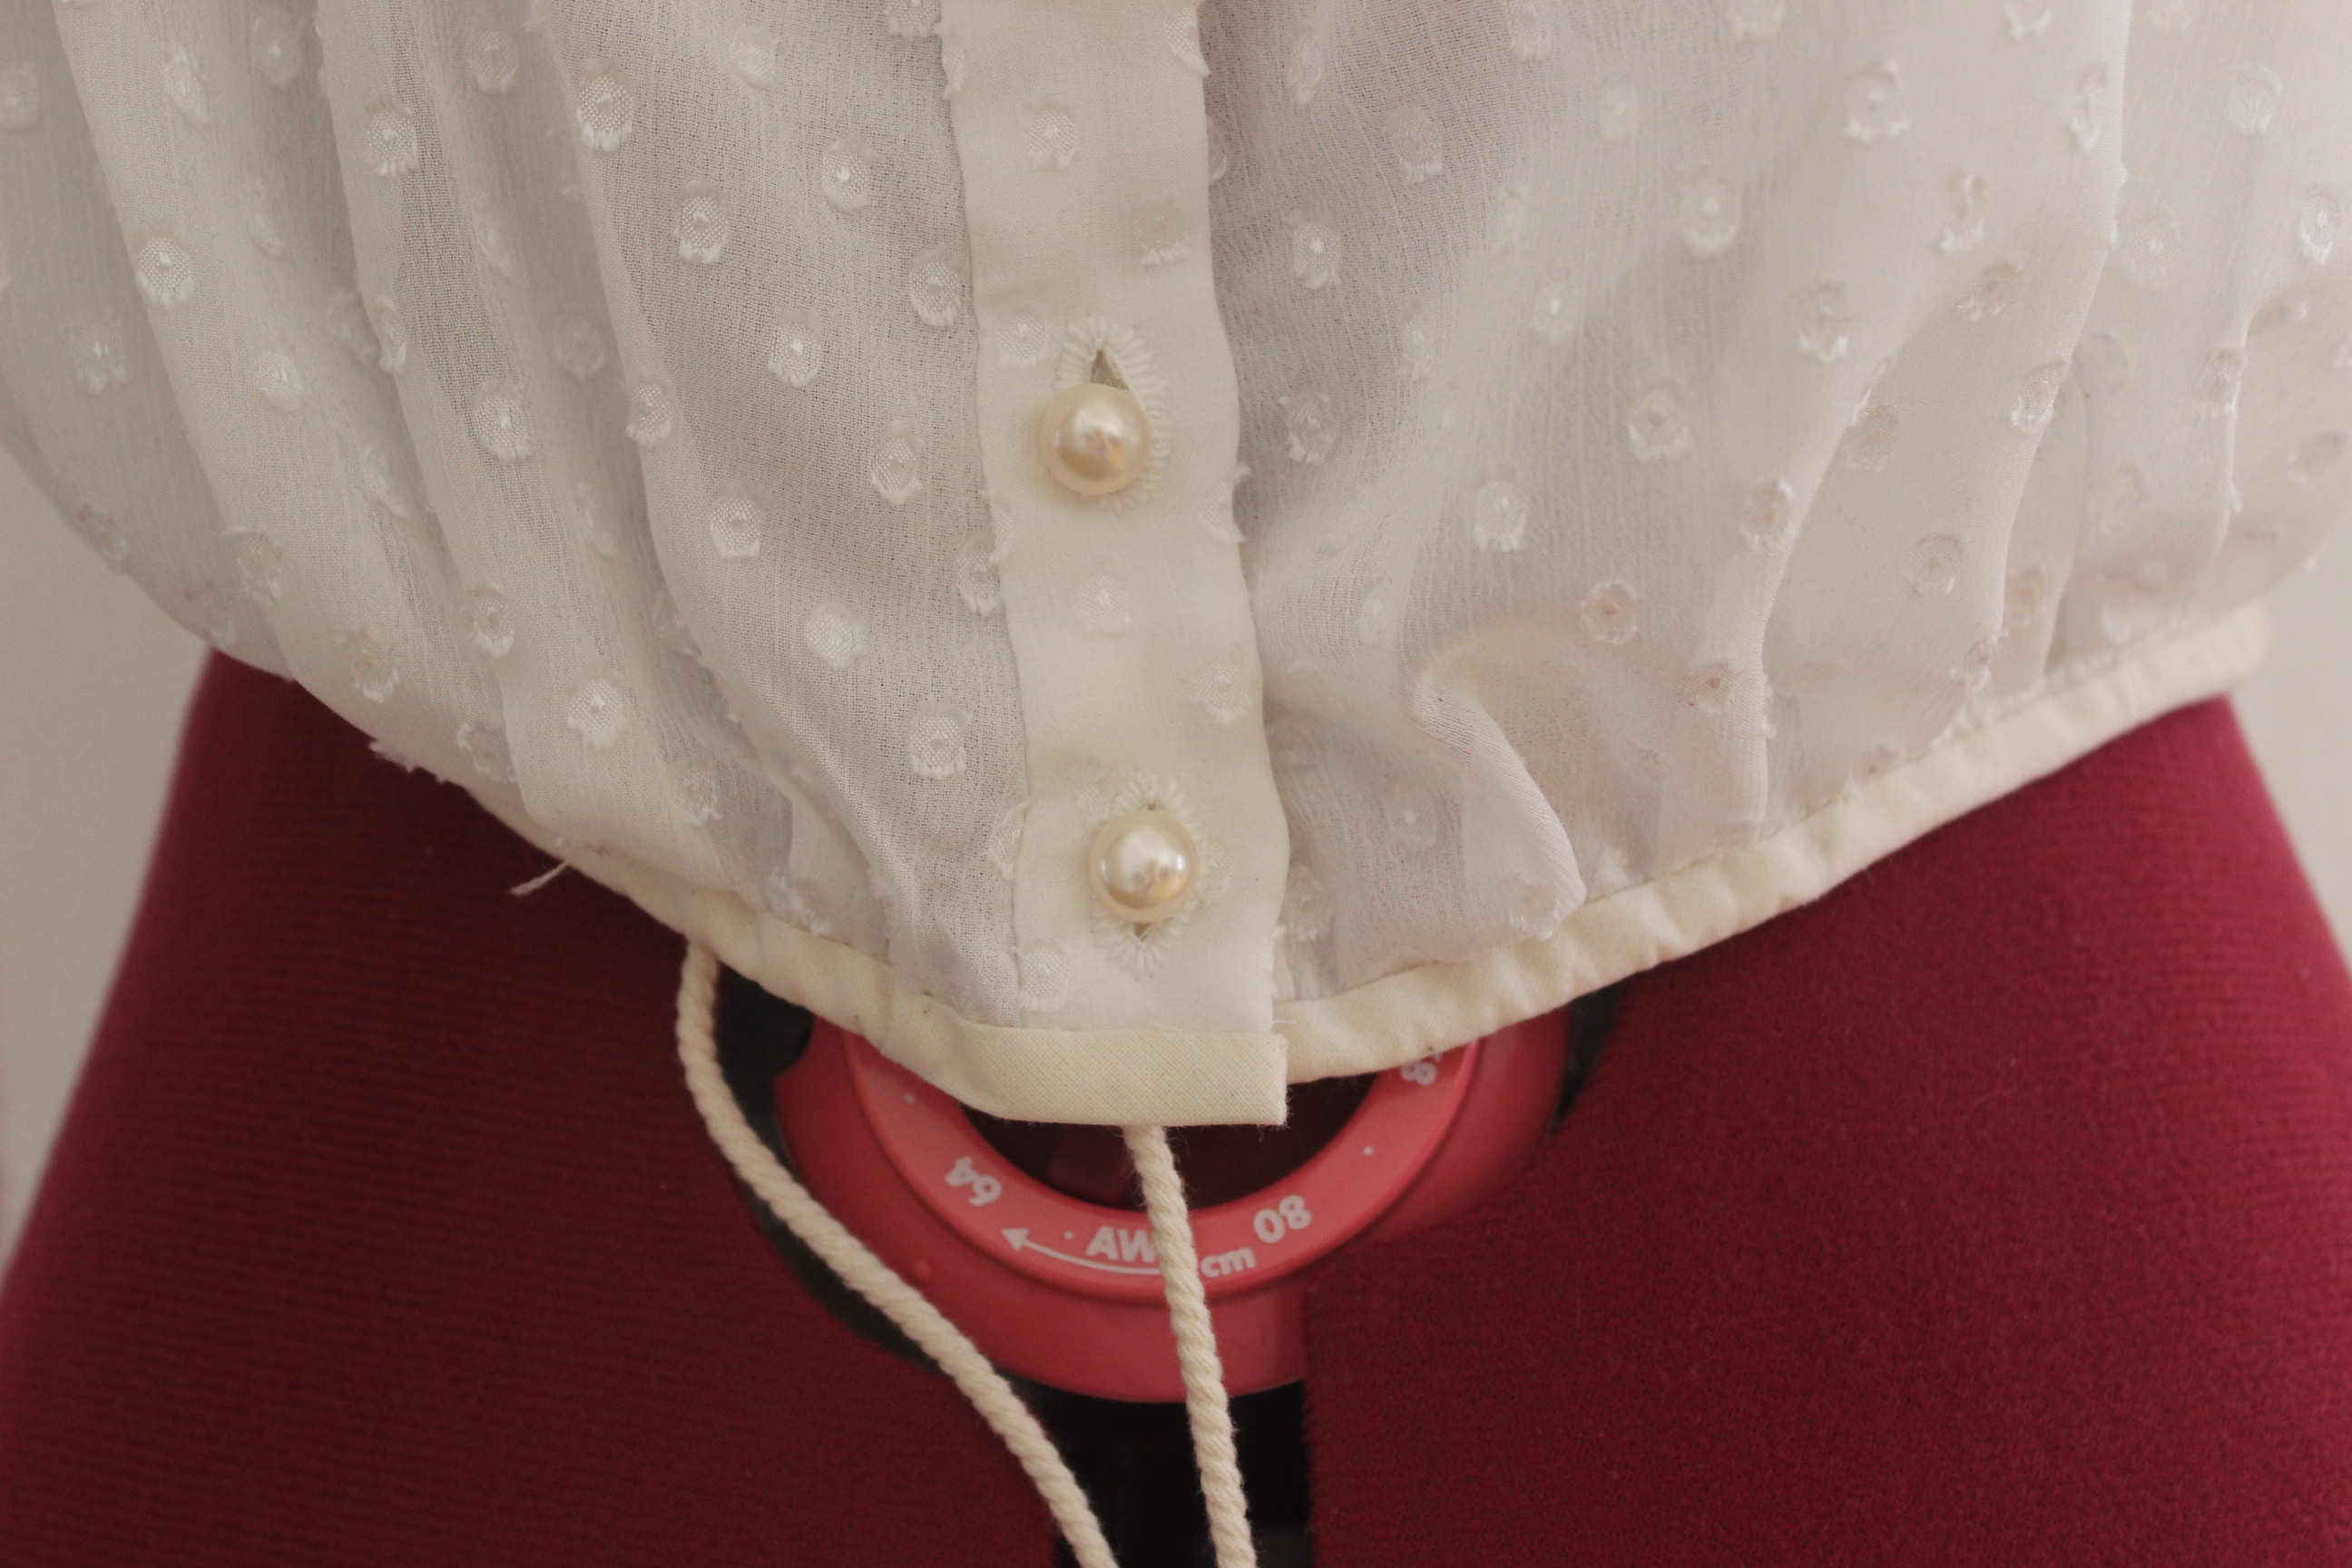
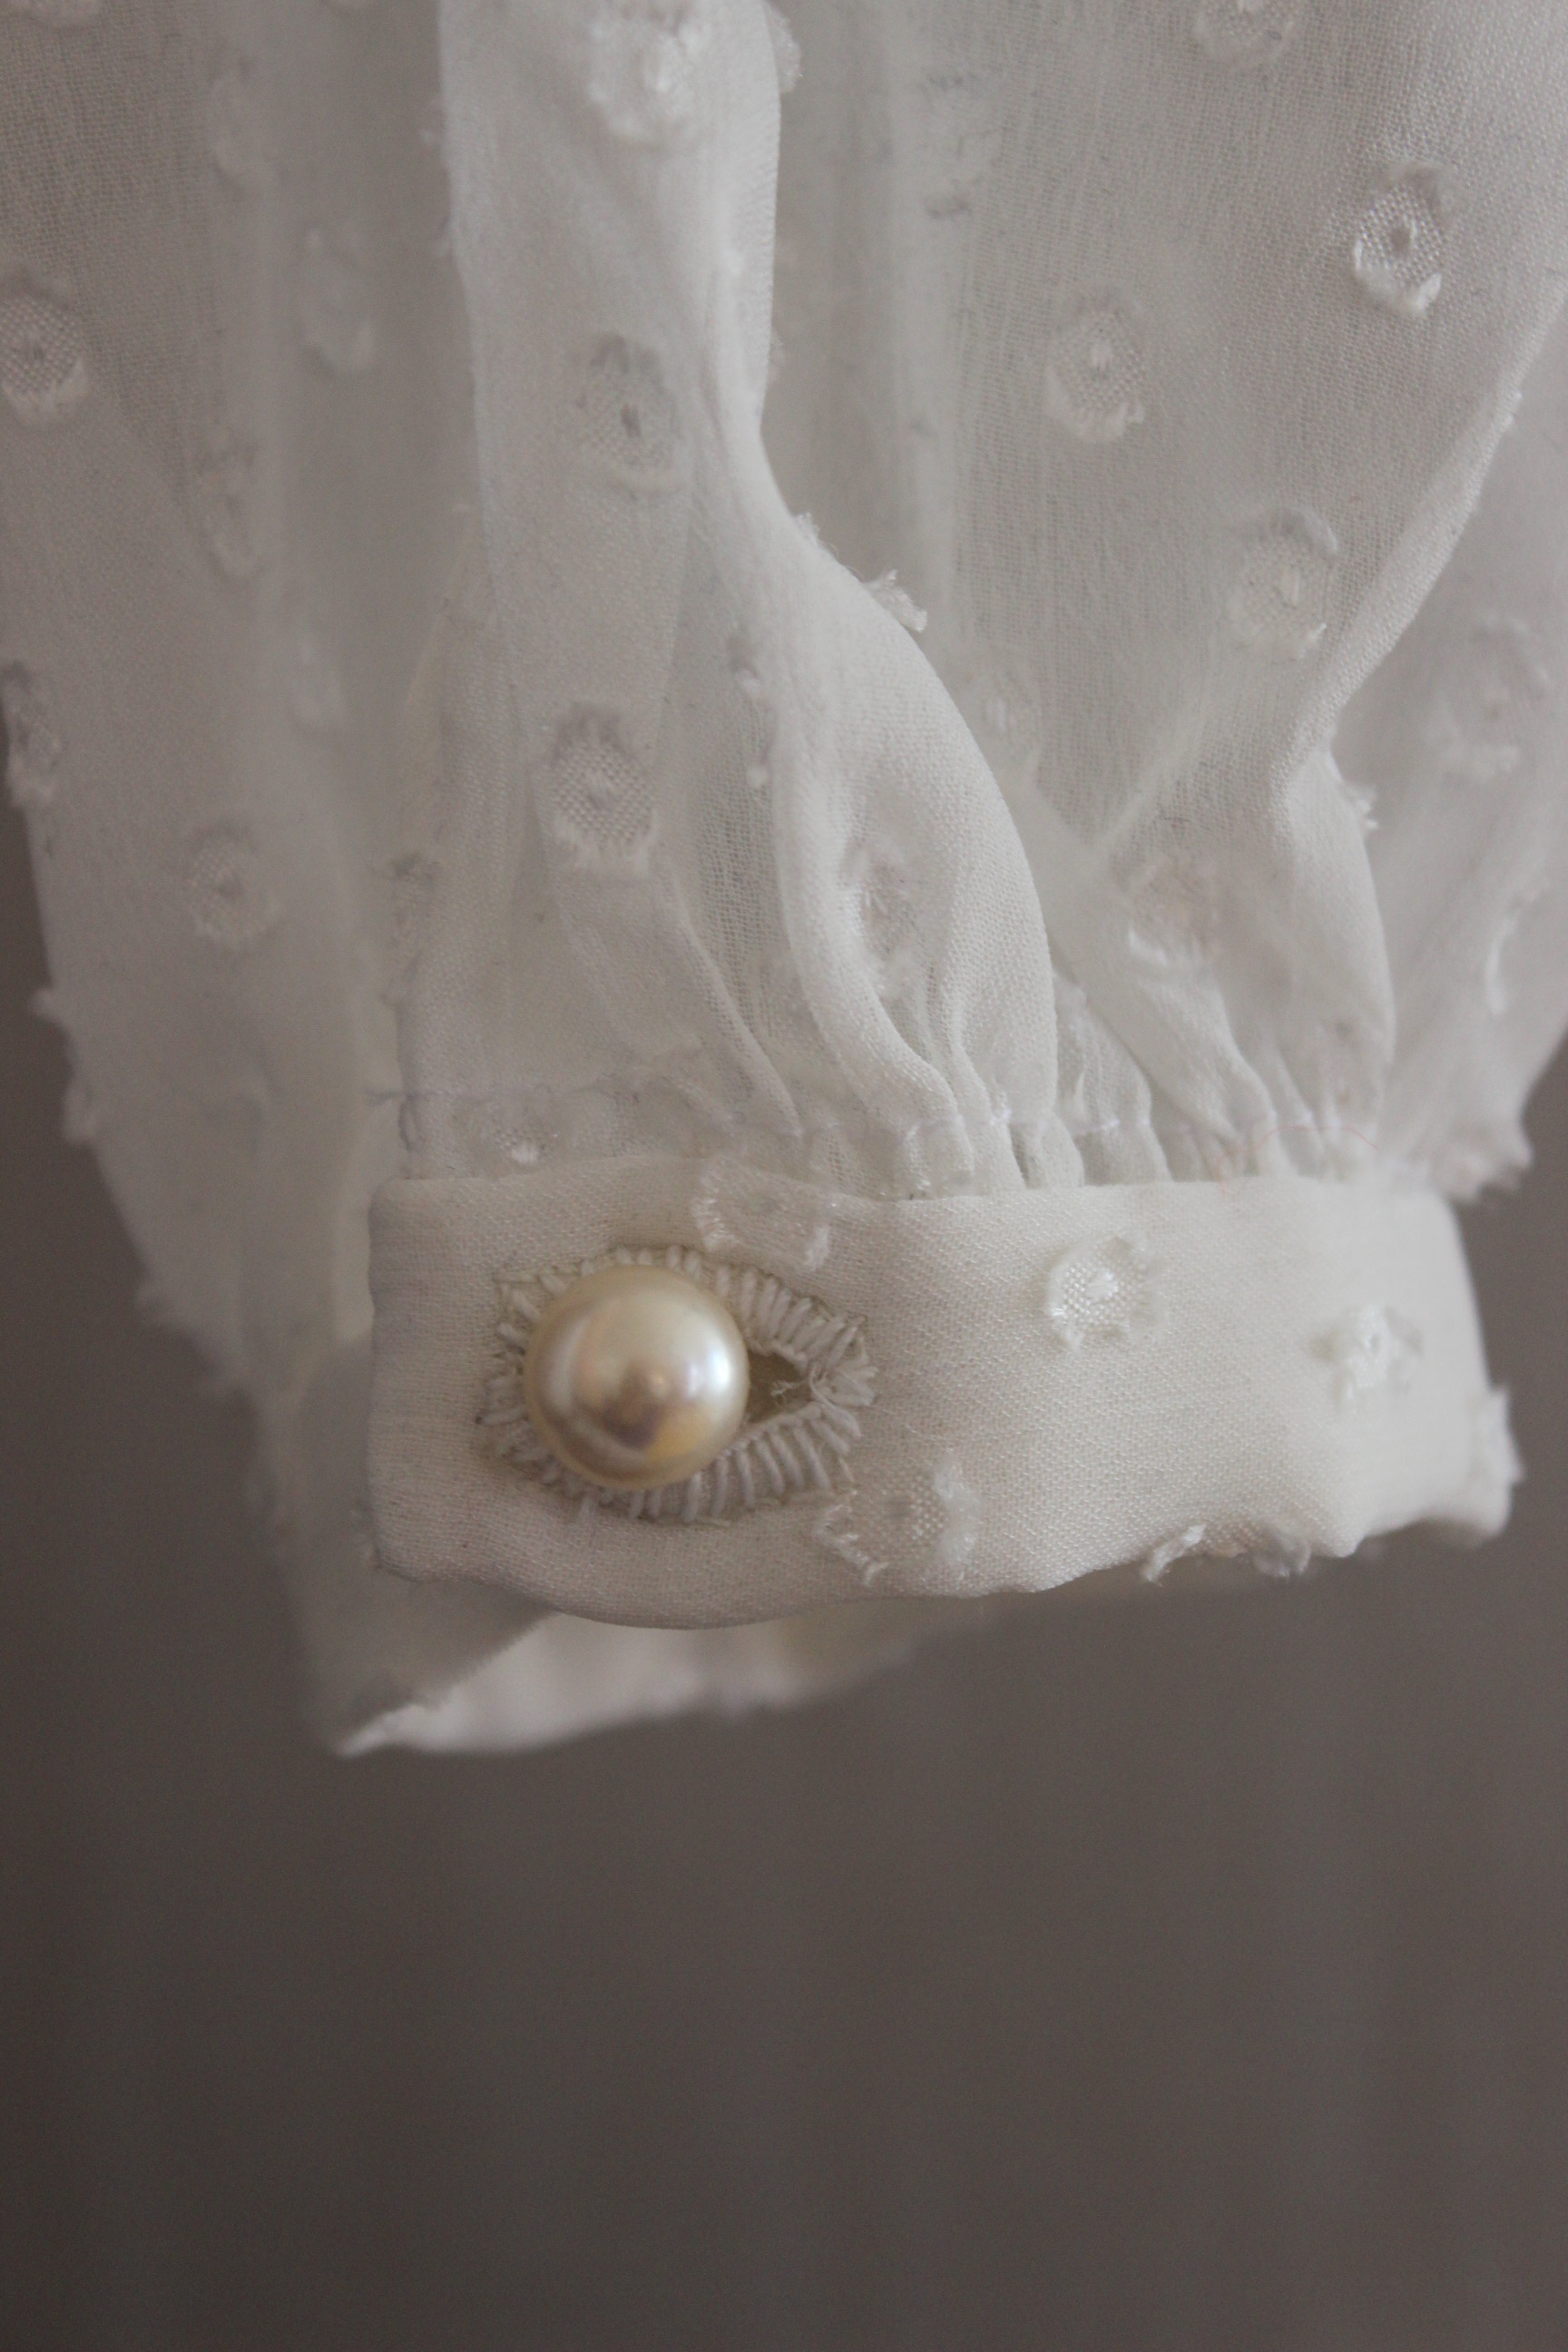
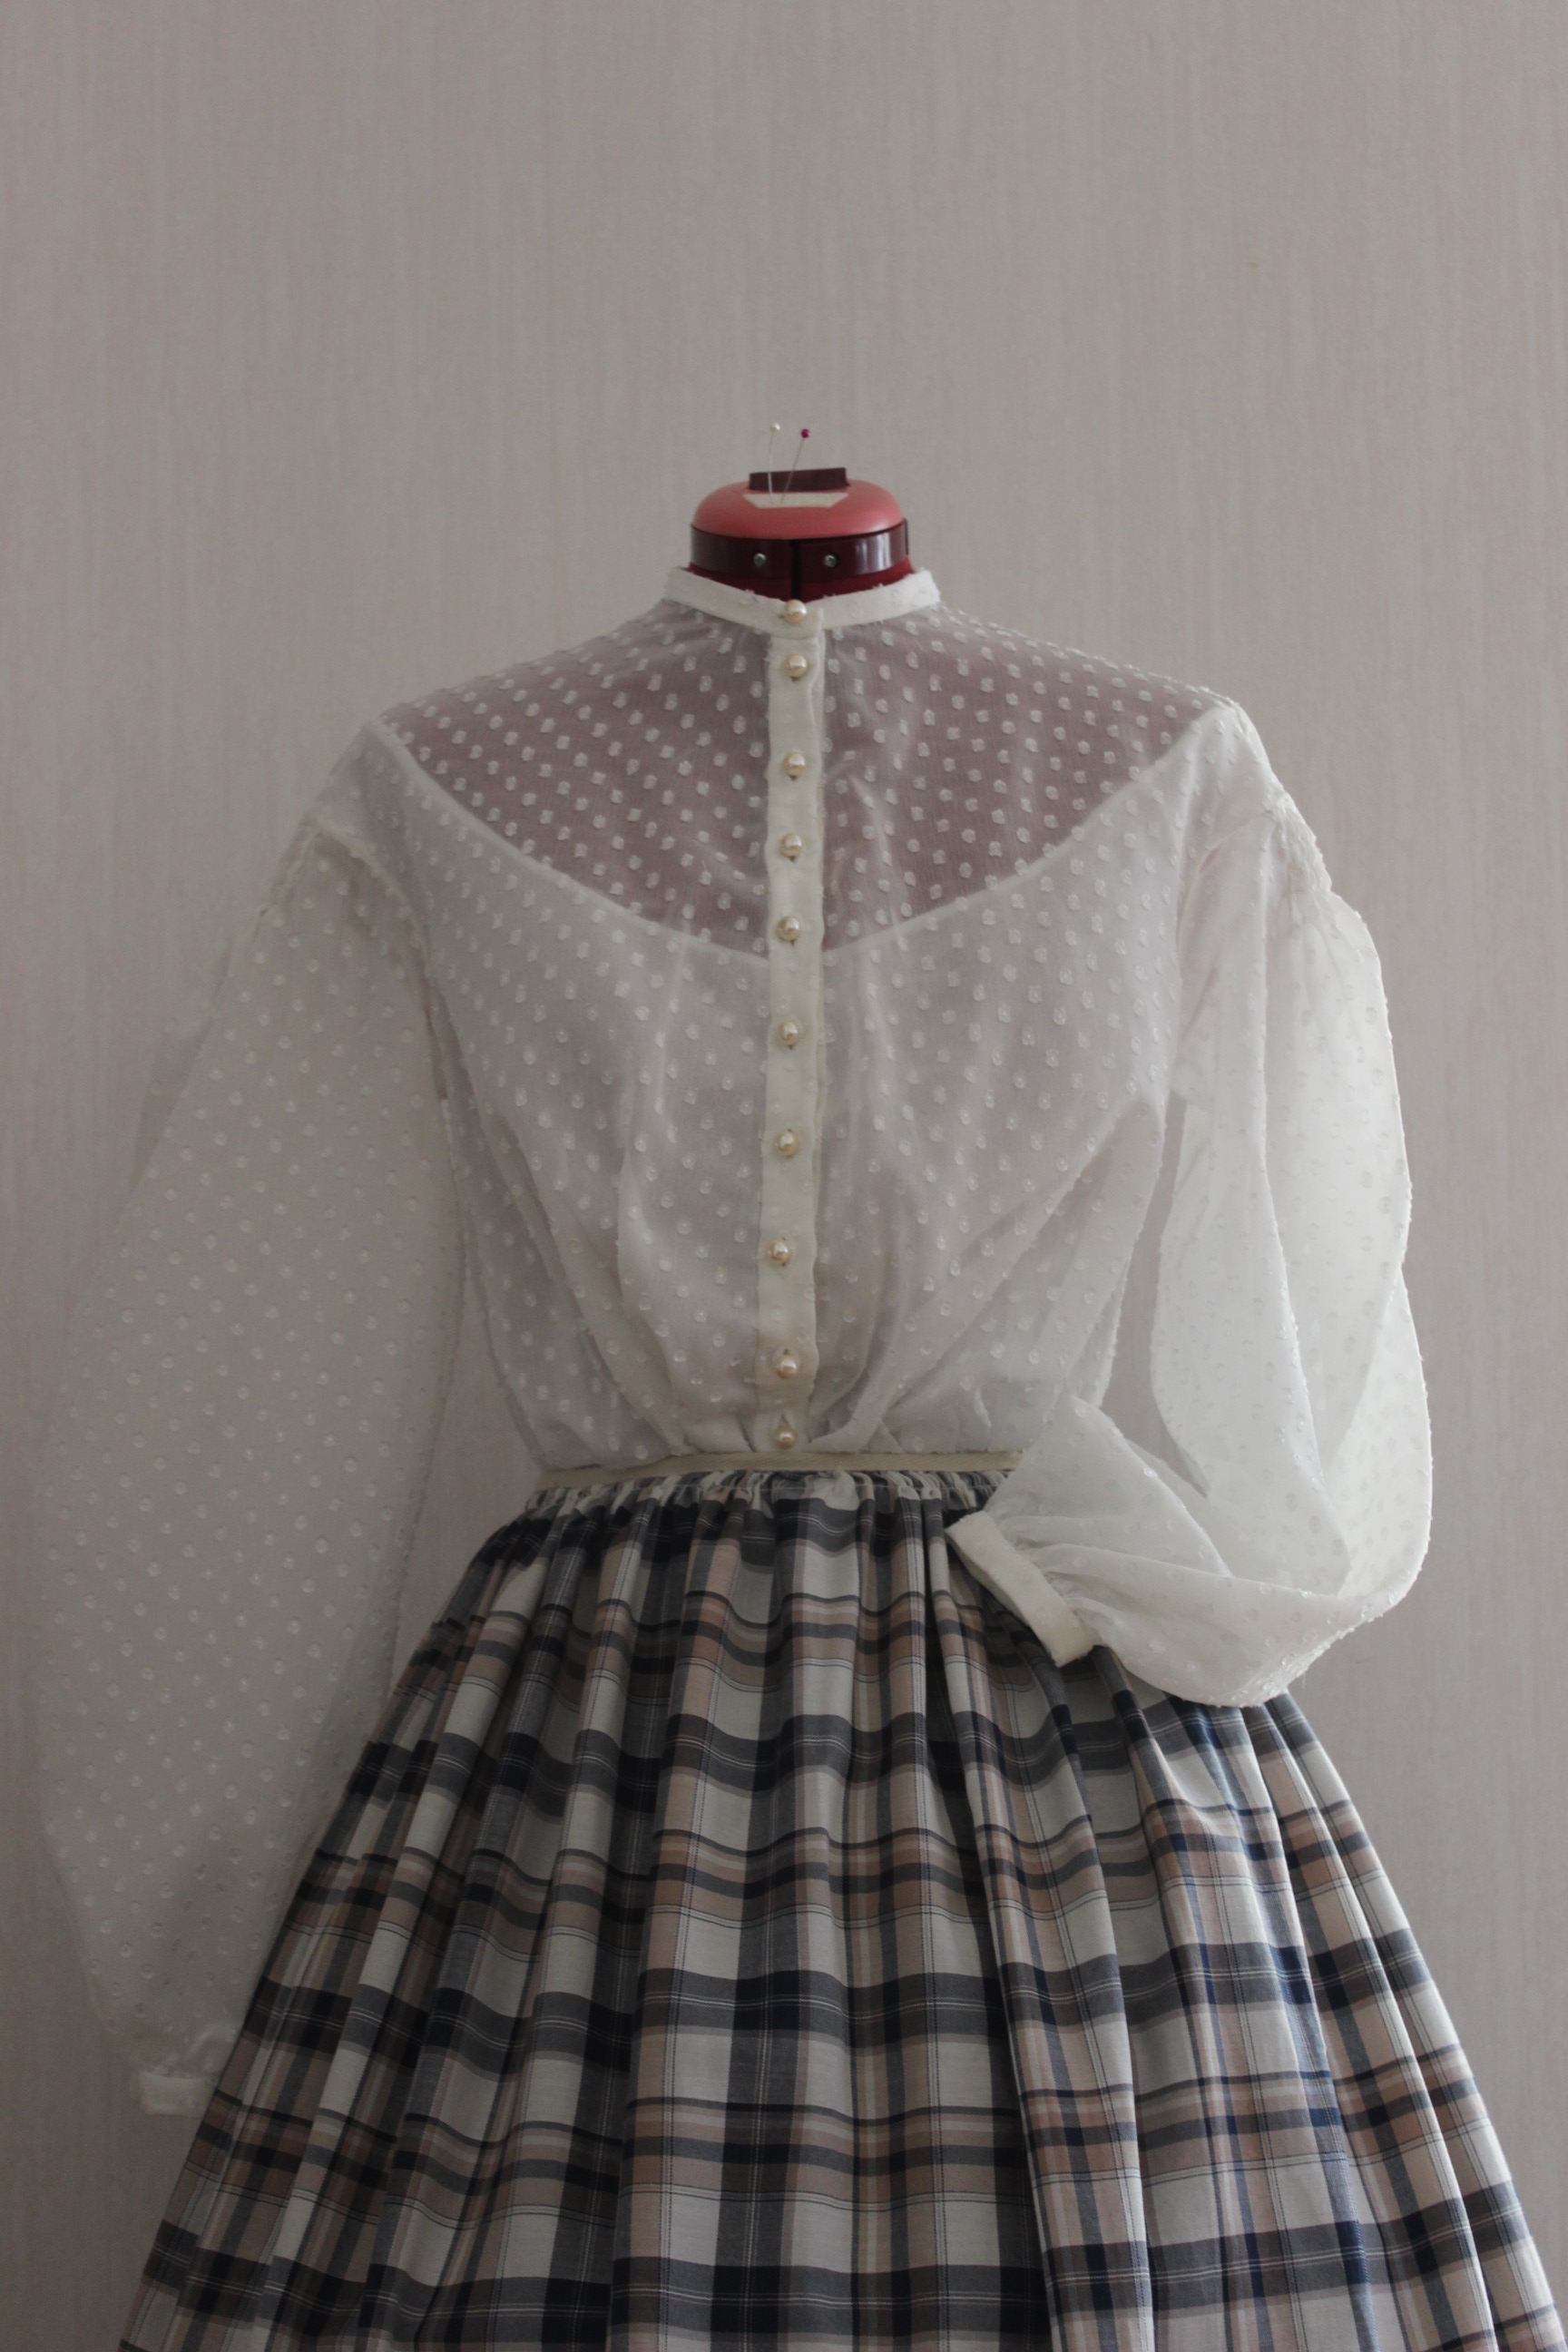
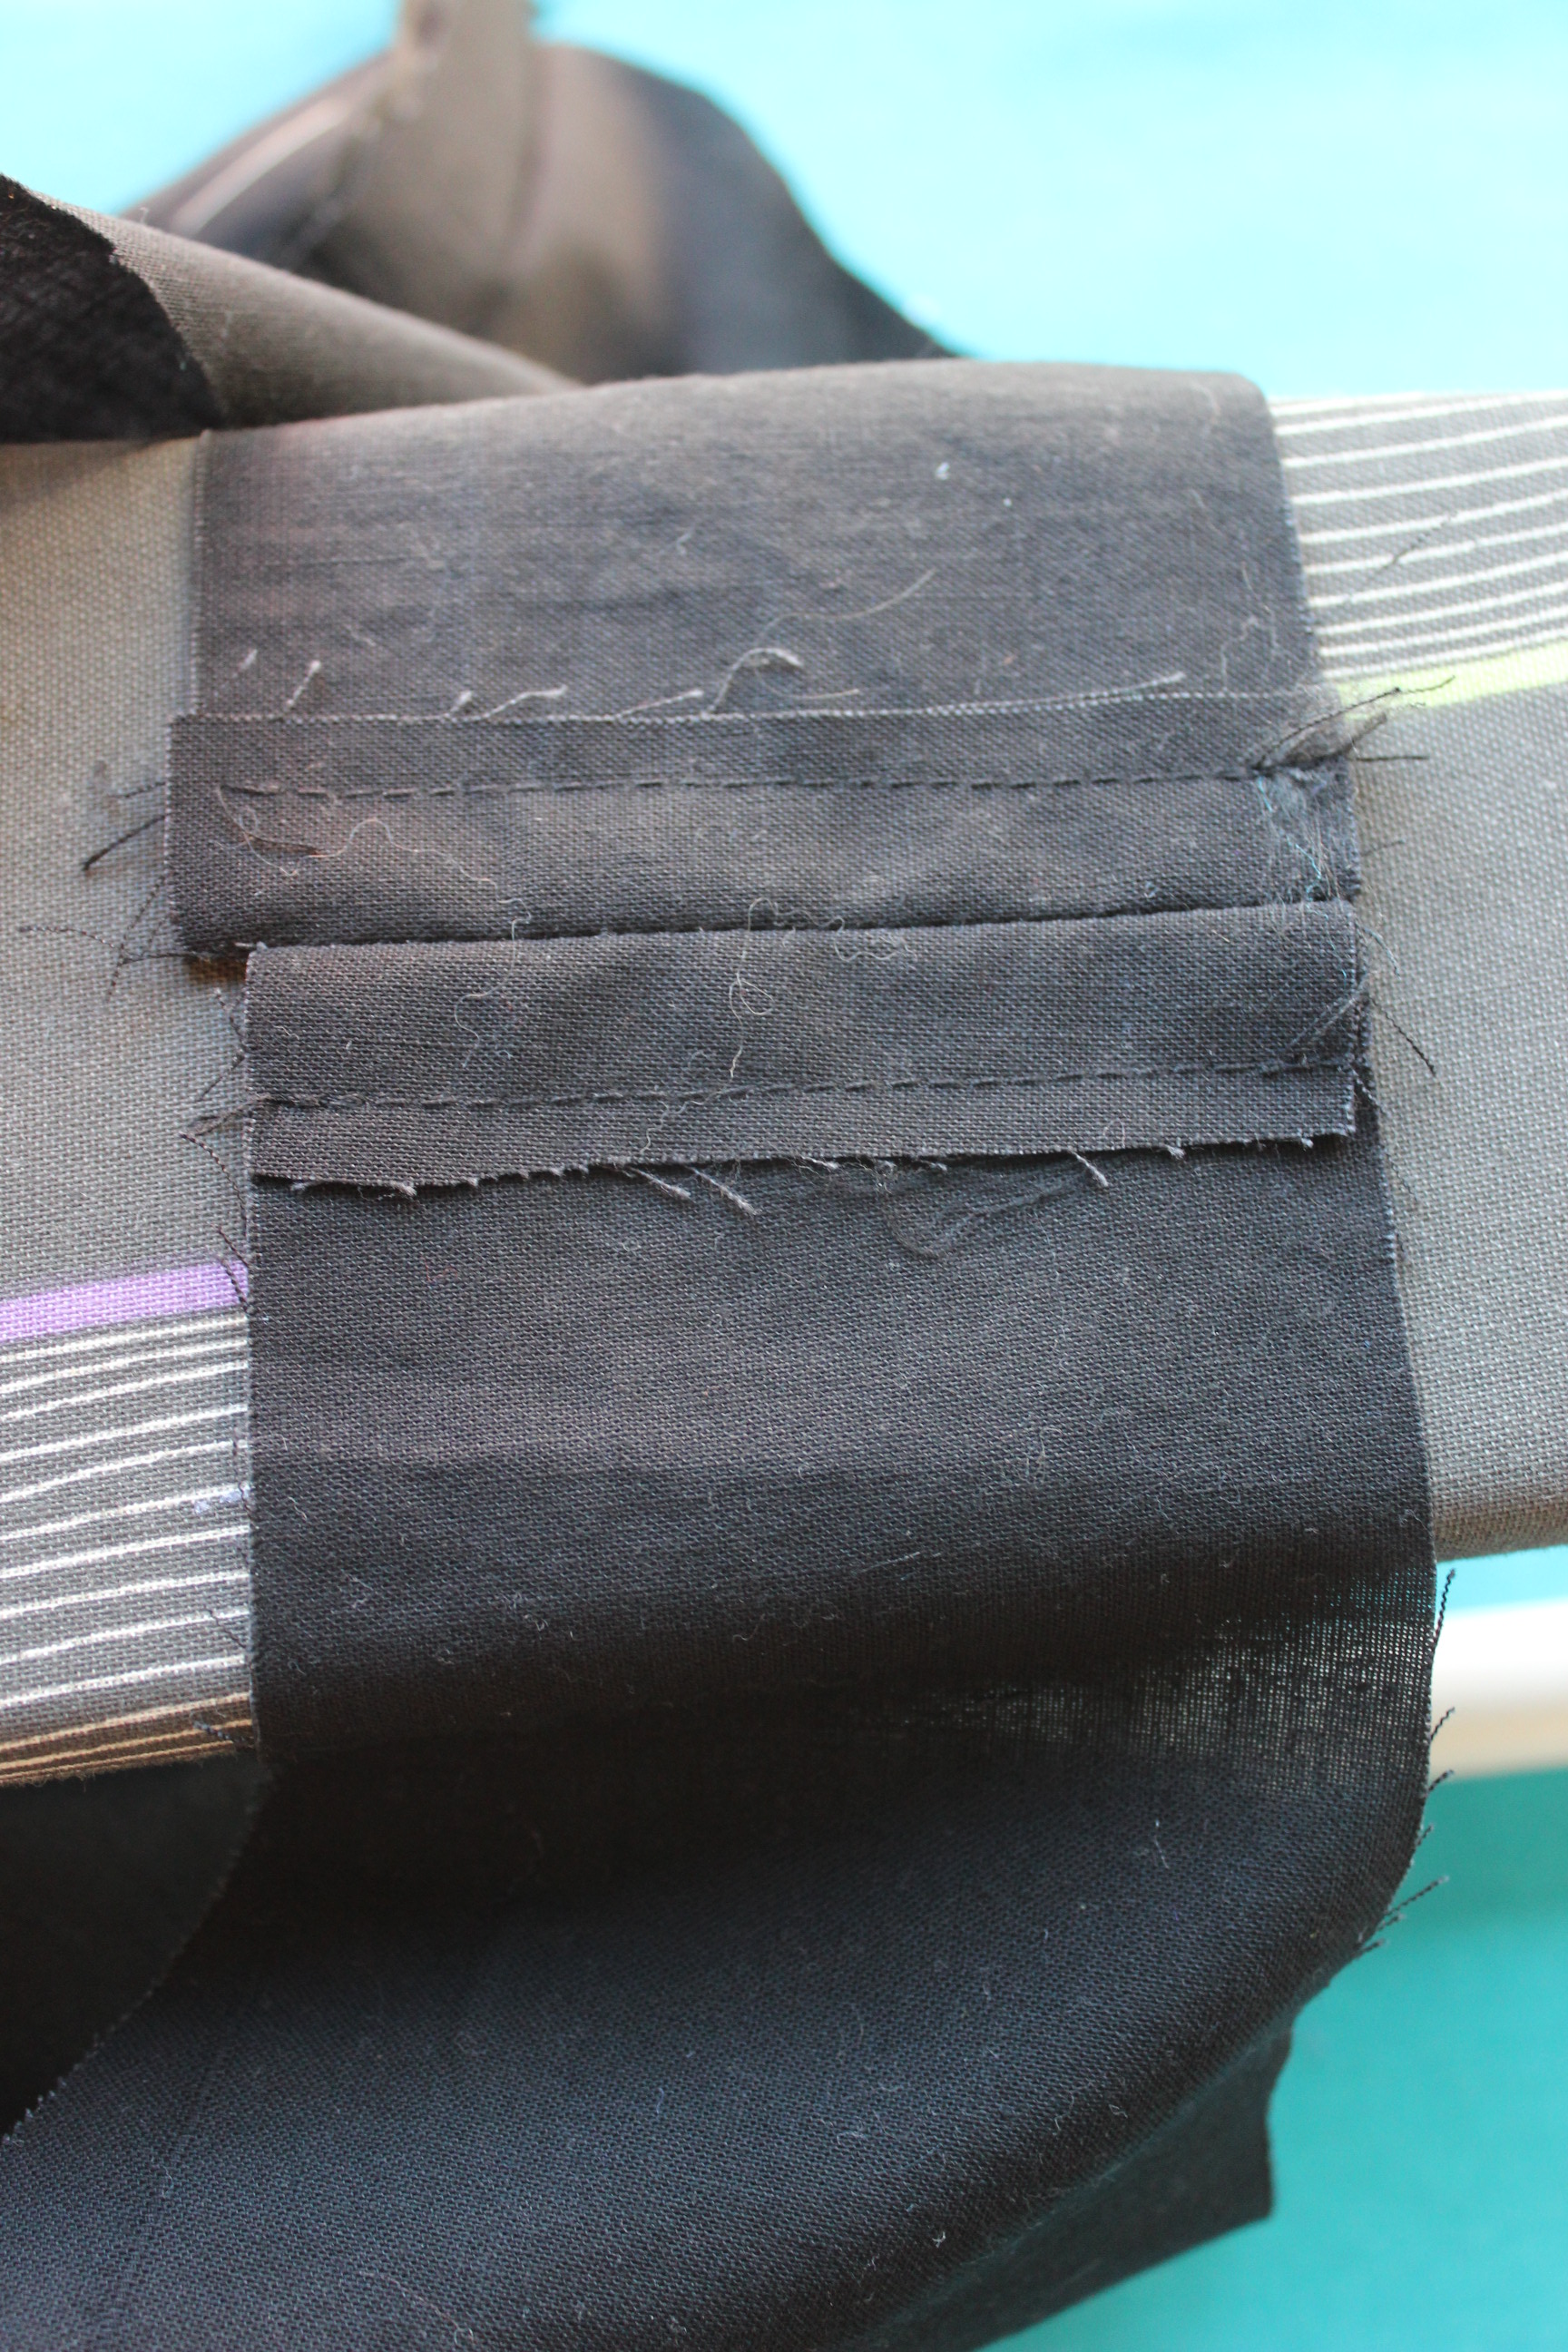
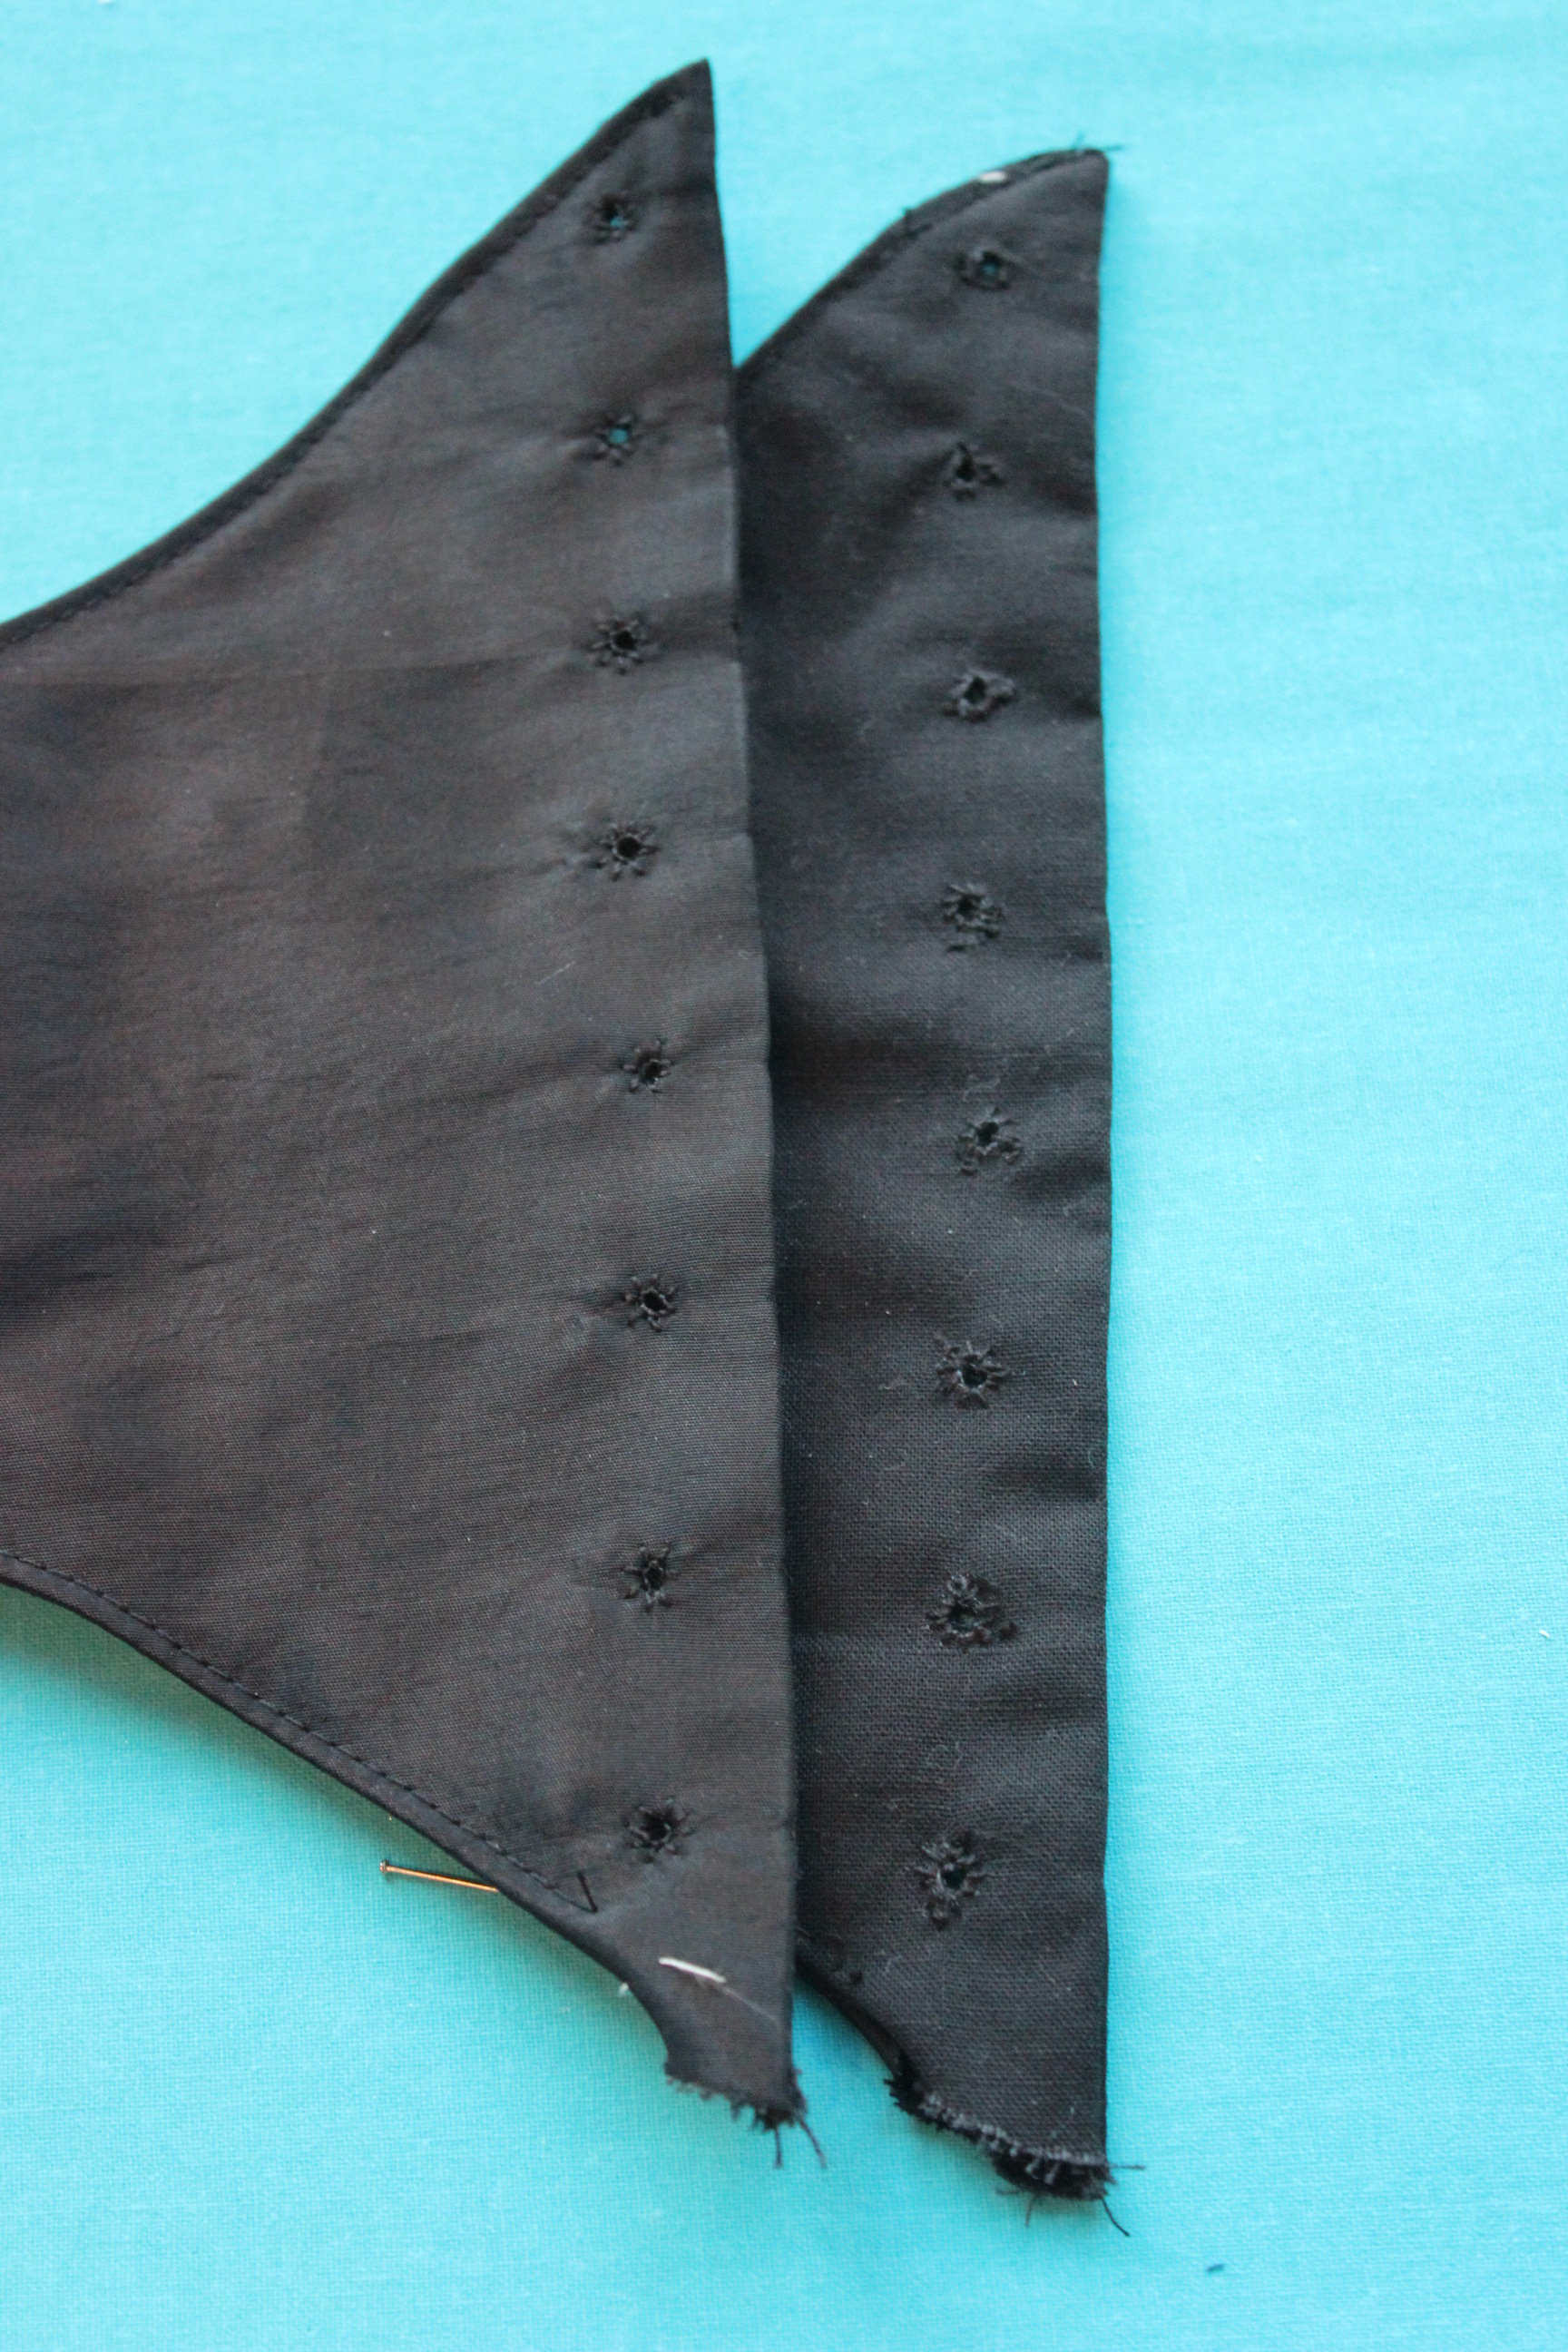
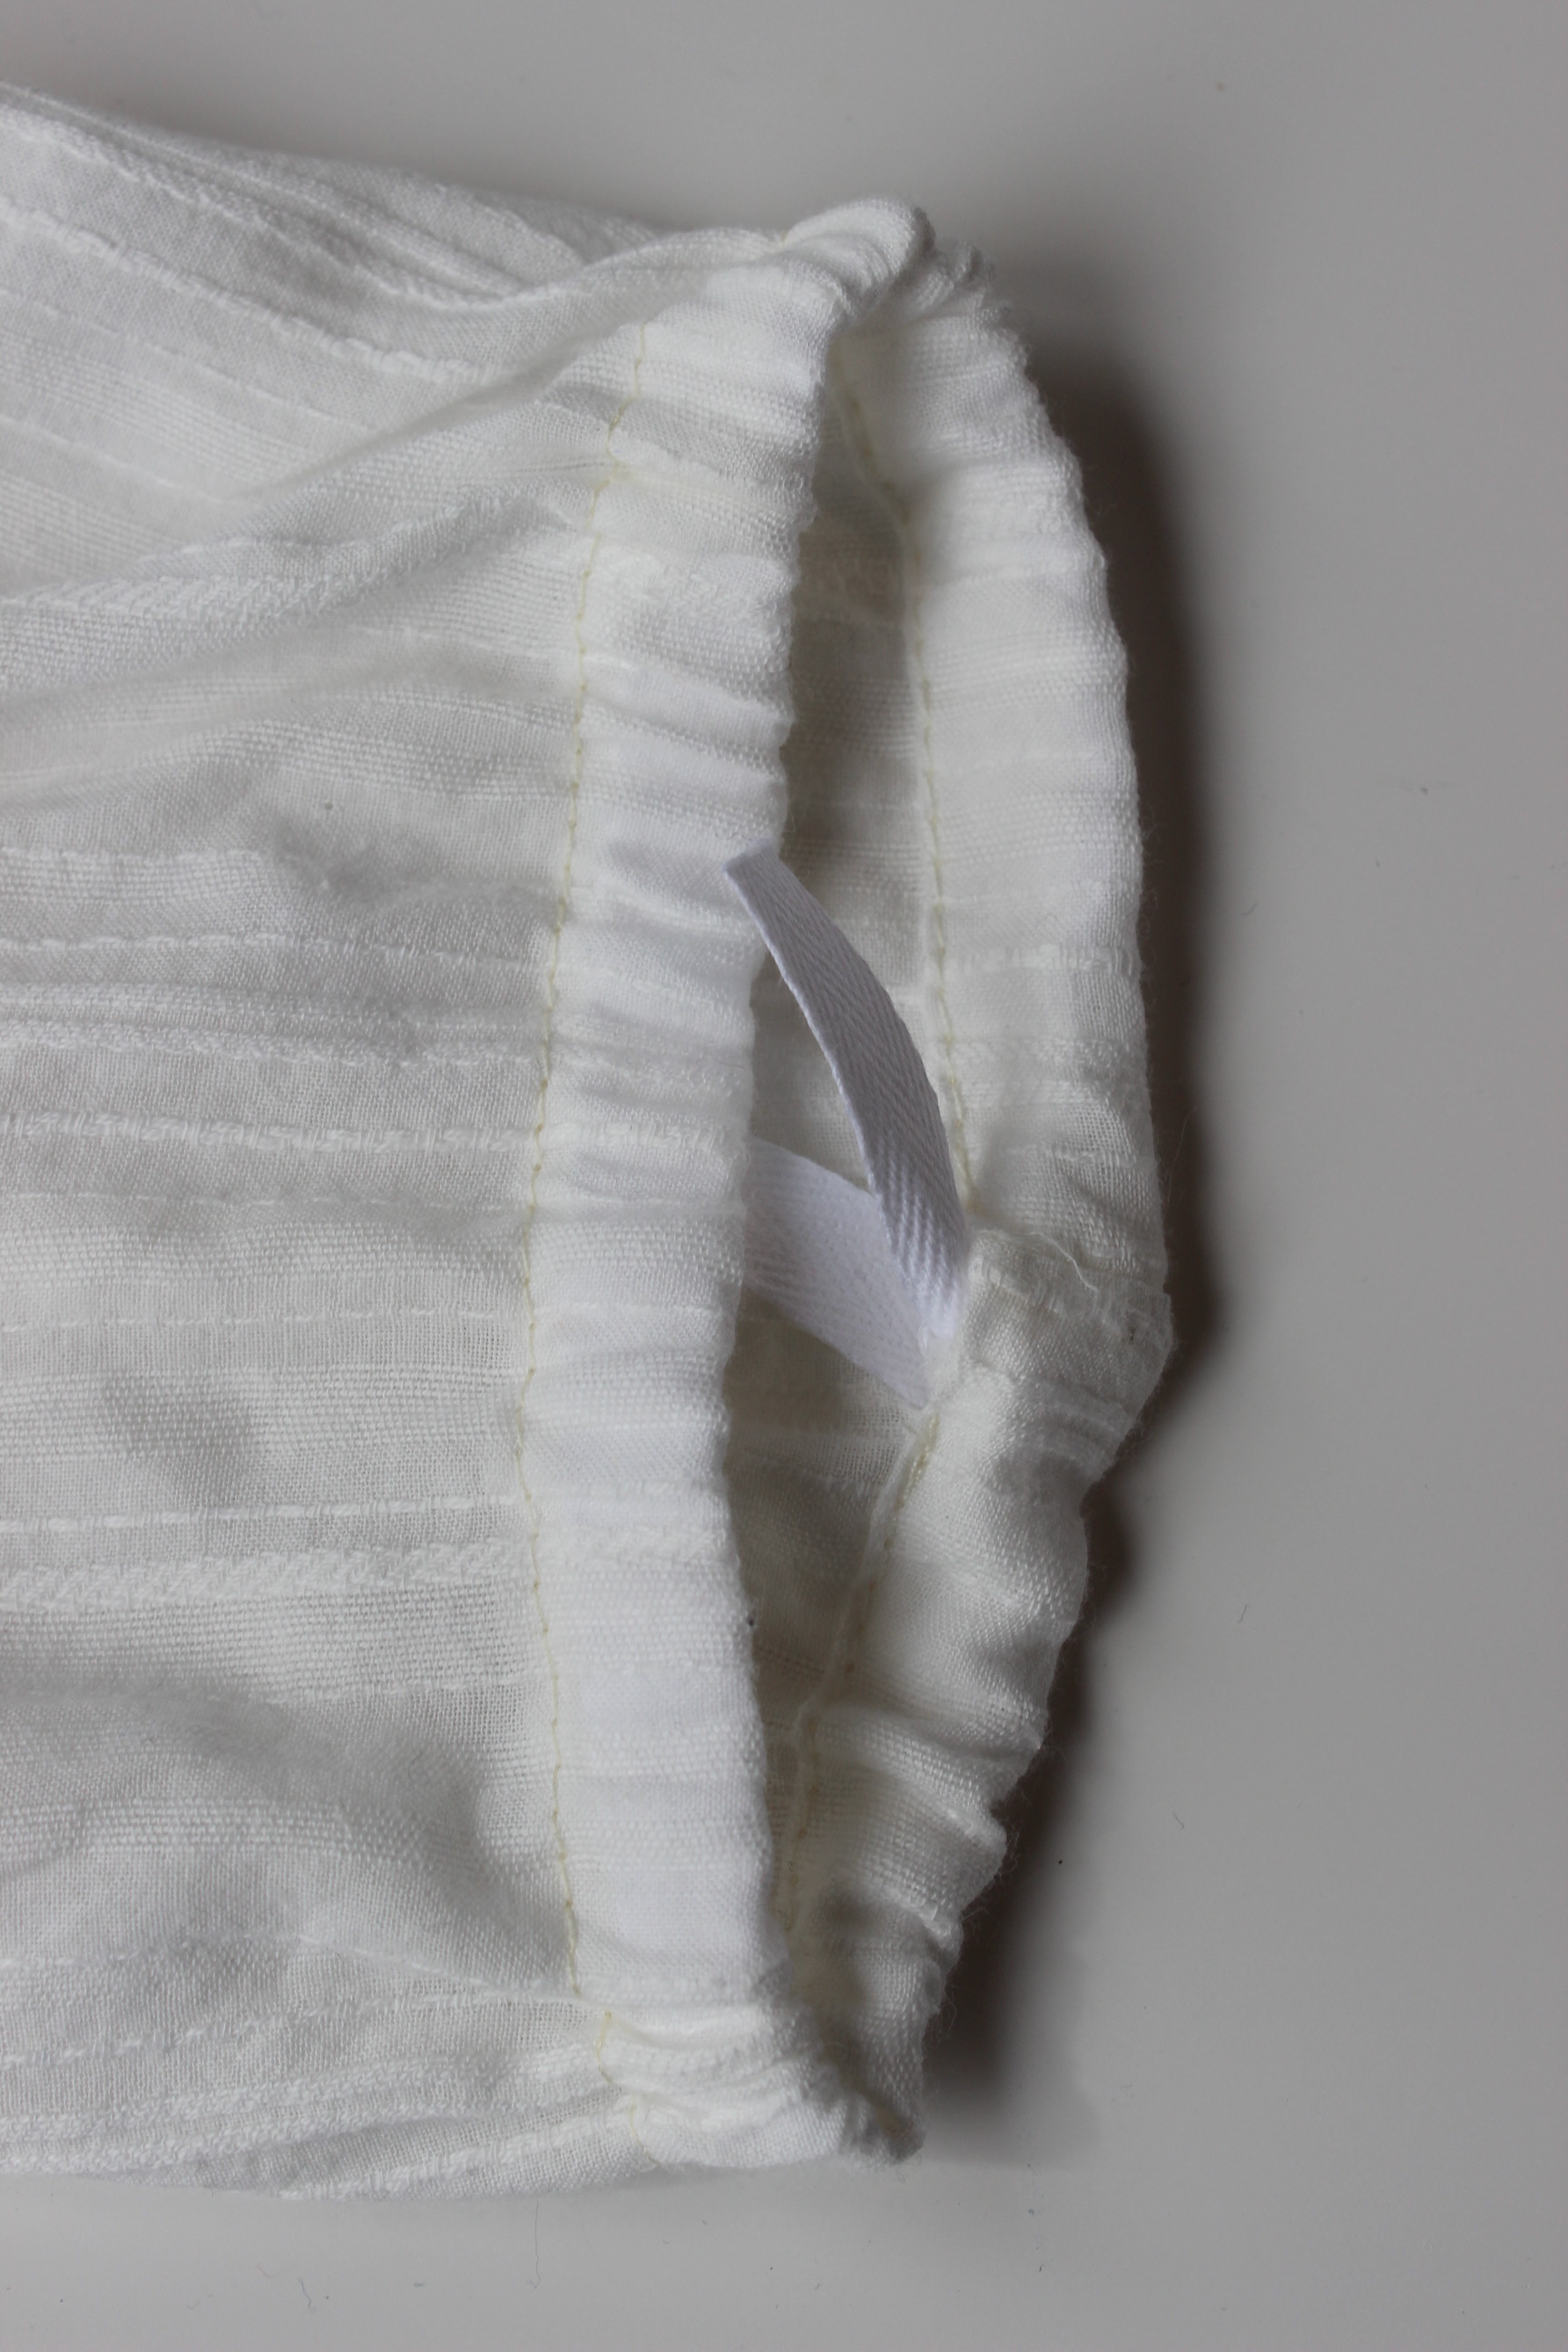
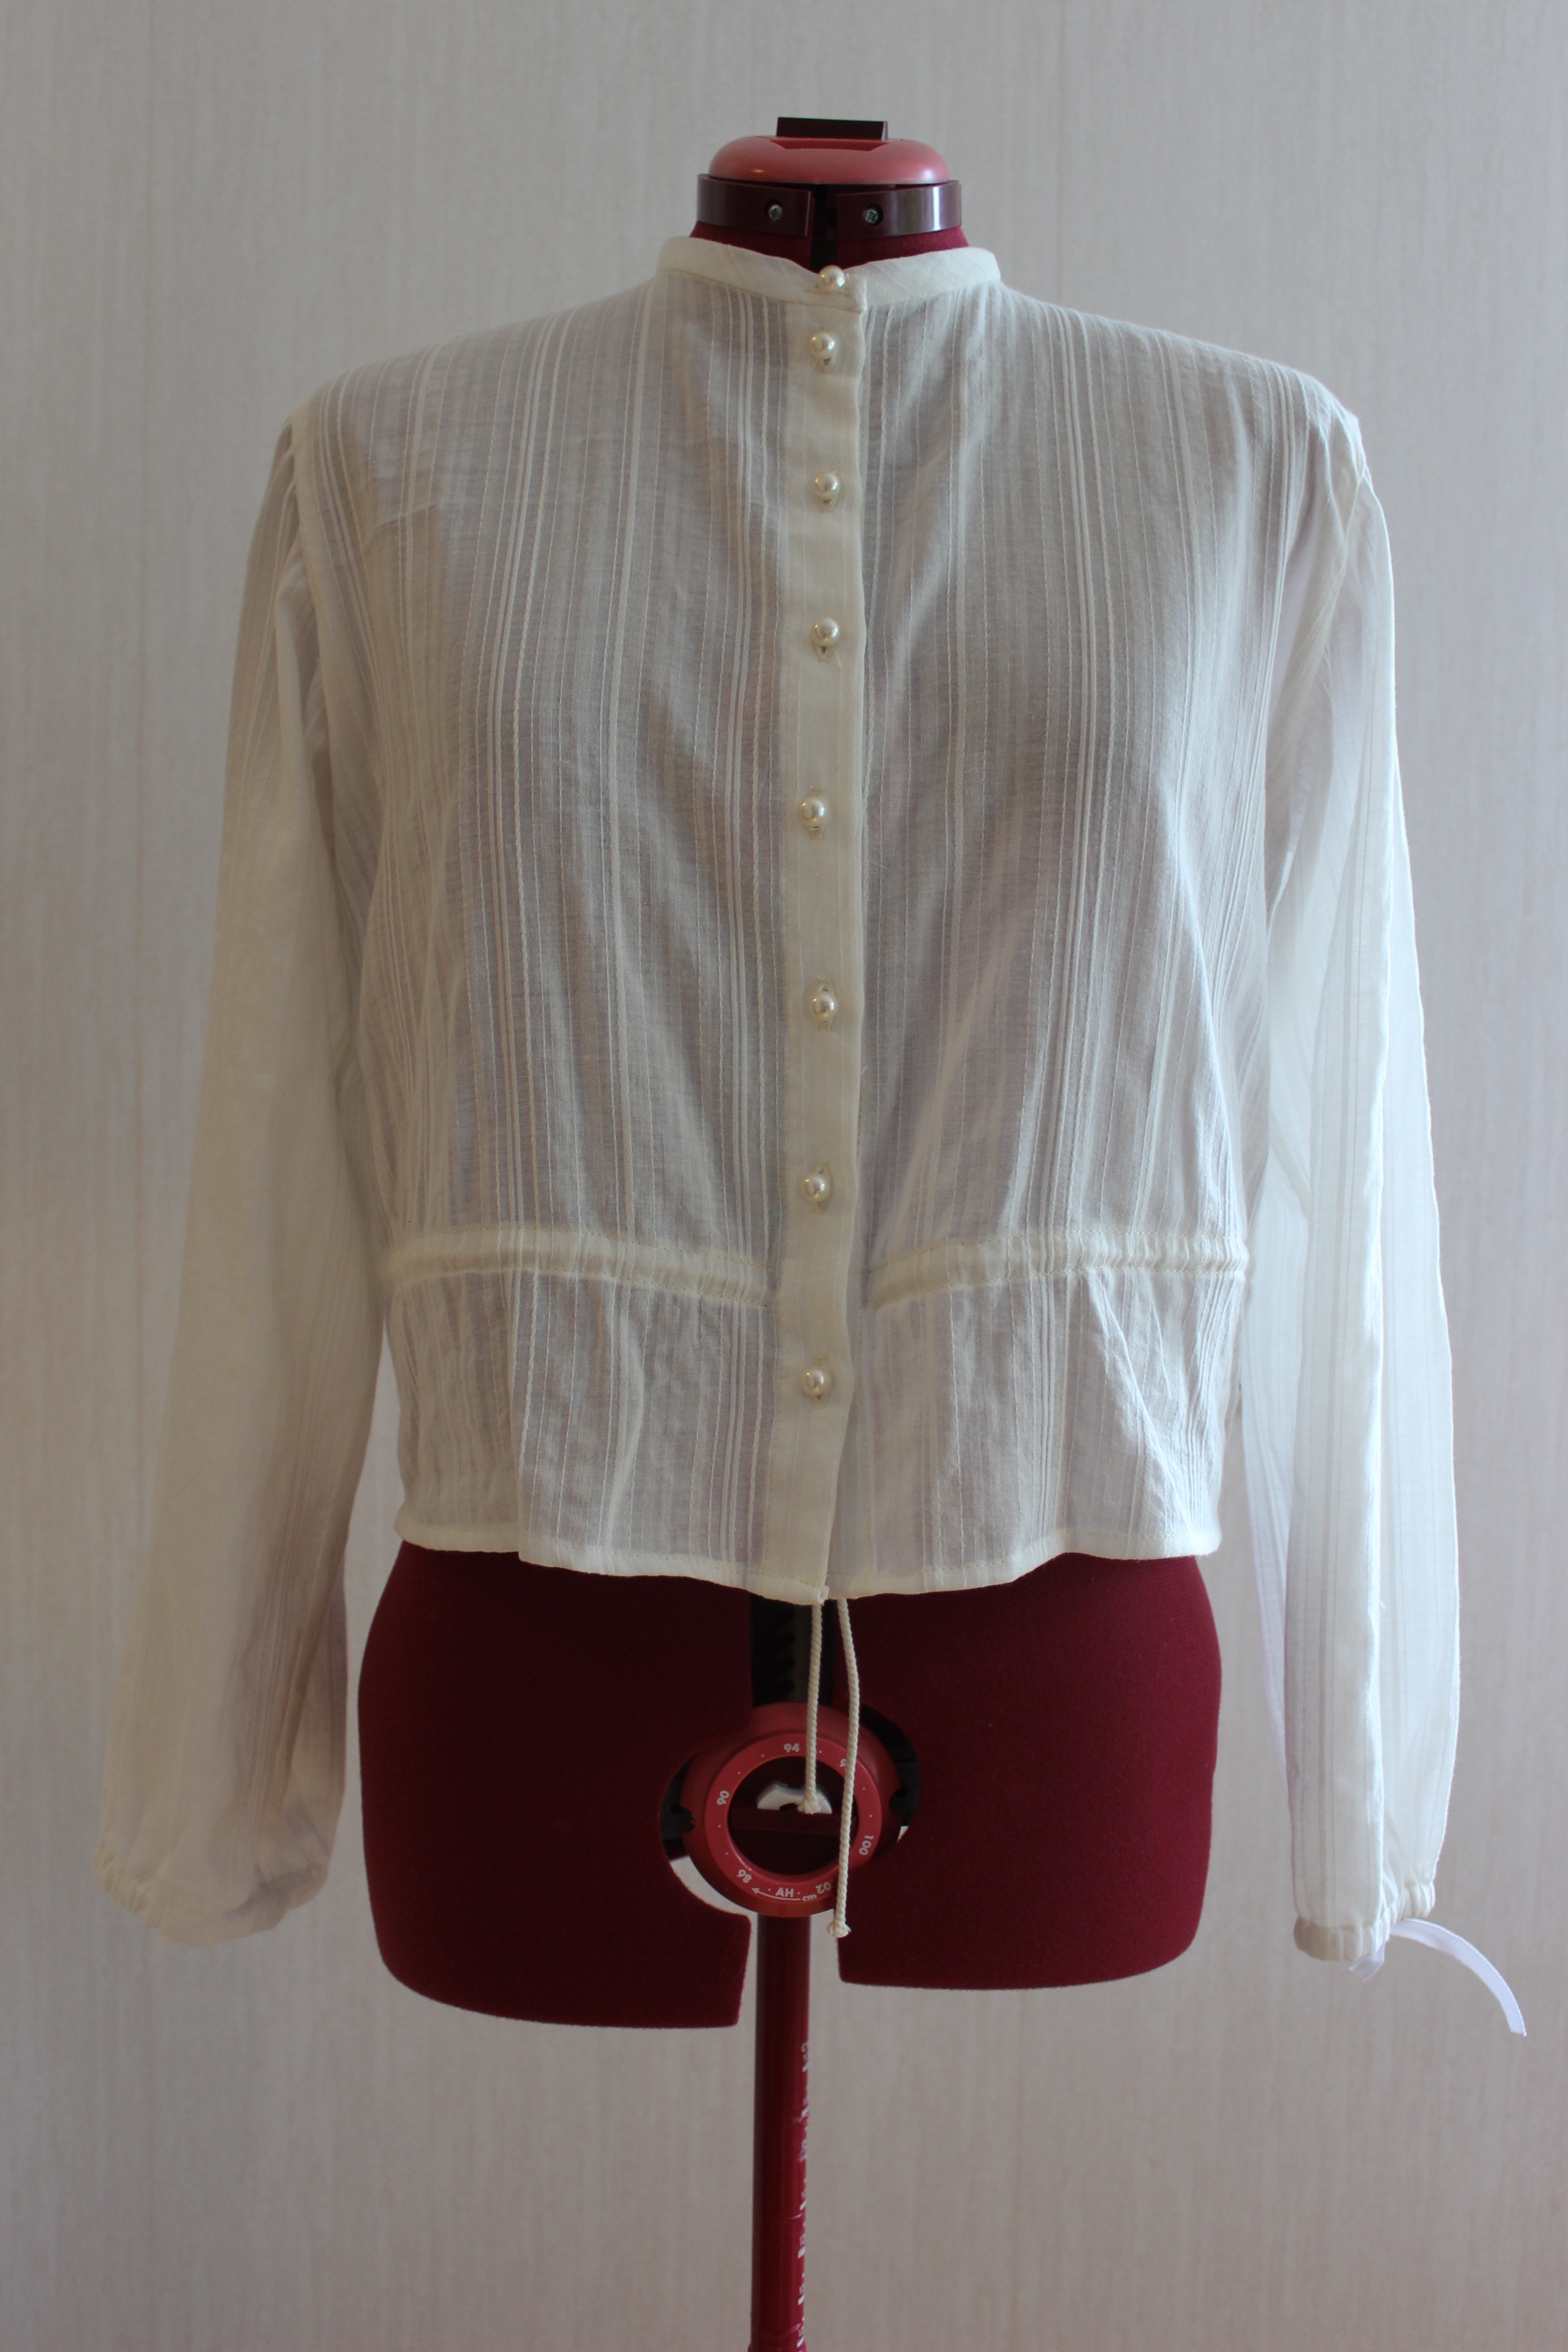
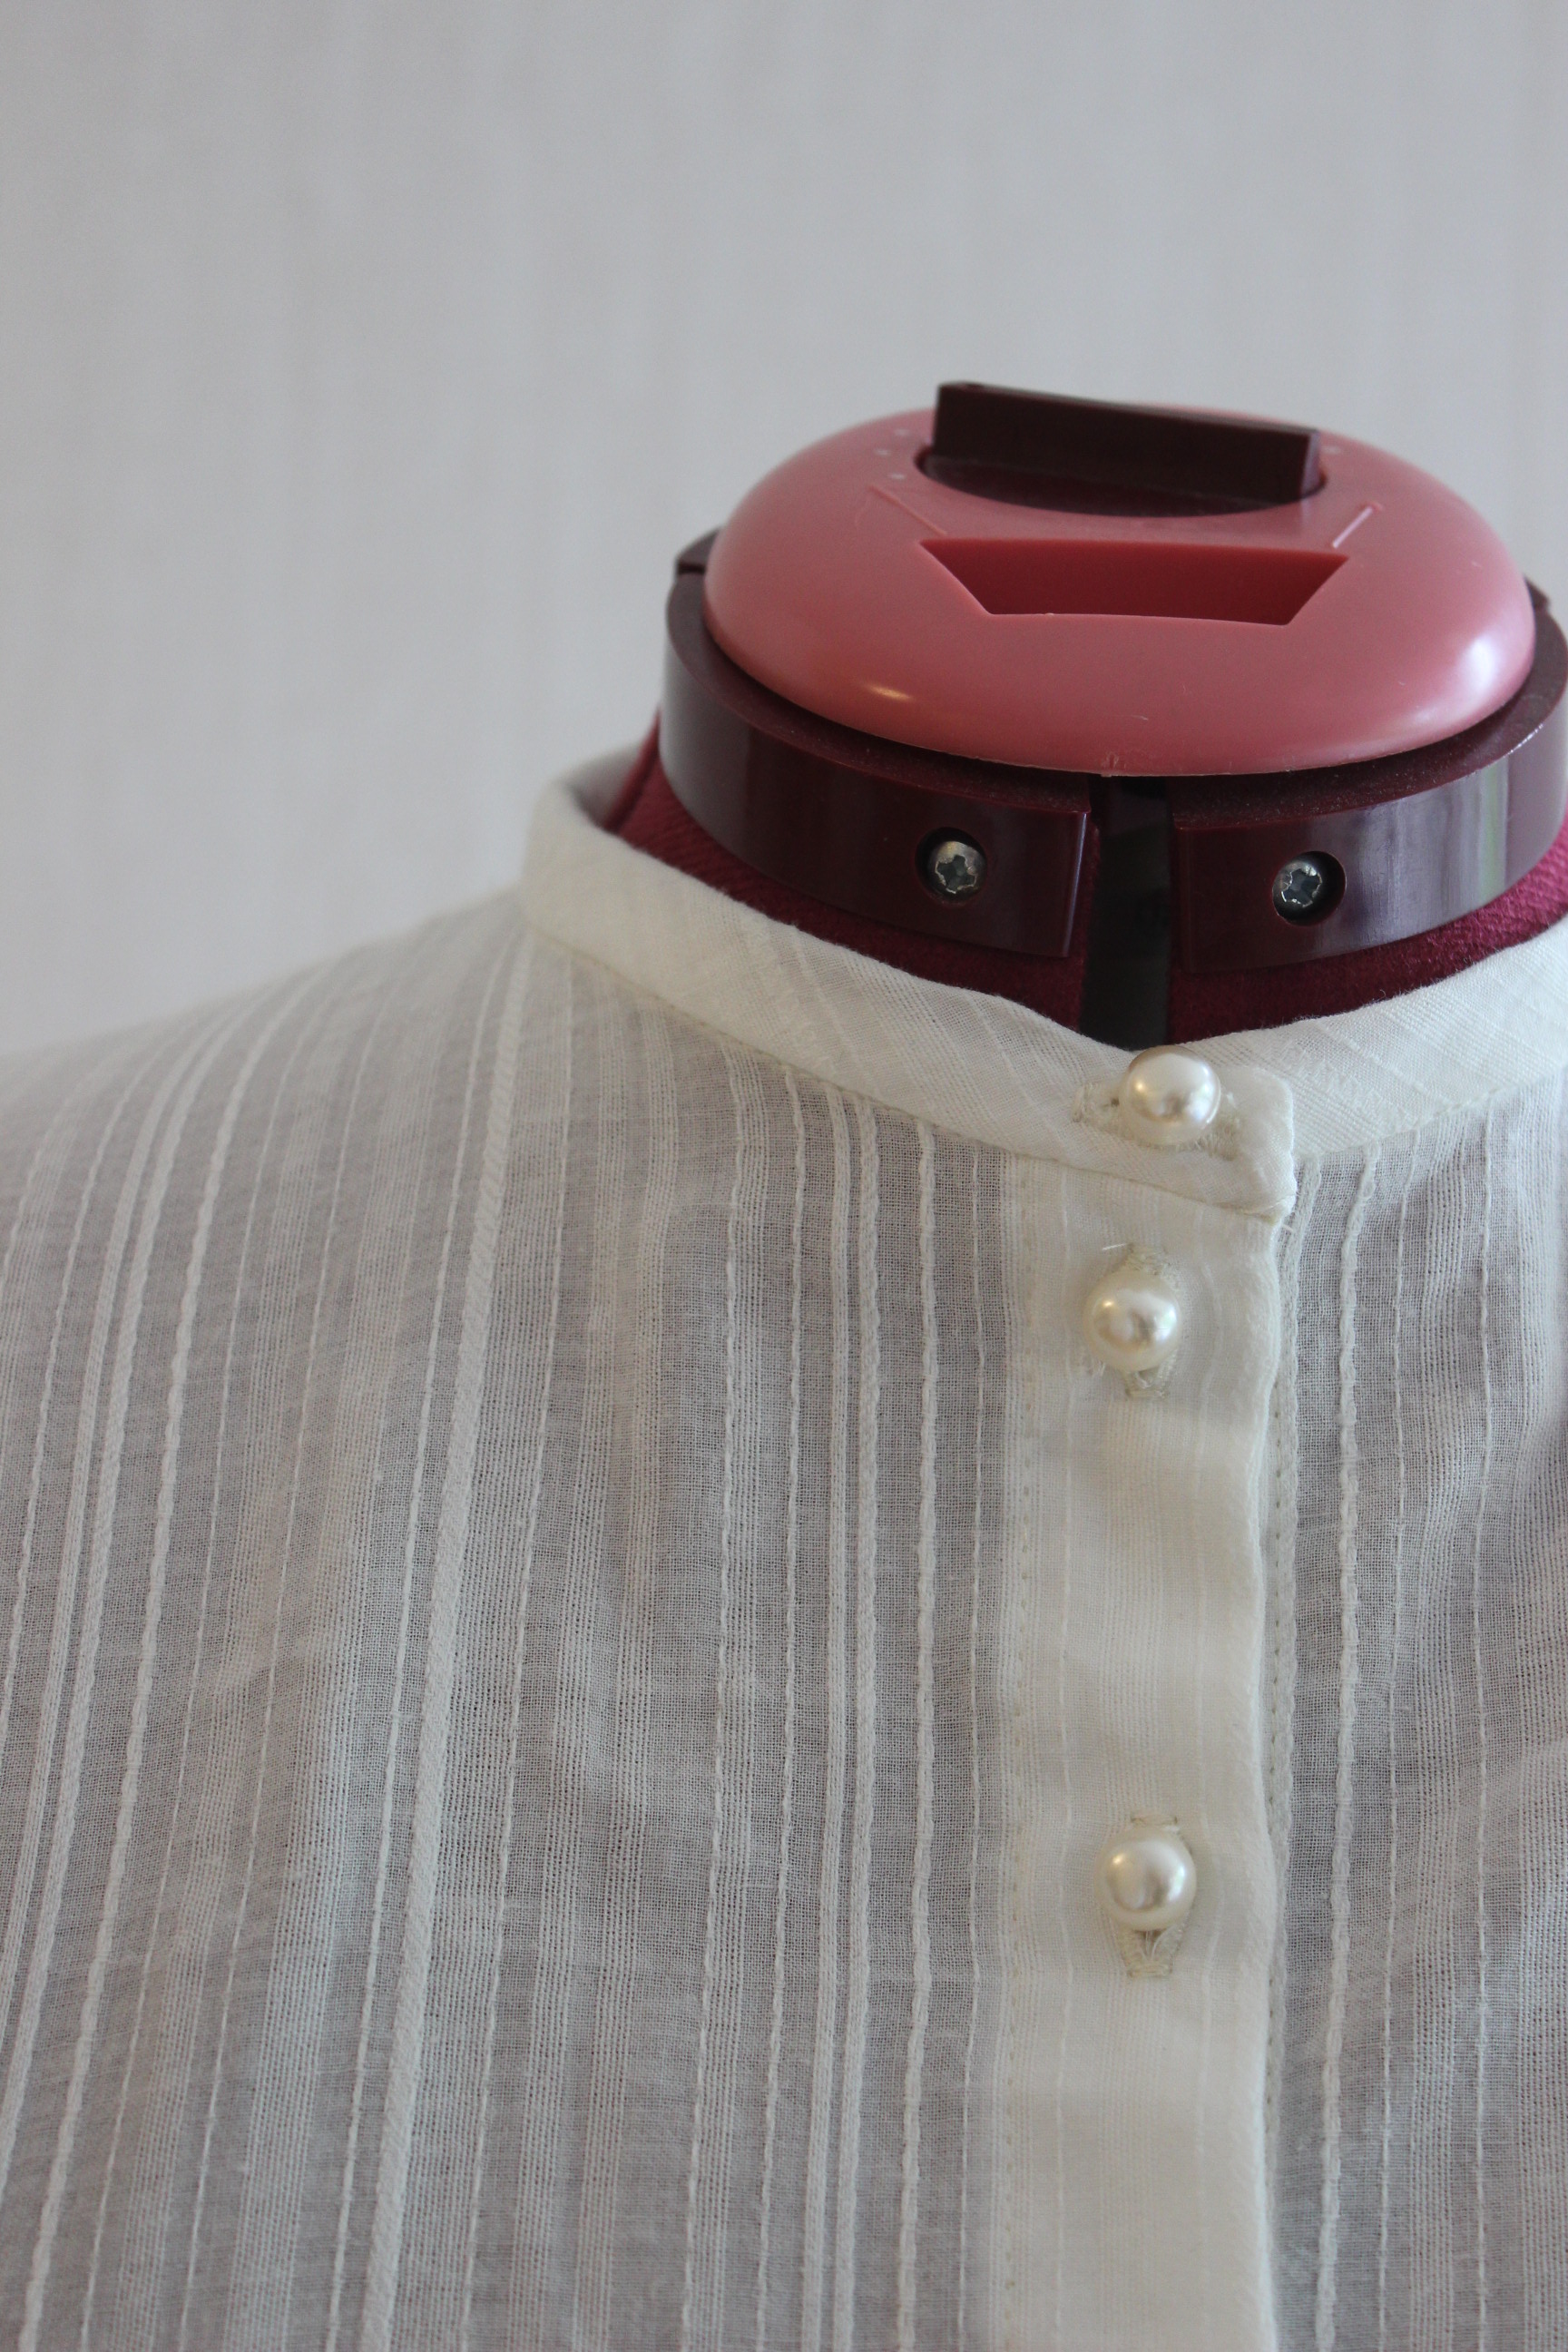
Then I made all the button holes by hand, added the pearl buttons and sewed on a piece of bias tap to make a casing for the cotton cord used to control the fullness and size at the waist.

IMG_6312Looking neat from the outside…
IMG_6313
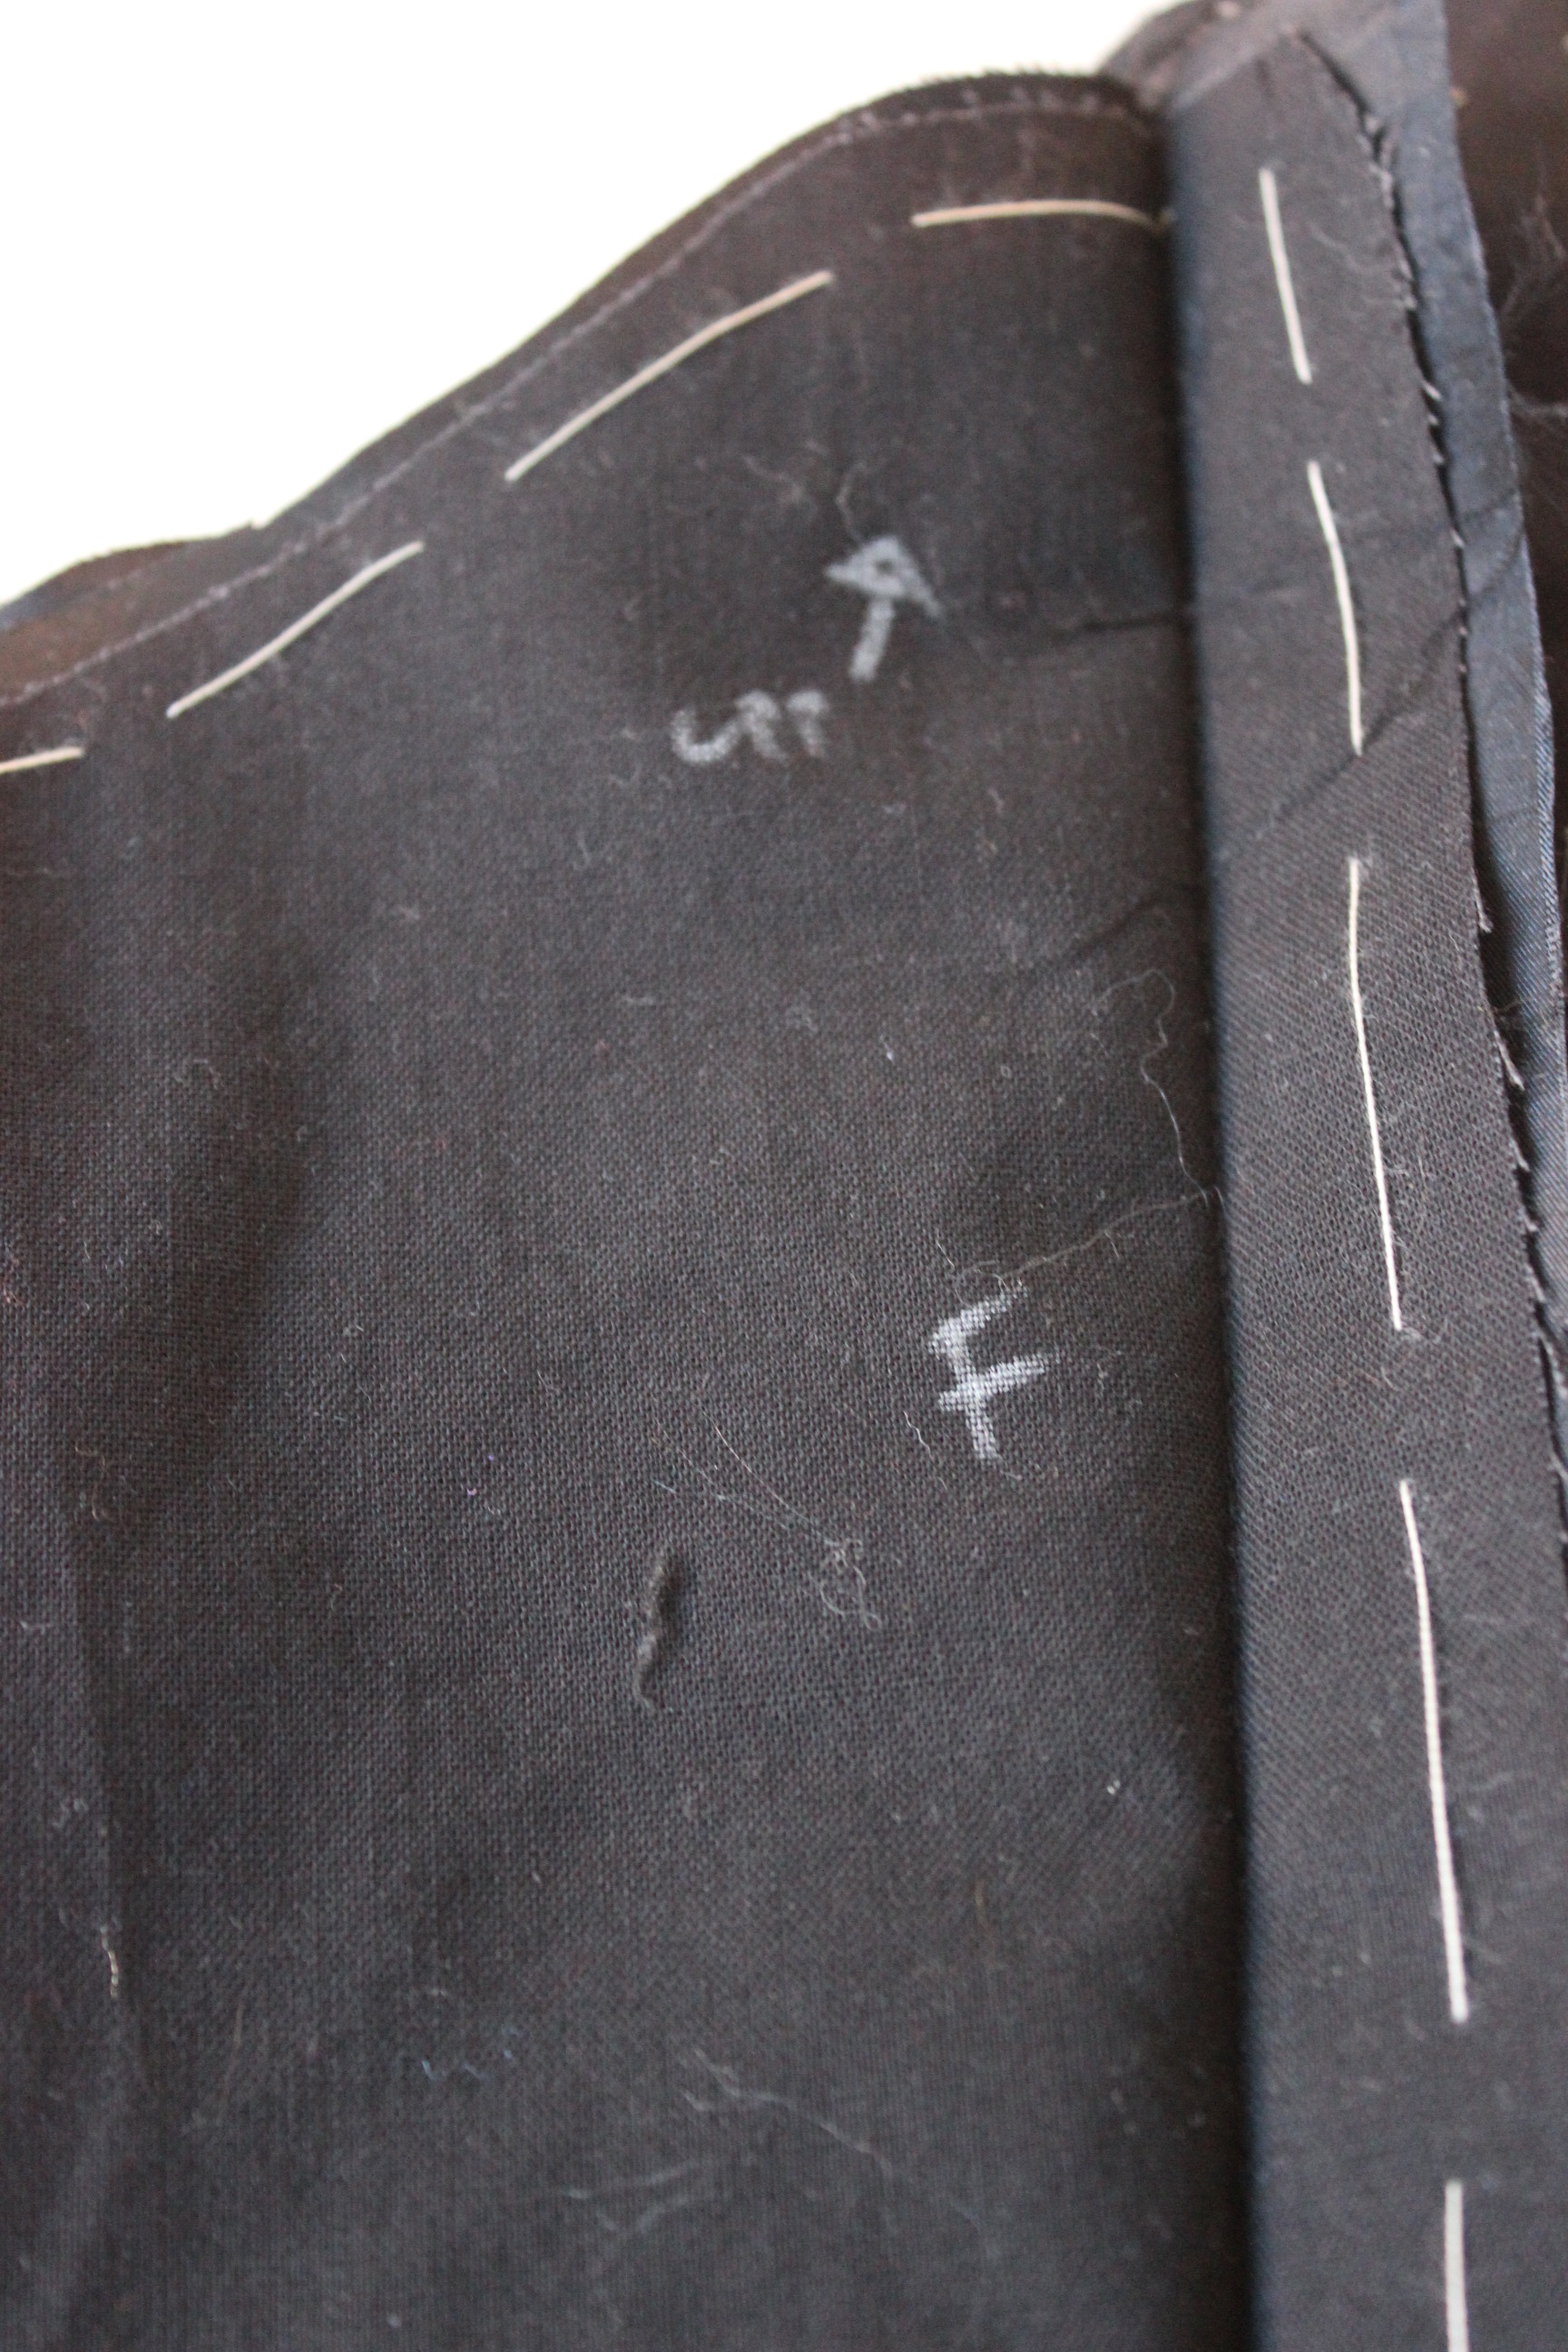
…And just as neat from the inside.

The finished blouse:

IMG_6304

IMG_6292

IMG_6297

IMG_6305

IMG_6310

IMG_6300

IMG_6309

IMG_6303

IMG_6294

IMG_6302

IMG_6295

IMG_6288

The Facts:

What: a 1850-1860s blouse/waist

Pattern: I drafted my own using my green 1840s dress bodice and pictures of extant blouses.

Fabric & Notions: 1 m dotted white polyester organza, 0,5 m soft white cotton, 12 plastic buttons, thread, buttonhole thread, 80 cm bias tape and 1,2 m cotton cord.

Time: About 10 hours.

Cost: About 100 Sek (16 Usd) – Everything was bought on sale or leftovers from previous projects.

Final thoughts: I like the look of this blouse, even though I’m not sure the polyester content will keep me as cool as I would have liked in the summer heat. I may make another one out of a more suitable fabric someday, but for now I’m pleased with it. And It was such a quick and easy project.

19th century Spring Coffee in Old Town

Two weeks ago me and my sister attended a small gathering of historic enthusiasts for a “Fika” in the local “old town”.

Once me and my sister spent way to long getting ready, we took the bus to the location and hurried to catch up with the others.
We all invaded a small coffee shop, and caused a stir in the other guests who (as usual) wanted to take photos.

It was a lovely event and besides the historic clothes it almost felt like an ordinary “fika” with friends.20150315_153231

20150315_153239My sister looking fab, in her Edwardian outfit and Hairdo.

20150315_154639What’s that over there….?”

20150315_154611Sara (the initiator to this meeting) asked everybody to tell a bit of our costumes and we got the chance to really look at all the clothing and ask questions. Here is Sara in her gorgeous 1880s bustle ensemble.

20150315_154831Yvonne wore a colorful regency gown, paired with turban made from a shawl.

20150315_155723Those 18th century stays are to die for, and she paired them with a great plaid skirt, apron and of course appropriate head cover.

Then we went outside to chat some more and to take even more pictures.IMG_61961920s backsides

Both Denise (left) and Pernilla (right) are in my historic sewing group.
And they made their dresses just in time for this event (between studying and exams).
Pernilla also writes of this event on her blog “fashion of the days gone by”, read the post here.IMG_6174Let me just say how much I love both their outfits, and those shoes! OMG, I definitely need to get myself some 1920s styled pumps.

IMG_6172It was a bit chilly, so we all had our outerwear on most of the time.

IMG_6191Karin is showing her bloomers beneath her lovely plaid skirt.

IMG_6193Hair and hat detail

IMG_6176“Do my bum look big in this?” – Yes and I love it!

IMG_6198There was no end to Saras wardrobe – Here she’s wearing a Dolman, made from a Truly Victorian pattern, with the most delightful swoon to the back.

IMG_6183I’m not even sure what Dan is doing – lets just say he looks great in his red and white self made ensemble.
Ludwig looks as smashing as ever in newly made plaid breeches and well groomed facial hair.

IMG_6180Me and sis in our Edwardian gear.

IMG_6200Warm ad cosy in velvet and fur.

IMG_6189Gibson hair side view

IMG_6185The obligatory shoe shoot

Of course we posed for photos to. IMG_6160

IMG_6170Fashion from Regency too 1920s – all in one pic.

Thanks to everyone who attended, it was so nice meeting you all. And lets hope we can do this again sometime.