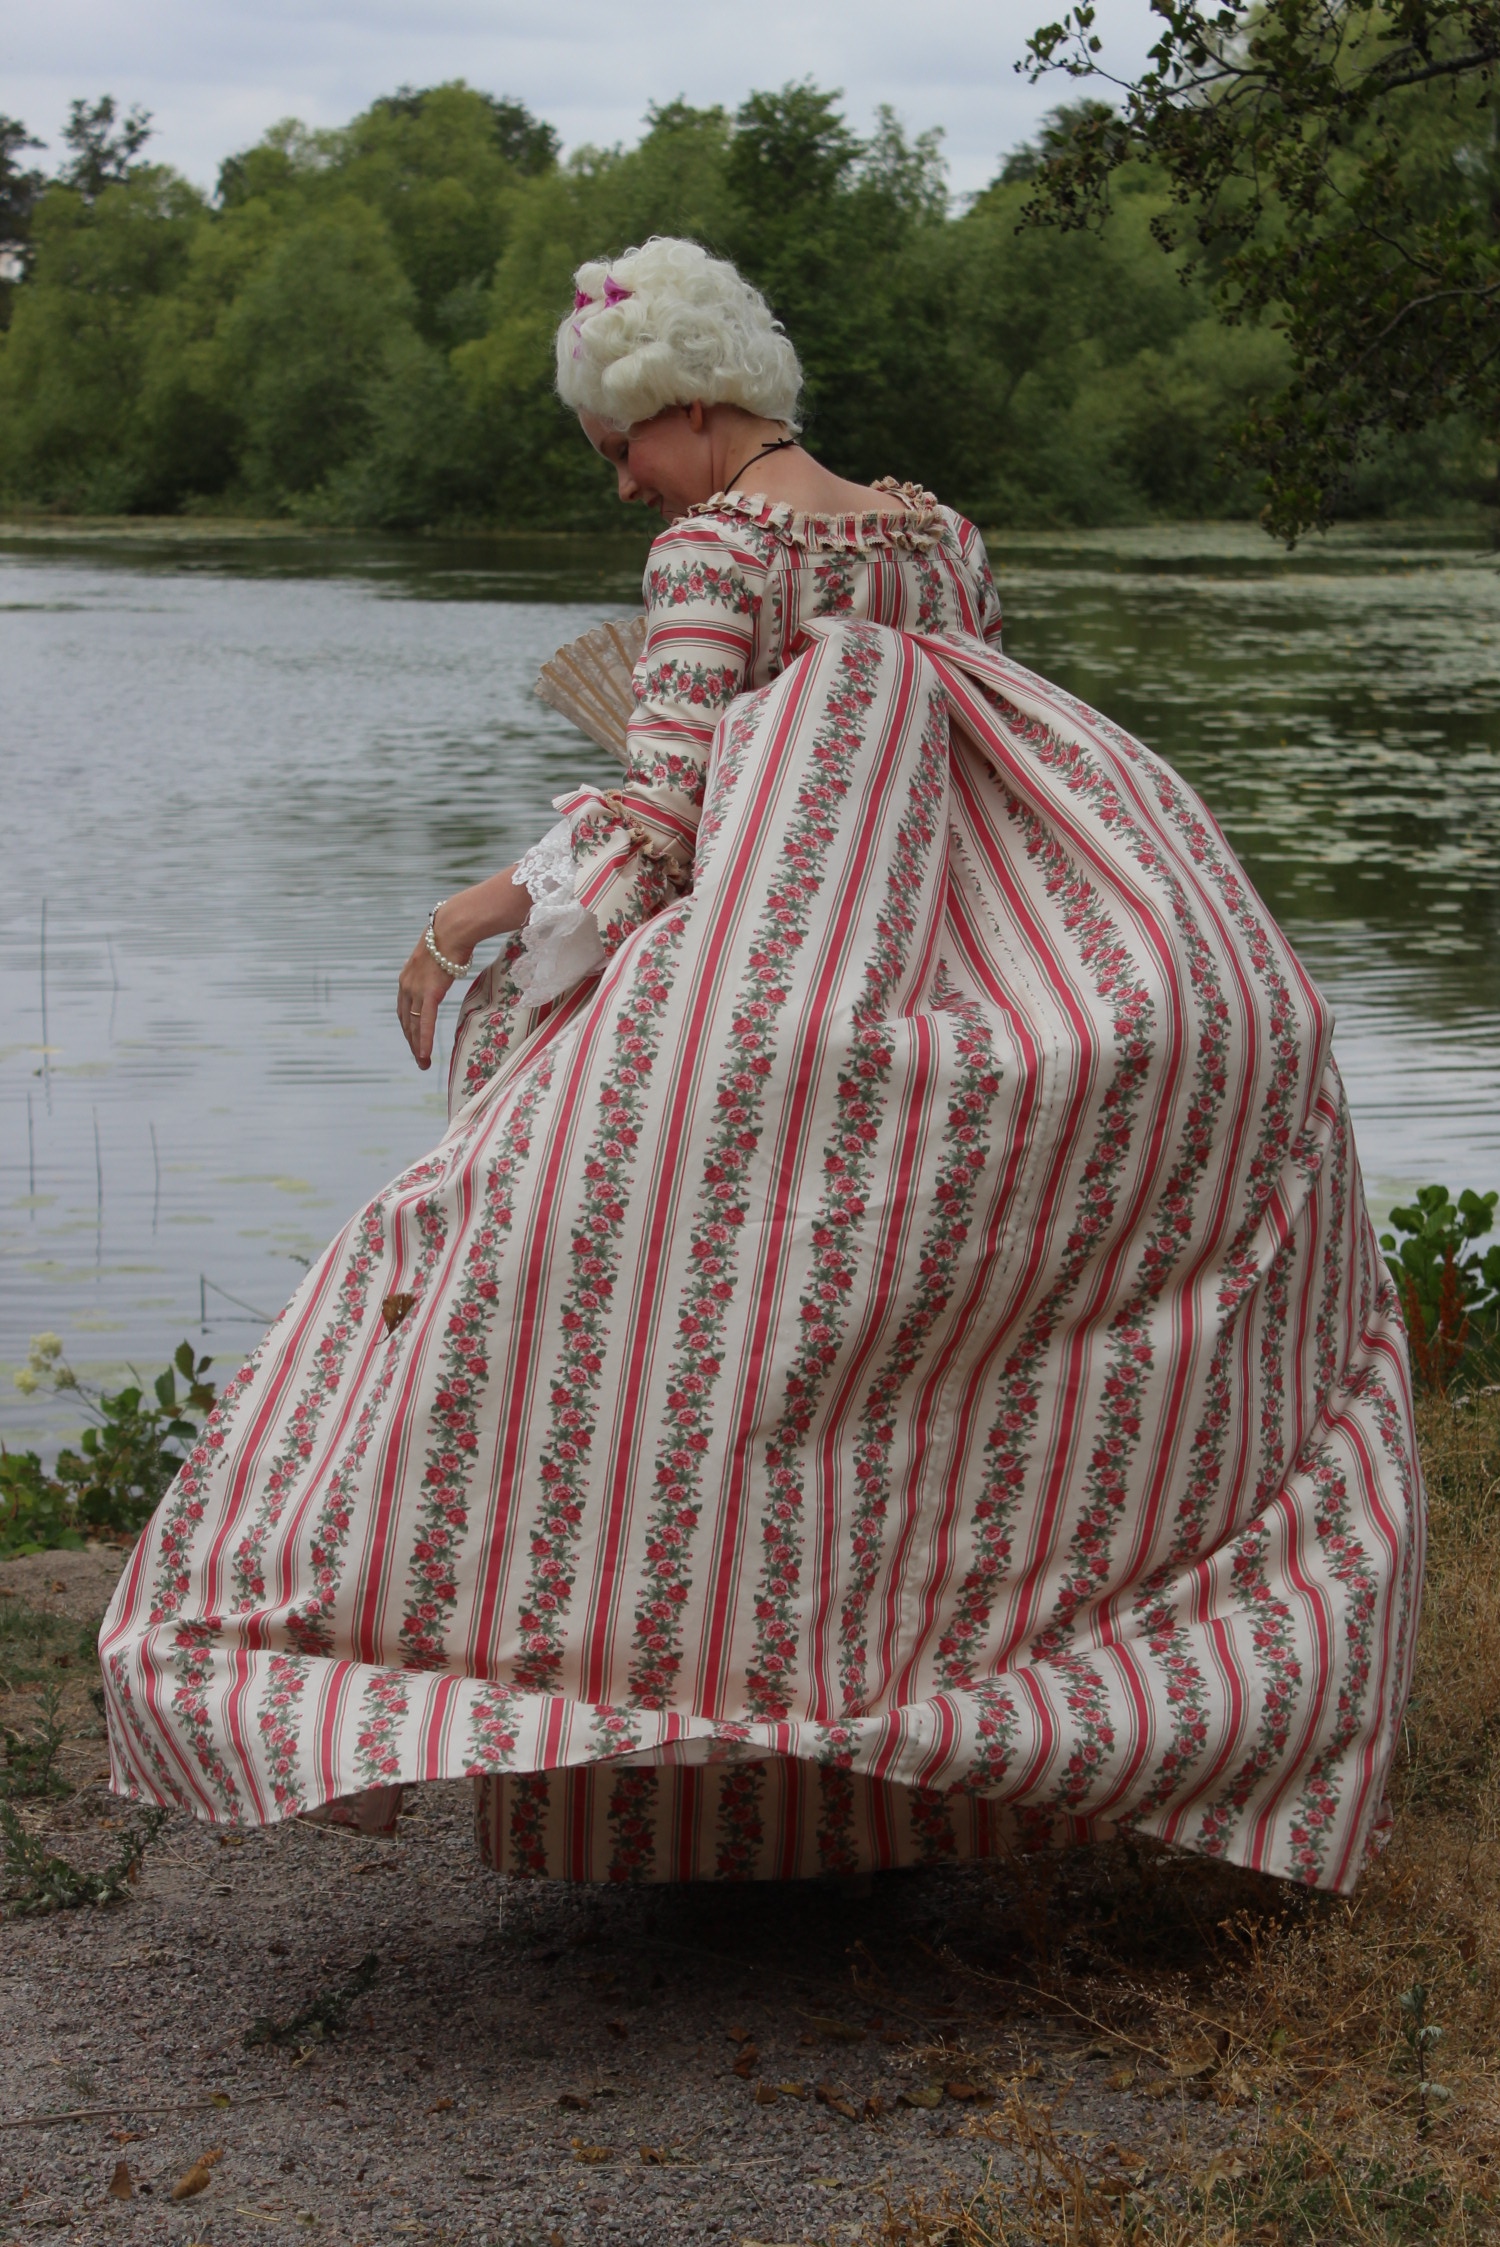
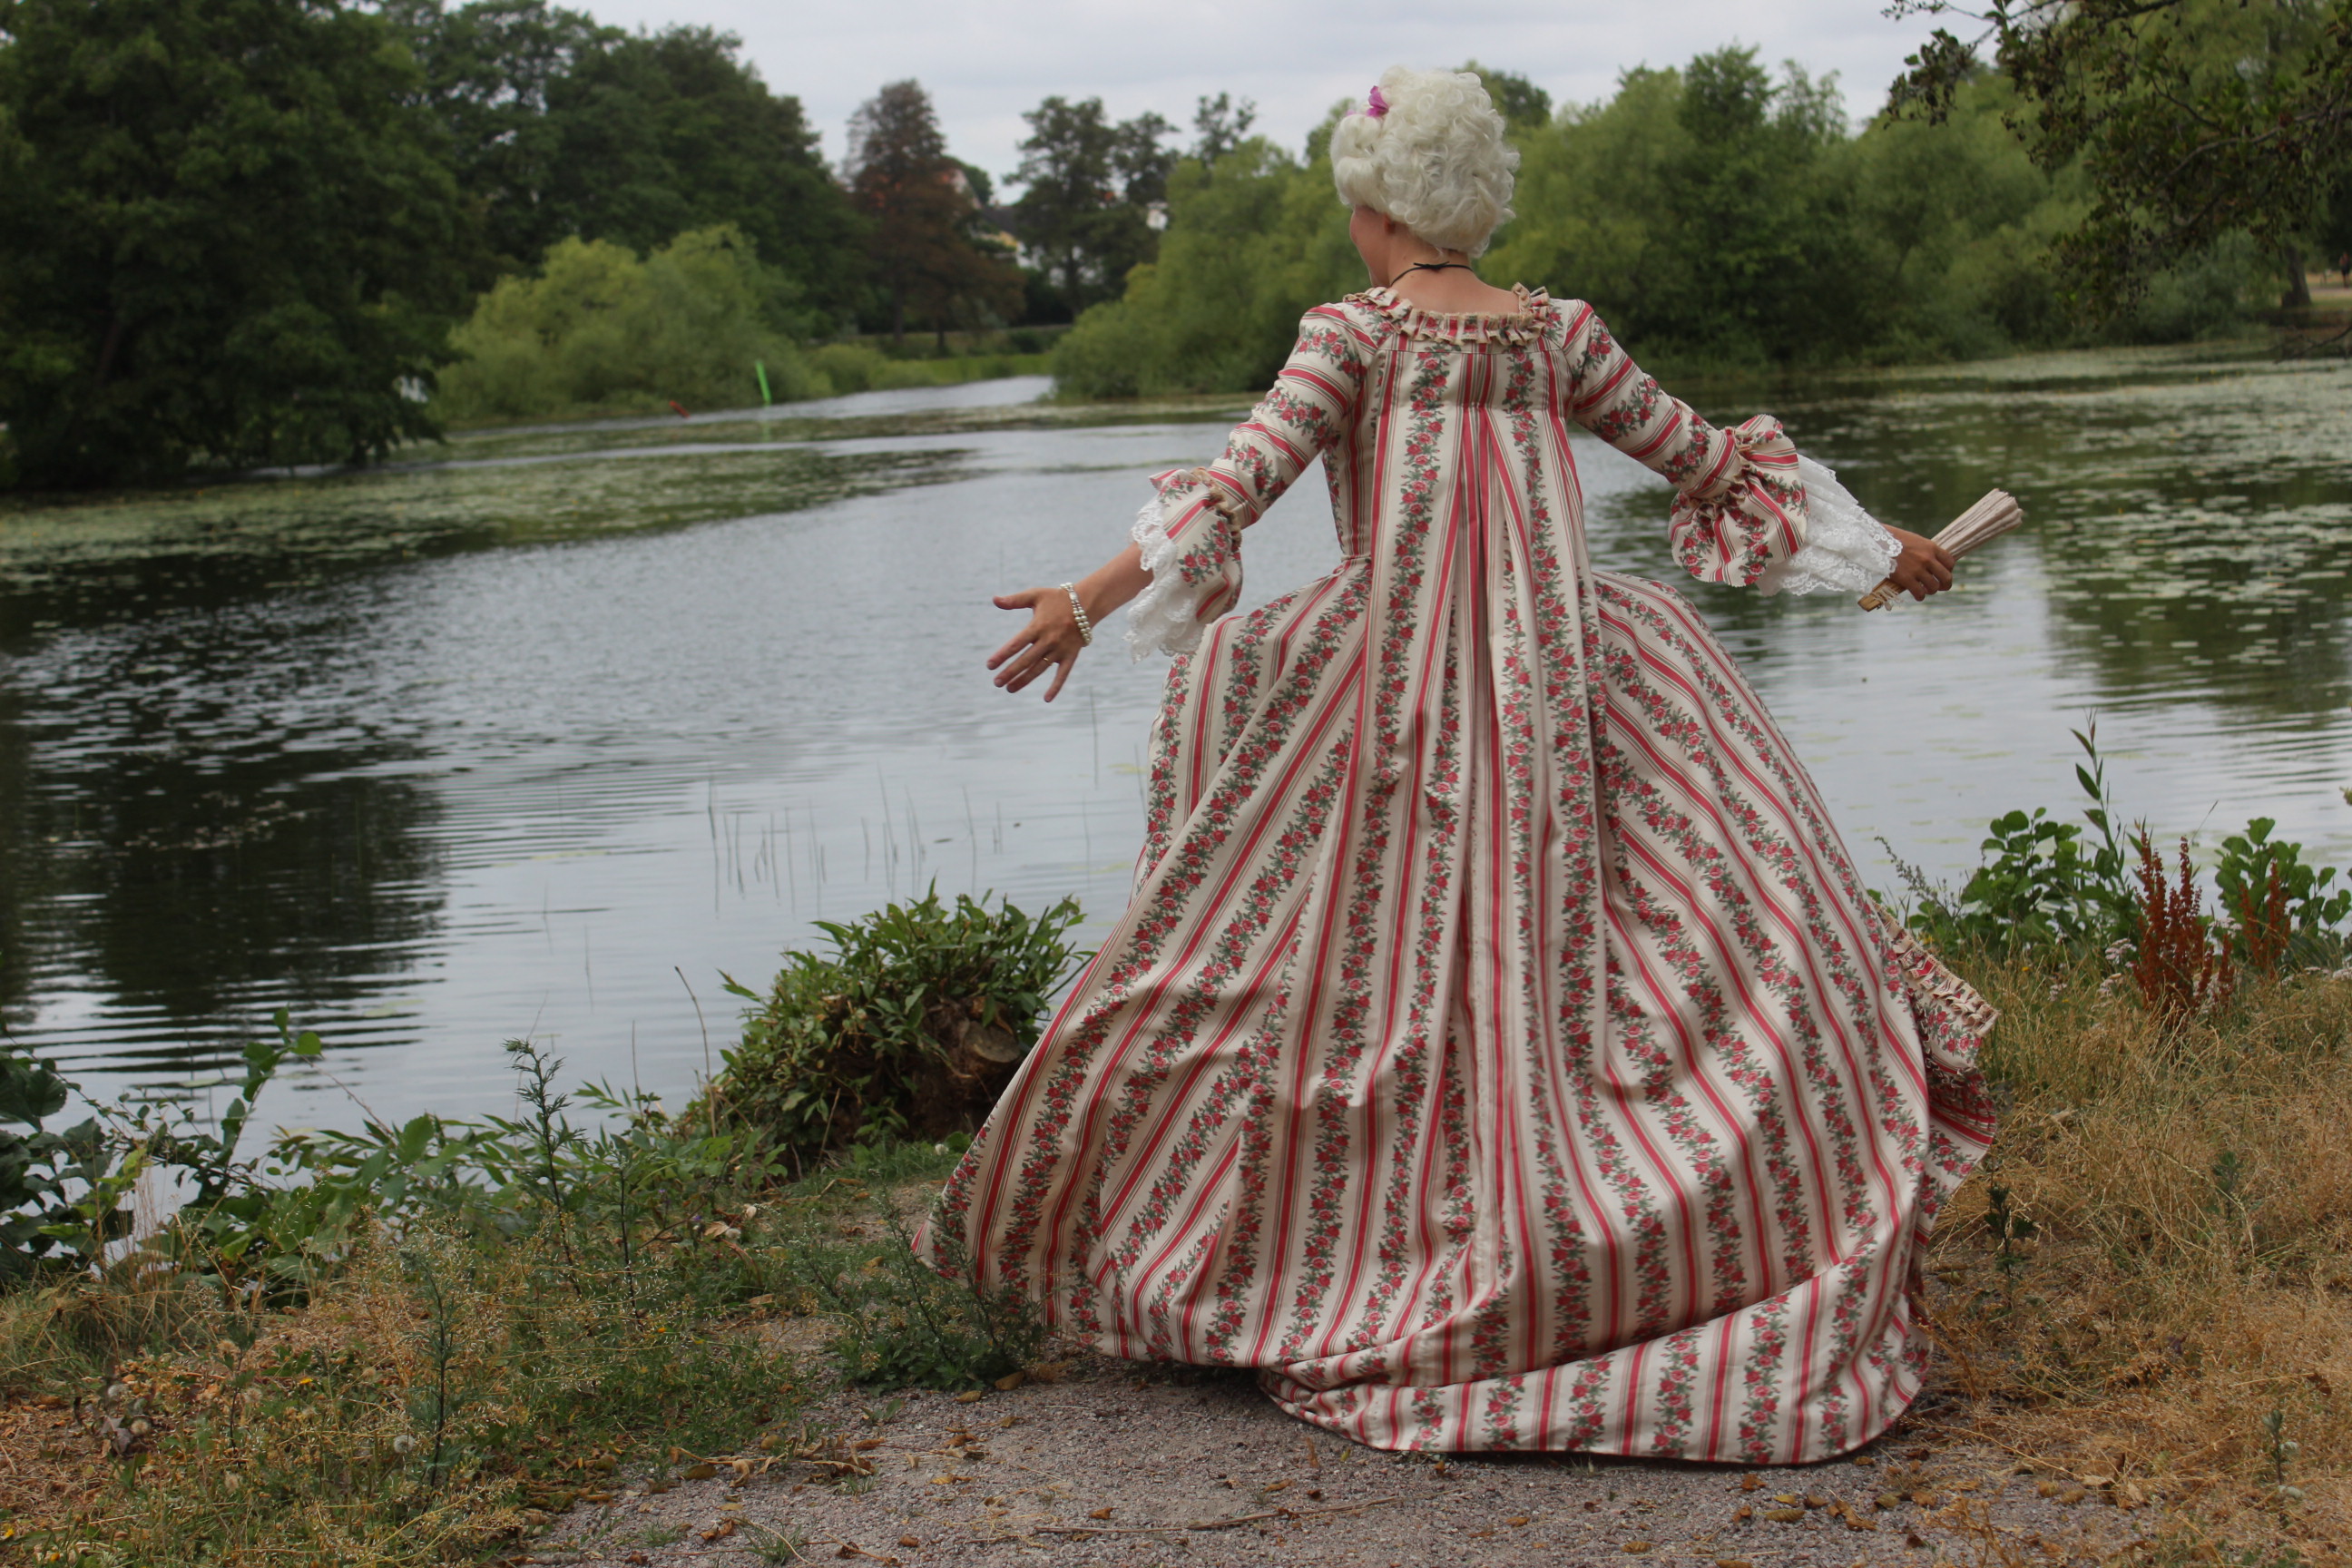
Once the Robe a la Francaise finally was finished, I couldn’t wait to get it photographed. So I asked my sister to help me take some pic (on one of the windiest day no doubt).
When I started this project back in 2014 I never thought it would take this long to get it done, (then, a bit later I thought I would never finish) But here it finally is, My long awaited Robe a la Francaise.
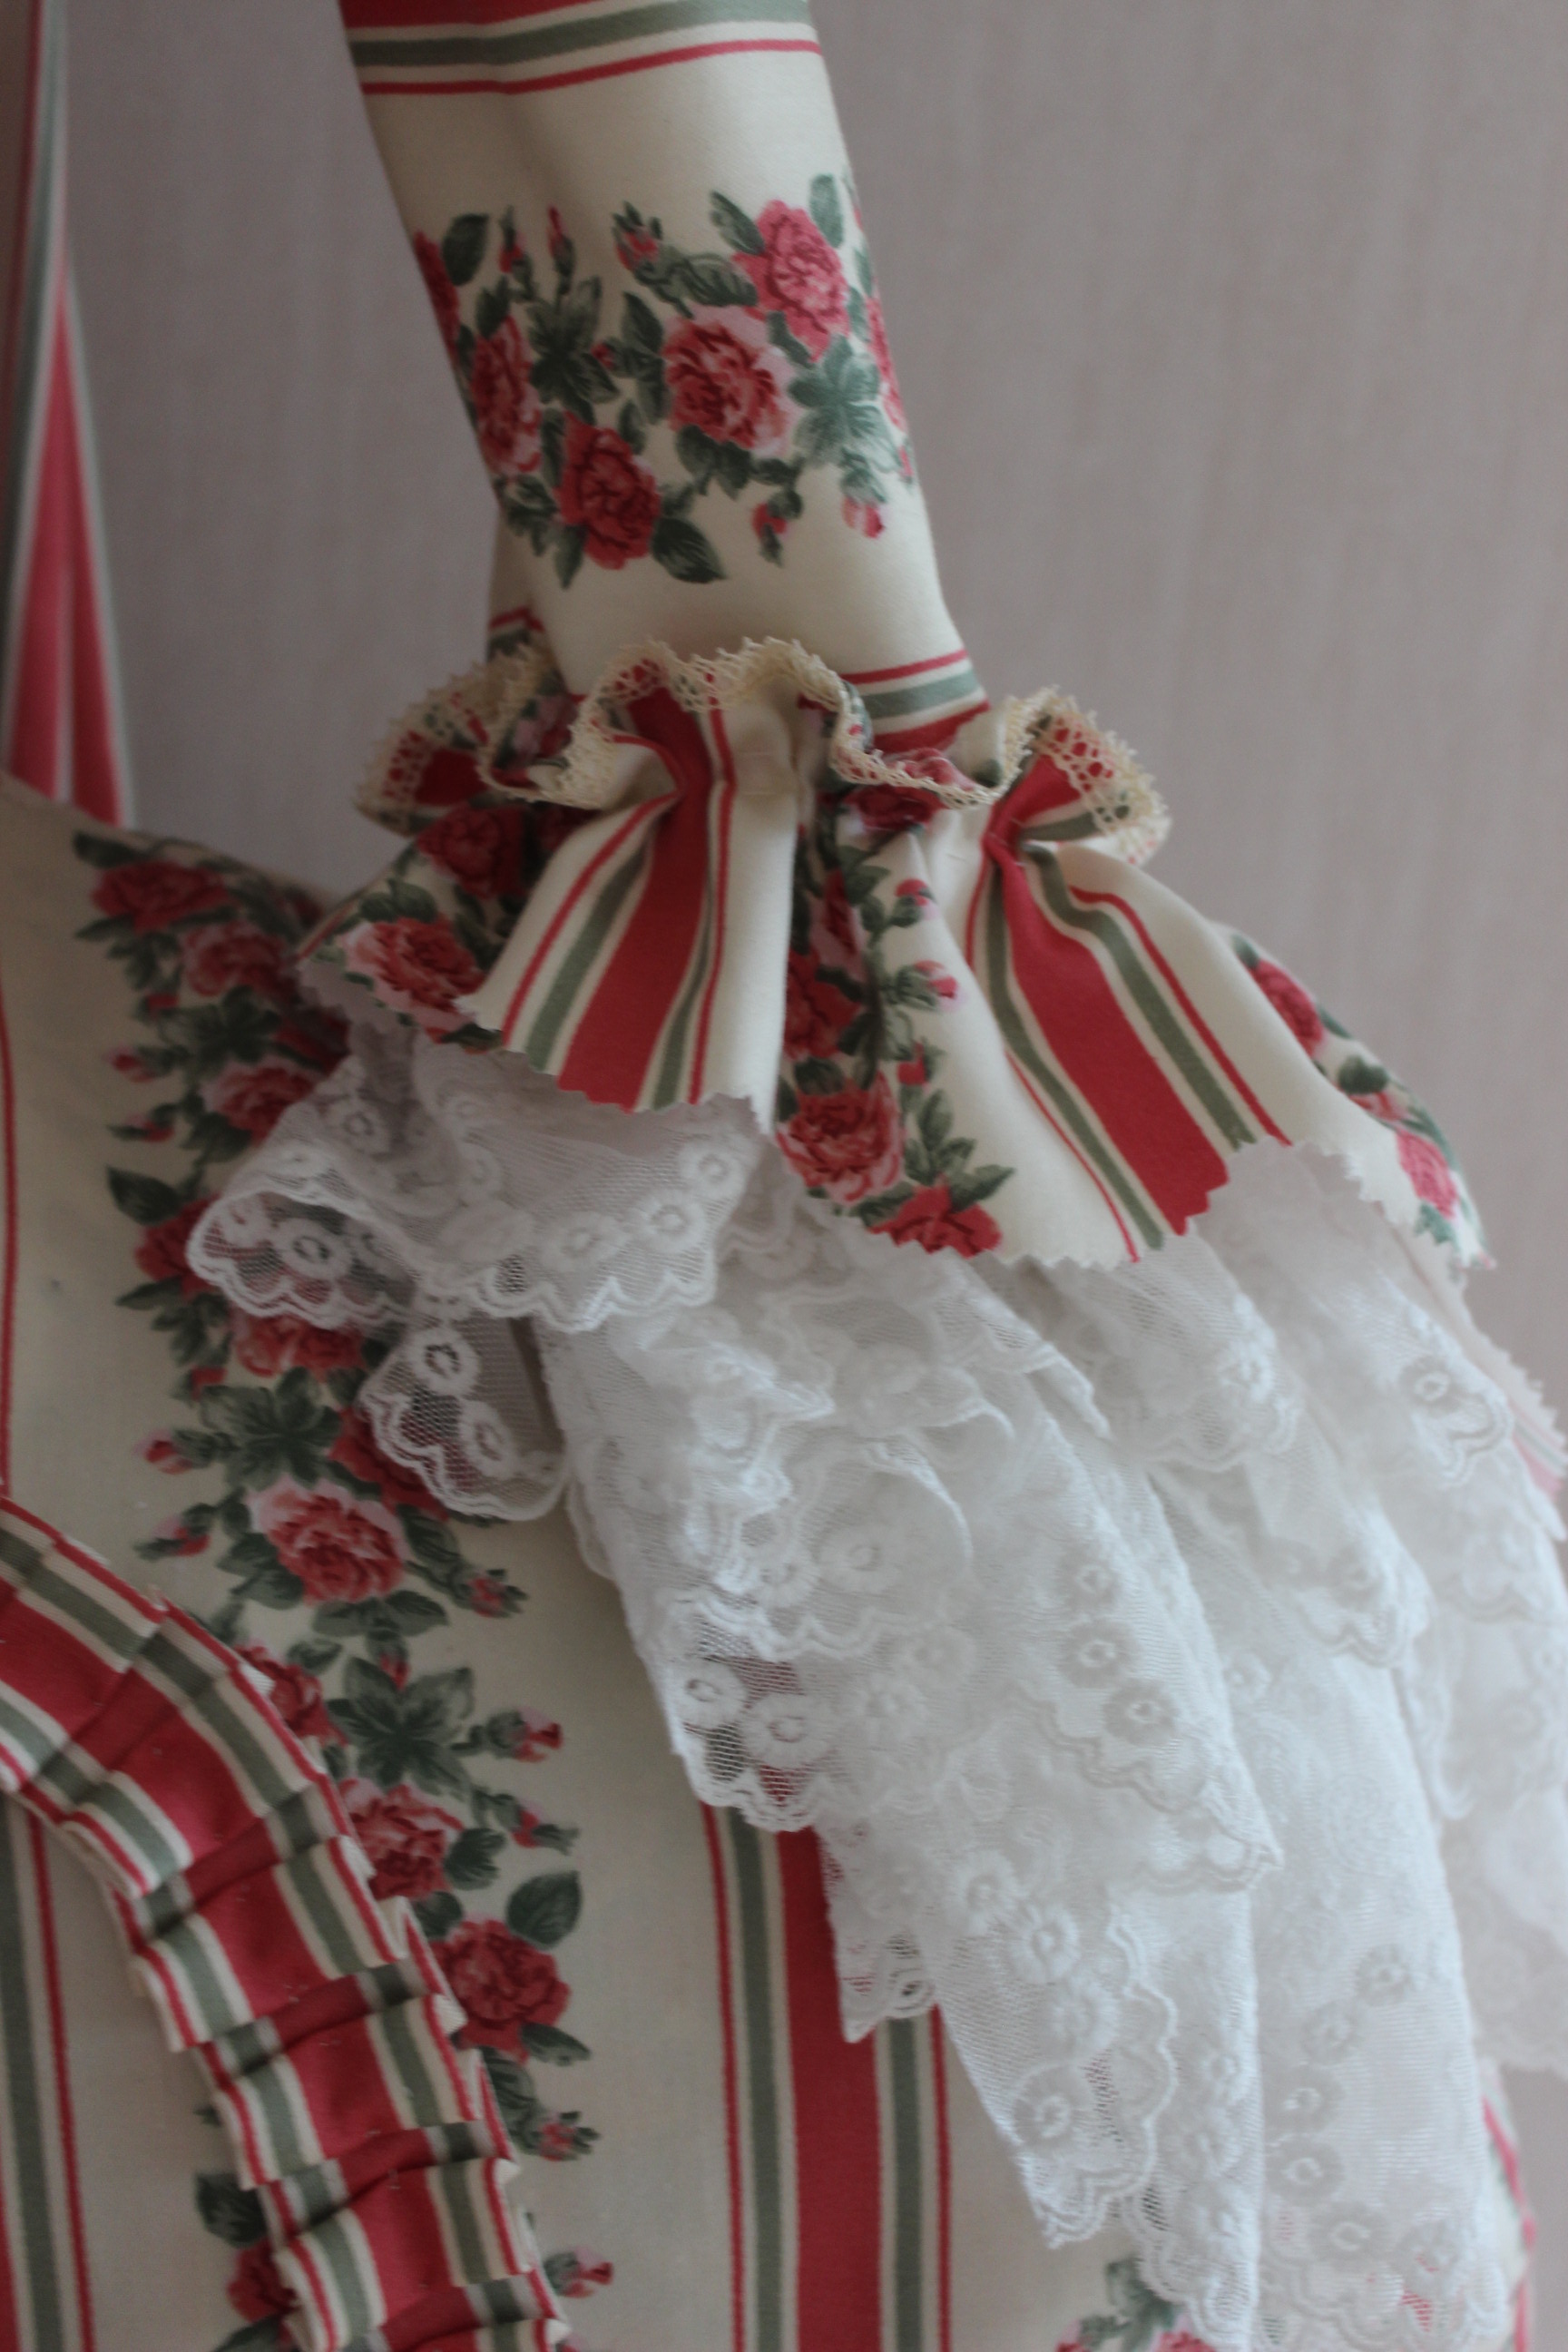
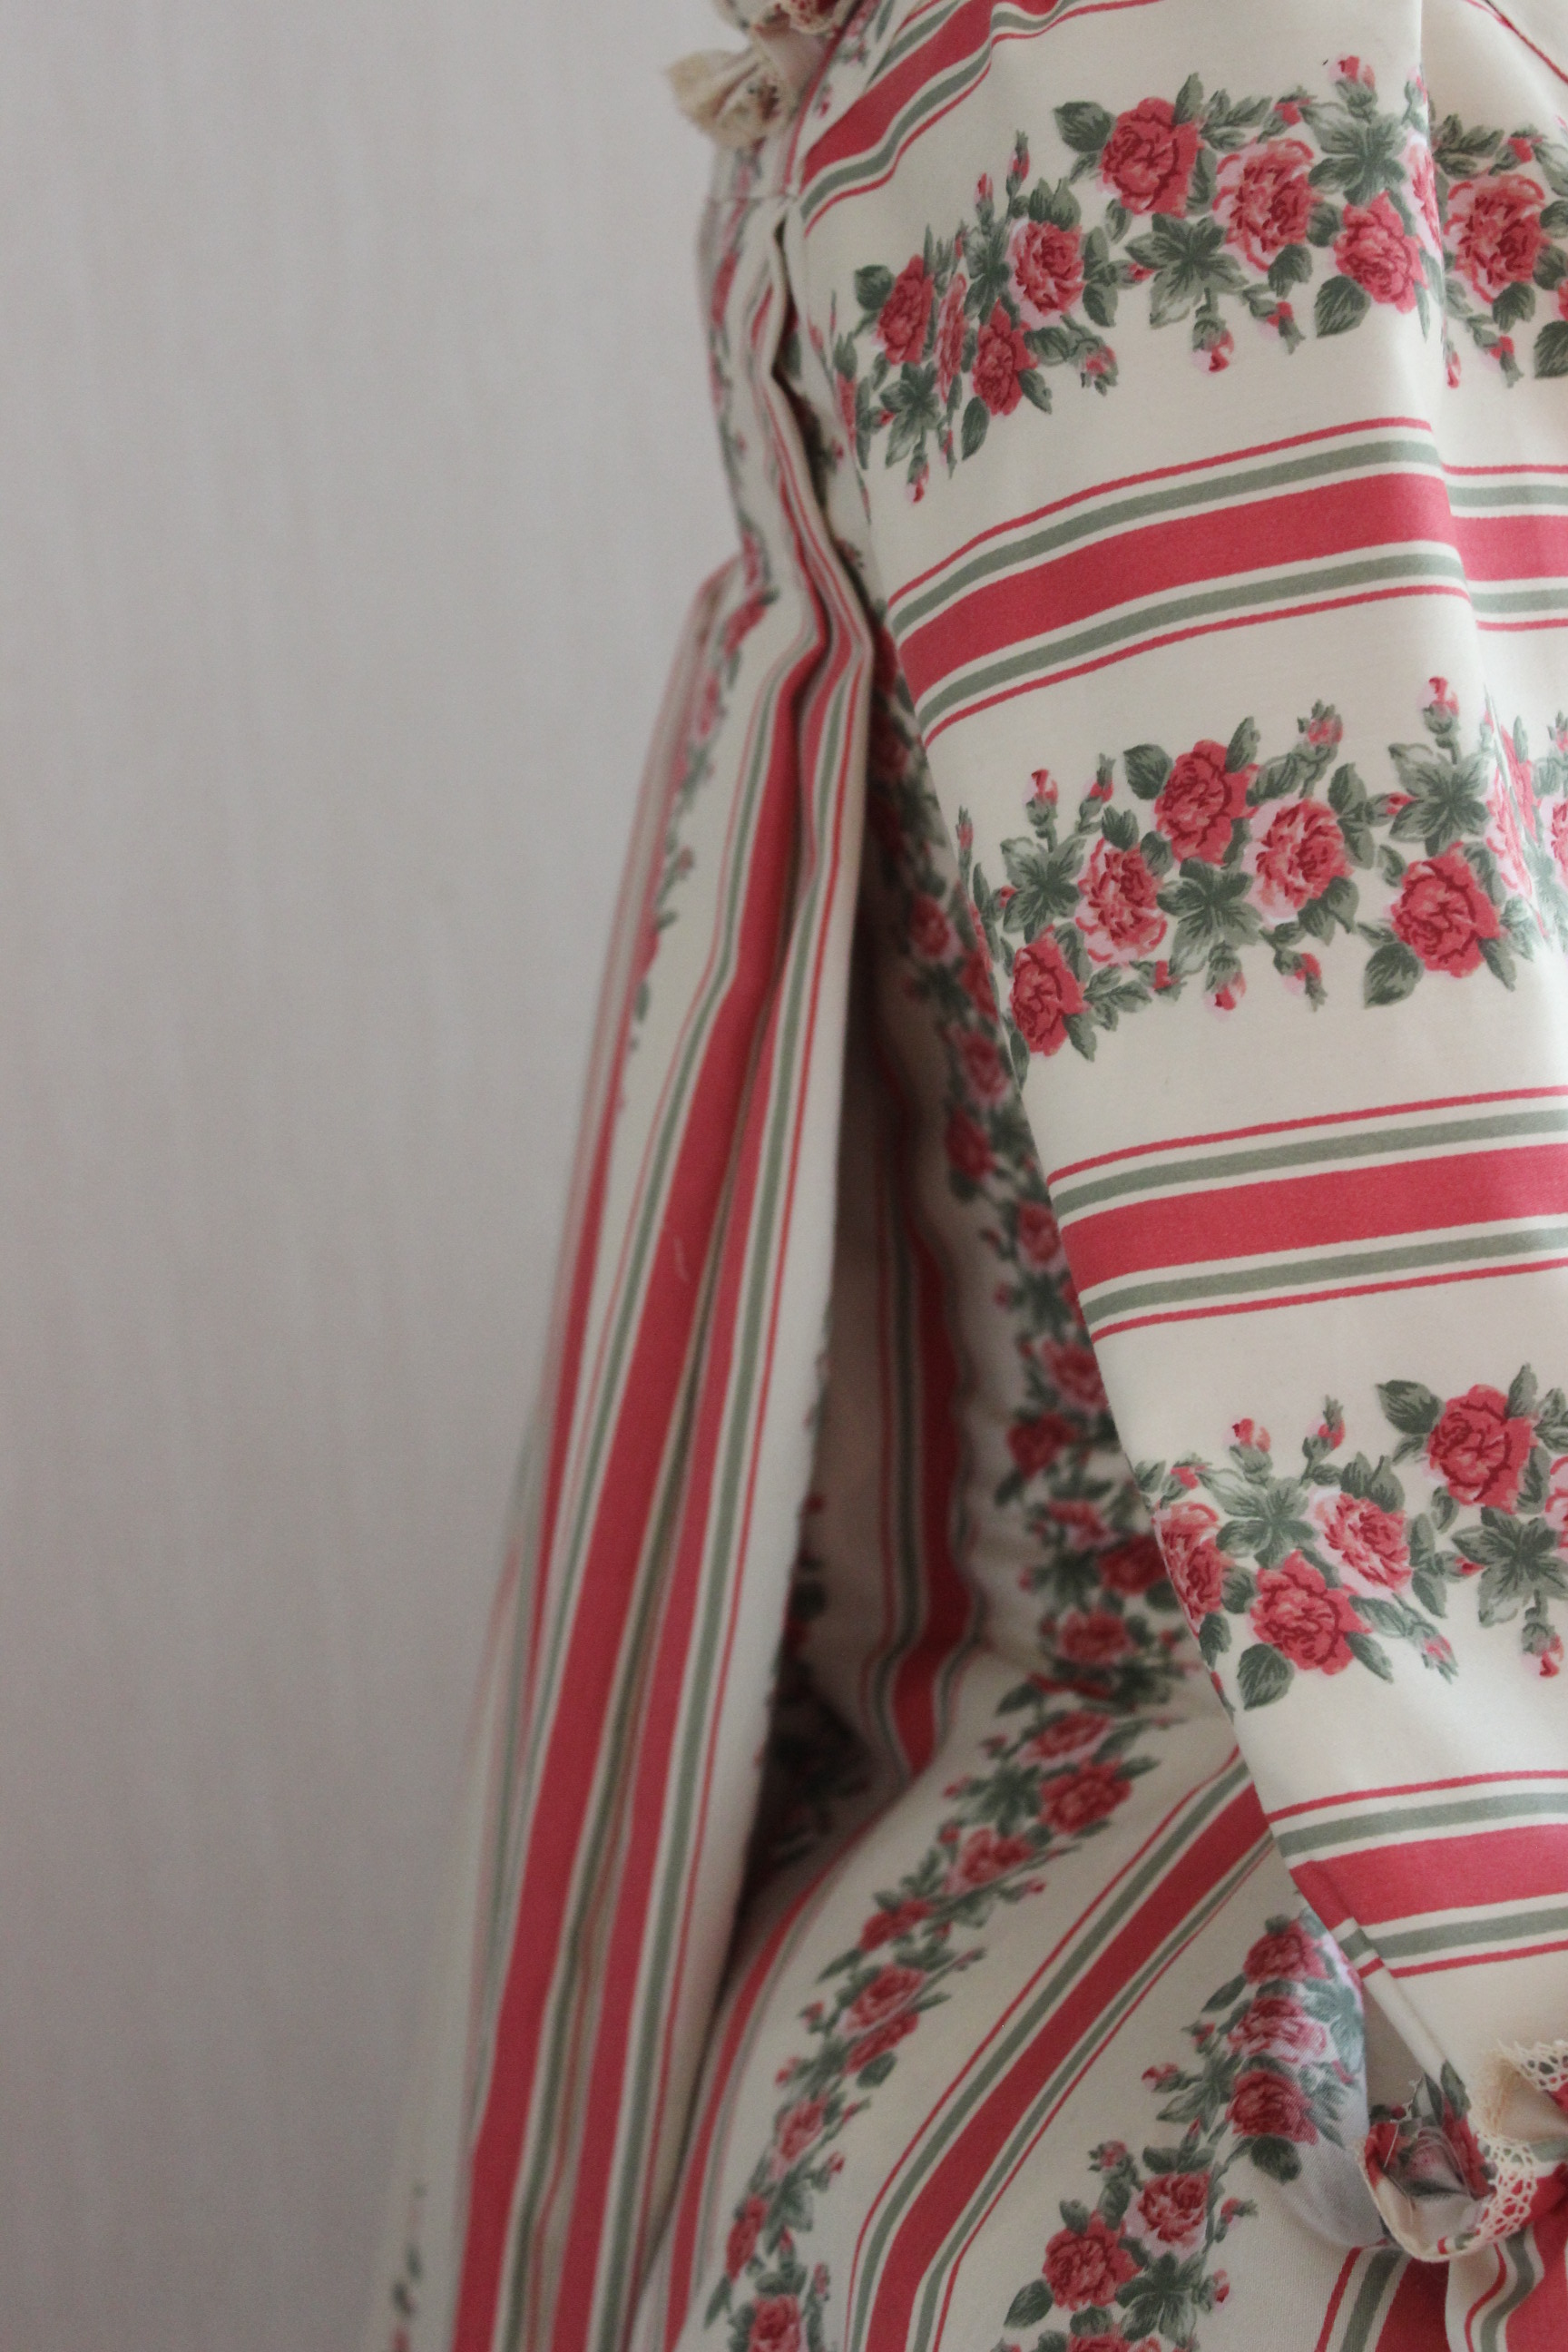
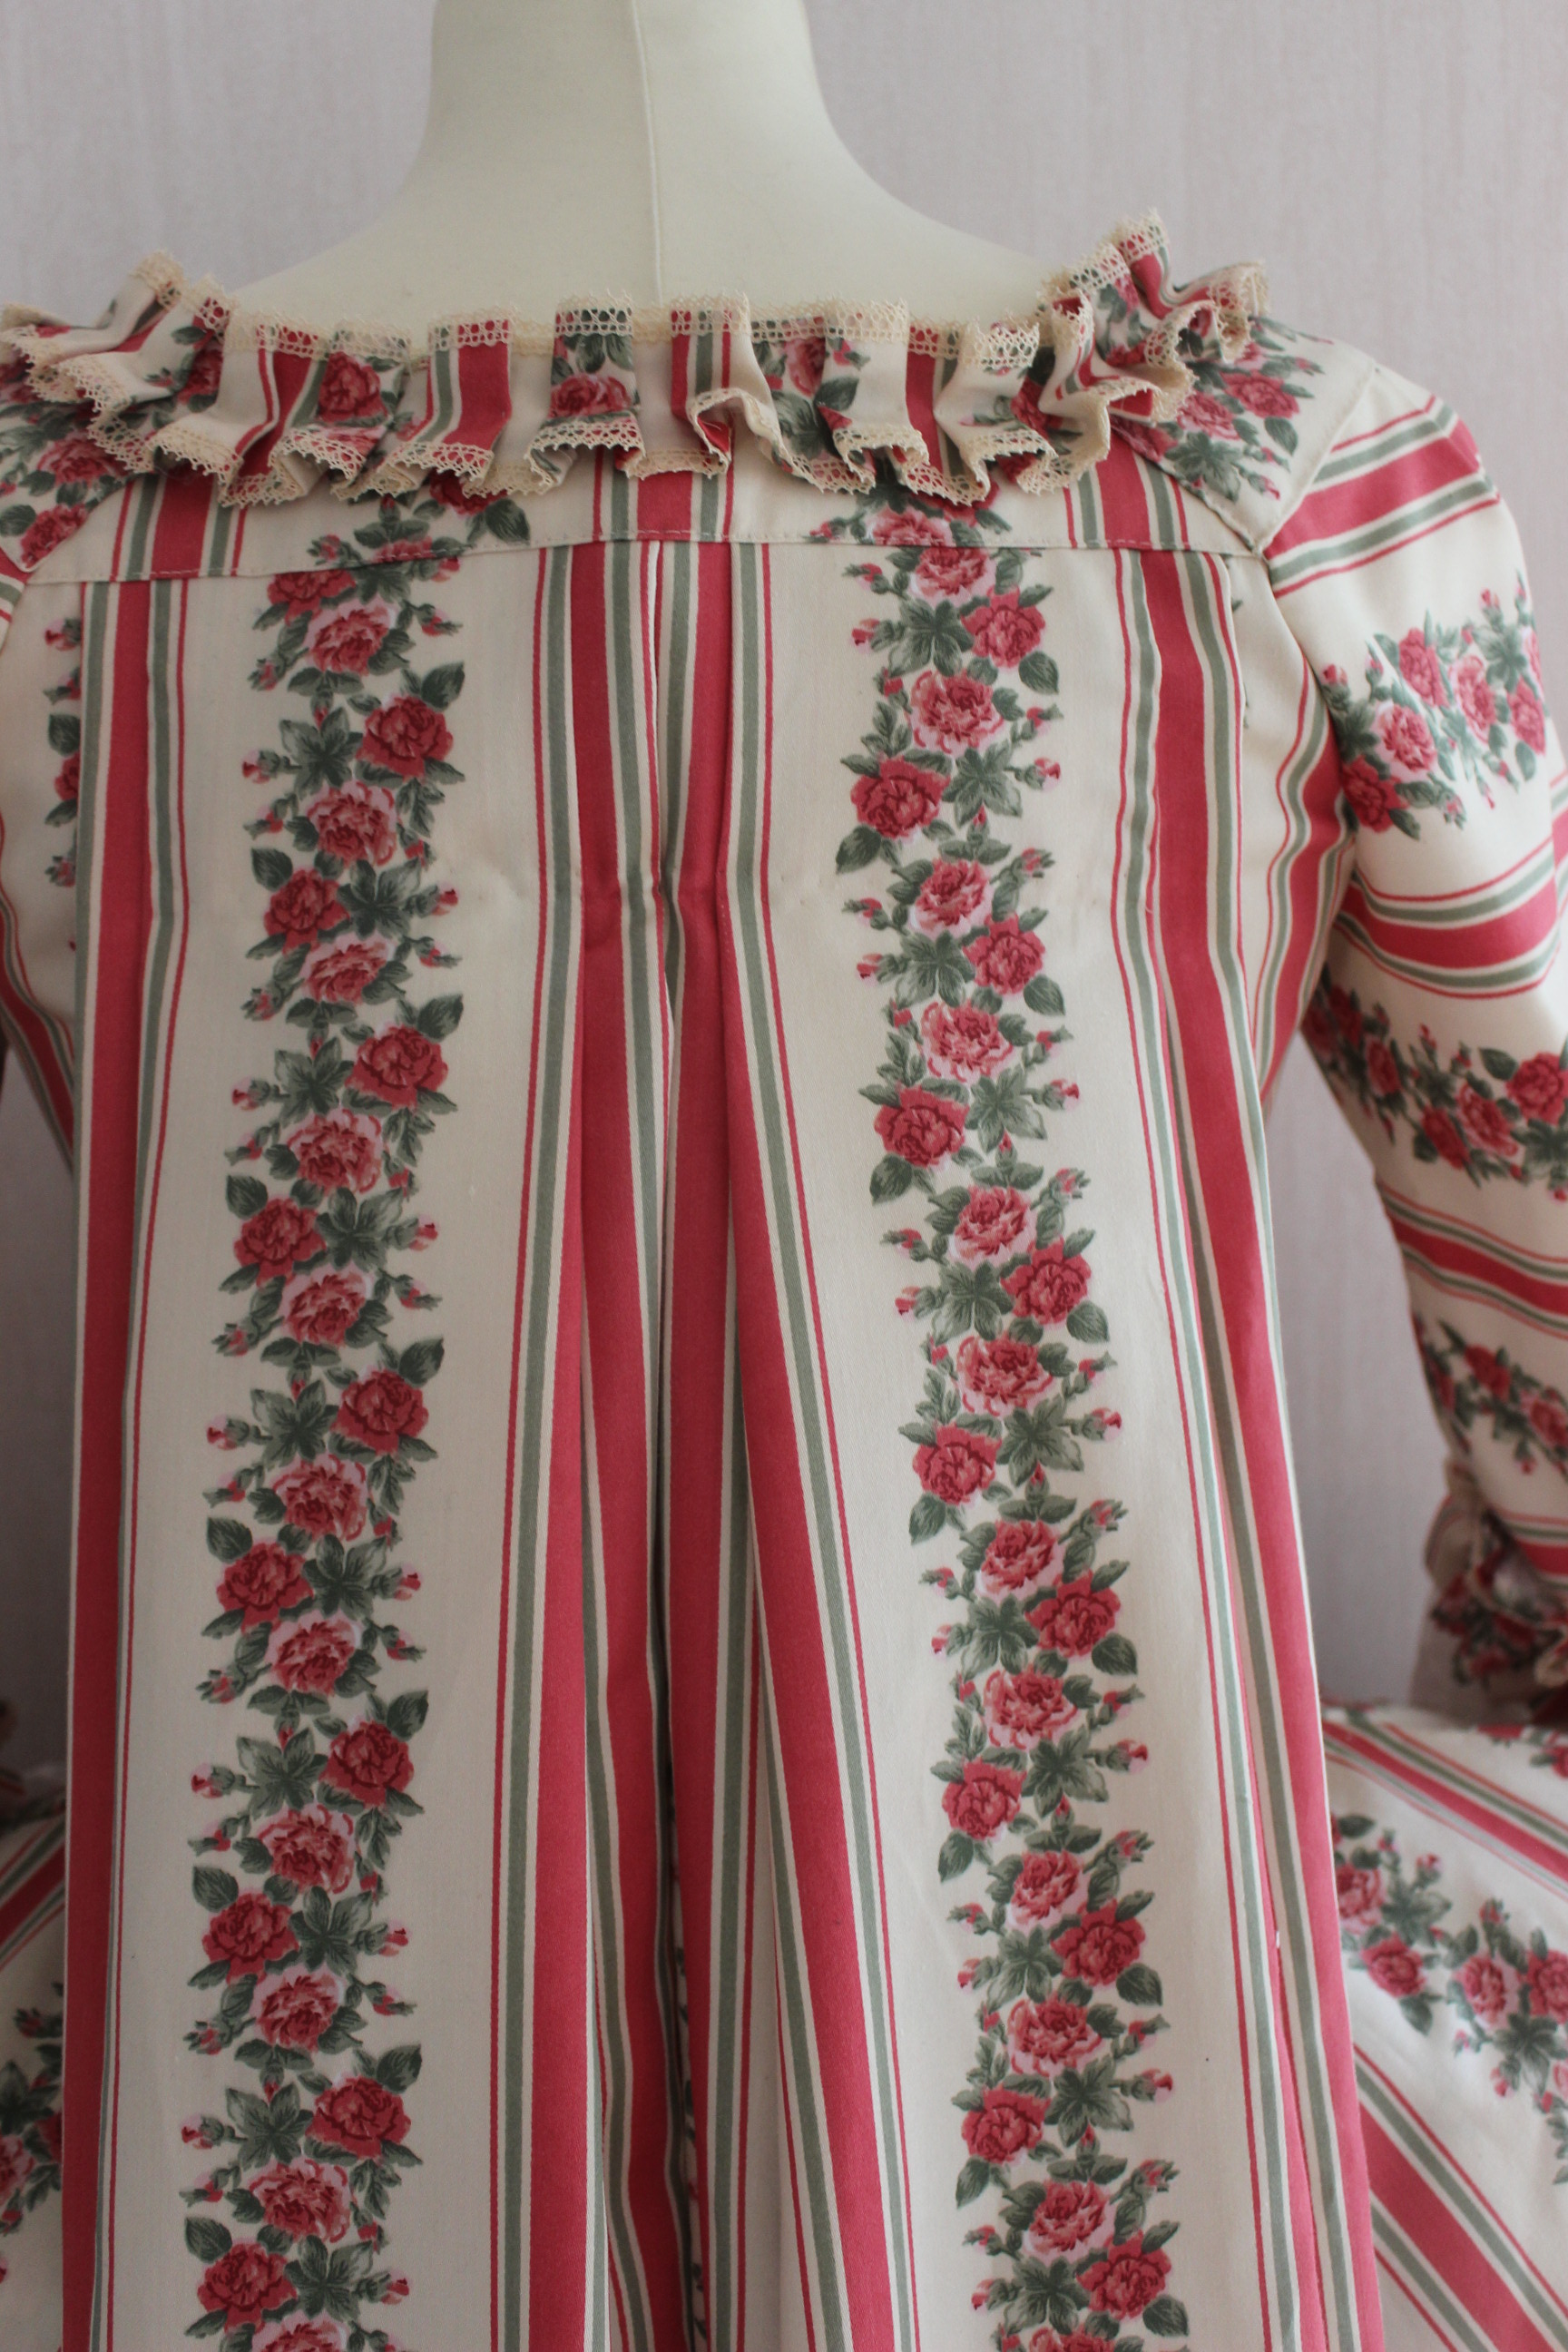
As mentioned this project took it’s sweet time to get finished, and it all started with this: A pink/flower/striped polyester satin found in the bargain bin at my local fabric store.
I immediately though it would be perfect for a Francaise, and bought the while bolt (8-9m)
Then it rested a while in my stash while I finished some other projects and gathered the courage to actually get on with it.
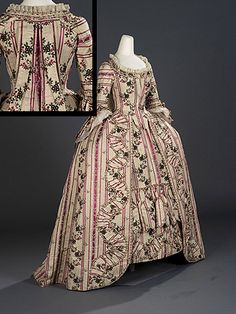
The intention was to make something like these
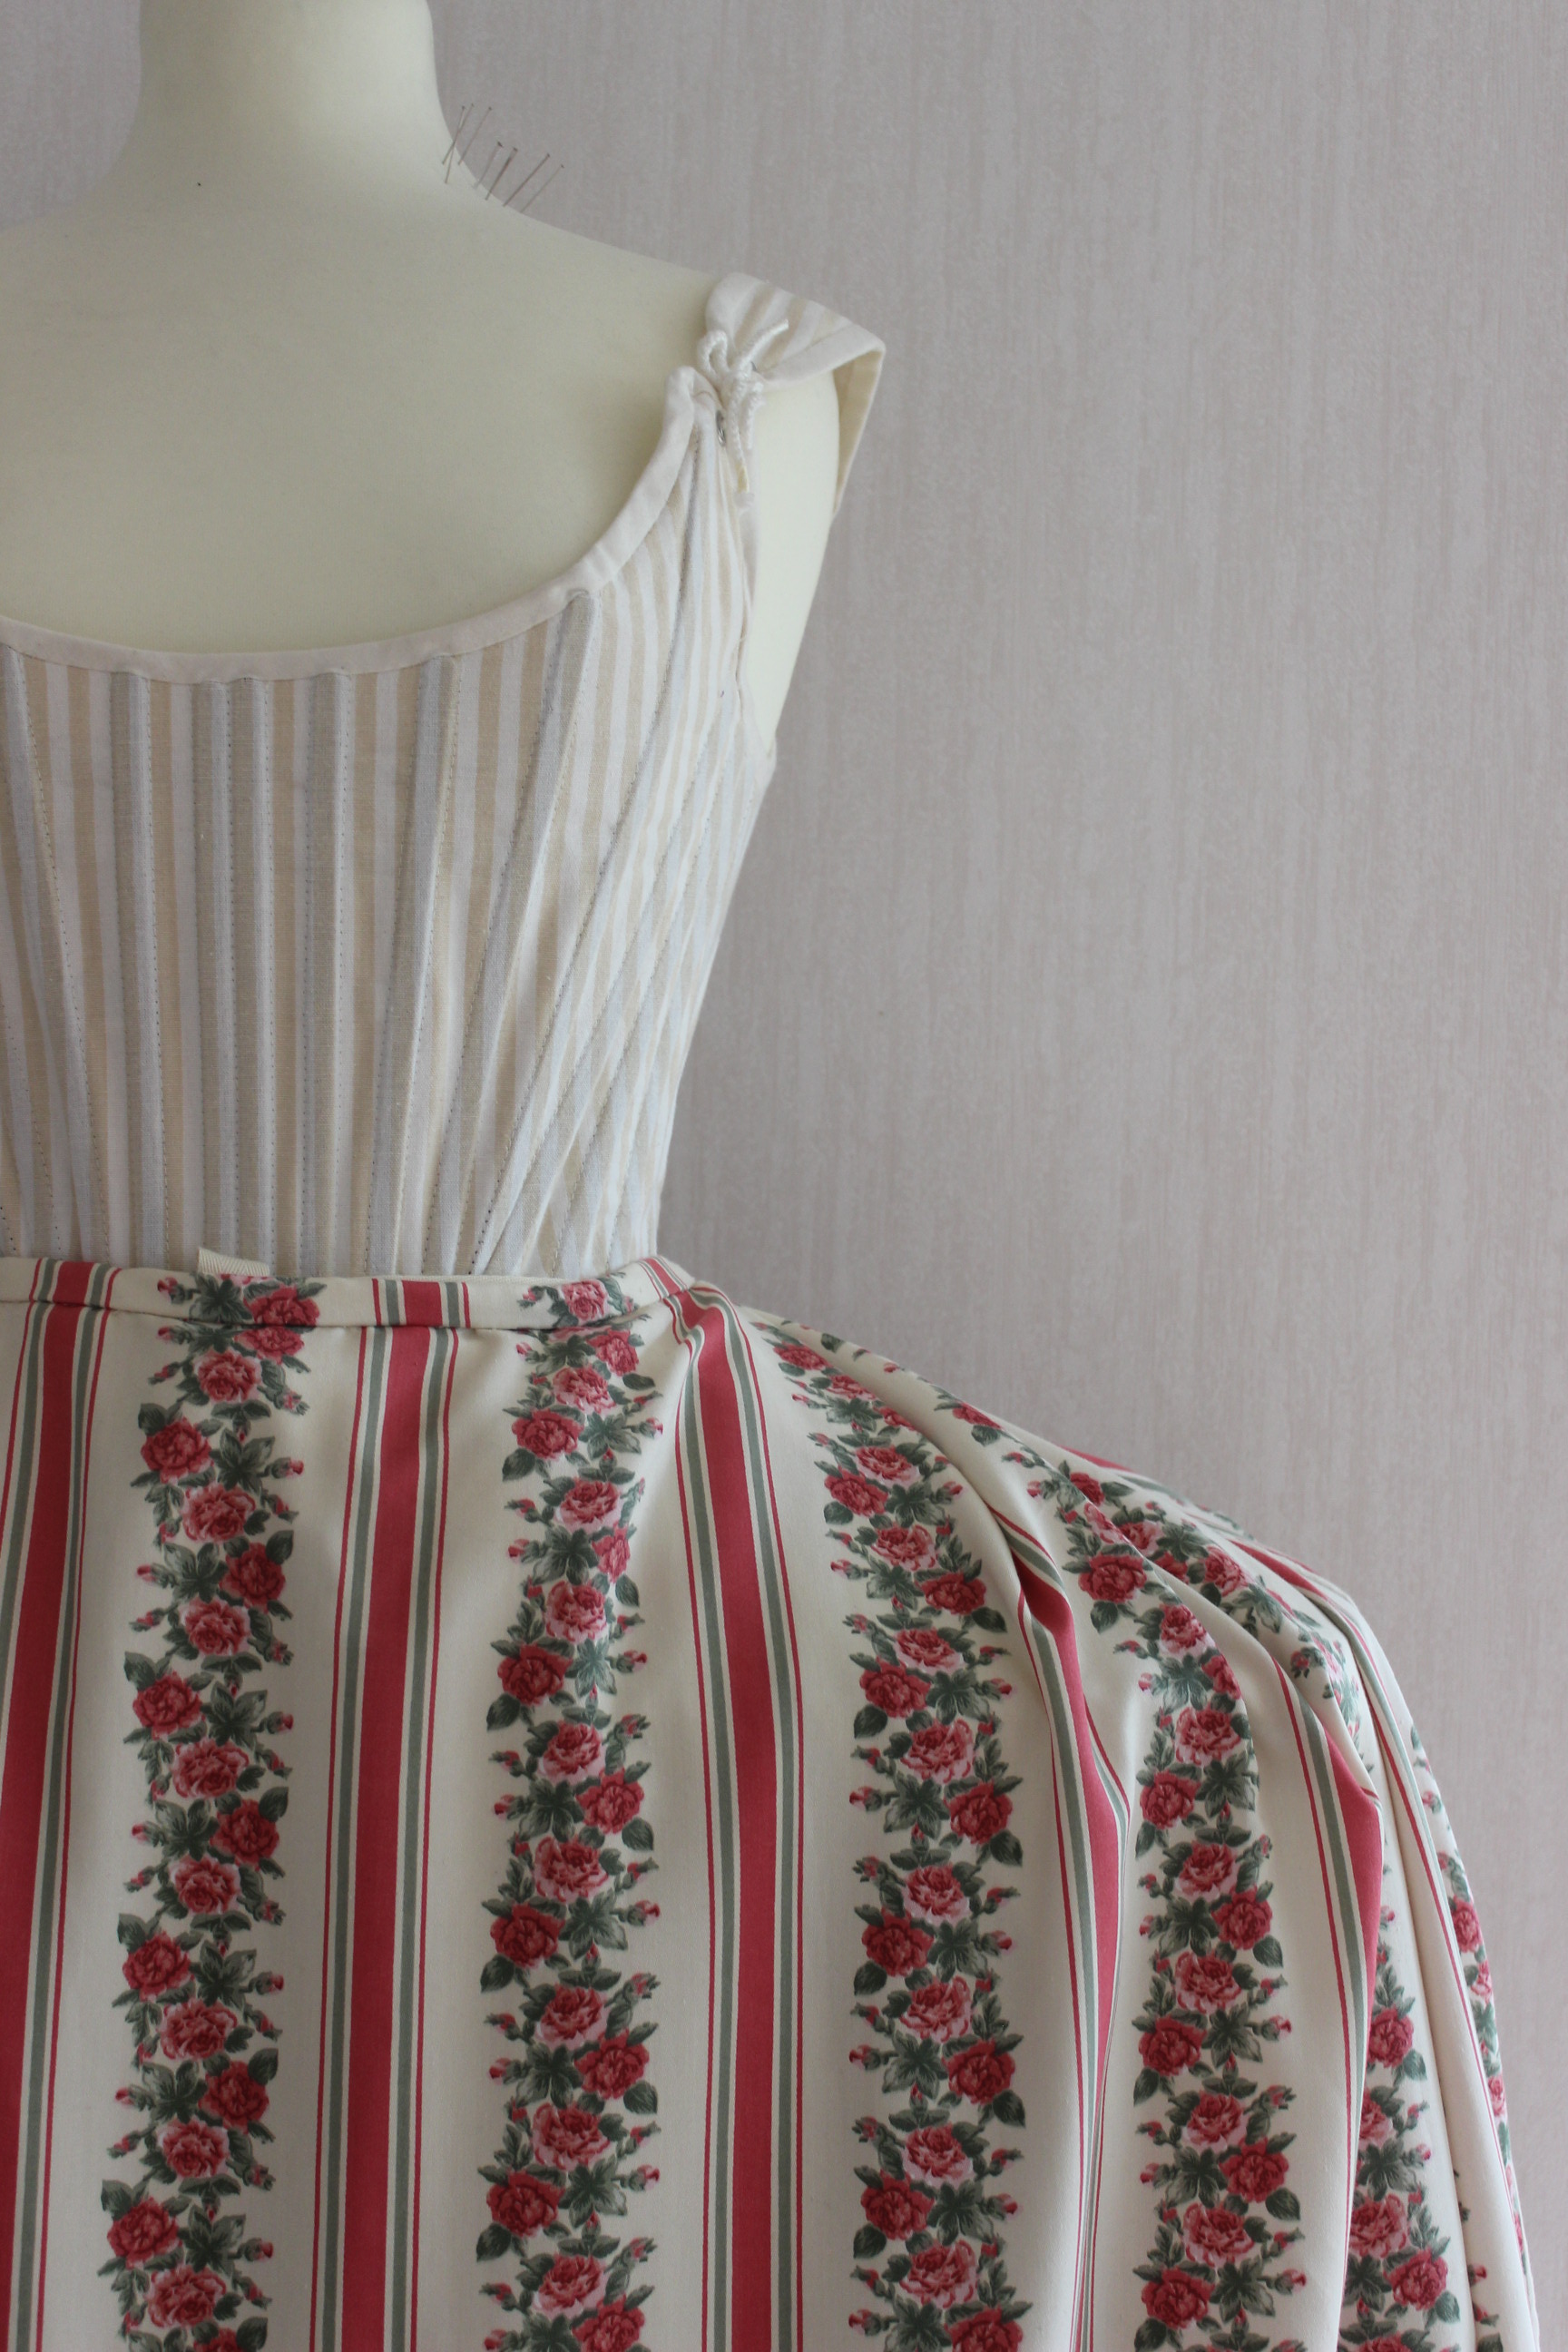
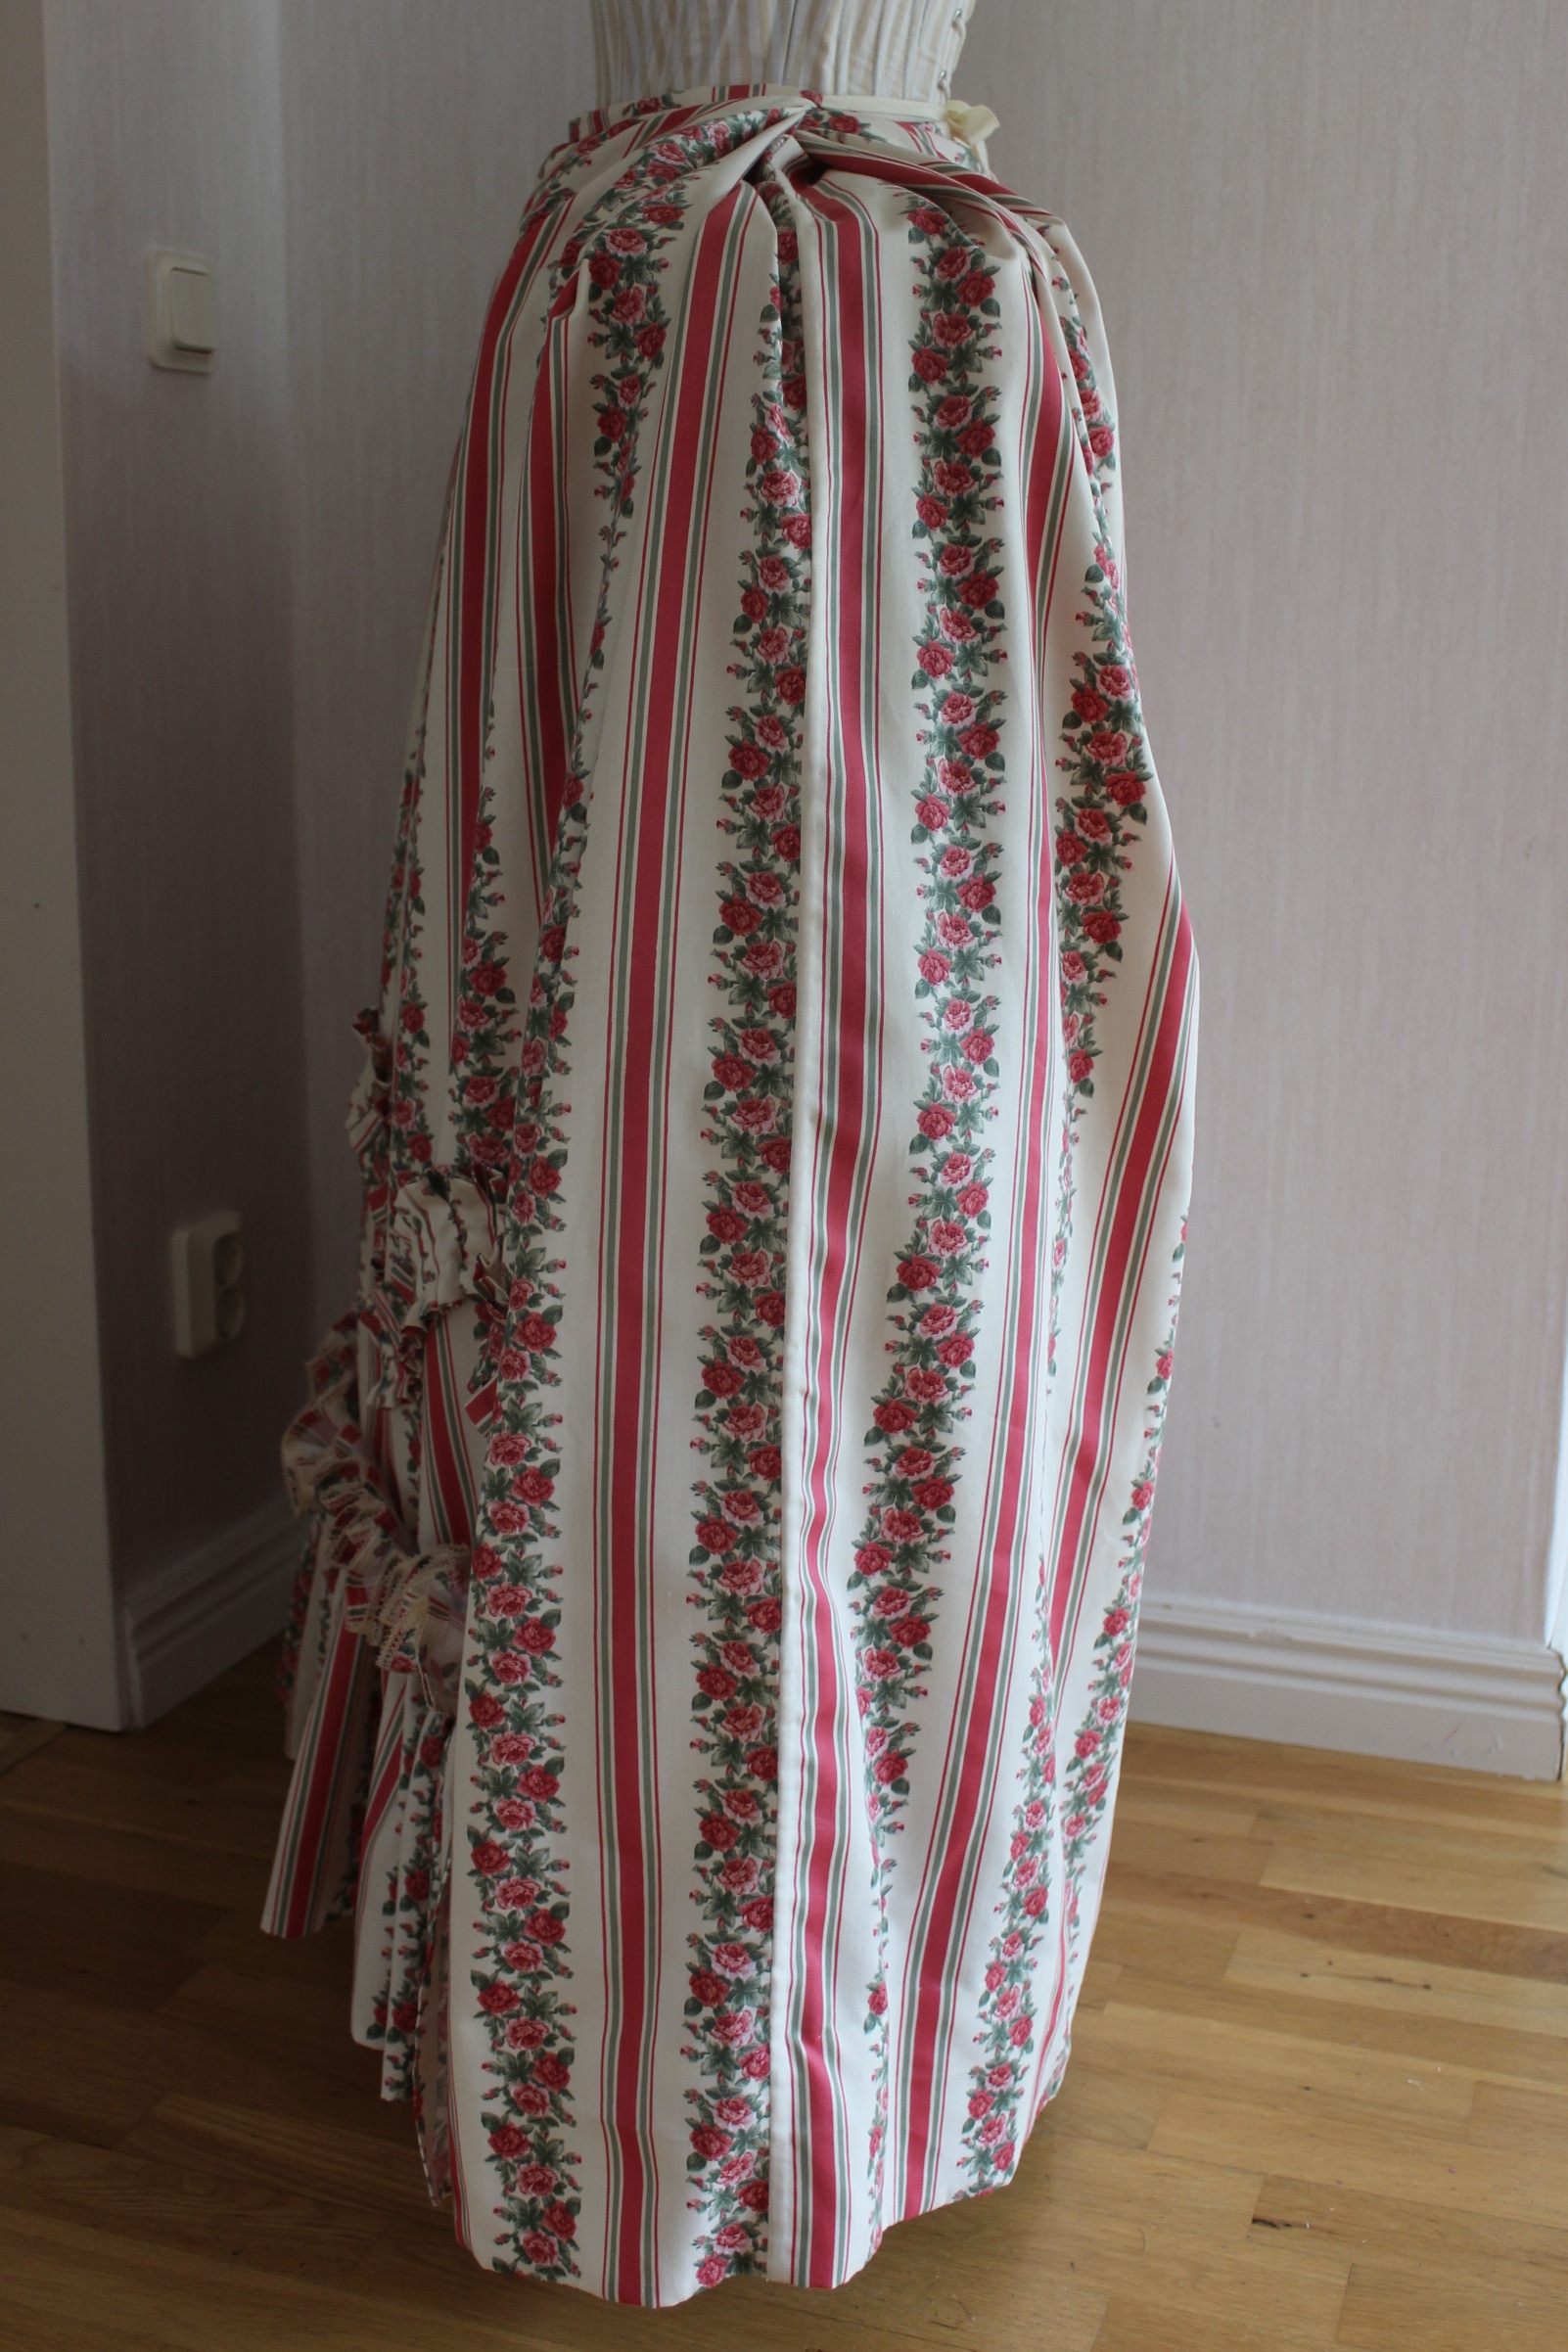
The project then started in 2014 when I made my 18th century long stays, and then cut into the fabric to make the skirt/petticoat for the dress.The first version of this petticoat paired with my (then) newly made stays.
In jan 2015 I continued the project by making my “Panniers of pain” (and getting started on the actual robe)
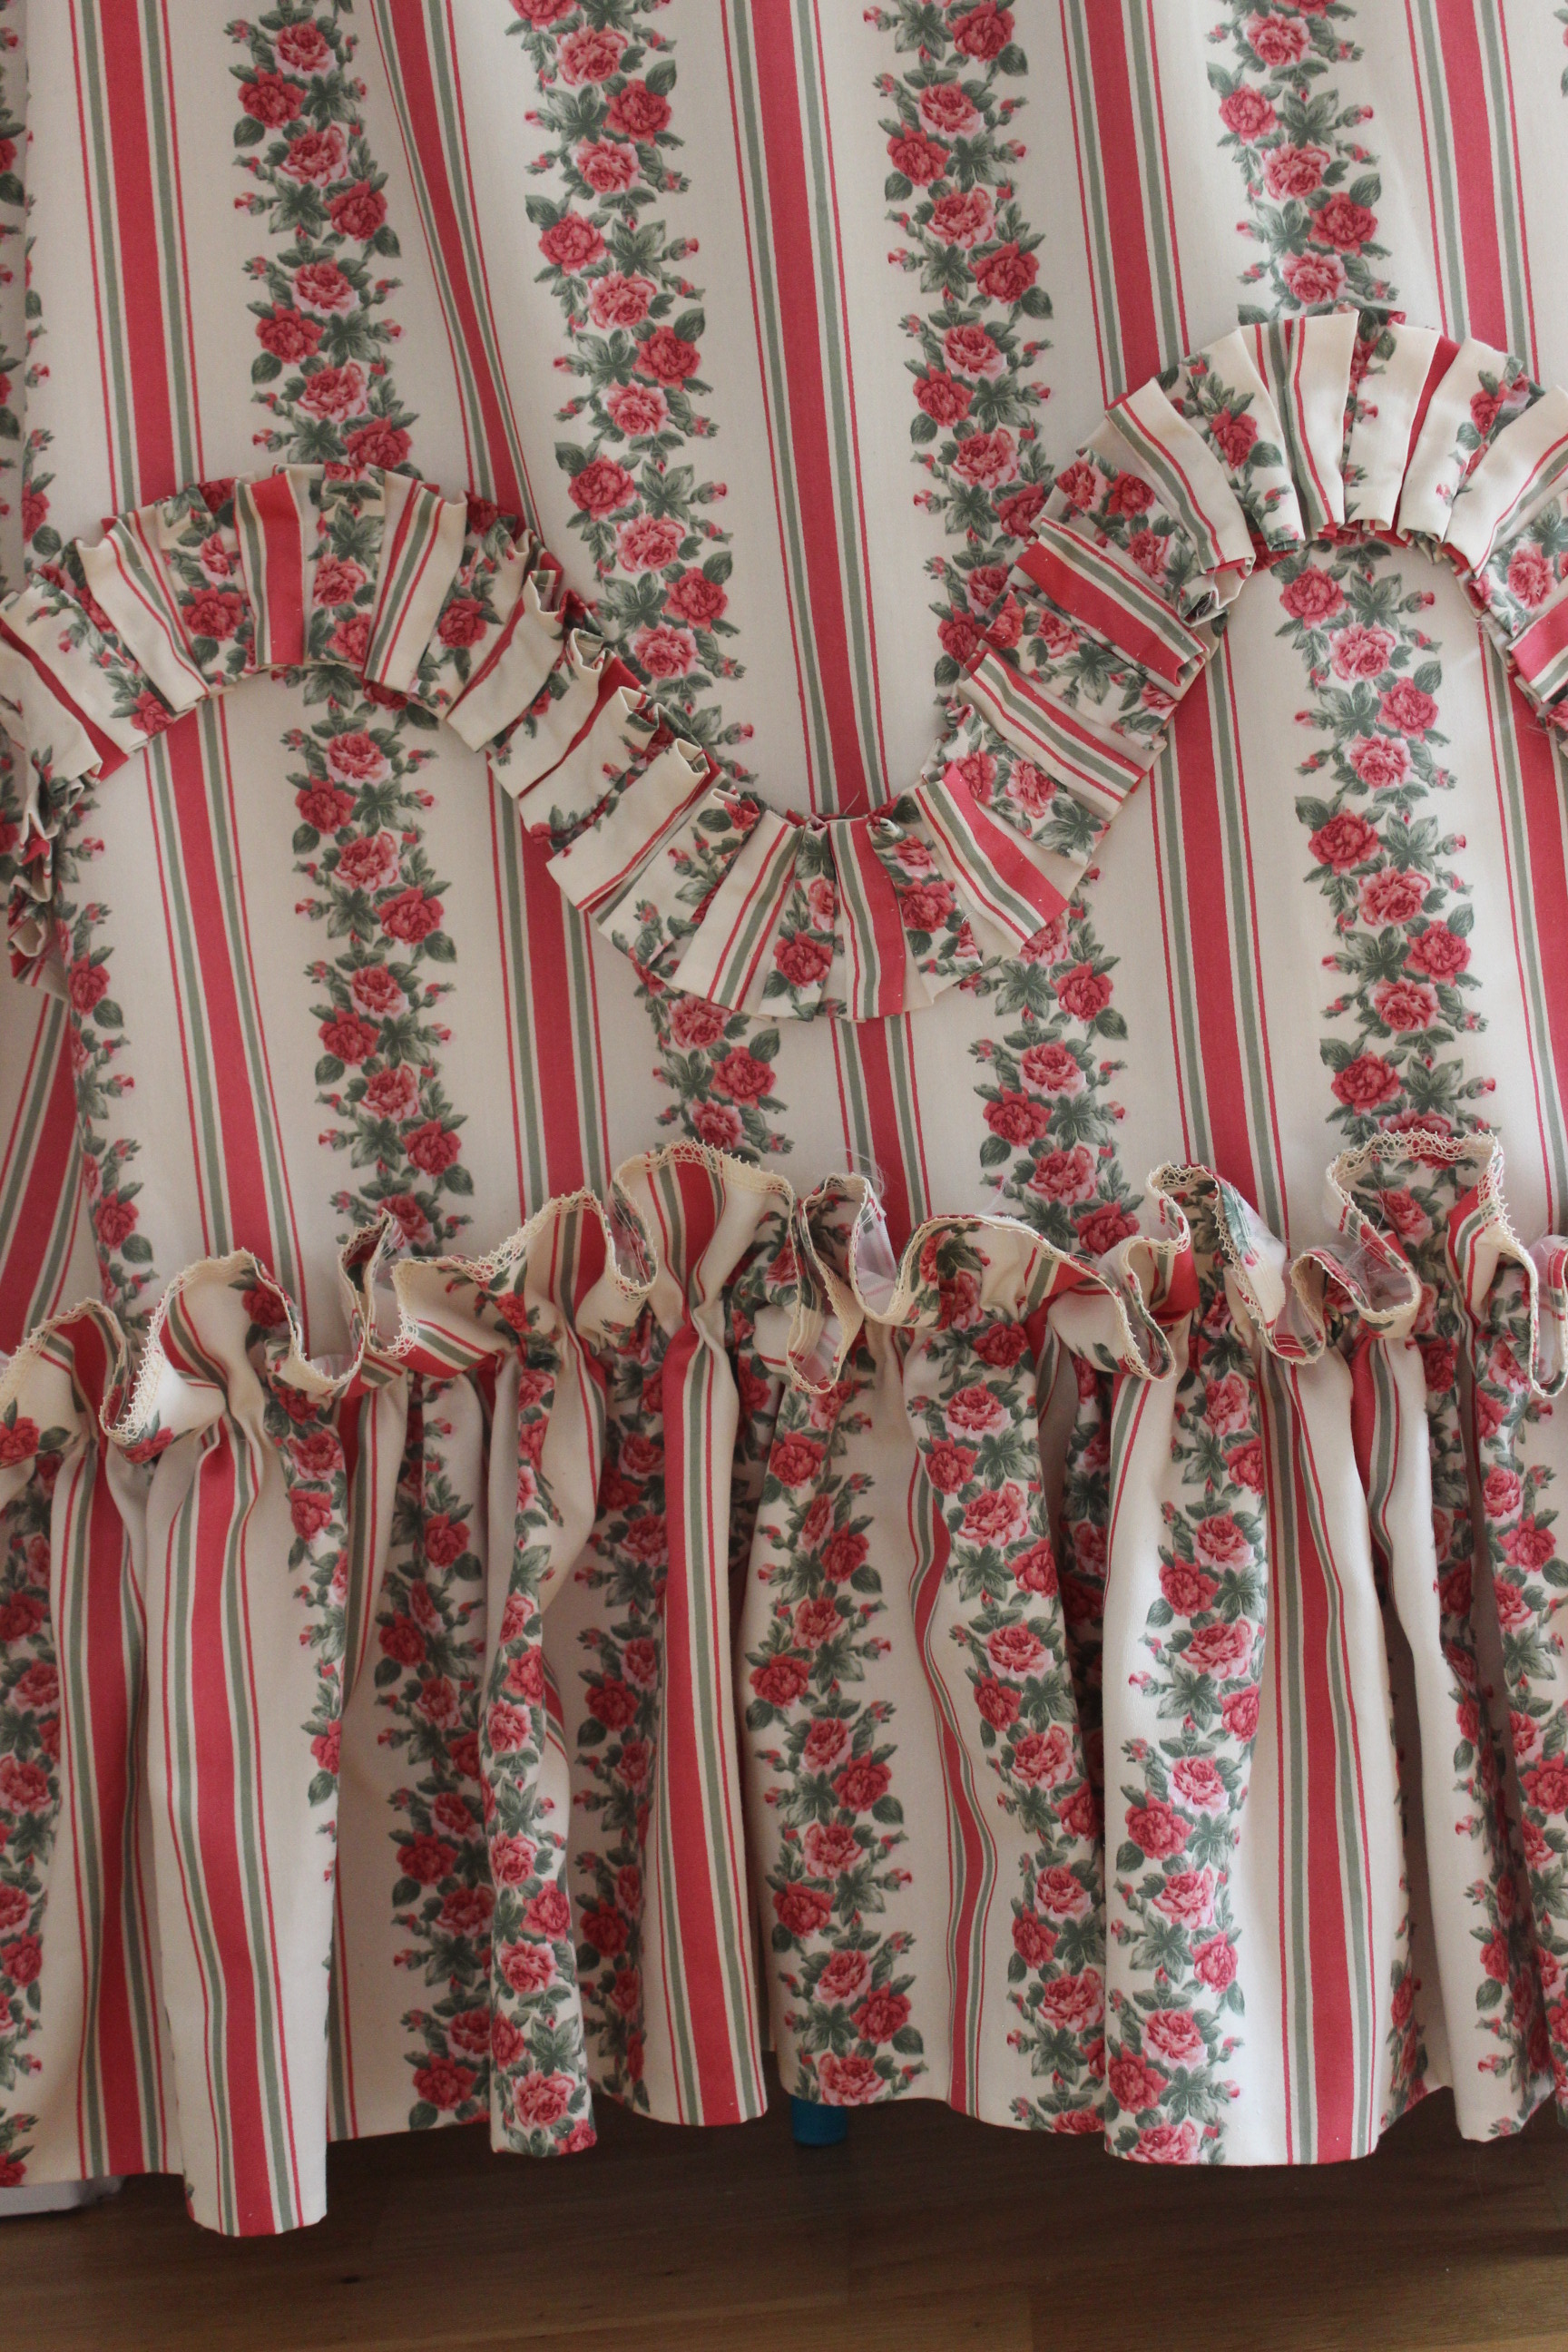
Along the way the petticoat have evolved a bit and here is the final result after some additional tweaking of the hip-pleats, hem and adding of some decoration.
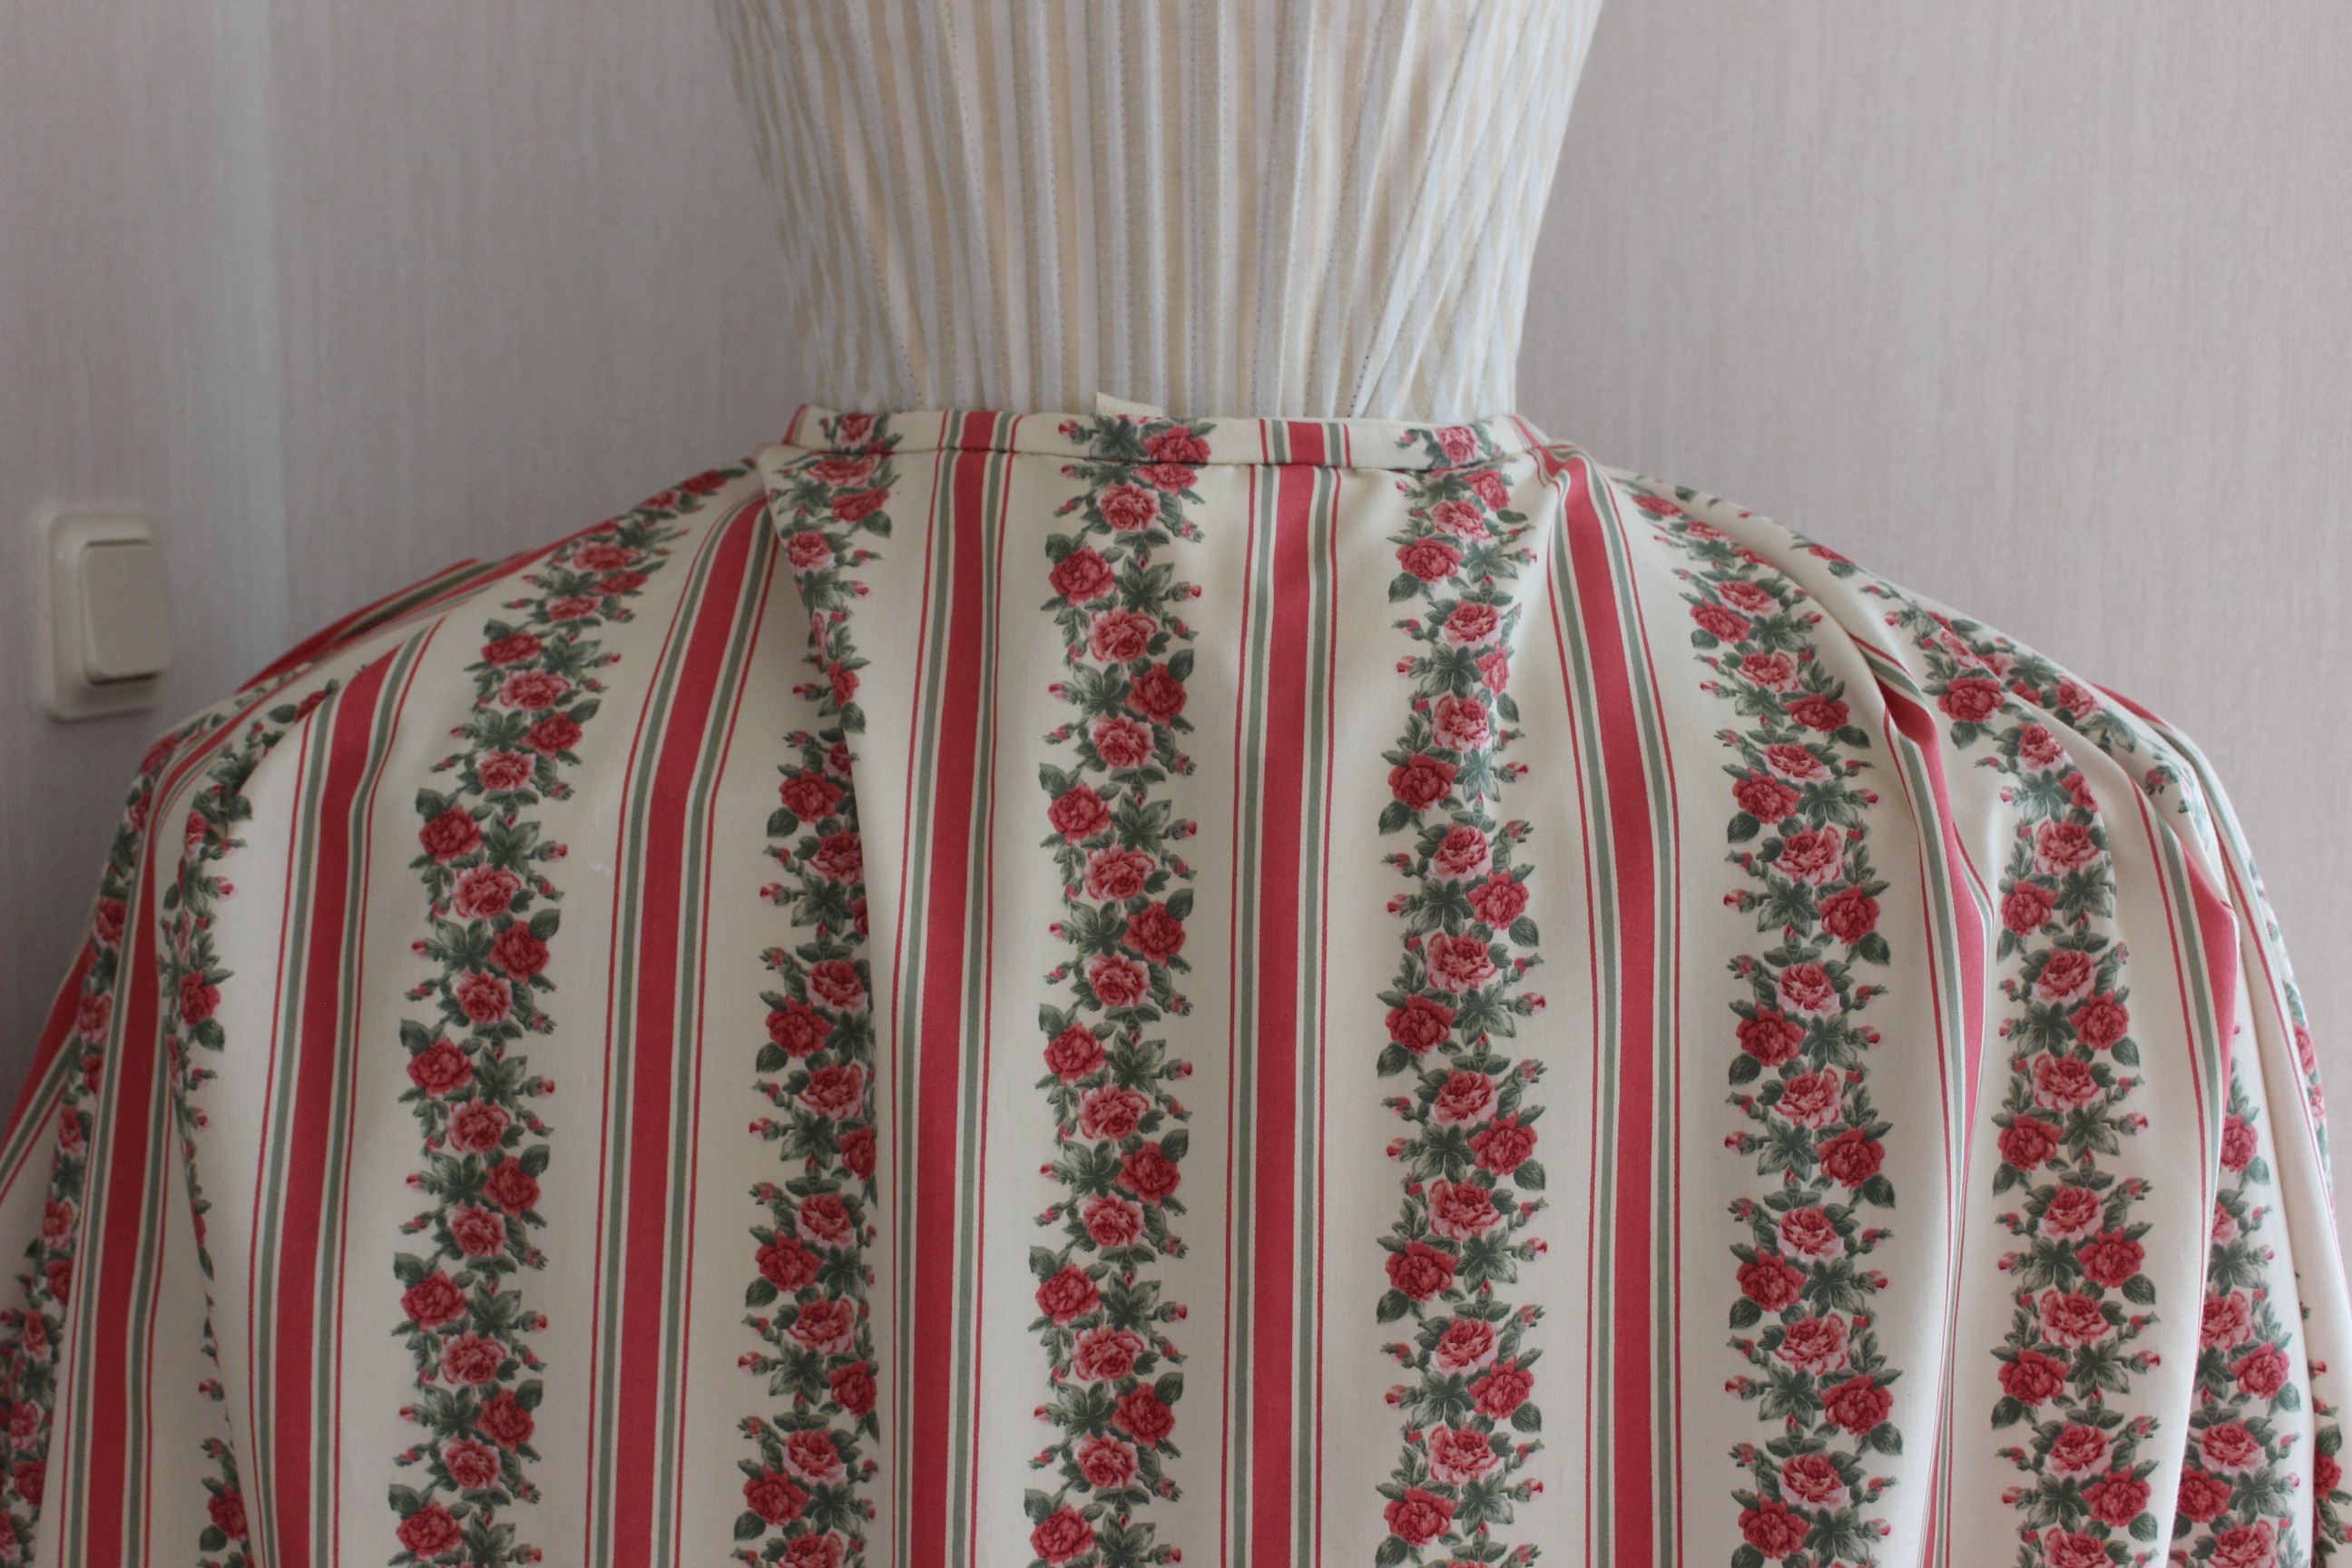
In January 2015 I started on the robe by drafting the pattern, making the mock-up and cutting the fabric.
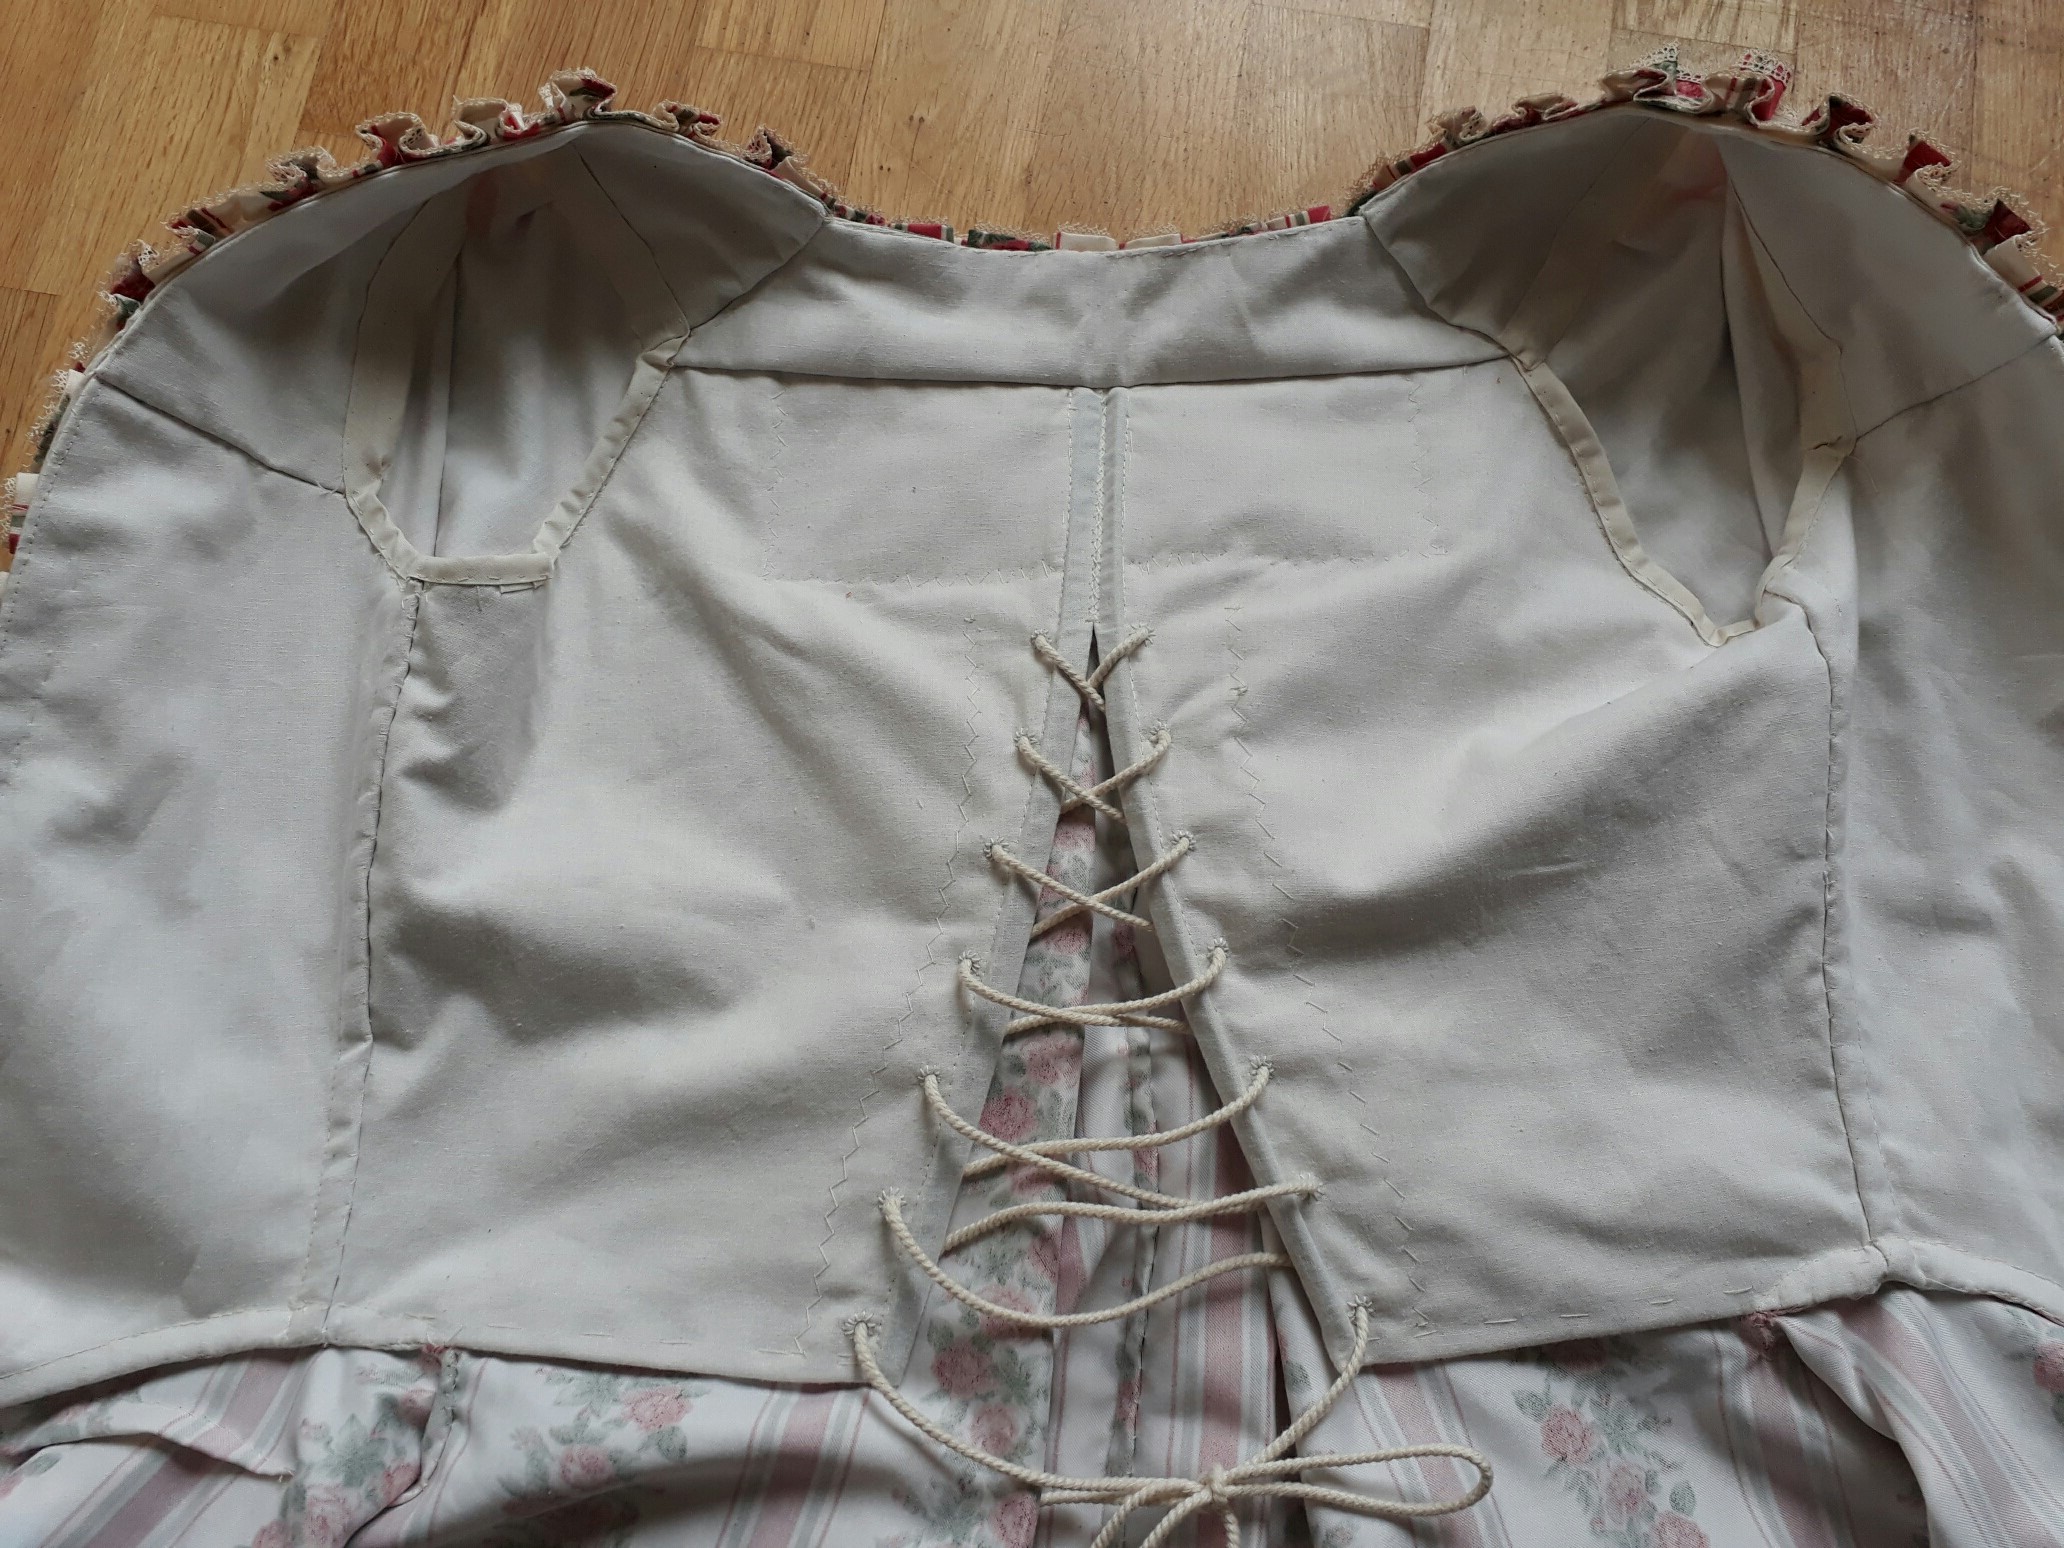
I spent so manny hours hand-stitching the pieces, draping the pleats, adding the lining, and making the lacing holes, that I eventually tried of the whole thing.
(the curse of the creative – always got to move on to new exiting things).
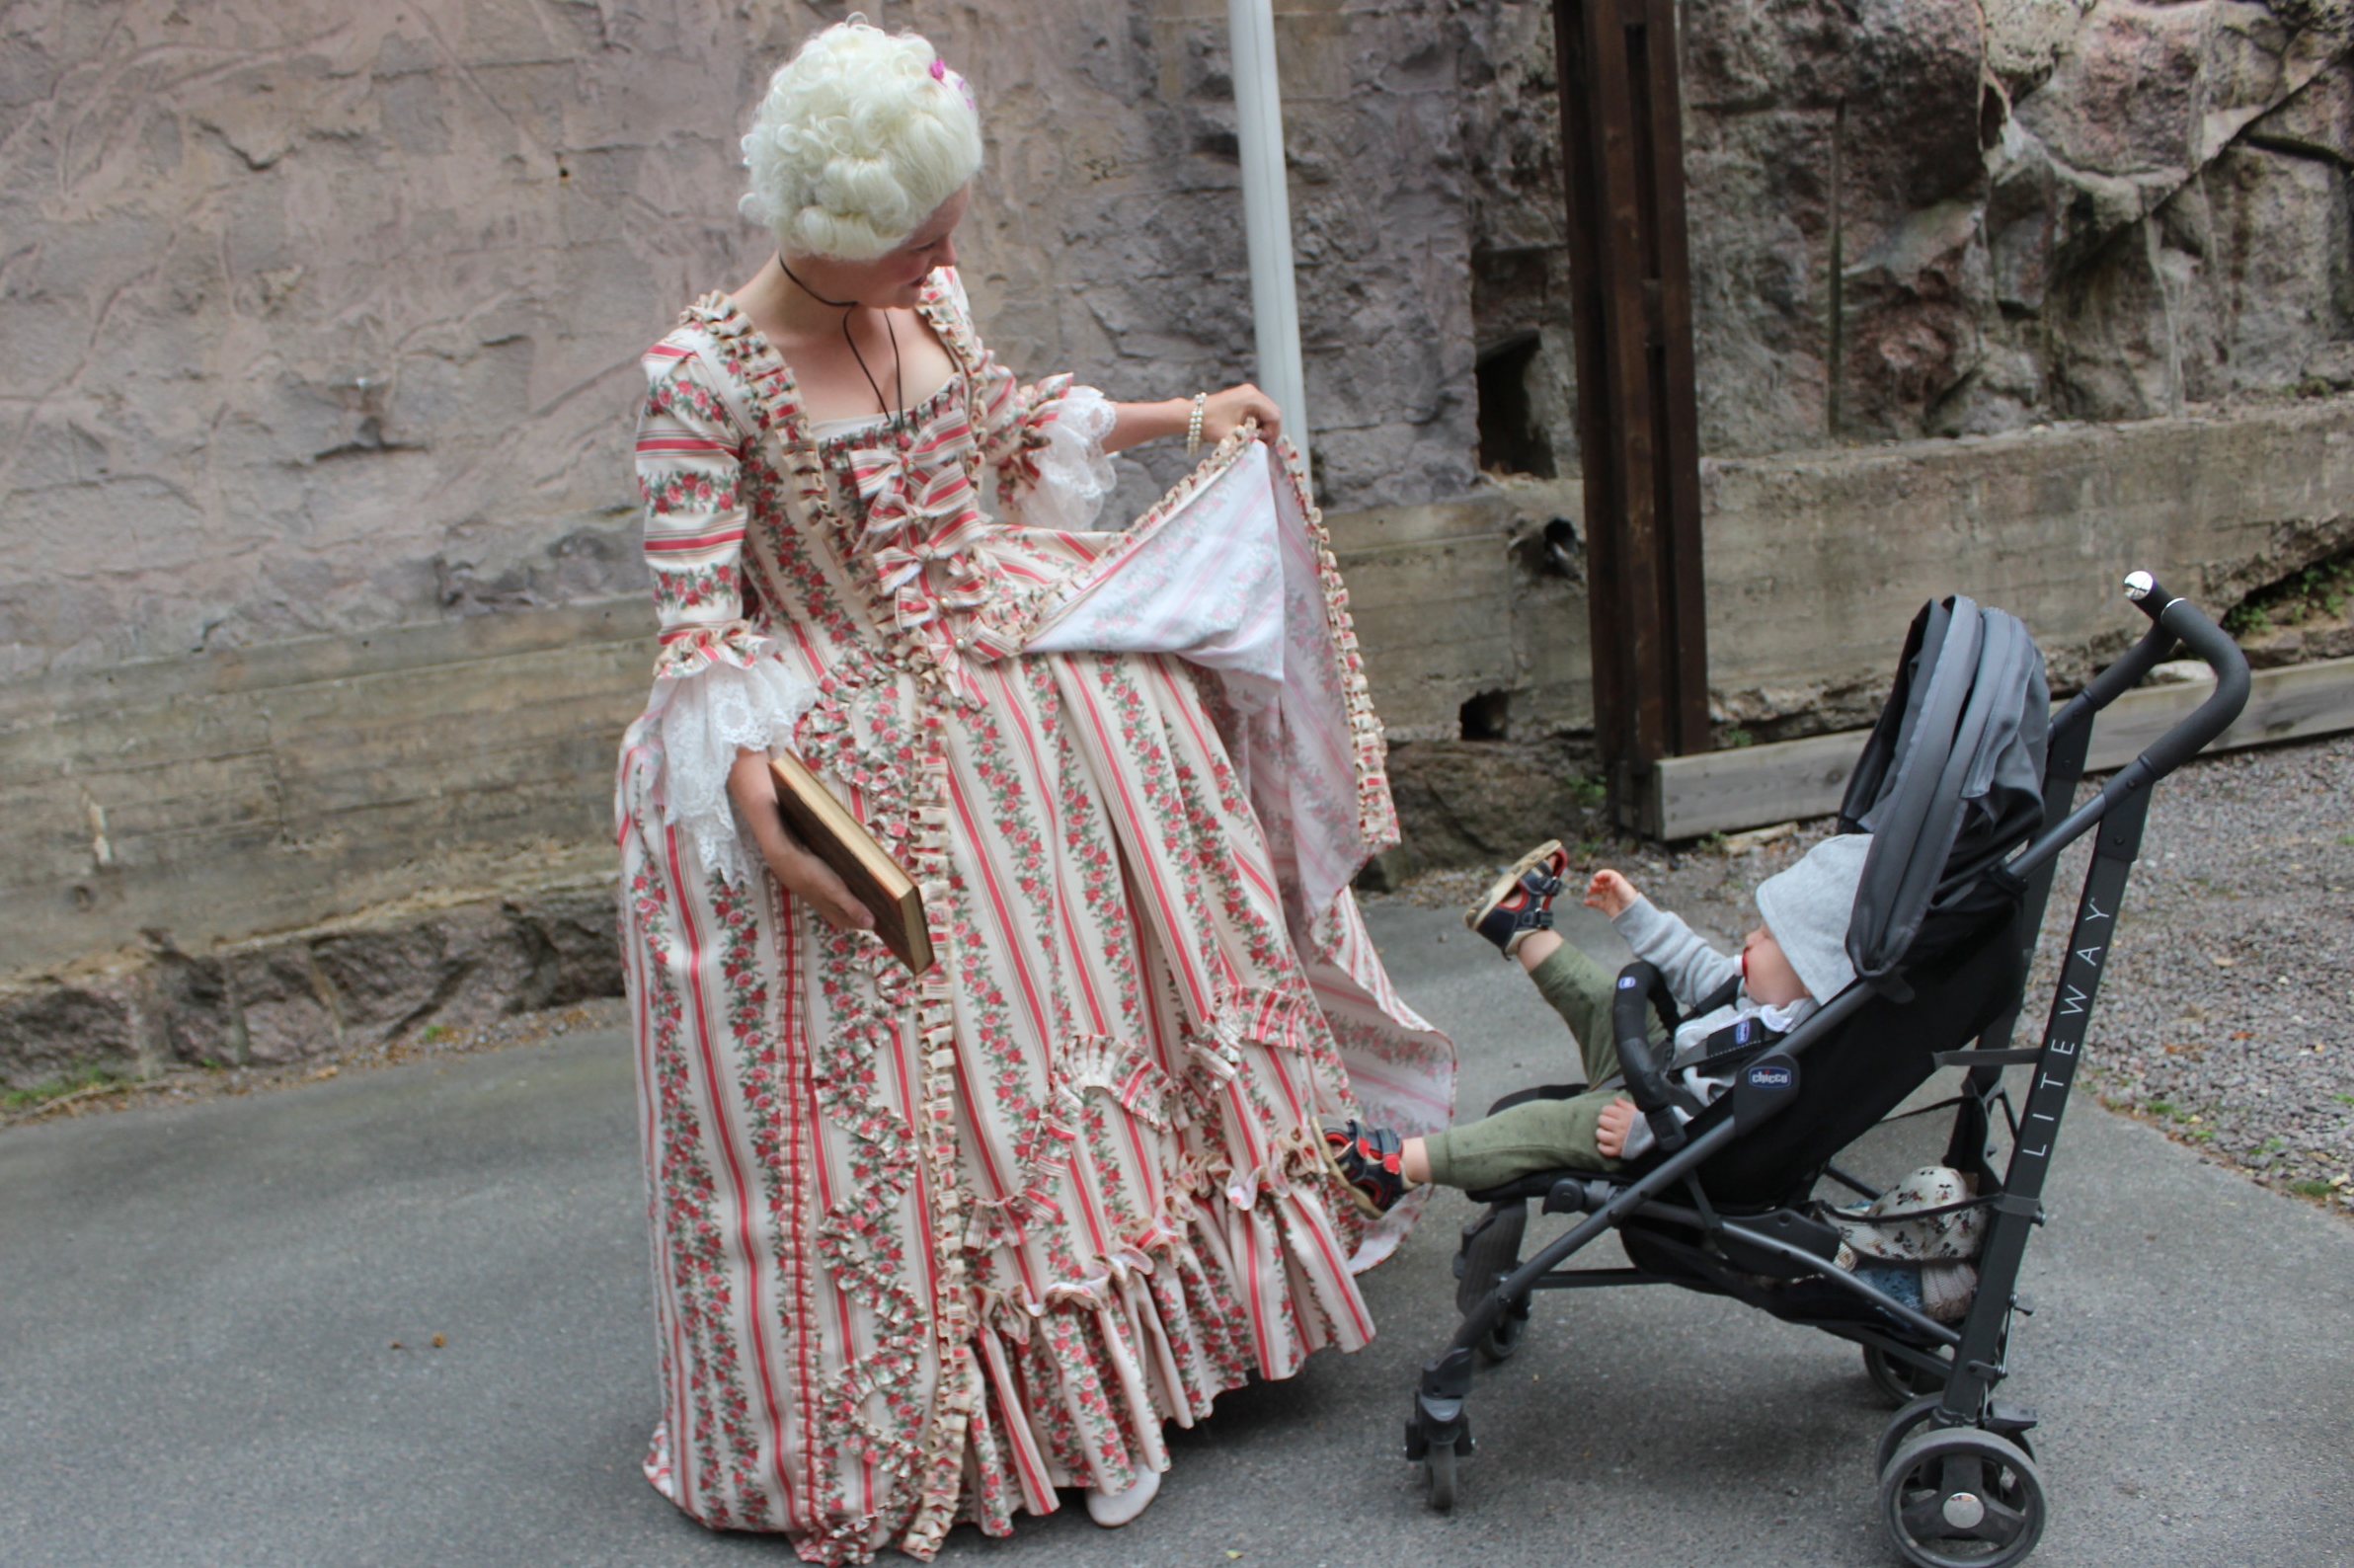
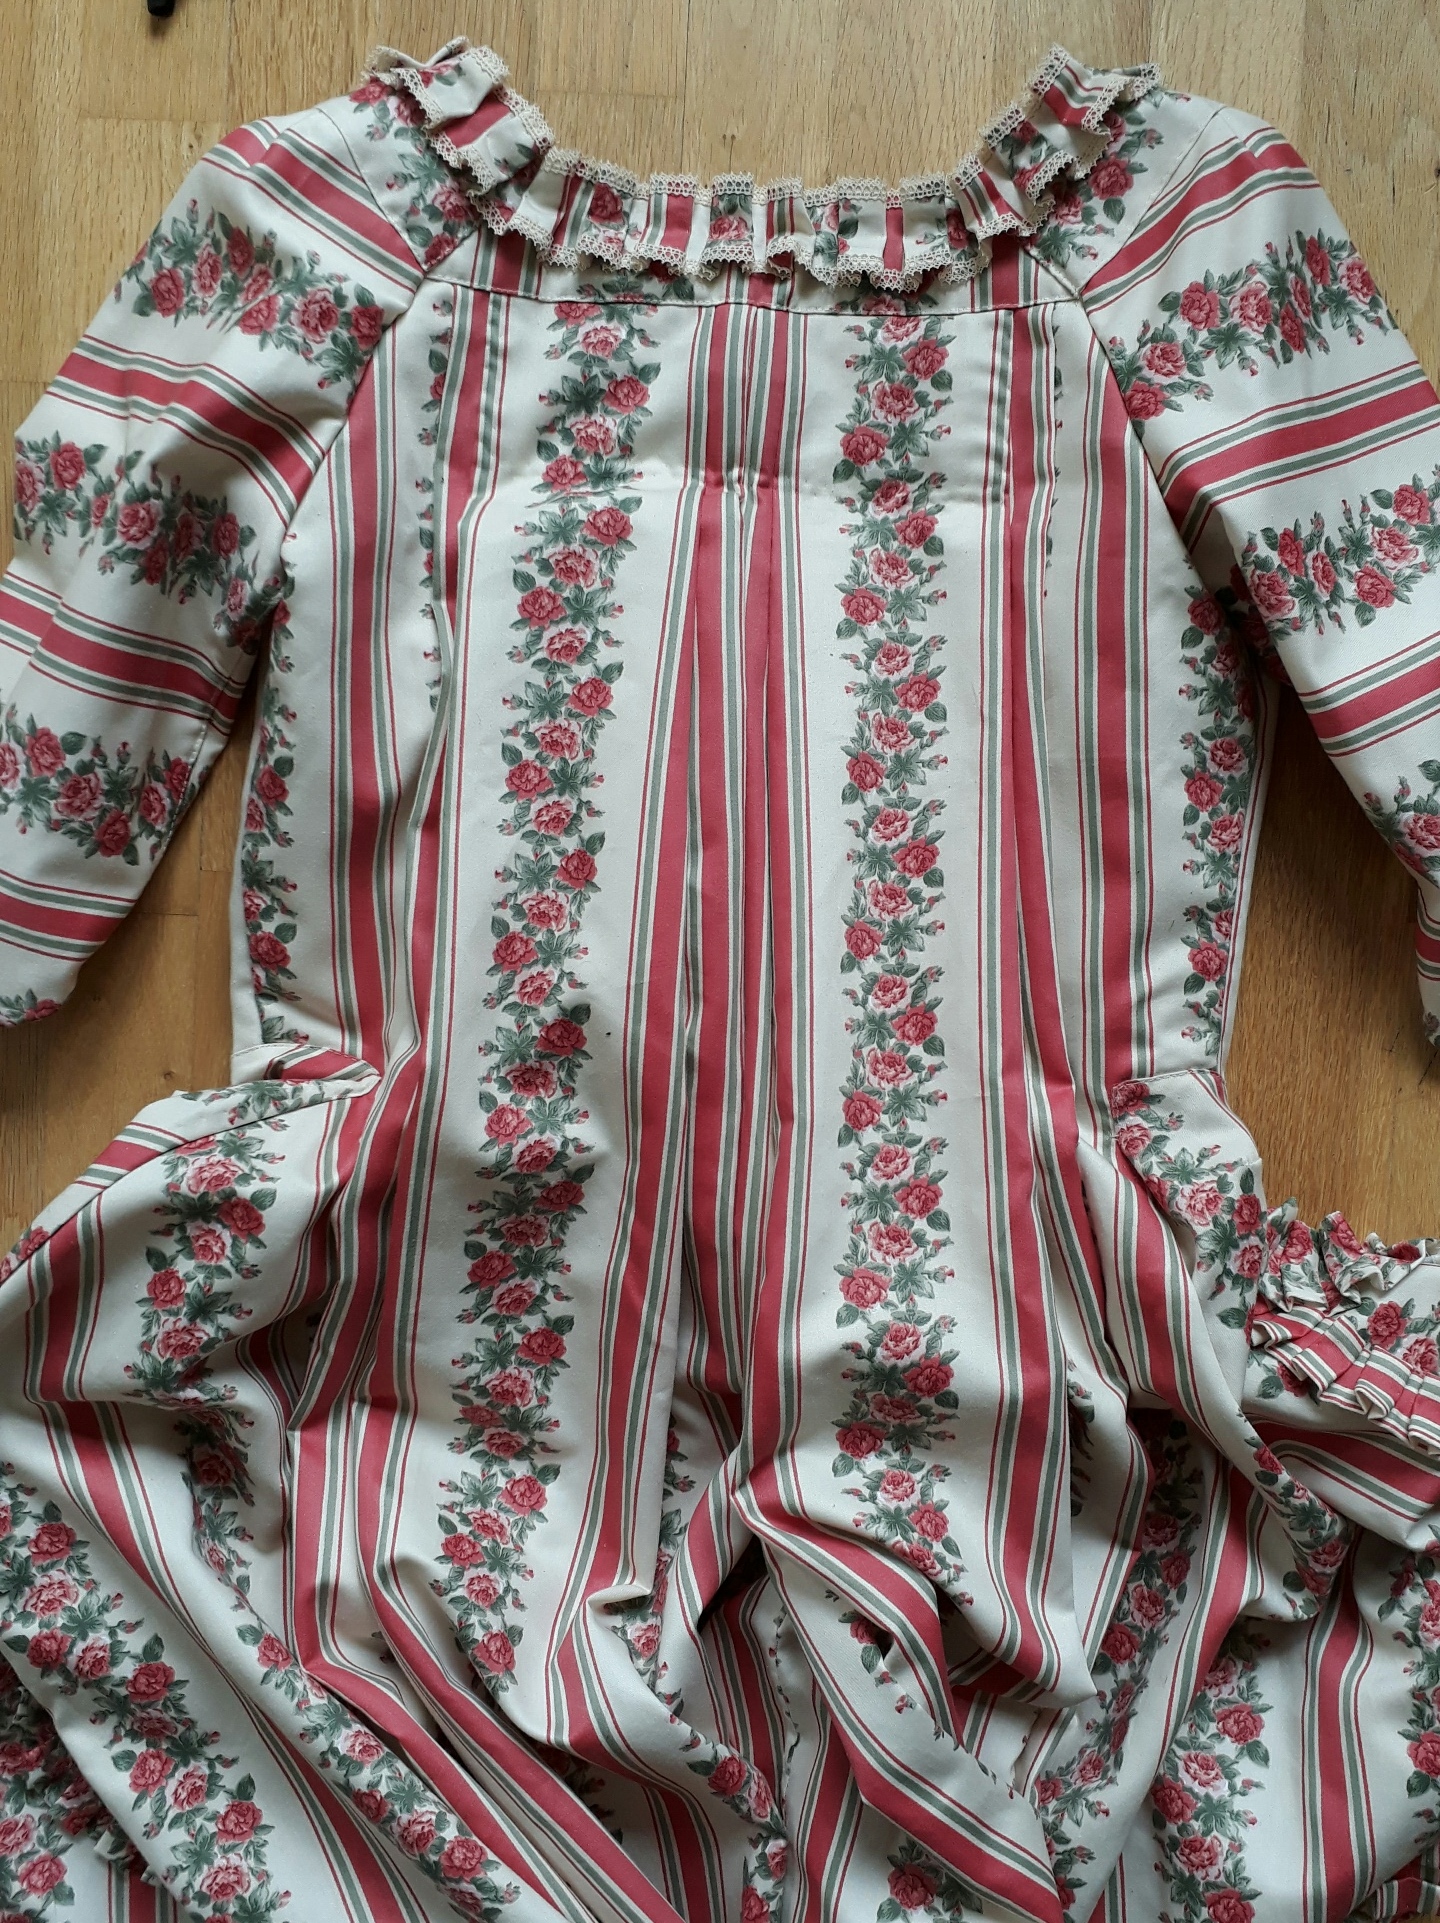
Then, in Jan 2017 I picked them up again, and continued by adding the sleeves, and making (and adding) all the trimmings. The firs try on after 2 years (and 1 baby) – and it fits like a glove :-D.
But then I got stuck on how to best solve the tapering of the sleeve flounce, and since I no longer felt the excitement over neither the fabric nor the gown itself the project once more went back in the closet.
Unfortunately all y pictures from the construction (from 3 years past) got lost in a computer crash in mars, (It wasn’t even the damn computer that crashed – but the extern memory/safety backup where I kept all the old pictures:-( – how is that even possible) and all I got left are these who happened to be on my phone.
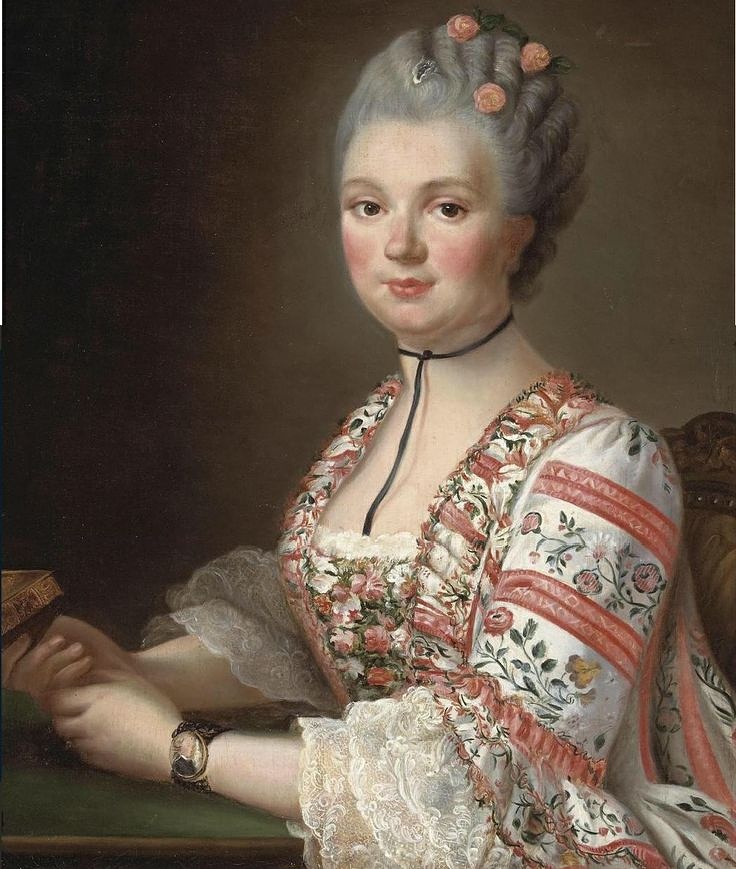
In June, however, my interest returned when I found this picture: “Portrait of a lady” (thought to be Madame de Pompadour) by François-Hubert Drouais
Whoa!
So close!
And once more the excitement came rushing back.
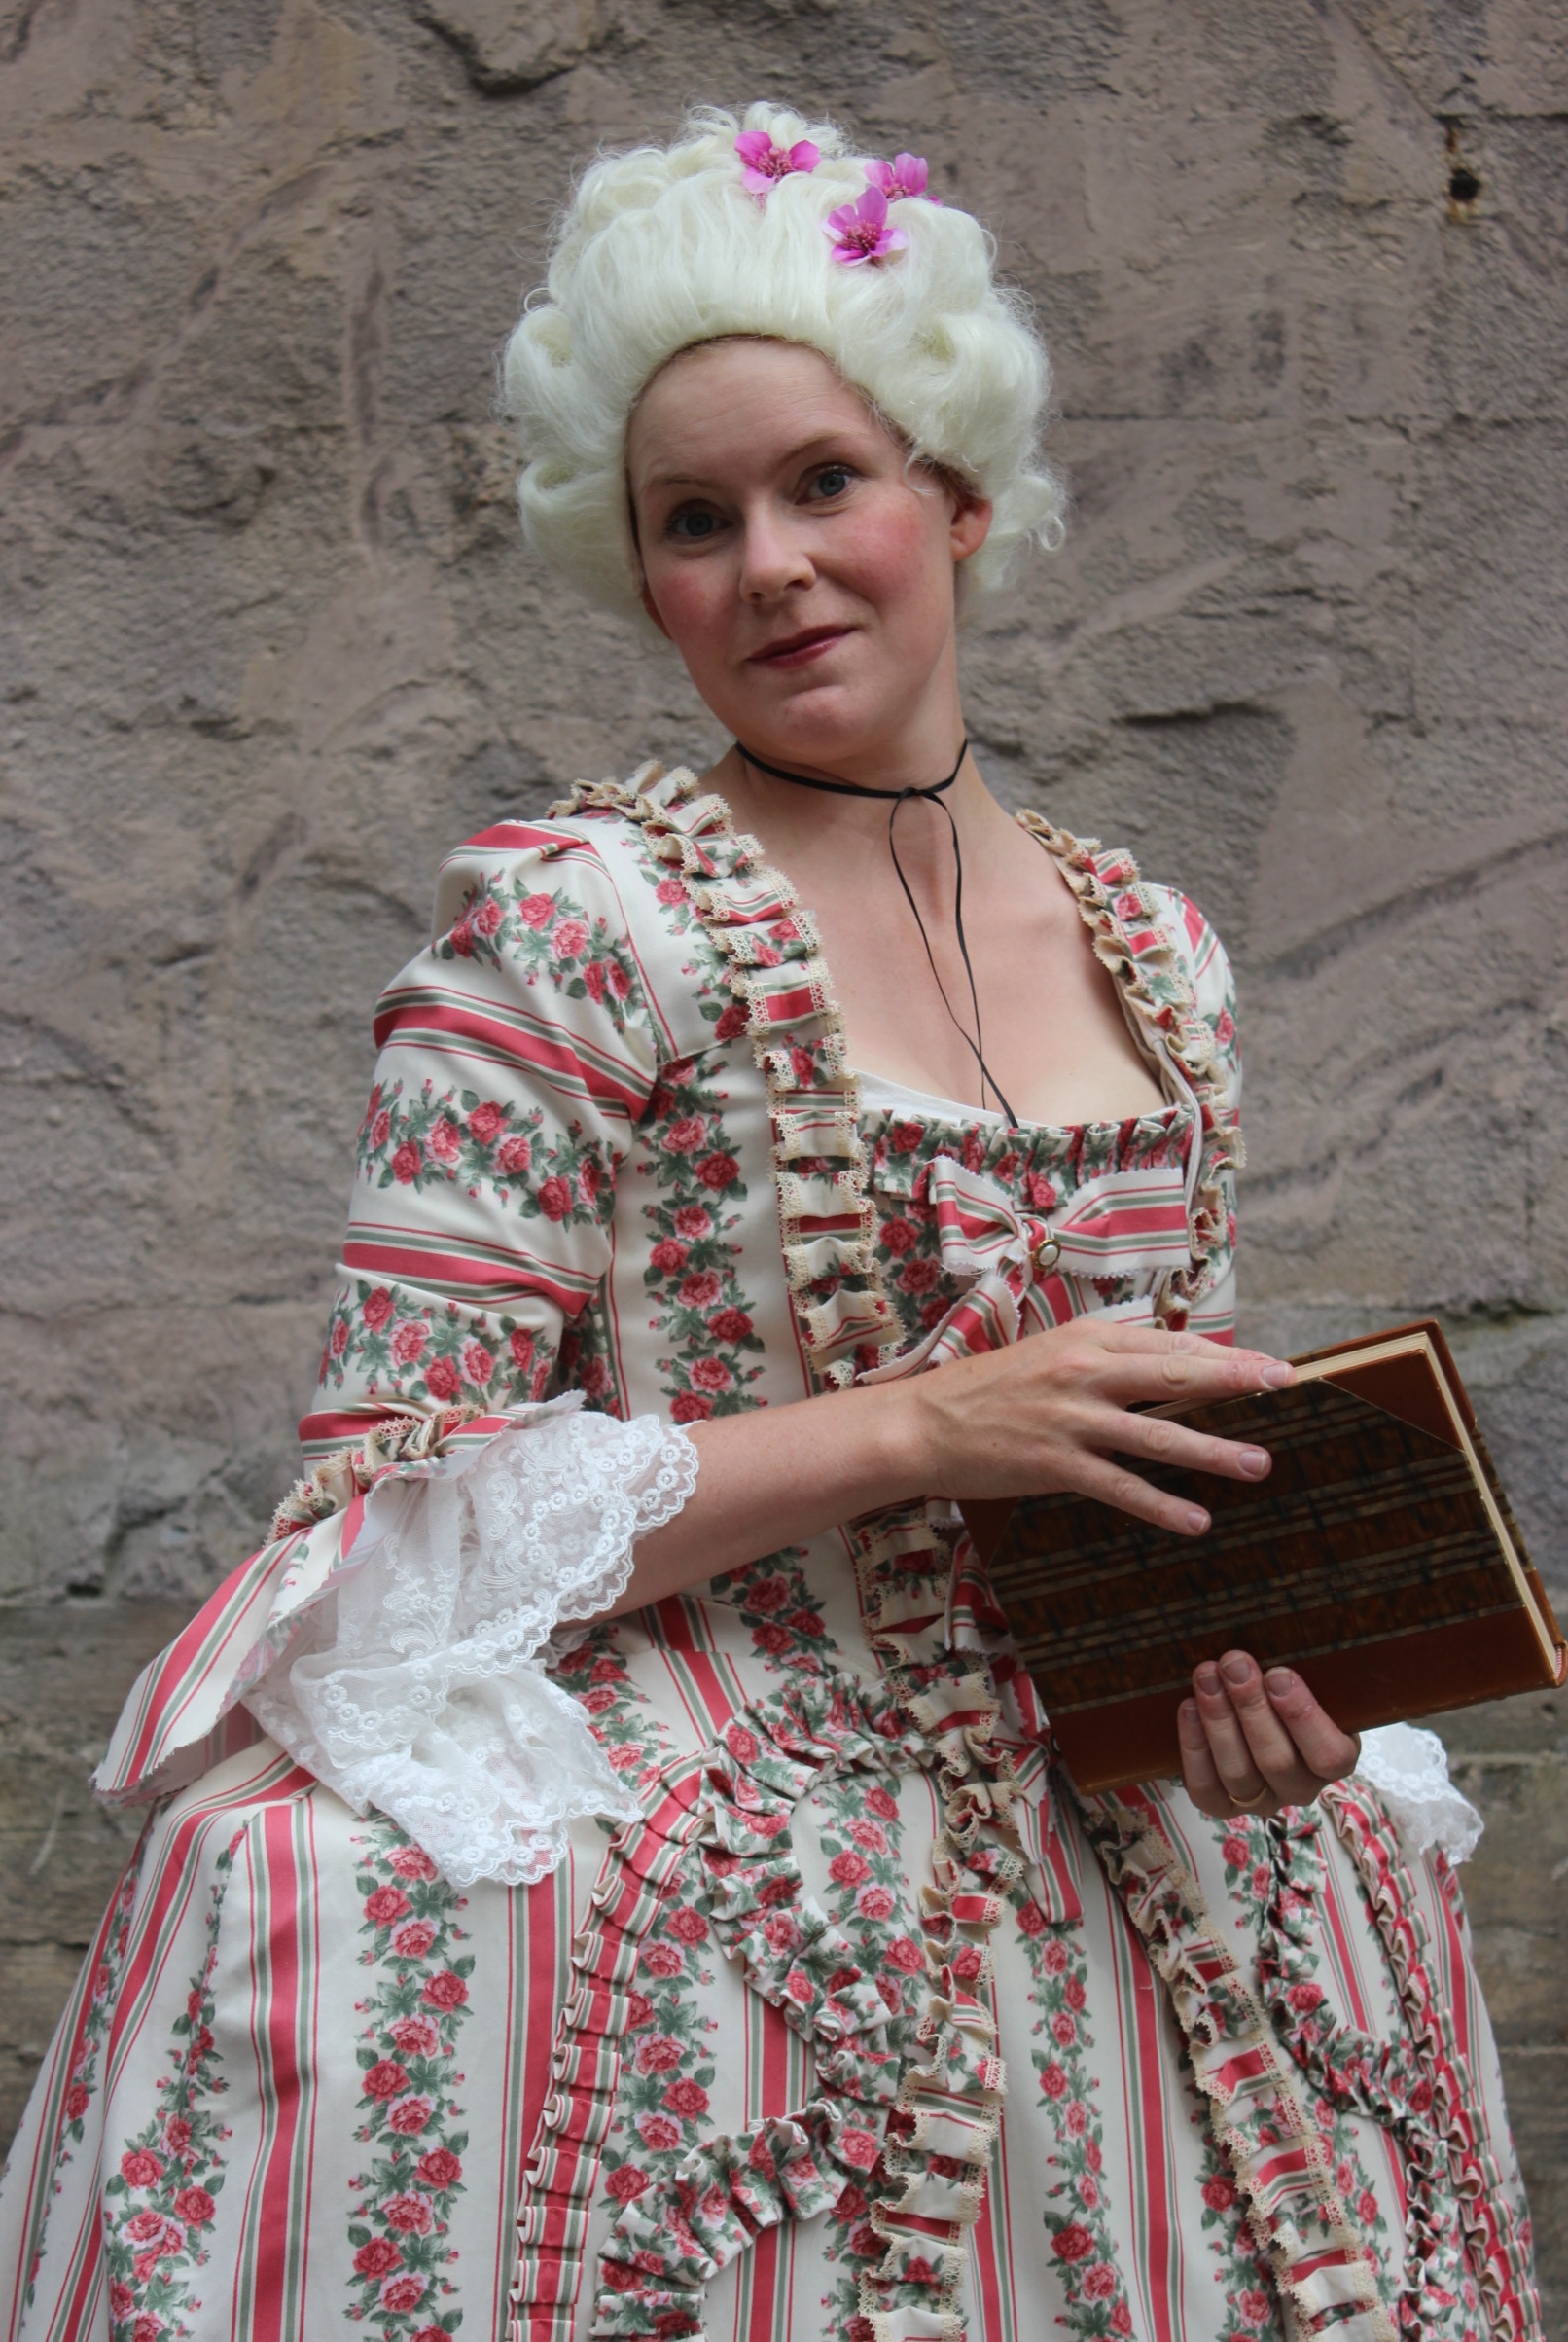
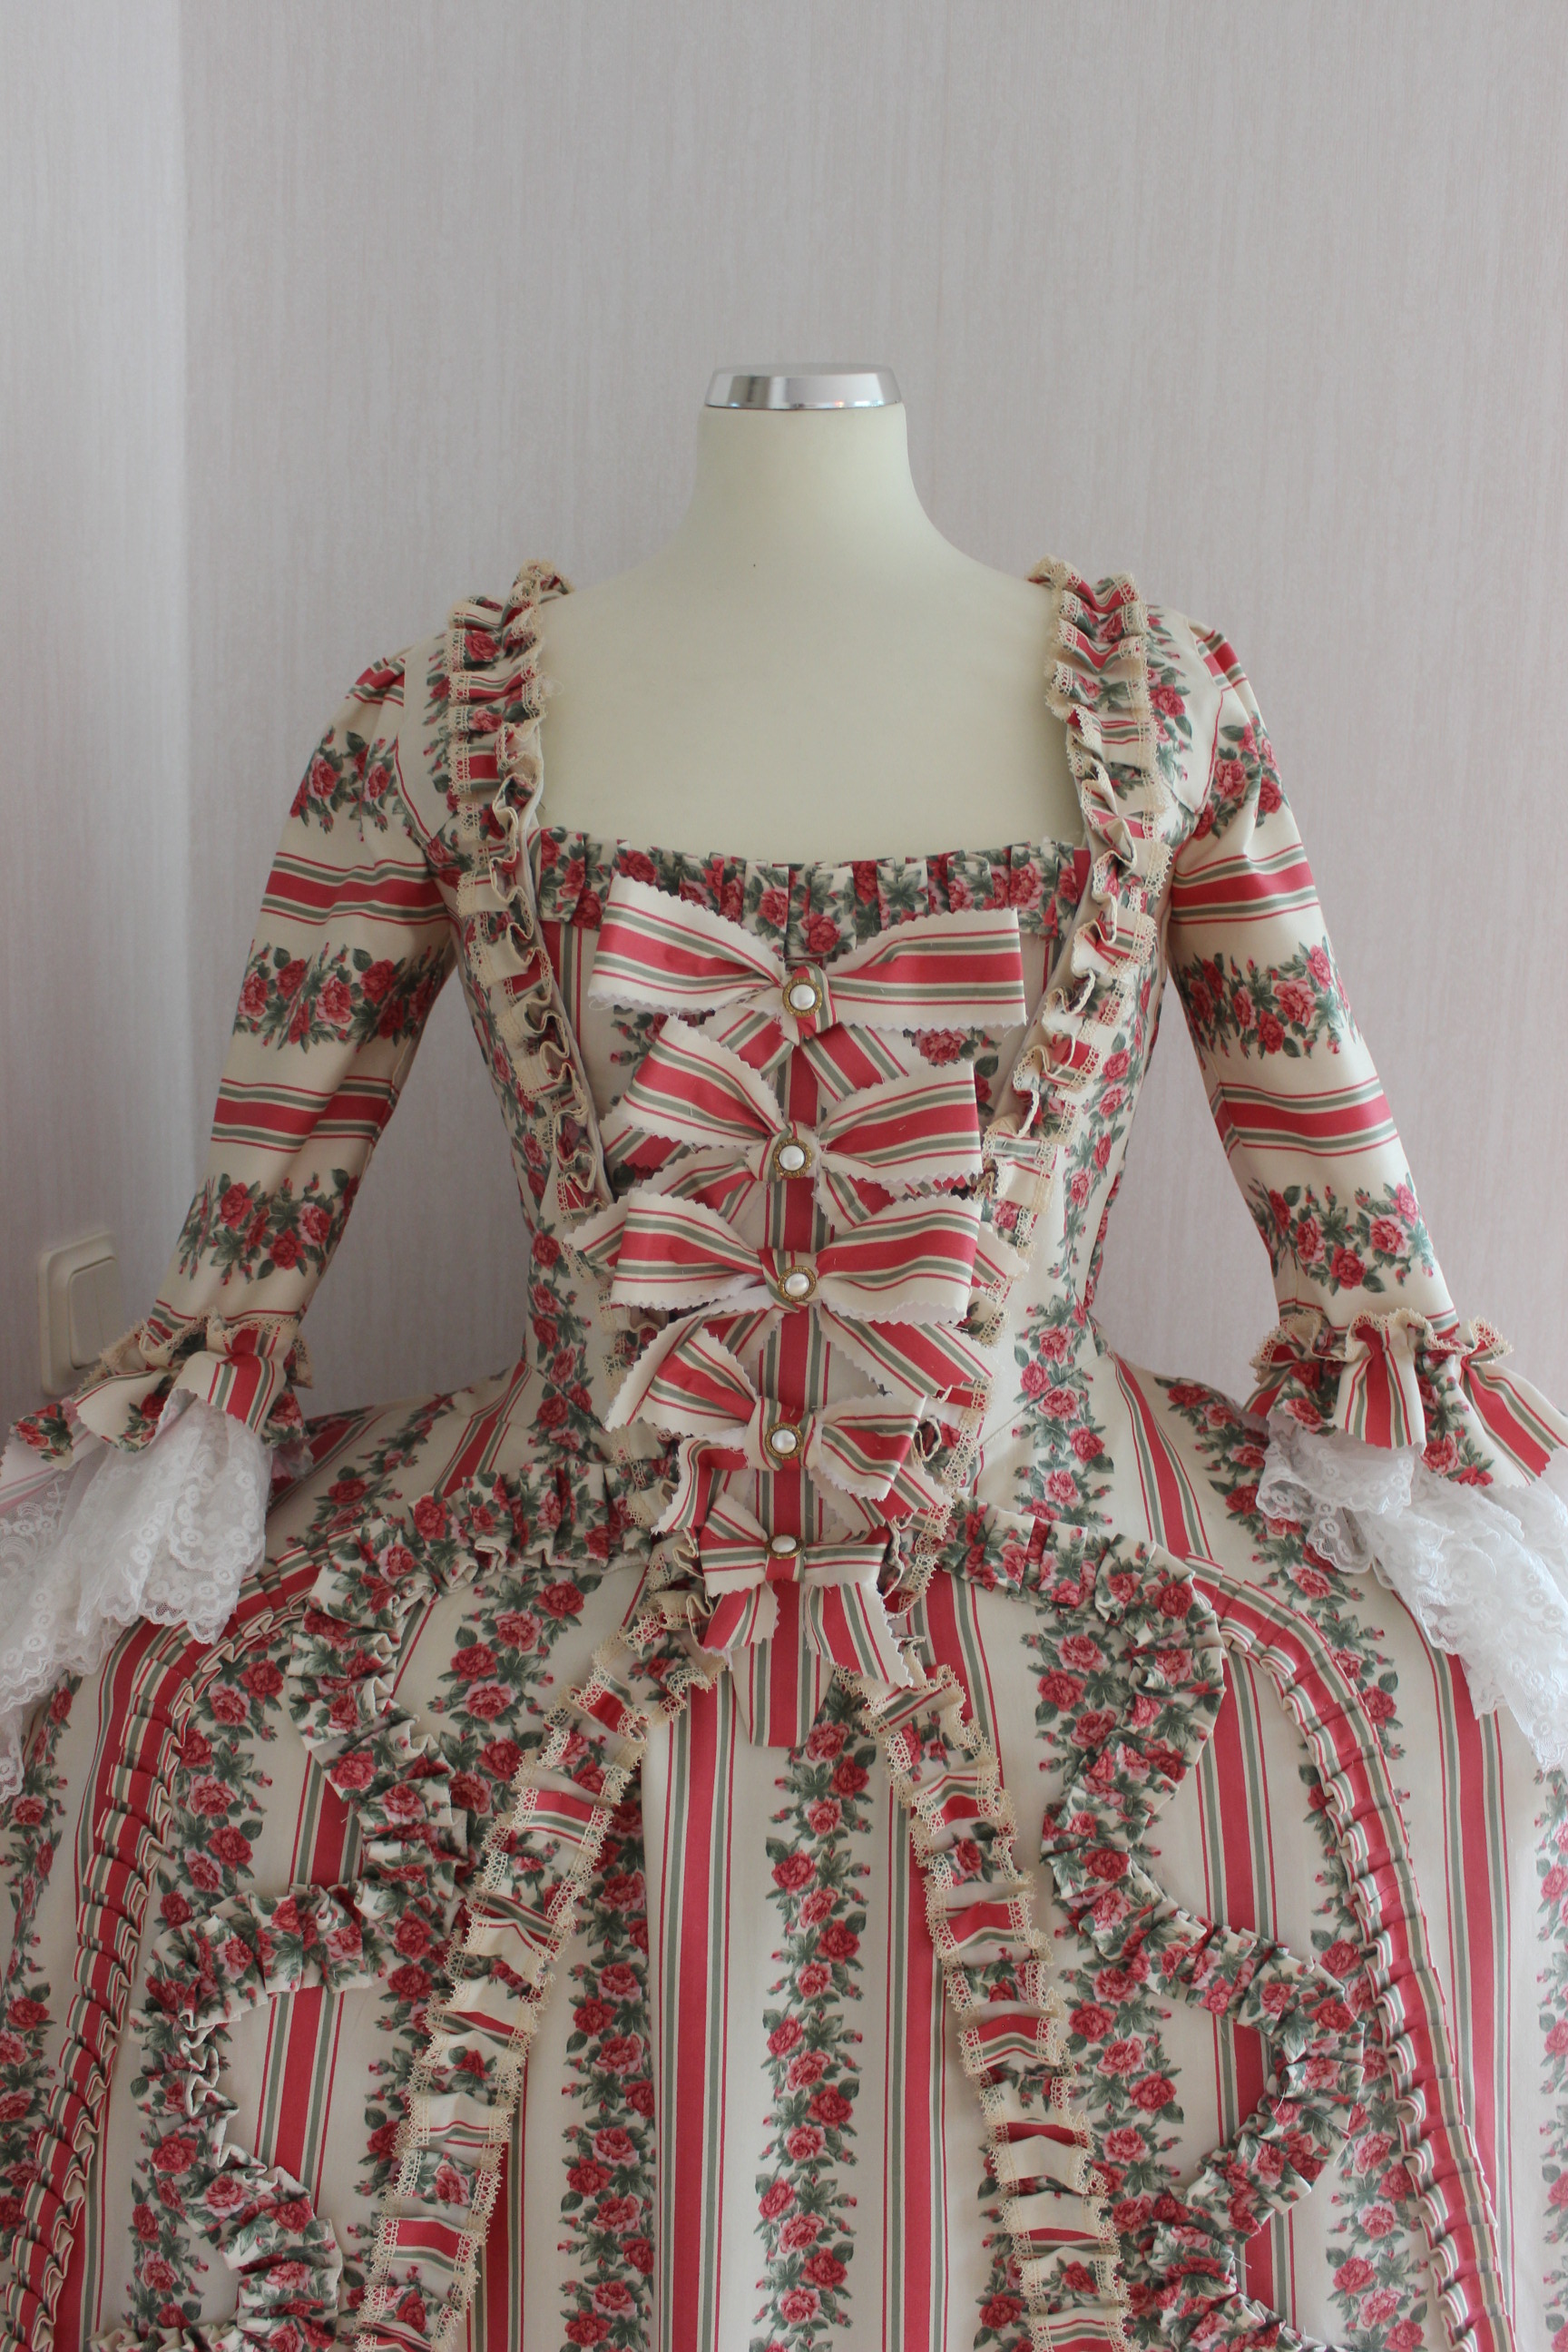
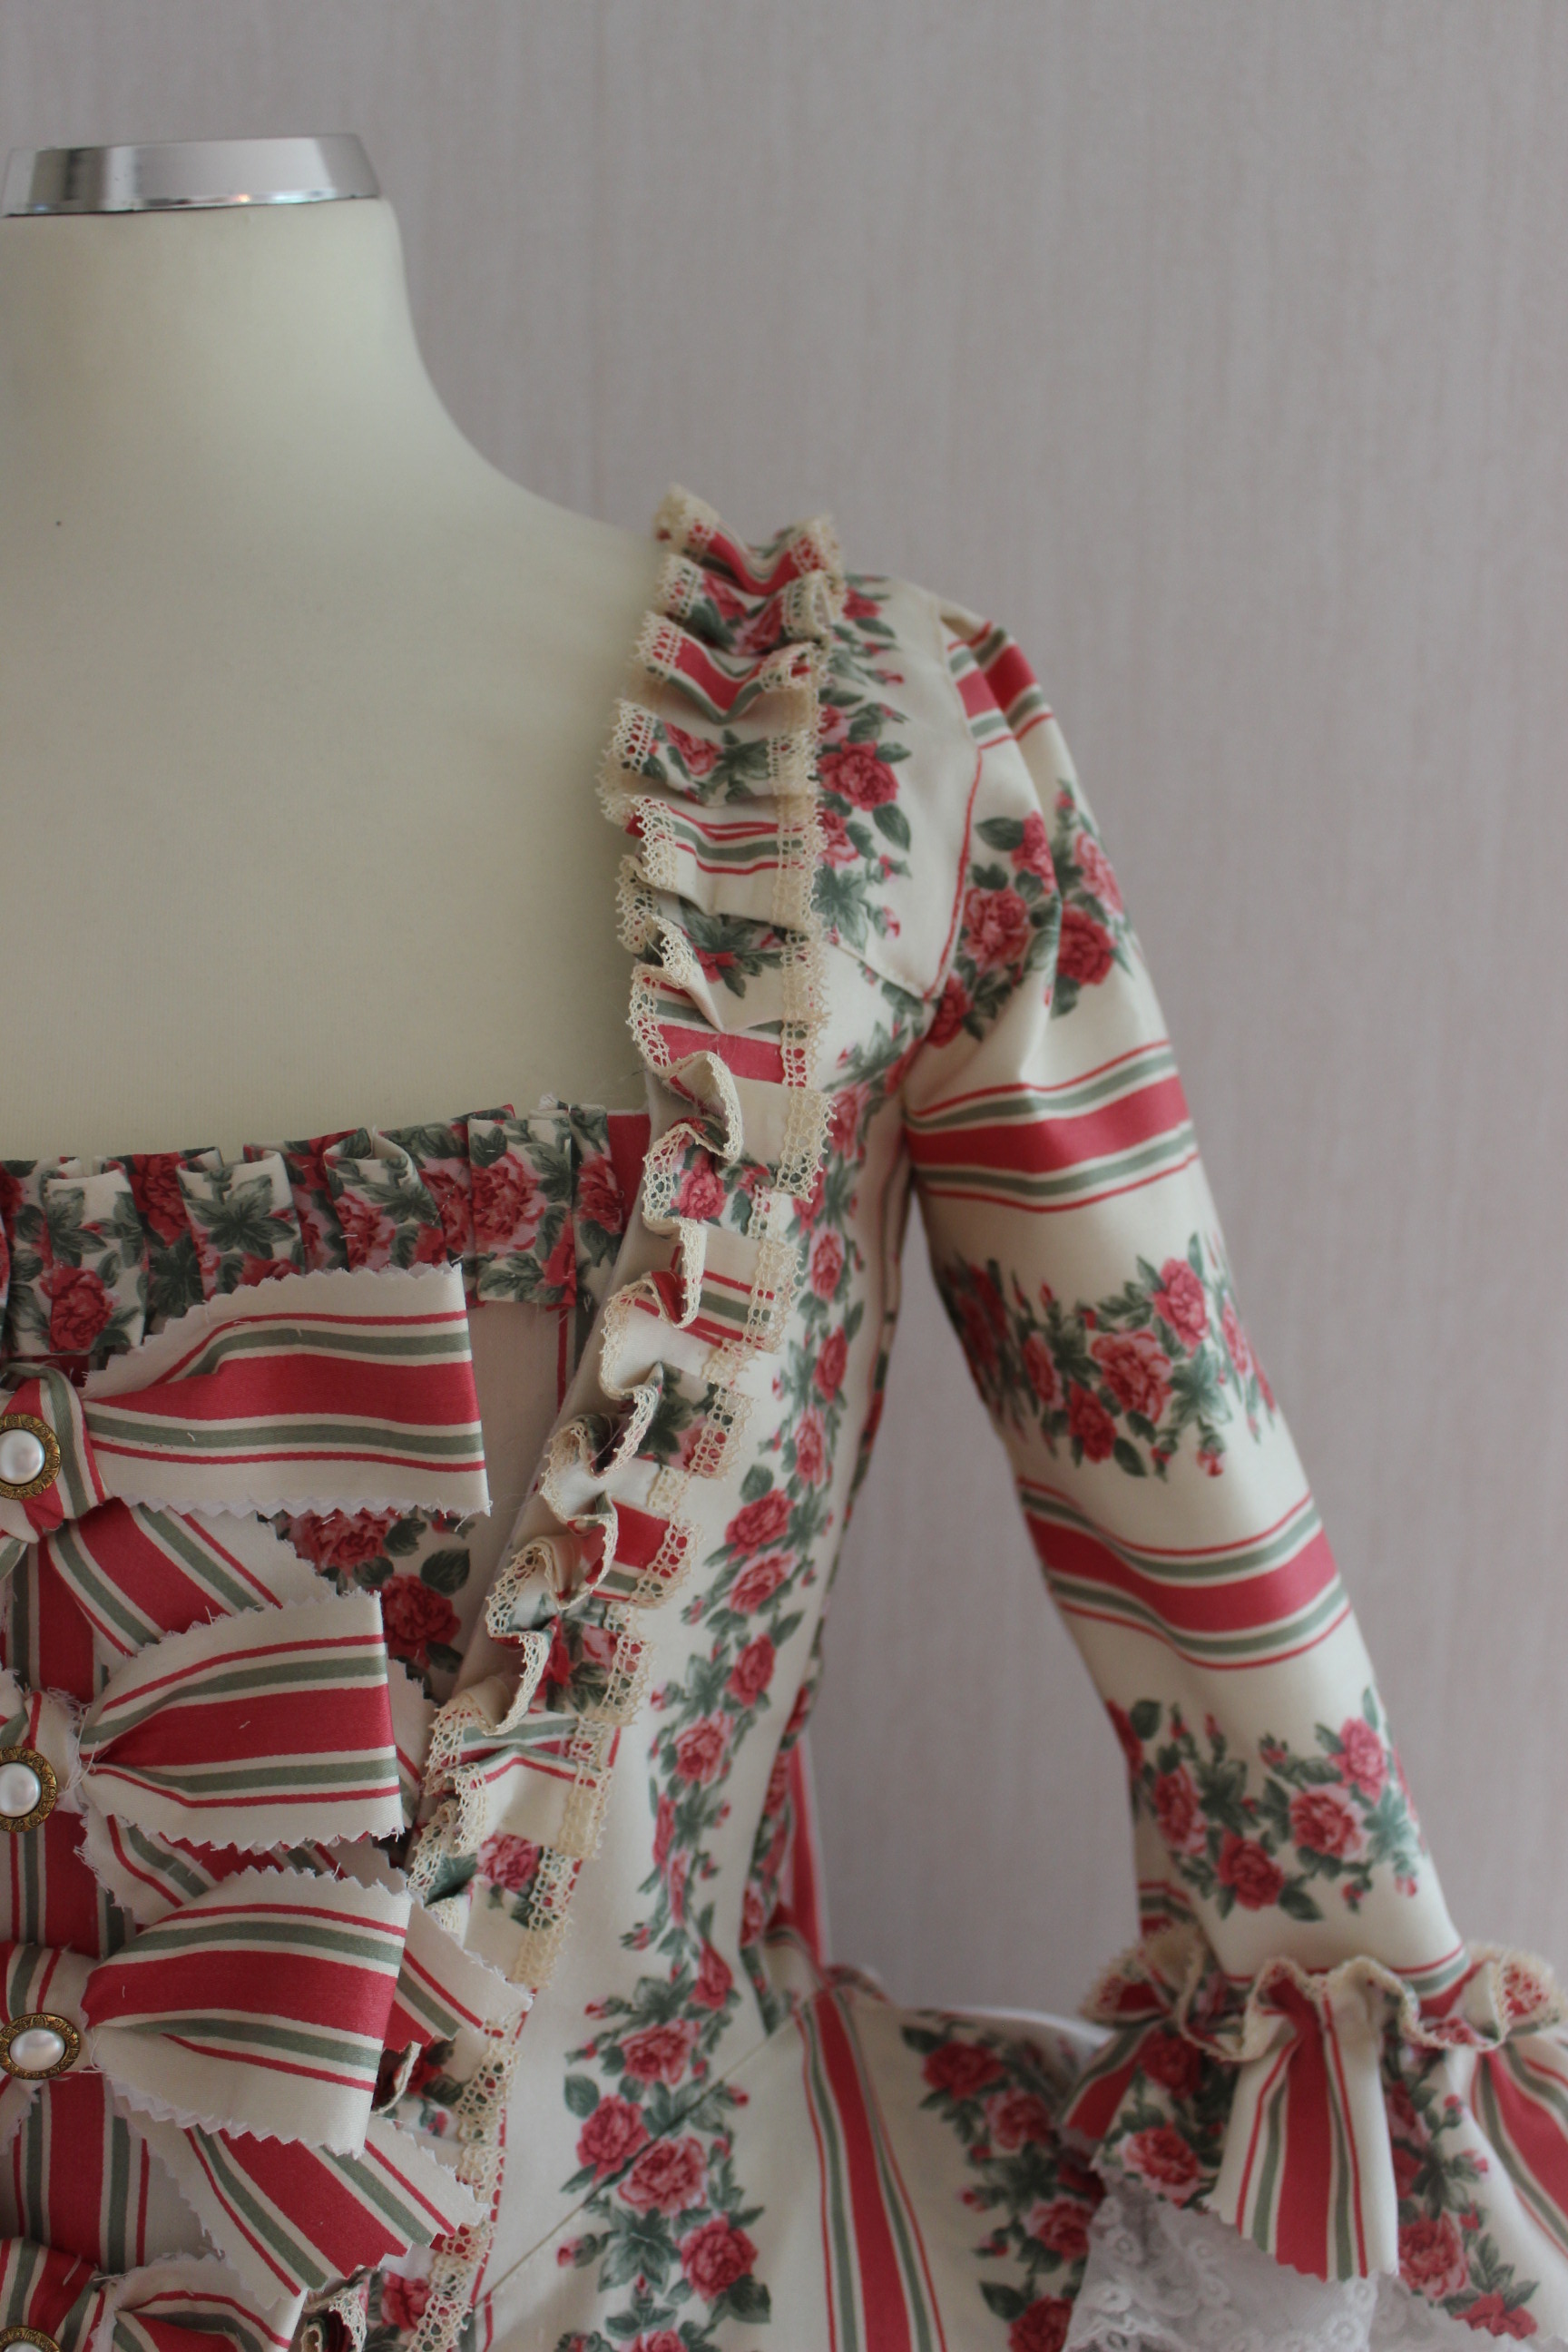
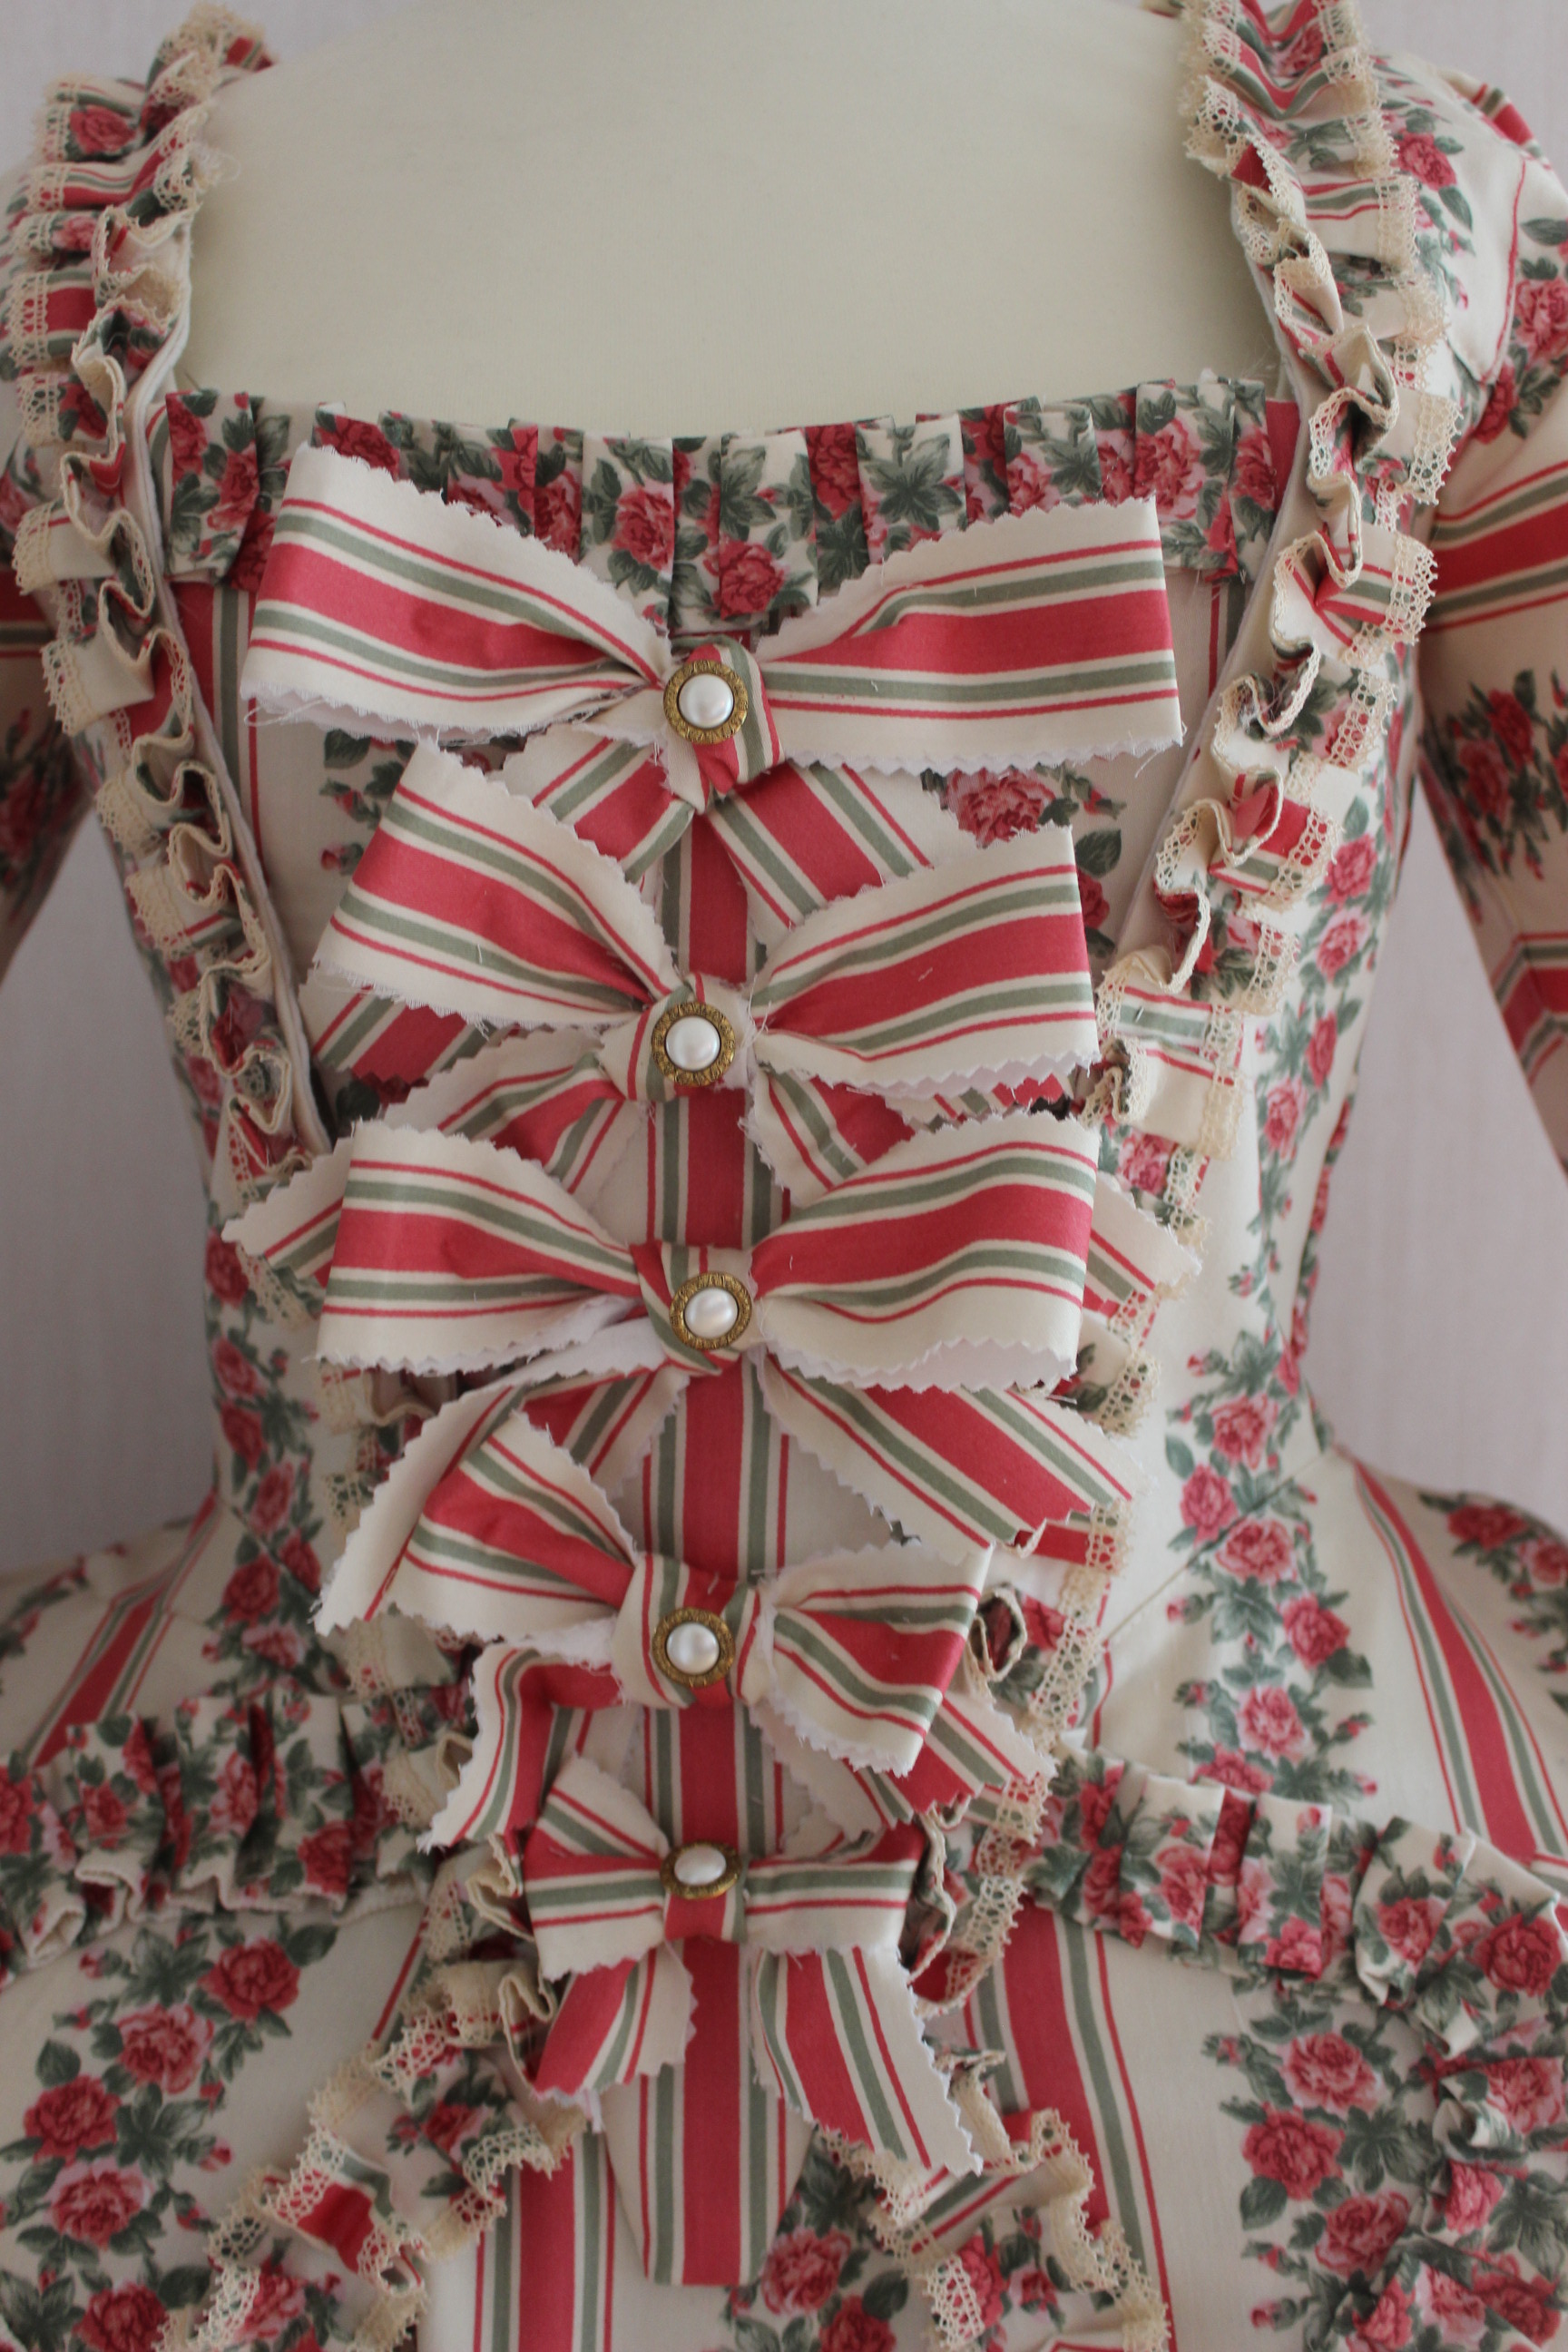
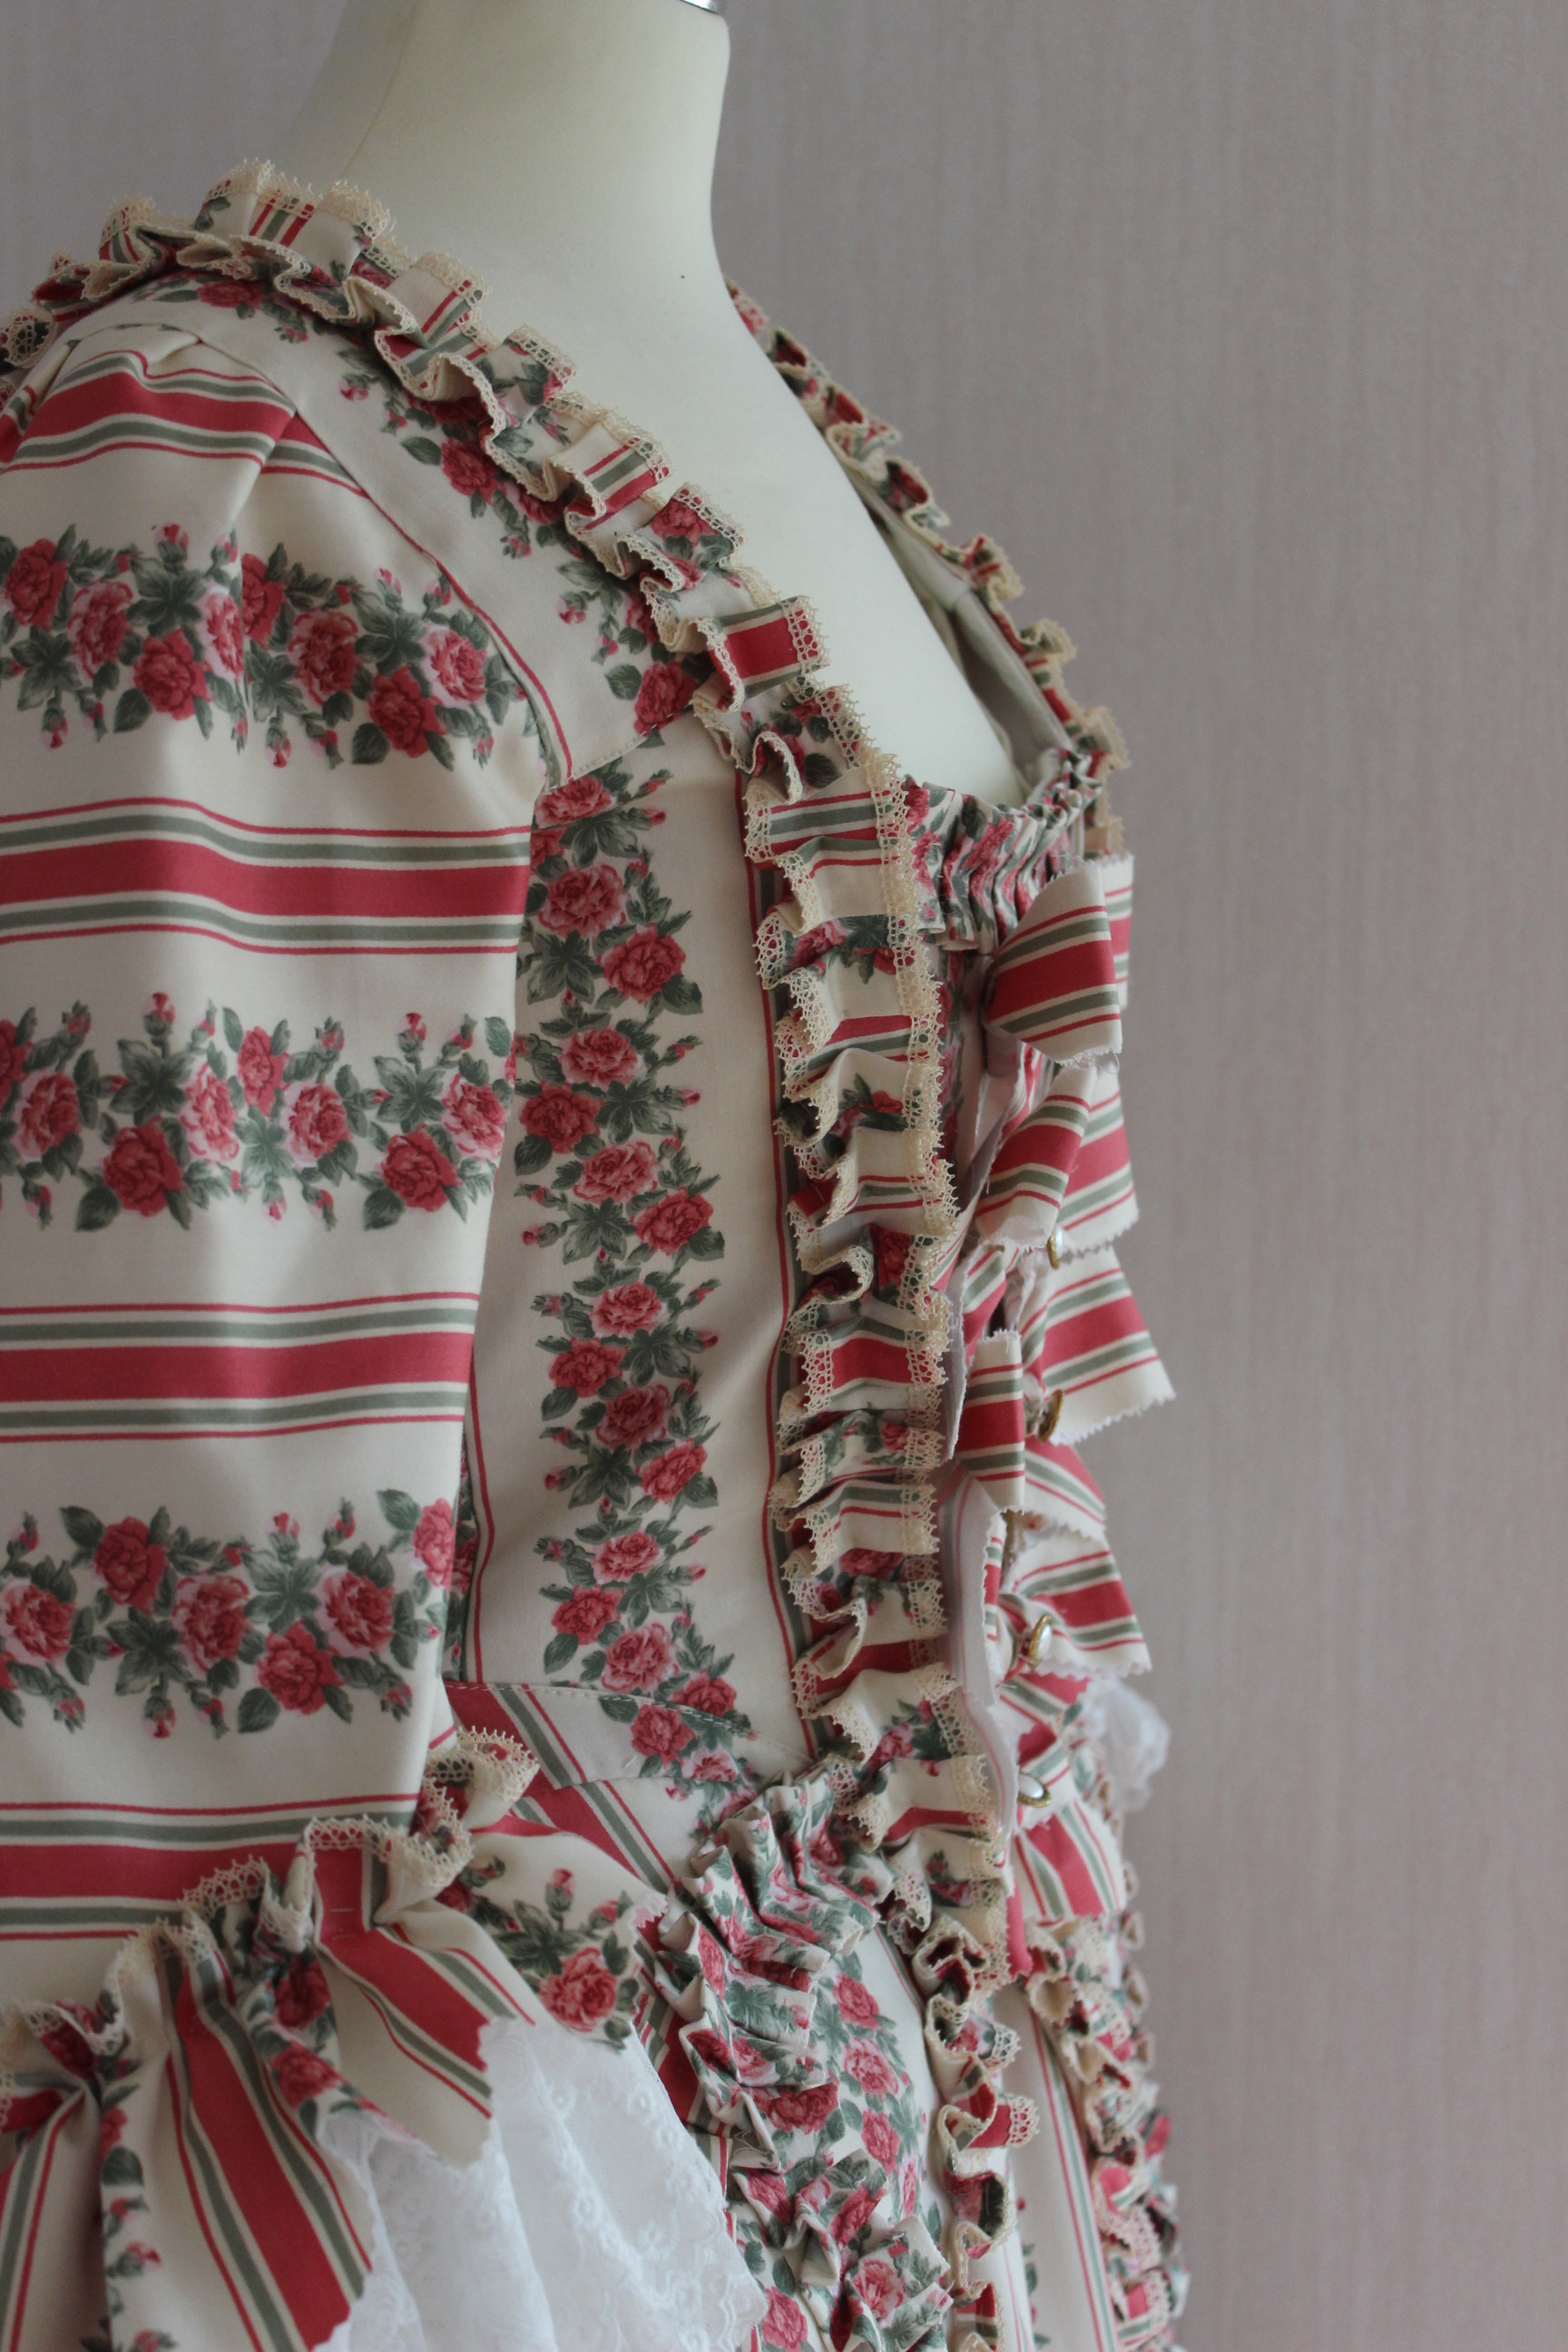
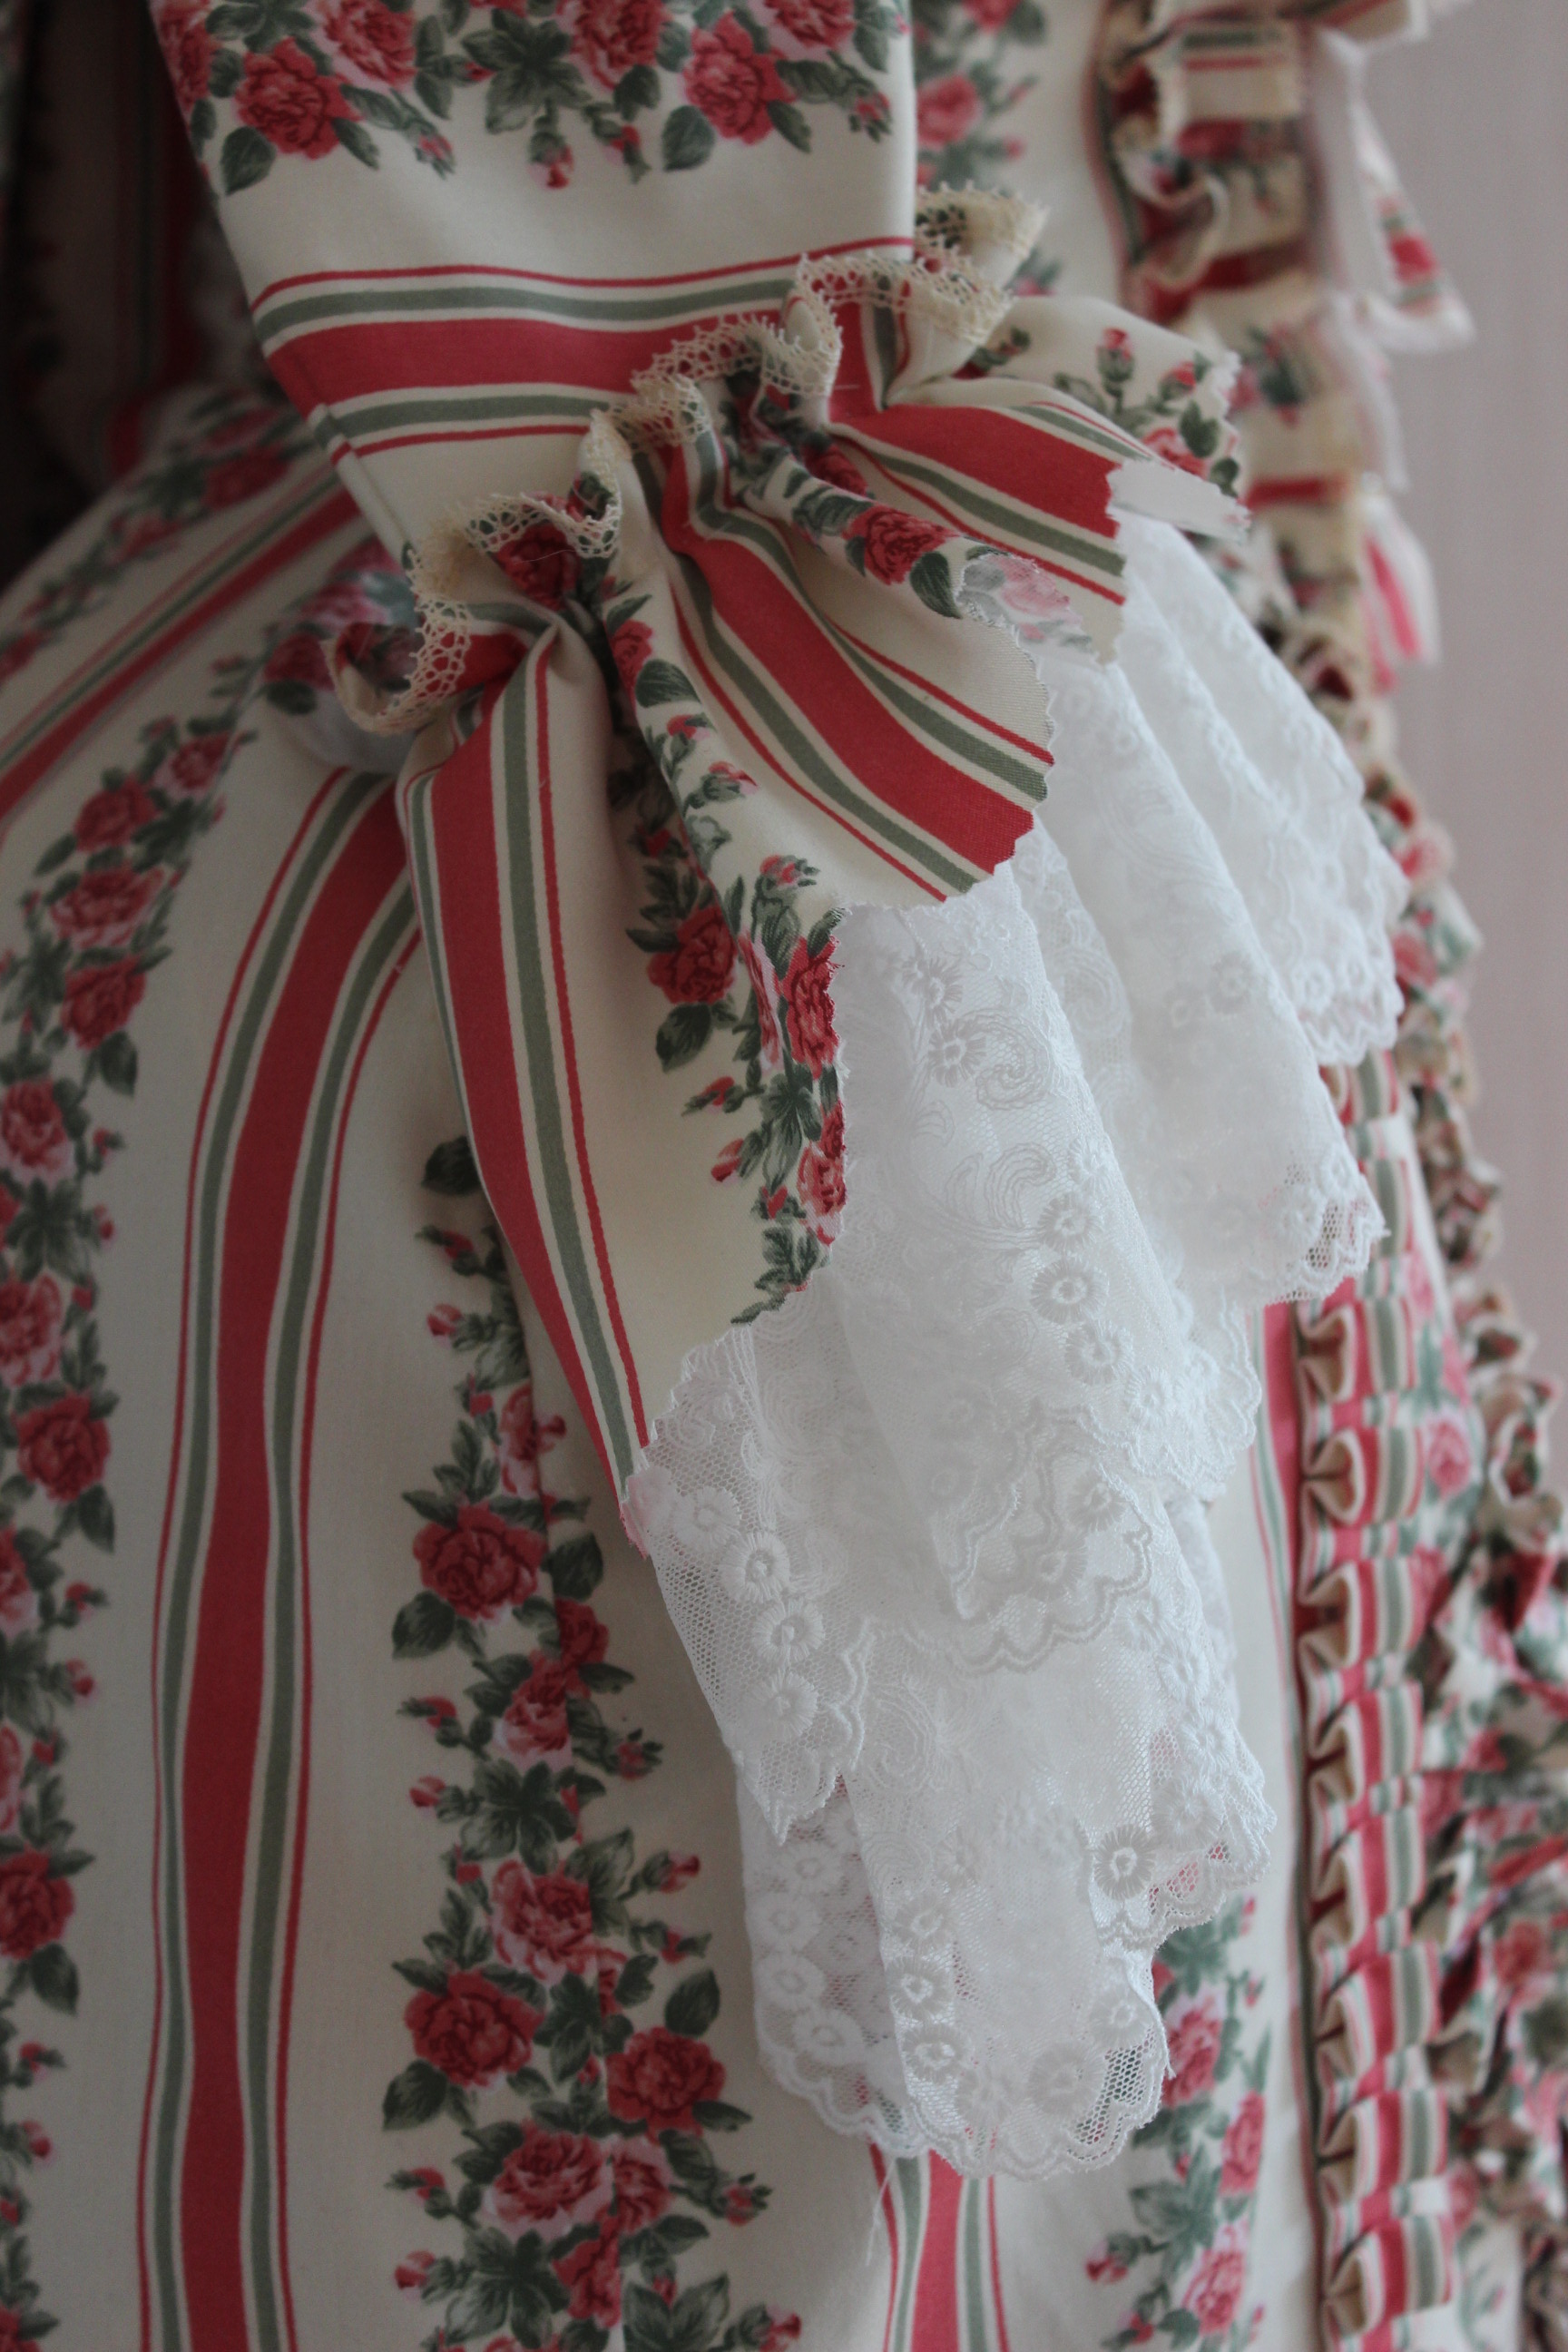
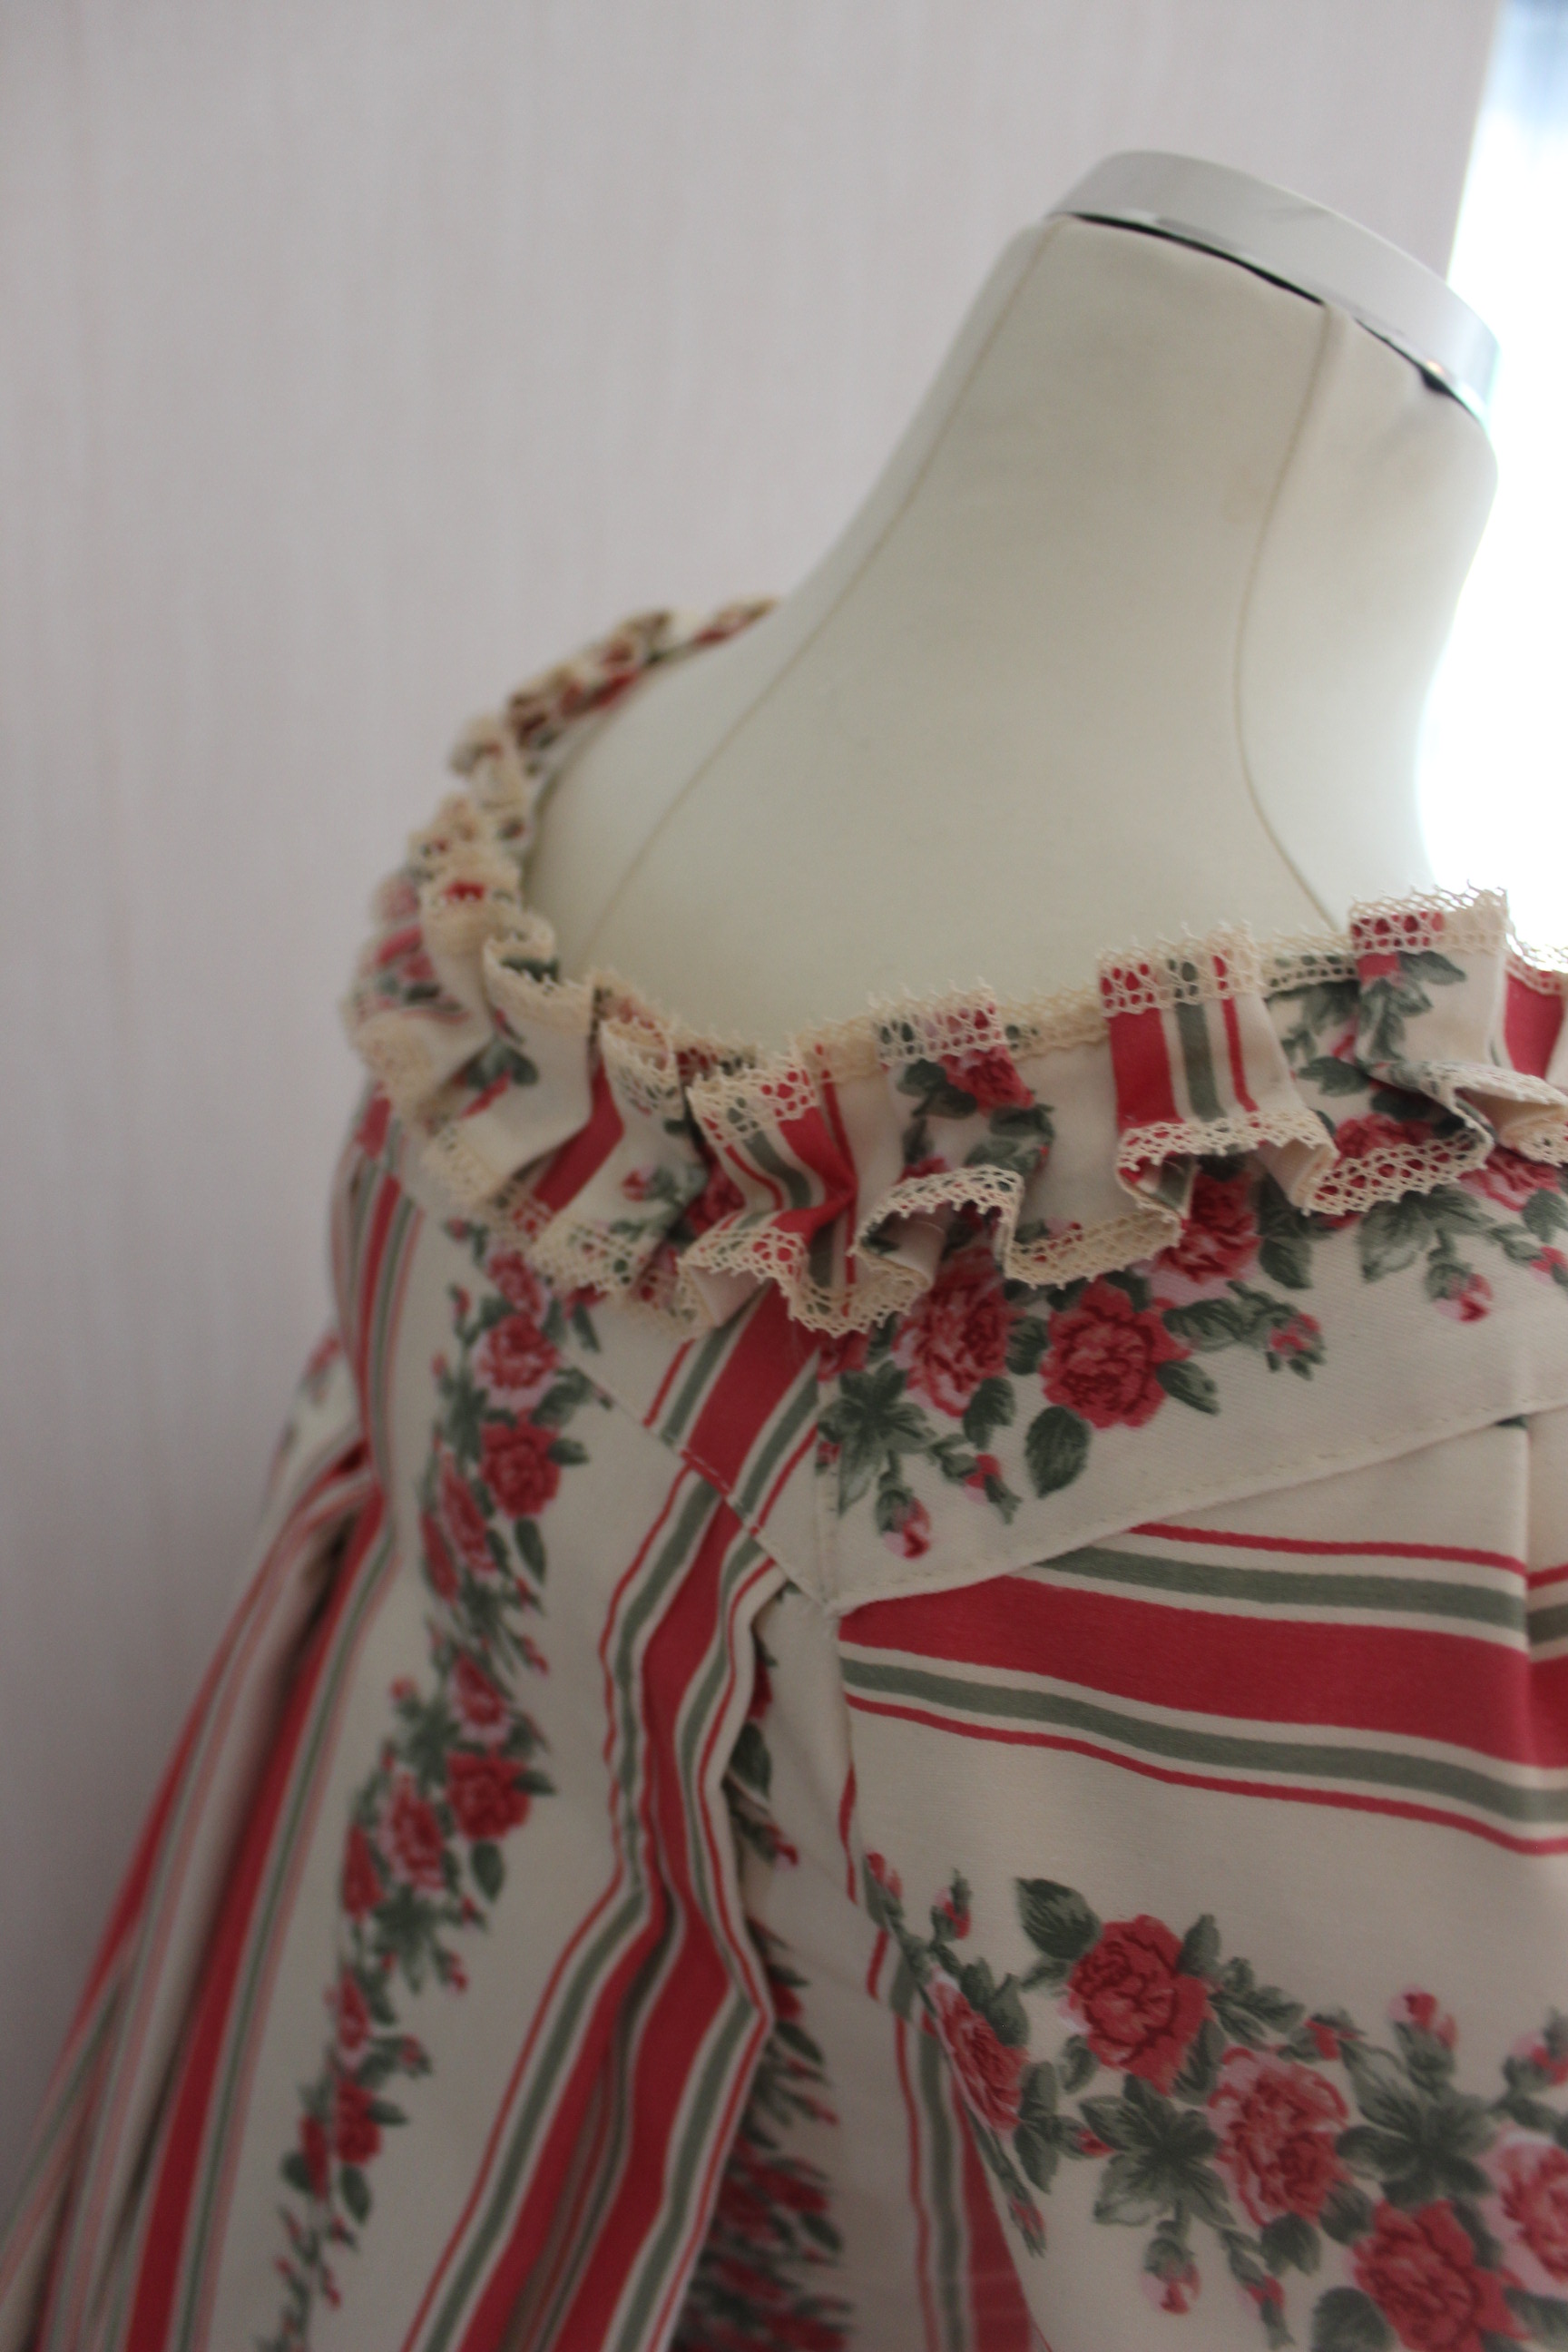
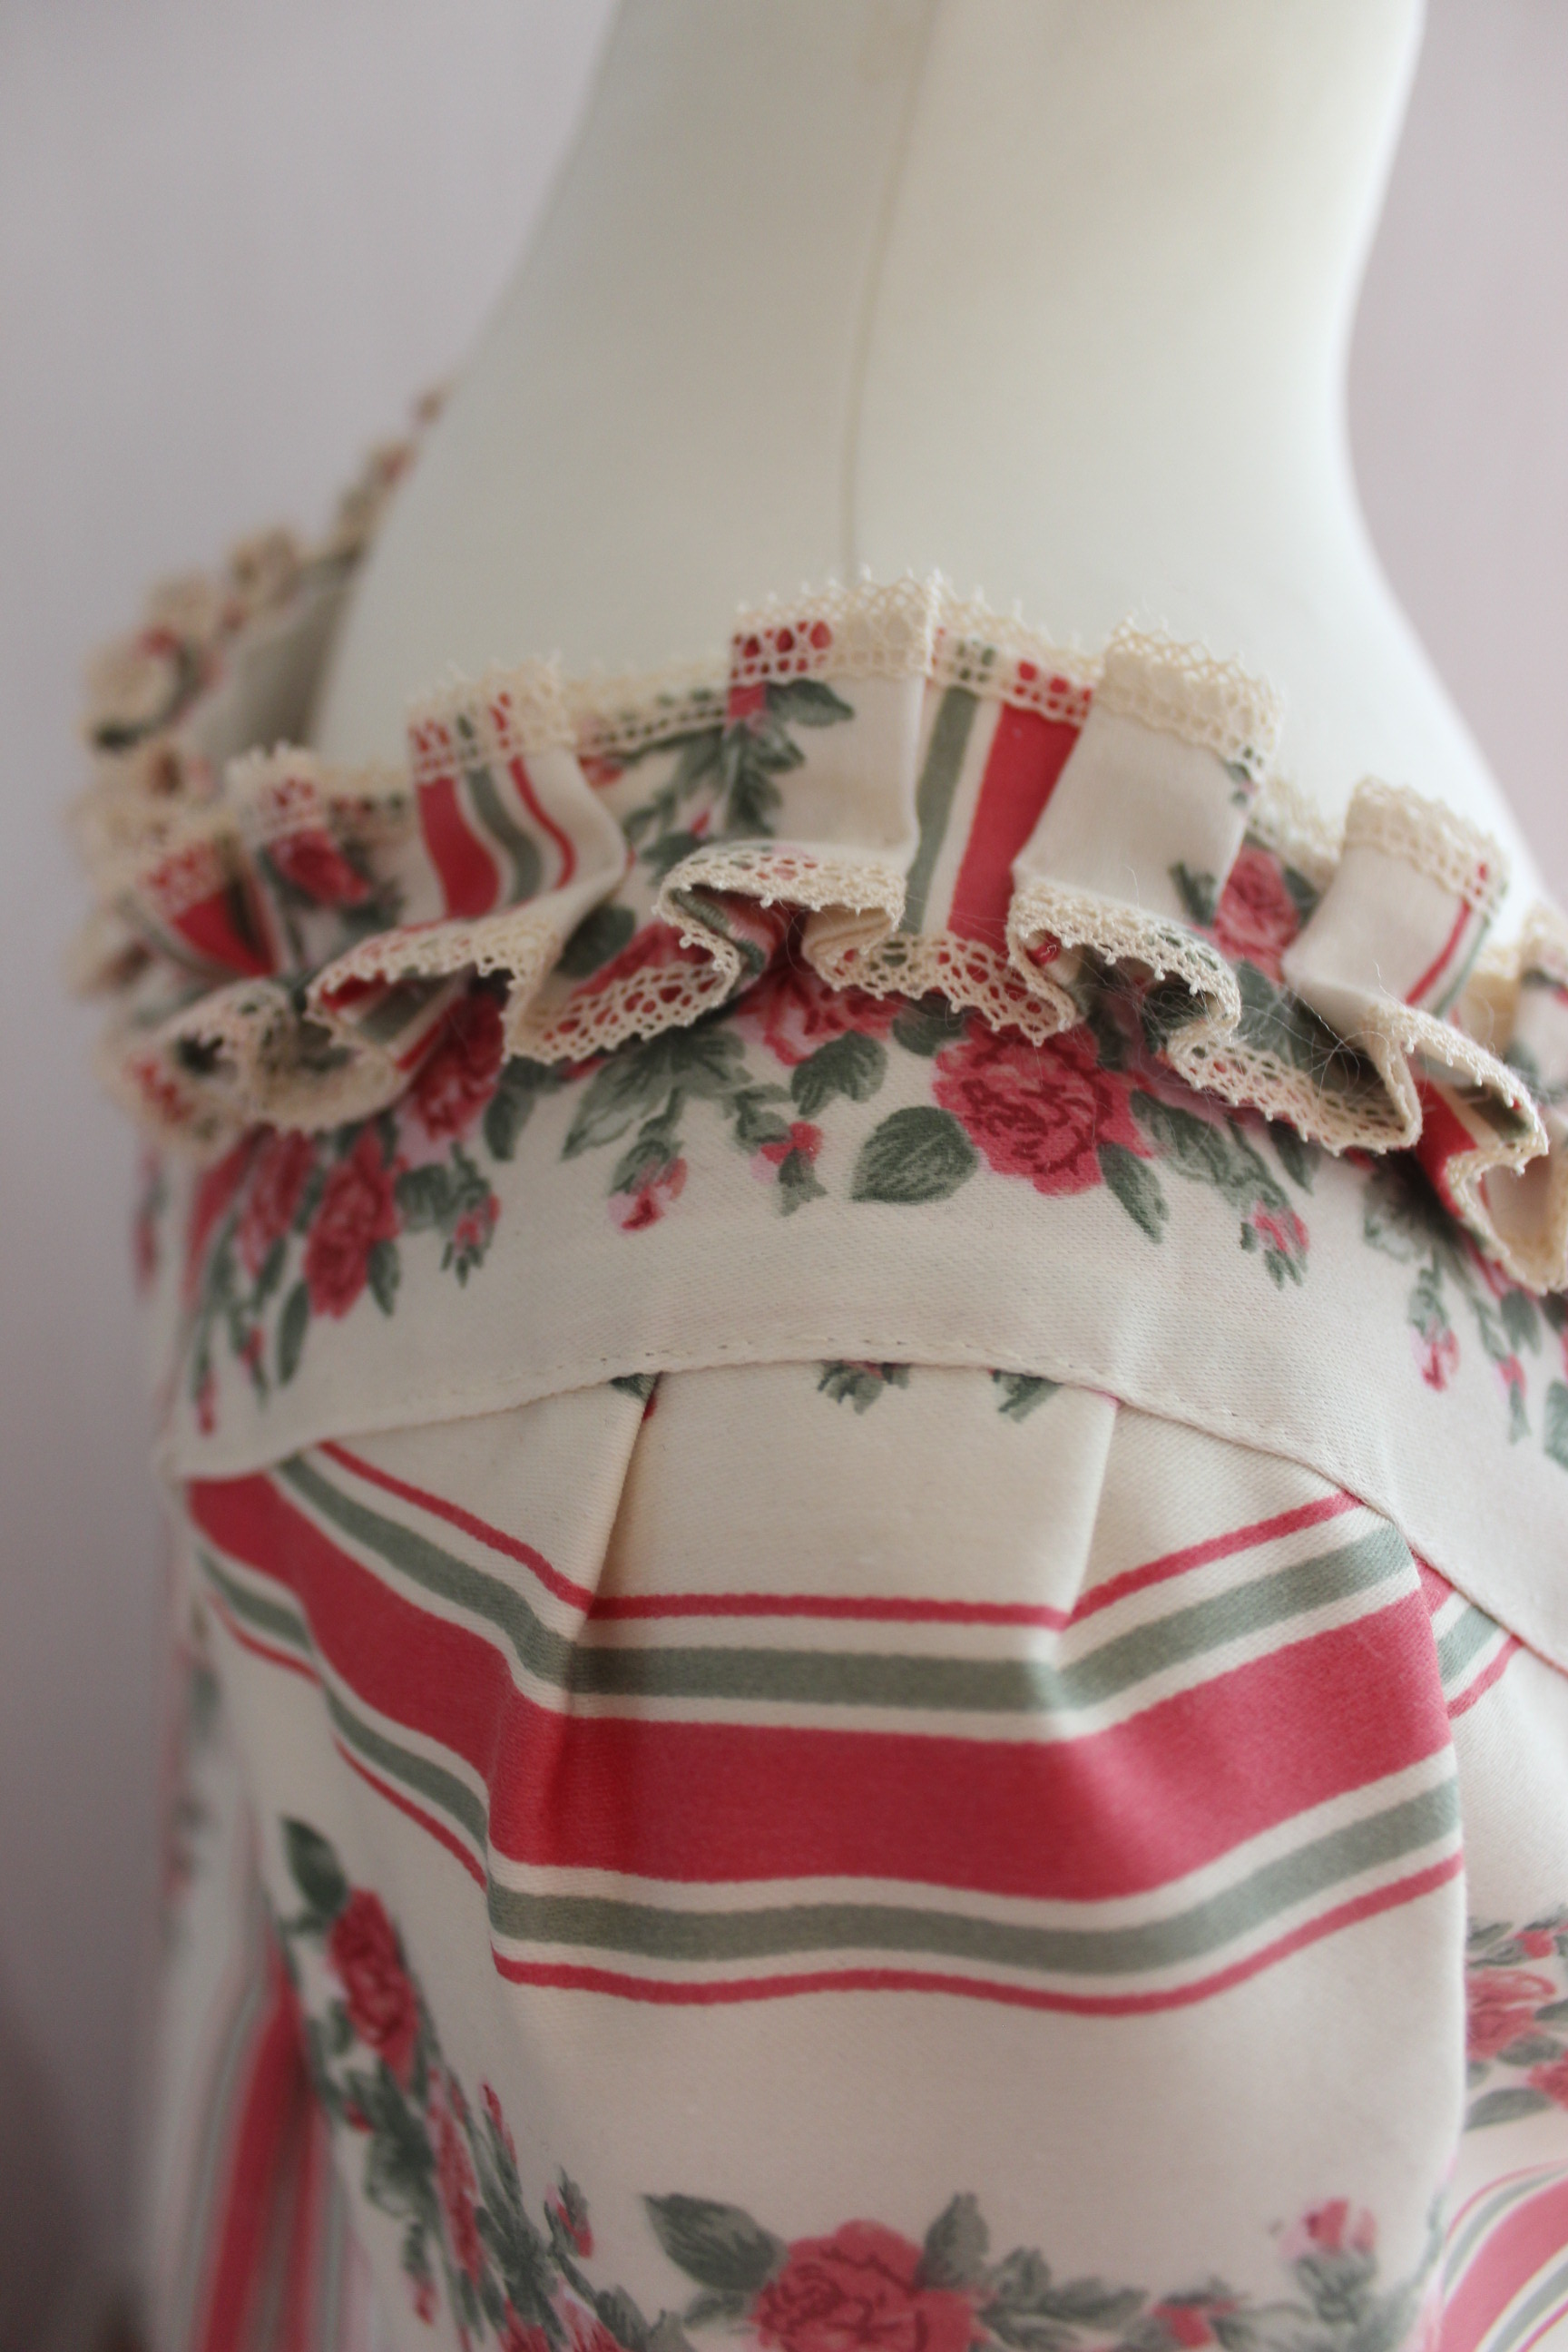
So I spent a few more hours finishing the lace flounces and decorating the stomacher, and that was that.
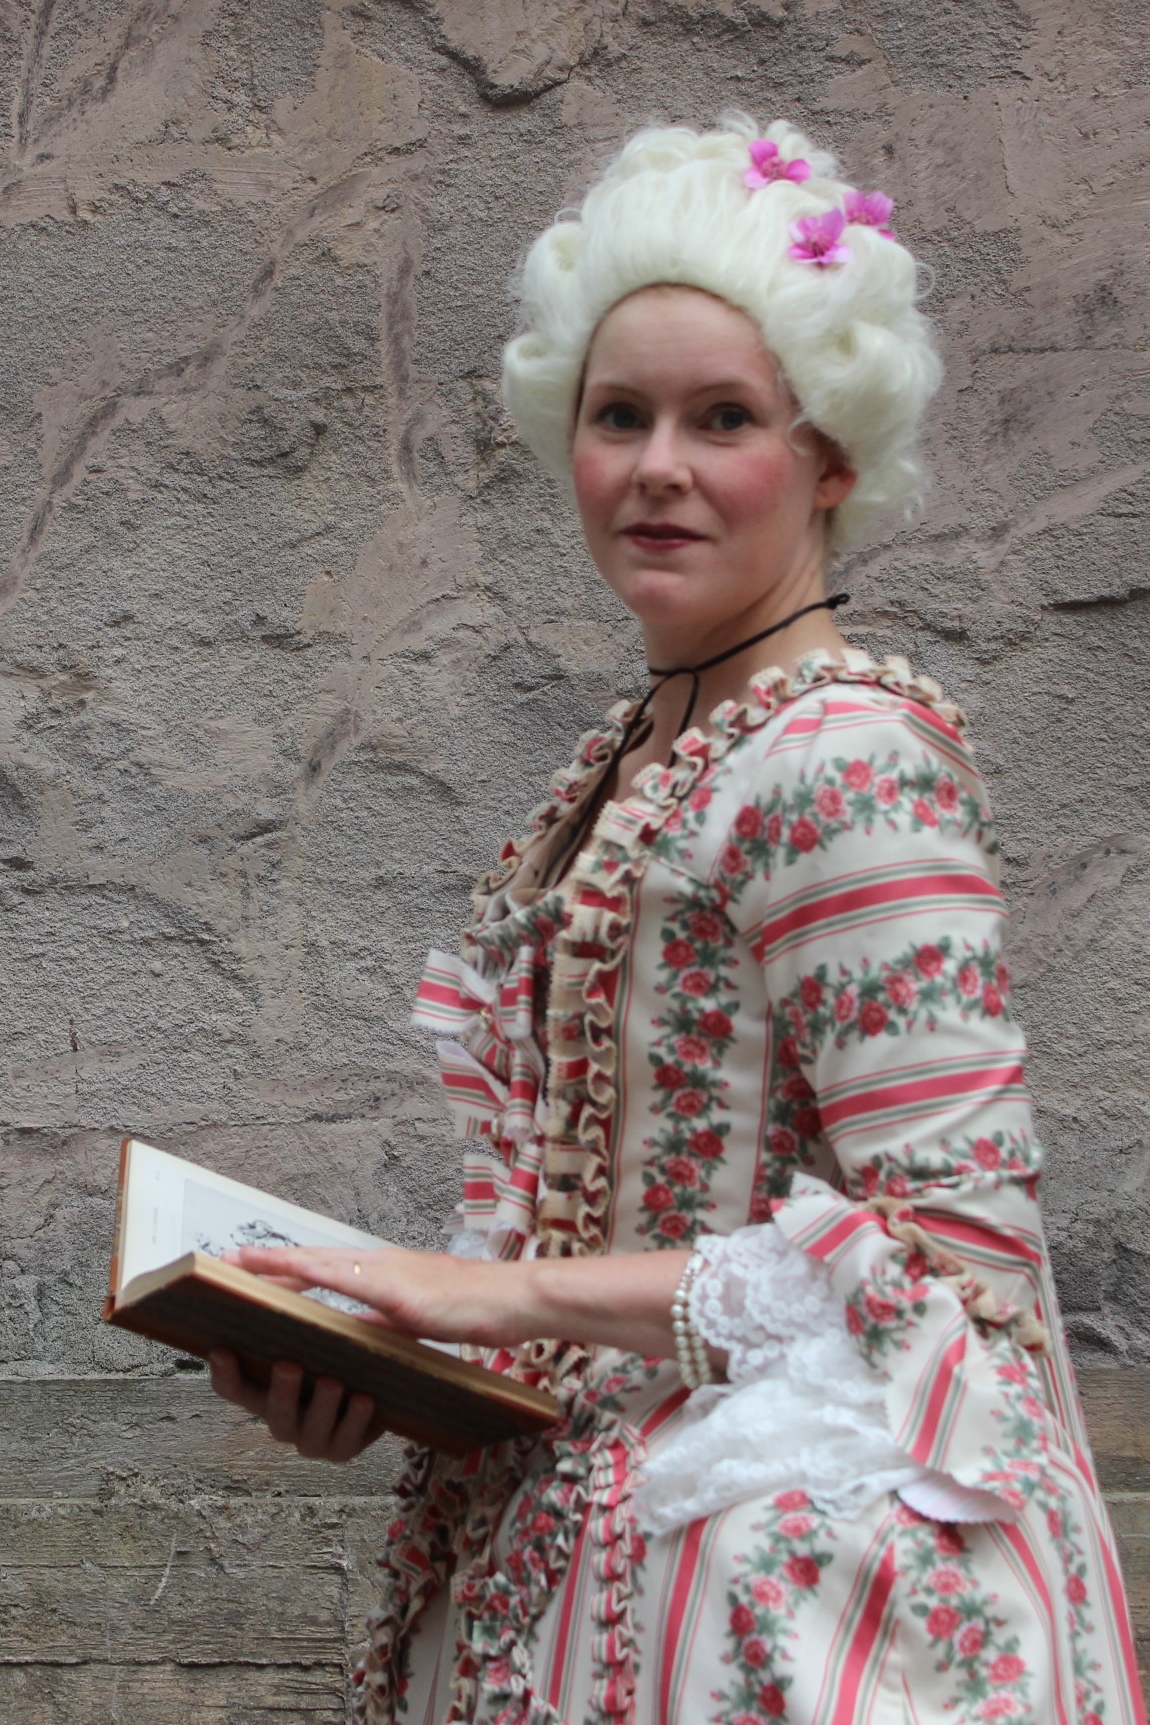
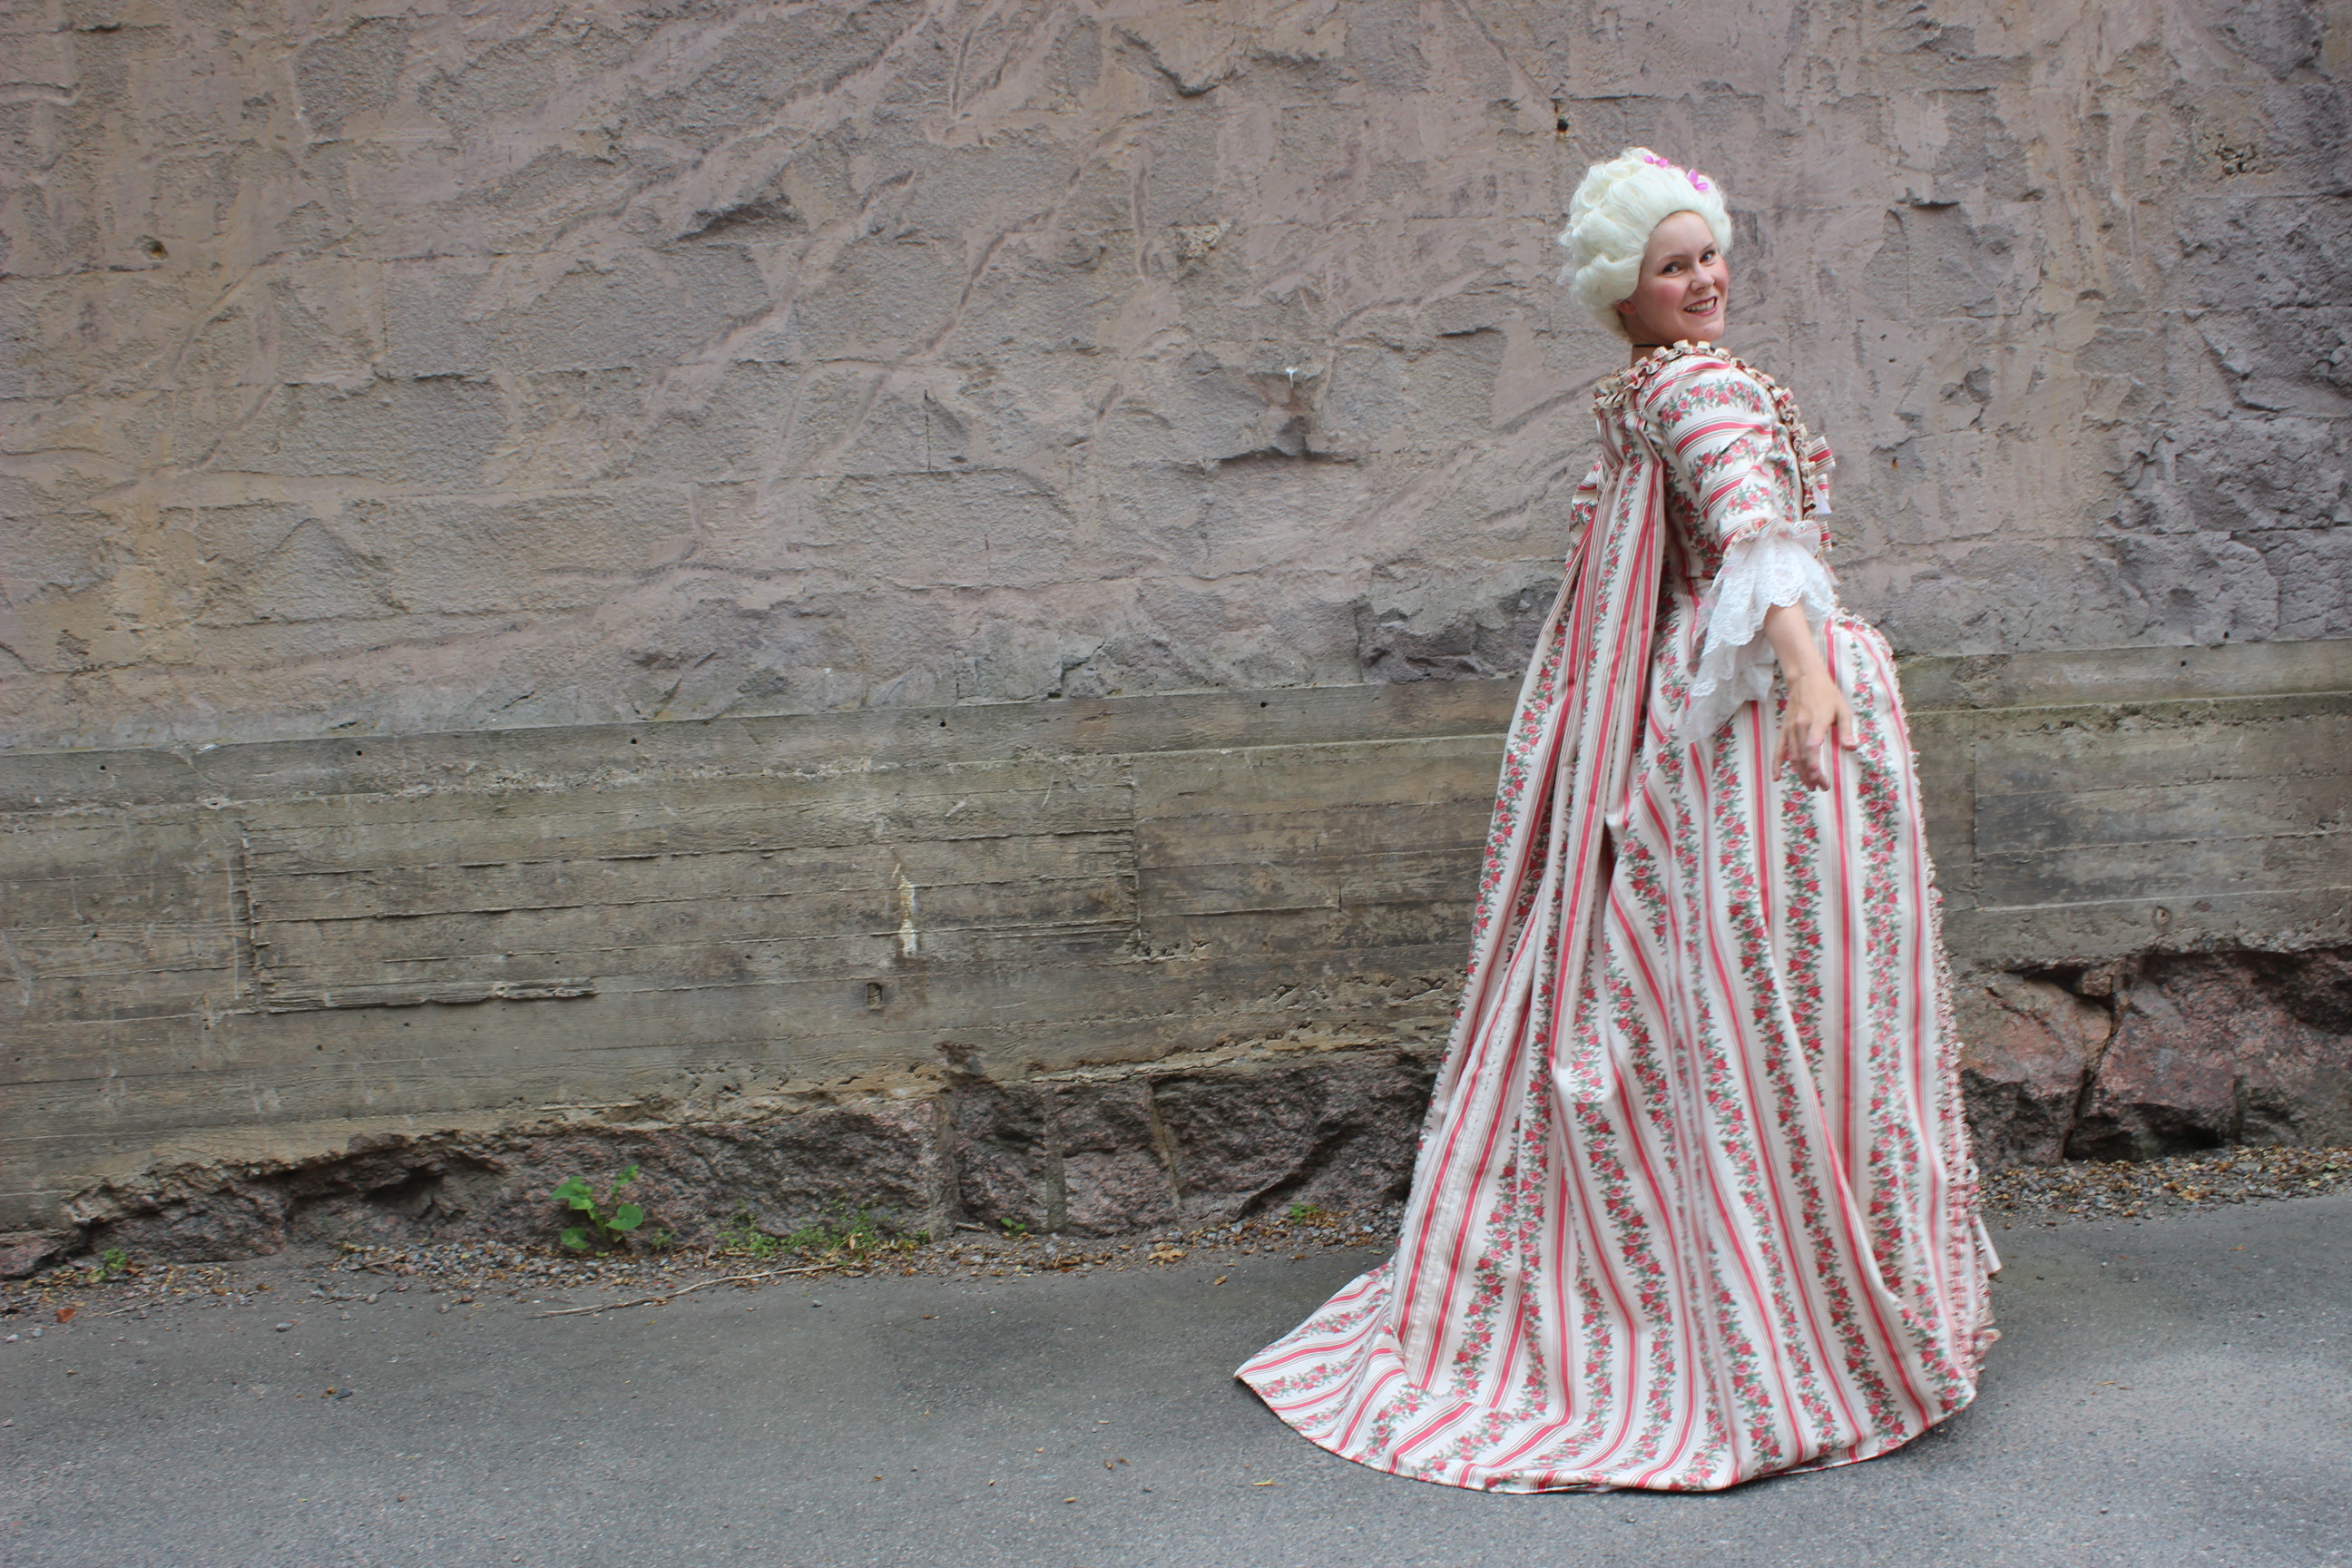
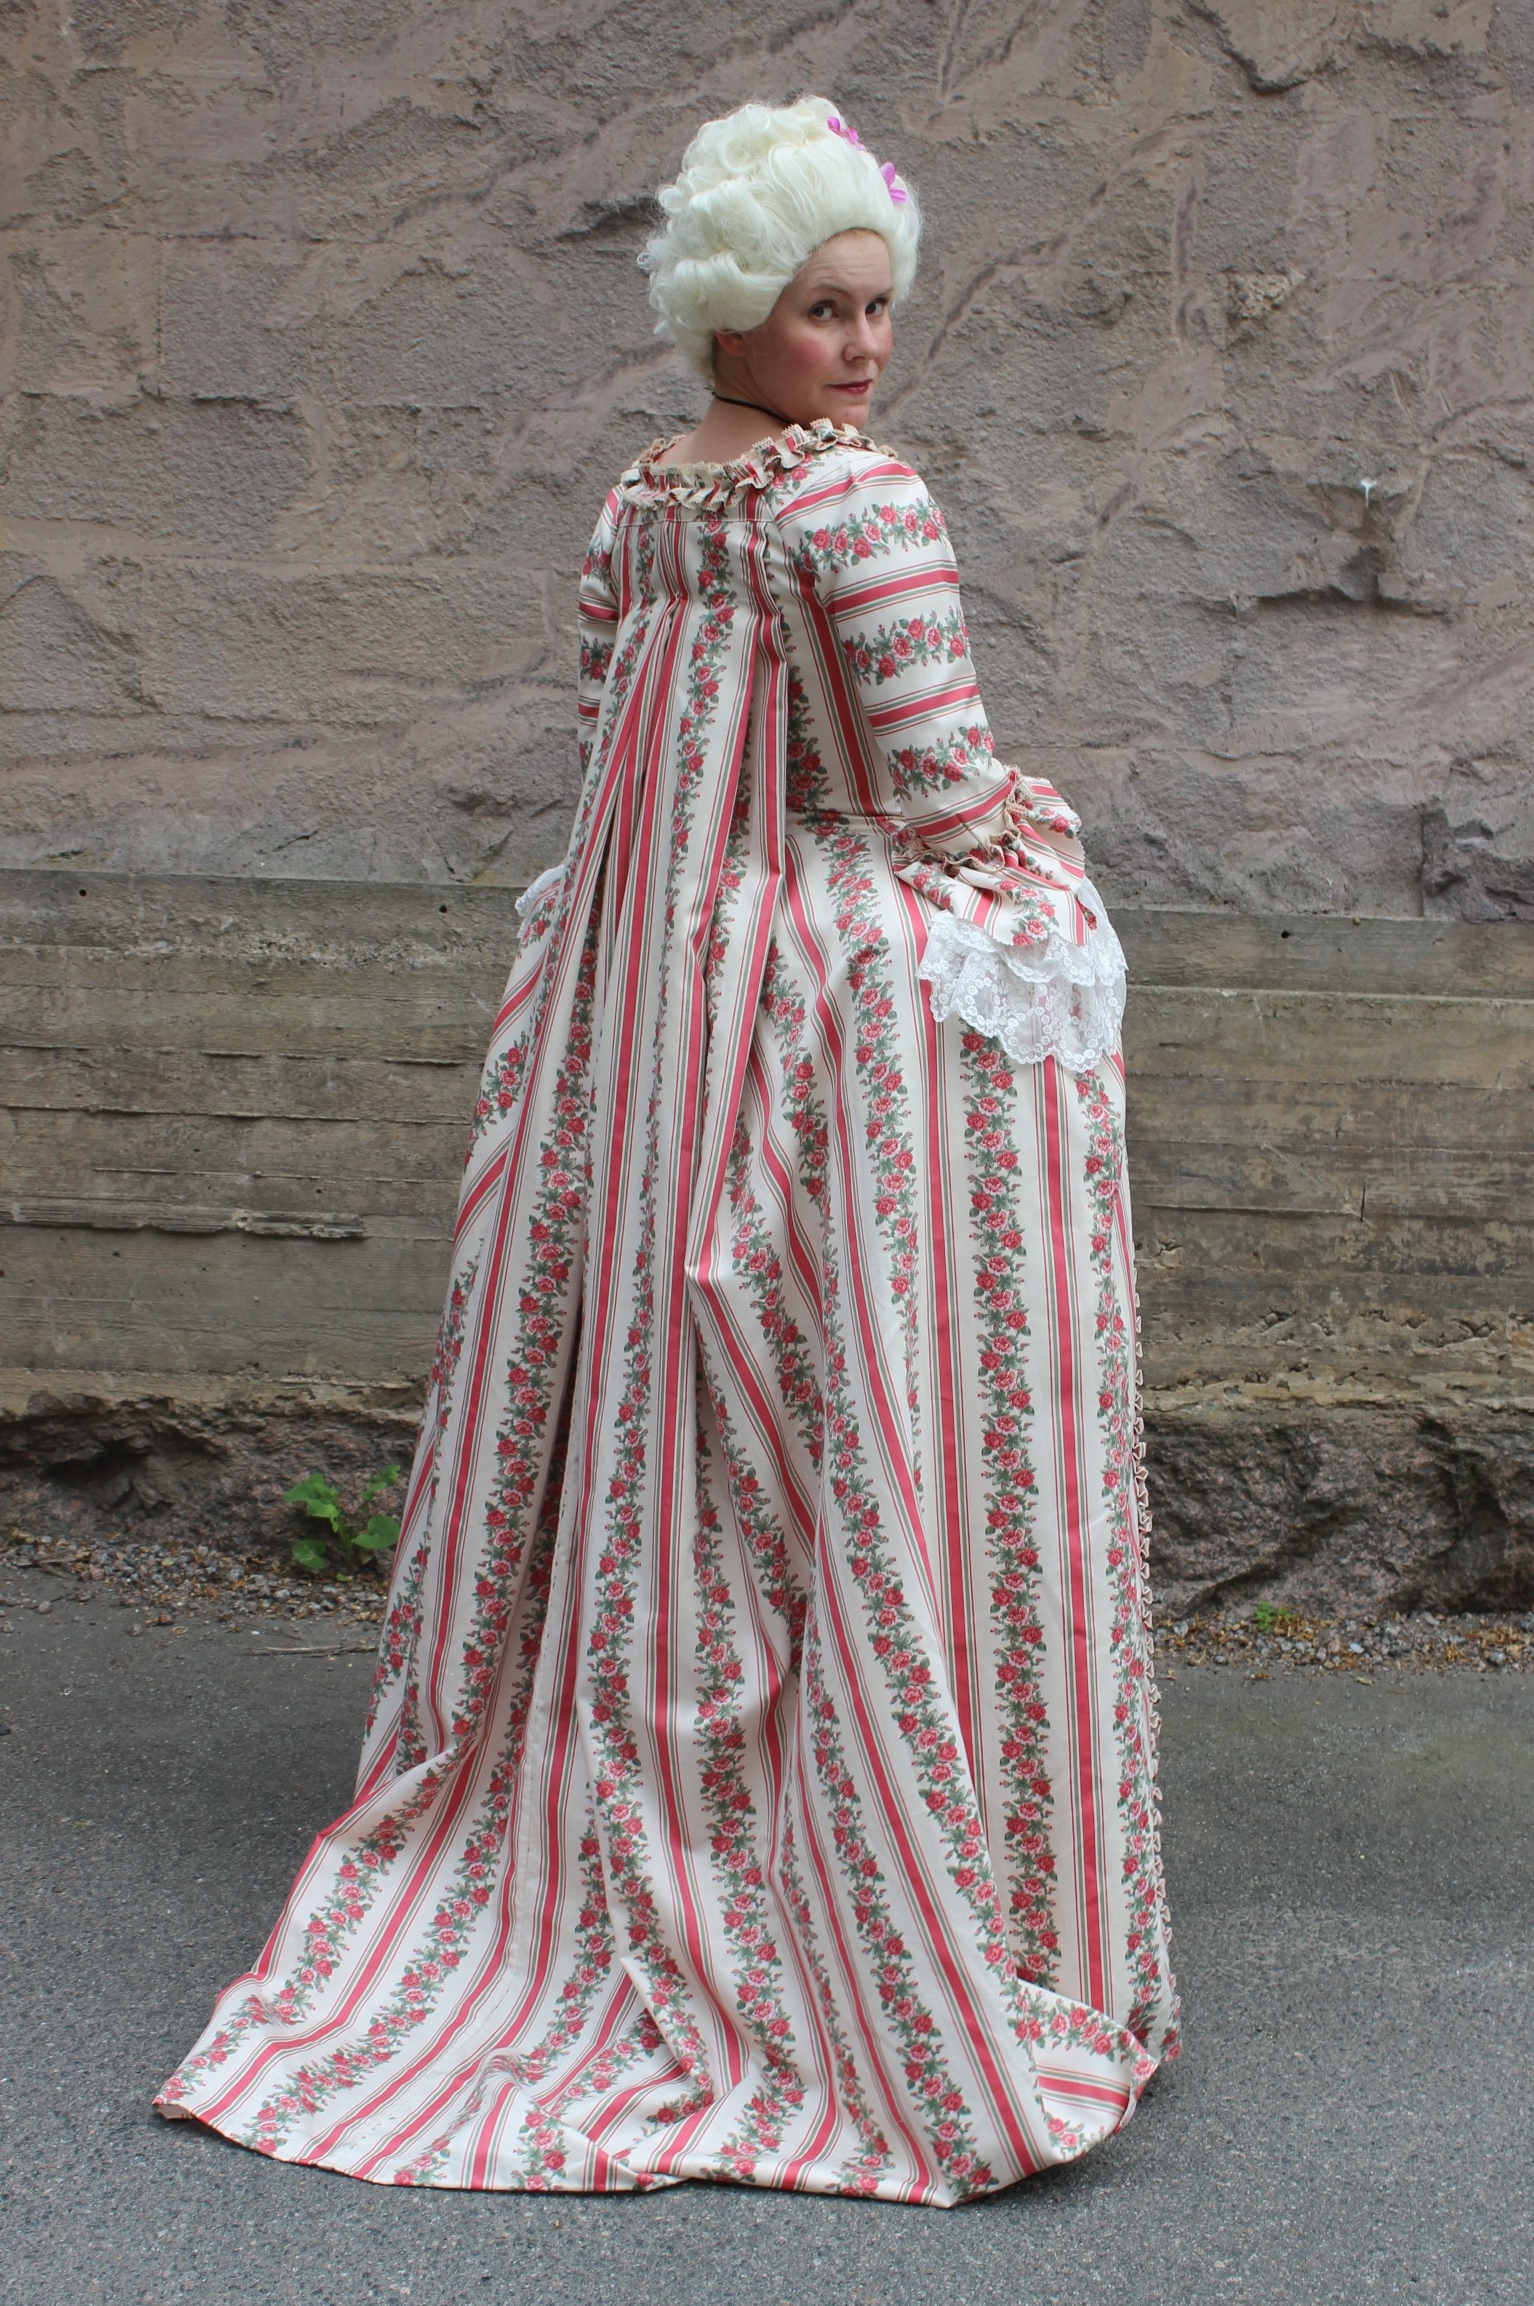
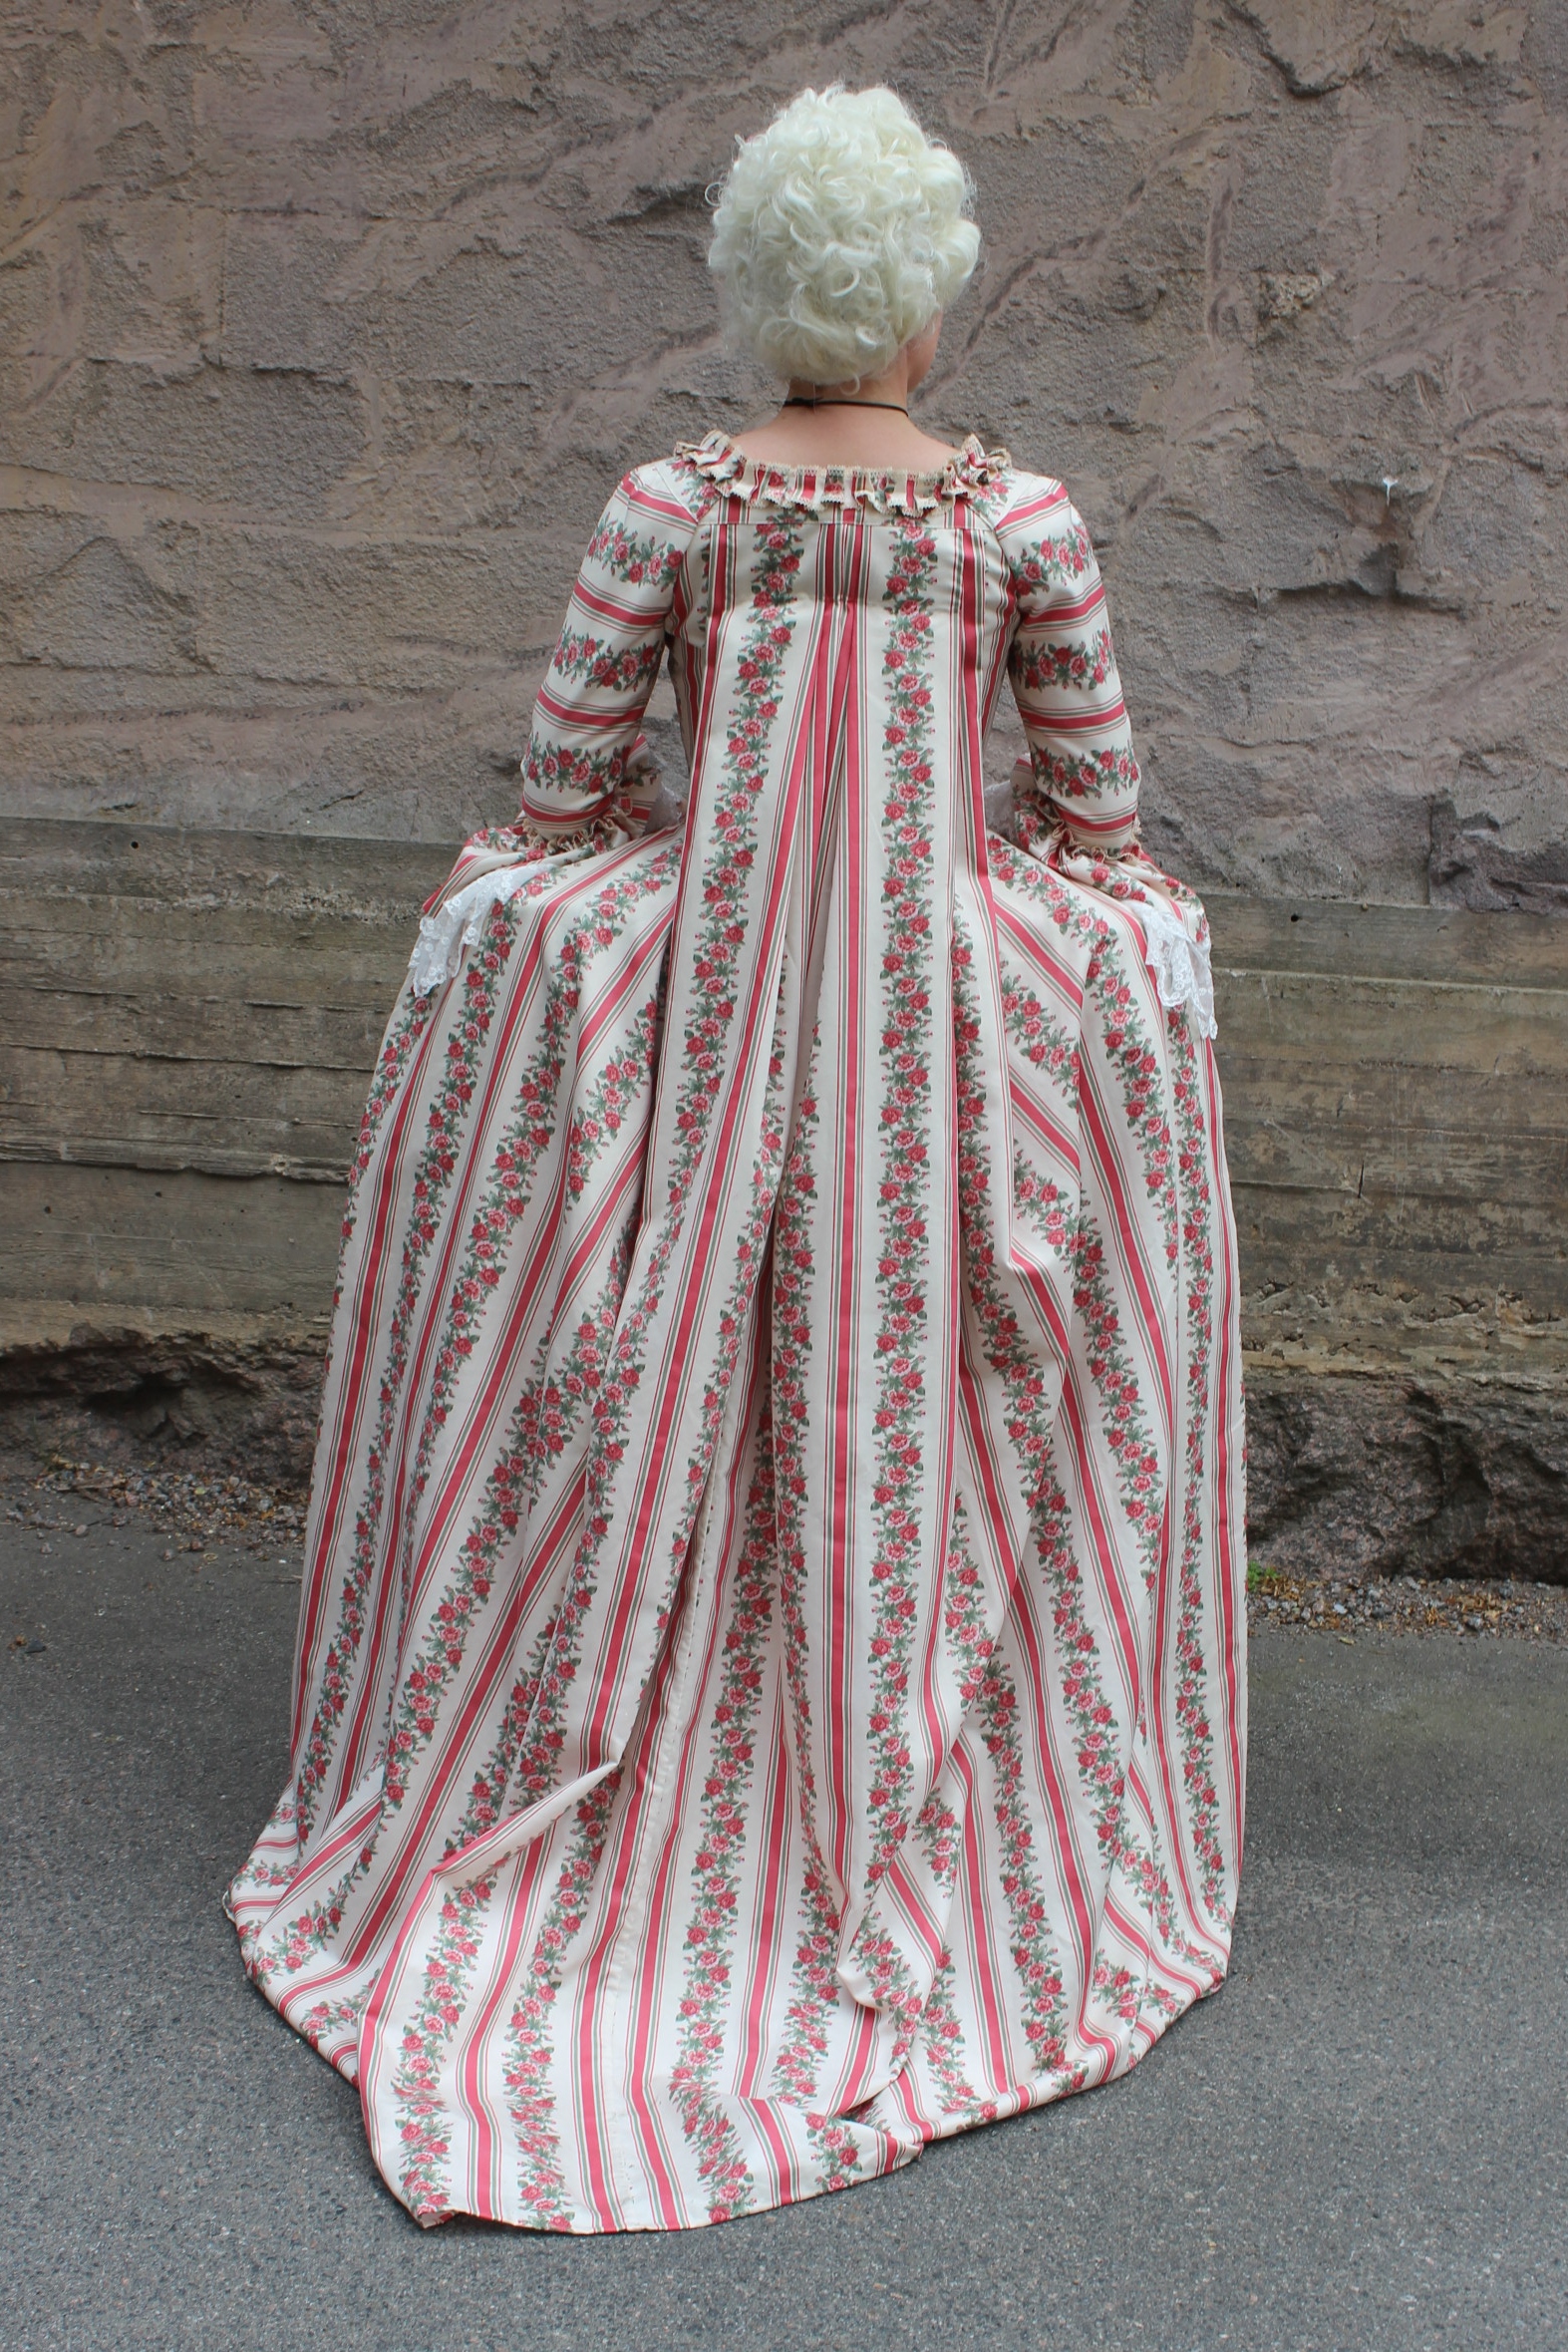
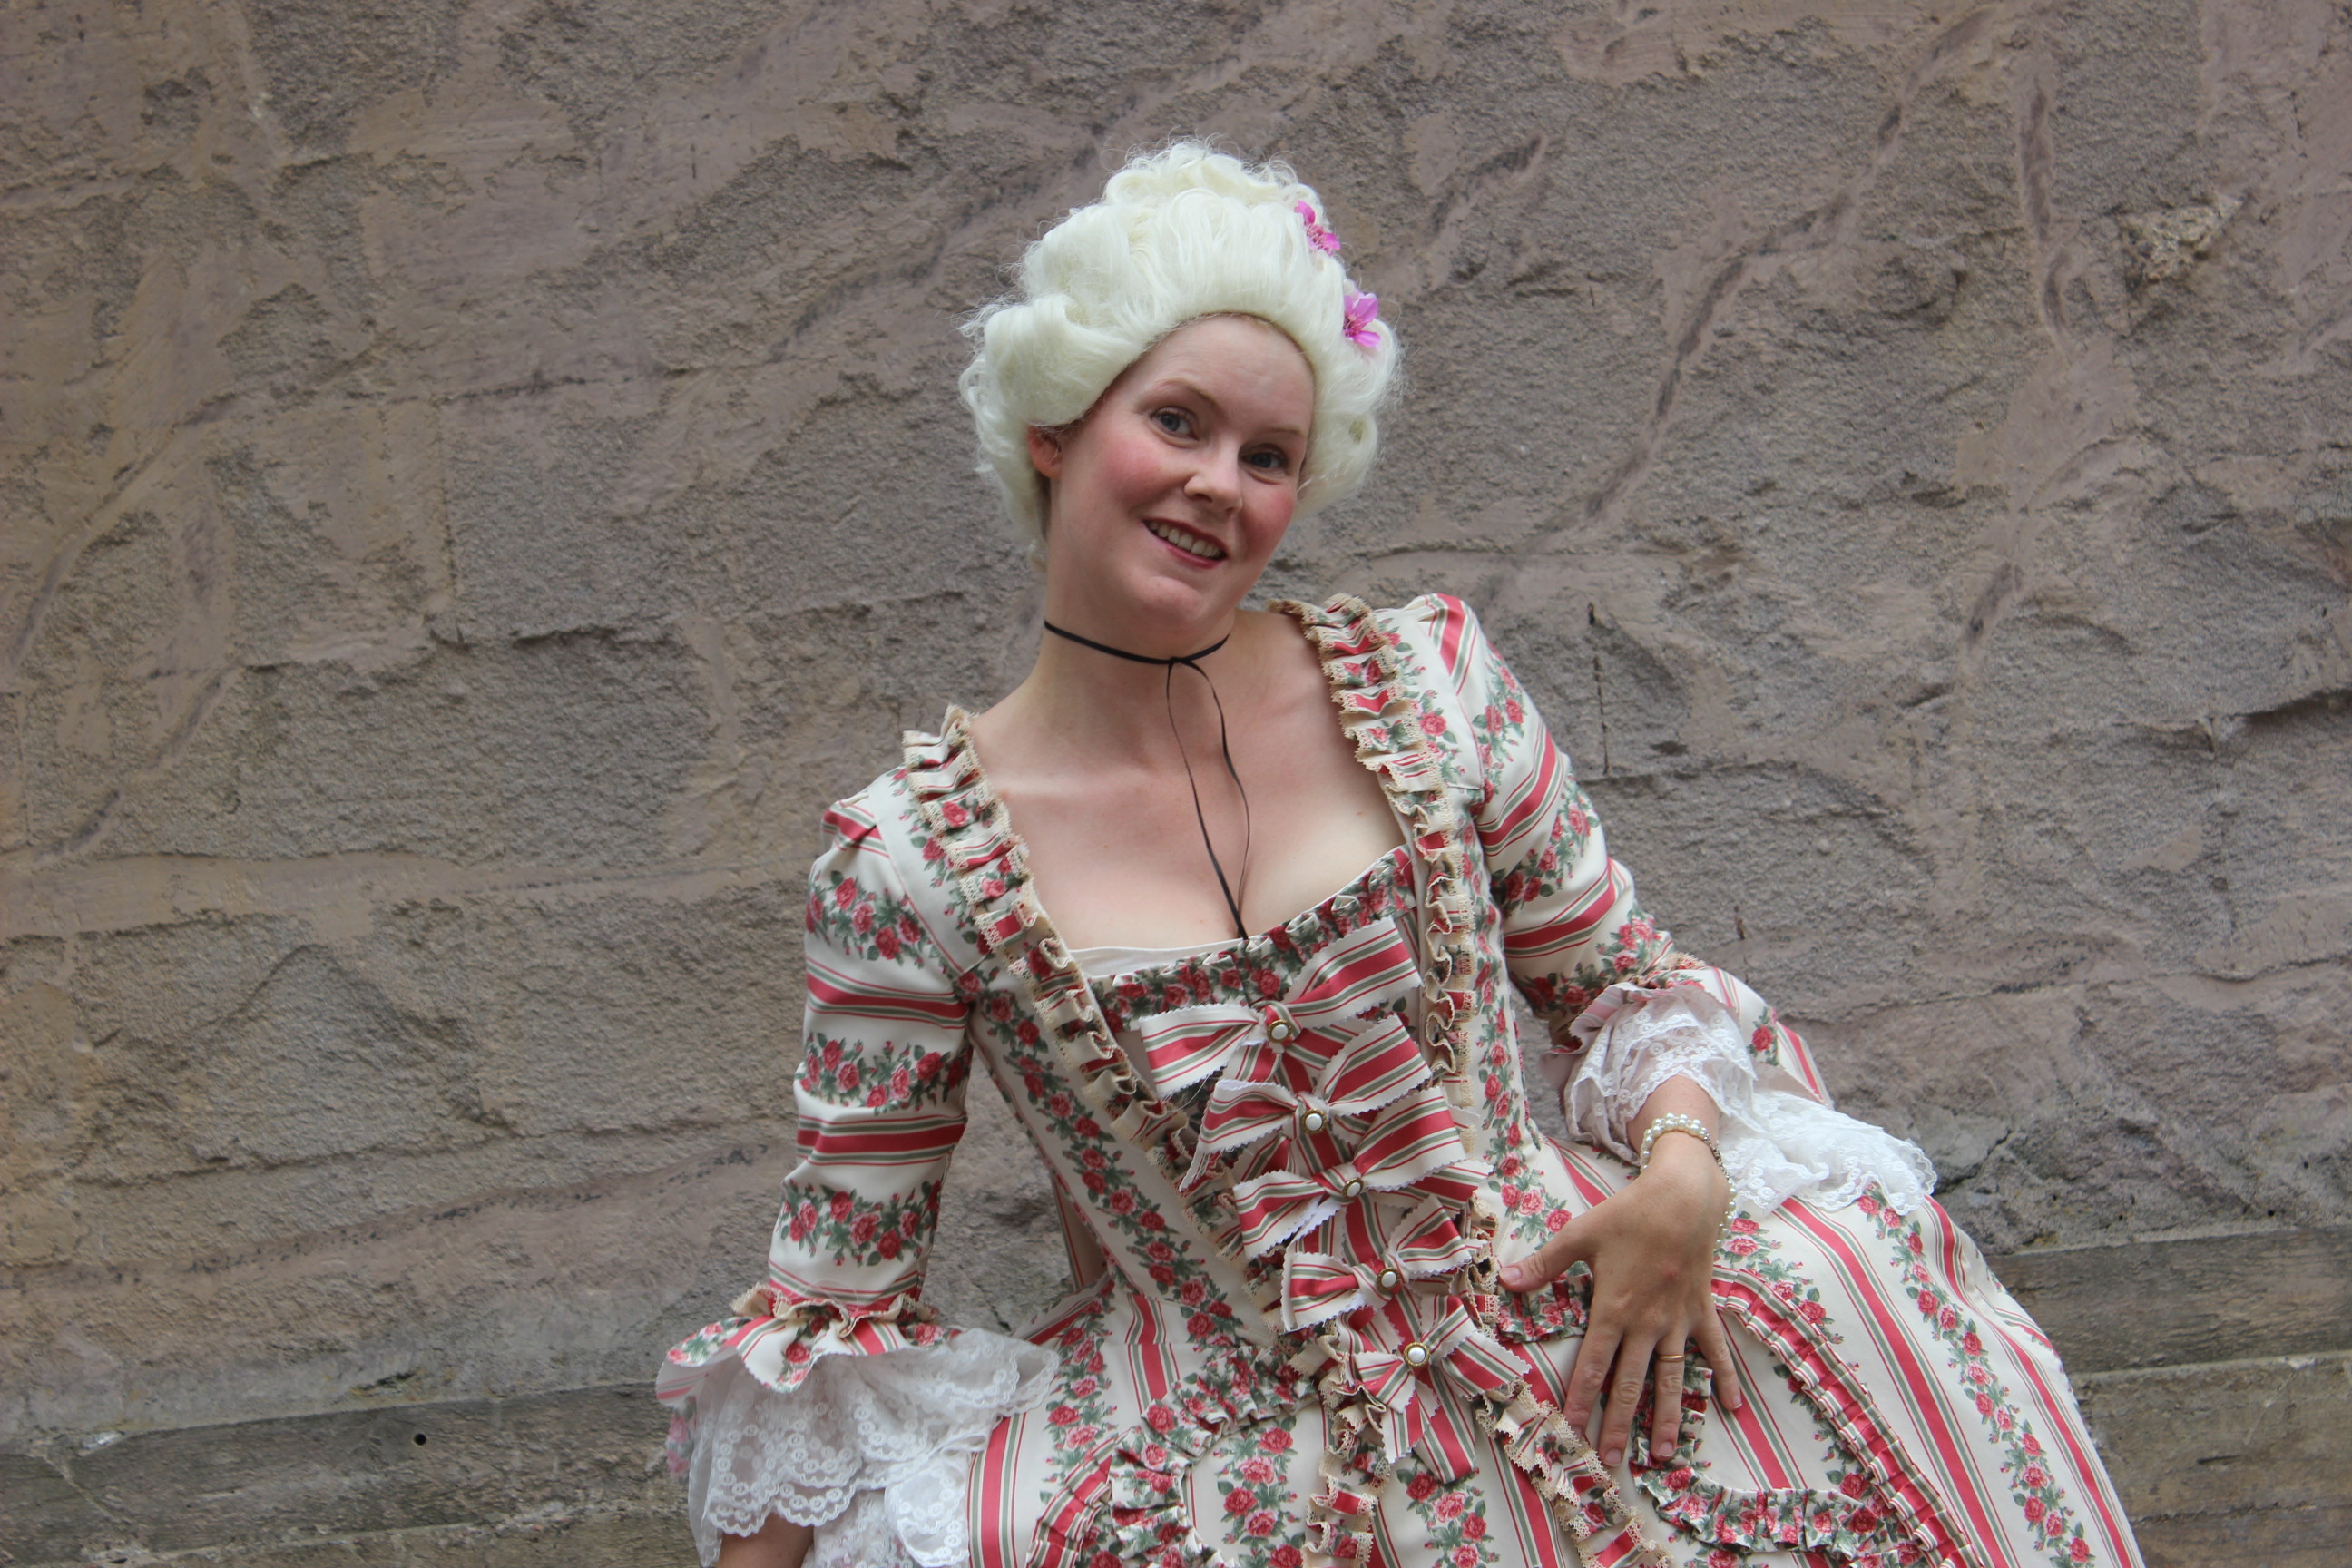
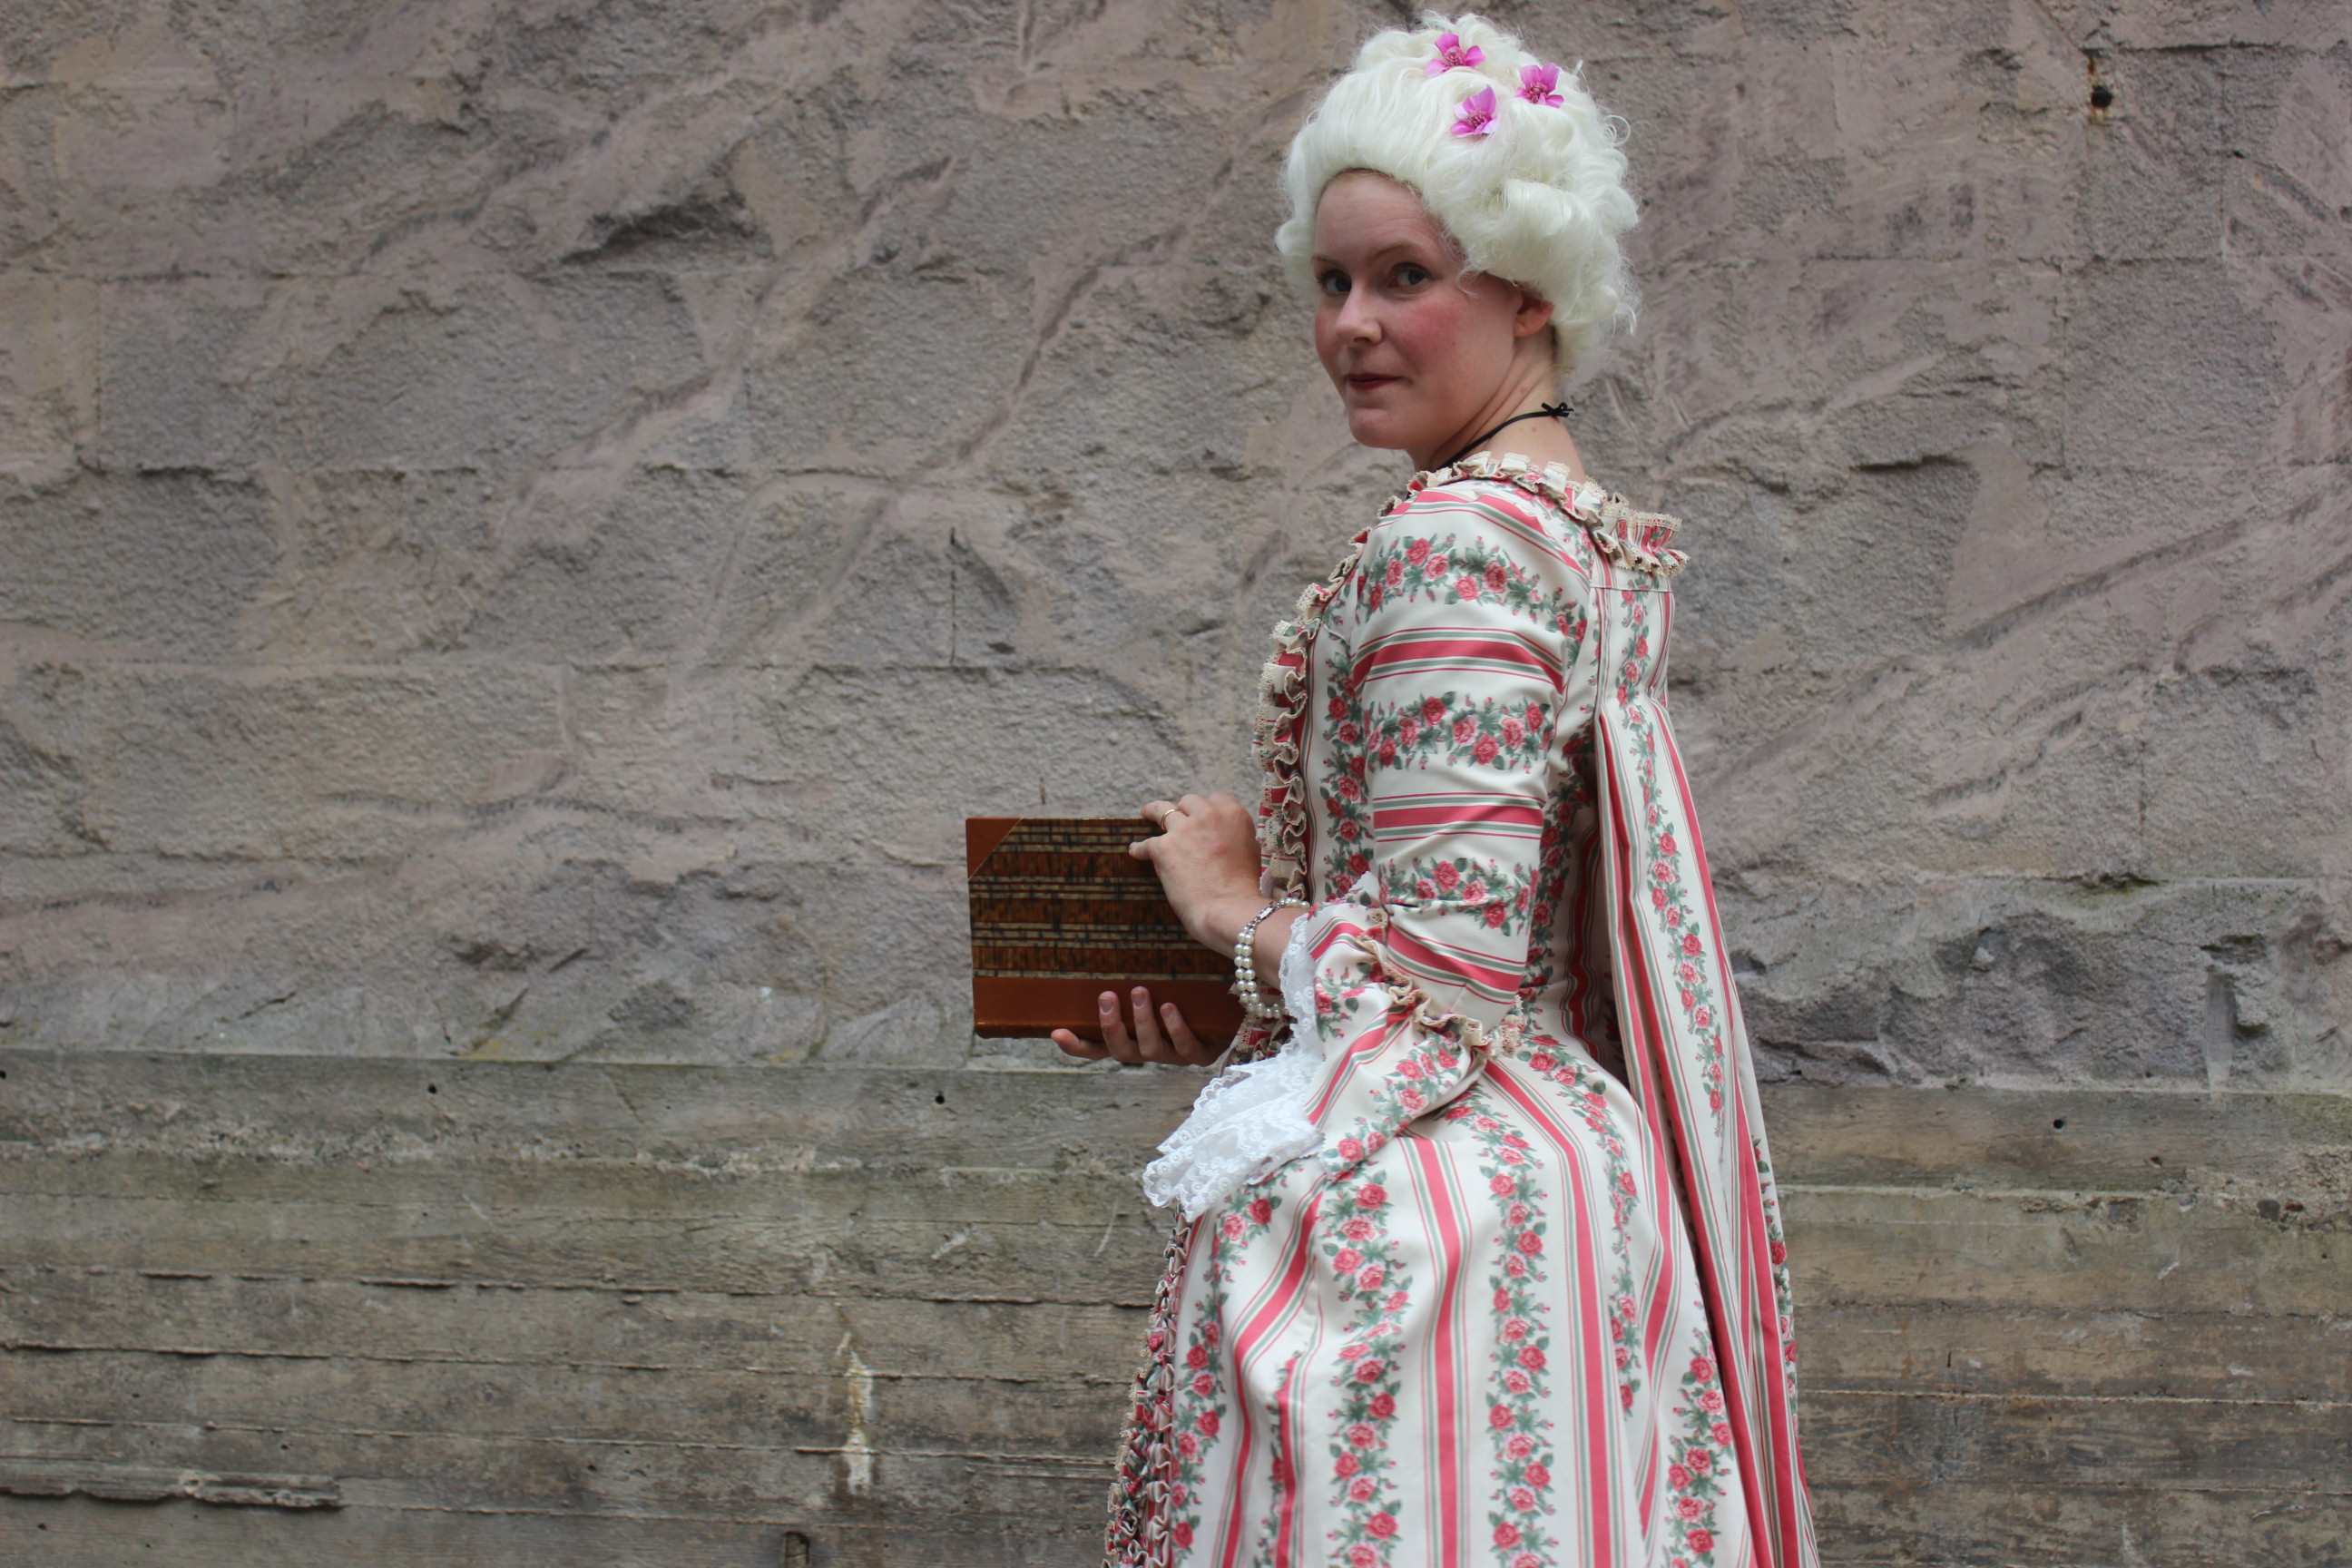
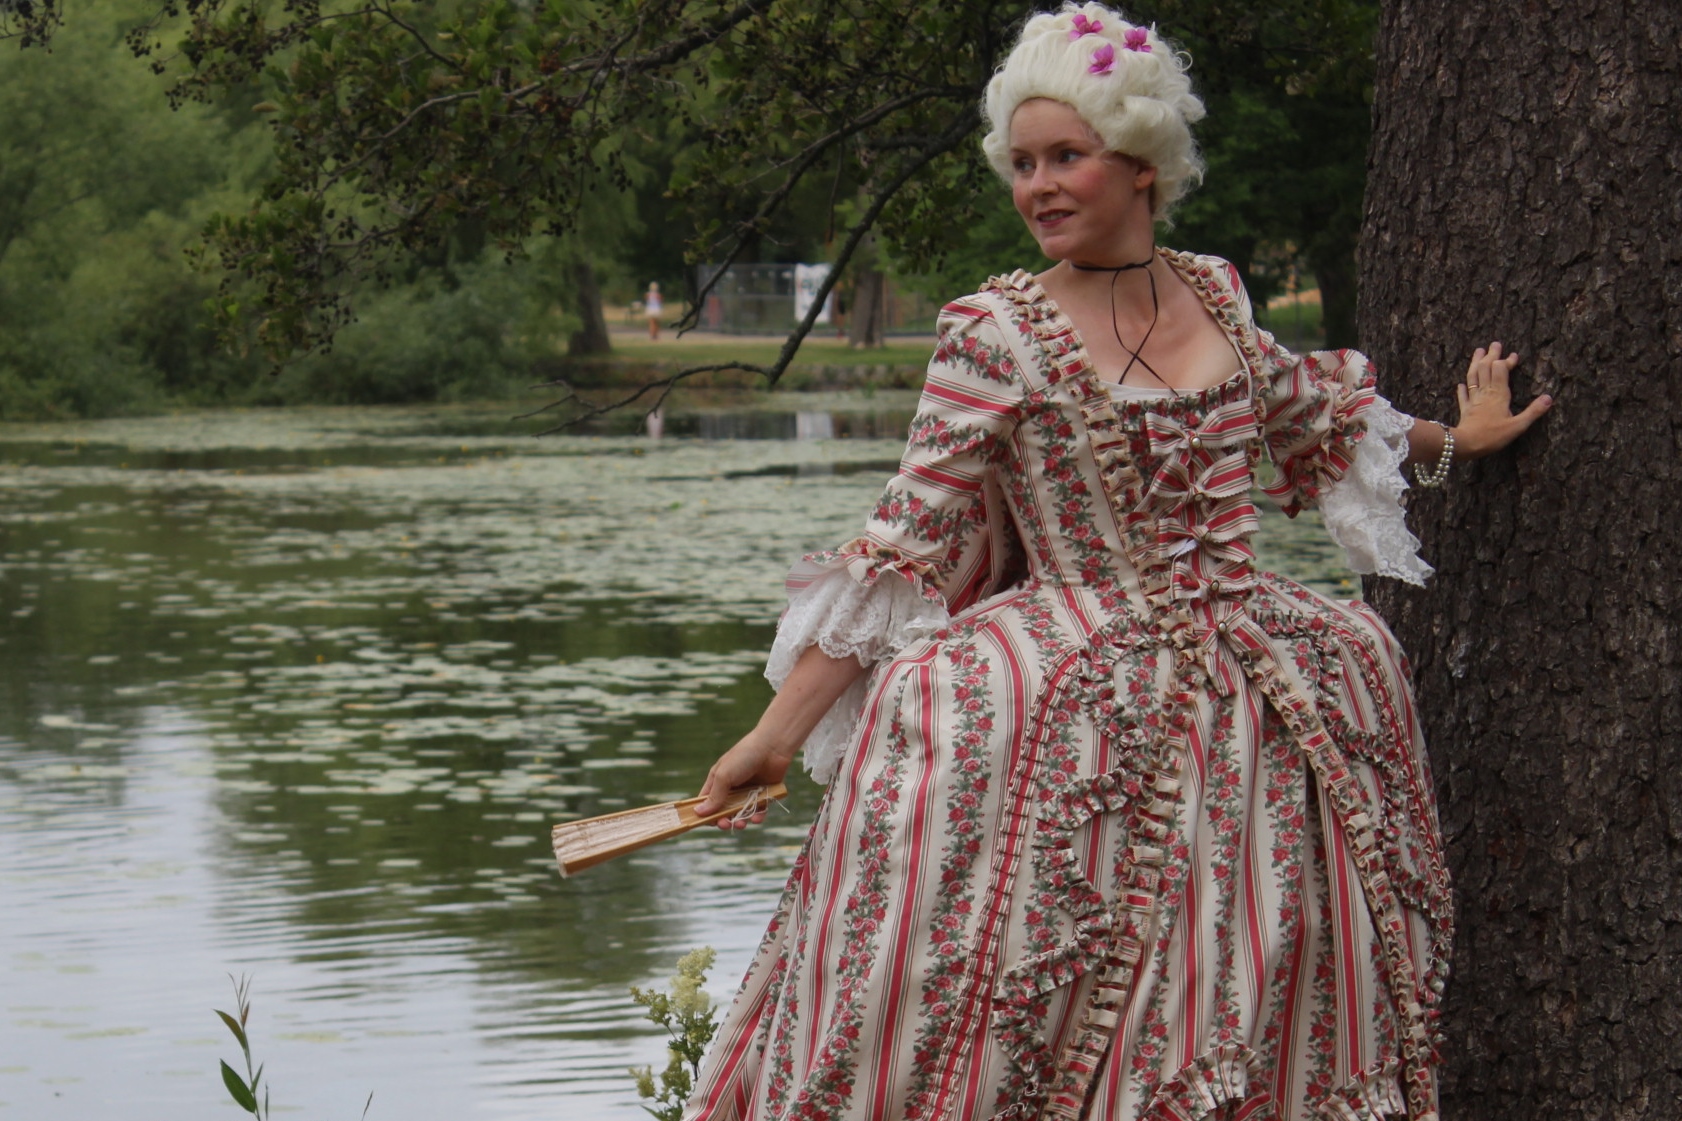
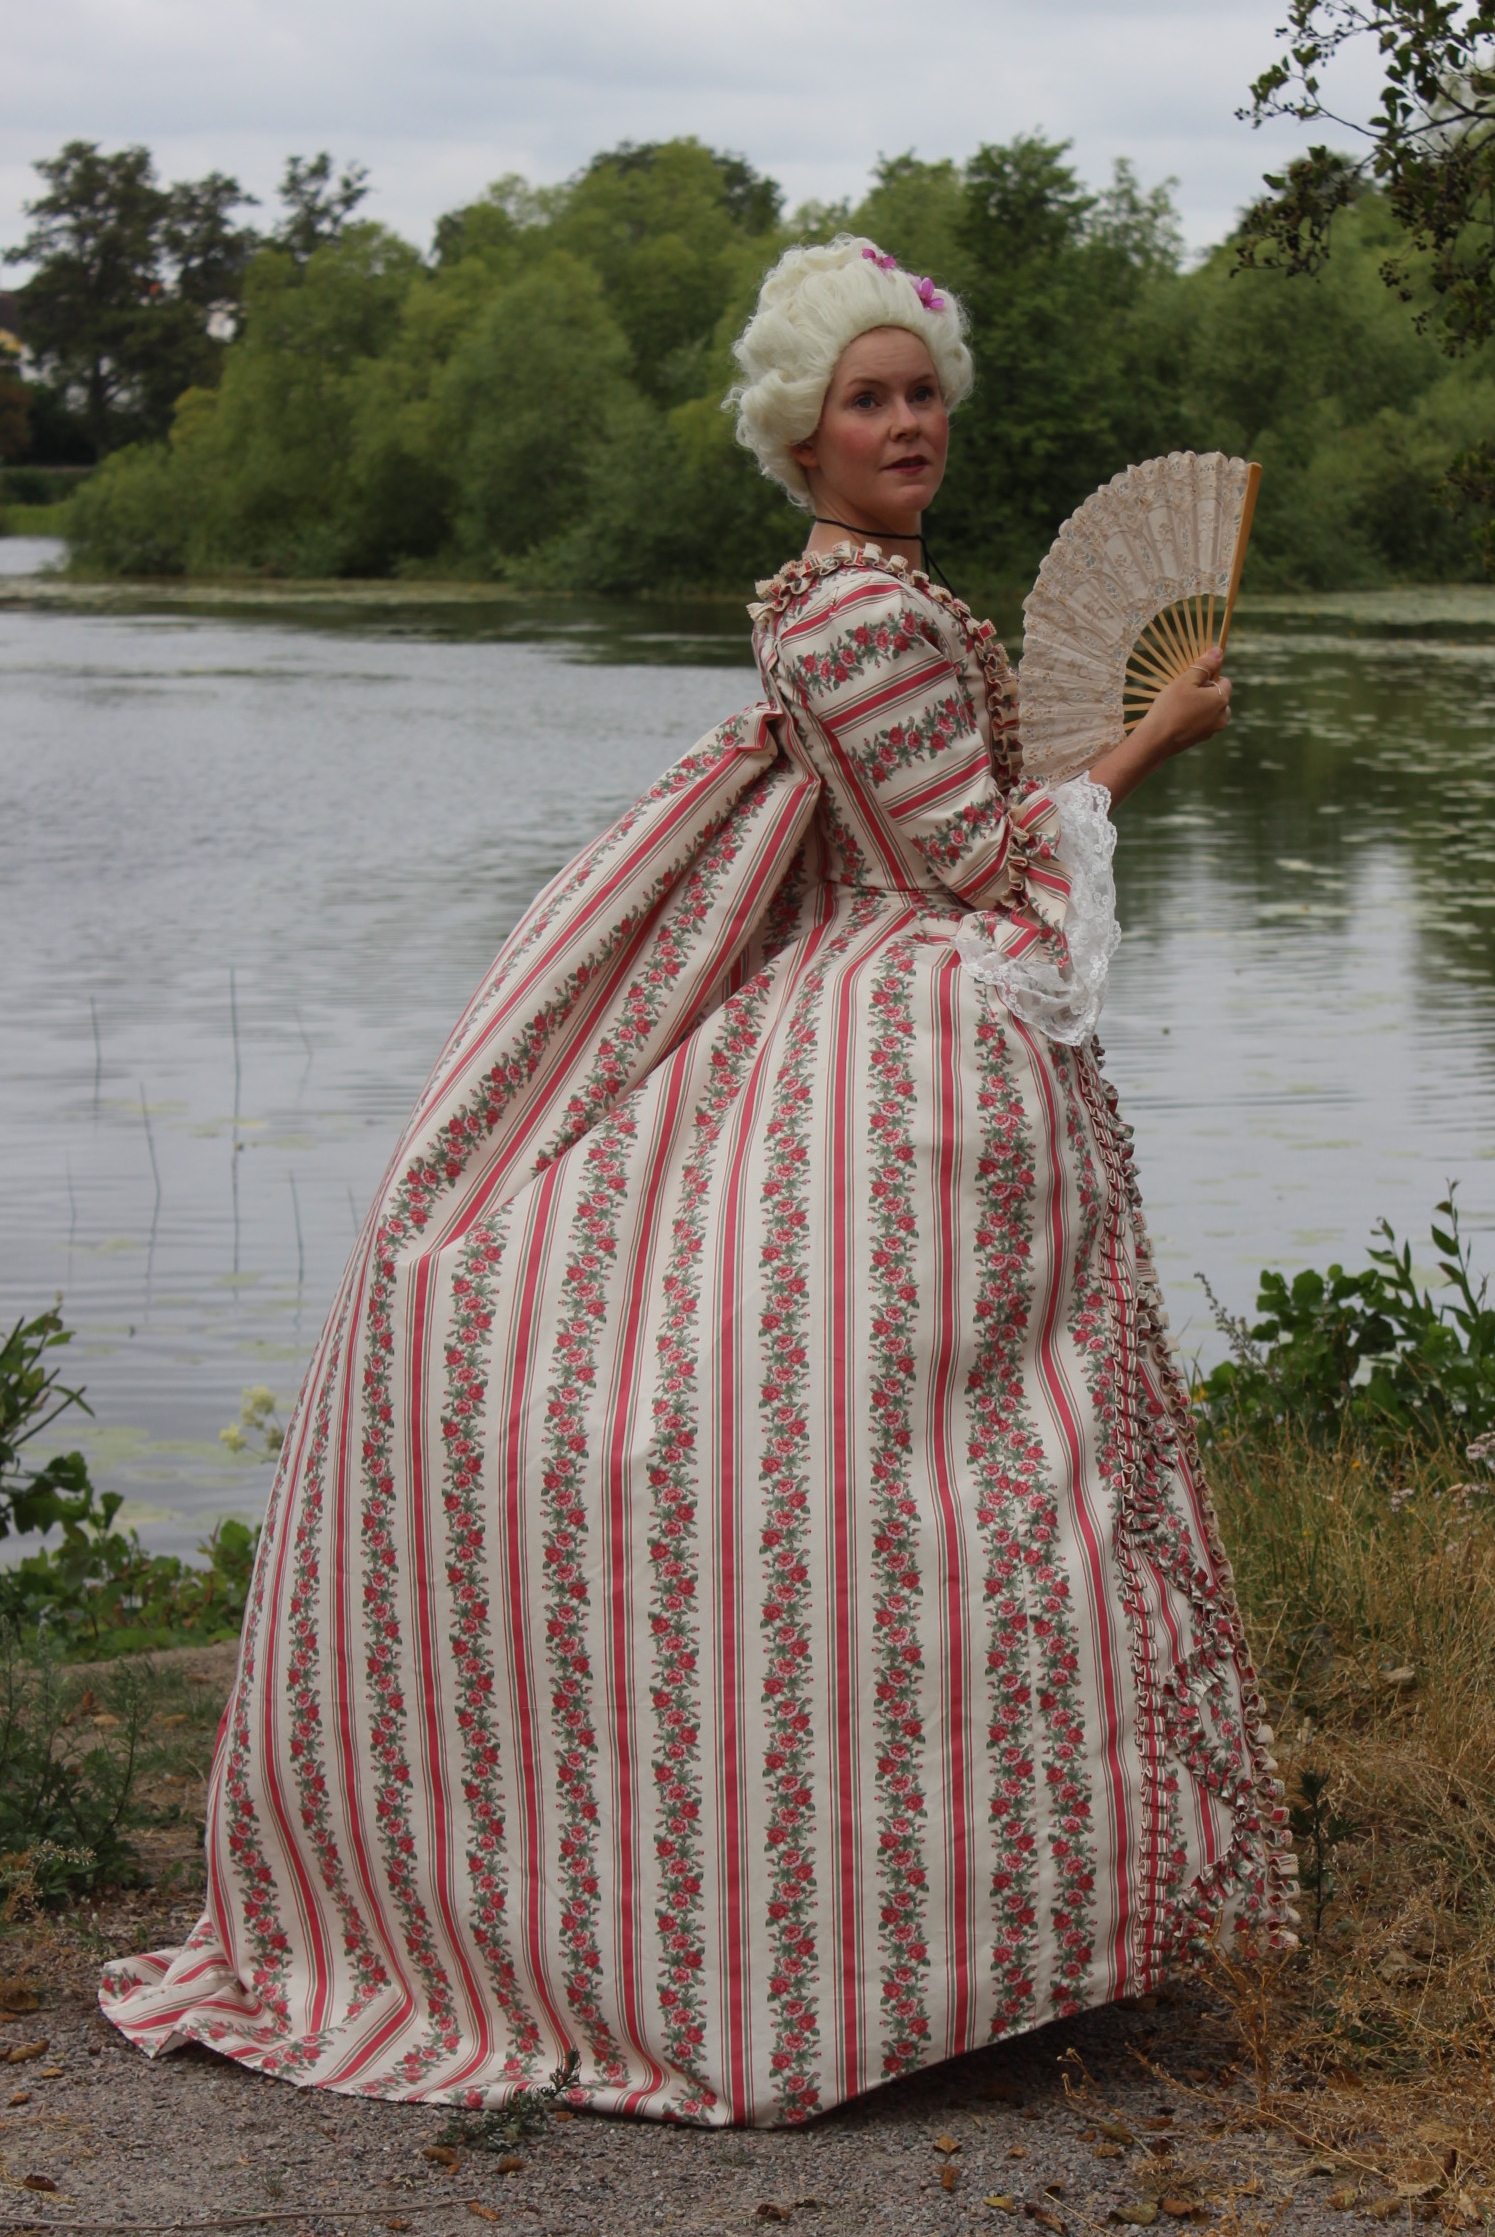
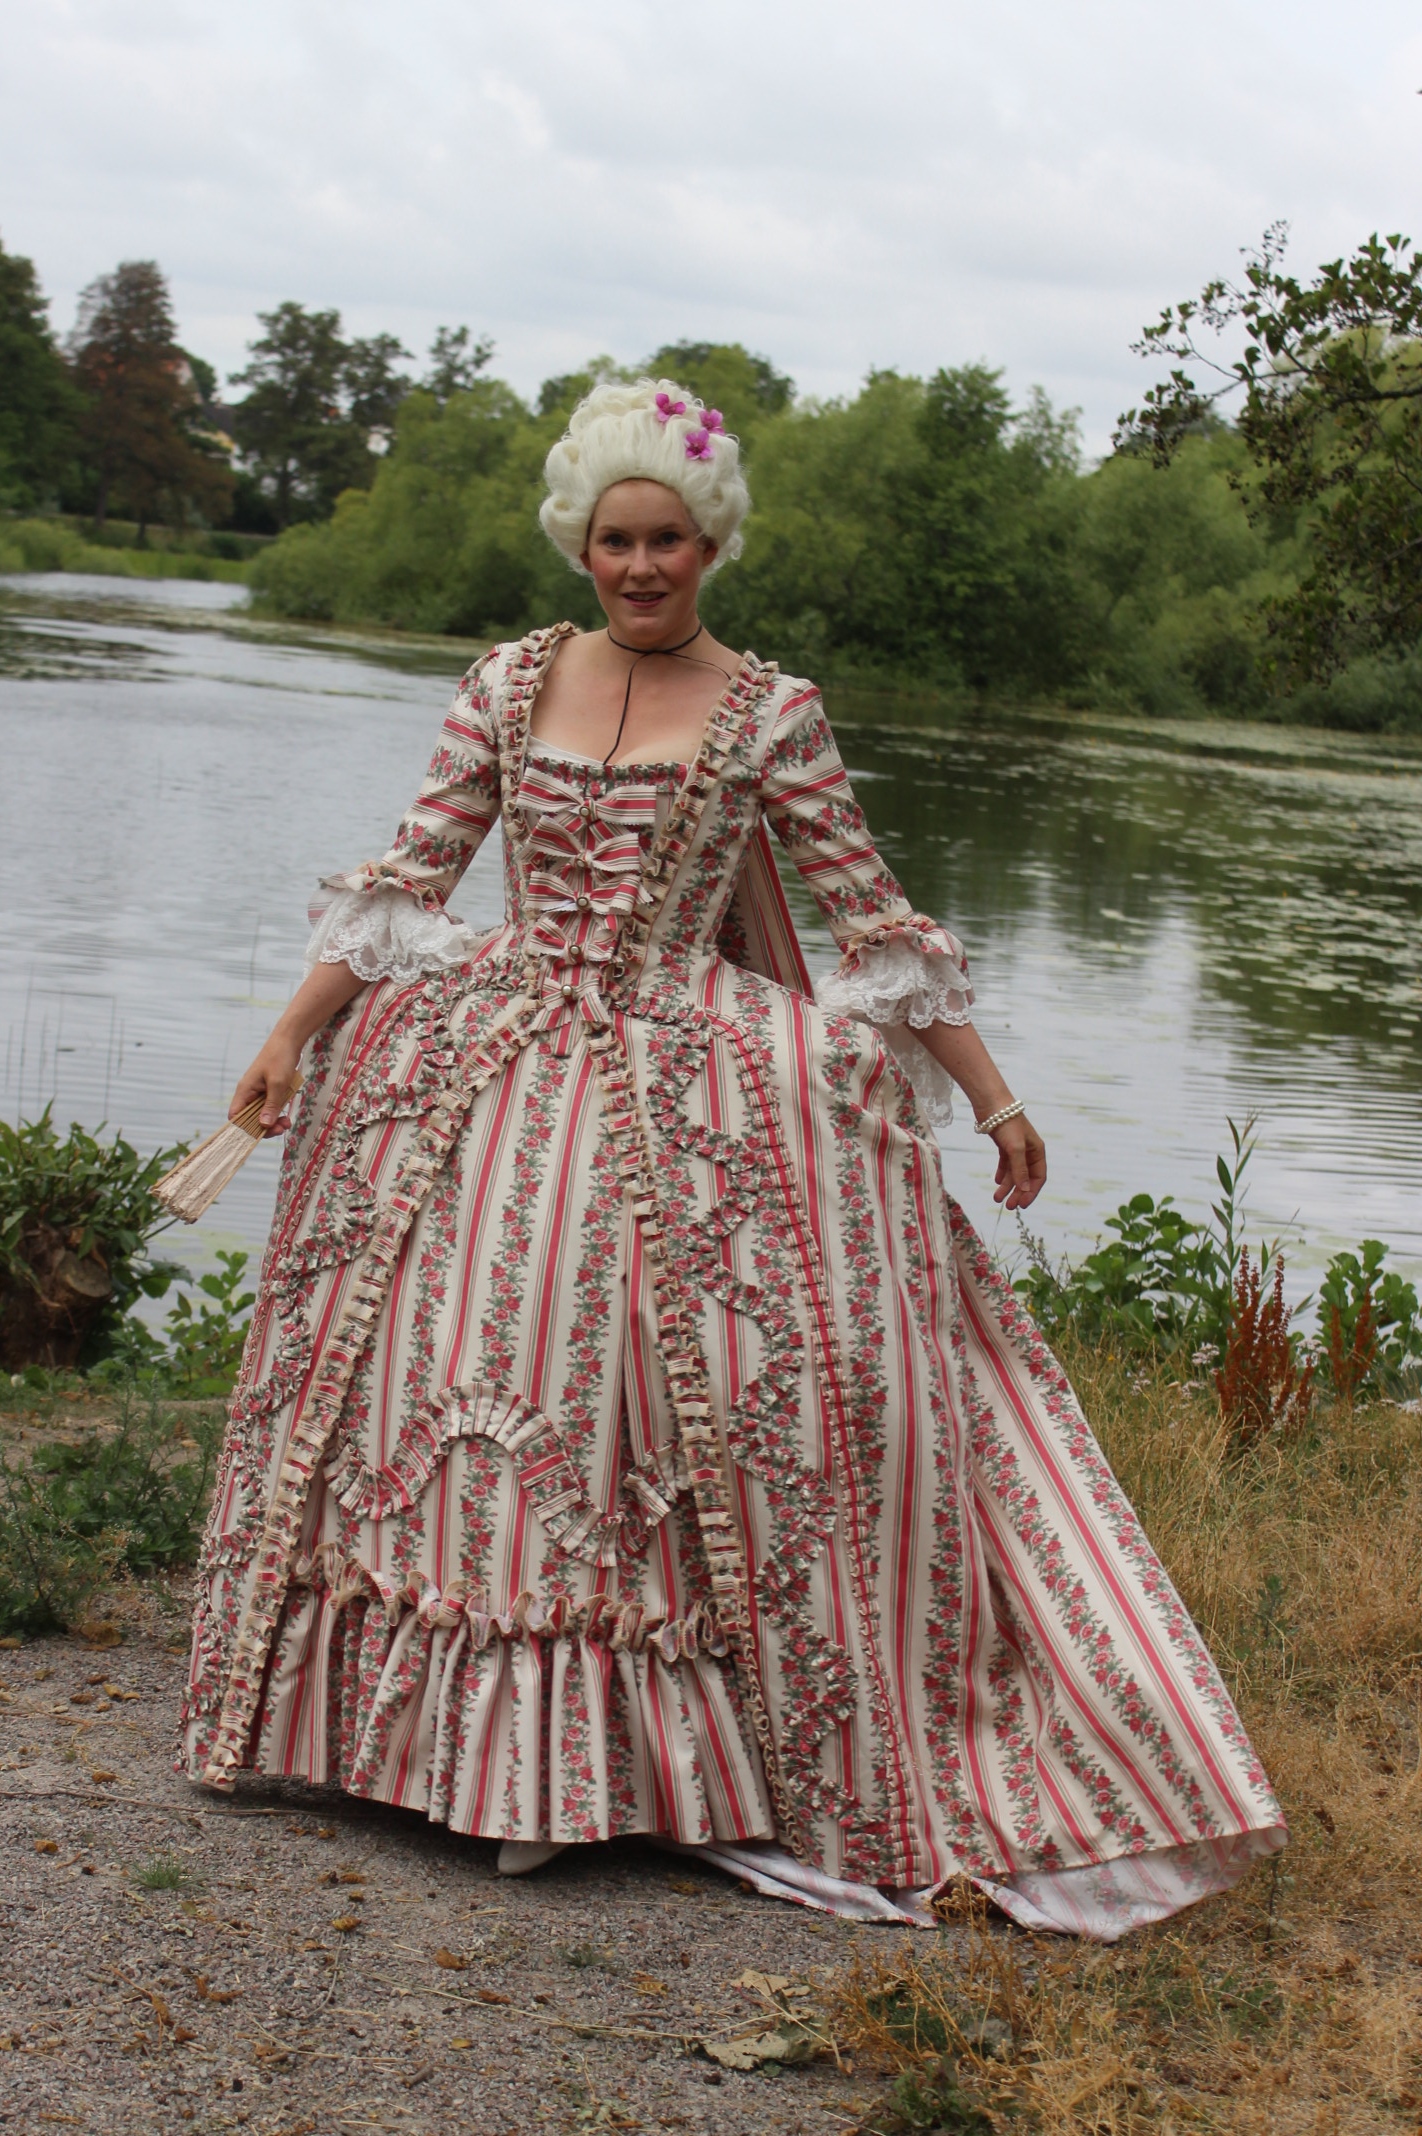
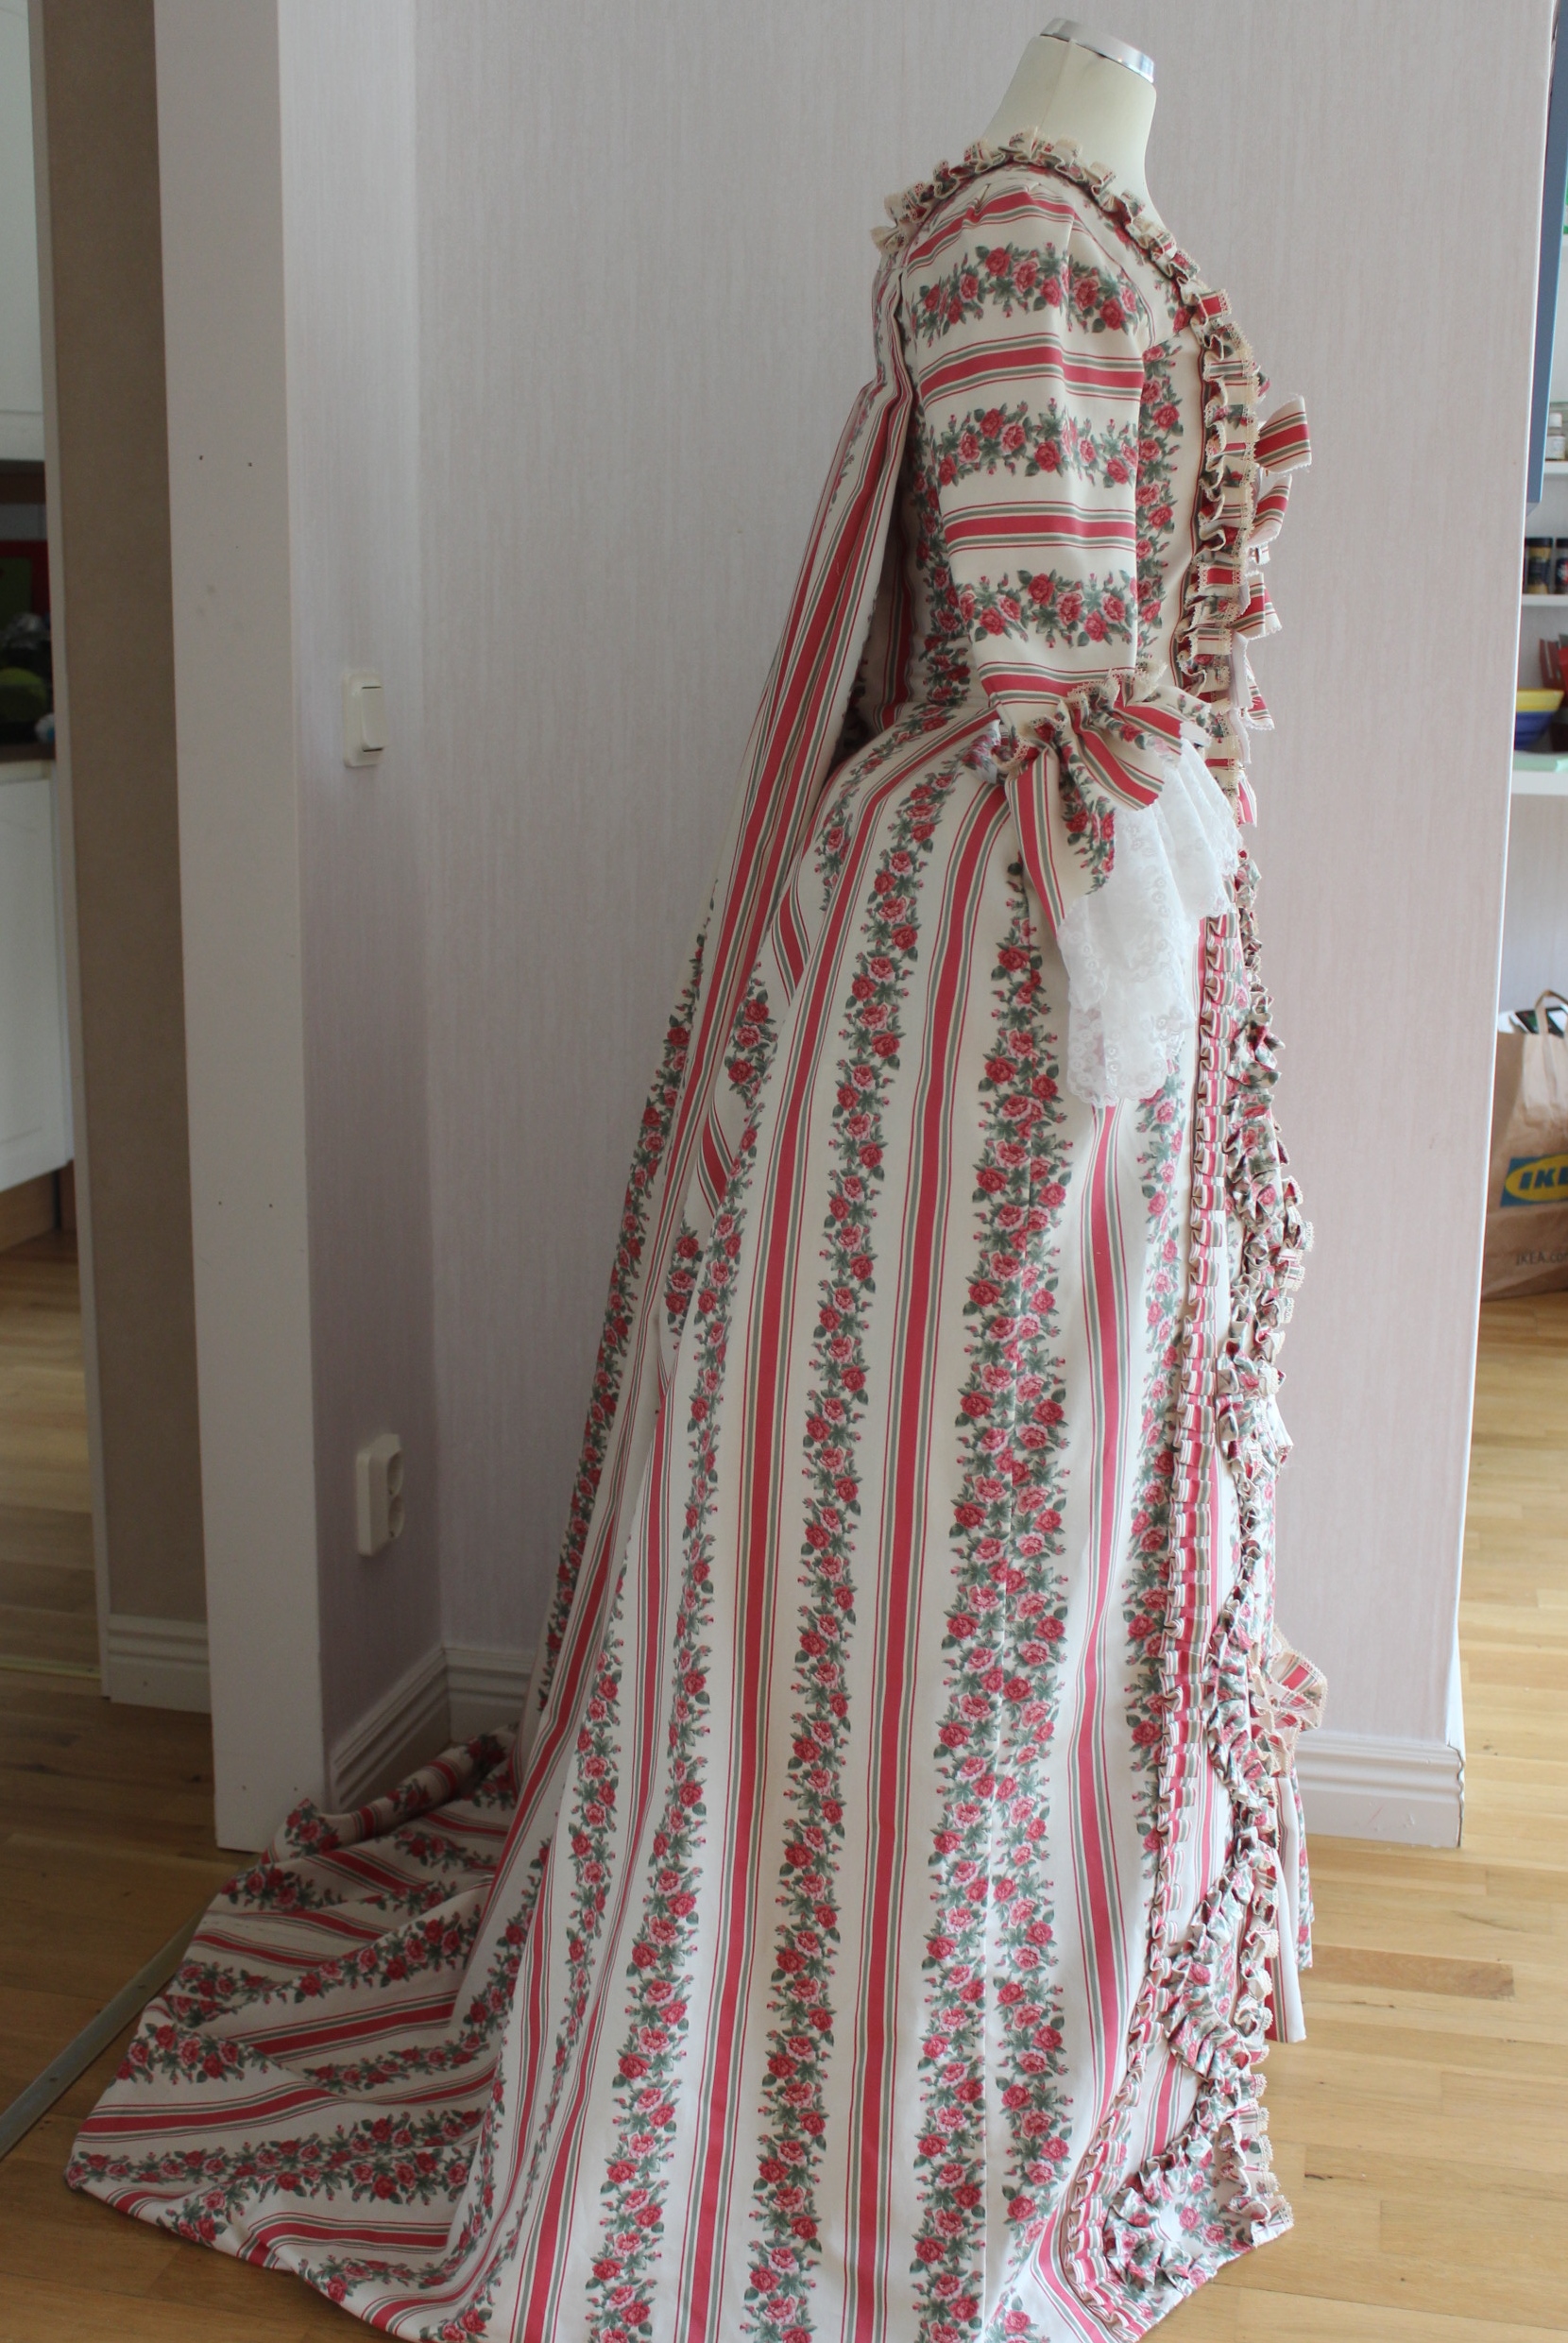
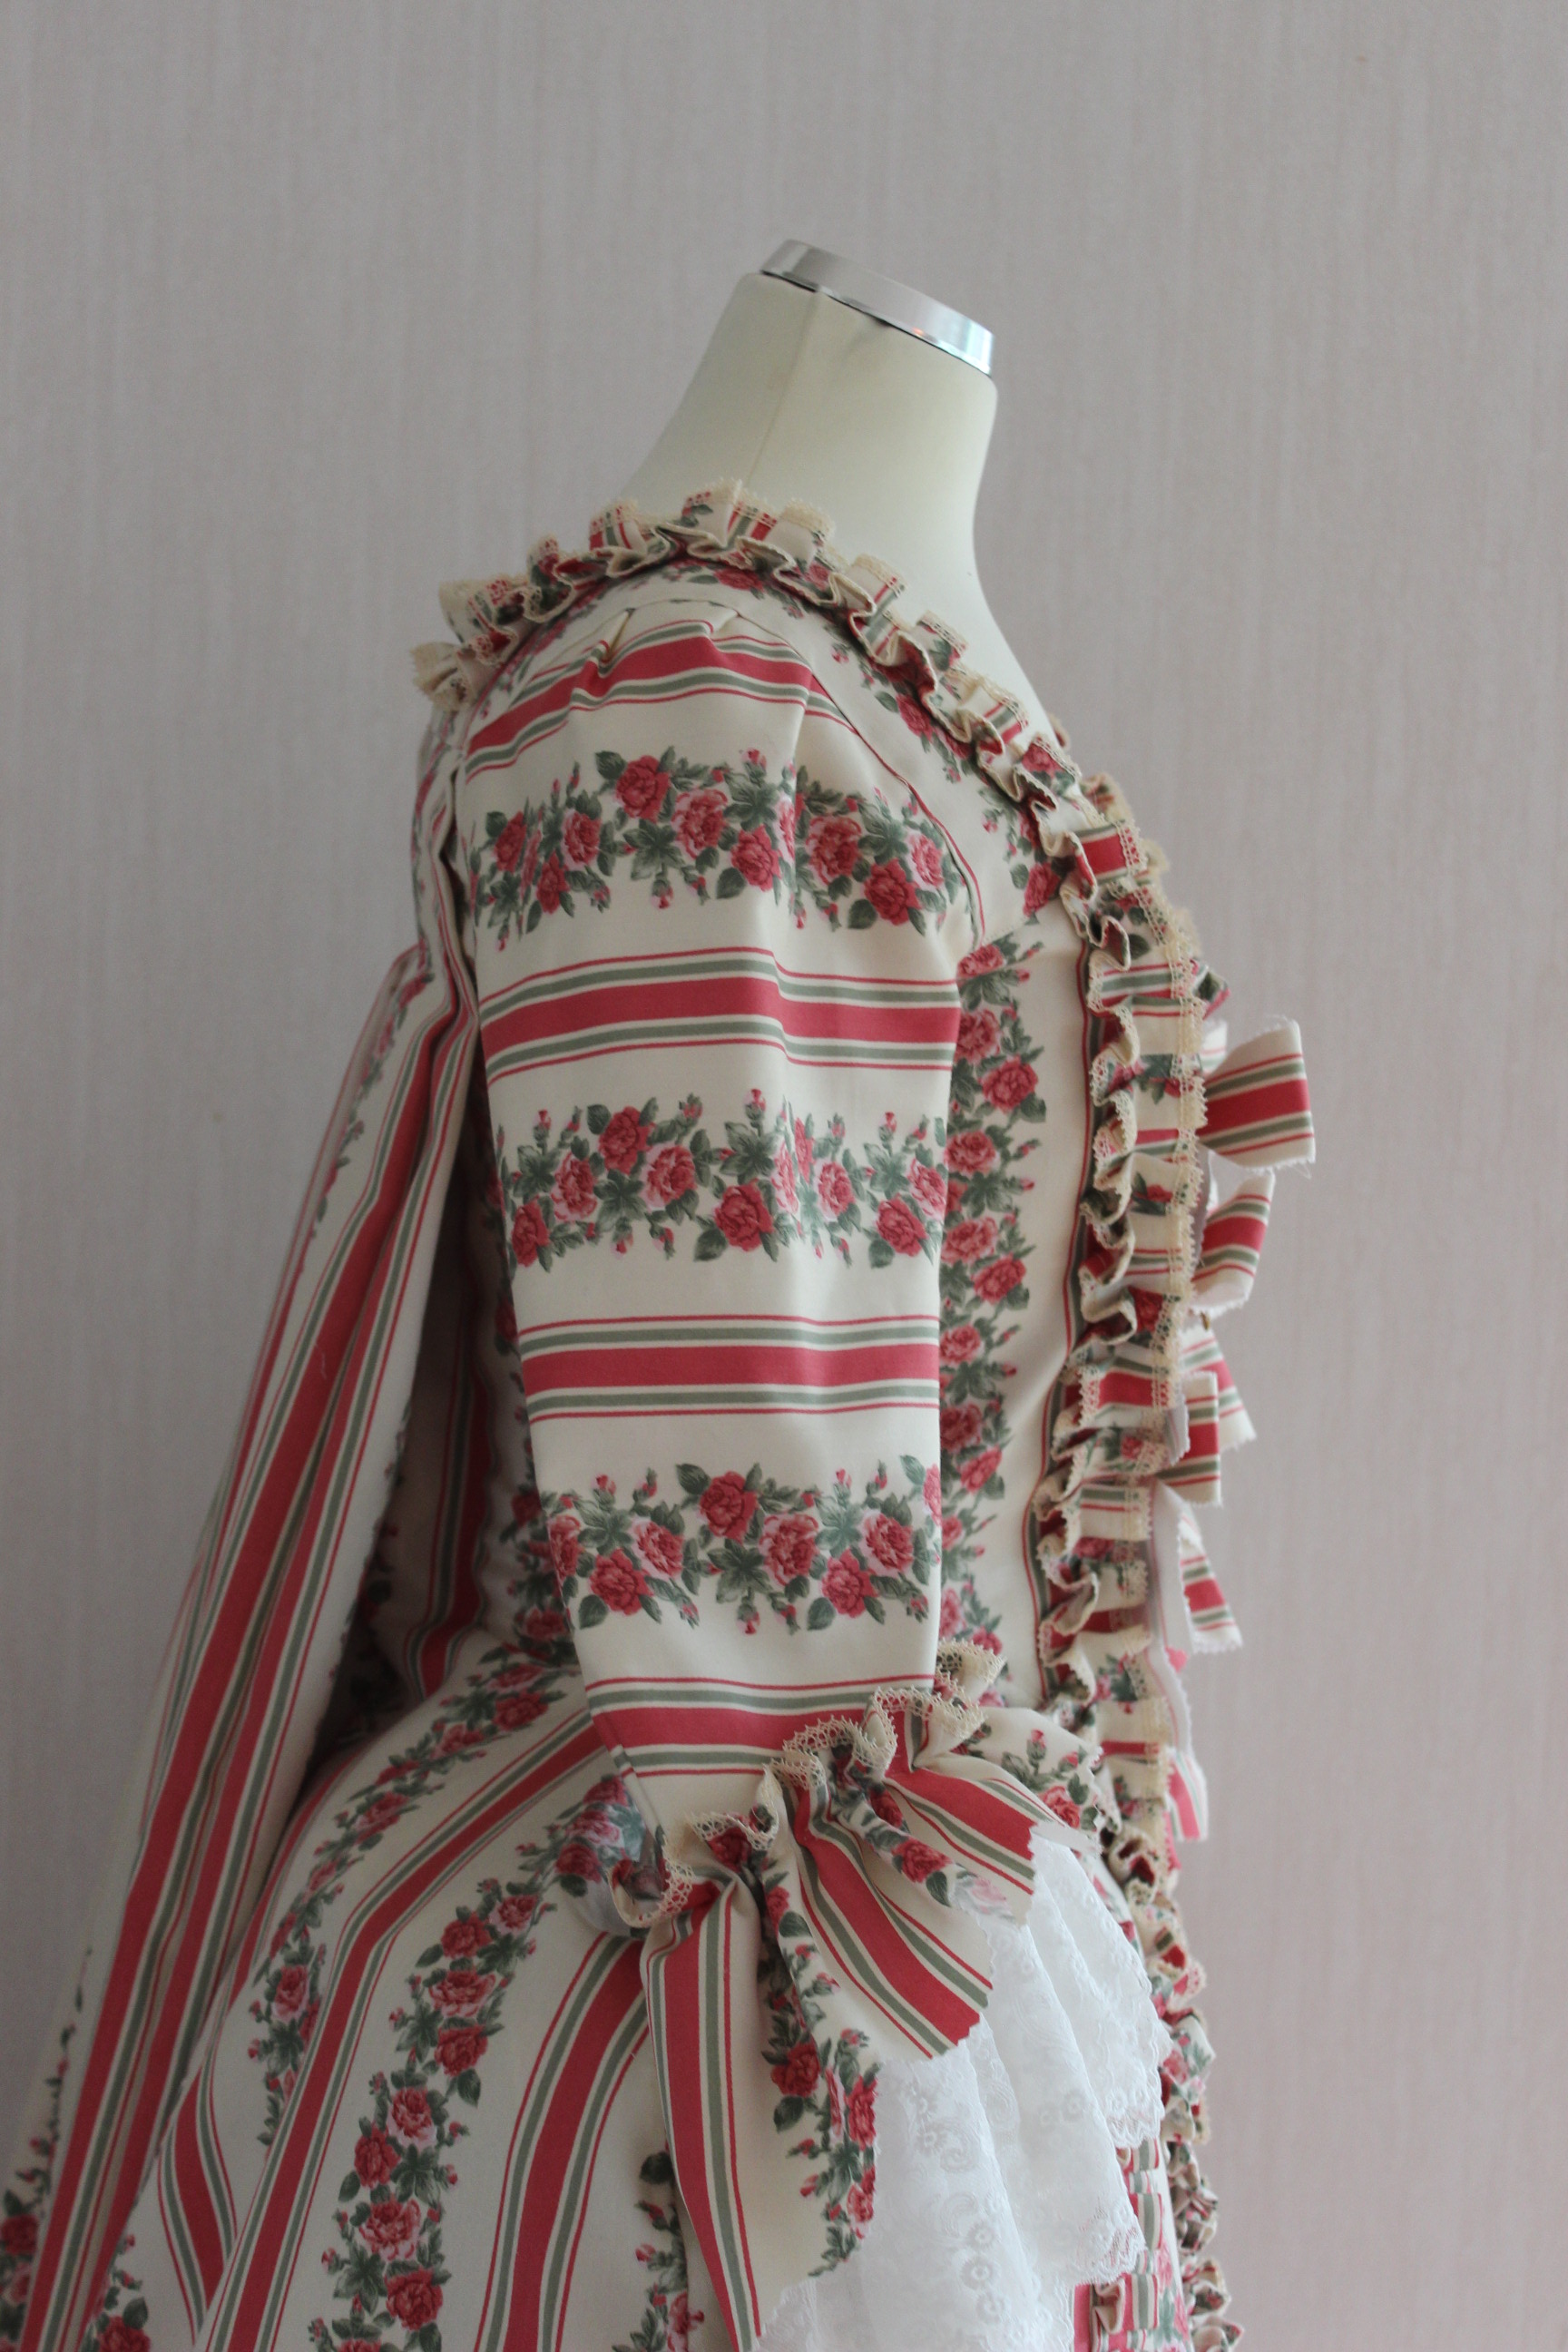
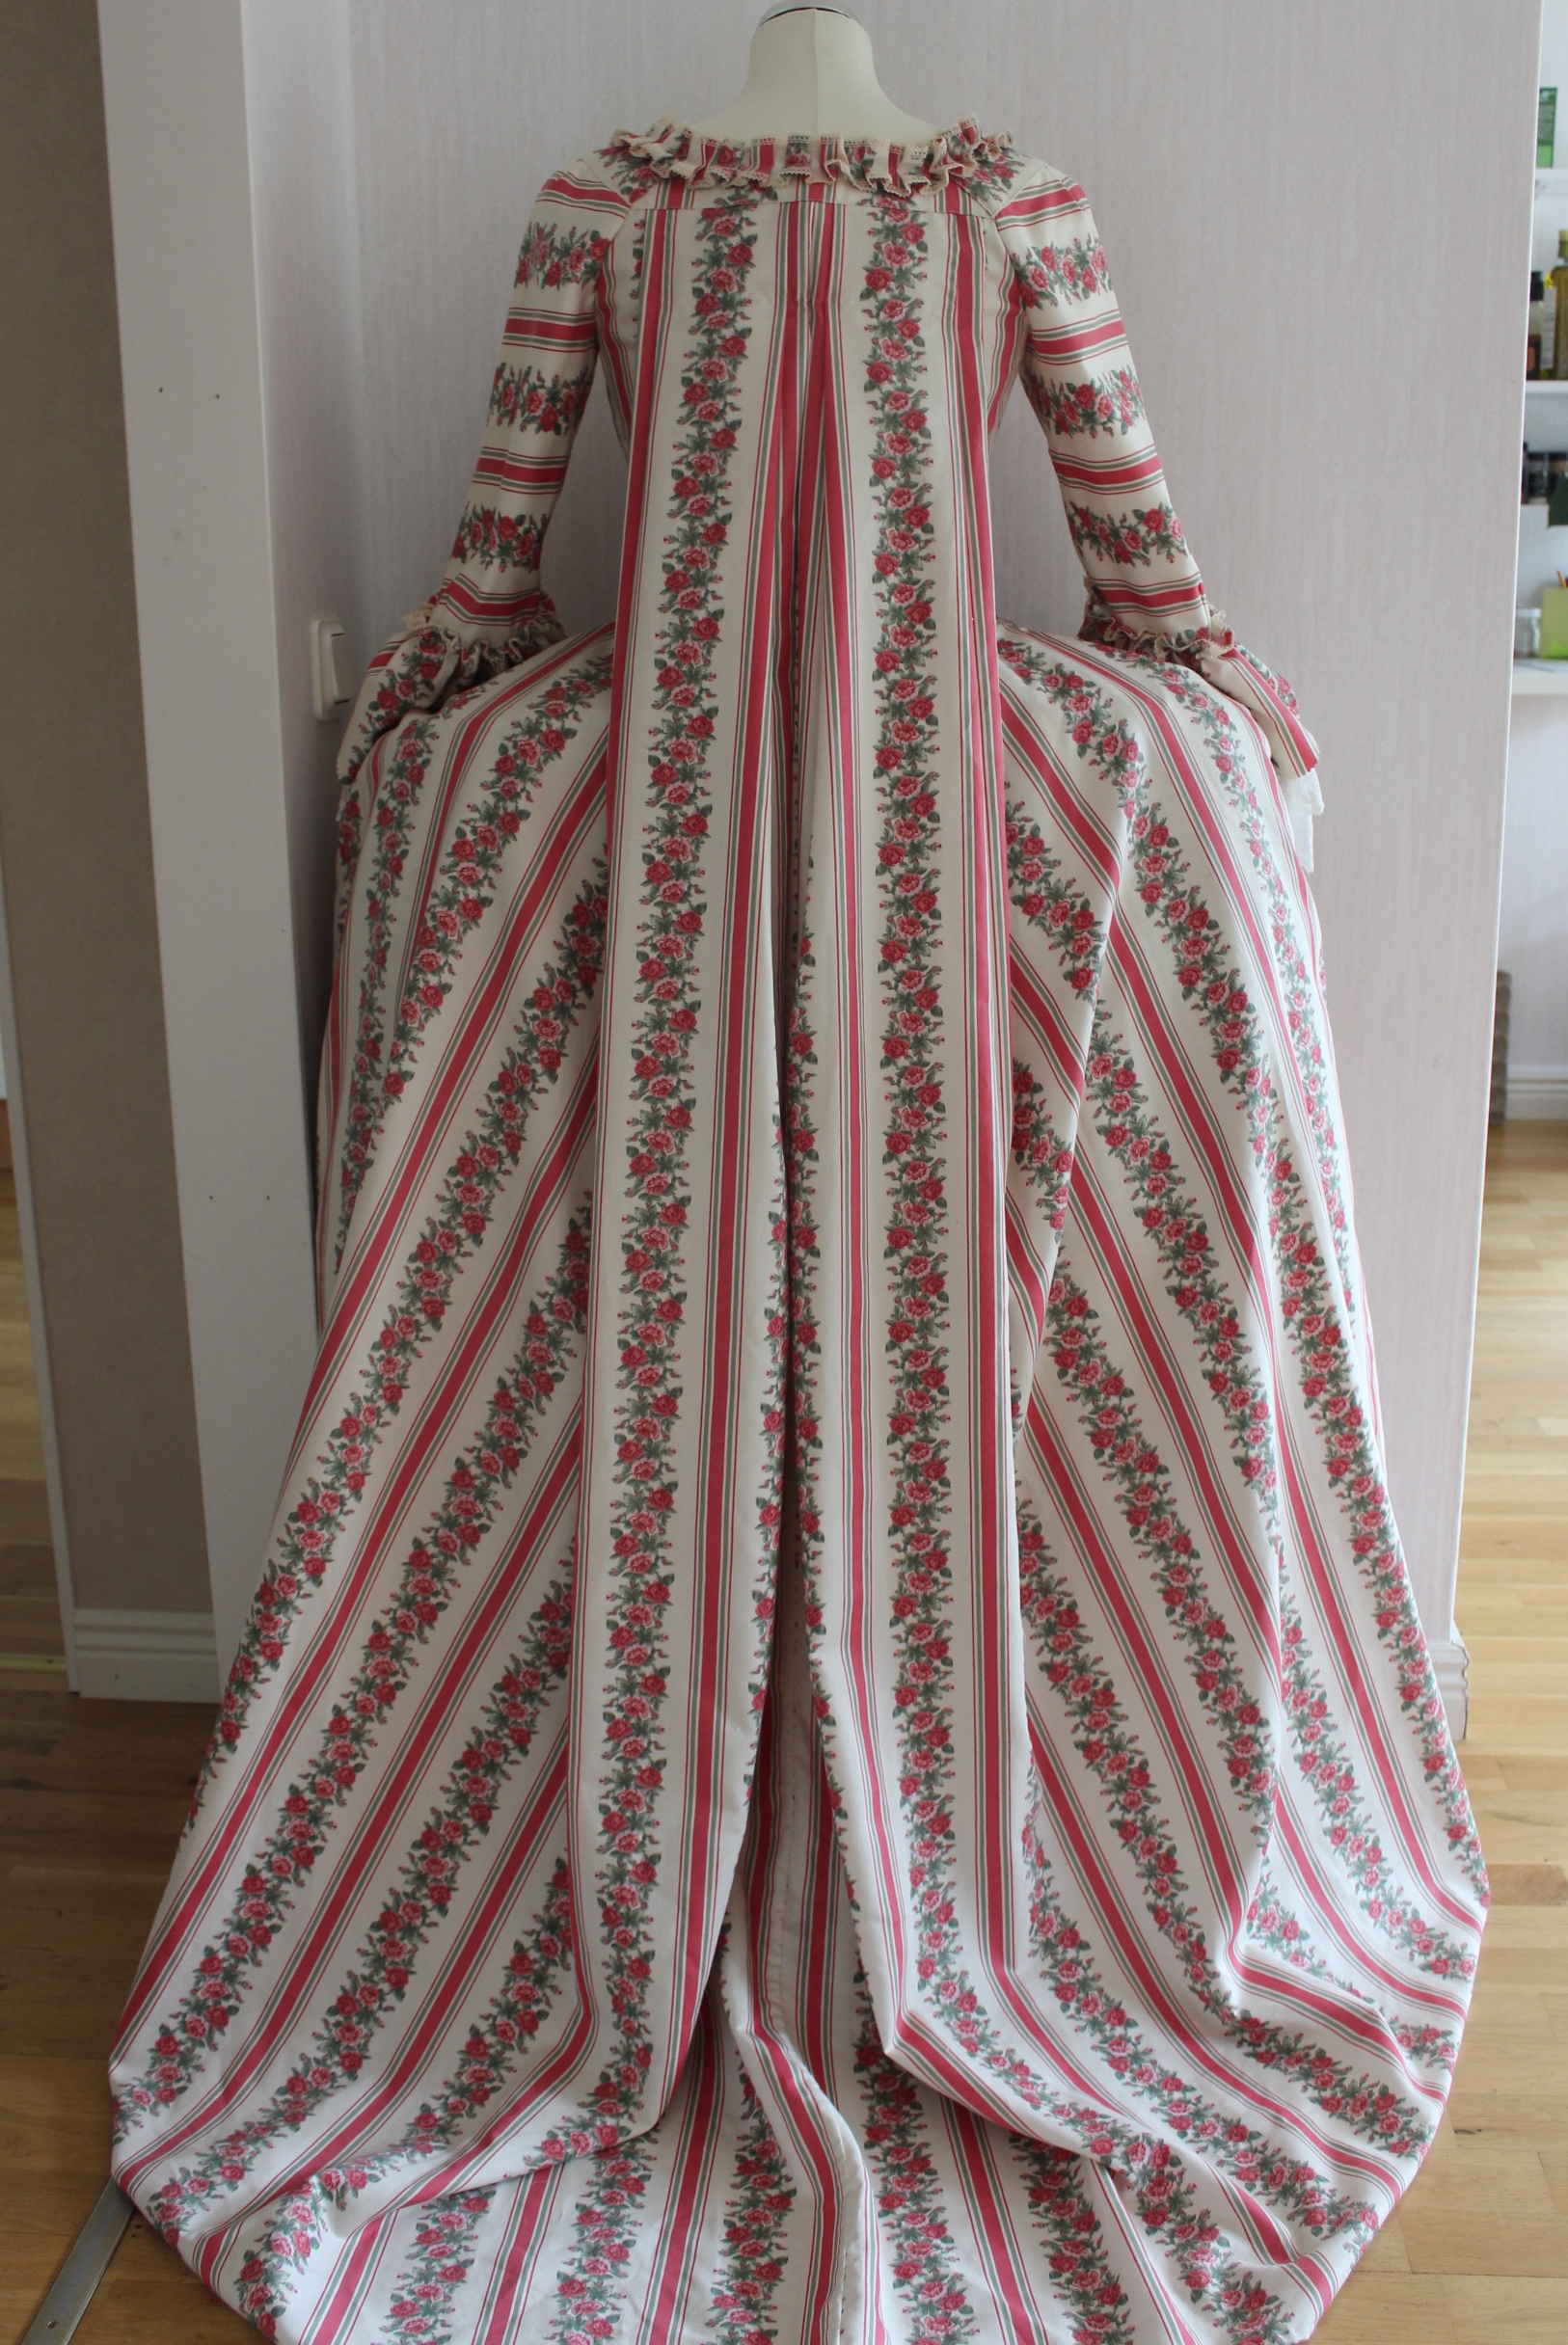
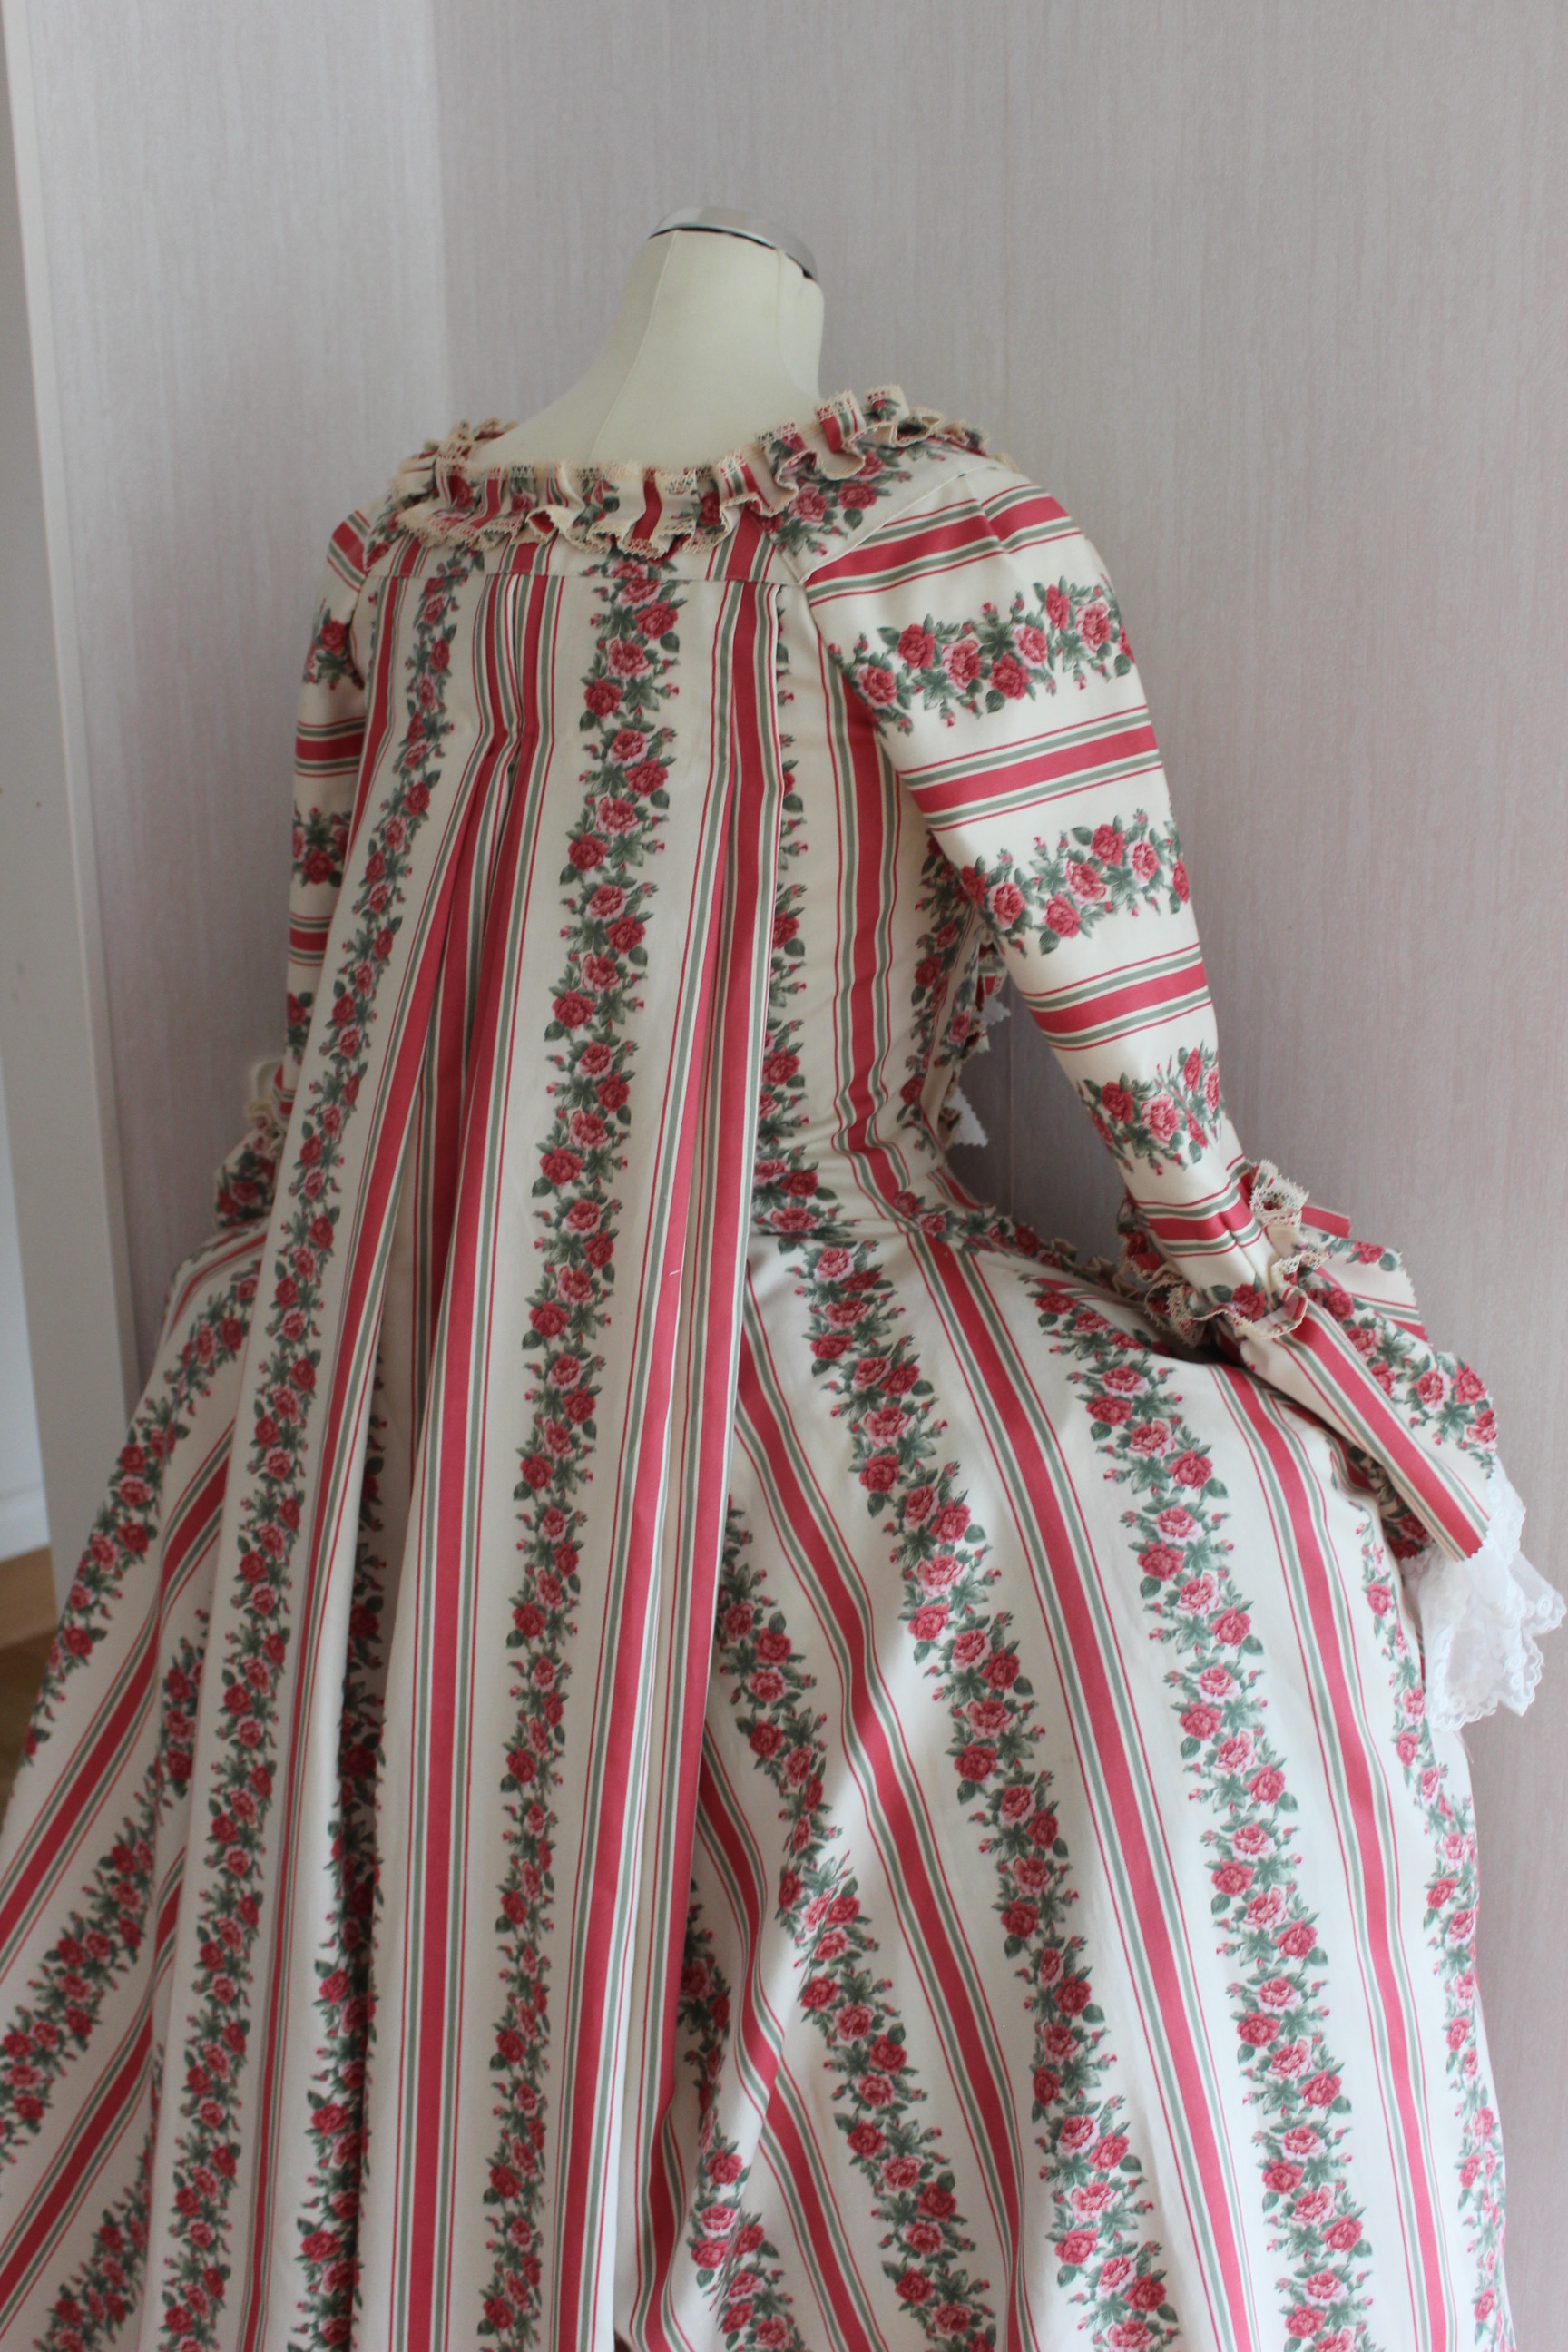
The Finished Francaise:
Just the facts:
Challenge: nr 8/2017 – Ridiculous – Fashion is sometimes a little silly, and historical fashions can look particularly odd. Make something that was considered outrageous in its own time, or is just utterly ridiculous to modern eyes.
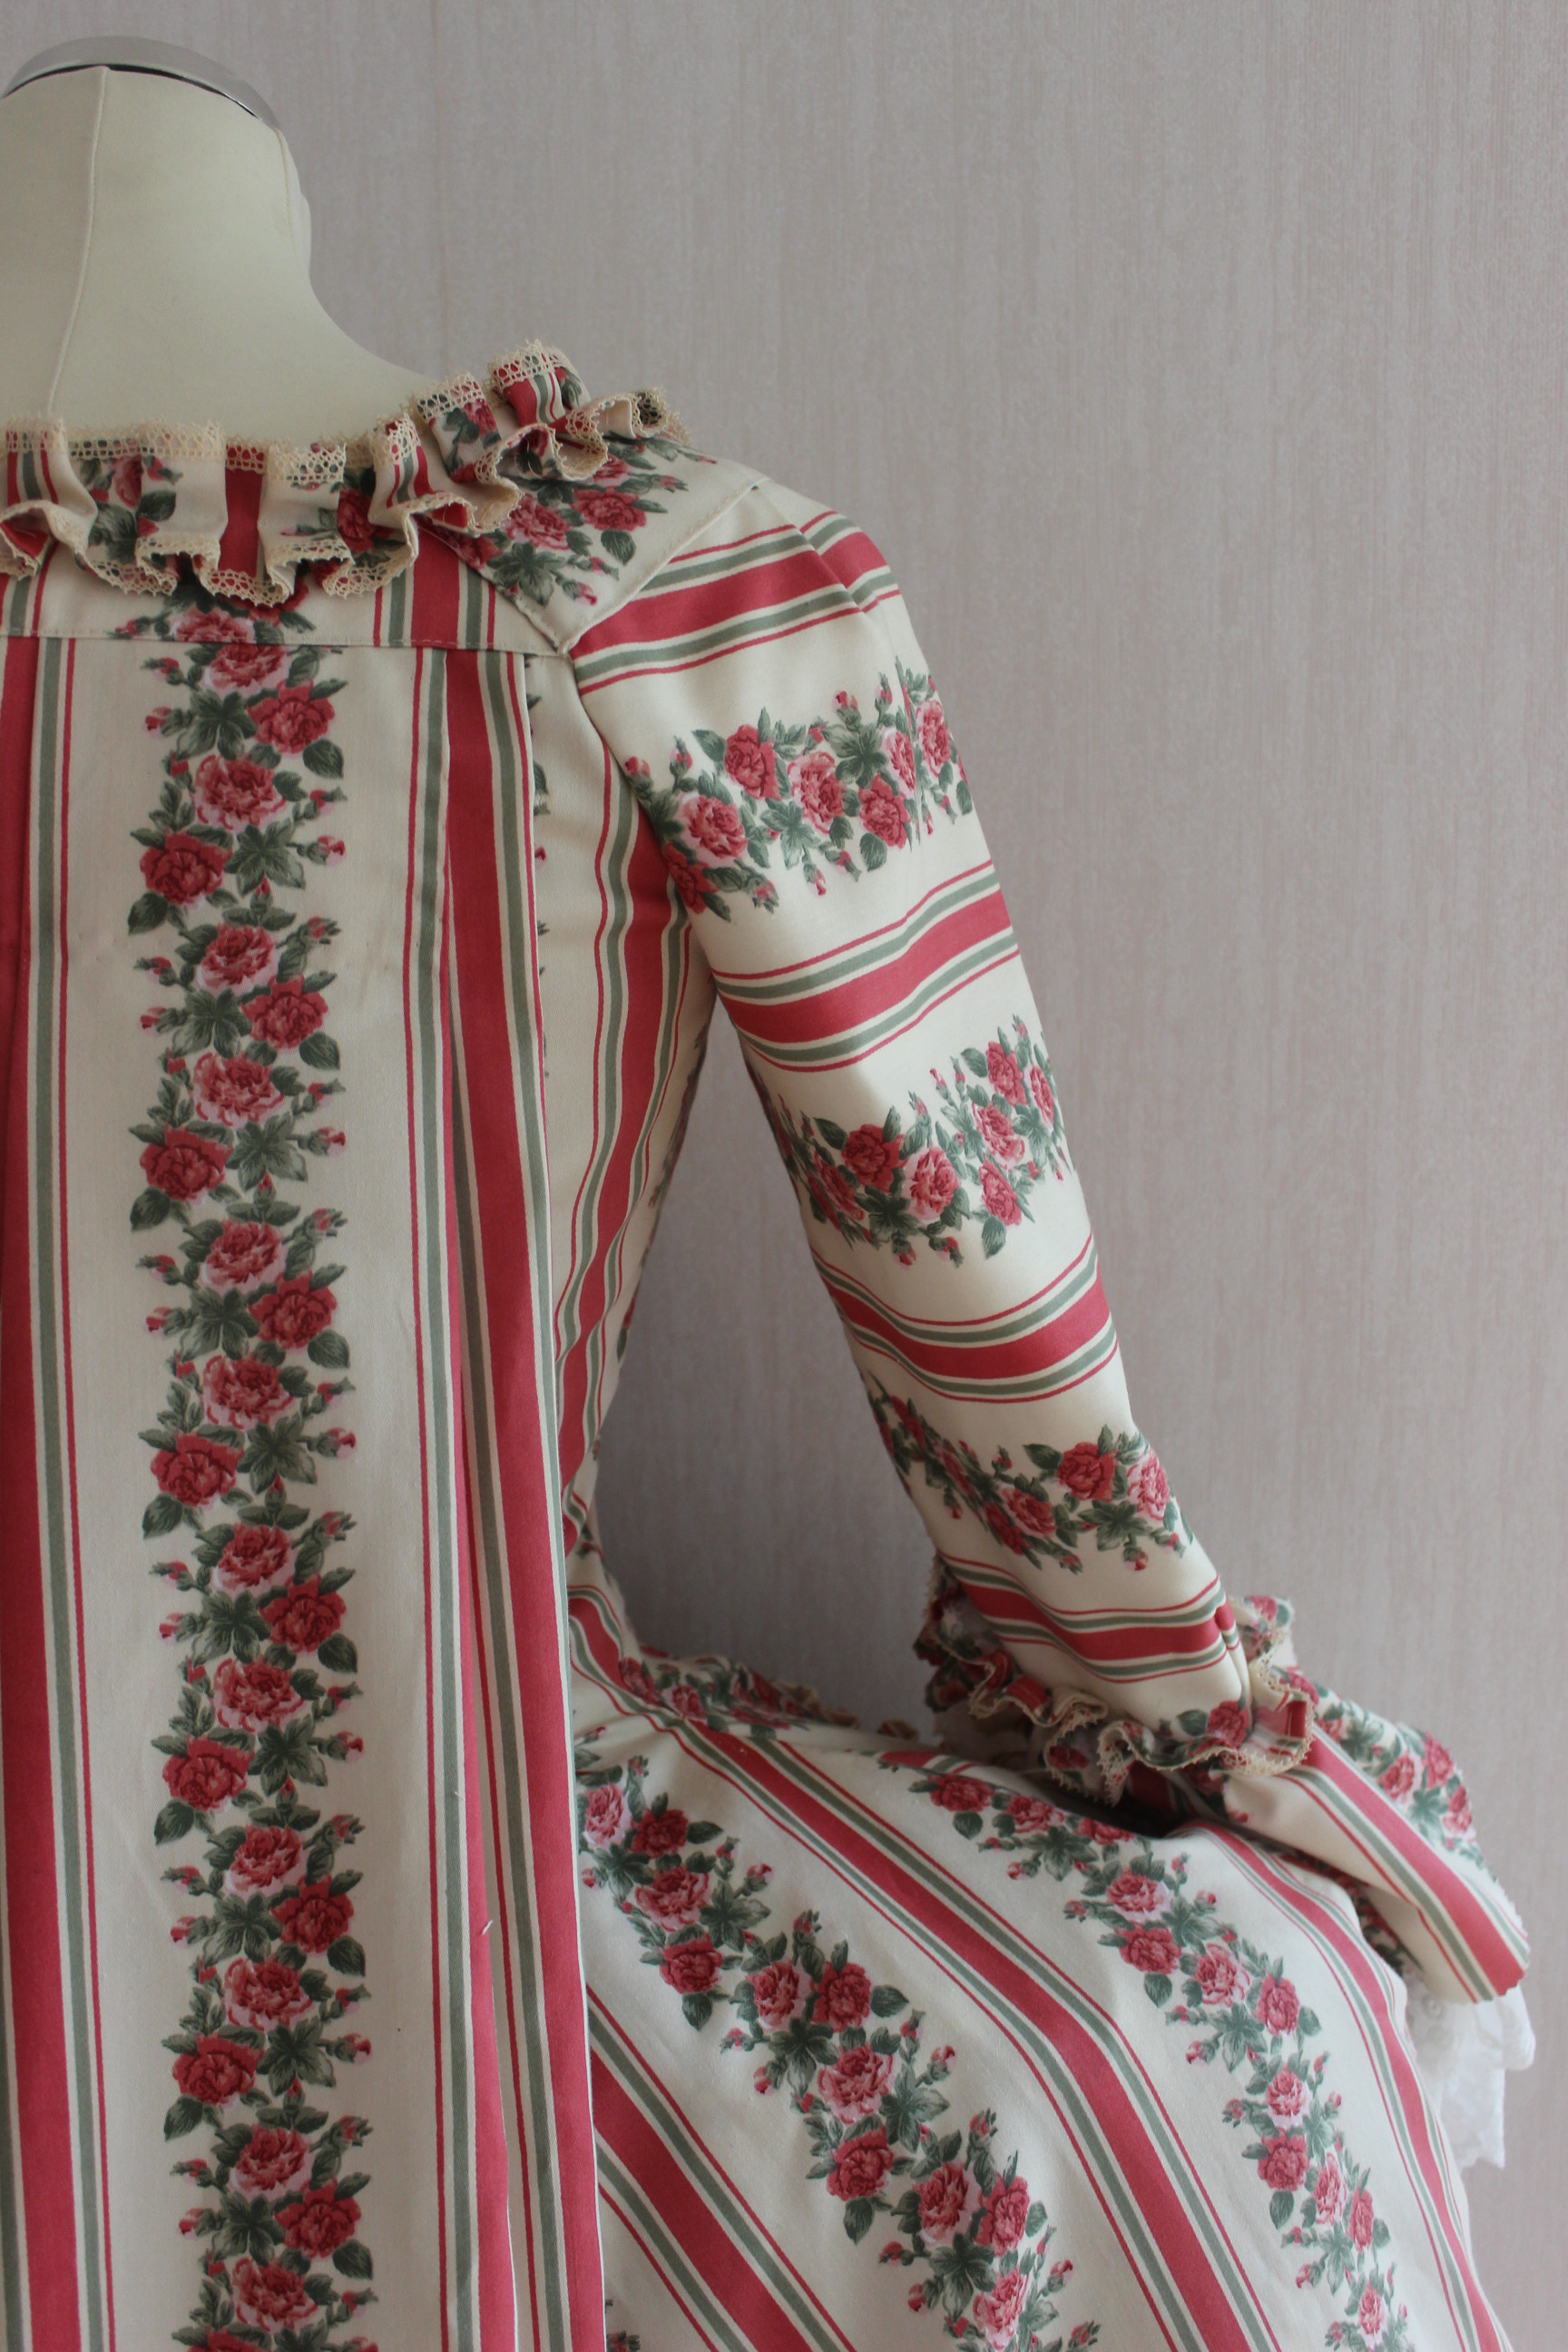
What: A 1760s Robe a la Francaise
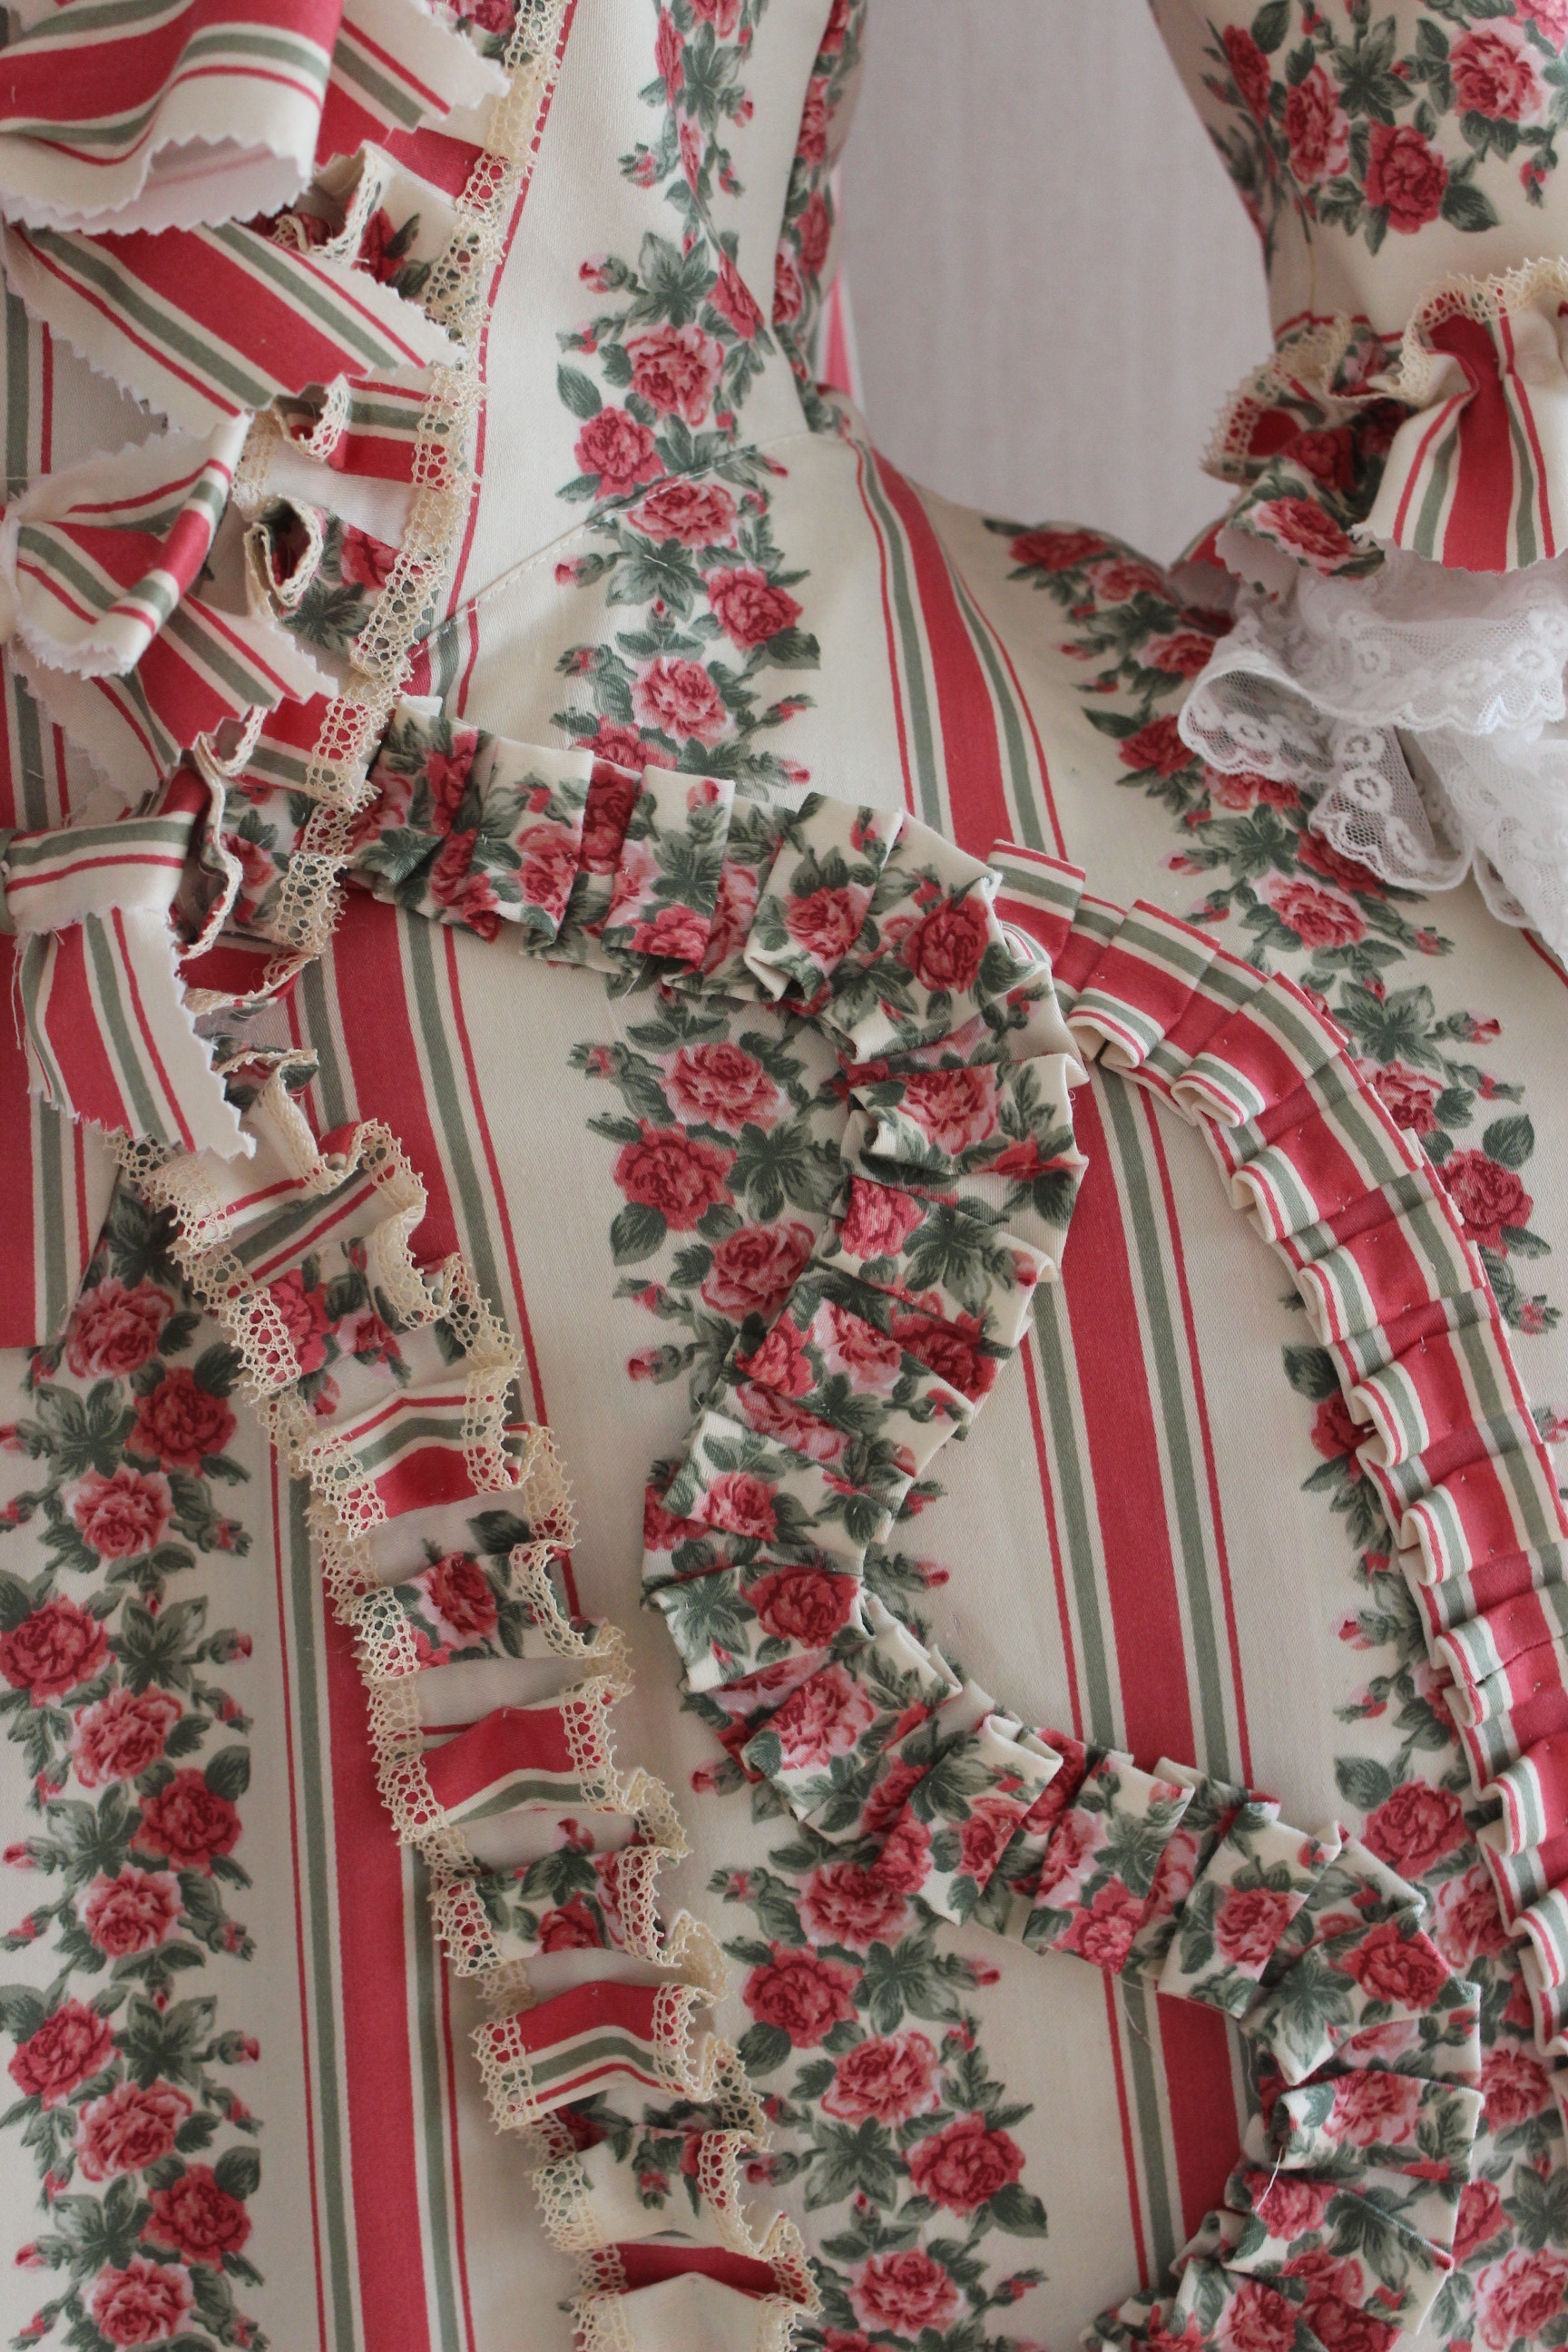
How it fit the challenge: The special shape of the Robe Francaise, with its wide hips/panniers and full back pleats makes it instantly recognizable for the modern viewer as a piece from one of the most exaggerated part of history. Both the shape and the “fru fru” trimmings are cause for ridicule and head-scratching in our time, even if it was a more common and sought after sight back in the 18th century.
Pattern: I draped my own based on drawings from Waughs “Cut of Womens Clothes” and Arnolds “Pattern of Fashion”
Fabric: 6-7 m of a thick flowery/striped polyester satin, 0,5 m cotton twill for interlining and 0,5m white cotton for lining.
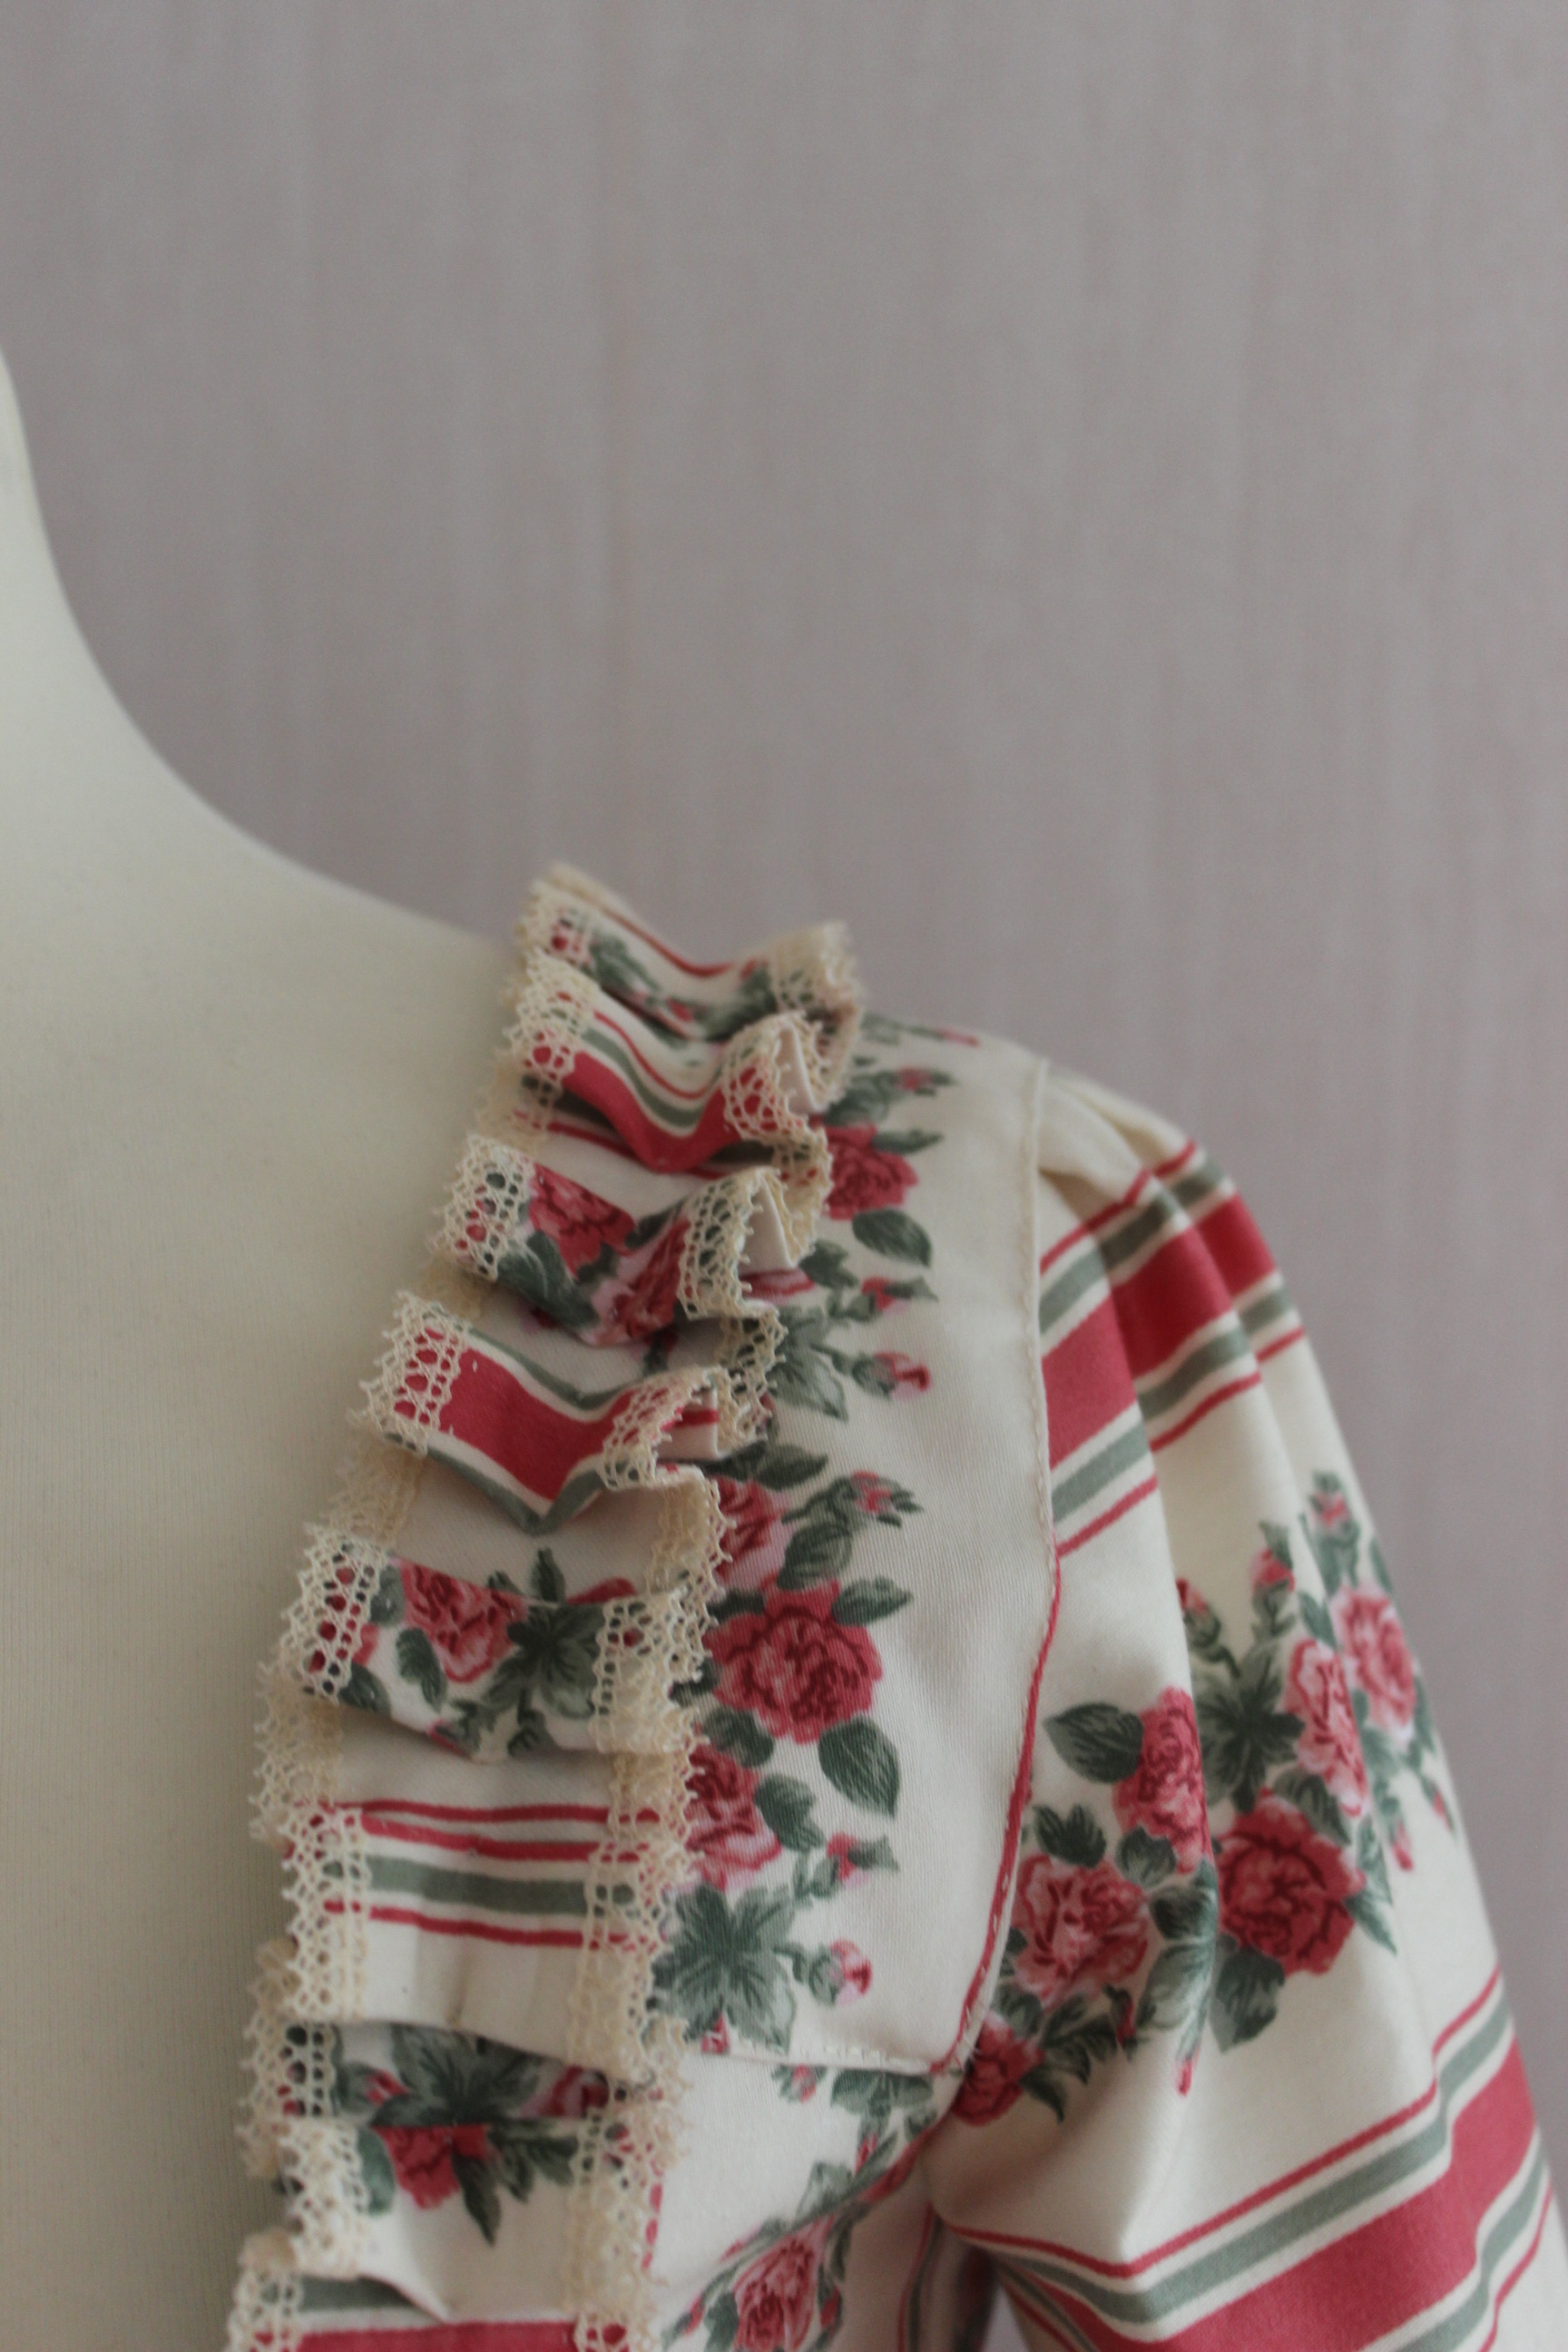
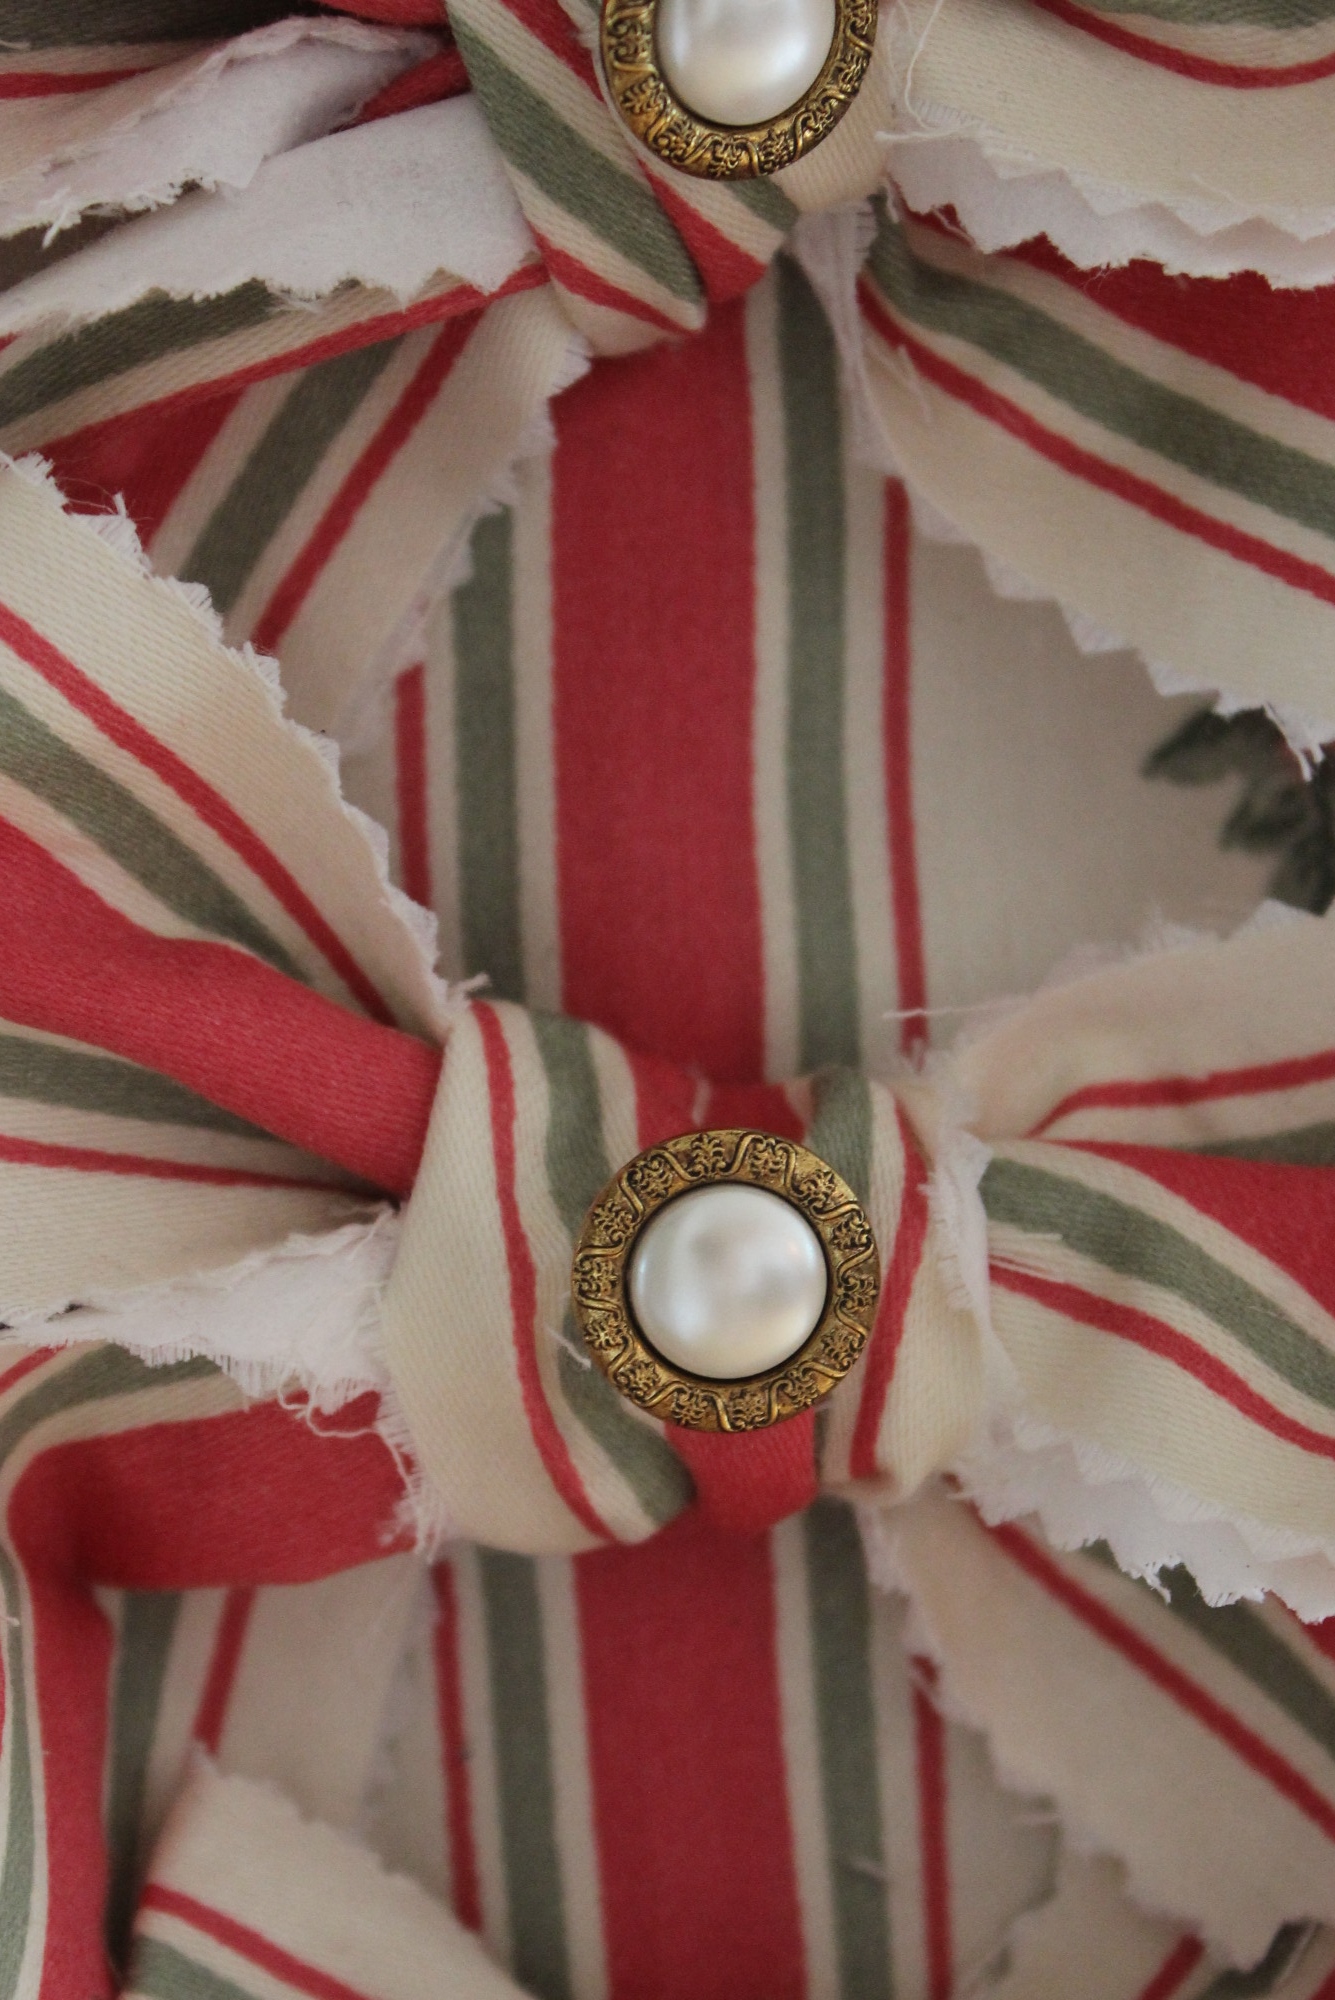
Notion: Thread, 2 m cotton cord for lacing, 3 m plastic bones for back opening and stomacher, about 20m of thin cotton lace for the trimming, 5 m of 15 cm whide cotton lace fro the sleeve ruffles and 5 buttons for decoration on the stomacher.
How historical accurate: So so. The fabric are polyester (should have been silk), the pattern and construction method are ok since its draped for my (corseted) body and entirely hand sewn. The print on the fabric is a bit to modern, but as shown in the above portrait not to far of. The business of the design/print are totally accurate even though it may seem a bit over the top for our modern sensibilities. I’ll give it a 7/10
Time: Waaay to long… I started this project in the autumn 2014, the again winter 2014/2015, and again winter 2016/2017 and only now (summer 2017) got around to finish it. I spend somewhere between 100-150 hours on the dress.
Cost: Not sure but I’ll guesstimate about 600 Sek (75Usd).
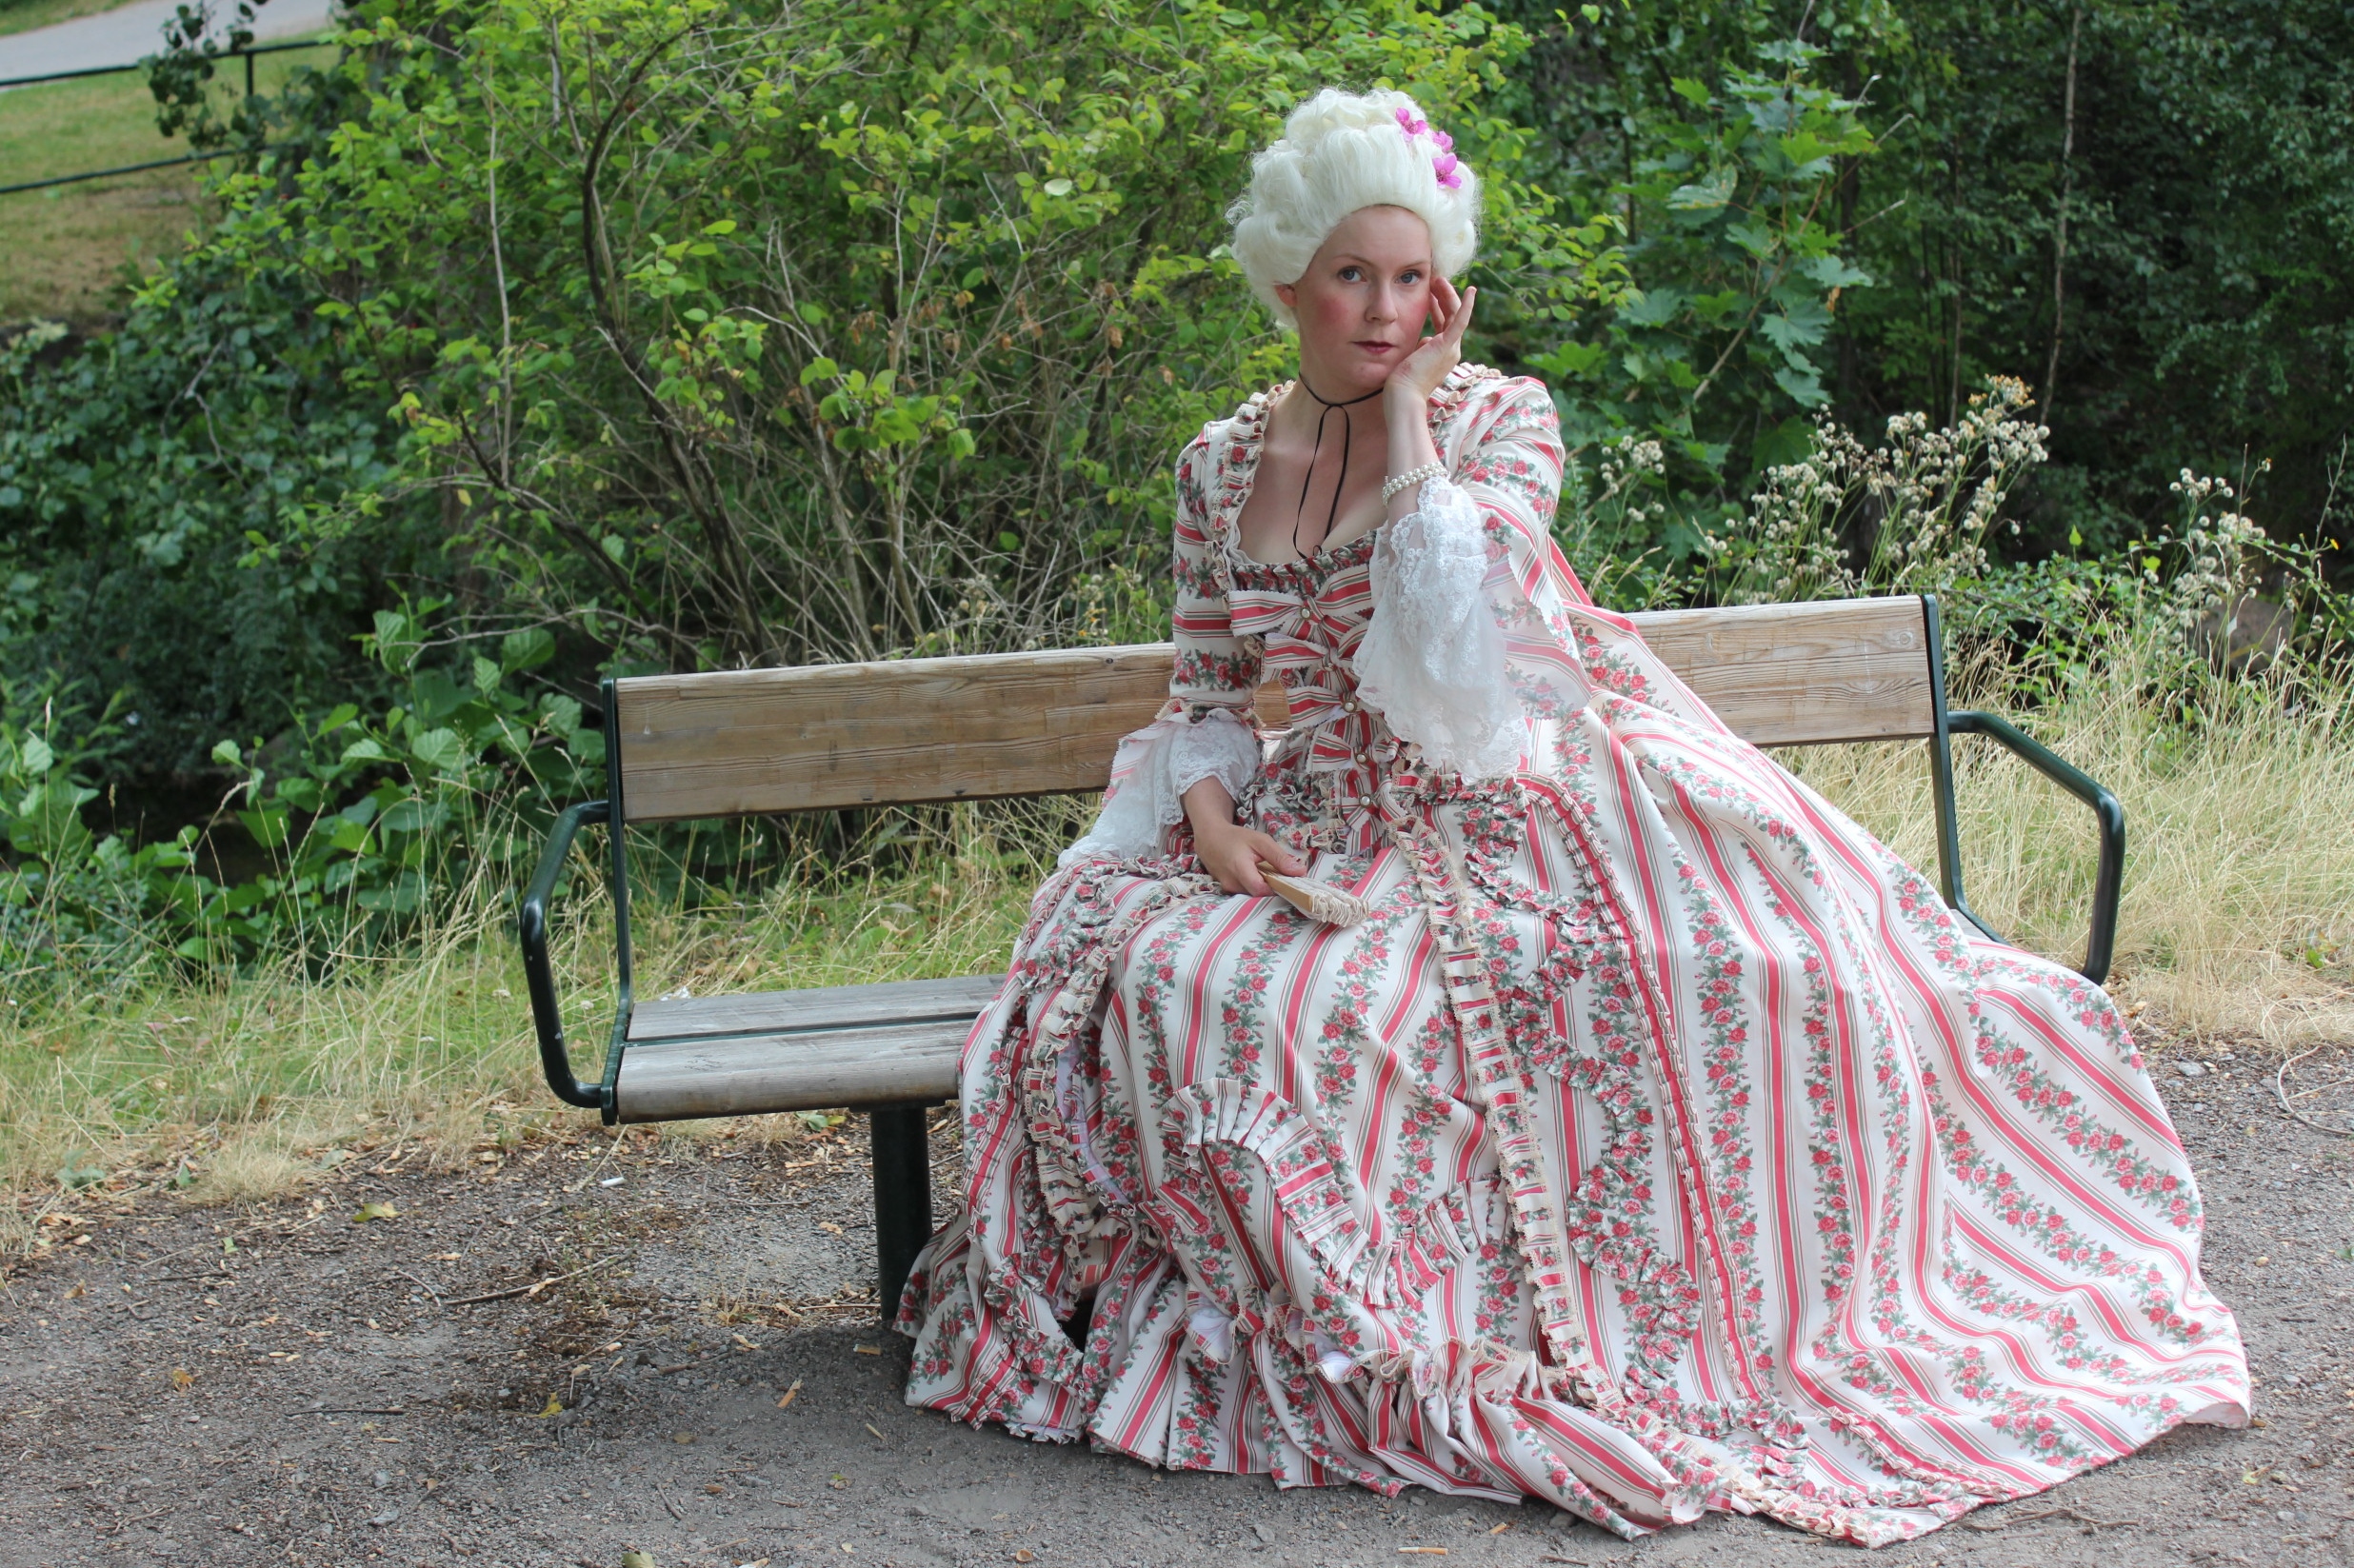
First worn: For photos in late July
Final thoughts: I’m so happy that it is finished! And even though there is some things I liked to have made differently I think it is spectacular, and it’s so fun to wear.
***
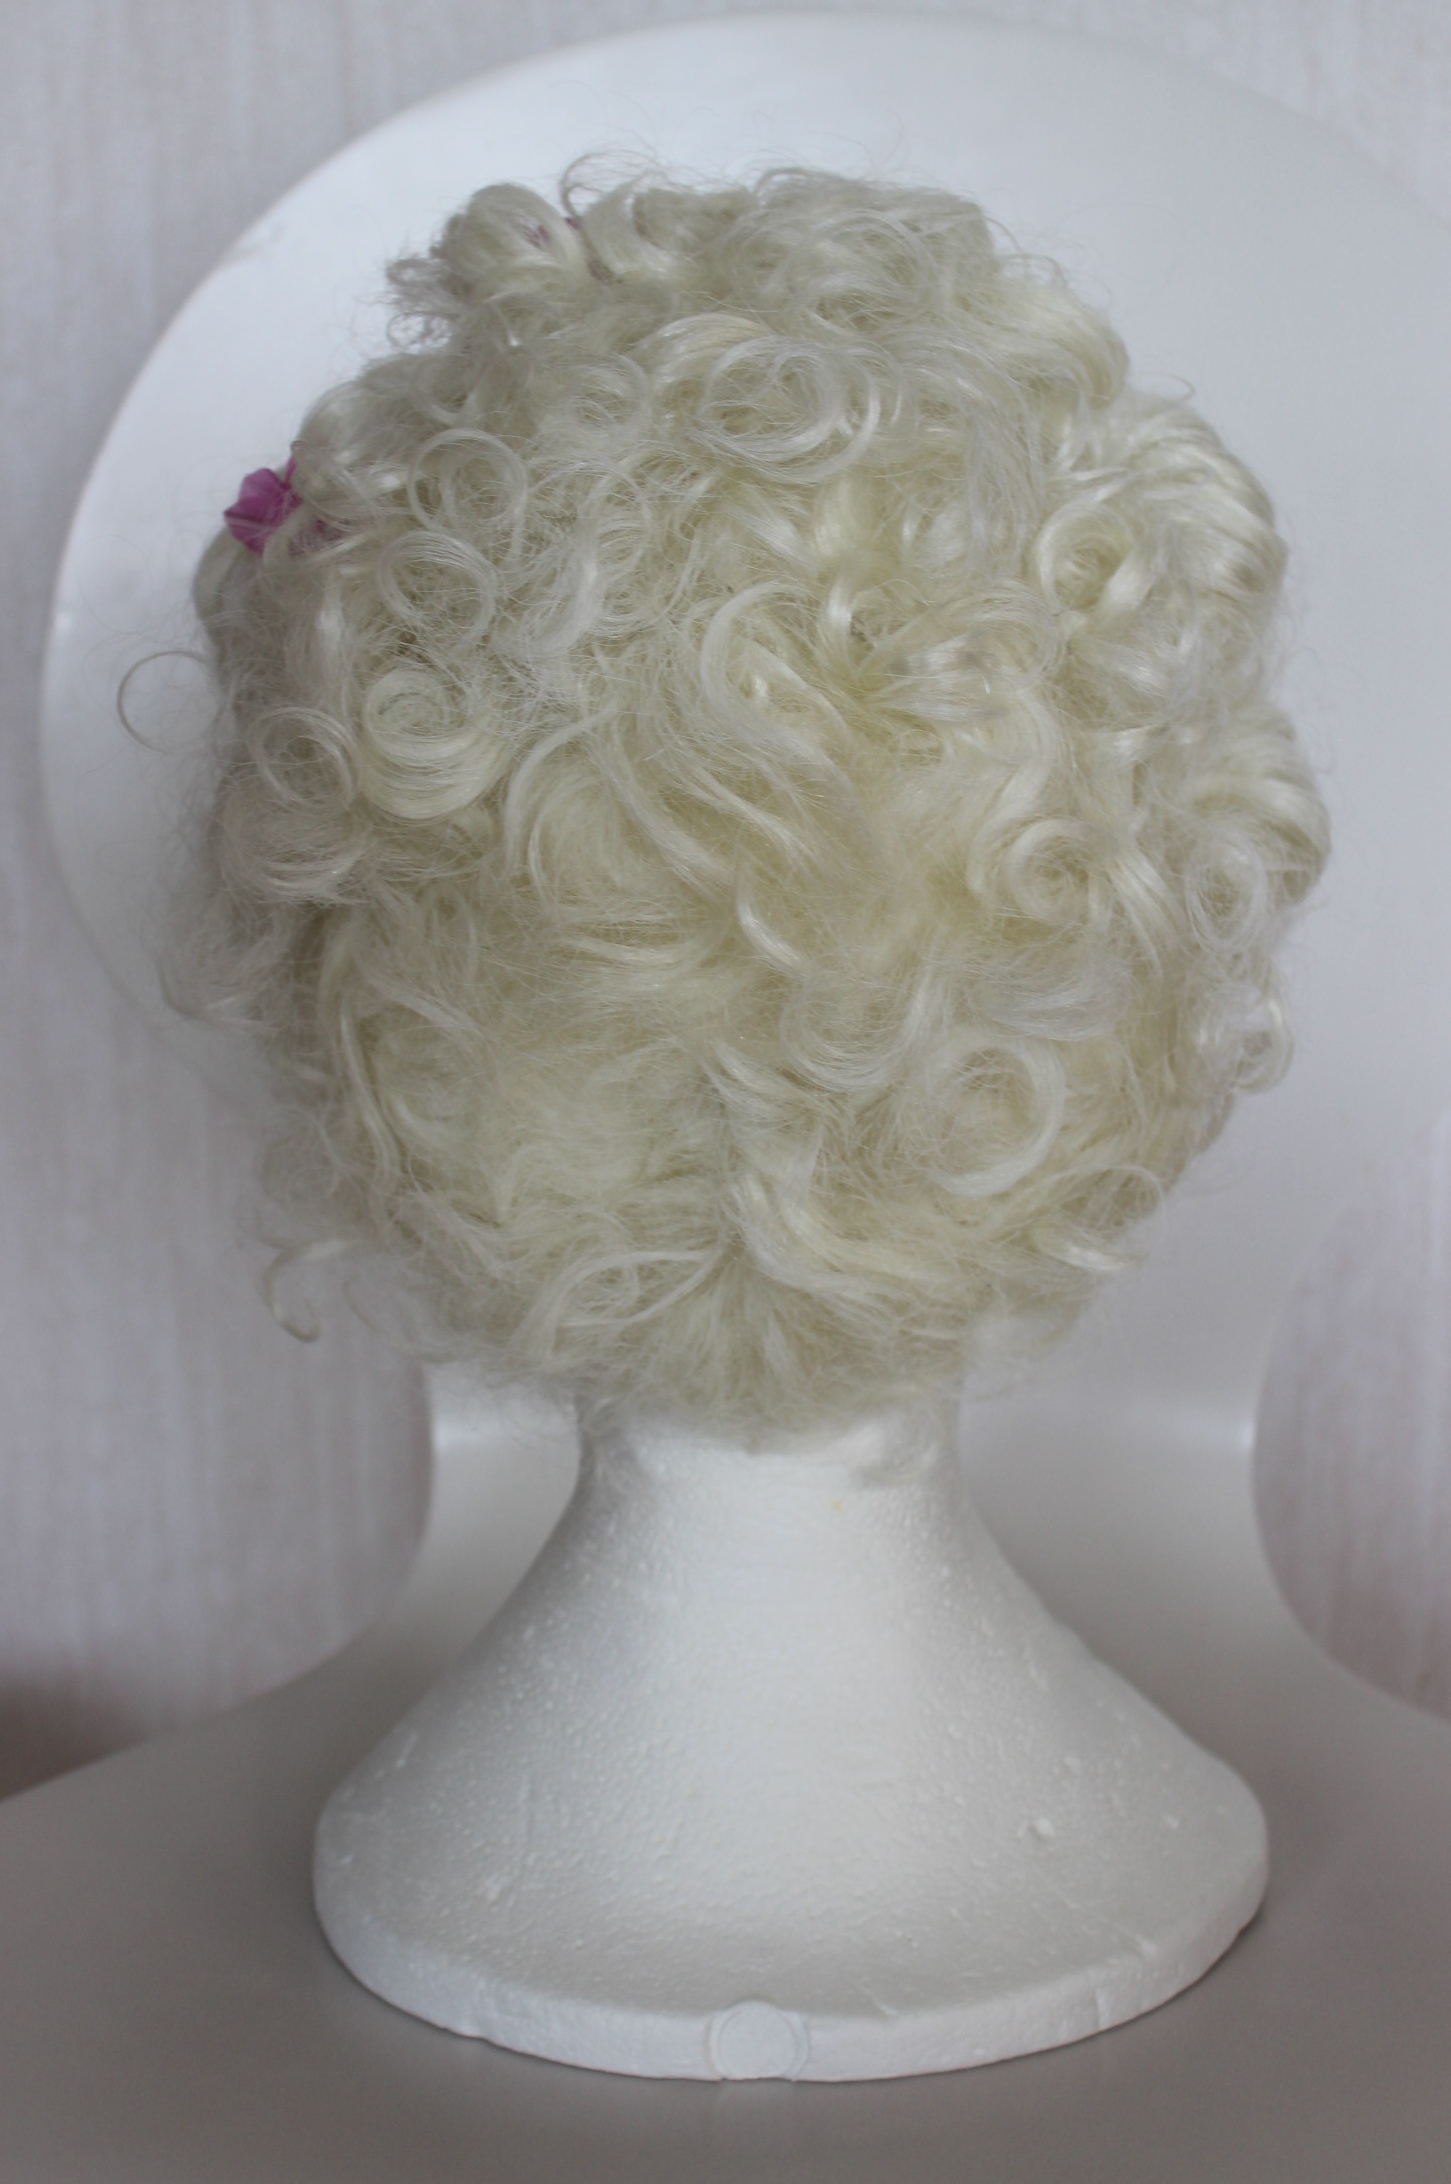
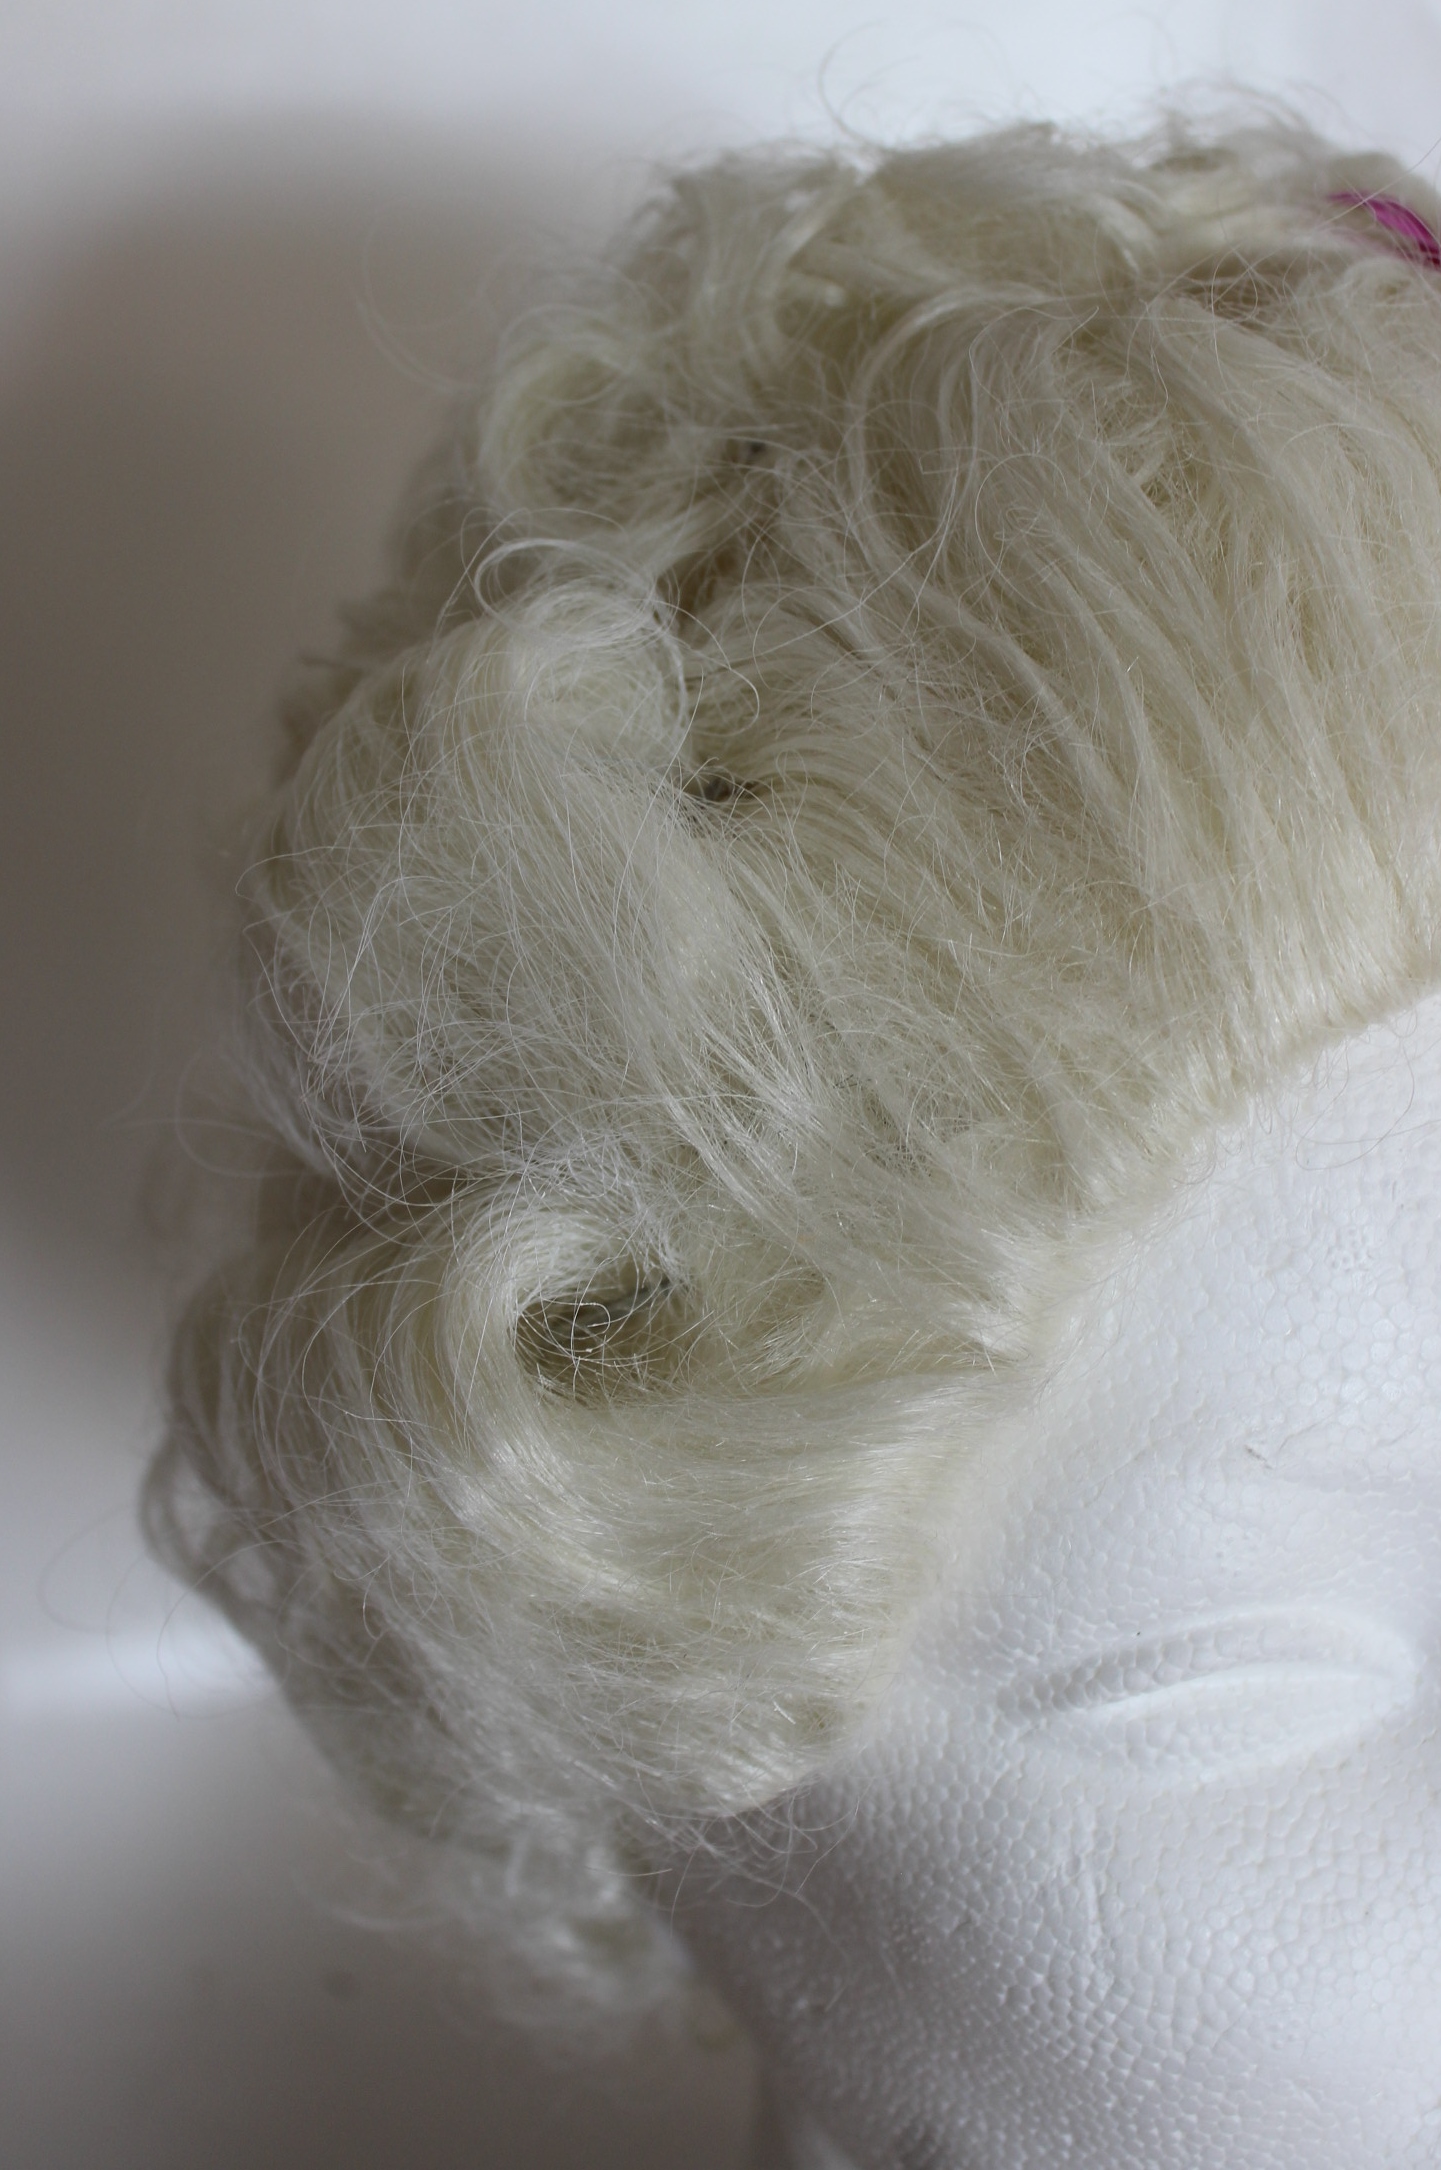
For this project I alos made a Masquerade wig to match my gown.
It’s made from a re-styled and powdered halloween wig.

 Inspiration
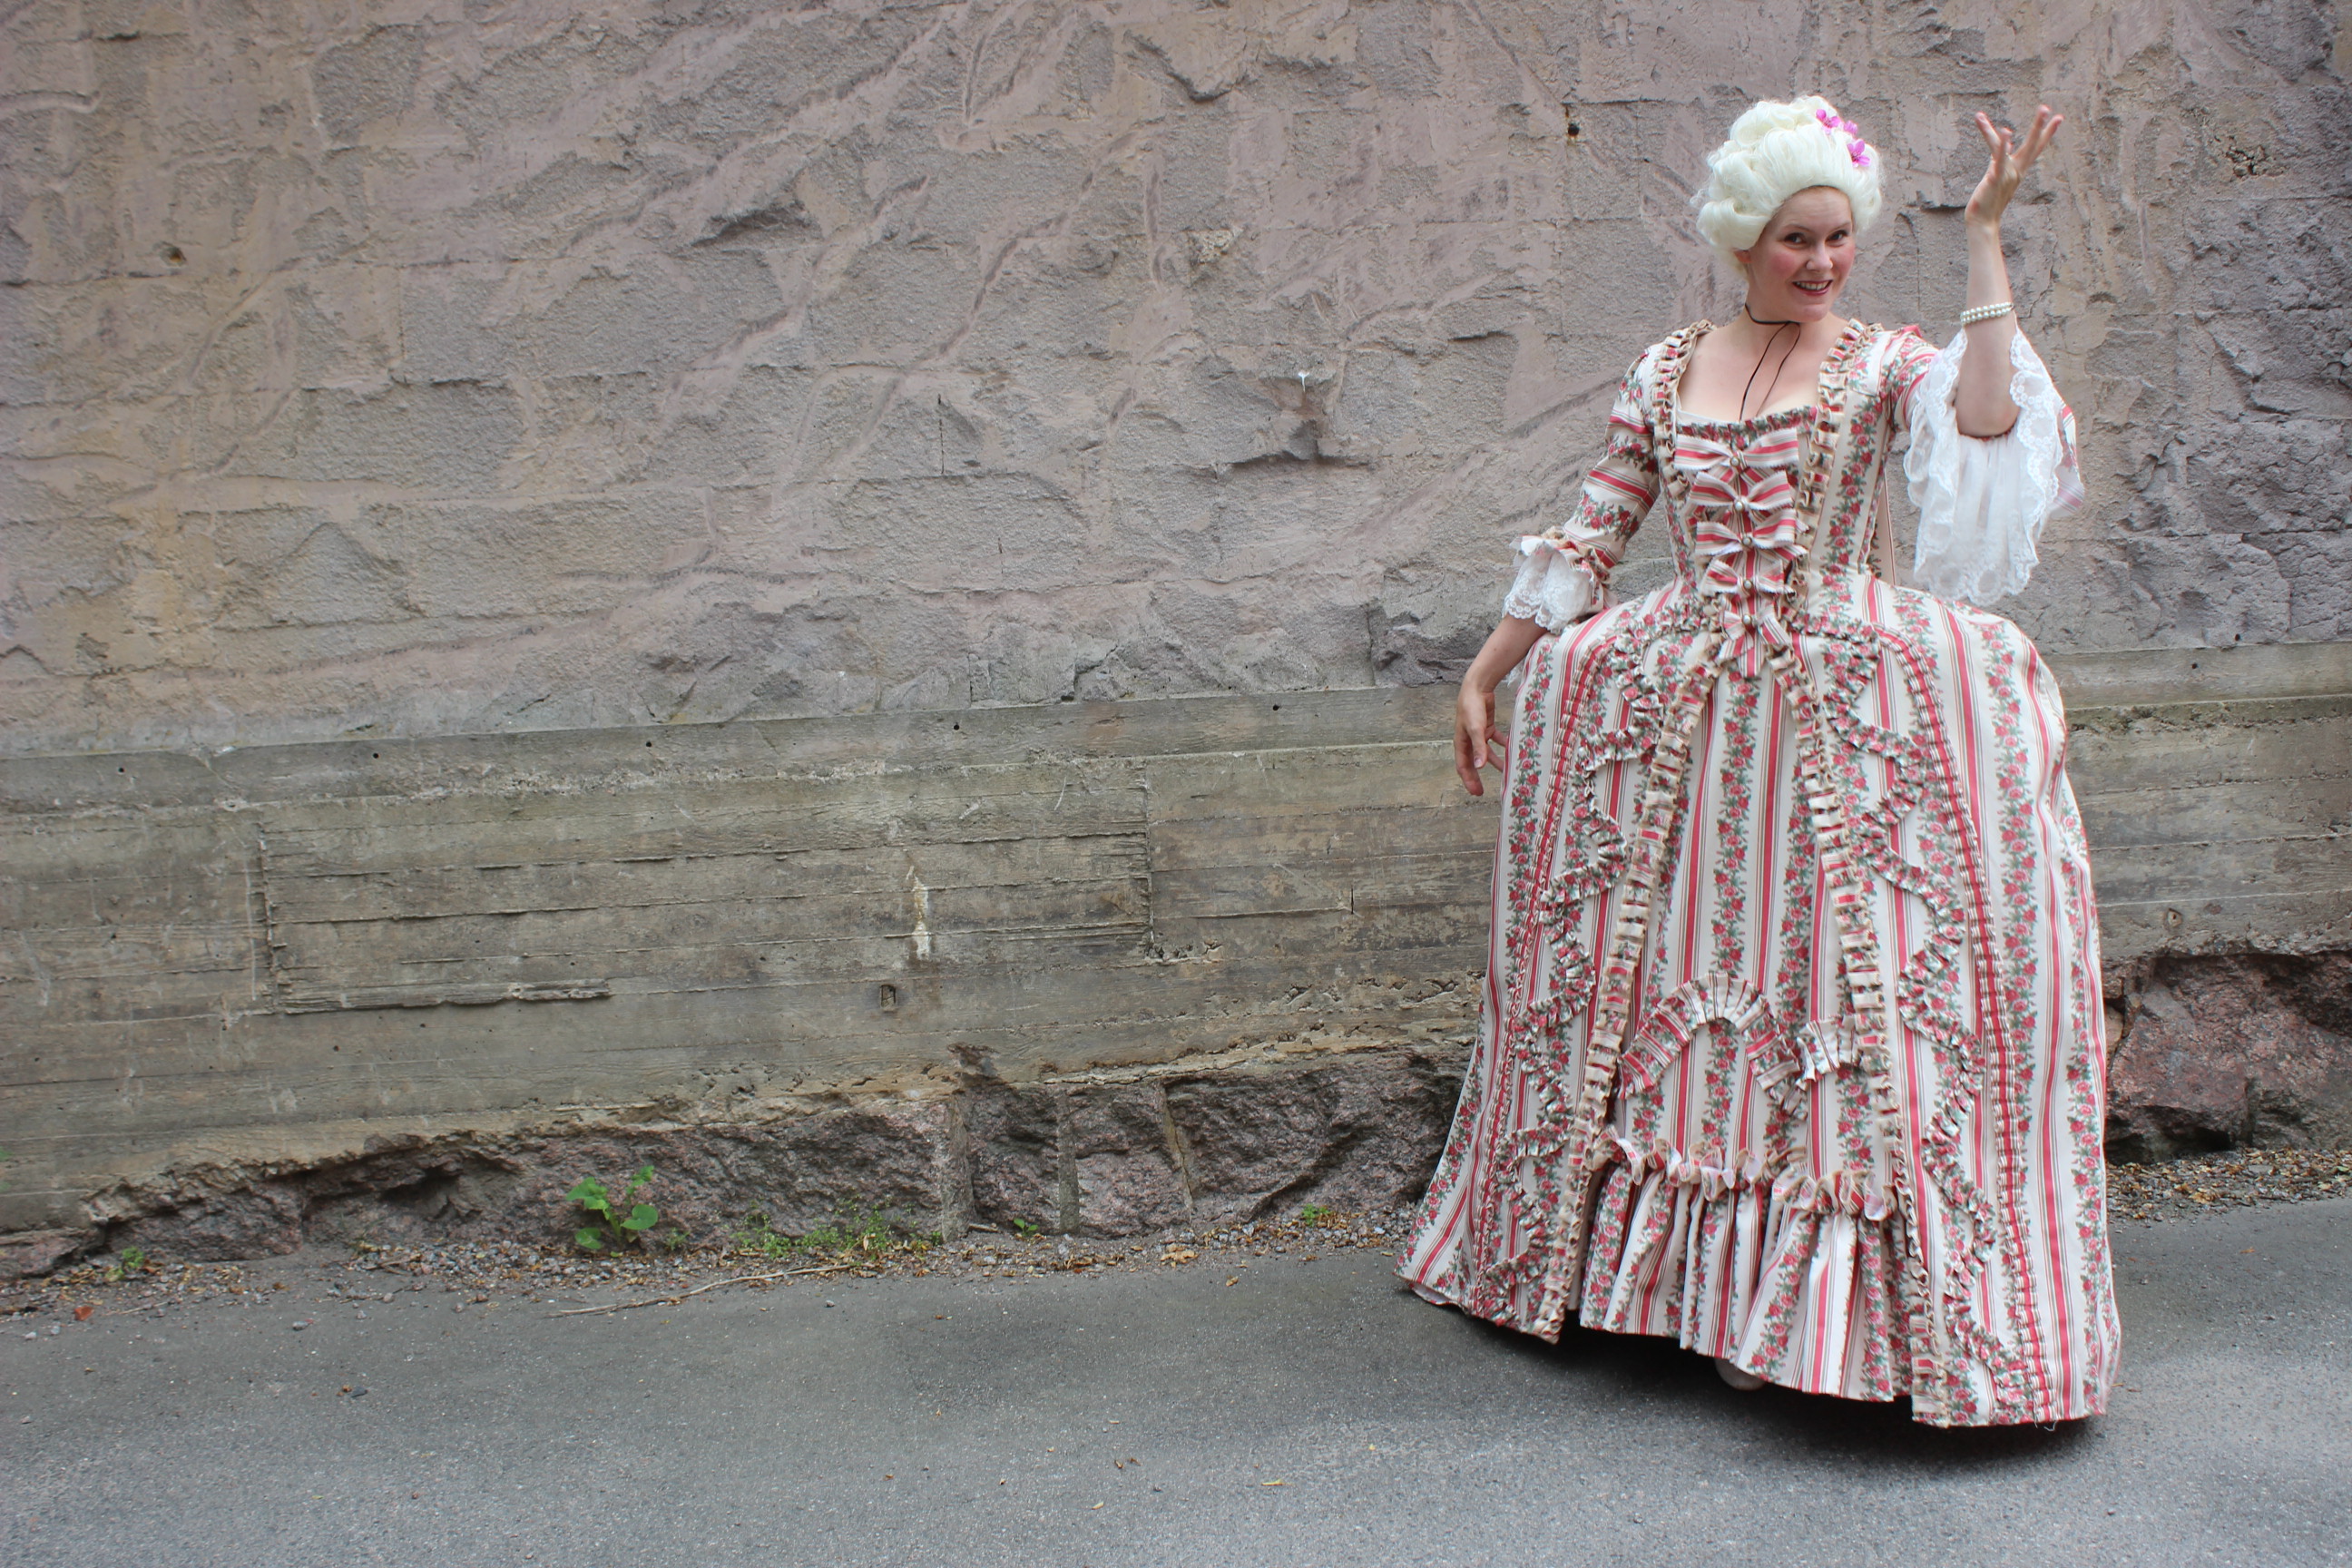


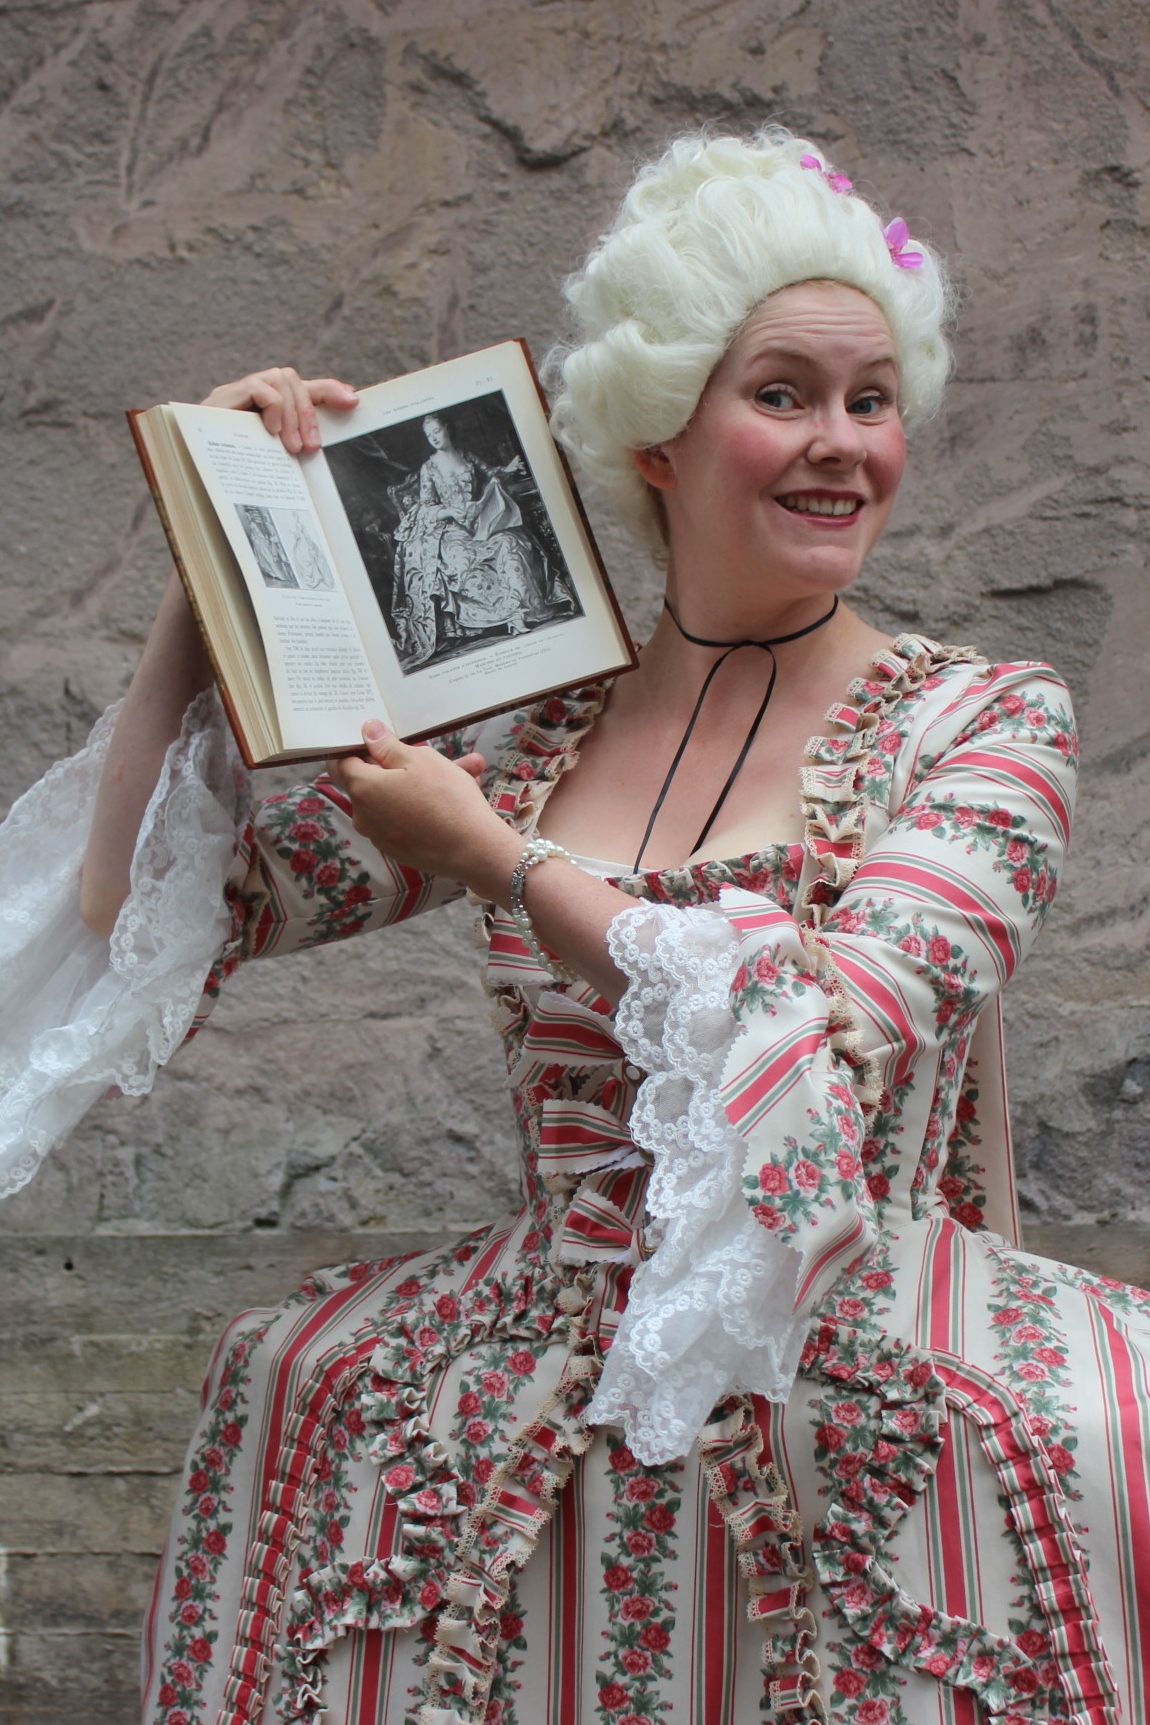 Me and Madame Pompadour


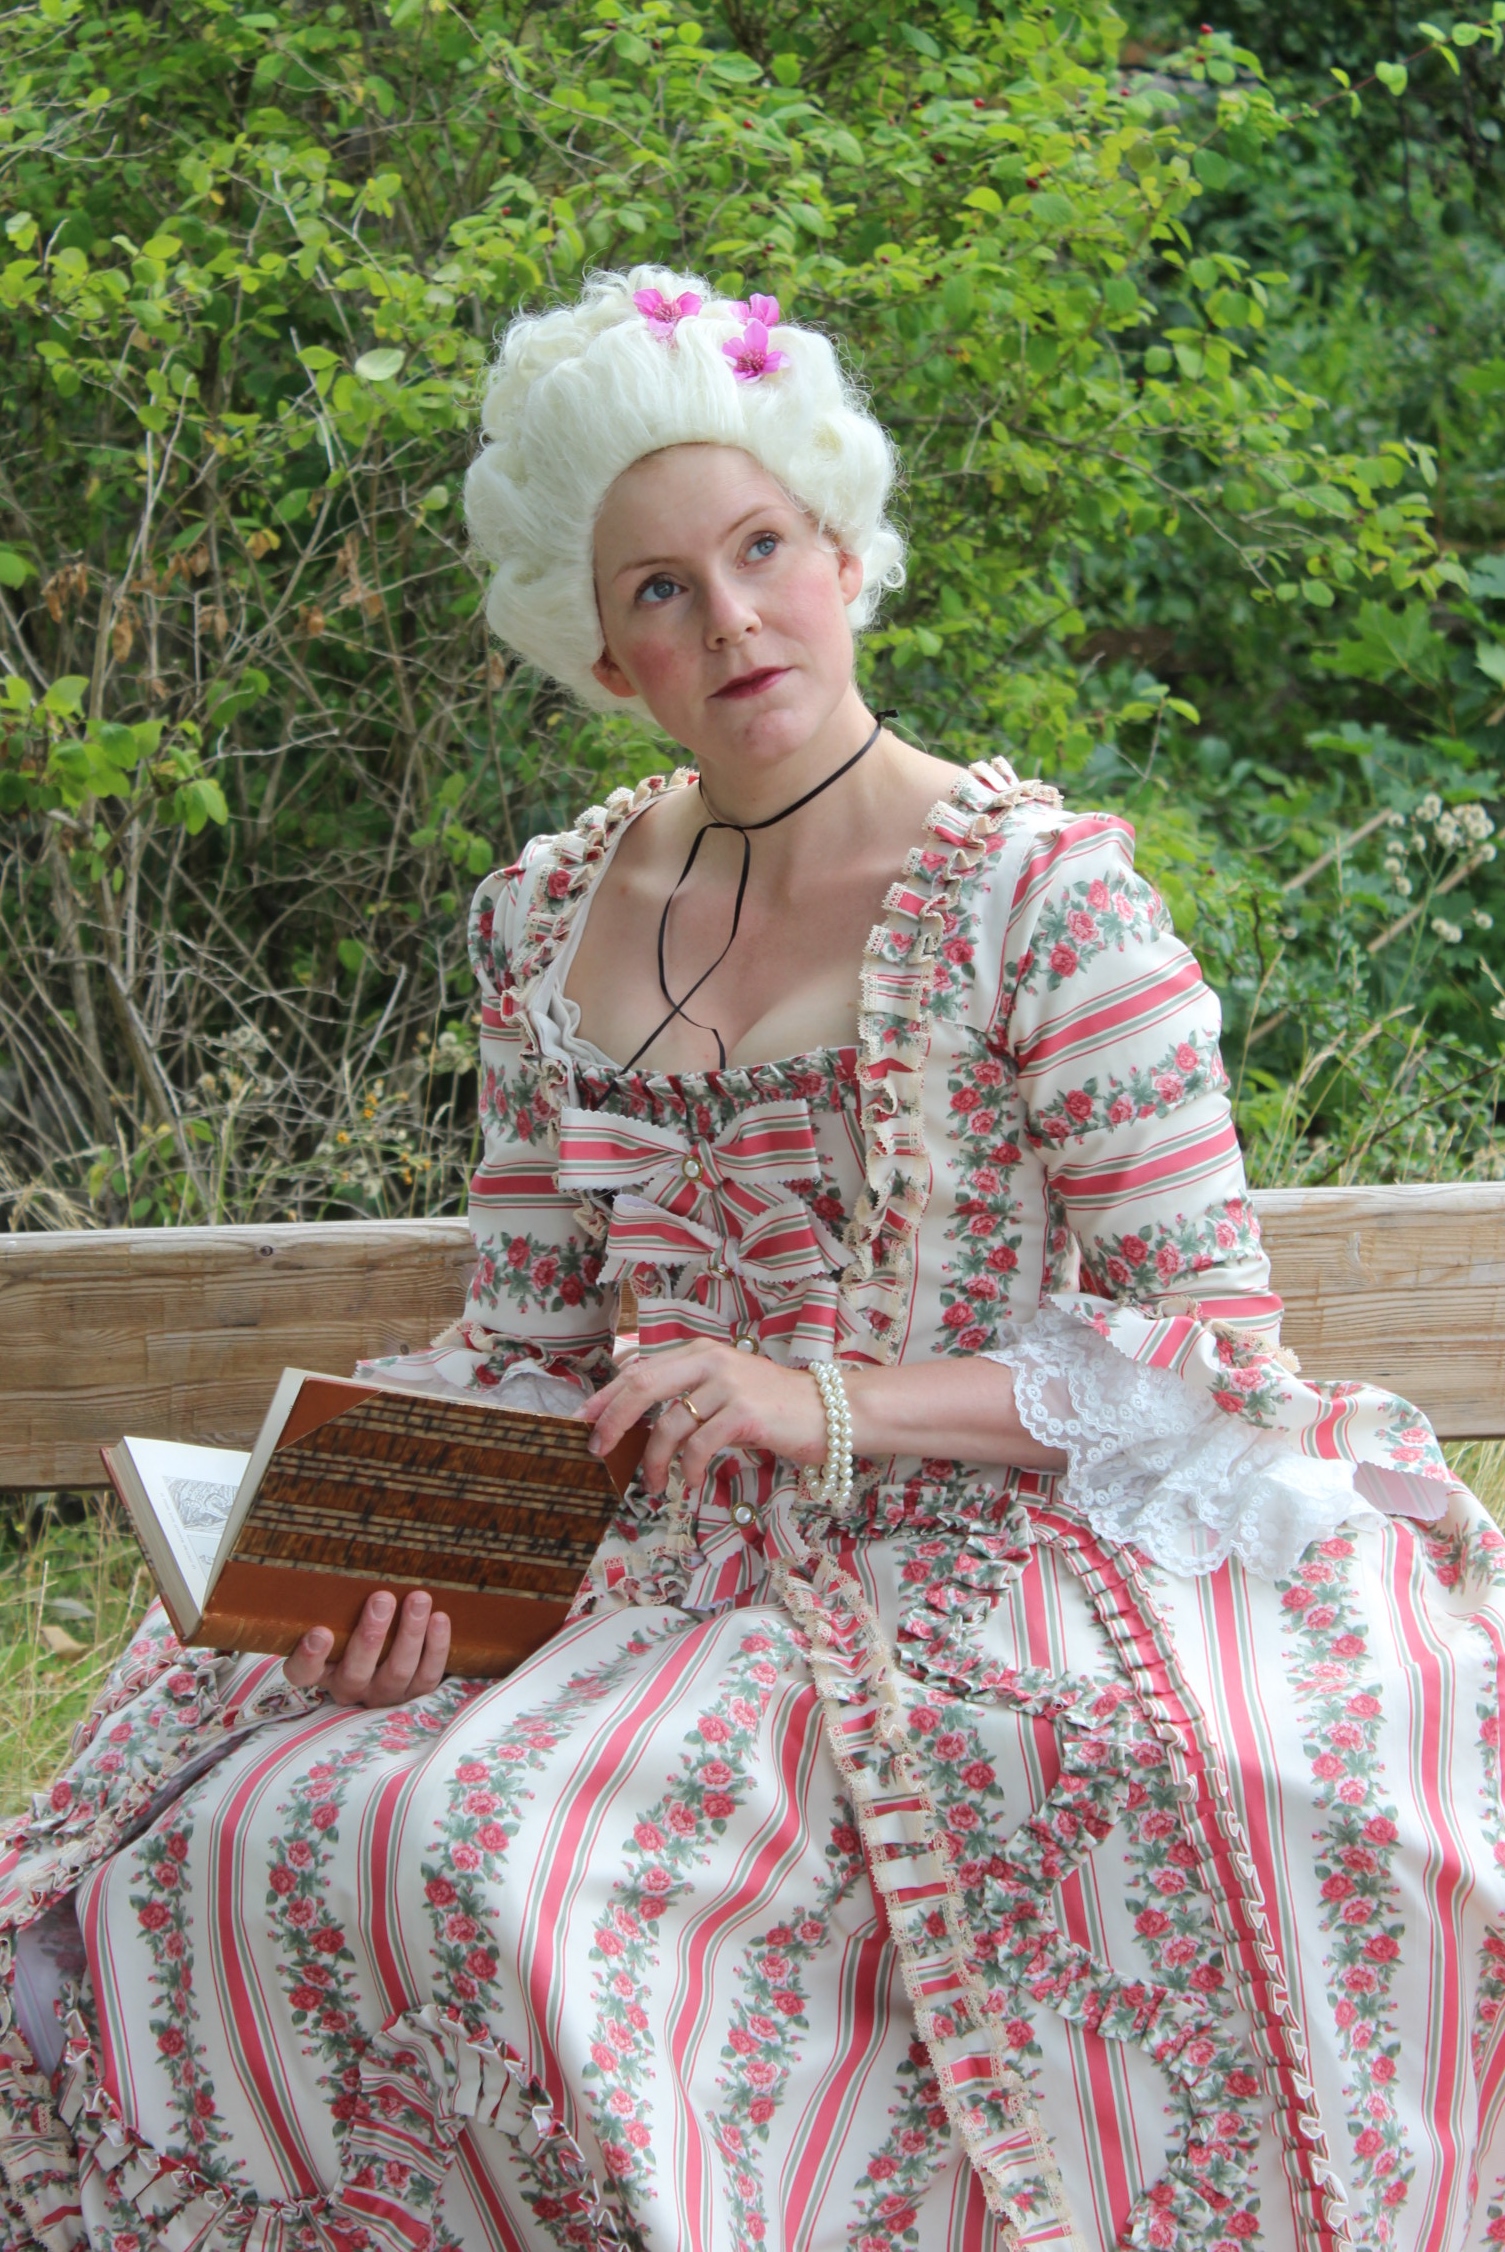
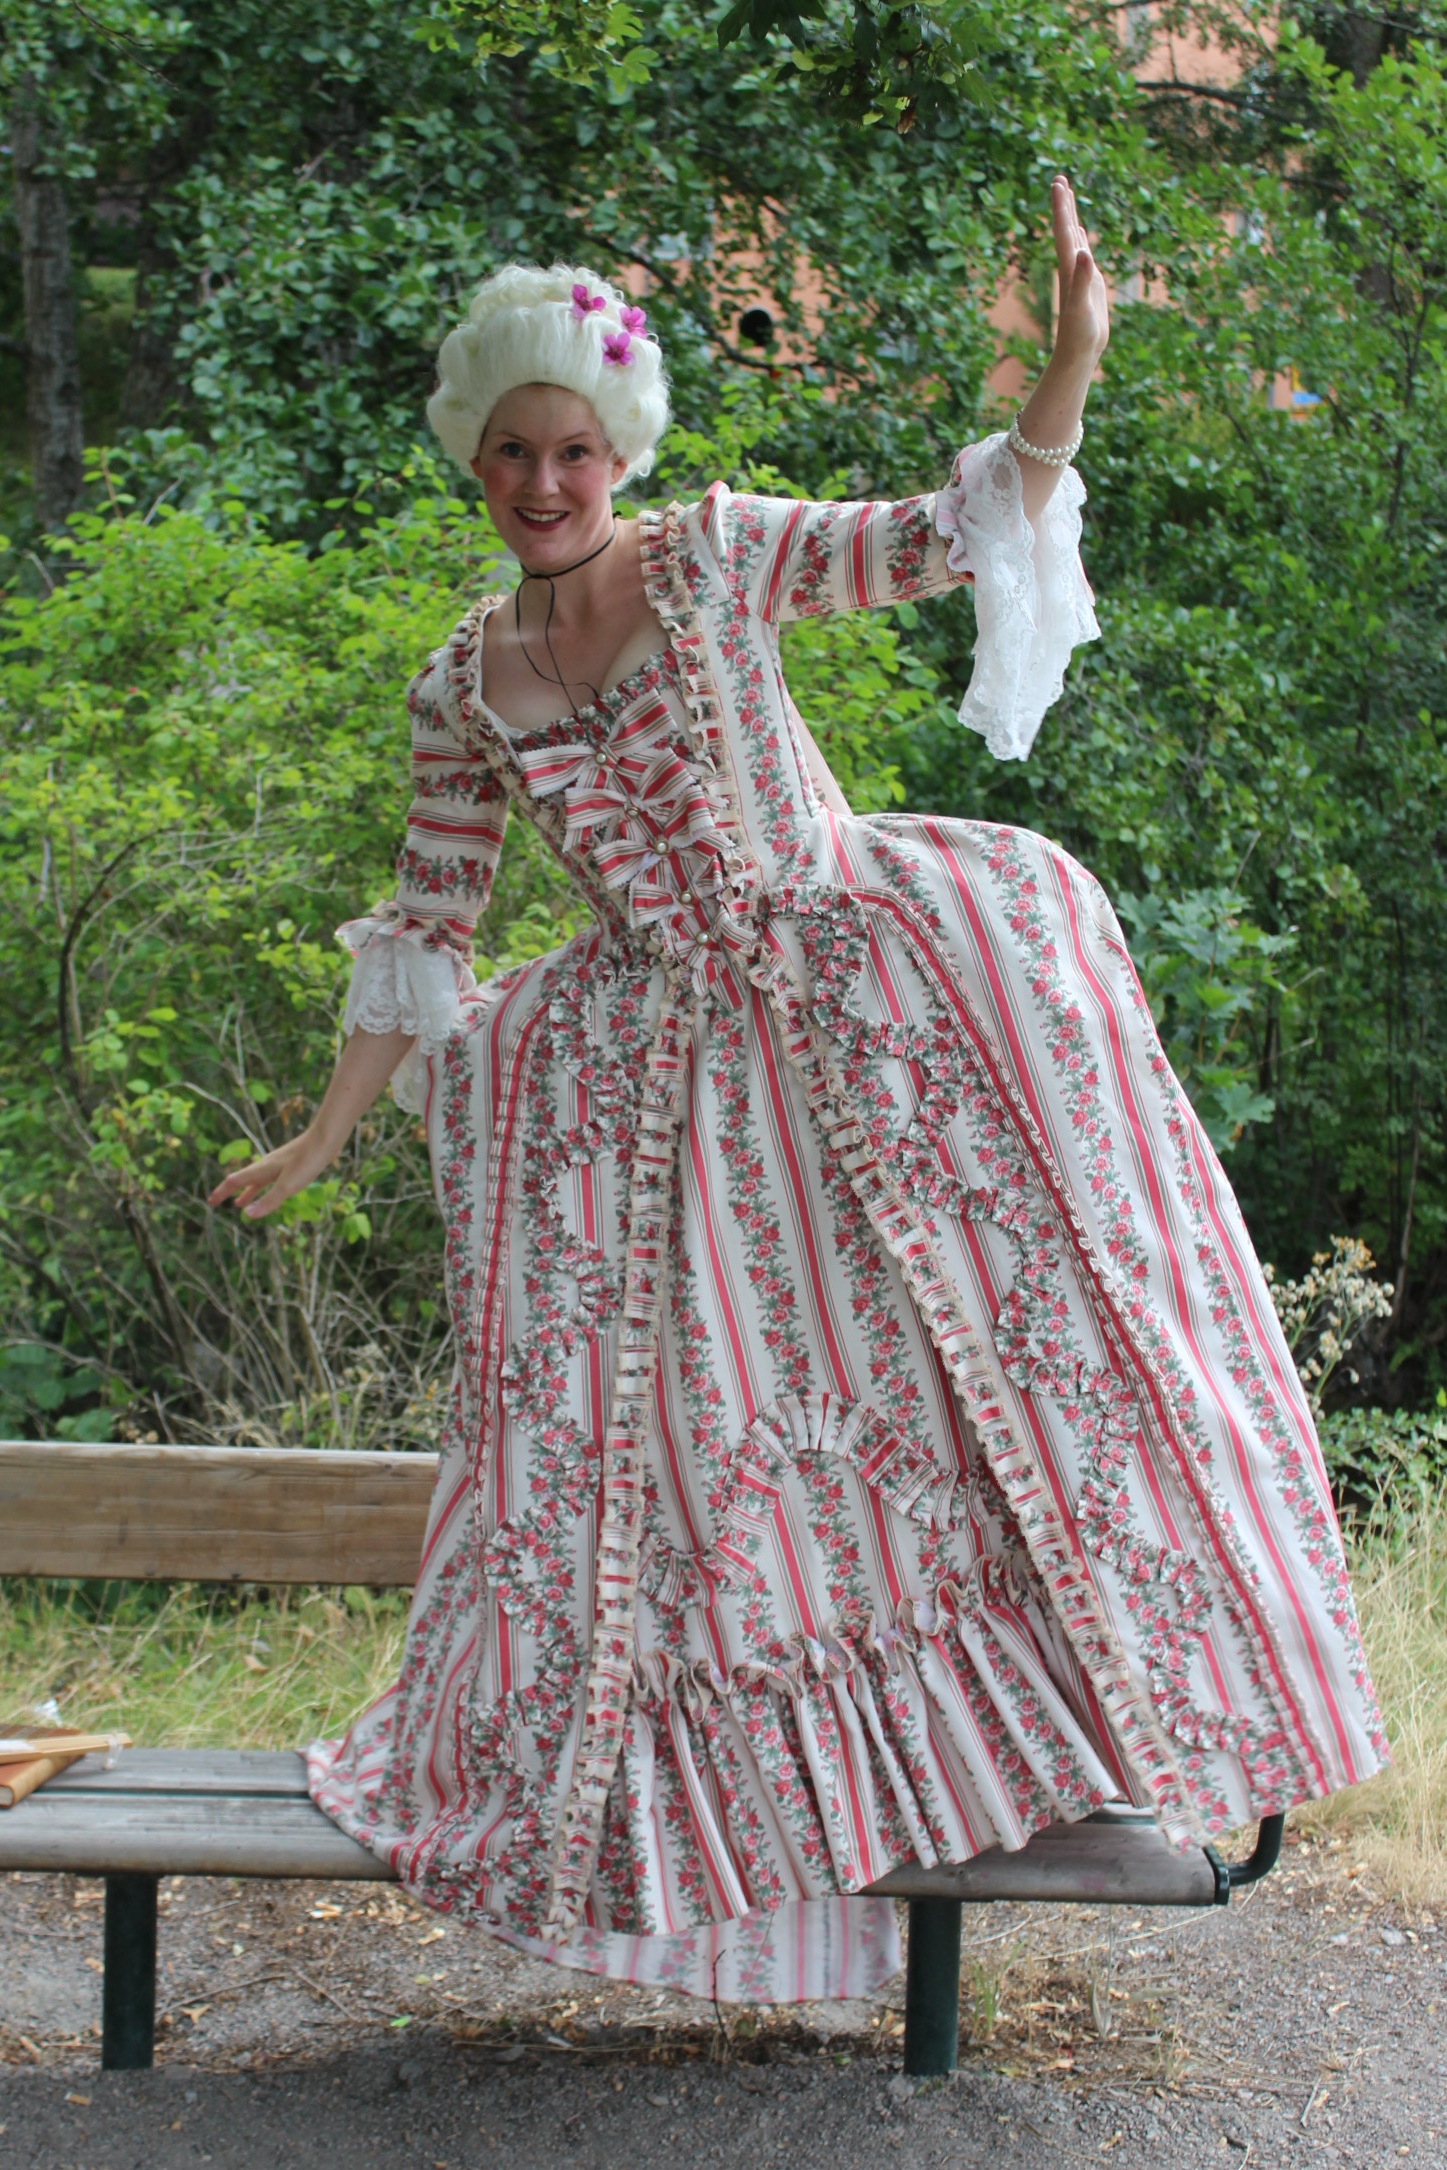
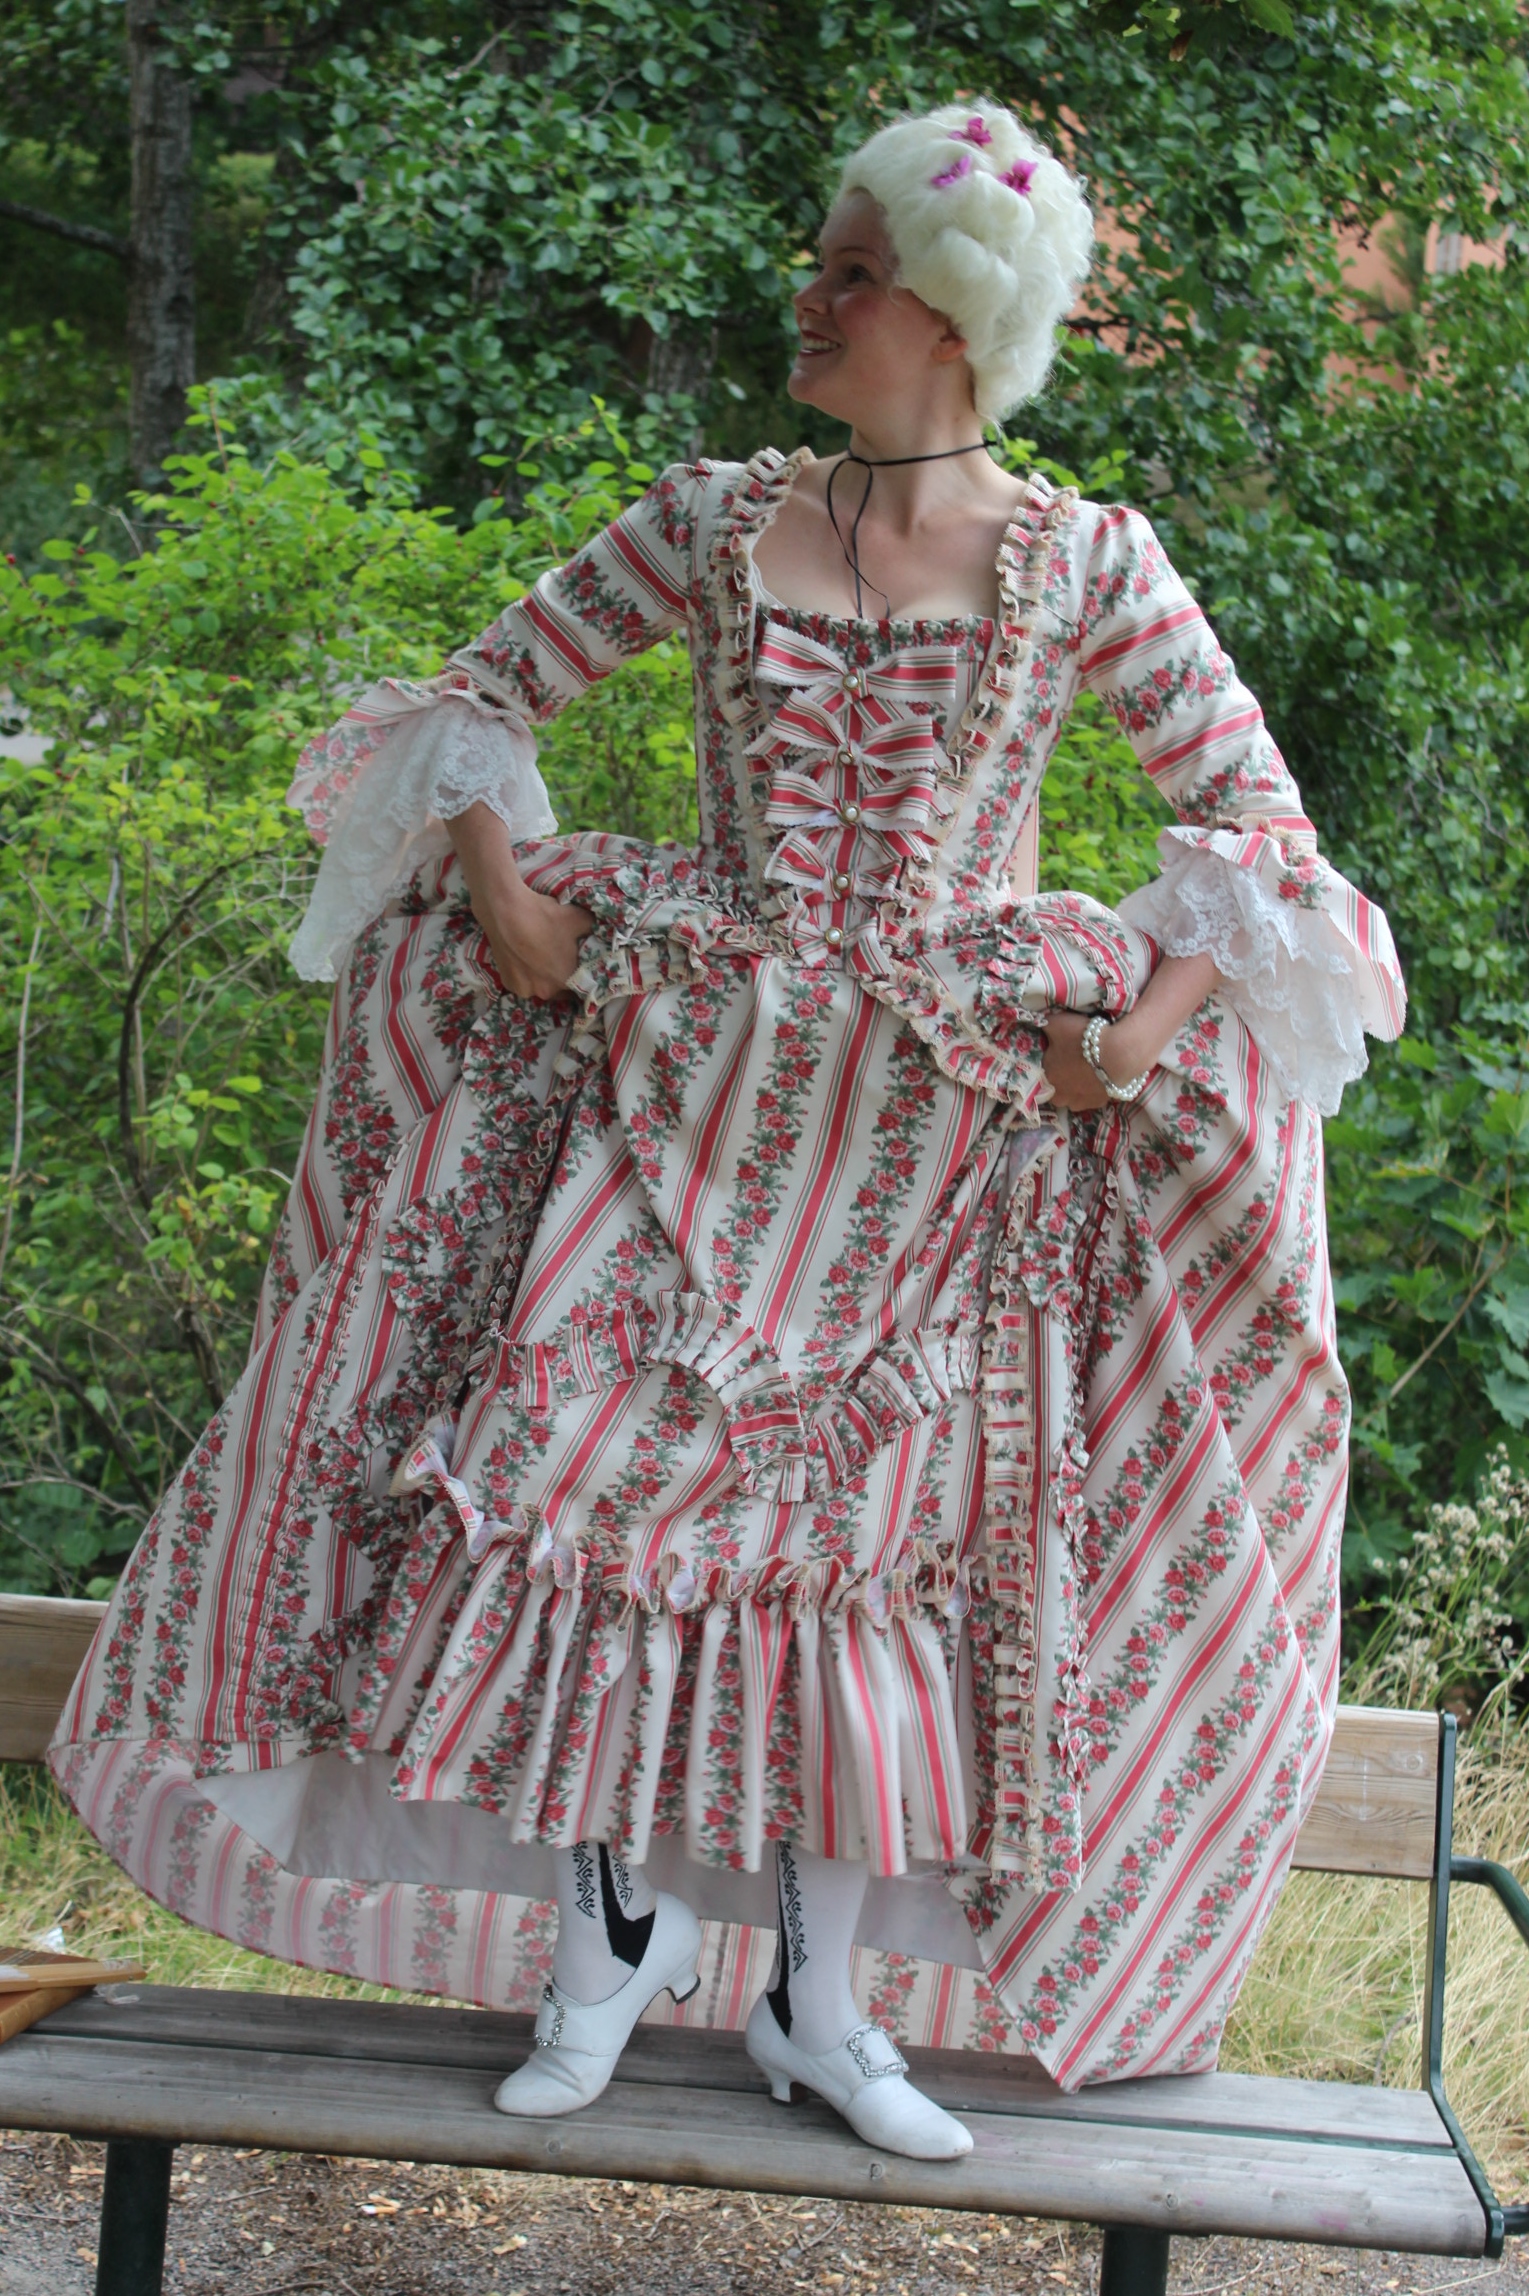
 Pictures by: Elin Evaldsdotter
  A pink/flower/striped polyester satin found in the bargain bin at my local fabric store.
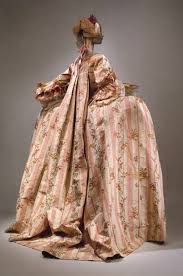
 The first version of this petticoat paired with my (then) newly made stays.

 The firs try on after 2 years (and 1 baby) – and it fits like a glove :-D.
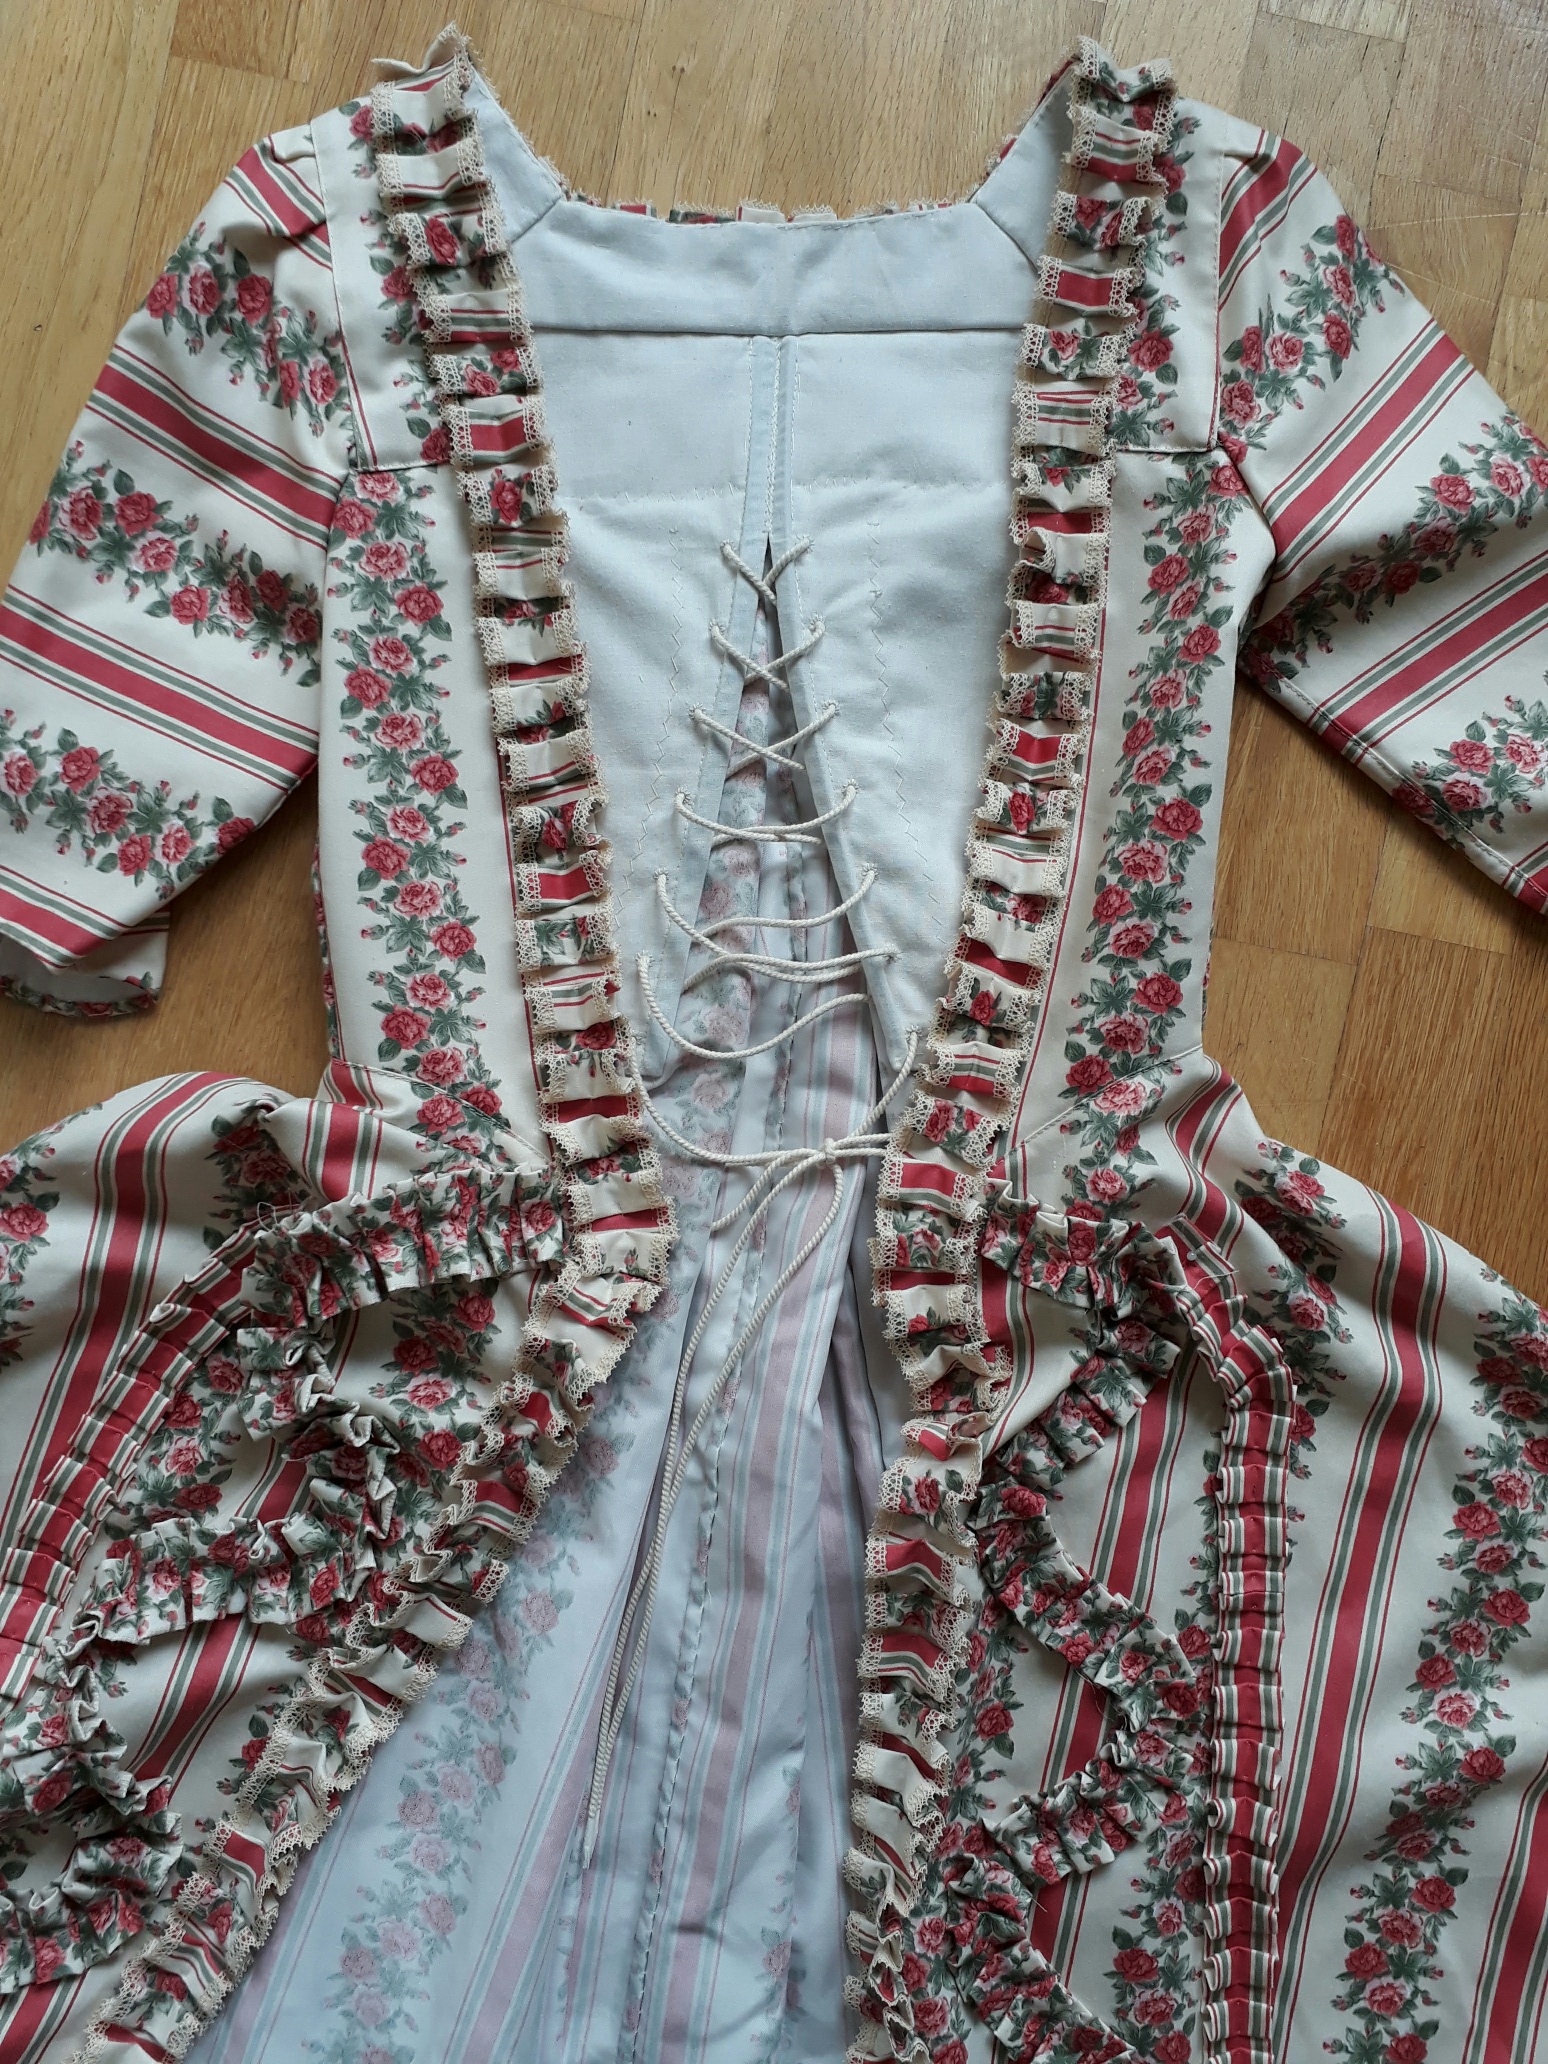


 pic from before the photoshoot