
You know the dress that got rushed and didn’t turned out the way you liked?
Or maybe the fit wasn’t perfect, or the matching trim didn’t quite match after all.
Or maybe you just learned so much lately that what seamed pretty good to you before, just won’t cut it anymore?
We all got one (or more) dresses/costumes that we just can’t seem to love.
That’s exactly how I feel about my “Spring Anglaise“.
I love the fabric and the style, but for some reson I never cared much for the finished dress.
I’d say it is the styling combined with the fit that makes it look… of.. at least in these pictures.
But why don’t I love the dress itself then?
It’s for exactly this reason that it’s been sitting in my wardrobe un-loved and un-wanted for quite some time now.
I even thought about selling it, but decided I didn’t want to sell something I wasn’t completely happy about.
But then something happened.
It all started earlier this summer when I decided I wanted to attend a event, to which this dress would be perfect
– if only I could get it to work.
So I dug it out the closet, and gave it another try on.
 Still not loving it…
 ![]()
So I put it aside in favour for another dress I do like (the striped Anglaise/Turque), and which I’ve worn two times before.

But I couldn’t put it to rest completely, and a few days before the event I decided to see if I could fix it.
So I ripped the gown apart and started from scratch (sort of, since all pieces was already cut.)
After removing all (hand-stitched) seams I pressed the pieces flat with the new iron I got from my boyfriend for my birthday a month or so ago.  quite the difference
Even though the dress originally was completely hand stitched, I decided to use the machine this time since the few days I had was quickly running out.
I started by stitching together and tried on the lining (as you would a mock-up) to see what I could do to make it fit better.

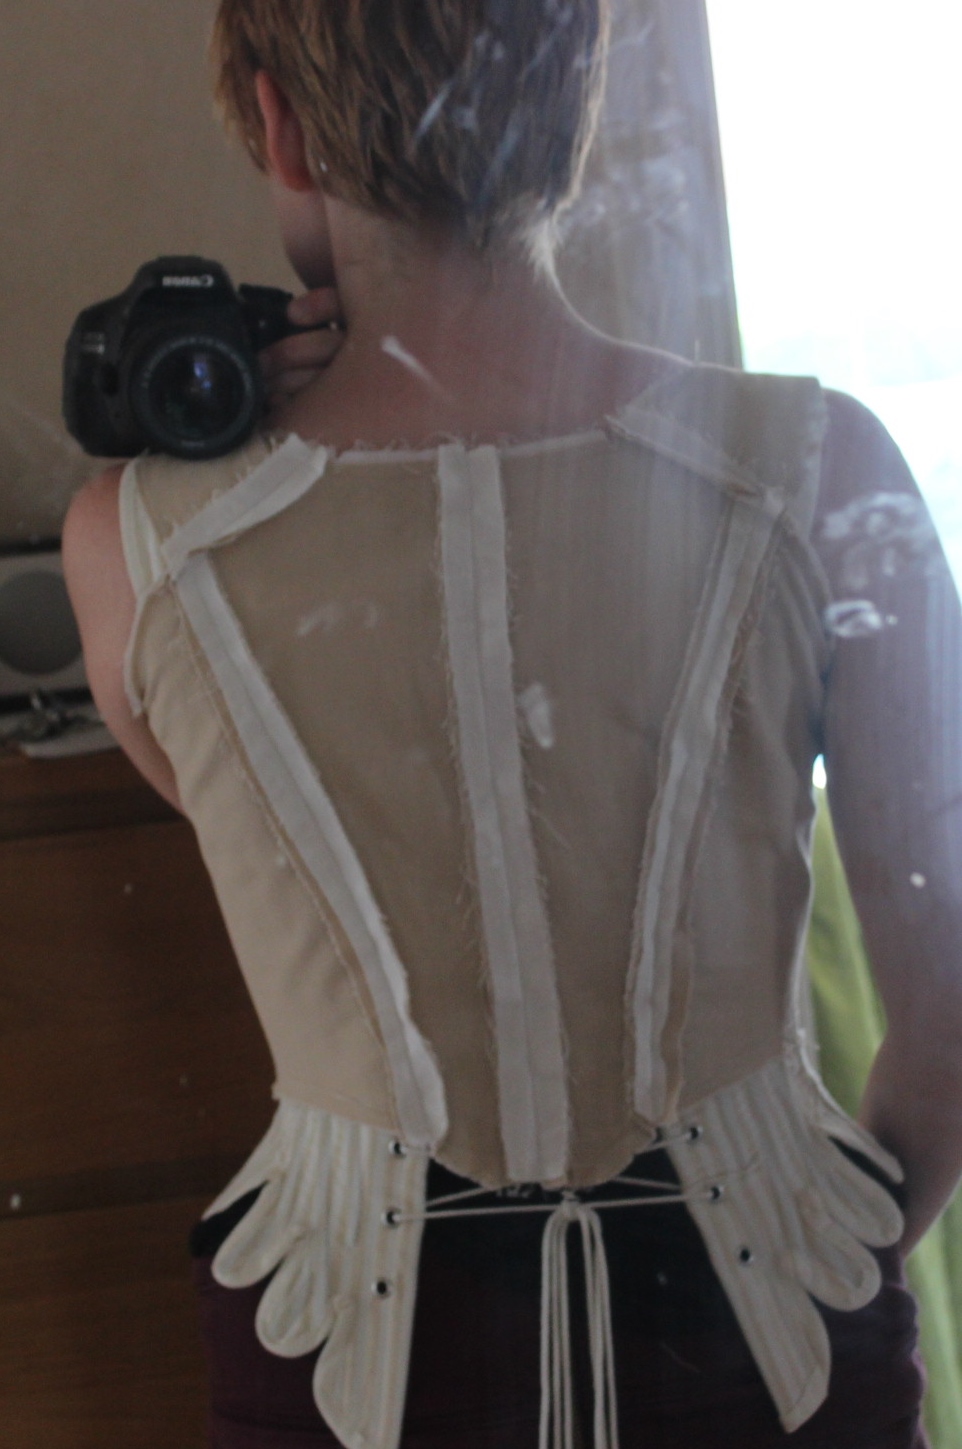
It needed to be taken in a bit, and the under arm needed to be lowered, but other than that the fit was quite good.
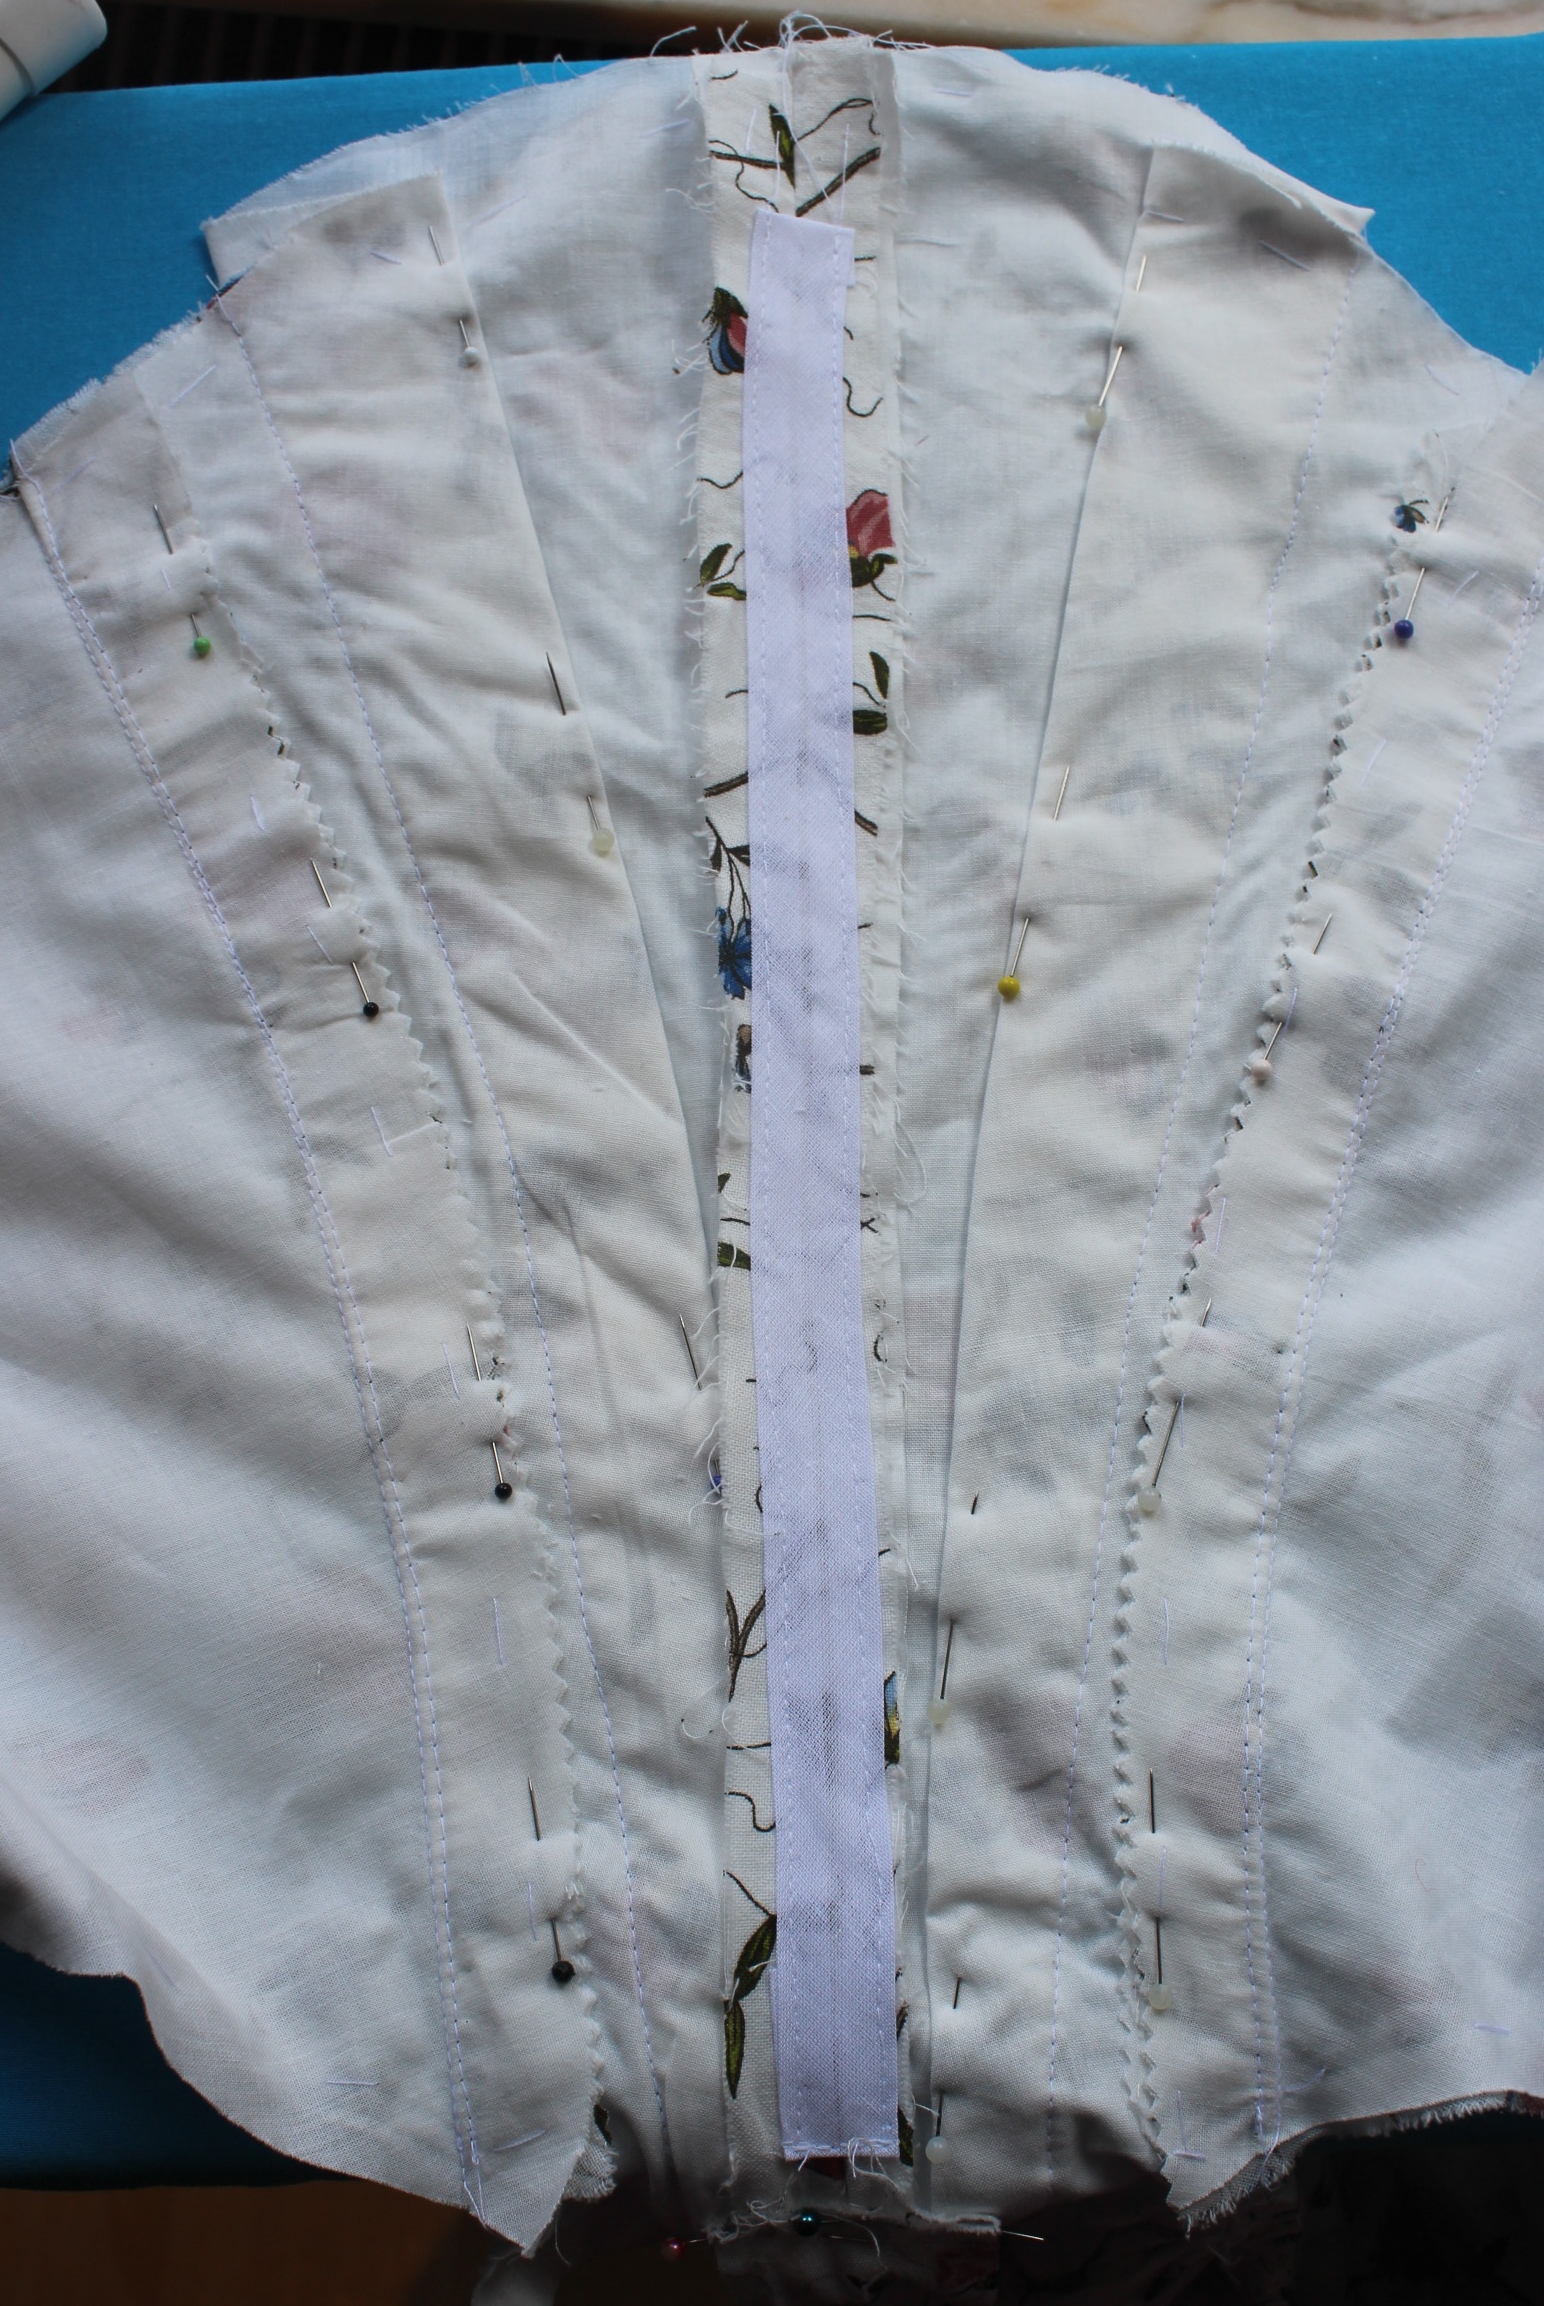
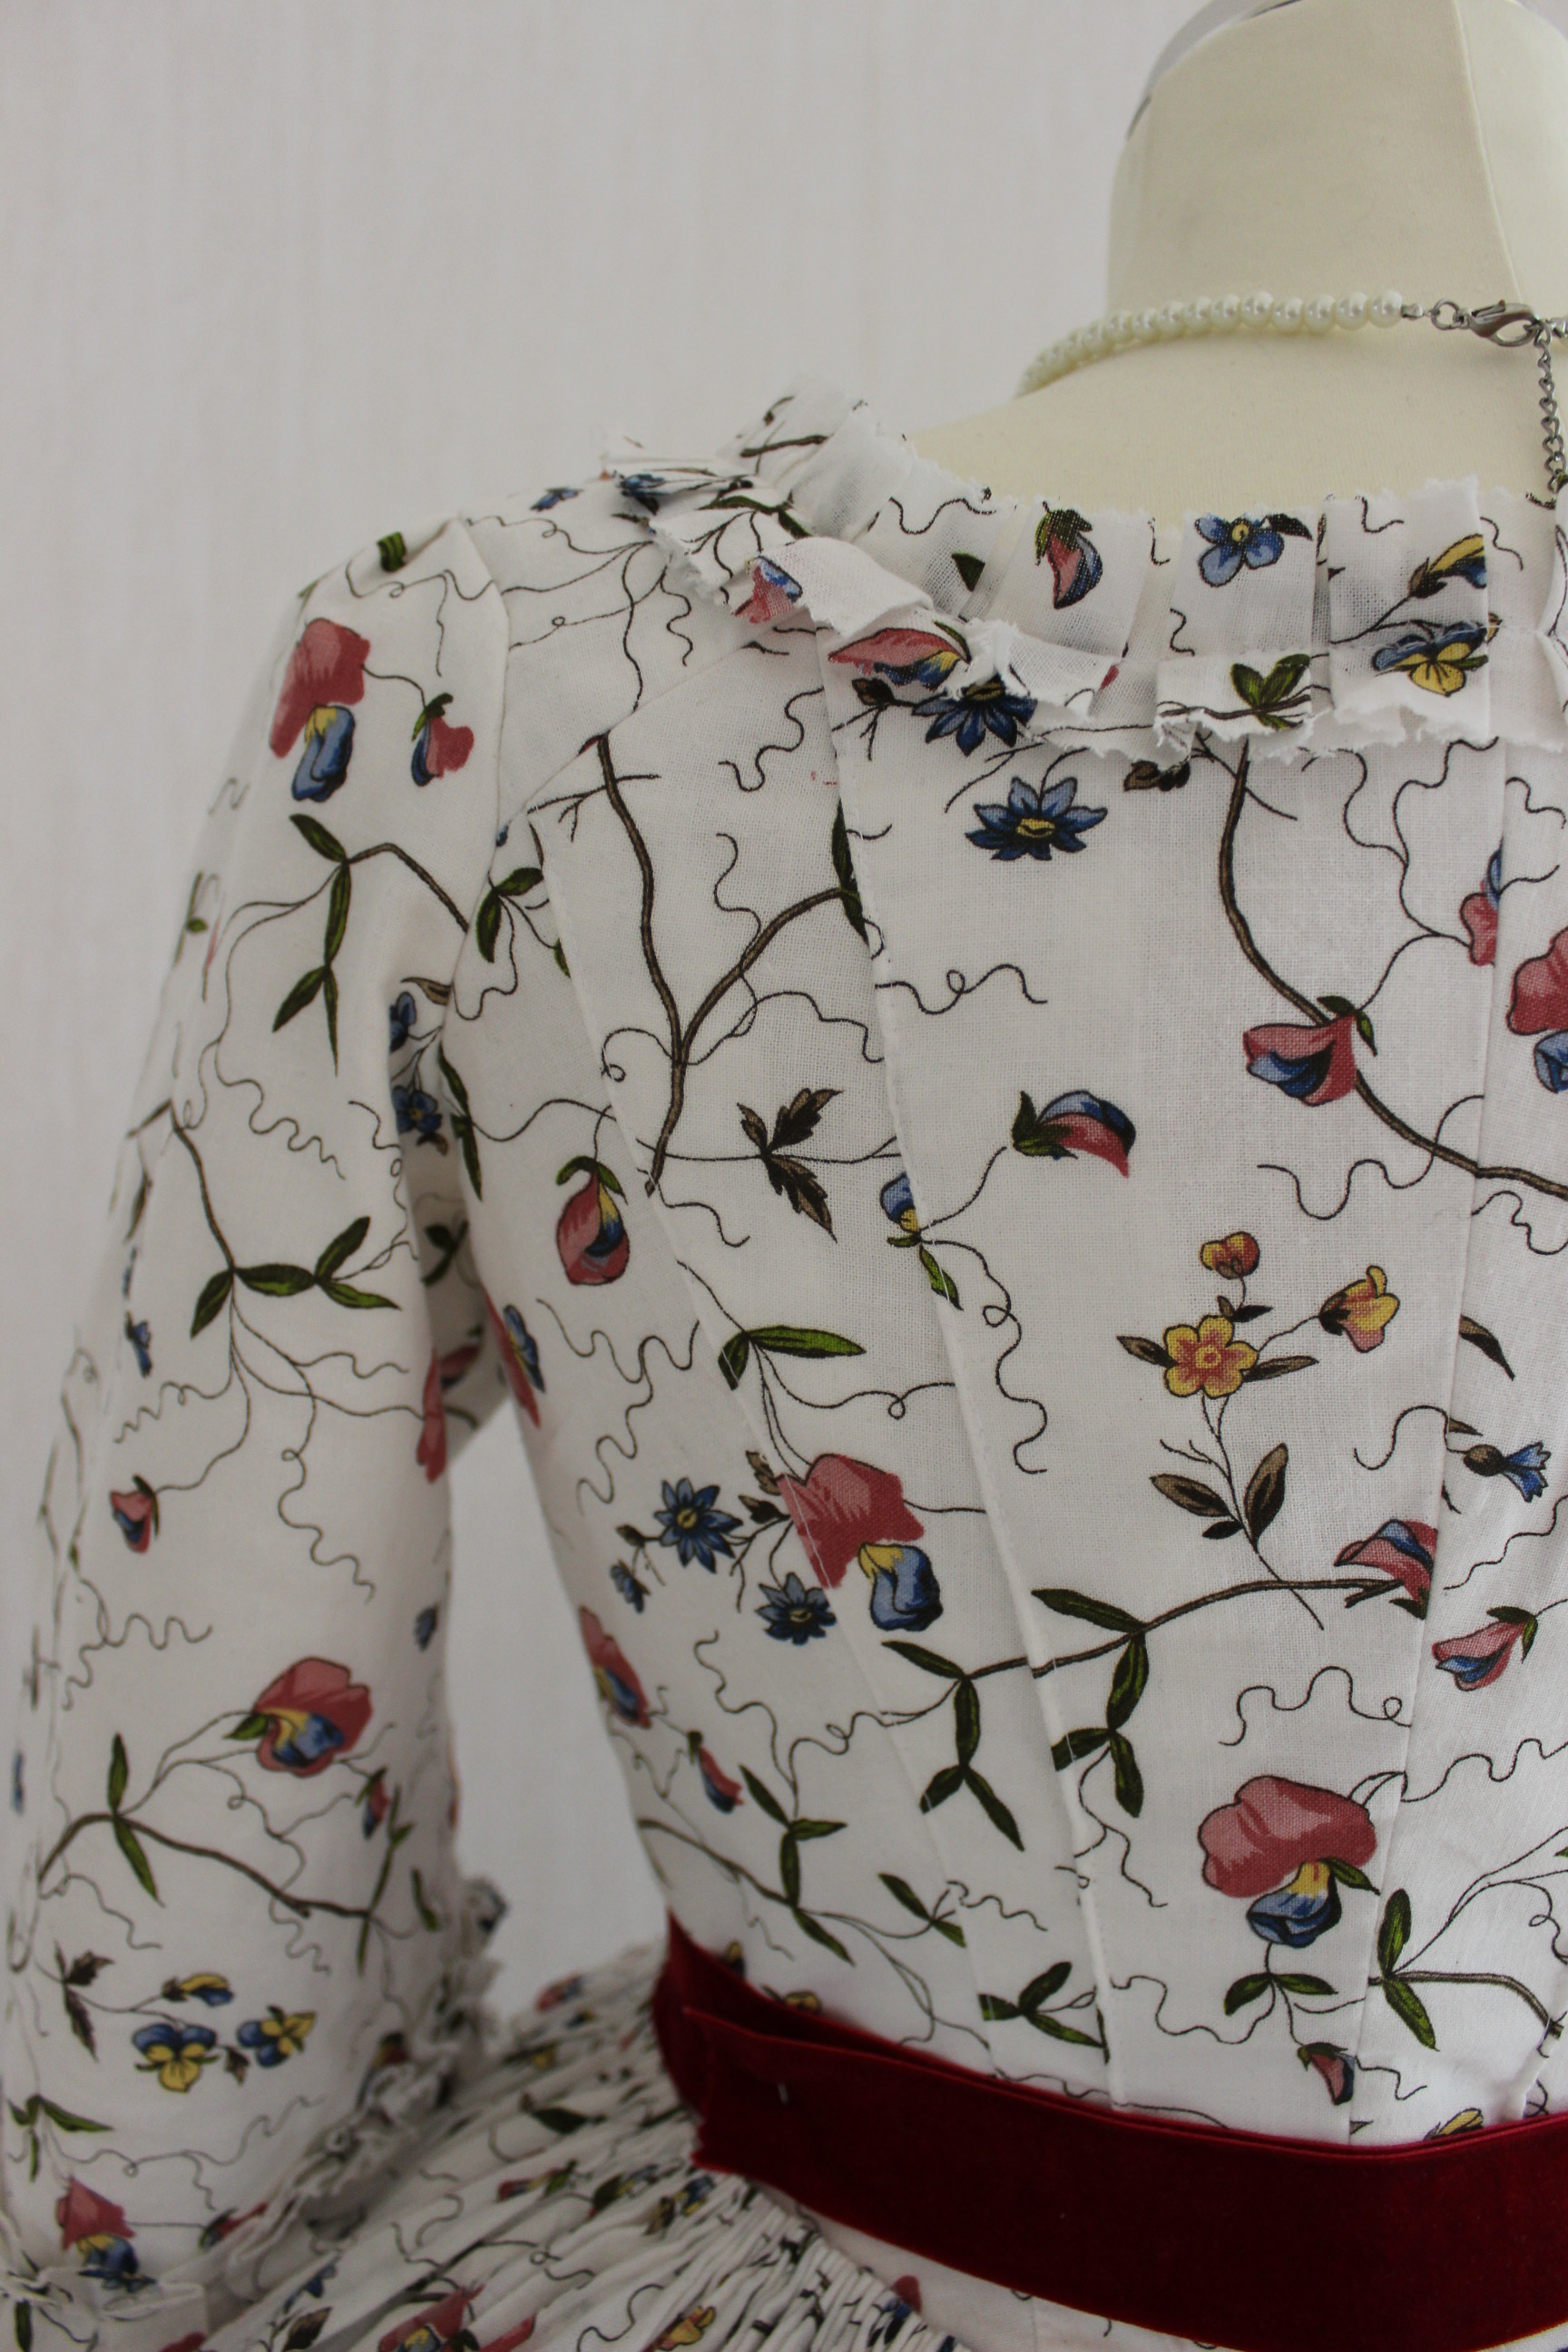
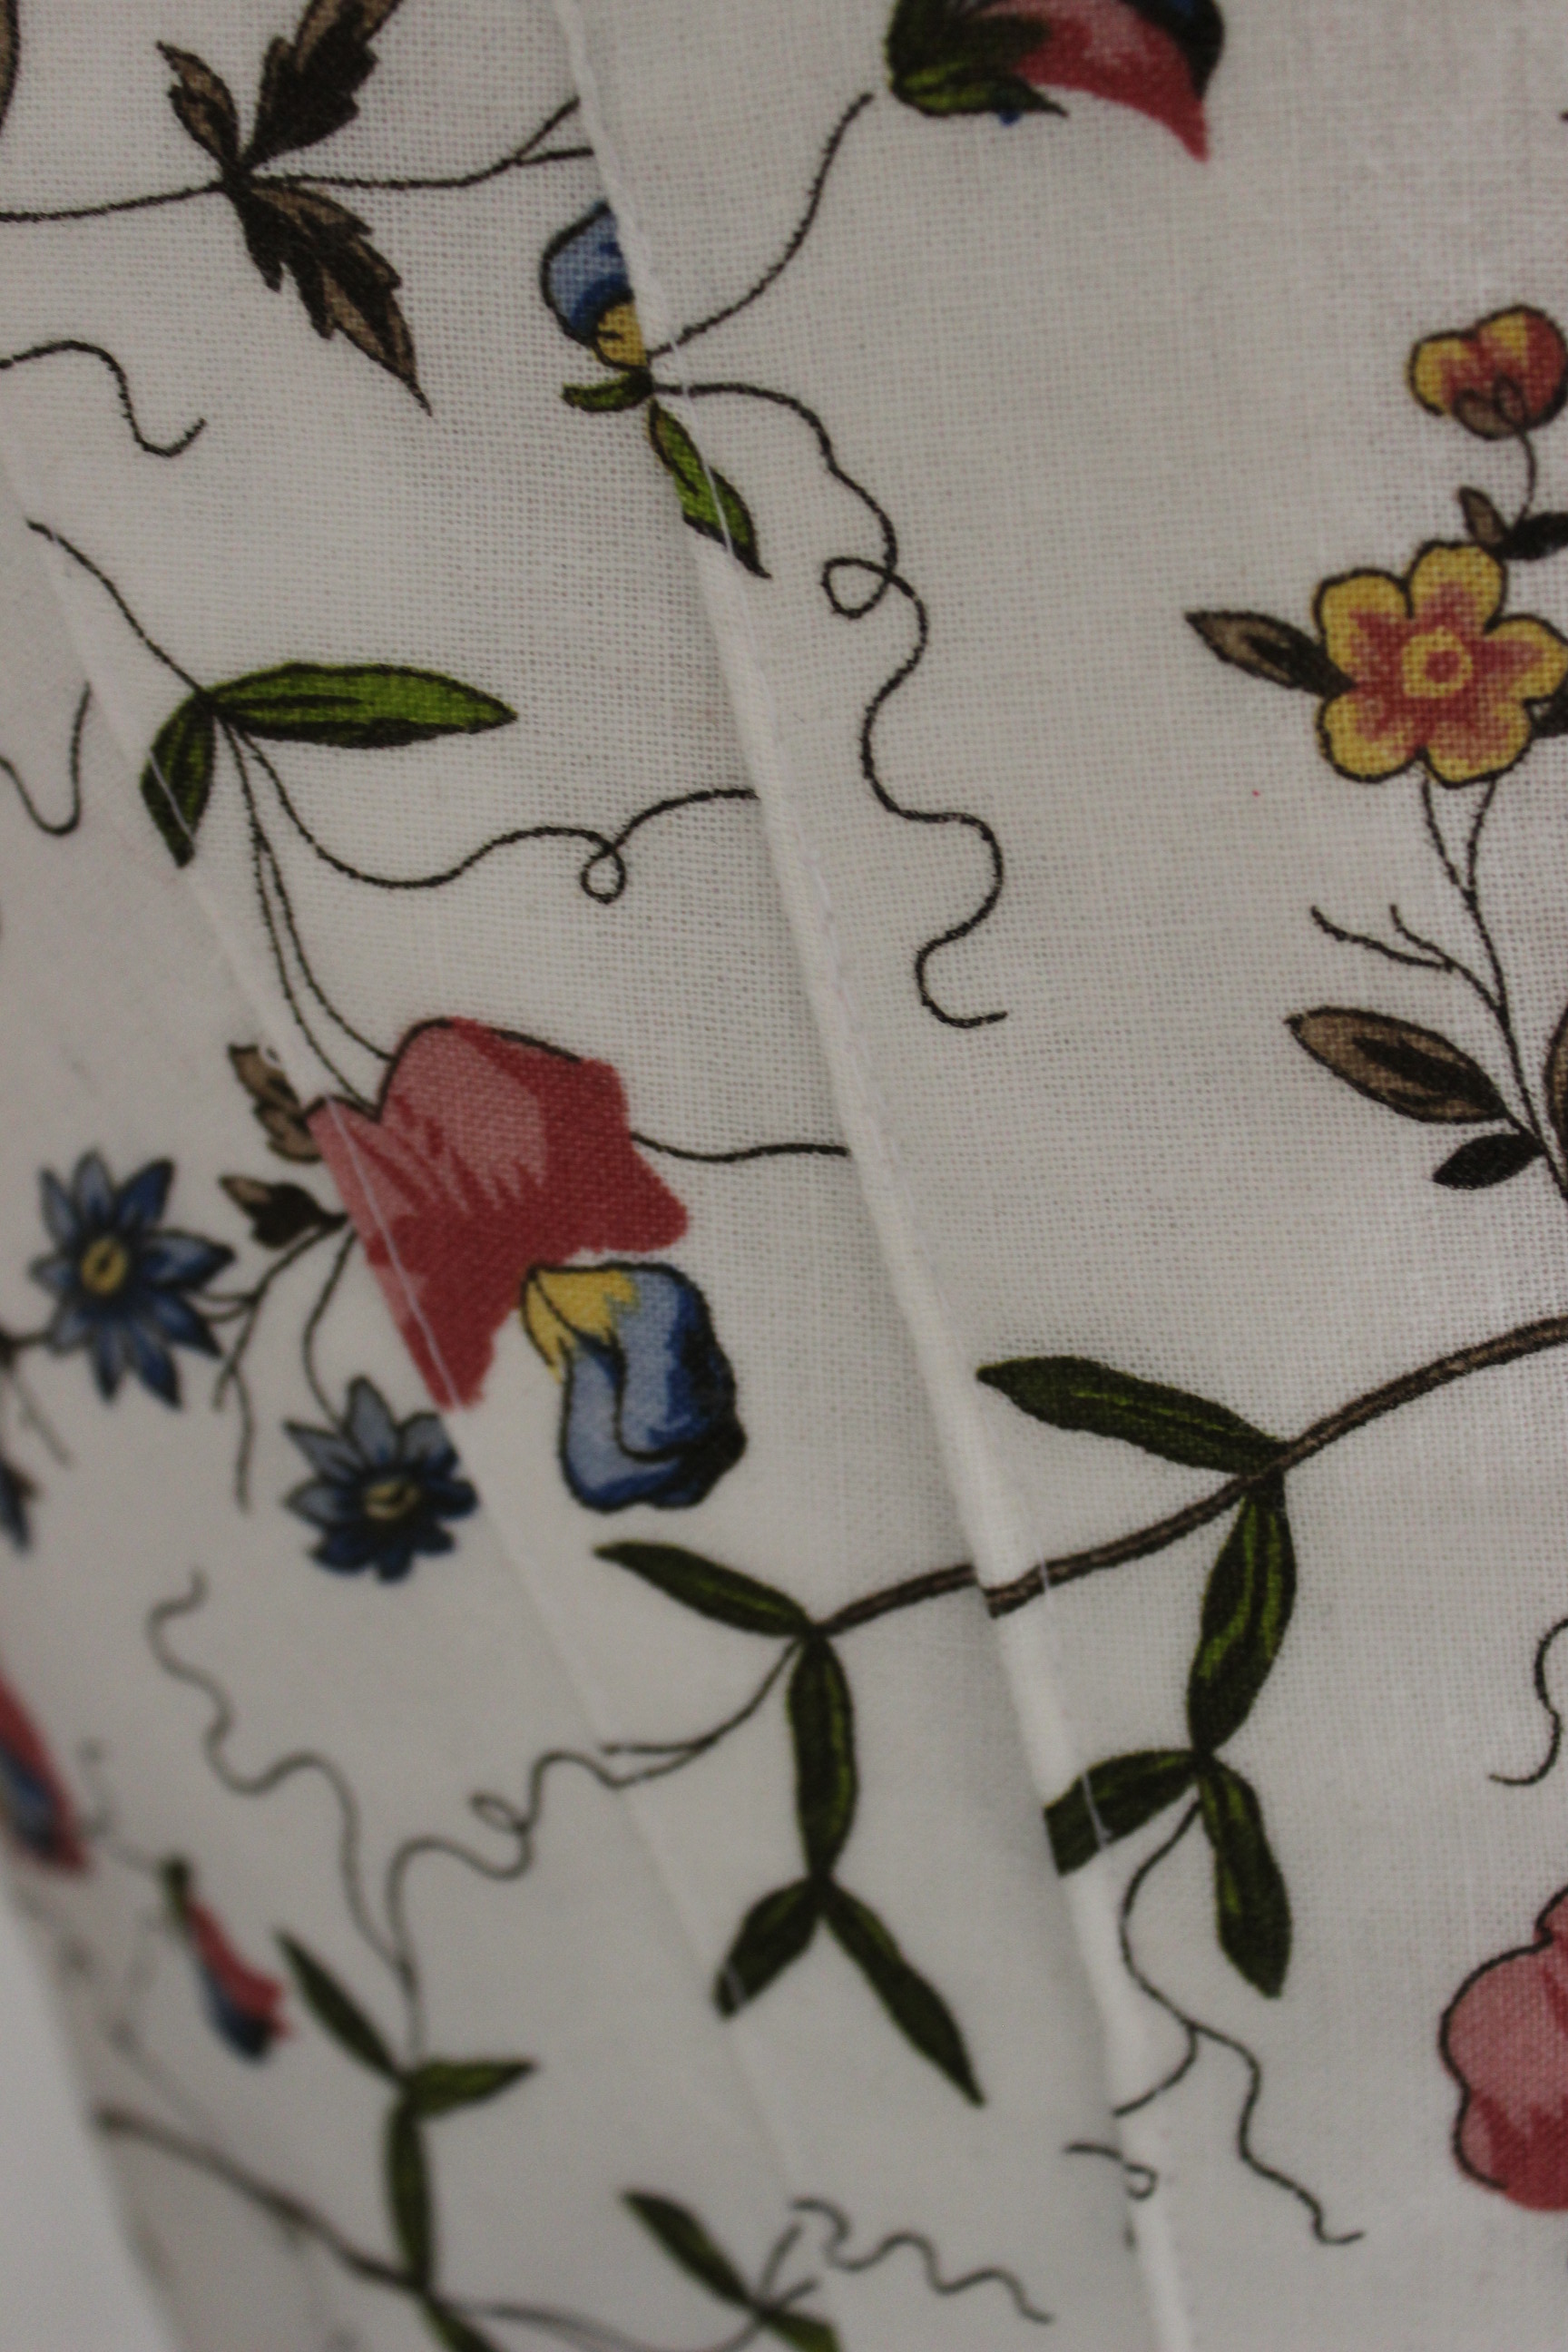
This time I decided to baste a cotton interlining to the bodice pieces of the fashion fabric (instead of just to the lining as done before), and I think that made a huge difference in the way the pleats and fabric looked once stitched.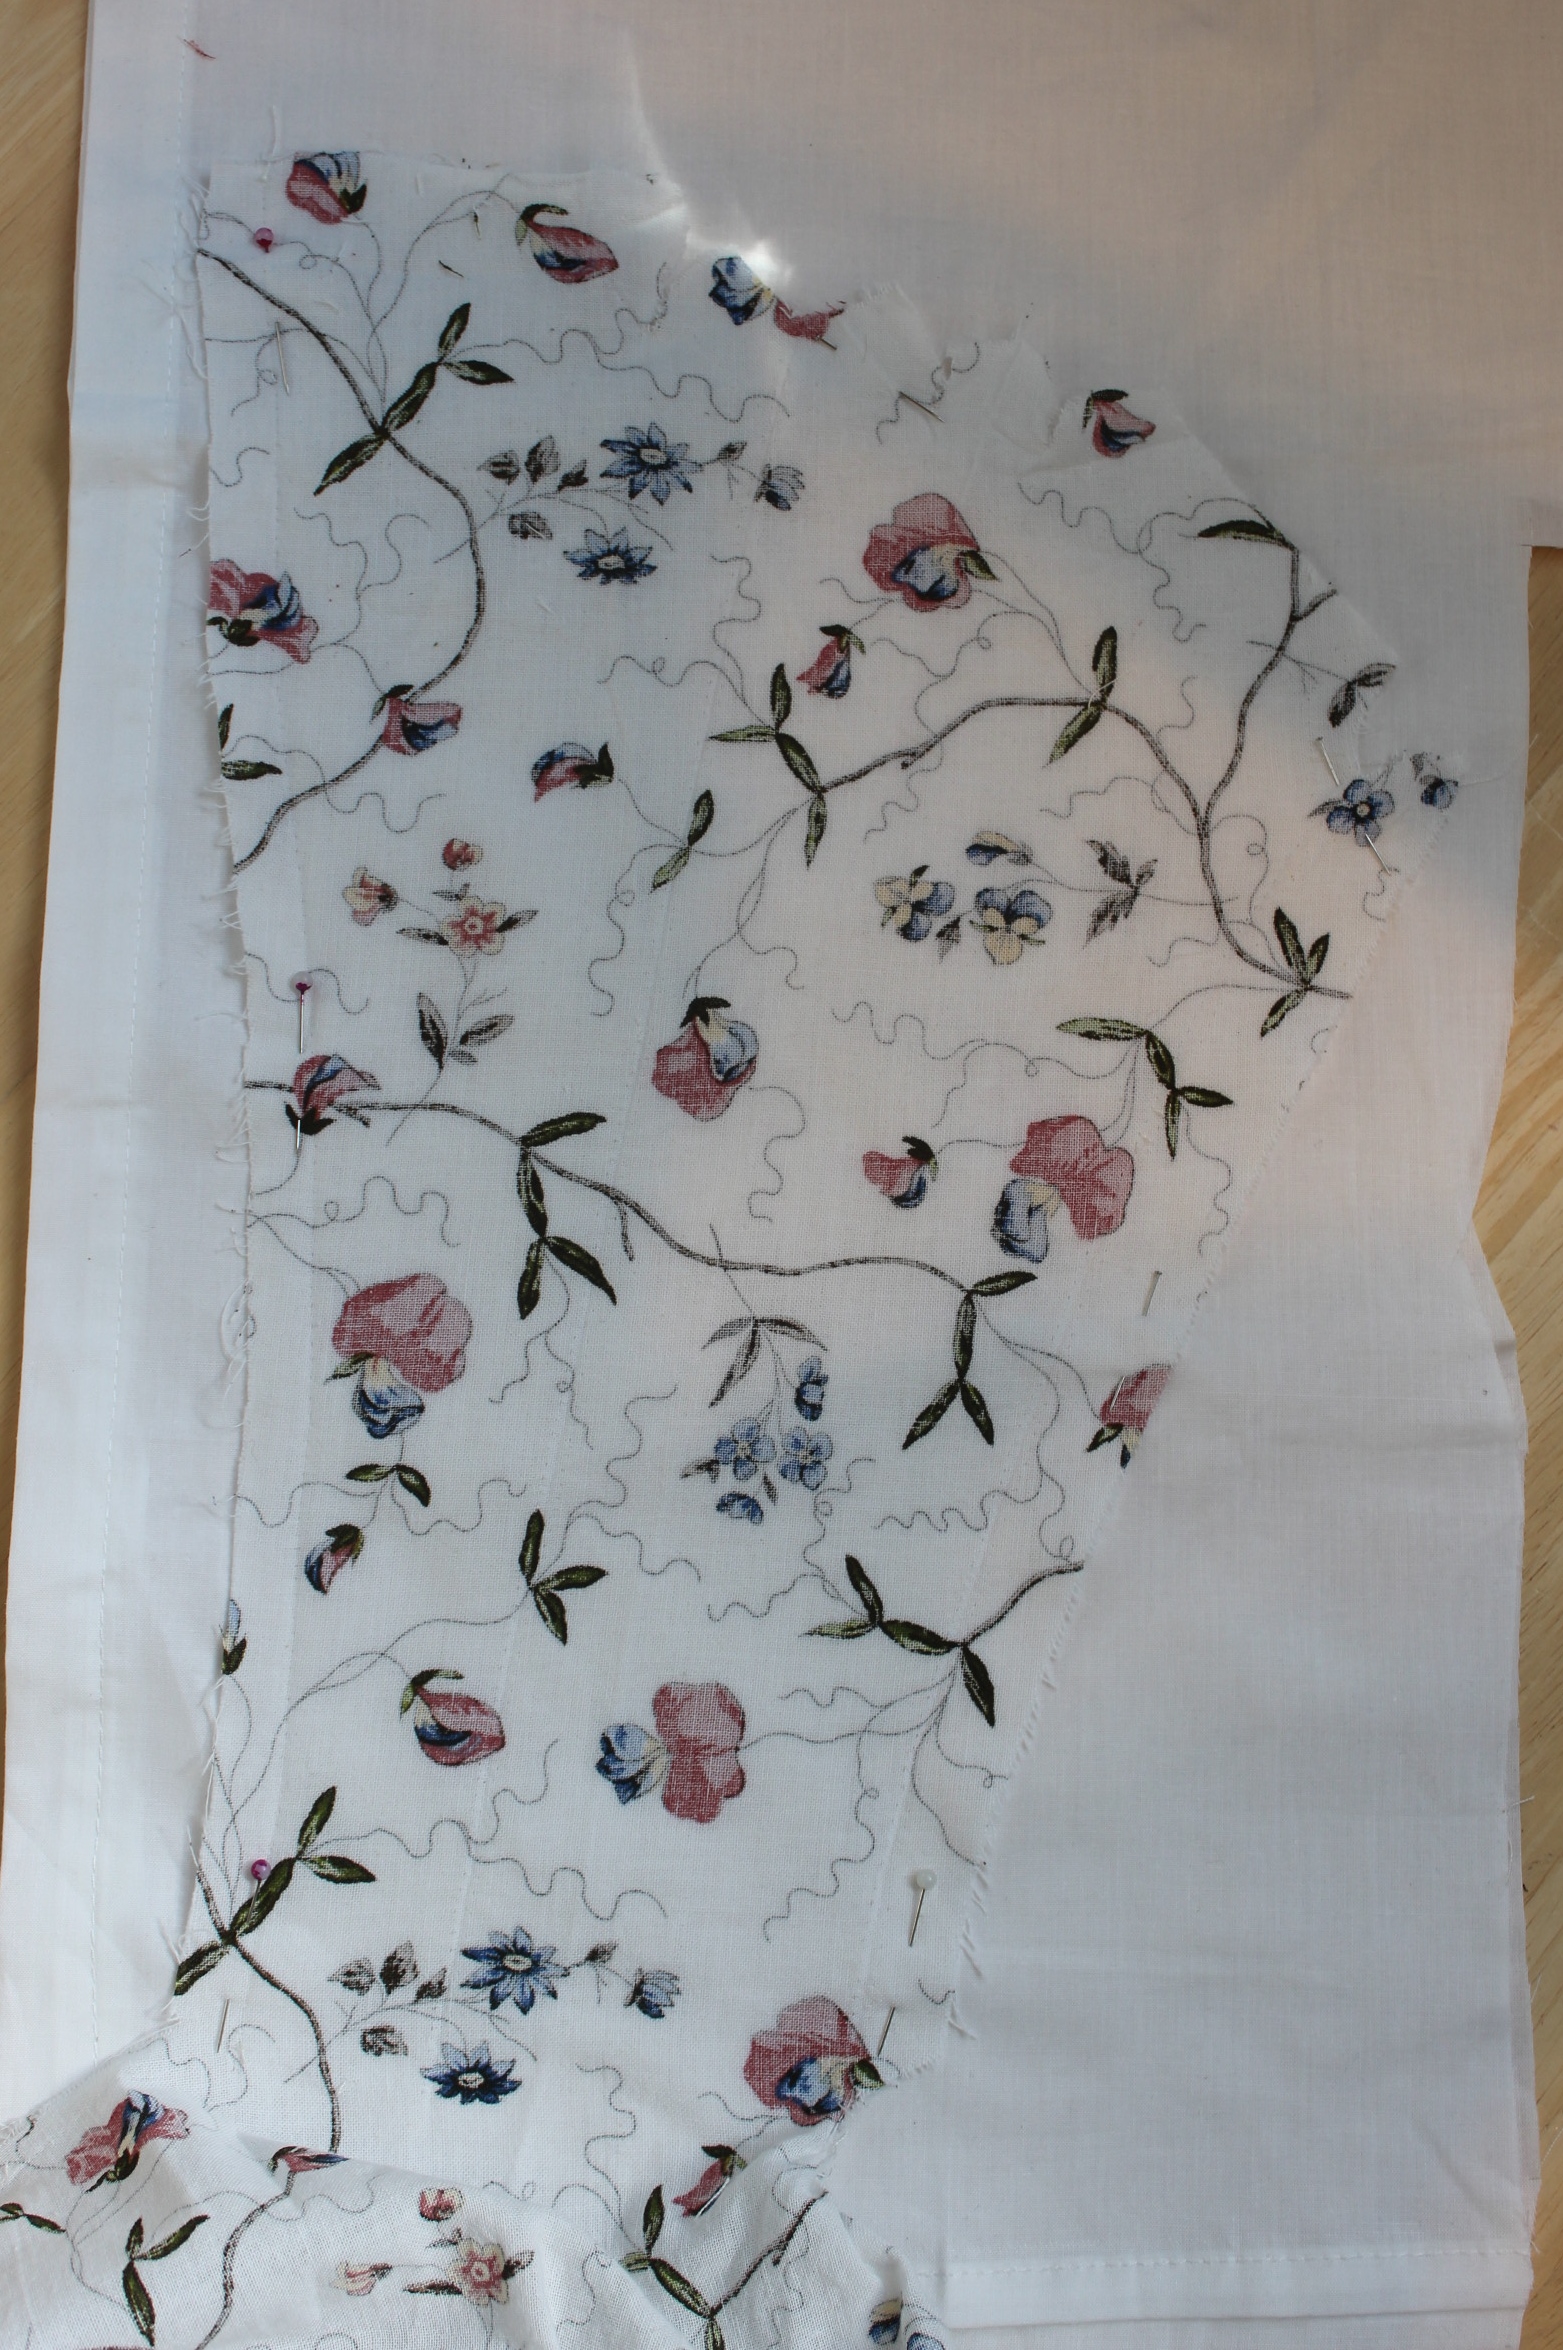
The pleating of the back was a bit tricky but, after some fiddeling I got it to lie nice and flat. 
Then I stitched on the sleeves, added some boning at the center back and front, attached the skirt and rows of hooks and eyes for the clouser.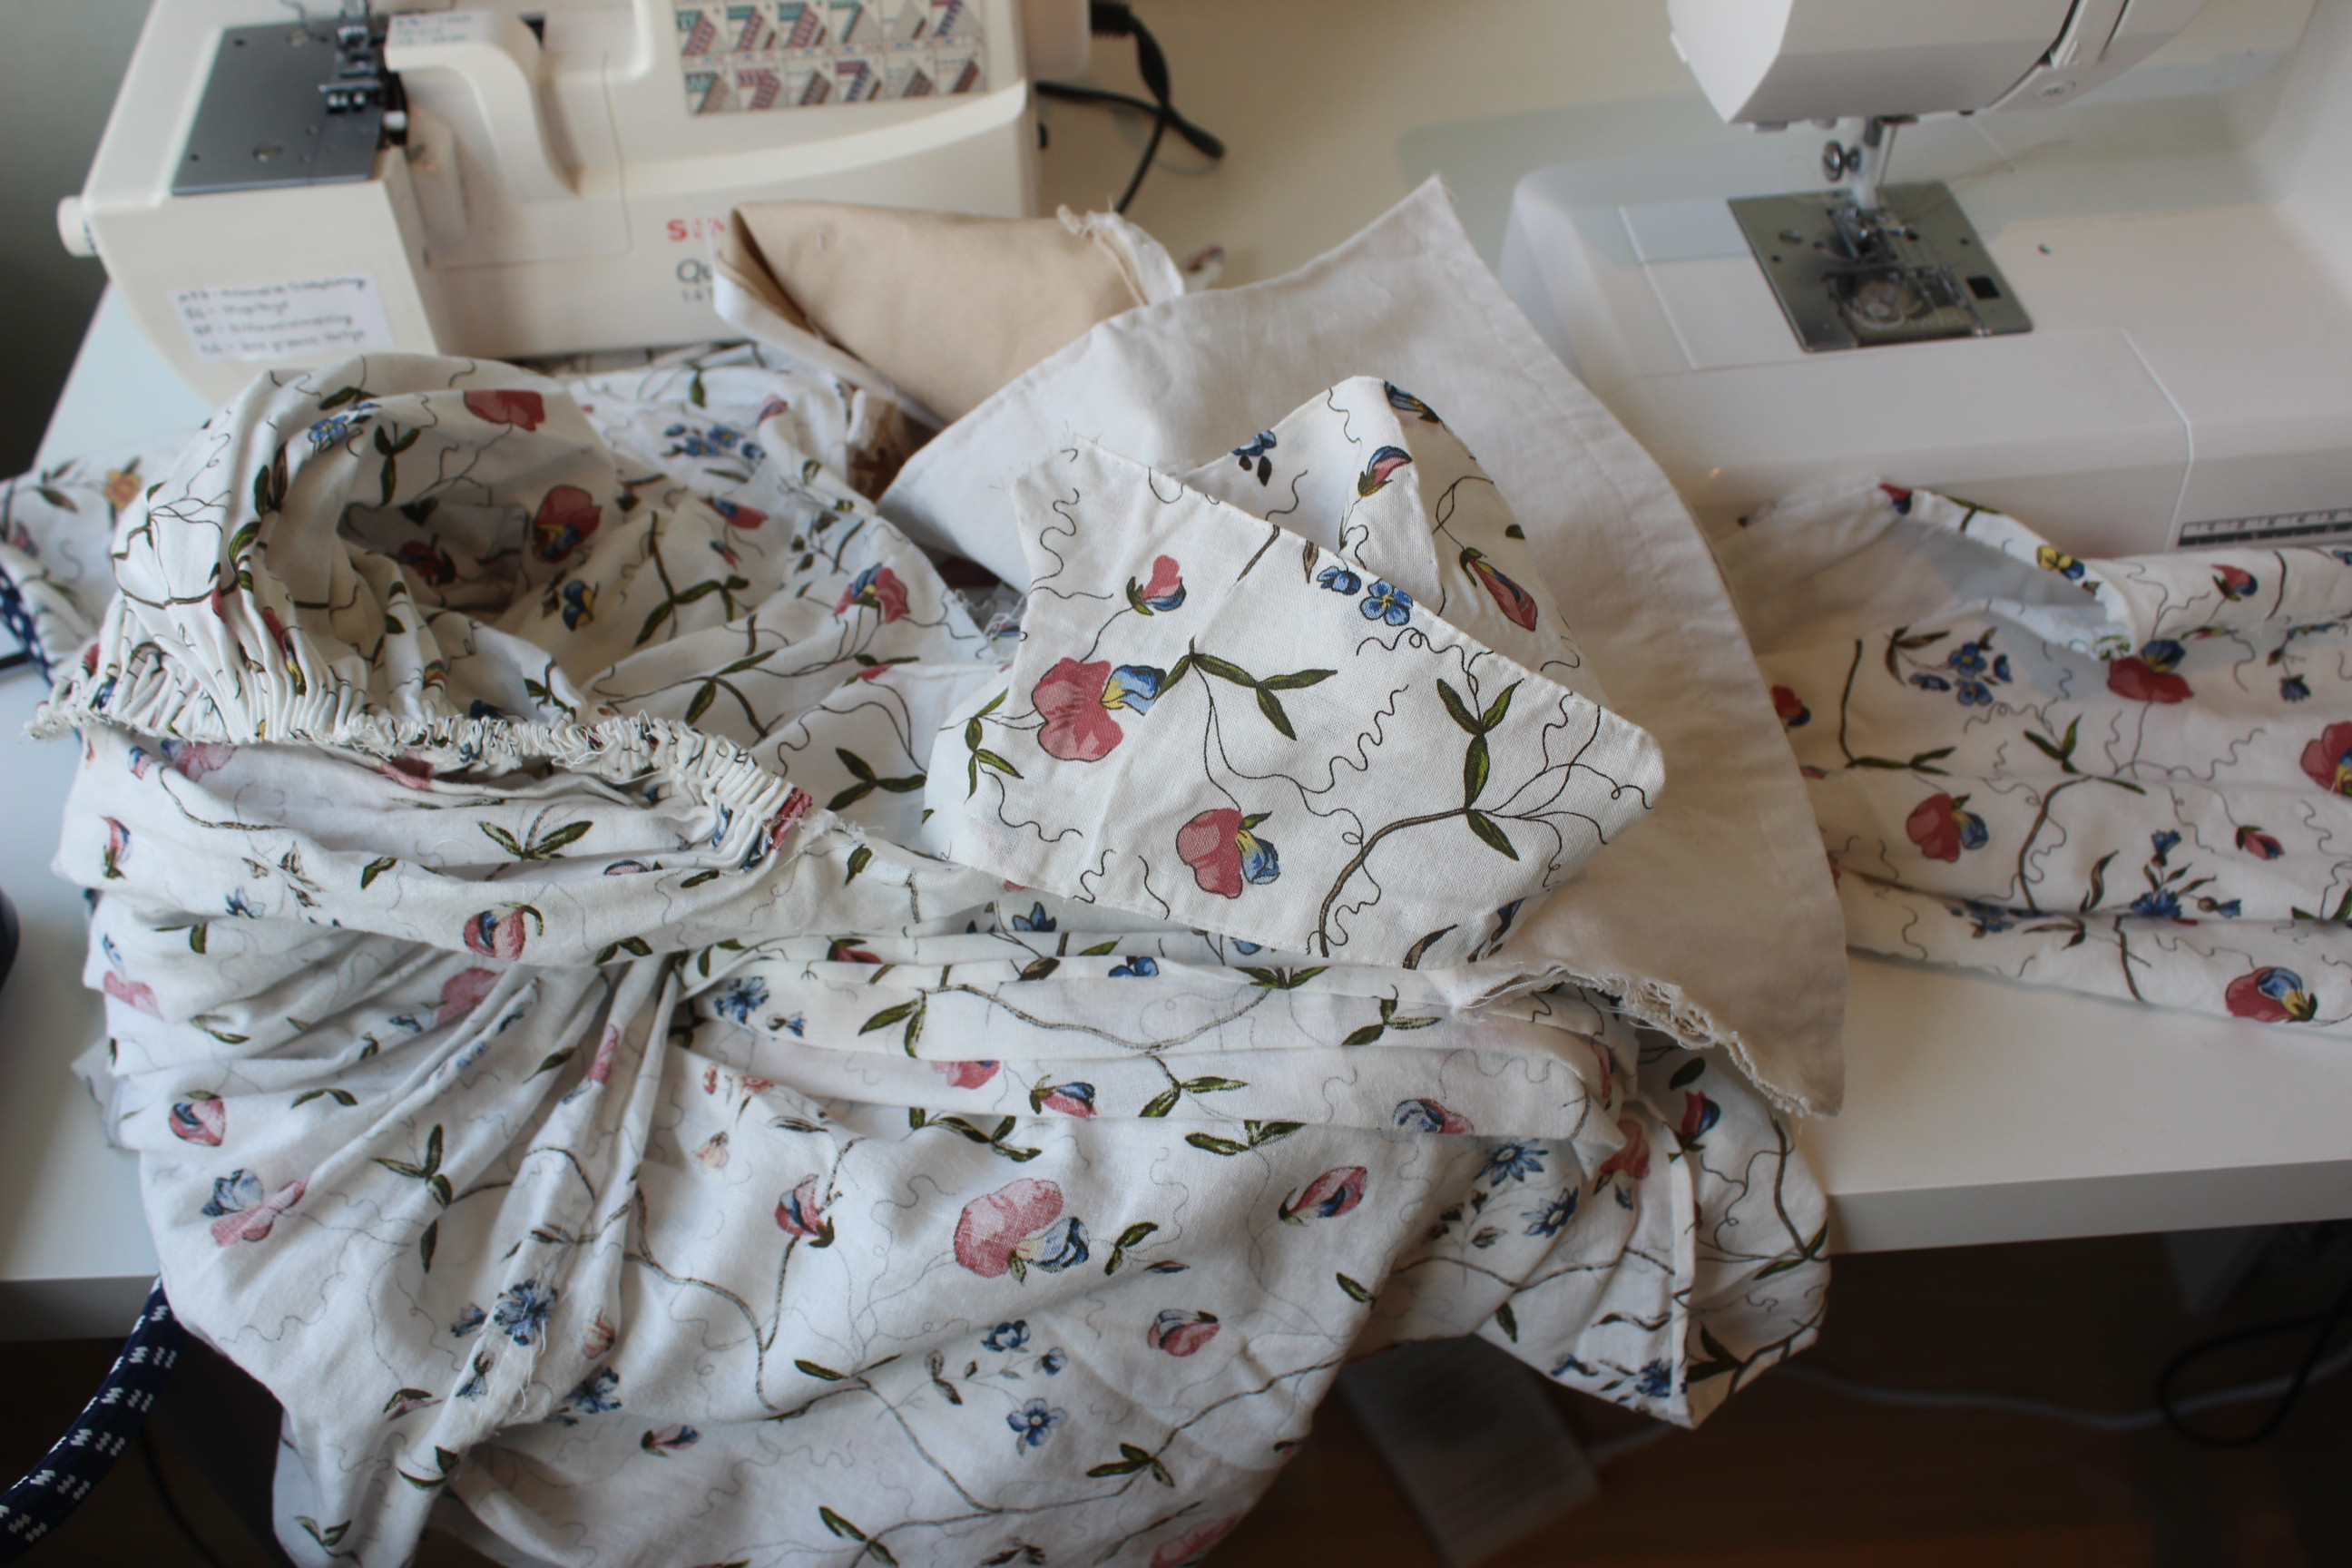
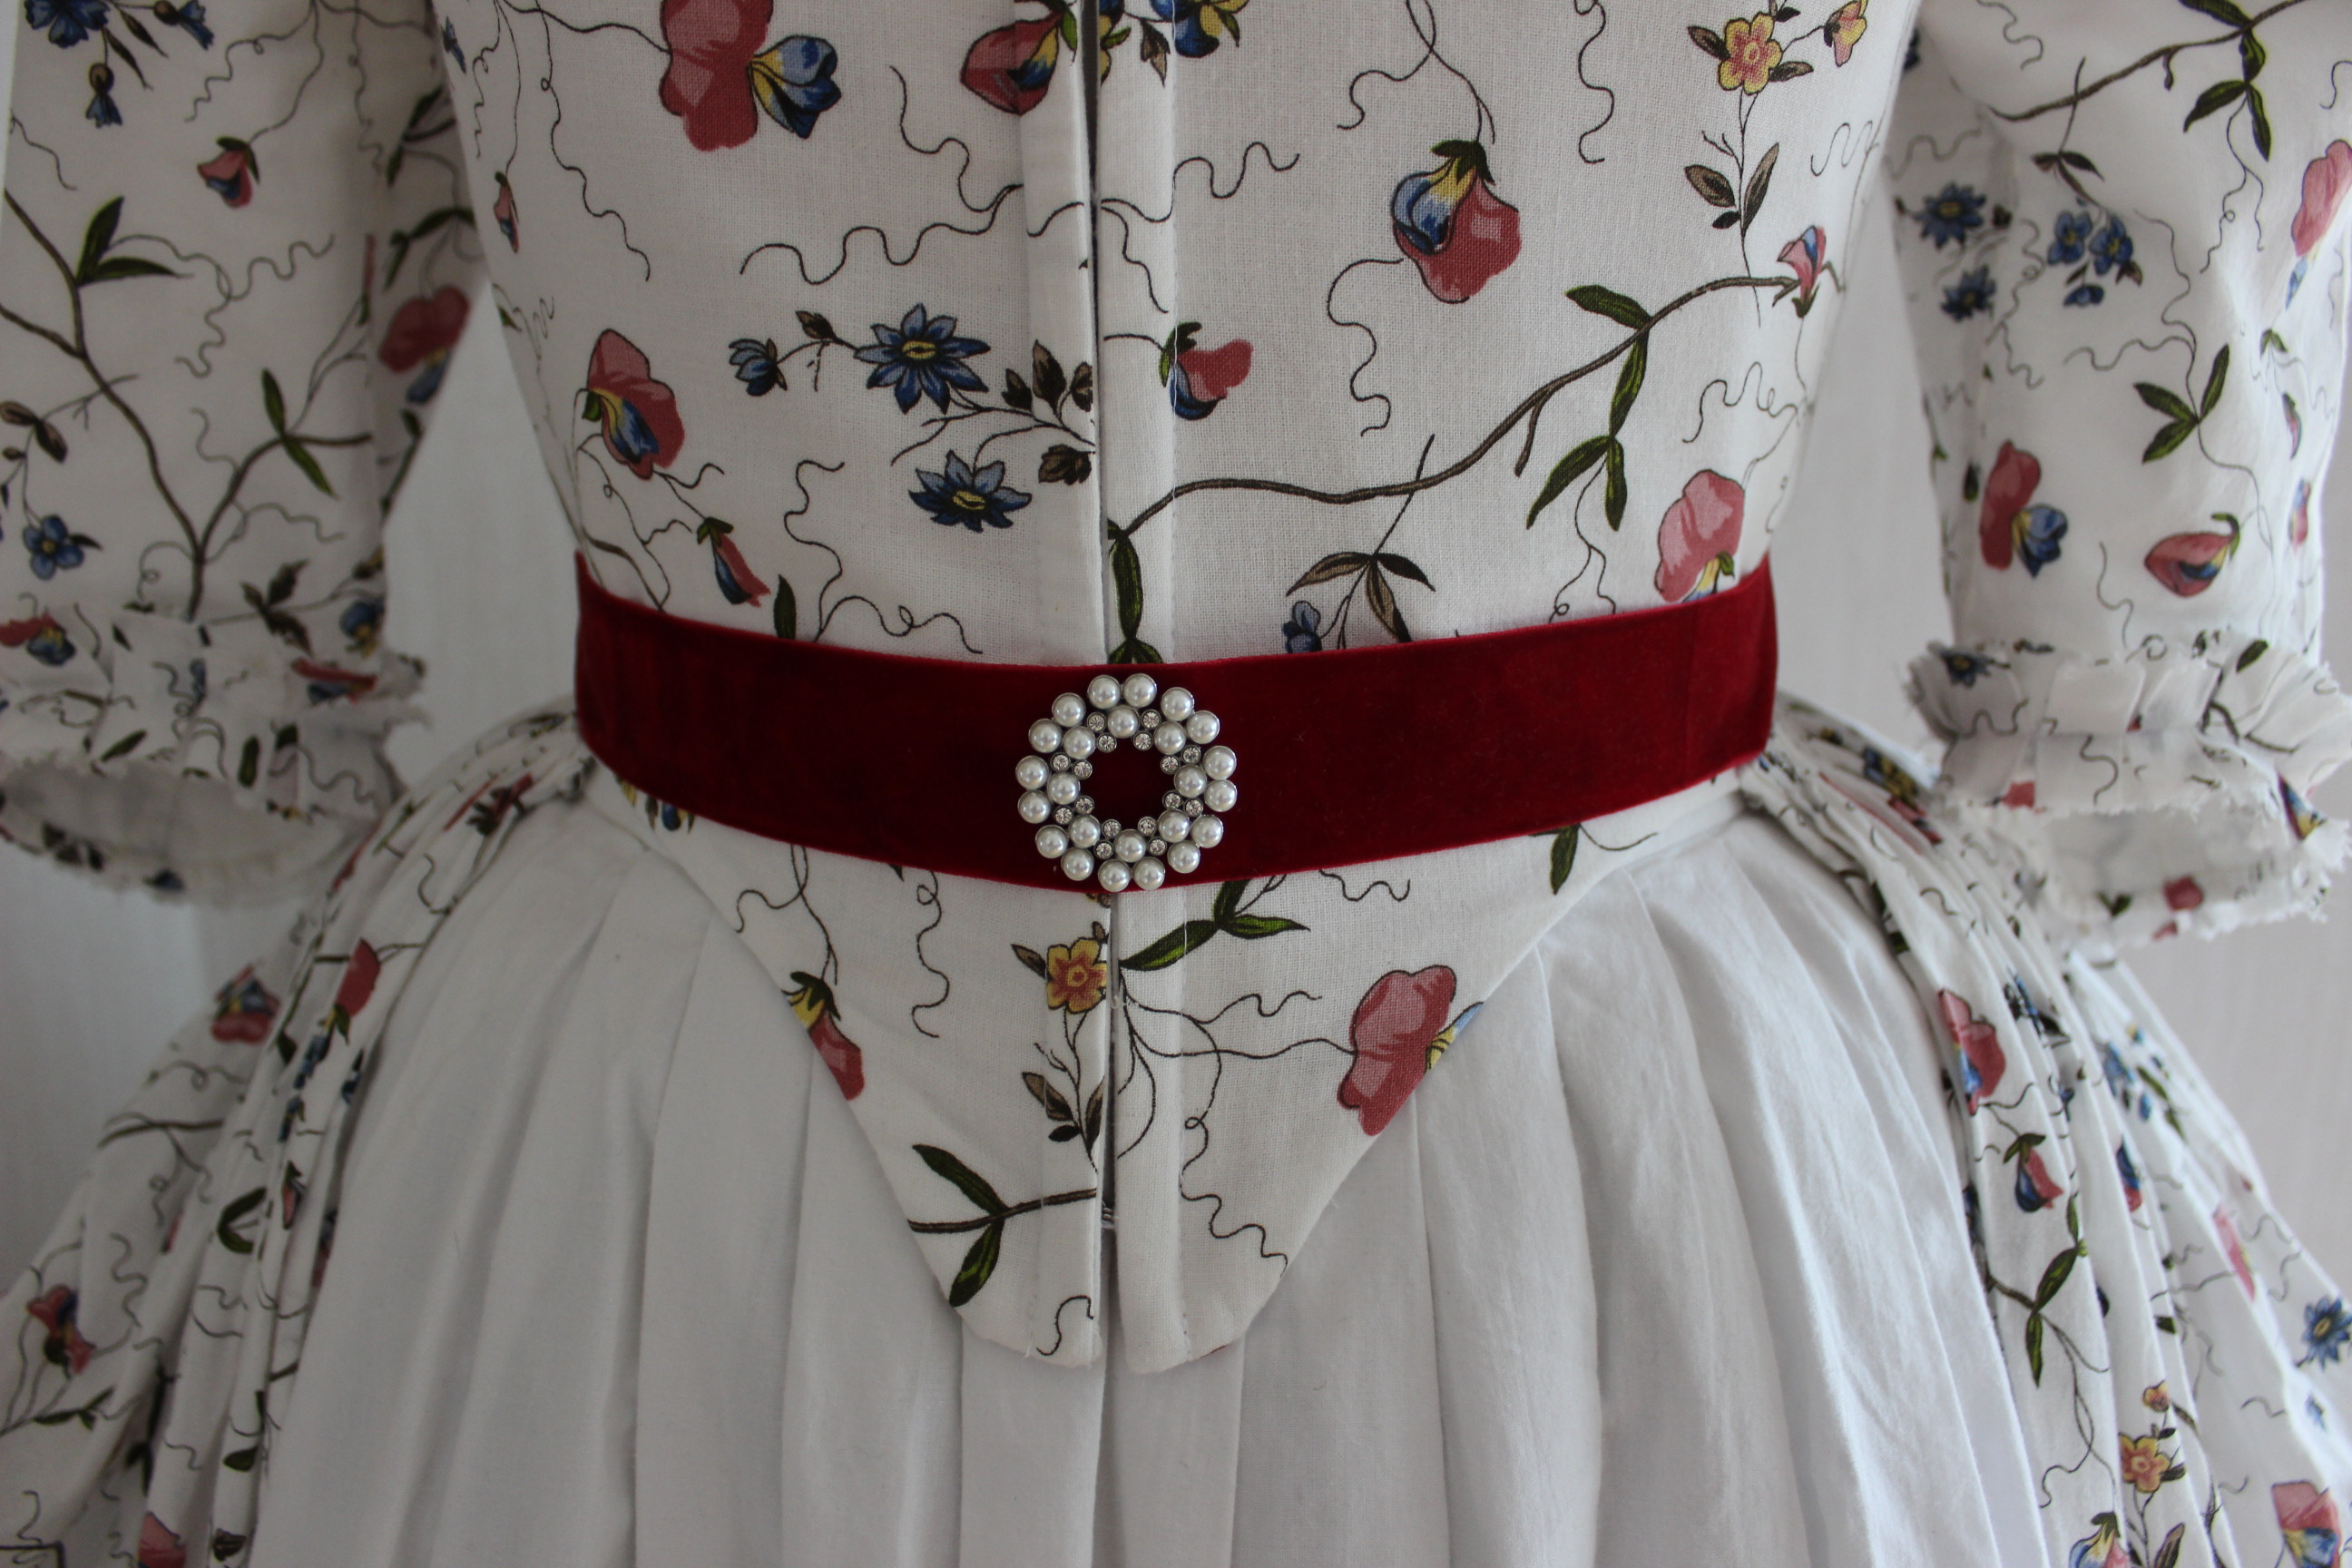
Lastly I re-pleated and attached the trimmings around the neckline and cuffs.
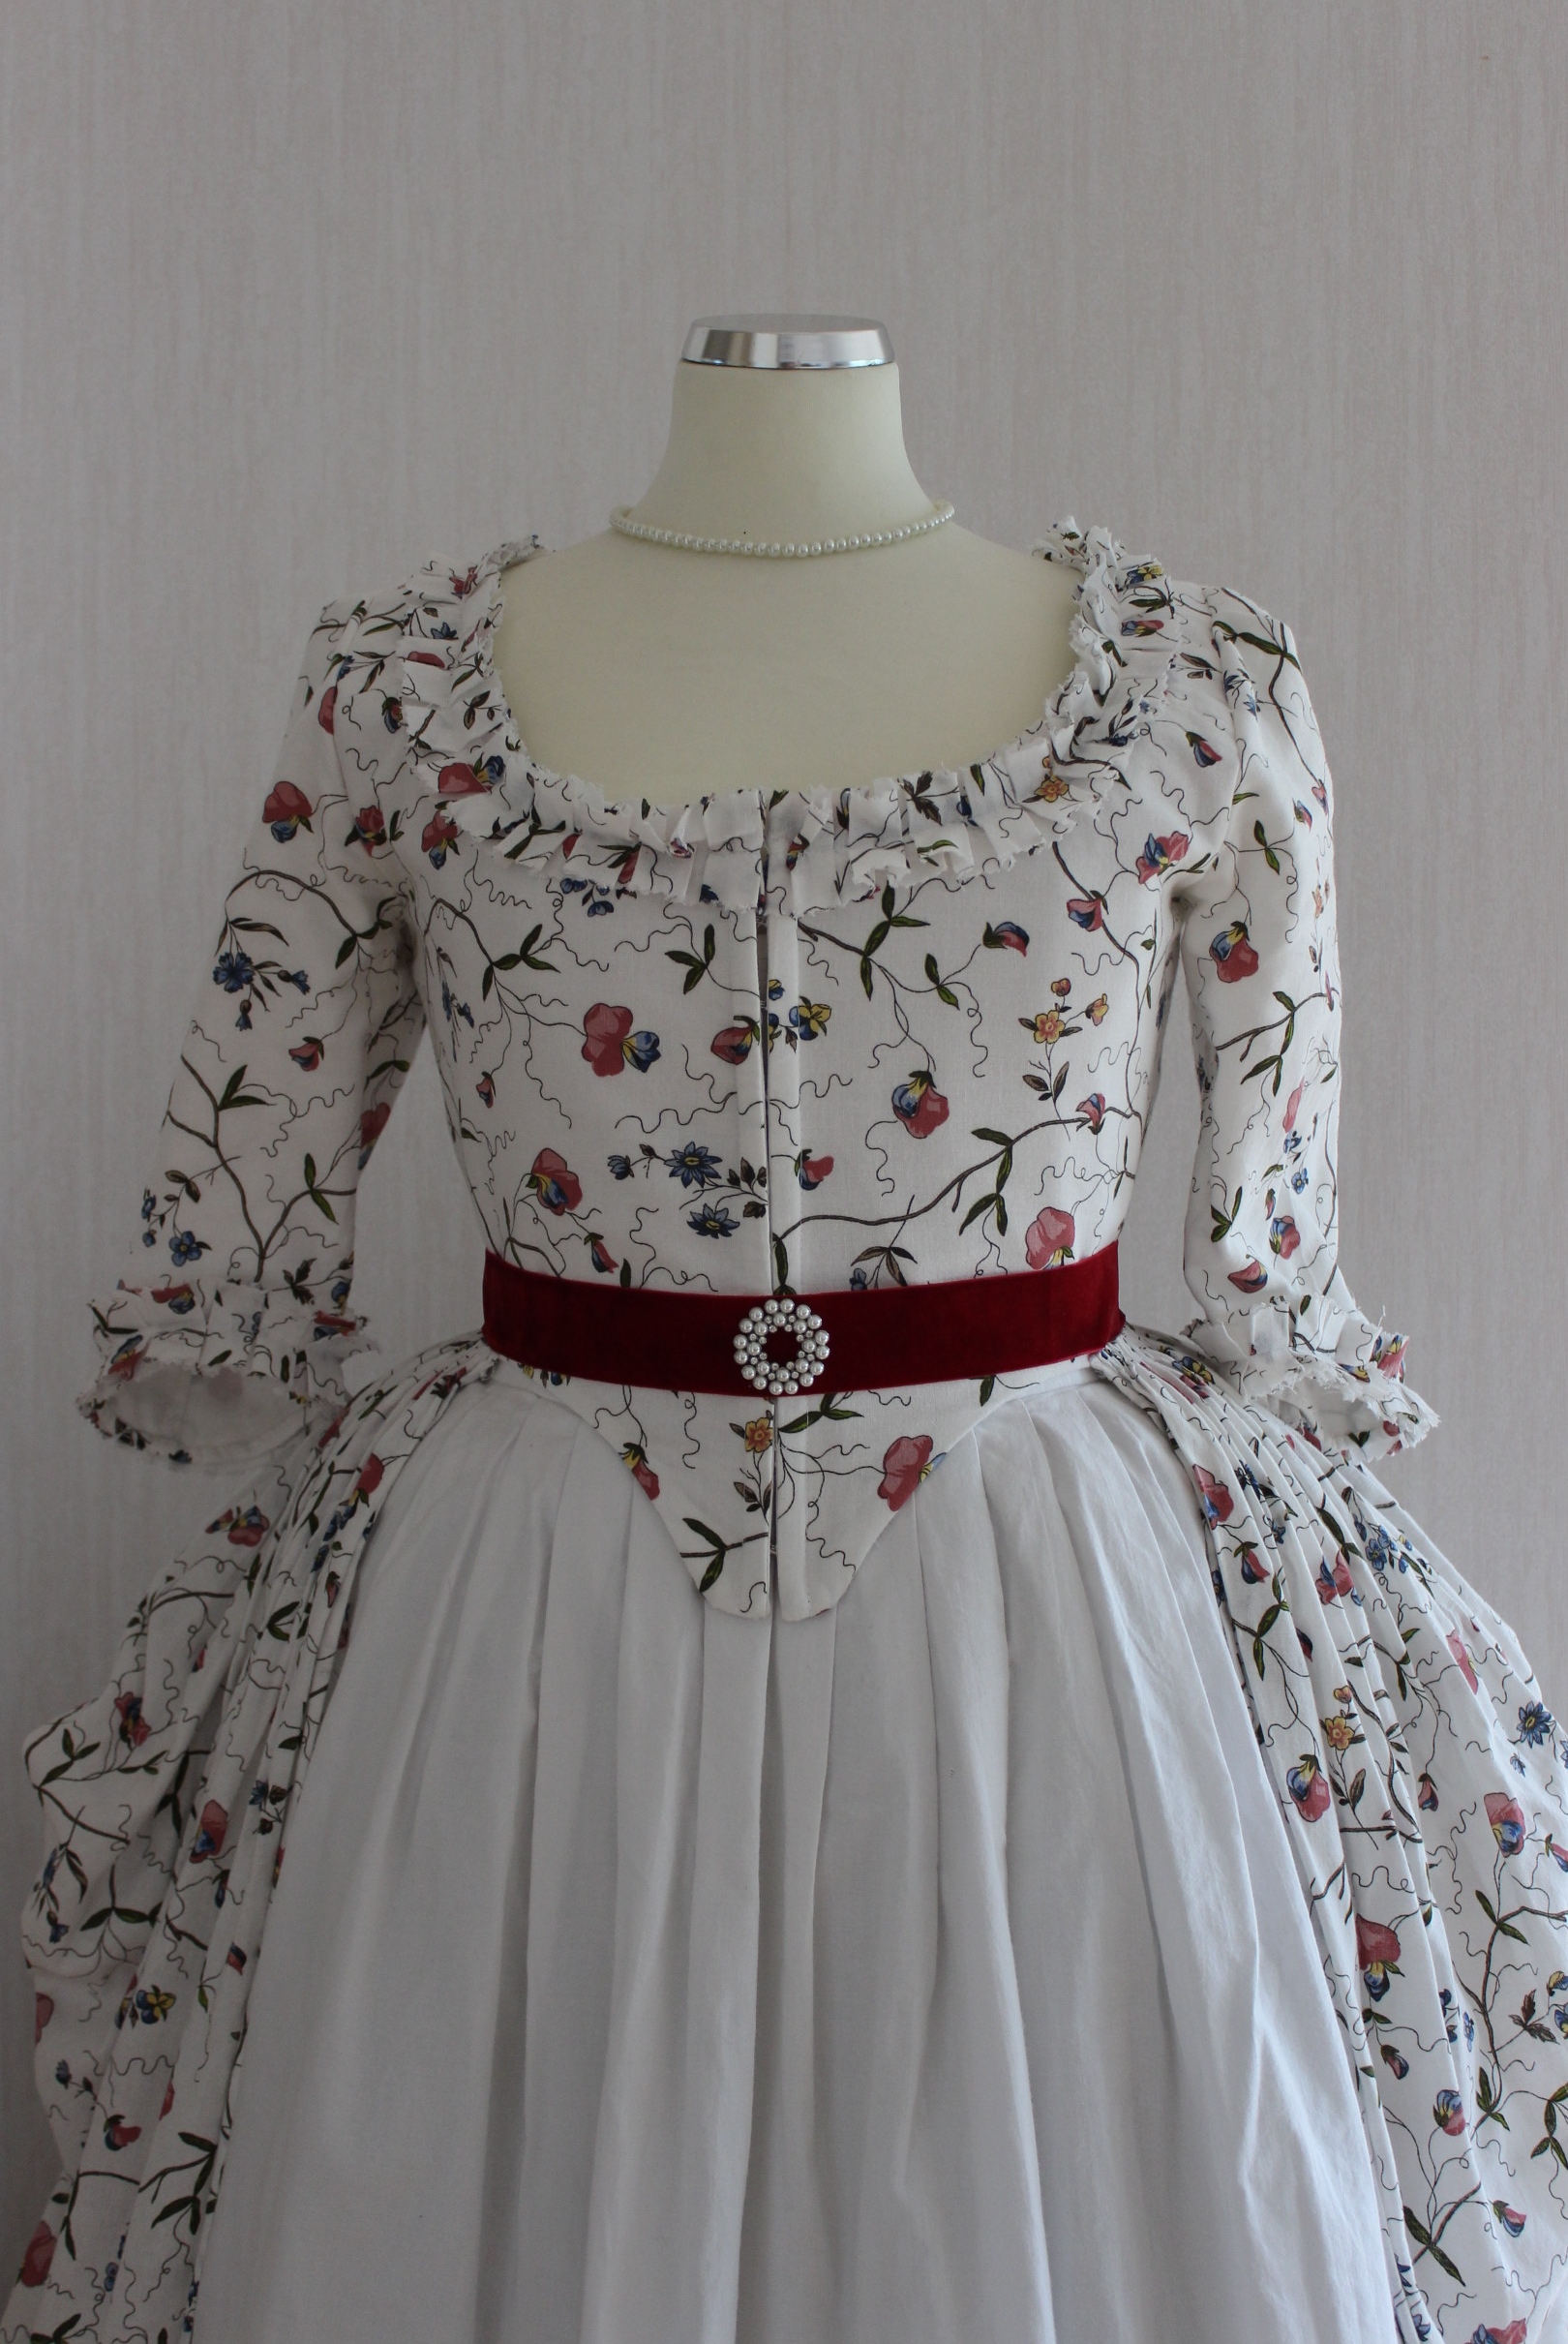
And then it was done (and I even had a *whole night to spare before the event)  Worn with a white fichu, petticoat and cap as it would during the light party.
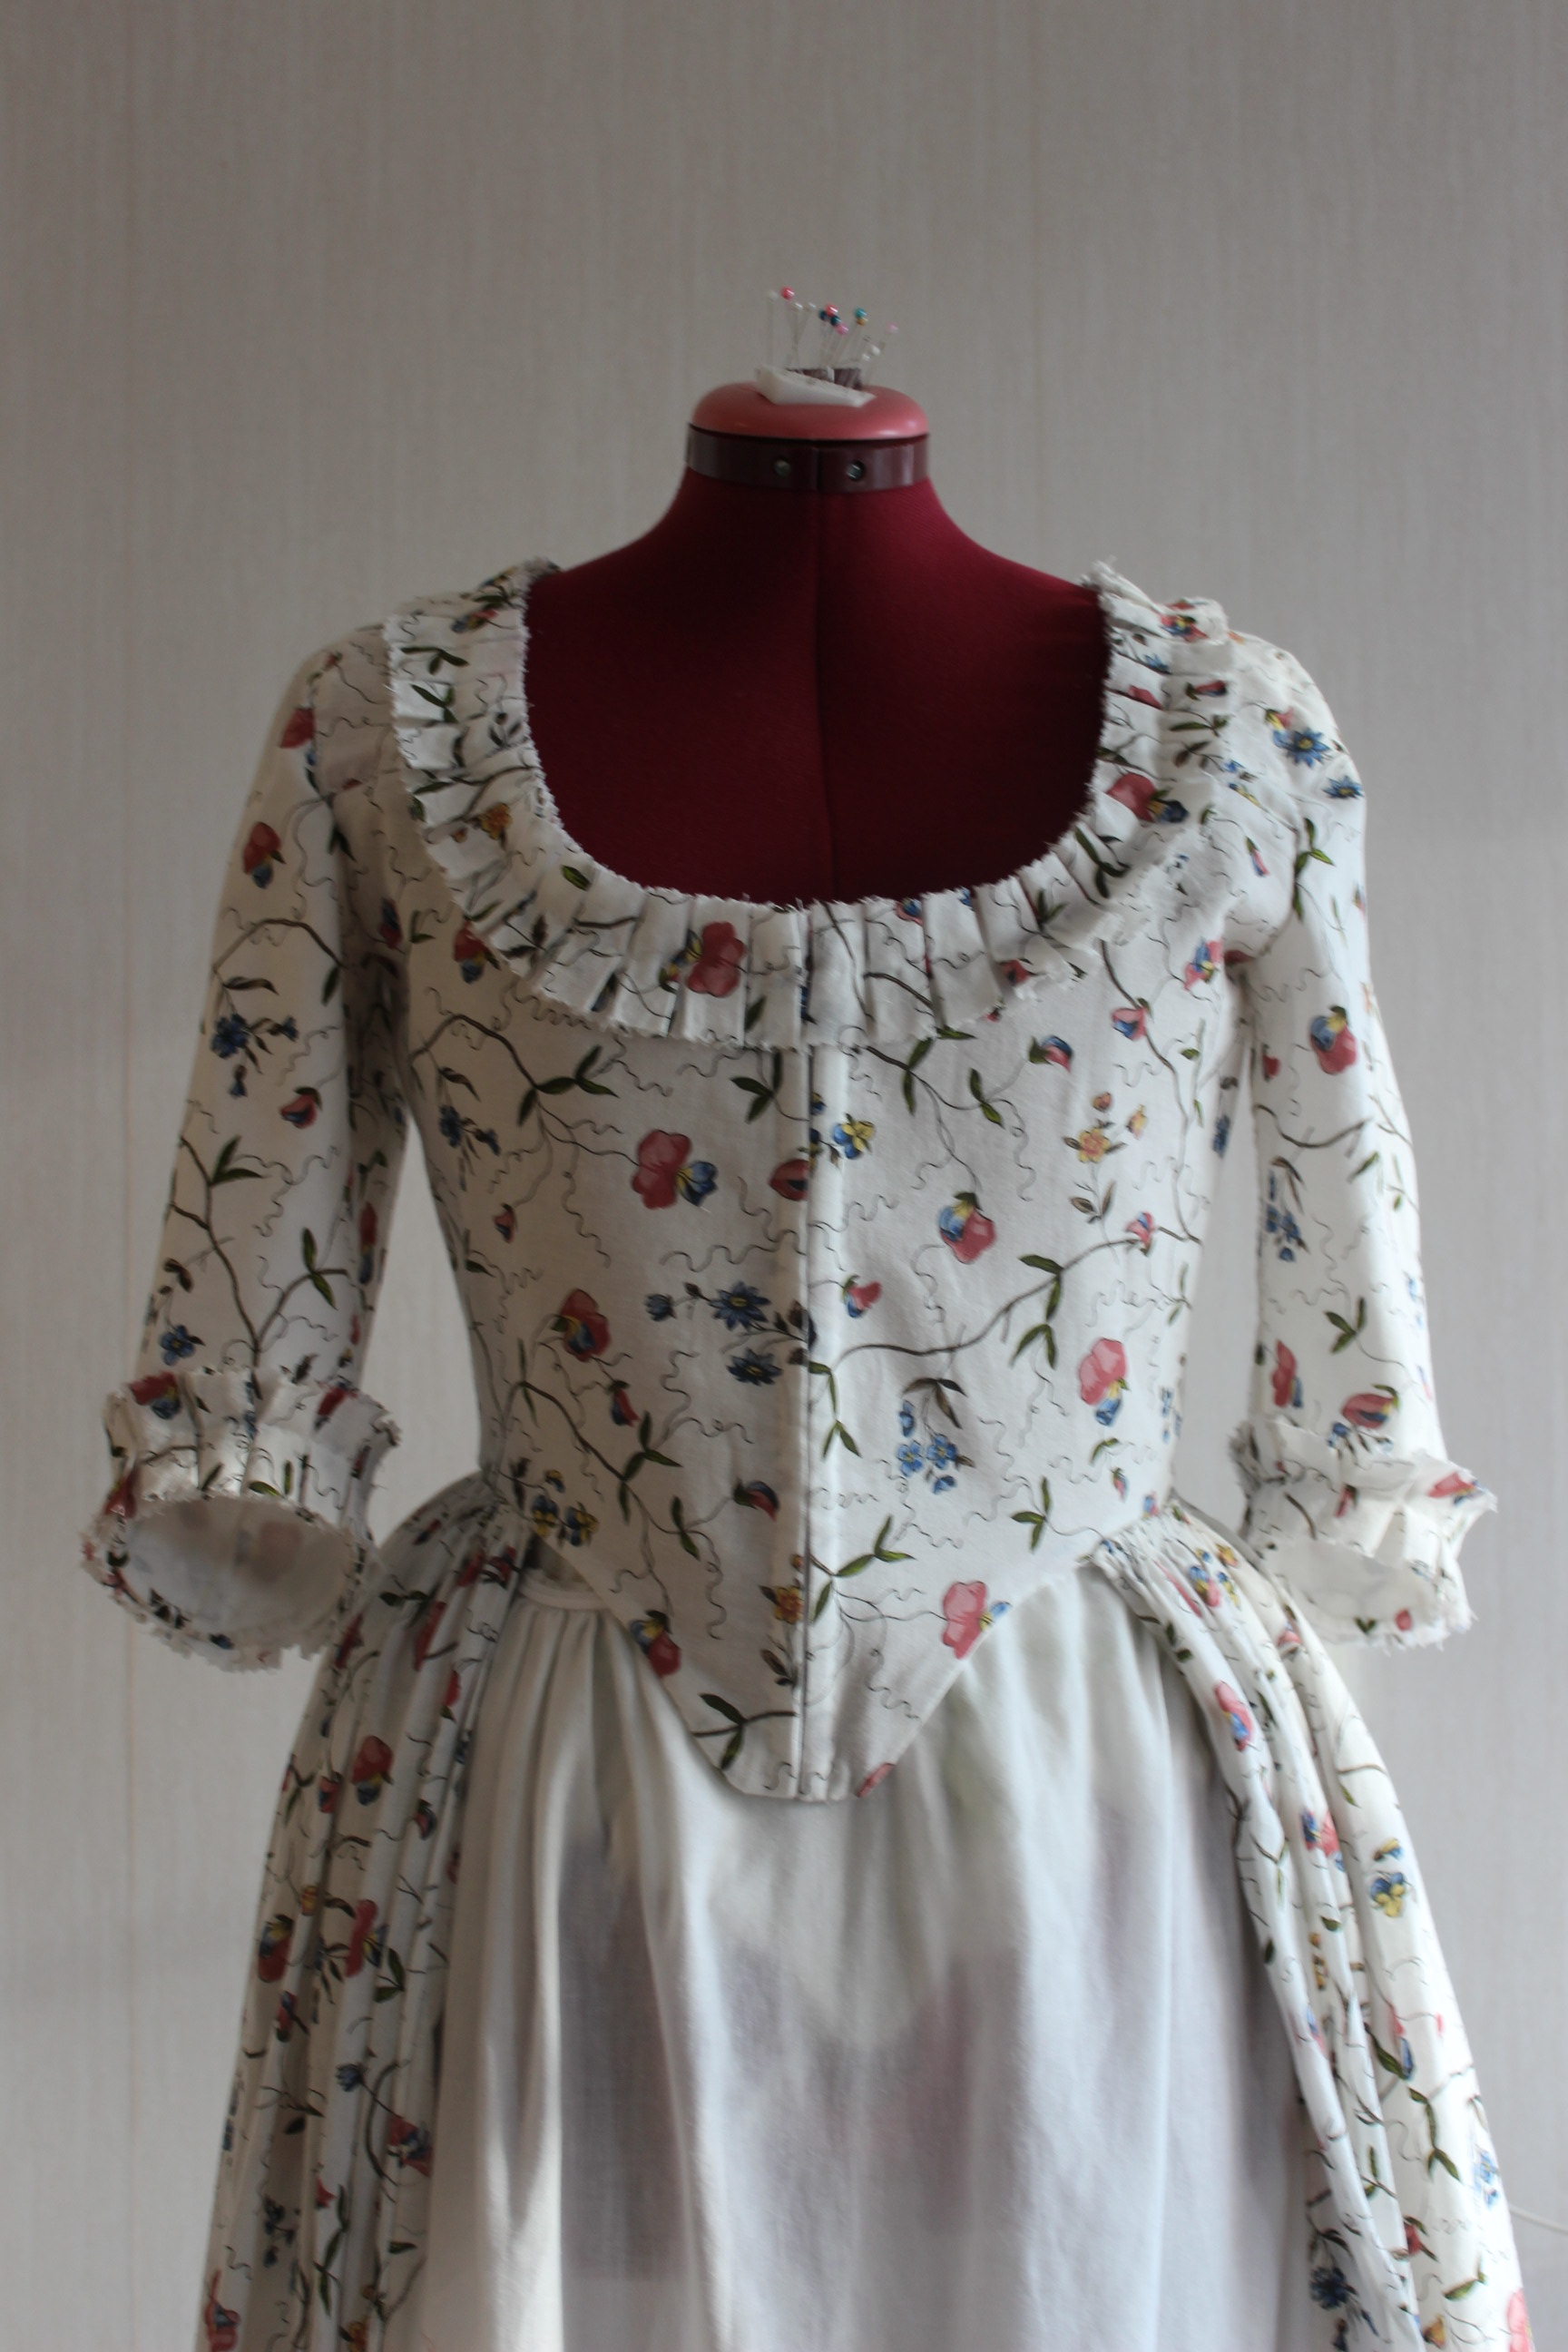
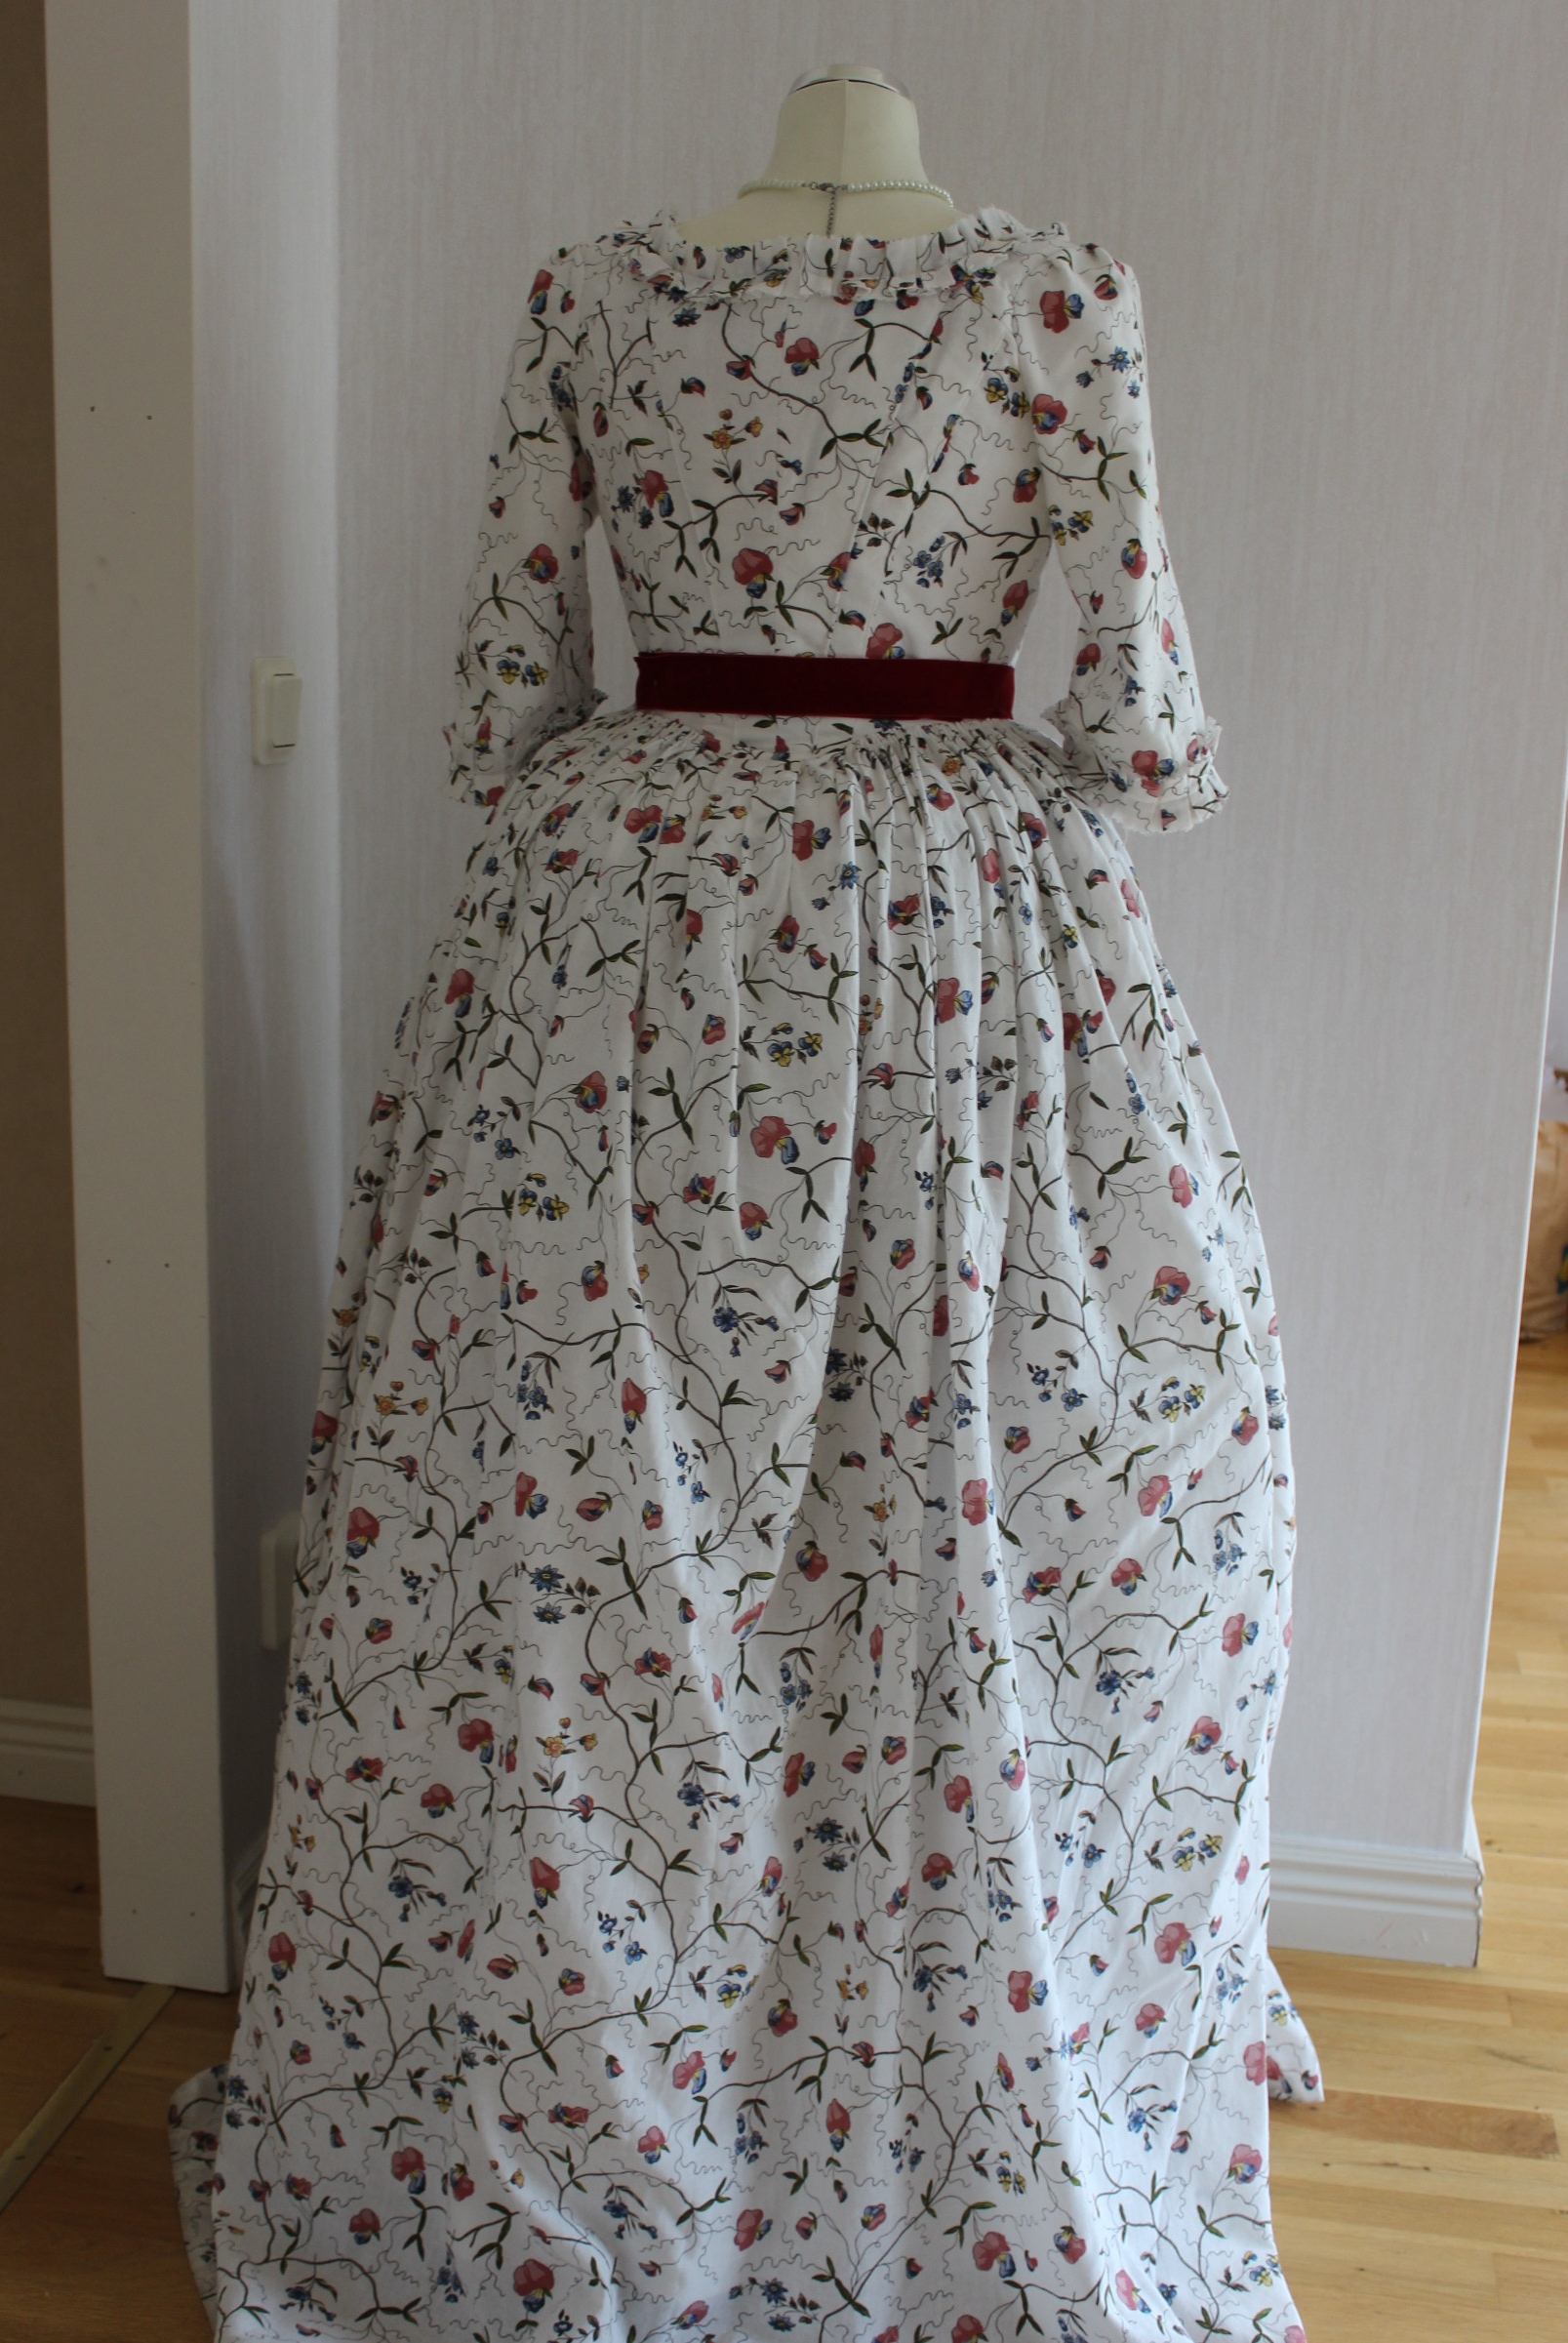
The finished dress:


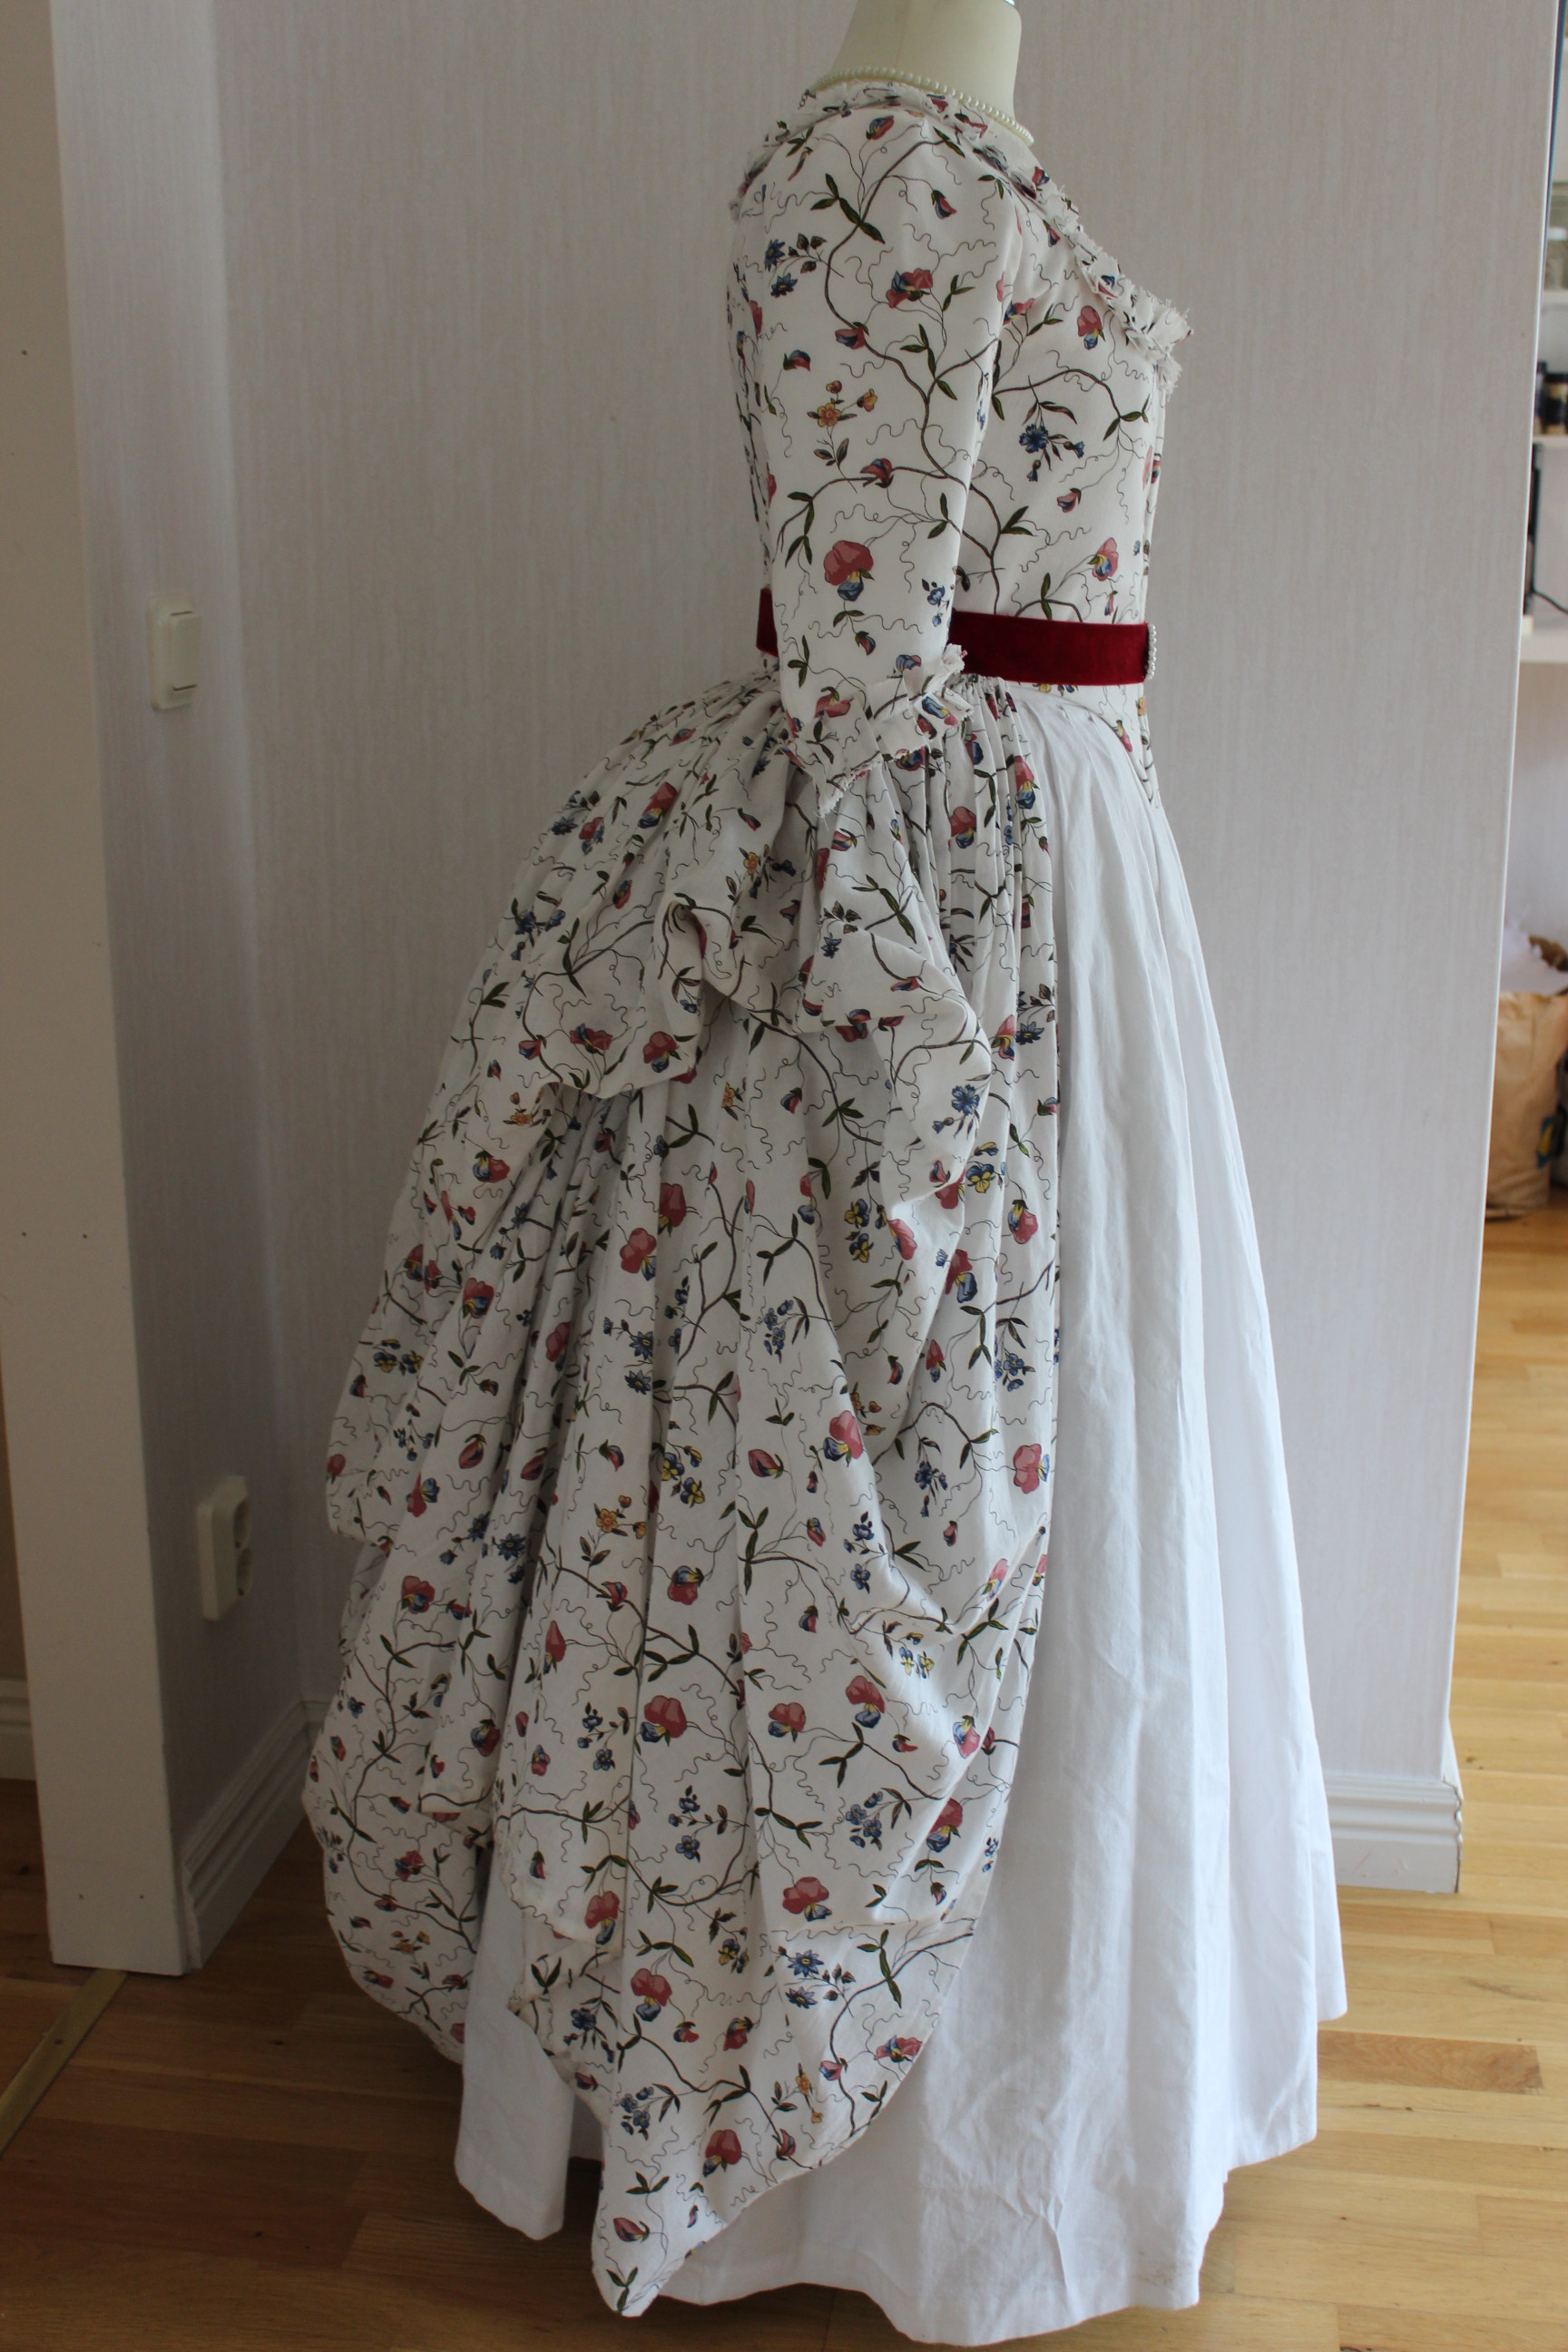


 Worn with the skirt down:
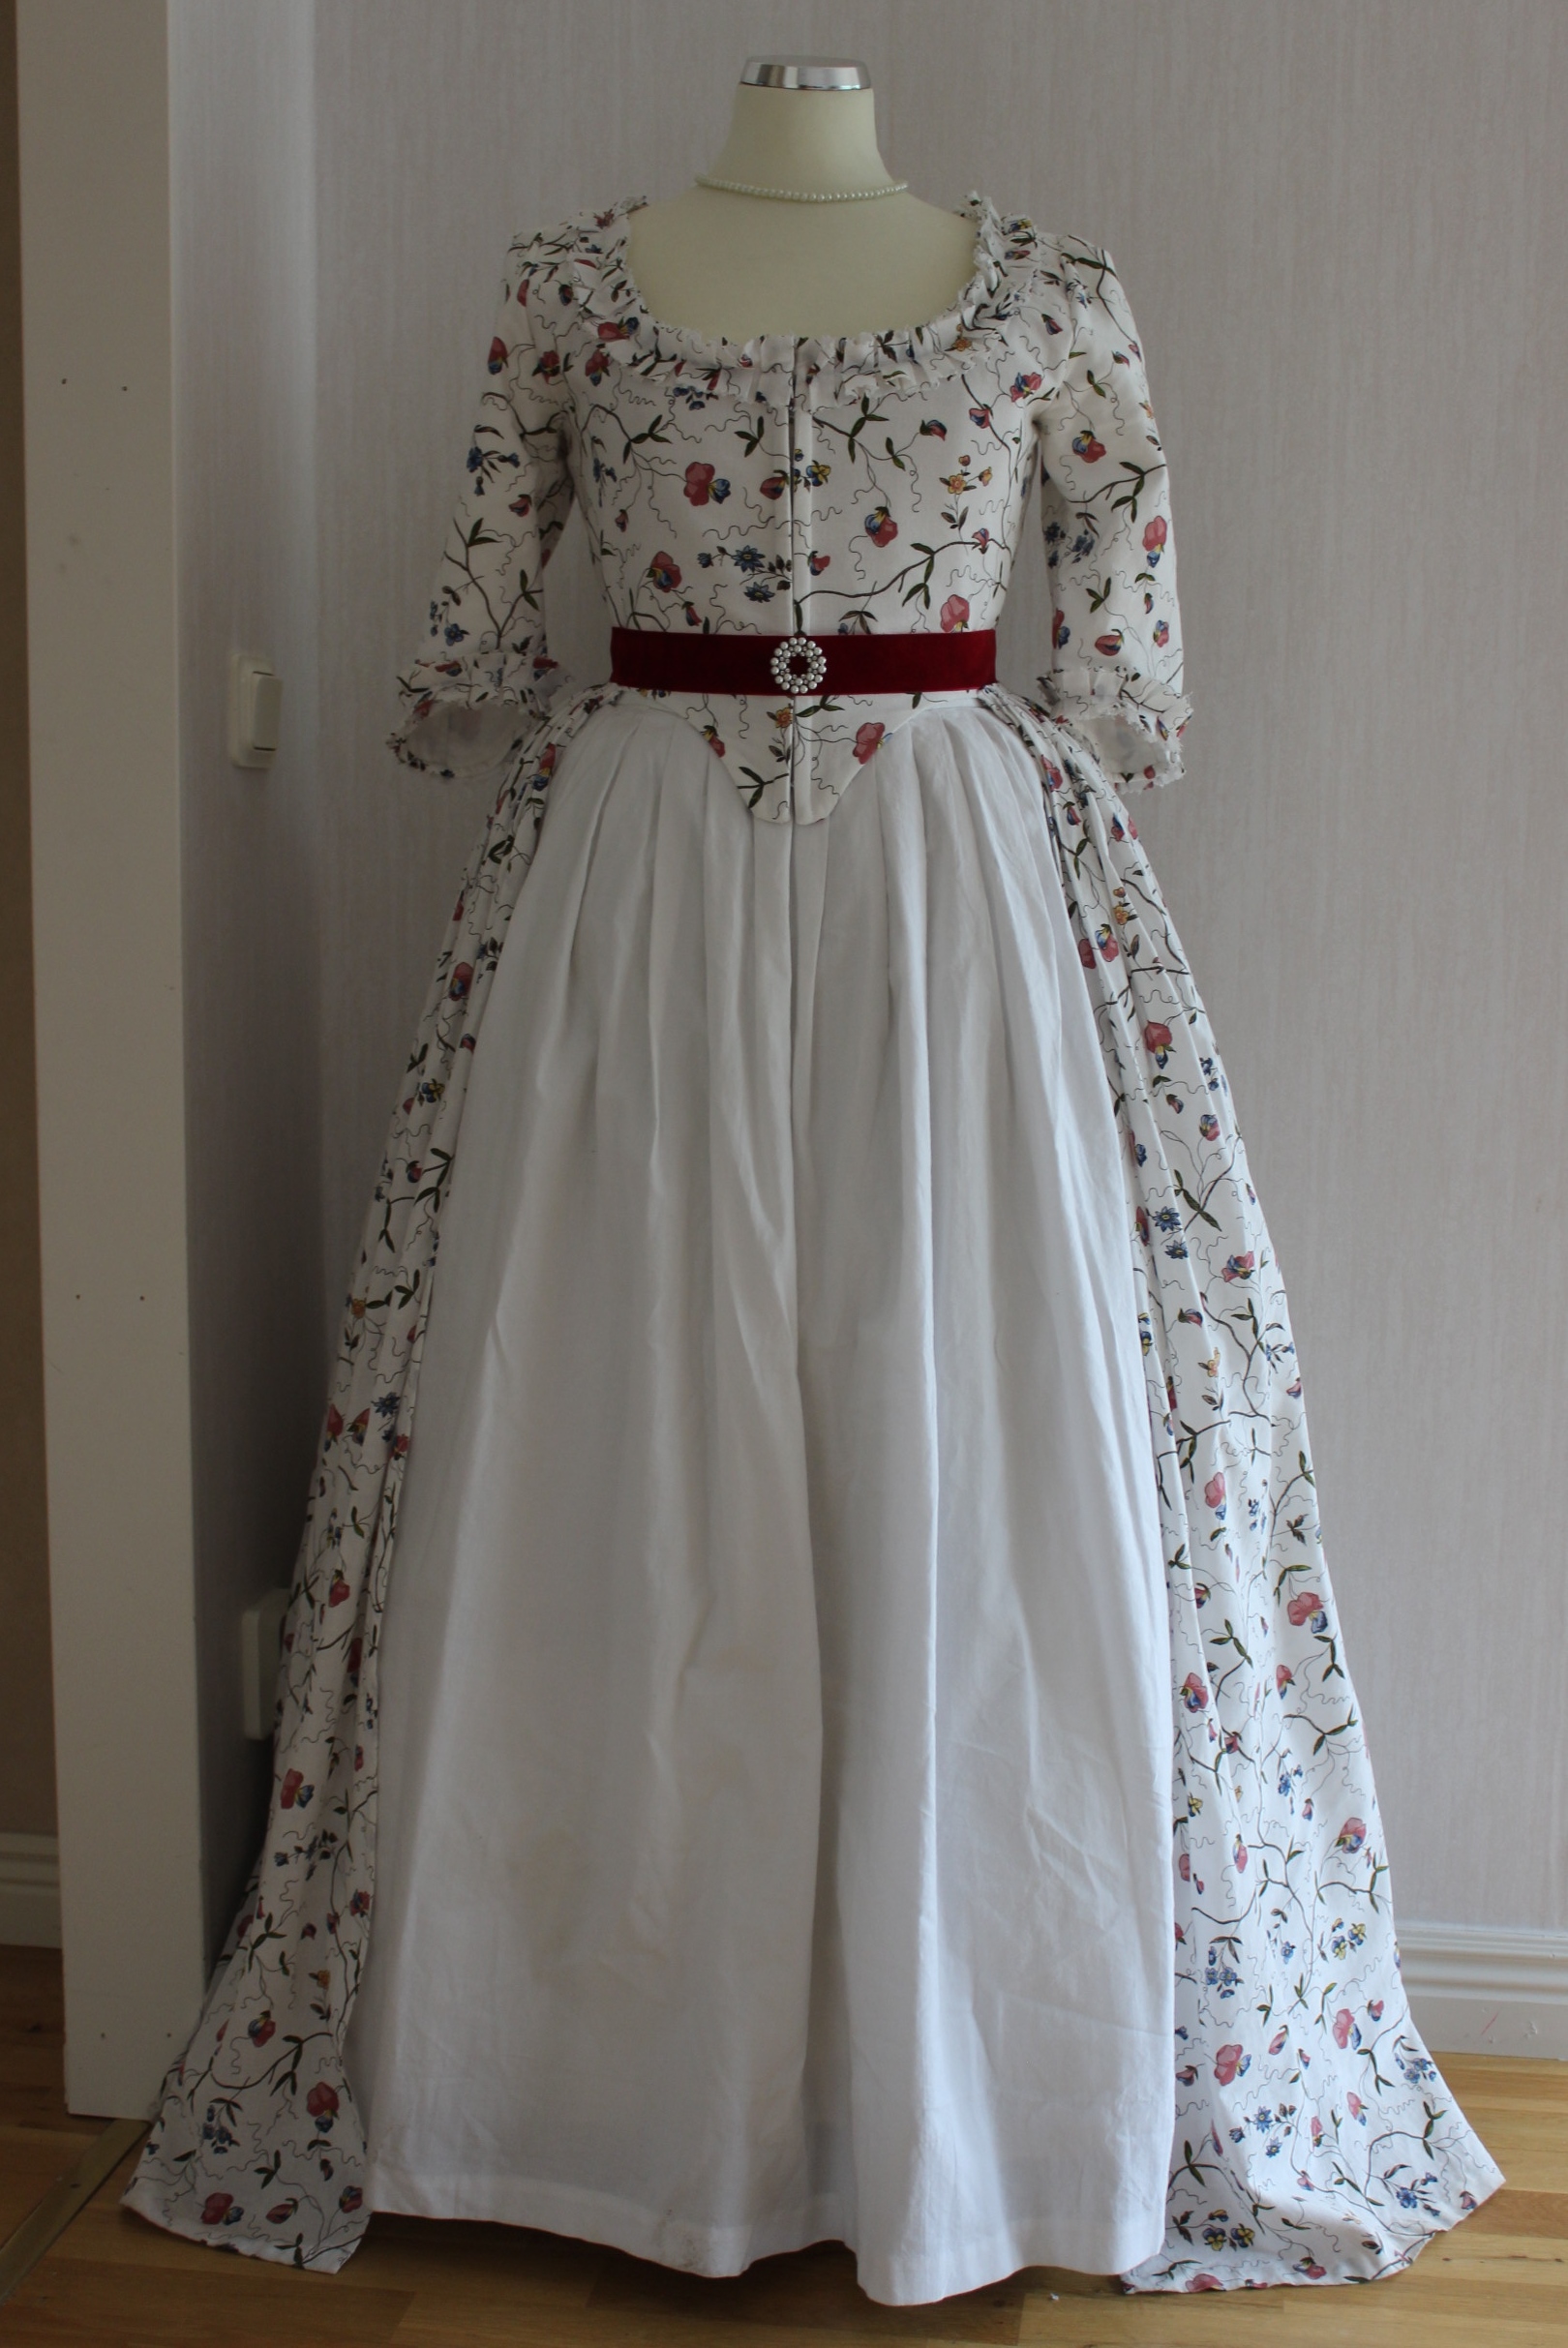

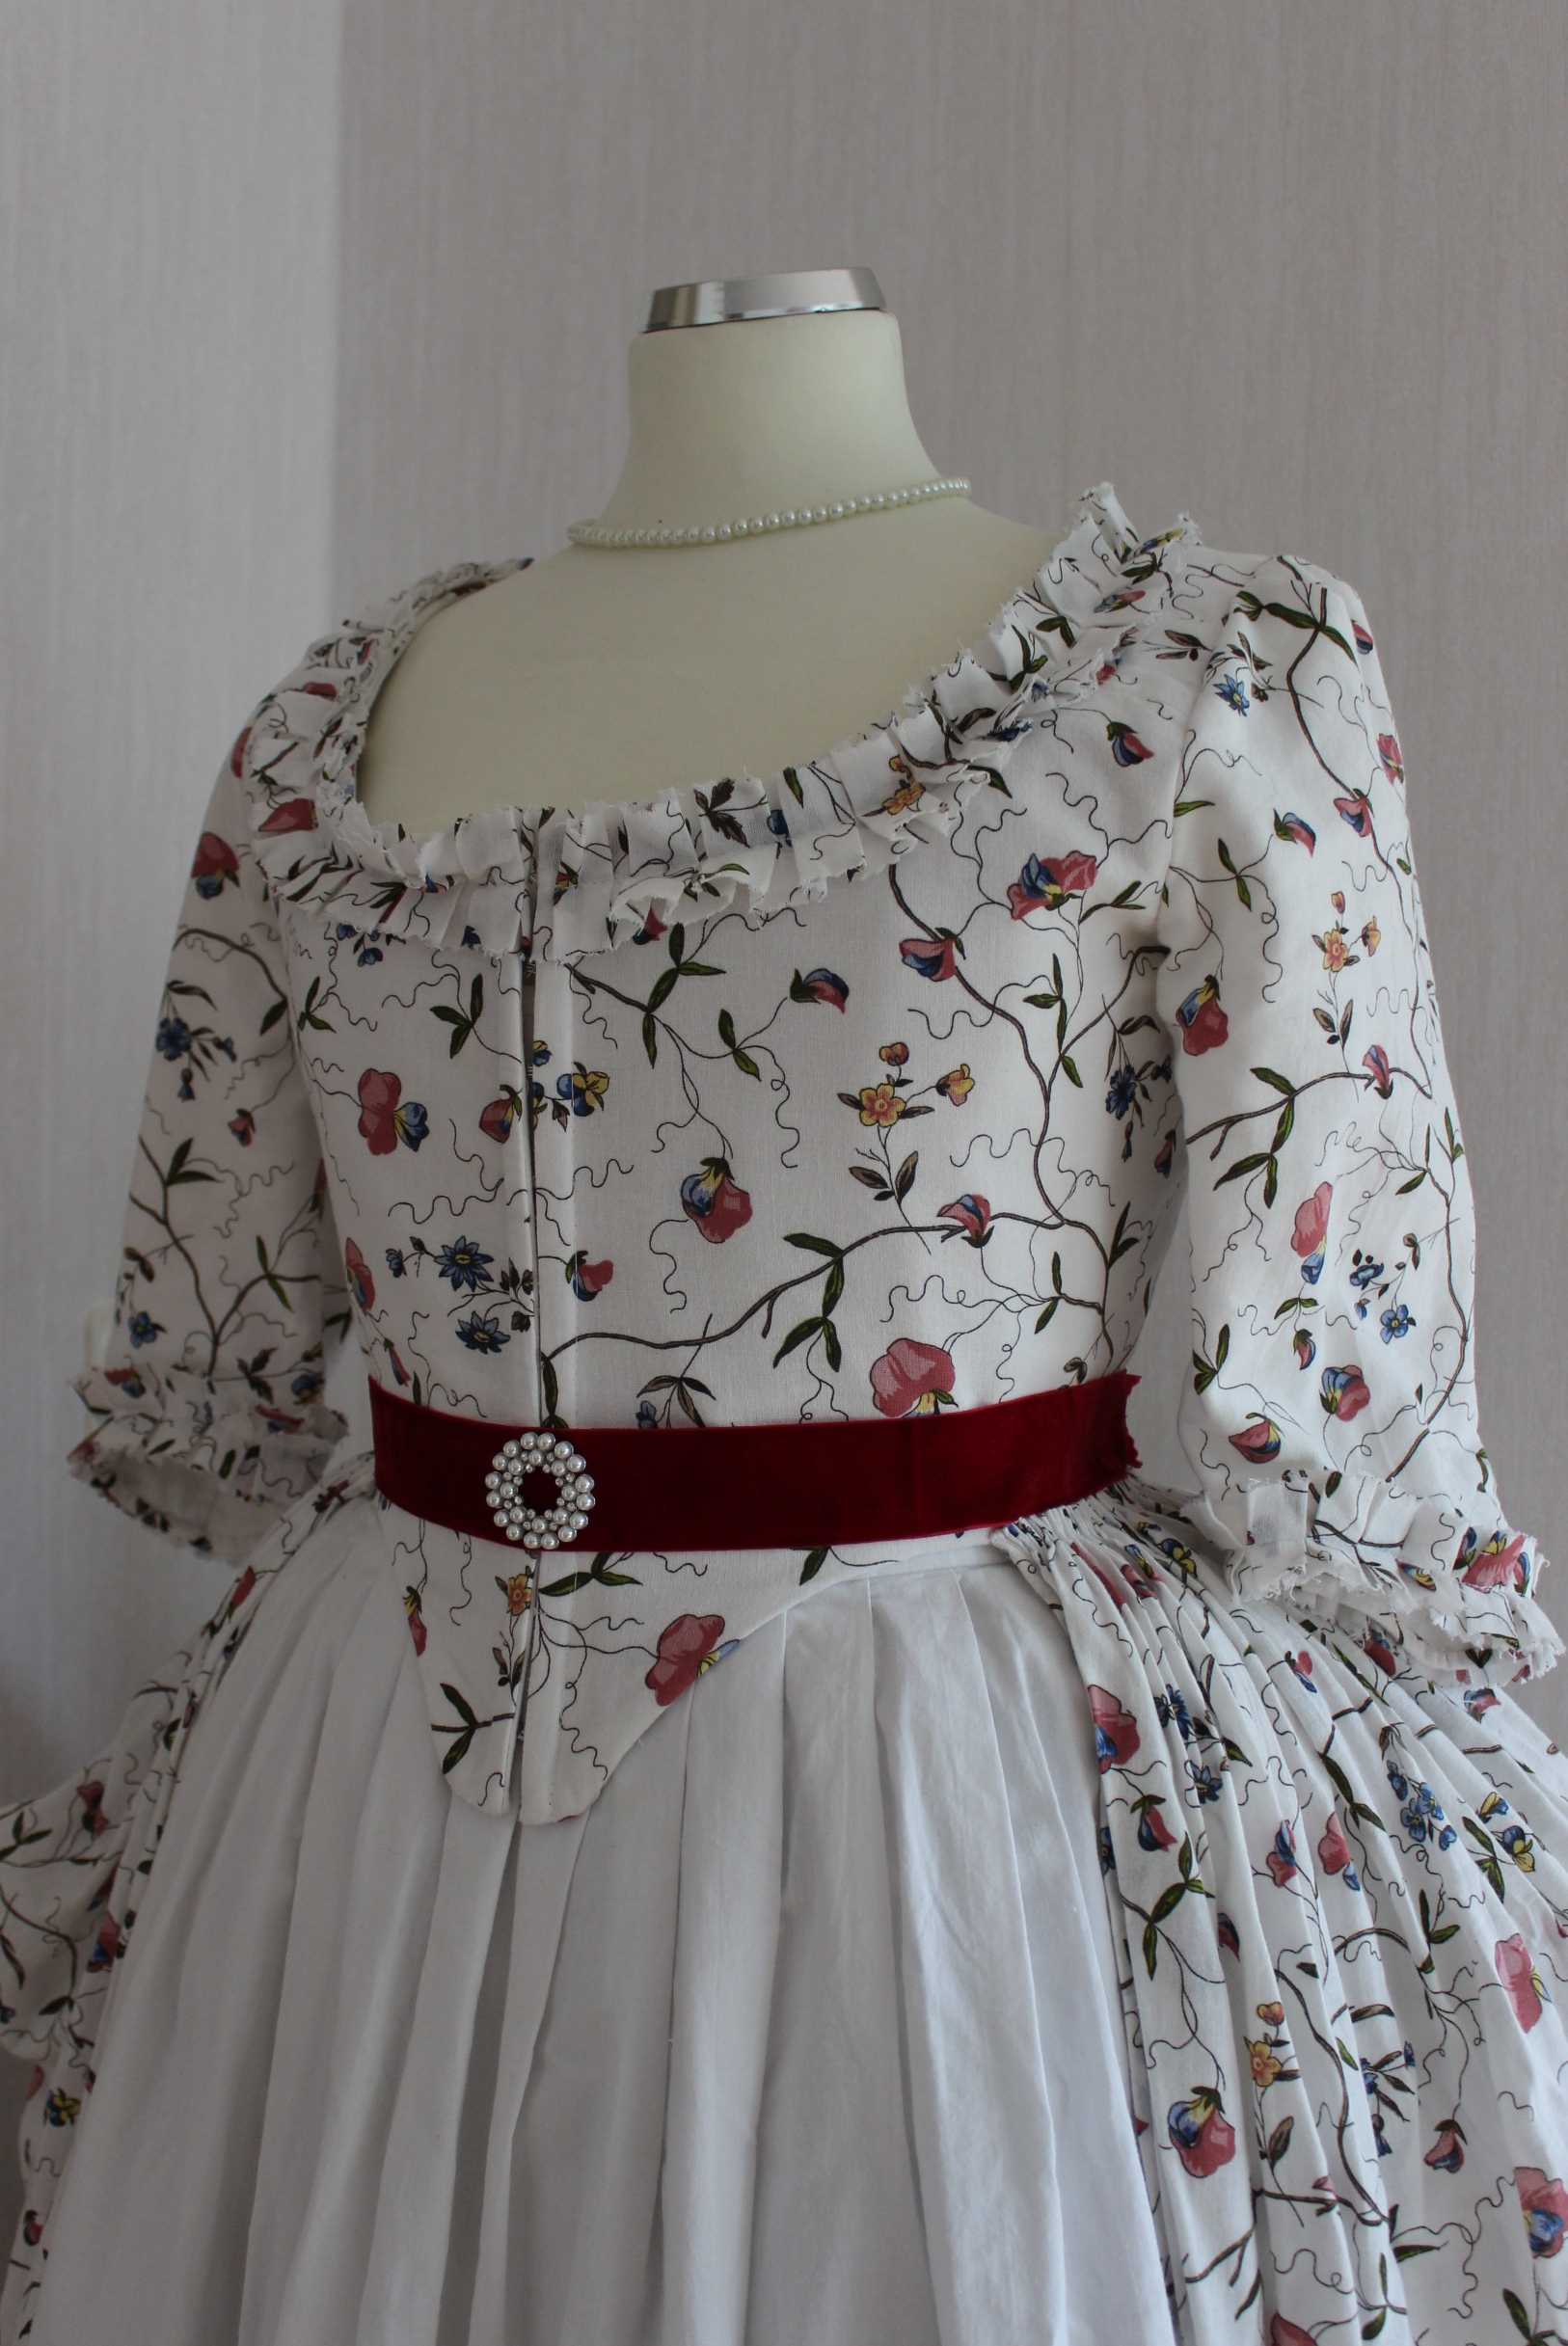
The facts:
What: Re-make of a 1780s Robe anglaise made from IKEA fabric/bedsheets.
Original blog posts: Construction and photoshoot
Additional fabrics and notions: 0,5 m of white cotton from stash and thread. Accessorized with a red velvet ribbon and a old brosch.
Additional costs: about 20 Sek for the cotton sheet
Time: 8 hours ro re-make
First worn: On August 26 (2017) at Ljung castle Light party
Final thoughts: I’m so happy I took the time to re-make this gown because I love how it looks now, and I feelt so pretty wearing it. Hopefully it will be worn several times more.
*That “whole night left” part wasn’t completely true since I also decided I wanted a Bergere hat, and needed to re-hem the petticoat. But the dress itself was finished one day before 🙂
