I usualy never go along with the “chain letter” (kedjebrev) stuff, like “do this and invite 5 friends to do the same” kind of stupid spam. And those of my friends who haven’t figured that out yet should defenetly take it to heart, that I never return/or pass on anything of this sort. I would never herras my friends with spam like that.
But recently I got a “kedjebrev” which didn’t got me all up and iritated – I got an Award.
One of my blog followers, Nessa of “Sewingempire“, nominated me for “The Liebster Award”. (and yes I’m full aware that this is just another way to get you to “send this to 5 friends…”).
But this time I think it is for a good purpose – The aim is to promote blogs with fewer than 200 followers to a wider audience. And since I love the historical sewing comunity, and the way everyone helps and encourage eatchother, I would love to help promote others newbees in costume blogging.
So here we go. These are the things you need to do to claim your award:
1. Thank the blogger who nominated you.
Thank you Nessa for the nomination, and for all your positive feedback on all my projects – it really helps to know somebody likes what you do.
2. Nominate 10 other bloggers, and notify them of their award.
Ok, this is the worst part. So tricky, and to pick only those with less then 200 followers – how do you know for sure? (I’m so sorry if some of you do have more then 200 followers – I have no idea how to find that out).
As a statment to my sceptism for this kind of “kedjebrev”, I choose to only nominate 5 blogs instead of 10. (If thats mean I’m not worthy of any prize – so be it.)
-
The Shadow of my hand: Sutch beautiful creations, and such increadable attensin to details. And I love all her pretty pictures.
- The Quintessential Clothes Pen: Quinns wounderfully detailed blog about her costuming adventures. Always a great inspiration.
- Isis Wardrobe: A fellow Swede, who shares her detalied research of everything from 18th centurys hoods to how to make, and apply, your own historical makeup.
- Needle, Threads, & Whims: A lovely blog with lots of great pictures and creative projects. A joy to read every time.
- In the Long Run: Dresses, juwelry, costume parties and sewing – There are so much beauty created of this girl. I’m in ave.
3. Come up with 10 questions you want your nominees to answer.
- When and how did you get into sewing?
- What was your very first garment (historical or other)? And what did you learned from it?
- Do you have a dream project? And what it is? (Picture?)
- Which of your costumes are your favorite and why? (Picture?)
- What will be your next big project?
- What part of costuming do you enjoy the most (the planing, patternmaking, sewing, details ect.)?
- And what part would you rather not do?
- Do you have a costuming rolmodel or muse (historical, fellow blogger or other)?
- Whats the reason you decided to start your costuming blog?
- What are your best advise for anyone wanting to get into historical costuming?
4. And lastly: Answer the questions you recived from the one who nominated you.
What is your favorite historical period?
Do you have to pic just one?
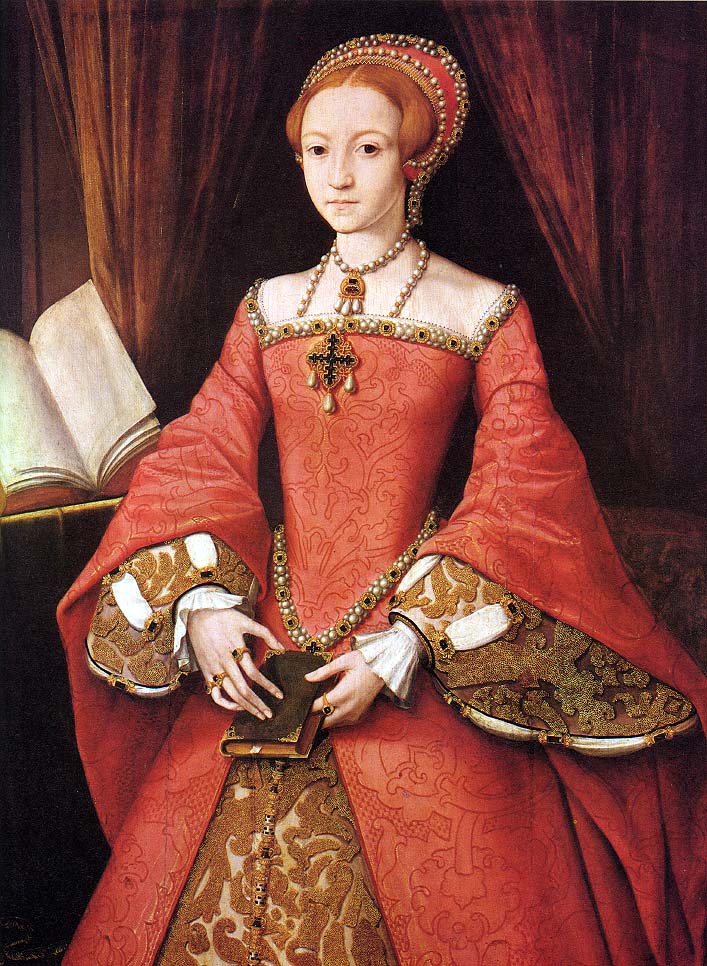
I’ve have a very sweet spot for early to mid 16th century english fashion – since this period was what first got me into historical costuming. I just adore the sharp but feminine silhouette of the stylish Tudor lady. Princess Elizabeth.
But then you have to love the late 18th century with all those beautiful fabrics worked into such wounderful creations.
Then again, who can resist the awsome shape of the bustle period and the elegant line of the late edwardian.
Oh my, I’m getting a “must sew everything” overload here…
How long have you been sewing, and how did you get into it?
Iv’ been sewing regularly since I started fashion school at age 16. But I’ve recently found evidence I started way before that (making litle clothing for my barbie dolls).
I acctualy hated the sewing lessons in elementery school, instead I wanted to be an actor and study performance. But after wisiting the theatre high schools “open house” I was horrorstruck – There was NO WAY I was going to do that. But my parents got me looking at the other classes the school provided, and after just one look at the sewing/fashion class I was hooked. I knew right then and there, this was the place for me. And I never looked back. (The fact that I now work with theater from the costuming point of view, may be a sigh I picked it right).

Historical sewing however is quite new to me. I didn’t really start until I joined “The Historical Sew Fortnightly” in jan 2013. And (as usual) I’m now obsesed with it.
Which historical person would you like to meet and why?
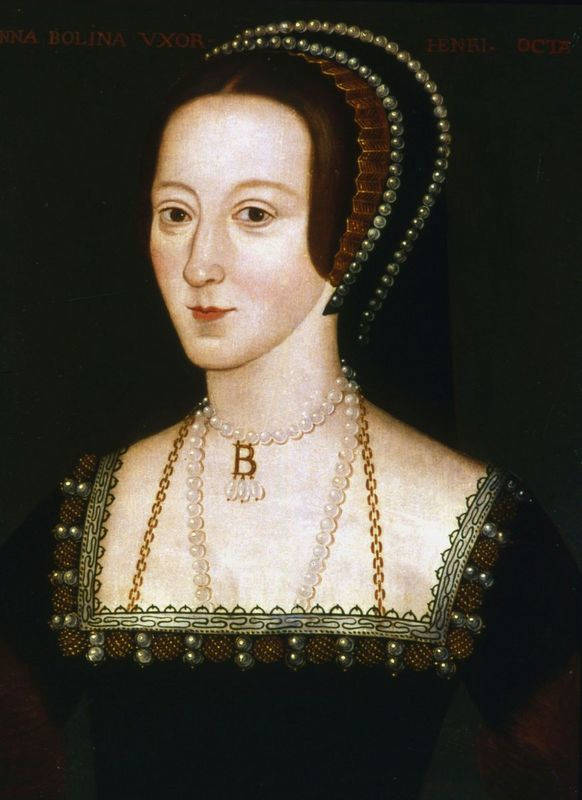
I think I would have liked to meet Anne Boleyn. She must have been such a intriging women. Strong and independent, yet stuck in a mans brutal world. Anne Boleyn – Holbein jr.
Do you have a favorite kind of fabric you enjoy working with?
Not really.
I do like working with cotton. It is so easy to adapt in whatever way you whant, and it look so elegant, simple and classy even if it may not always be rich and glamorous.

Twills and Jeans-fabric are also great, and so easy to work with. But then again, It is really satisfying to get those chiffong hemes perfect to.
What will be your next project?
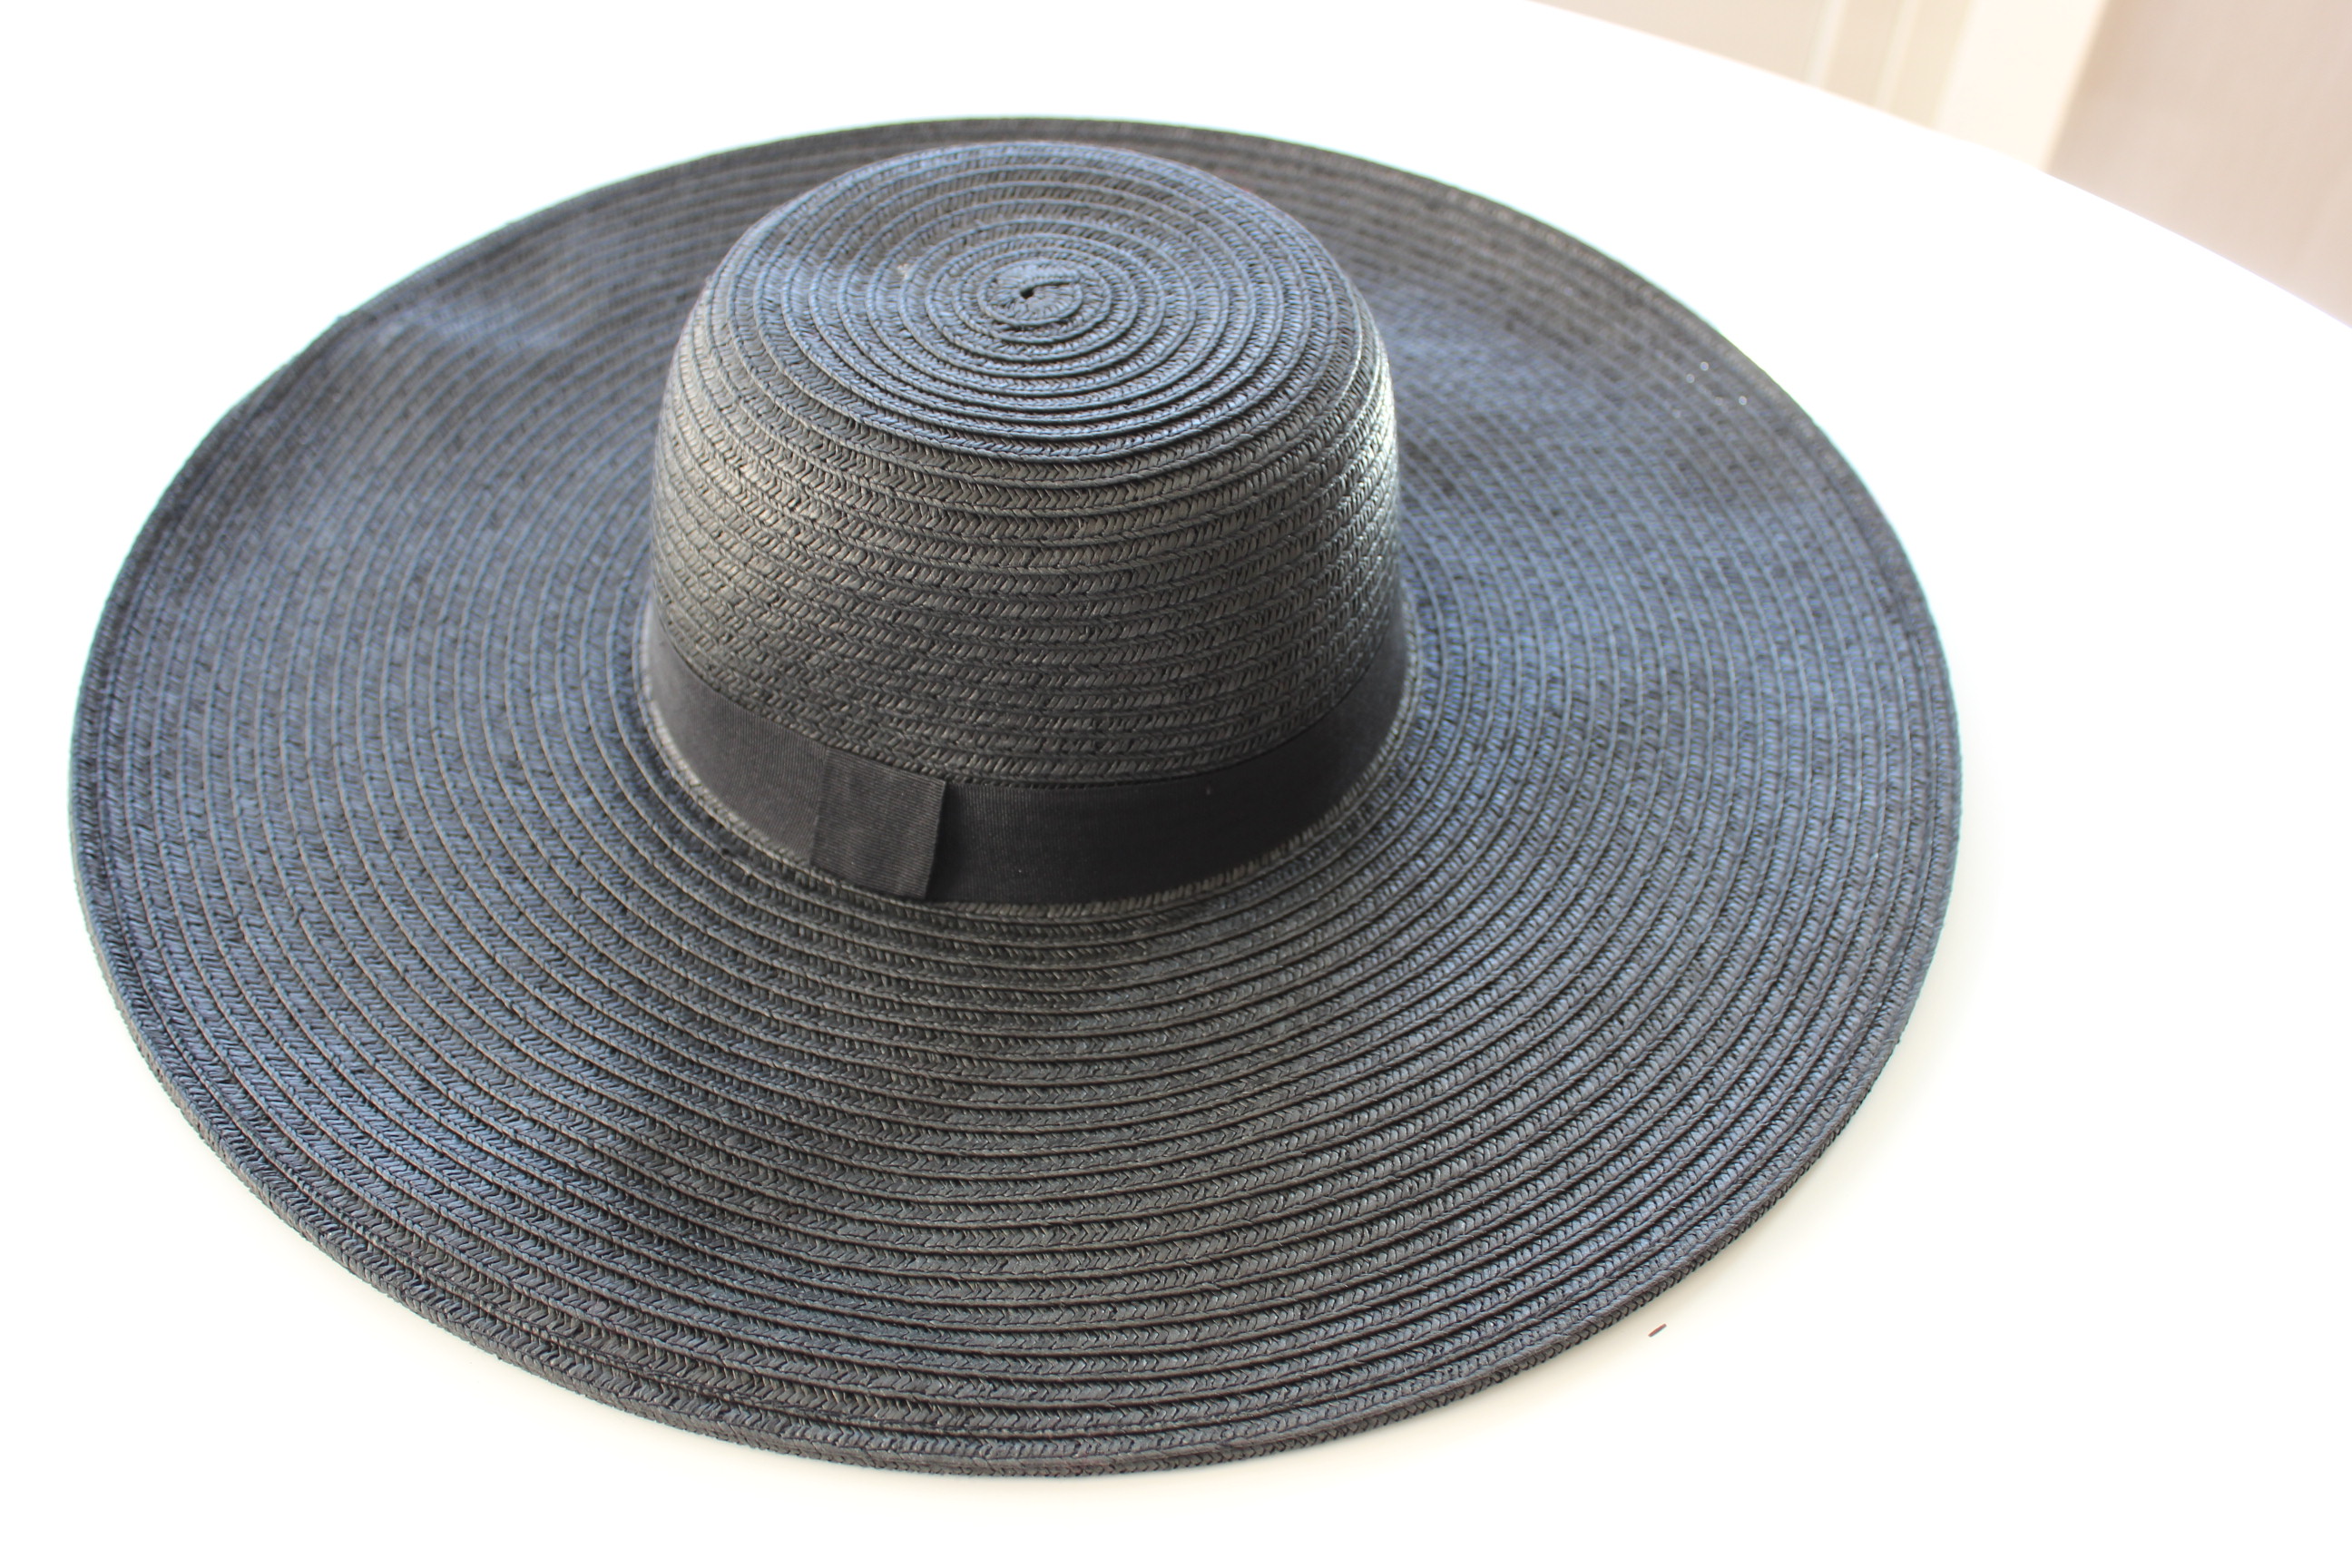
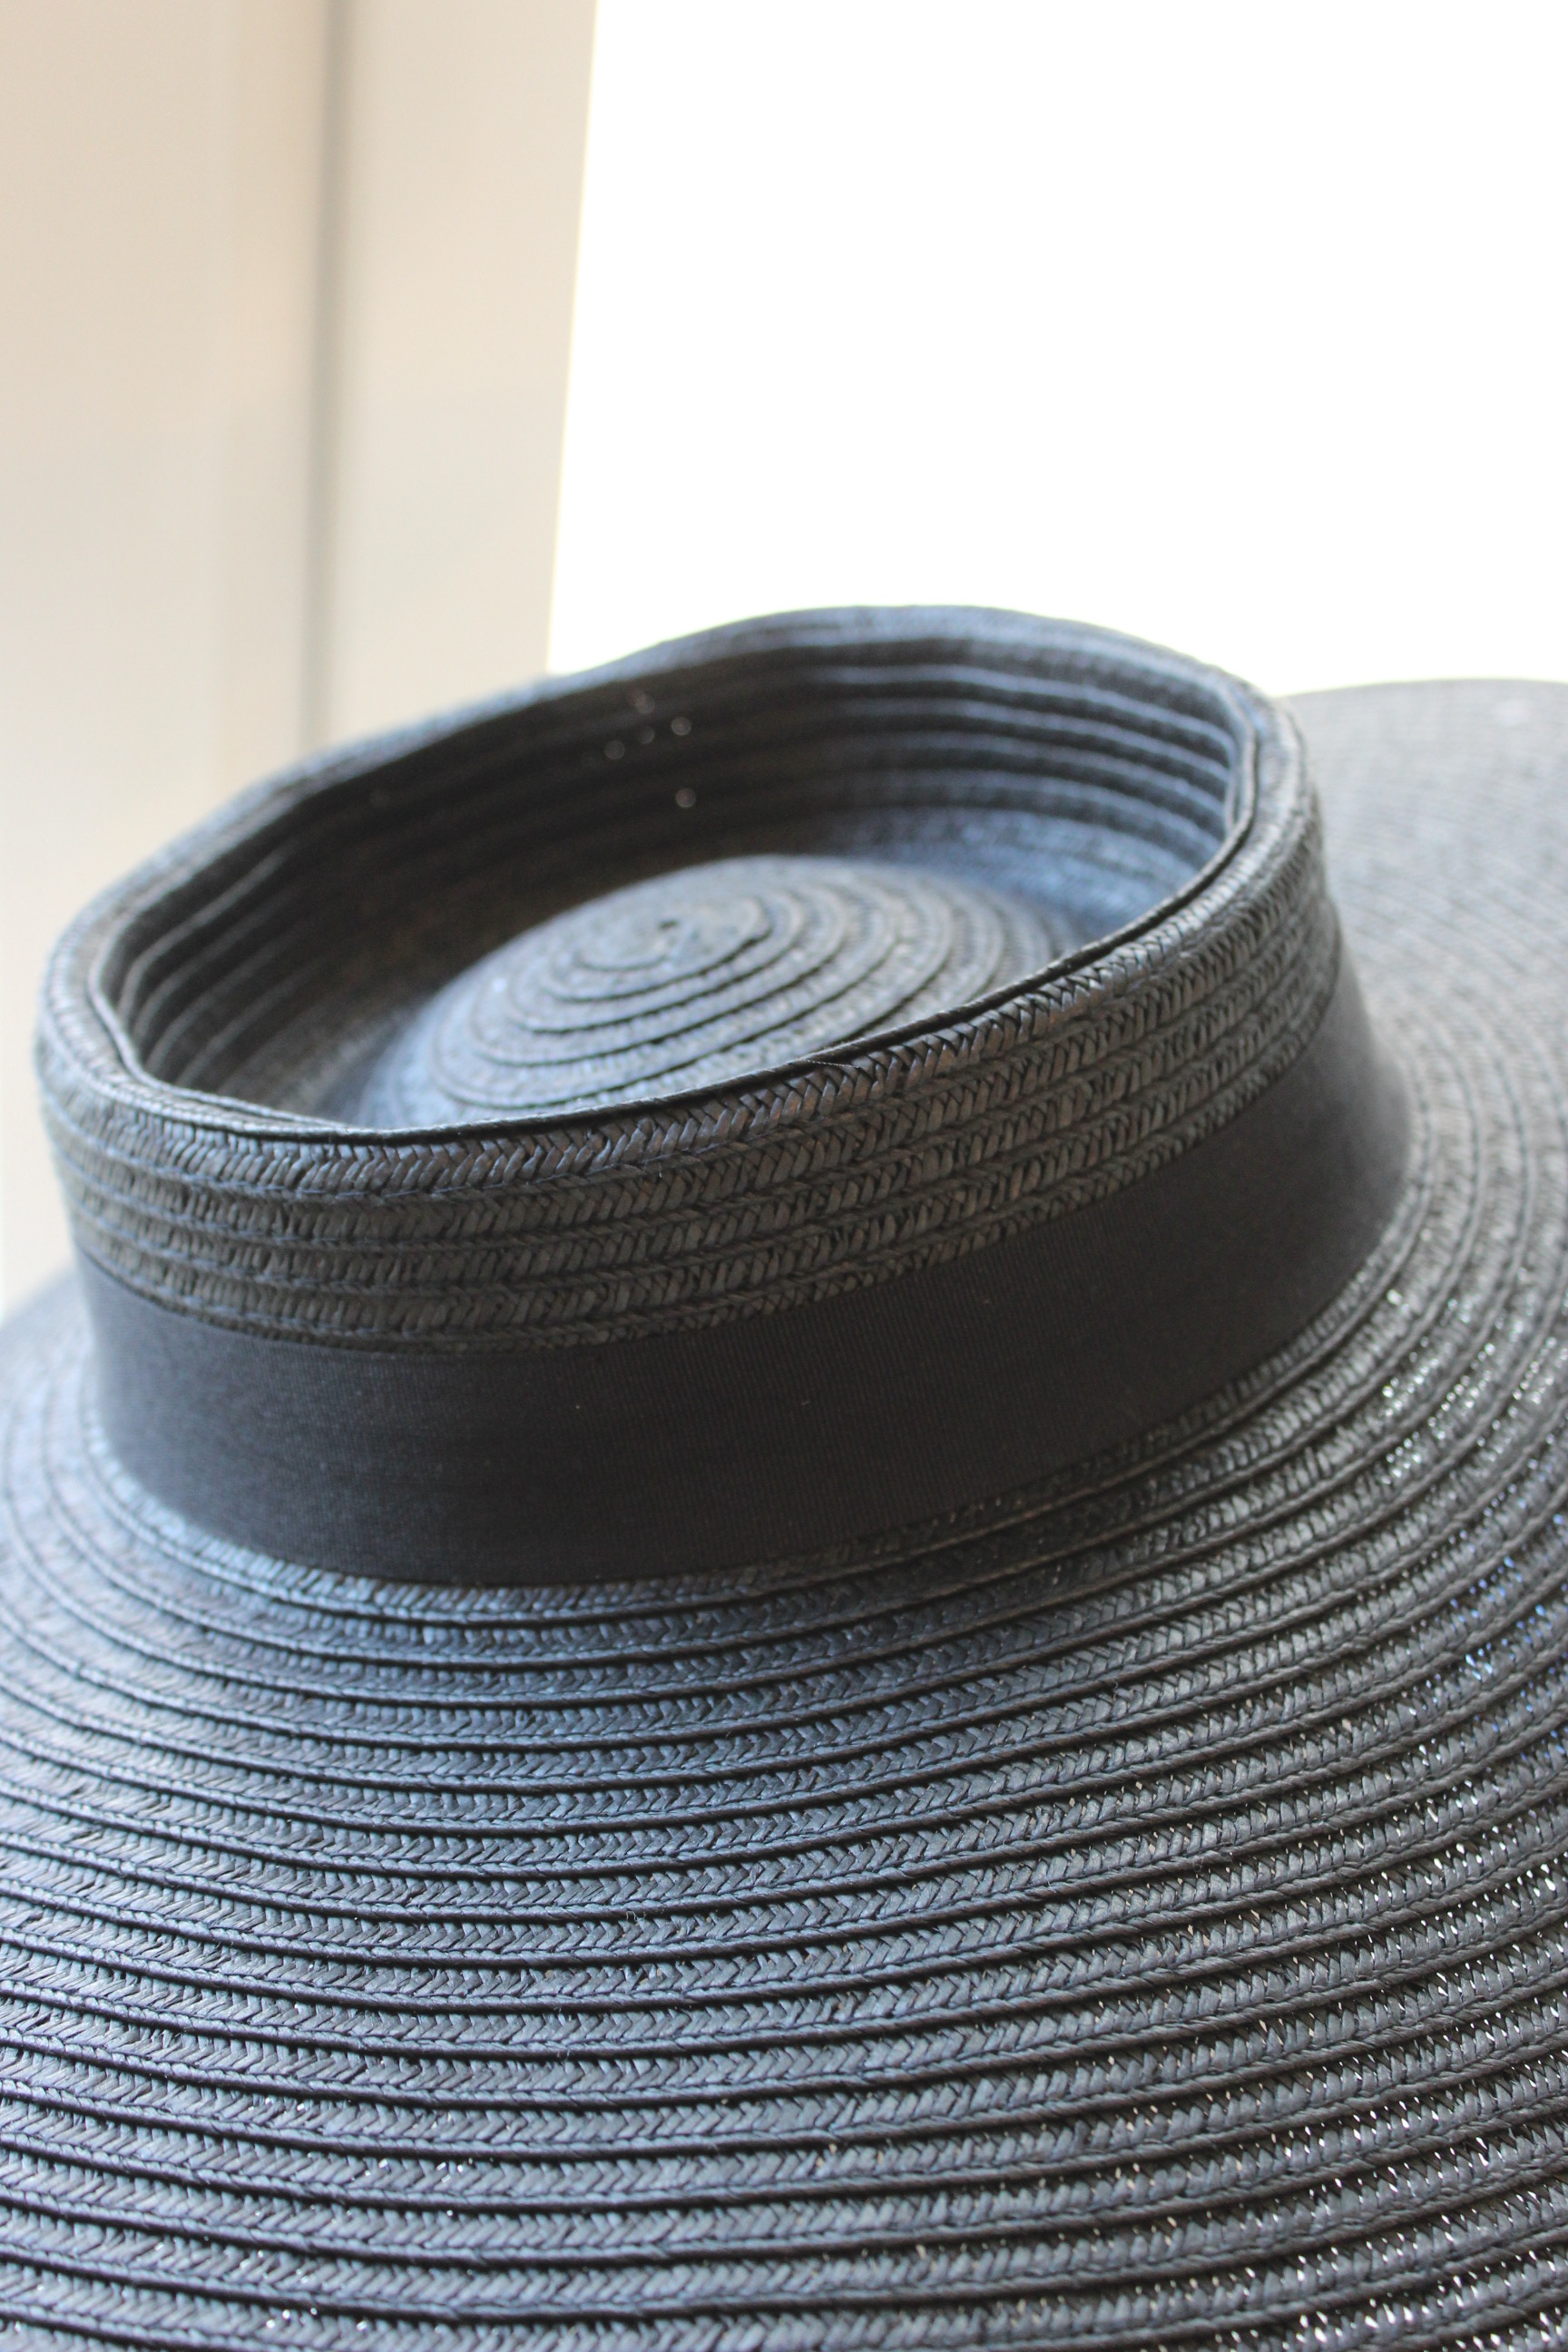
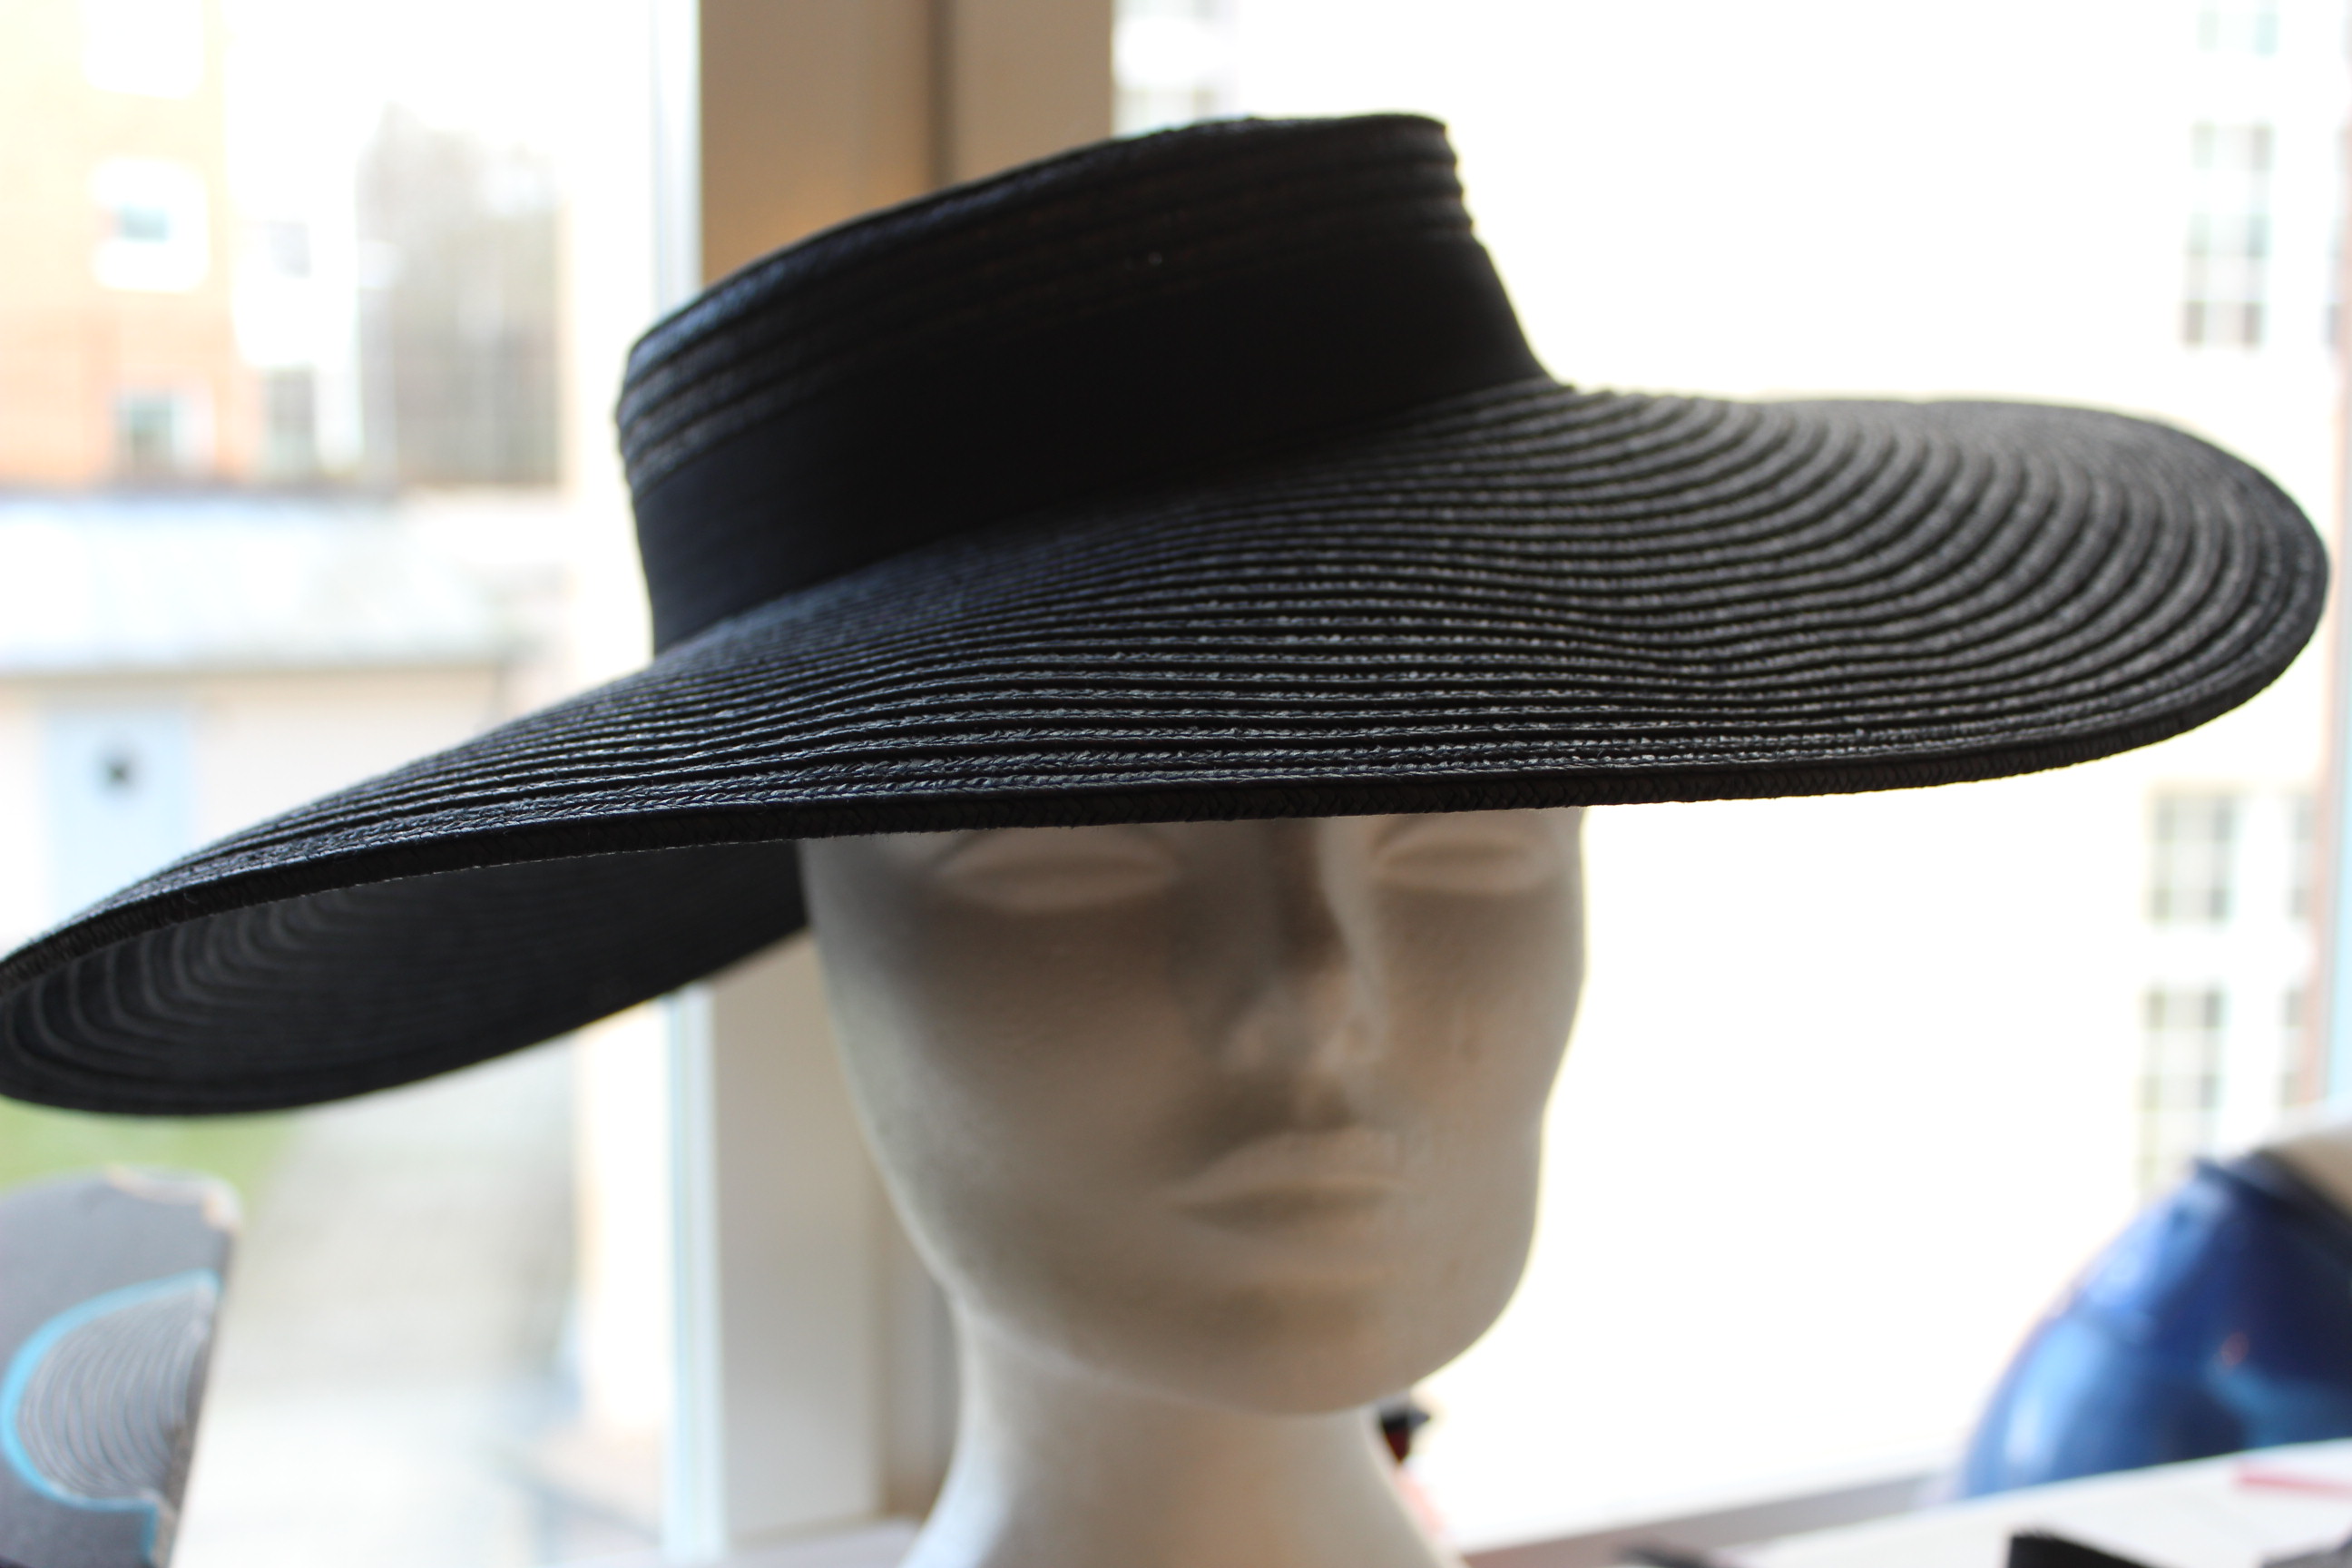
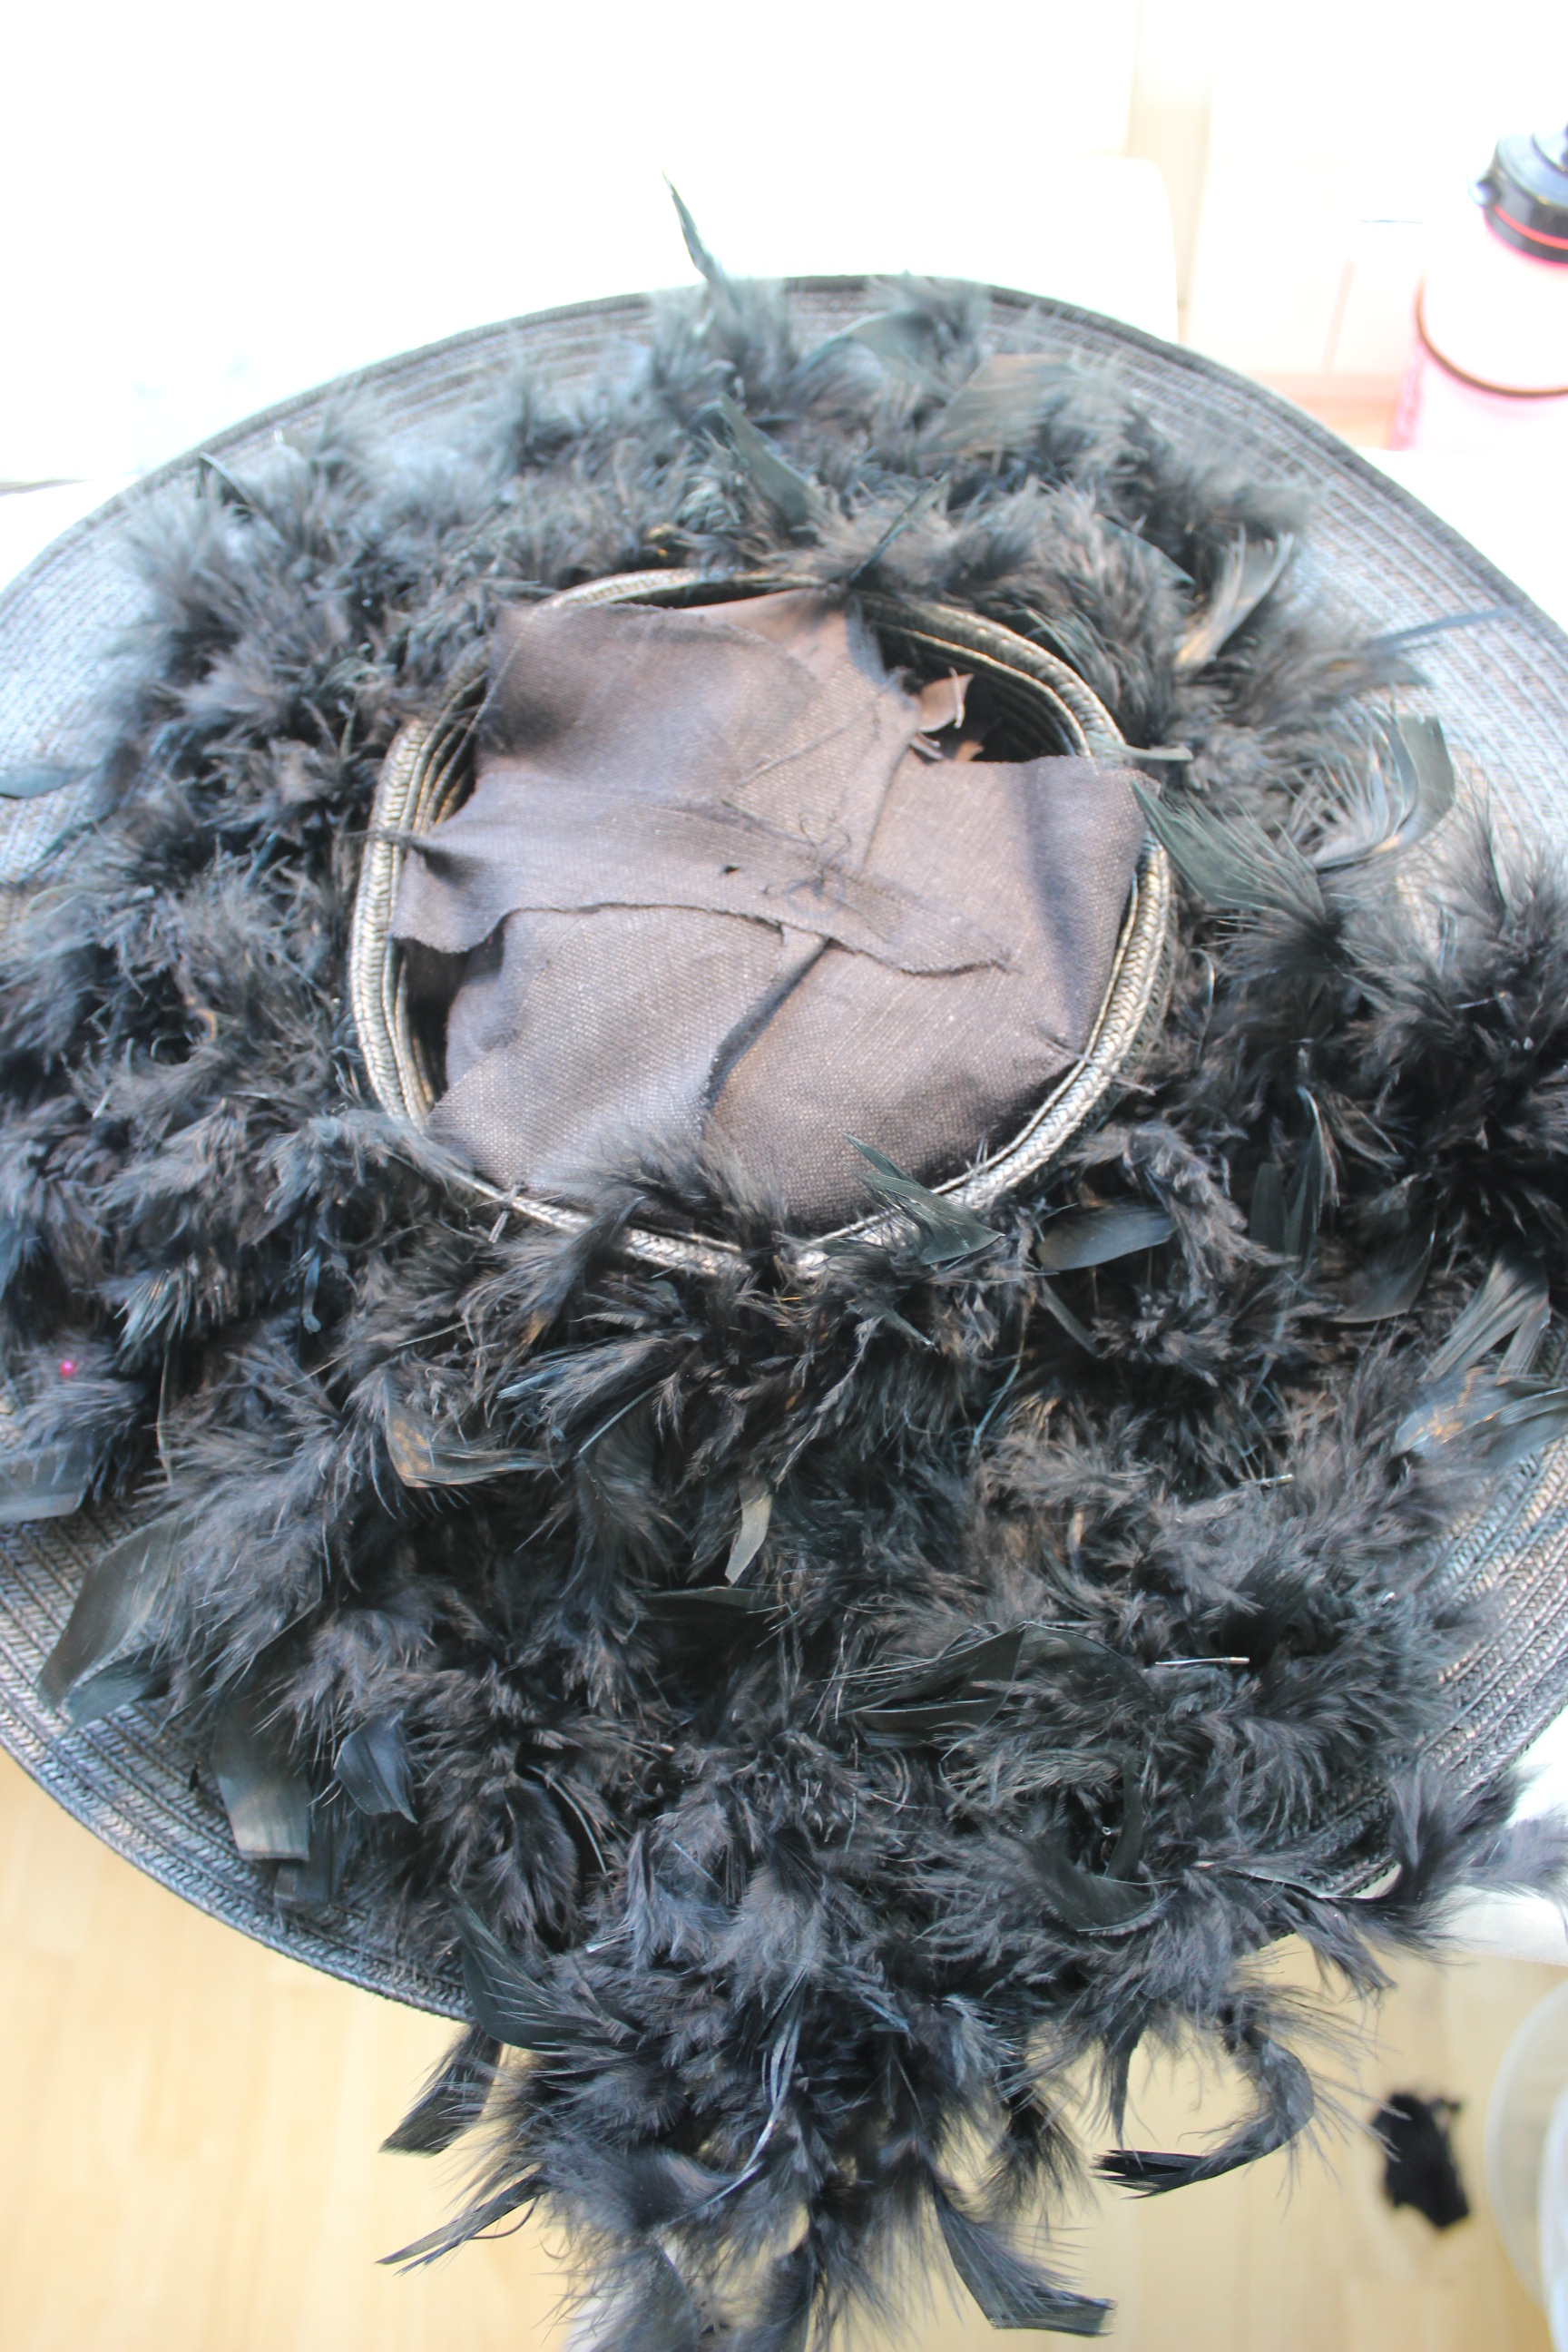
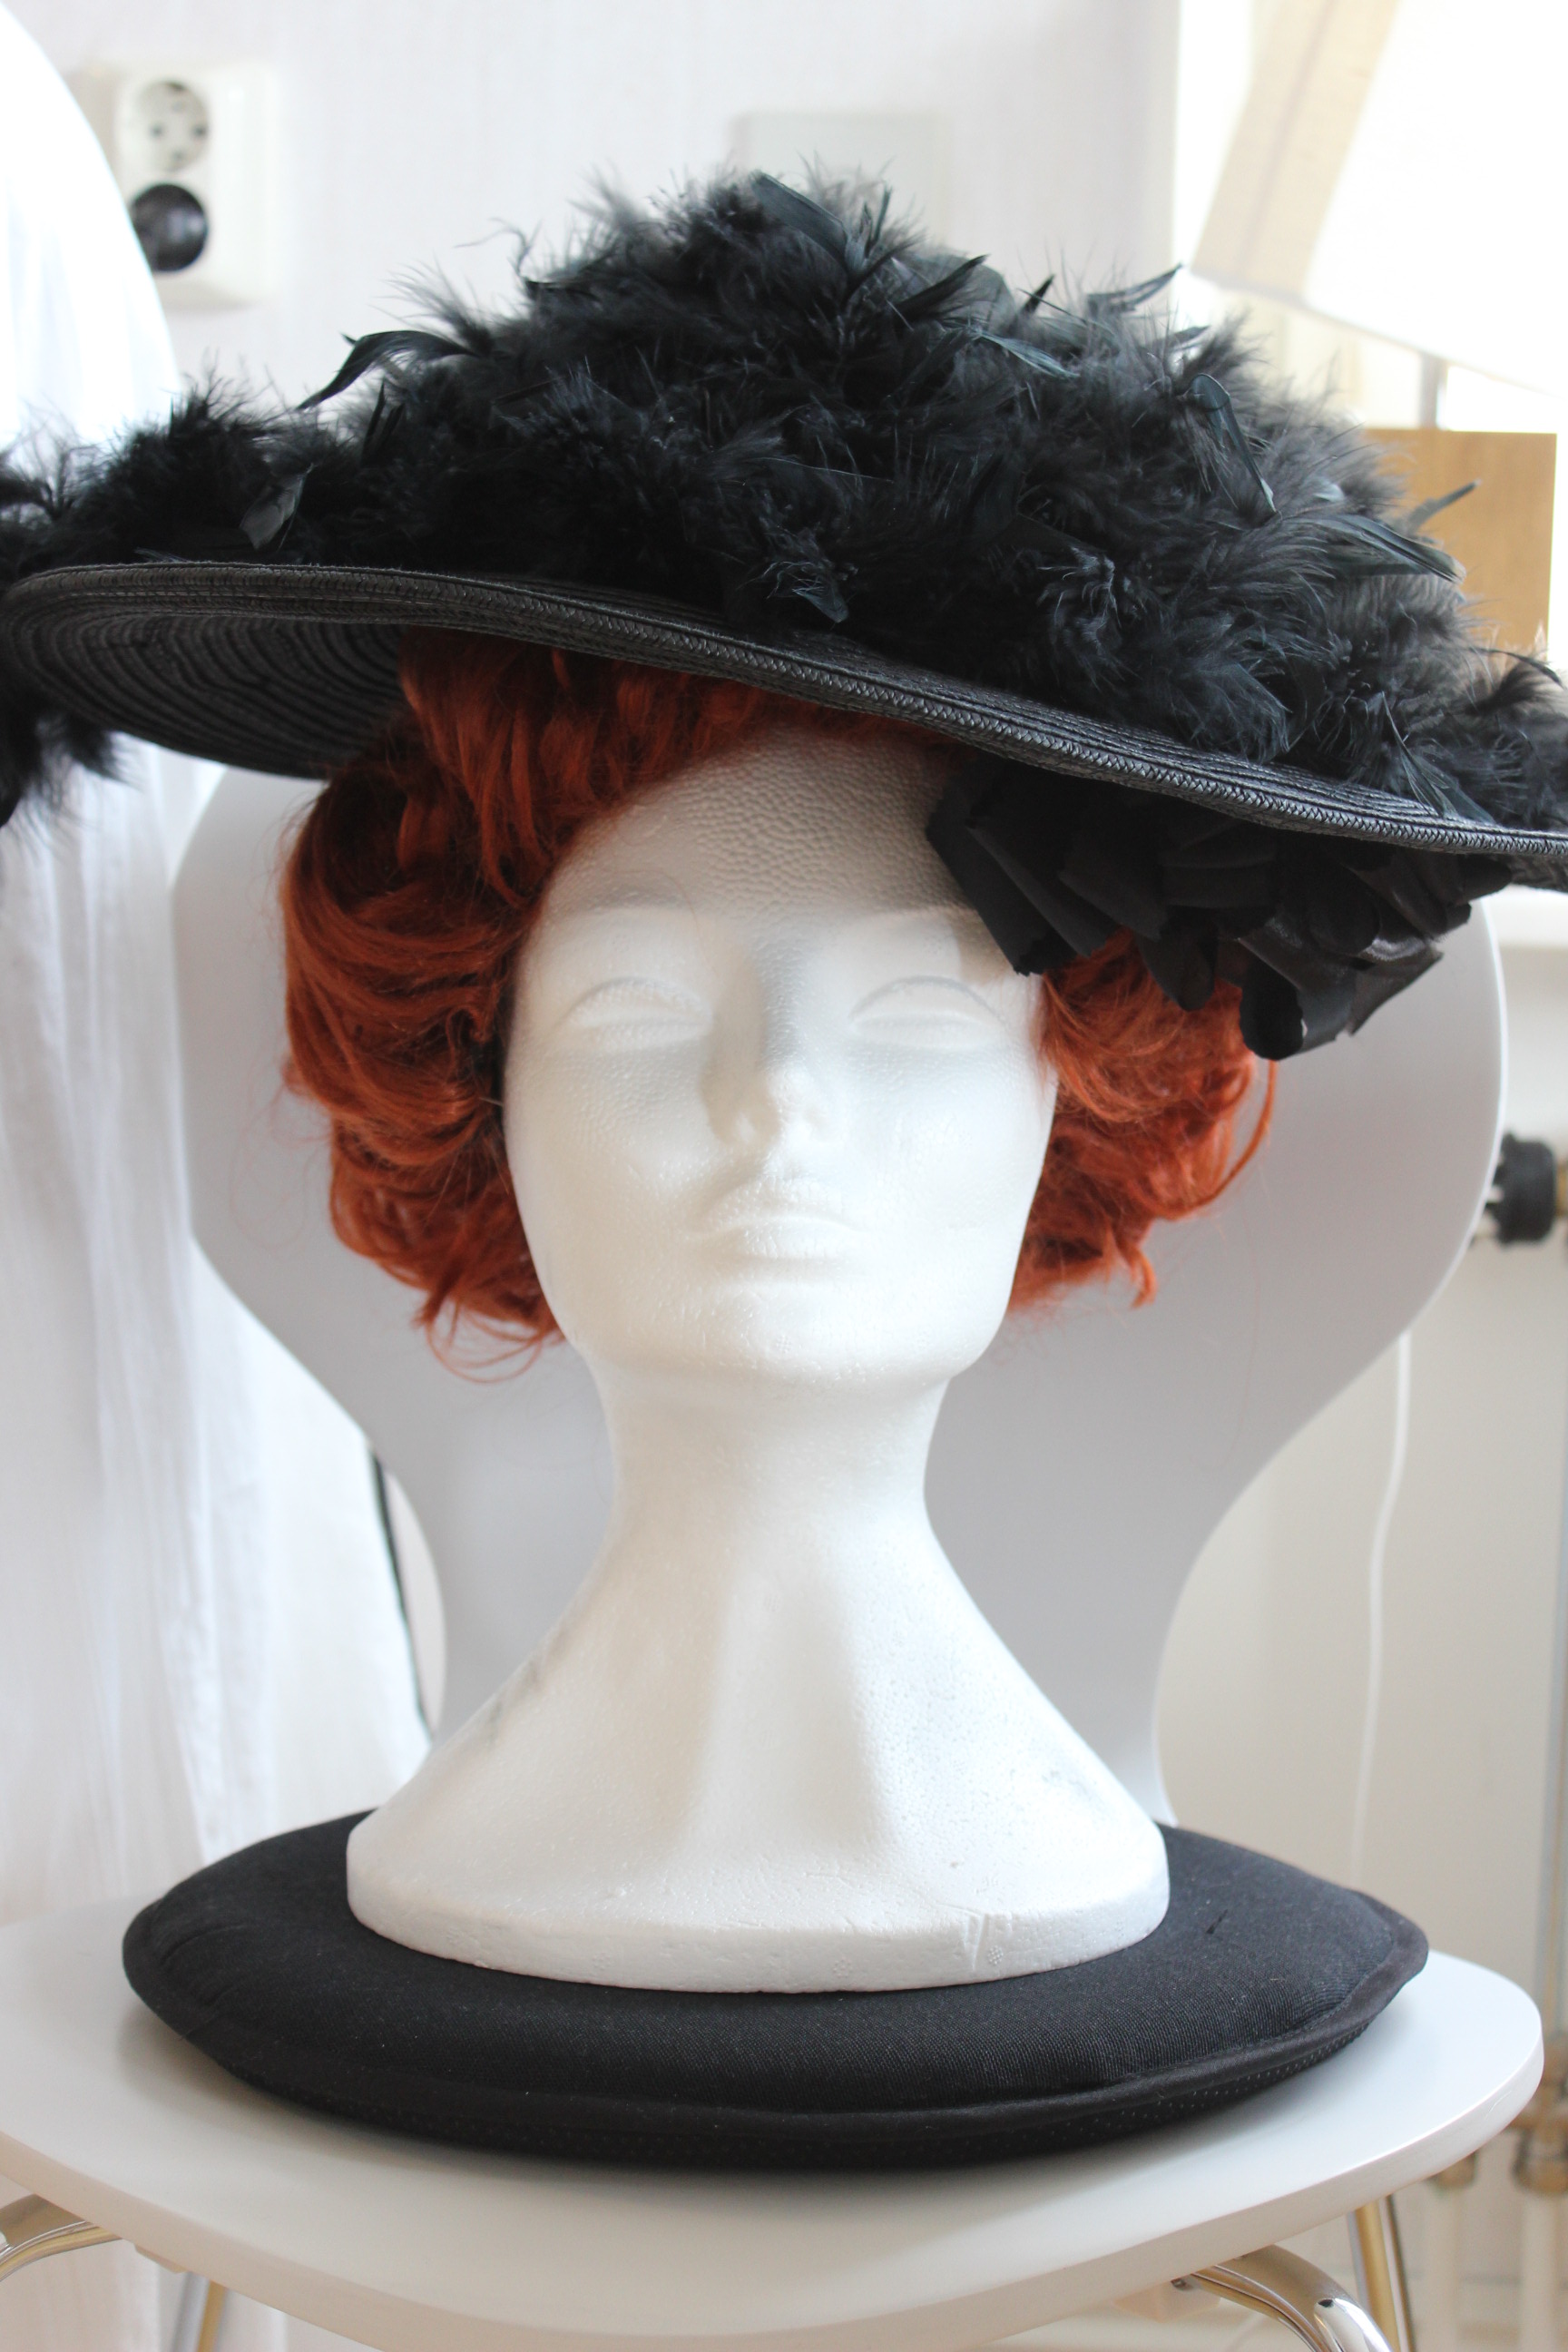
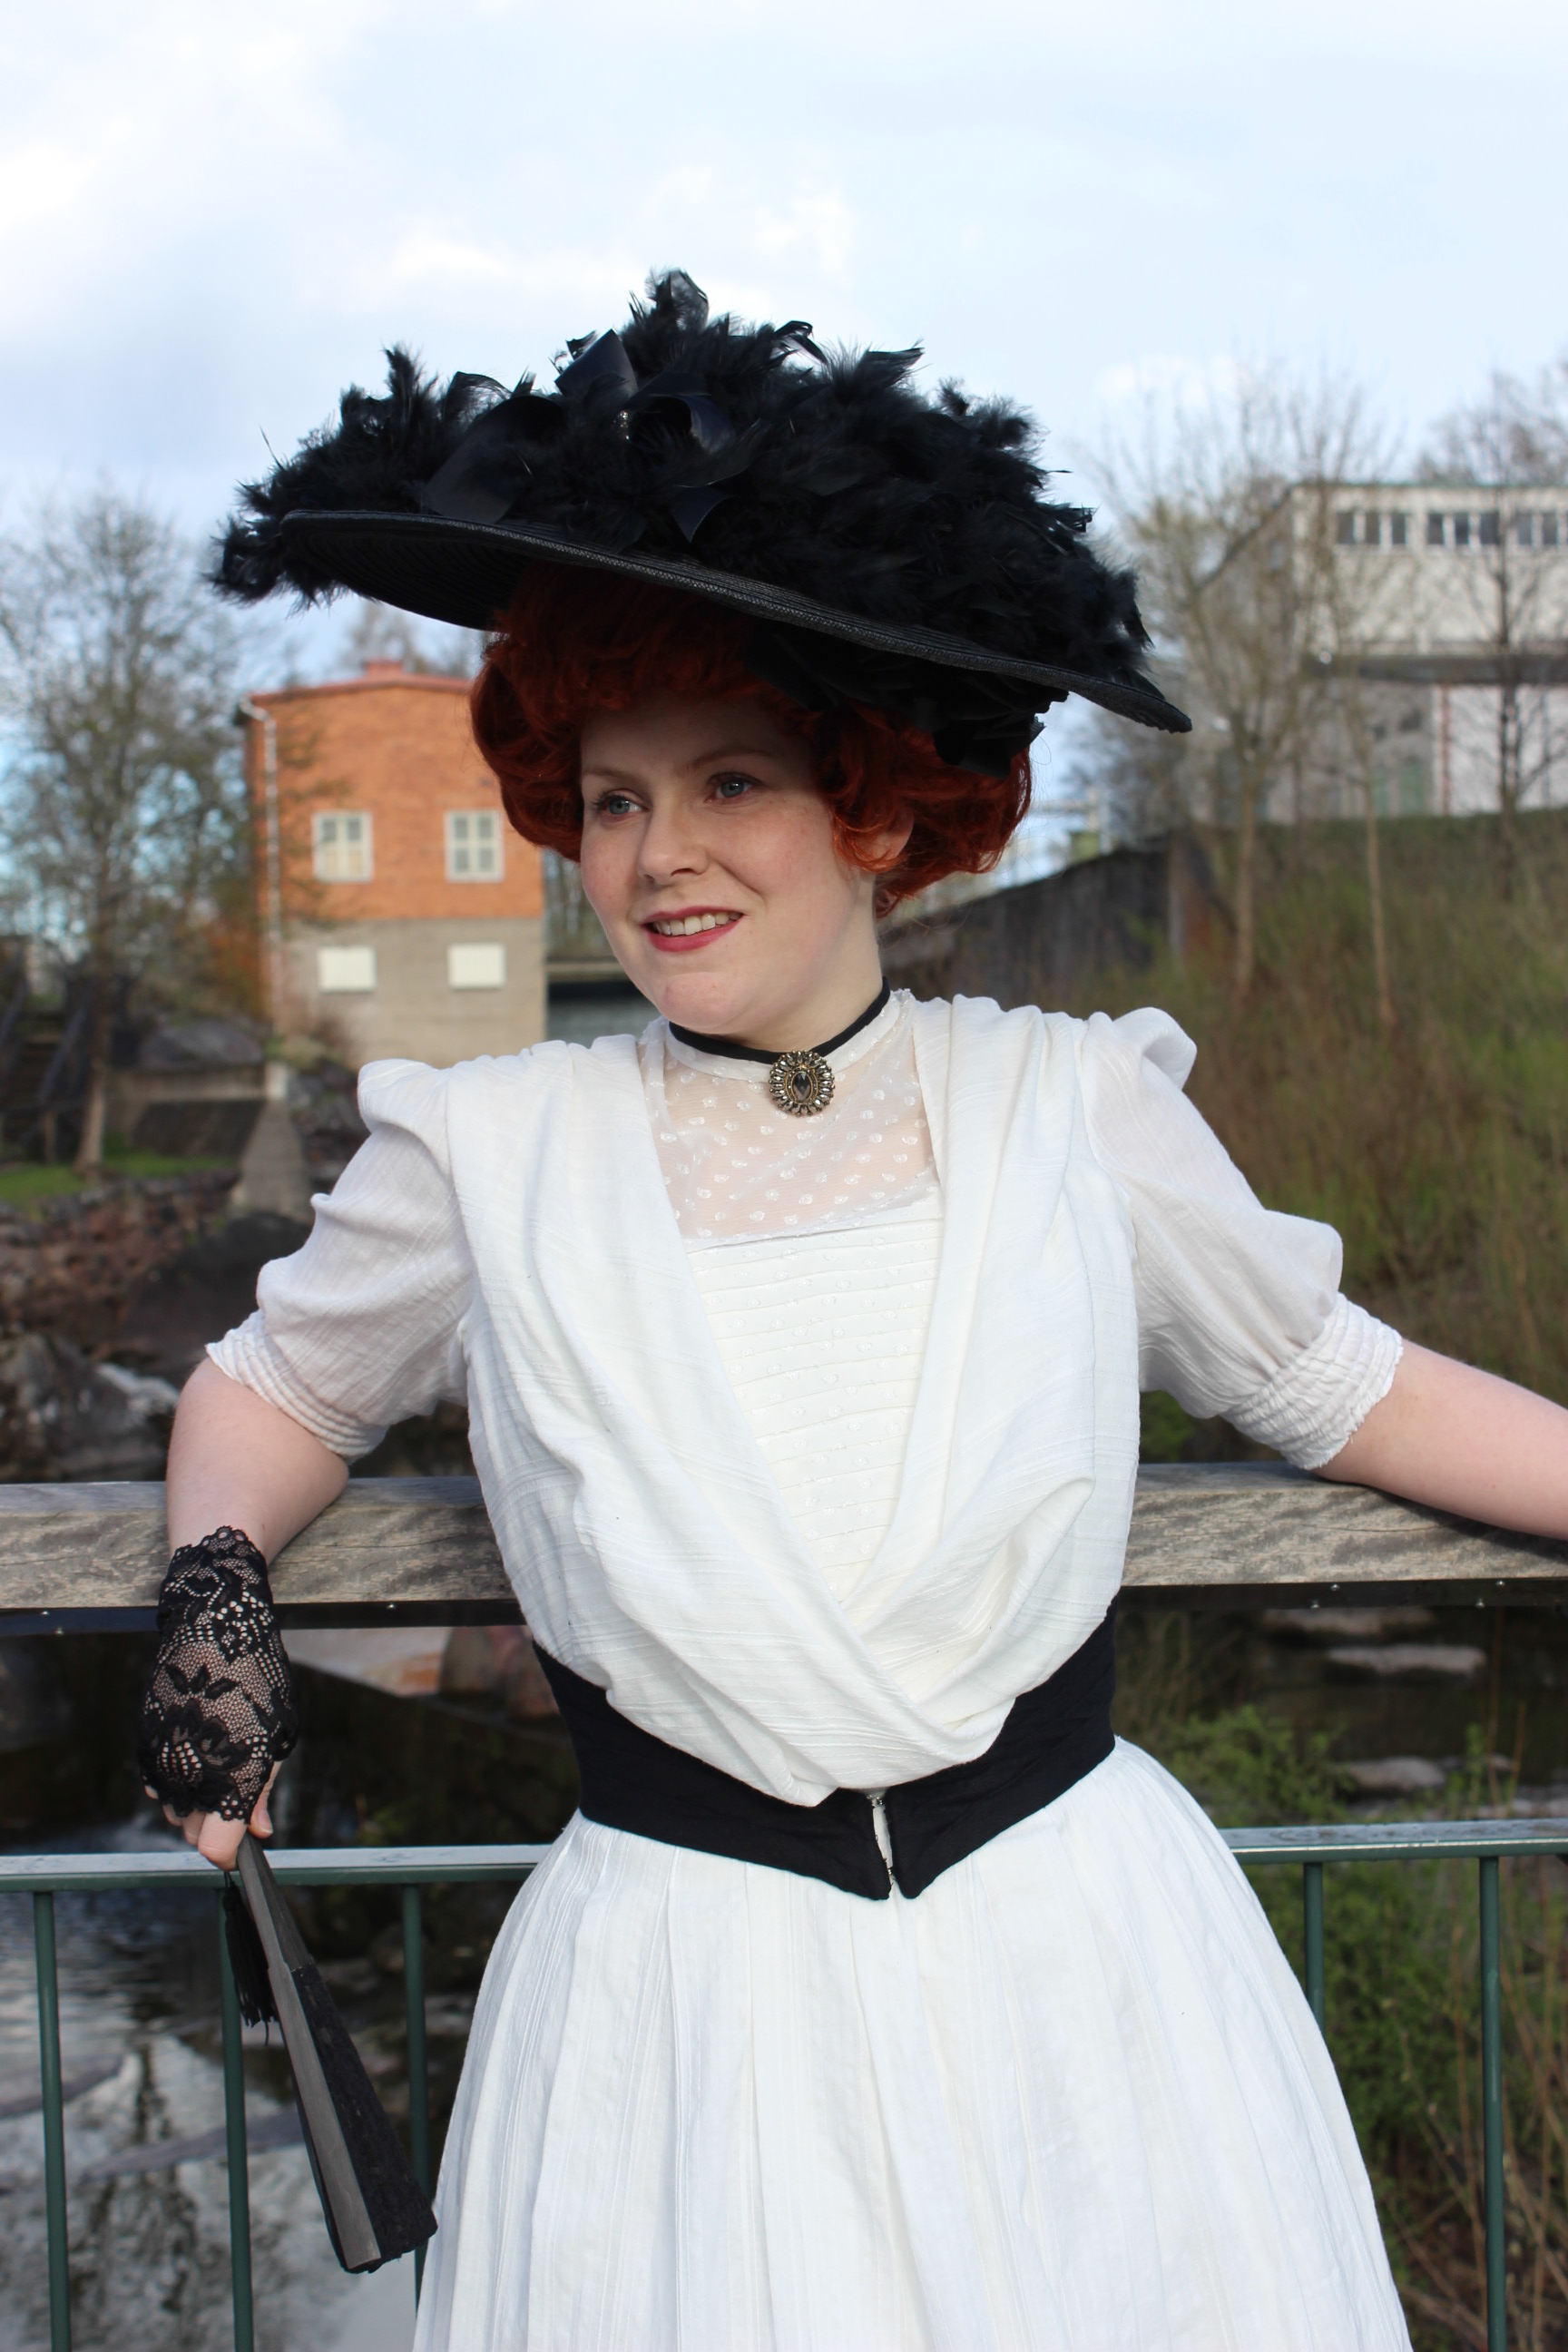
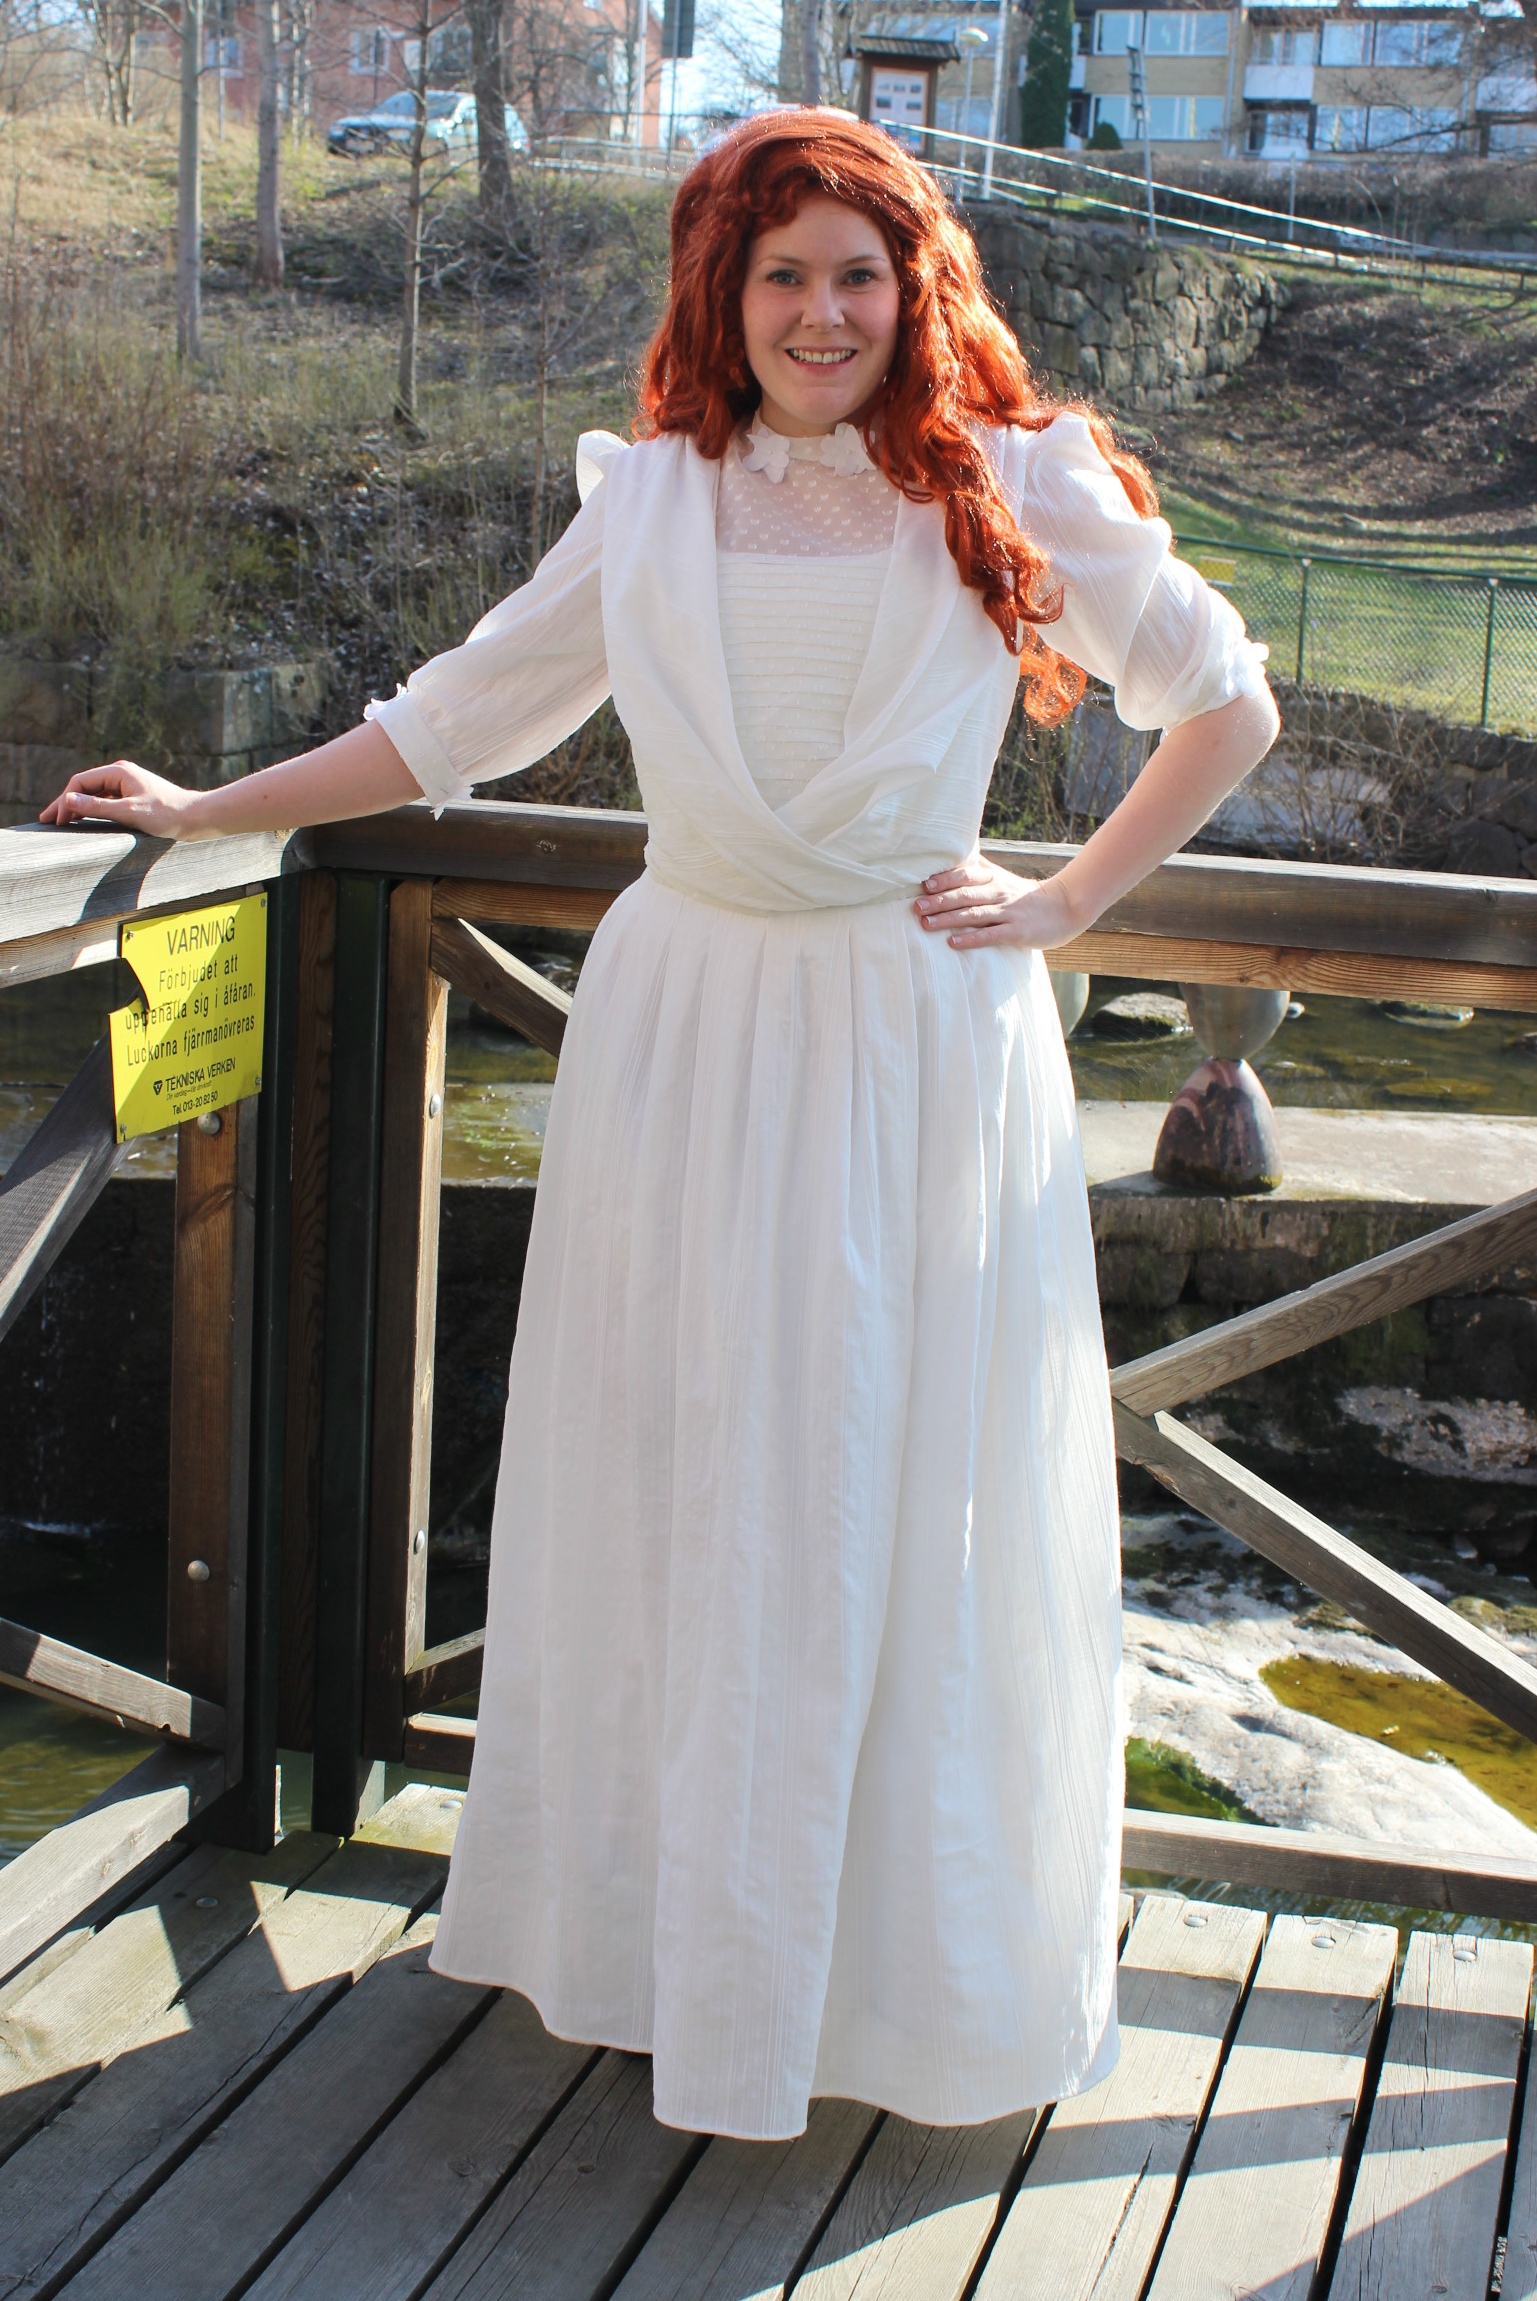
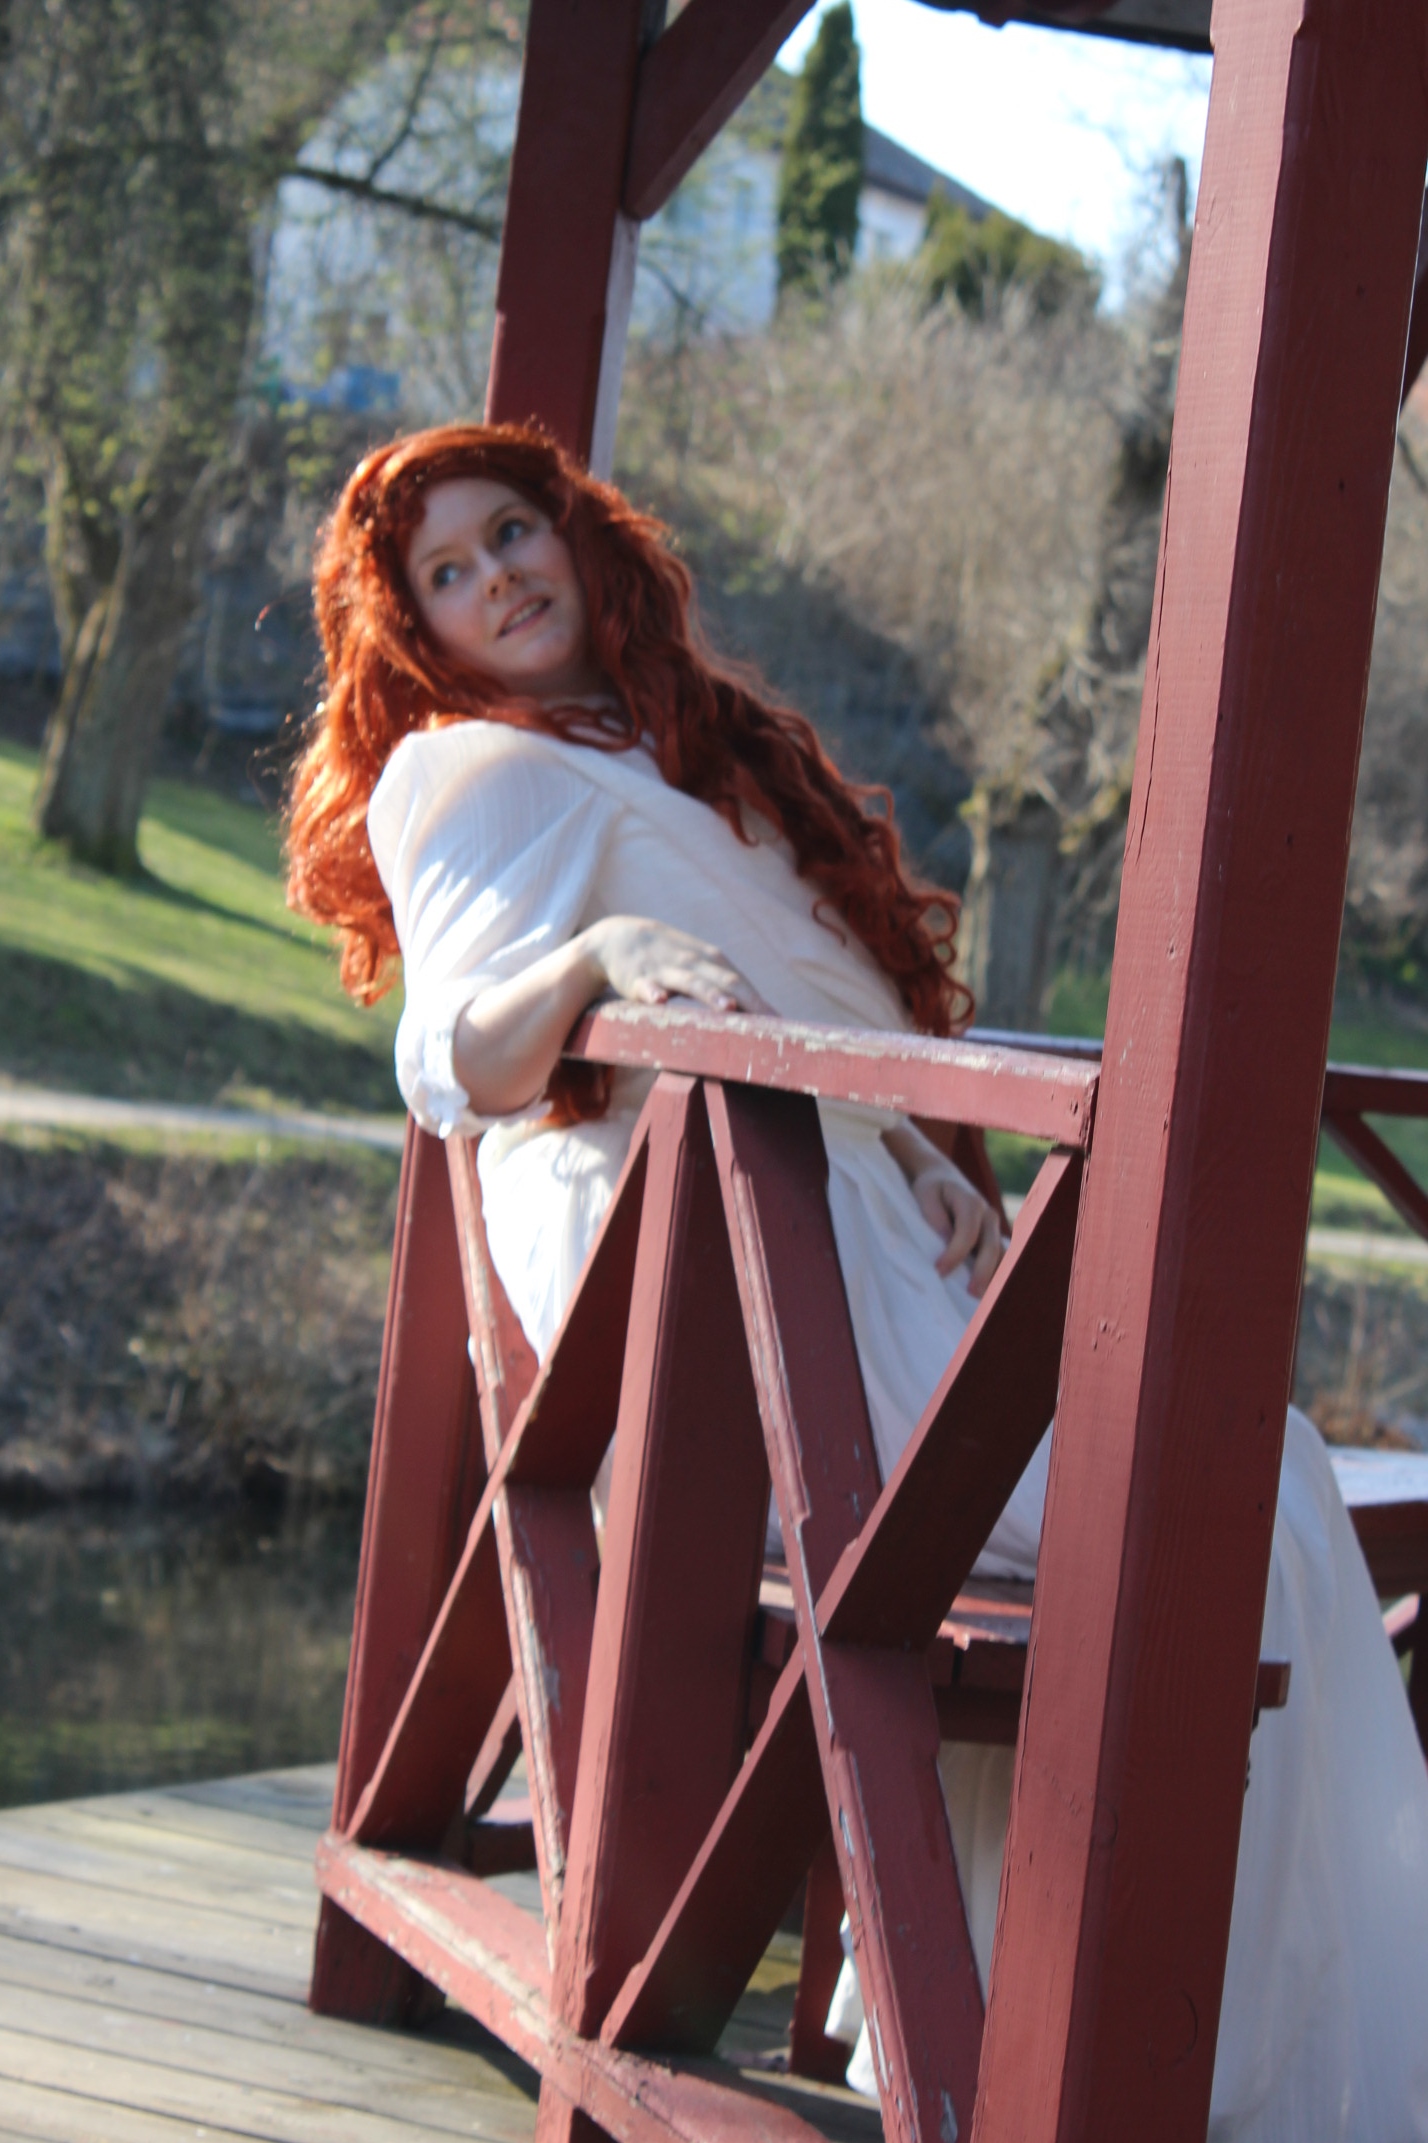
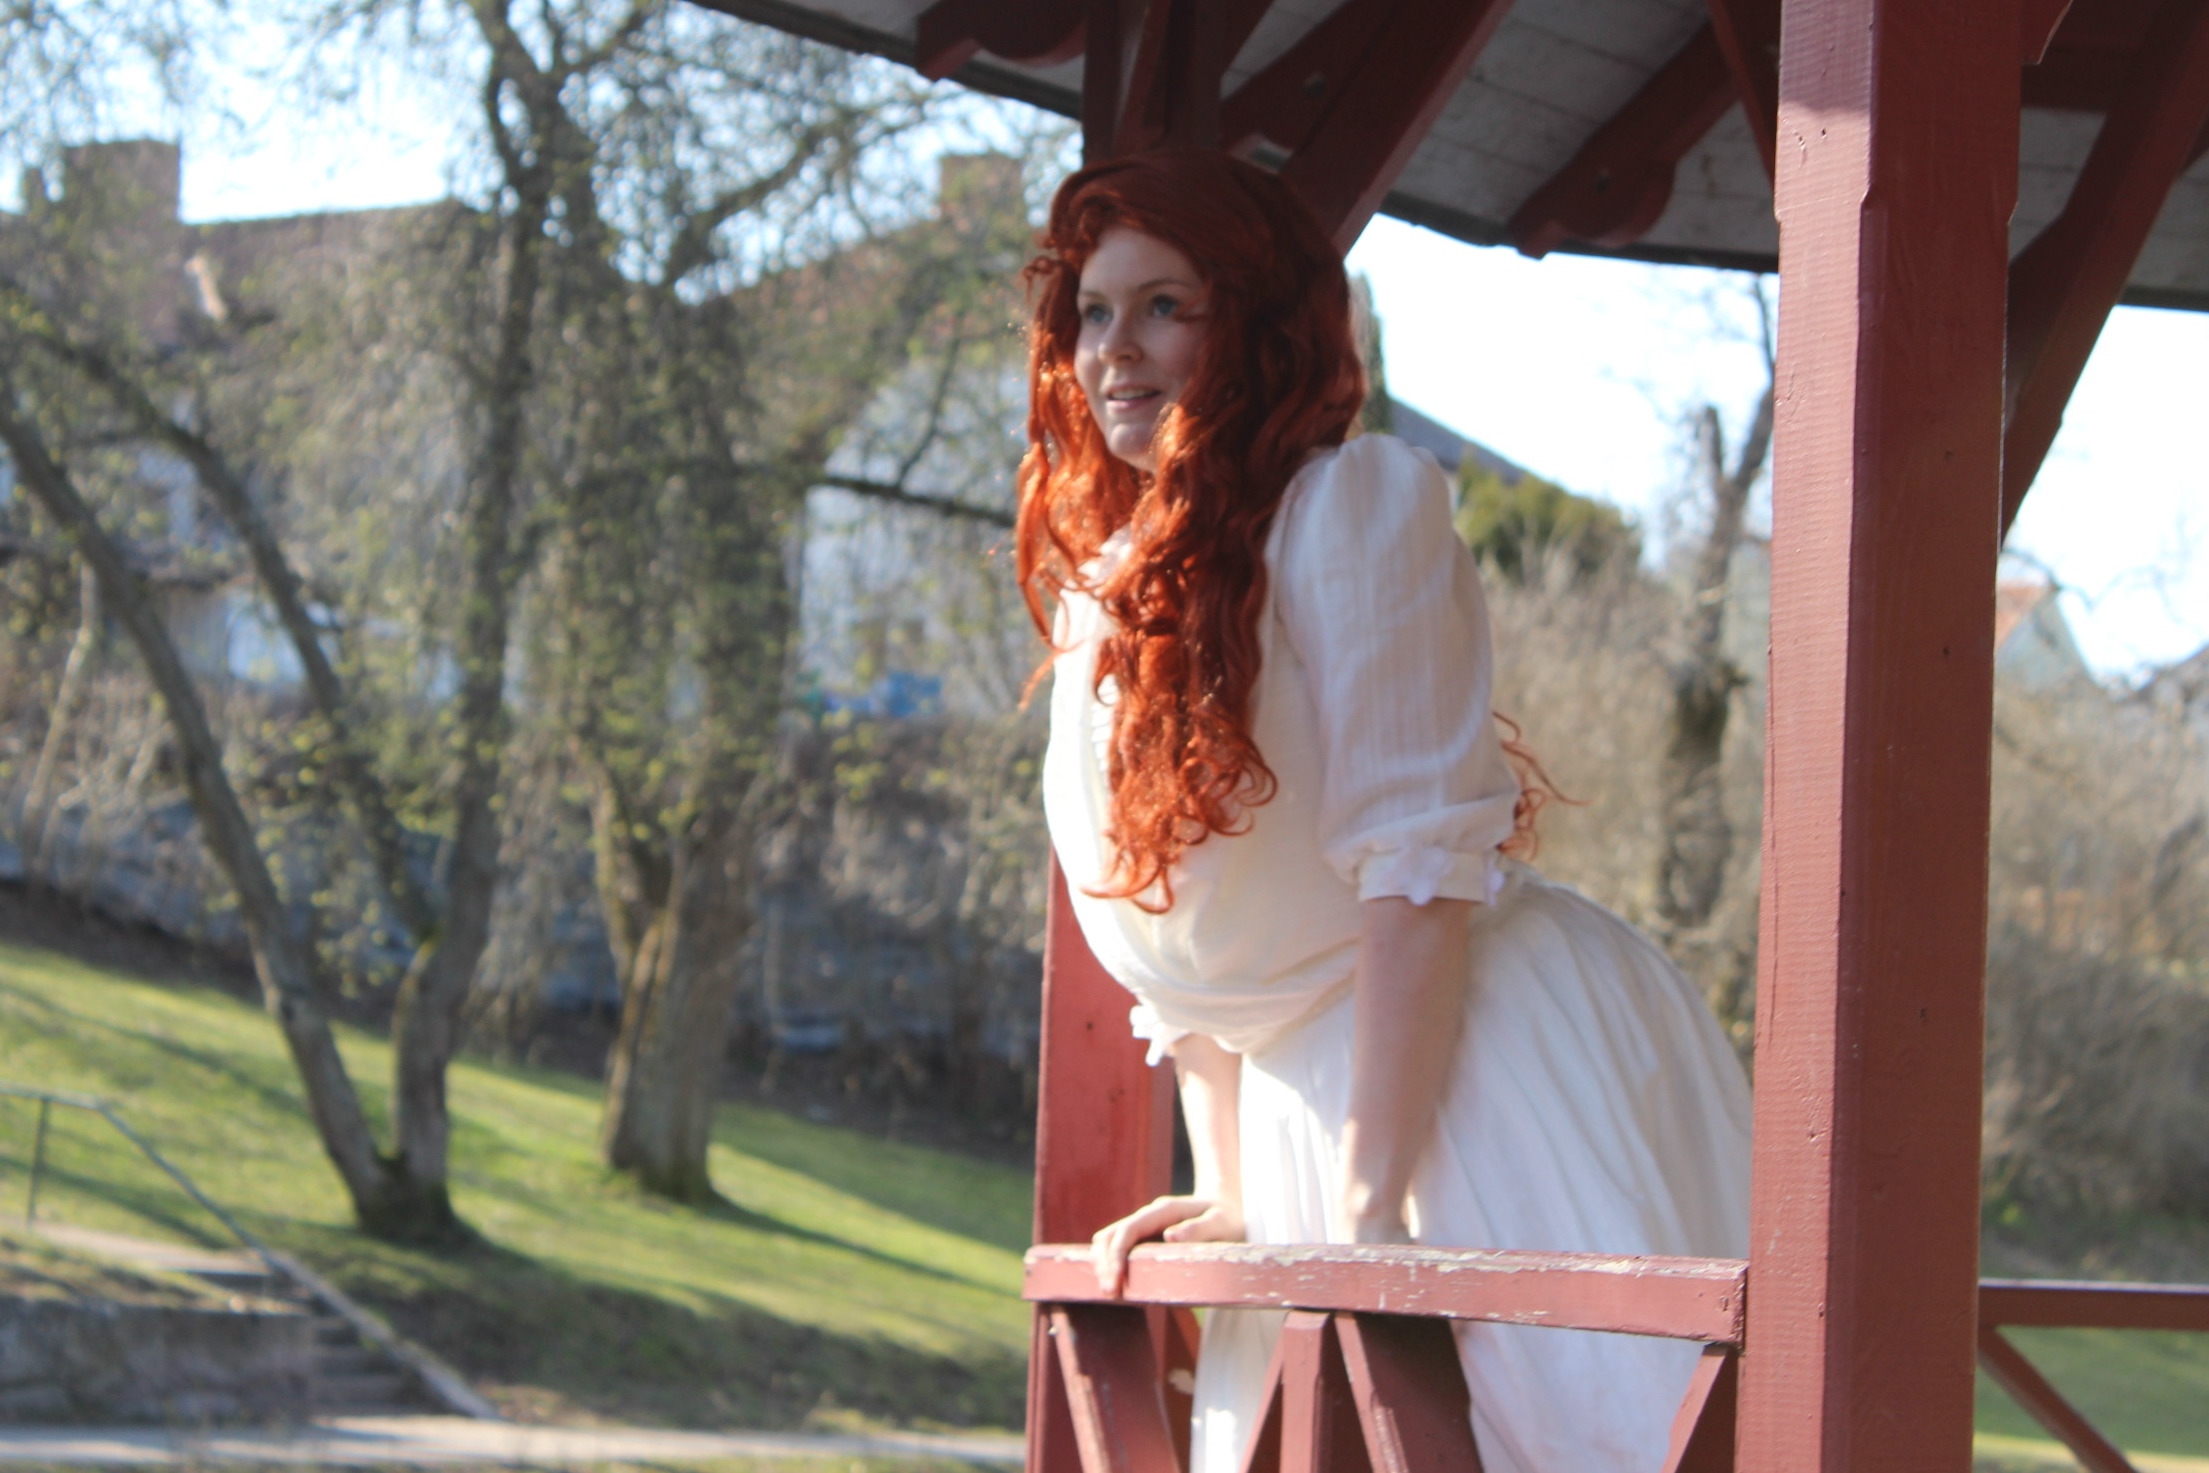
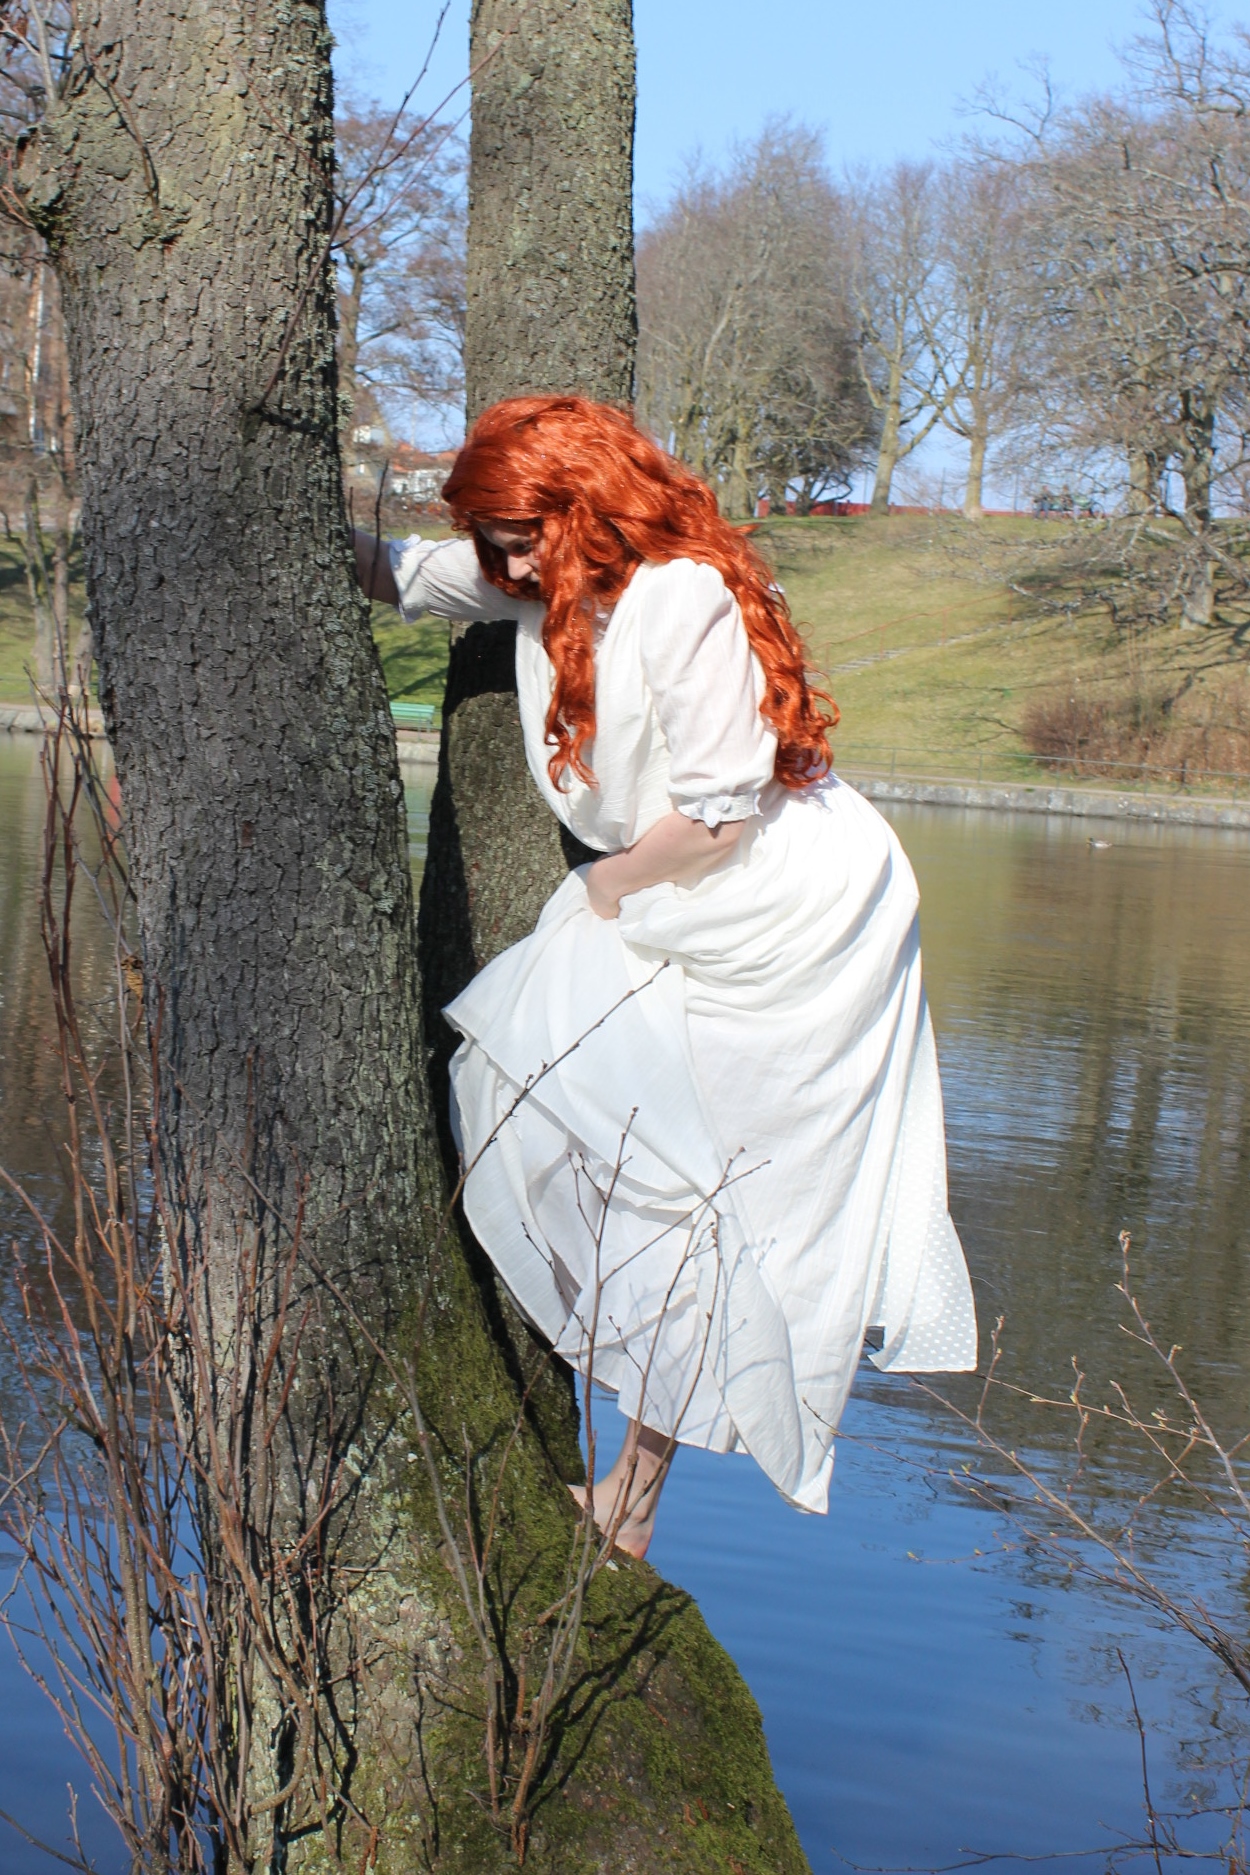
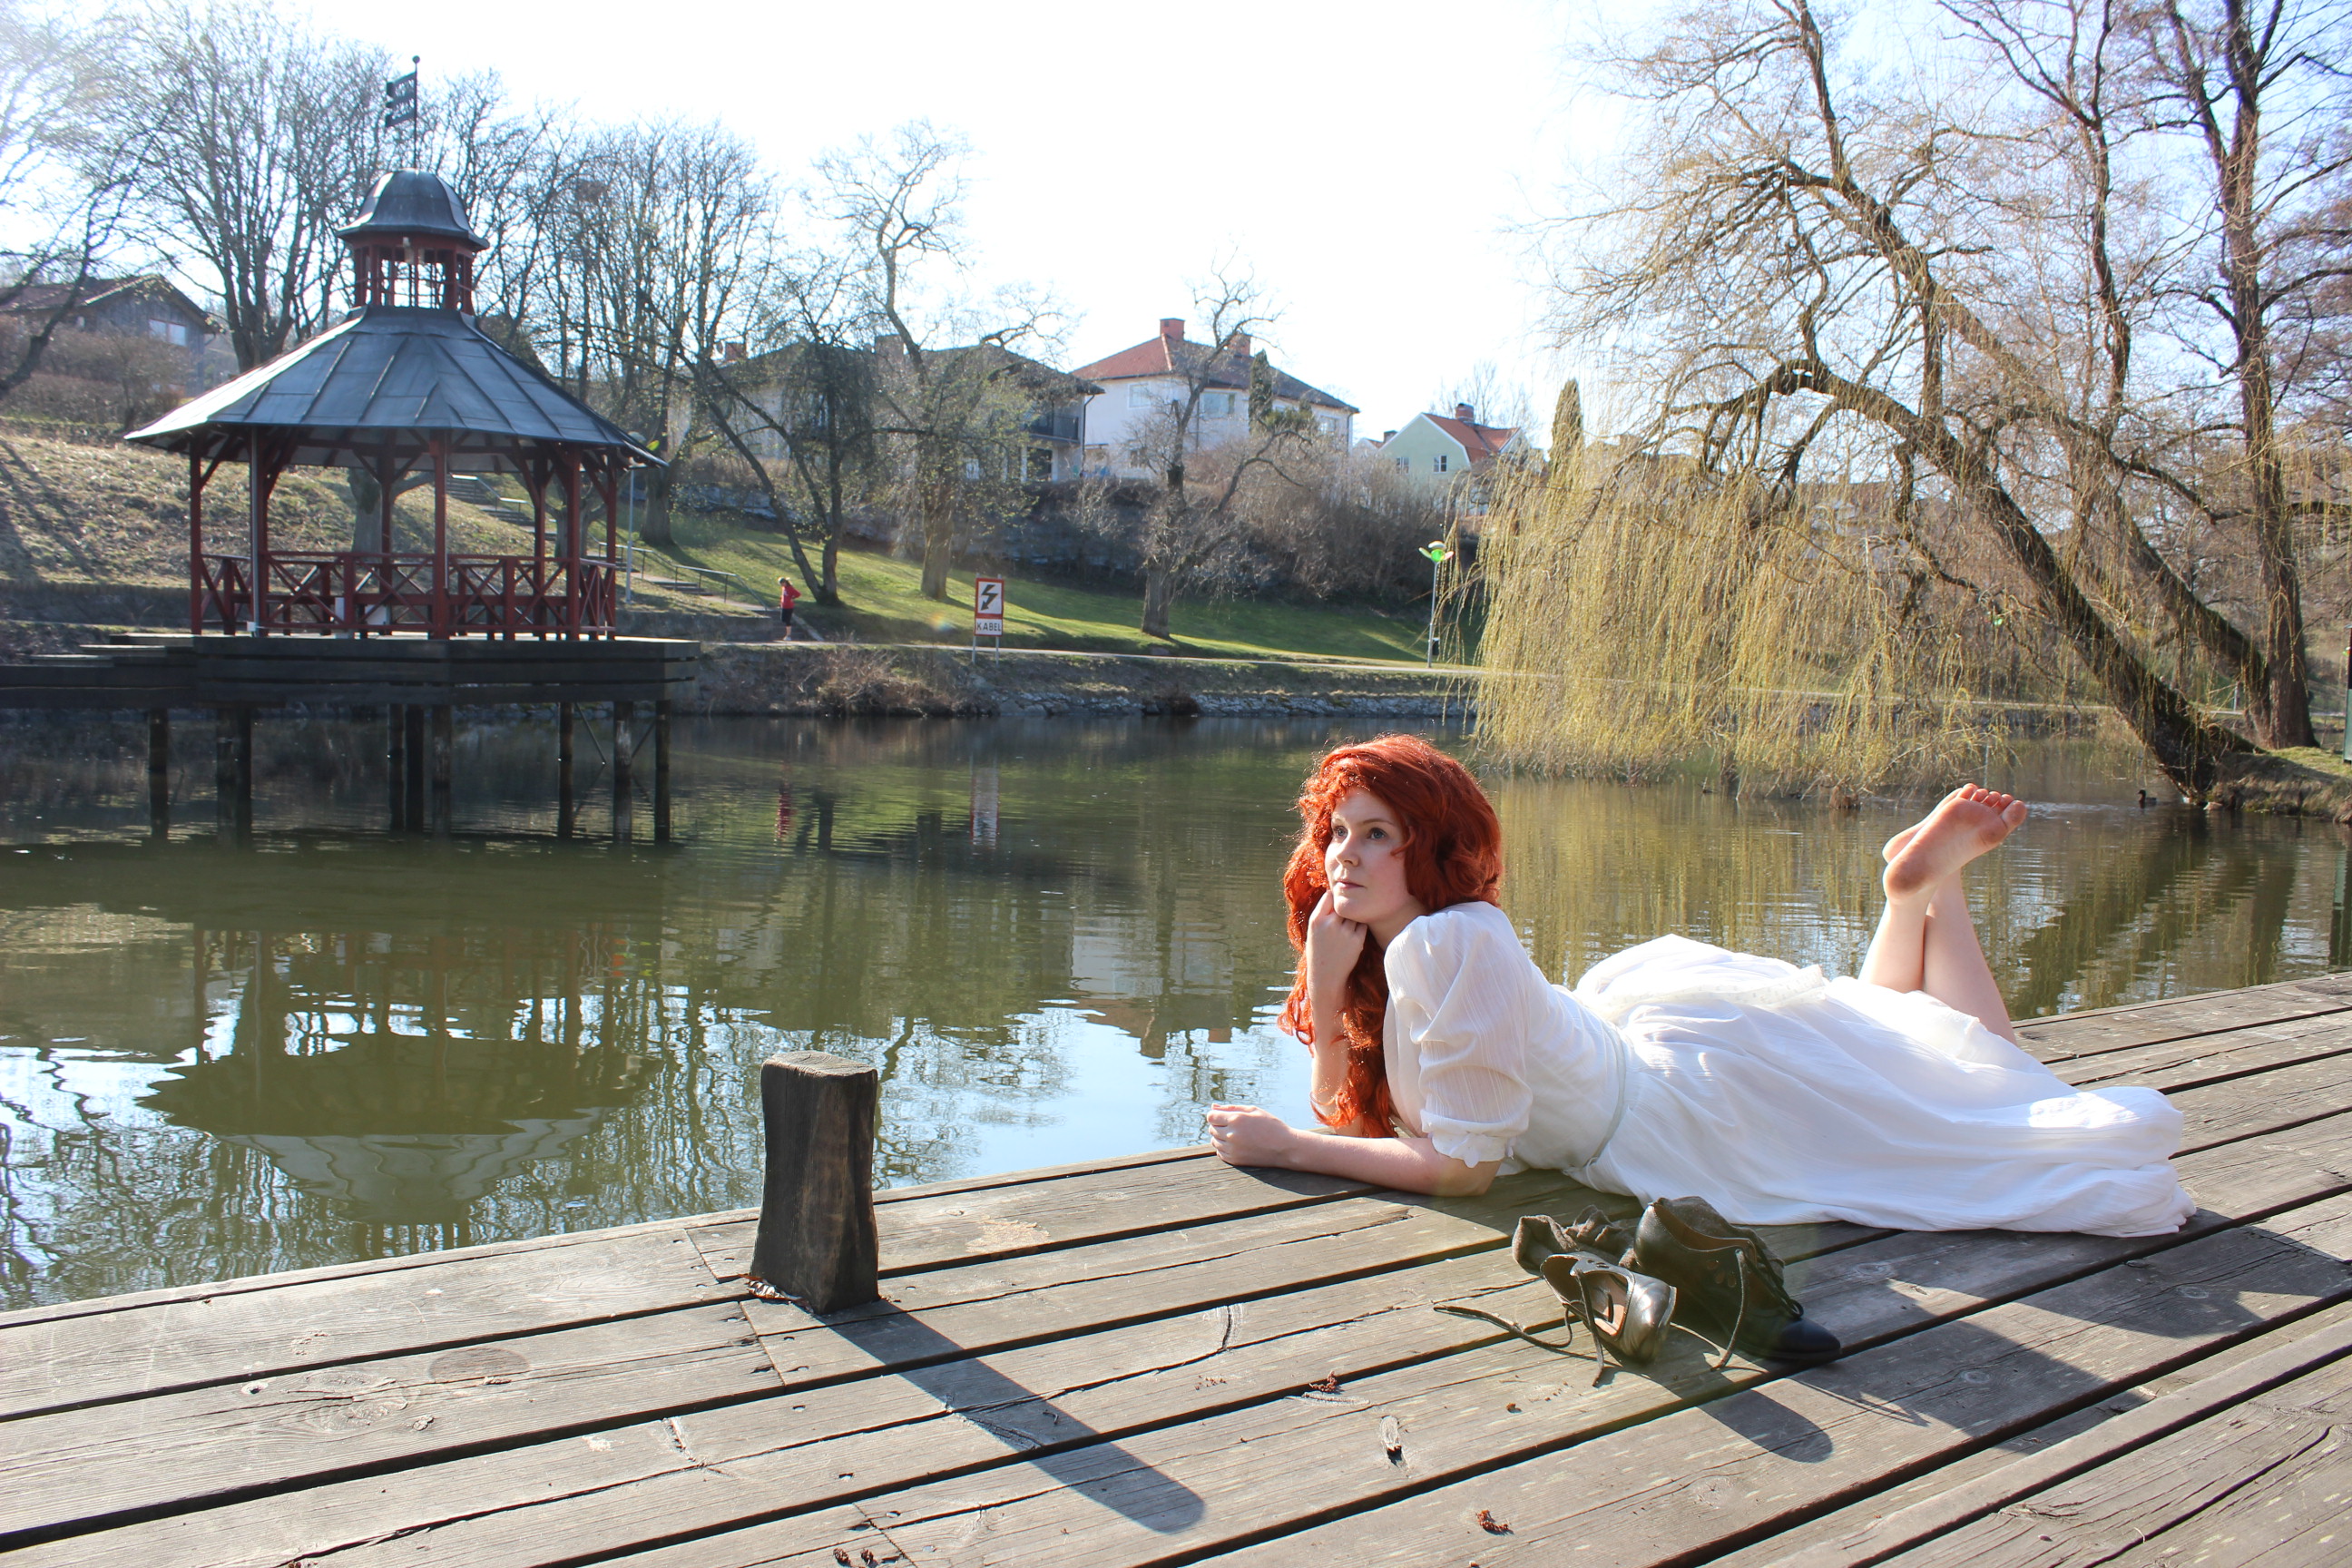
I’m currently in the planing stage of making the green and white gown from this lovely painting (which I was sure was made by Vige Lebrun, but now can’t find on google…) I’m also working on a brown flowery Robe Anglaise (1780s), 1770s light green skirt for my sister, a re-styling of my new “Edwardian Ariel” dress, a huge Edwardian hat and some pieces for an upcoming steampunk outfit.
Which place, in space and/or time, would you love to travel to?
I think I would love to visit 18th century france, and get to seen Rose Bertin (Marie Antoinettes fashion mogul) perform her magic. She must have been so creative to style the queen, and other high born ladies, in new fashions each and every day. Even though her pride got the best of her in the end. Joseph Roques – Madame Rose Bertin.
Where do you wear your sewing creations? Are you a regular at historical events or do you sew it just for yourself?
I’m sorry to say, most of my costumes have never had a proper outing. I do try to take some nice pictures of everything I make, but alas there are few opurtunetis to wear my creations where I live.
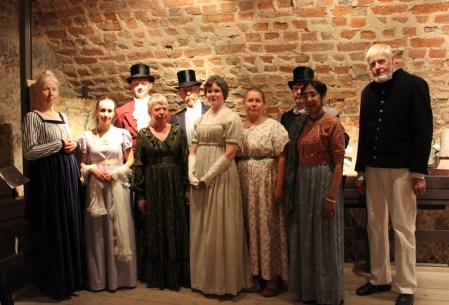
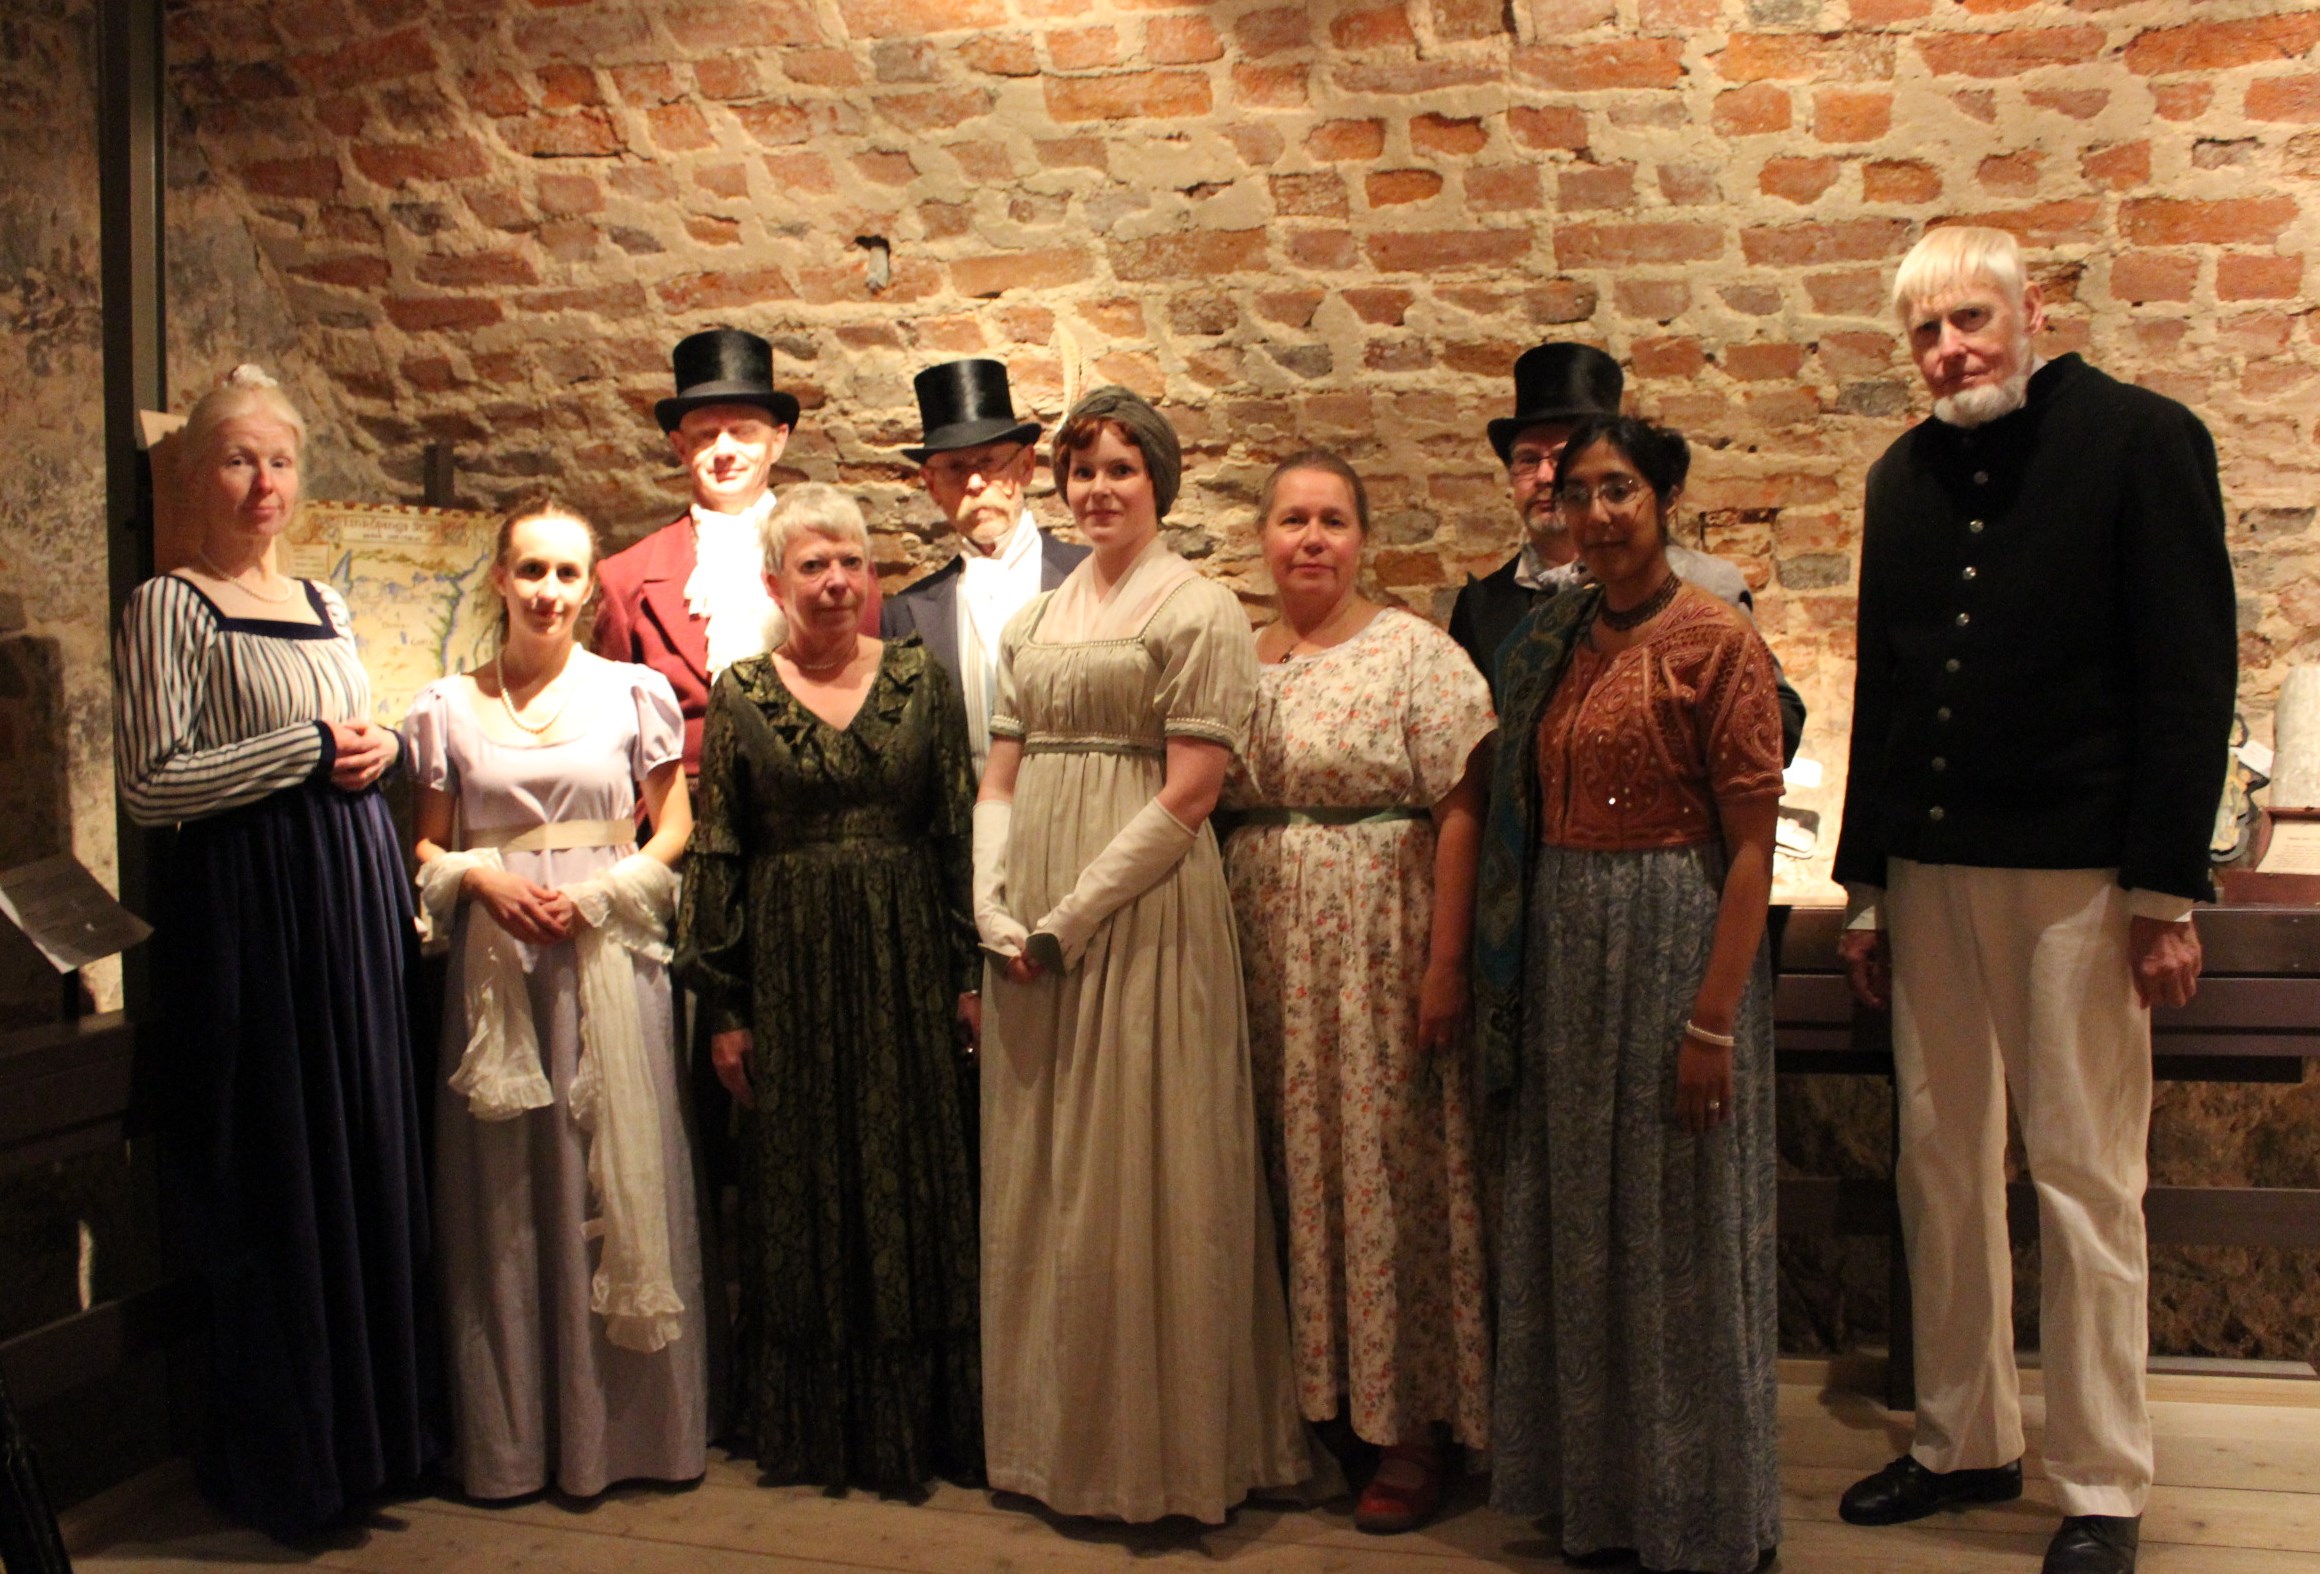
I have attended a few events, and hopefully this summer will ad to that experience. I’m currently plan to attend one 1900s dinner, one huge cross period picknic, one steampunk fair, one medieval fair, one regency bal and hopefully some dance shows and lighter festivetis this year.
I would like to say I make my costumes for myself, but the truth is I’m totaly addicted to the reactions my creationd get from other people. Maybe someday I get confident enough to make my own thing, without needing to prove myself to everyone around. But right now I really enjoy being known for my habit “to whip up a new gown every forthnight”.
Do you have a favorite clothing item, historical or modern?
I love my spring/fall jacket. It’s dark blue, straight and have a slight of the shoulder straight sleeve. Wearing it I always feel like a cool “cultural lady” (kulturtant).
When it comes to my historical favorites, I have to confess it’s my brown cotton stockings. I bought them on sale from a regular clothing store about a year ago, and they work perfect for most of my historical outfits. They are just high enough to stay up on their own or to fit into the suspenders, and the soft brown colour makes them sutable for everything from medieval to edwardian – and everything in between. Sadly they are now falling apart – the toes are poking through. I think I will have to try to mend them, since I’m not ready to part from them just yet. 
What is your favorite book?
I love Antonia Fraisers “Queen of Fashion – What Marie Antoinette Wore to the Revolution”. It captures me every time (I’m currently on my third reading), and there are always some new things to learn.  A young, but fashion forward Marie Antoinette.
What are your other hobbies?
I don’t have time for other hobbies…
No, I’m kidding, but there is a bit truth in it.
I used to dance “folk dance”, but since most of my dancing team moved away, we only get togeter once or twice a year. But when we do, I love to dance all those lovely walzes, hambos and polskas once more.
I also like to exercise (Ok, not always). I tries to run 3 times a week, and do some strenght like weightlifting, boxercise and core 2 times a week.
And I’m of course obsessed with watching costume movies and series.  Movie Still “Gladiator”

 Some lovely separates: skirts, shirtwaists and a fur jacket at the bottom.
 Embrodery and home decor. Not my cup of tea, but pretty non the less.
 Lookig at this pictures makes me dream of ice-skating and winter walks. Lets take a closer look.
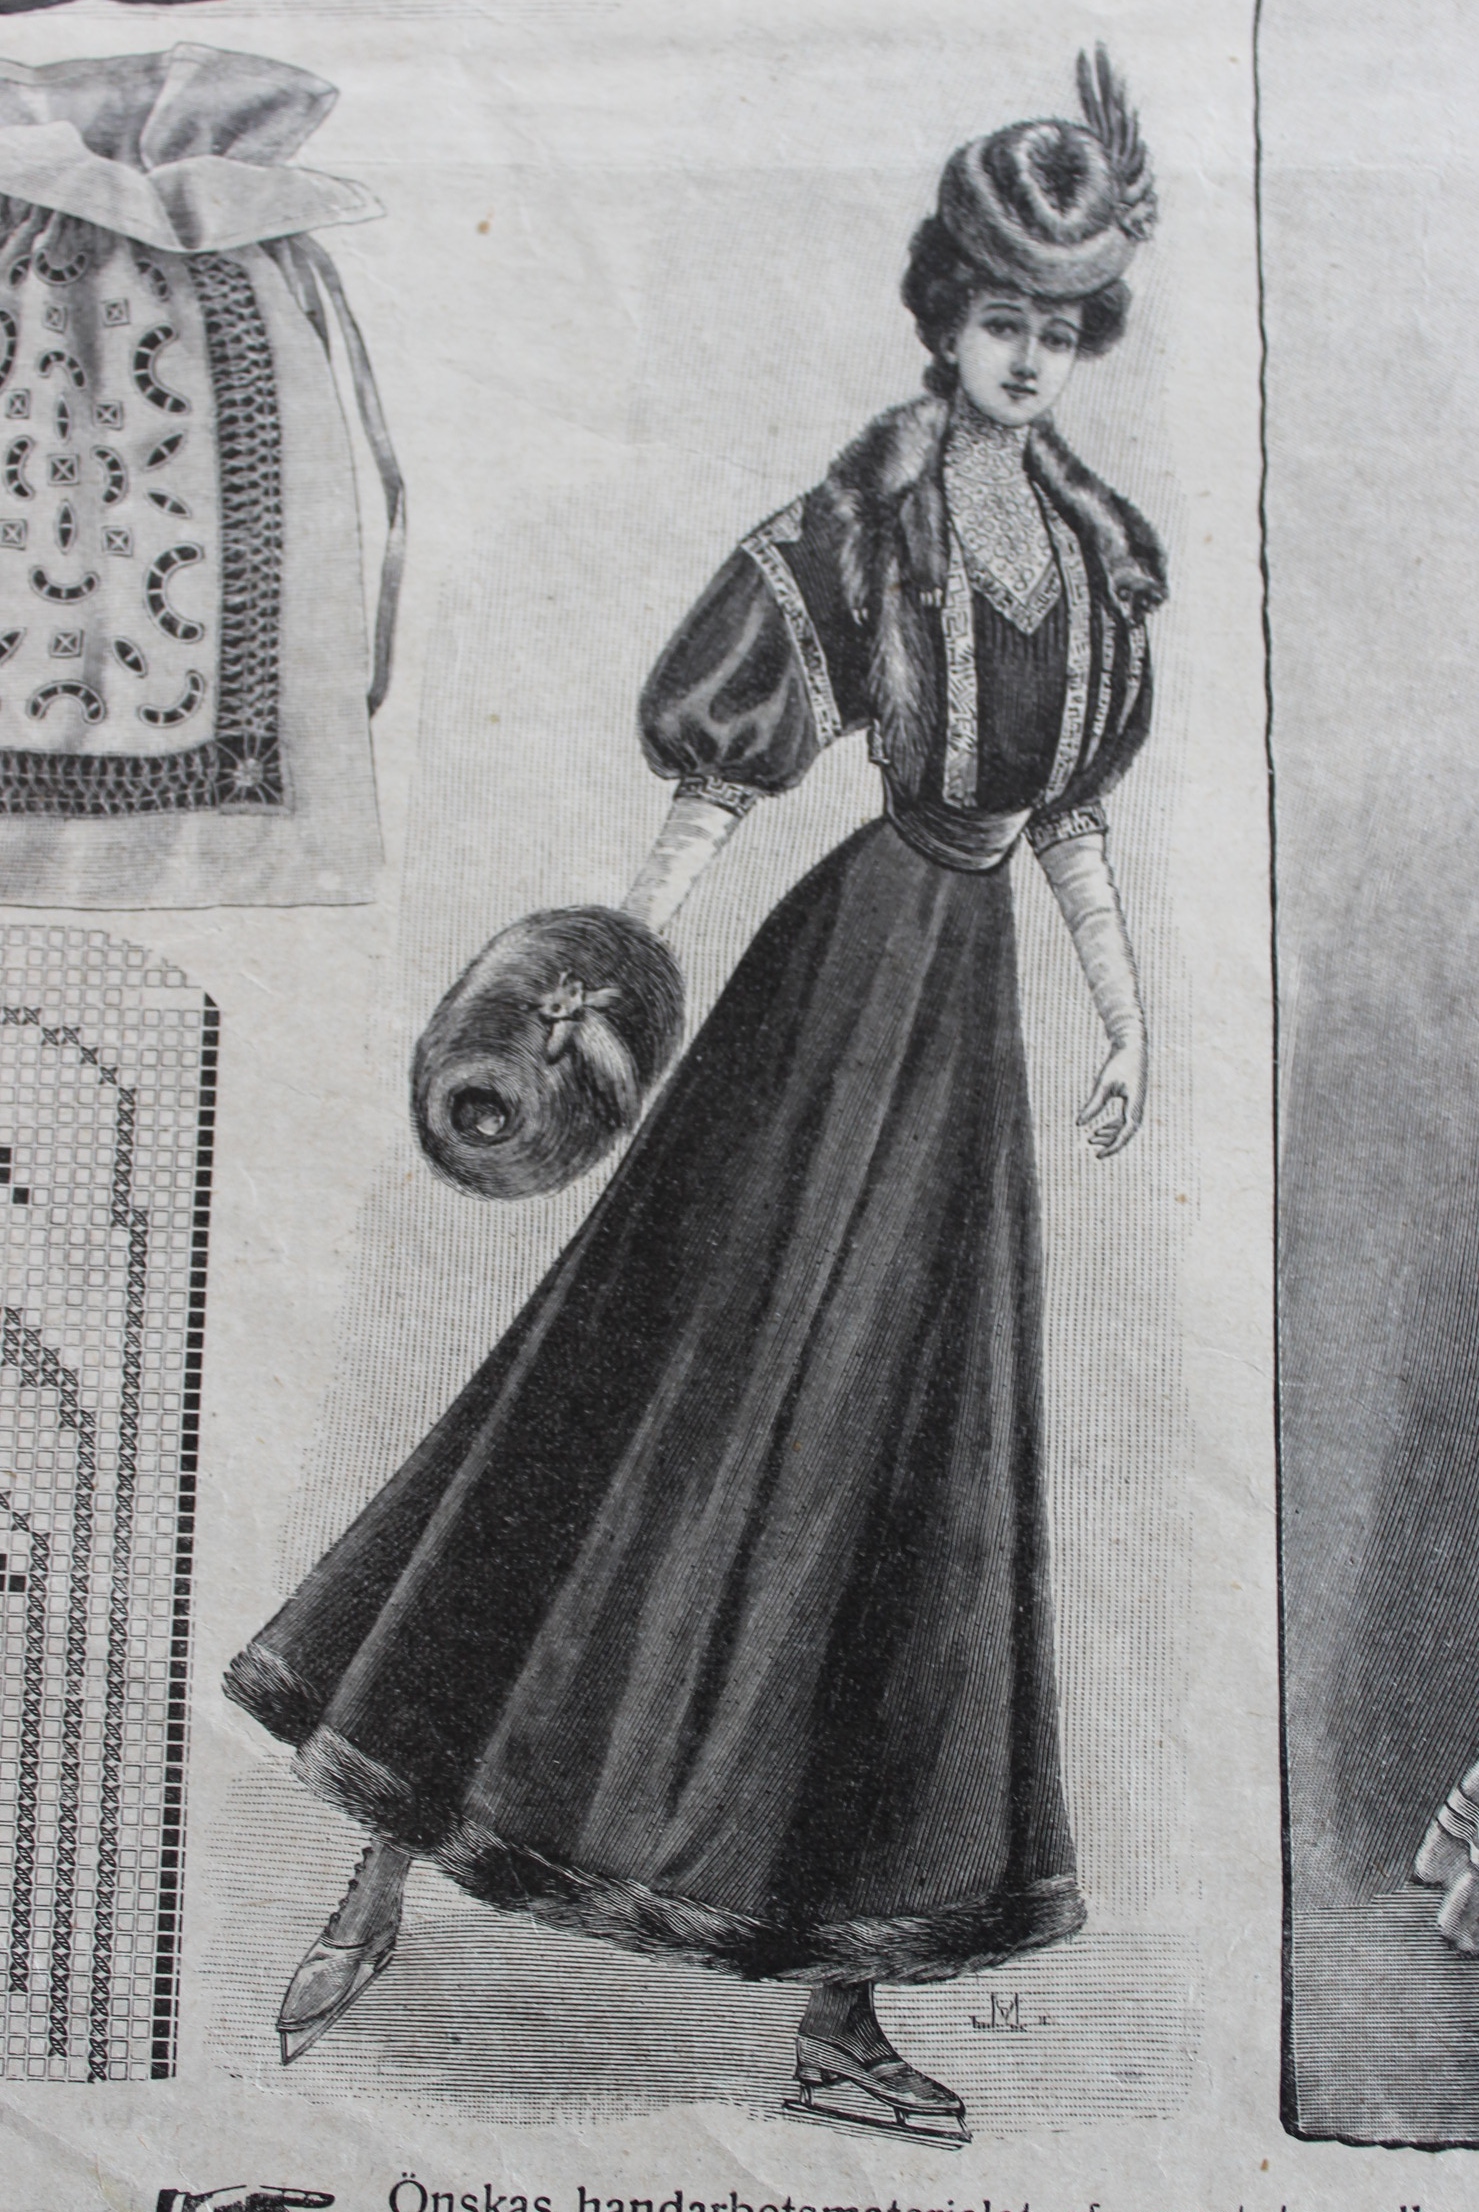 I adore this whole outfit: the hat, the muff, the fur trimed skirt – I will definetly try to make this one someday.
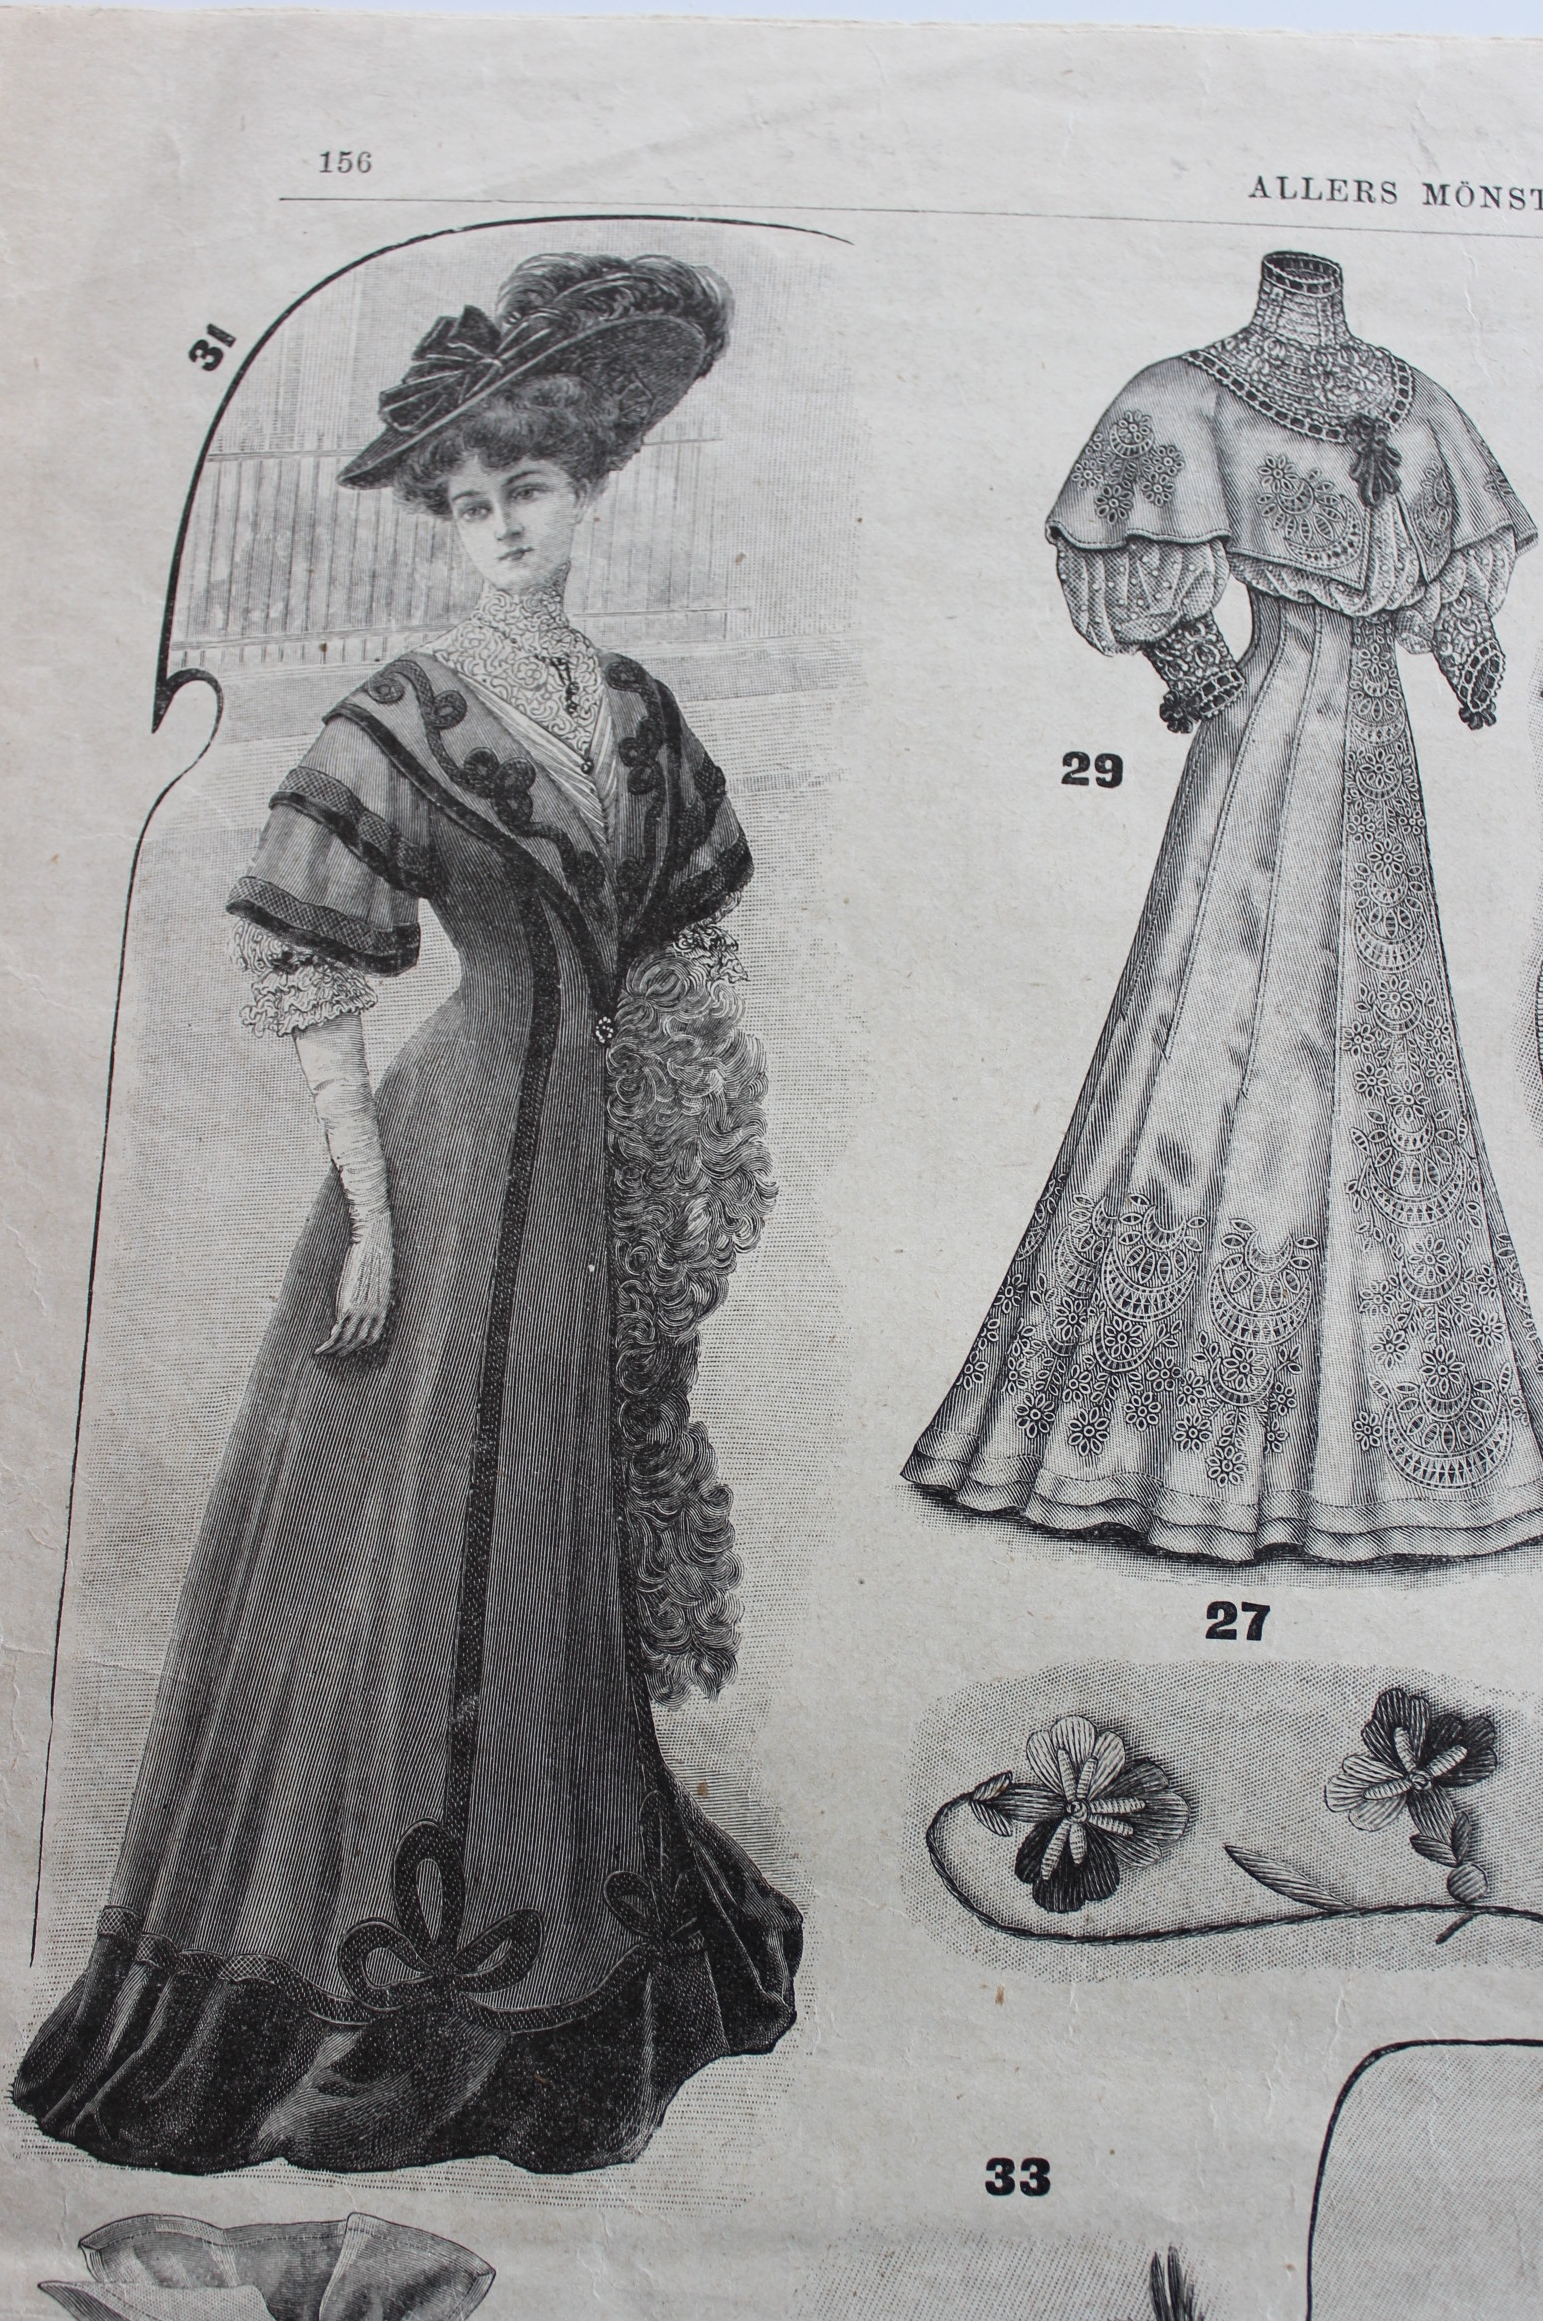 Two beatiful gowns with lovely sleeves and decorations.
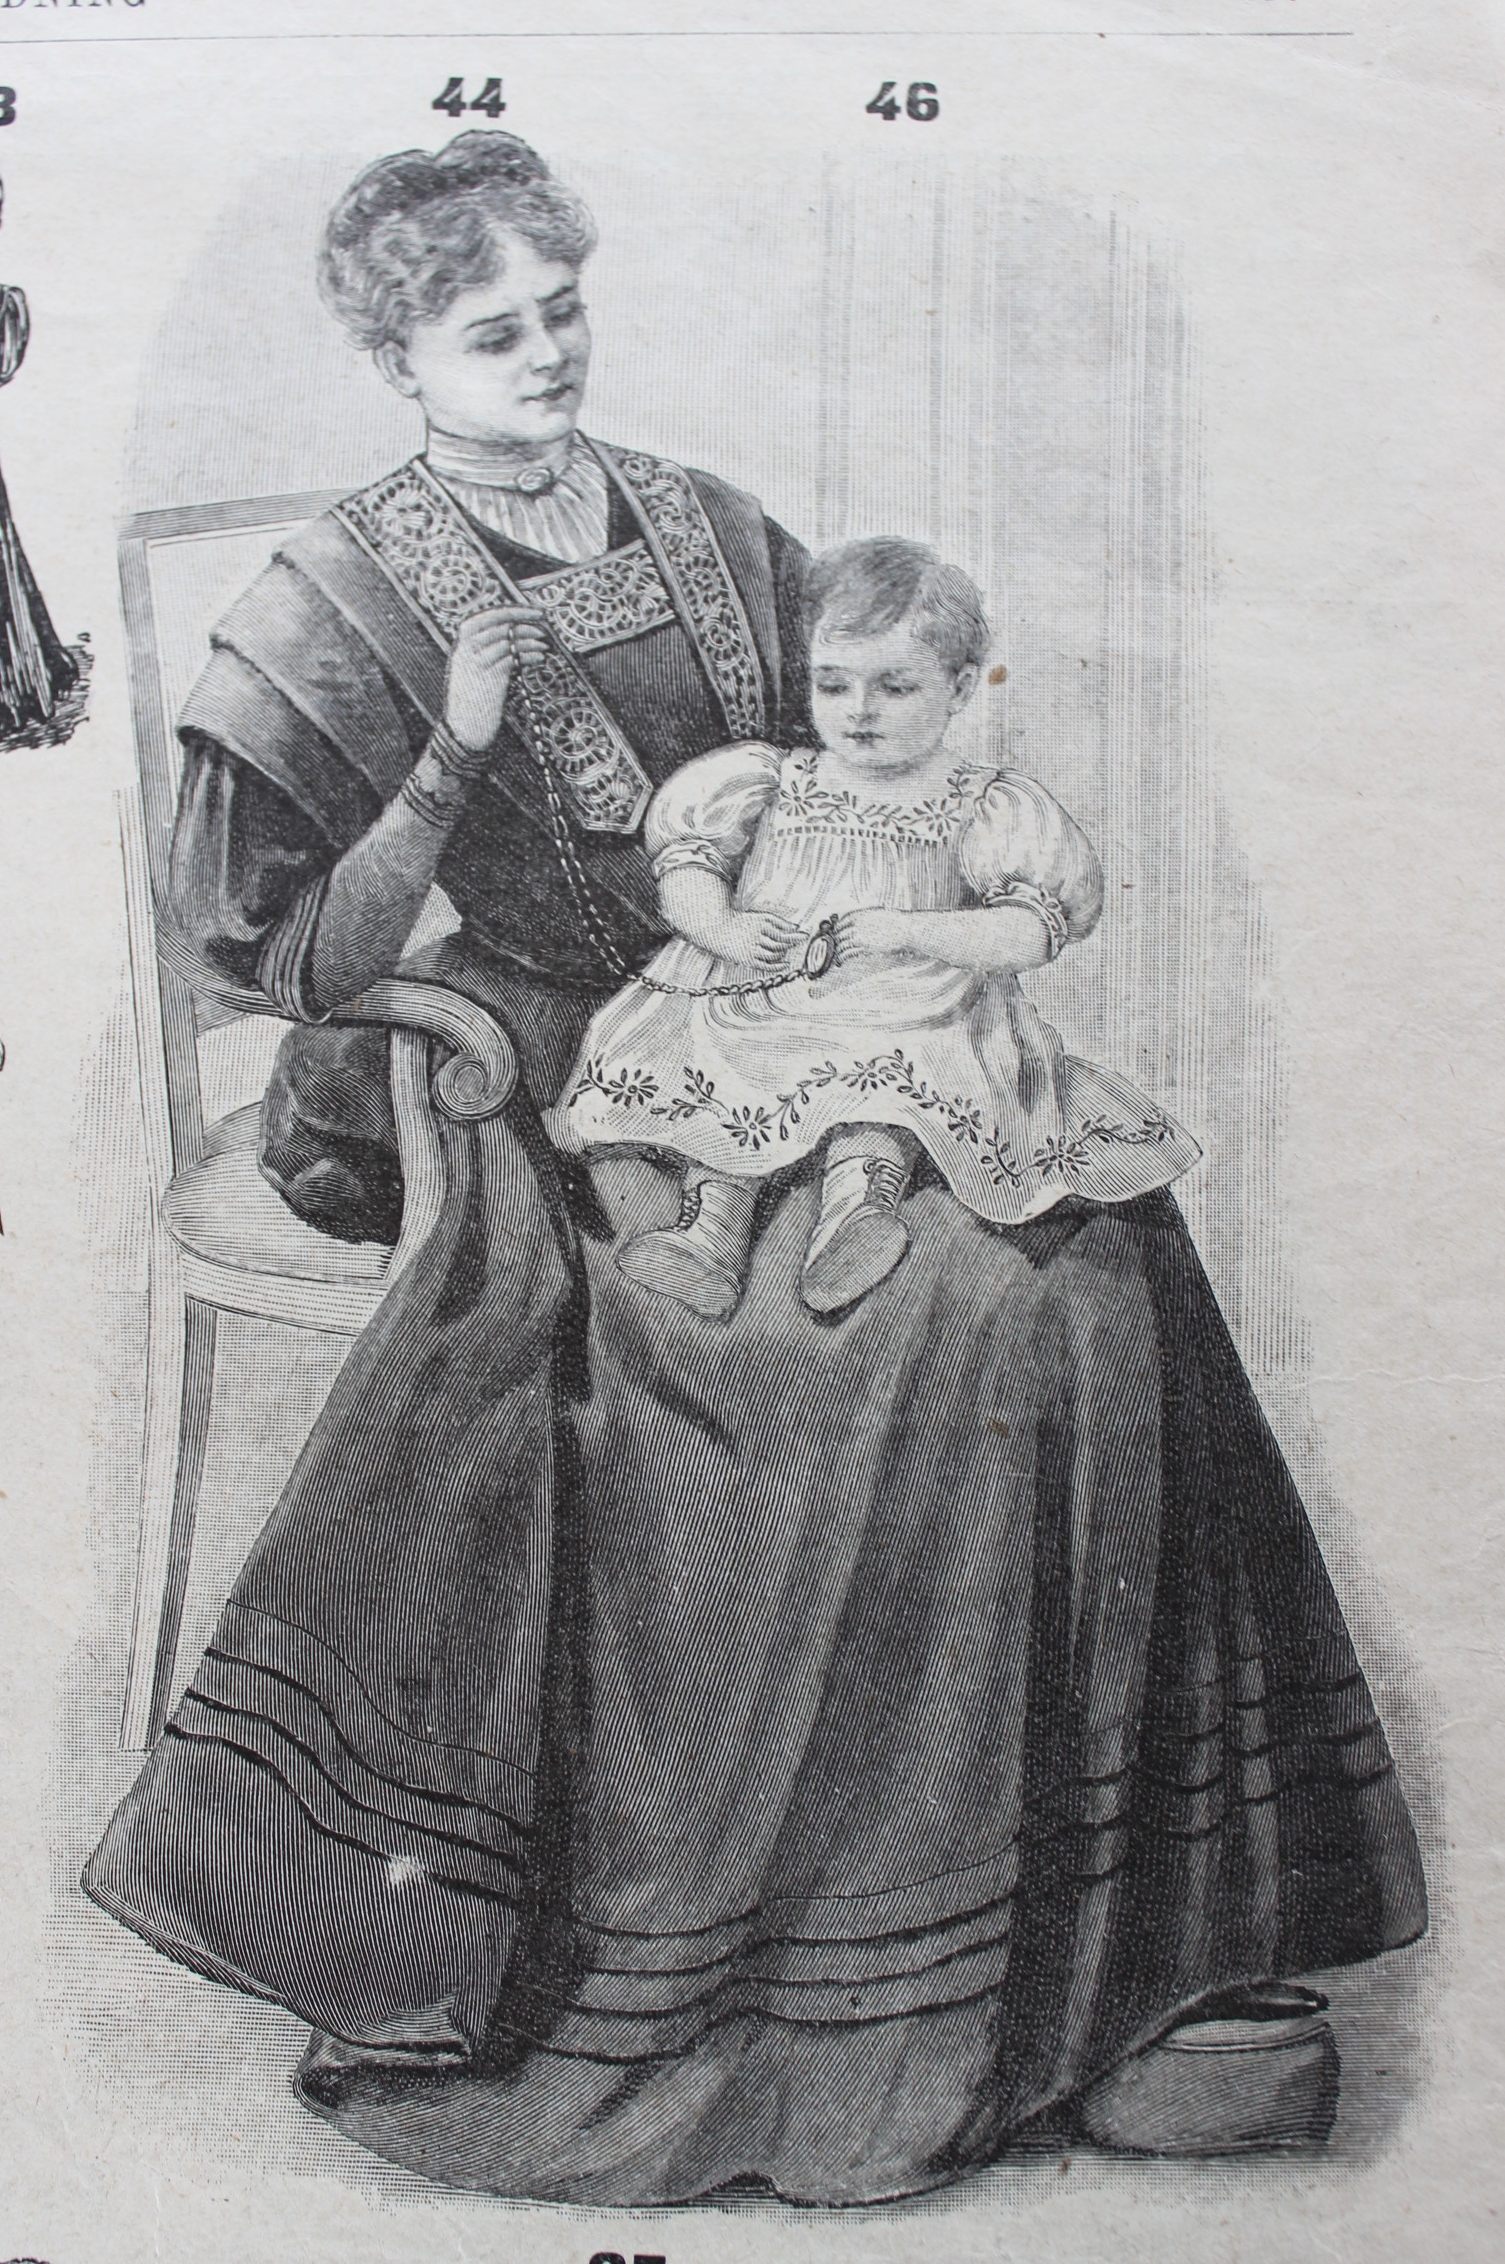 A mother and child (makes me want a litle one, just to dress in dresses like this.)
 Elegance overload. I can’t decide which one I like the best, they are both so lovely. Perhaps will just have to make them both…
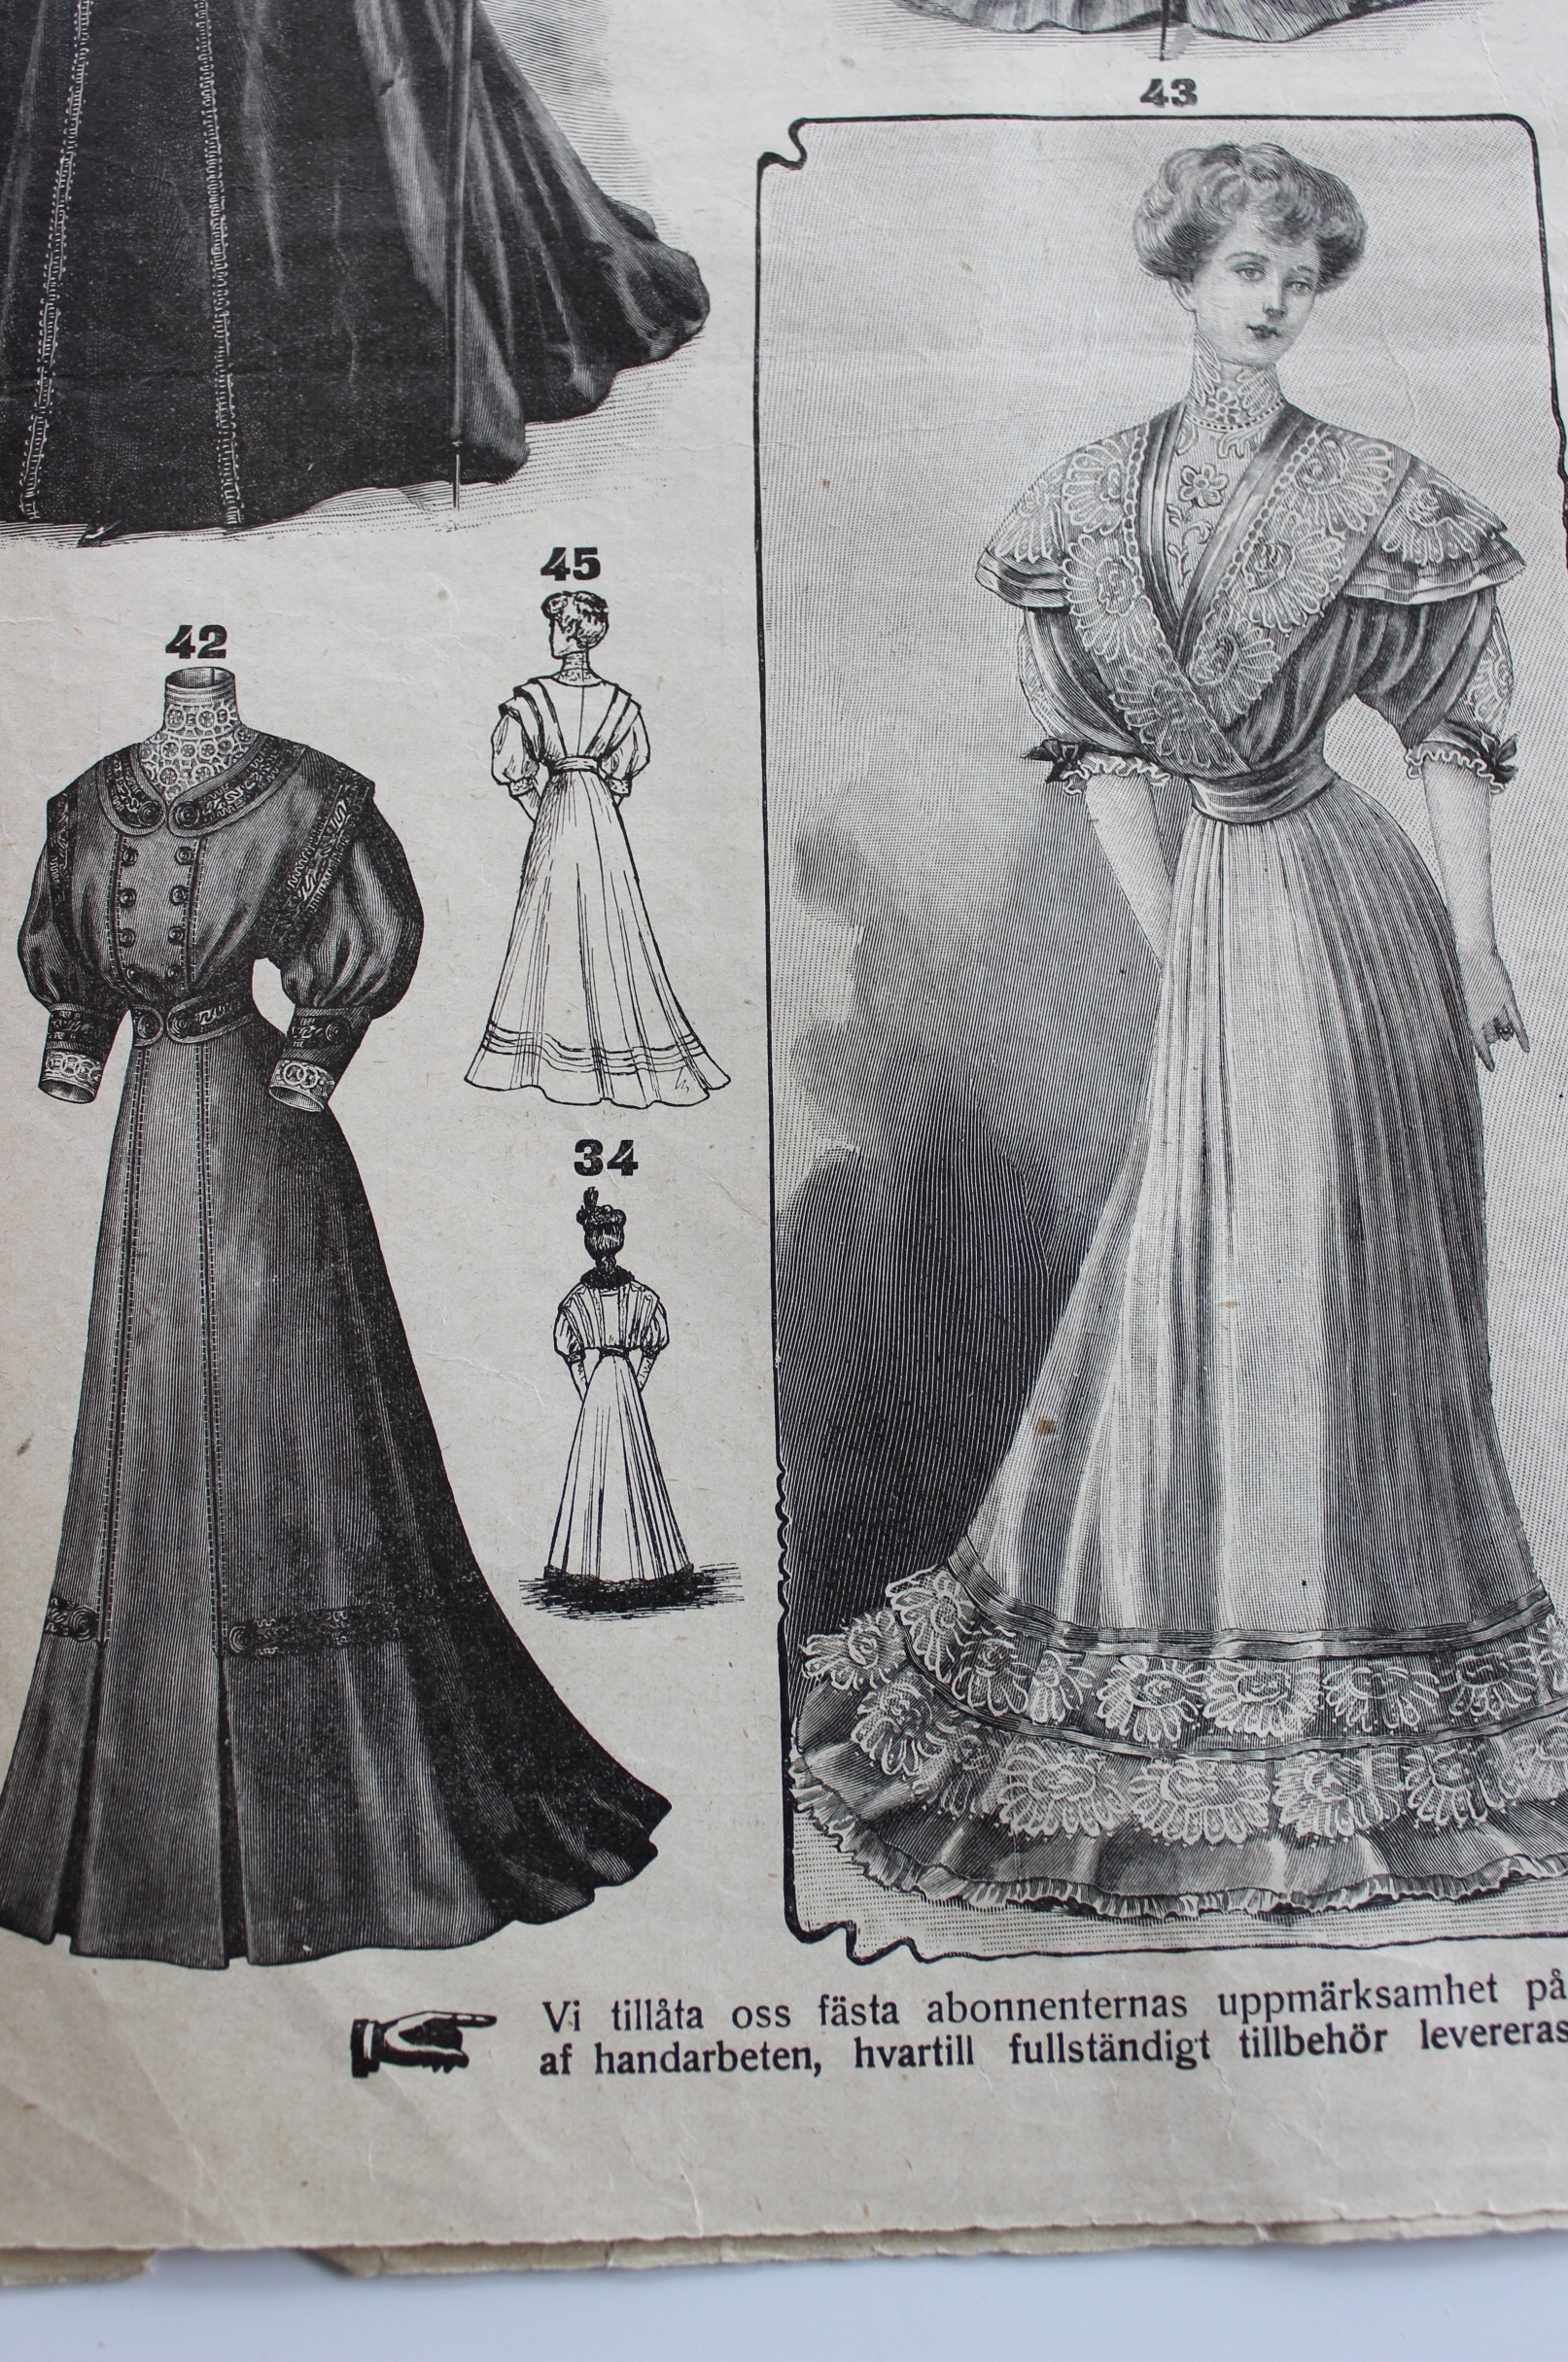 Some more formal gowns. Love the lace treatment on the light skirt.
 Beautiful.
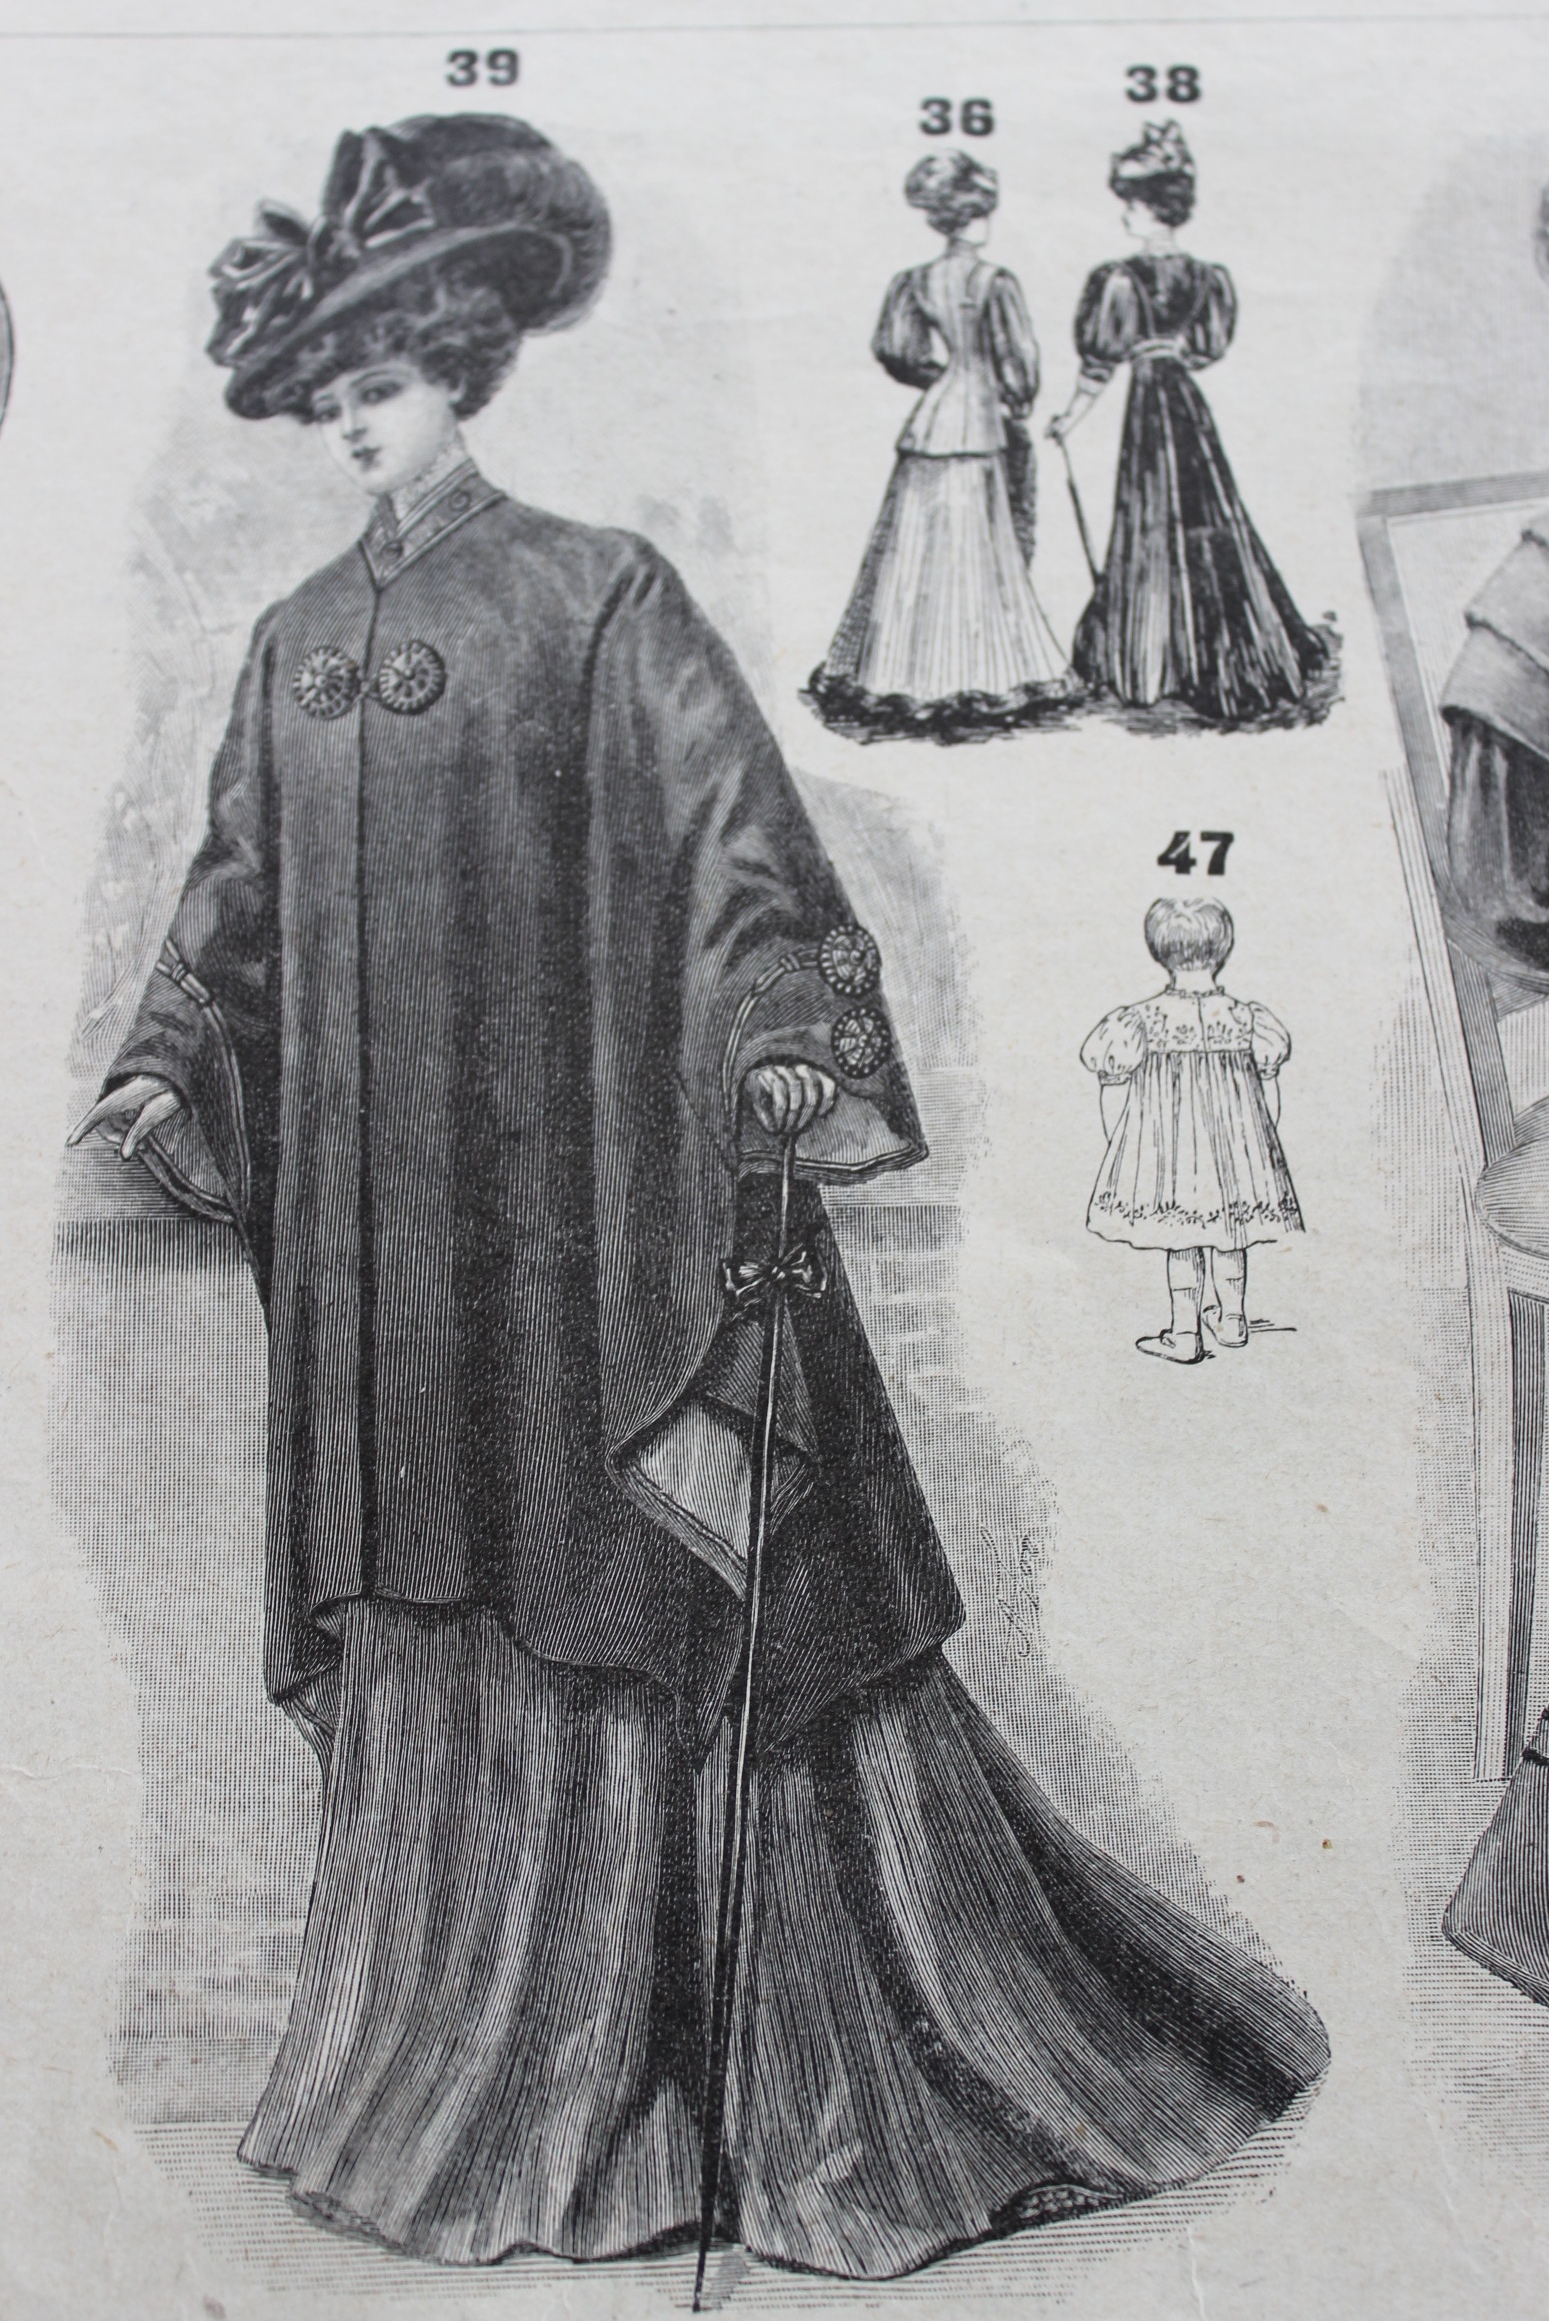 Looks warm and cosy. I do however think I would feel very old and shapeless in a cape like this.
 Pretty young ladies.
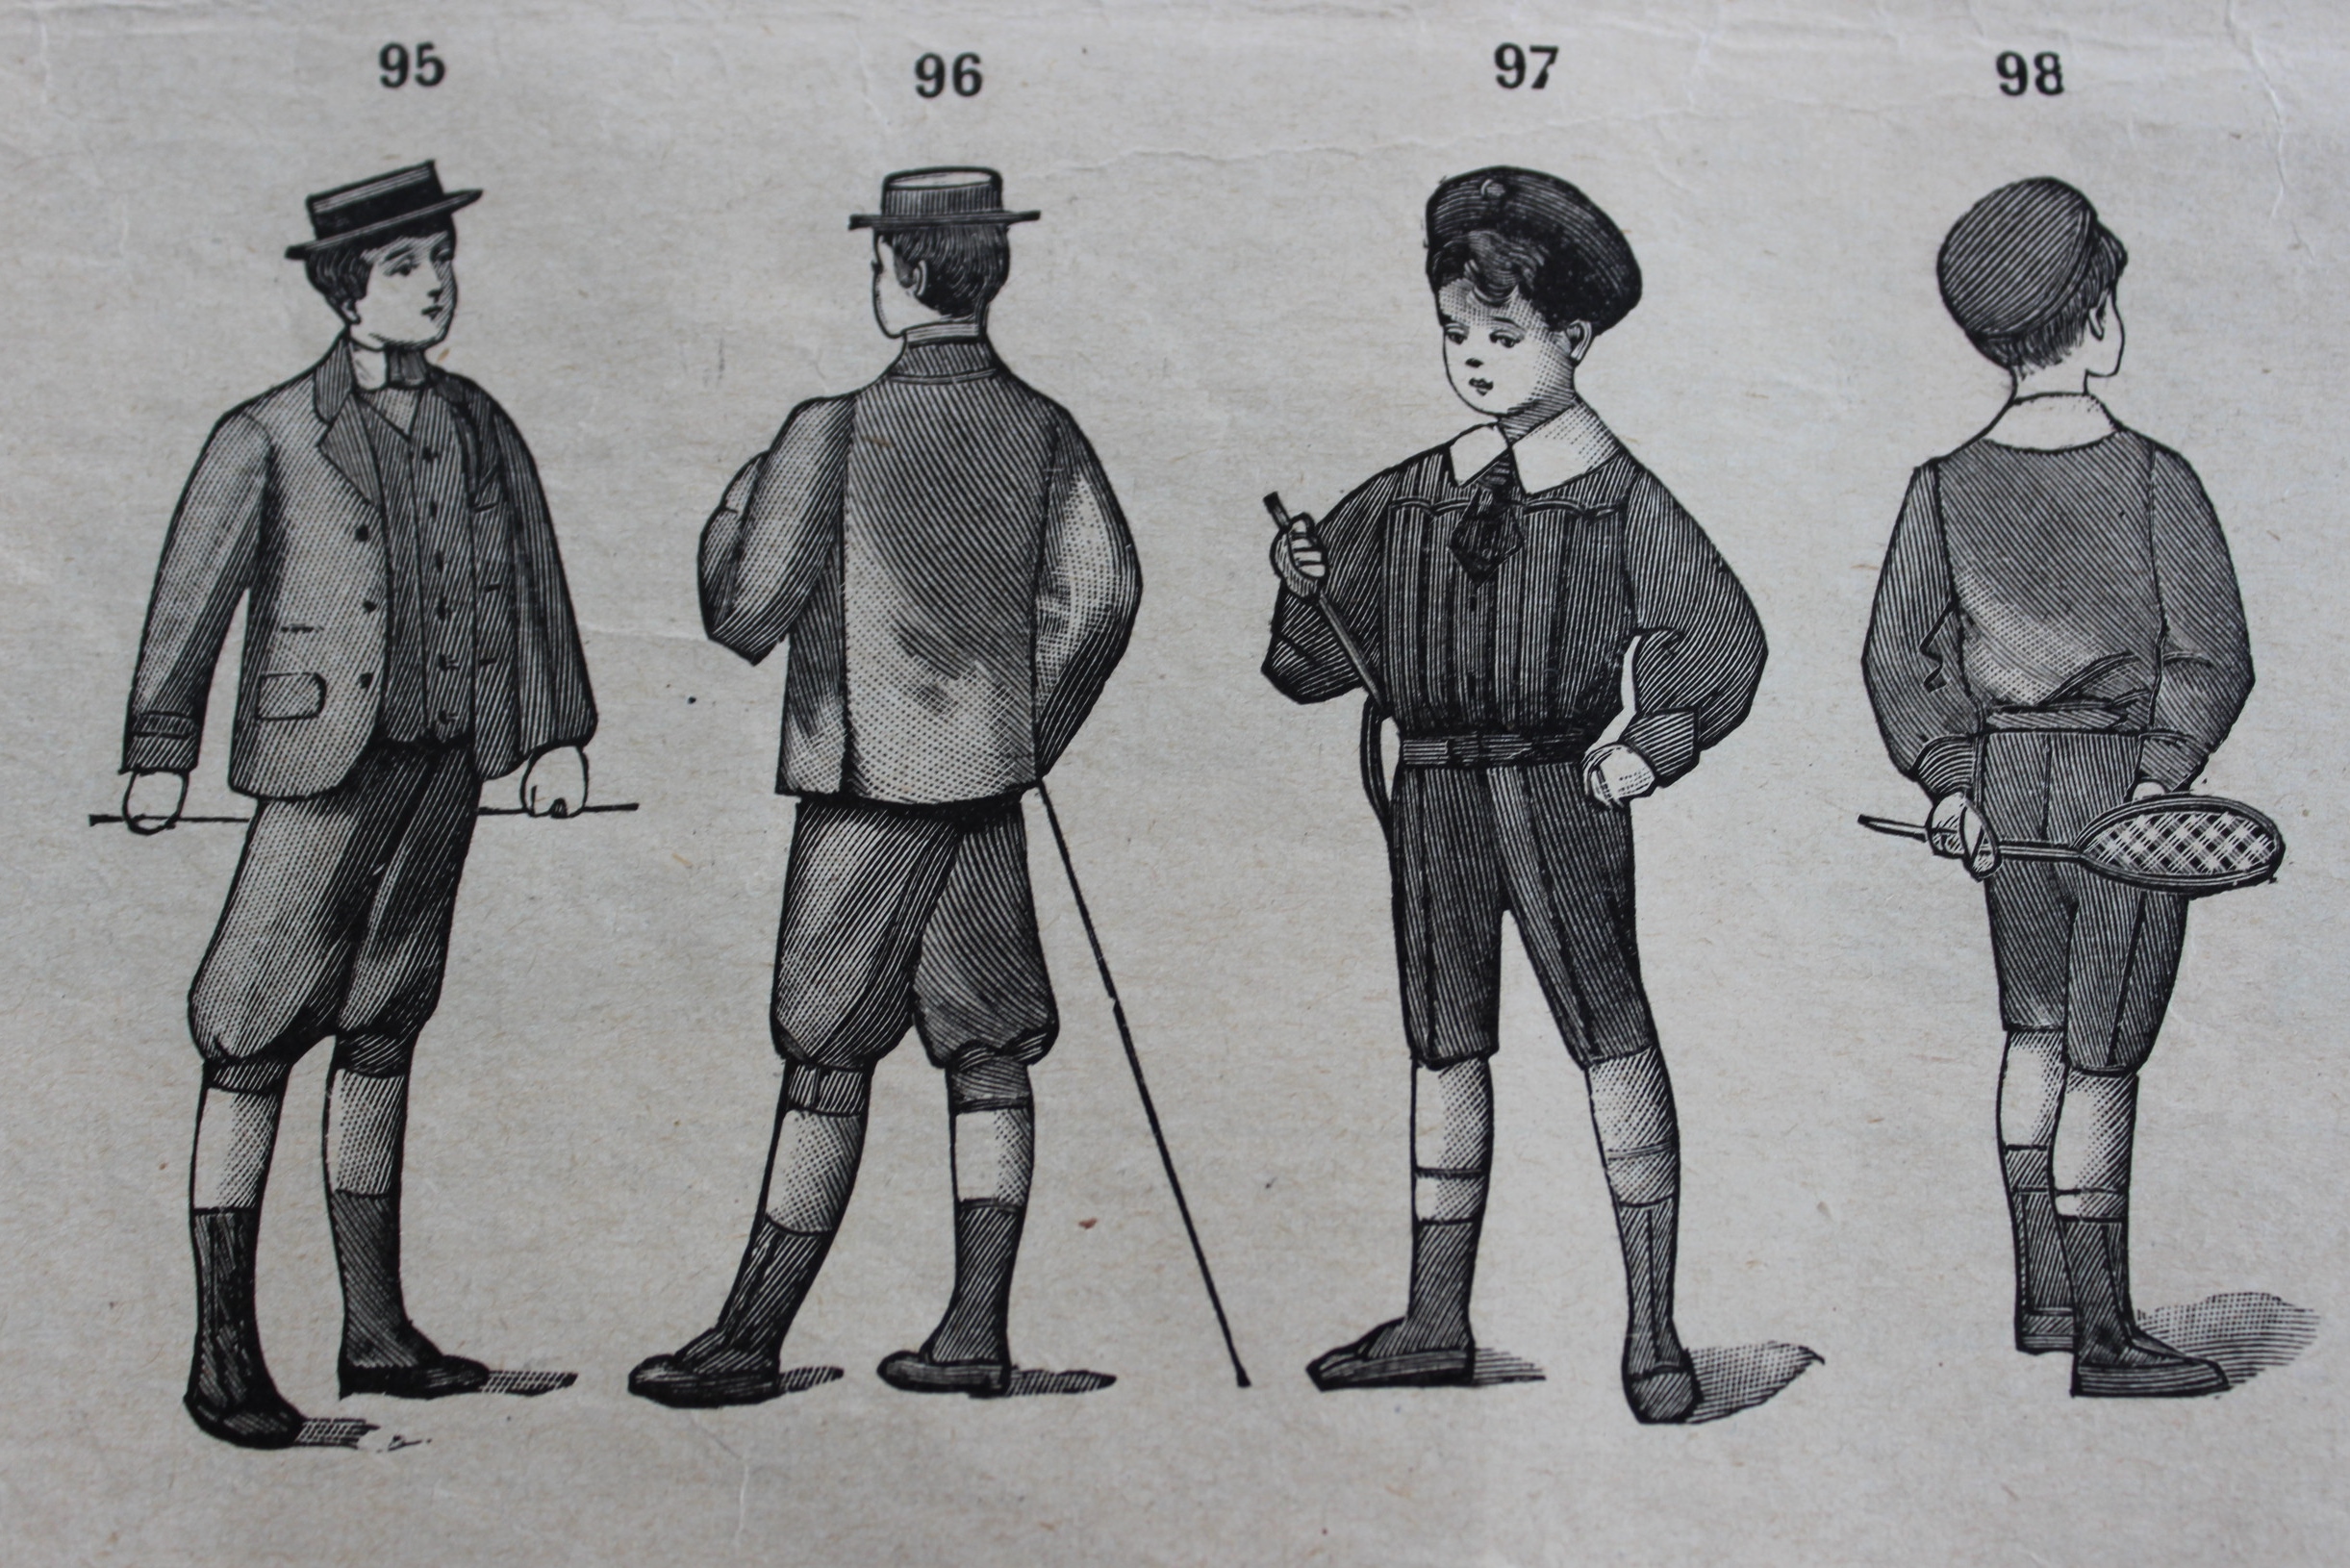 I adore the short knickers and long socks worn by the boys.
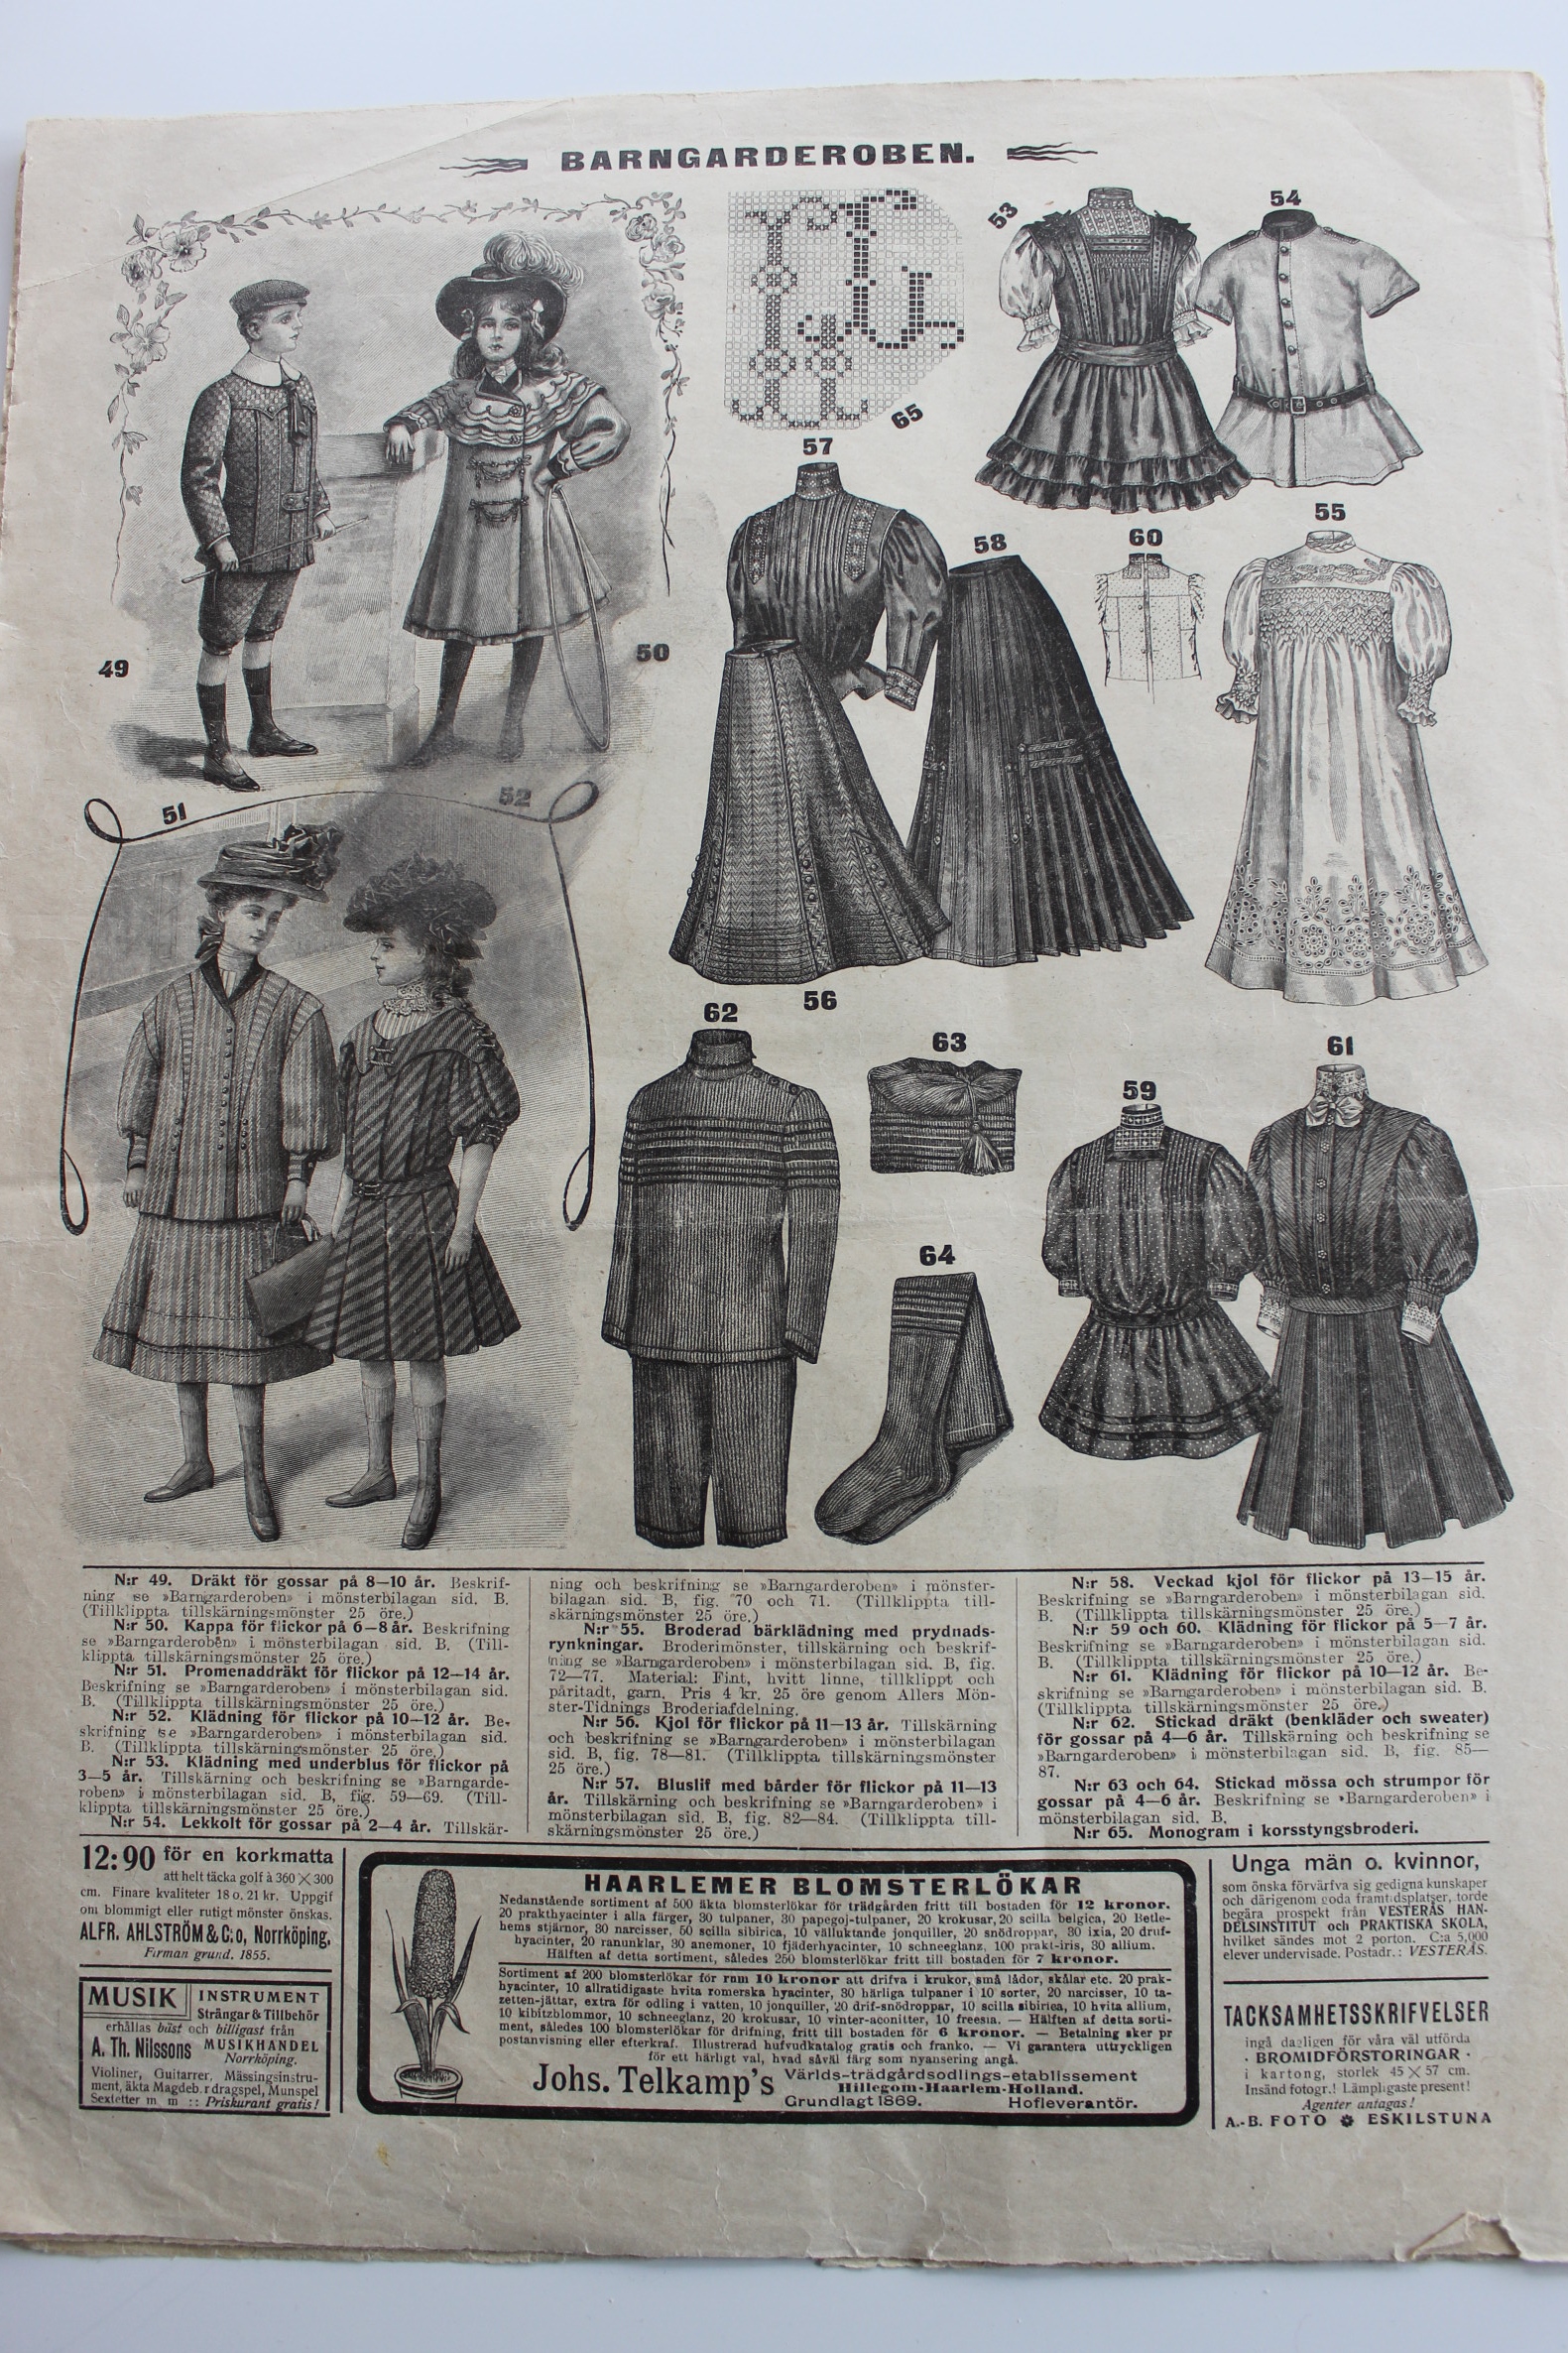
 Look at that lovely jacket and the kick as attitude on the girl. You wouldn’t mess with her would you.
 Some essential night gowns and a cute litle nightcap.


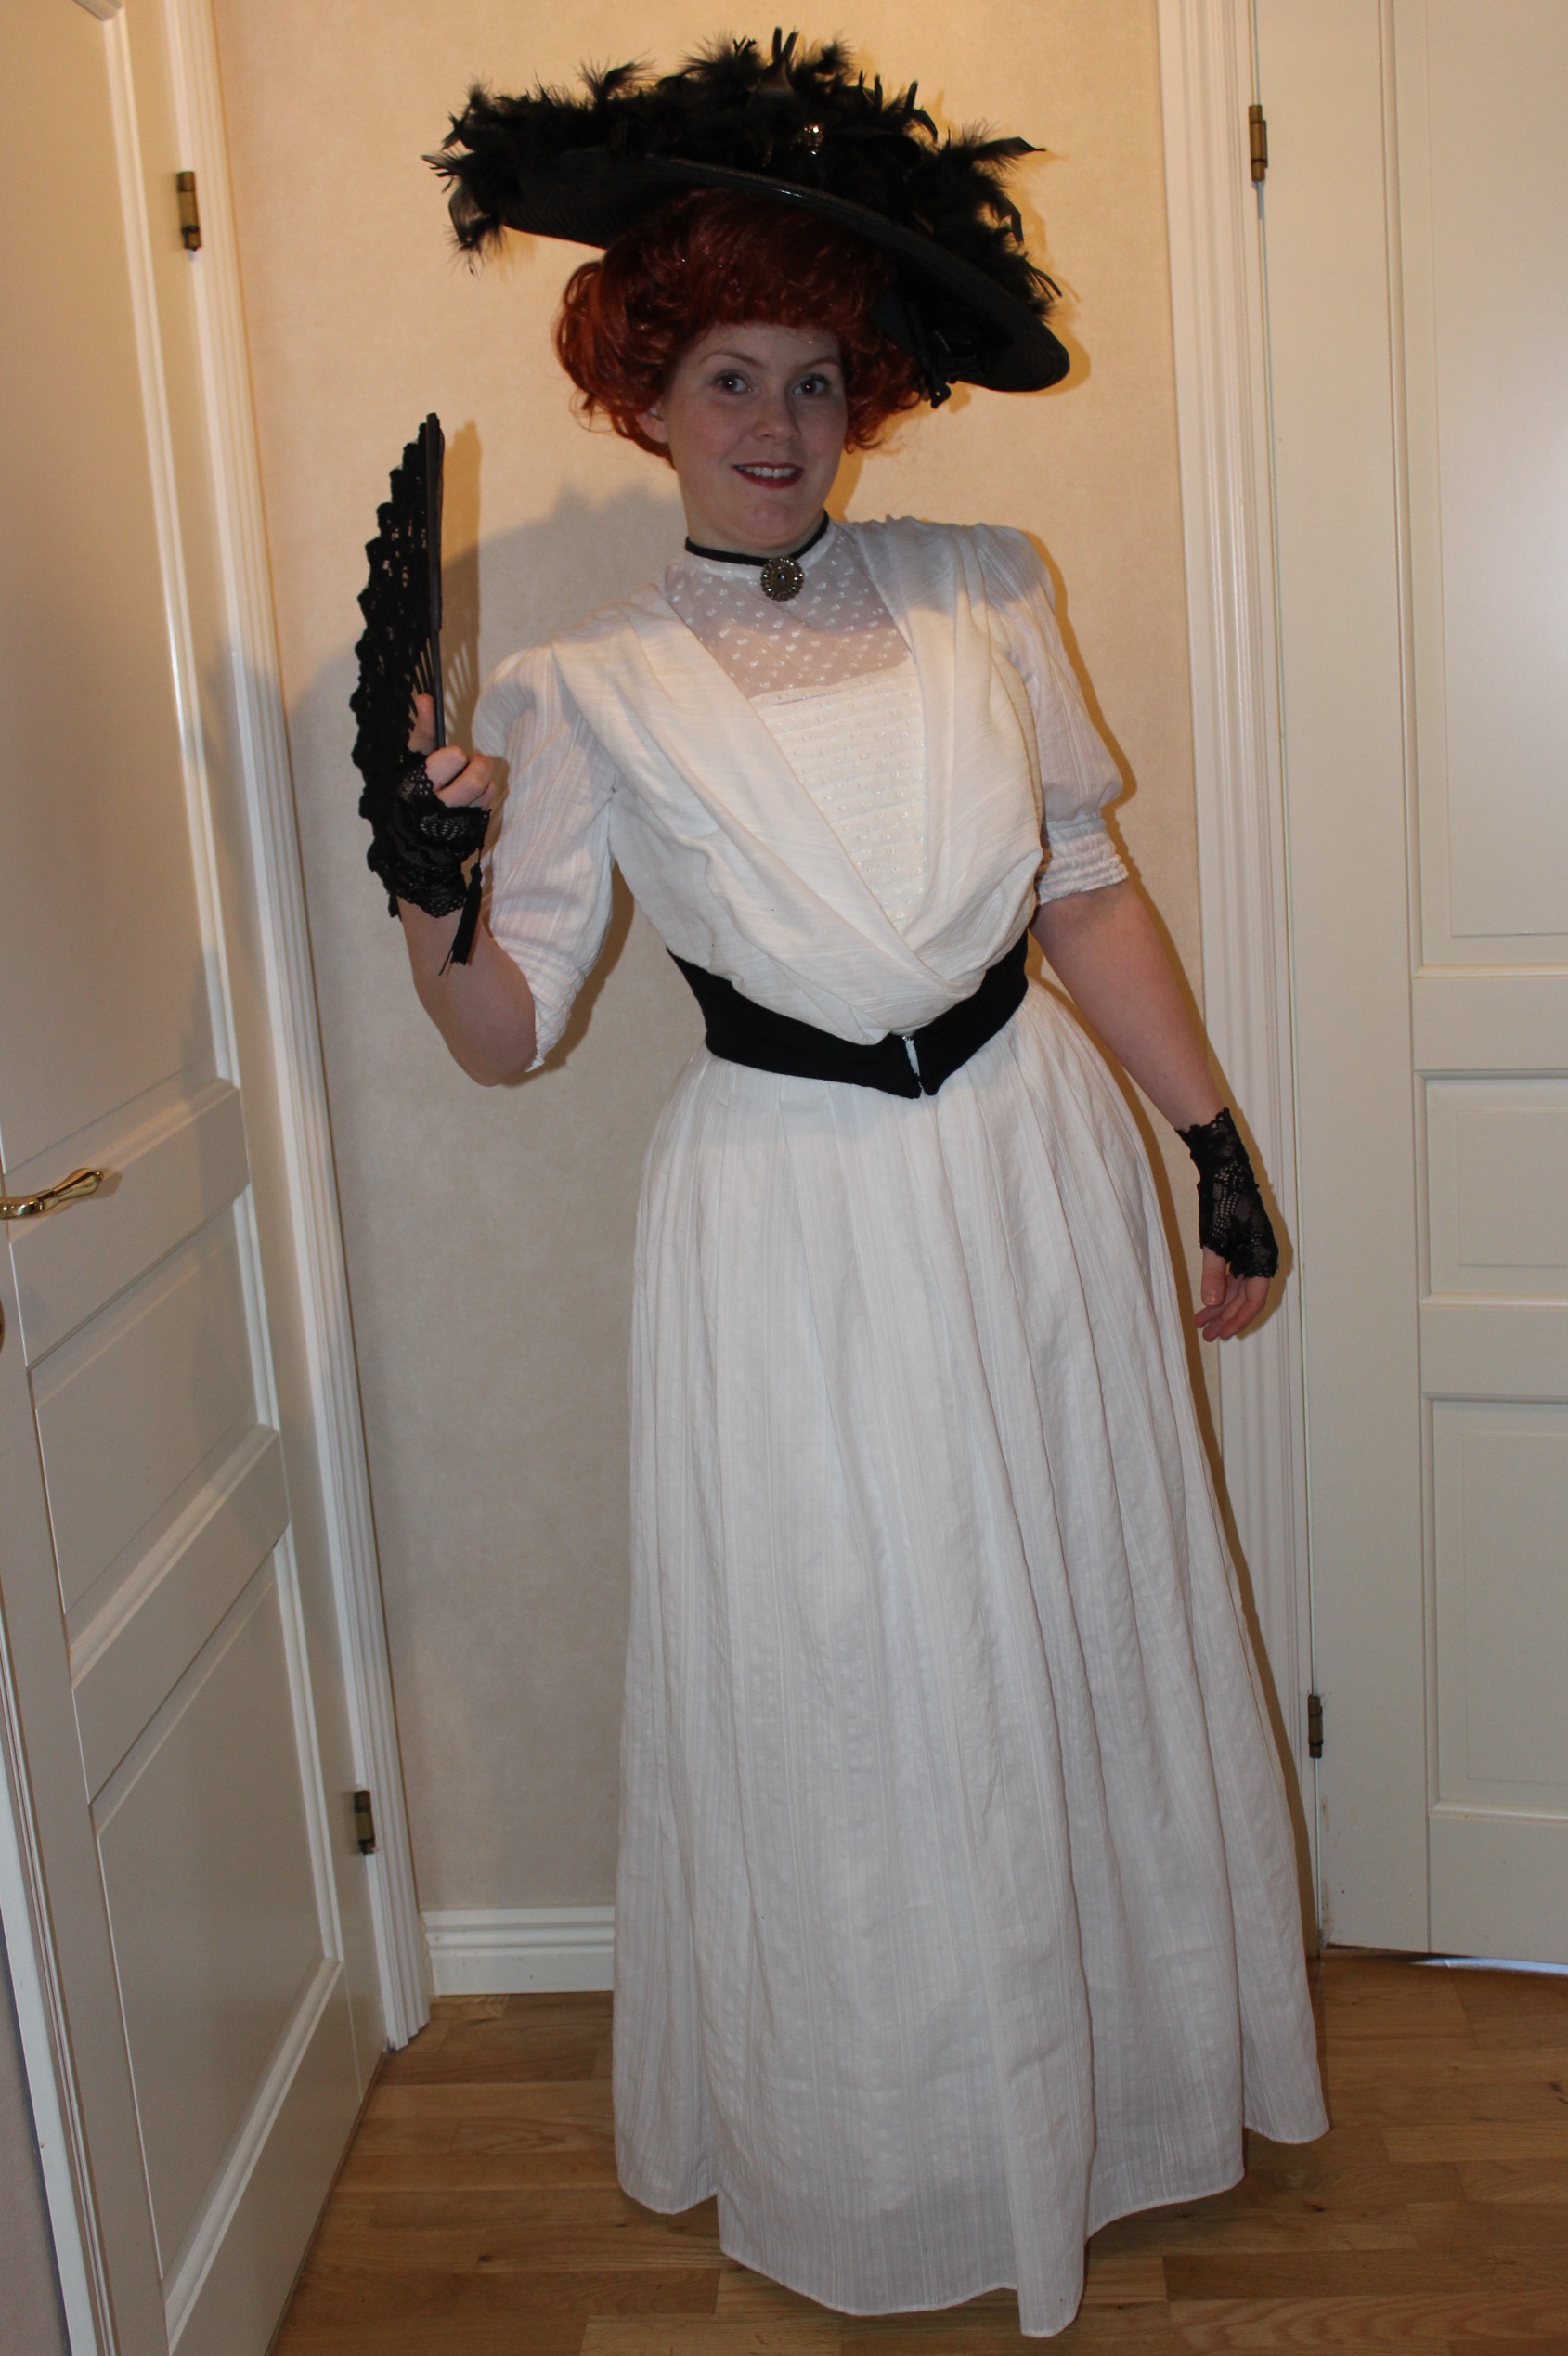


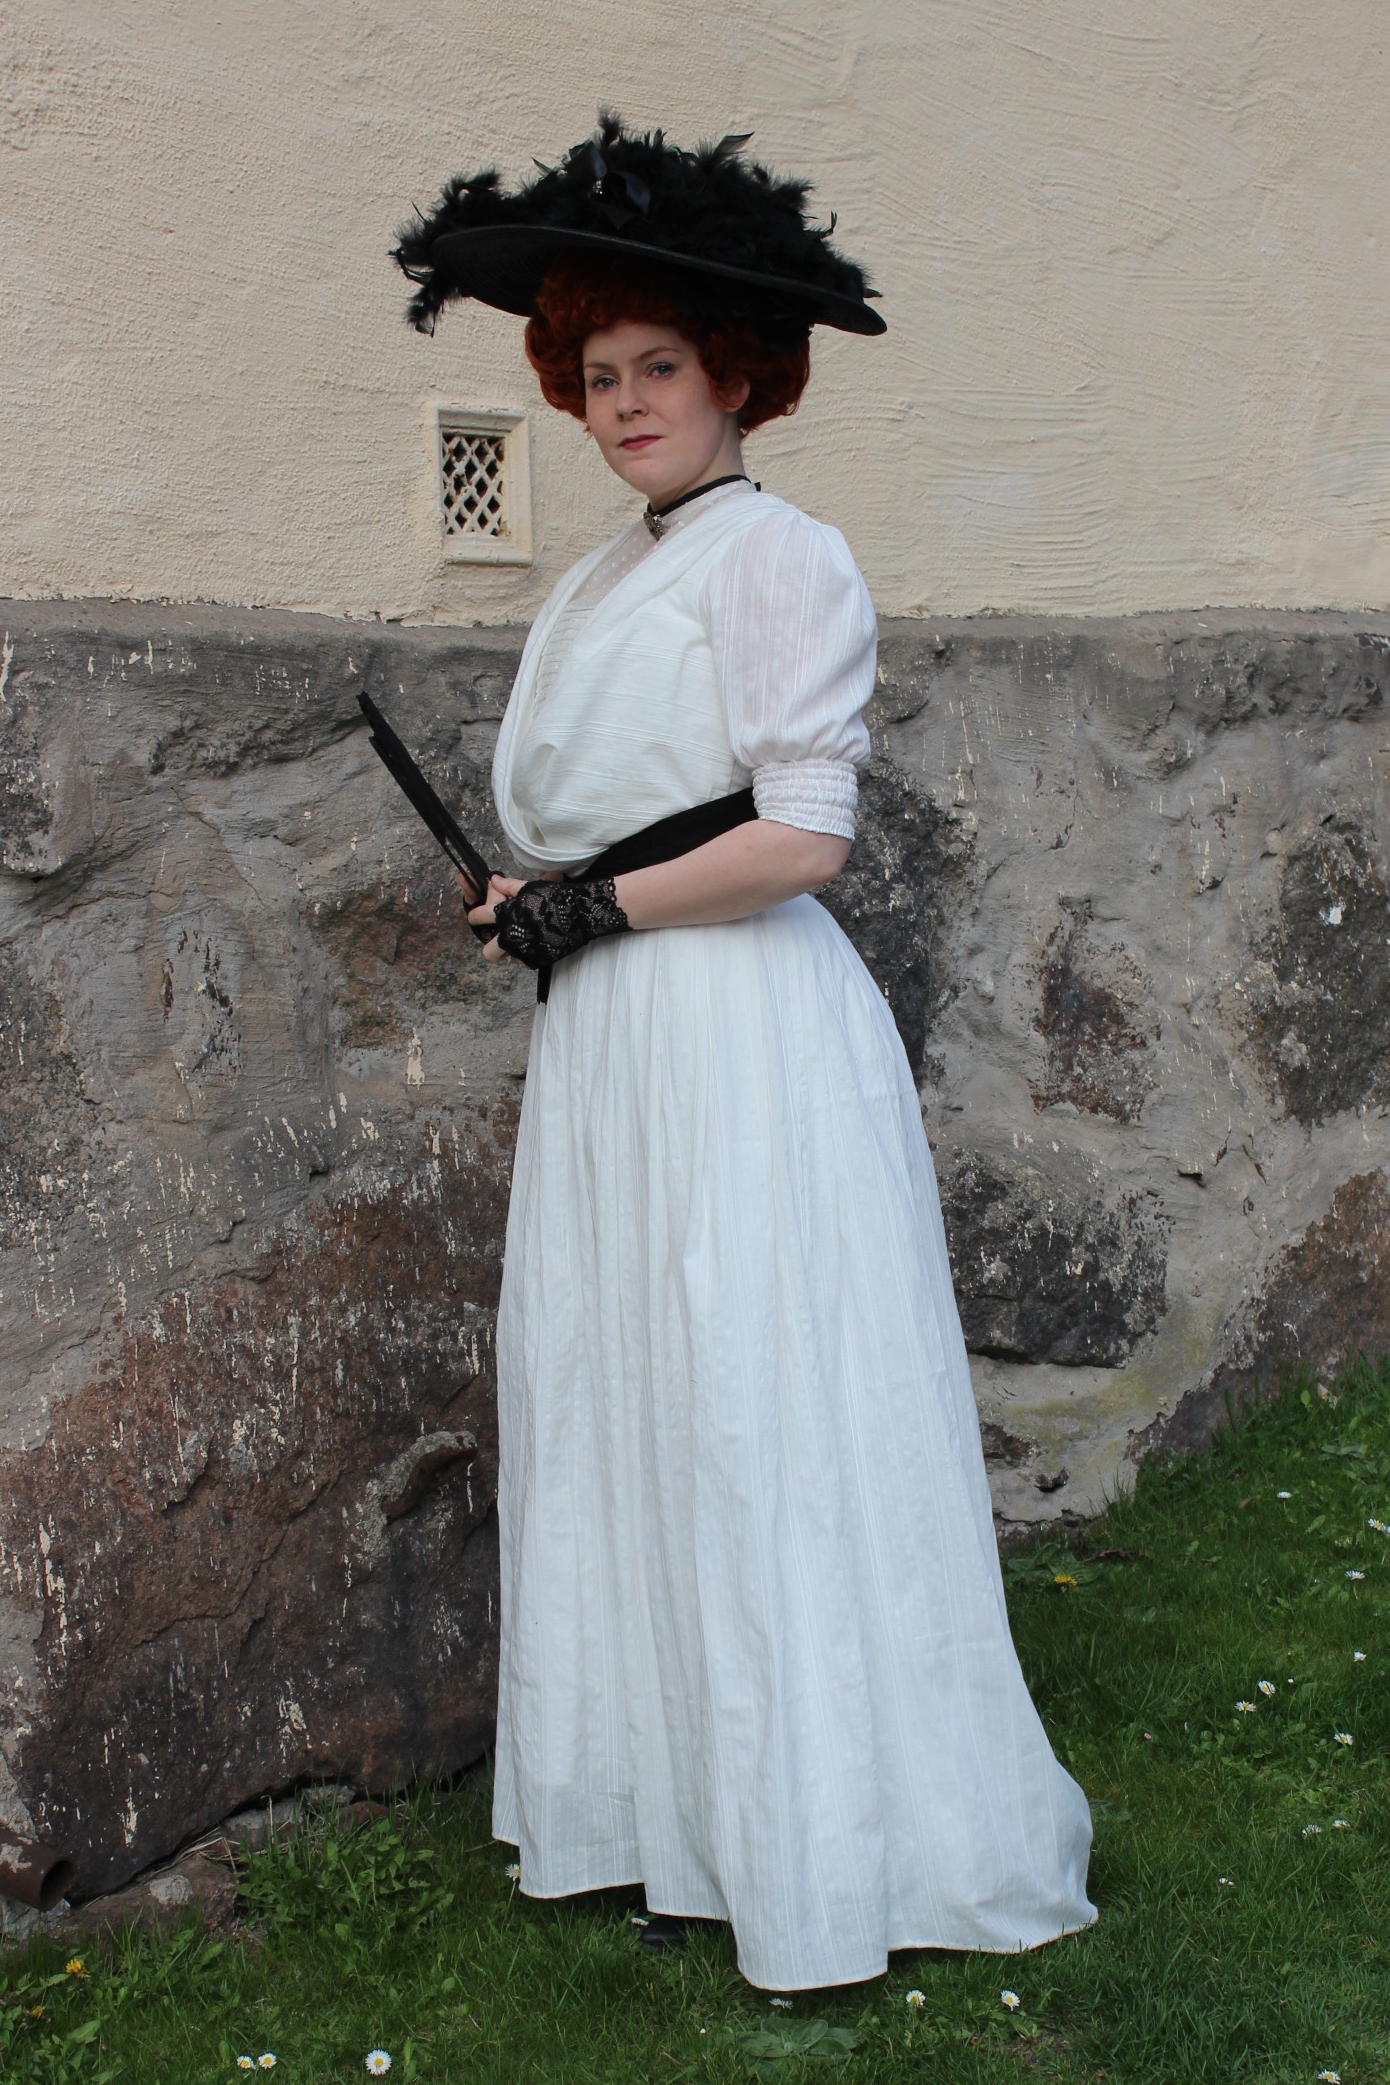
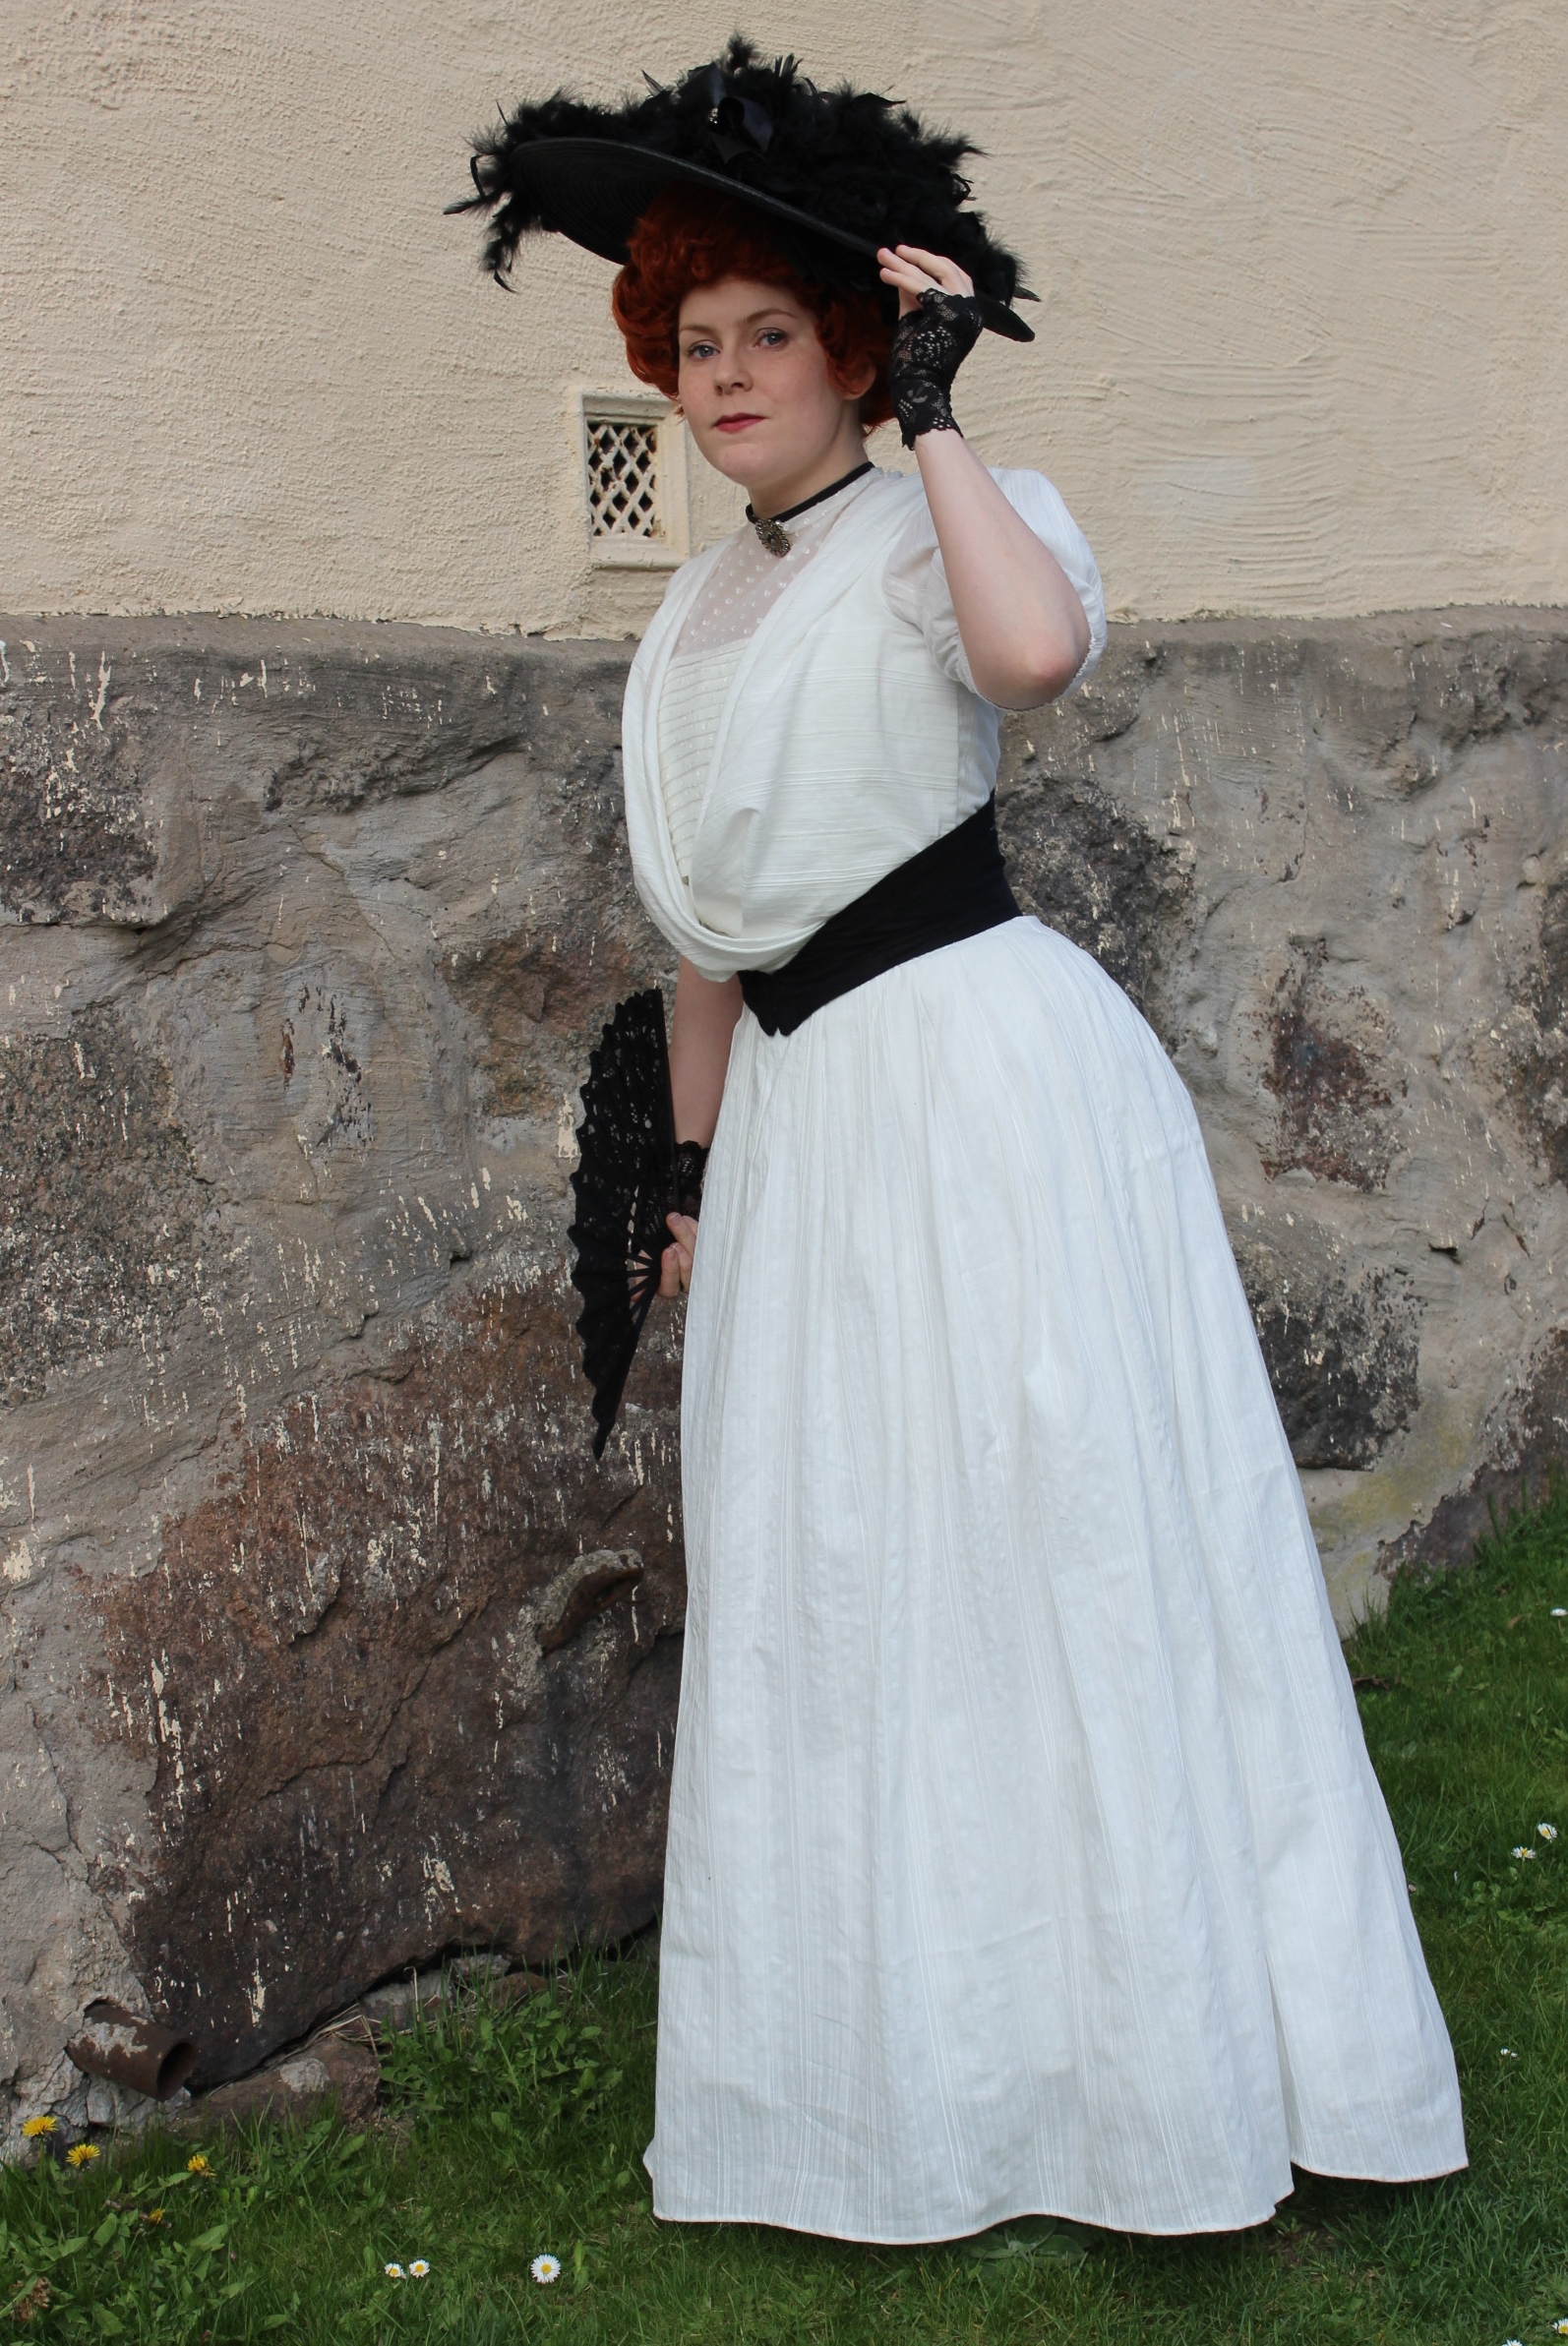
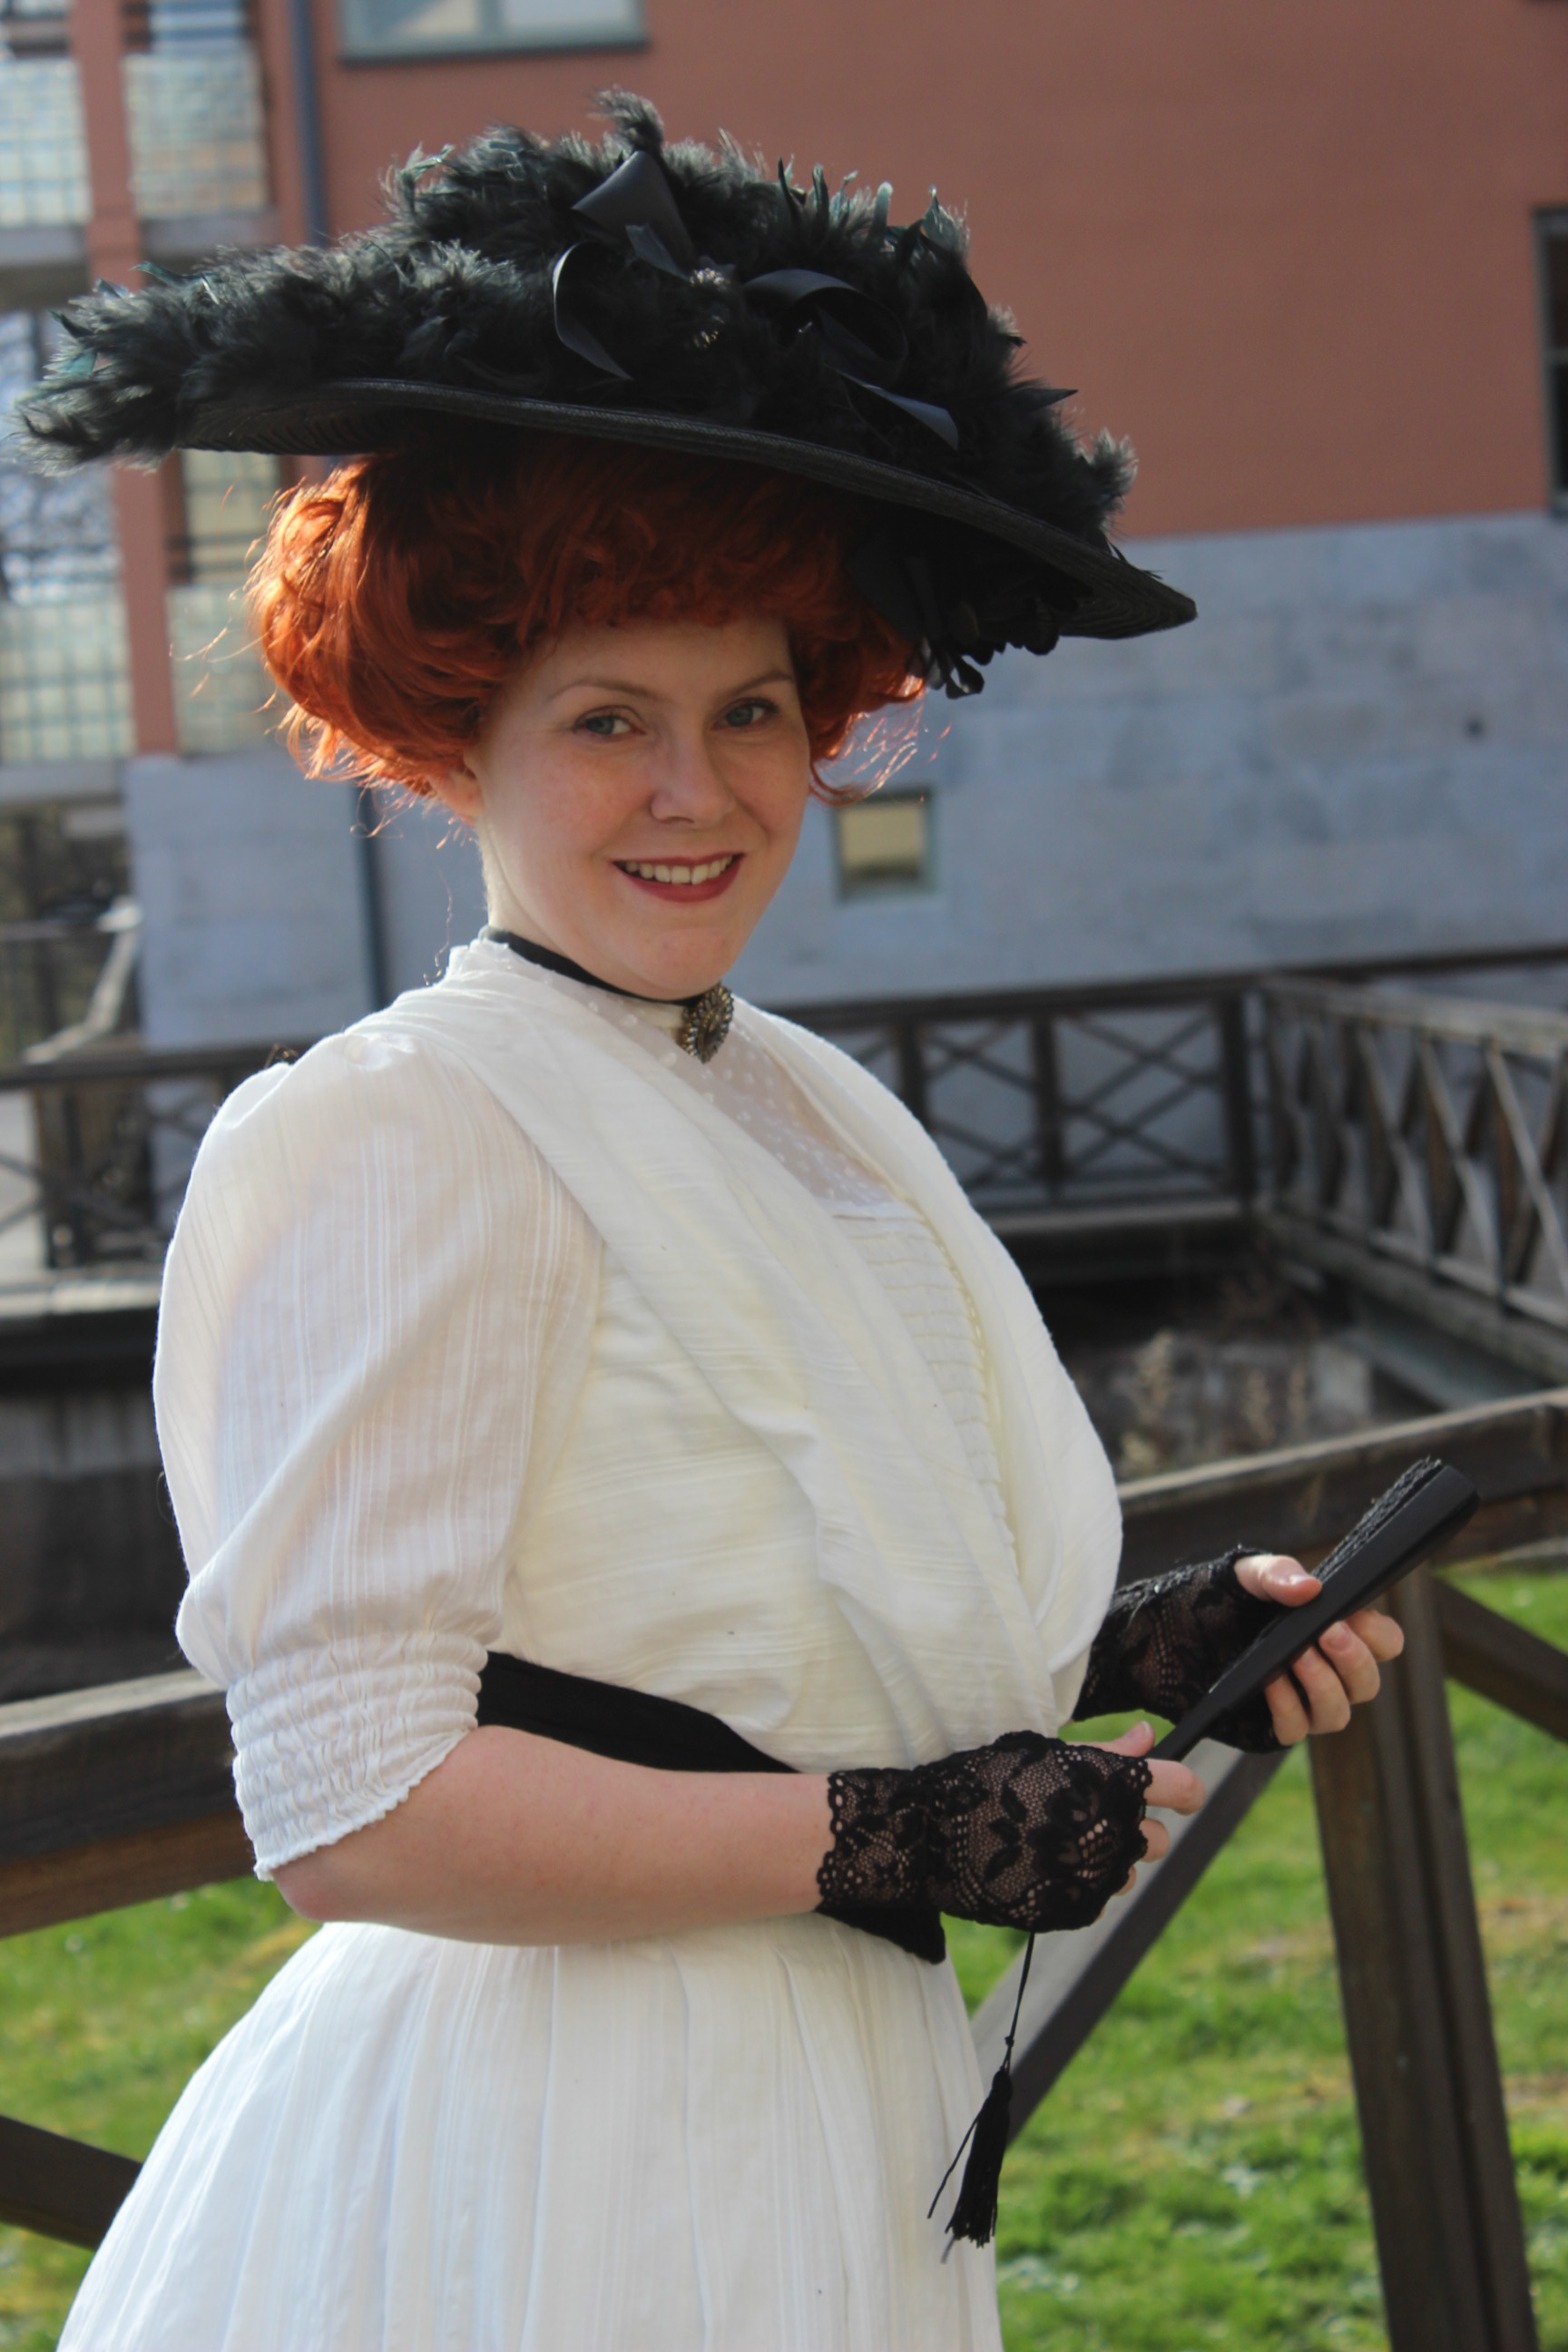


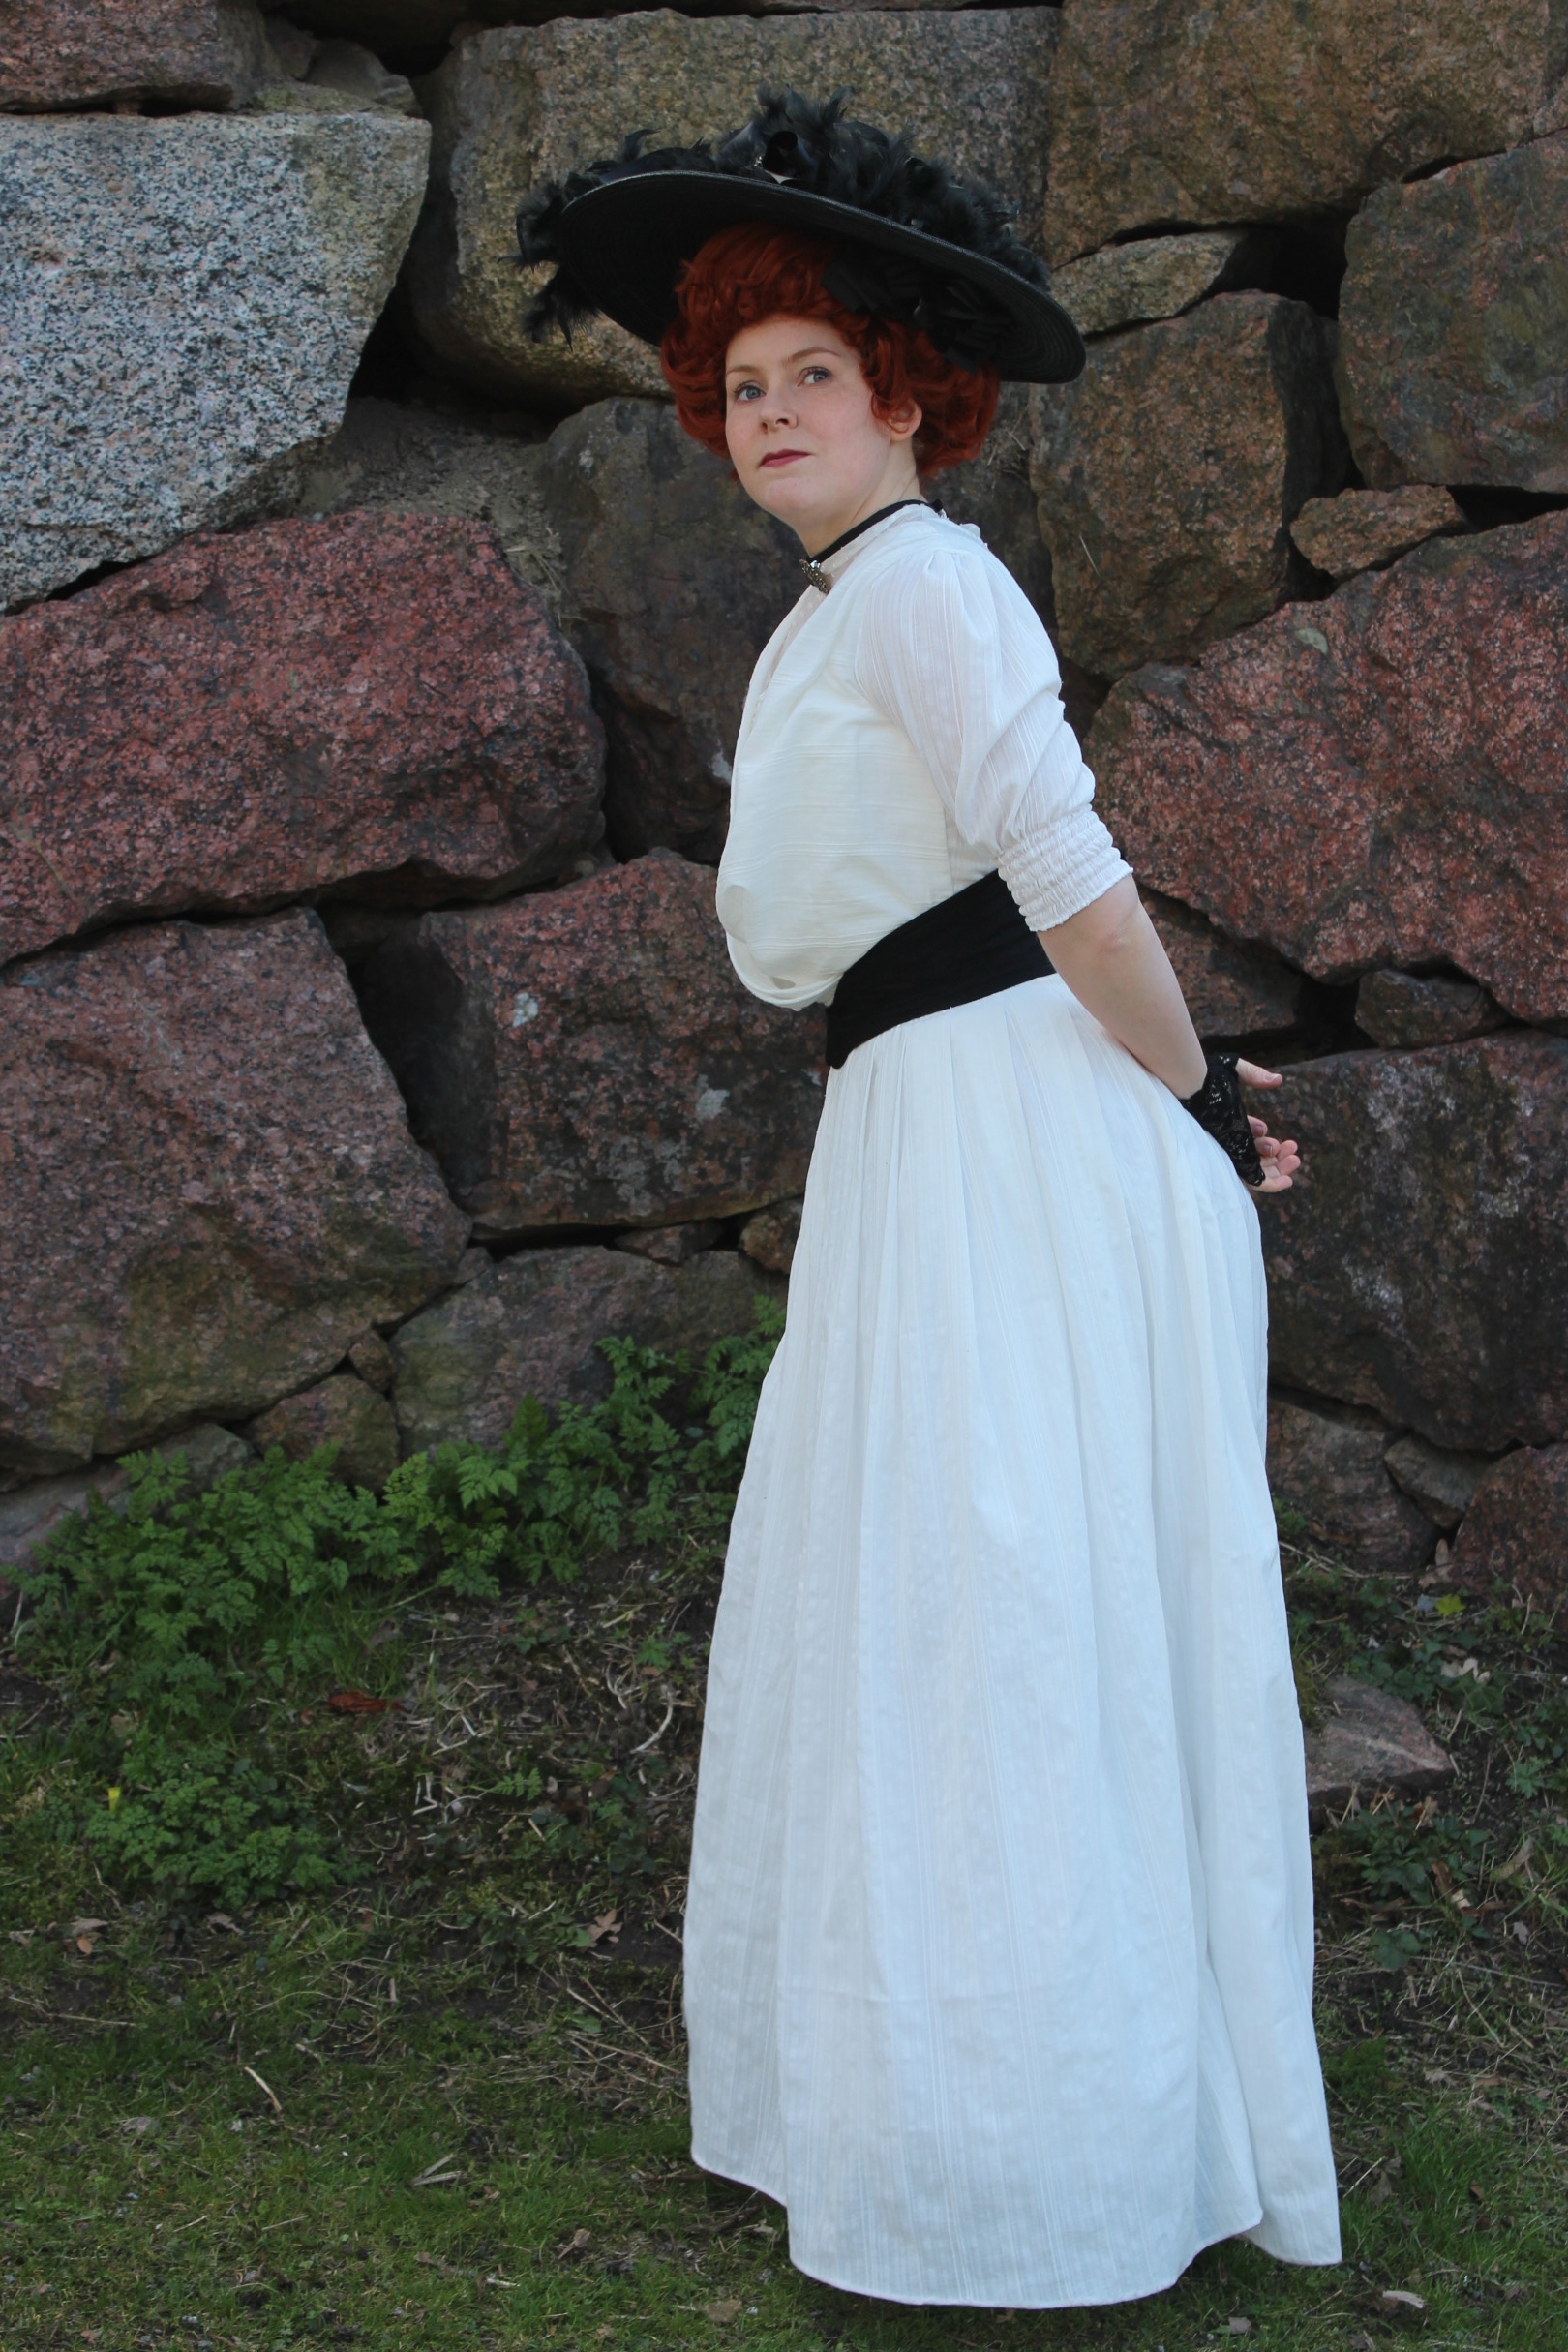


 It’s Camille Clifford in a white “pigeon bust” gown accessorized with black belt and hat.
 (the black line highlighting the low neckline is a later addition by who ever had the picture before me).


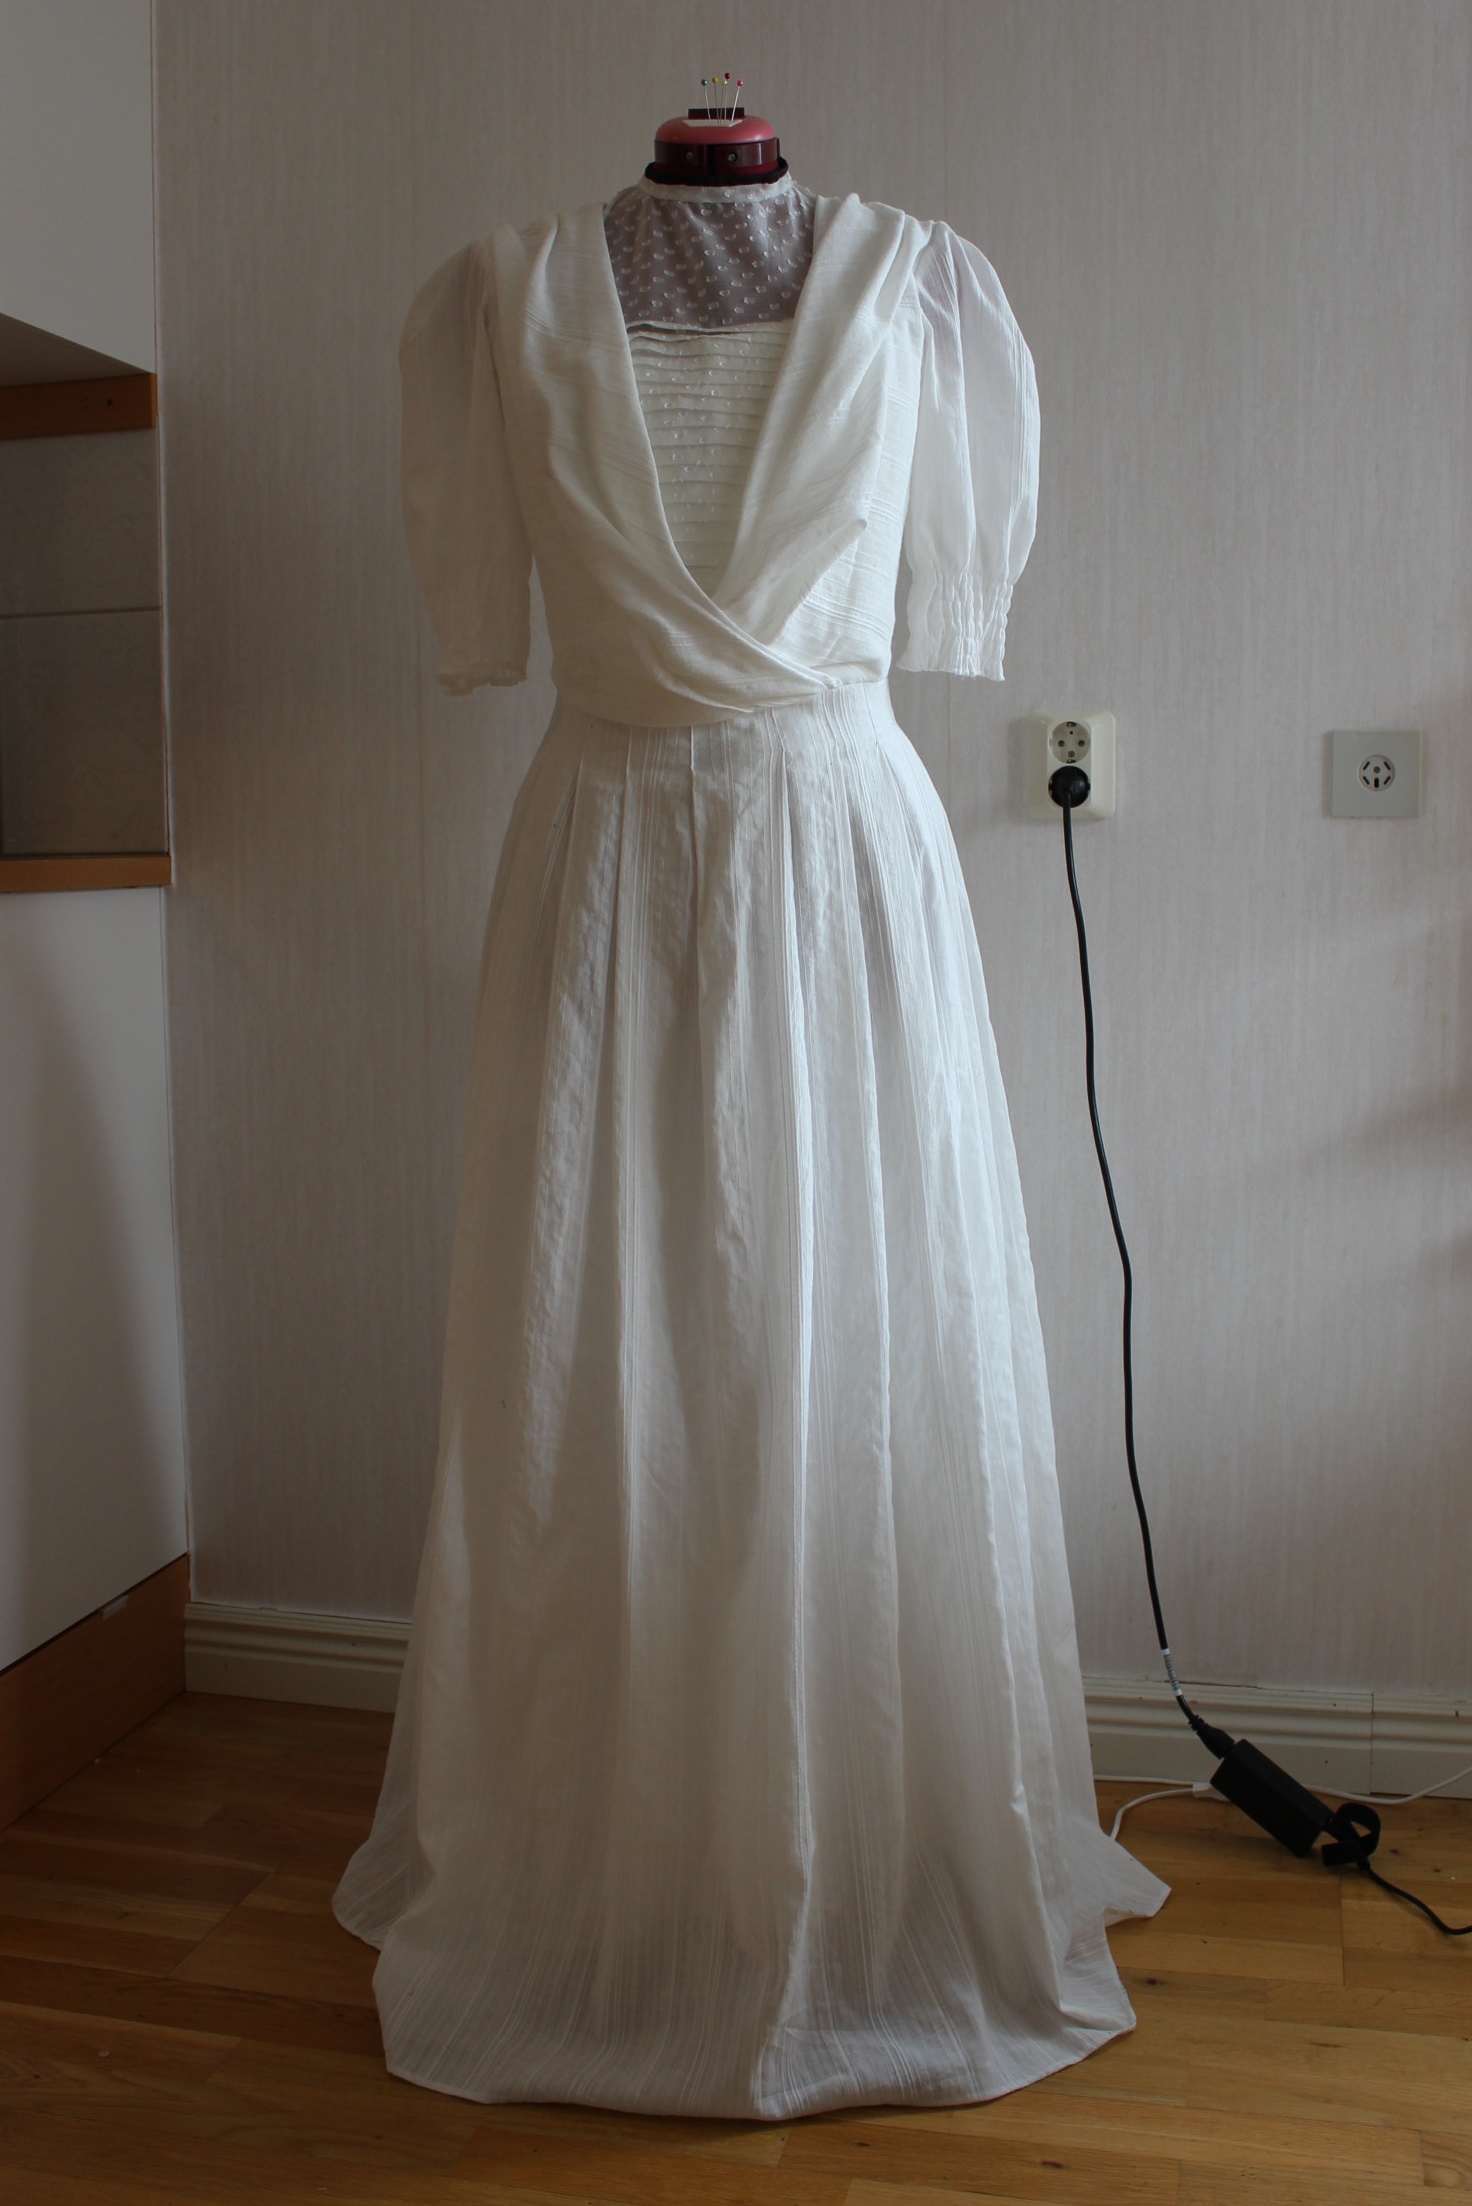


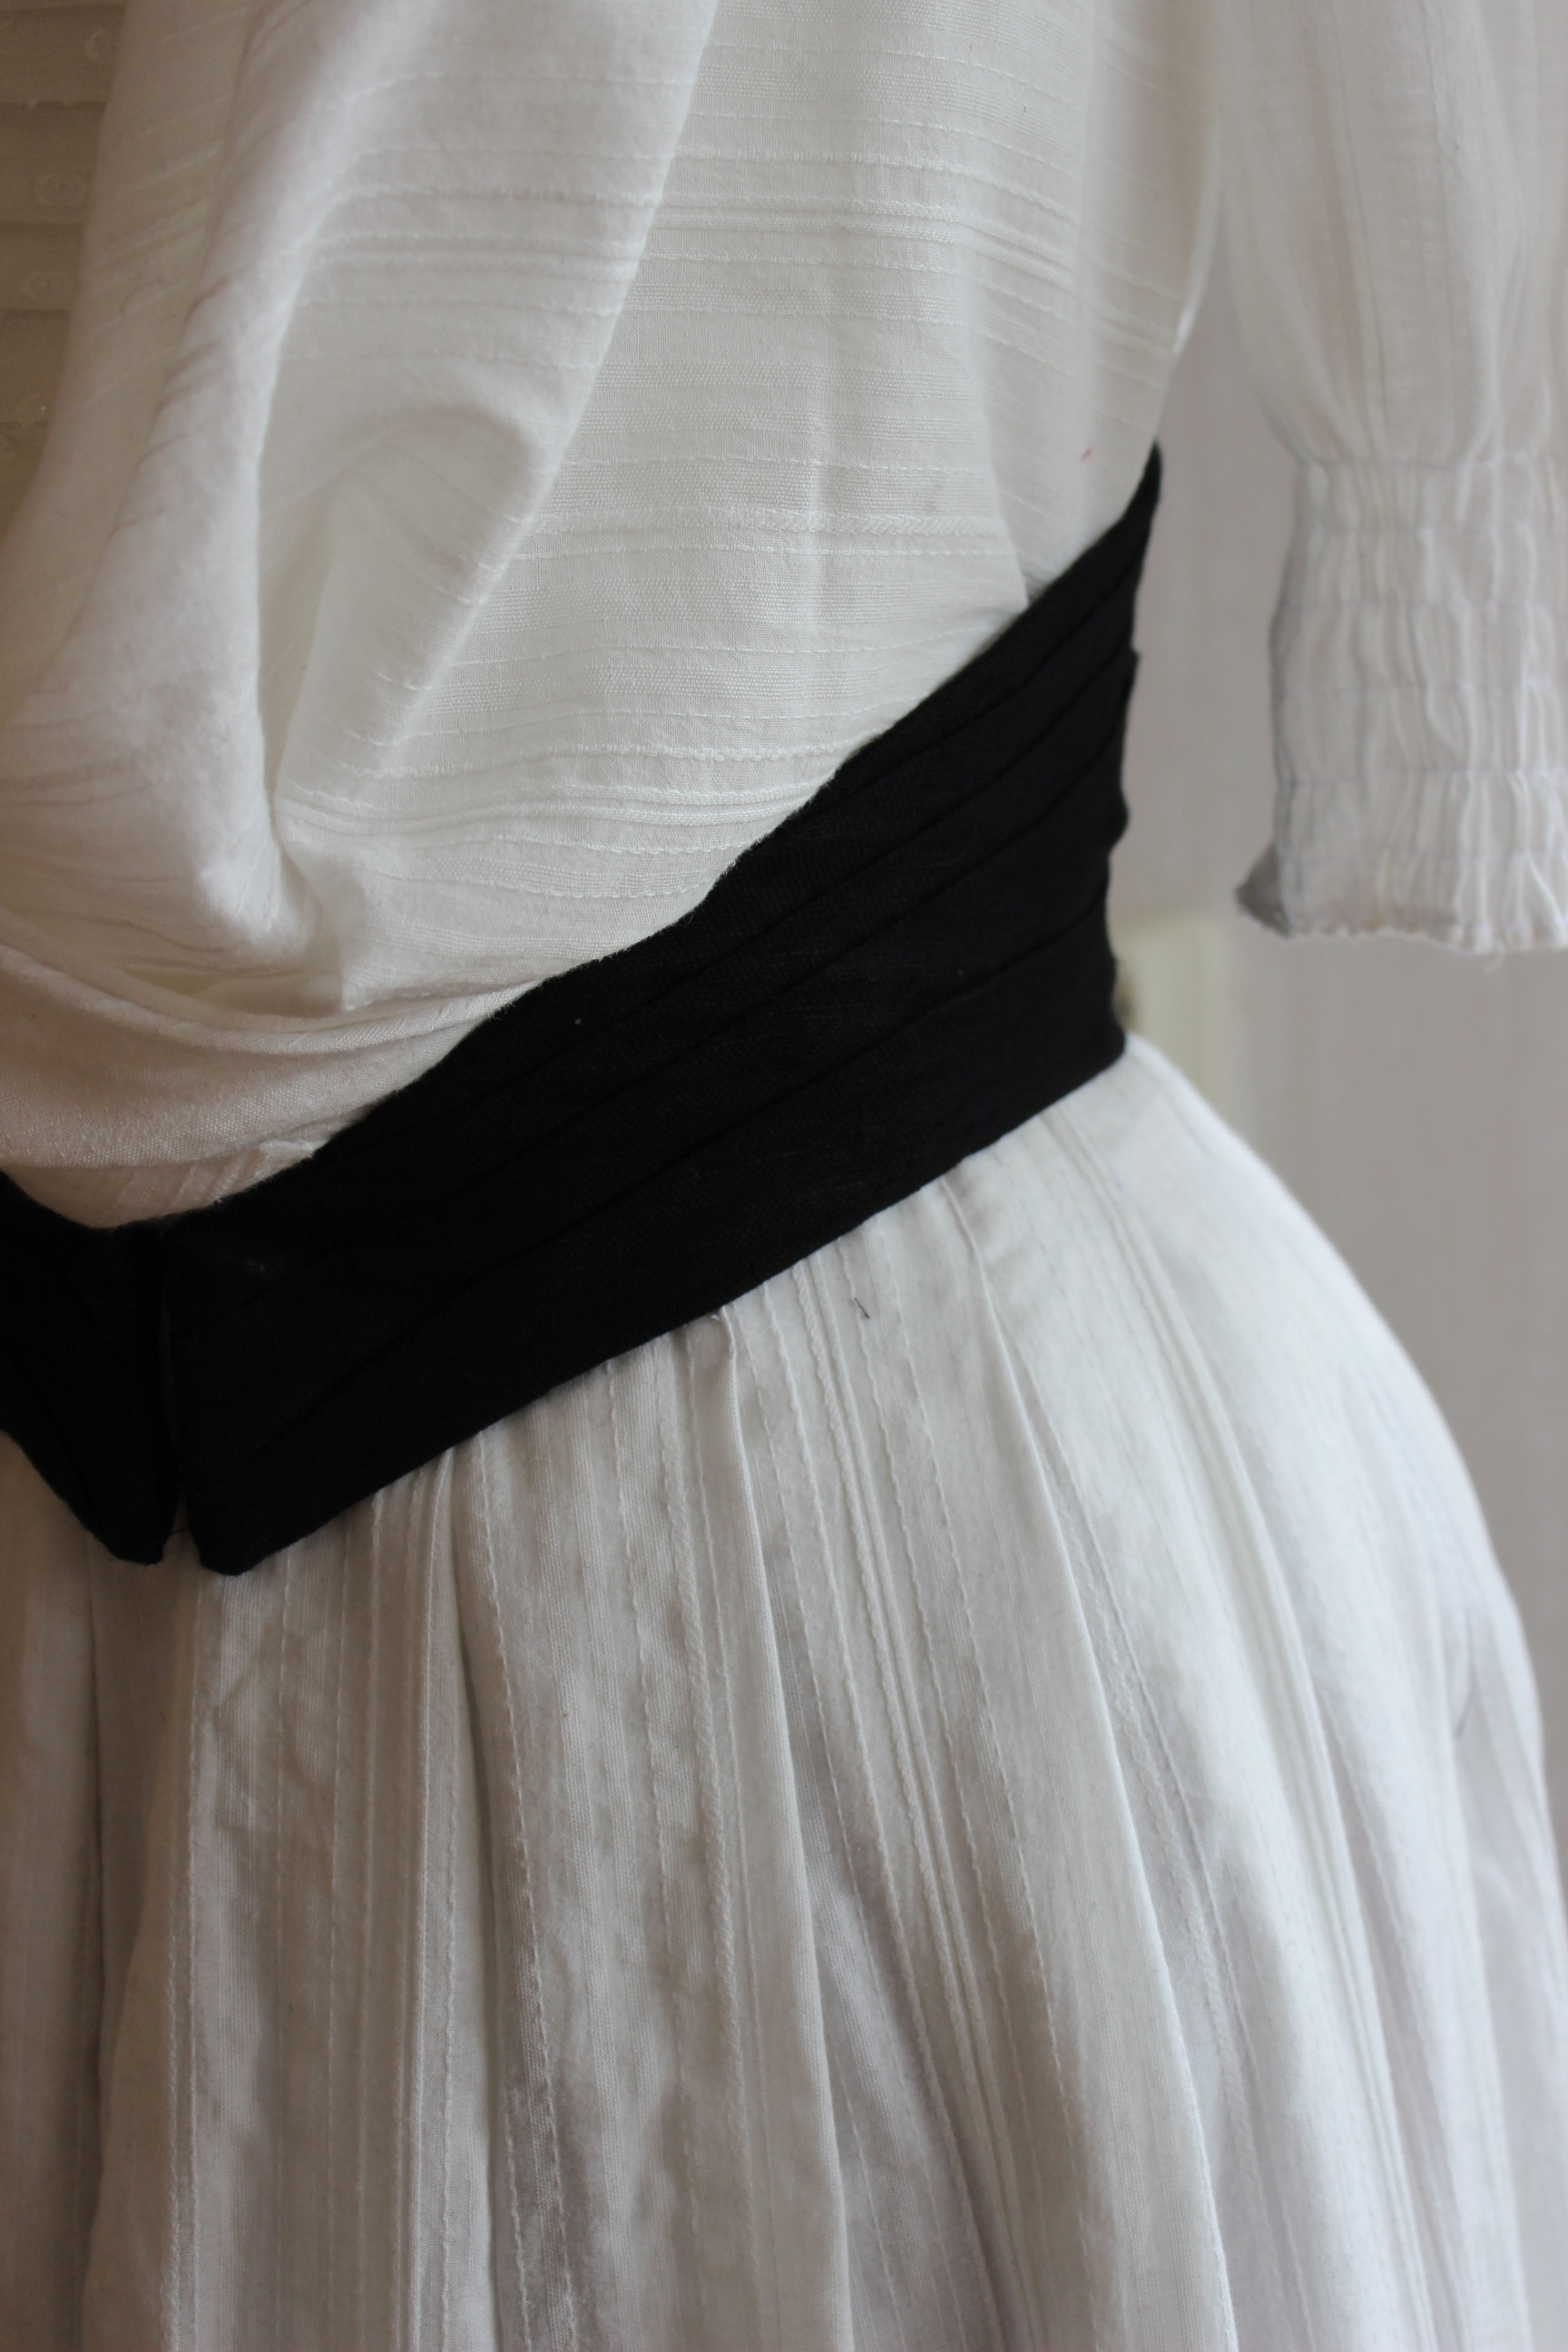


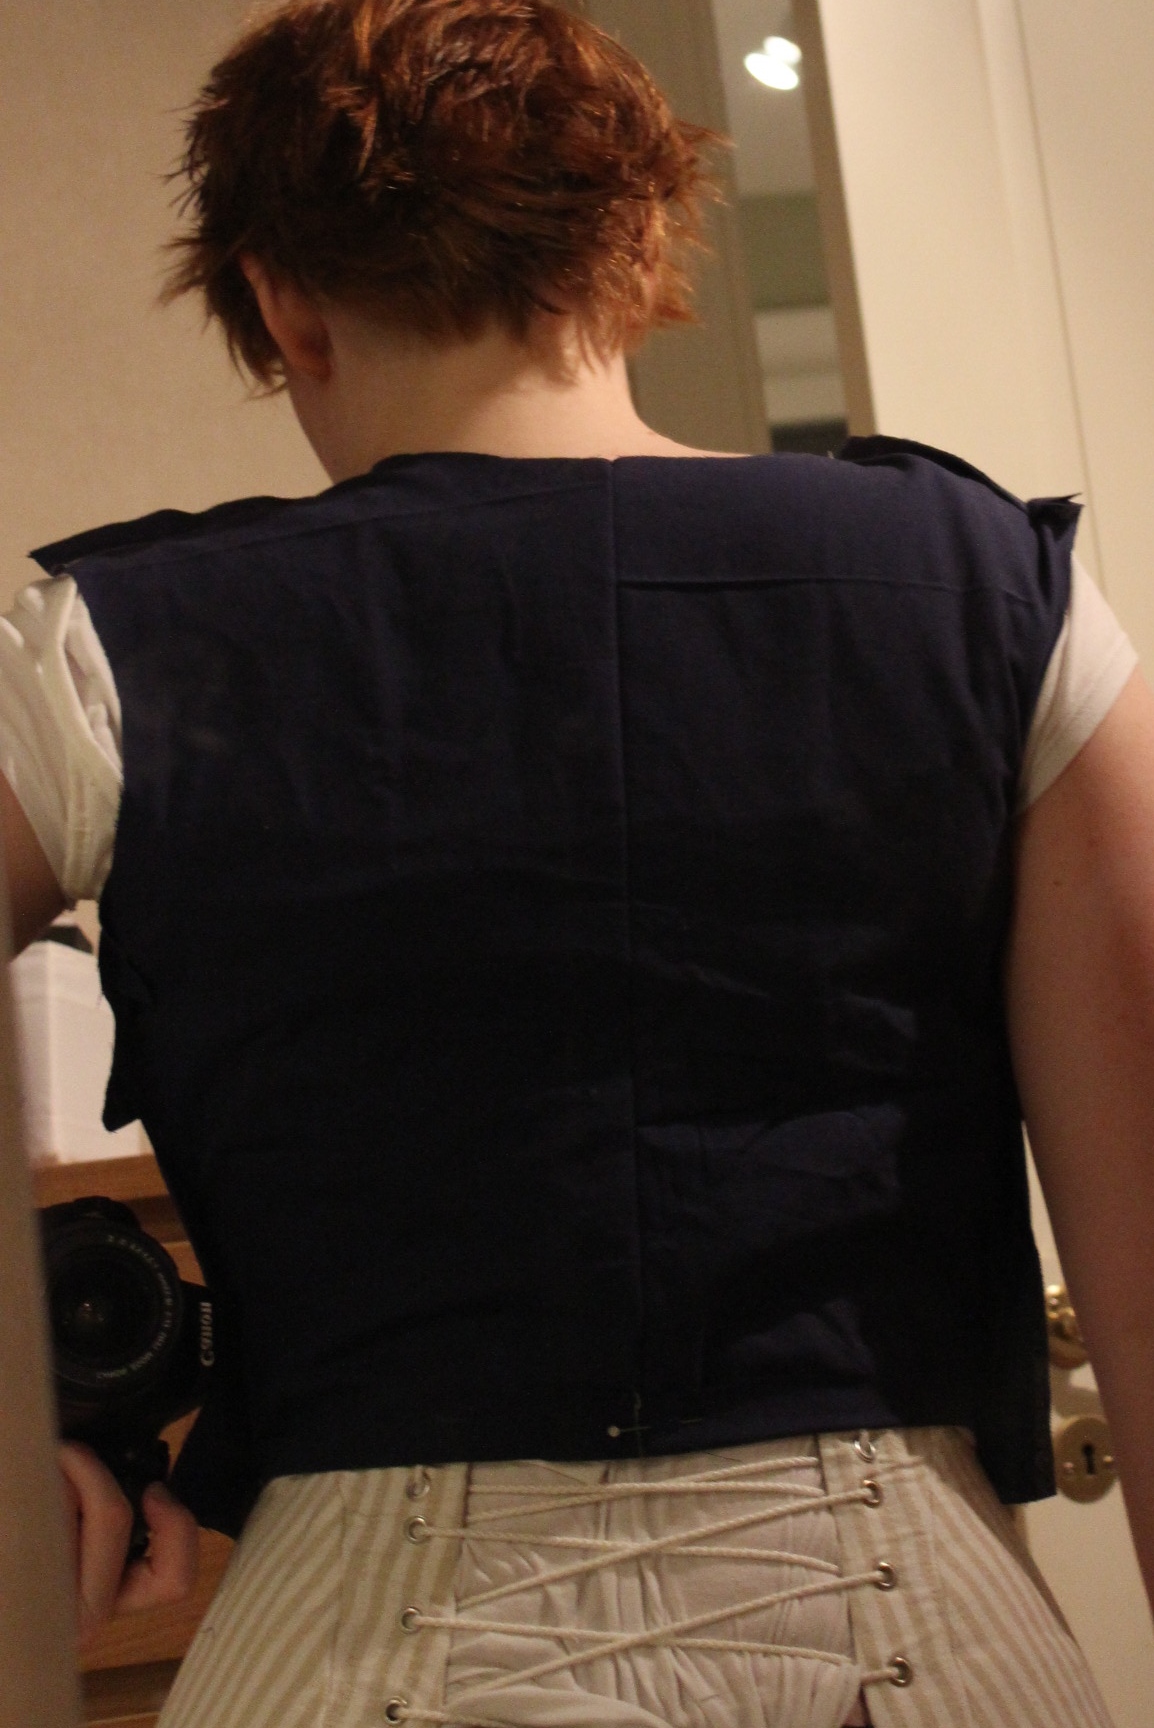


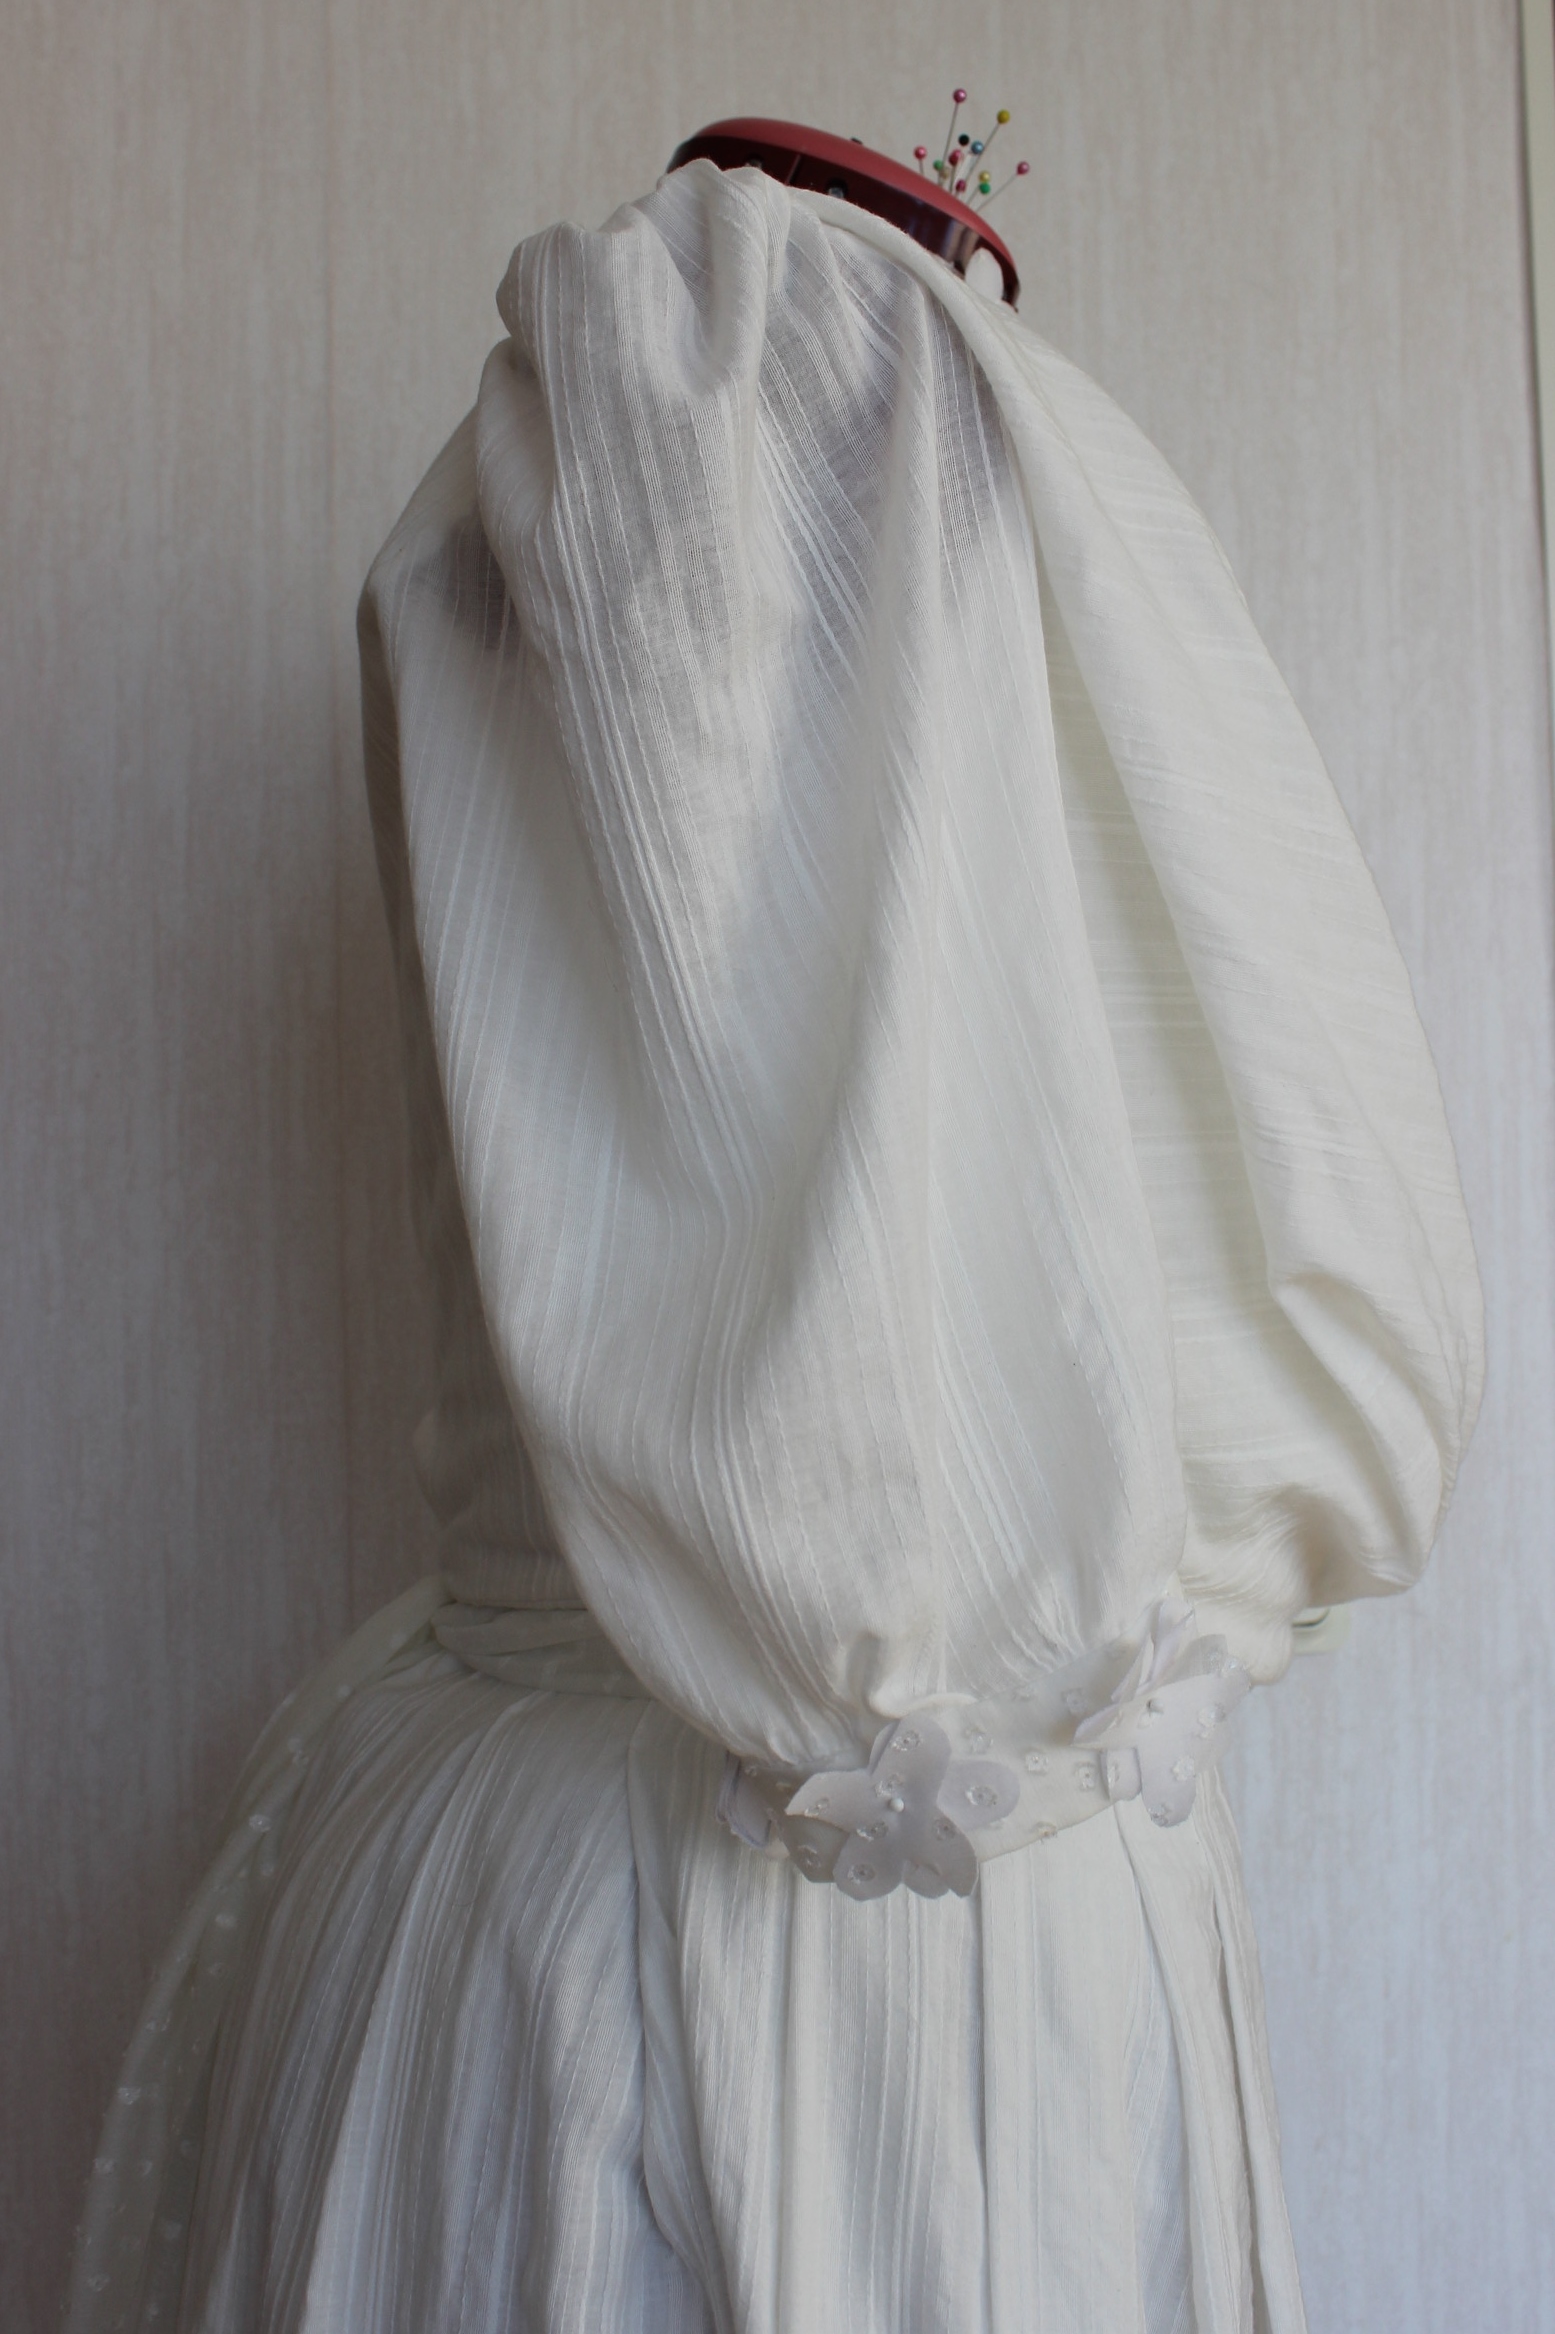
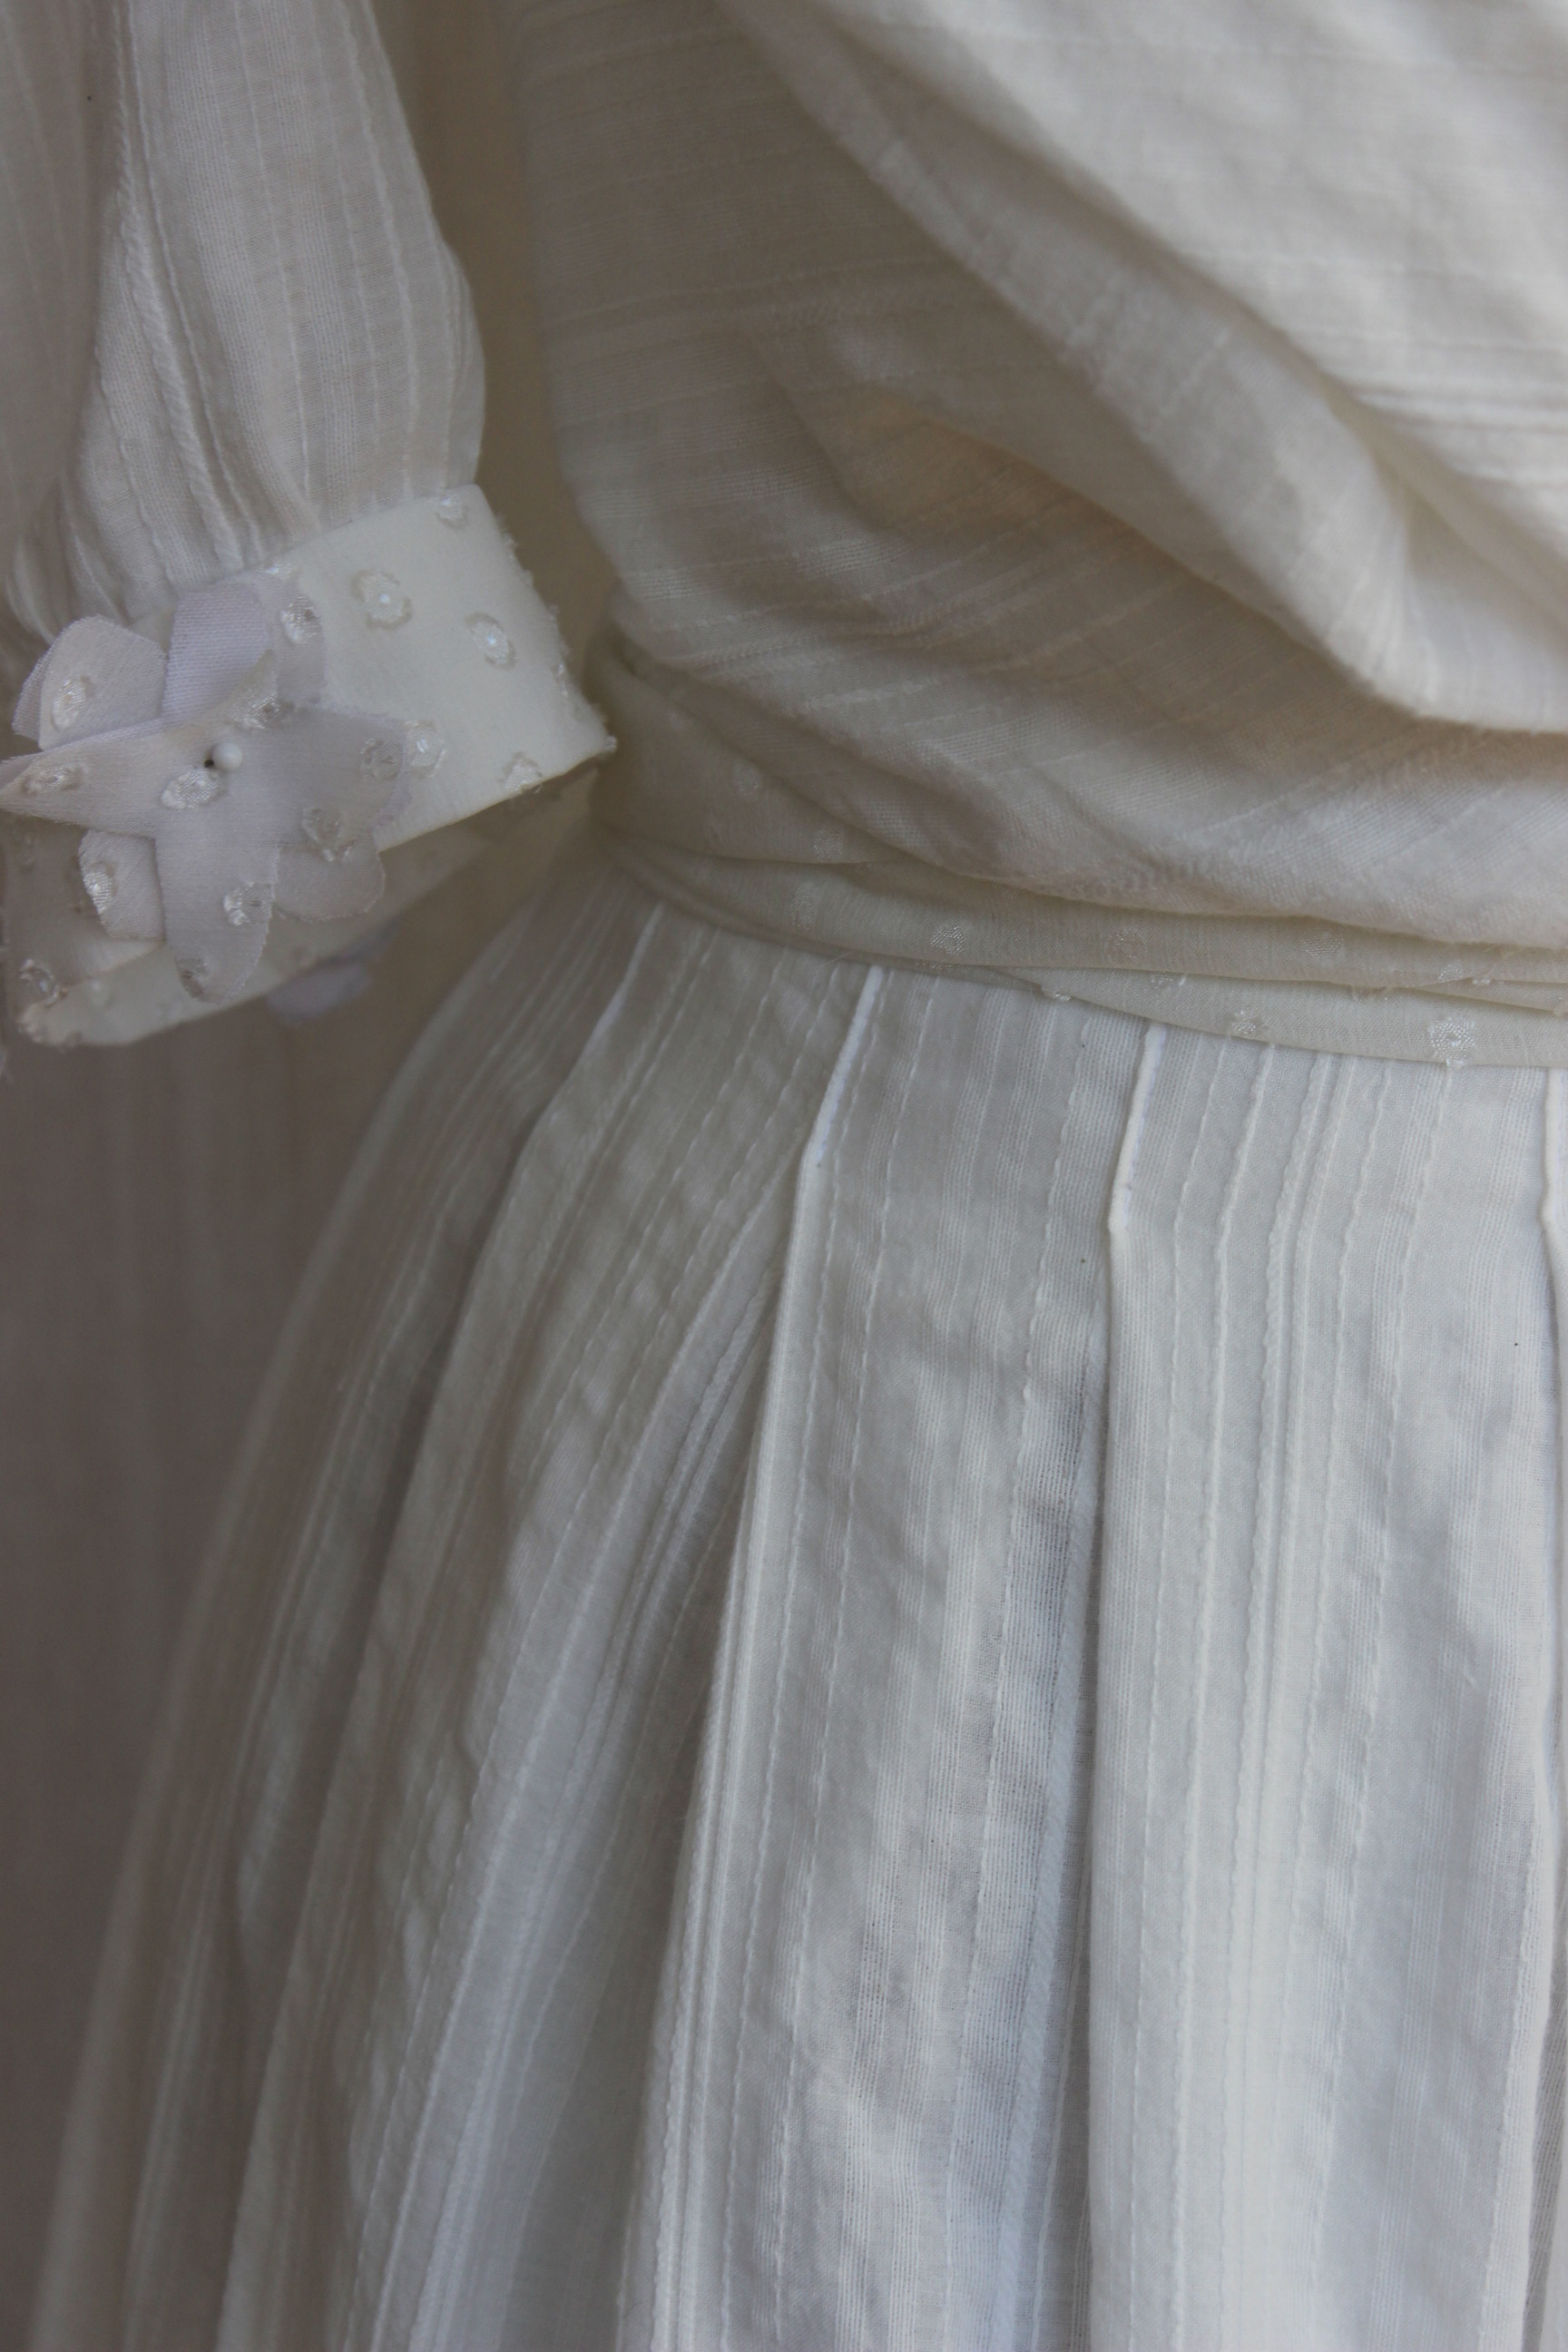
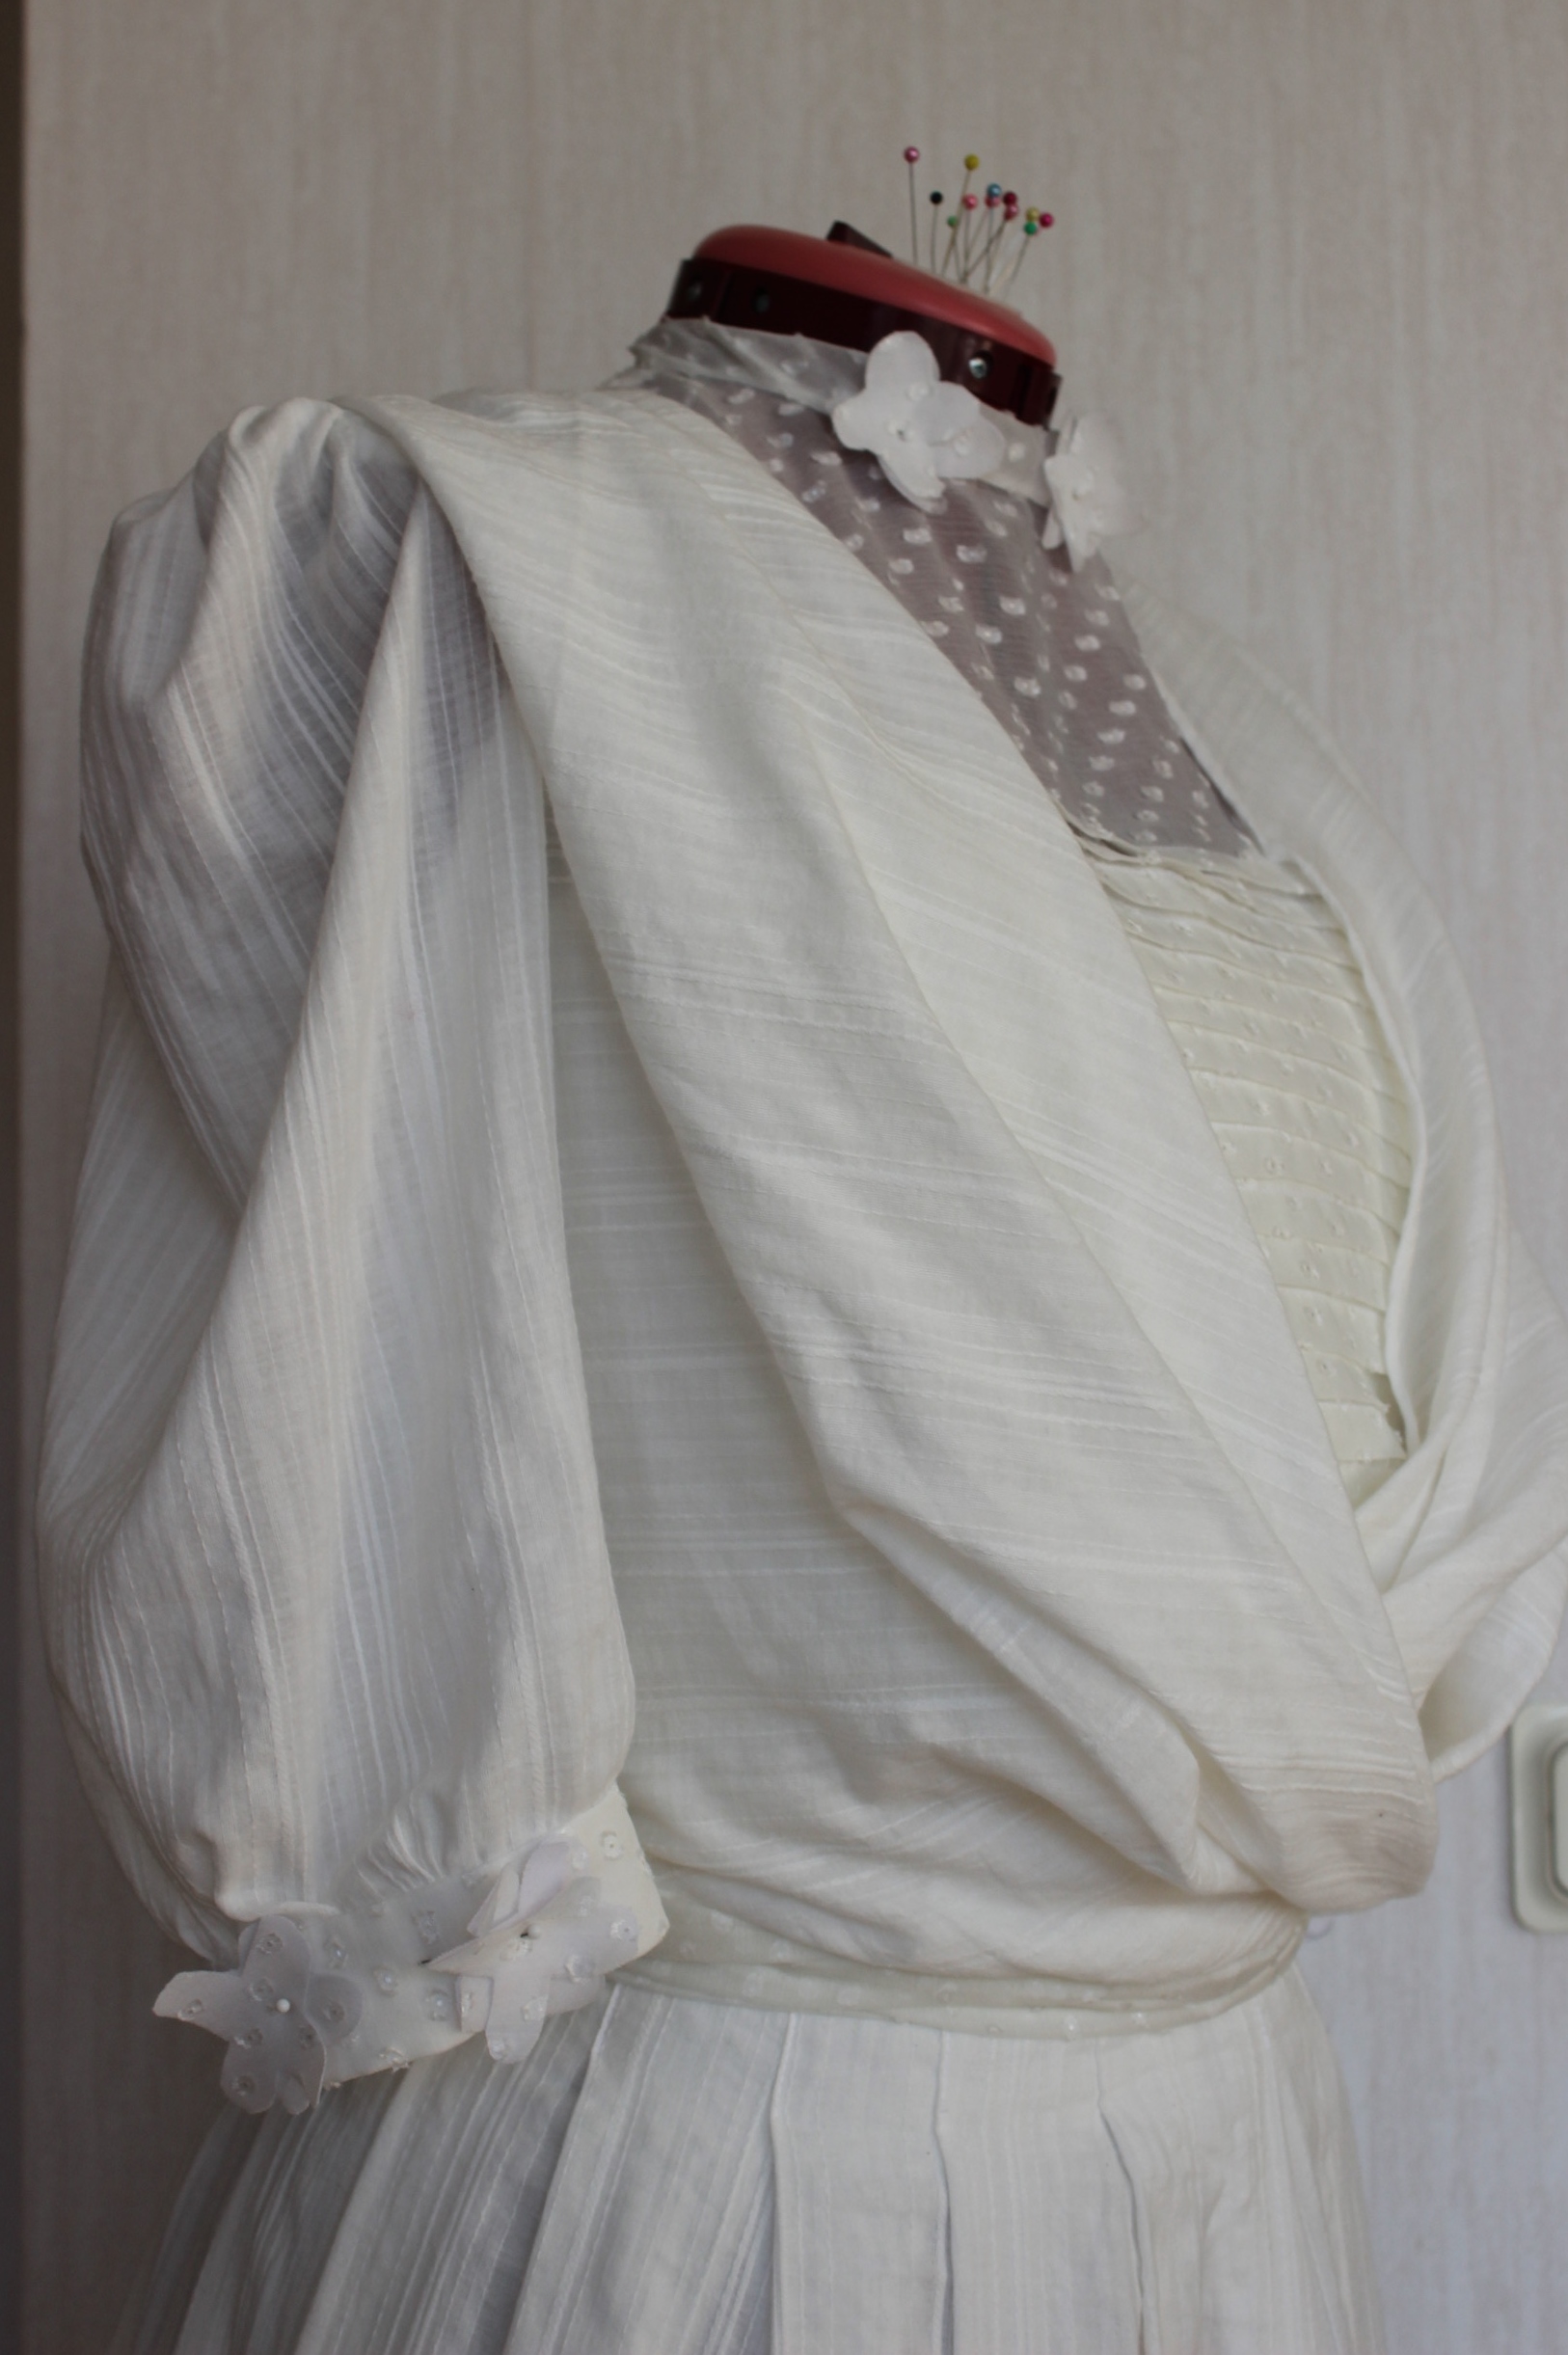
 And pinned the front draping fabric to the waist.
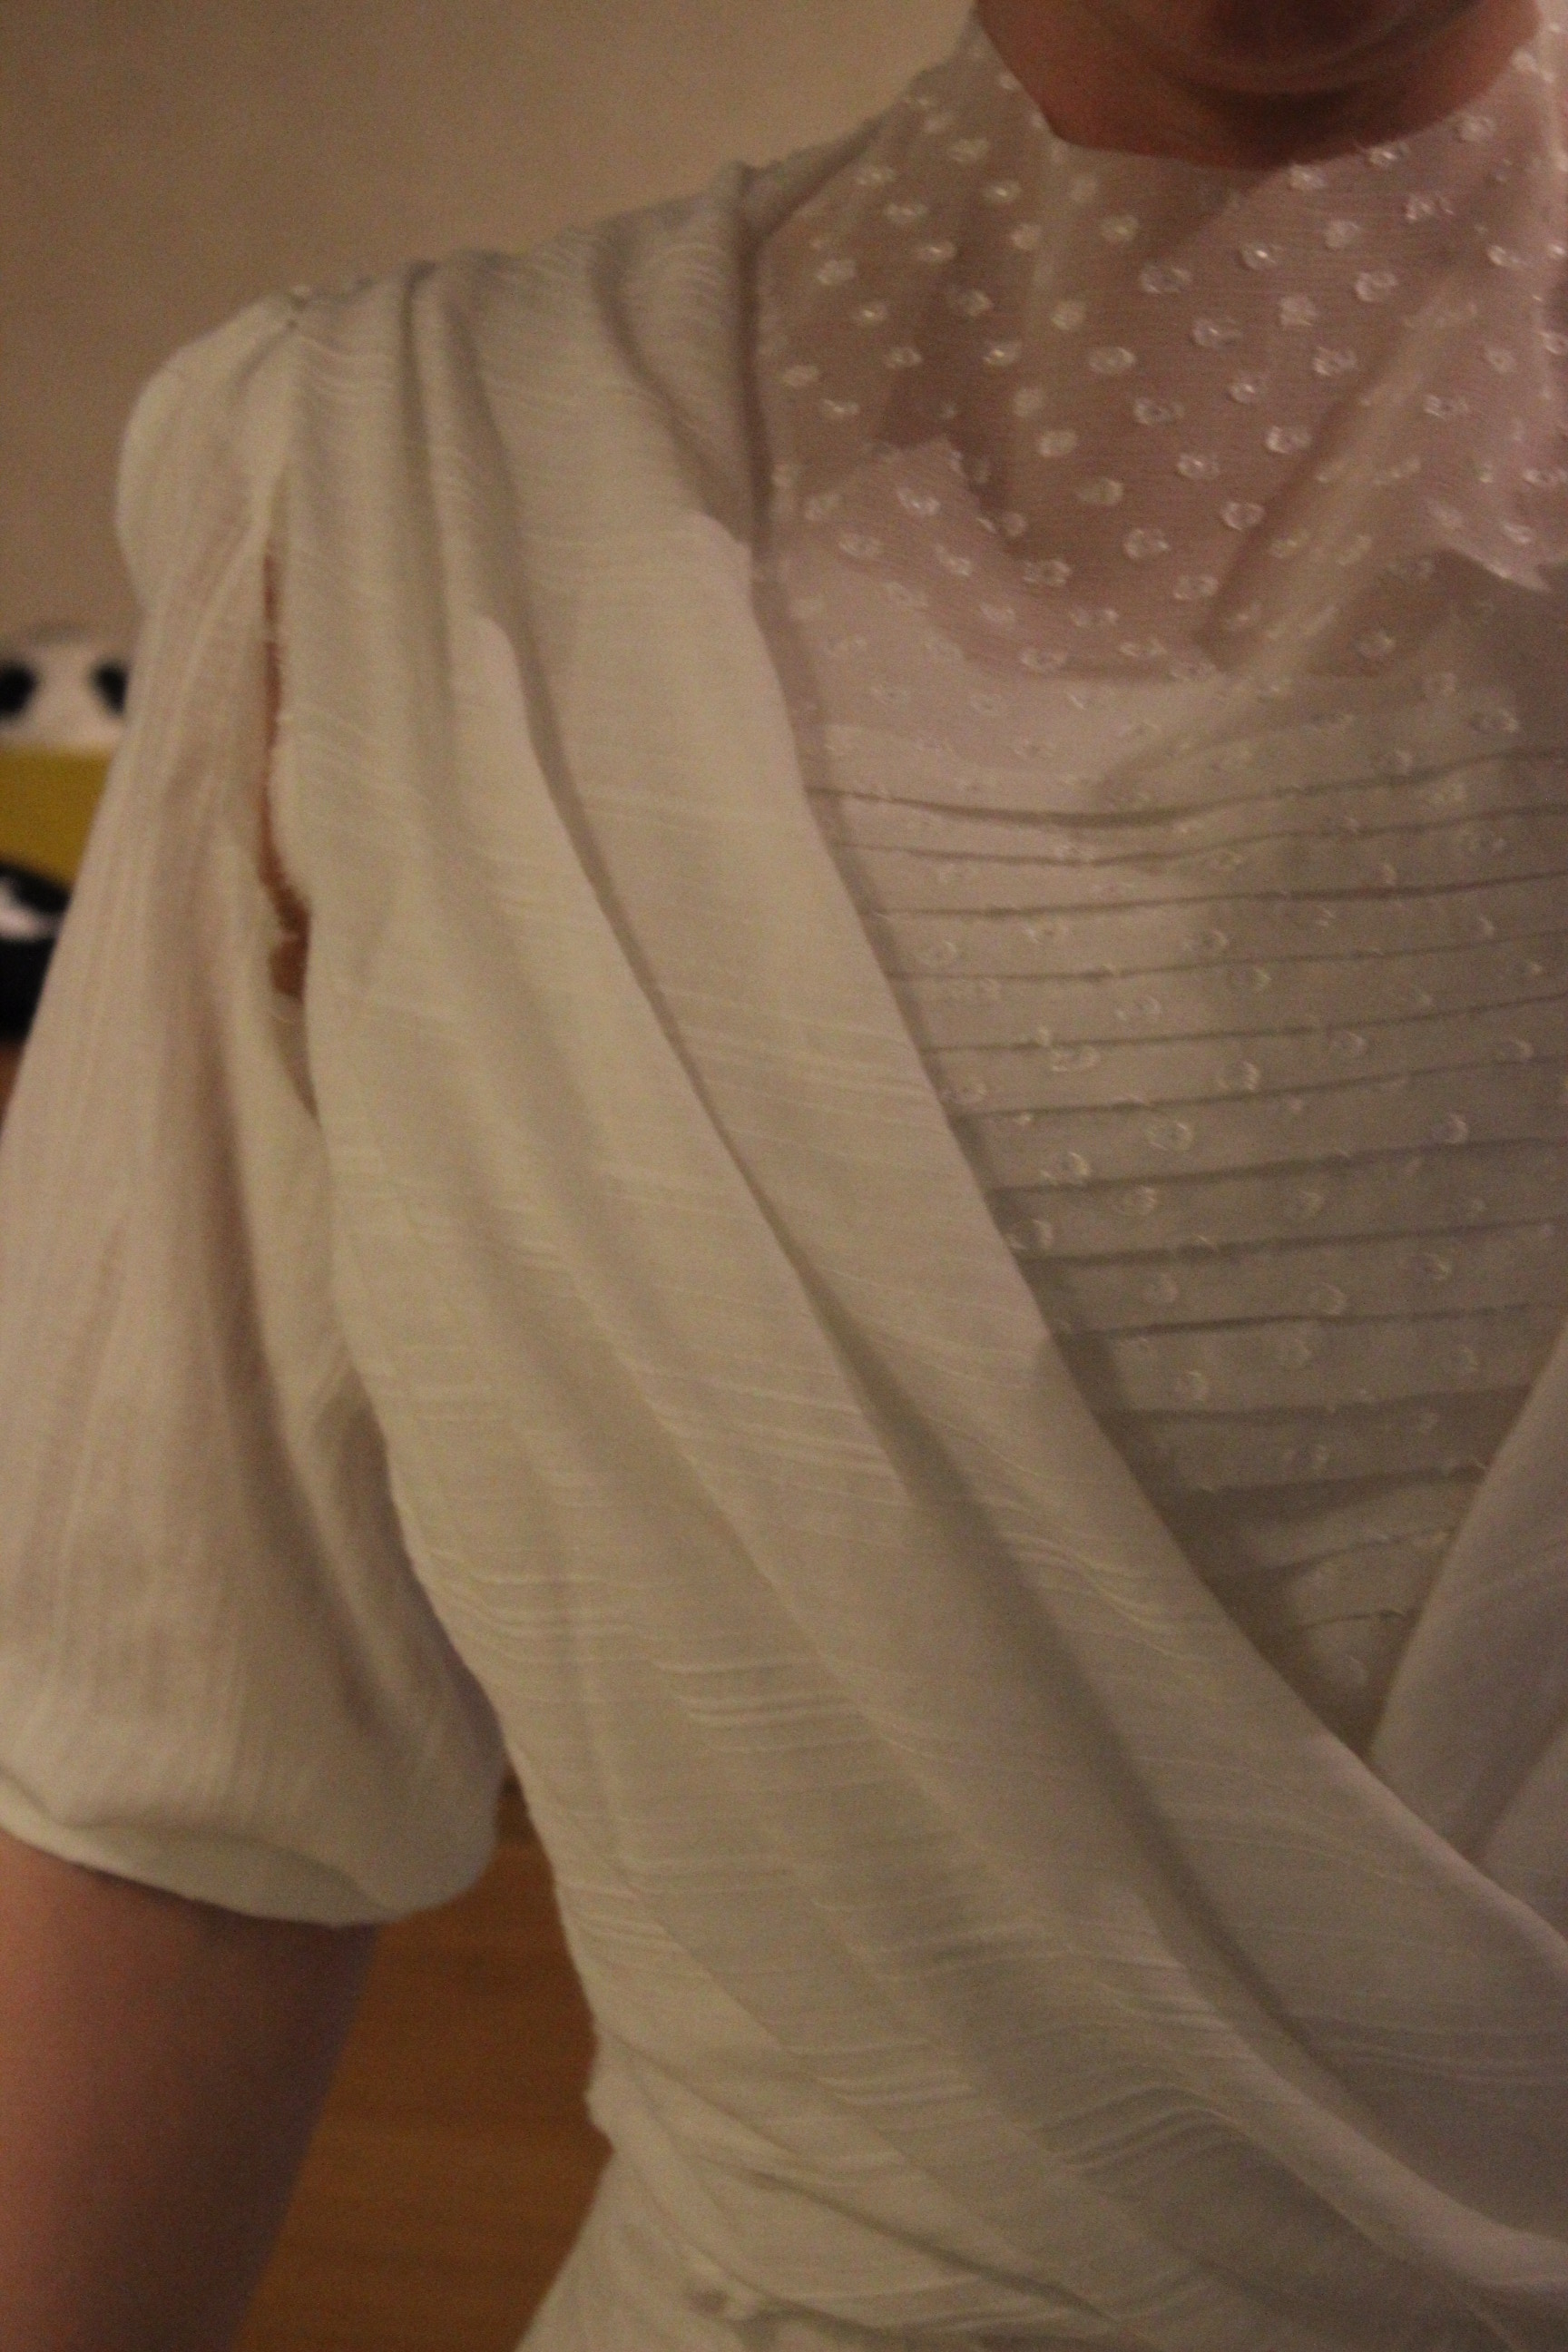


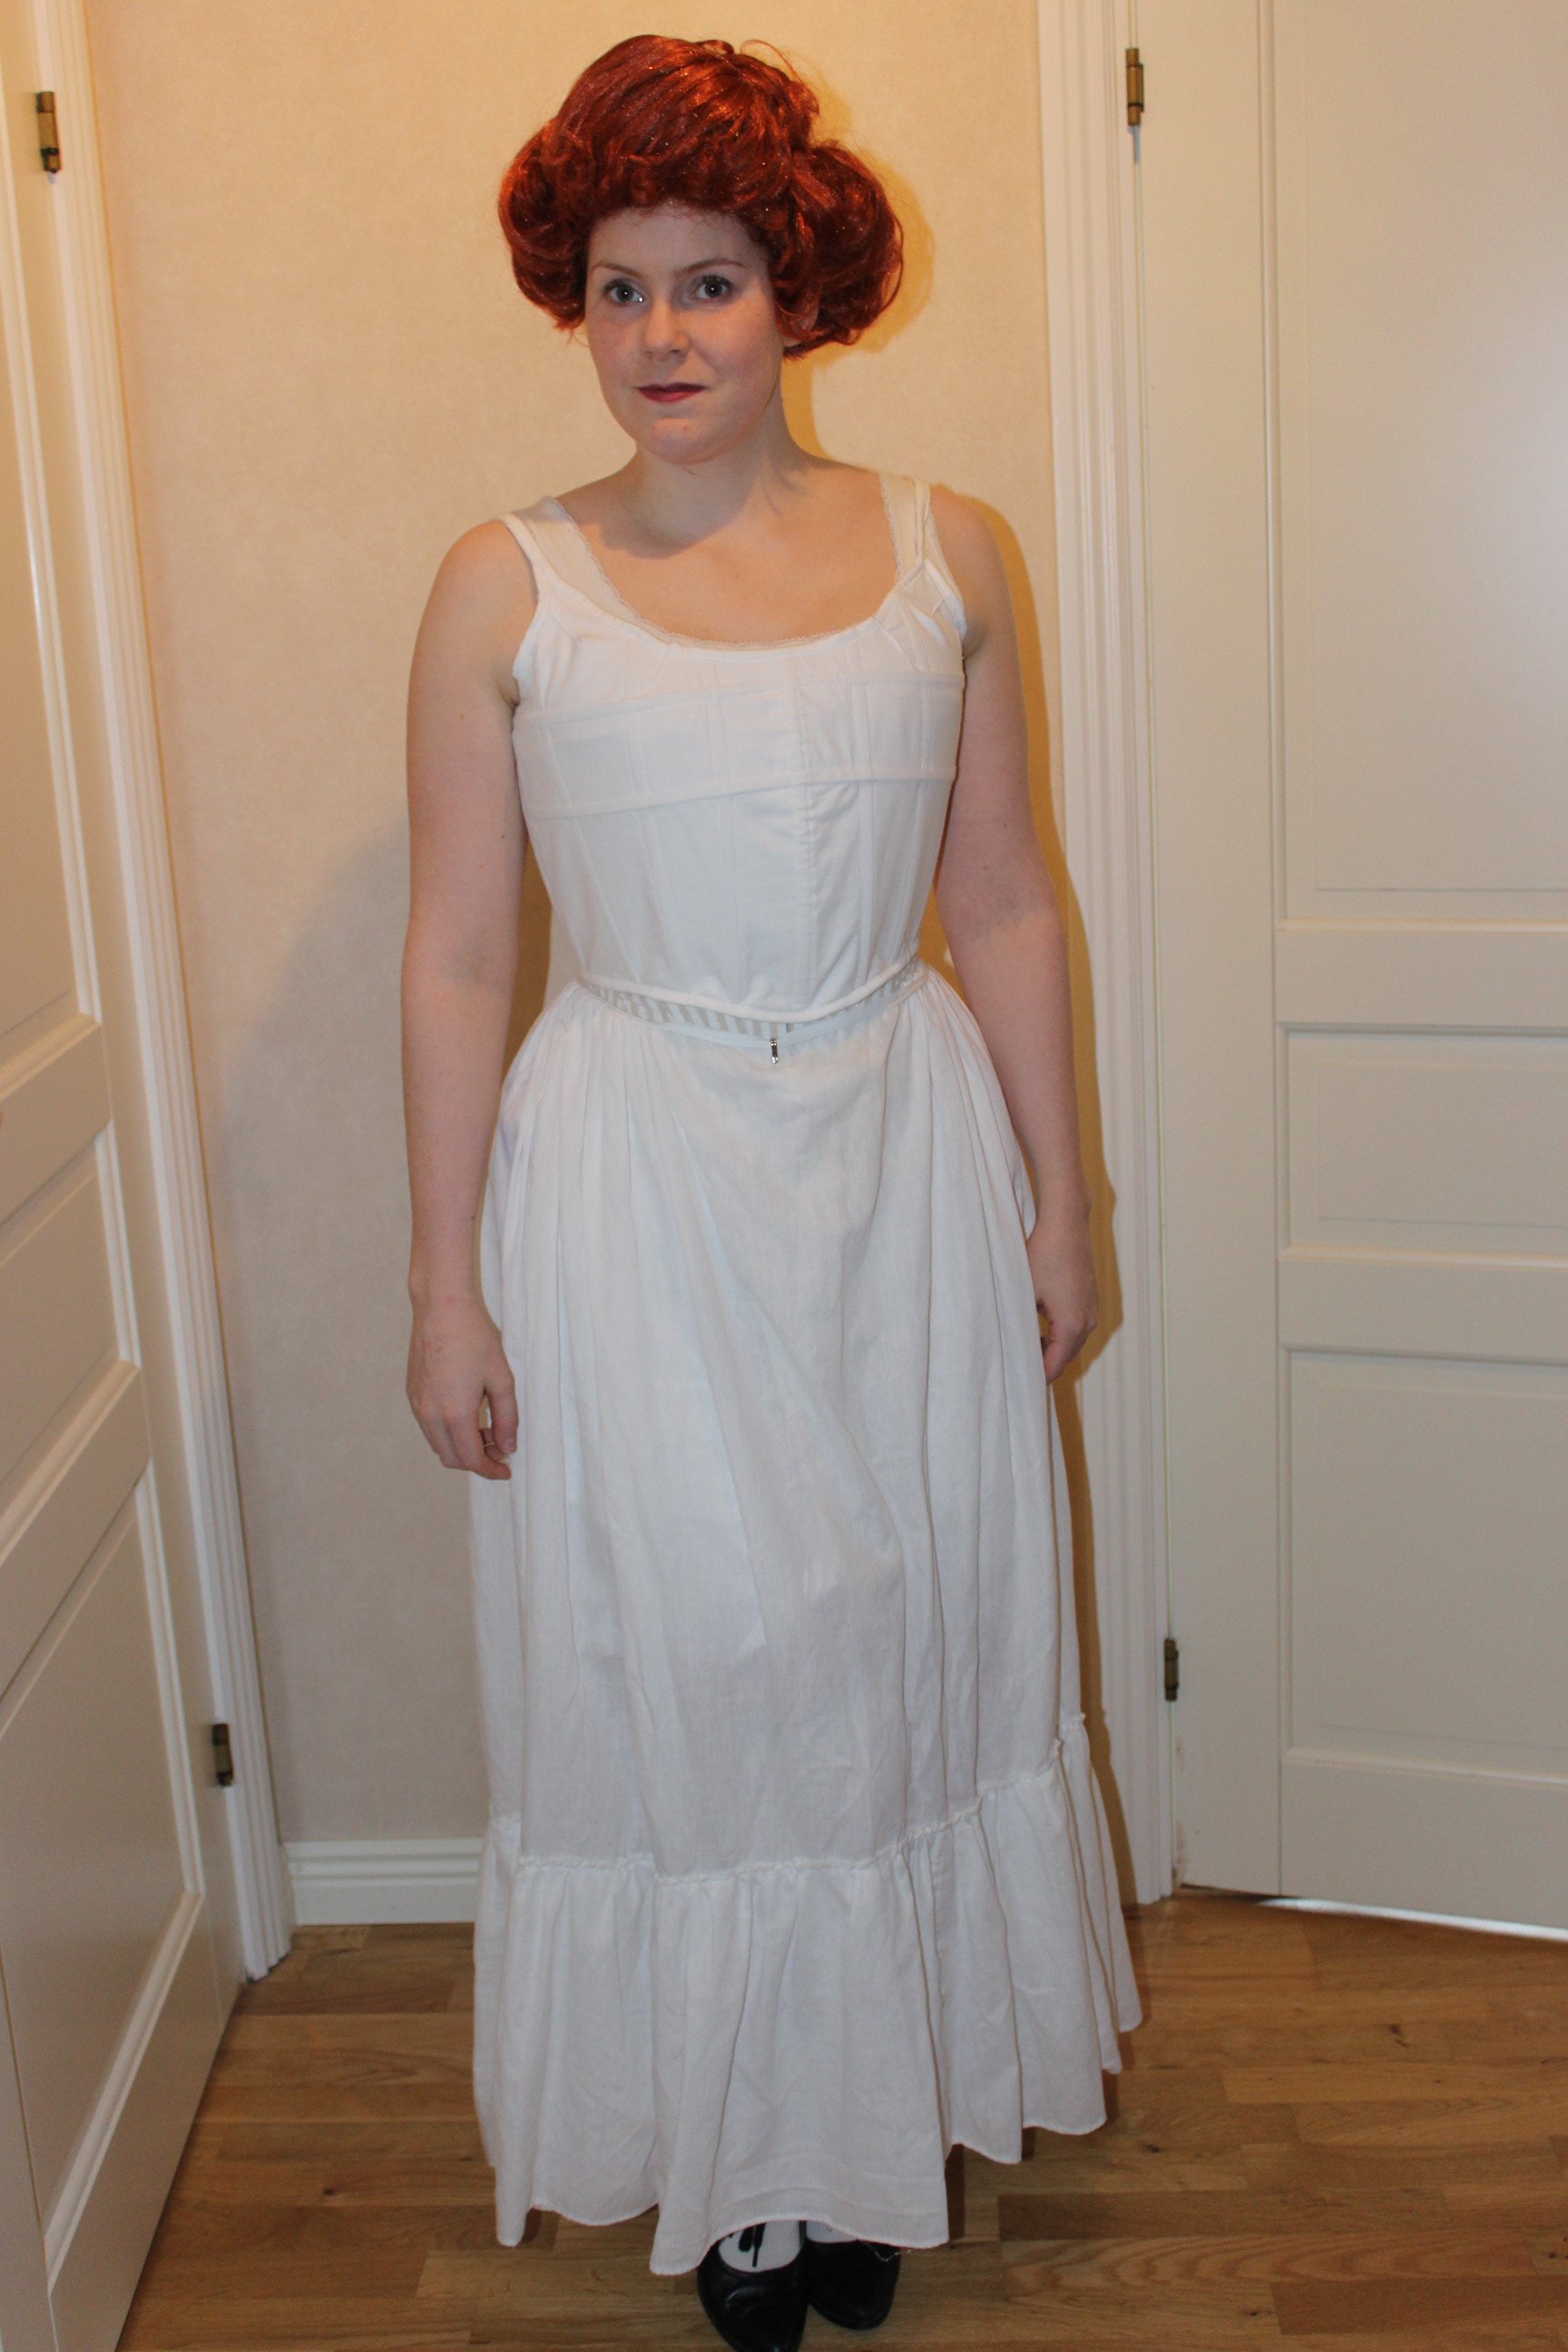
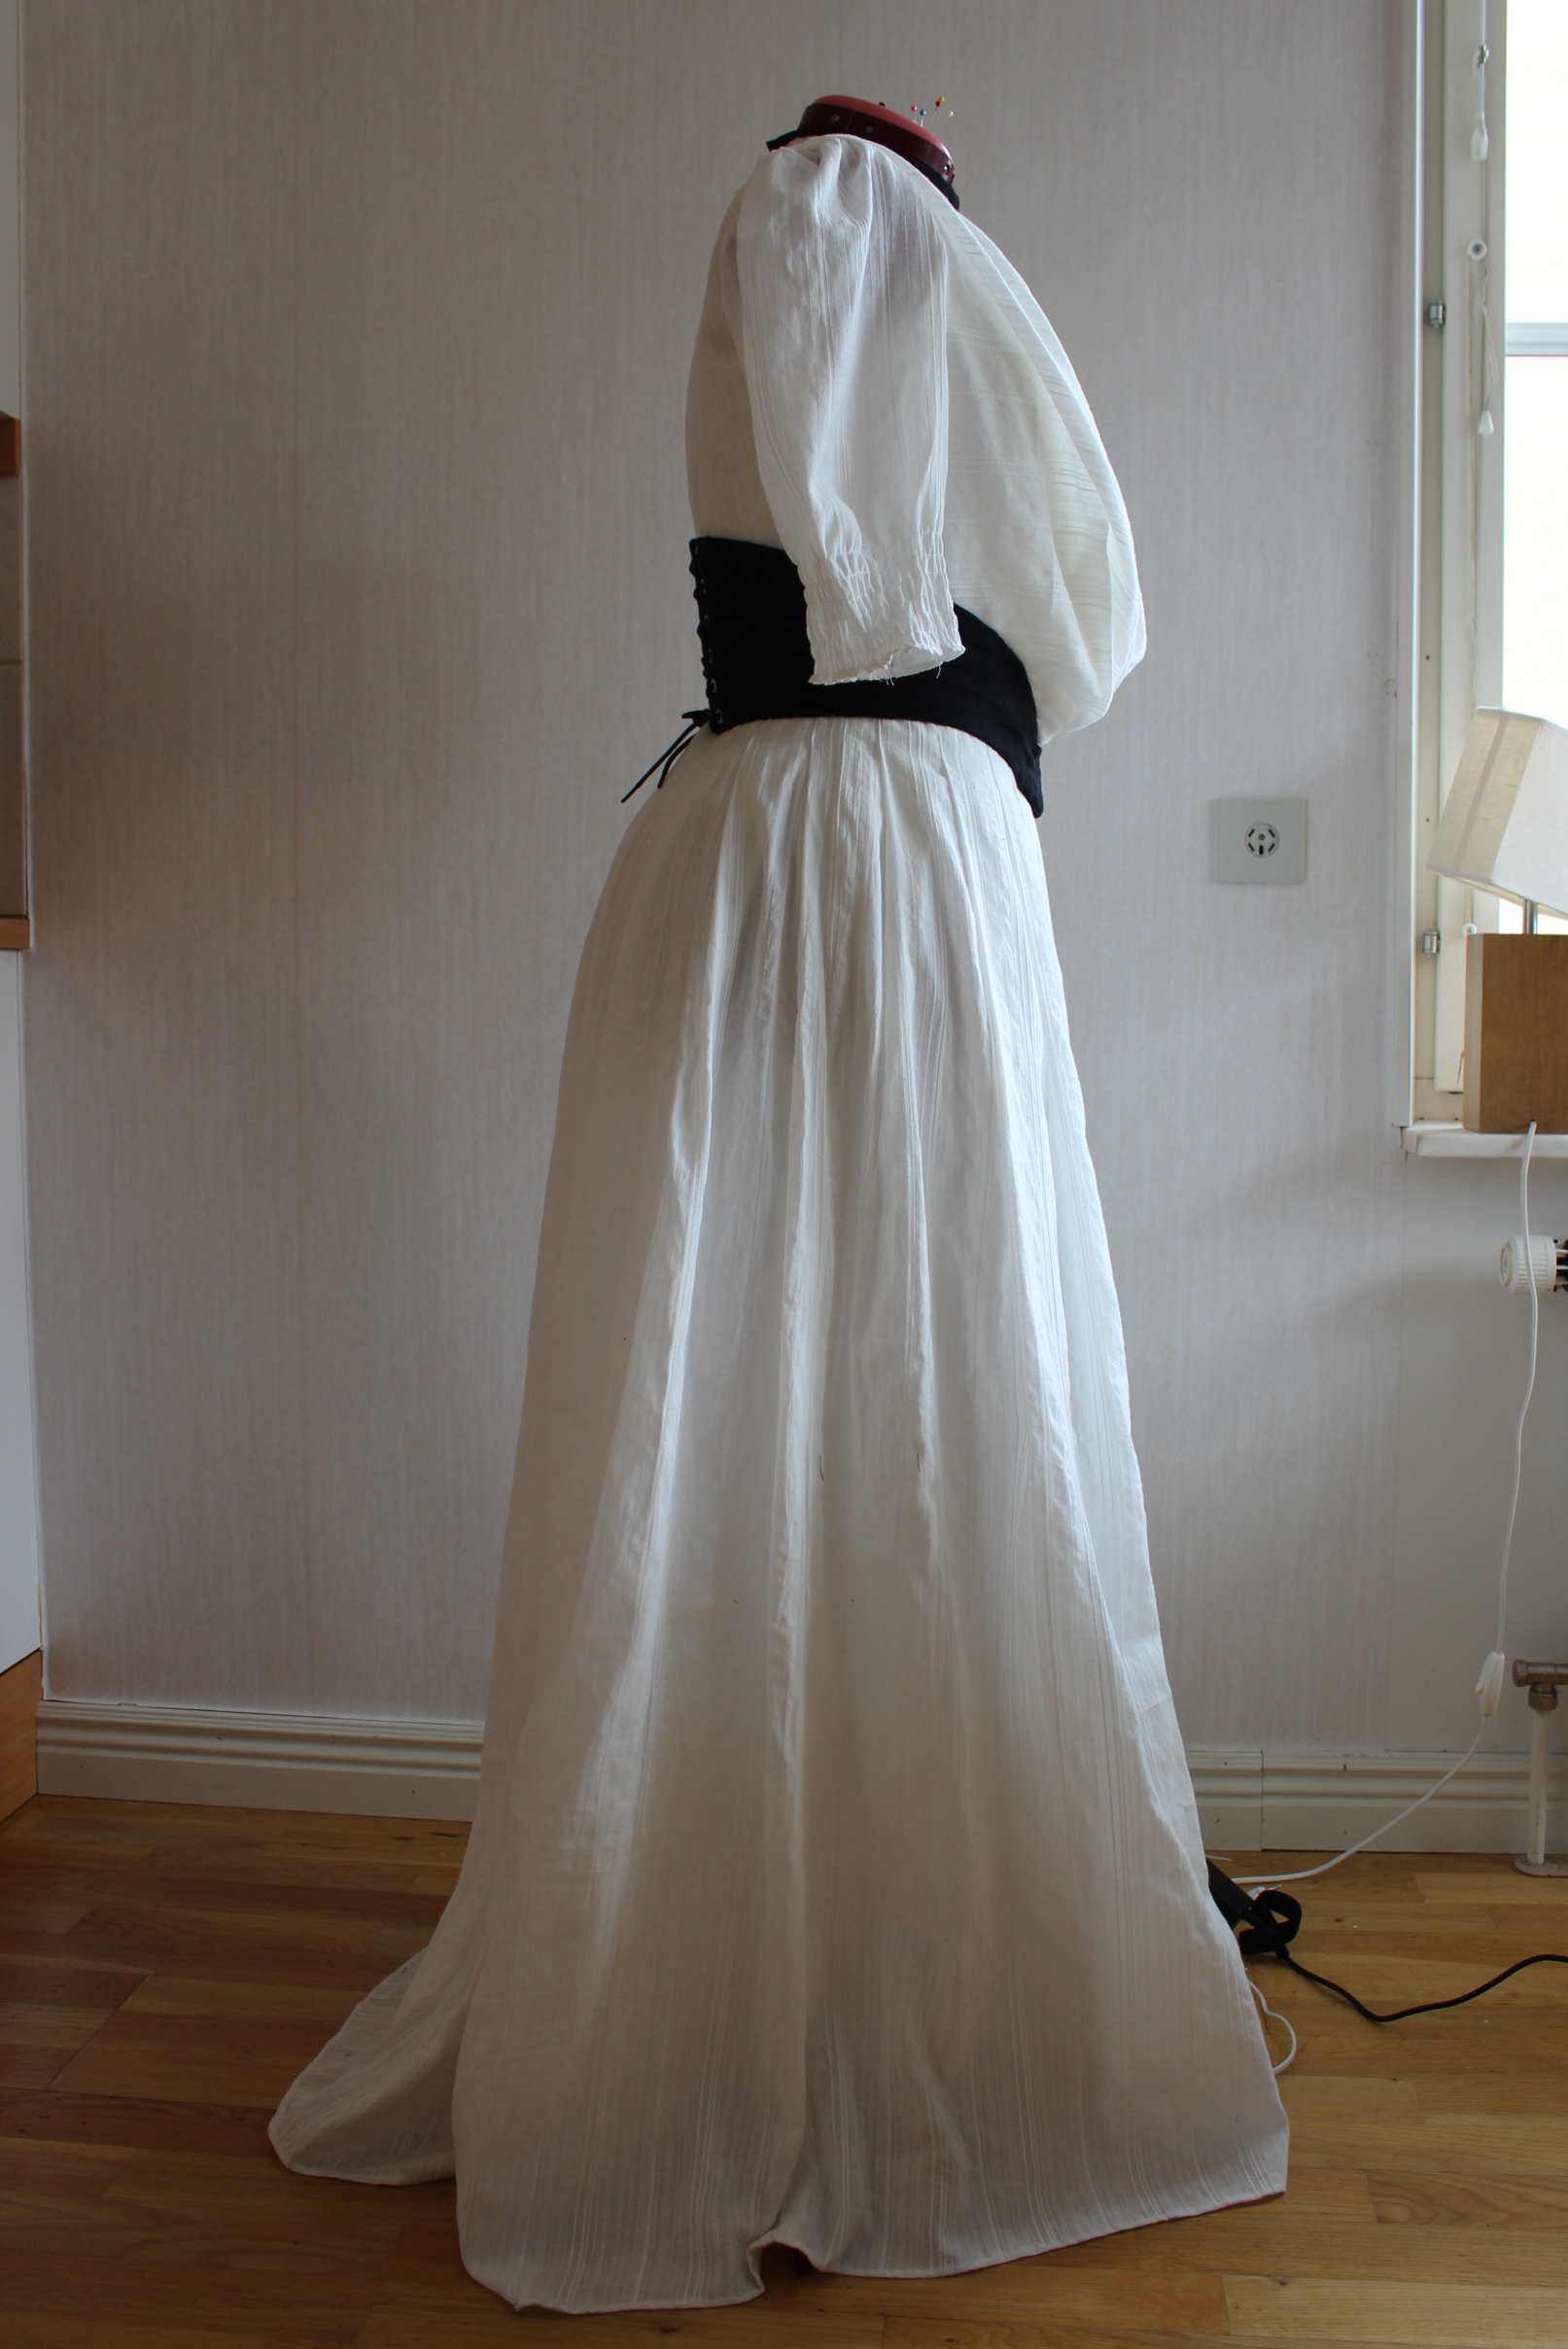
 Before
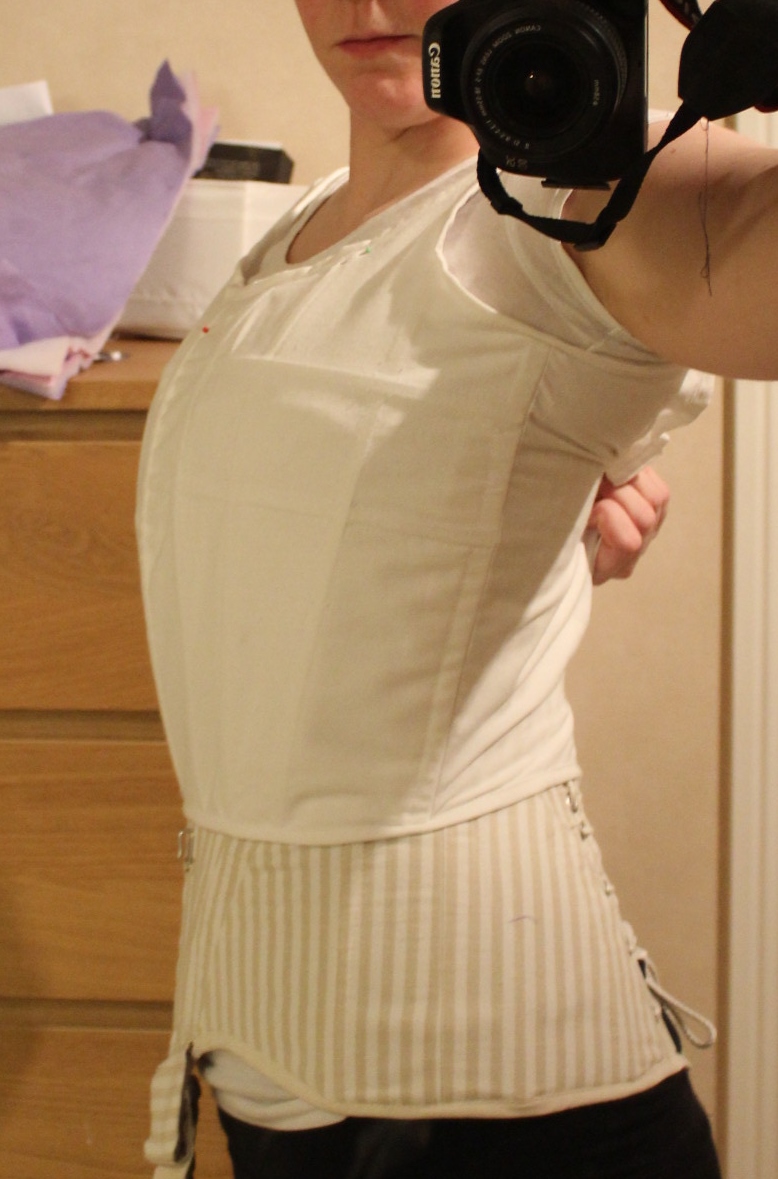


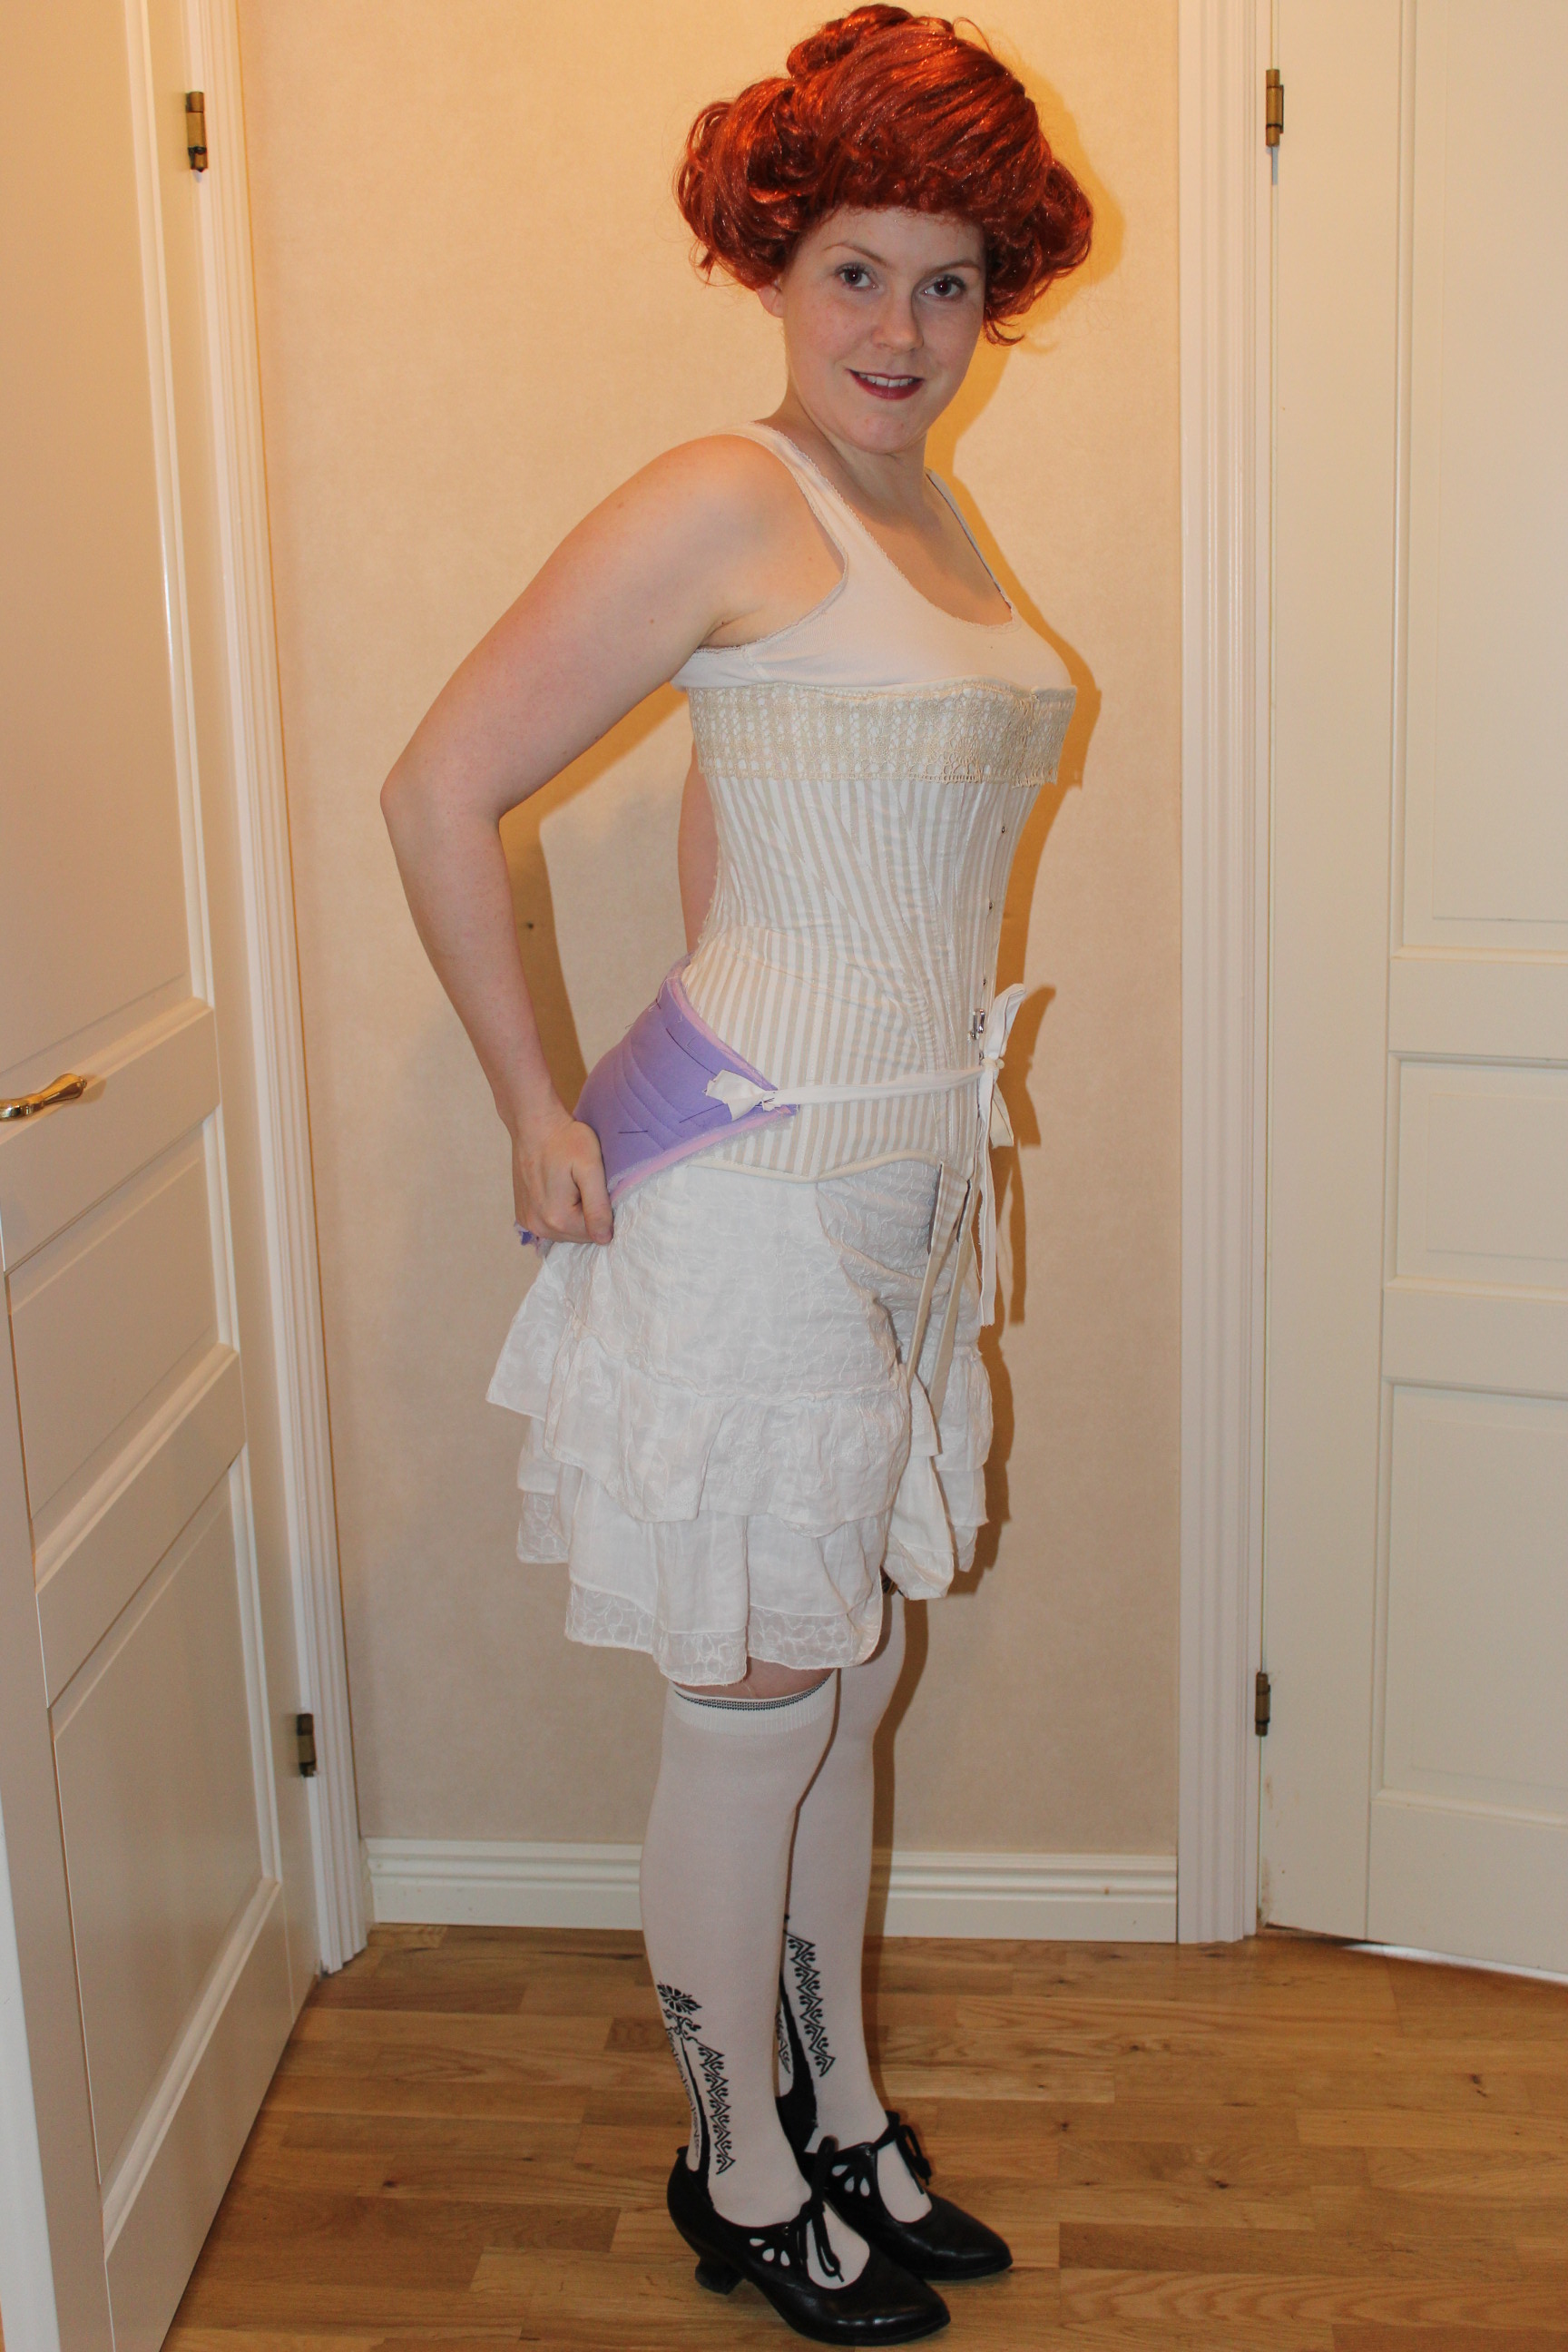
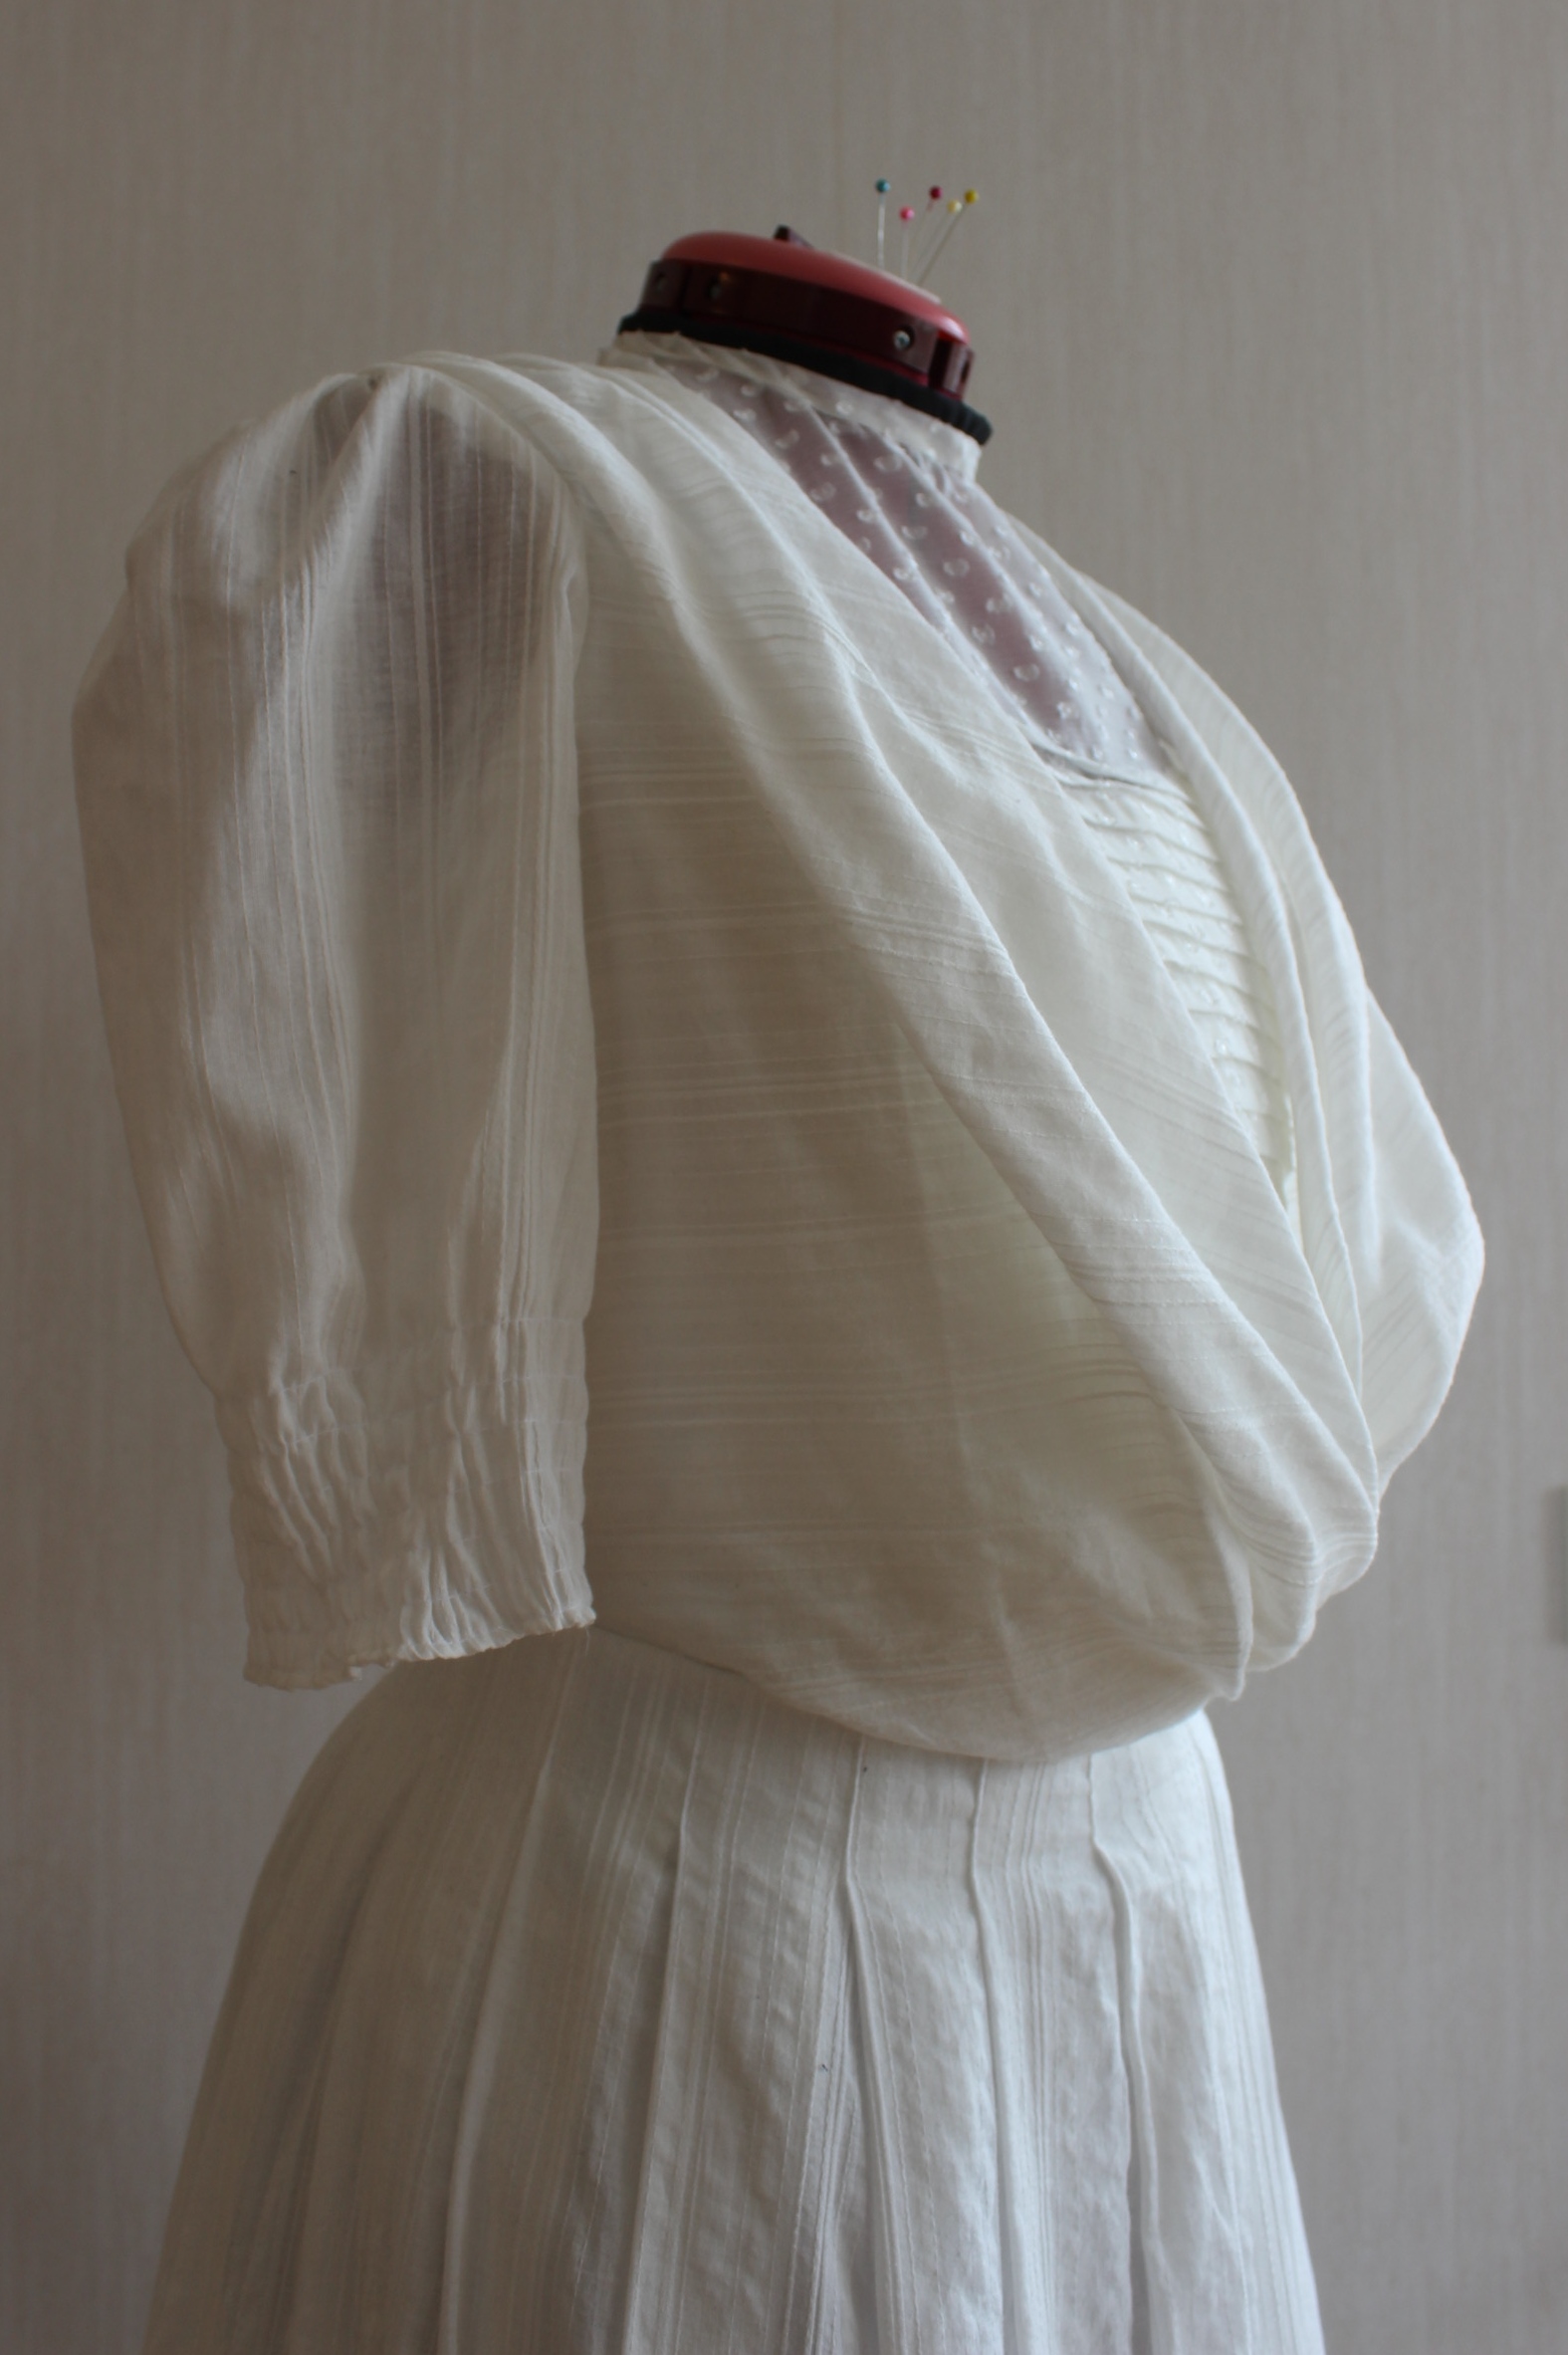
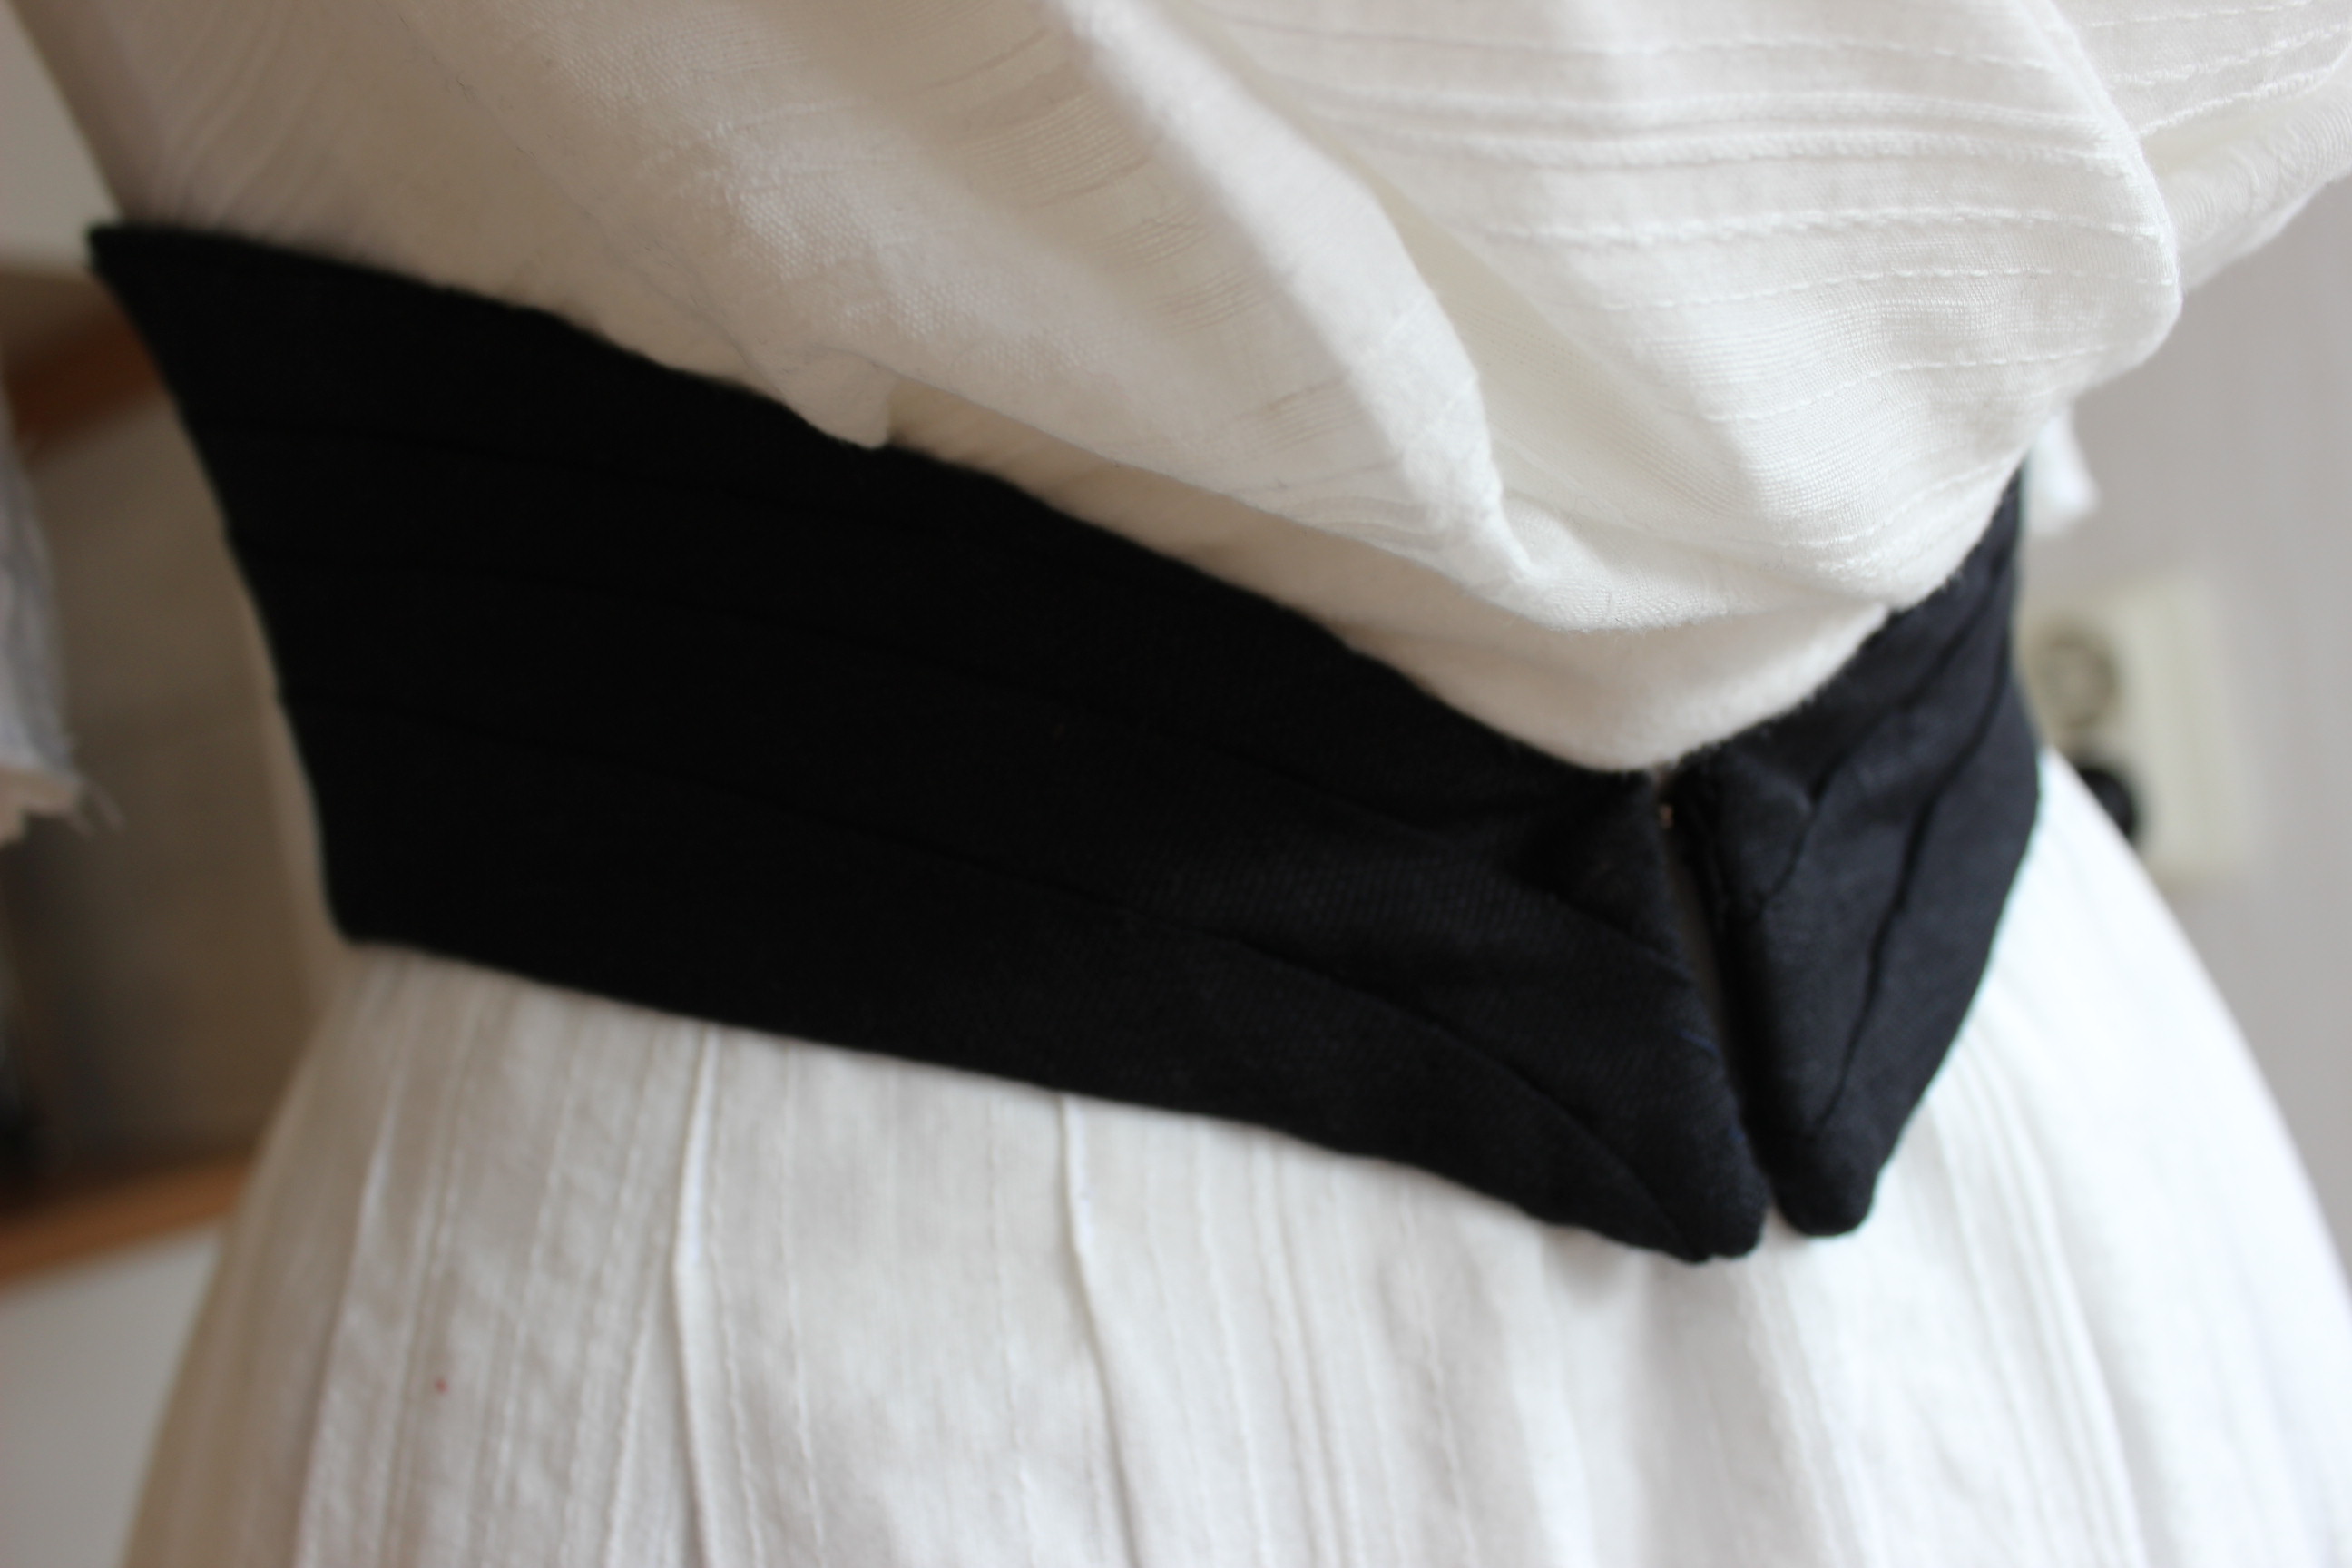
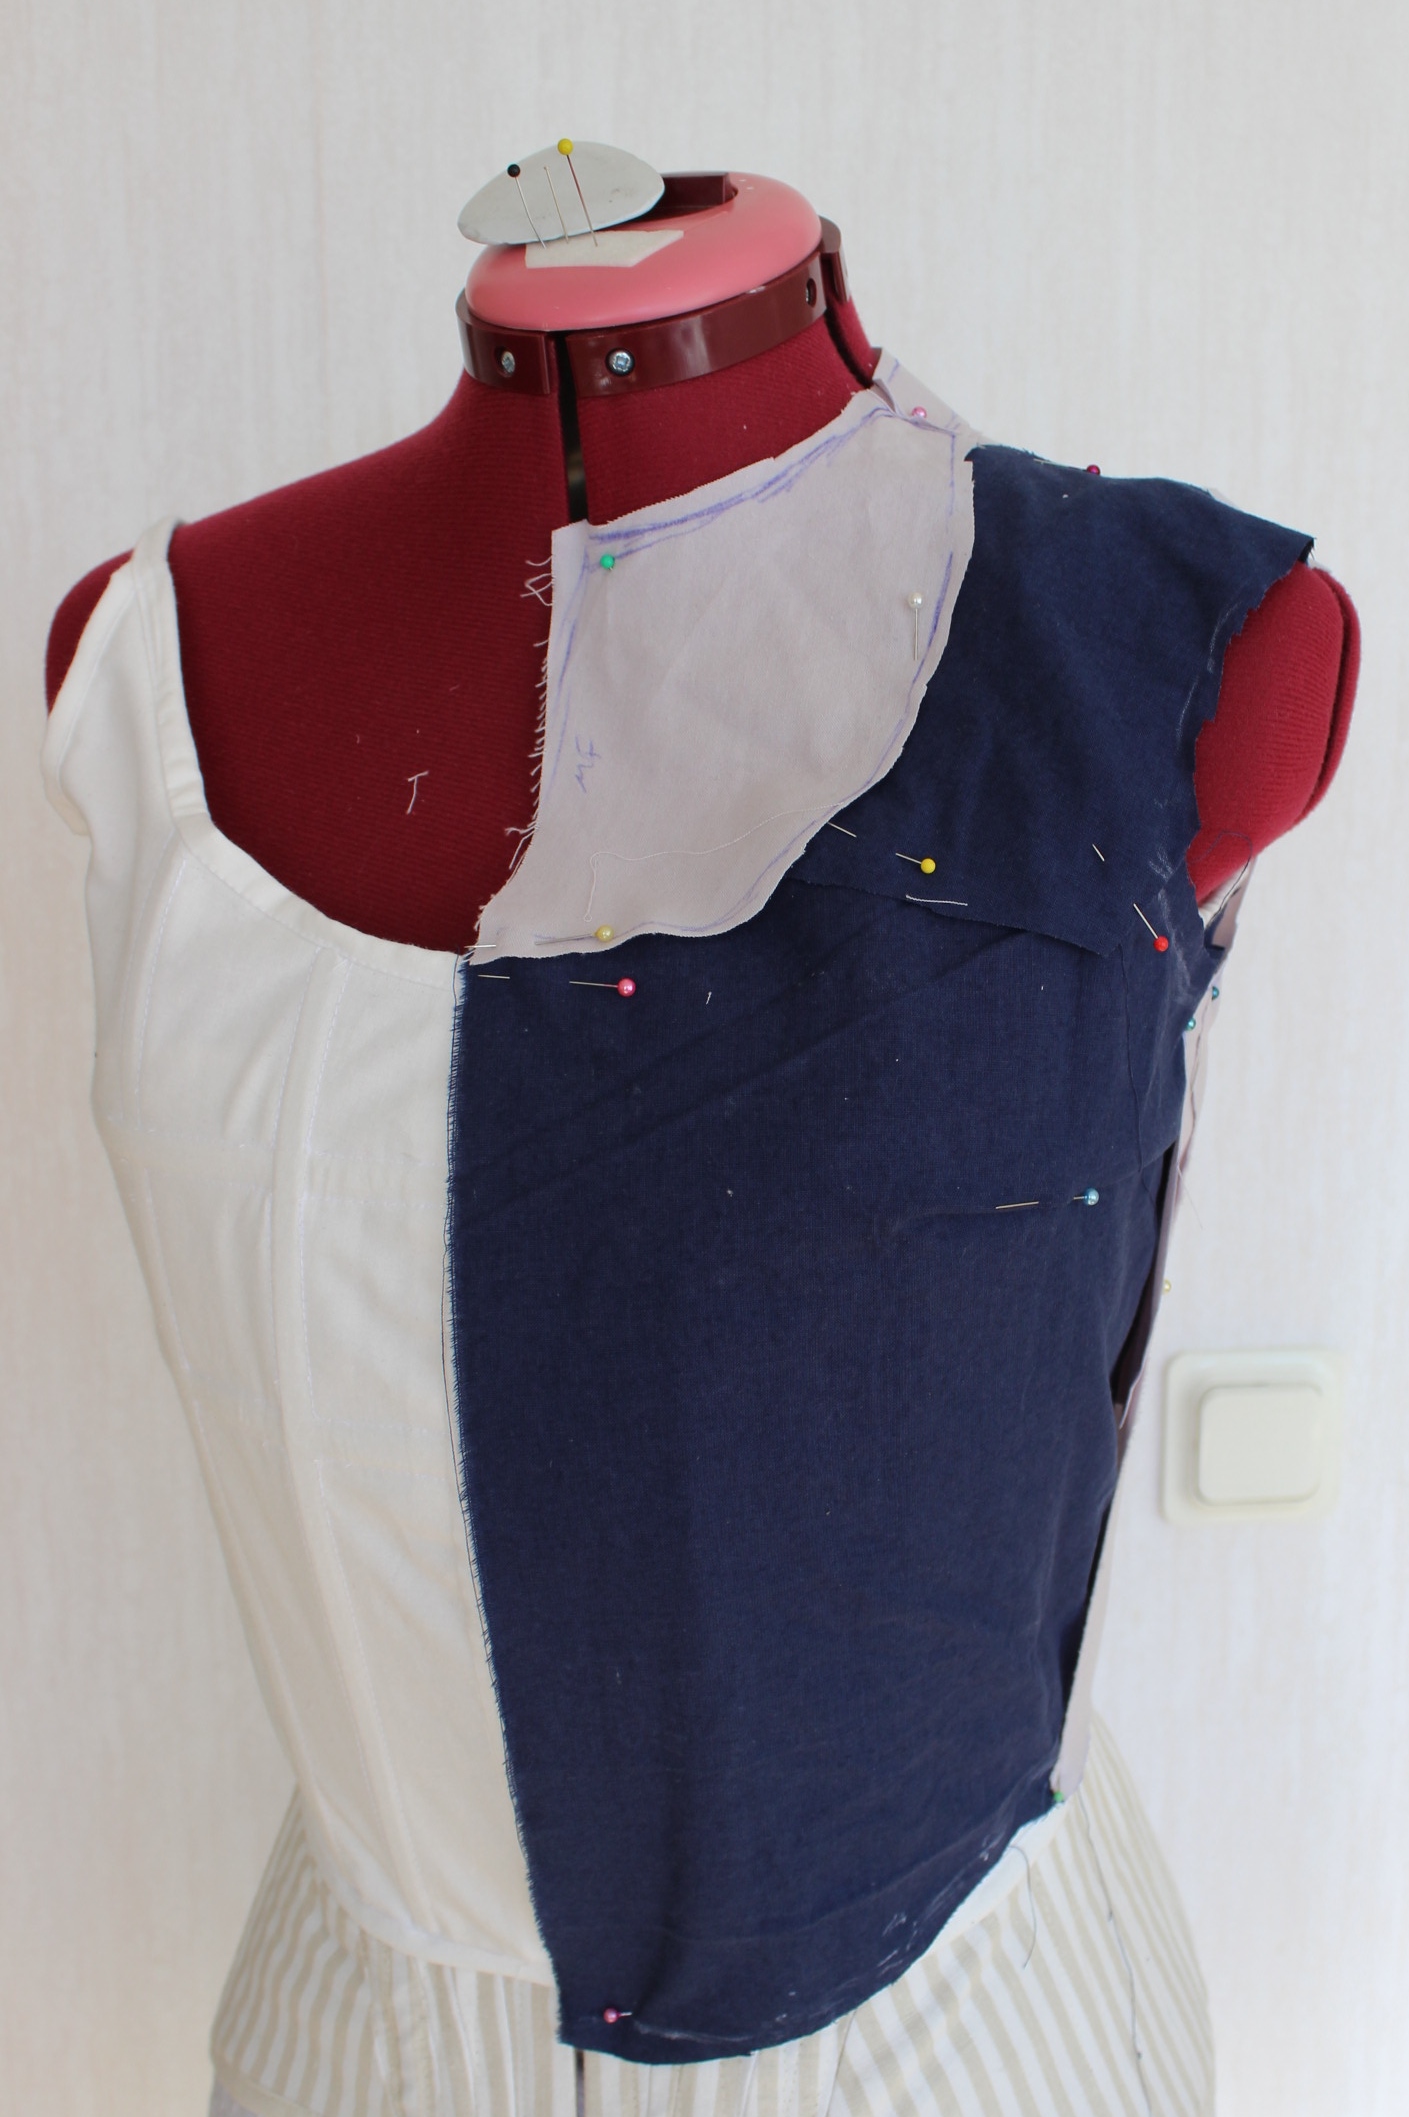
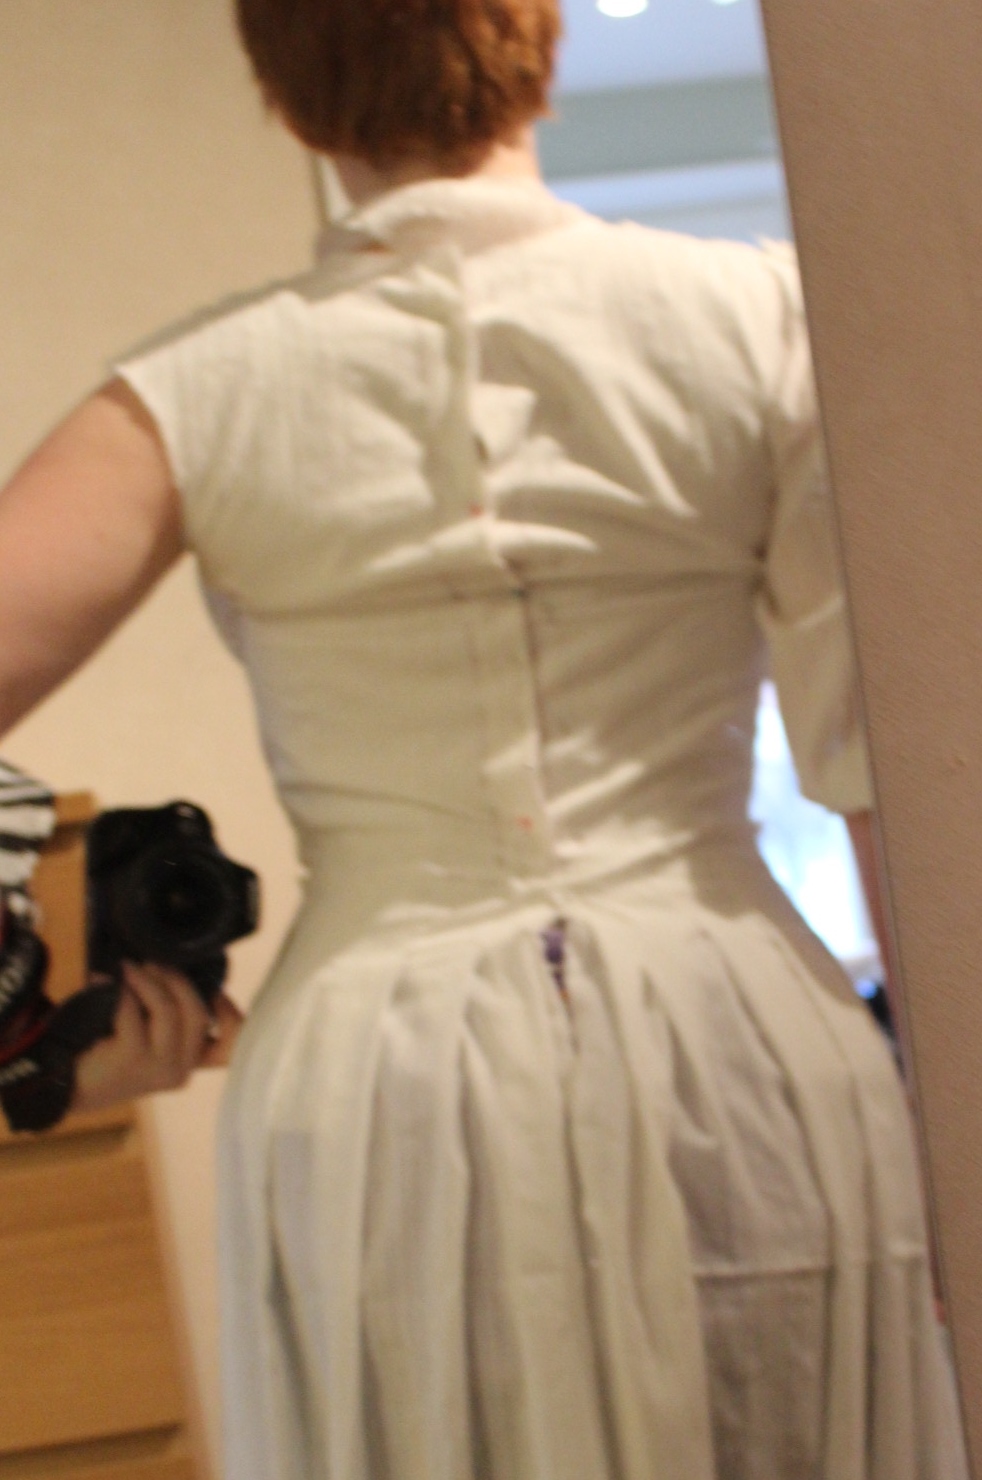
 The shoulder straps need to be adjusted – re-shaped and shortened.


