My original plan for the 16th HSF challenge – Terminology, (making something from “the-great-historical-fashion-and-textile-glossary“) was to make a regency round gown, but as the deadline approached I found an old UFO in my sewing pile causing me to changed track completely.
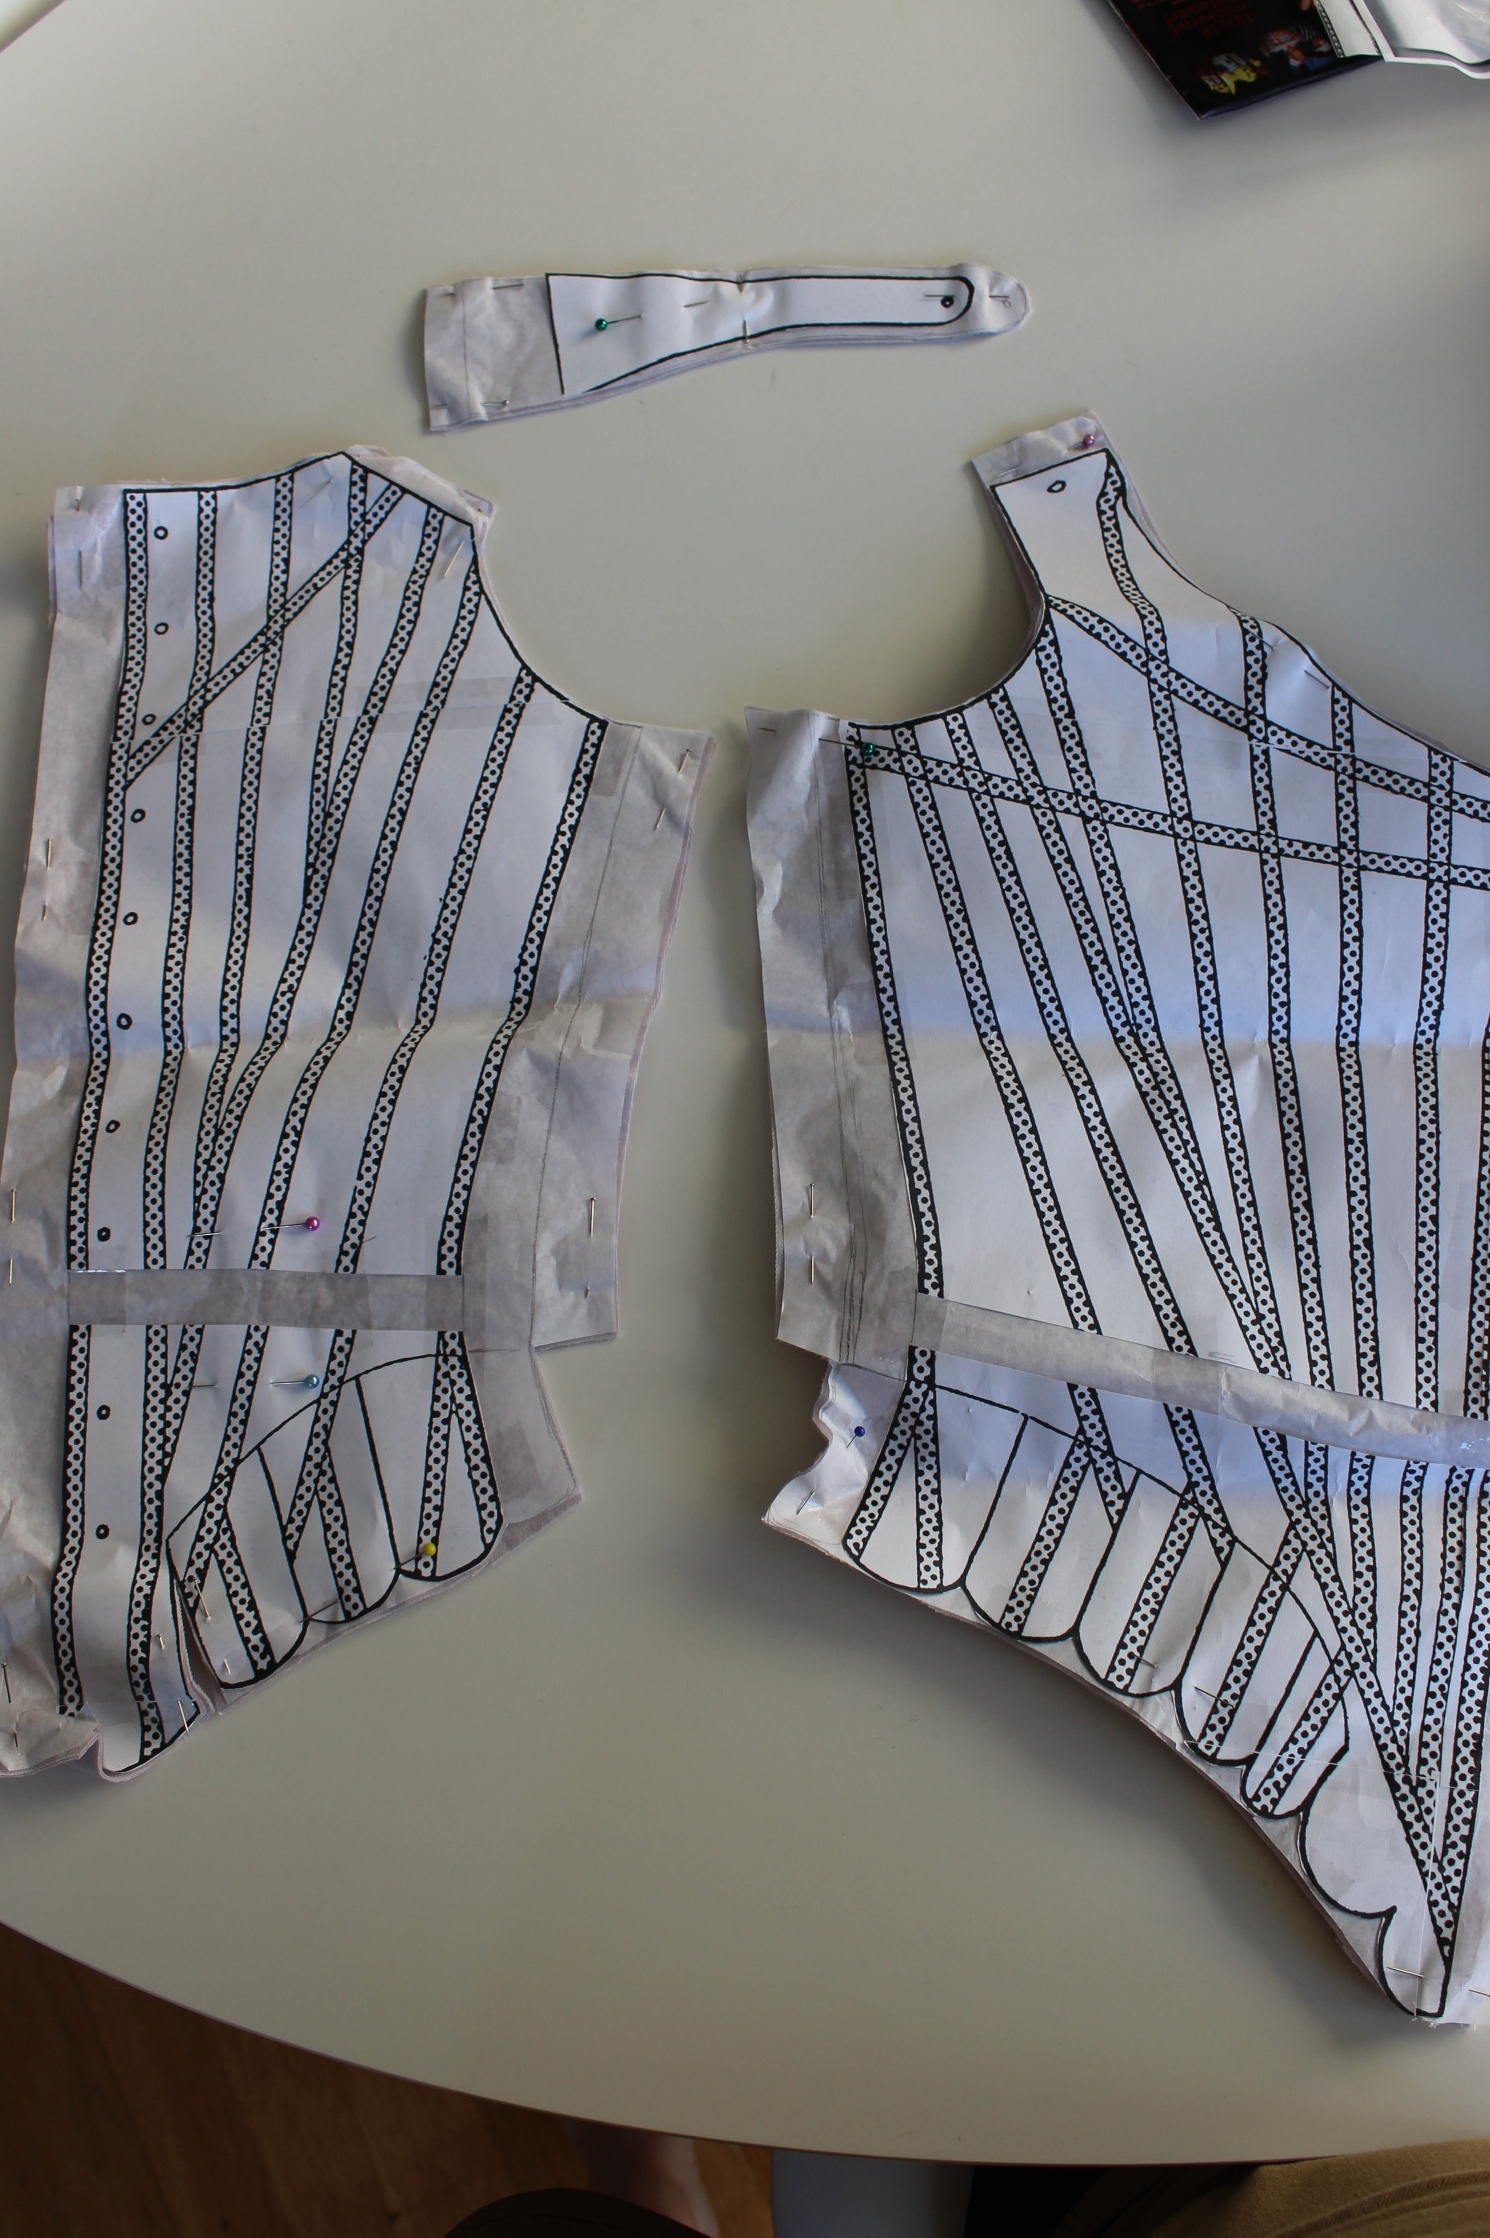
The item that now got my sewing nerve tingling was the 18th century half boned stays from Nora Waughs Corset and Crinolines.  I’d started the project about a year ago, scaled and printed the pattern, took measurements and altered the pieces . Then I left it in favor for some other, more pressing costuming need. And that’s how I found it.
So I searched “The Glossary” for some useful article and found just the one: Stays. The pieces already altered for my measurements.
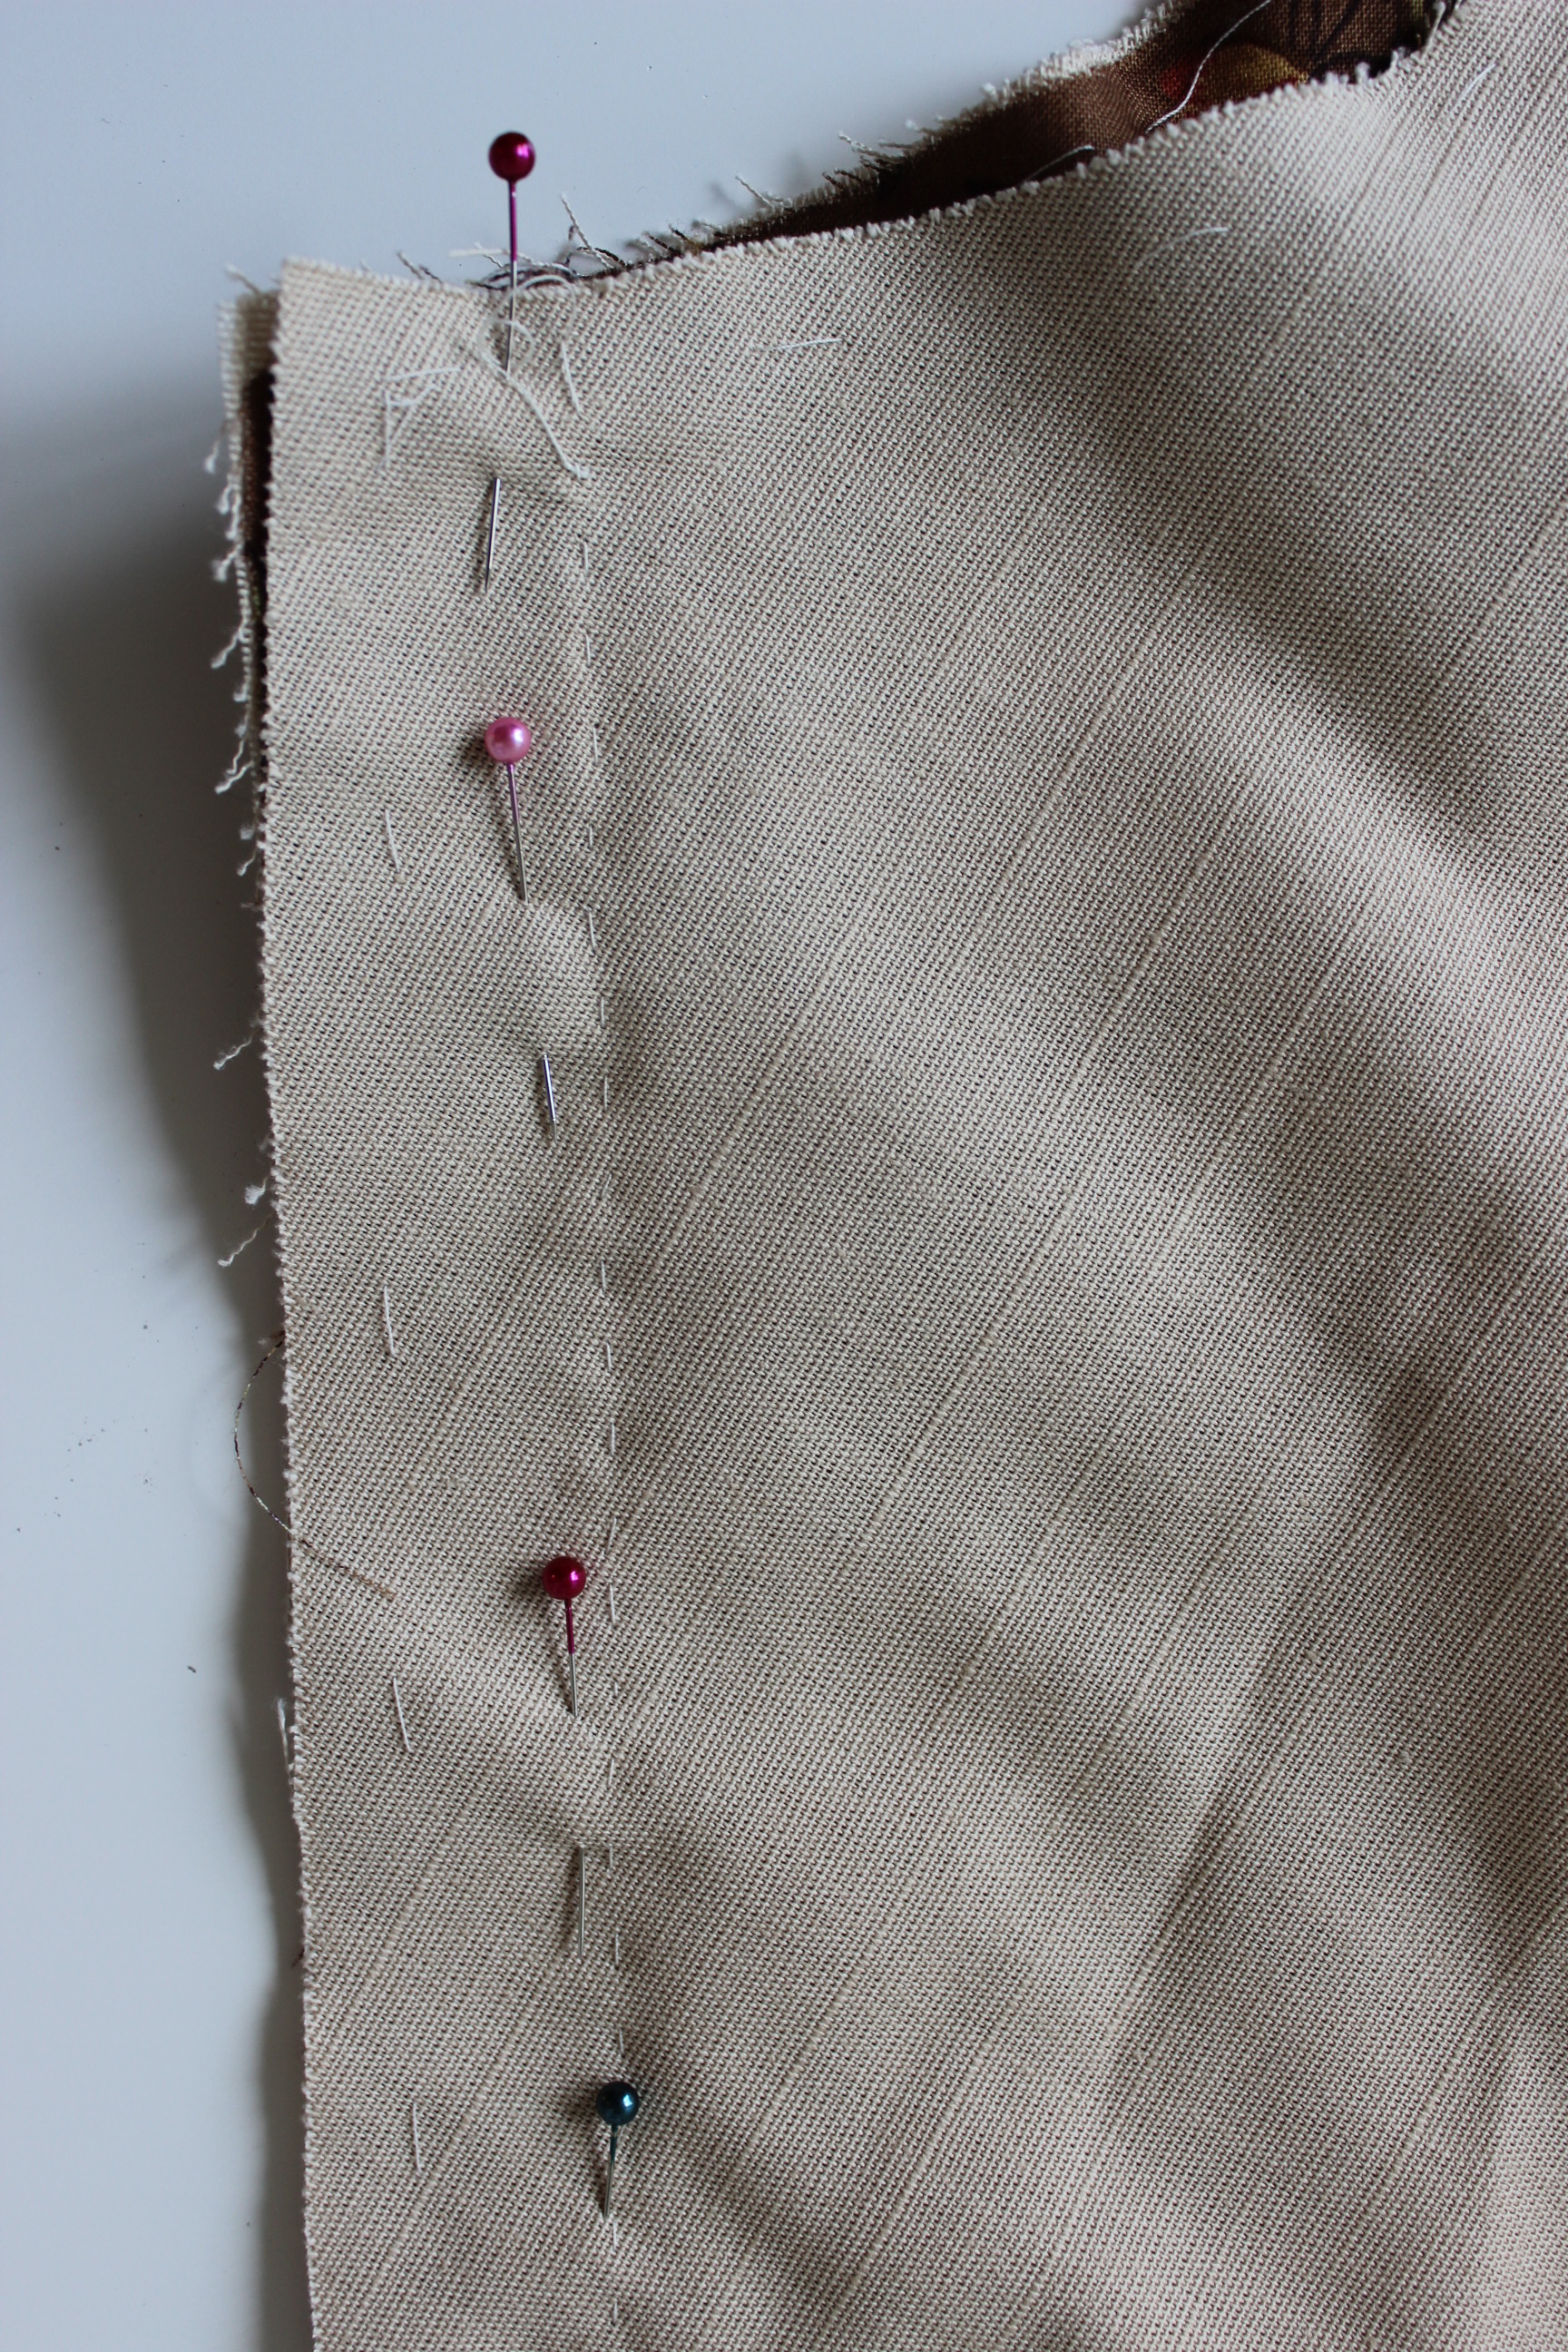
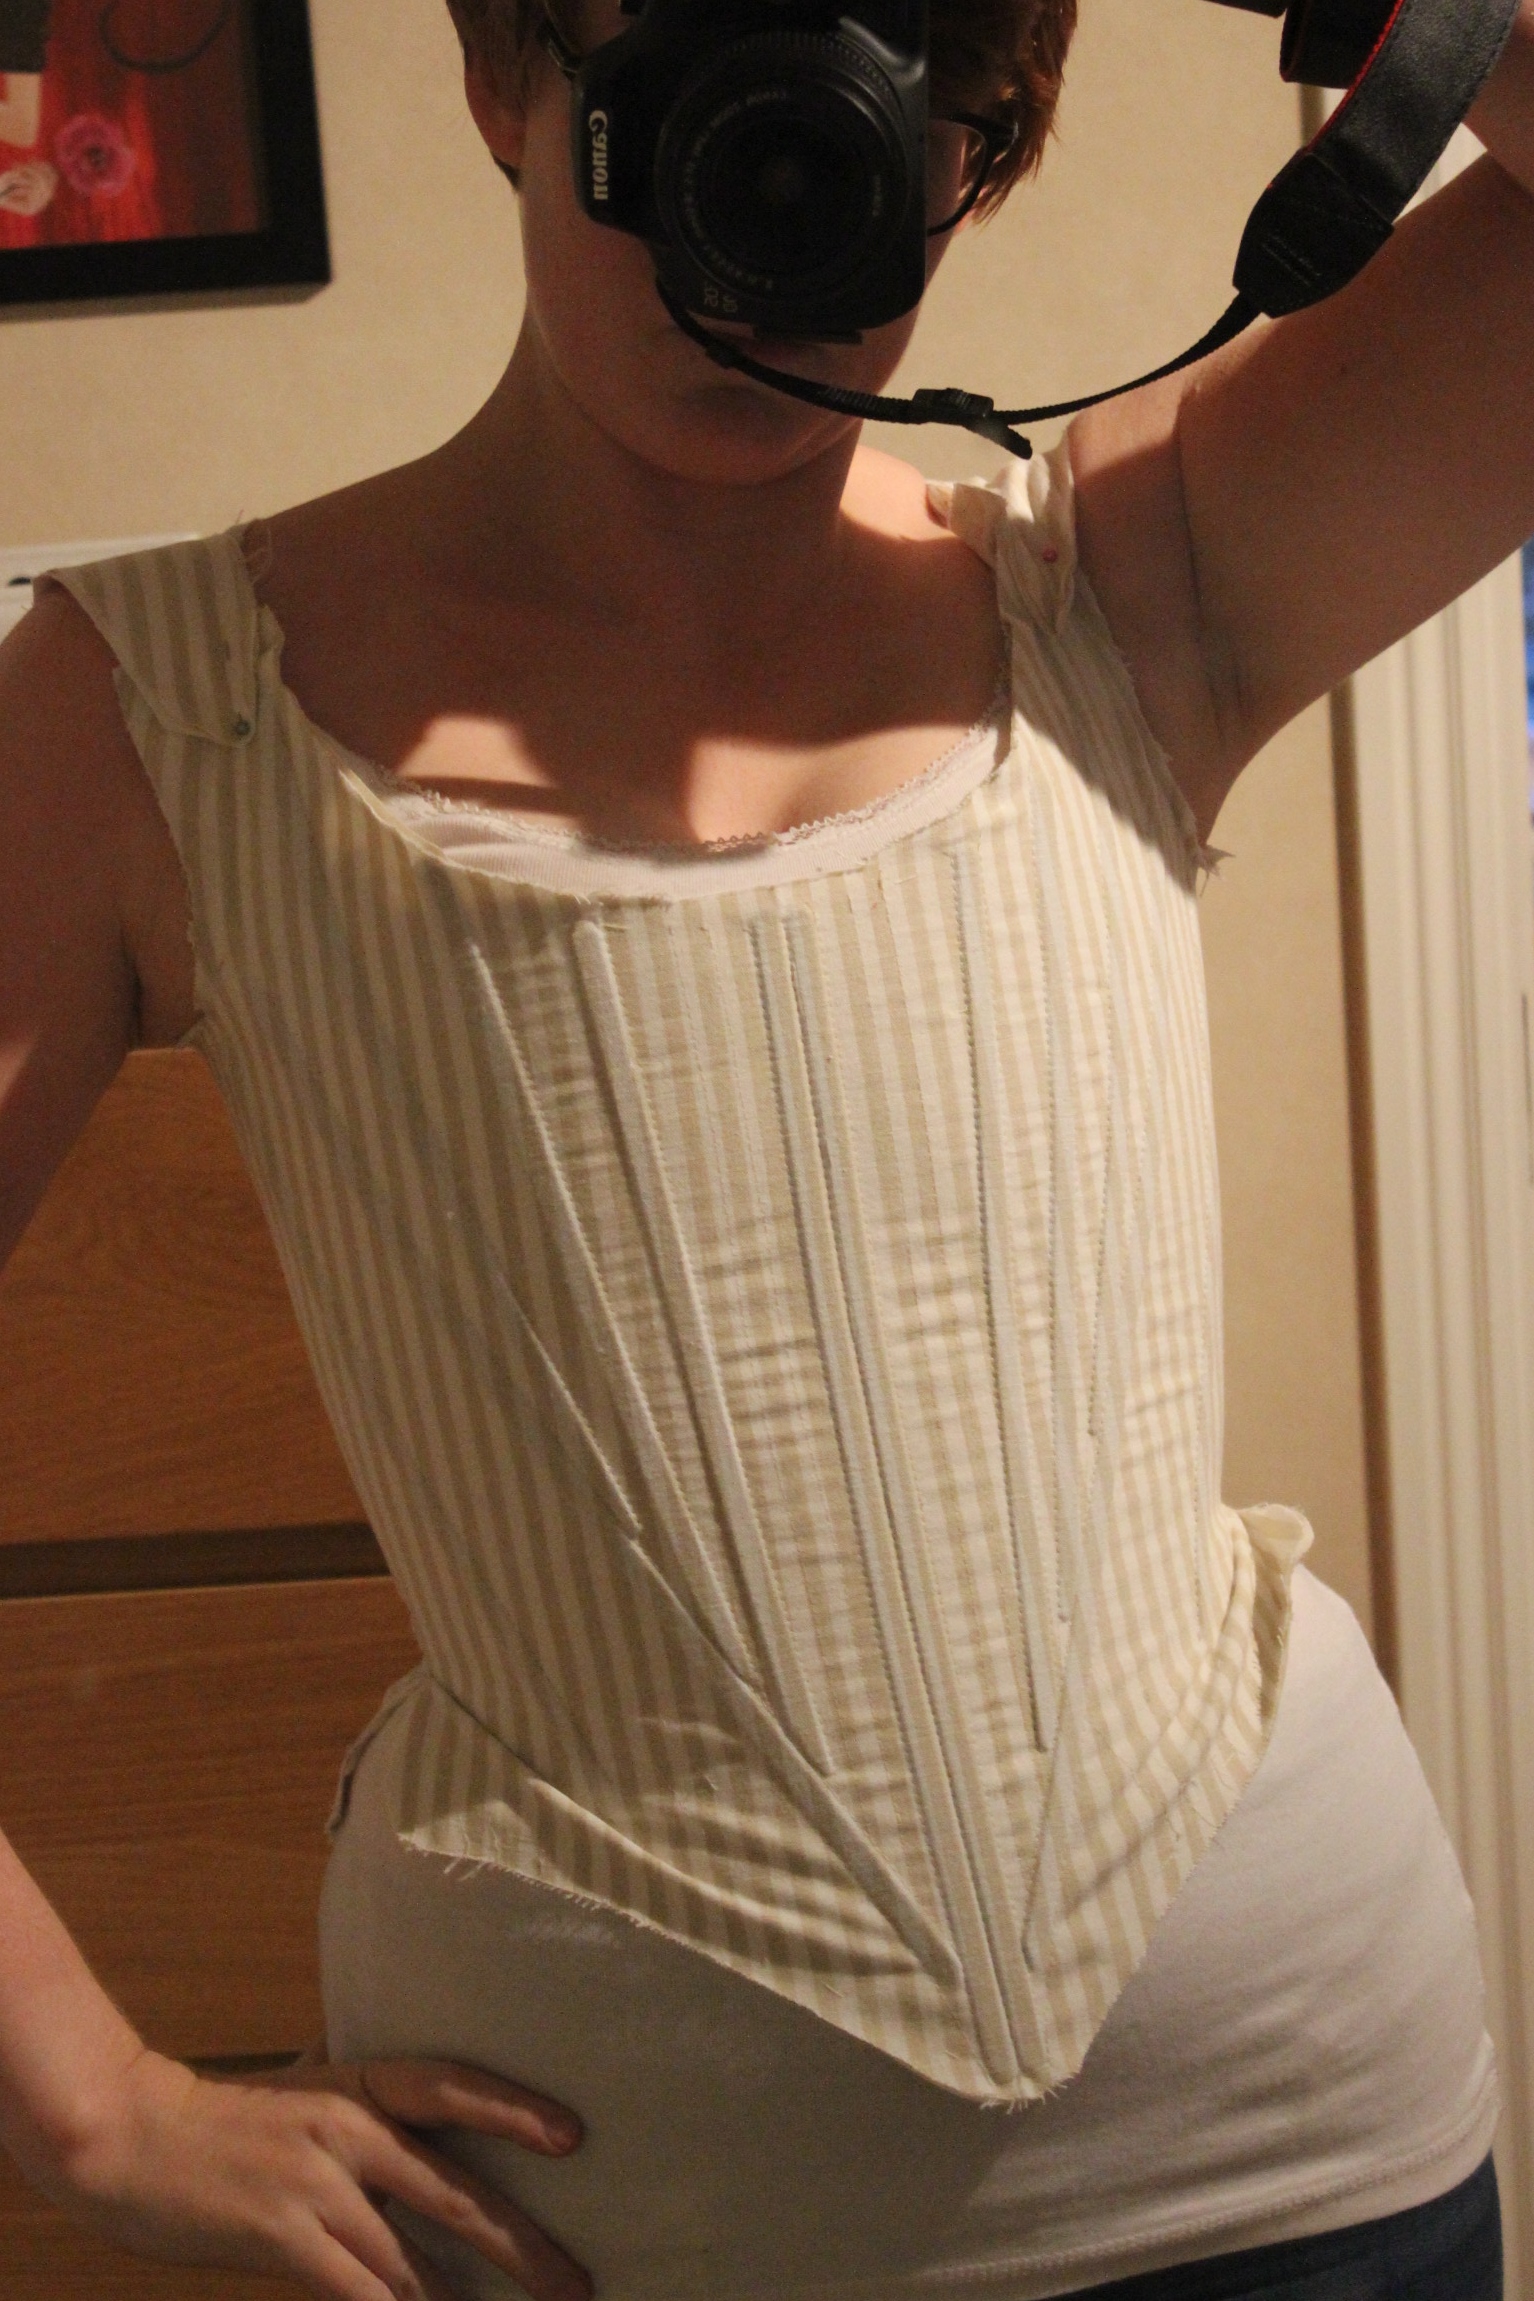
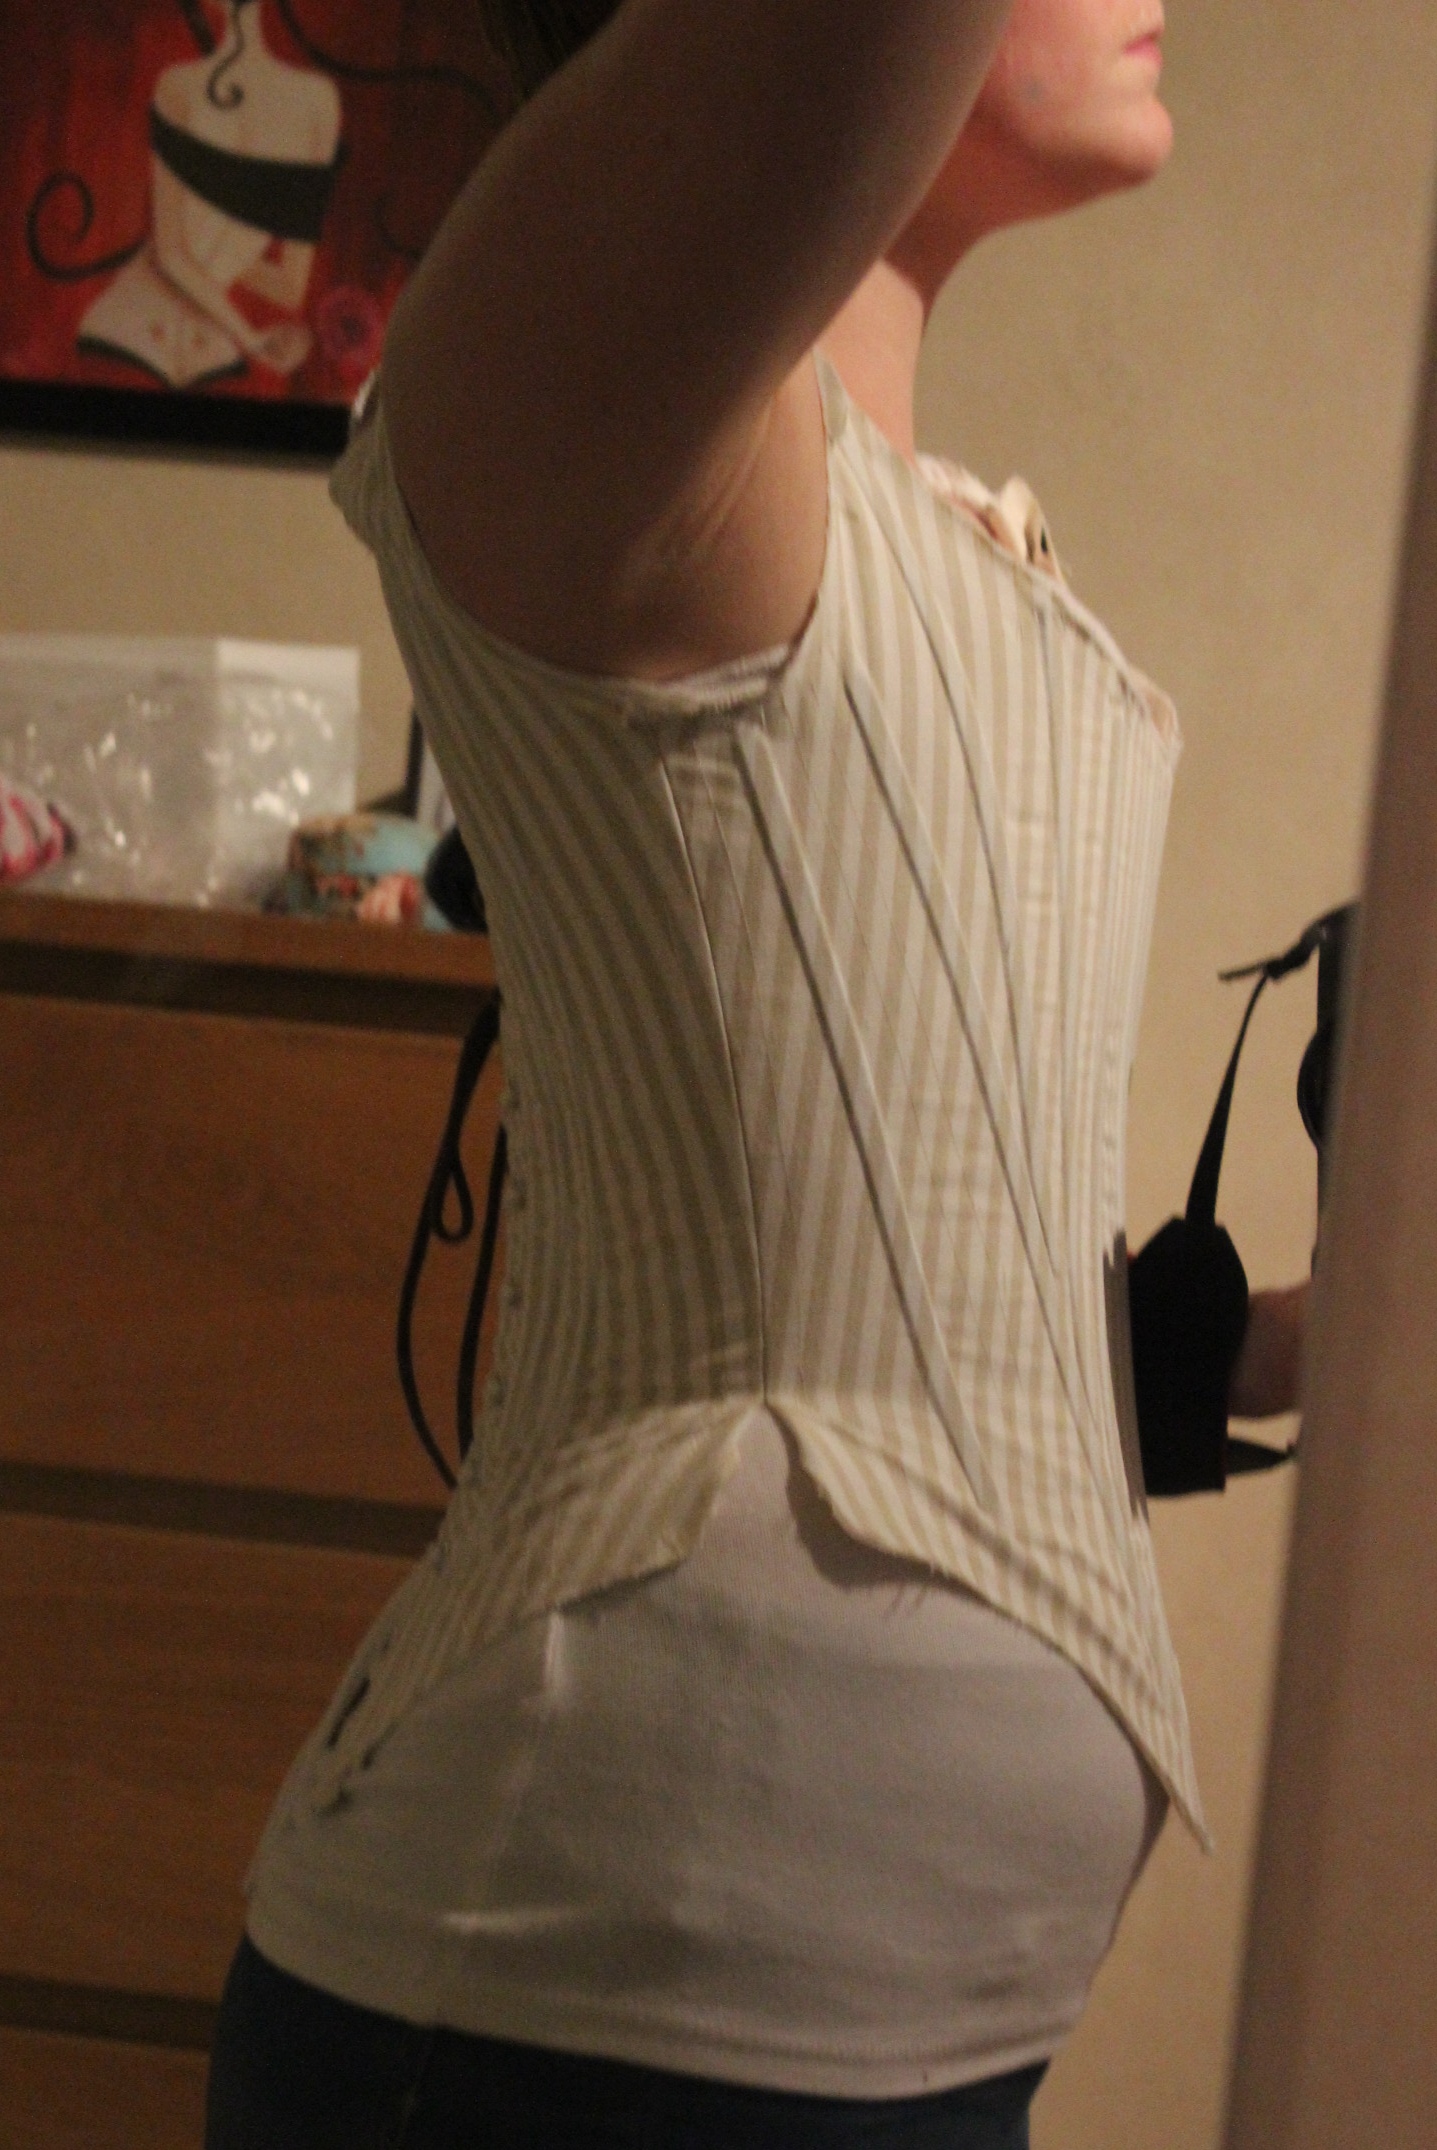
I decided to keep the pieces as they were (one year old measurements and all), and pinned them to the old cotton sheet I use for mock-ups.
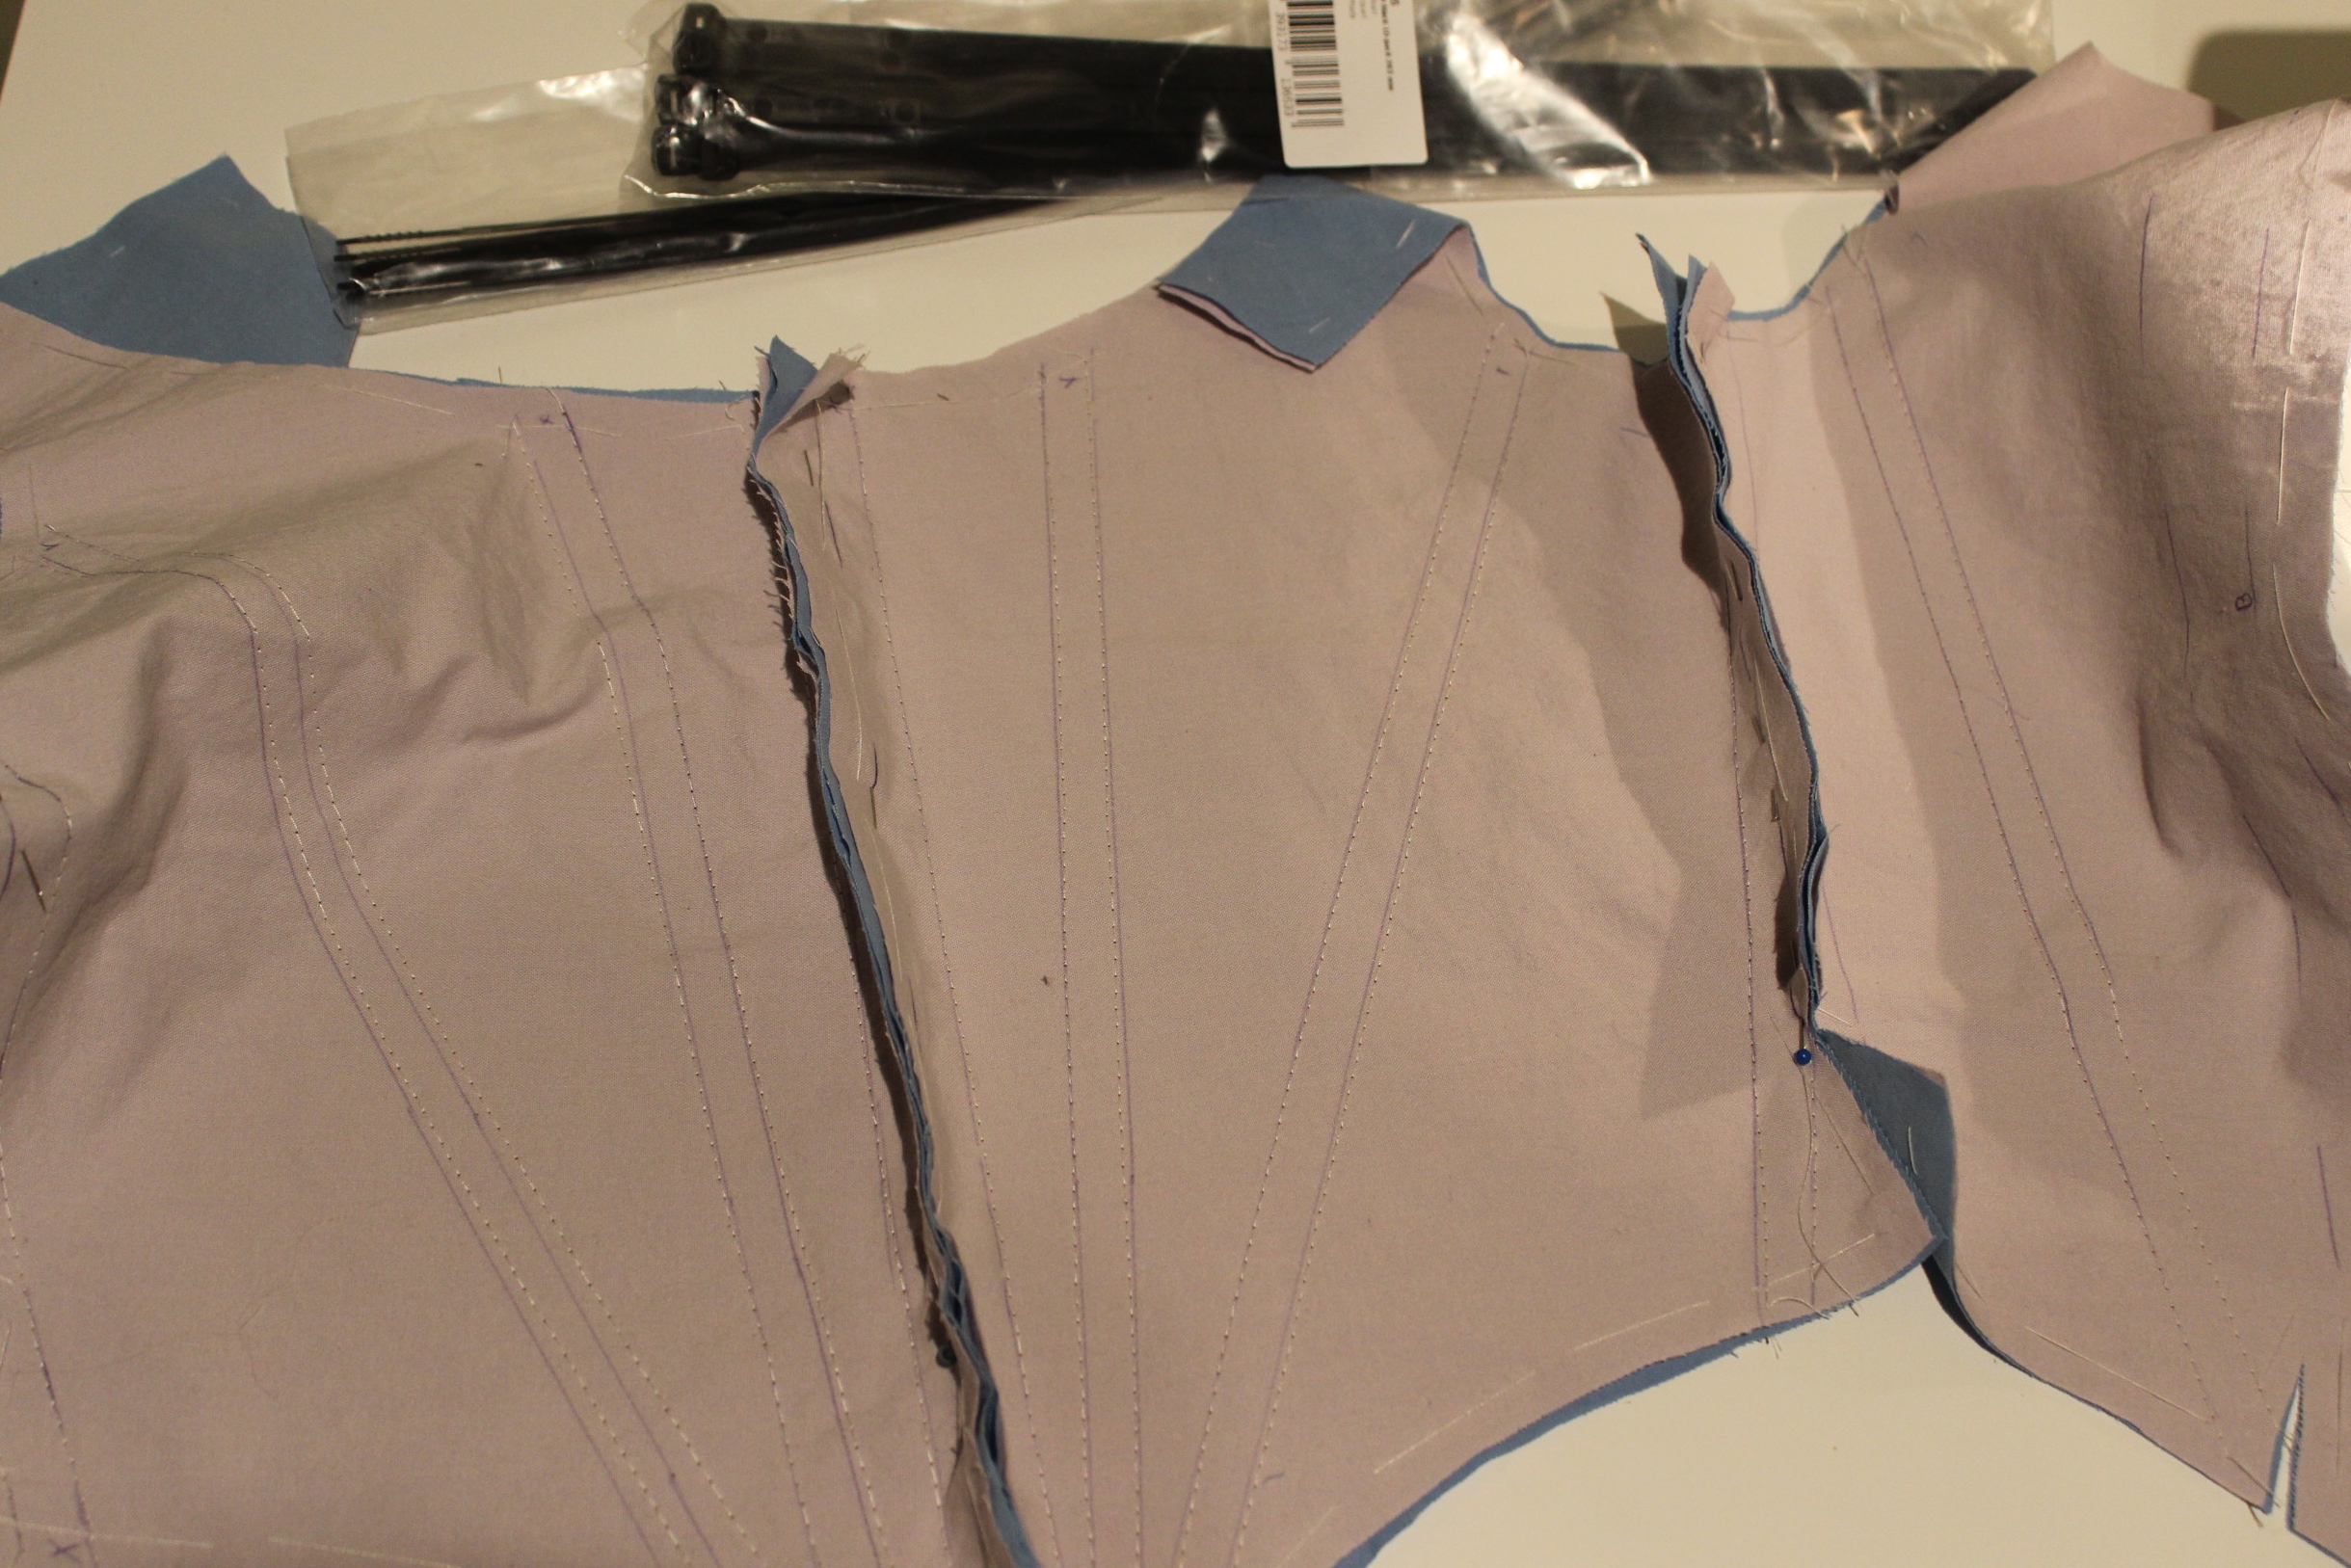
I stitched the mock-up together and made some basic boning chanells down the front, sides and back.
Then I put in some boning, and attached my old lacing strip to the back. Not very pretty, but functional.


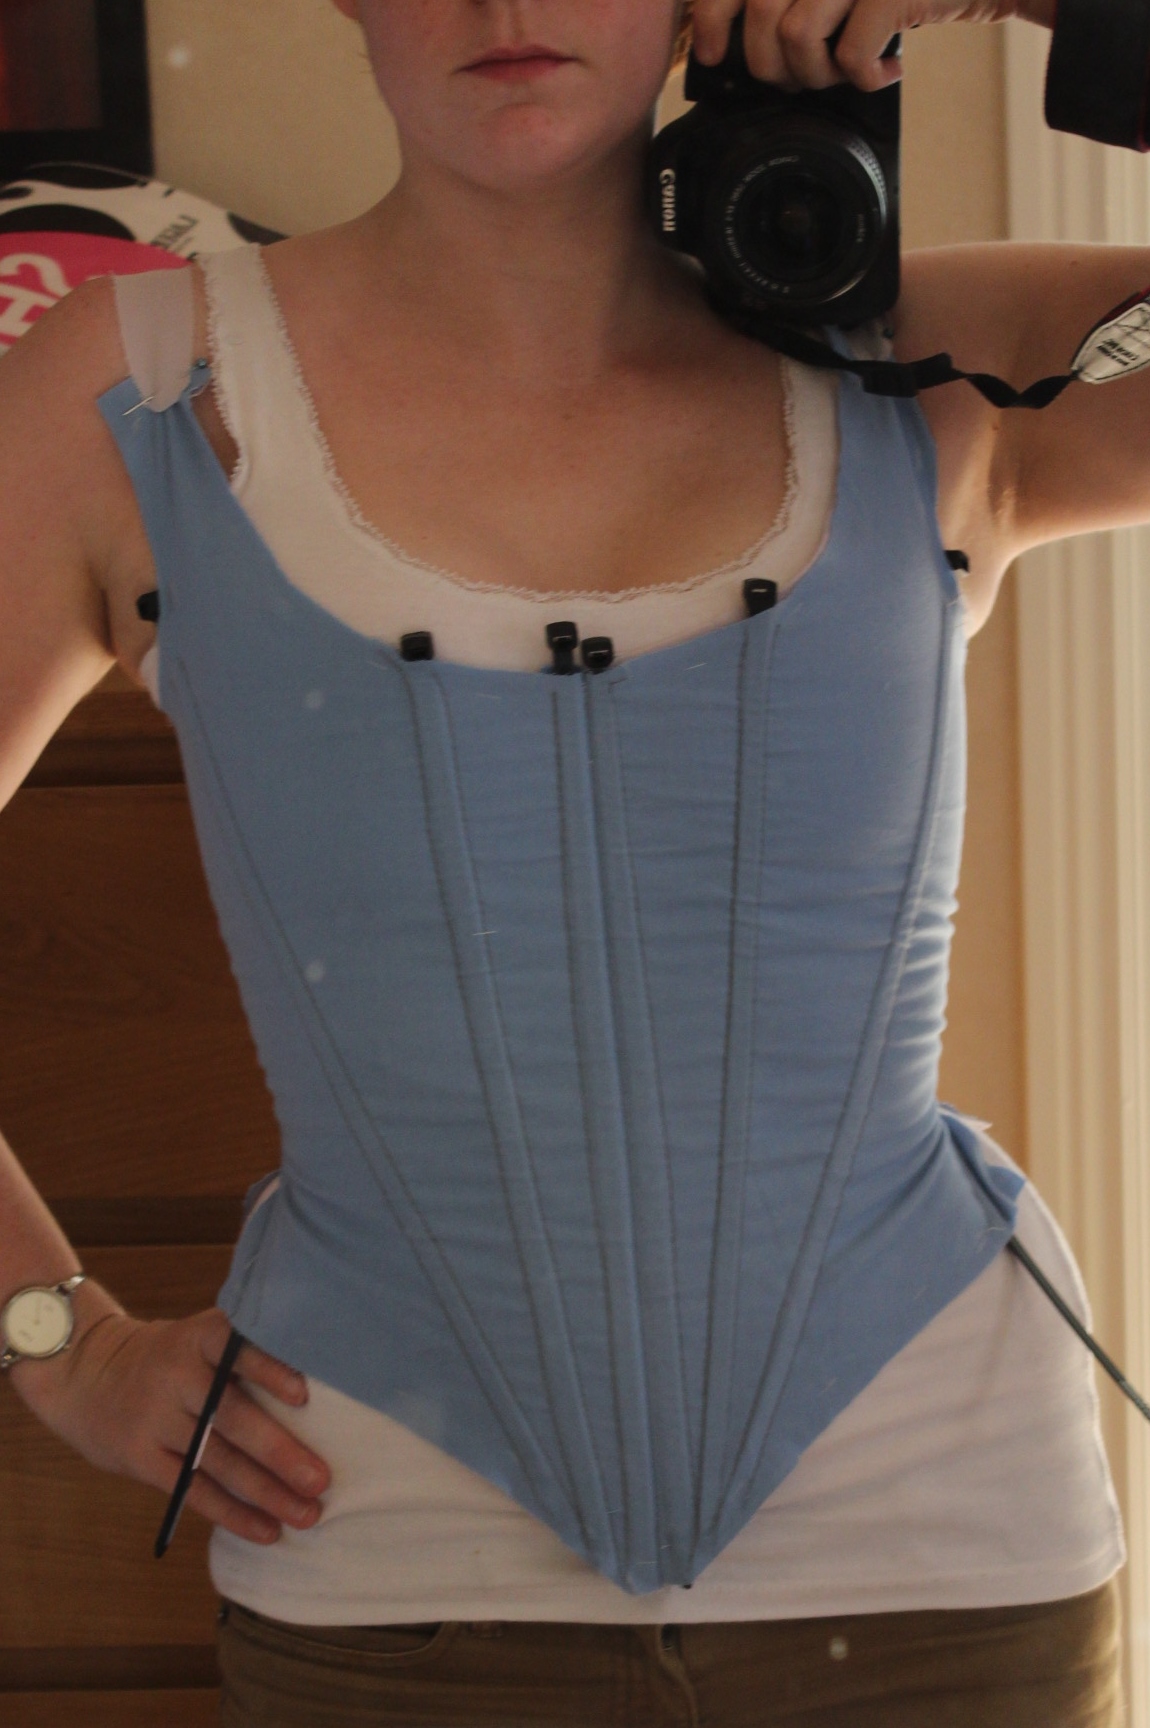
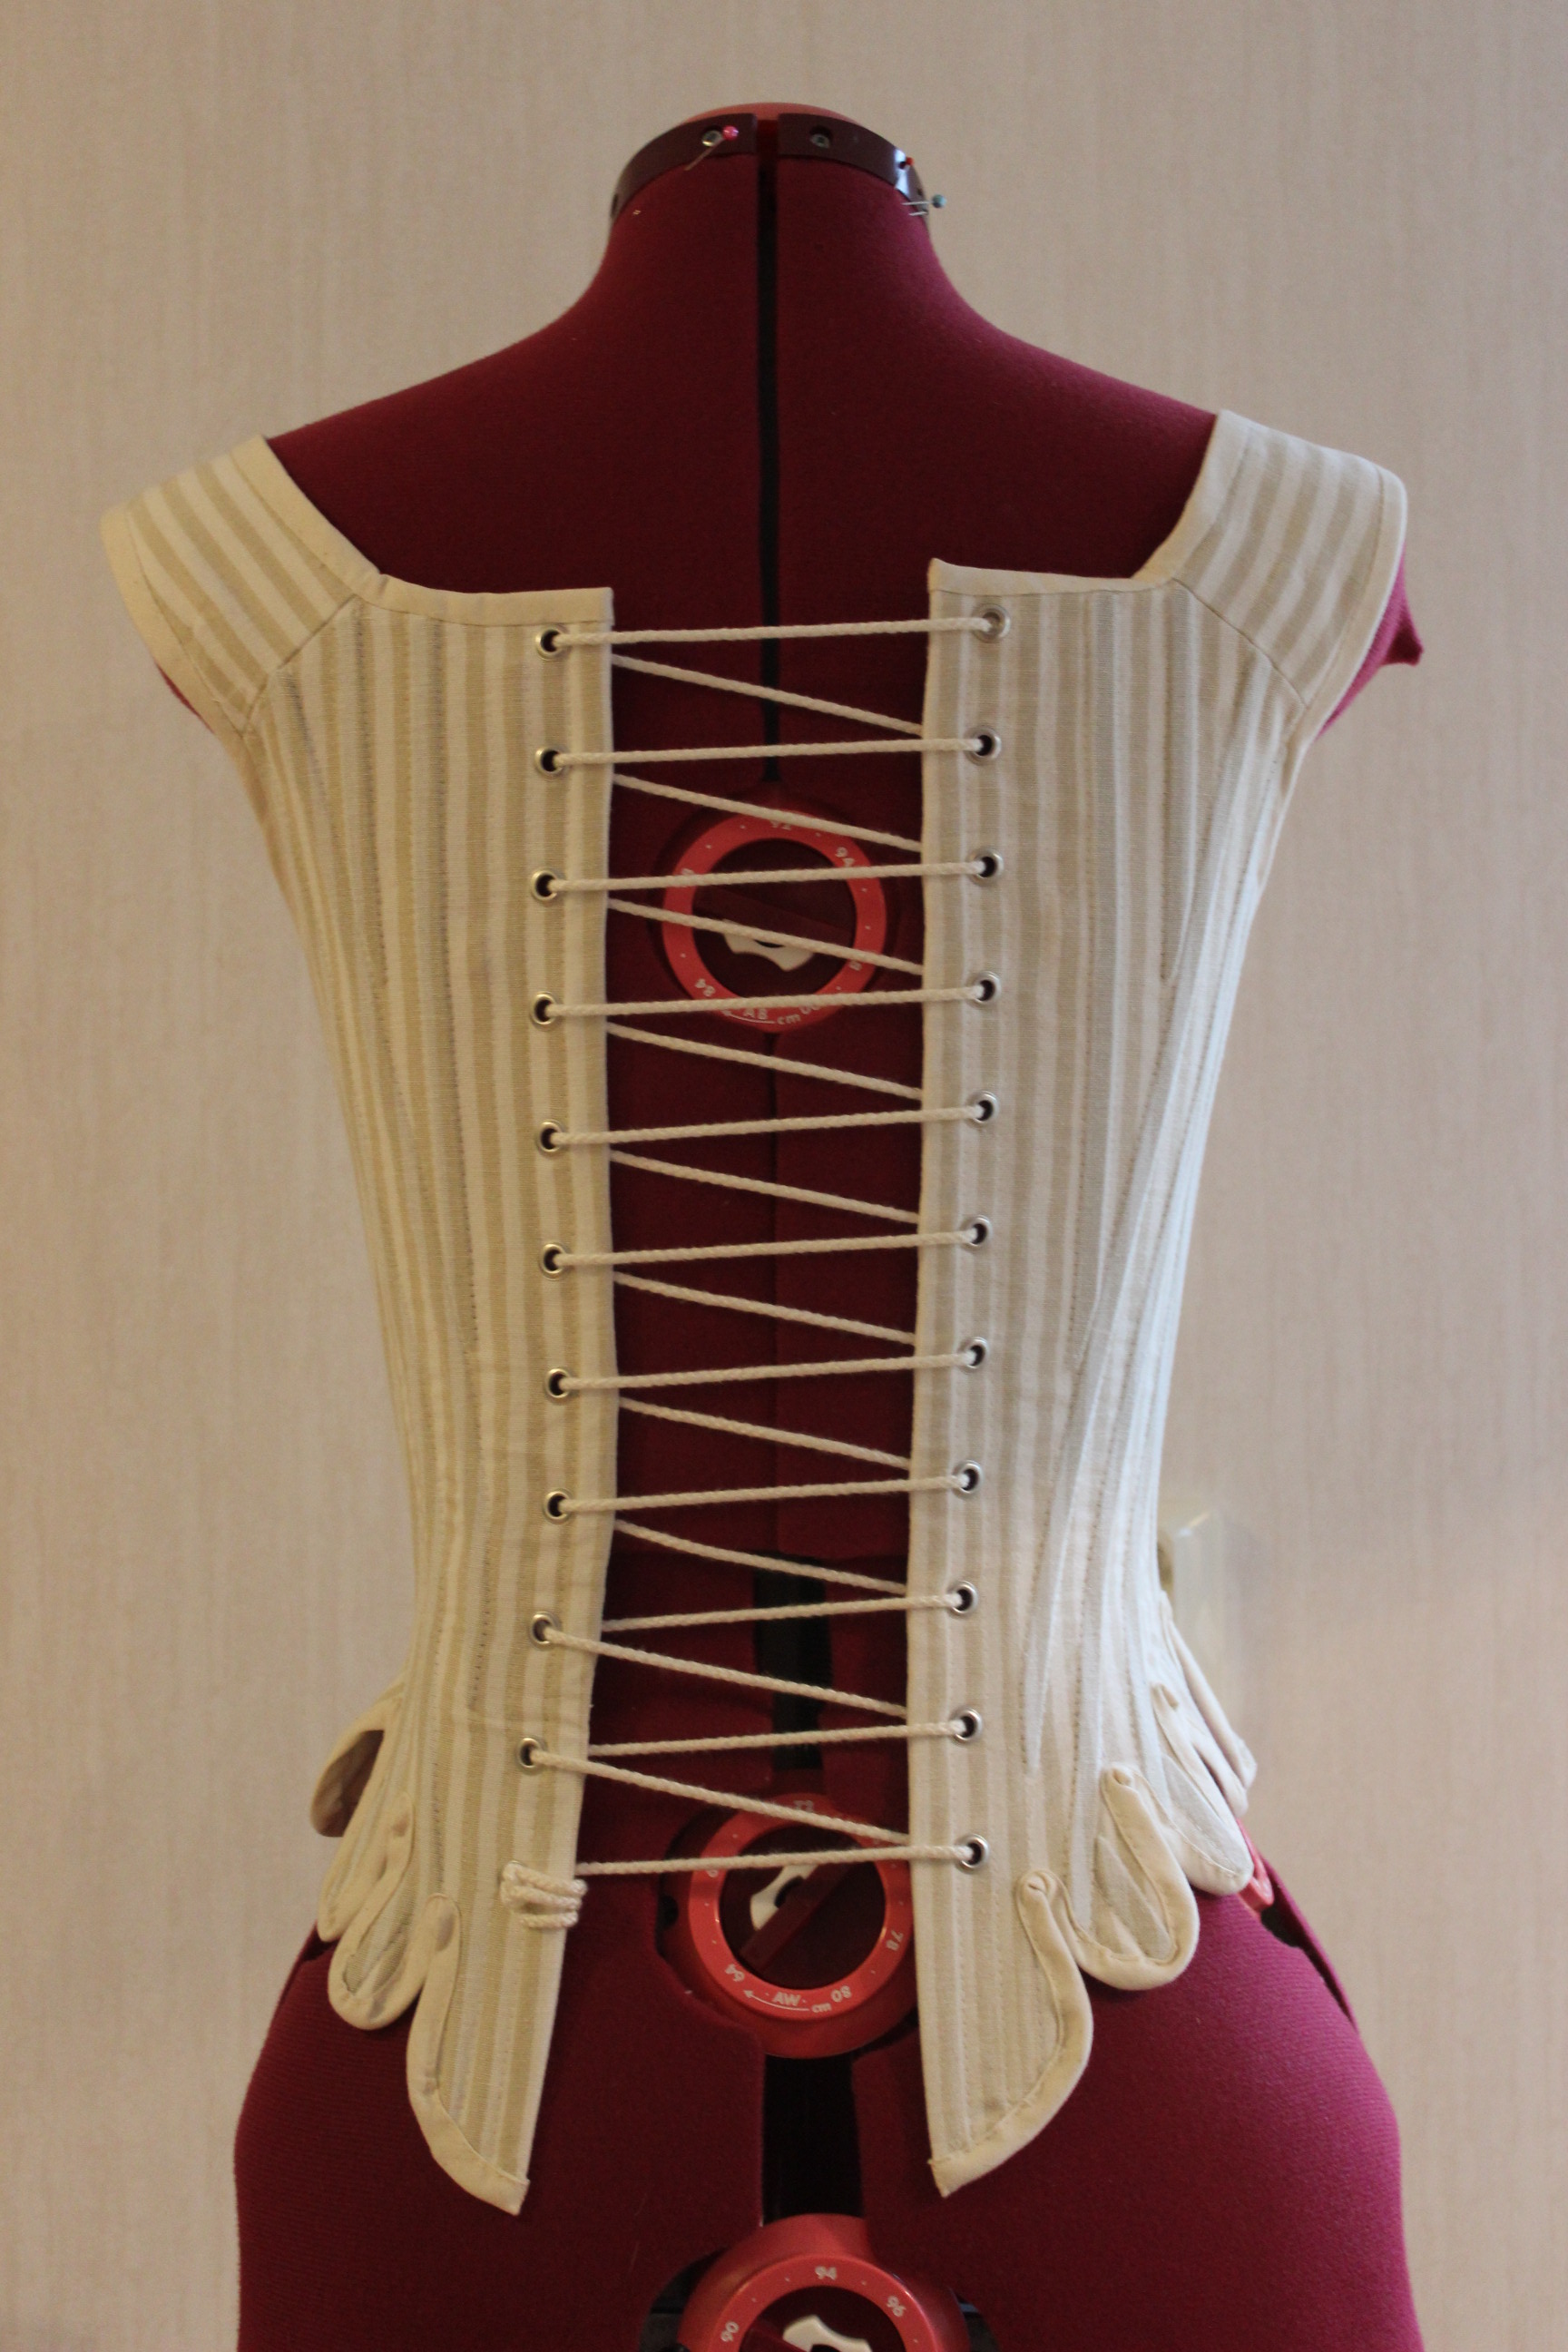
The fit was pretty good, and the only alteration I made was to make the whole thing 5 cm smaller – to get some more flexibility for size in the lacing.
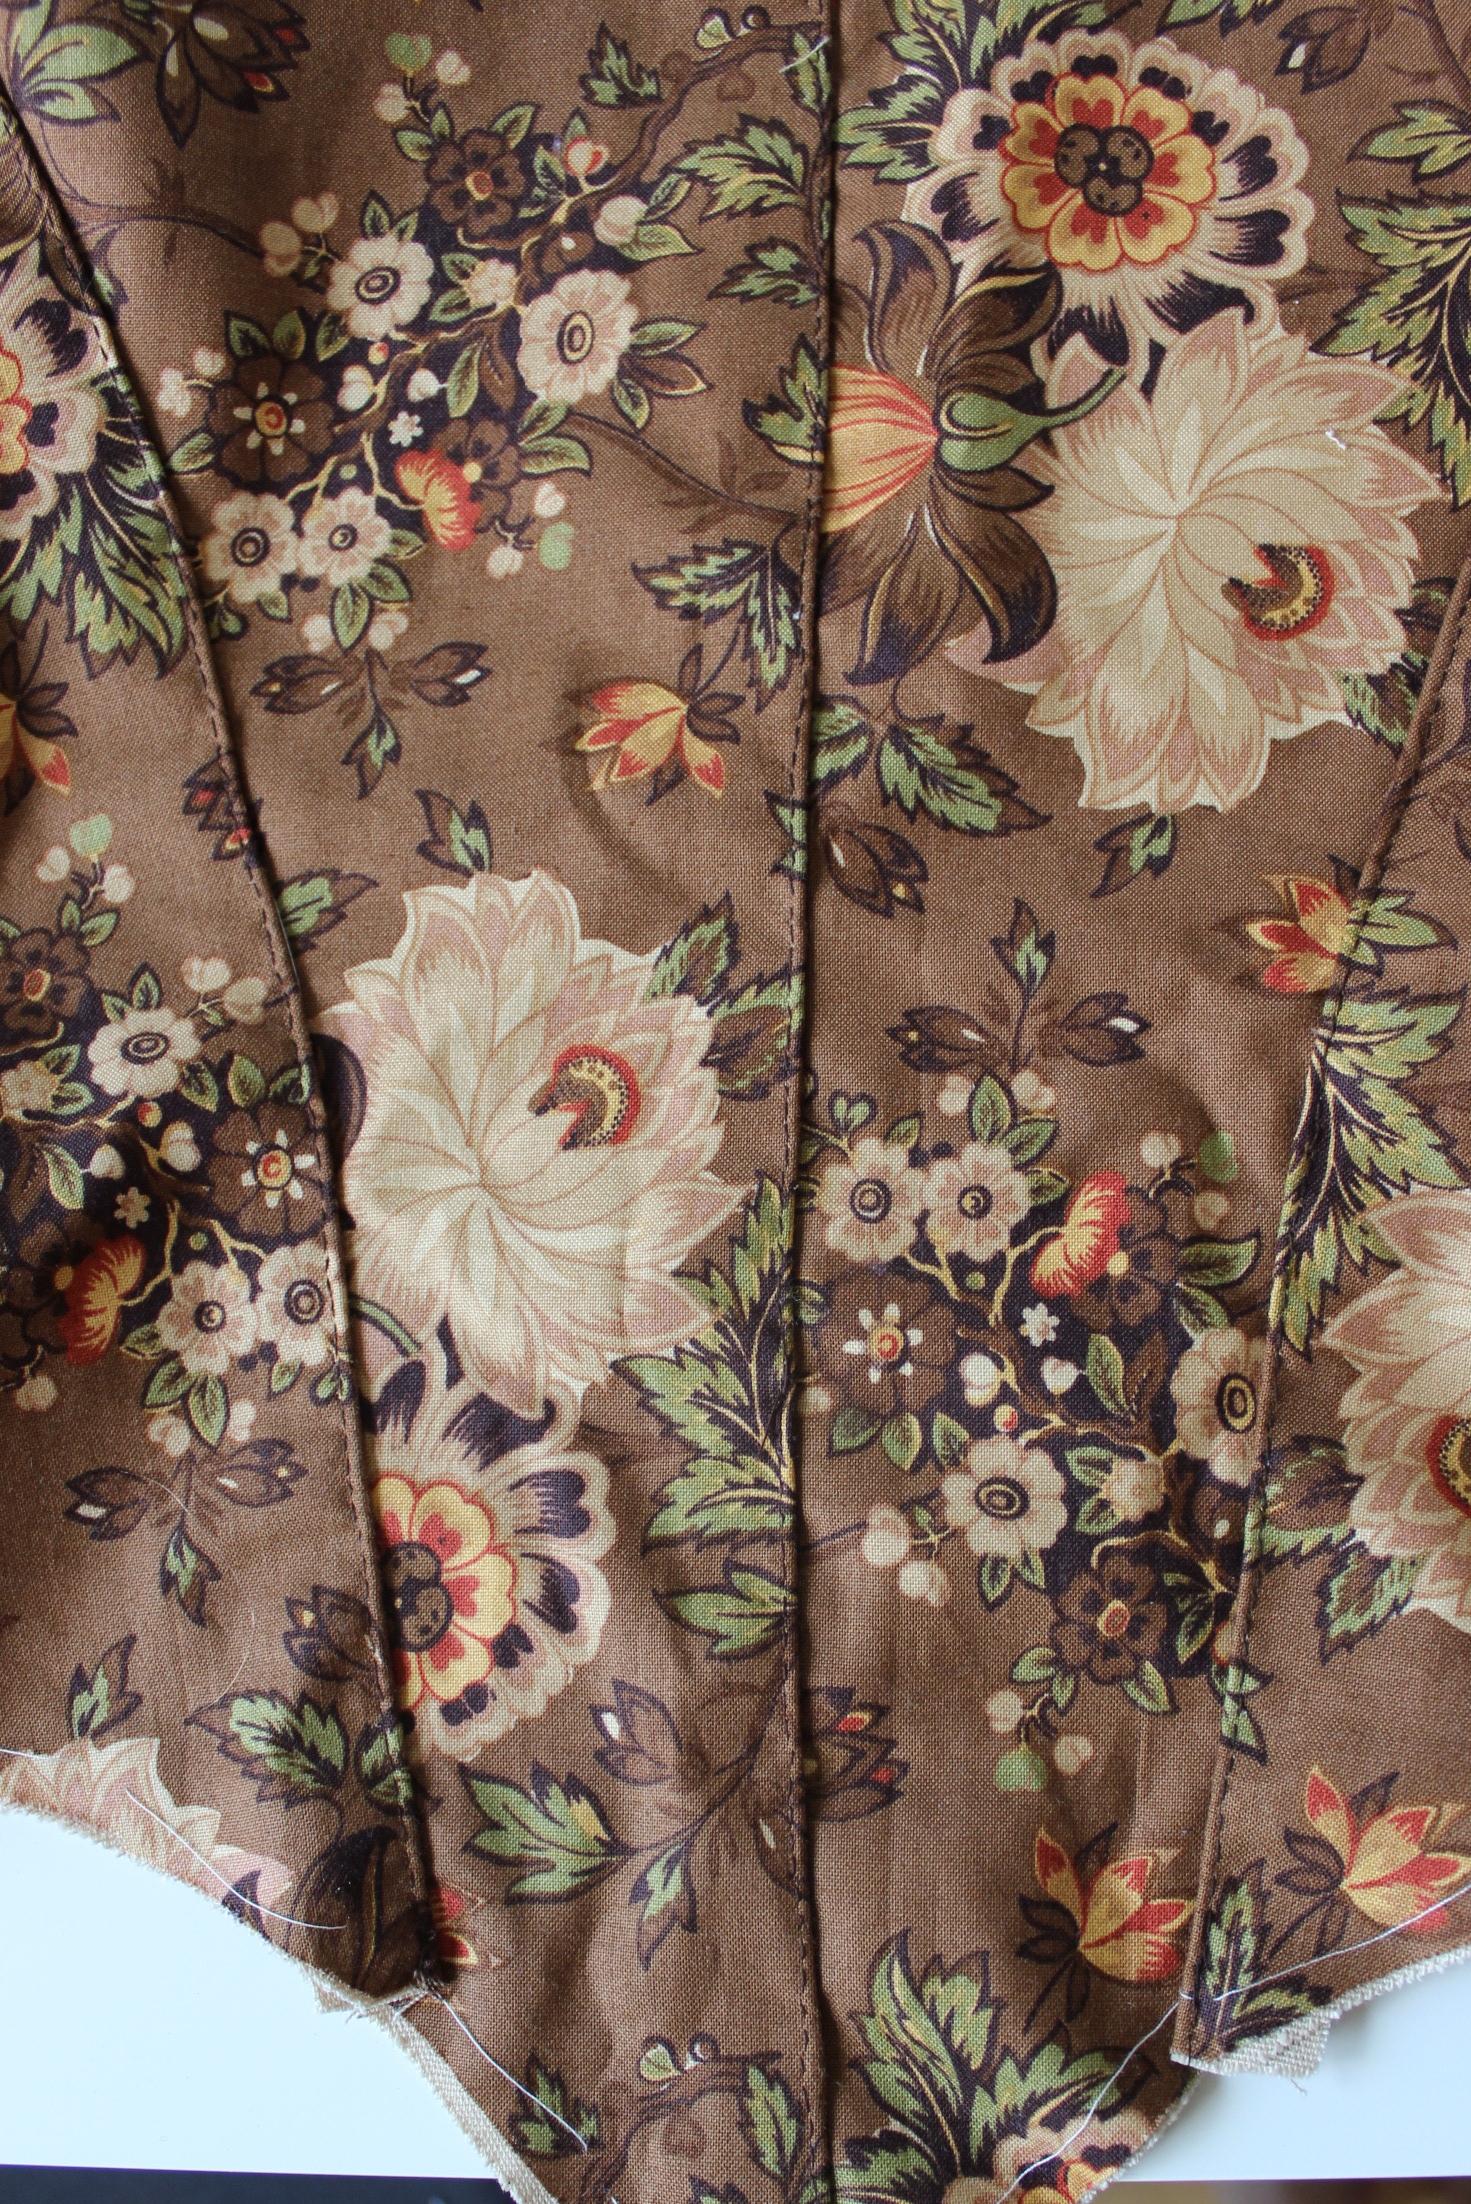
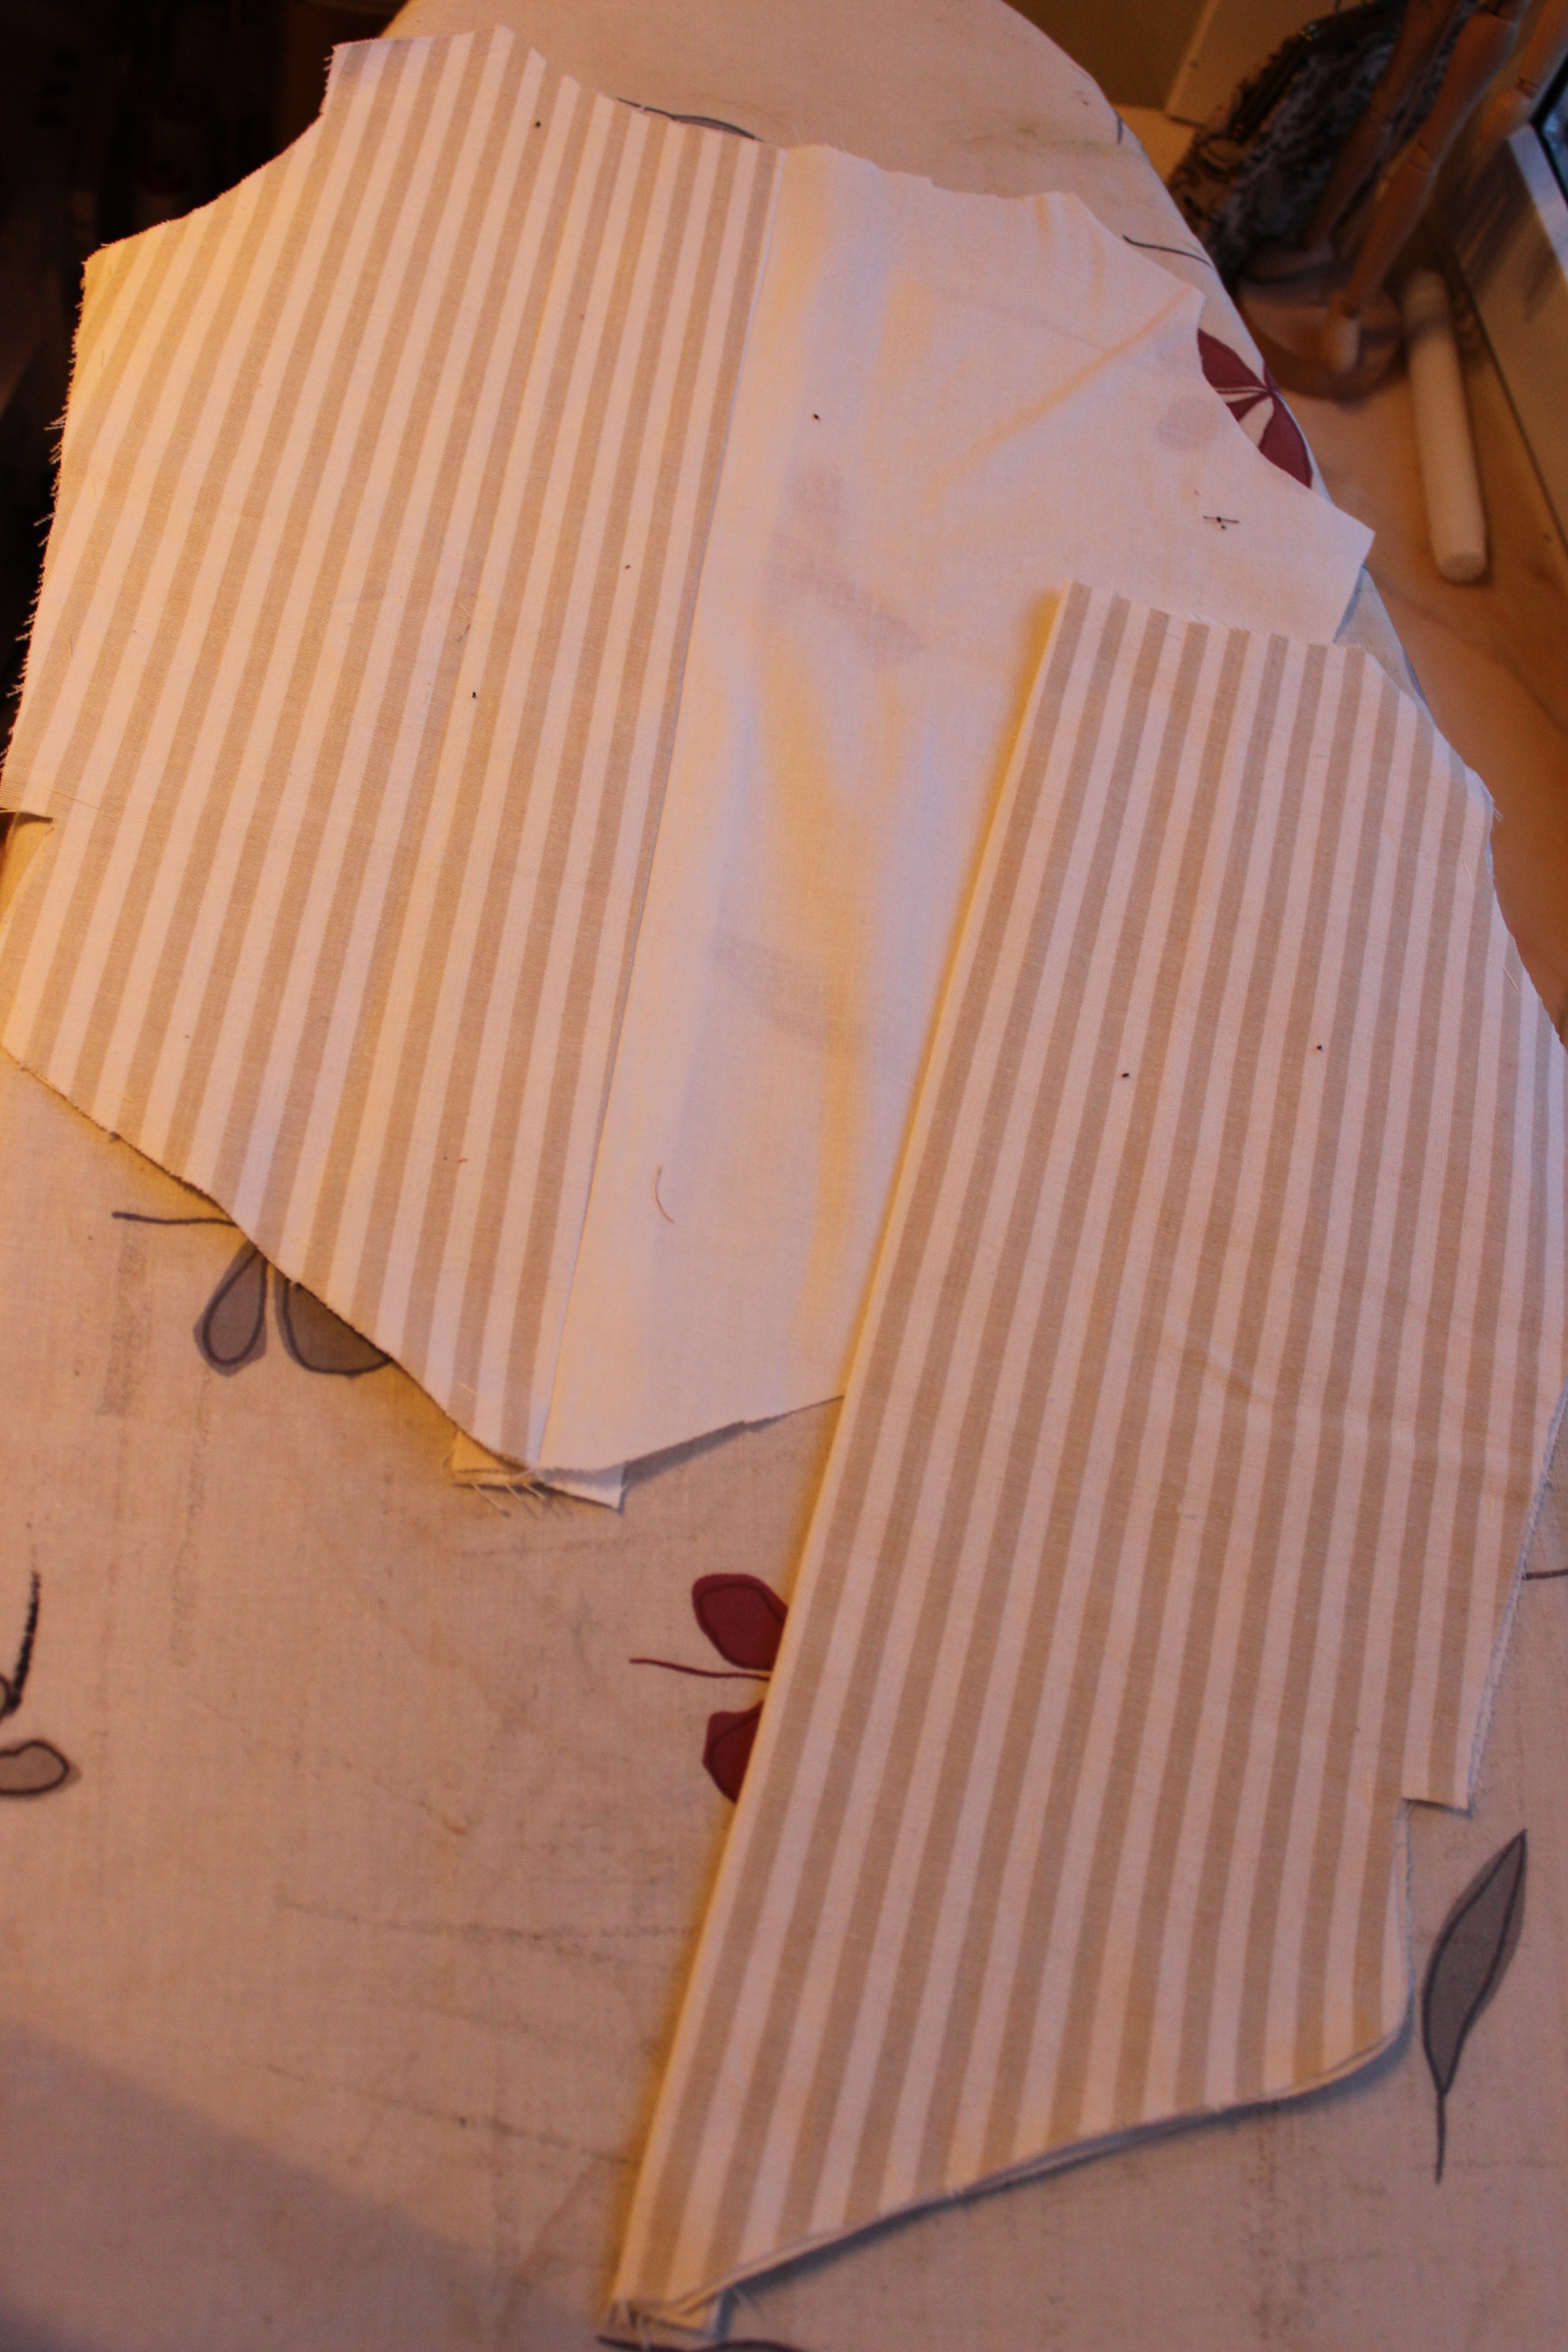
So, on to the fashion fabric.
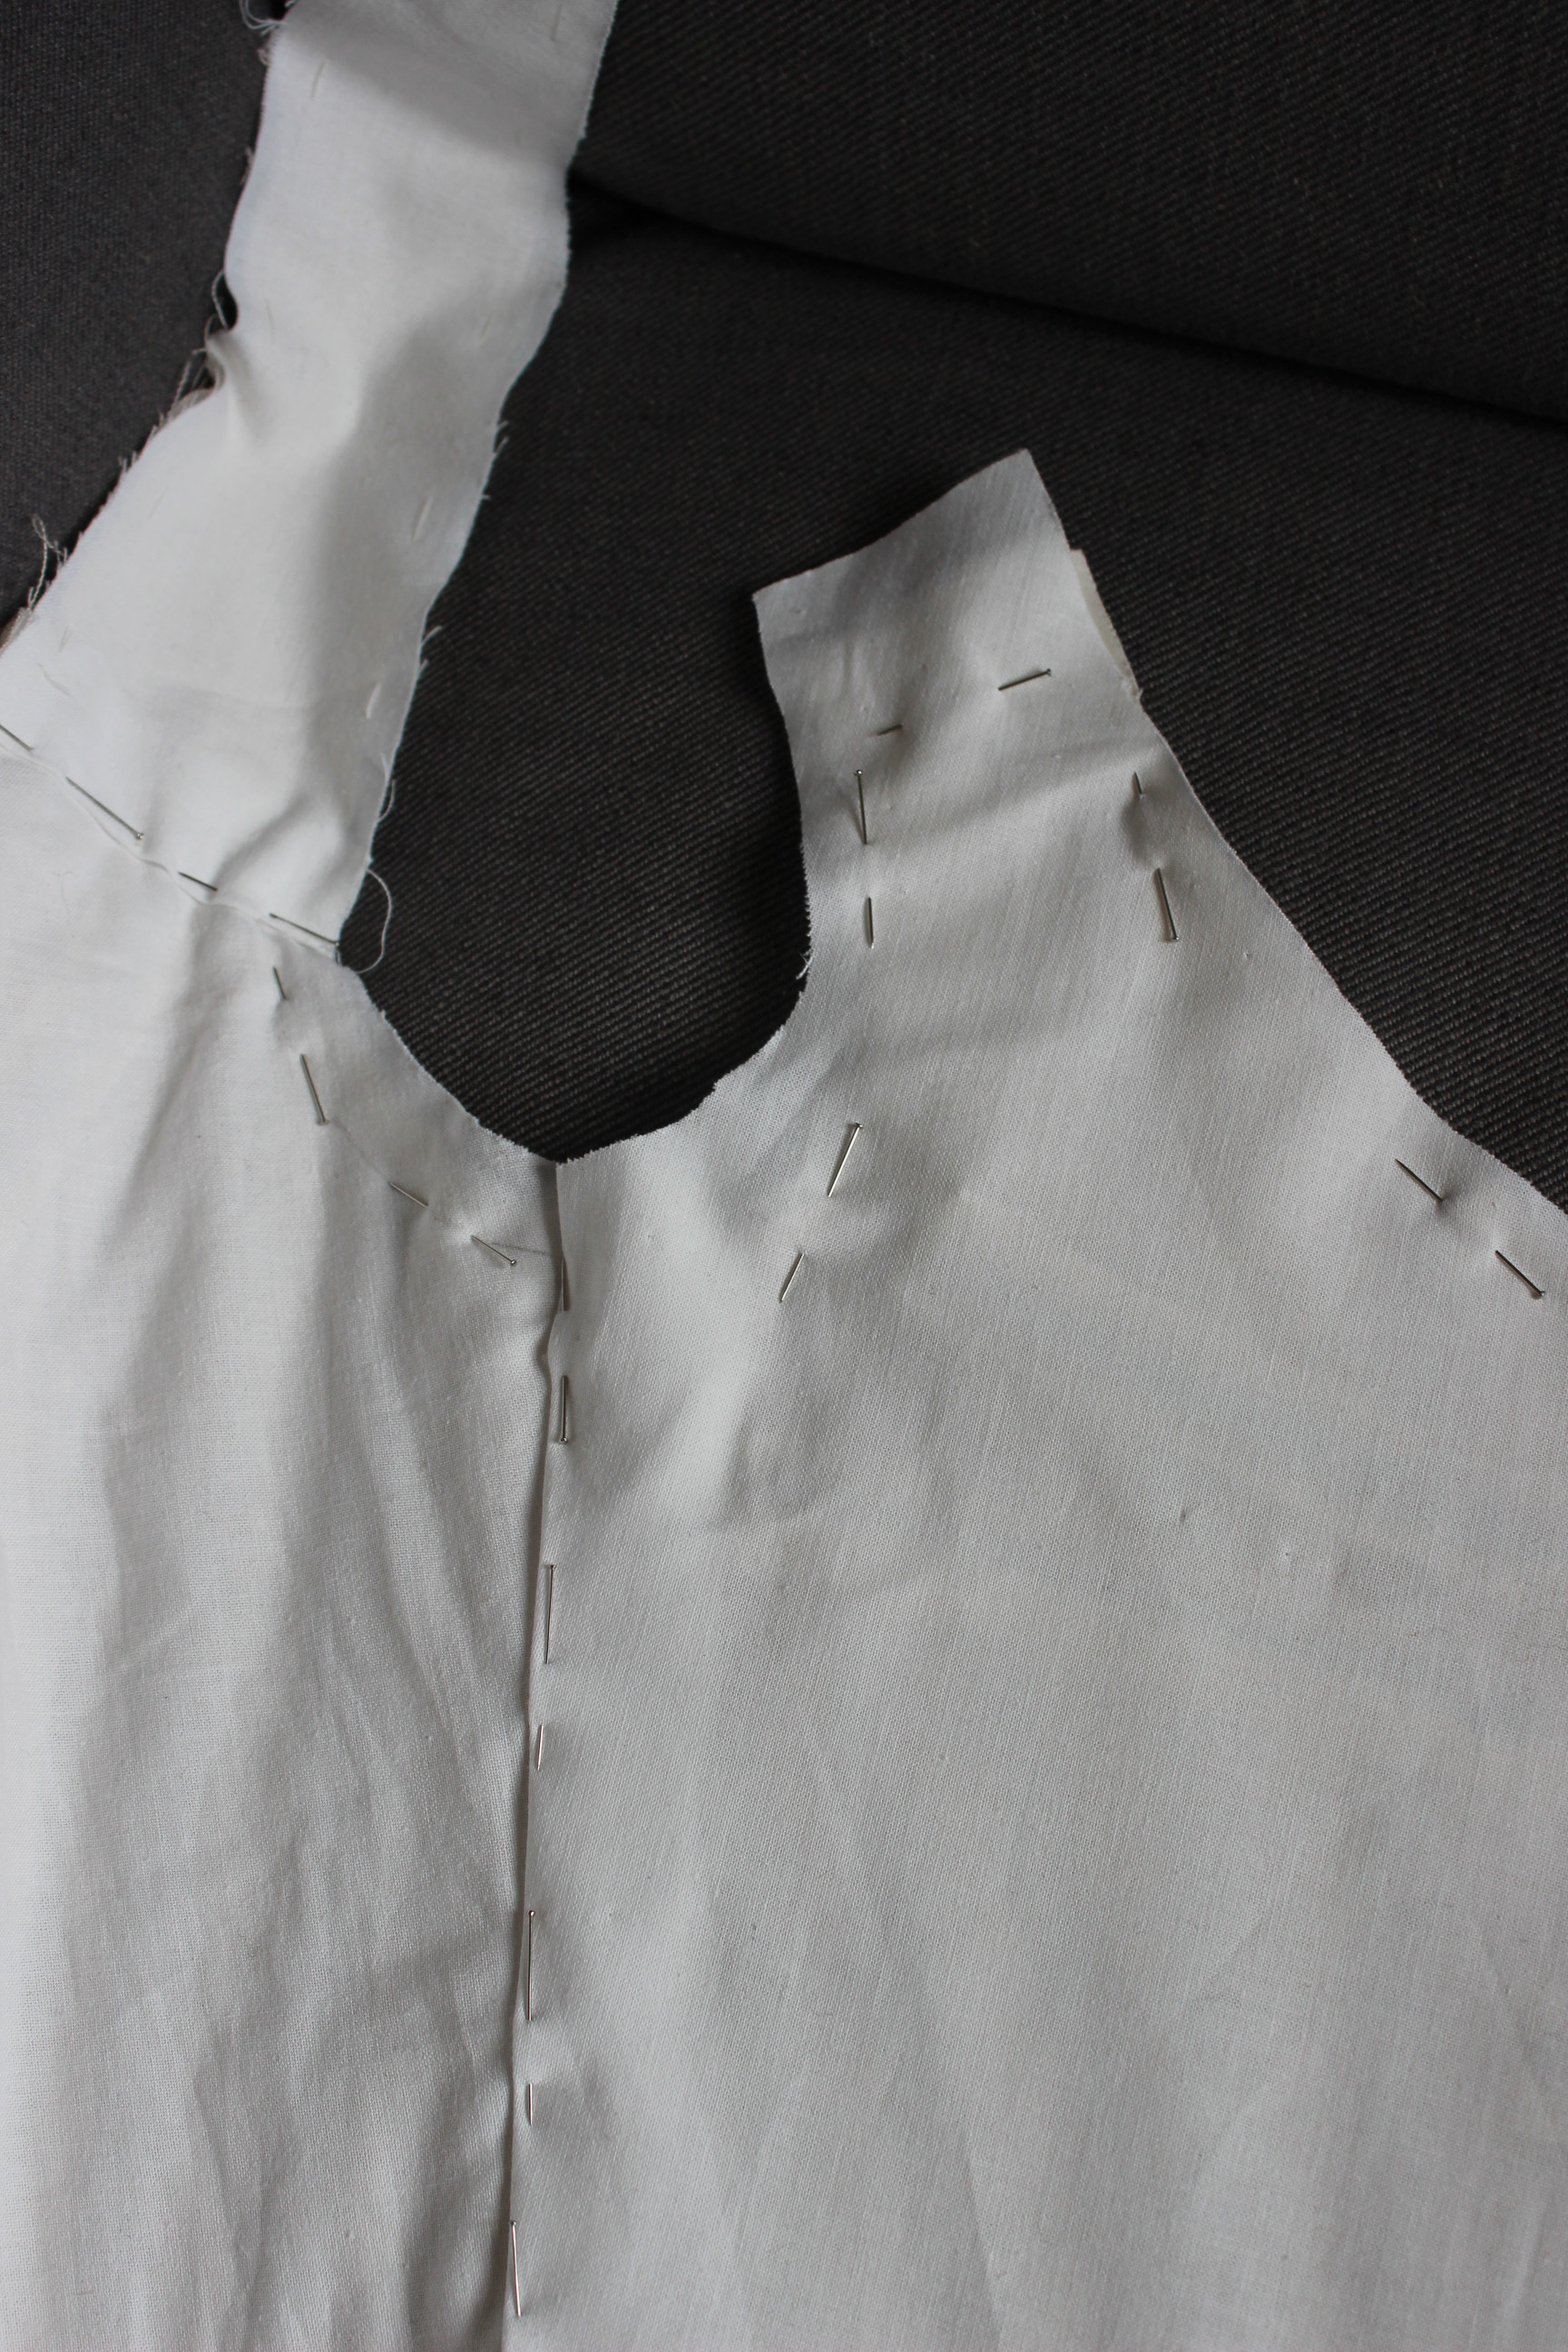
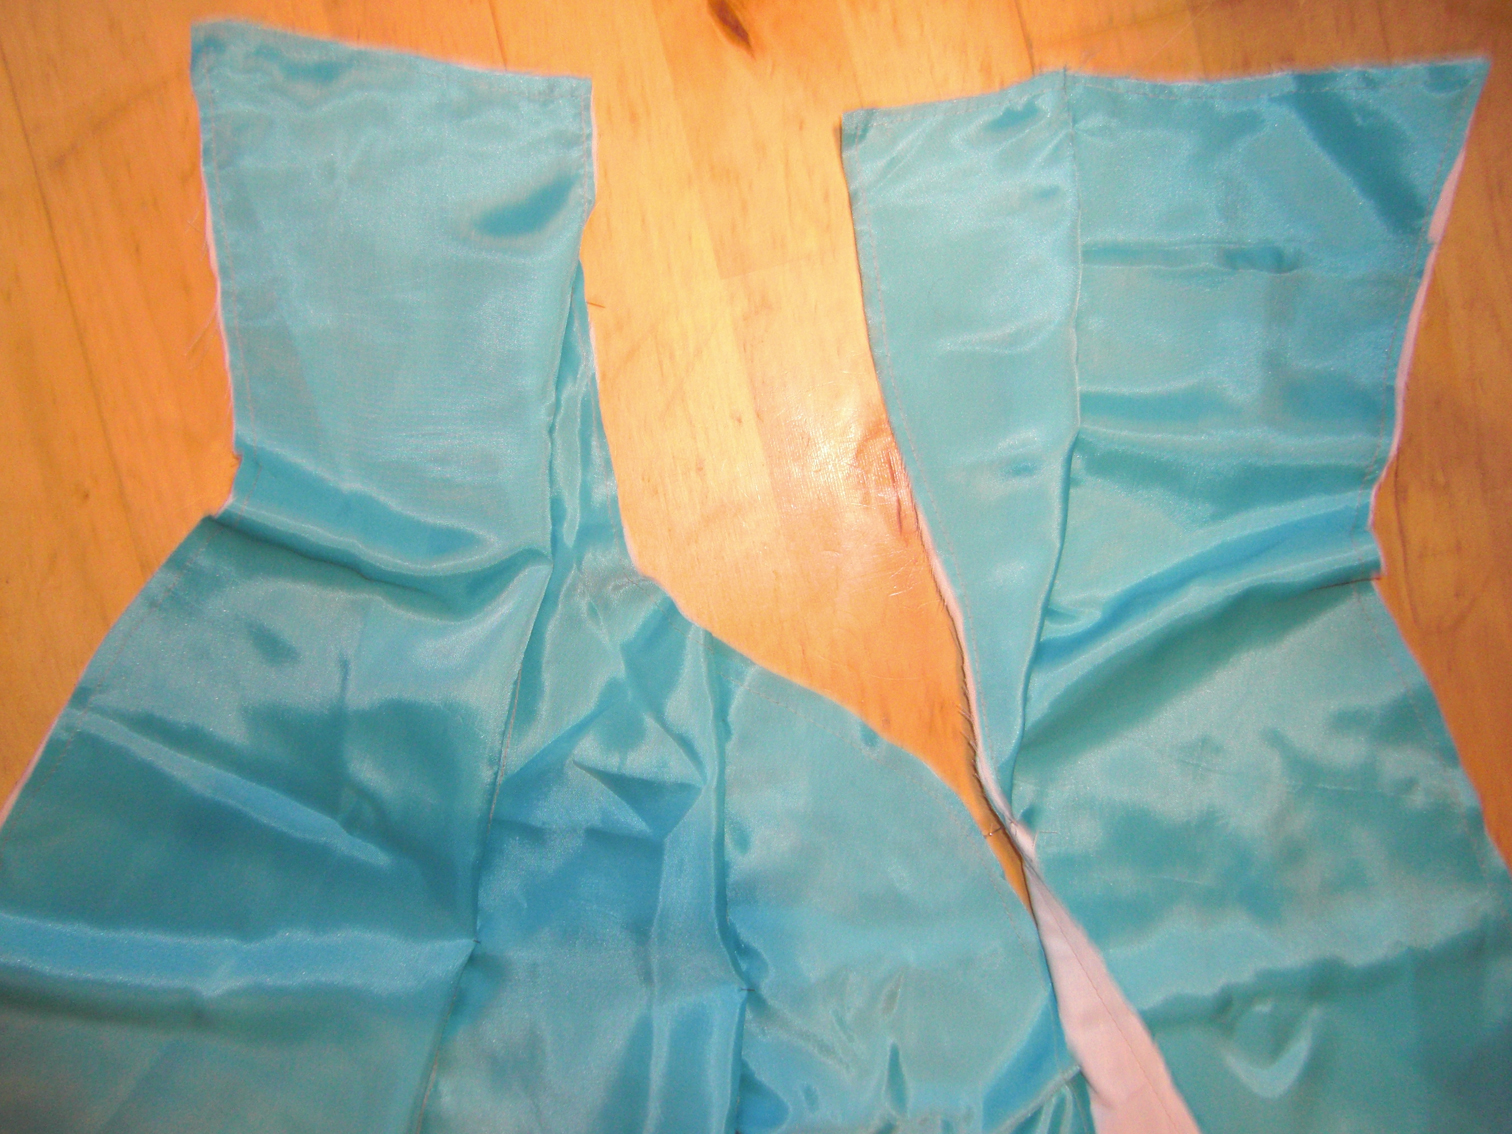
I used the leftovers from my previous corset en-devour (1900s S-shape). Pinning the strong sateen interlining.
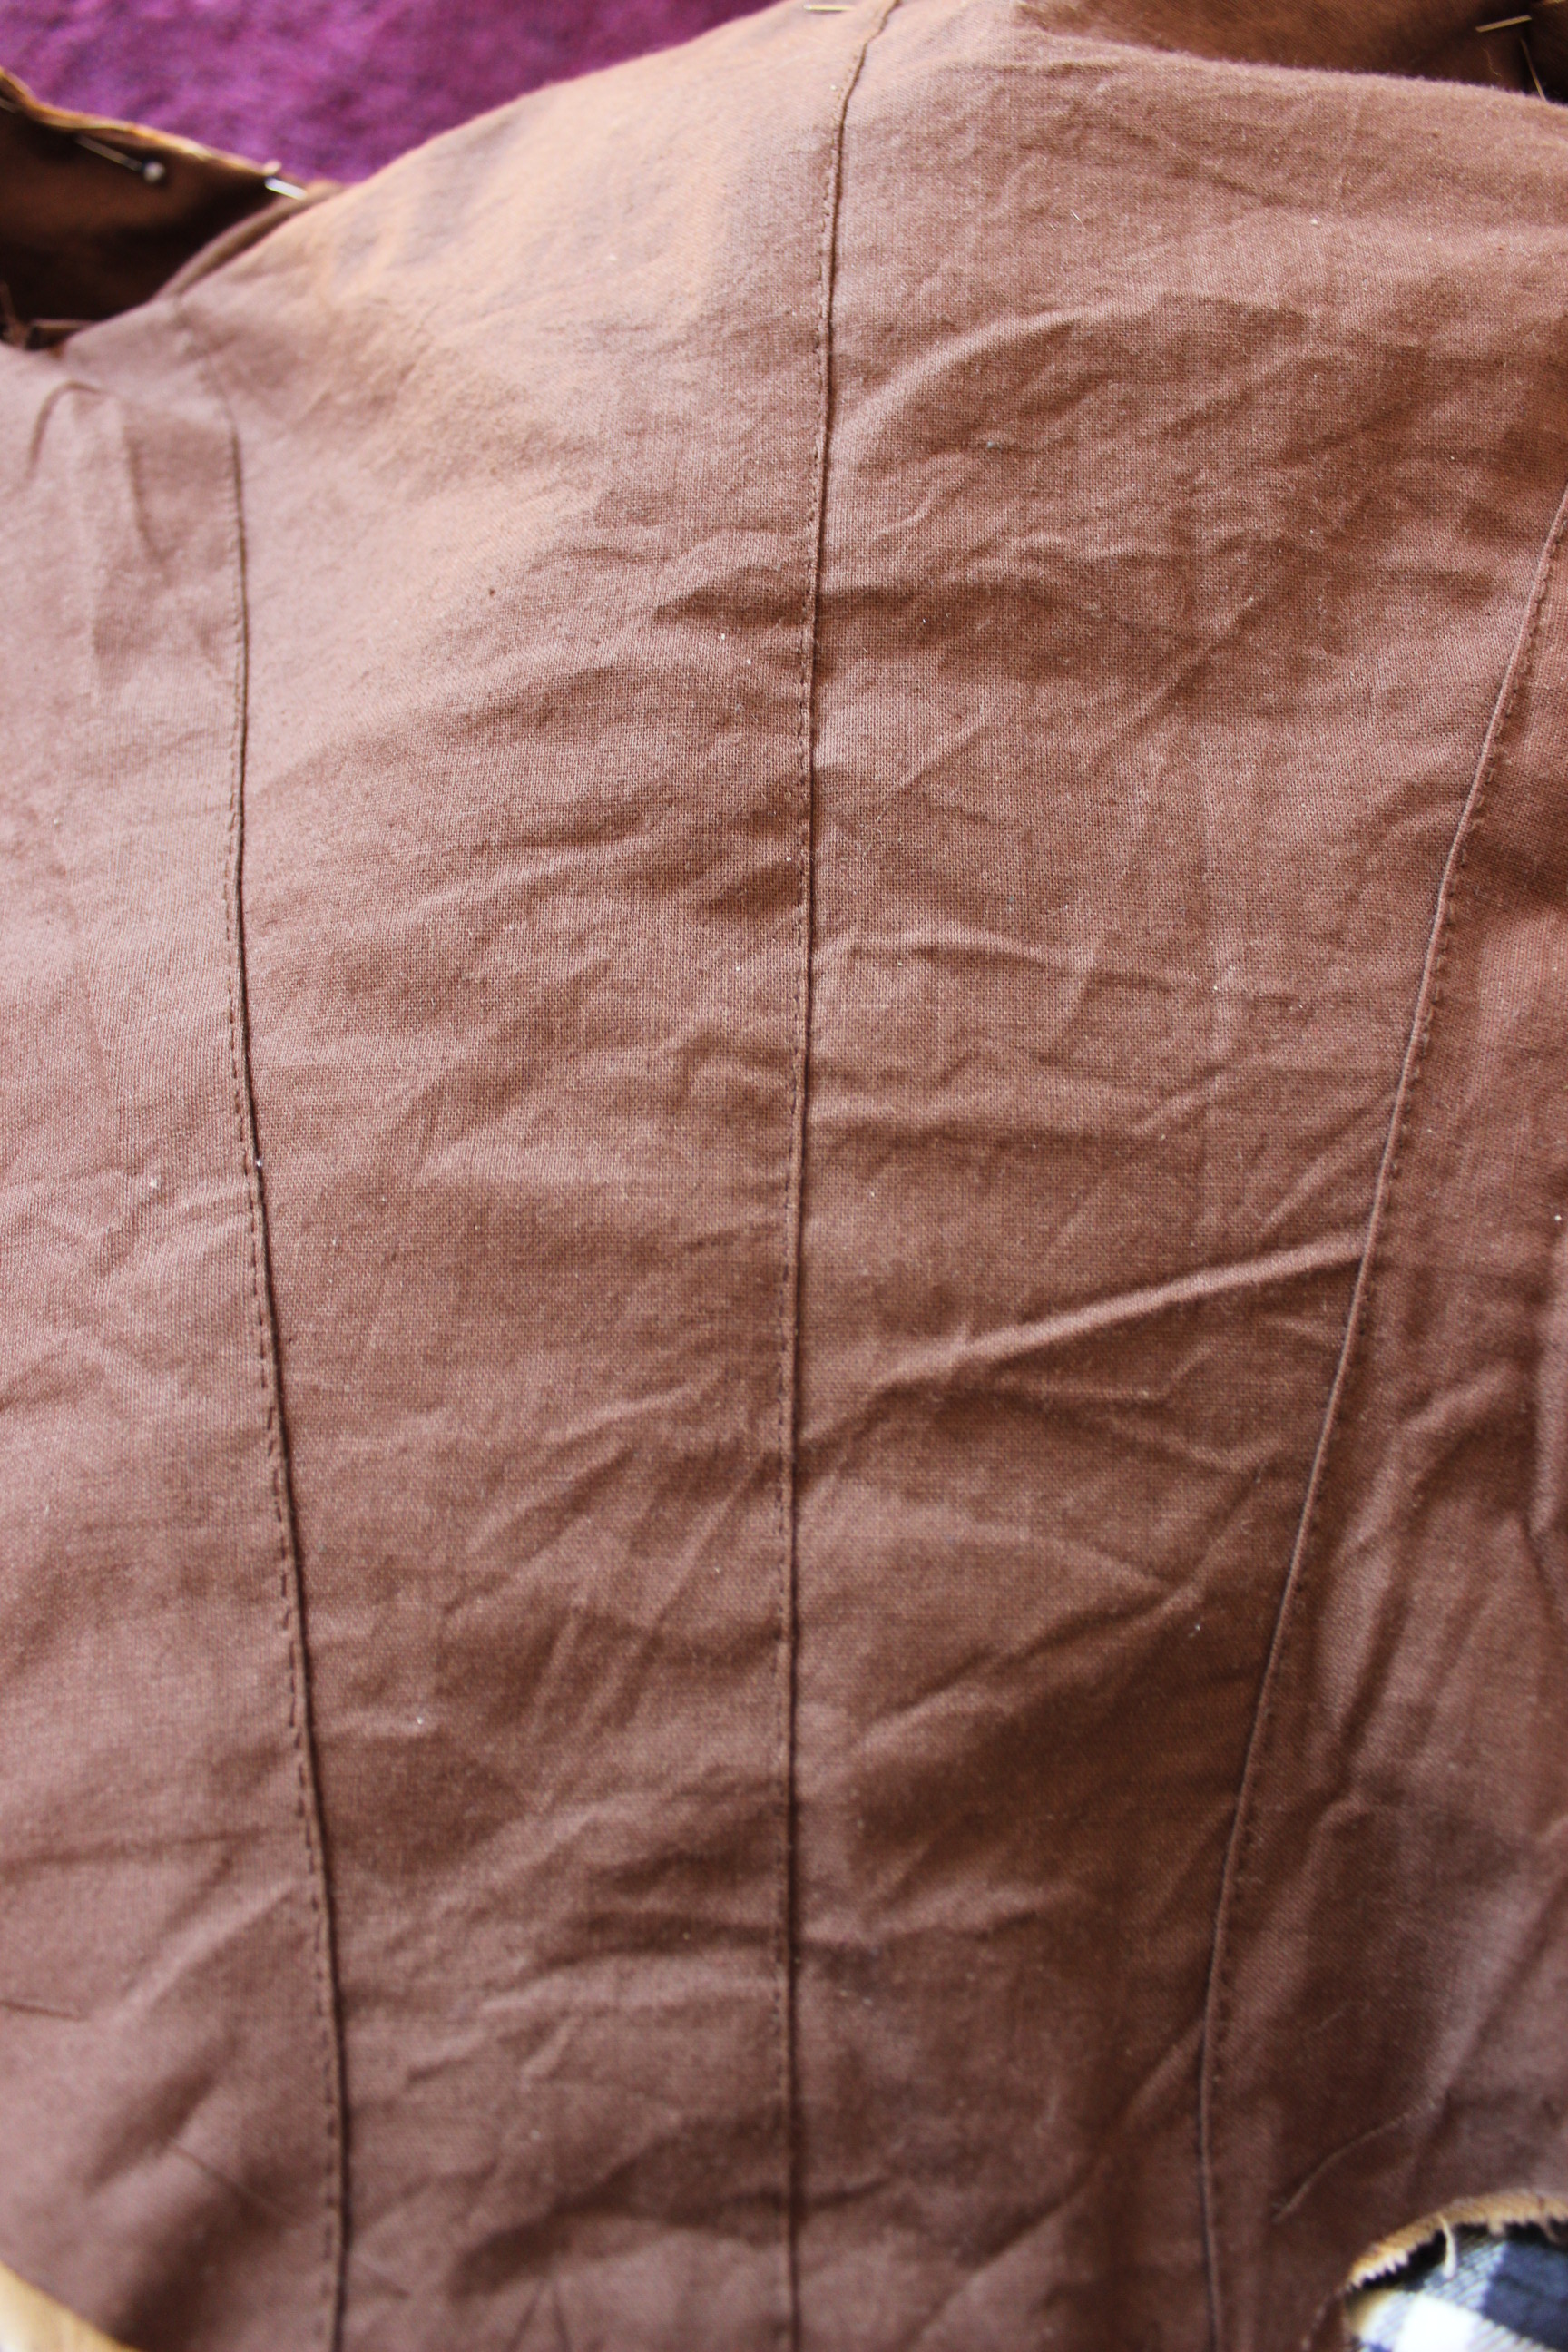
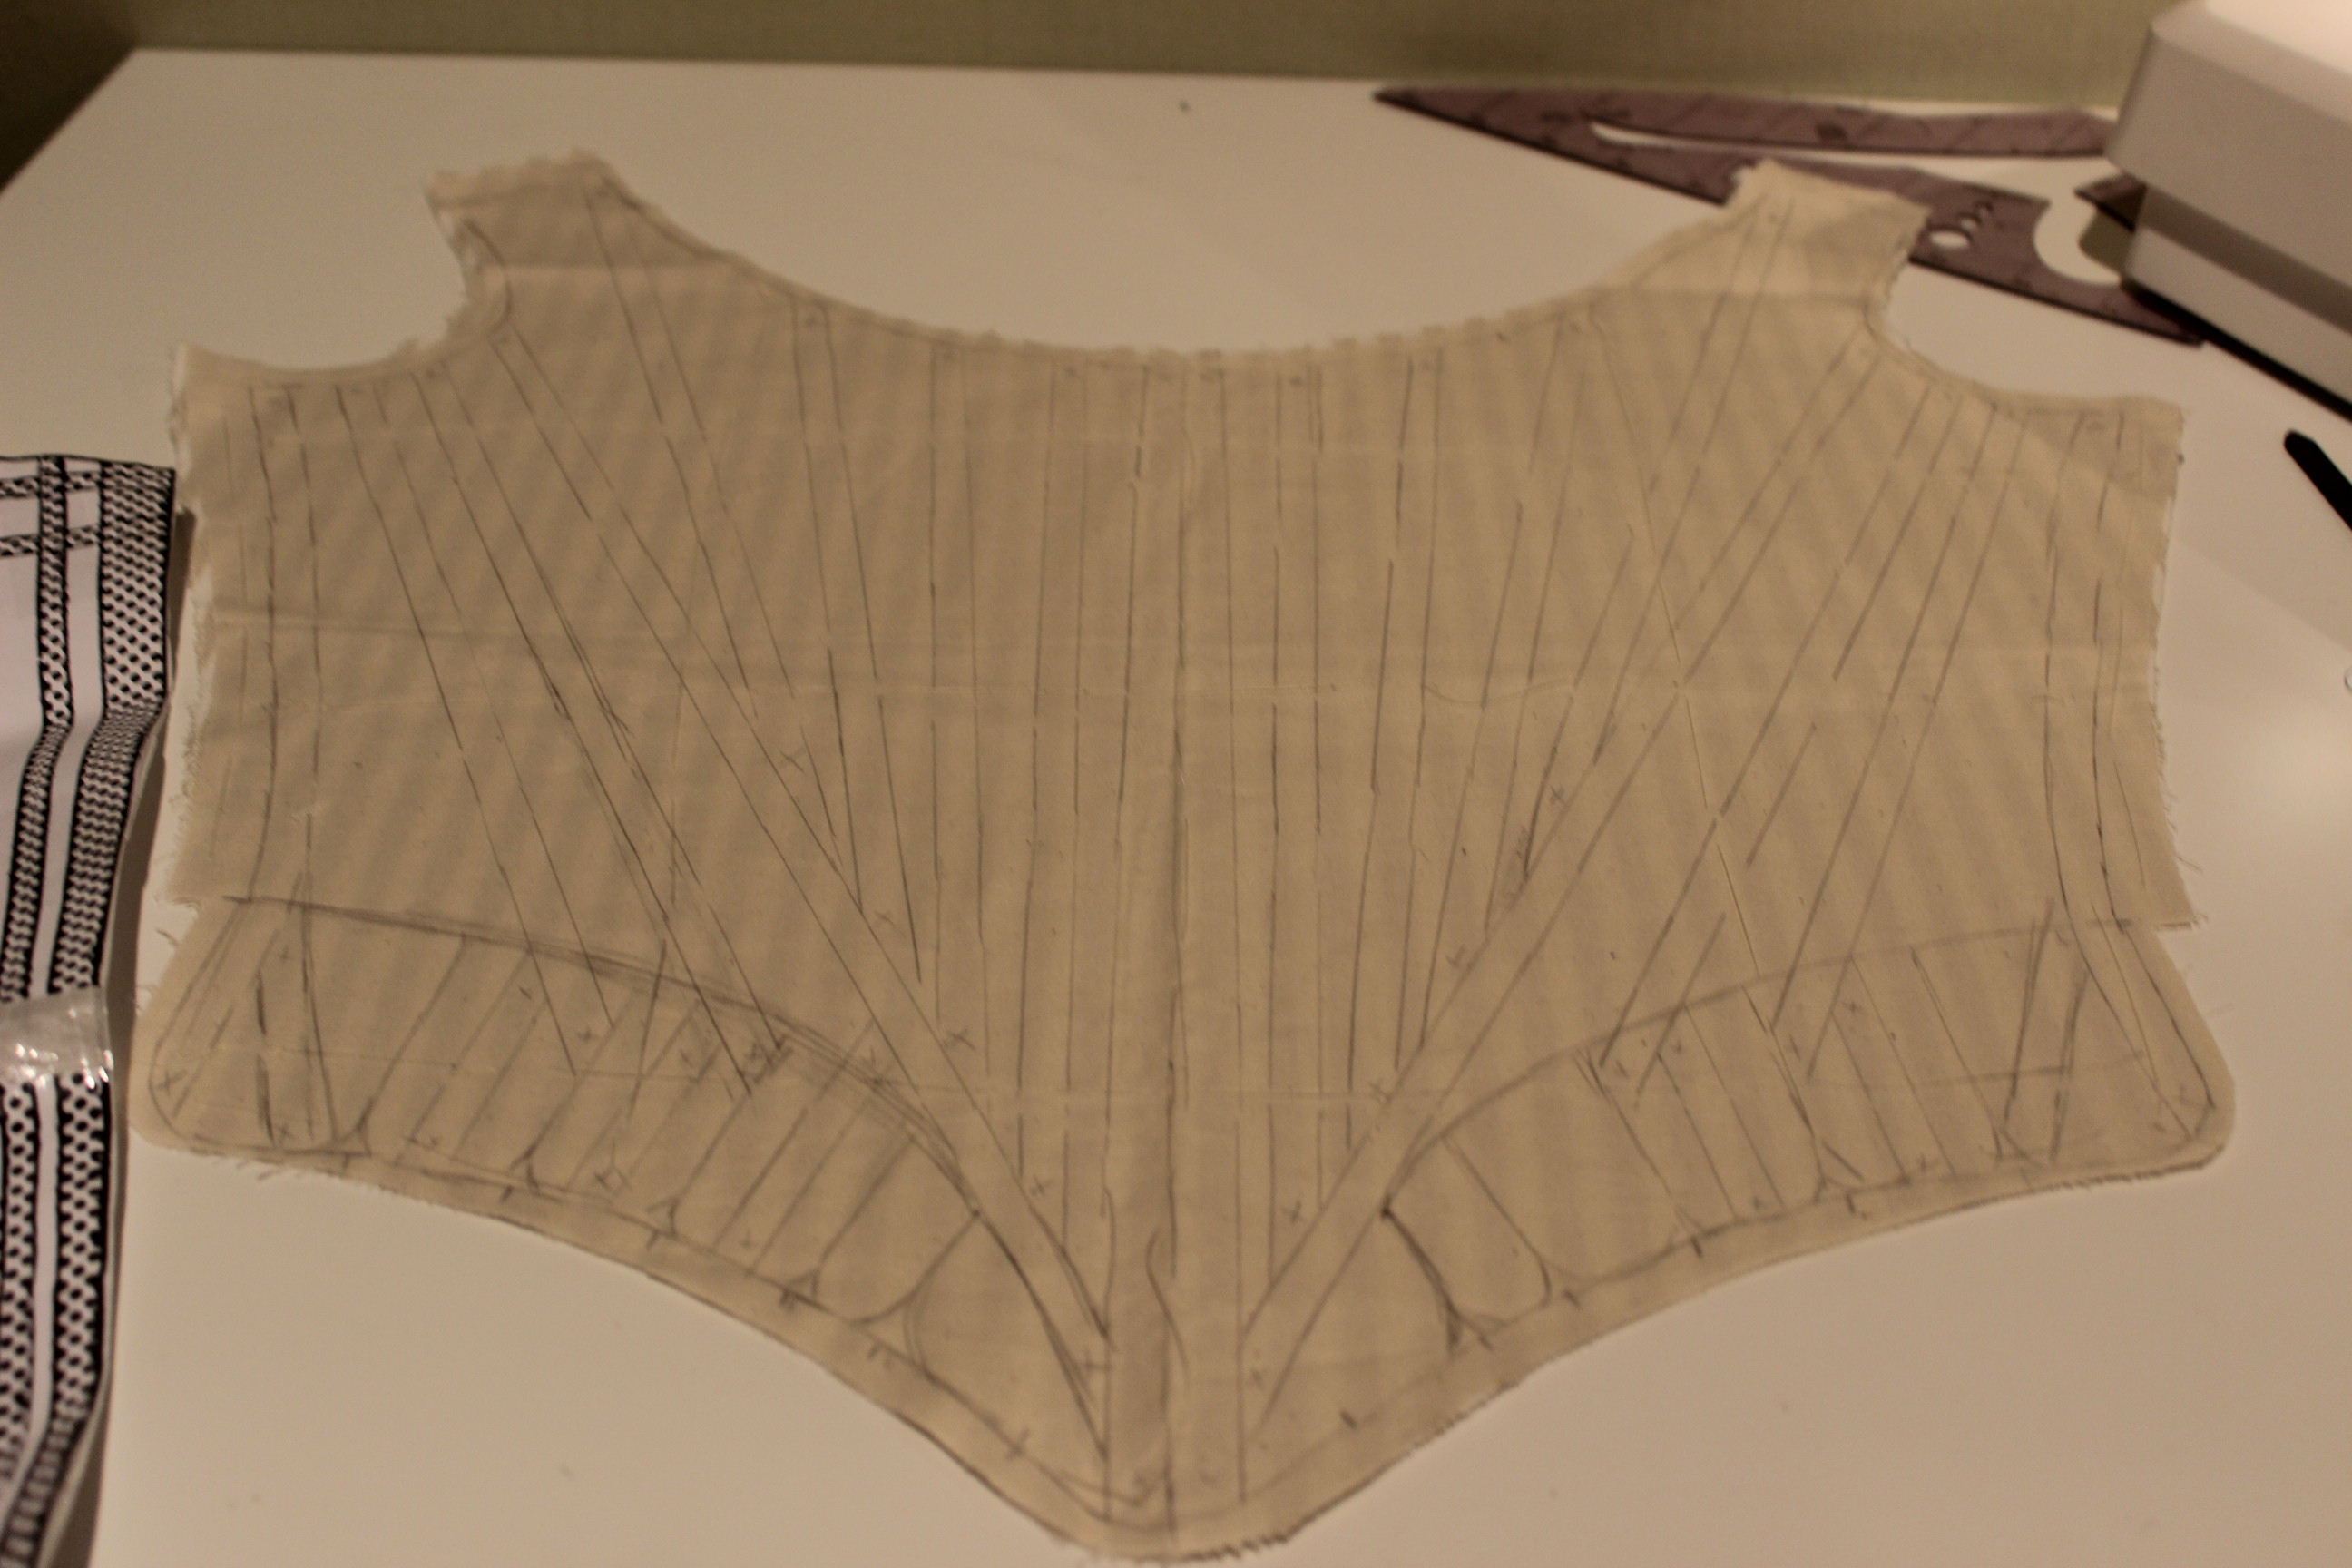
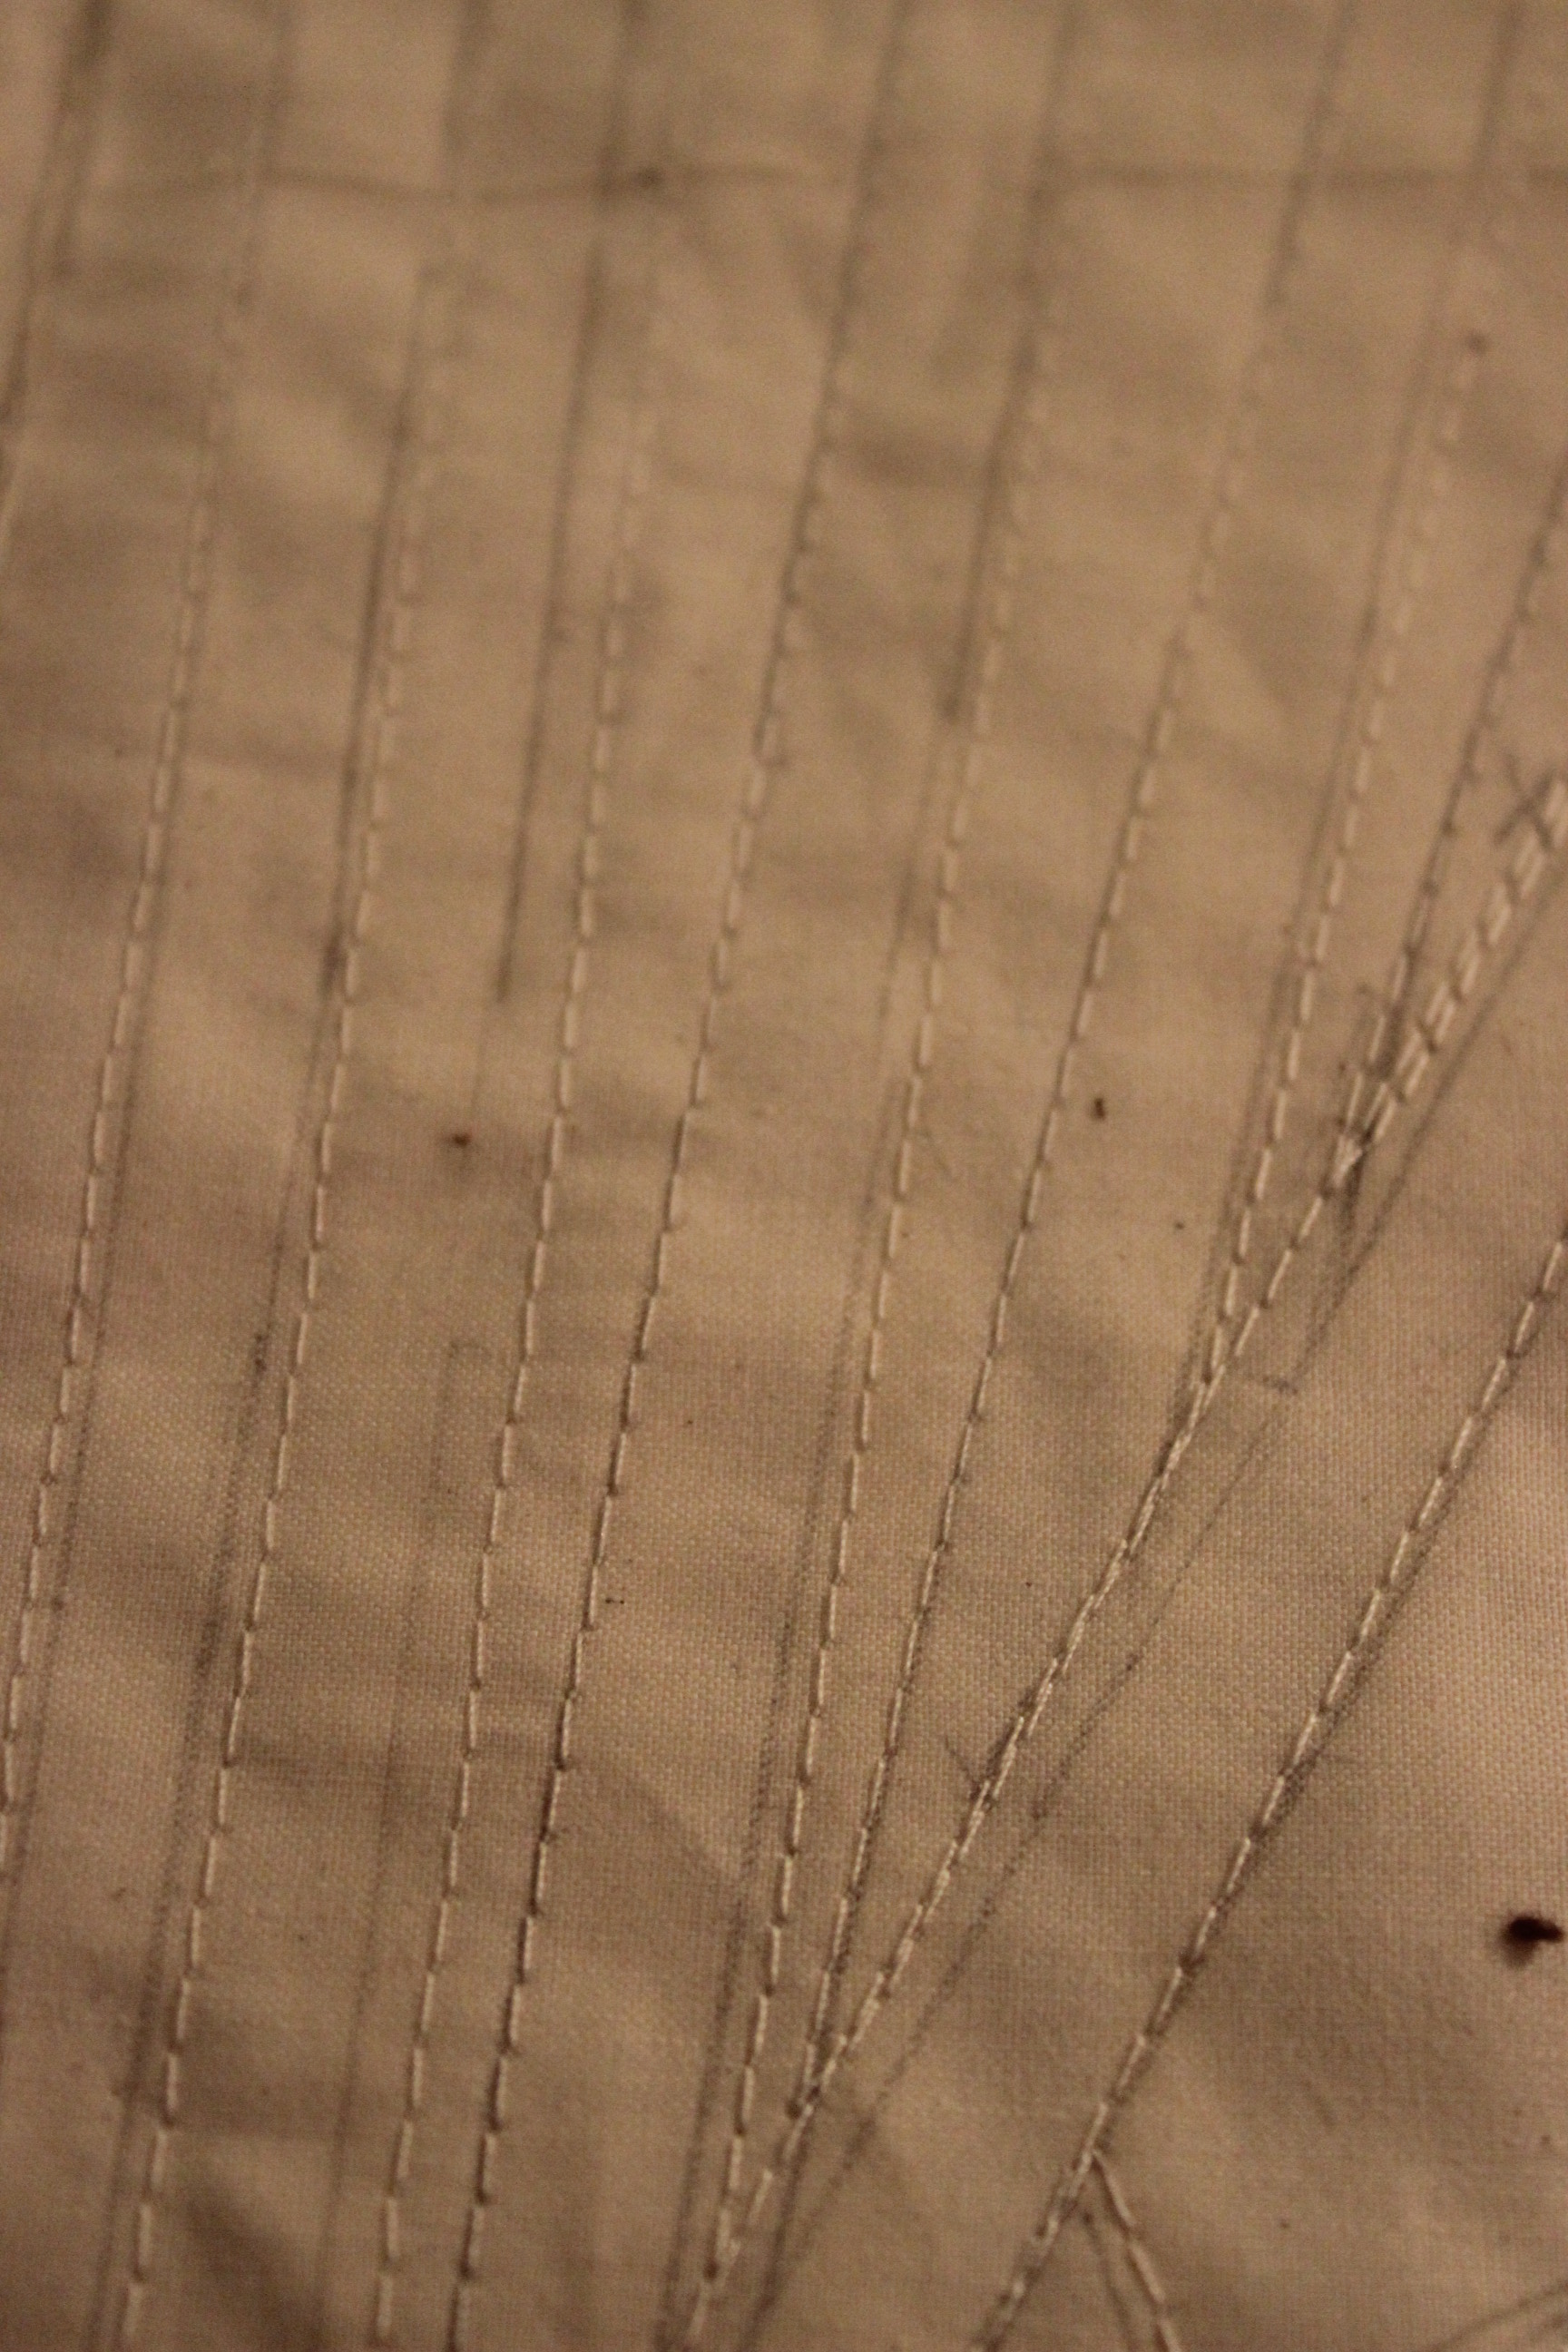
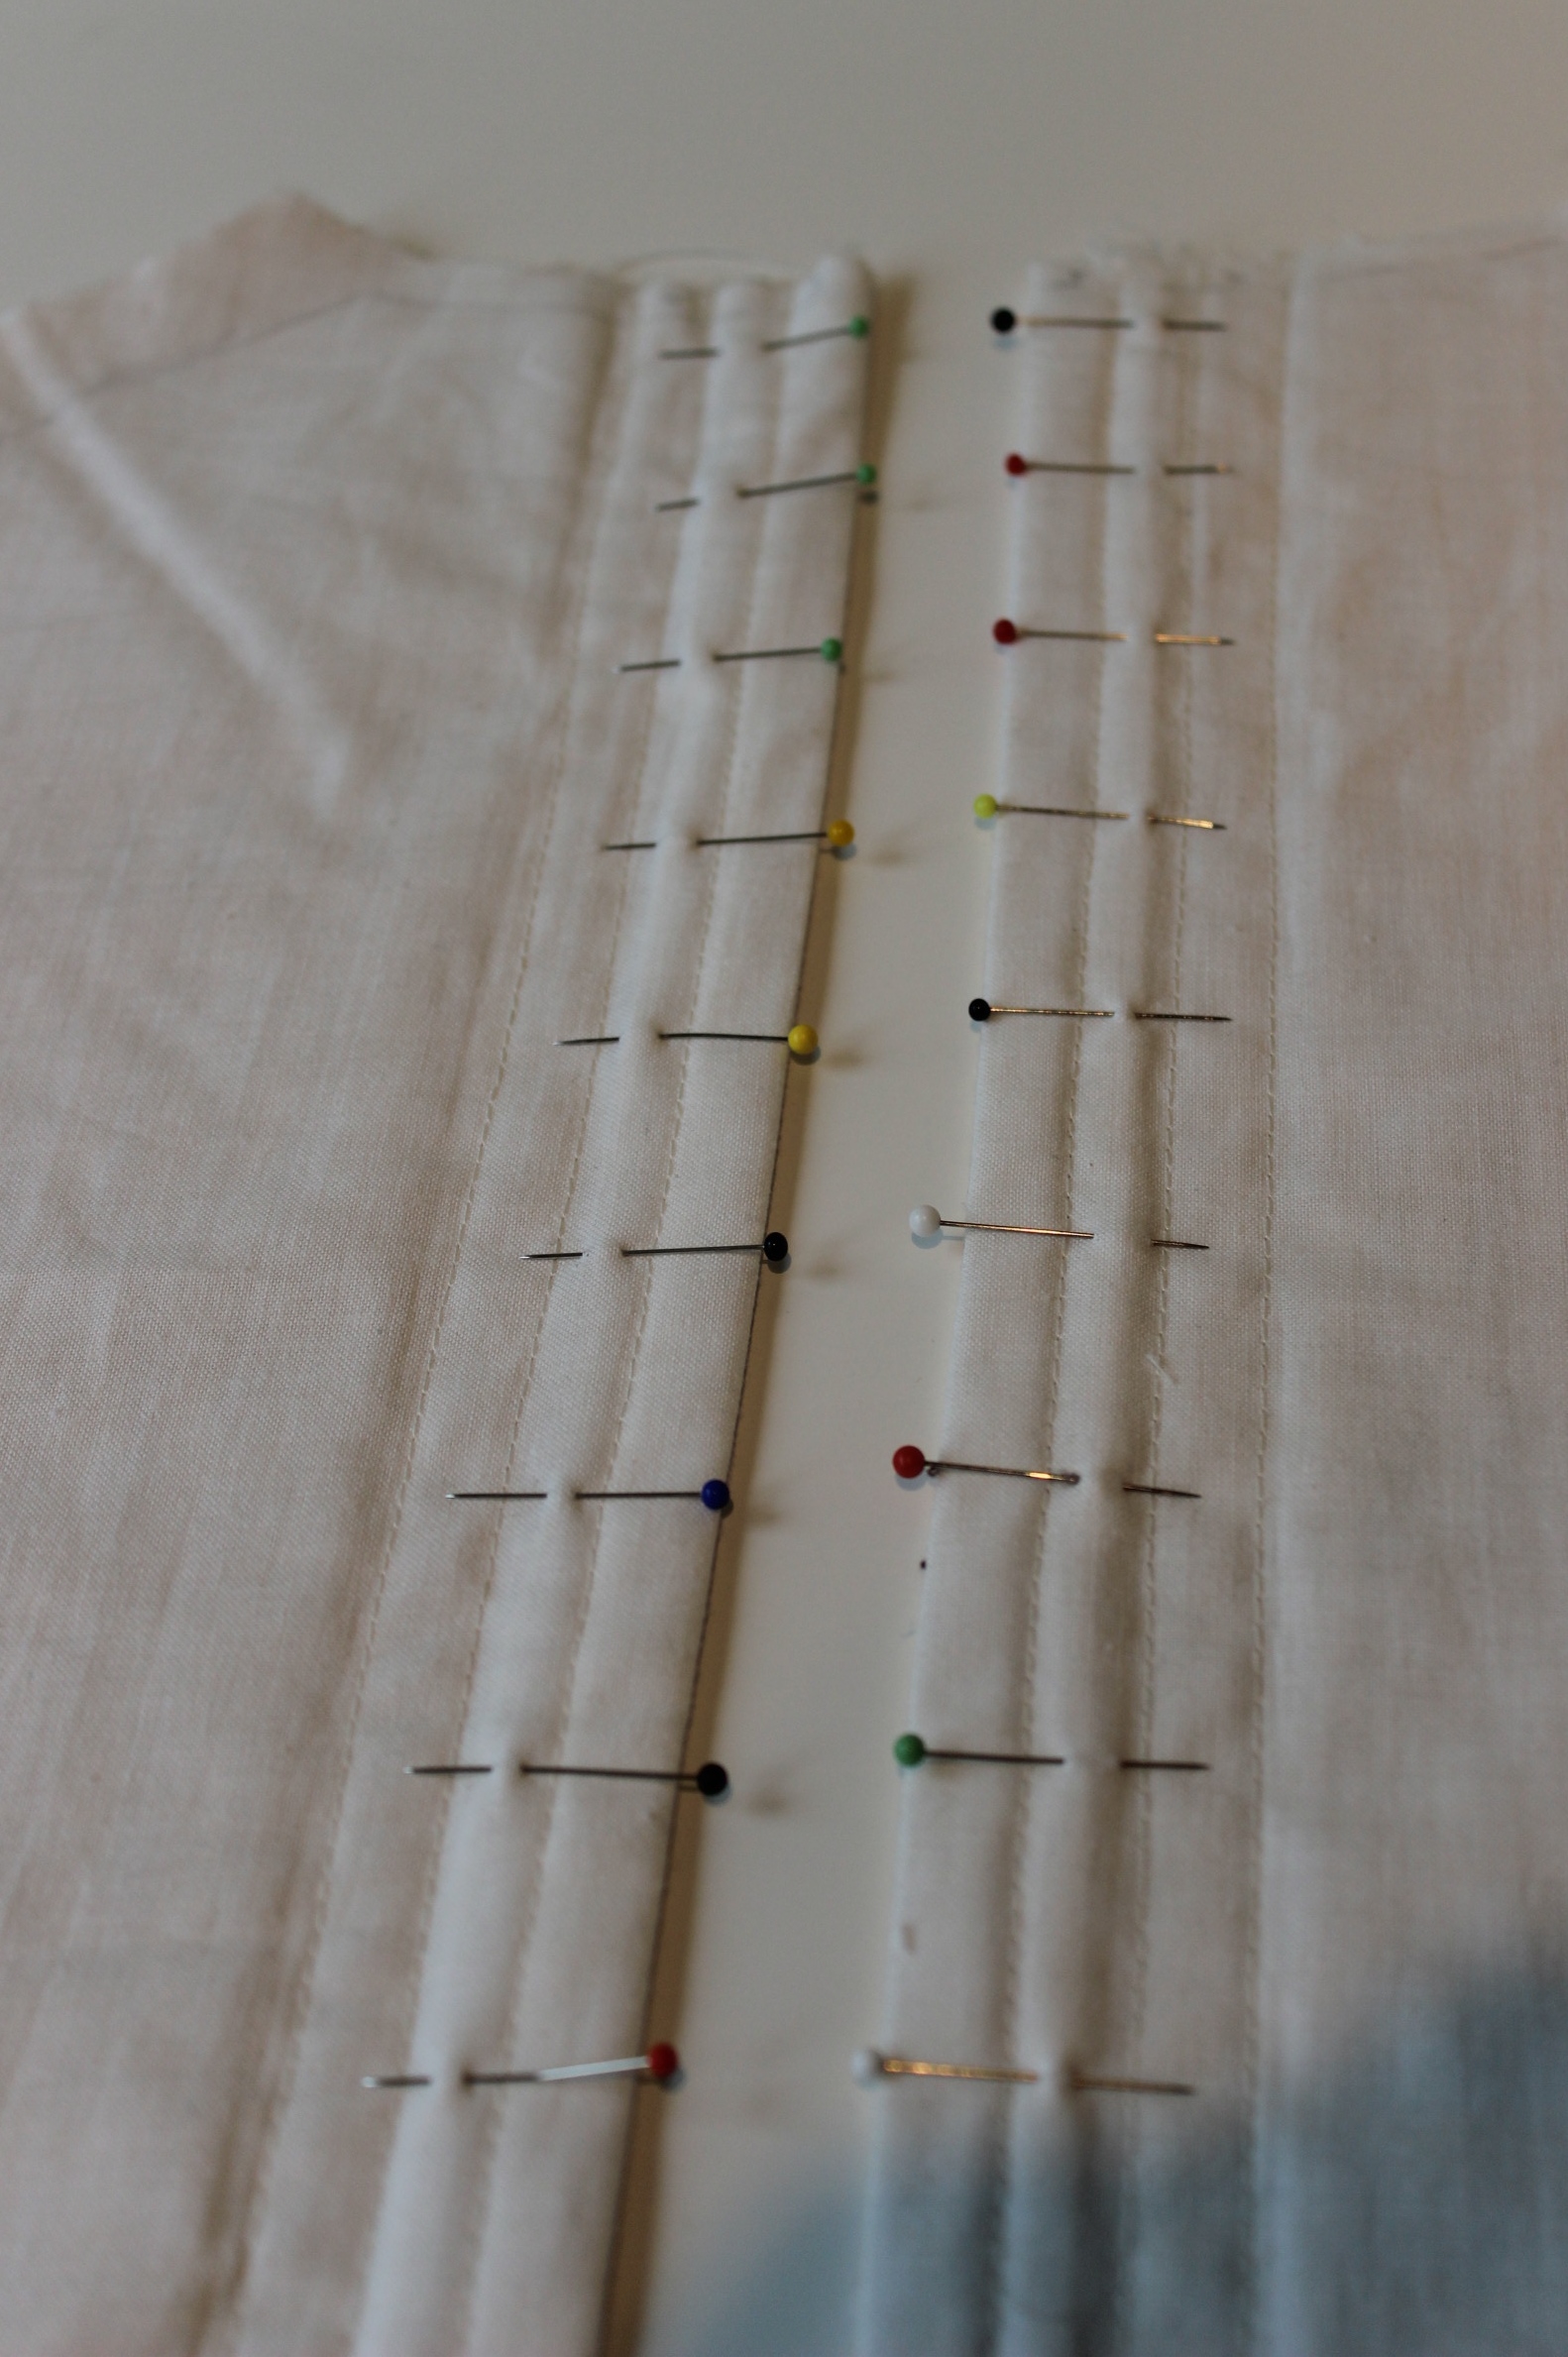
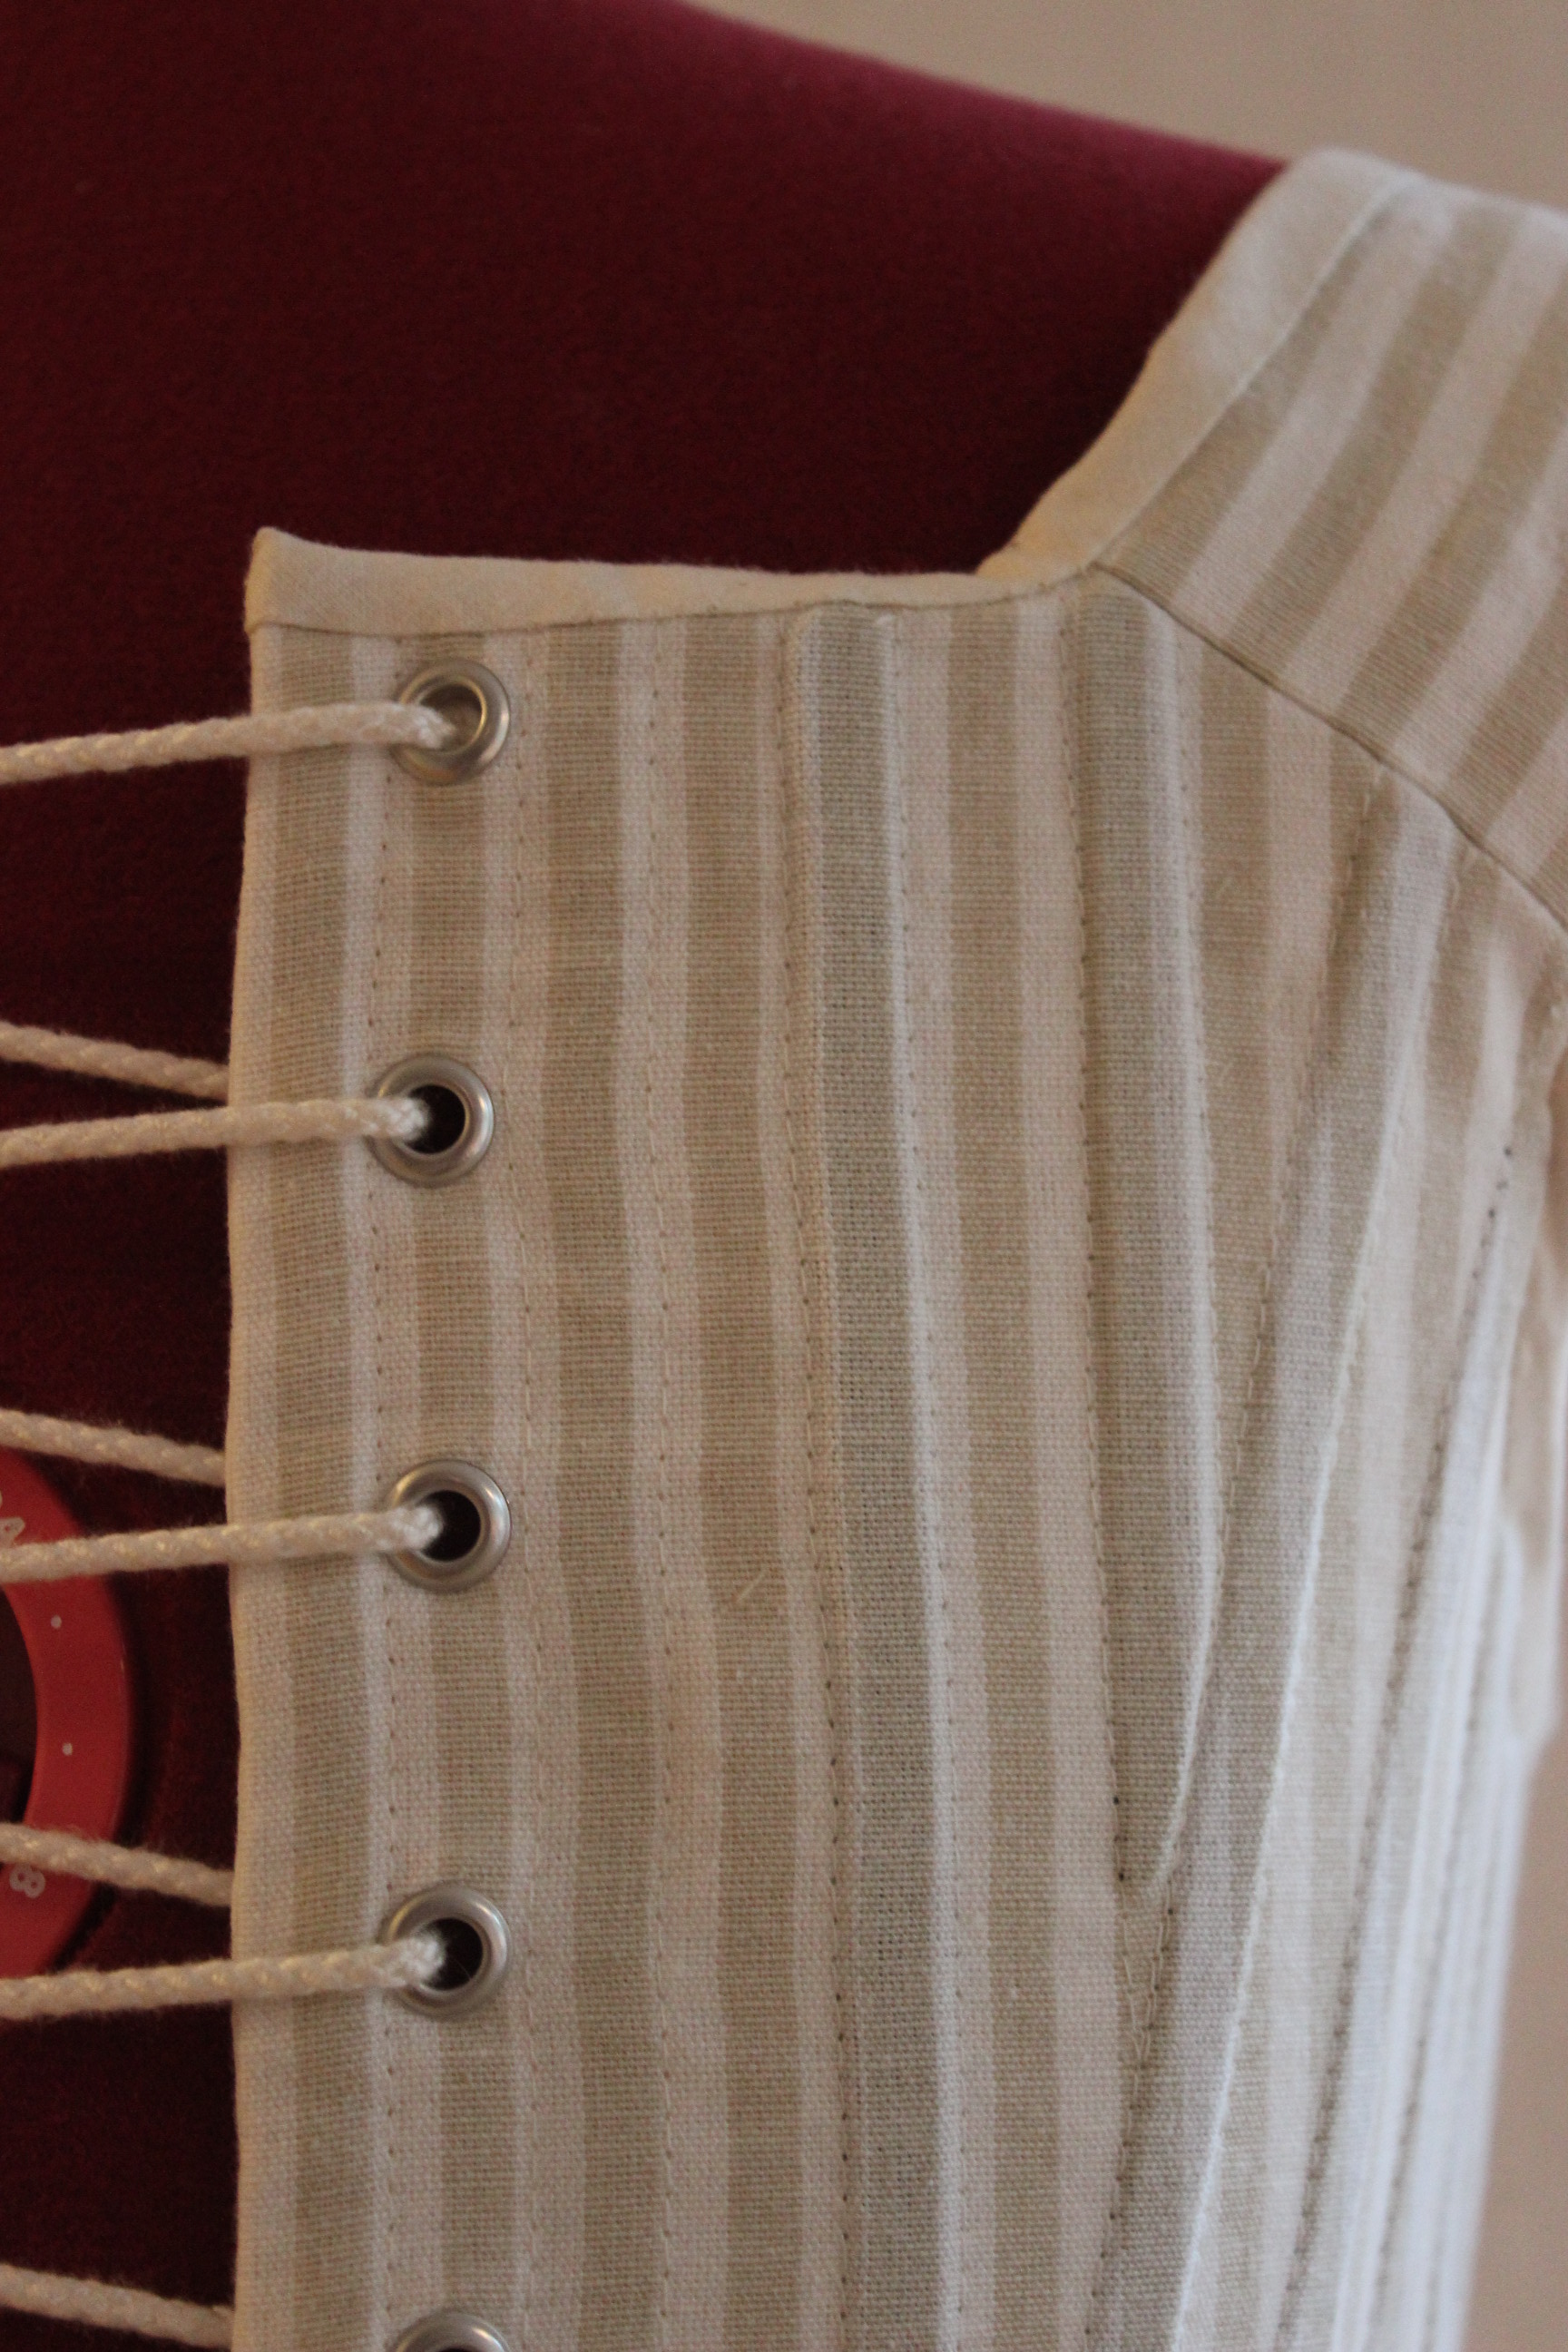
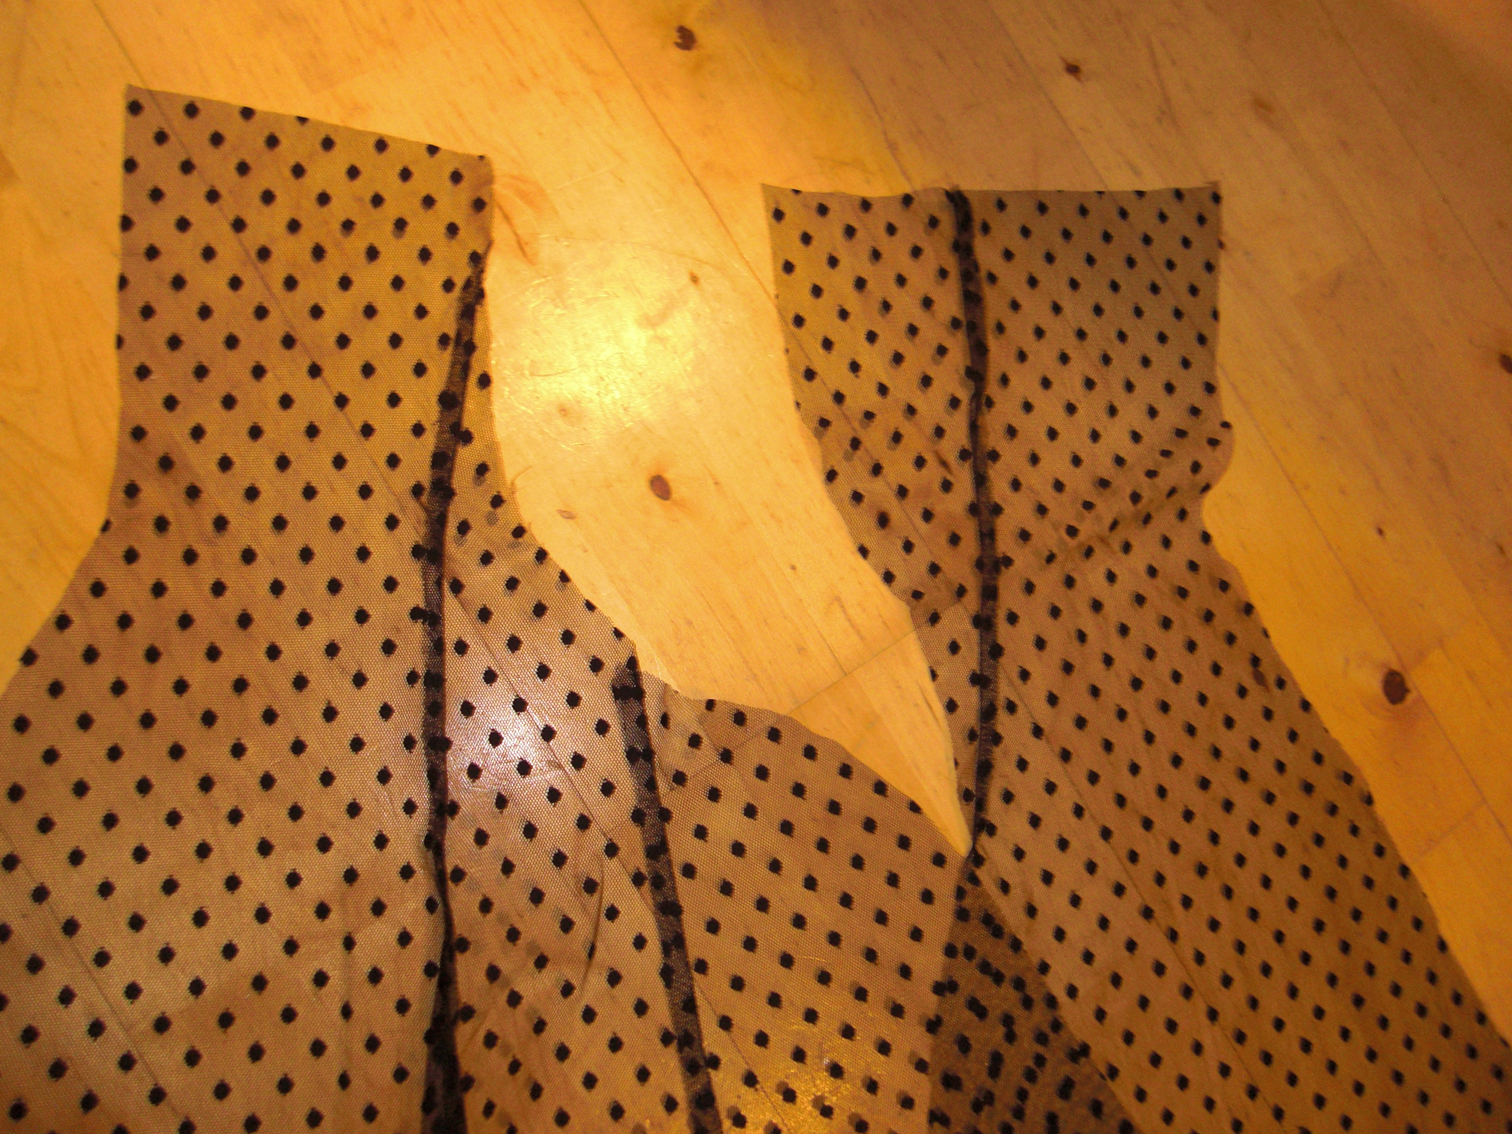
I started by sewing the lining to the back piece. Then I stitched the lacing channels close to the edge, making three spaces for boning and eyelets.
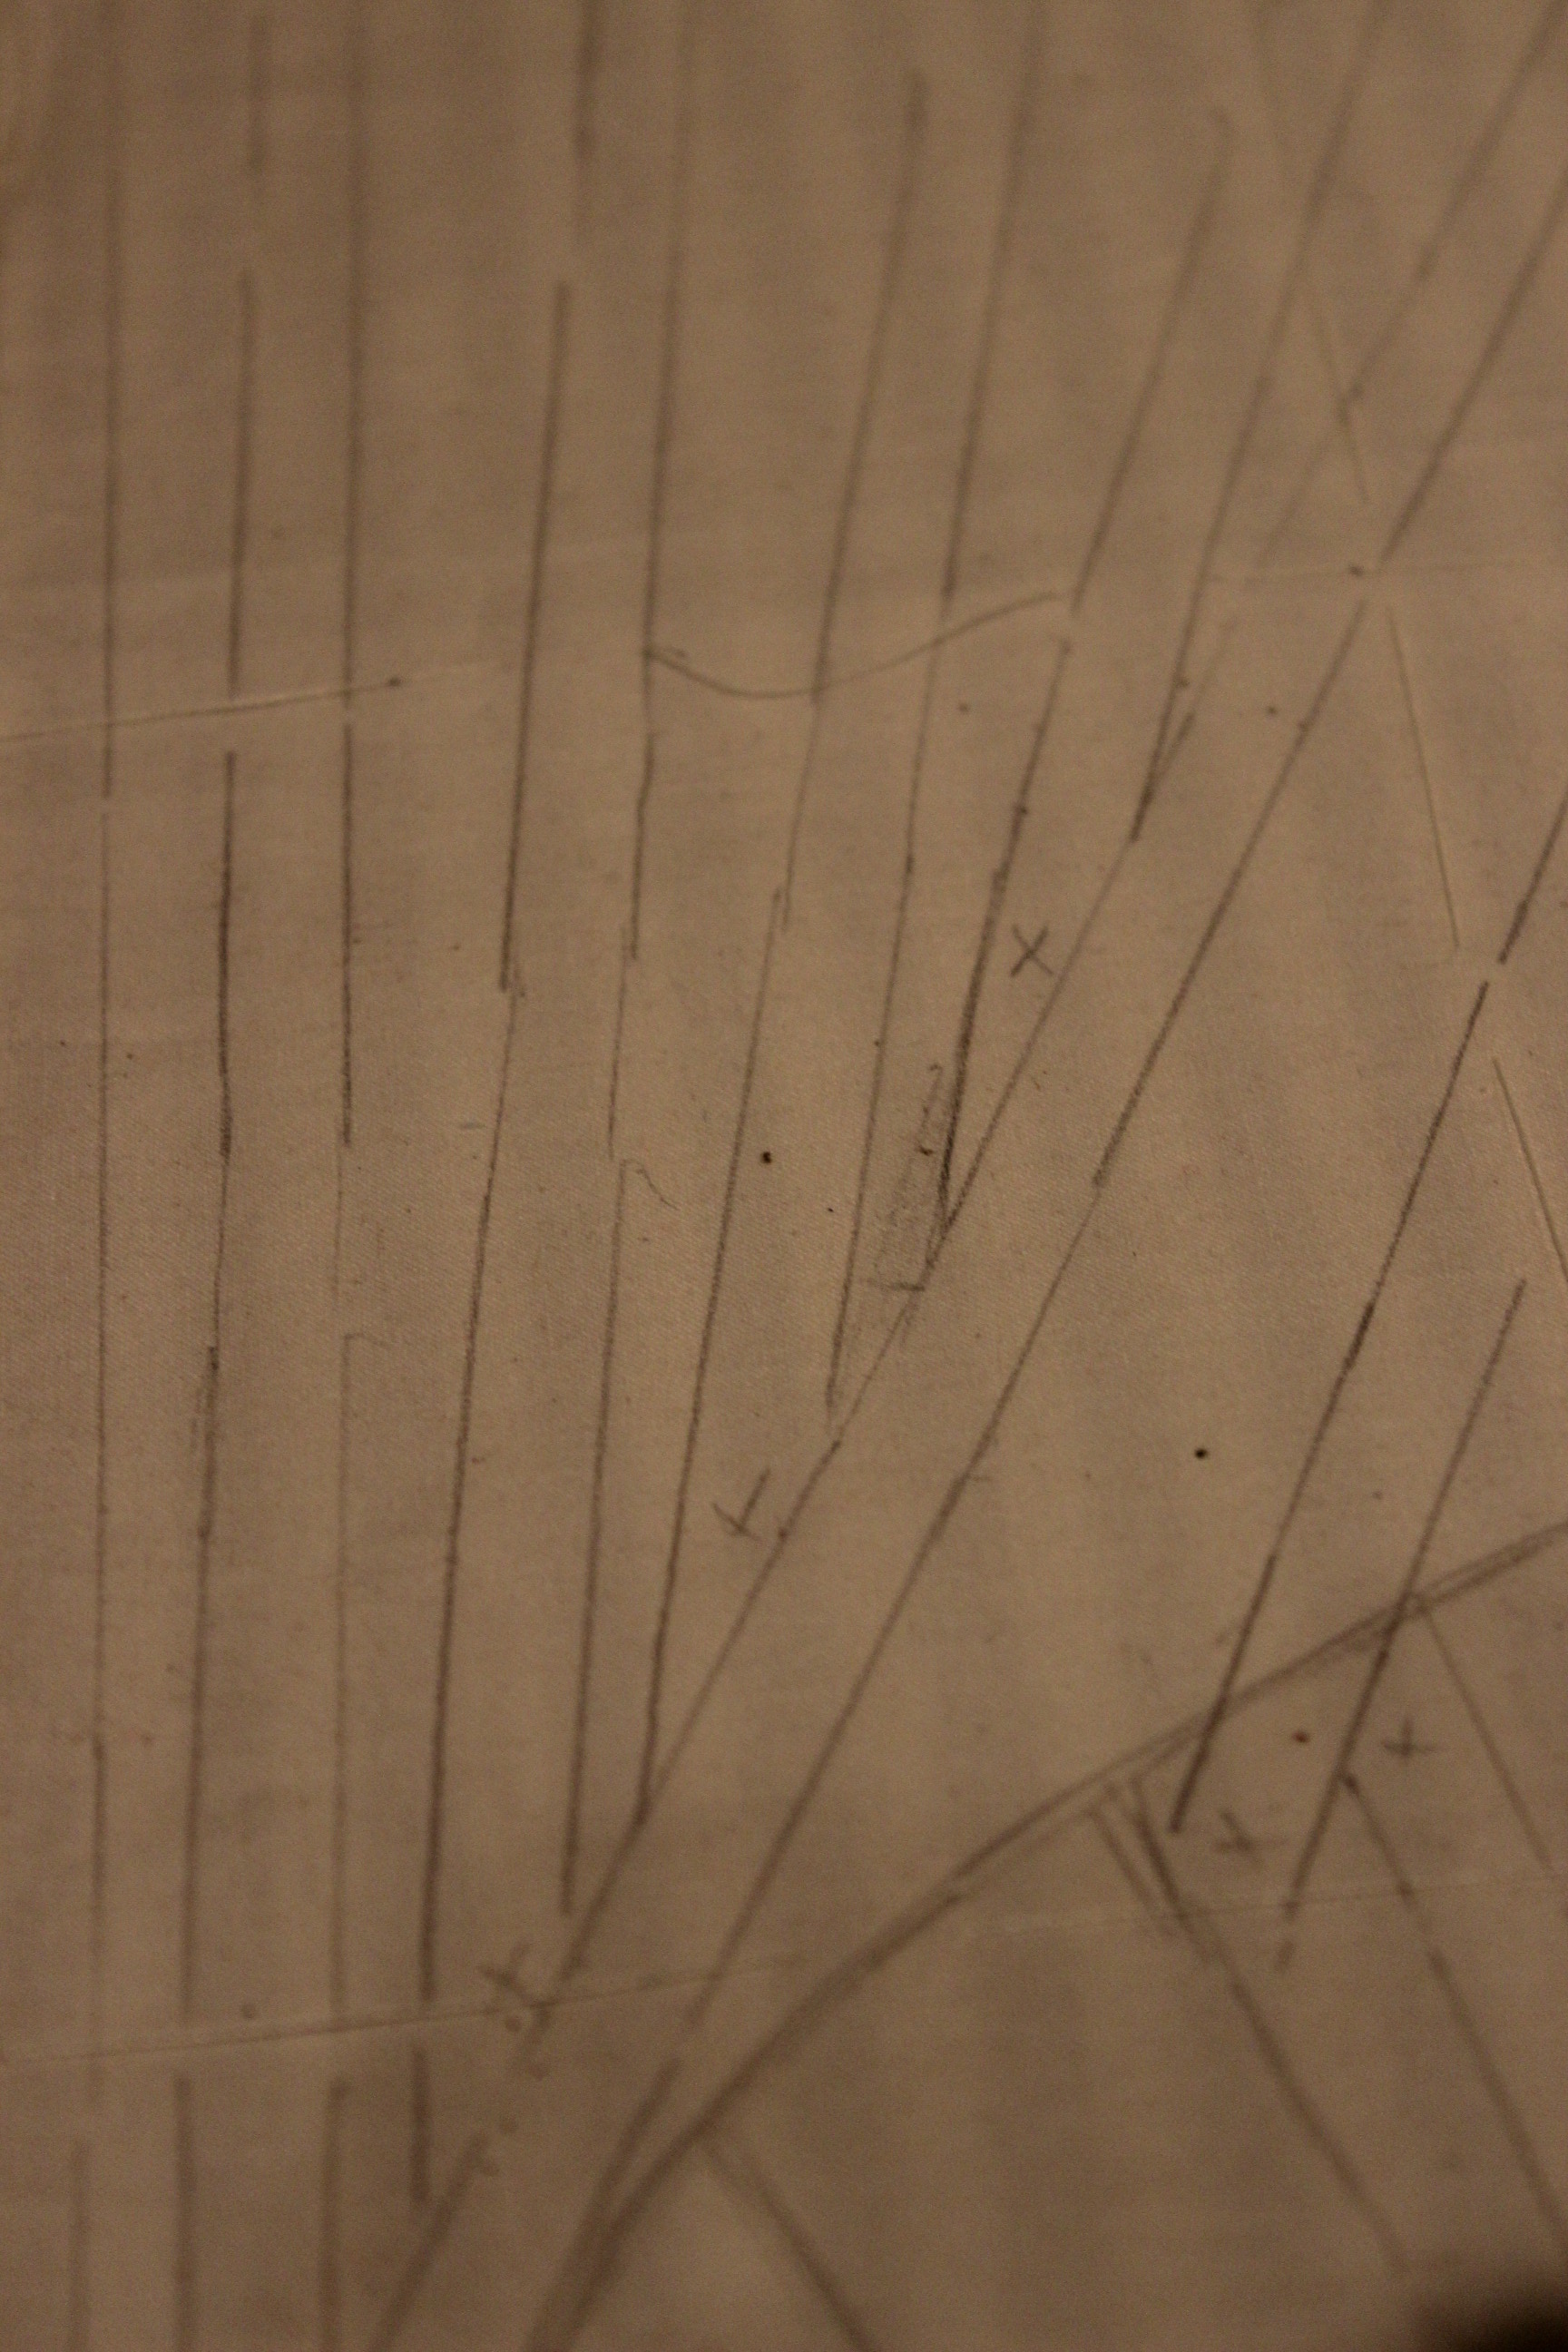
Before getting down on to sewing all the channels, I made sure to mark them with pencil to the interfacing.
As you can see the lines are not exactly perfect.


And neither are the sewing lines.
But the pencil markings was just meent as a general guide to keep the left and right sides even.
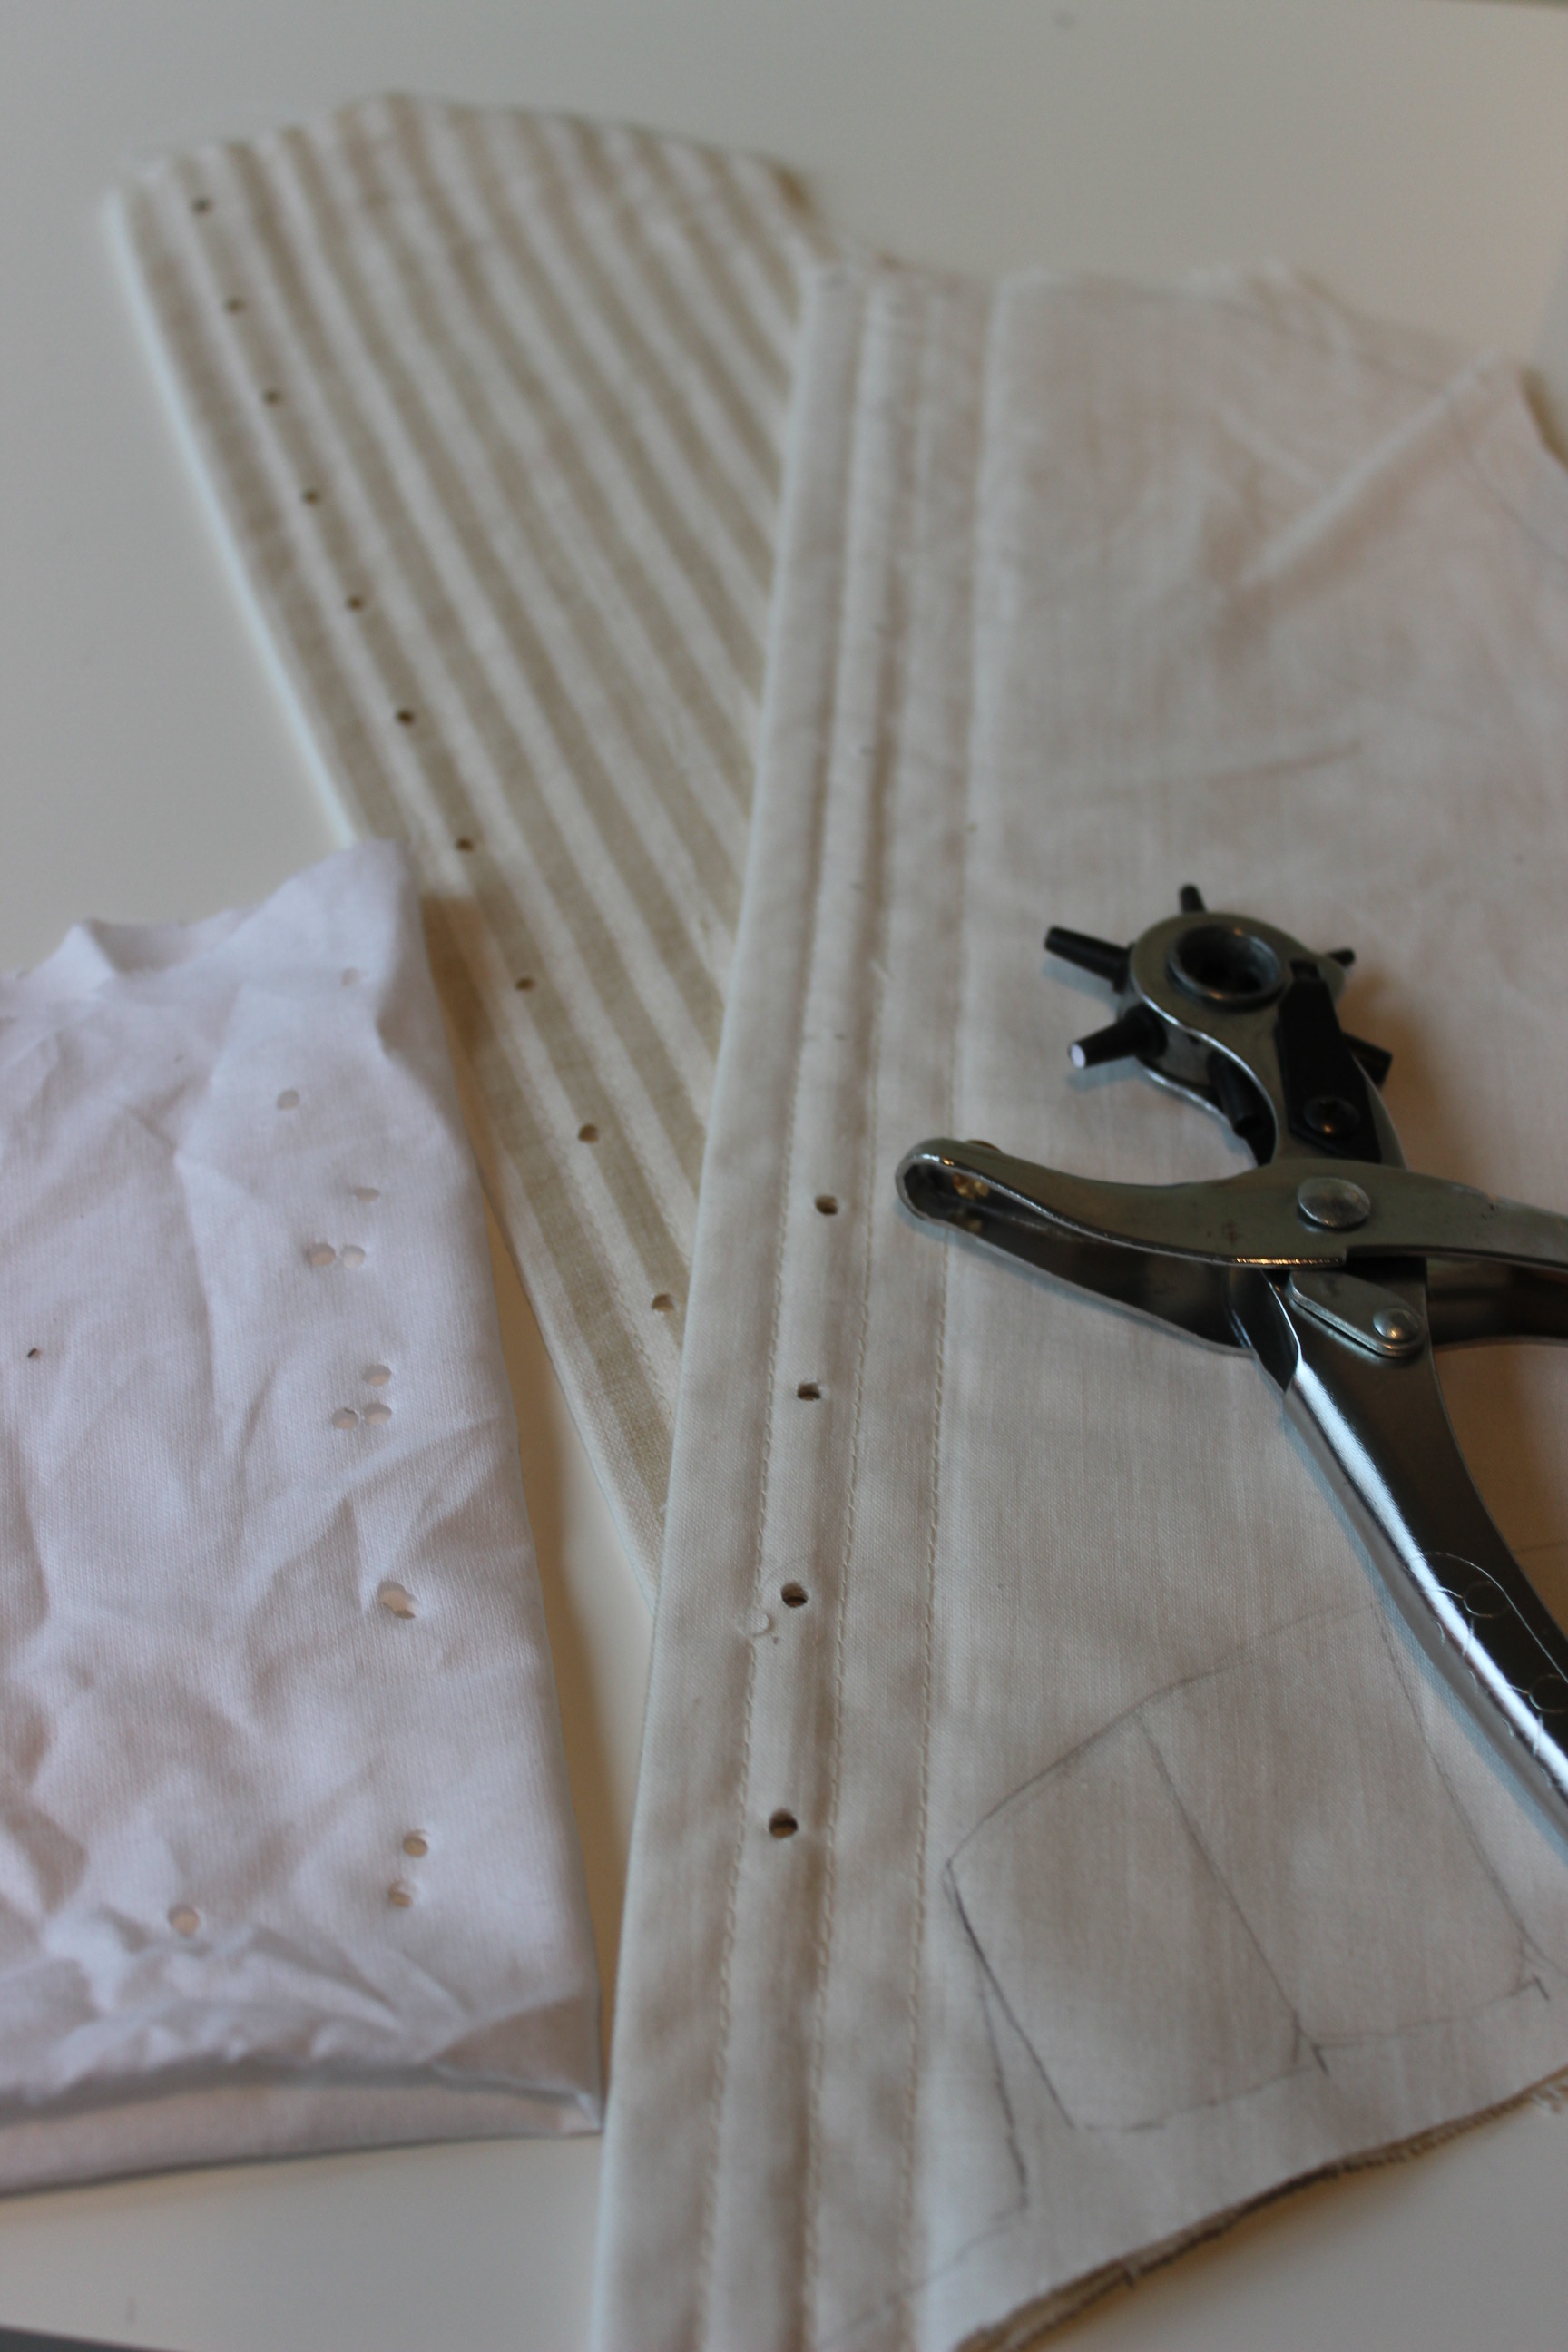
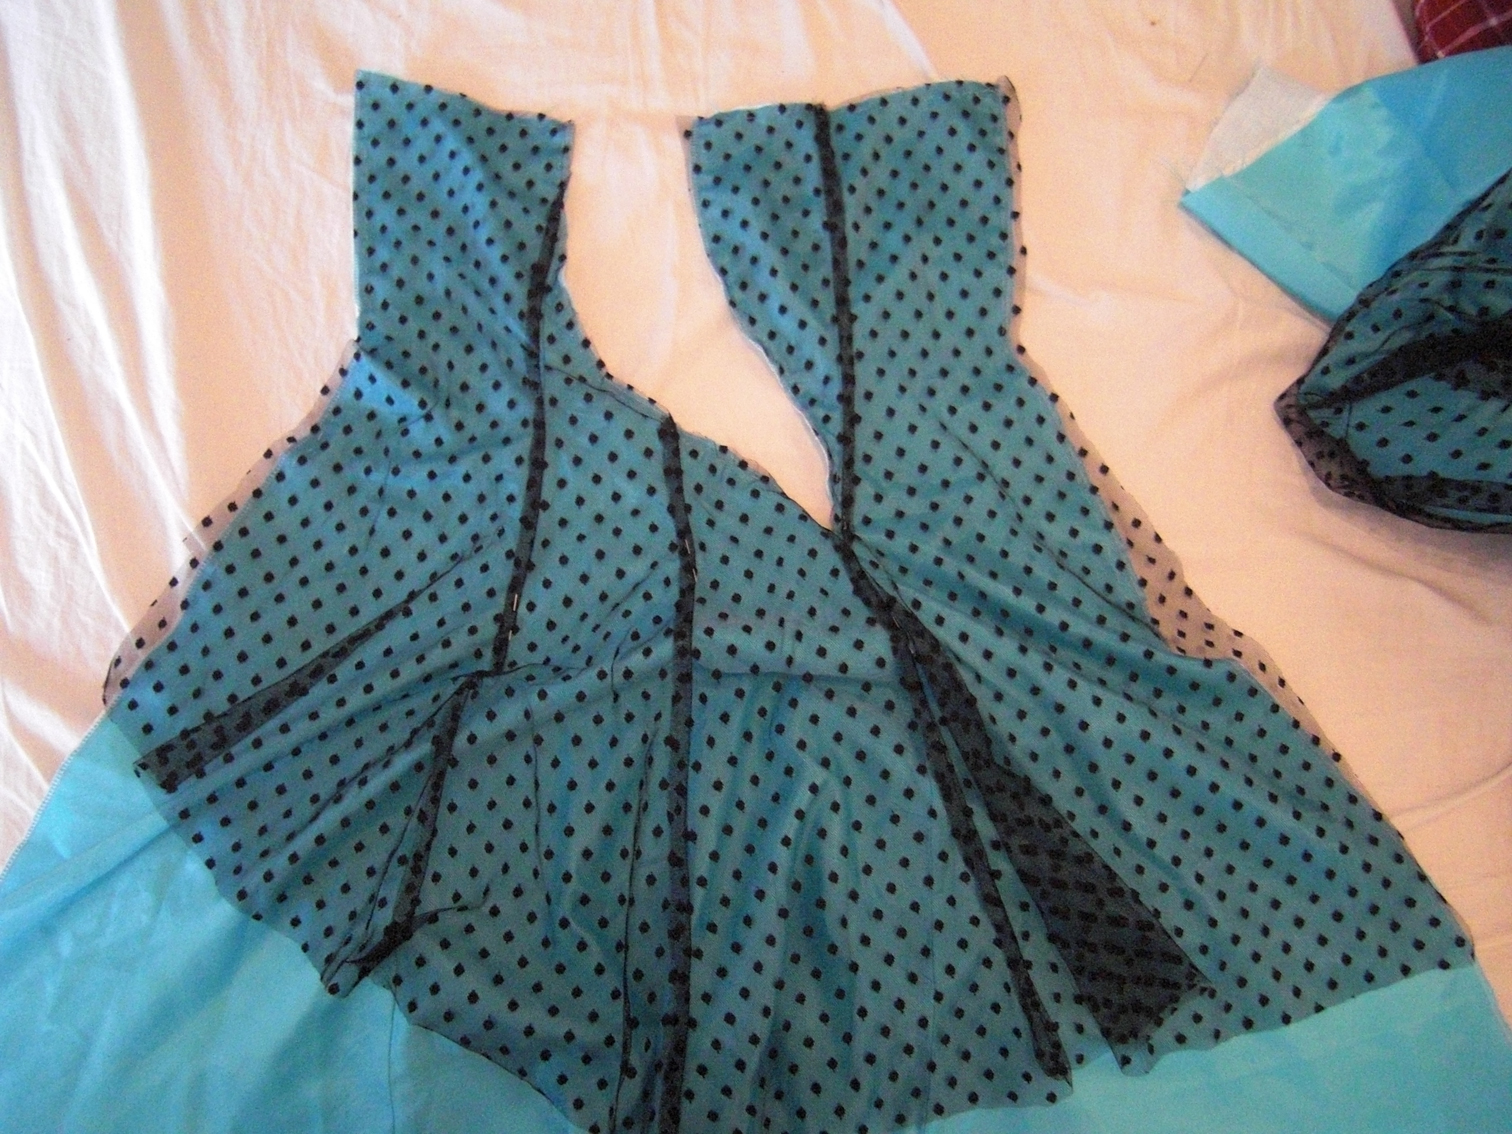
Then it was on to the eyelets. Marking the spaces.
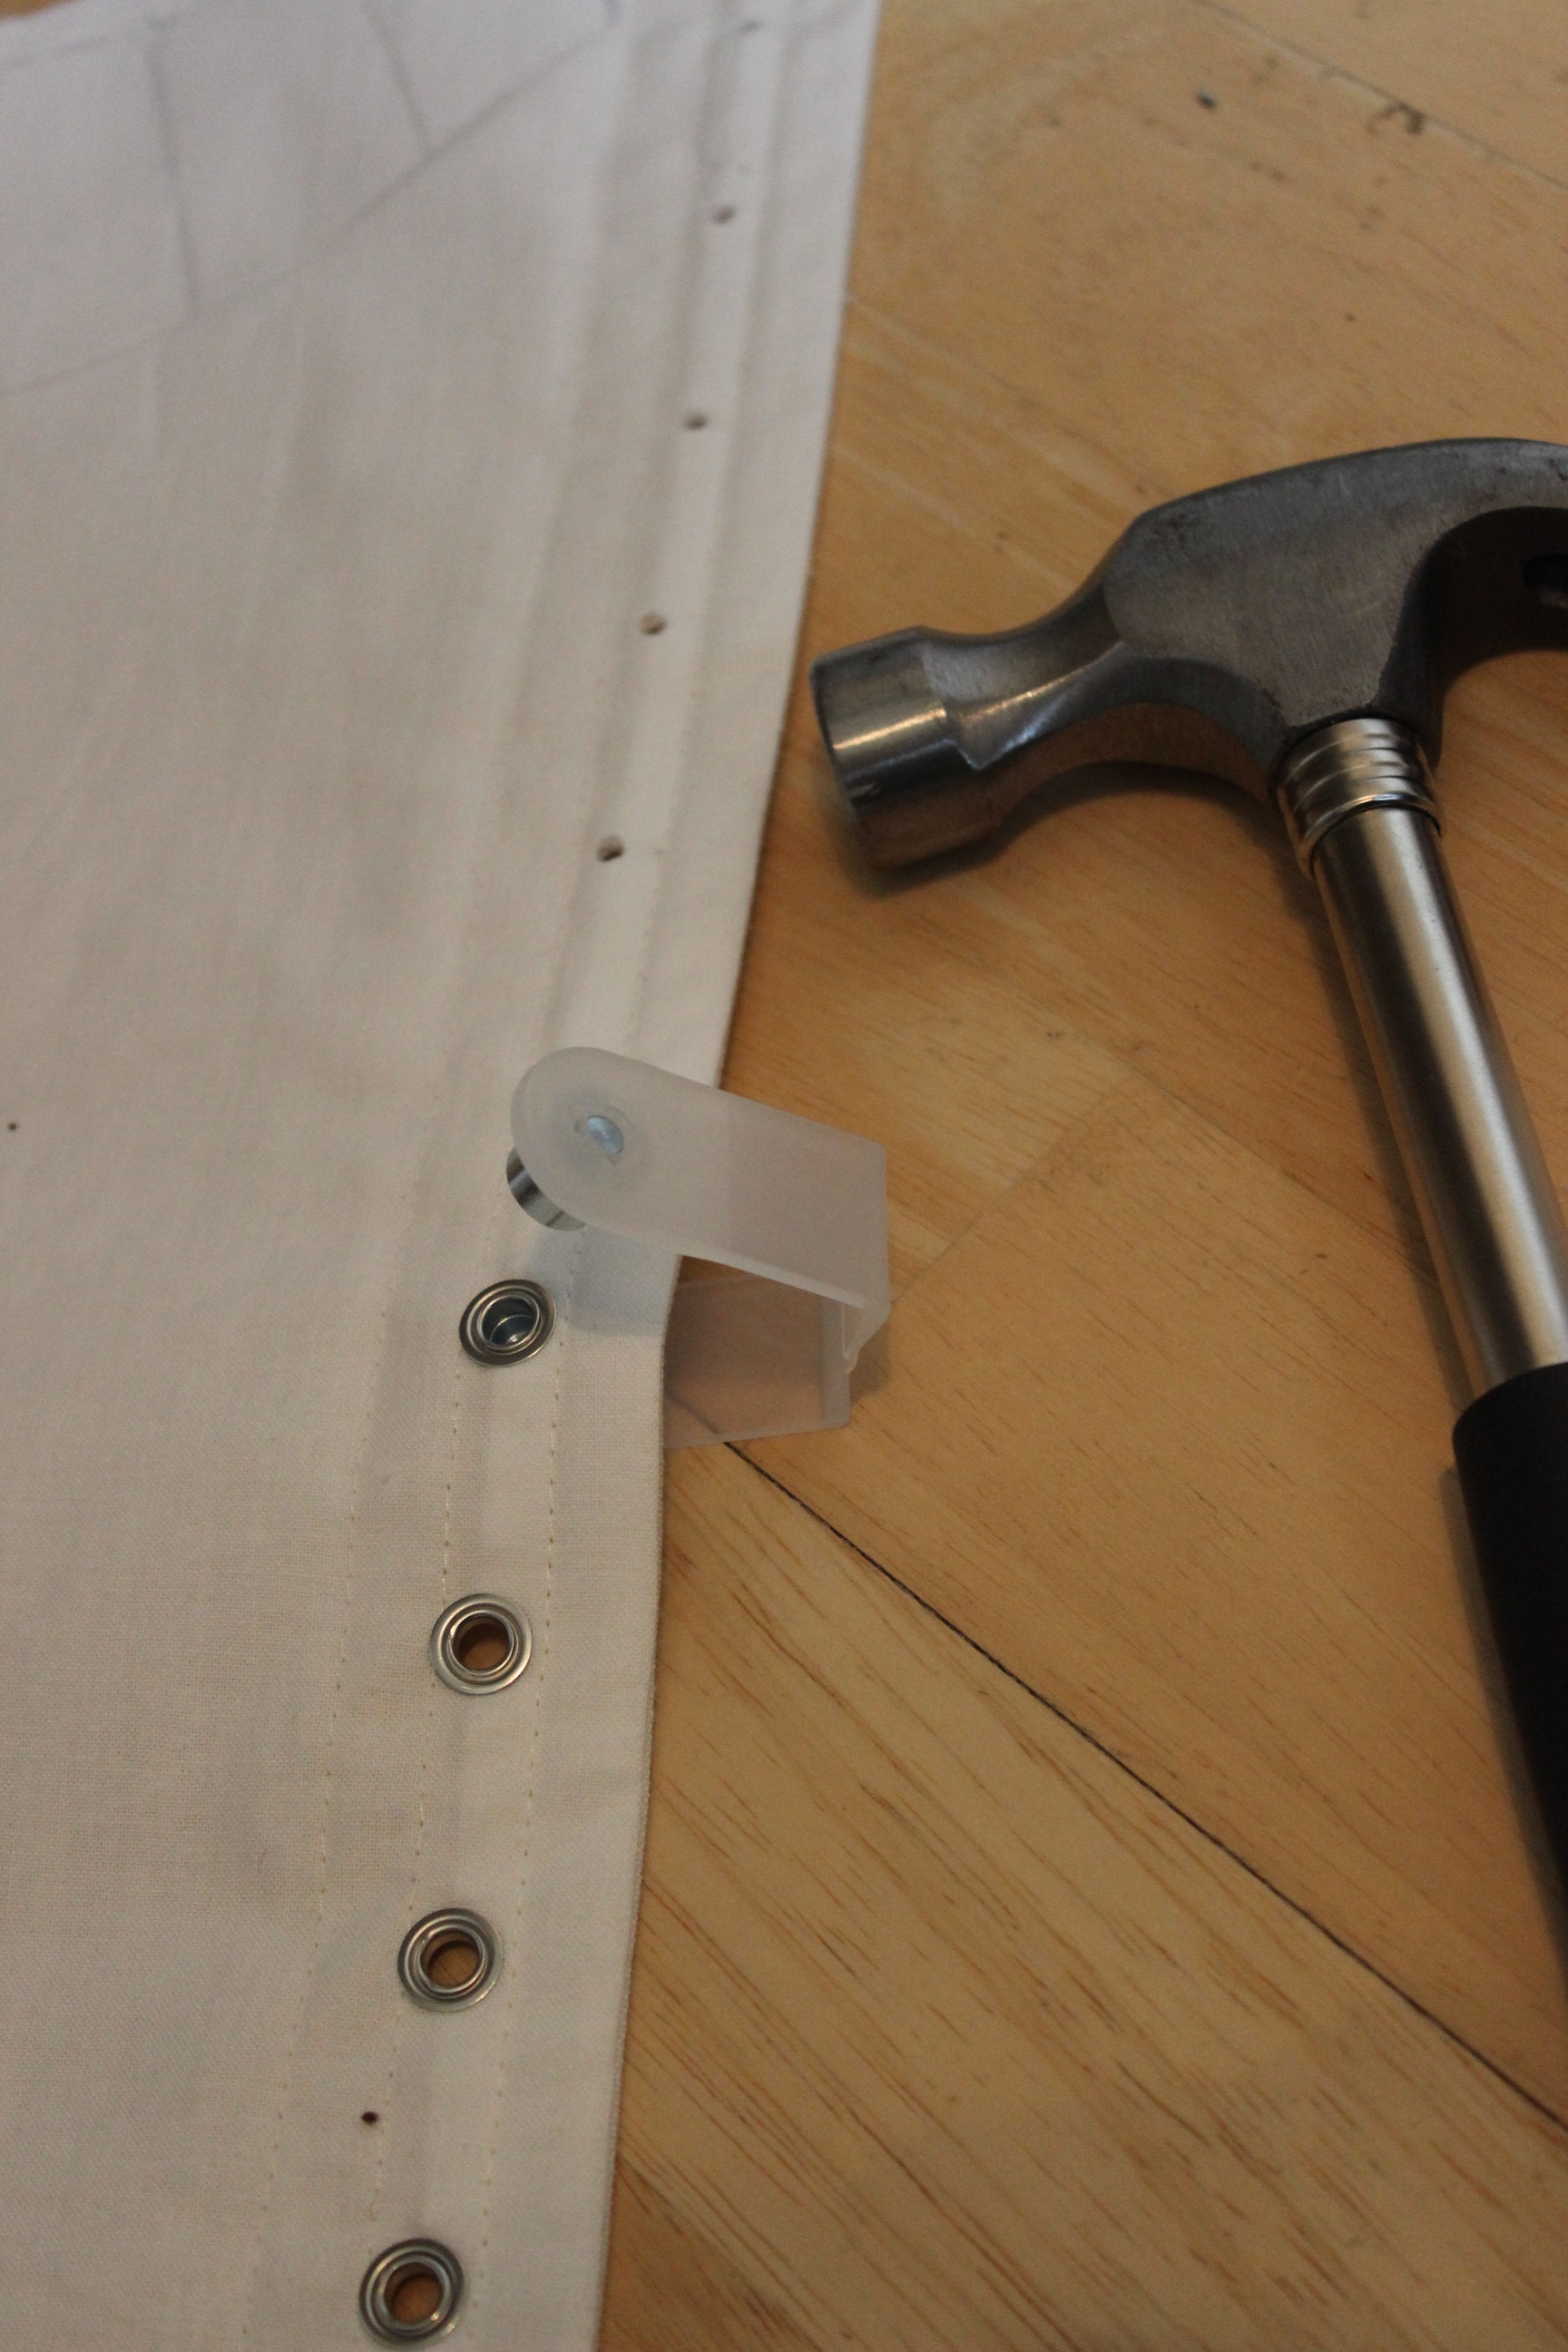
I used my hole puncher to get the get the grommets through the fabric.


And a hammer to get them to stick.
Then it was time to stitch the pieces together.
And to insert some of the boning.


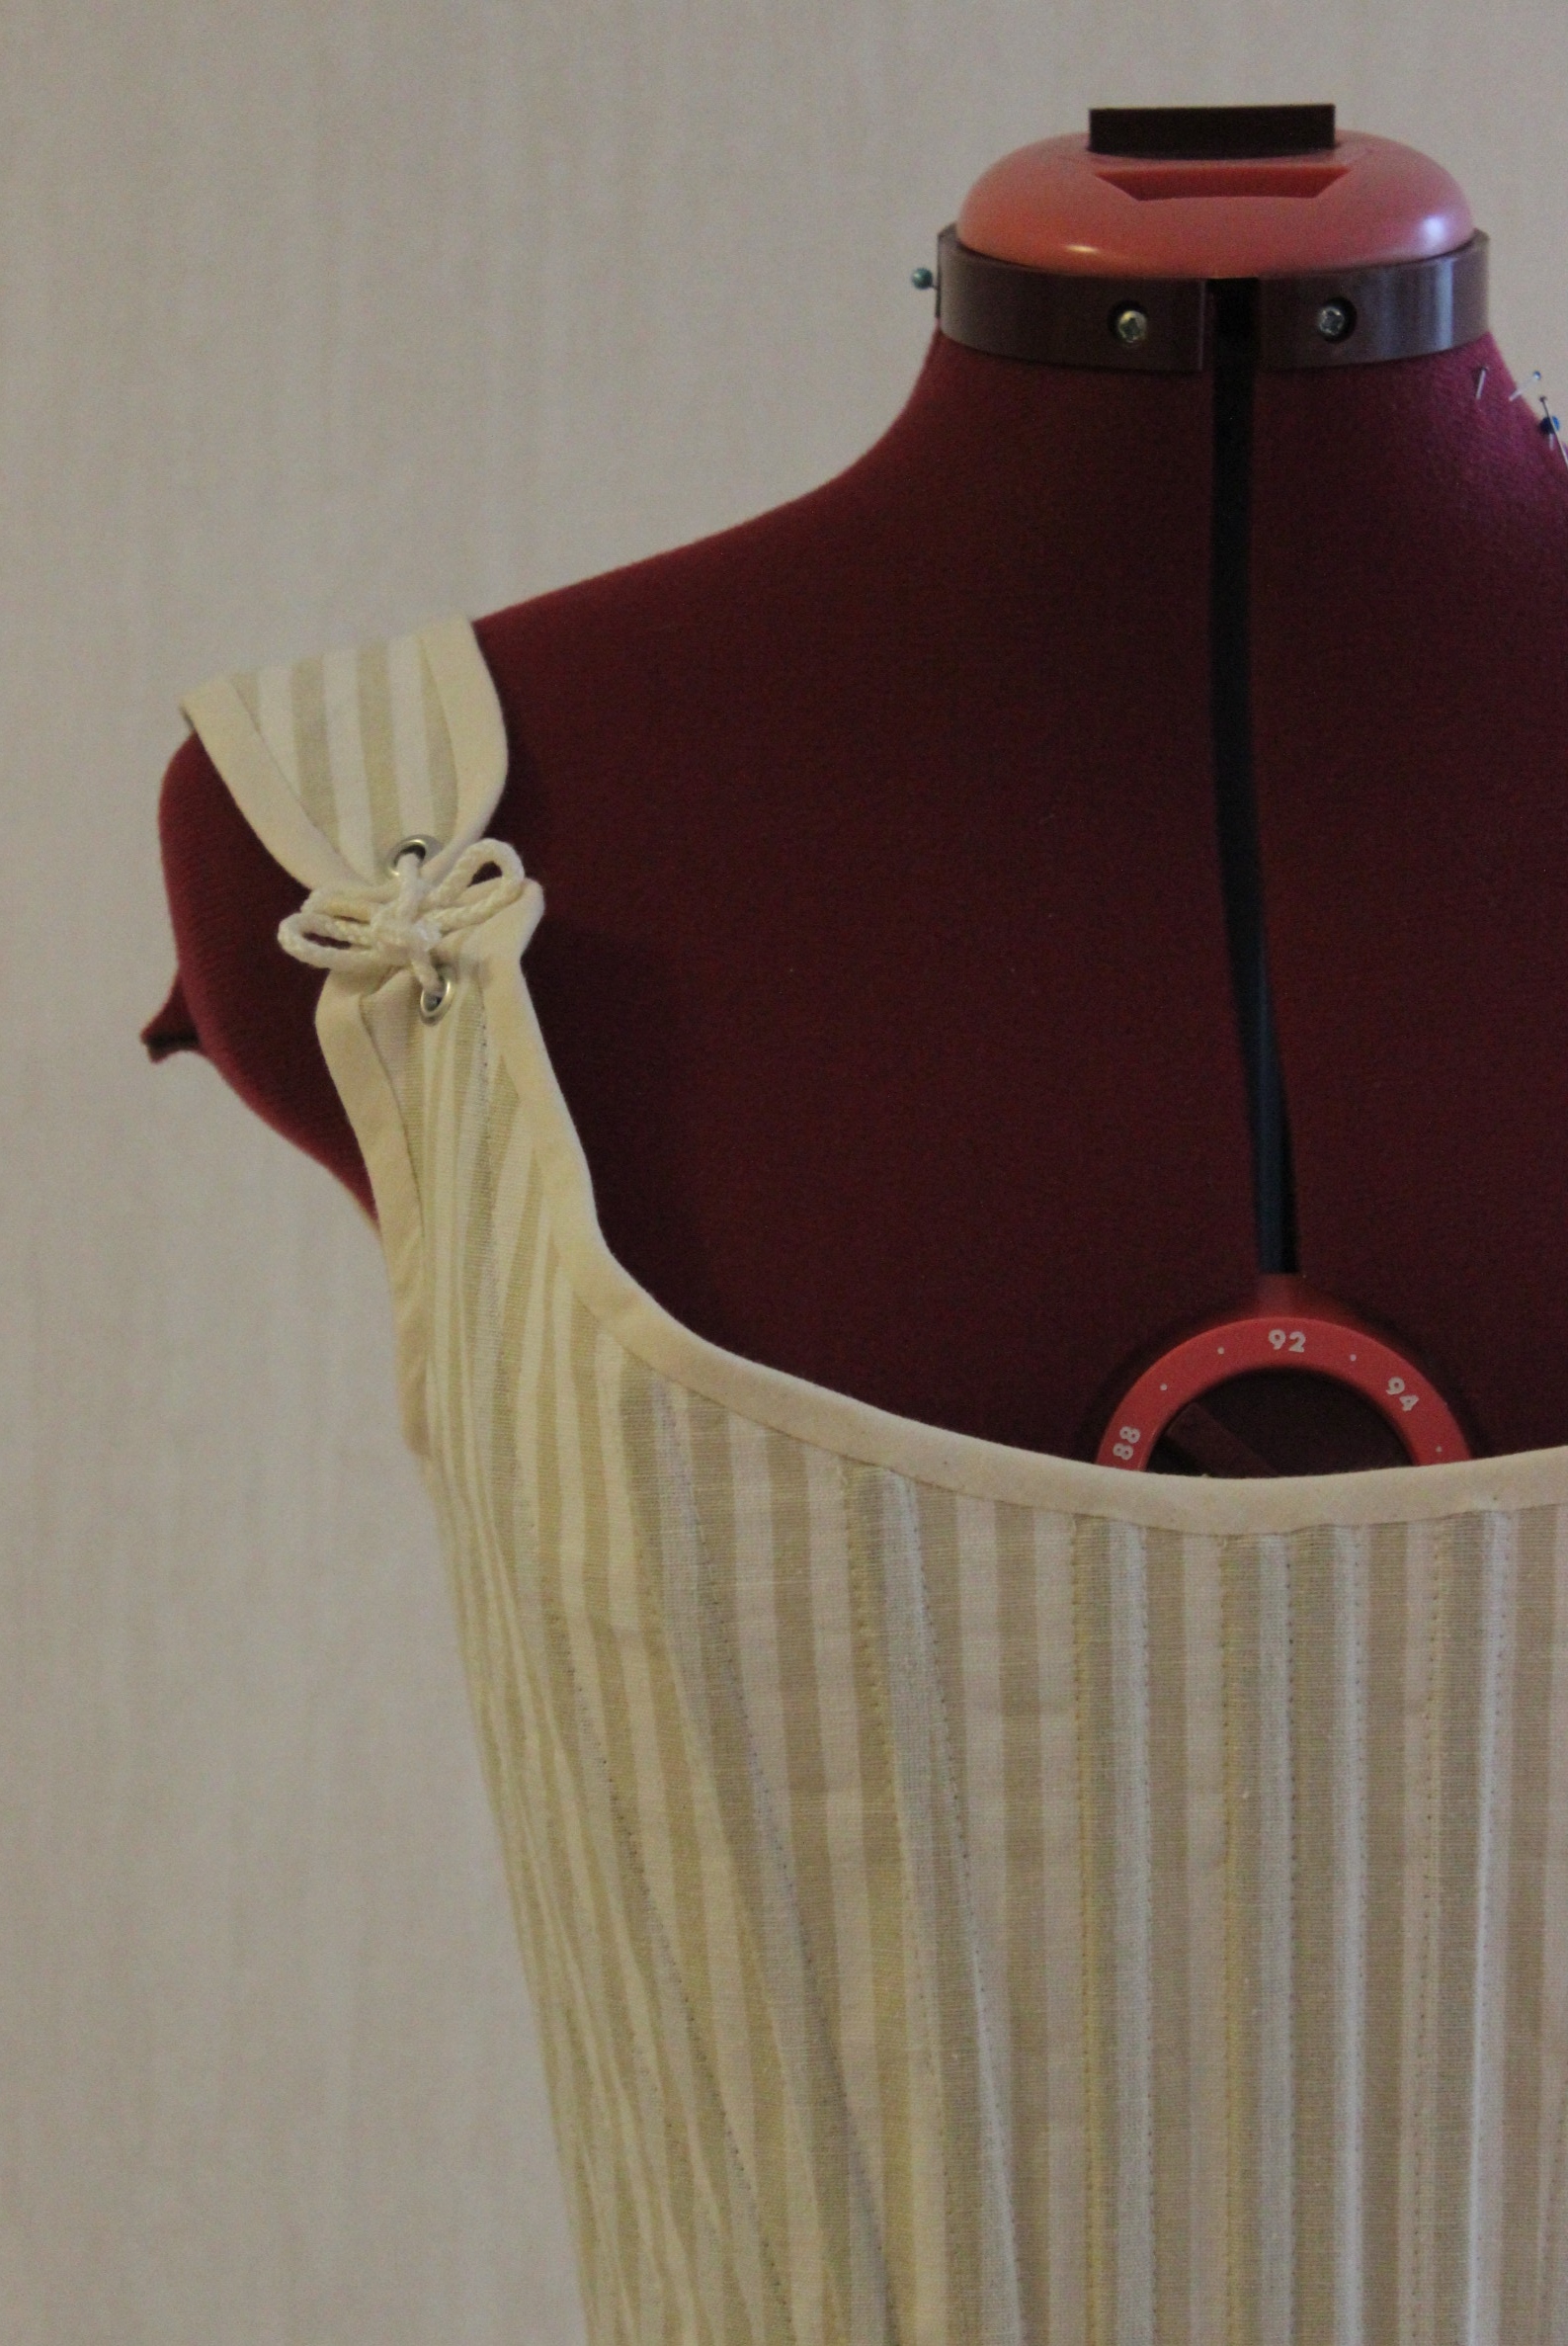
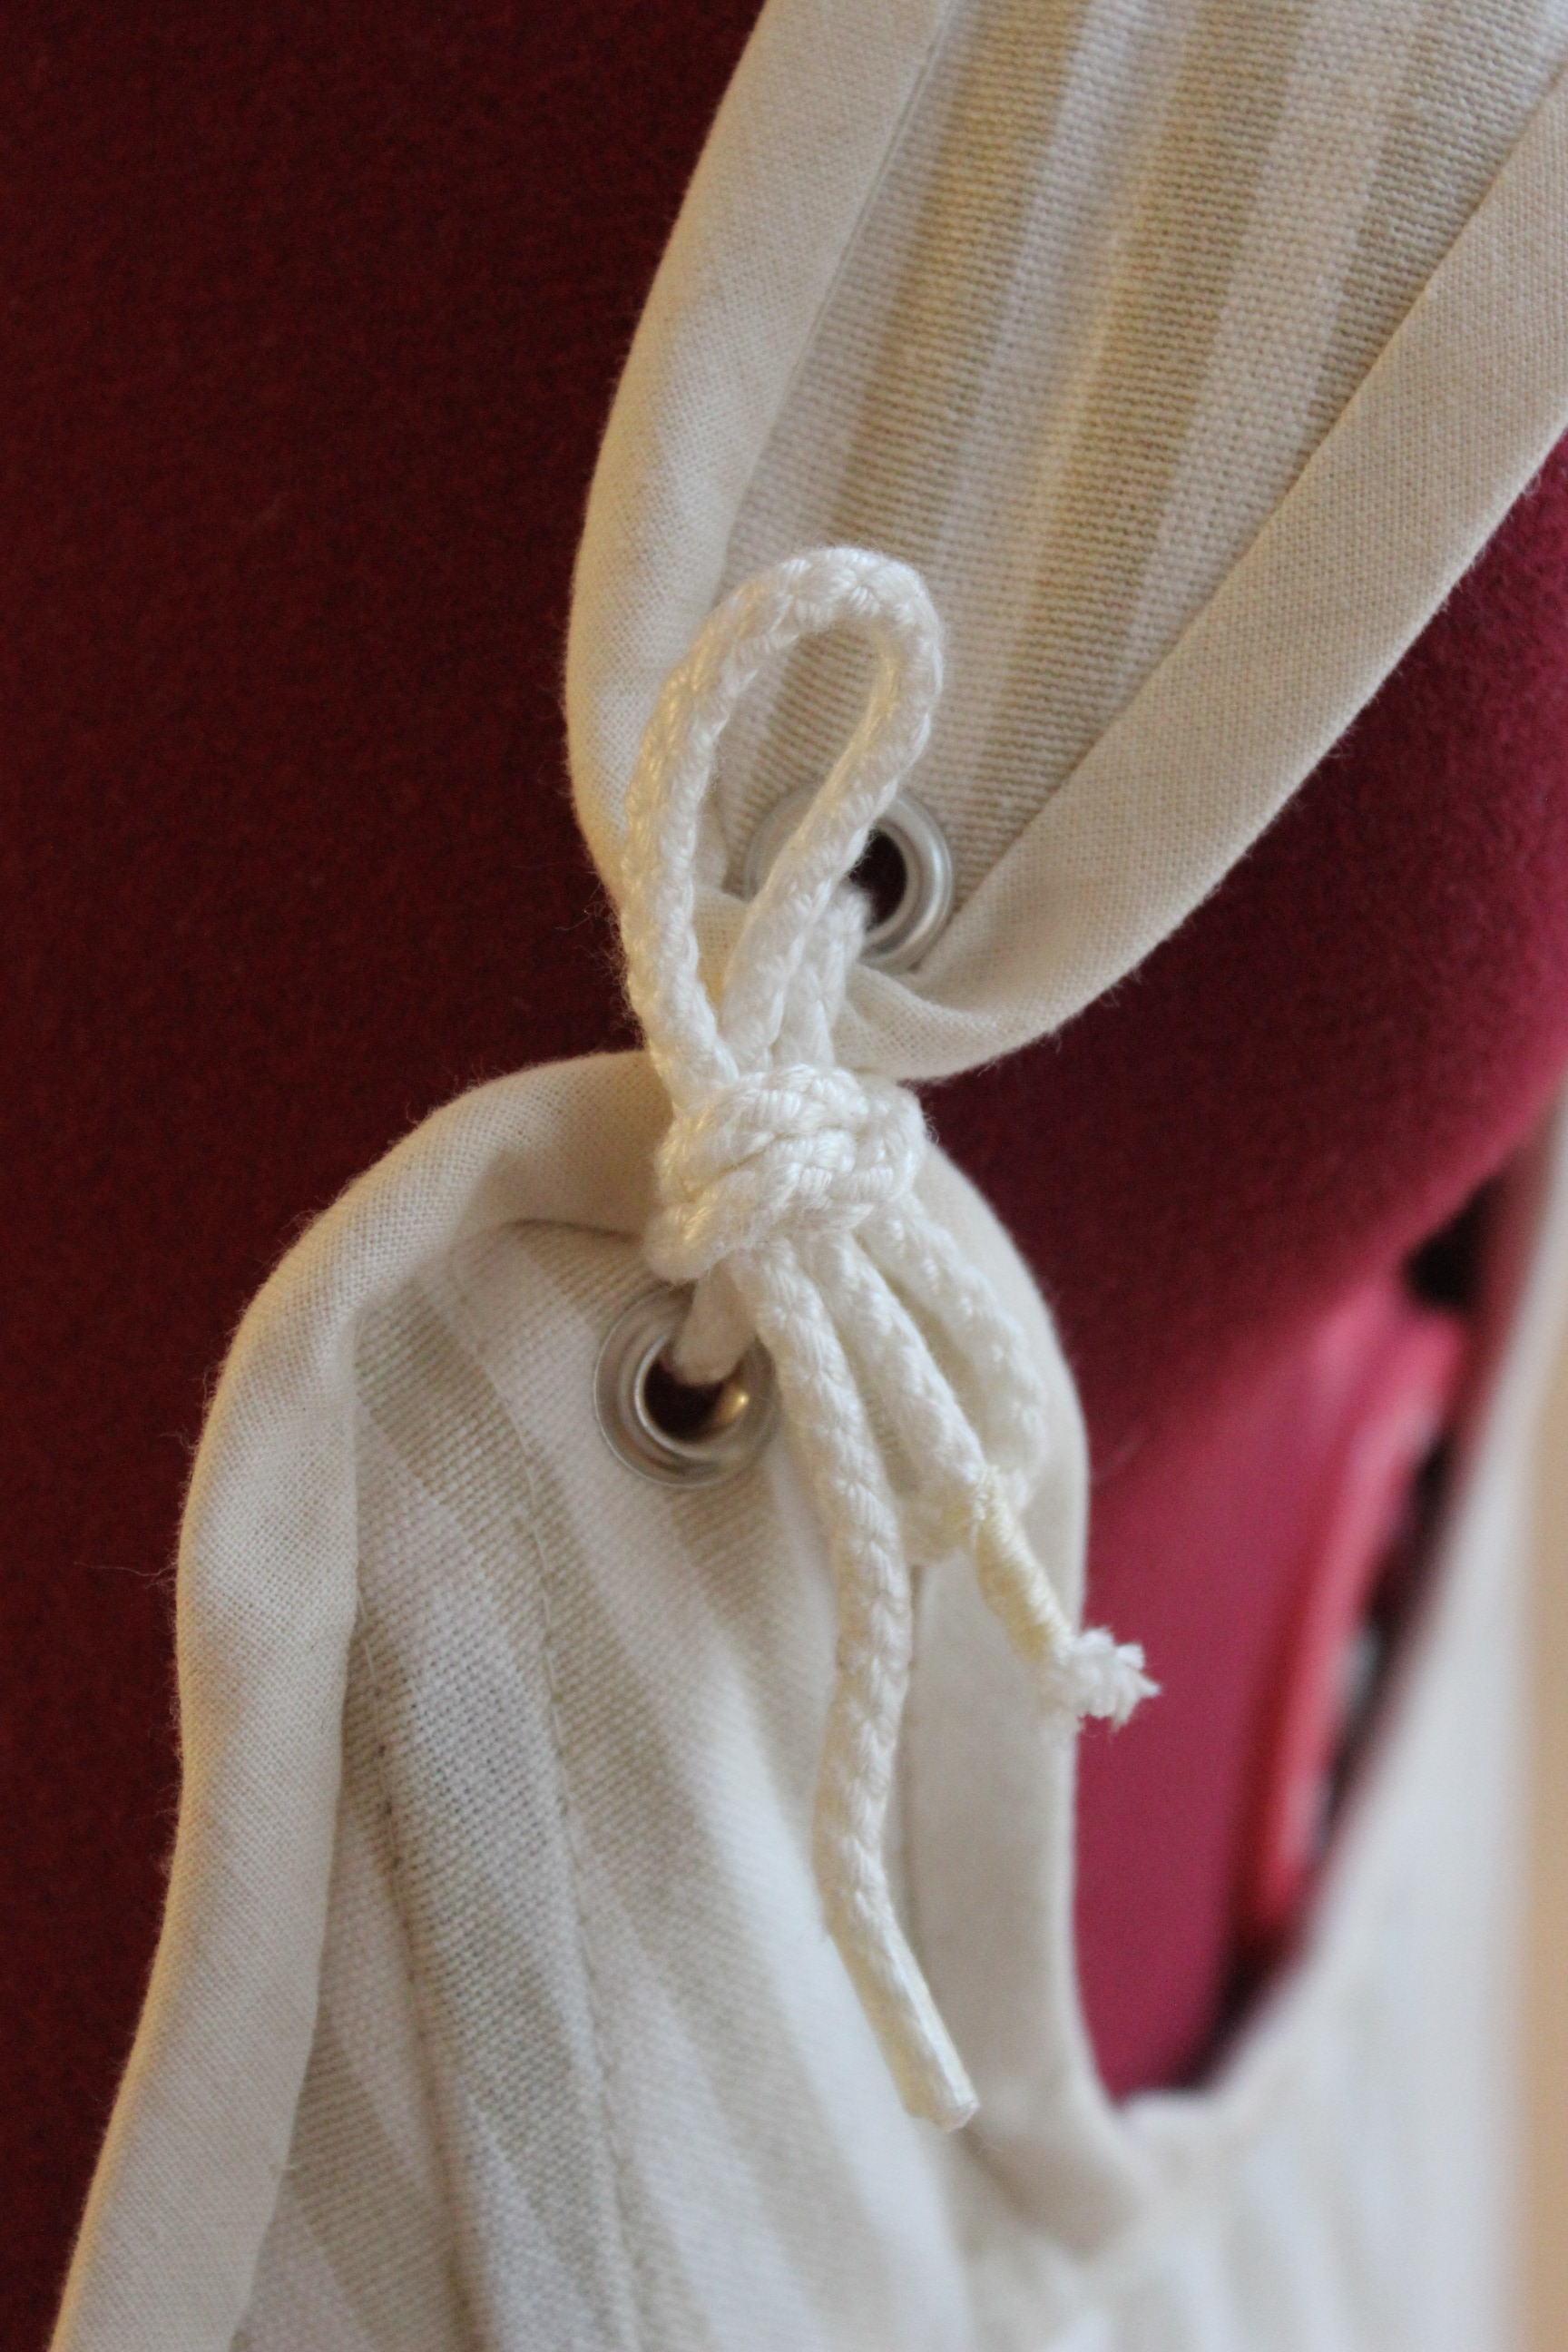
The shape and fit looks really good. The wrinkles at the waist comes from the so far uncut tabs. Please ignore the different color laces – I could’t find any long enough.
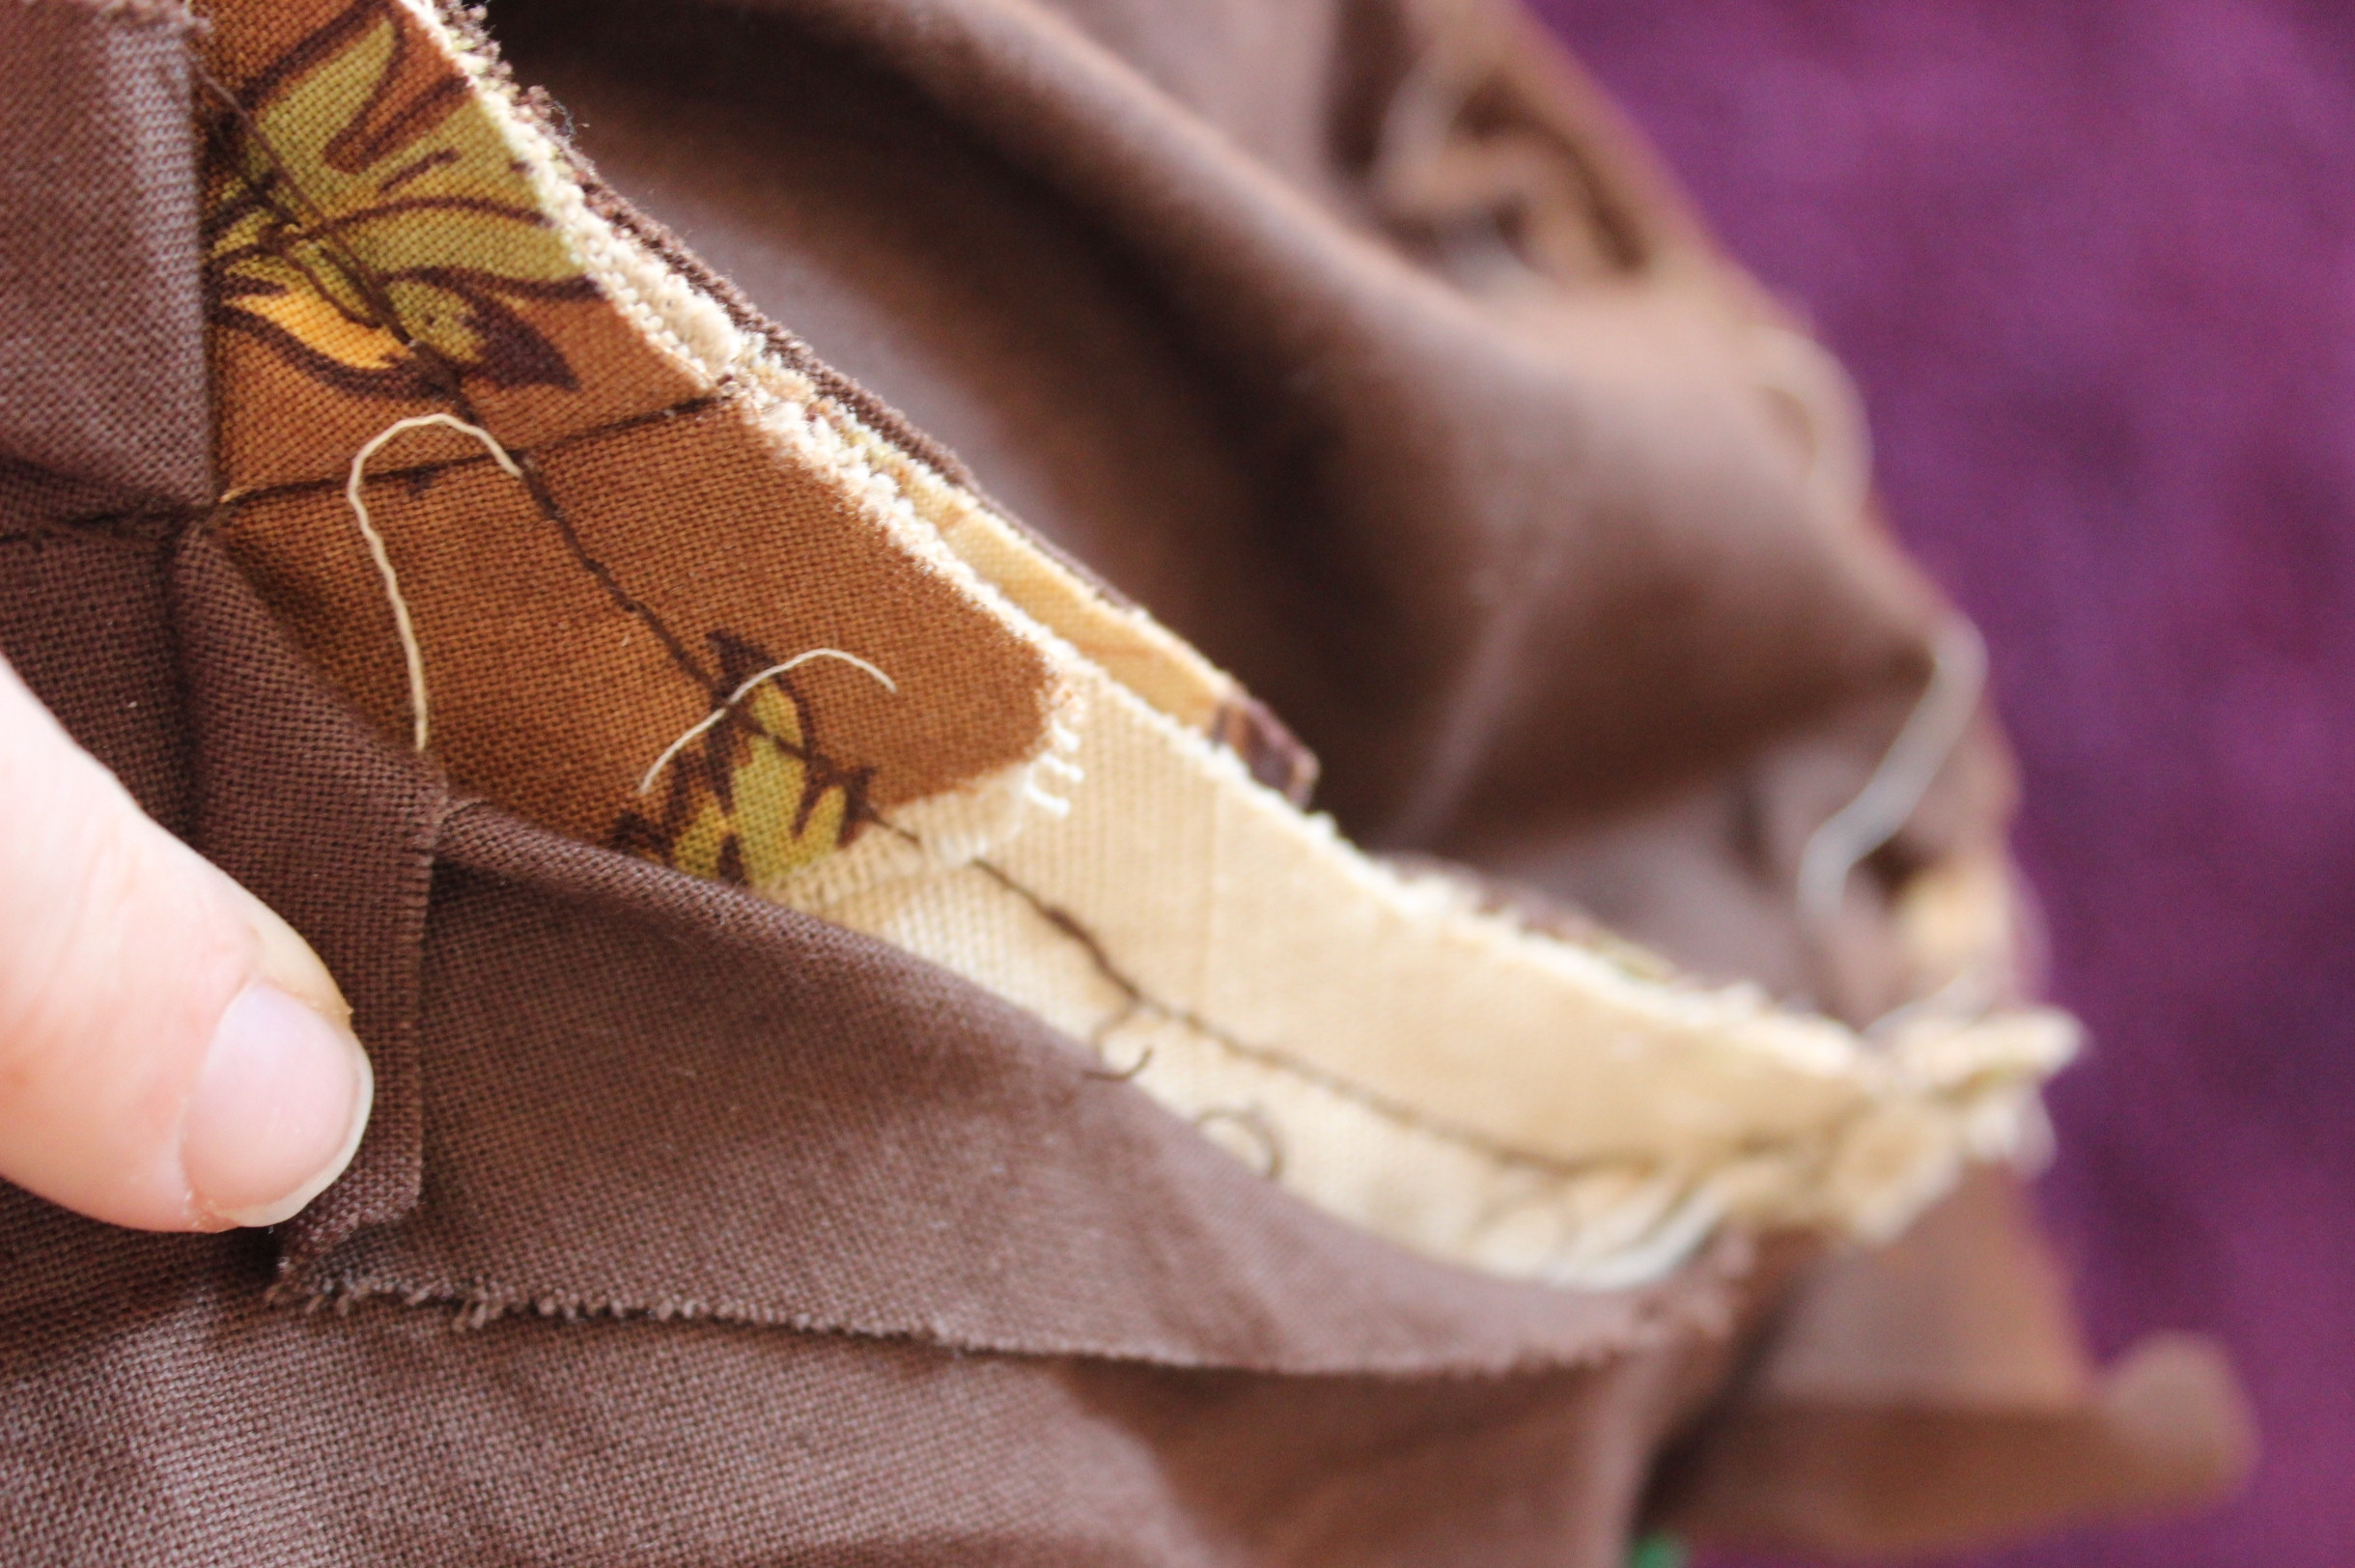
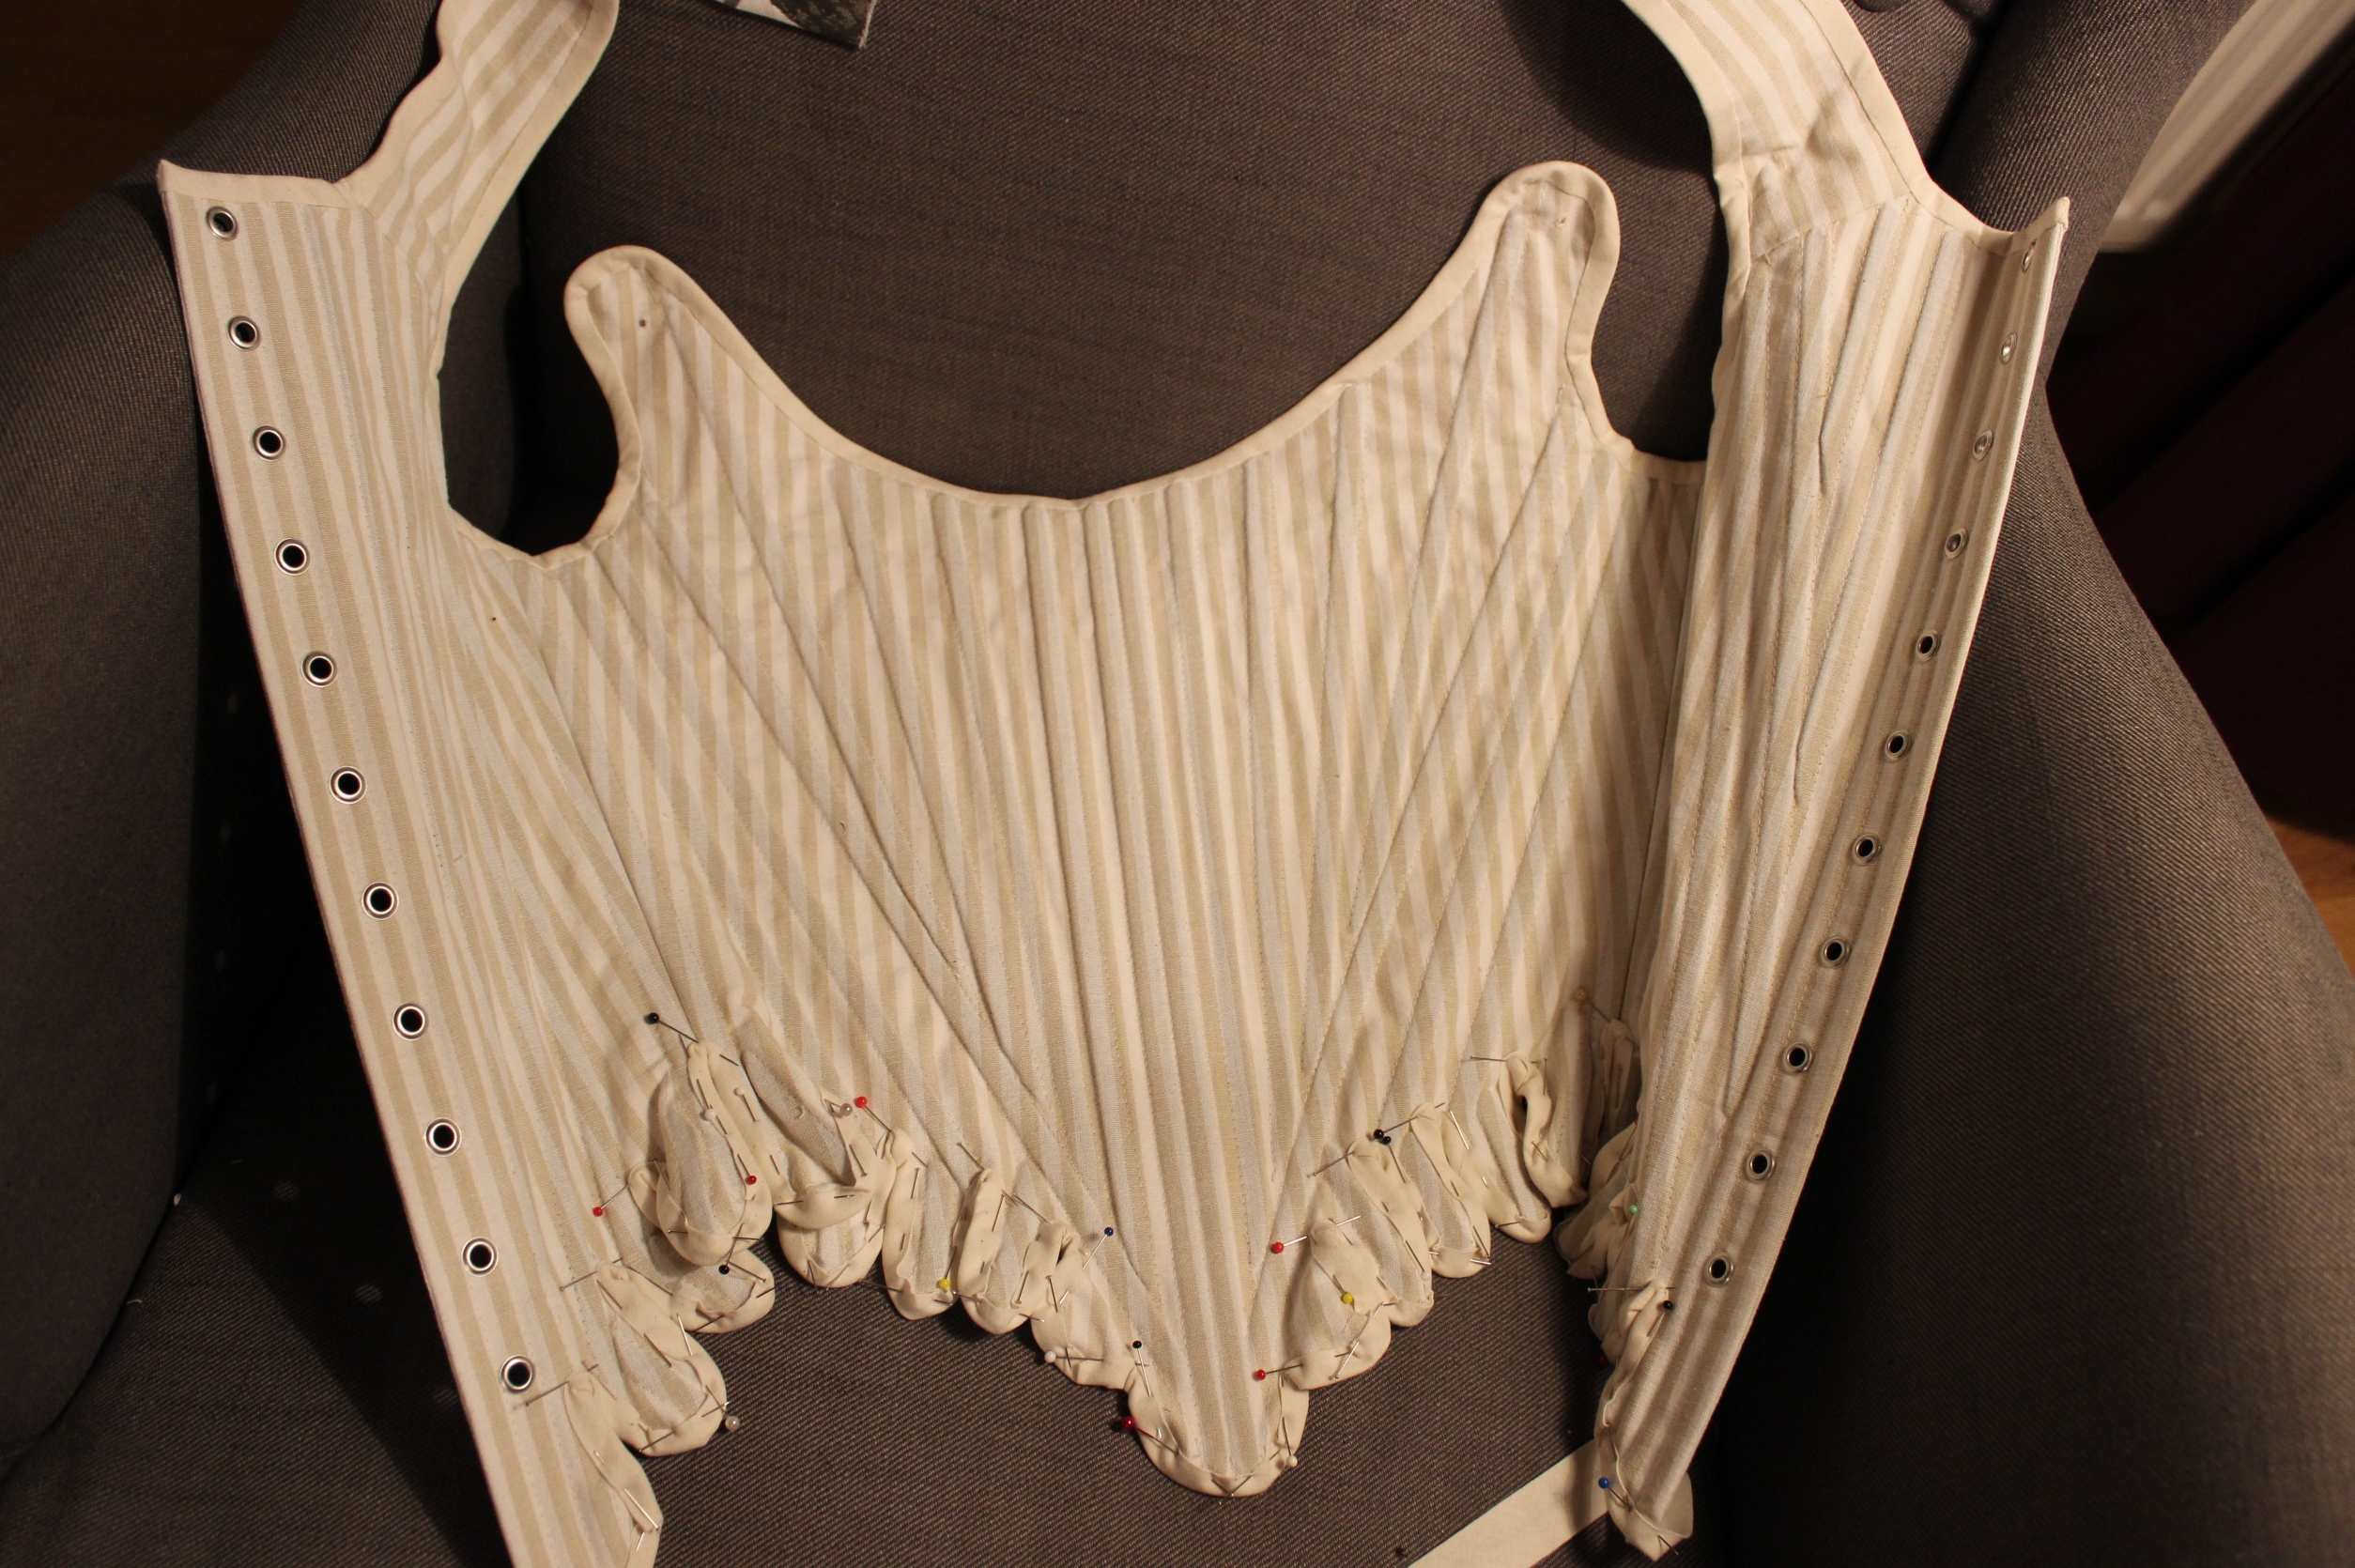
After the fitting I inserted the rest of the boning, making sure the sharp edges was cut down and rounded of.
I needed to use some bias tape and hand sewing to get the channels for the horizontal bones in place.
They show a bit from he front, but not enough to be a problem.
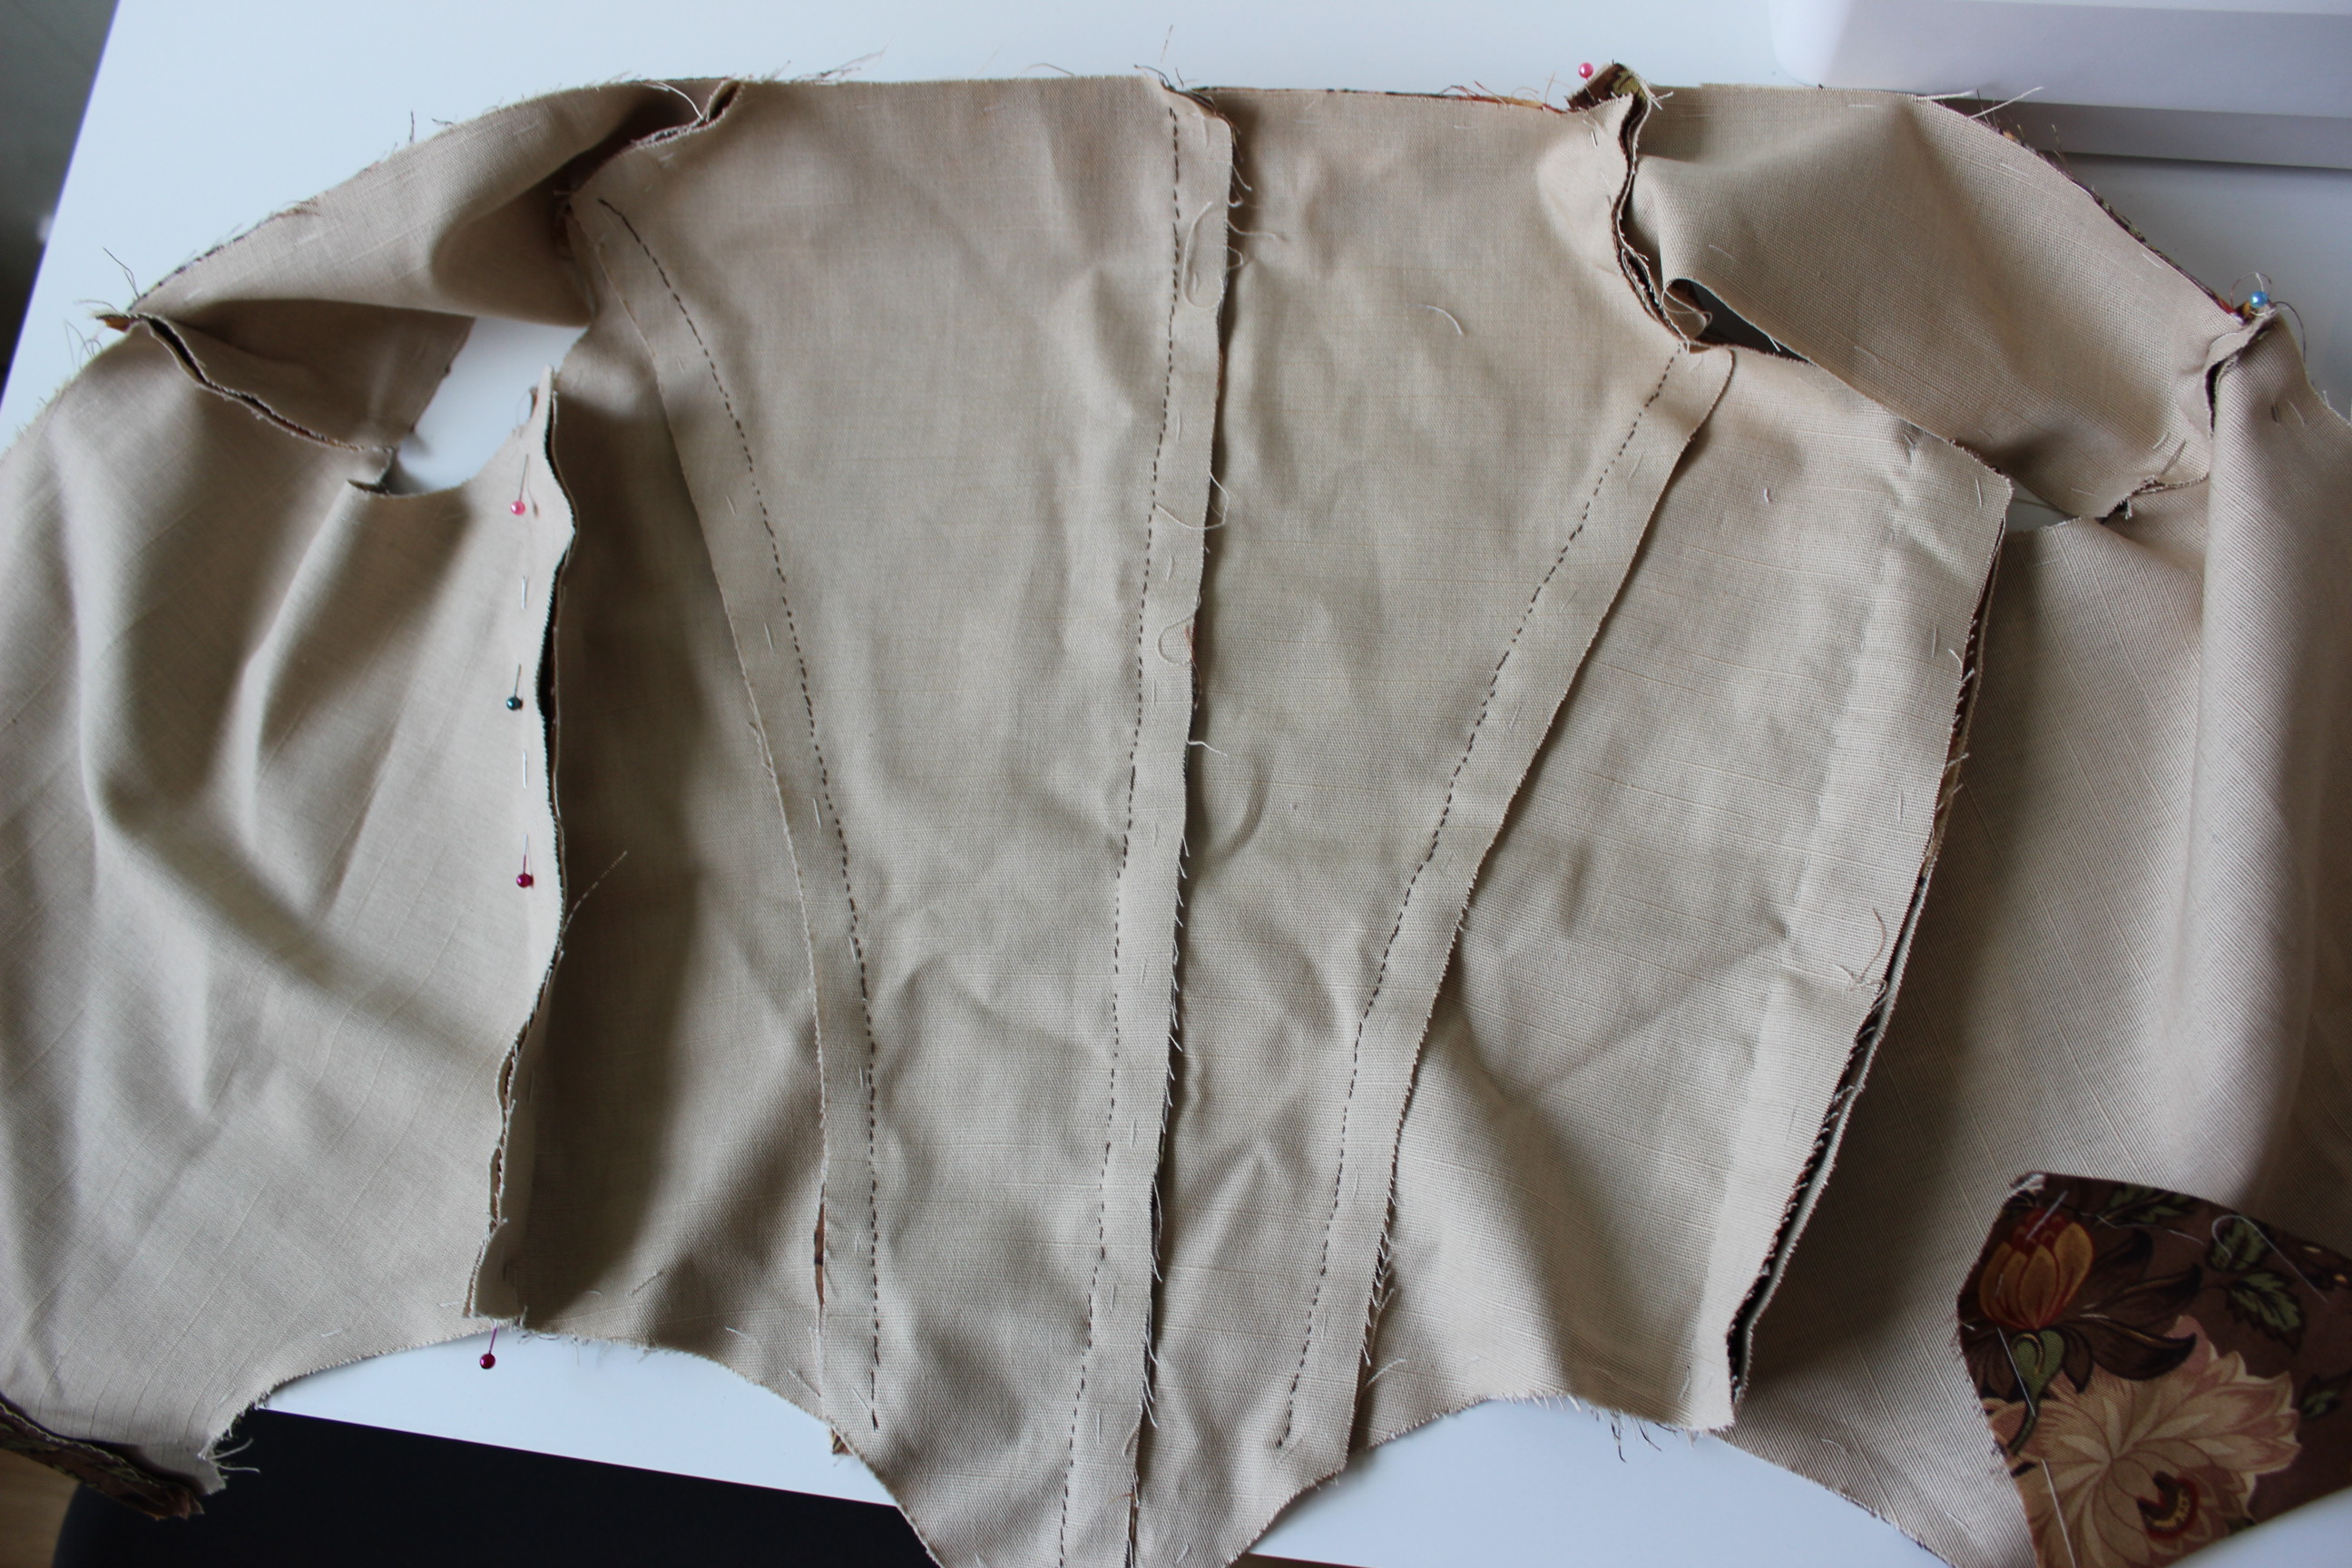
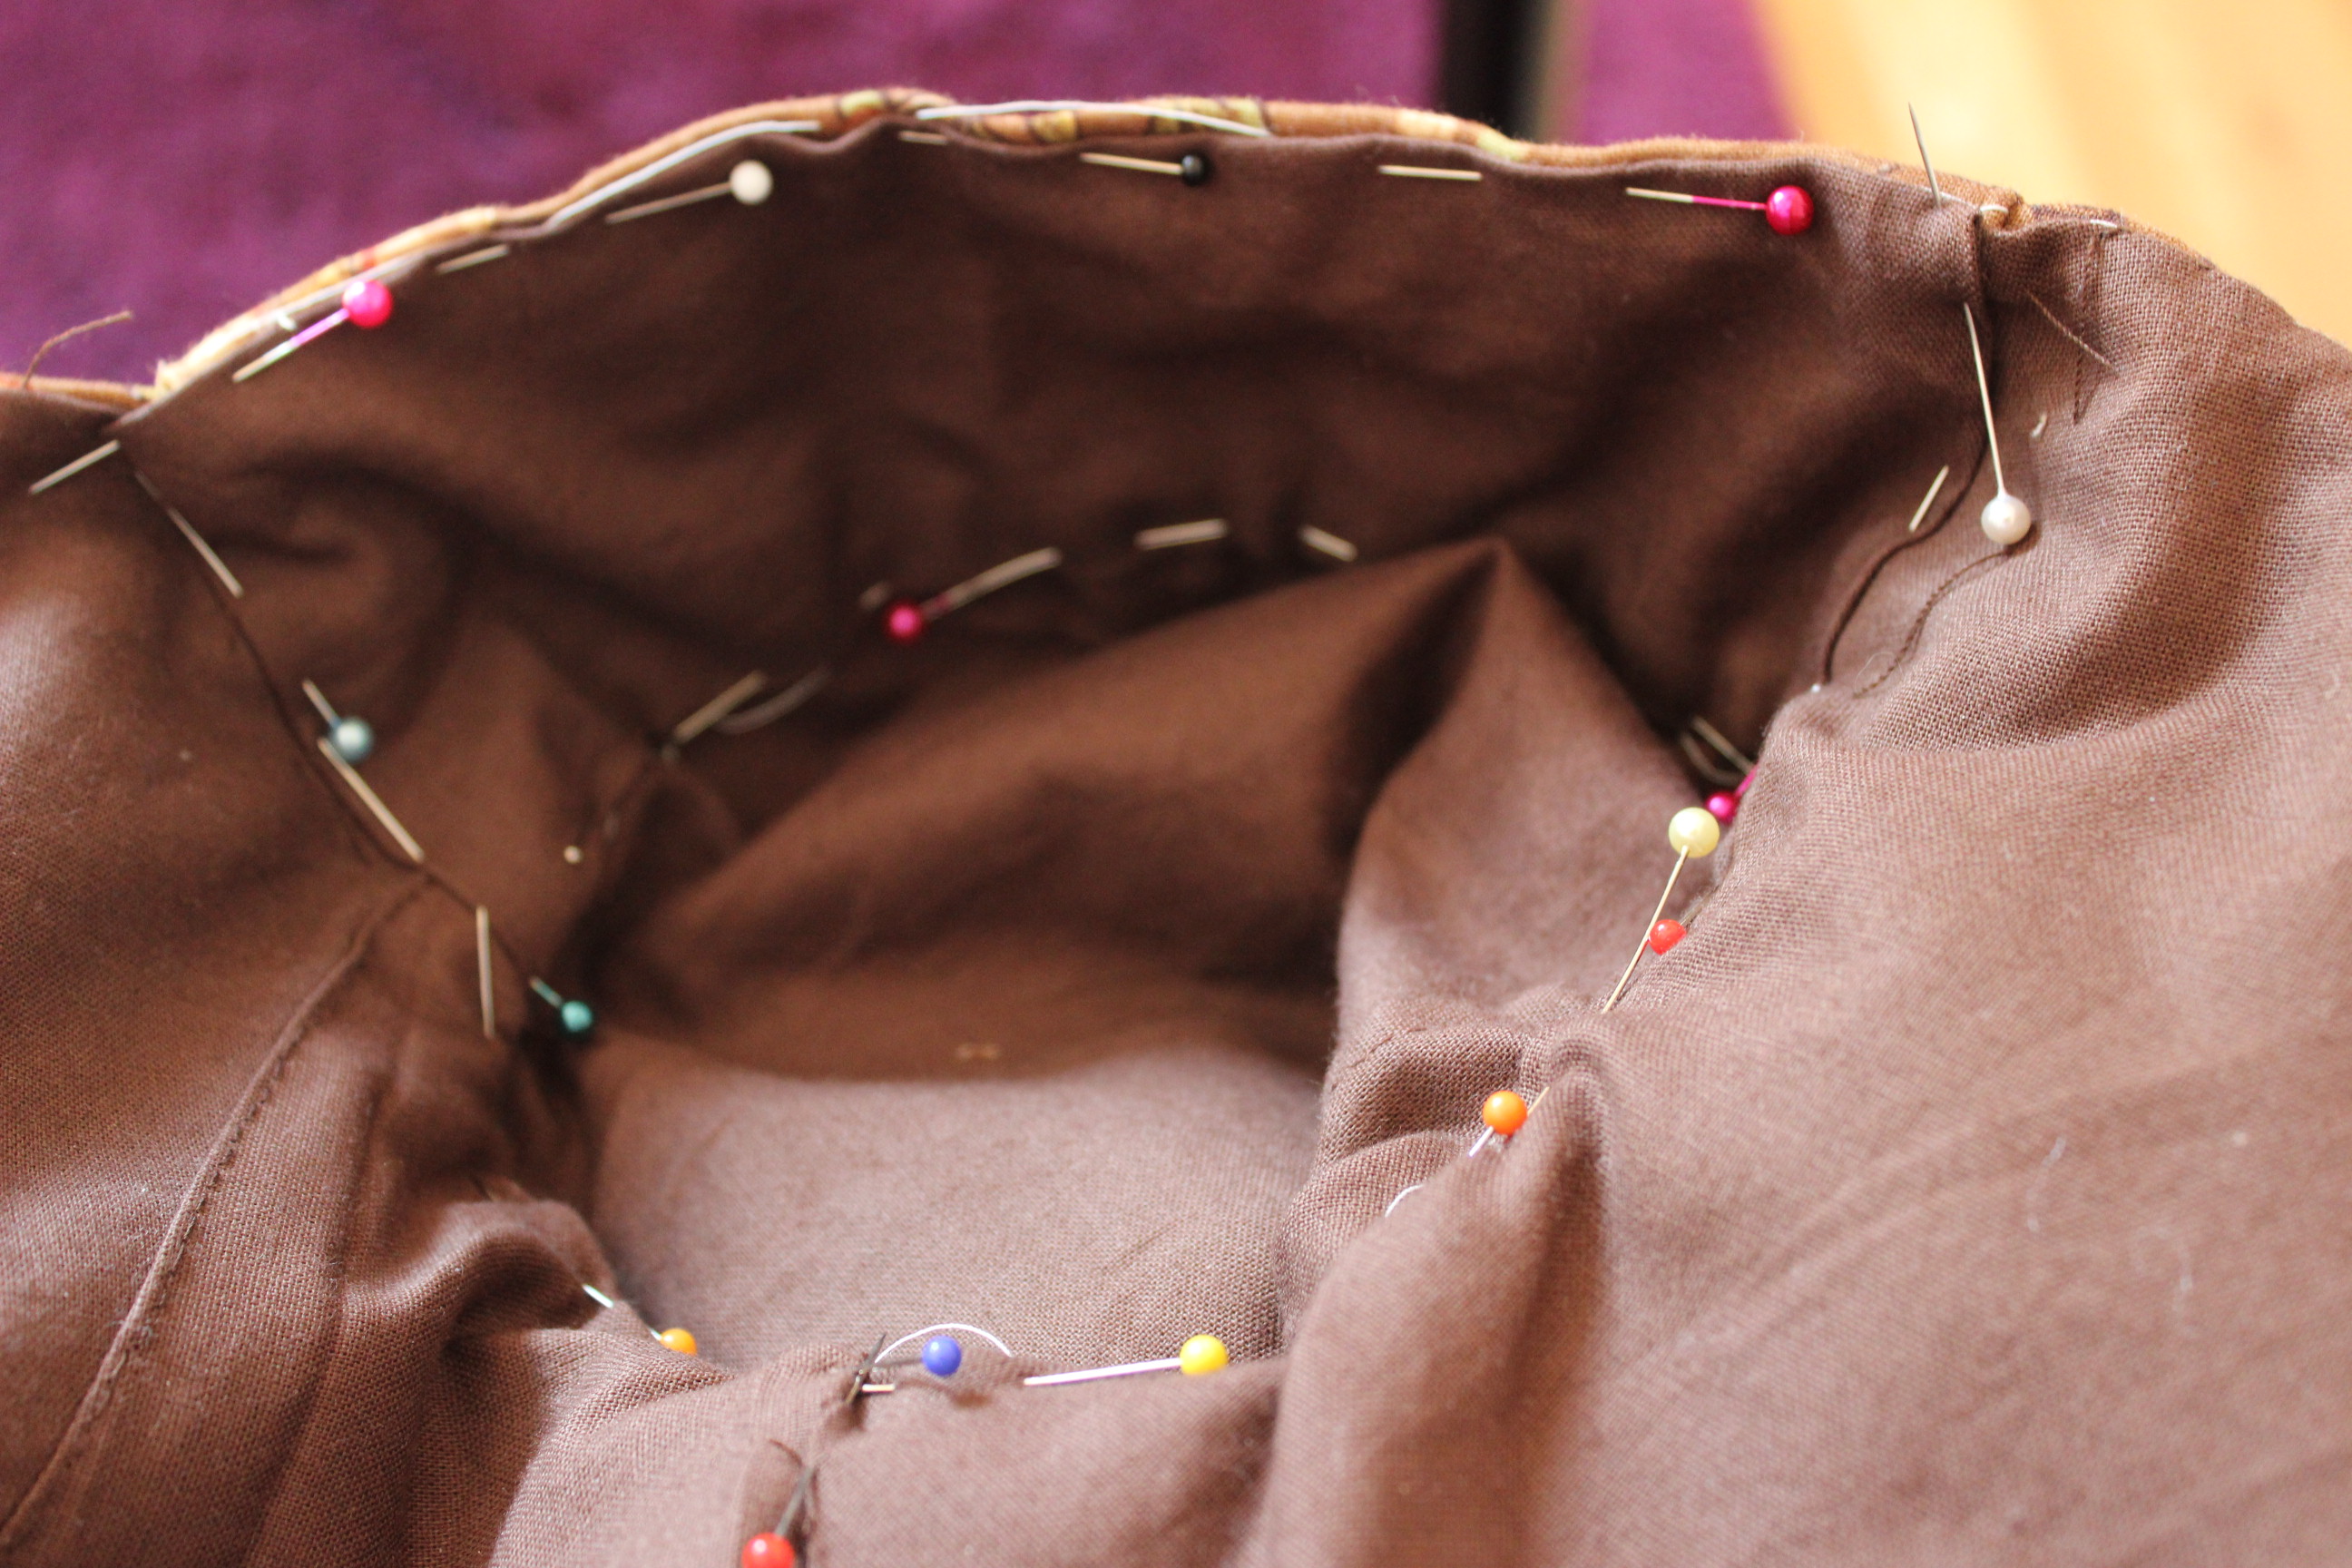
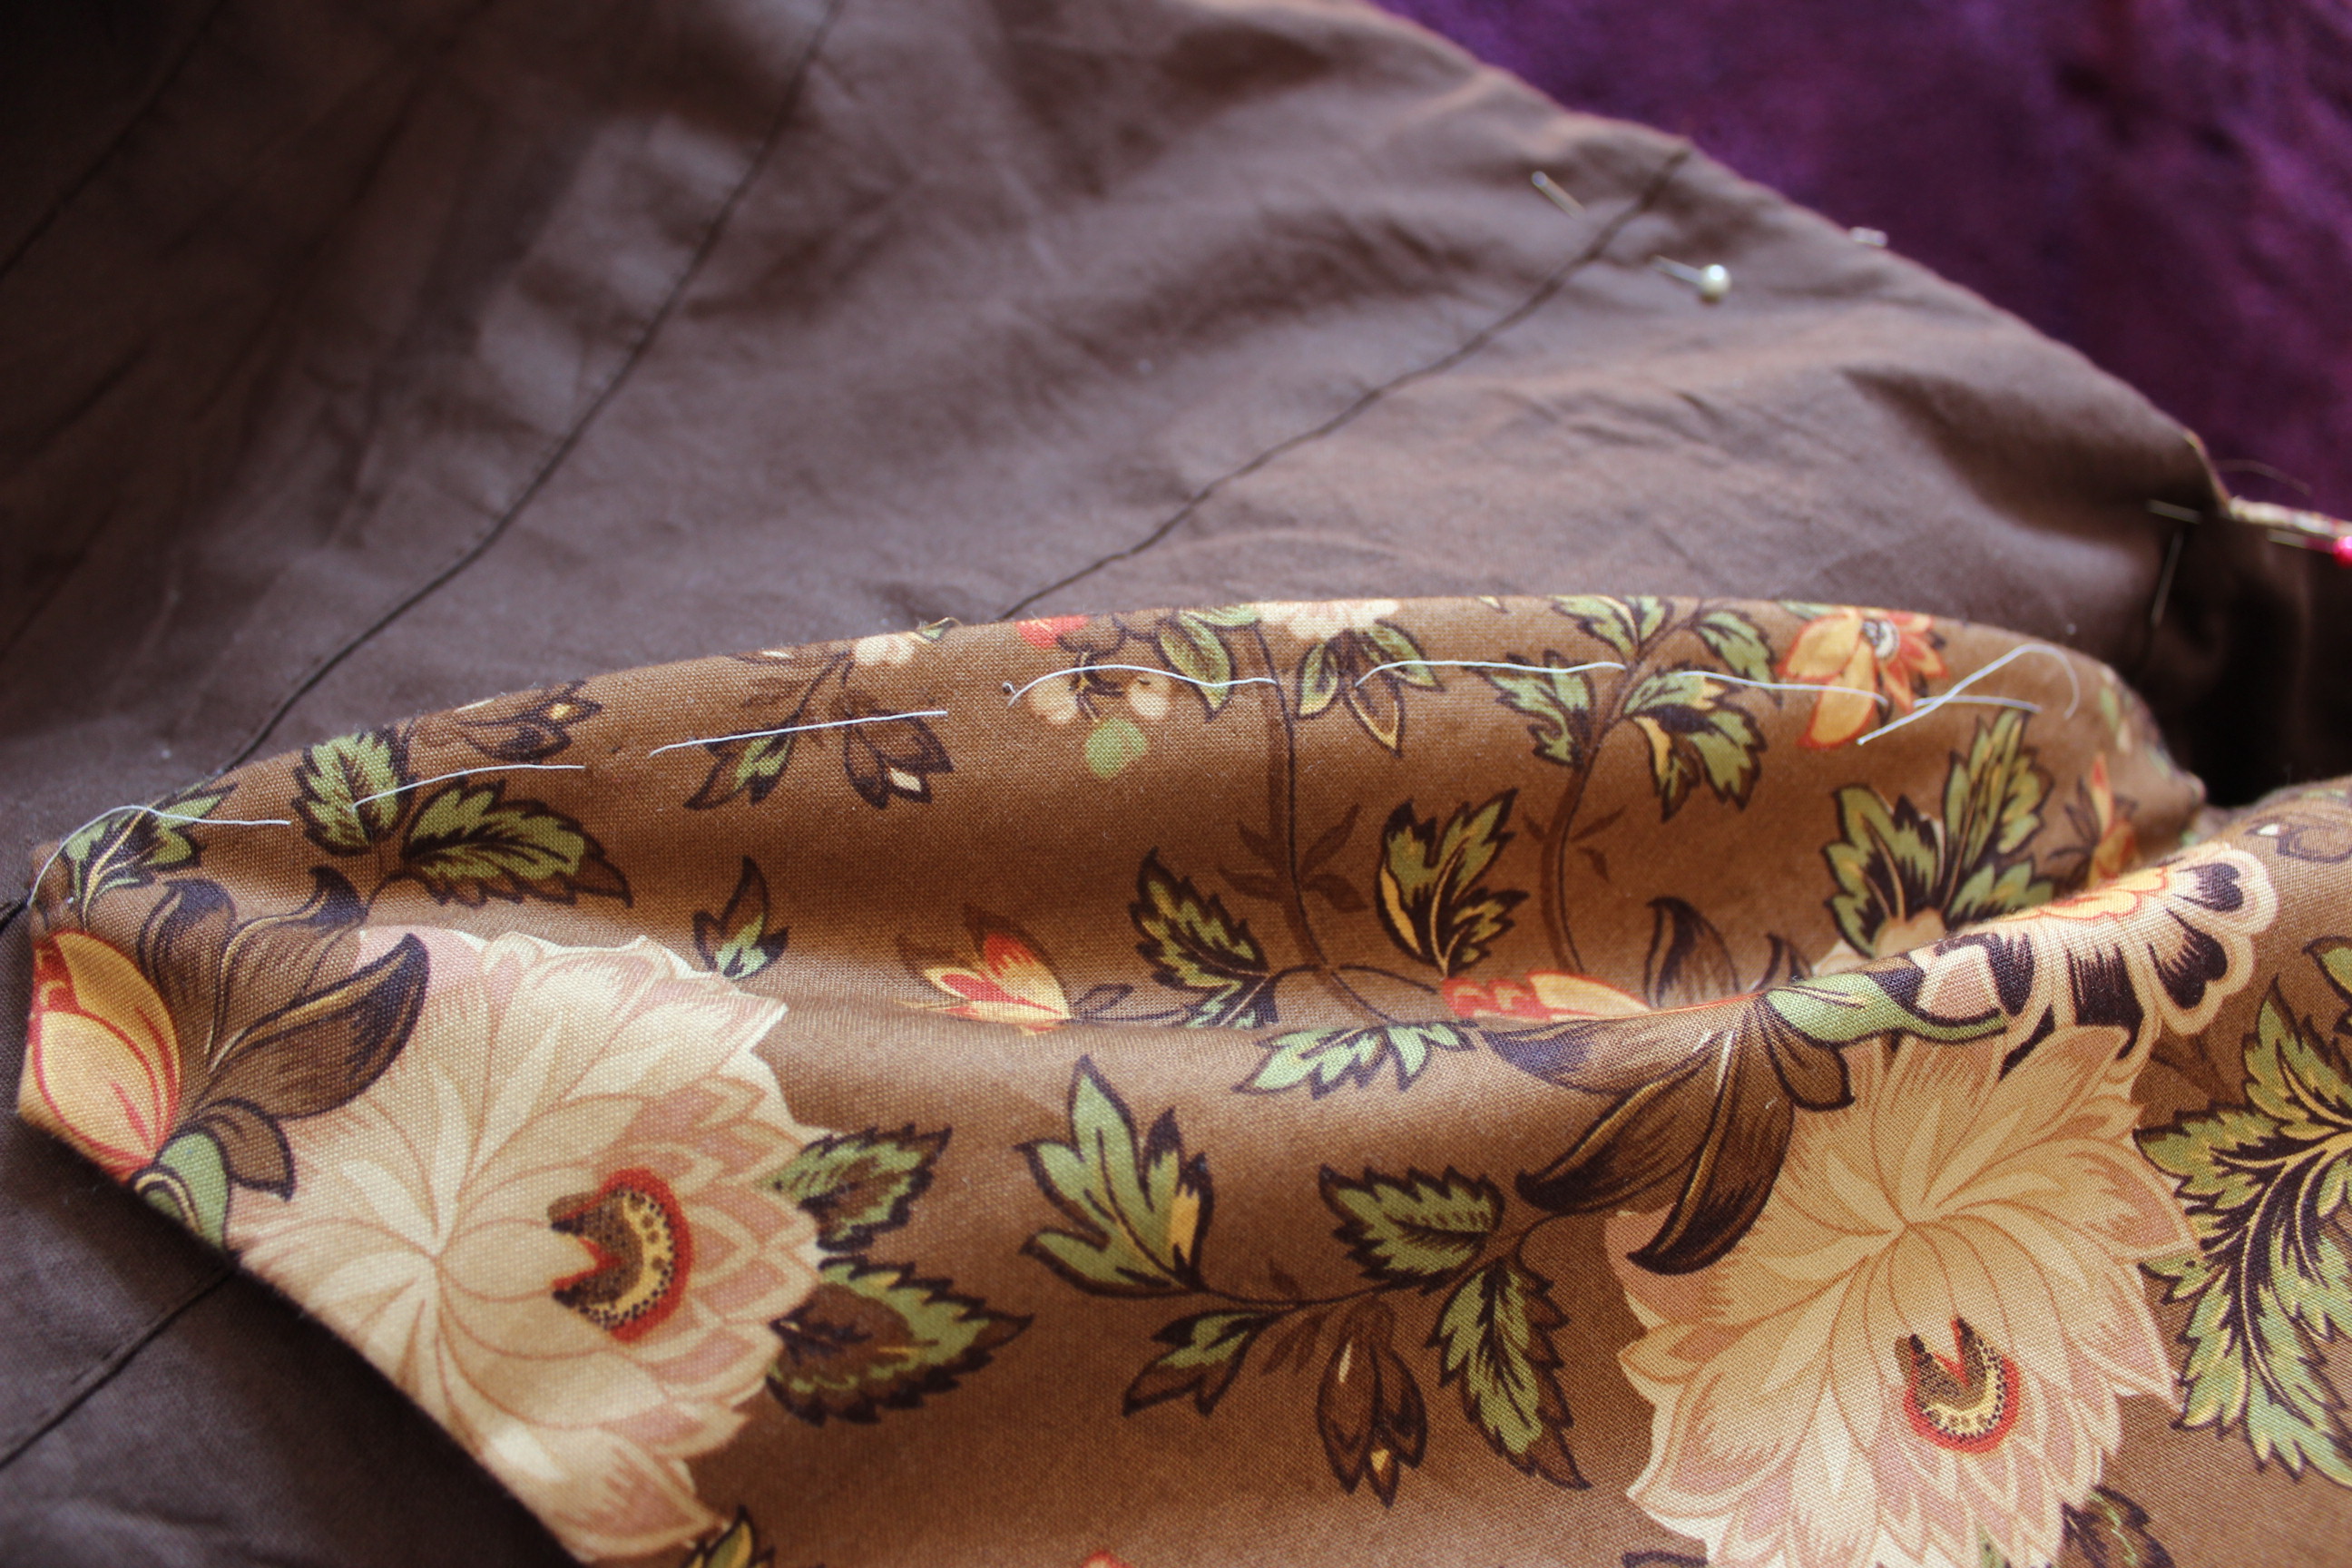
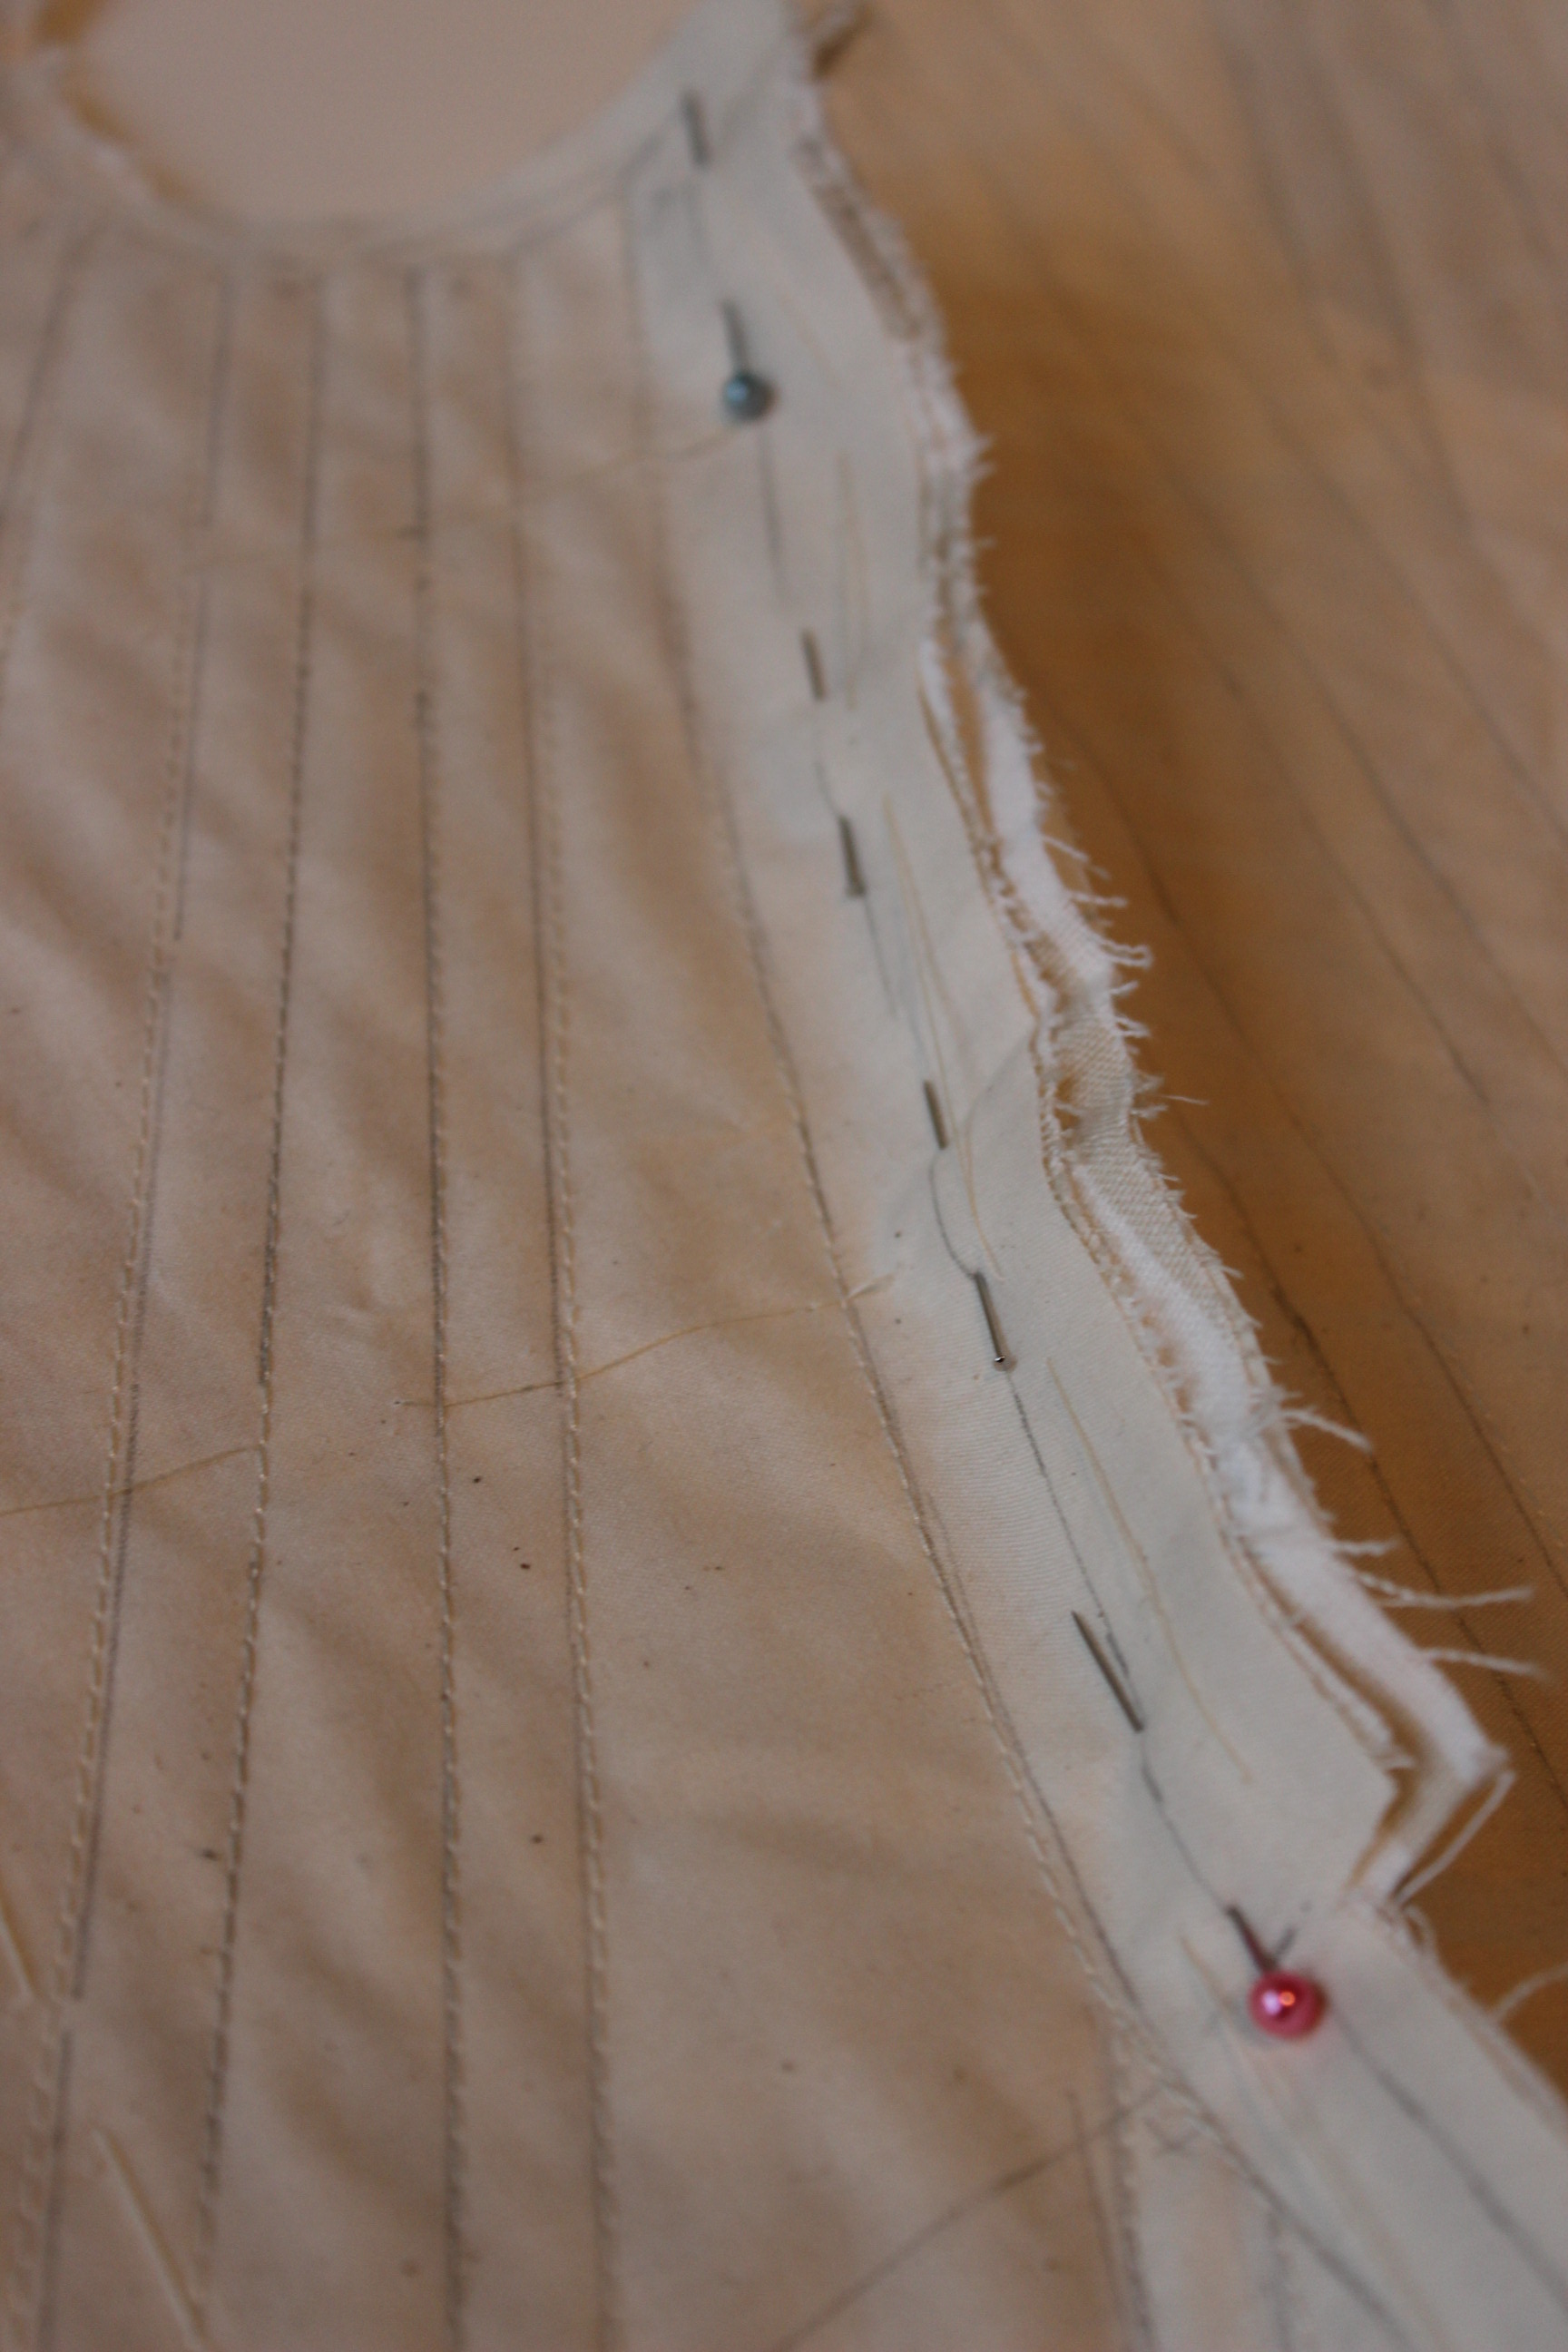
I then pinned on the lining, sewing it down to the selvages and basting it round the top and bottom. 
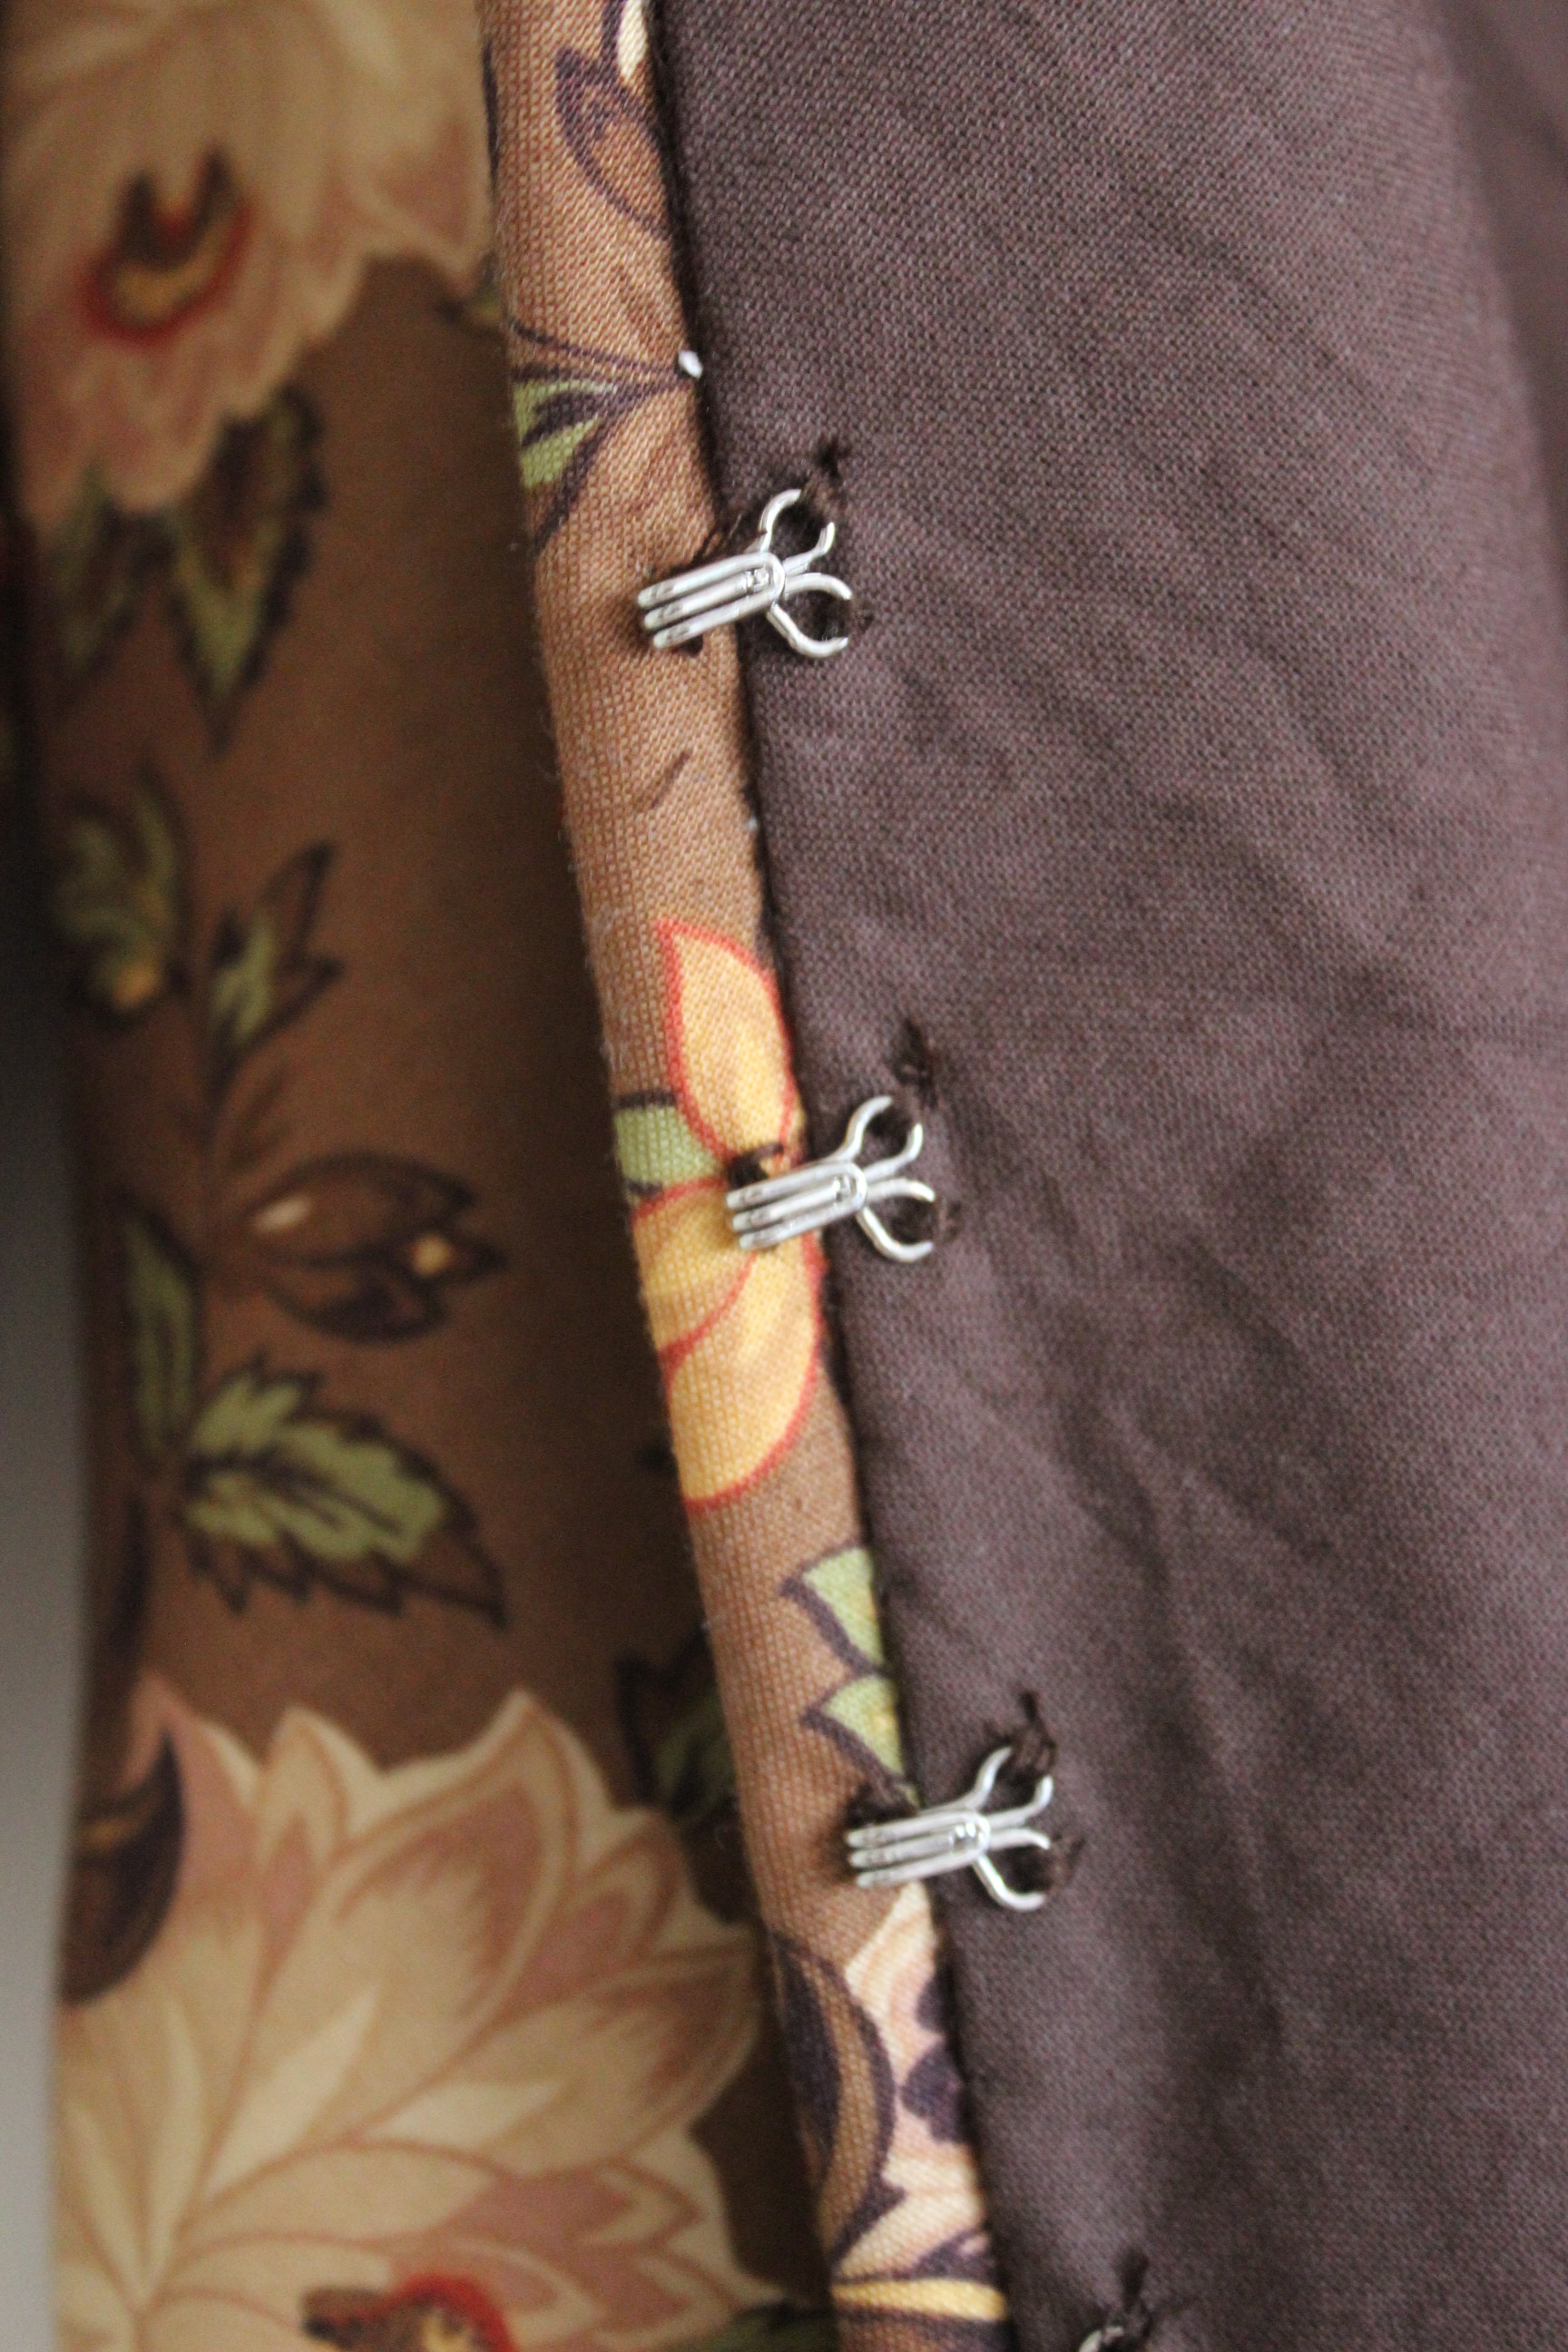
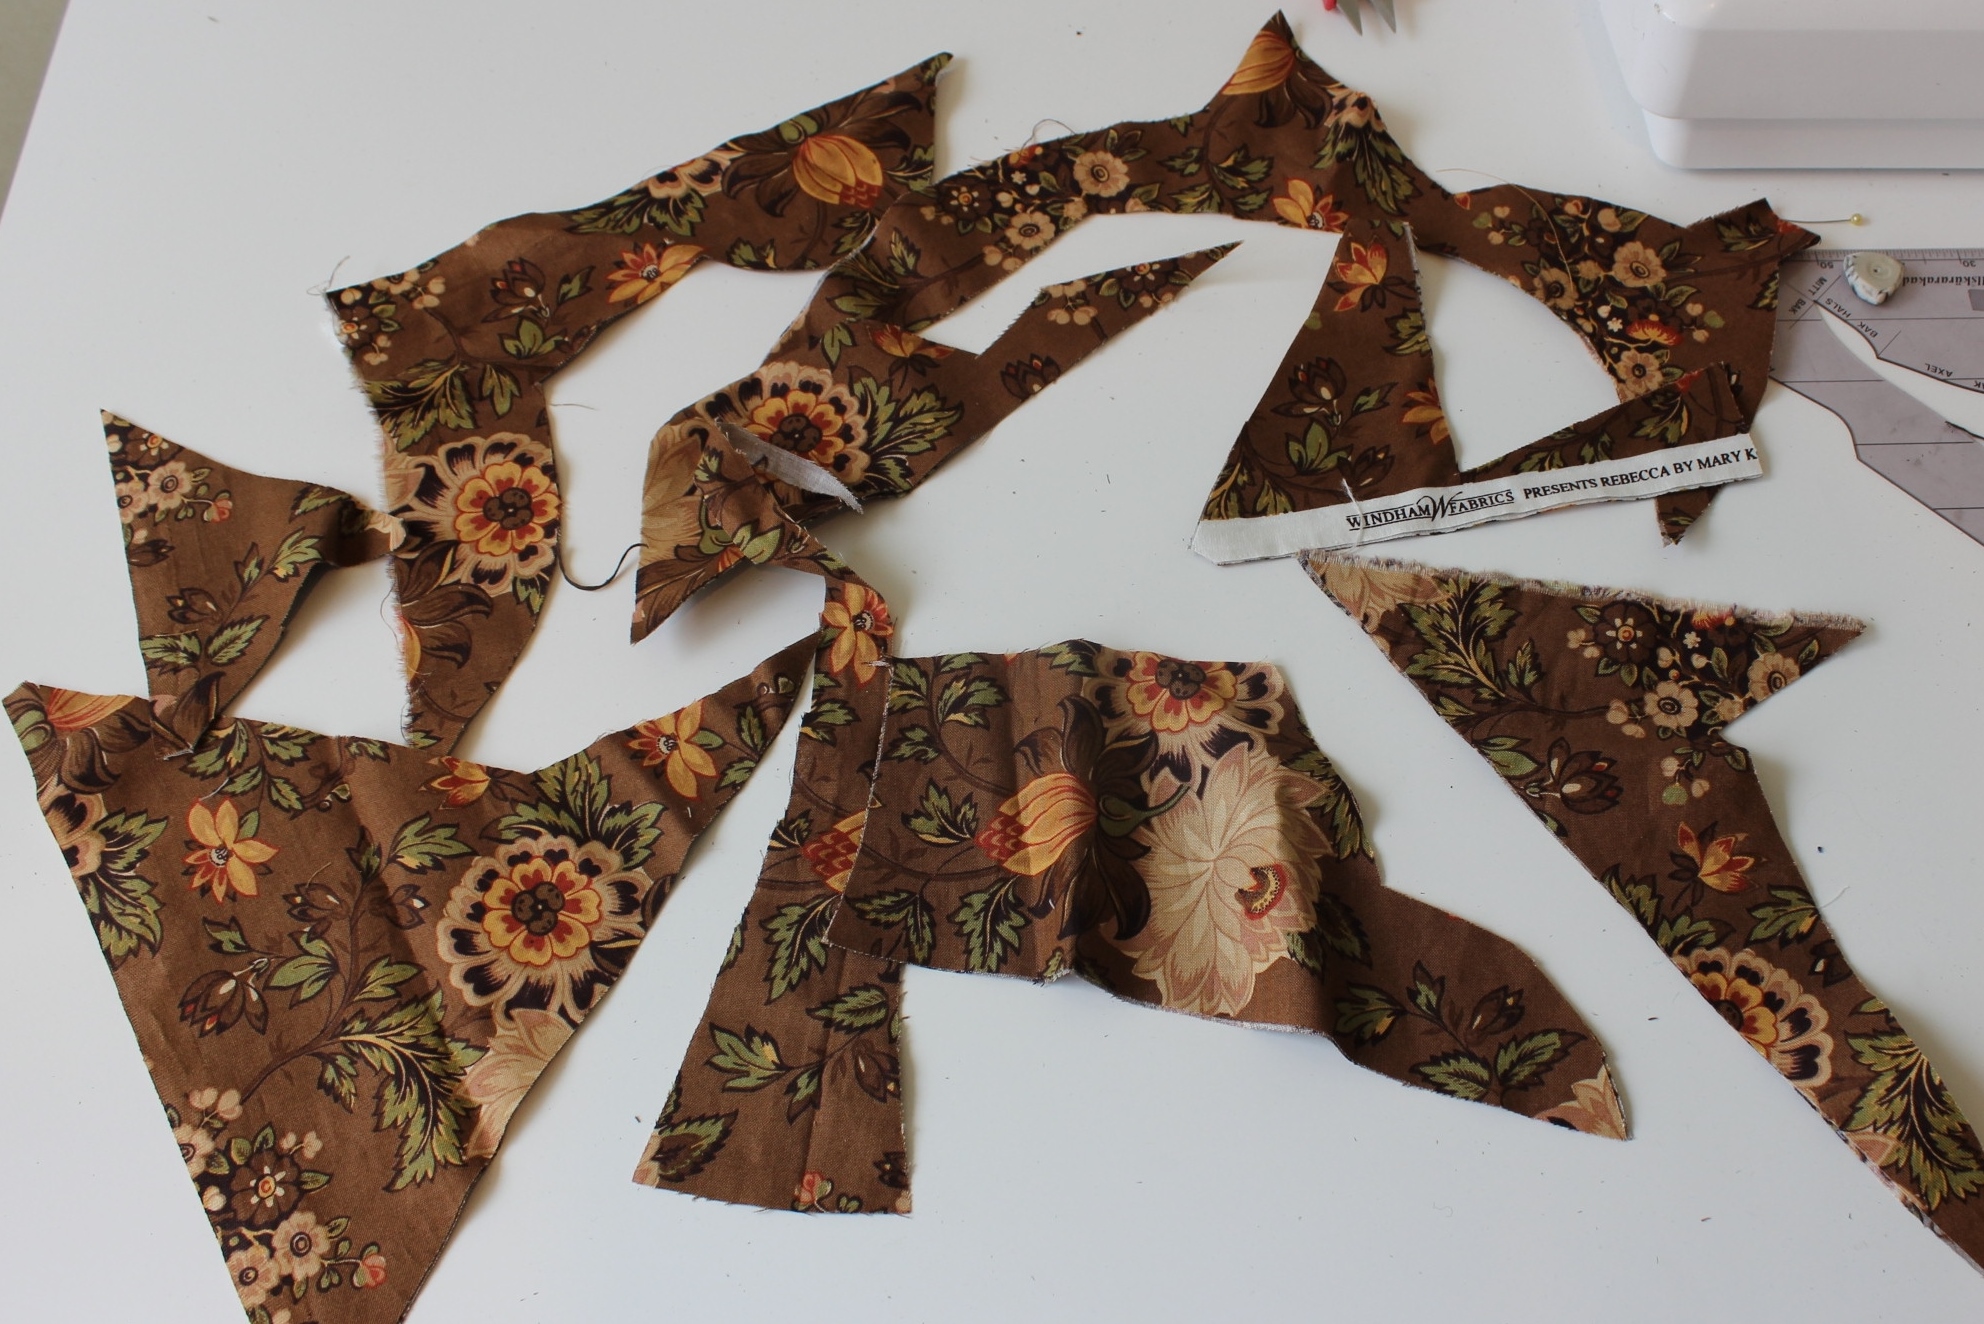
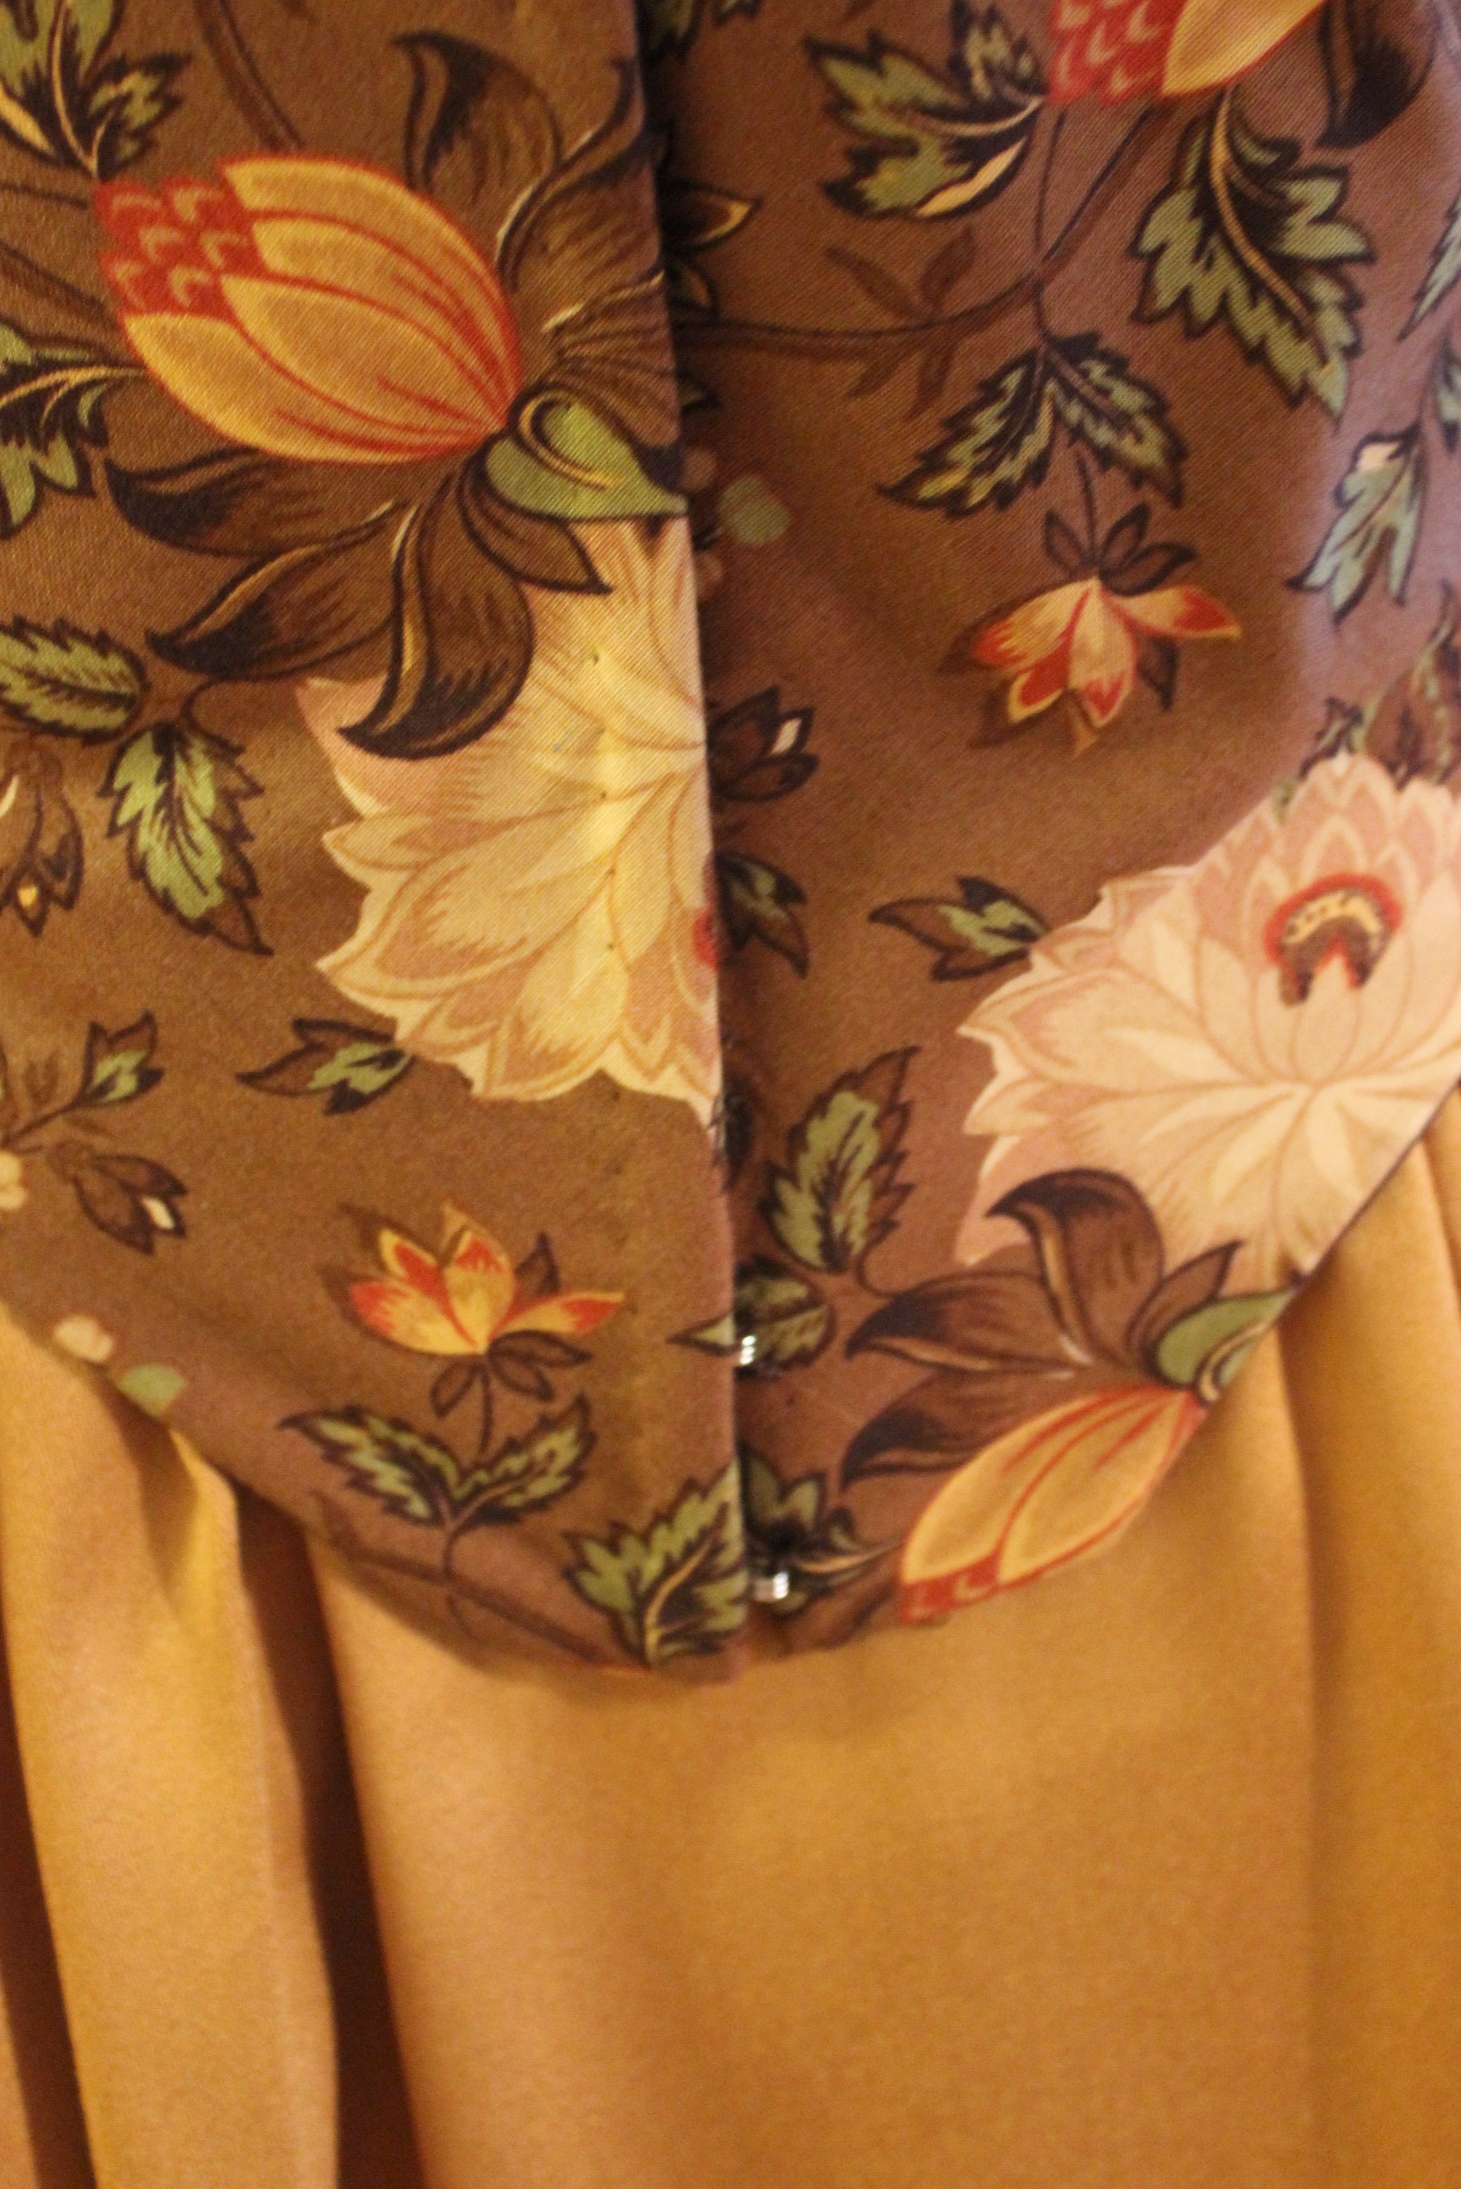
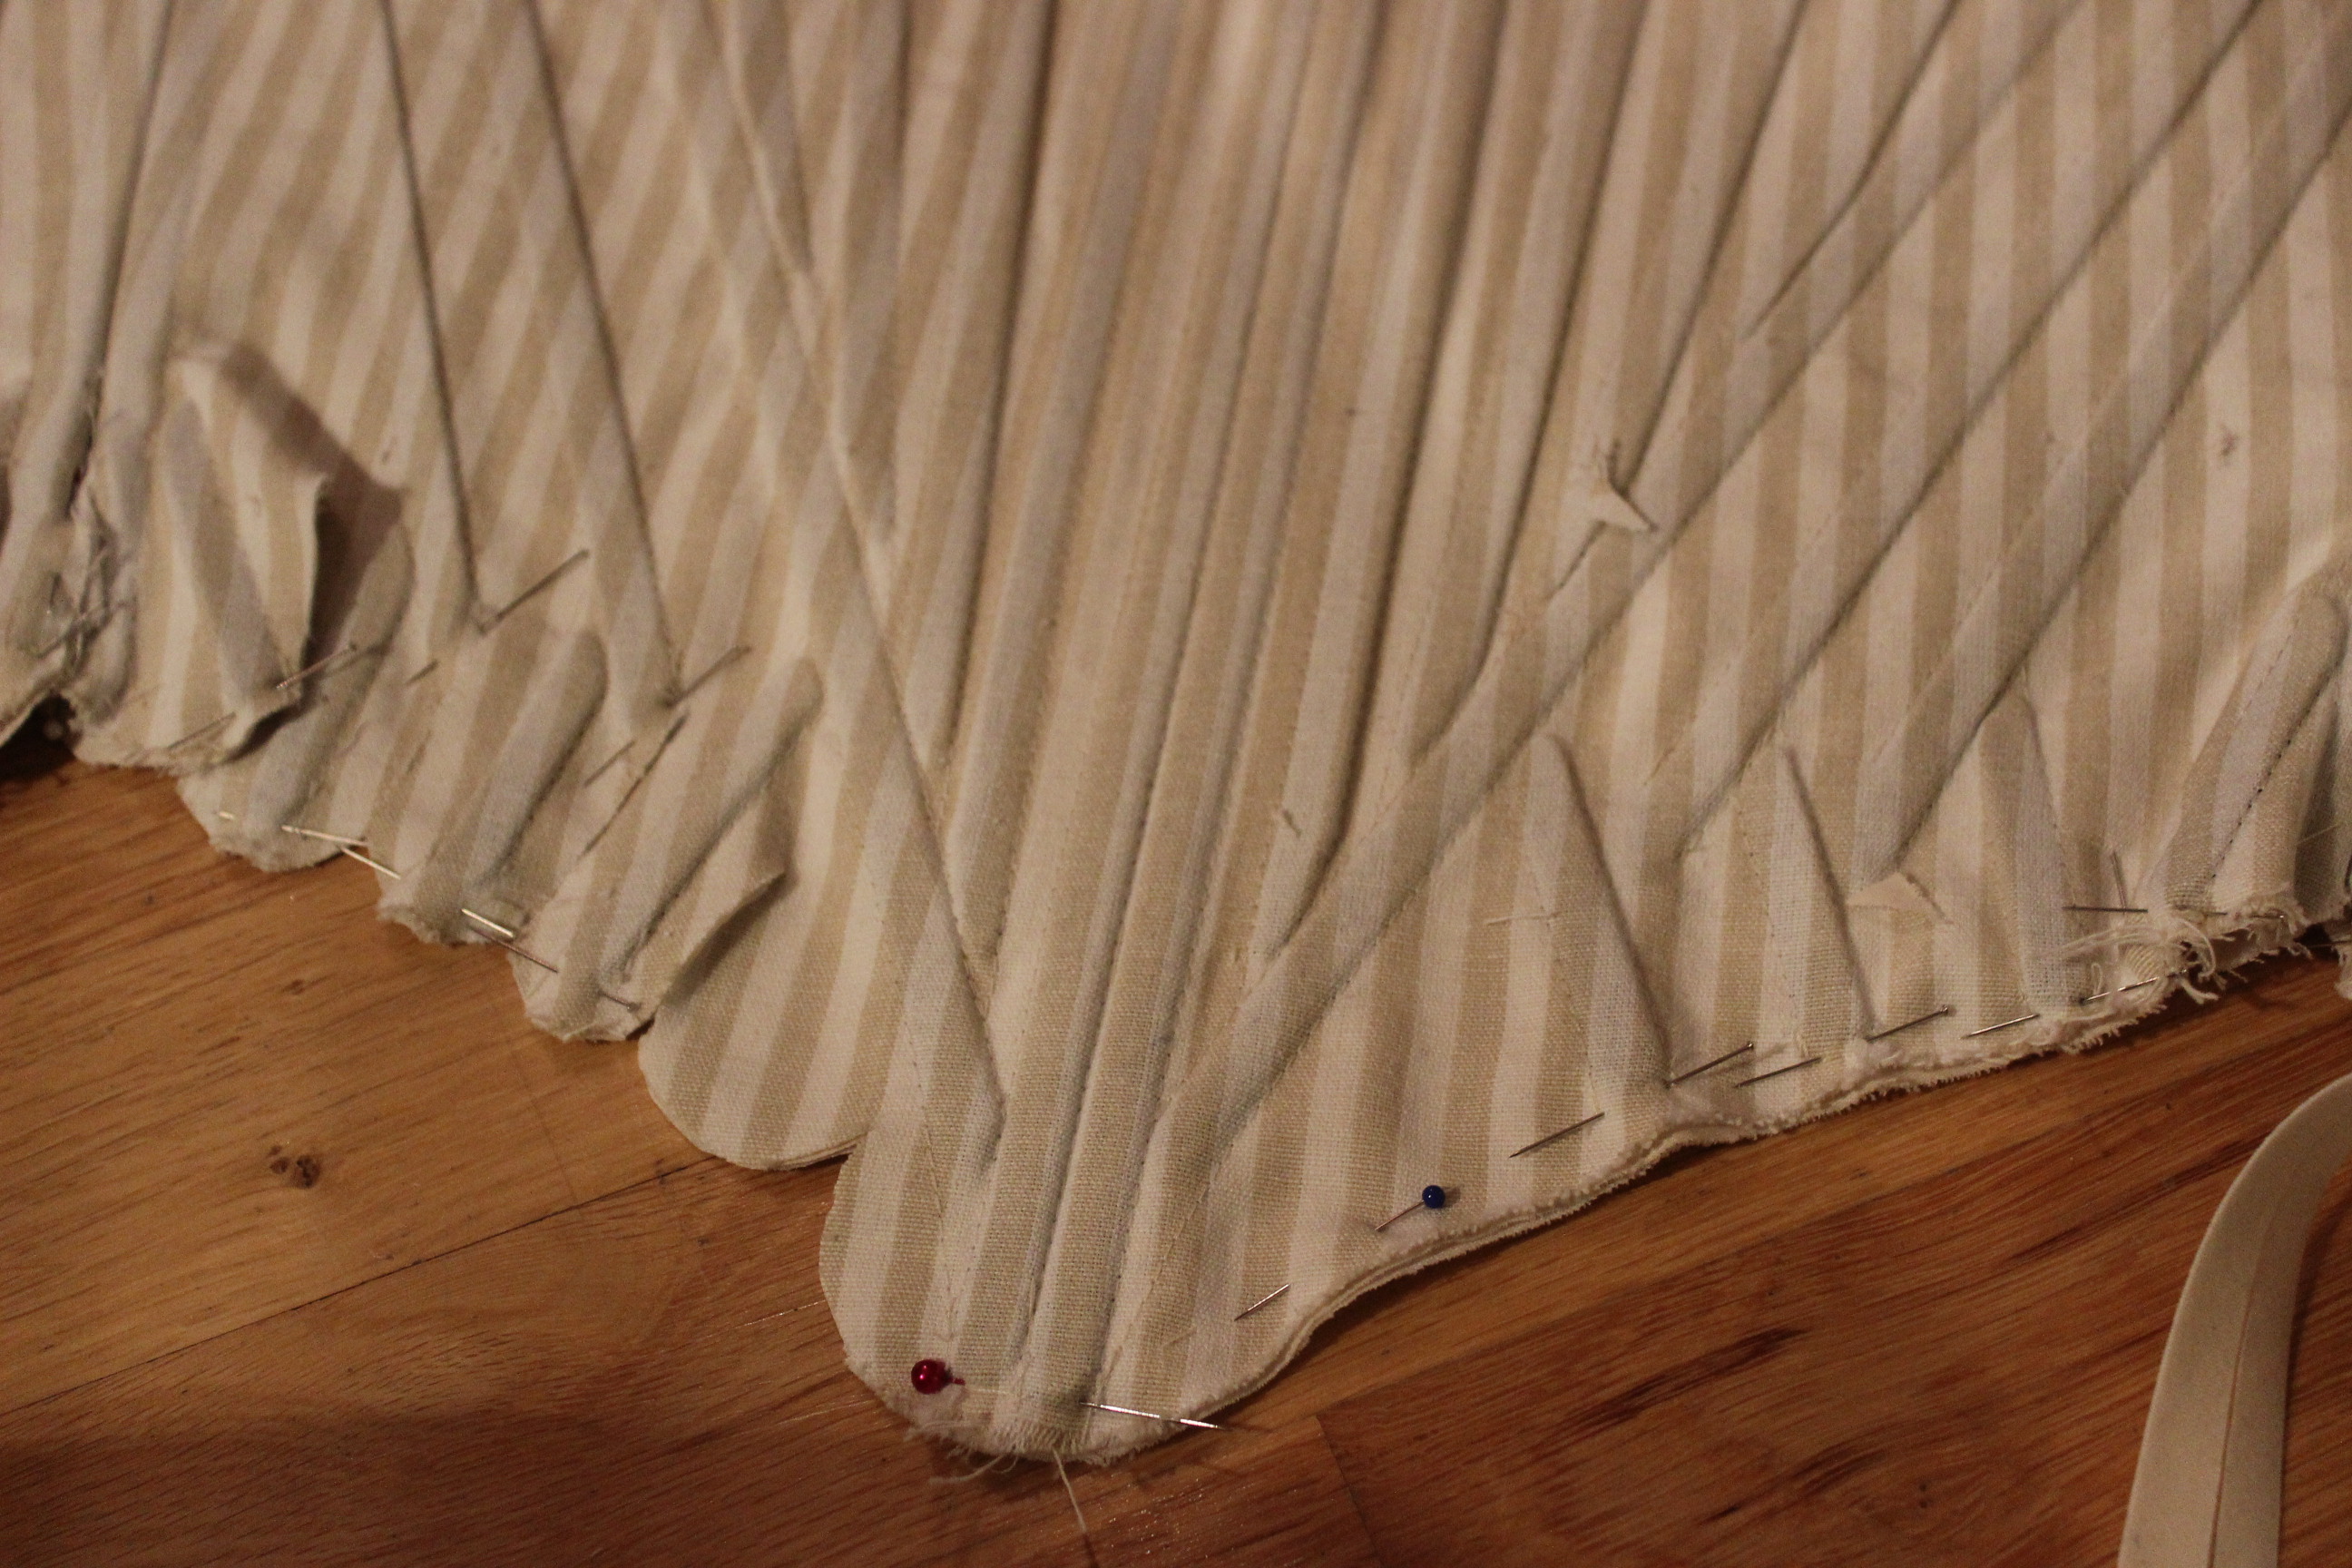
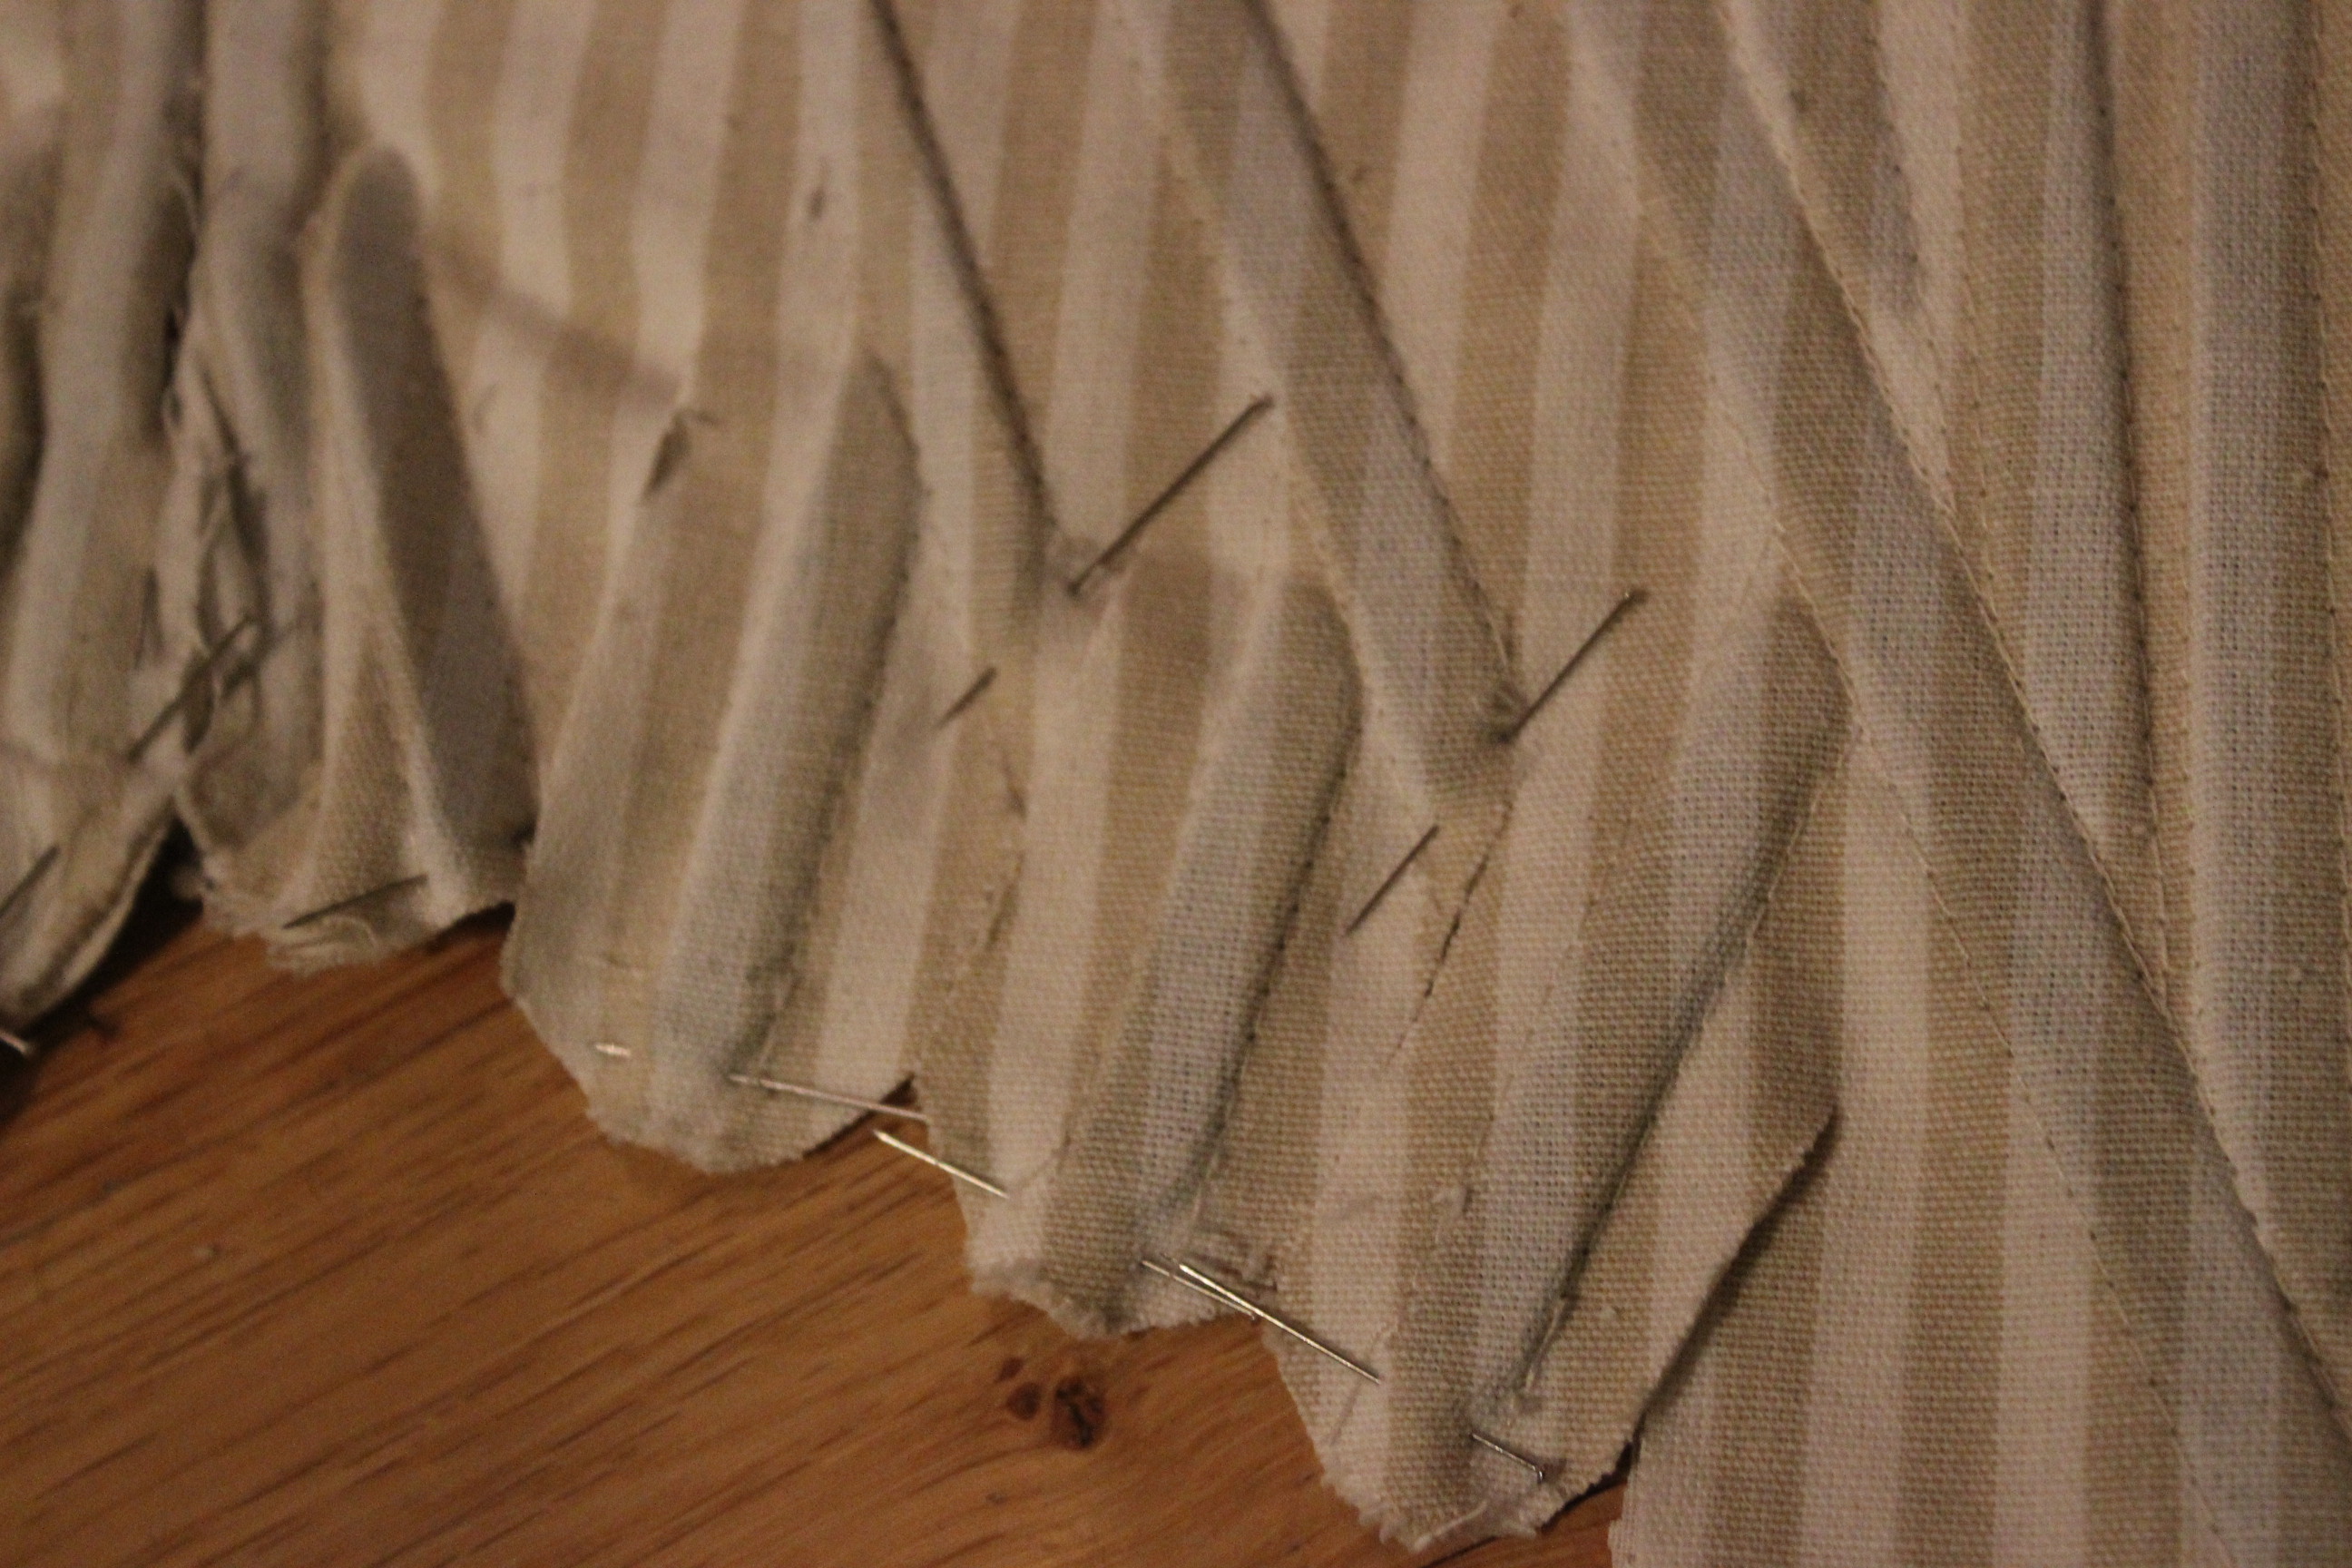
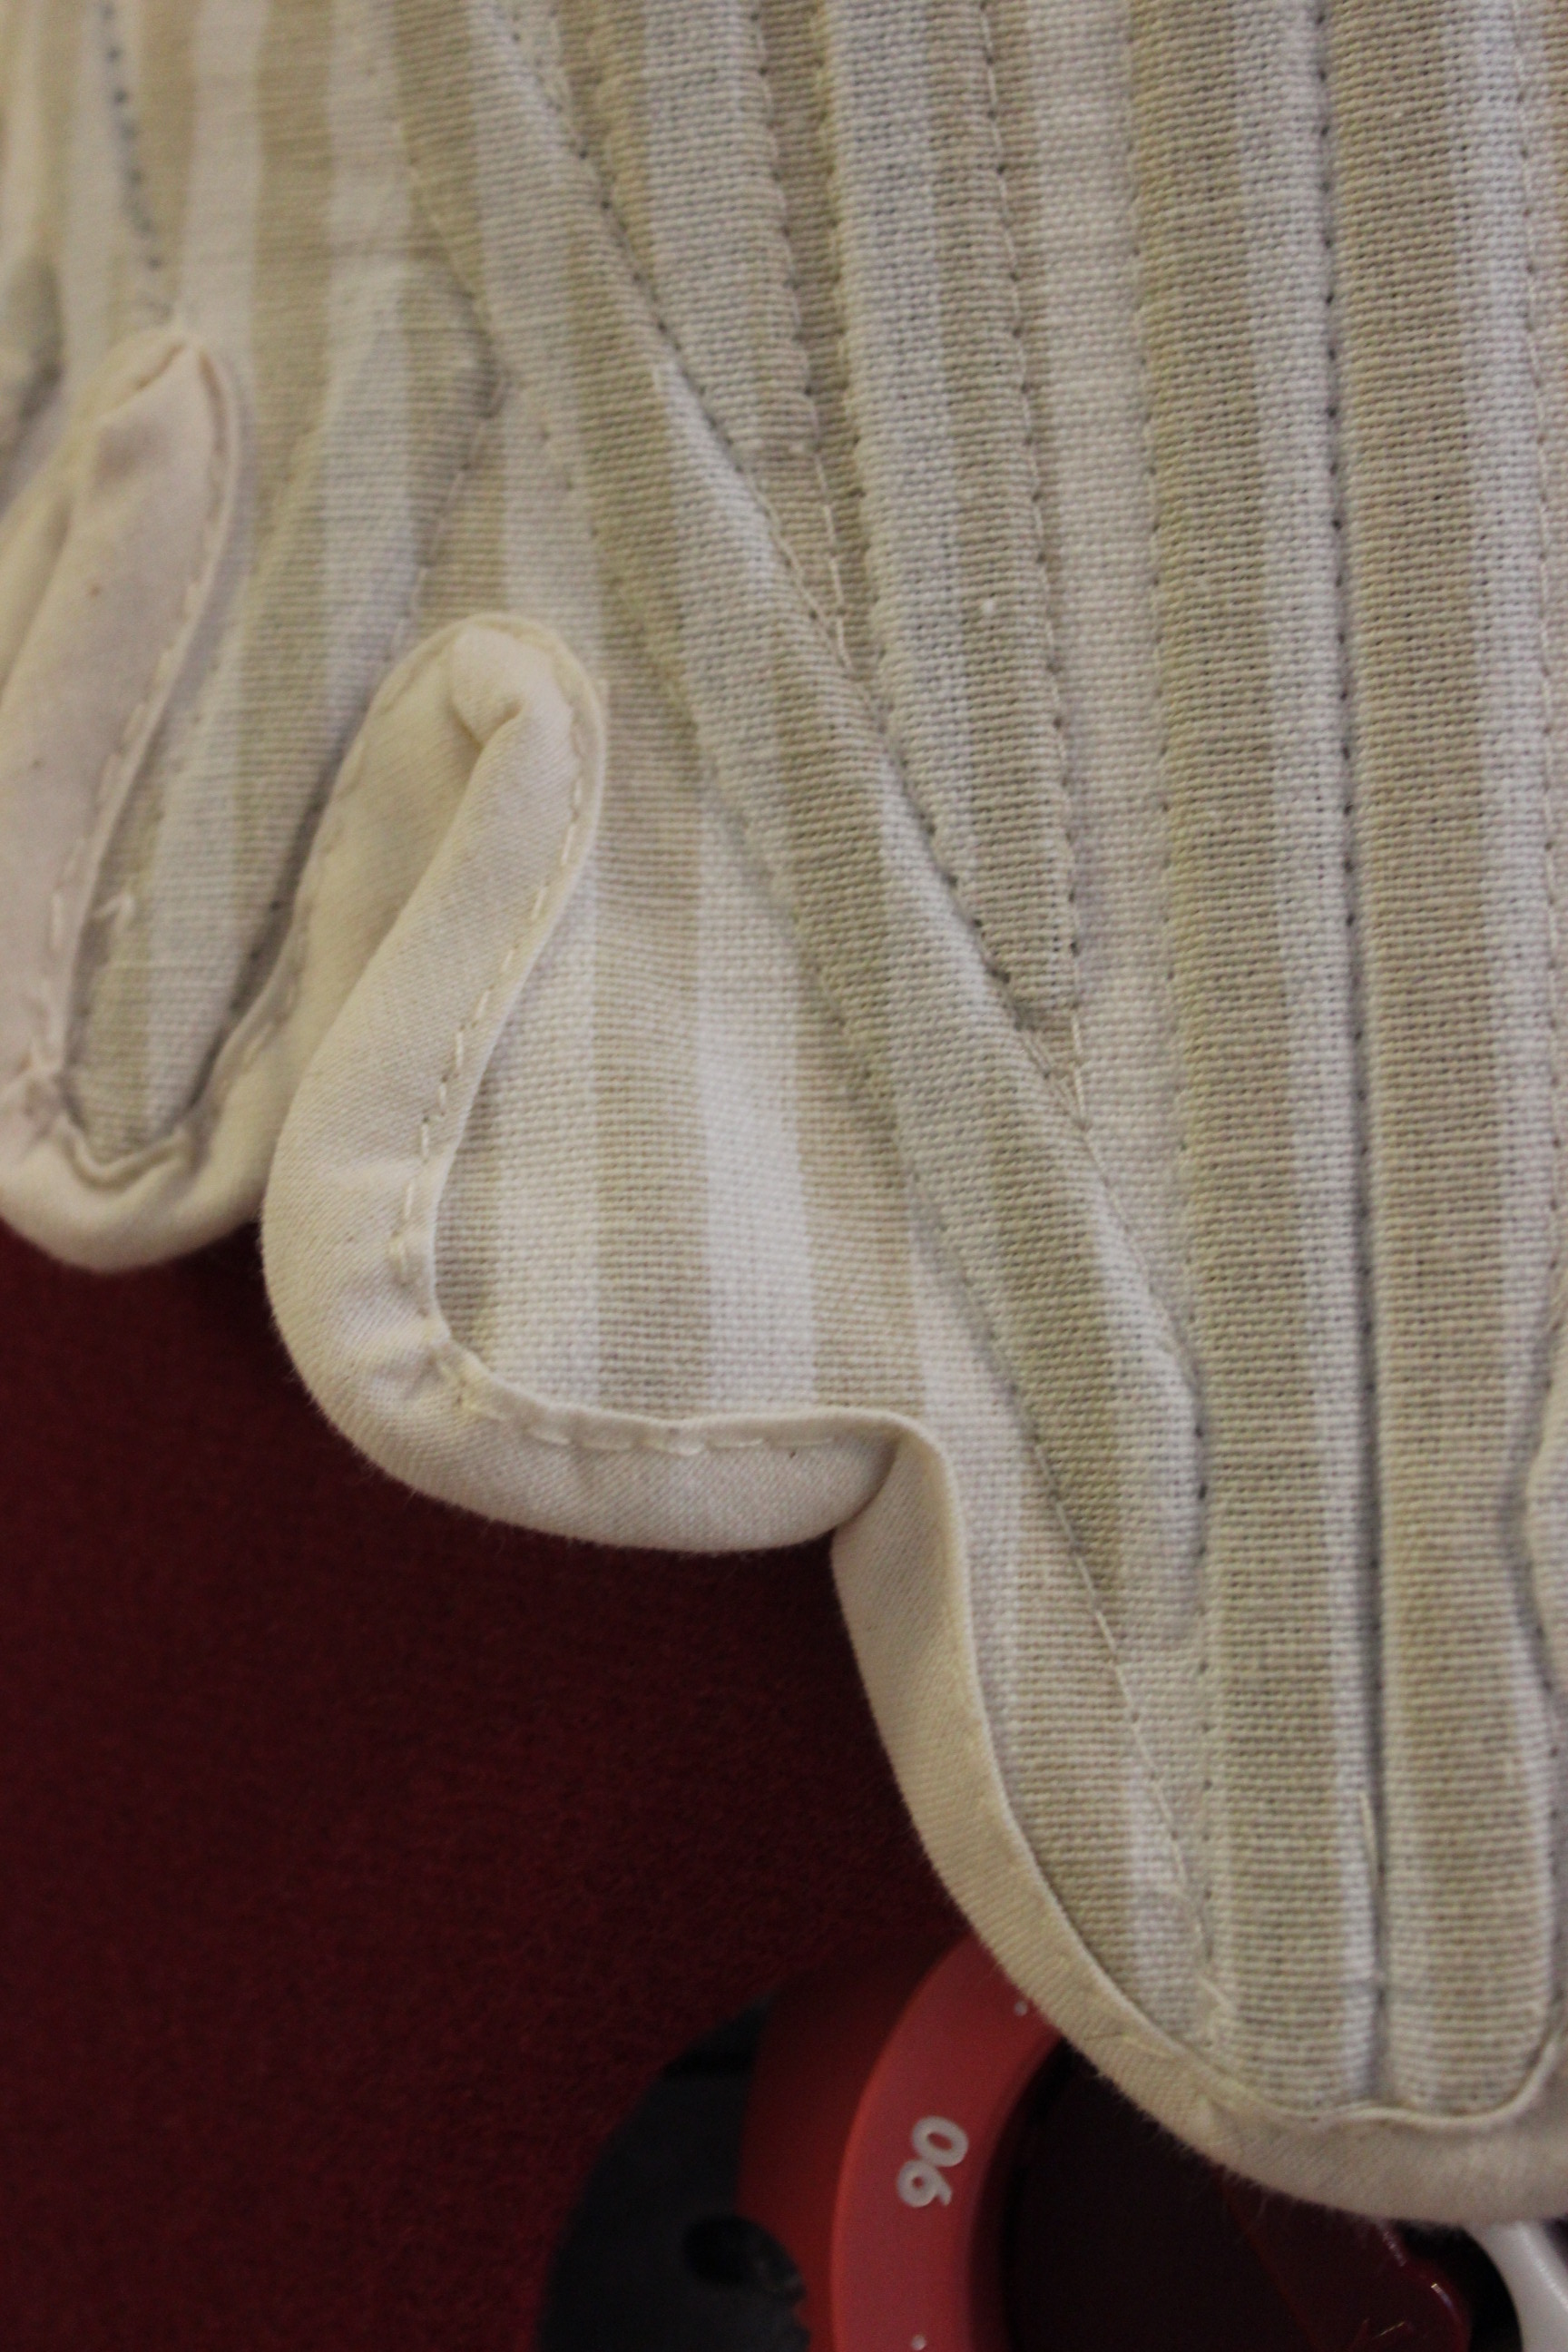
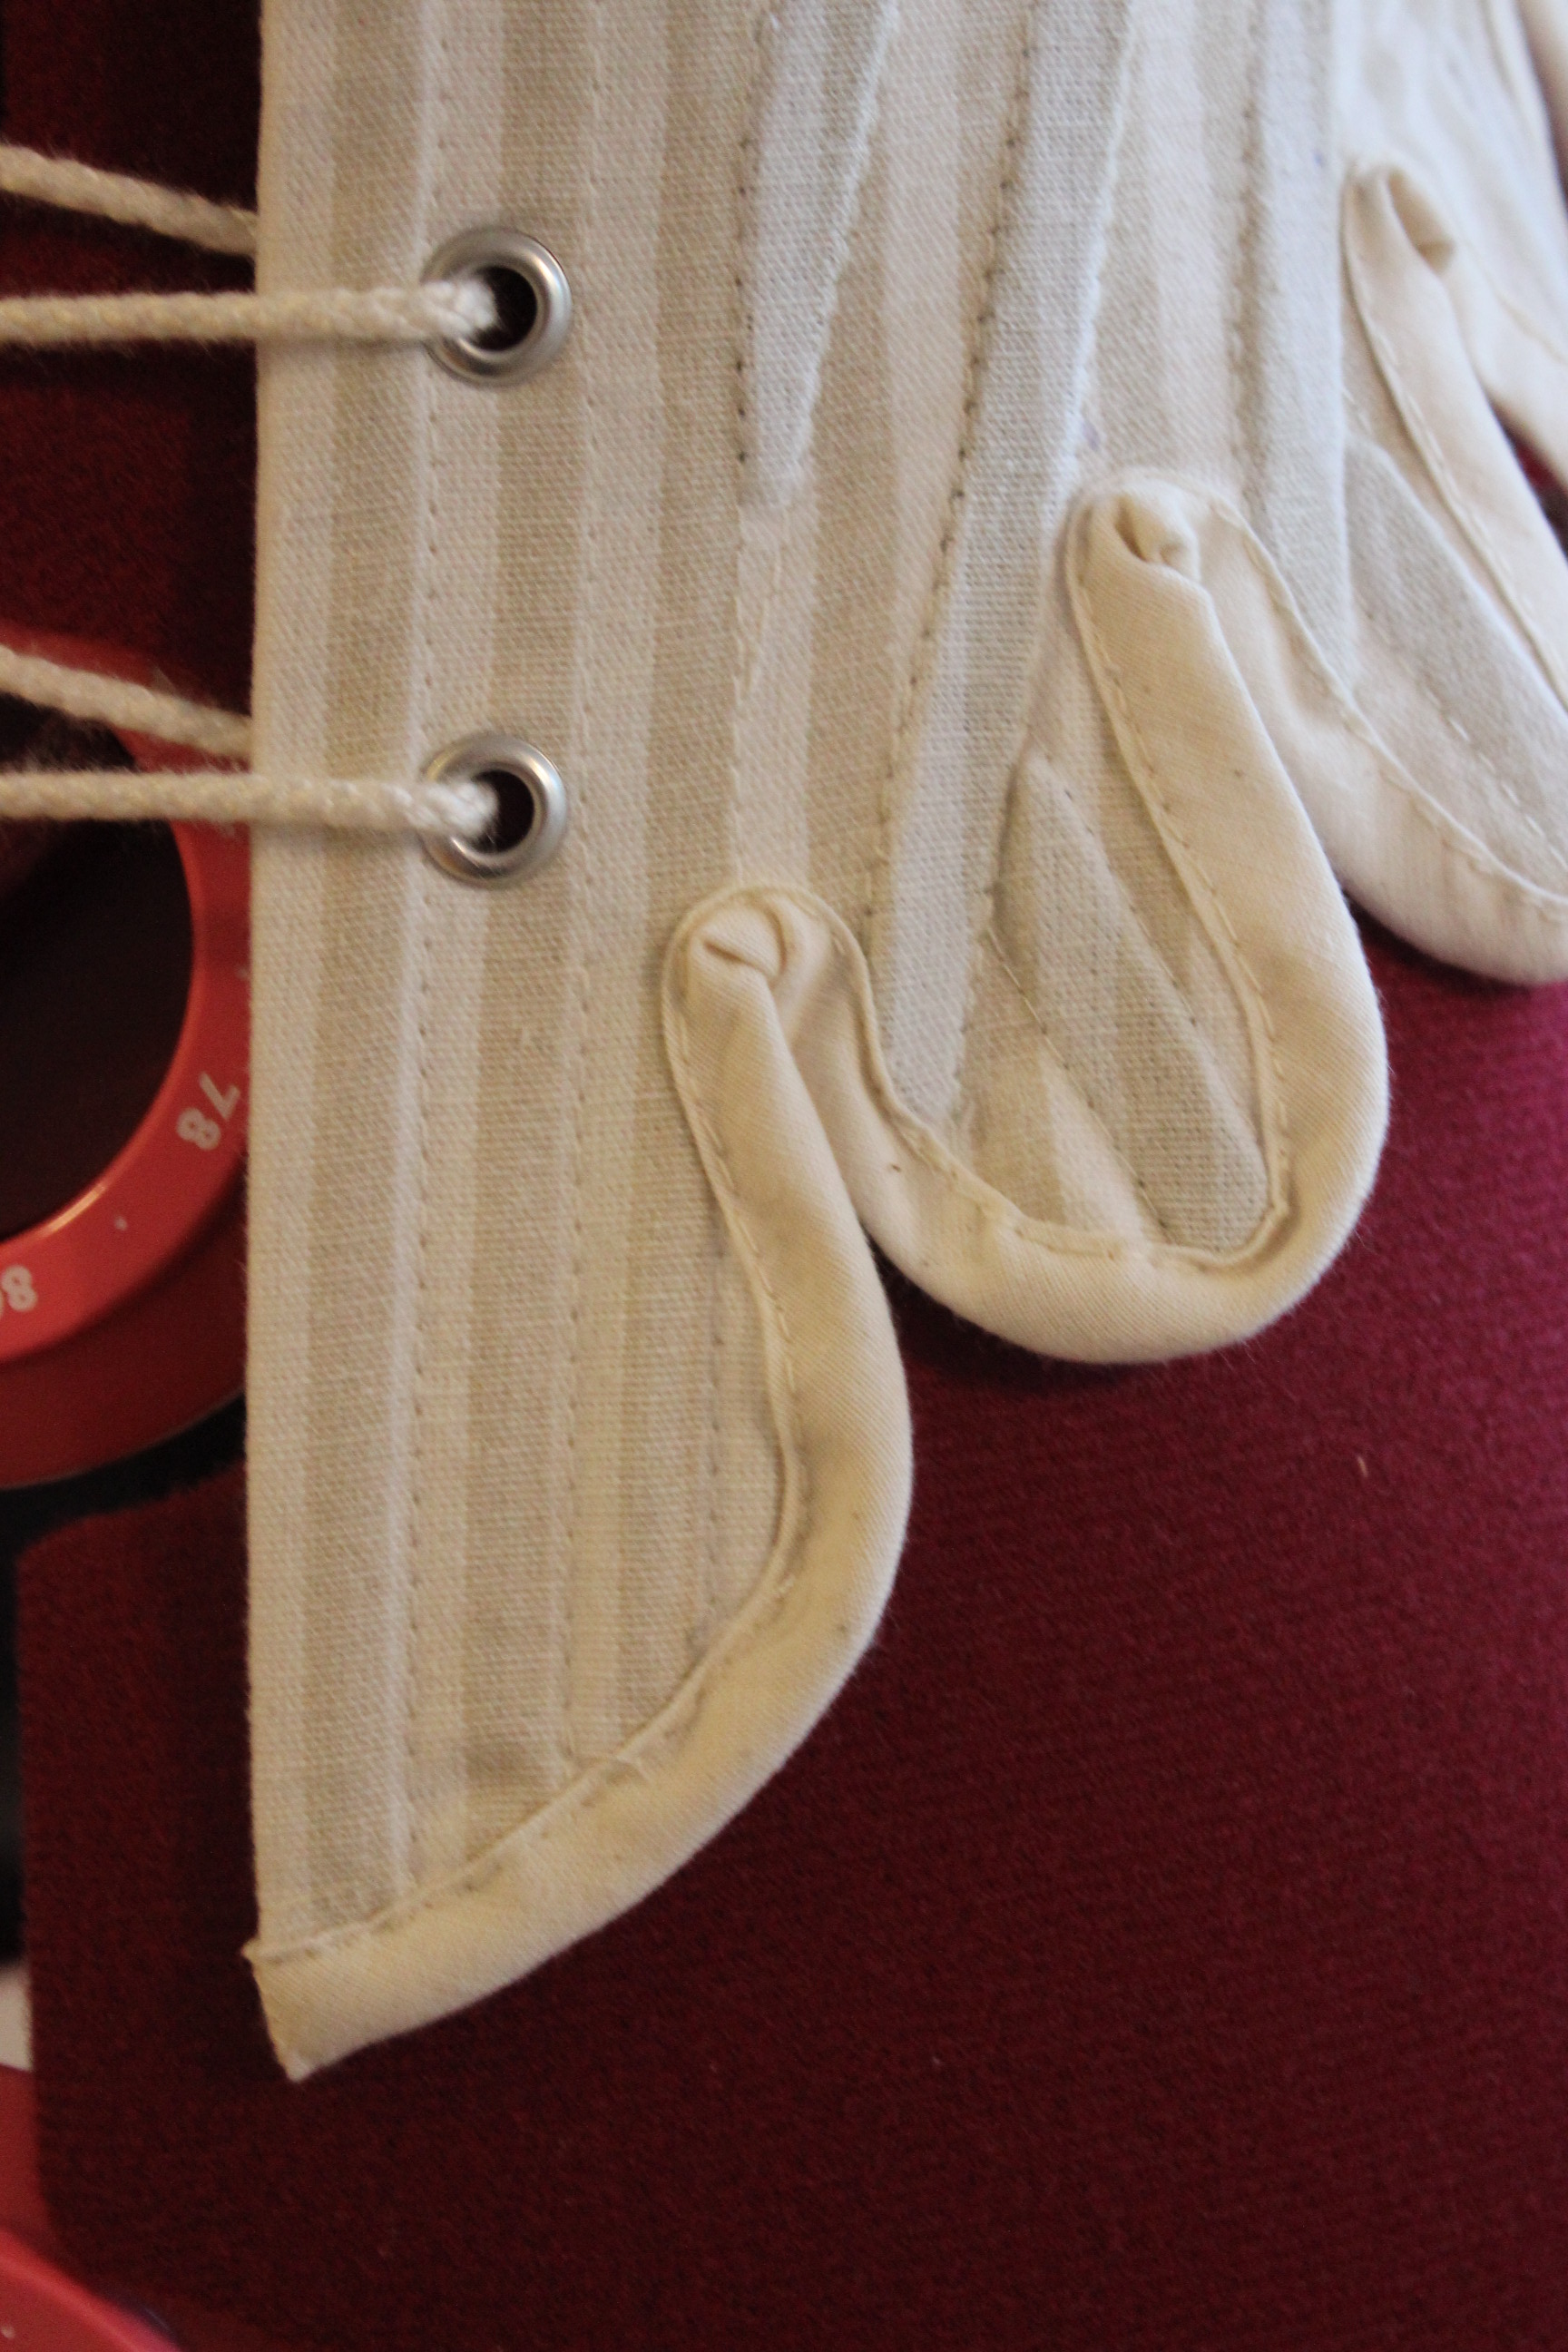
Then it was time to cut the tabs, bind the edges.


I put pins, to keep the bones from sliding from their places.
Fortunately I’d made the top edge first, because binding all those tabs were the worst part of the process. And if I hadn’t I’m not sure I wold have pulled through.
I stabbed myself countless times on the pins, and had lots of troubles getting the corners nice and smooth.
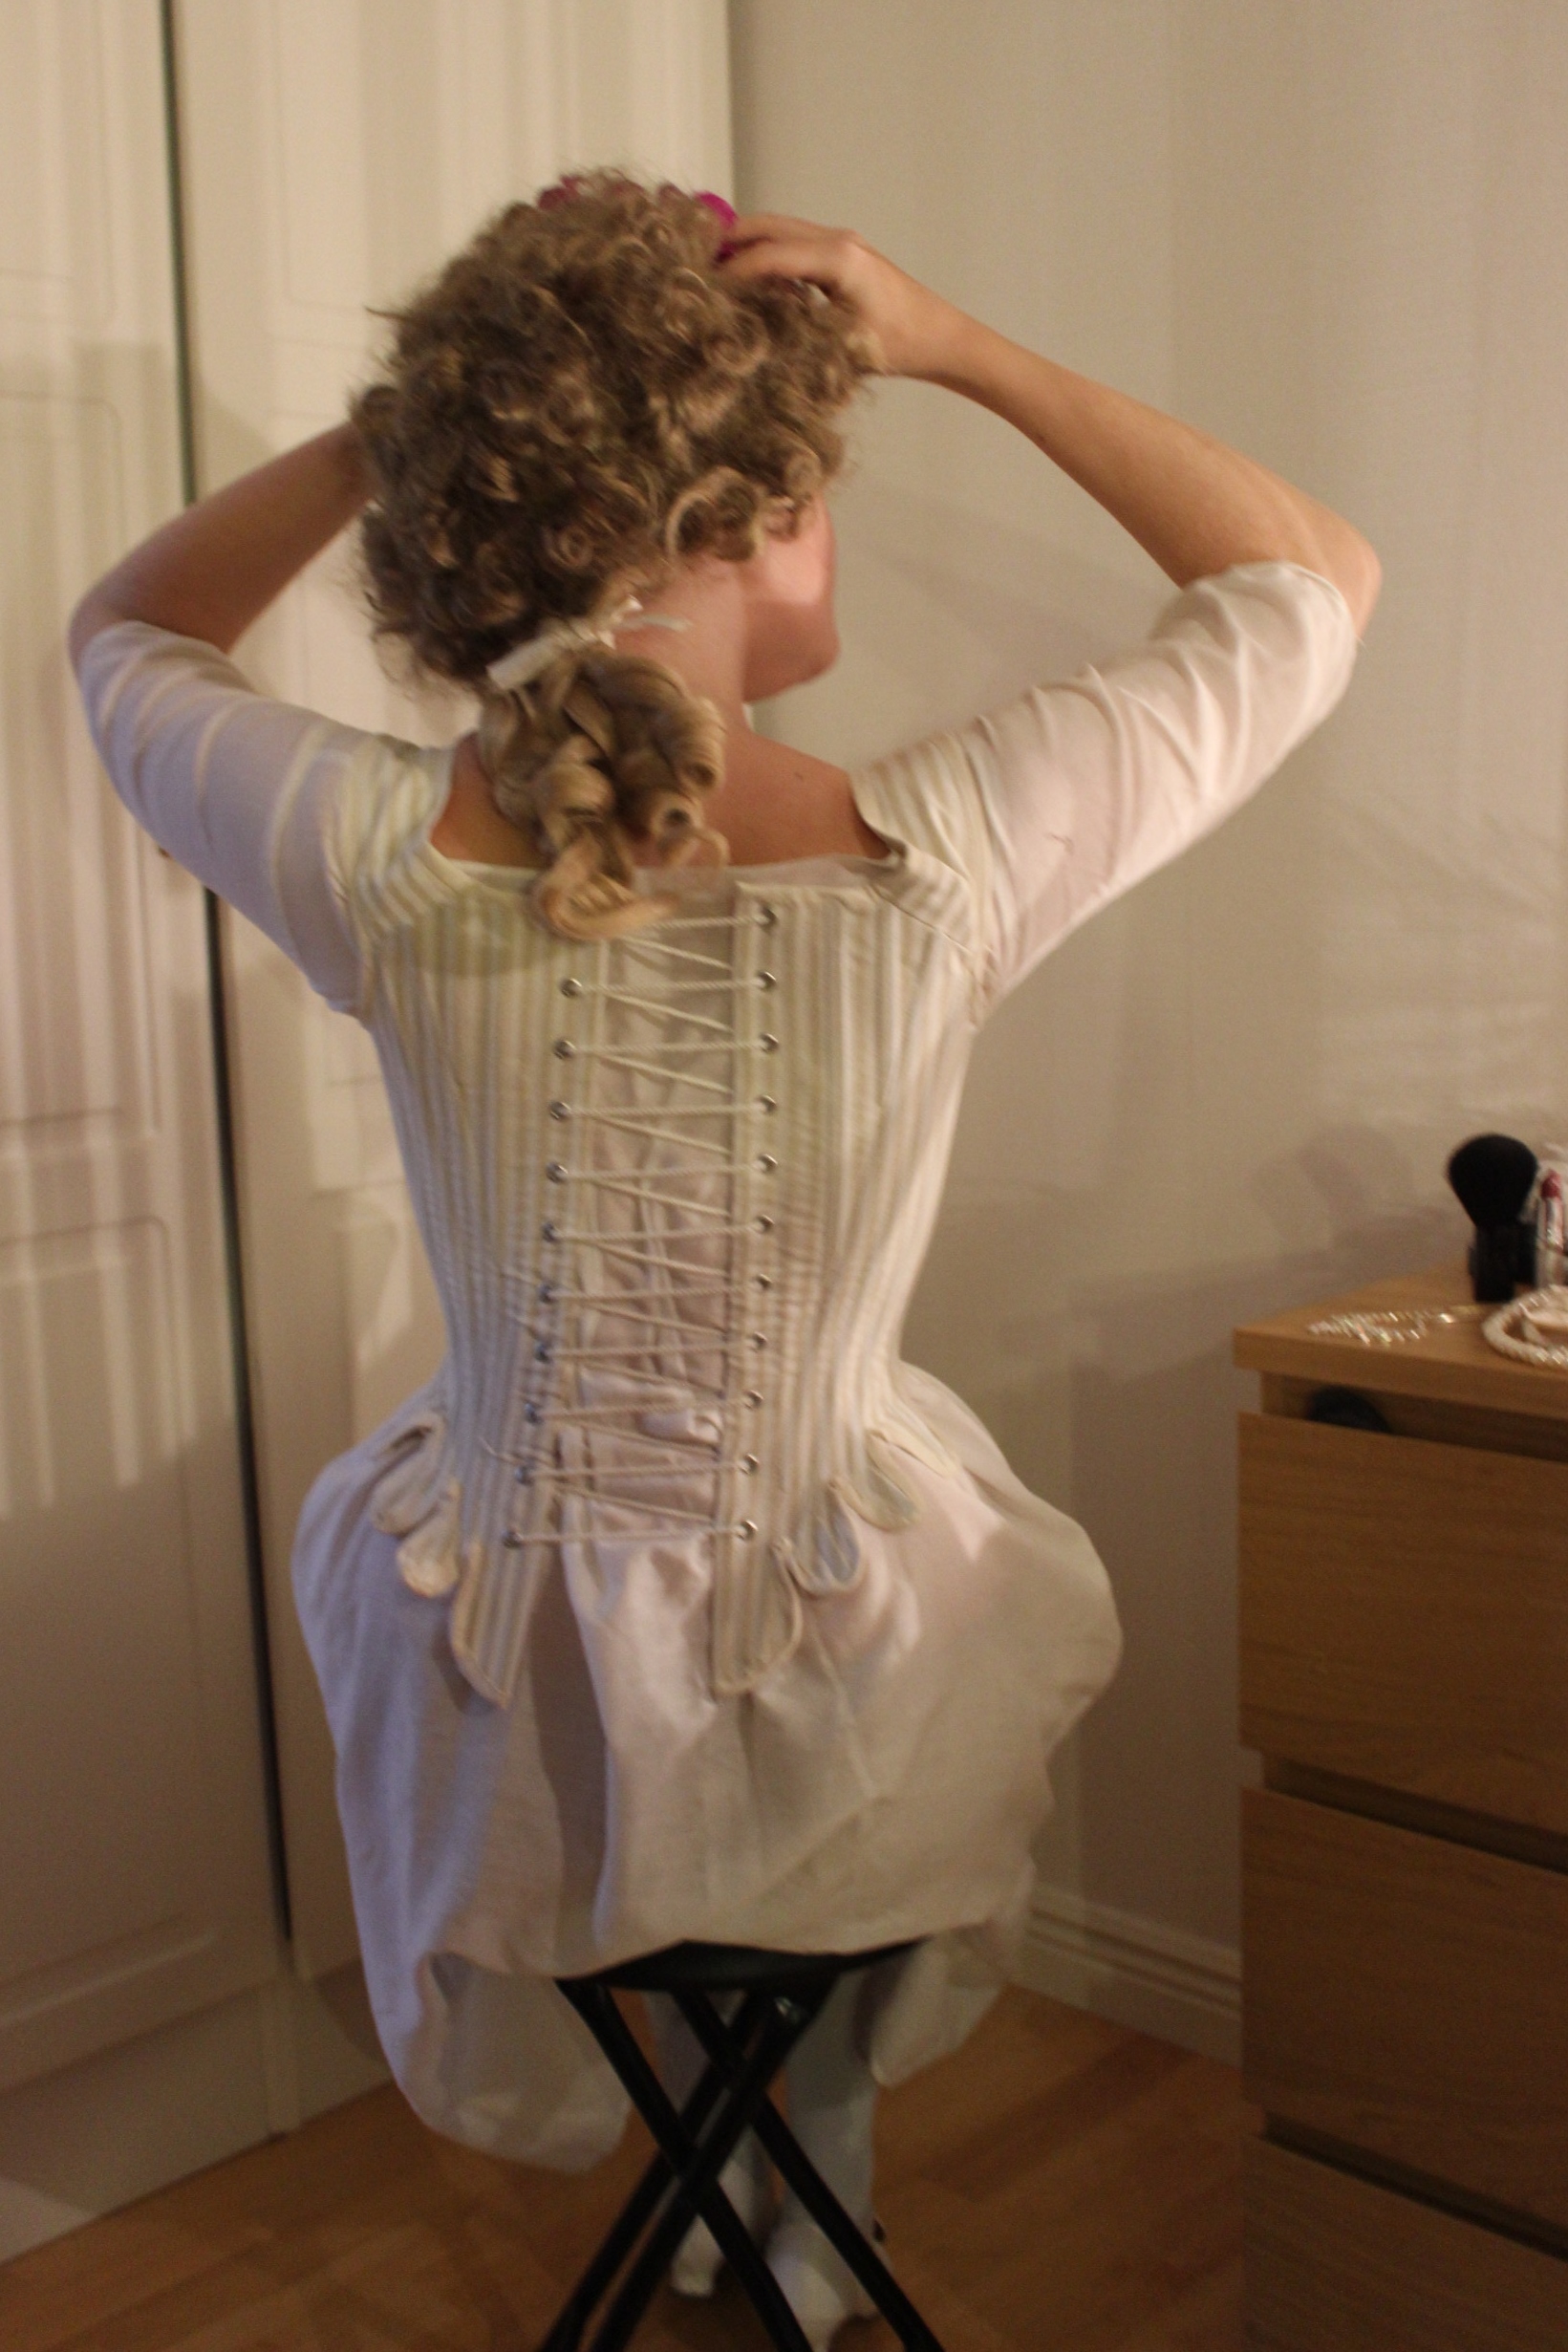
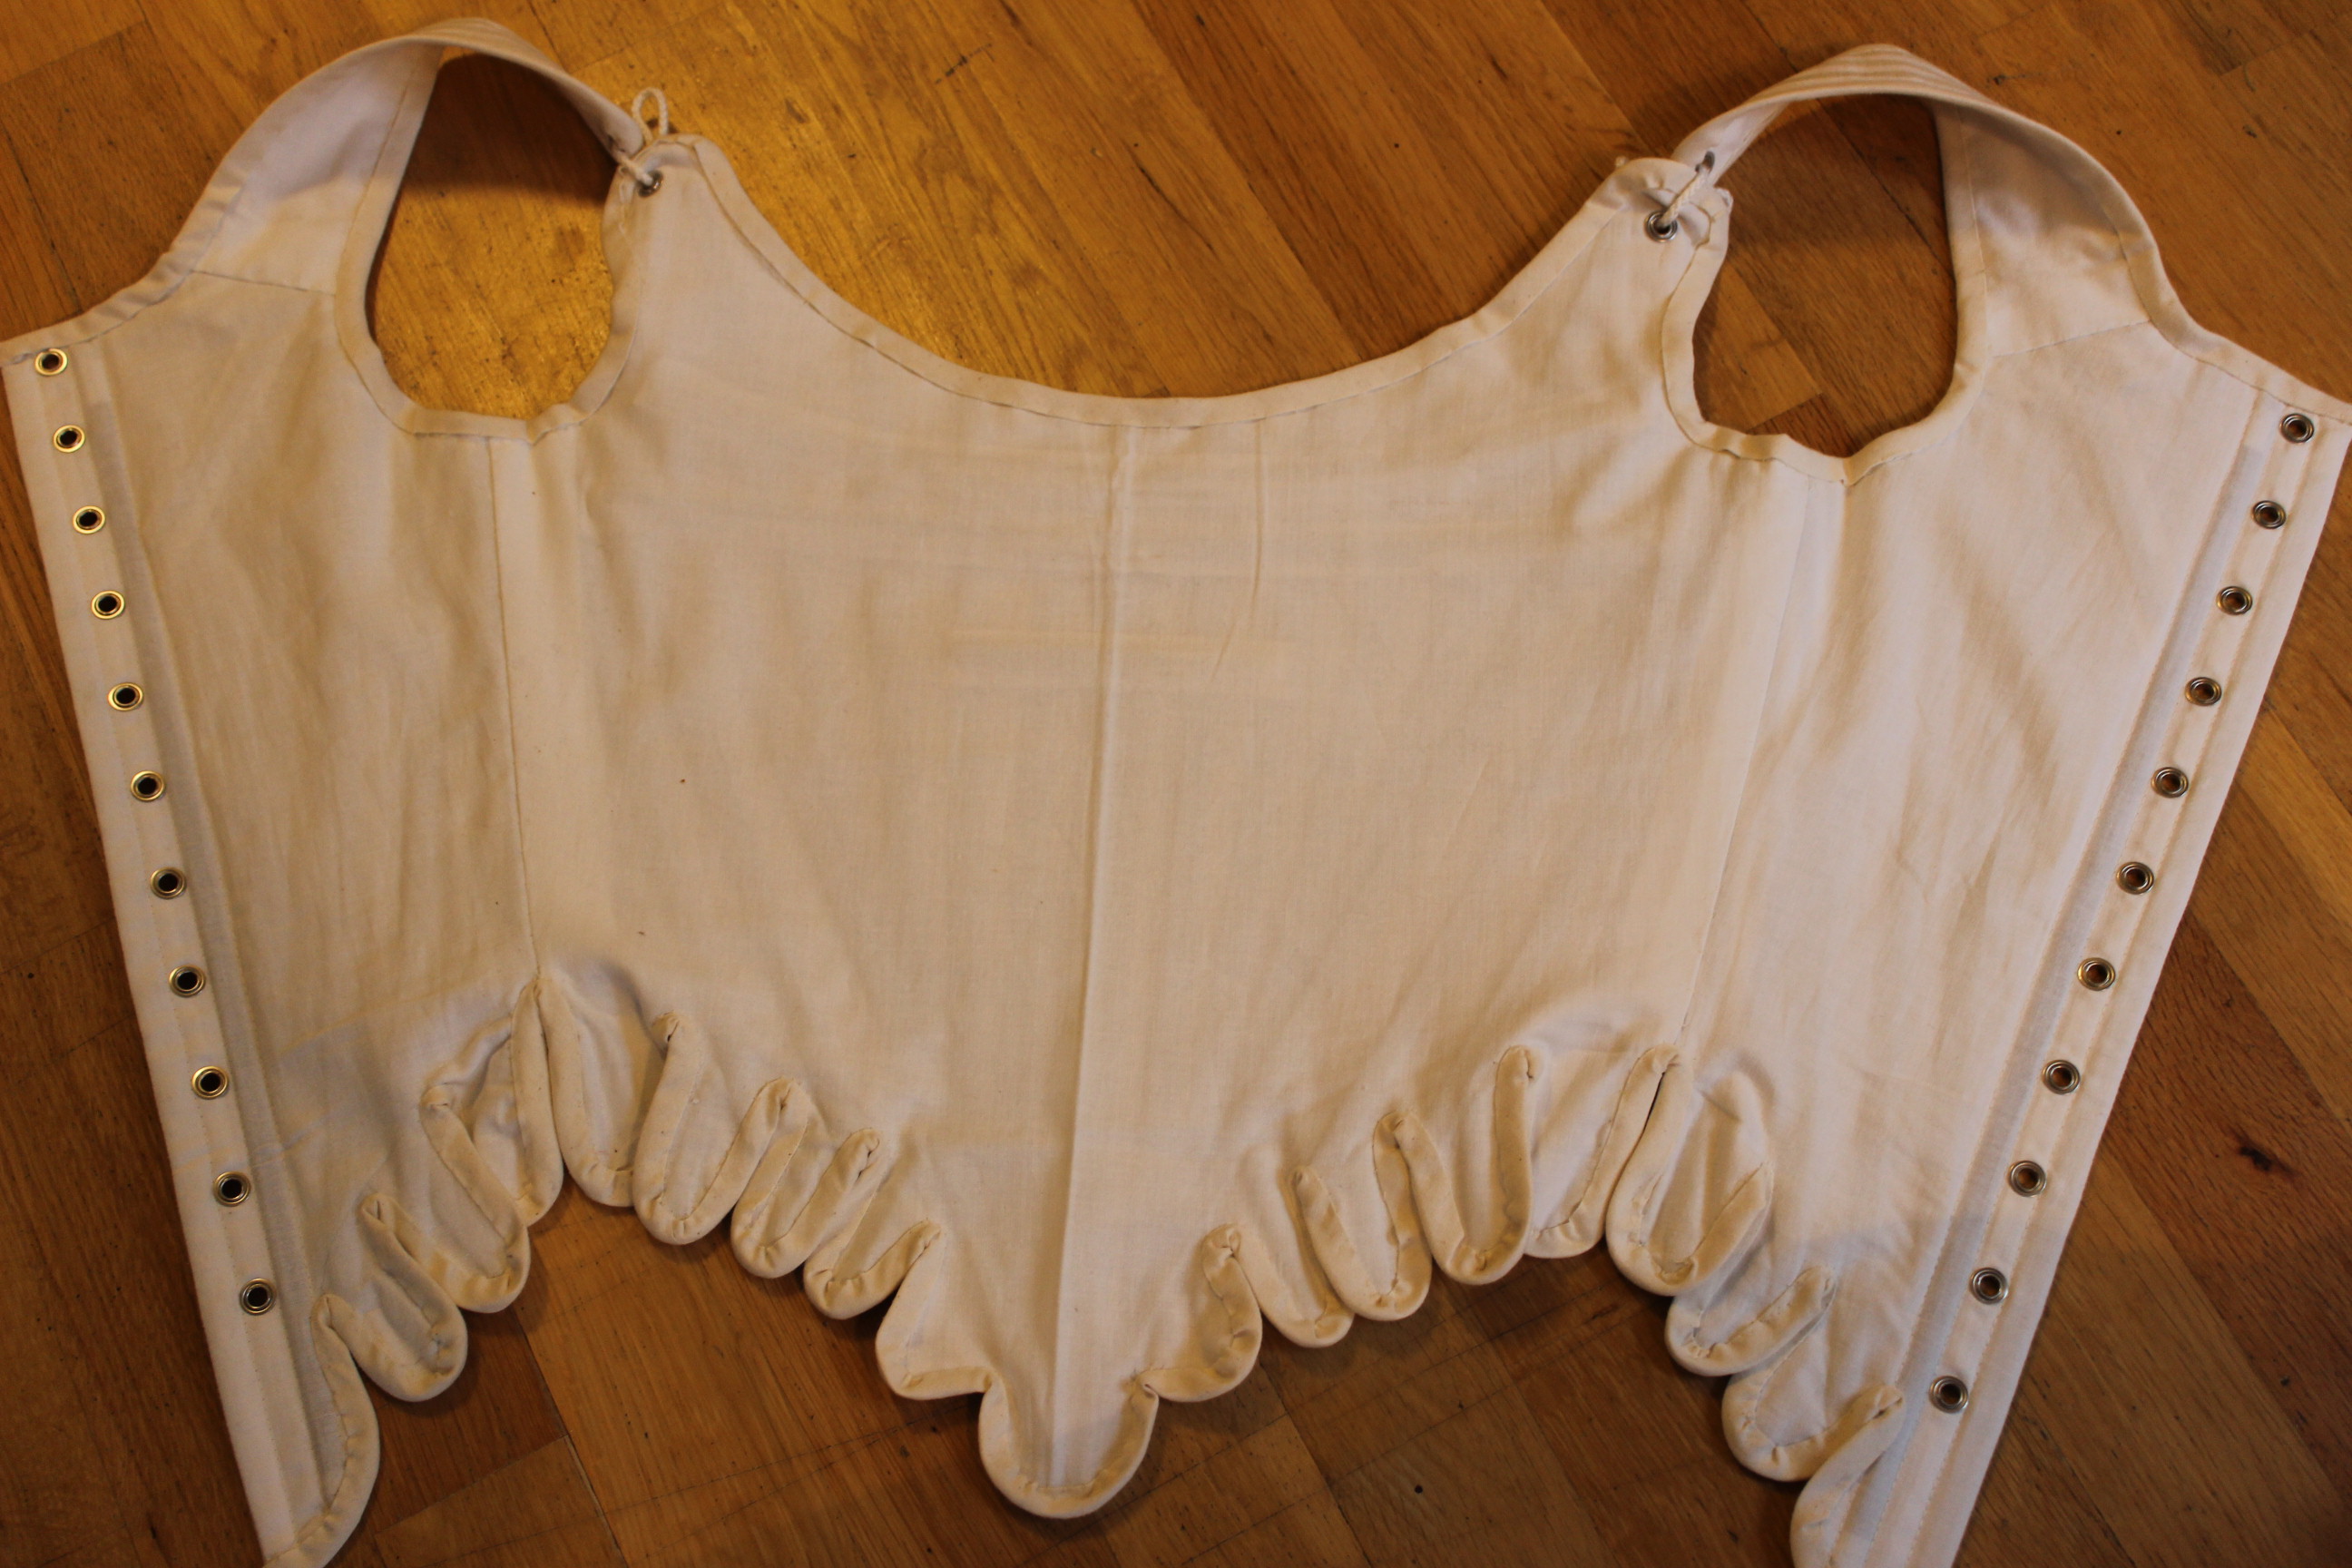
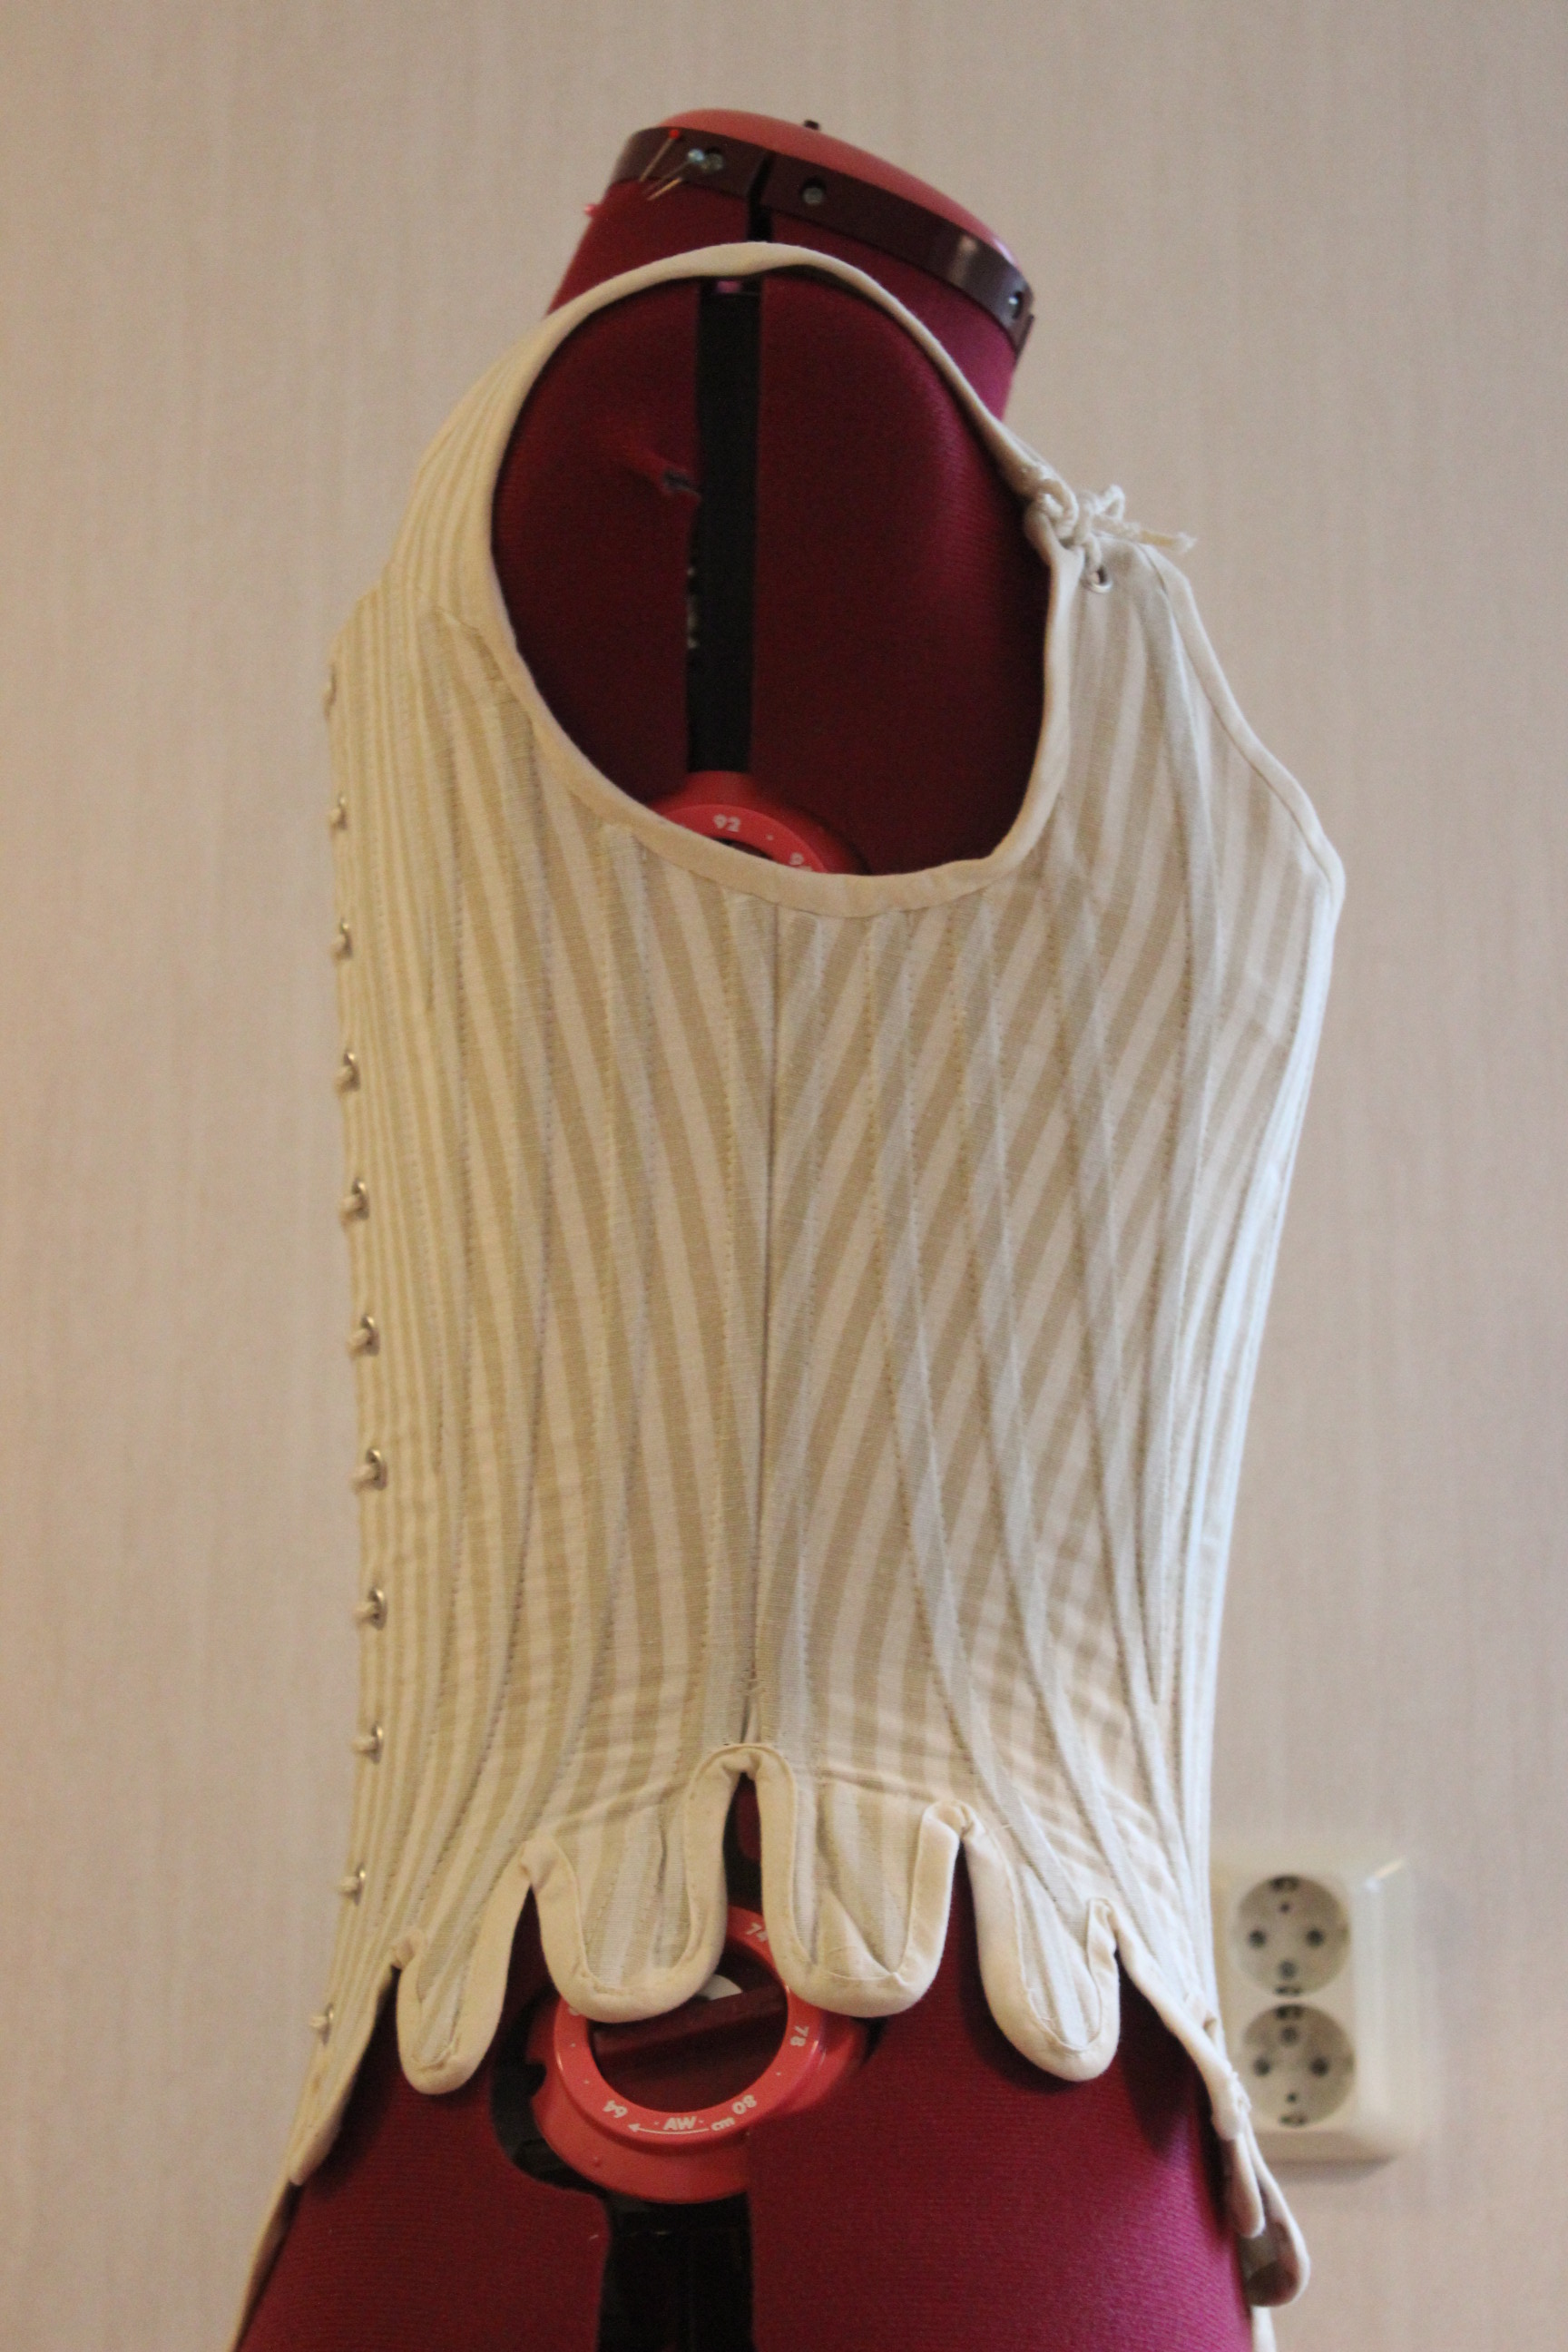
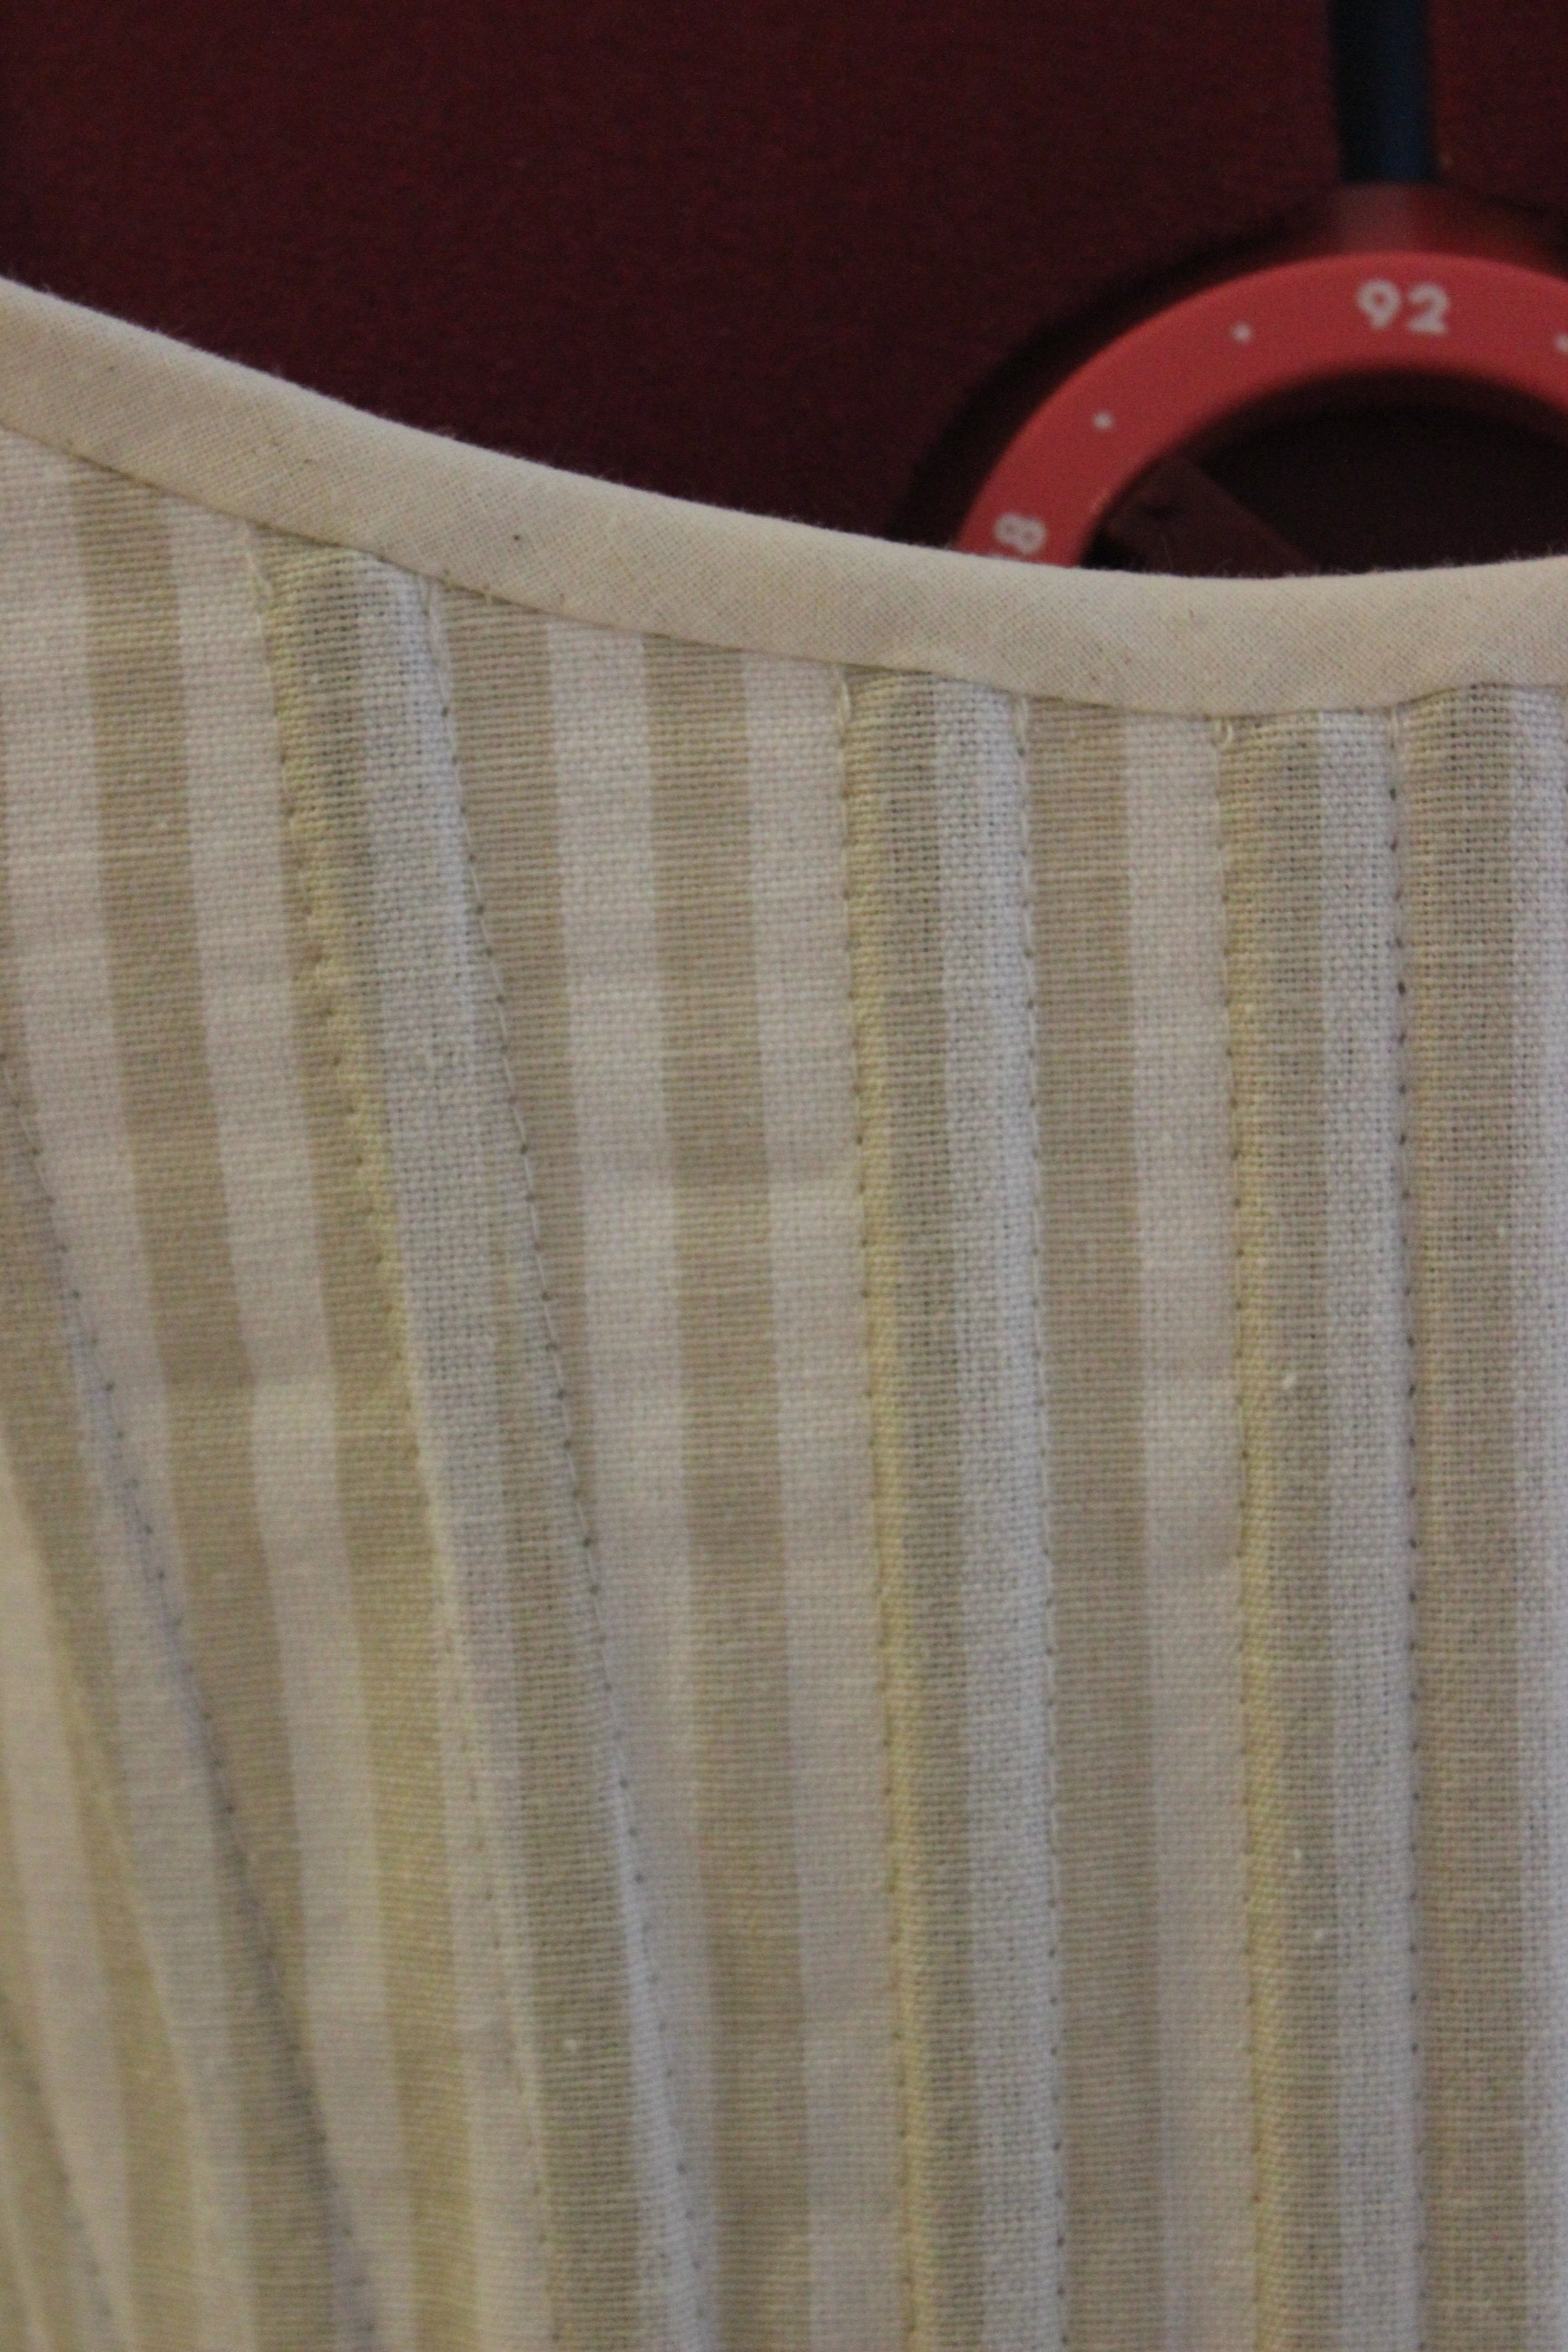
But I managed to get it done in time for deadline and photoshoot.  The inside of the finished stays.
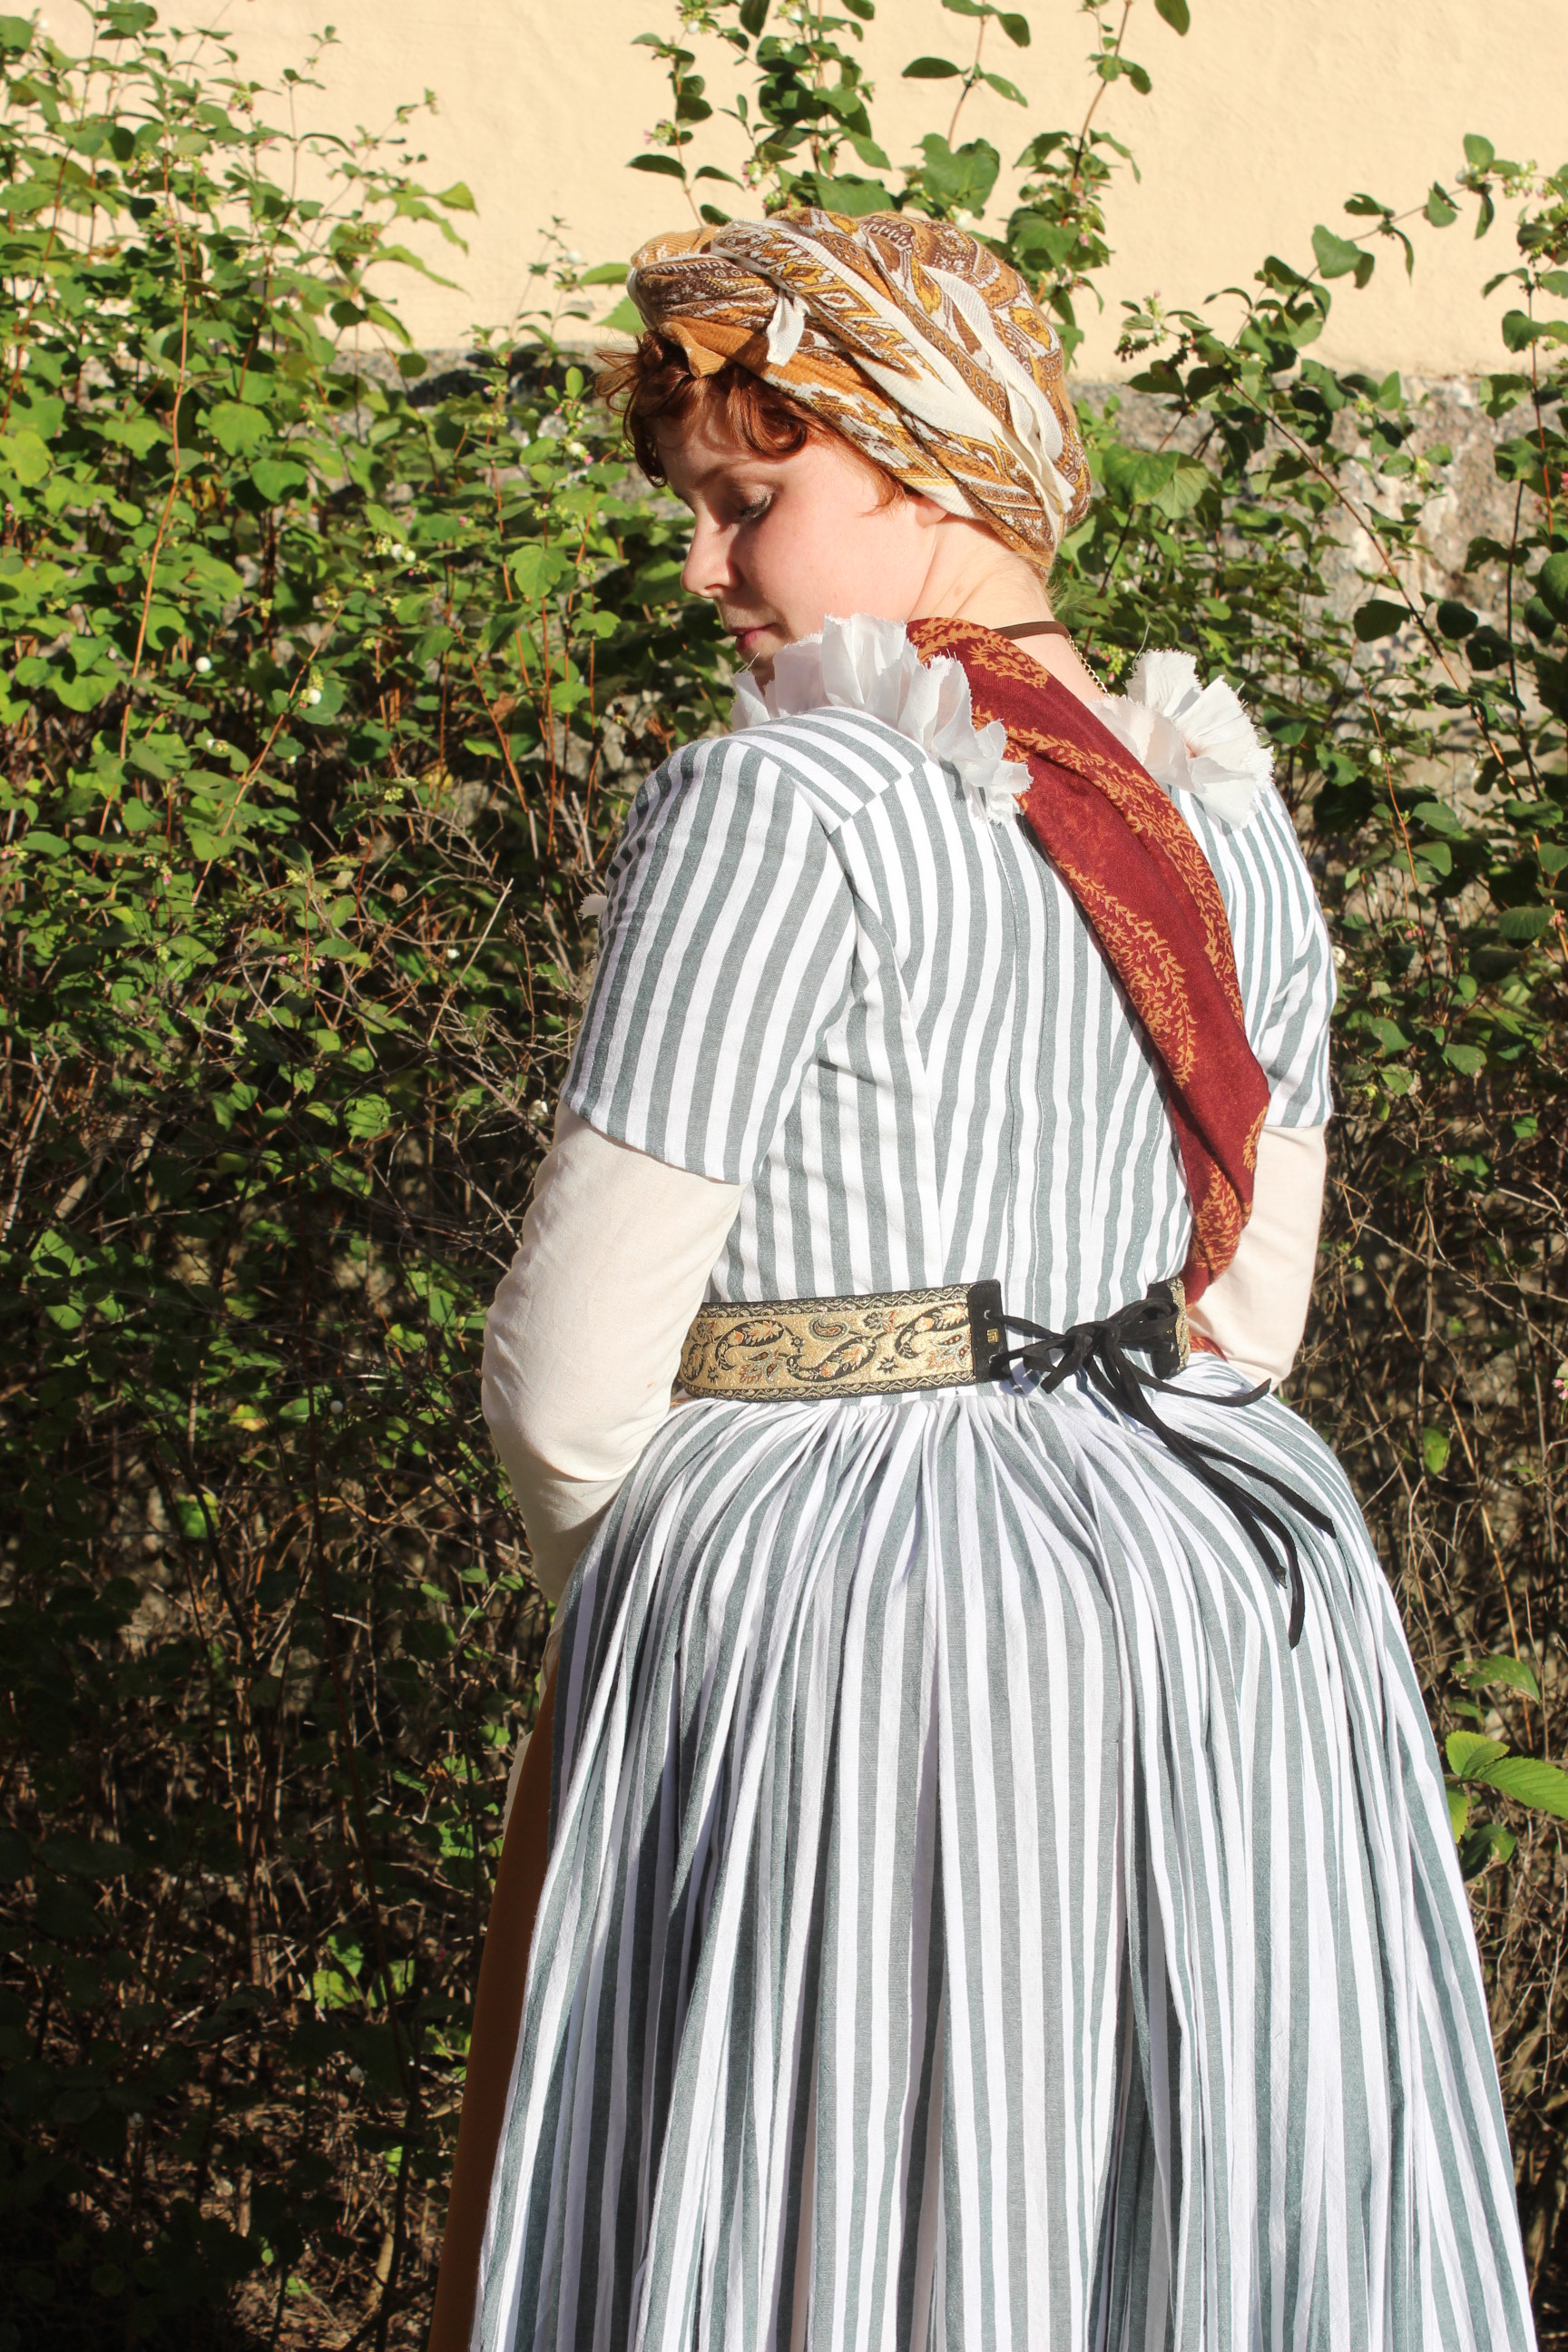
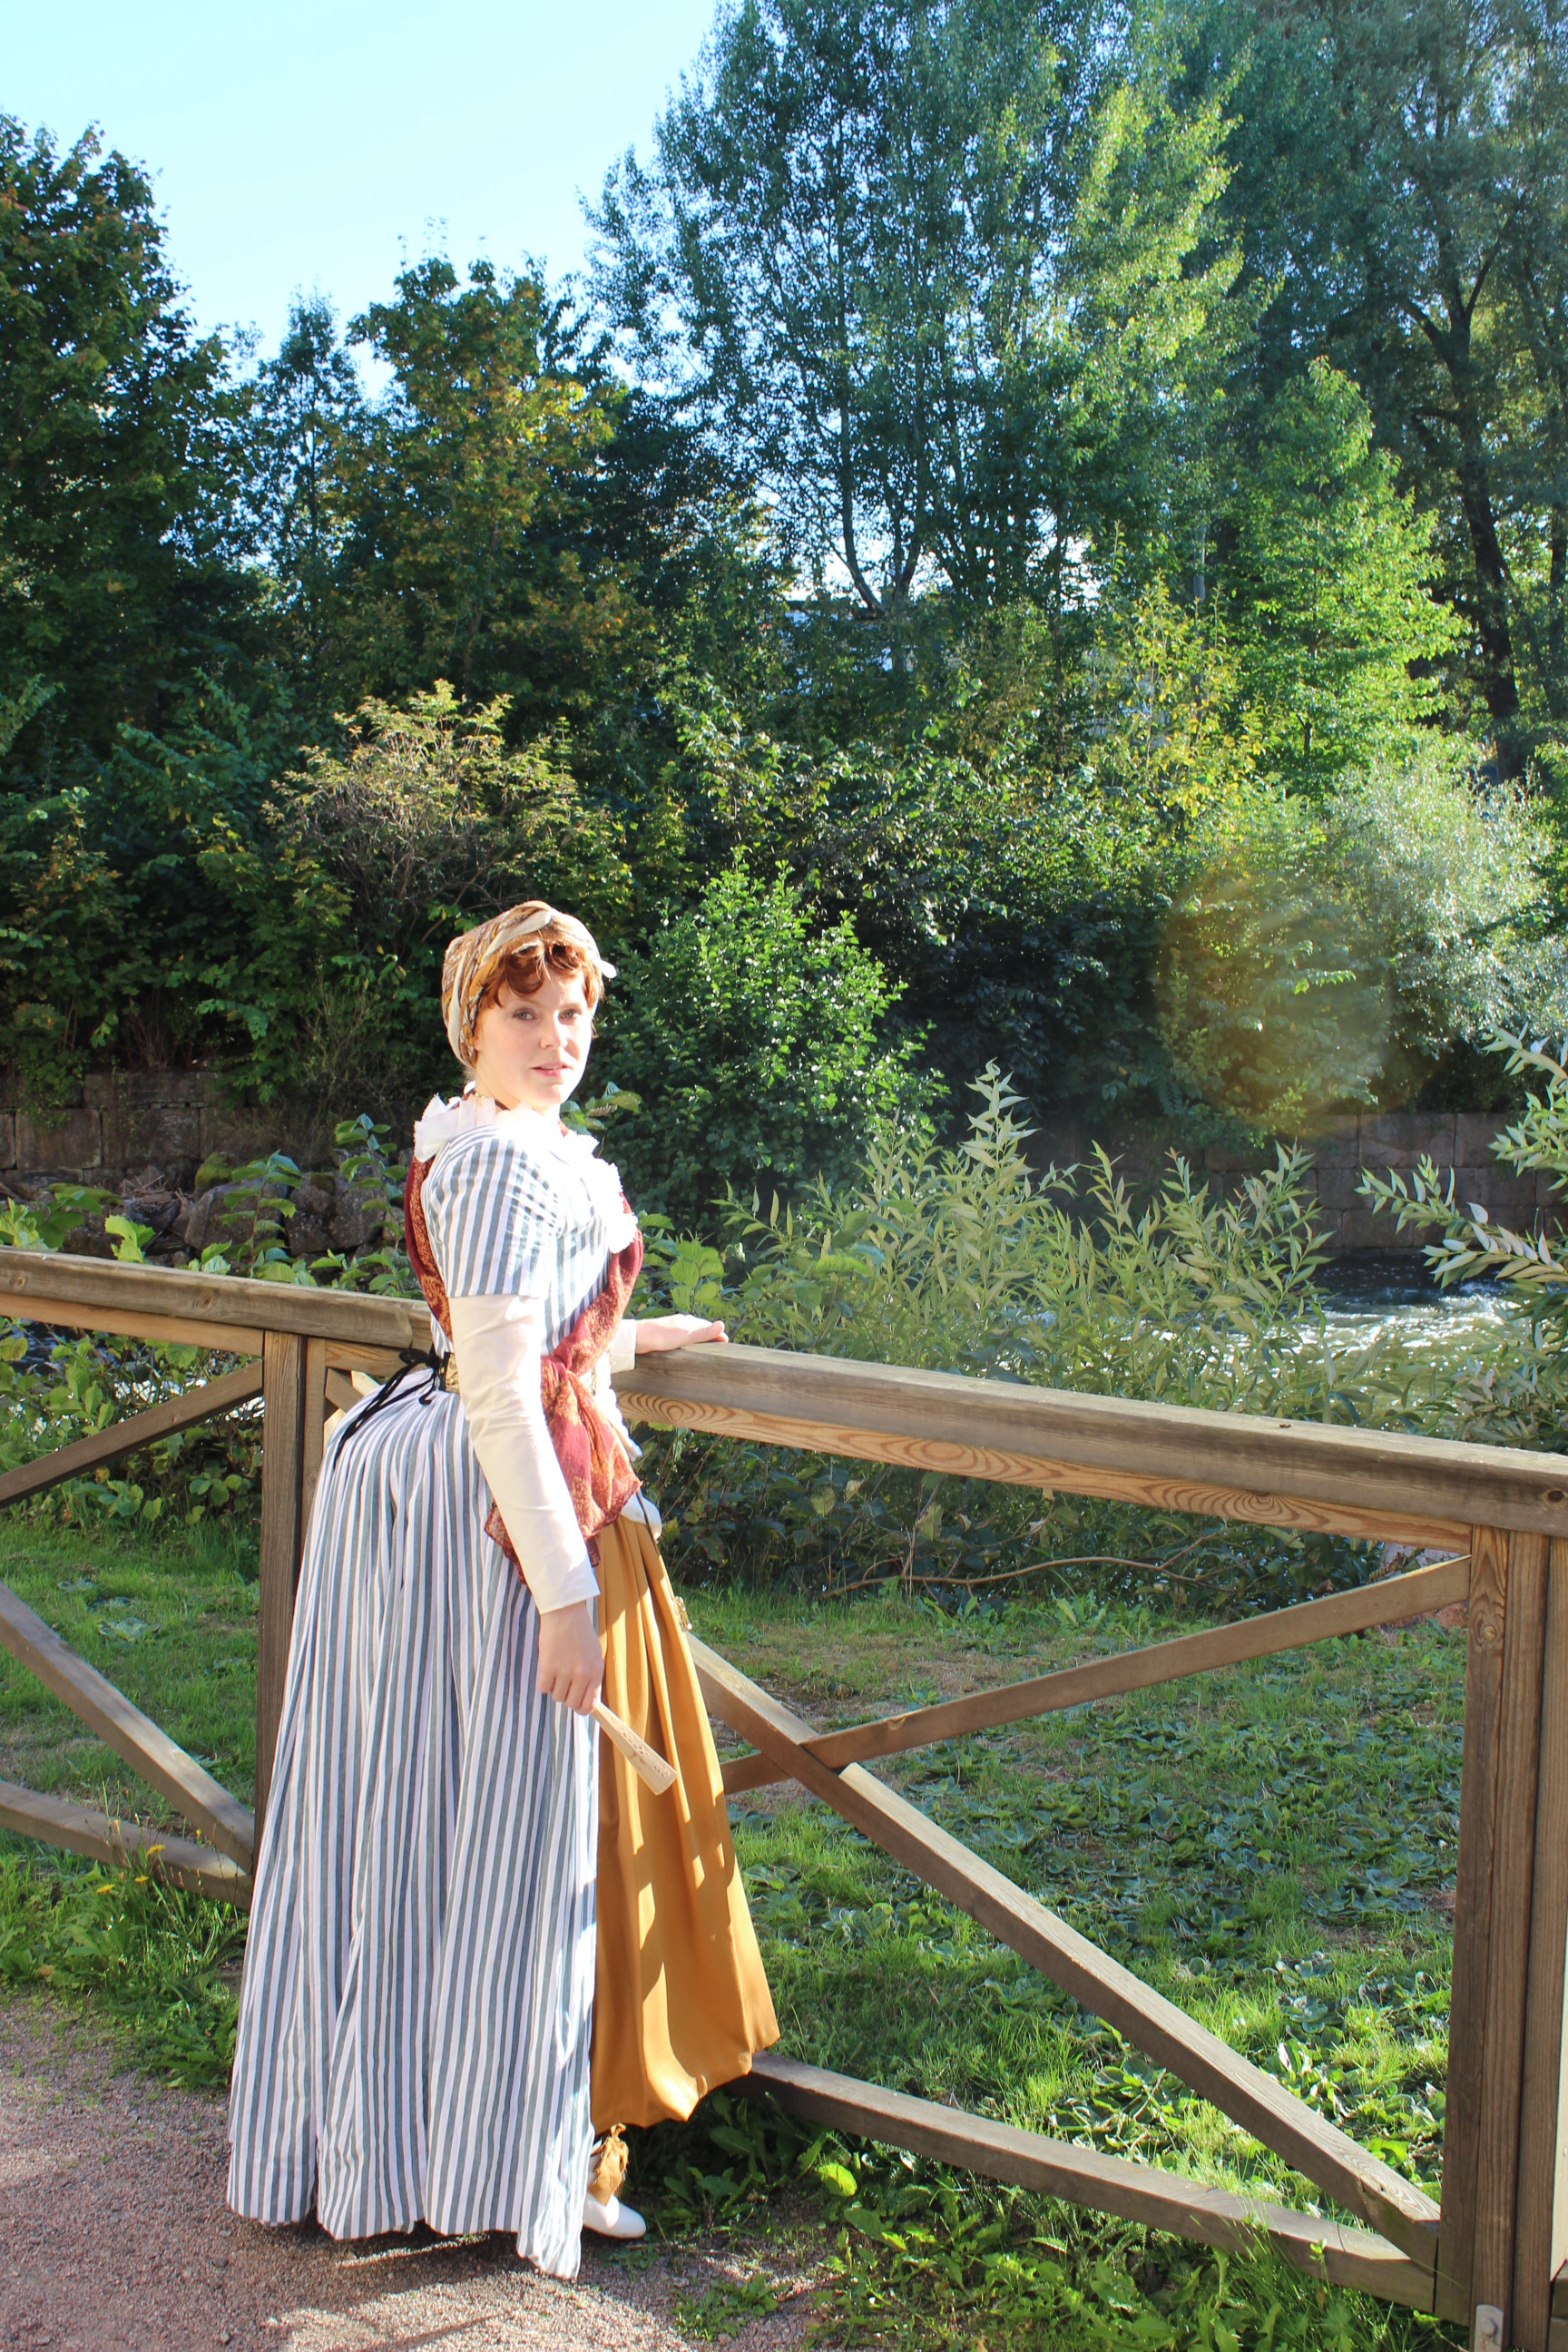
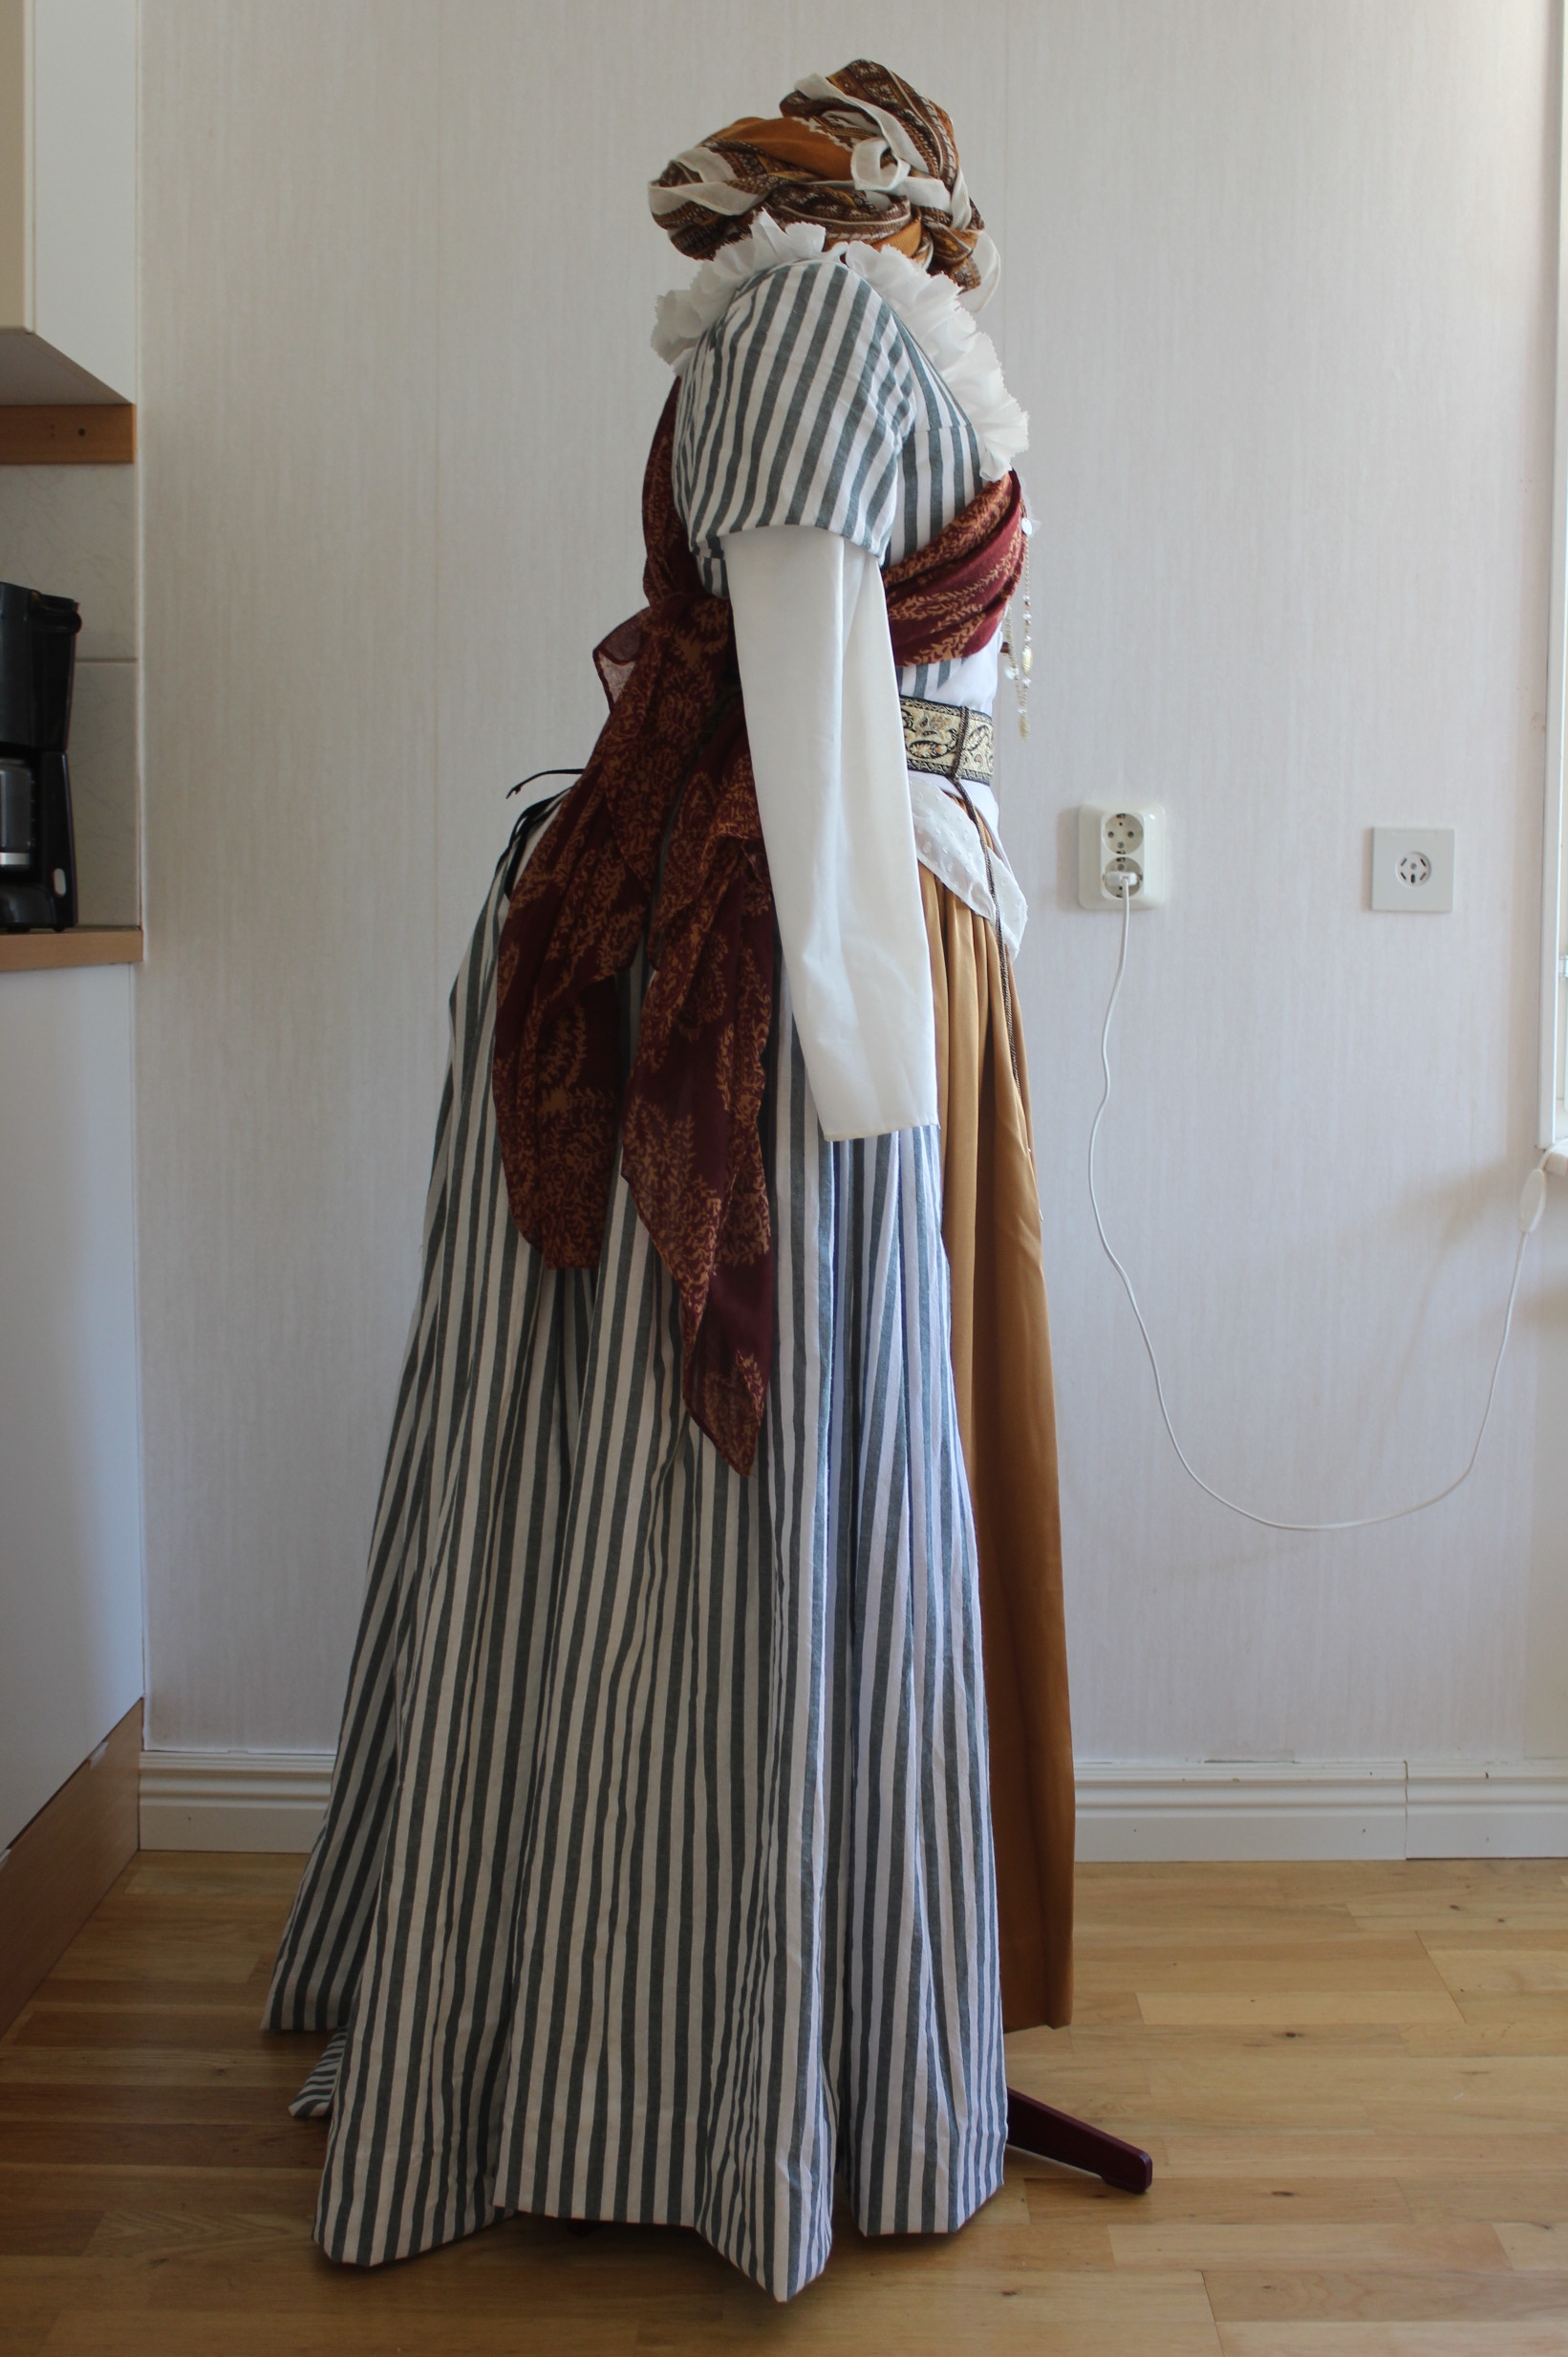
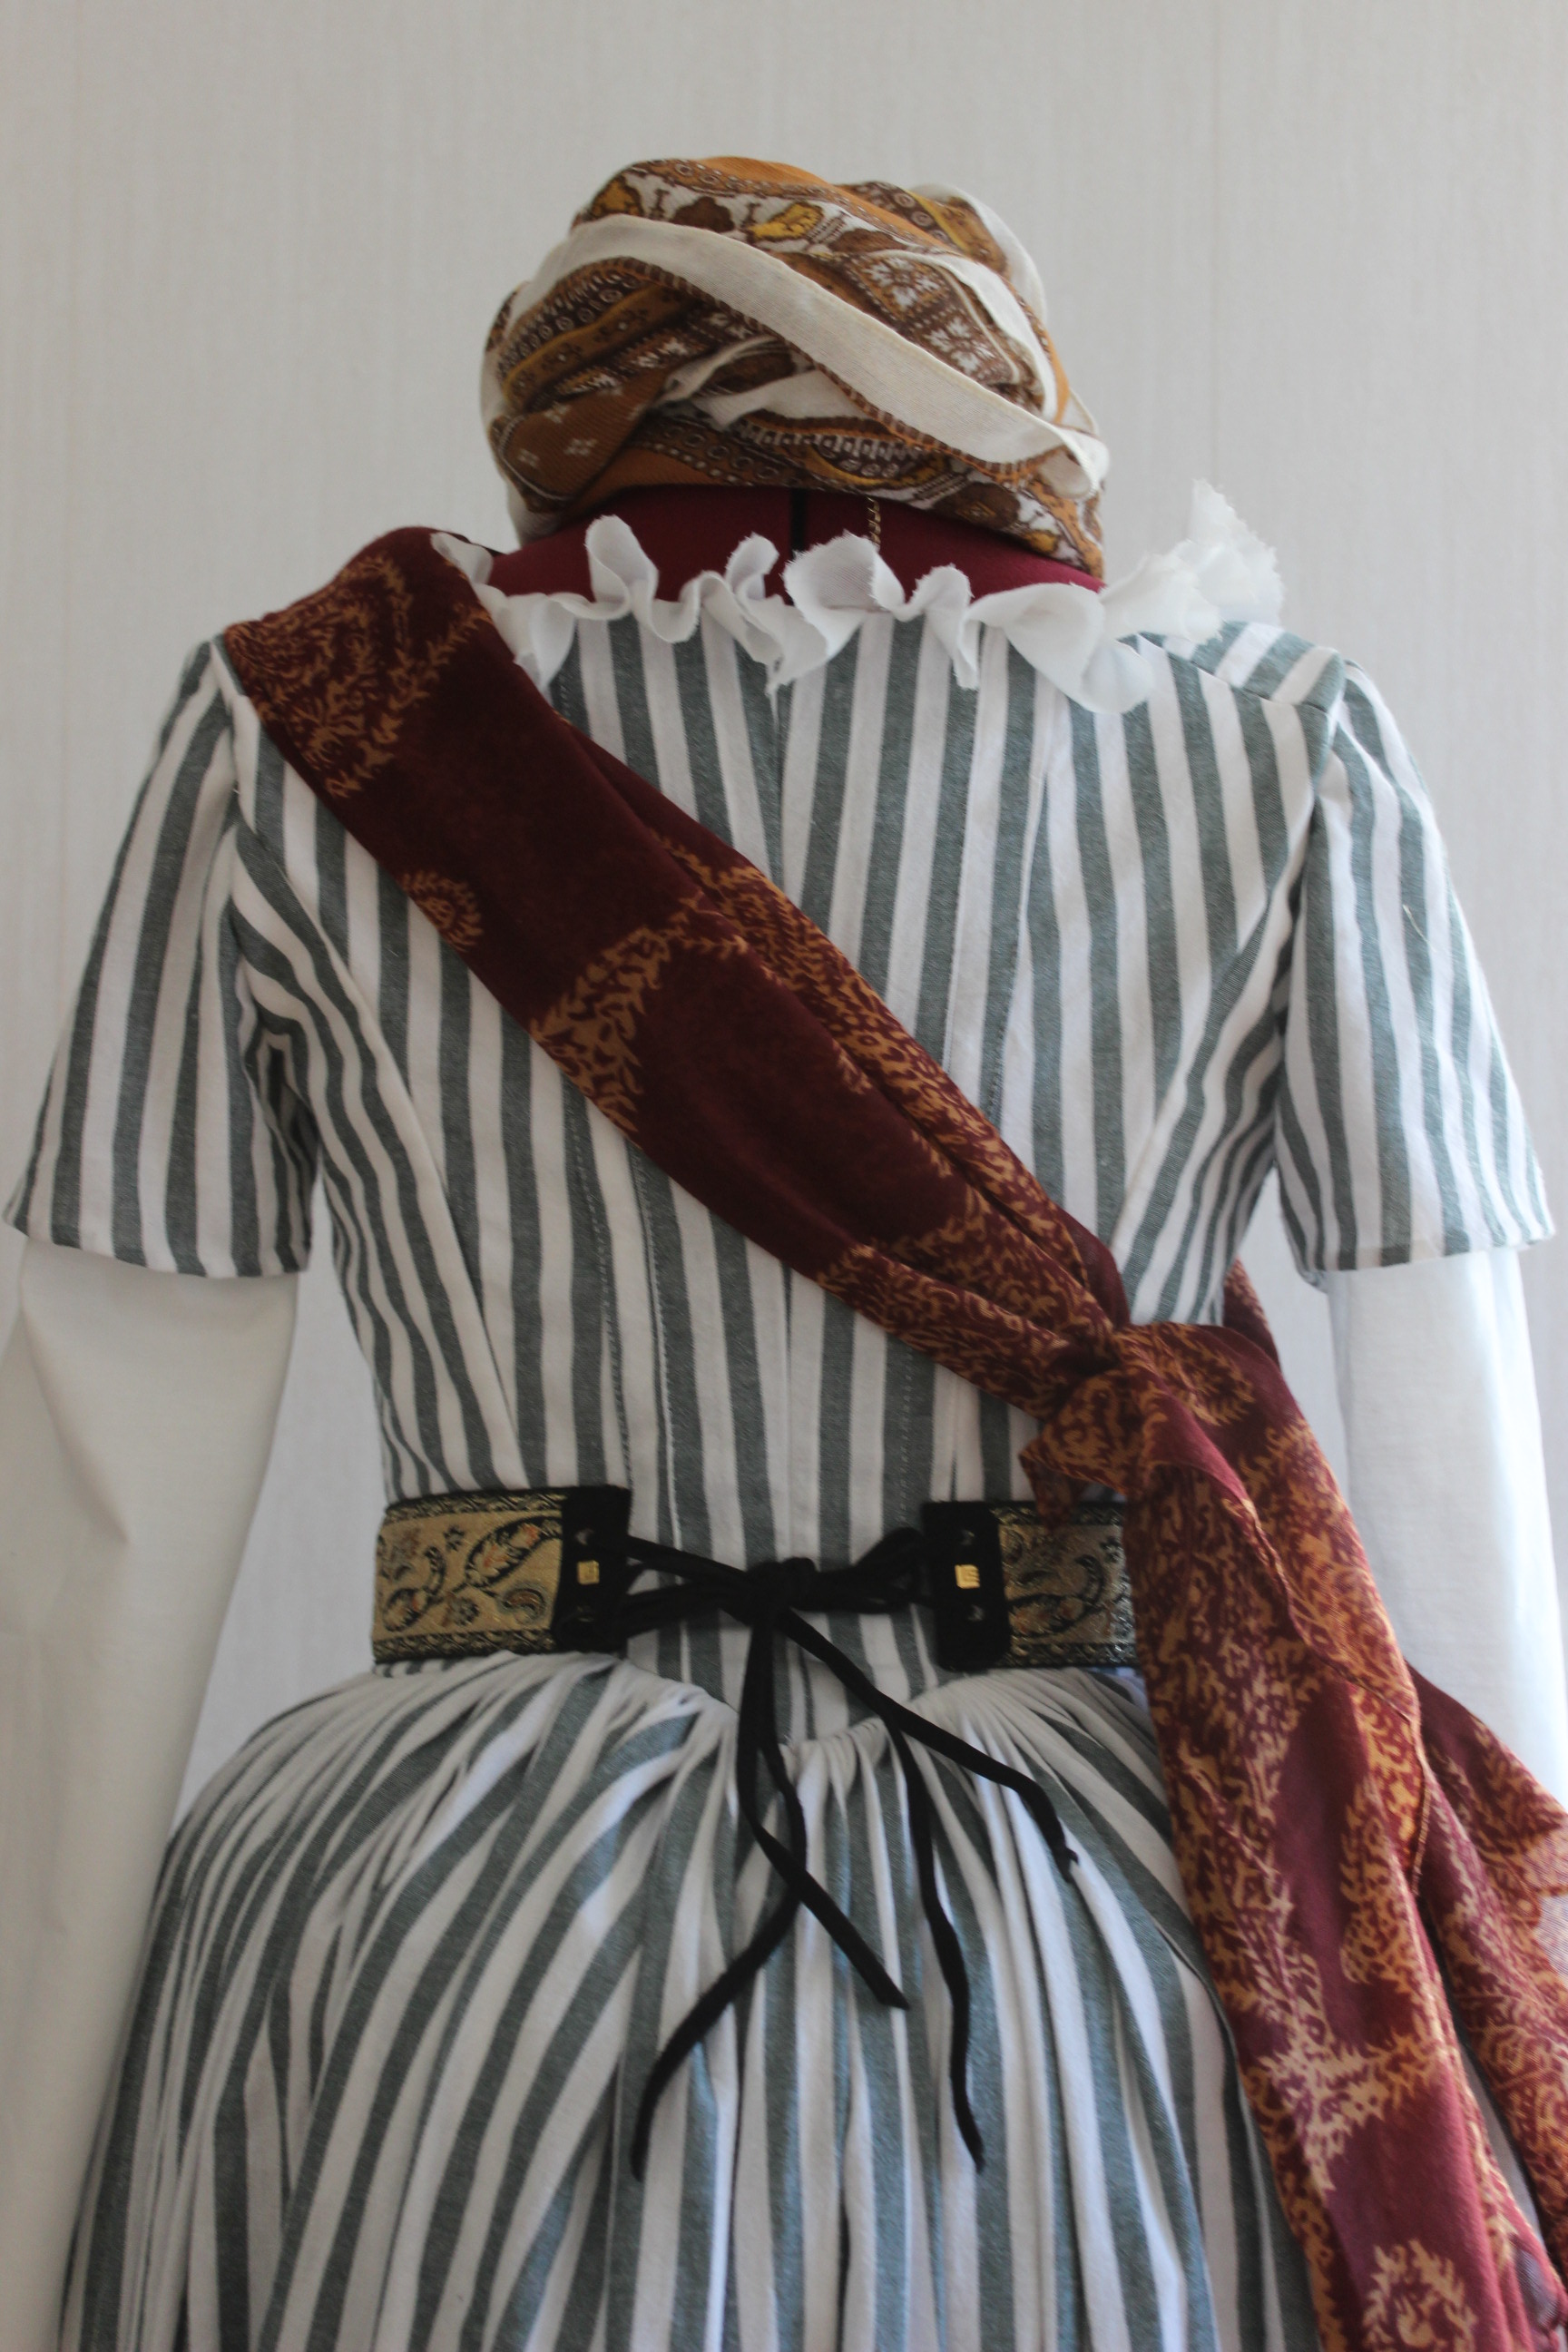
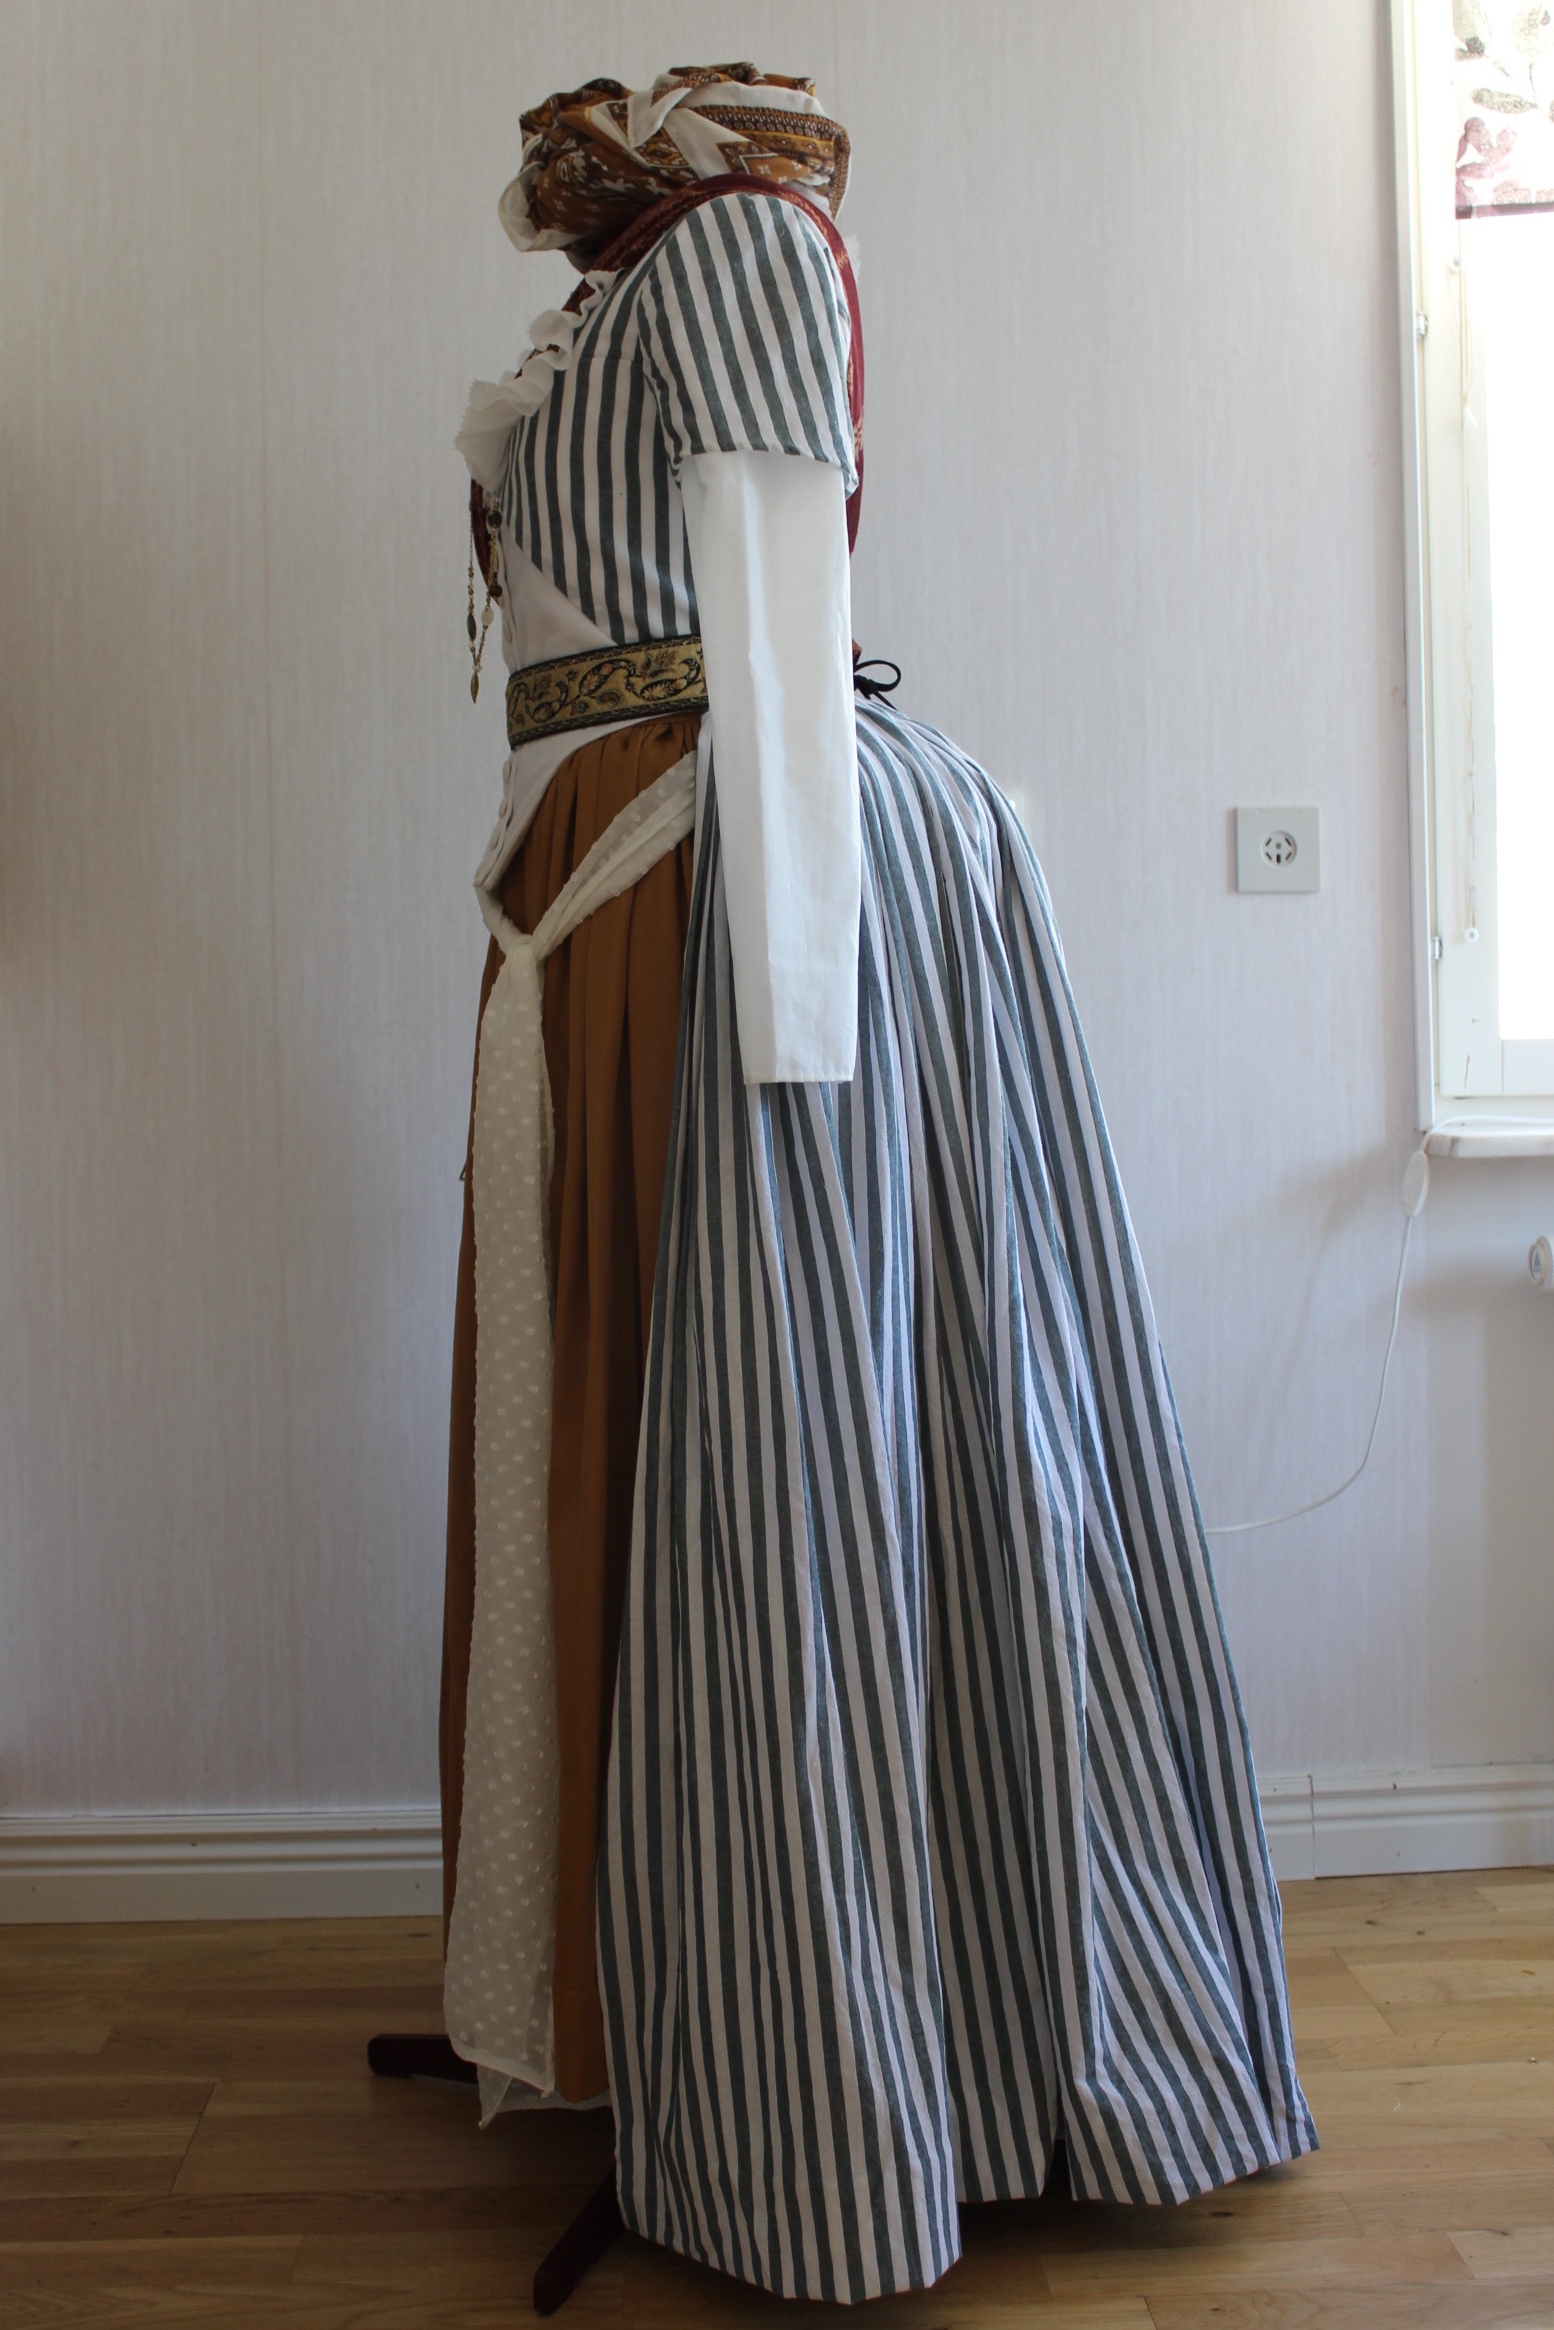
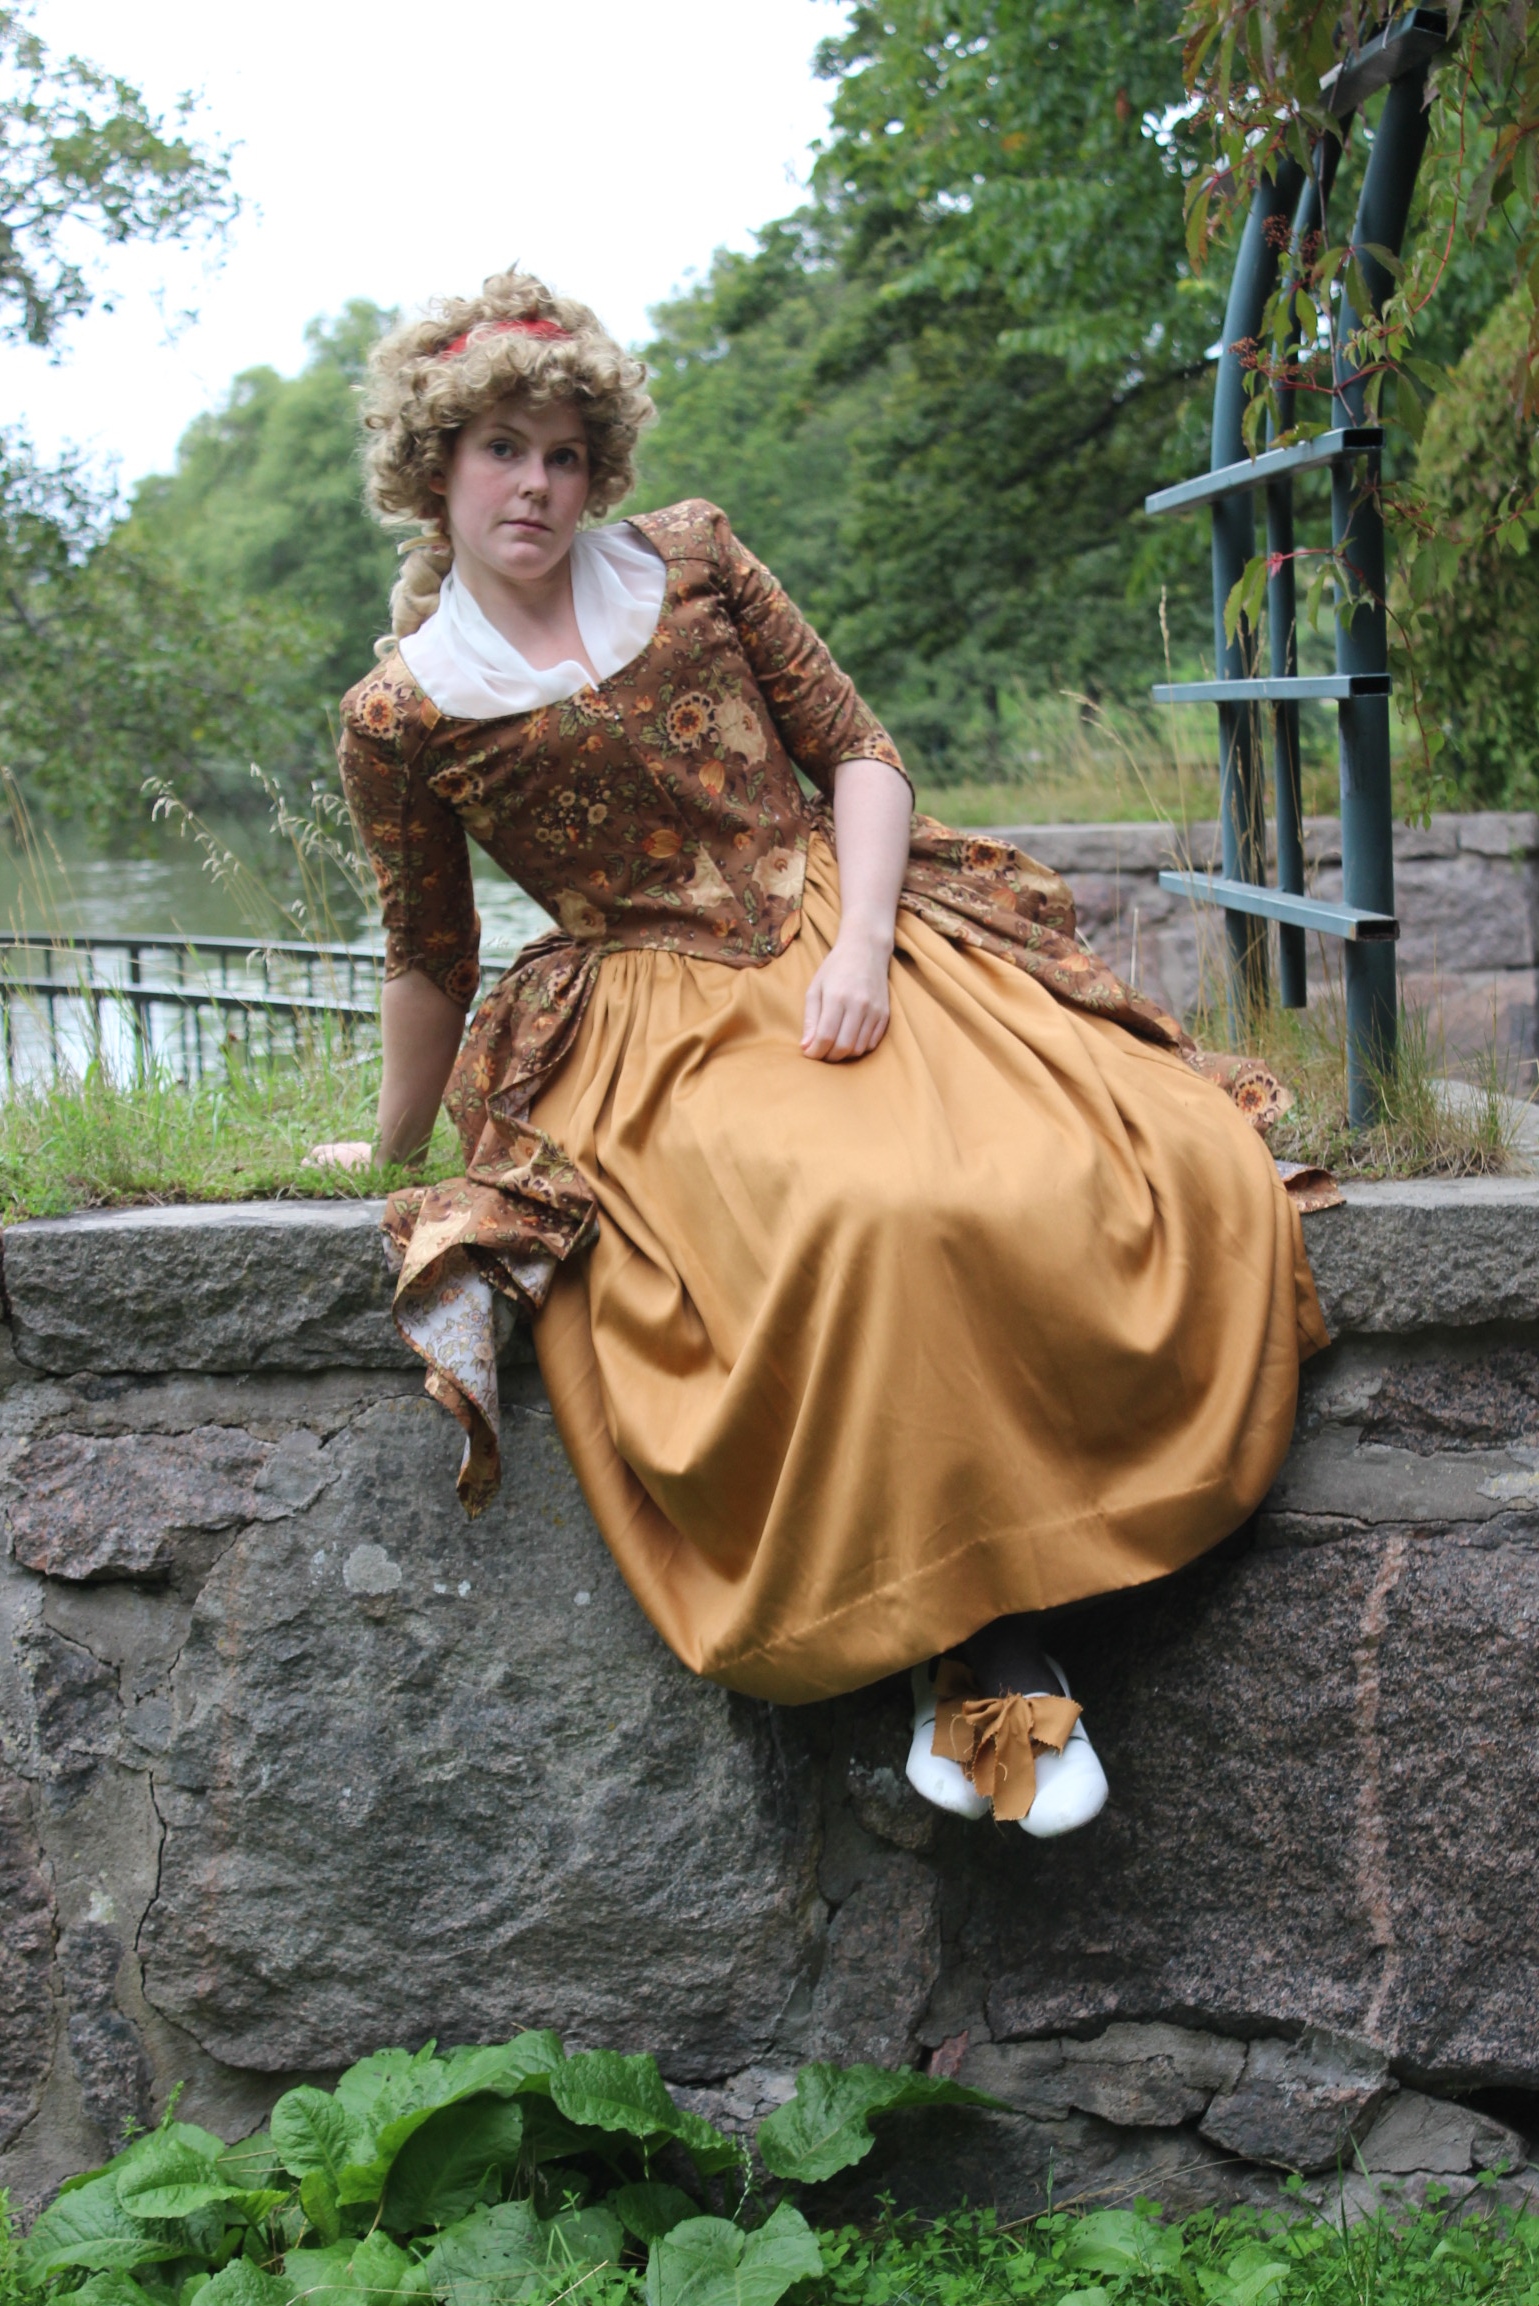
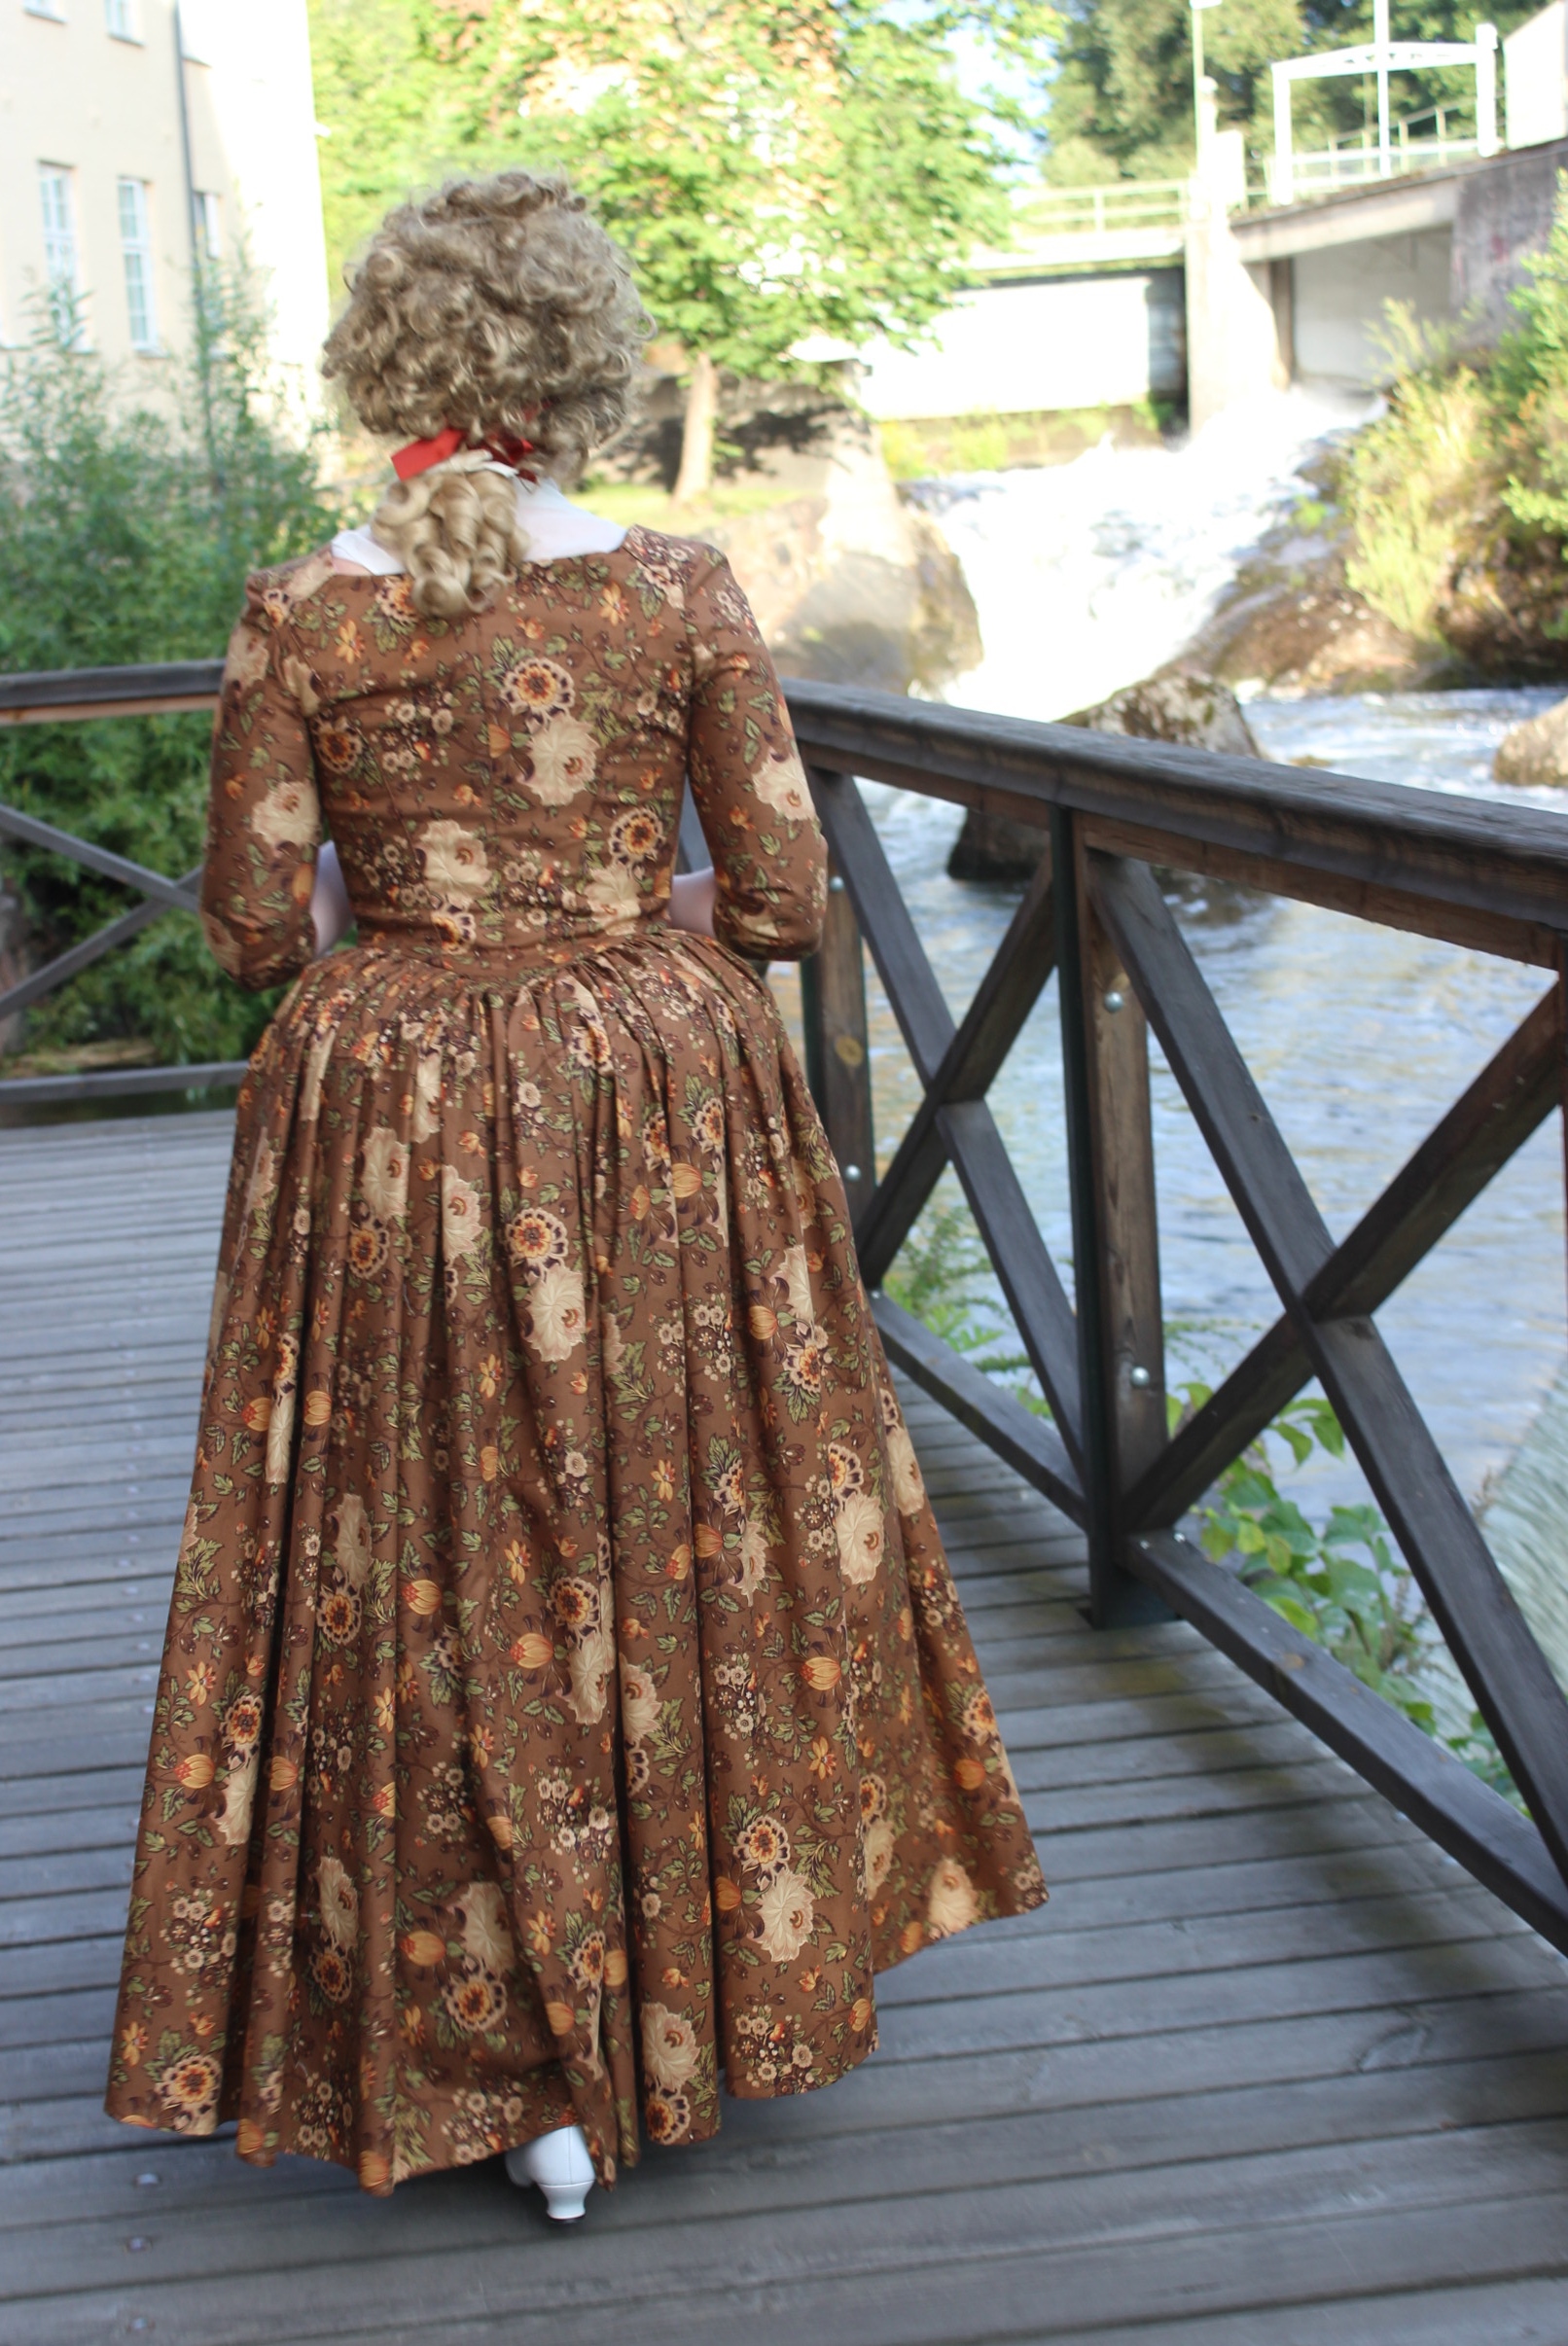
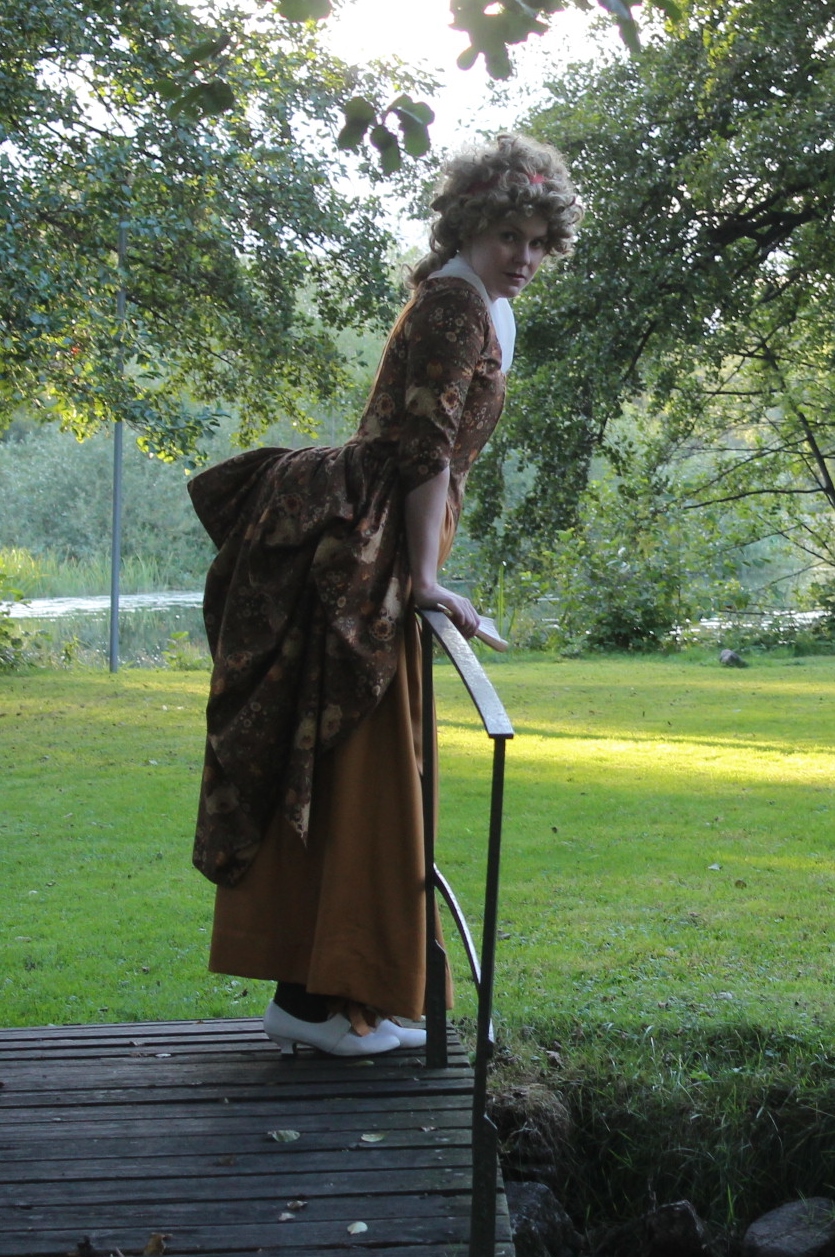
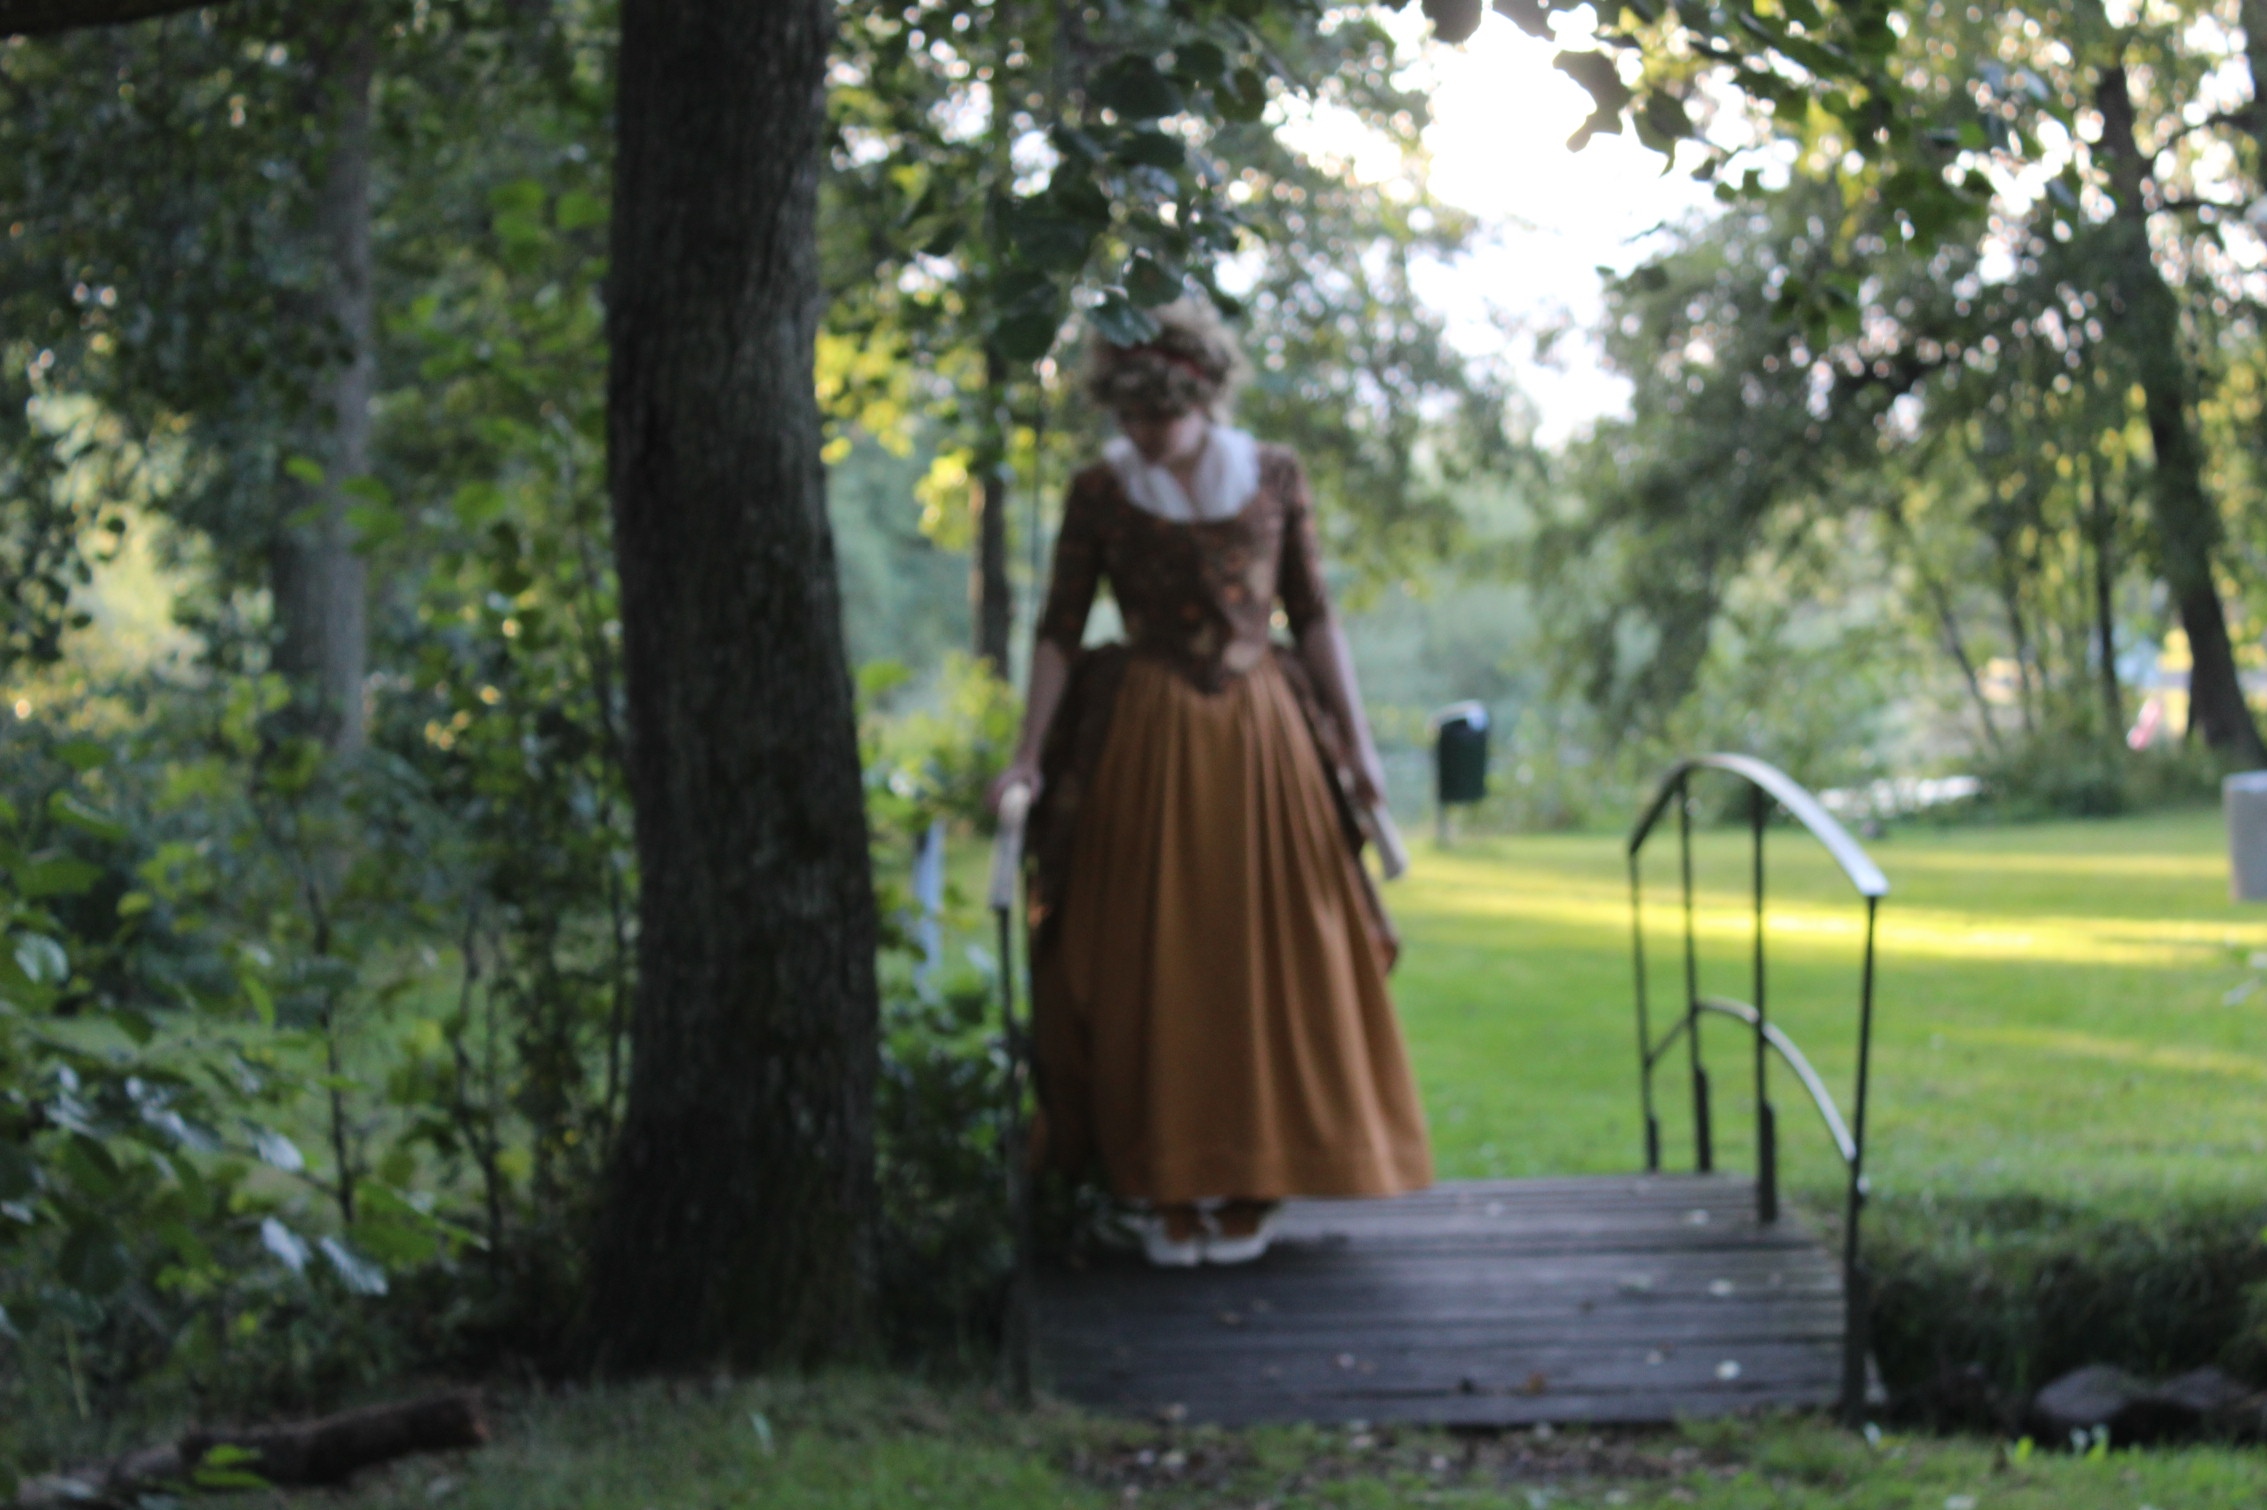
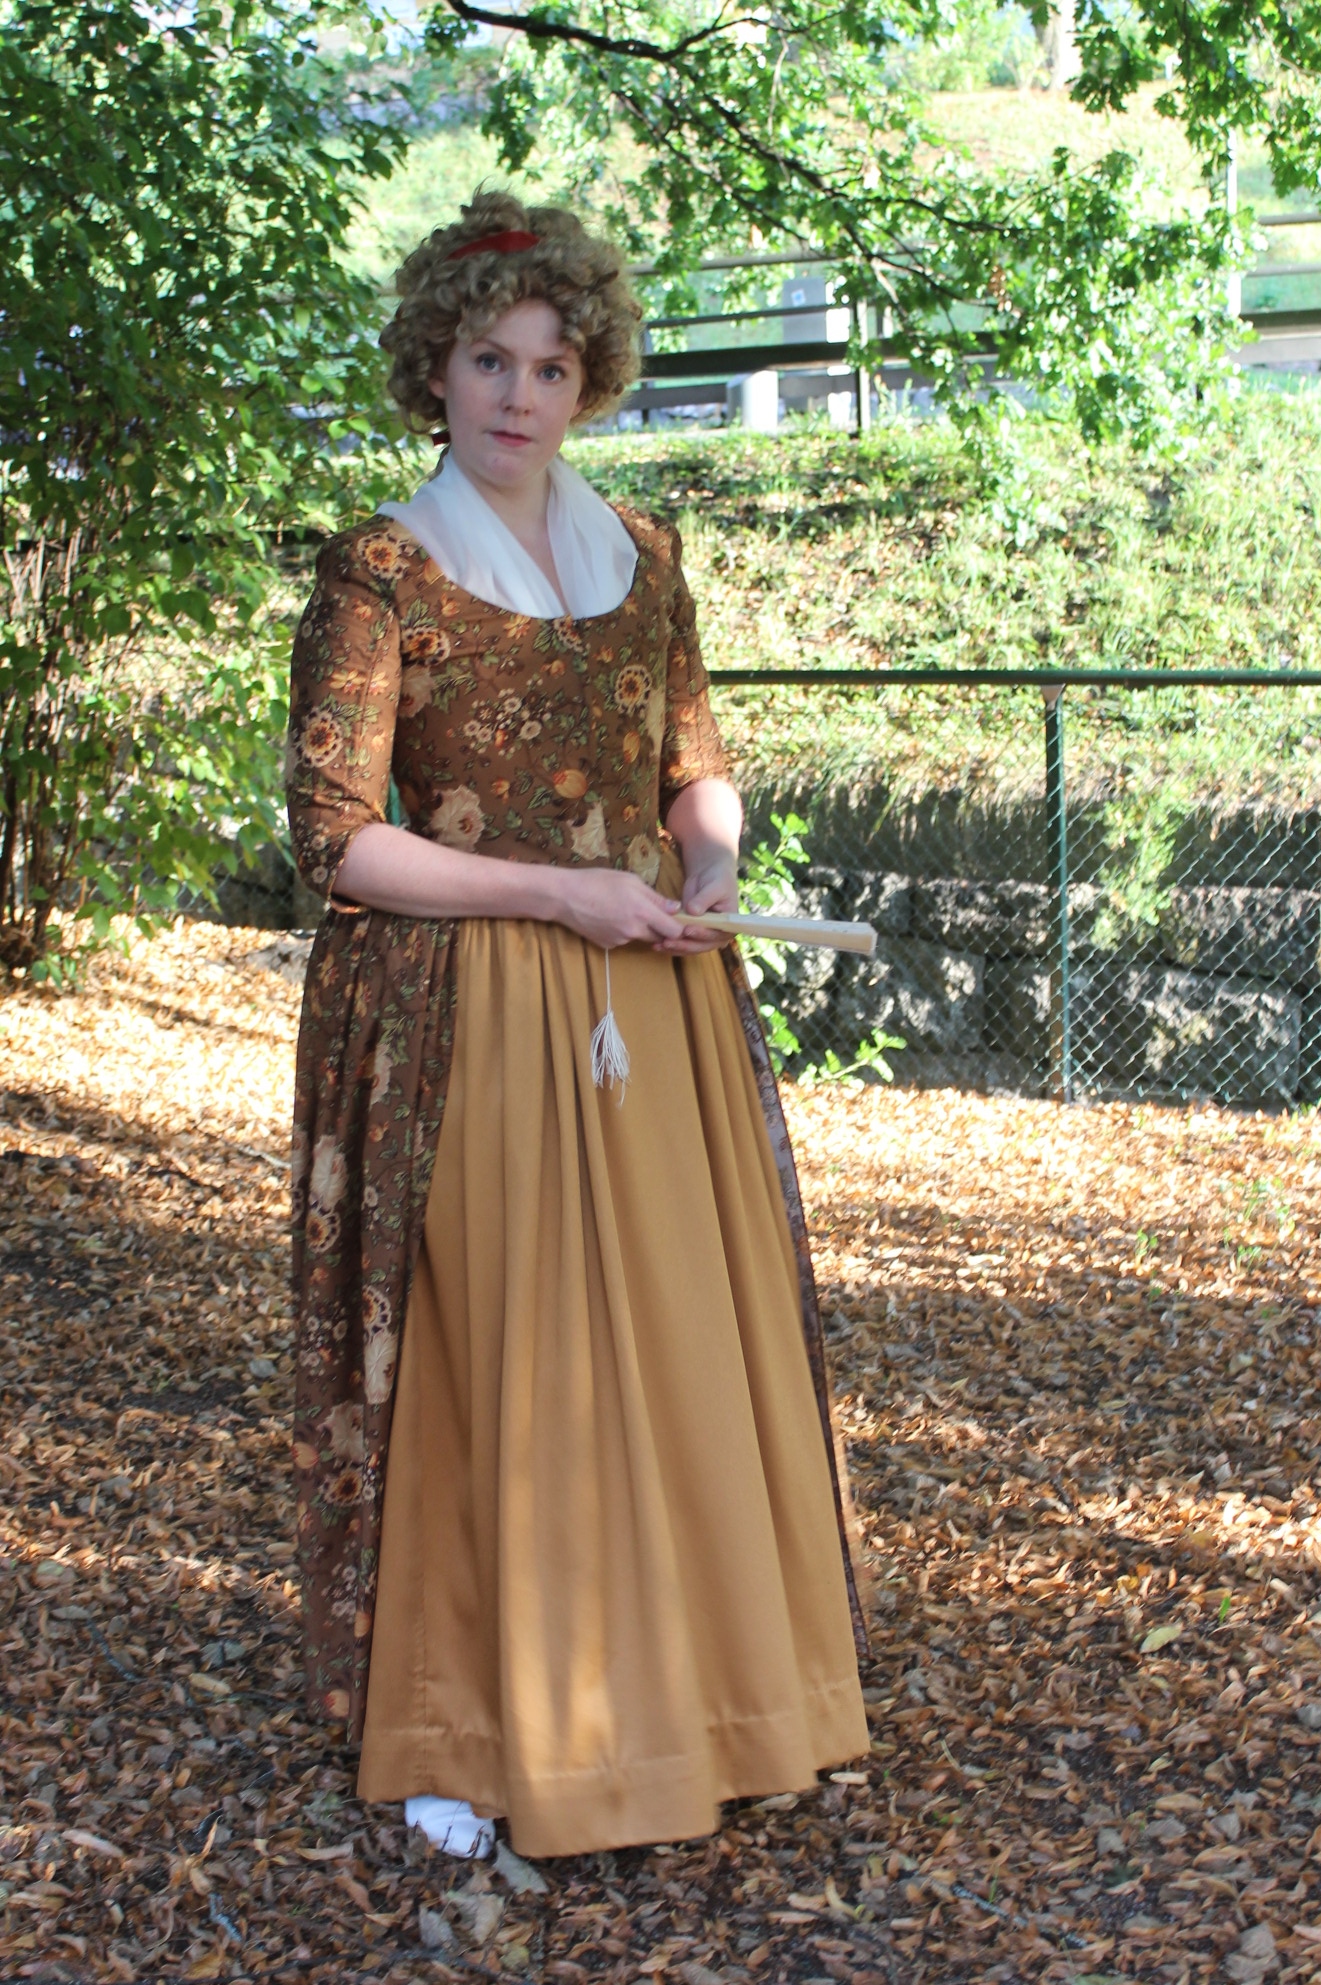
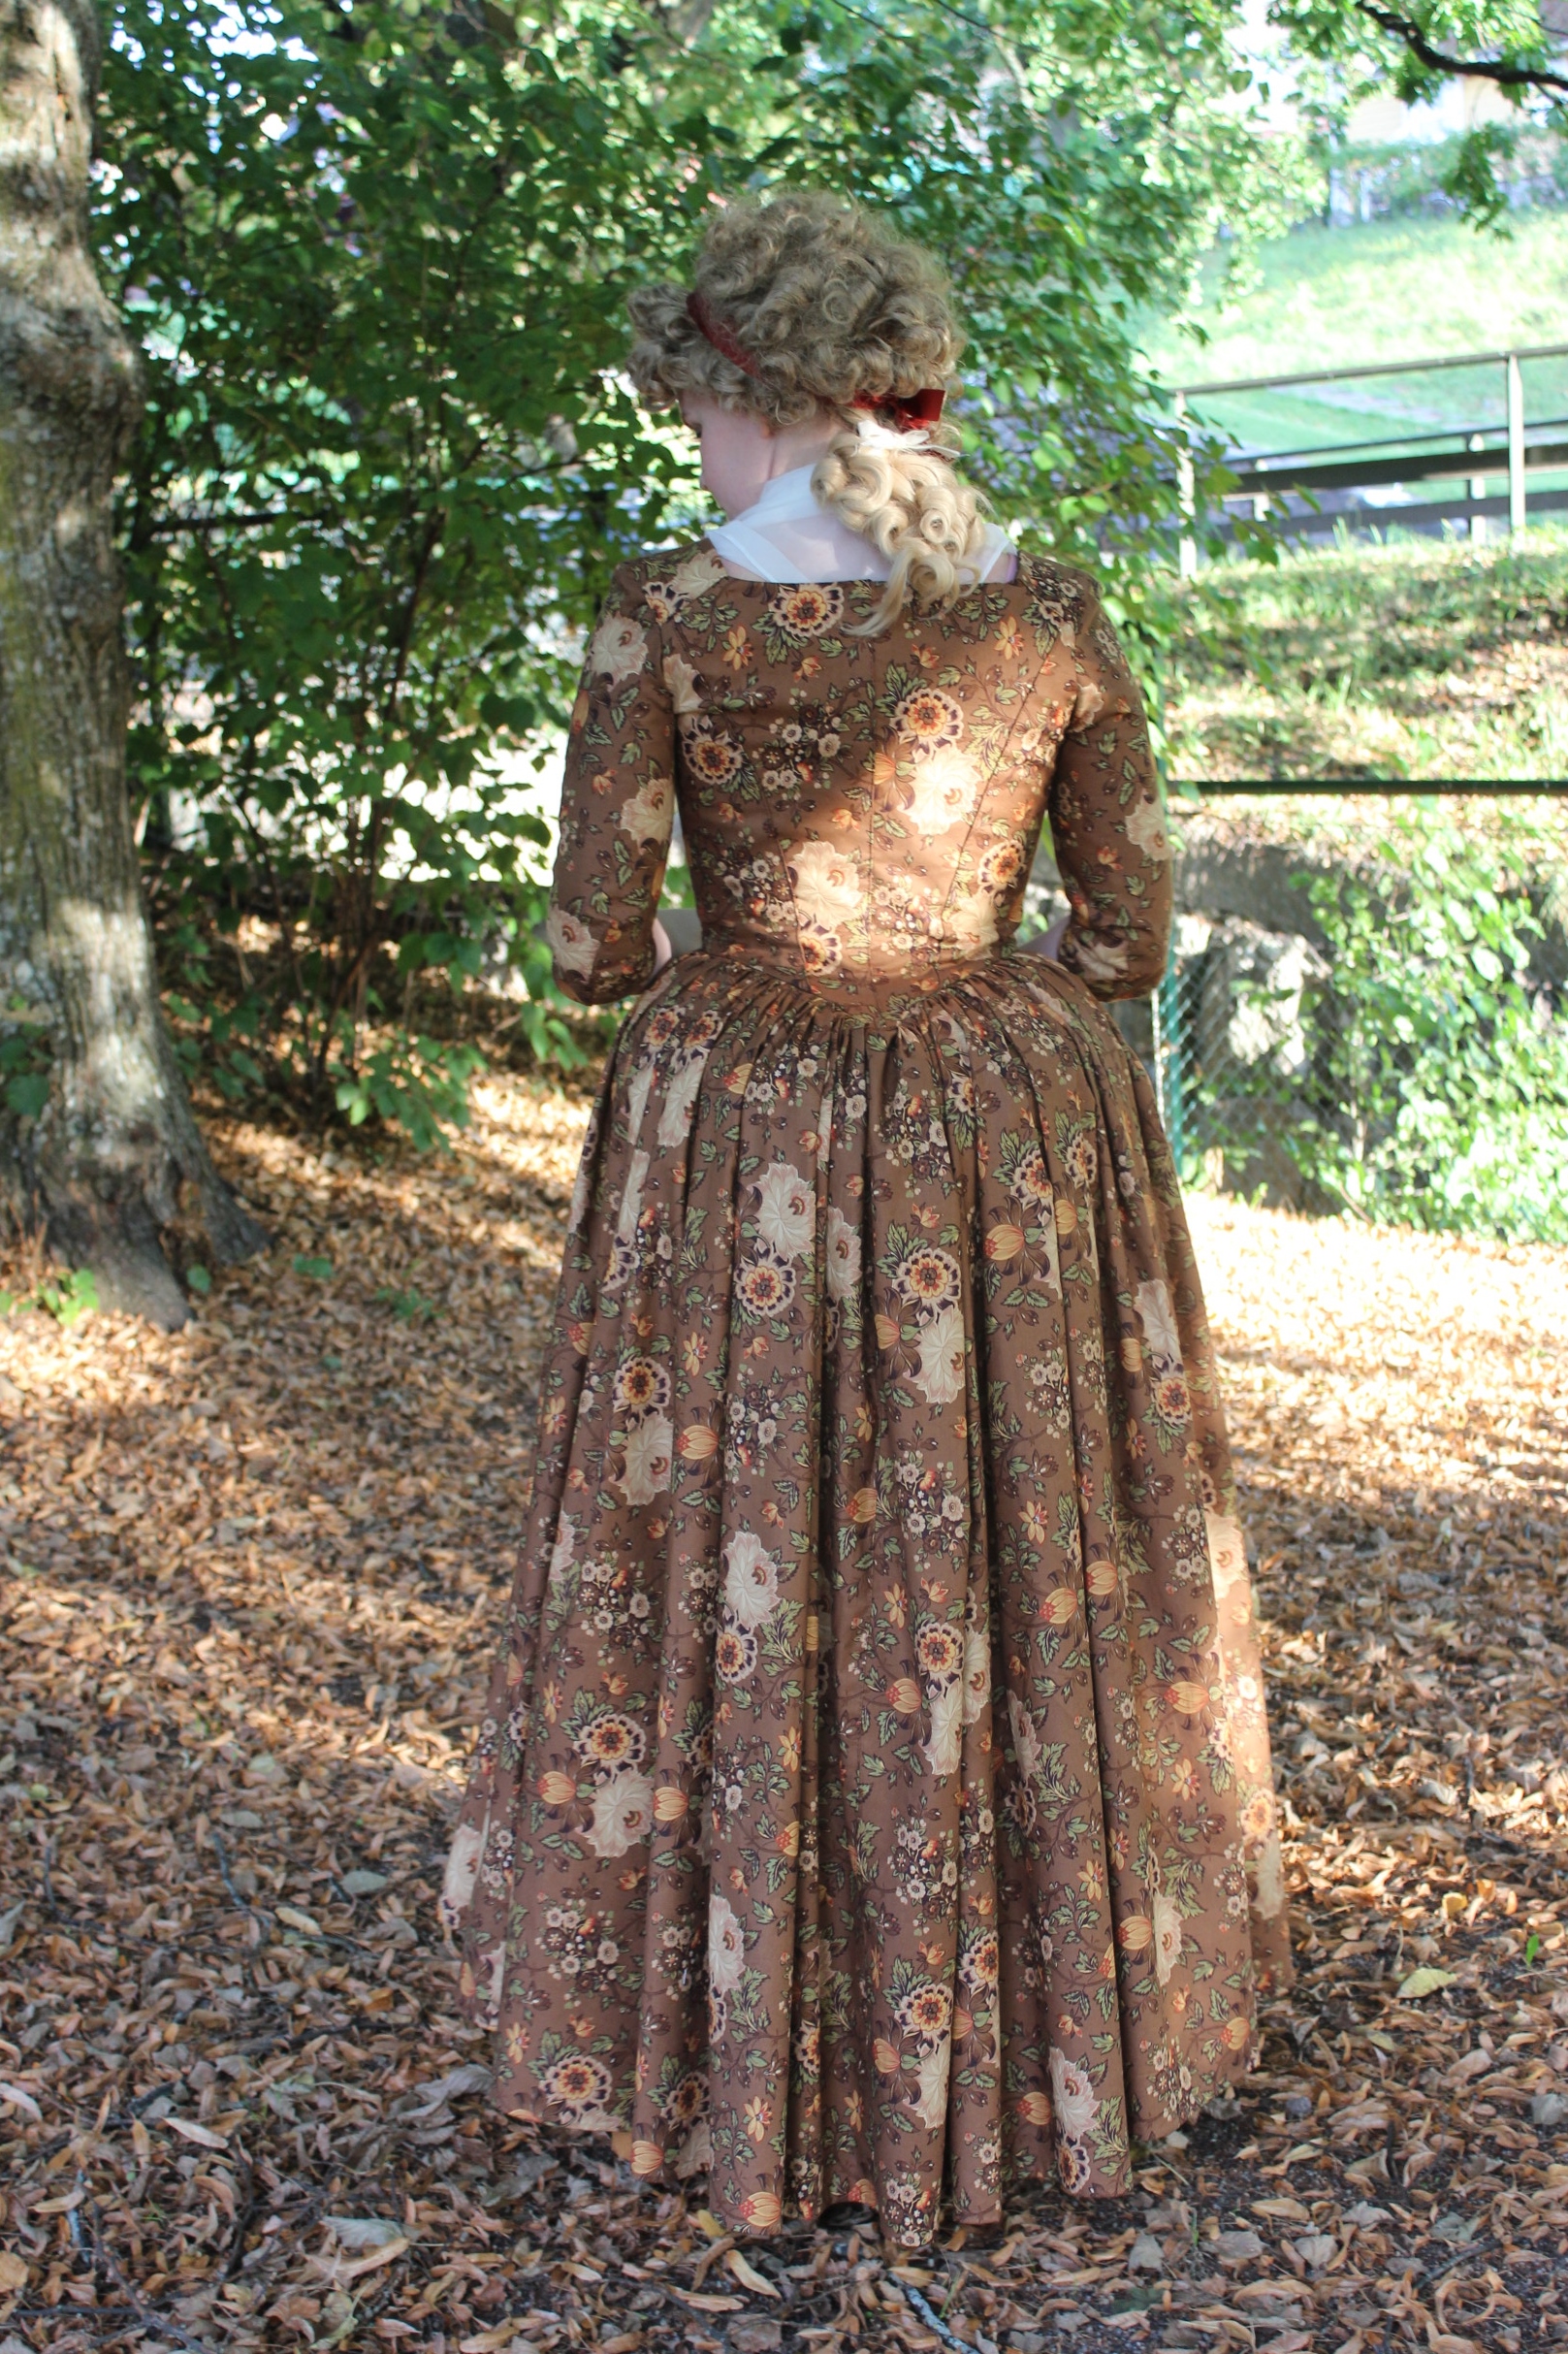
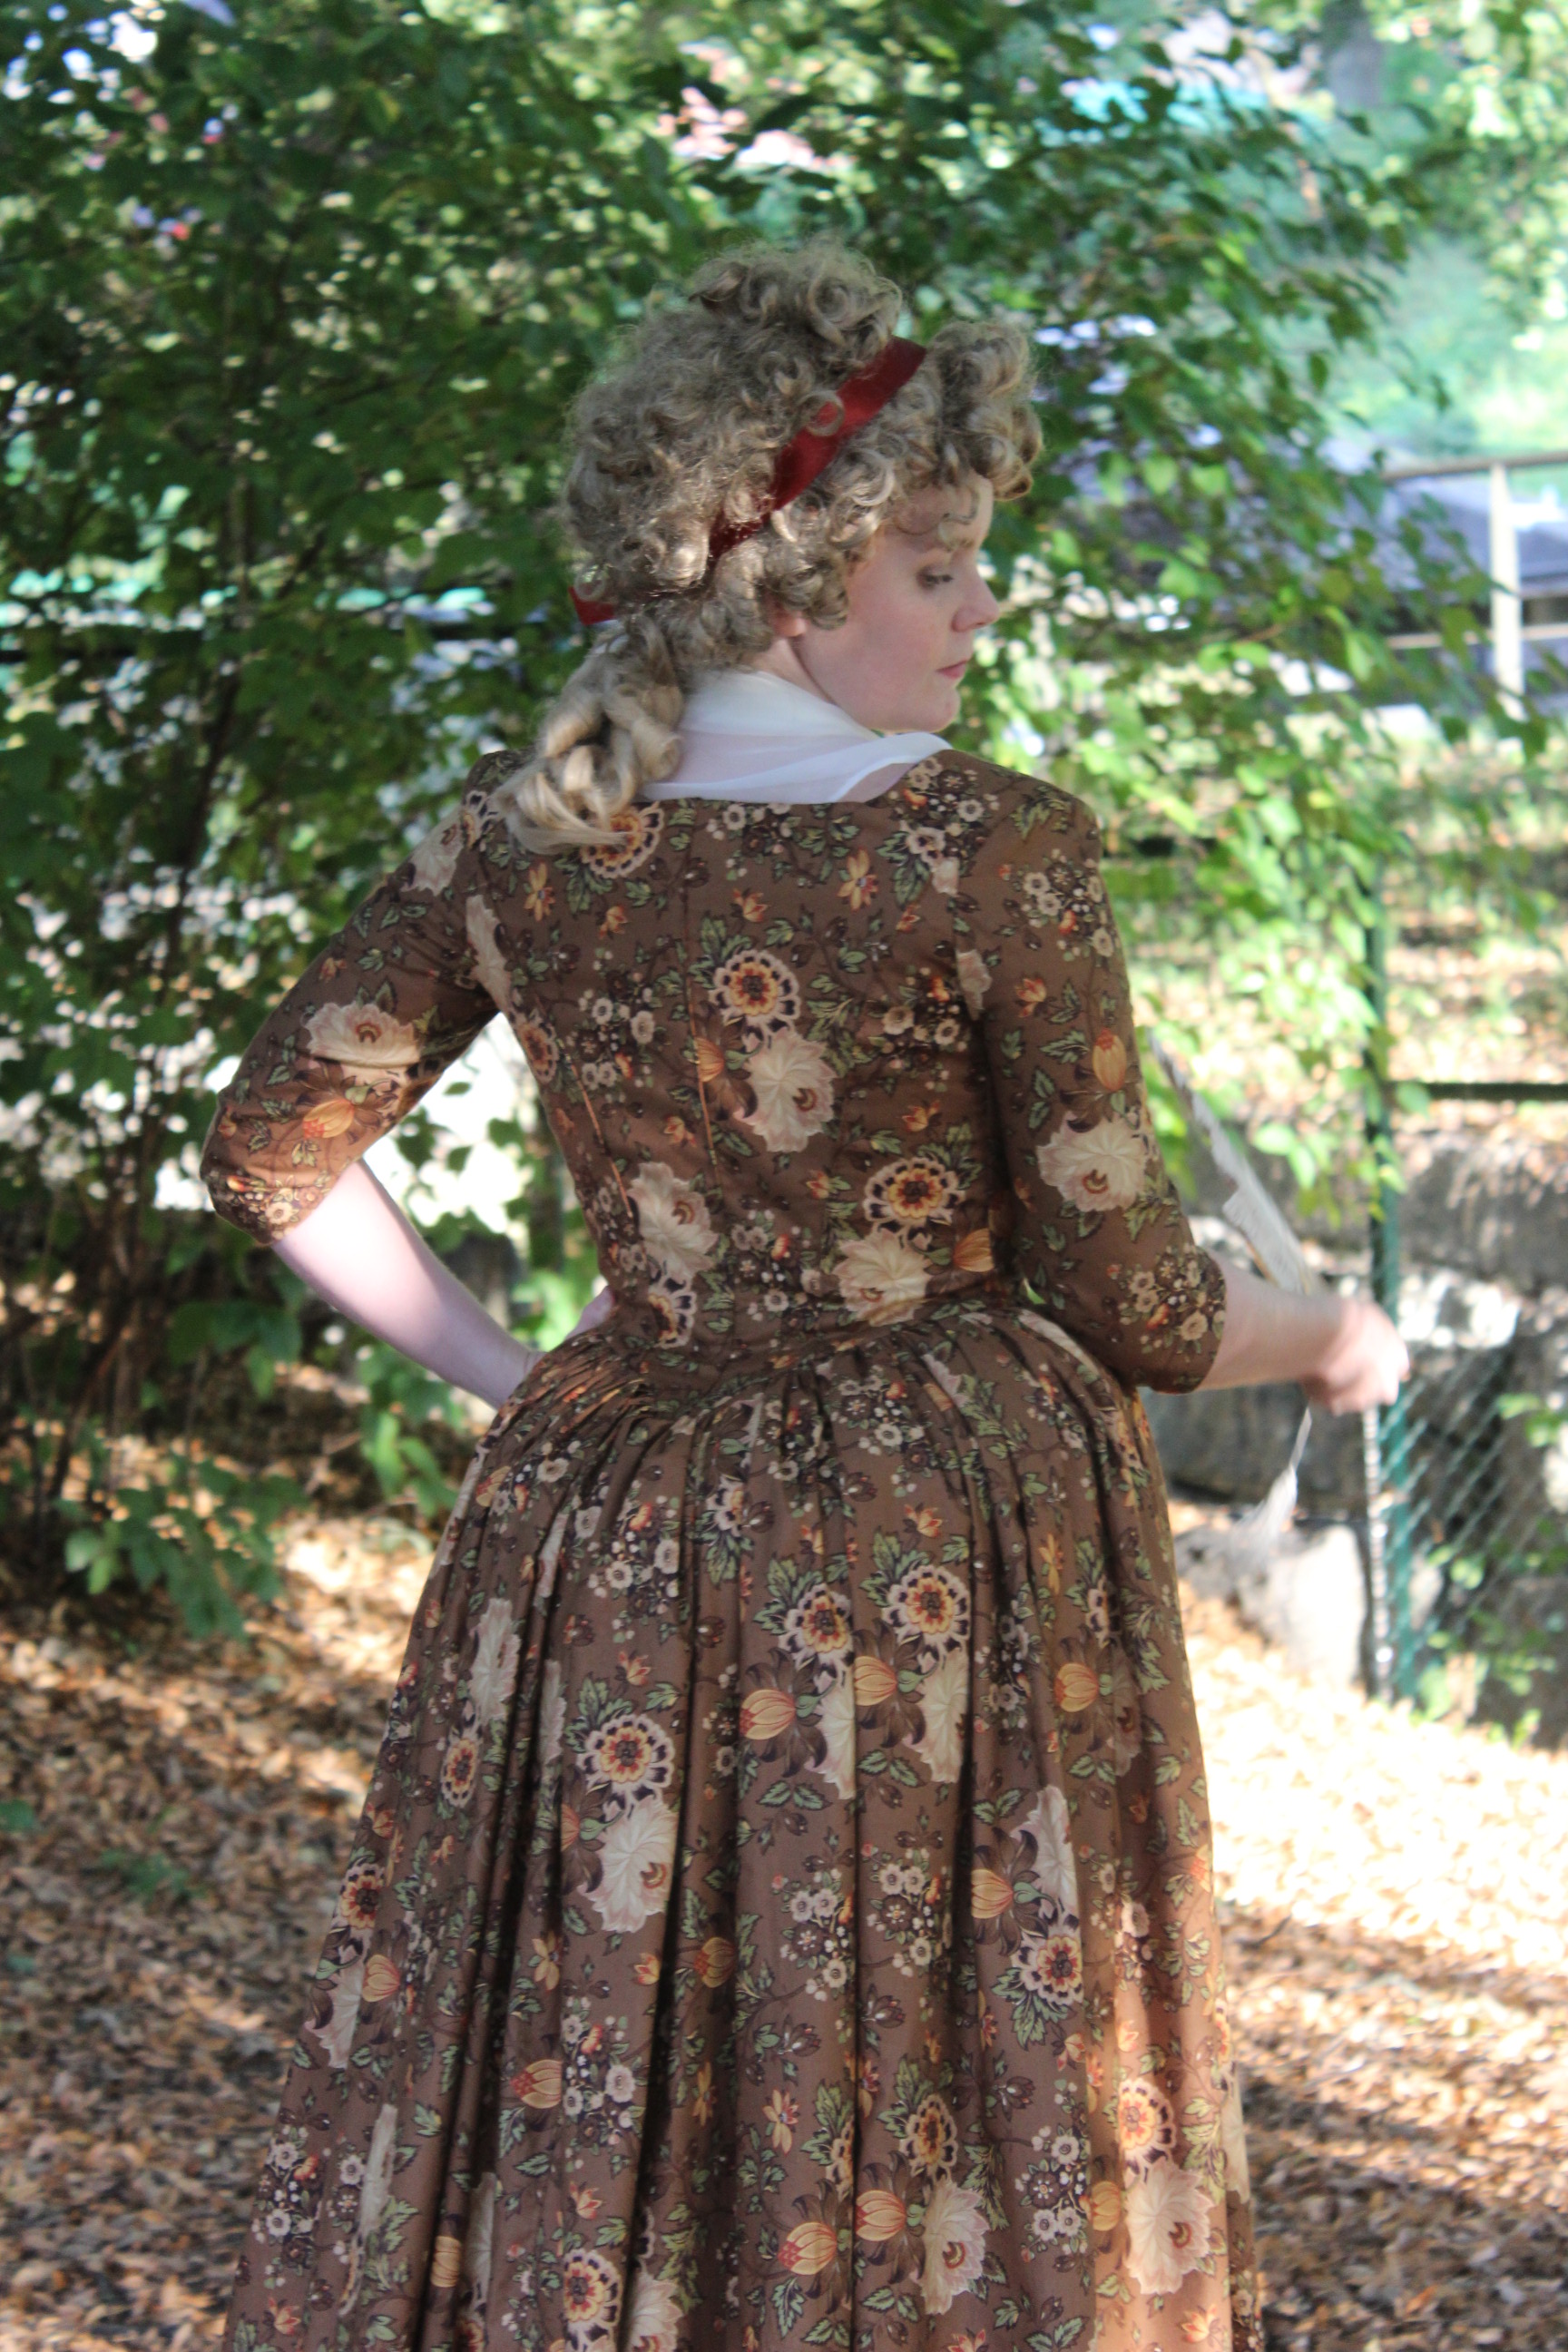
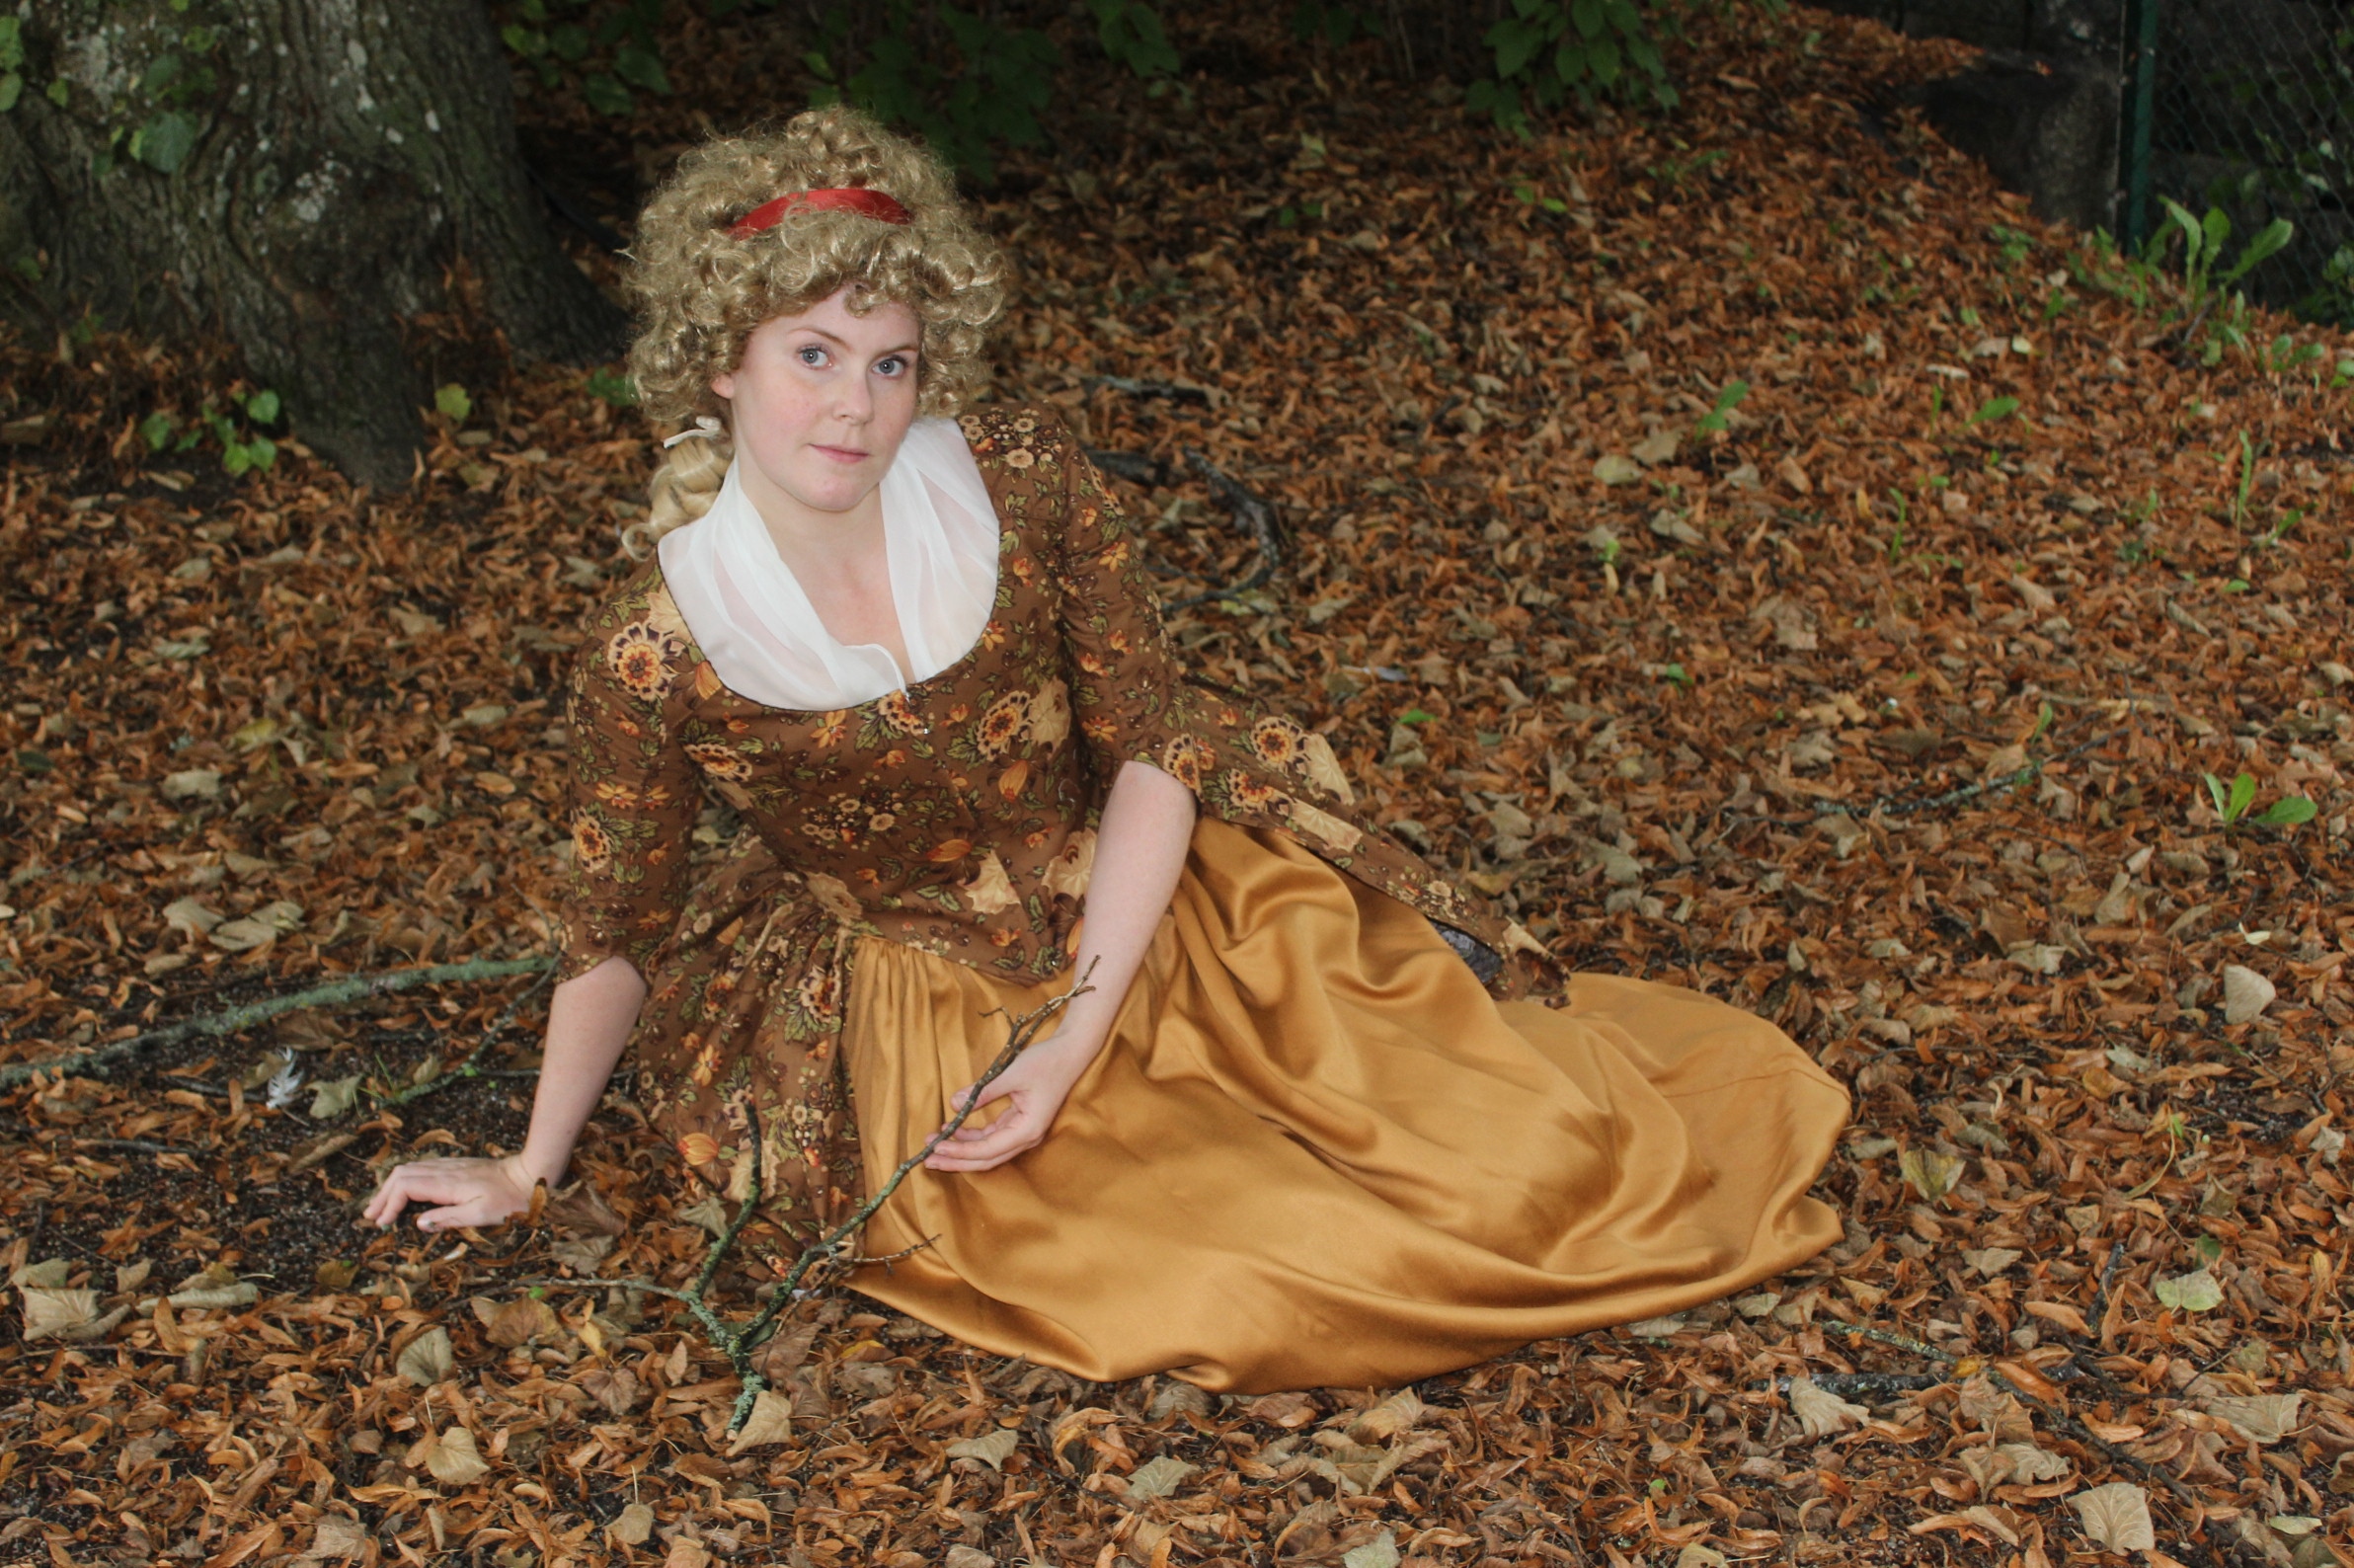
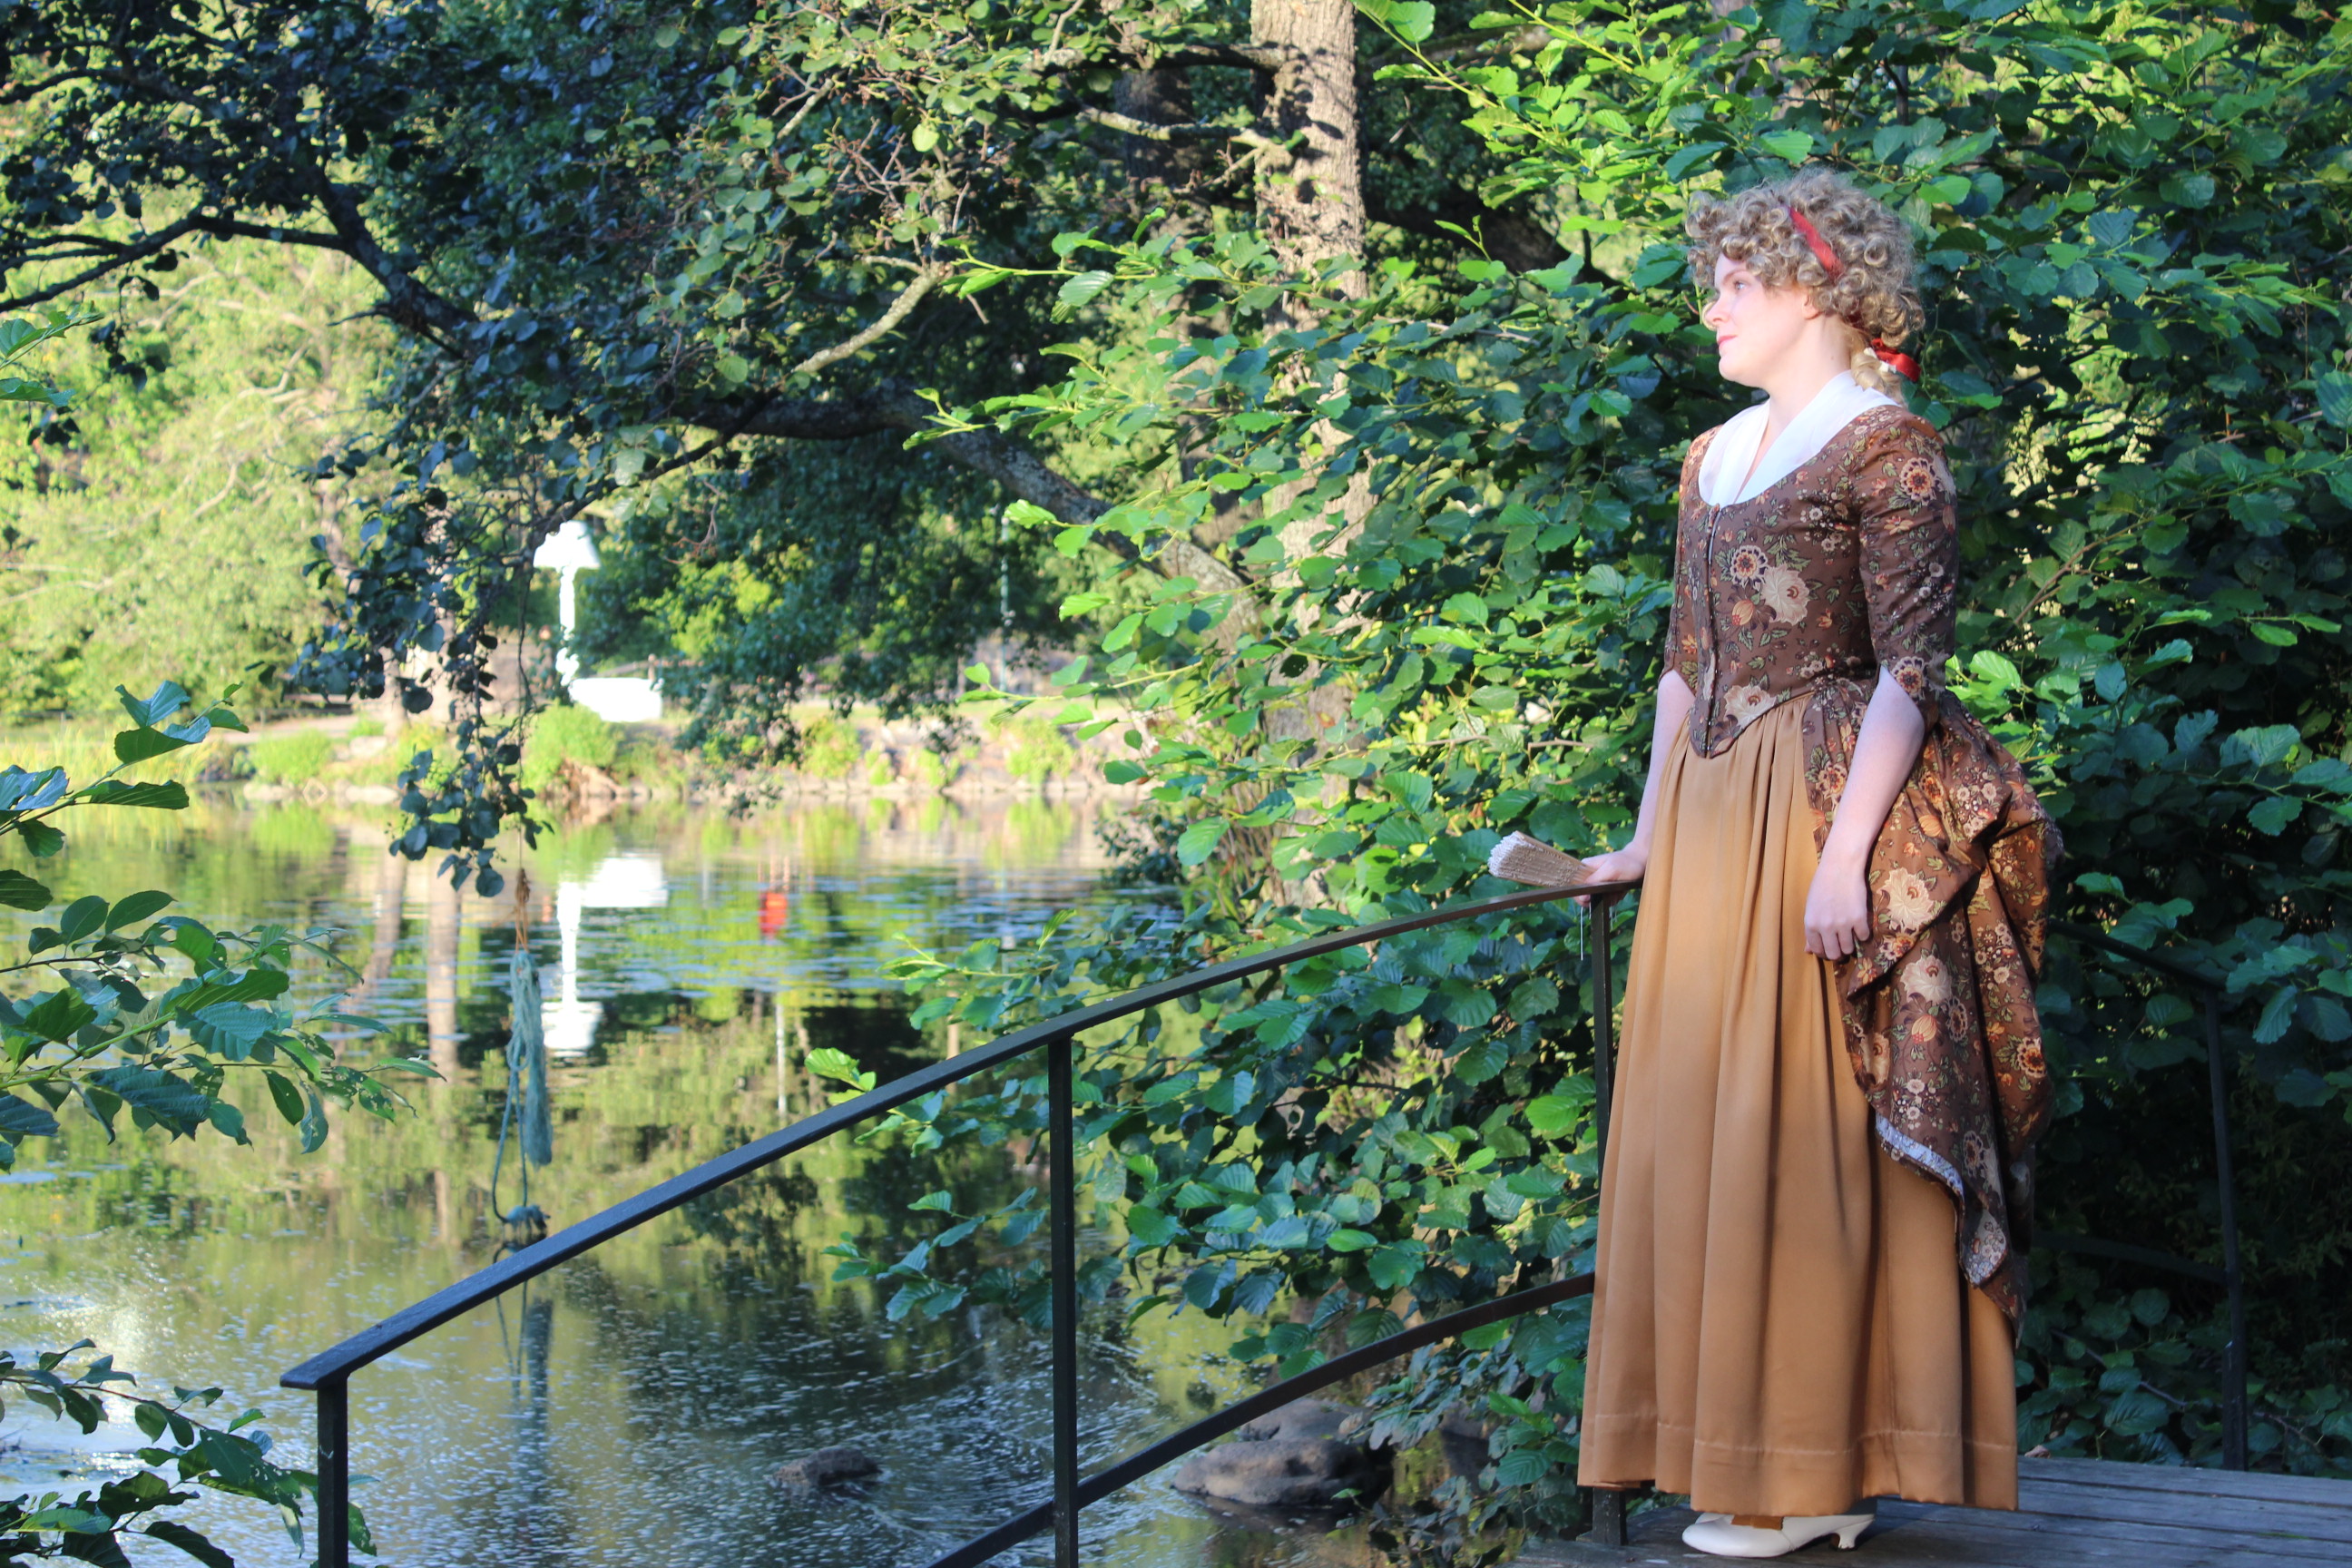
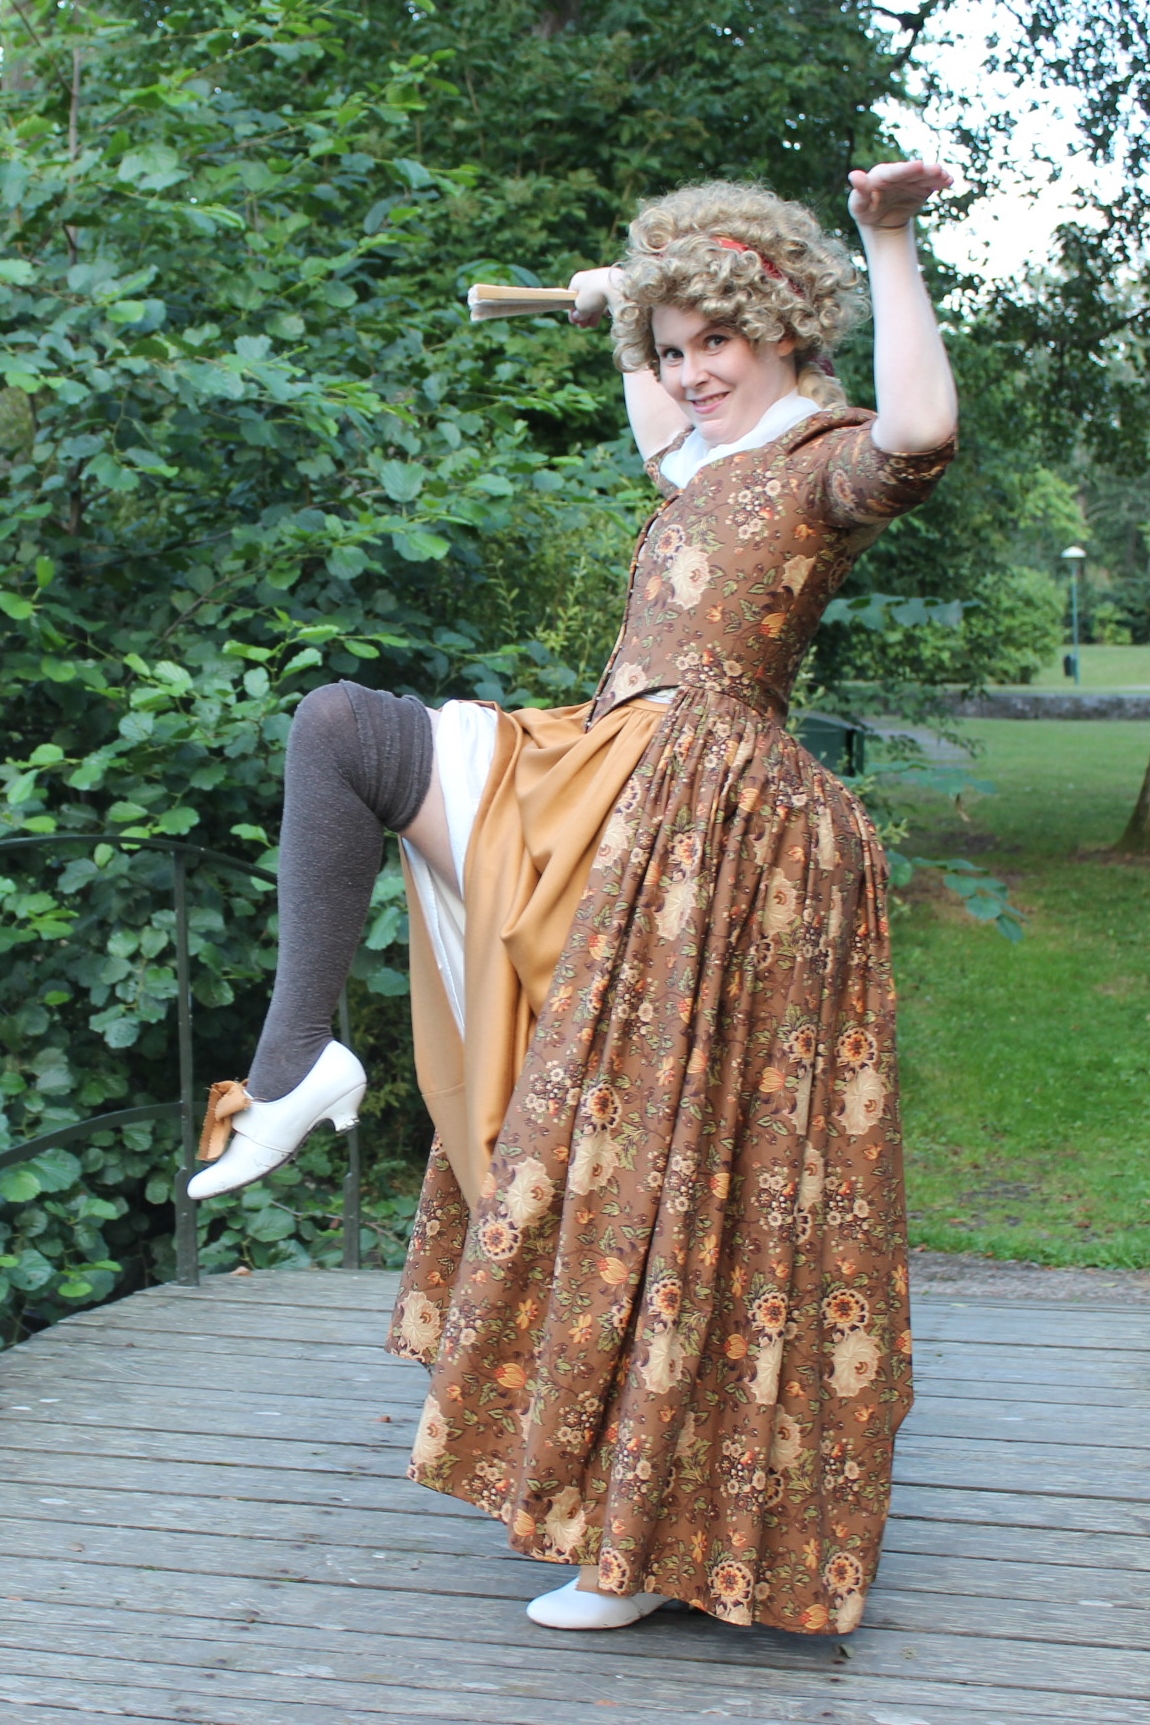
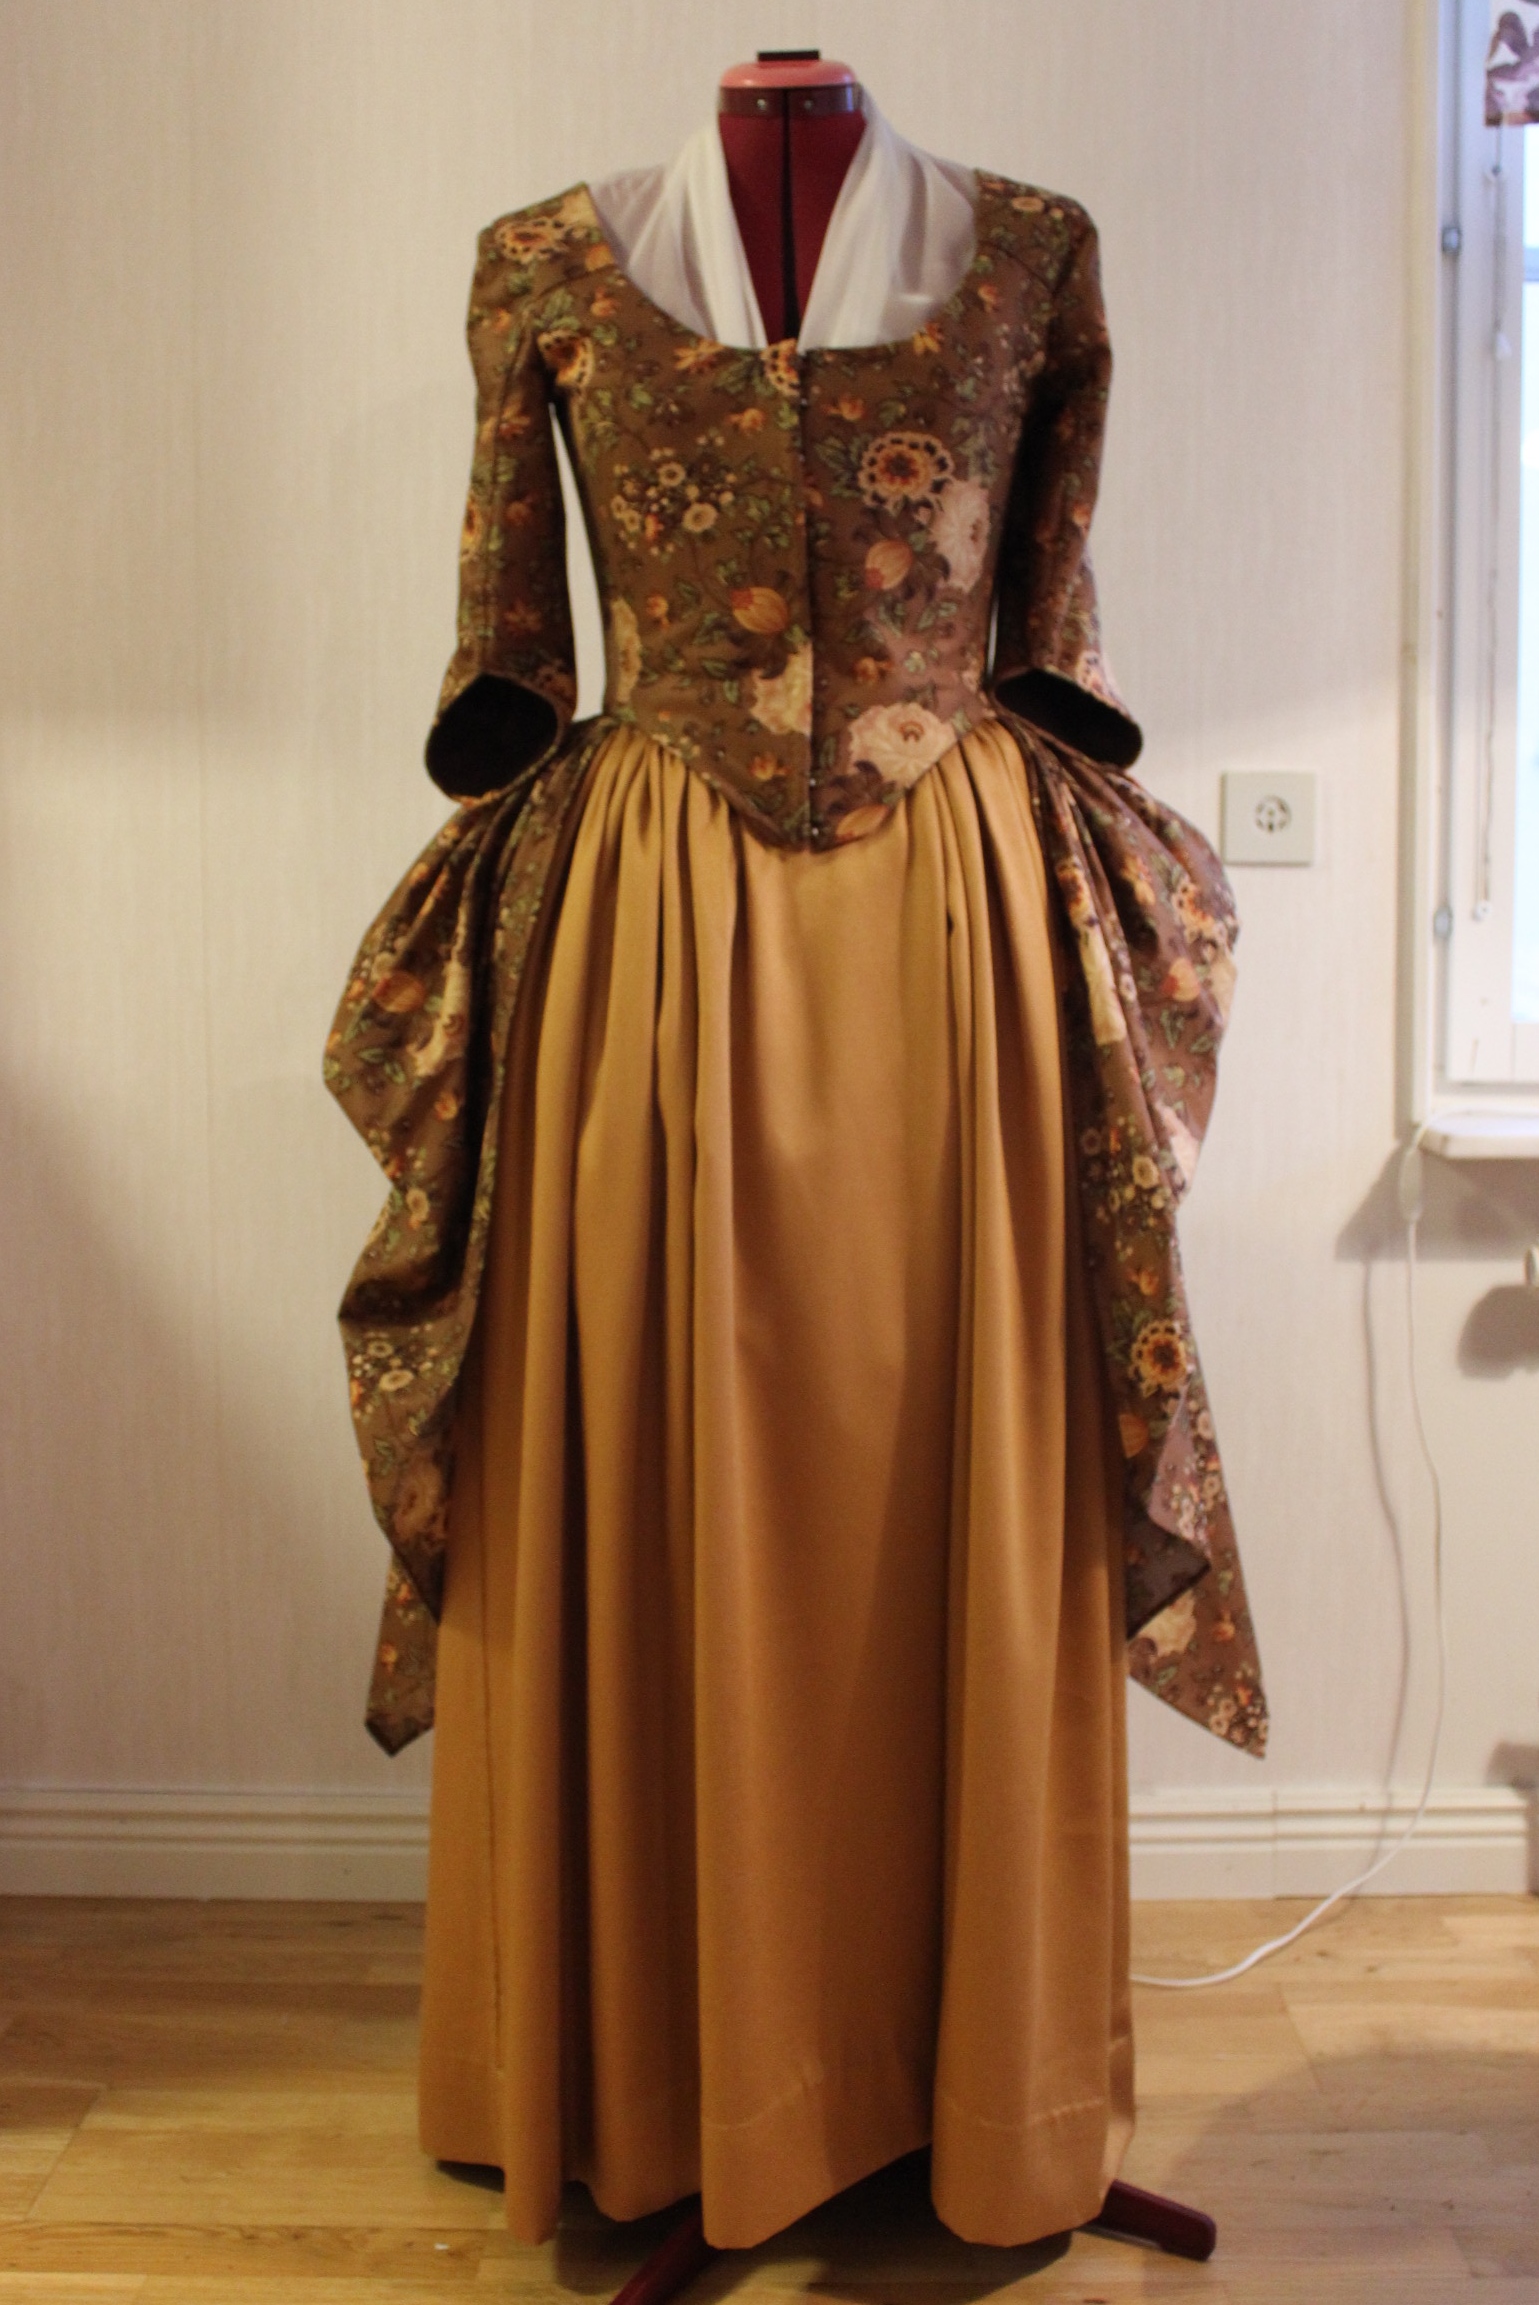
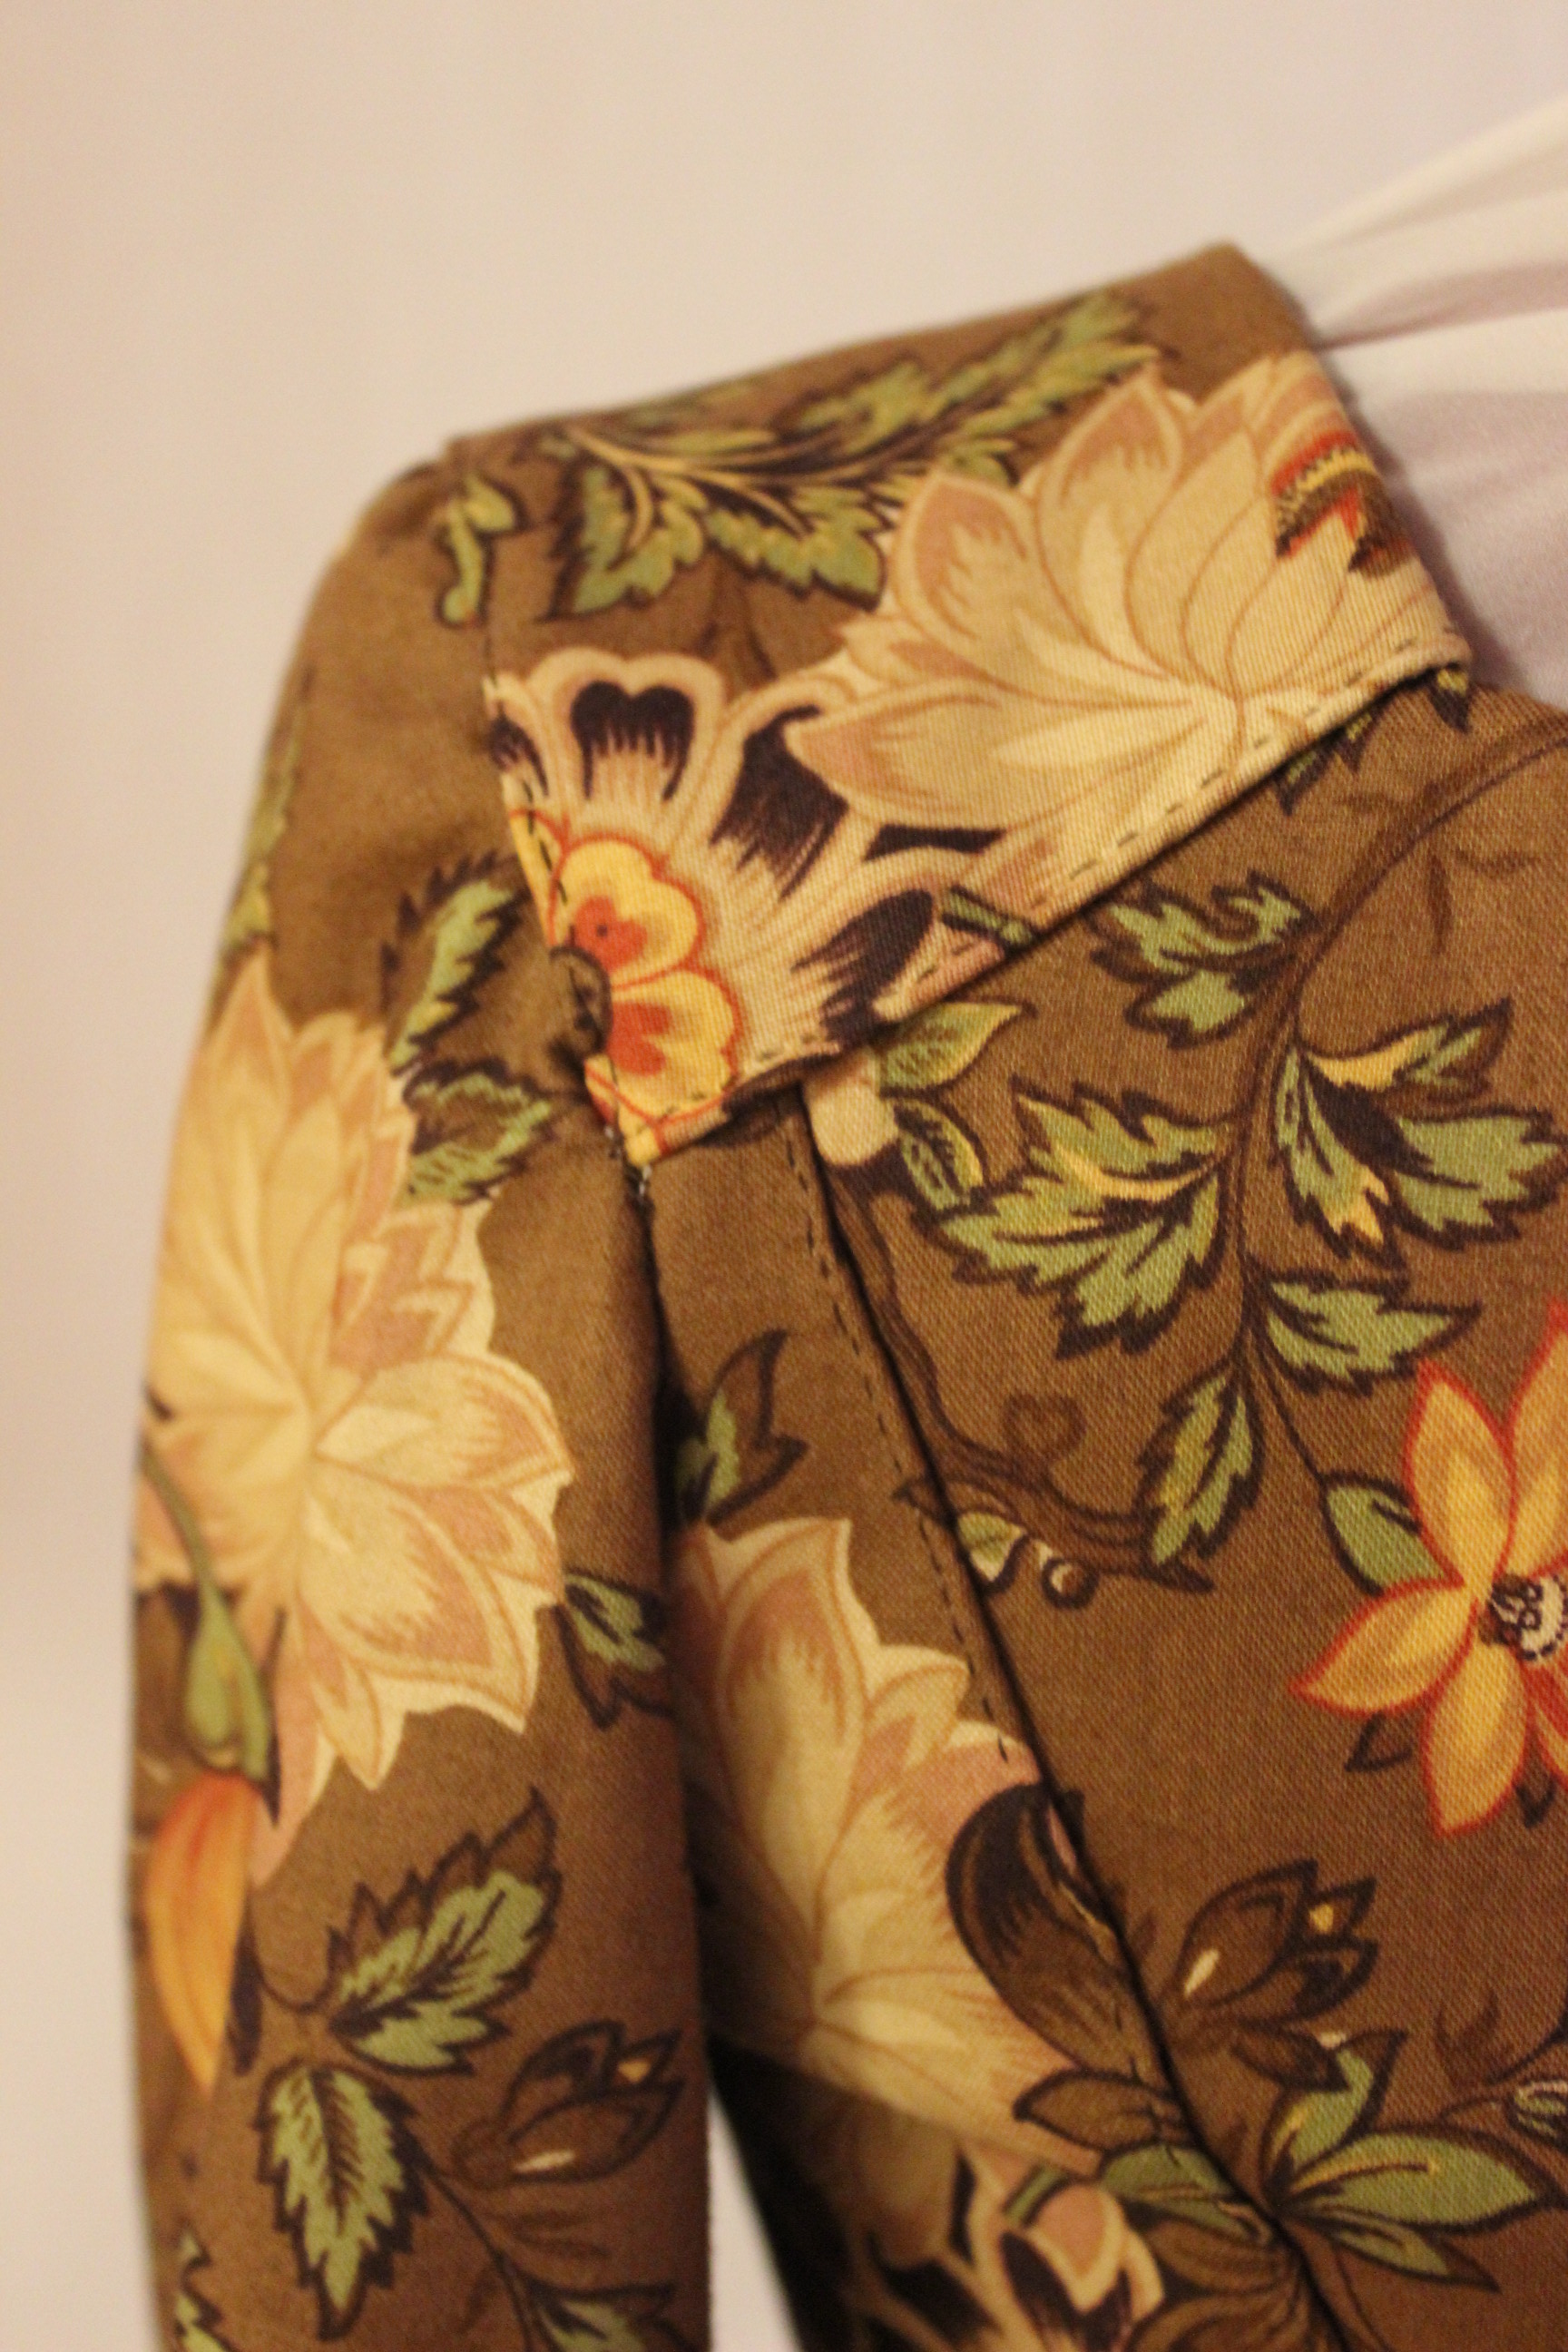
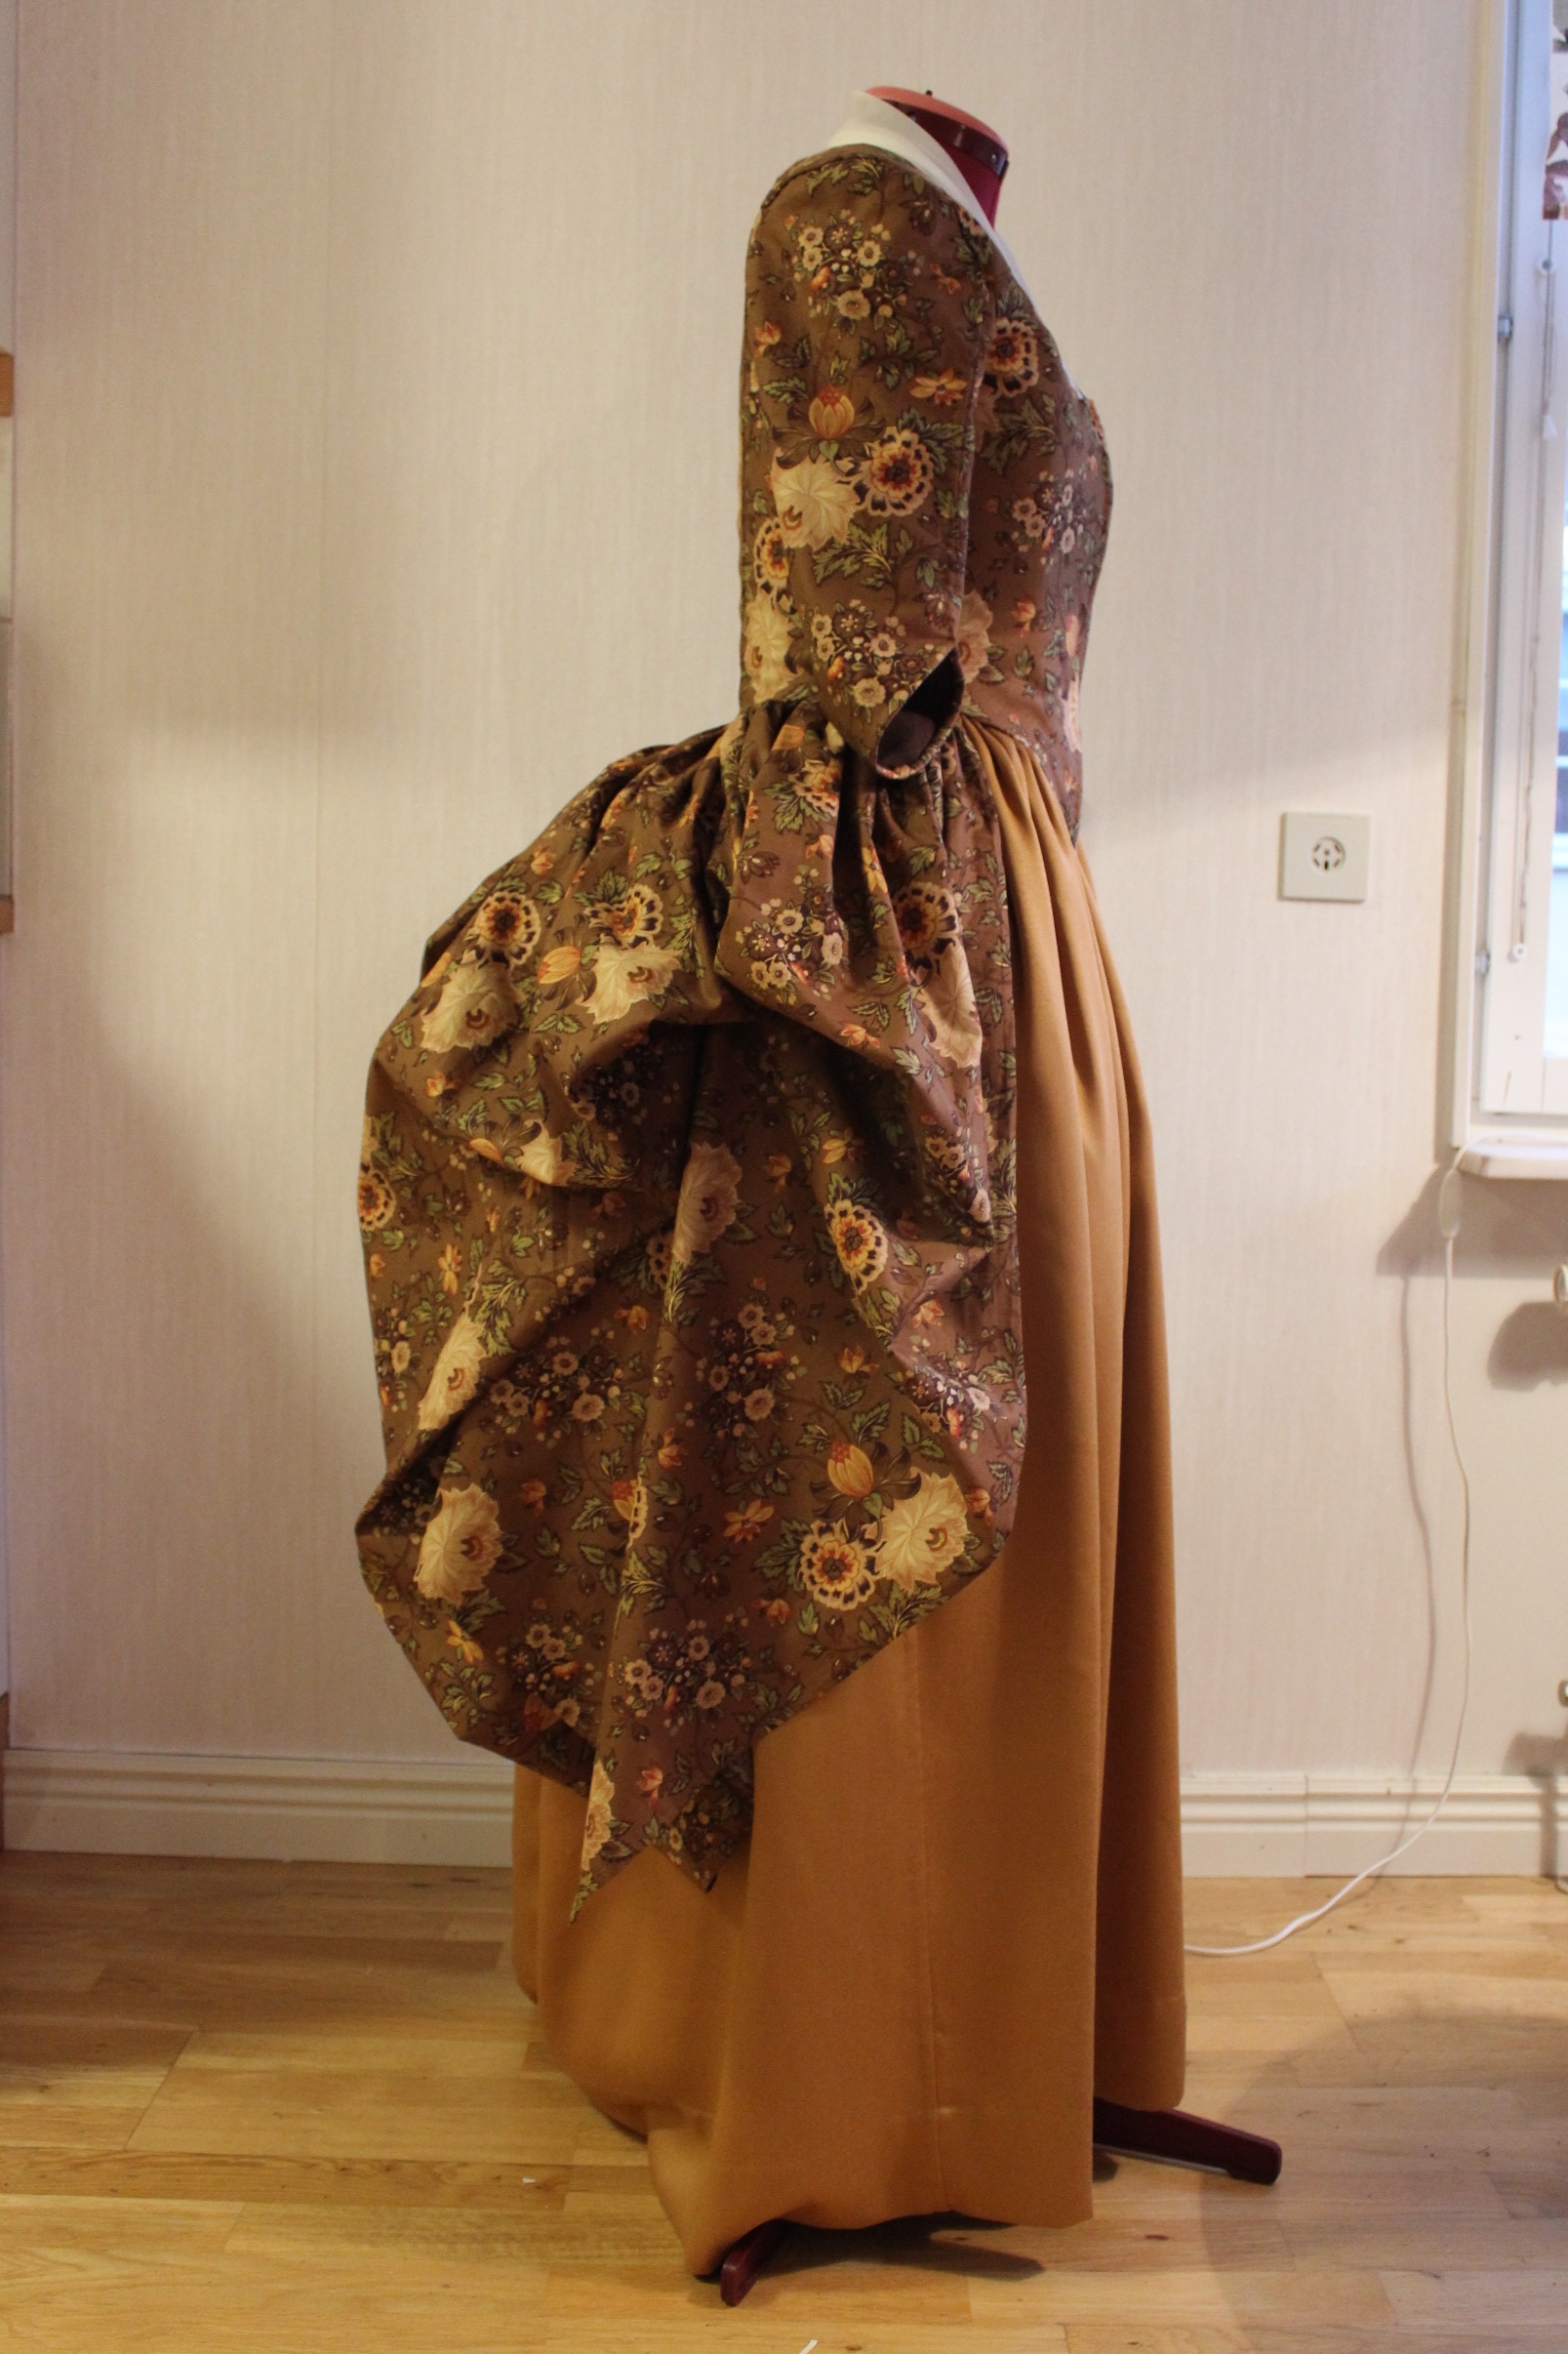
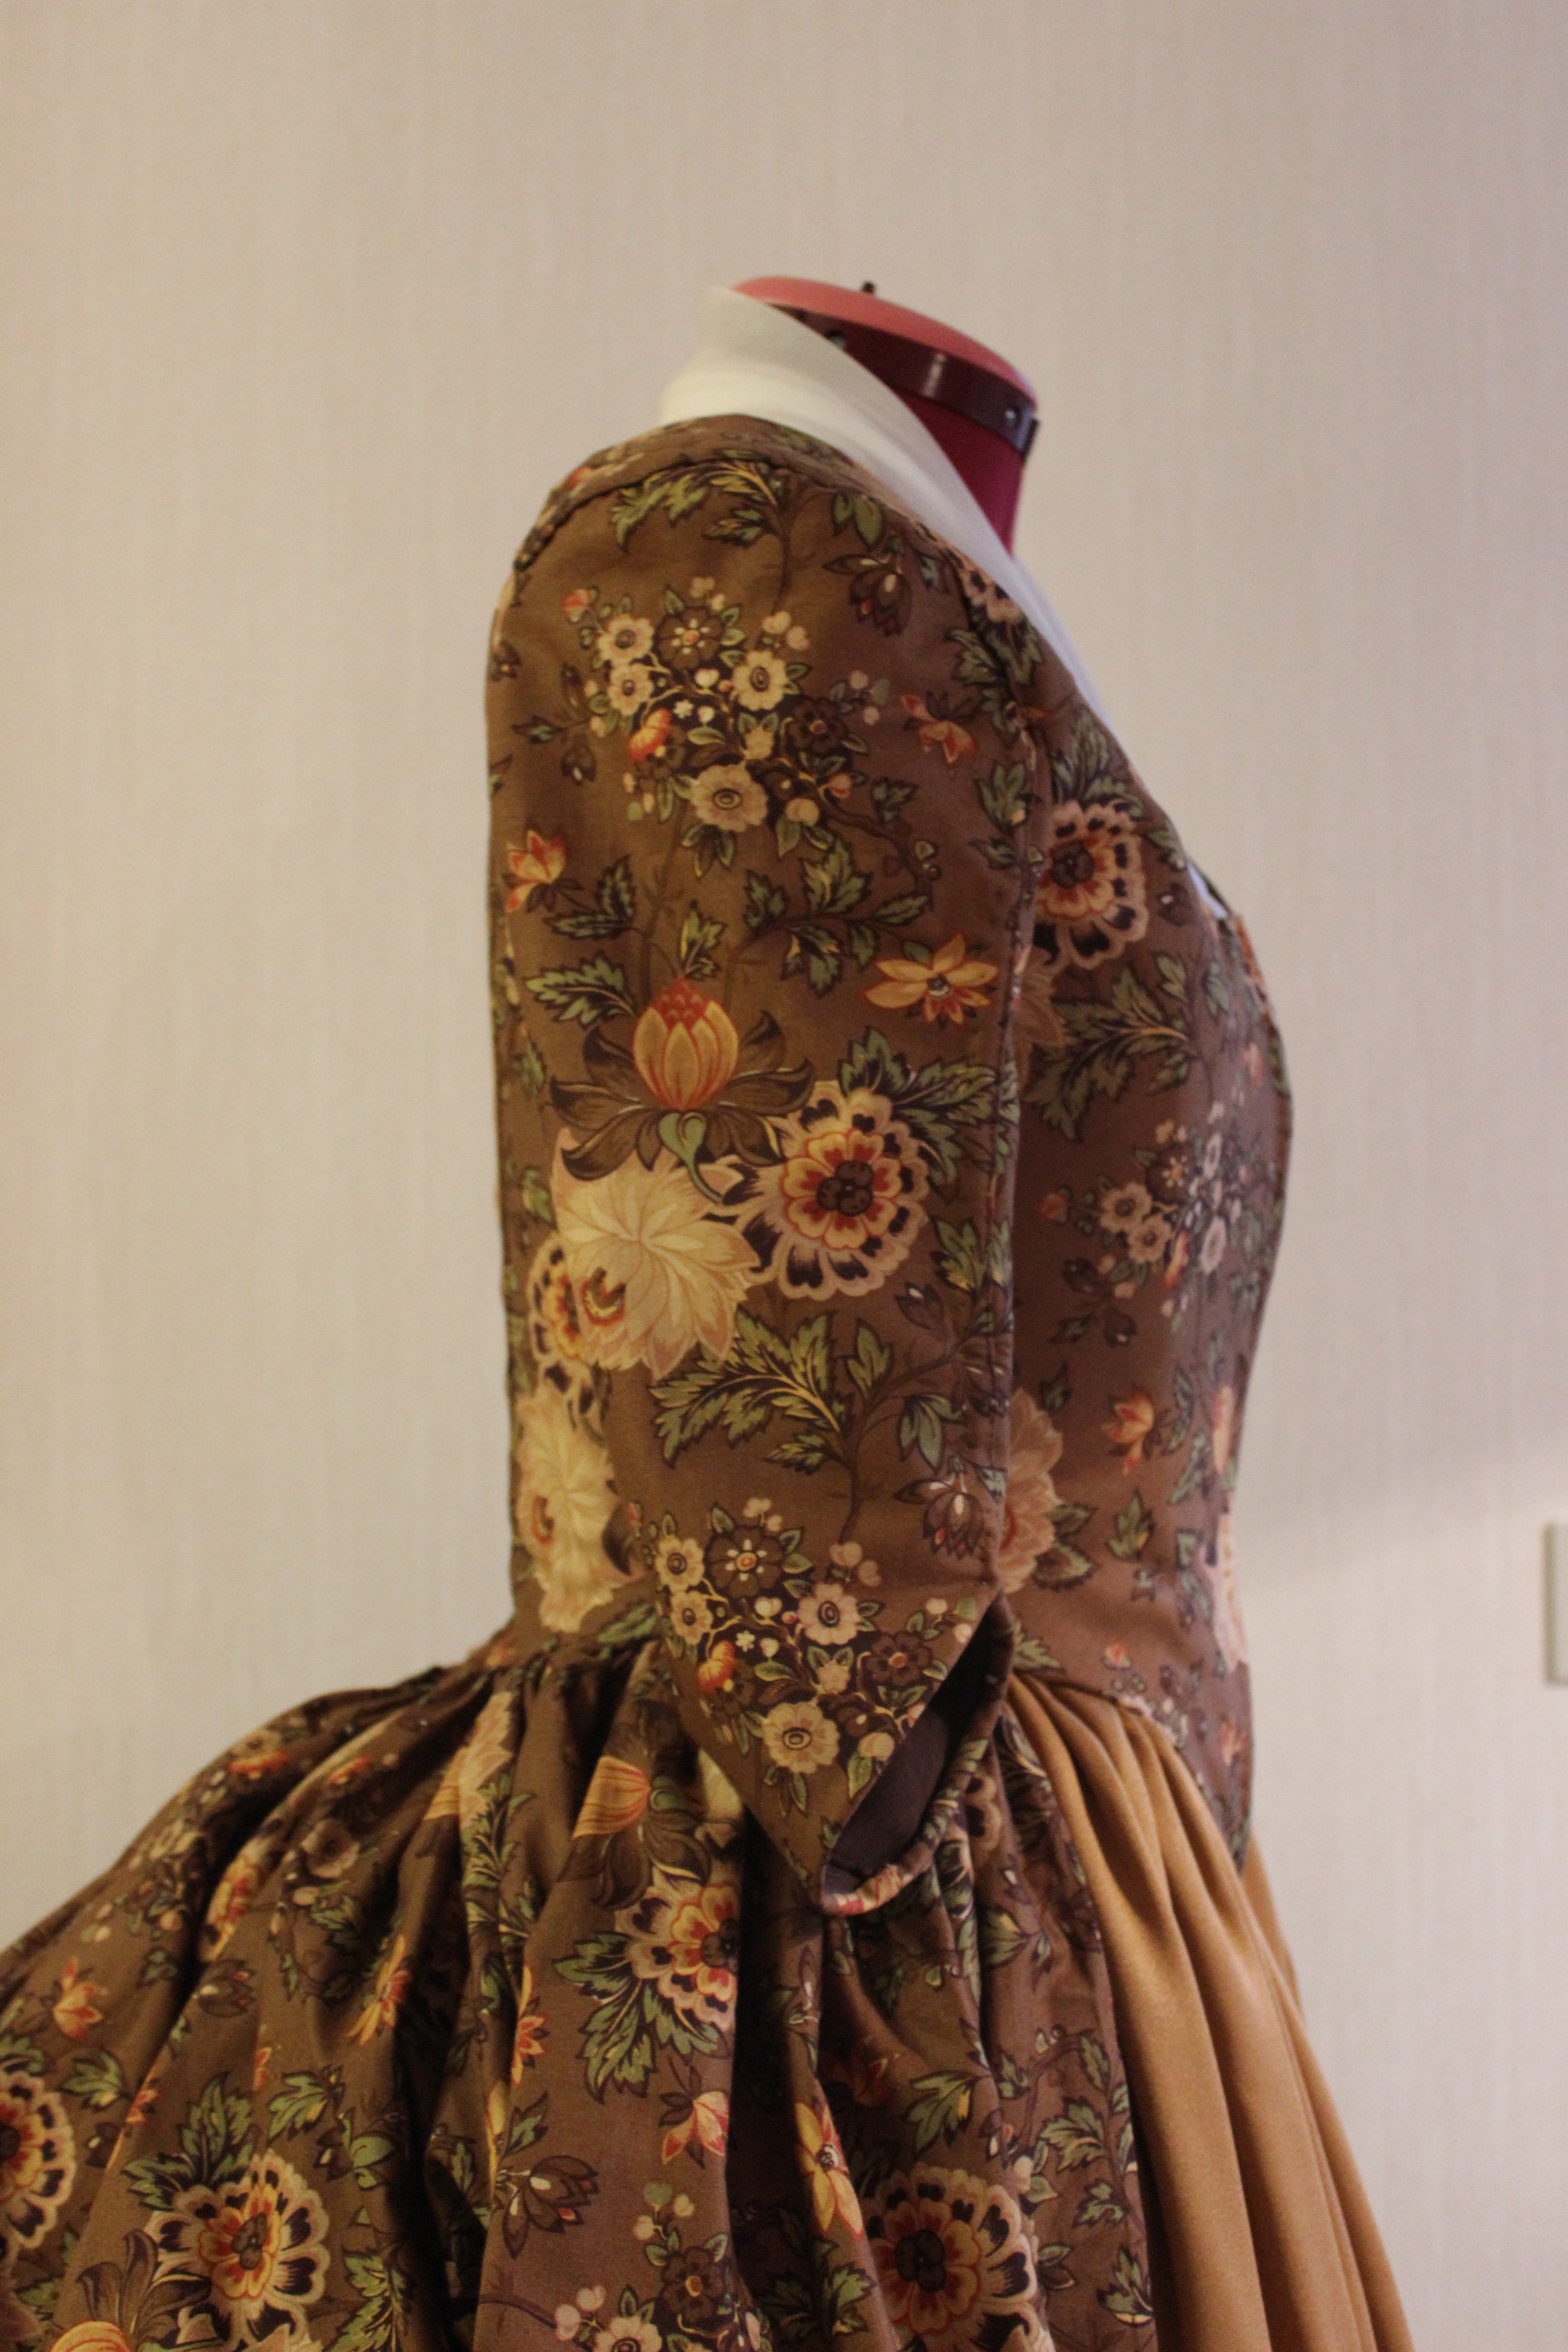
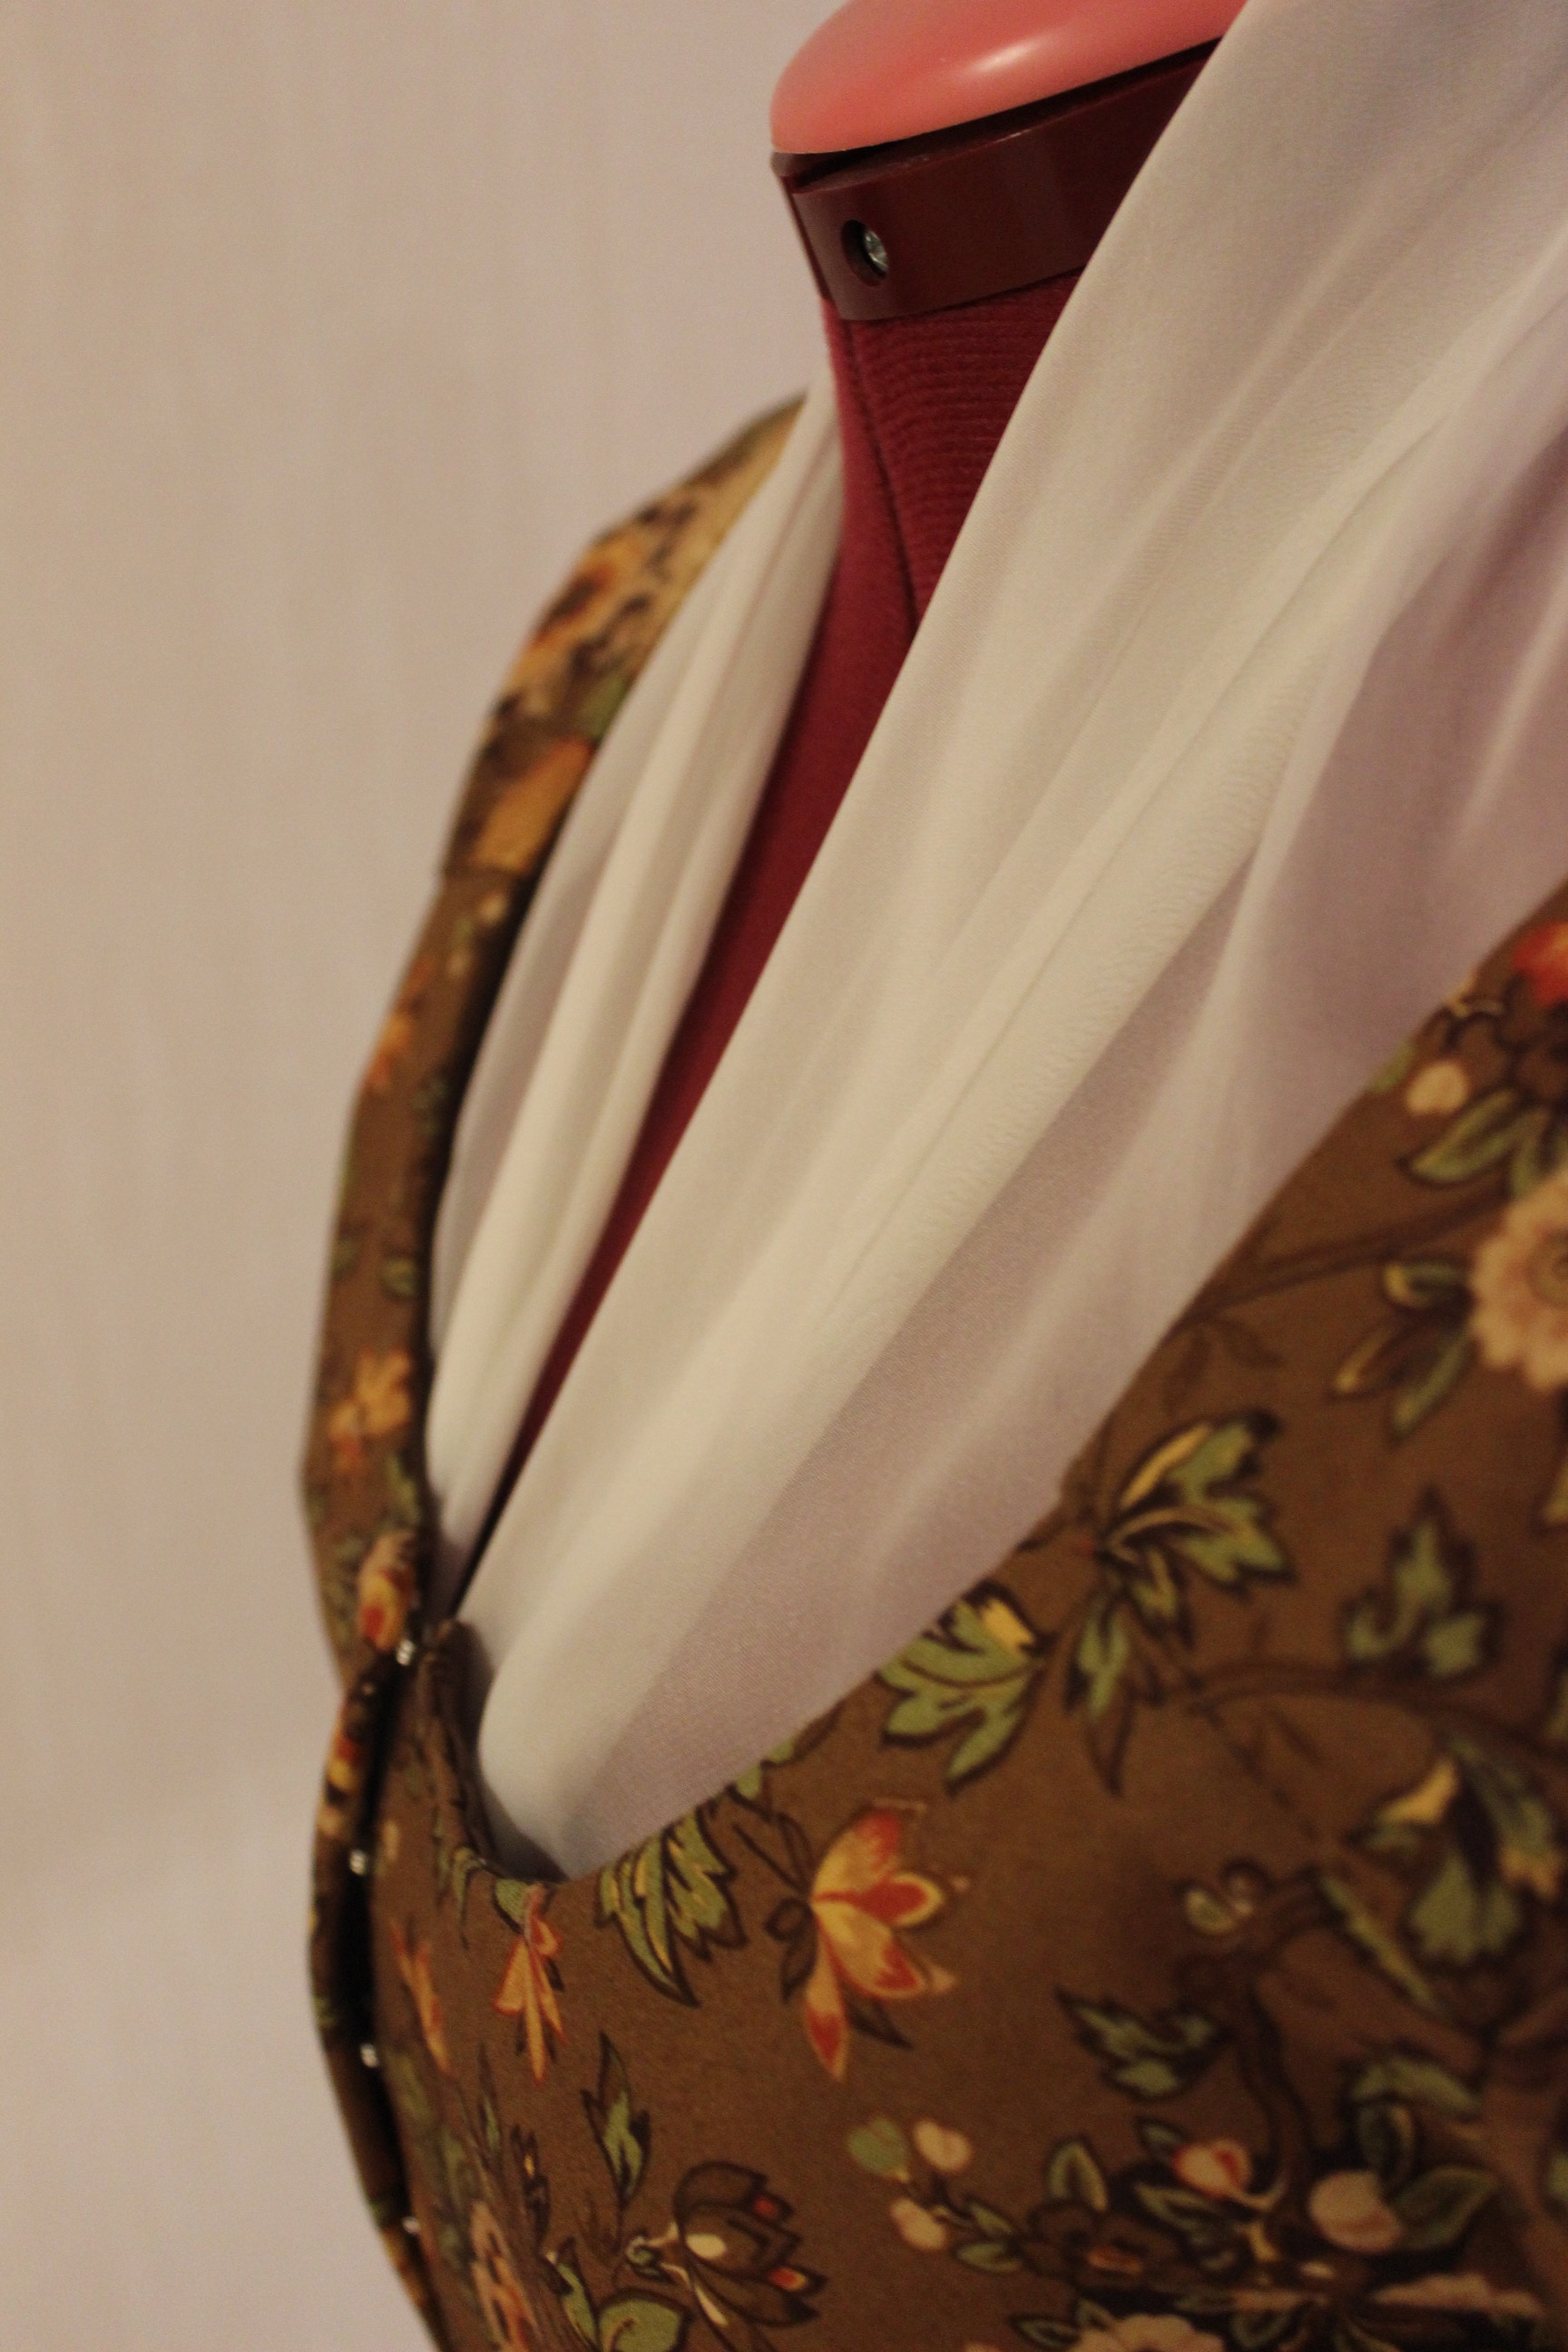
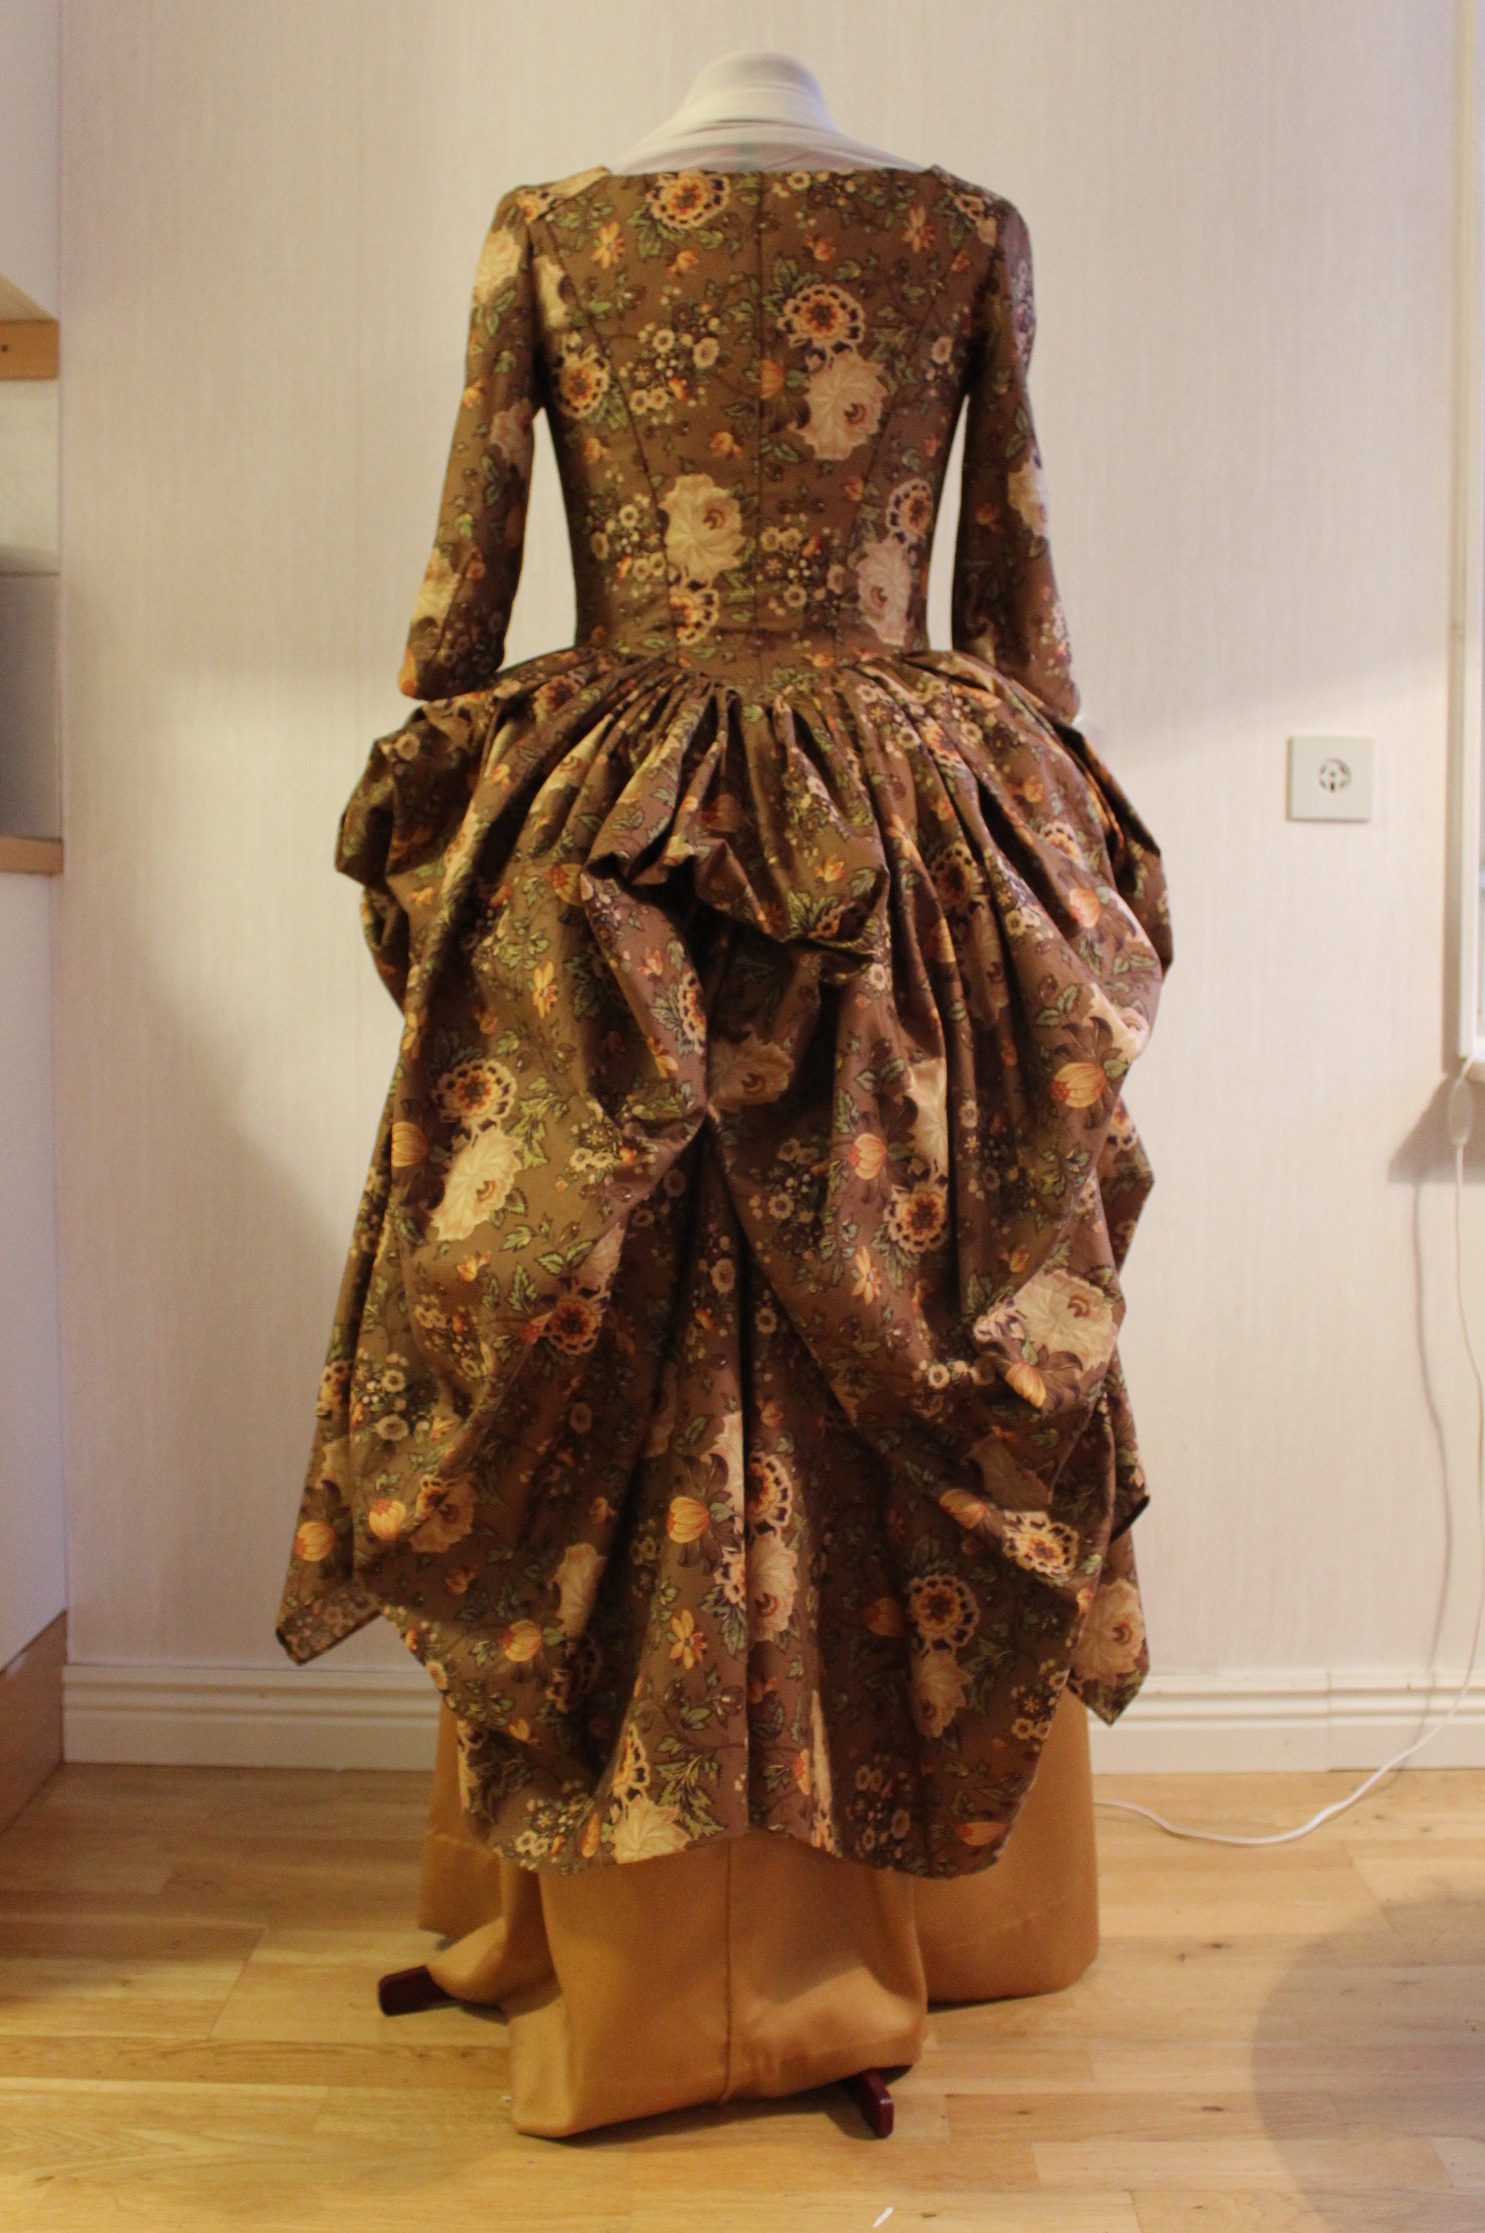
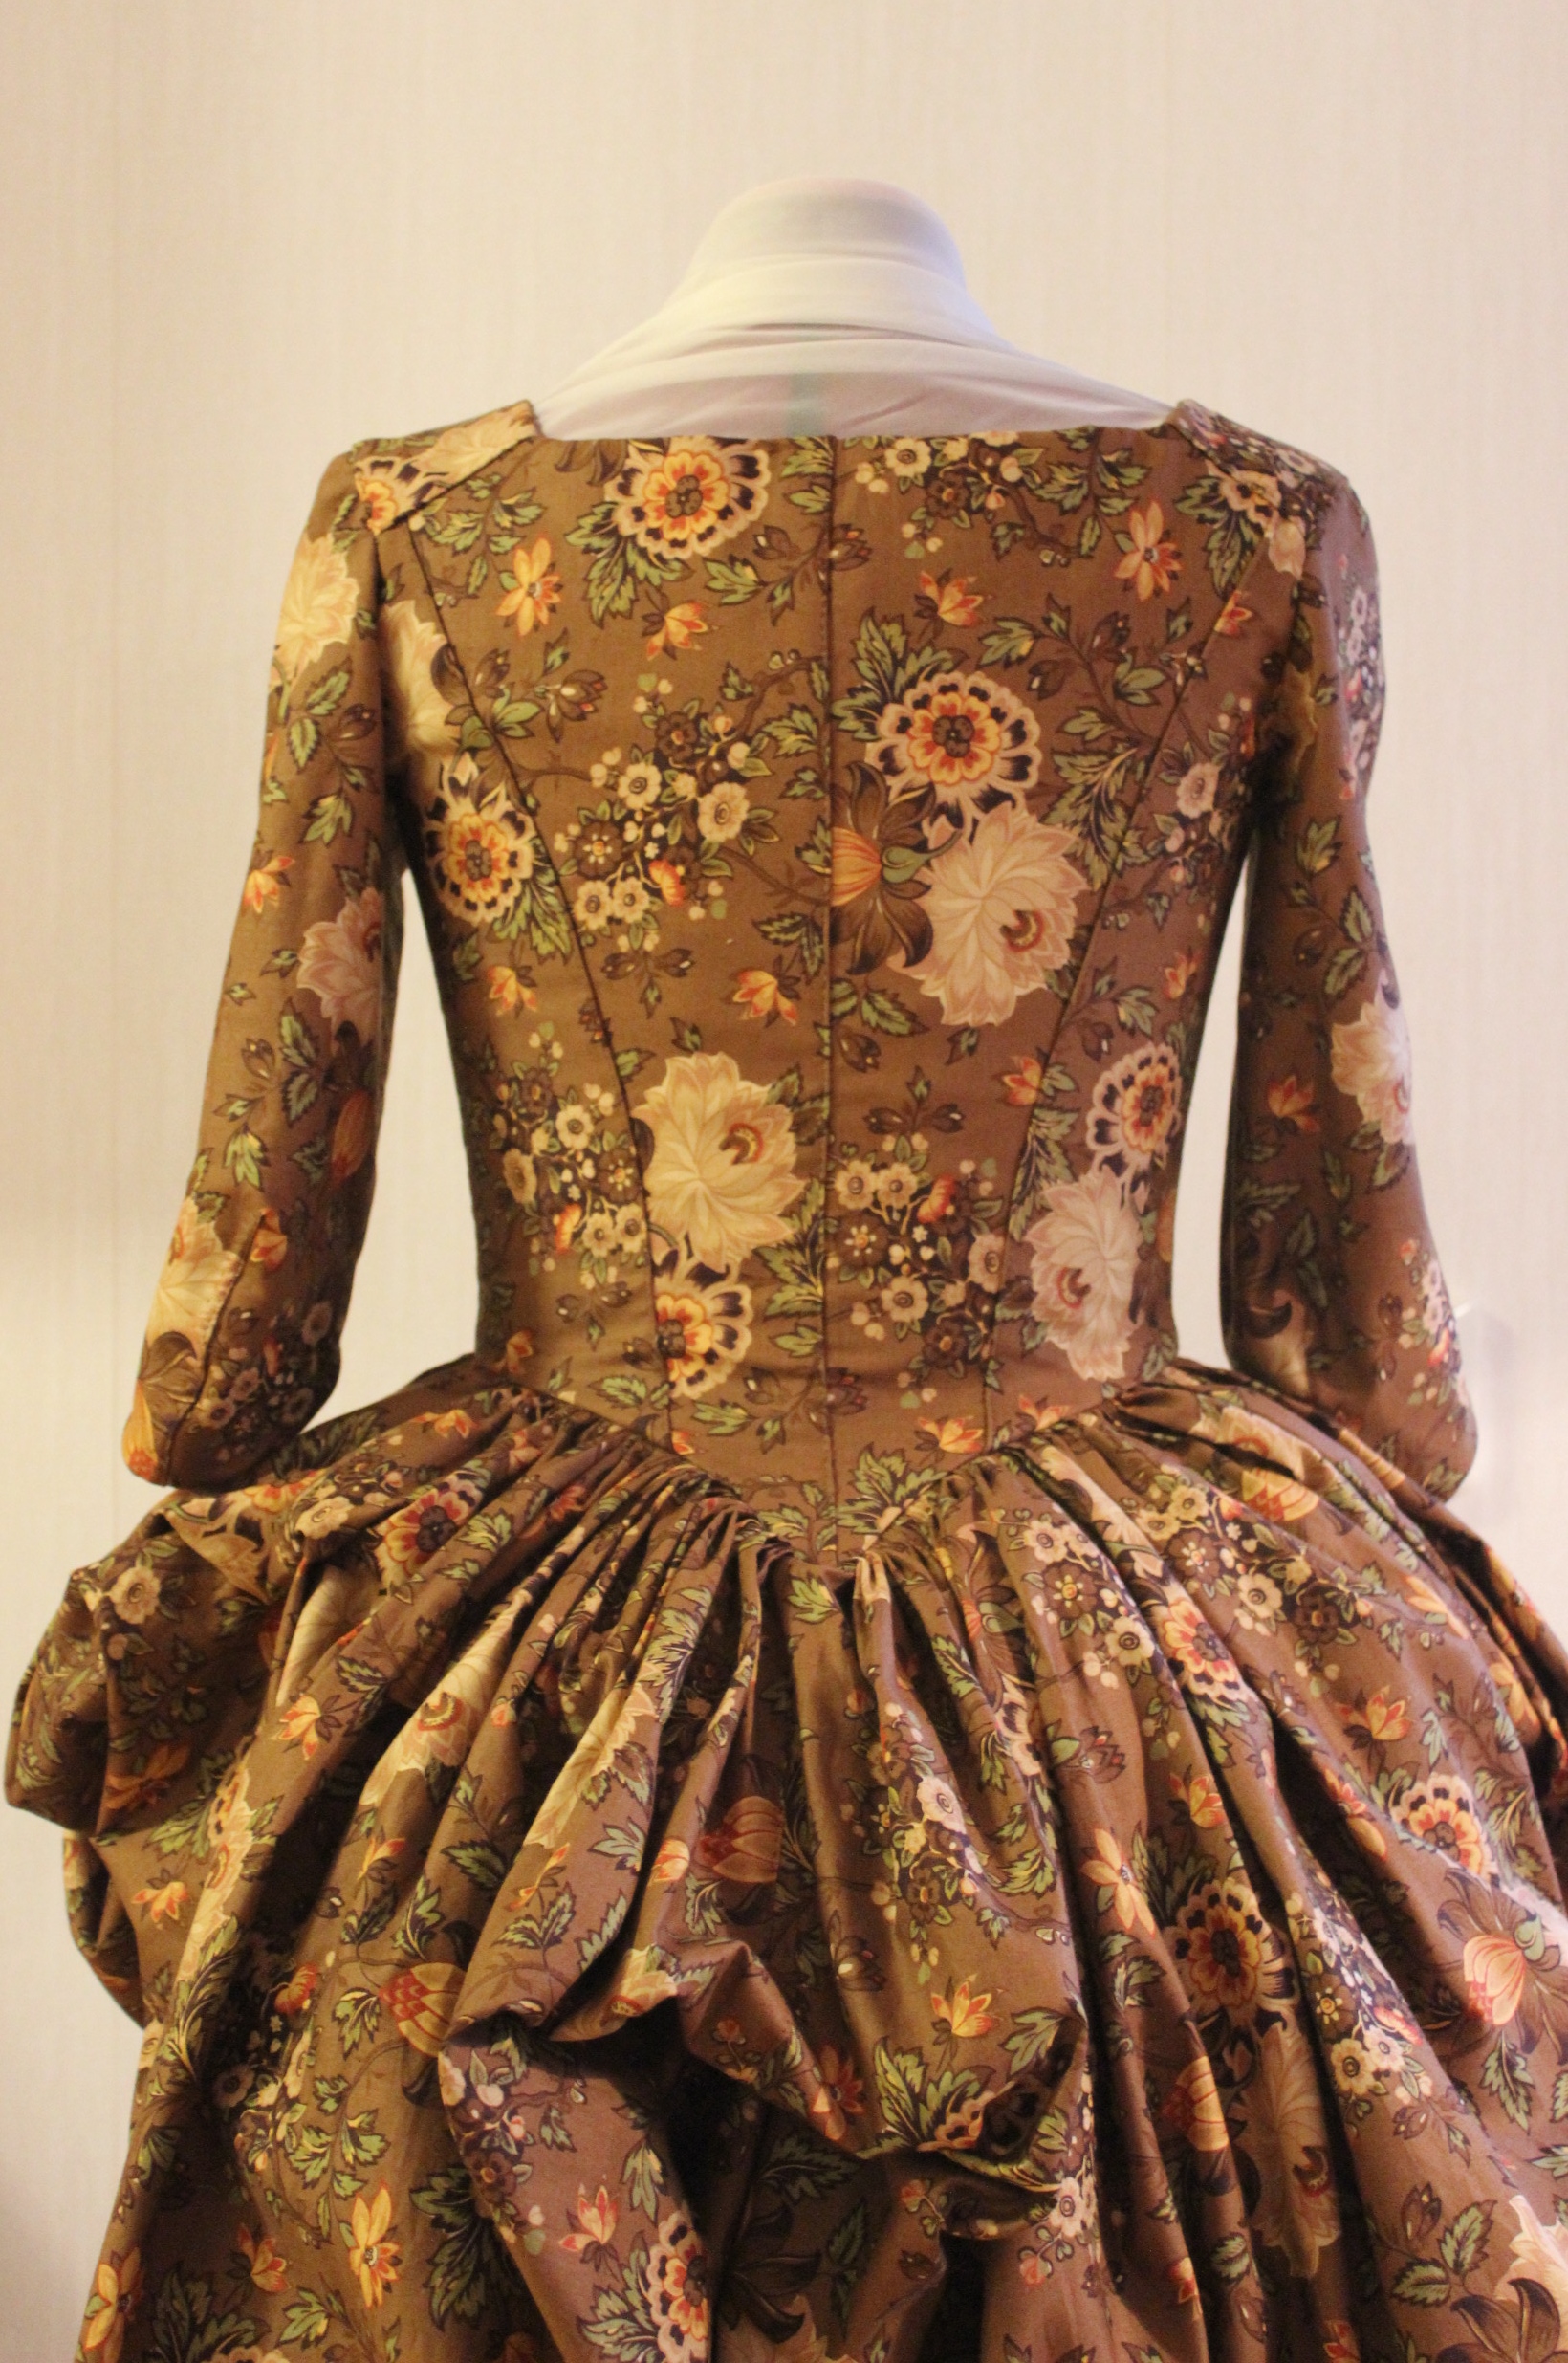
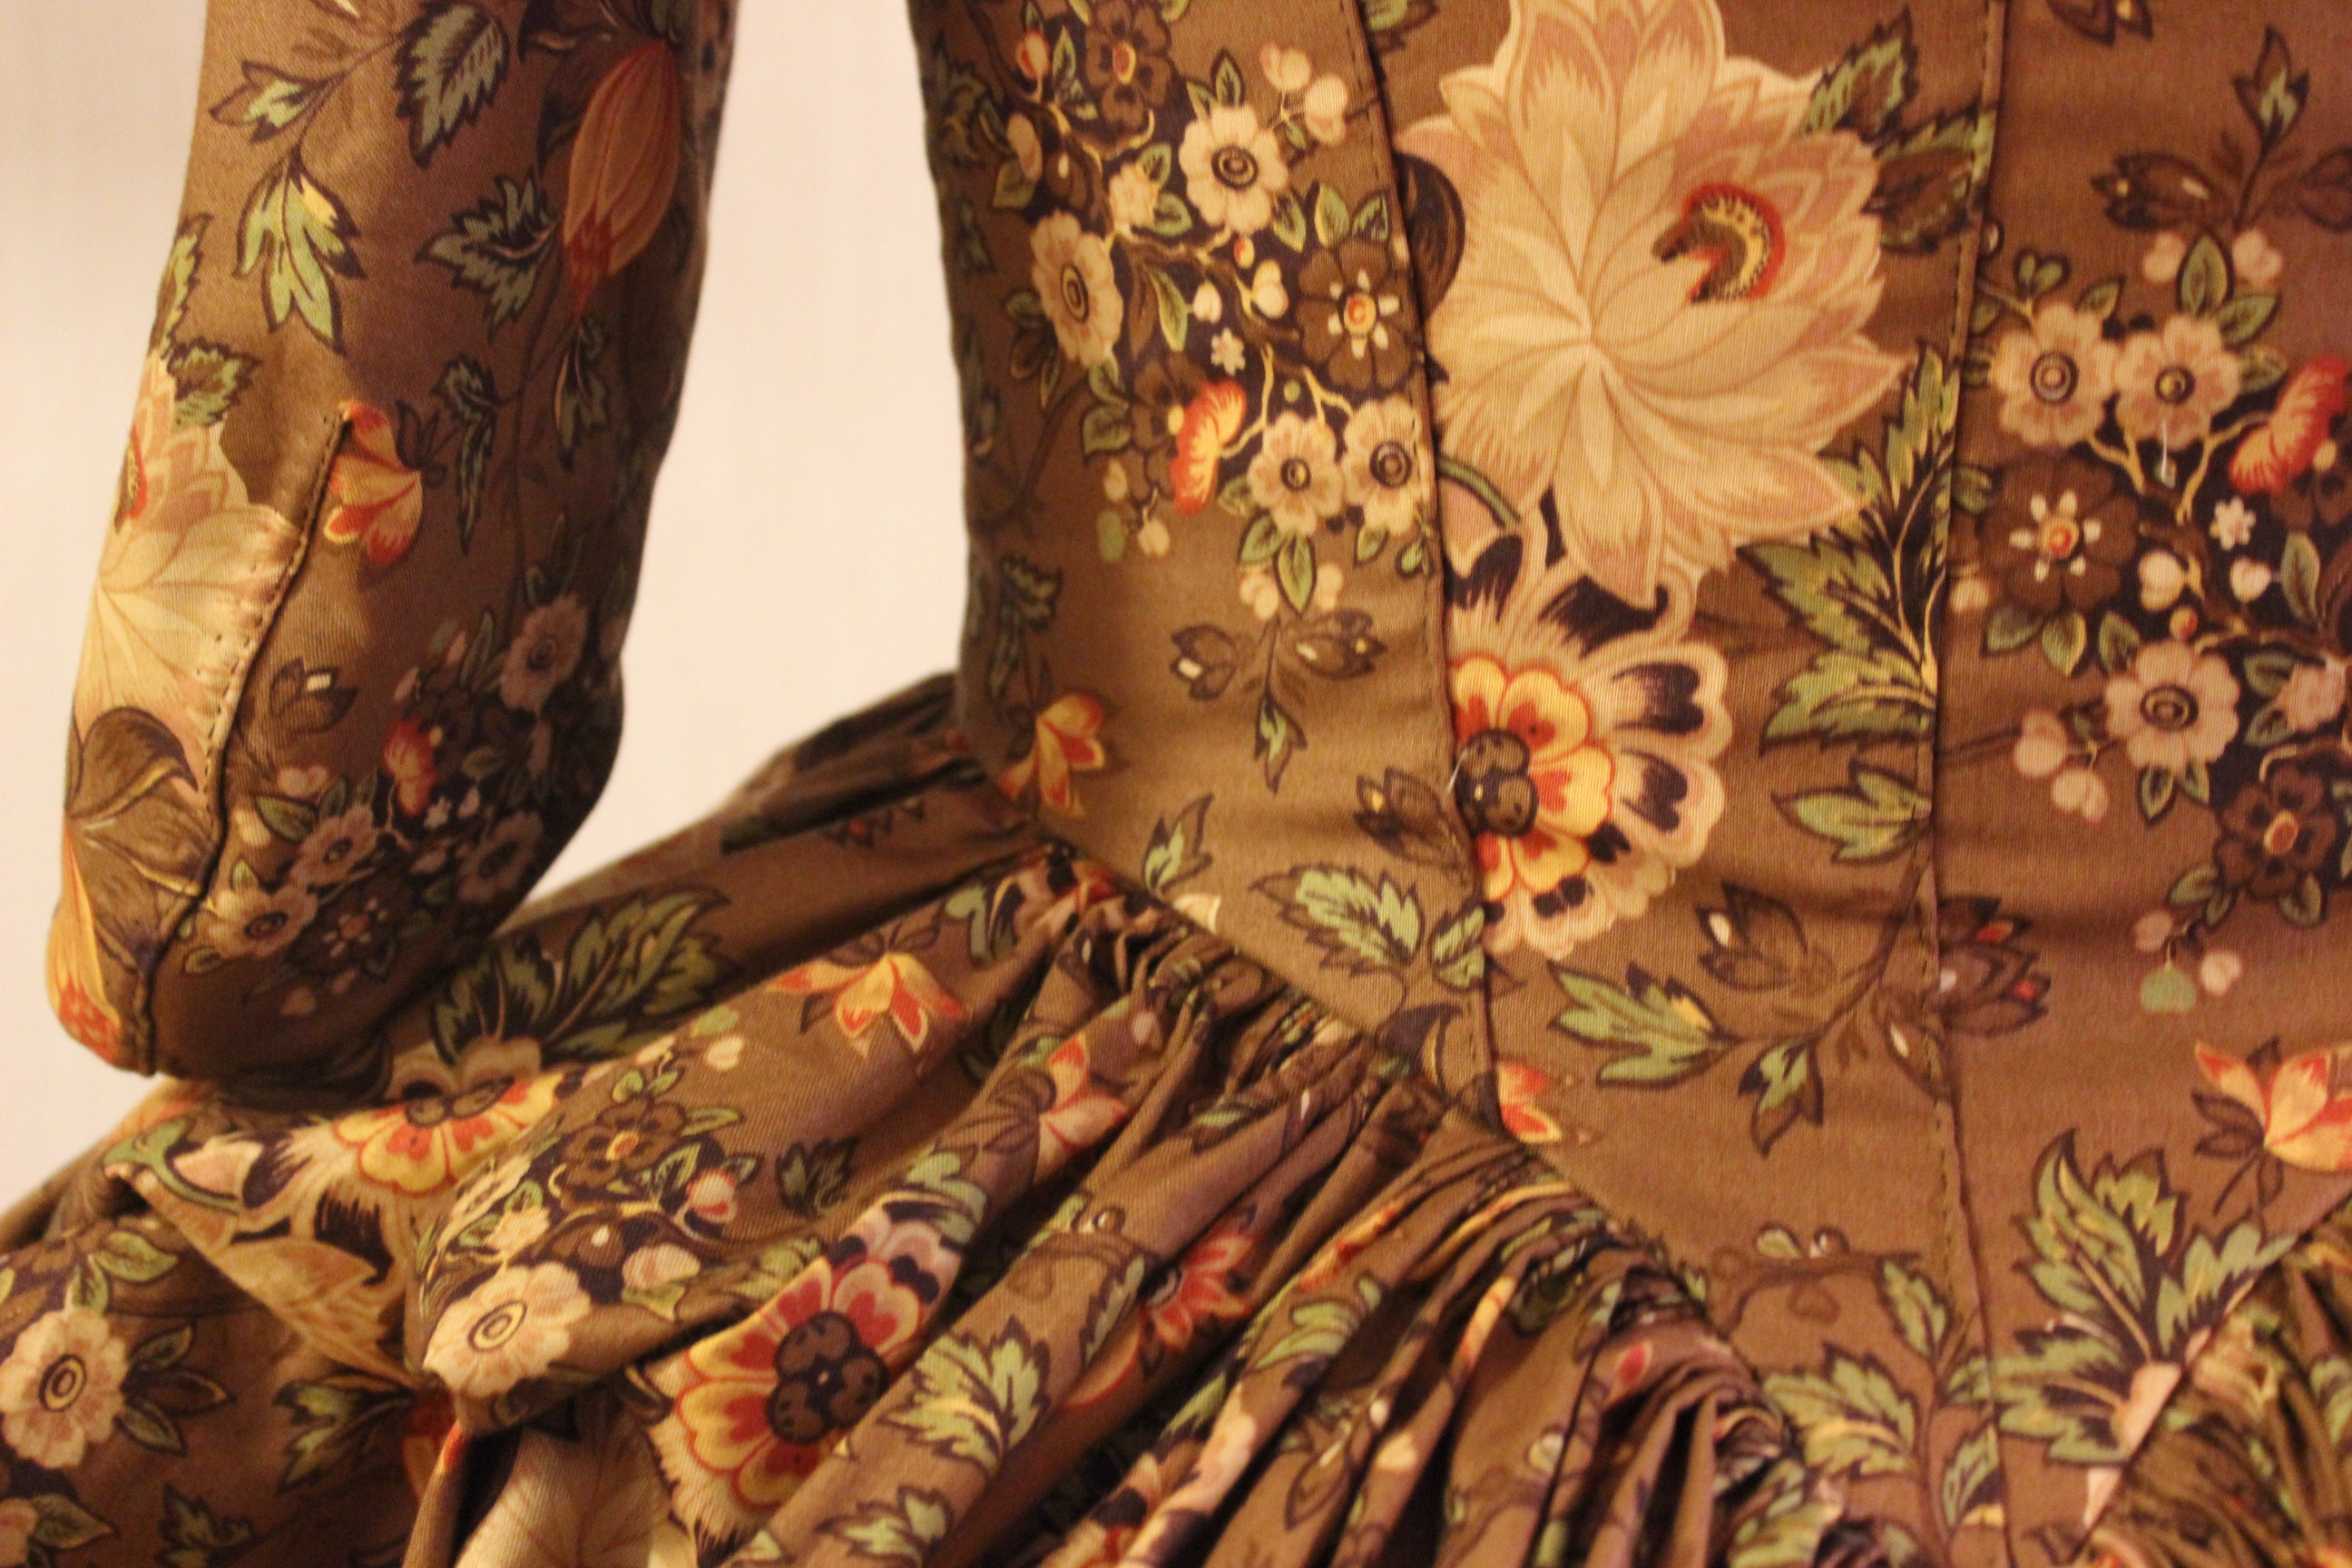
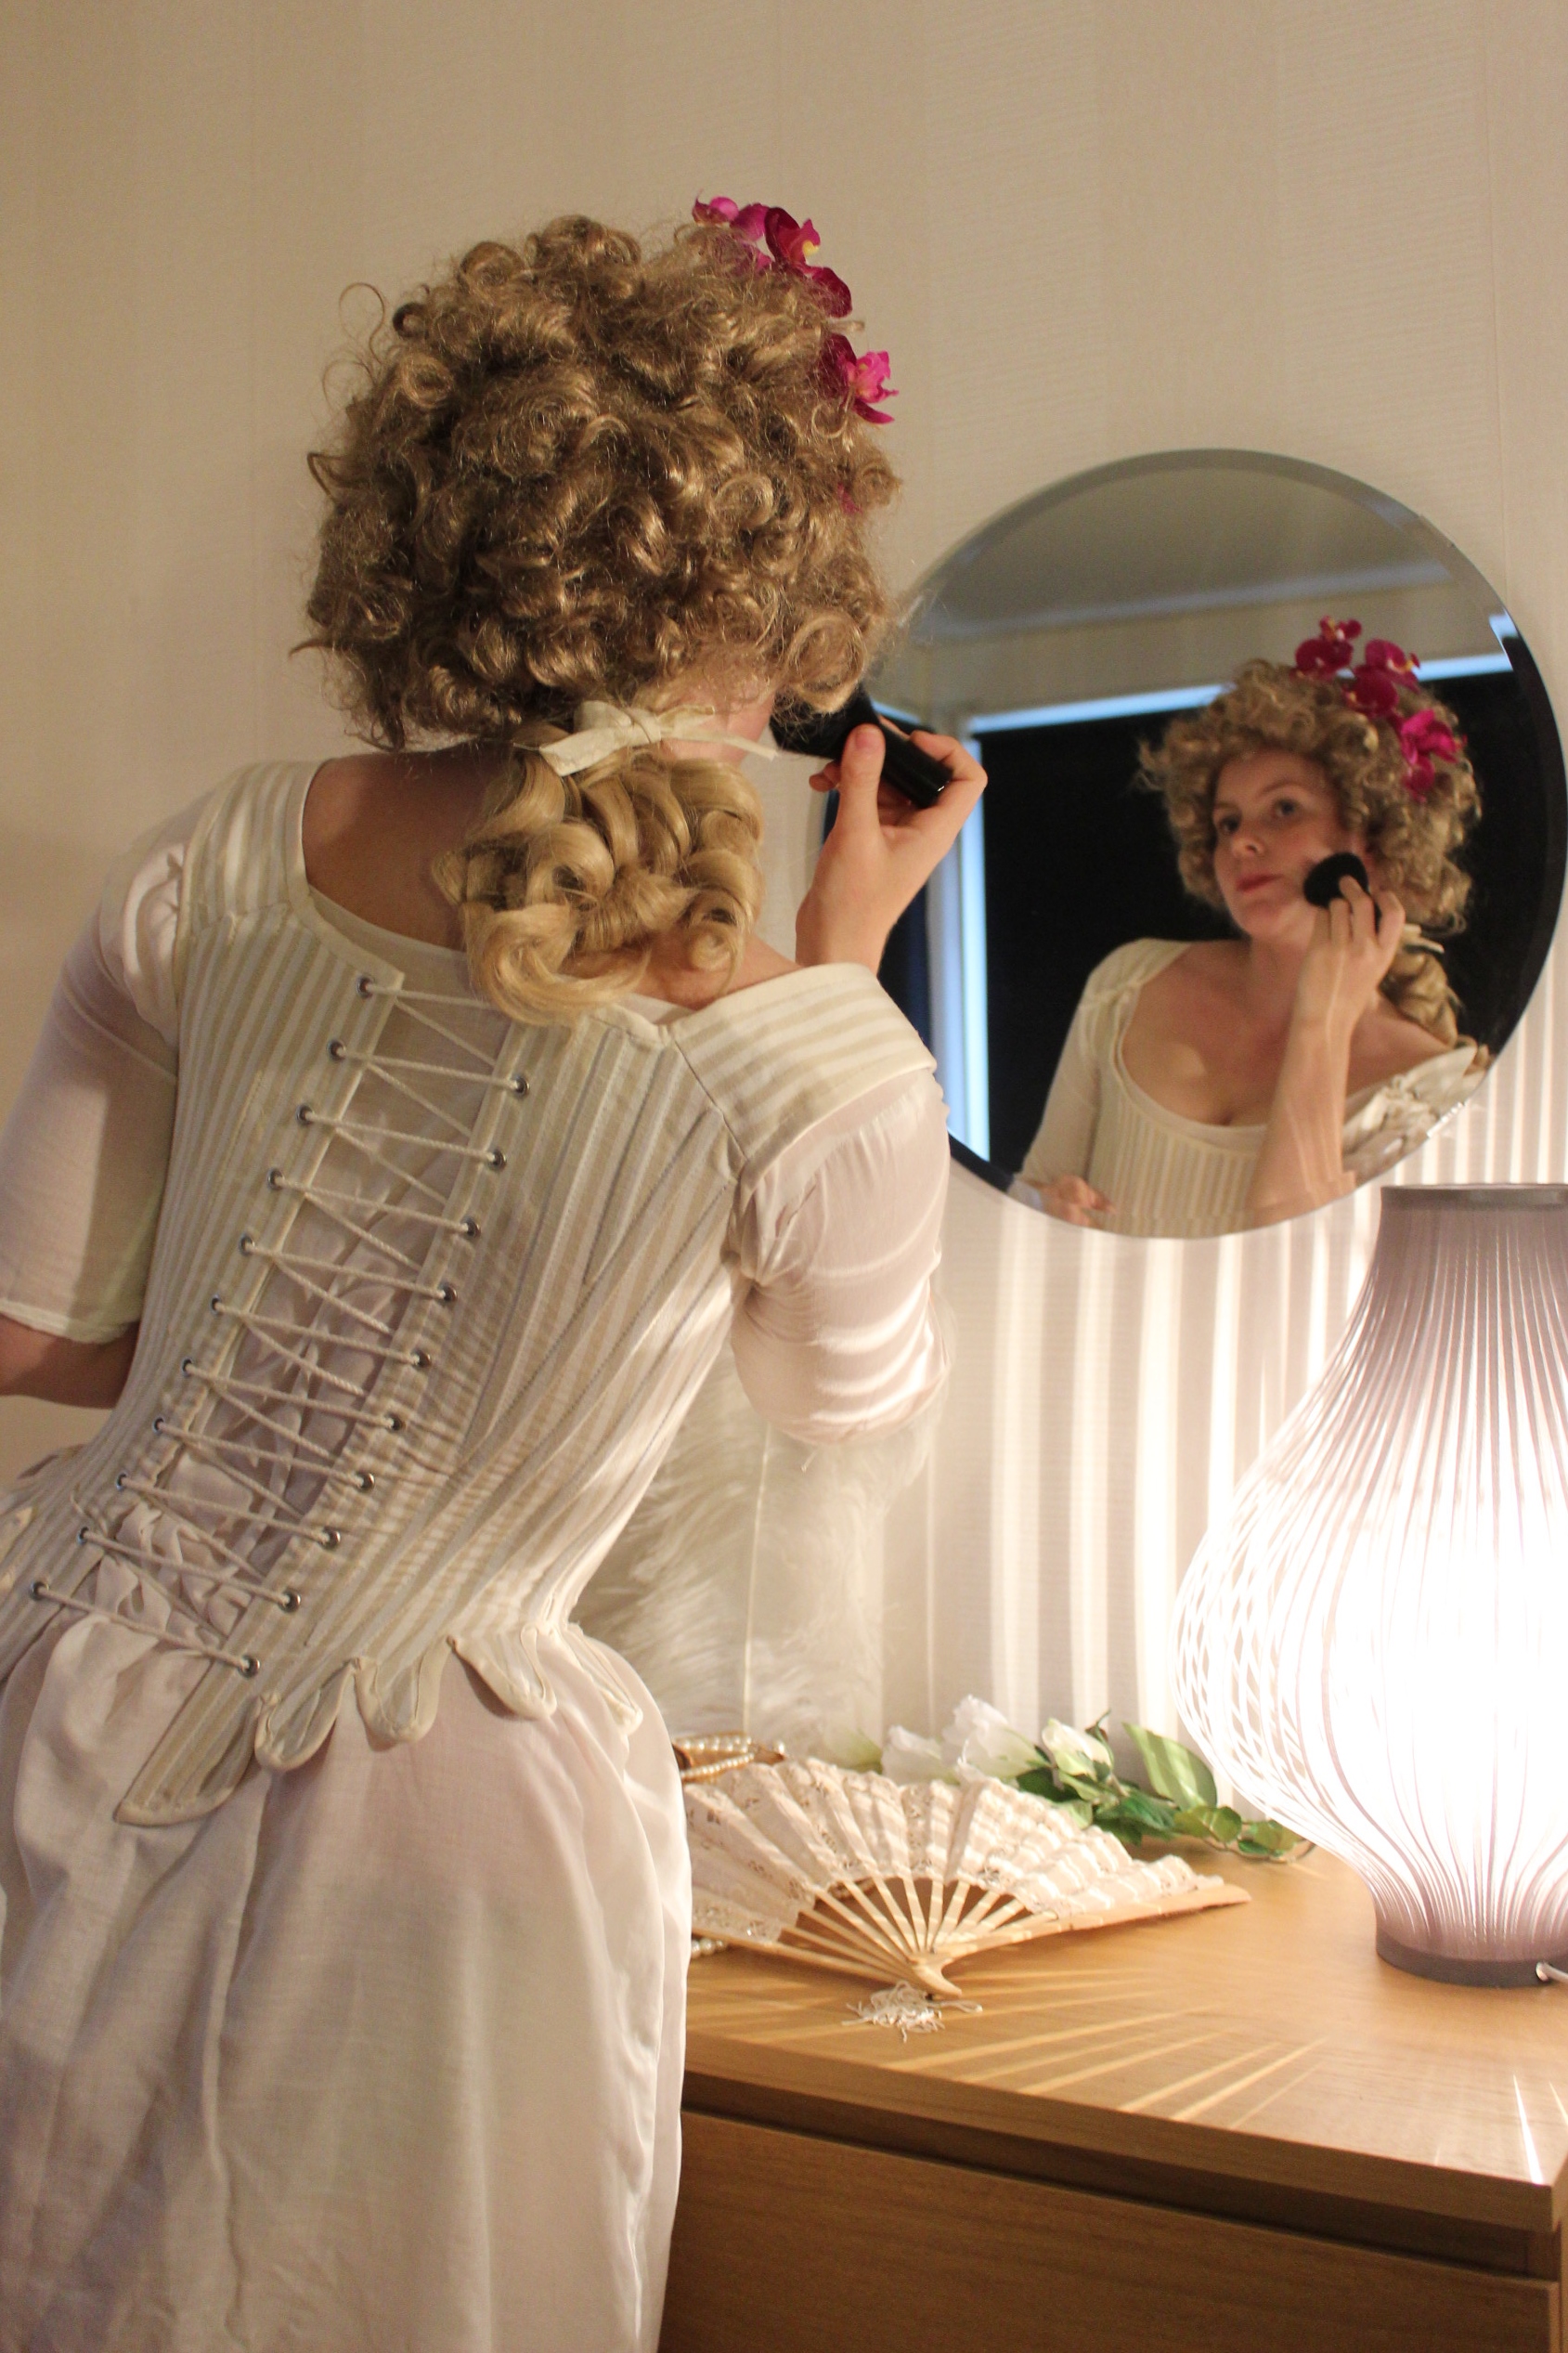
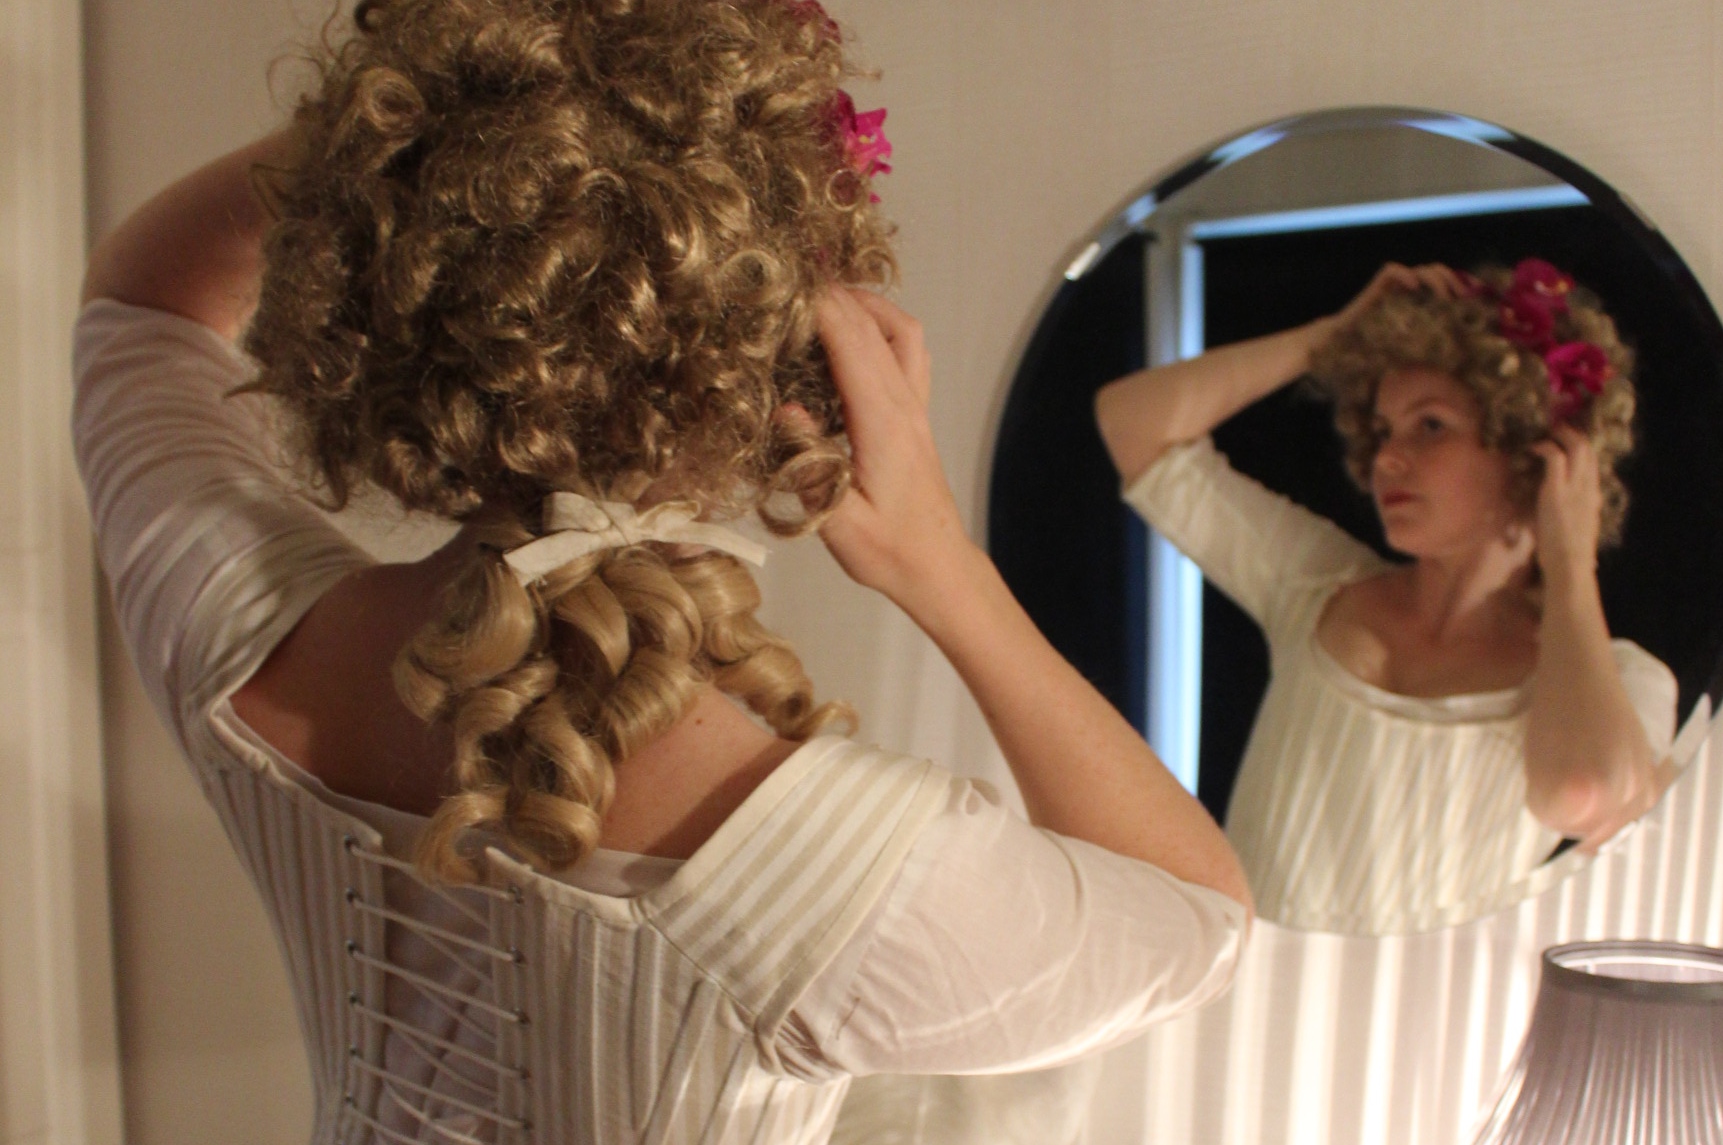
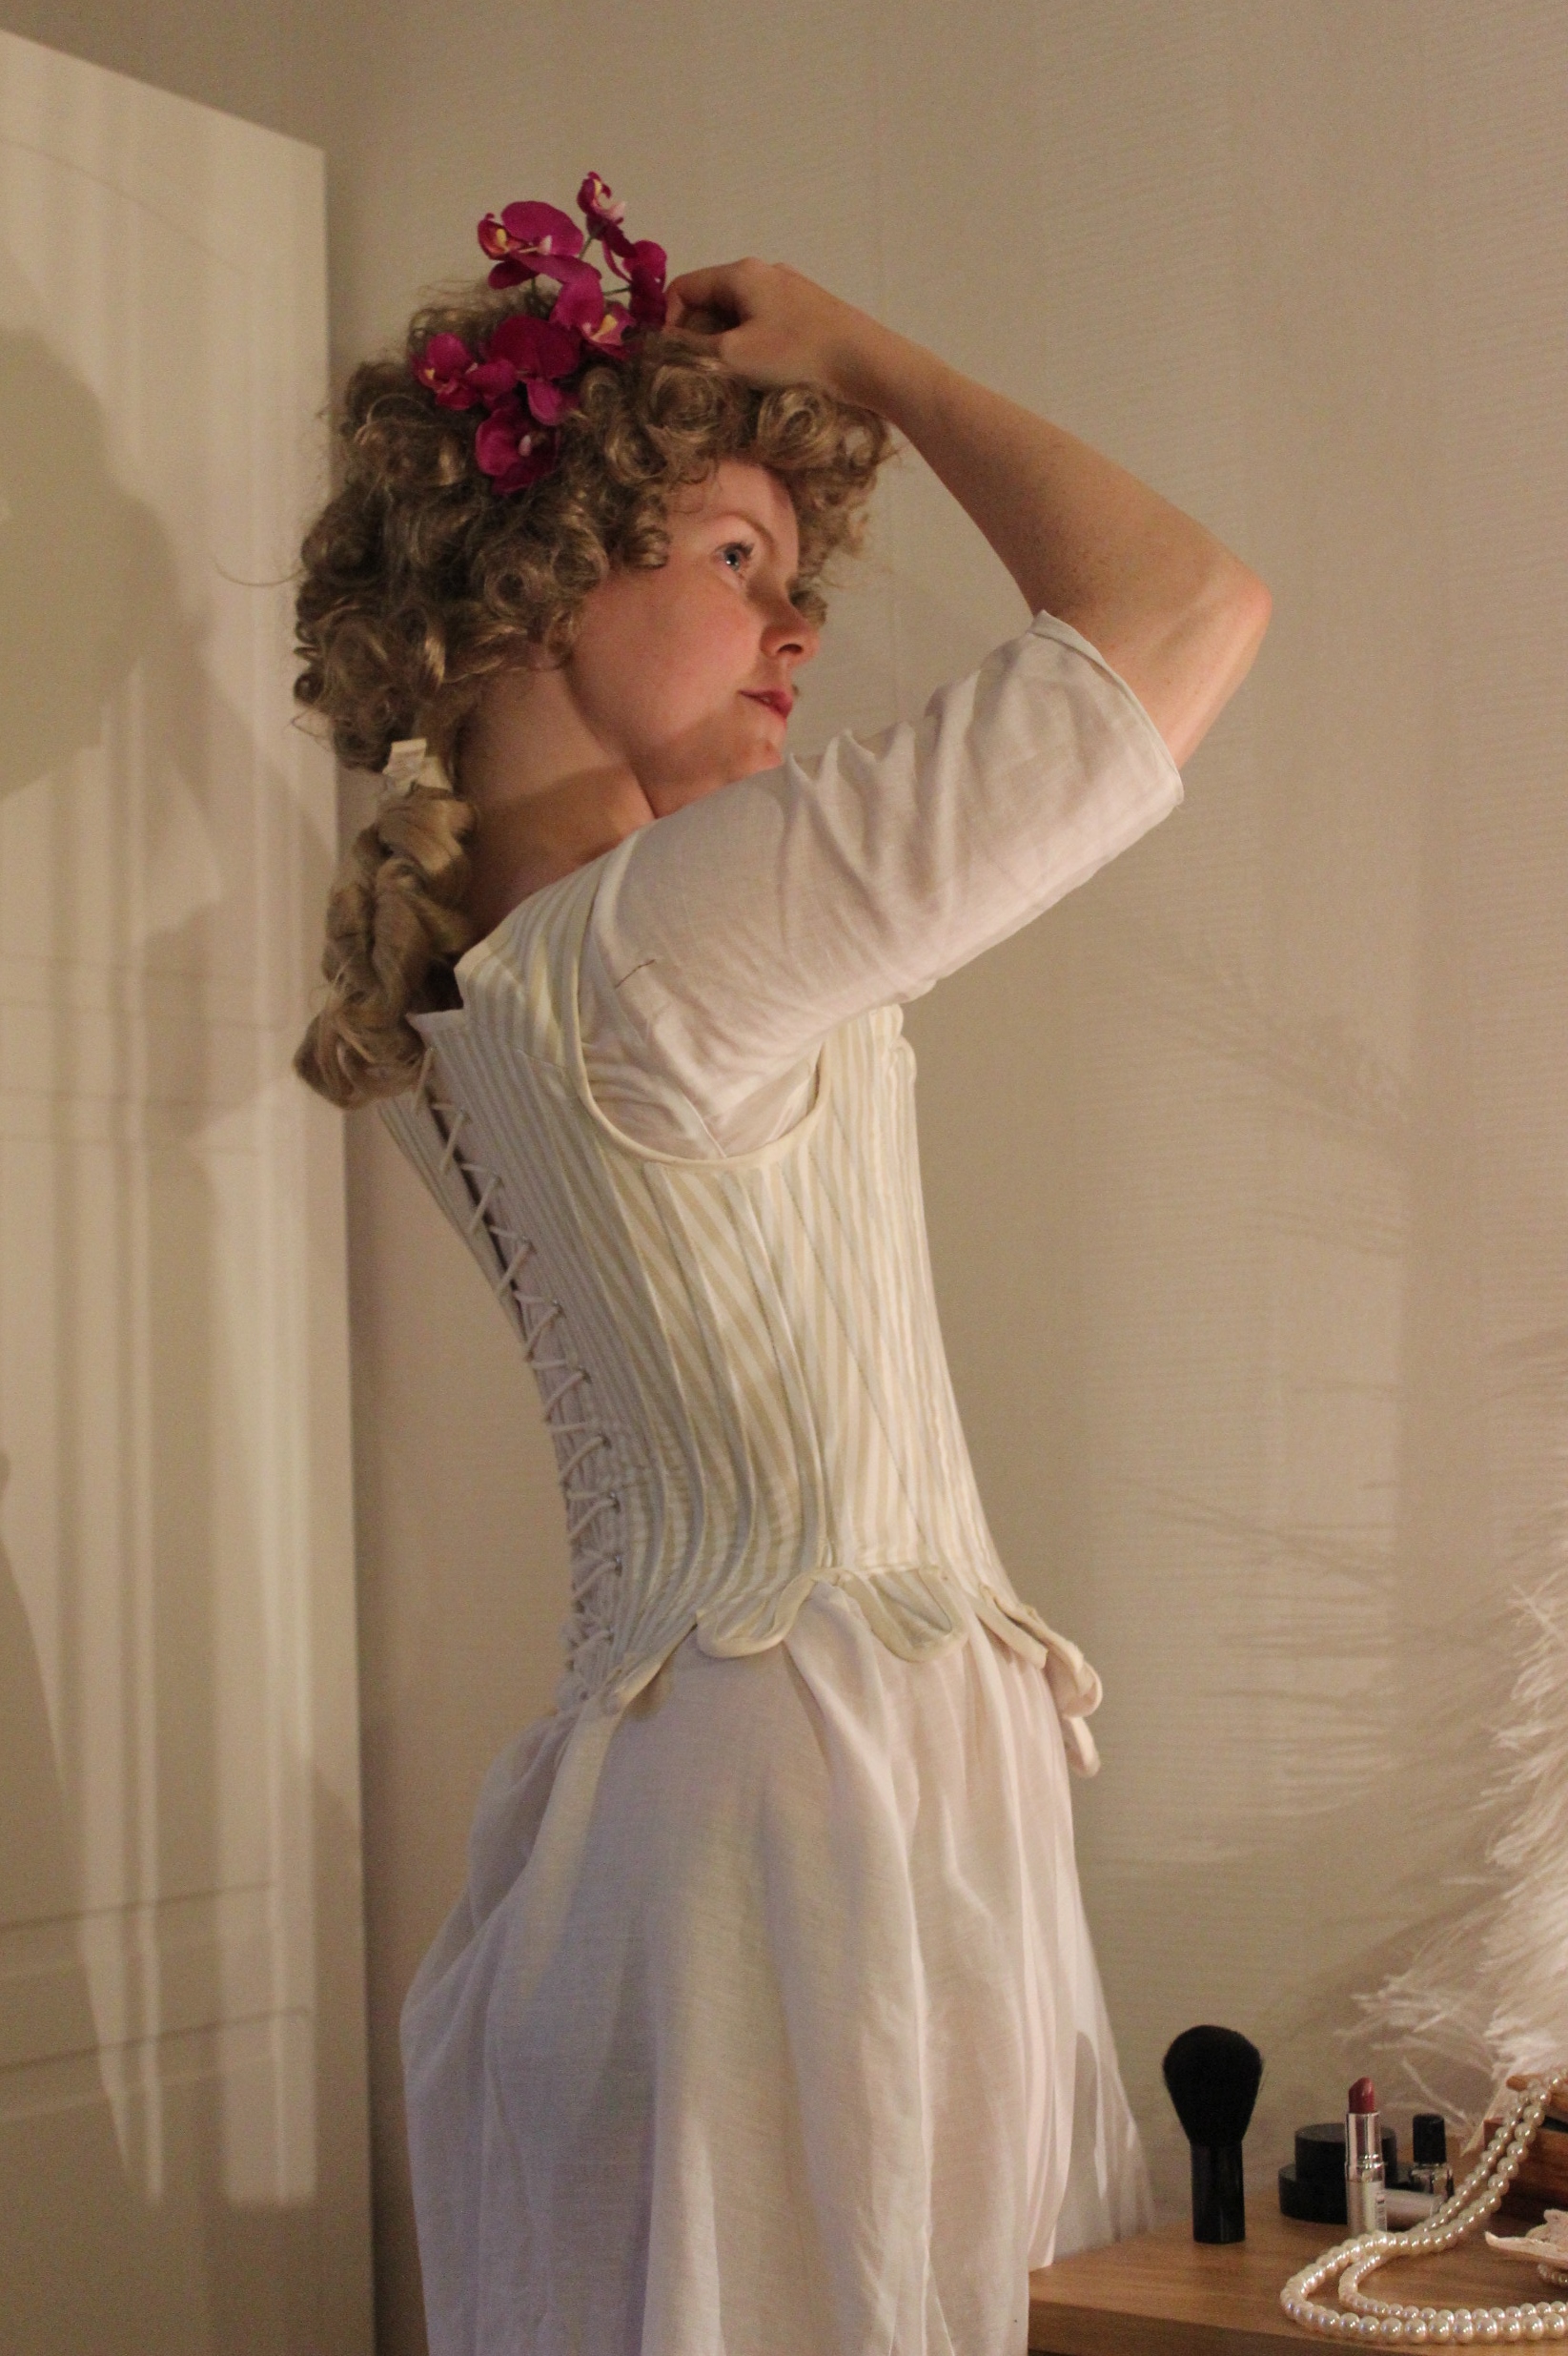
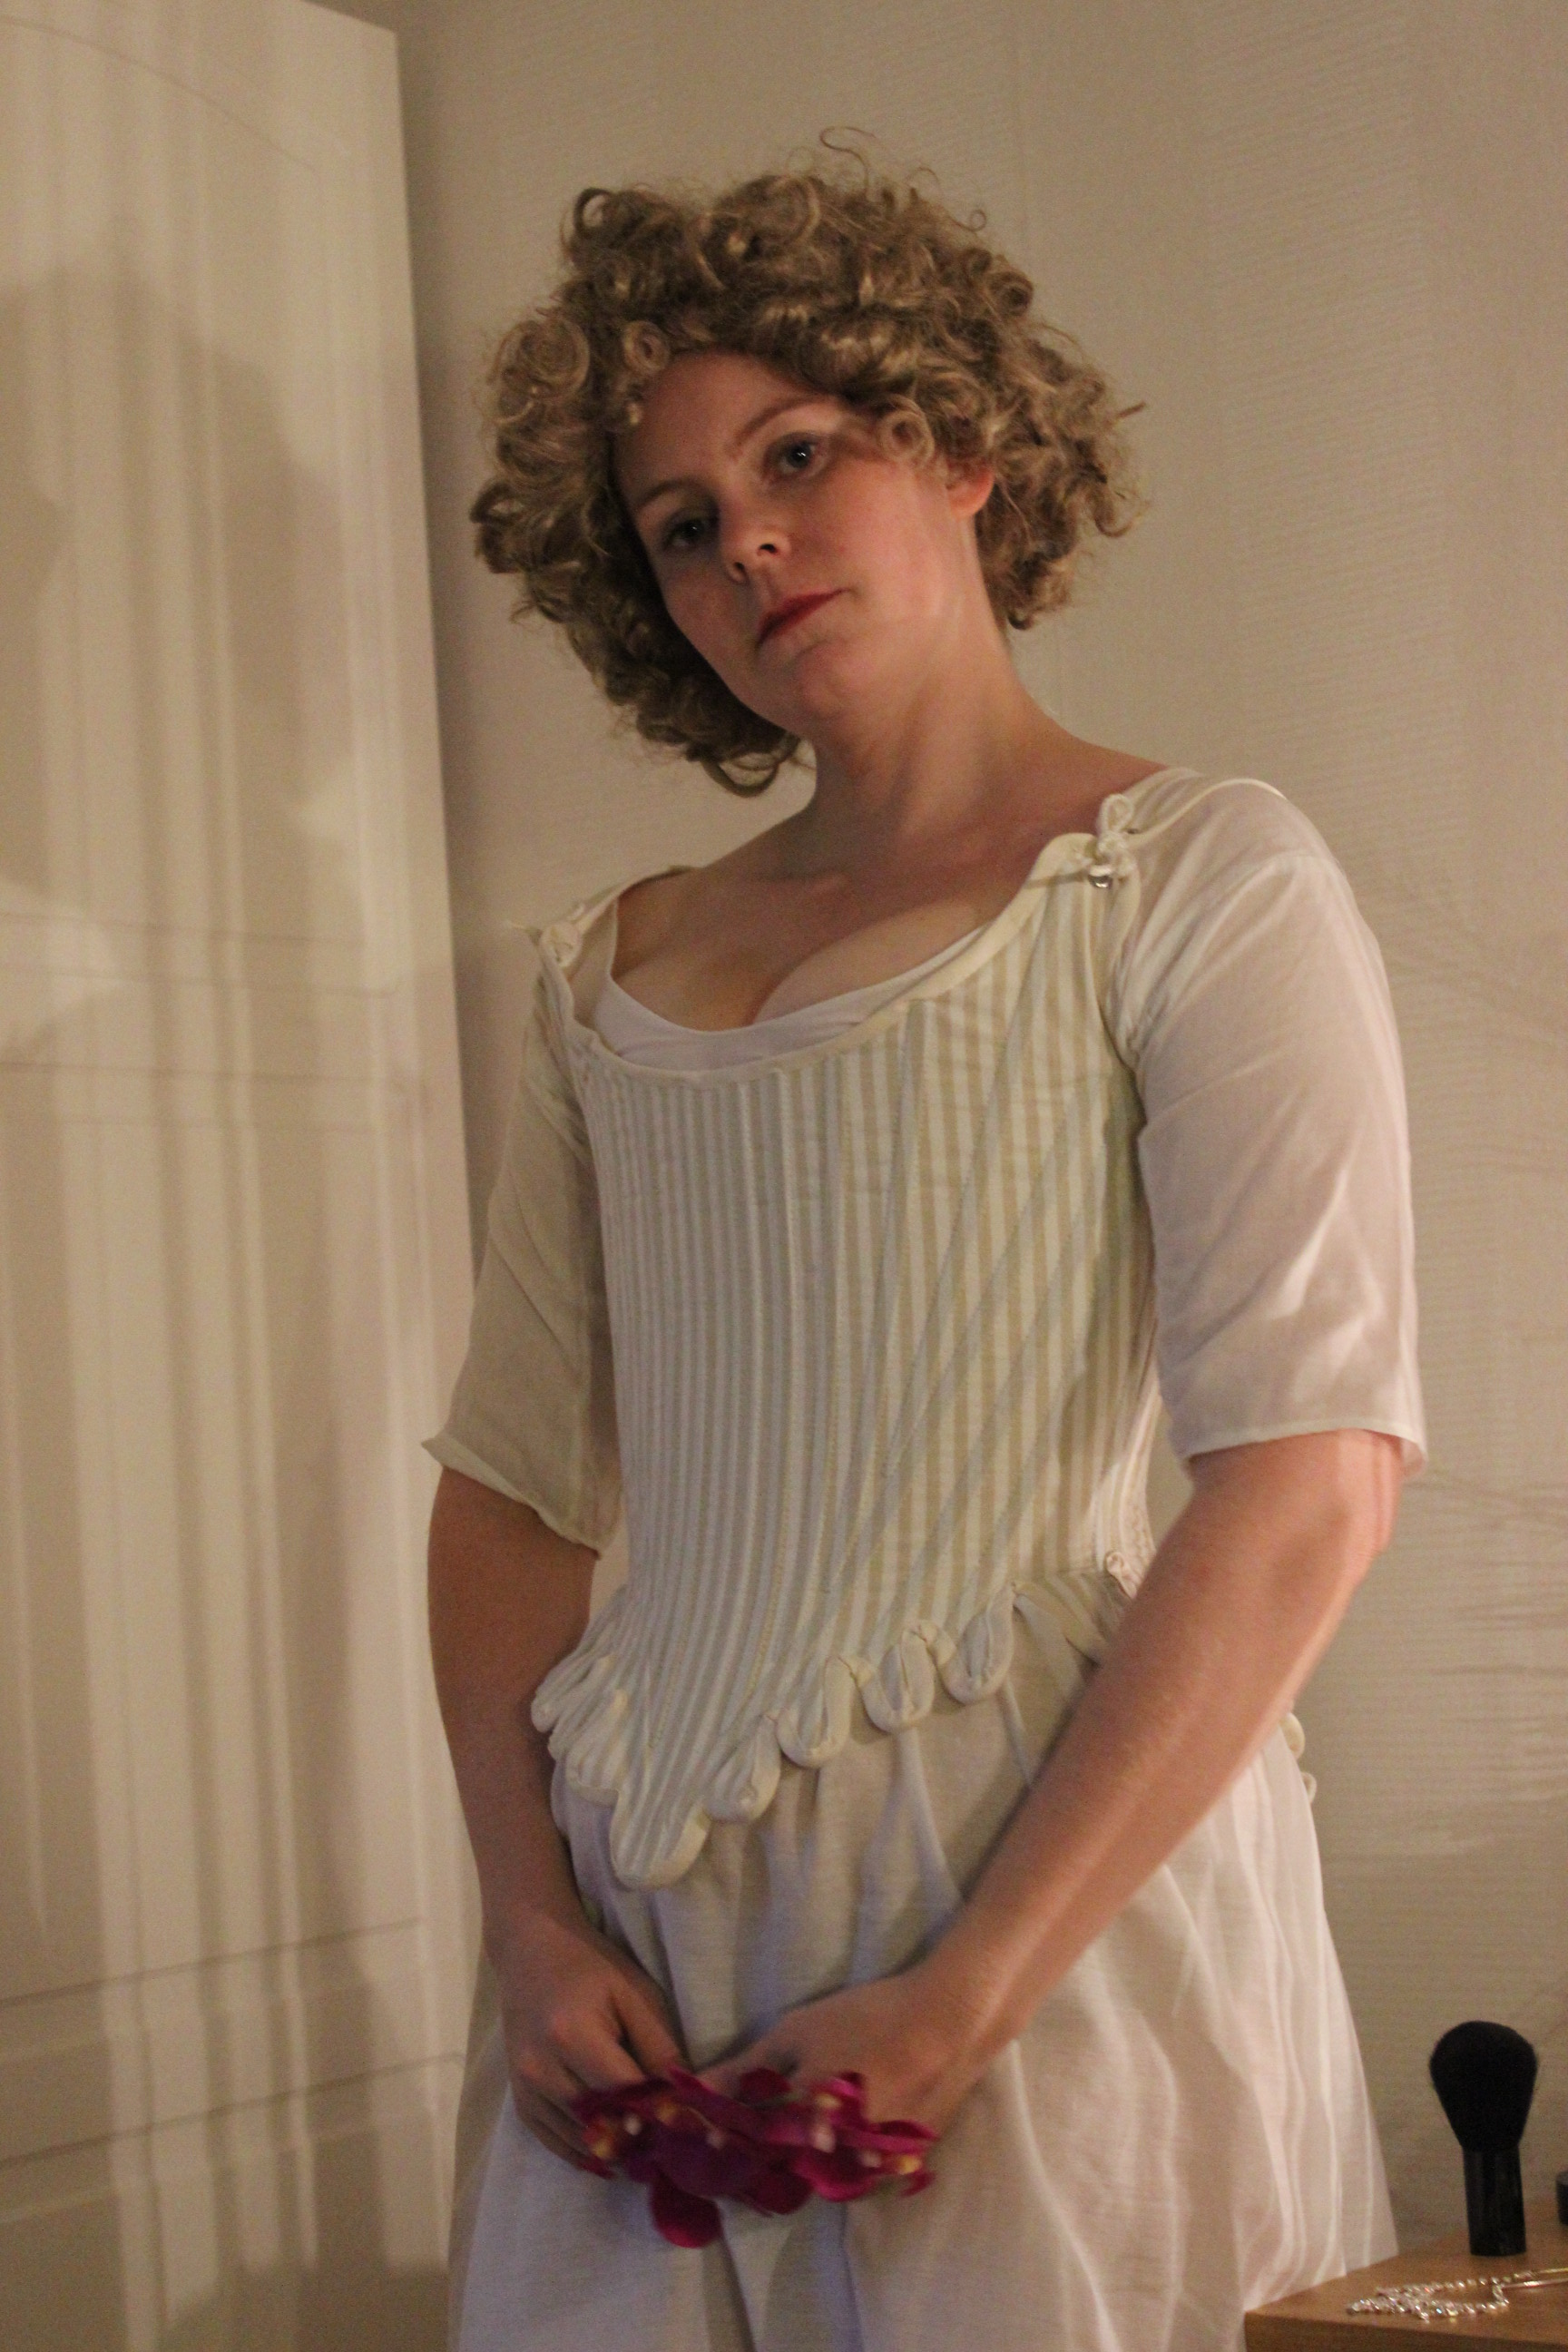
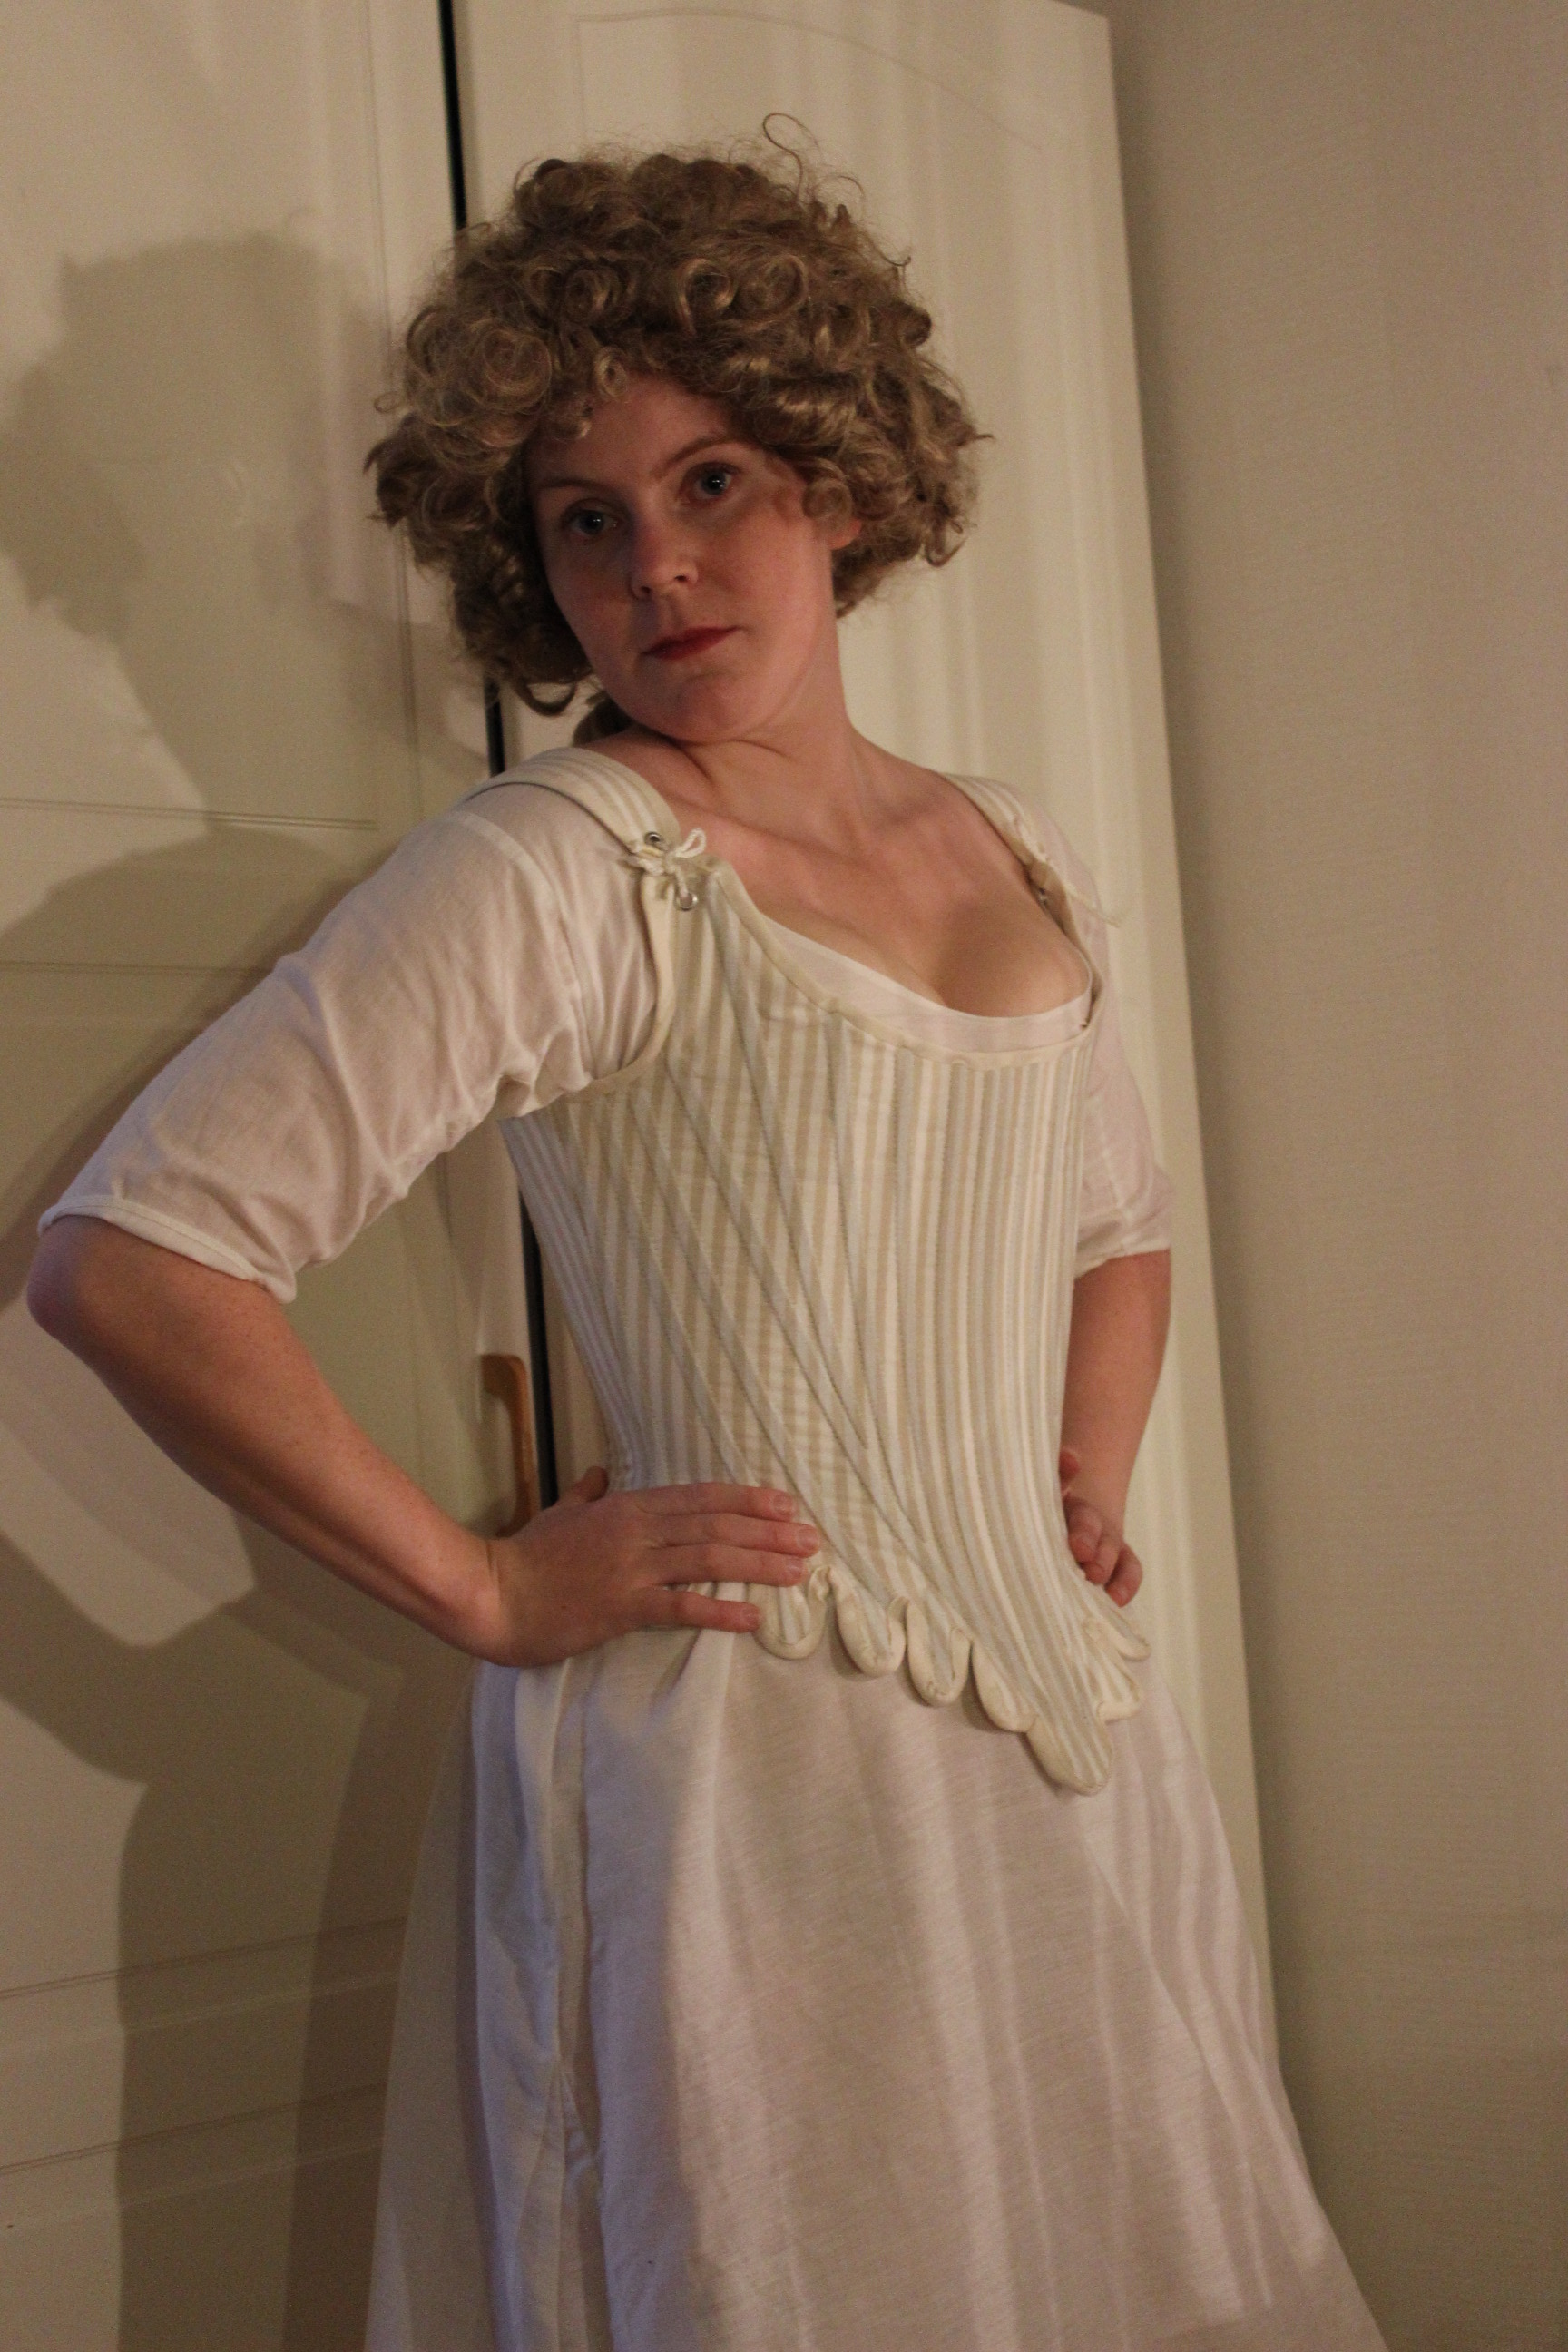
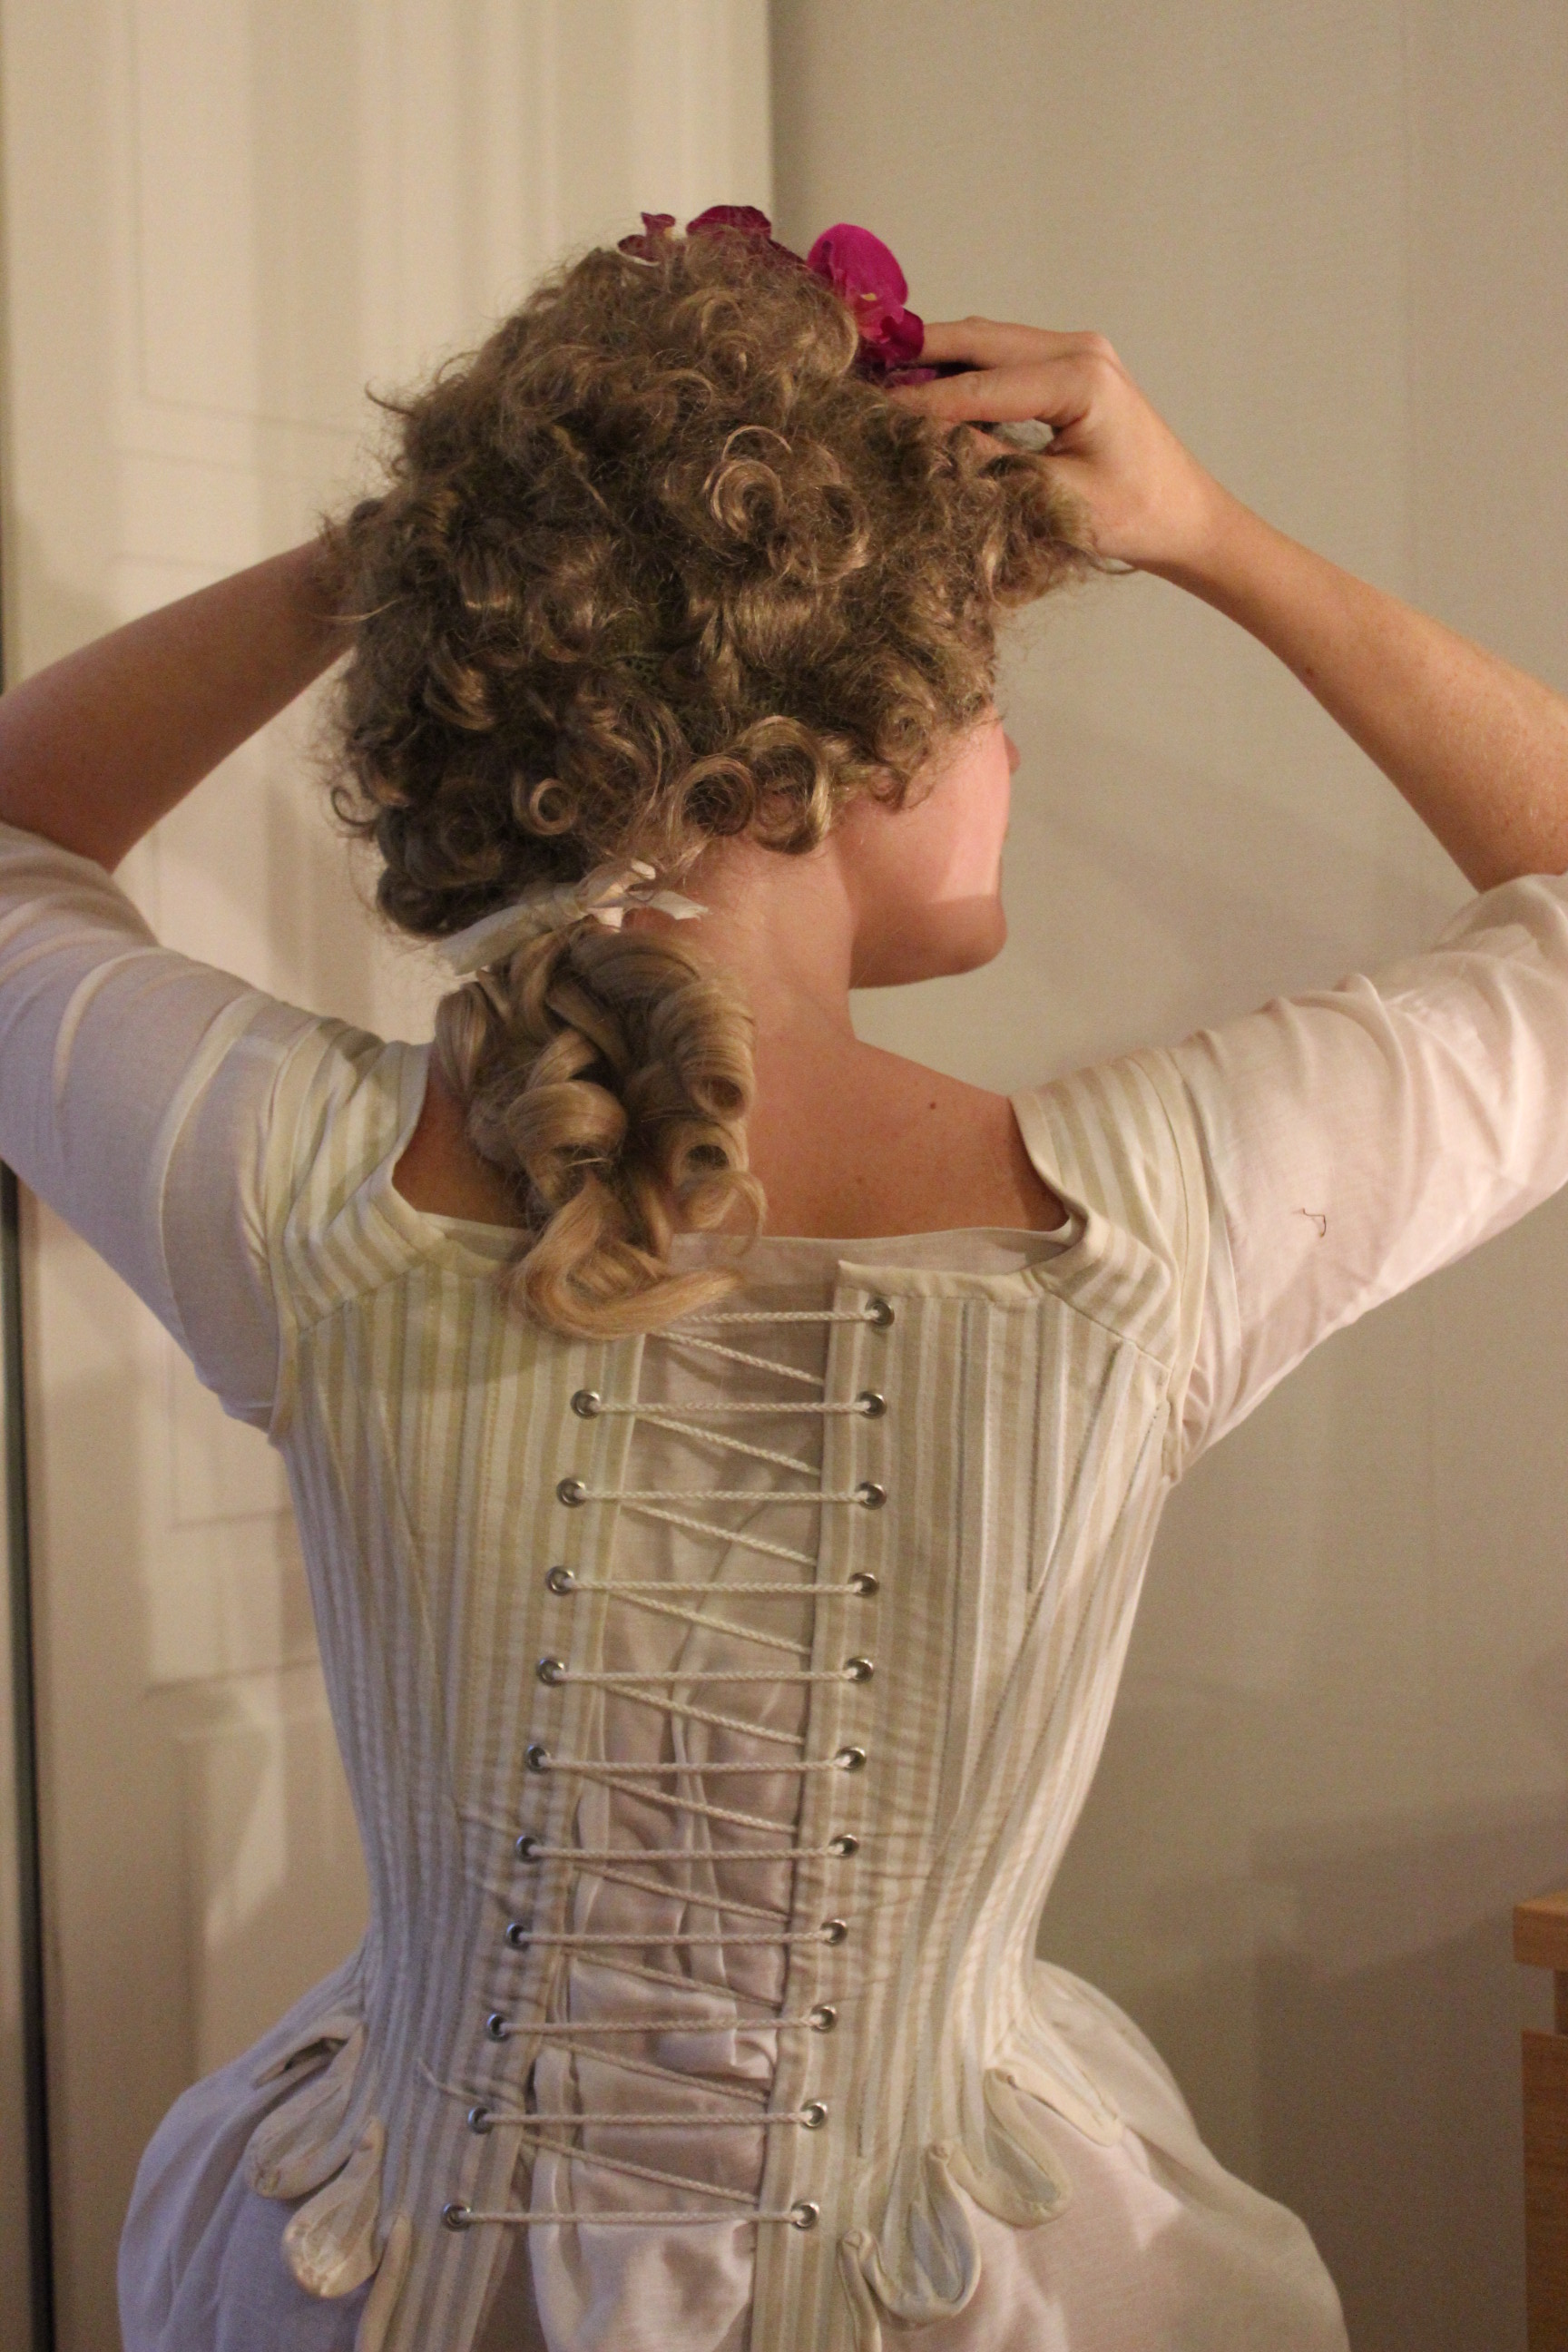
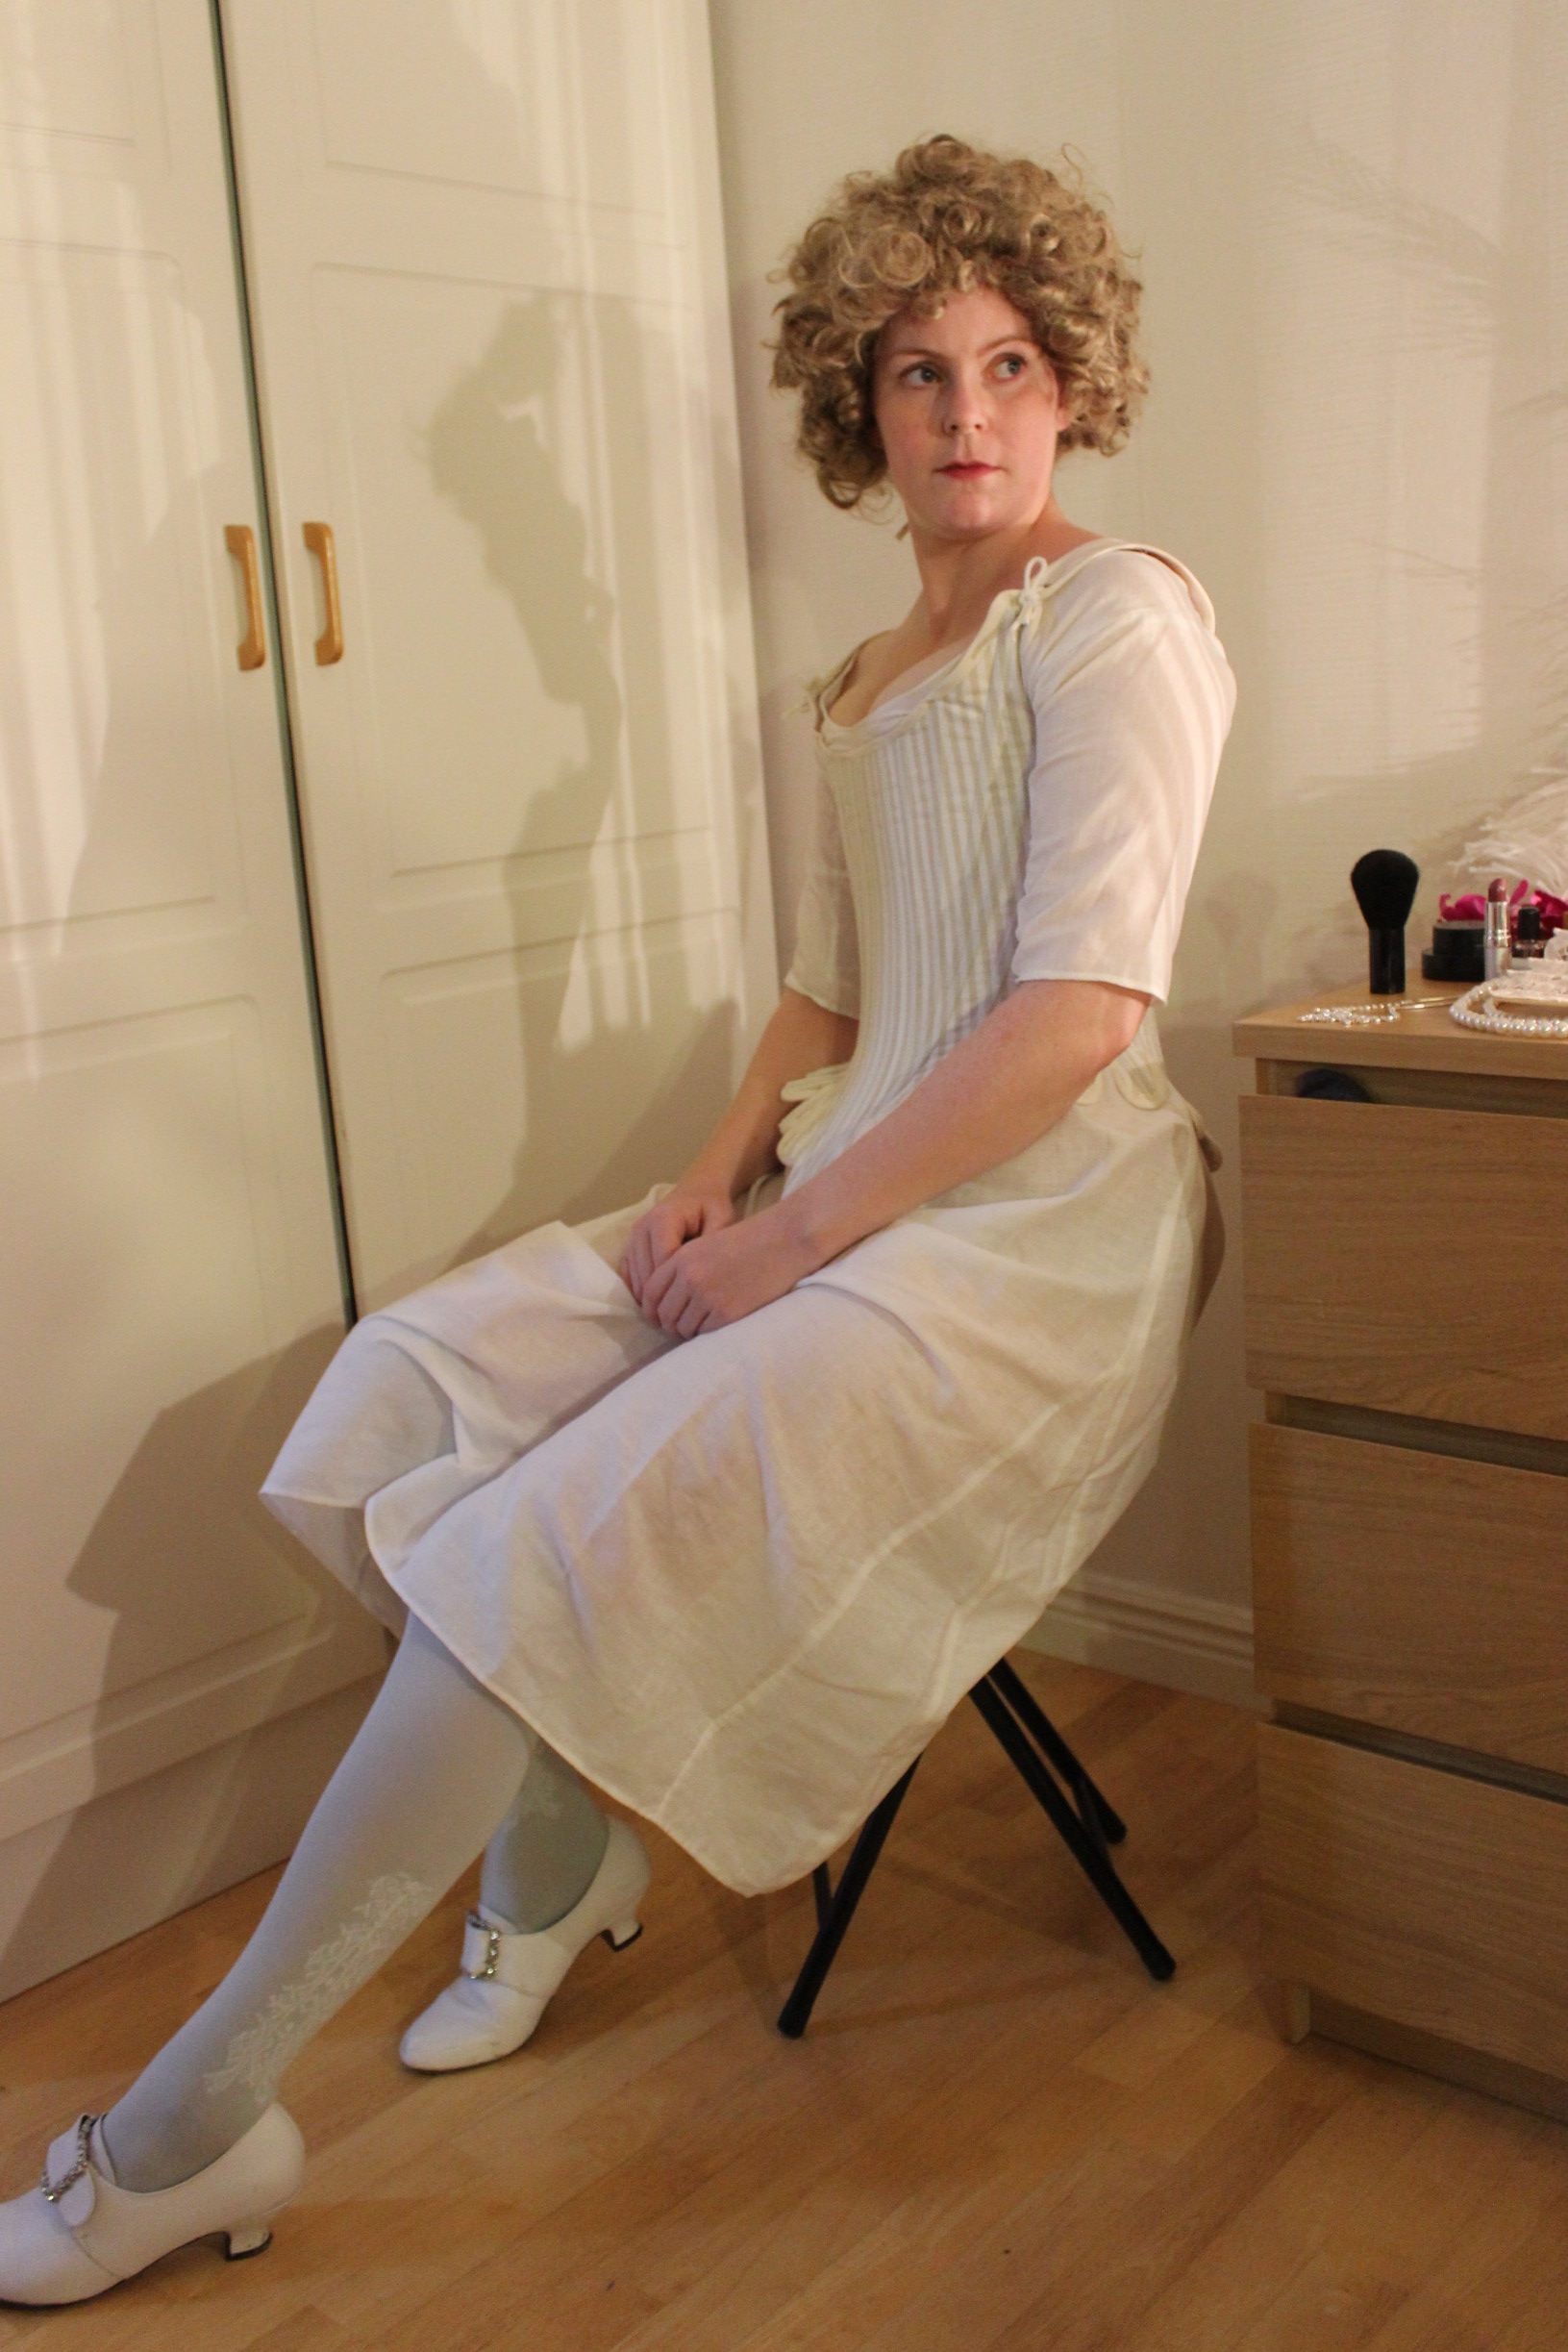
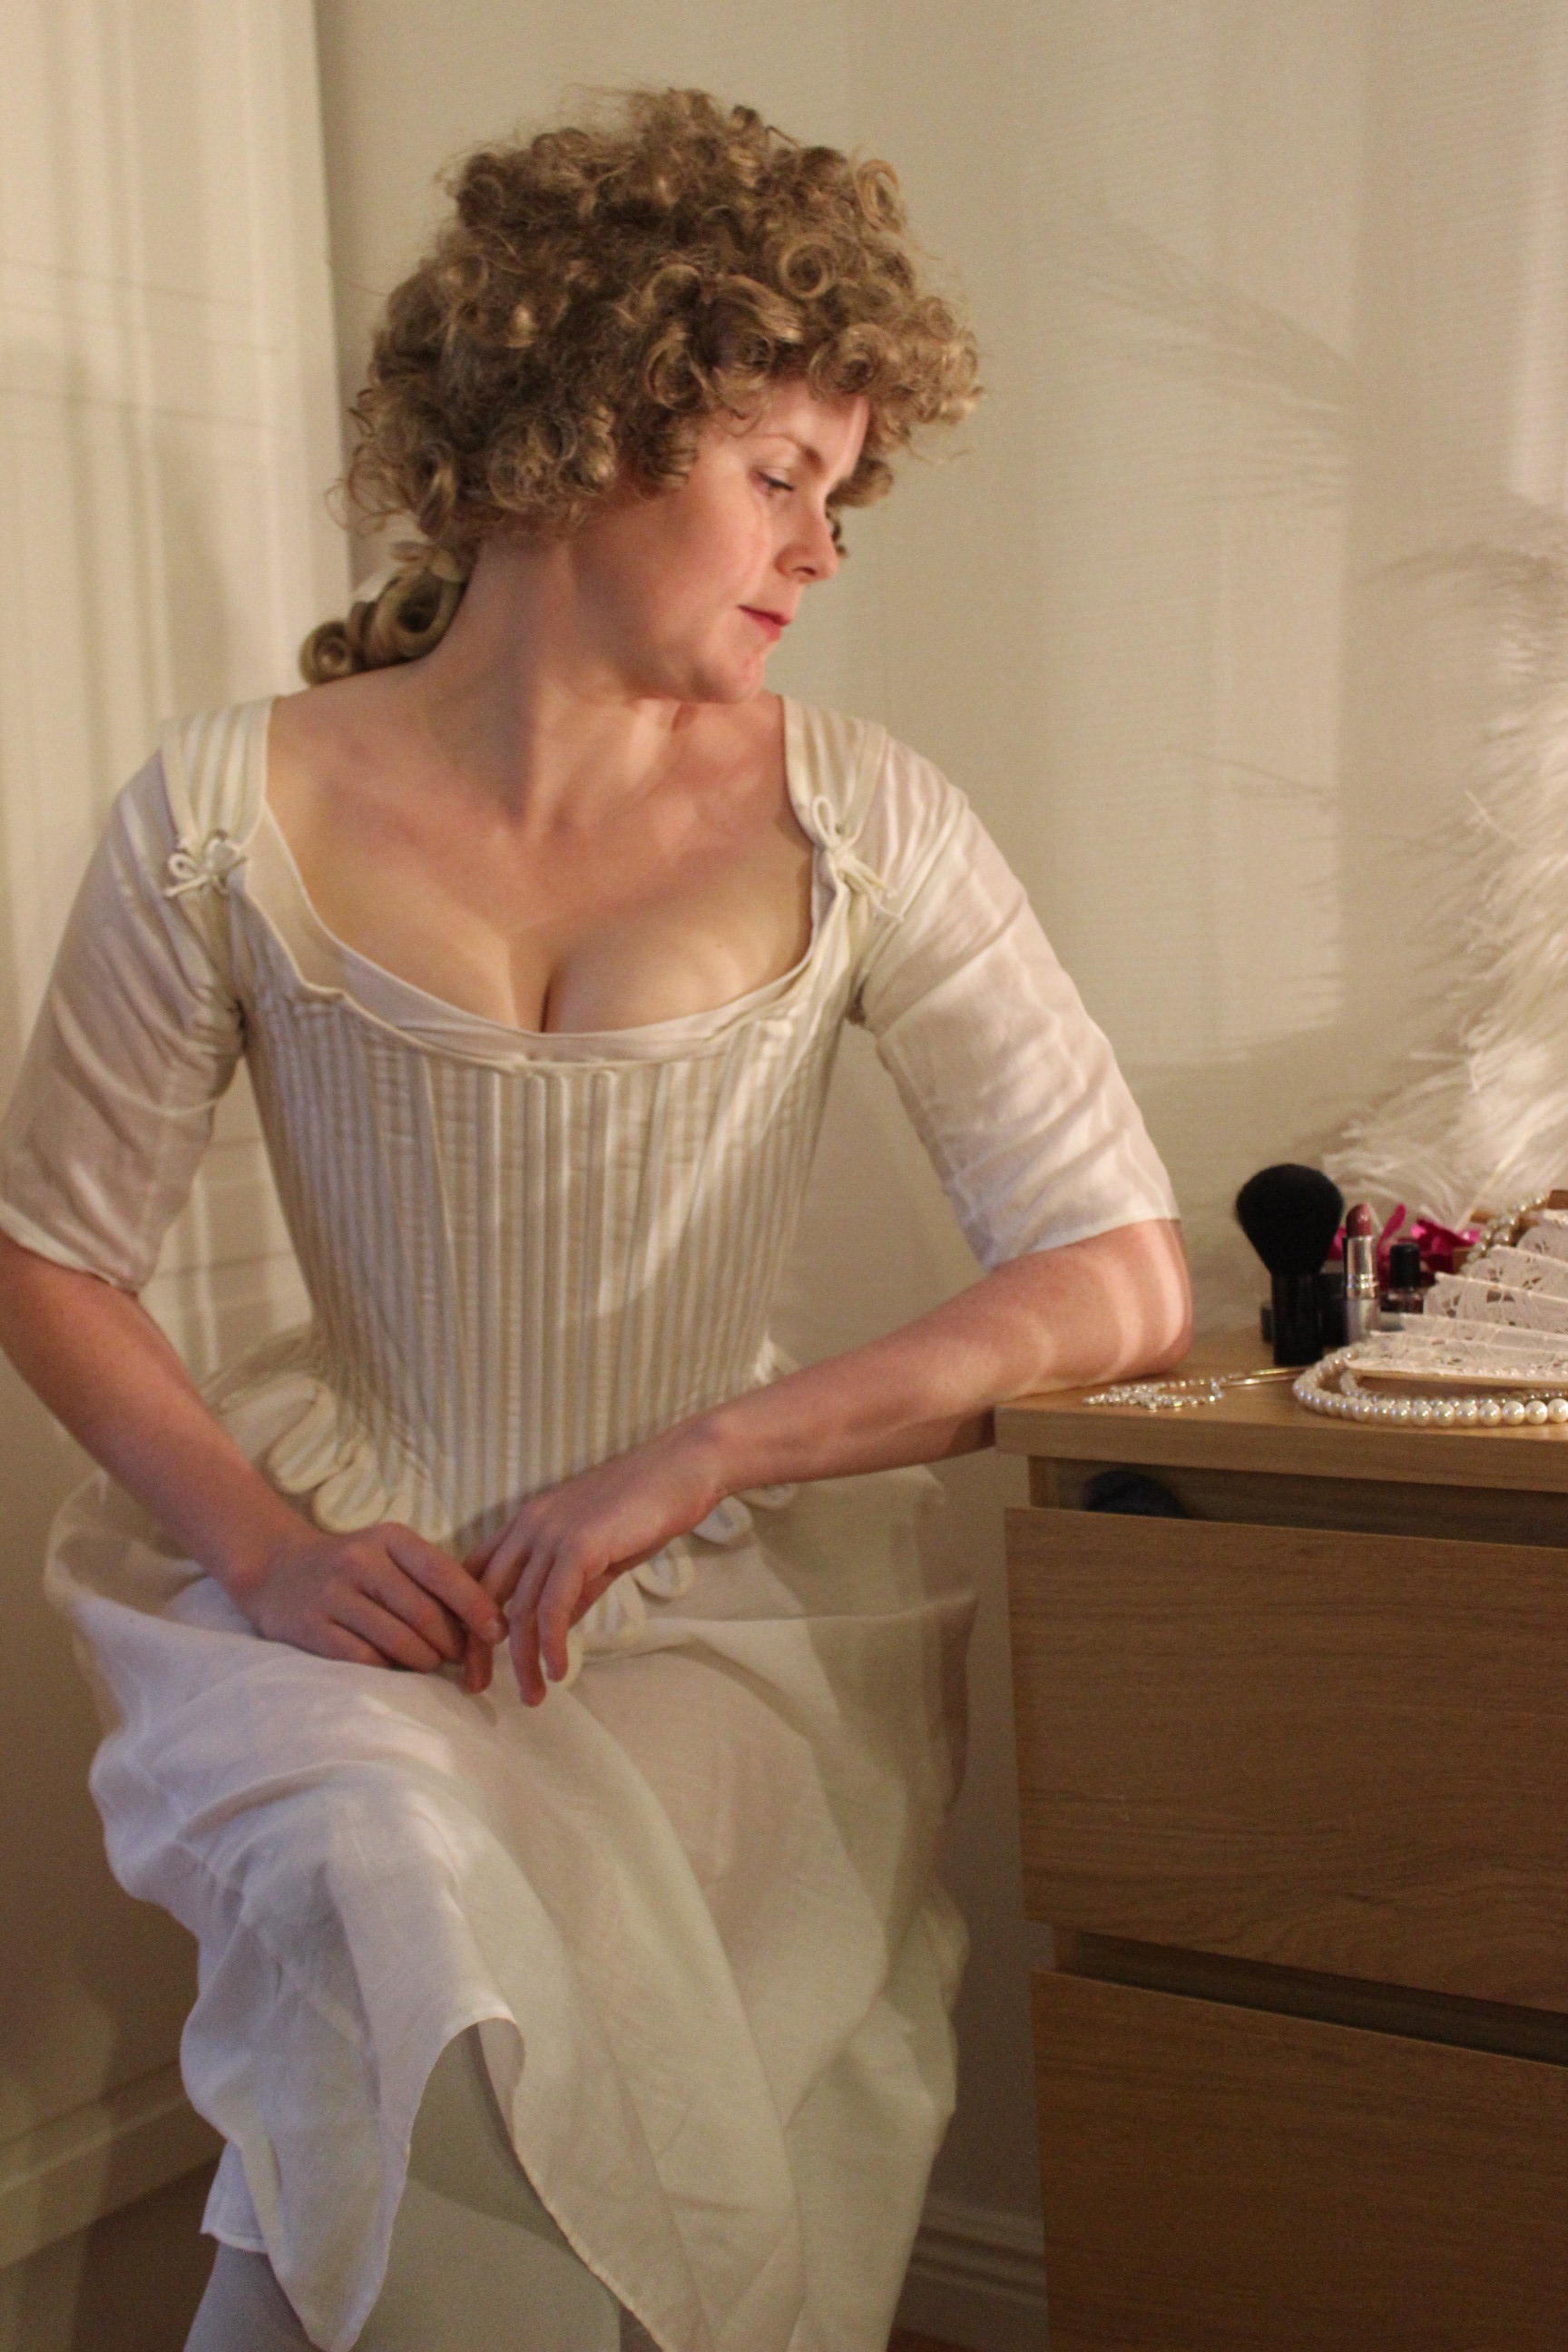
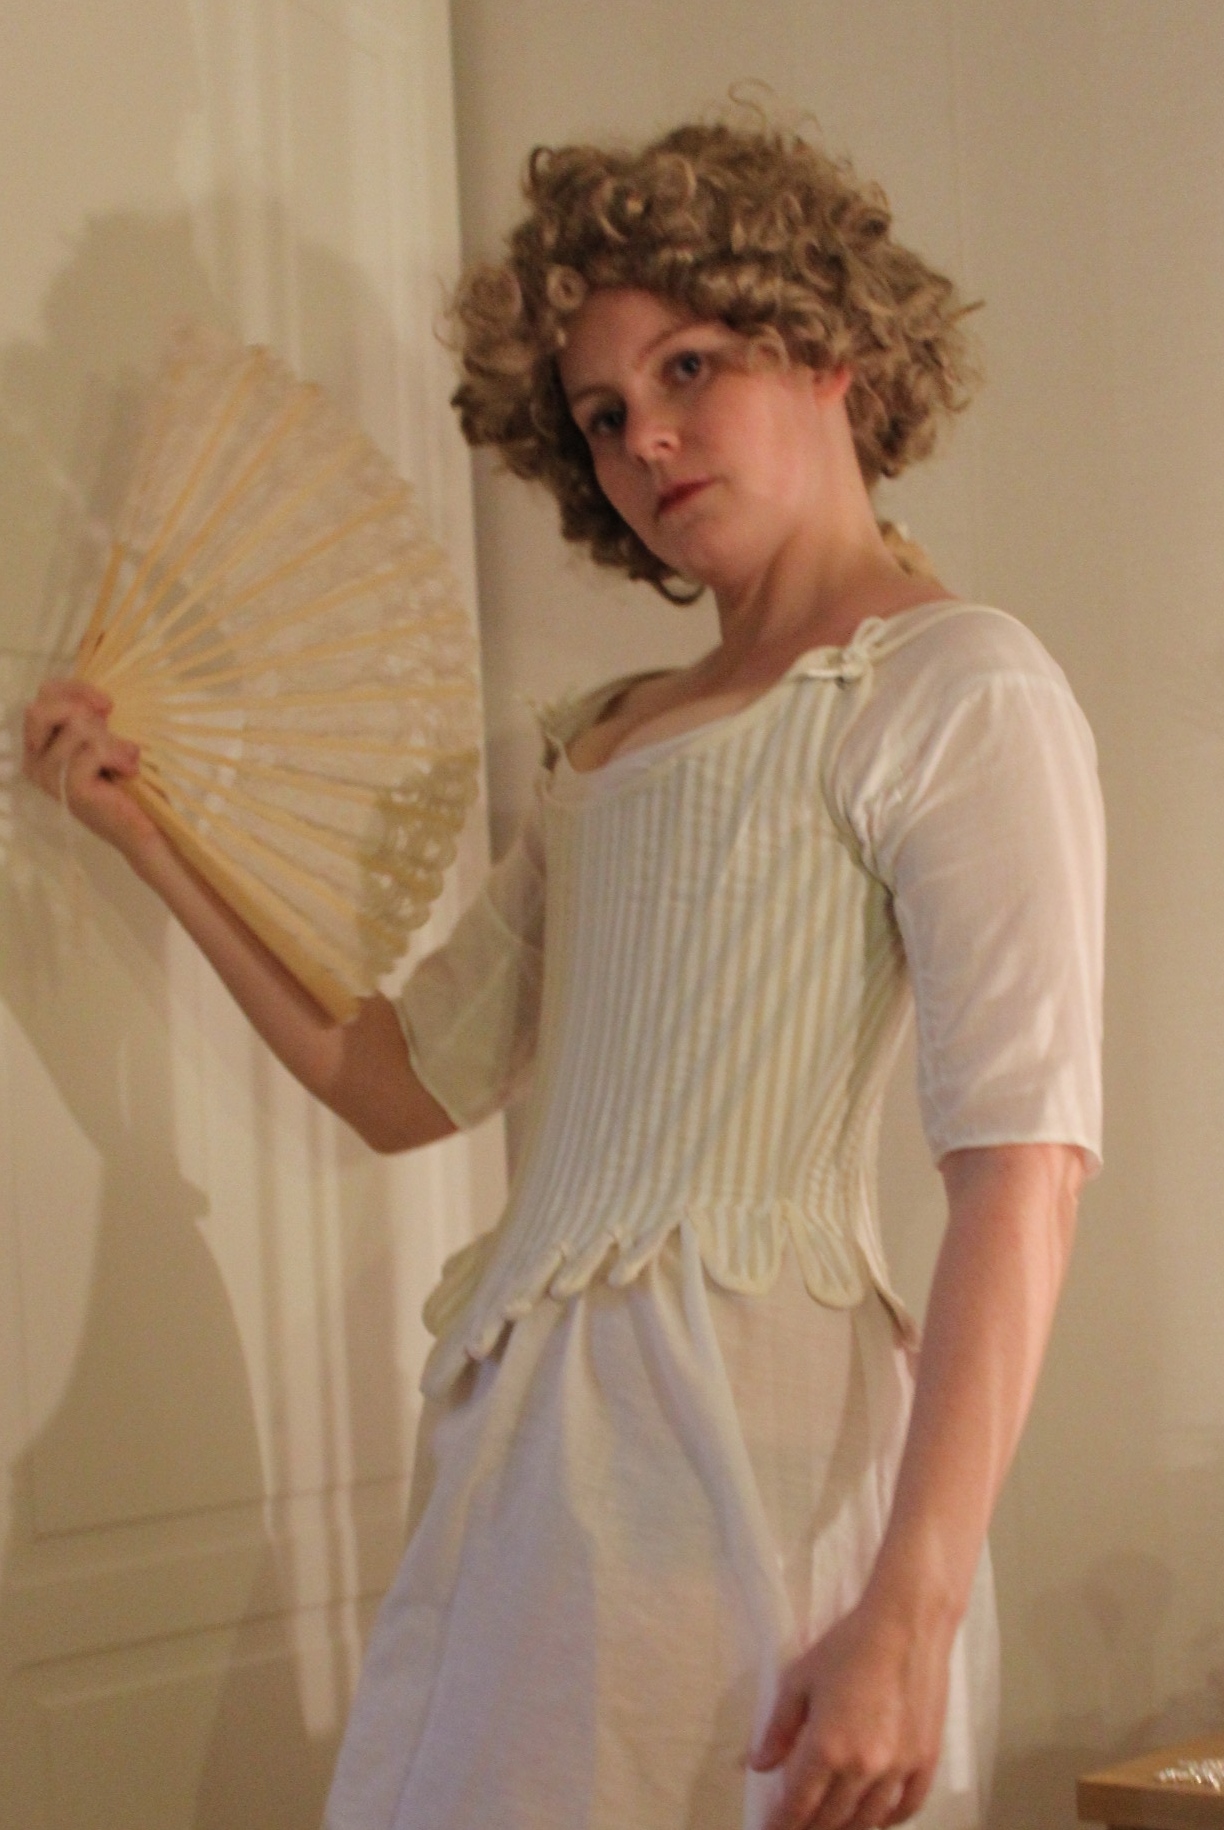
The finished Stays:


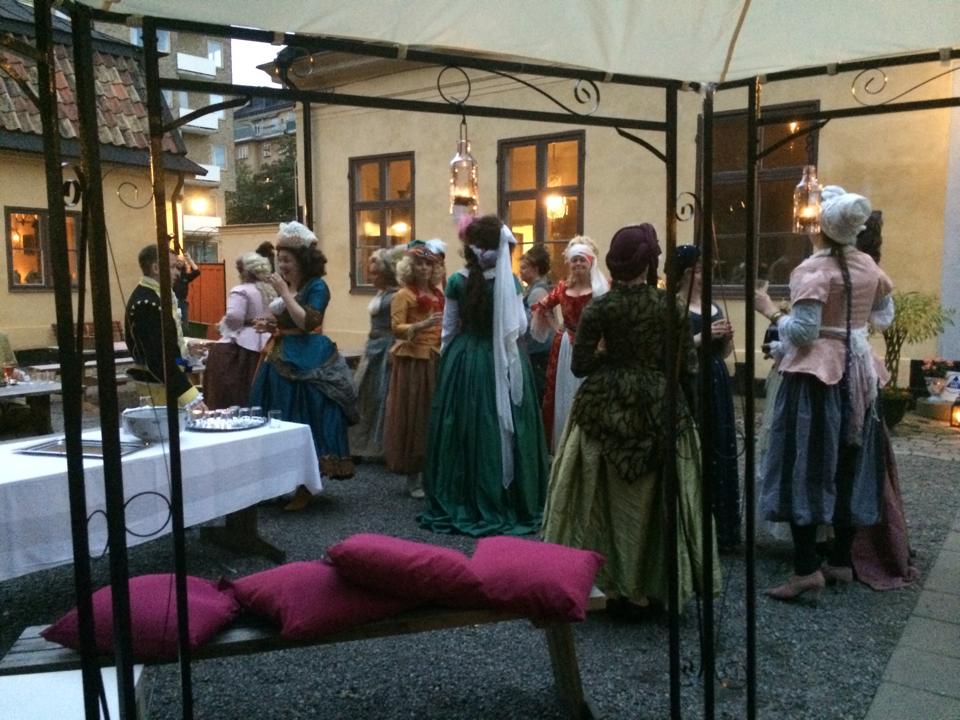
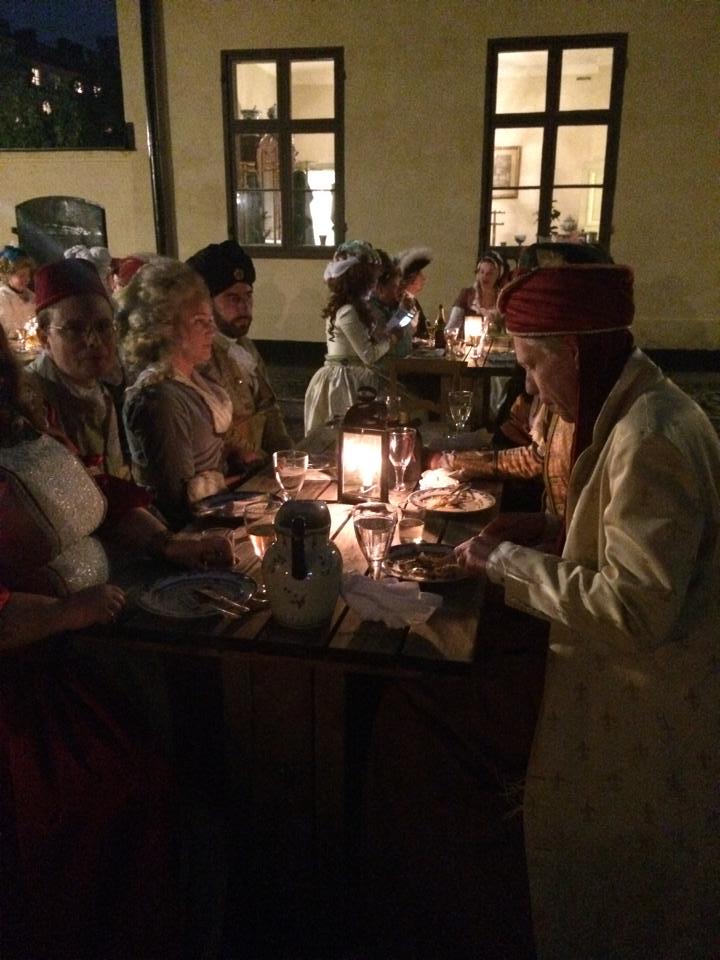
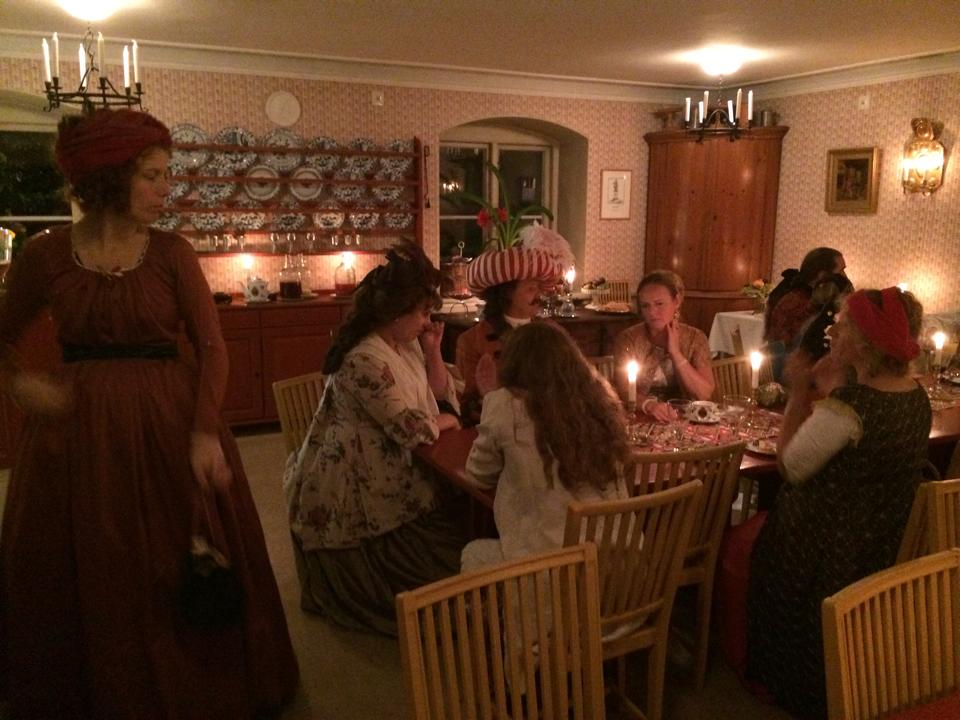
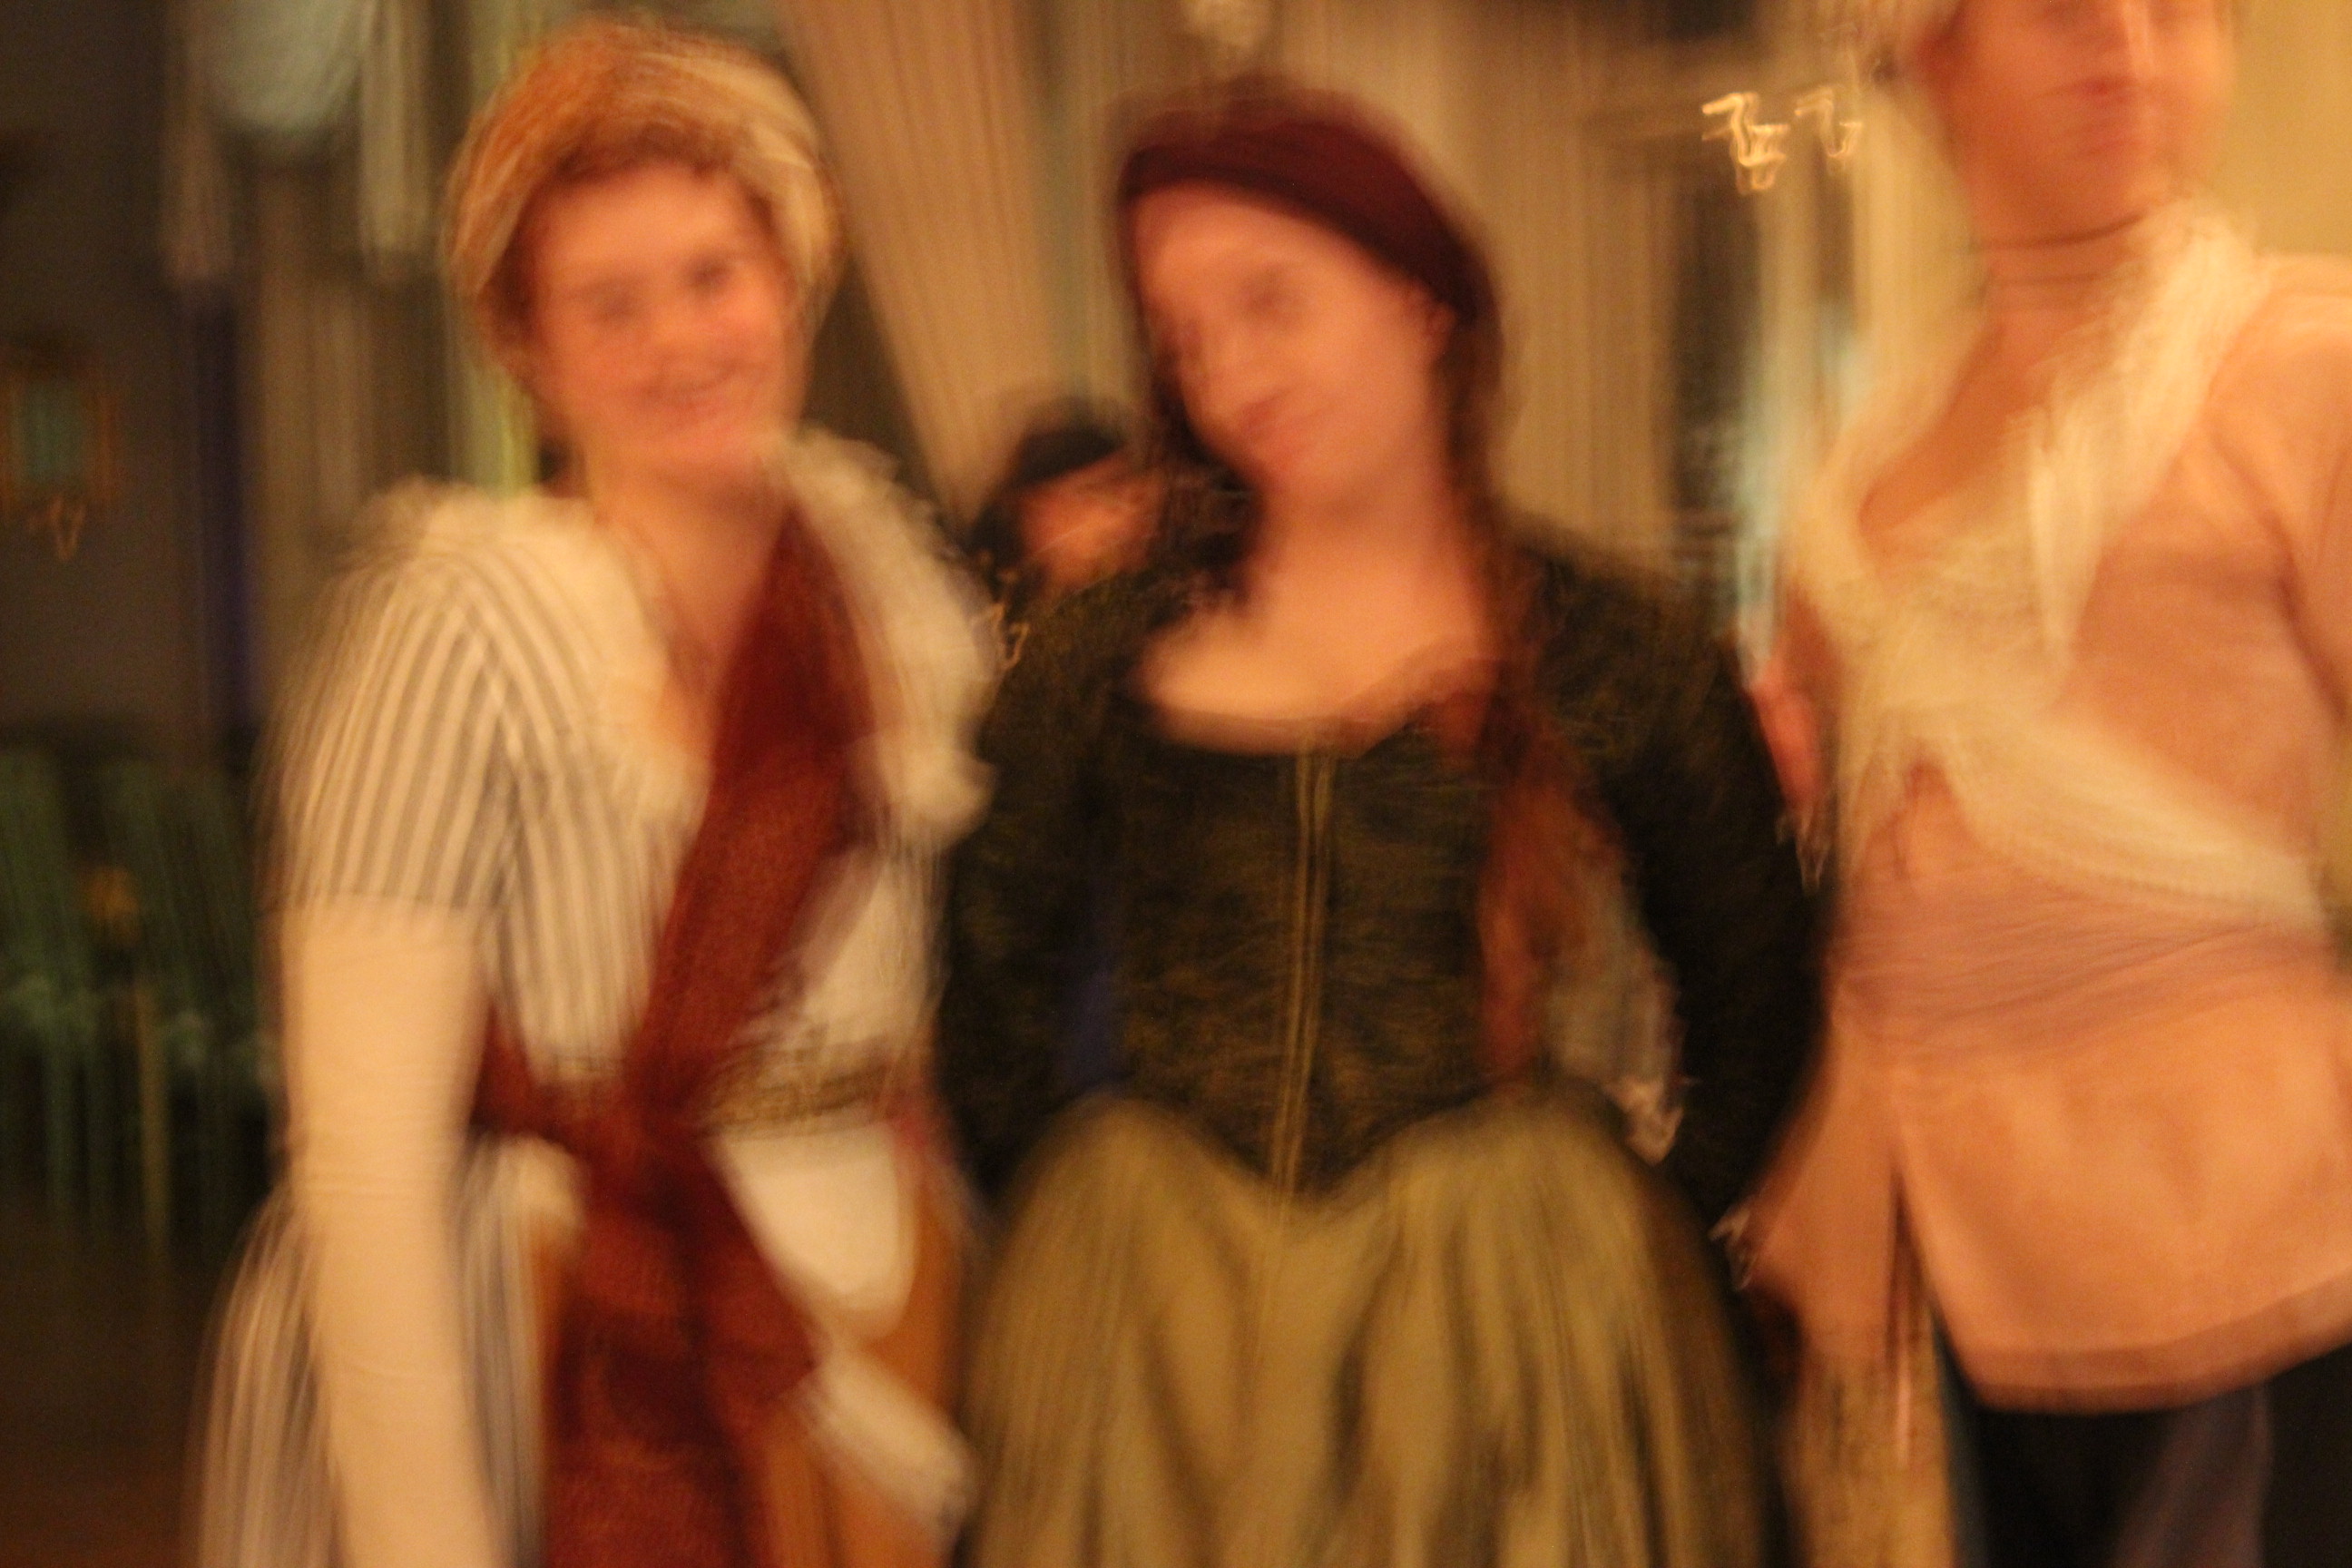
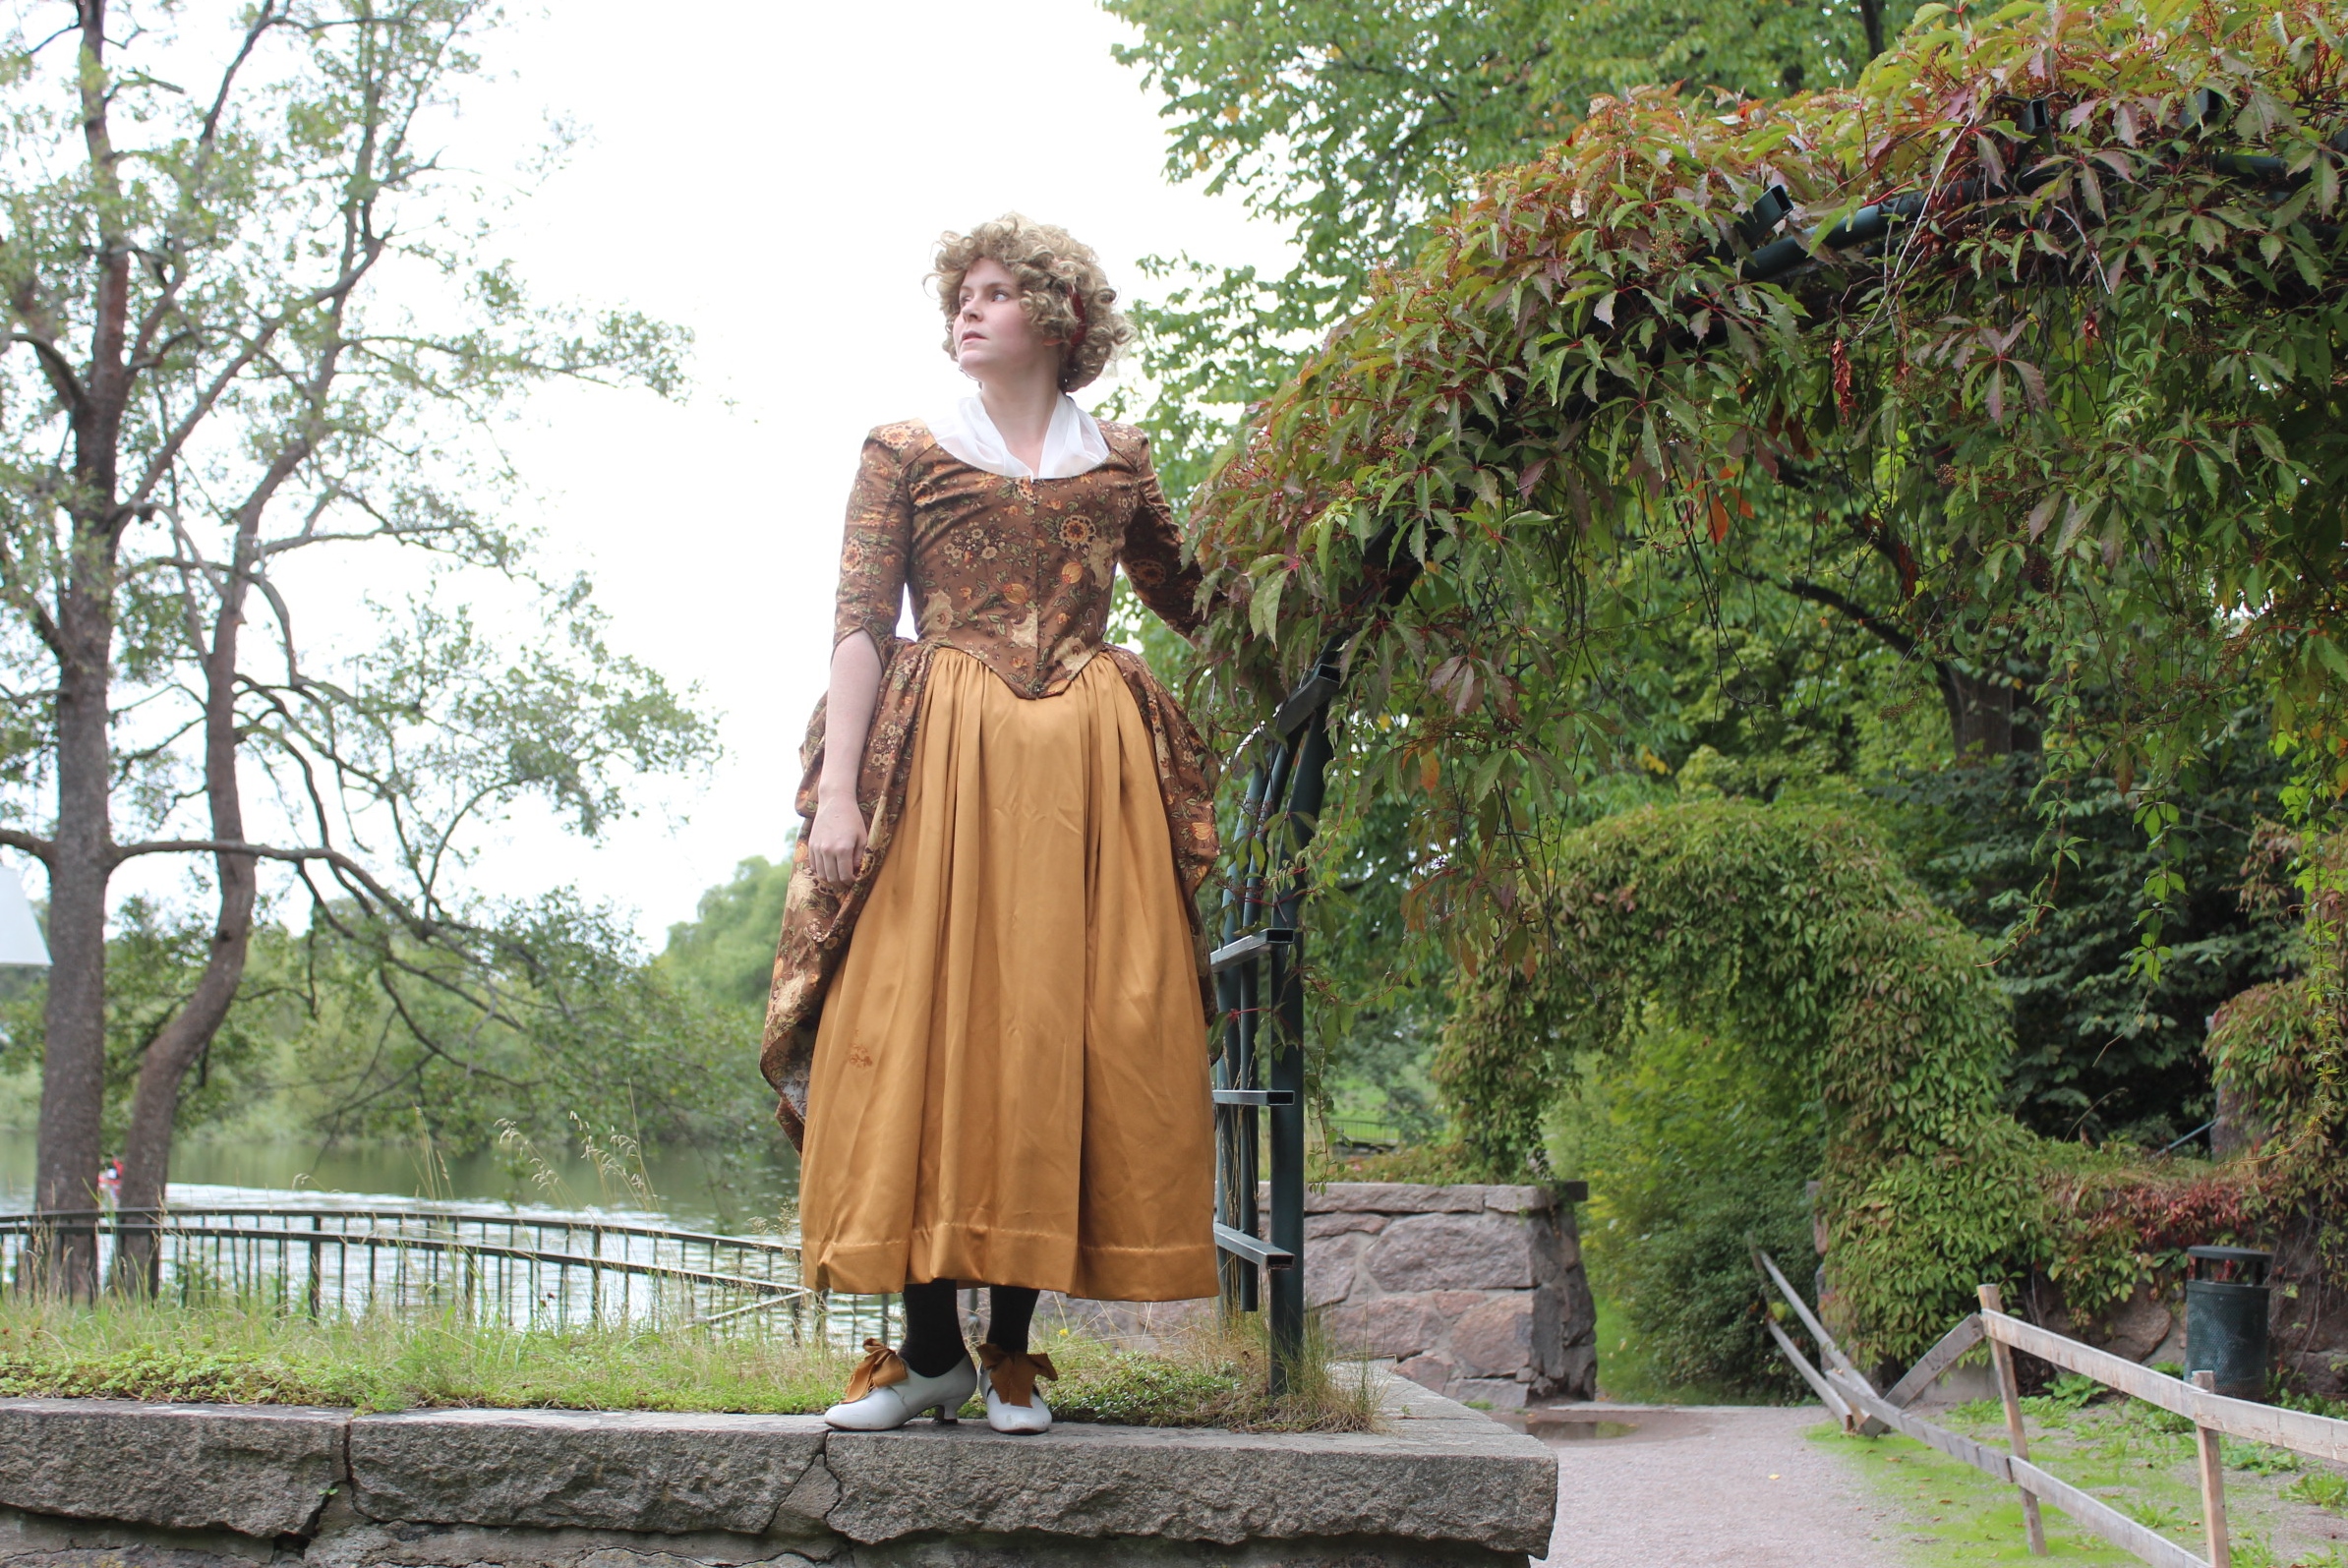
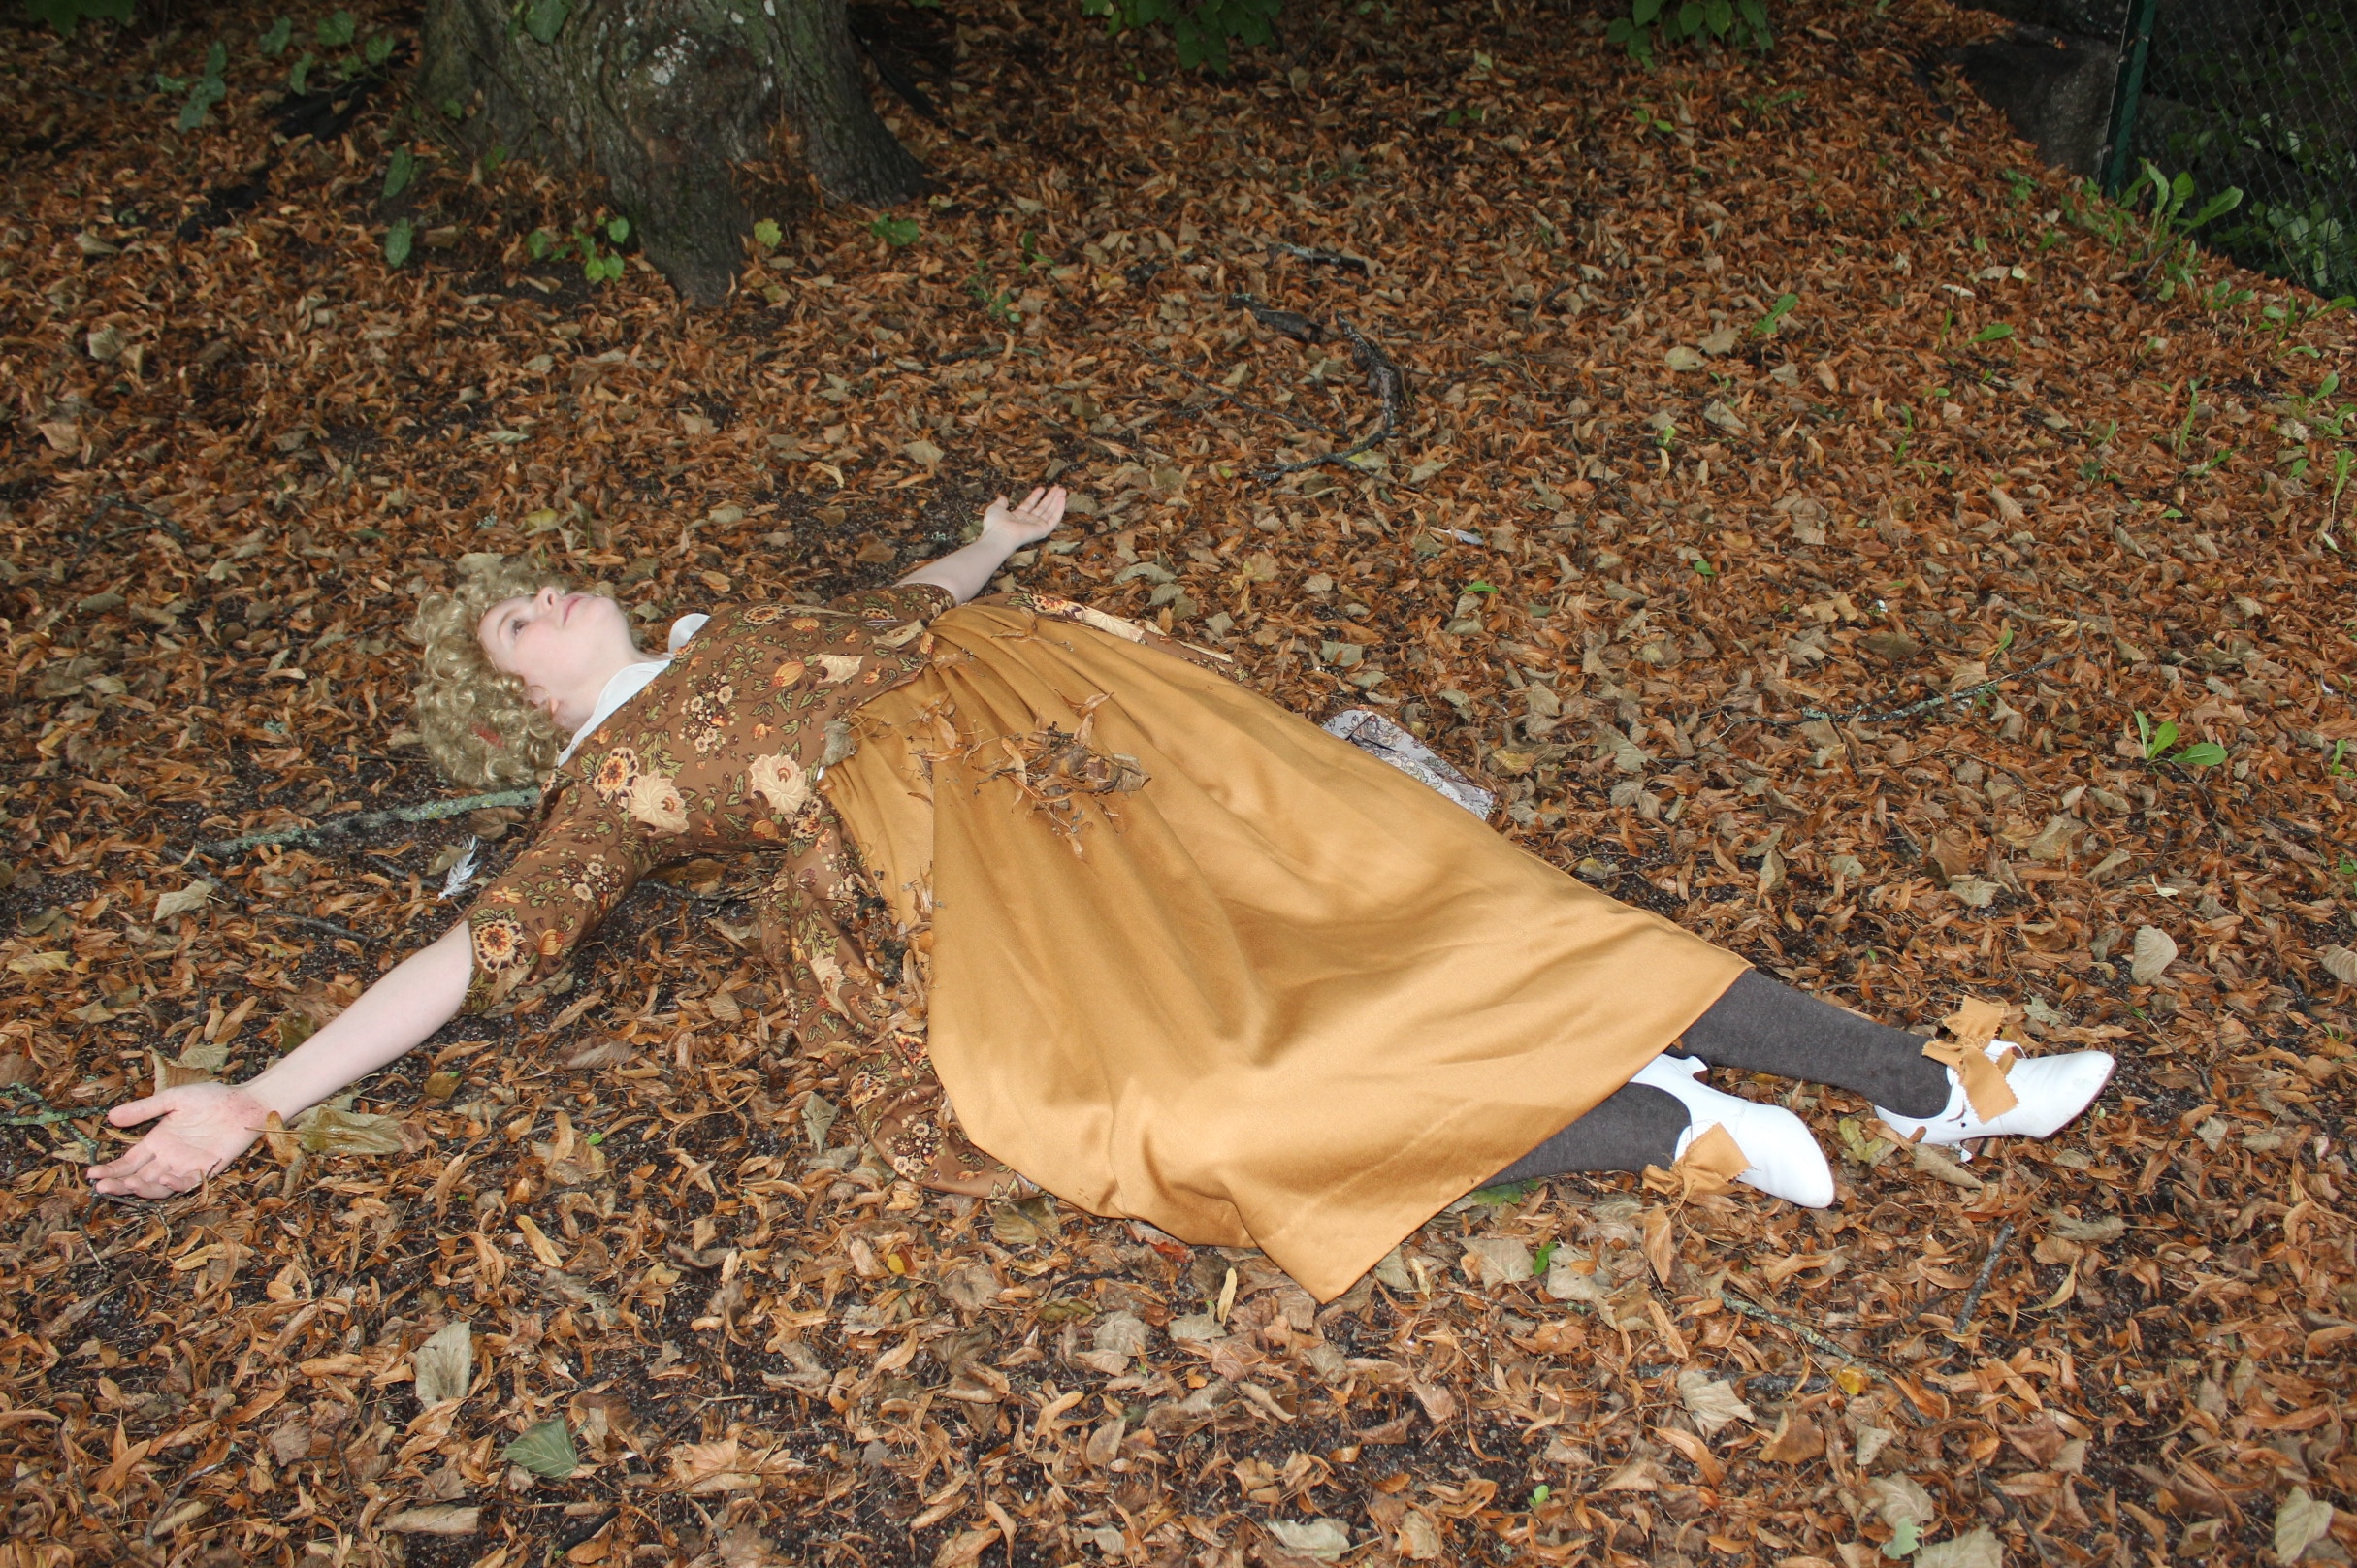
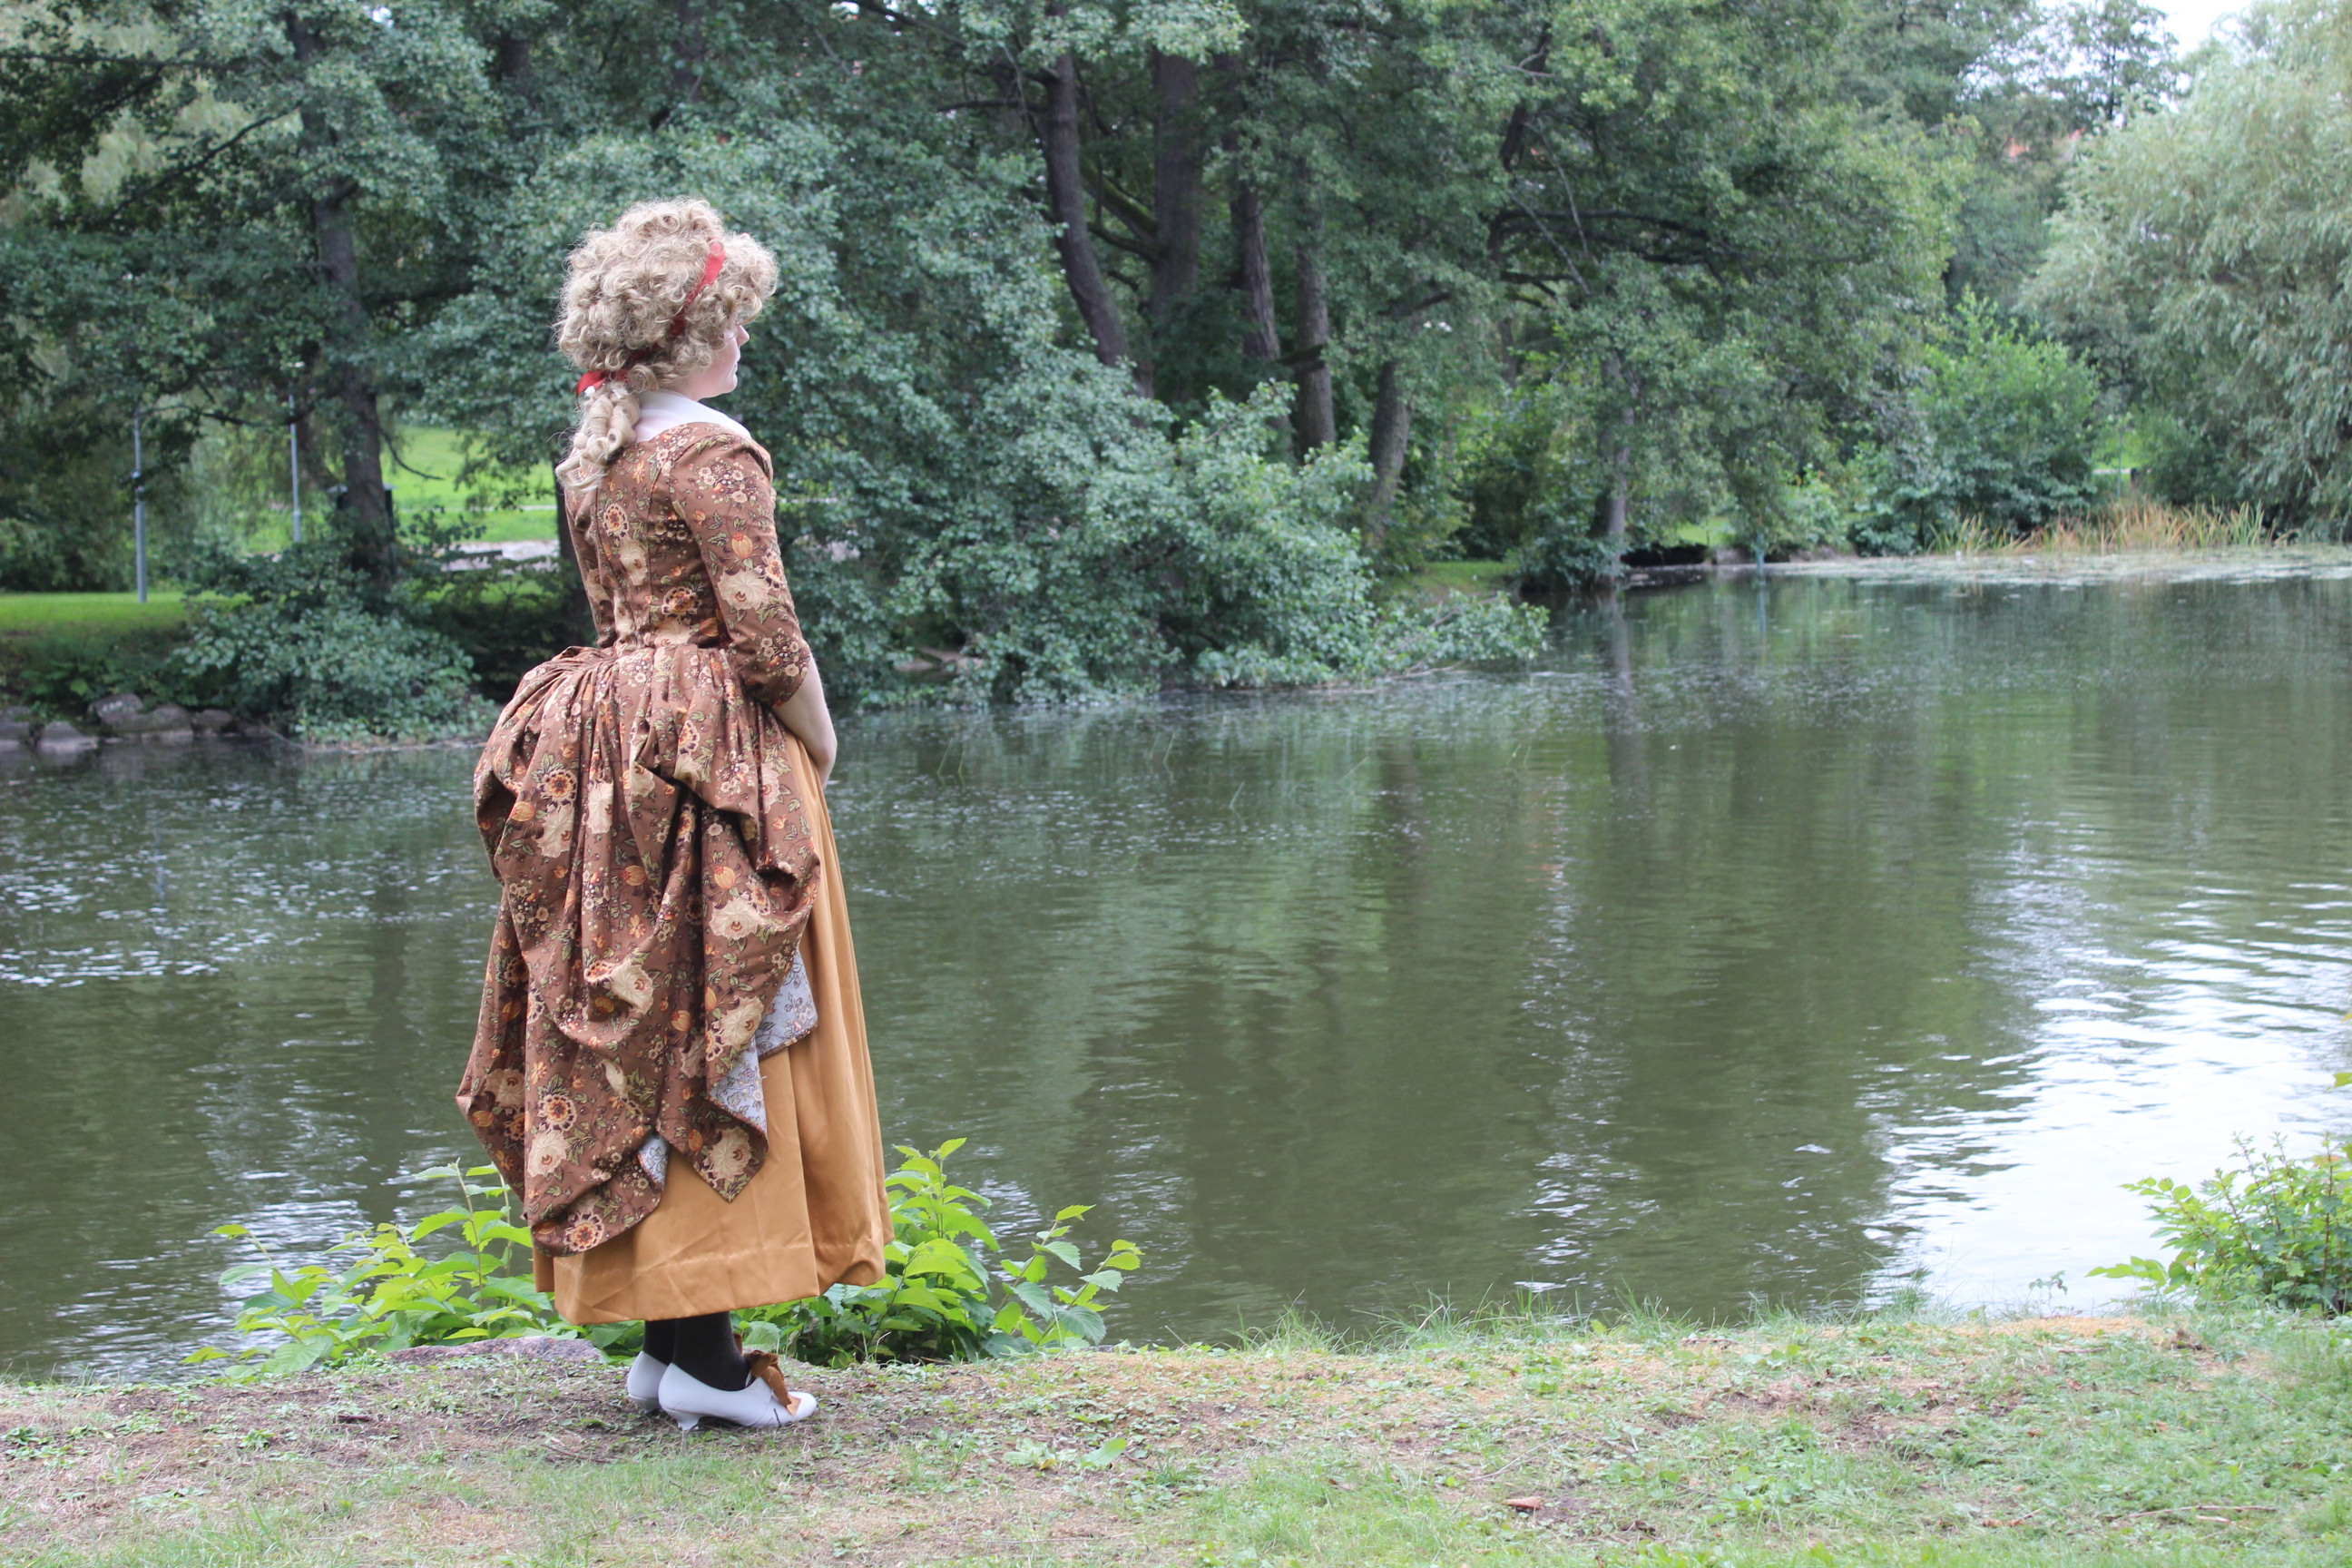
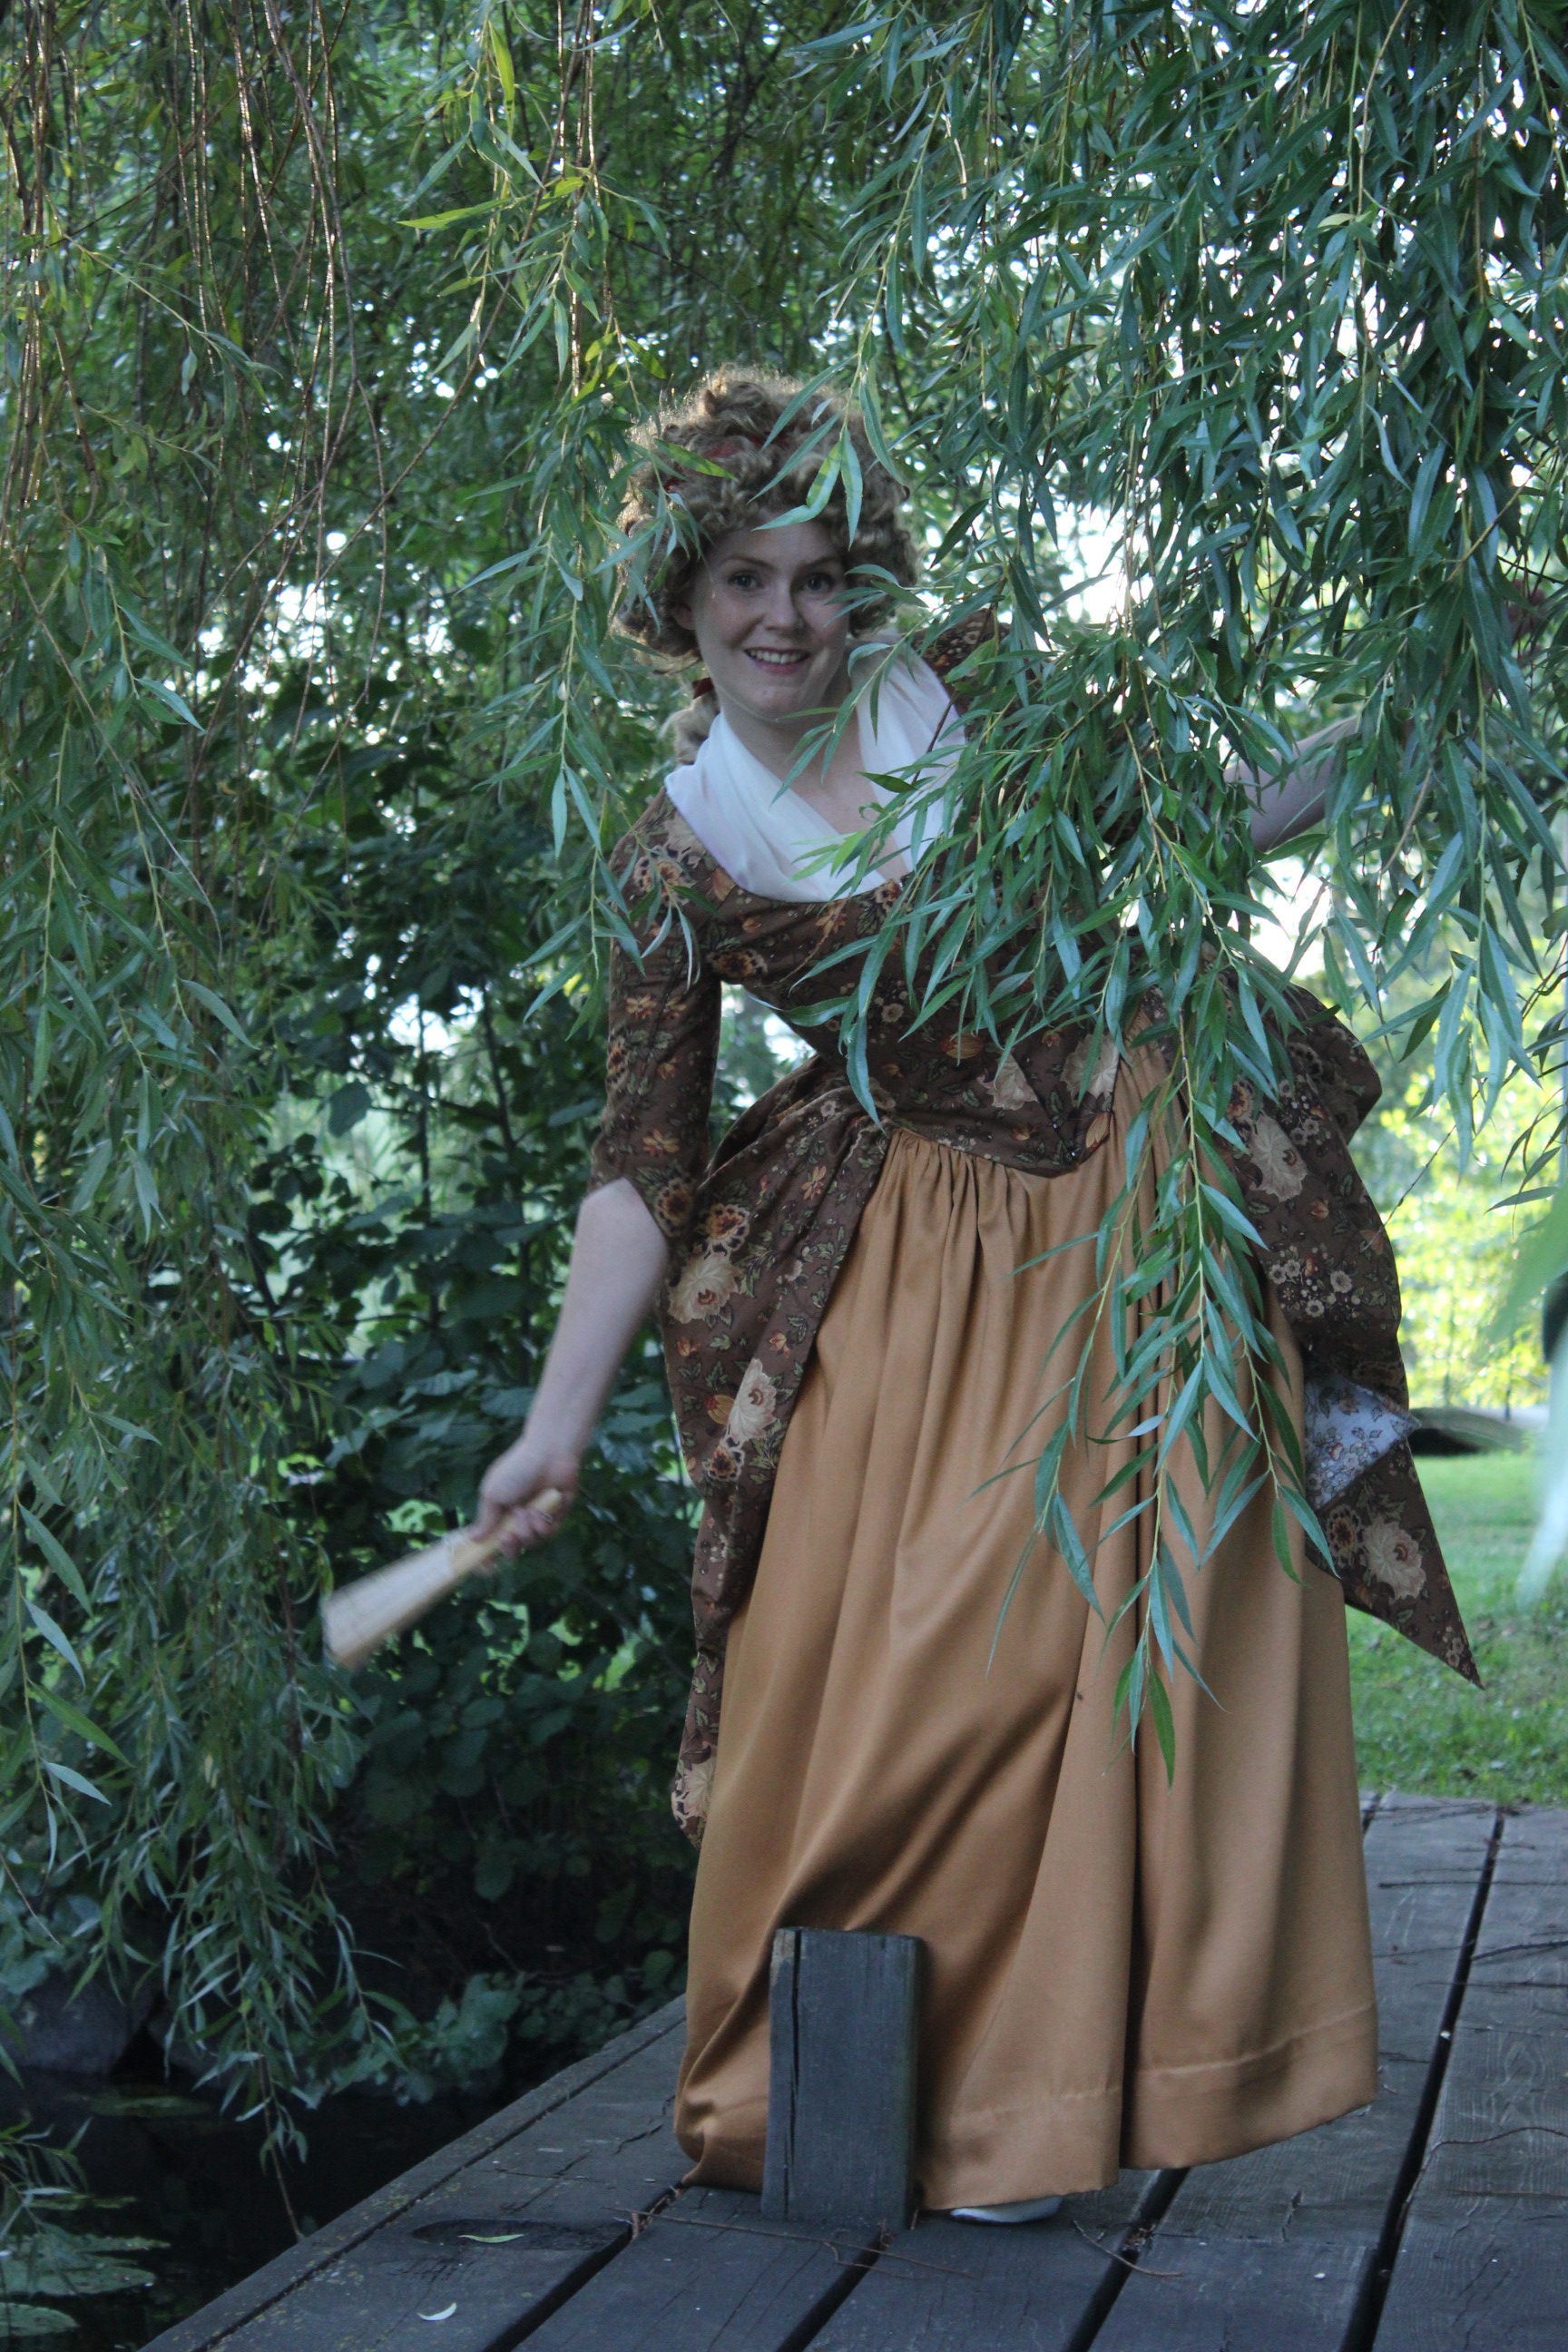
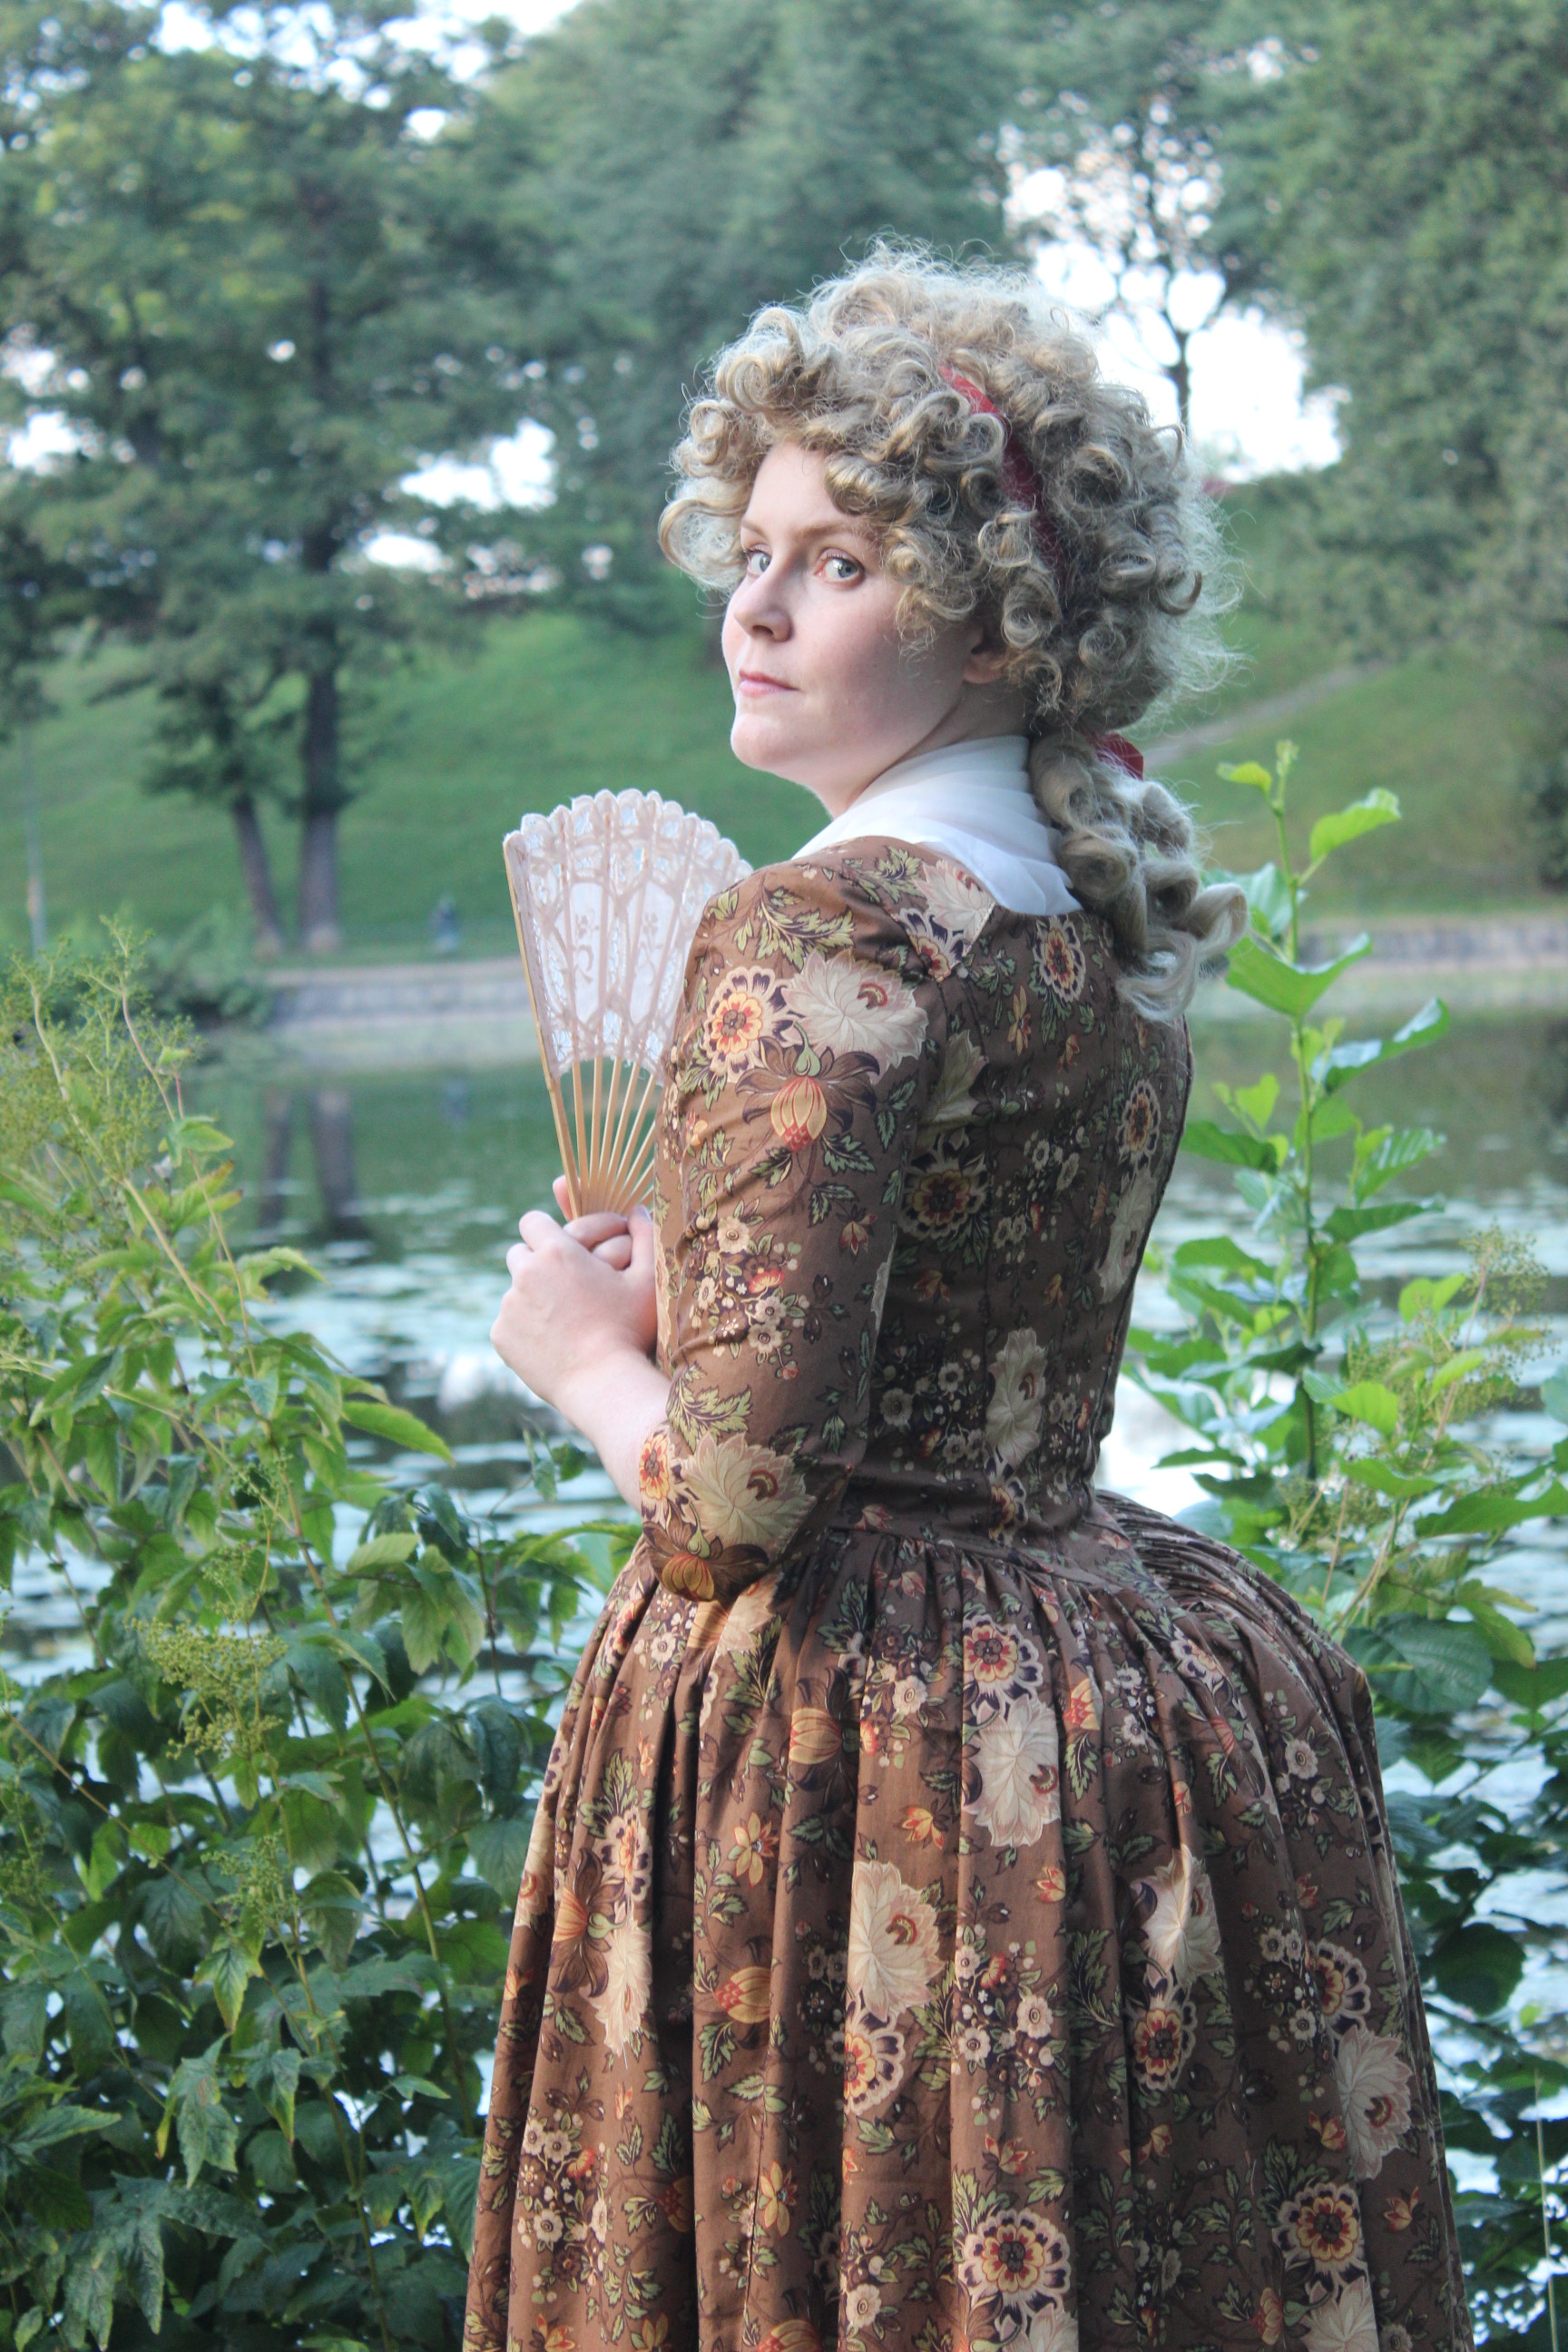
Sneak a peak of the photoshoot:
Just the facts:
Challenge: nr 16 – Terminology
What: a pair of 18th century half boned stays. Read more about the origin of the word (and what differs Stays from Corsets on: http://thedreamstress.com/2013/08/terminology-whats-the-difference-between-stays-jumps-a-corsets/
Pattern: 1770s Stays pattern from Nora Waughs Corset and Crinolines.
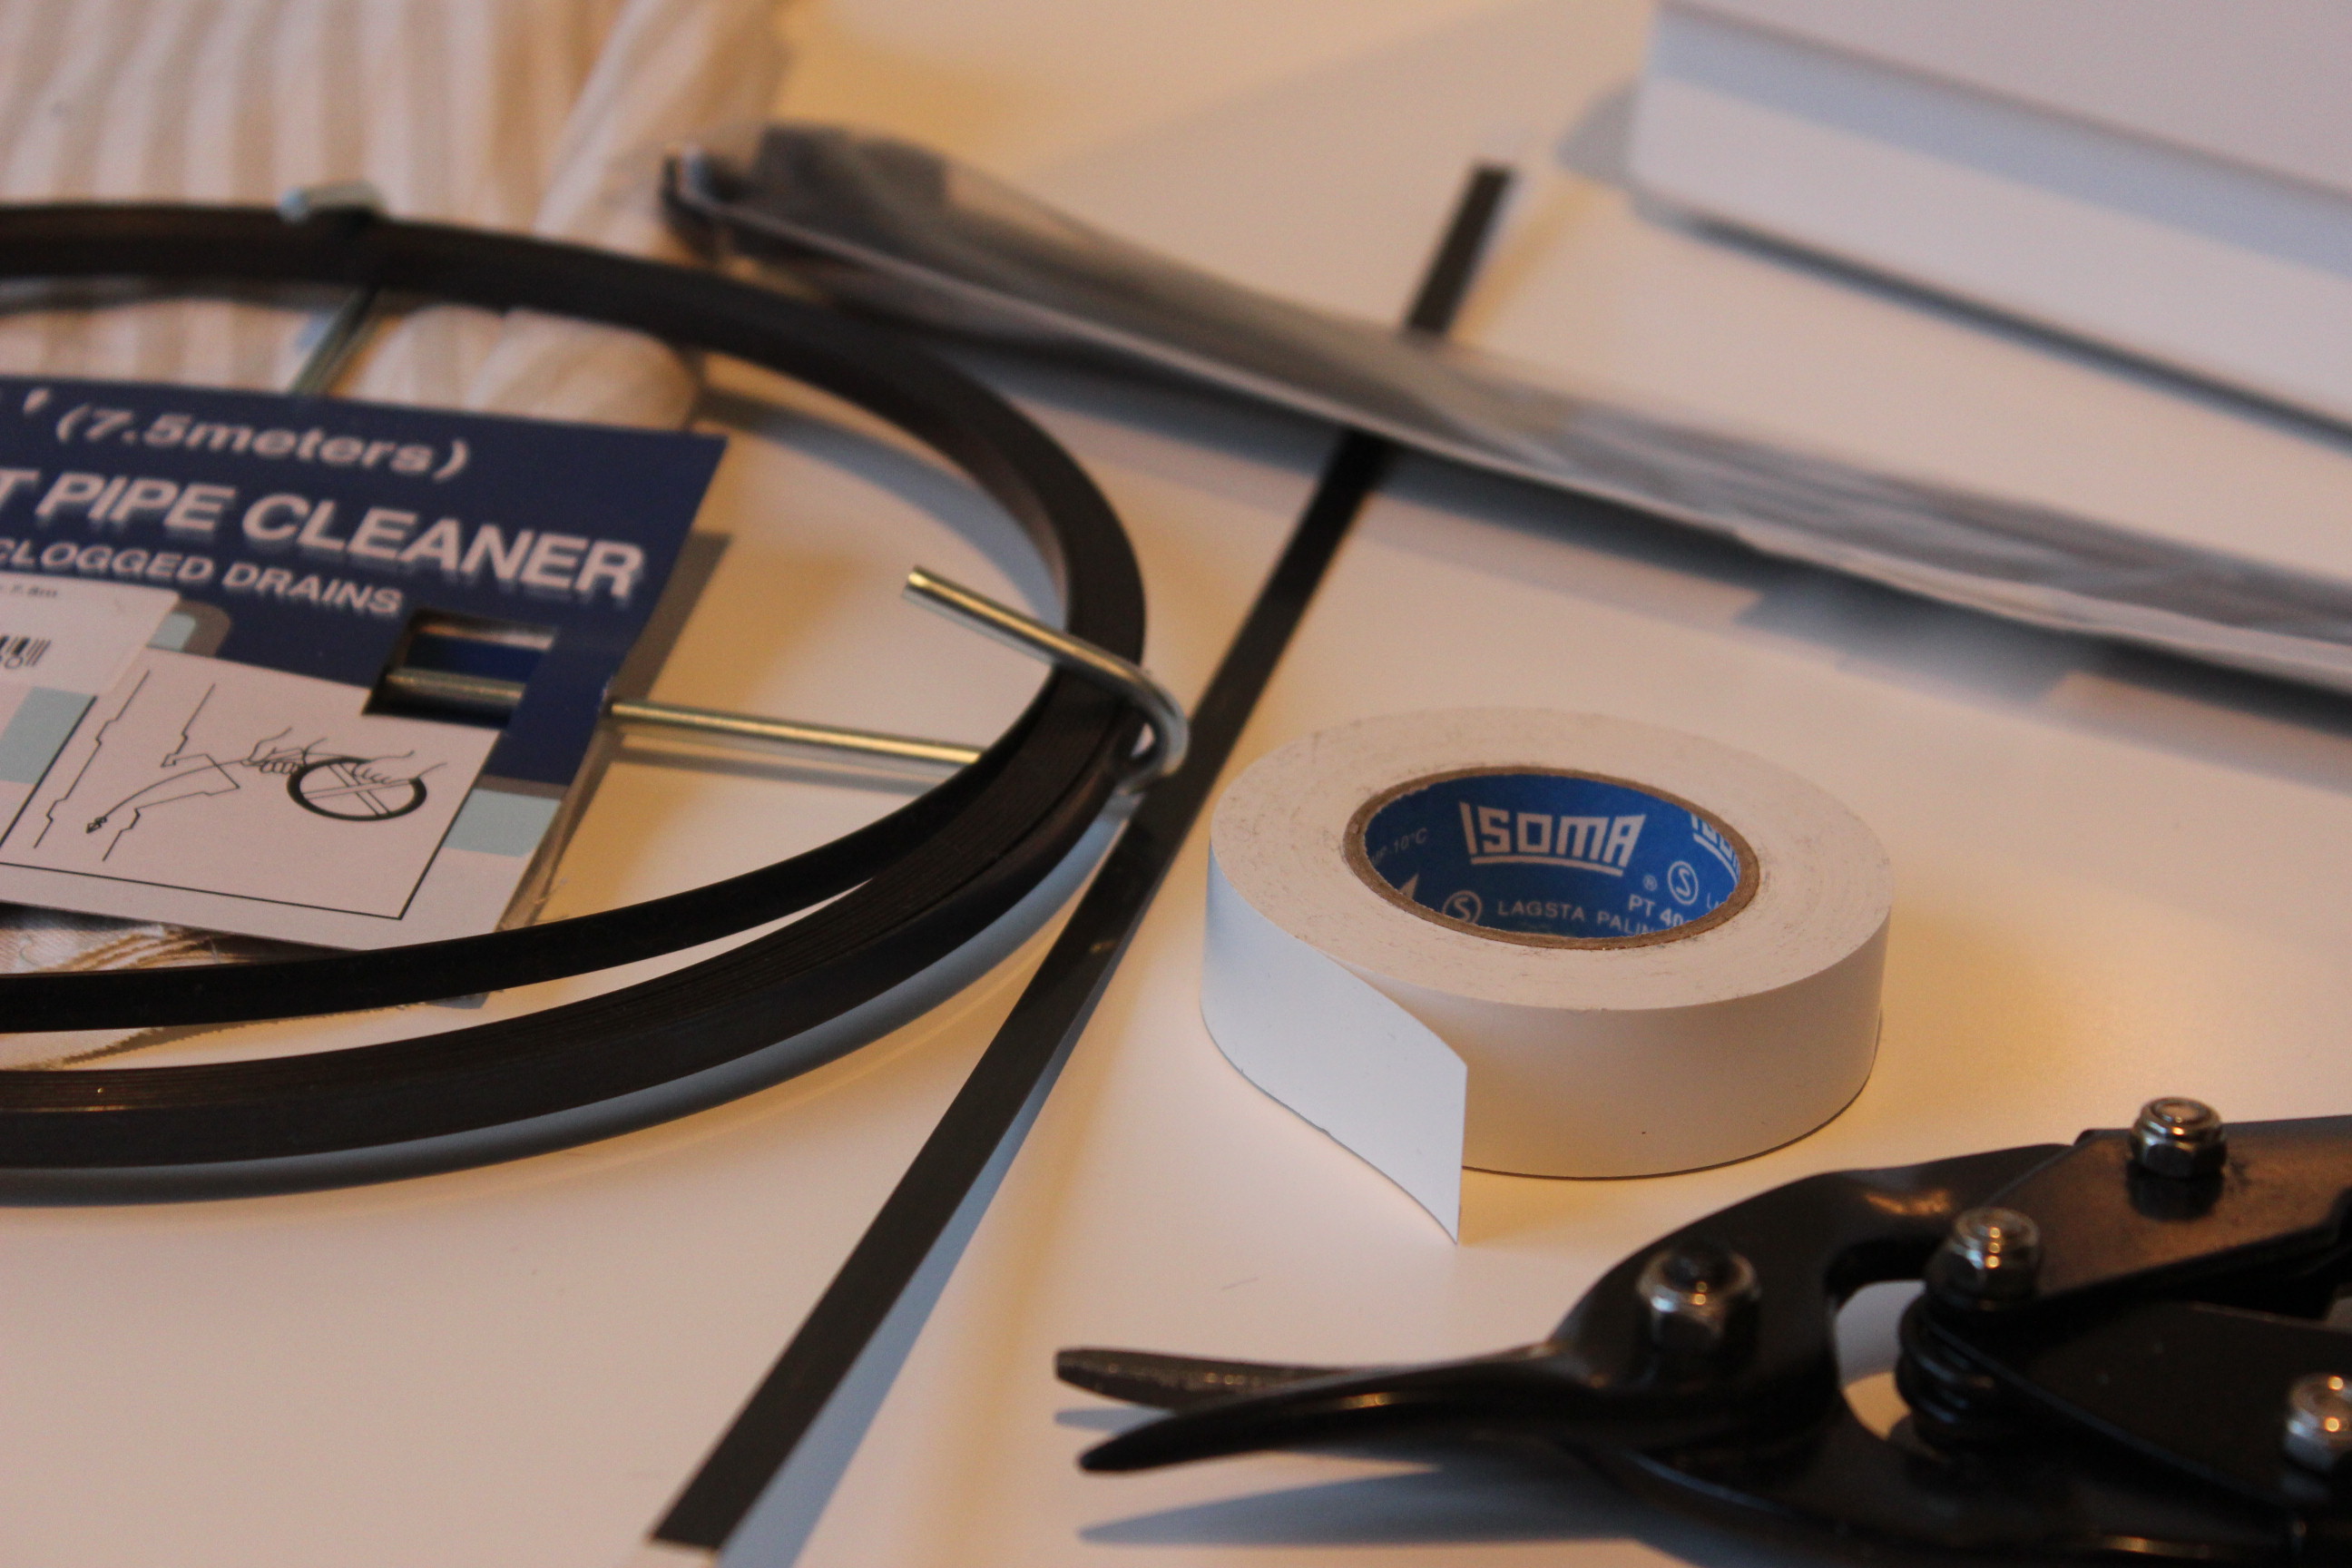
Fabric: 0,5 m of striped cotton, 0,5 m of tightly woven cotton sateen and 0,5 m of white cotton sheets.
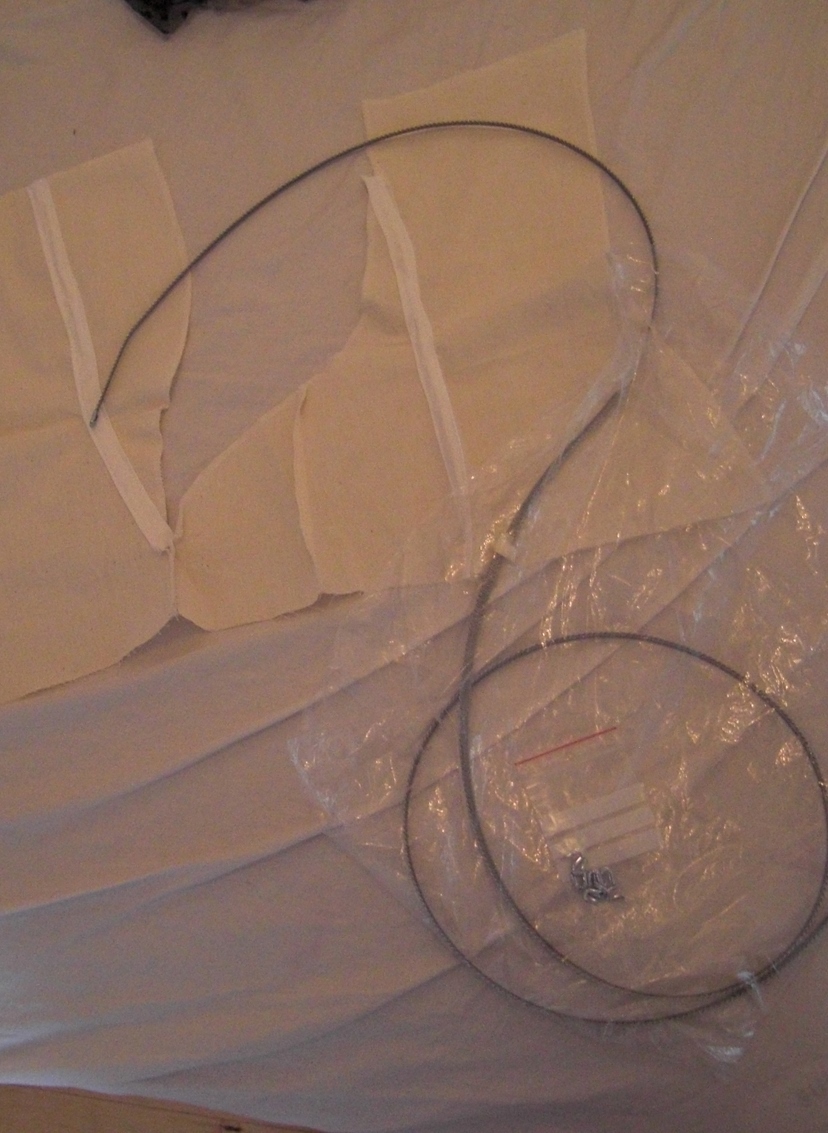
Notions: Thread, 13 pairs of gromets, 5 m lacing cord, 4 m of cotton bias tape, 1 m of metal boning and about 30 pieces of plastic cable ties.
How historical accurate: The pattern, material and shape of the stays are correct. But I sewed them on my machine and used metal grommets, plastic boning and modern construction techniques. So maybe 4/10
Time: About 15 hours – binding the tabs took like forever.
Cost: About 200 Sek (32 Usd). But since most of the material came from stash and was leftovers from previous projects I didn’t pay that much. More like 80 Sek.
First worn: For photos yesterday, and hopefully for an upcoming 18th century event n a few weeks.
Final thoughts: I really love the look of these stays, but they are really uncomfortable.
I need to make some alterations to make them fit better, and I’m not sure that will help, since I made them to long in the waist. I wore them for about 1 hour this weekend and the boning poking in to my hips and back was really noticeable.
And on top of fixing the ill fitting part, I accidentally burst one of the side seams of the stays while sneezing during the photoshoot (ups)…


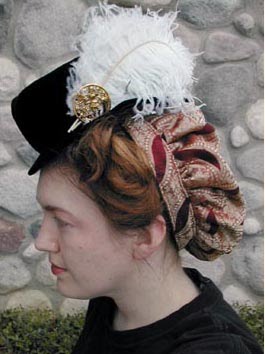
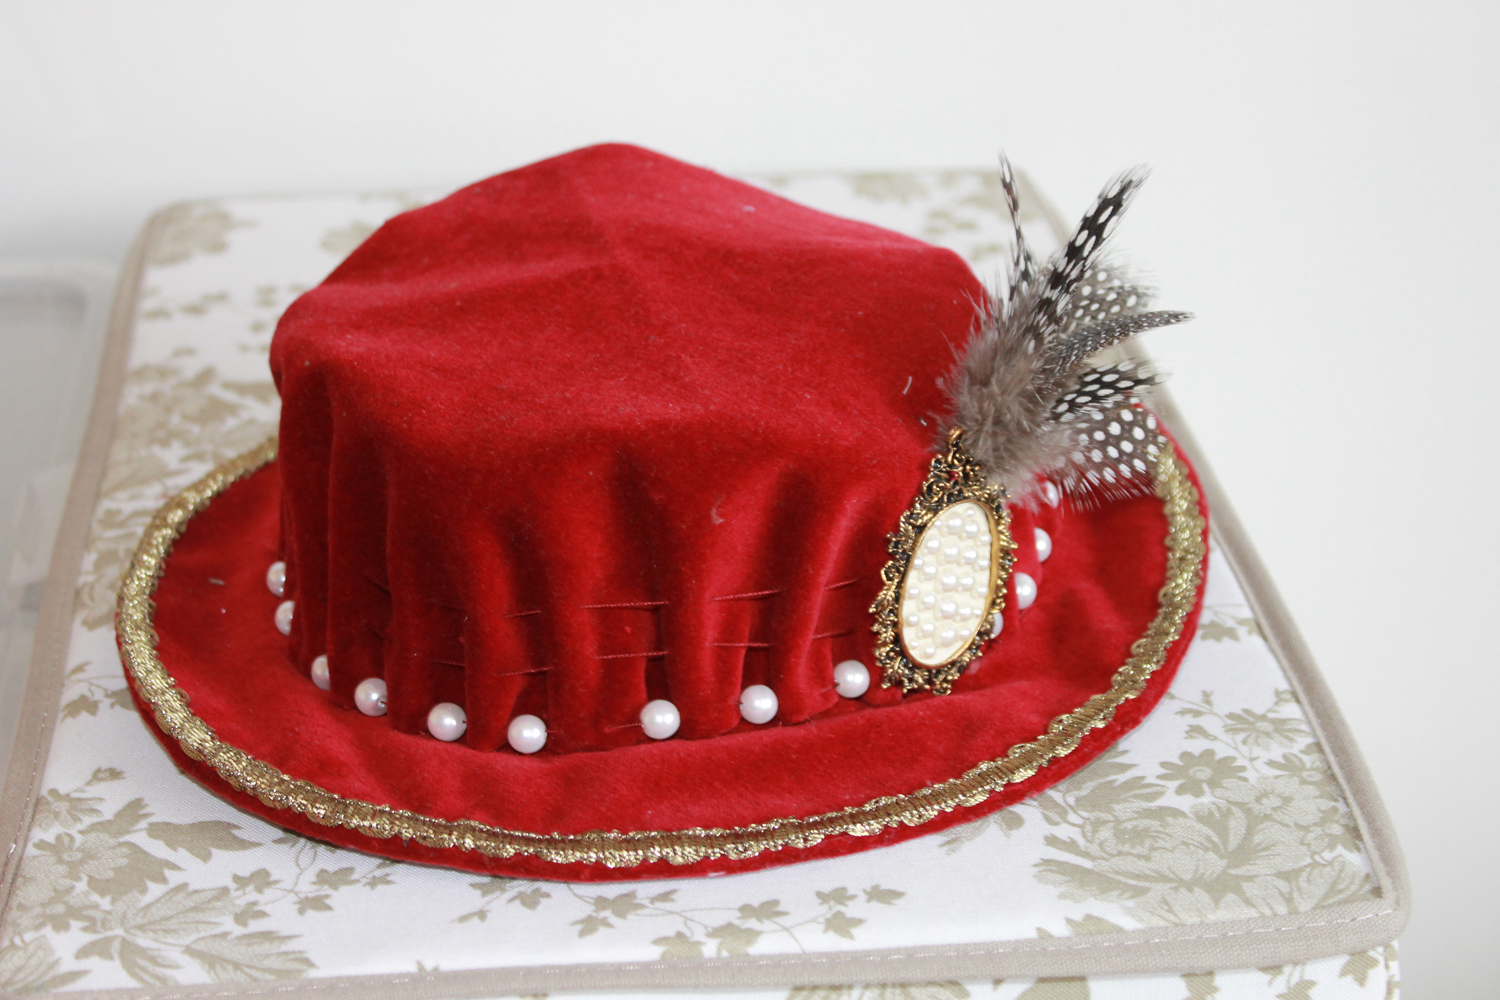
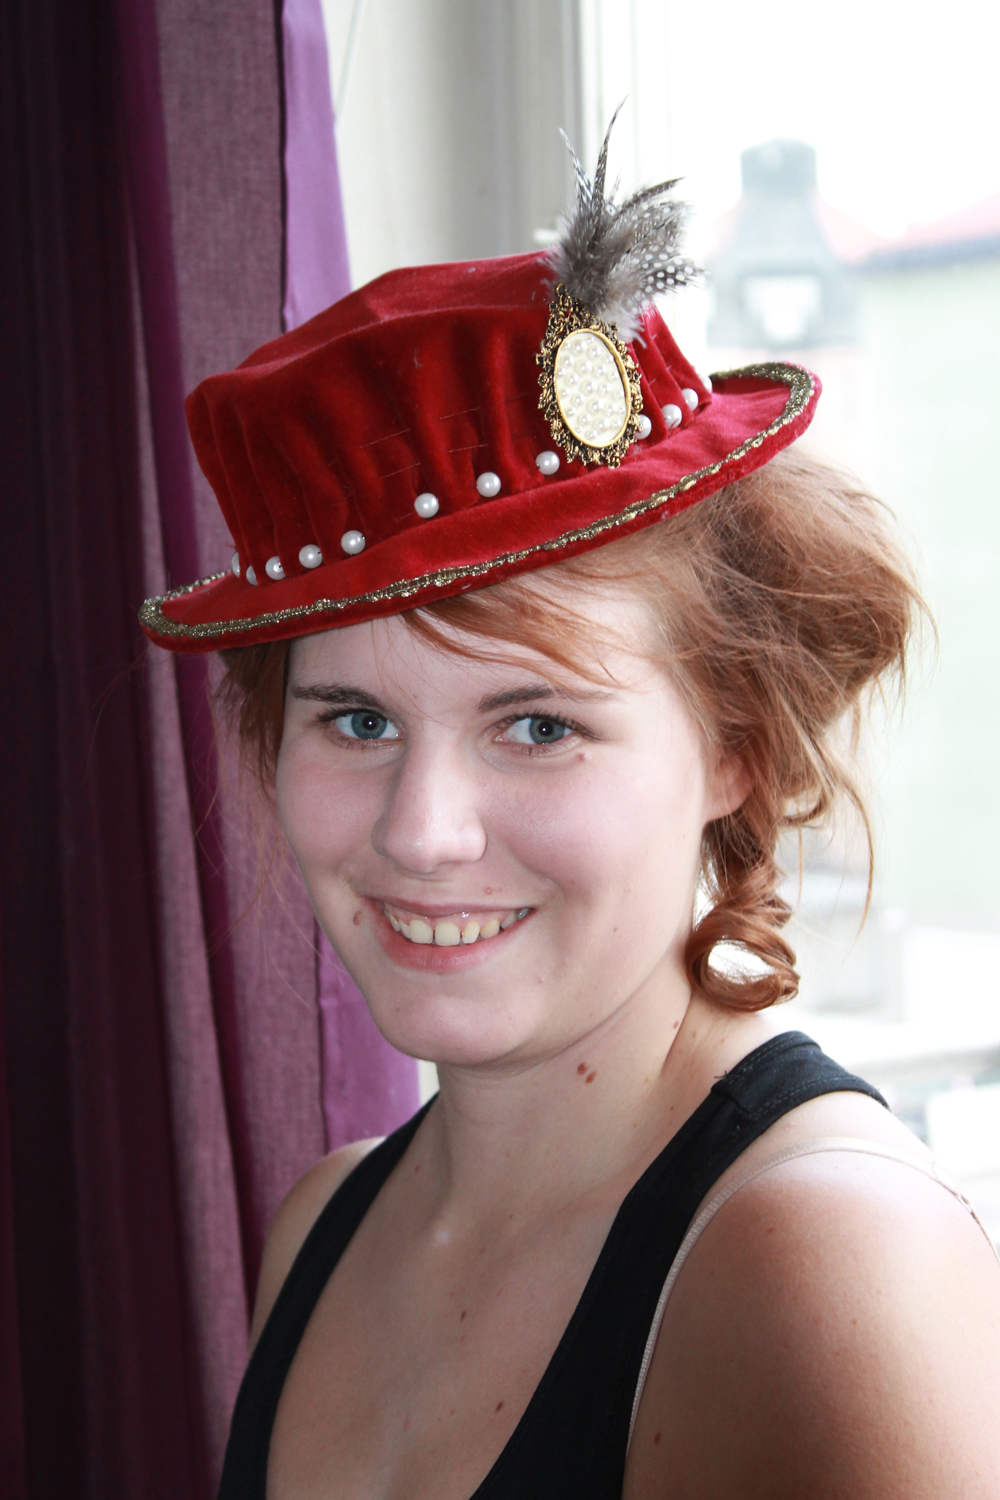
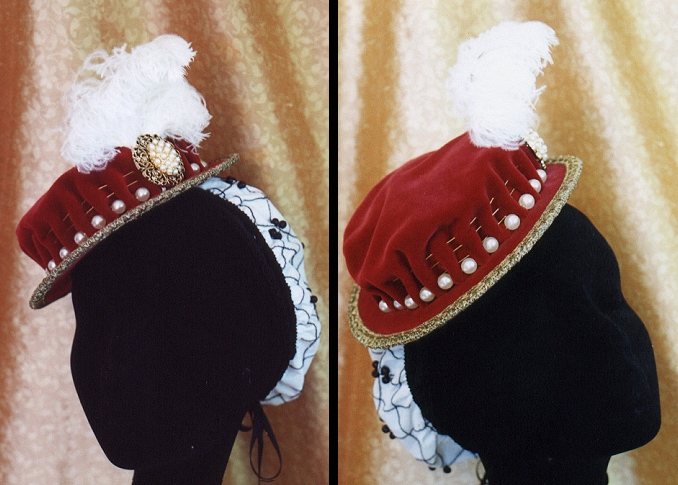 Love this one!
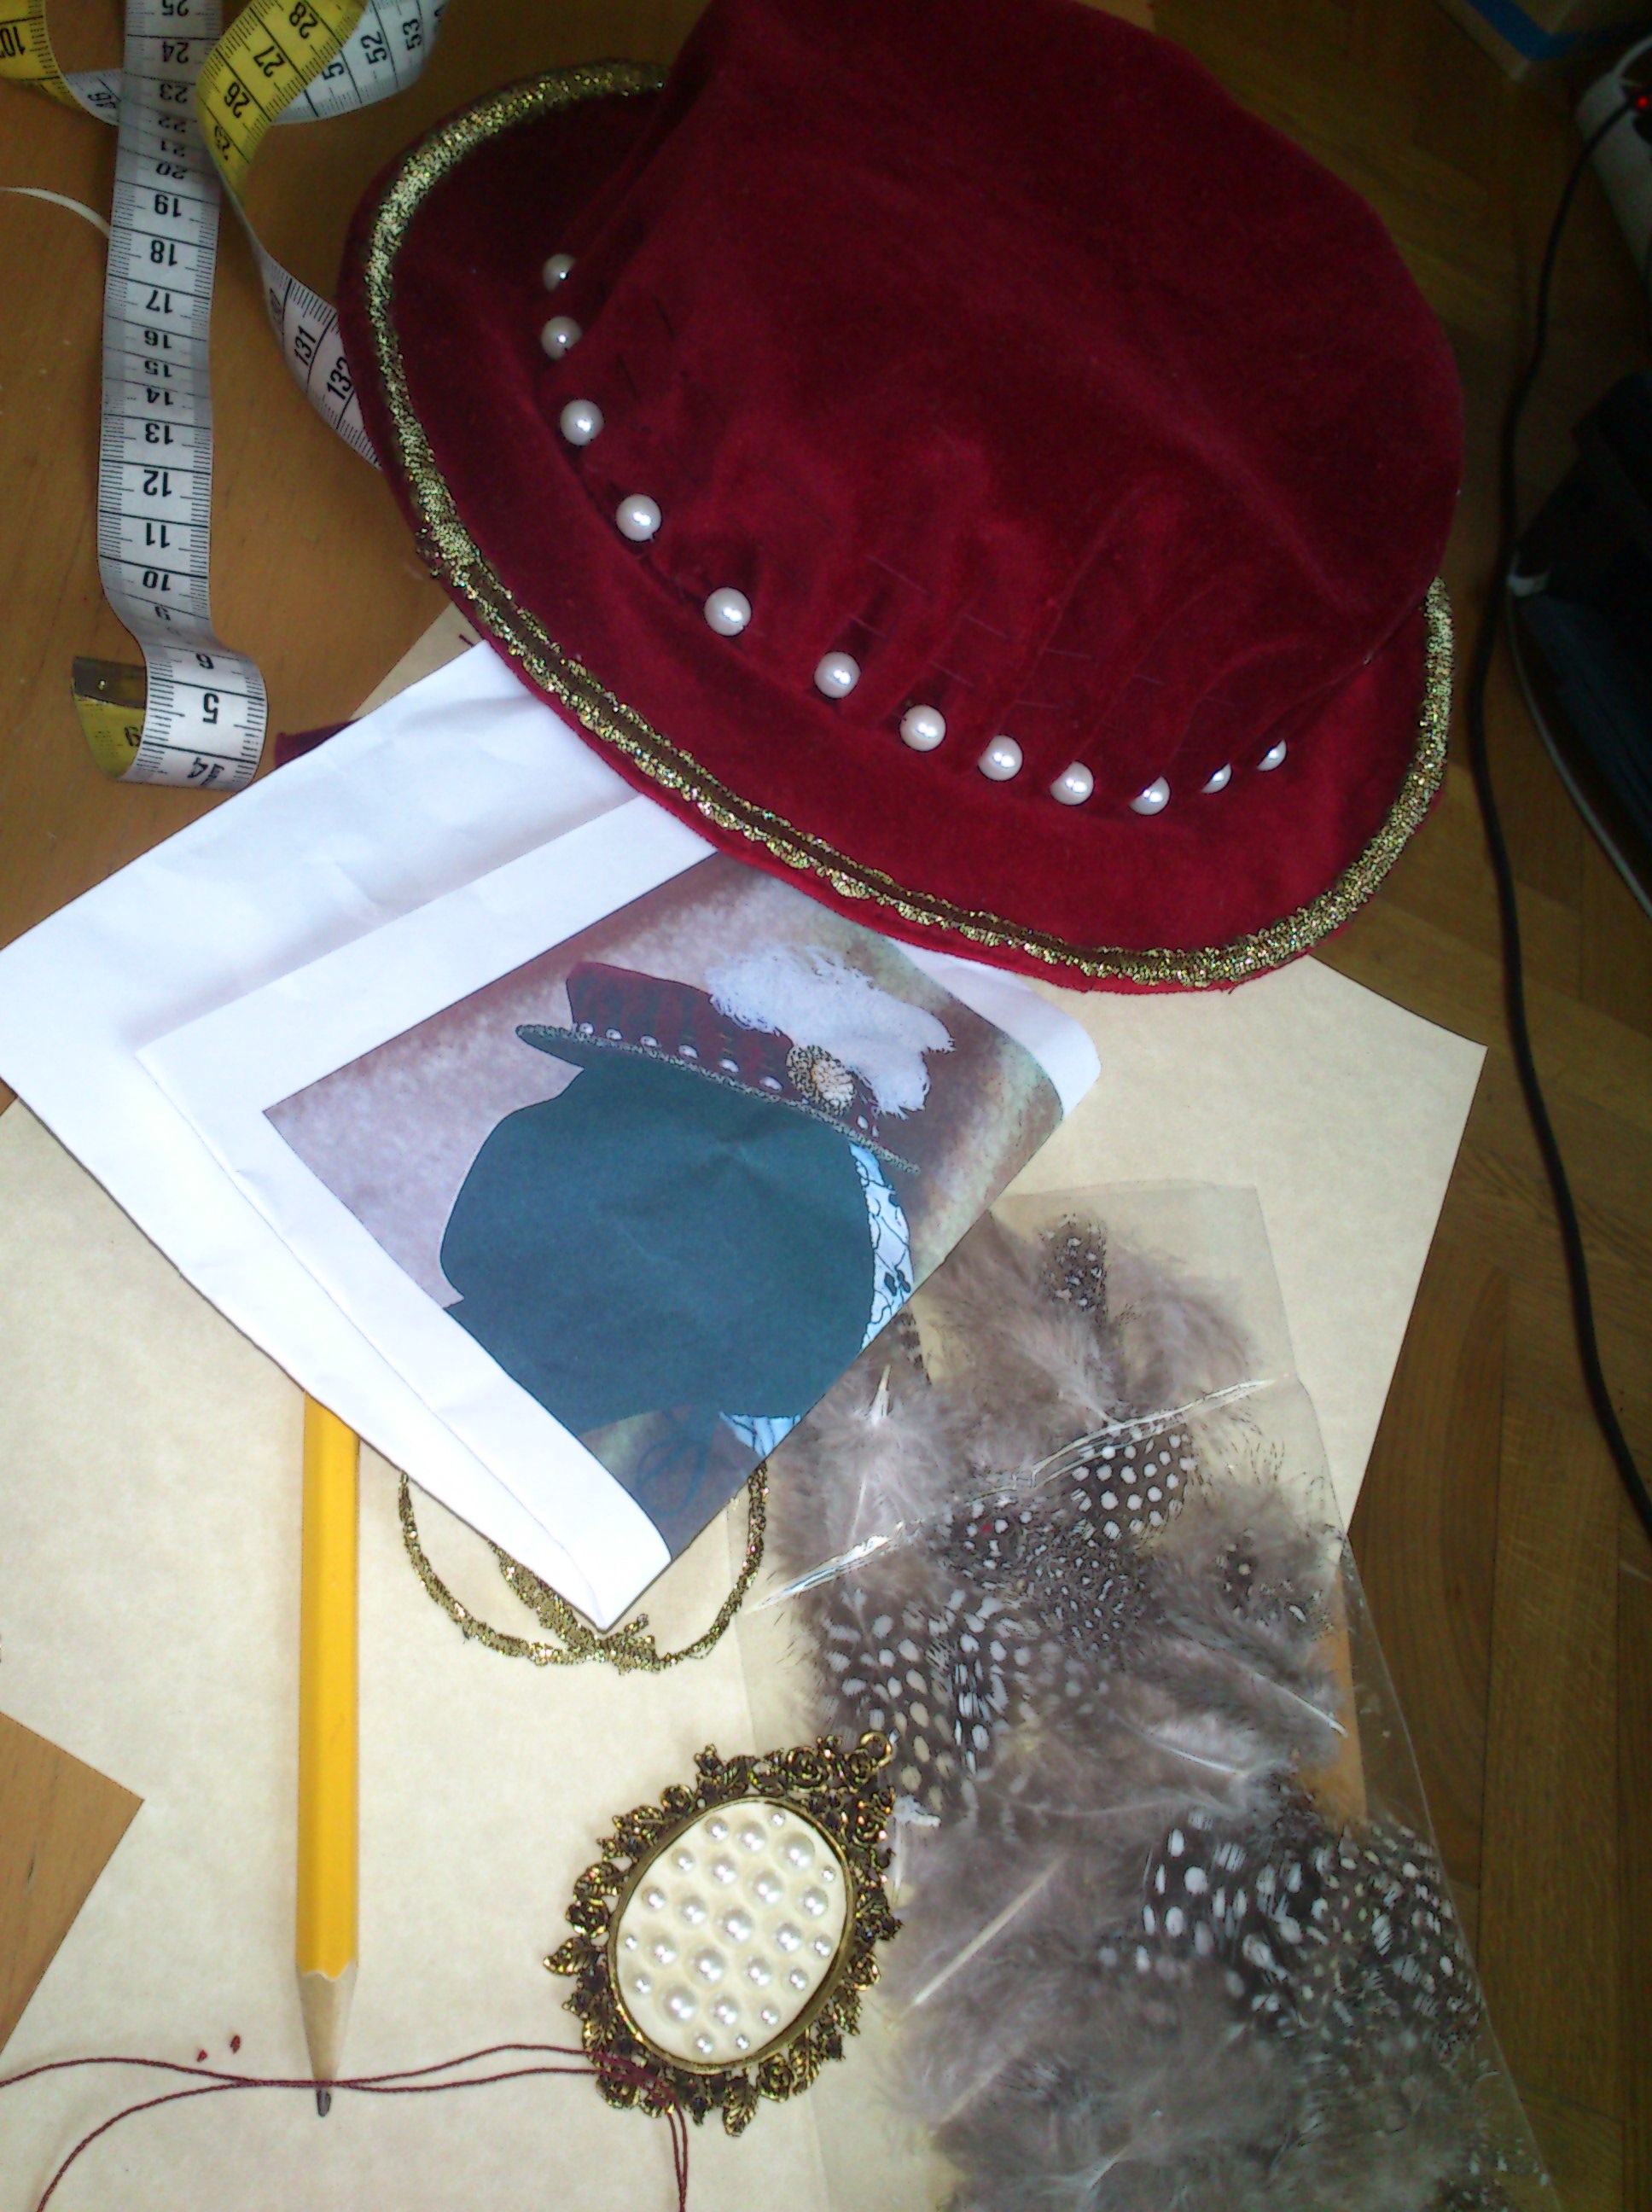 It was quite easy, and after just two evenings of sewing in front of the television I had made a cute little hat.
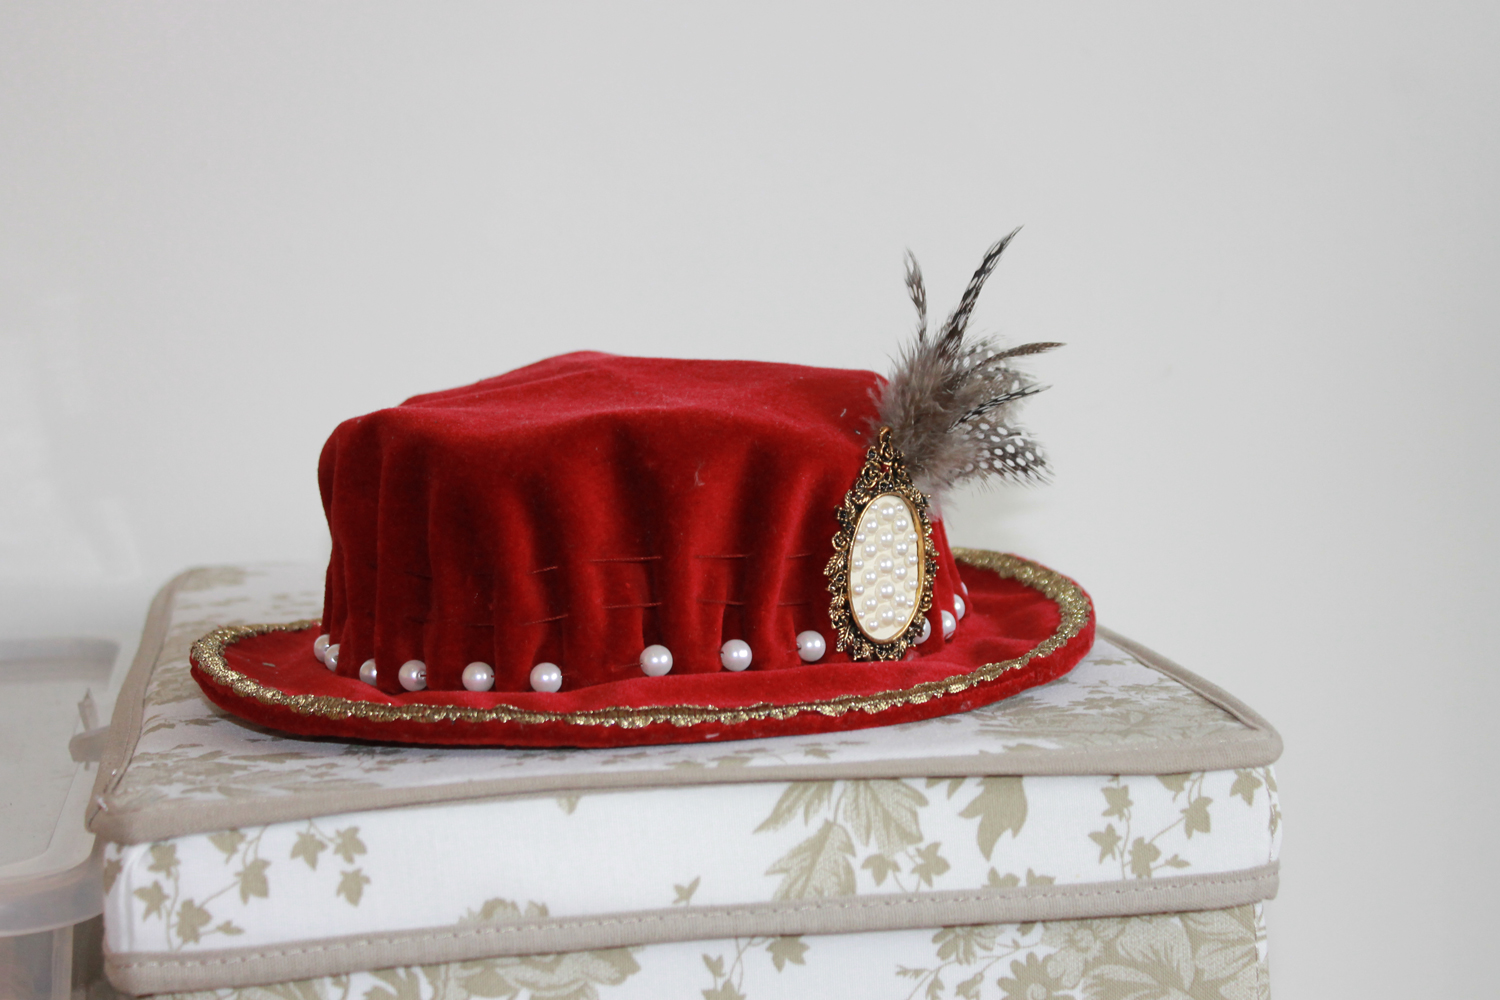
 Maybe it is time to start on that dress soon…
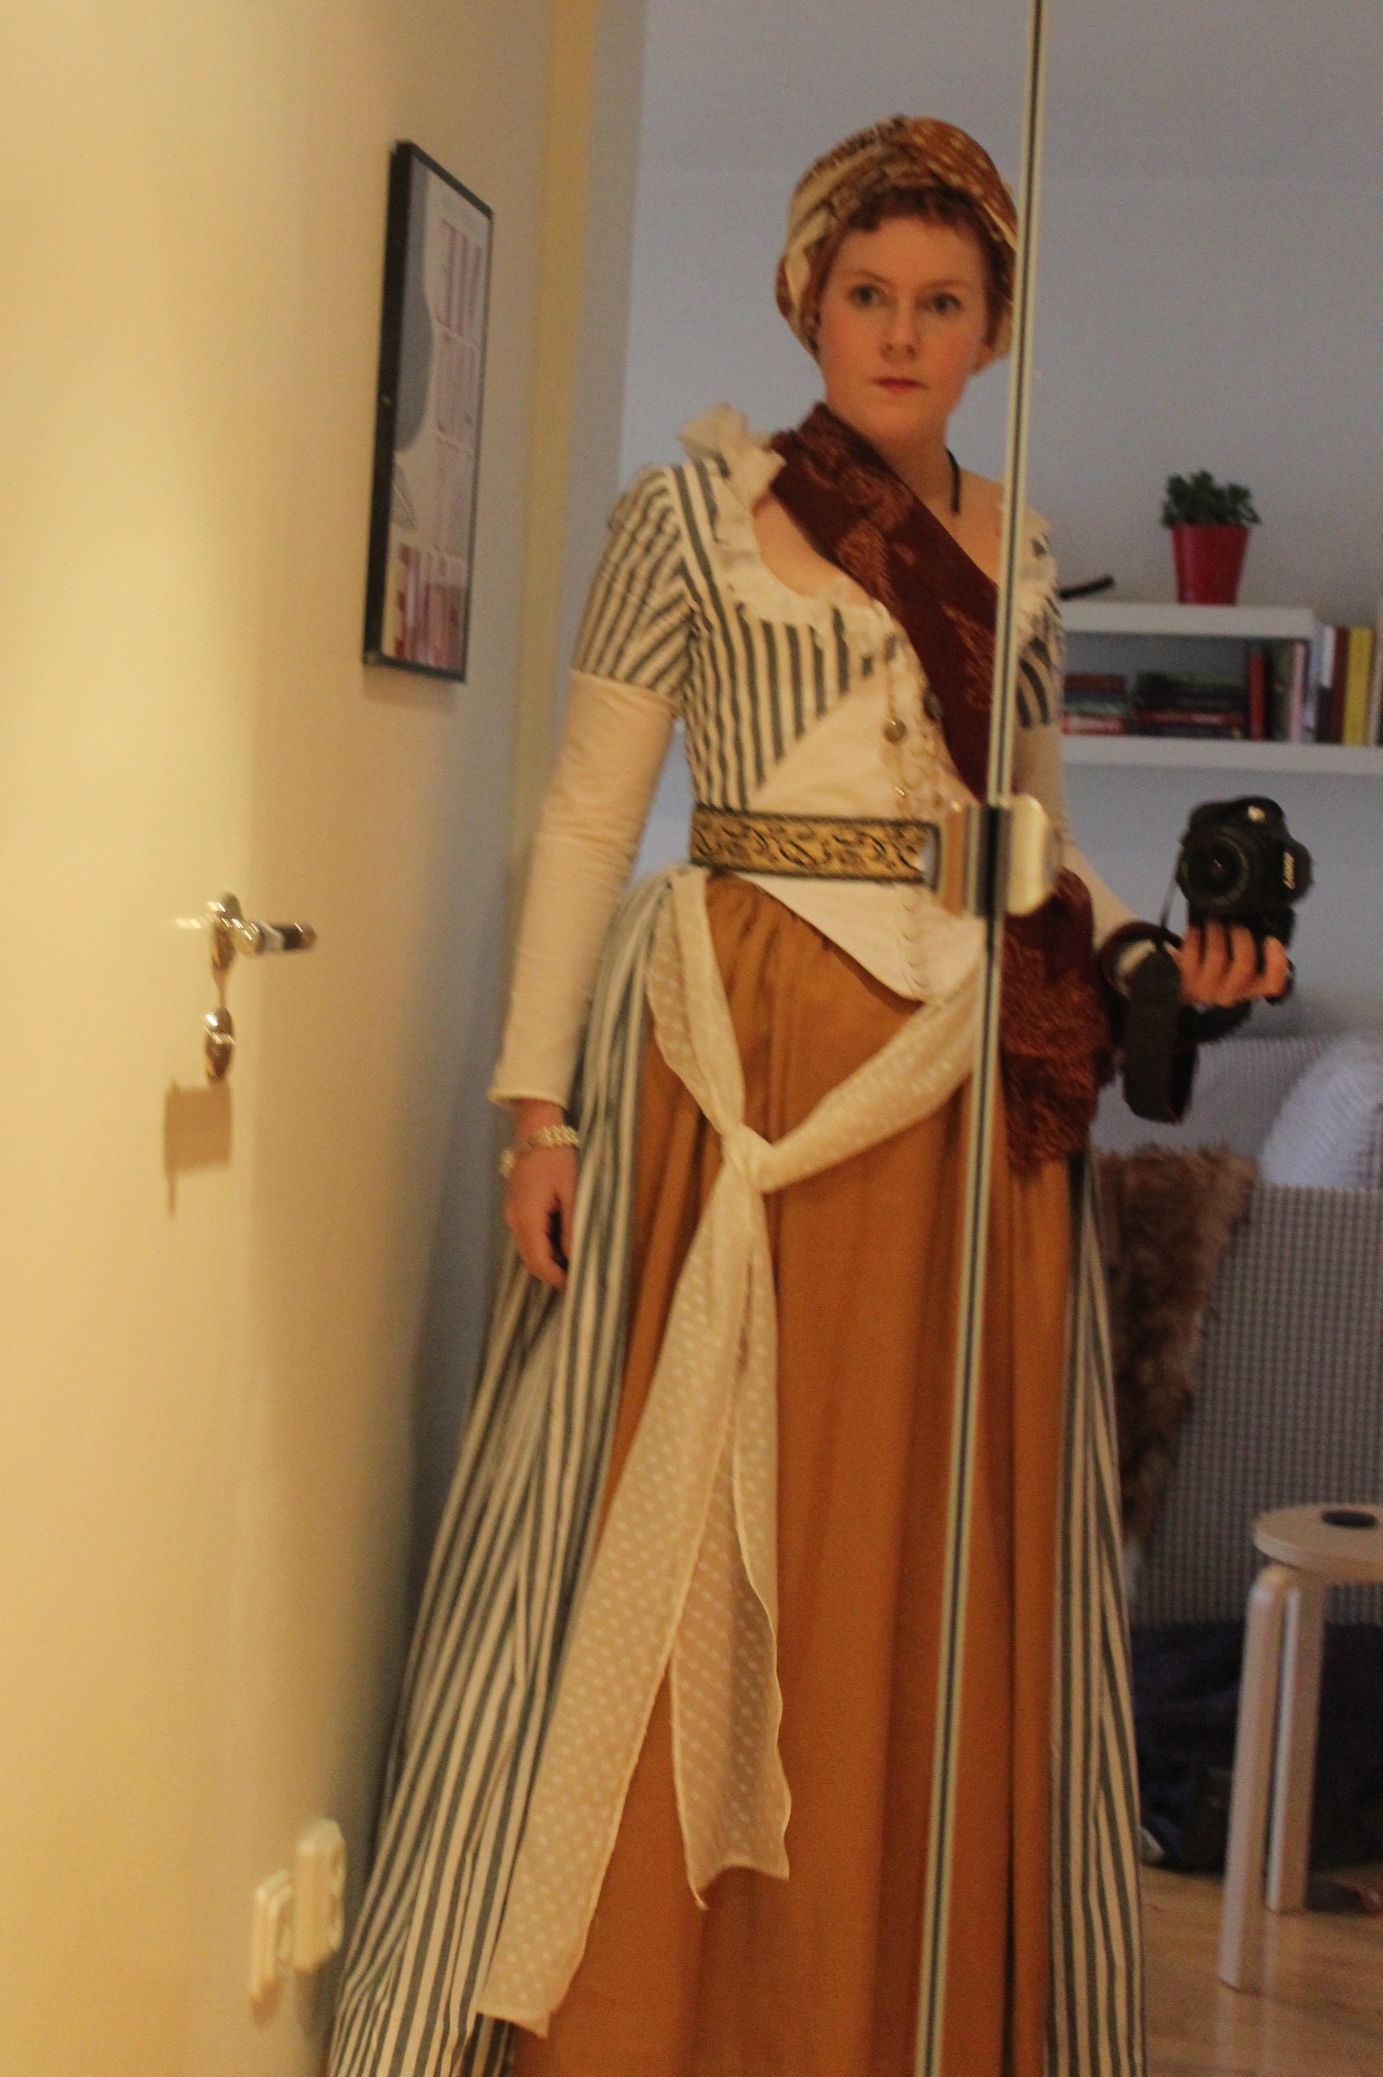


 cut them in a white leftover linen I found in my stash.


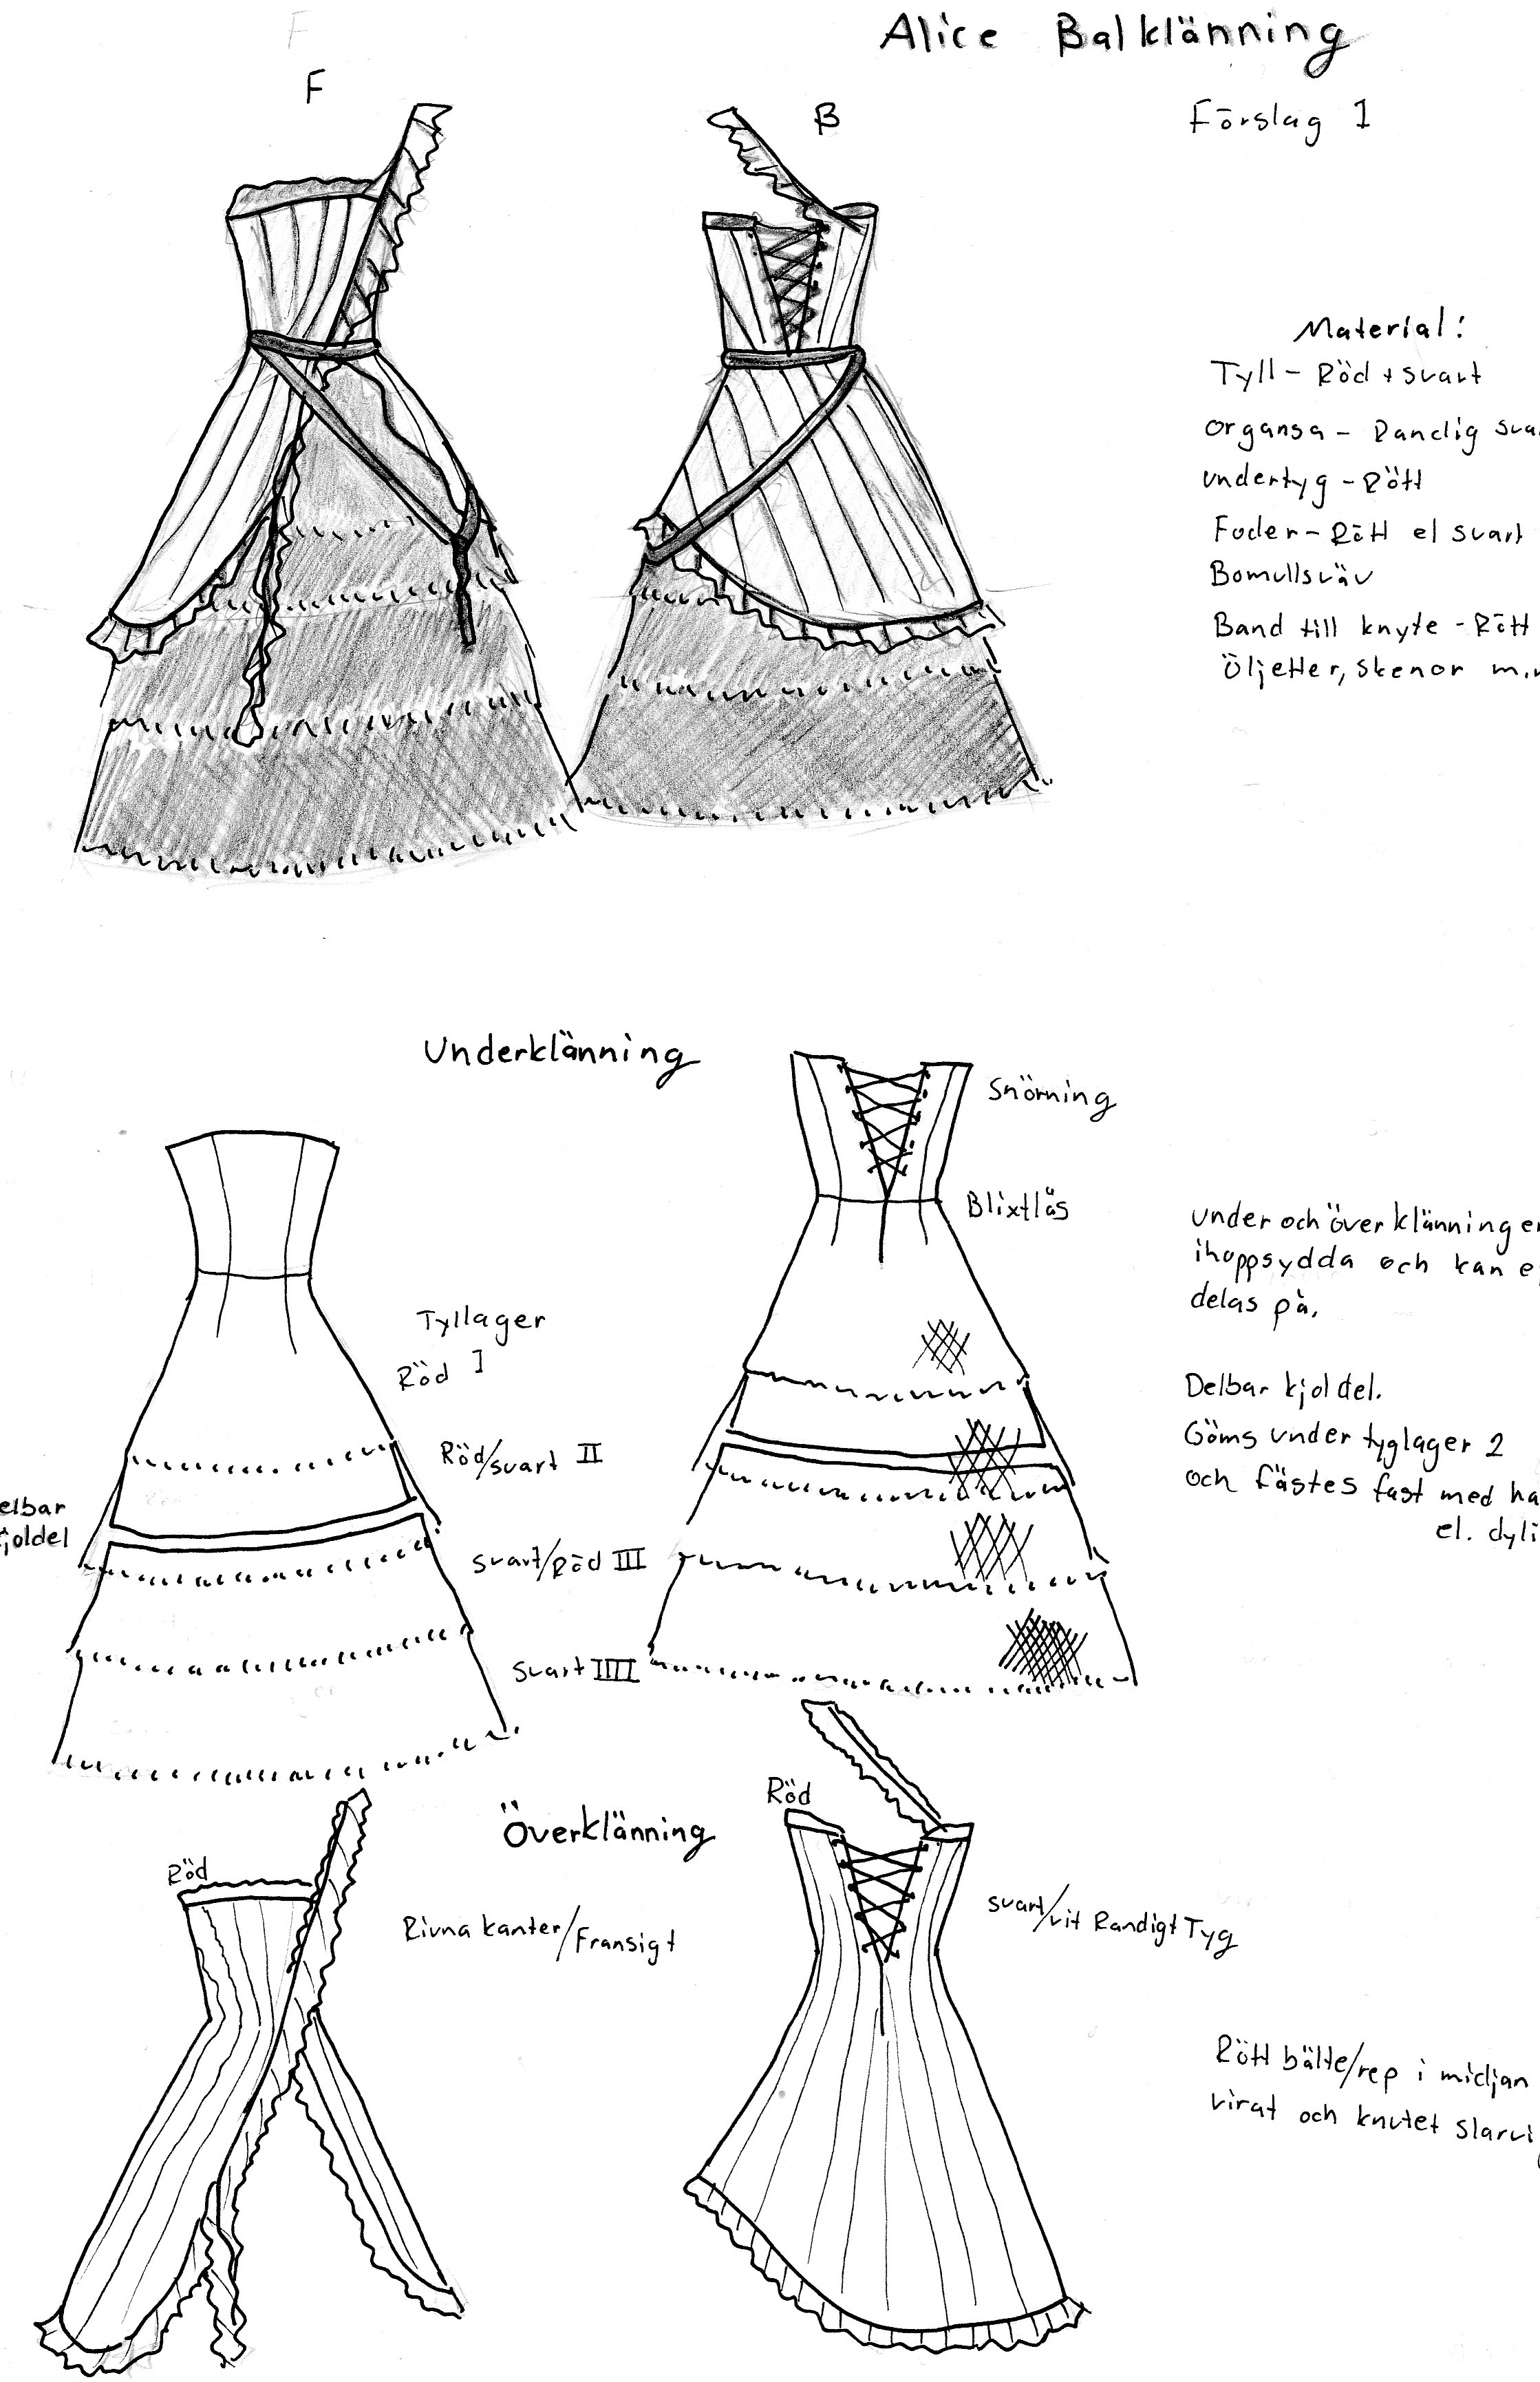


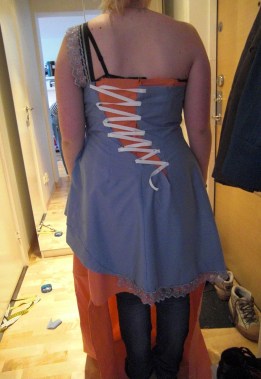


 I used a zipper at the side to make the dress fit perfectly, without disturbing the back lacing.


 Then it was time to start attaching the tulle.
 Starting at the top,working downwards adding more and more black to the layers.