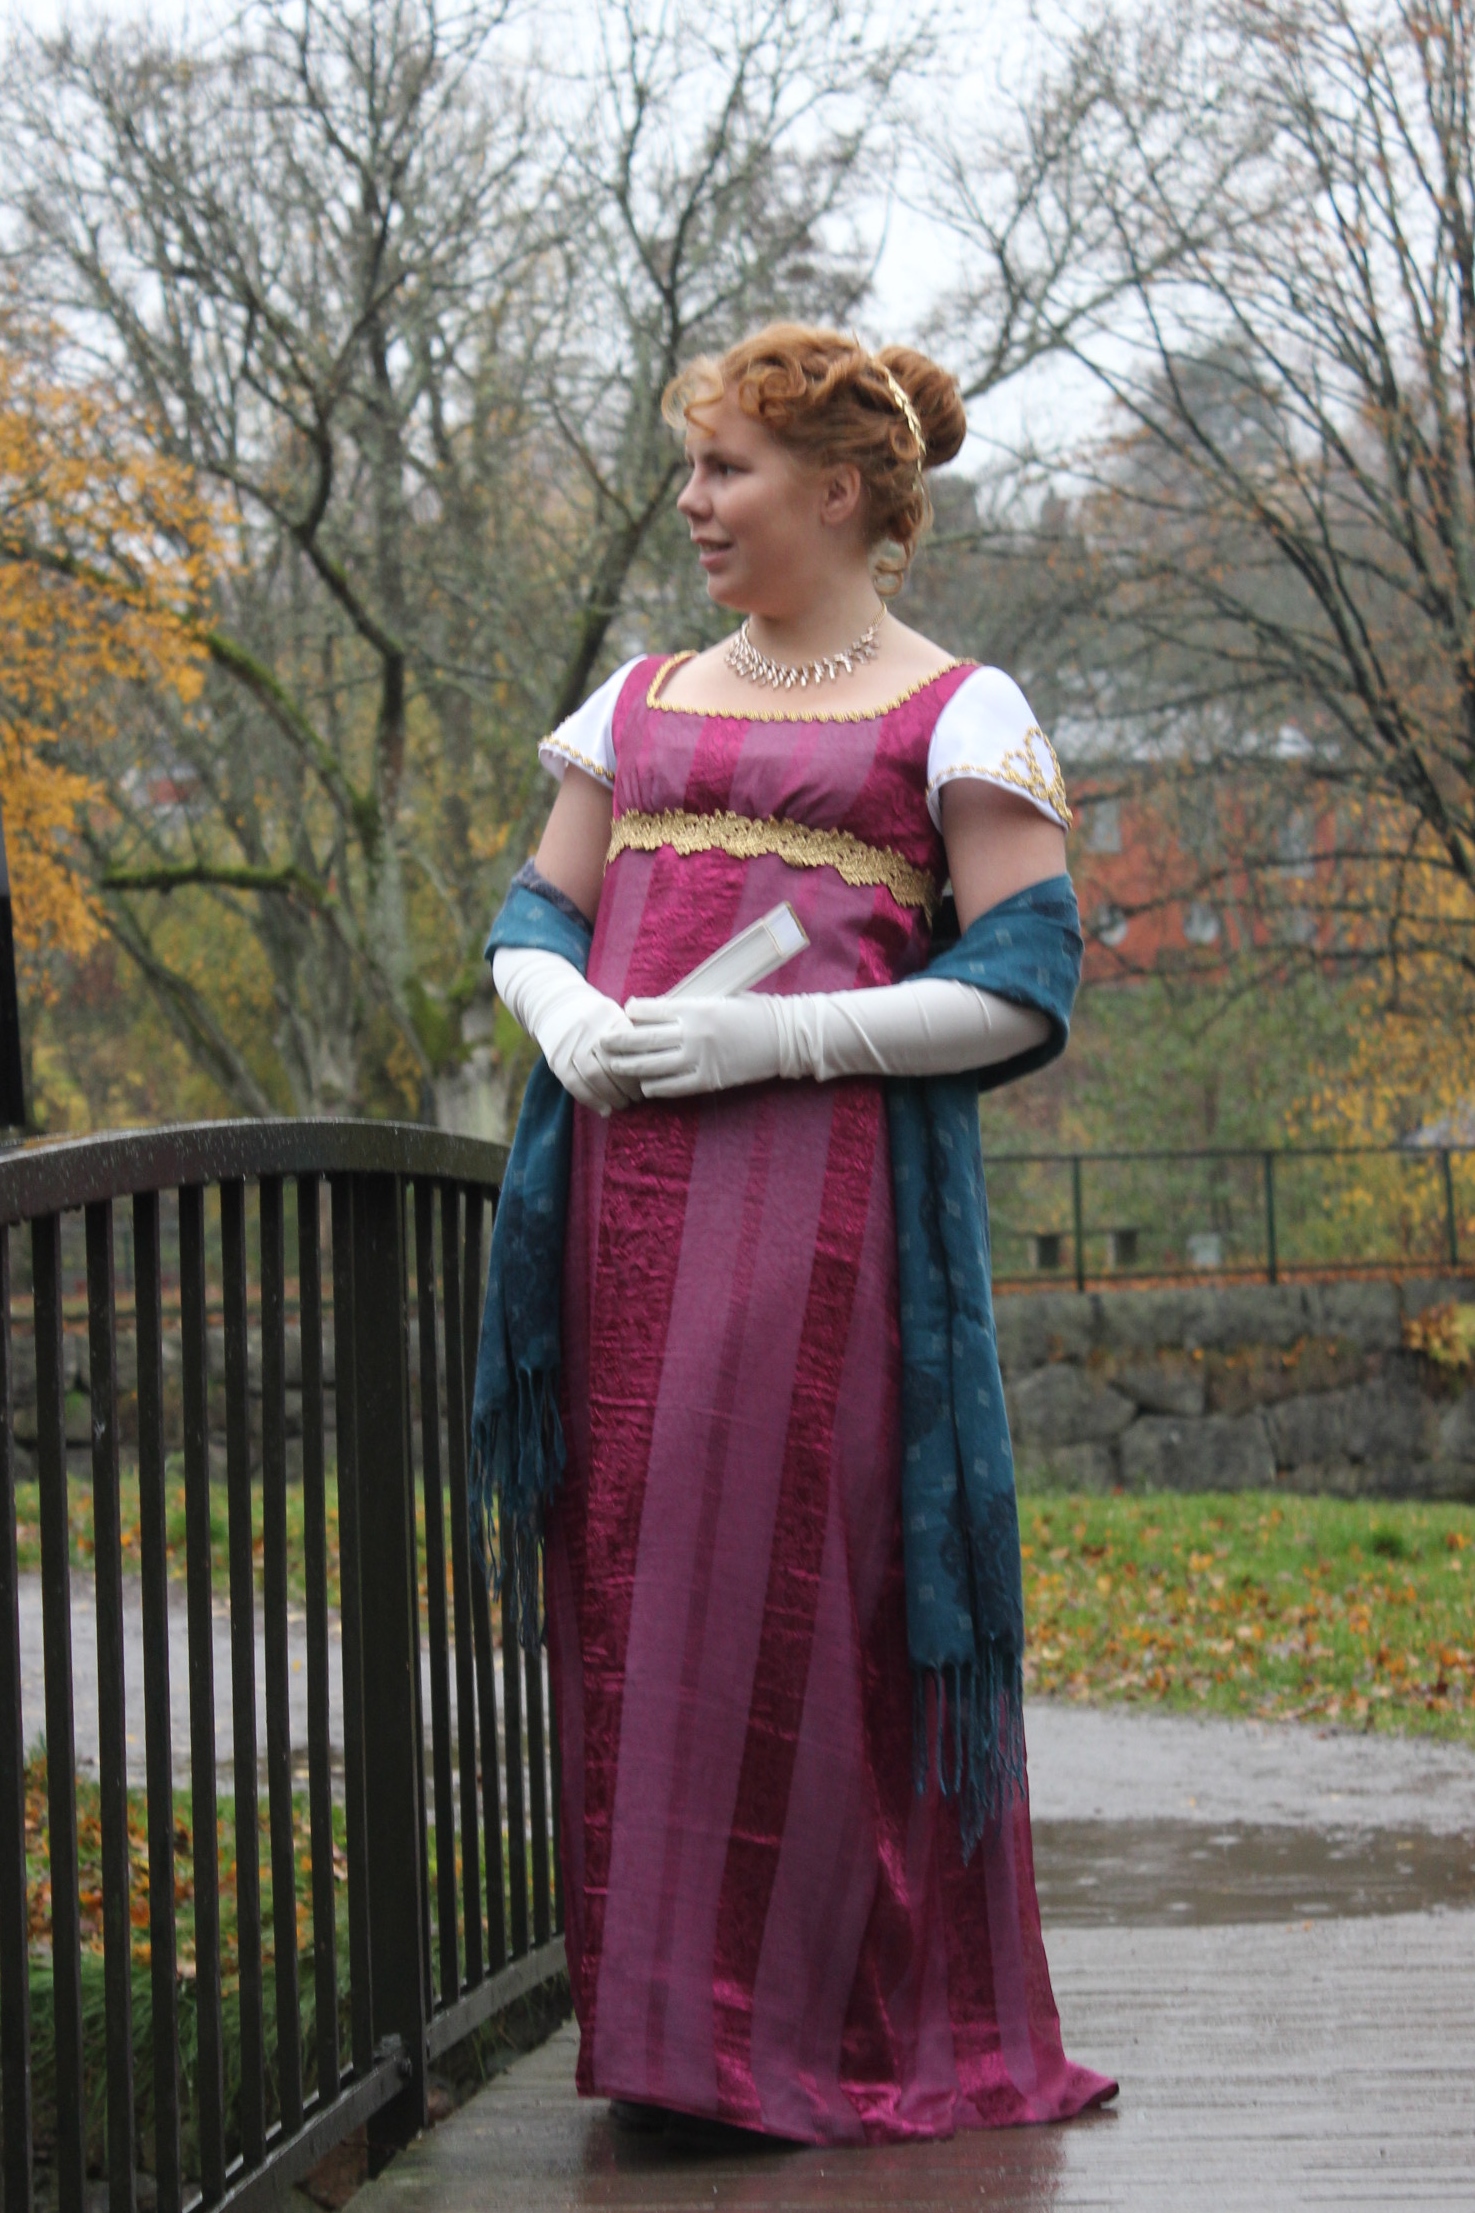
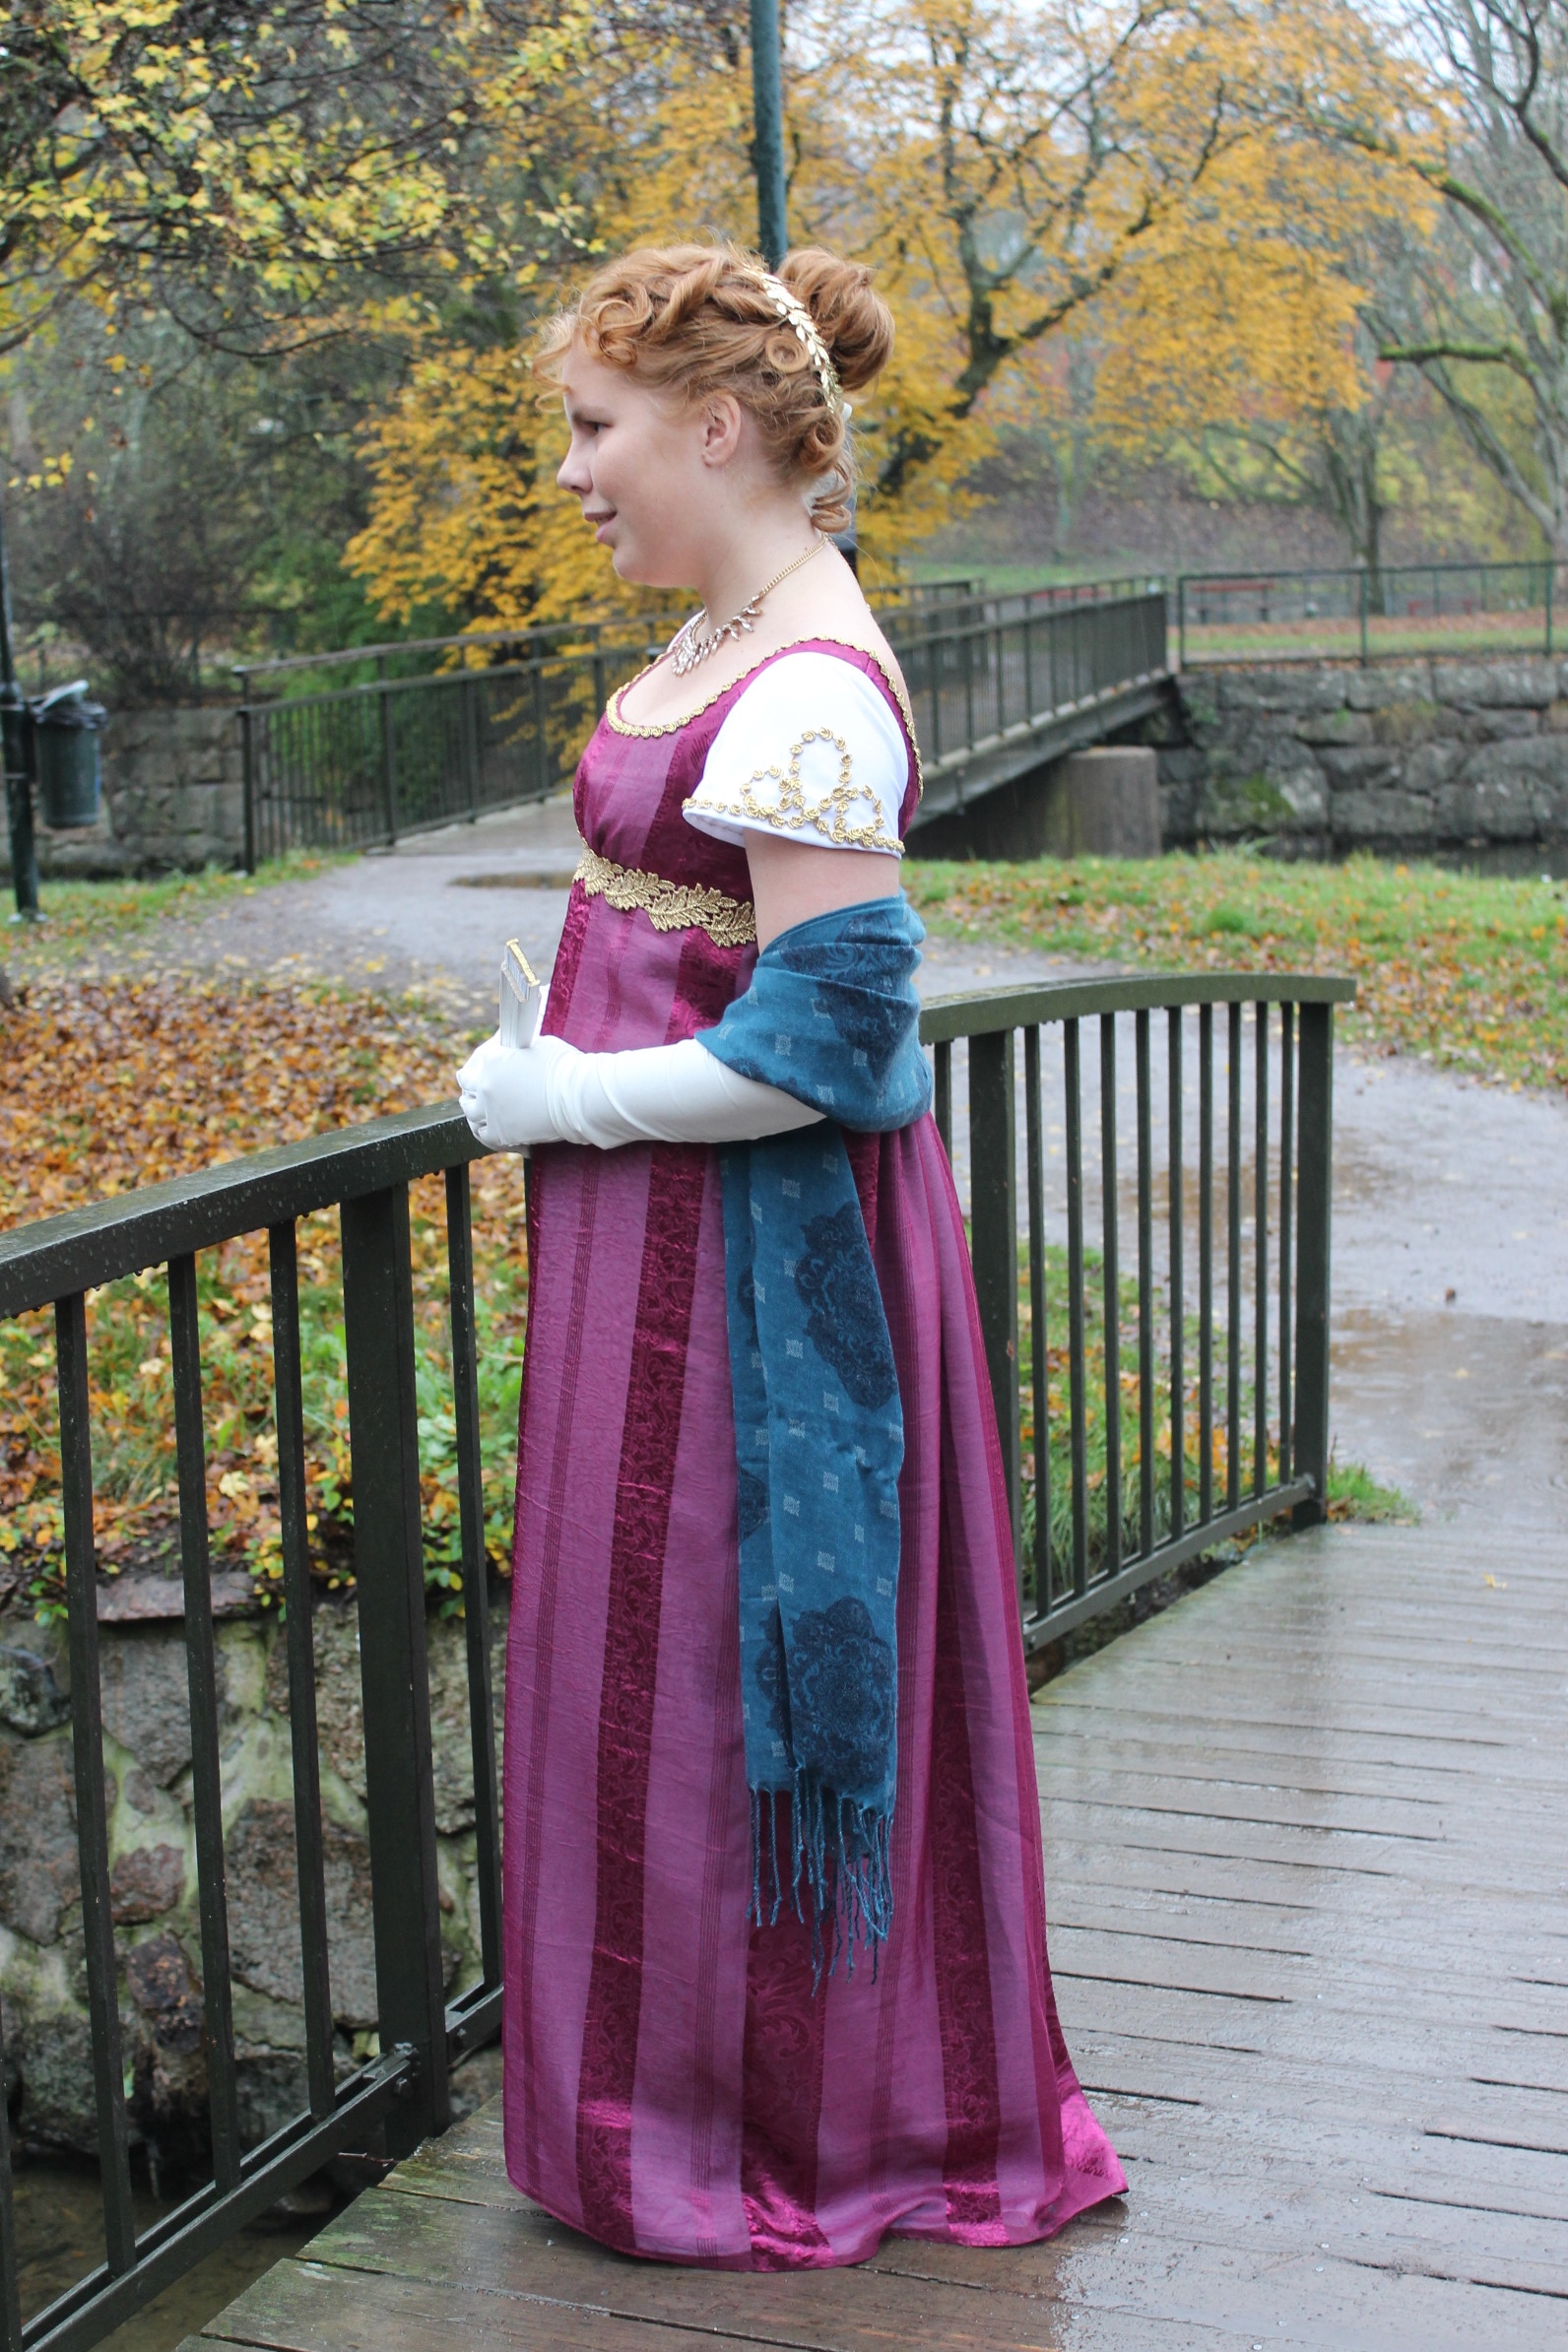
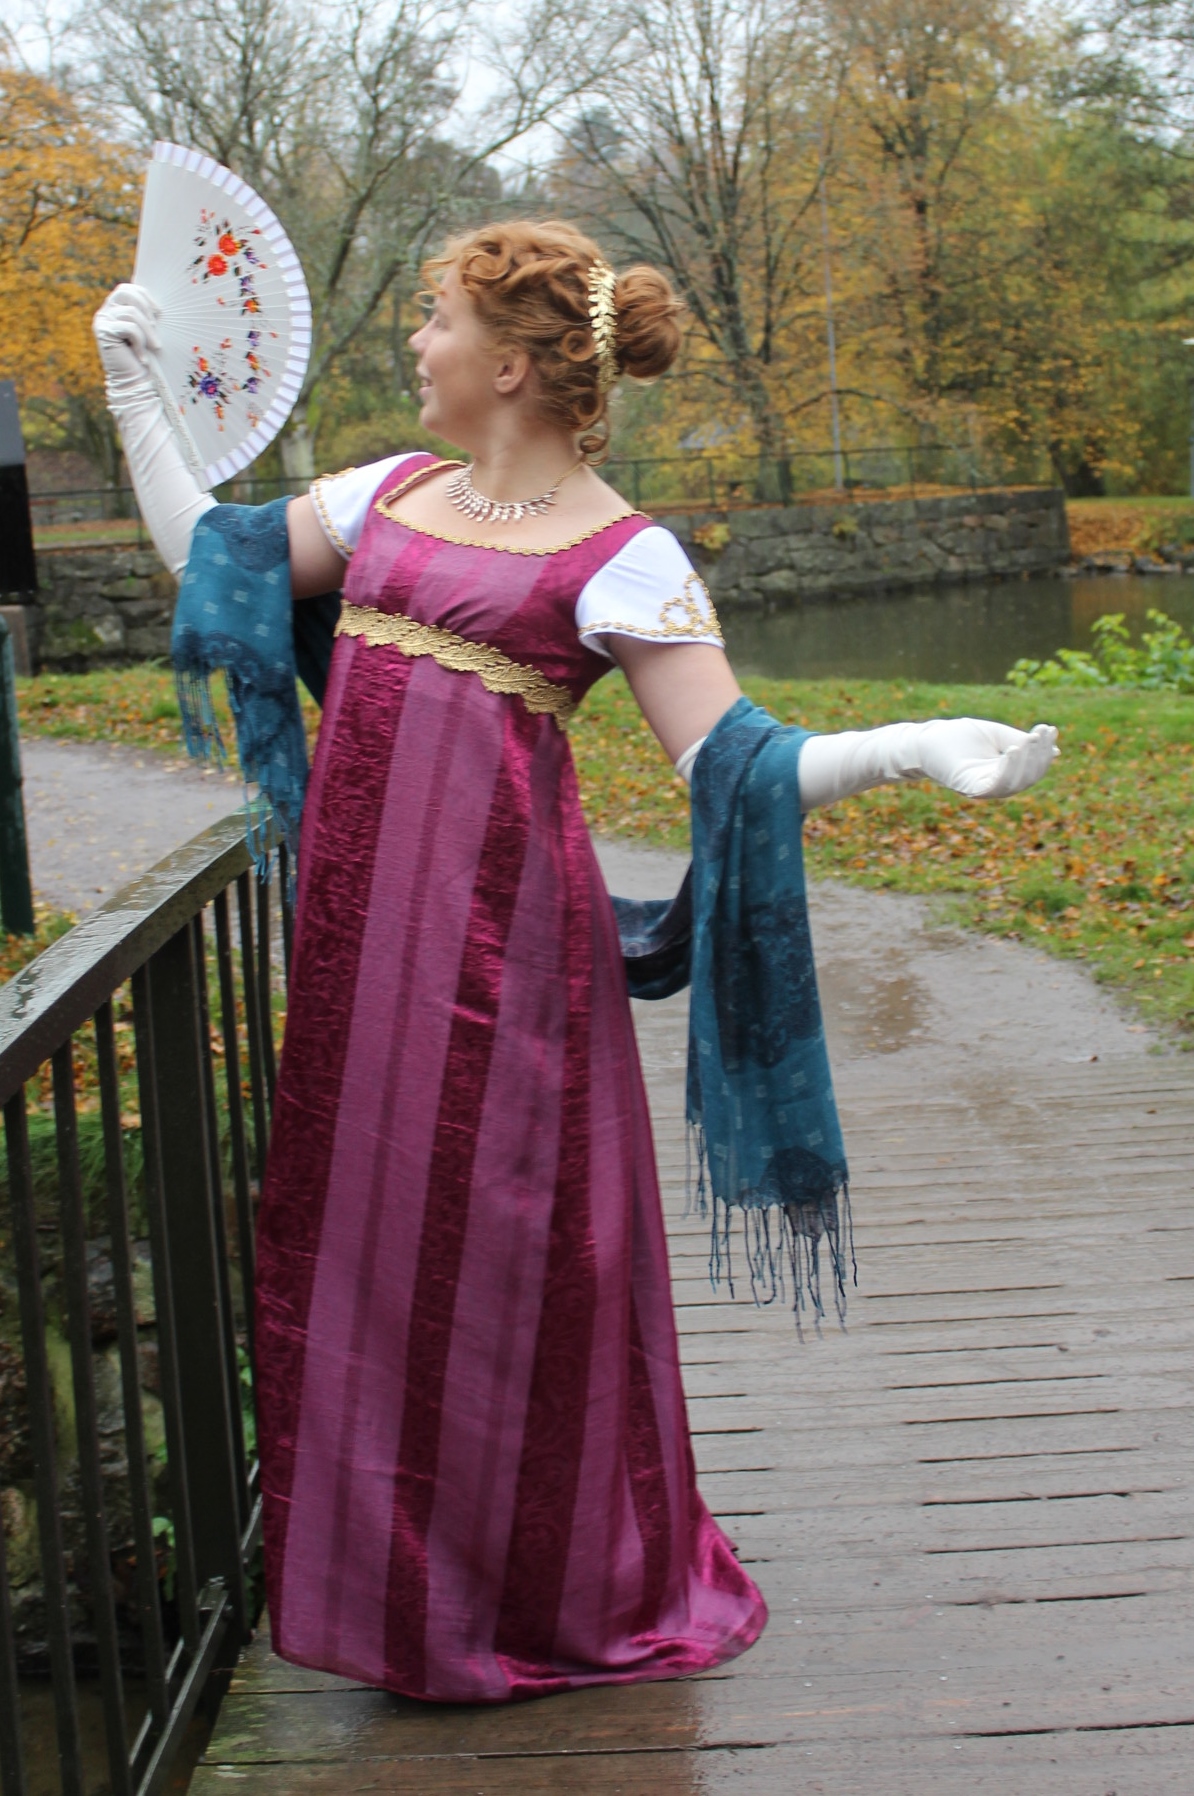
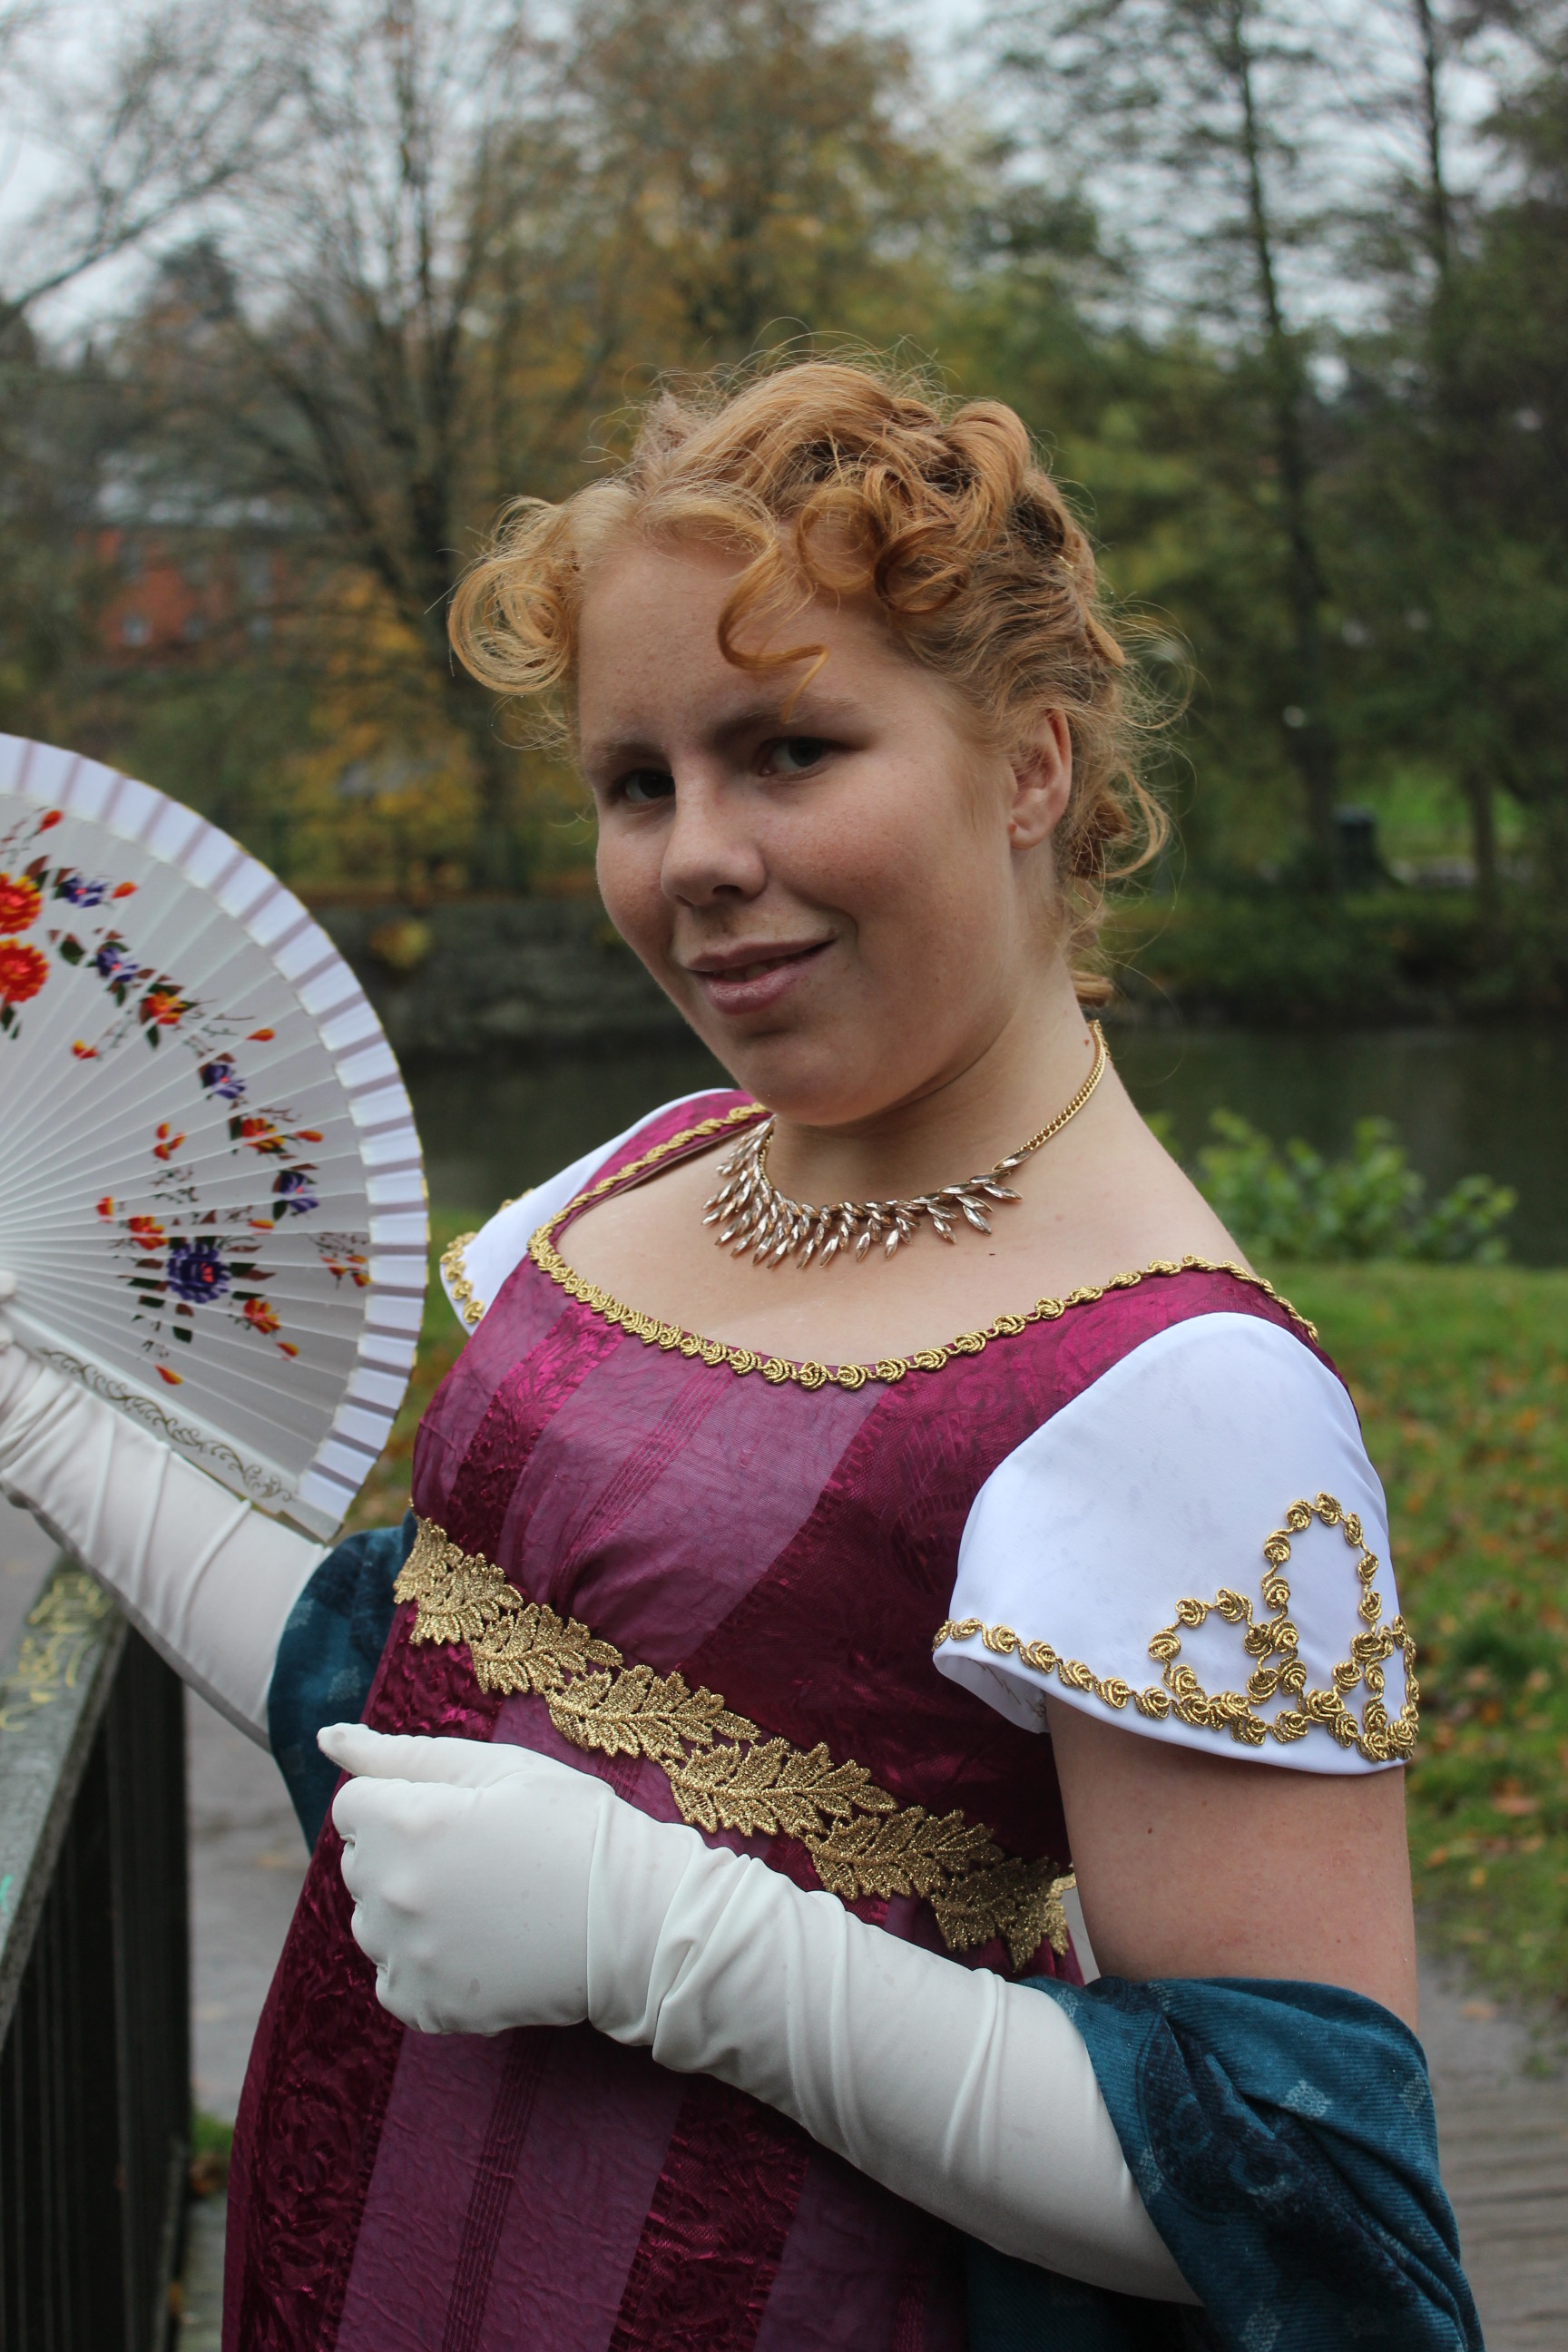
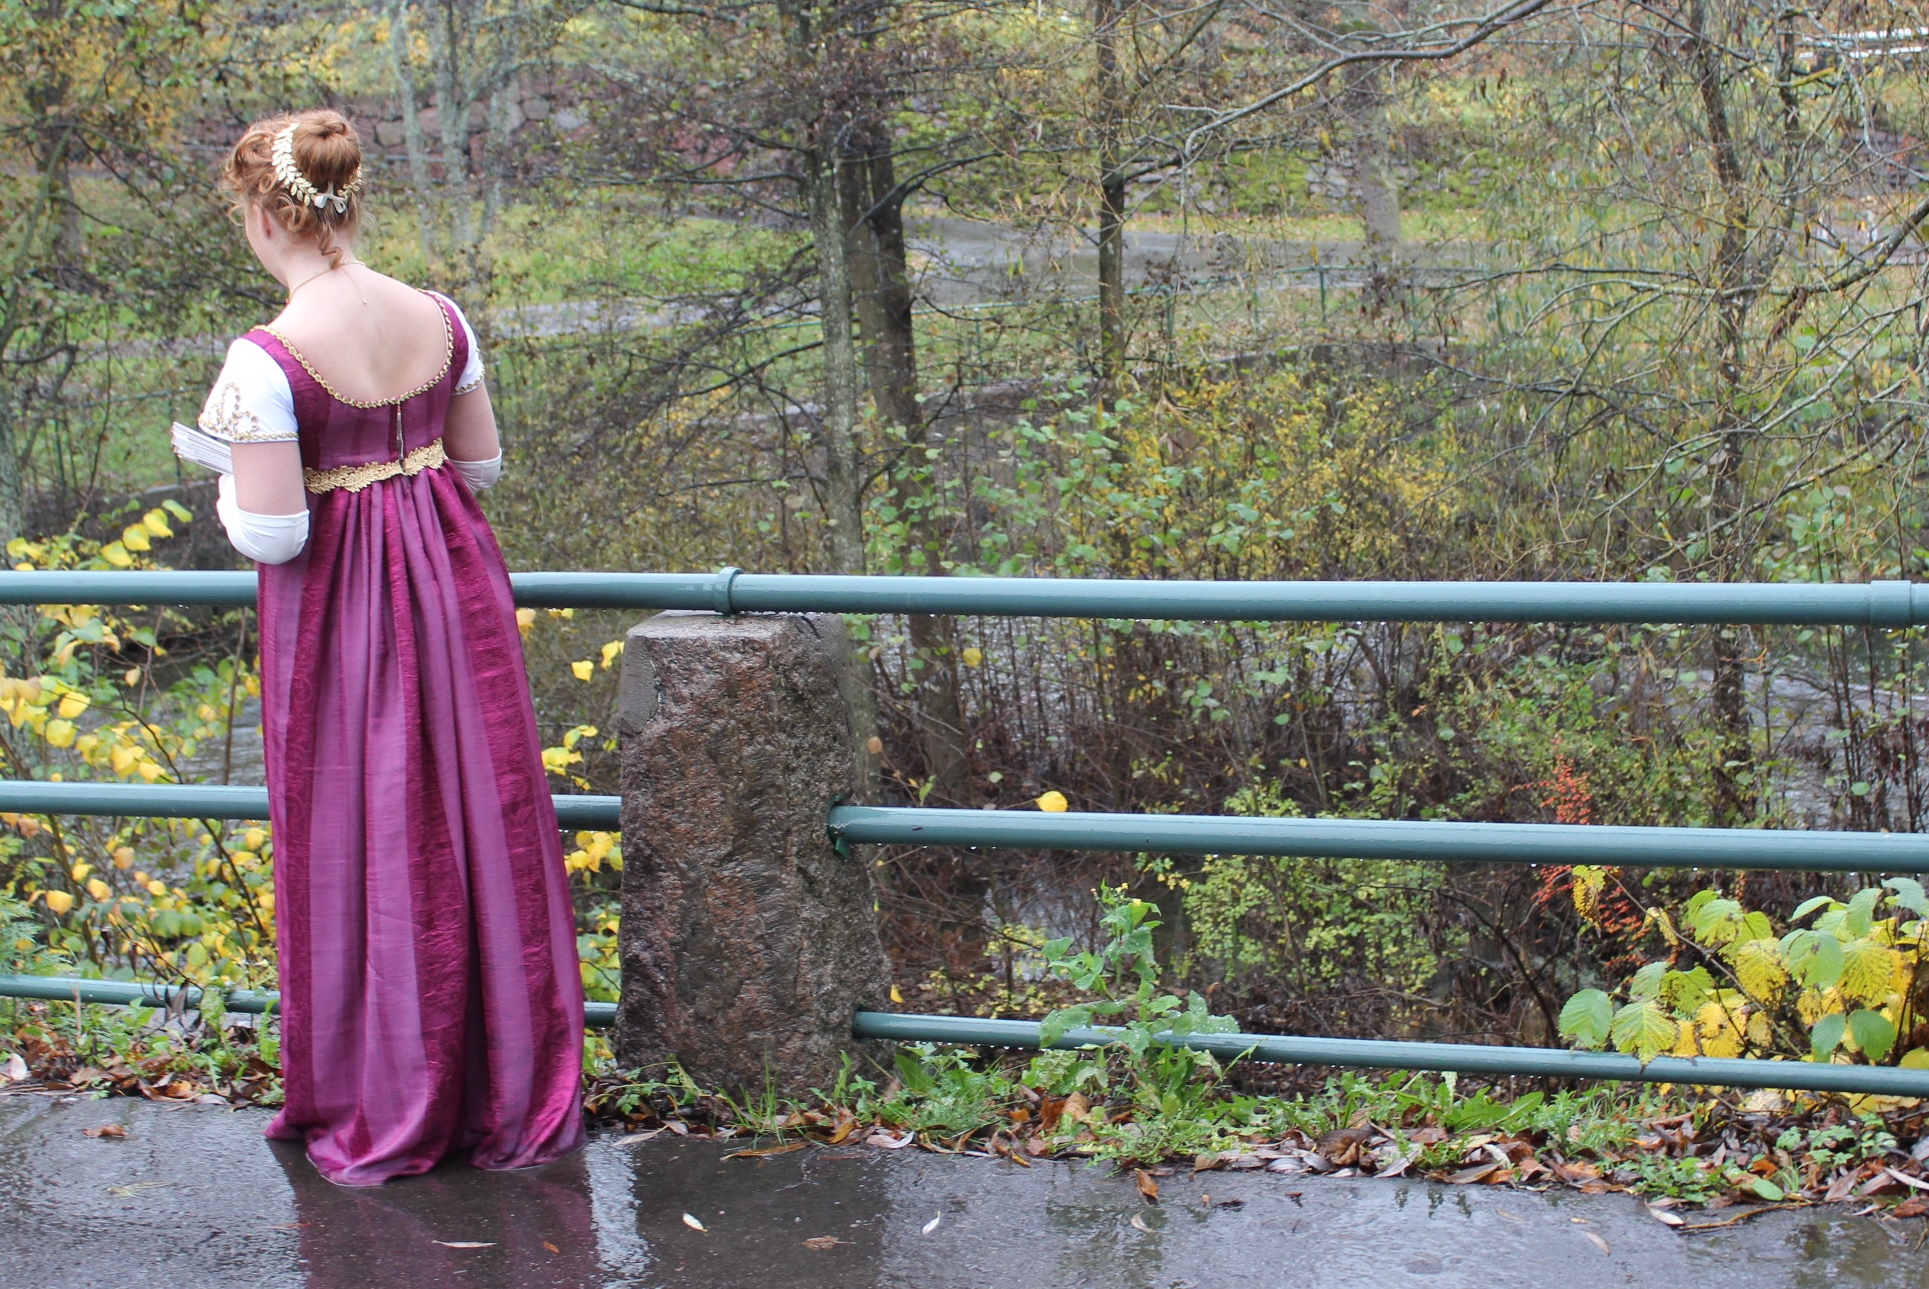
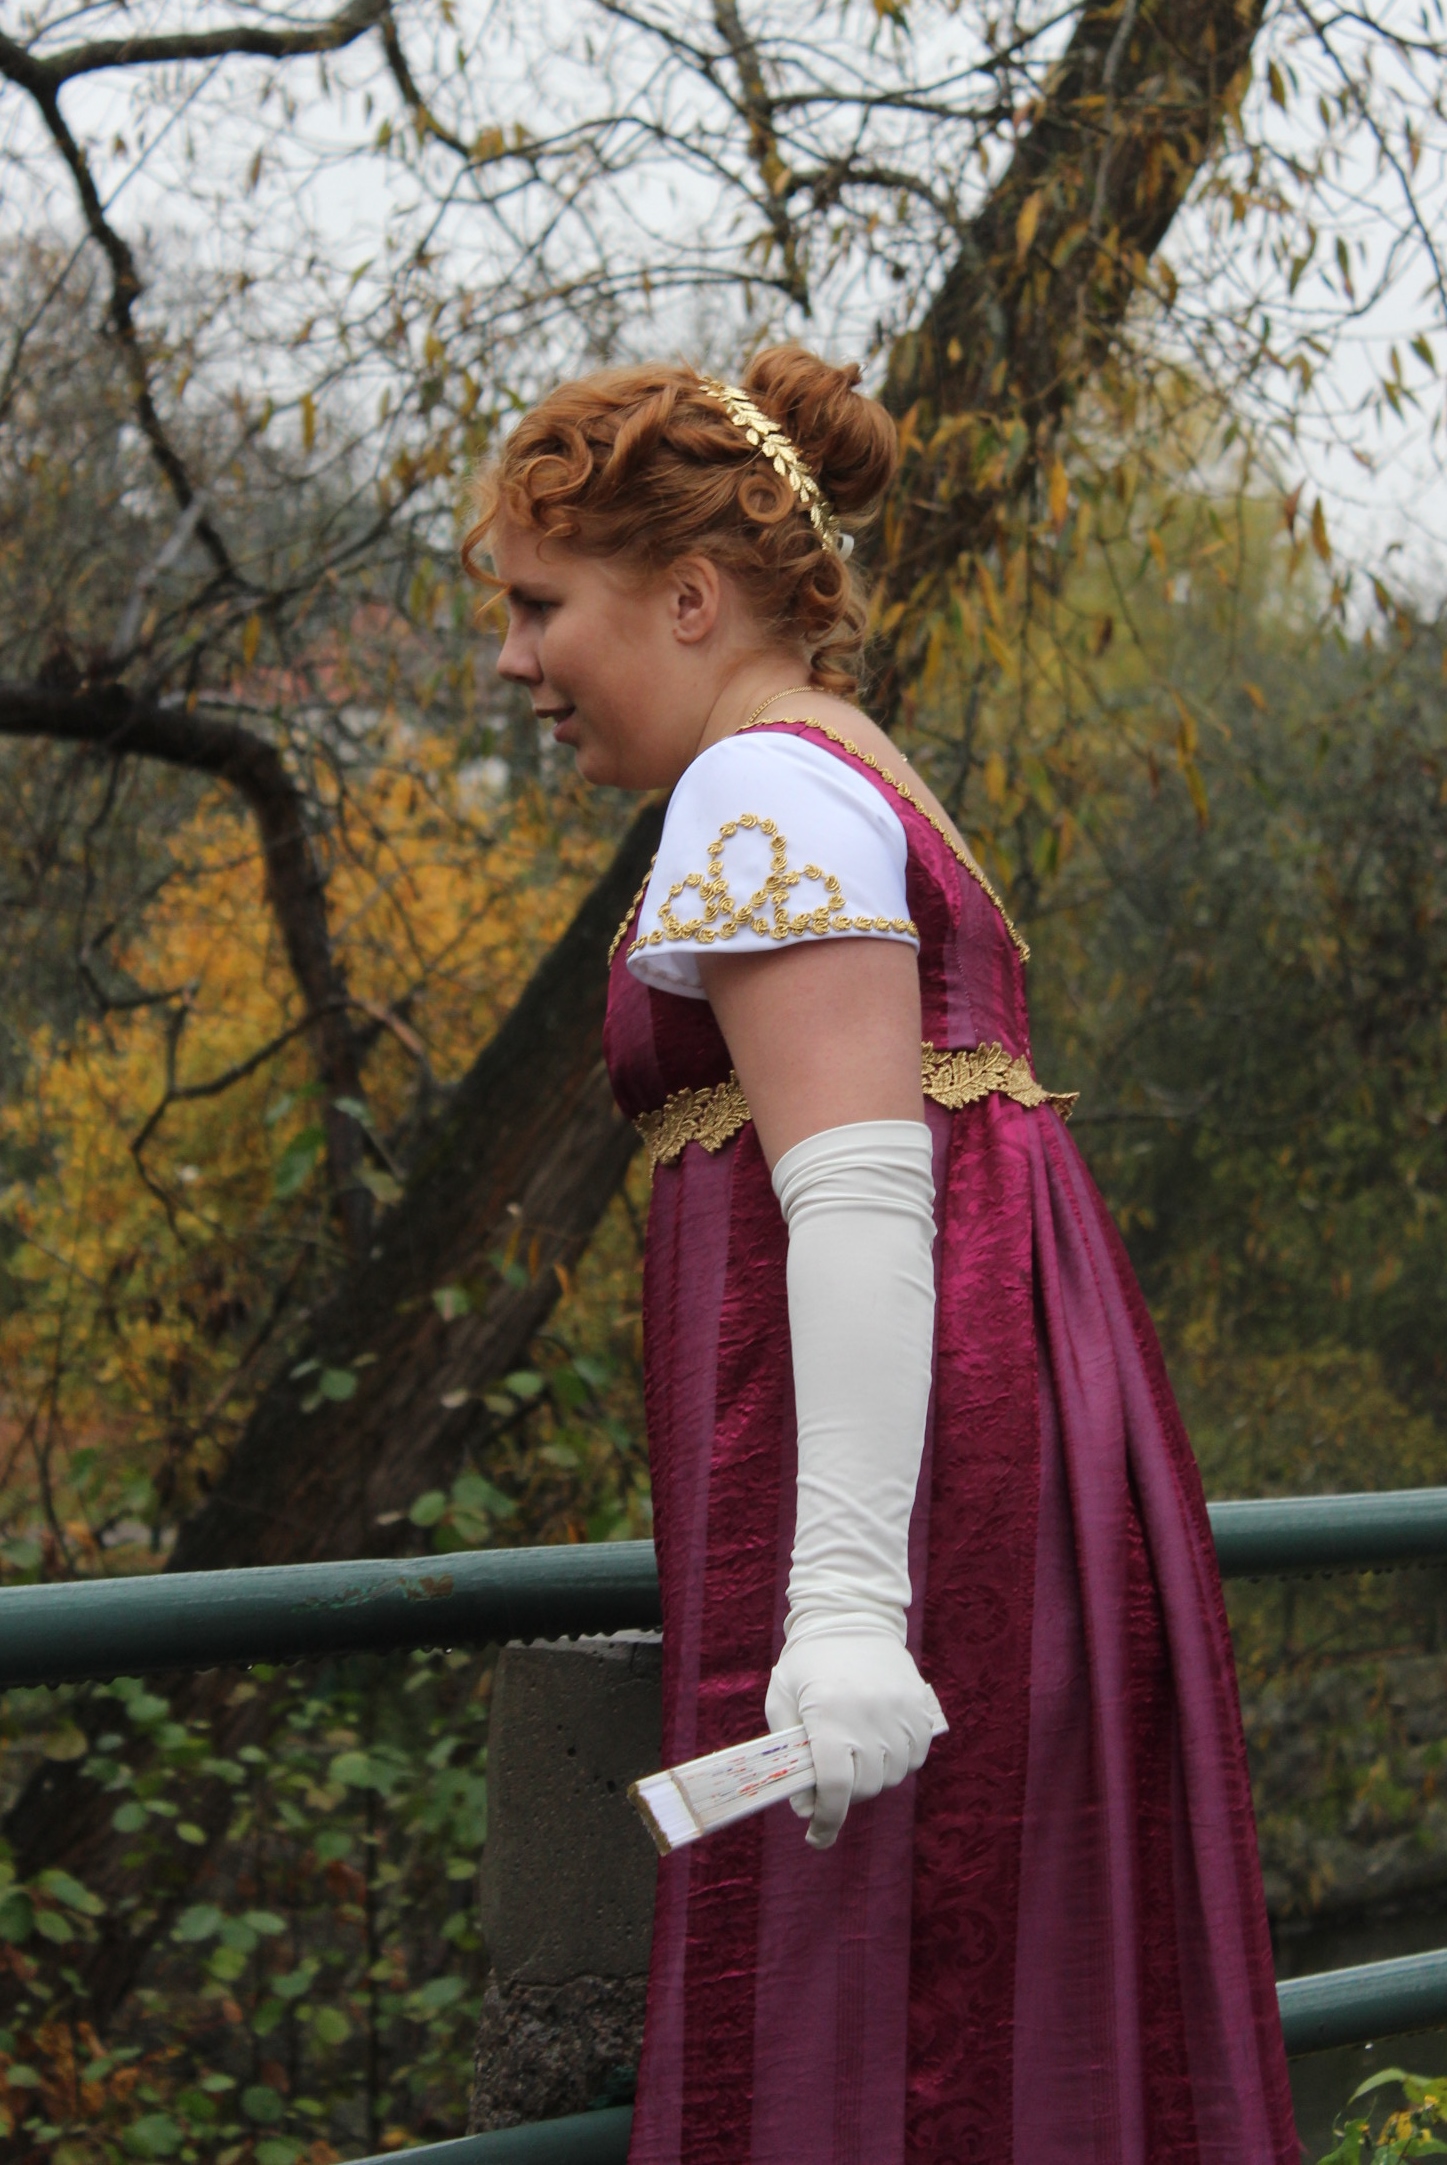
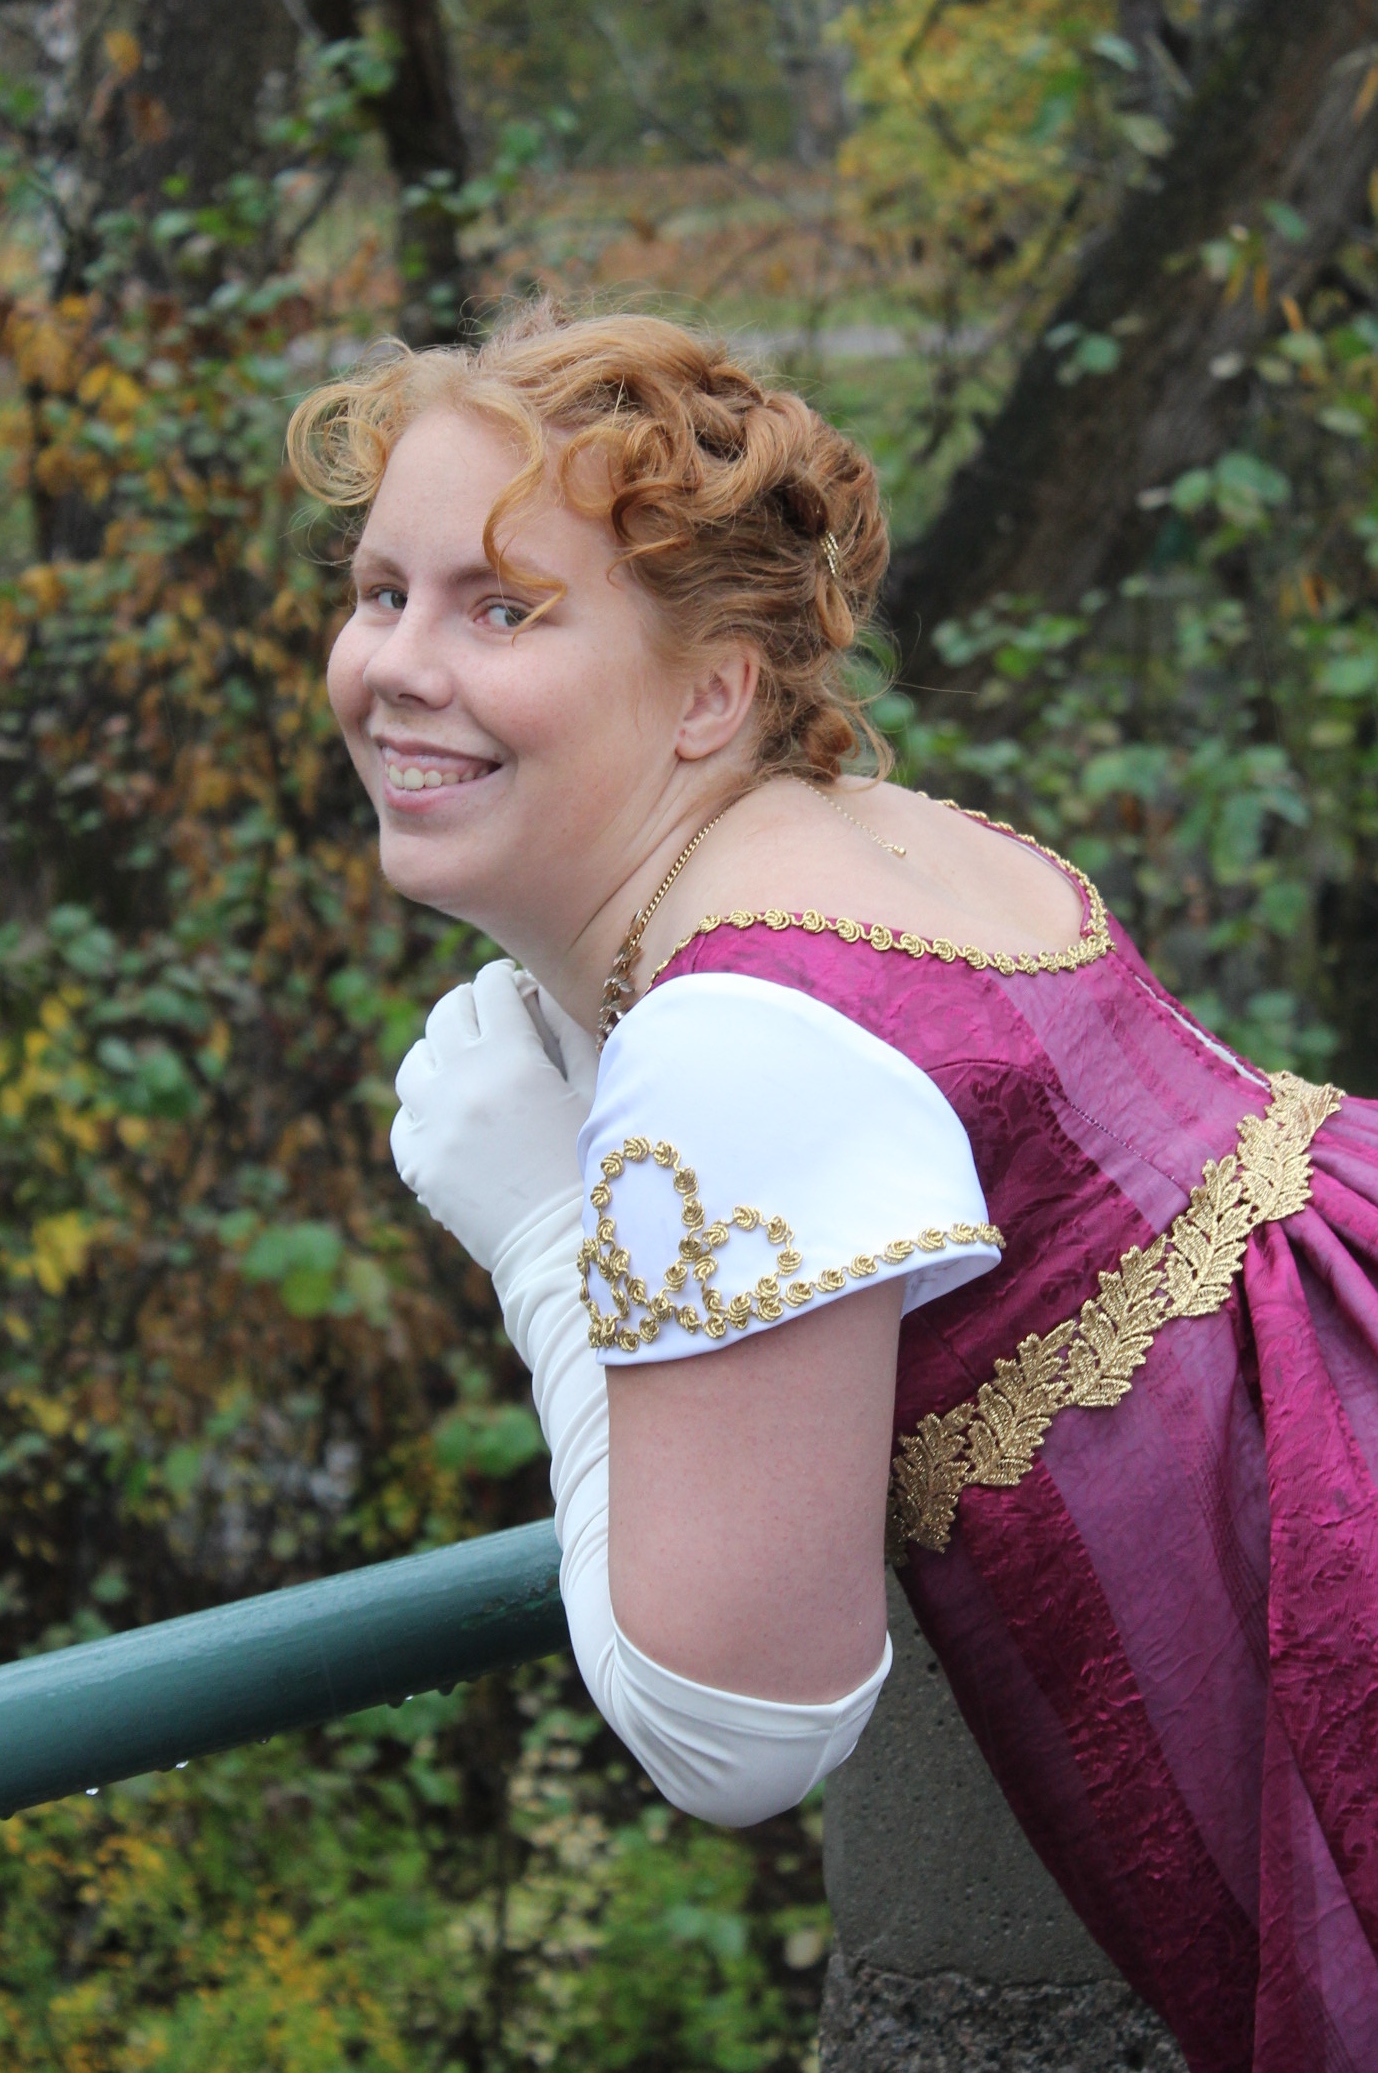
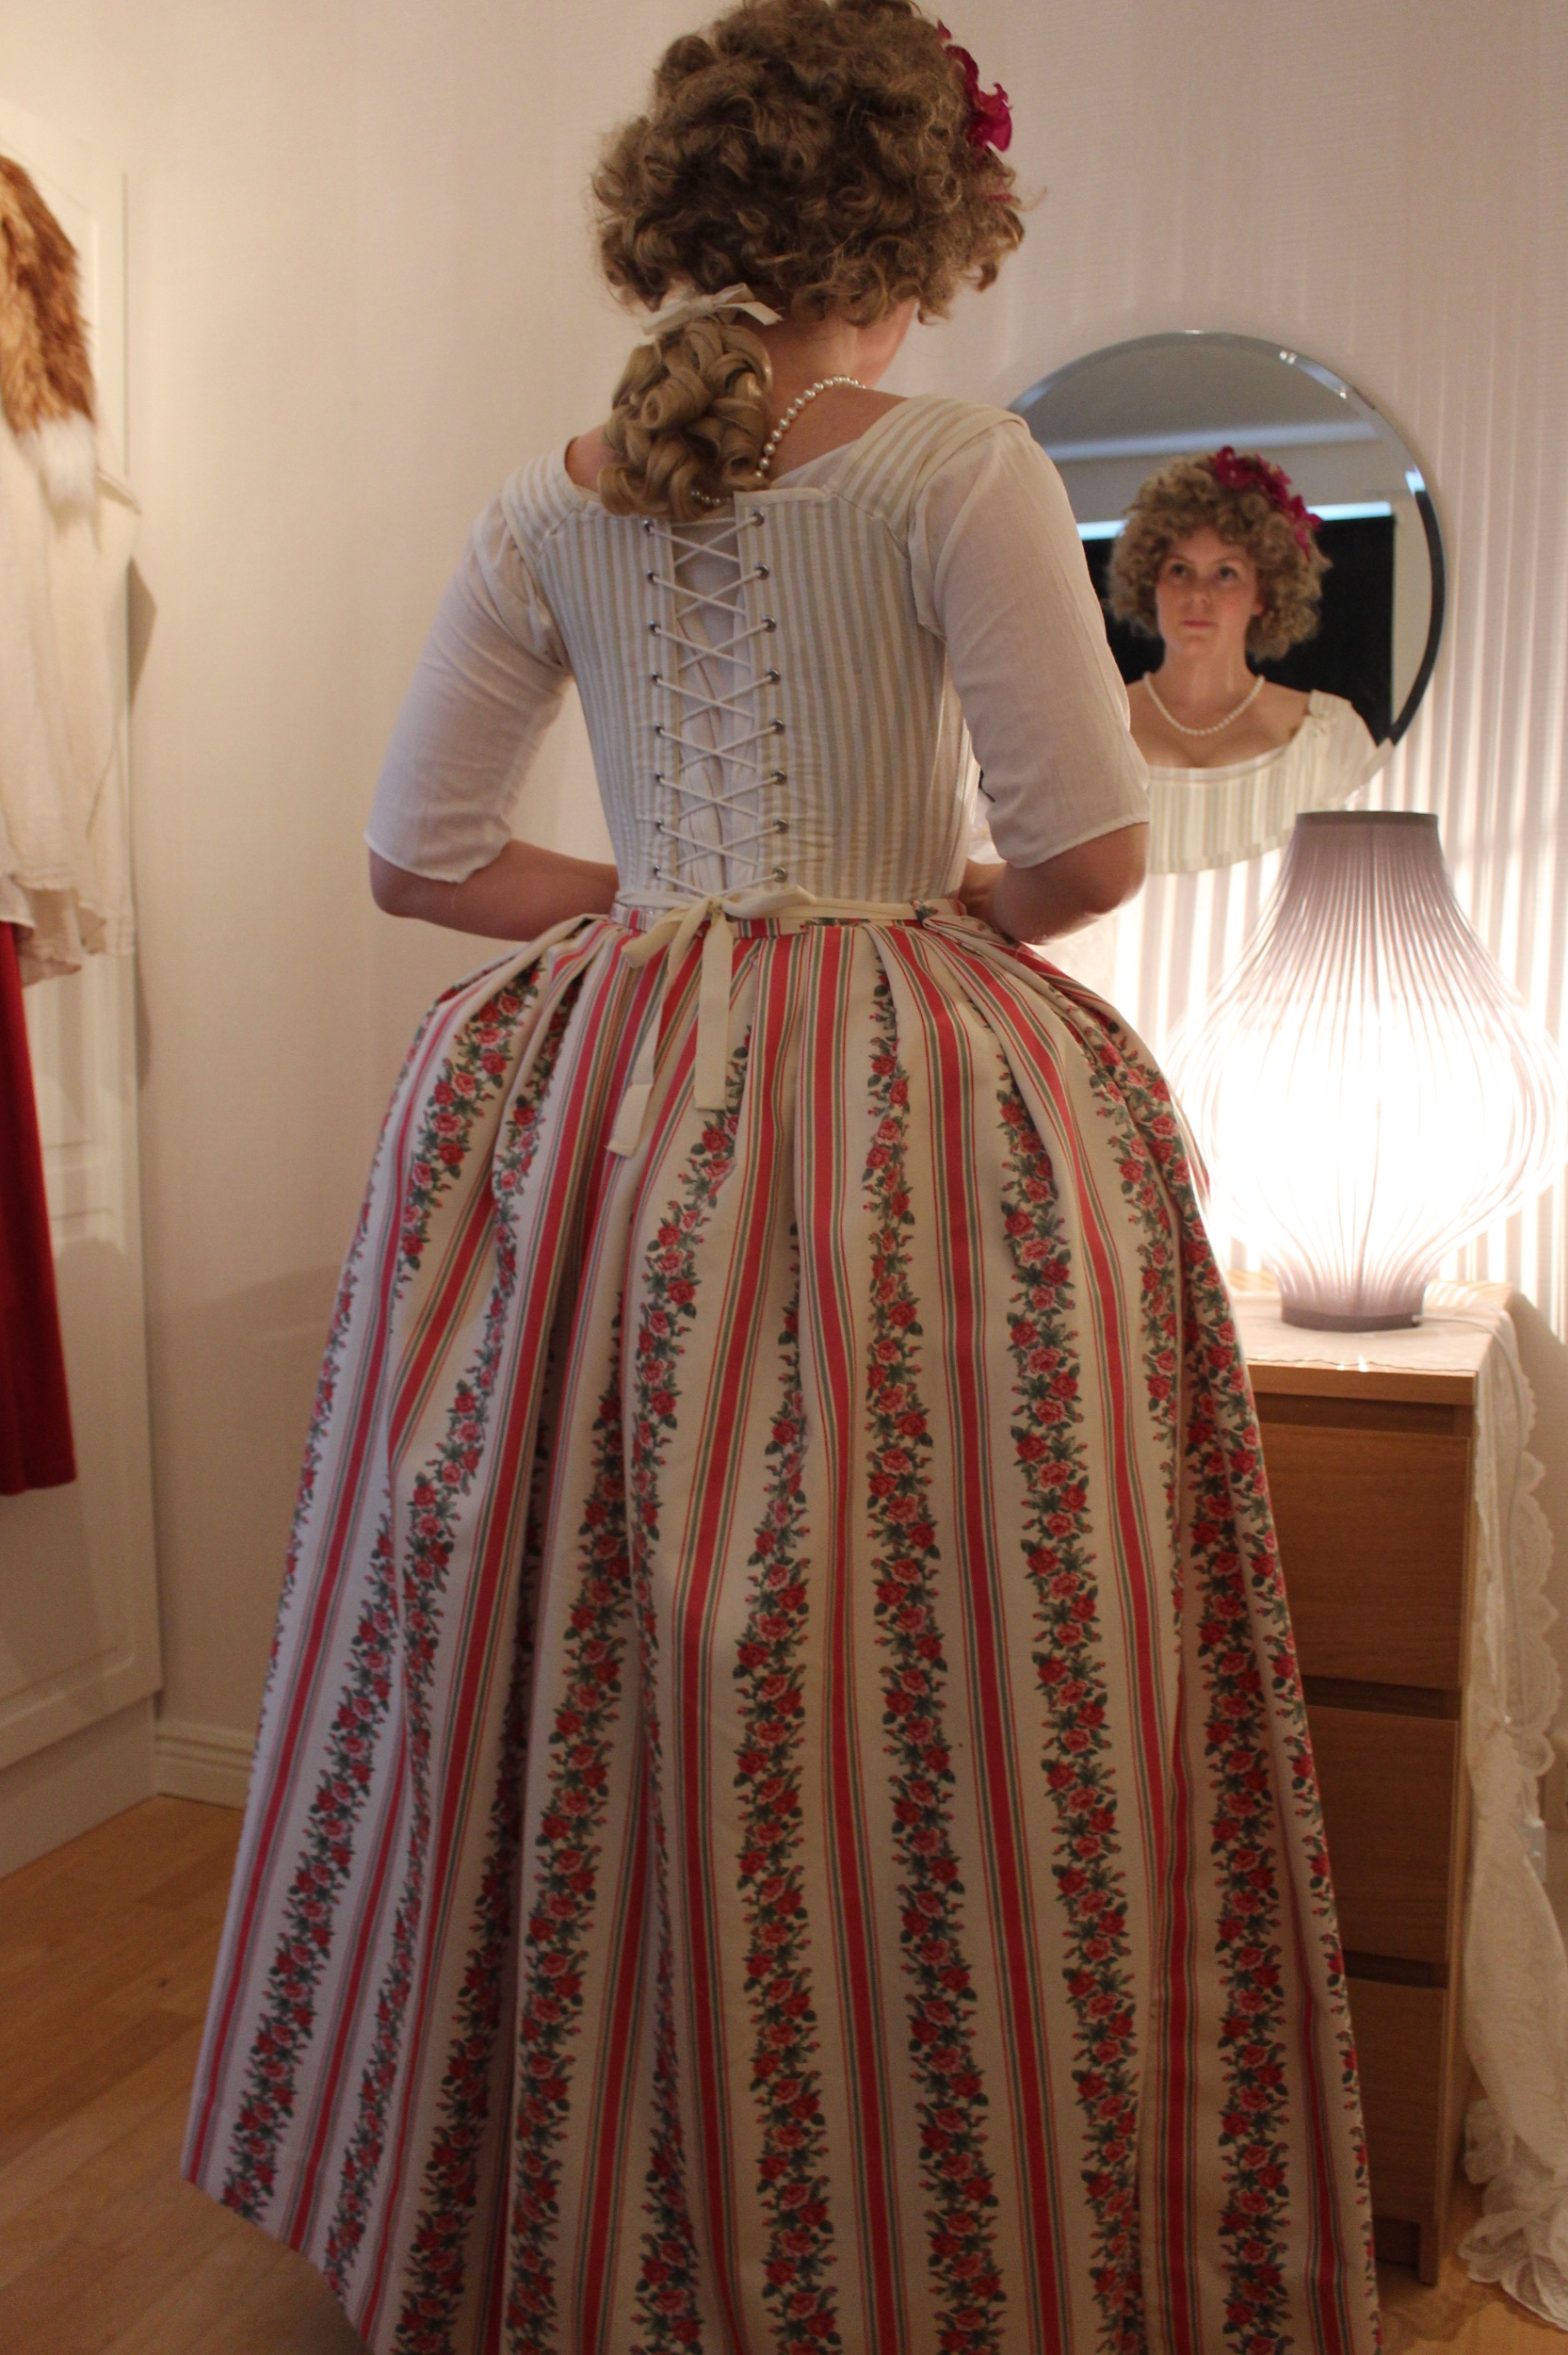
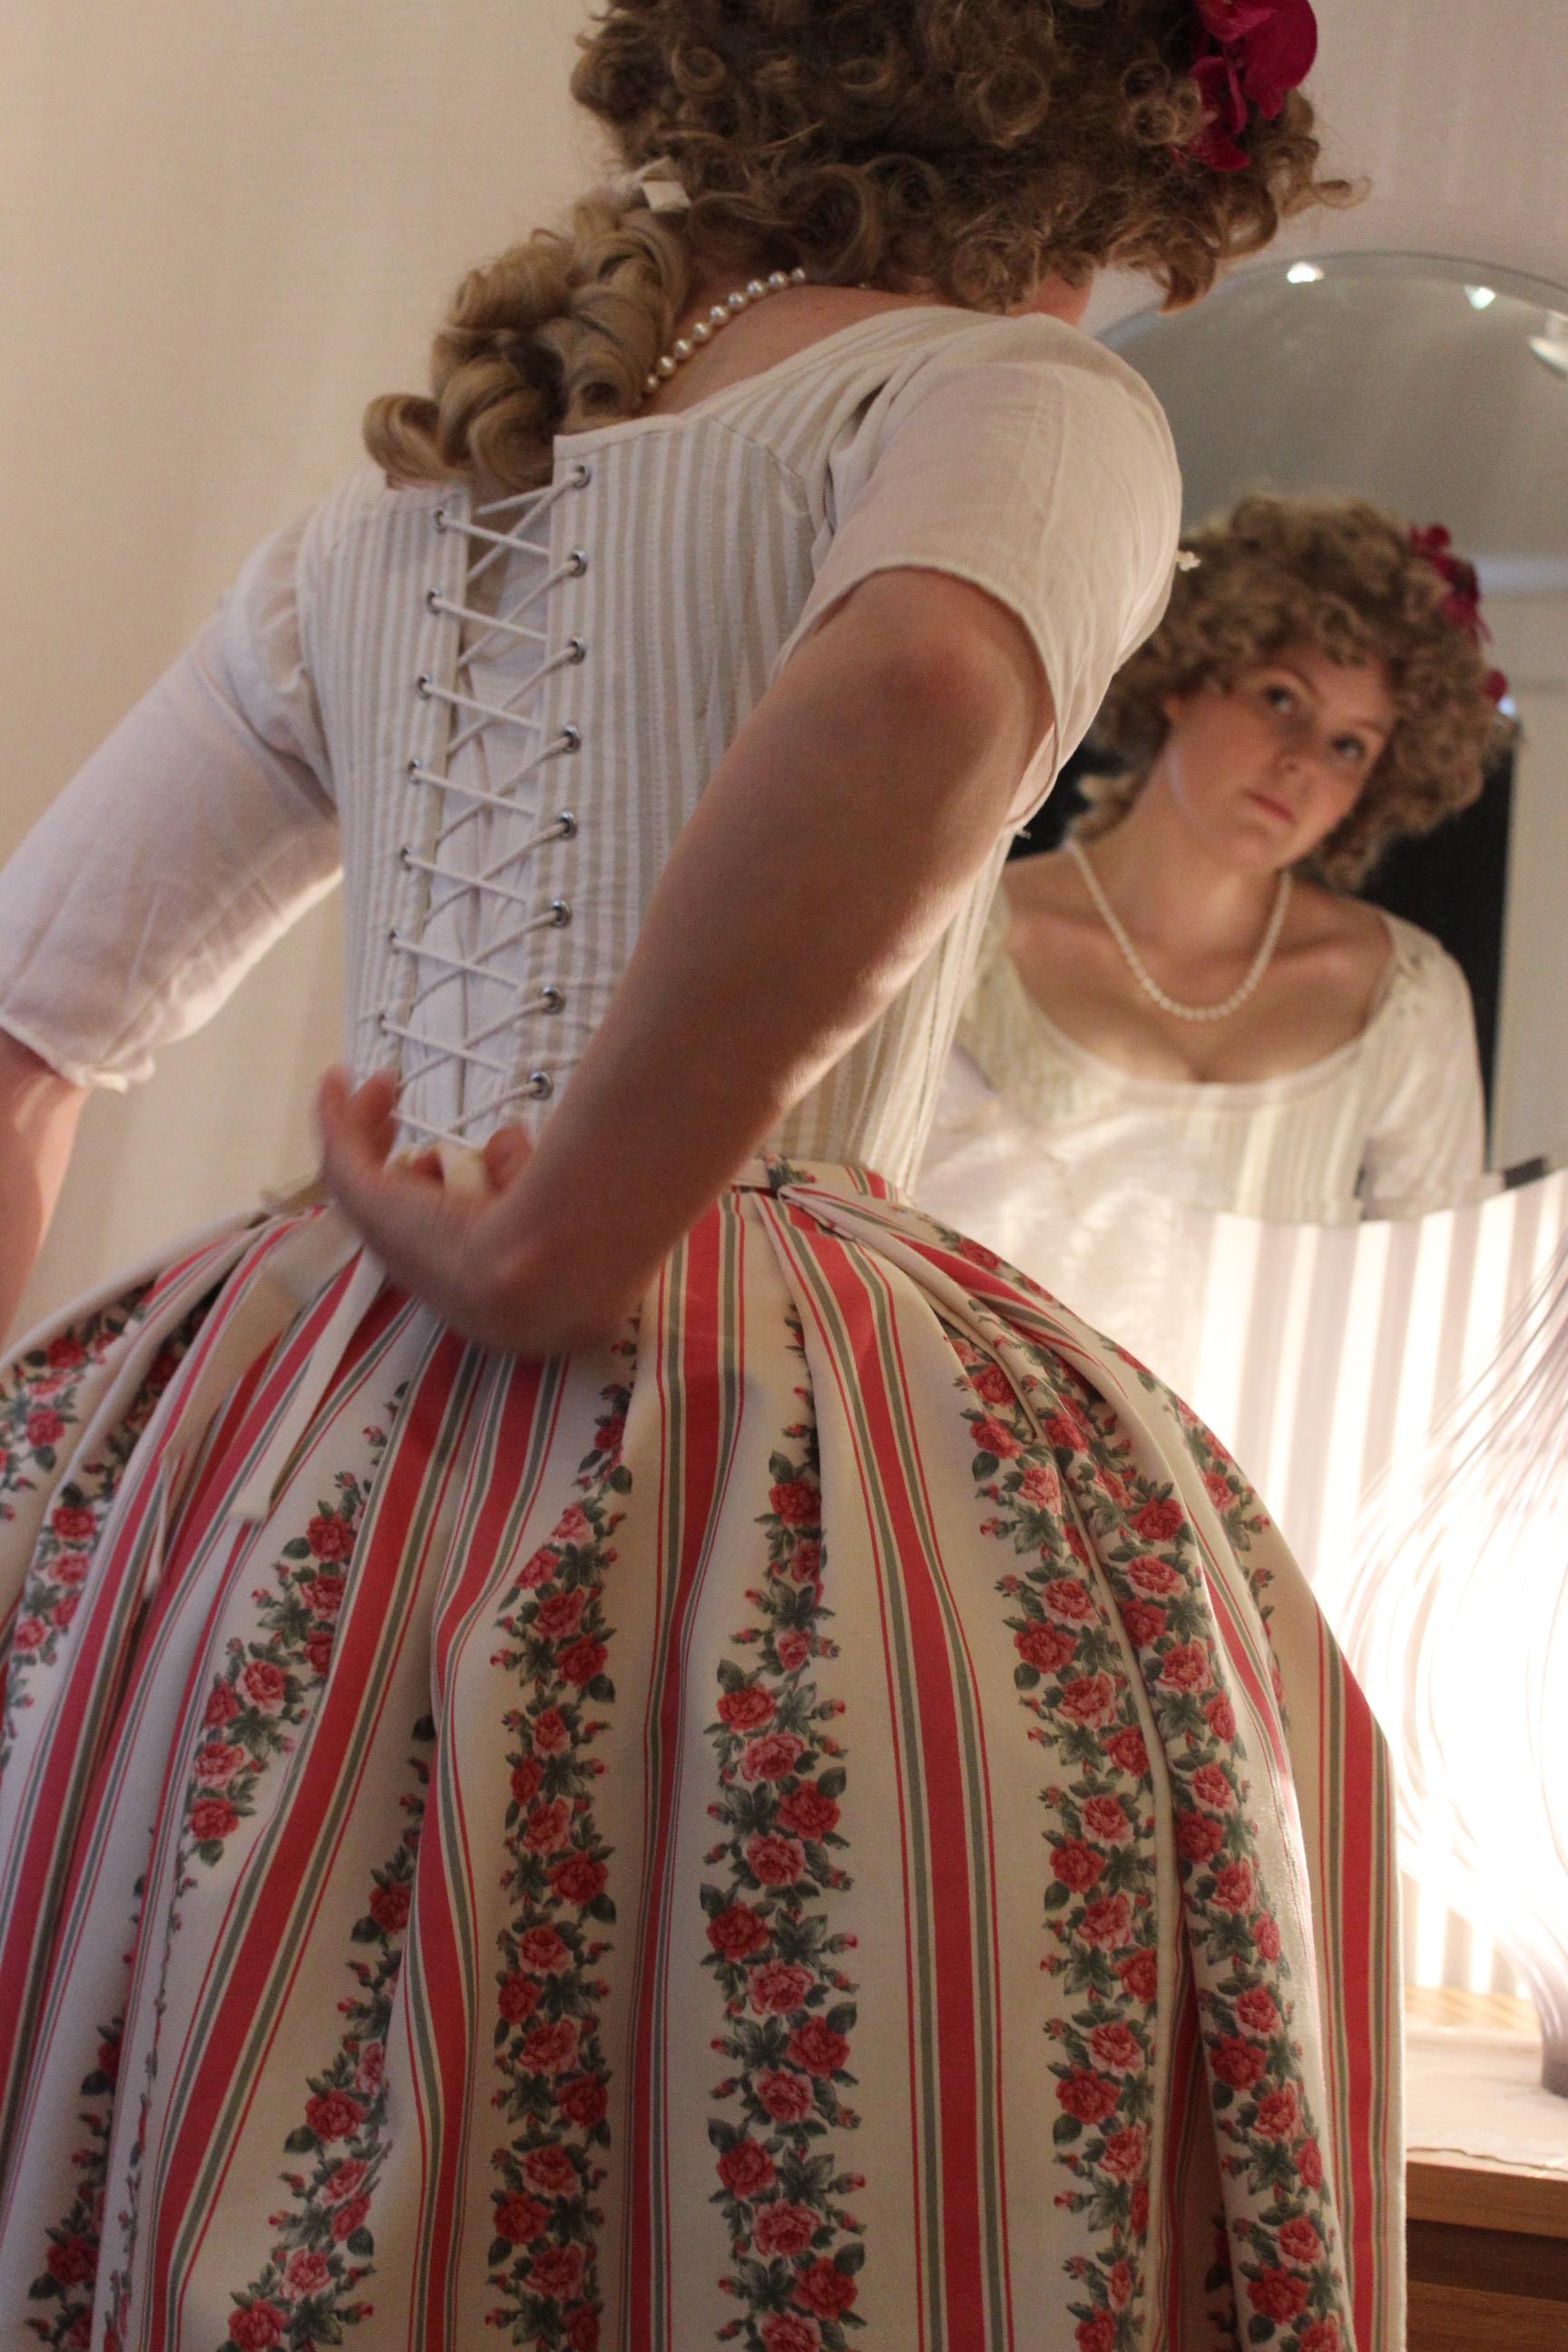
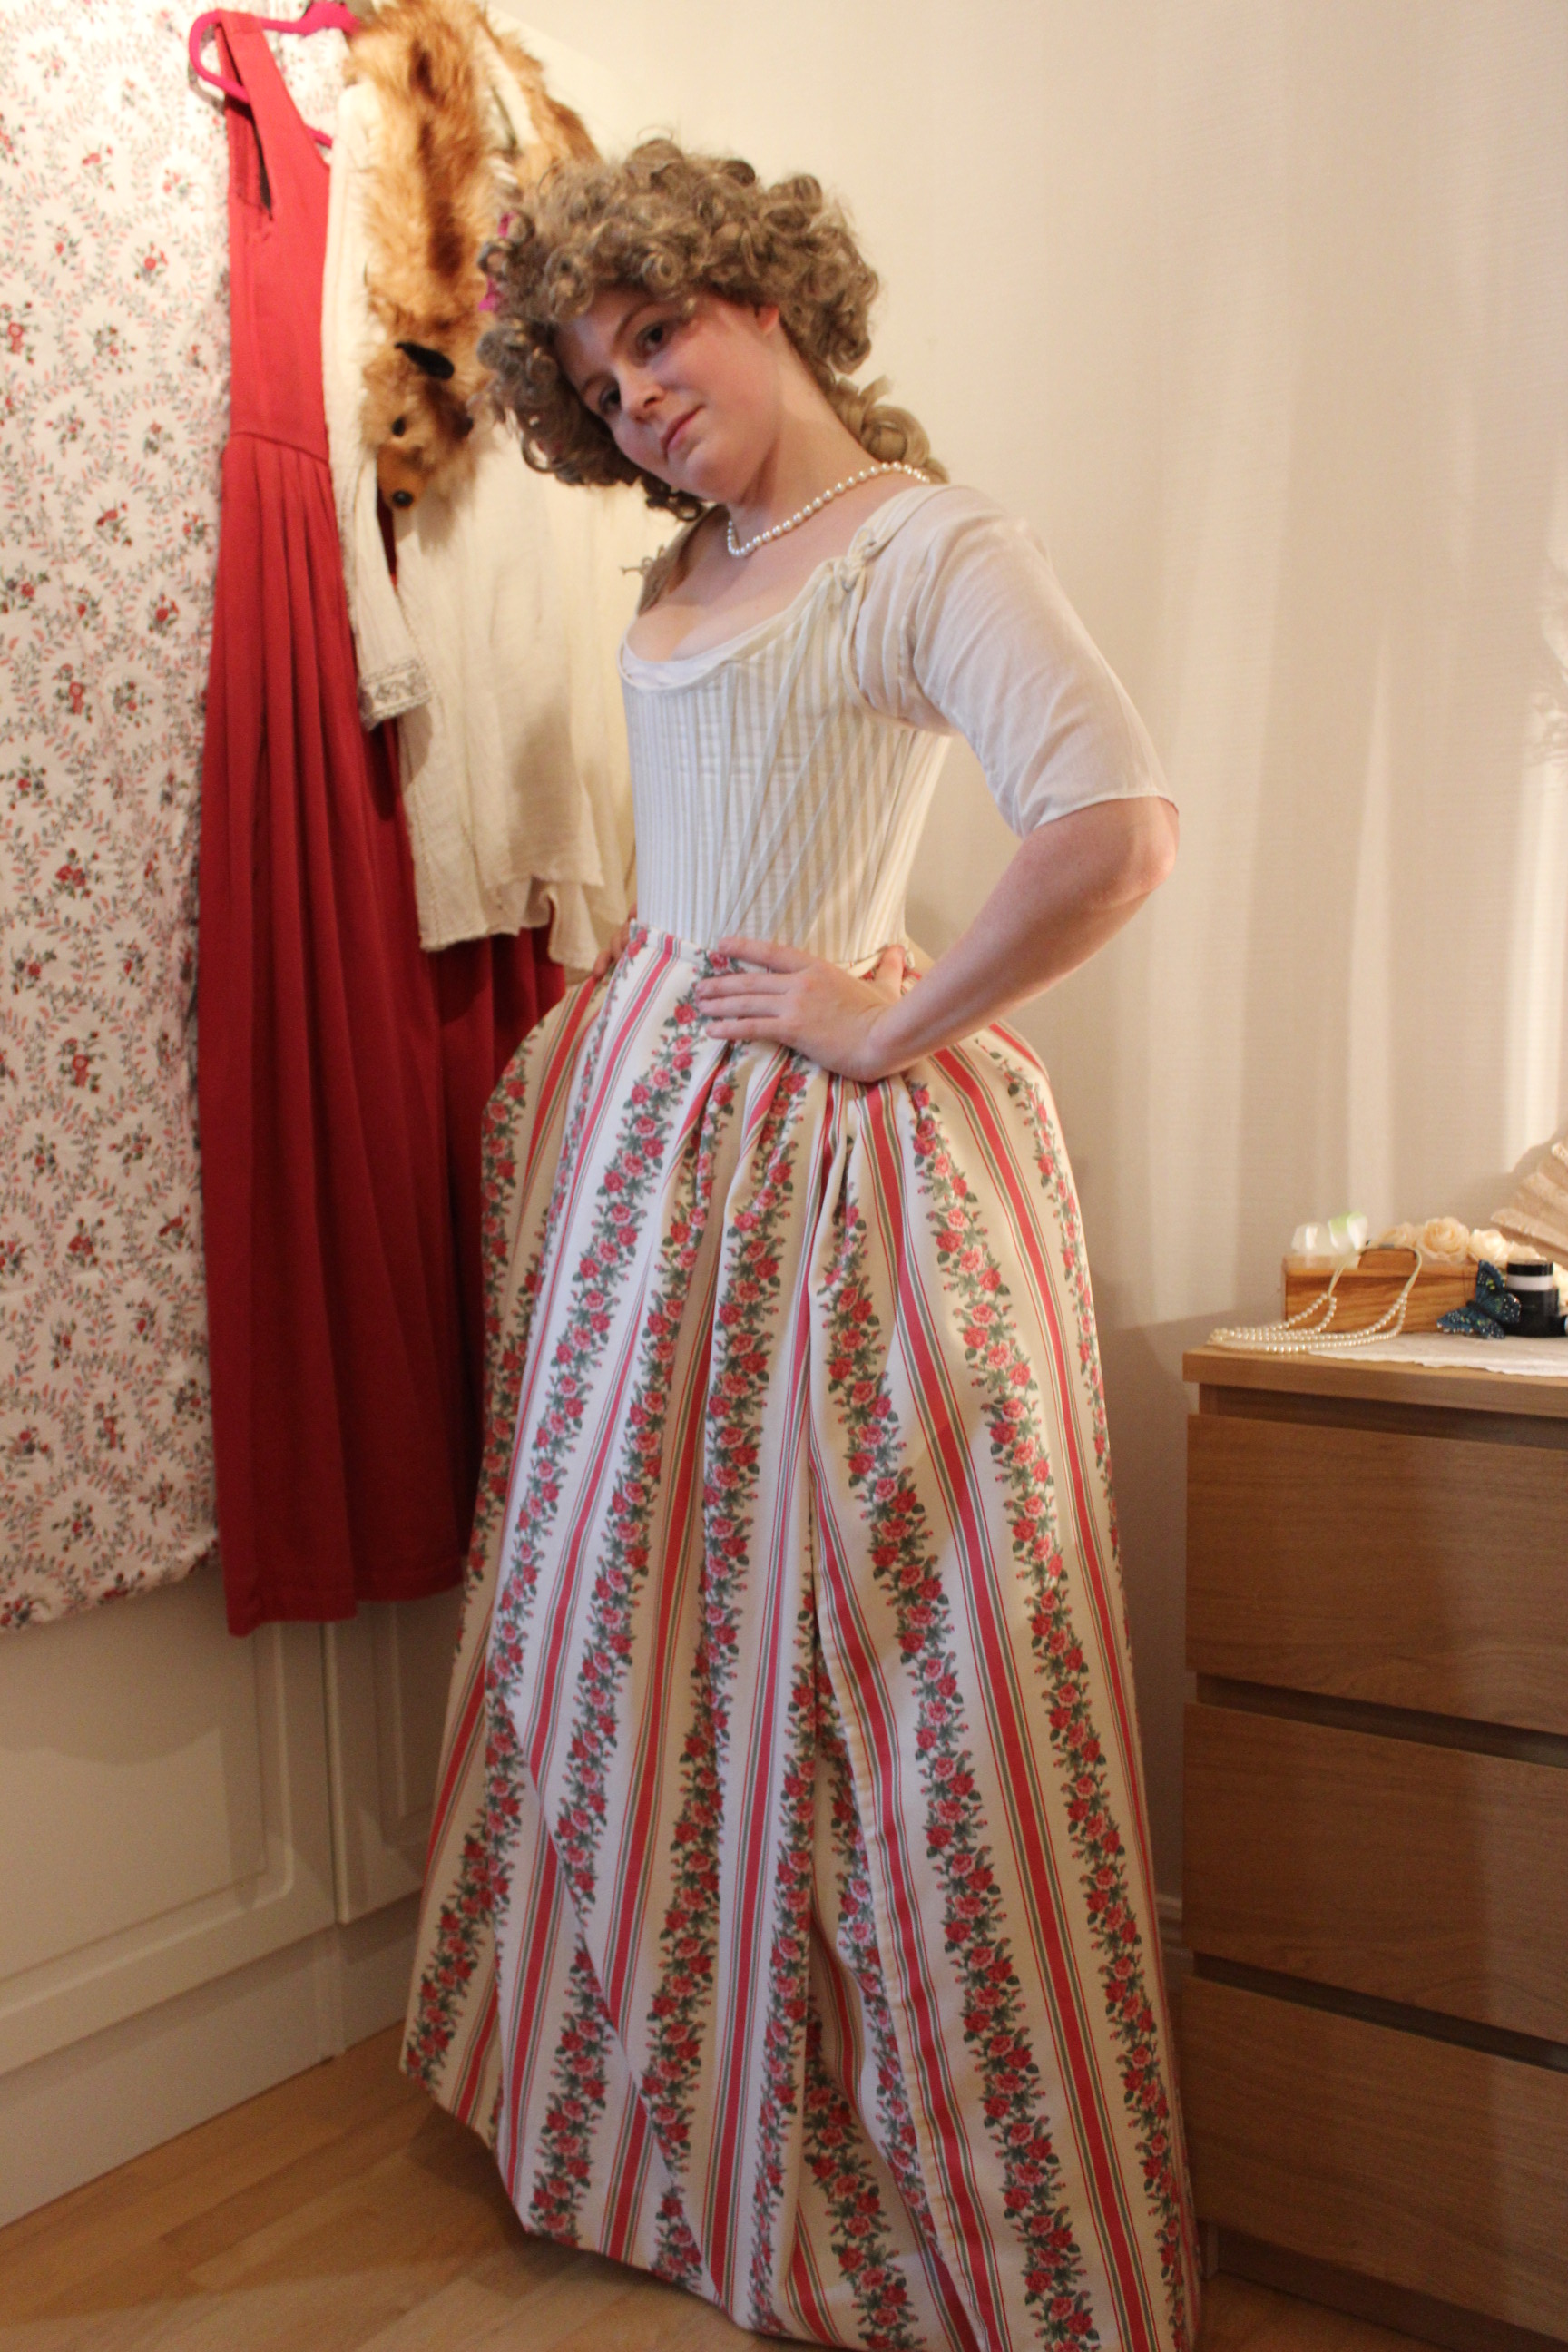
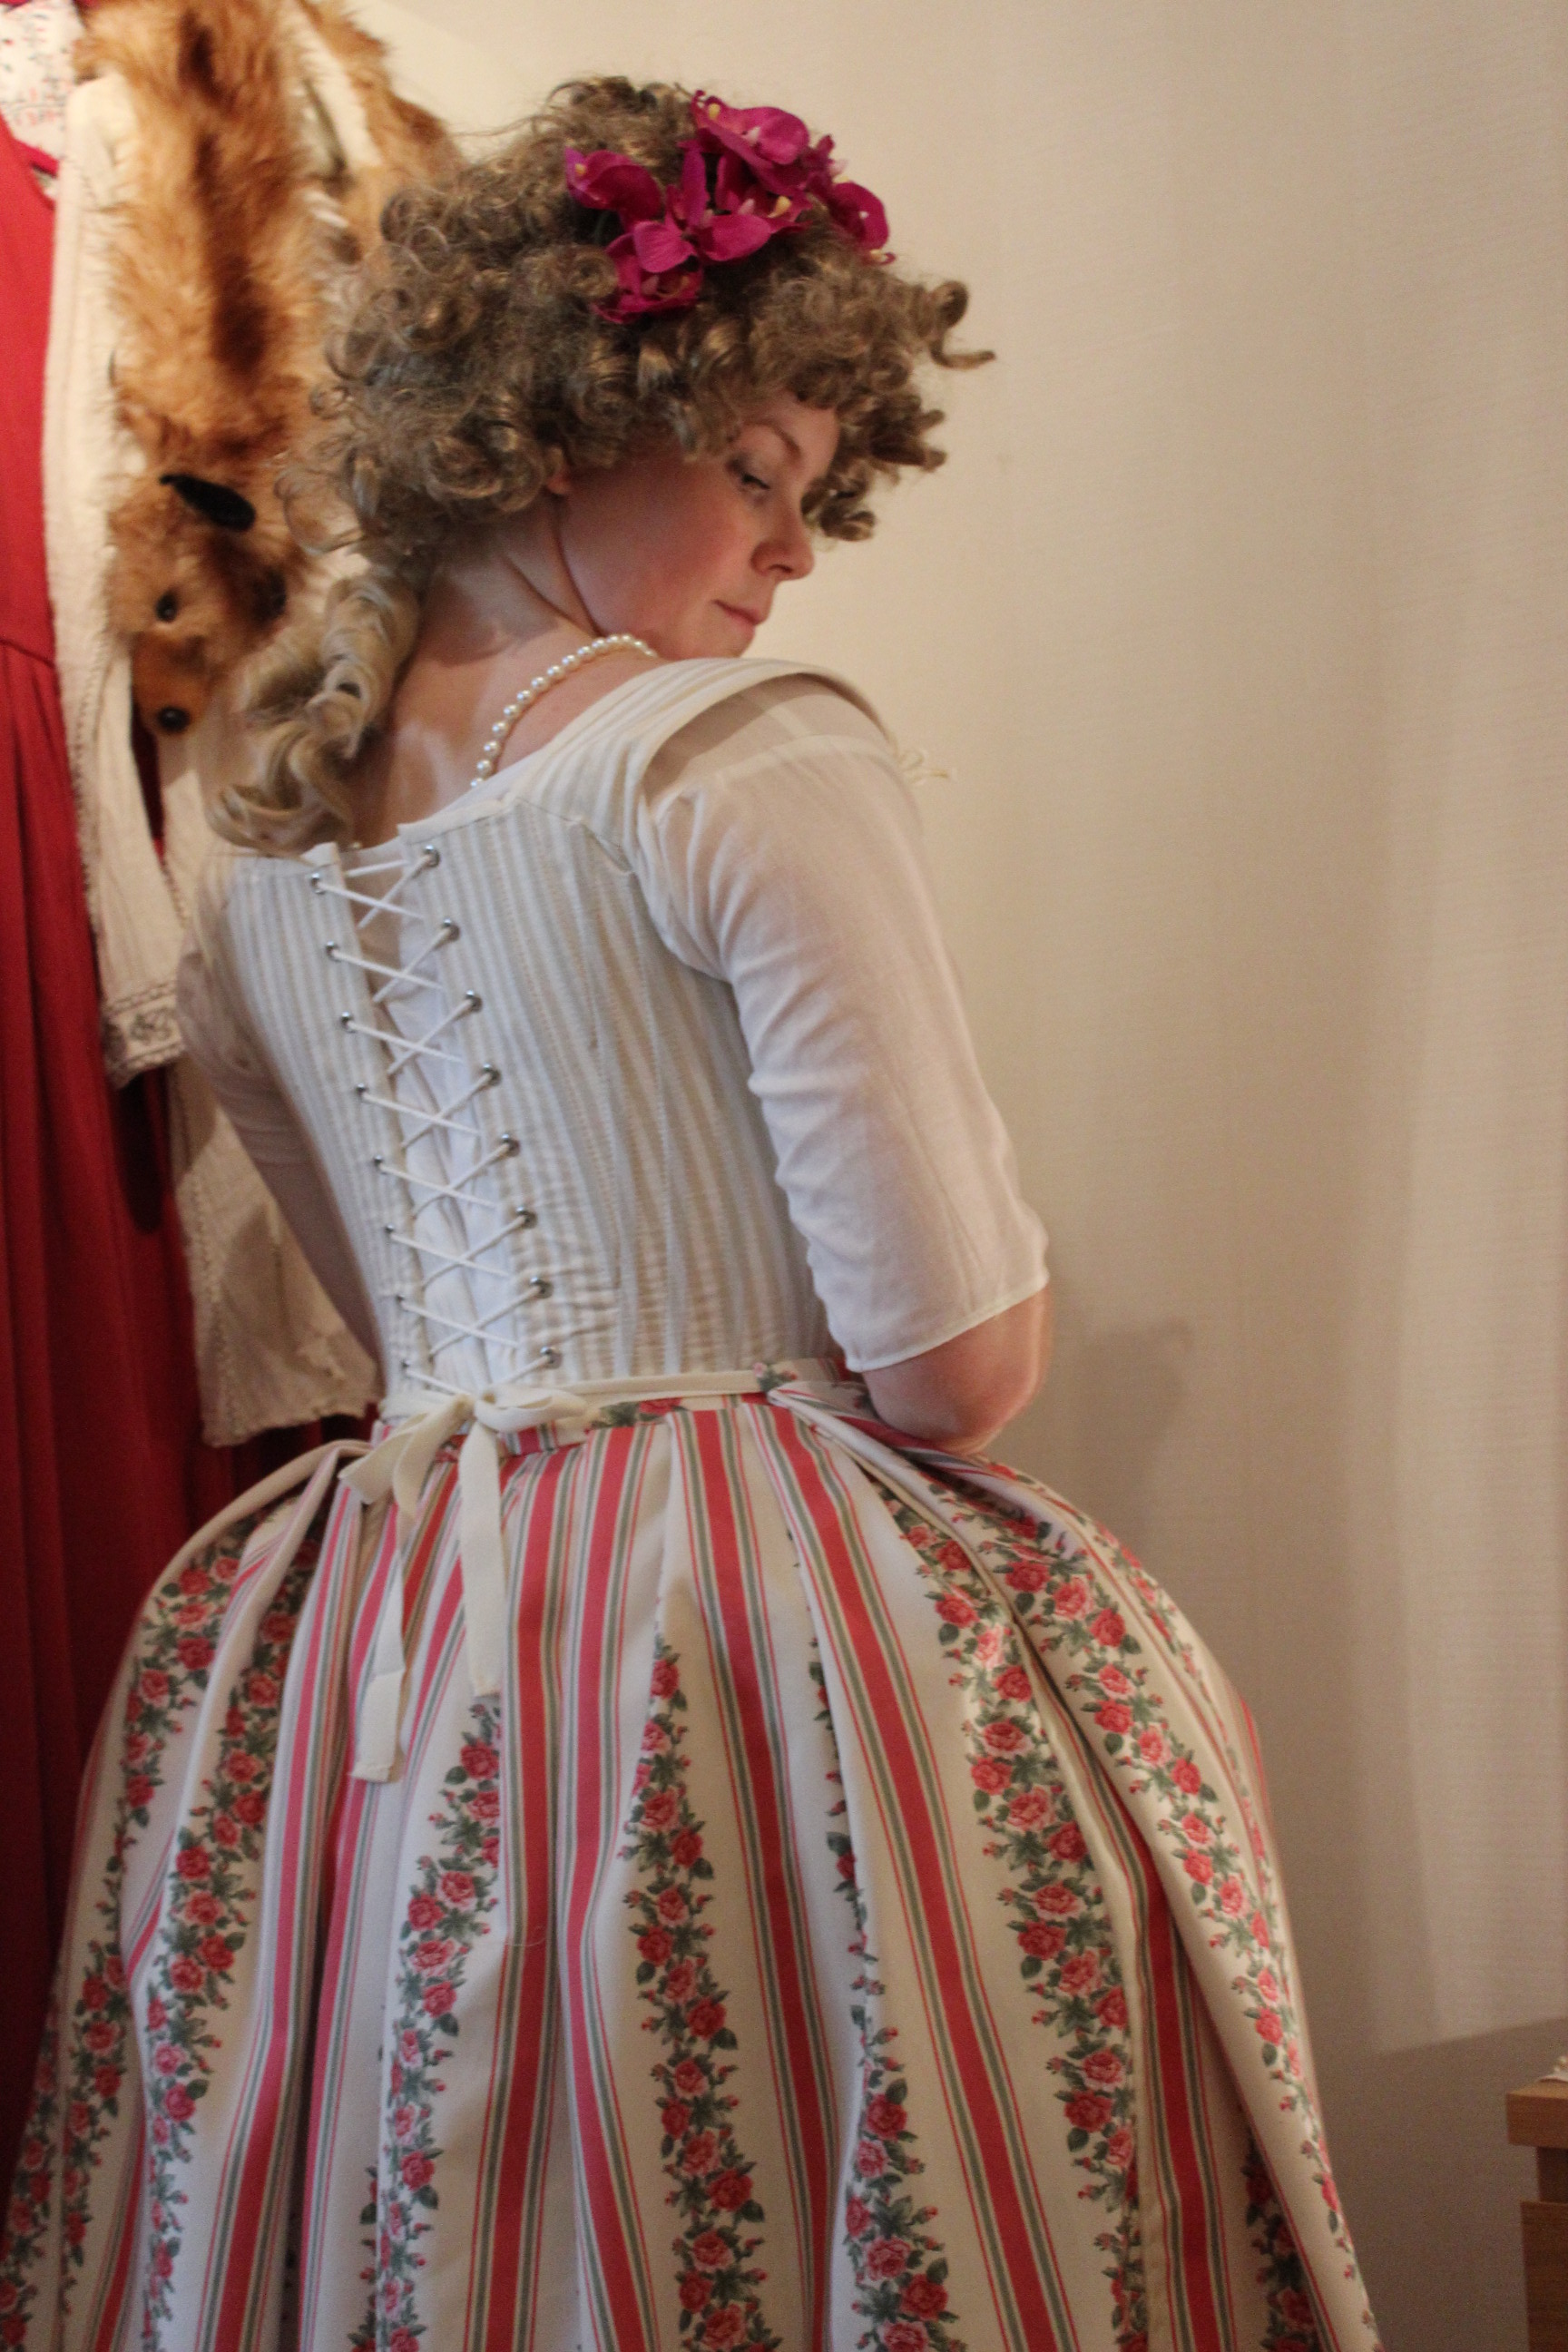
One week before the ball, my sister dressed in her gown and we did a quick photoshoot (in the poring rain).


***
Details: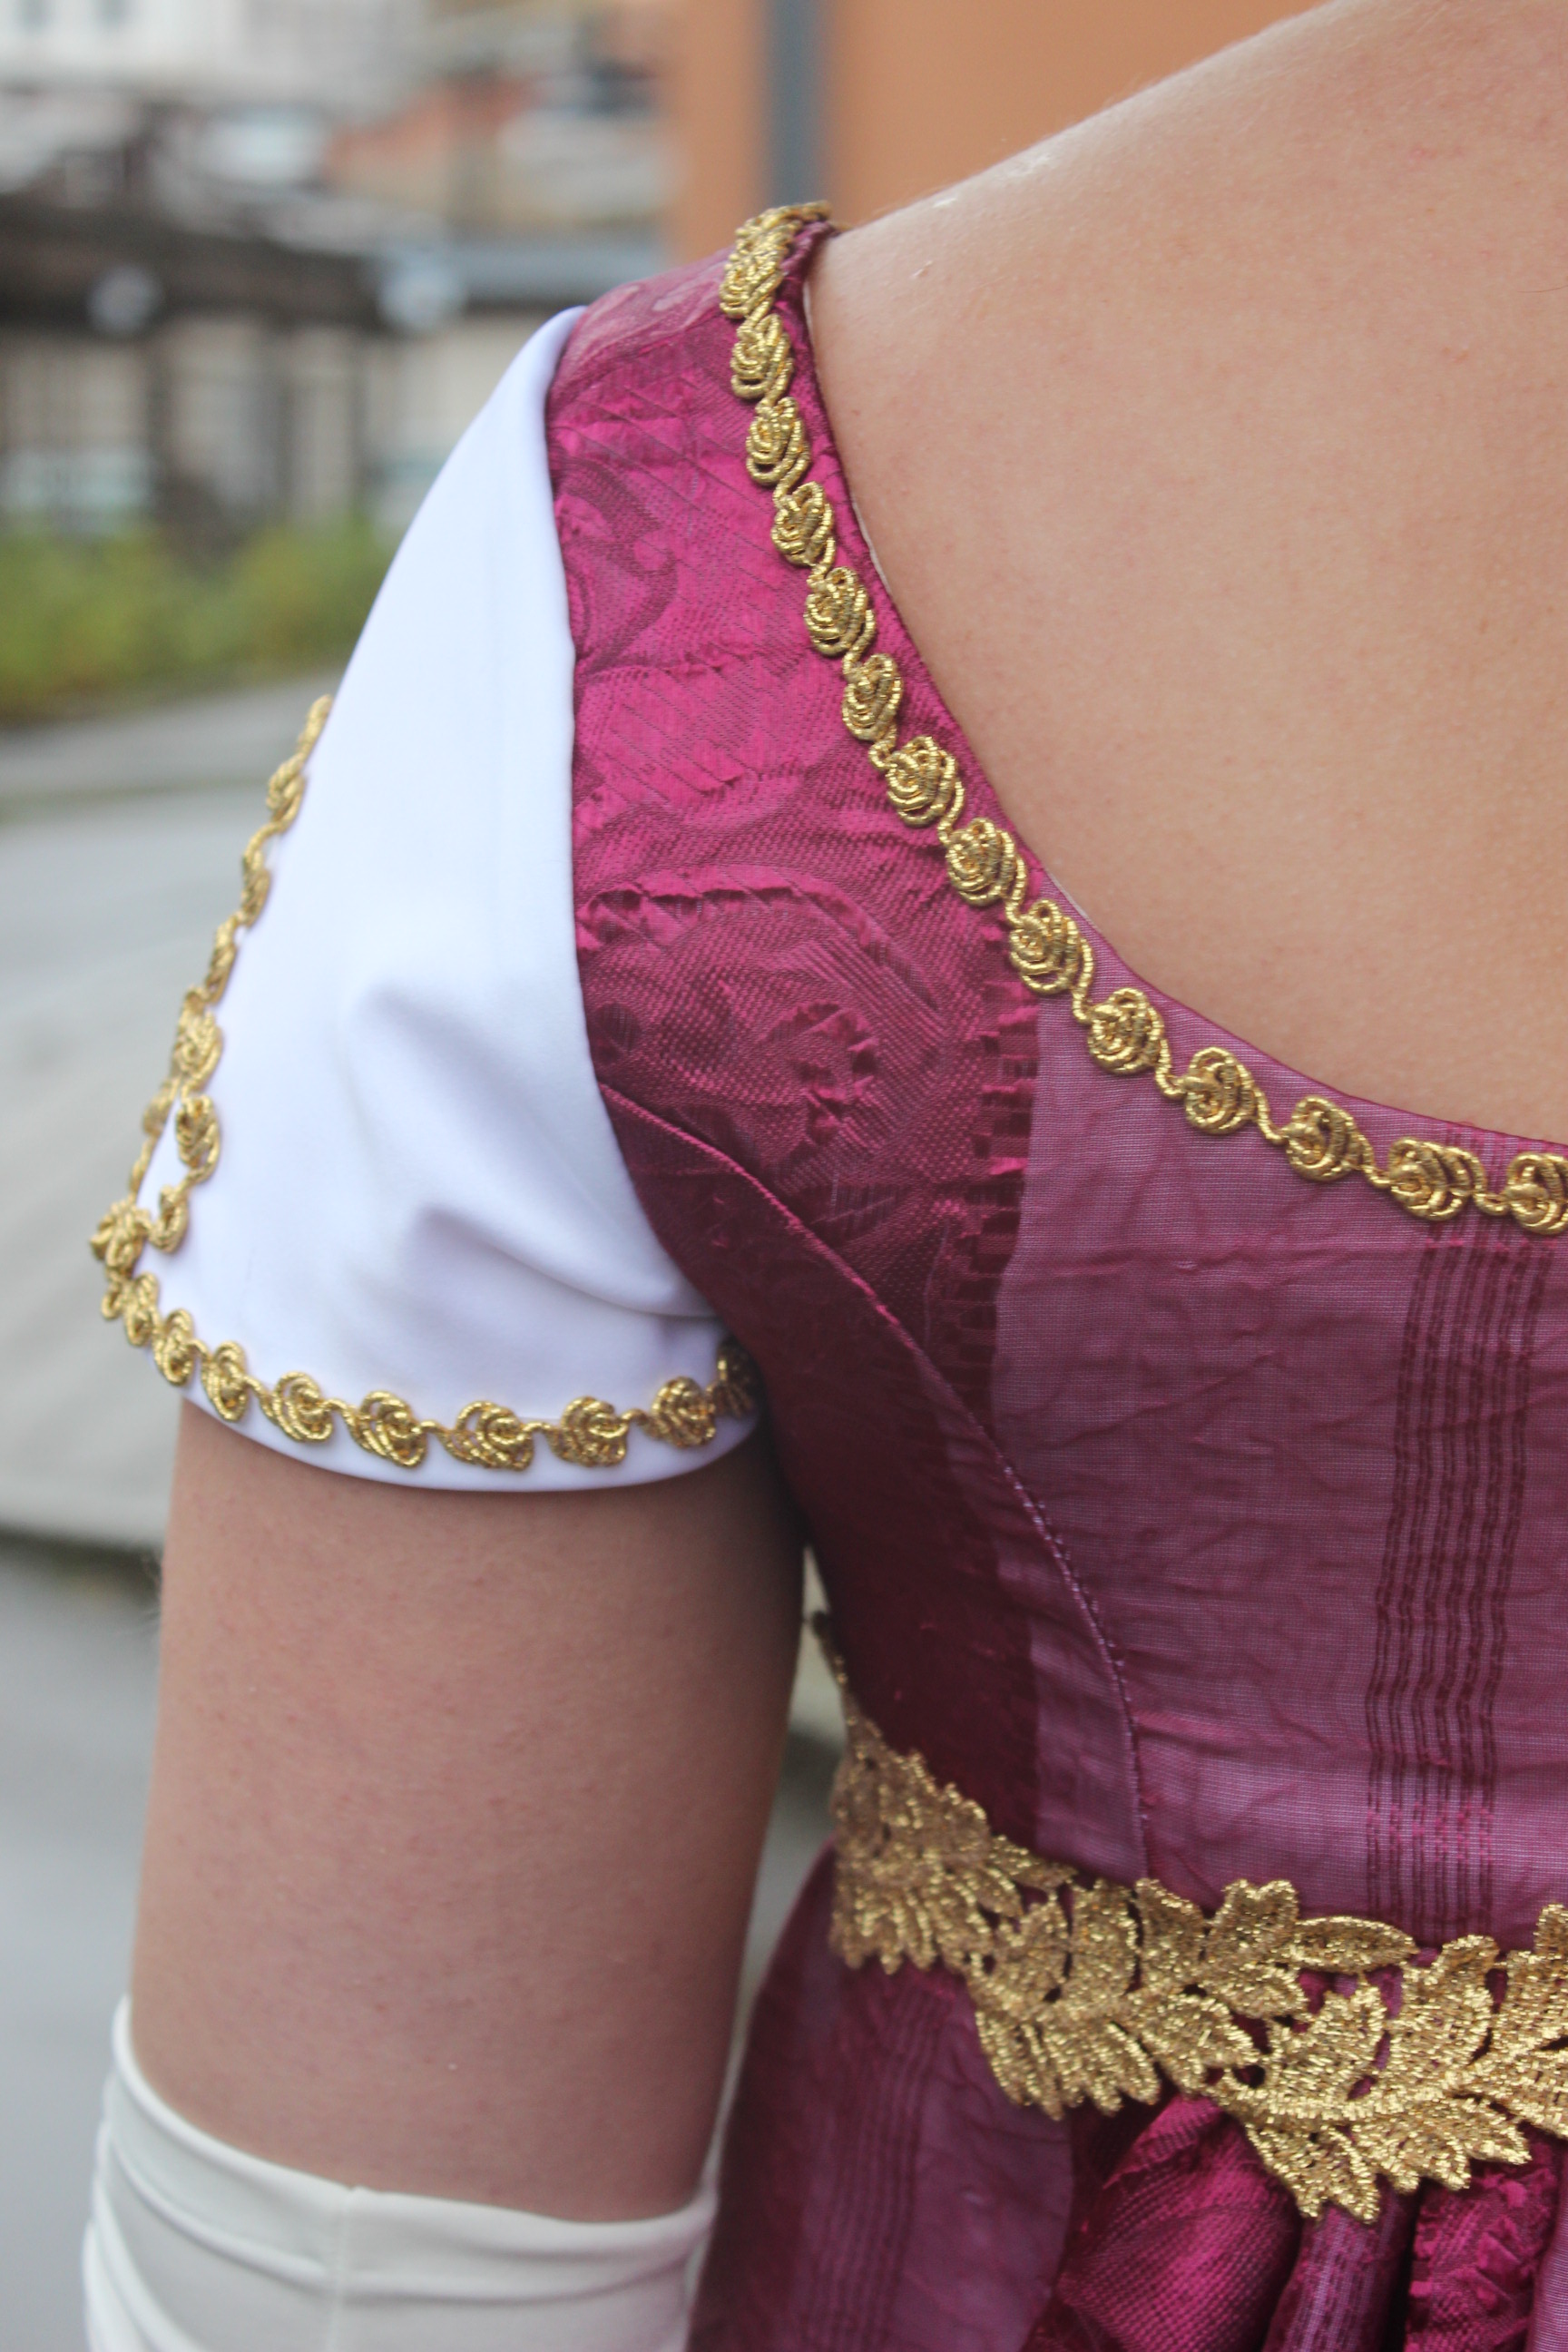
One week before the ball, my sister dressed in her gown and we did a quick photoshoot (in the poring rain).
***
Details:

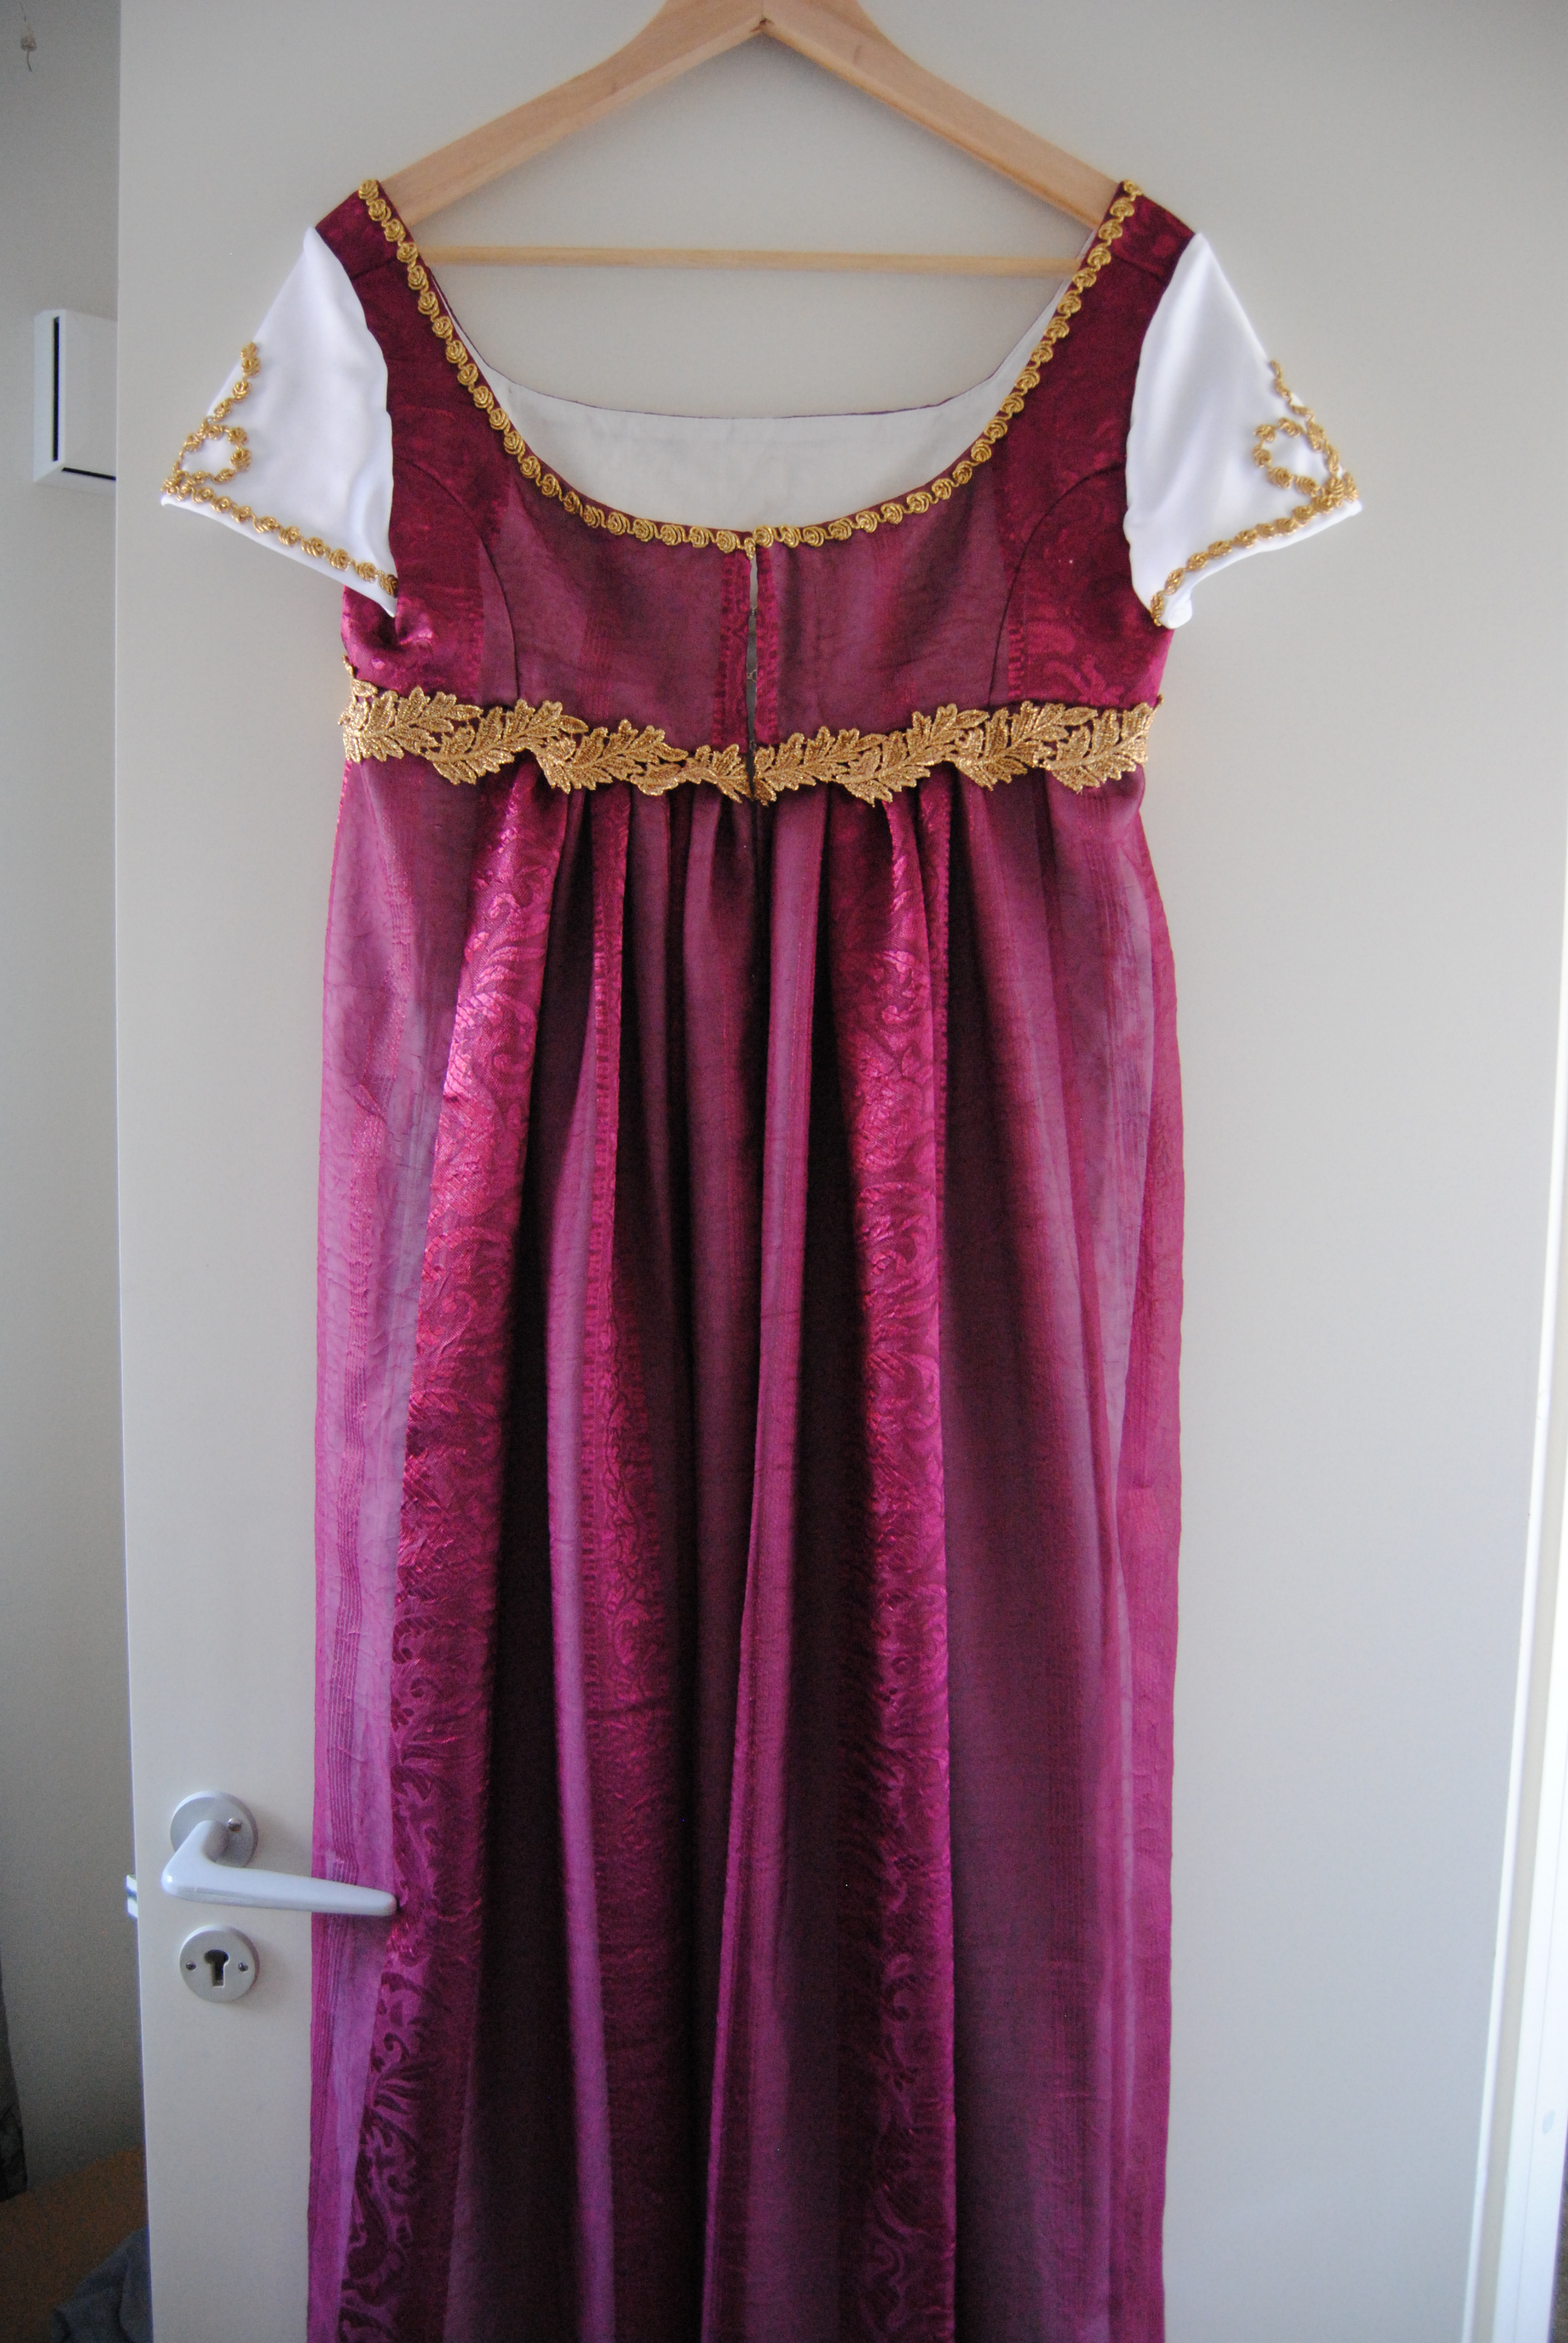
 The fabric is a curtain I bought on sale last spring, which my sister called dibs on the moment she found it in my stash.
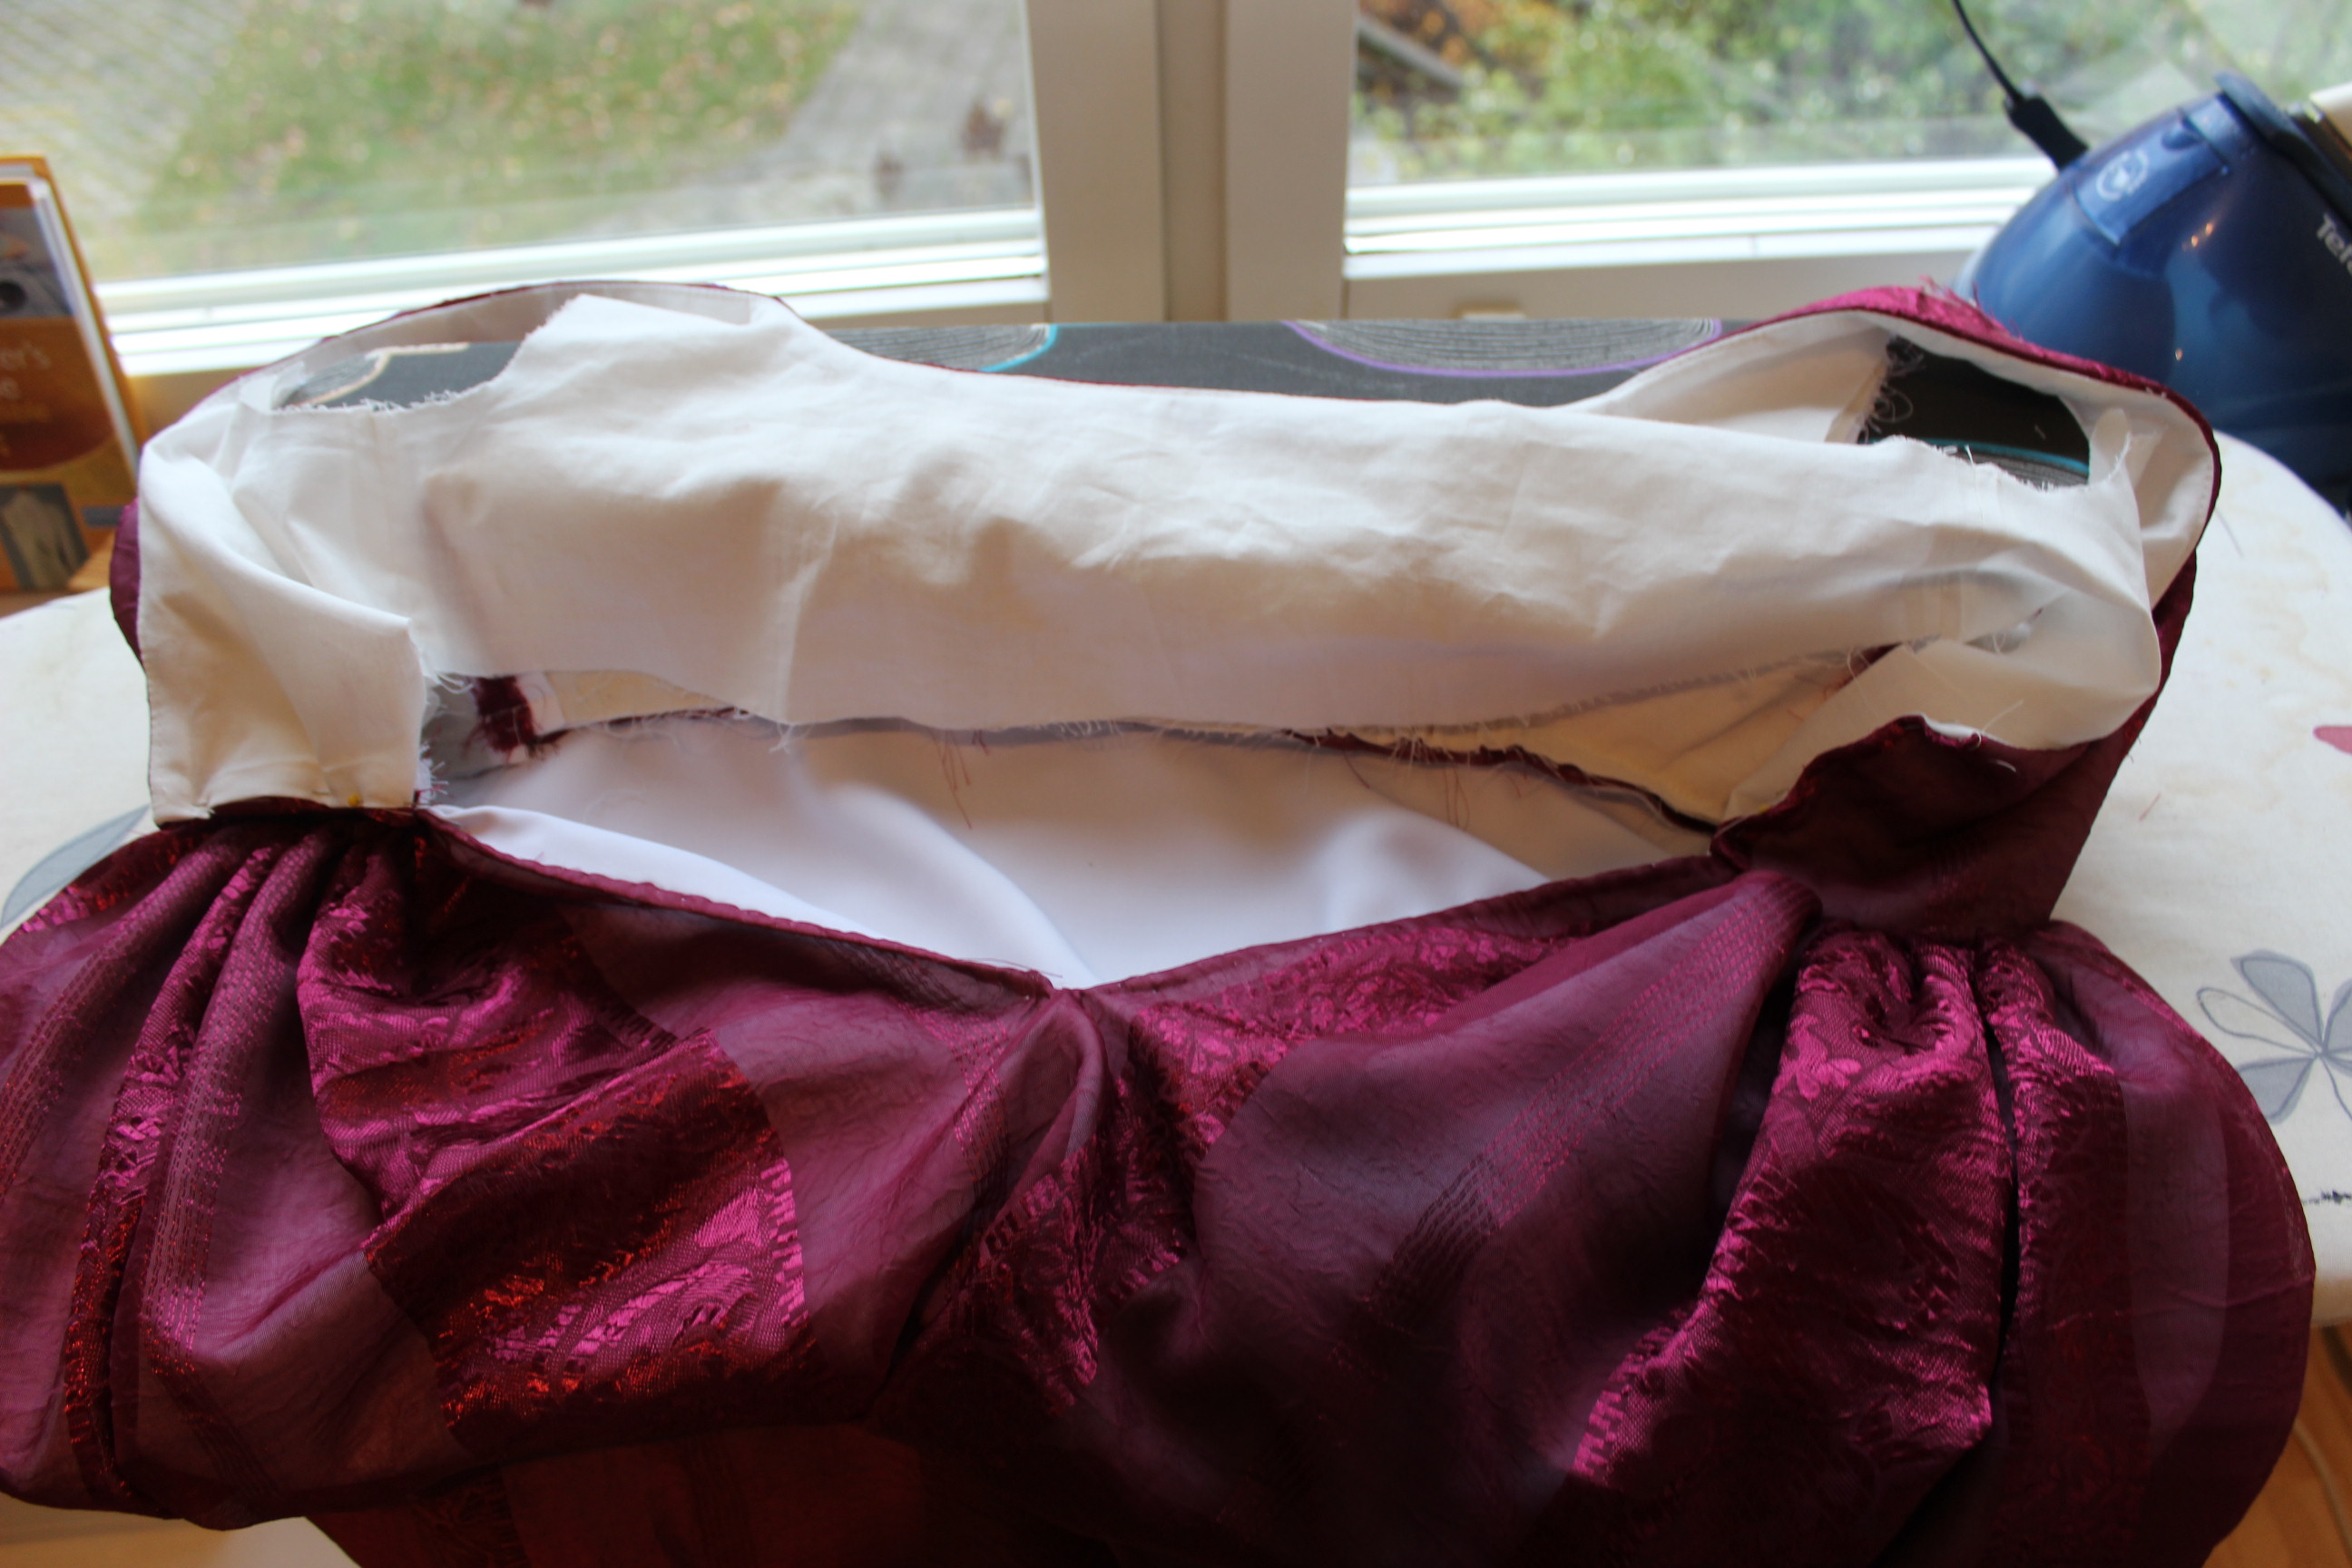
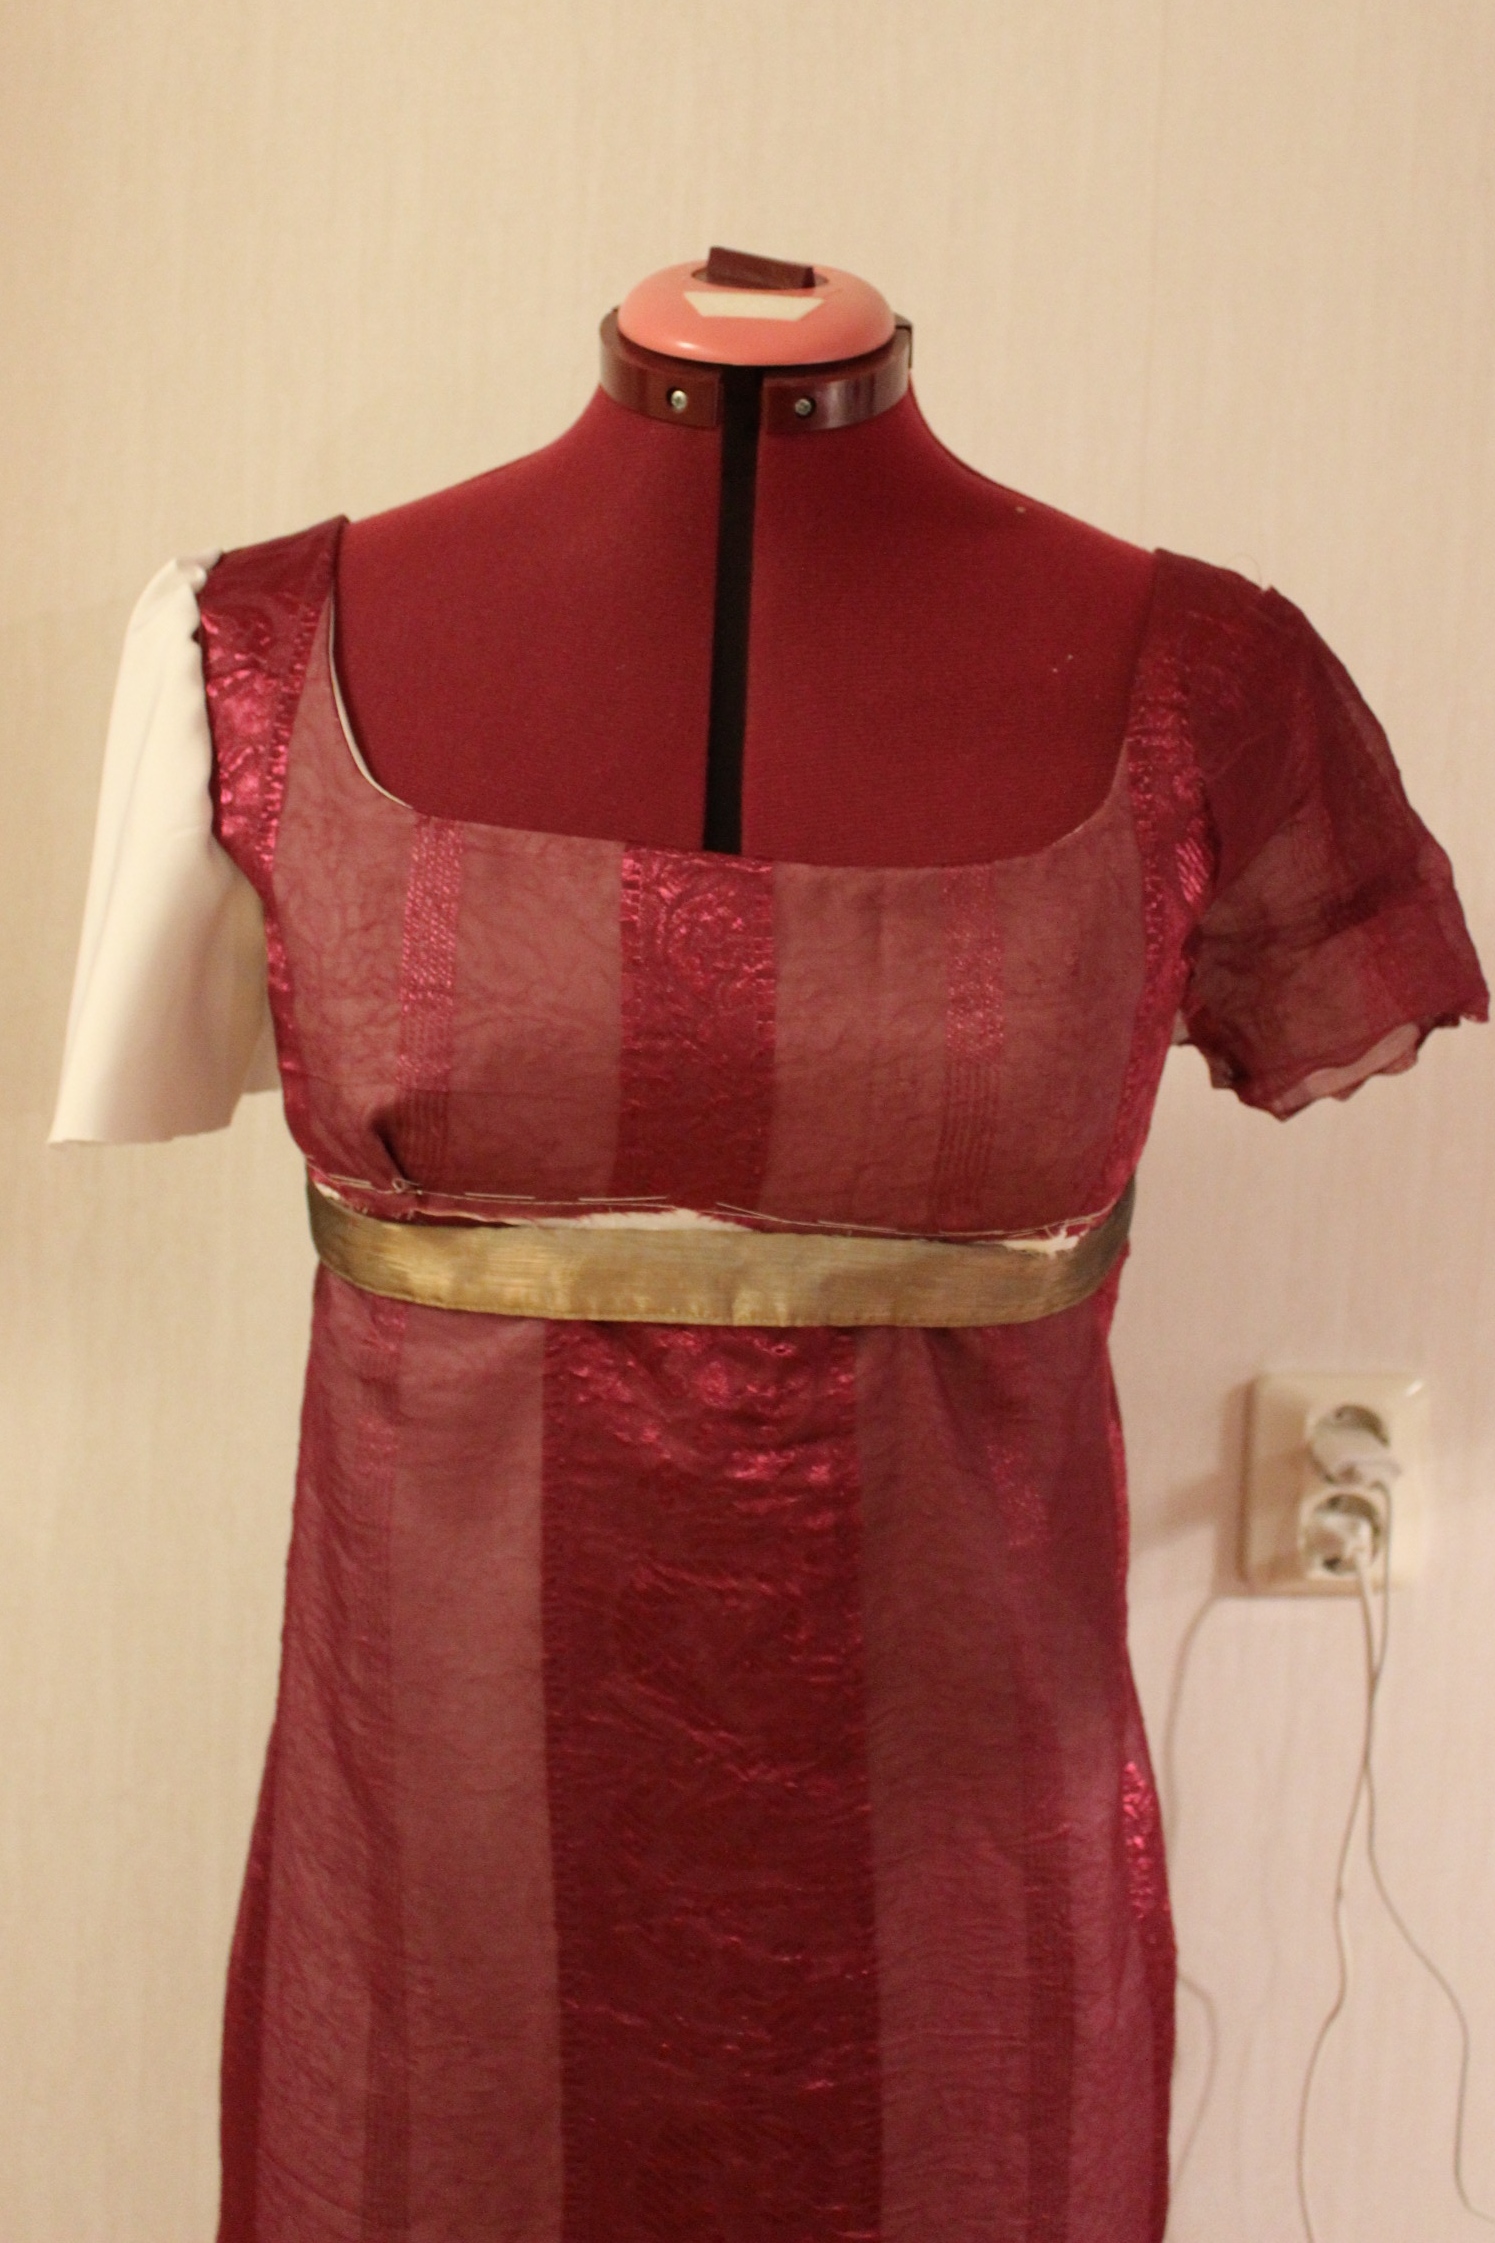

 I cut some of the lenght of and started working on a trimming design for he sleeves.
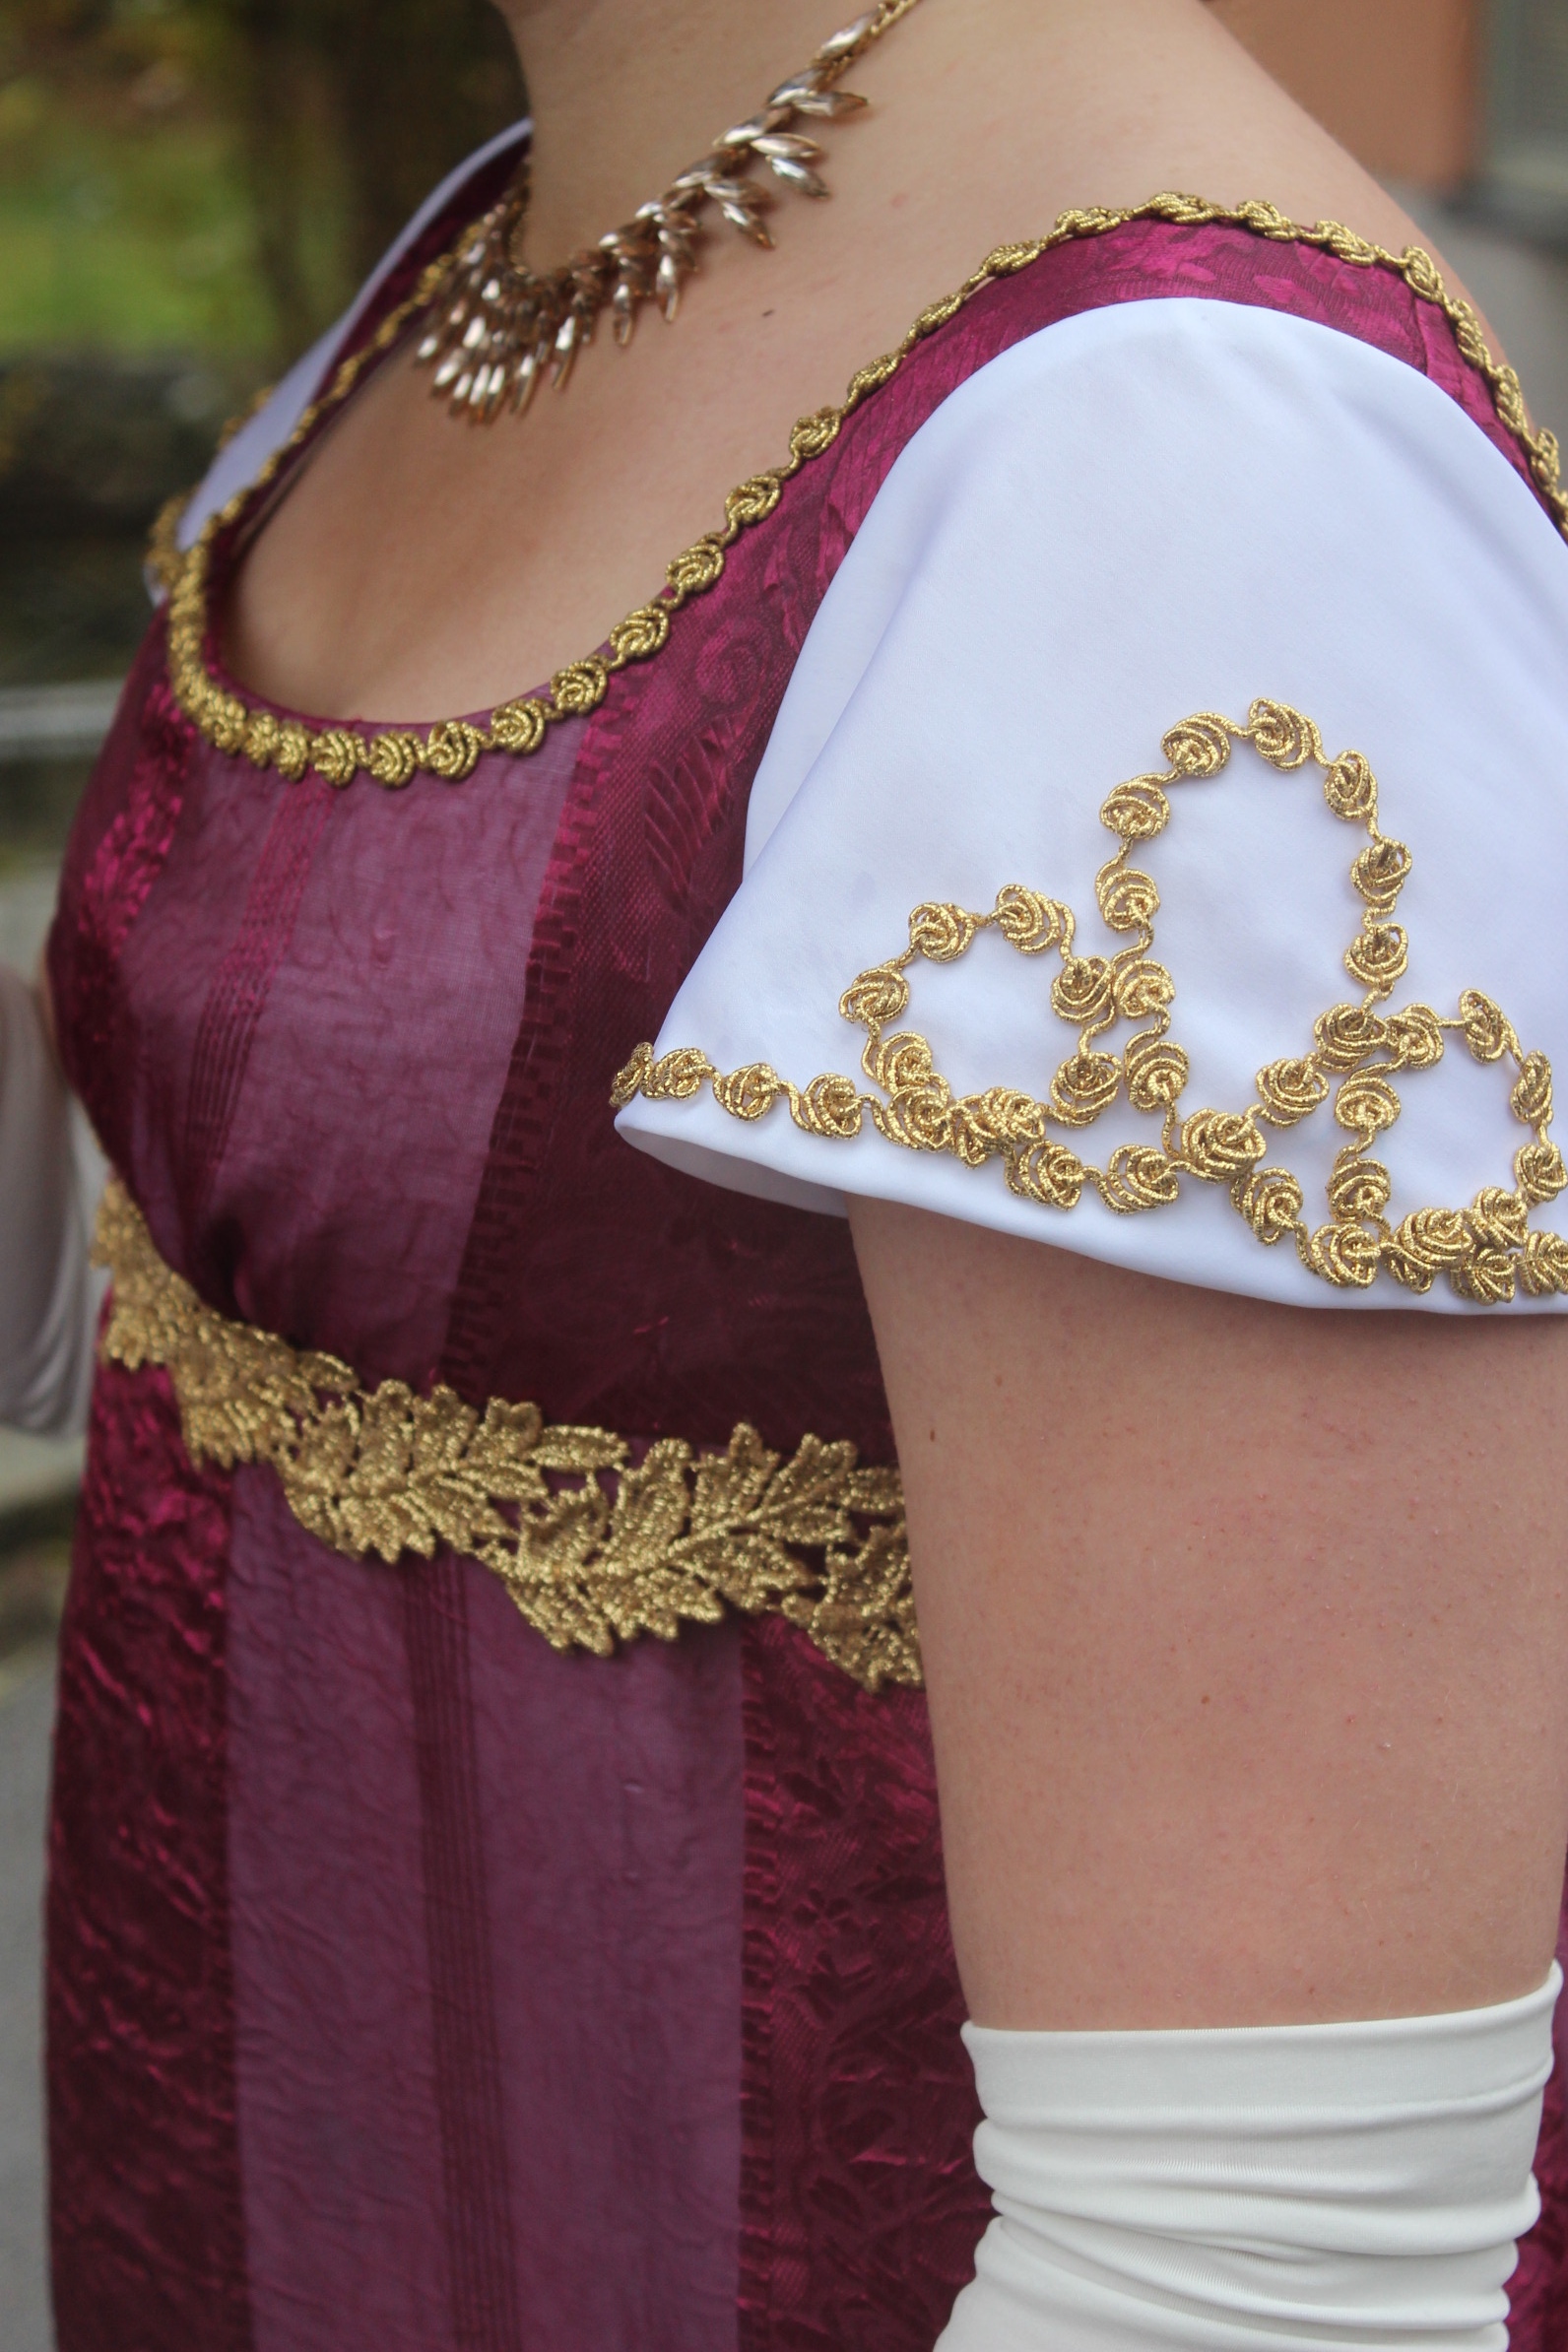
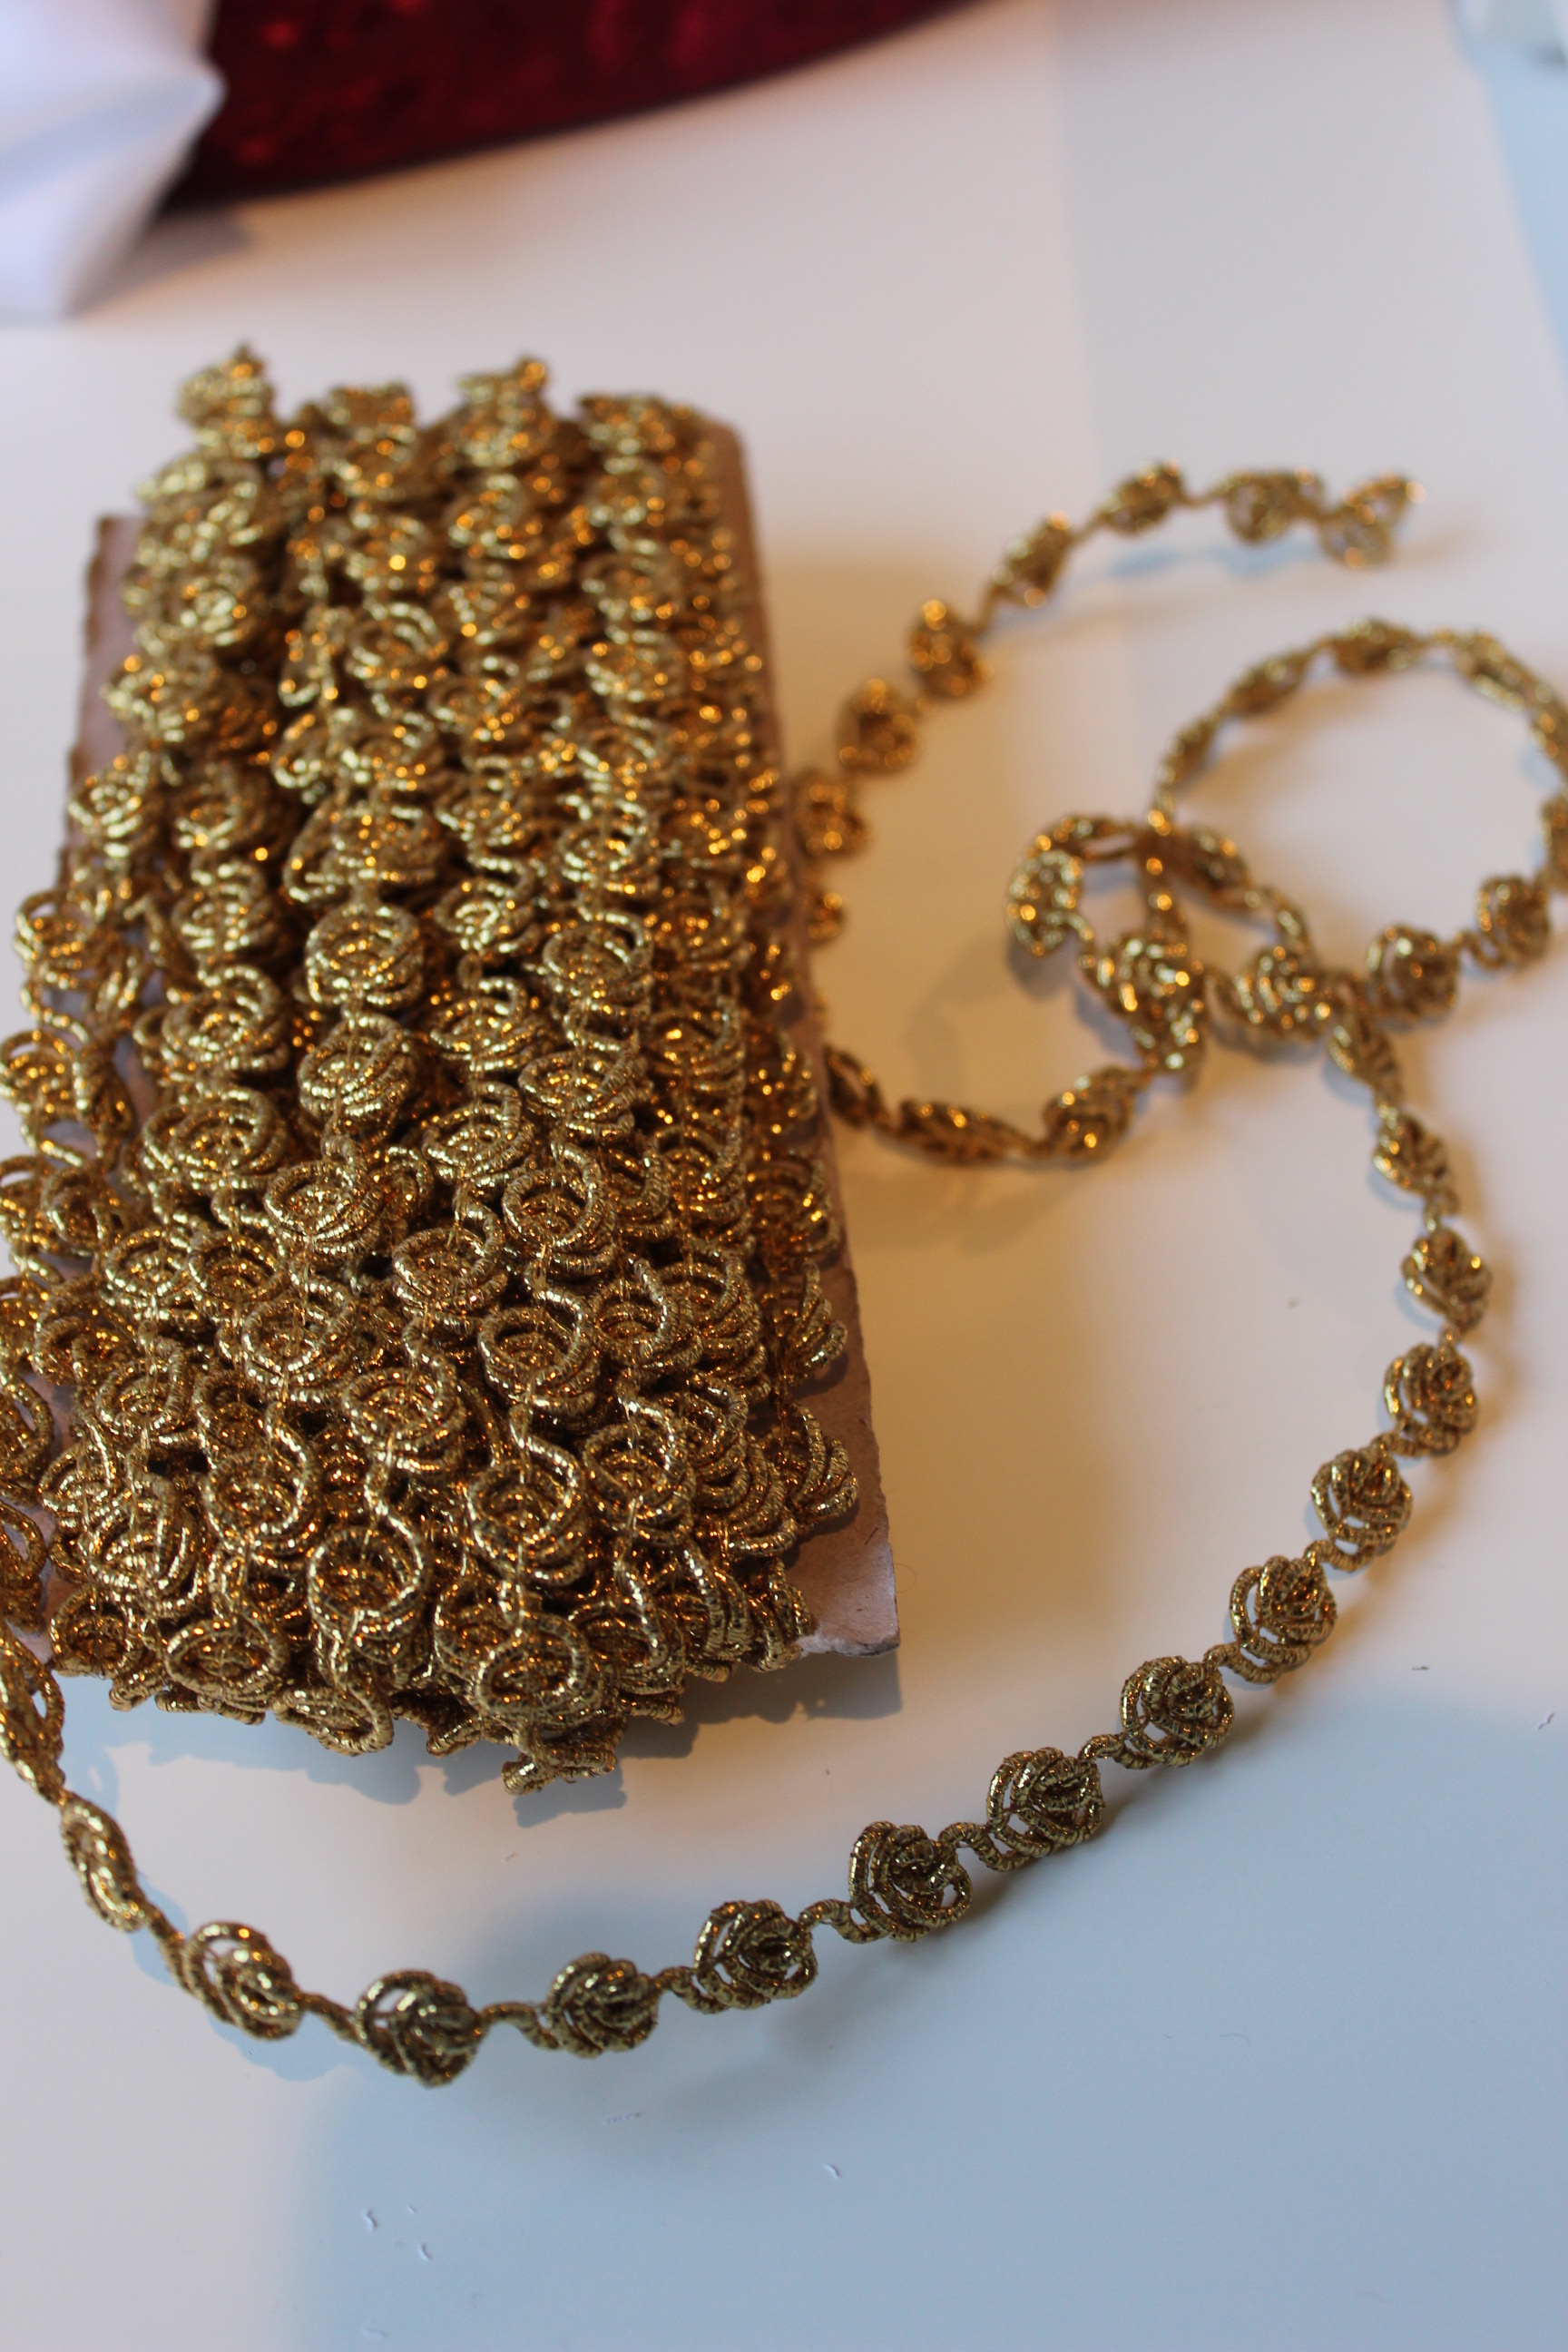 Using some golden trim I dew a scalloped design which I transferred to the sleeves and stitched on.
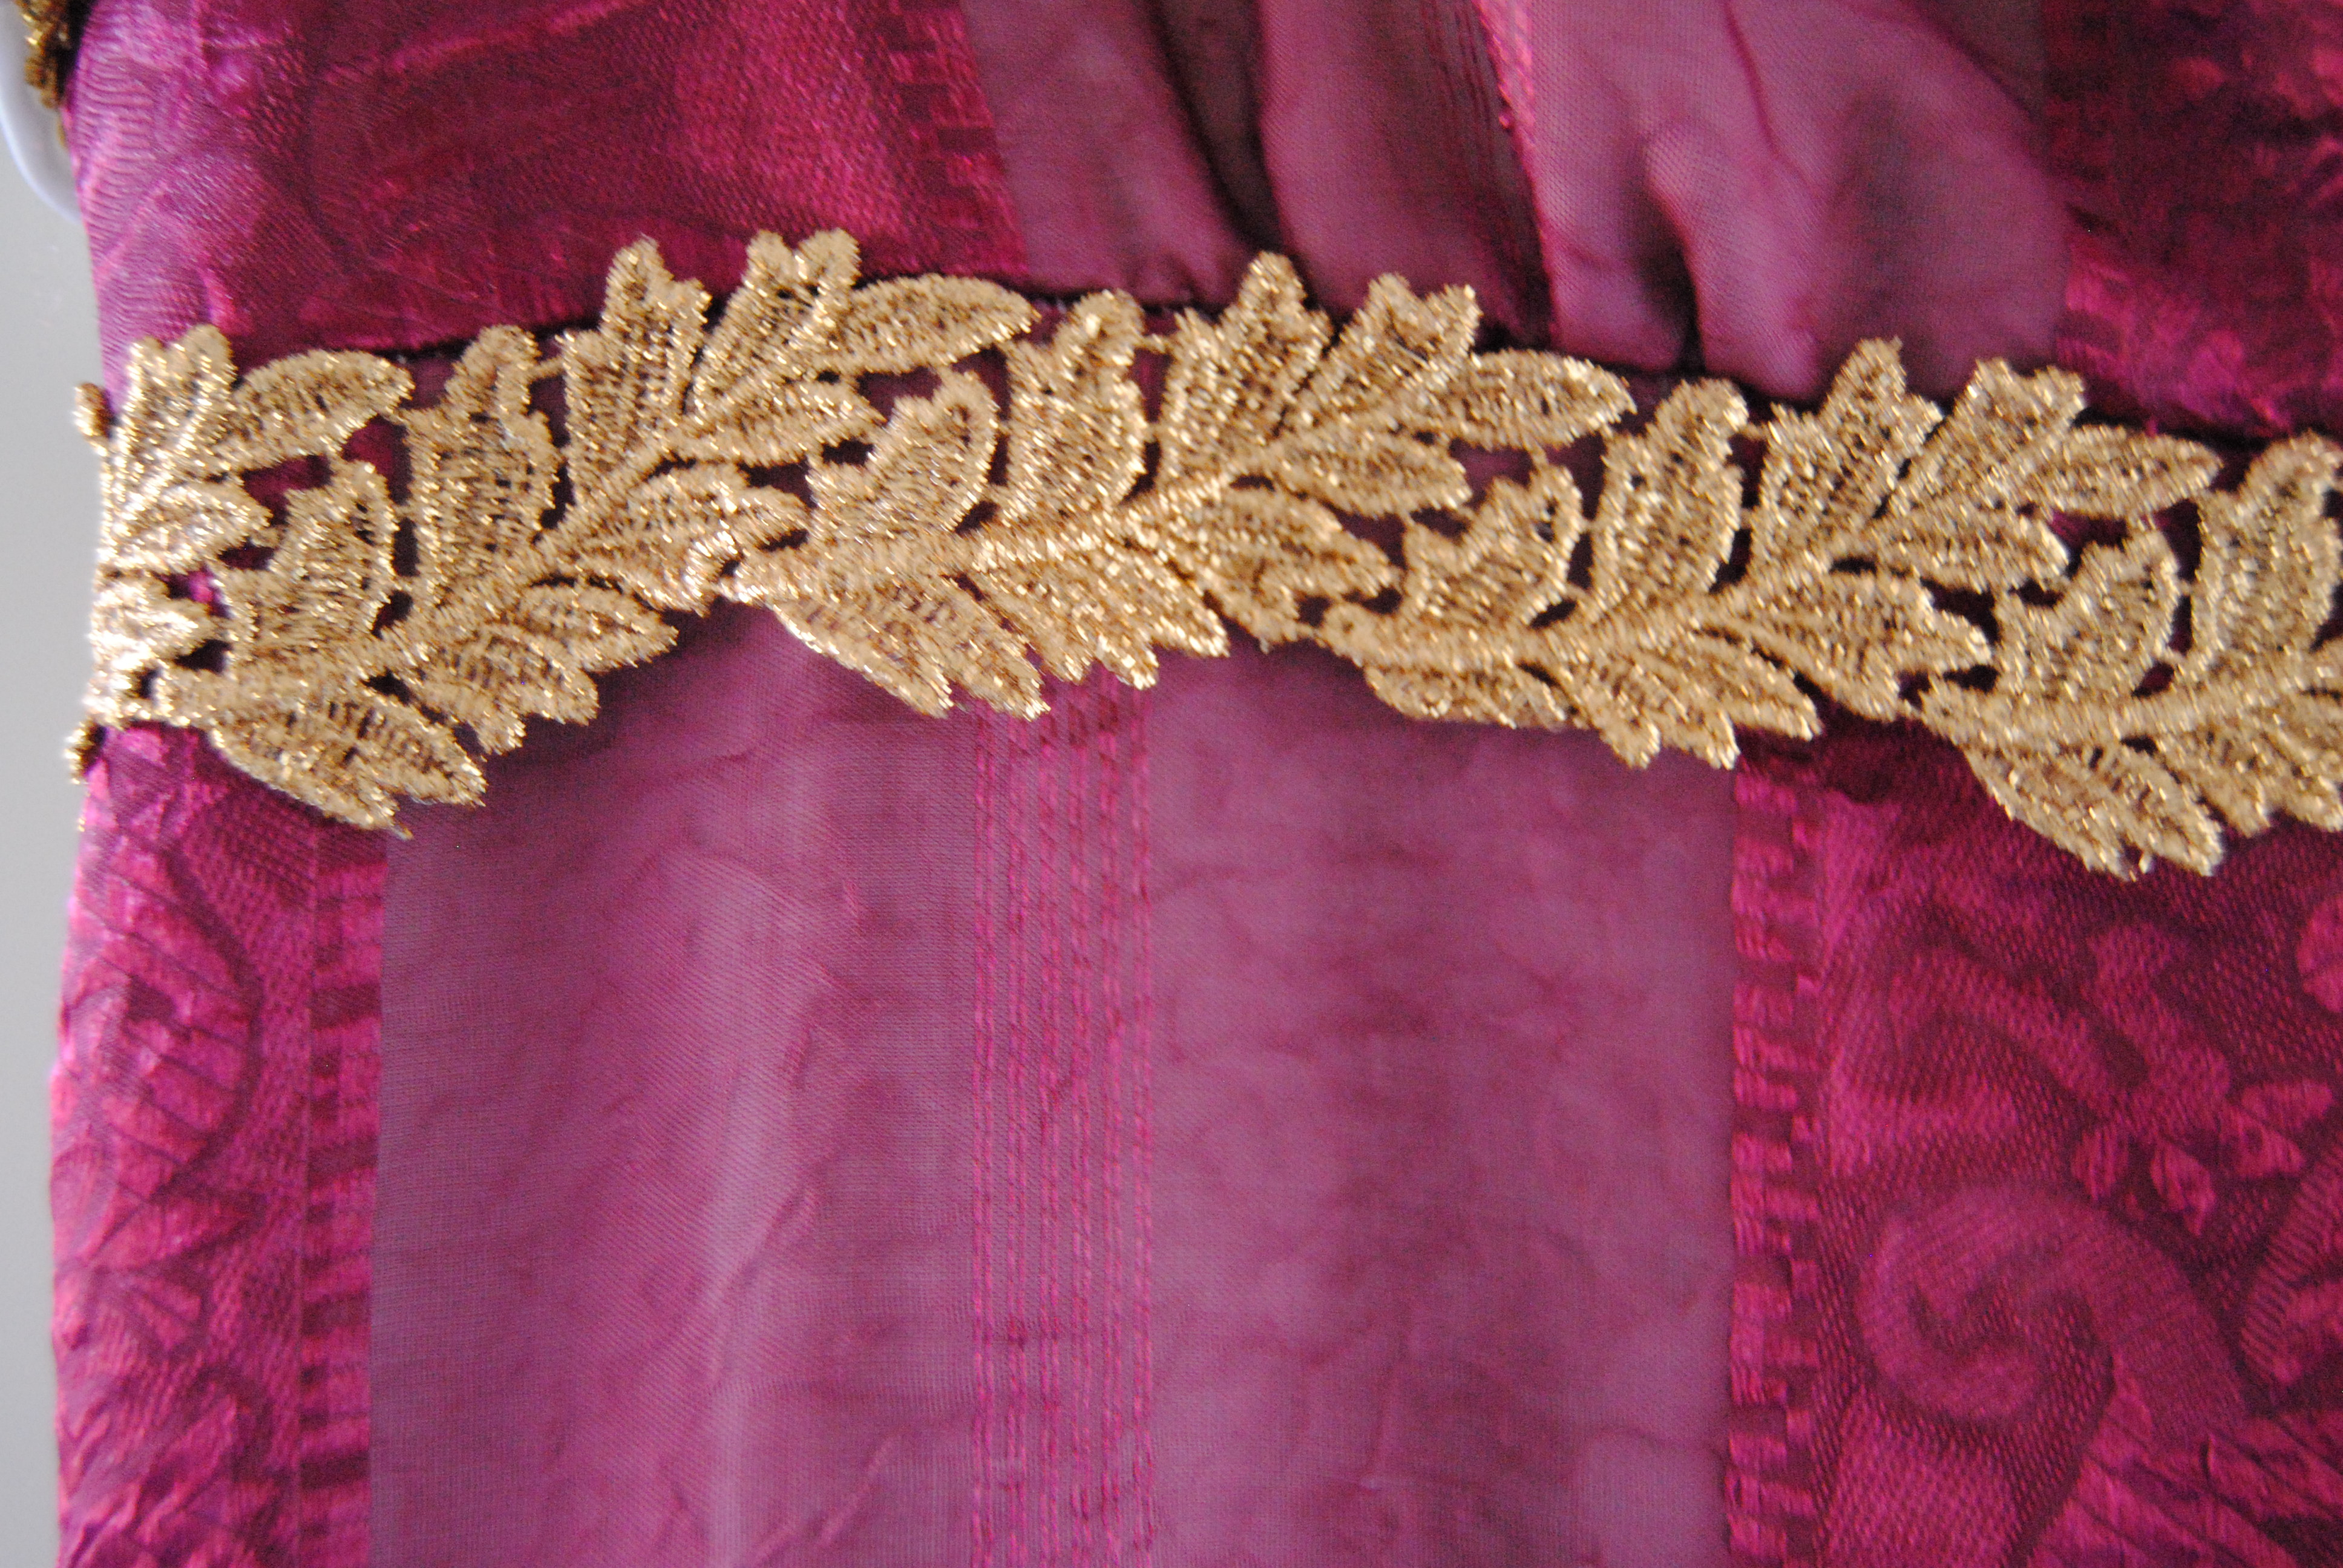
 I hemmed both layers of fabric, stitched on hooks and eyes and finished of by attaching the whide golden leaf-shaped trim under bust.

It’s that time of year again…
When ornaments crowds the shop windows, the candy flows freely, the candles are being lit and everyone waits in anticipations…
The best time of year is finally here…
It’s HALLOWEEN!
I’m sure most of you seen lots of pretty Victorian and 1910s fancy party costumes,
but here are a few new to me, (and some old, that I just love to much not to show).
Perhaps this can inspire some new fancy Halloween costumes.
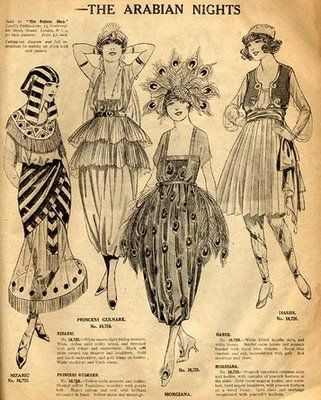 My absolute favorite pic (I have it both printed and framed in my sewing room, and printed on a fabric bag which I love).
1920s Arabian Night, whats not to love.
 Gamer, geisha or (?) green flower.
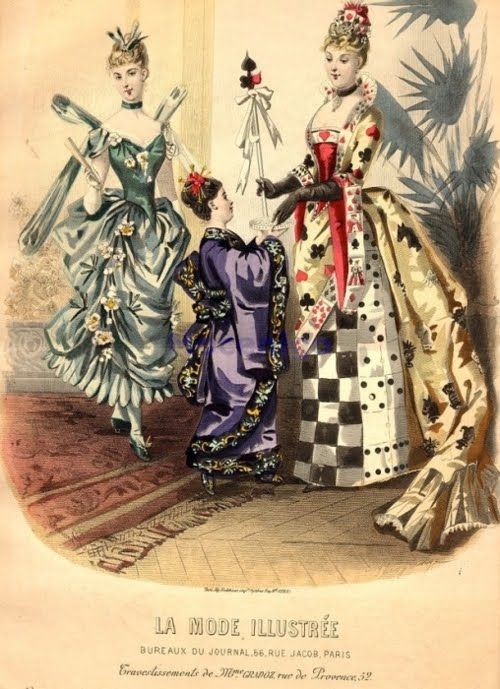
 Victorian goes 18th century, regency and gypsy.
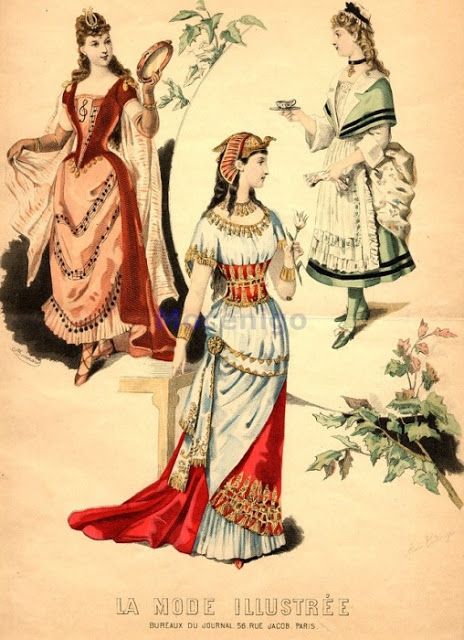 More gypsys, Egyptian and a housemaid.
 I’m not sure what this two are suppose to be, but a Victorian woman in pants must be shown.
 Love the Edwardian Cleopatra, and the harlequin costume looks almost wearable as it is.
 A few costumes for the young adults. Why not dress as a patriot, a shepherdess, a housemaid or a which.
 Speaking of witches, another one from about 1880s.
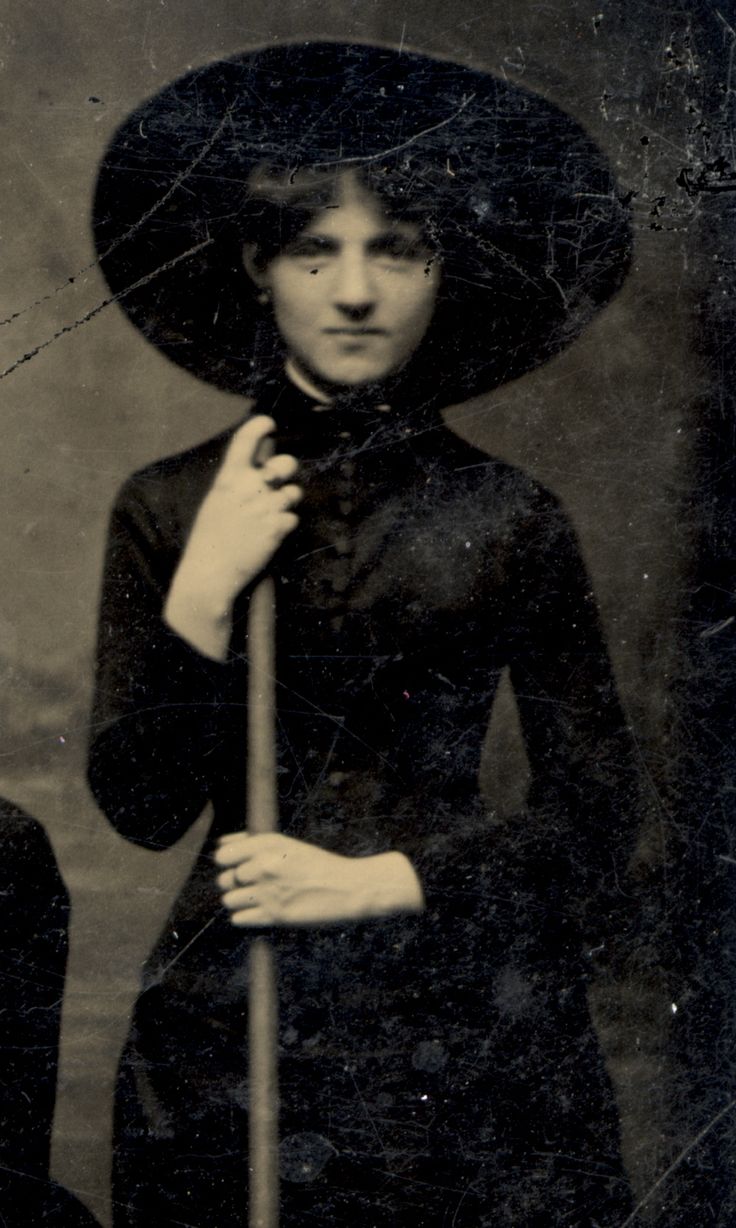 And the real deal.
They really did the witches better back then, don’t you think…
 A greek column/dancer/goddess
 I’ve seen lots of these clown costumes around, but I don’t get it – is there something I’m missing here? Why are they so popular?
 The Victorians really knew how to dress up in costume.
 And the Edwardians wasn’t that bad either.
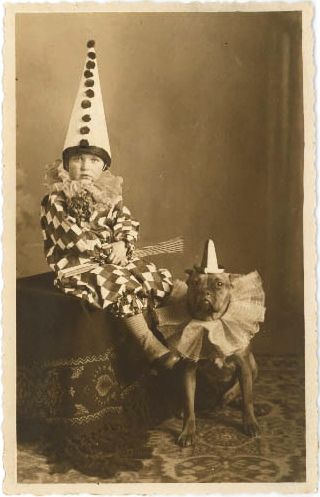 Good to know that (evil) costuming parents existed back then too.
Here are some pics from the exhibition and workshop we had at the end of the class.
Read more about the course here.
 Me posing with my costumes.
 bloomers, petticoat and stockings.
From the workshop: You can really see the “folklore” inspiration in my costume.


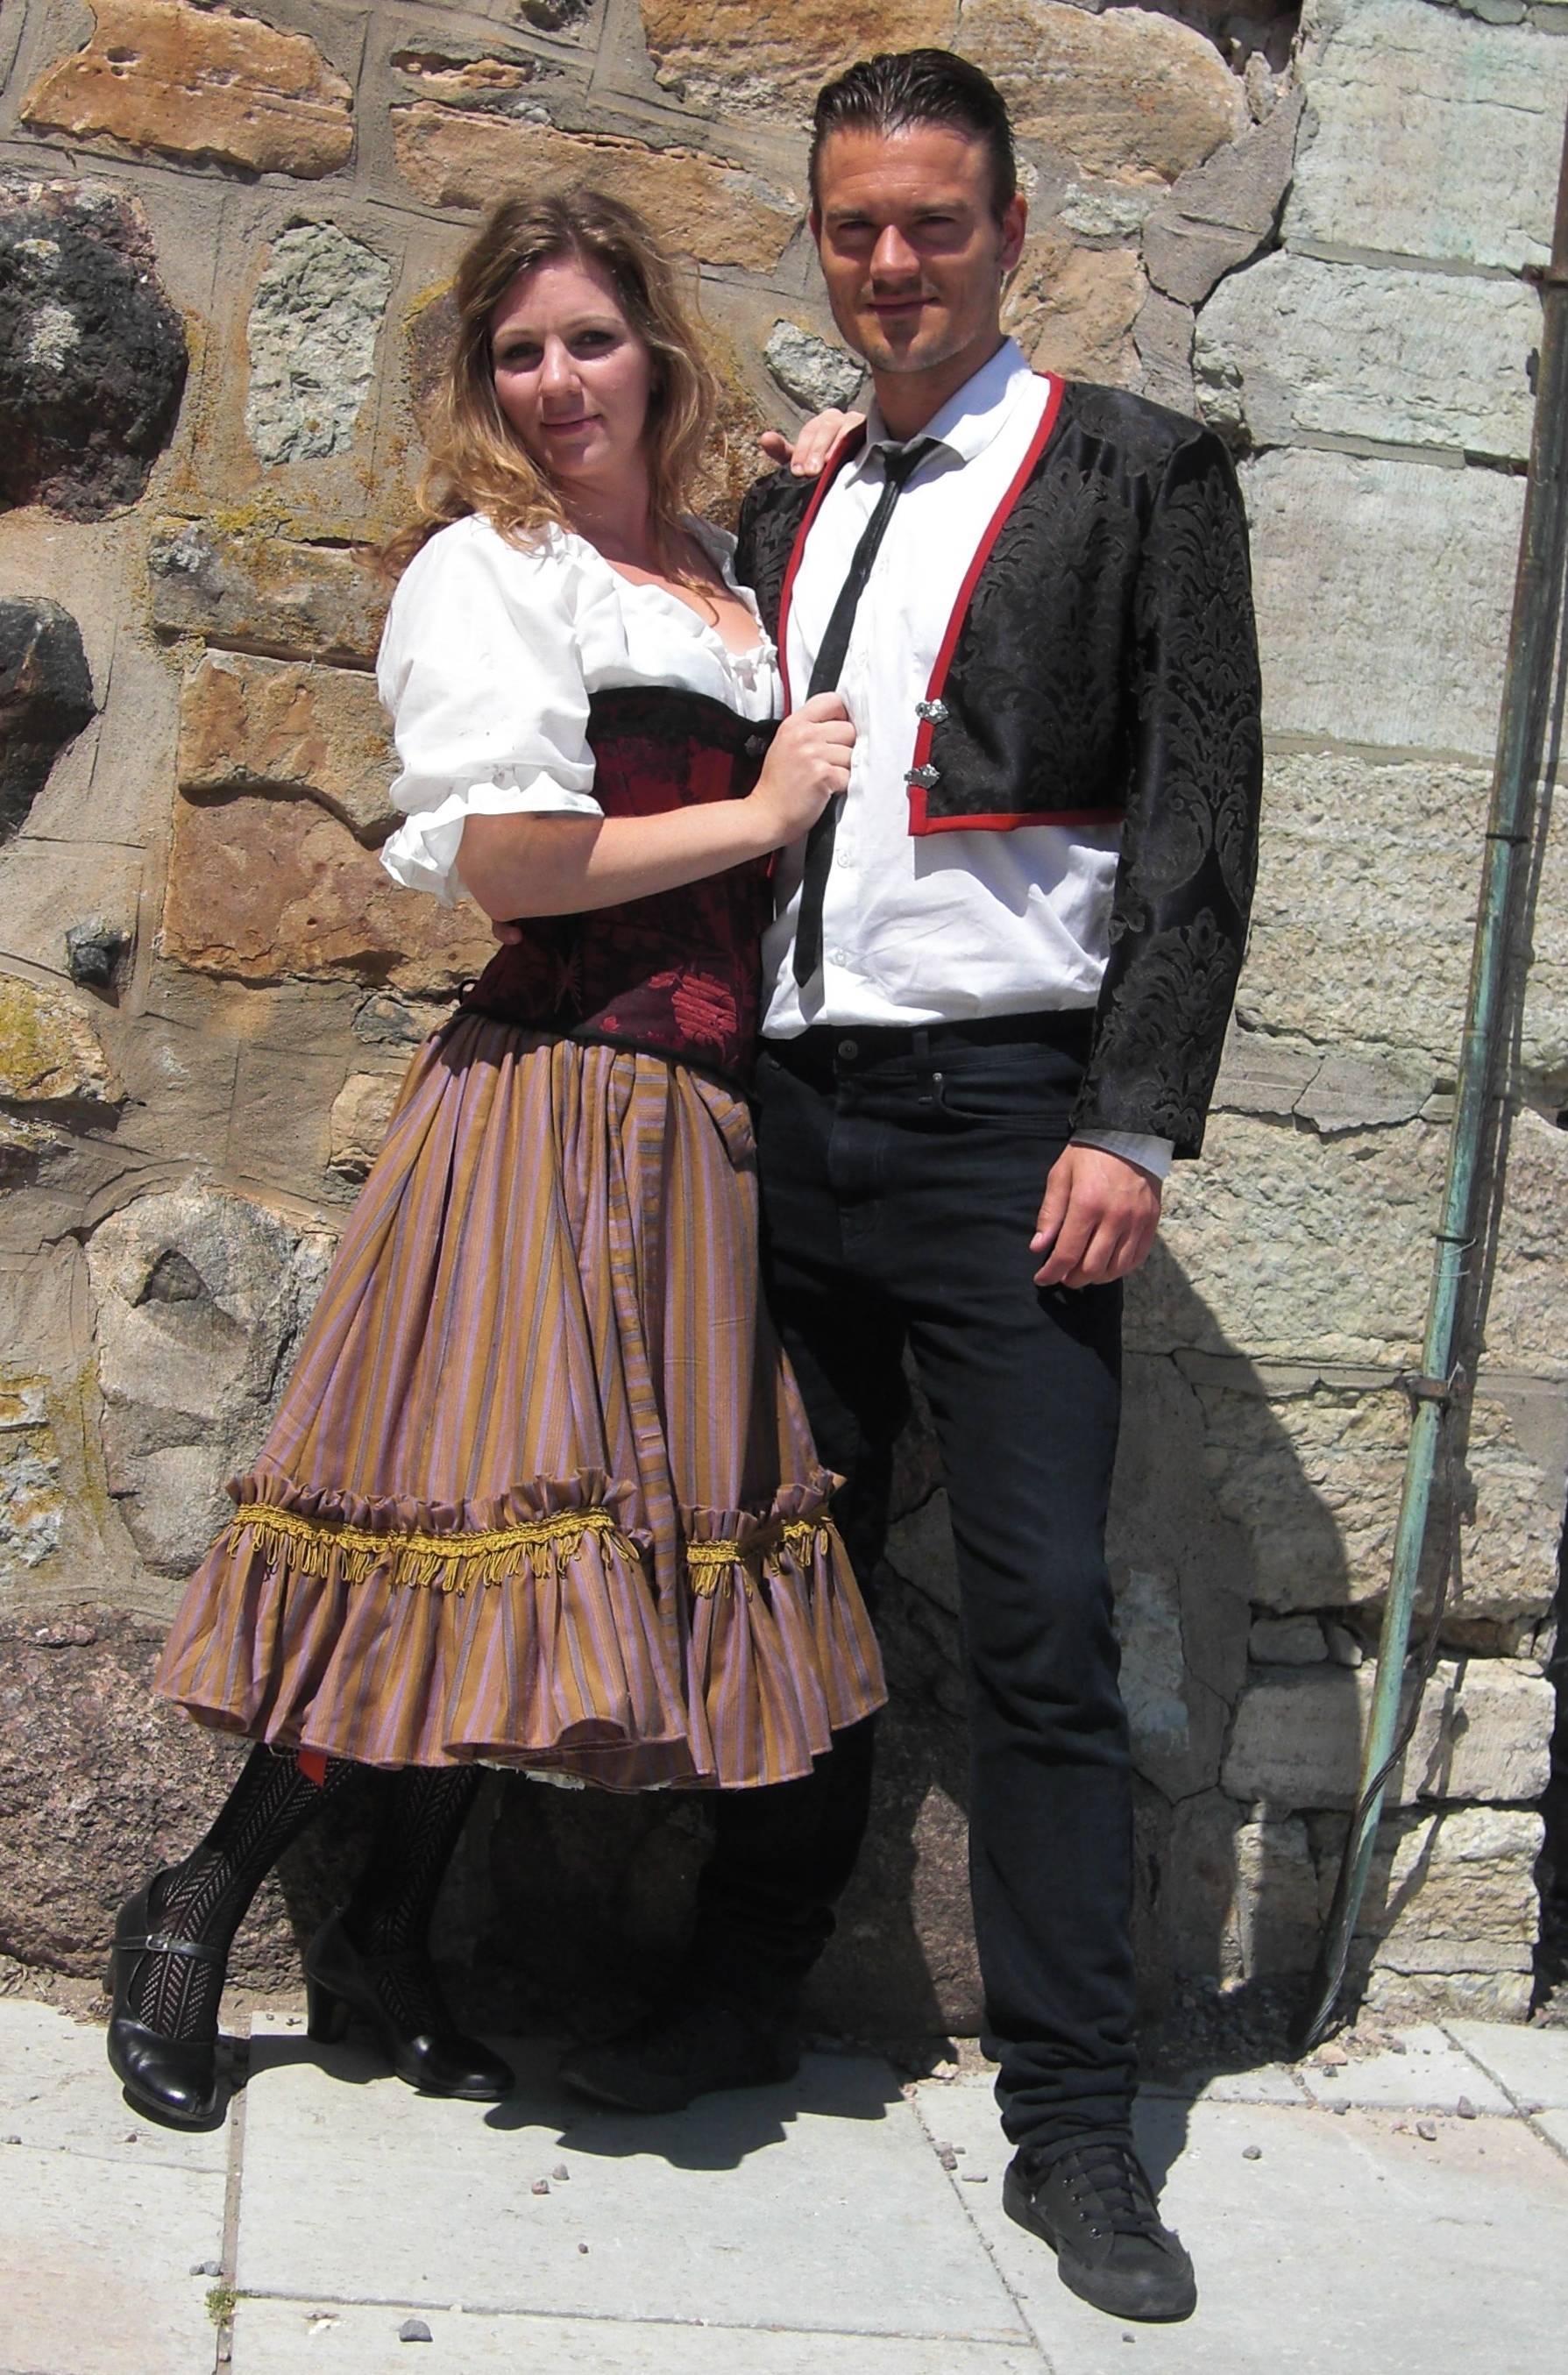 Posing in the sun.
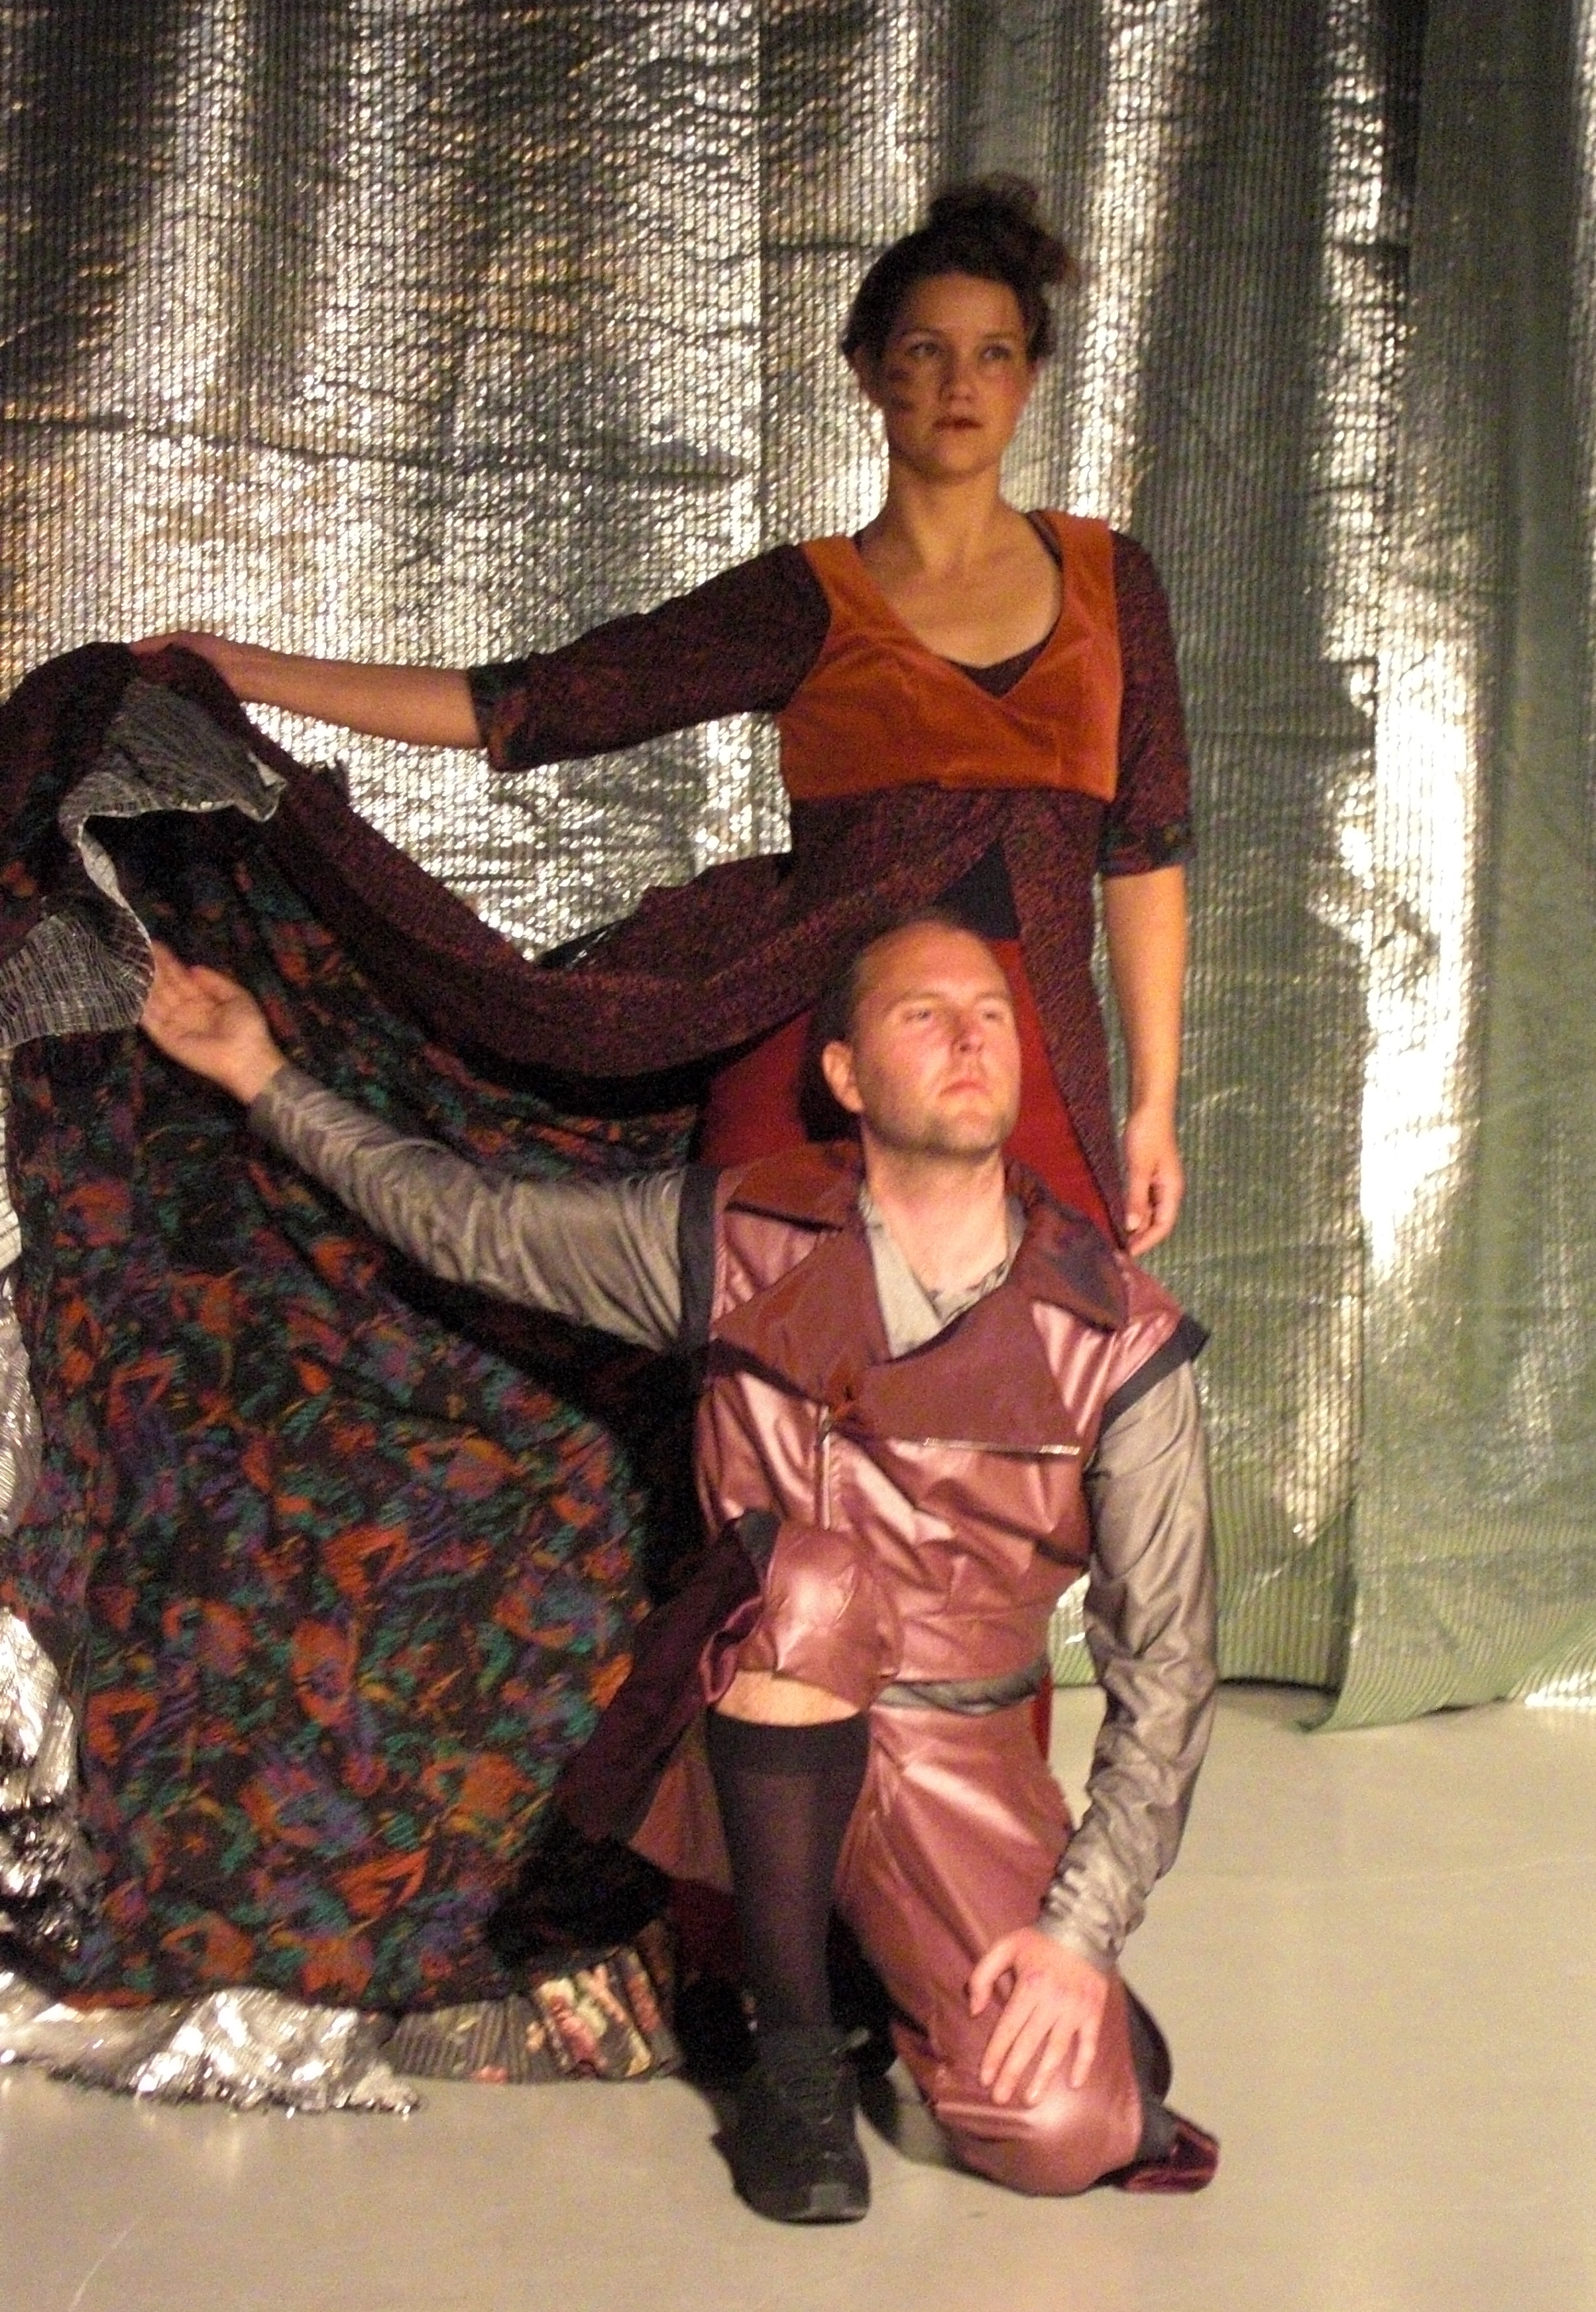
And the other girls costumes:
Firsts up is Hanna: She got some futuristic apocalyptic vibes to her costumes.

And Gunilla:
 Look at that bustle…
And lastly Keit: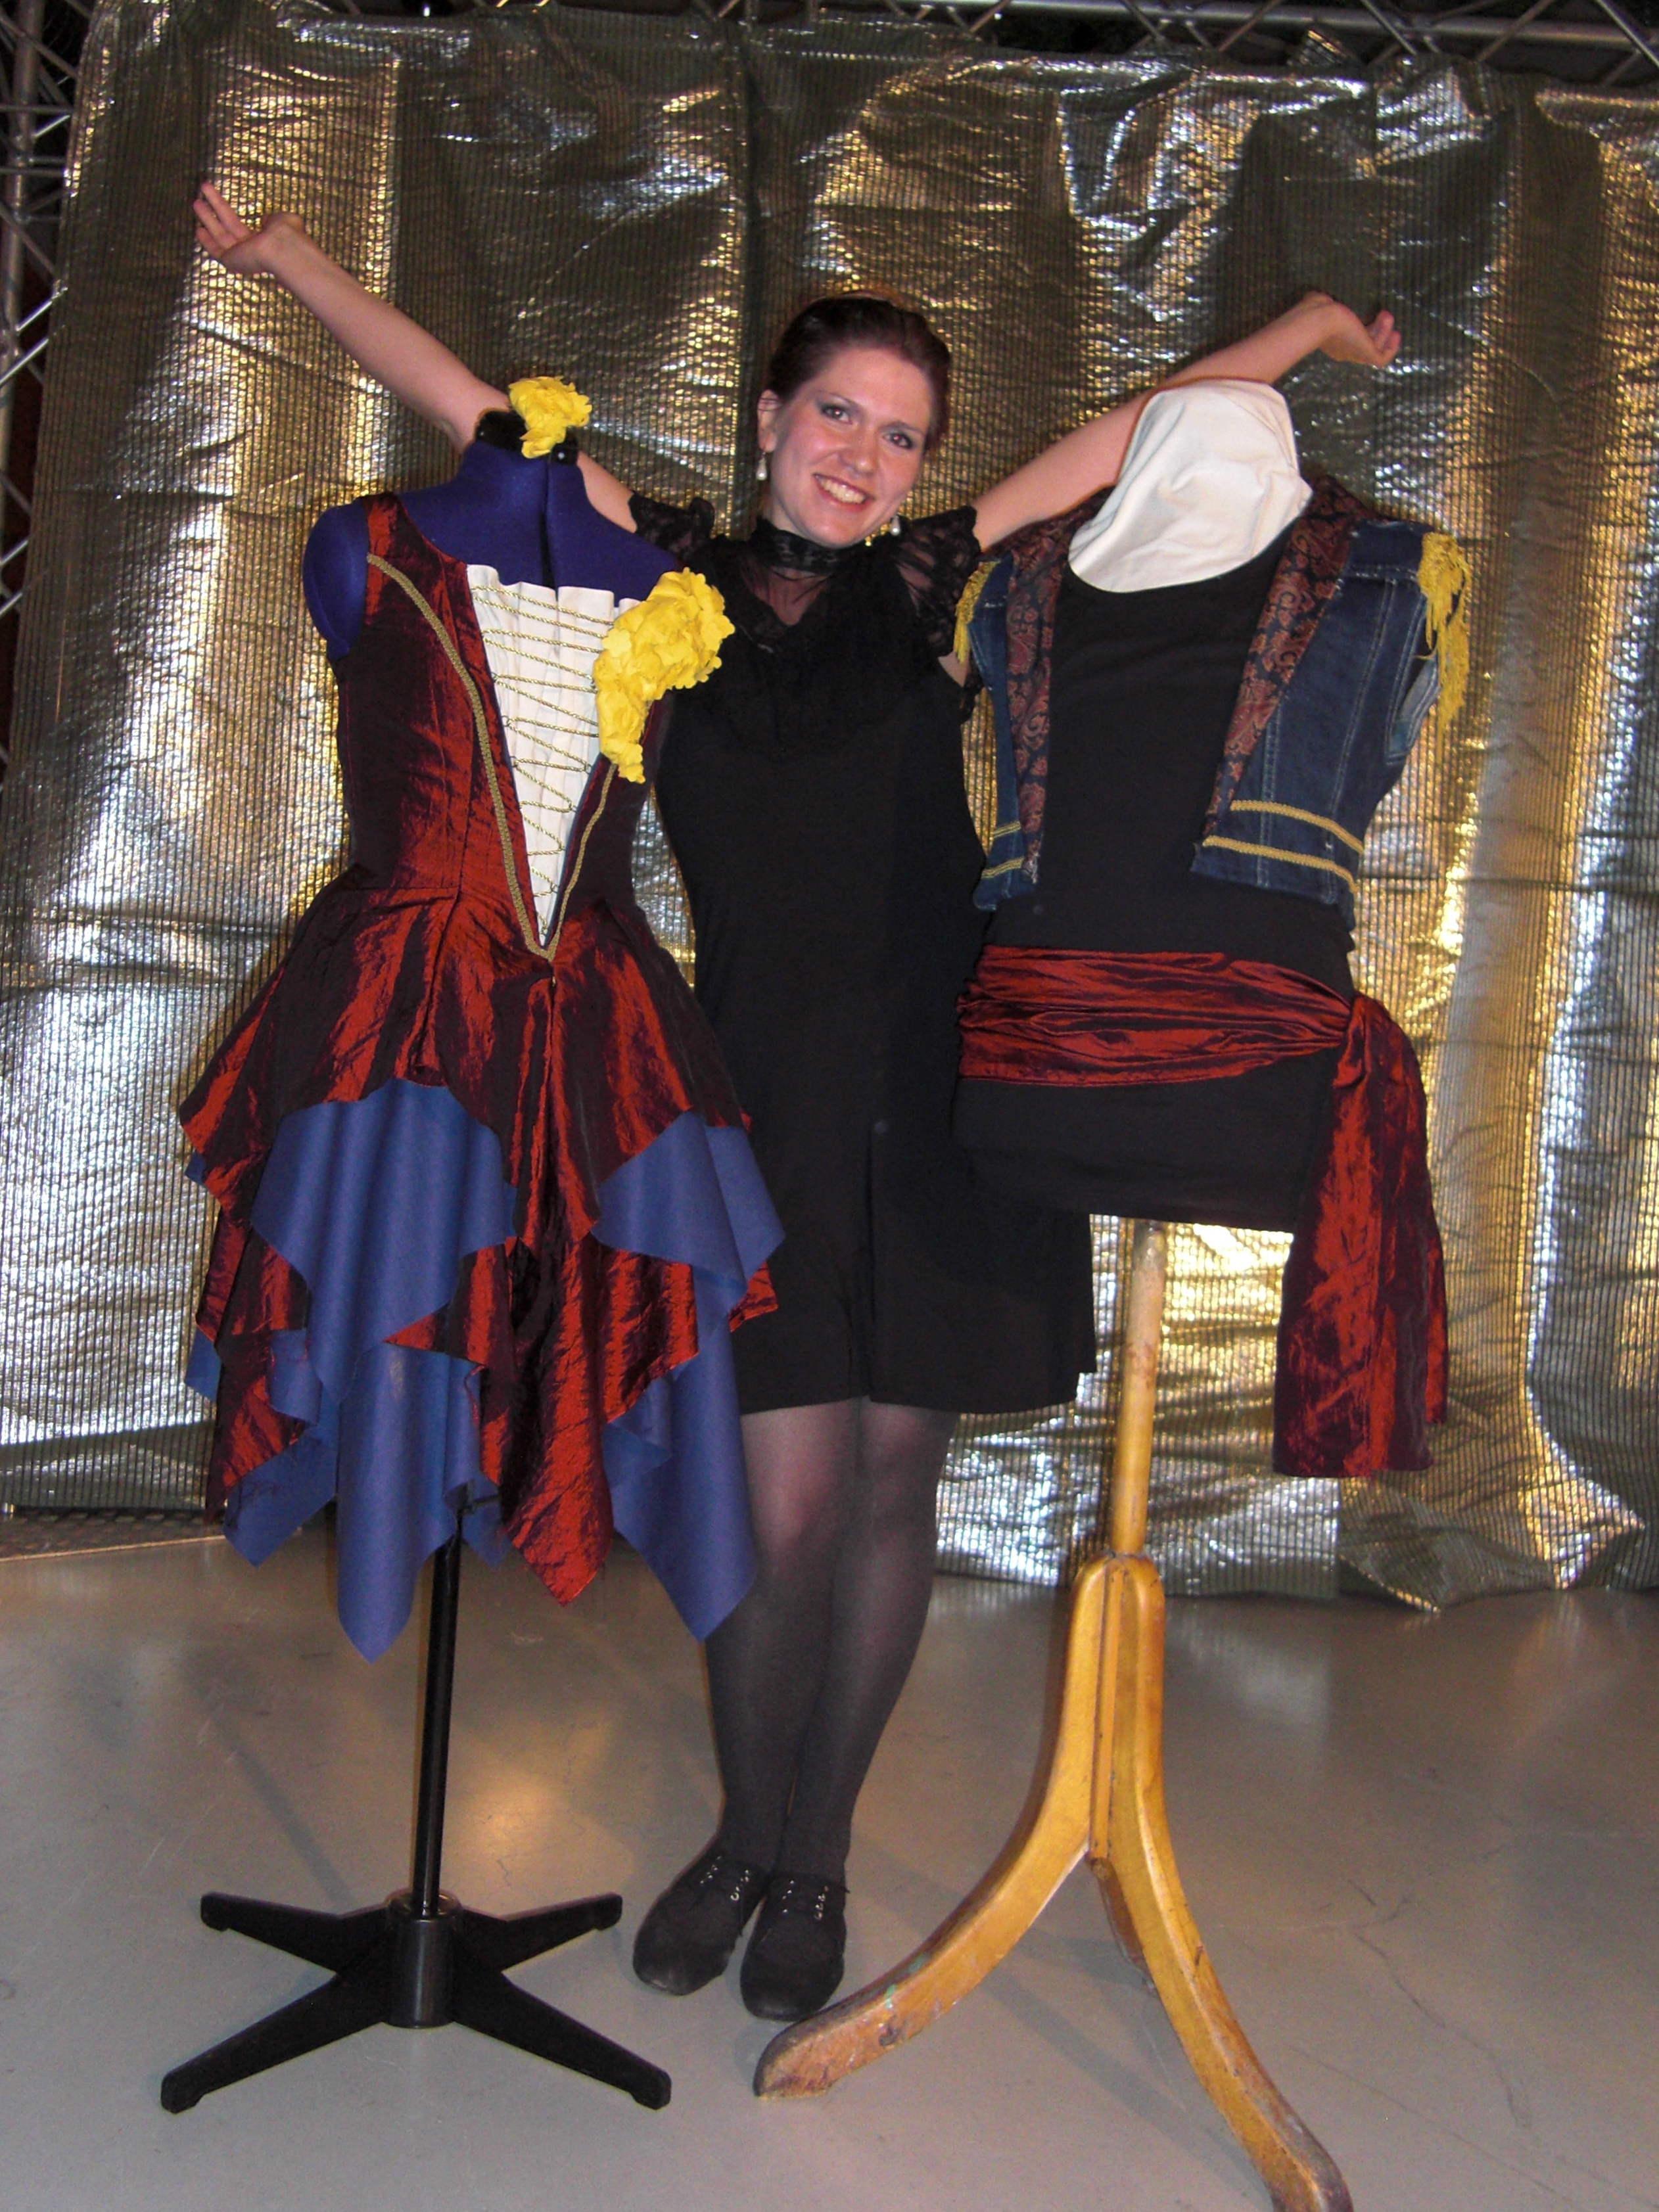 Some seriously 18th century inspiration.
We all had a blast during this course, And I think the other girls learnt just as much as I did.
Lets continue on the topic of past costumes/school projects.
The summer of 2011 I attended a class in “Teatre costume design”.
It was only a short course (three weeks), and just a few students attending, but it was great.

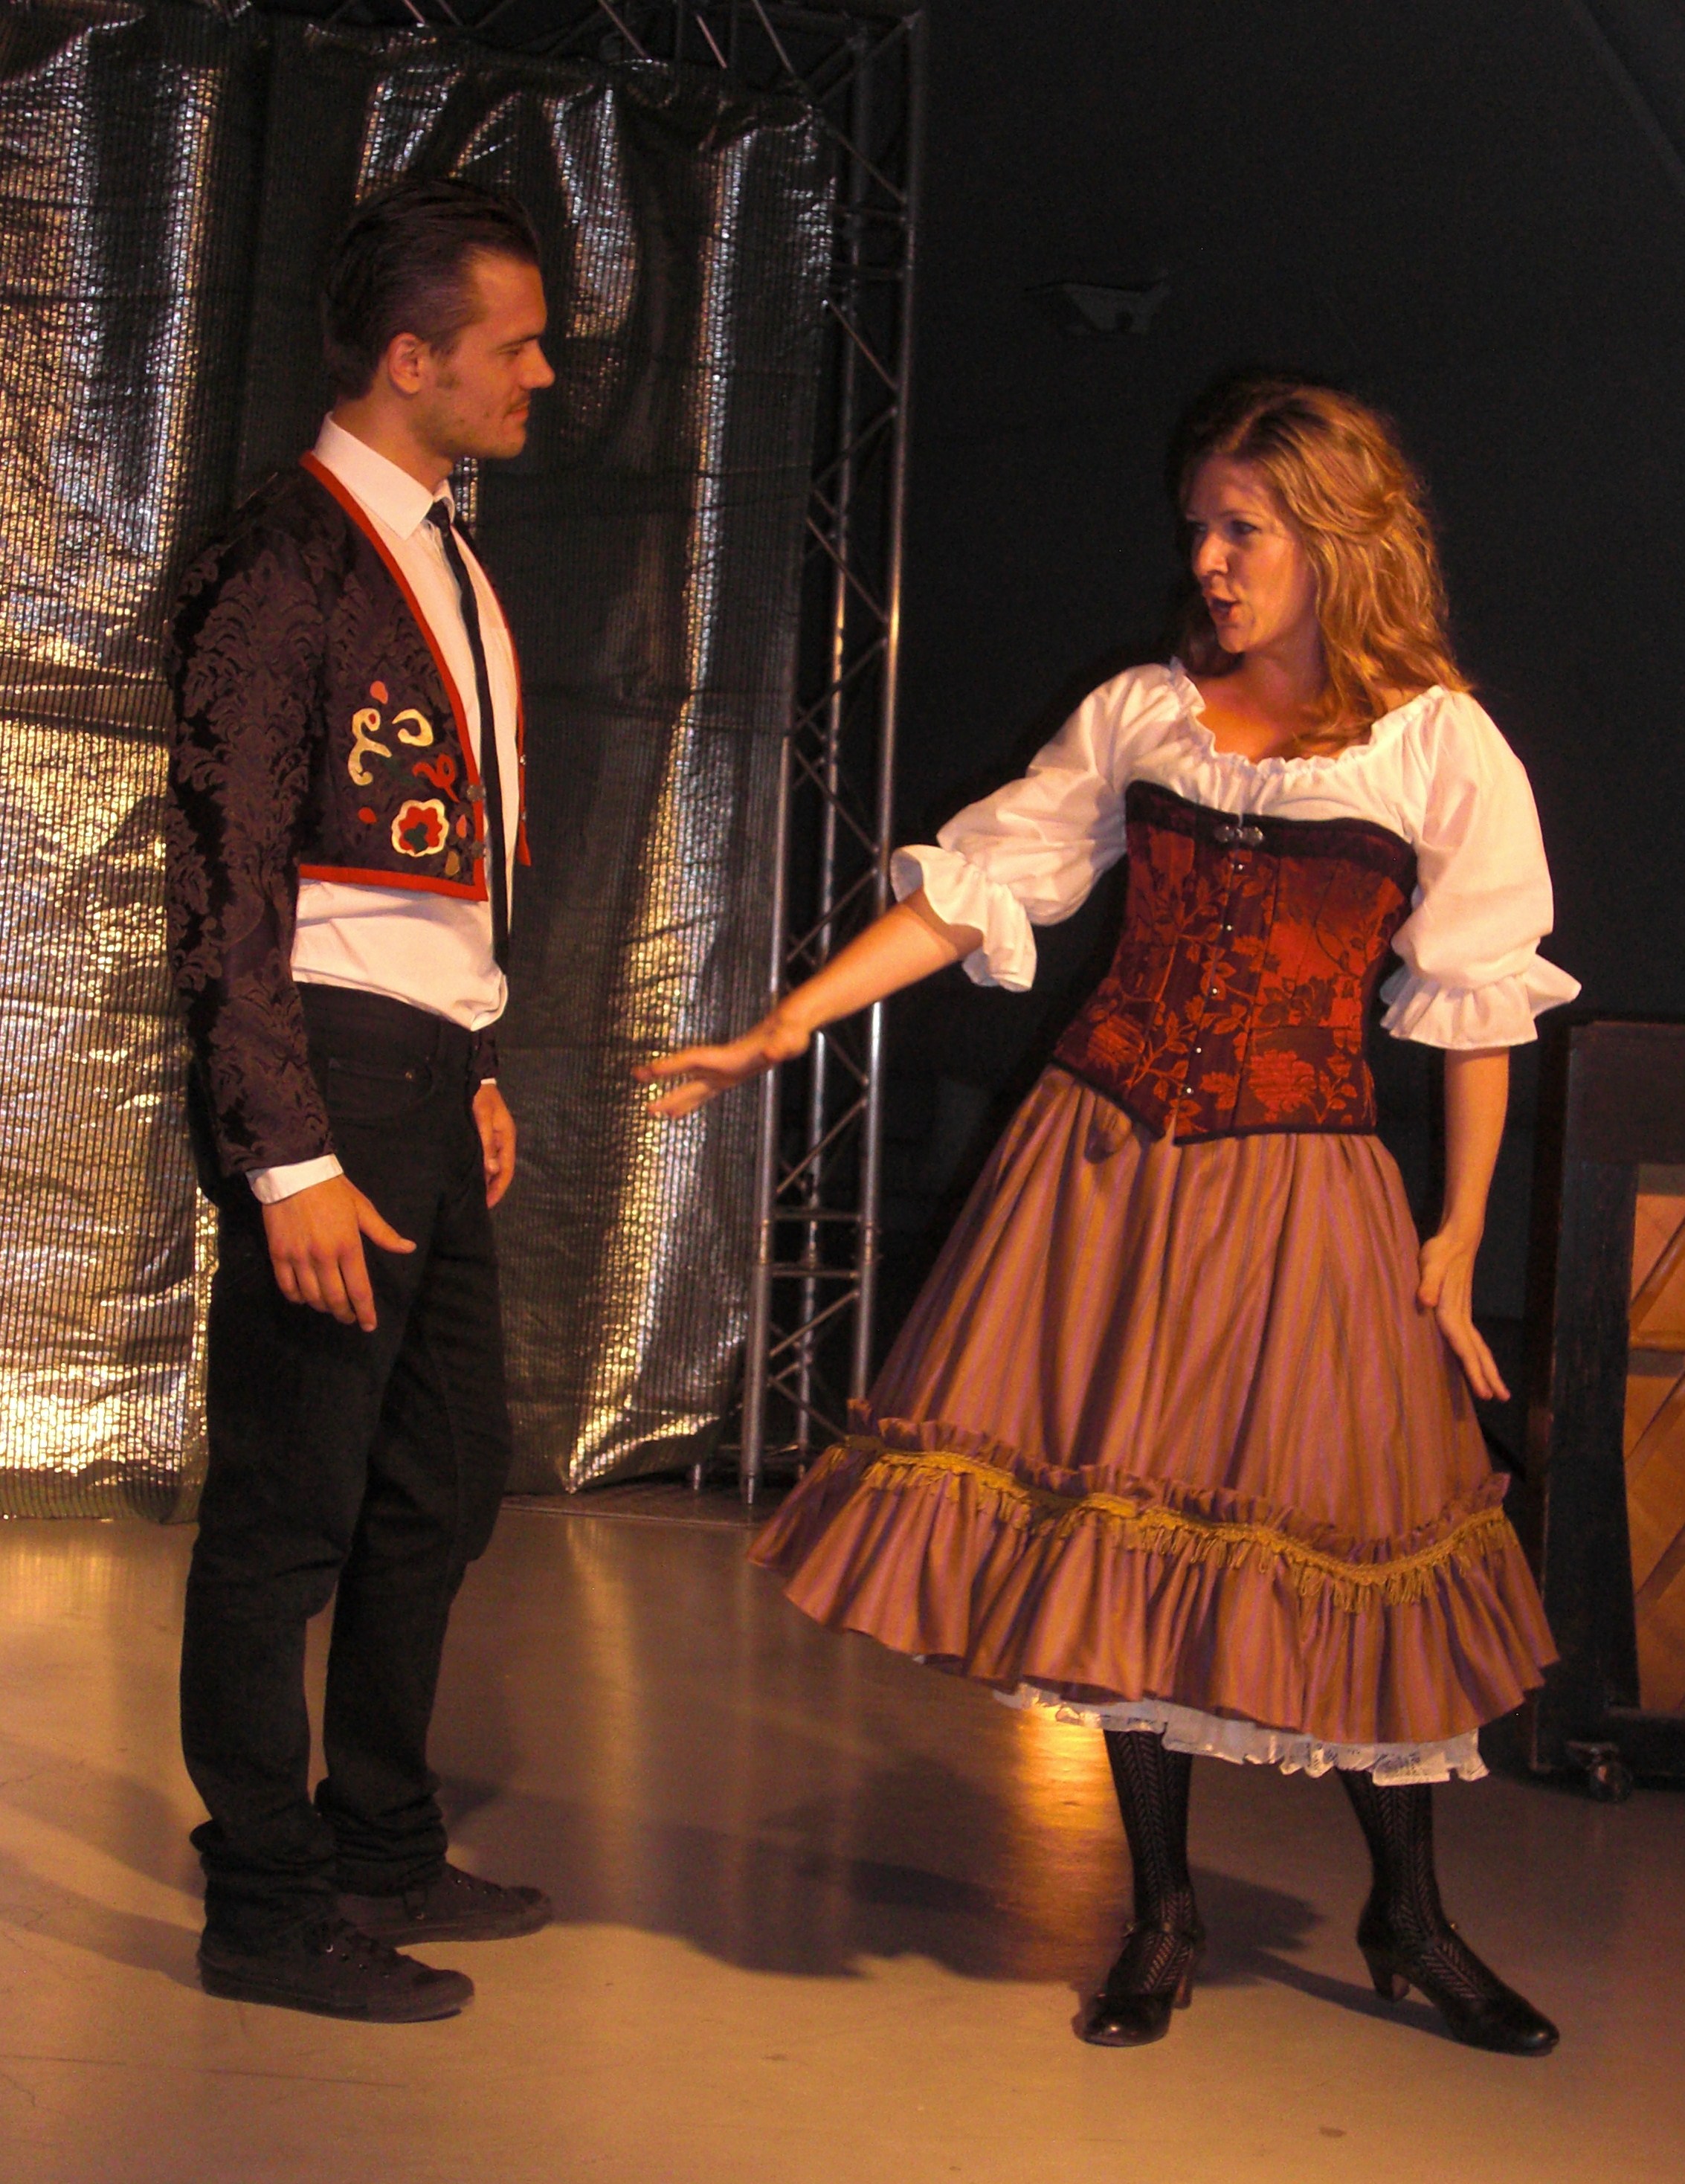
The play that we were asked to costume was George Bizet’s opera “Carmen”.
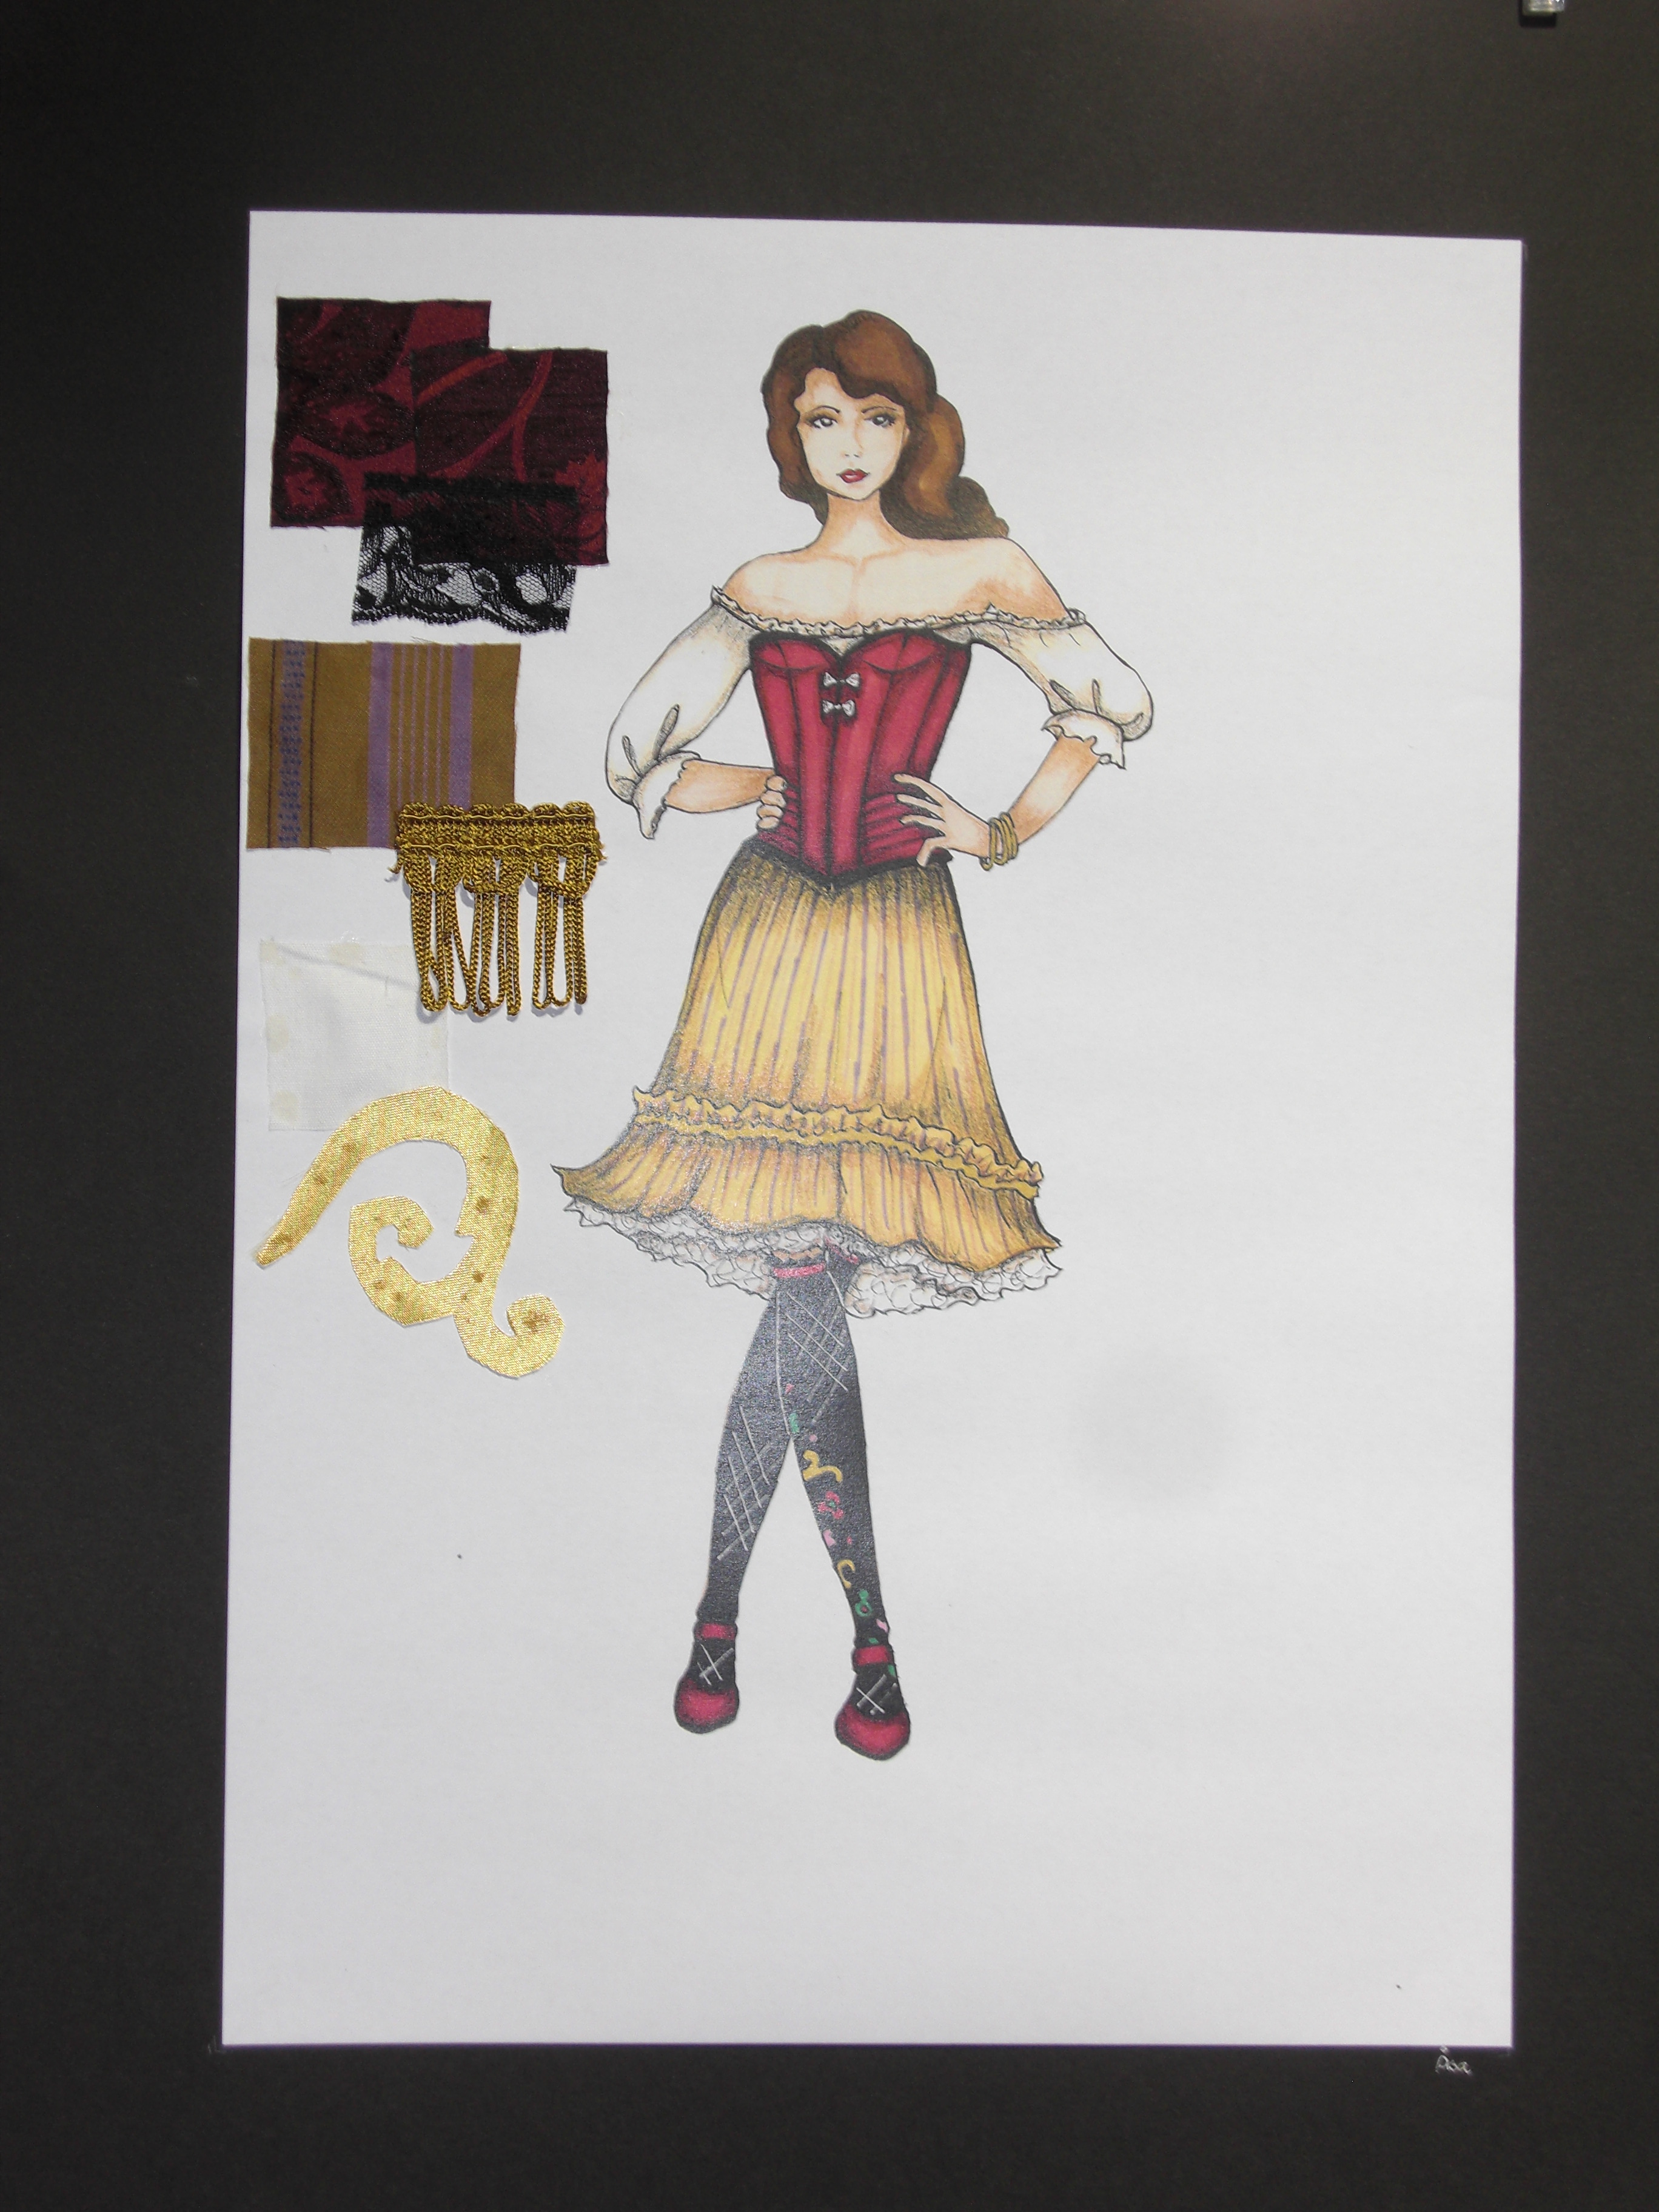
A few weeks before the course we got the assignment to read the play, listen to the music and make a inspirational board of some kind.
This is my board. 
The the real work begun.
We spent the first week working on our drawing techniques, the next making mood boards, gathering inspiration and designing the costumes for three of the main characters.
 Carmen
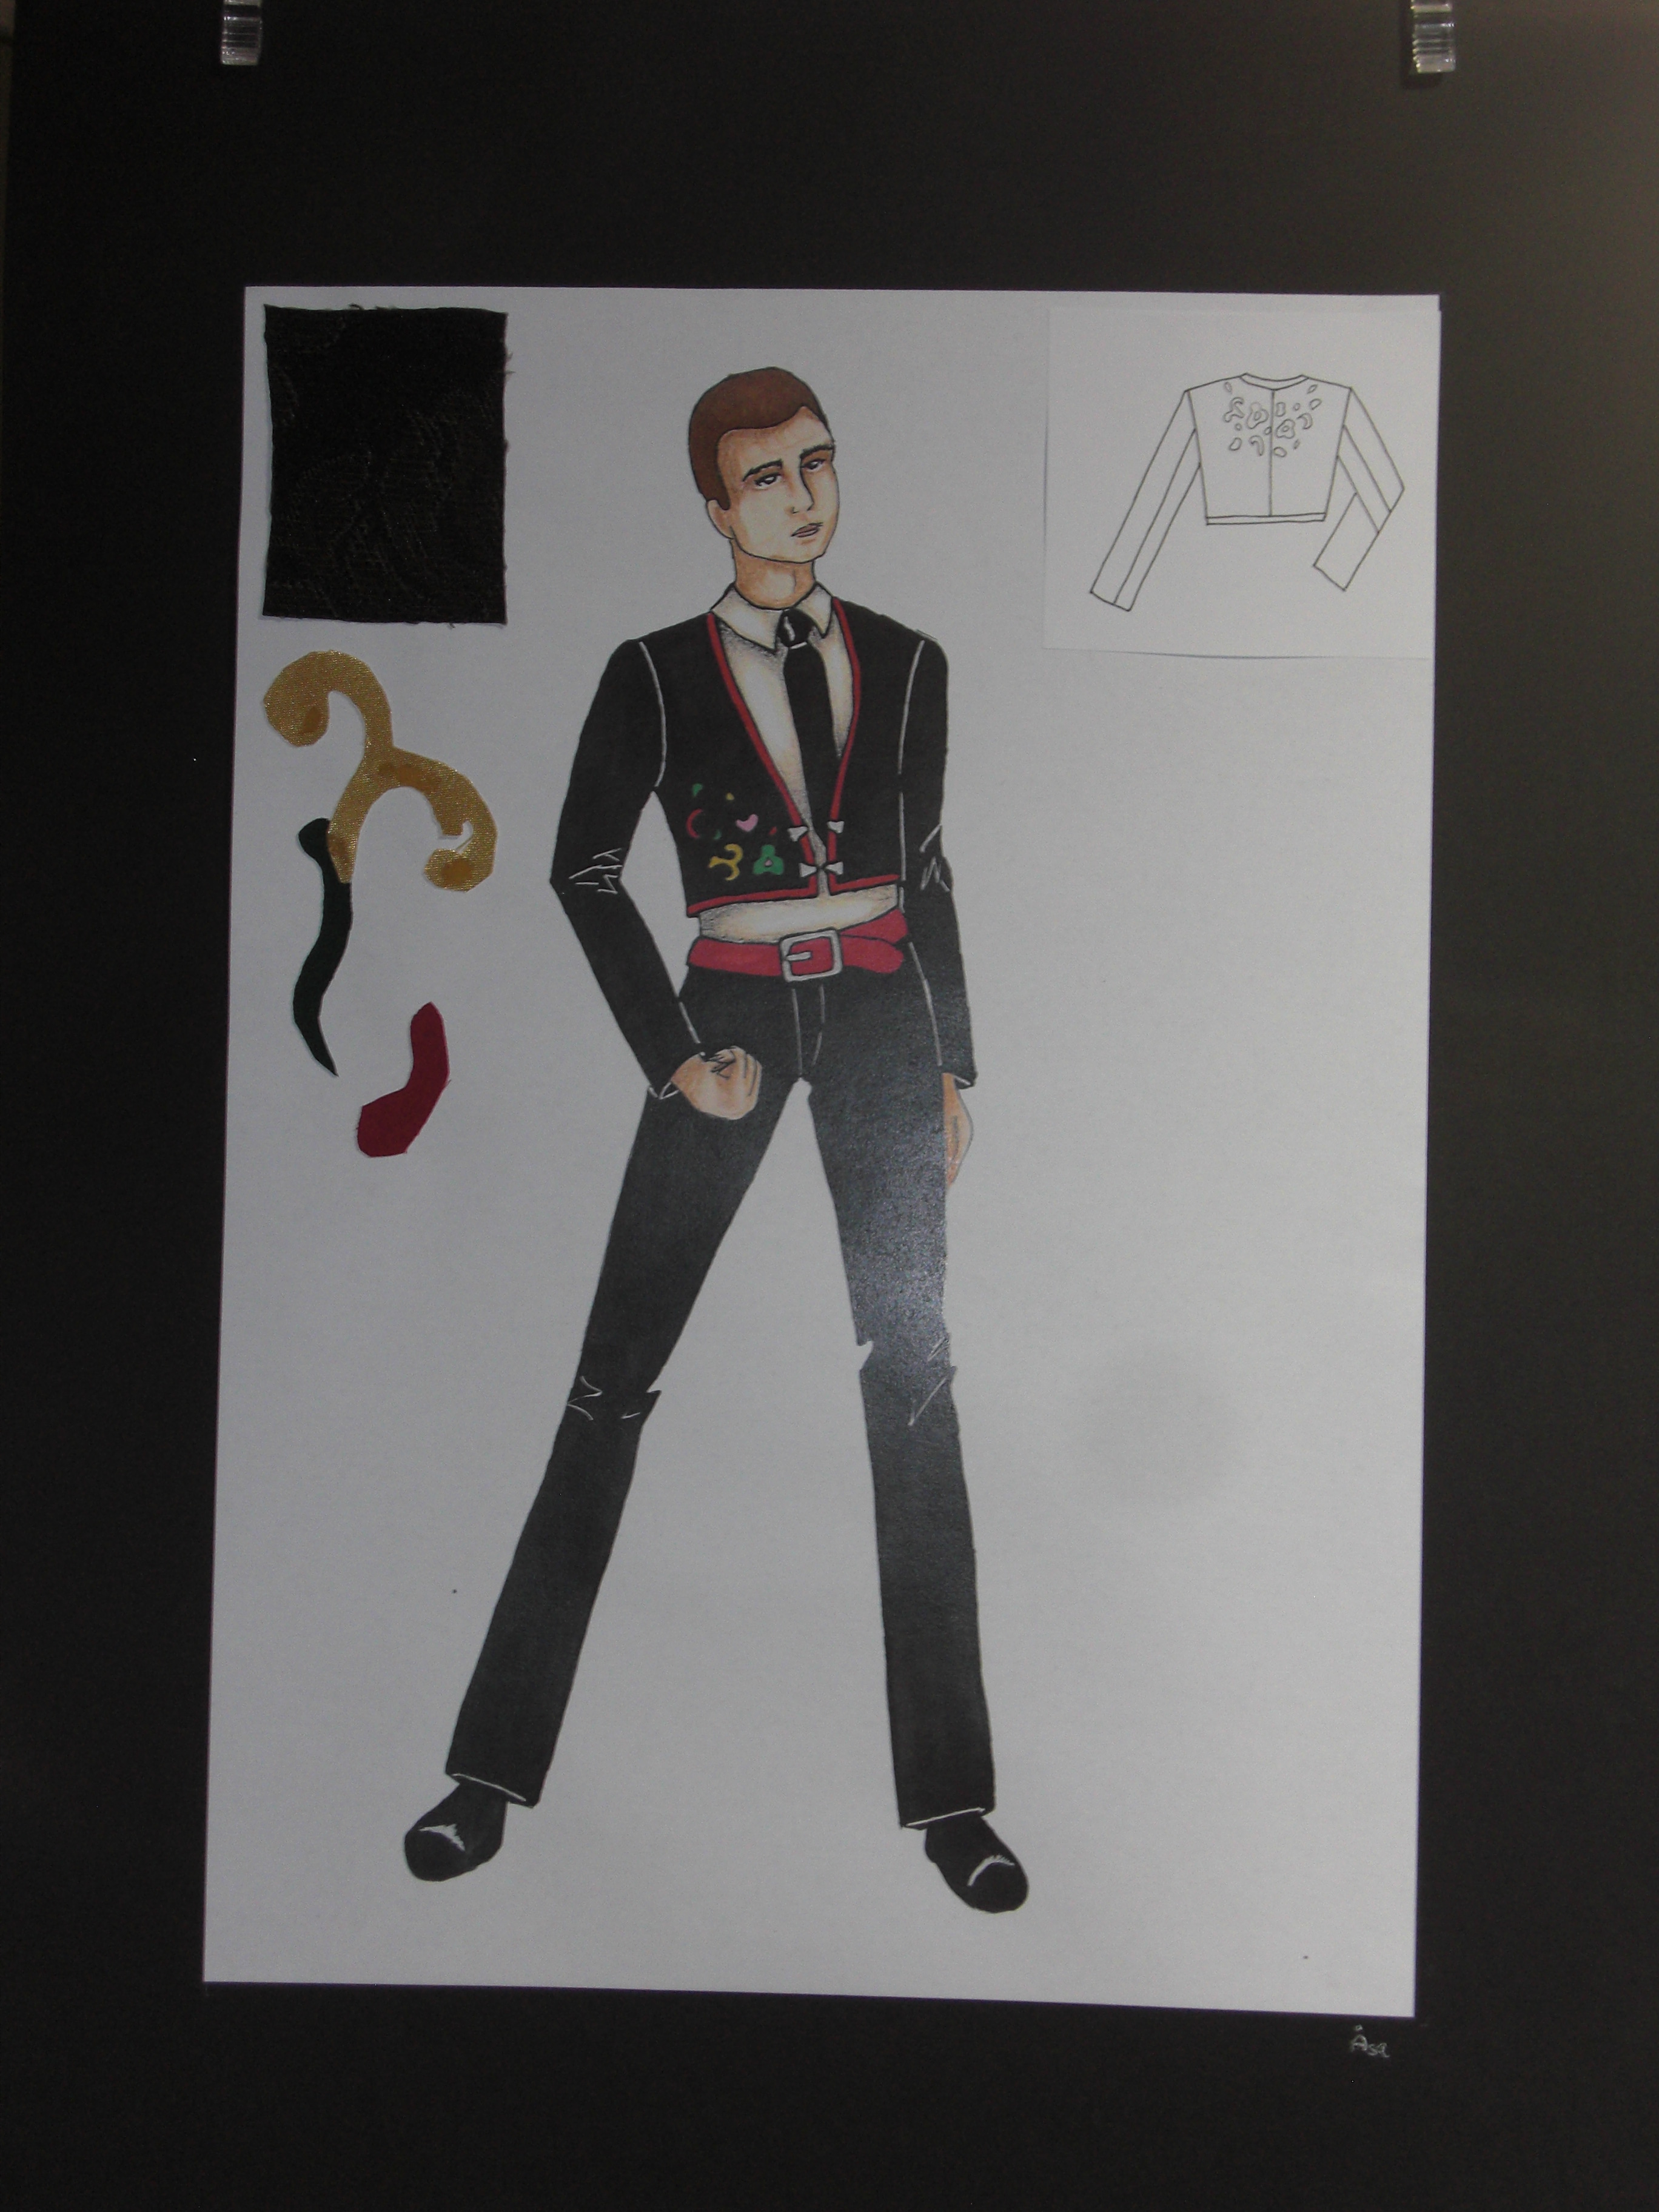 Escamillo
 Don José
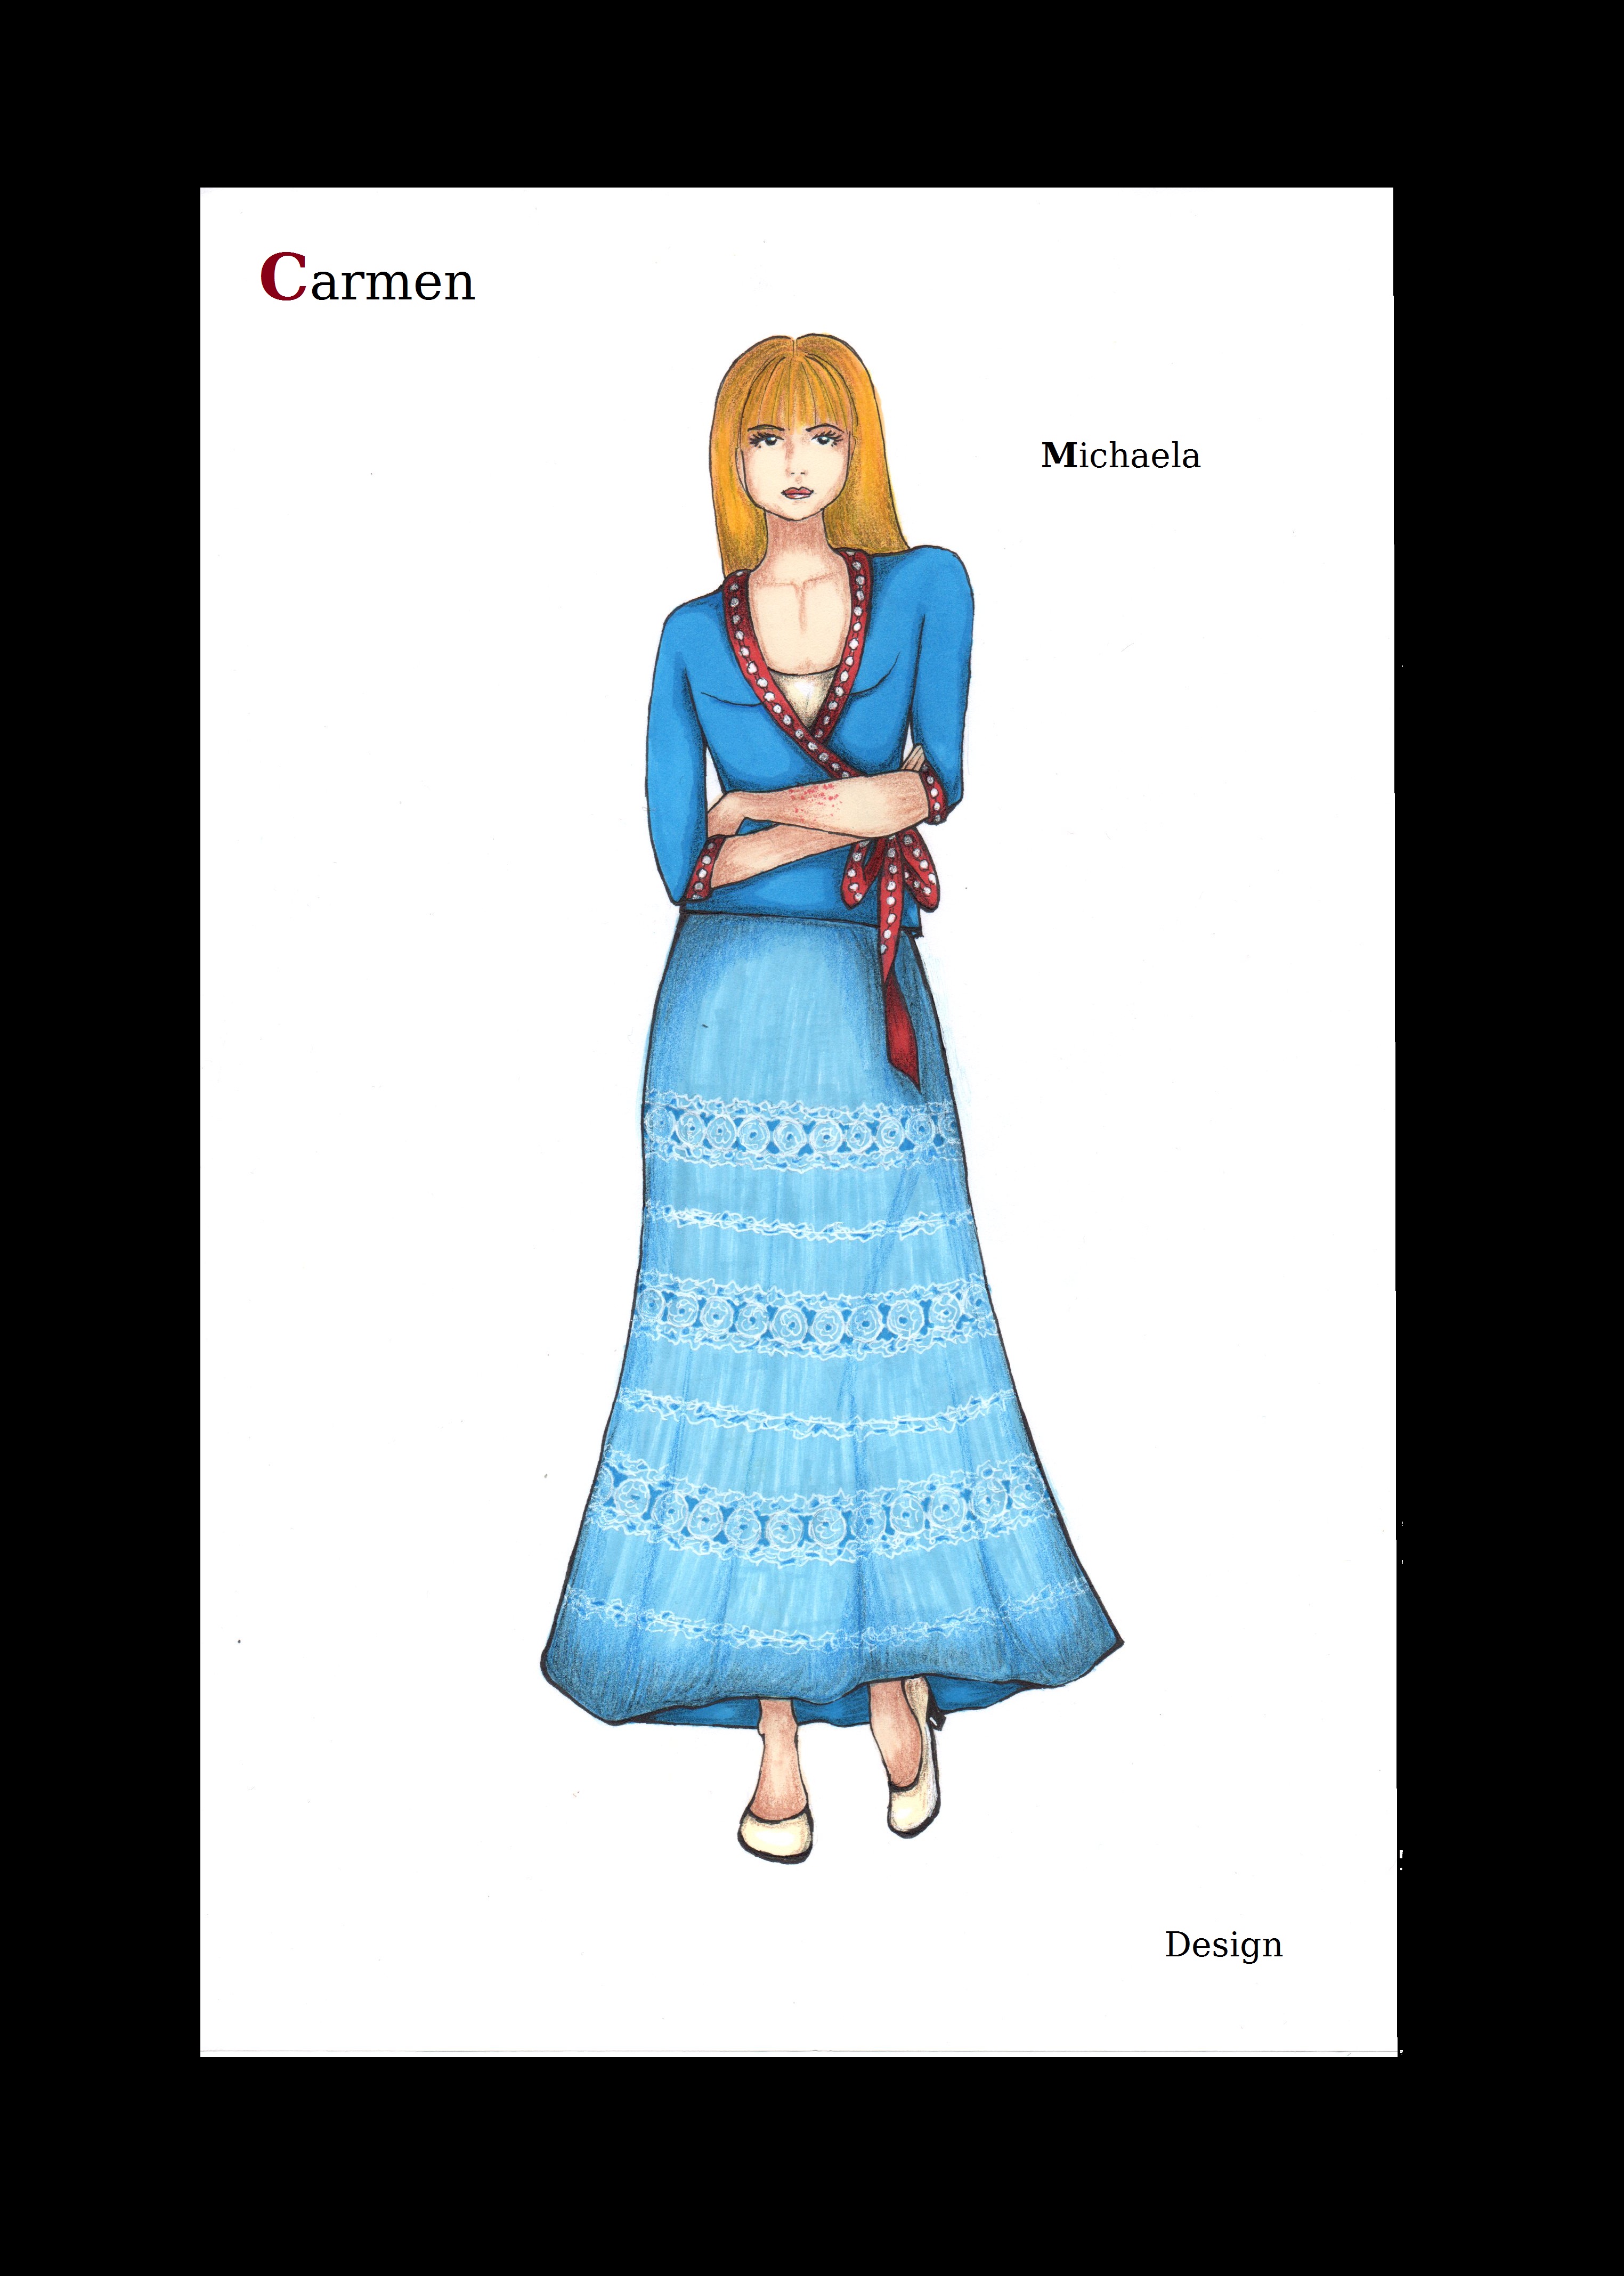 Michaela
It wasn’t until week three we actually got to start working on the outfits.

 Corset for Carmen (Pattern from Jill Salens “Corsets”)
 Flowery decorations


And even though we only needed to make costumes for two of the caracters (Carmen and Escamilo) it was pretty hectic getting everything done until the weekends presentation.
 Escamillos jacket and Carmens skirt finished.
We also had some lessons in theater history, breaking down scripts and stage make-up.  Åsa (the teacher) shows how to change the lines of the face.
 Me, Hanna and Keit working on our make-up skills.
On Friday the last week, we had a workshop with dancers and opera singers wearing our clothes, and on Saturday we held an open house to show of our work. Hanna working on getting the stage ready for the show.
 My “show room” with collages and pictures of the costumes.

And a small model of the set and stage.
 Me getting the costume on the dancer before the show.
In part 2, I will show you my finished costume, as well as the costumes the other girls did.
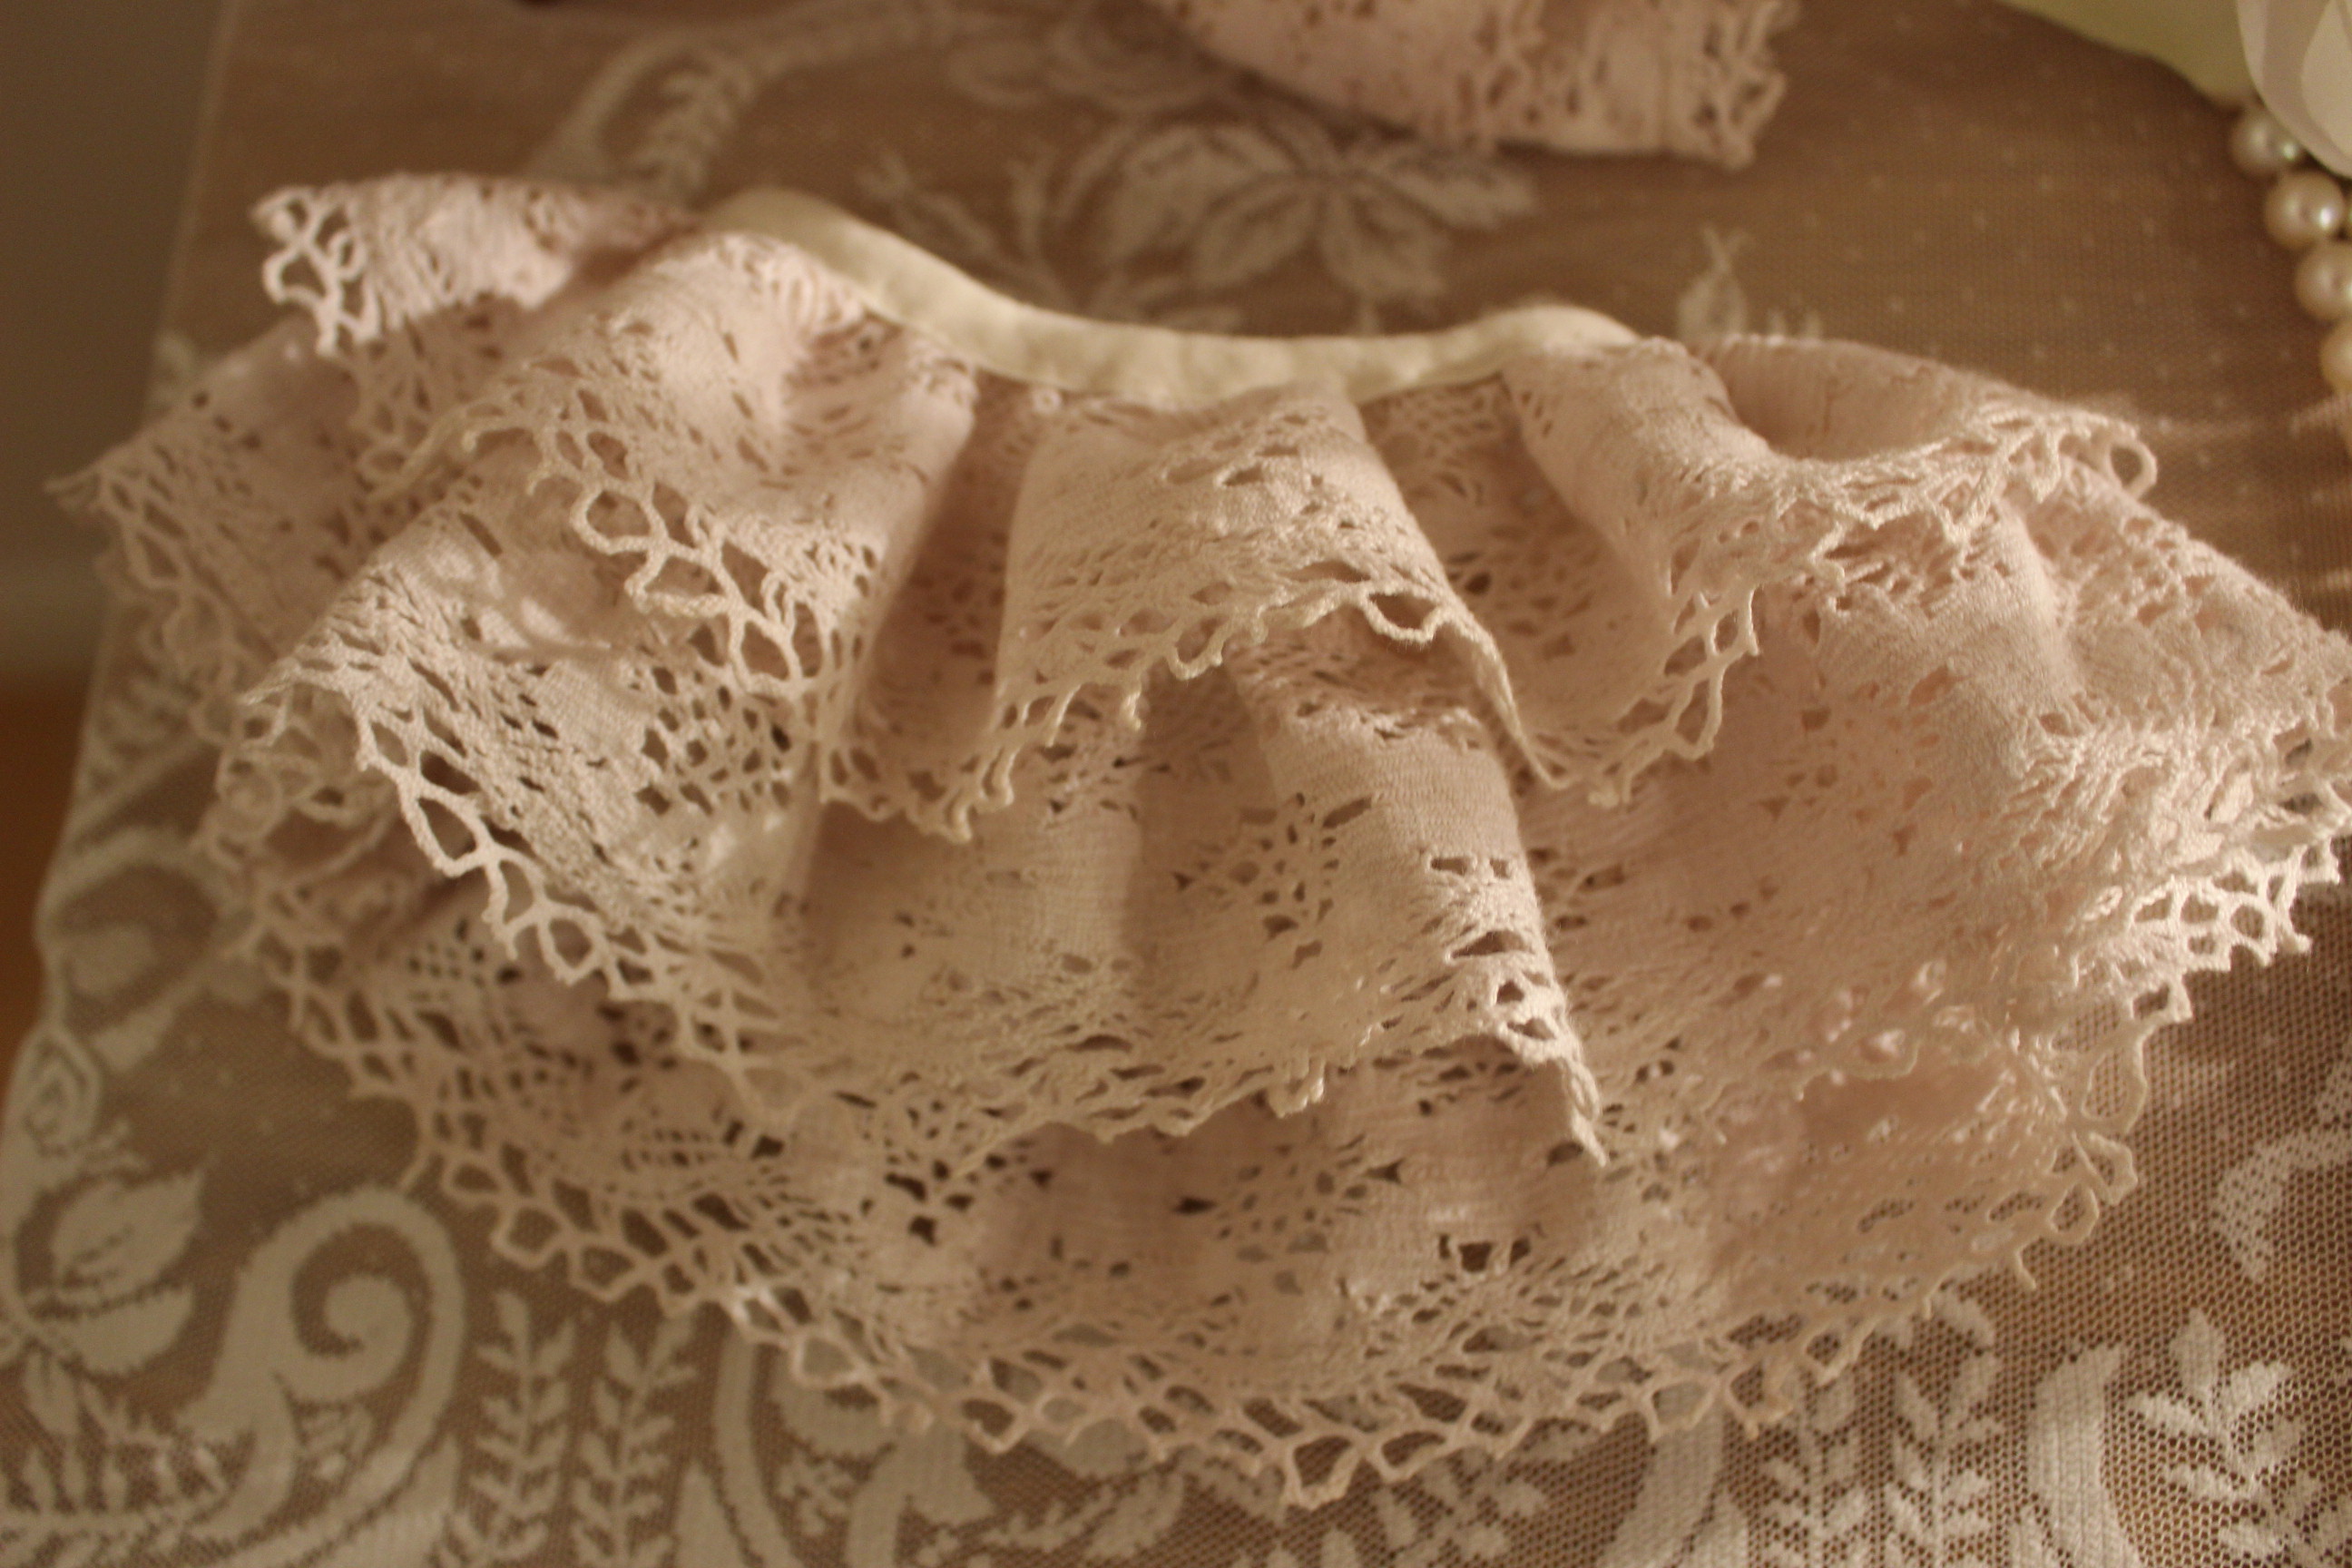
For the HSF nr 19 – HSF-Inspiration (draw inspiration from any of your fellow HSFs items), I decided to make a pair of 18th century sleeve cuffs.
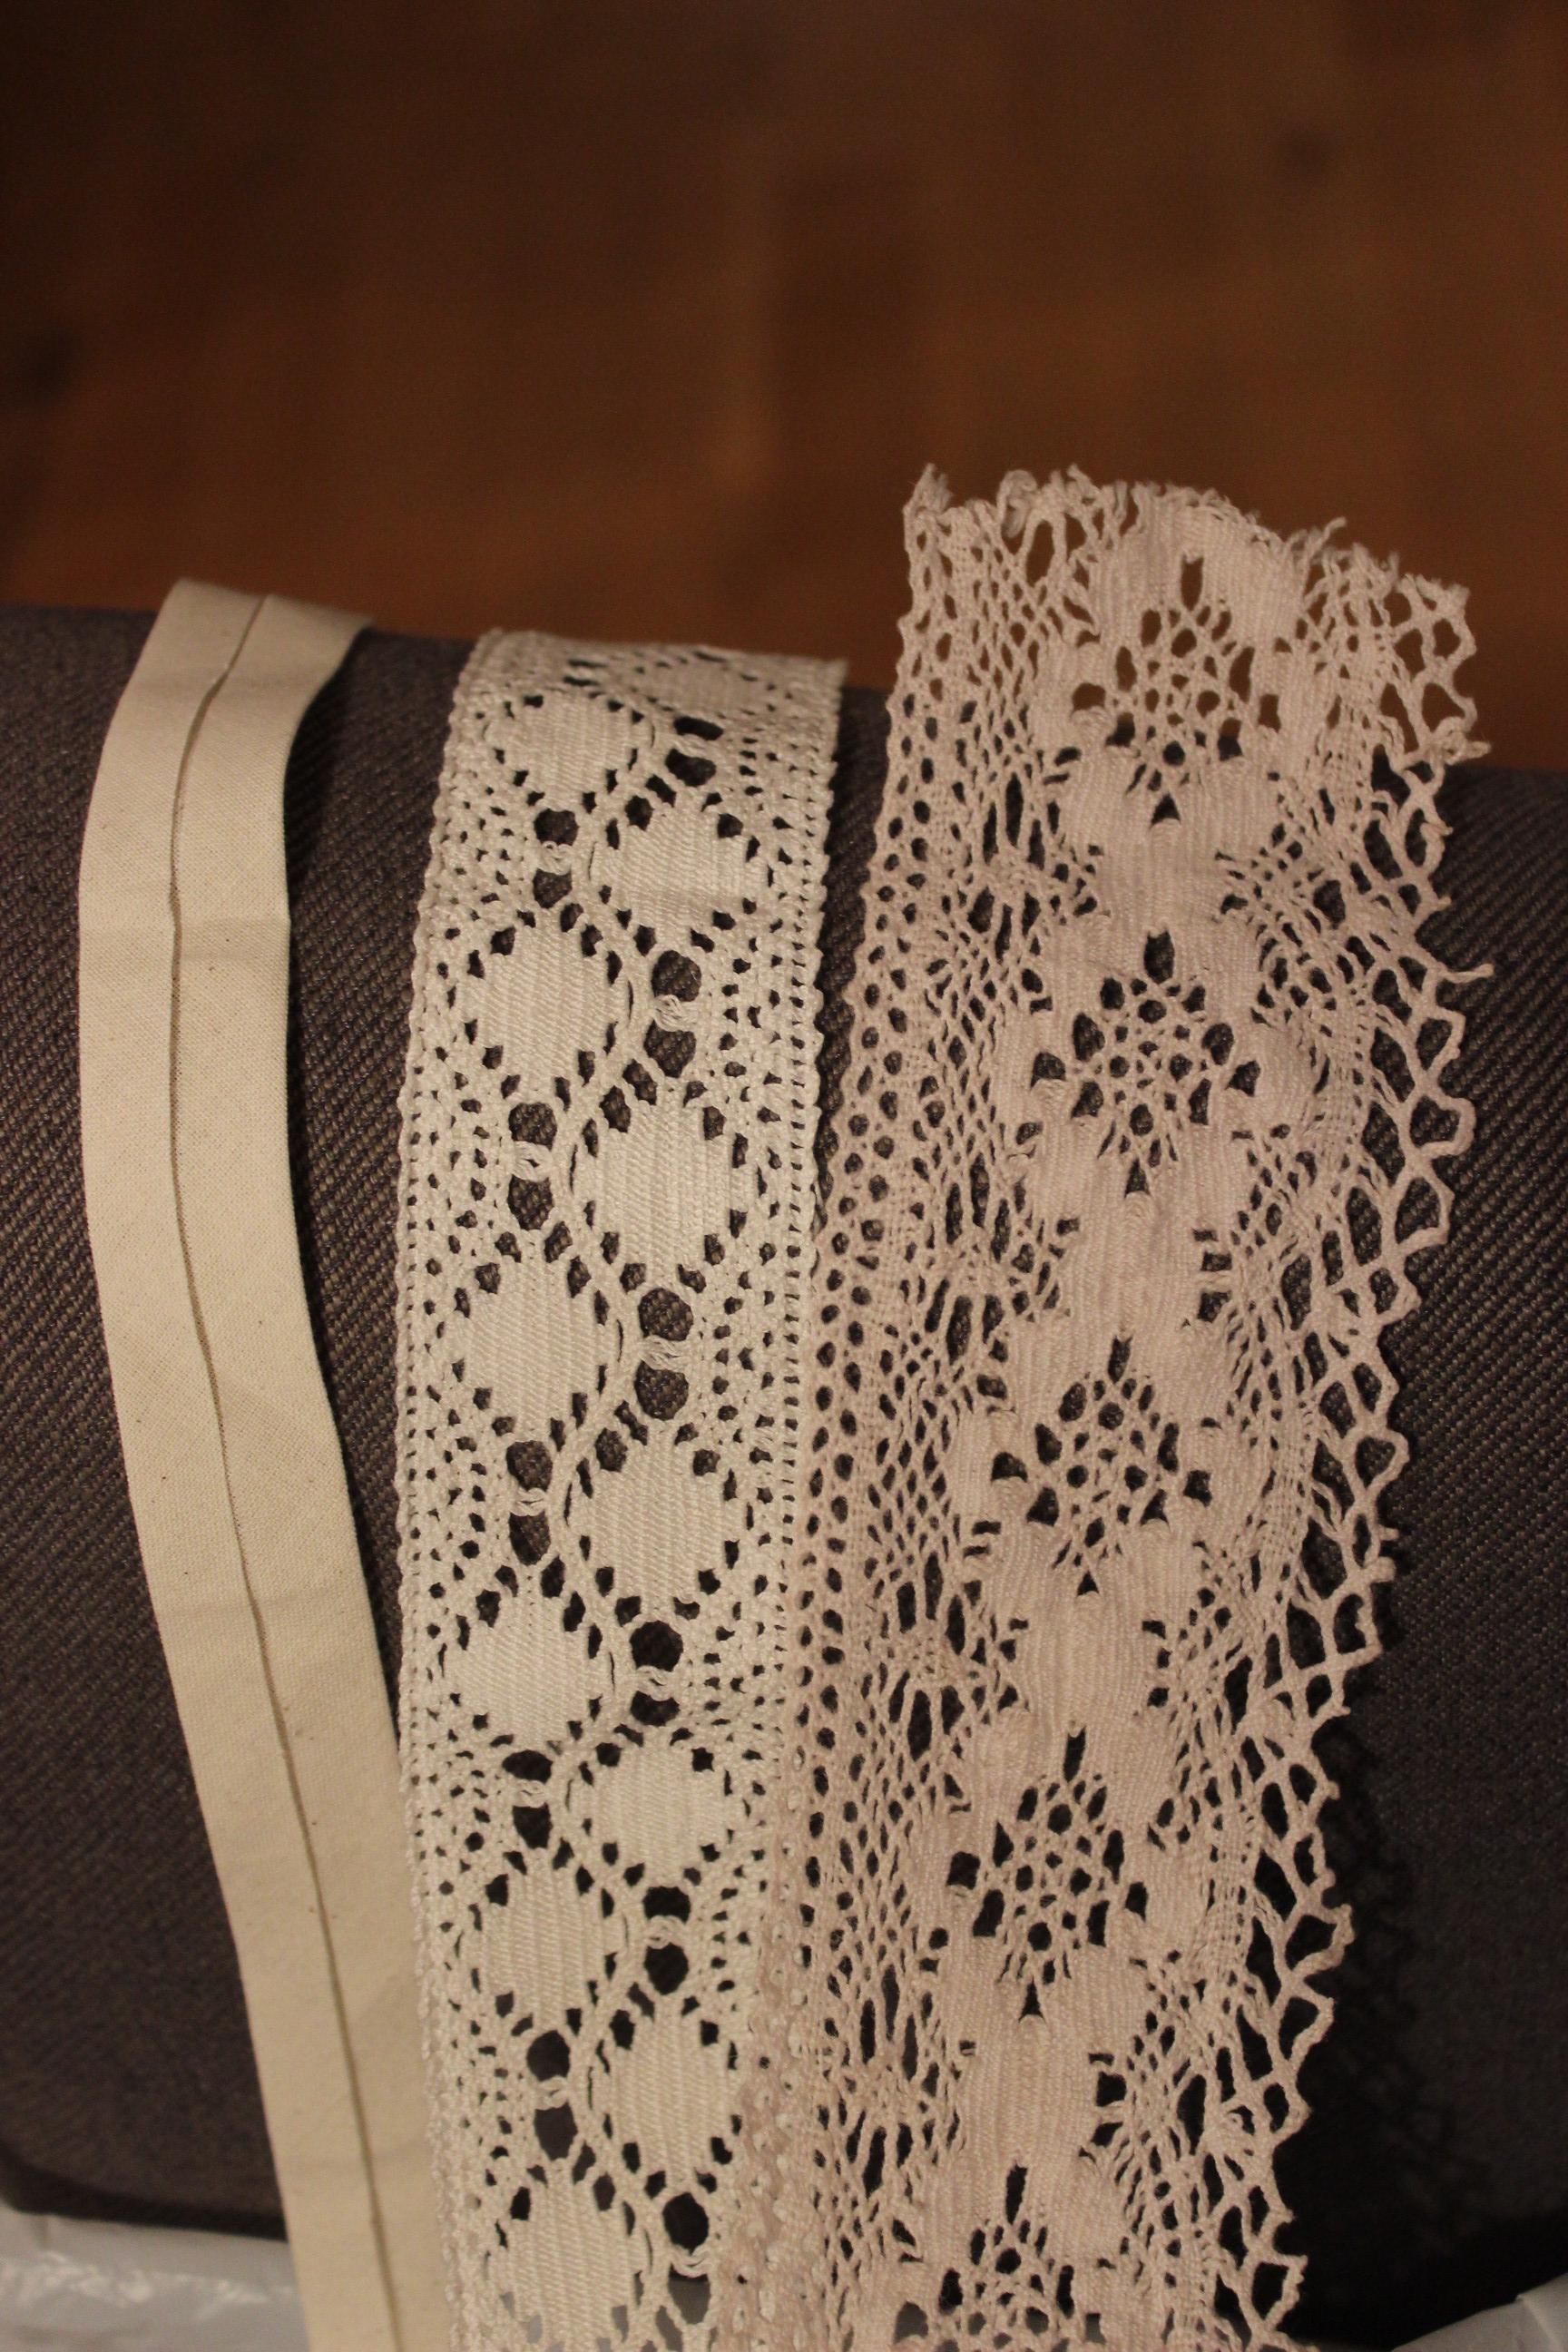
I found a 6 m long piece of lace in my stash, and decided to use it for this project. I originally had some much more delicate lace in mind for this project, but I couldn´t find any I liked in a reasonable enough price range.
So the white lace it is.
 The only problem was, it was too white.
After some debating with myself, I decided to try to tea dye it.
And so I did.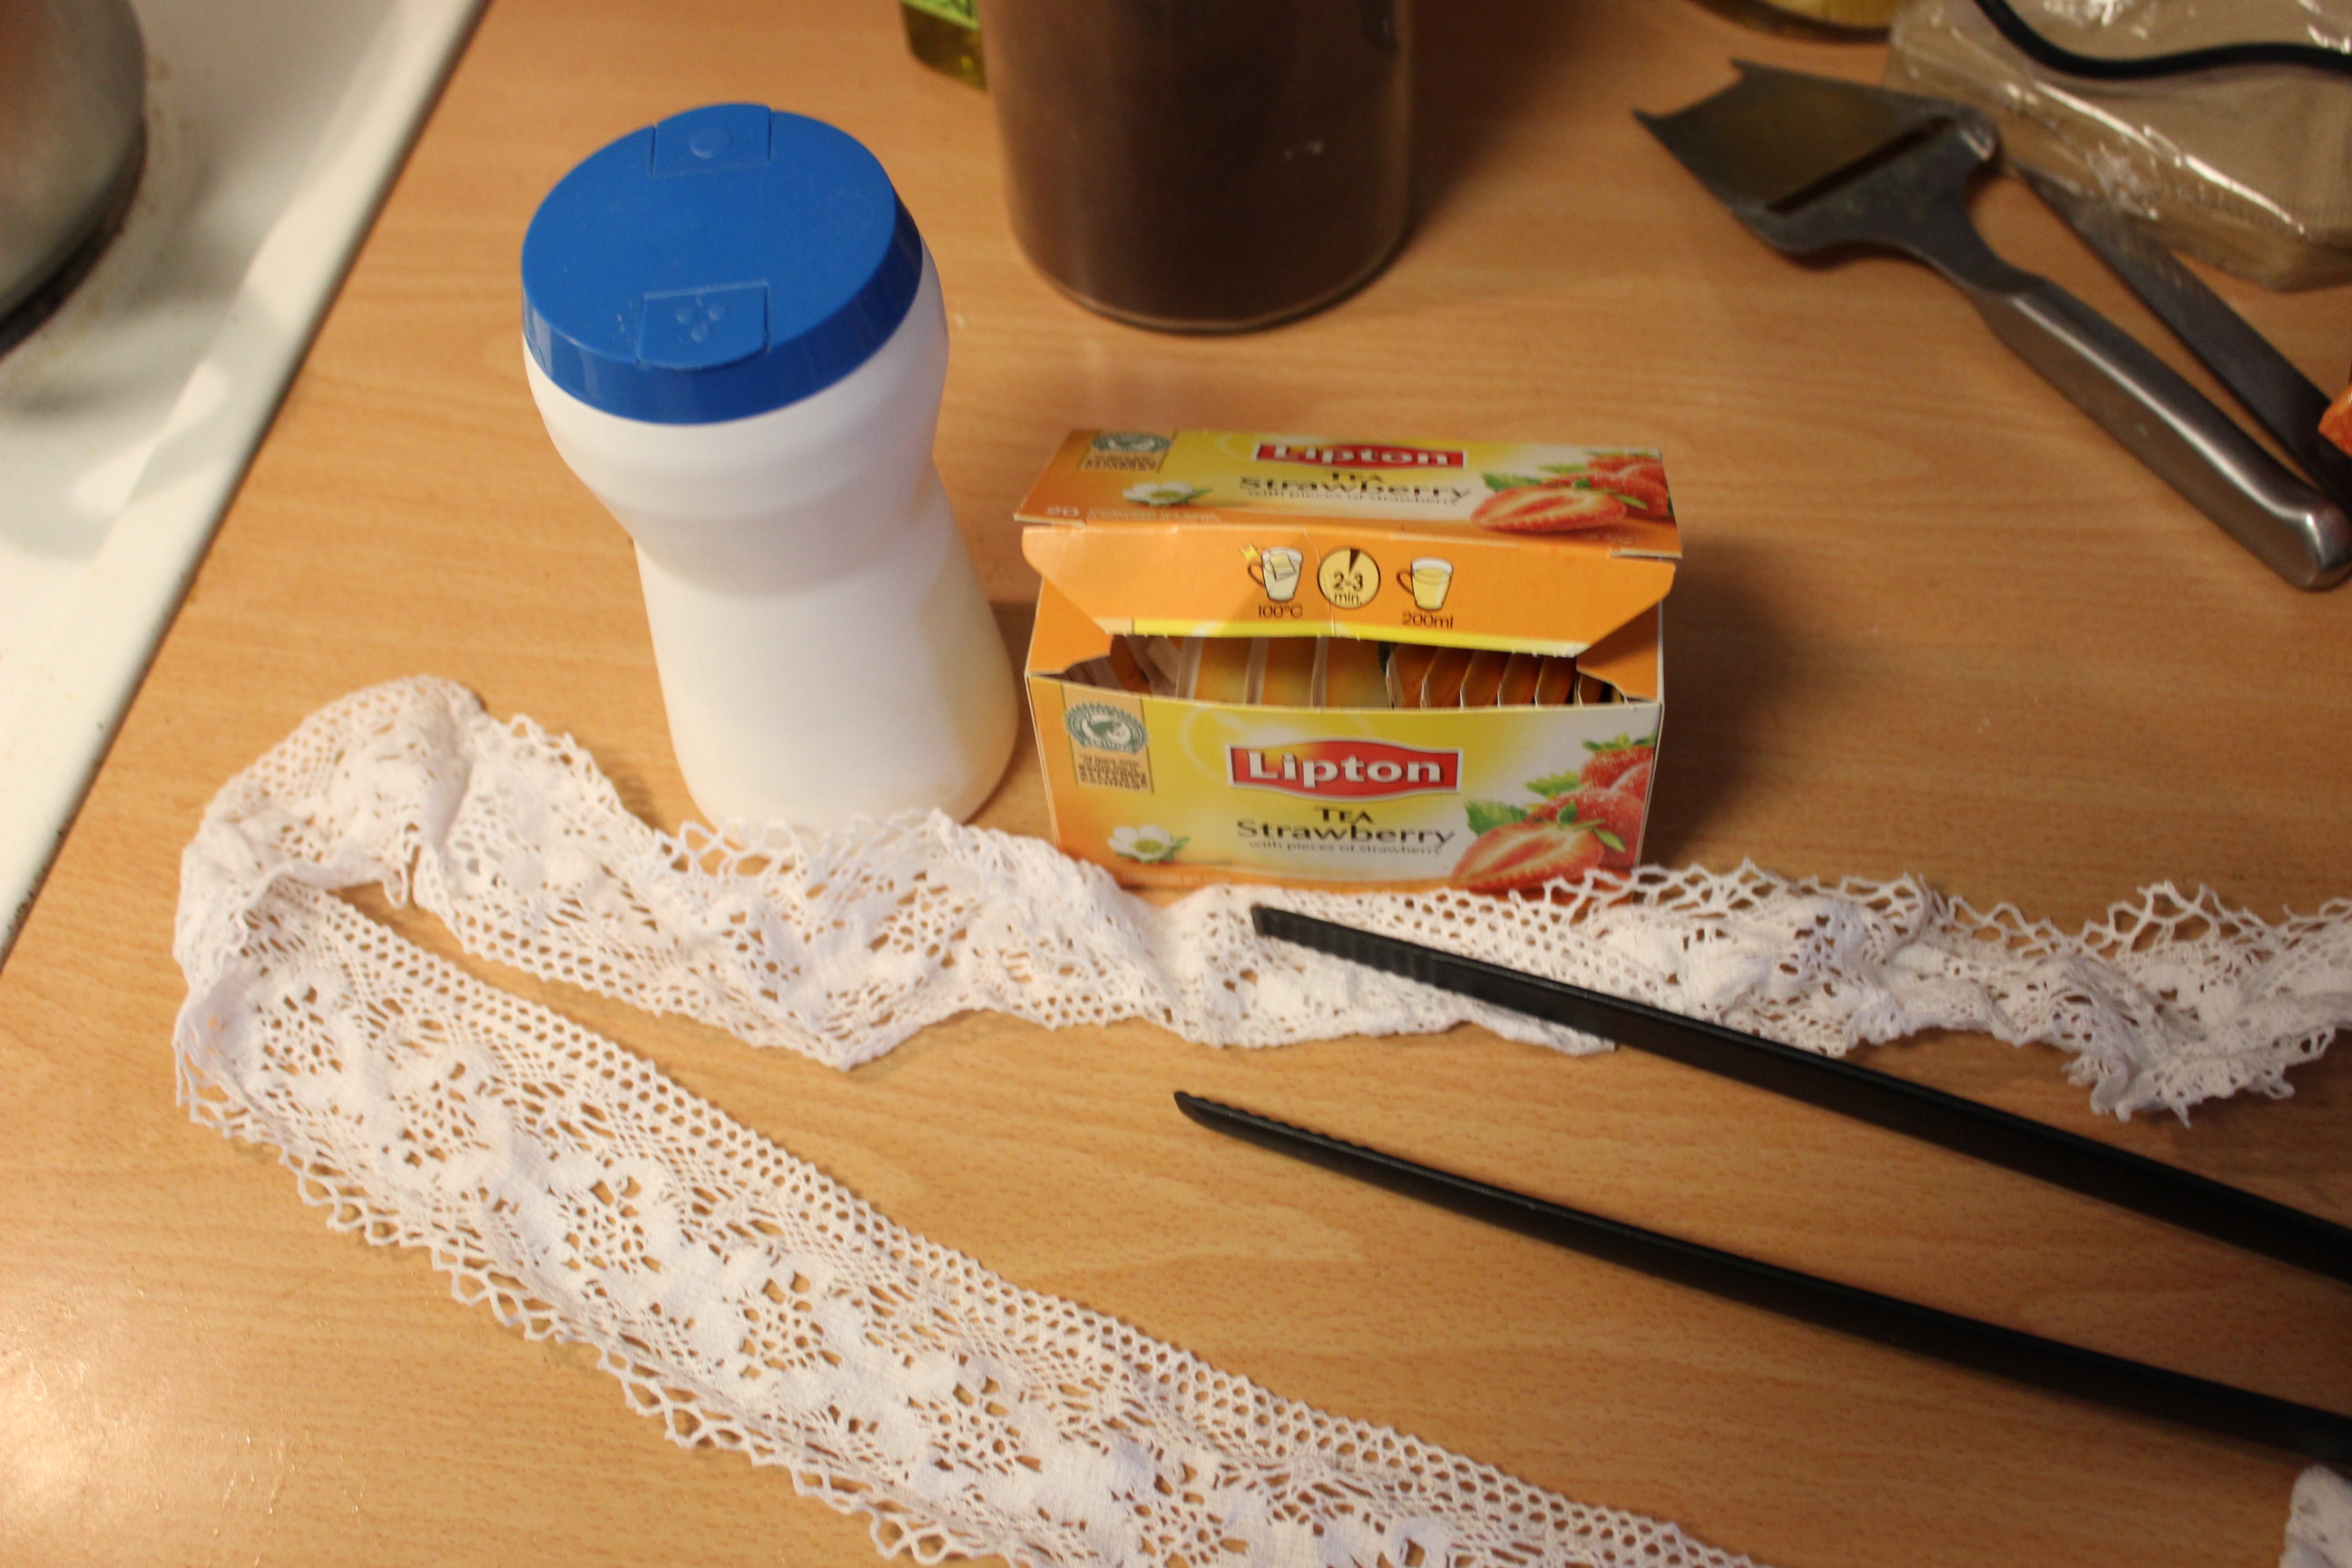 The salt´s for setting the color.
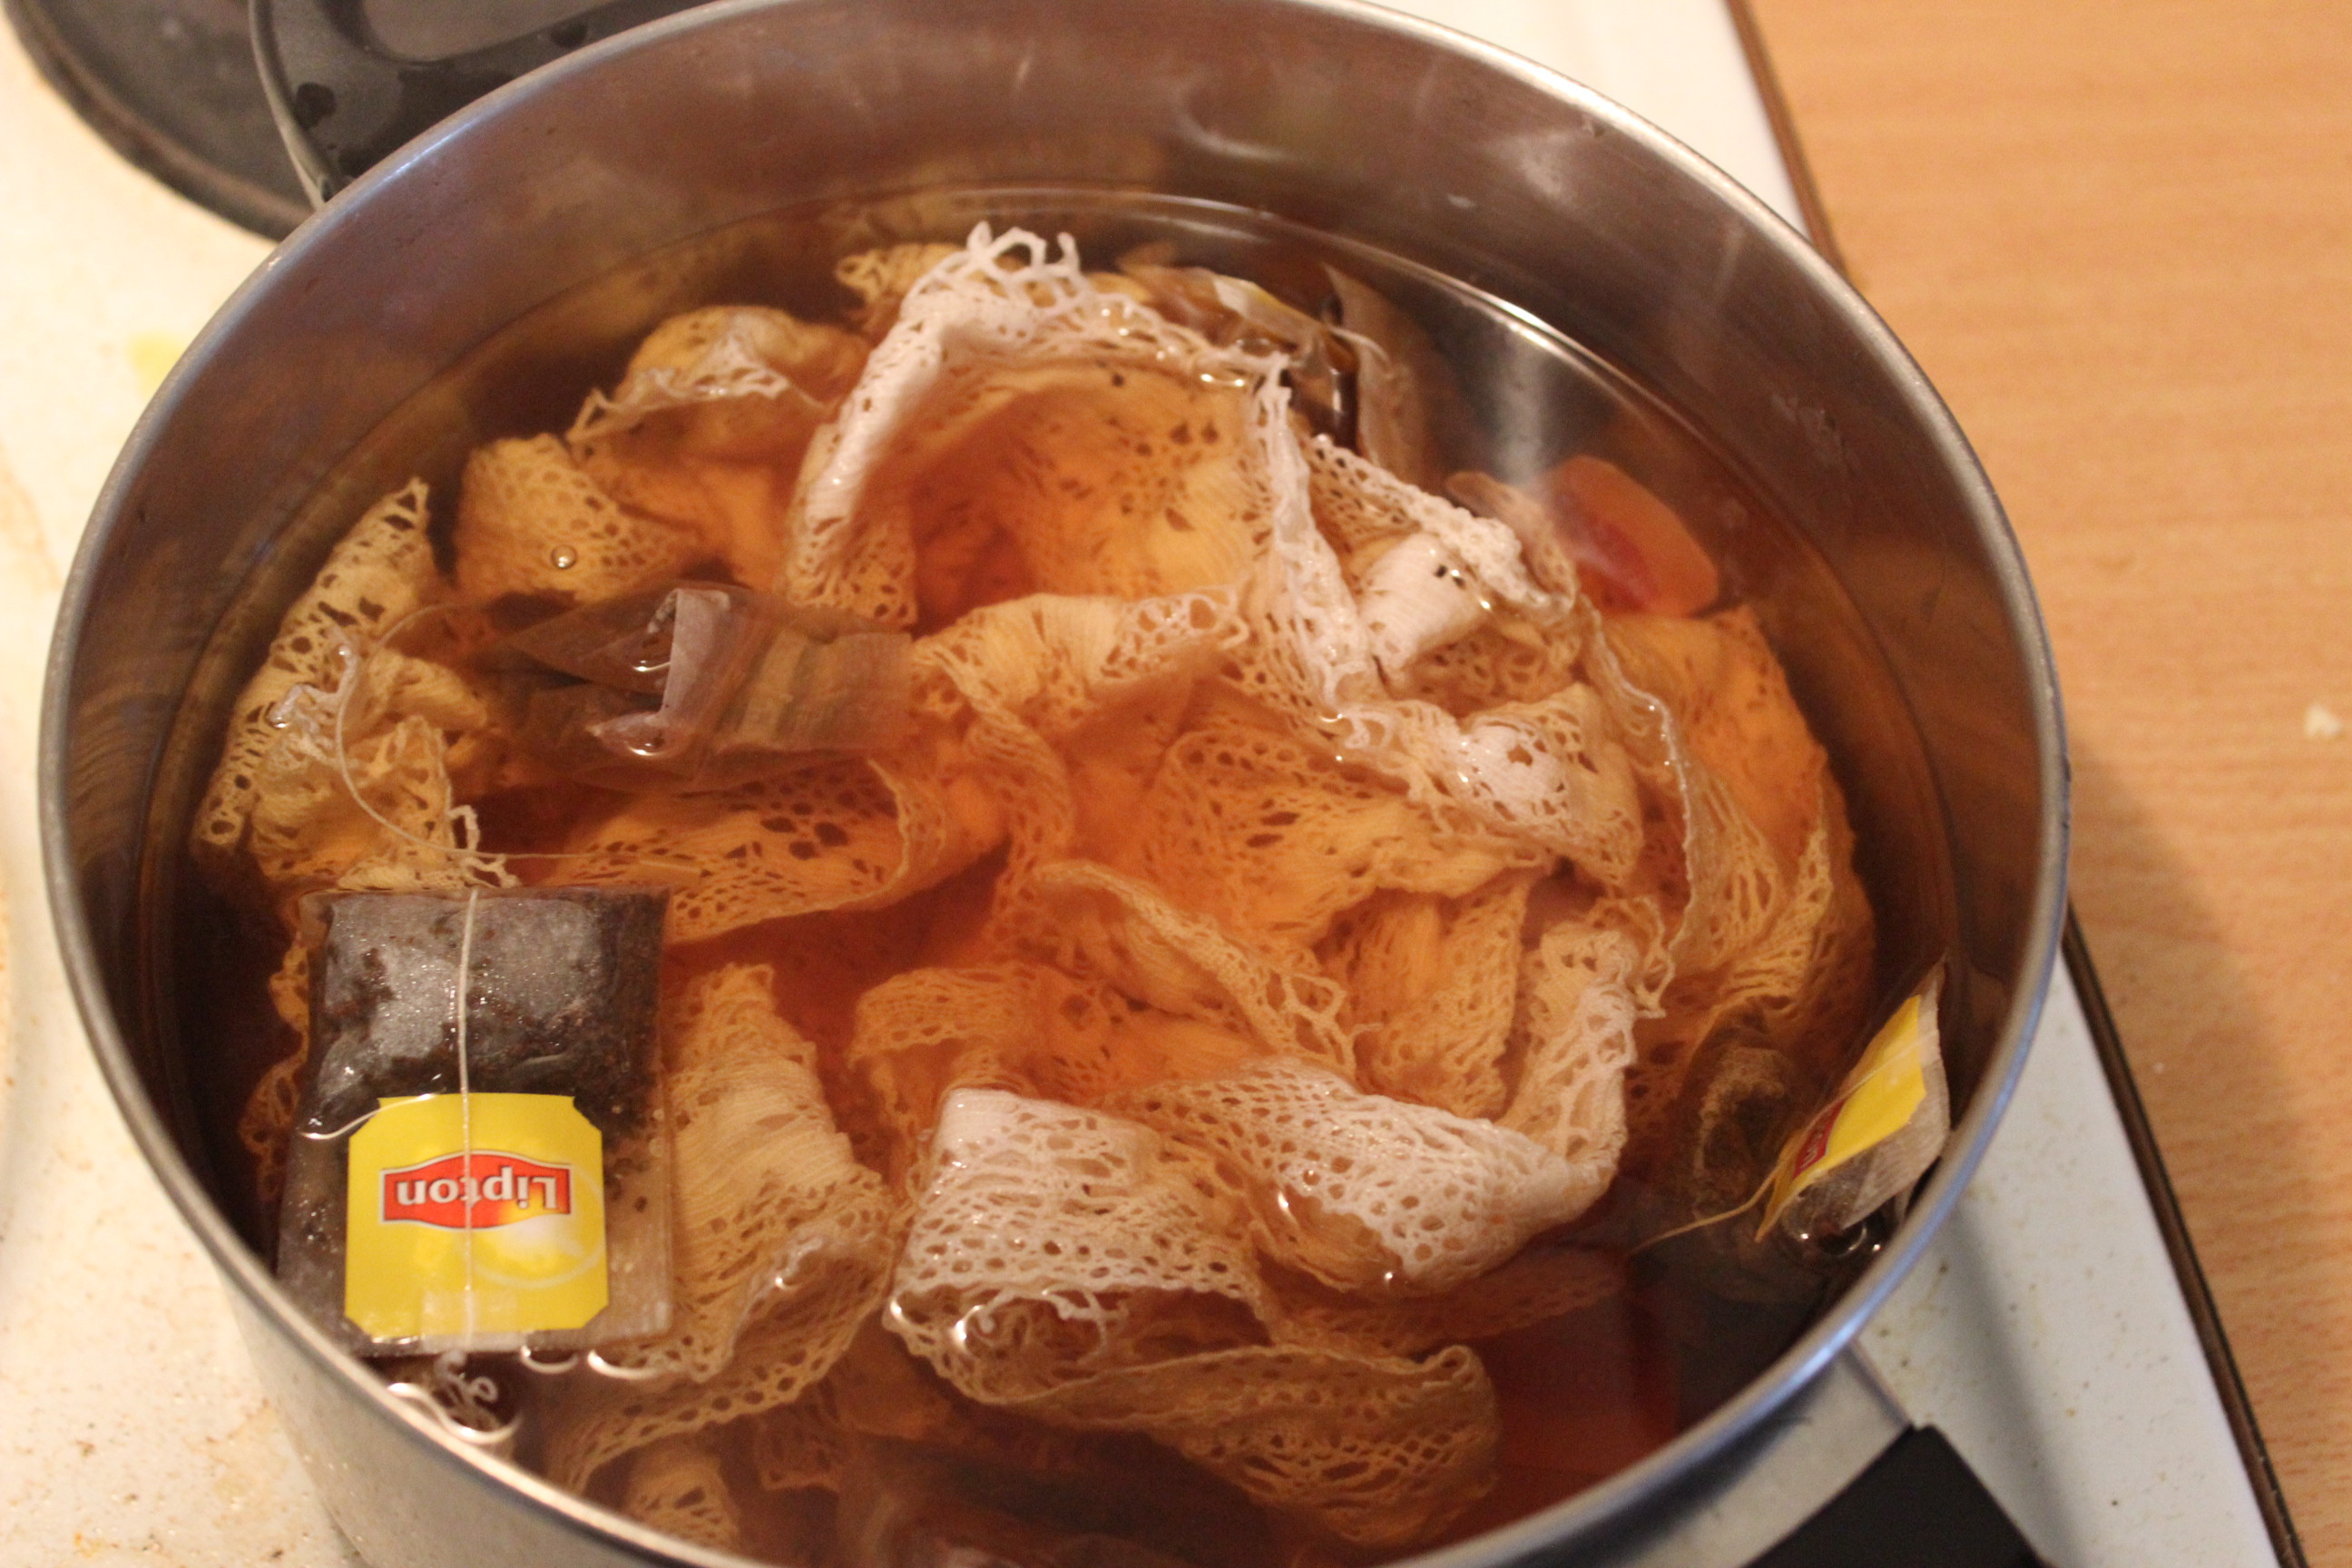 Cooking away on the stove.
 Rinsing the leftover color out.
When dry, the lace was in dire need of some ironing.
Then it was time to start on the cuffs.
I decided to use two different kinds of lace, using the middle one as extension on the second layer on the cuff.
 So I stitched the edges of the pieces together, creating different sized circles of the lace.
then I gathered and pined the pieces together.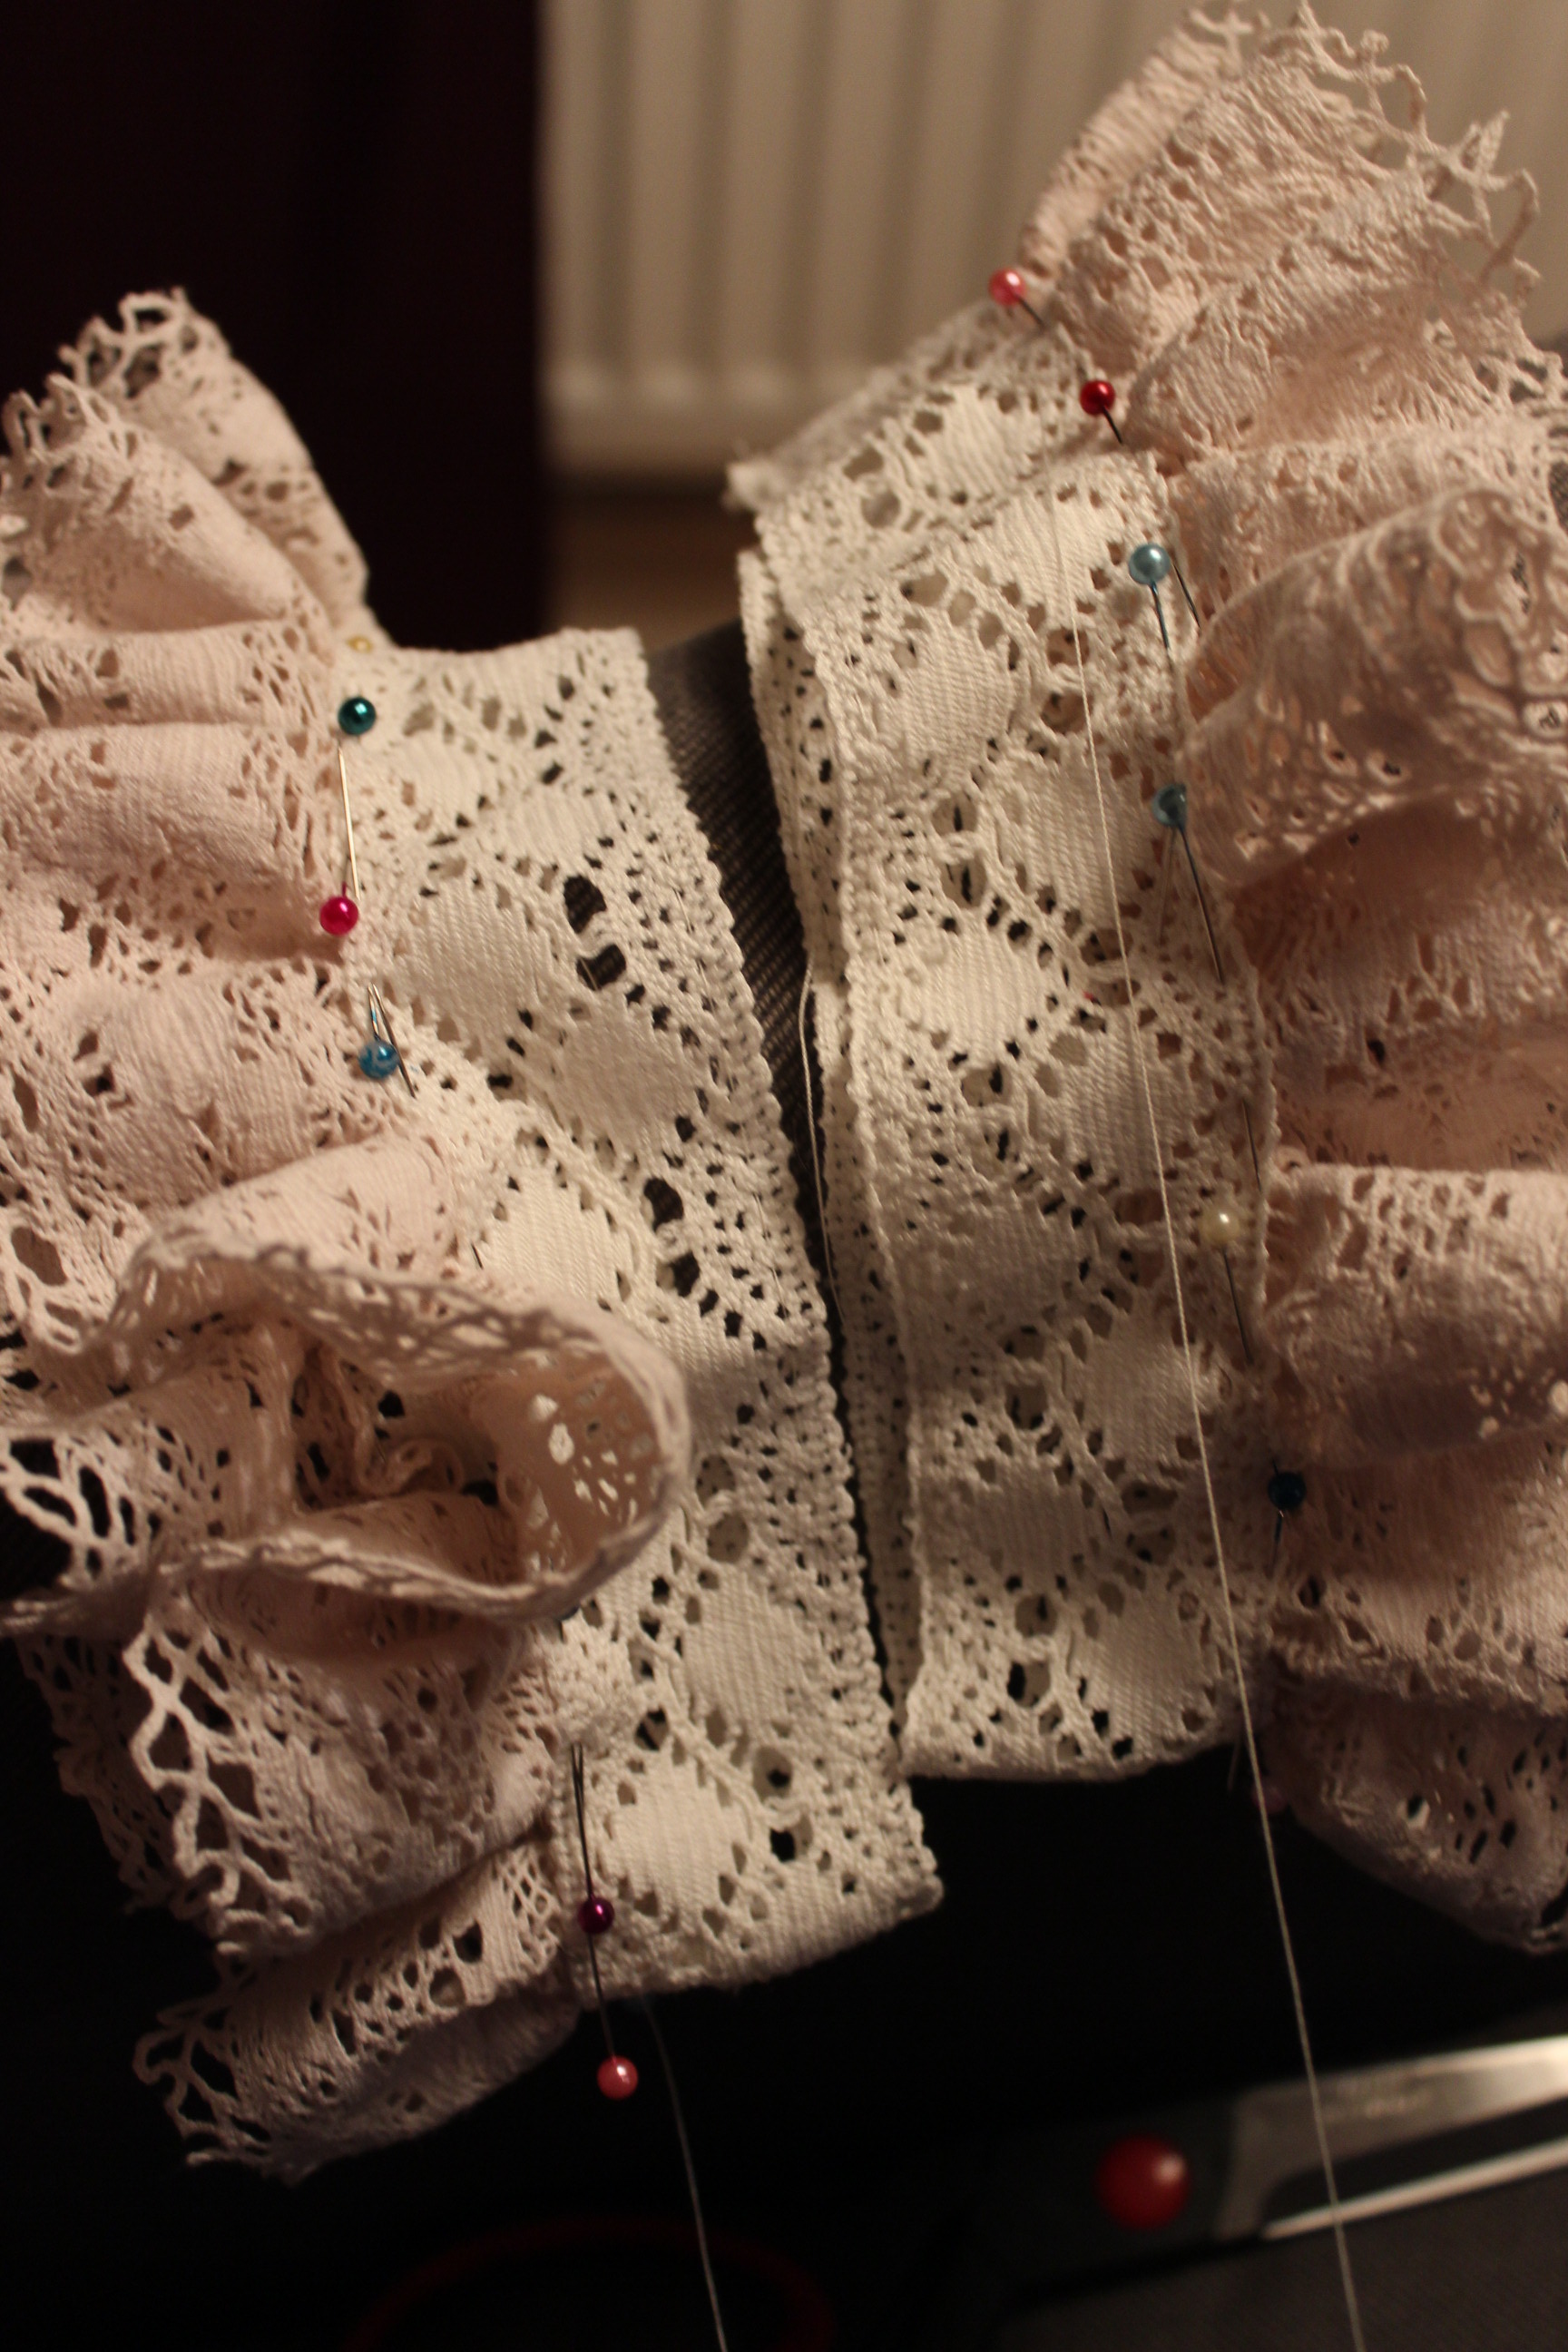 But then I realised that once the extension lace was gathered into the bias tape, the cuffs would be too puffy.
So I decided to trim a piece of the longer lace to get a more modest gather to start with. The bottom piece are the one cut of.
Then I pinned the second layer to it.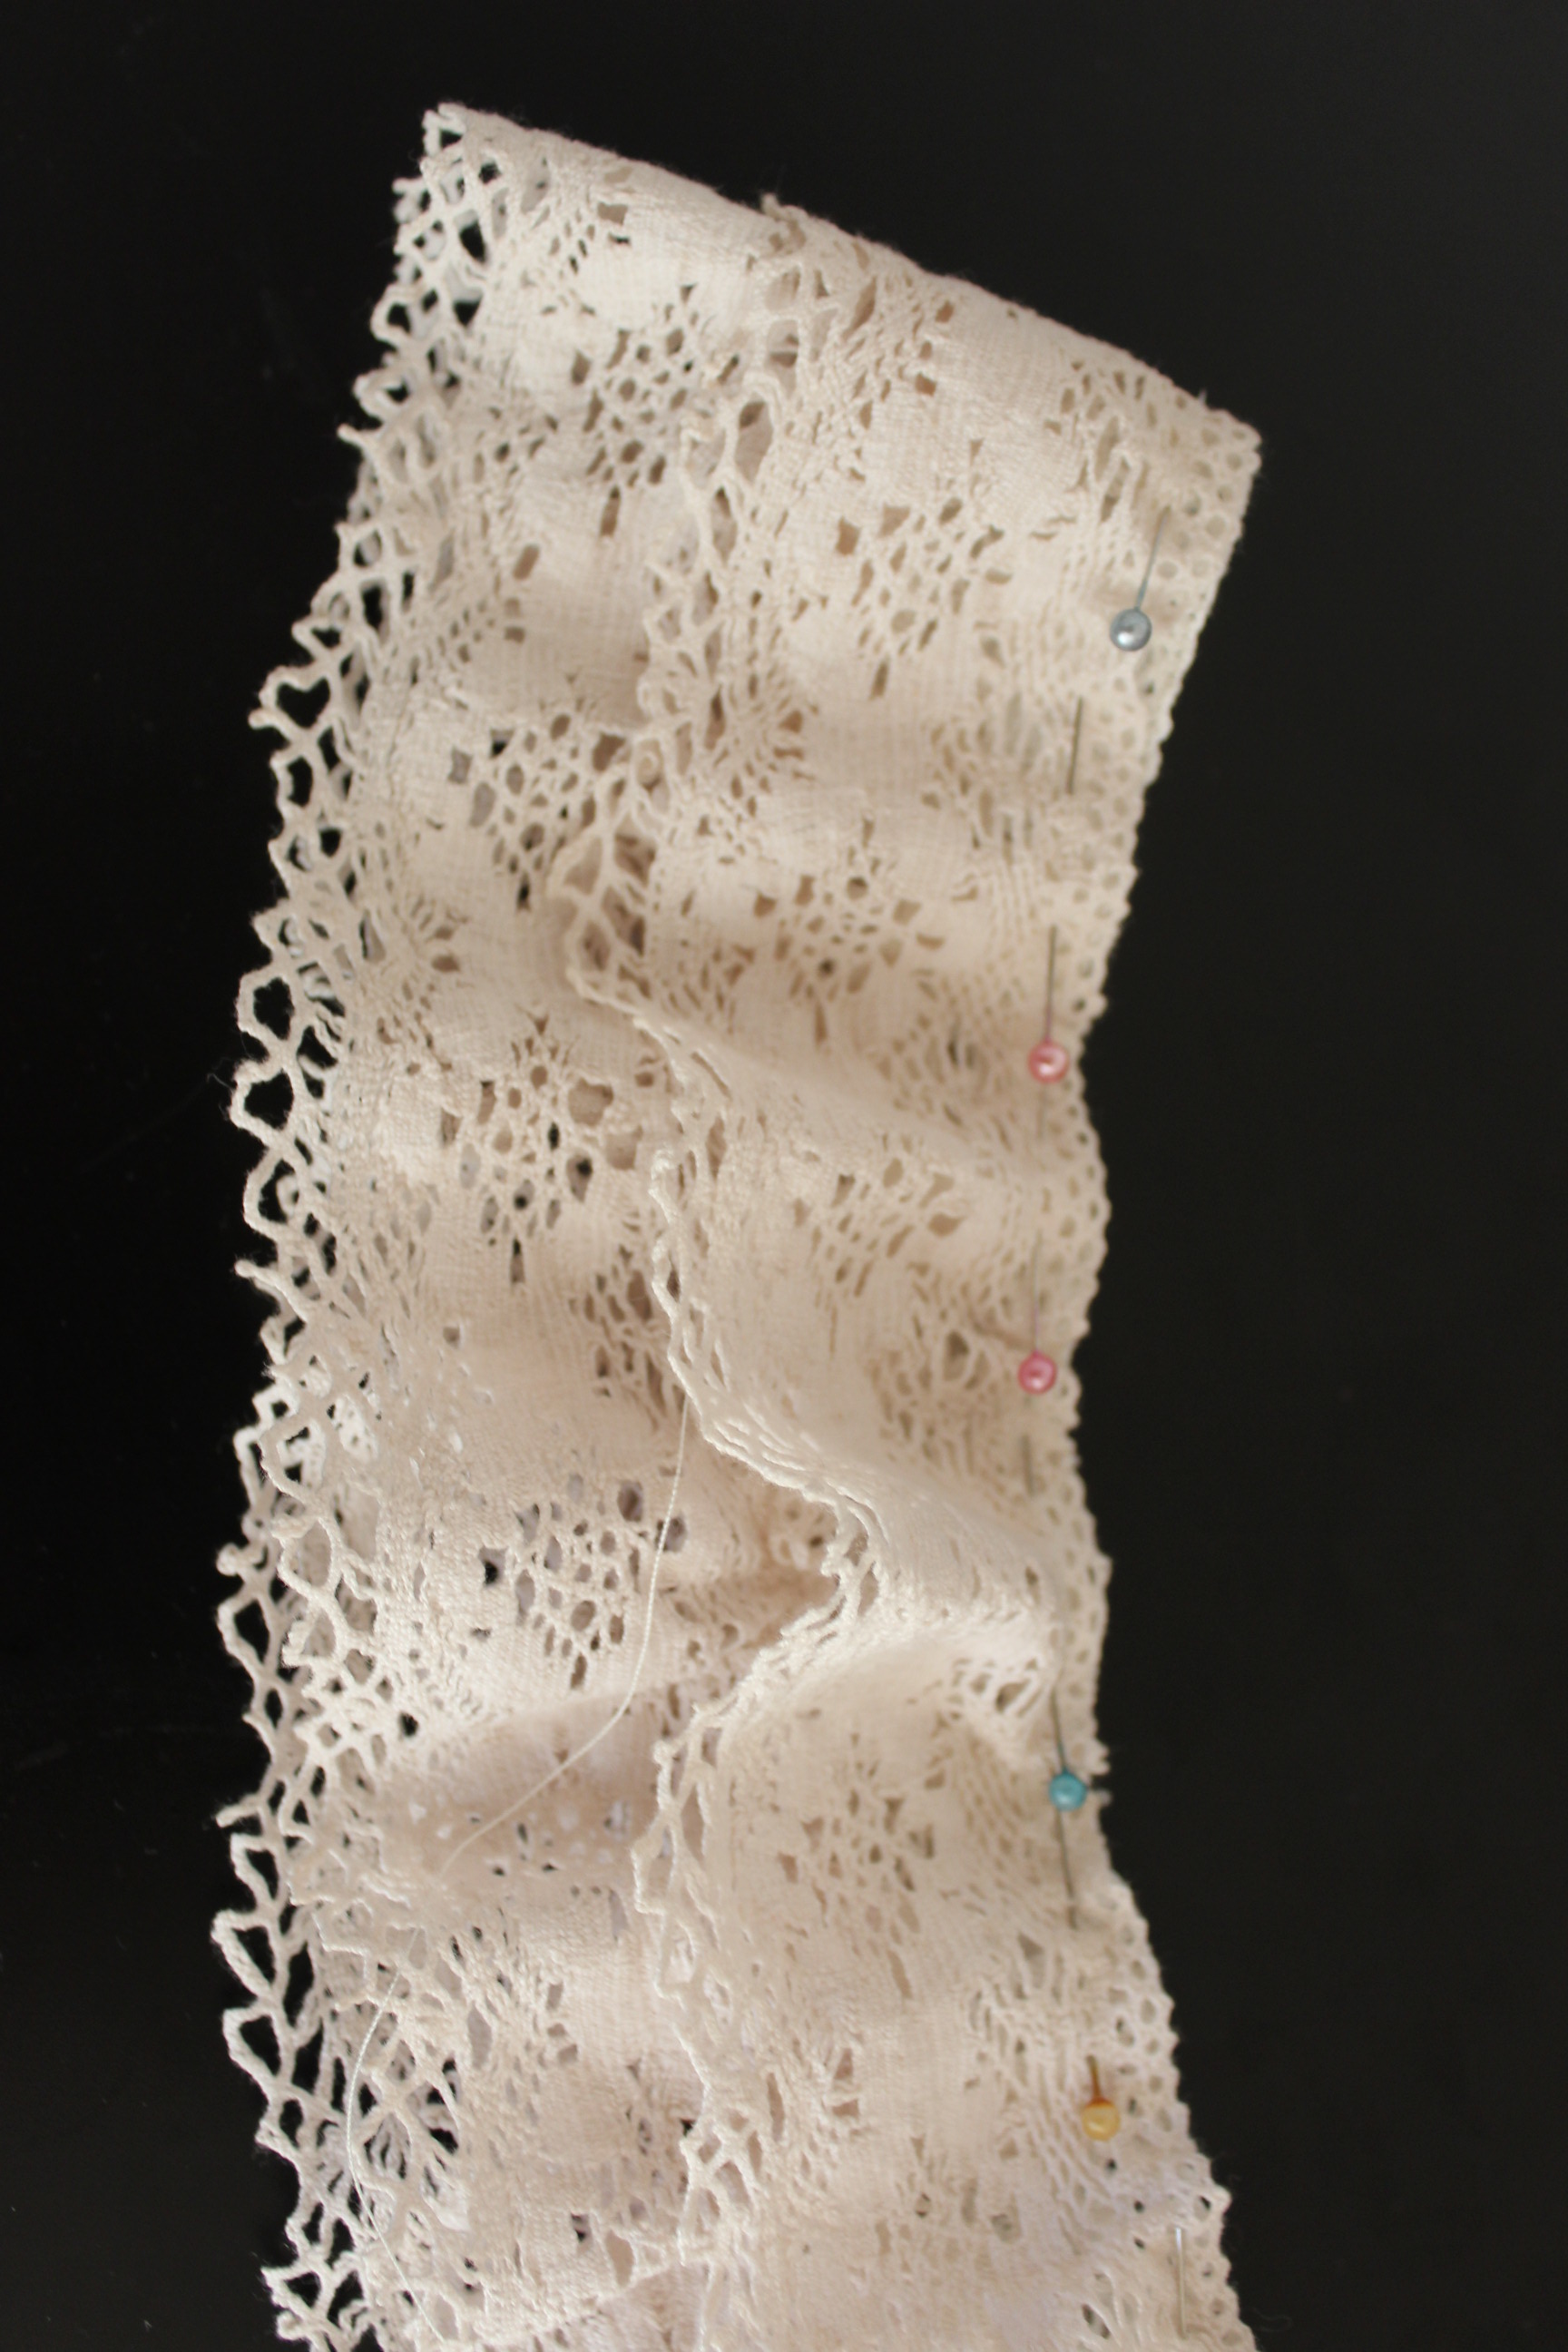
And finished of with the bias-tape.


And Finished:

Just the facts:
Challenge: 19 – HSF Inspiration
What: 18th century lace cuffs.
Inspiration: Erin Lee´s 19th century lace cuffs.
Pattern: none, I just gathered and stitched.
Fabric: None.
Notions: a total of 3 m of cotton lace, 60 cm of bias-tape and thread.
How historical accurate: Not particularly. But I did take what I had at hand, and if that´s not period then I don’t know…
They are completely hand stitched, and hand dyed with natural material. Maybe 5/10.
Time: 4 hours including the dying.
Cost: 50 Sek (8 Usd)
First worn: I hope to wear them on an up-coming costume event this november.
“Long petticoats to hide the feet,
Silk hose with clocks of scarlet ;
A load of perfume, sick’ning sweet,
Bought of PARISIAN VARLET.”
From Female Fashions for 1799 by Mary Darby Robinson
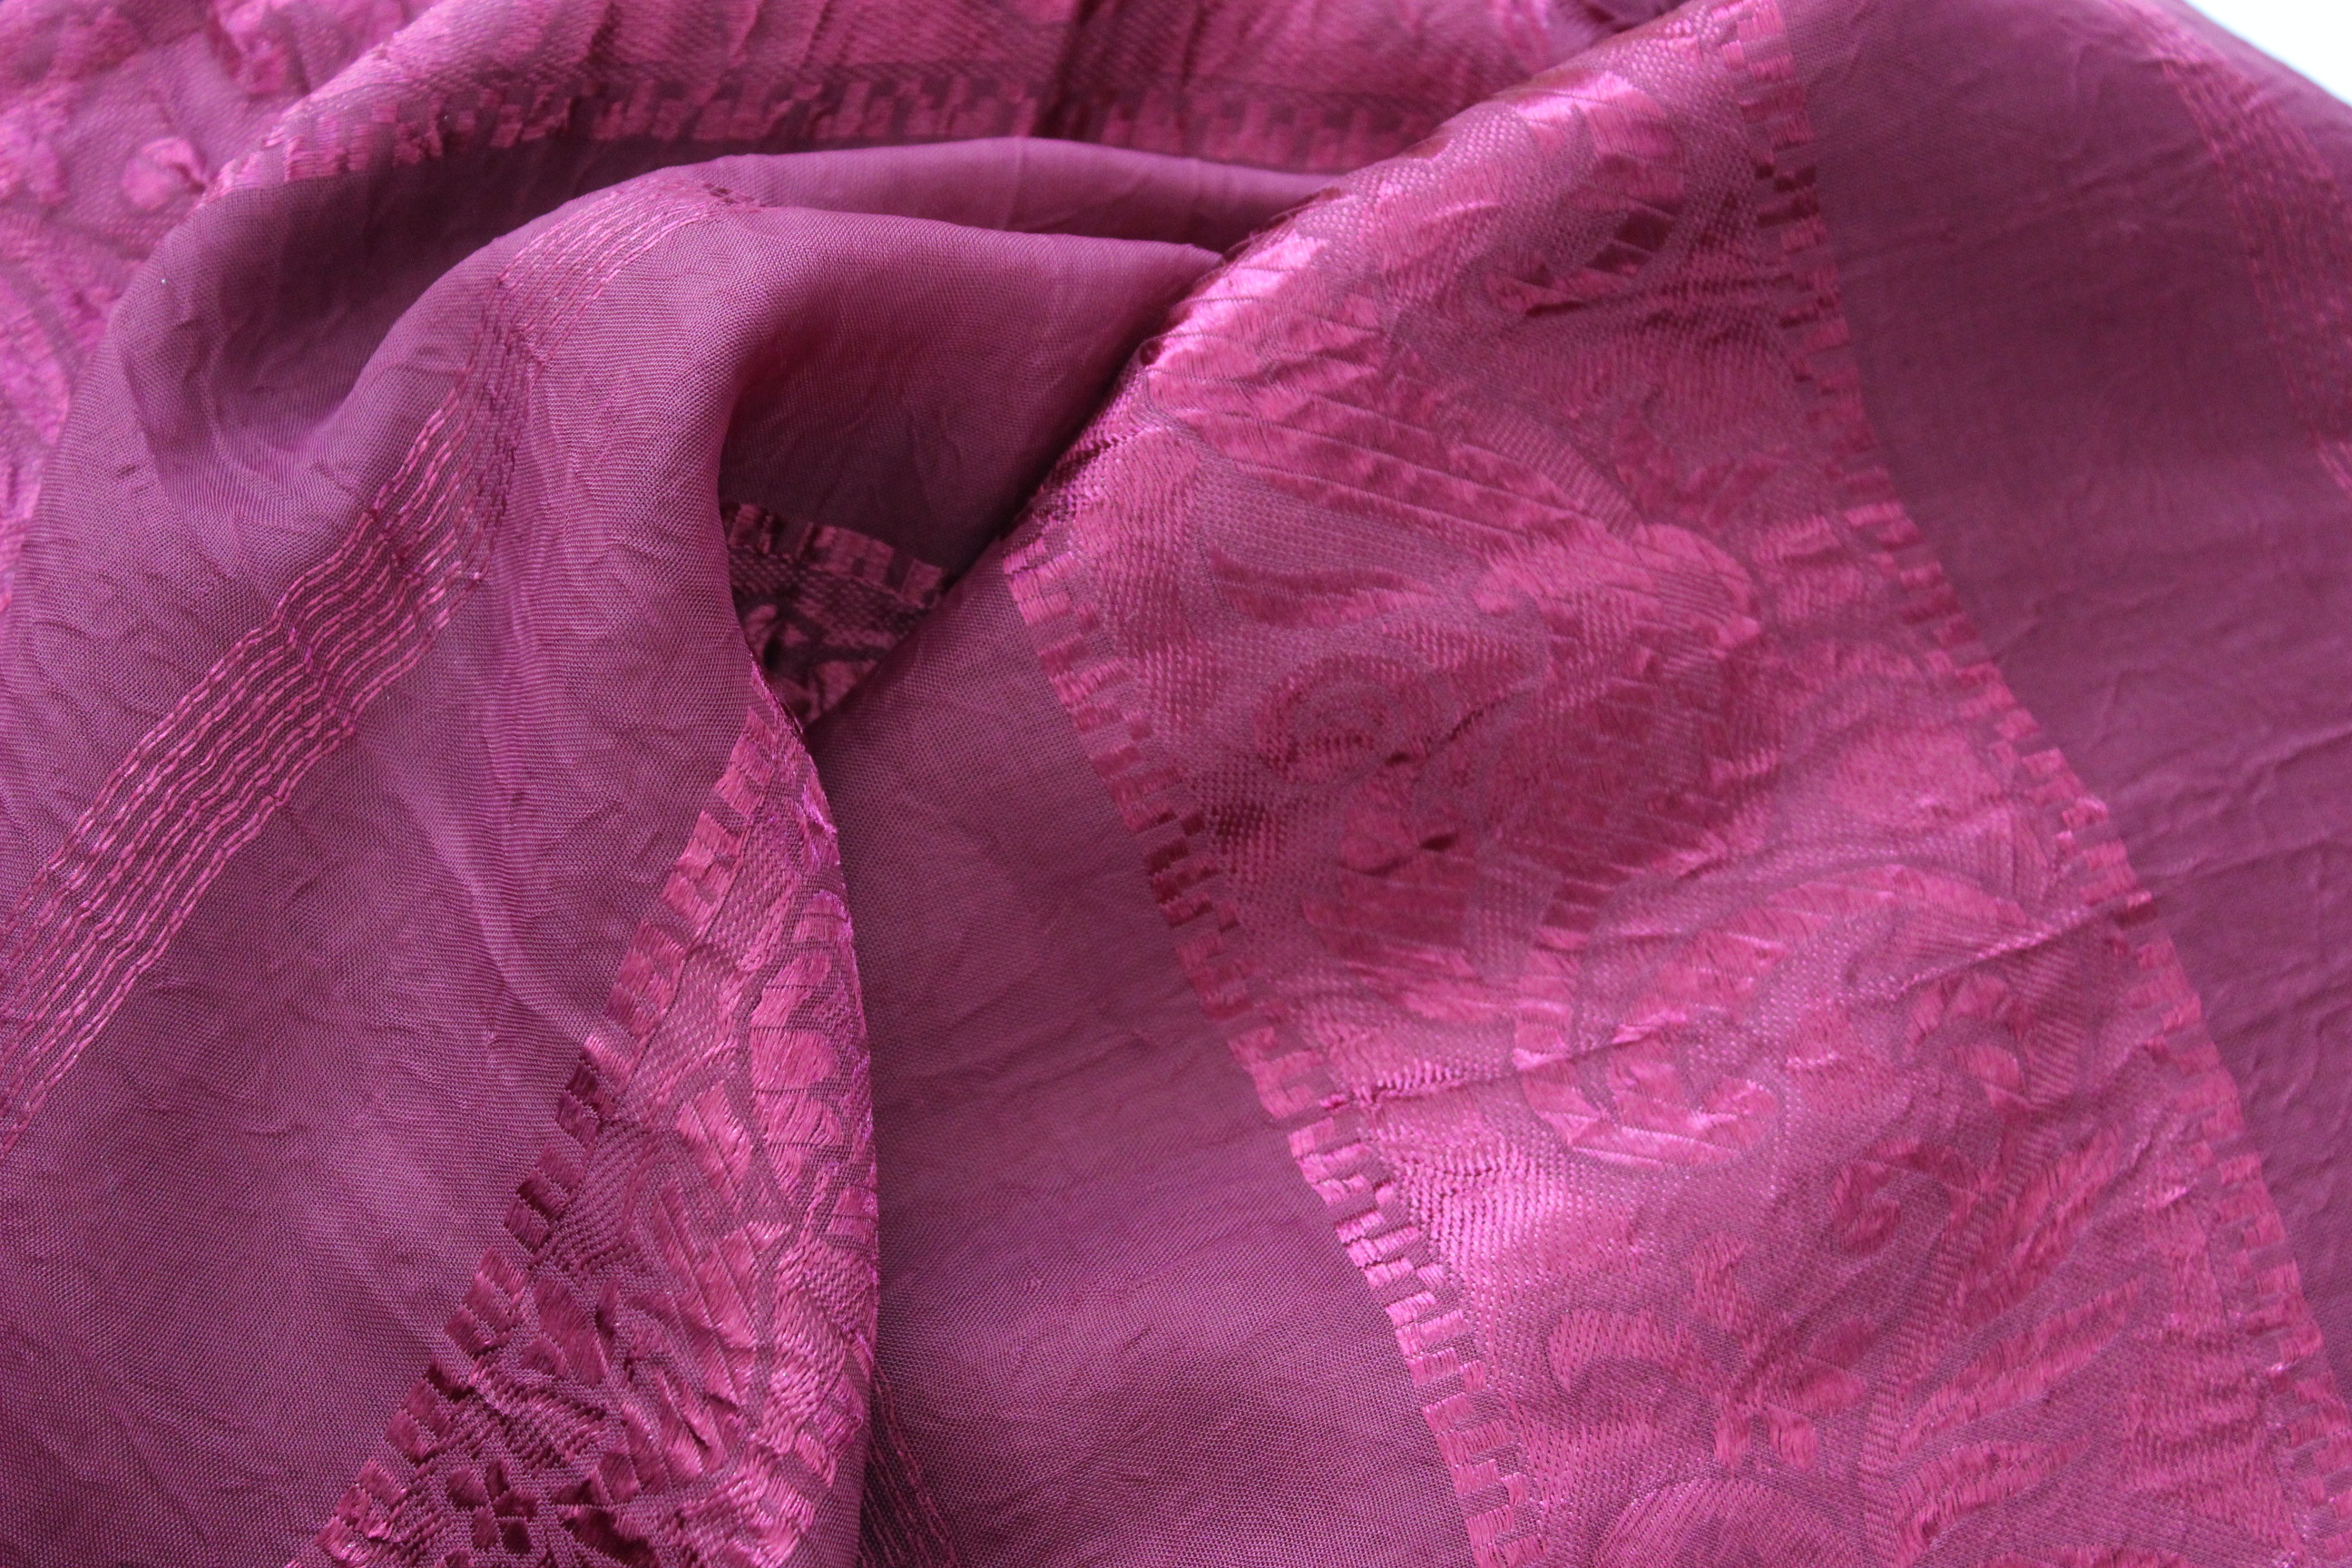
This summer, when venturing trough the local fabric store, I couldn’t resist buying this beautiful flowery satin fabric. It just screamed at me from the sales corner, and begged me to make it into a robe a la Francaise – so I bought it all.

And since the this weeks HSF challenge nr 19) is “Poetry”, I figured I’ll start working on it.
I started with the petticoat (since I just needed something simple to occupie my hands and thoughts from work).
Sitting in the sofa, watching old series, I managed to finish it in a couple of nights. 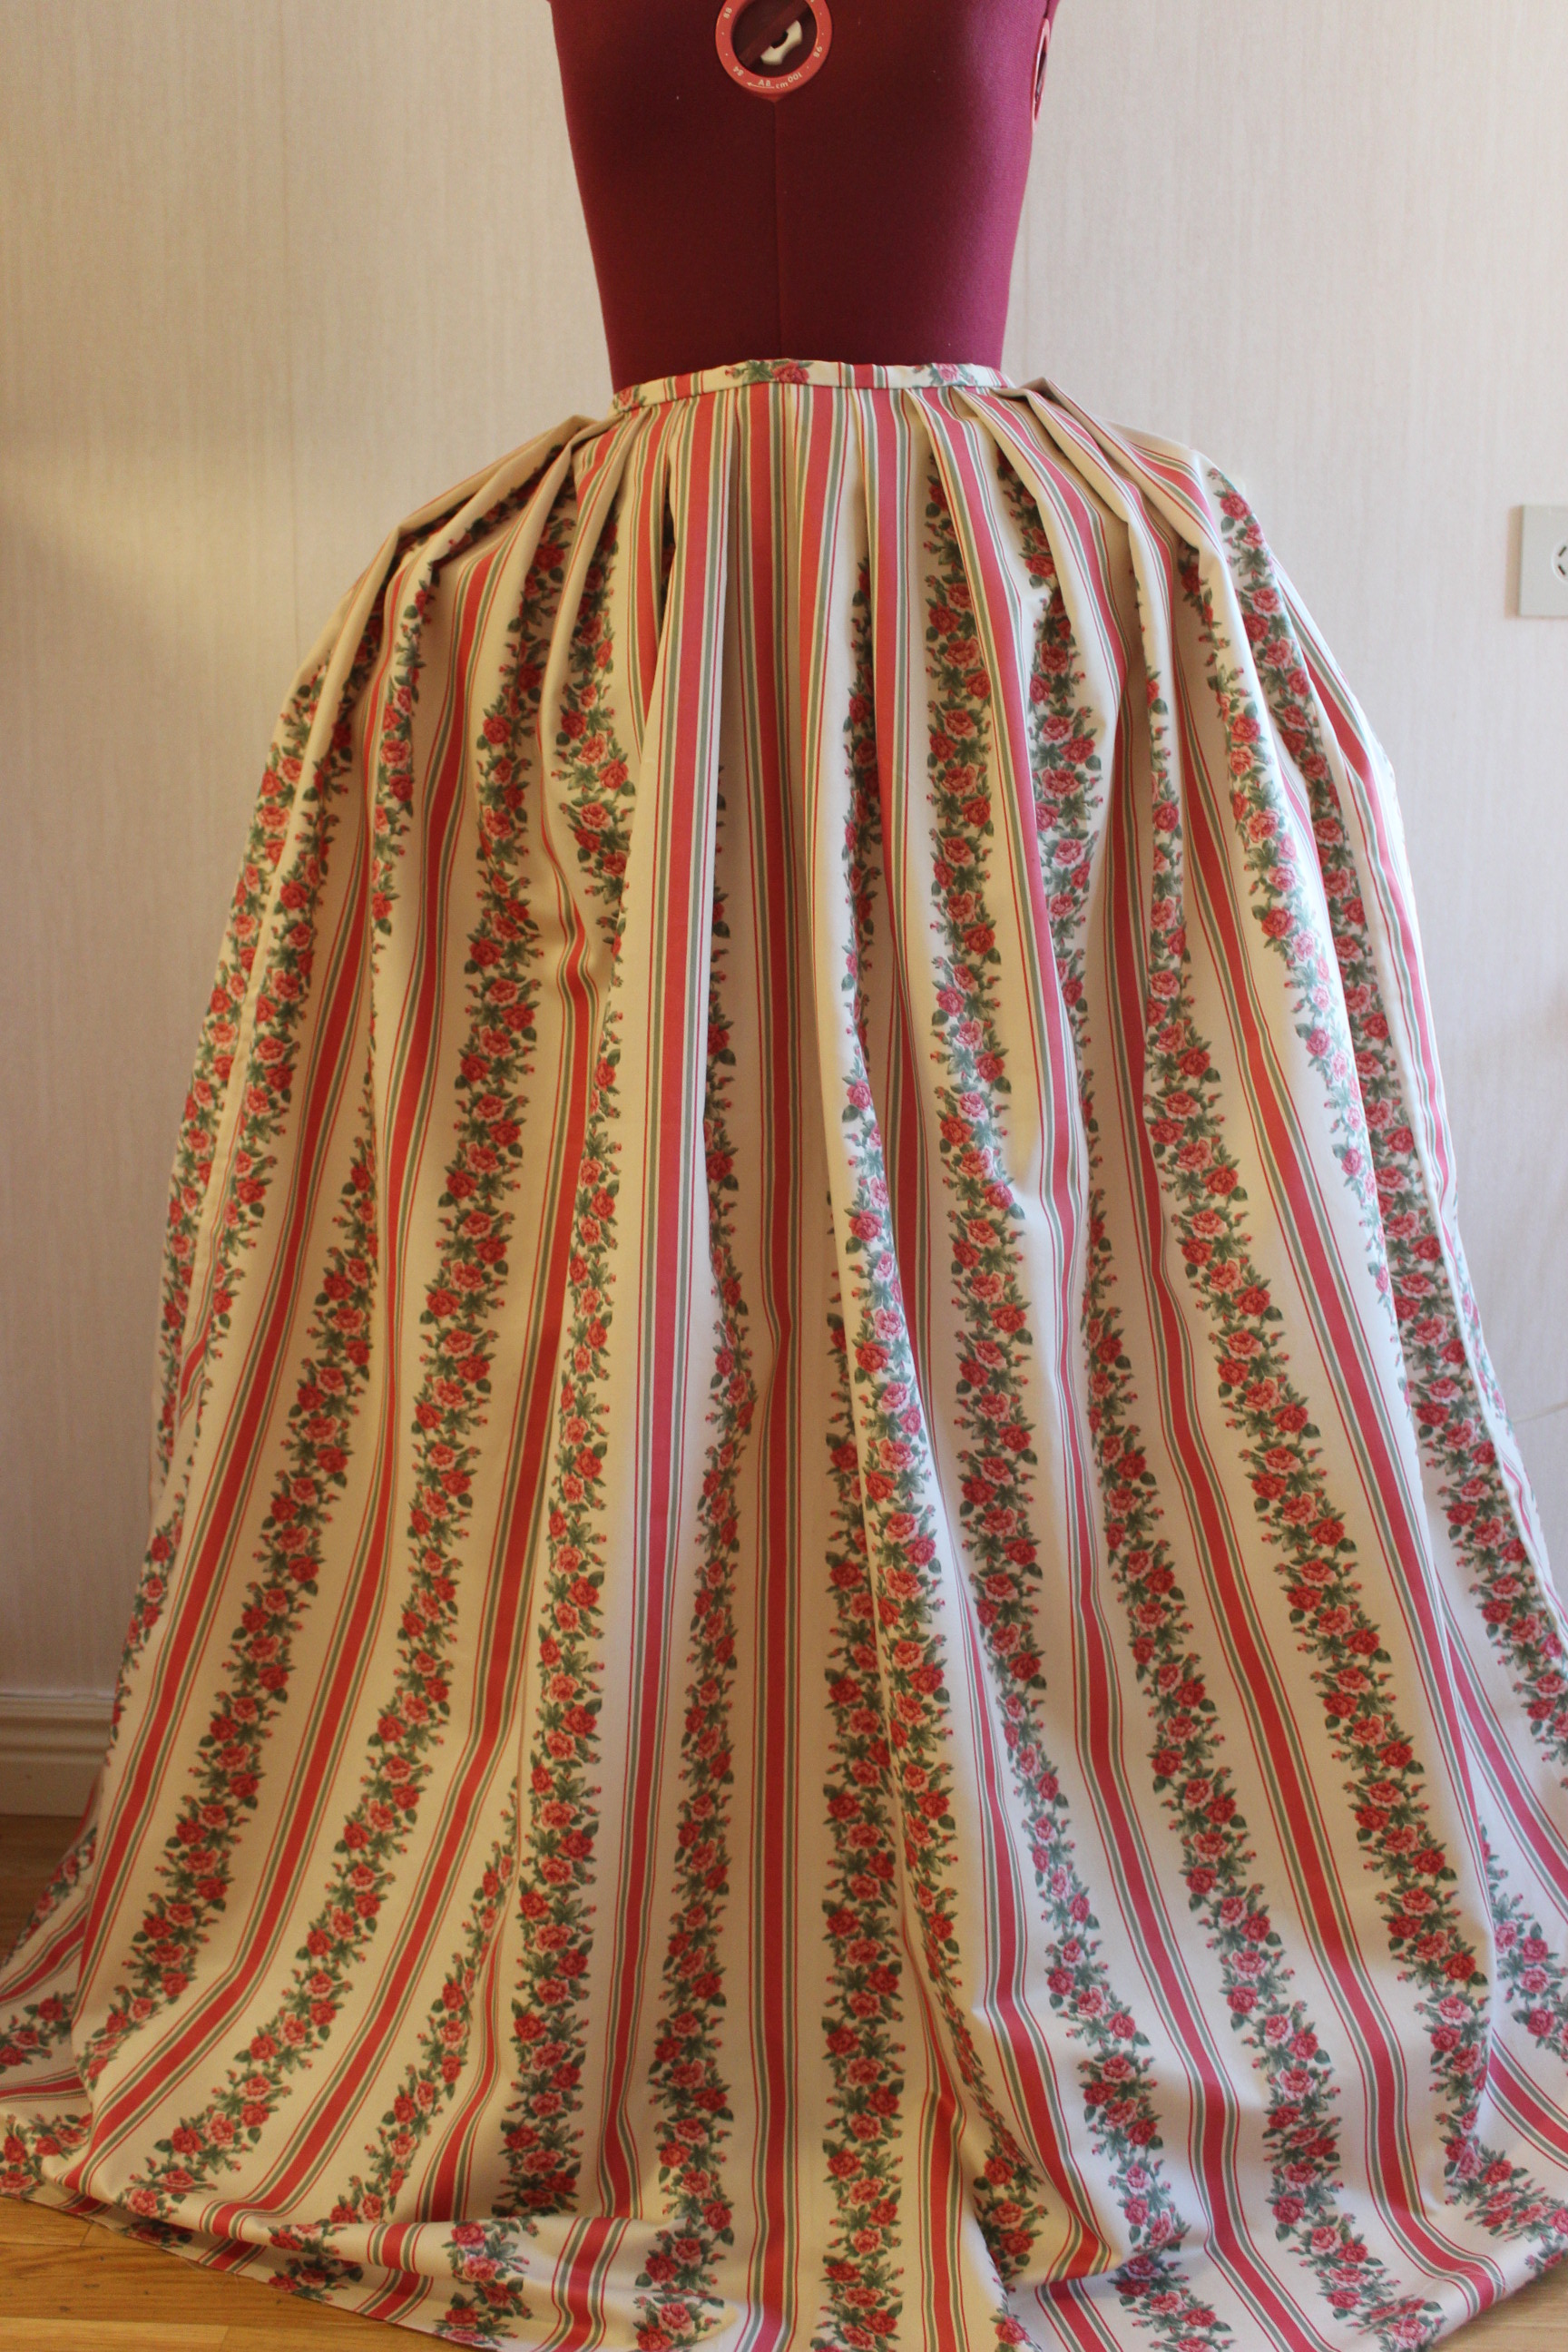 But just as I was about to put it away as finished, I noticed the huge amount of fabric at the center front.
 That didn’t look quite right.
And after some additional image searching I knew I needed to rework the pleating to get a neater appearance under neath the dress.
So I ripped the waistband of, re-pleated the skirt and stitched it back on.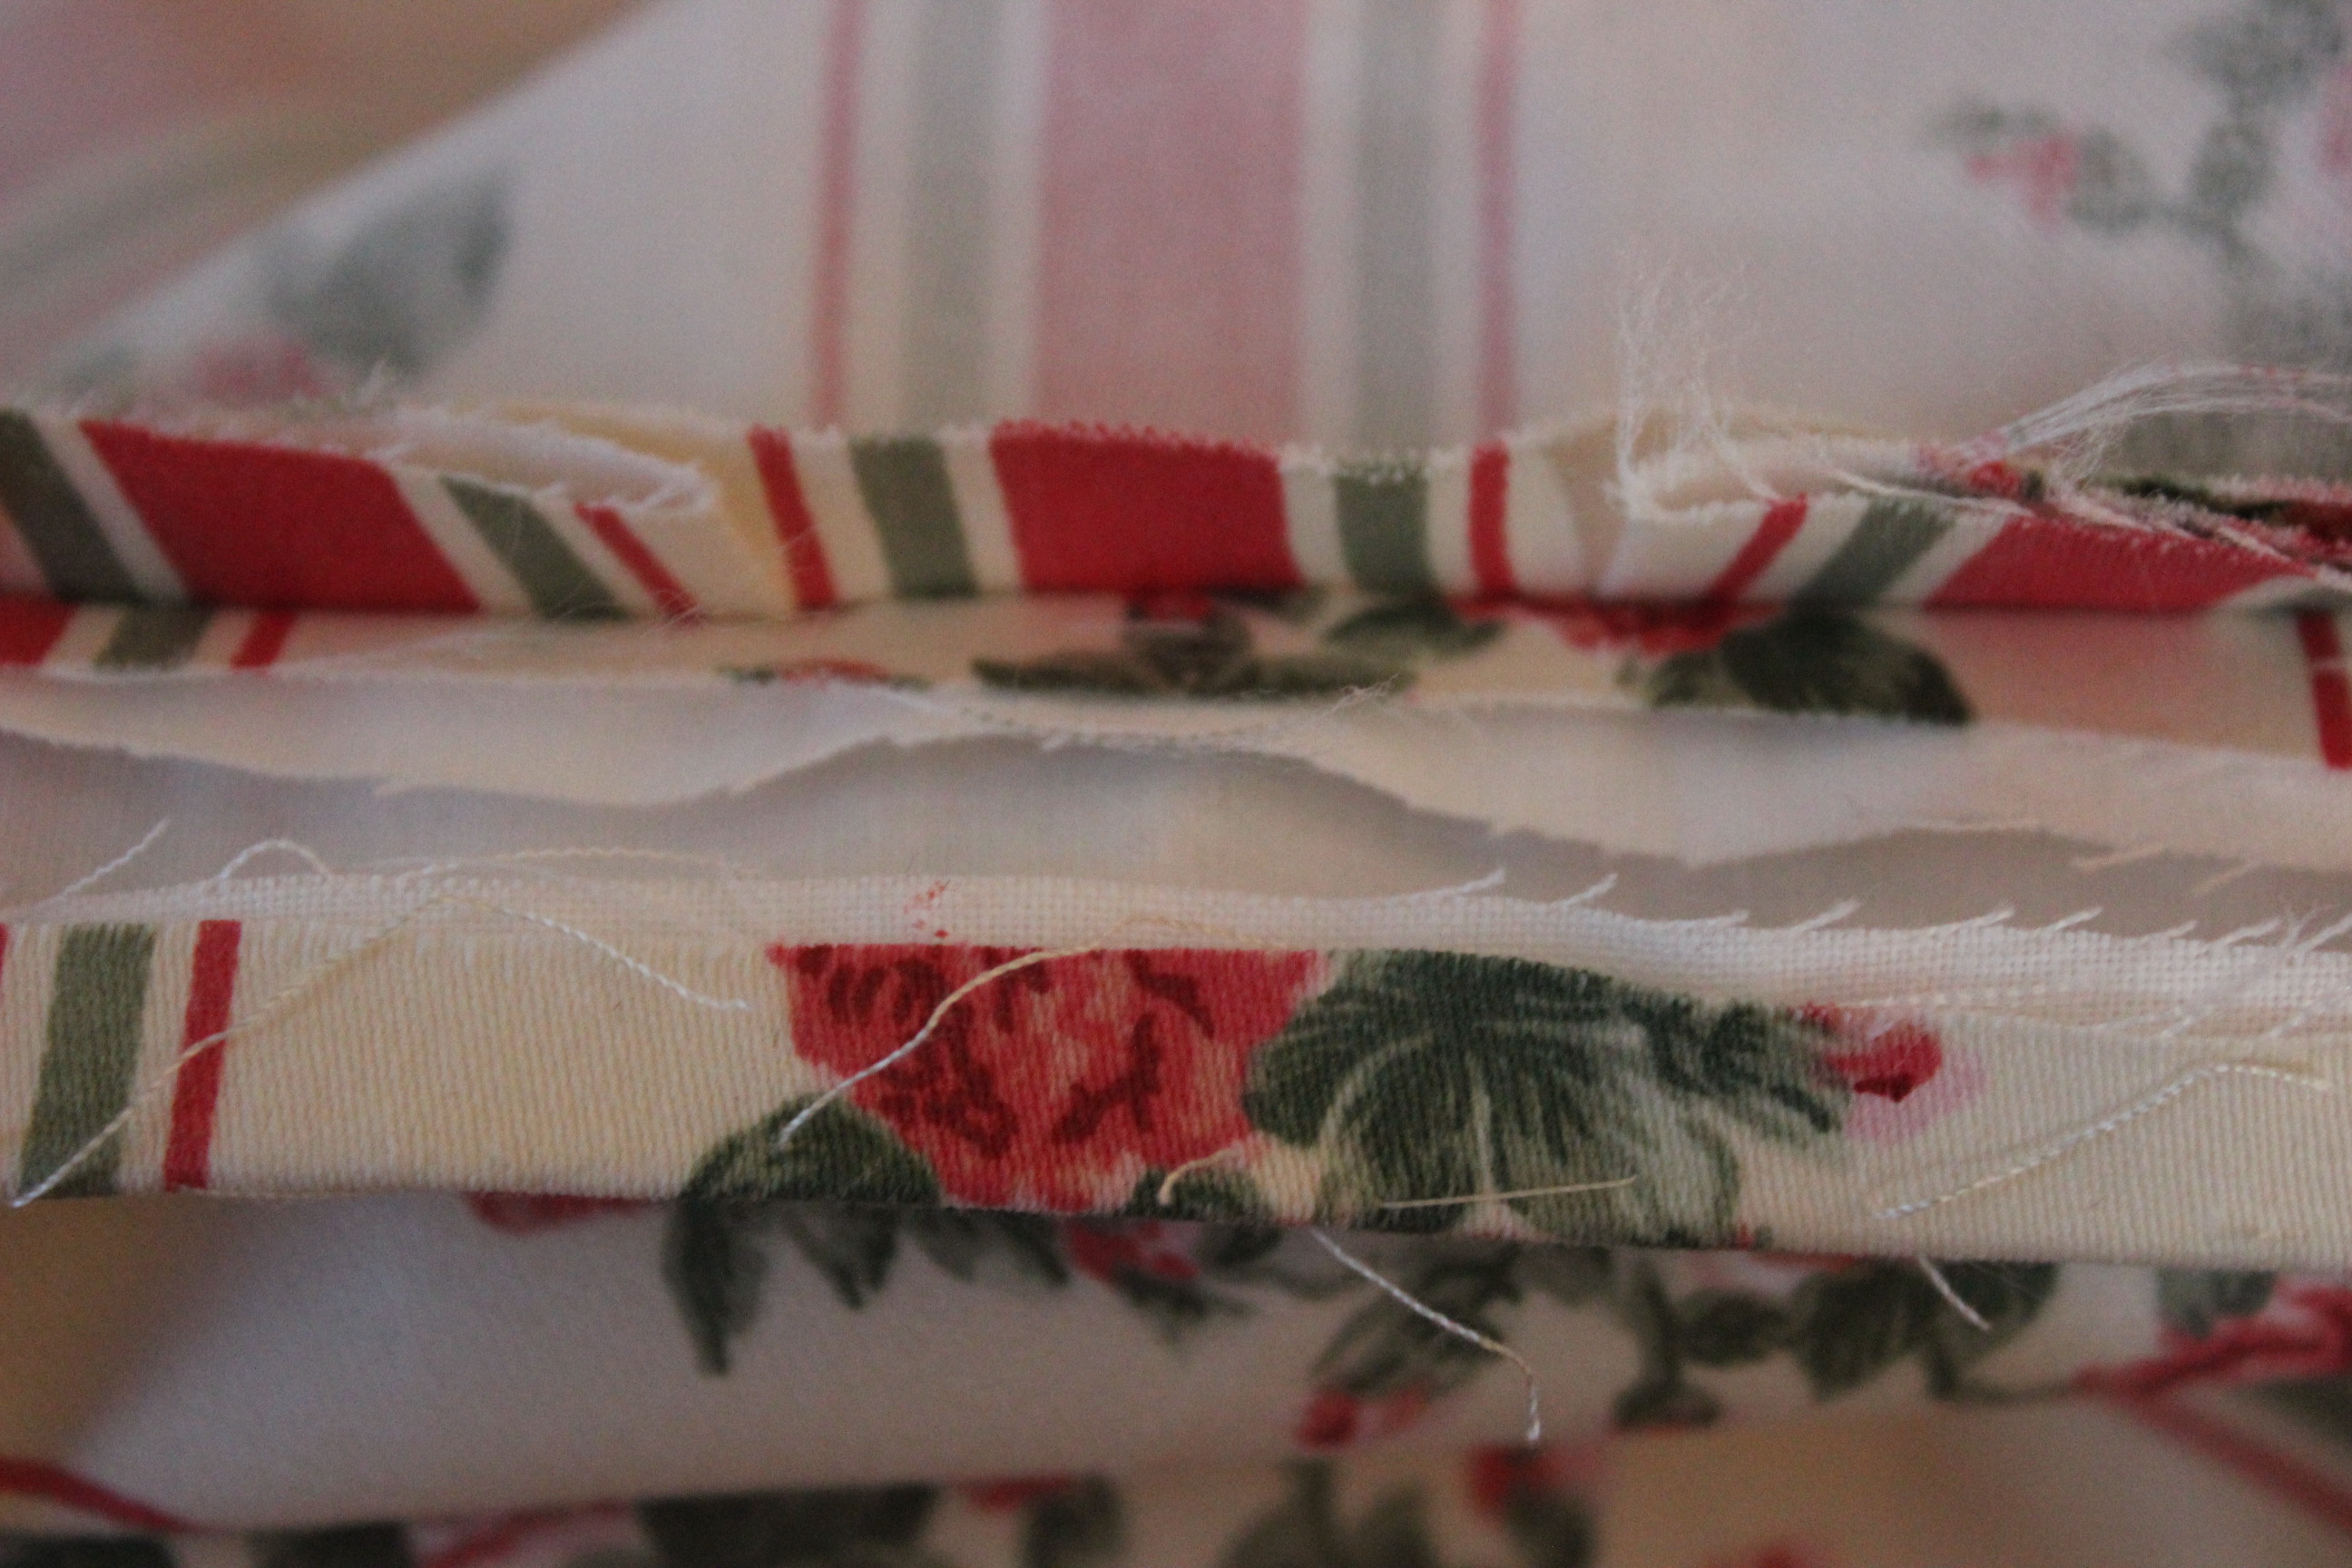
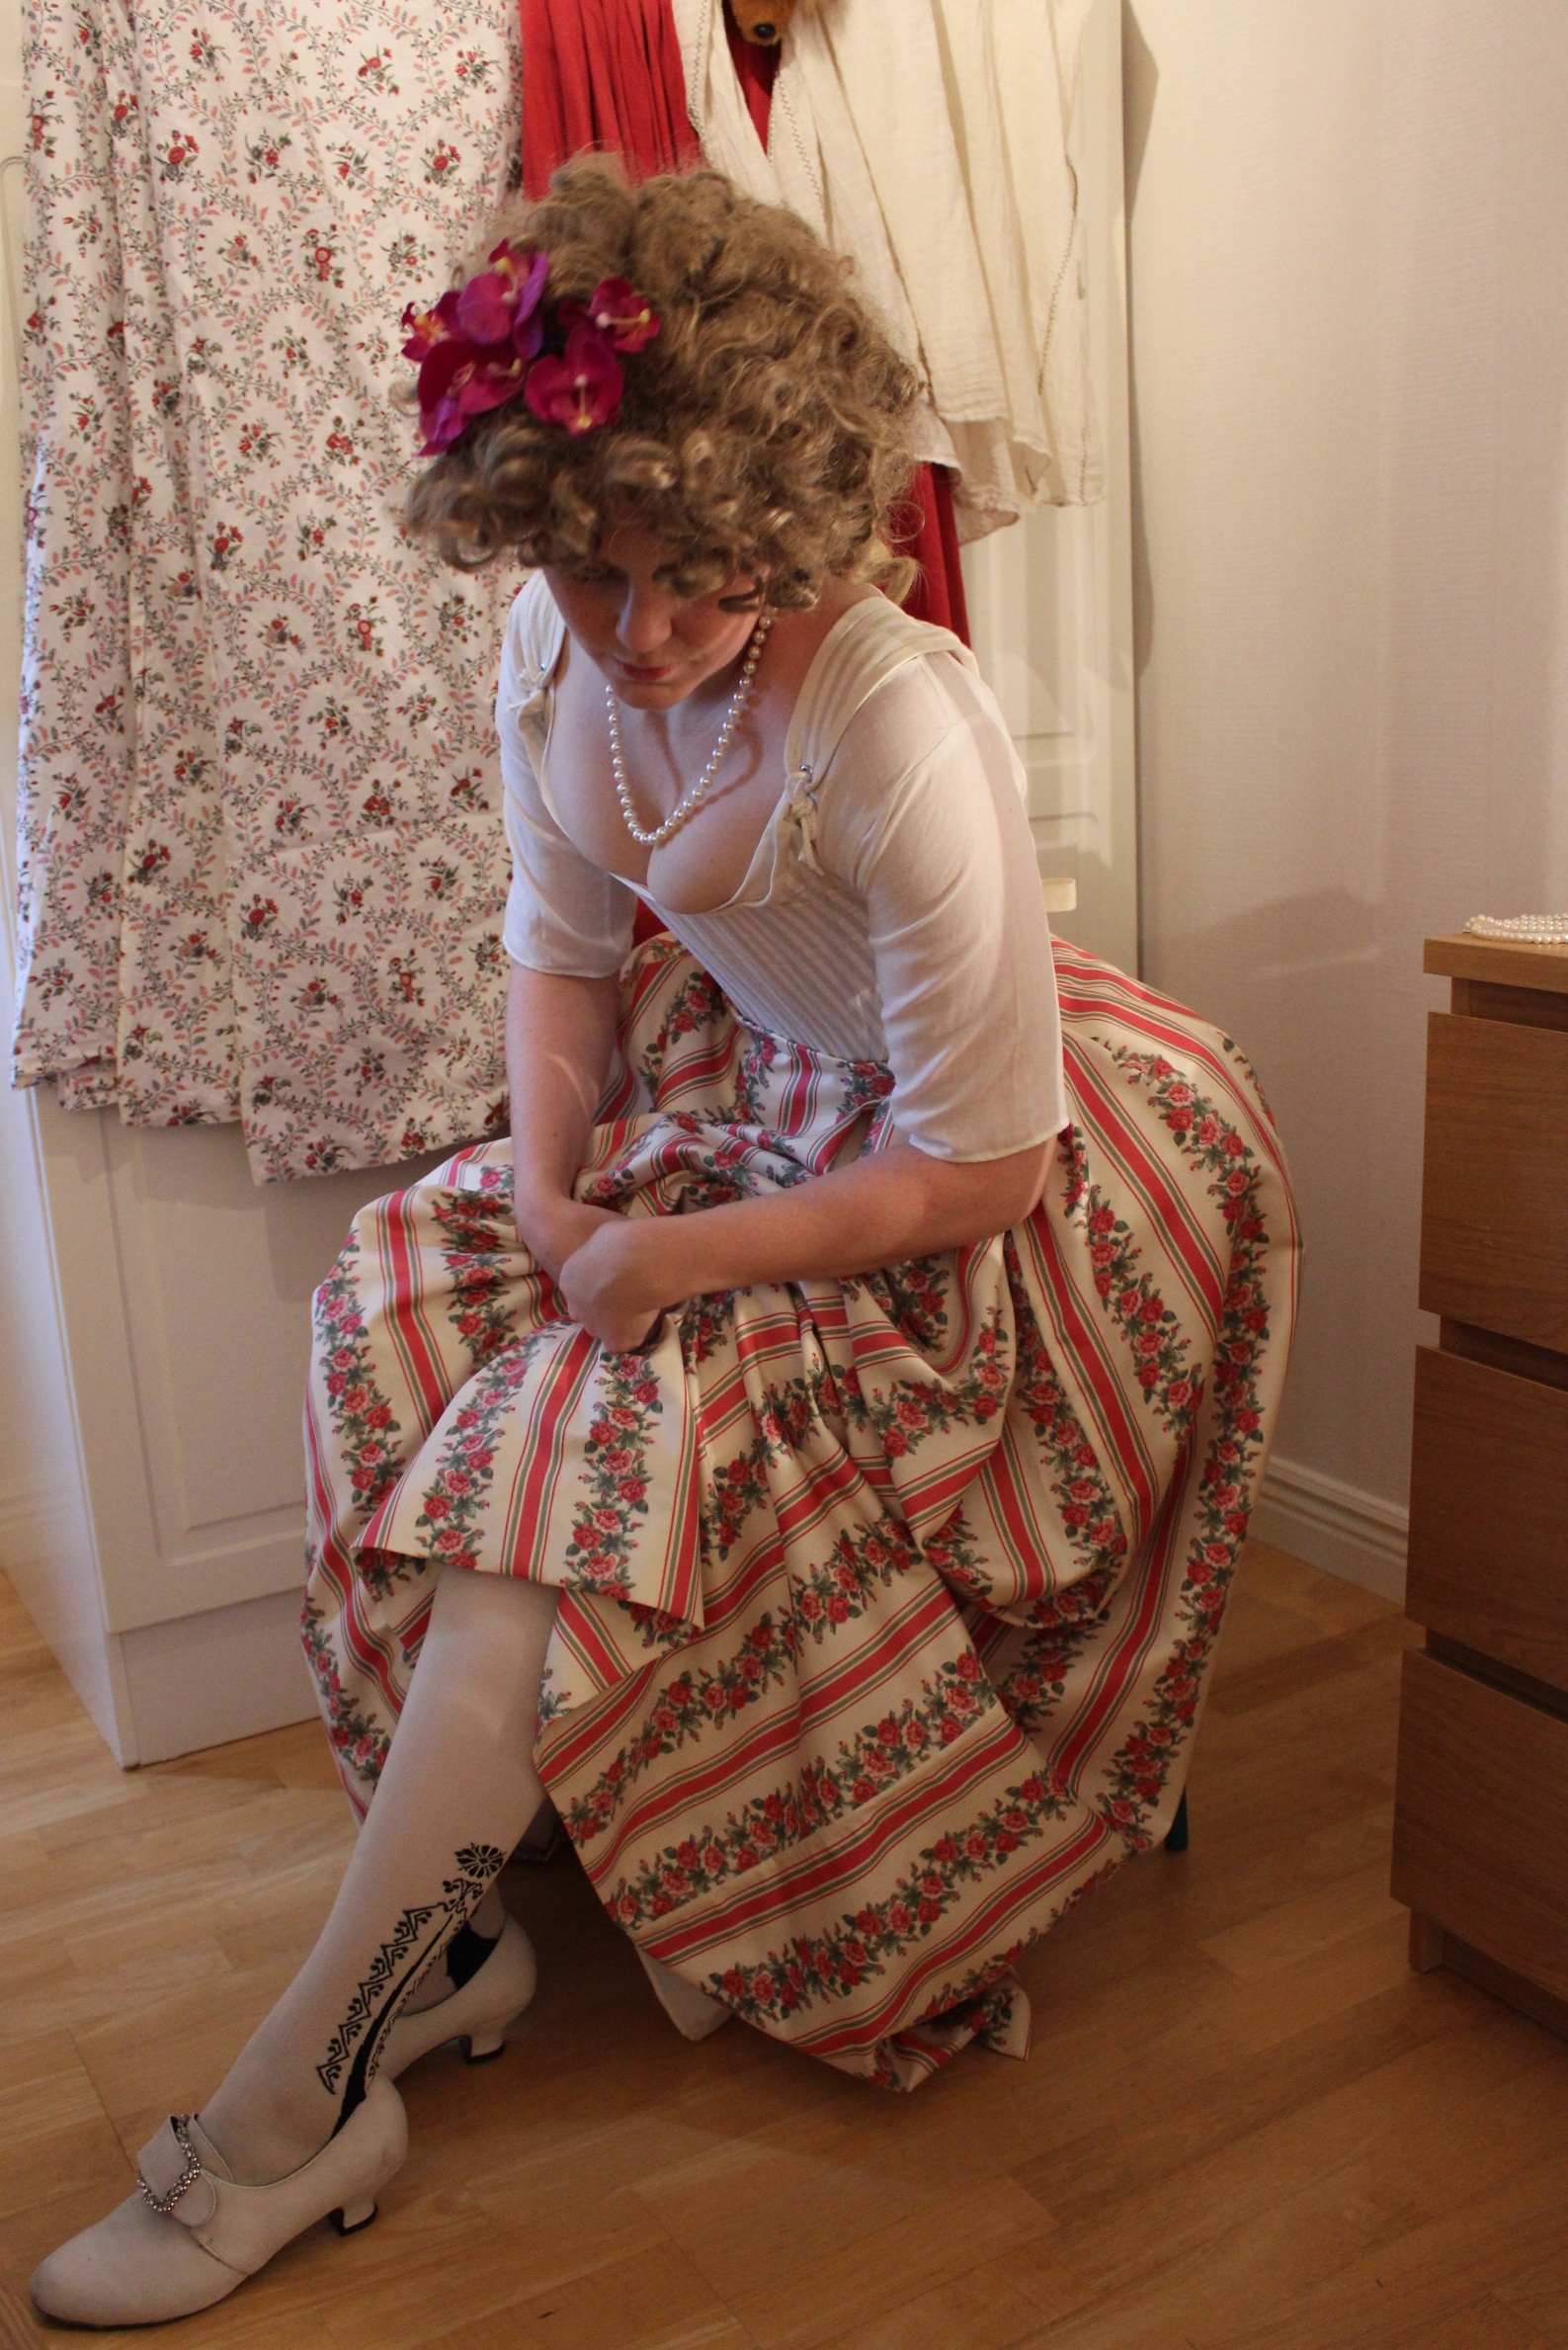
Unfortunately I forgot to take proper, and detailed, finishing photos of the skirt before storing it. But I did get a quick photoshoot.
The finished Skirt:


 Just the facts:
Challenge: 18, Poetry in motion
Poem: Parts of Female Fashions for 1799 by Mary Darby Robinson.
What: a 18th century skirt/petticoat.
Pattern: None, just cut two lengths of fabric and fiddled with he pleats until it looked okay.
Fabric: 1,3 m of flowery polyester satin (yes I now, but it was Sooo pretty).
Notions: Thread and 2 m of cotton ribbon for tying at the waist.
How historical accurate: So so, the material are totally wrong, but it is all hand stitched and I think the look of it are pretty okay.
Time: About 8 hours, including the readjusting of the pleats.
Cost: 100 Sek (16 Usd).
First worn: around the house for photos.
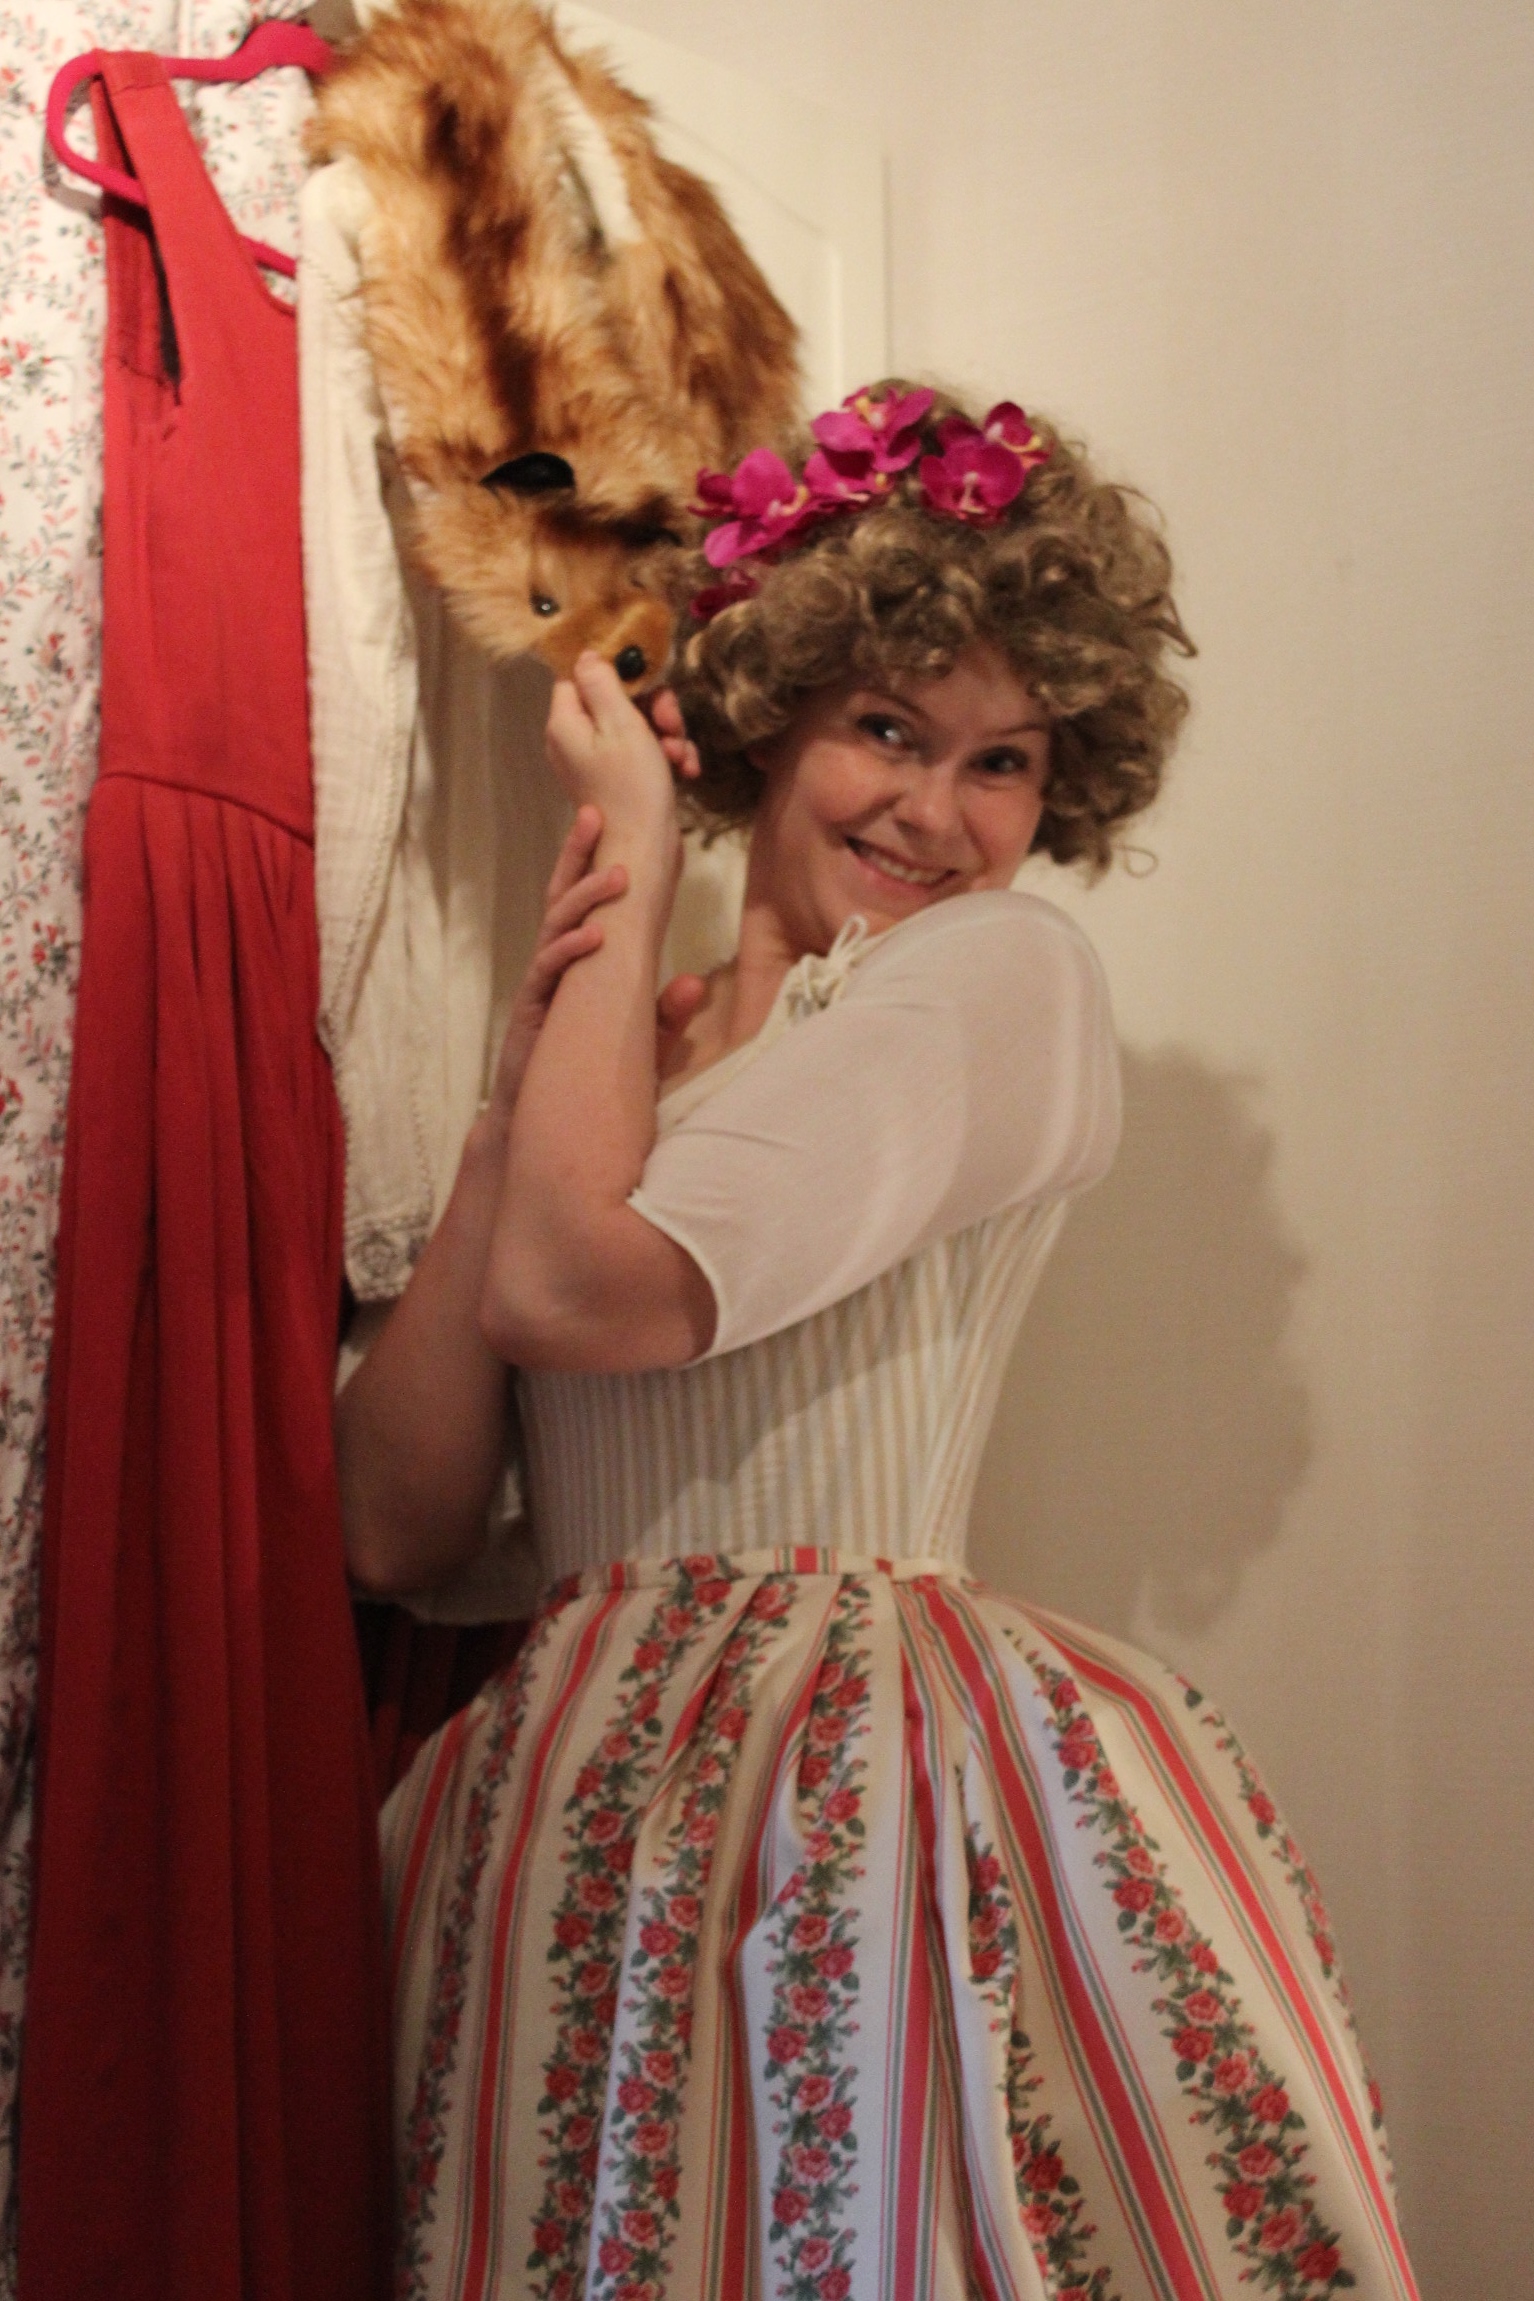
Yesterday I talked my sister into helping me with yet another photoshoot.
It was really windy outside, and I constantly needed to re-arrange my apron and bonnet. But I think we got some nice shoots anyway.
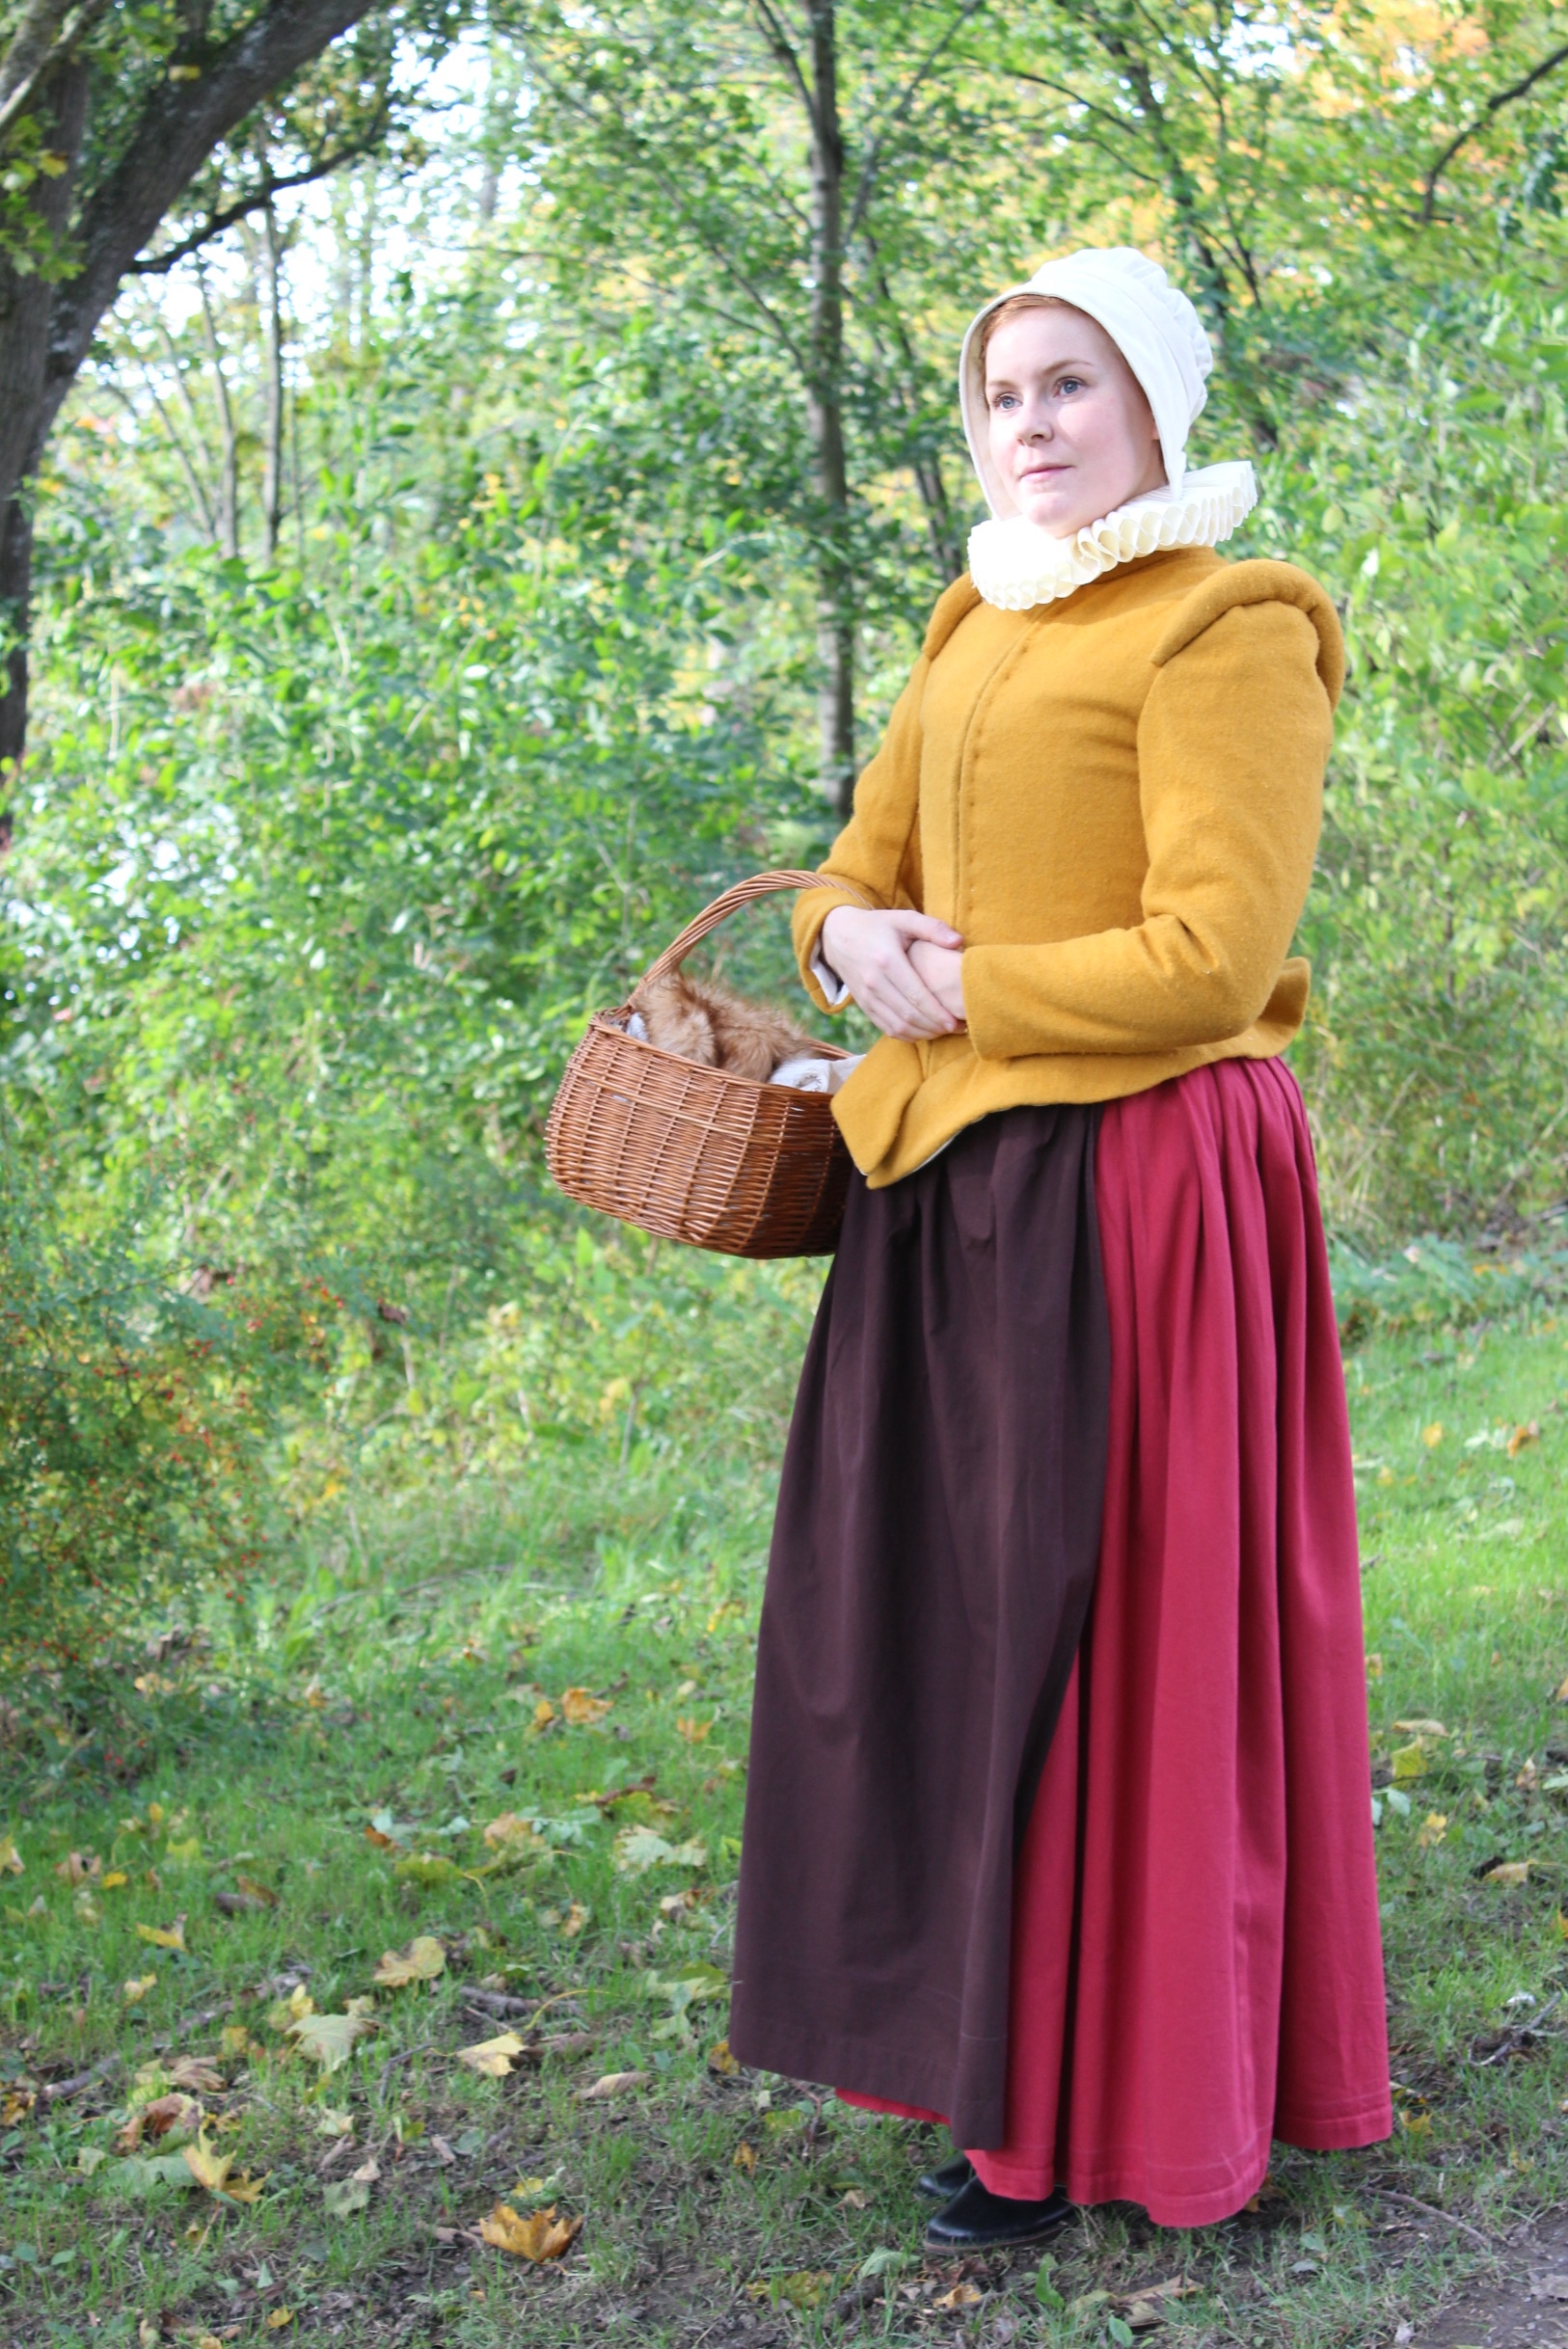


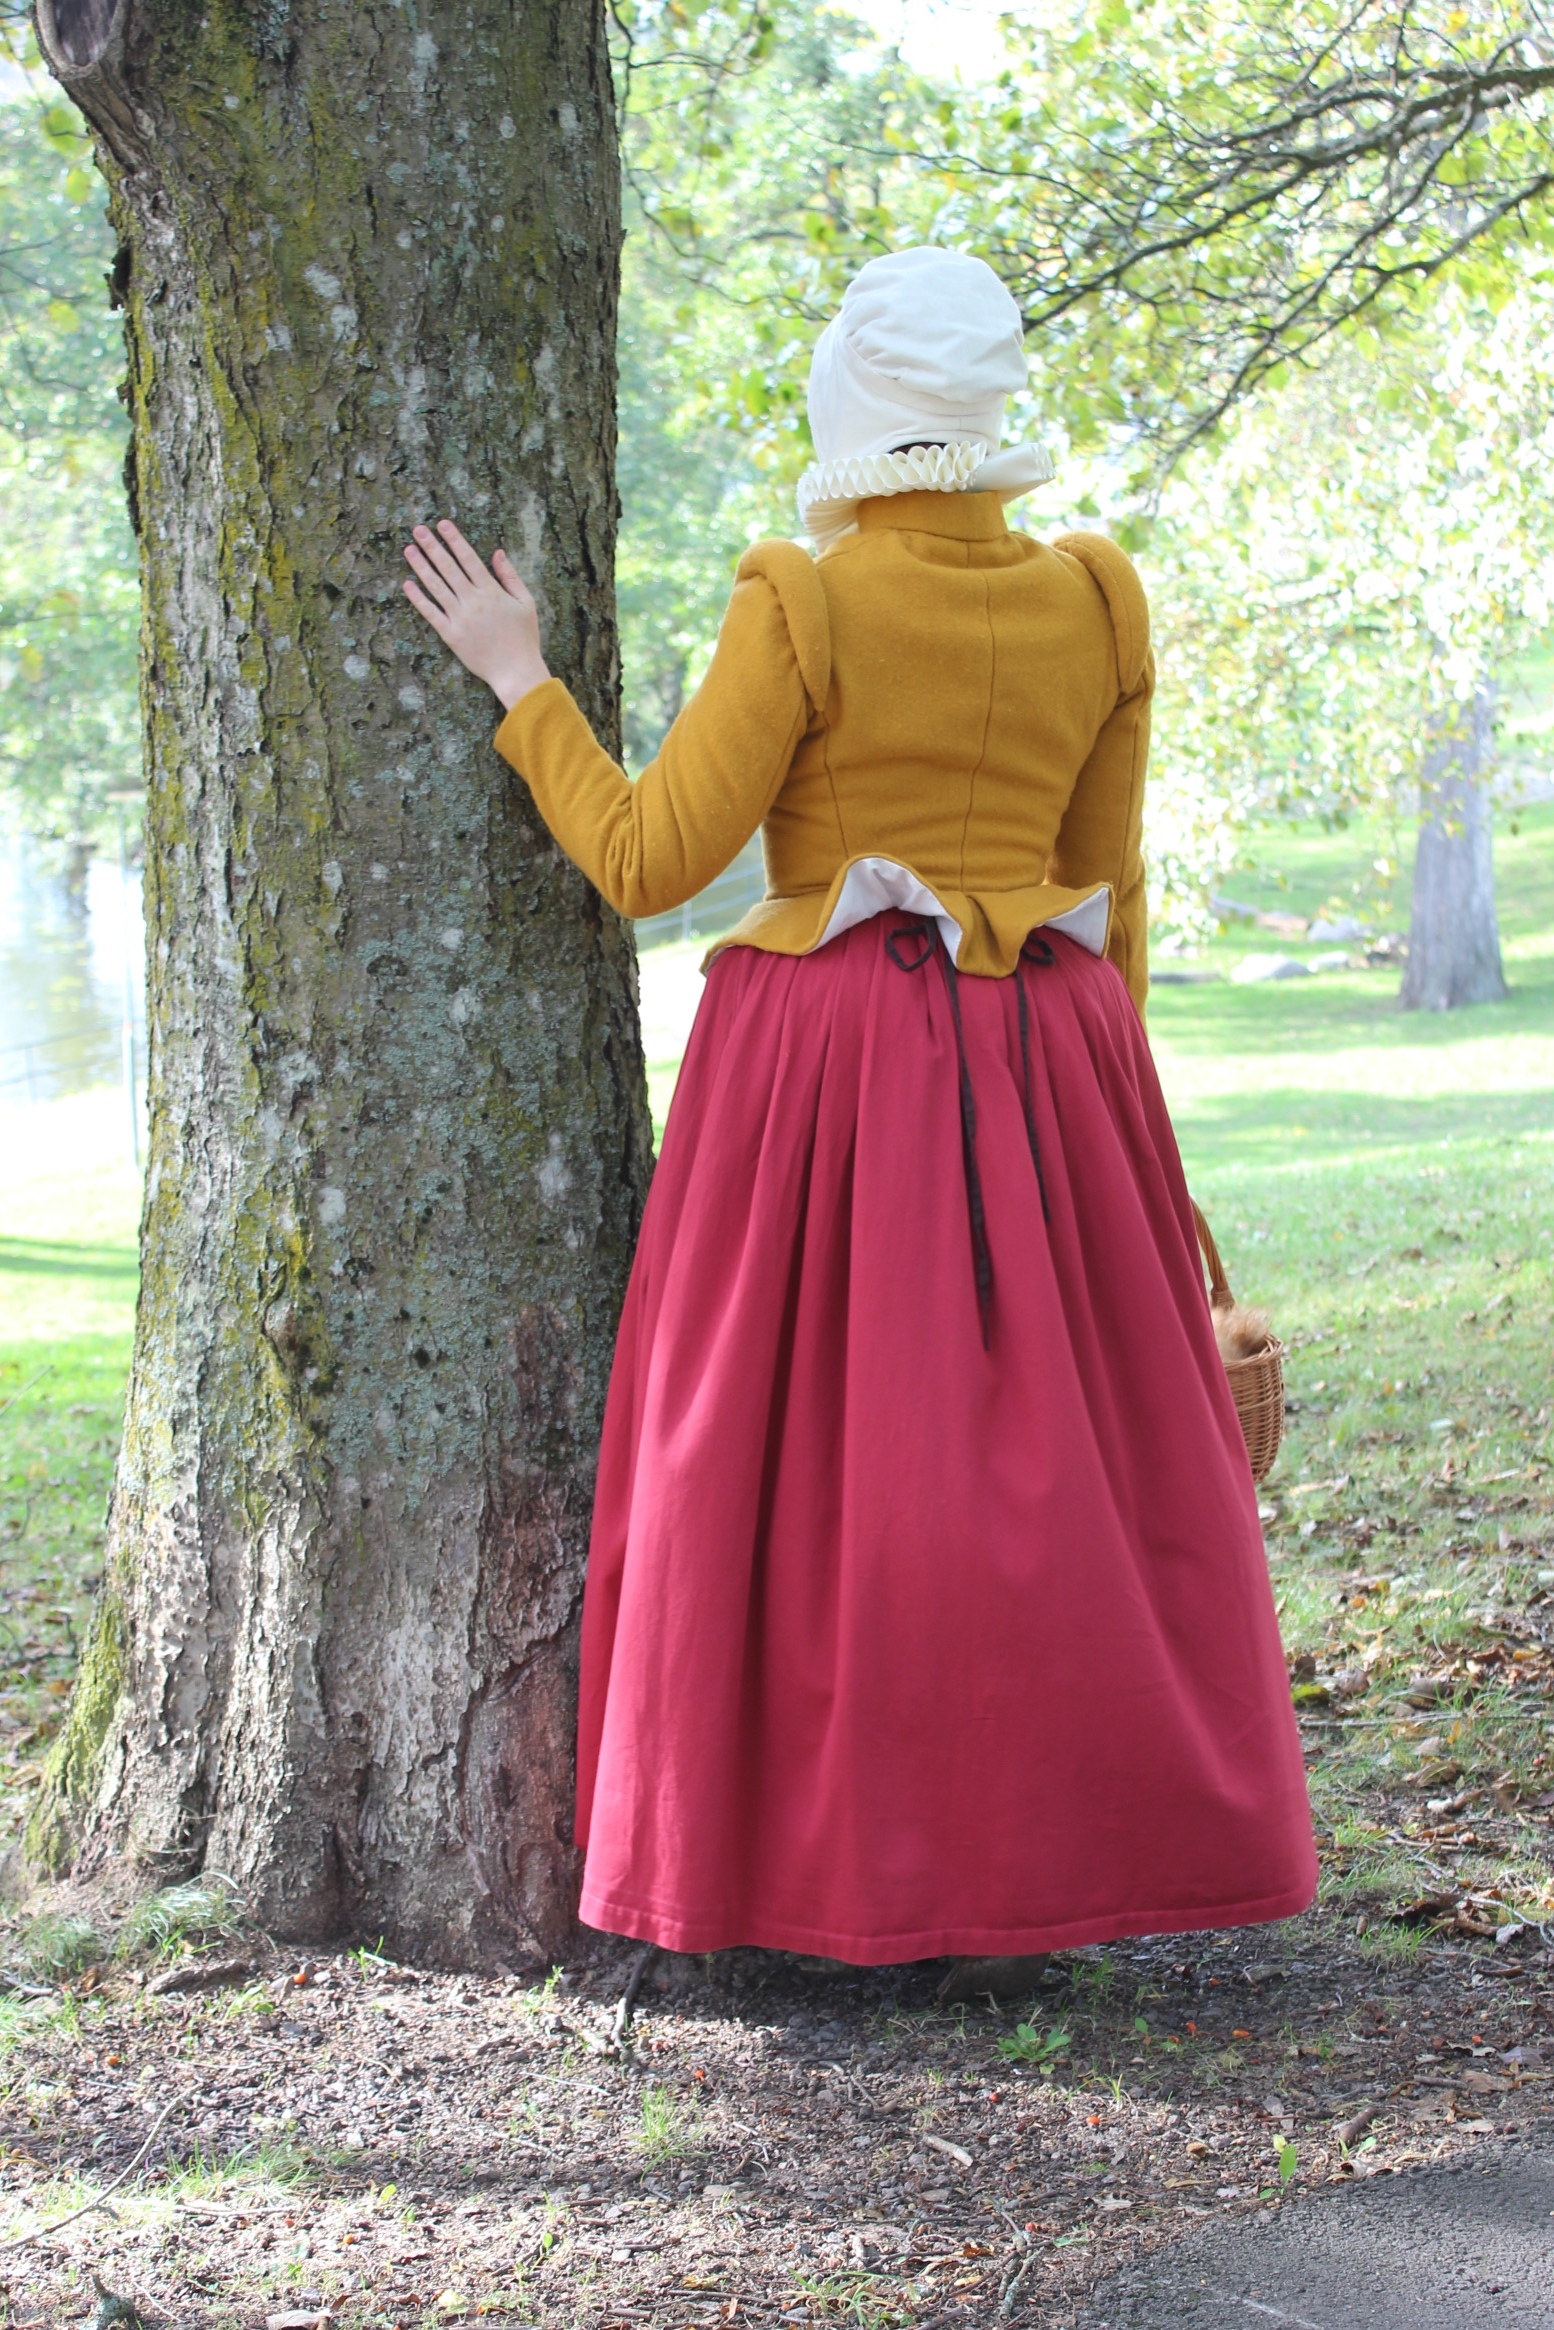


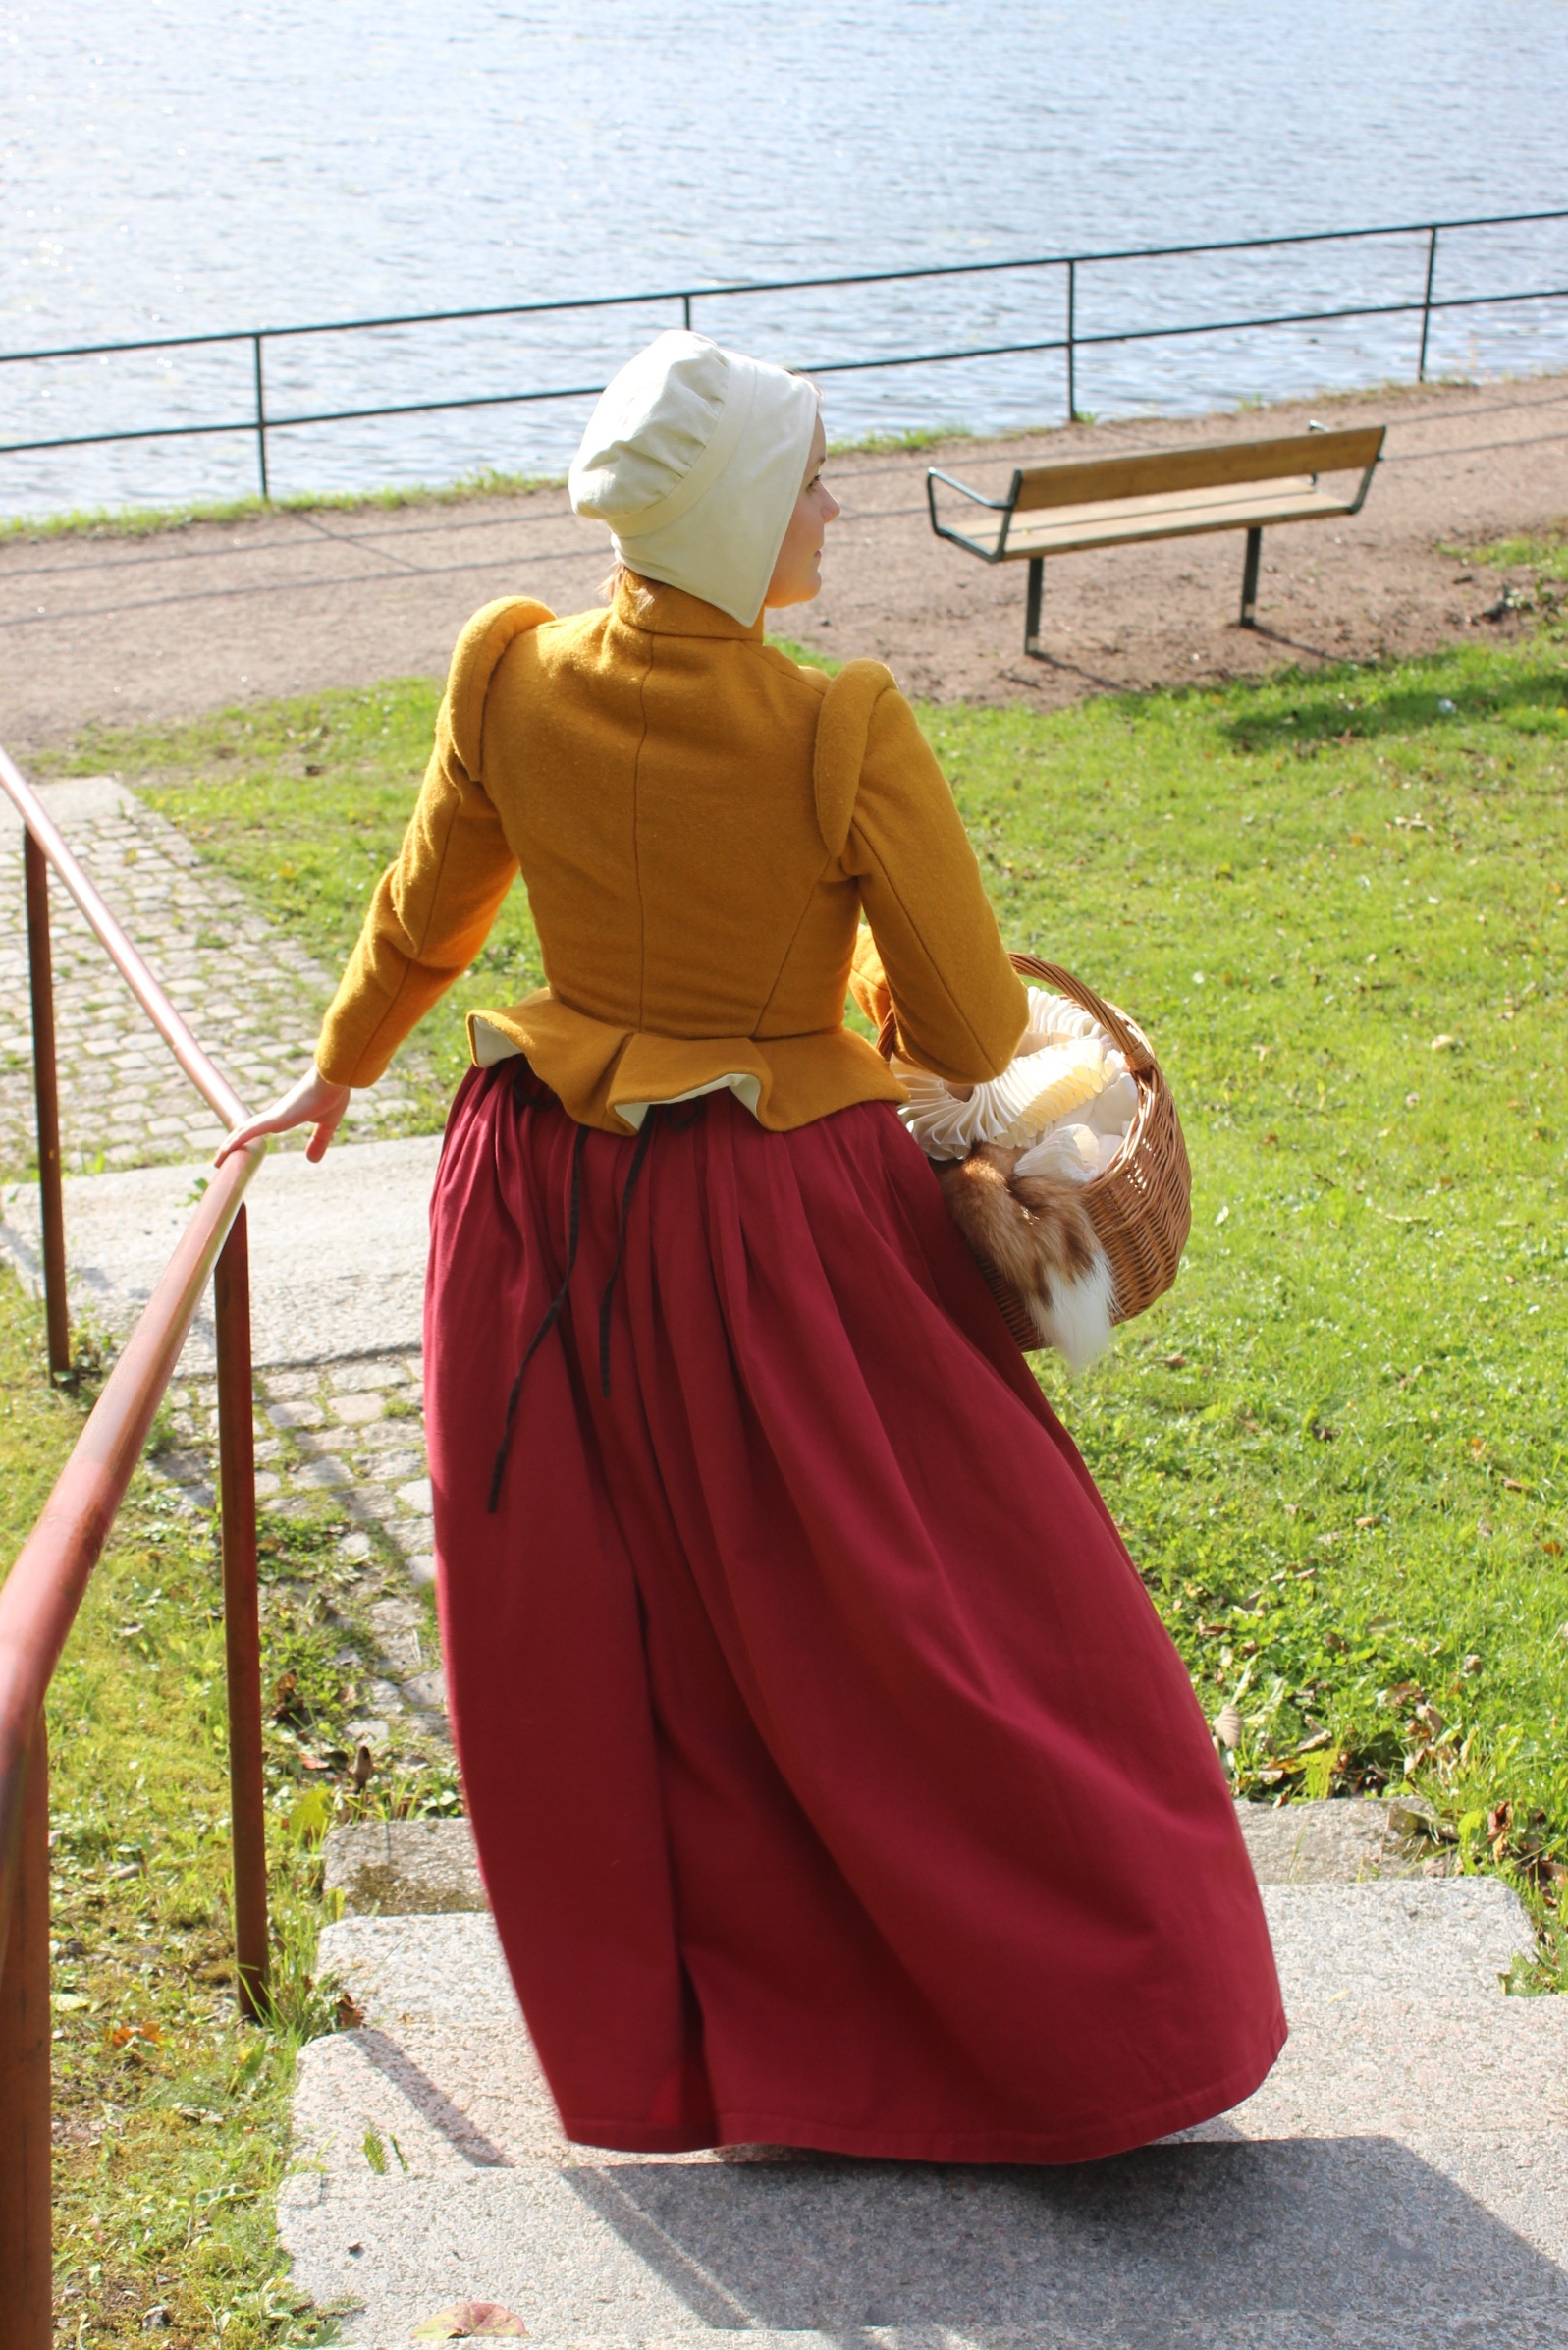


 Photo: Maria Petersson
And yes, the doublet are a bit to smal for me, and I really need to press the pleats on the peplum down.
I’ve been trying to slow things down a bit lately.
The intense stress level at work (planing 3 big theater premiers in 3 weeks), combined with the pressure to whip something new up every fortnight are beginning to take its toll. I’m always tired and have lost some of the joy I’ve used to find in sewing. I realize I need to slow down and let some of the self imposed pressure of my back.
So for the first time I’m actually proud to admit I’m late finishing the HSF nr 17 – Yellow. (and probably will be late with a couple more upcoming challenges this fall).
Anyhow here is the write-up on the challenge.
I had several alternative ideas for this challenge (regency spencer, open robe or pelise just to mention a few), but the moment I found this lovely yellow wool at the medieval fair, I knew exactly what I wanted to make.
A 16th century Doublet. Pattern and design idea from “The Tudor Tailor”.
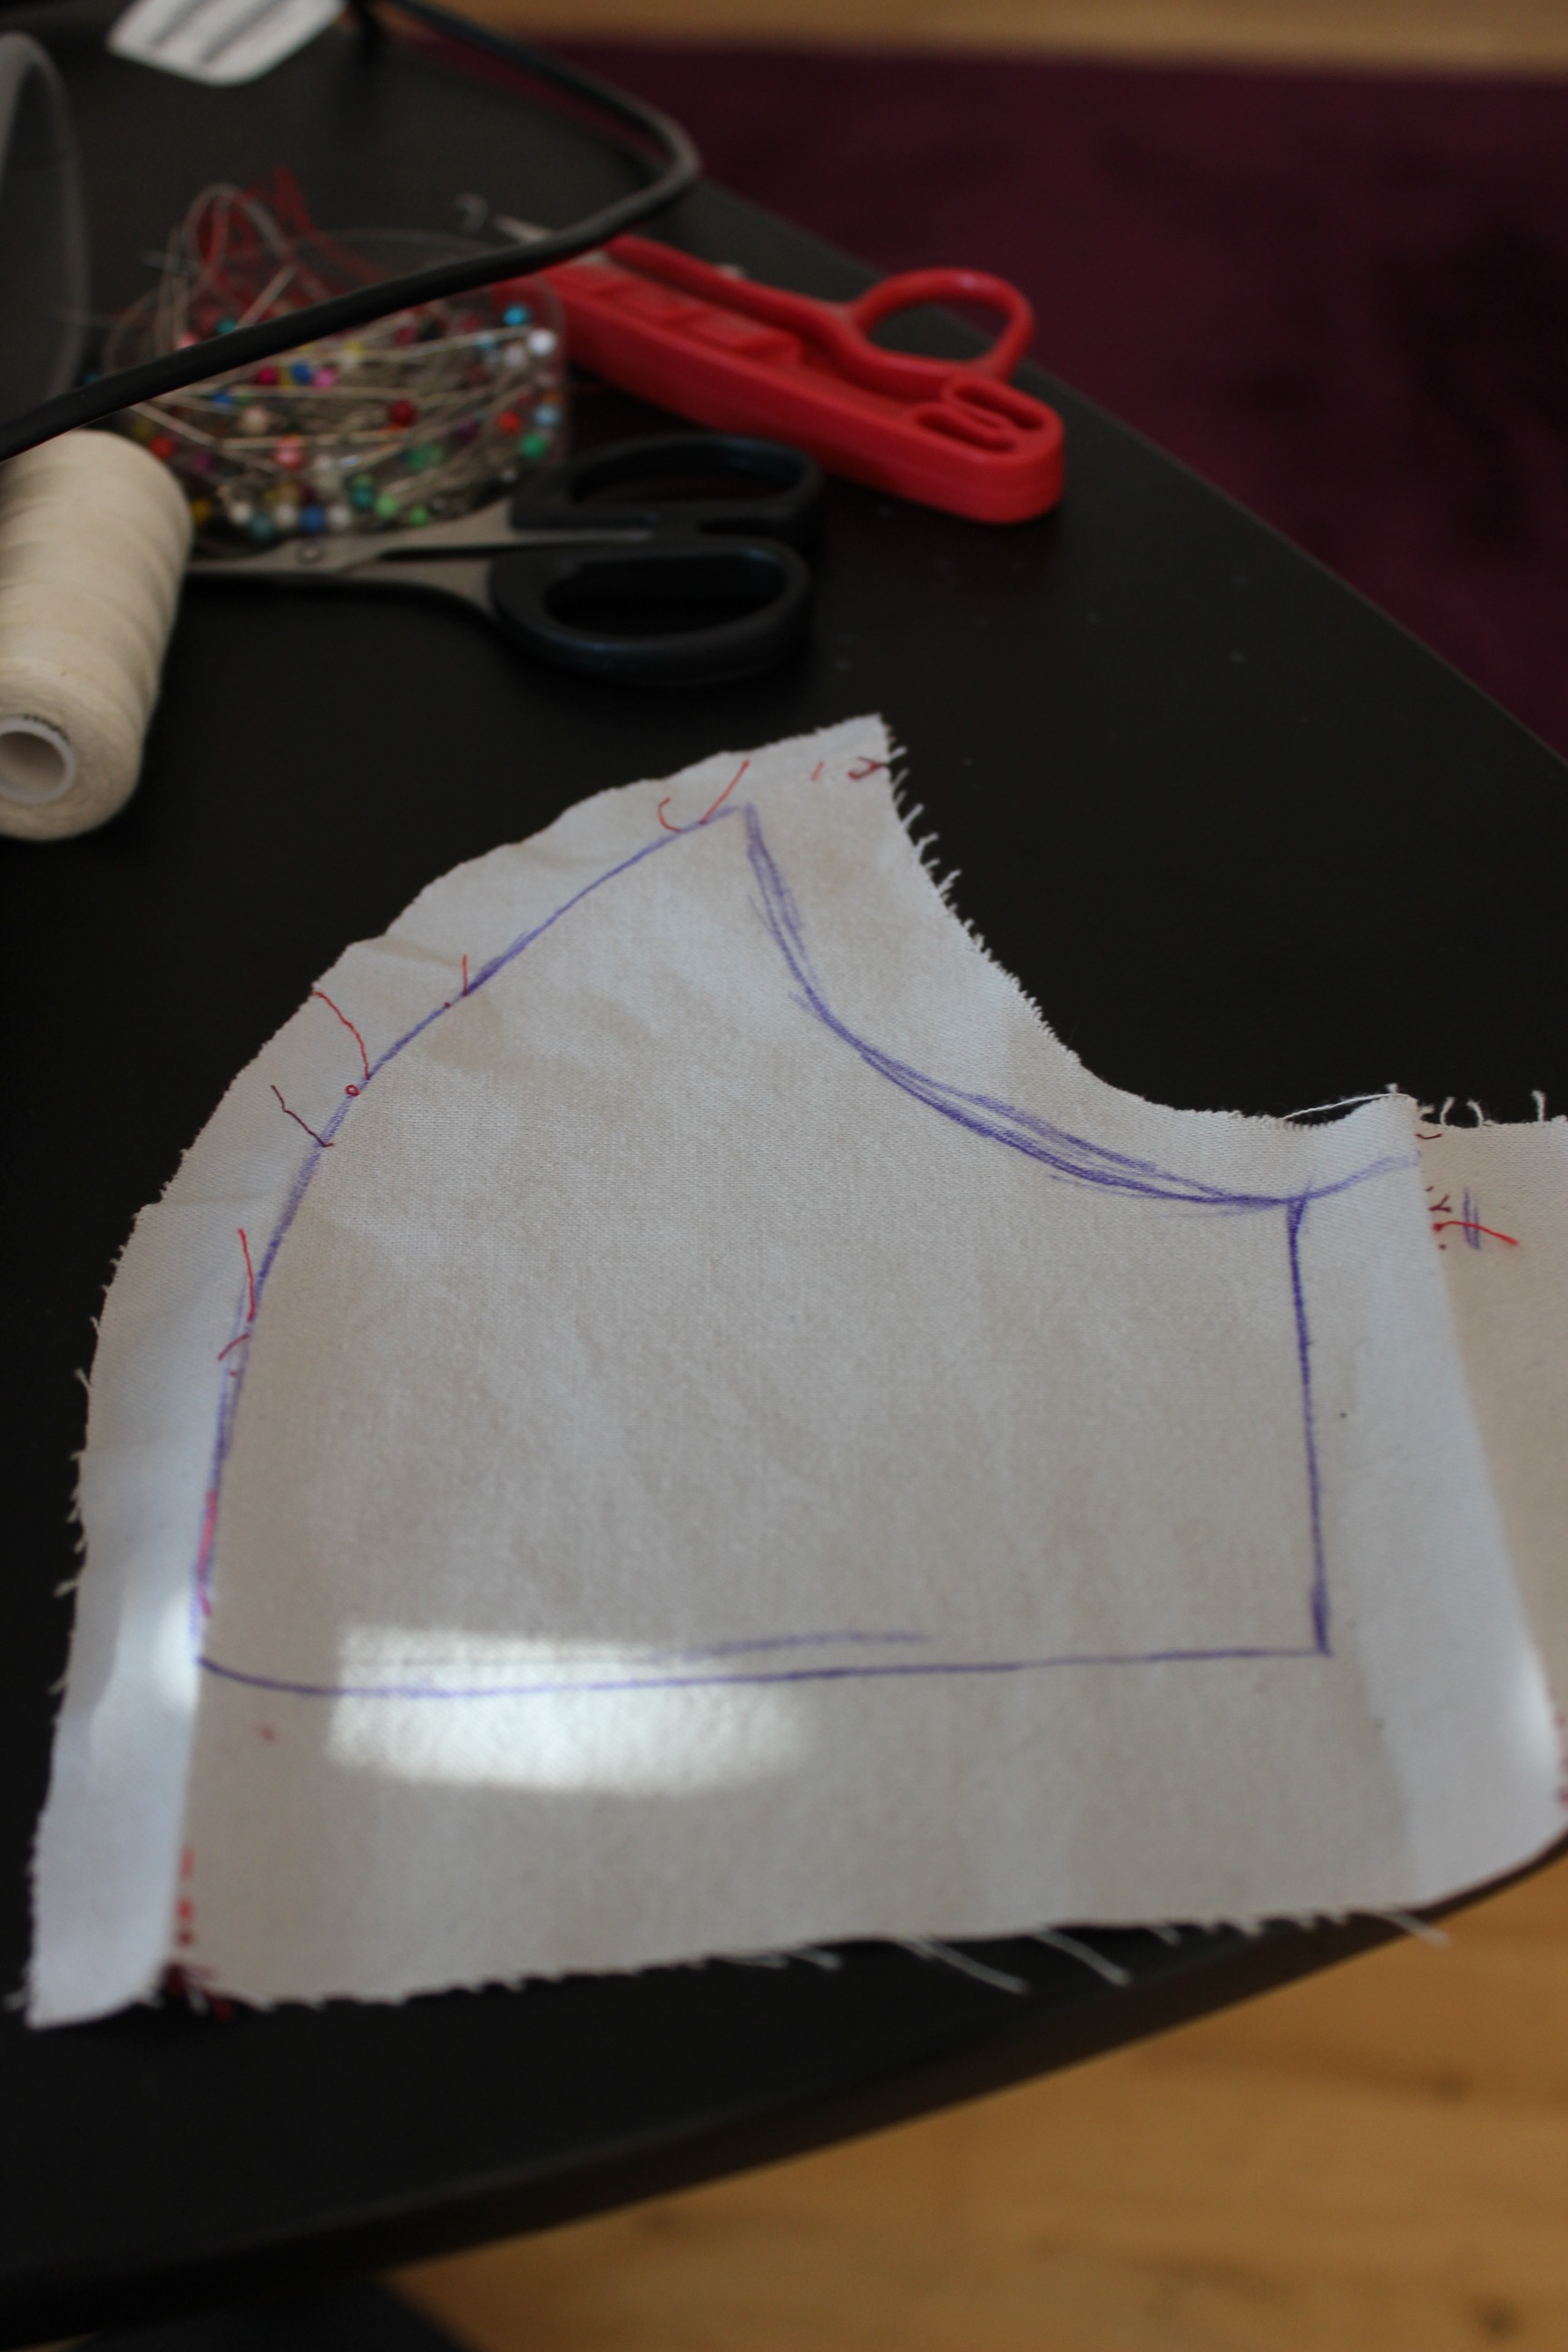
So I put my Elizabethan corset and bum-roll on my dress-form and started to work on the pattern.

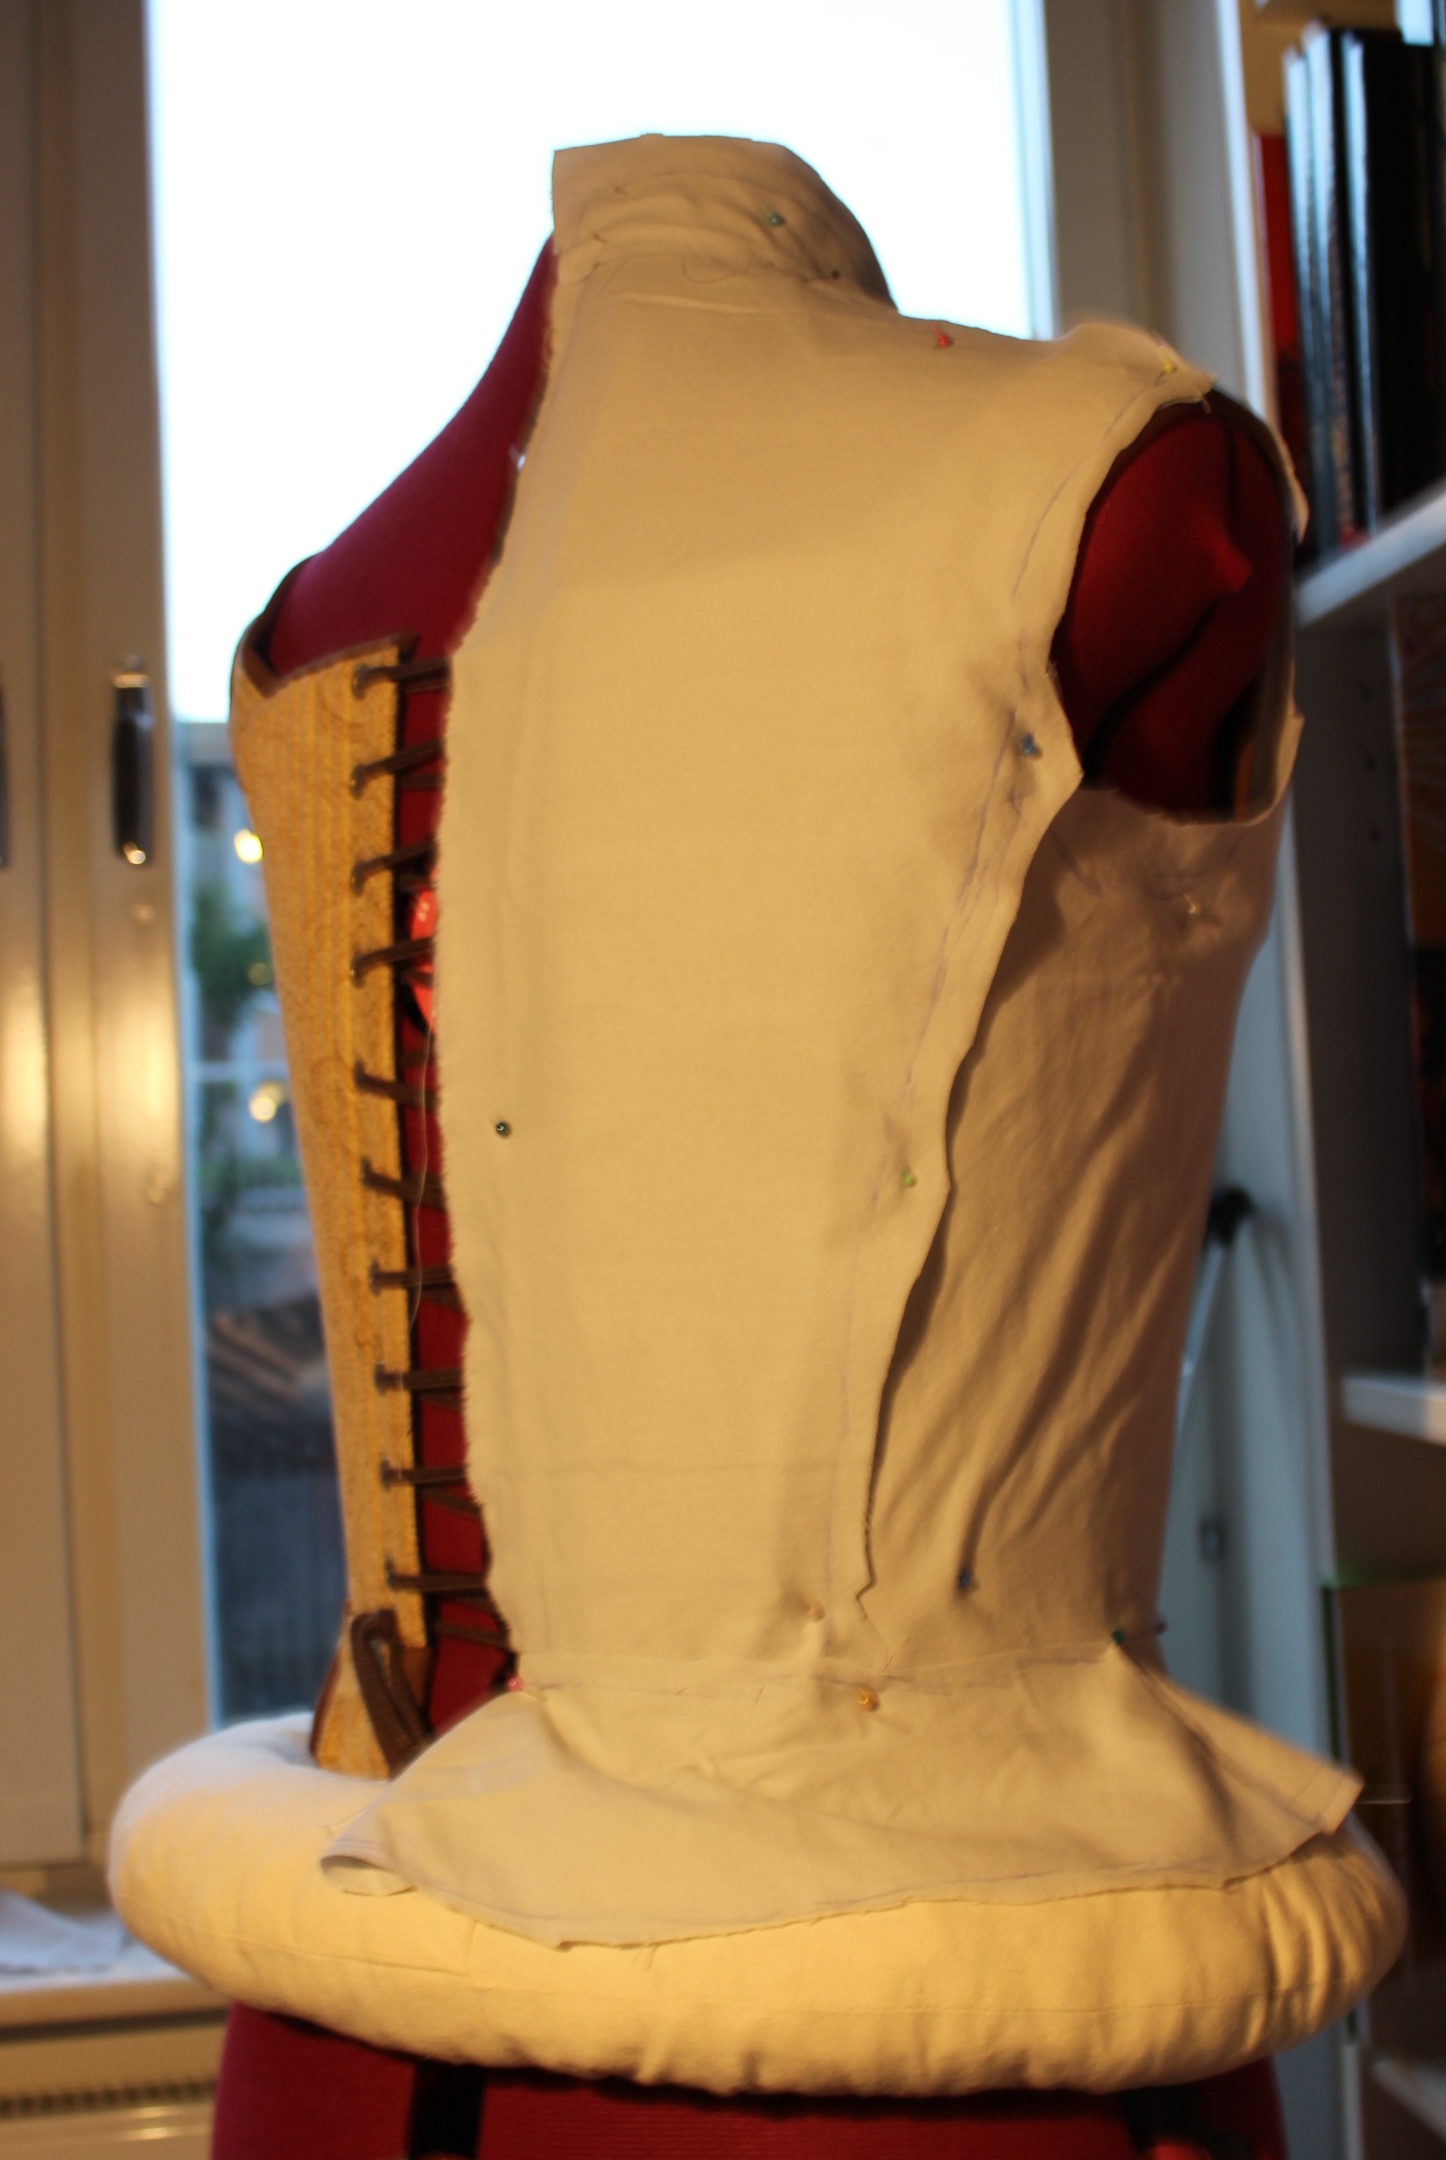
And made the mock-up.

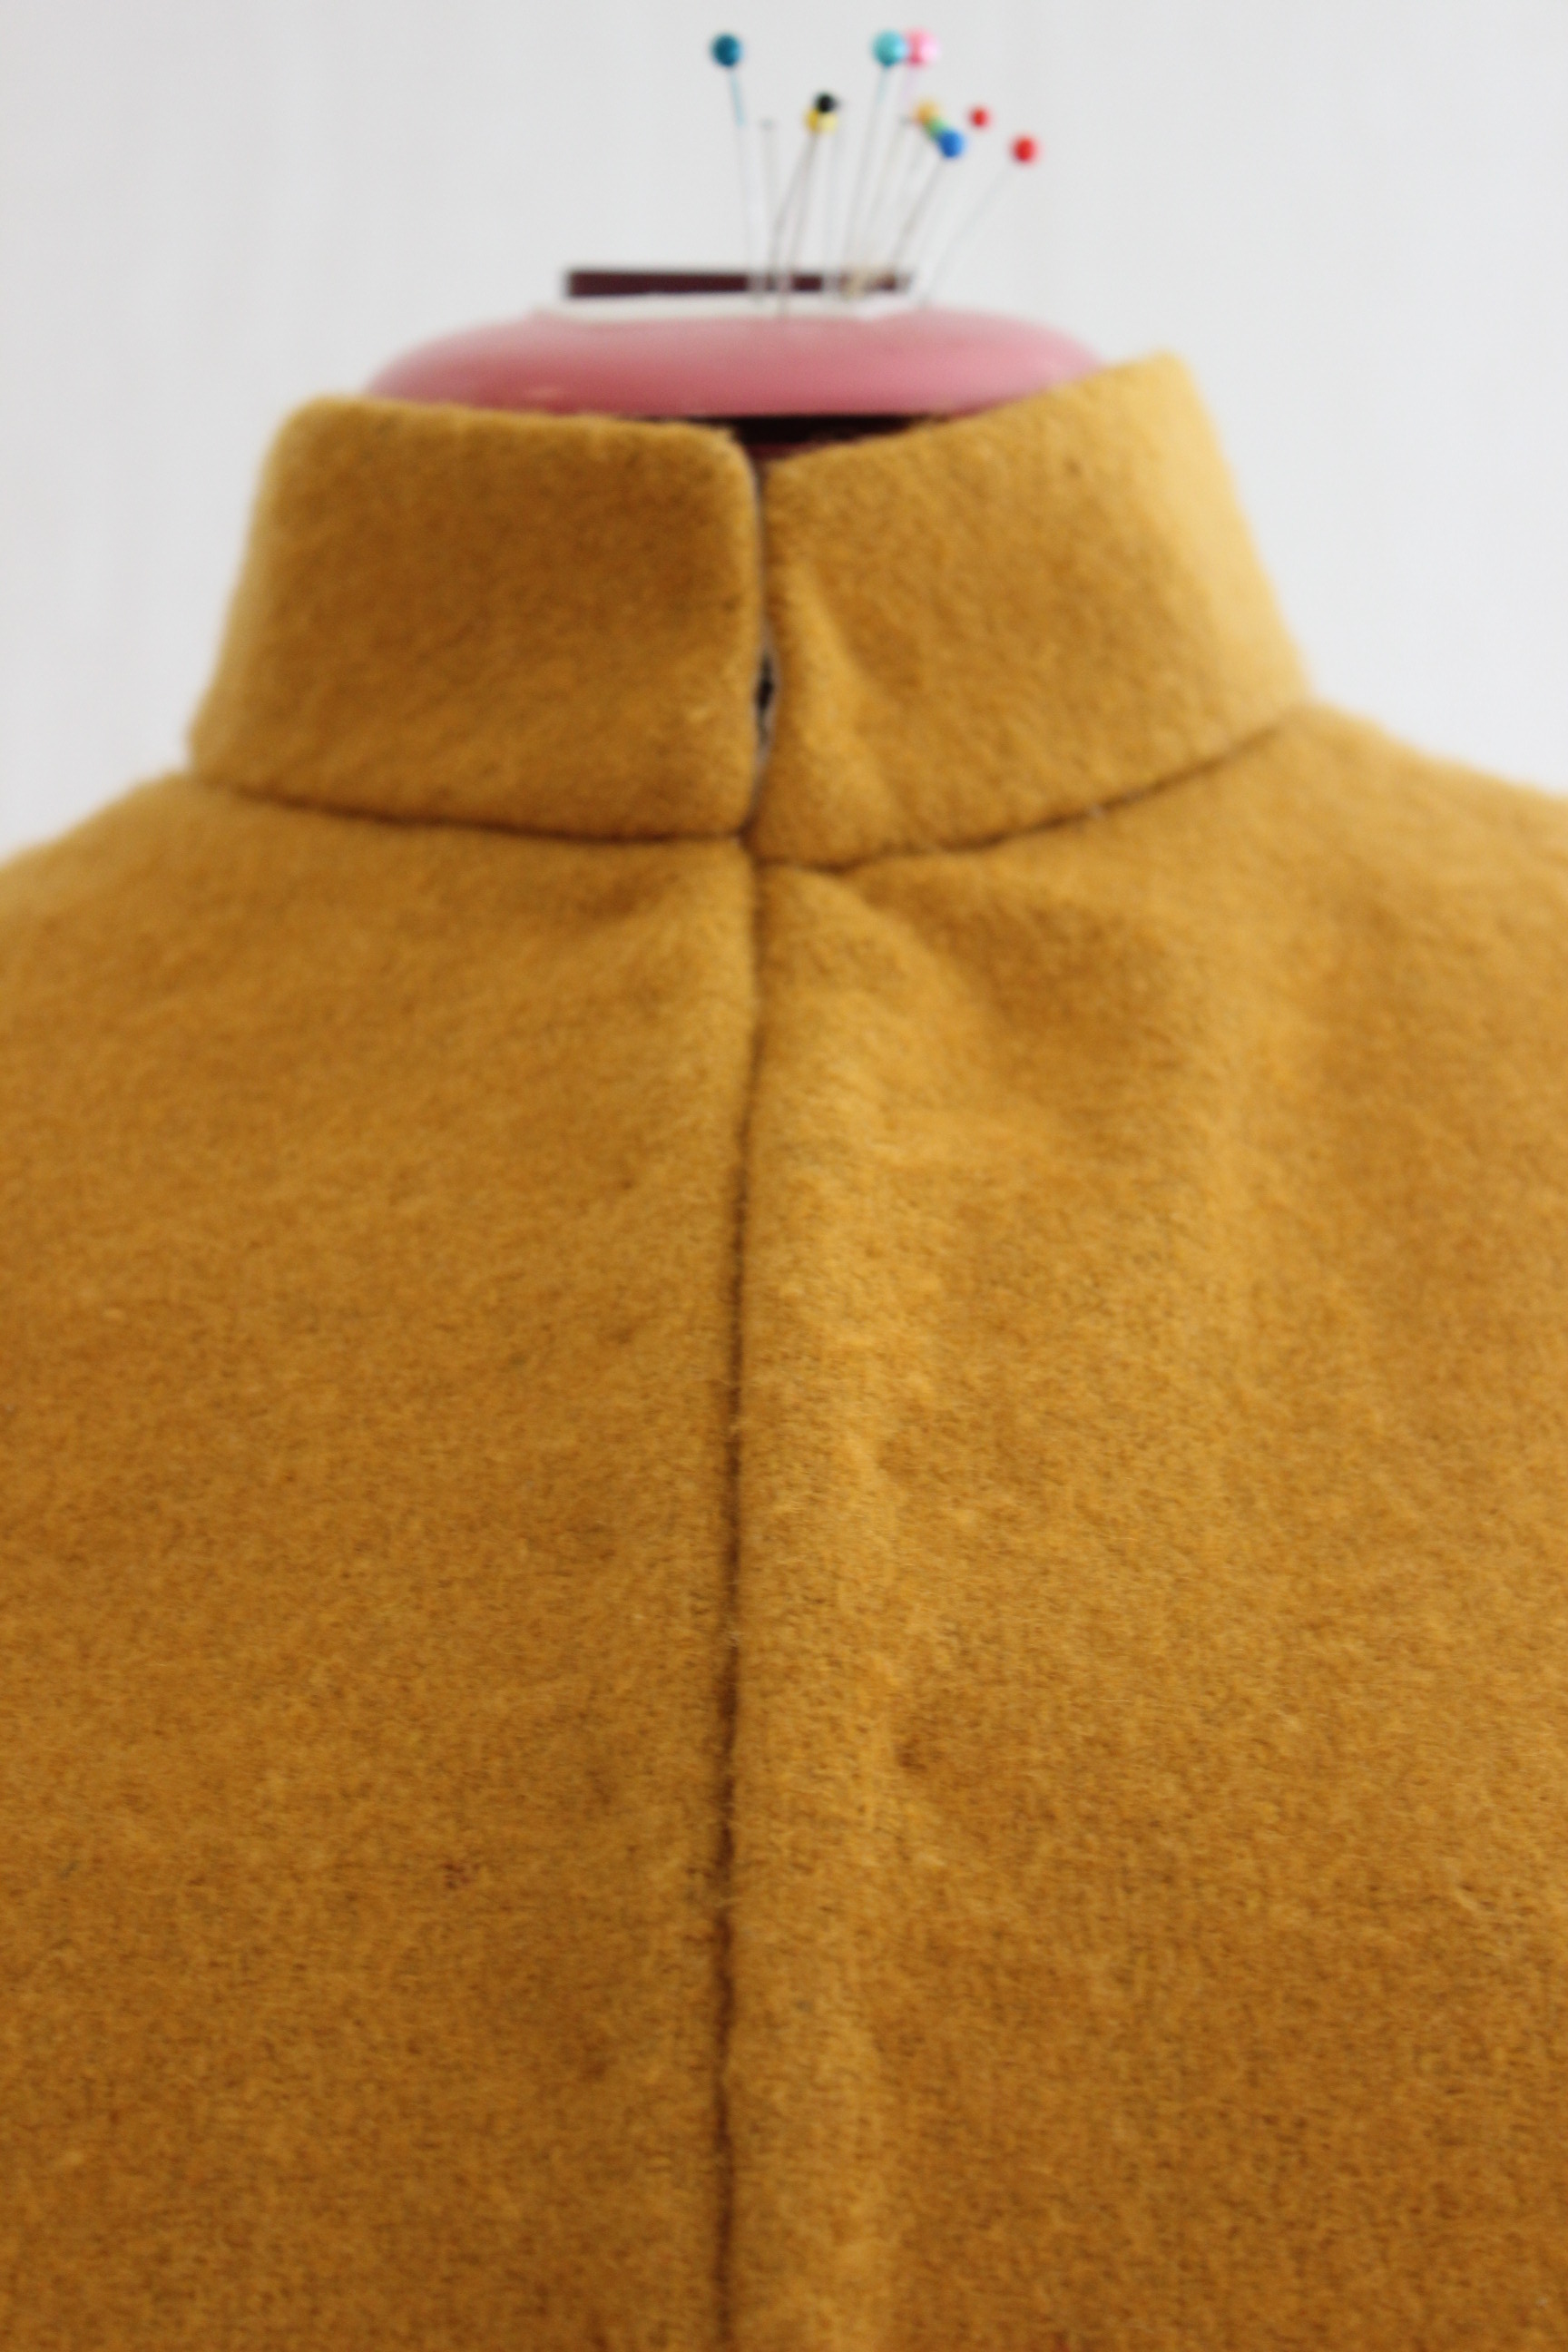
I needed to take it in a bit at the center back and make some smaller alteration to the collar.
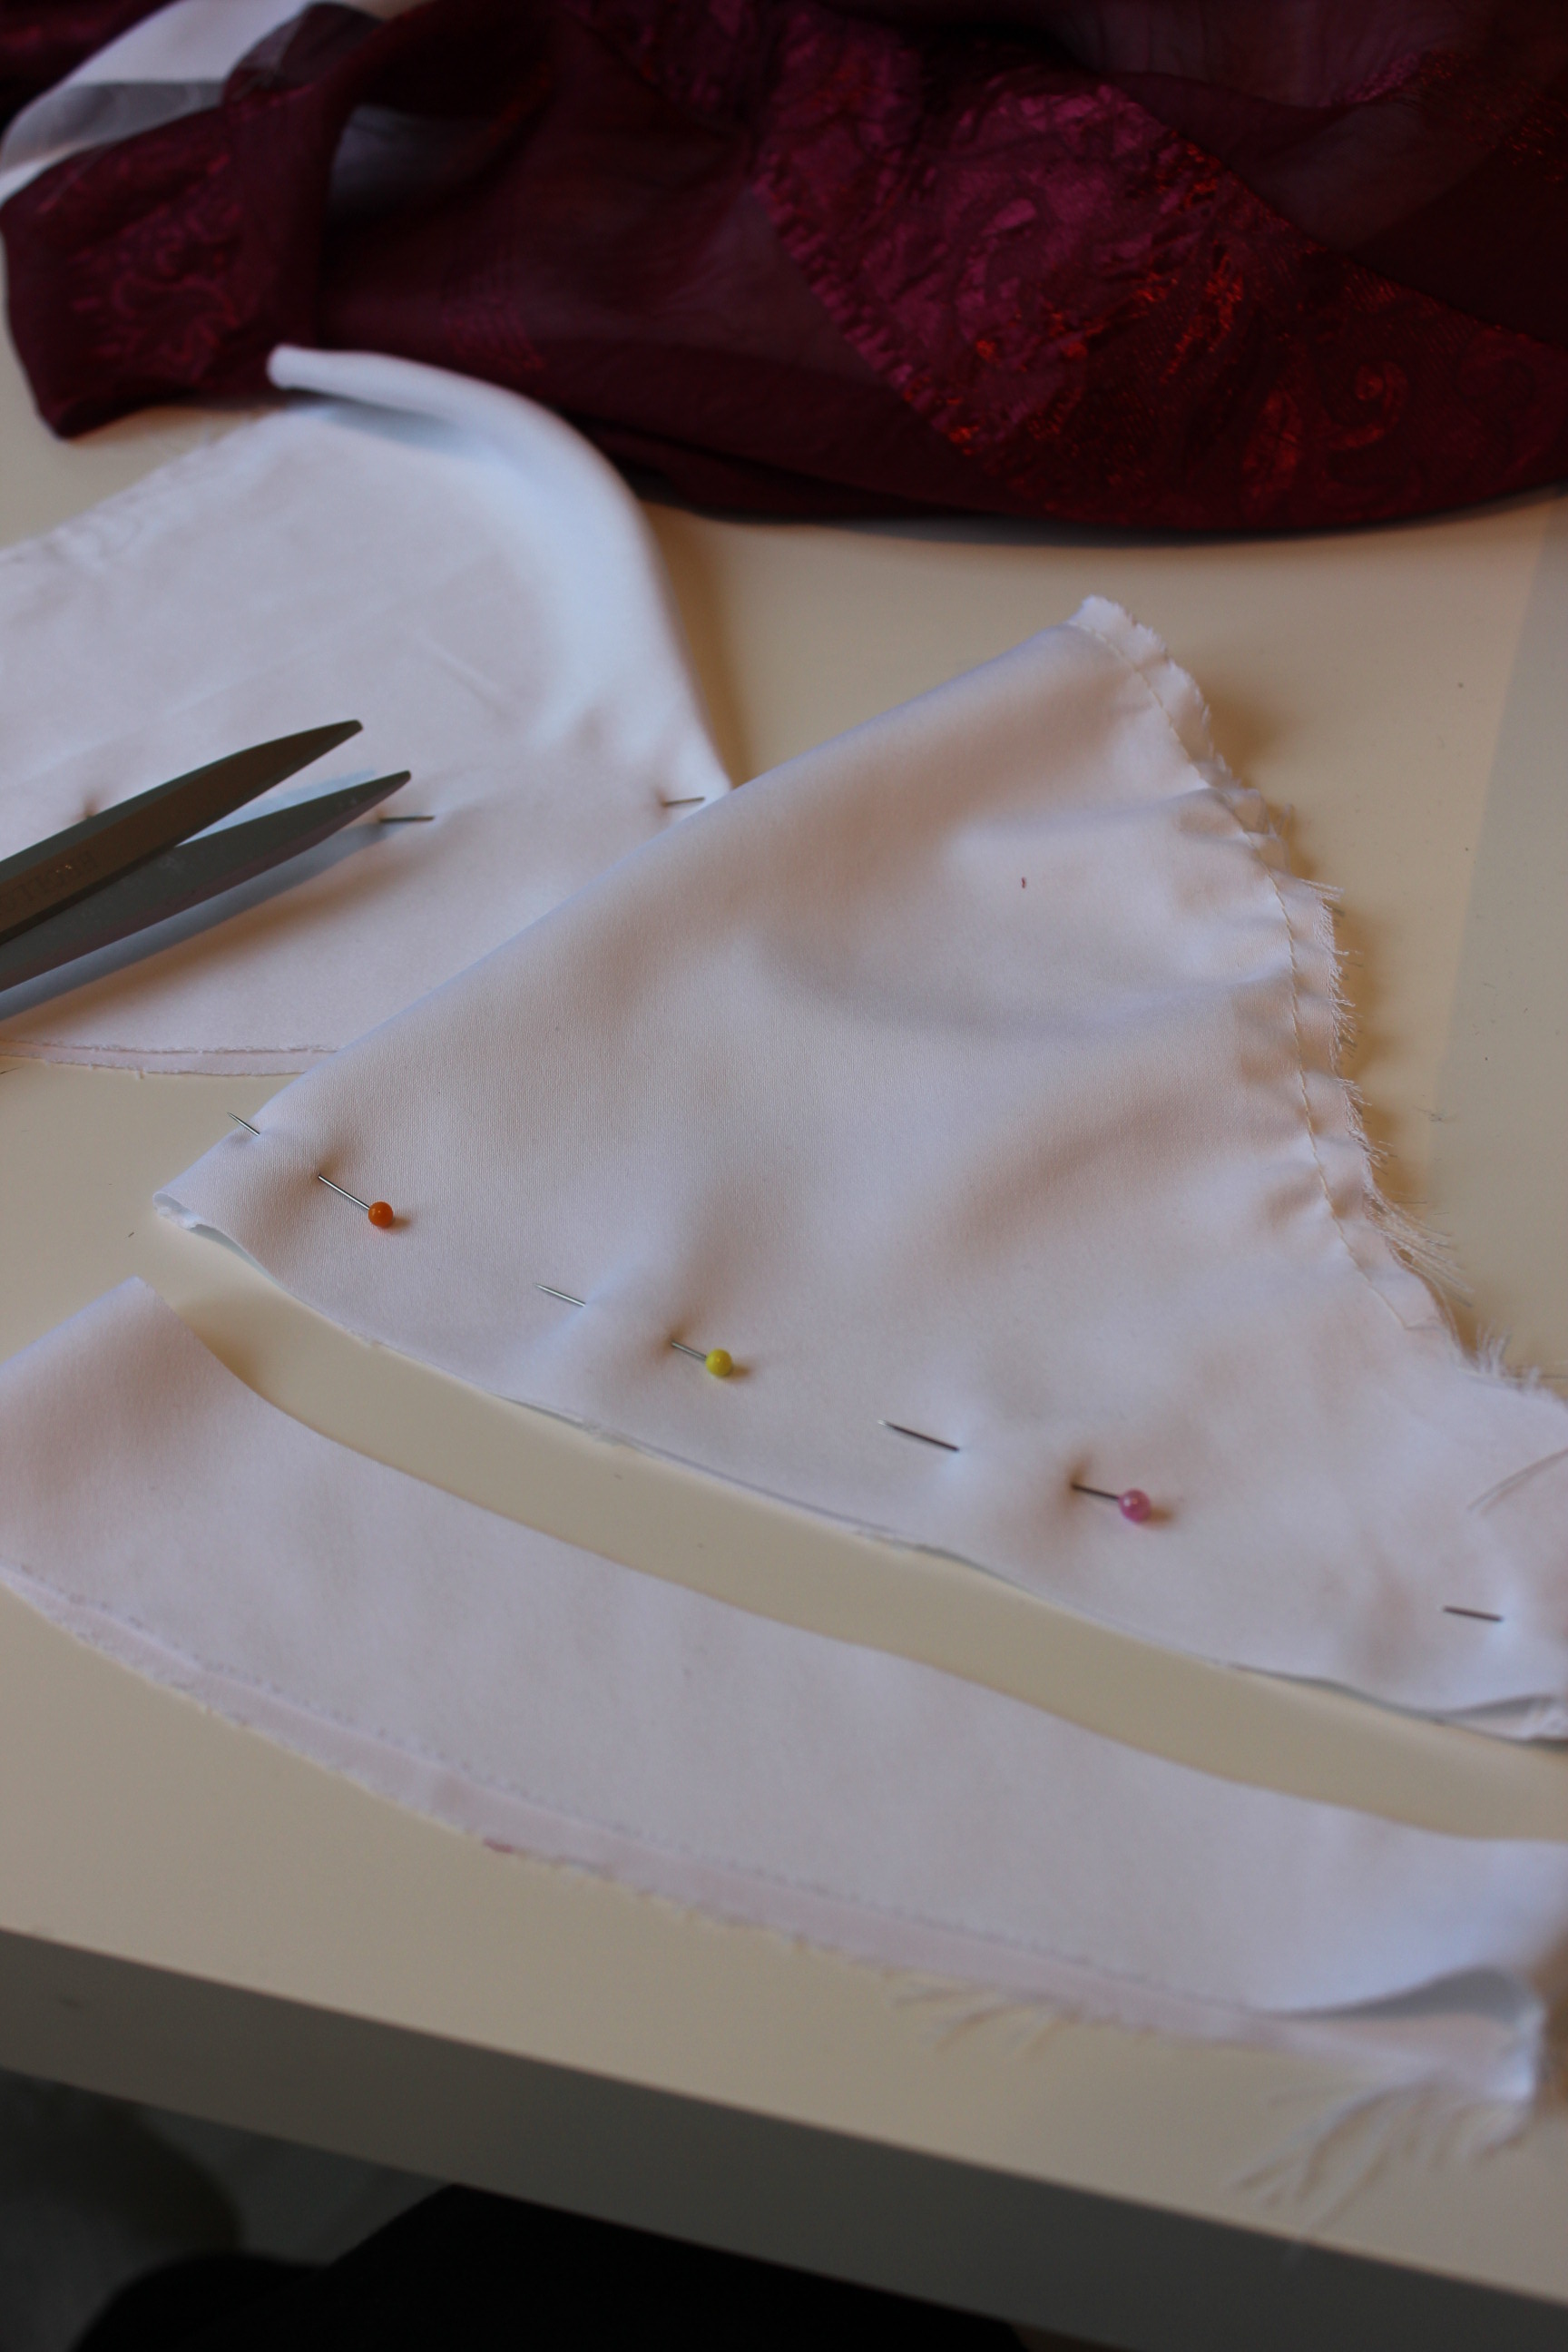
Then I cut the pieces in cotton (for lining) and the yellow wool.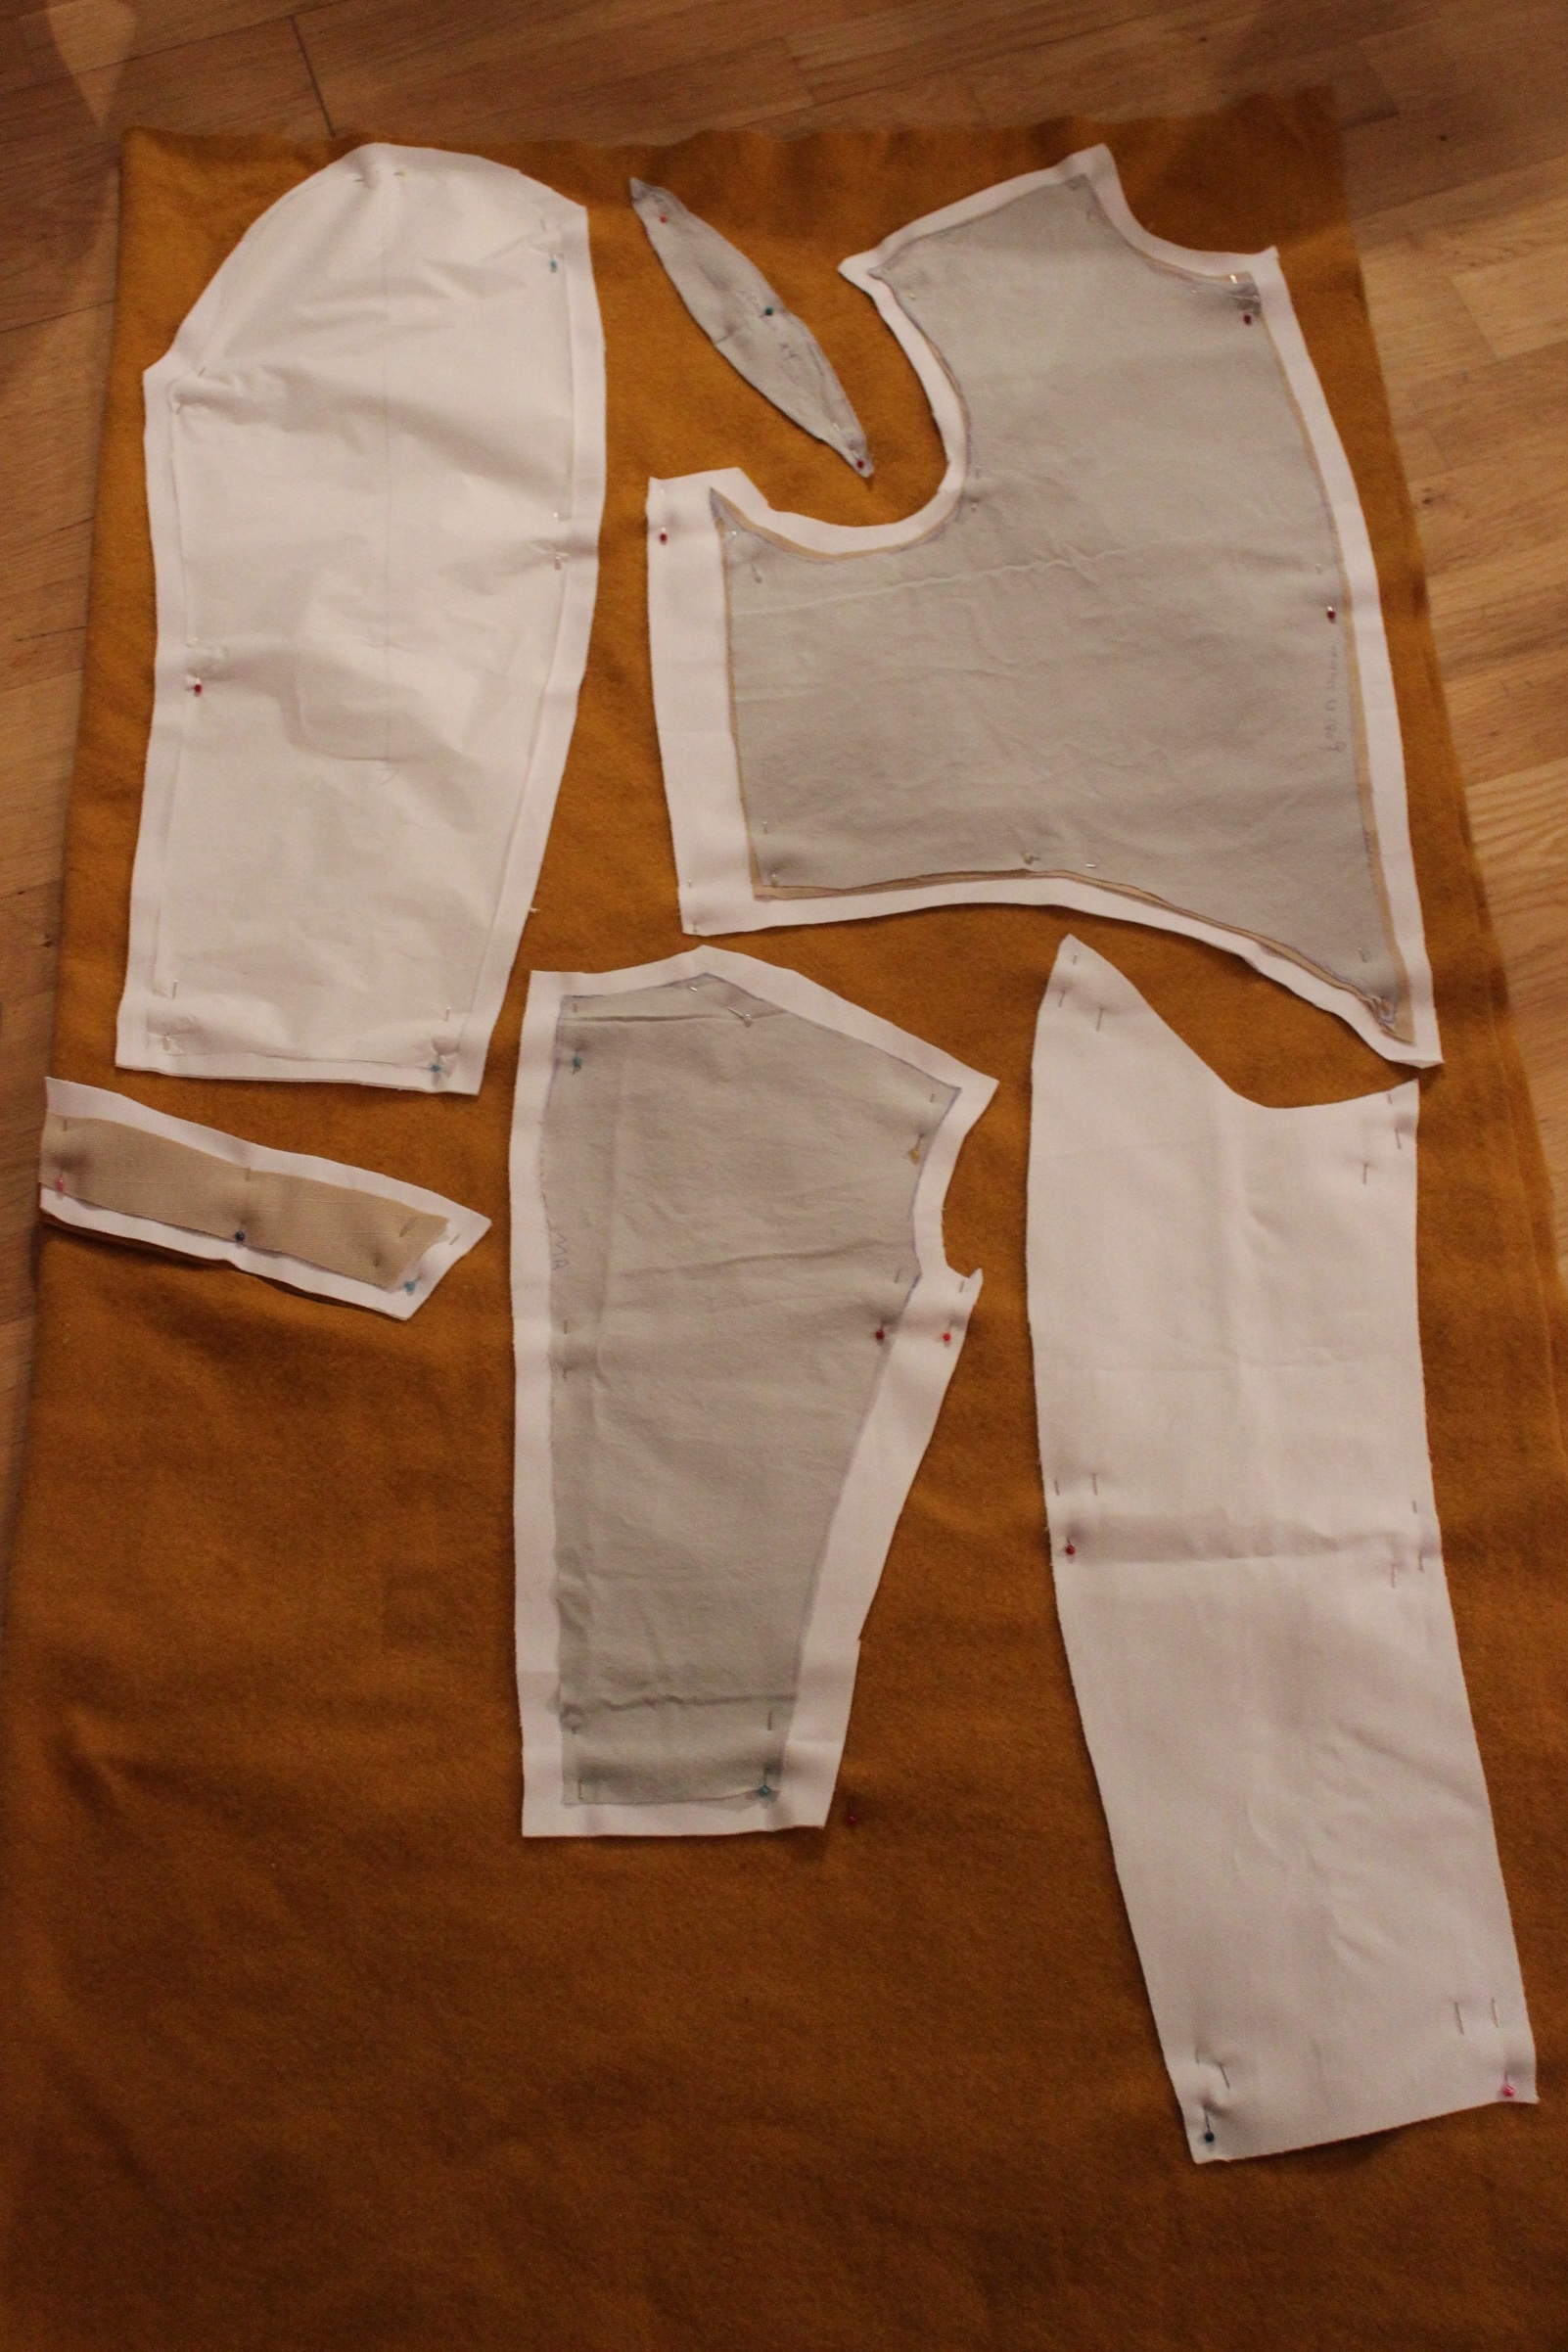
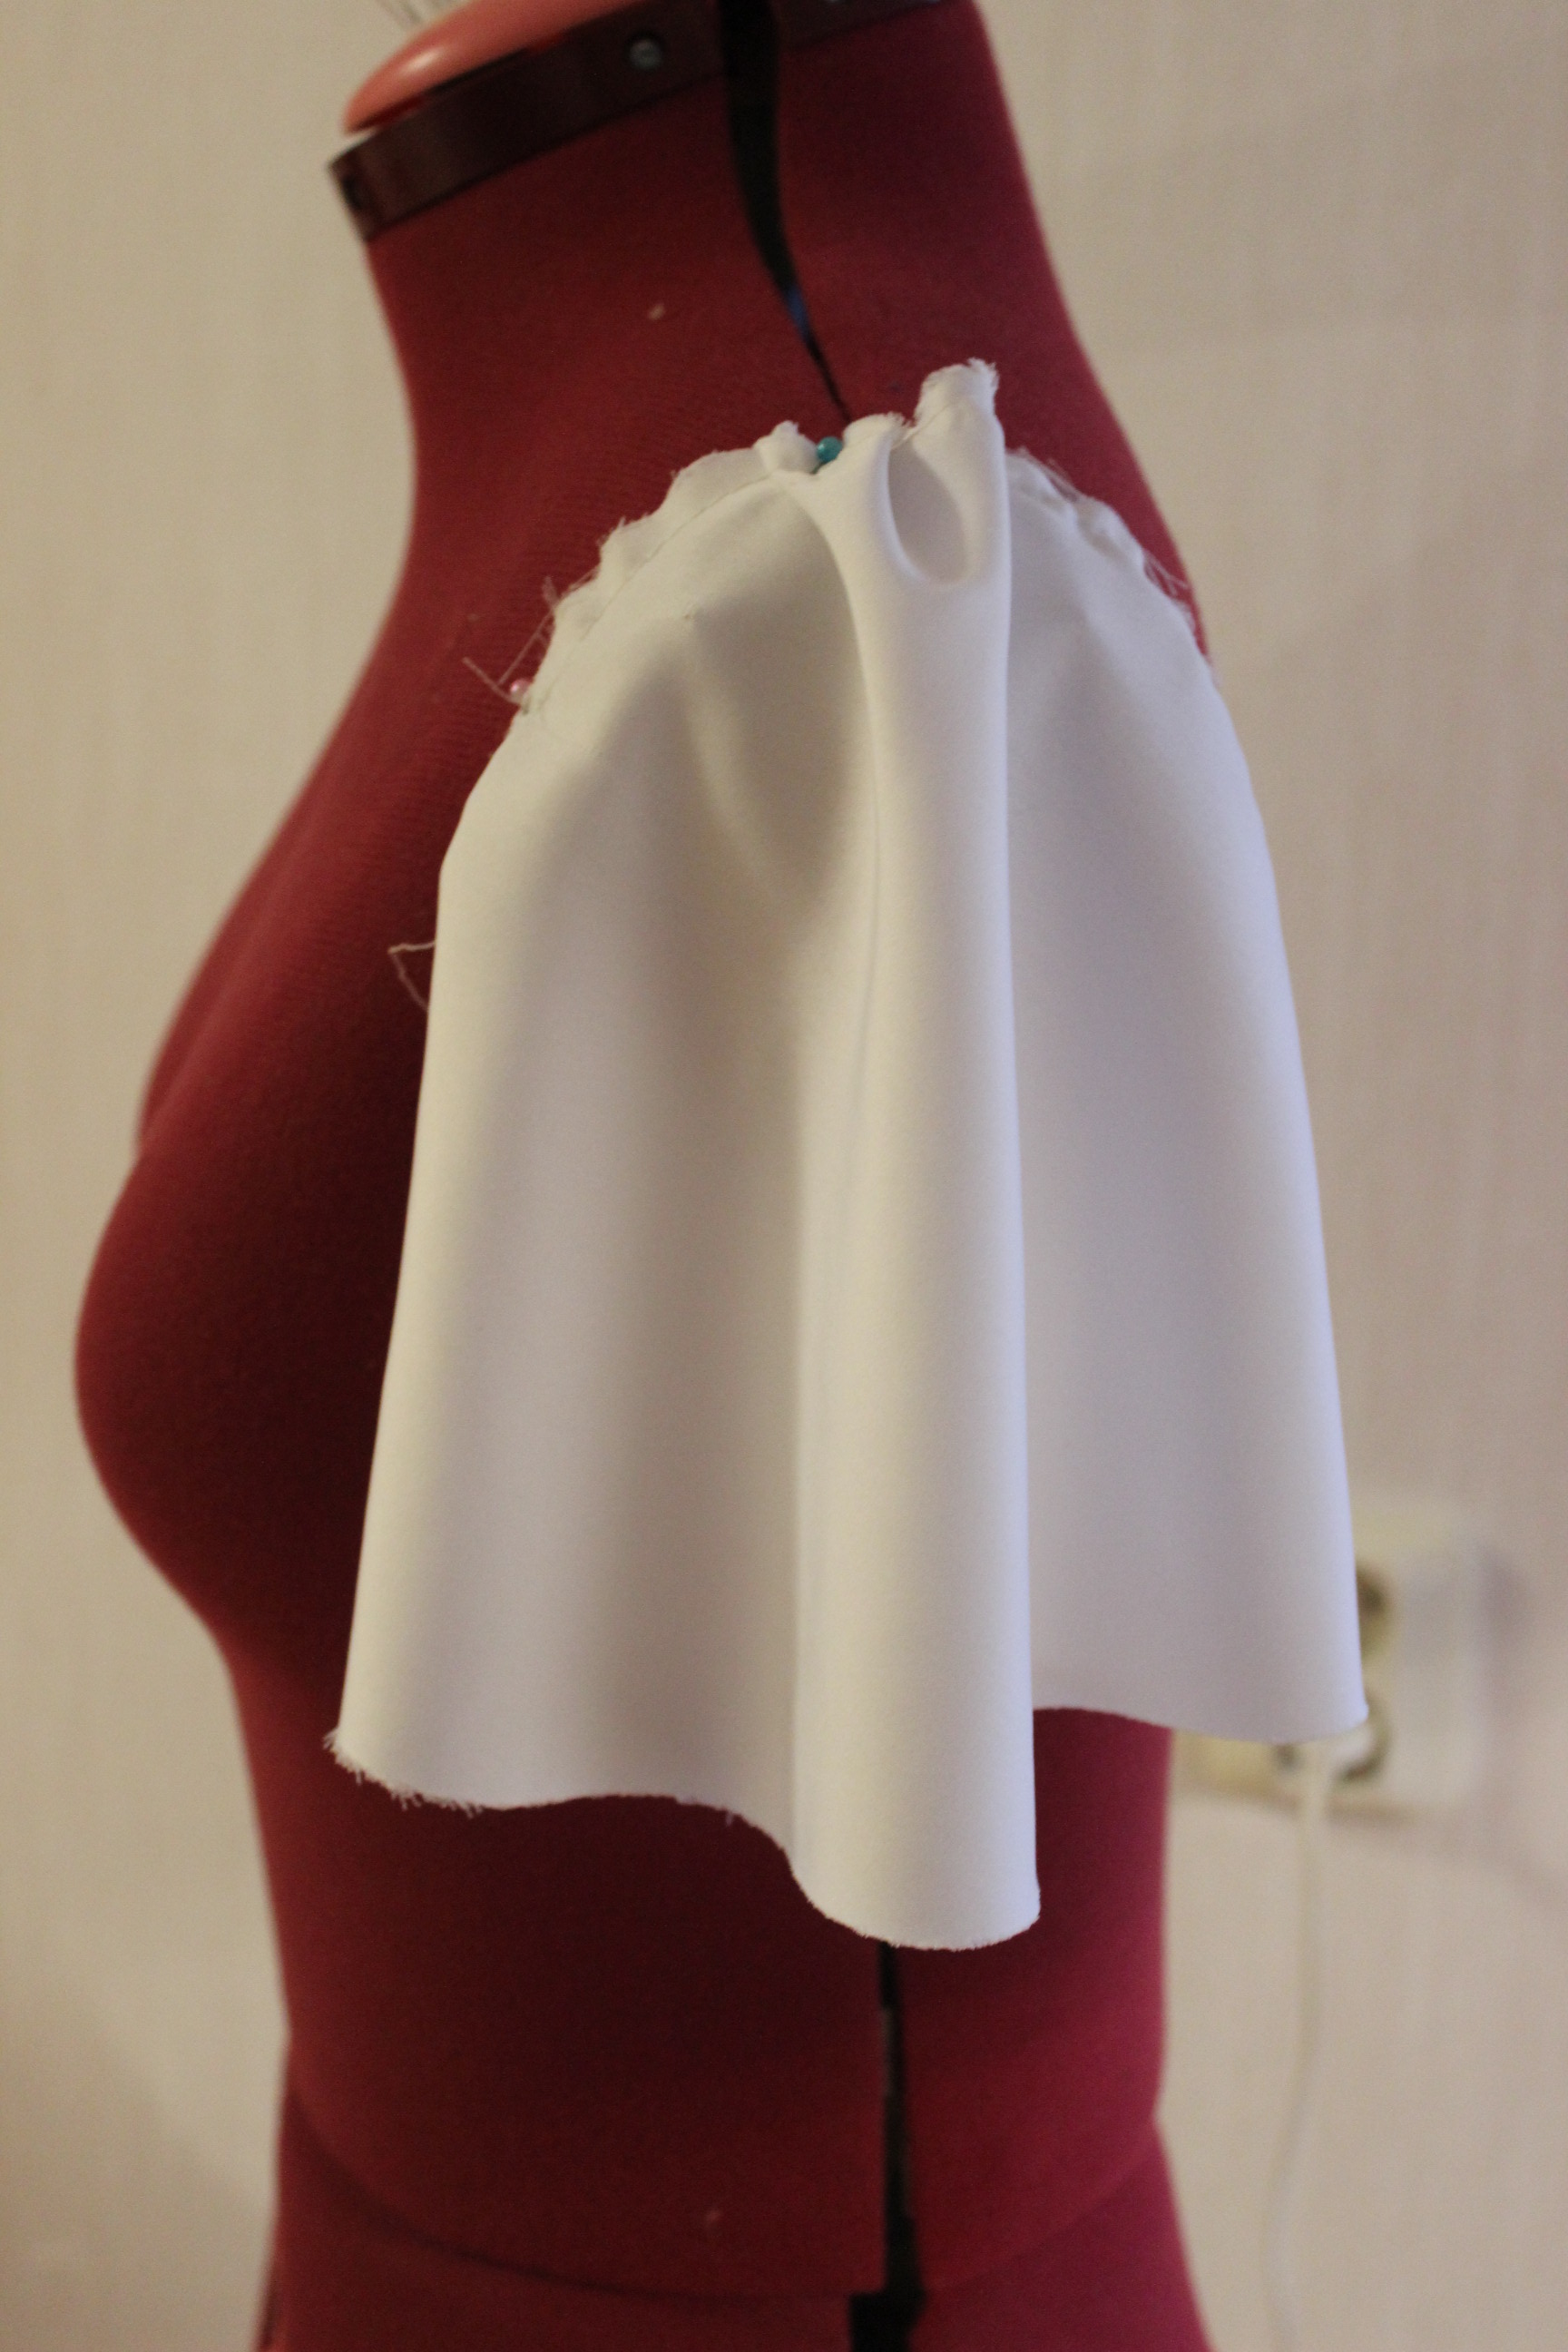
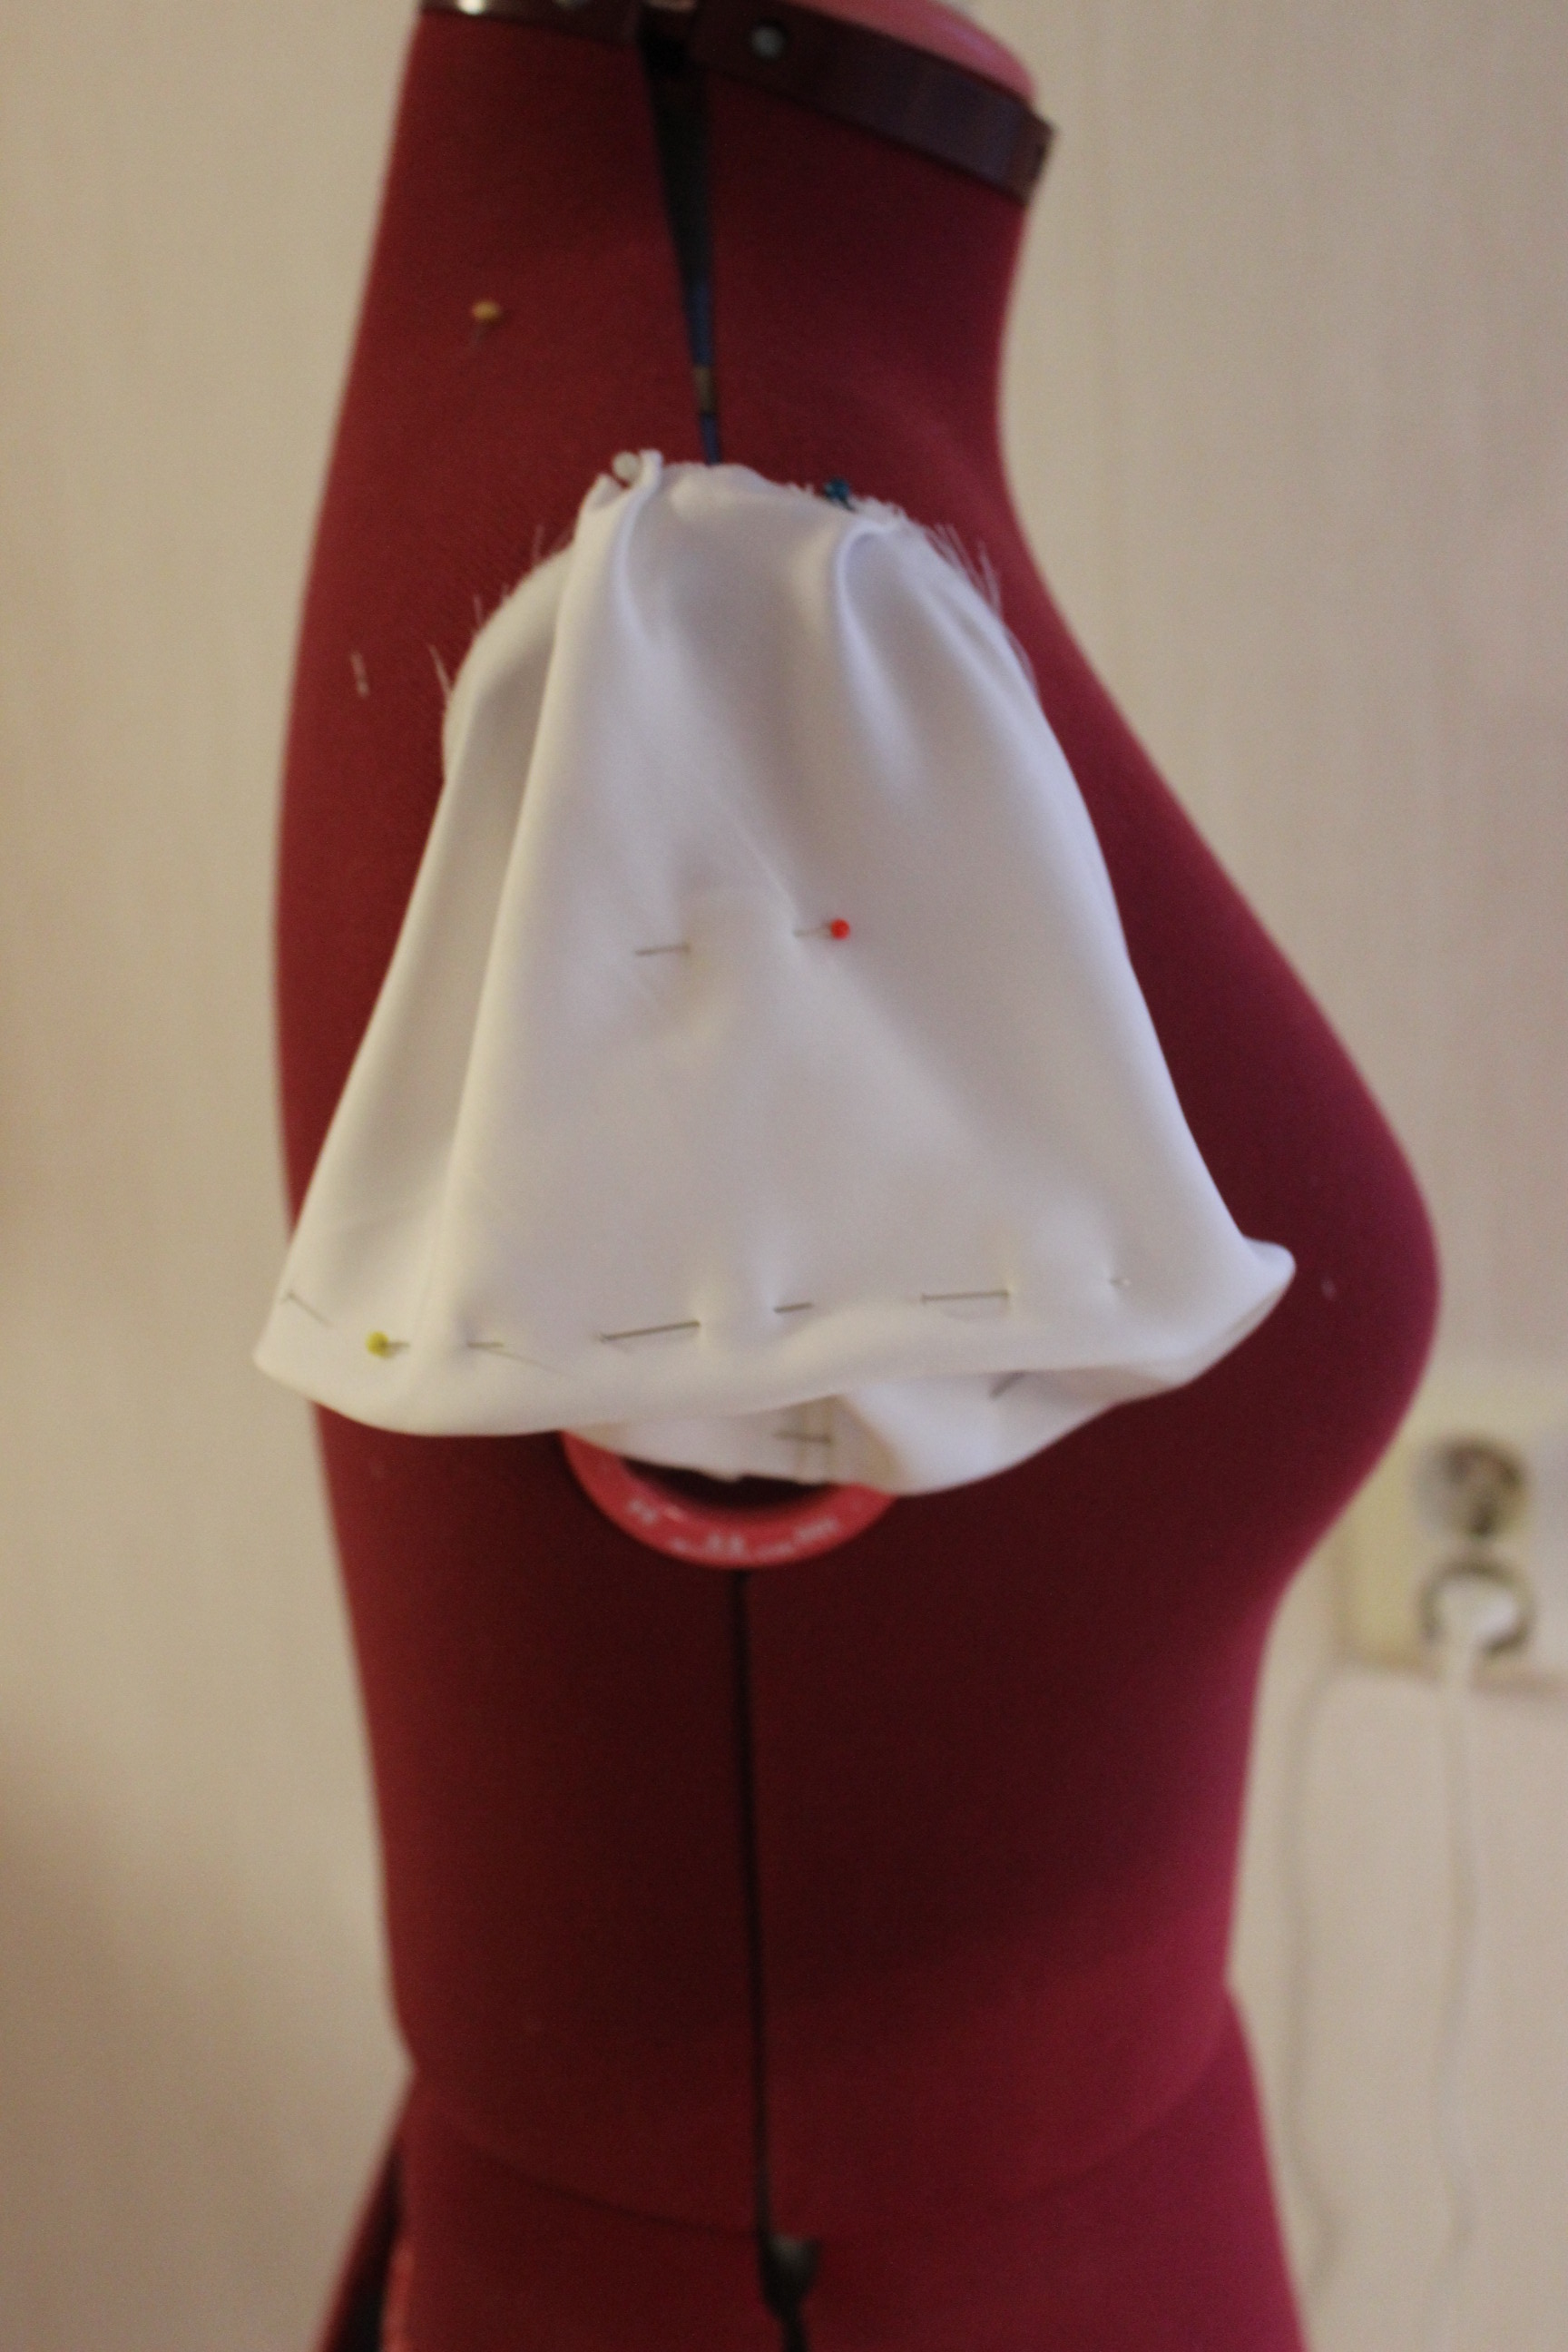
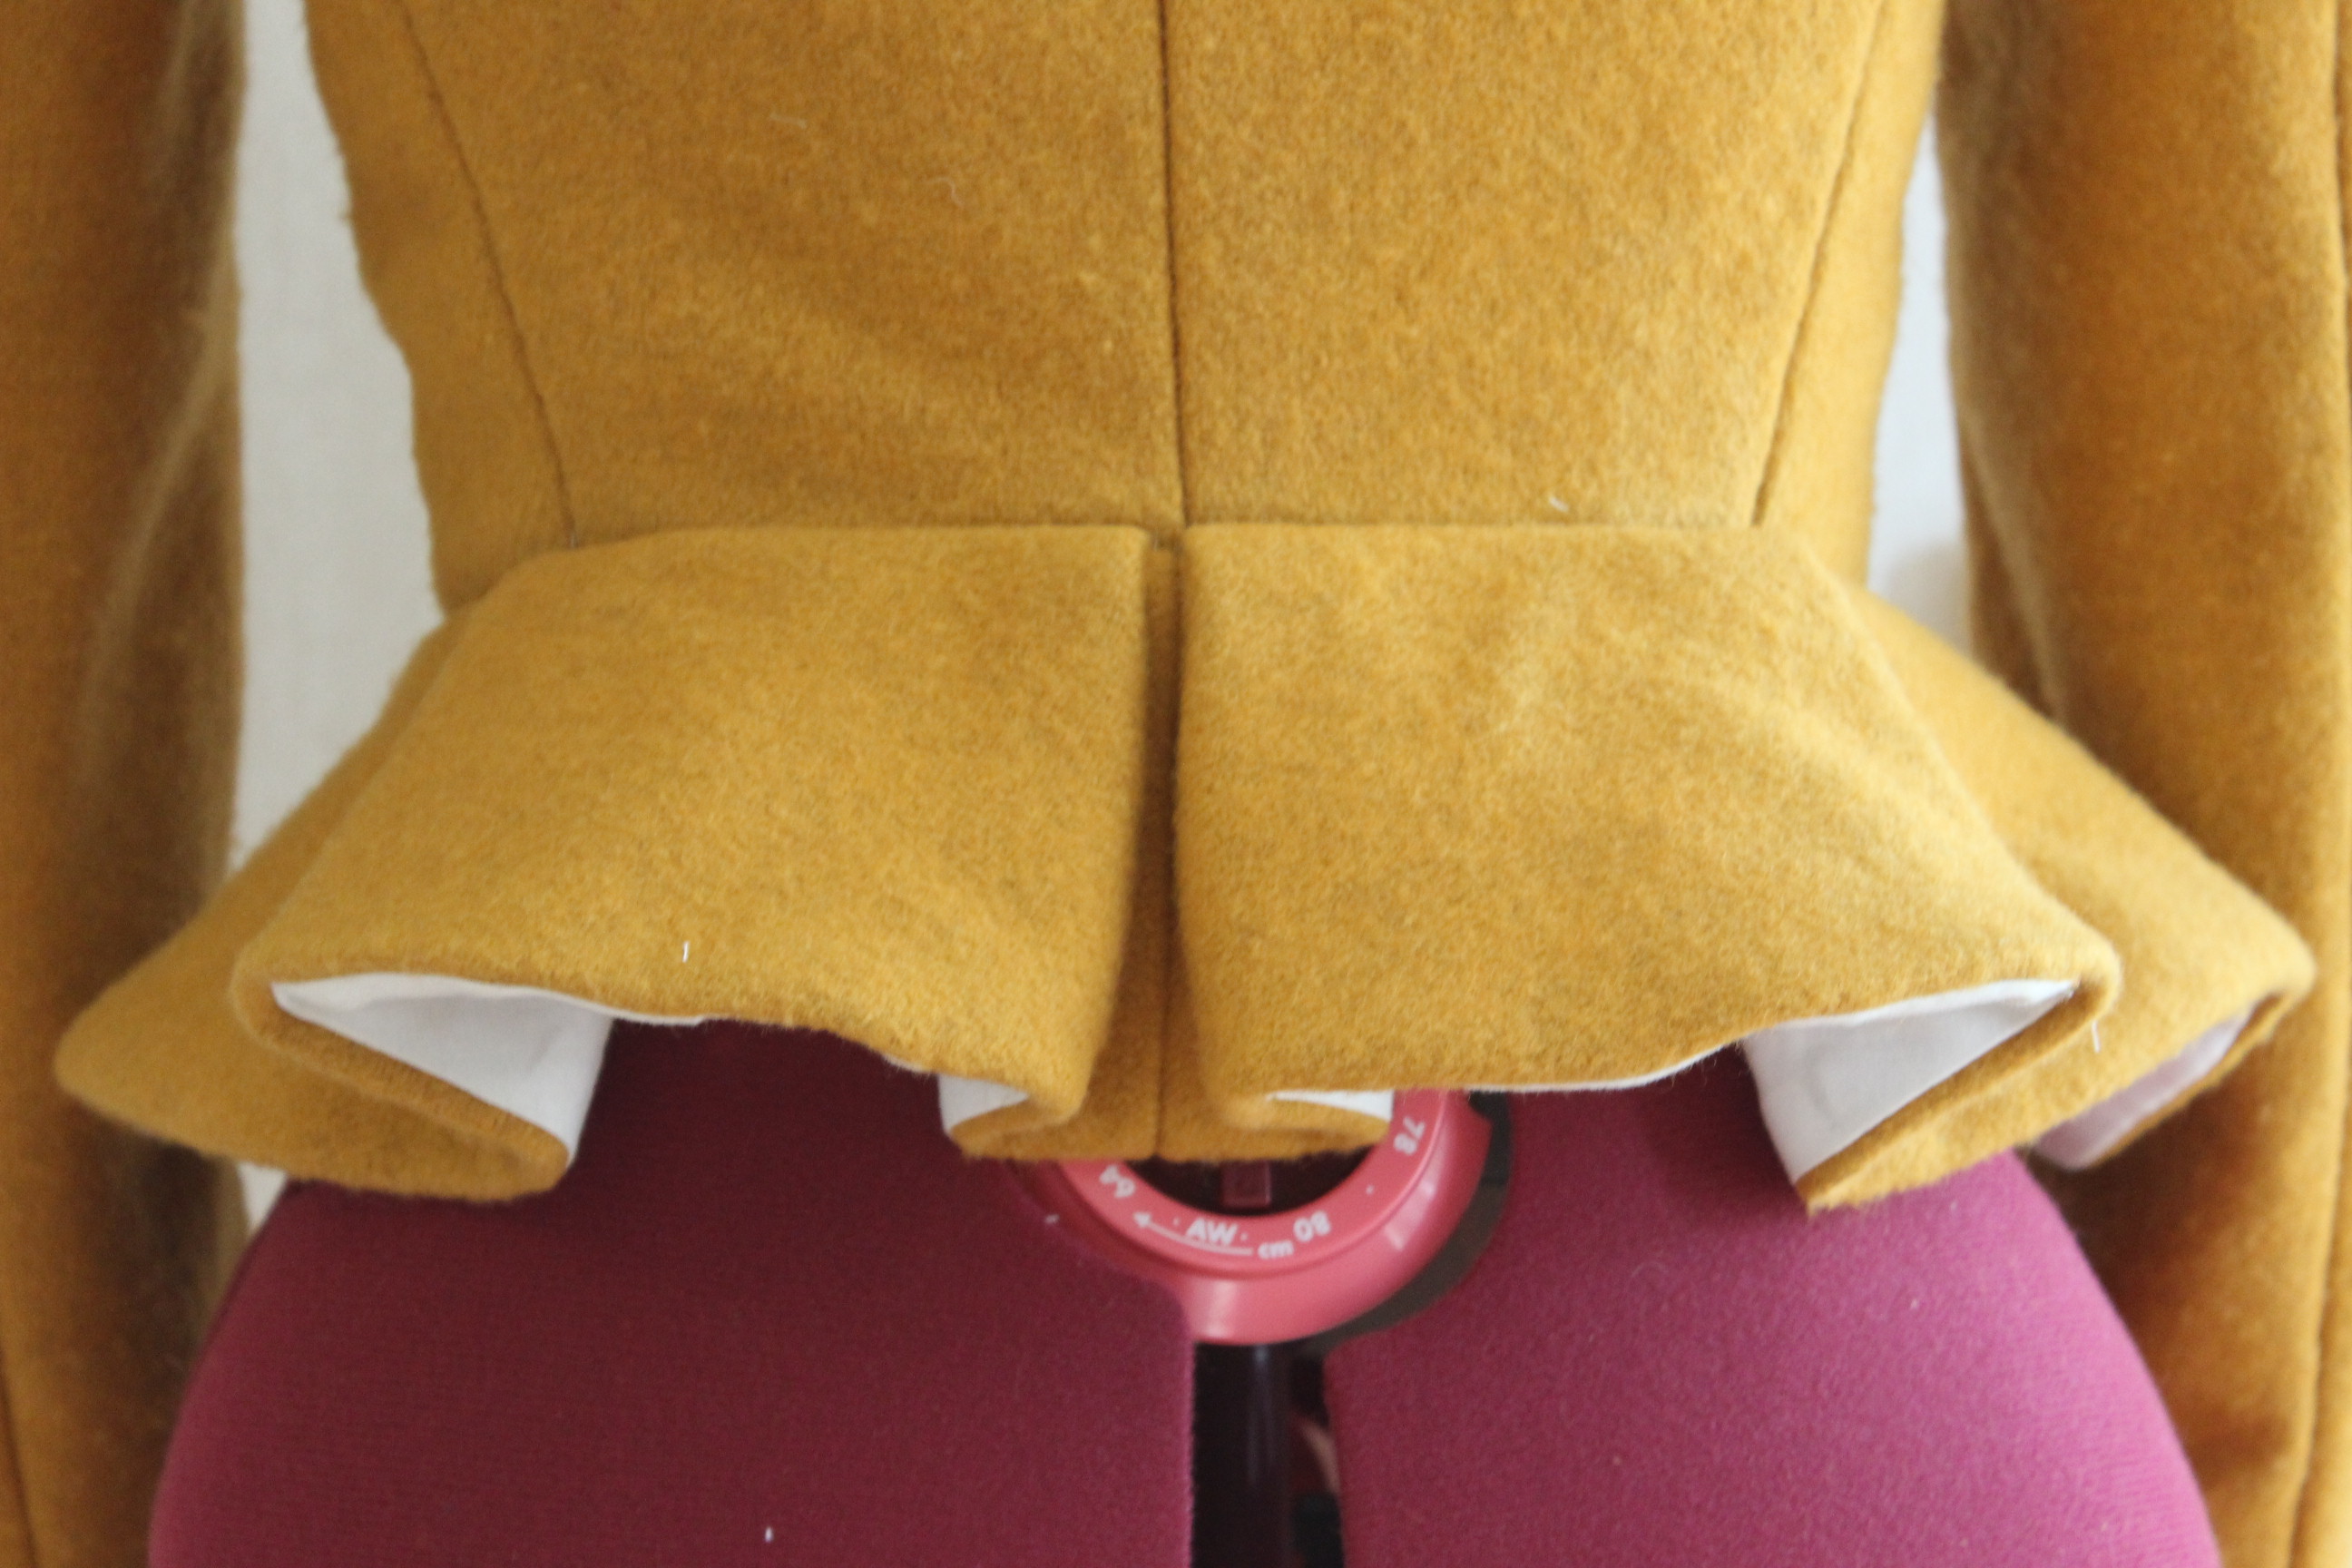
The piece for the peplum was basically a semi circle. 
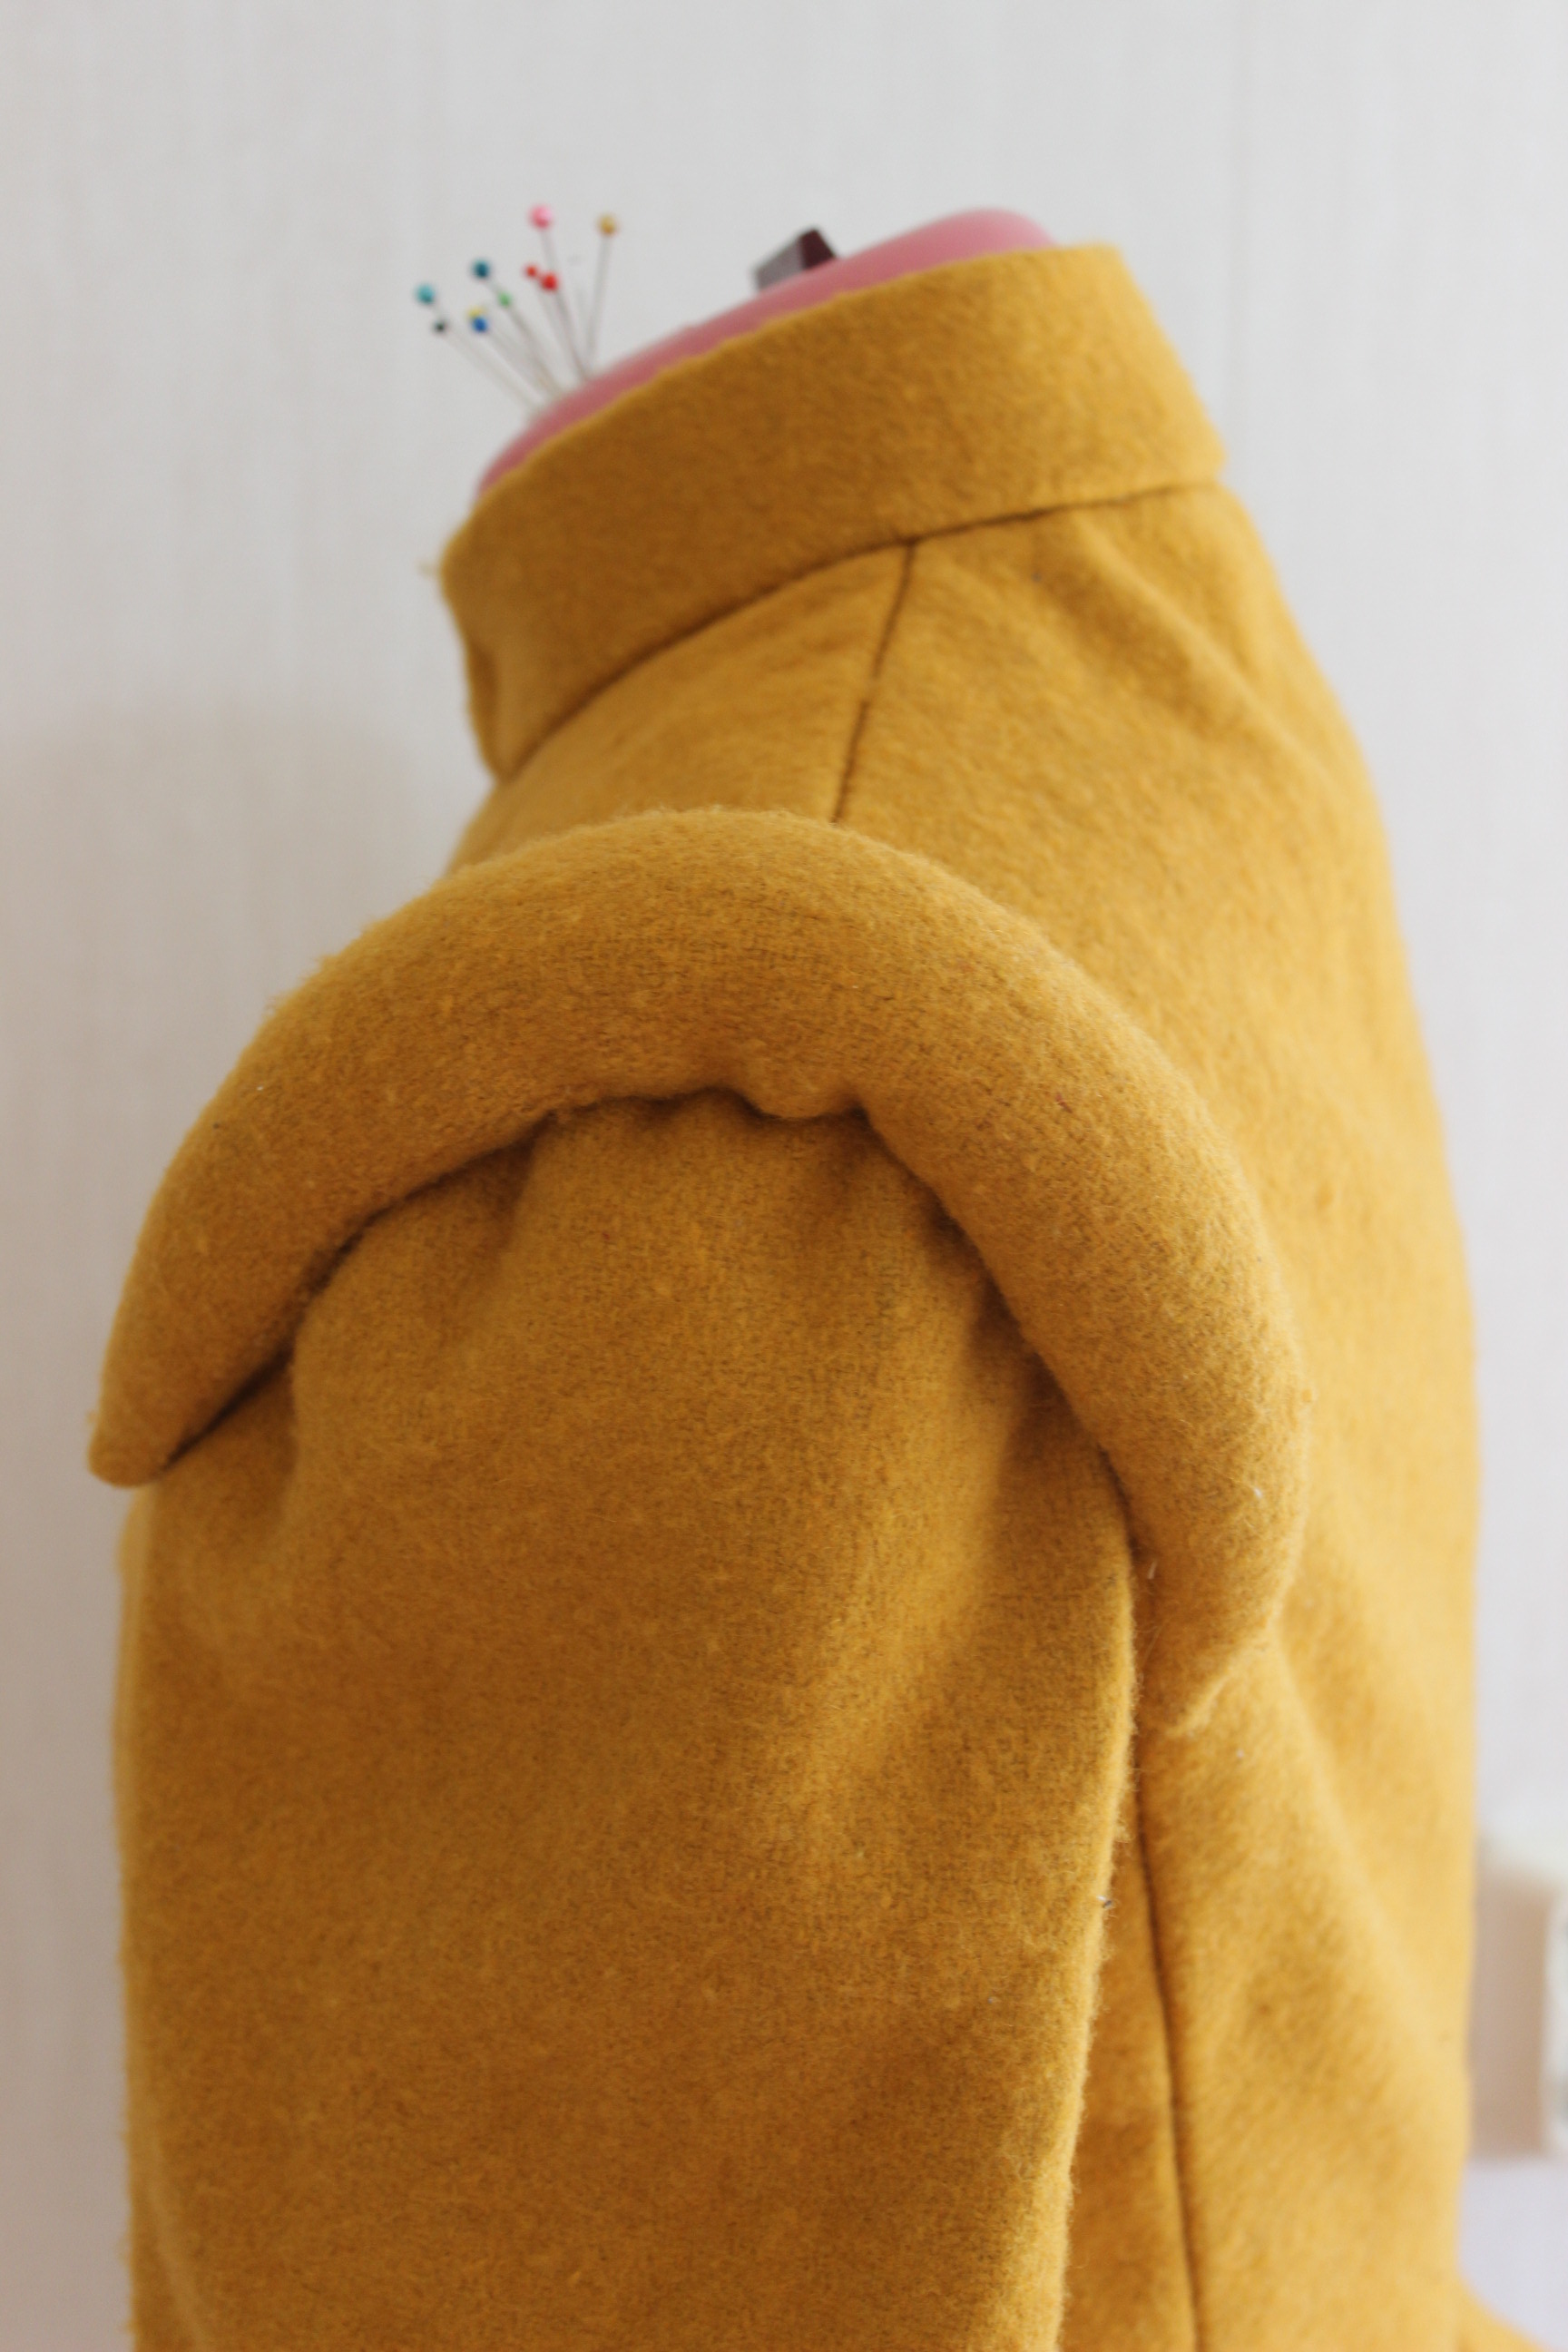
Then I cut and pad stitched wadding to the front pieces.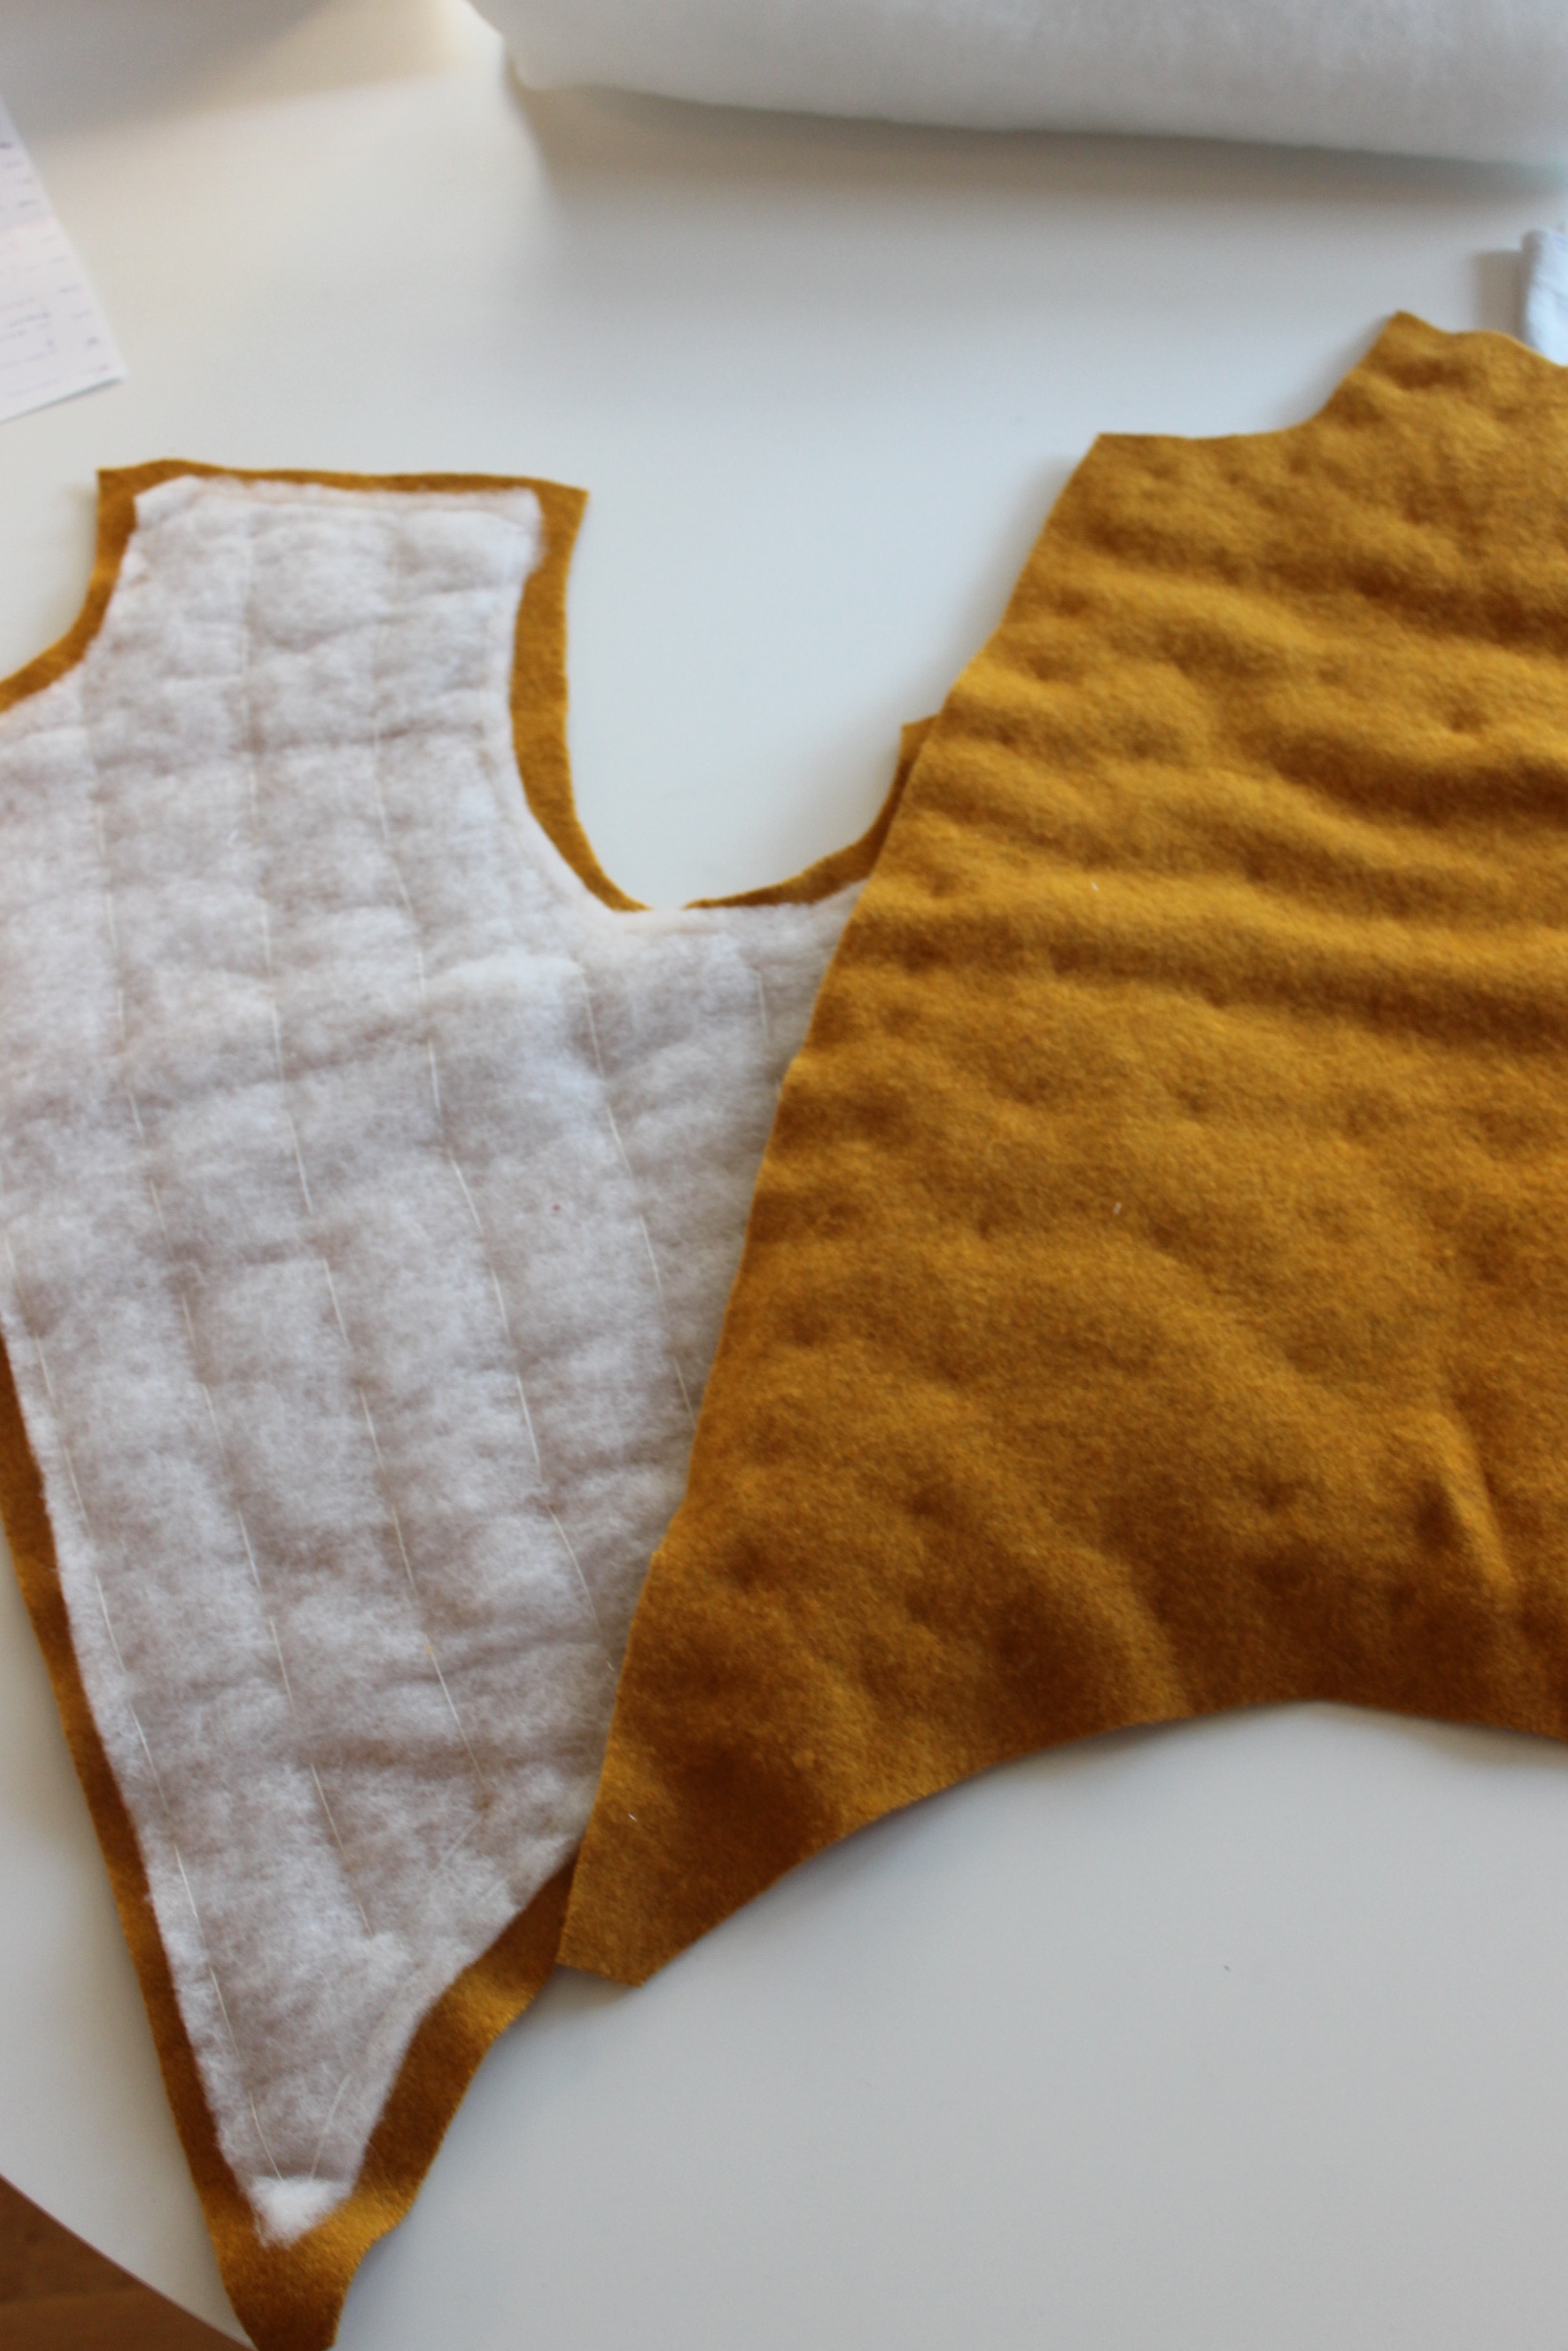 Unfortanly the minimal stitches shows through as small dots on the outside.
 Close-up of the stitches.
I also put the padding in the sleeves, following the instructions from “The Tudor Tailor”. 
Then I started on the interlining for the bodice front. Using white cotton twill, and heavy linen to give it shape.
And did the same for the collar.
I stitched the shoulder rolls, and stuffed them with leftover padding.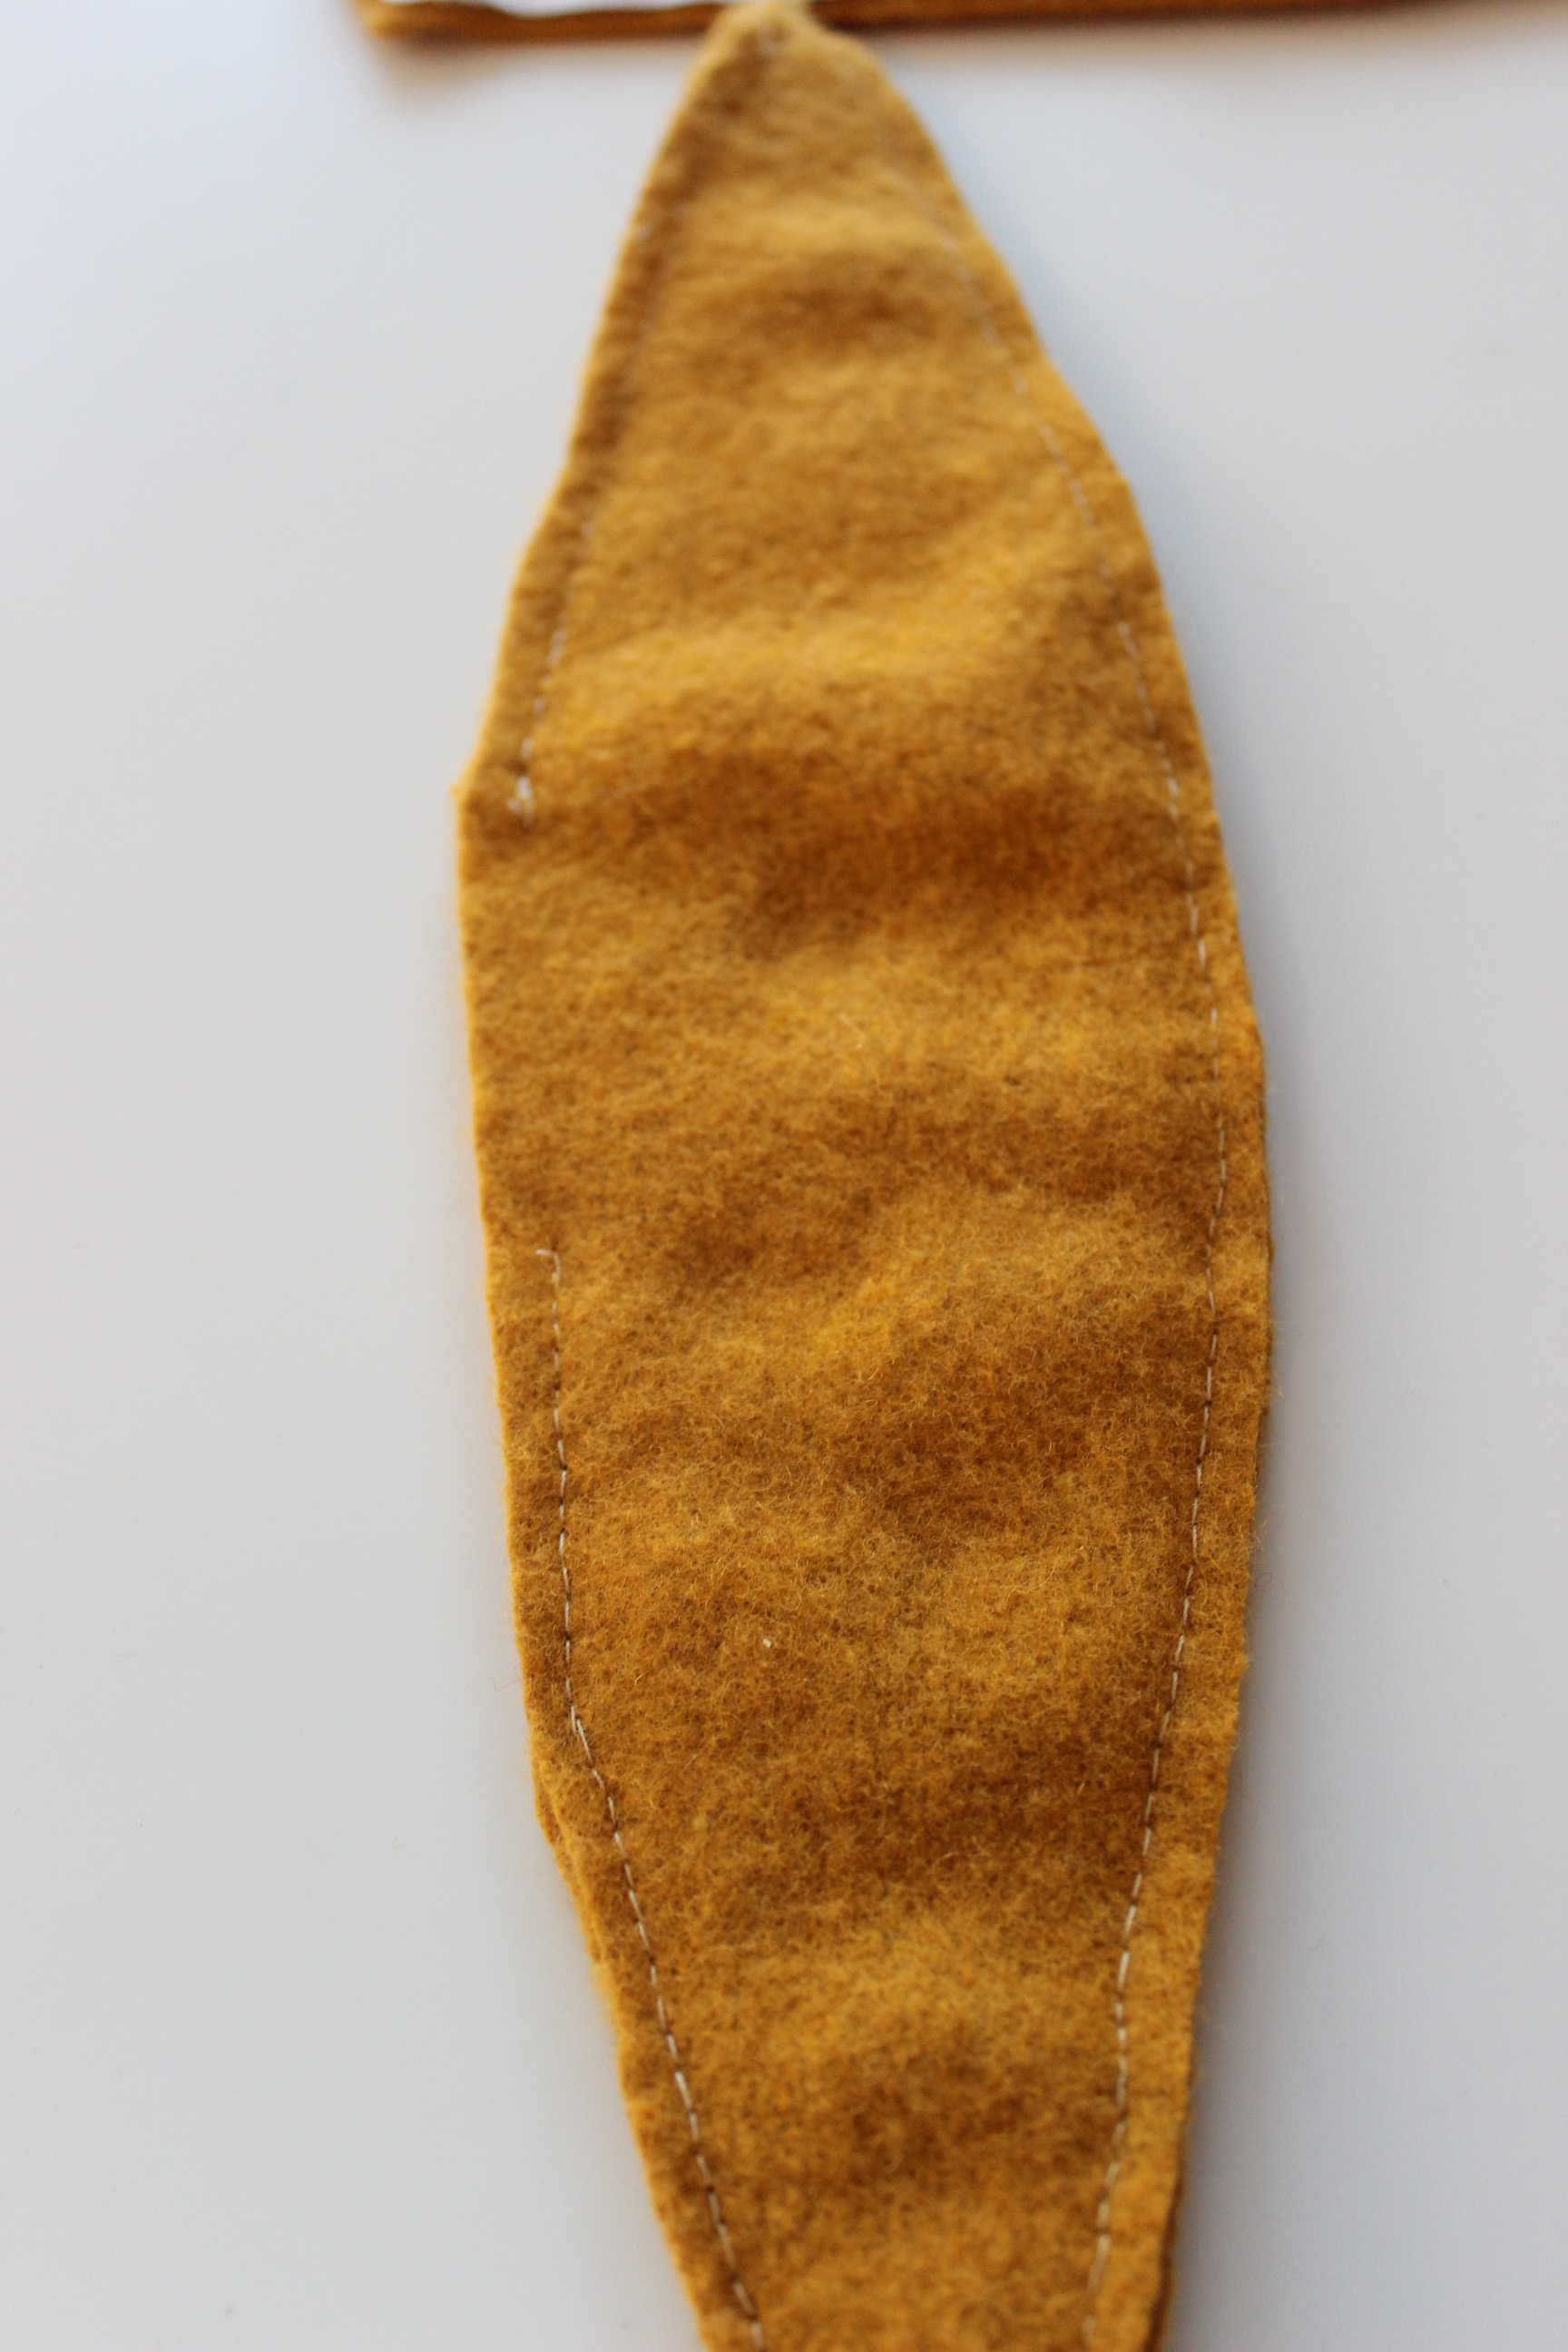
Then I basted all the pieces together, and put it on my dress form to get an idea of how it would look. Pretty nice, right.
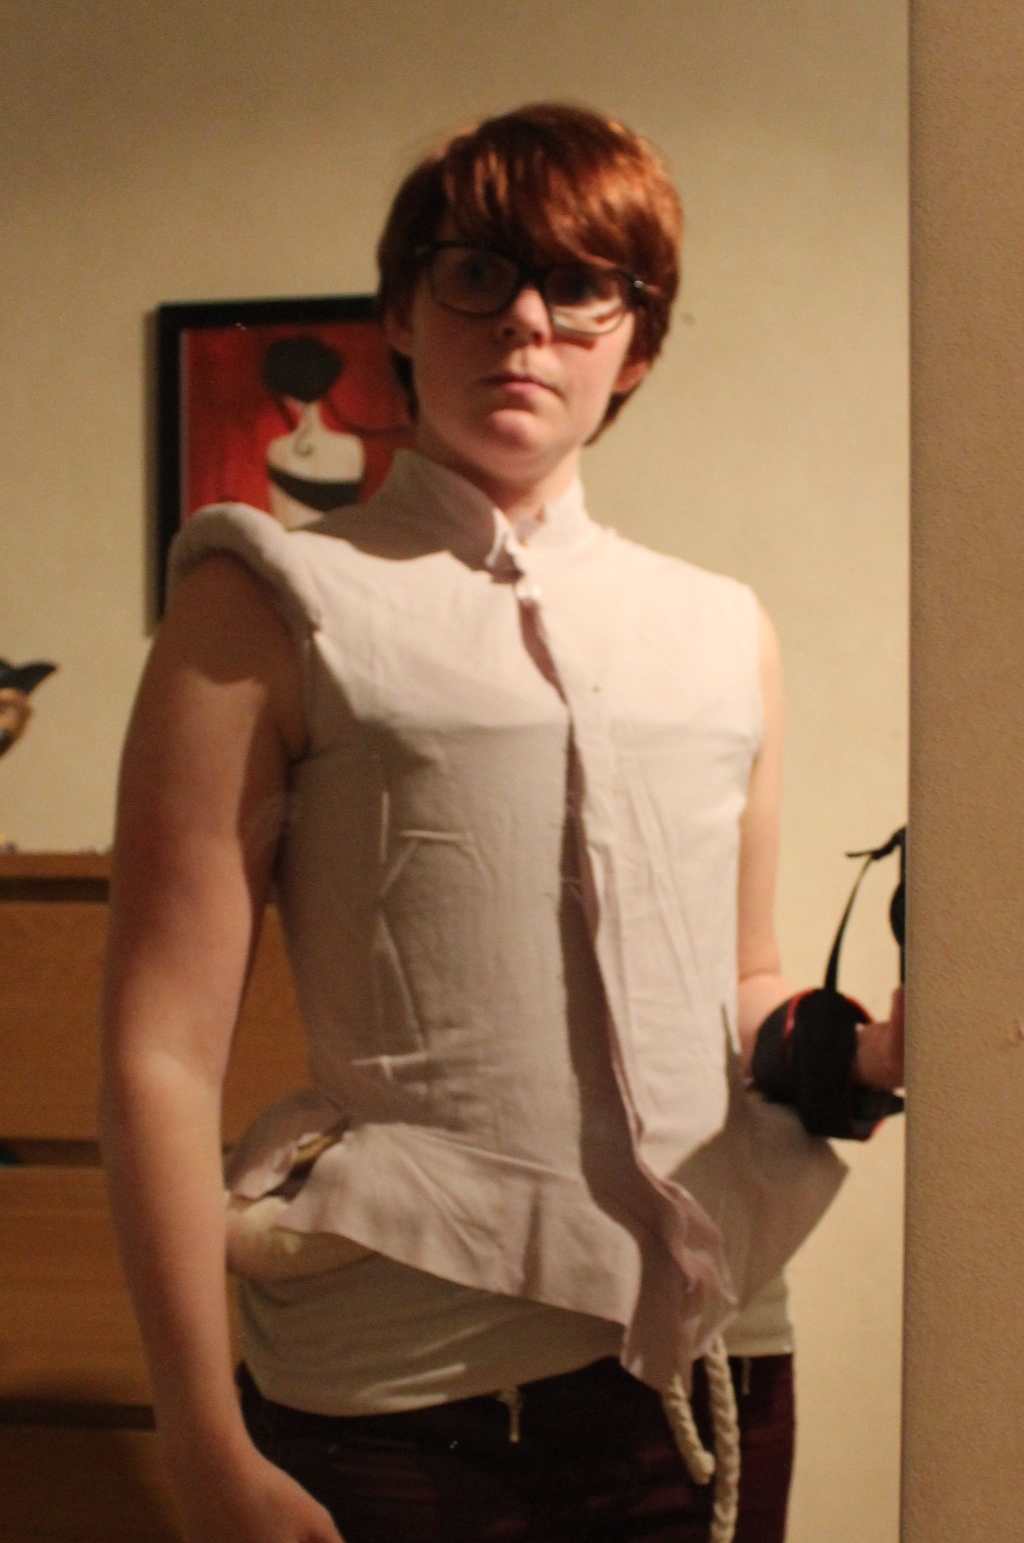
Time to try it on.

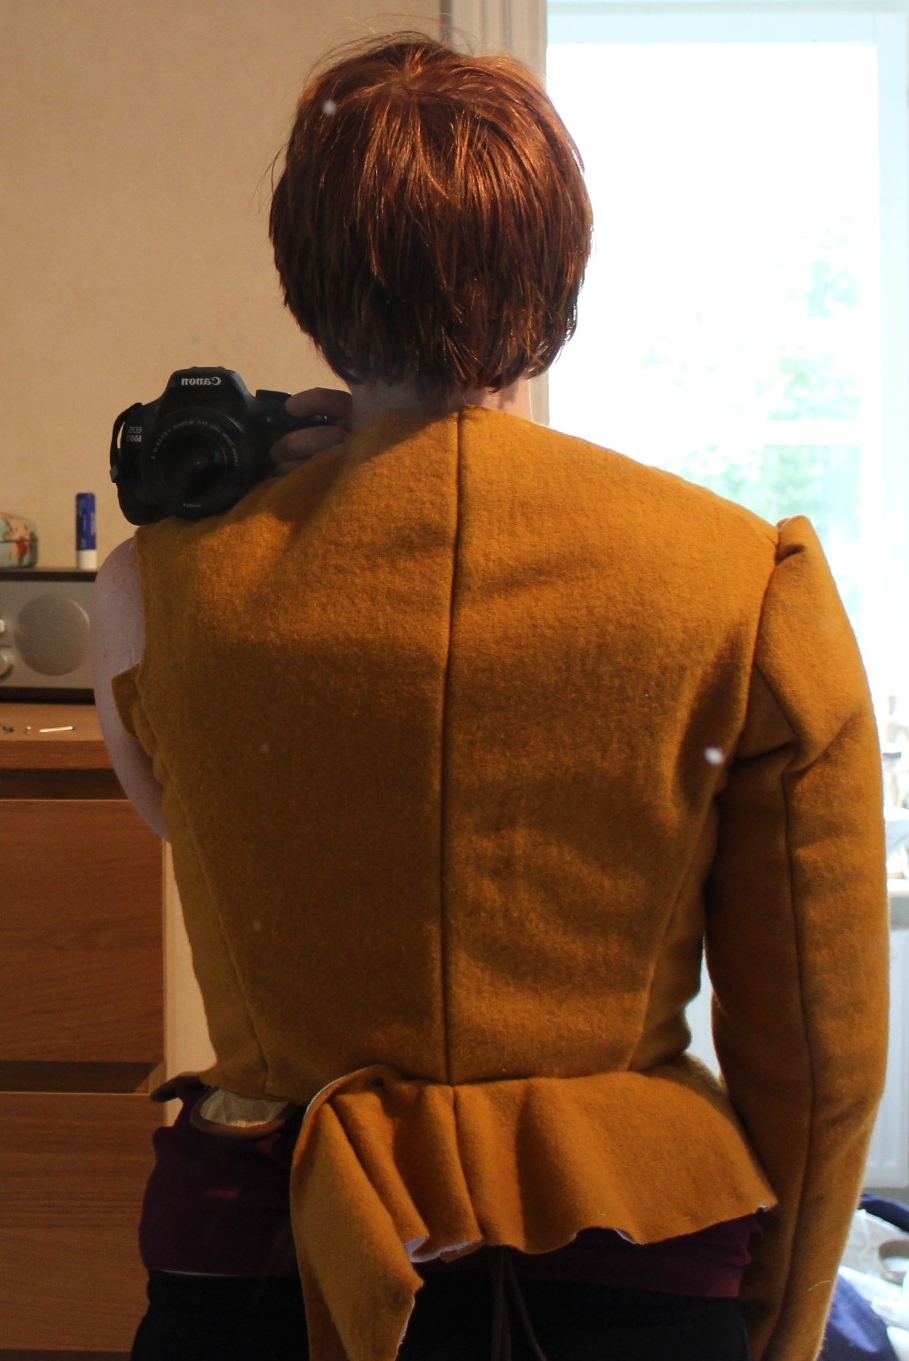
I didn’t like it at all.
Even though it fit pretty good, I felt really boxy and didn’t get the tapered look I was after.
So I decided to get rid of the padding.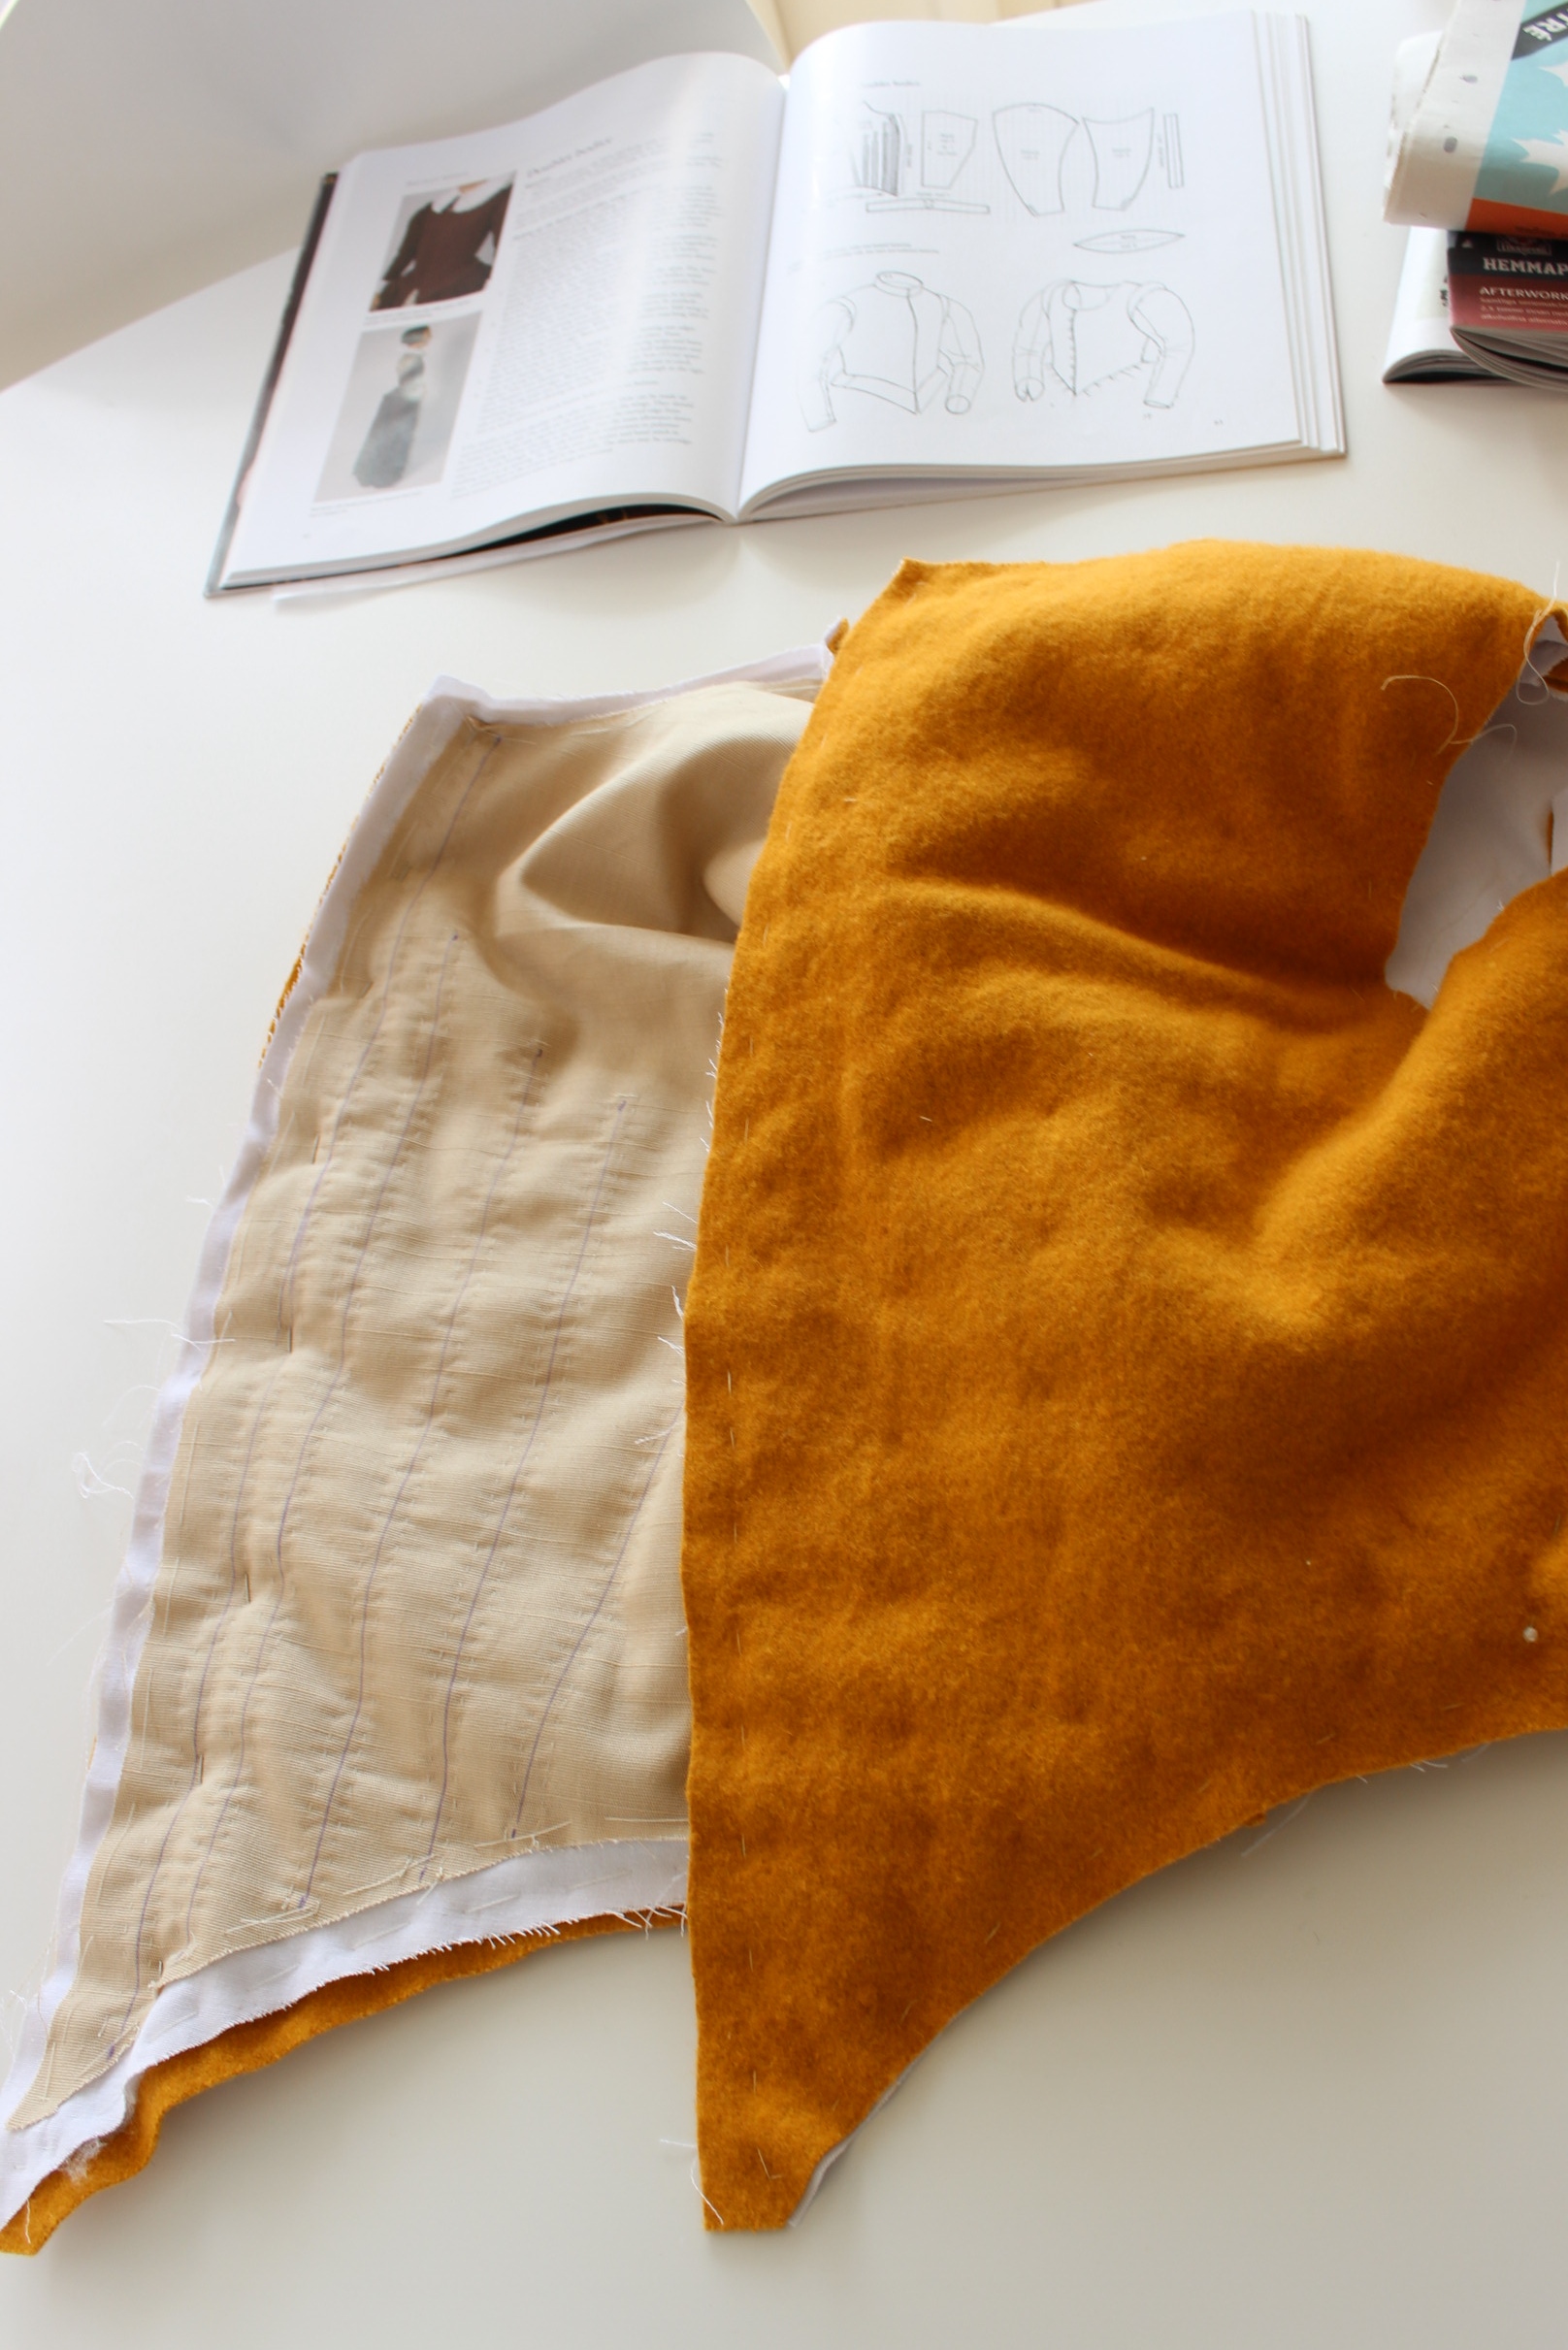 That meant taking the interlining of and unpicking all the pad-stitching on both bodice and sleeves. I also needed to redo the boning chanels in the interlining.
After that was done everything went pretty smooth.
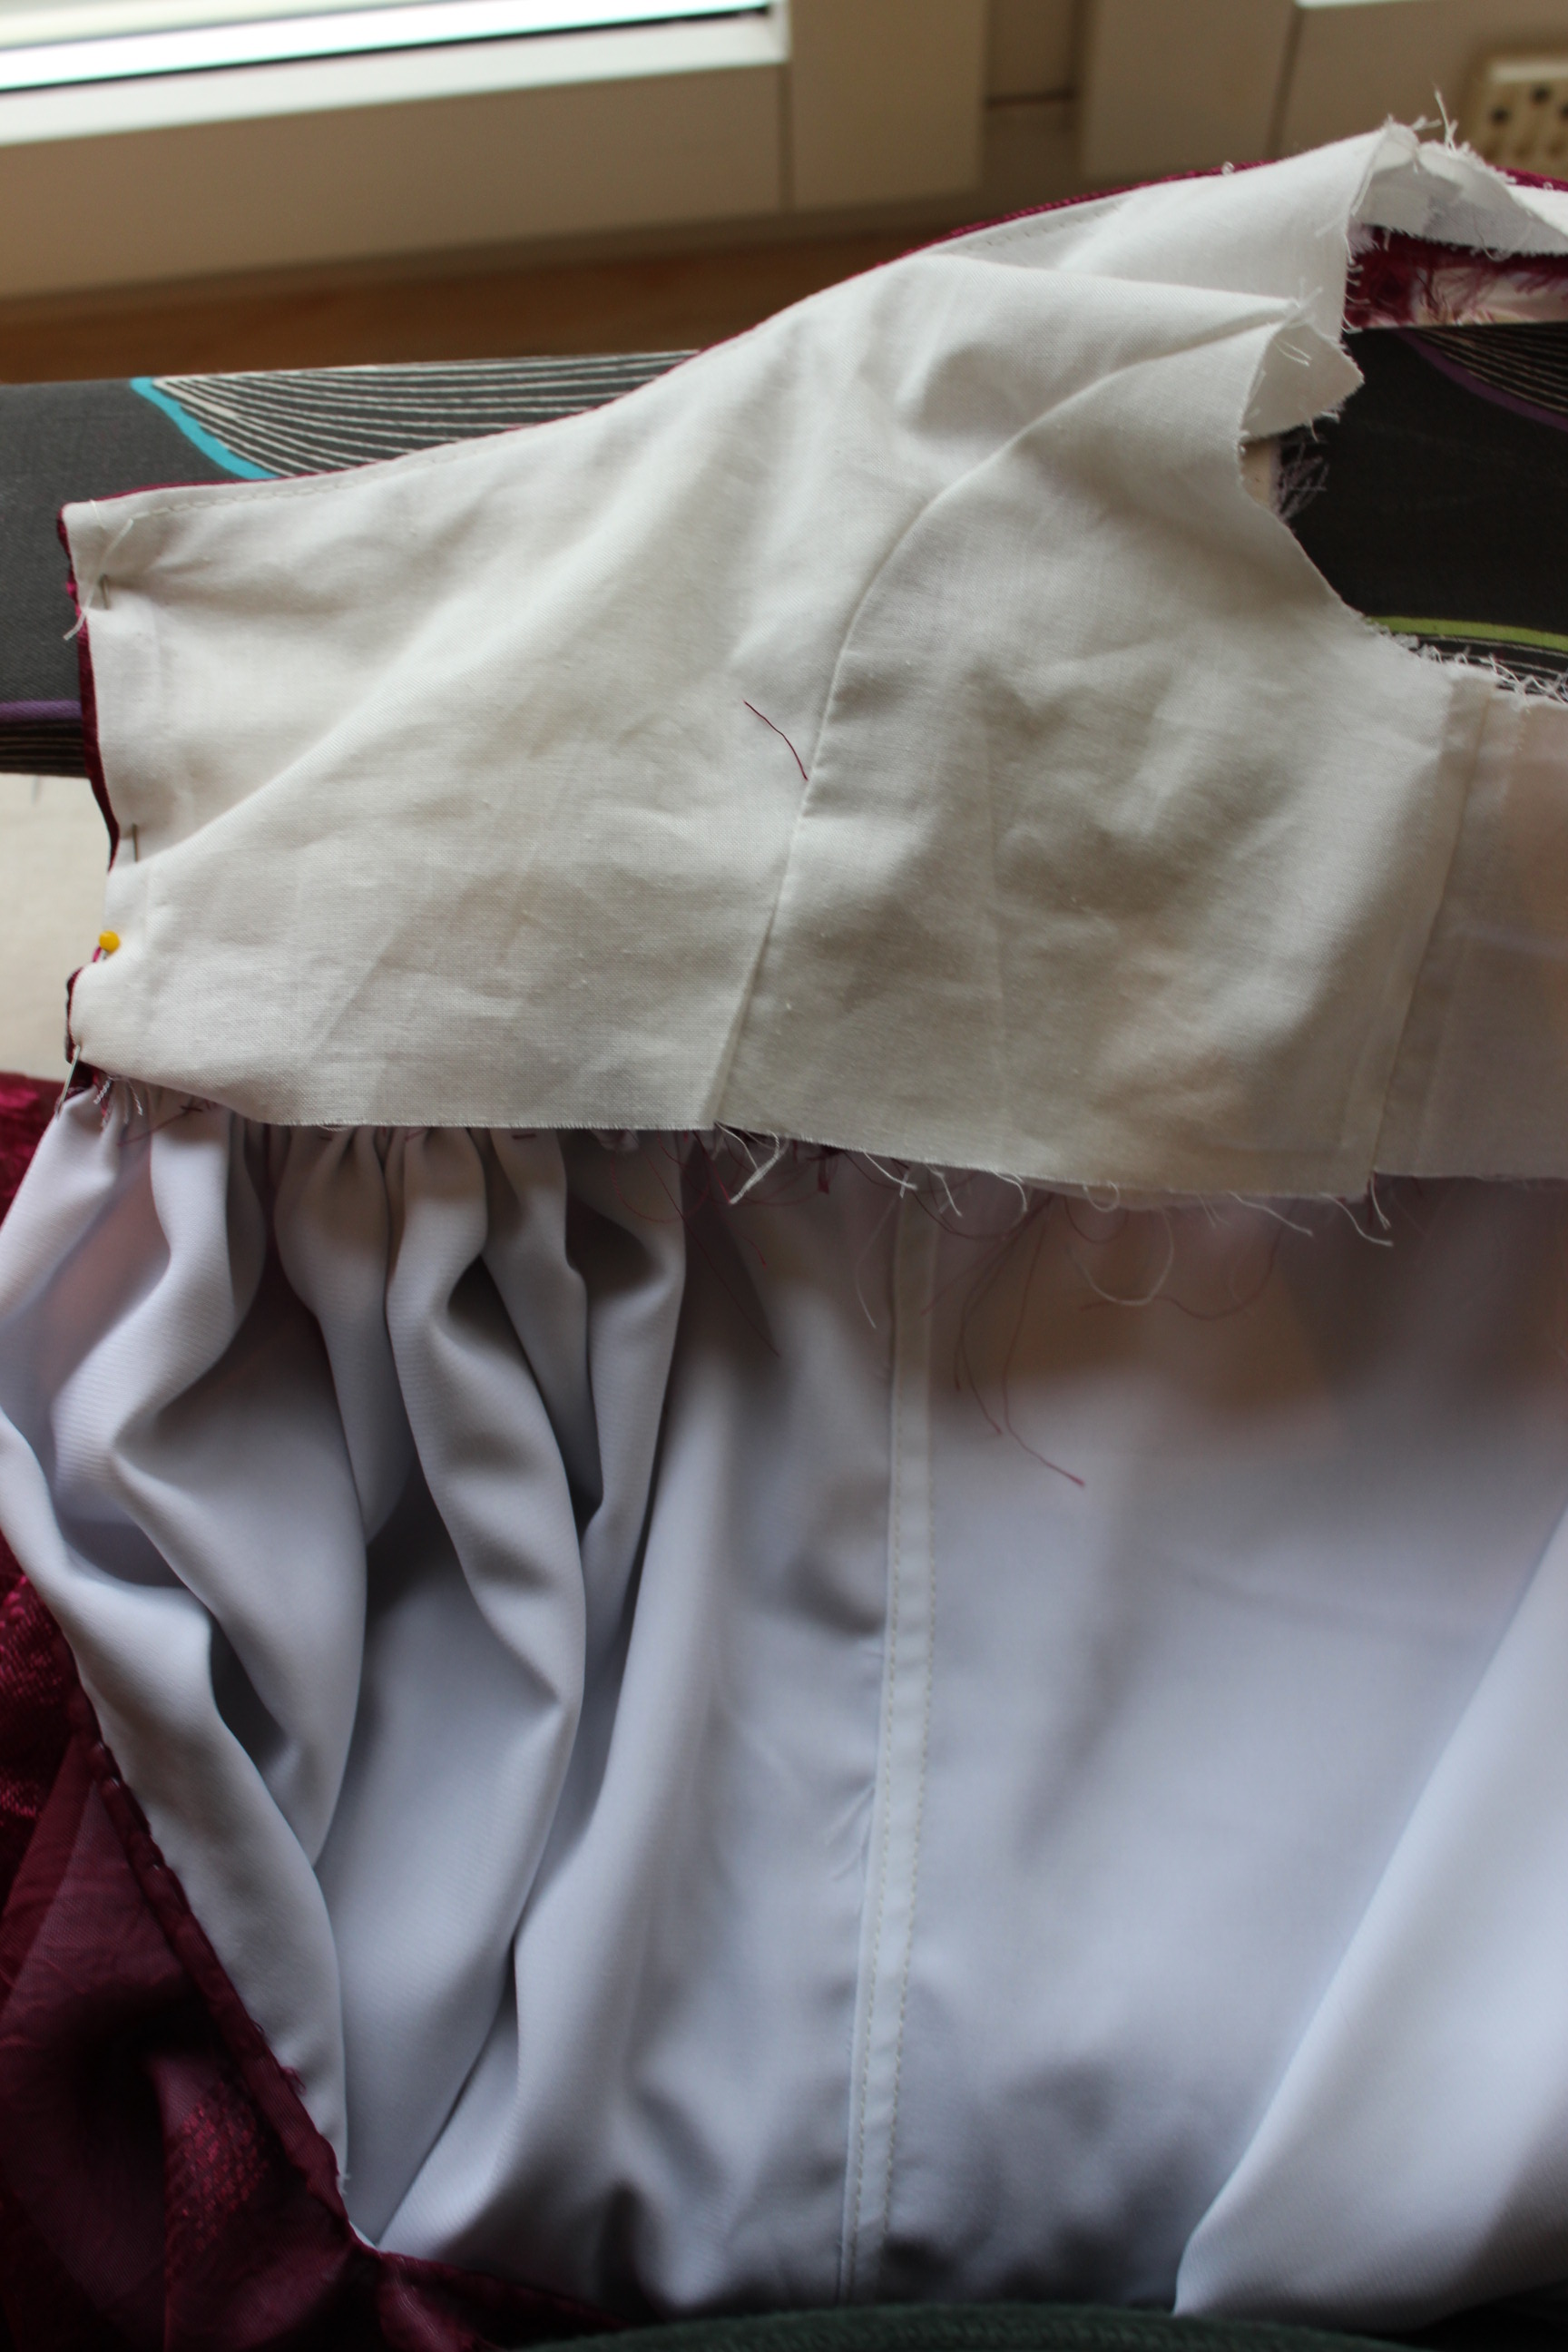
I stitched the bodice together, added the collar, the boning, put the sleeves in and attached the lining.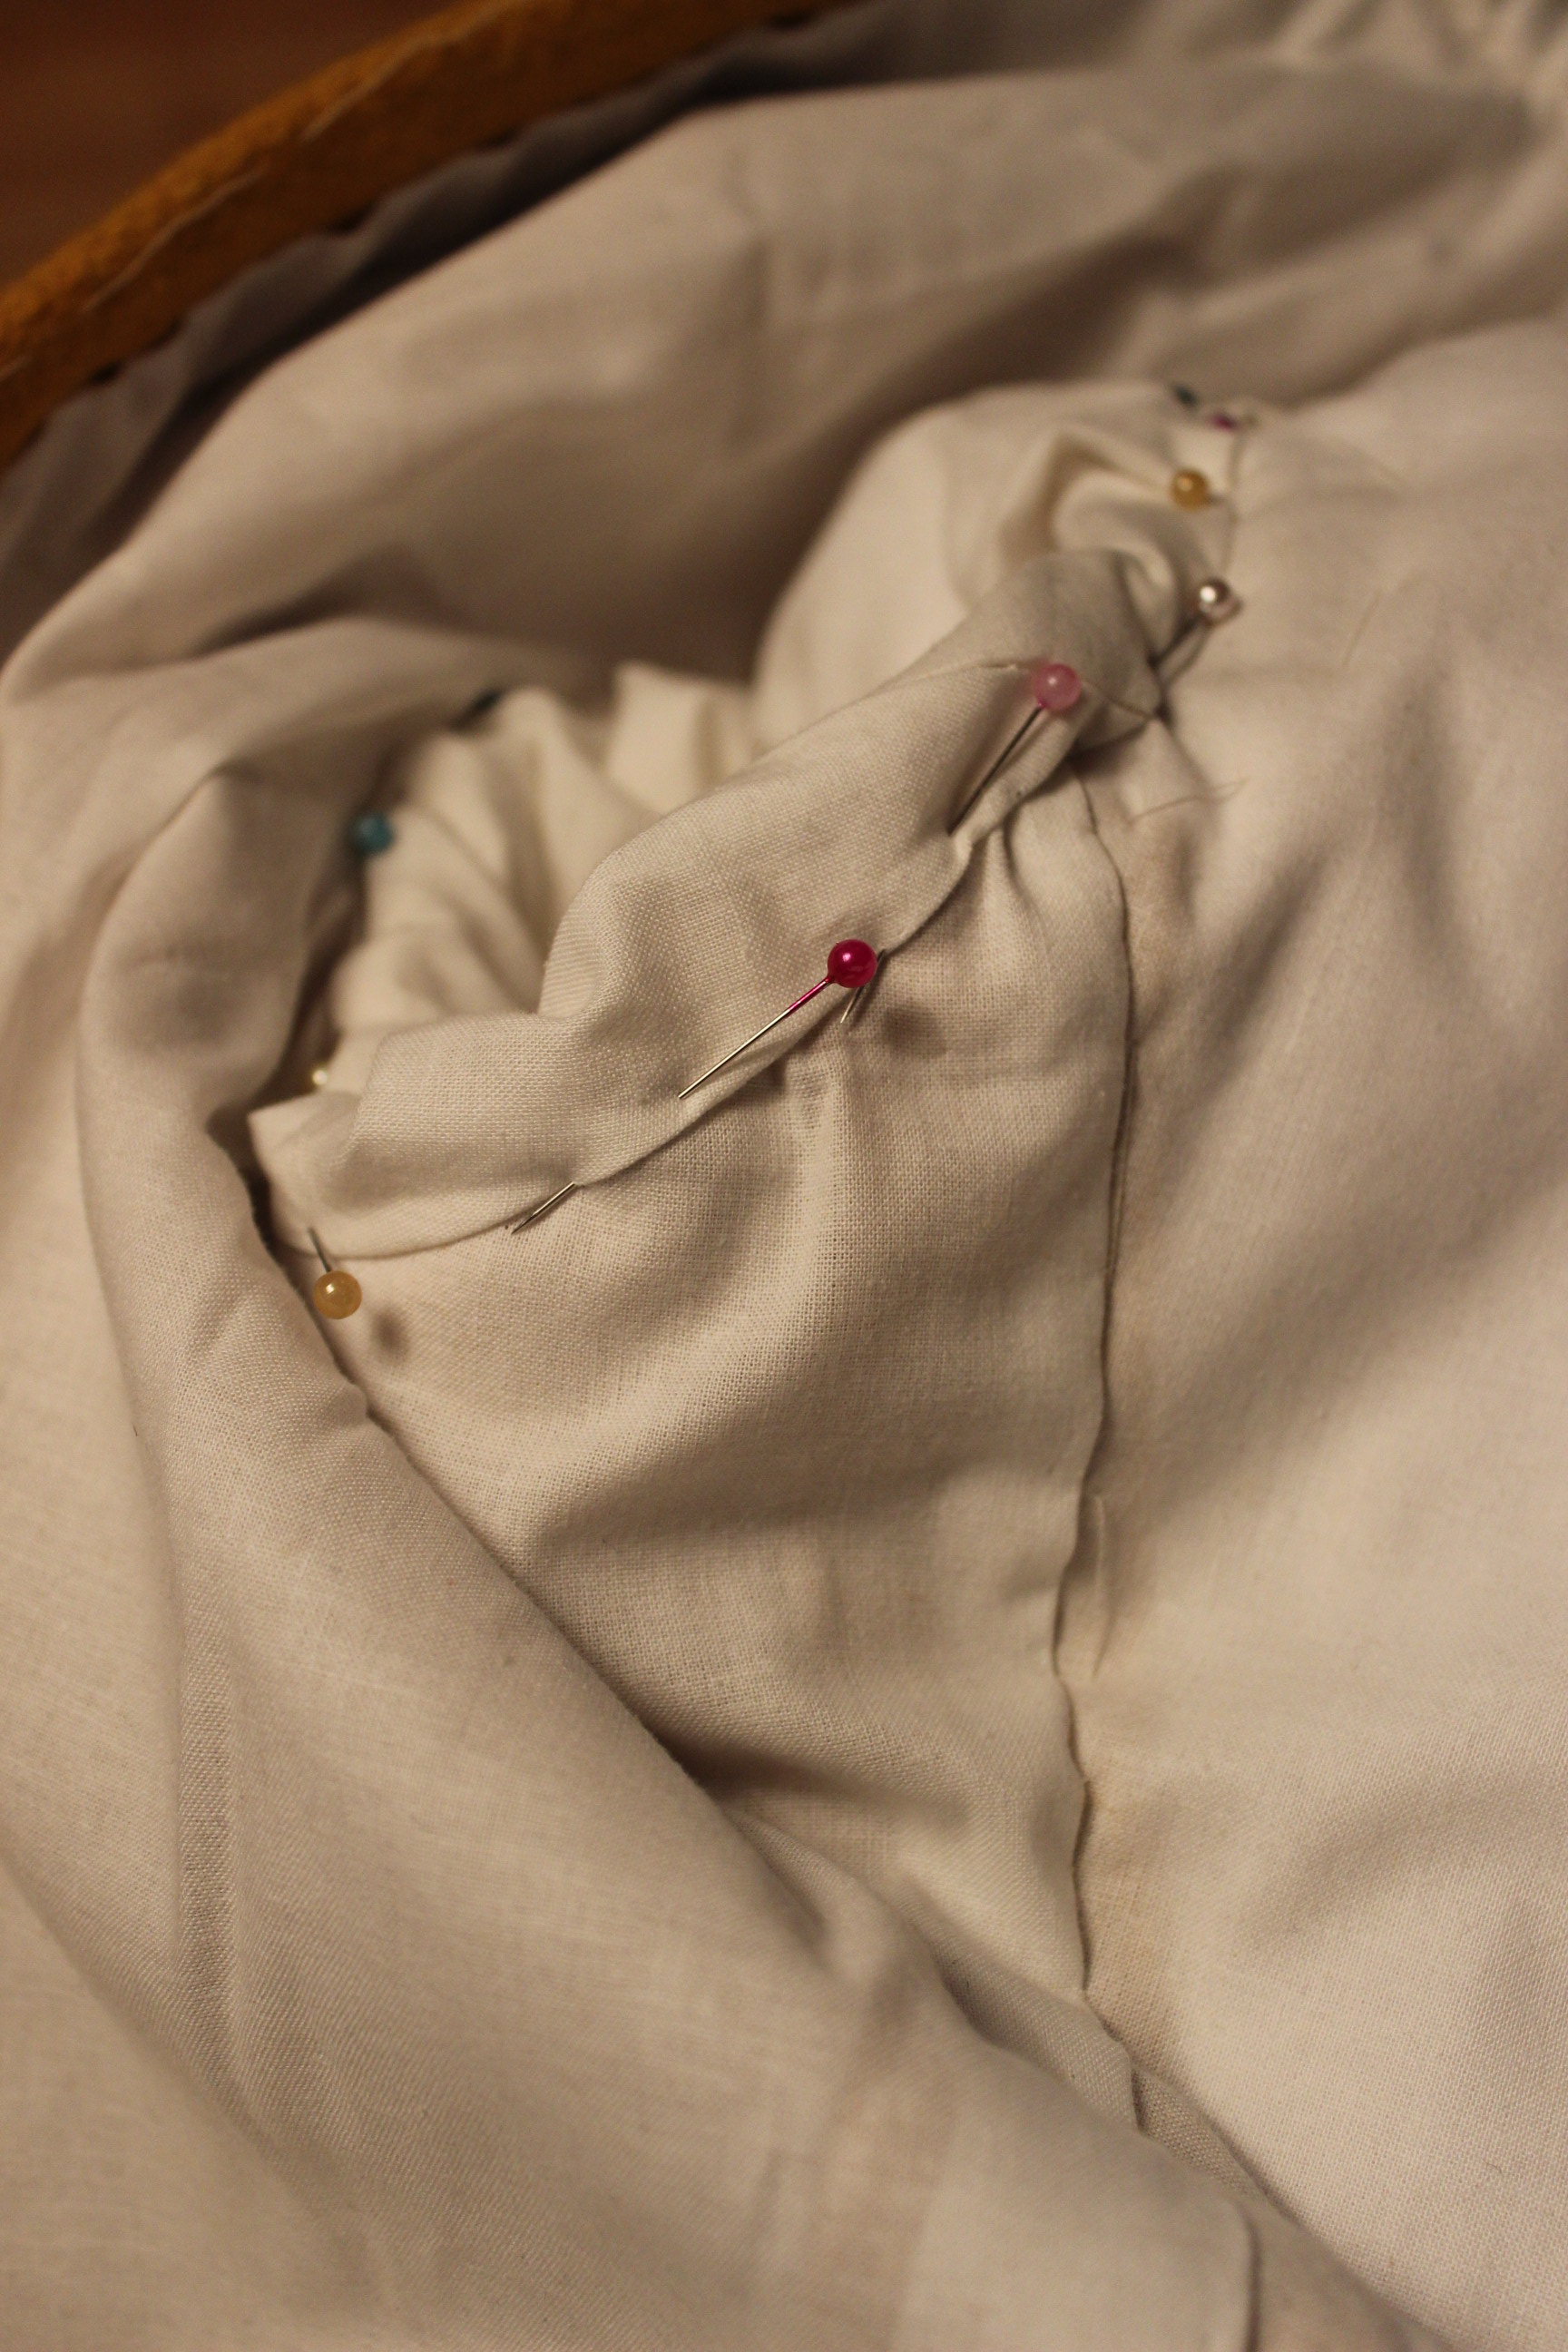 Pinning the sleeve lining to the arm hole.
Finally I unpicked all the basting thread and stitched on the hook and eyes close to the front edge.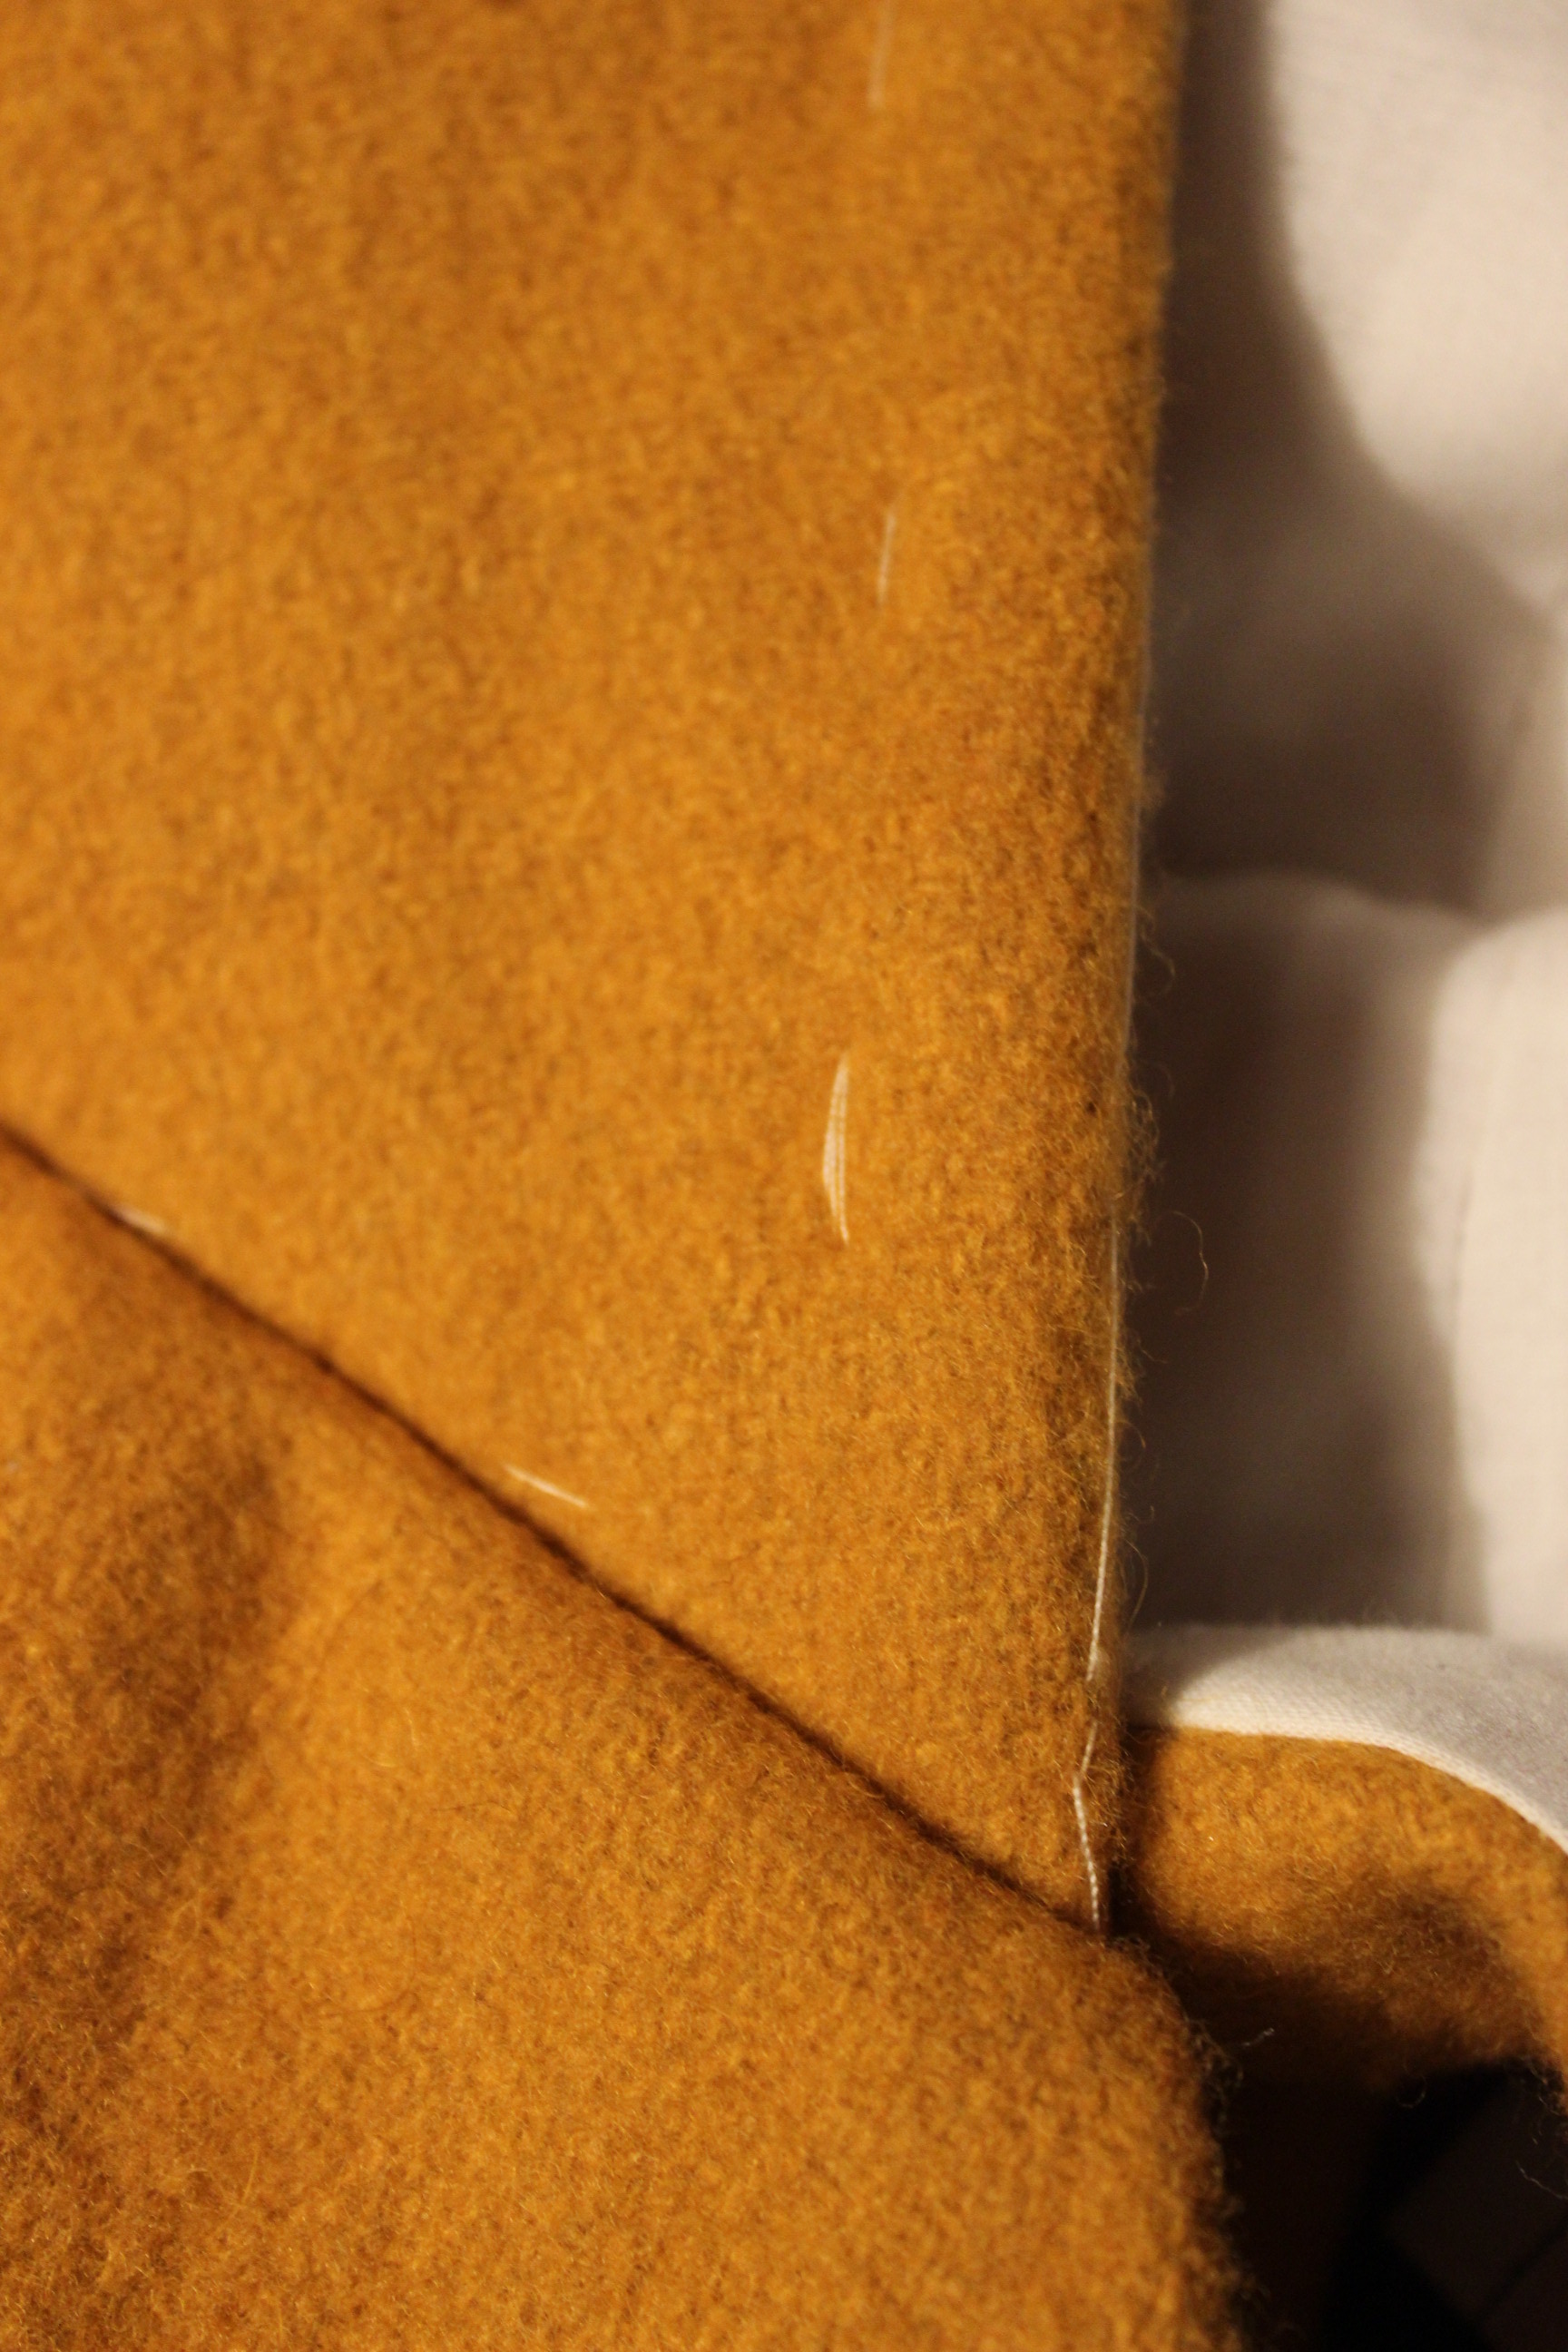
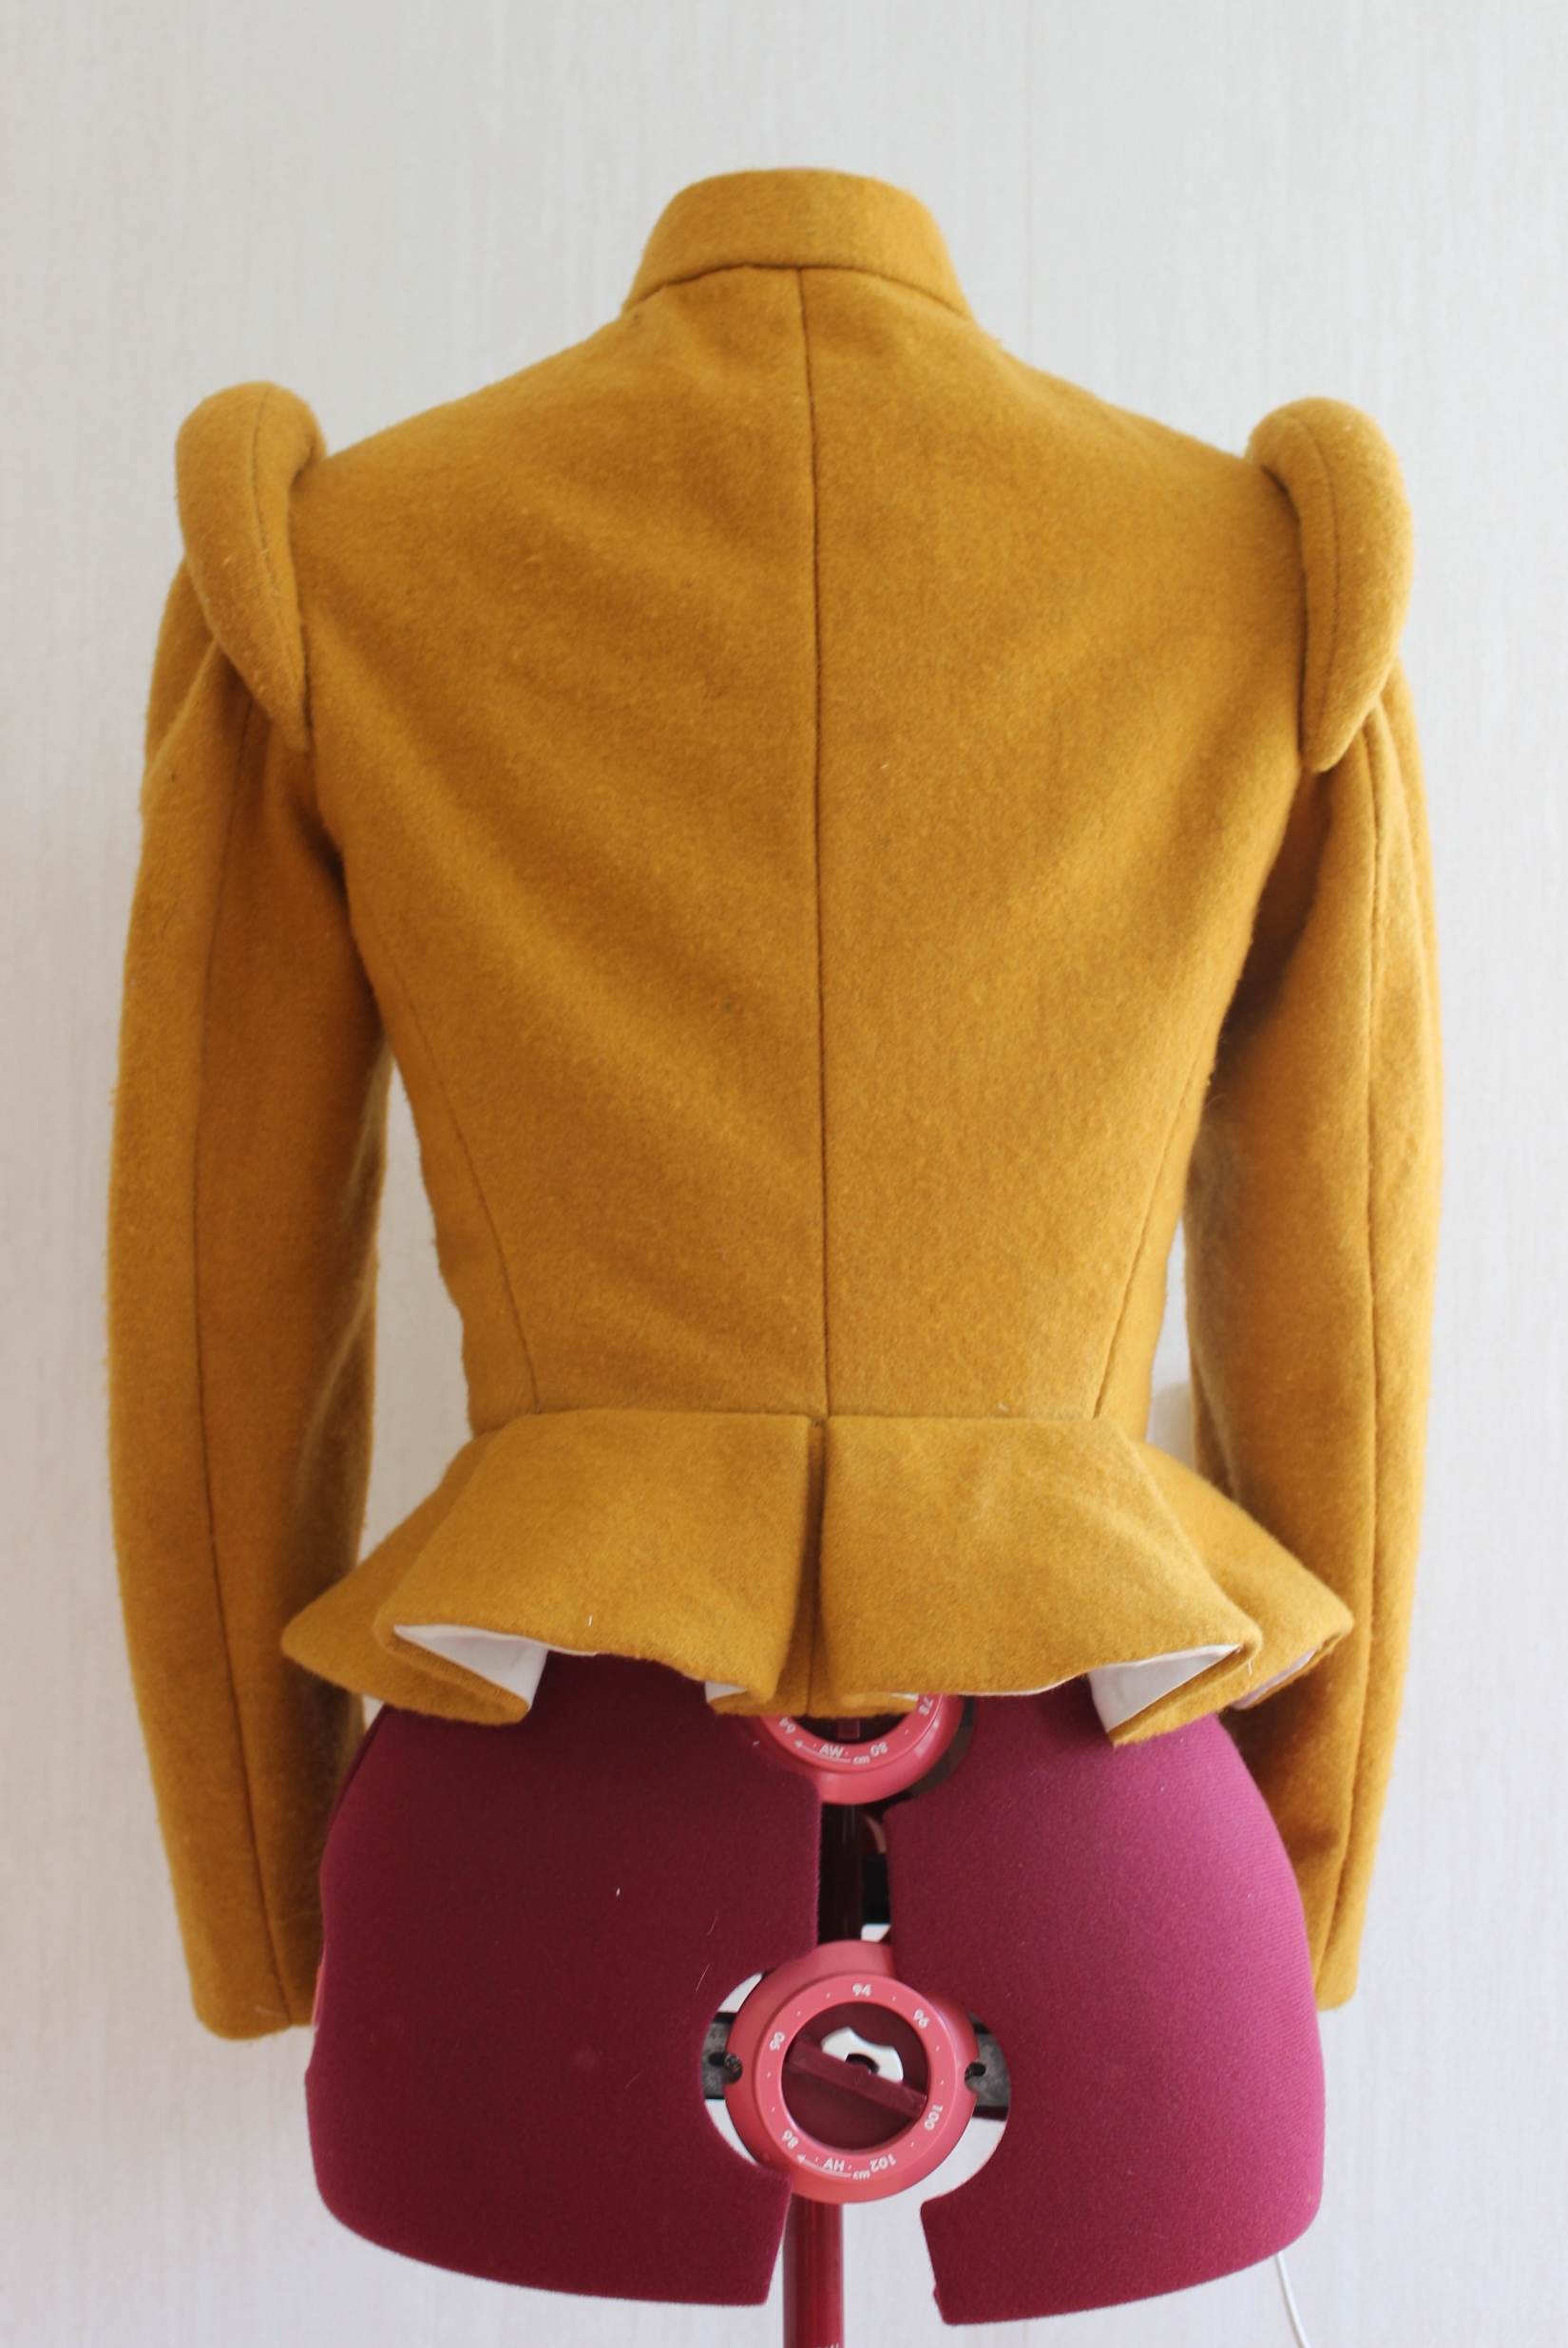
Finished: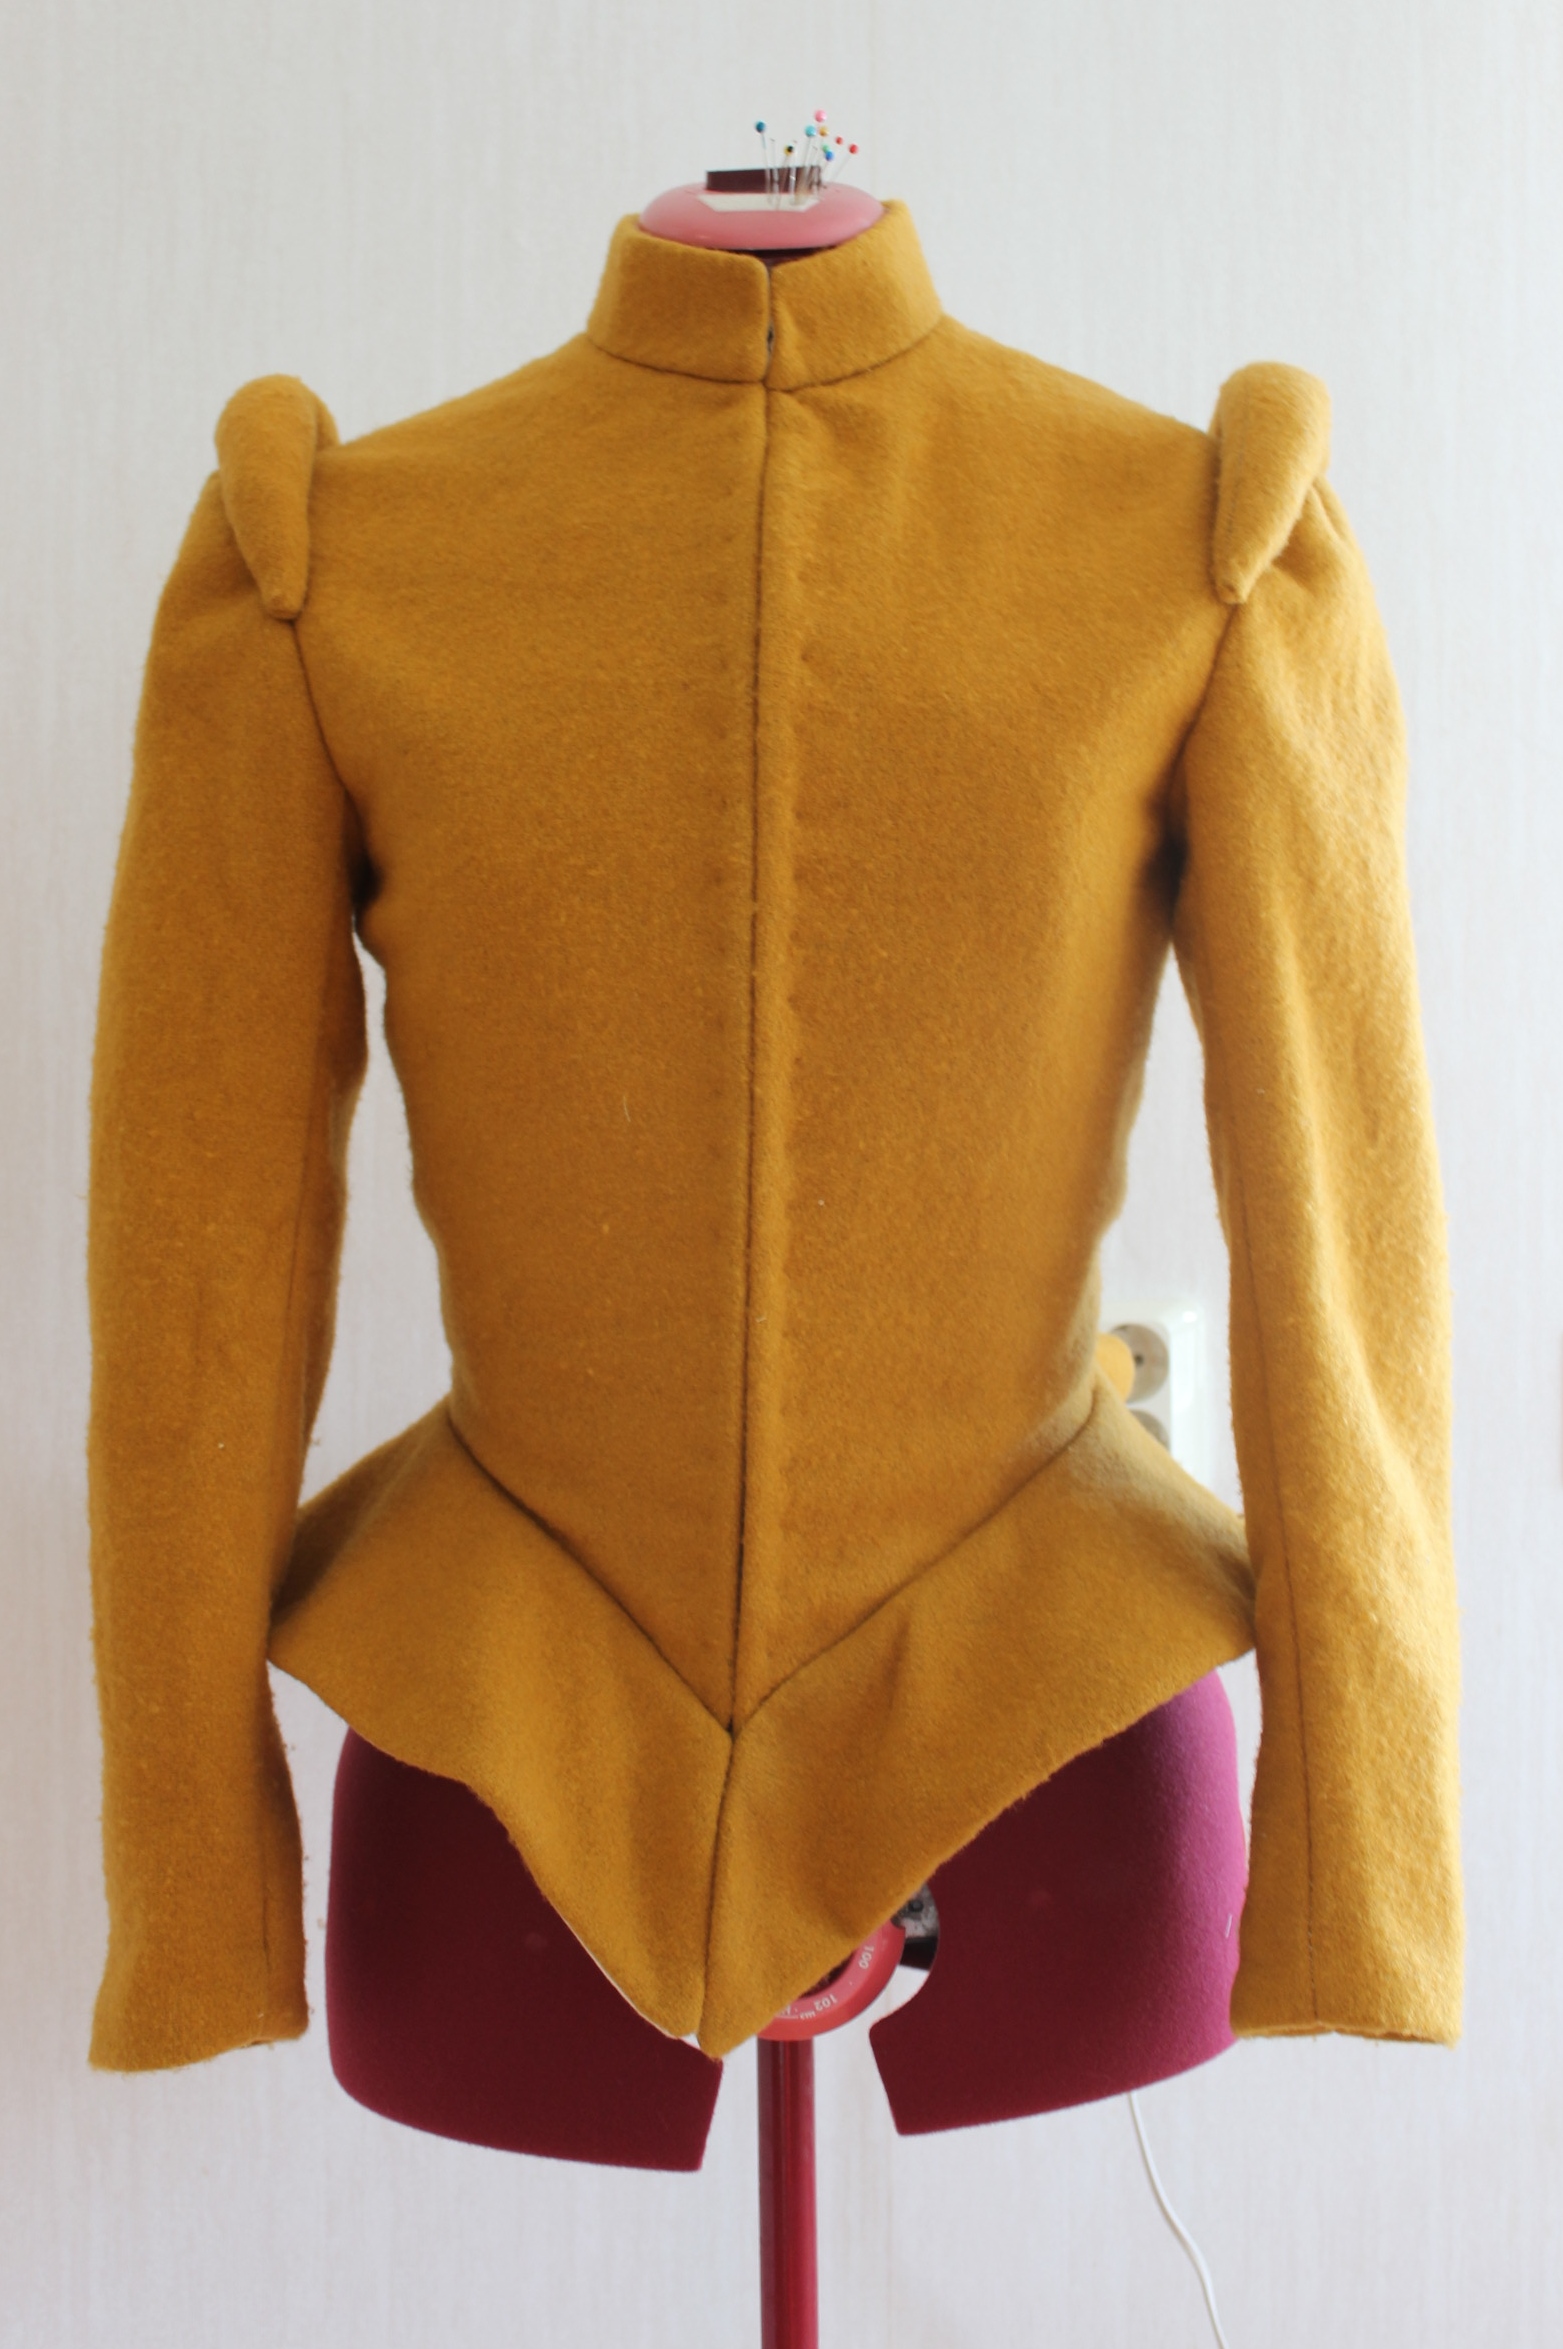


Just the facts:
Challenge: 17 Yellow.
What: a 16th century women doublet.
Pattern: I draped my own, using “Elizabethan Doublet pattern” from “the Tudor Tailor” as a guide.
Fabric: 1, 4 m of yellow wool, 1,4 m of white cotton for lining, 1,4 of twill and 0,5 m of heavy linen for interlining.
Notions: Thread, 3 m of plastic whalebone, 13 pairs of hooks and eyes.
How historical accurate: So so, the look and material are kind of okey (cotton wasn’t used until later, but I didn’t had any linen to use for the lining), but the wool are pretty accurate. The entire garment ate hand sewn but I’m not sure about the historic techniques so I just winged it.
Time: About 30 hours
Cost: I would say 200 Sek (32 Usd).
First worn: End of September for photos.
As this was one of my first costuming books, I must admit I’m a bit biased to this book.
I bought it about 6 years ago when I first started to get interested in historical costumes. And since I had fallen in love with the beautiful costumes in the movie “The Other Boleyn Girl”, and later “The Tudors” i had decided I needed to make myself one of the dresses.
The attempt was a futile one (which you can read more about here), but it did spark my intress in historical costumes, so I wouldn’t say it was a total waist.
But on to the book:
The Tudor Tailor by Ninya Mikhaila And Jane Malcolm-Davies.

About:
The book includes lots of interesting information about the actual fashions and clothing construction of the 16th century.
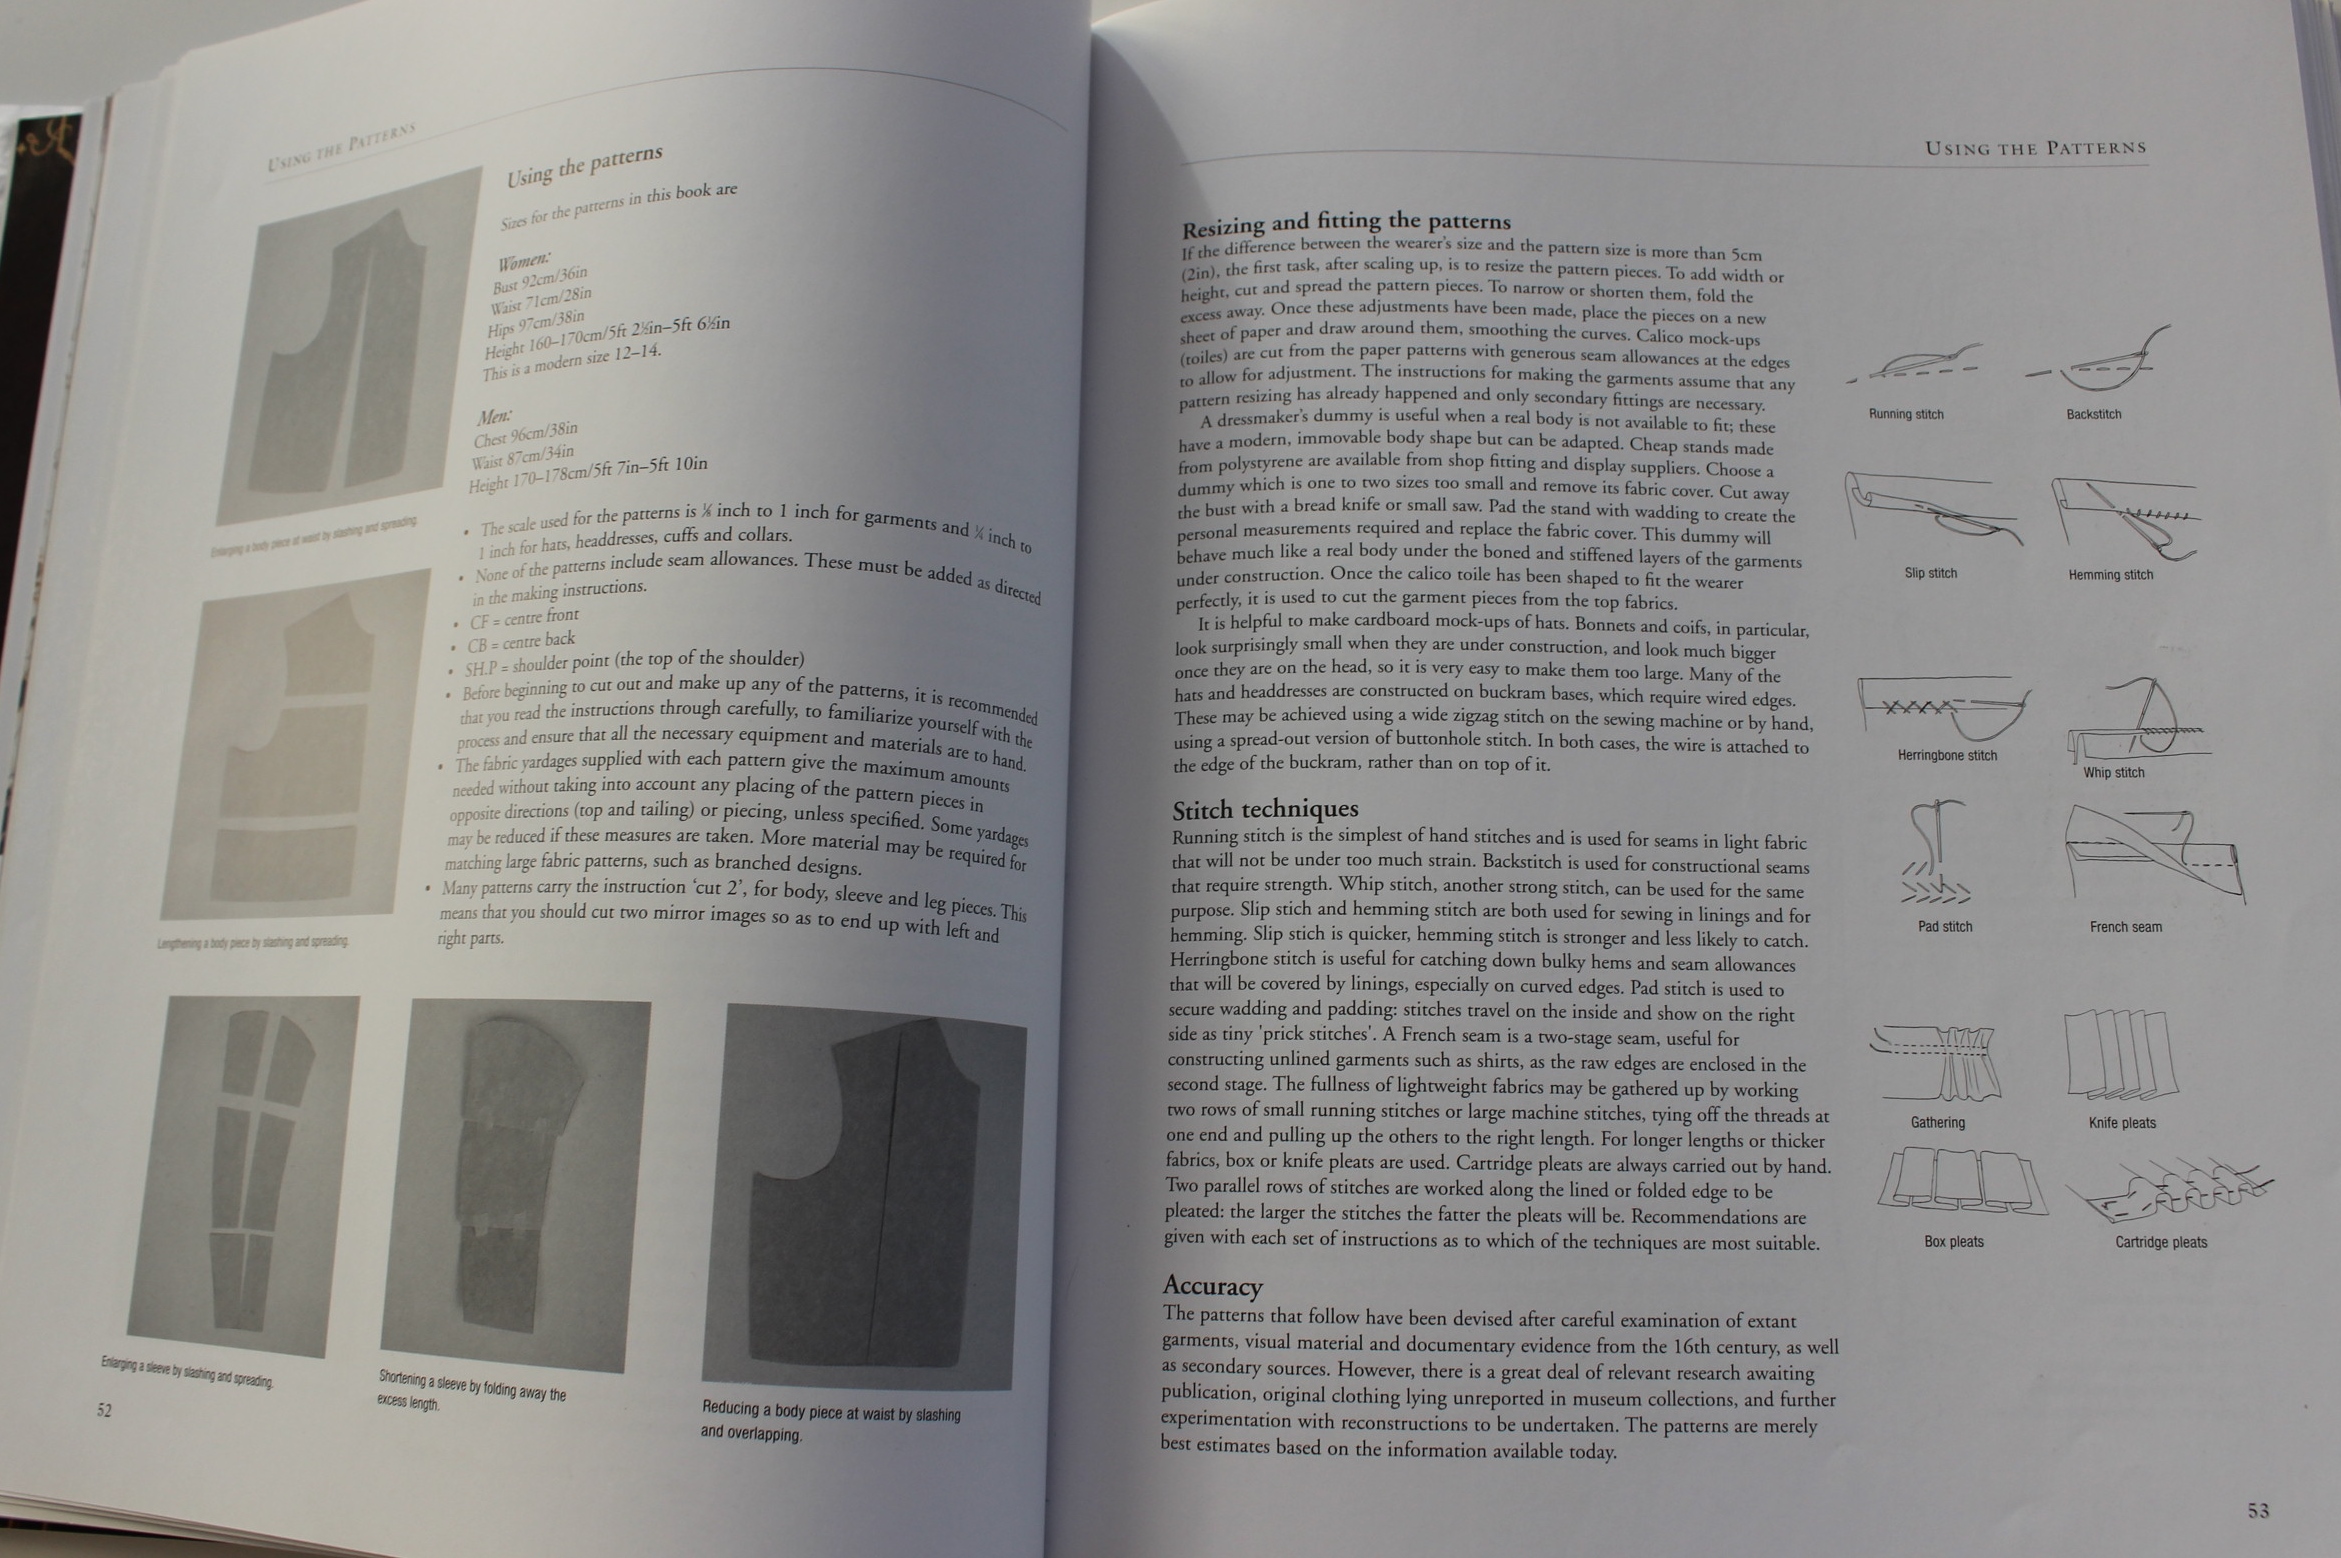
The firs 50 pages describes the styles, fabrics and methods used during the 16th hundreds, and gives you a great over view of the different garments and accessories needed to complete the costume.
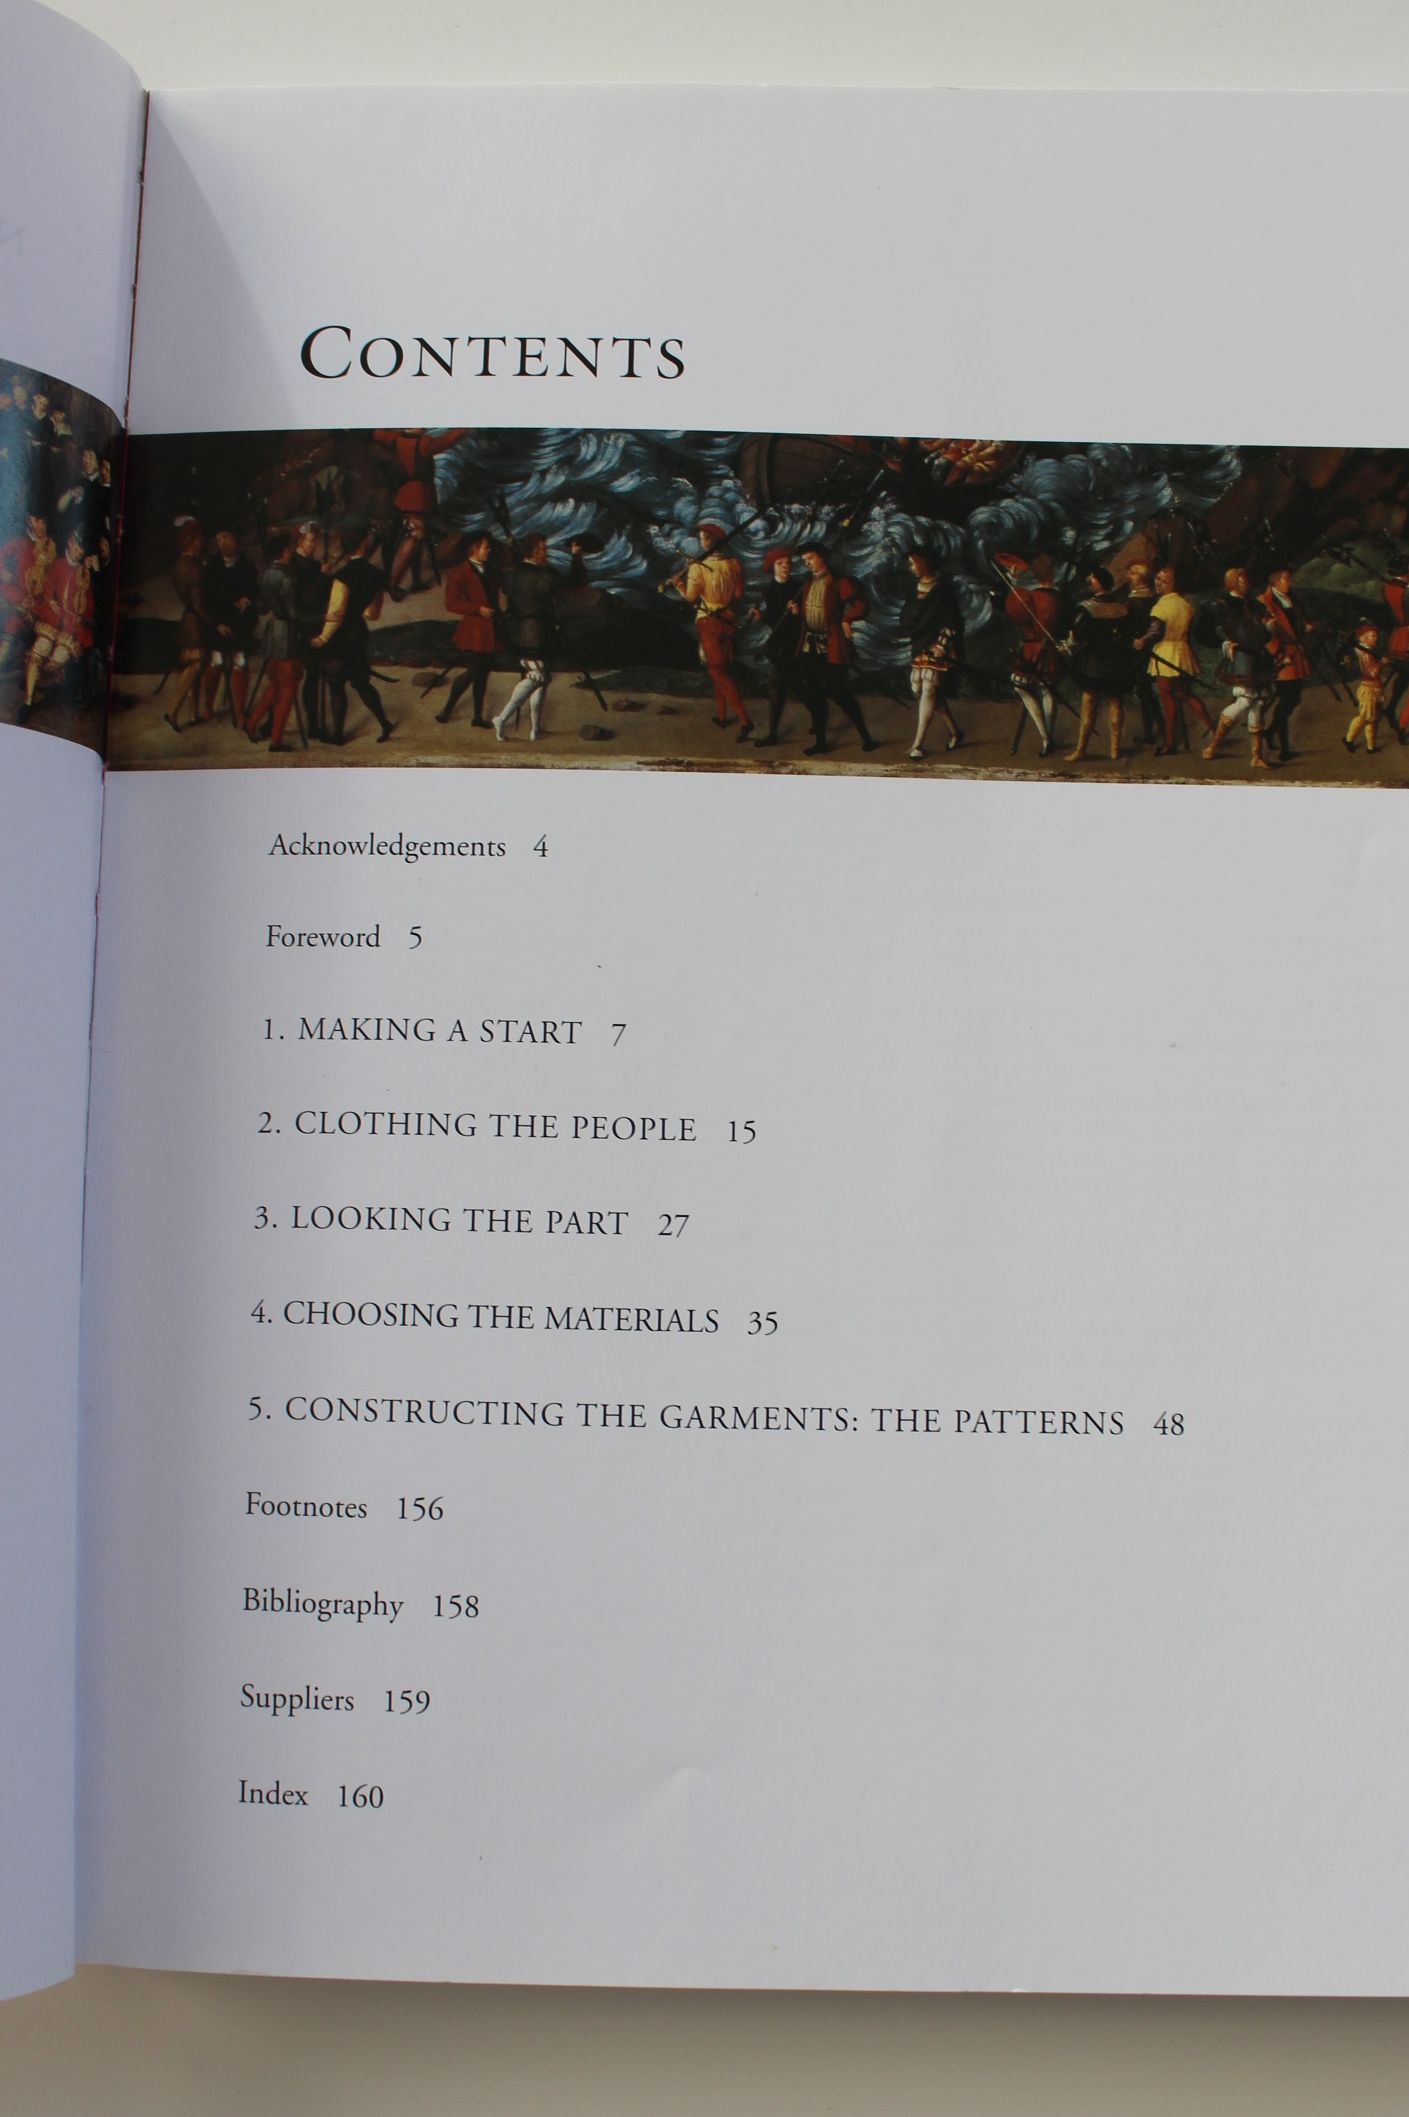
It also contains lots of patterns for both men (9) and women (12), and have a nice spread of “pore peoples” dress and court dress alike, besides underwear (9), outerwear (6) and headwear (14).
Pros:
I love the wide range of patterns in the book. which give you an opportunity to design and combine your own costume from the different styles, with the help of the informative research pages. 
And every pattern can be altered to several different styles and variations.
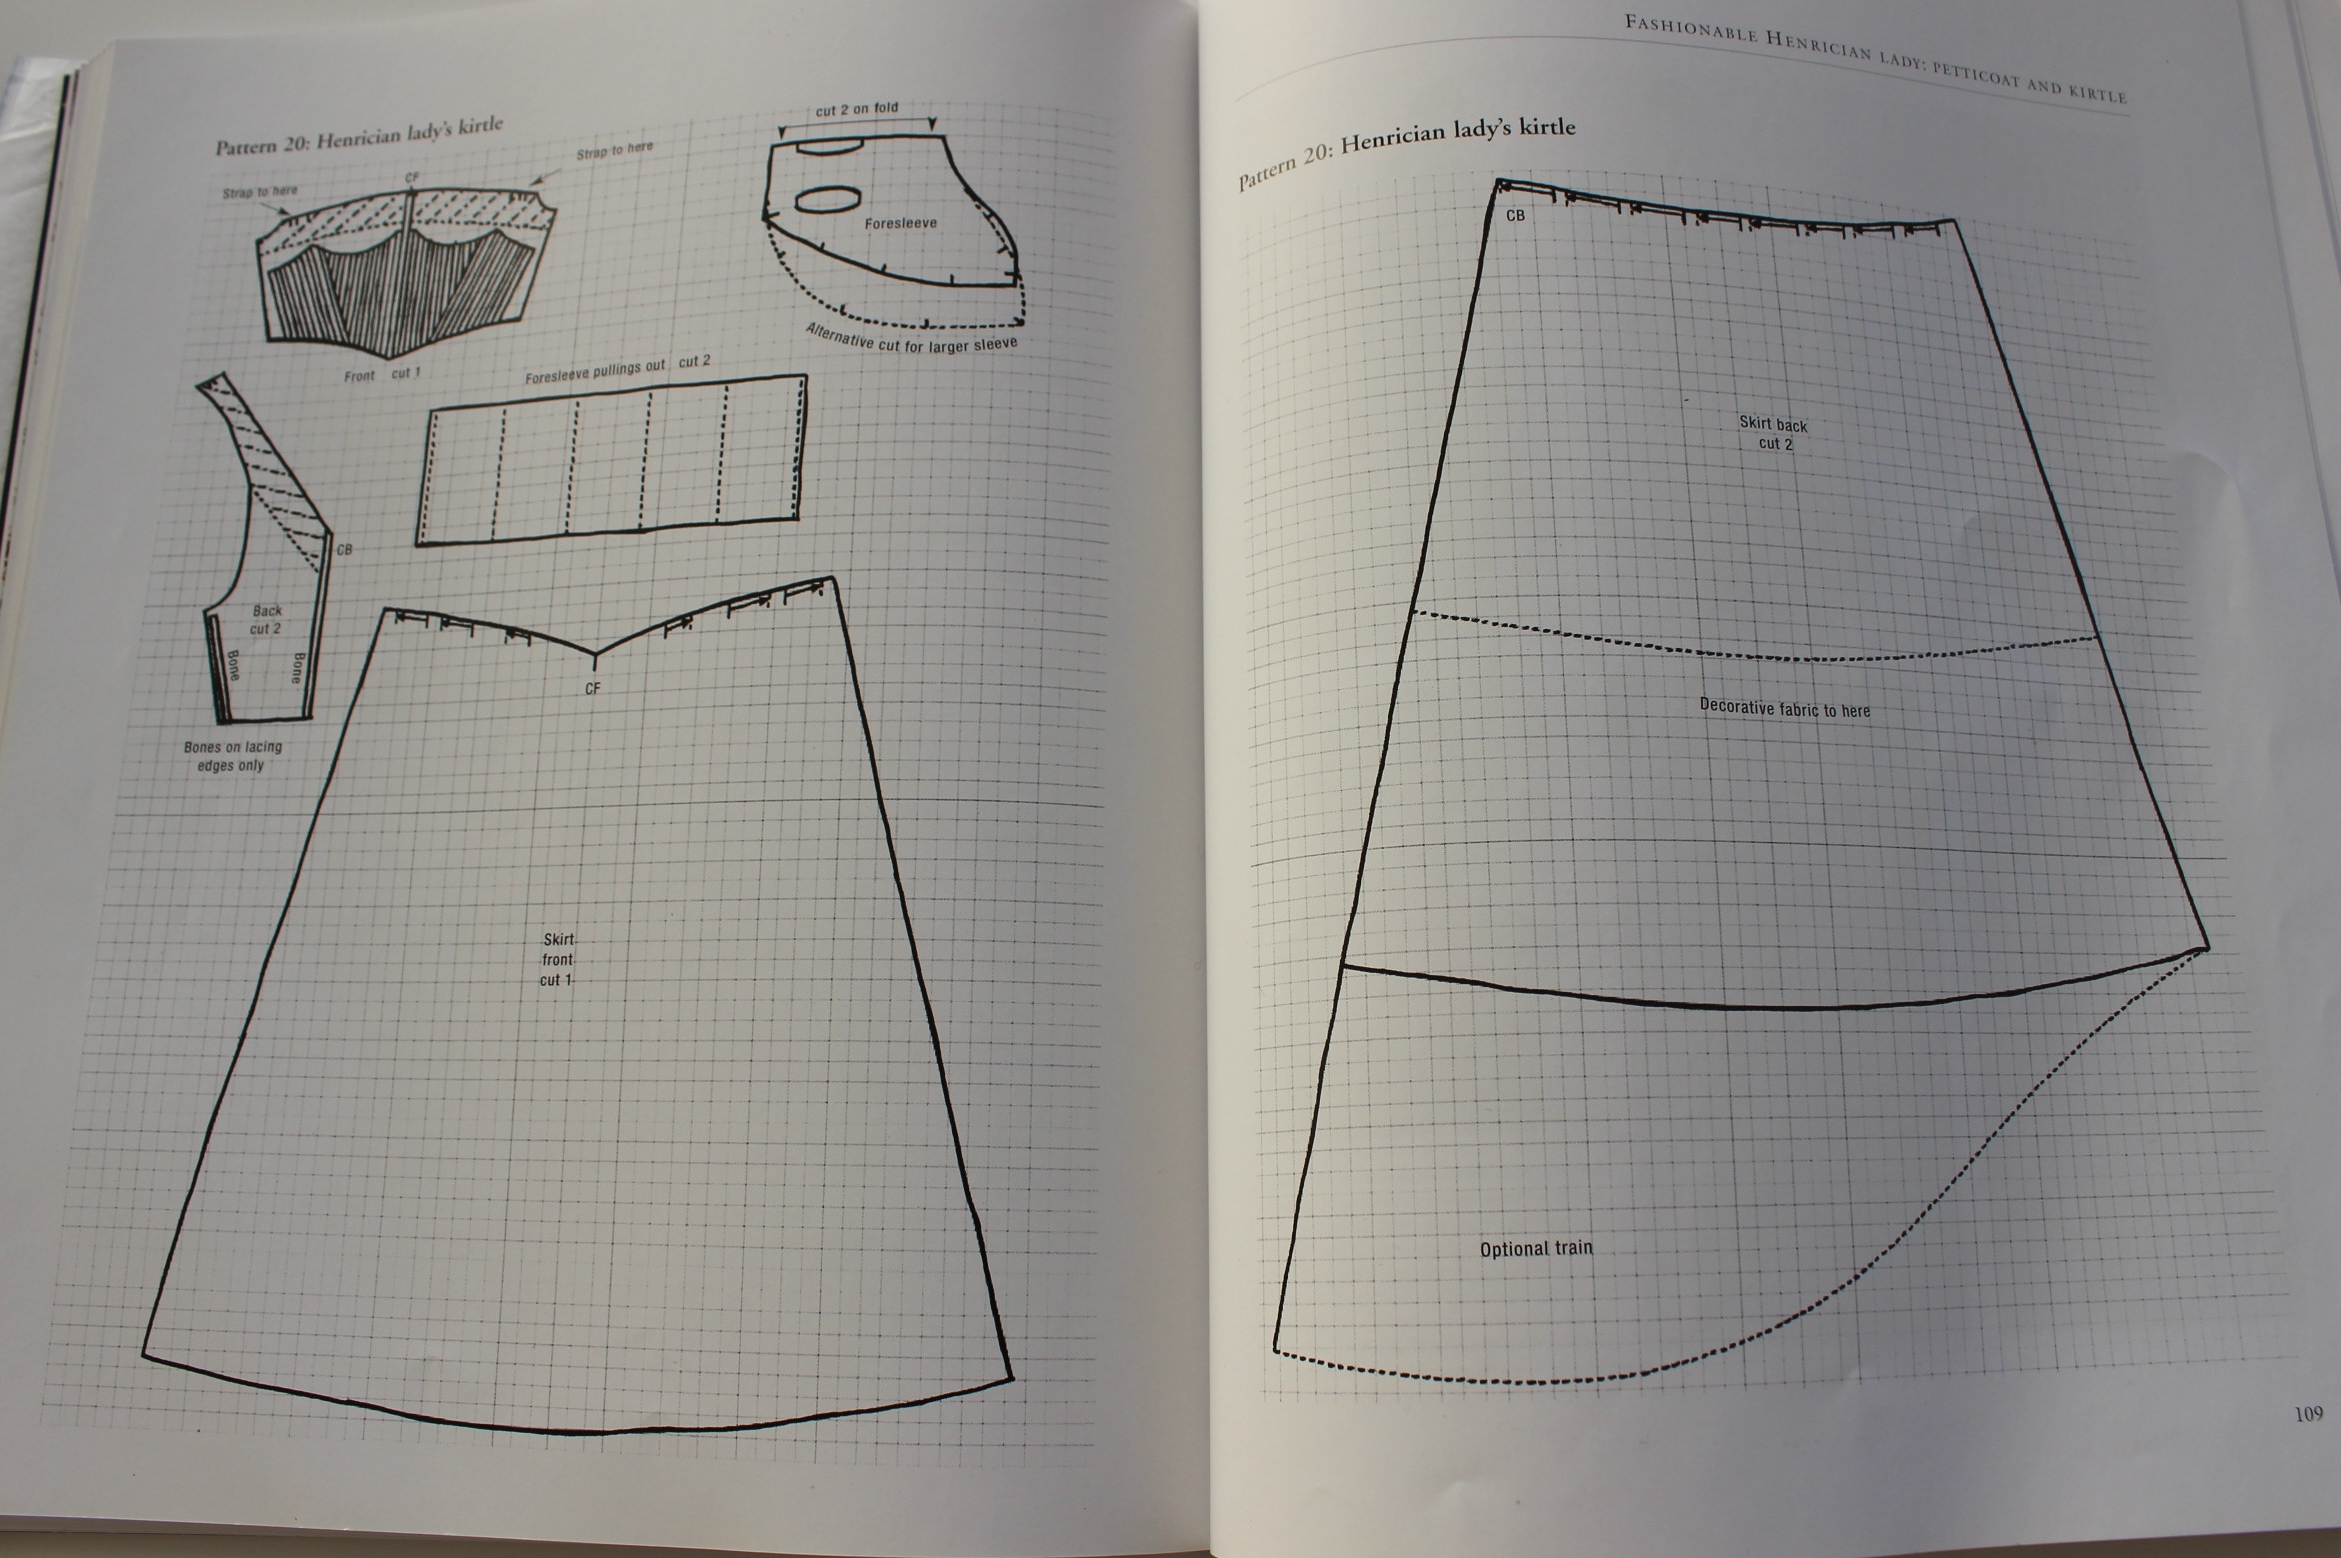
Like the the “Henrican Kirtle” who can be made and worn in lots of different ways.
 I used the pattern for a front laced kirtle, with straight back, and no sleeves.

As far as I can tell (and I’m in no way an expert) the patterns are good, and represent the Tudor and Elizabethan era in a nice and accurate way. 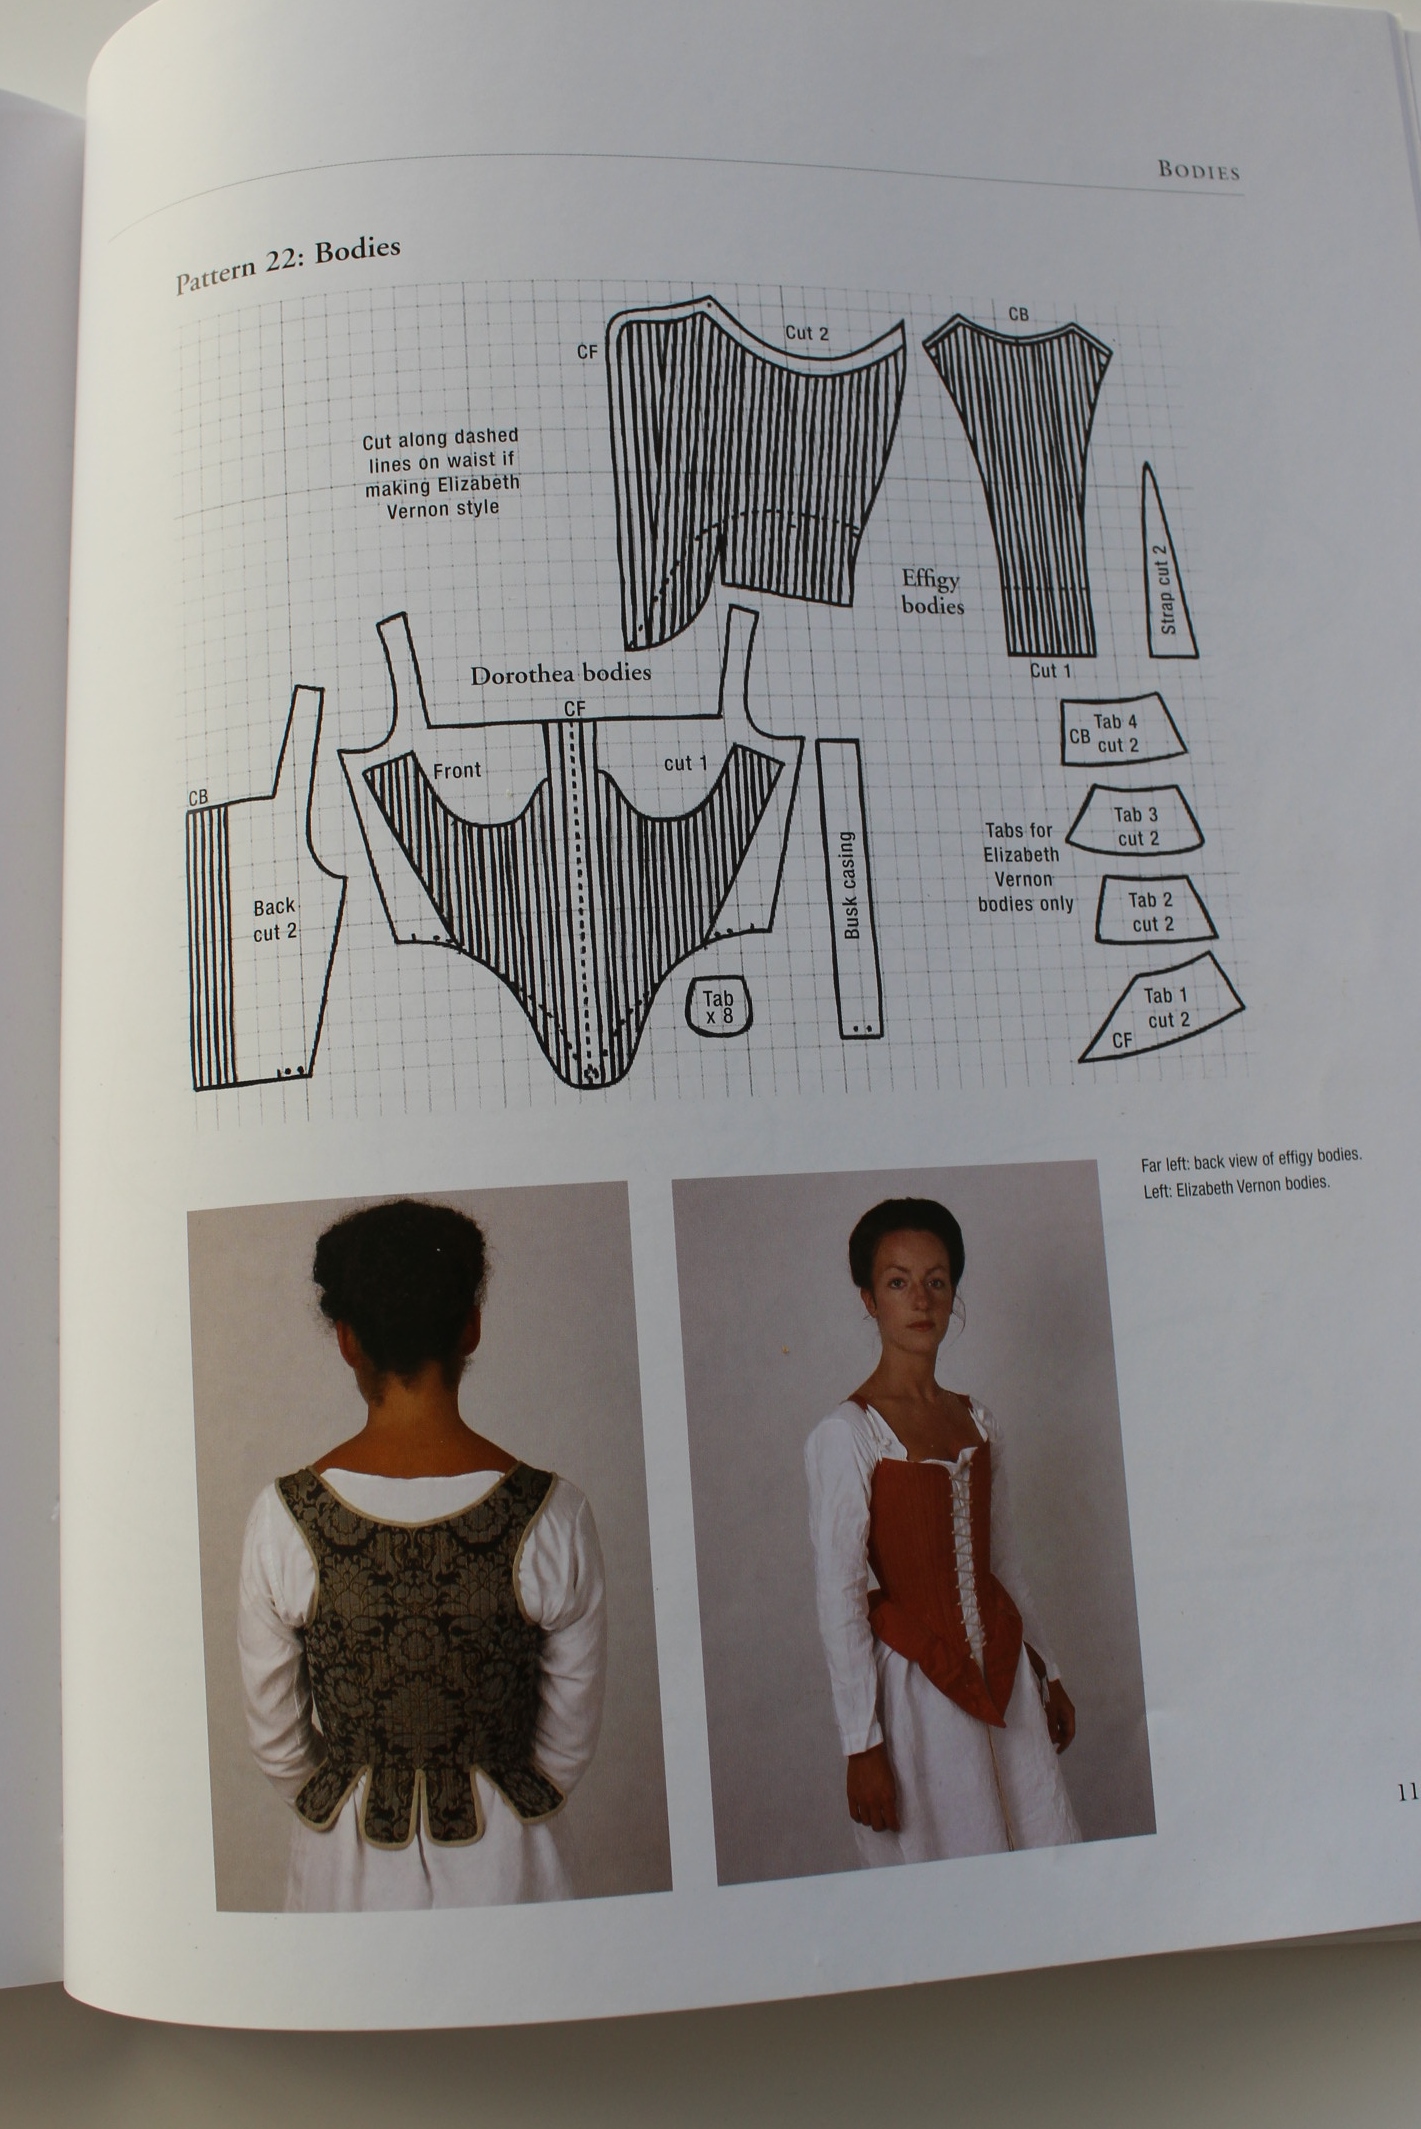
 My corset‘s made from the “Dorthean bodice” pattern.
The patterns are easy to scale – using either the scanning/printer system, or drawing it up on paper. (I’ve tried both)
This one is my latest project – which I draped insted of scaled.
I also find the instructions, which follows with each pattern, a good way to get help with the accurate way to assemble the clothing.
Cons:
Although good, the instructions may be a bit to hard to follow, if you’re not used to historic (16th century) clothing constructions.
I had a pretty hard time doing my first “French hood”.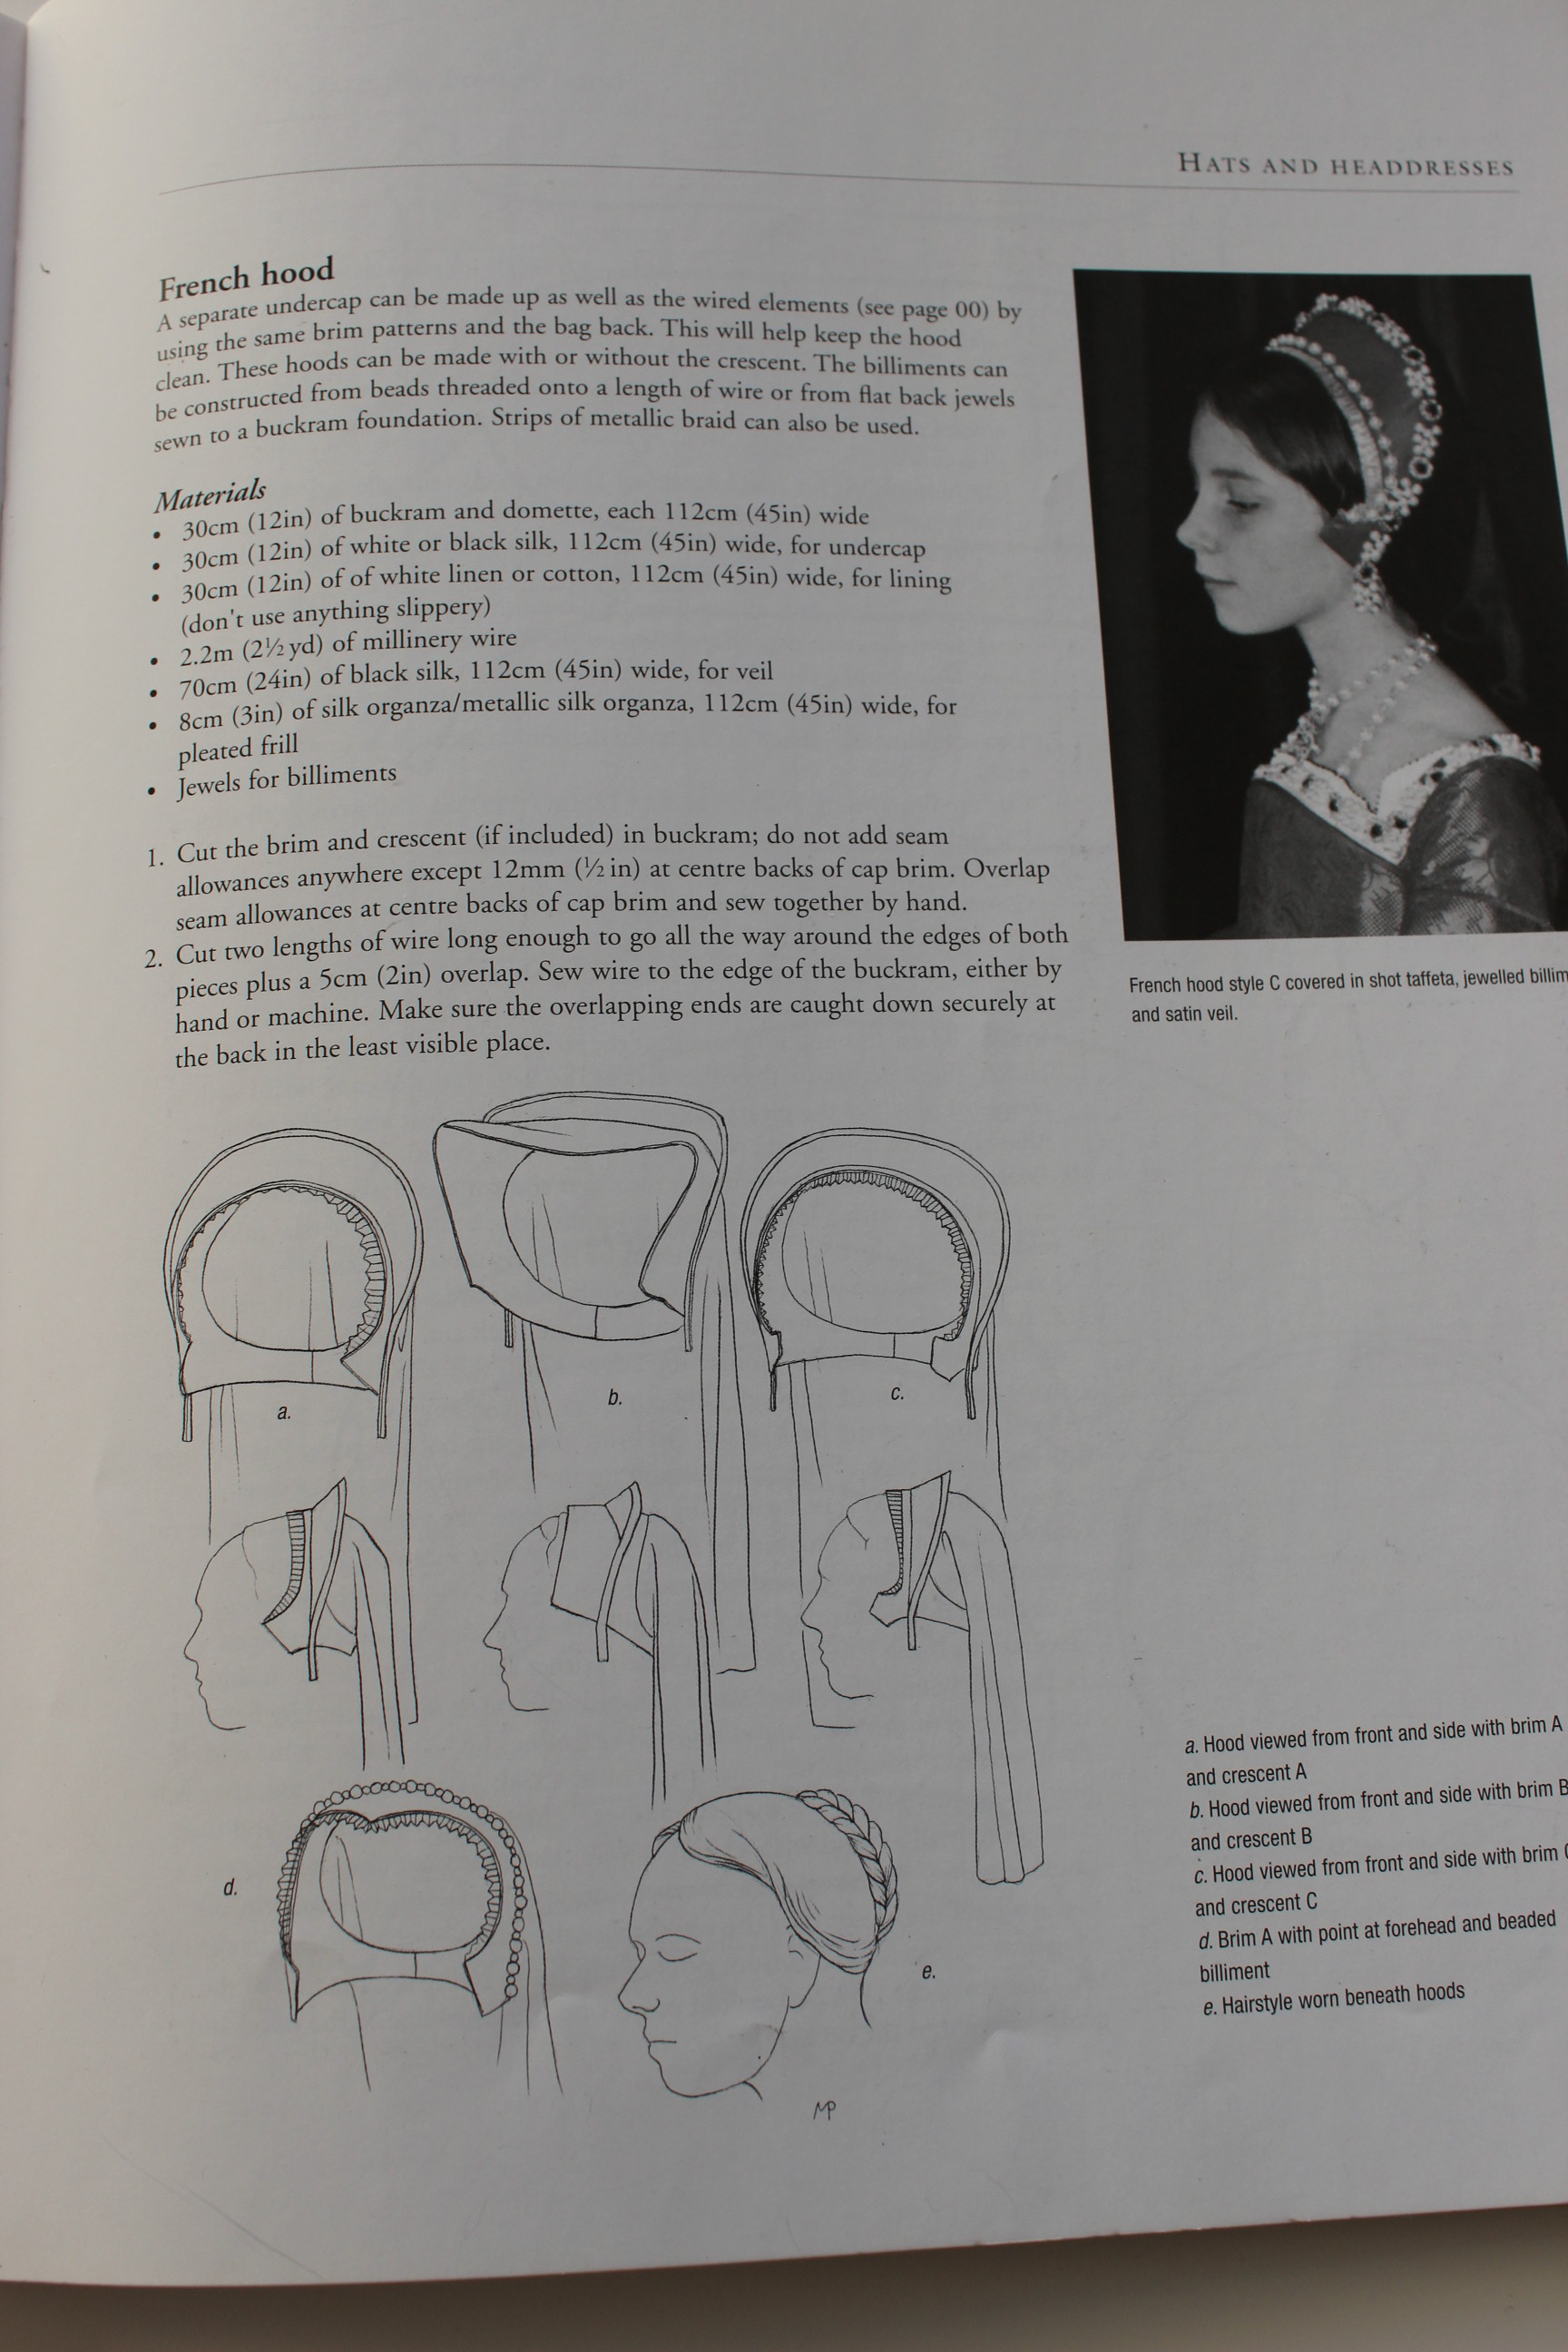 I didn’t understand what a lots of the words ment, or how the pieces was supposed to go together.
The second was much easier, even though it ended up a bit to small.
Would I recommend it?
I think this book is wonderful, and should be in ever theater seamstress or historical re-enactors bookshelf.
I personally have had lots of use of it and hopes to someday make all the patterns in the book.