An Innovative Corset

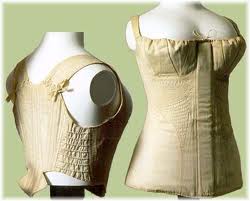
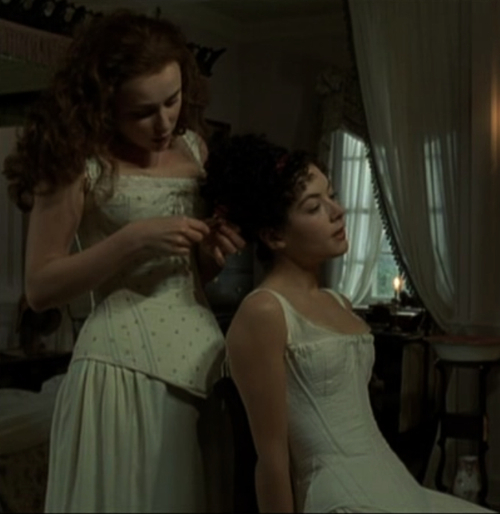
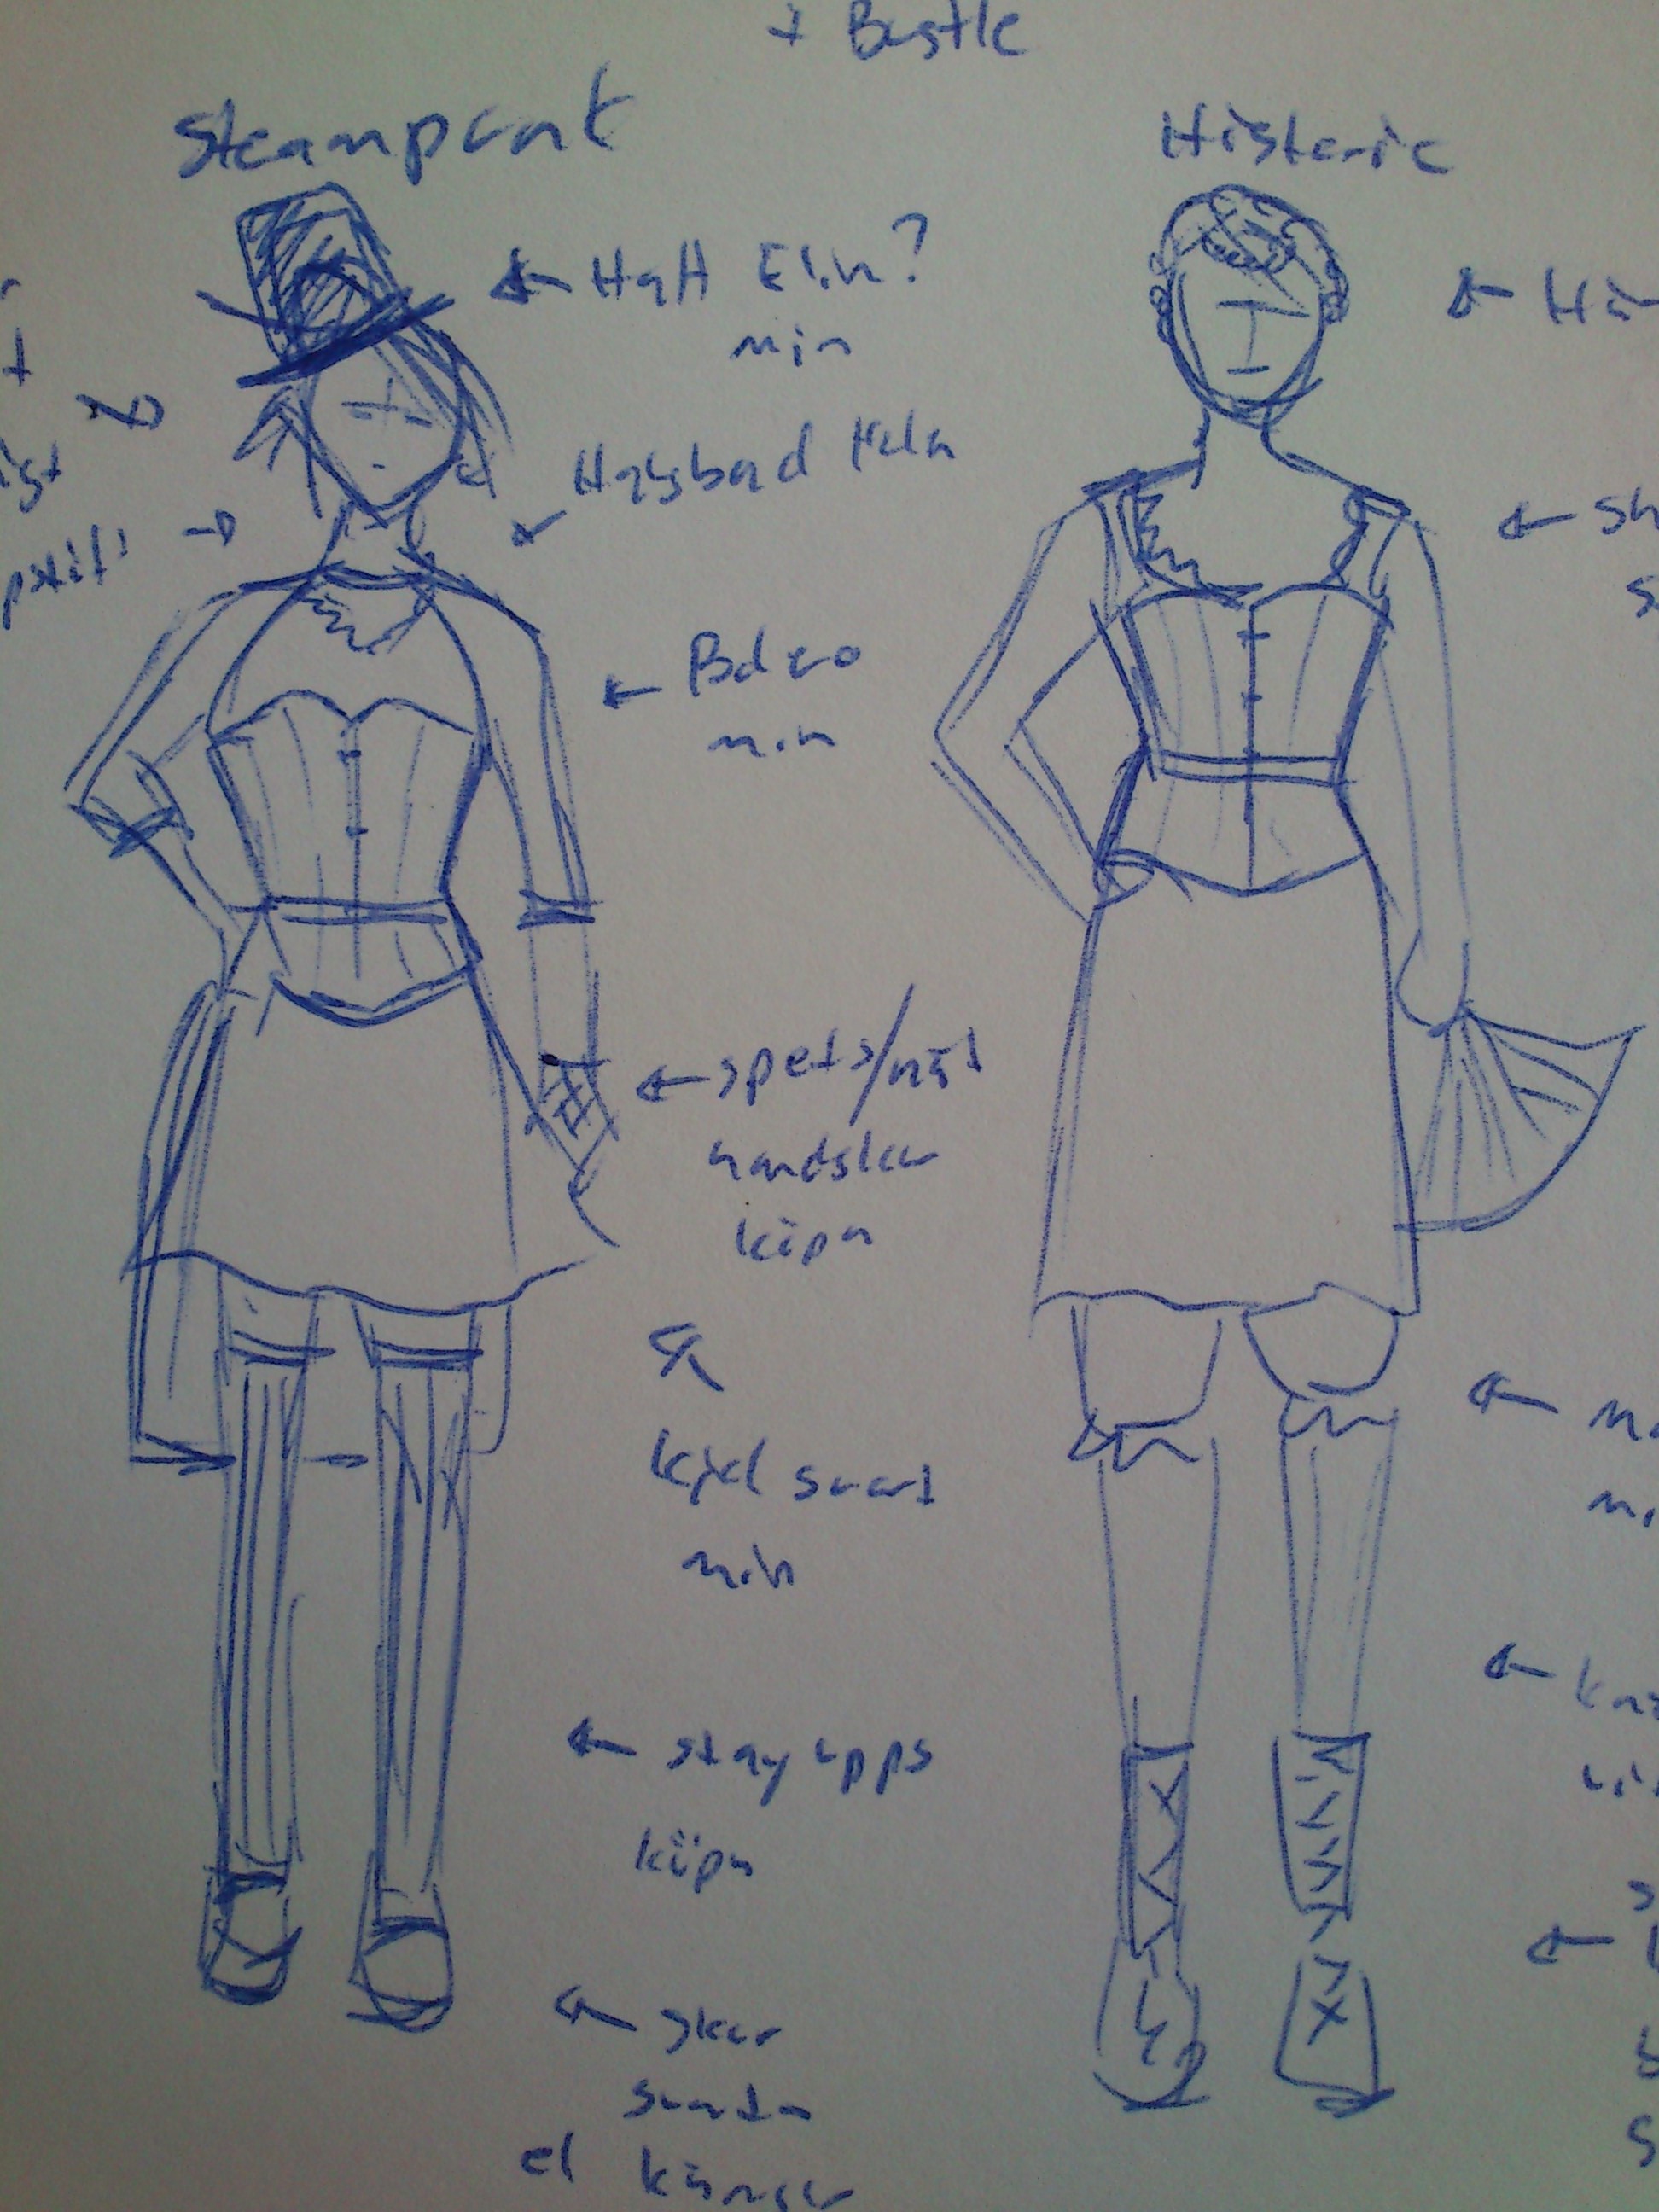
For the HSF nr 3 this year: Innovation, I knew I needed to make something usable for the up-coming bal. And since you can’t make a balgown without the right foundation wear, I decided to use this challenge to make a 1880s corset.

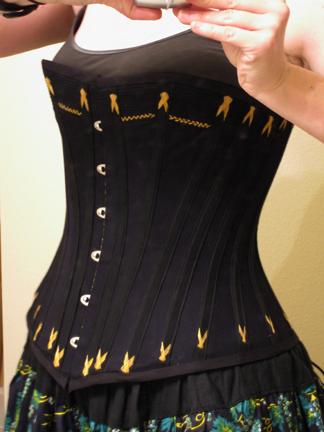
I re-used the 1880s corset pattern from Nora Waughs Corset and Crinolines. (I prevously made a black corset from this pattern for my sister). 1880 waugh

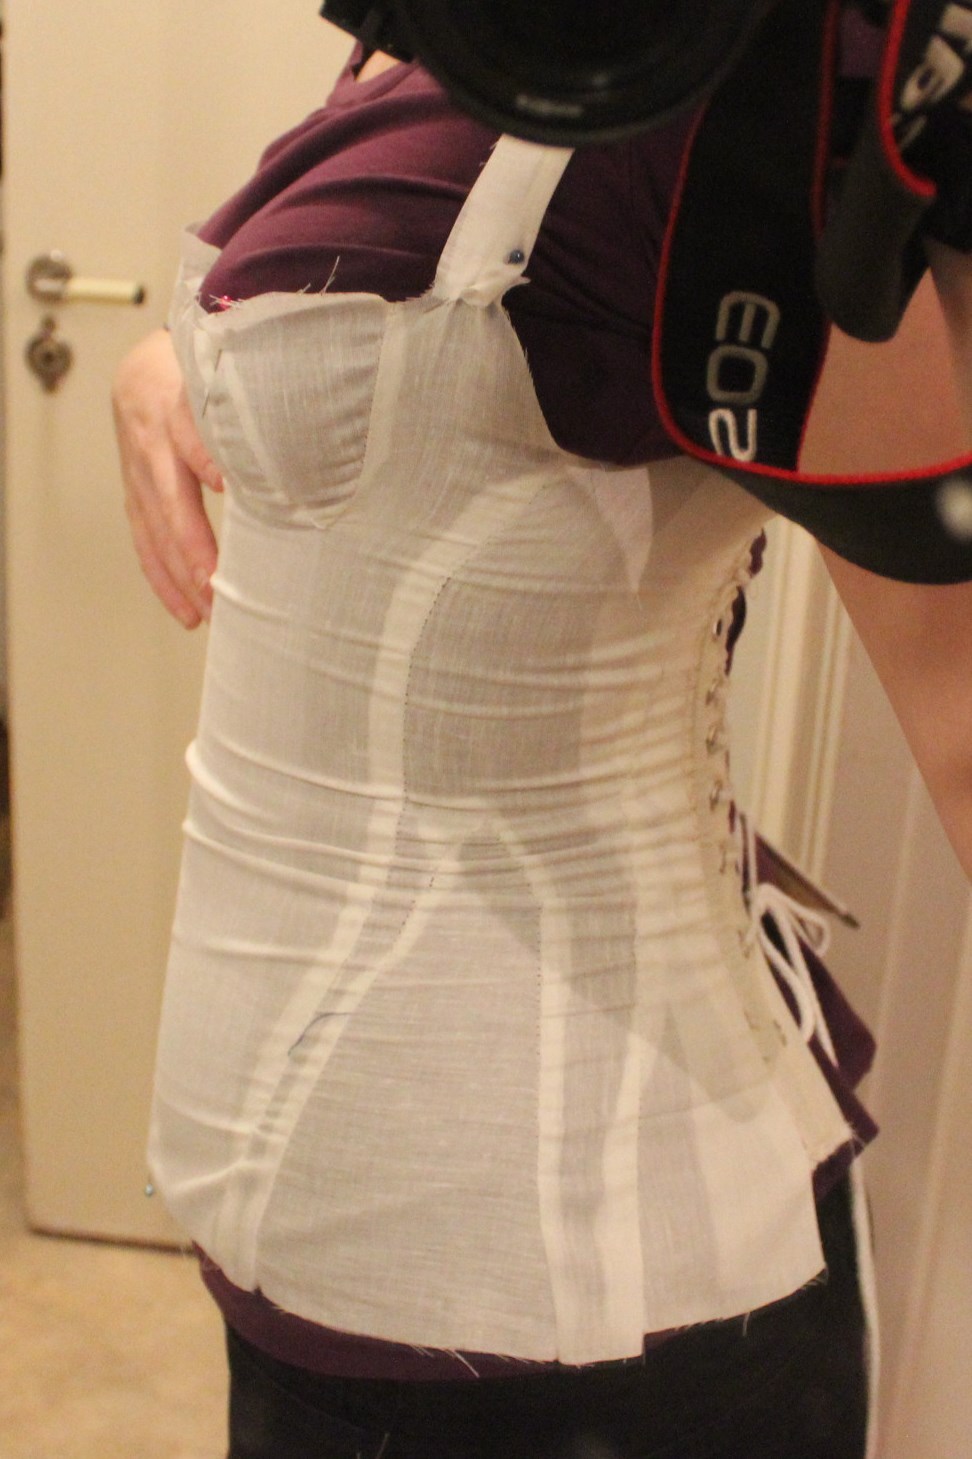
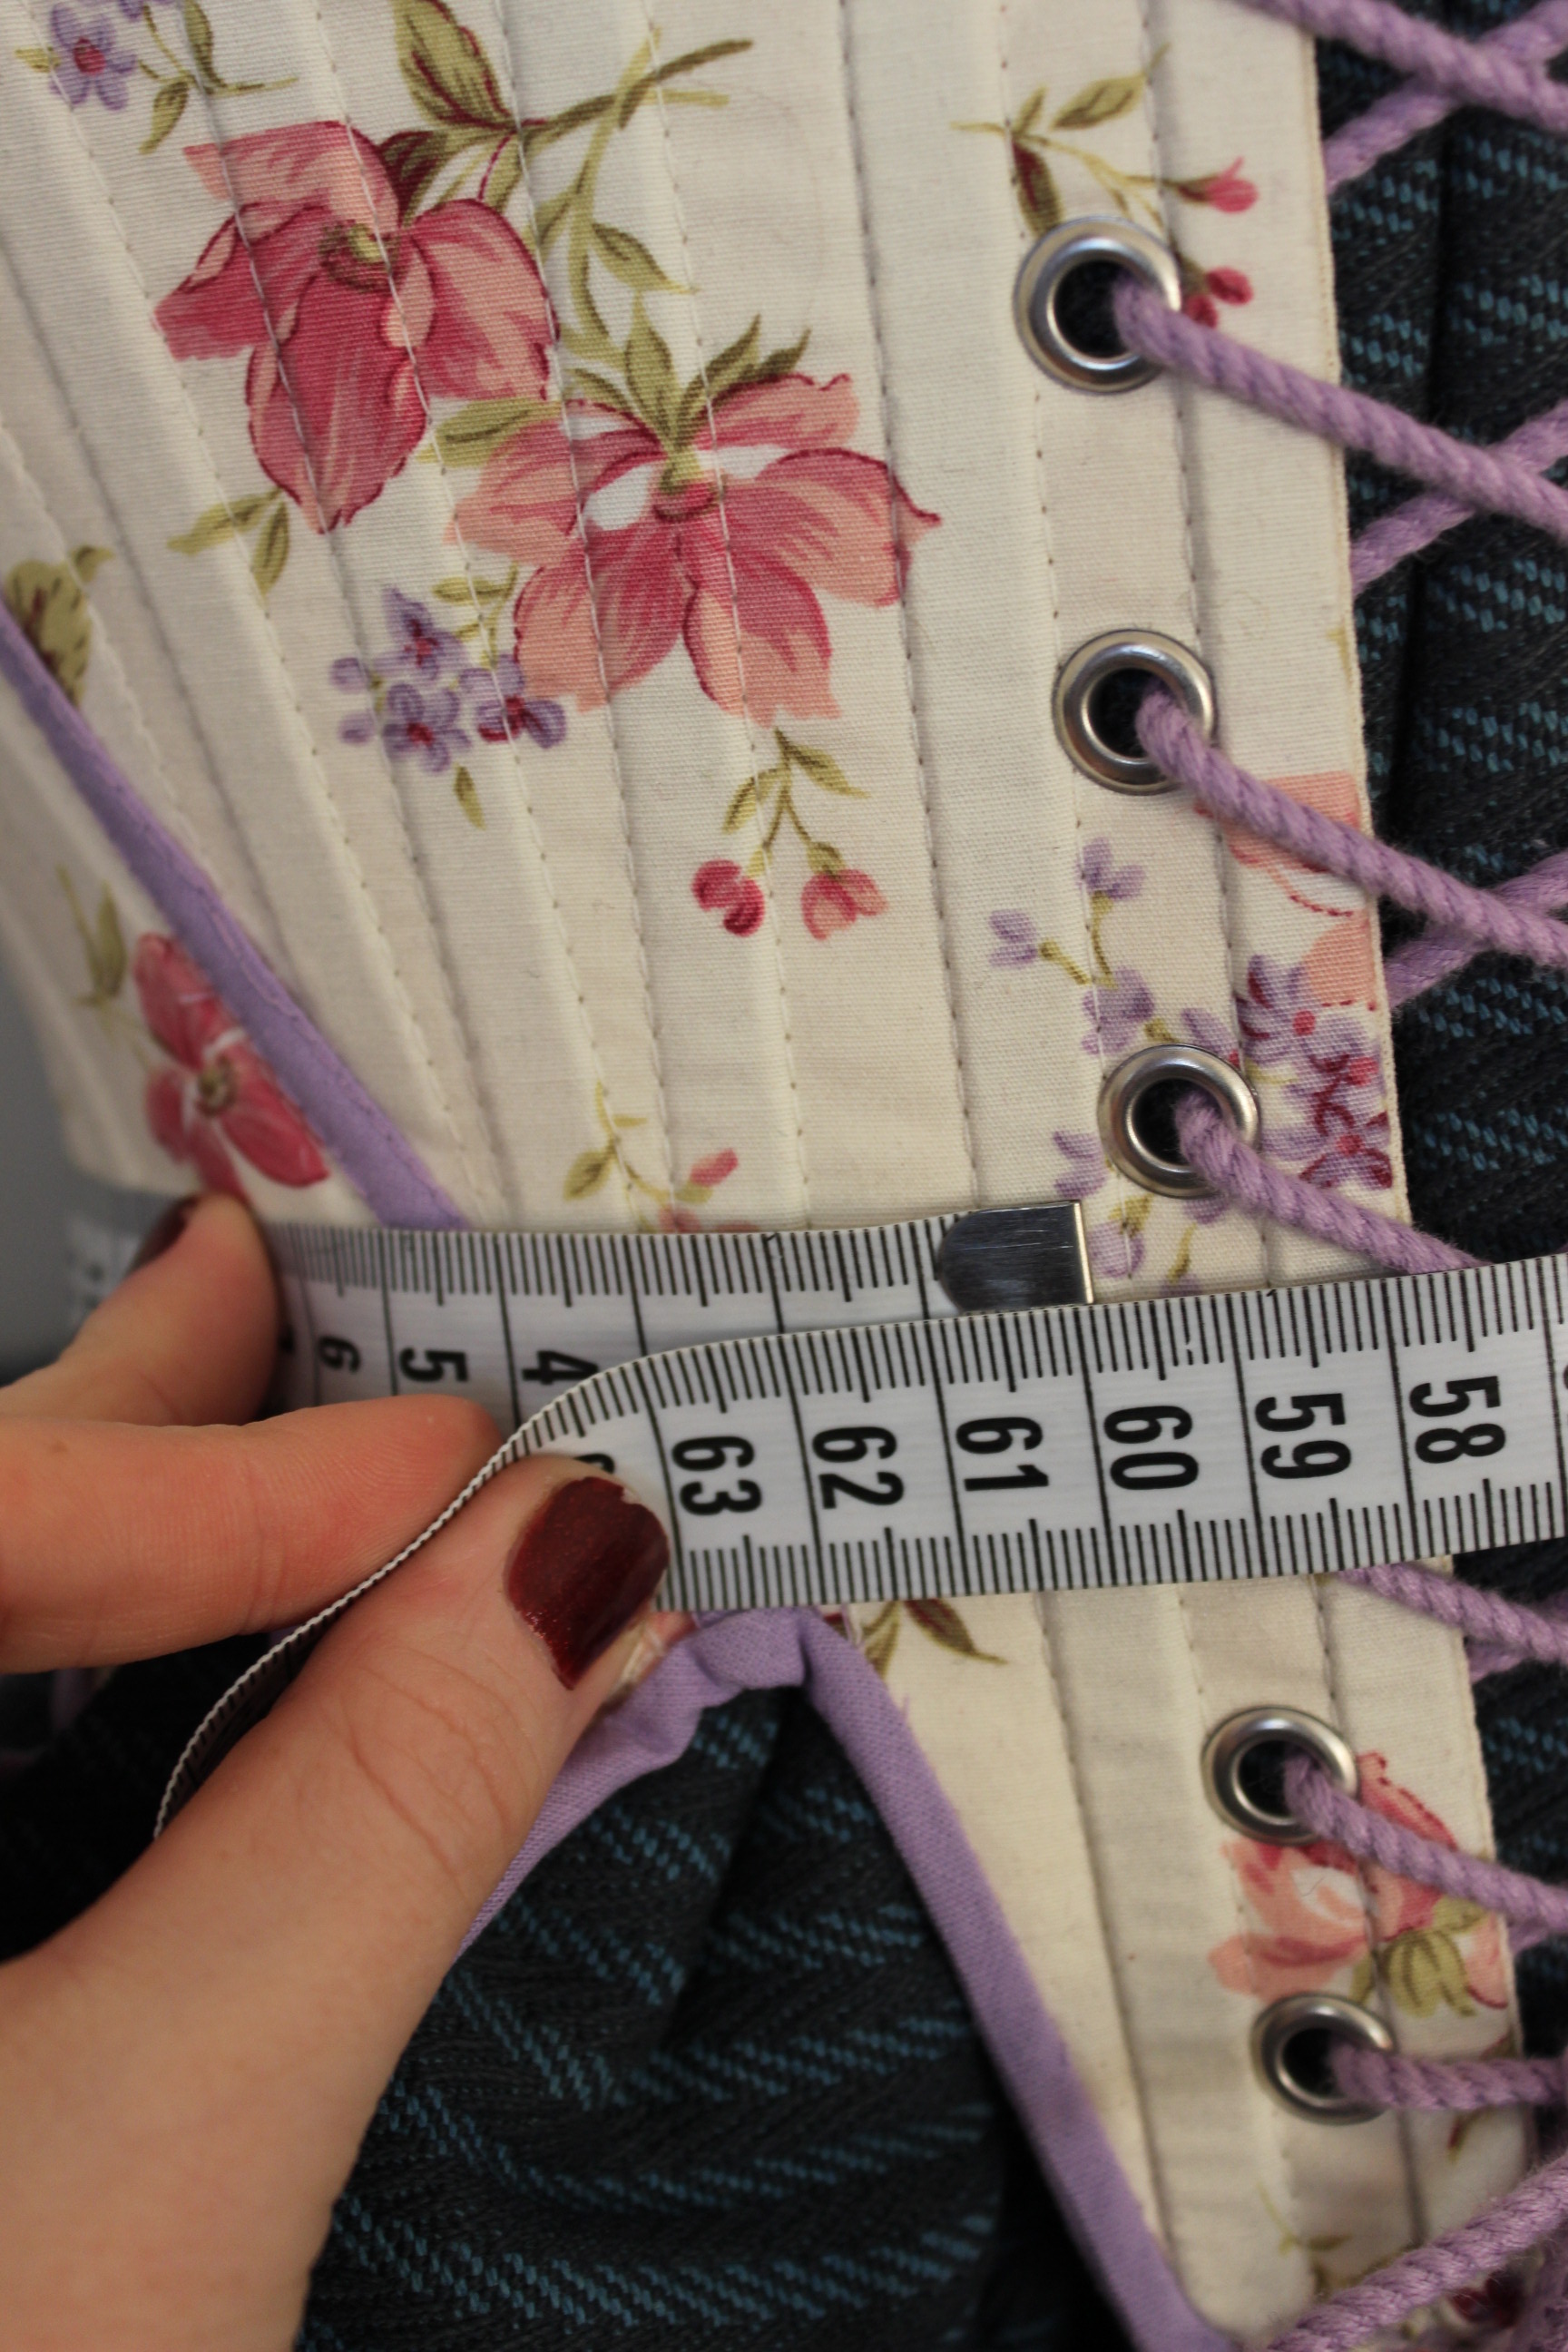
I started by adding some extra widht to the pattern to bring it closer to my measurments.IMG_4330

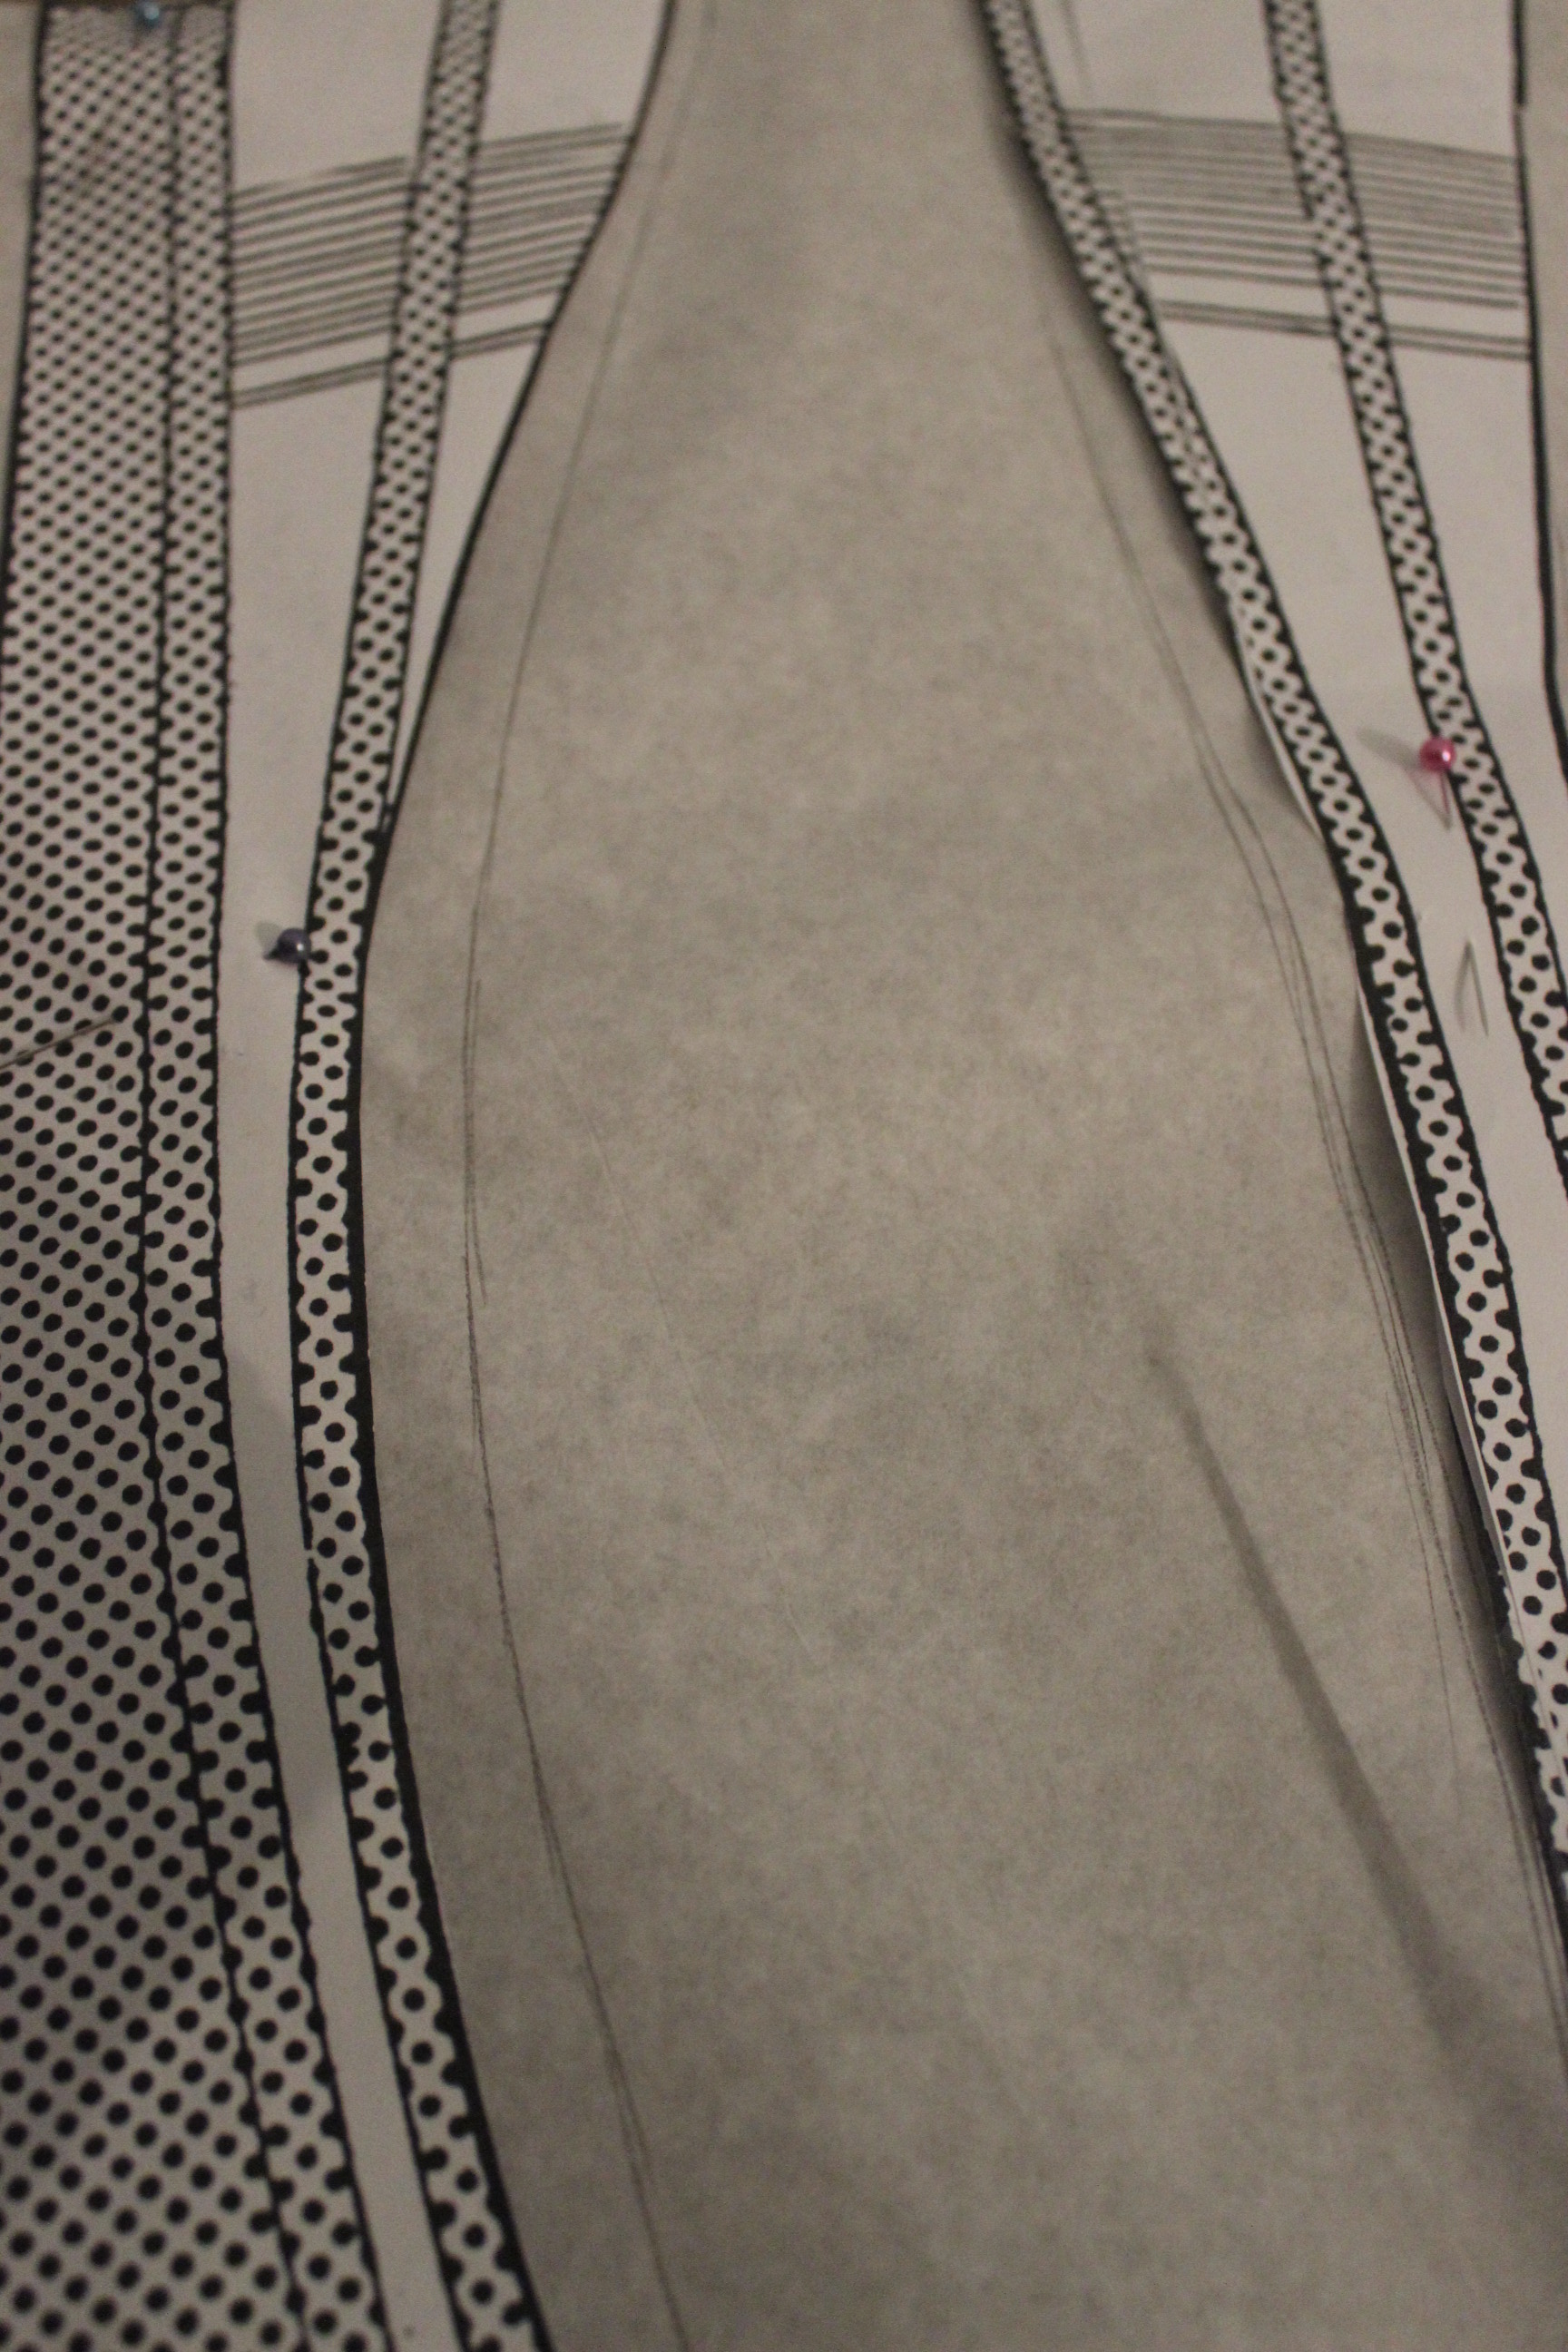
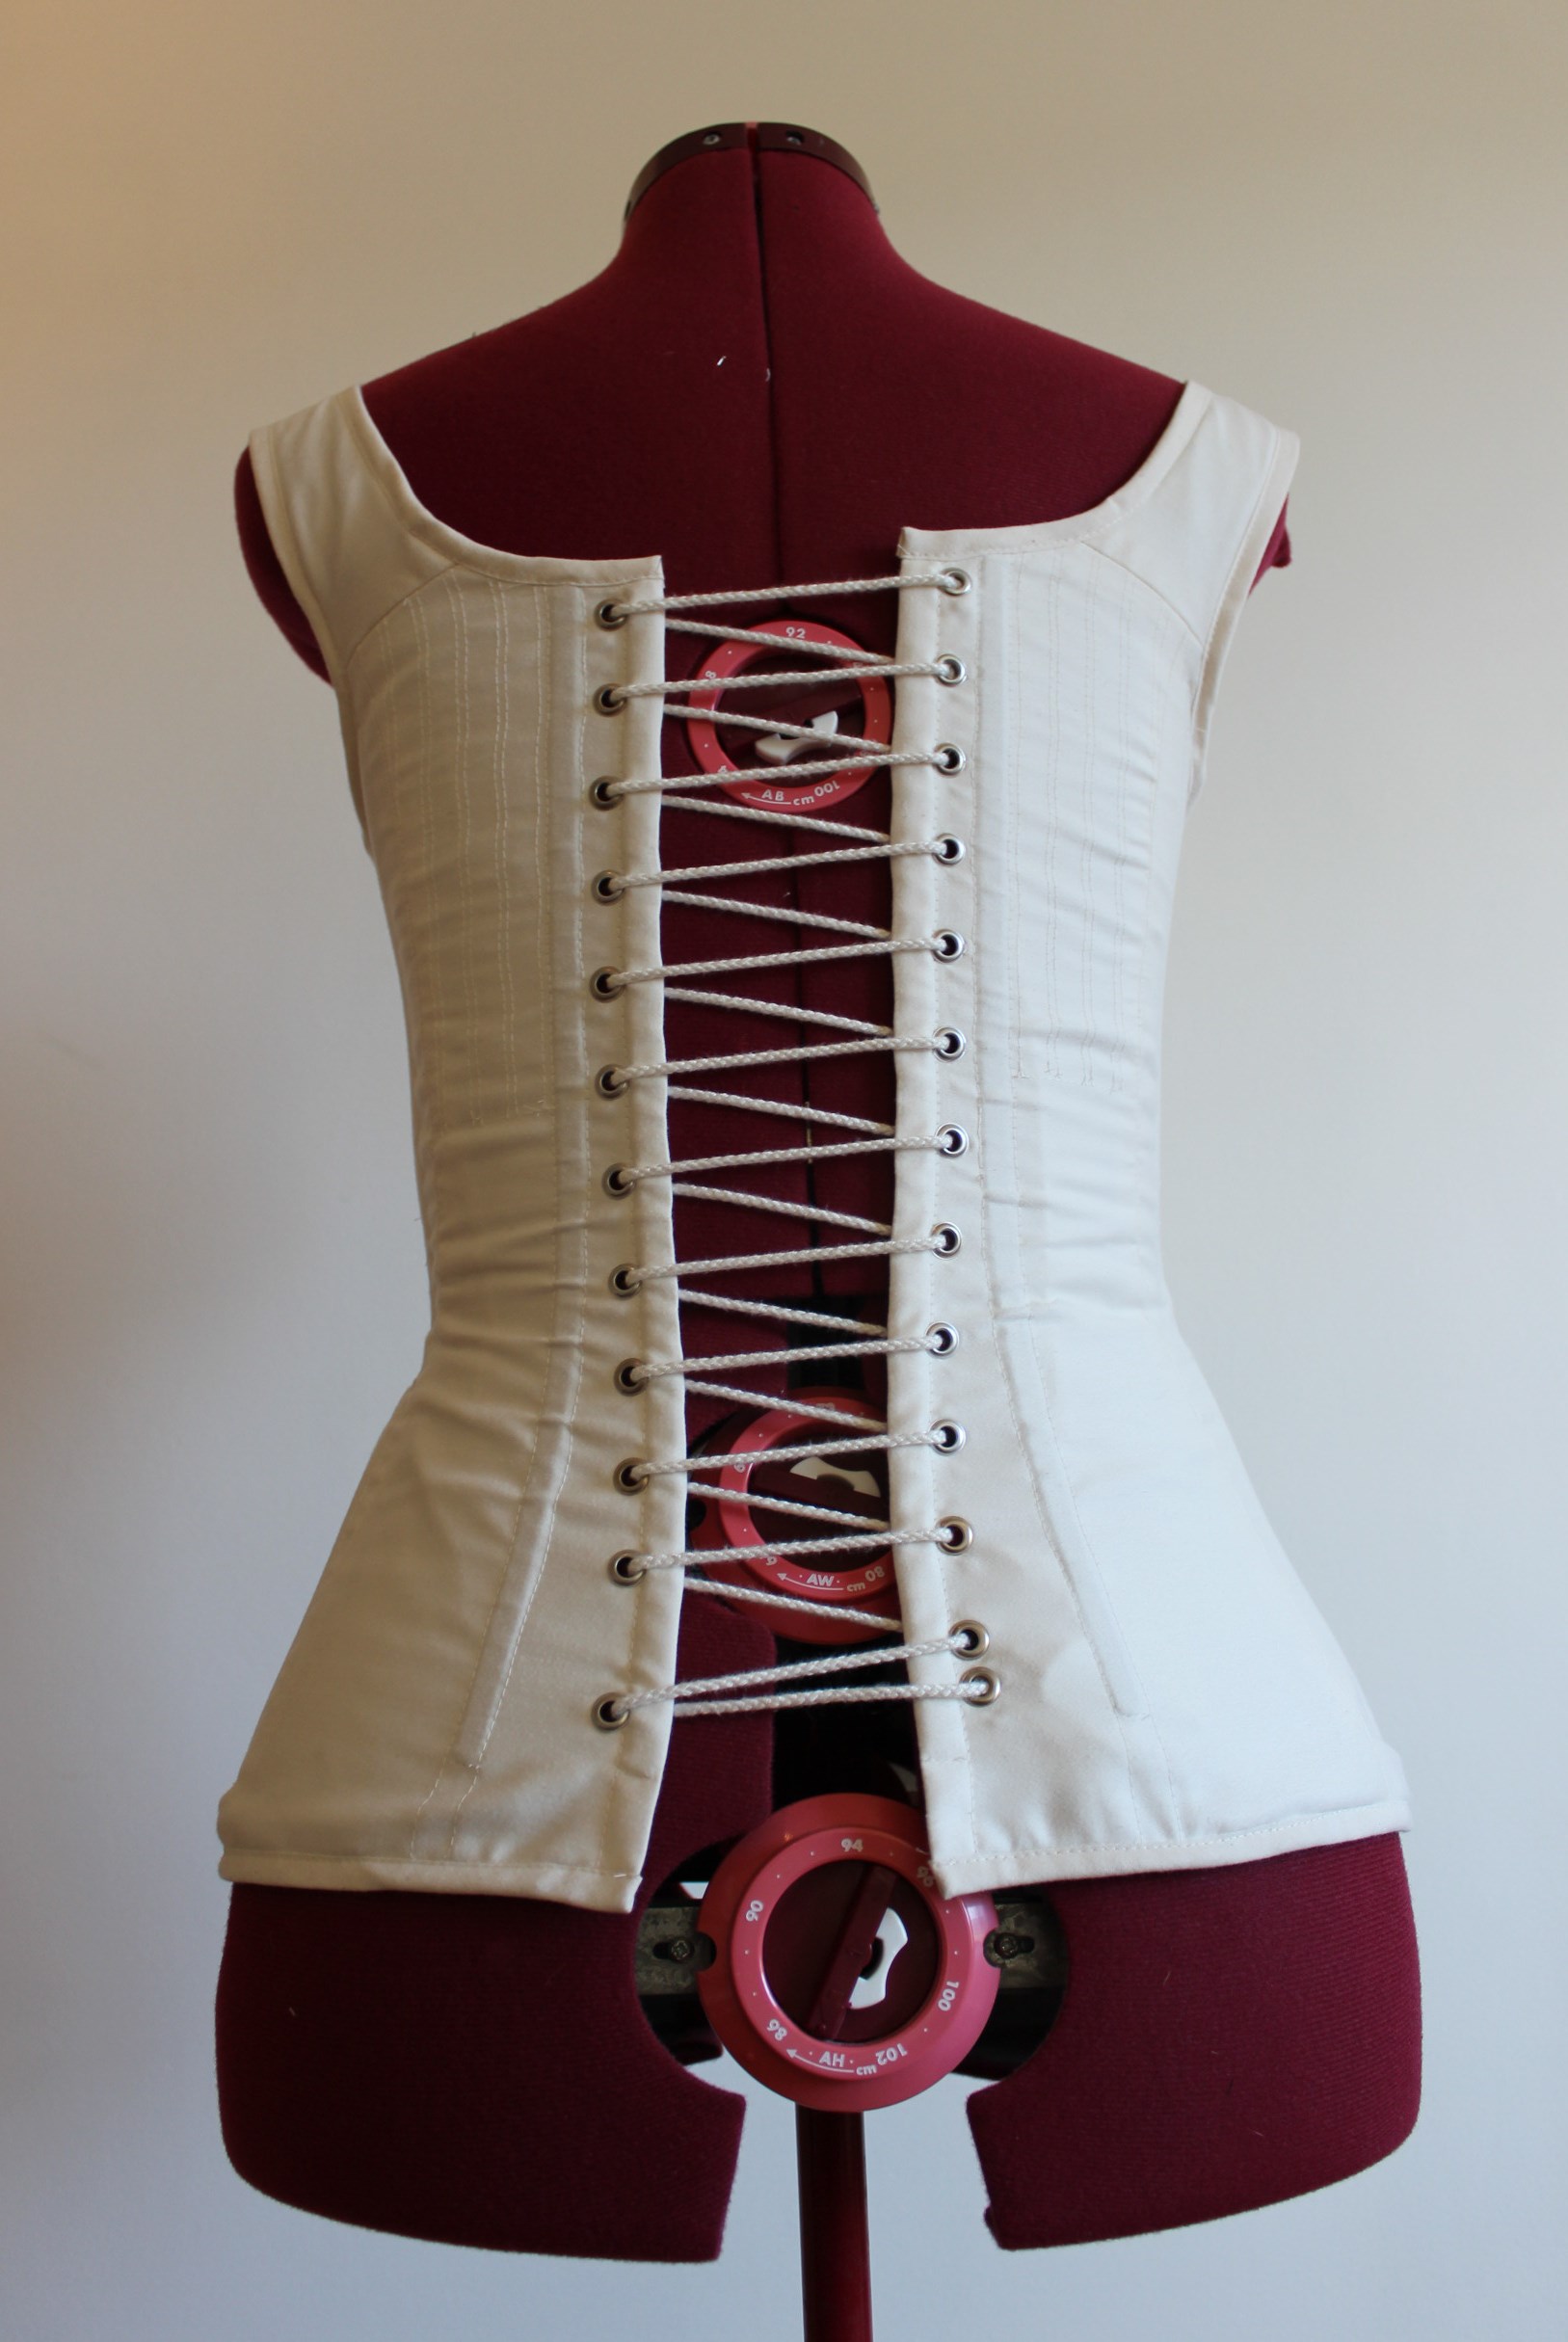
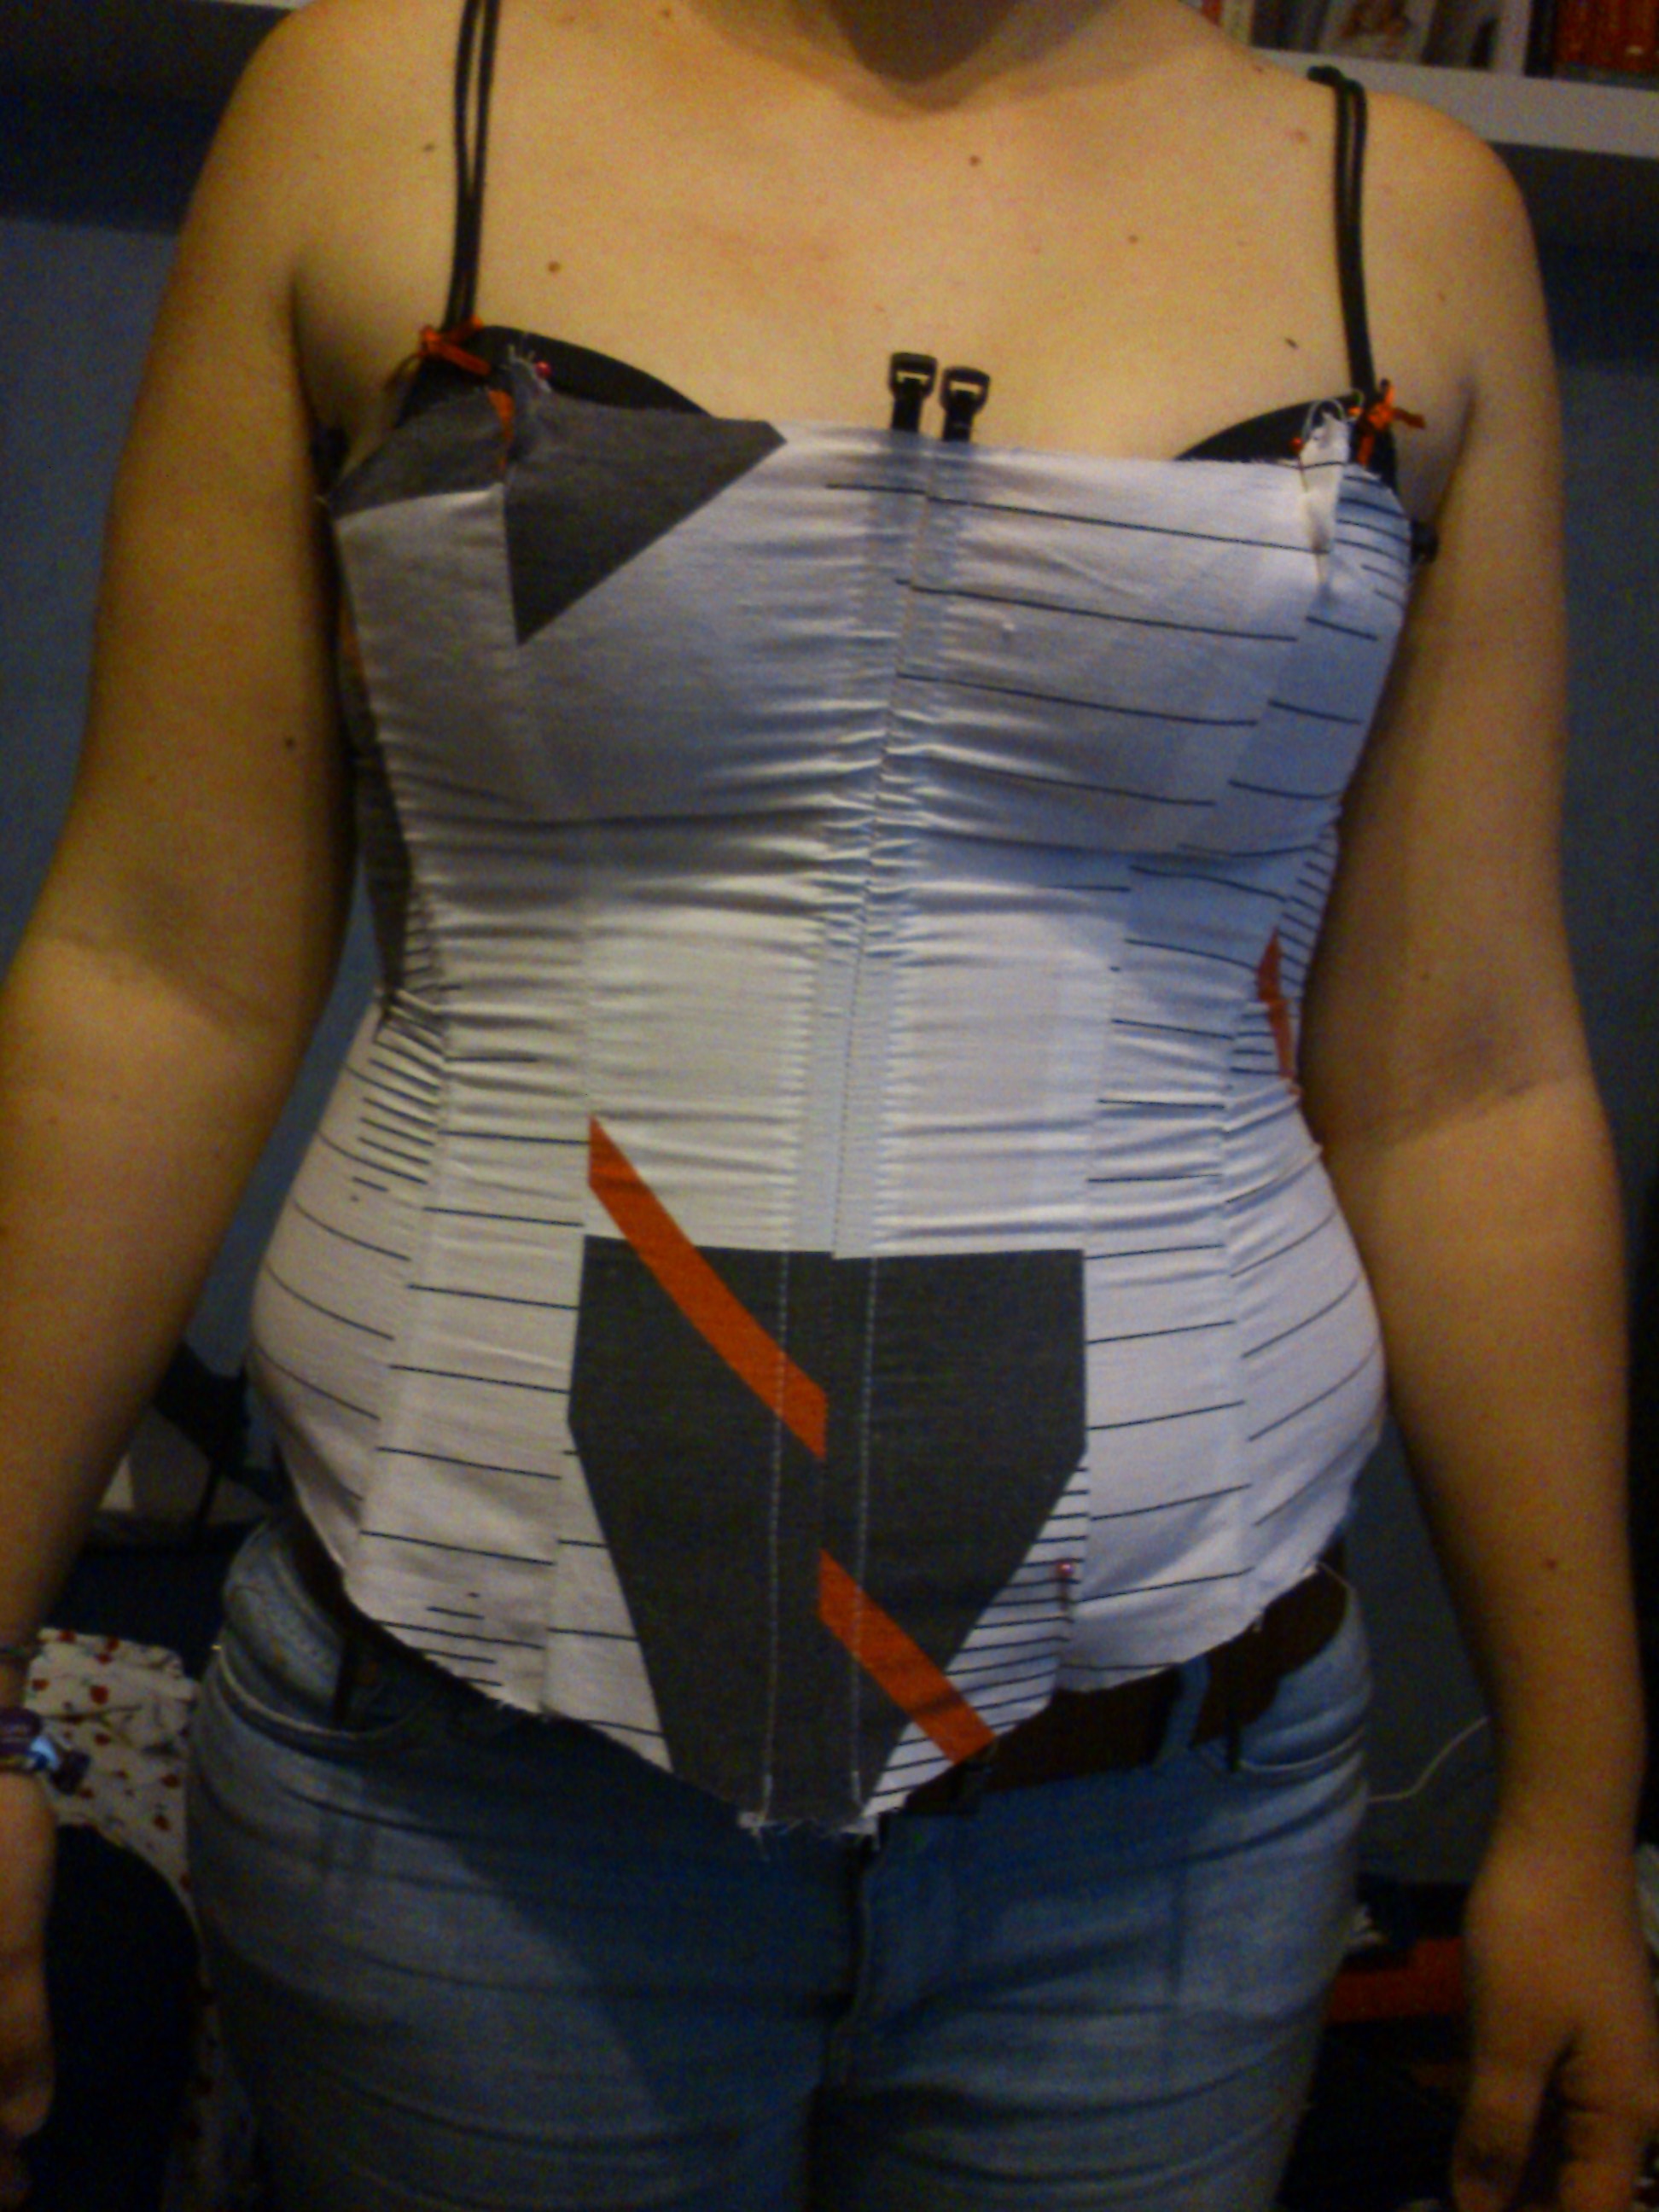
Then I cut it out in a sturdy cotton bedsheet,IMG_4335

sewed it together and tried it on.

IMG_4338 IMG_4344

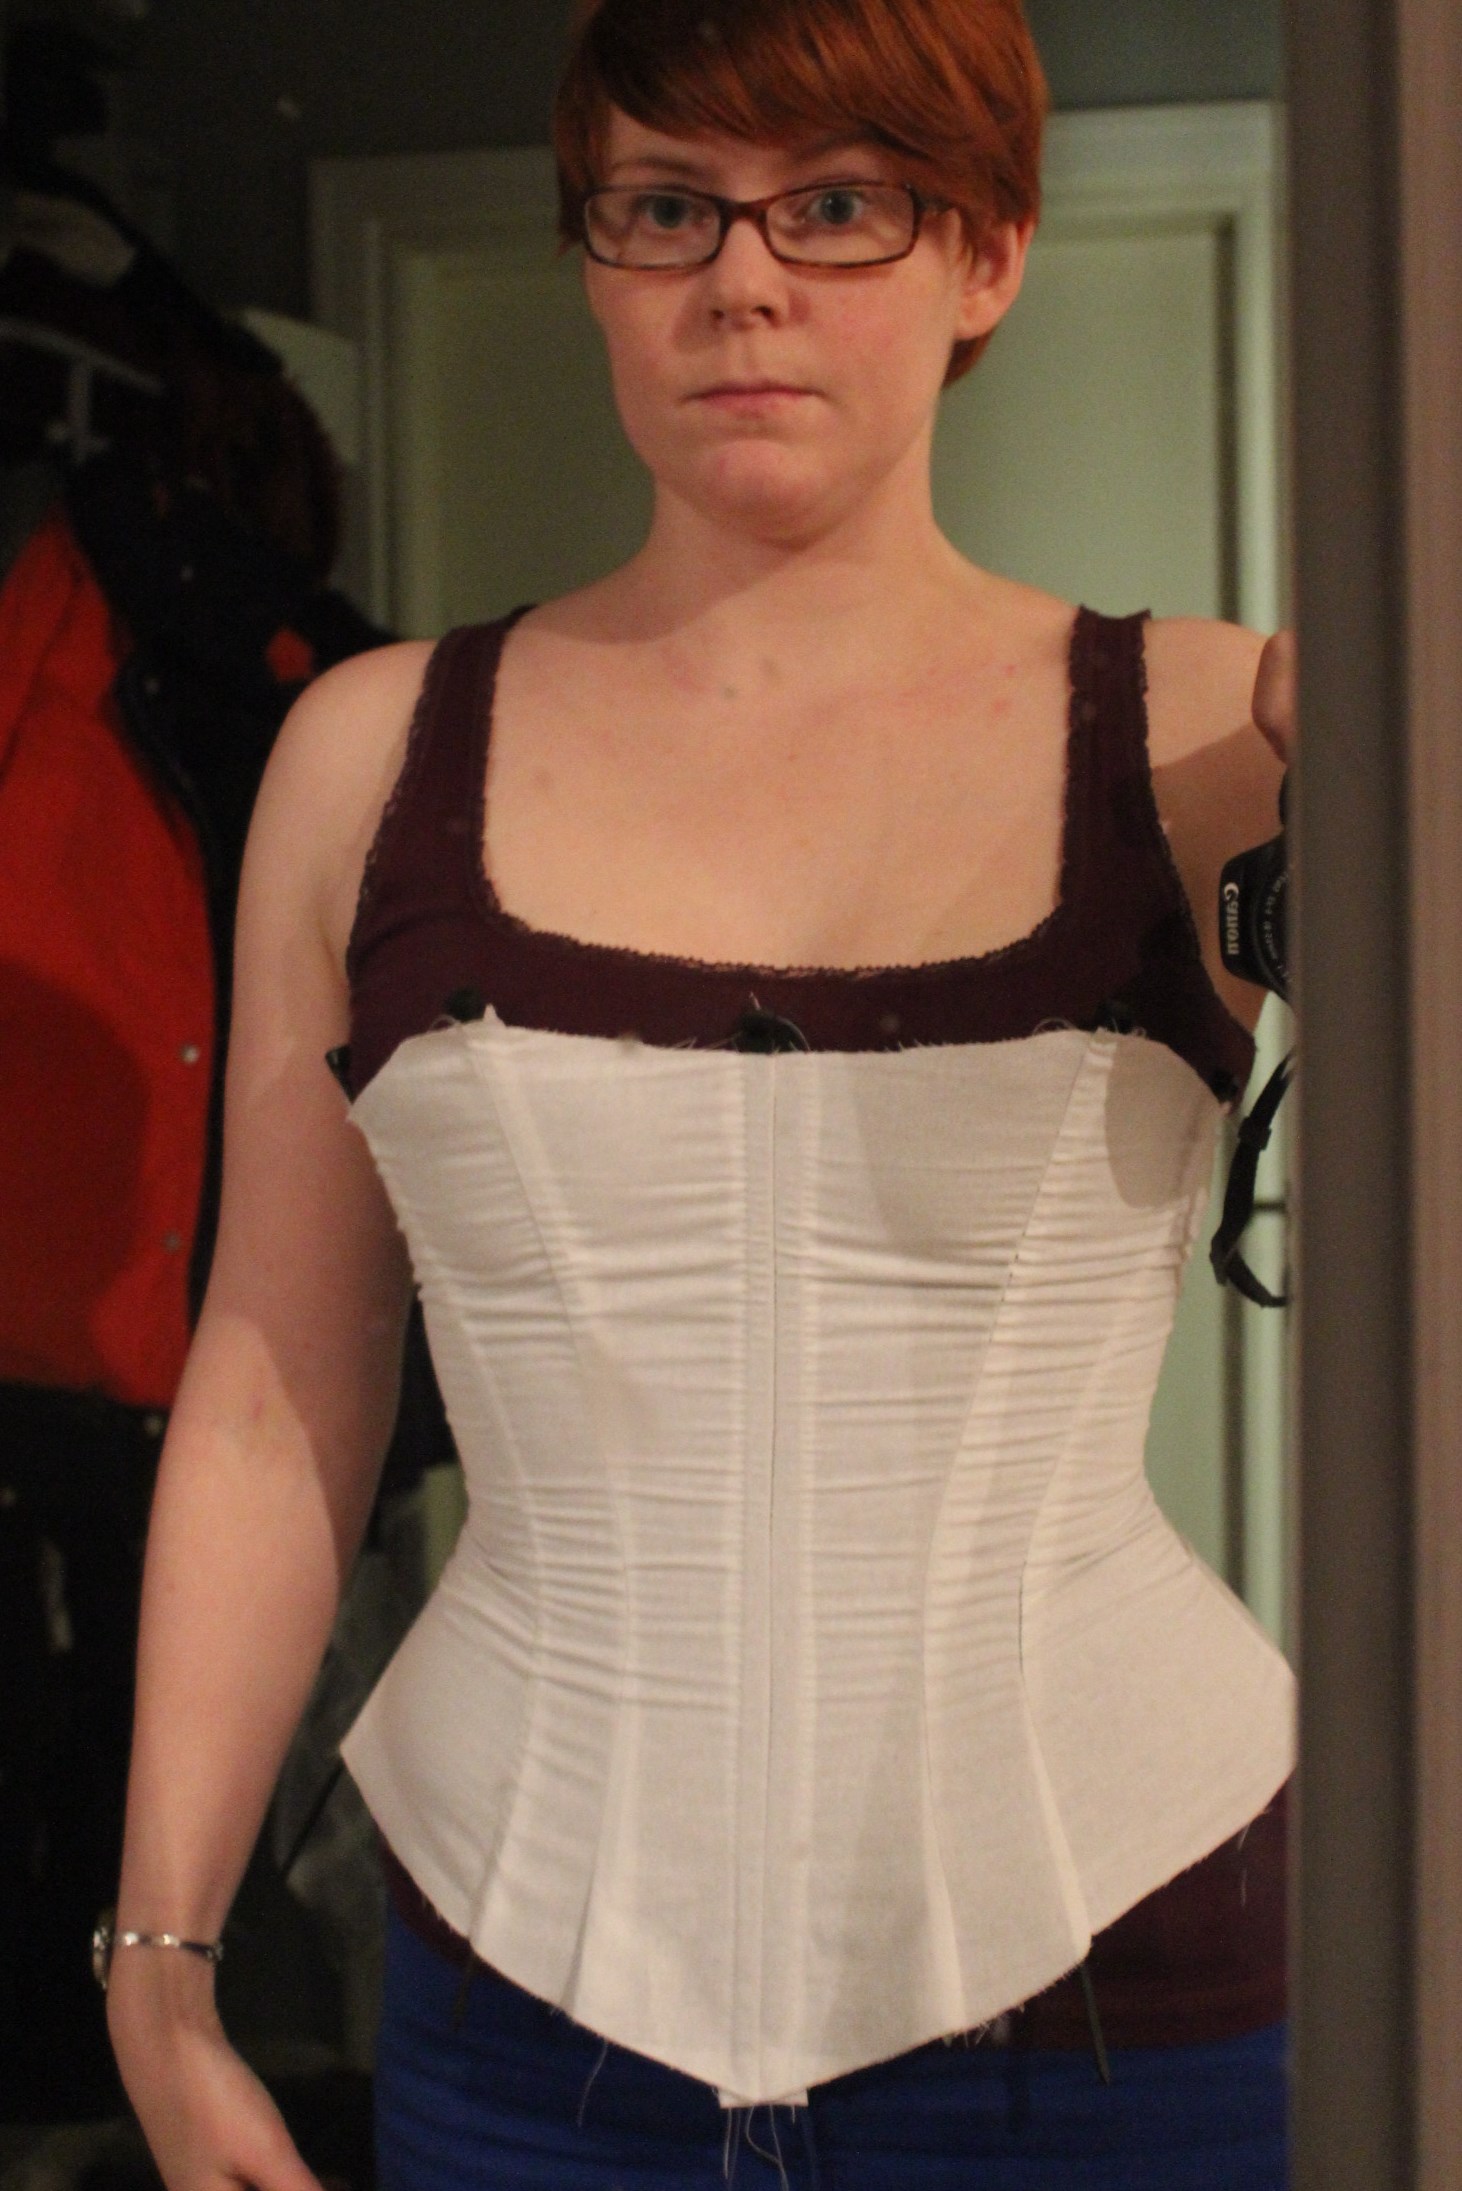
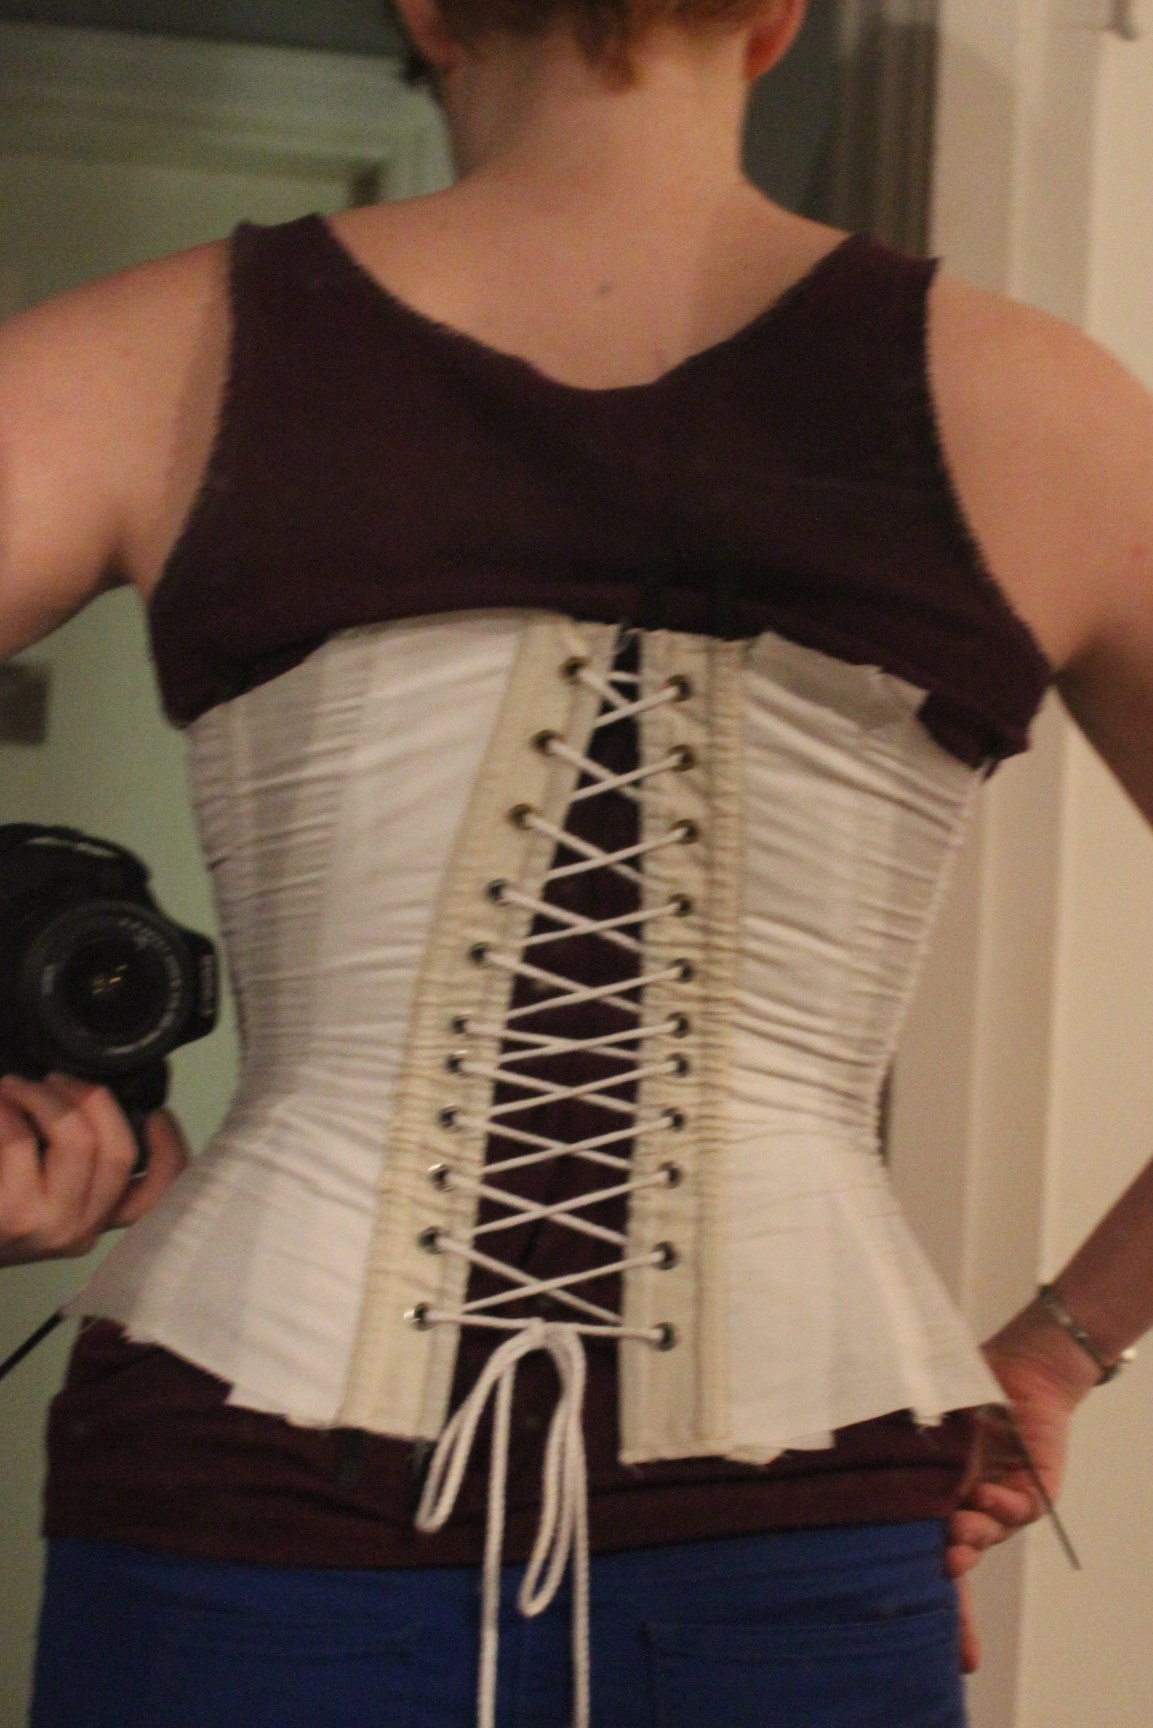
It fits suprisengly well. The only thing that needs to be changed is to take out a bit on the top back, to get a more even lacing, and to re-shape the bottom front to make the curve over the stomach nice and smoot.IMG_4359

Then it was time to bring out all the fabric and notions. (here I got: a cream cotton sateen, a cream cotton interlining, a busk, lots of plastic bonning, thread, the pattern, grommets and lacing cord).IMG_4368

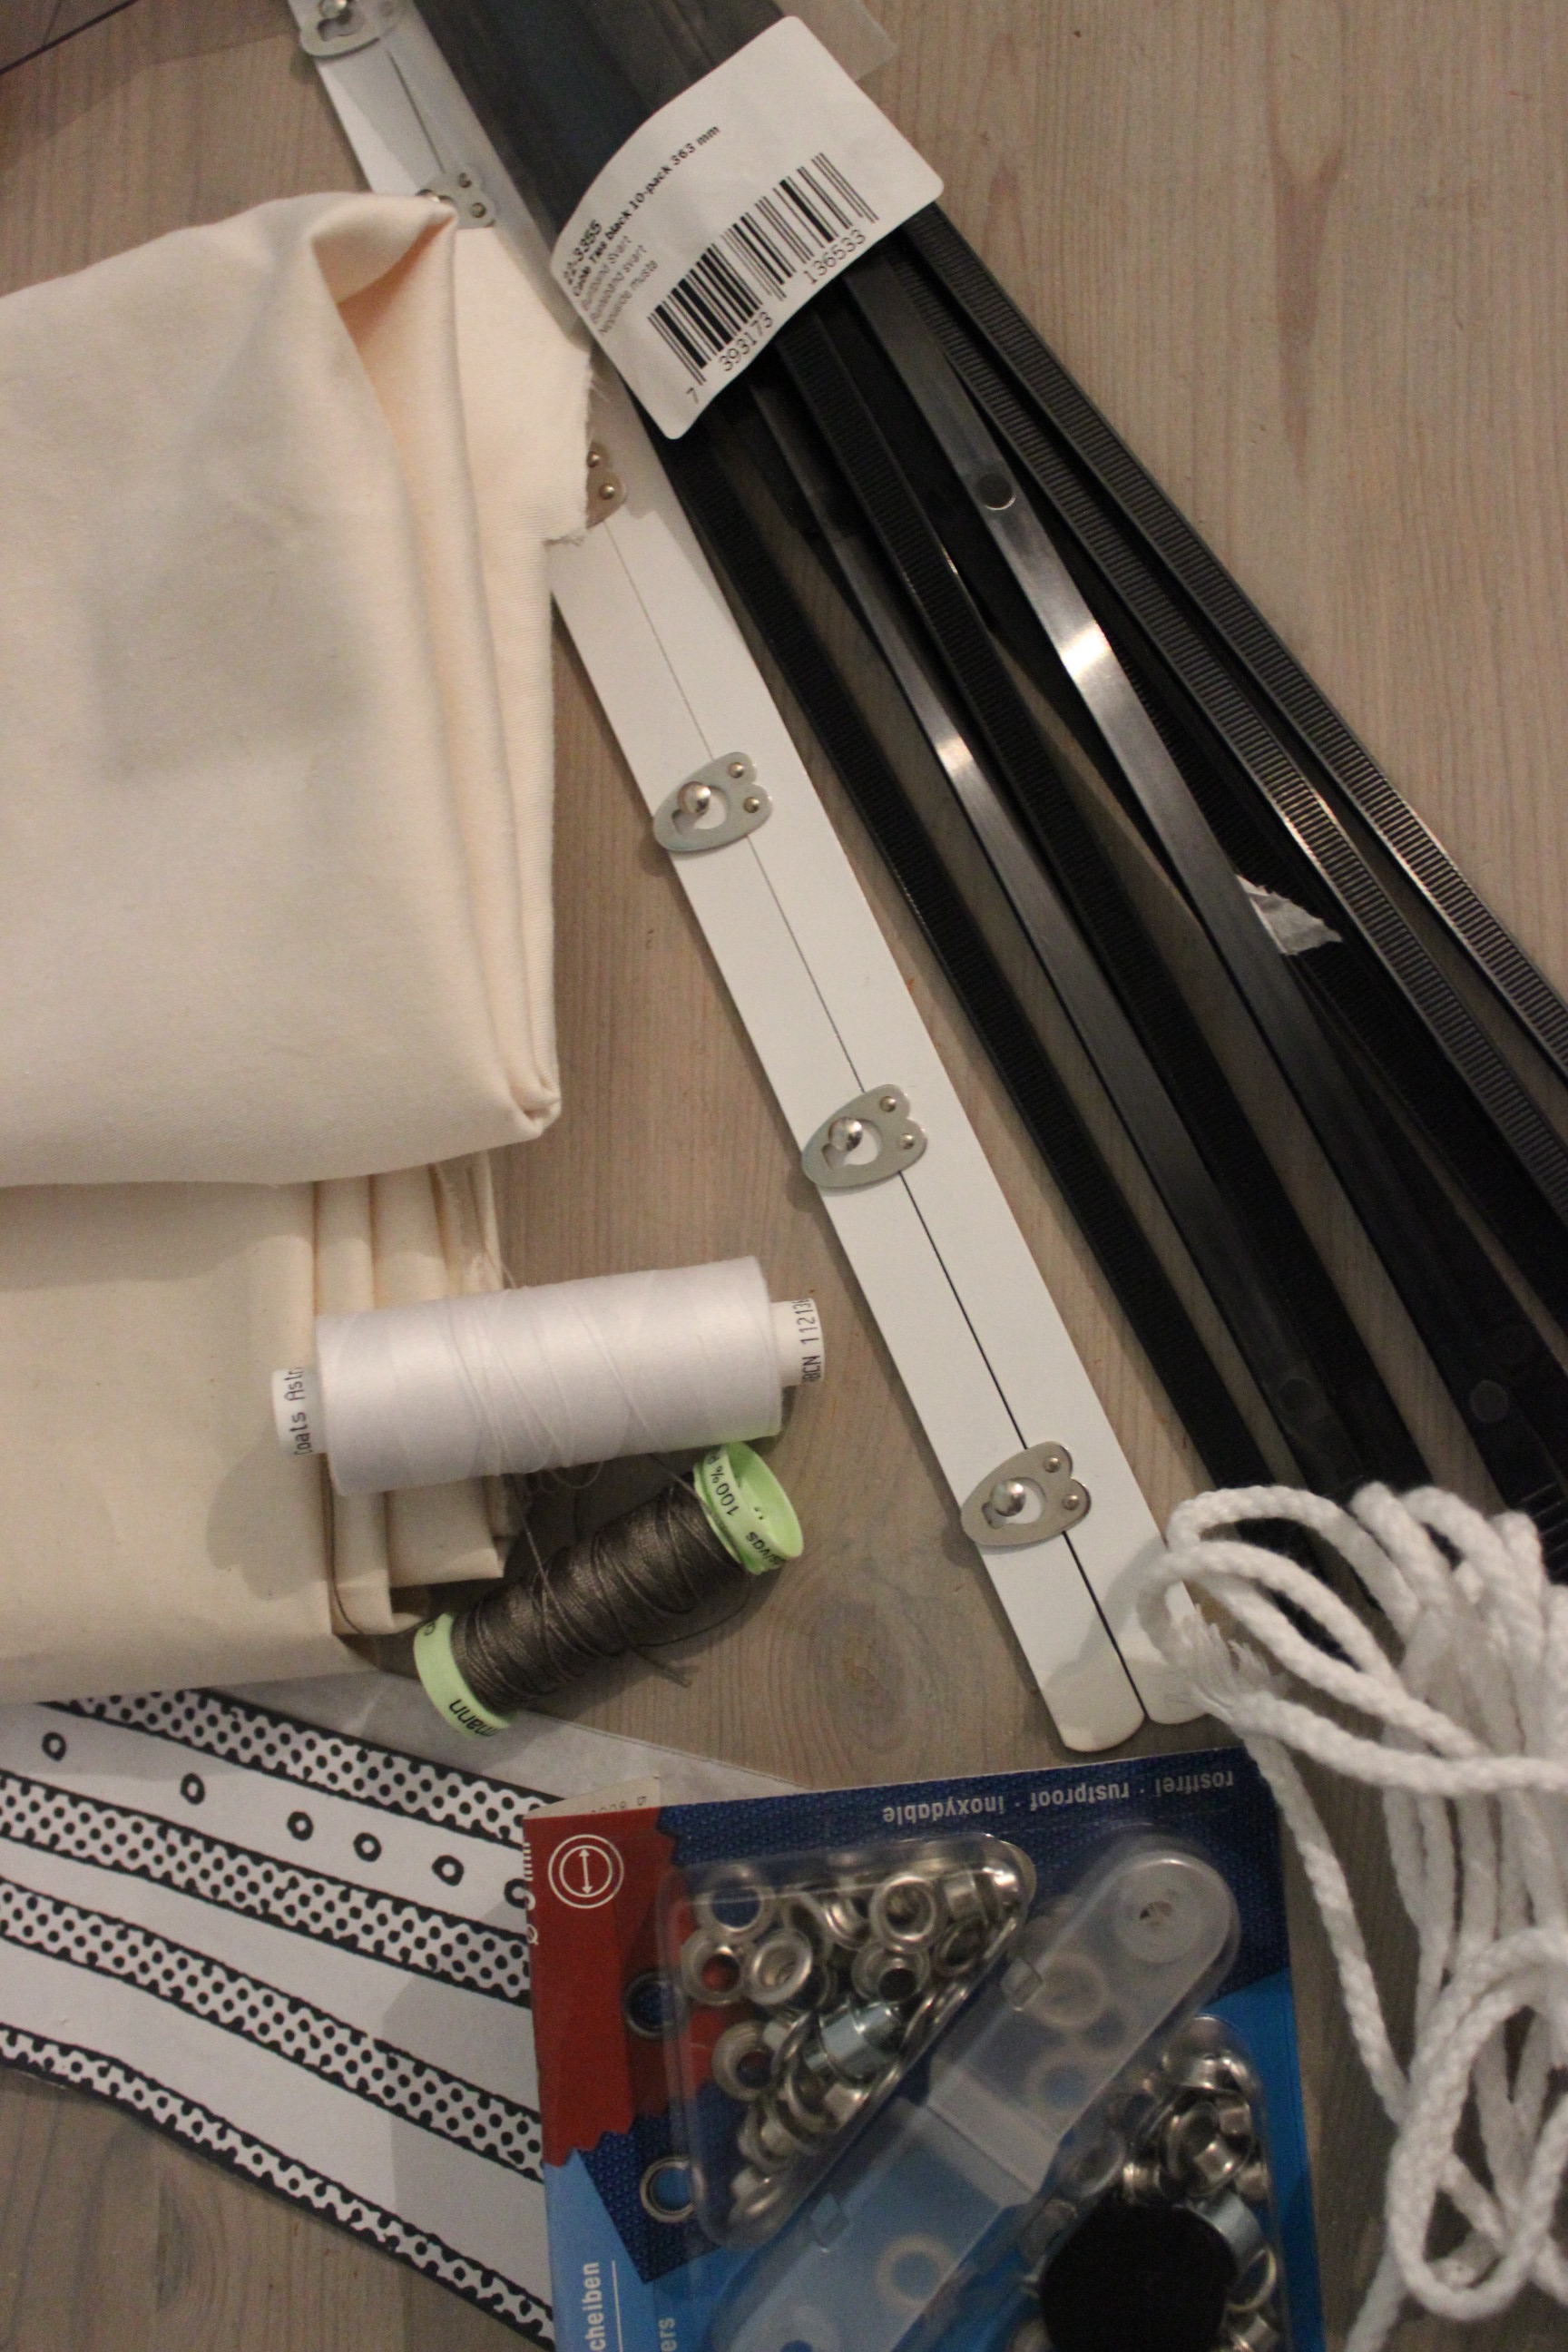
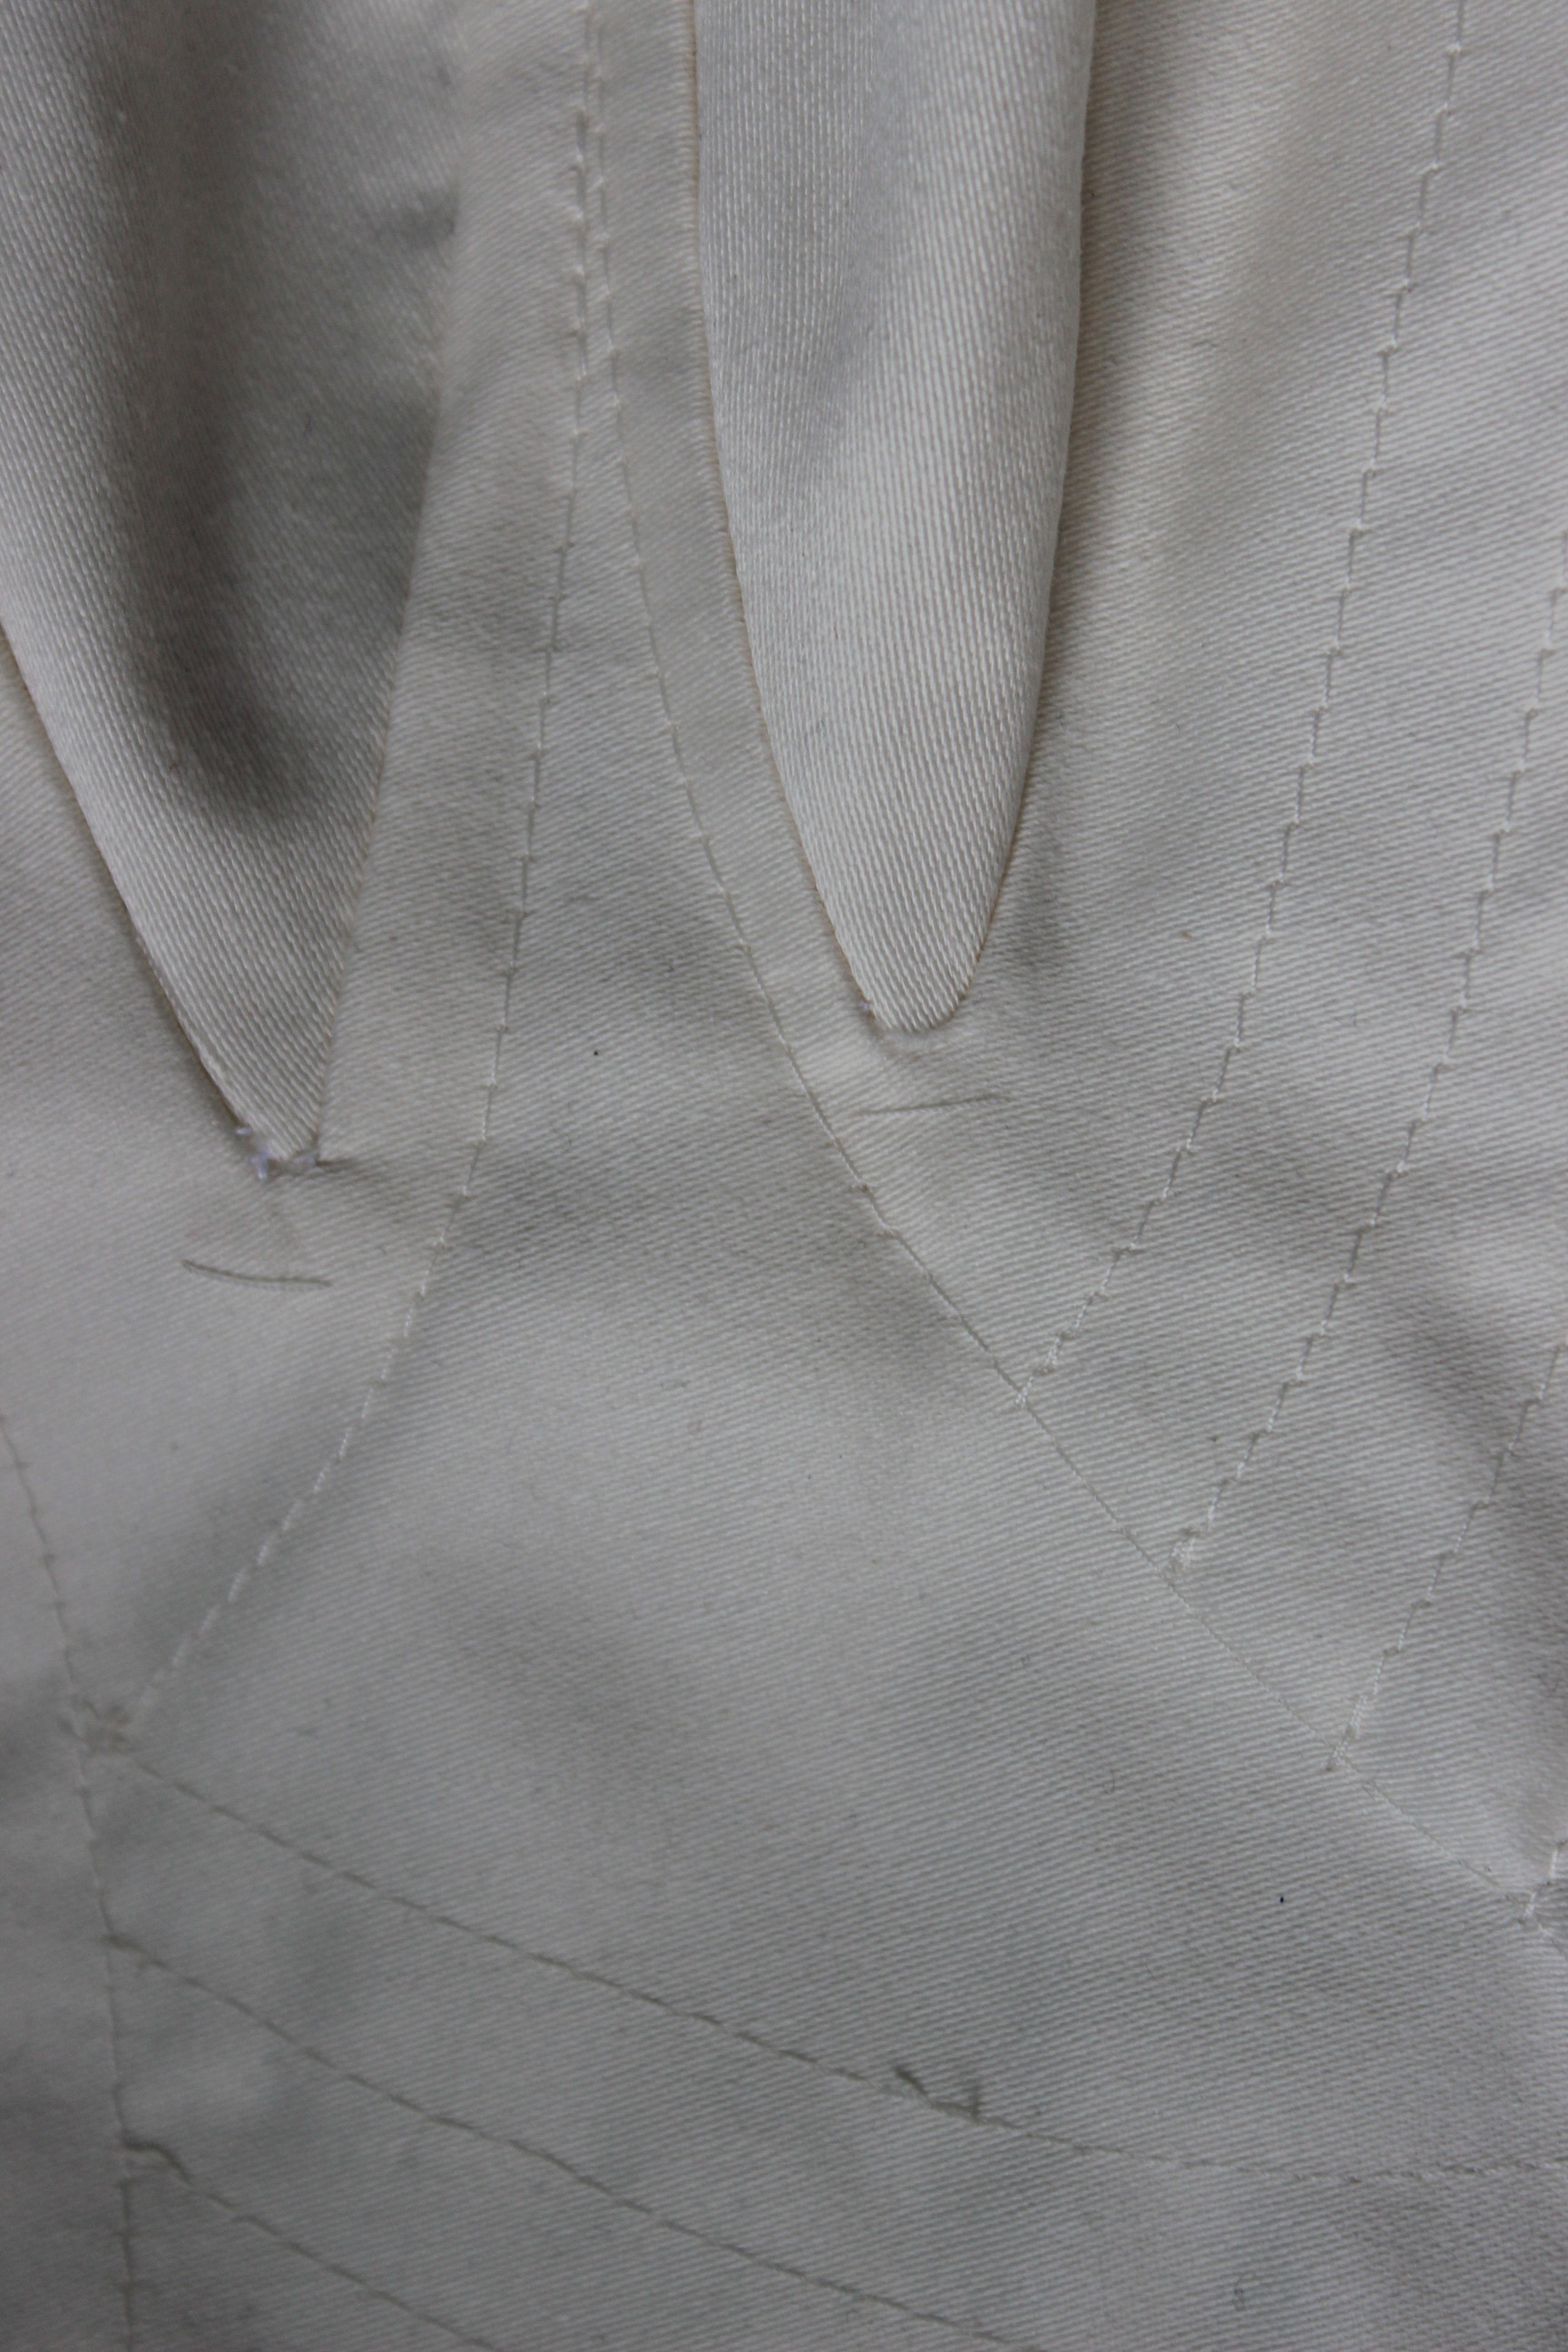
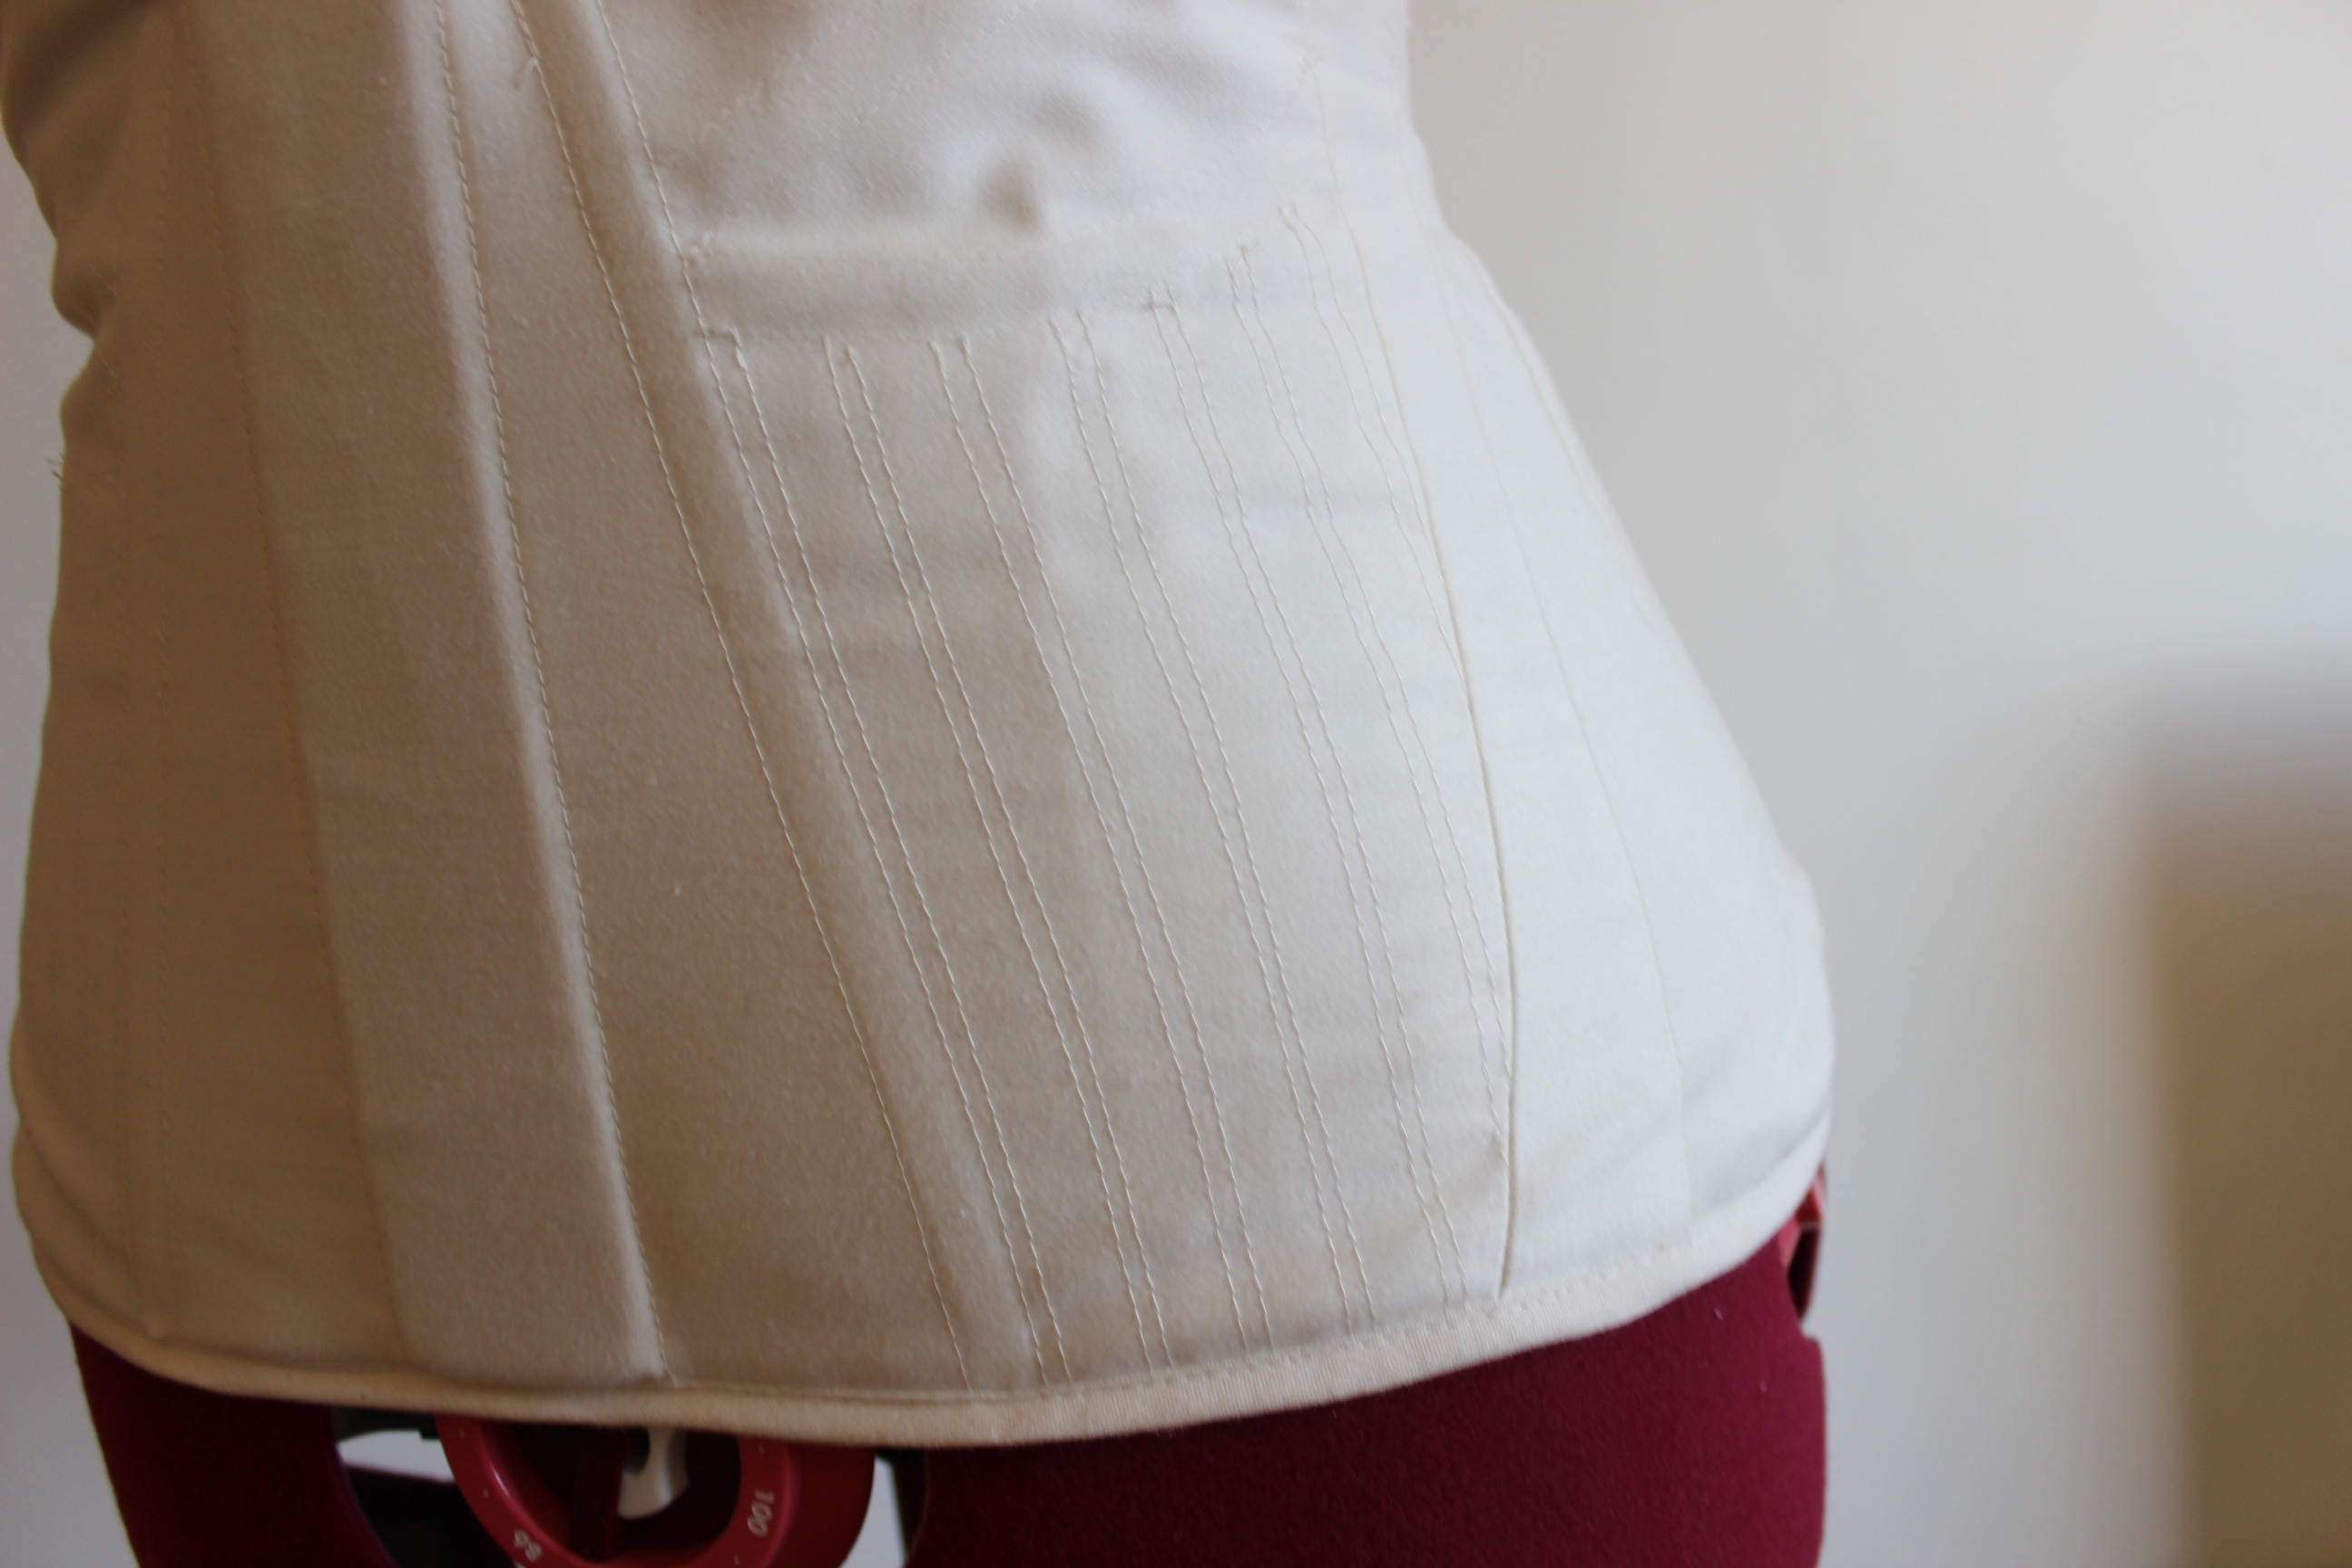
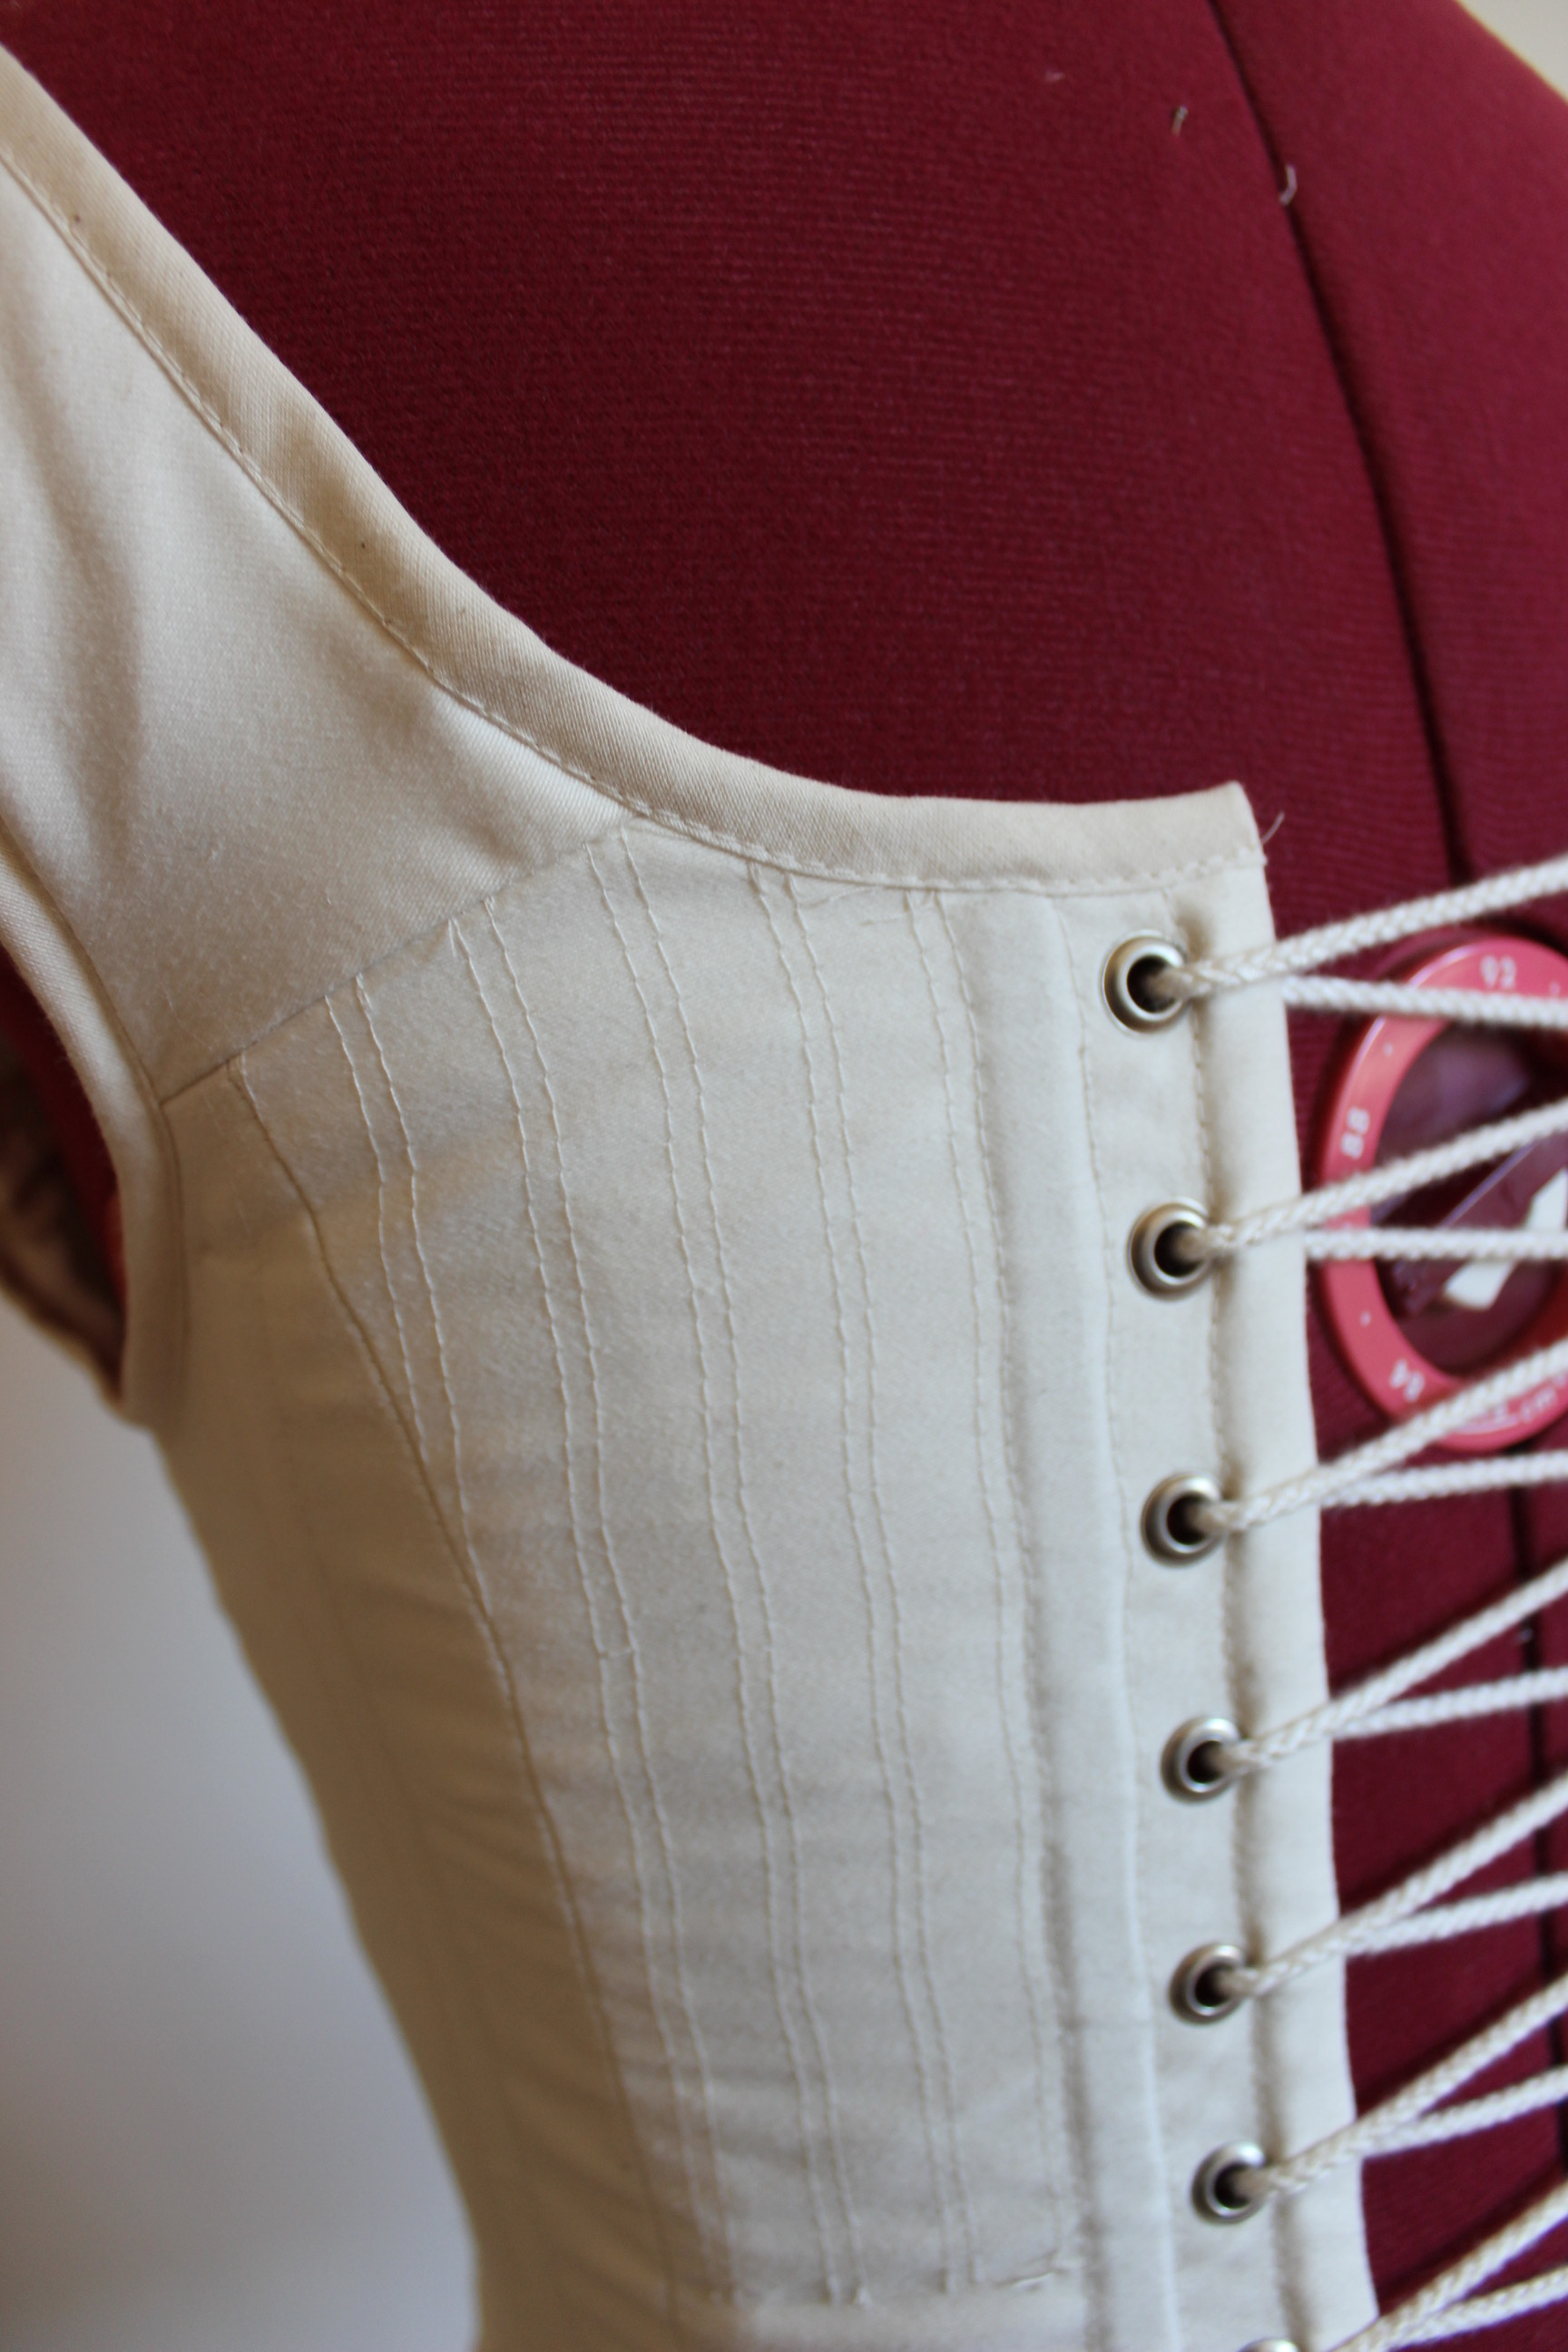
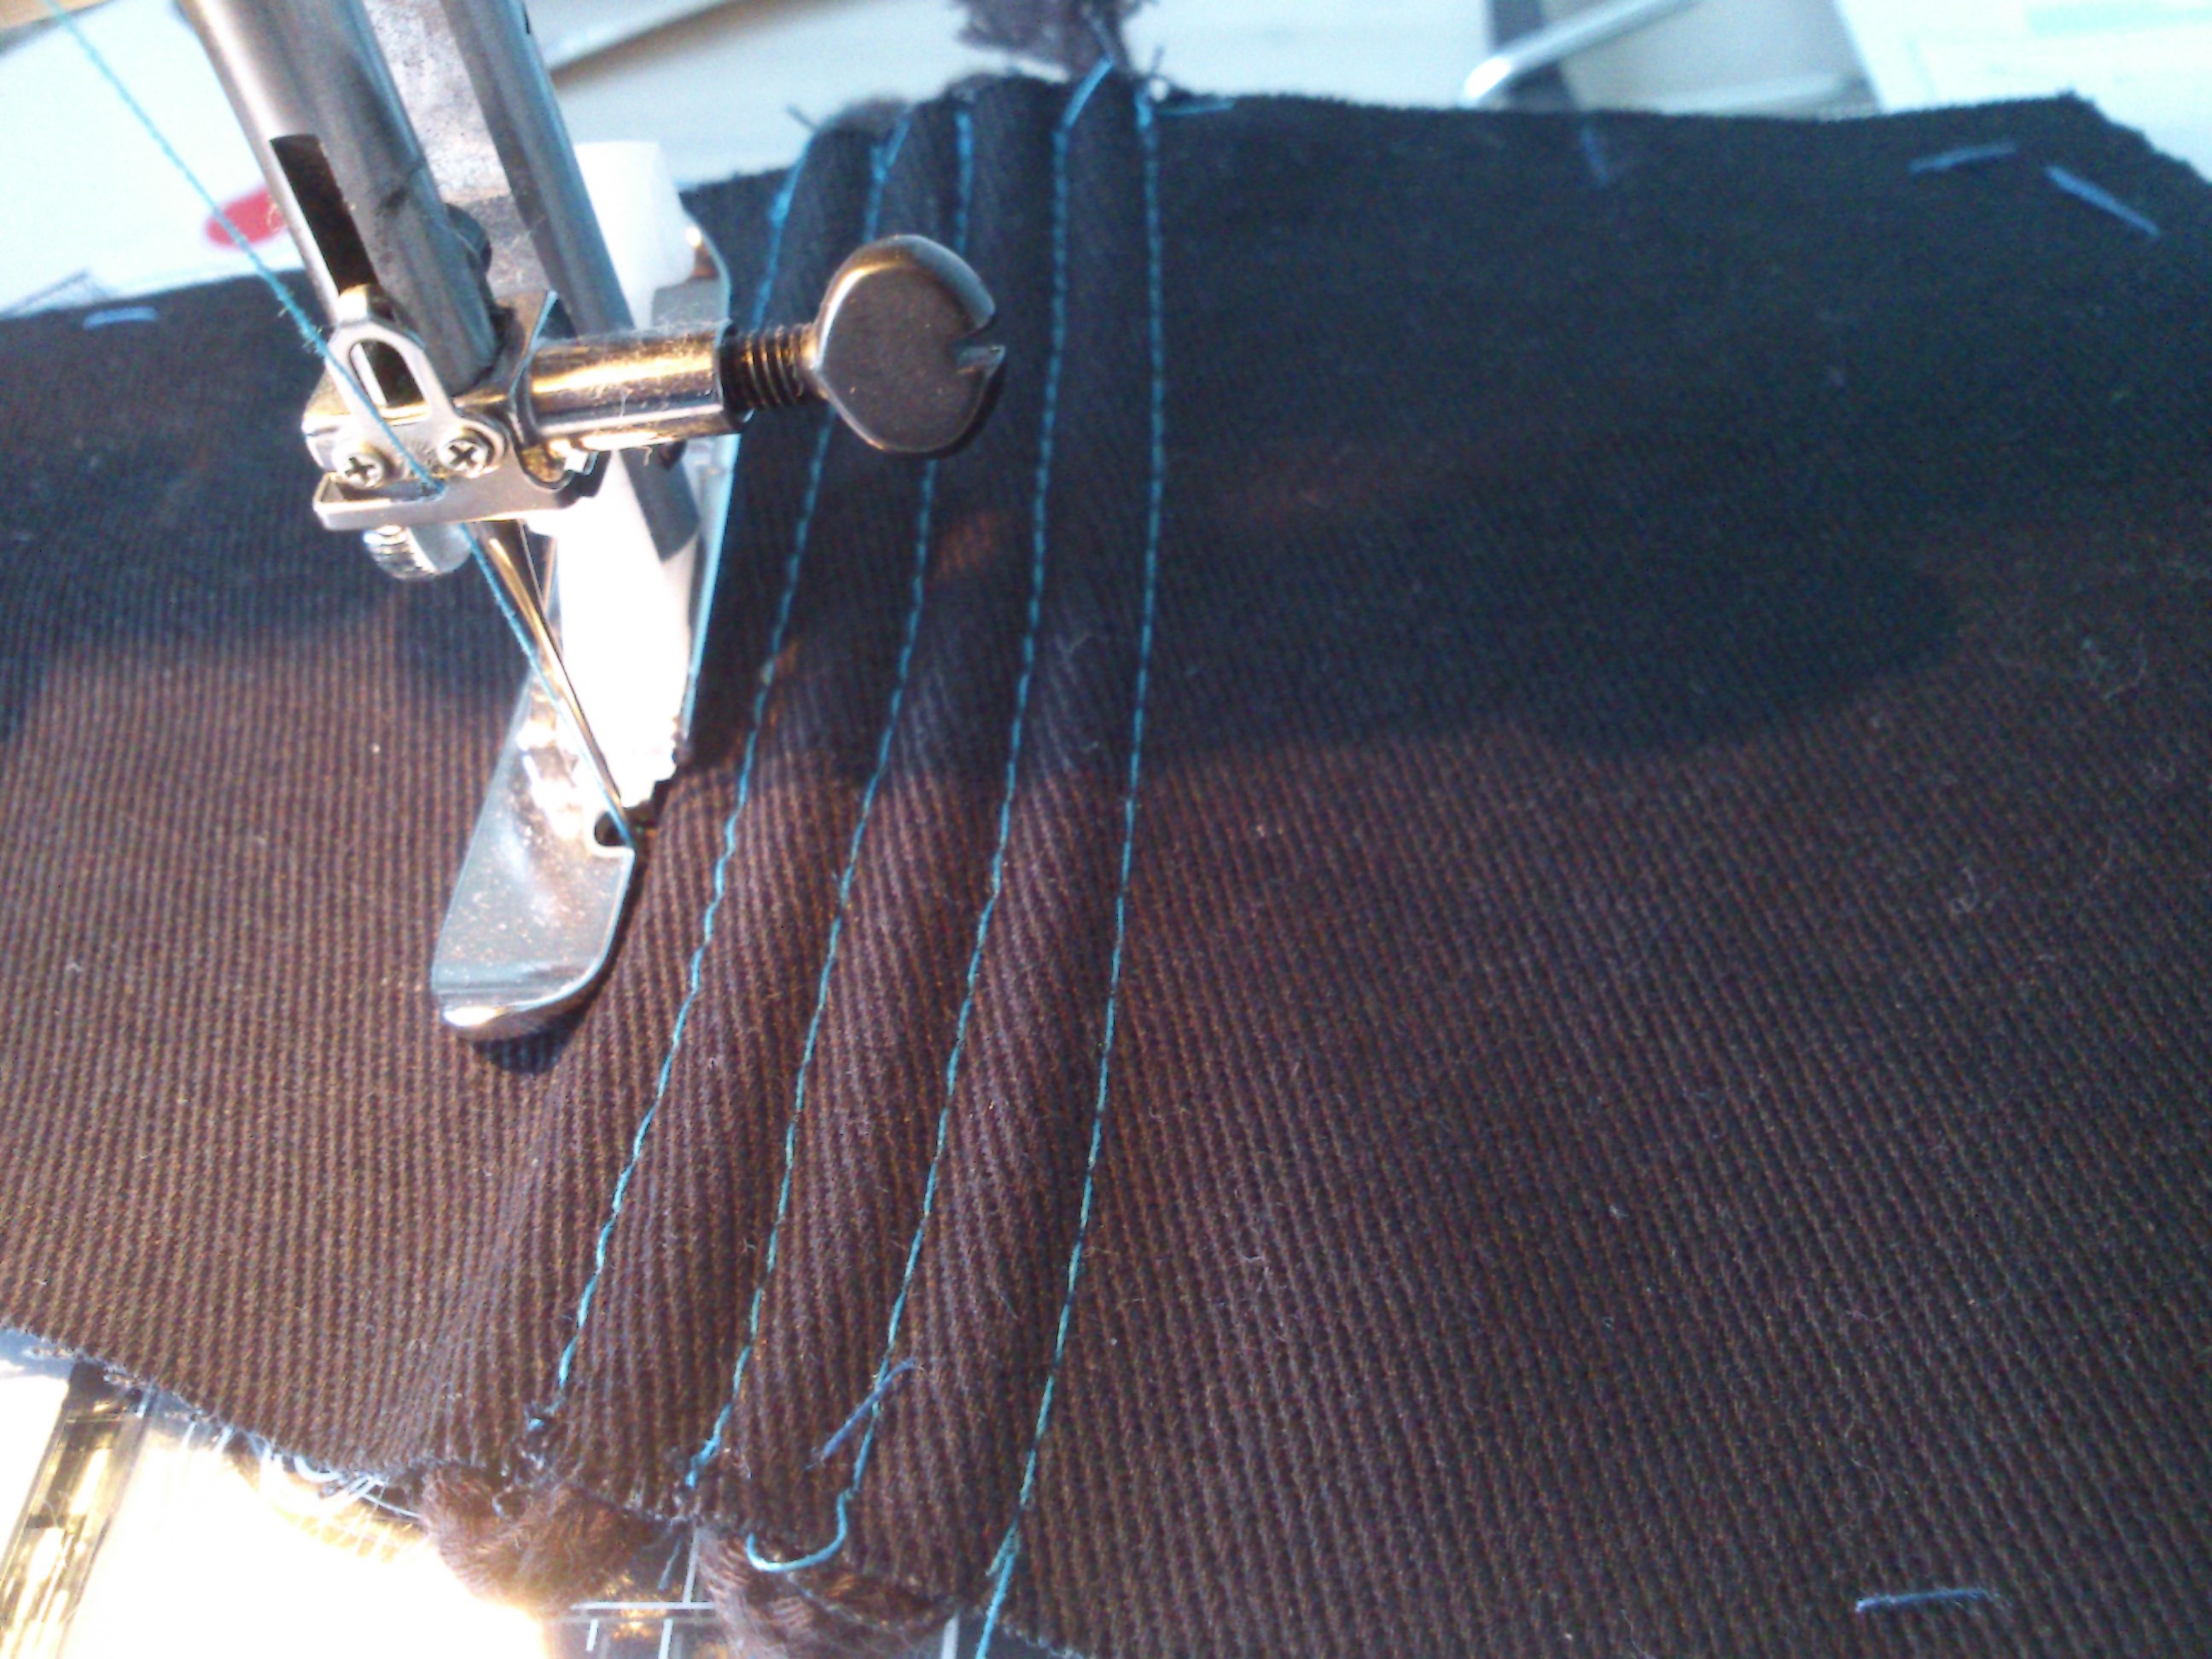
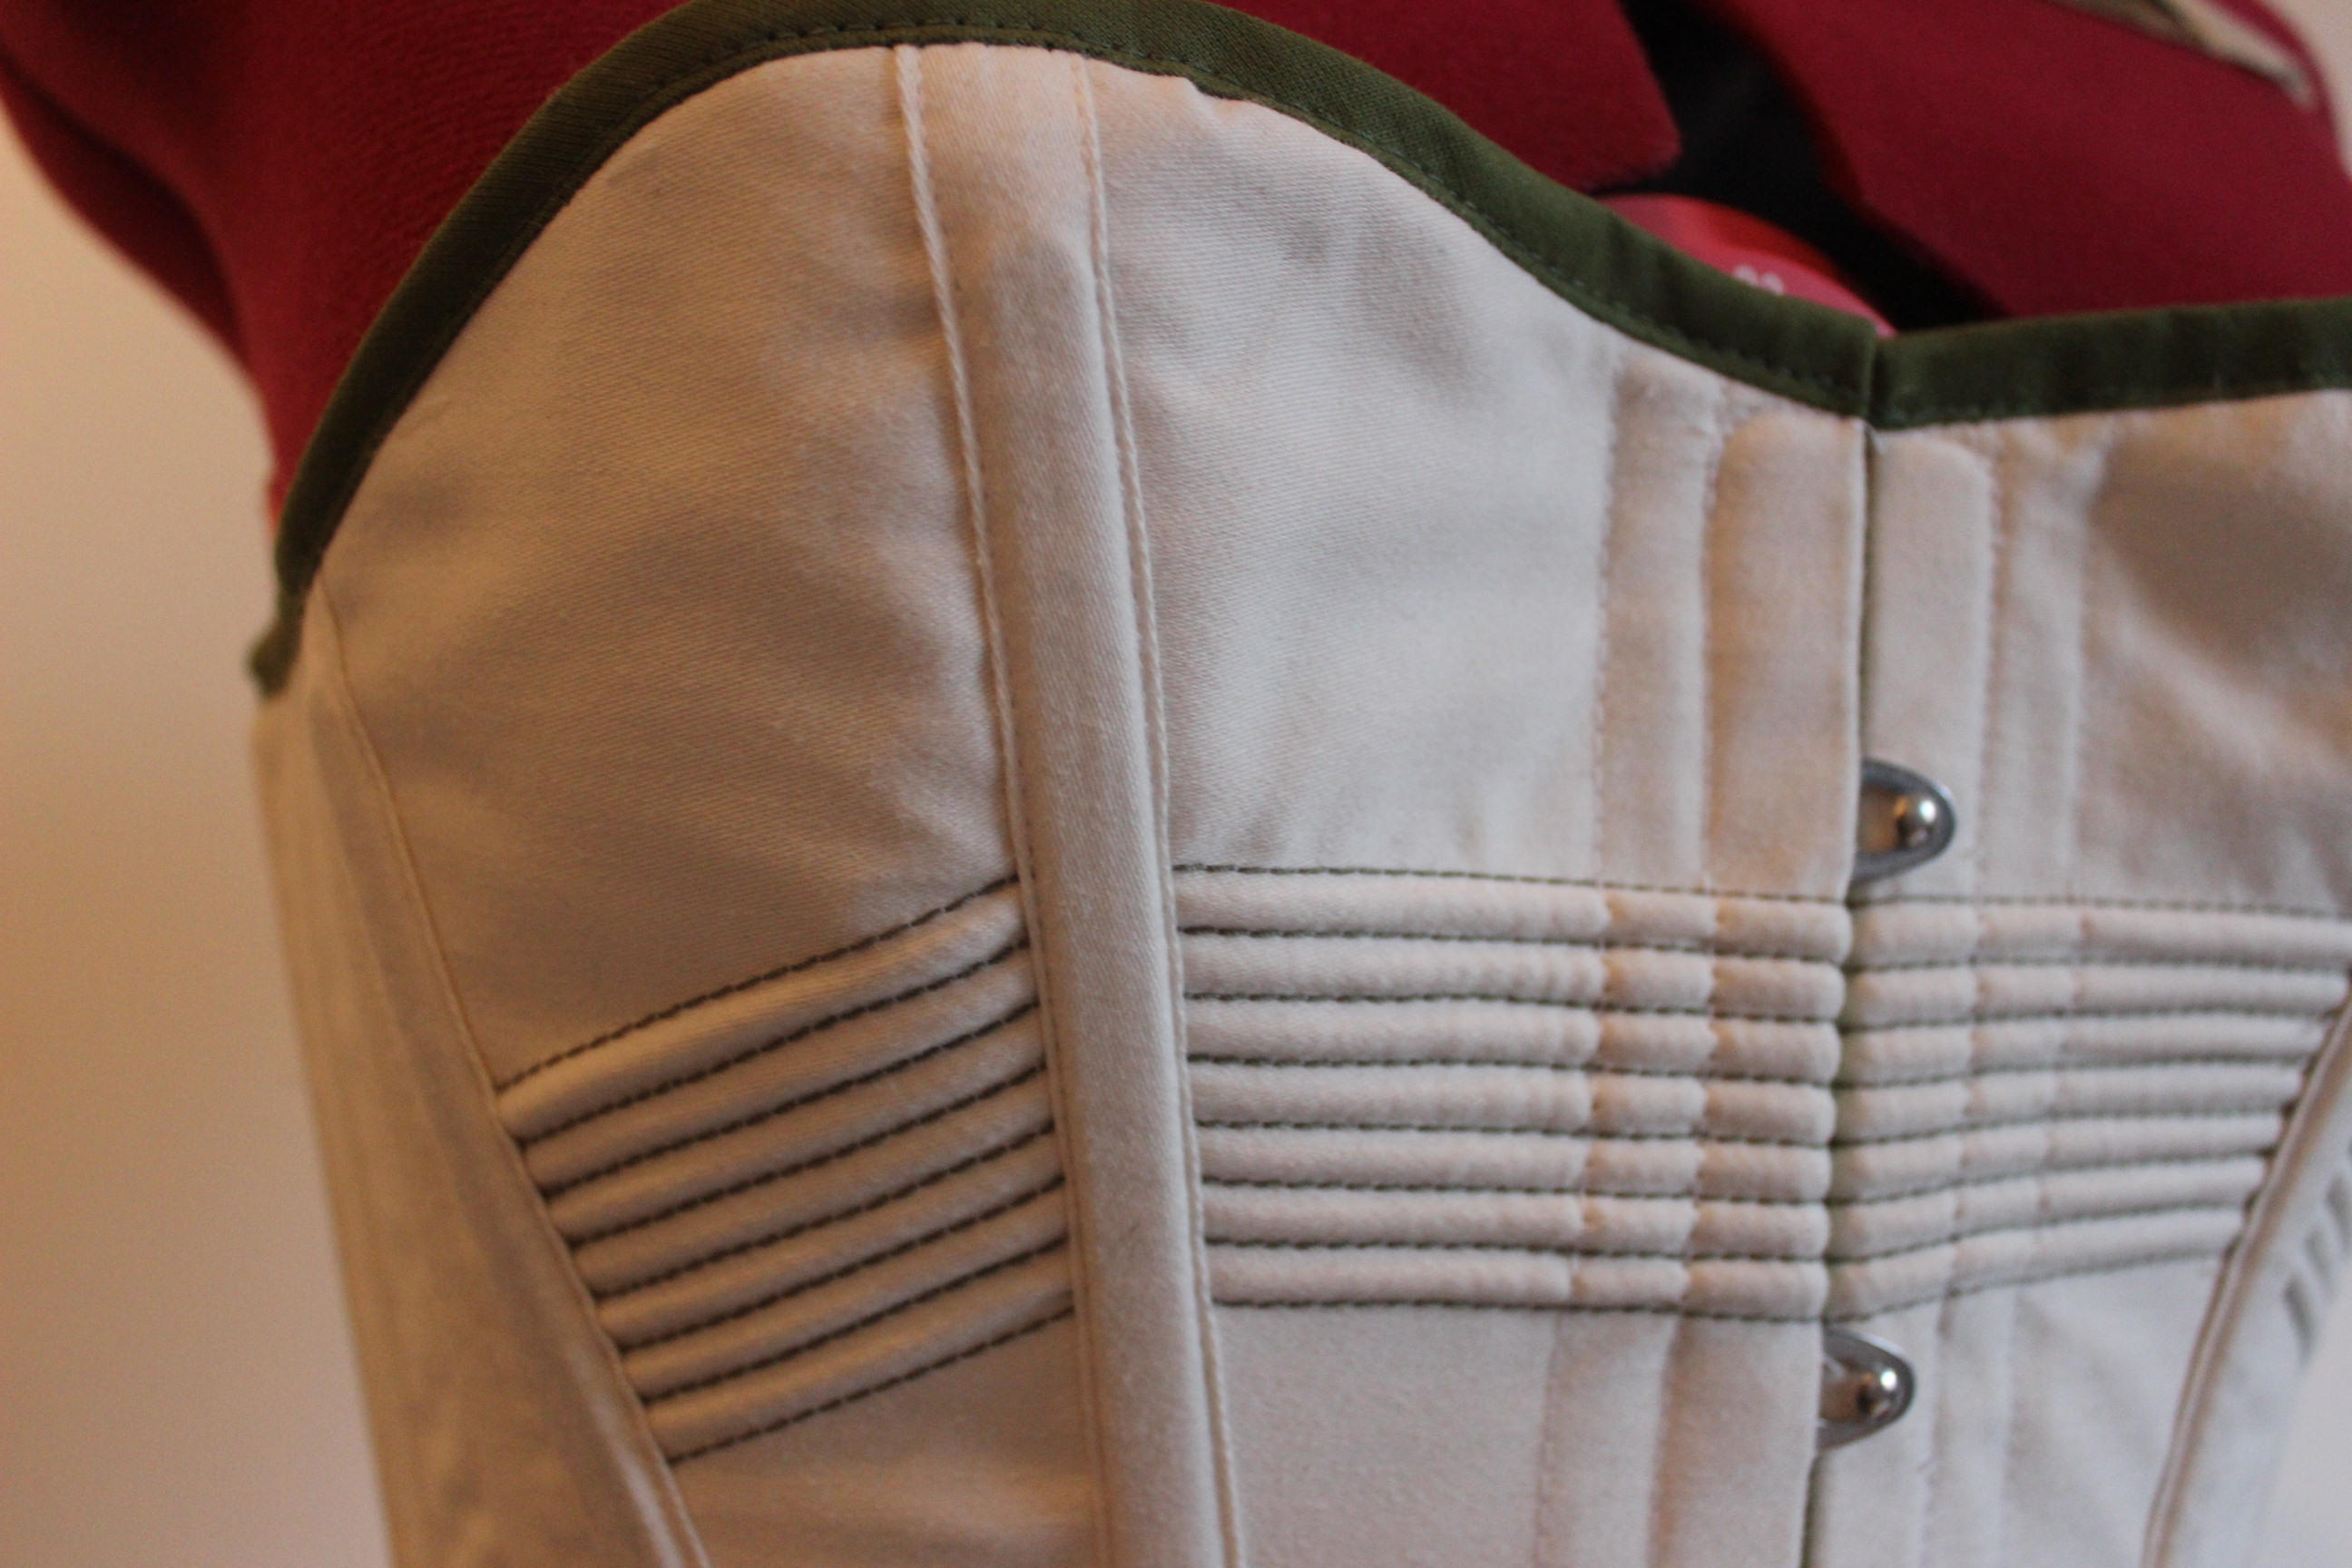
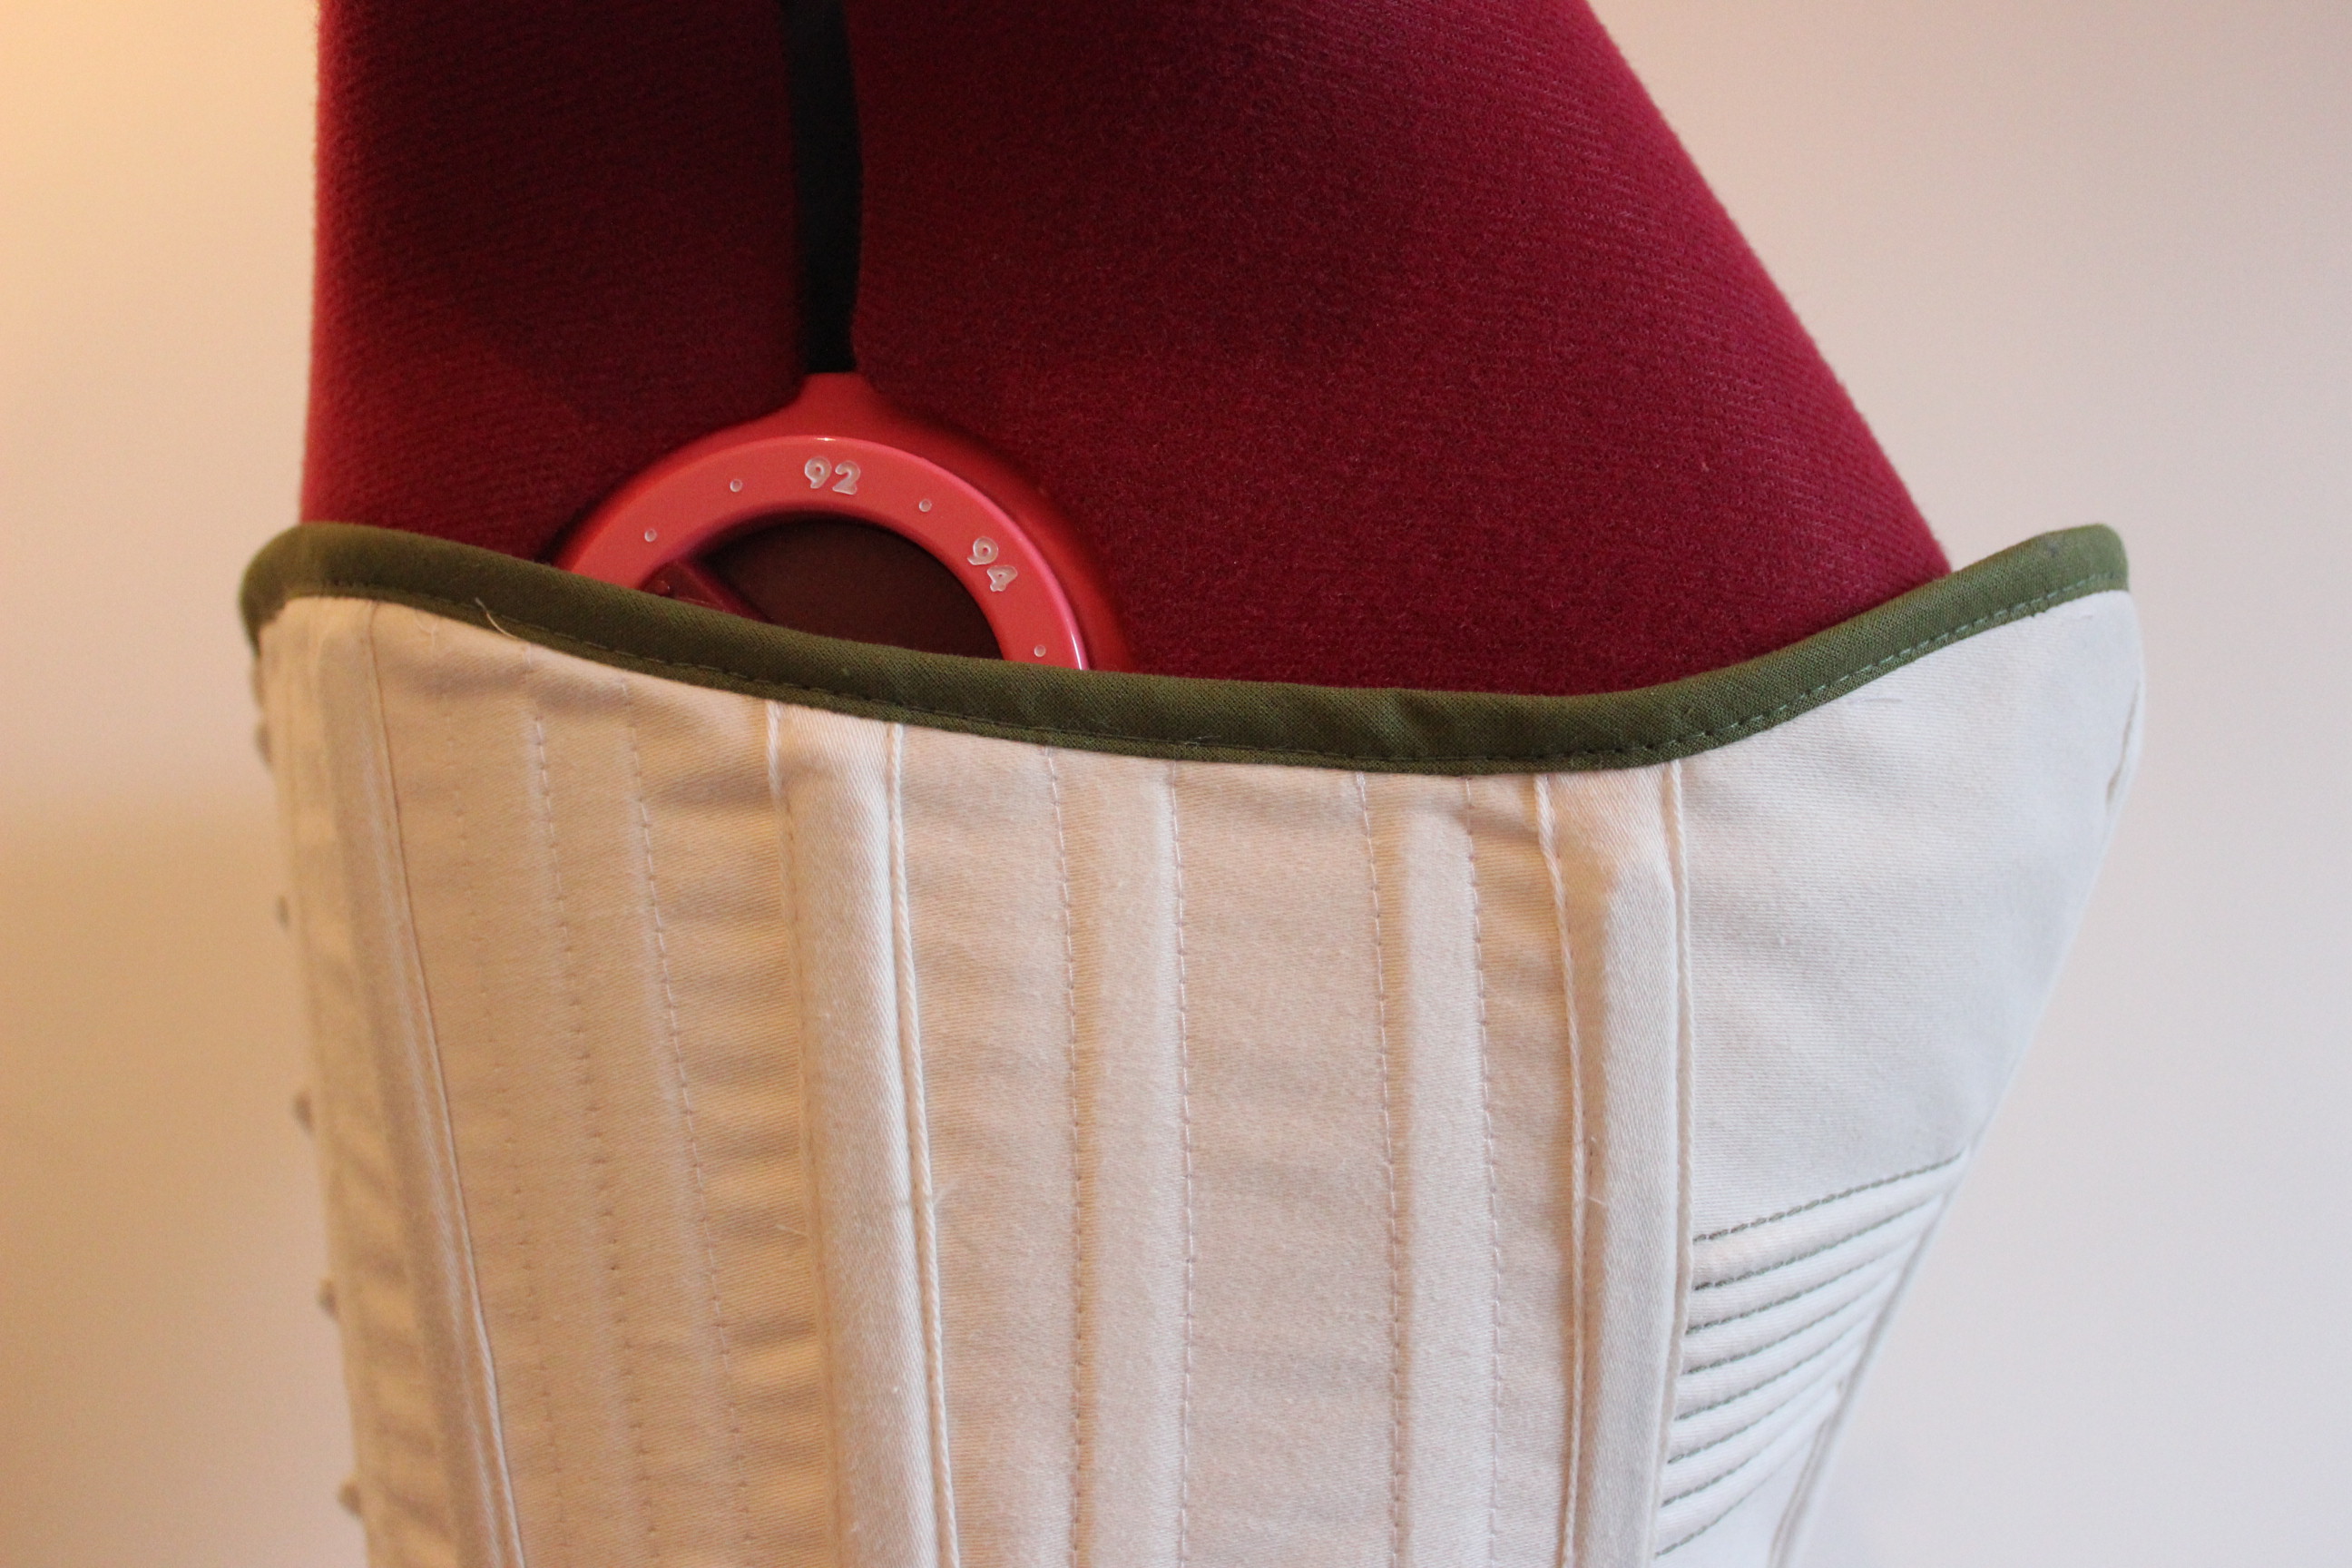
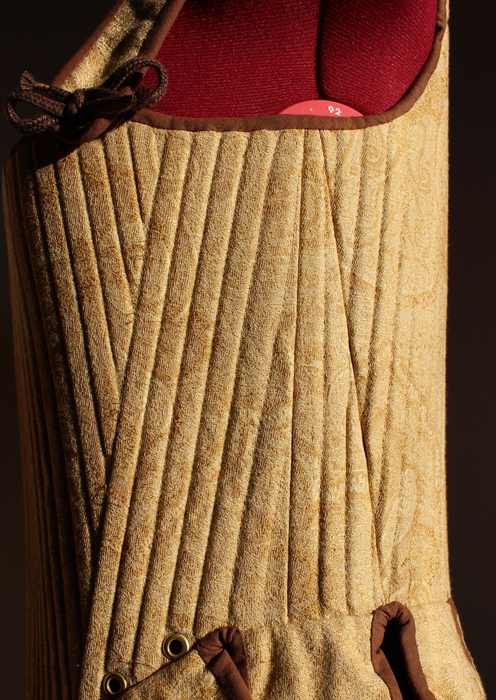
Then I cut the fabric, basted on the interlining and marked the space for the piping, and sewed them in.IMG_4364

IMG_4375 IMG_4373

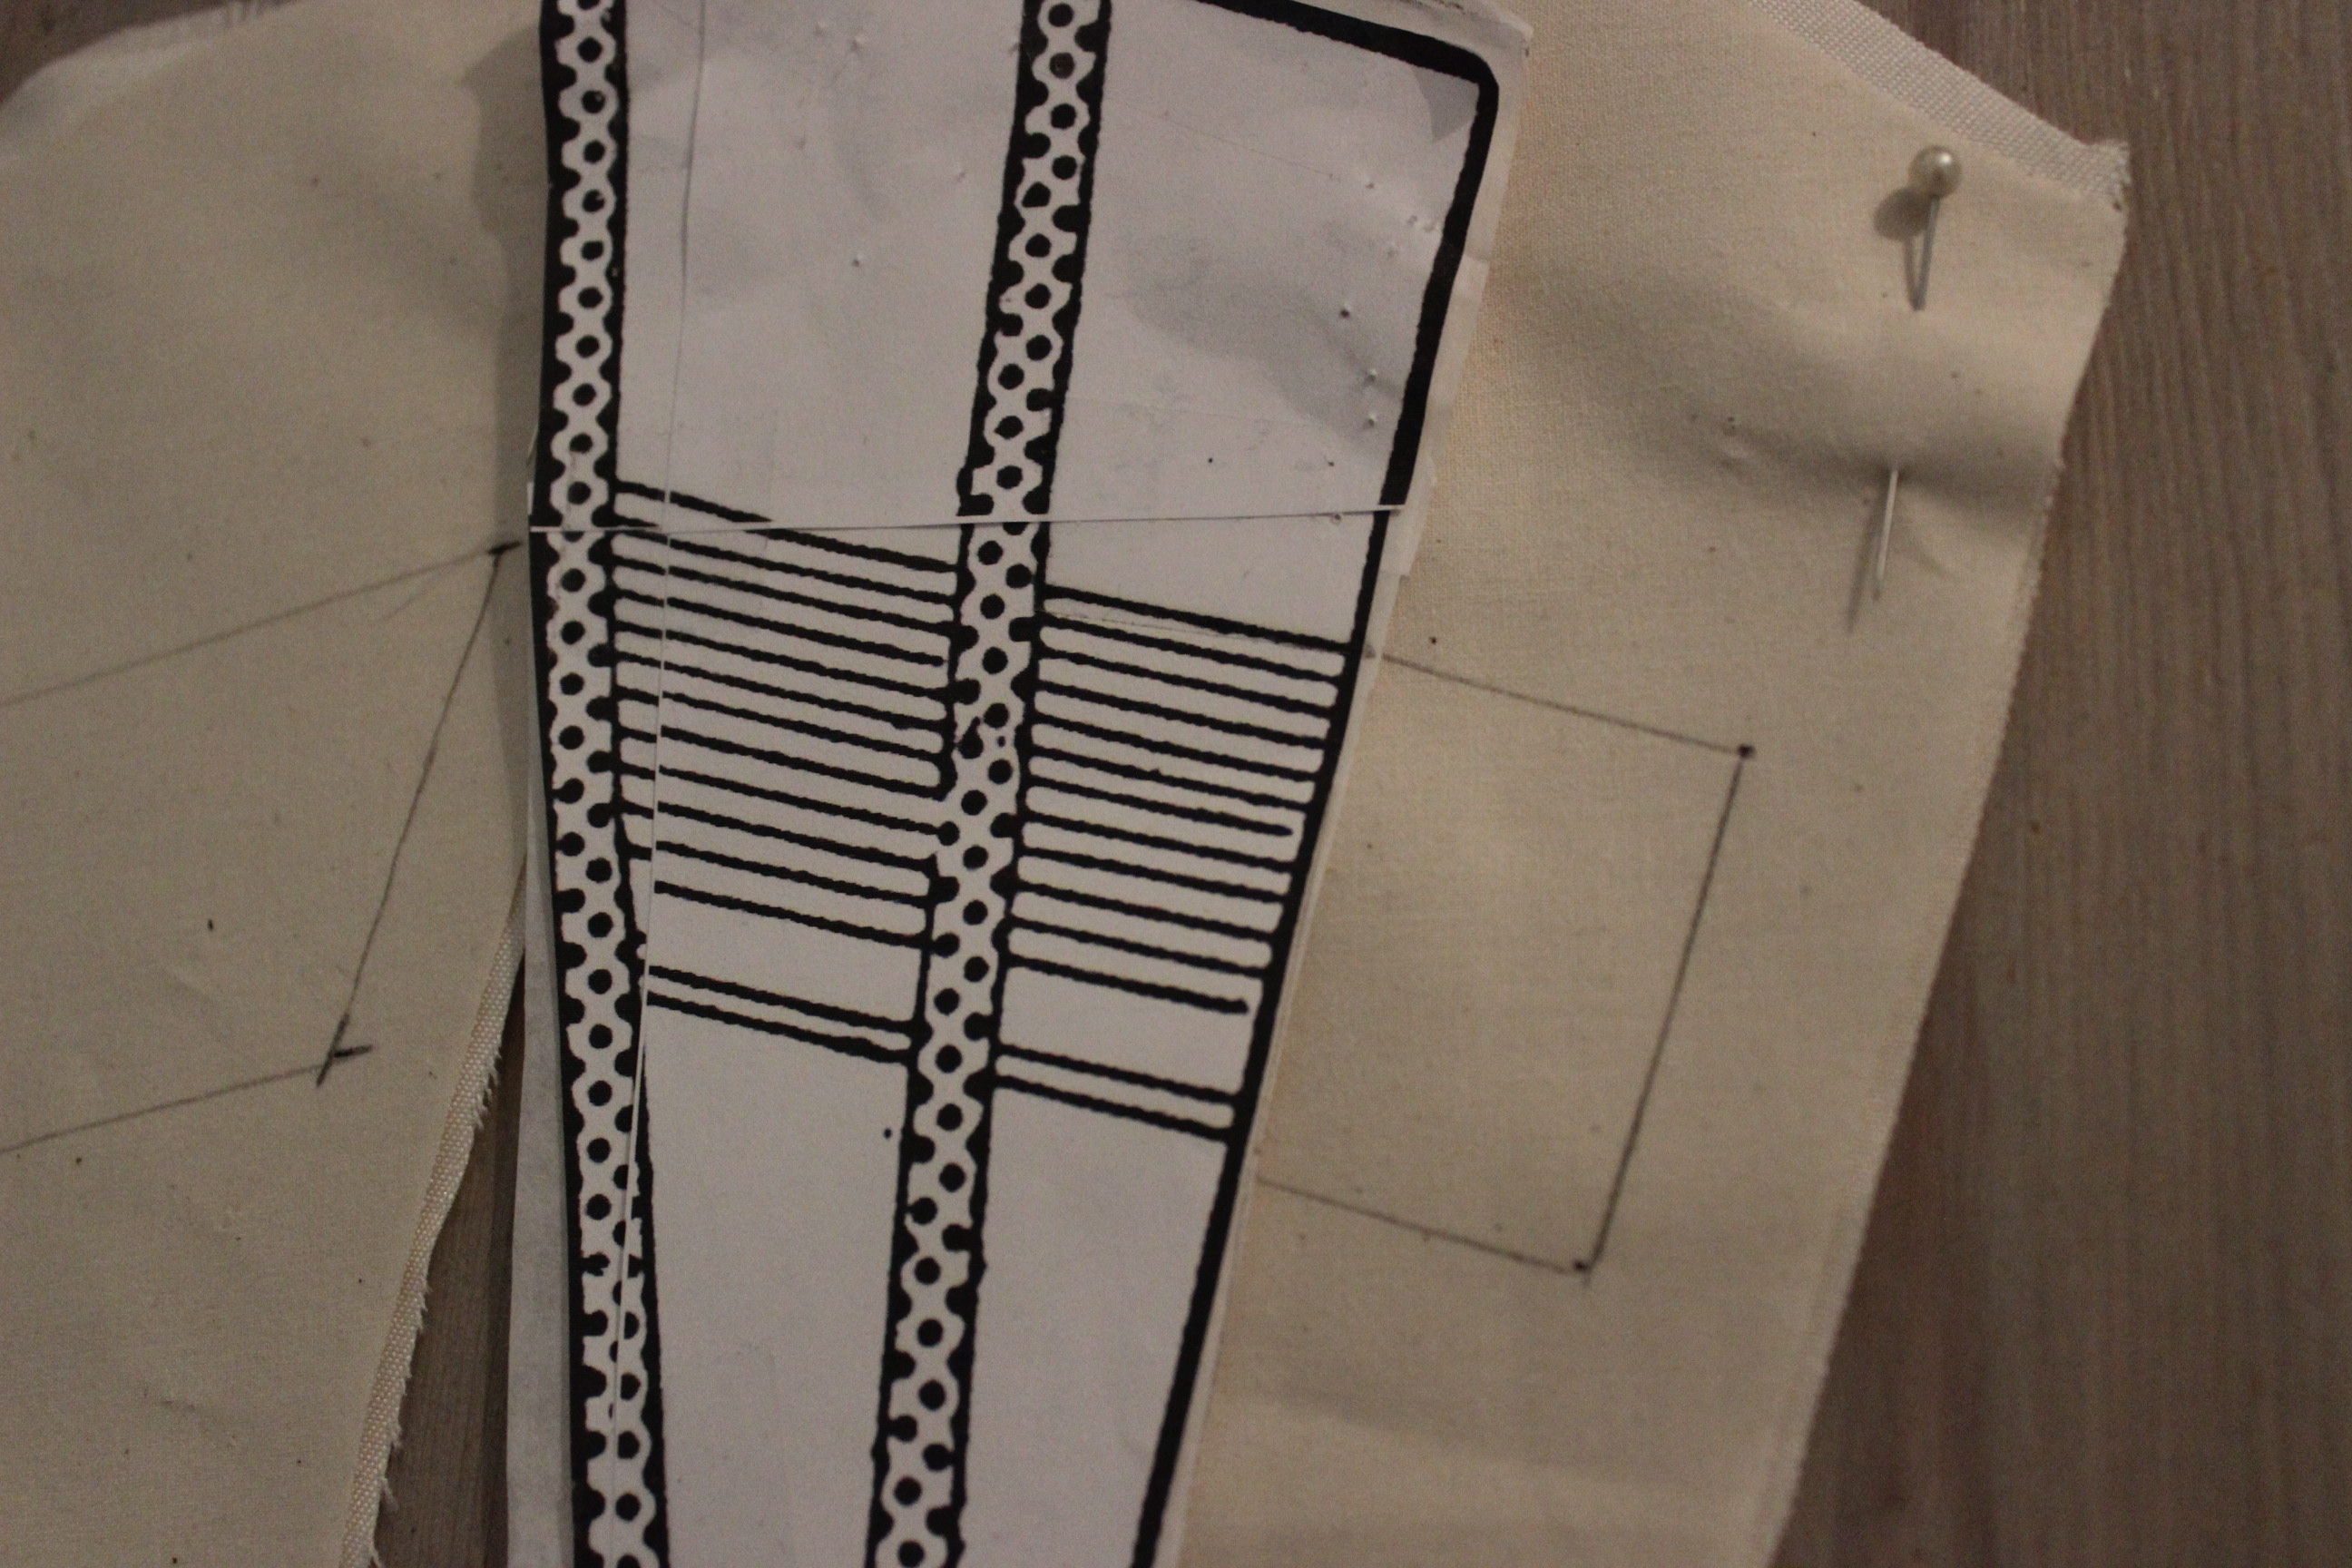
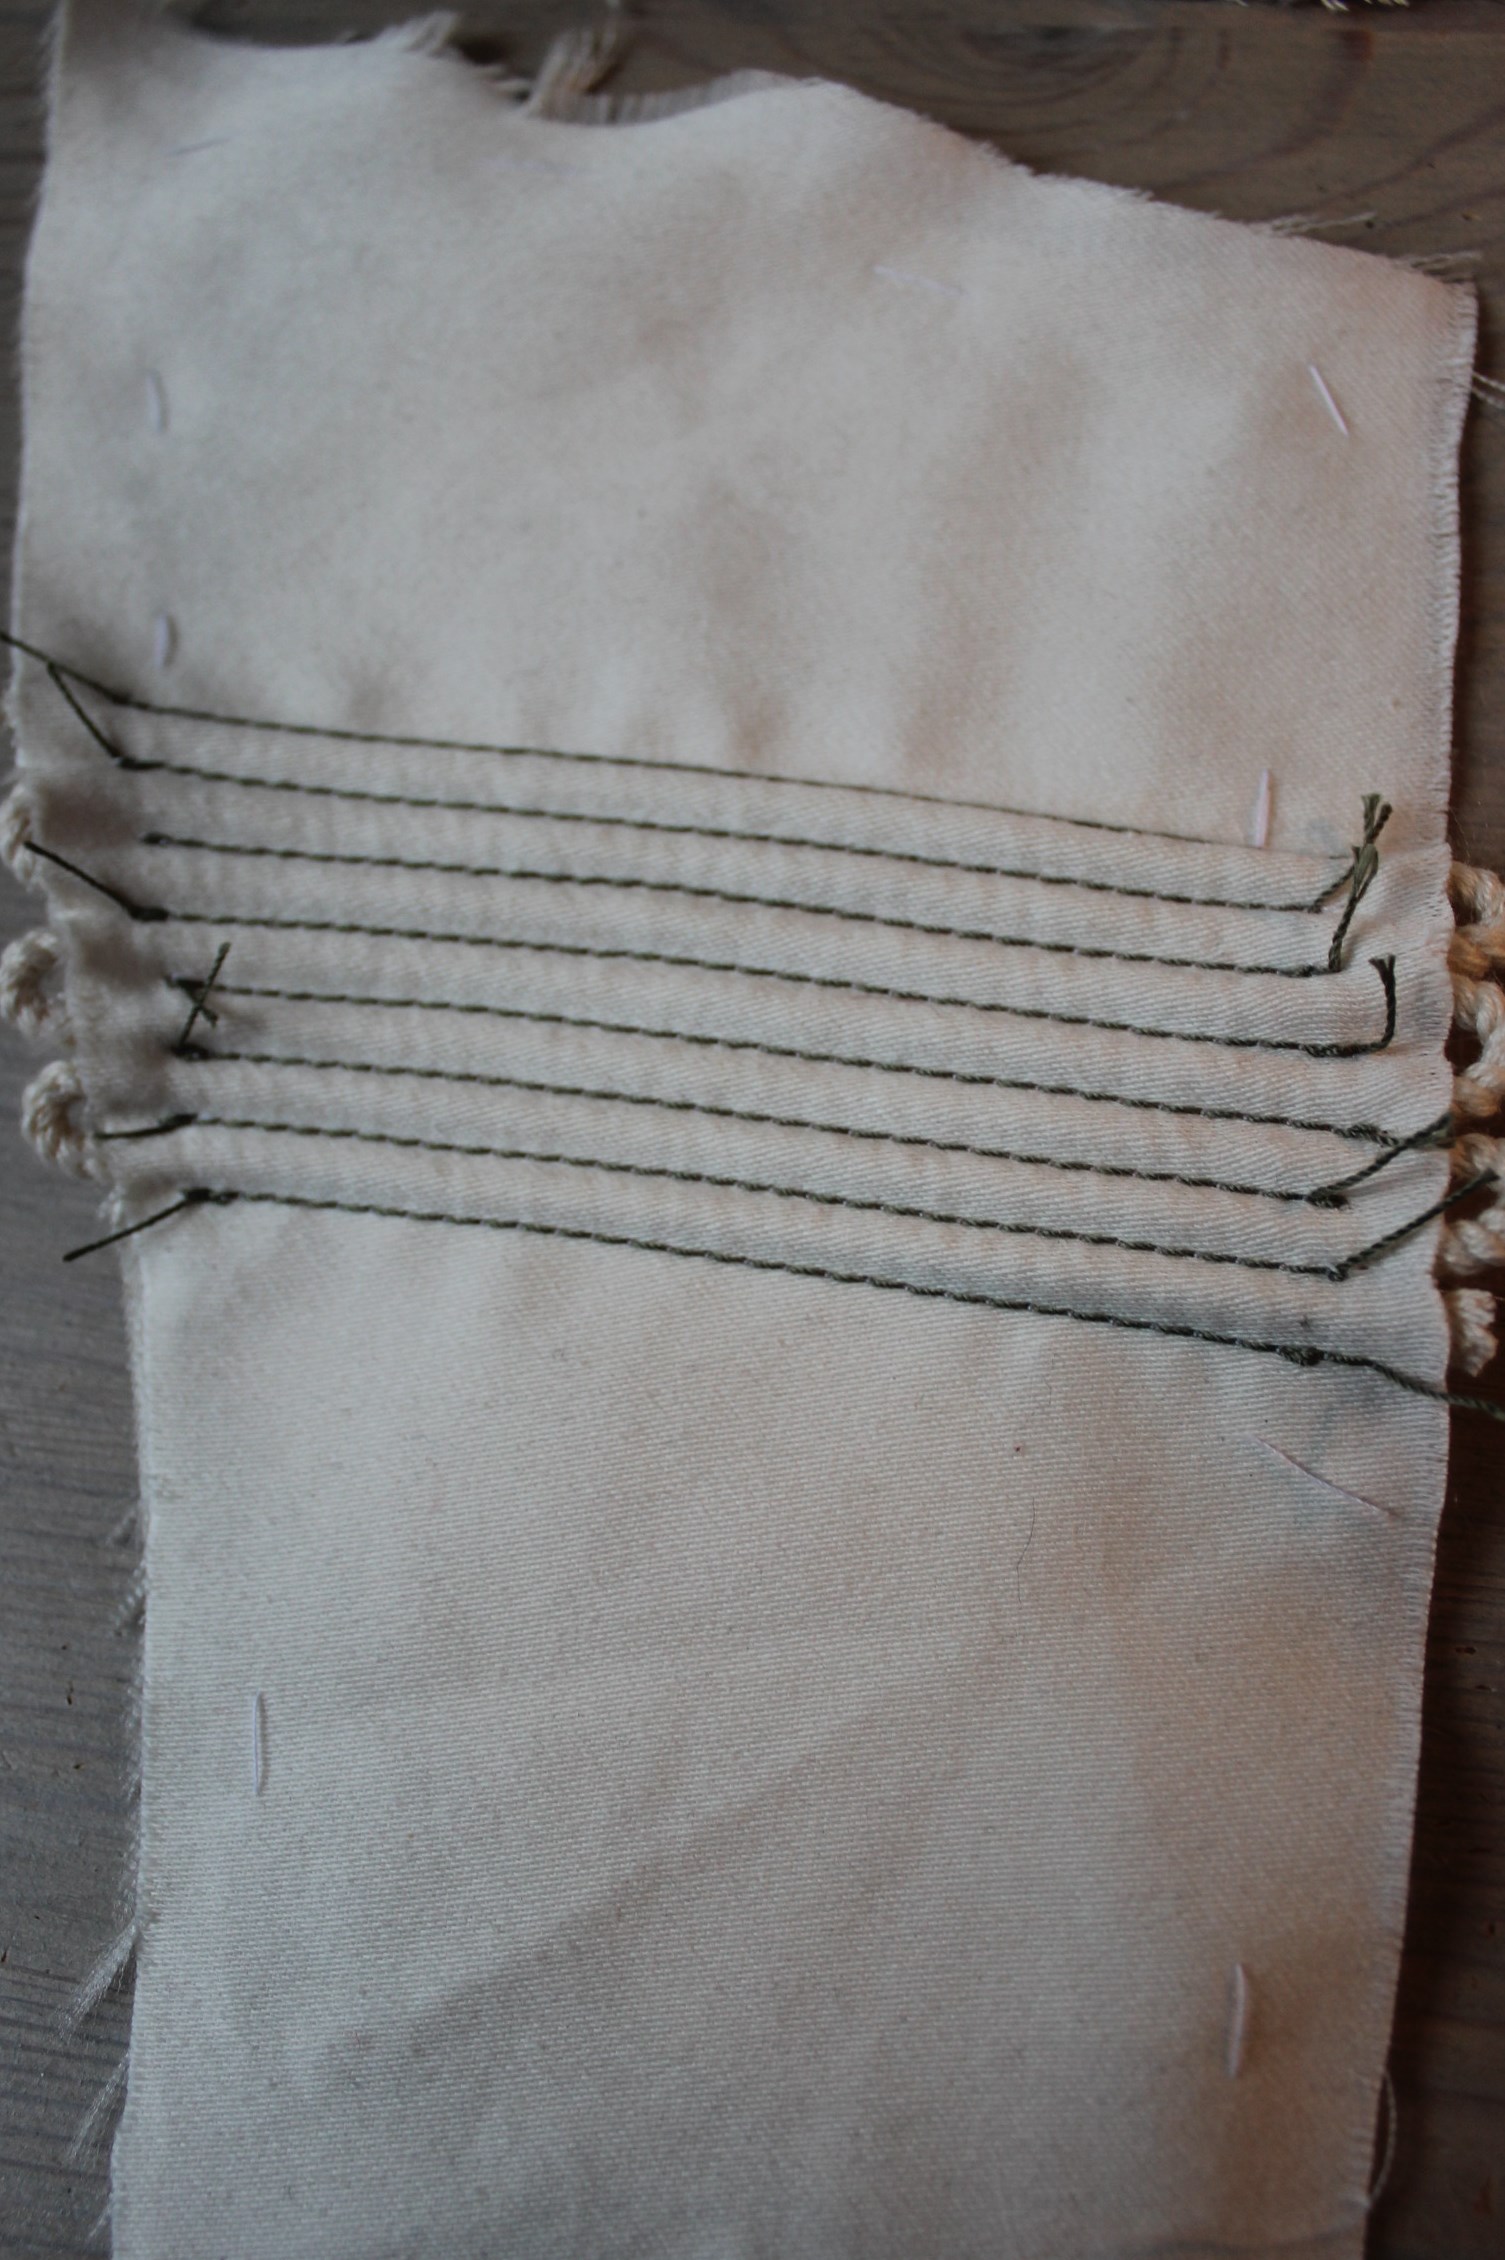
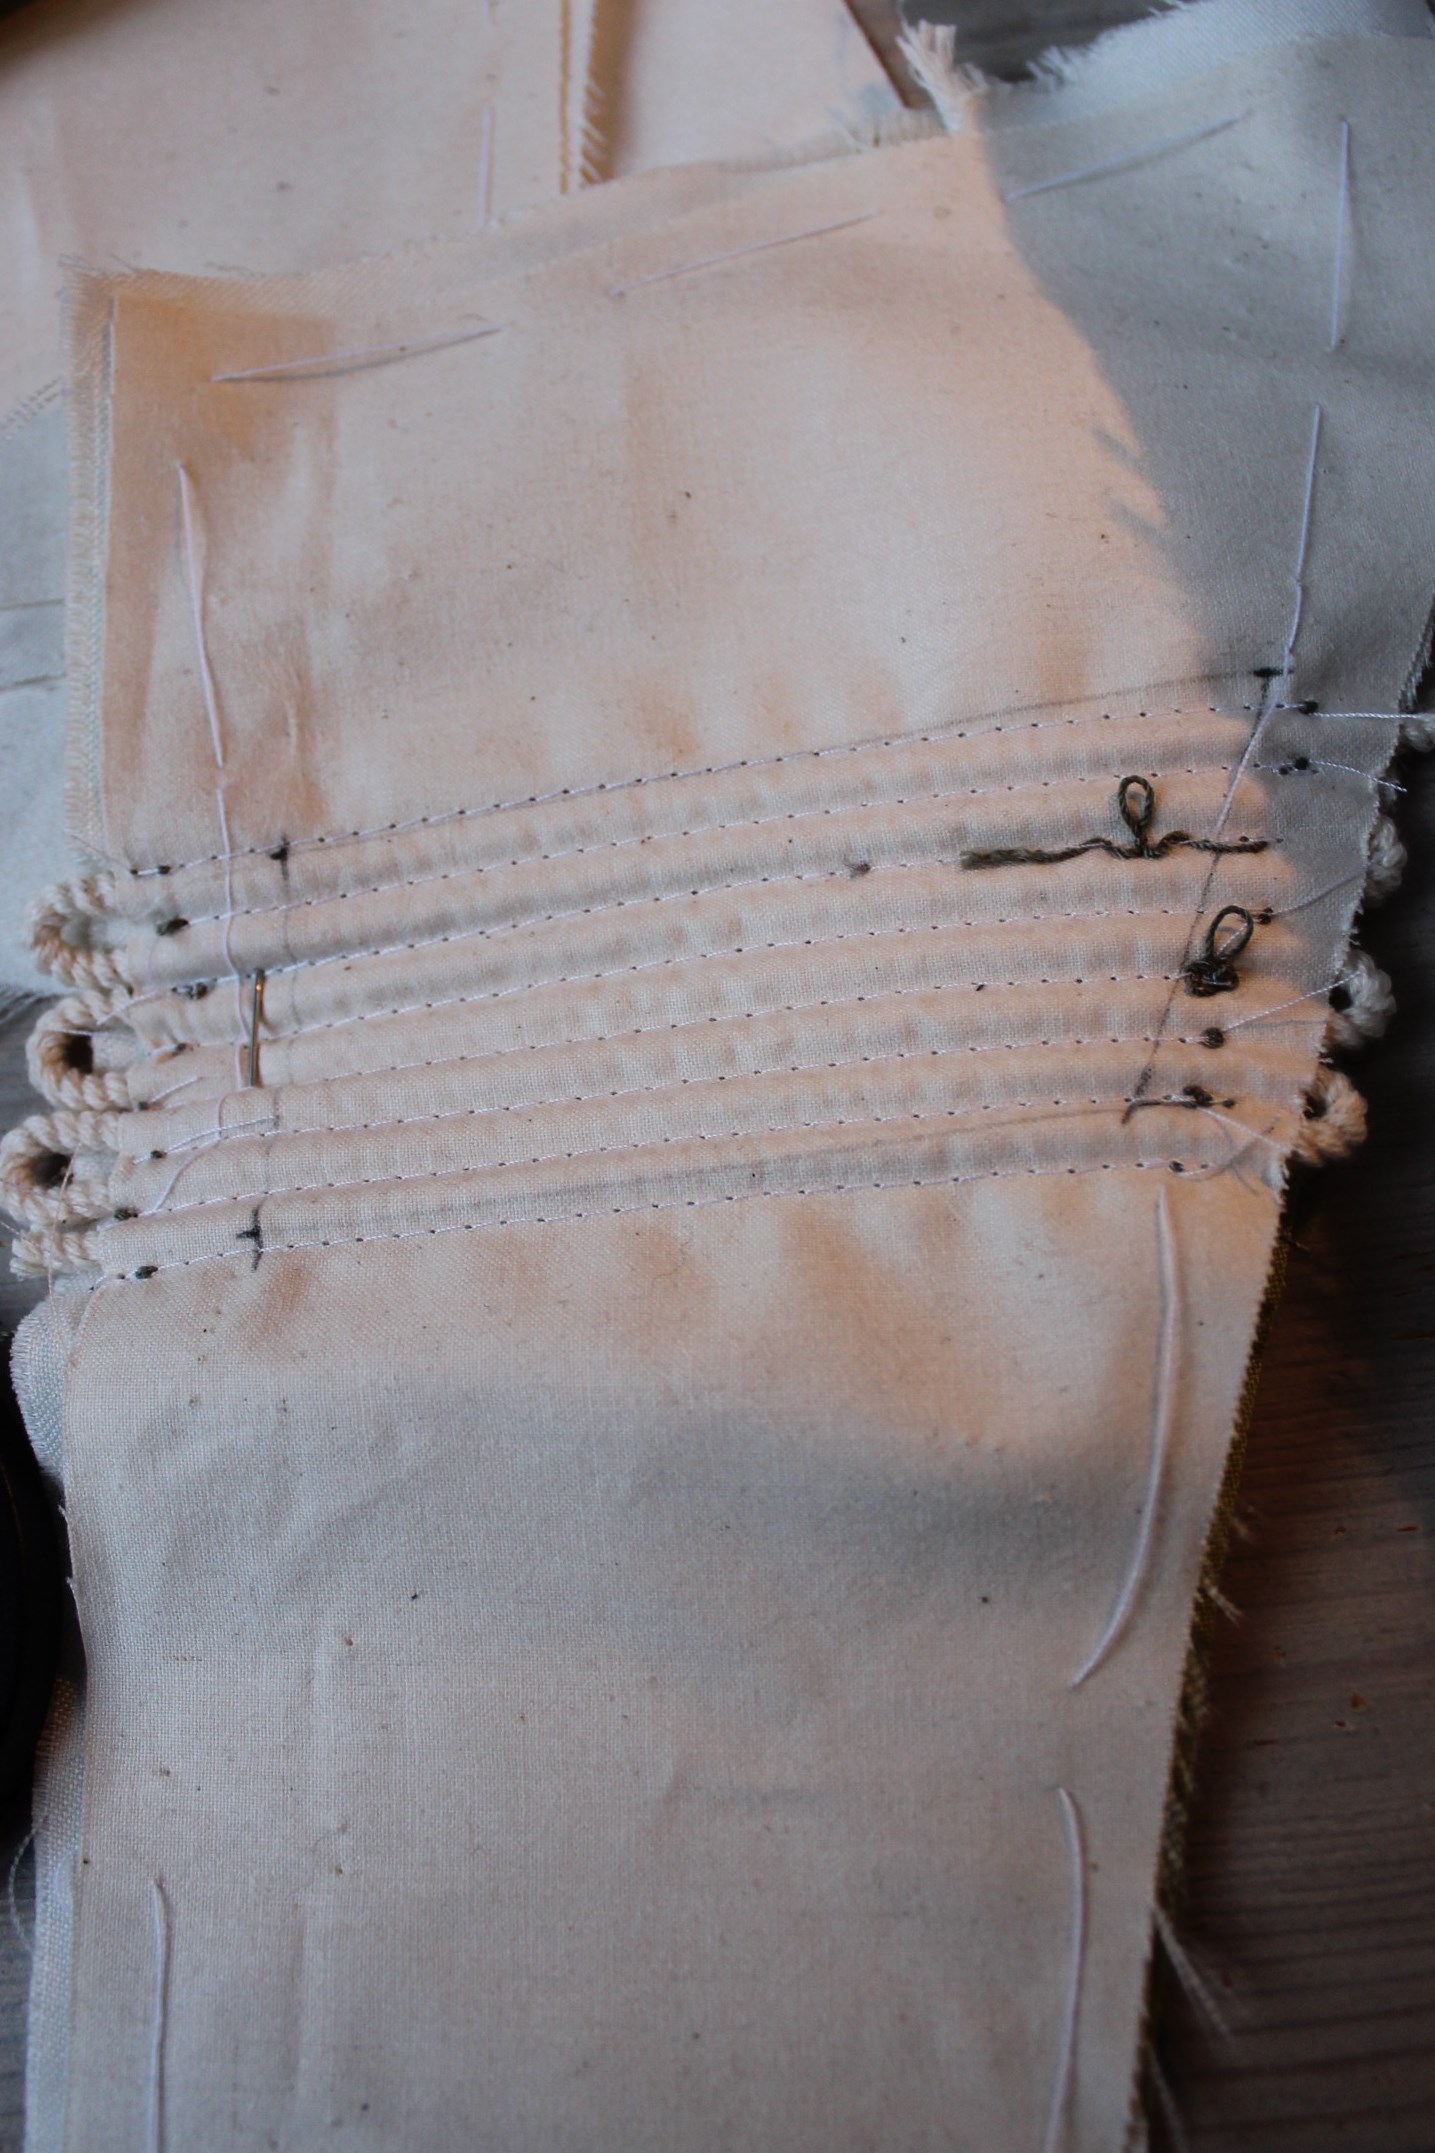
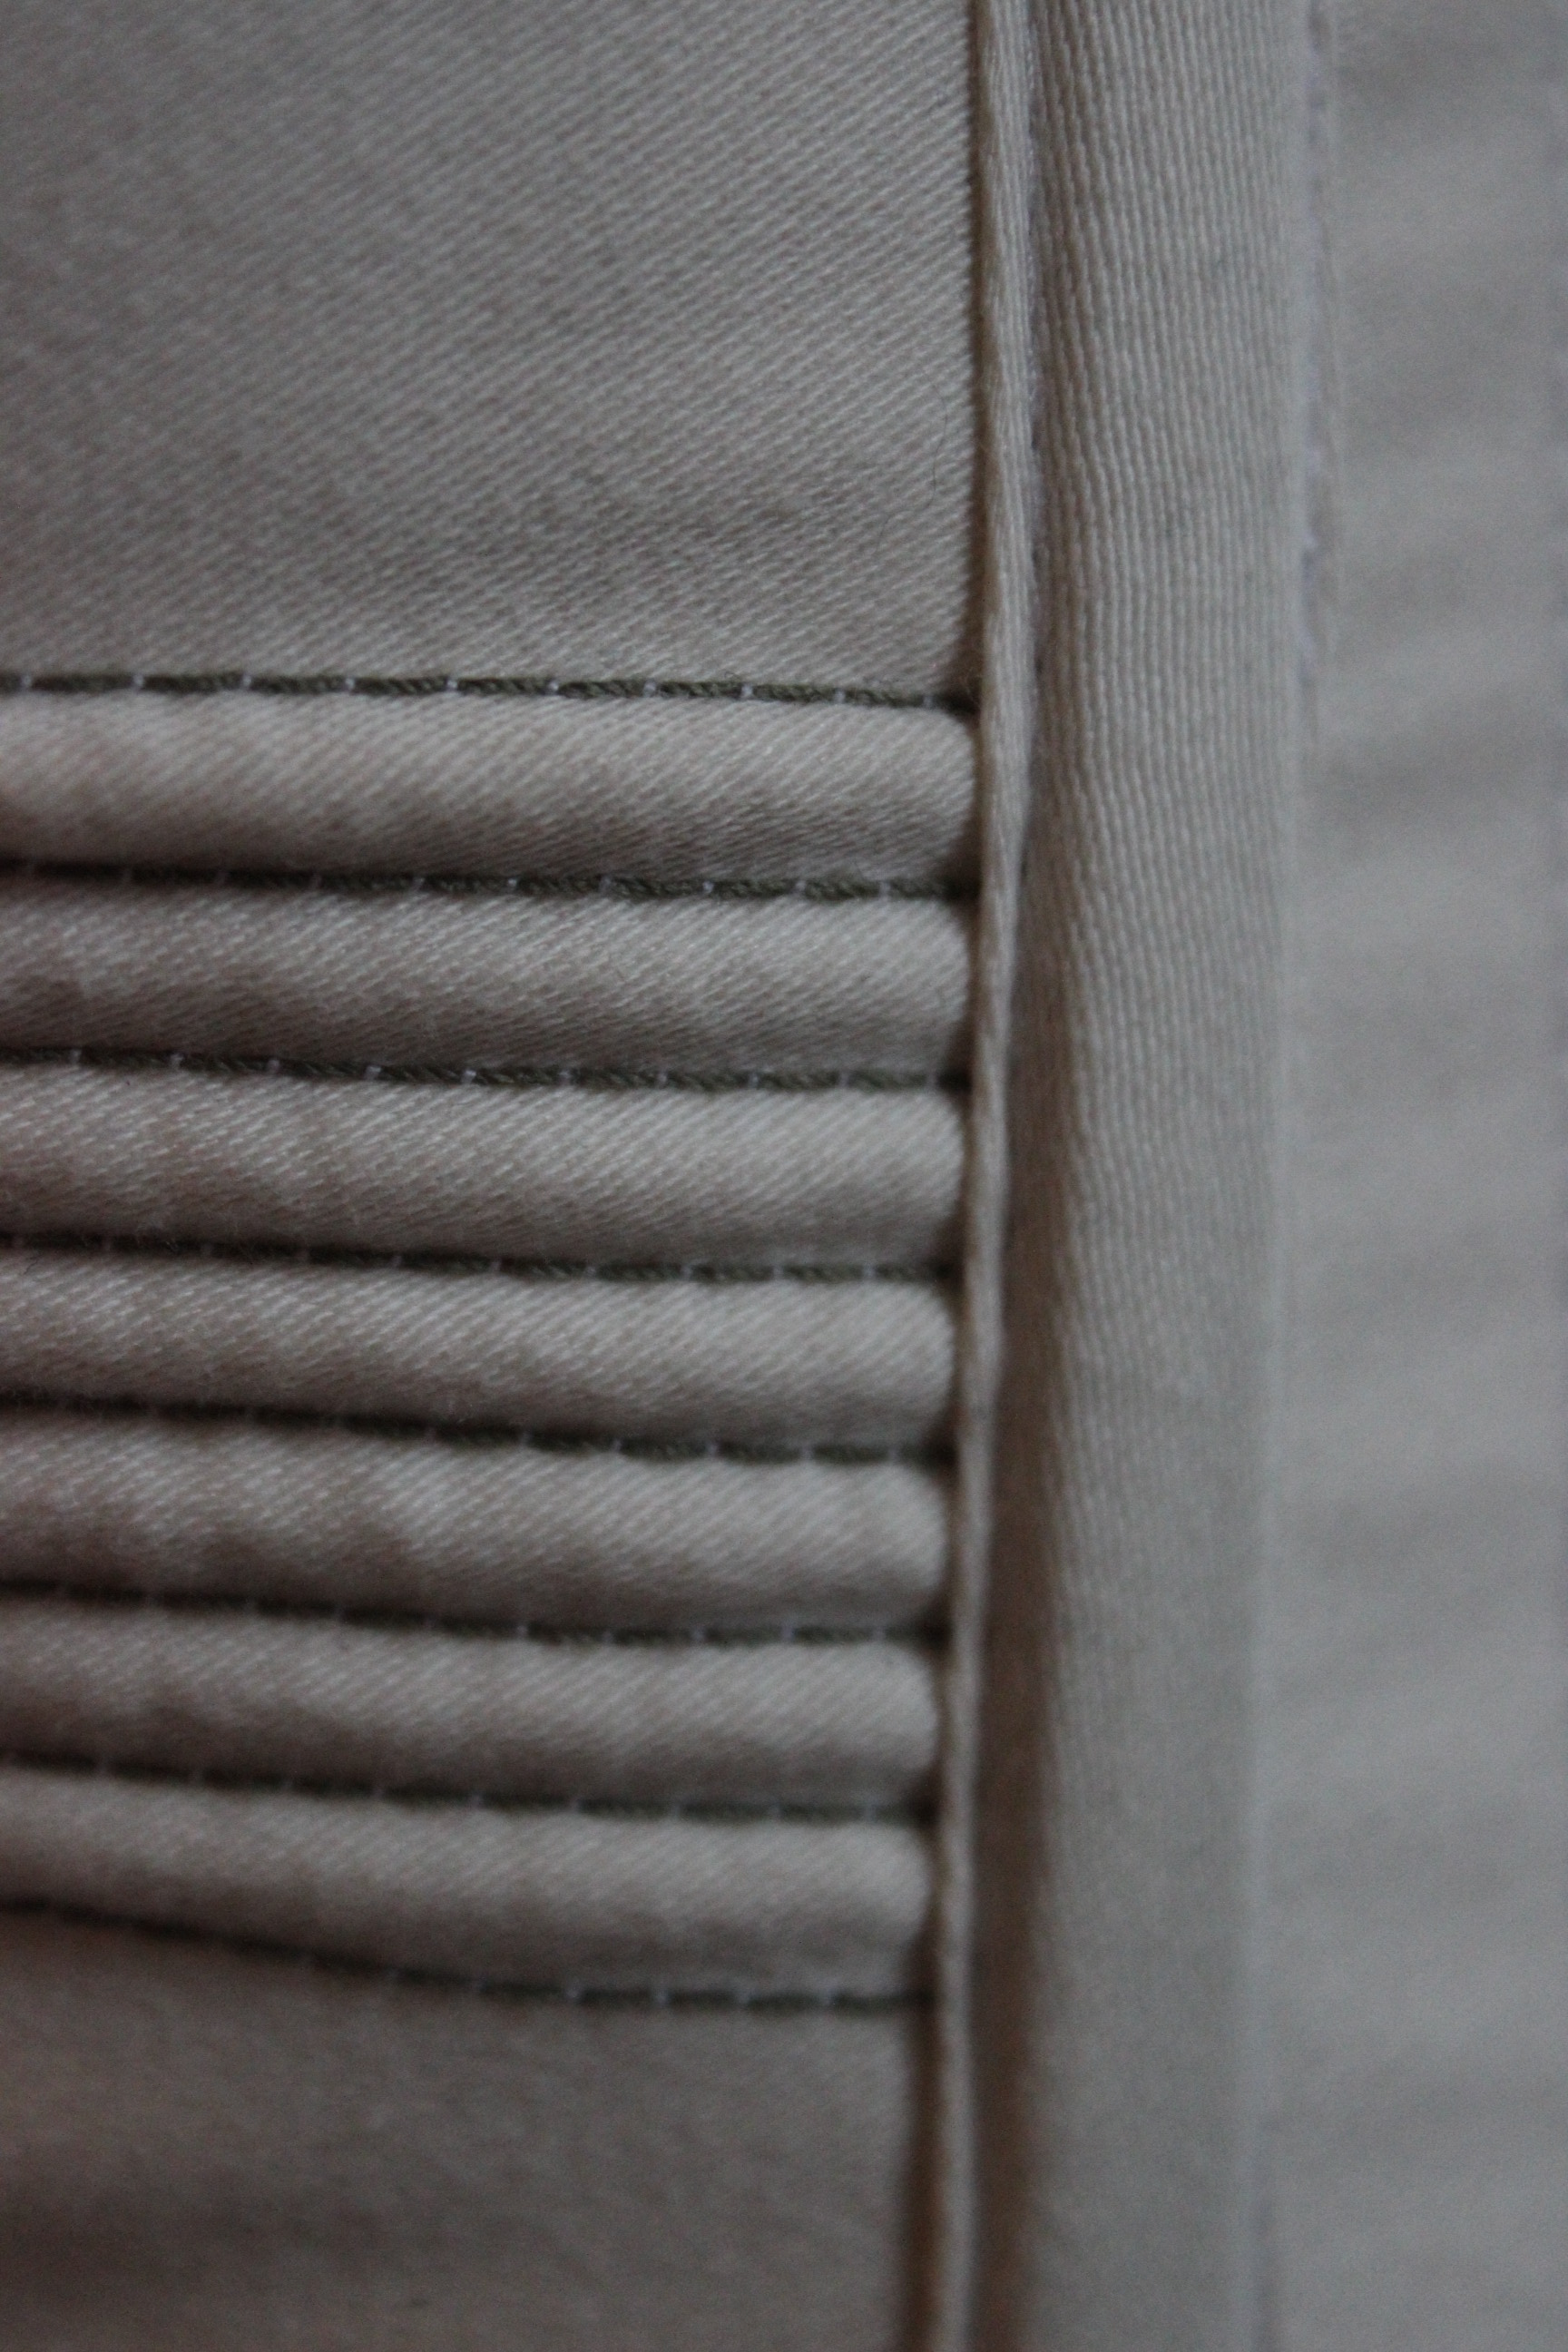
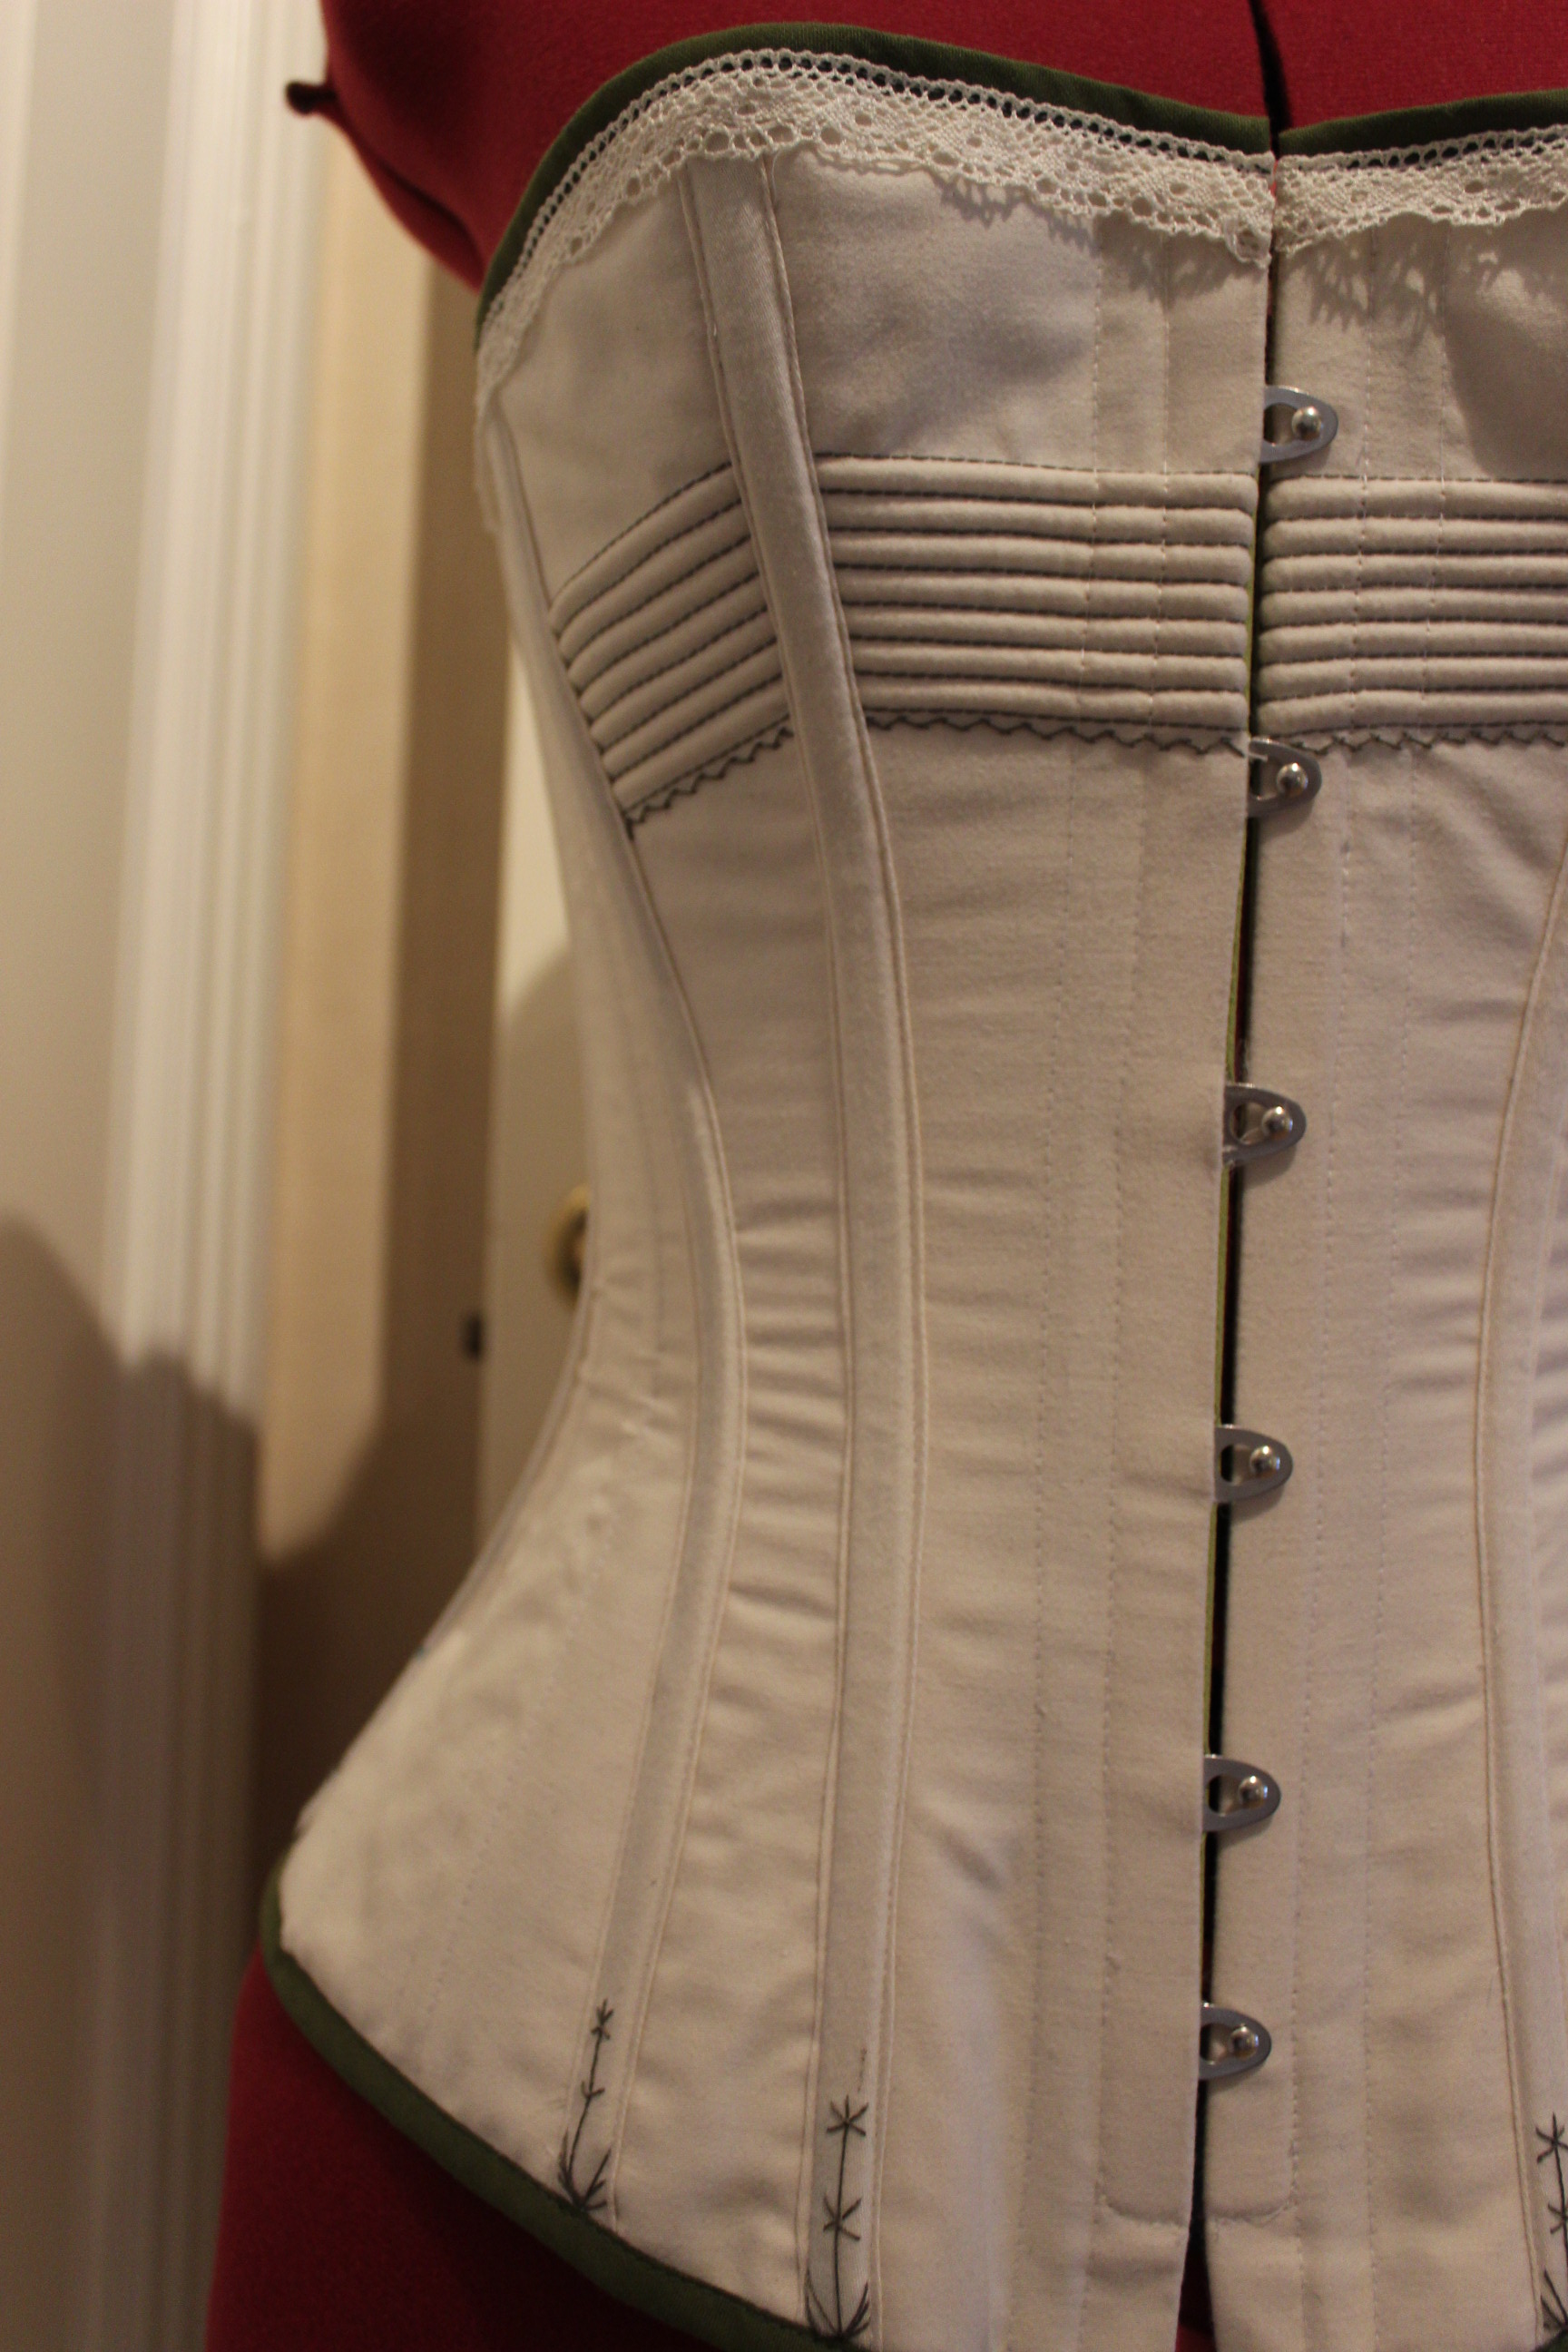
Close-up of the piping, sewn in green button-hole thread.IMG_4377

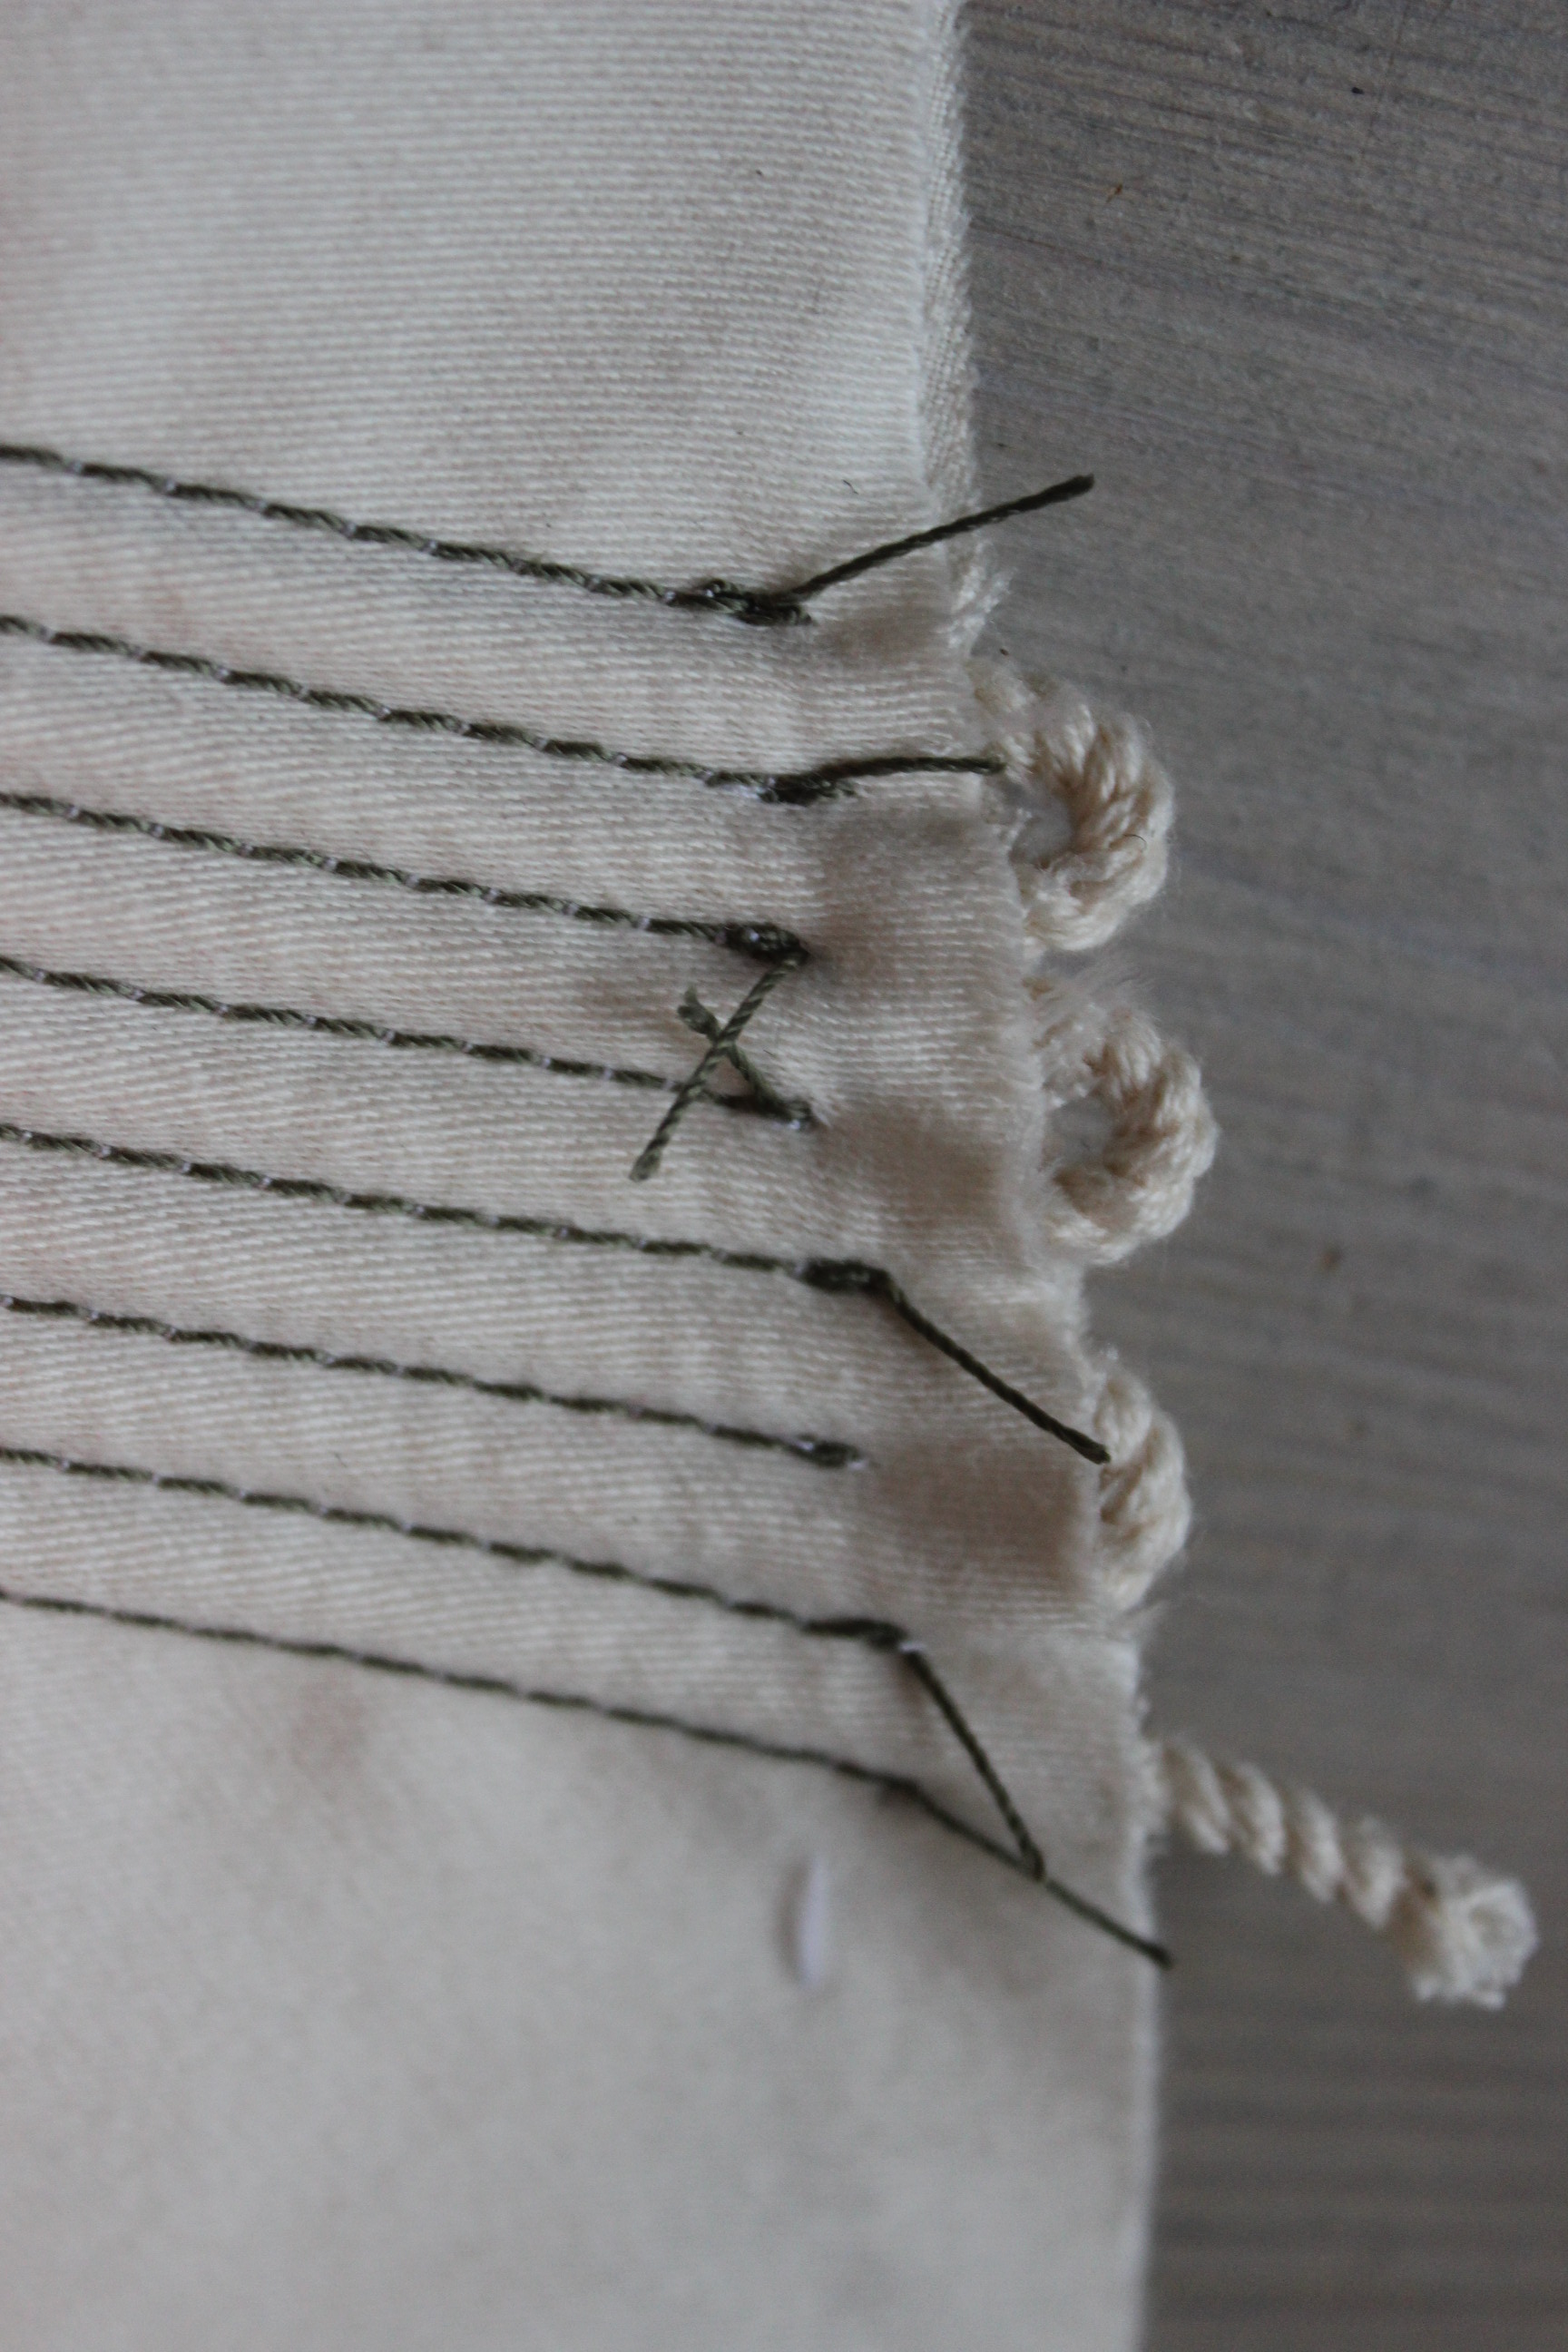
Then I sewed the pieces together twice – for strengt.IMG_4370

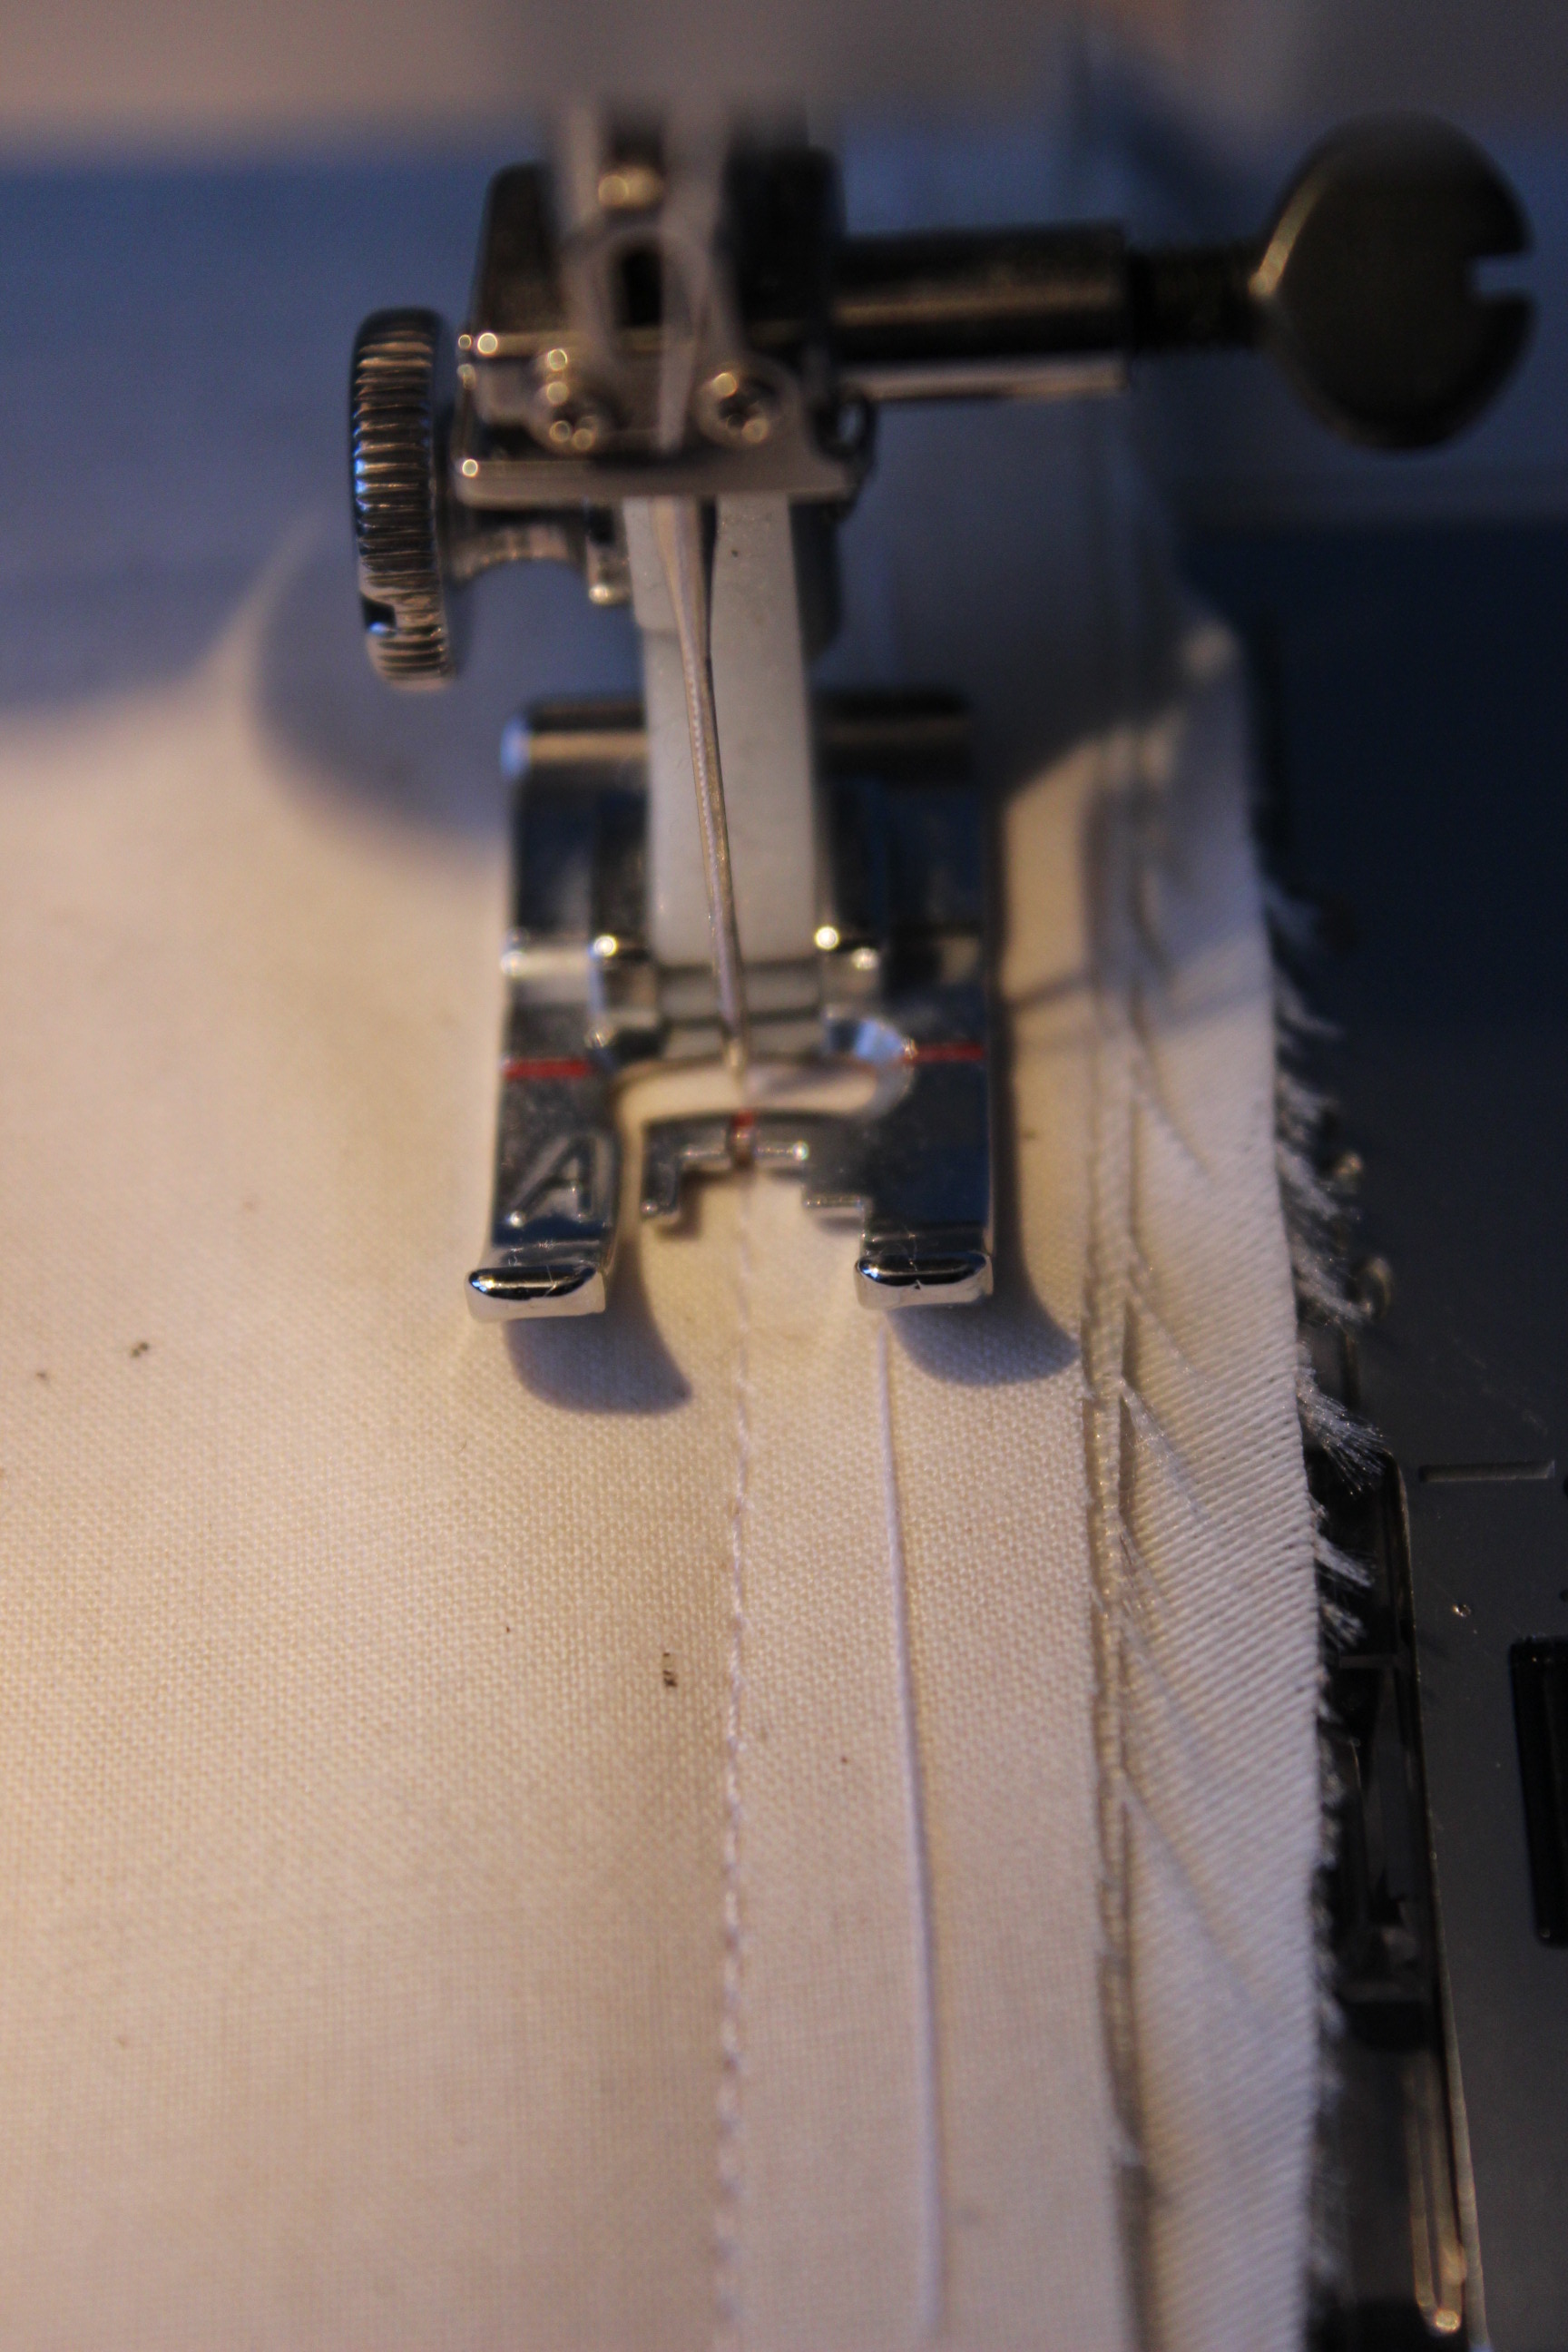
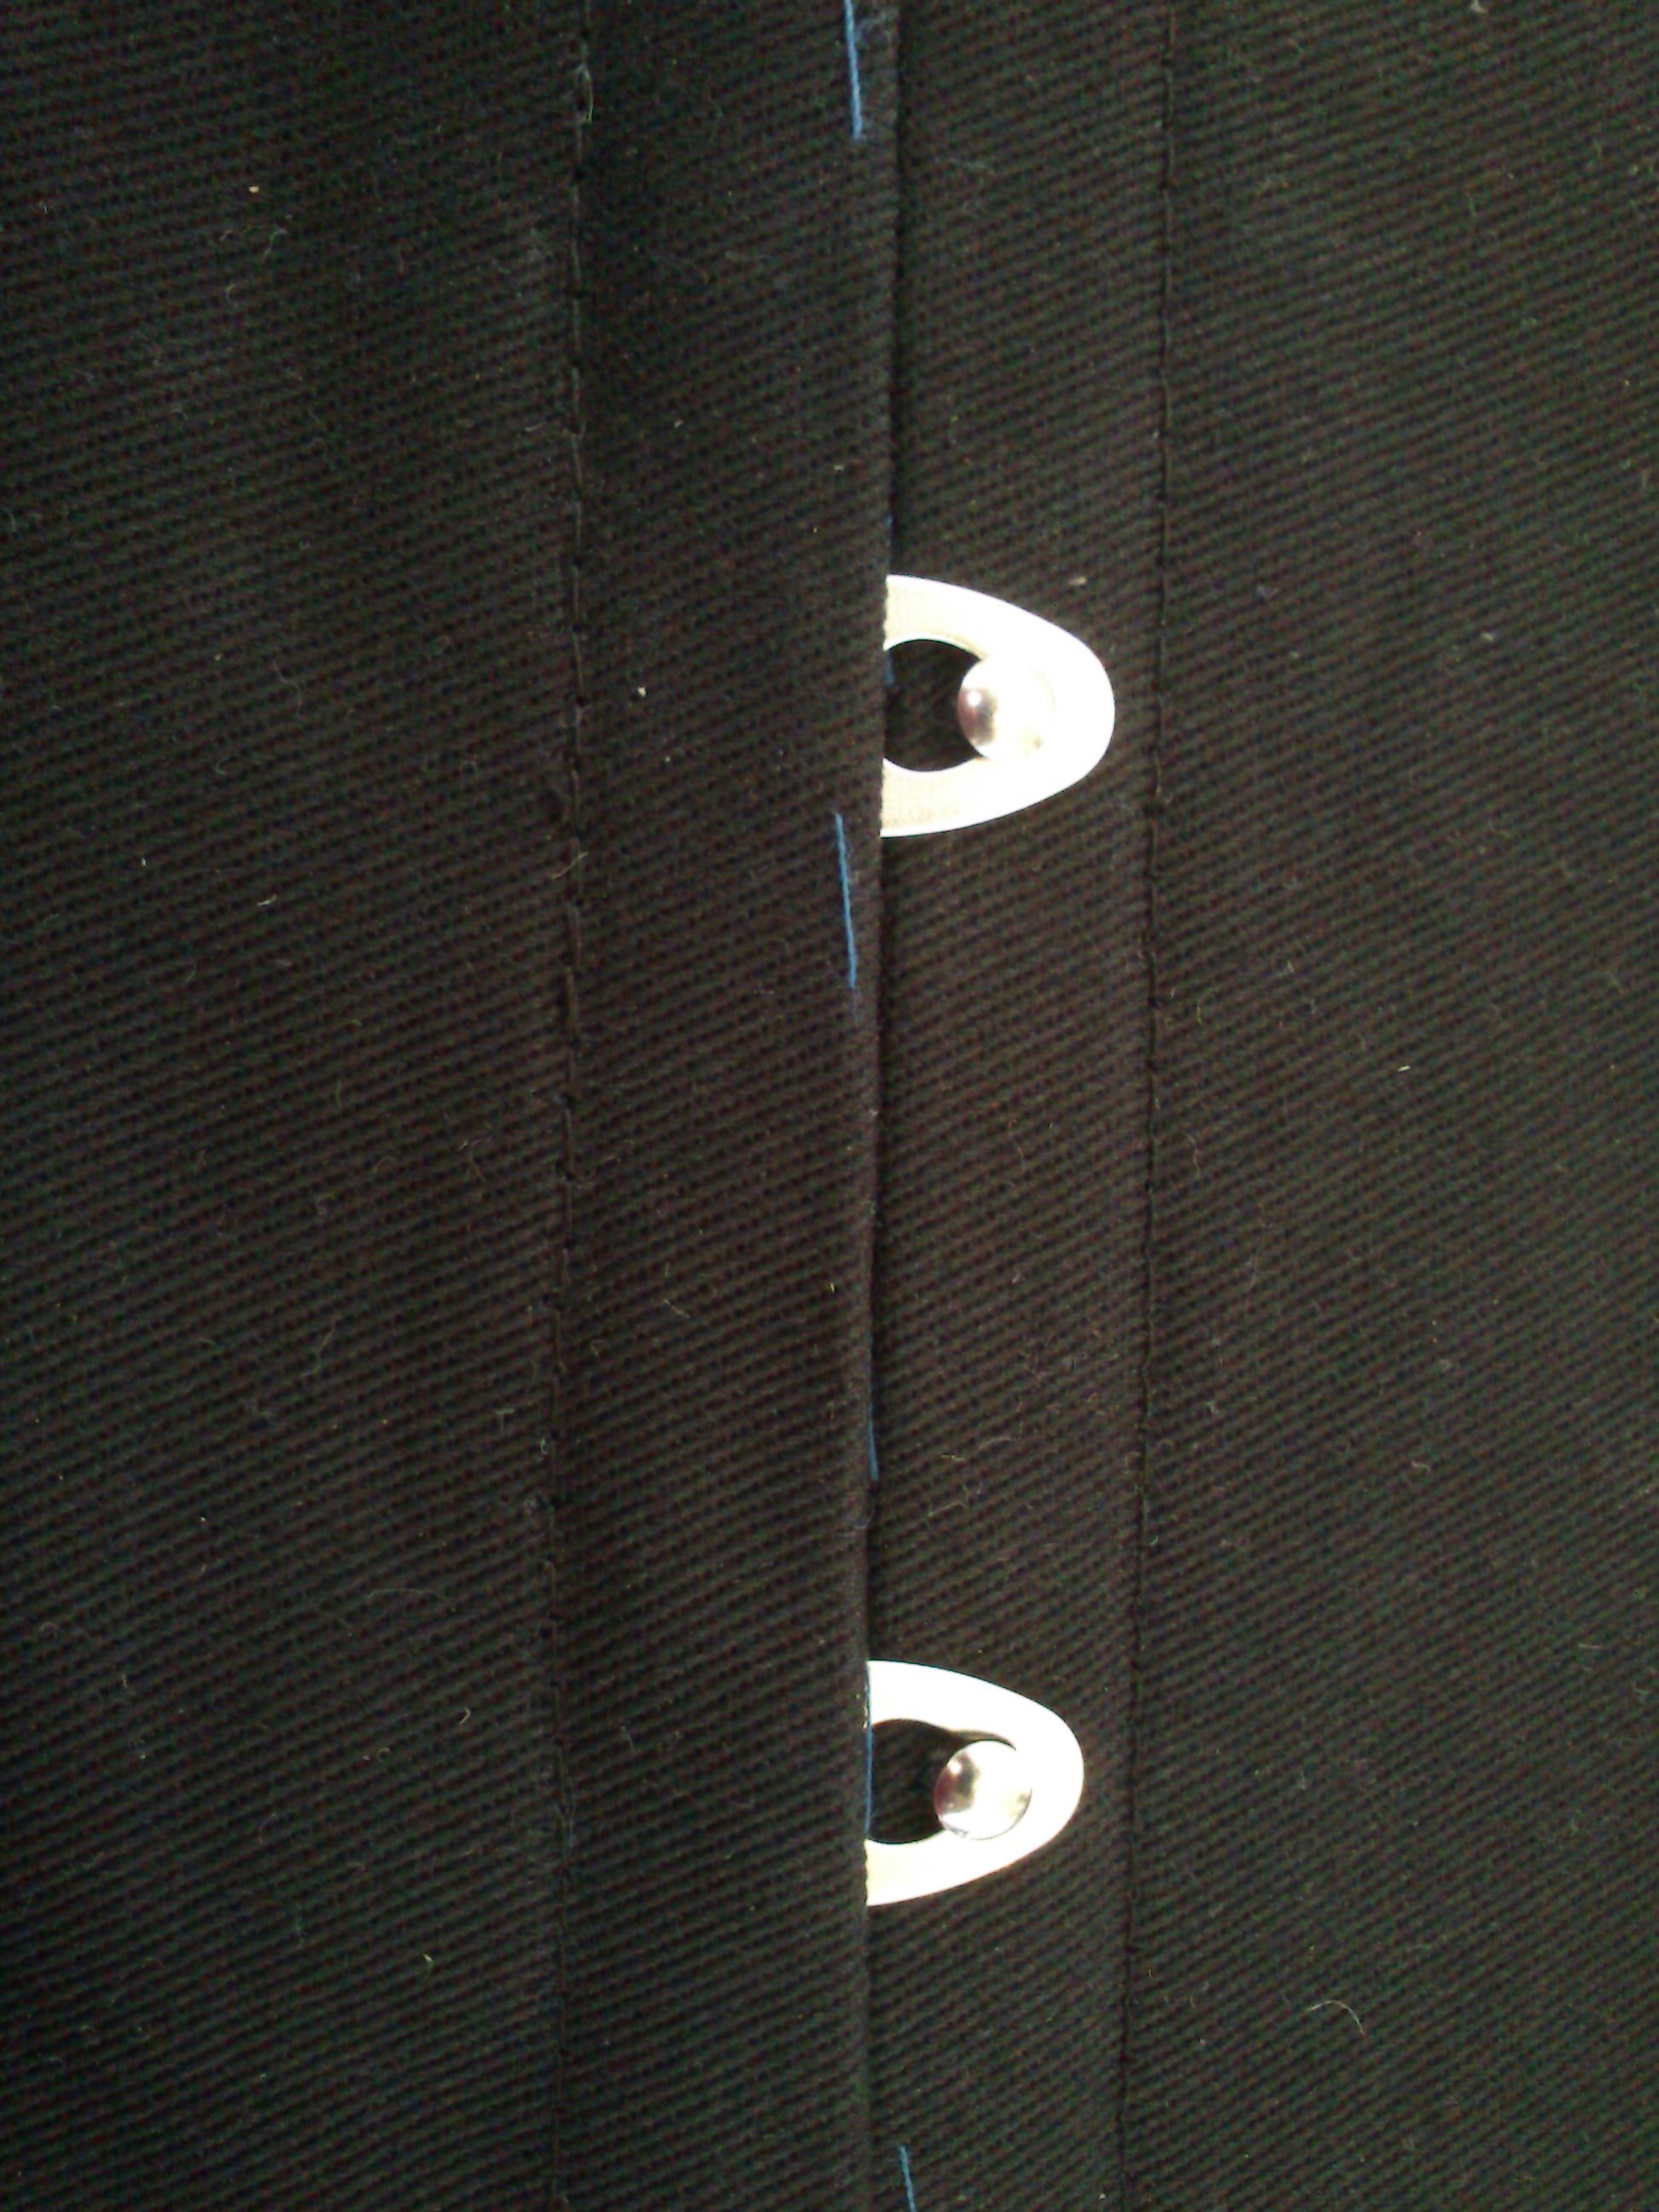
Setting the busk using awls to get the studds through the fabric without ripping it. IMG_4387

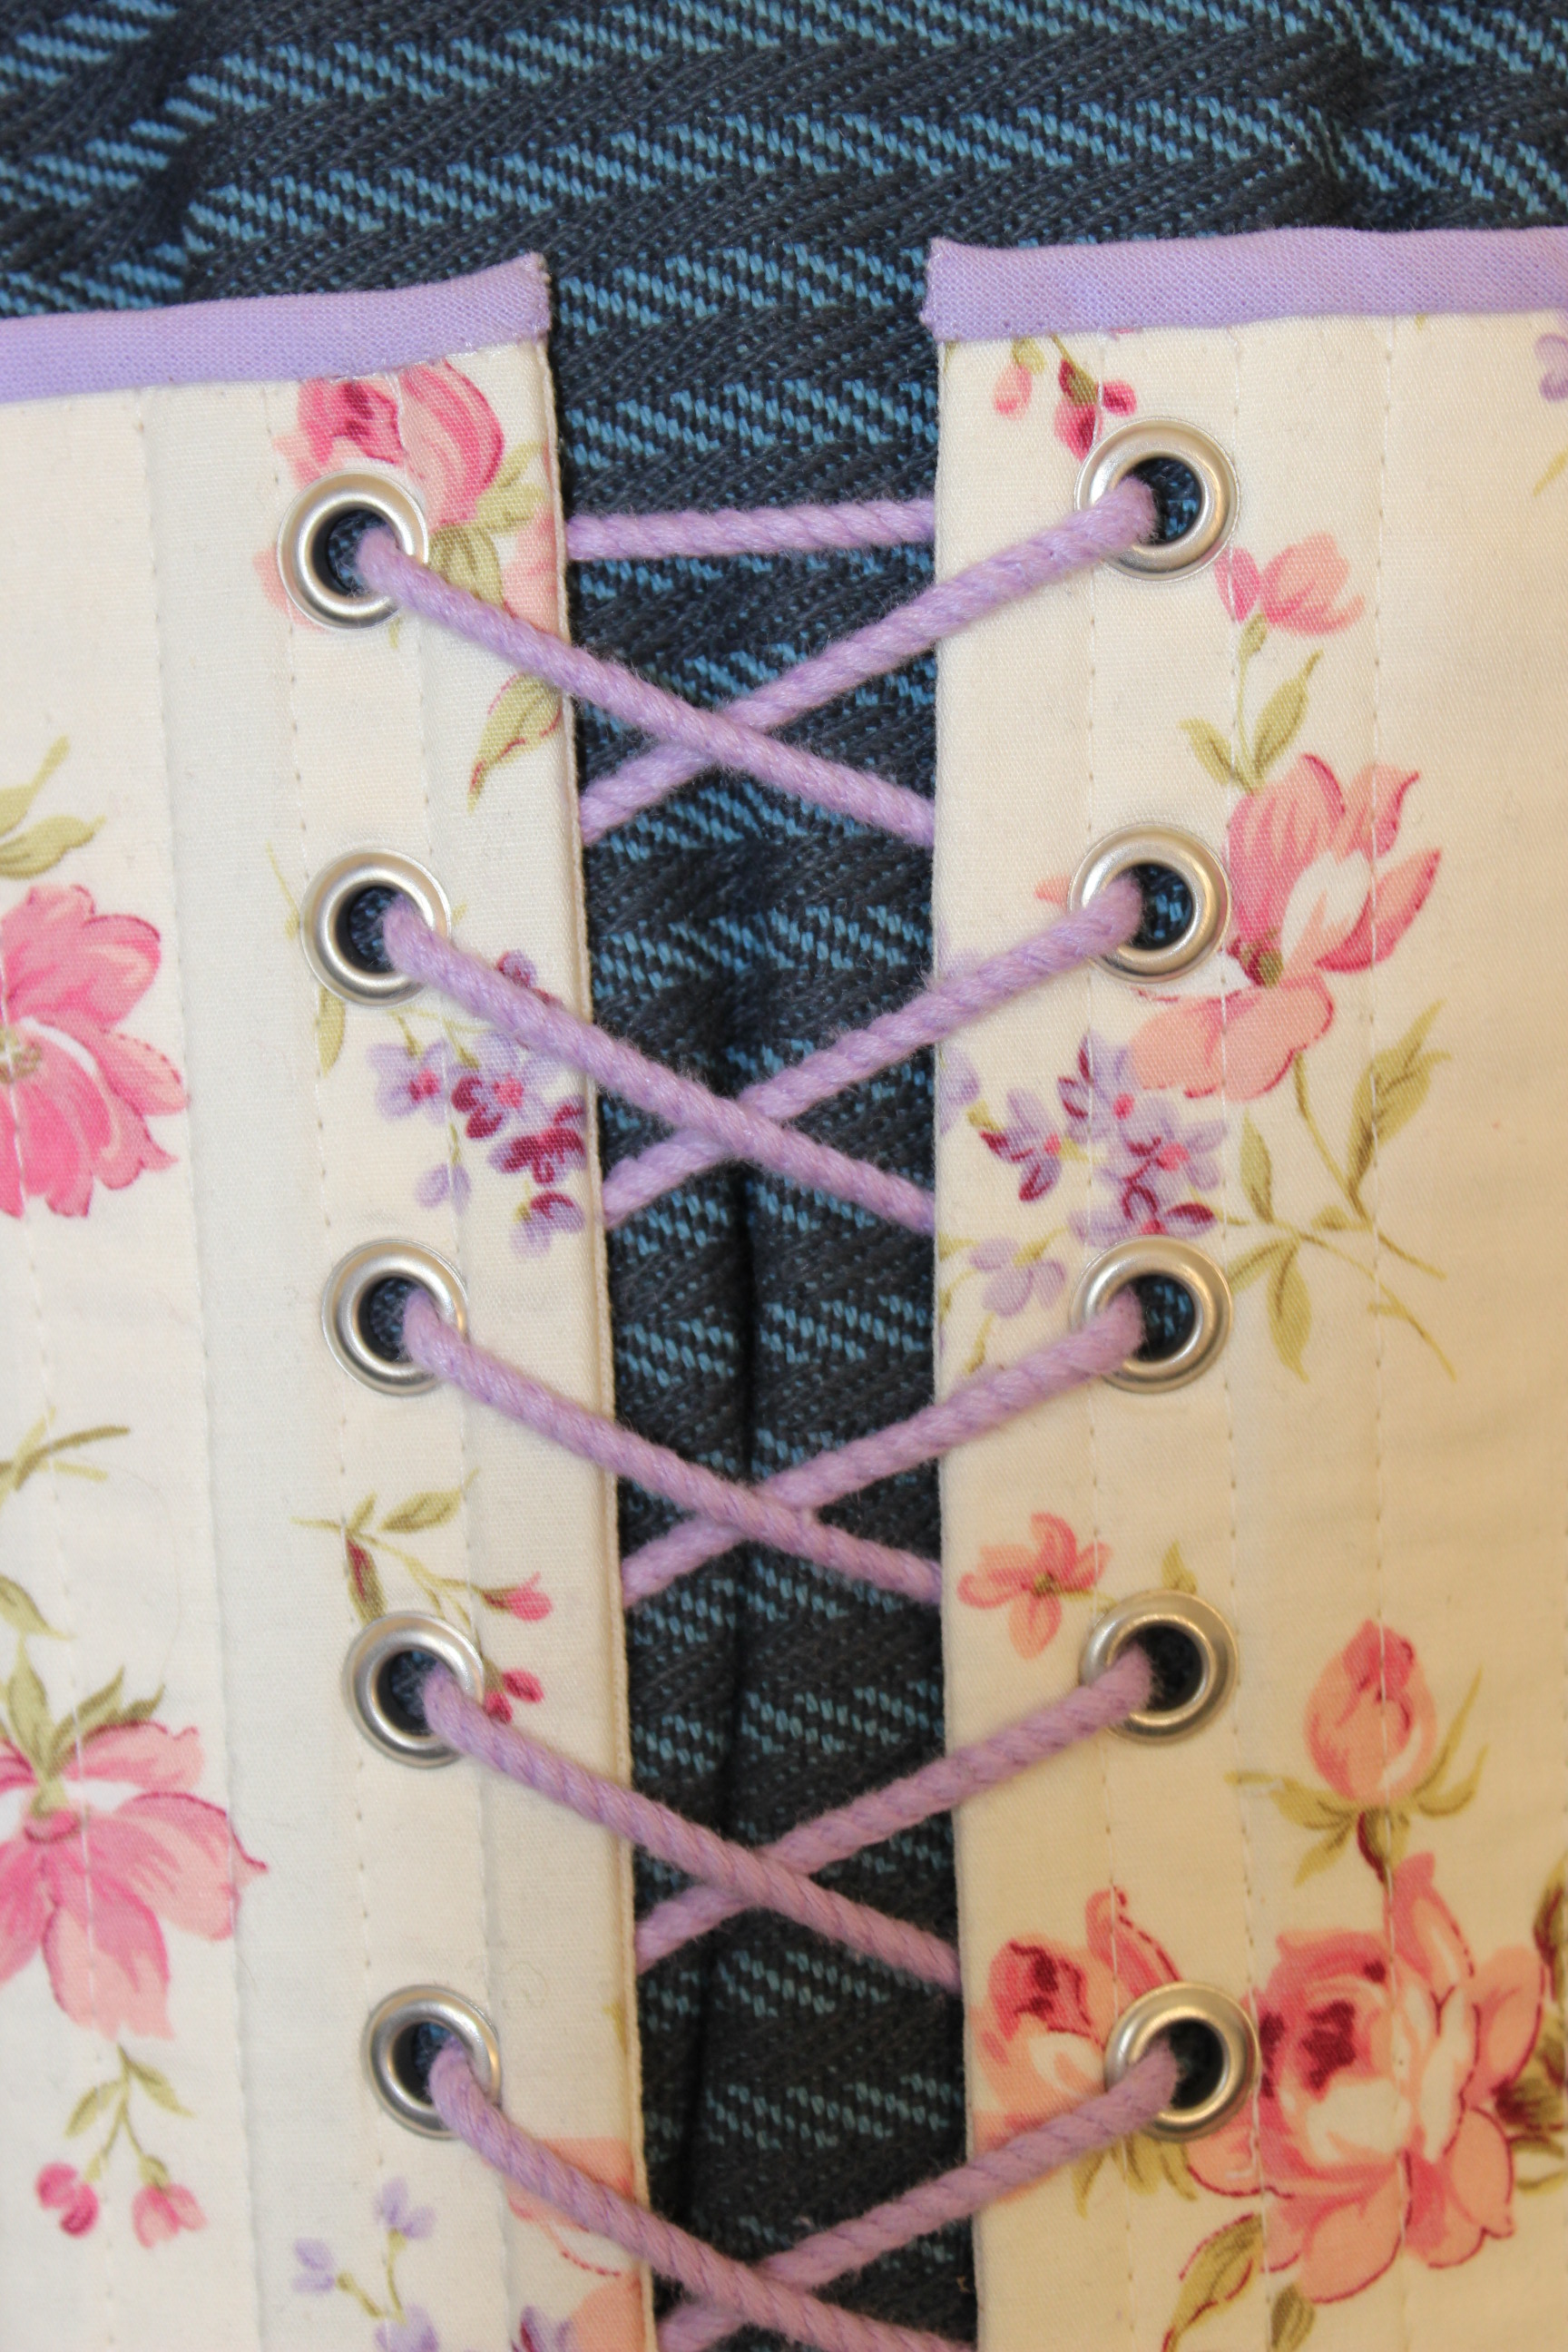
And leaving holes while sewing to get the eyes through.IMG_4381

I made lots of self fabric bias trim to use as boning chanels.IMG_4397

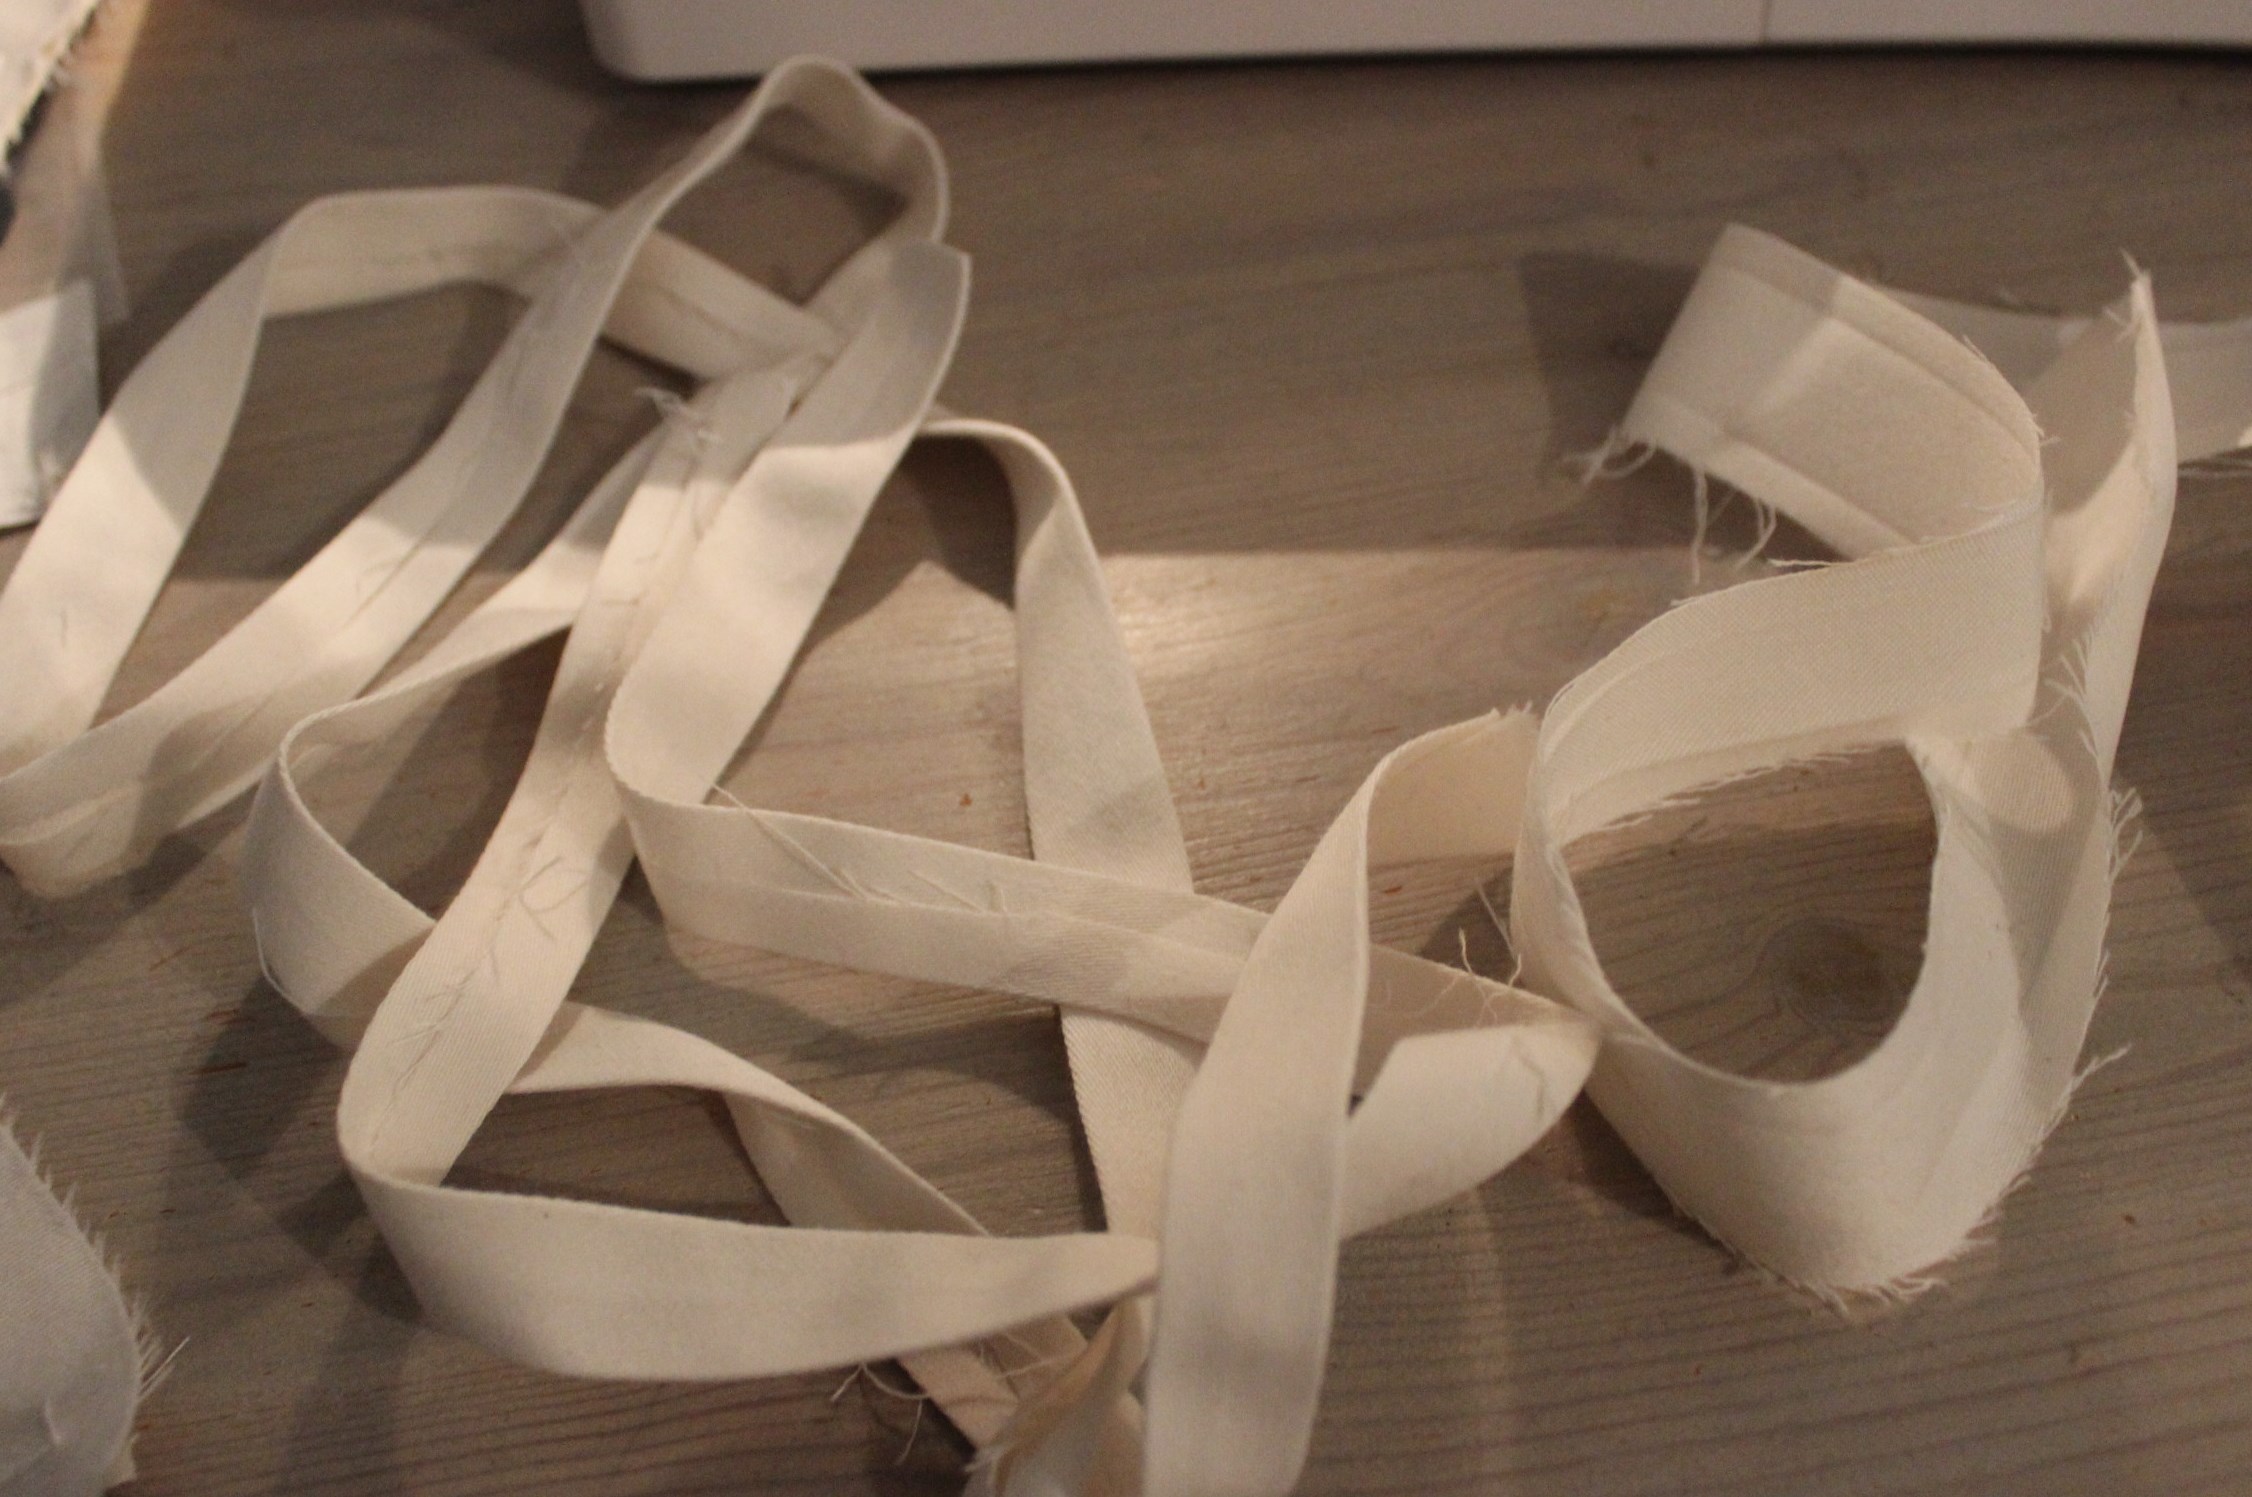
Sewing them on from the outside.IMG_4400

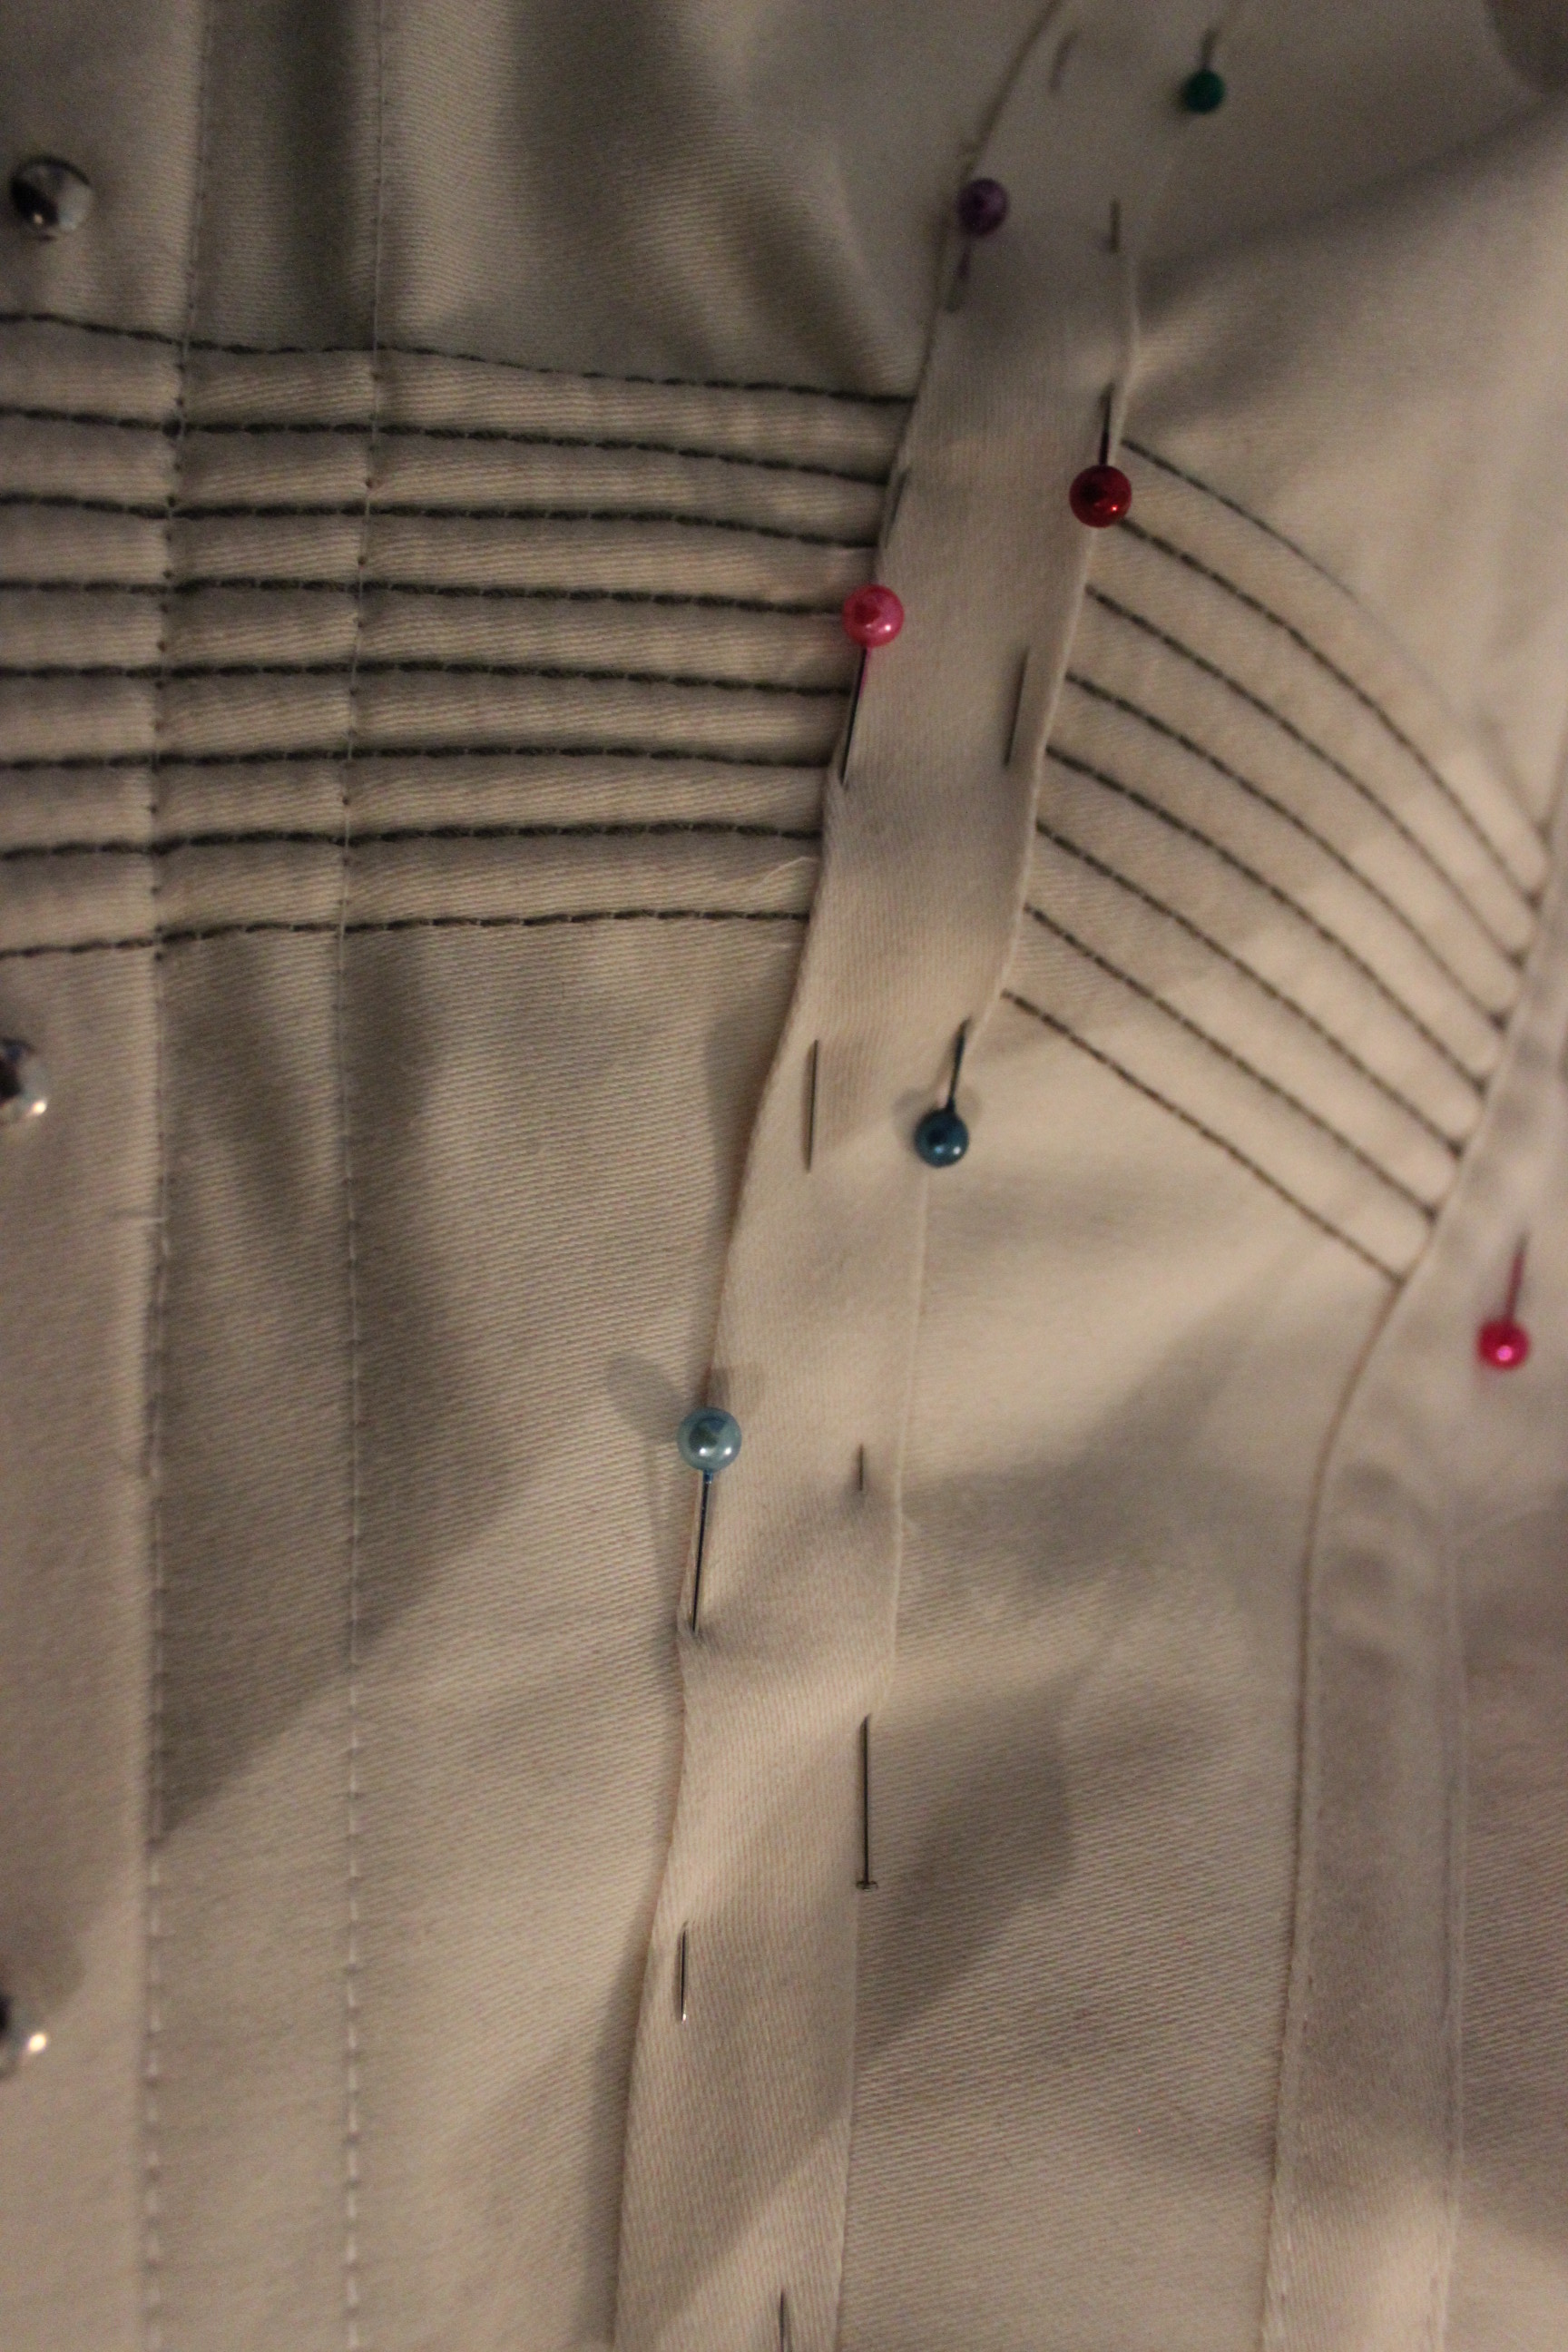
And snipping the seam-allowence on the inside.IMG_4403

When the gromets, the busk and the boning chanels (no bonning yet) are done, its time for the lining. I choose a light green cotton lining from my stash.IMG_4411

Corset with lining sewn on – before turning.IMG_4416

The lining sewn in. (One side turned and pressed, and the other one still in-side-out).IMG_4422

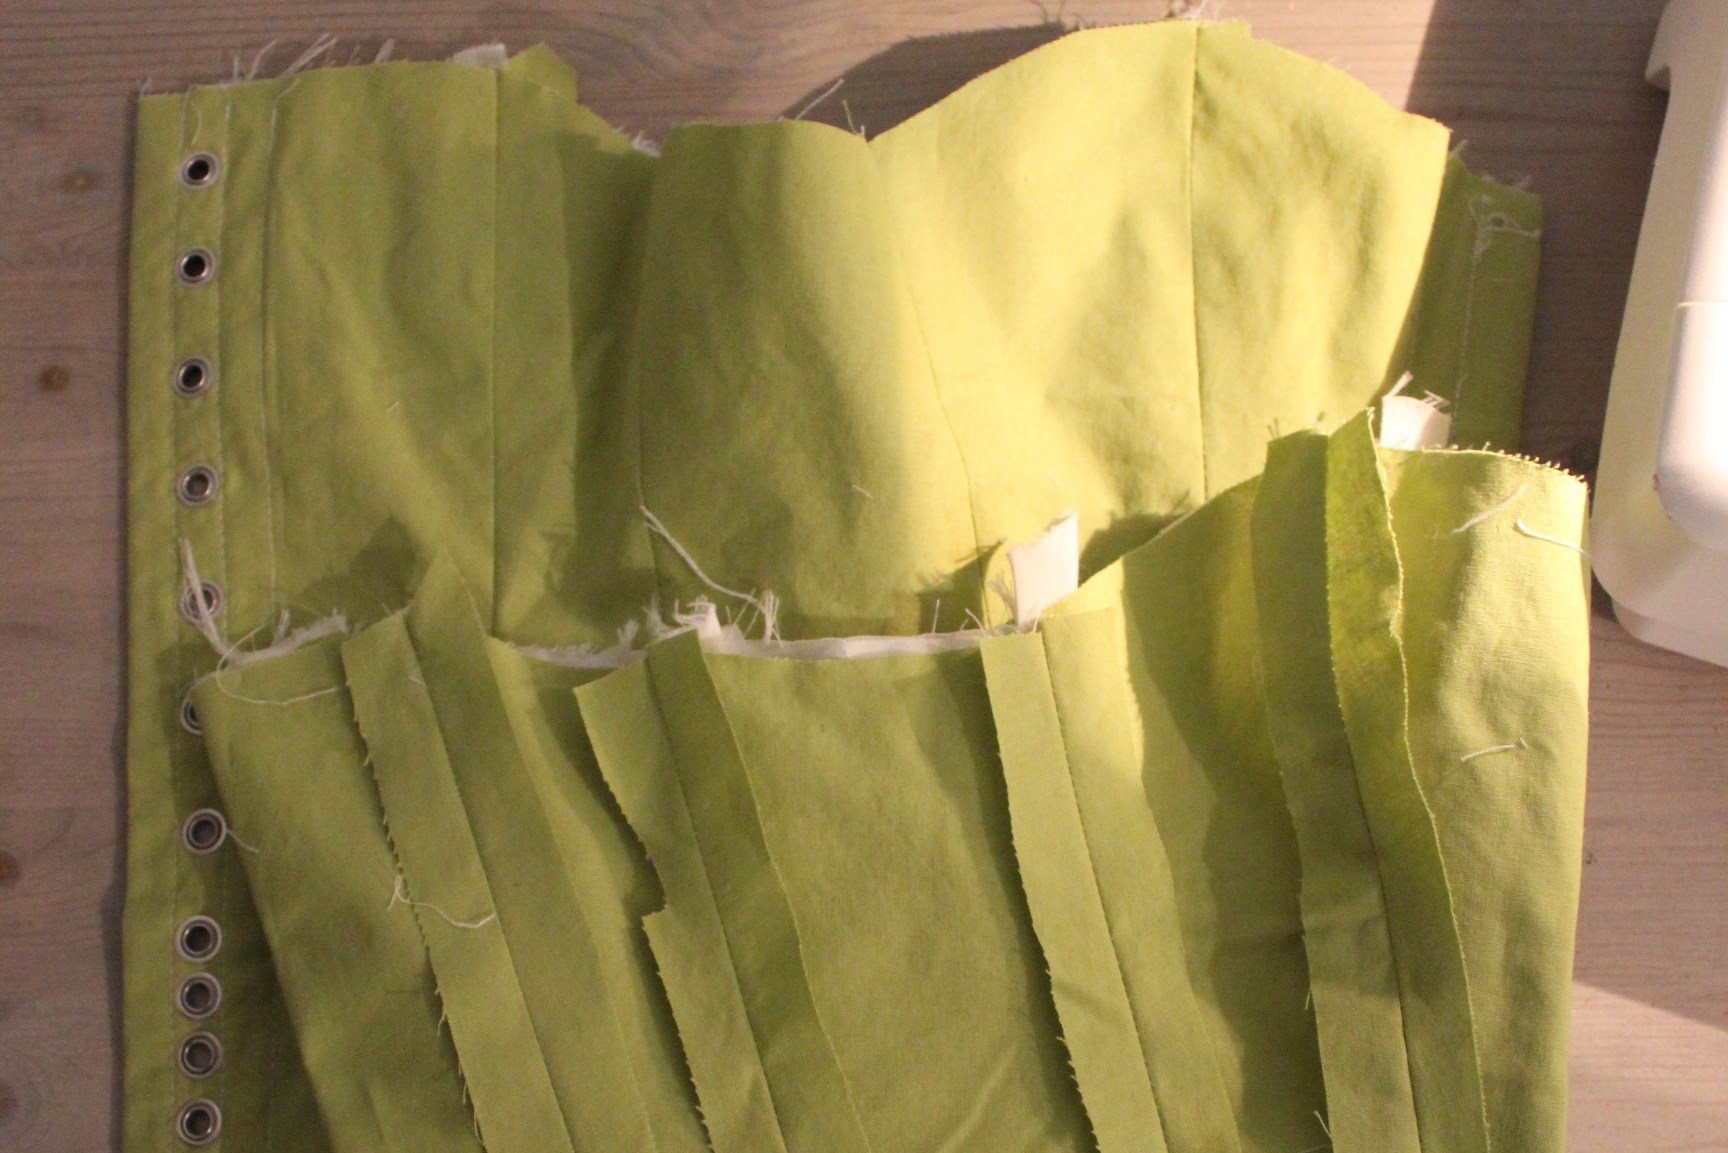
Now it’s time for the boning. If you put them in to early you will have big trouble with lining and sewing.

This is what I used for boning. (Left to right: Heavy pliers, methal pipe cleaners, electrical tape (to cower the sharp edges on the metal), plastic cable ties, siccor and plastic whale bone).IMG_4438

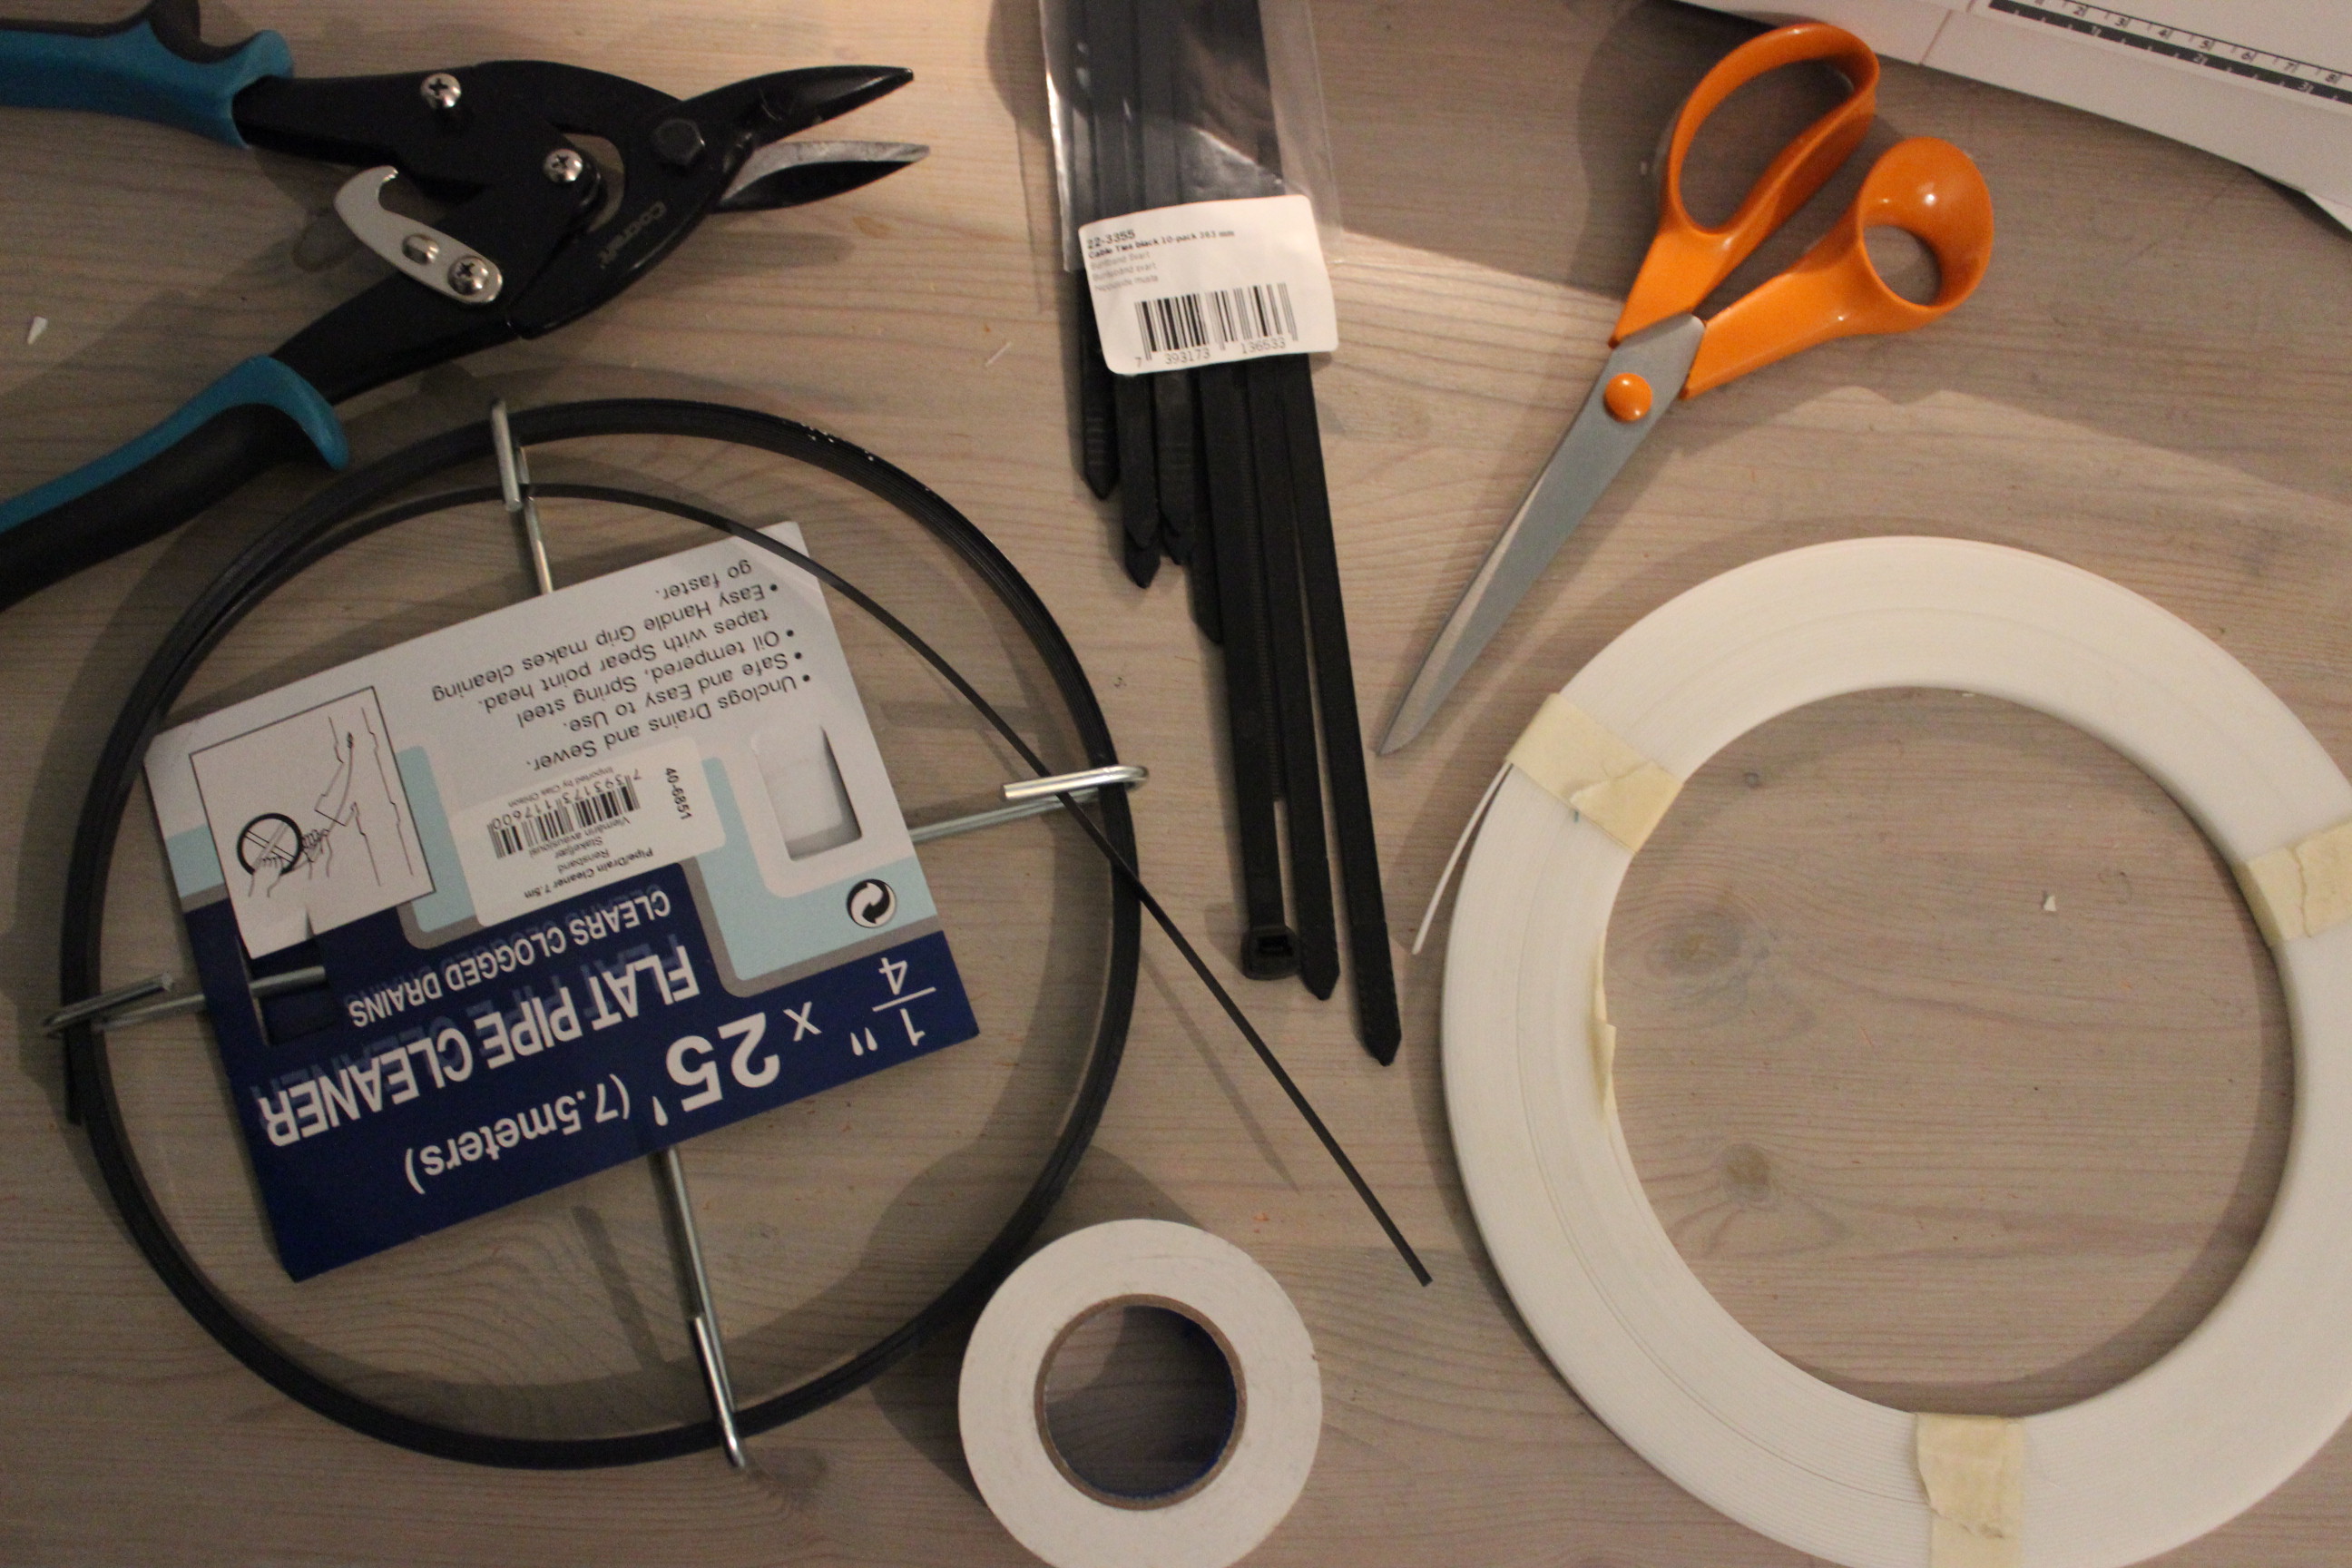
As you can se I used all of my three boning options on different parts of the corset. Using the strongest (metal) ones close to the lacing, and the regular cable ties in the boning chanels, and then using the softer syntetic whalebone in between.IMG_4444

Then I grabbed my finishing/decoration kit (green cotton bias tape, white cotton lace, green button hole thread and cord for  piping (which I did in my first few steps).IMG_4436

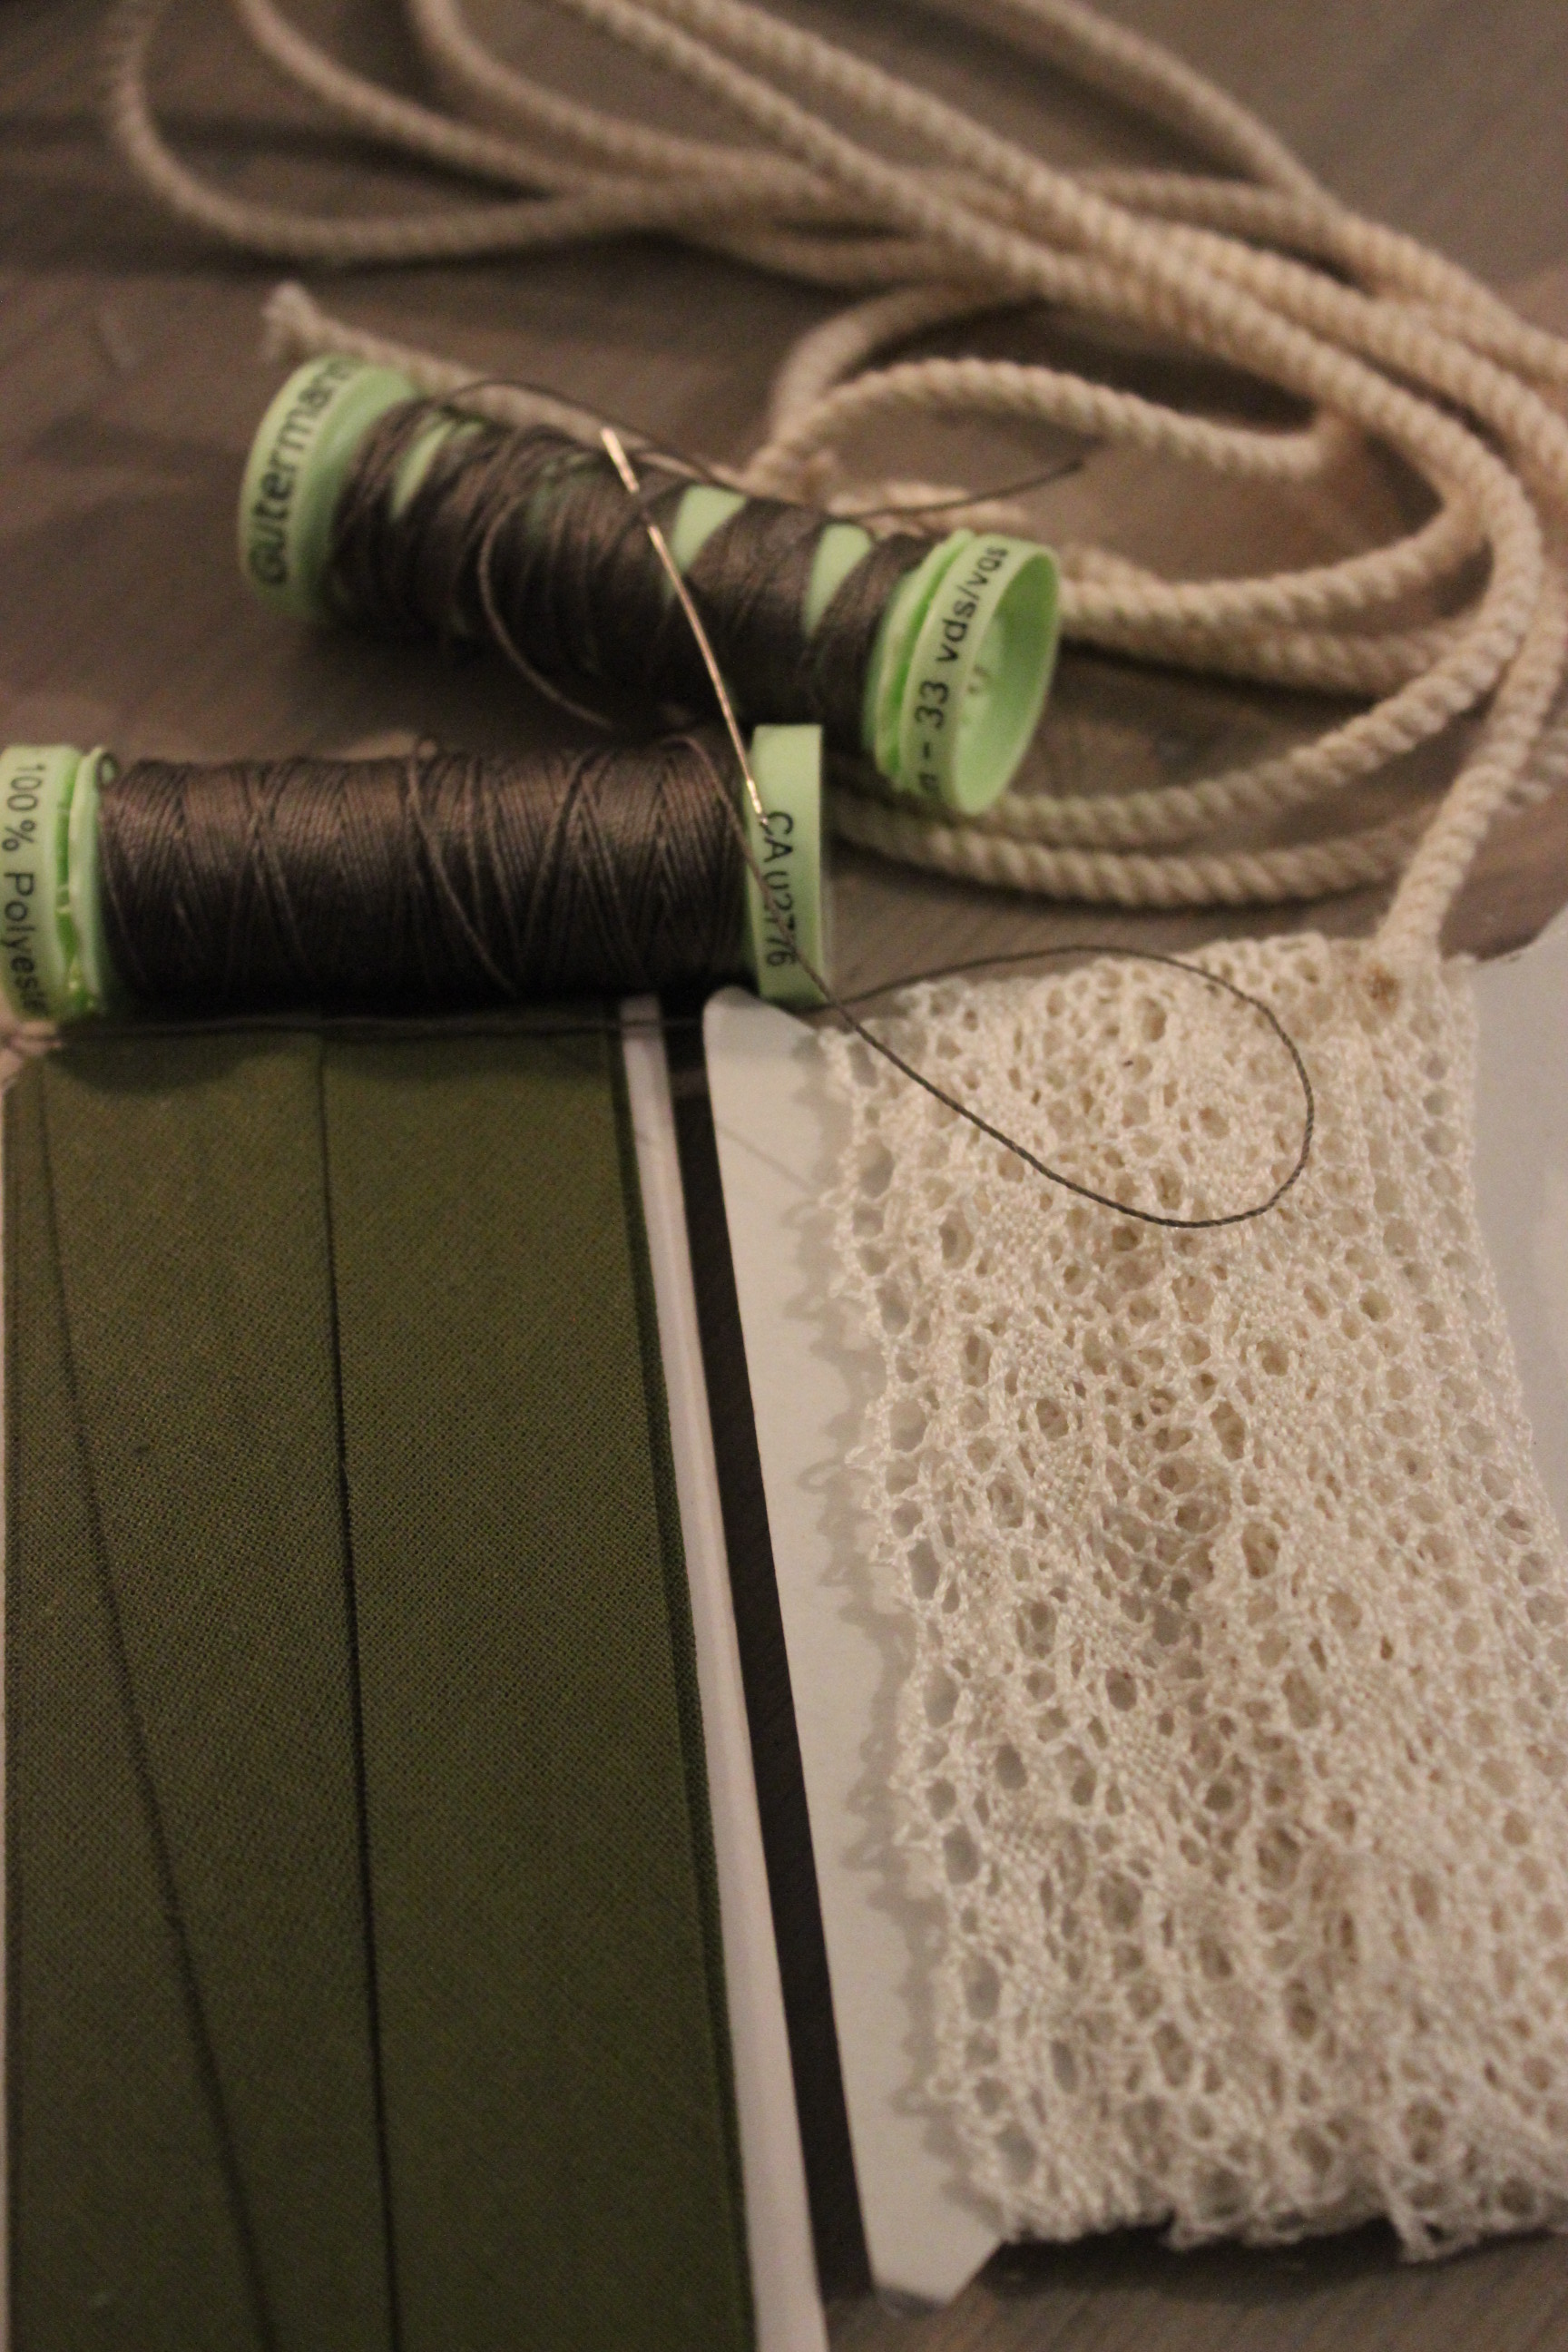
Cutting the un-even top and bottoms of the corset, IMG_4426

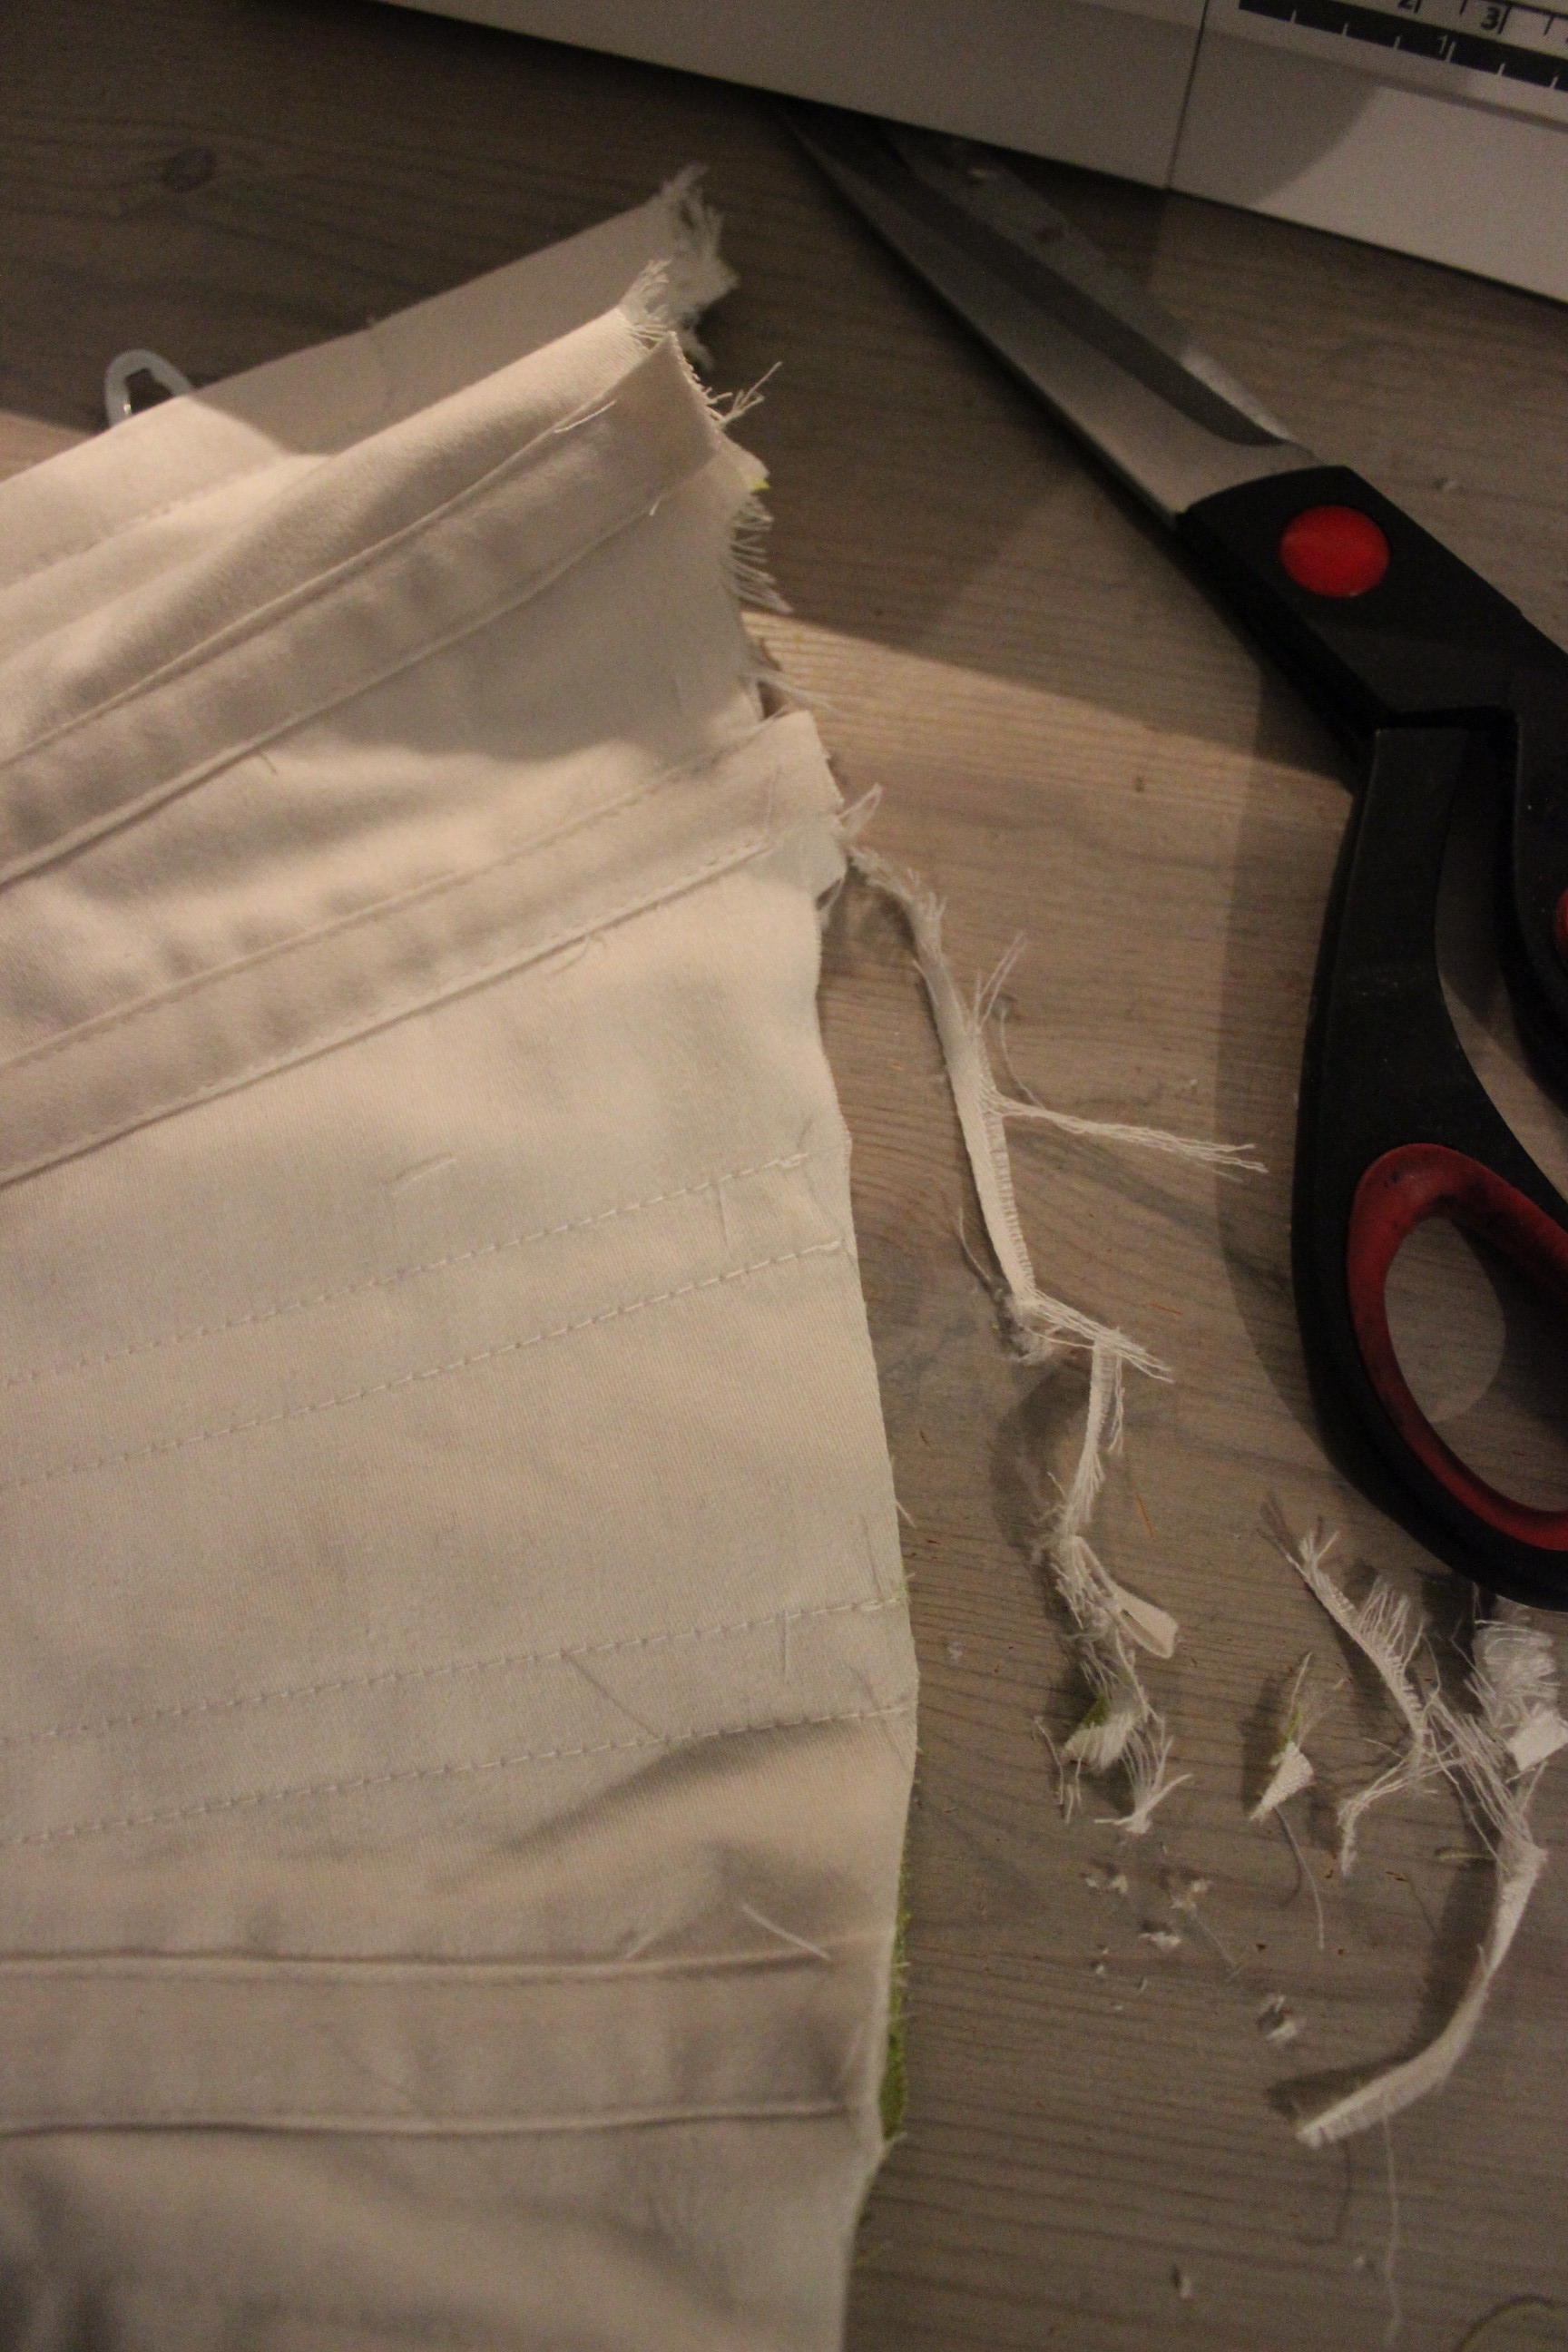
and then attaching the bias tape.IMG_4431

At this point it was time for me to stop working on the corset, and leave it for a couple of weeks.

You see, I started this project begining of december, since I needed to have the corset to be able to start on my opera gown. And since the HSFs rules says that no item should be finished more then 6 weeks before the challenge du date, I needed to paus sewing for a while. And since it was only the decorations left, the corset was fully functional and could still be used to build my gown upon.

IMG_4517IMG_4520

IMG_4519

IMG_4522

IMG_4526

IMG_4524

IMG_4518

IMG_4655 IMG_4667

IMG_4658

***

So, last week (3 days before the grand bal) I finaly had the time to finish it.

By now I had tried it on several times, and had realised the bust needed to be re-shaped to get a smoother look. So I ripped some of the bias tape of, re-cut the top and stiched the bias tape back on.IMG_4716

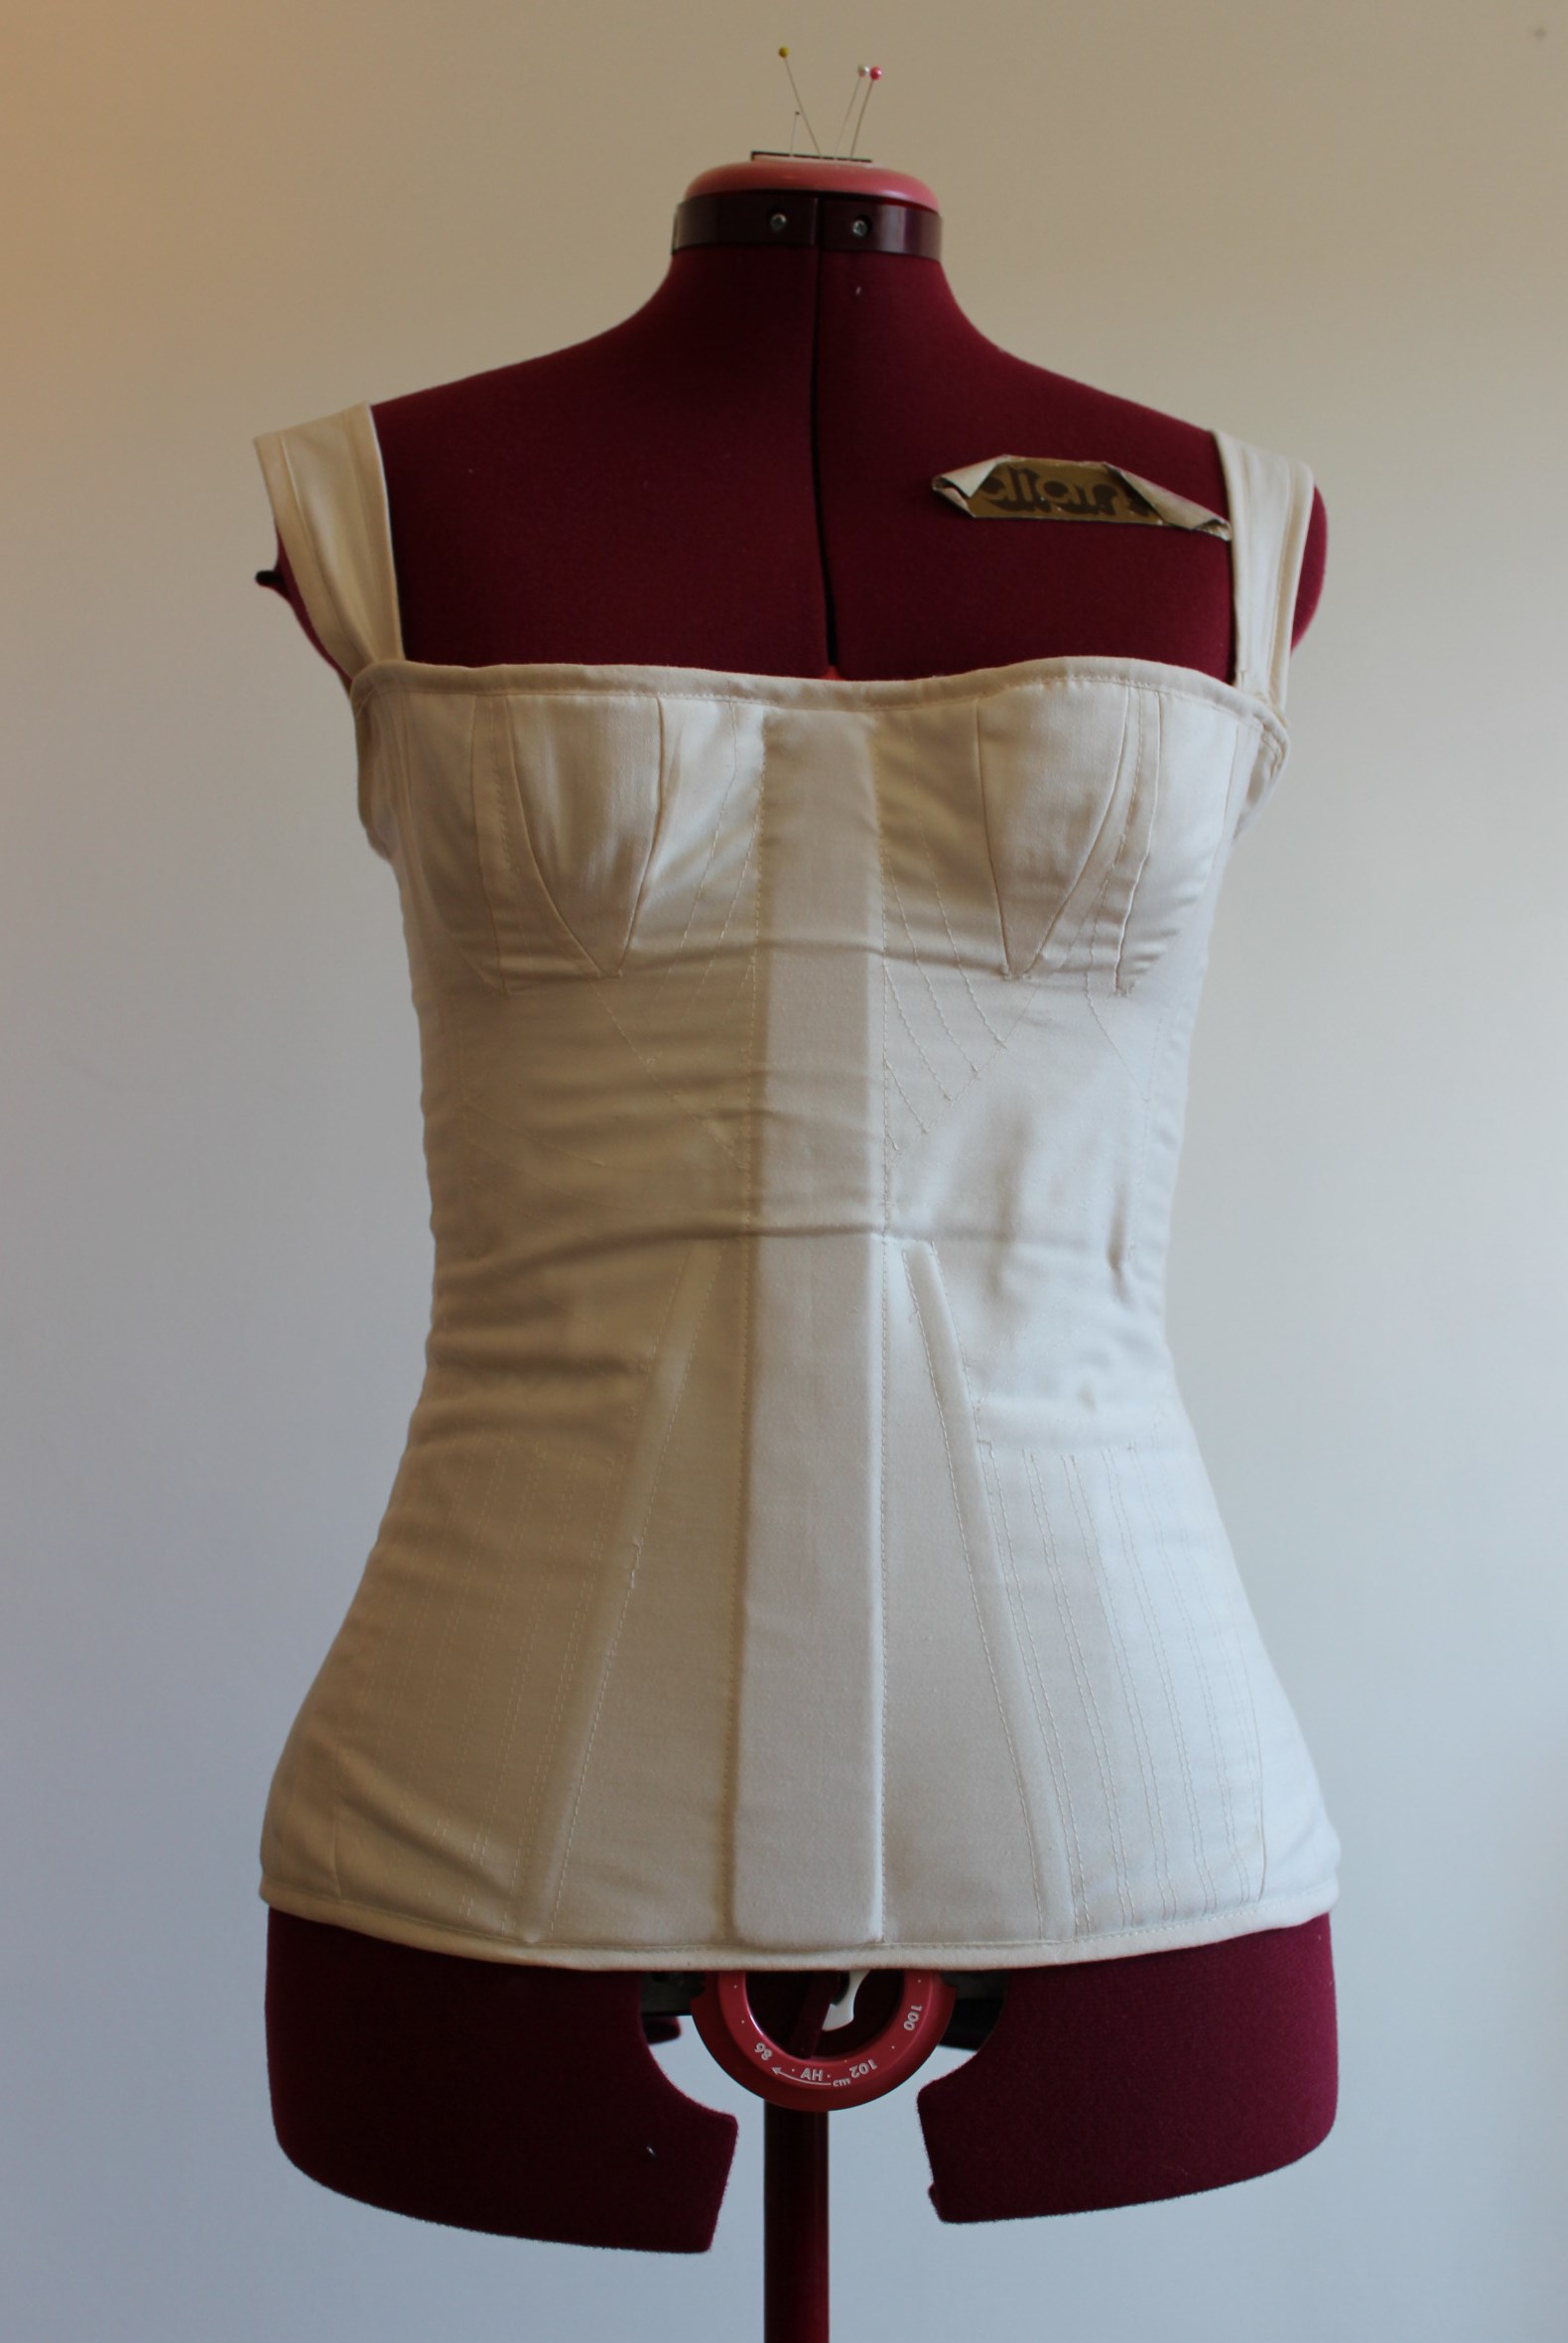
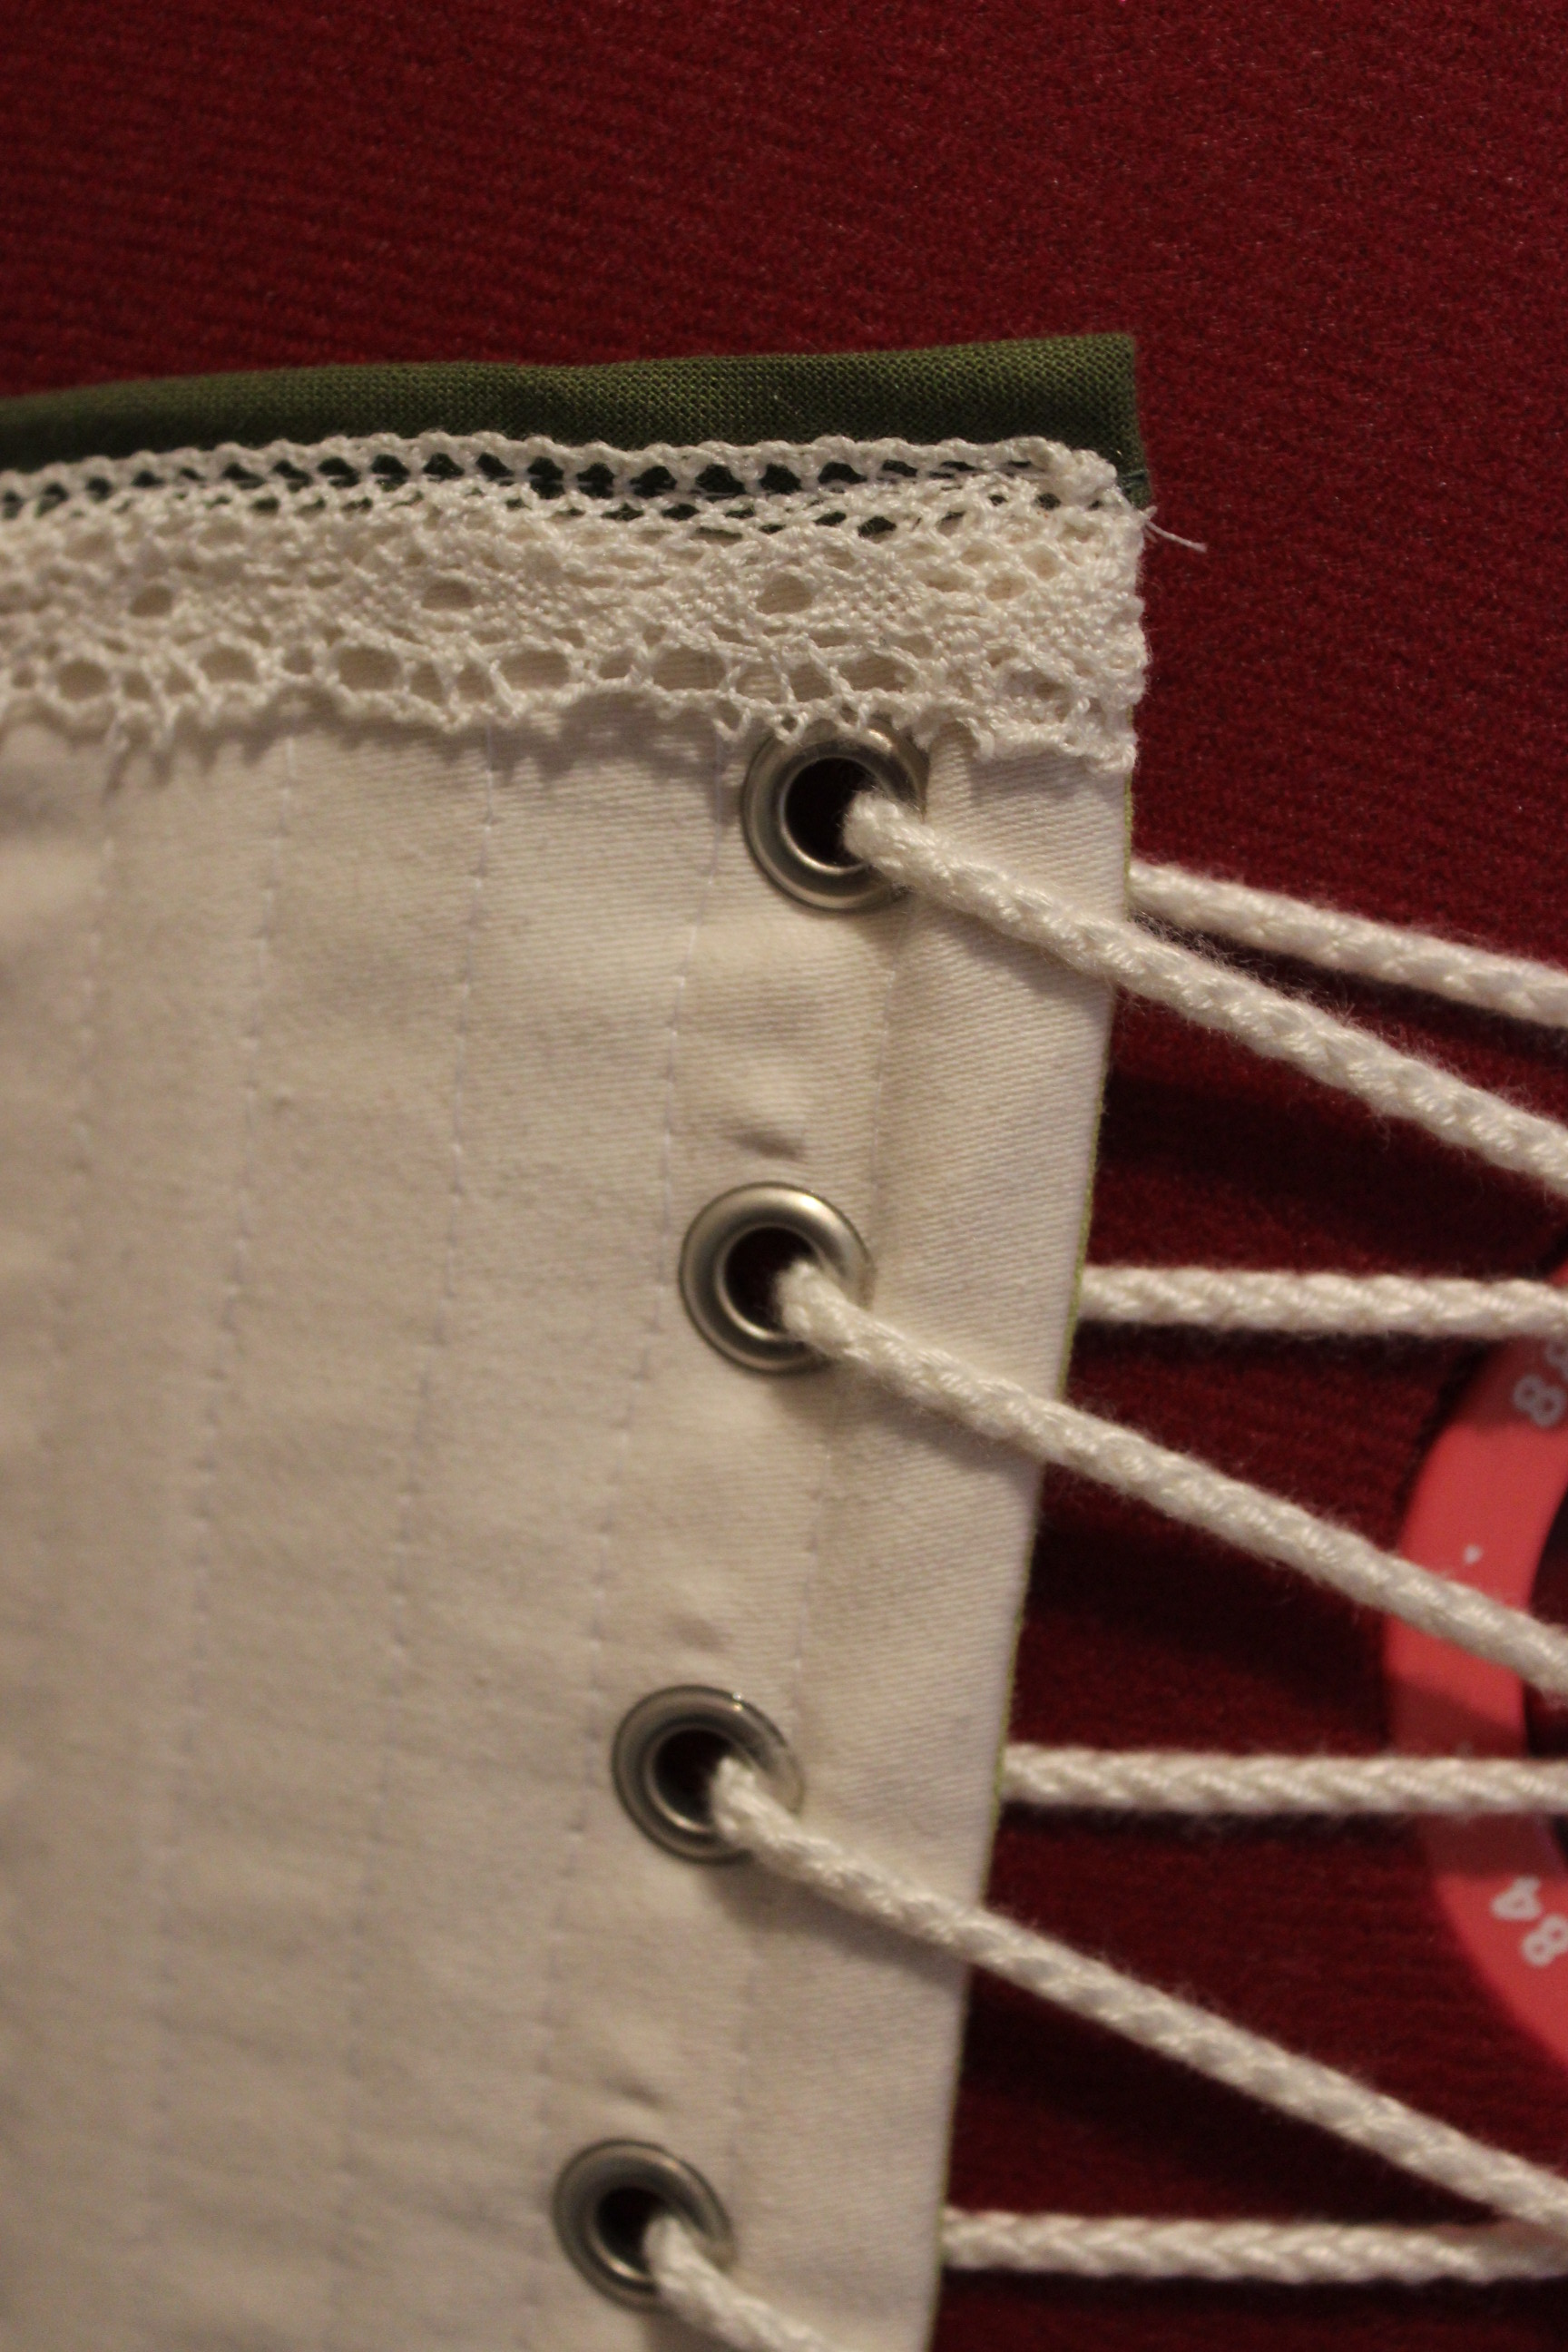
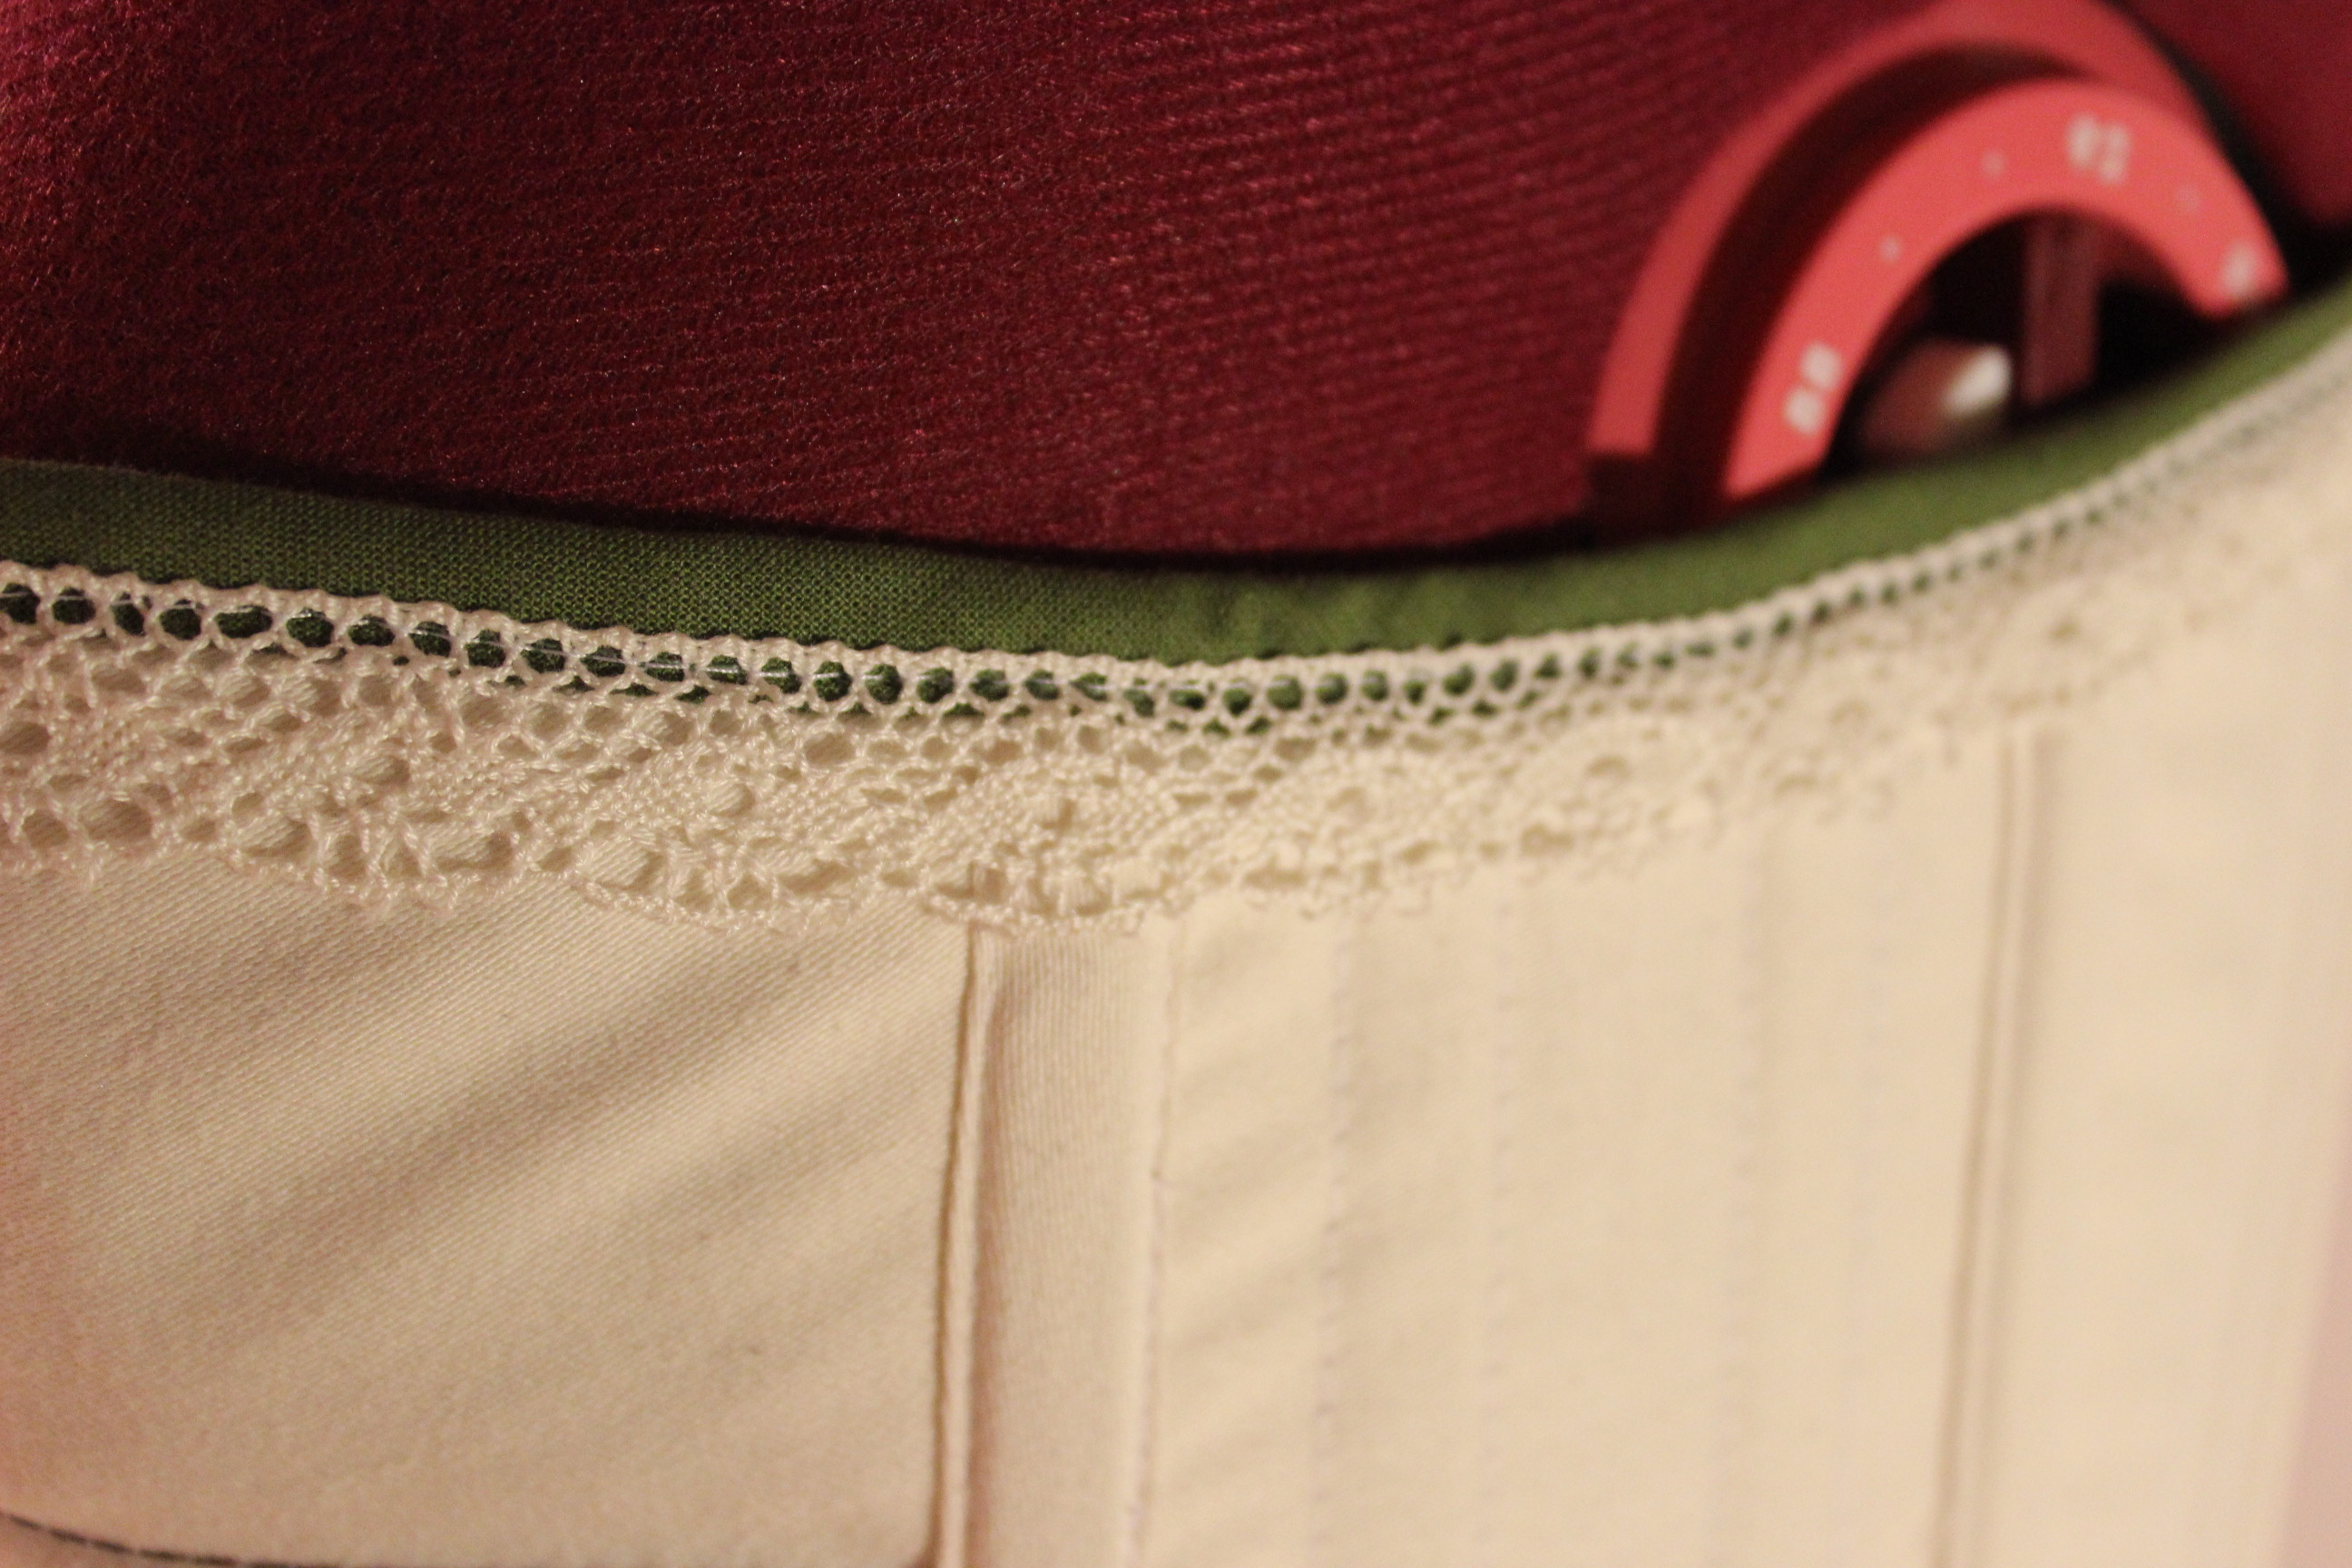
Then I decorated it with the white lace and some green flossing.

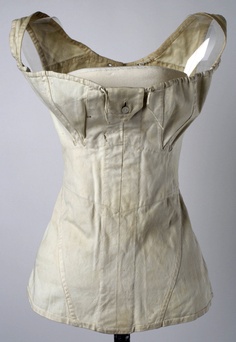
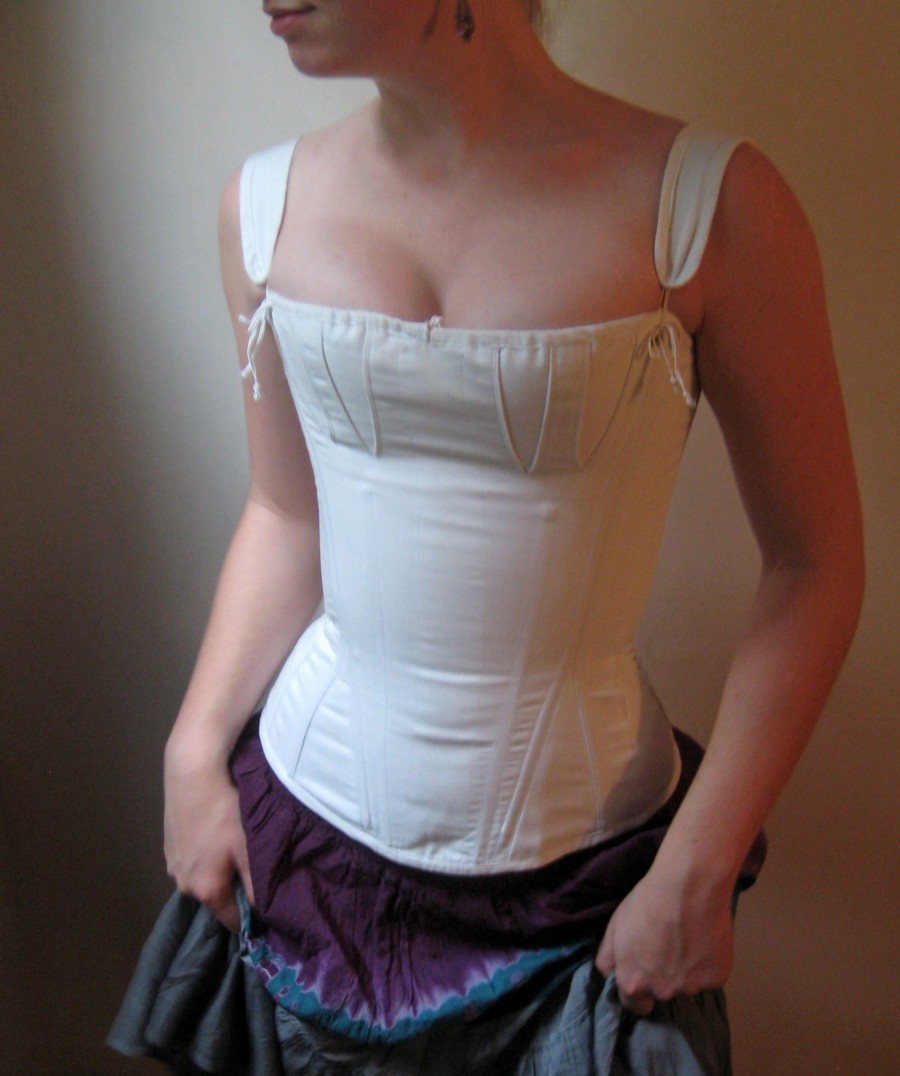
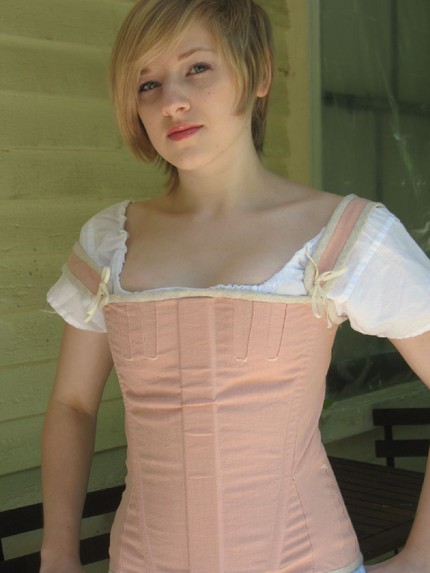
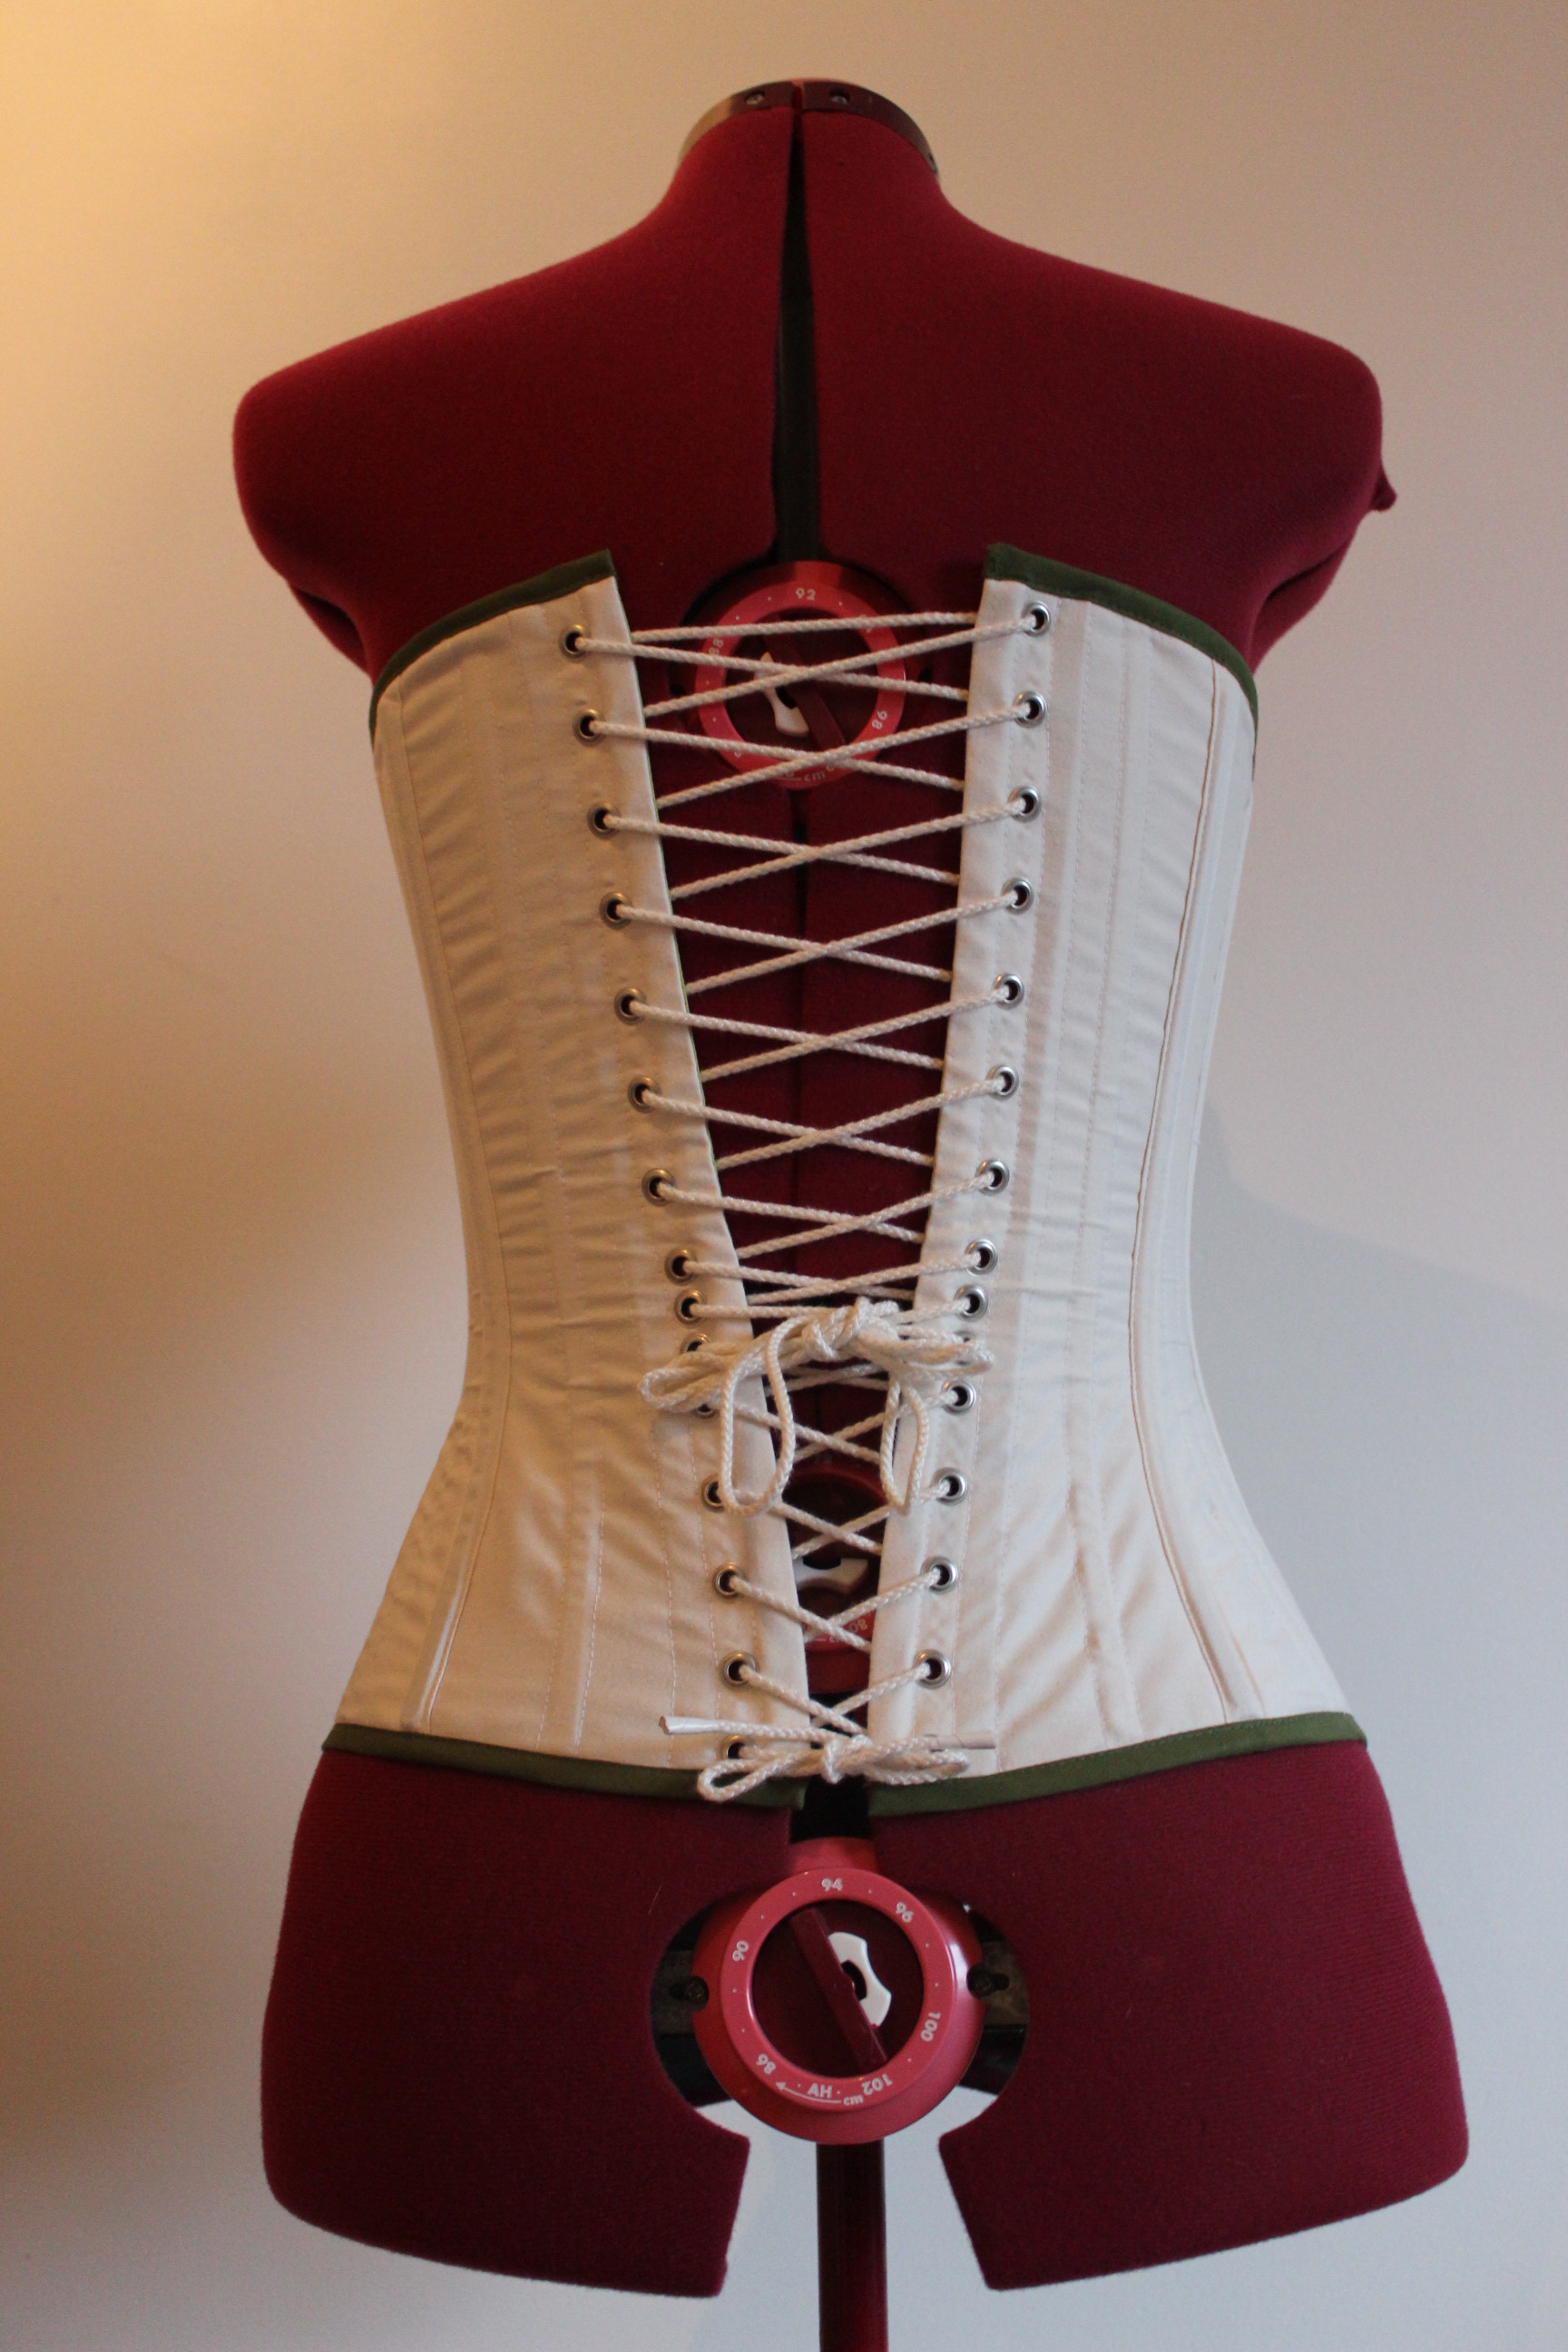
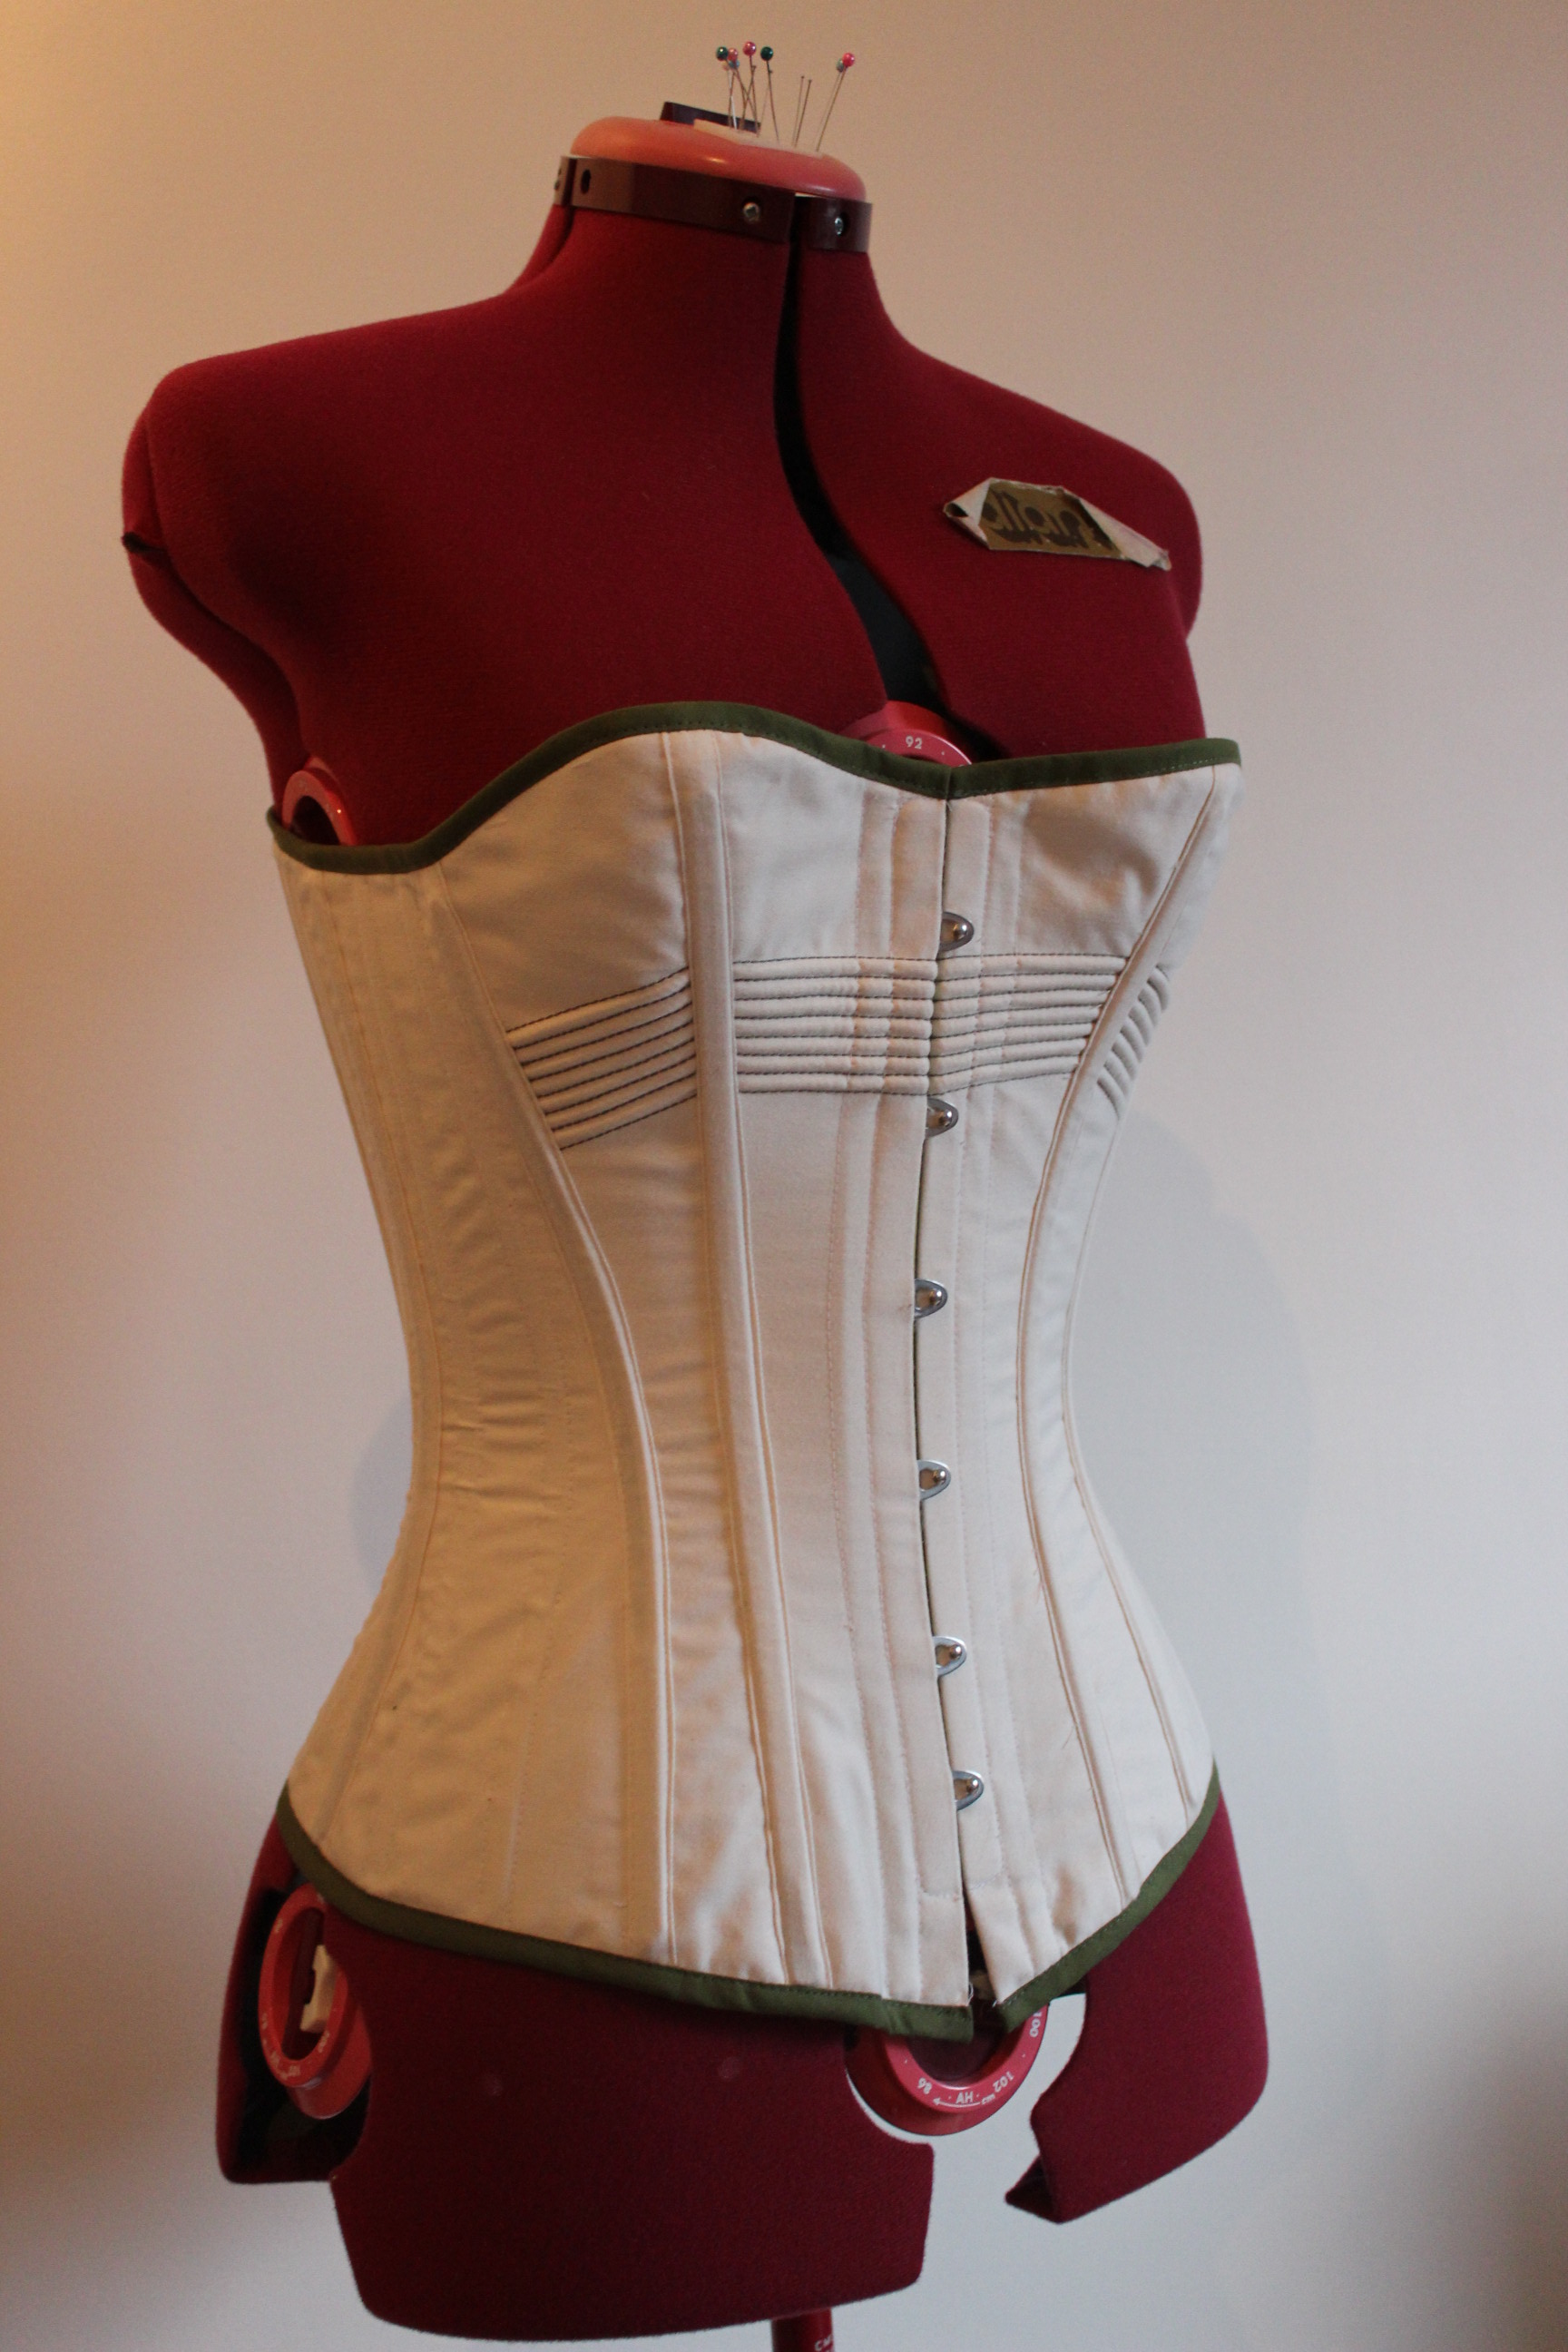
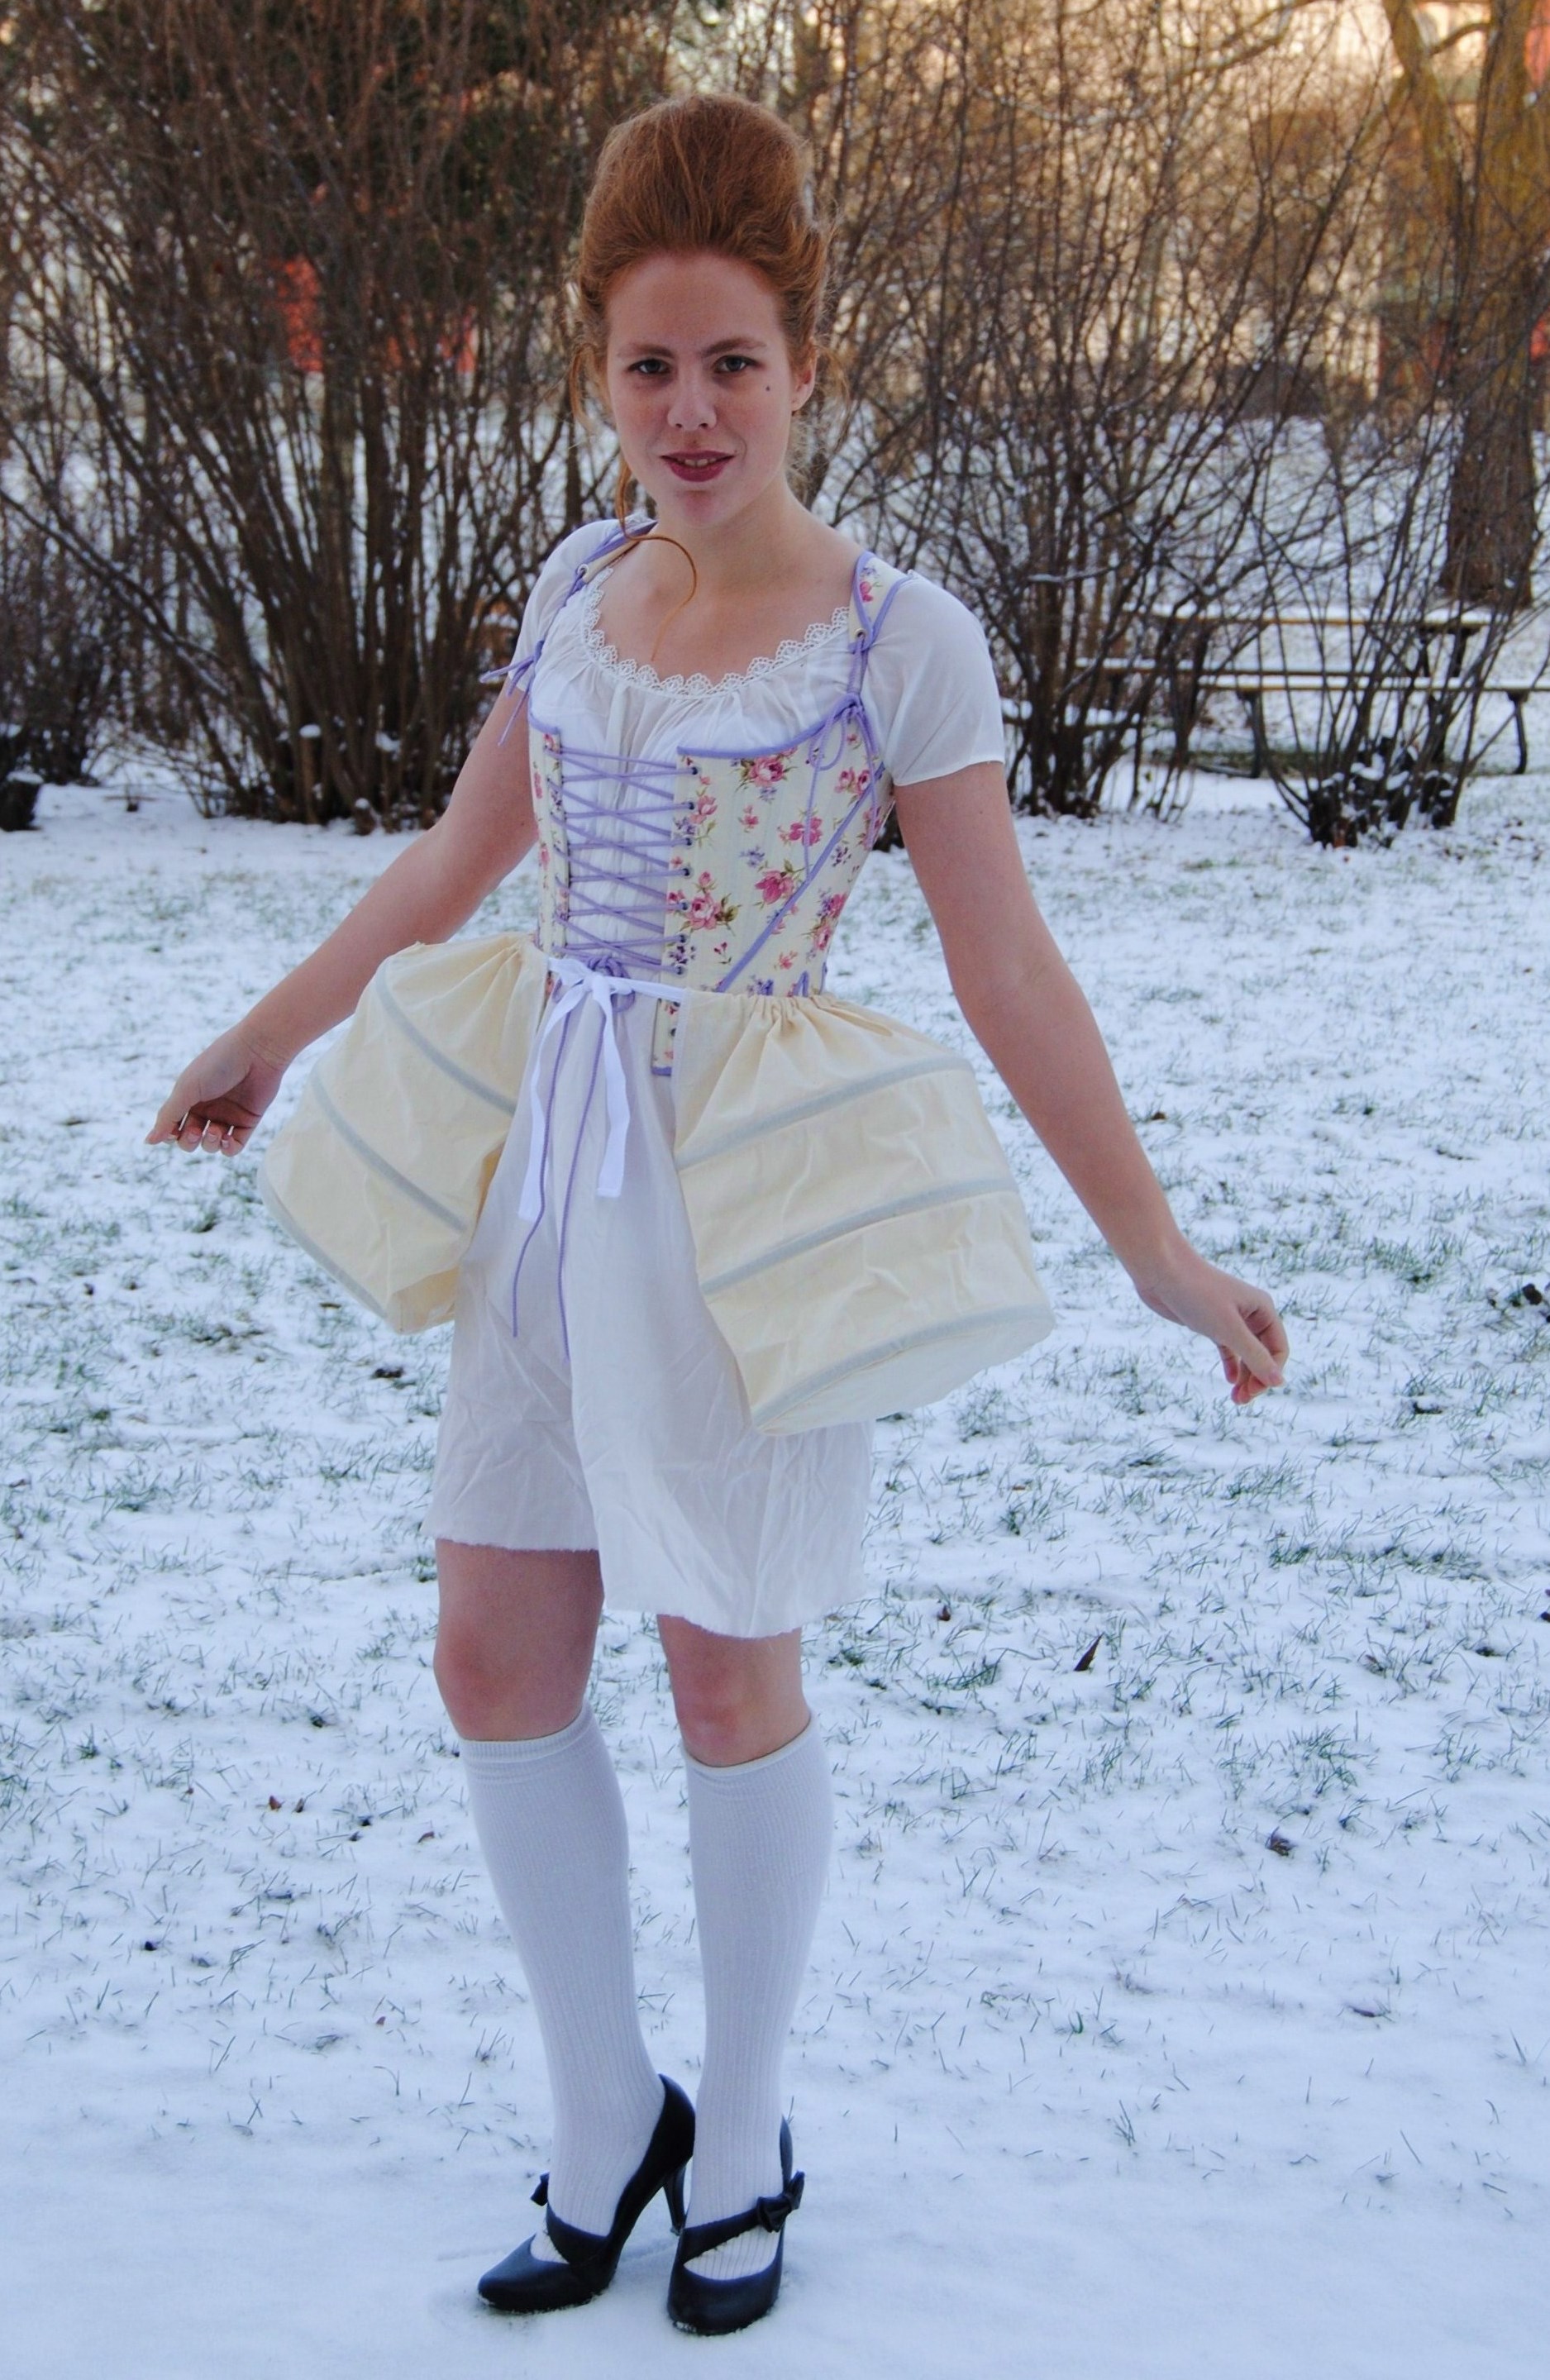
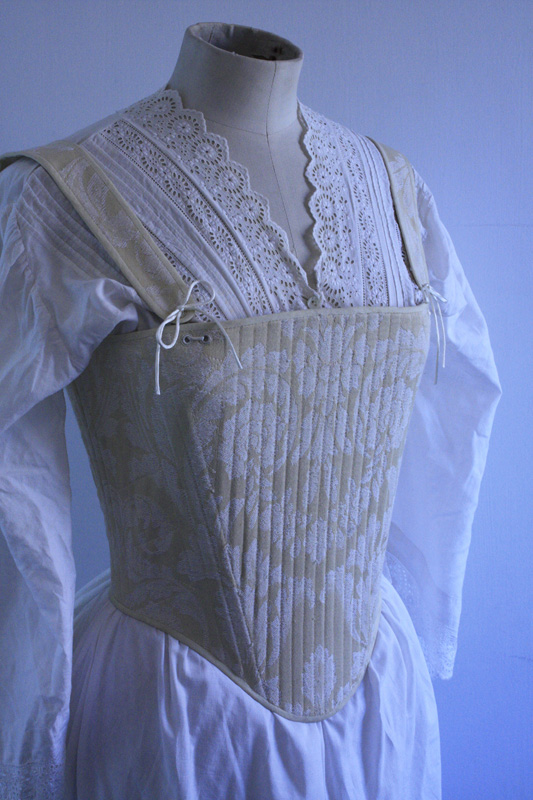
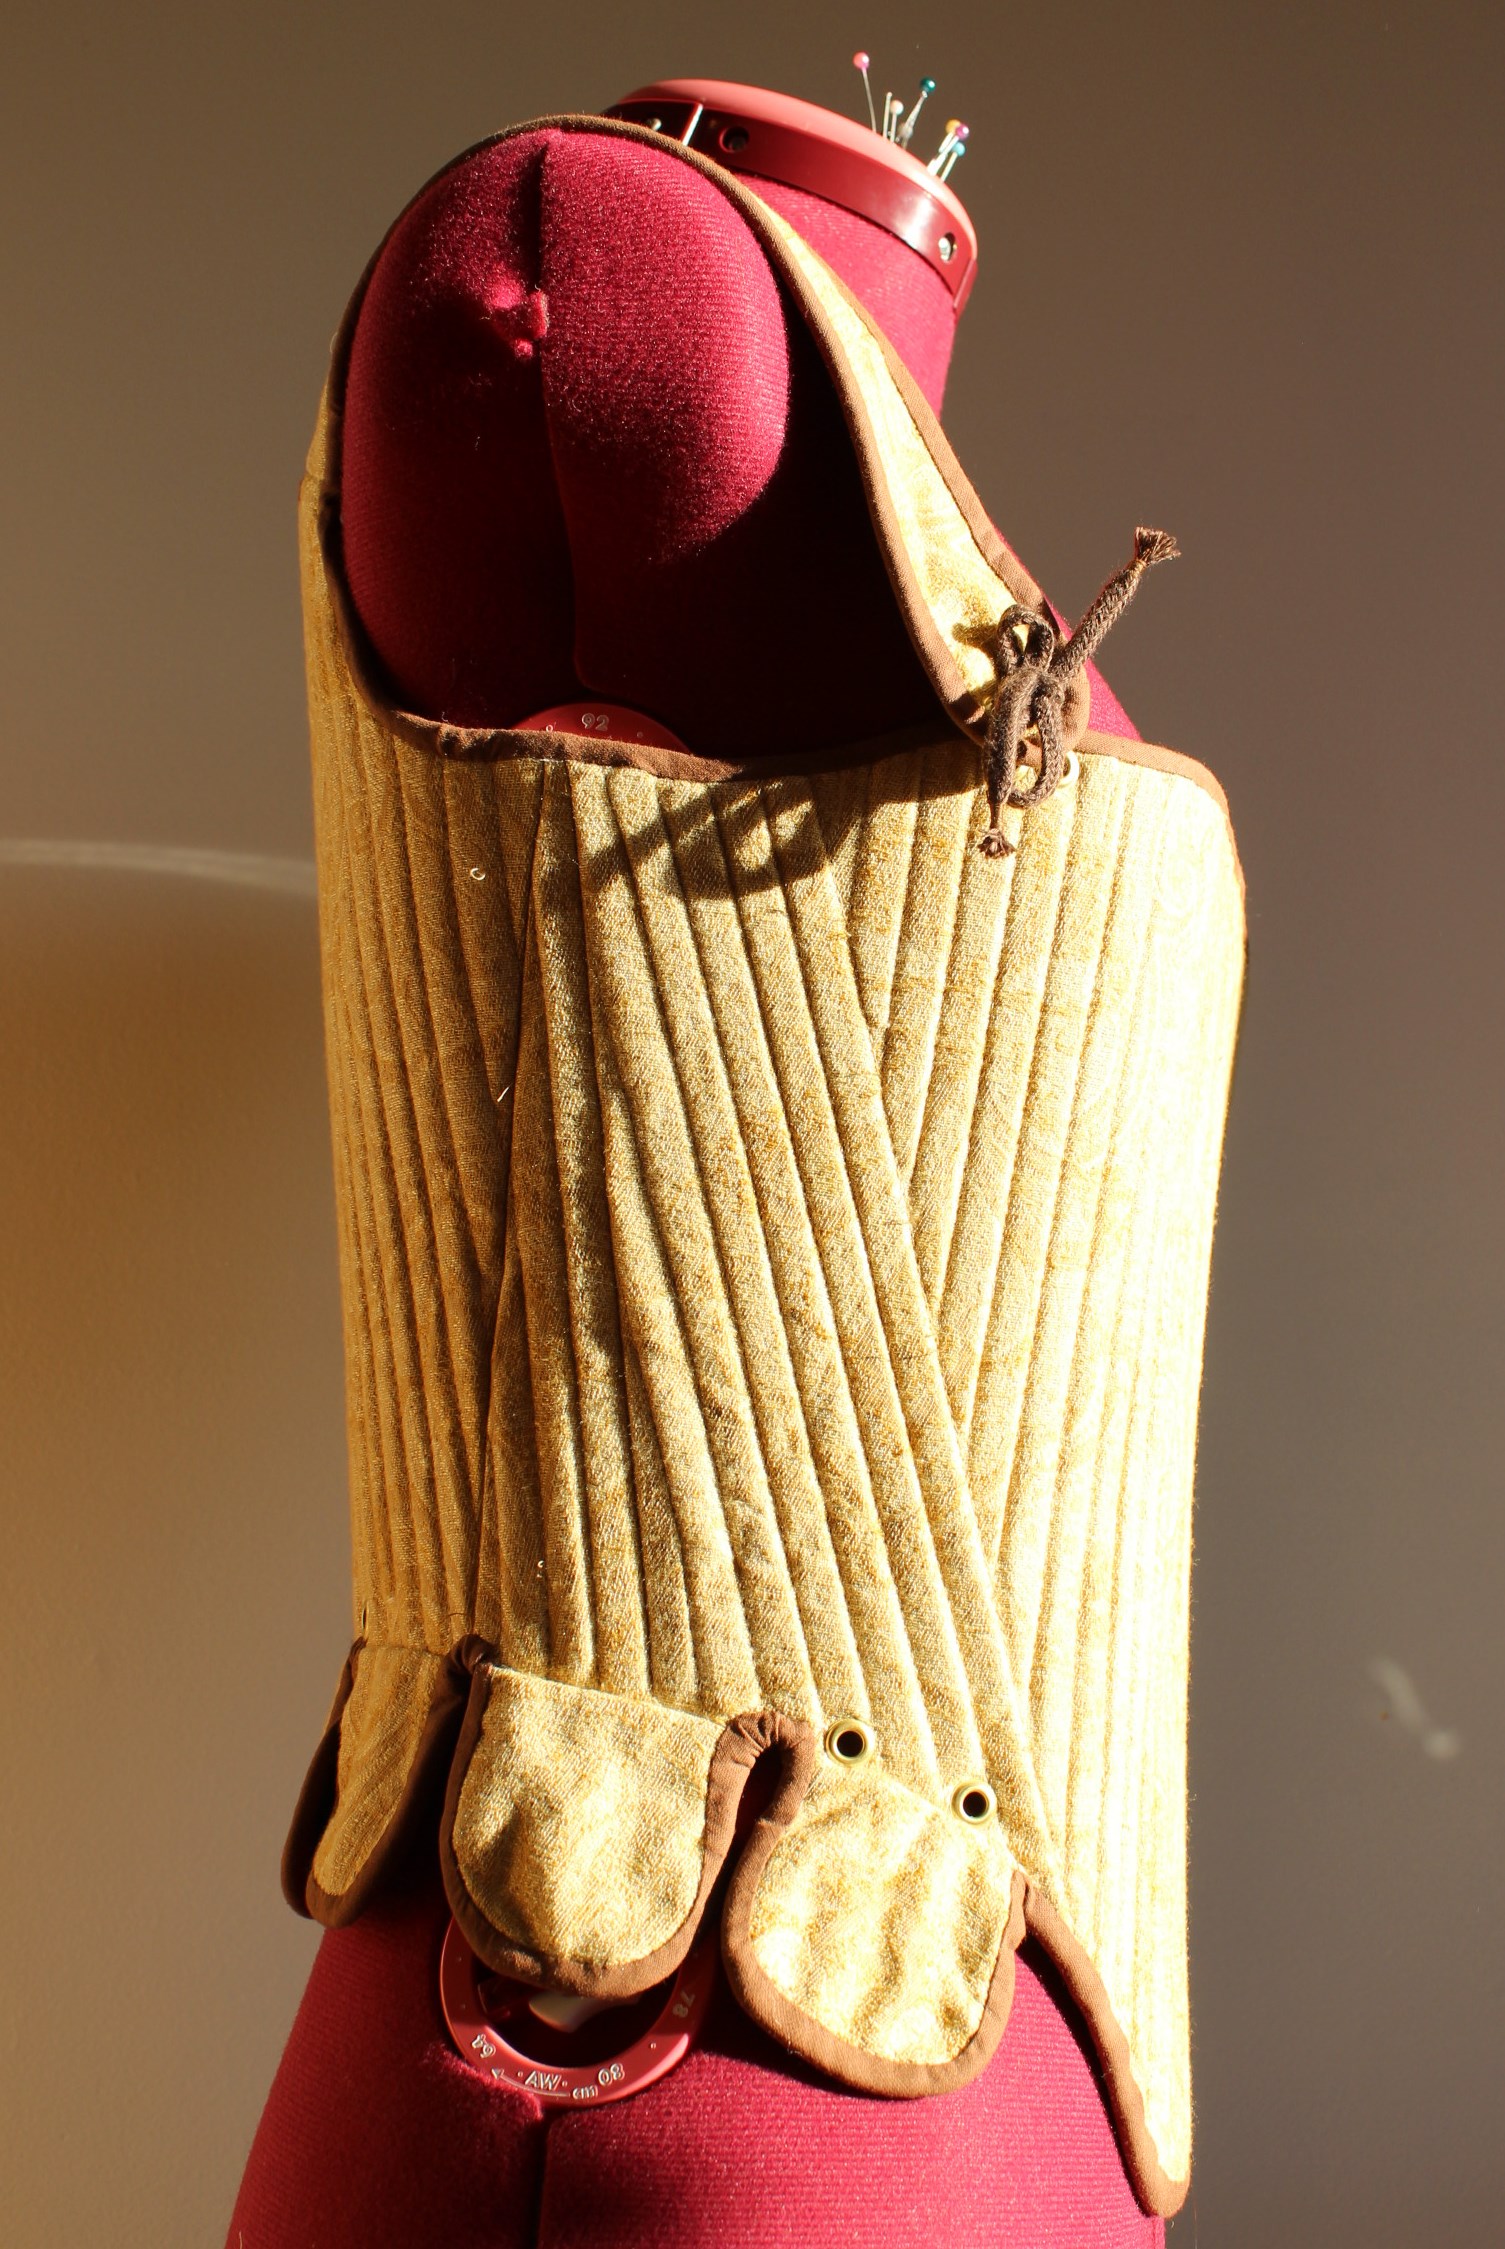
And finaly Finished:IMG_5281

IMG_5293

IMG_5287

IMG_5289

IMG_5284

IMG_5285

IMG_4760

IMG_5296

Just the Facts:

Challenge: nr 2 – Innovations

What: A 1880s Corset

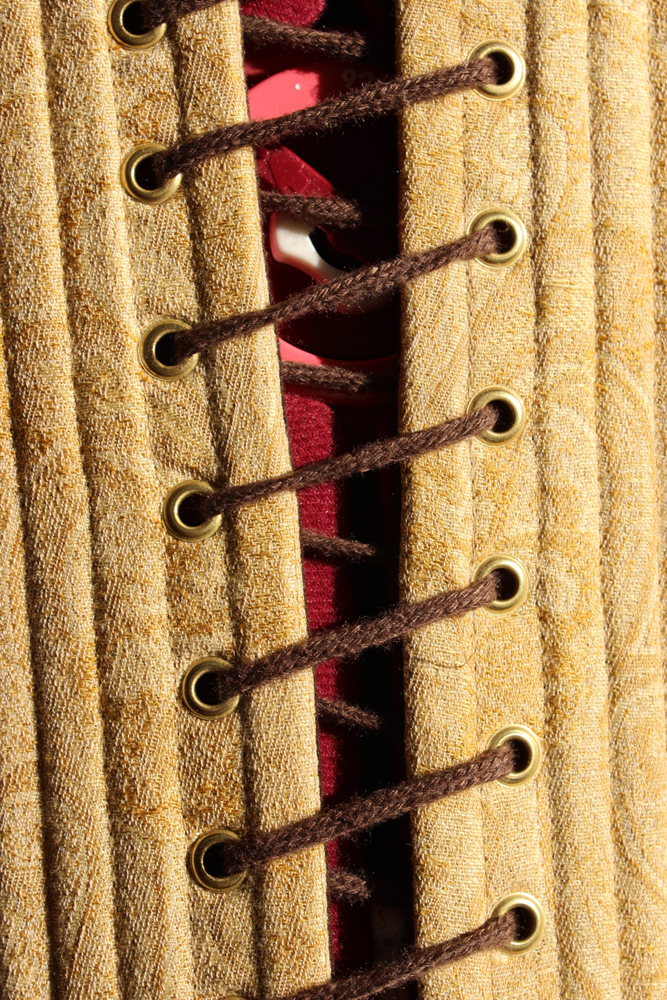
Innovation: The 1880s was known for it’s innventions (actually the whole 19th century was). My item can both represent the whole era, or the new style of hourglas figure and bustled skirts made fashionable and  avalaible thue to both the steel manufacturer, and the comercial sewing factories. Some relativly new innventions in the 1880s corset was: The split busk, the metal gromets and the steel boning – all innvented during the 19th century.

Pattern: Nora Waugh “1880s corset” from Corset and Crinolines.

Fabric: 0,5 m ivory cotton sateen, 0,5 m ivory cotton lawn and 0,5 m light green cotton.

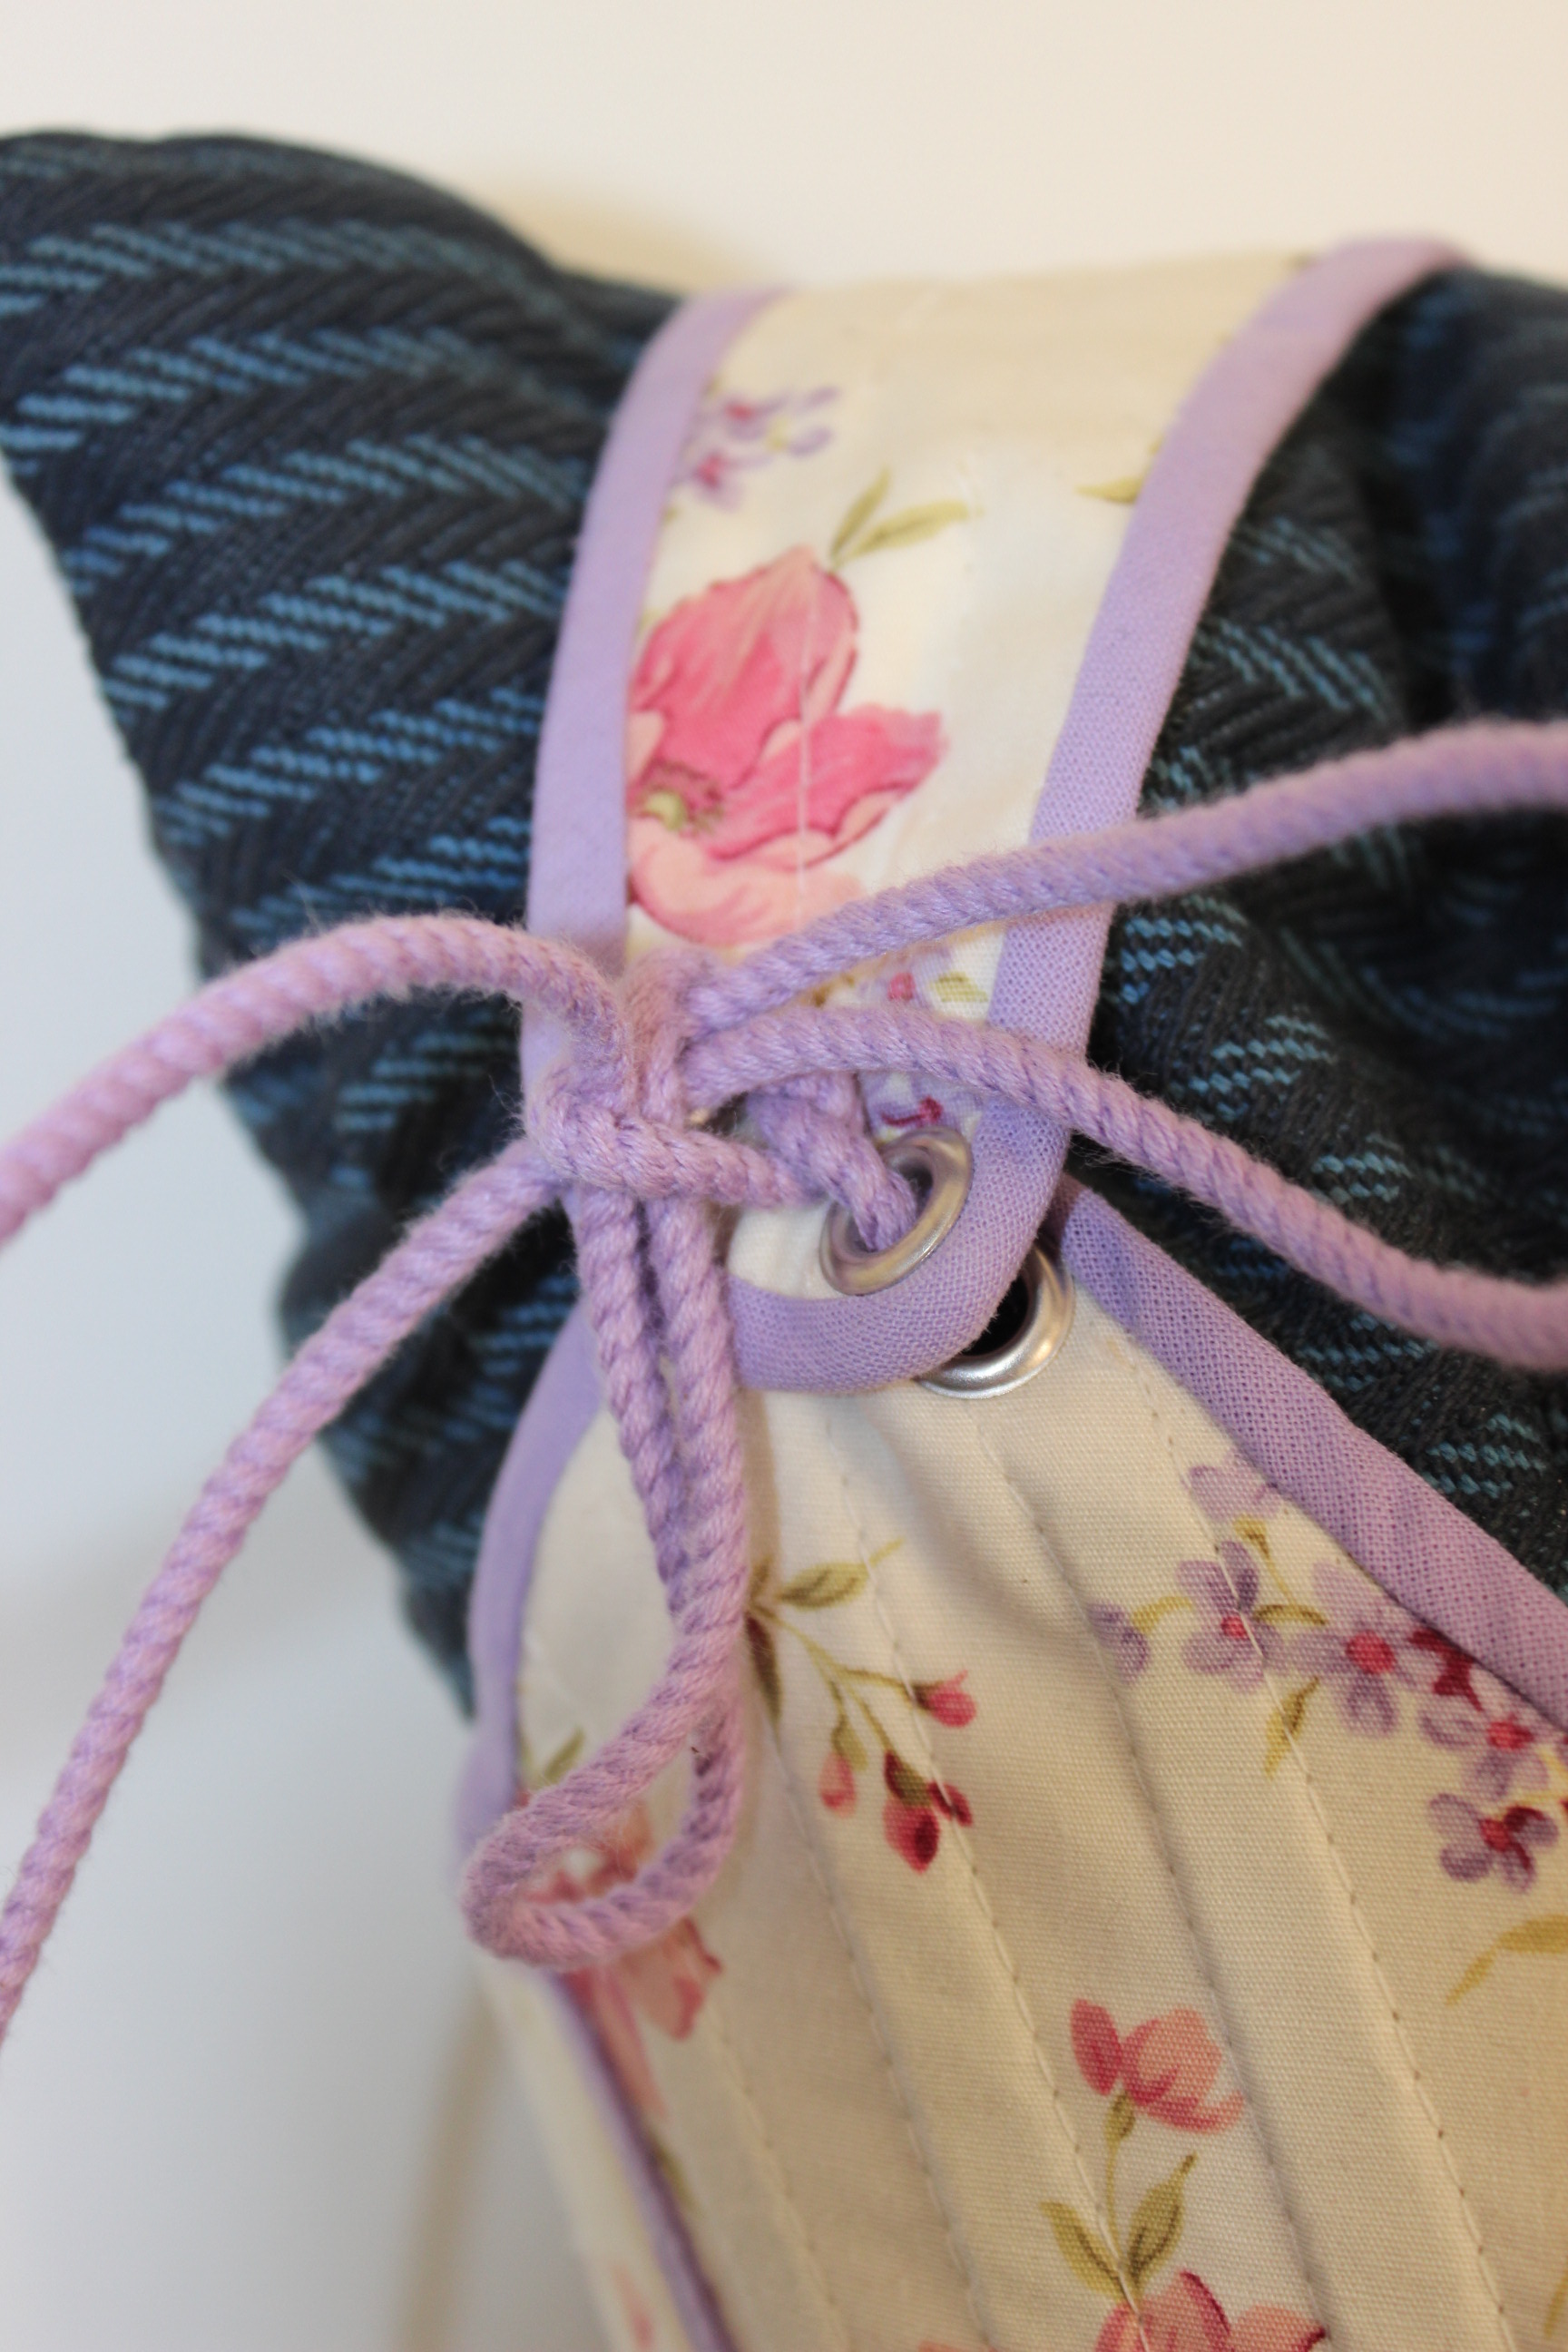
Notions: A 33 cm planchett, ivory thread, green buttonhole thread, 30 silver gromets, 4m cotton string for piping, 4 m ivory cotton laces, ca 10 m of boning (2,5 m steel, 8 heavy duty cable ties and 3 m syntetic whalebone), 2 m green biastape and 1 m ivory lace.

How Historical Accurate: Pretty good. The pattern’s correct and the sewing machine was widly used by this time, even though I’m not sure of the right assebly tecniques. The material used are accurate, part from the plastic bonning. So maybe 7/10.

Time: About 10 hours

Cost: 400kr (44Usd) (all those notions make it so expensive).

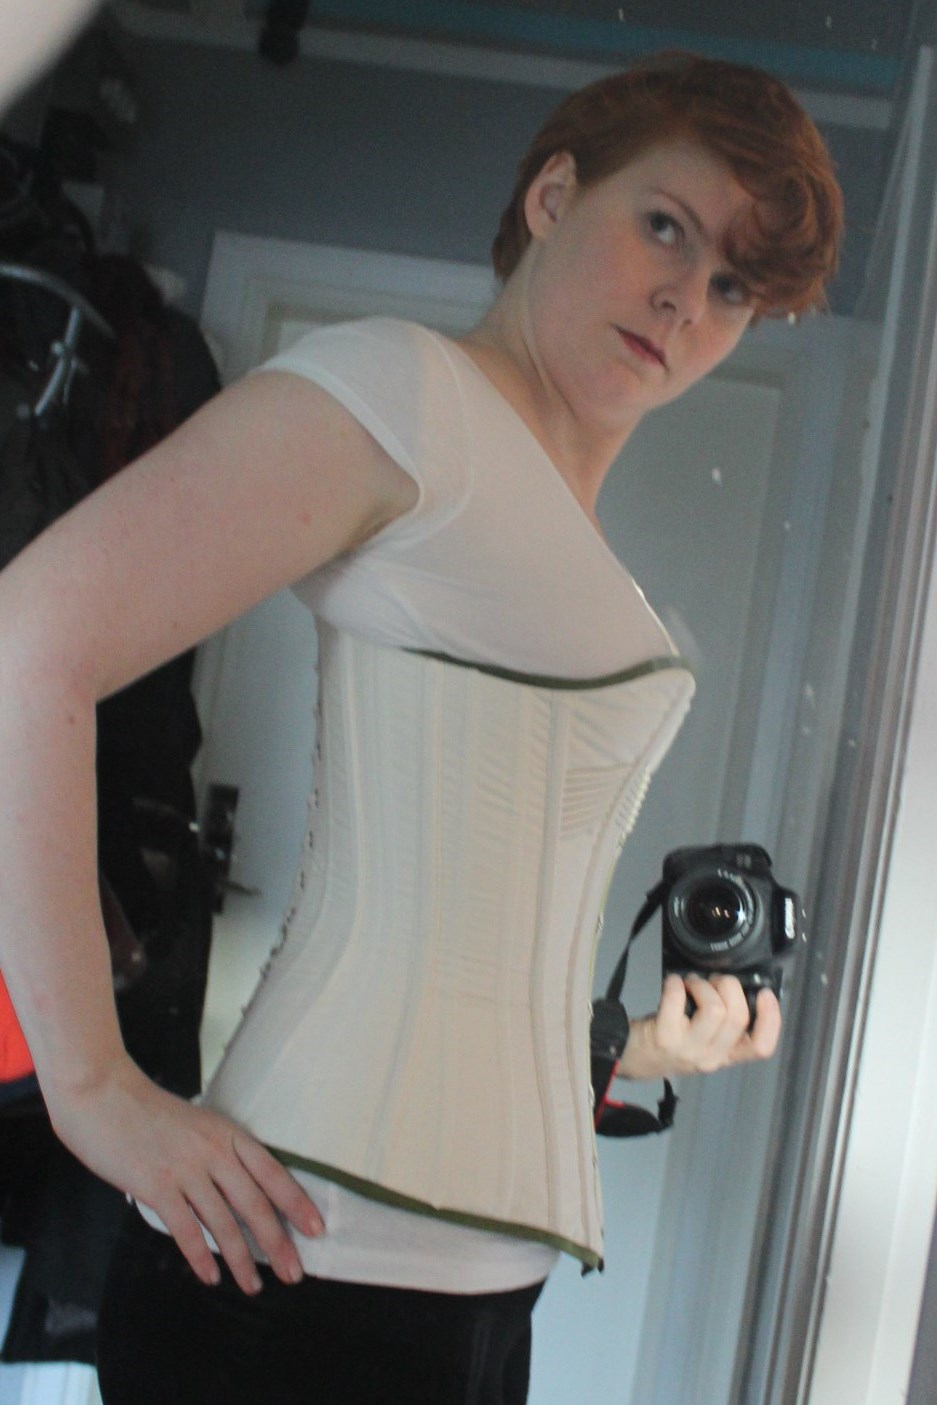
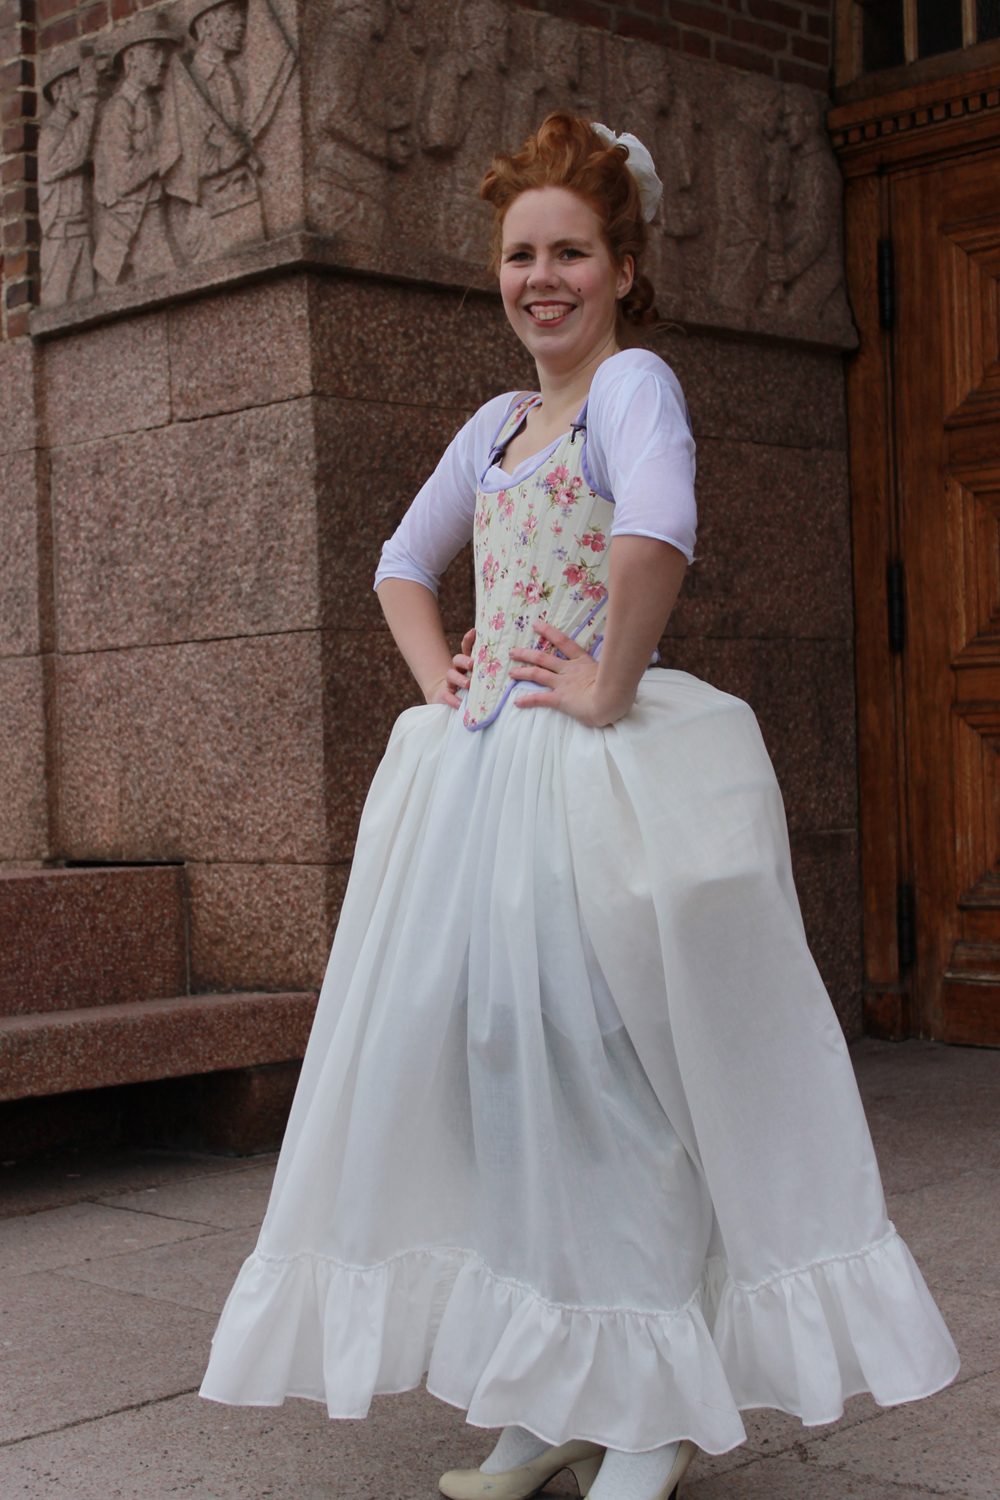
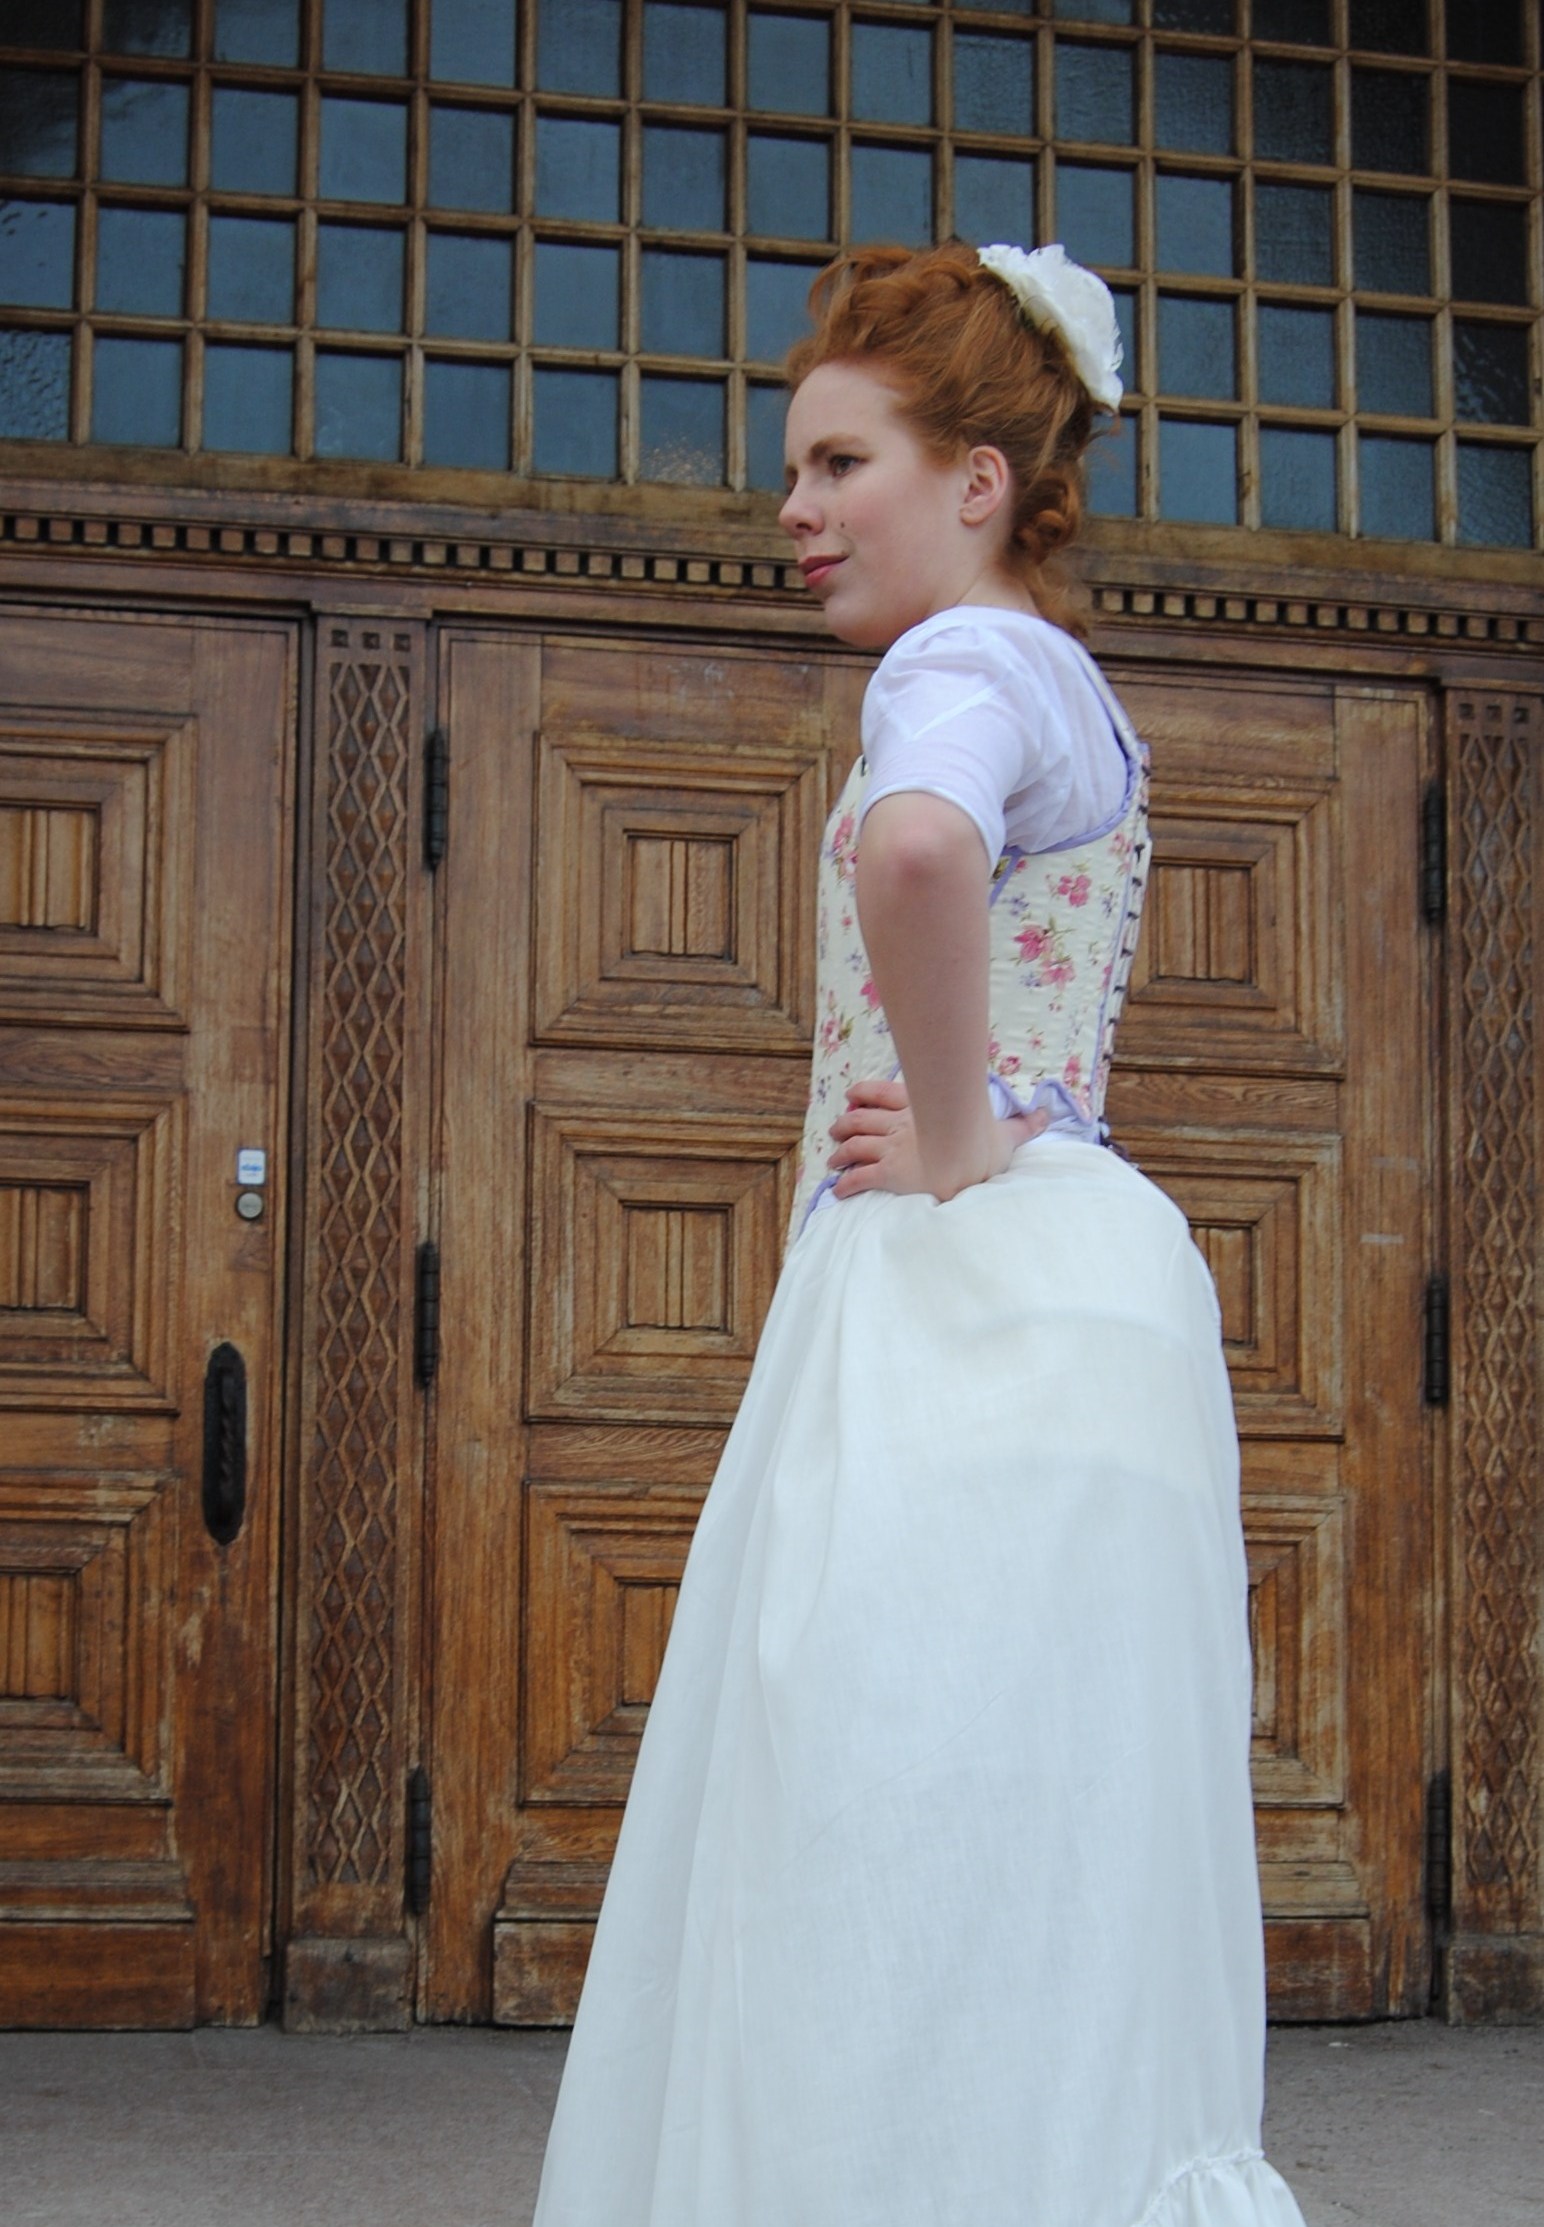
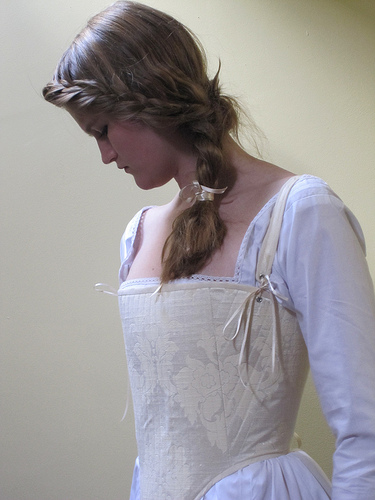
First worn: On January 25 for a grand bal (Oskarsbalen), and then a few days later for a photoshoot.

Final Thoughts: It tured out great. It’s quite comfortable (even after a couple of dancing hours) and stil gives me the desired hourglas figure. I think this will be my “go to” corset for many costumes.
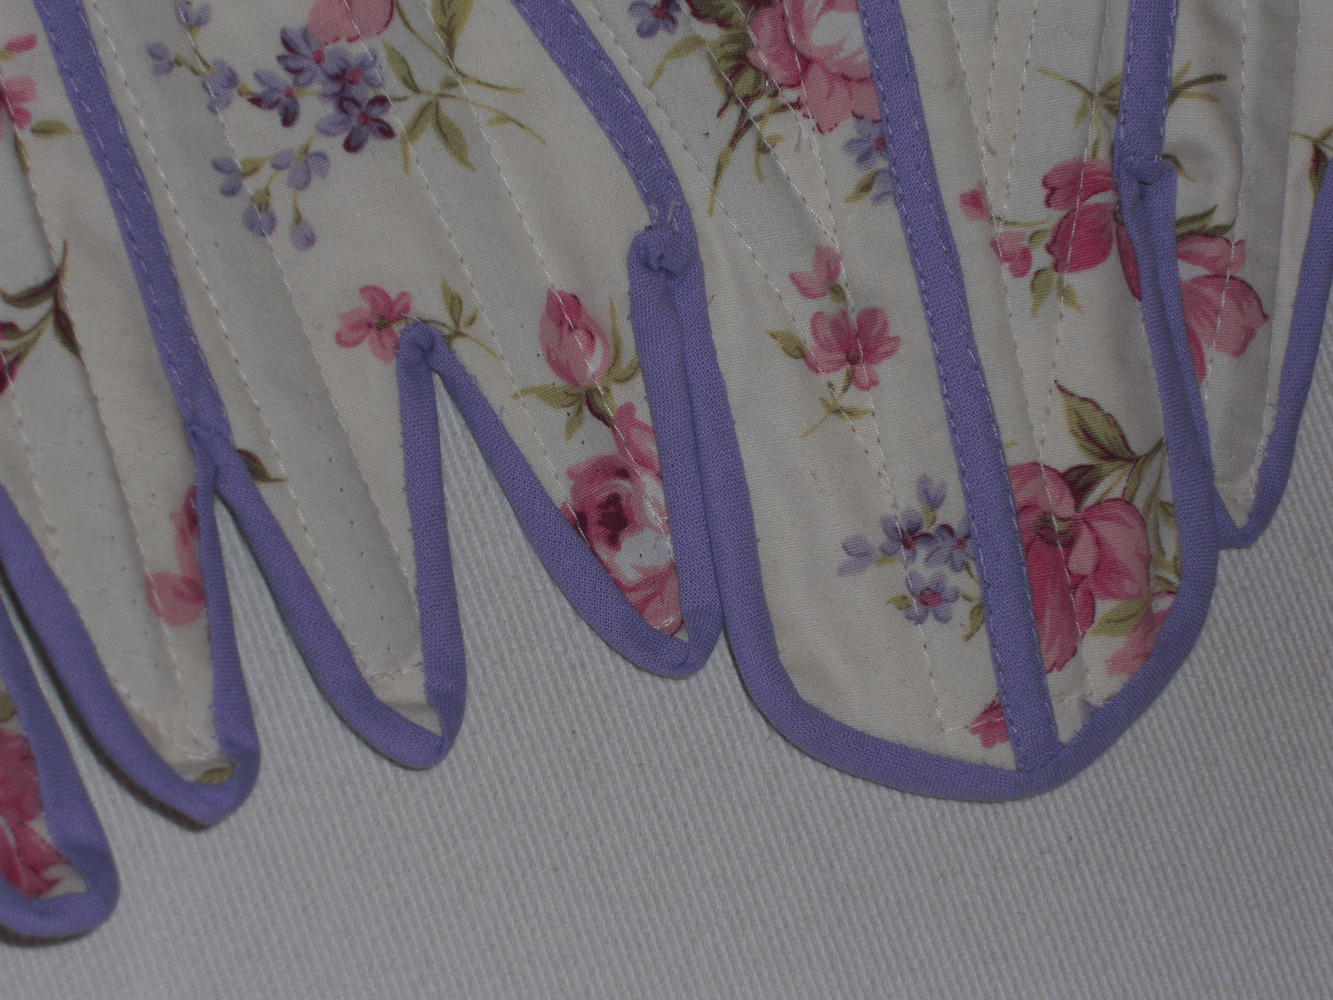
A 1700s Corset UFO

And so it’s time to present the last (of my old, prevously compleated) HSF entrys. The Challenge nr 2: UFO – Un Finished Object.

As a novice in costuming I didn’t had many UFOs laying around. But I did however have a costuming piece, not yet started but, promised to my sister.

A 1700s corset.

I’ve already made her one in the previuos year, but it was noting but a mess. Lets take a look at my very first atempt at historic corset making.

I used a pattern from Jill Salens book “Corsets”.

1970 halvbenad1790 halvbenad 2

The fabric is a lovely cotton print (which I still love, by the way).IMG_4055

I even made her a design sketch.img235

Then I started to sew.

And this is what I came up with.CIMG5938

Ok, its not that bad for a first try- if you ignore the gromets.CIMG5951

CIMG5948

It acctualy look pretty decent…IMG_4044

IMG_4049IMG_4046

Until you realises how extremly smal it is.IMG_4053It wouldn’t even fit my size 36 dressform.

My sister is not particular big, and even after some serious skwezing the darn thing still didn’t fit her.

We did get some pretty picture though.ghf

DSC_0777 And the minute we where done photograping, the whole thing whent straight into a box in the basement.

The pocket hoops are made from Waughs pattern and still works perfectly.1760 pocket hoop waugh

***

Now back to the UFO.

After I’ve promised my sister to make her an other corset, that would actualy fit her.

We trashed the old pattern, starting from skratch, and drew her a new one using Waugs “Corset and Crinolines” – 1790s corset pattern, and modified to fit my sister. I also took away the front lacing, and added tabs at the waist.

So I made a toile, fitted it and started on the corset itself. Since me and my sister lives in oposite sides of the country I didn’t have the chans to try it on her until it was finished.

Looking much better.halloj-116

But it is still to smal!halloj-119

This time I fixed it by ripping it open and inserting some godgets at the back seams.

CIMG6587

The finished corset.IMG_1827

DSC_0362

DSC_0374

DSC_0379

IMG_1854

DSC_0382

Just the facts:

Challenge: nr 2 – UFO

What: A 1740-1780s corset

Pattern: Jill Salen “Corsets – 1780s corset” re-worked.

Fabric: 0,5 m of cotton print and 1m of white cotton lawn.

Notions: gromets, thread, lacing cord, cable ties and purple bias tape.

How Historical Accurate: Not really. The decorative printed corsets didn’t exist until 200 years later, and the sewing and construction are all modern. It does however give her the desired body shape. So maybe 2/10.

Time: 25 hours.

Cost: 200 Sek

First worn: At the photoshoot in february 2013.

16th century Corset & Shirt

For the HSF Challenge 3: Under It All, back in february, I decided to start the foundation on my planed 1550s dress (which I still haven’t gotten around to make).

So I decided to make a corset similar to theese two.

MG_7070

4538806930_7ed18b9605

Using the corset pattern from “The Tudor Tailor”. I printed the pattern and made some changes to match my mesurments.

500%-förstorad

Then I cut the fabric, interlined it, and stiched the corset compleatly on the machine. I inserted the bonning, set the gromets and sewed on the bias-tape.

Unfortanly I didn’t think of documenting the steps while sewing (this was before my bloging days) so there are no construction photos.

But there are finished ones.

IMG_4026IMG_4032

IMG_4027

IMG_4036

IMG_4033

One thing I didn’t accounted for was the amount of fabric the bonning would “eat”. While inserting the bonning the corset shrunk quite a bit, and I ended up needing to do some piecing to make it fit properly.

IMG_4039

When the corset was finished I decided to also make a shirt to wear underneath.

images[4]

I used a lovely cotton voile, and sewed the shirt compleatly by hand (and still didn’t take any construction photos).

IMG_4023

Finished Shirt and Corset.

2013-02-09 15.45.57

2013-02-09 15.46.02

2013-02-09 15.46.25

2013-02-09 15.46.30

Just the facts:

Challenge: Nr 3 Under it All

What: A 1550s Corset and Shirt

Pattern: Shirt – Janet Arnold “Patterns of Fashion 4 – c.1600-1610 smock. Corset – “The Tudor tailor” Dorothean bodies.

Fabric: Shirt – 2 m of checkered cotton voile. Corset – 0,5 m of leftover golden/yellow curtan-fabric, 1 m brown cotton for lining and interlining.

Notions: Shirt – Thread. Corset – Thread, Bias-tape, gromets, boning and lacing cord.

How Historical Accurate: Shirt – Completly hand sewn, but the cotton tread and fabric is not correct for the period. Corset – Not realy. The achived shape is just about right, but all the sewing and material is modern.

Time: Shirt – about 8 hours. Corset – 3 Days of work.

Cost: Shirt – 150Sek (16Usd). Corset –  300 Sek (40Usd).

First worn: Only at photoshoots so far.

Wood, Metal and Corsets

As the 19th HSF challenge Wood, Metal and Bone past by I feelt I needed to make something a bit more challenging then the Suffragett brosches I finished just in time.

An with a regency event coming up swifty, I decided it was time to make myself the 1820s corset I’ve been wanting since I bought a wooden busk half a year ago.

Here are some inspiration pictures:

hämta

a-wedding-corset-74890

ba8694ee1bdaa03c315f43bd2f88fb65

corset-49100

il_fullxfull_116590212

OLYMPUS DIGITAL CAMERA

regency stays estabrooksdesign

Wives%20and%20Daughters%20stays

And the pattern comes from the trusted Norah Waughs “Corset and Crinolines” – A 1820s corset.

1820 waugh

I bought 0,5m of cream colored cotton sateen, and found some plain cotton sheet for the linnig and interlinning in my stash.

I dafted the patten, made some changes to the sizing and made a mock-up.

IMG_2179IMG_2185

I needed to raise the cups 1,5 cm and take them in 2cm a the top. And lenghten the shoulder straps.

IMG_2181I also needed to add 4-5 cm to the back pieces.

After drafting the alterations on the pattern, I cut and interlined all of the pieces.

I sewed the bust and hip gores, the boning chanels and set the gromets on the back pieces.

IMG_2198

Then I started on the decoration.

IMG_2193

By now I feelt I was running out of time (this was just a couple of hours before the event) and I needed to decide which ones of the decoration seams was the most neccessary – regarding both prettynes and function, though to the strengtening quality of the stiching.

IMG_2200

Then I made and attached the lining and putt the boning in to the chanels. I used bias-tape to bind the edges, and put a drawstring into the bias-casing in the front of the corset. Making it adjustable over the bust.

I finished sewing just in time, since I straight away needed to hurry to get dressed and on my way.

IMG_2284

IMG_2299

IMG_2292

IMG_2396

IMG_2404

IMG_2402

IMG_2399

IMG_2400

IMG_2412

IMG_2407

Just the facts:

Challenge: 19 – Wood, Metal and Bone.

What: A regency corset

Year: 1800 – 1830s

Pattern: Nora Waughs “Corset and Crinolines” – a 1920s corset.

Fabrics: 0,5 m of cream cotton sateen, 1 m of white cotton sheet.

Notions: One wooden busk, bias tape, thread, gromets, boning (cable-tie and plastic whalebone), lacing-cord and ribbon.

How historical accurate: Machine made with gromets and polyester thread. Butt the pattern, shape and the color are correct. Mabye 5/10.

Time: 10 hours (the evening before and the same morning as the event).

Cost: 200 Sek (22 Usd)(50 Sek, not counting stash).

First worn: On 28 sep “Mickelsmäss” (celebration of the harwest) where I was part of the dancing entertainment.

Final toughts: The corset do what it is supposed to (bust-wise), but I’ts not that comfortable. I almost got a cramp in my side/waist sitting in it for two hours. Mabye I need to change the fit.

Laced in – Victorian corset

I’ve been promising a Victorian bustle dress to my youngest sister for quite some time, and when the 13th challenge in the HSF came out and read “Lace and laces” I decided it was time to start her off with some foundation garments.

Together we looked at some patterns and finished corsets, and decided on Waughs 1880s pattern from the book “Corsets and Crinolines”

1880 waugh

We used this pic for our color inspiration, and decided on black twill with trimmings in turqouise.l

I drafted the pattern and quickly made the mock-up. It fitted her pretty well, if you don’t look at all the wrinkles which should disappear once the corset is made in a sturdier fabric and have gotten the boning inserted.

2013-05-21 18.47.572013-05-21 18.47.37

The only thing to adjust on the pattern was to make the bust and hip a bit smaller, and to reshape and add height to the bust for a more heart-shaped line.

Once the pattern was done I cut the fabric, flat lined it and started on the contrasting piping for the bust.

This part was the most nerve wrecking, but it ran smoothly and ended up looking neat and good.

2013-05-30 20.44.16Piping with contrasting thread.2013-05-30 20.44.03

2013-06-05 16.16.212013-06-05 16.35.16Busk being inserted.

I set the gromets and the busk and then sewed it together for a try on.

2013-06-06 17.53.222013-06-06 17.53.50This time it looked pretty good – but still had a few wrinkles in the waist which needed to be dealt with. I think they would disappear when I got some heavy boning inserted in that area.

I decided to experiment with the boning, and used three different kinds of bones in this corset.

At the back – where you need the most strength to take care of the pressure from the taight lacing – I used metal pipe-cleaners from a utility store. I cut them with big pliers, then rapped the sharp ends in ducktape.

For most of the corset I used my regular boning – heavy duty cable ties. My only complaint about this kind of boning is that they are thick (0,3 mm) , and therefore steal more fabric and adds to the waist a bit more than other kinds of boning does. Which is a bad thing when you try to reduce the body measurments.

For the bust area (where the cable ties were too short) I used some synthetic whale bone. I thought it felt rather weak when inserting, but it ended up looking perfect in the end.

Finishing the corset went fast and I completed it in only two afternoons, sewing bone channels, bias-tape, lace and flossing, all in a crazy speed rush.

IMG_3115

Just the facts:

Challenge 13: Lace/laces.

What: A Victorian Corset.

Pattern: Waughs 1880s corset from “Corset and Crinolines”.

Year: 1880s 😉 (but I think the shape is good for 1850-1890).

Fabric: 0,5 m black twill and 1 m black cotton for flatlining and lining.

Notions: Busk, 36 gromets, 5 m of lacing cord (for lacing and piping), bones (sip-ties, metal bones and plastic whalebone), 2 m bias-tape, 1 m turqouise lace, black thread, turqouise yarn for flossing.

How historical accurate: Sewn on machine, with polyester thread. The pattern, techniques and looks of the garnment are pretty accurate though.

Cost: 300 SEK (33 euro).

Time: 15 hours

Fist worn: For the photoshoot mid june. And my sister says she will definately wear it again, and combine it with jeans or with a black skirt as part of a modern ball gown.

***

And as a teaser: Here is a quick brainstorming sketch for the awesome photoshoot we had, and which I will show you more about in my next post.

2013-06-03 11.22.34