After the mandatory inspiration searching, were I decided on a style of bonnet to make, I got to work,
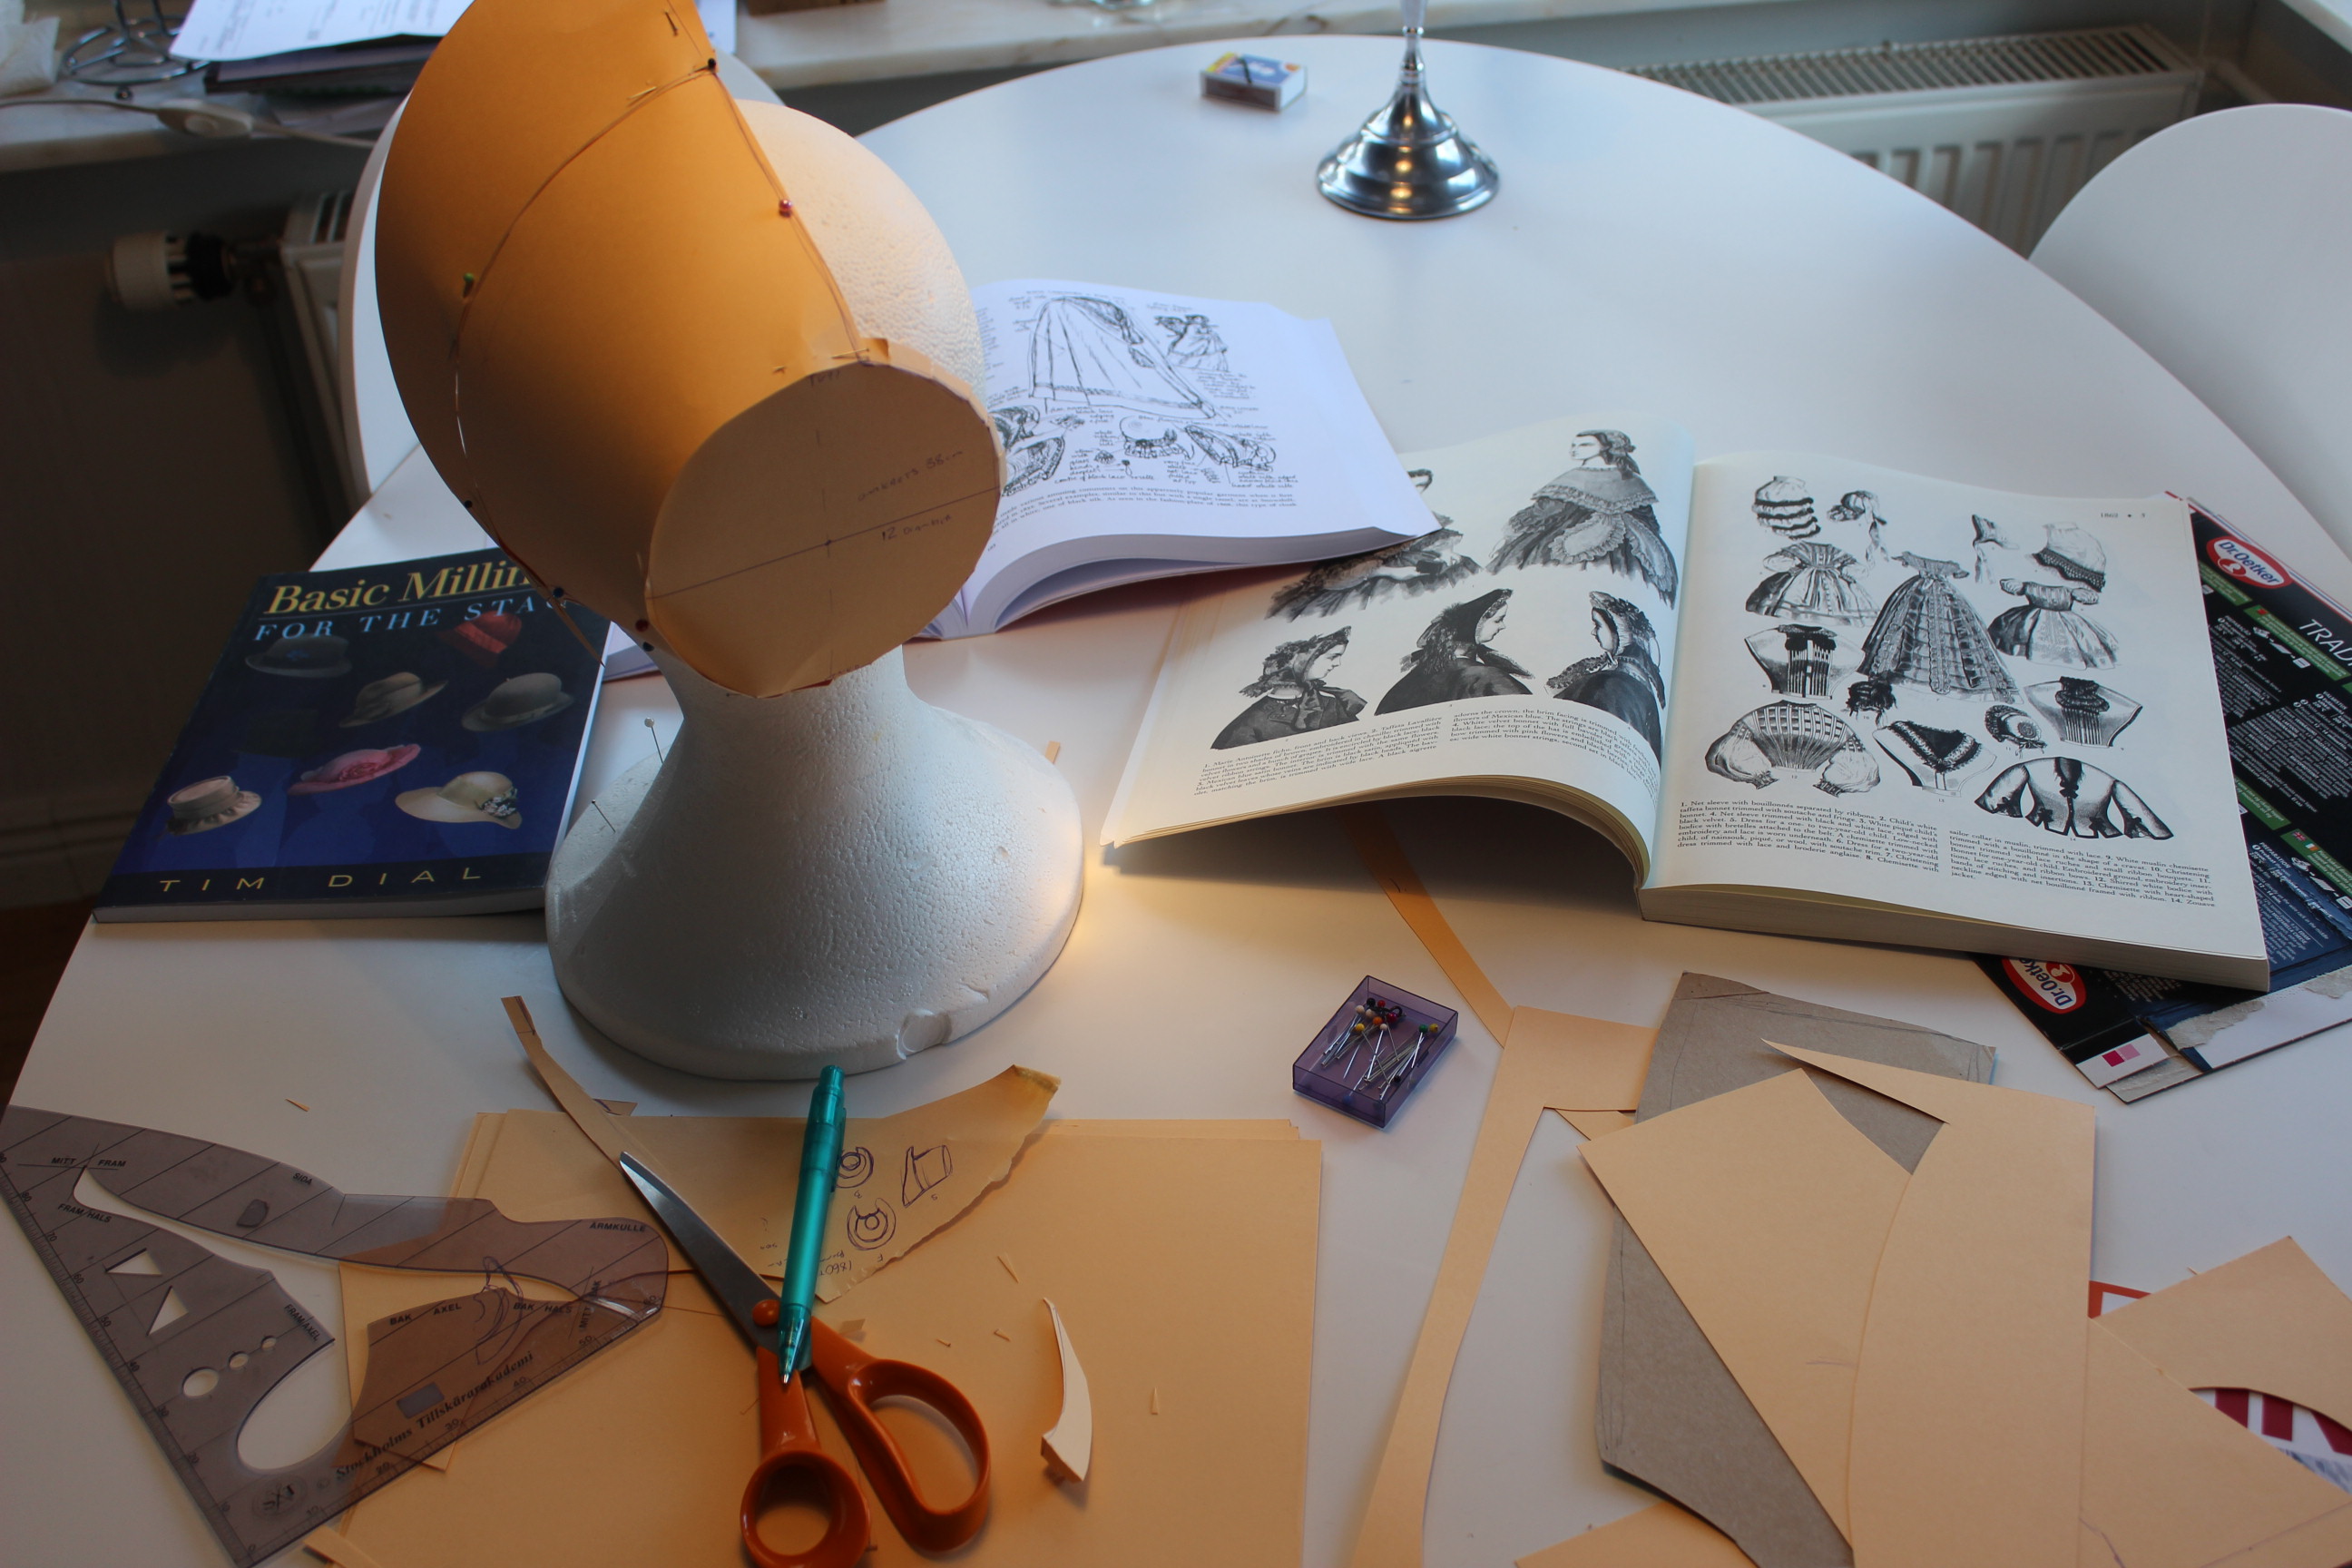
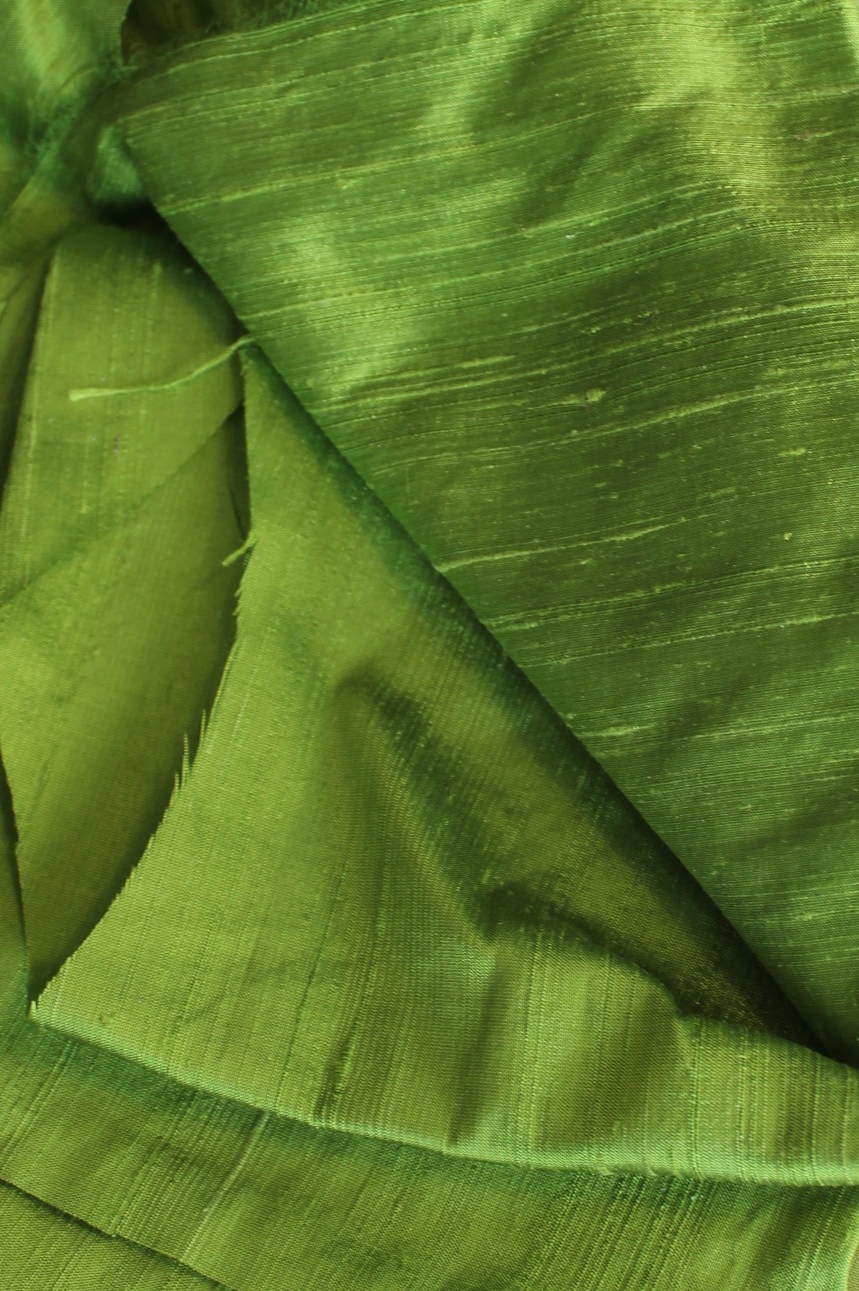
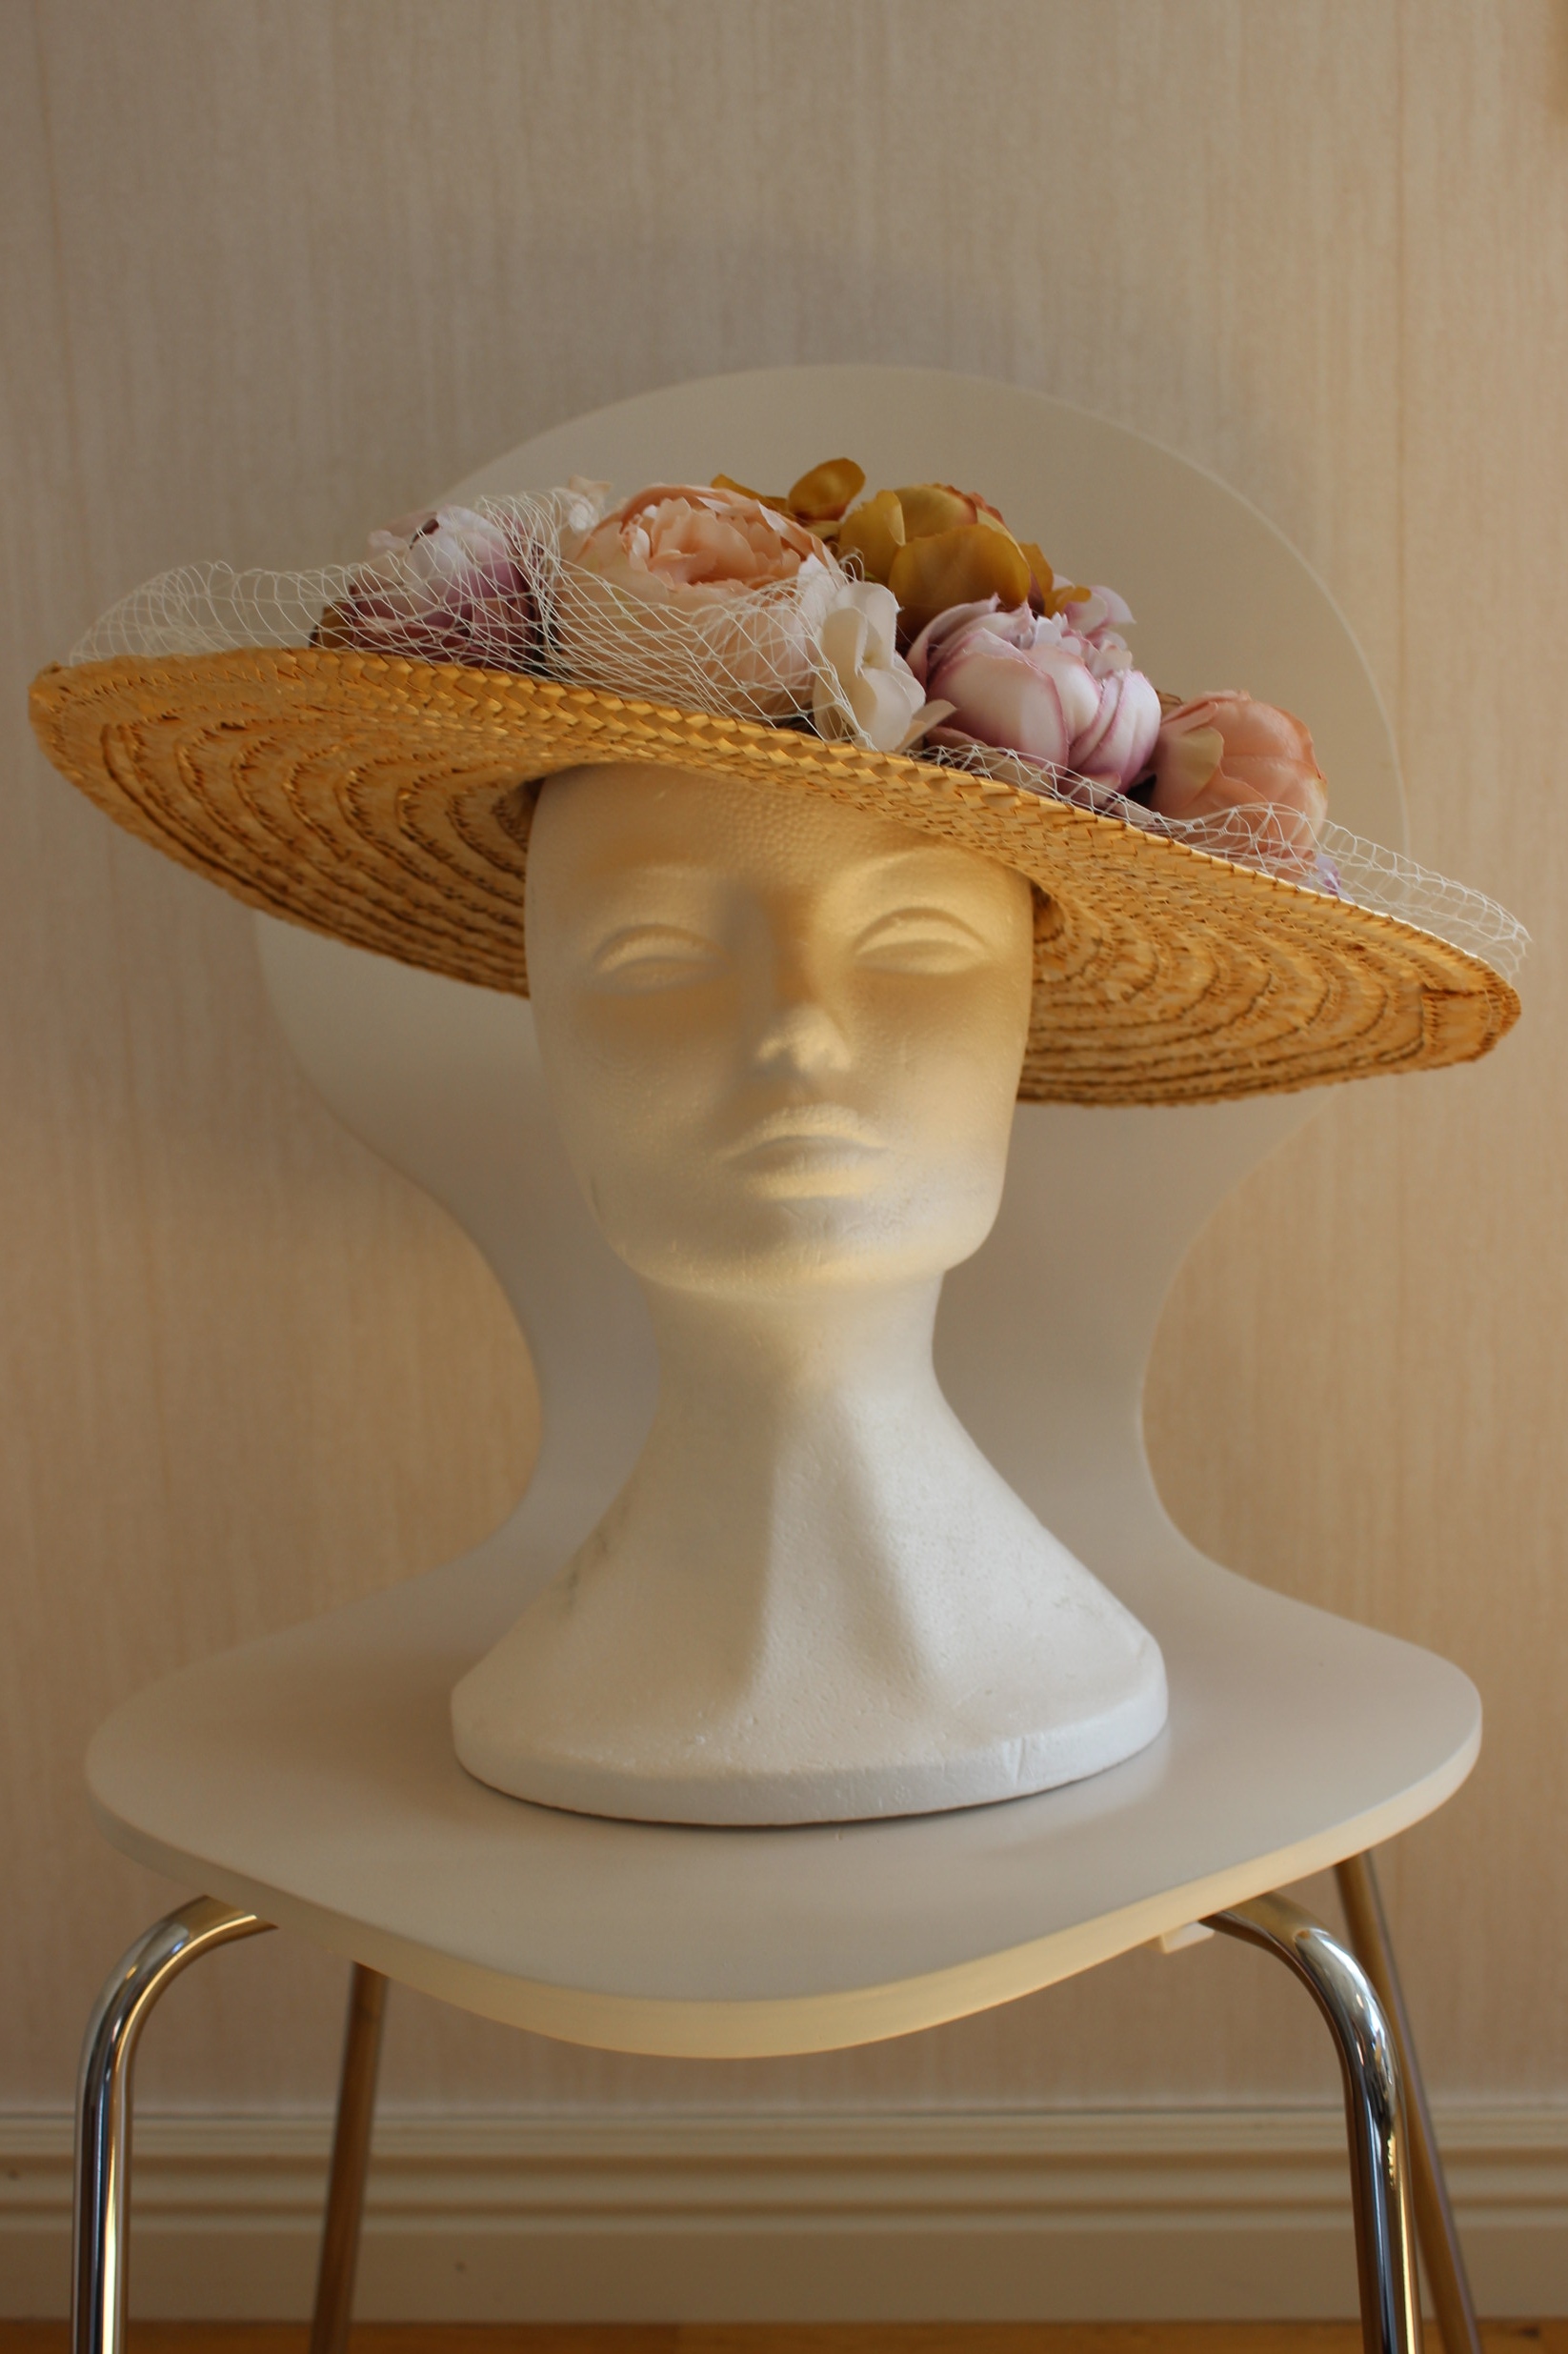
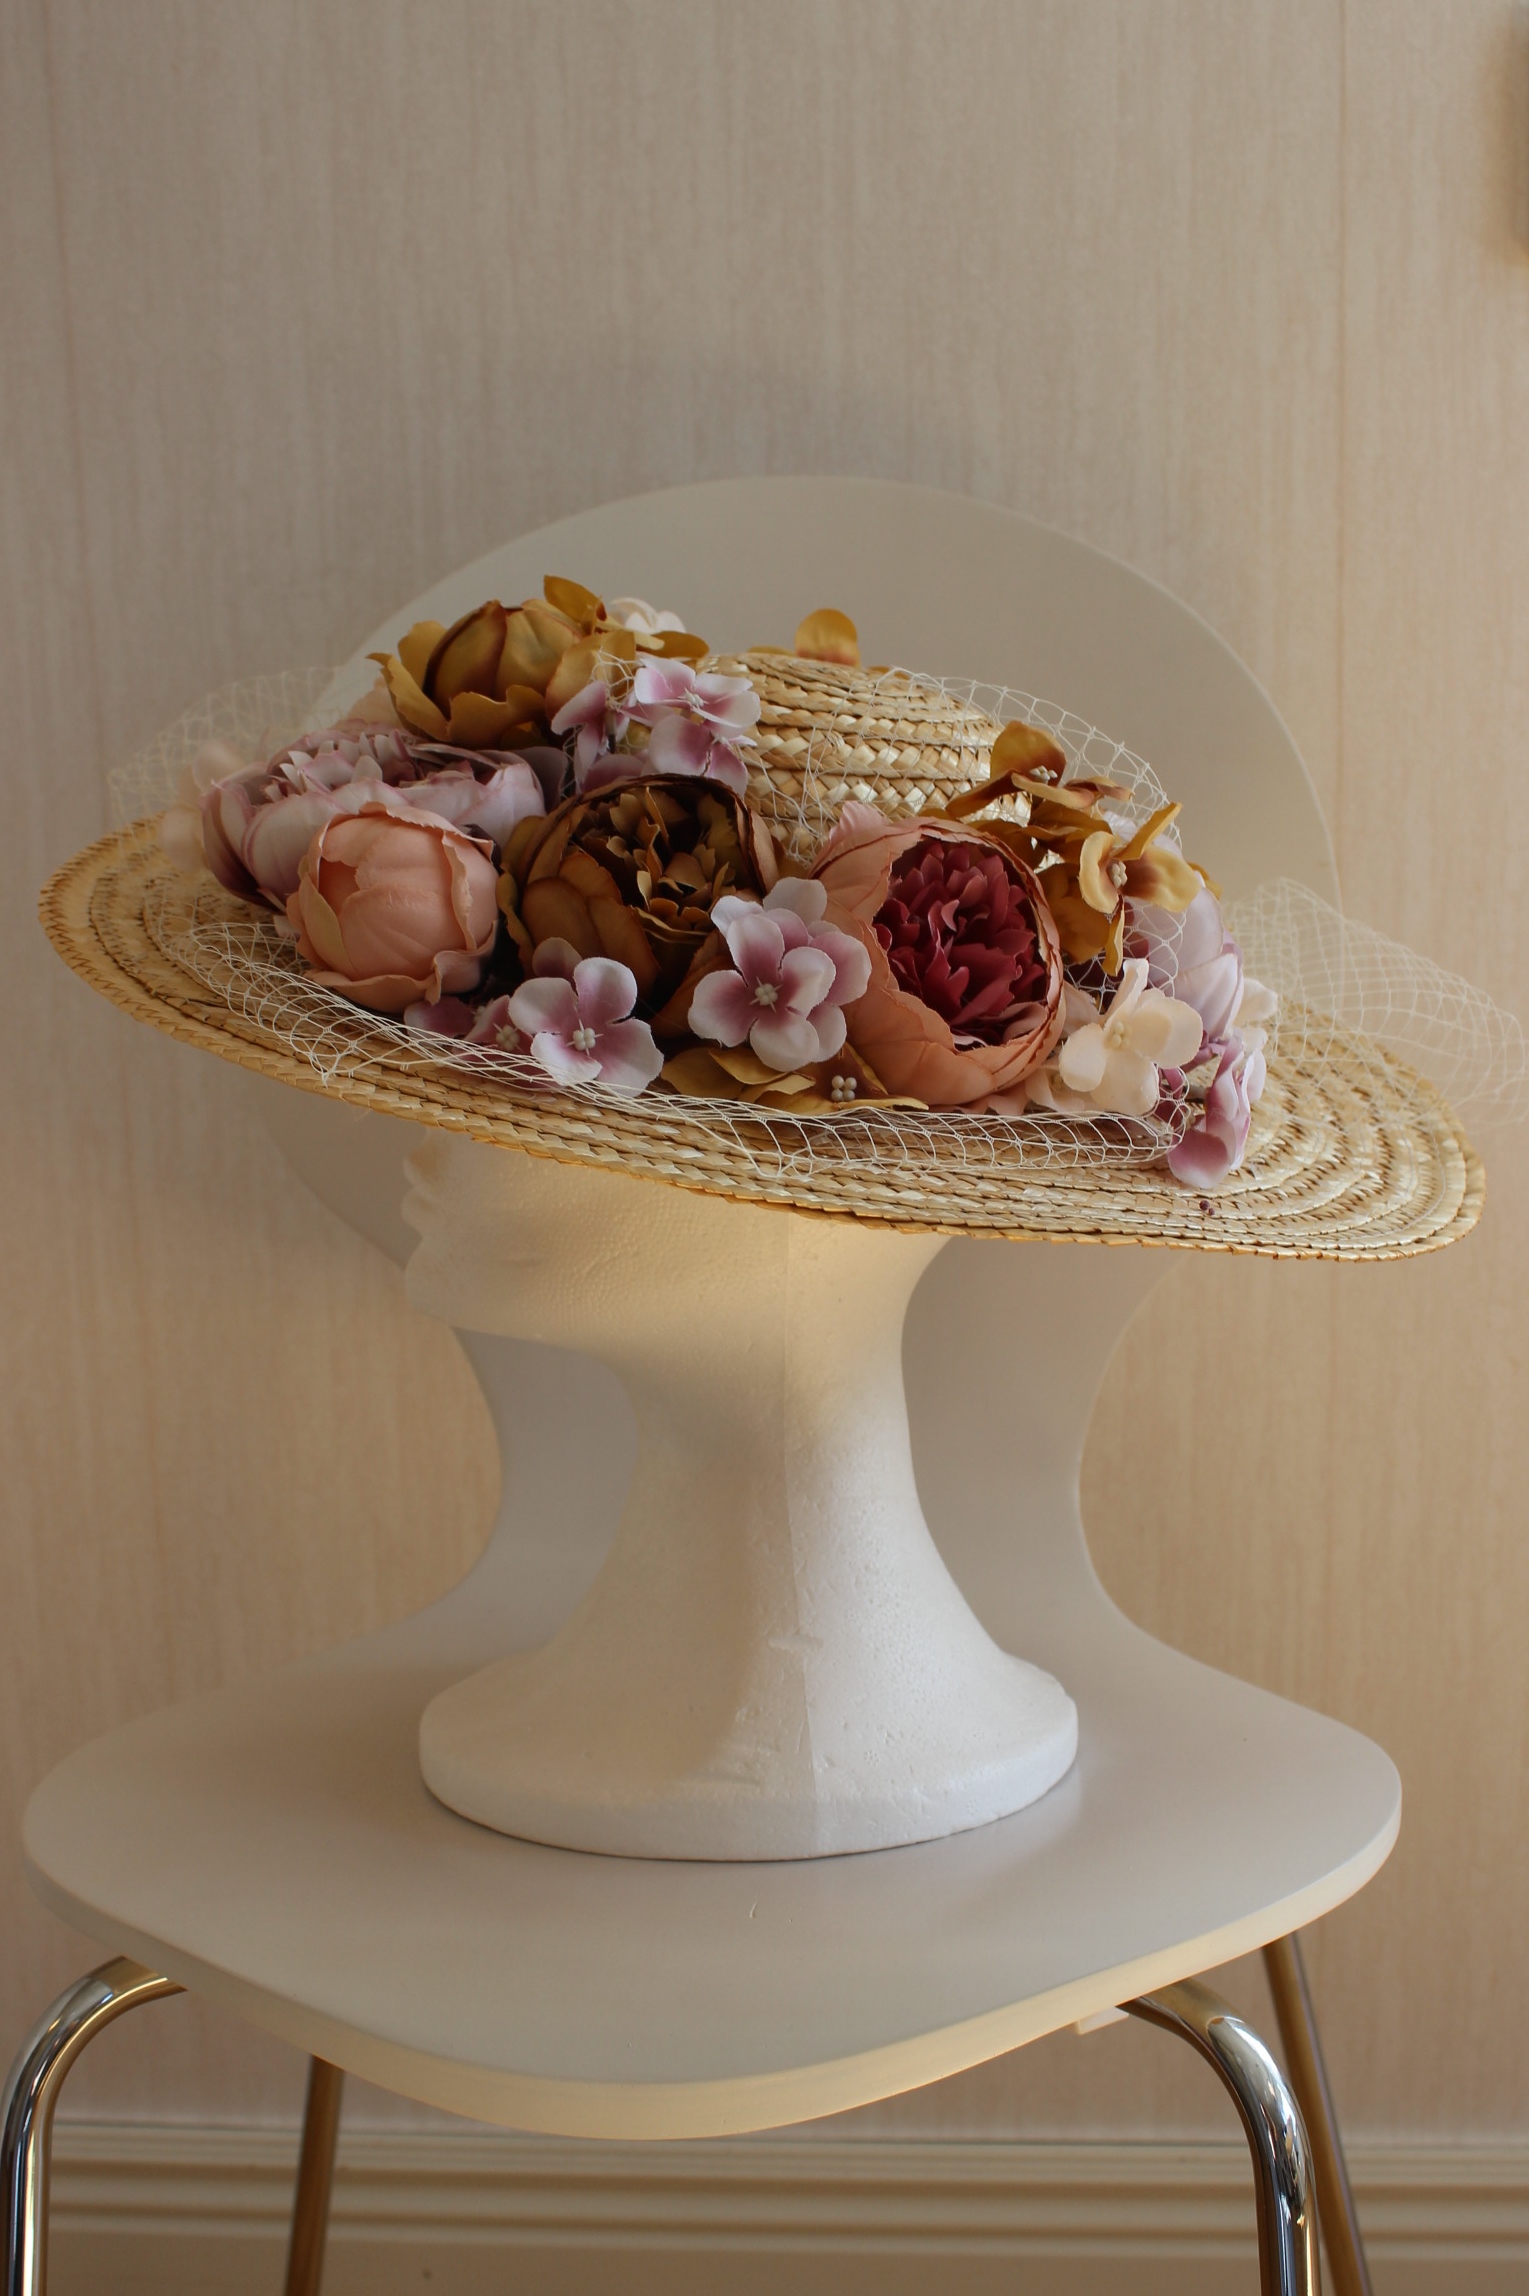
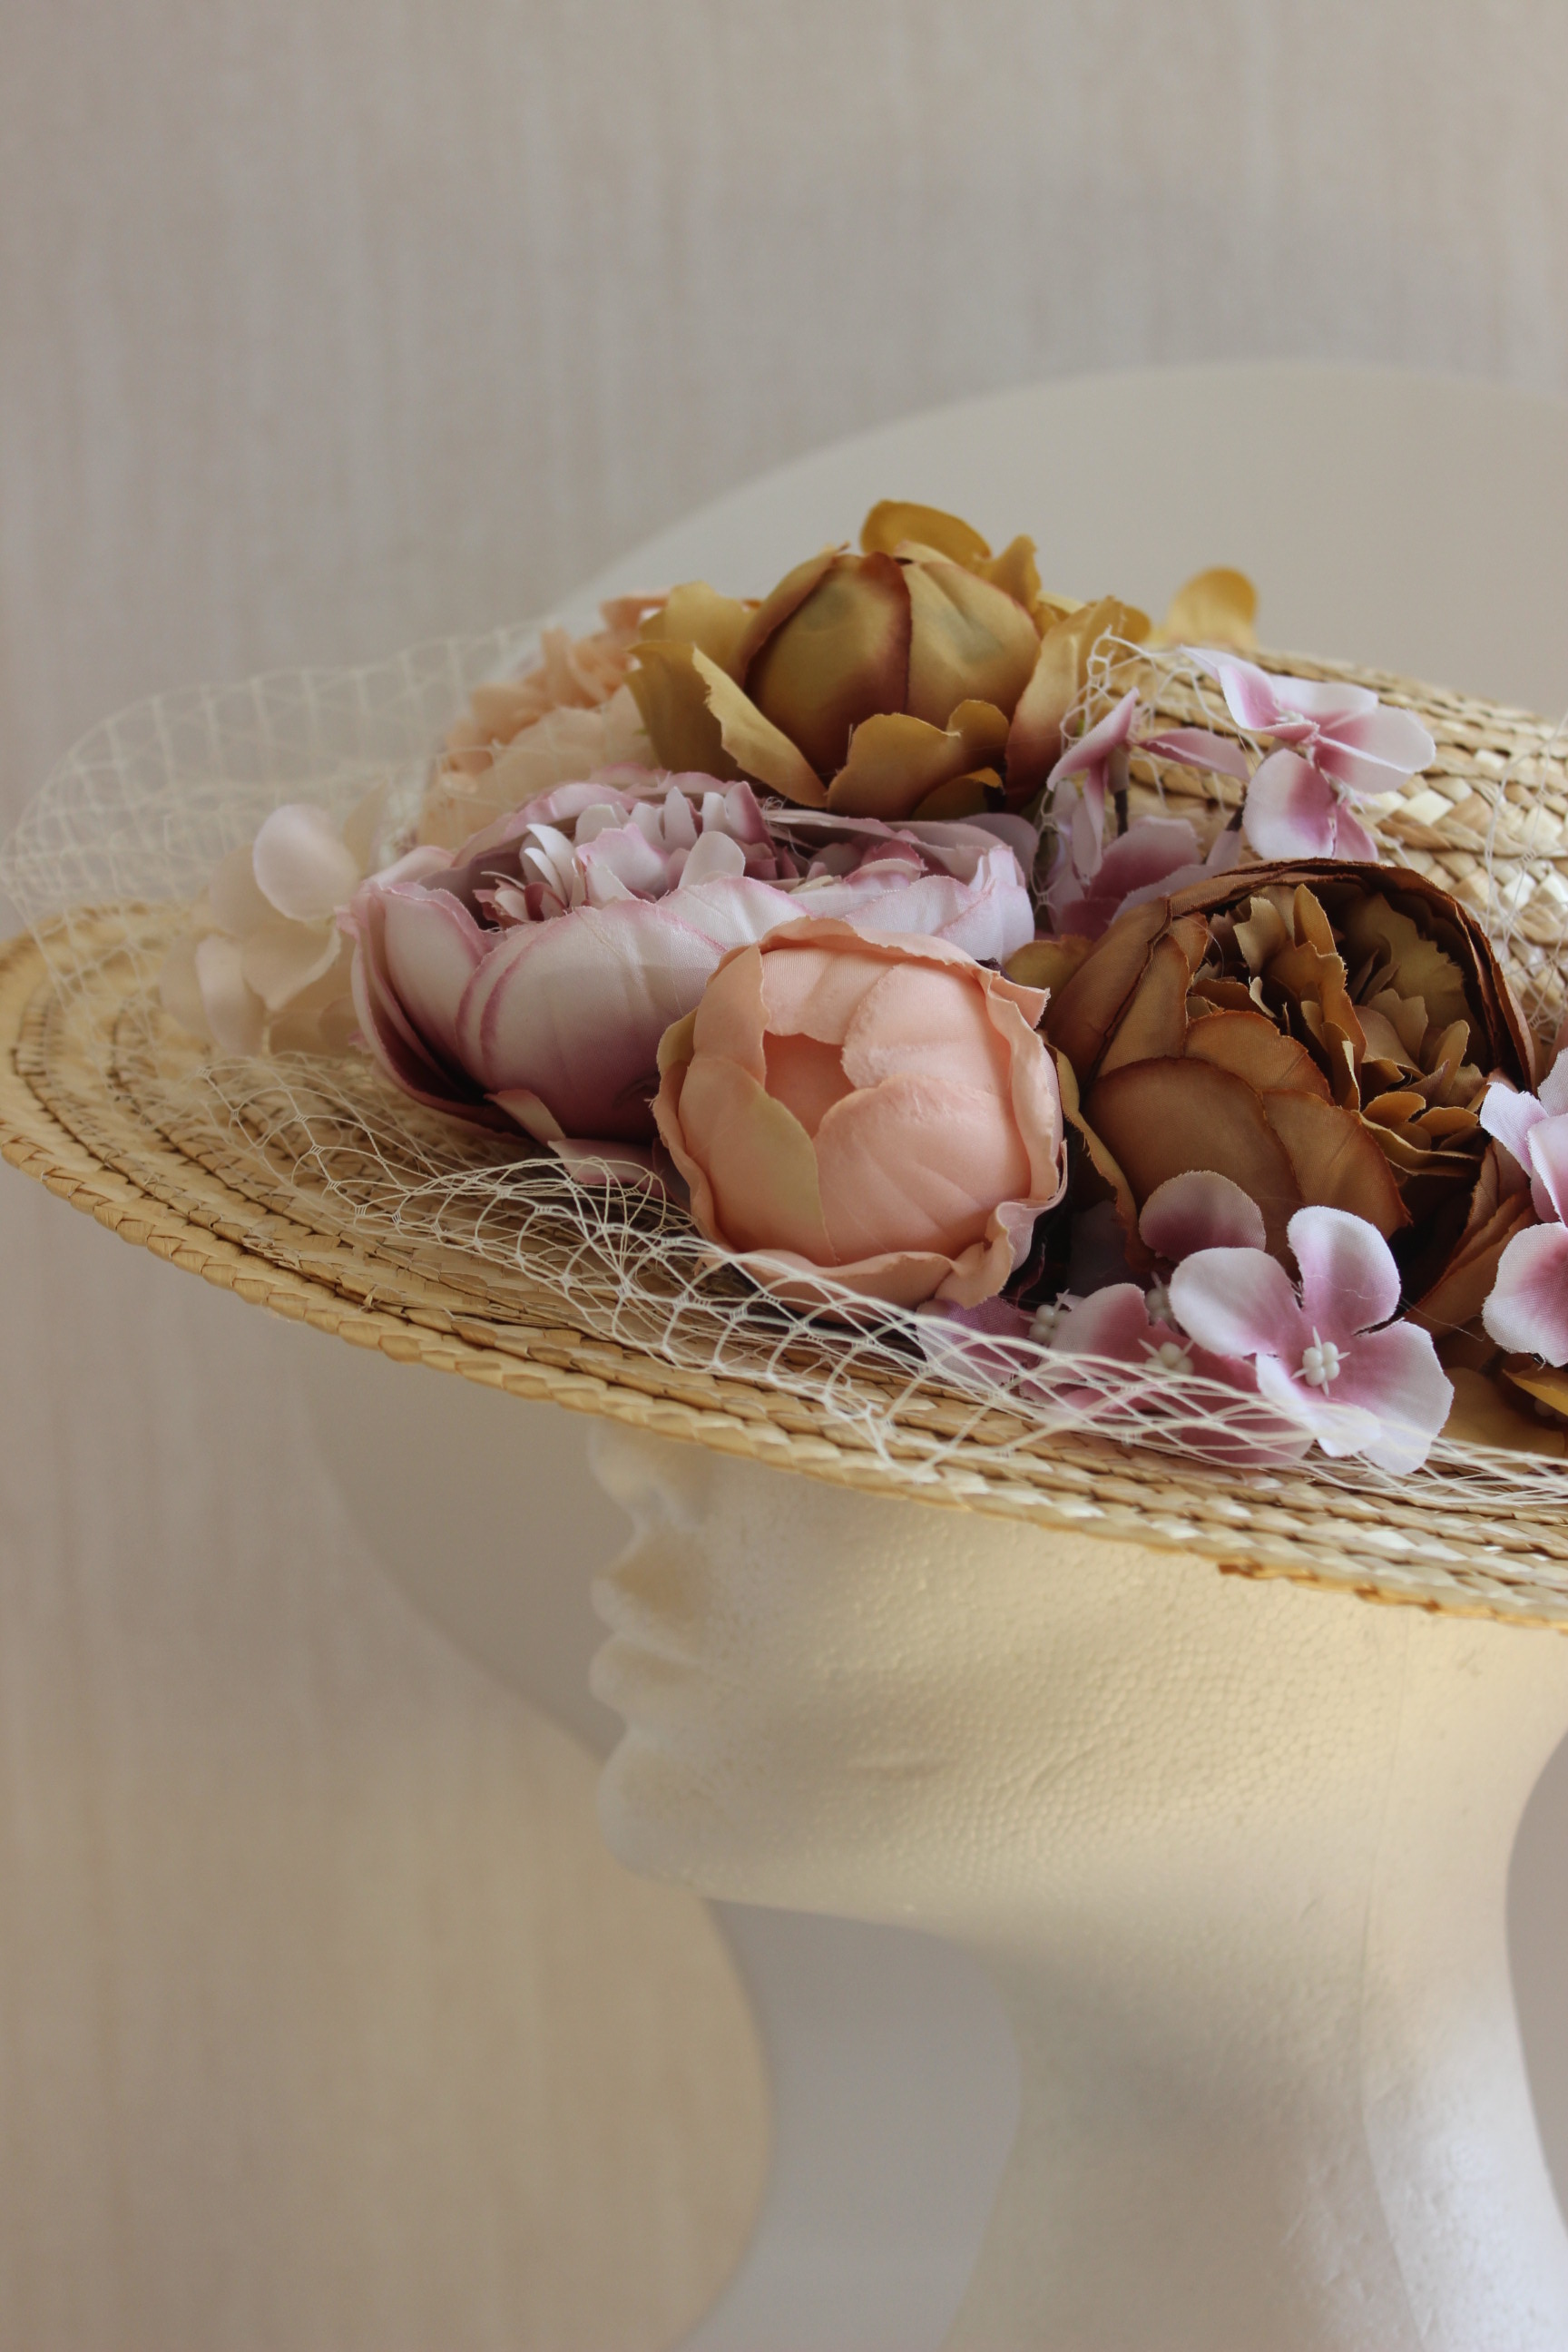
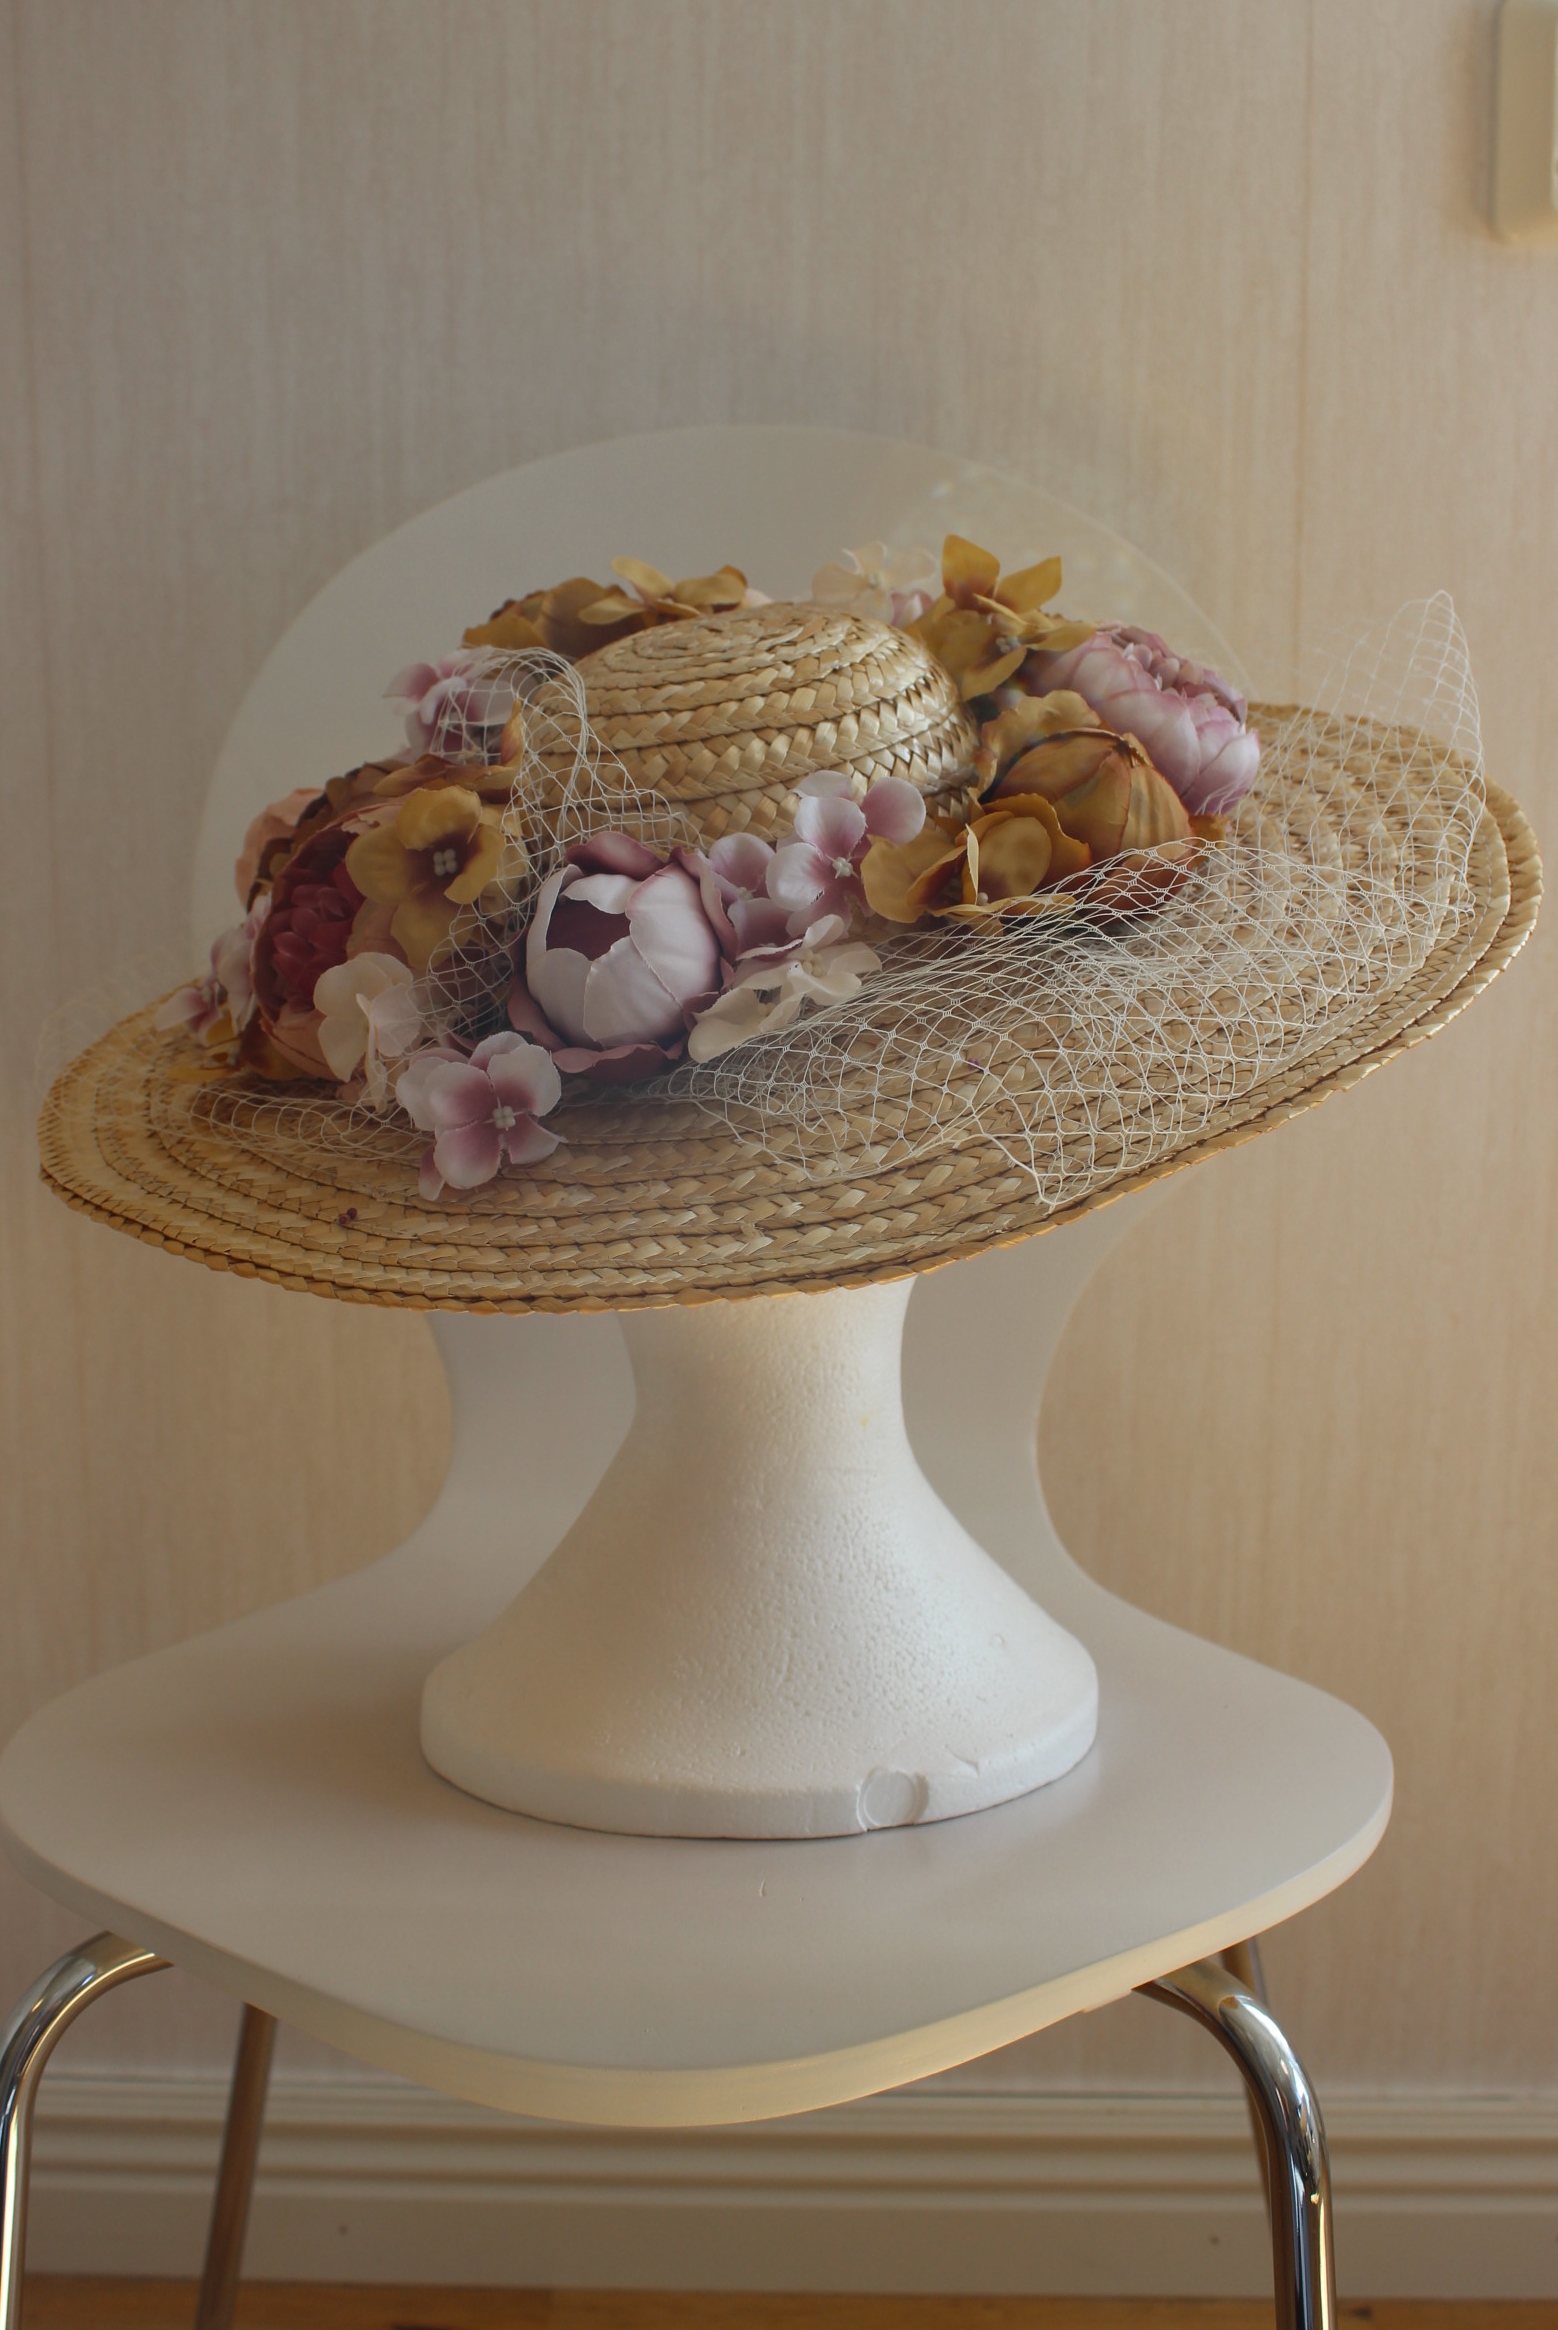
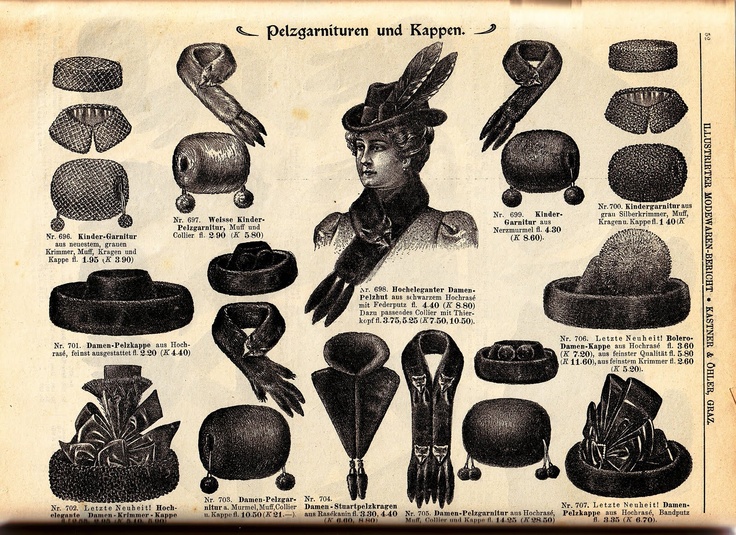
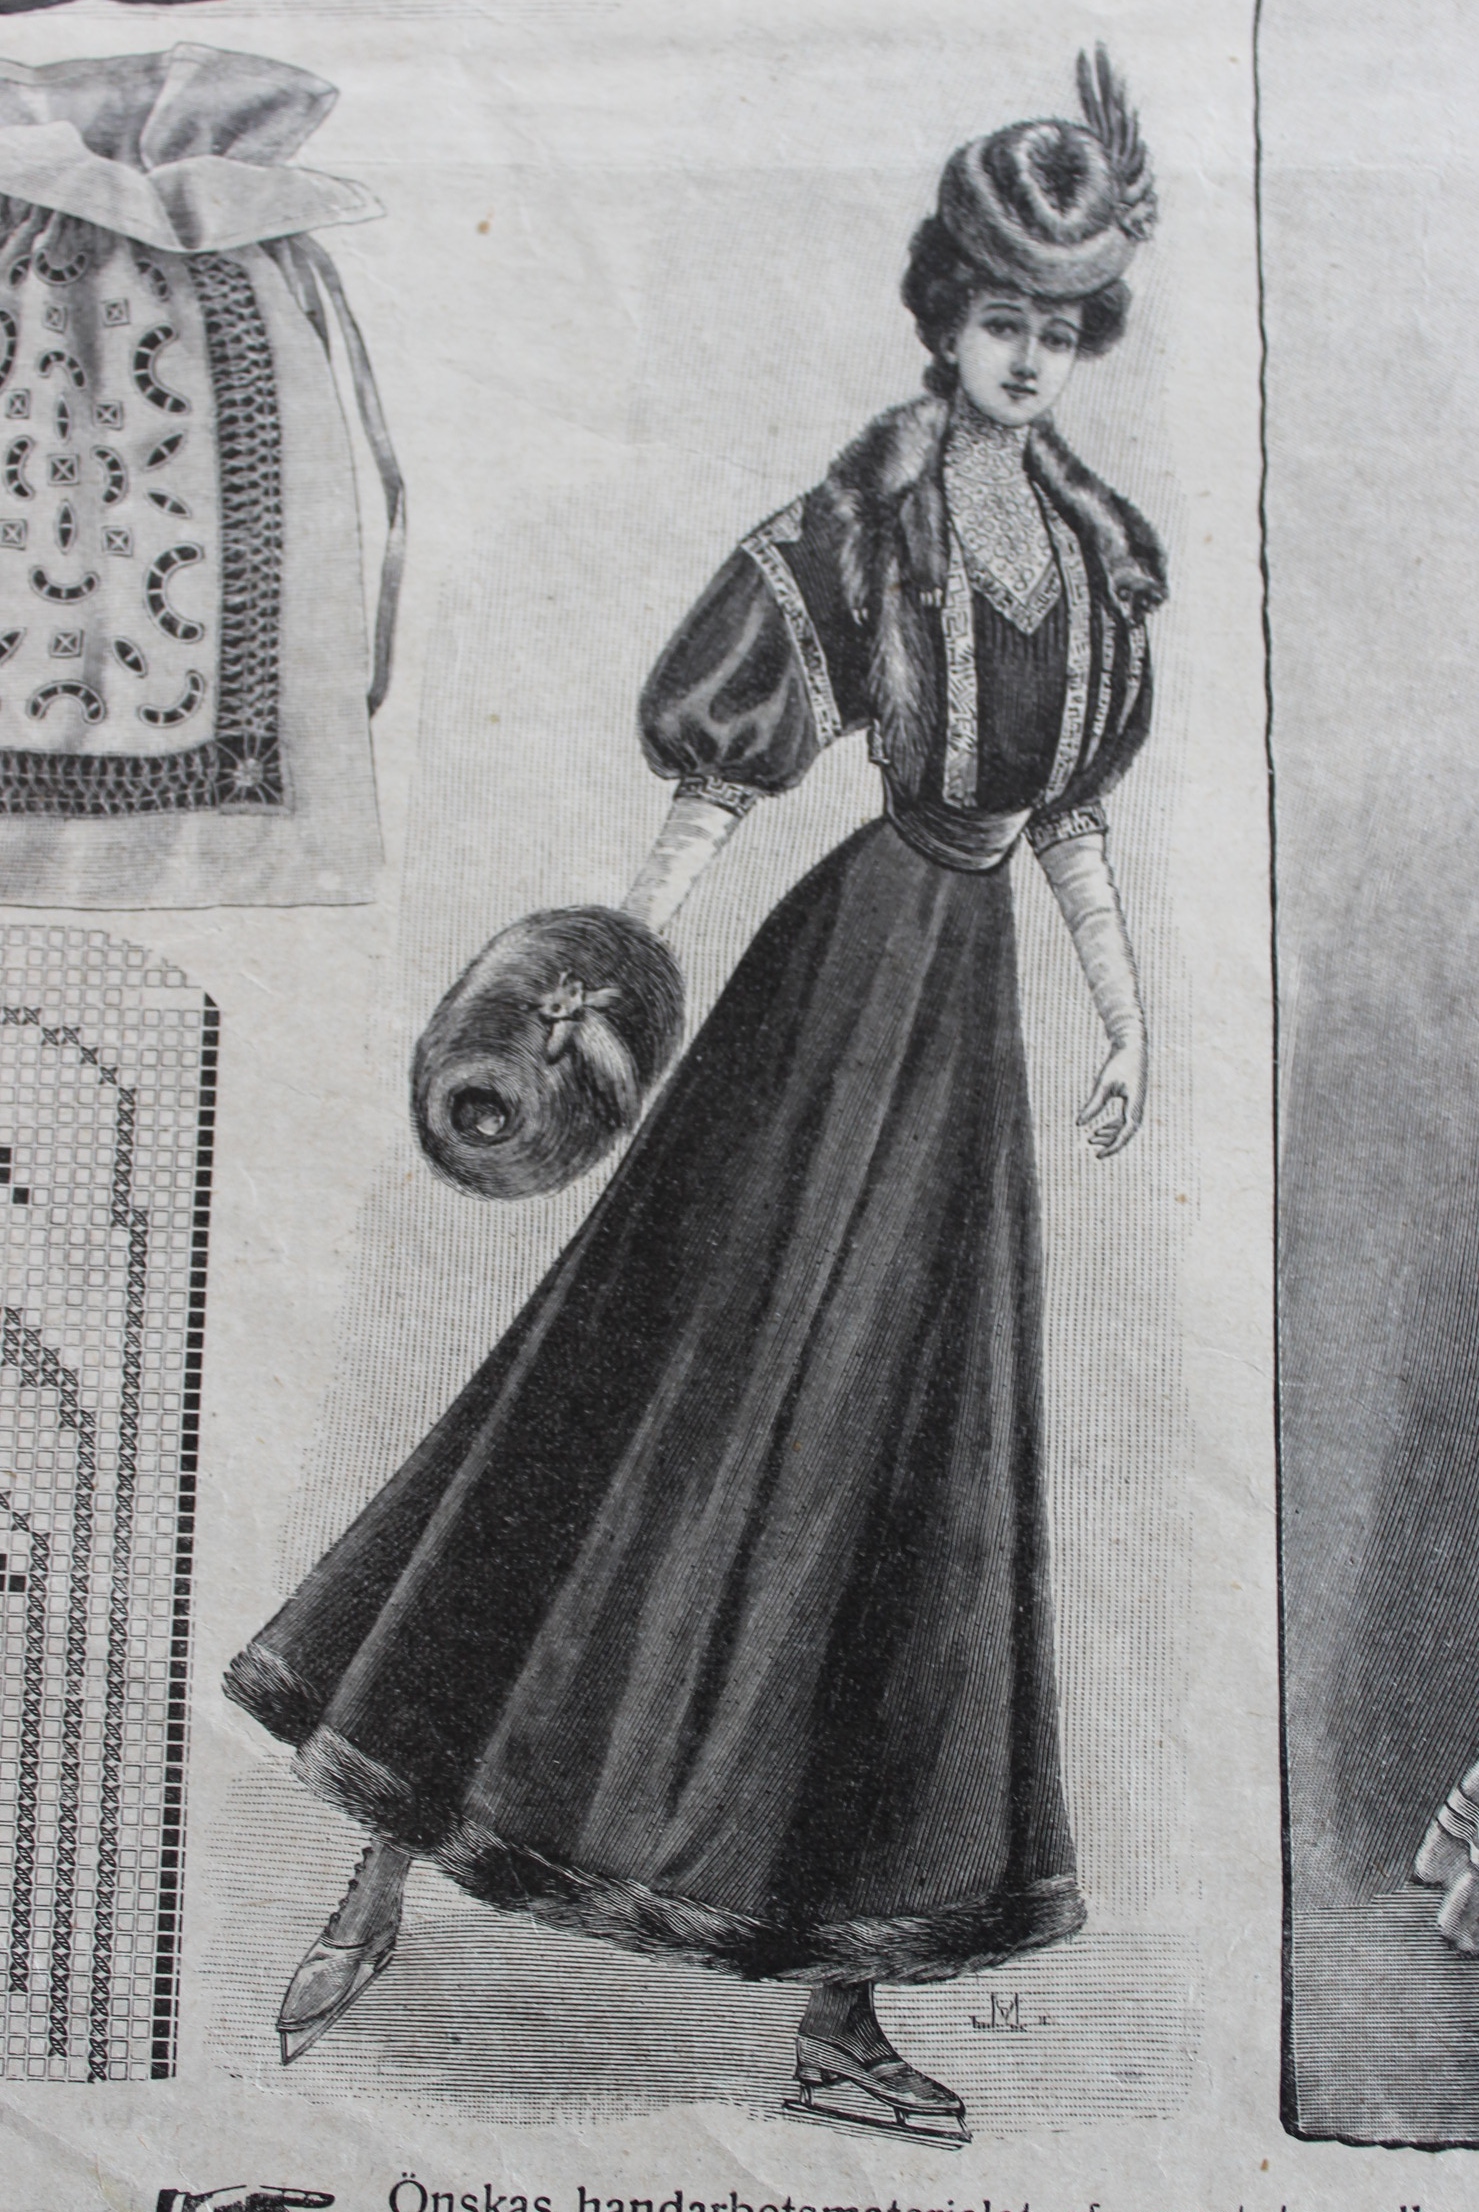
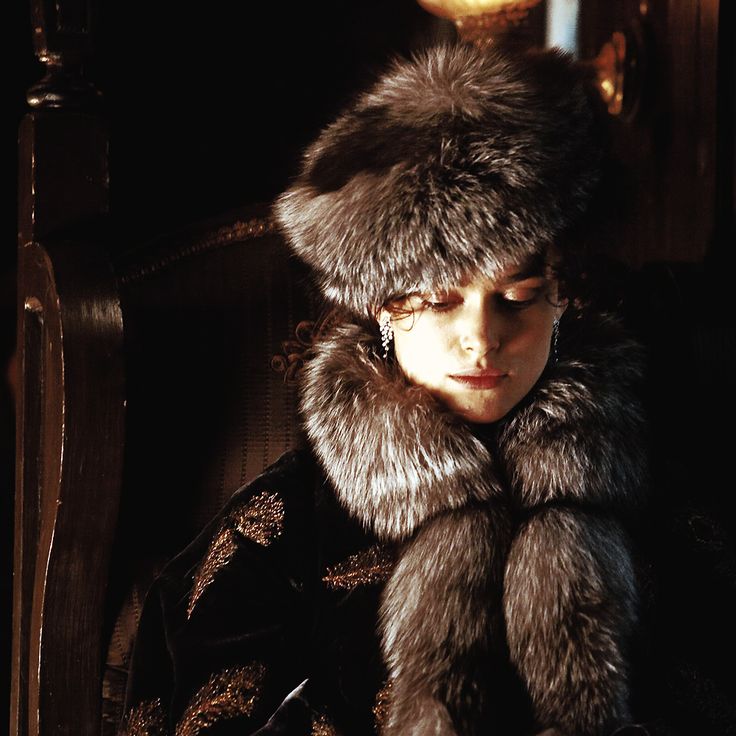
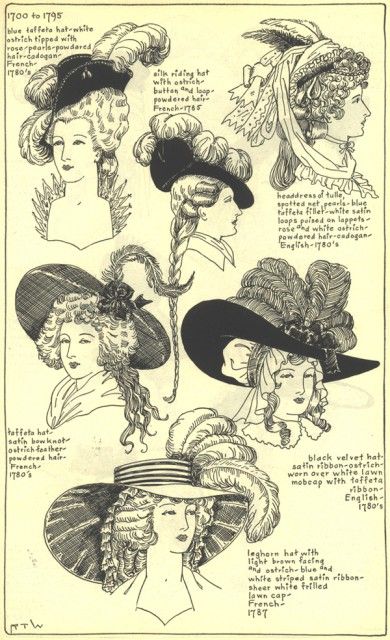
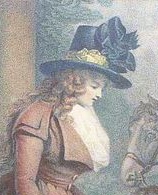
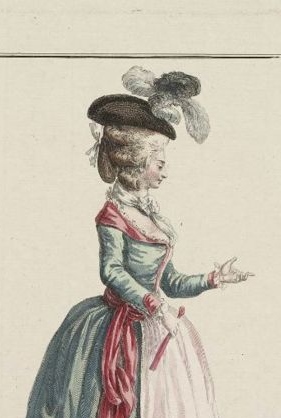
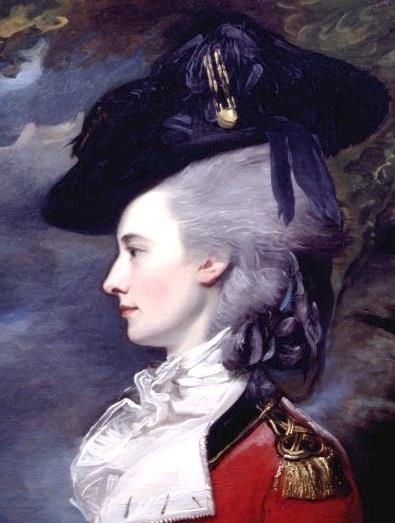
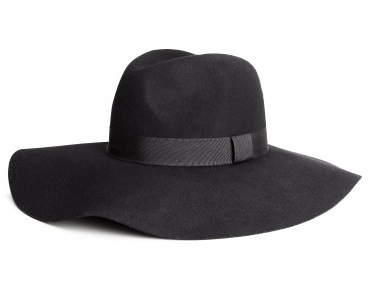
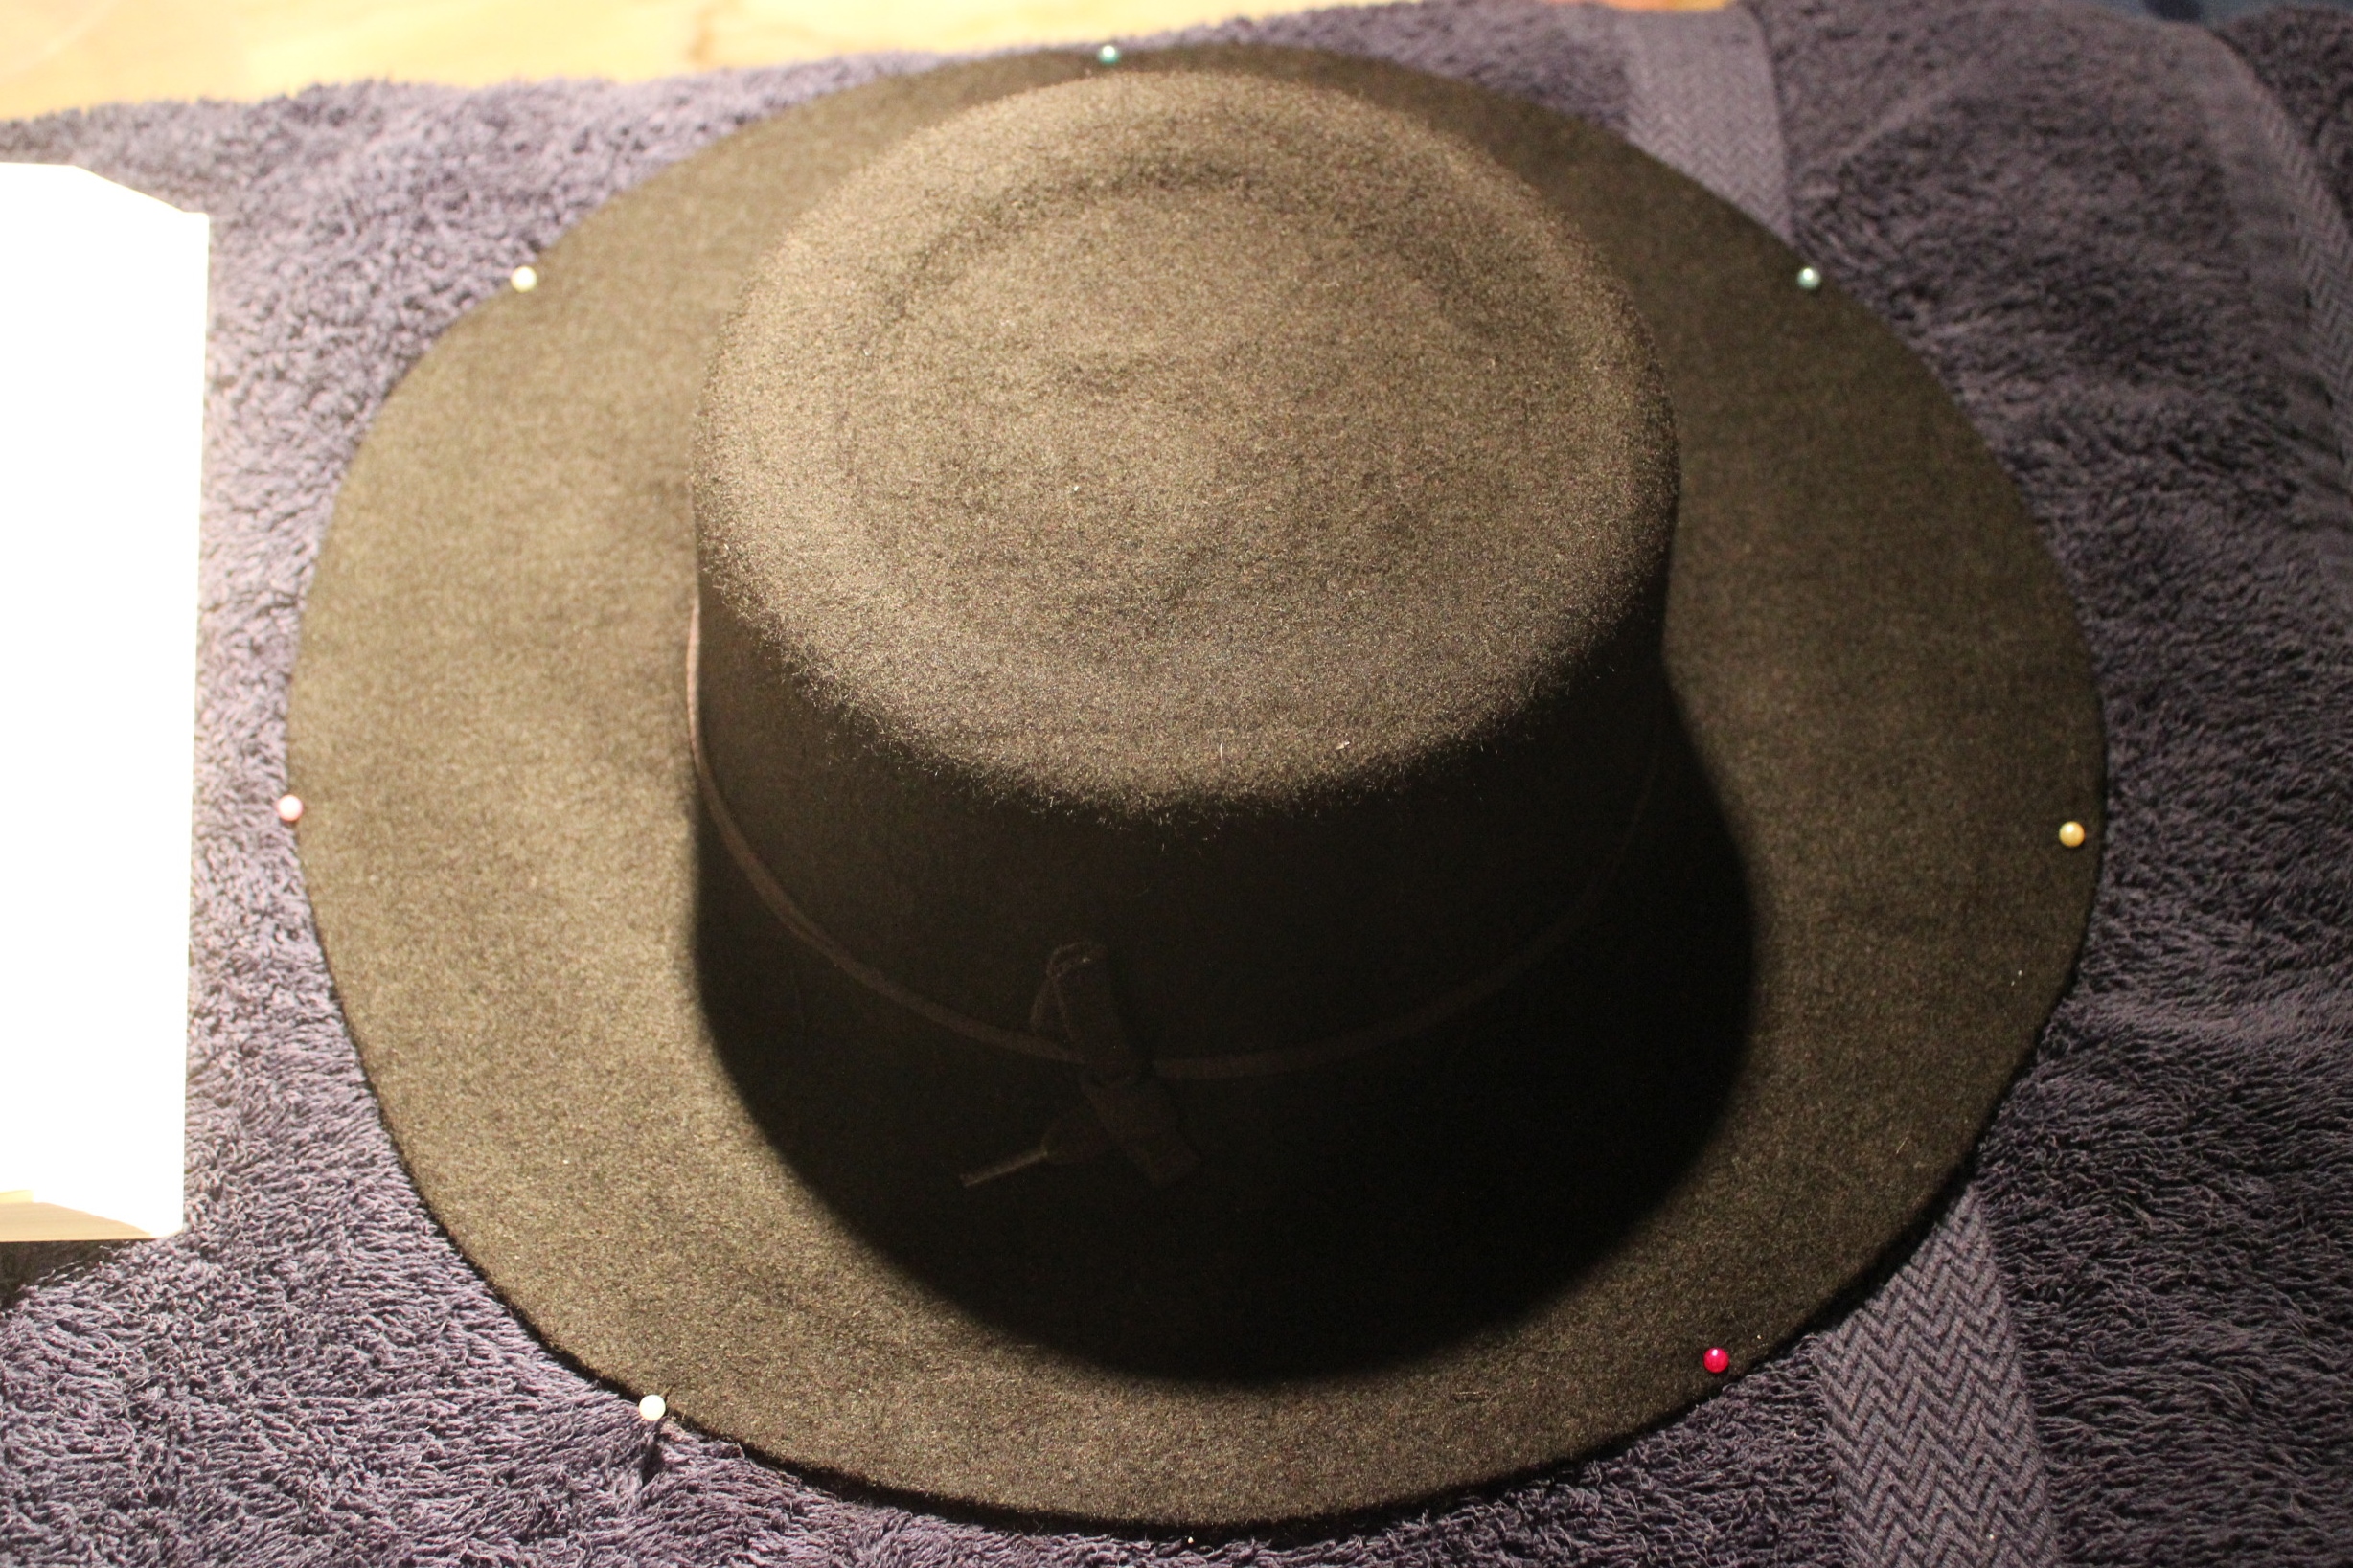
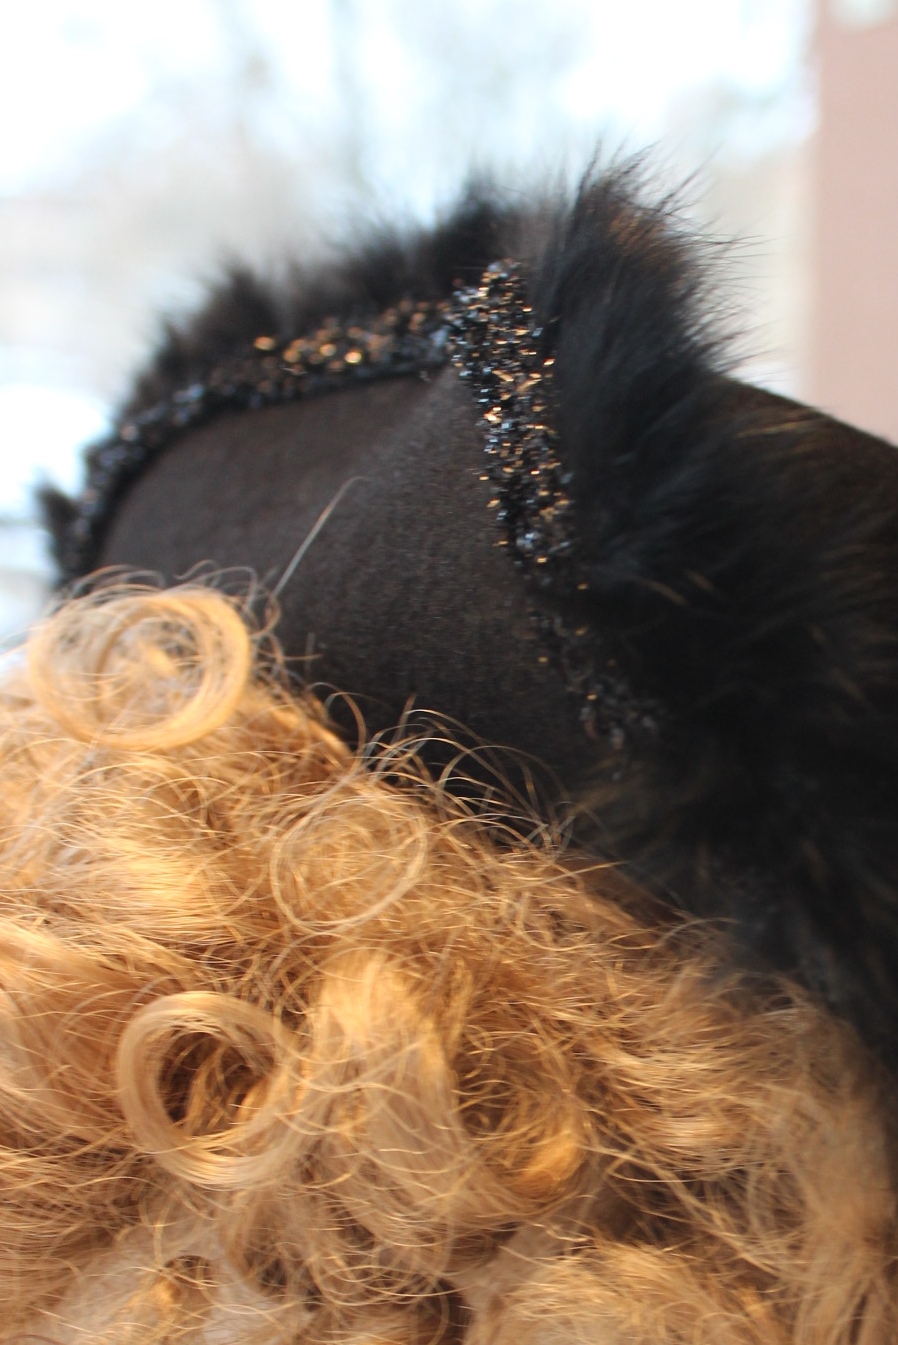
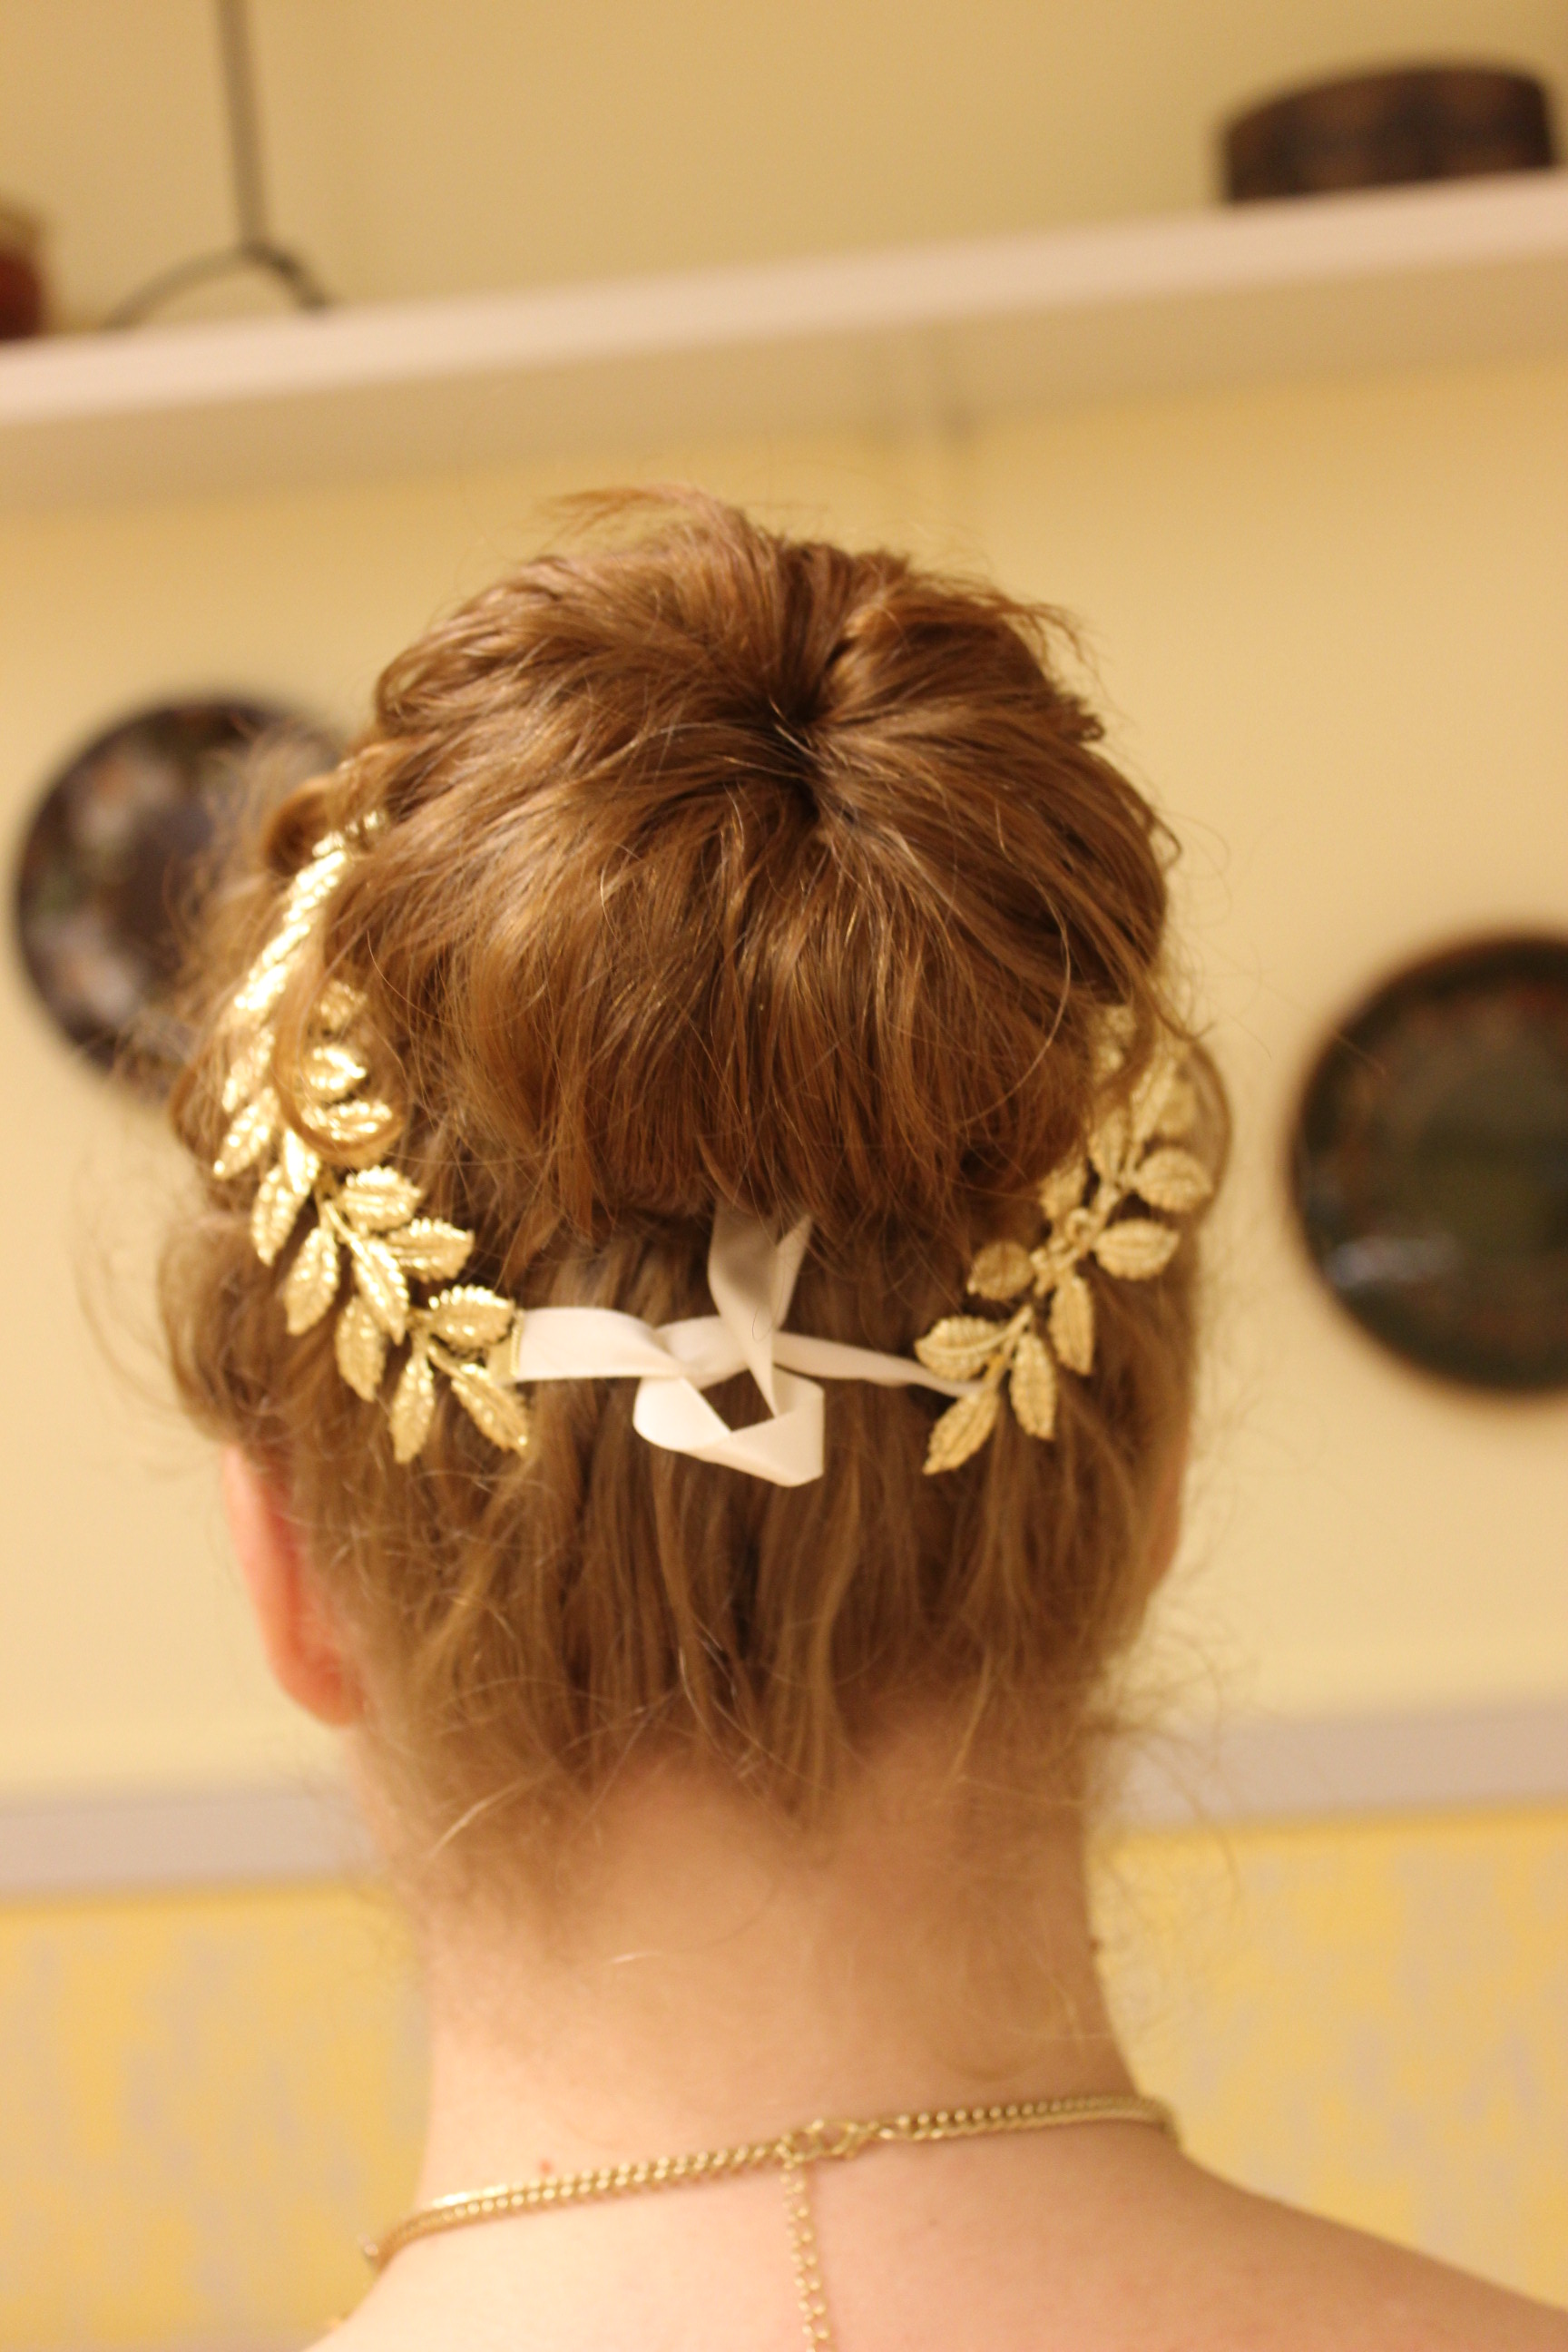
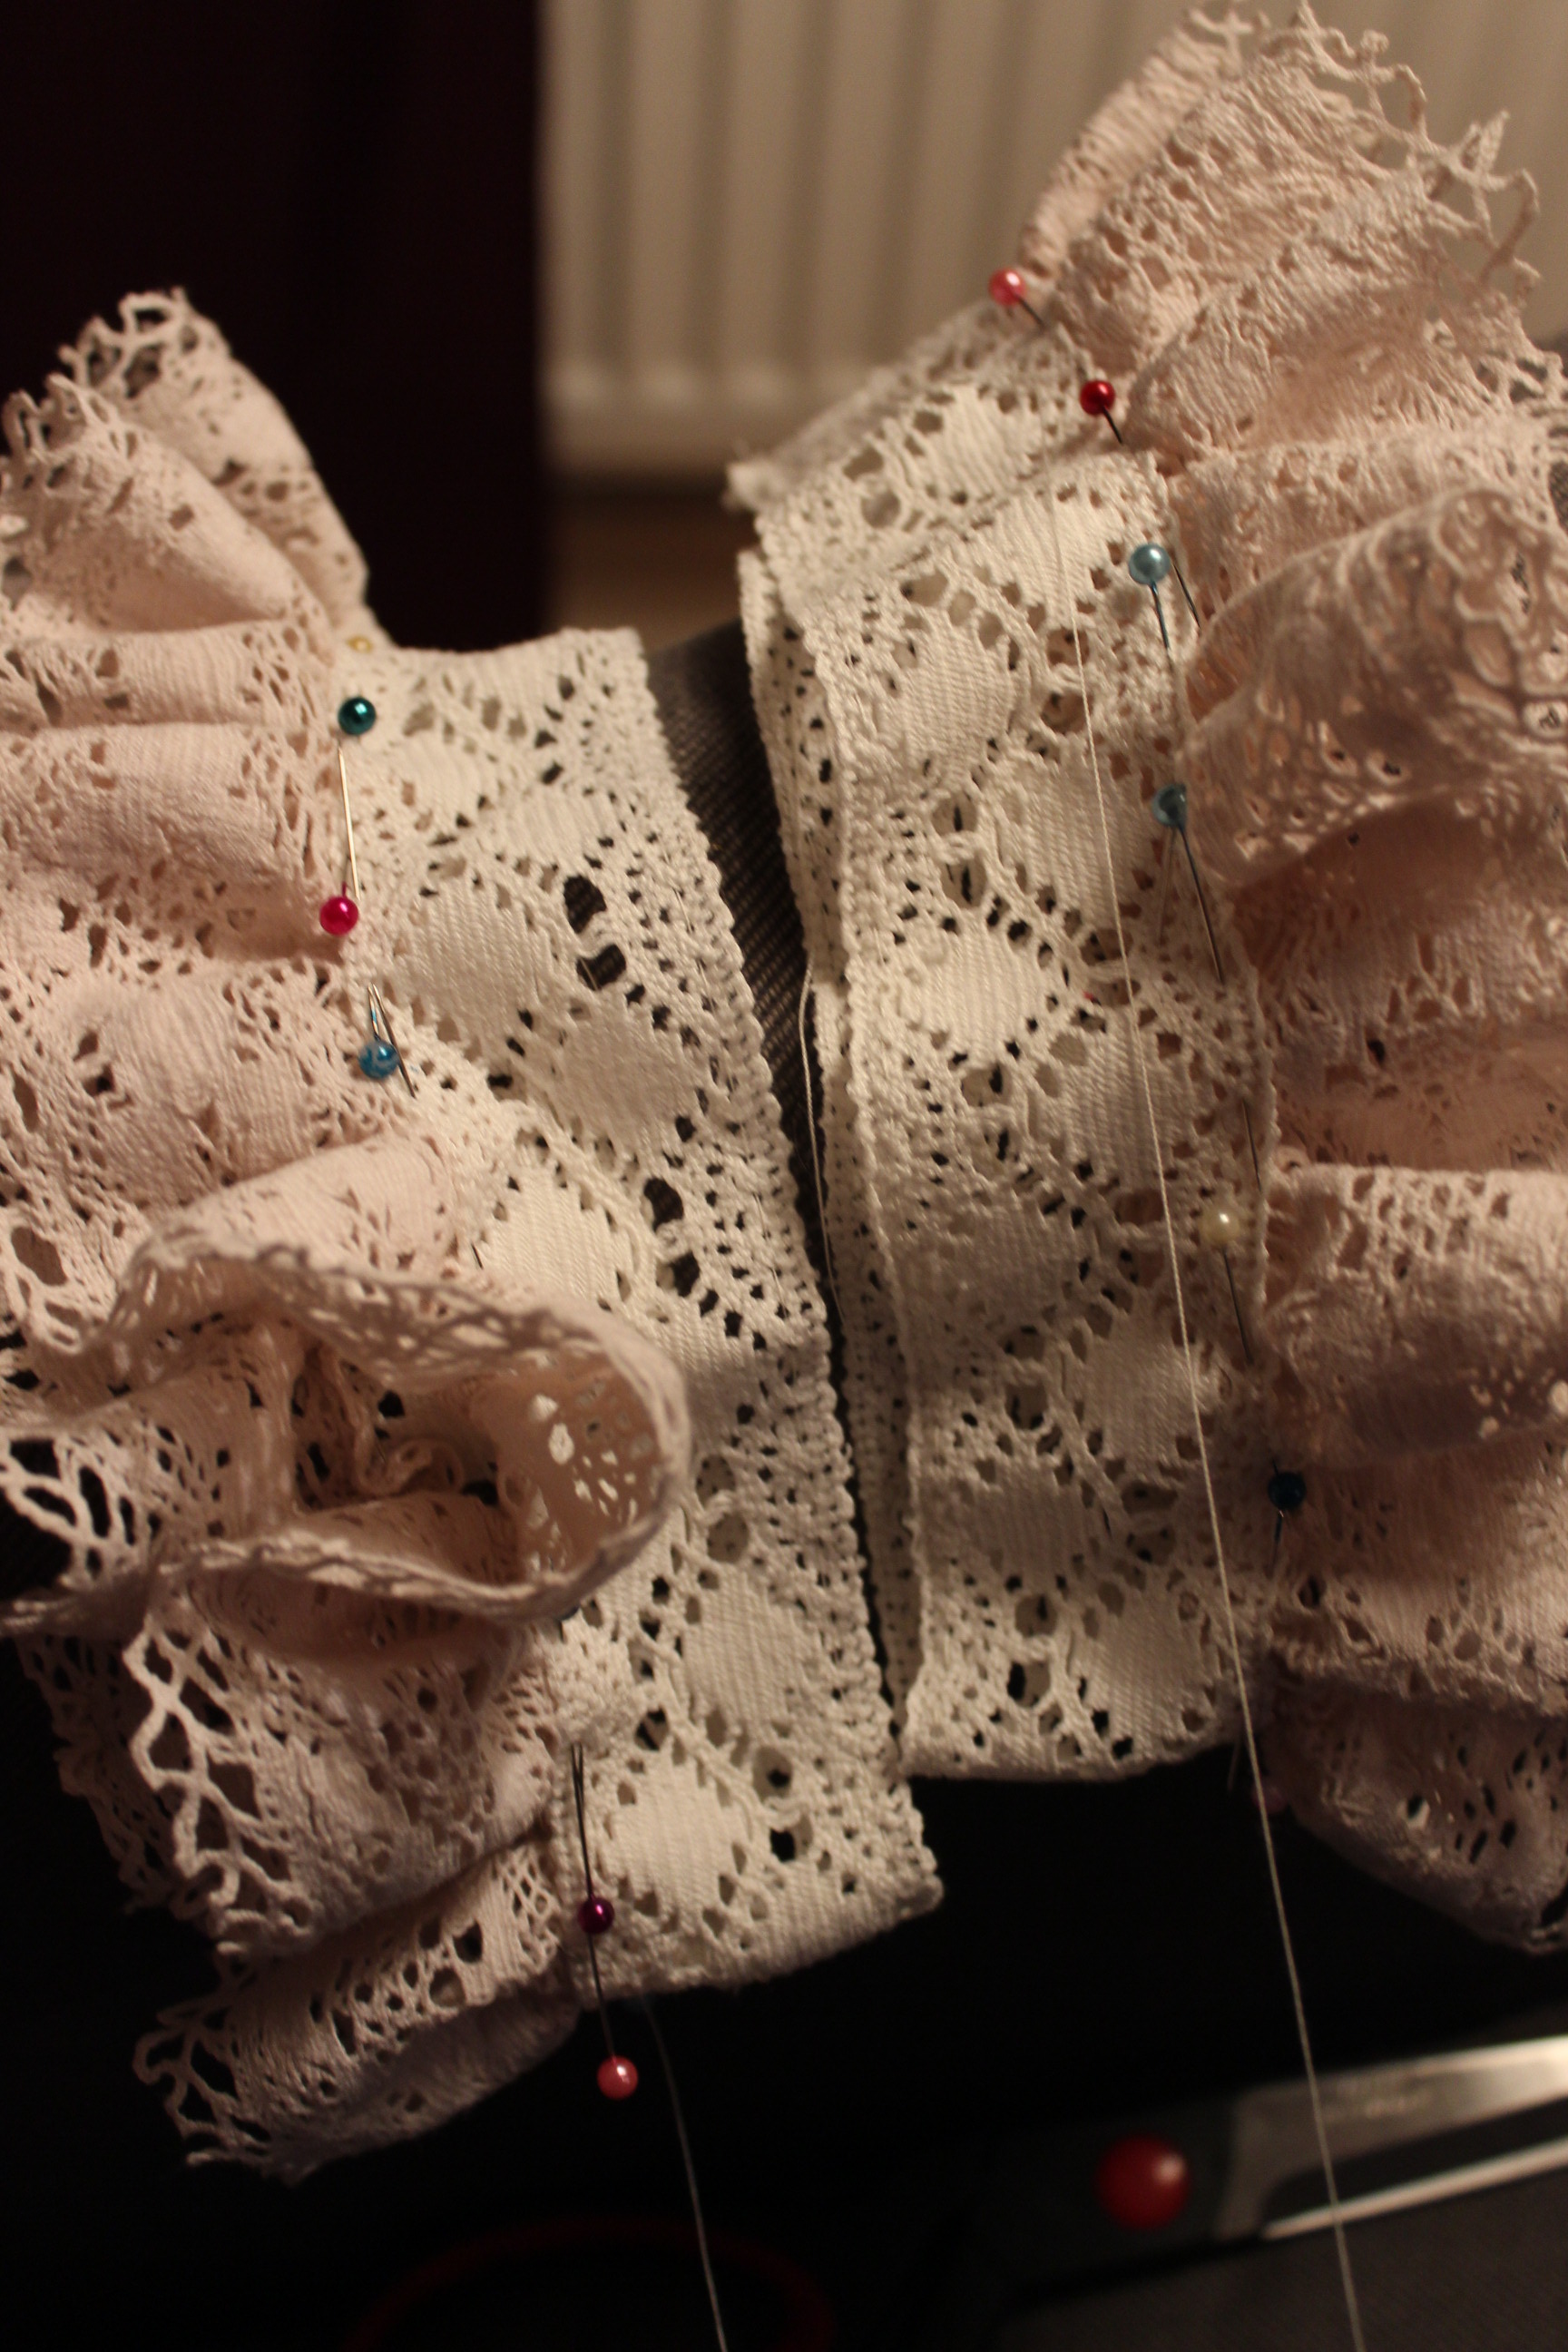
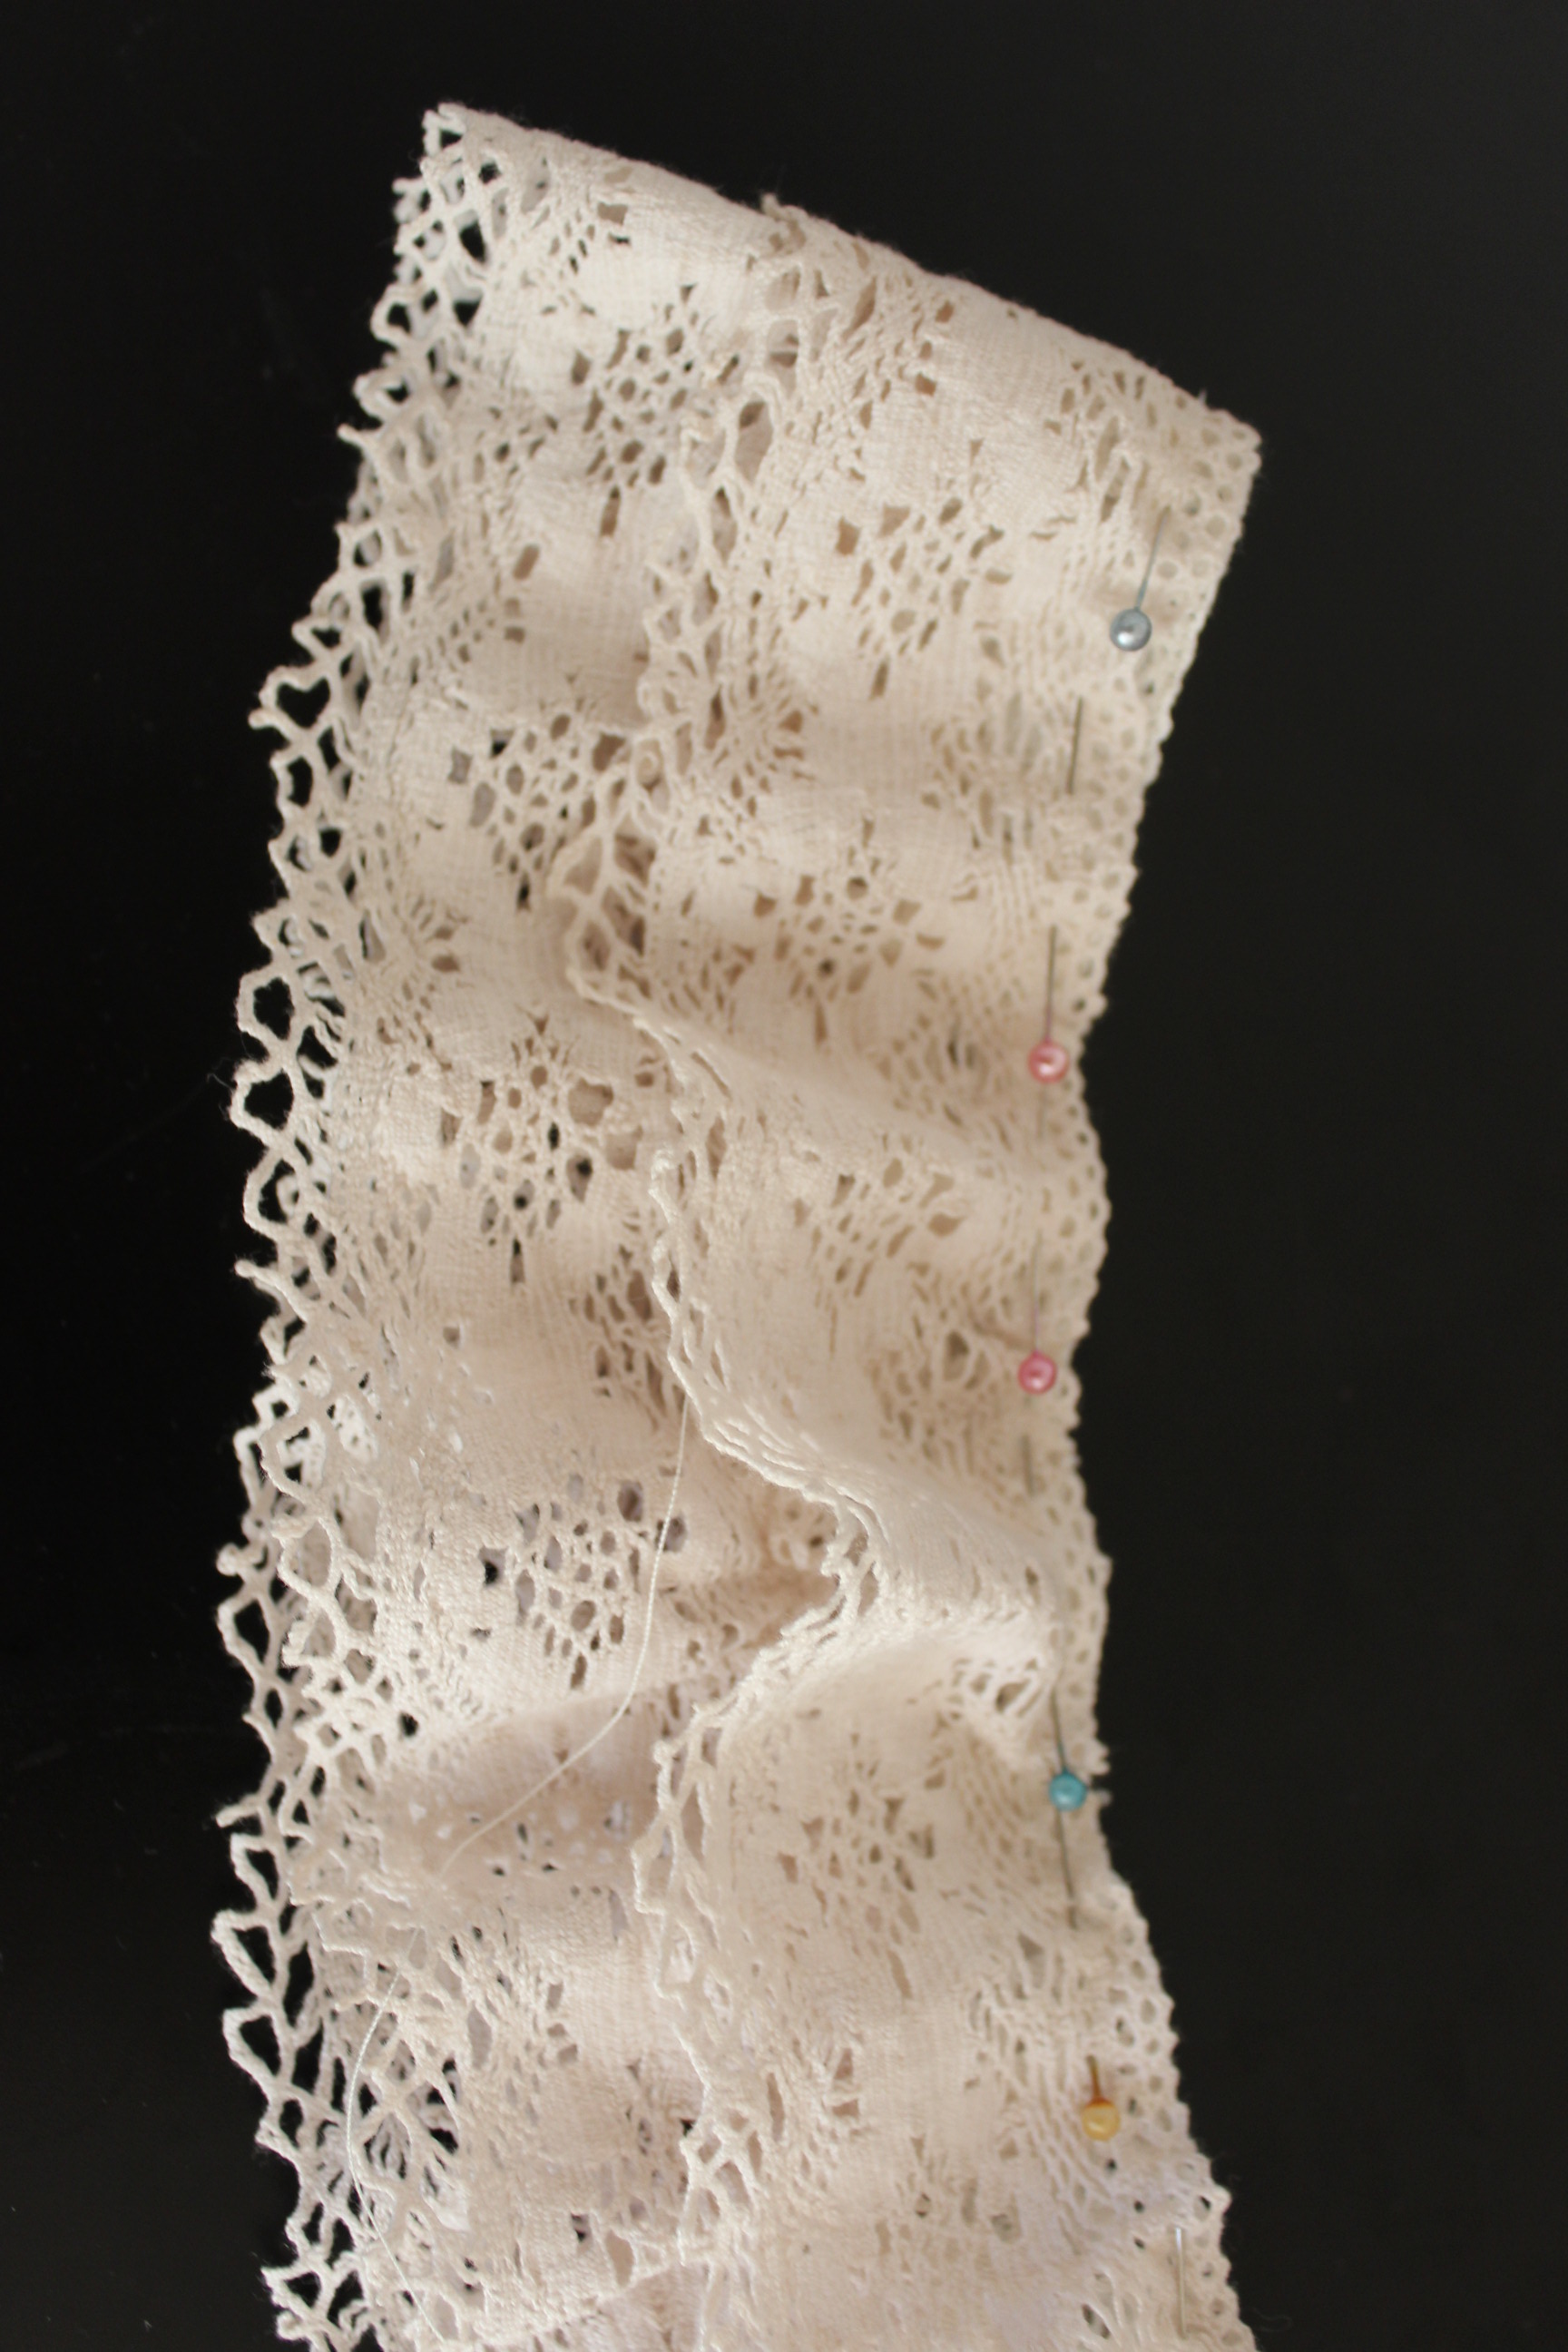
 Inspiration
I decided to drape my own pattern using thin cardboard, pictures and millinery books.
After some fiddling and pinning I got a pattern for a bonnet… Which looked like a total disaster…
No, this would not do, time for plan B.
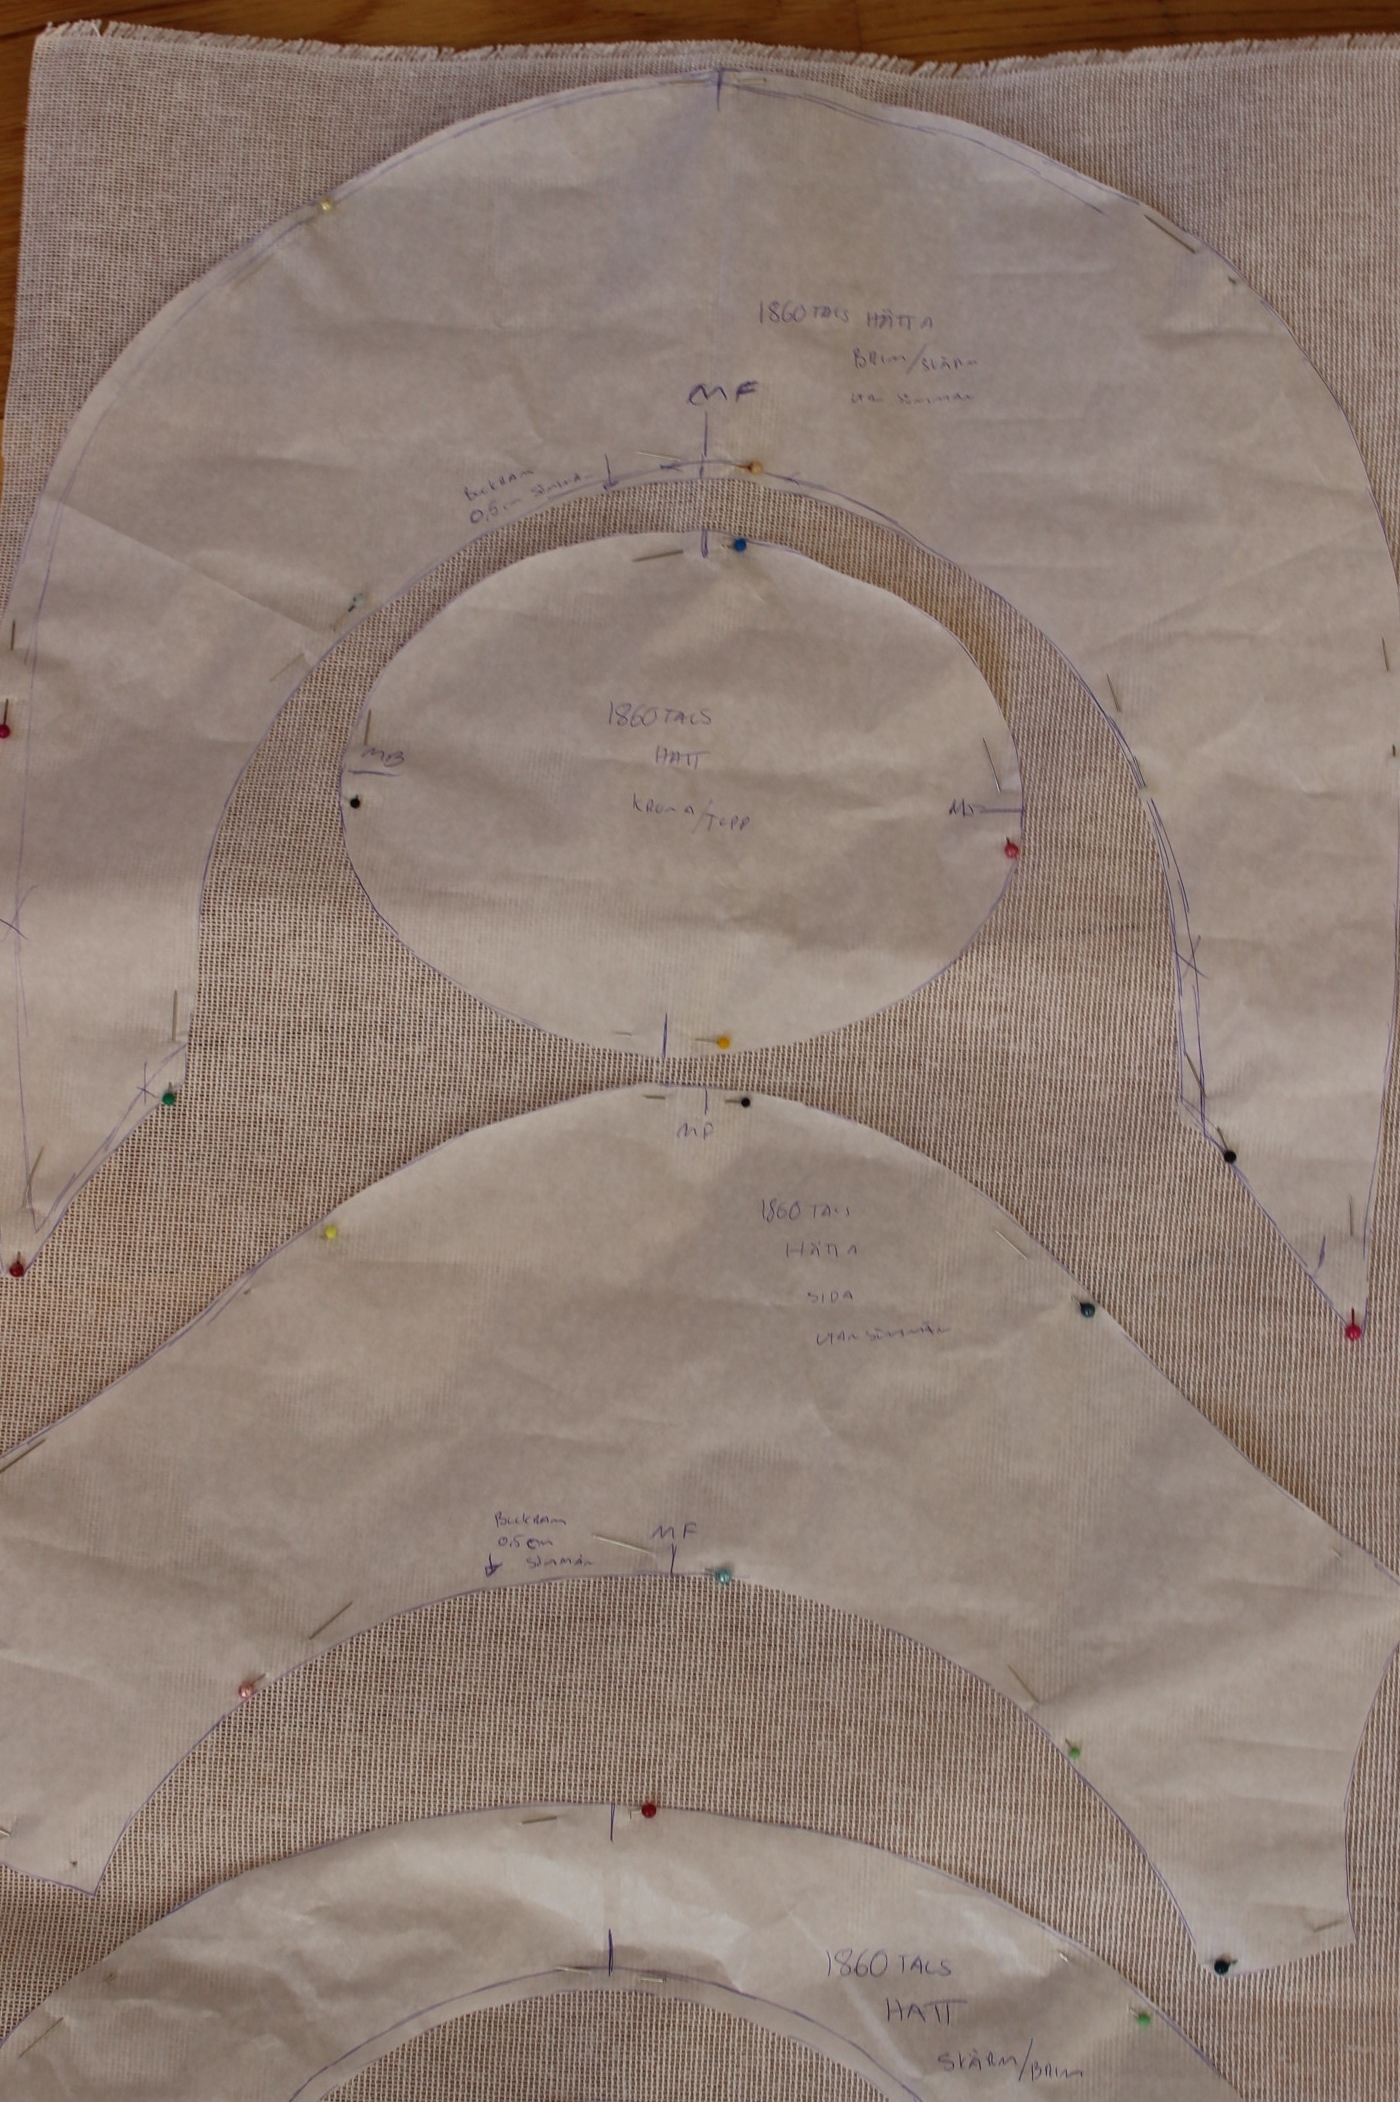
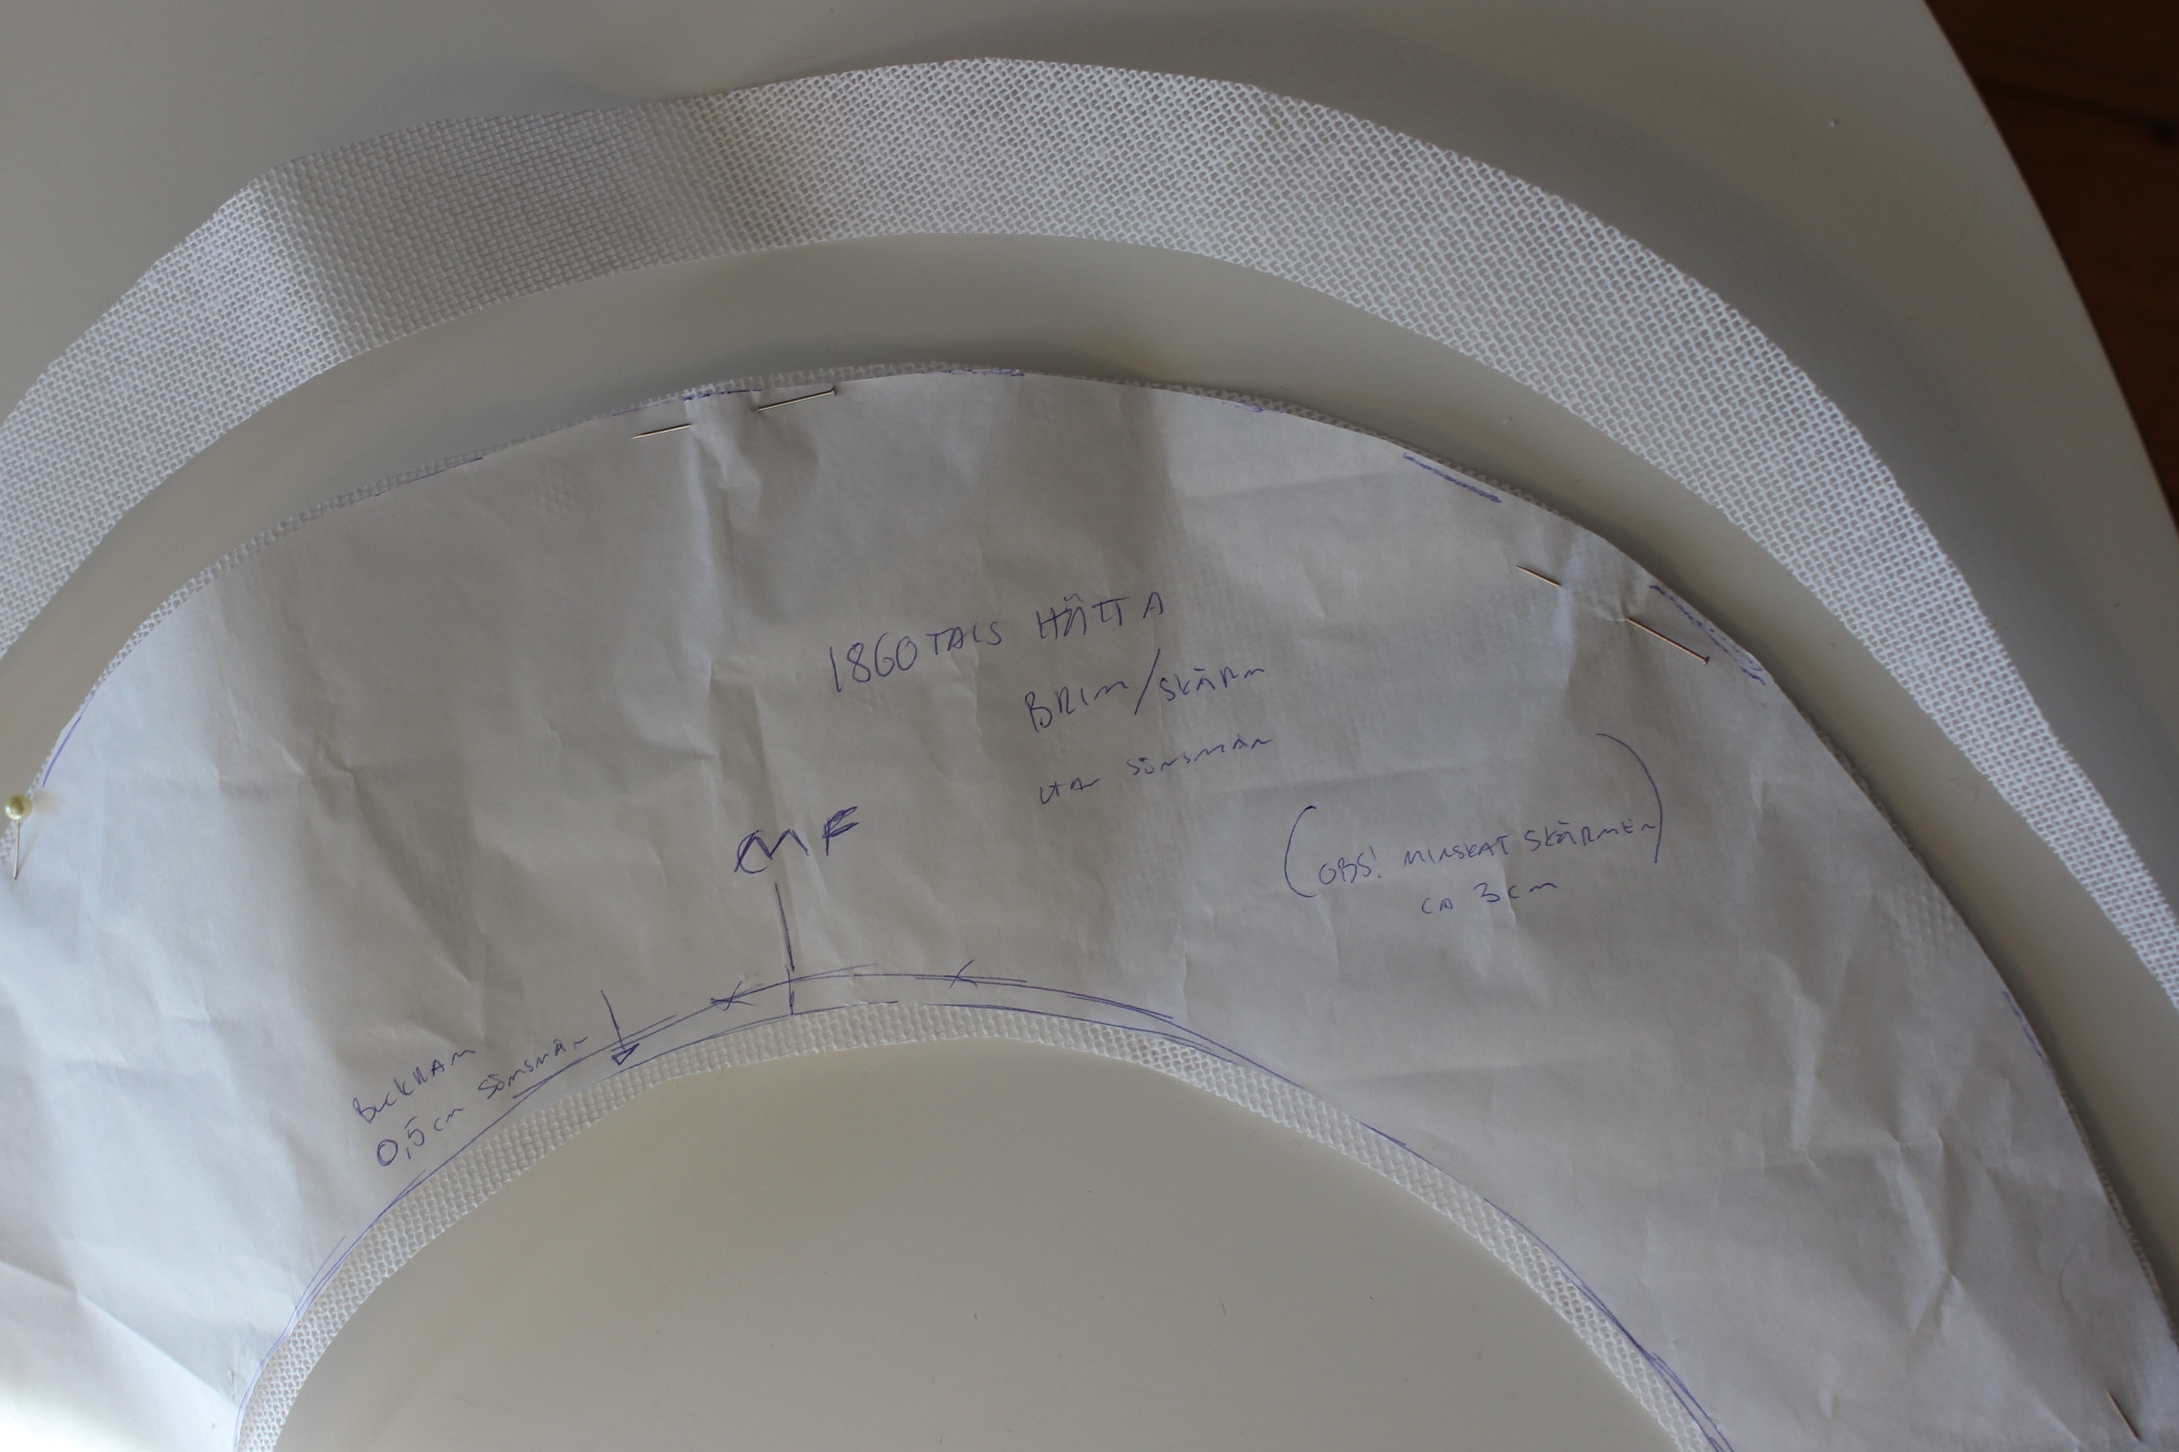
I ordered Lynn McMasters “1860s bonnet pattern” and started all over again.
After copying the pattern I cut it out in buckram. 
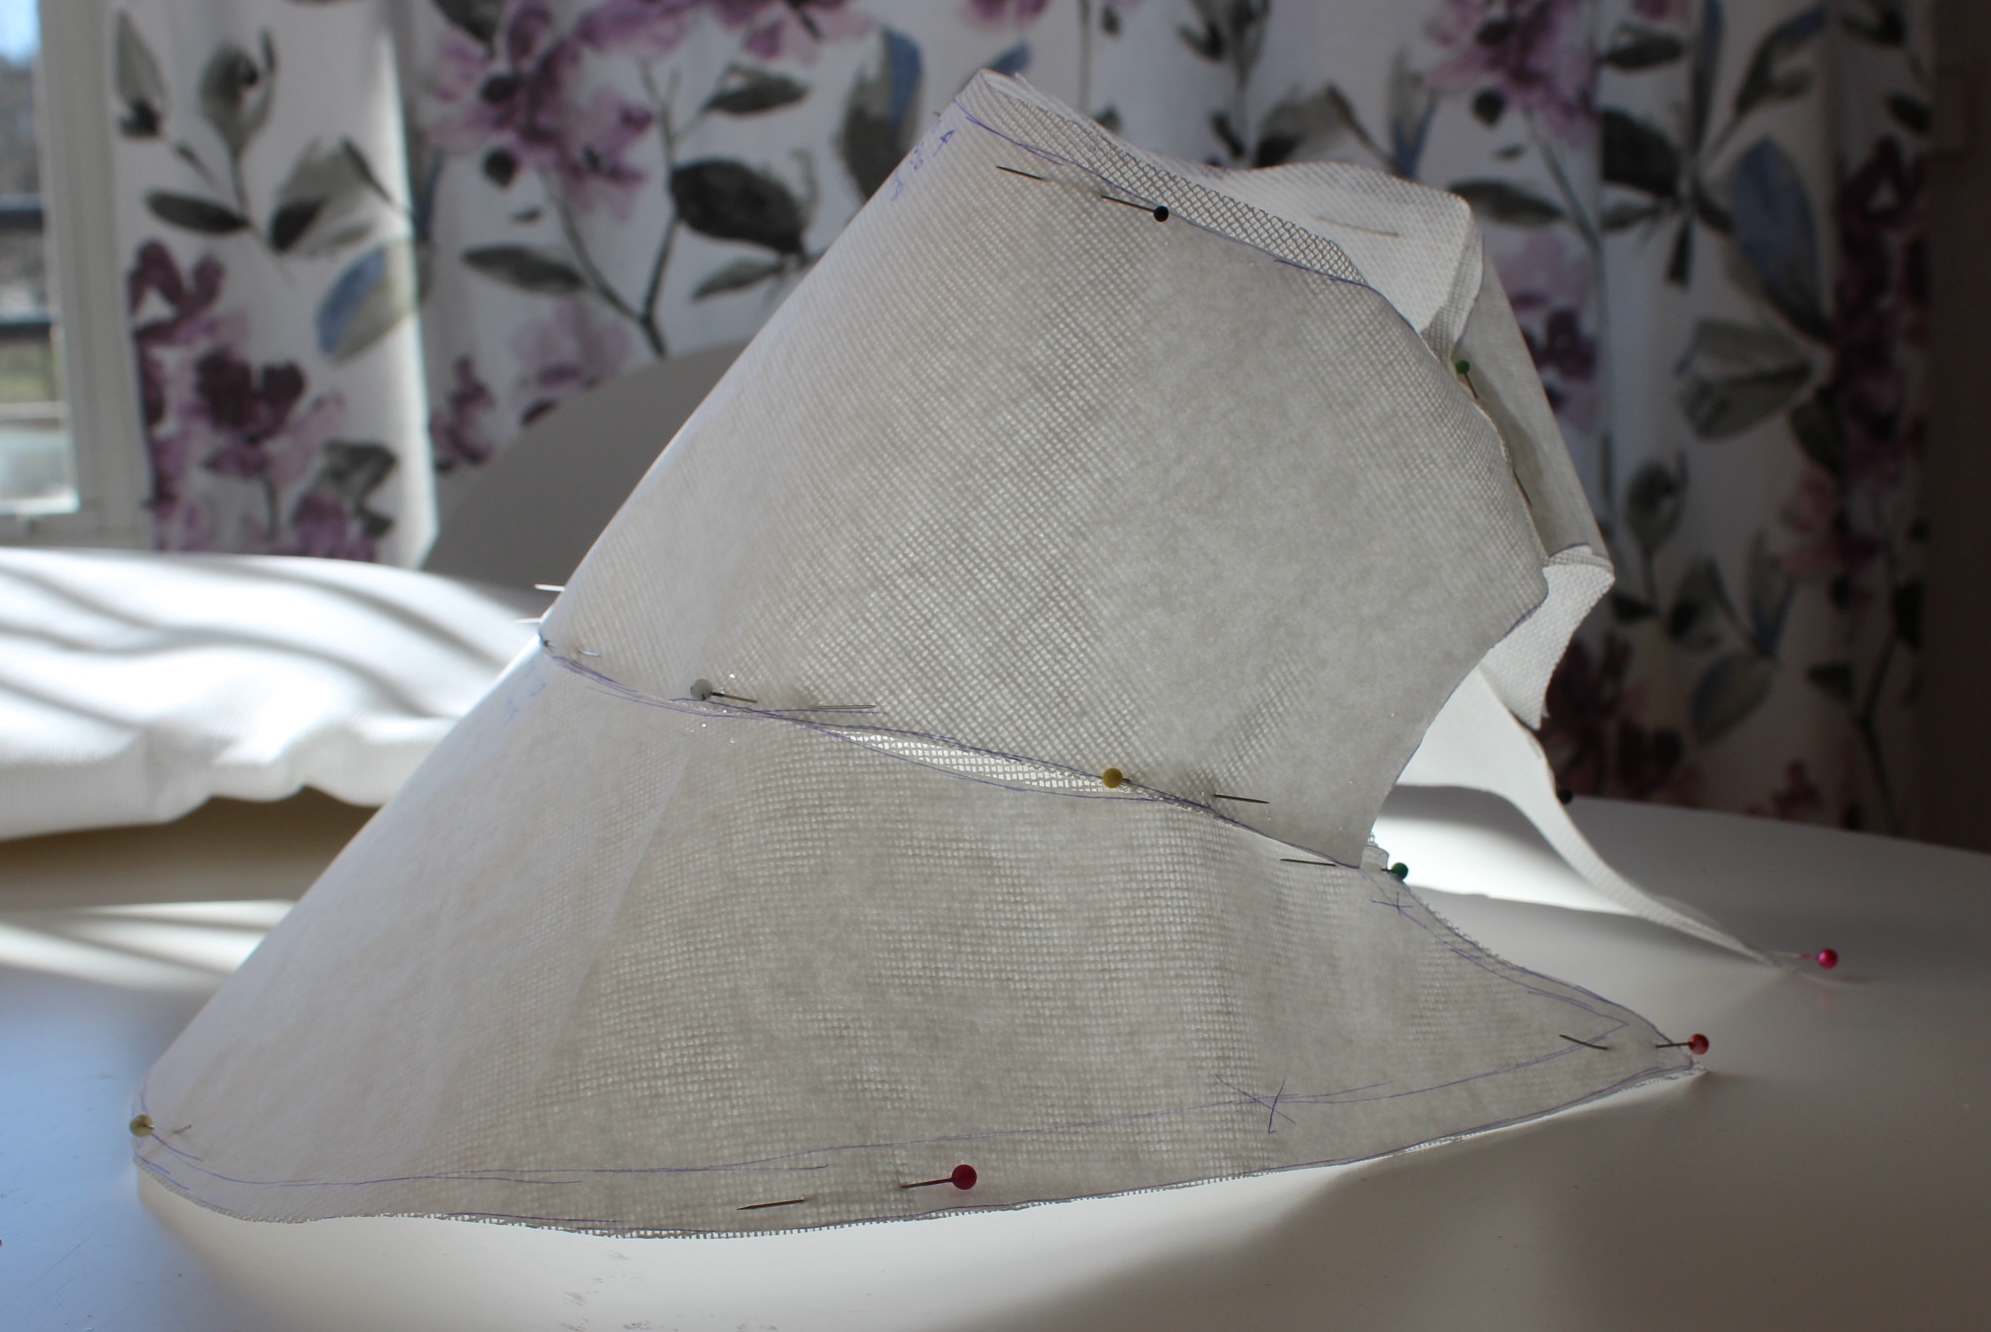
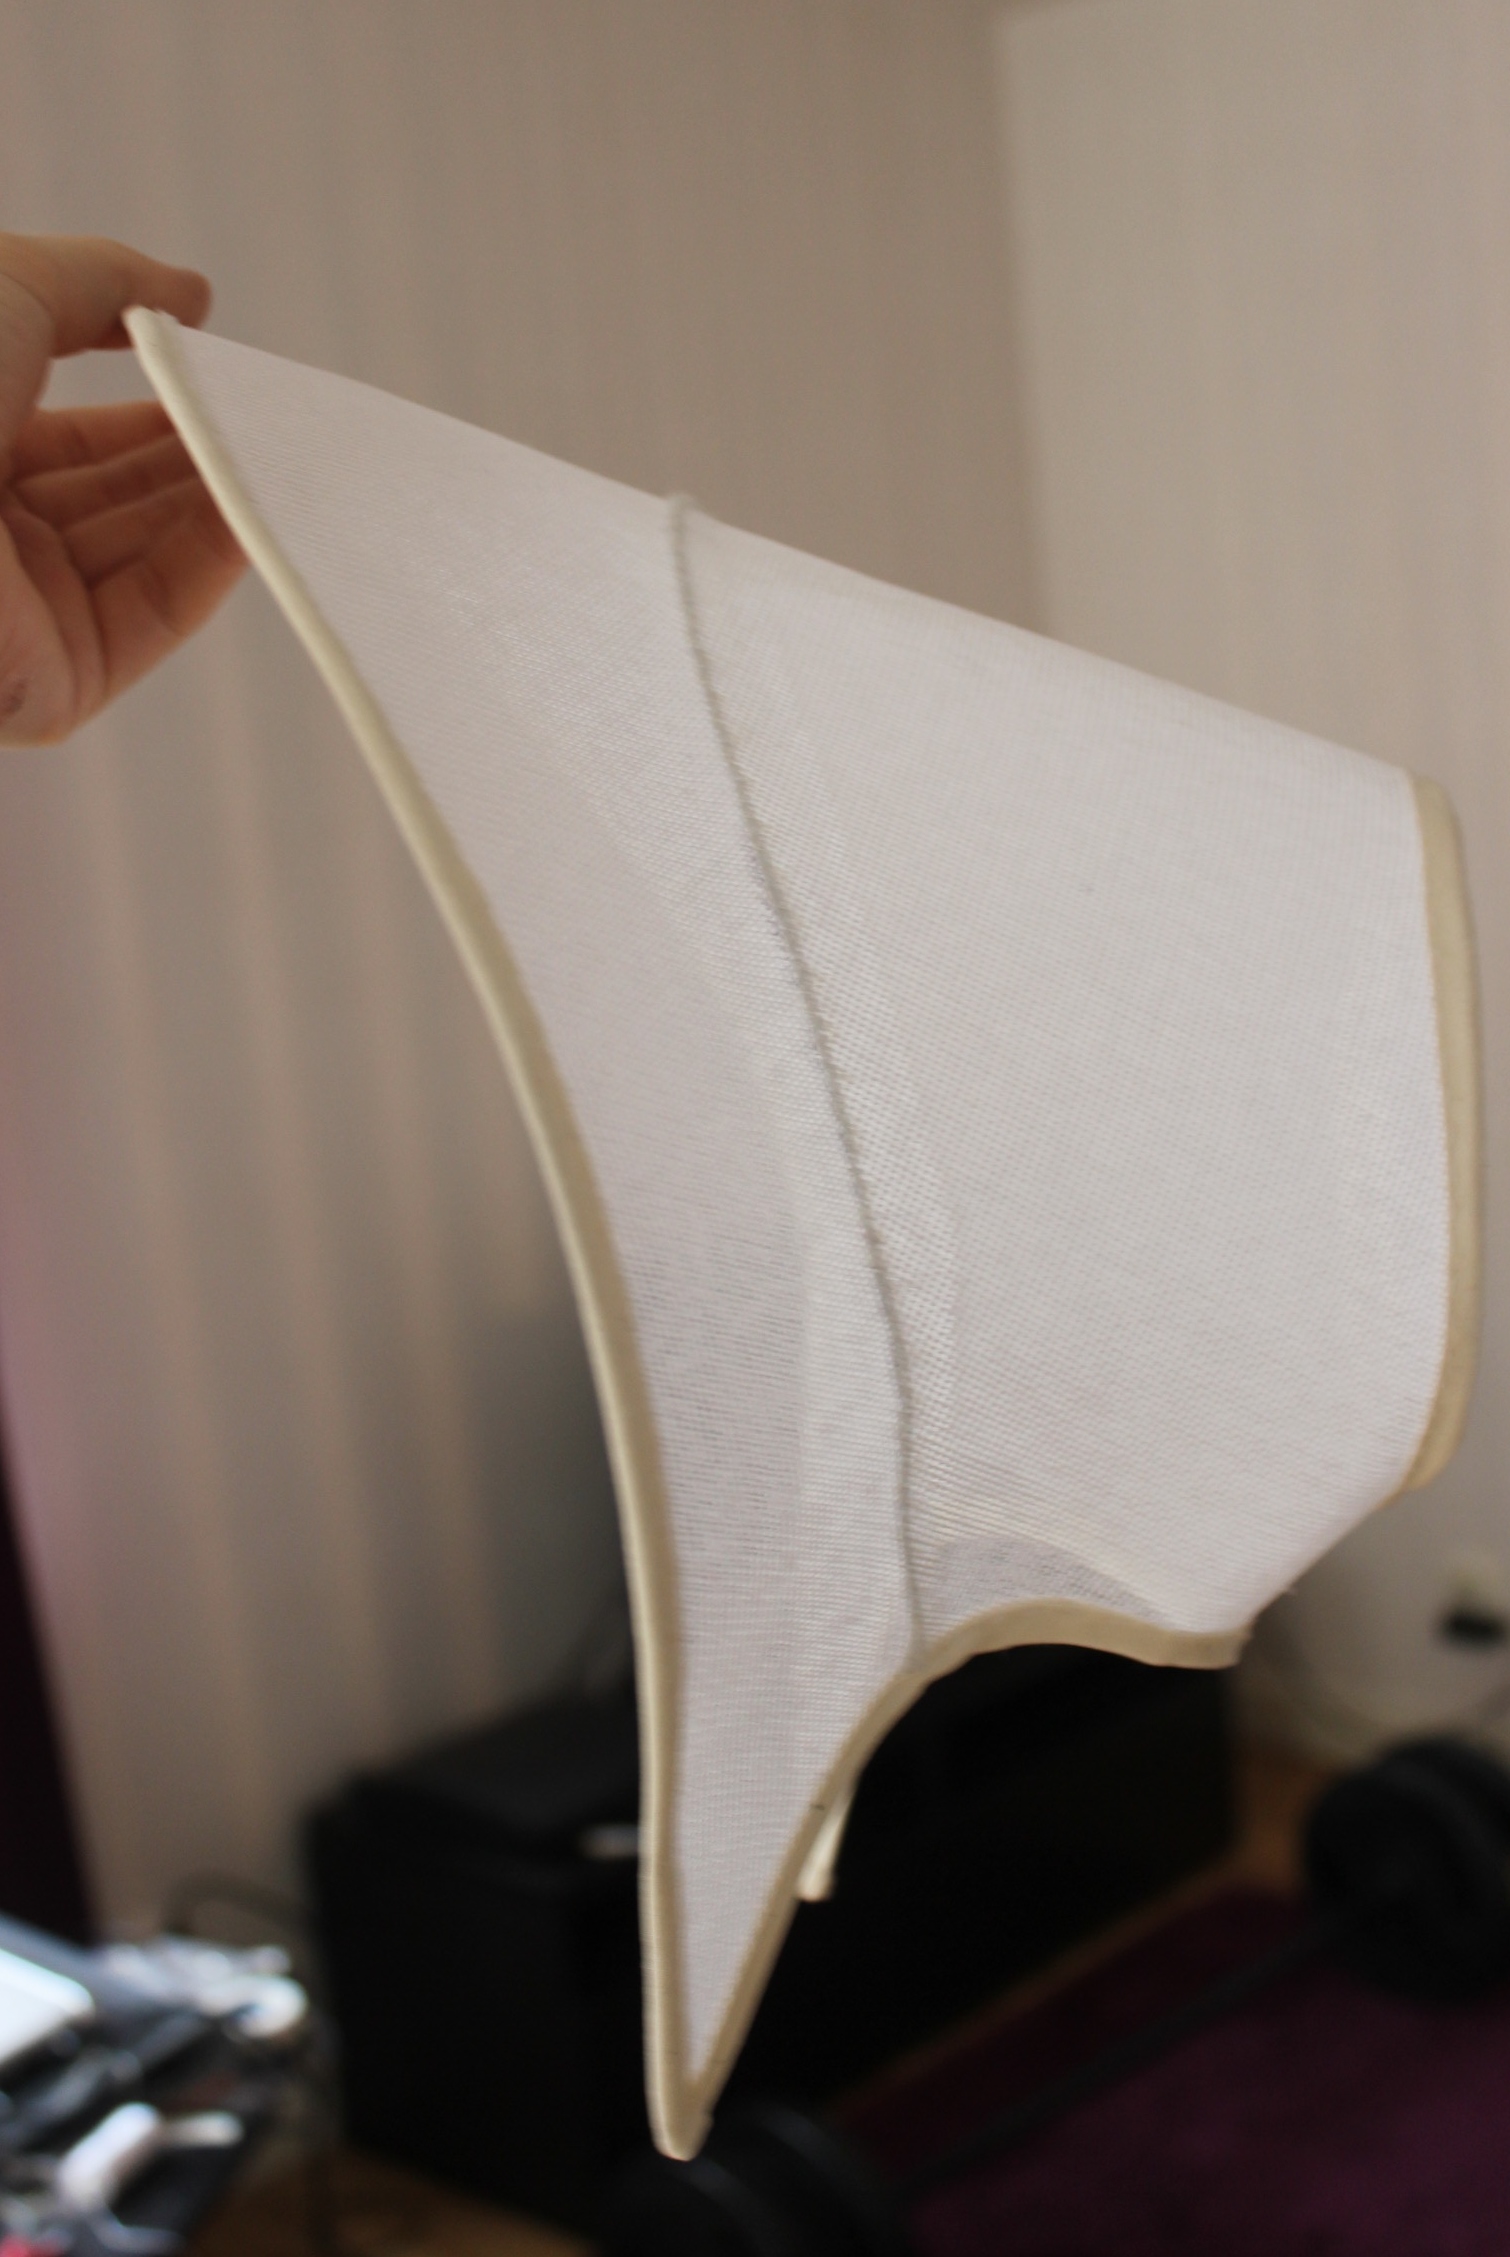
To get a better view of how the bonnets shape, I pinned the pieces together for a better look.
After trying it on, I decided to cut a few cm of of the brim.
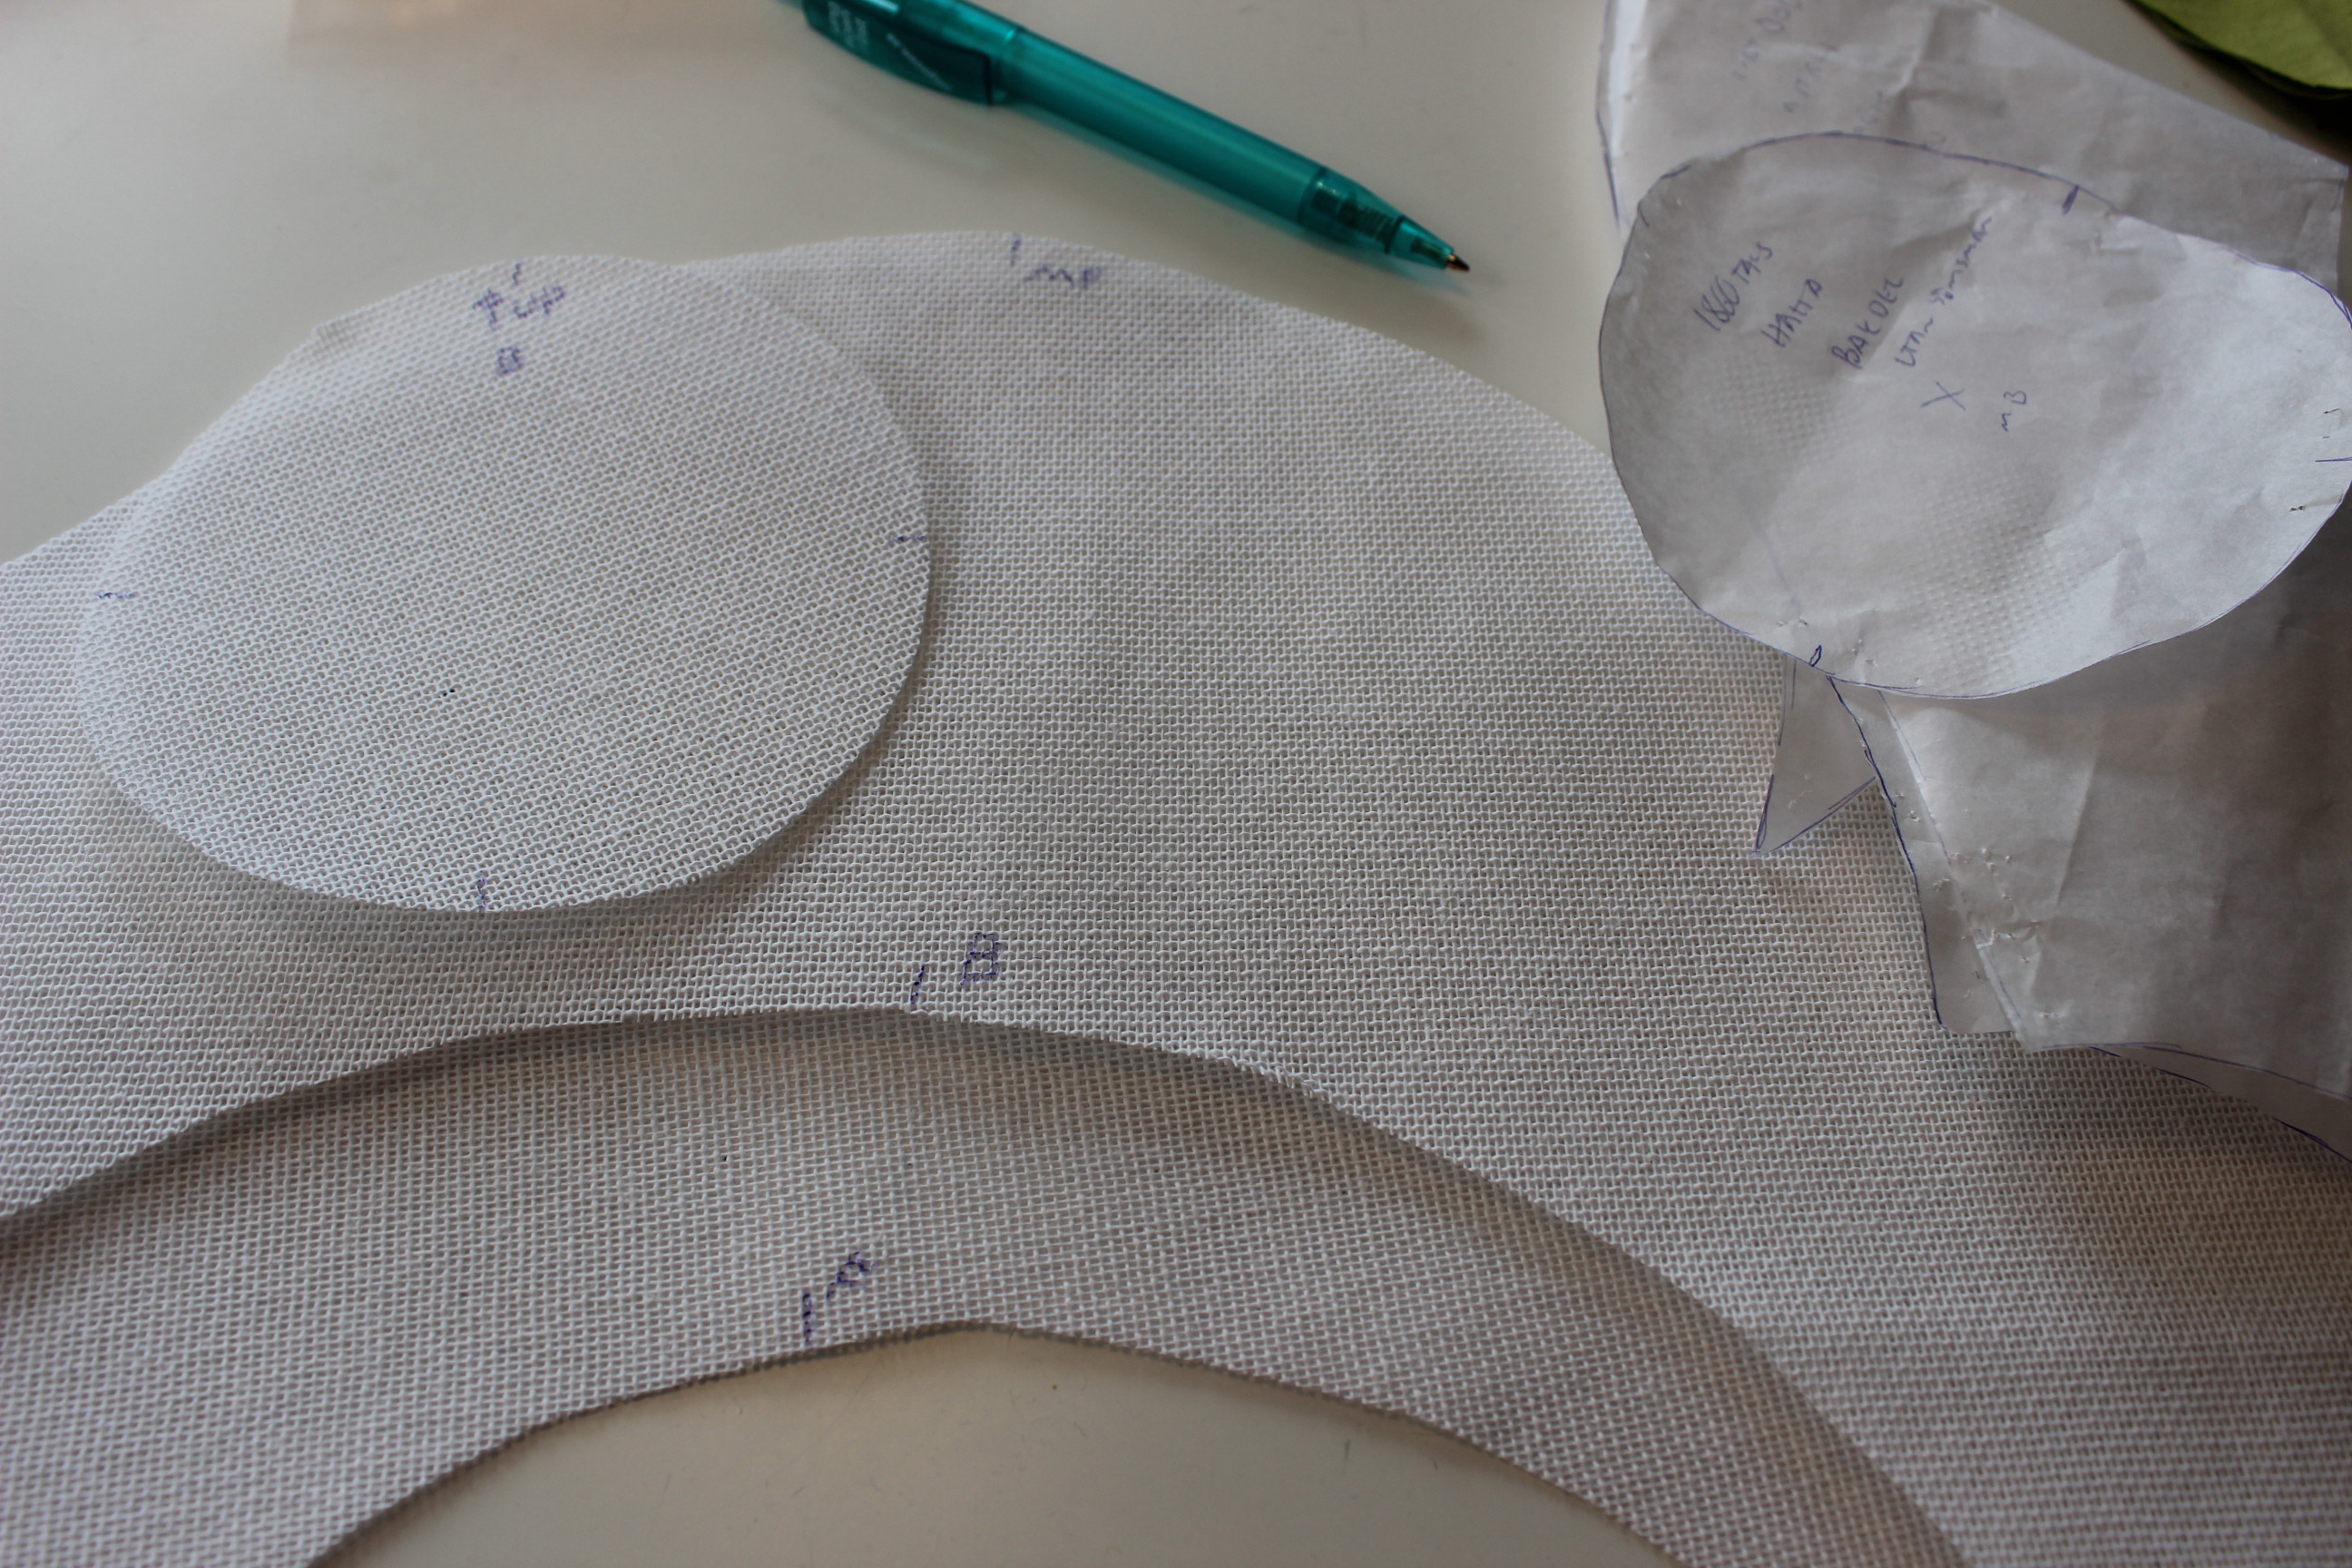
 Marking the pieces
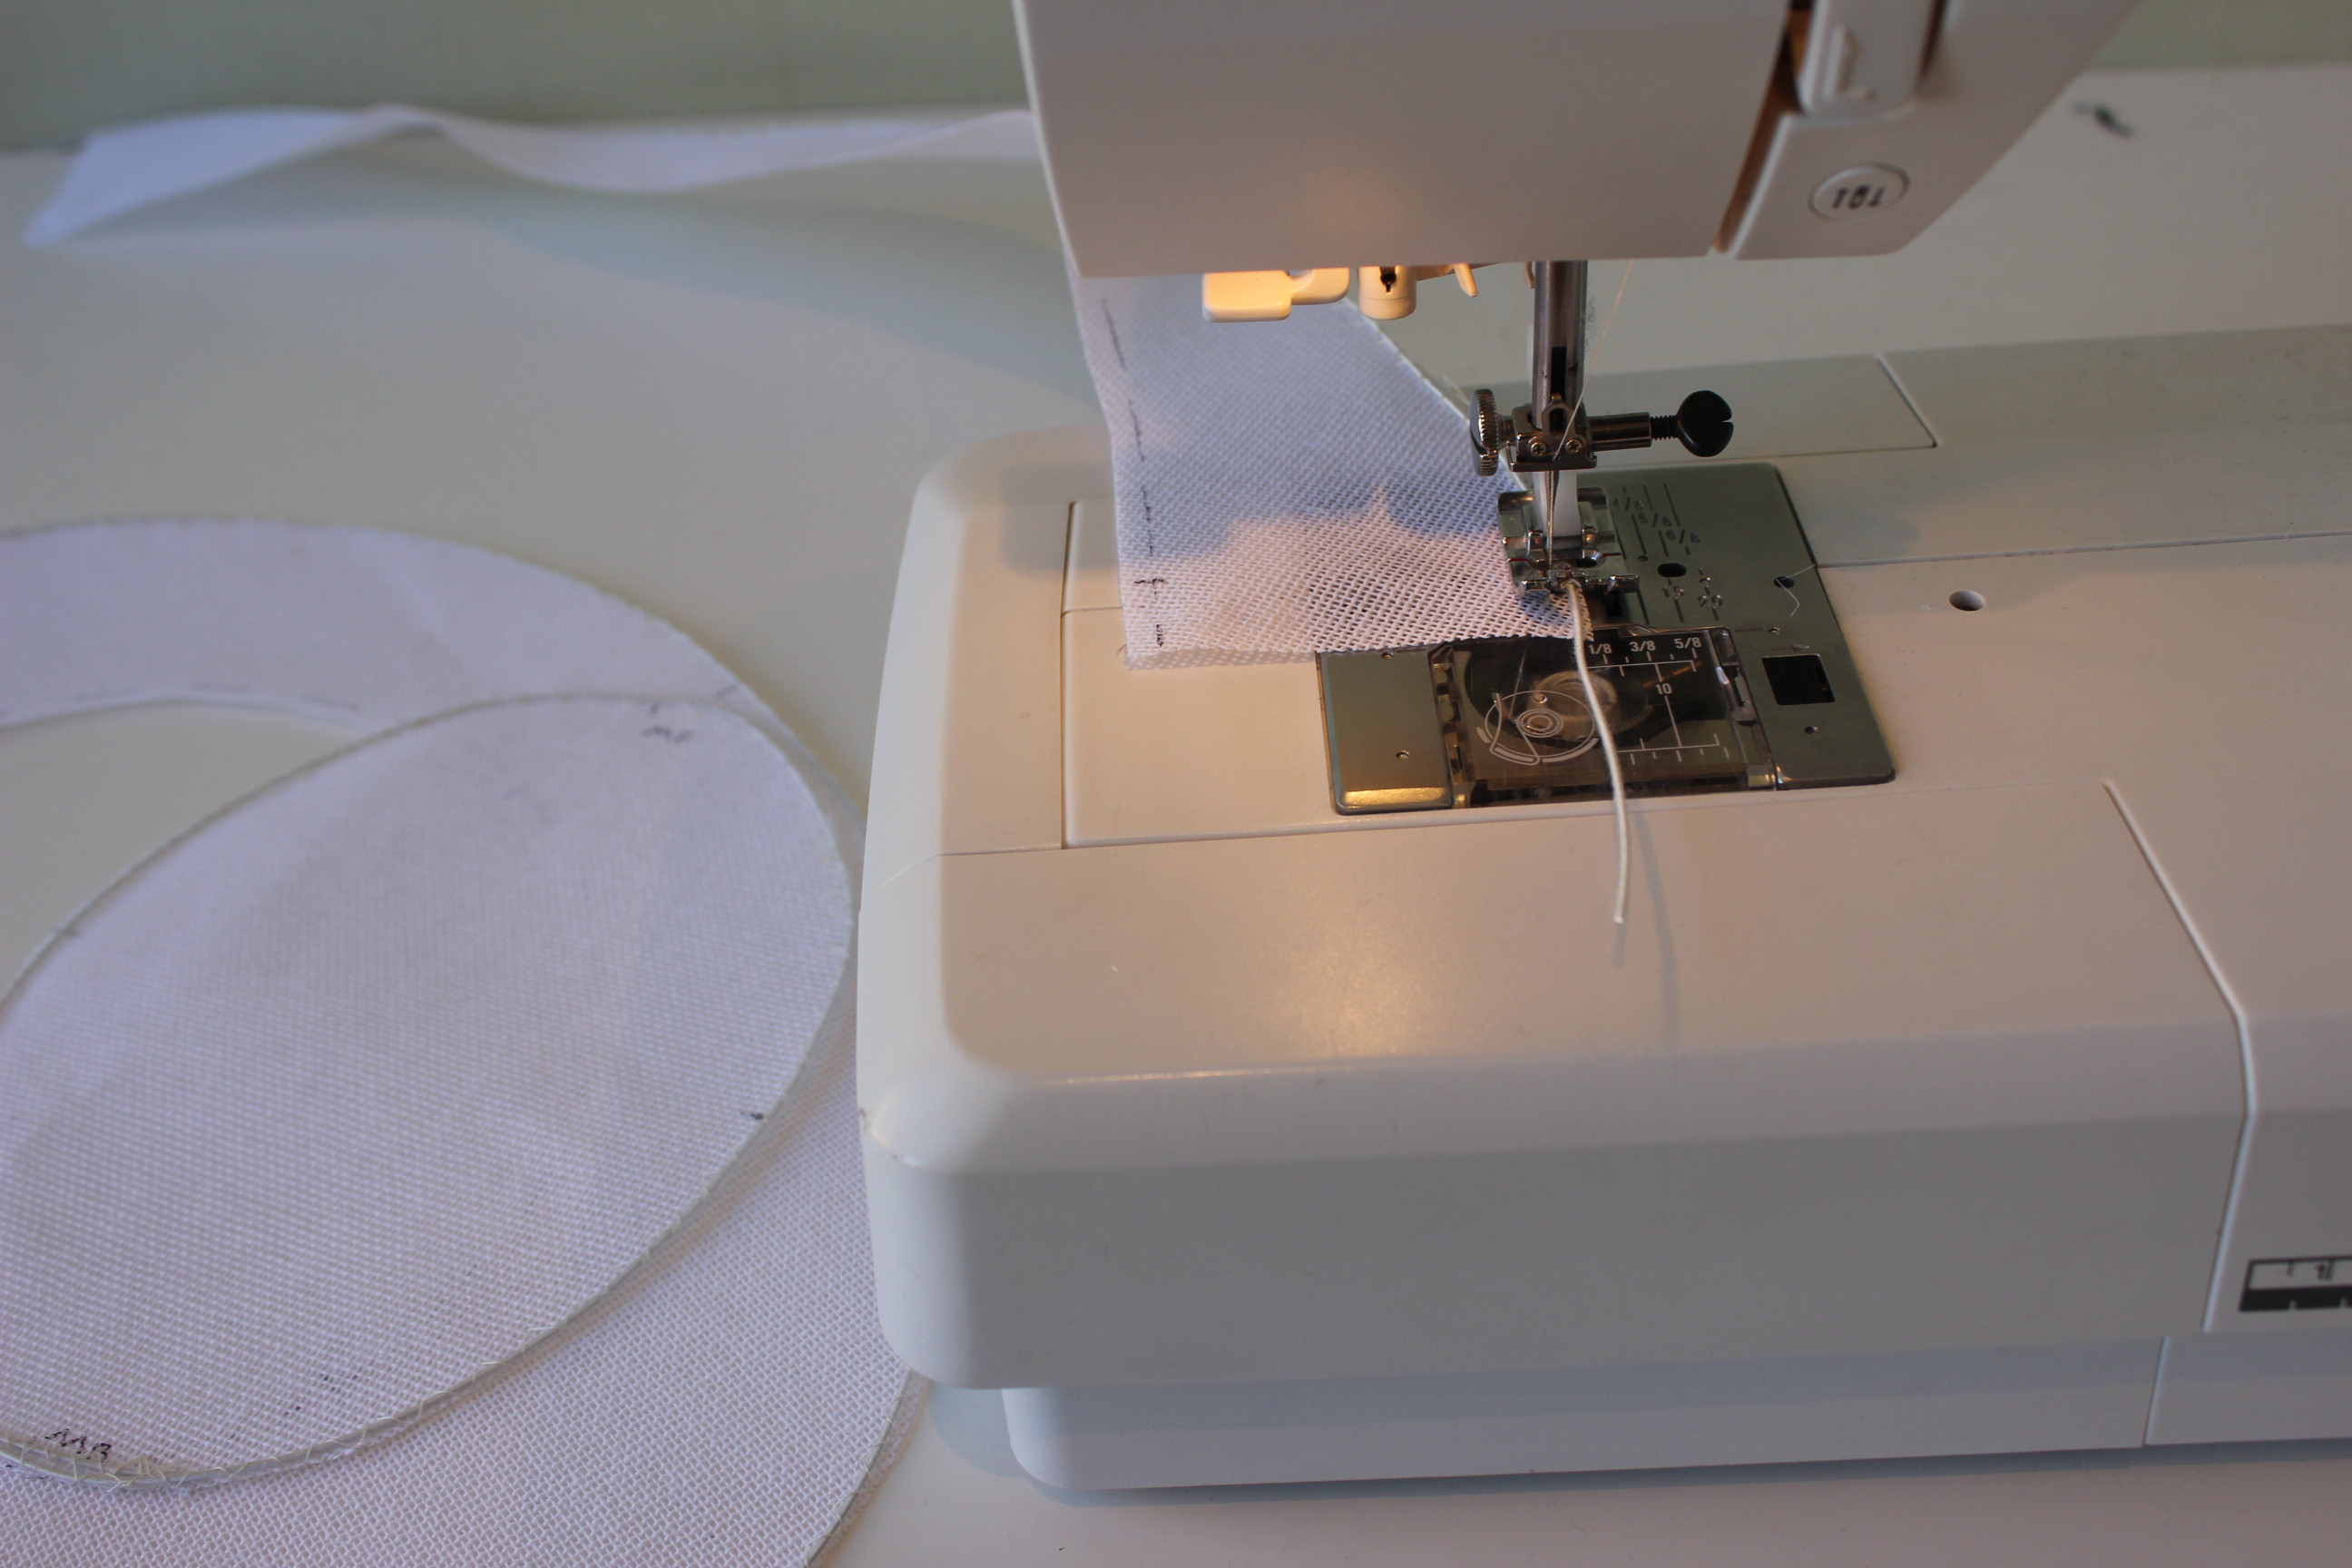
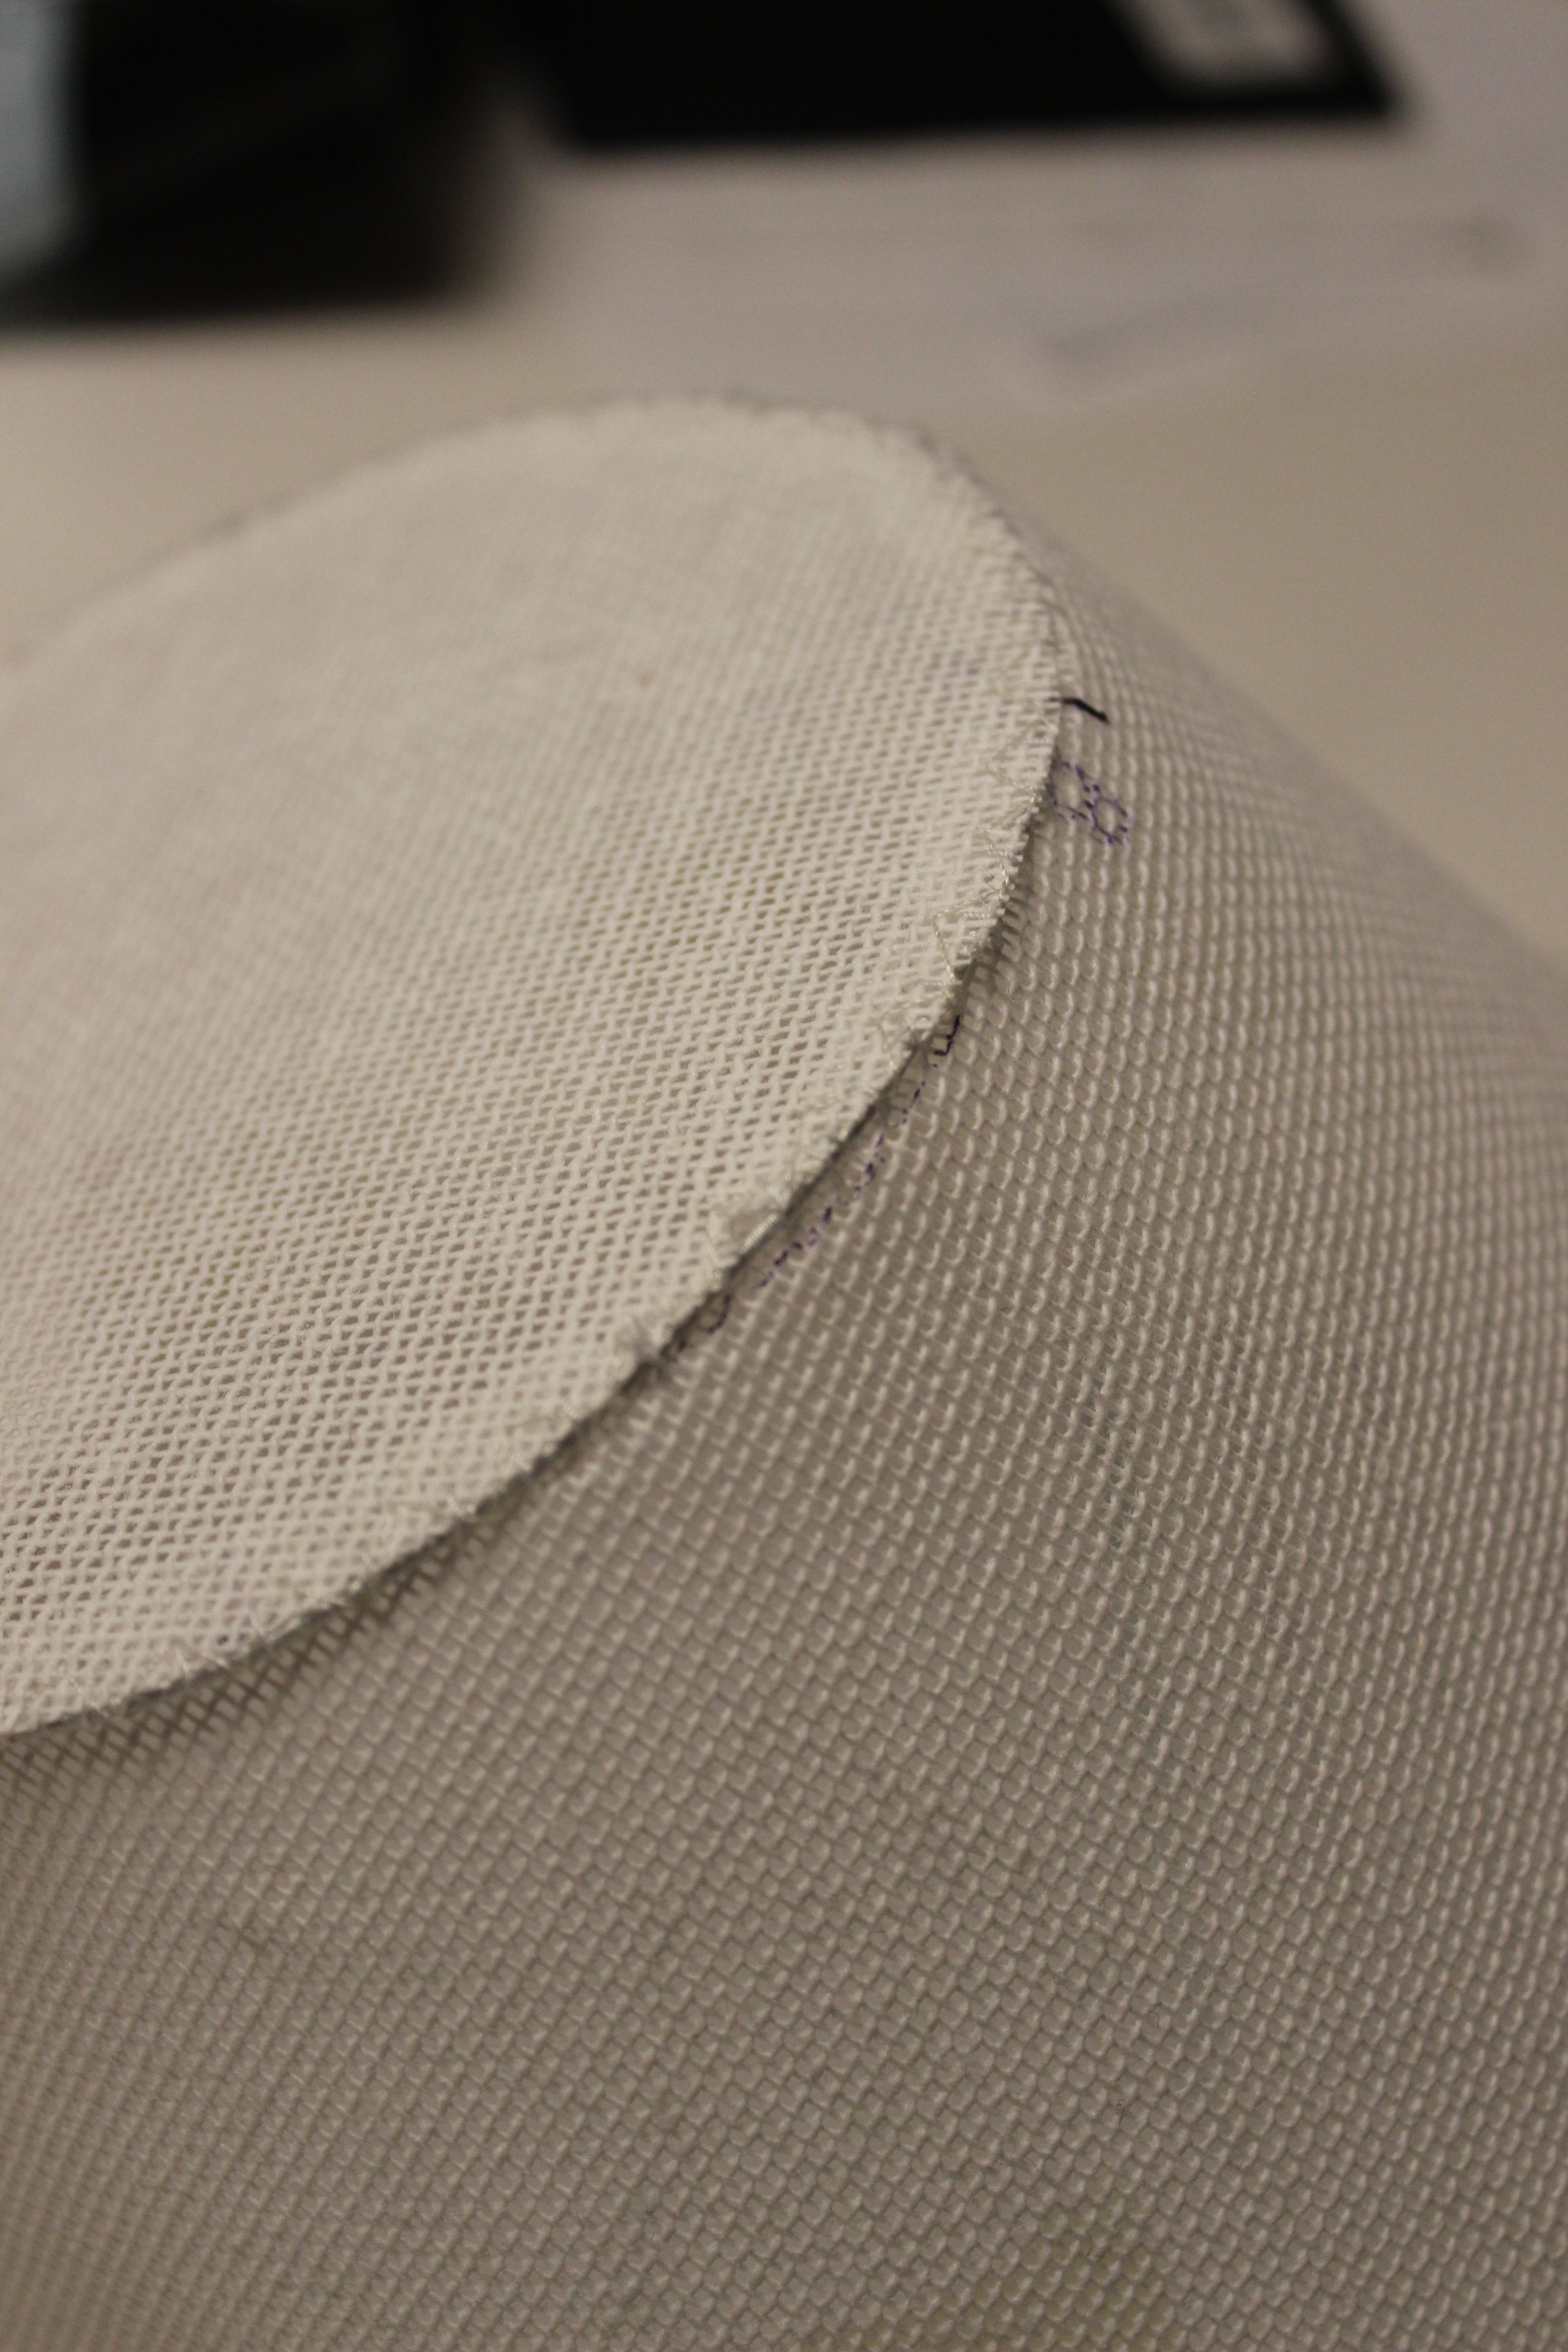
 Sewing the millinery wire to the buckram pieces.
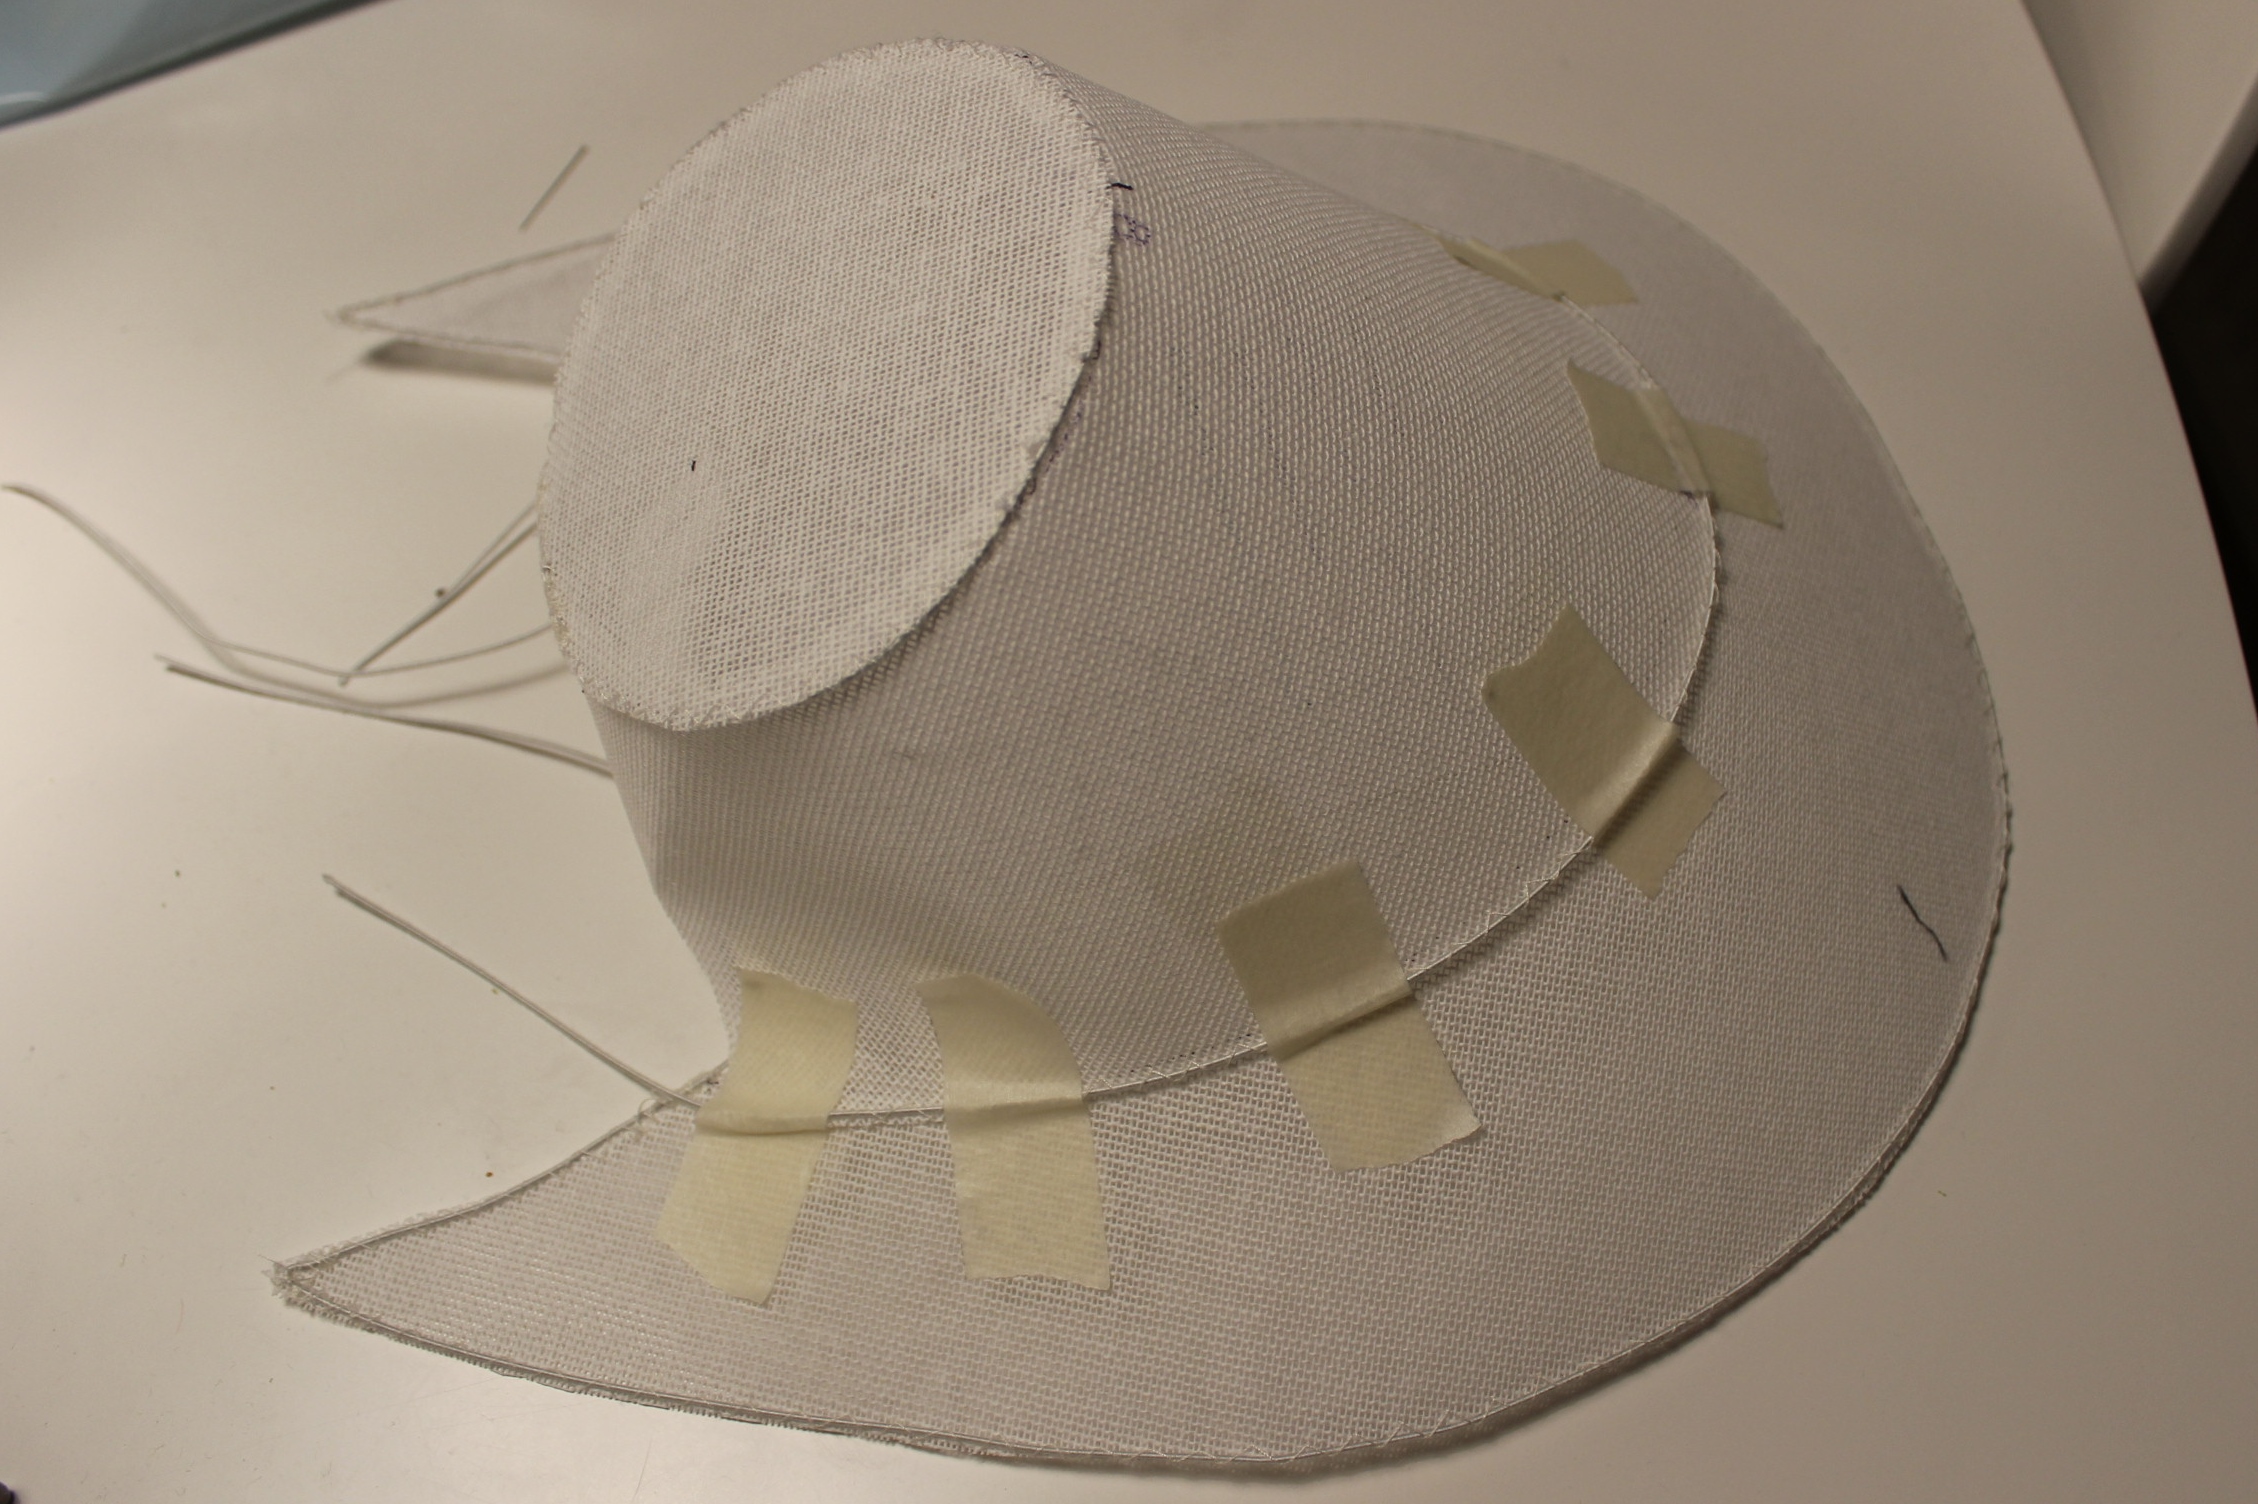
Then the pieces was ready to be stitched together.
To get them to line up perfectly I taped the together before I sewed.
 Back piece stitched to side piece.
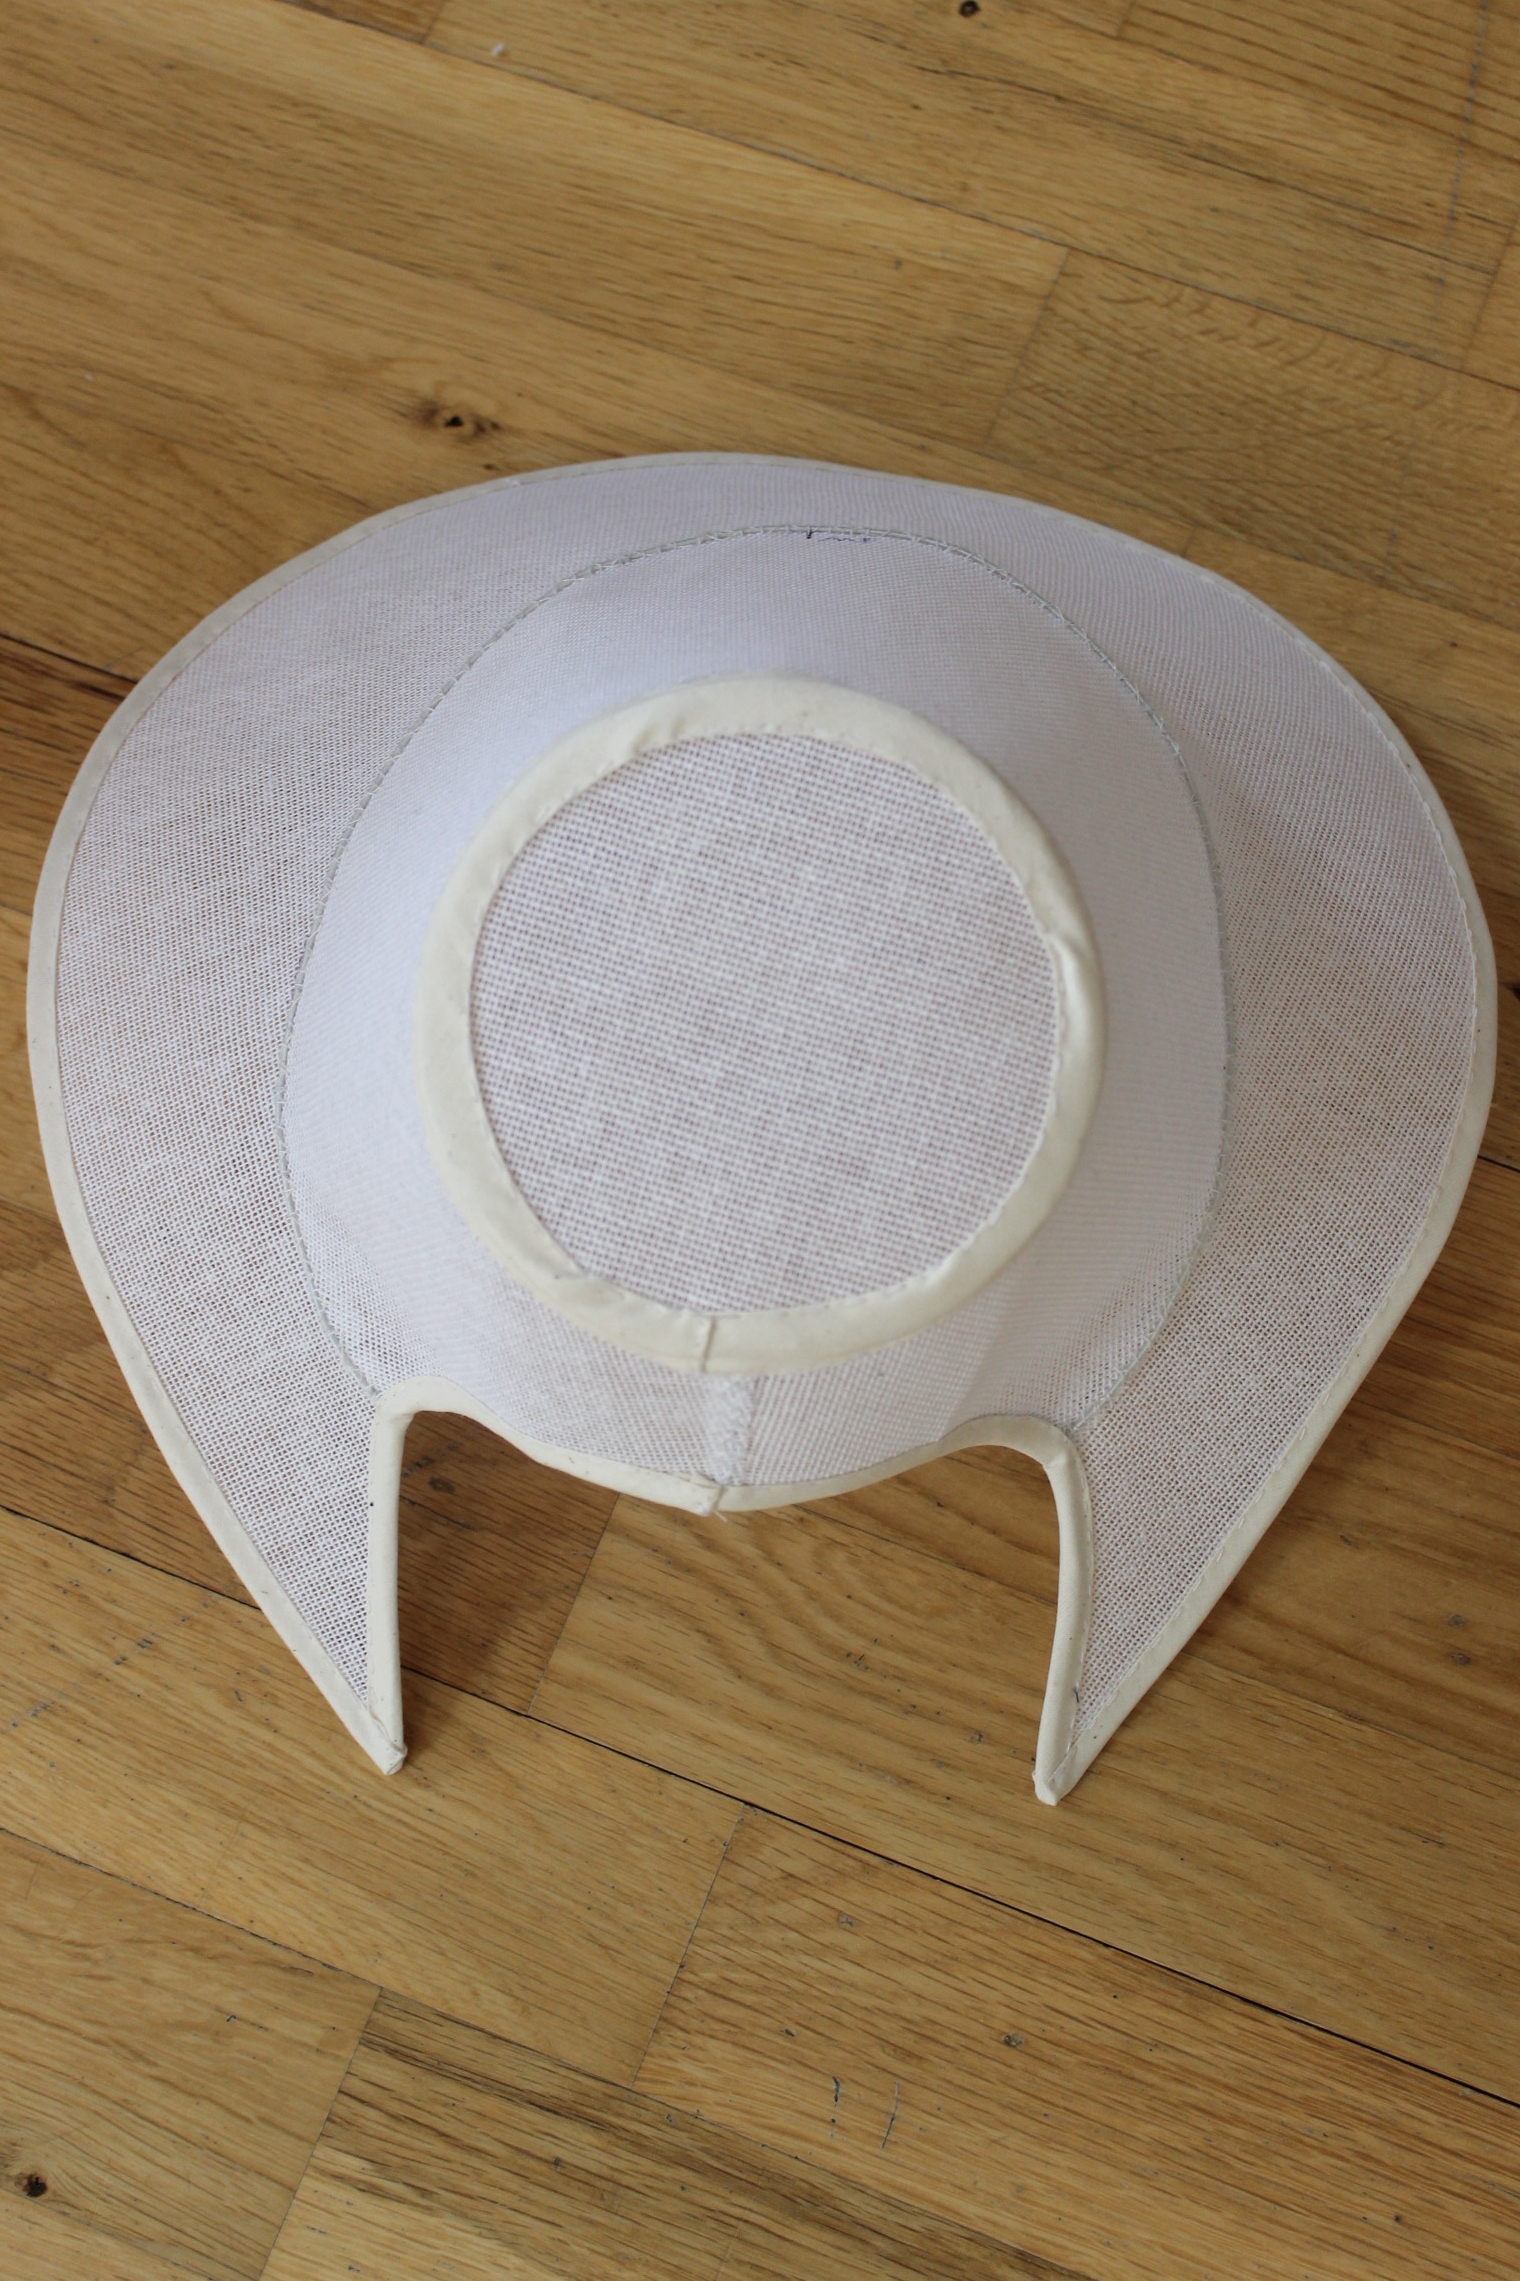
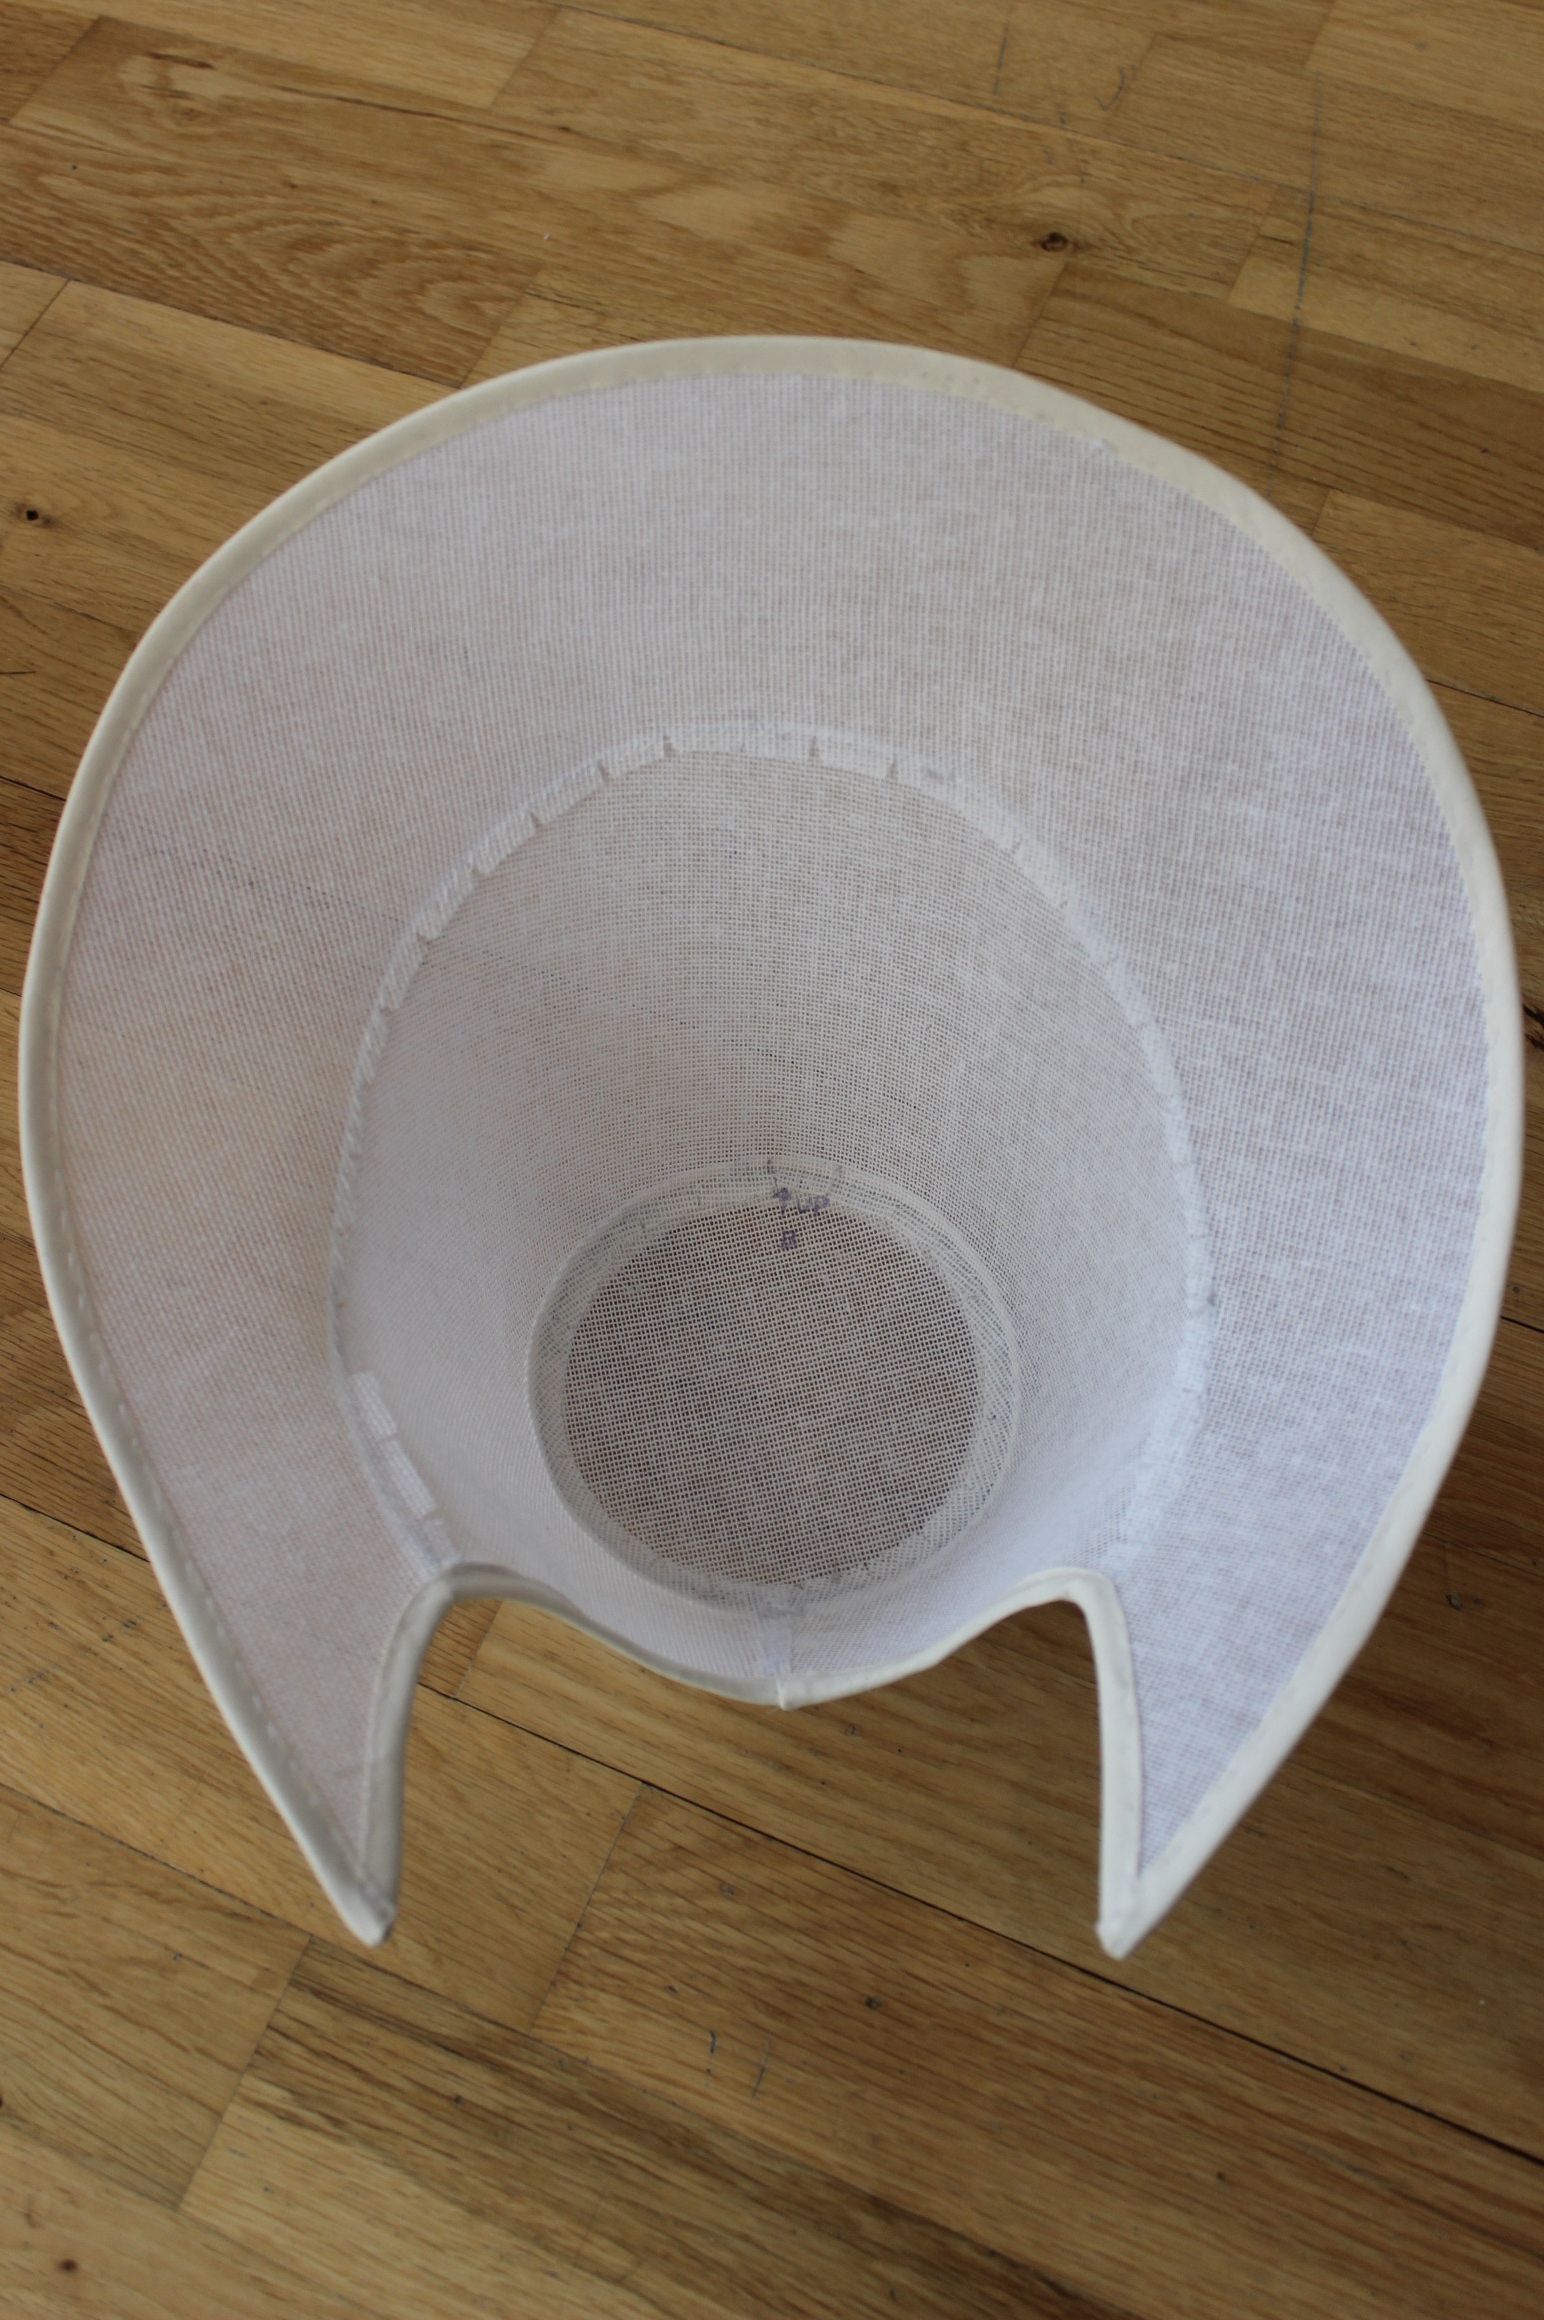
 A pretty nice buckram frame
Then I stitched bias-tape round every edge to keep the corners smooth underneath the fabric.
Finished frames:


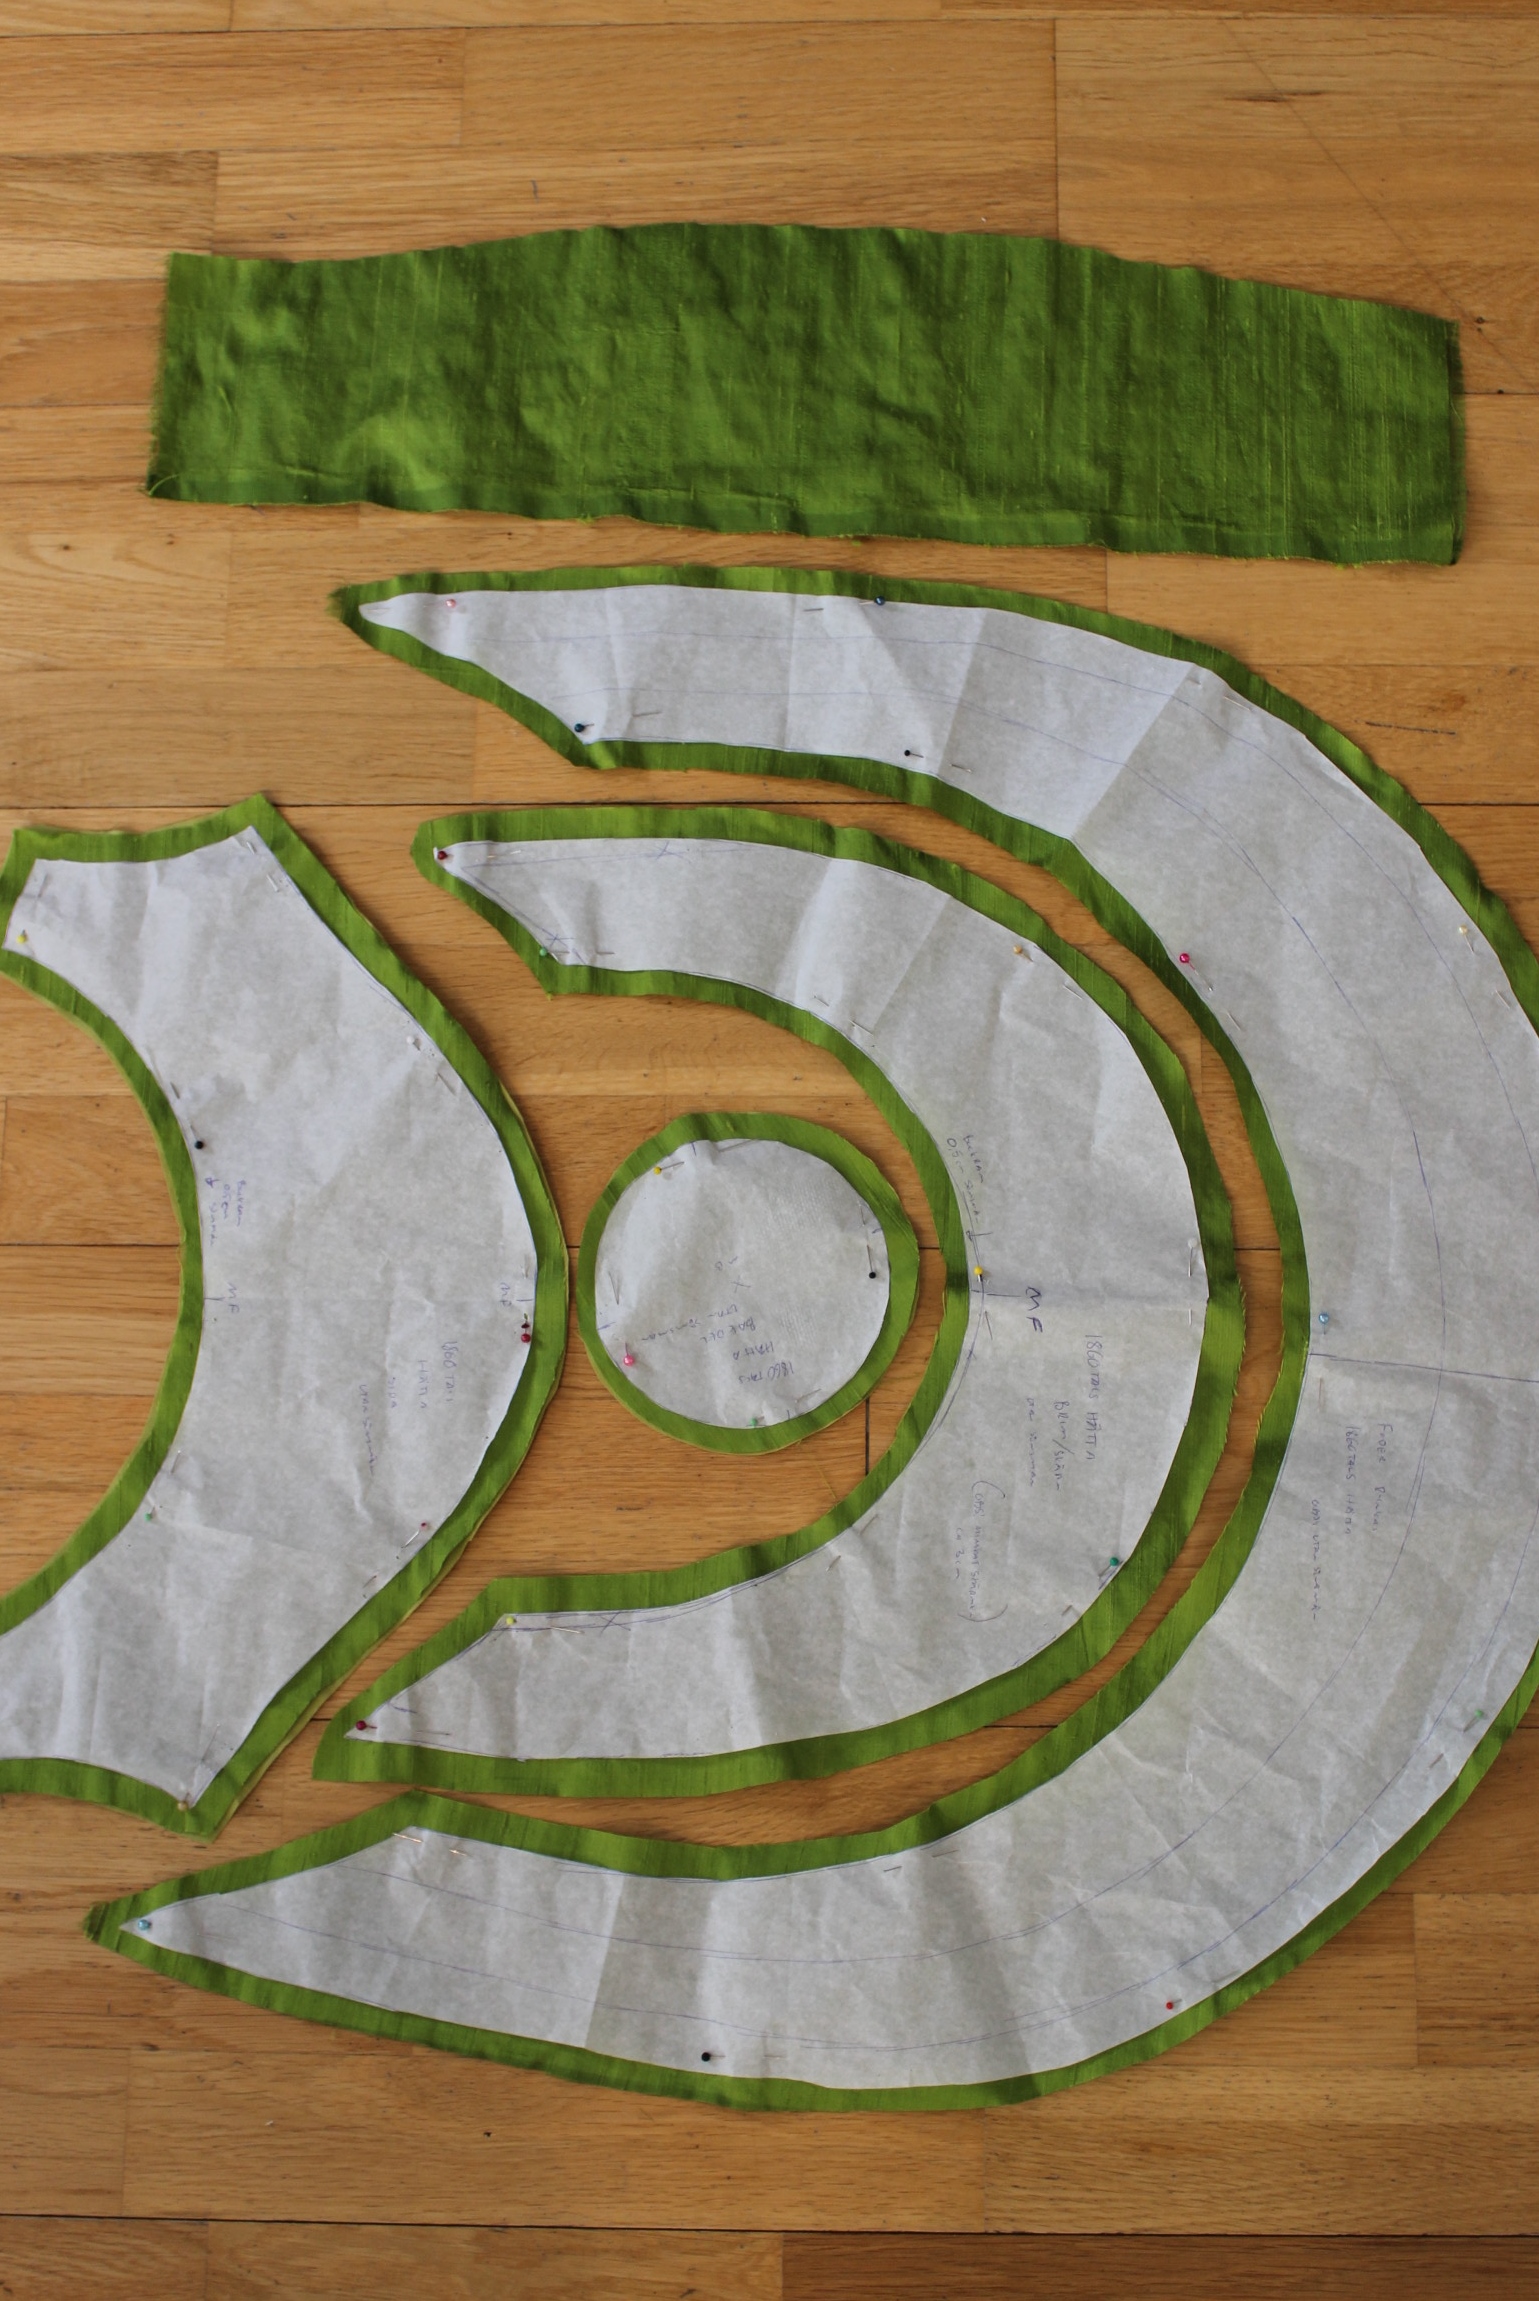
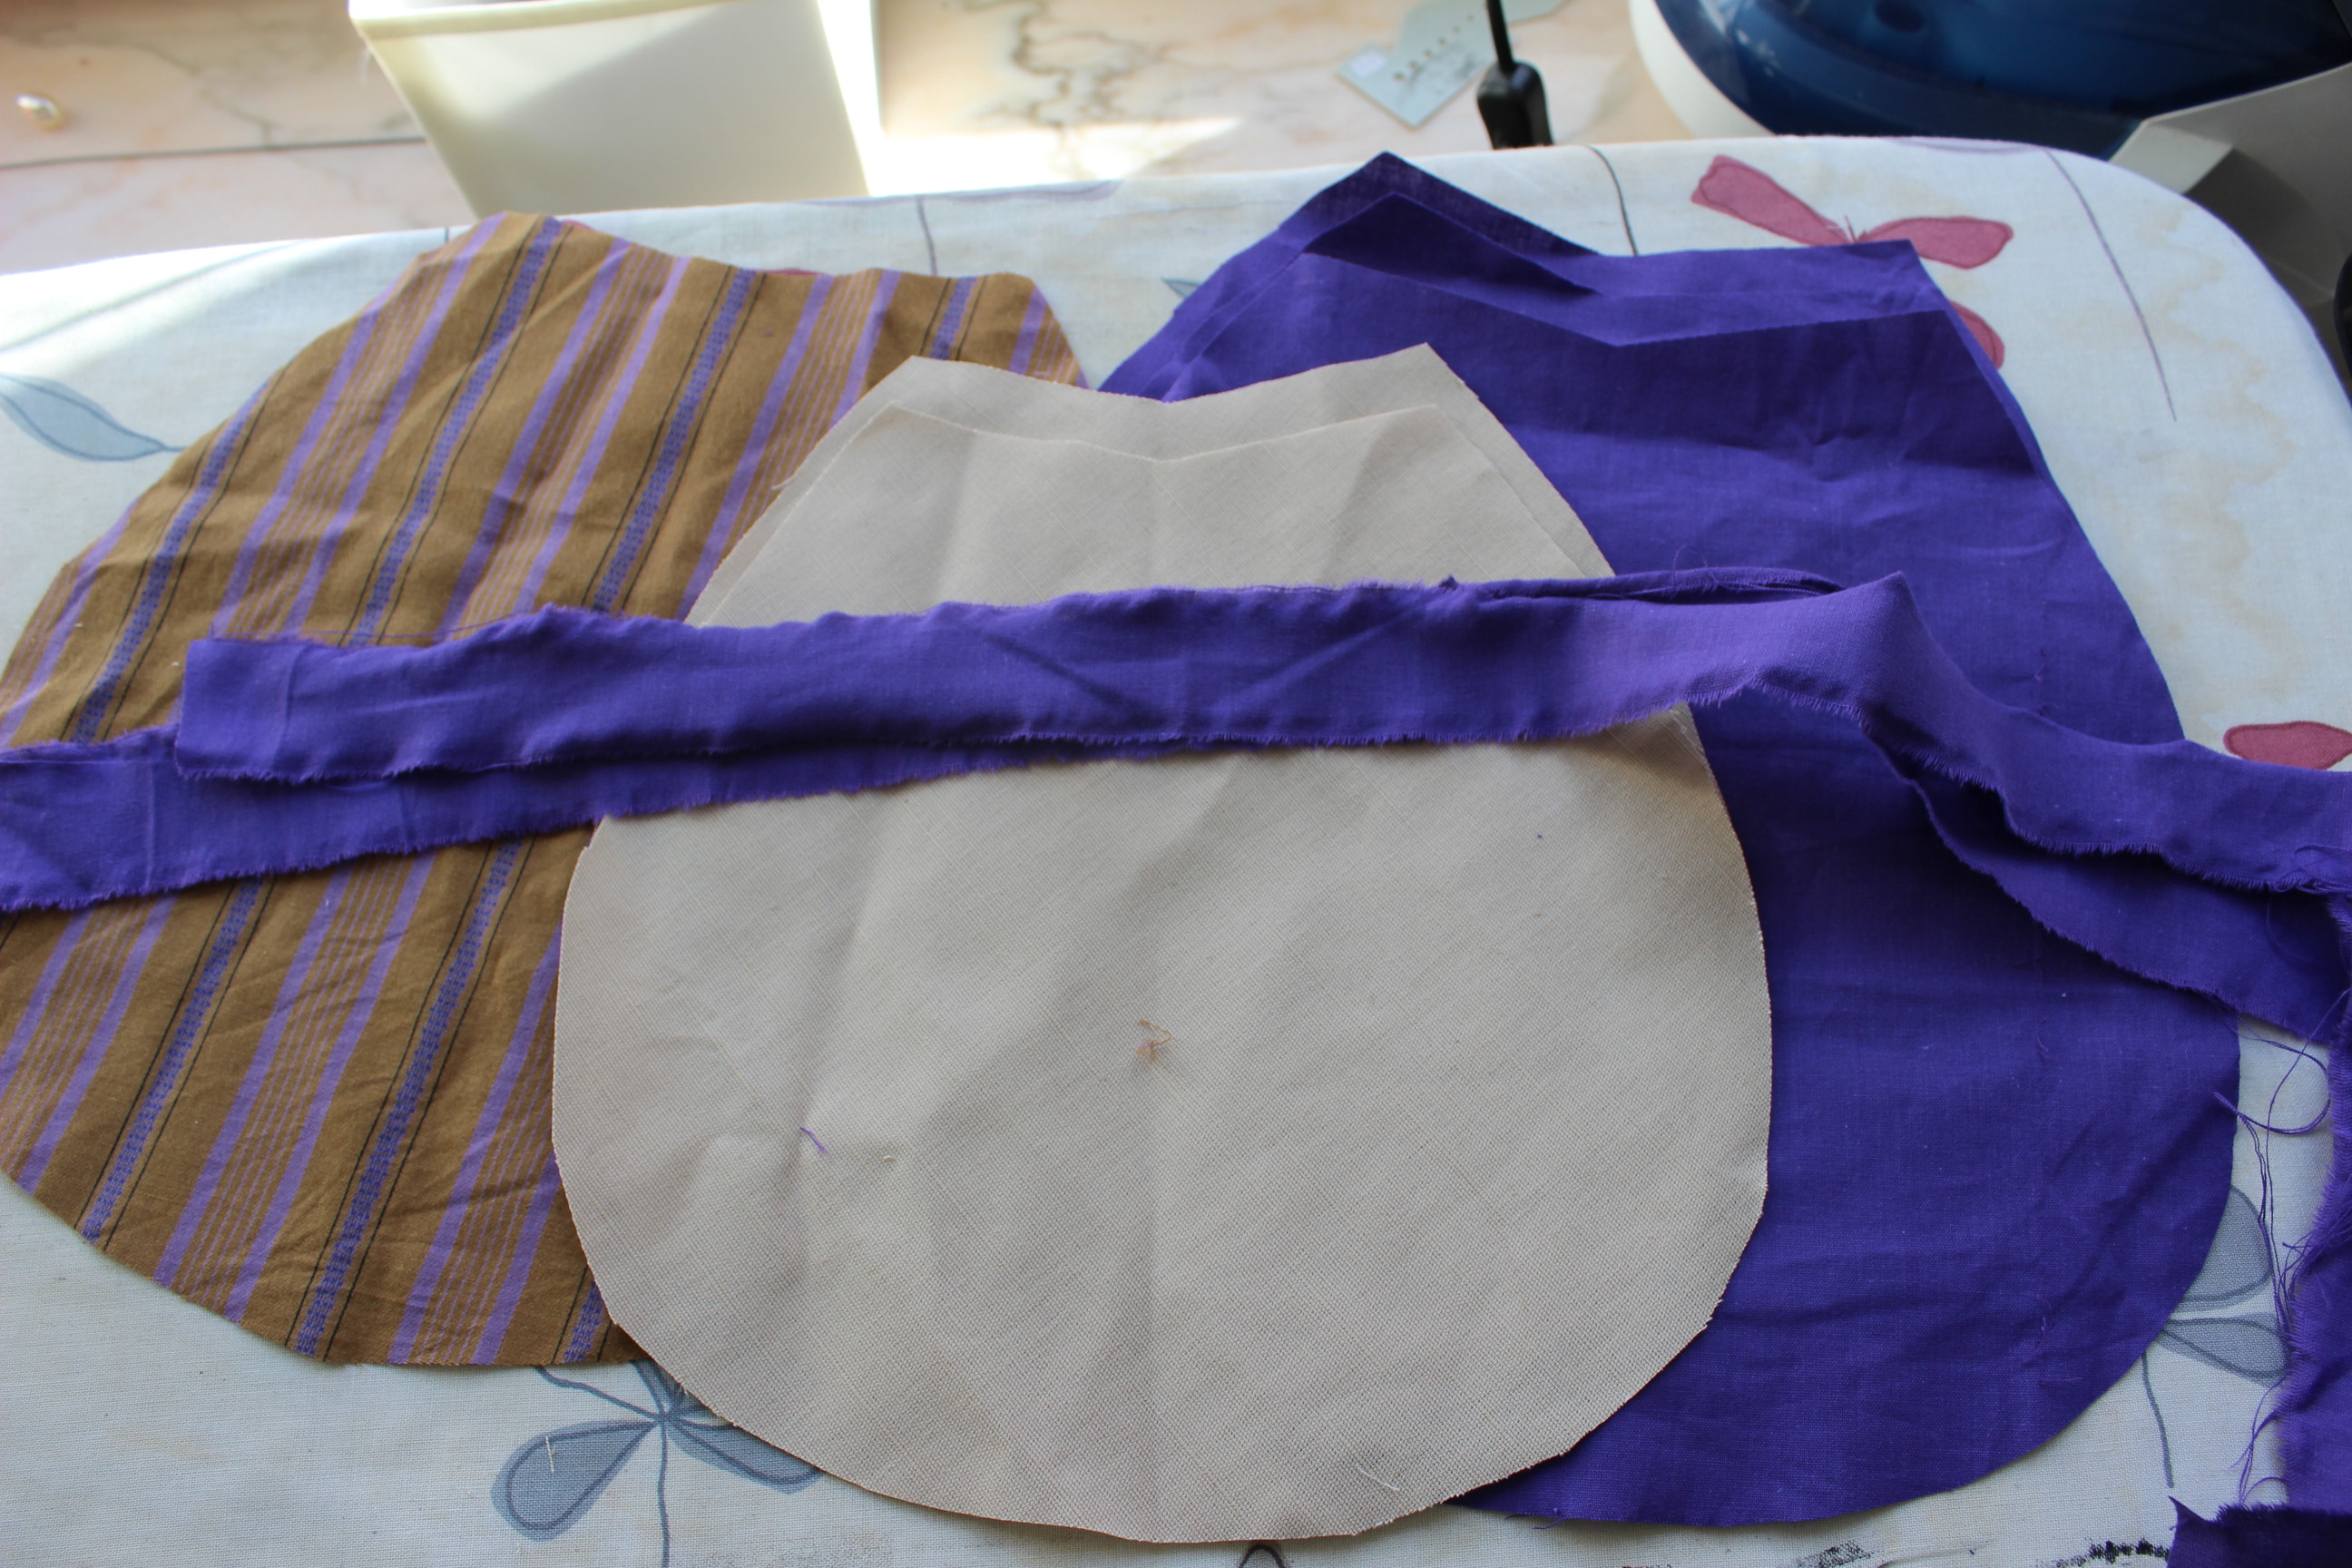
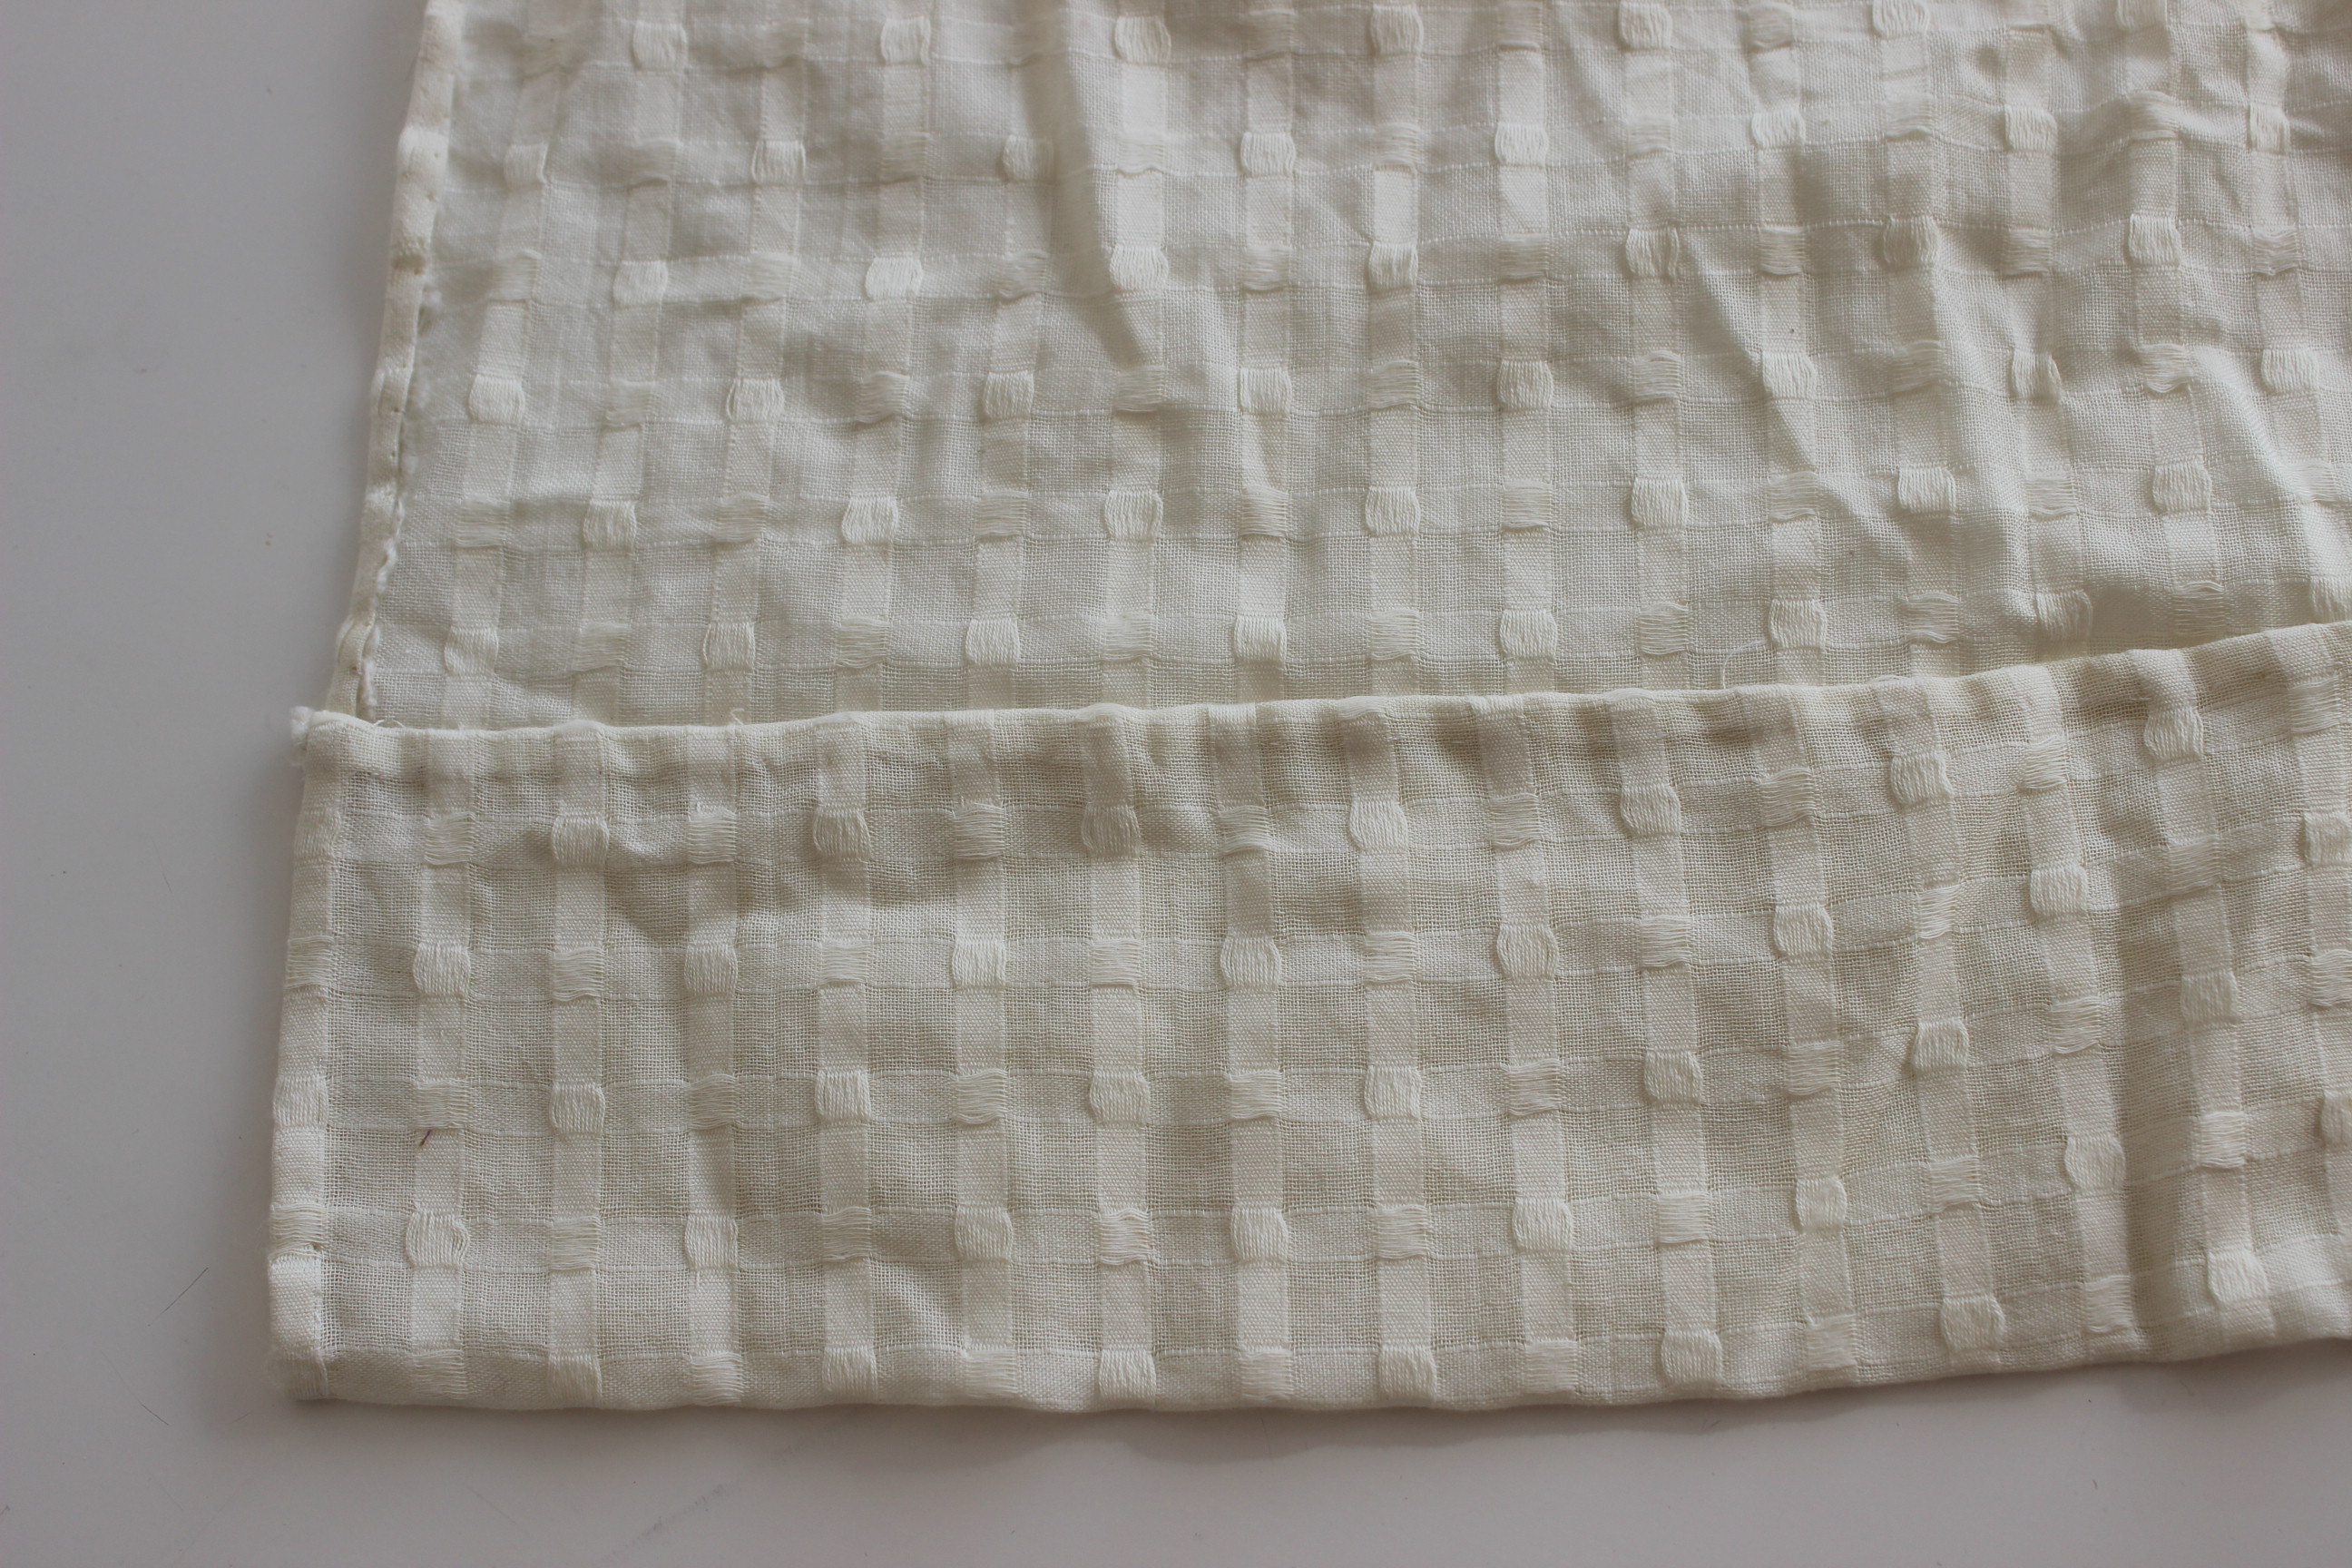
Then It was time to buy some fabric – deciding on green since that was one of the few colors in the store that would work with my dress (plaid white/blue) without being to obviously matching. 
 The cut pattern pieces.
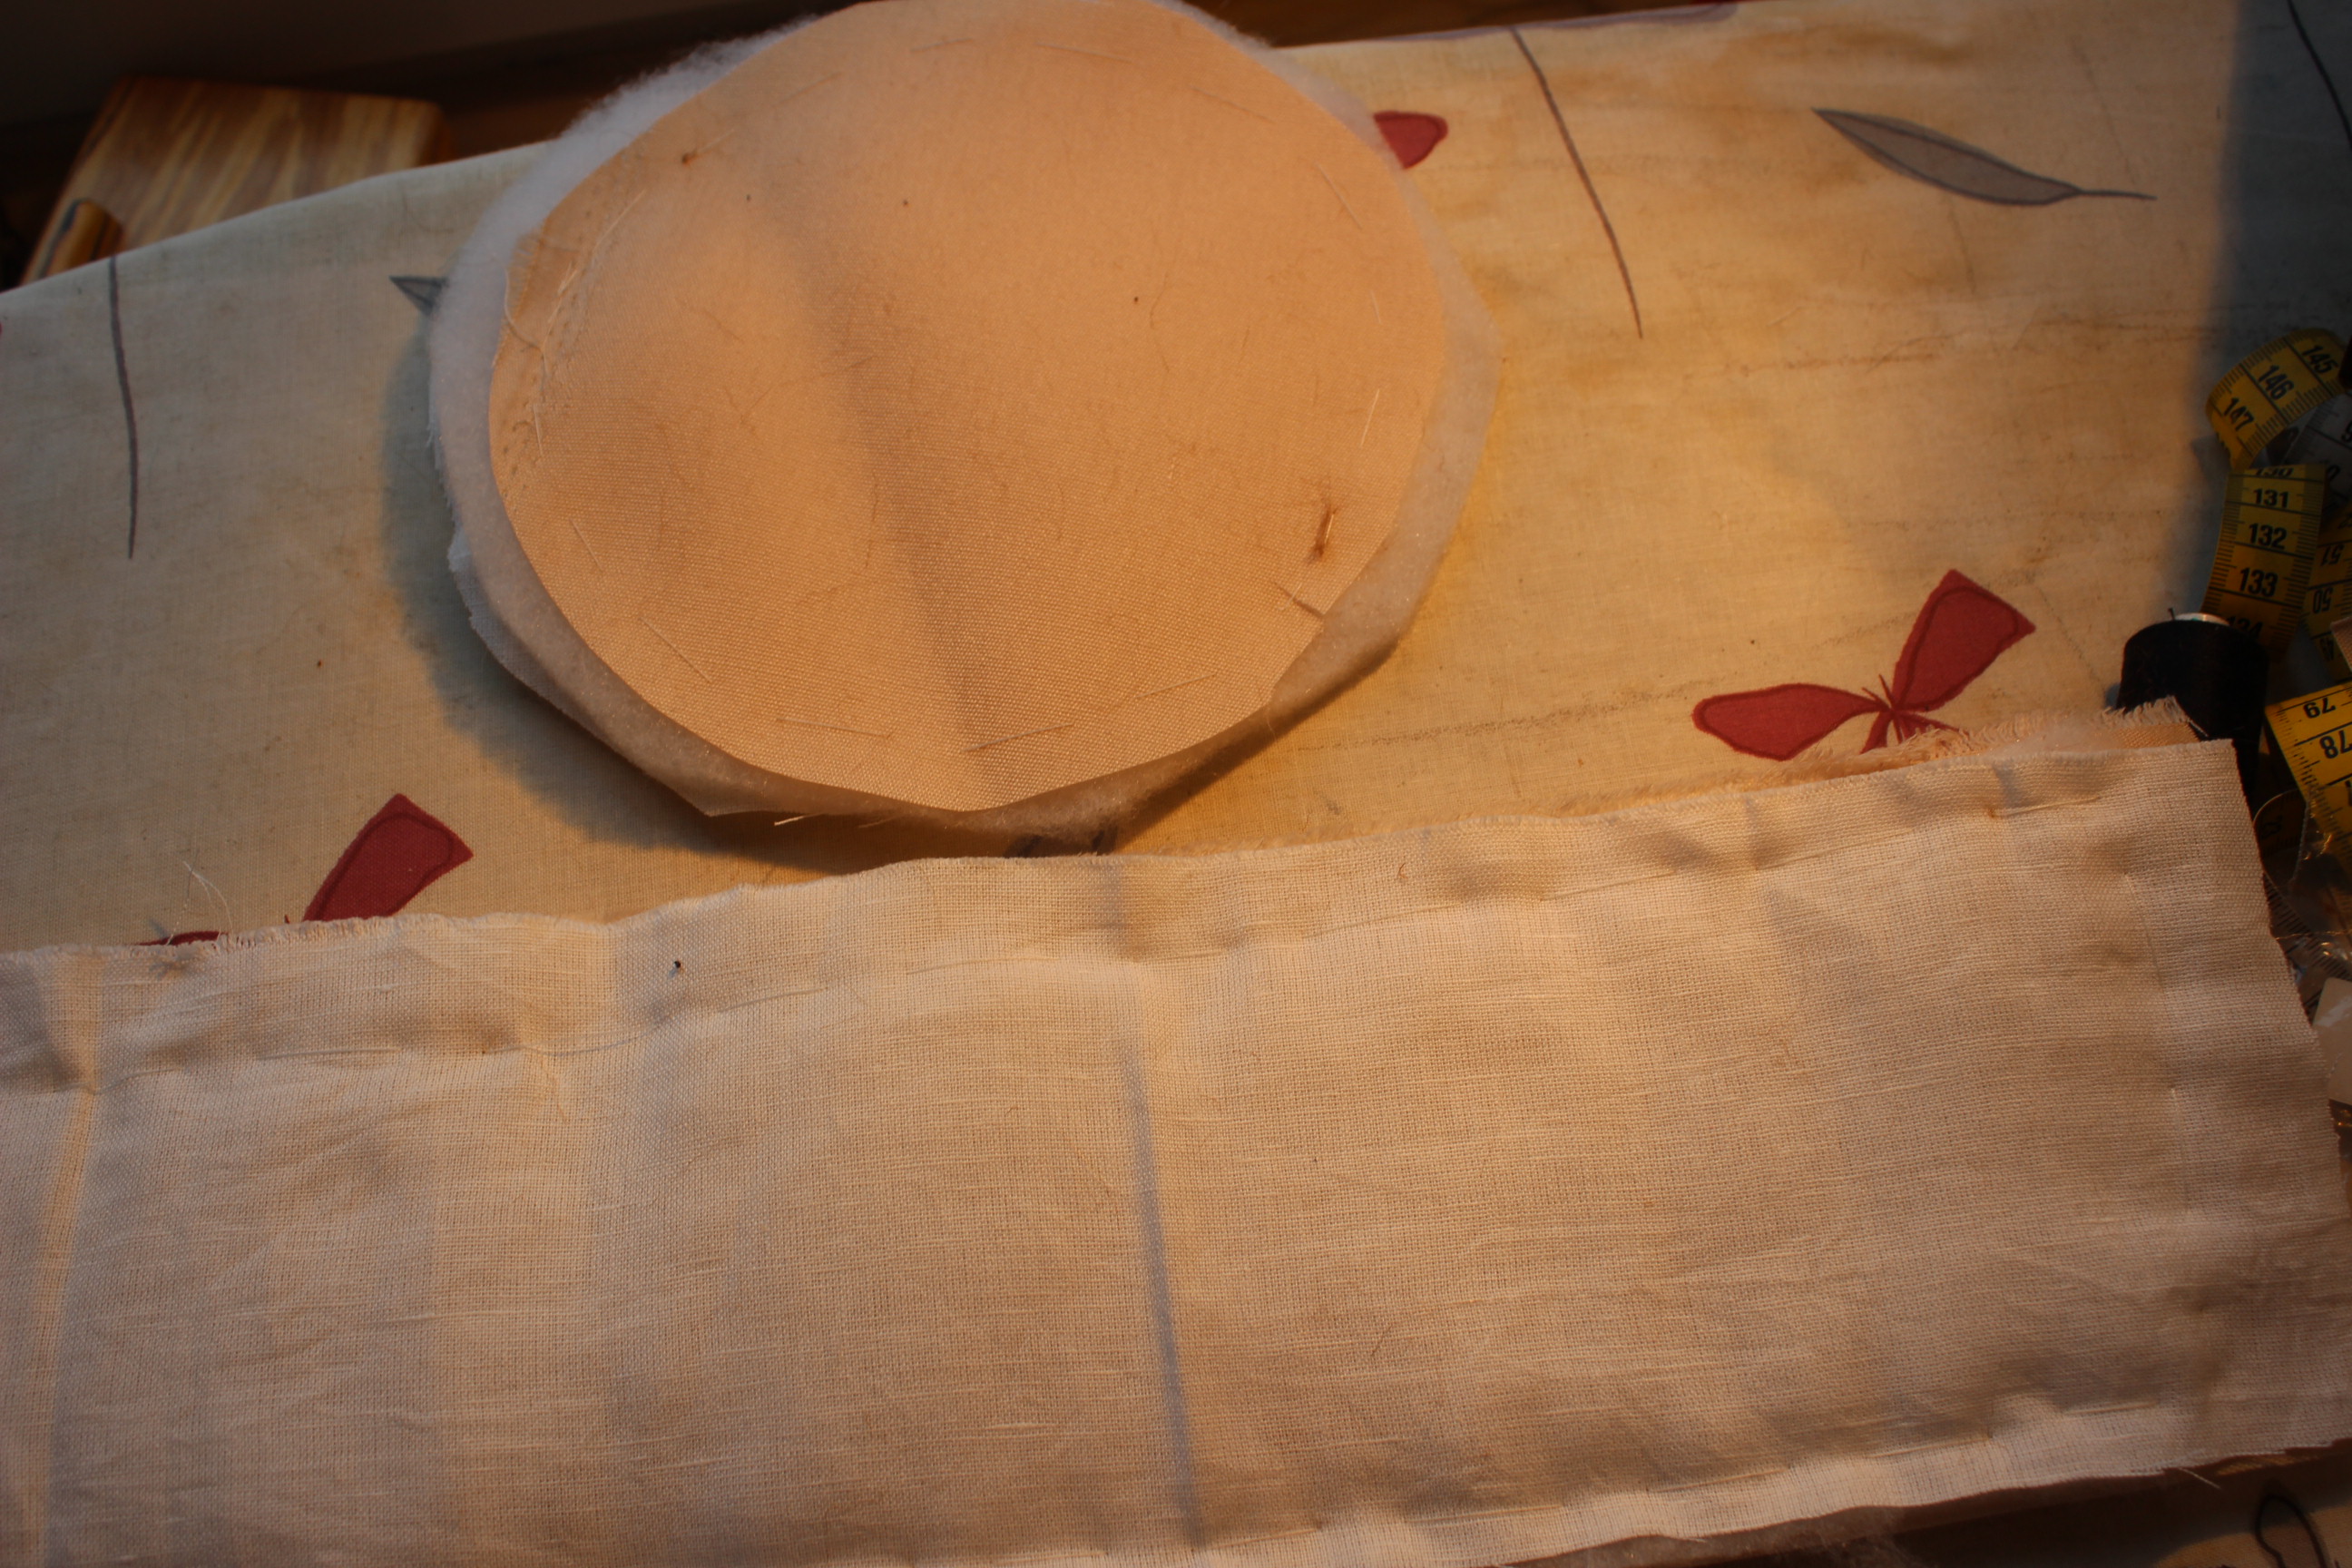
As directed in the pattern I also cut cotton bating and some scraps of light green cotton for lining. 
Before the fabric was to go on I needed to glue/stitch the batting on te frame to get an even smoother under layer for the silk.
Sadly I forgot to take pictures of this step, but basically I just glued around the edges of the frame pieces and carefully attached the batting to it.
Then it was time for the outer fabric.
(bad at photographing here too – I was working late at night, and didn’t had the camera on hand)
But I started with the crown, working downwards, basting all the edges and the carefully stitching the fabric pieces together.


 Silk all stitched on.
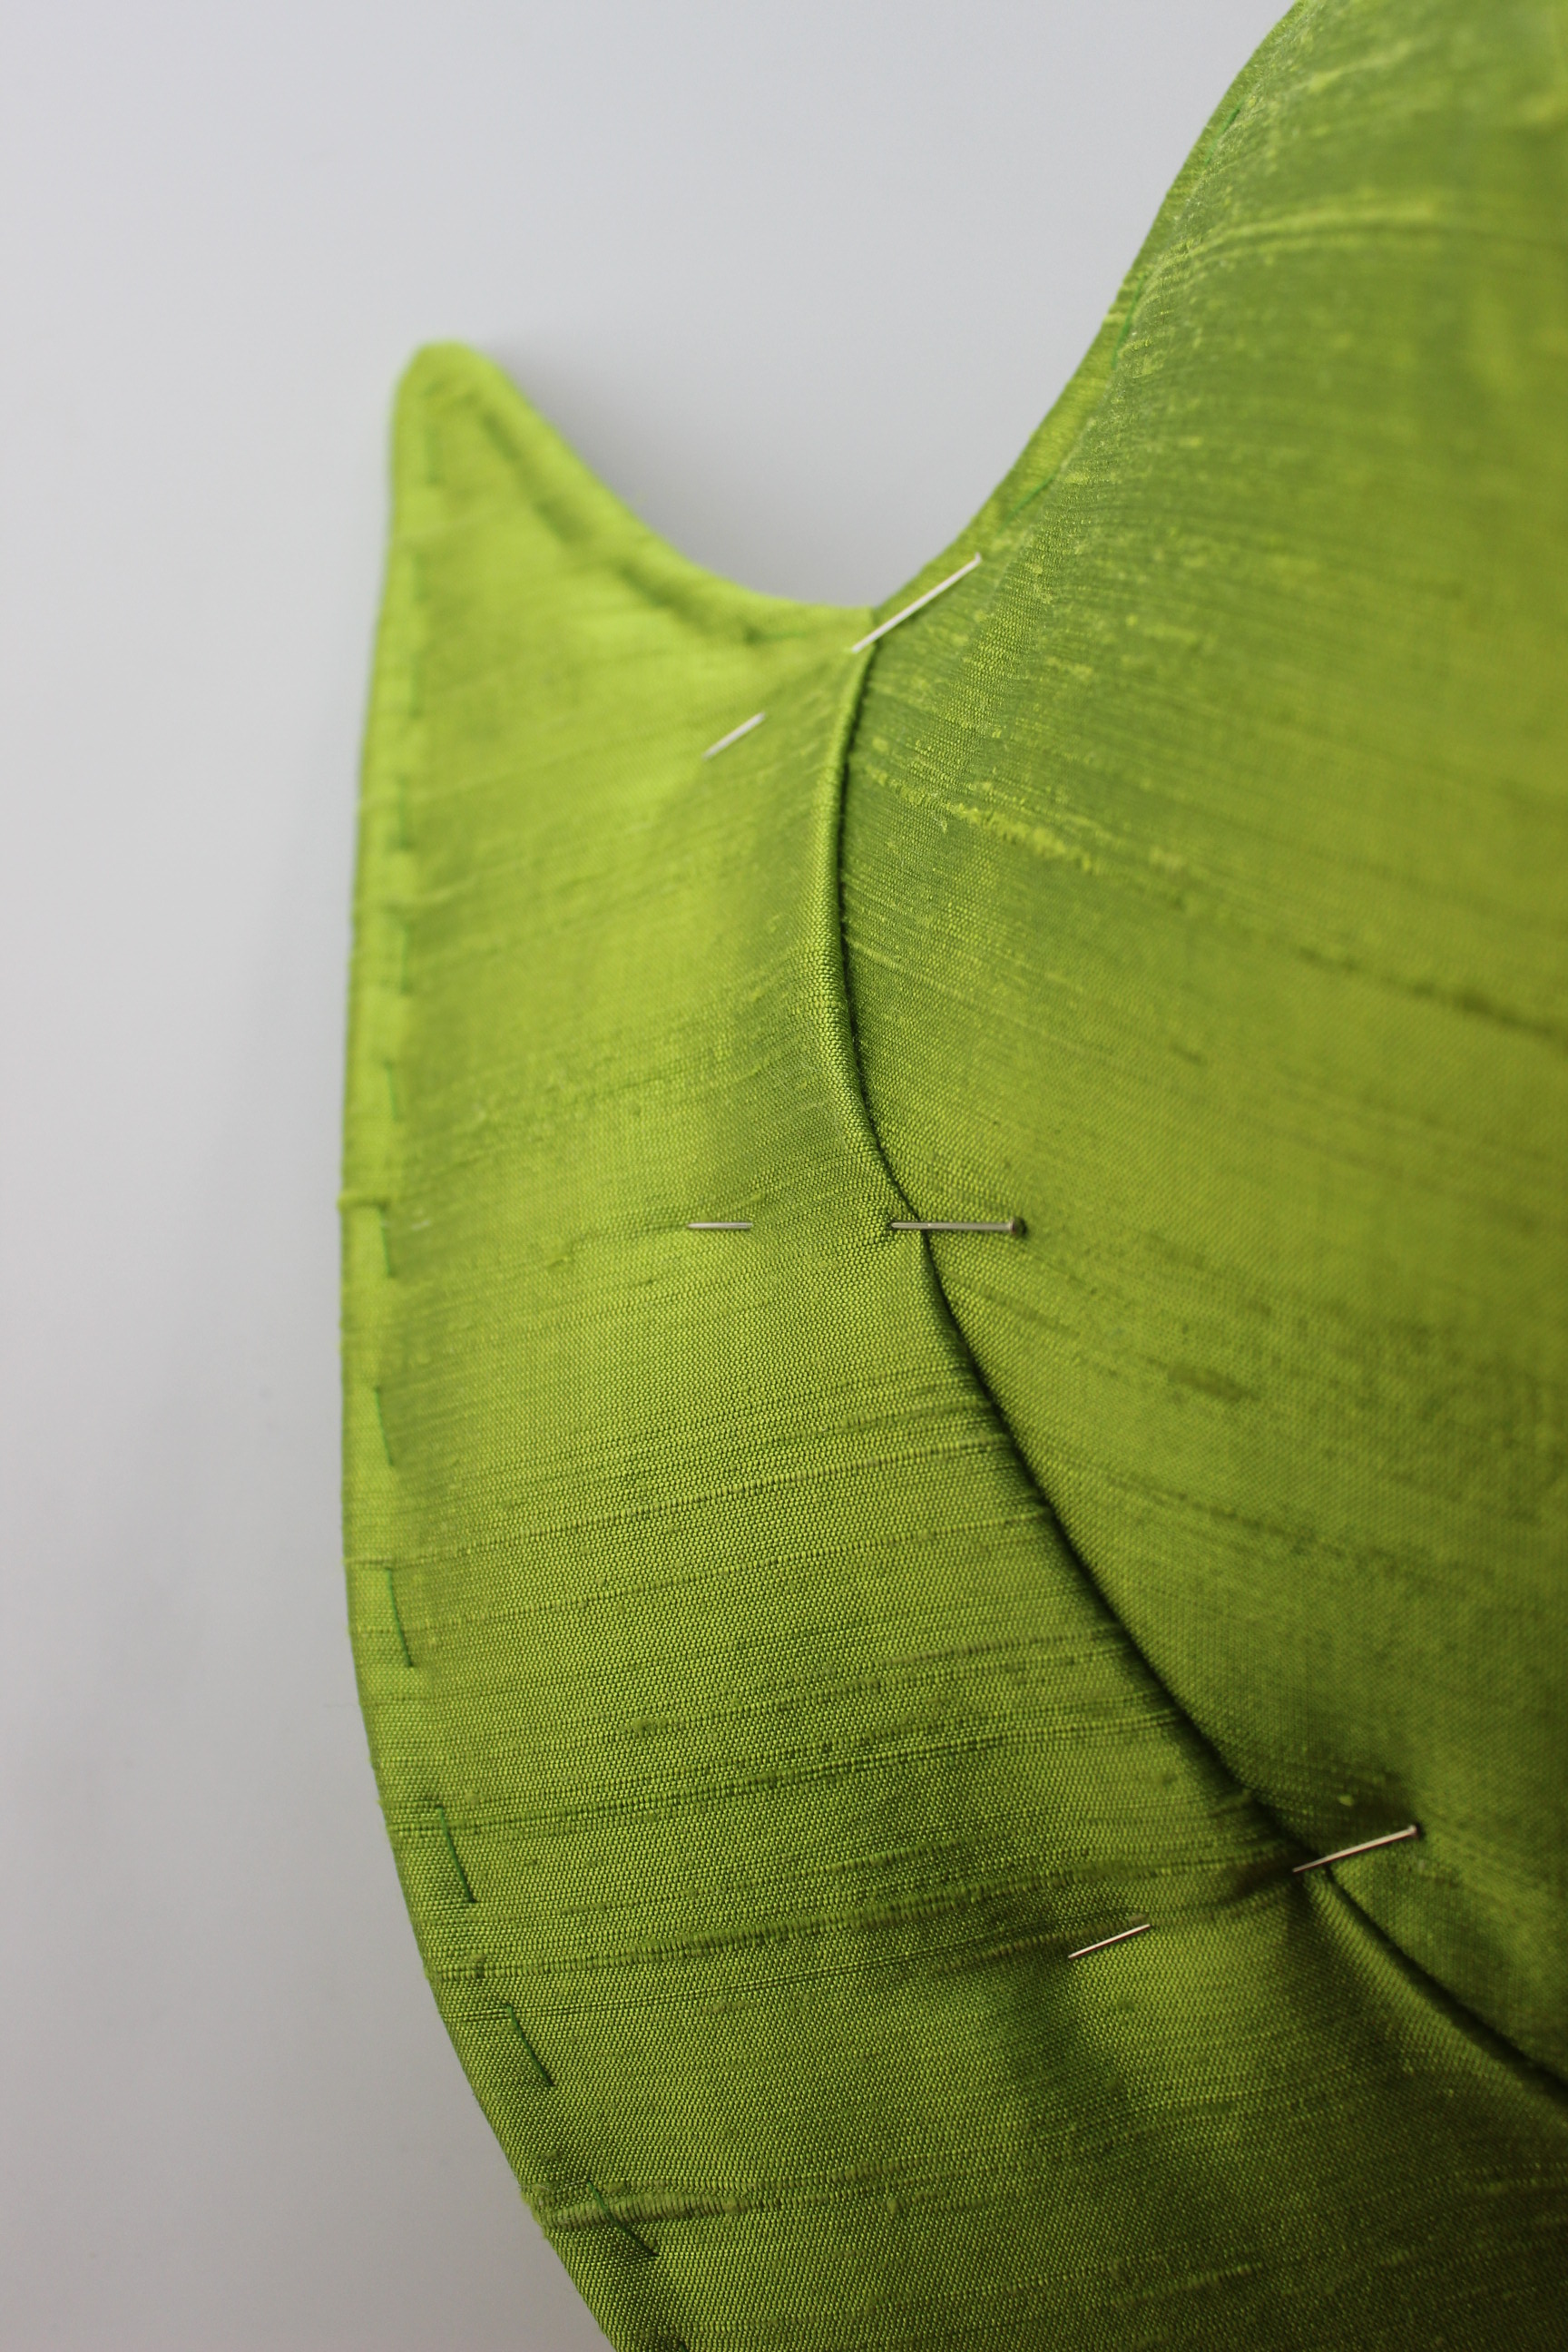
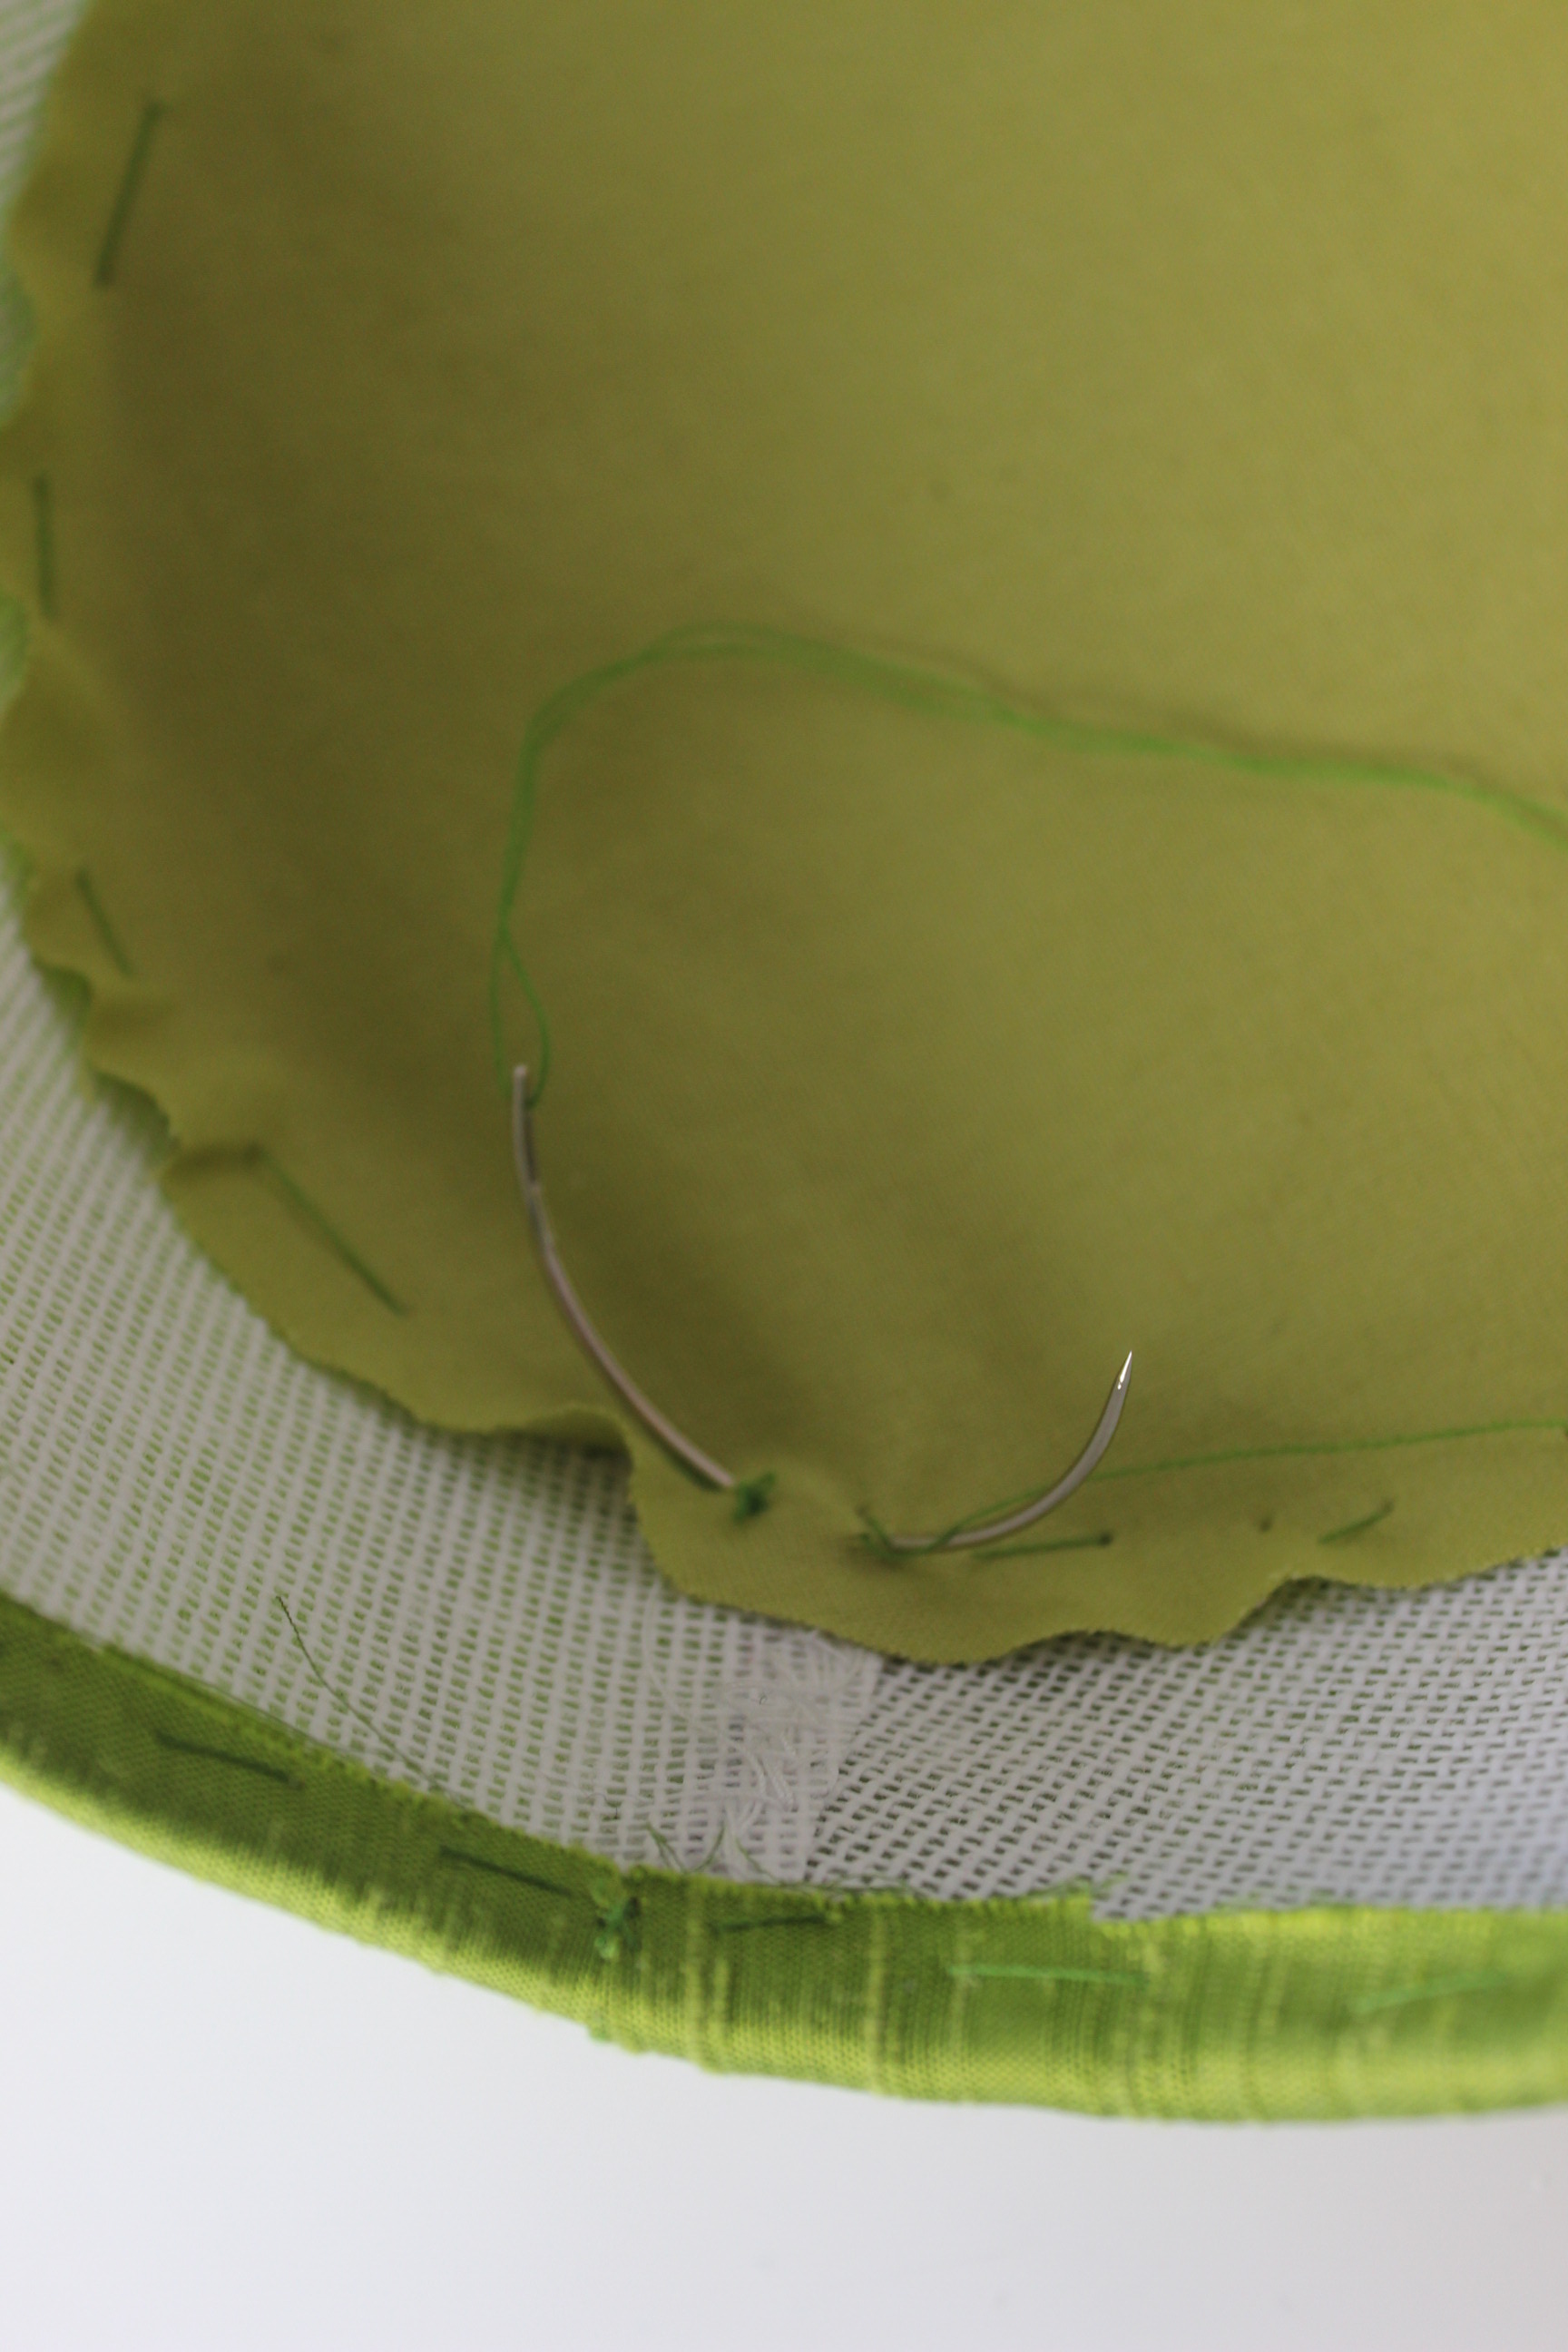
Then it was time for the lining. Using a curved needle to baste the crown to the inner corners.
Stitching the fabrics together using small invisible stitches.
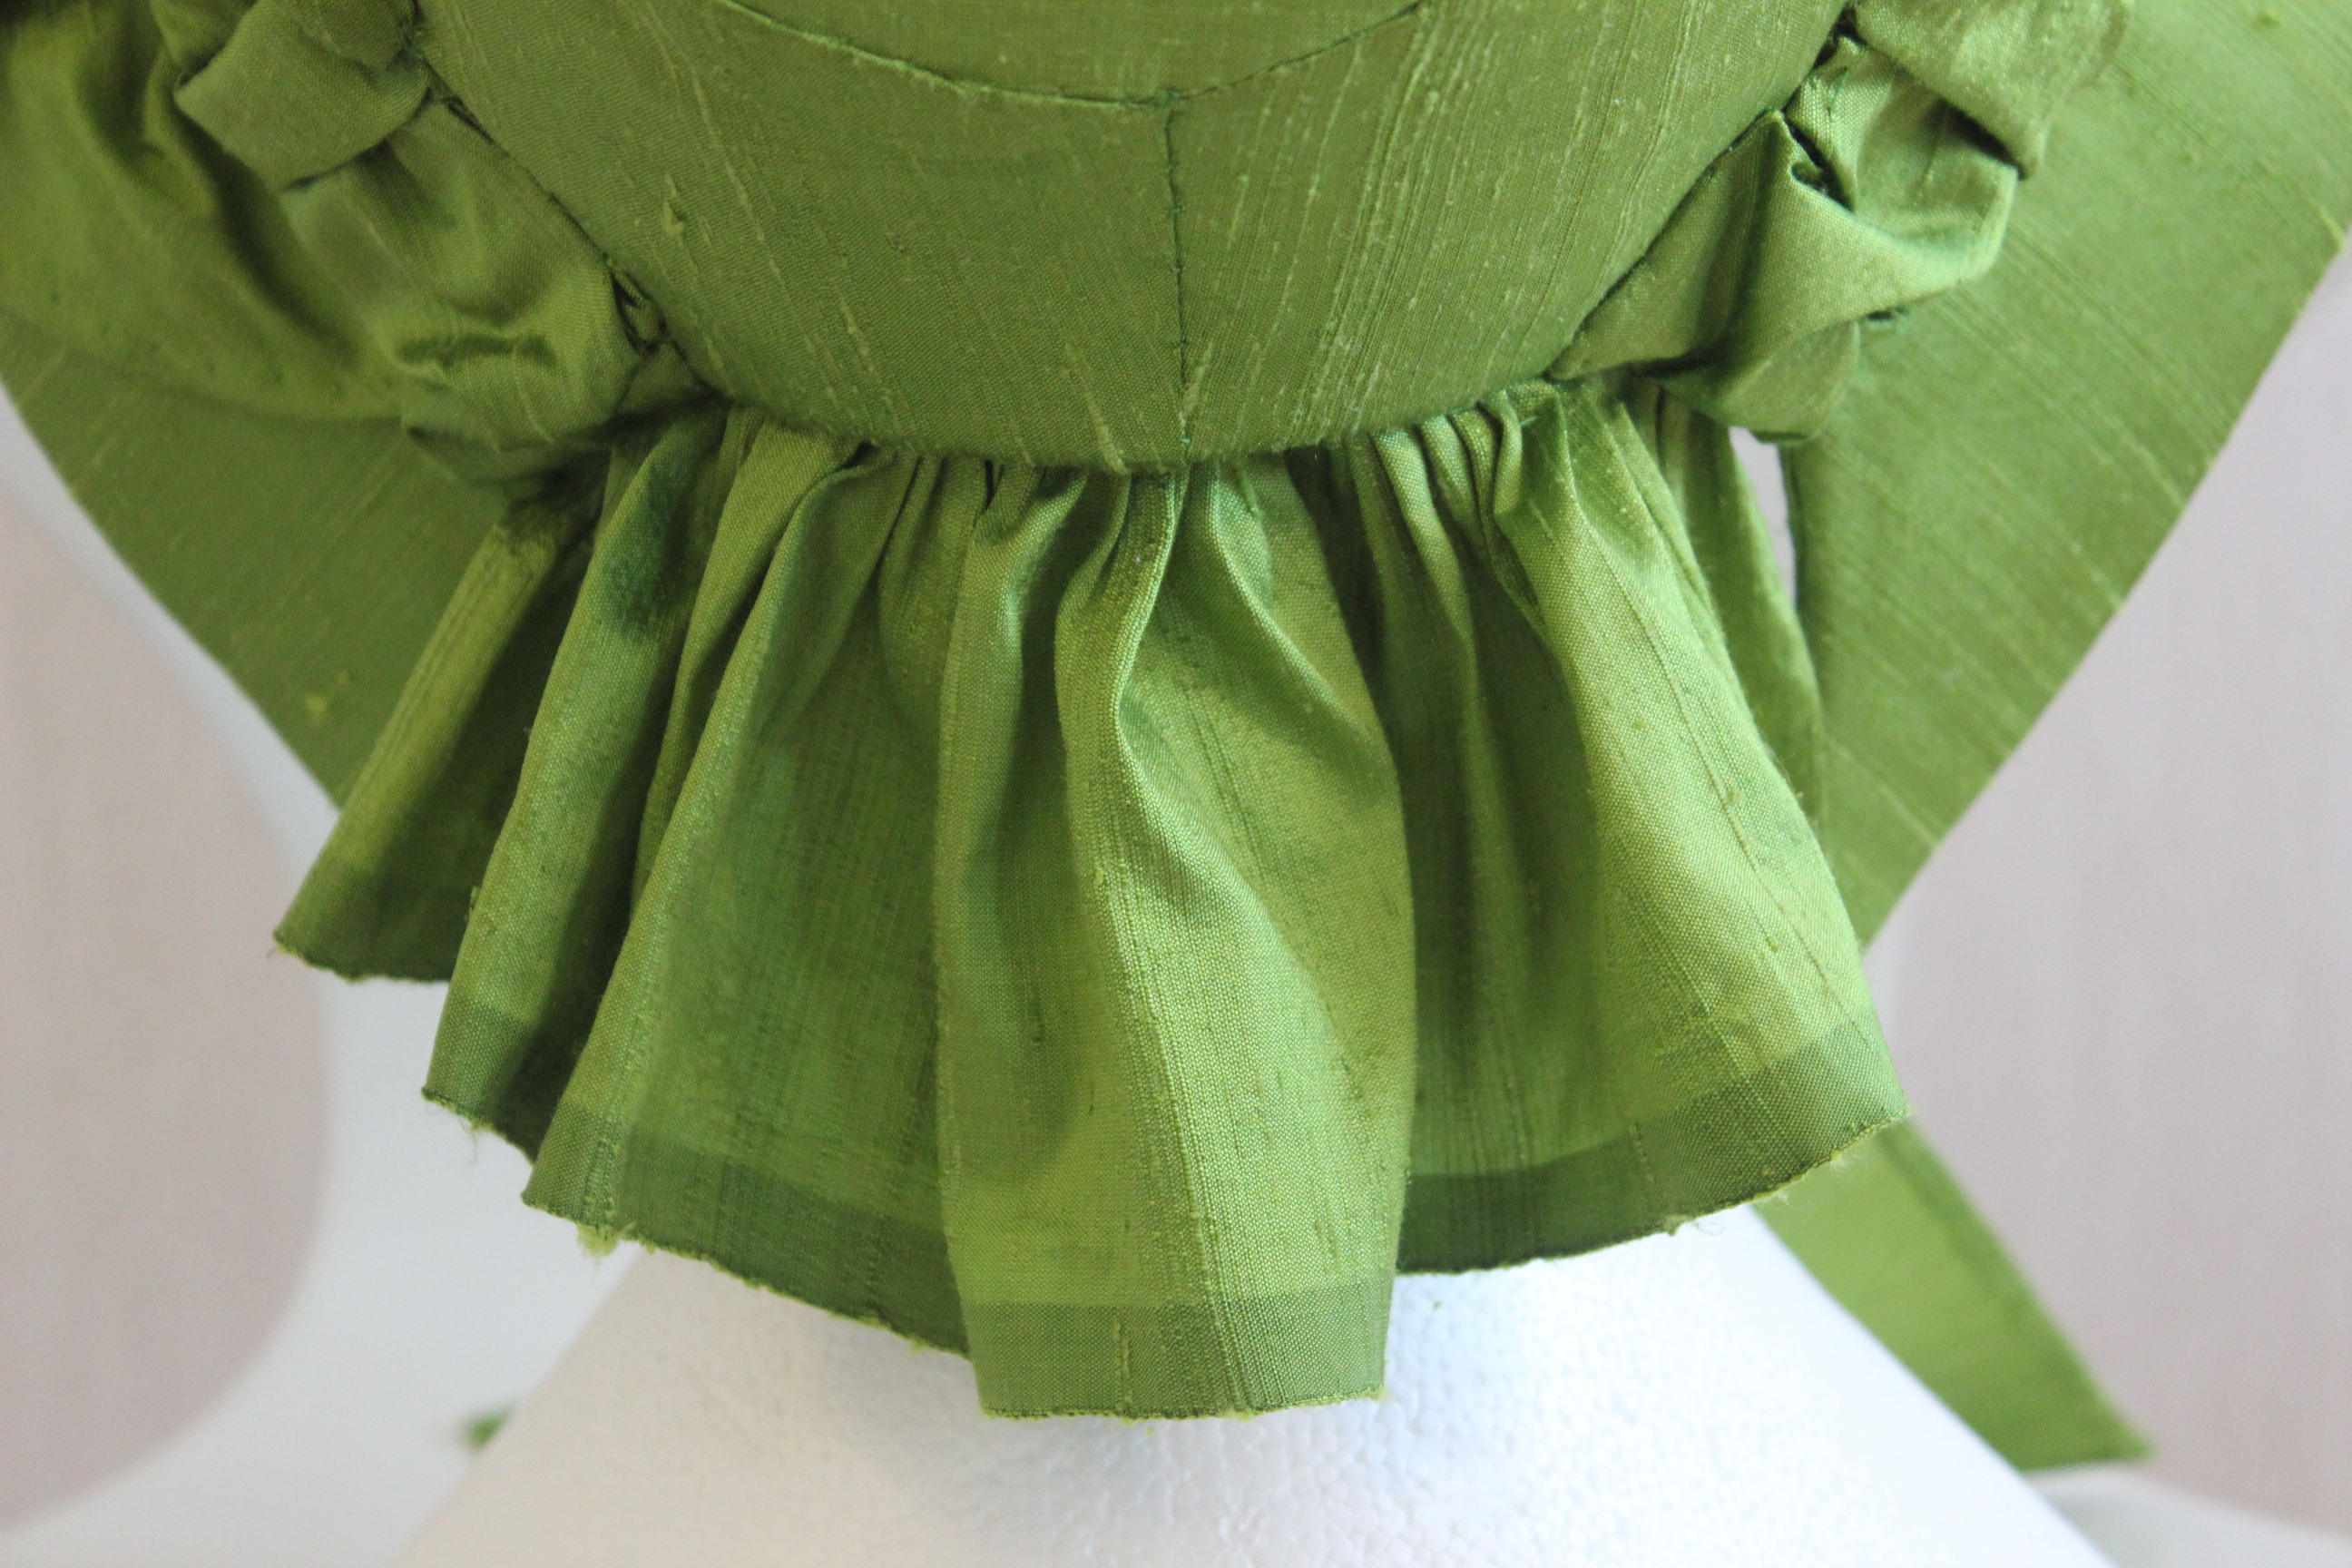
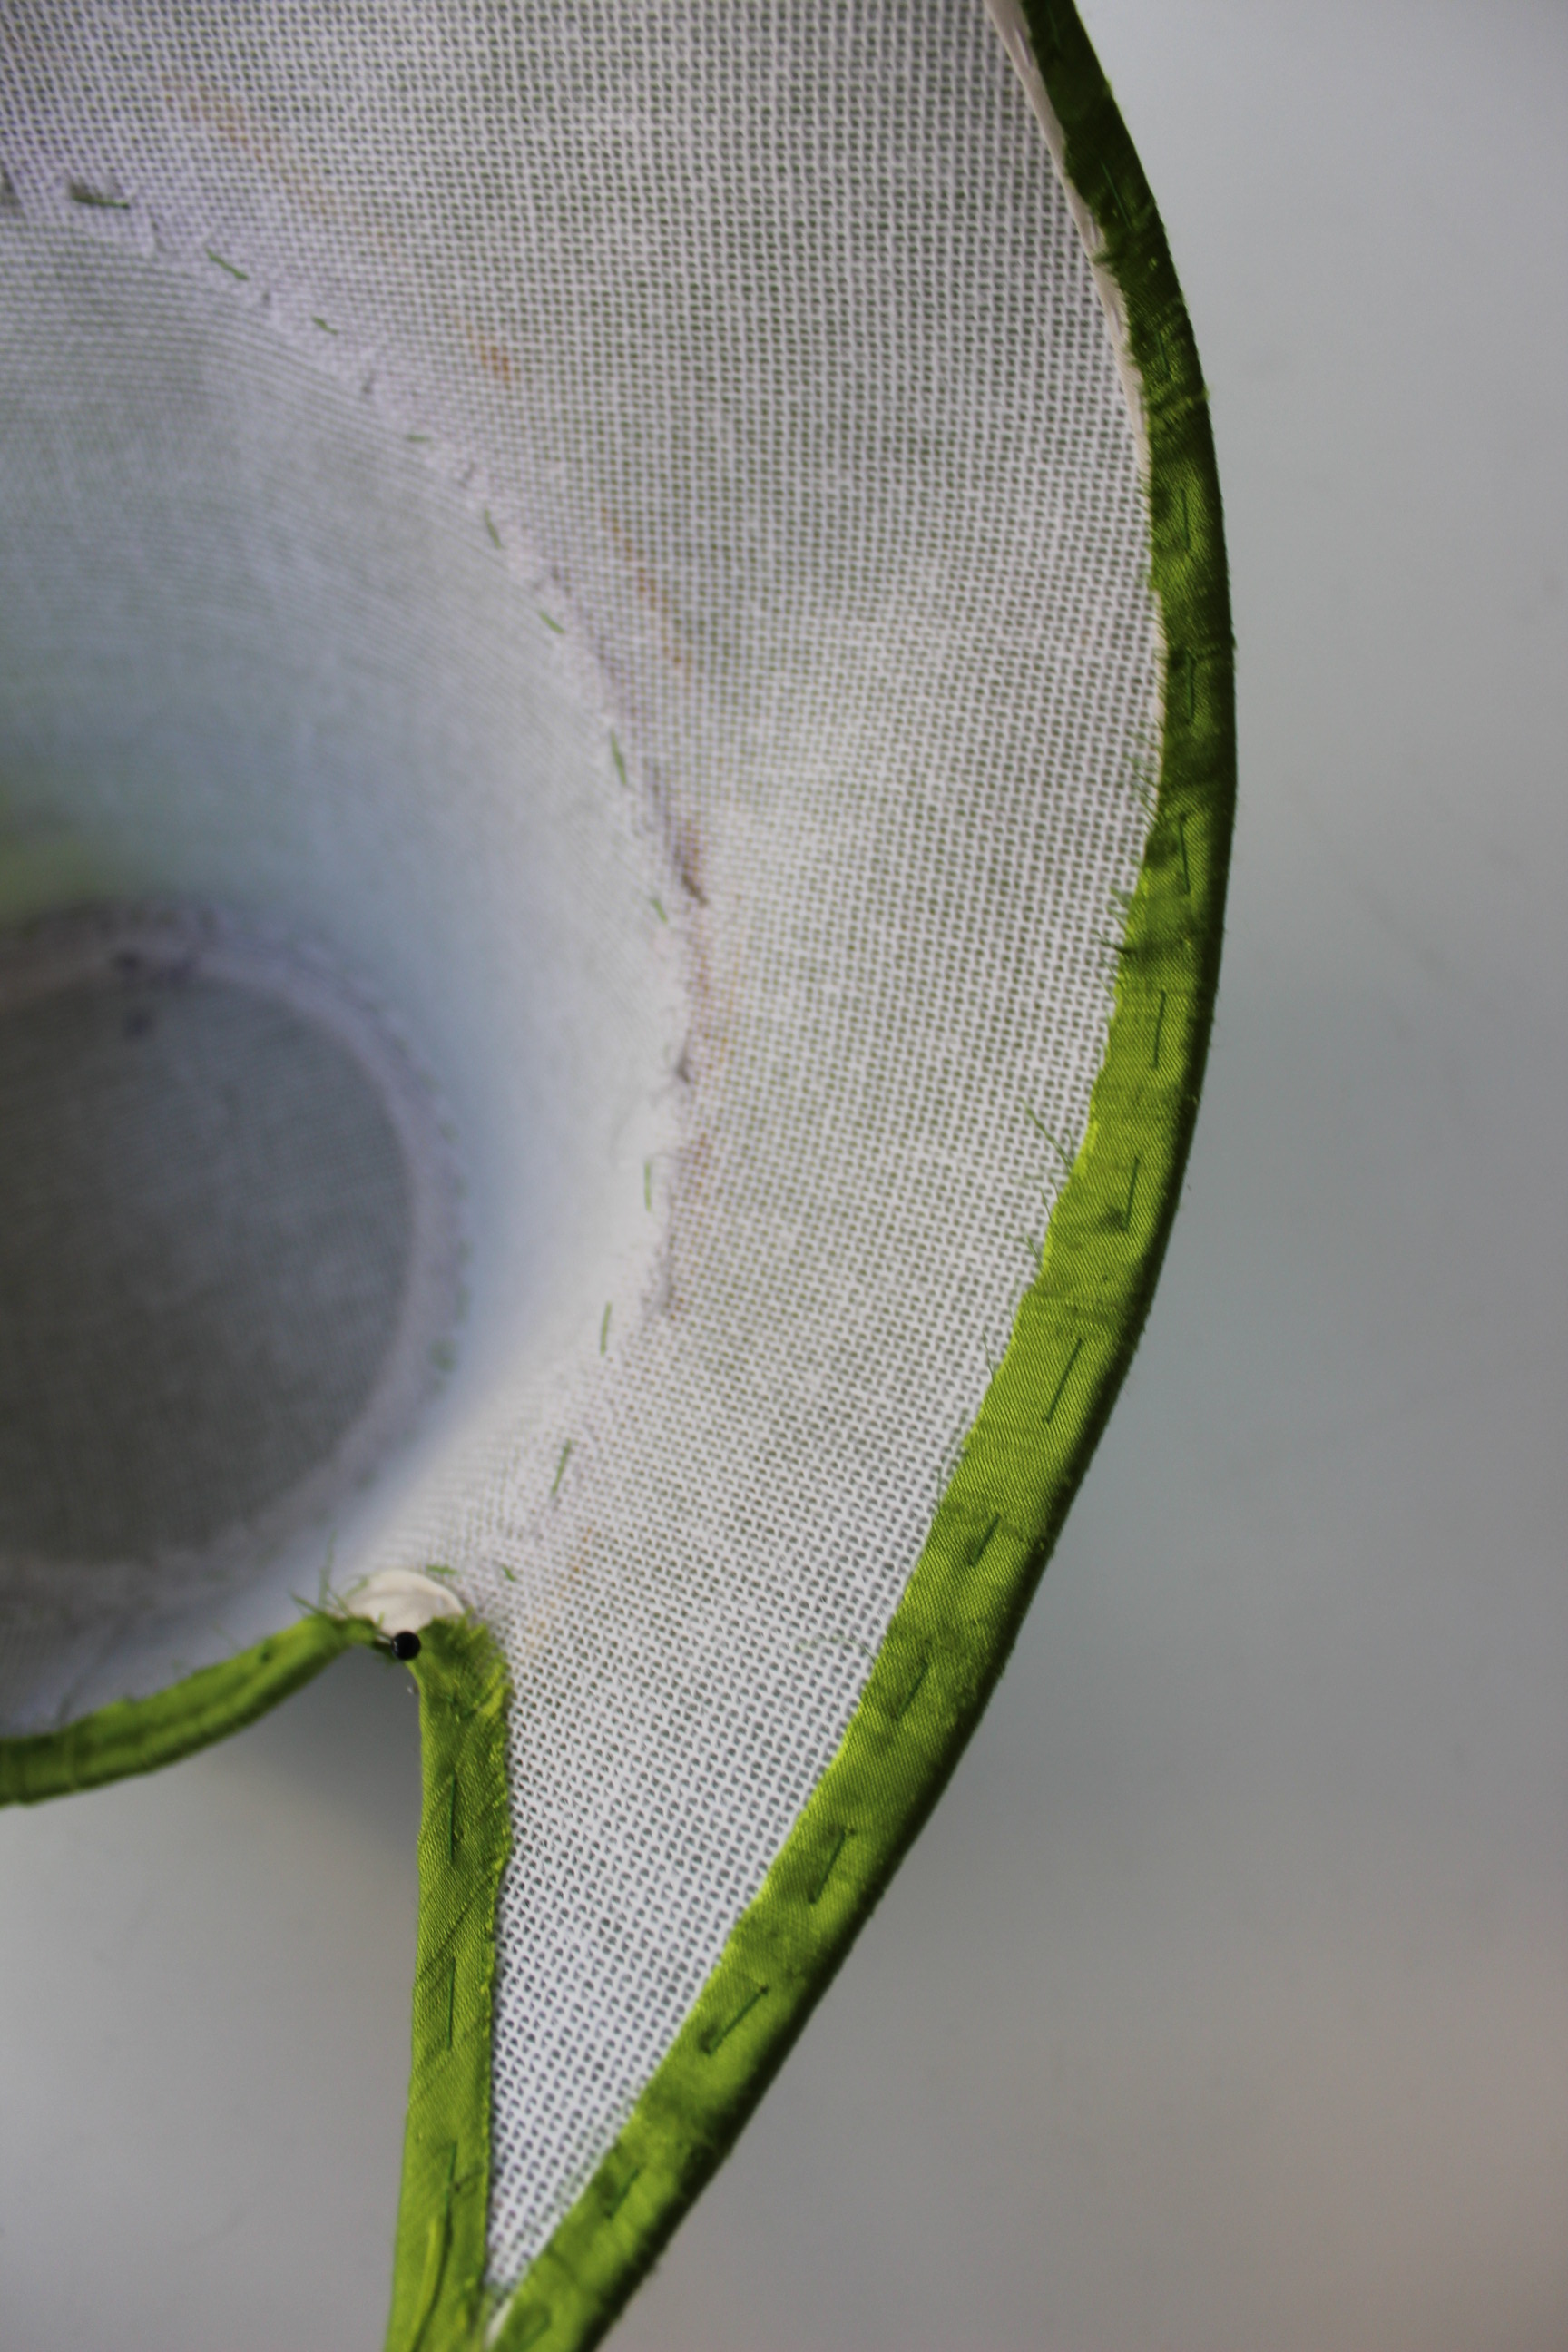
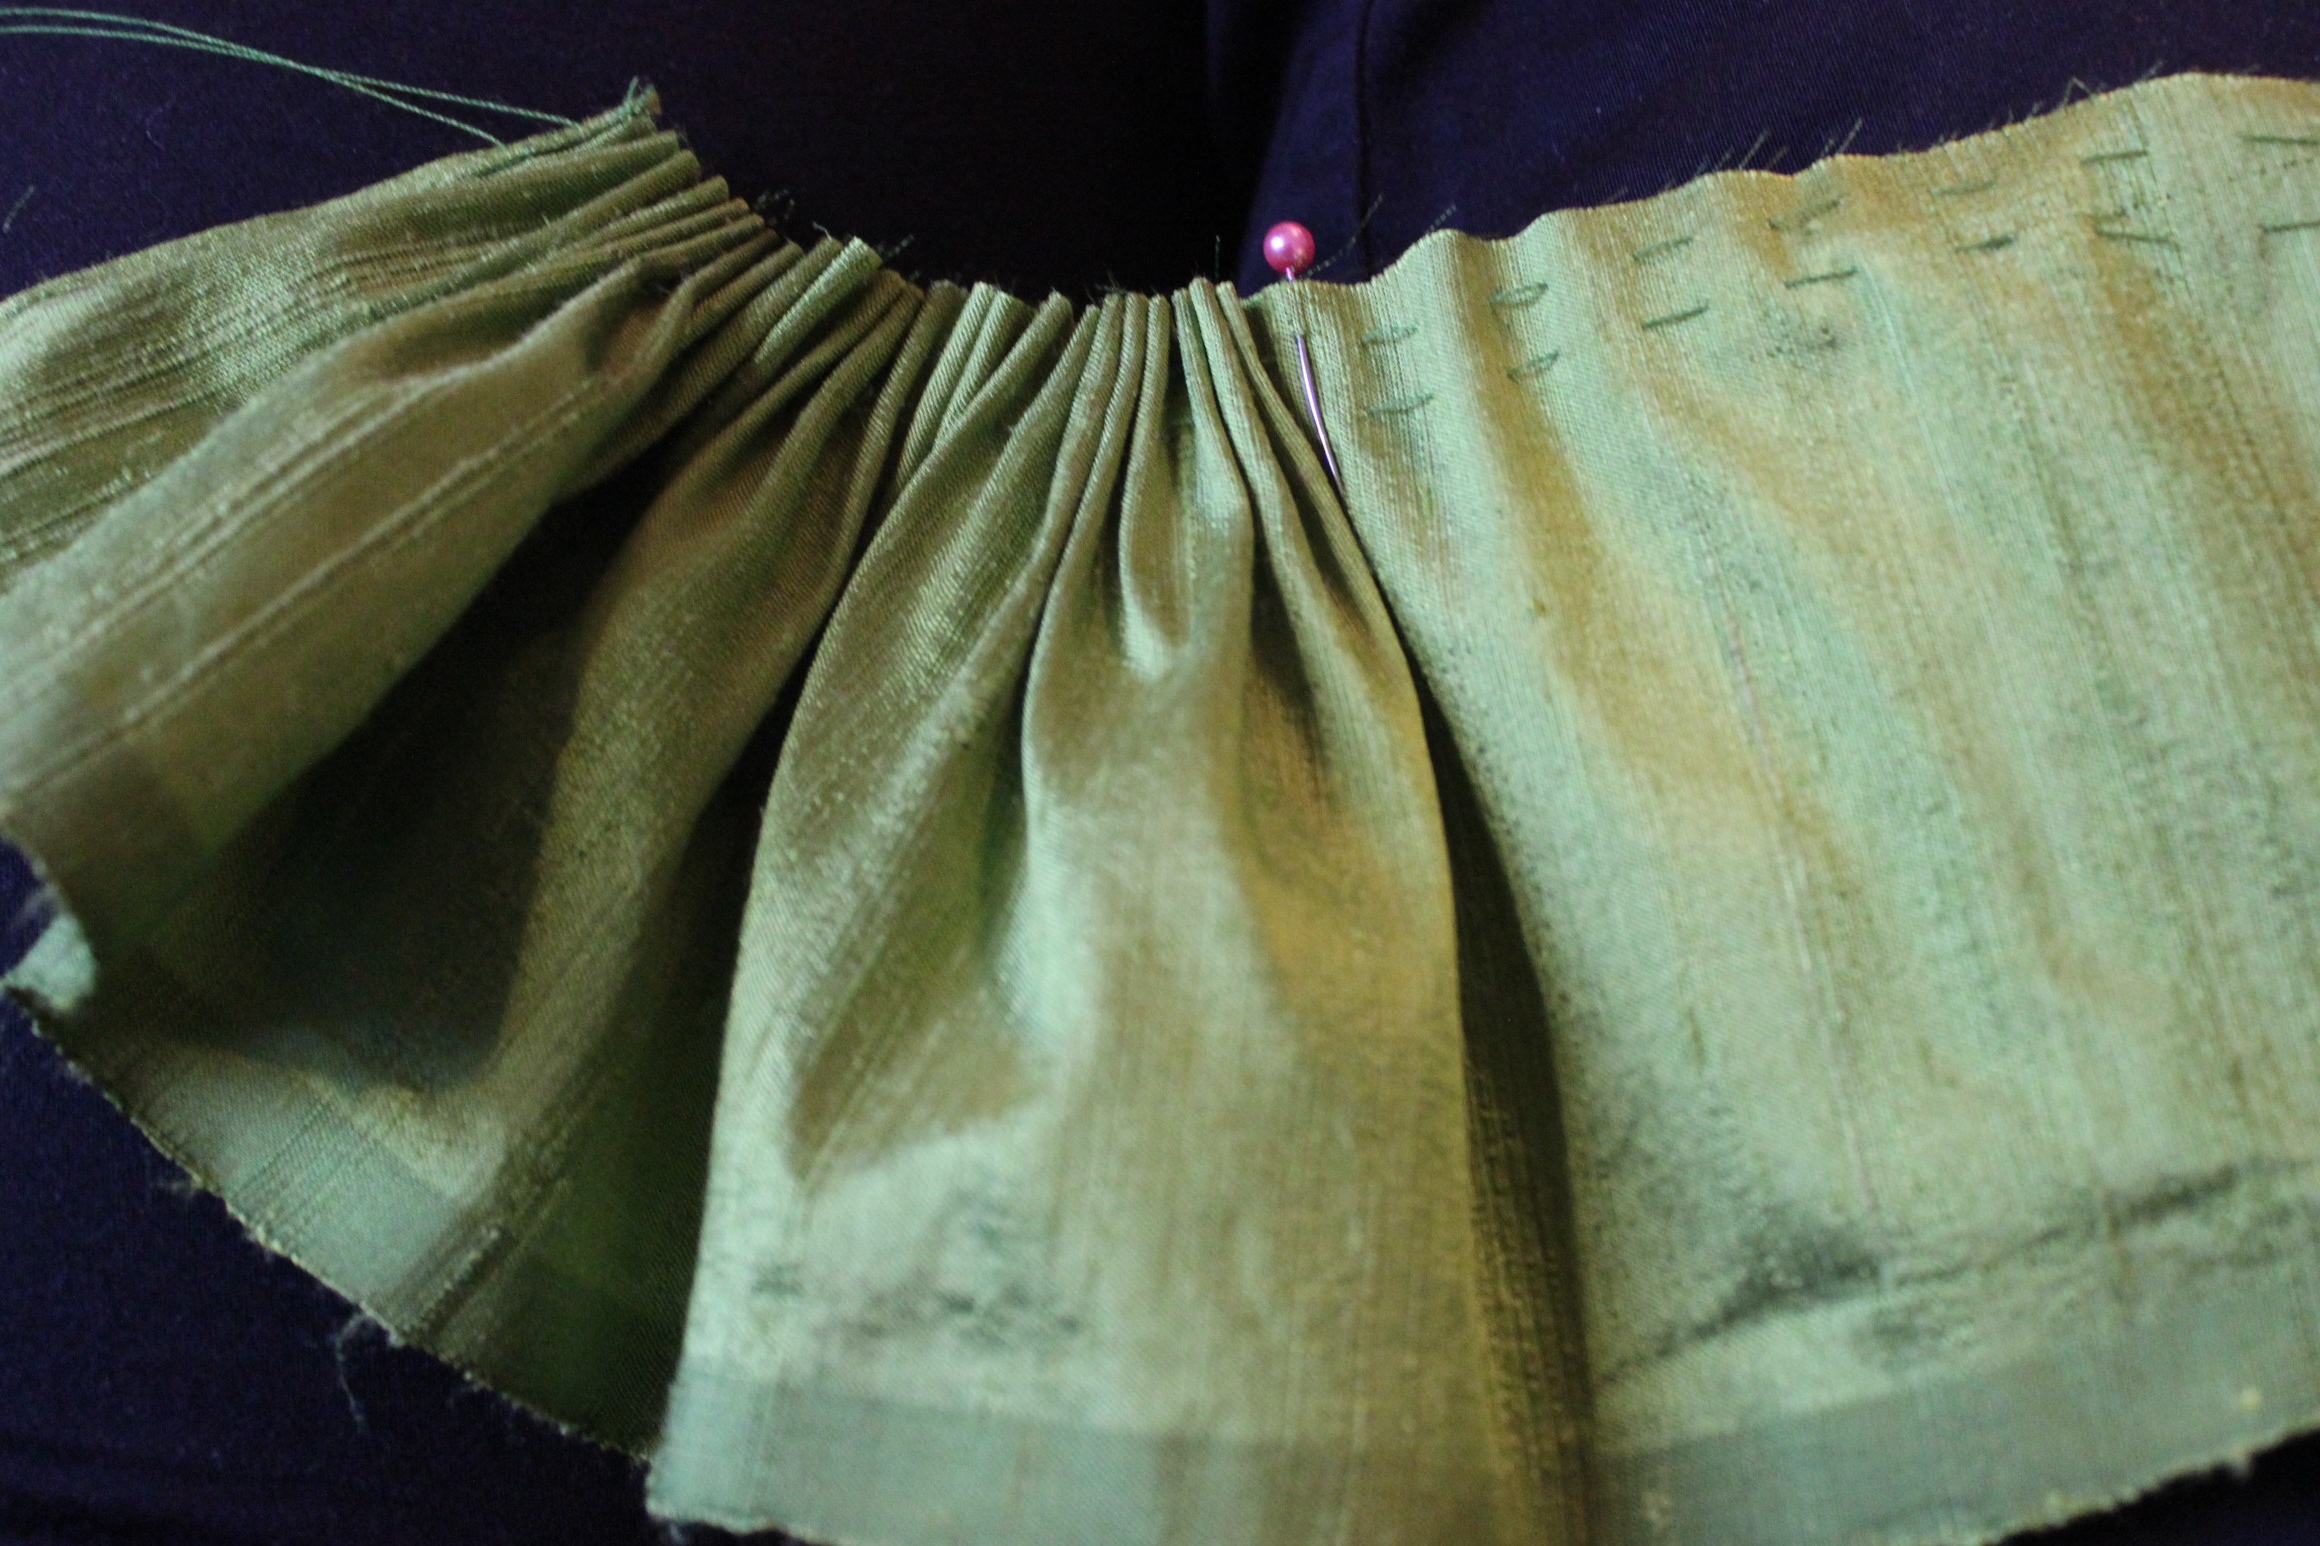
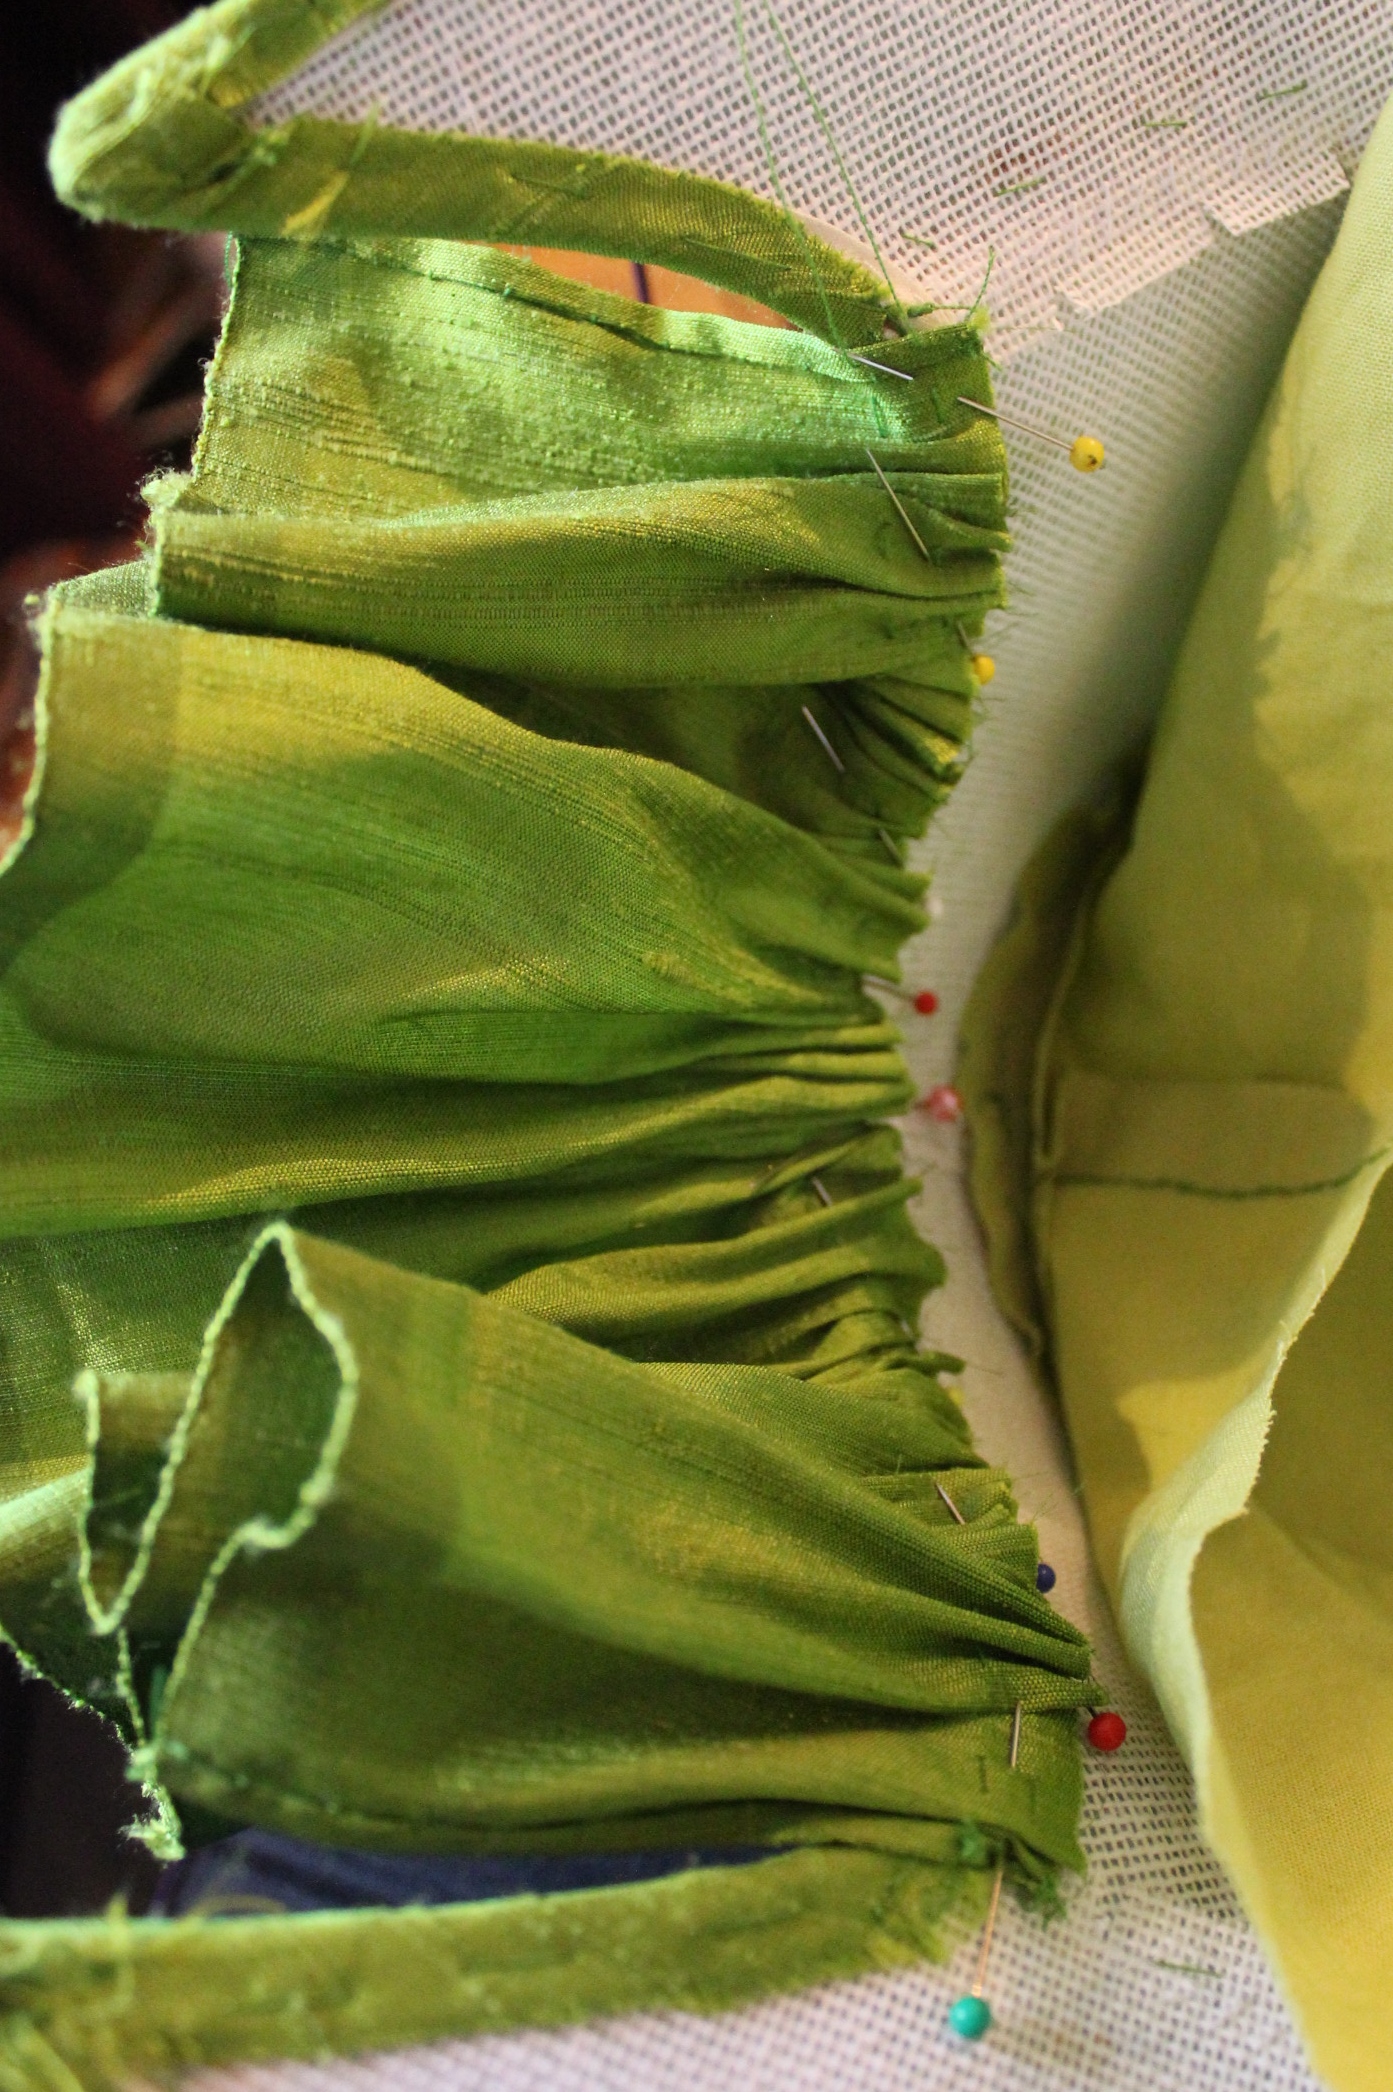
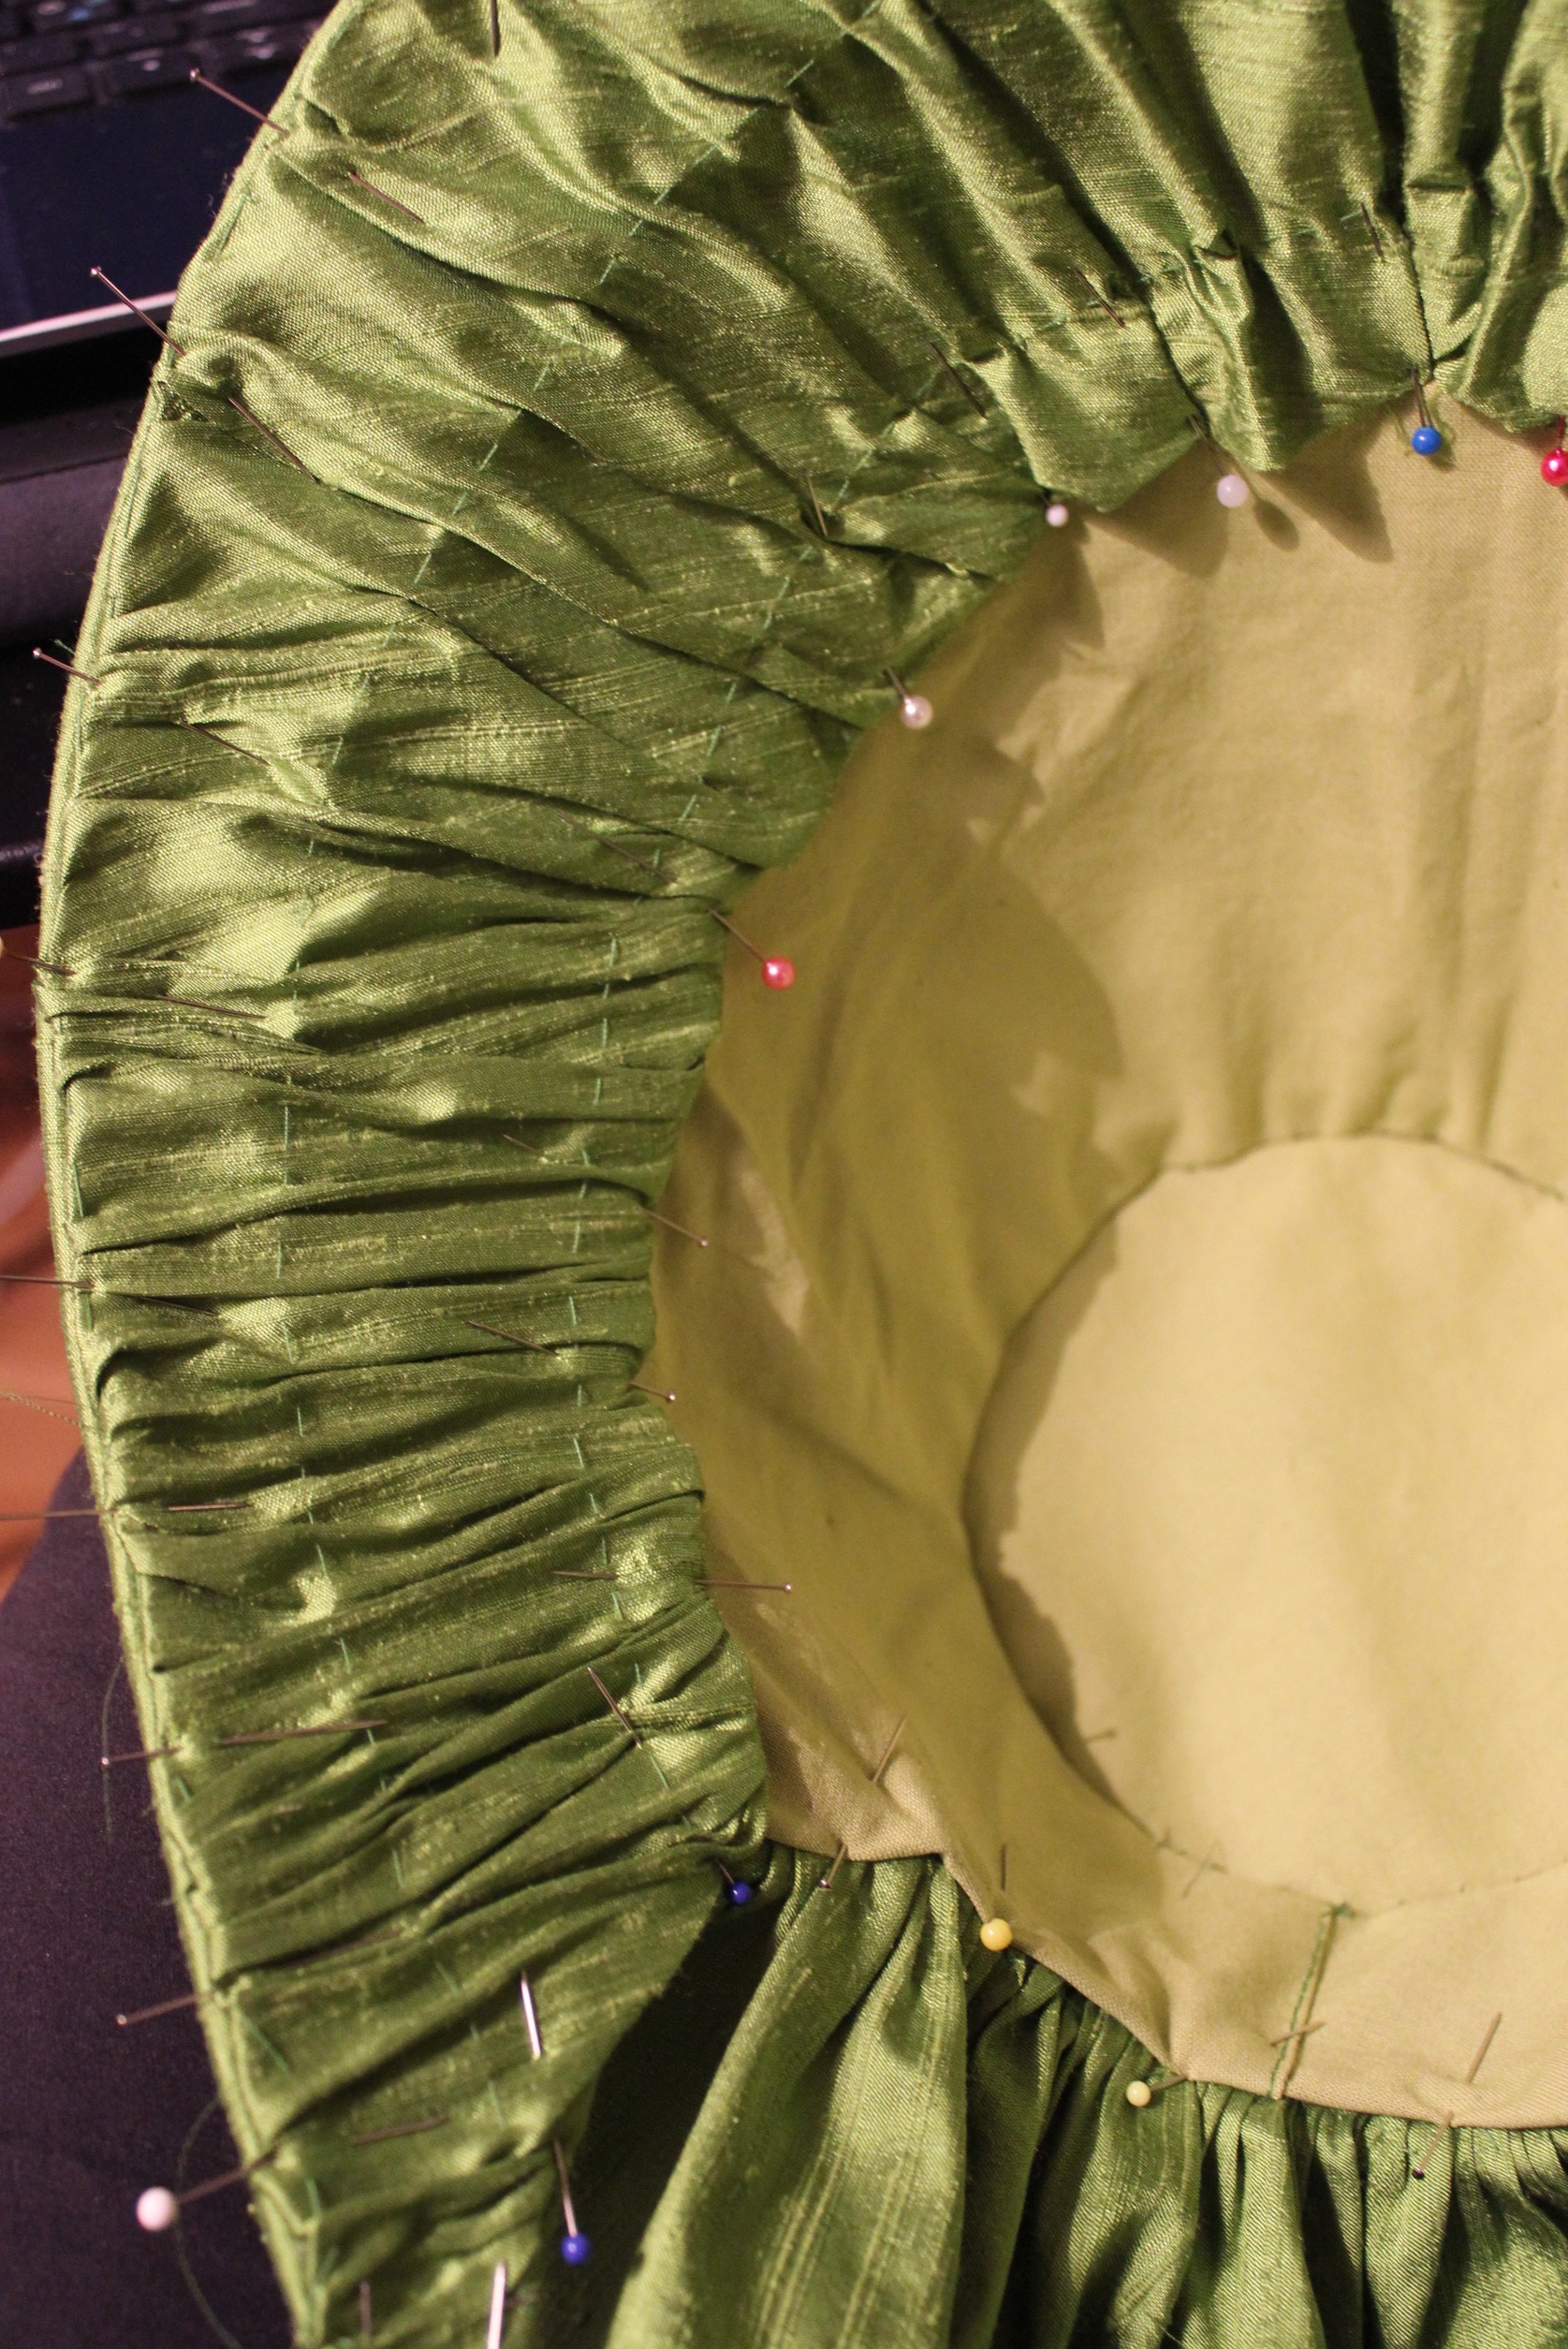
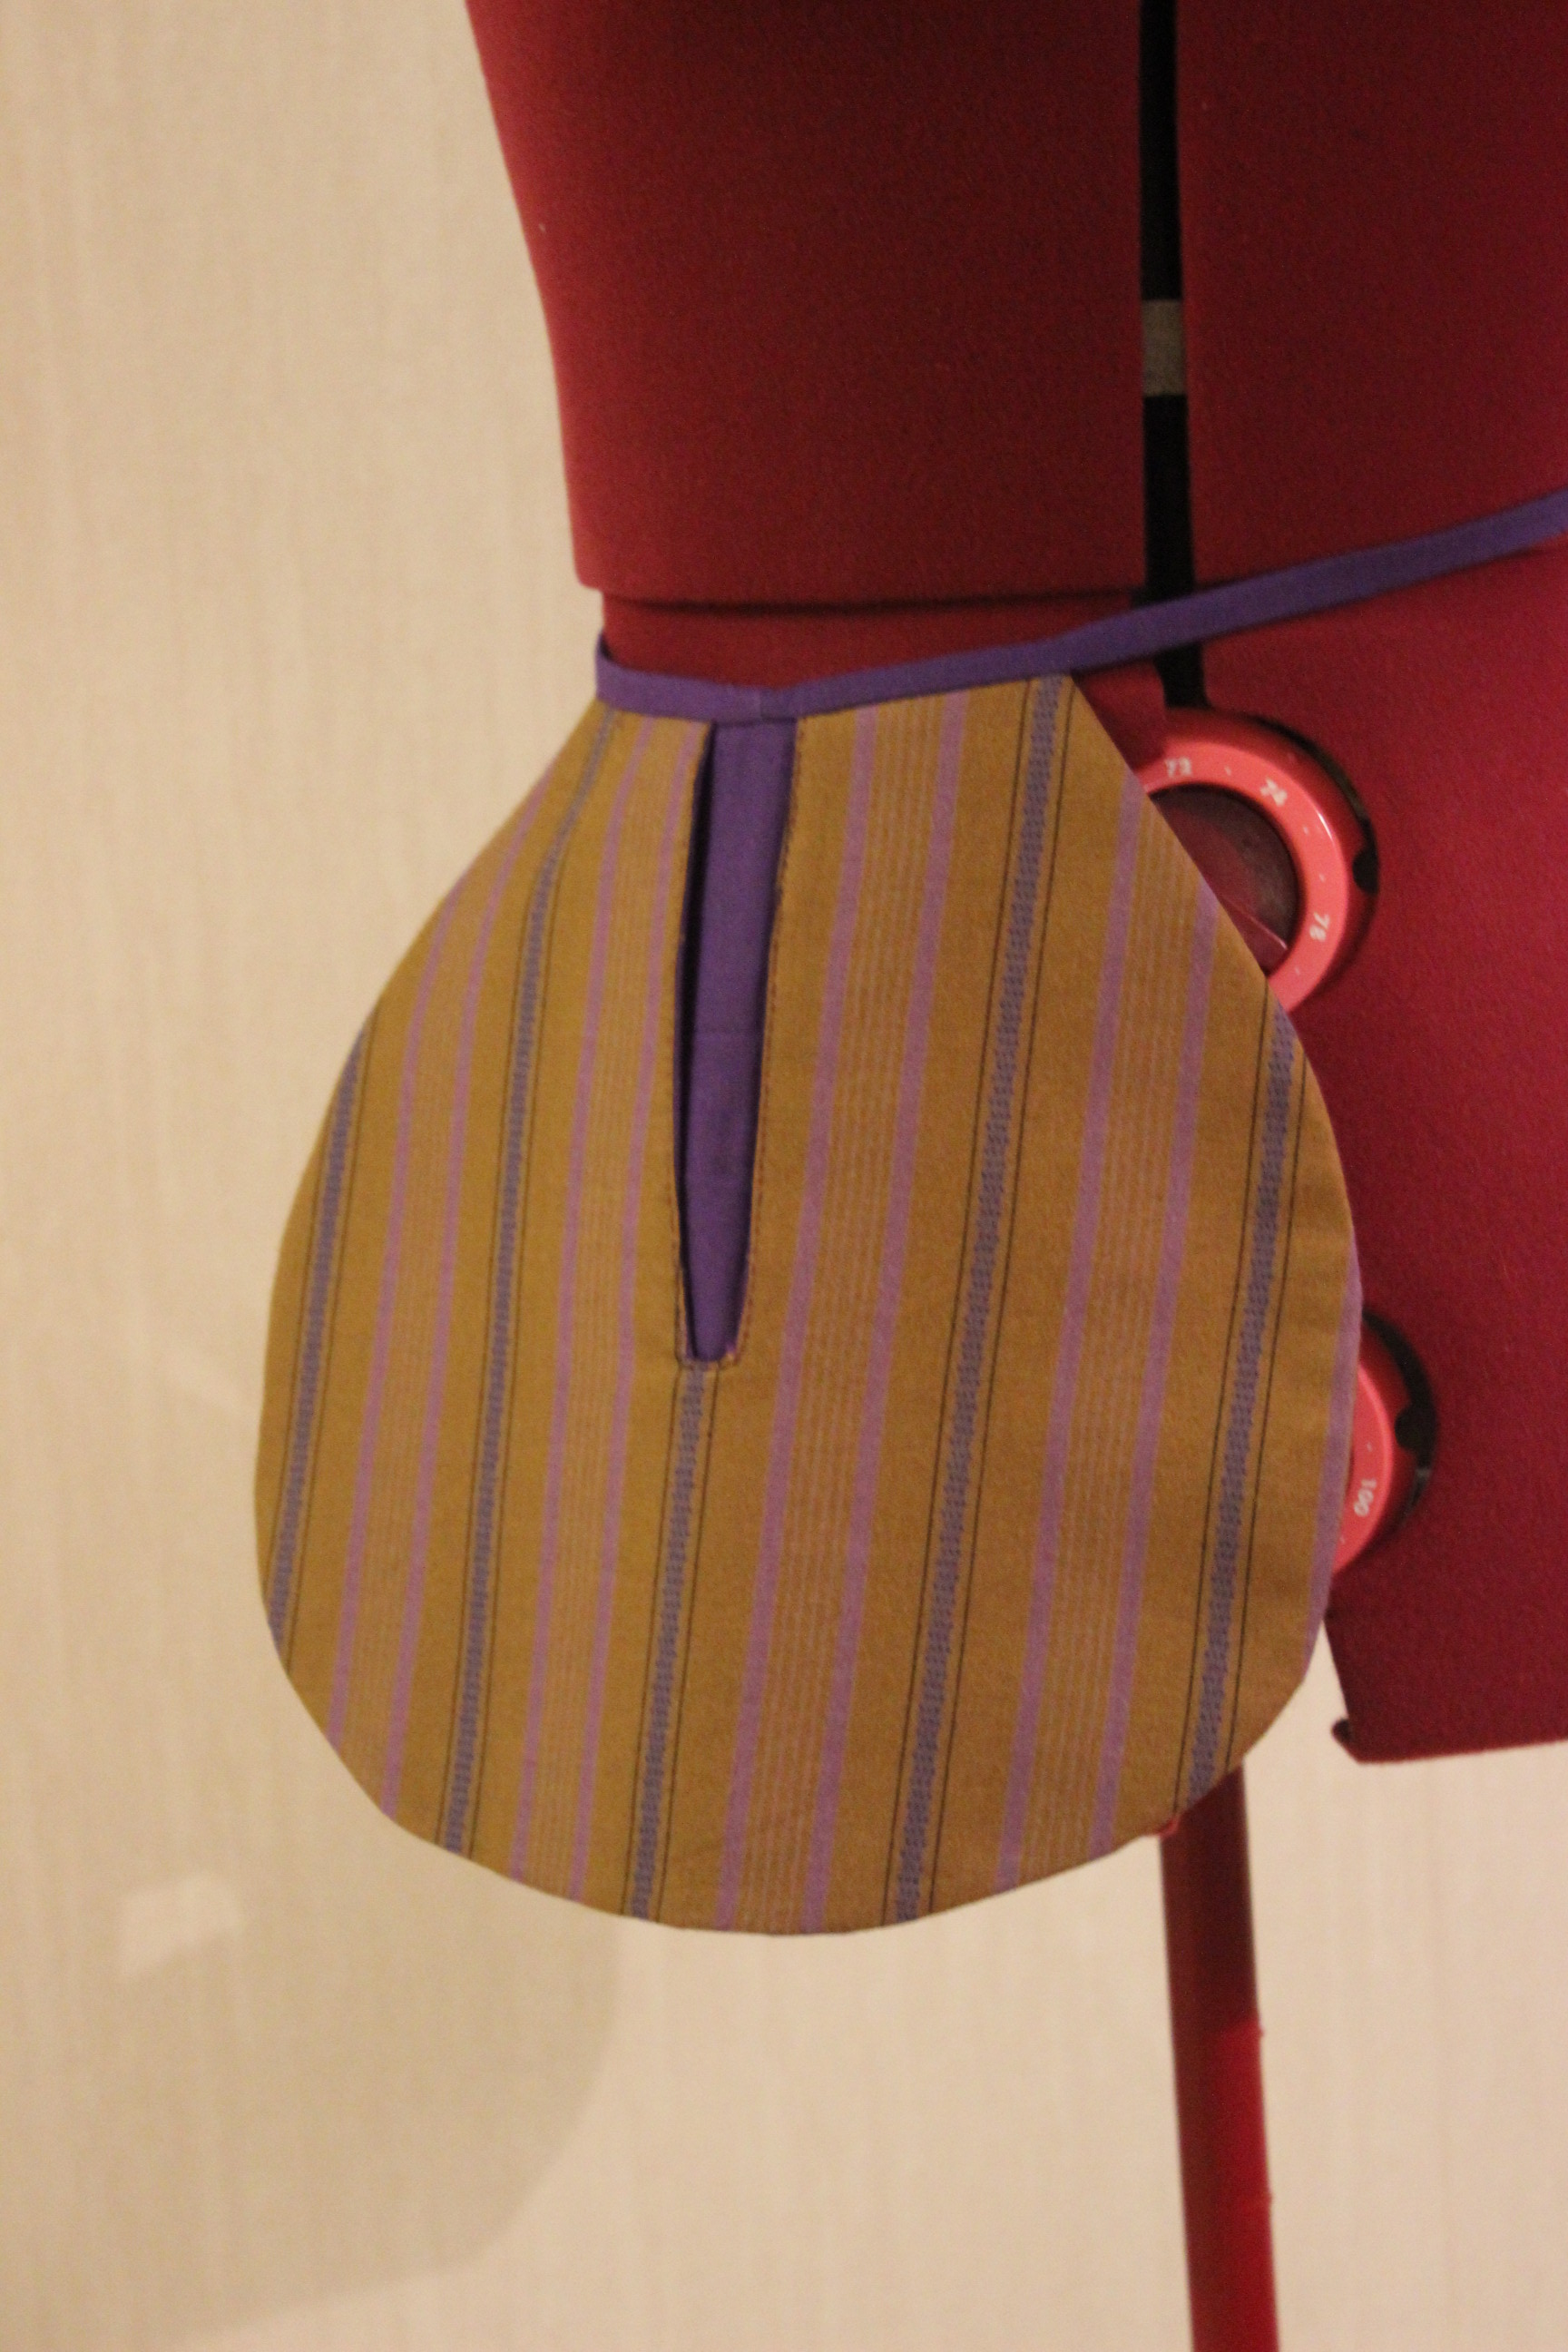
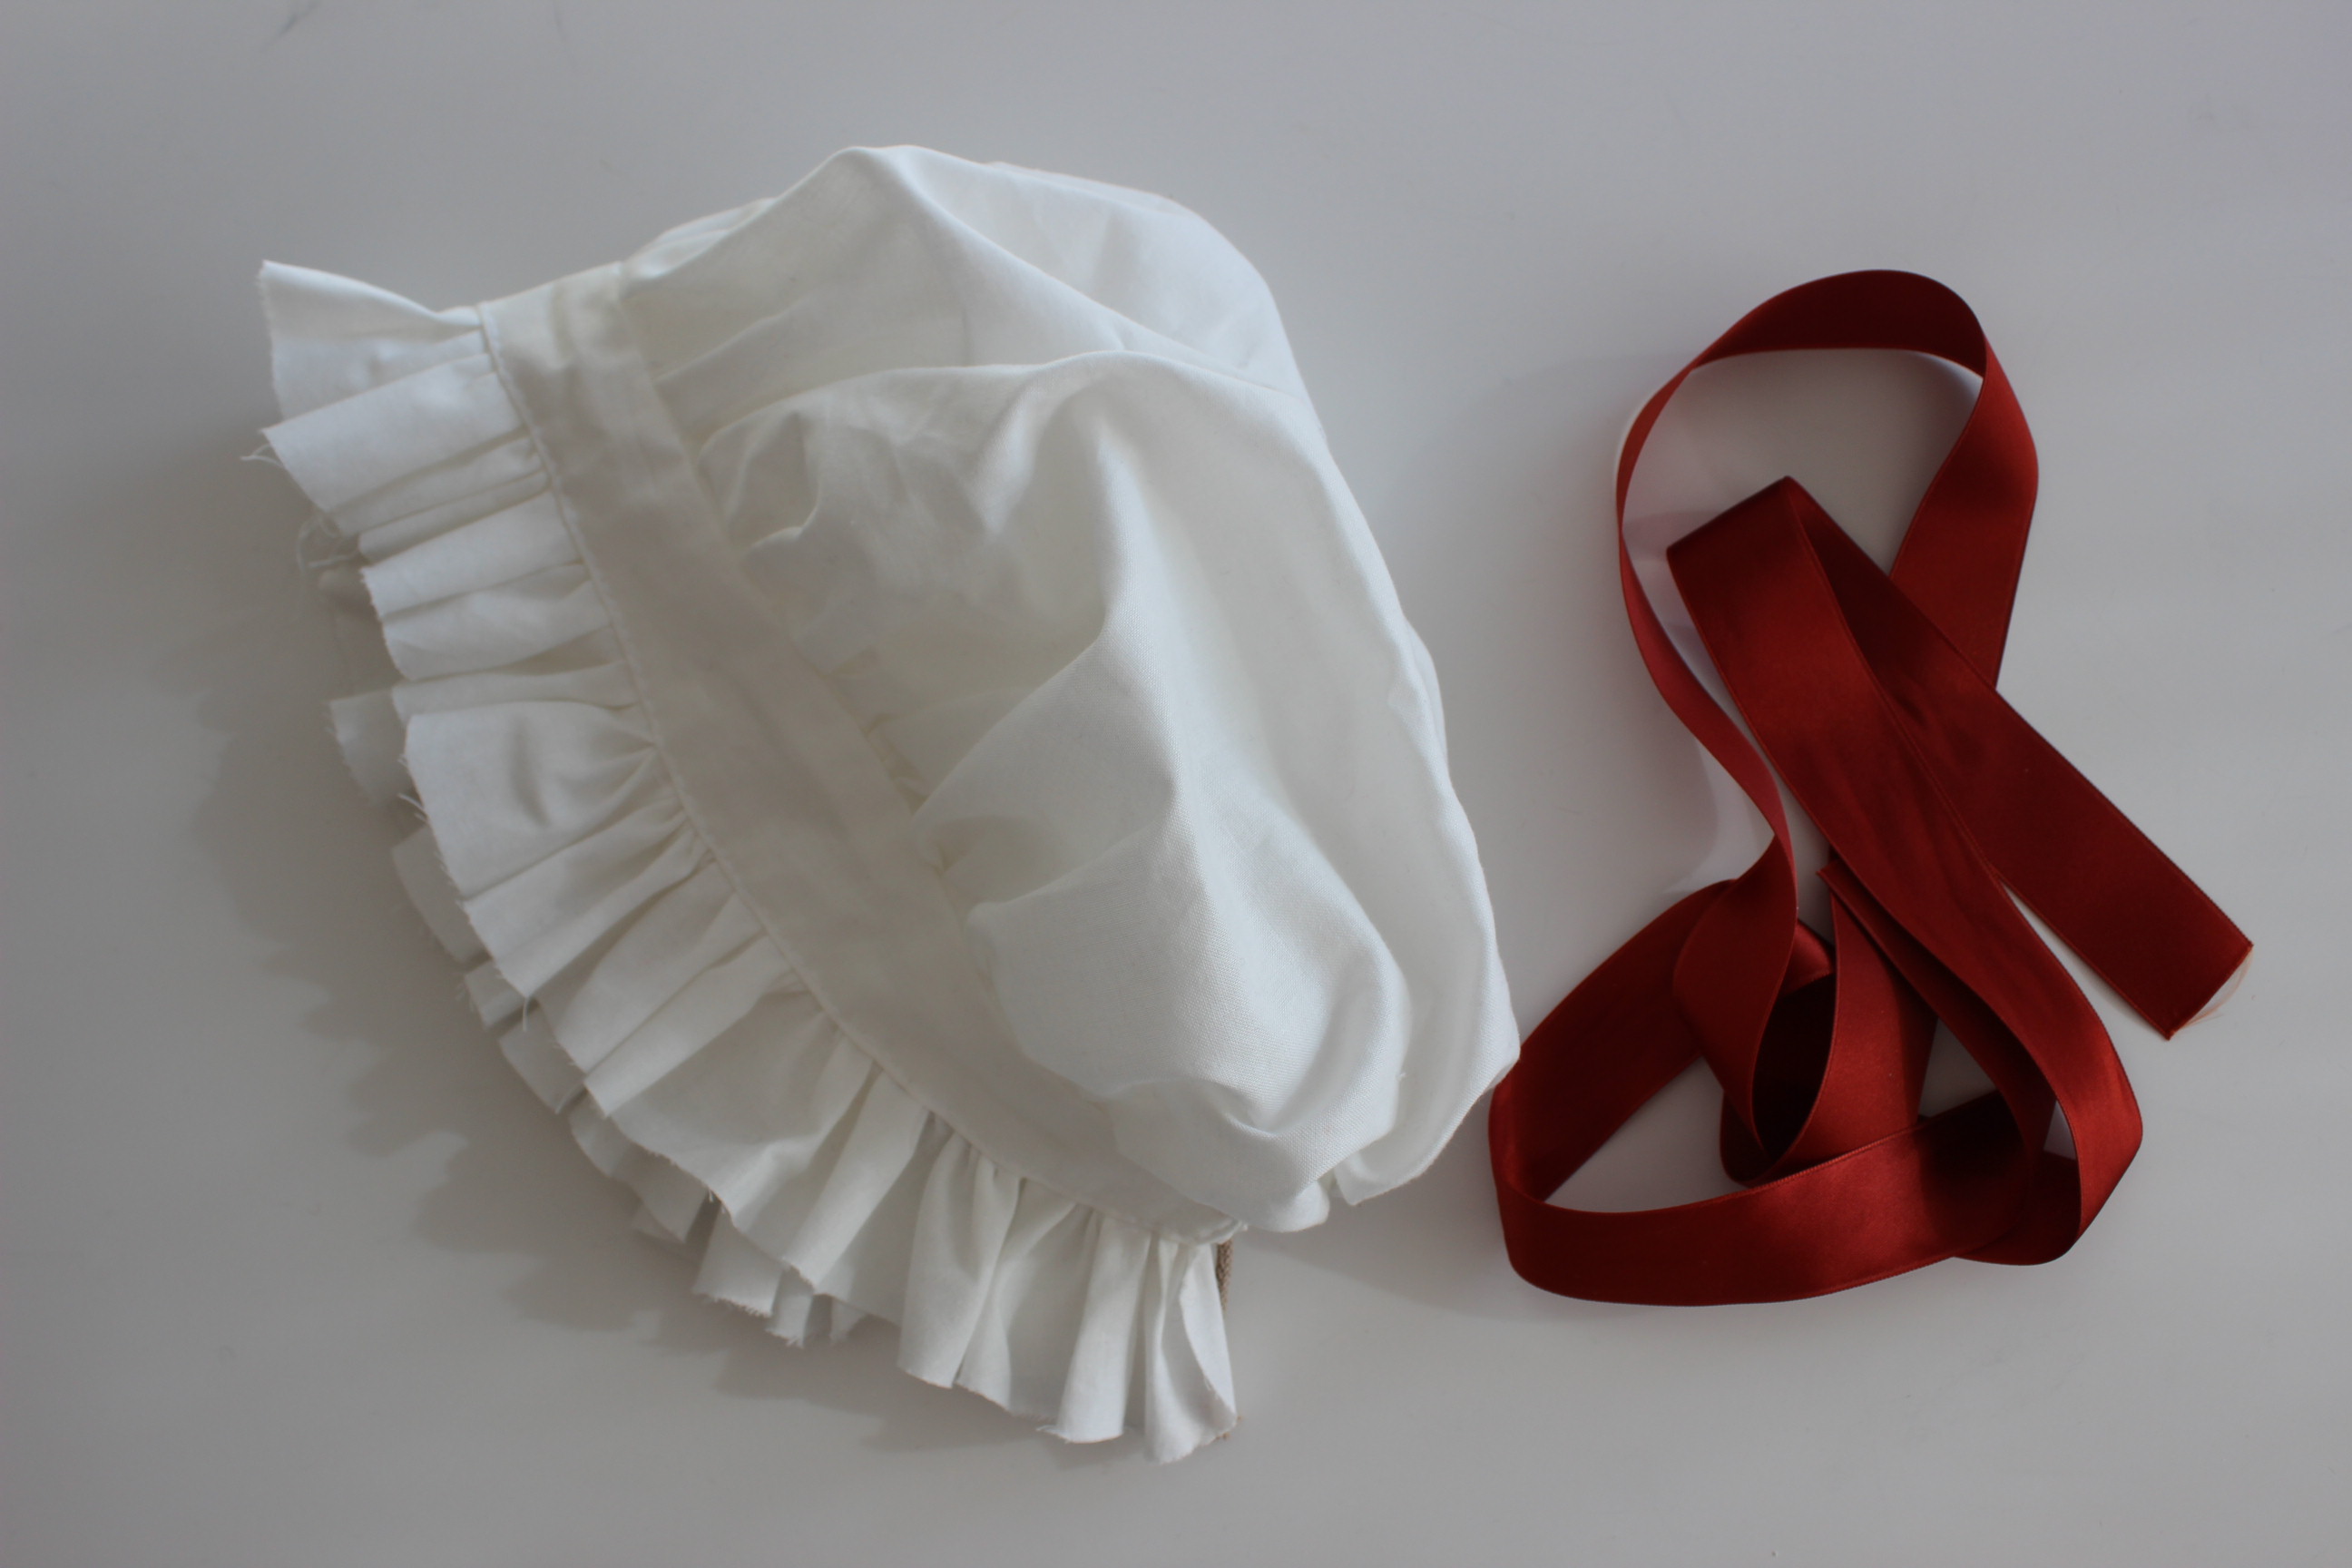
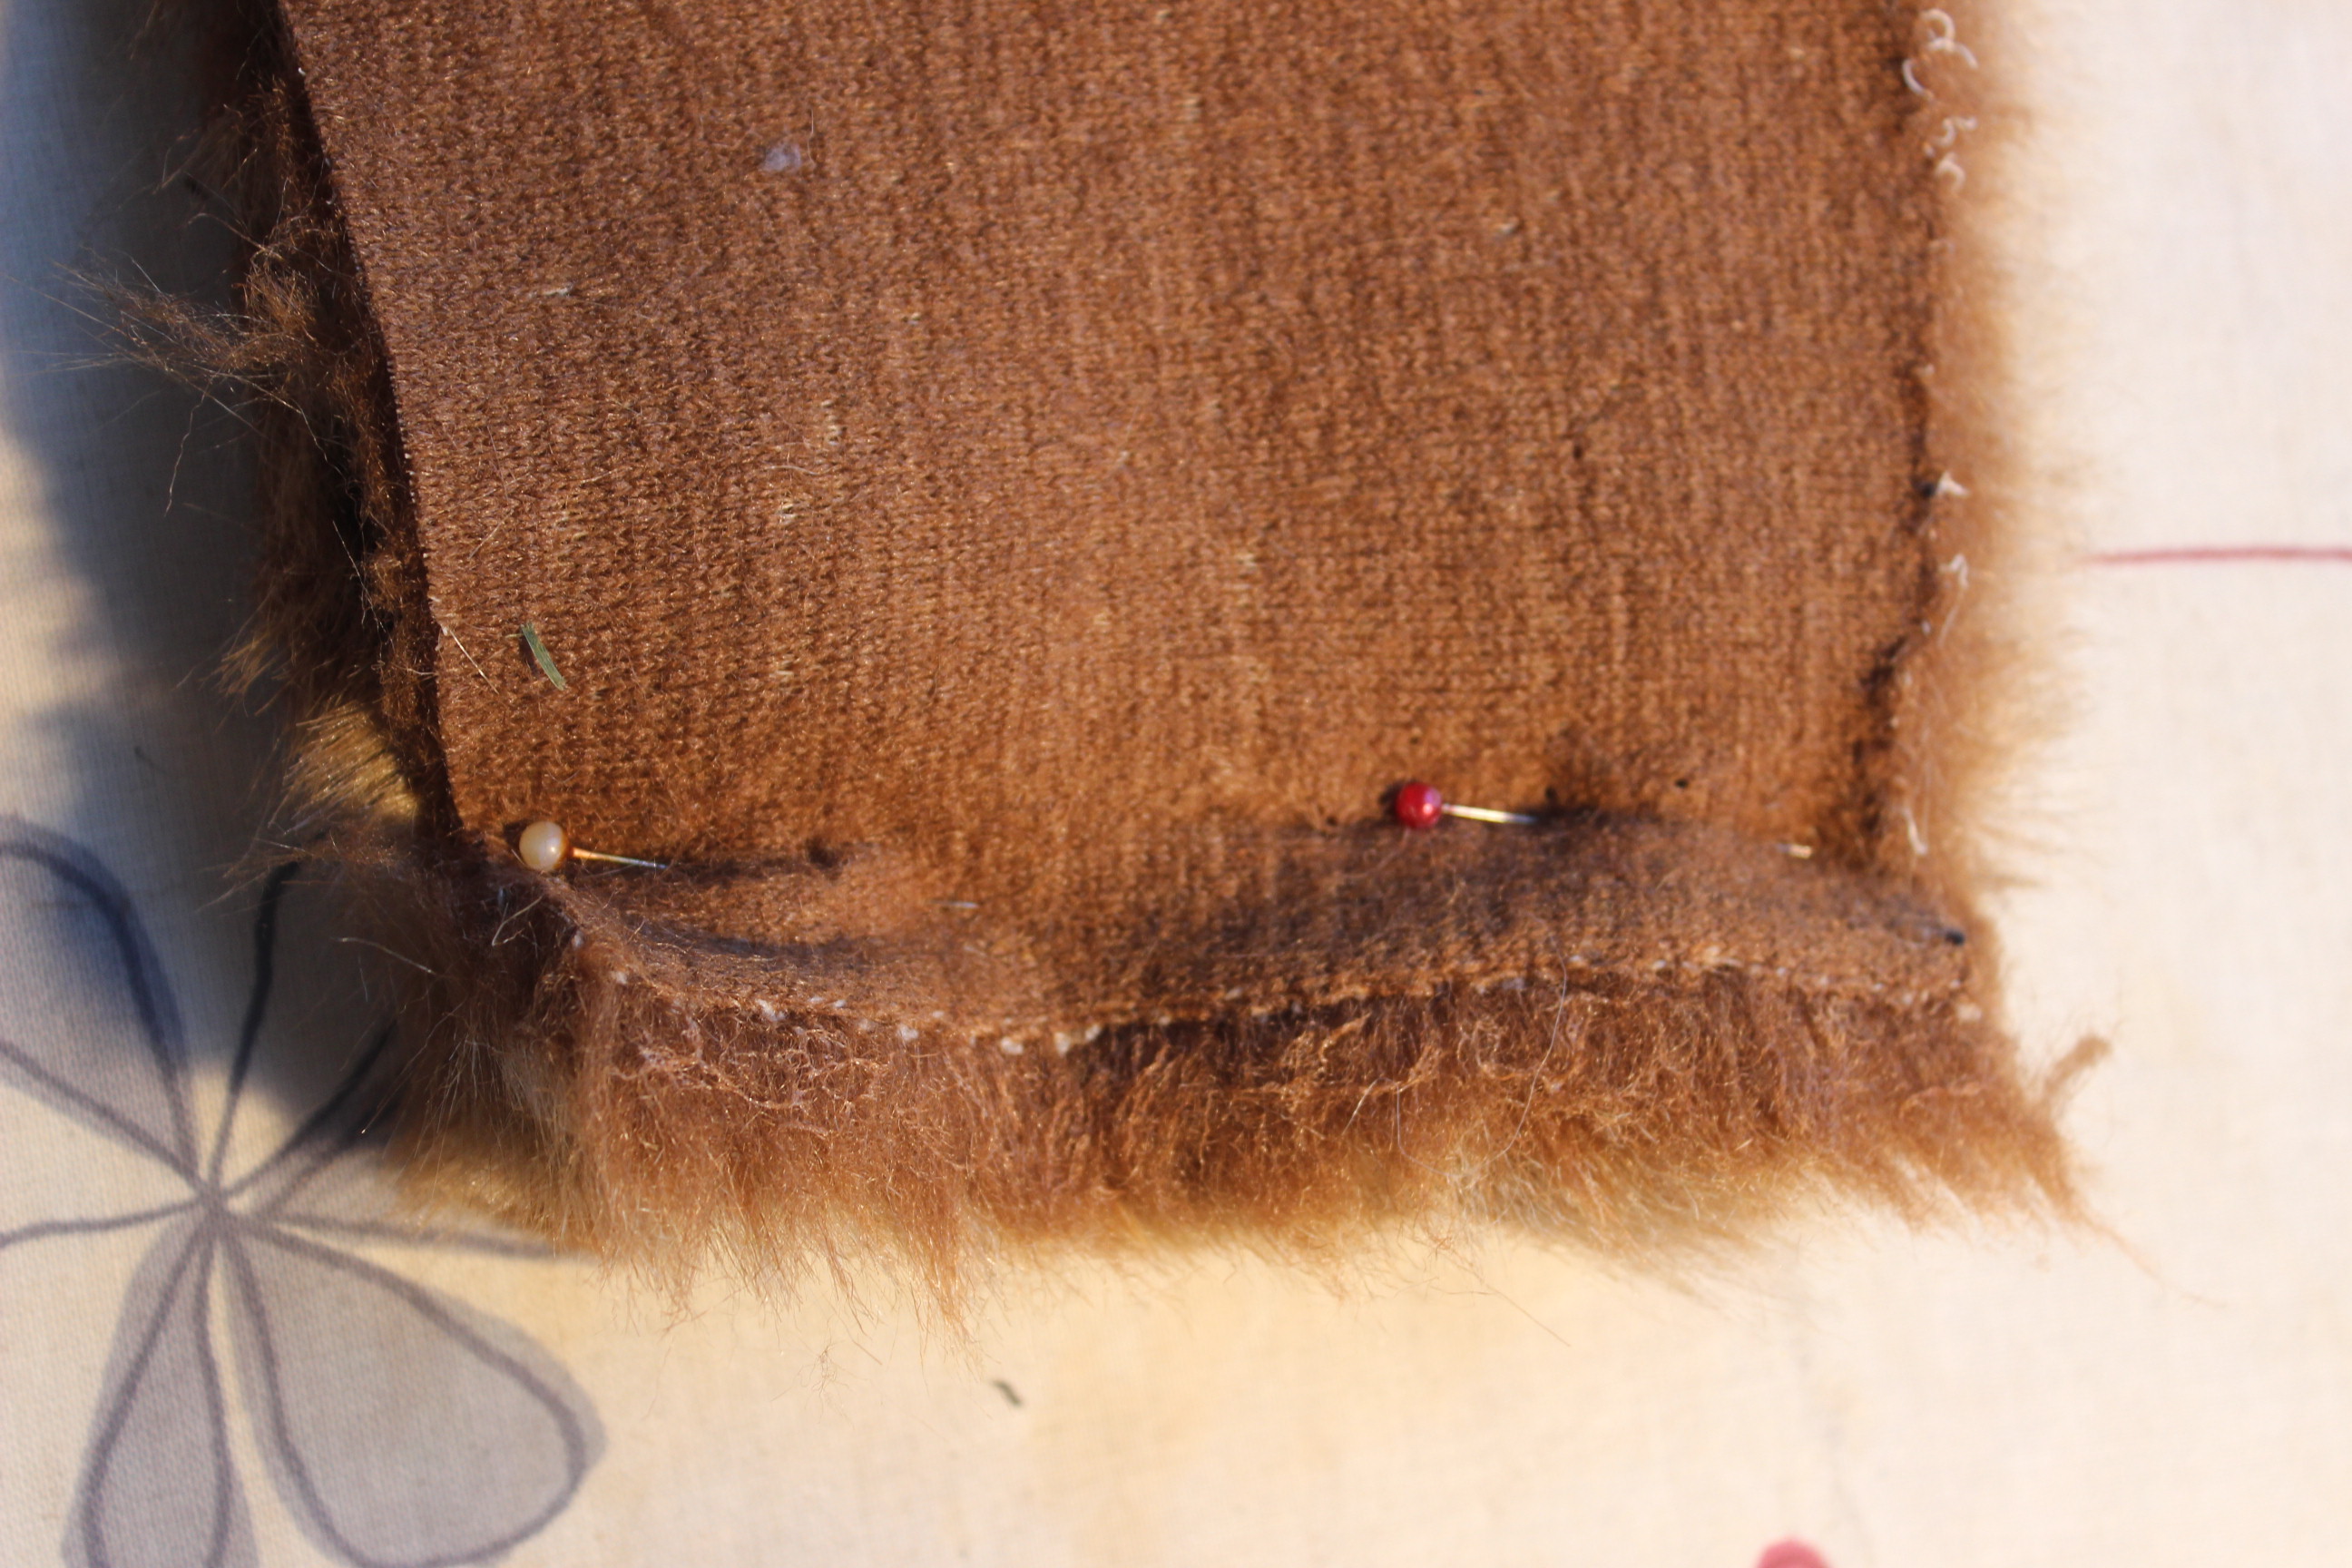
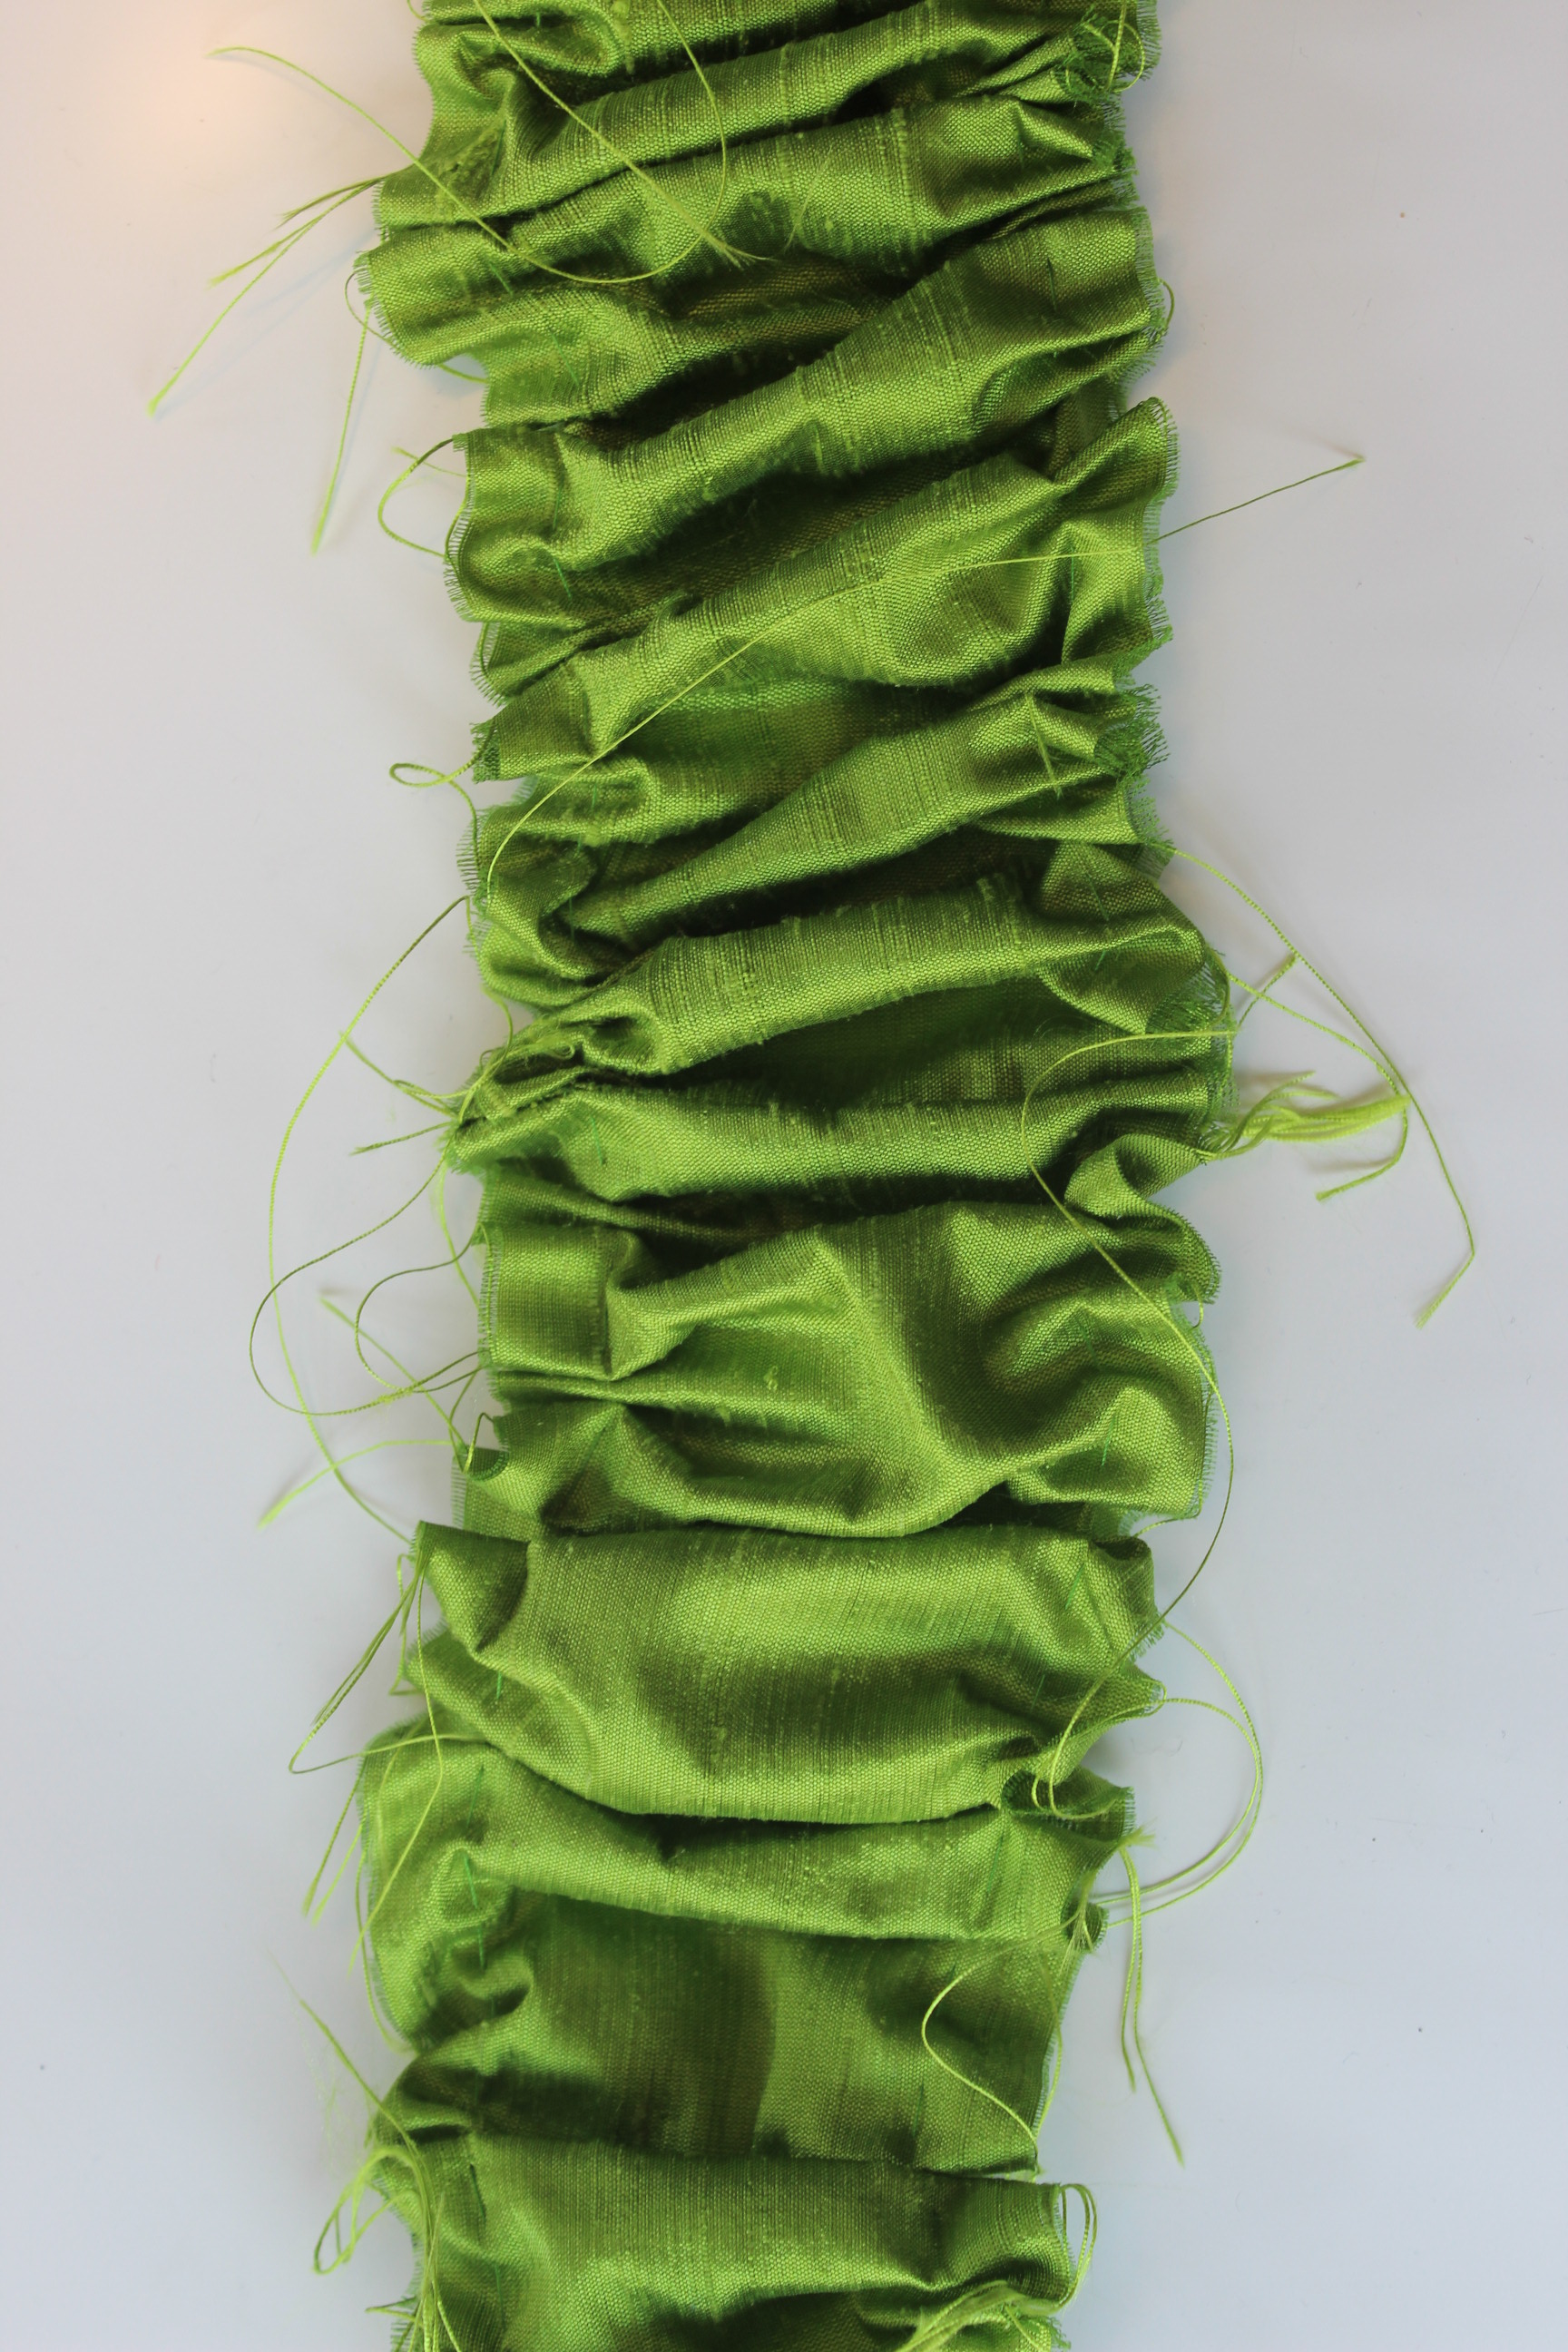
Before finishing the last piece (the gathered front) of the lining, It was time for the “curtain”/neckpiece. I basically just gathered a straight piece of silk and pinned it to the curved neck of the bonnet.
 Then I stitched it on.
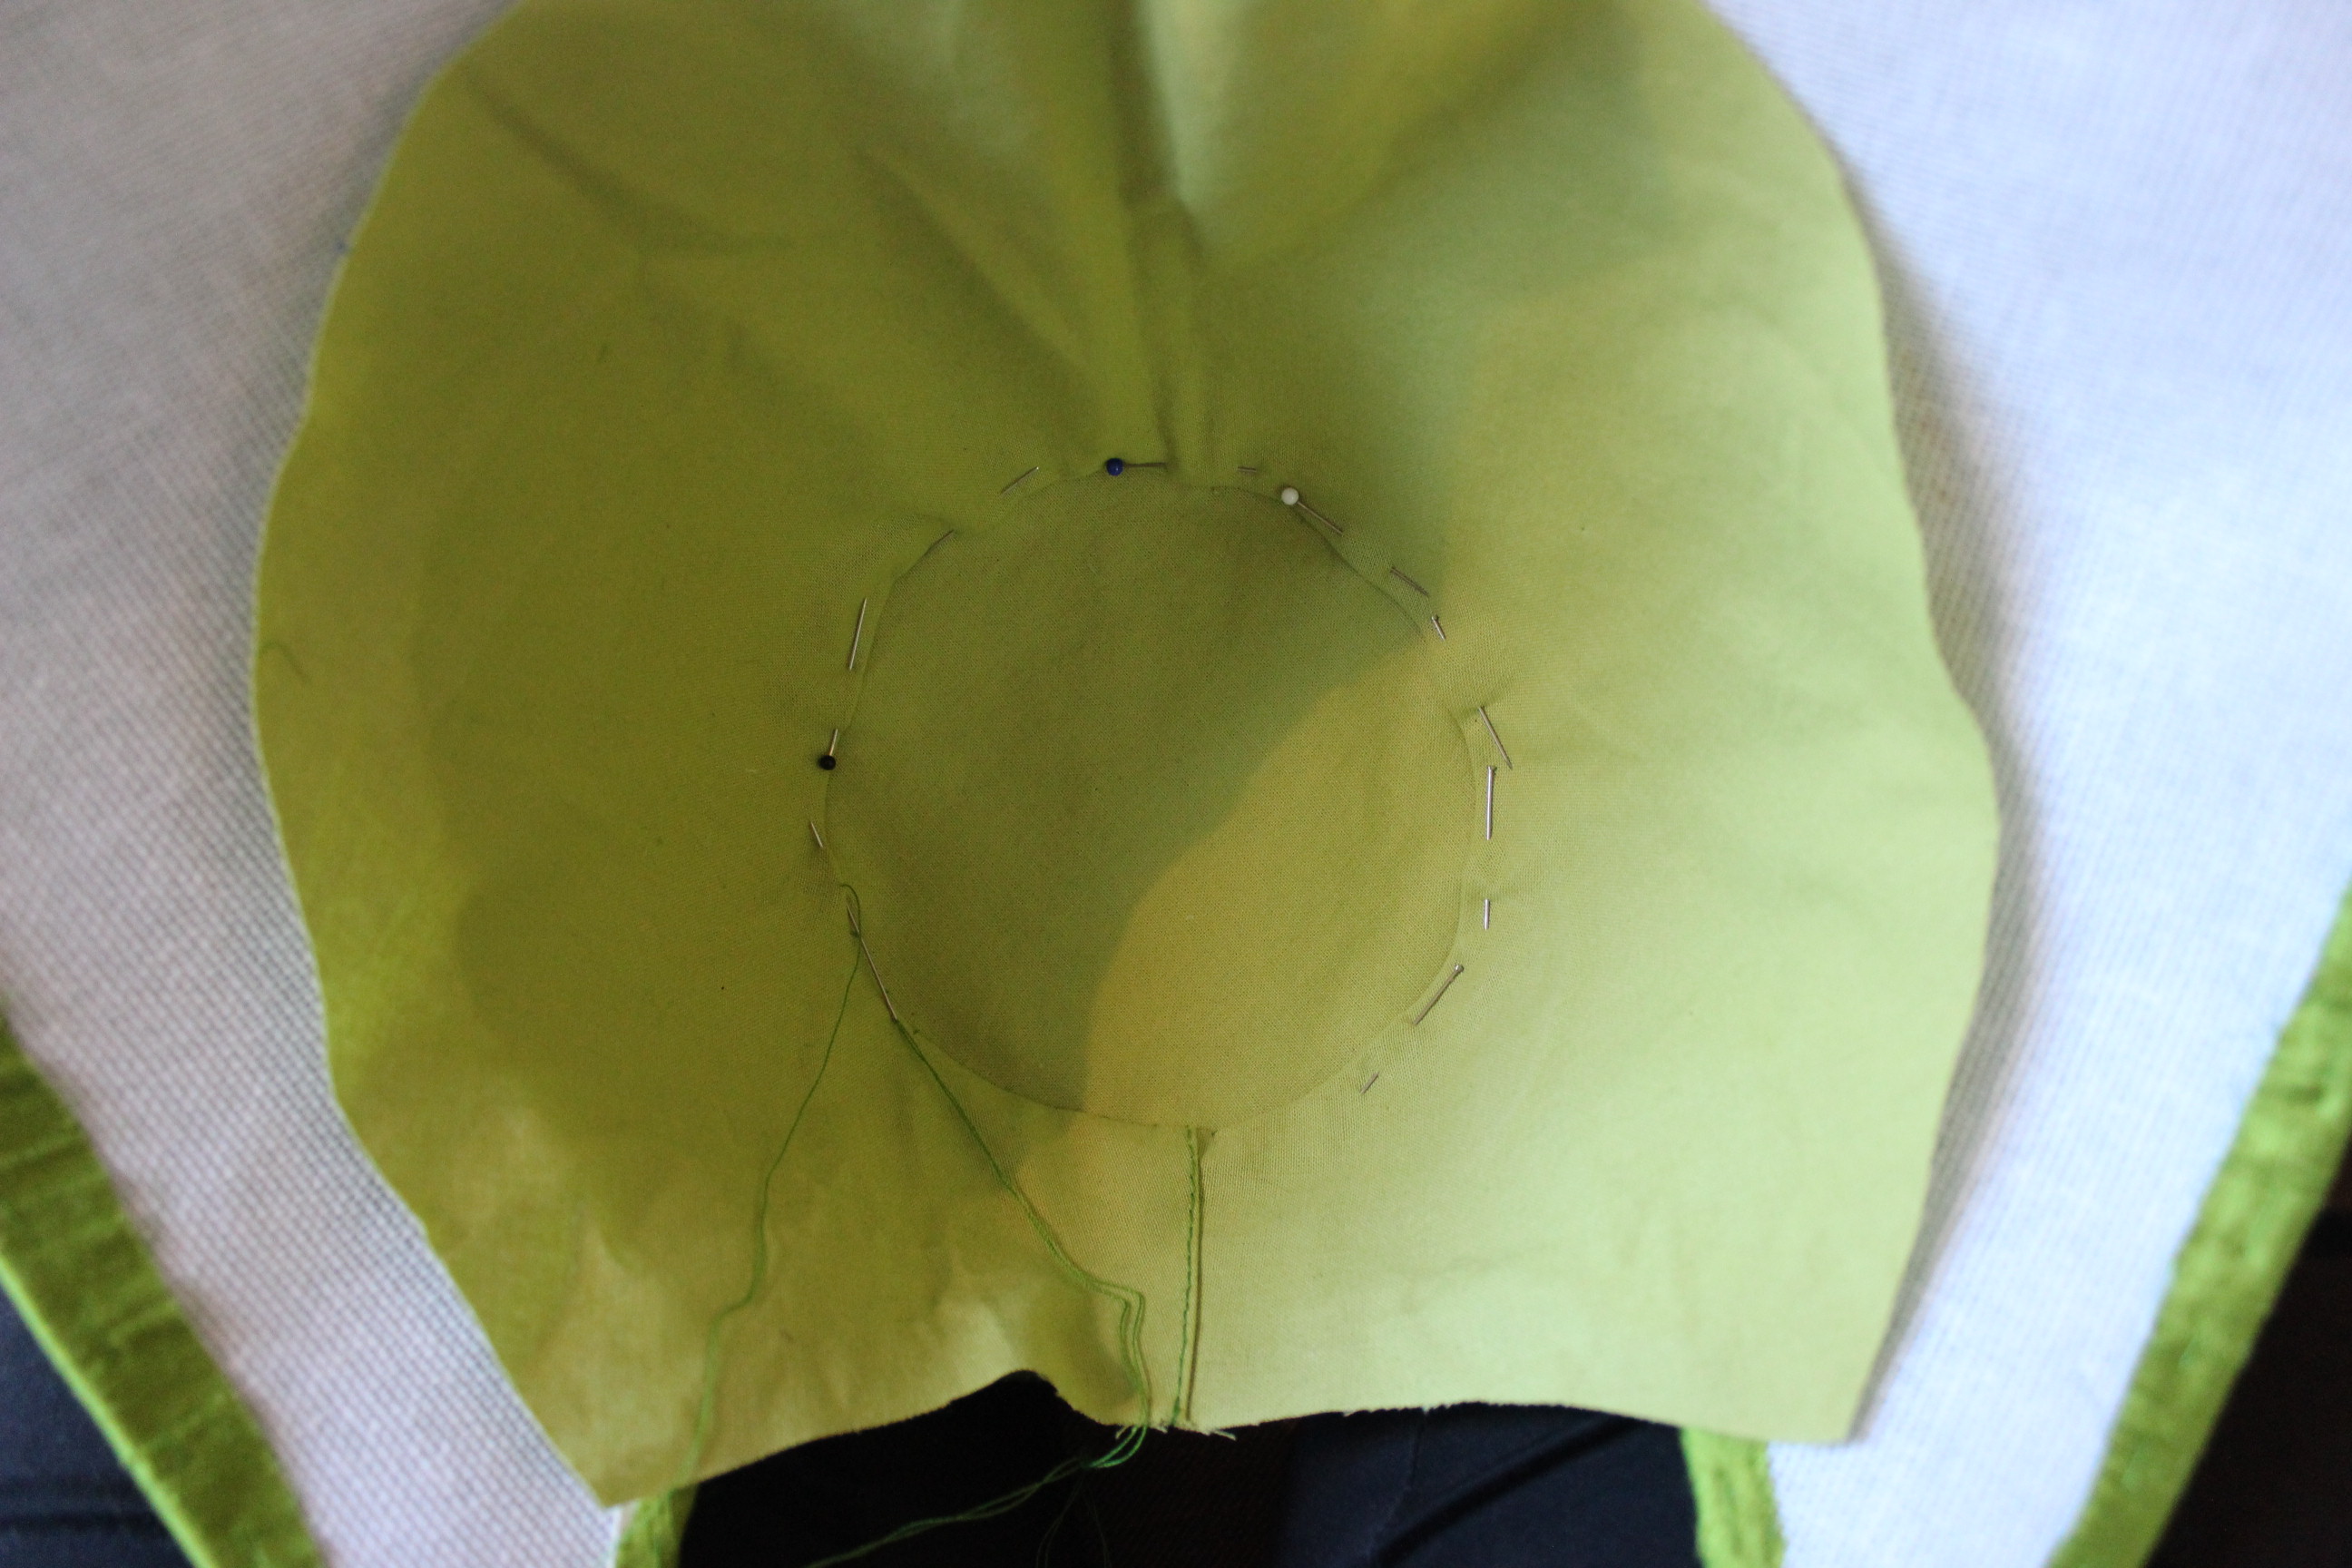
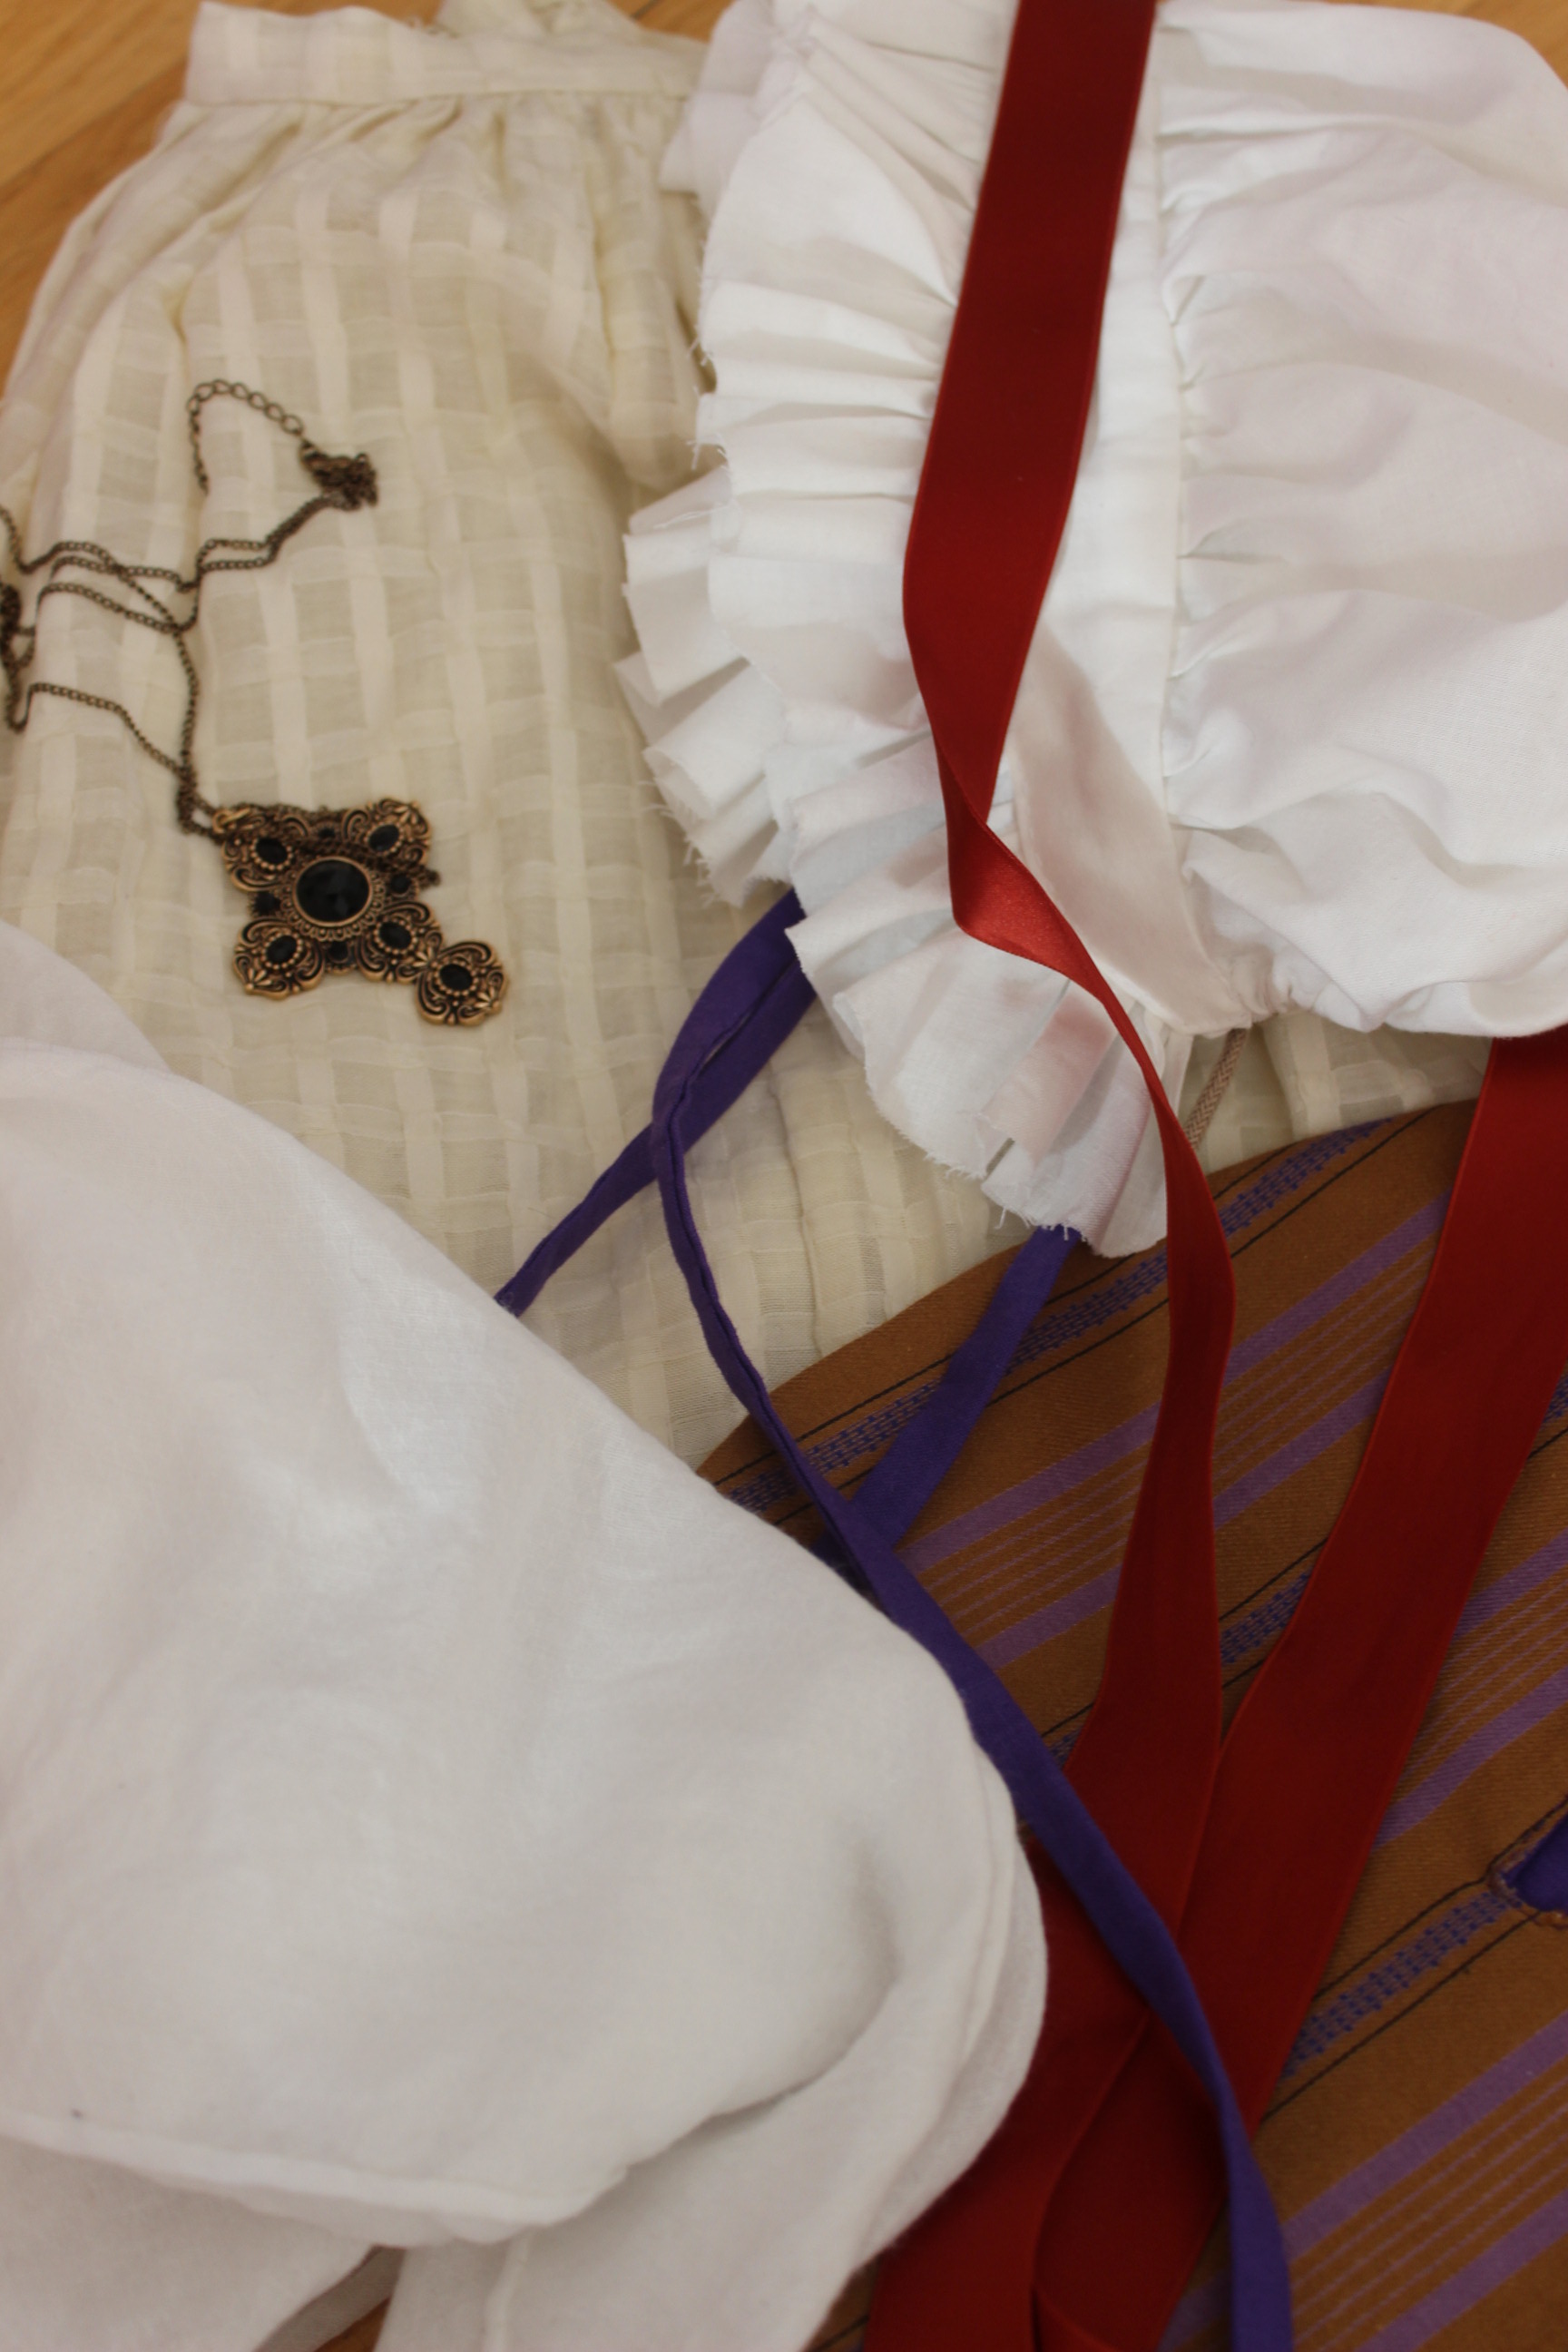
Then I gathered, pinned and stitched the last piece of lining to the inner brim of the bonnet, and added some silk ties.
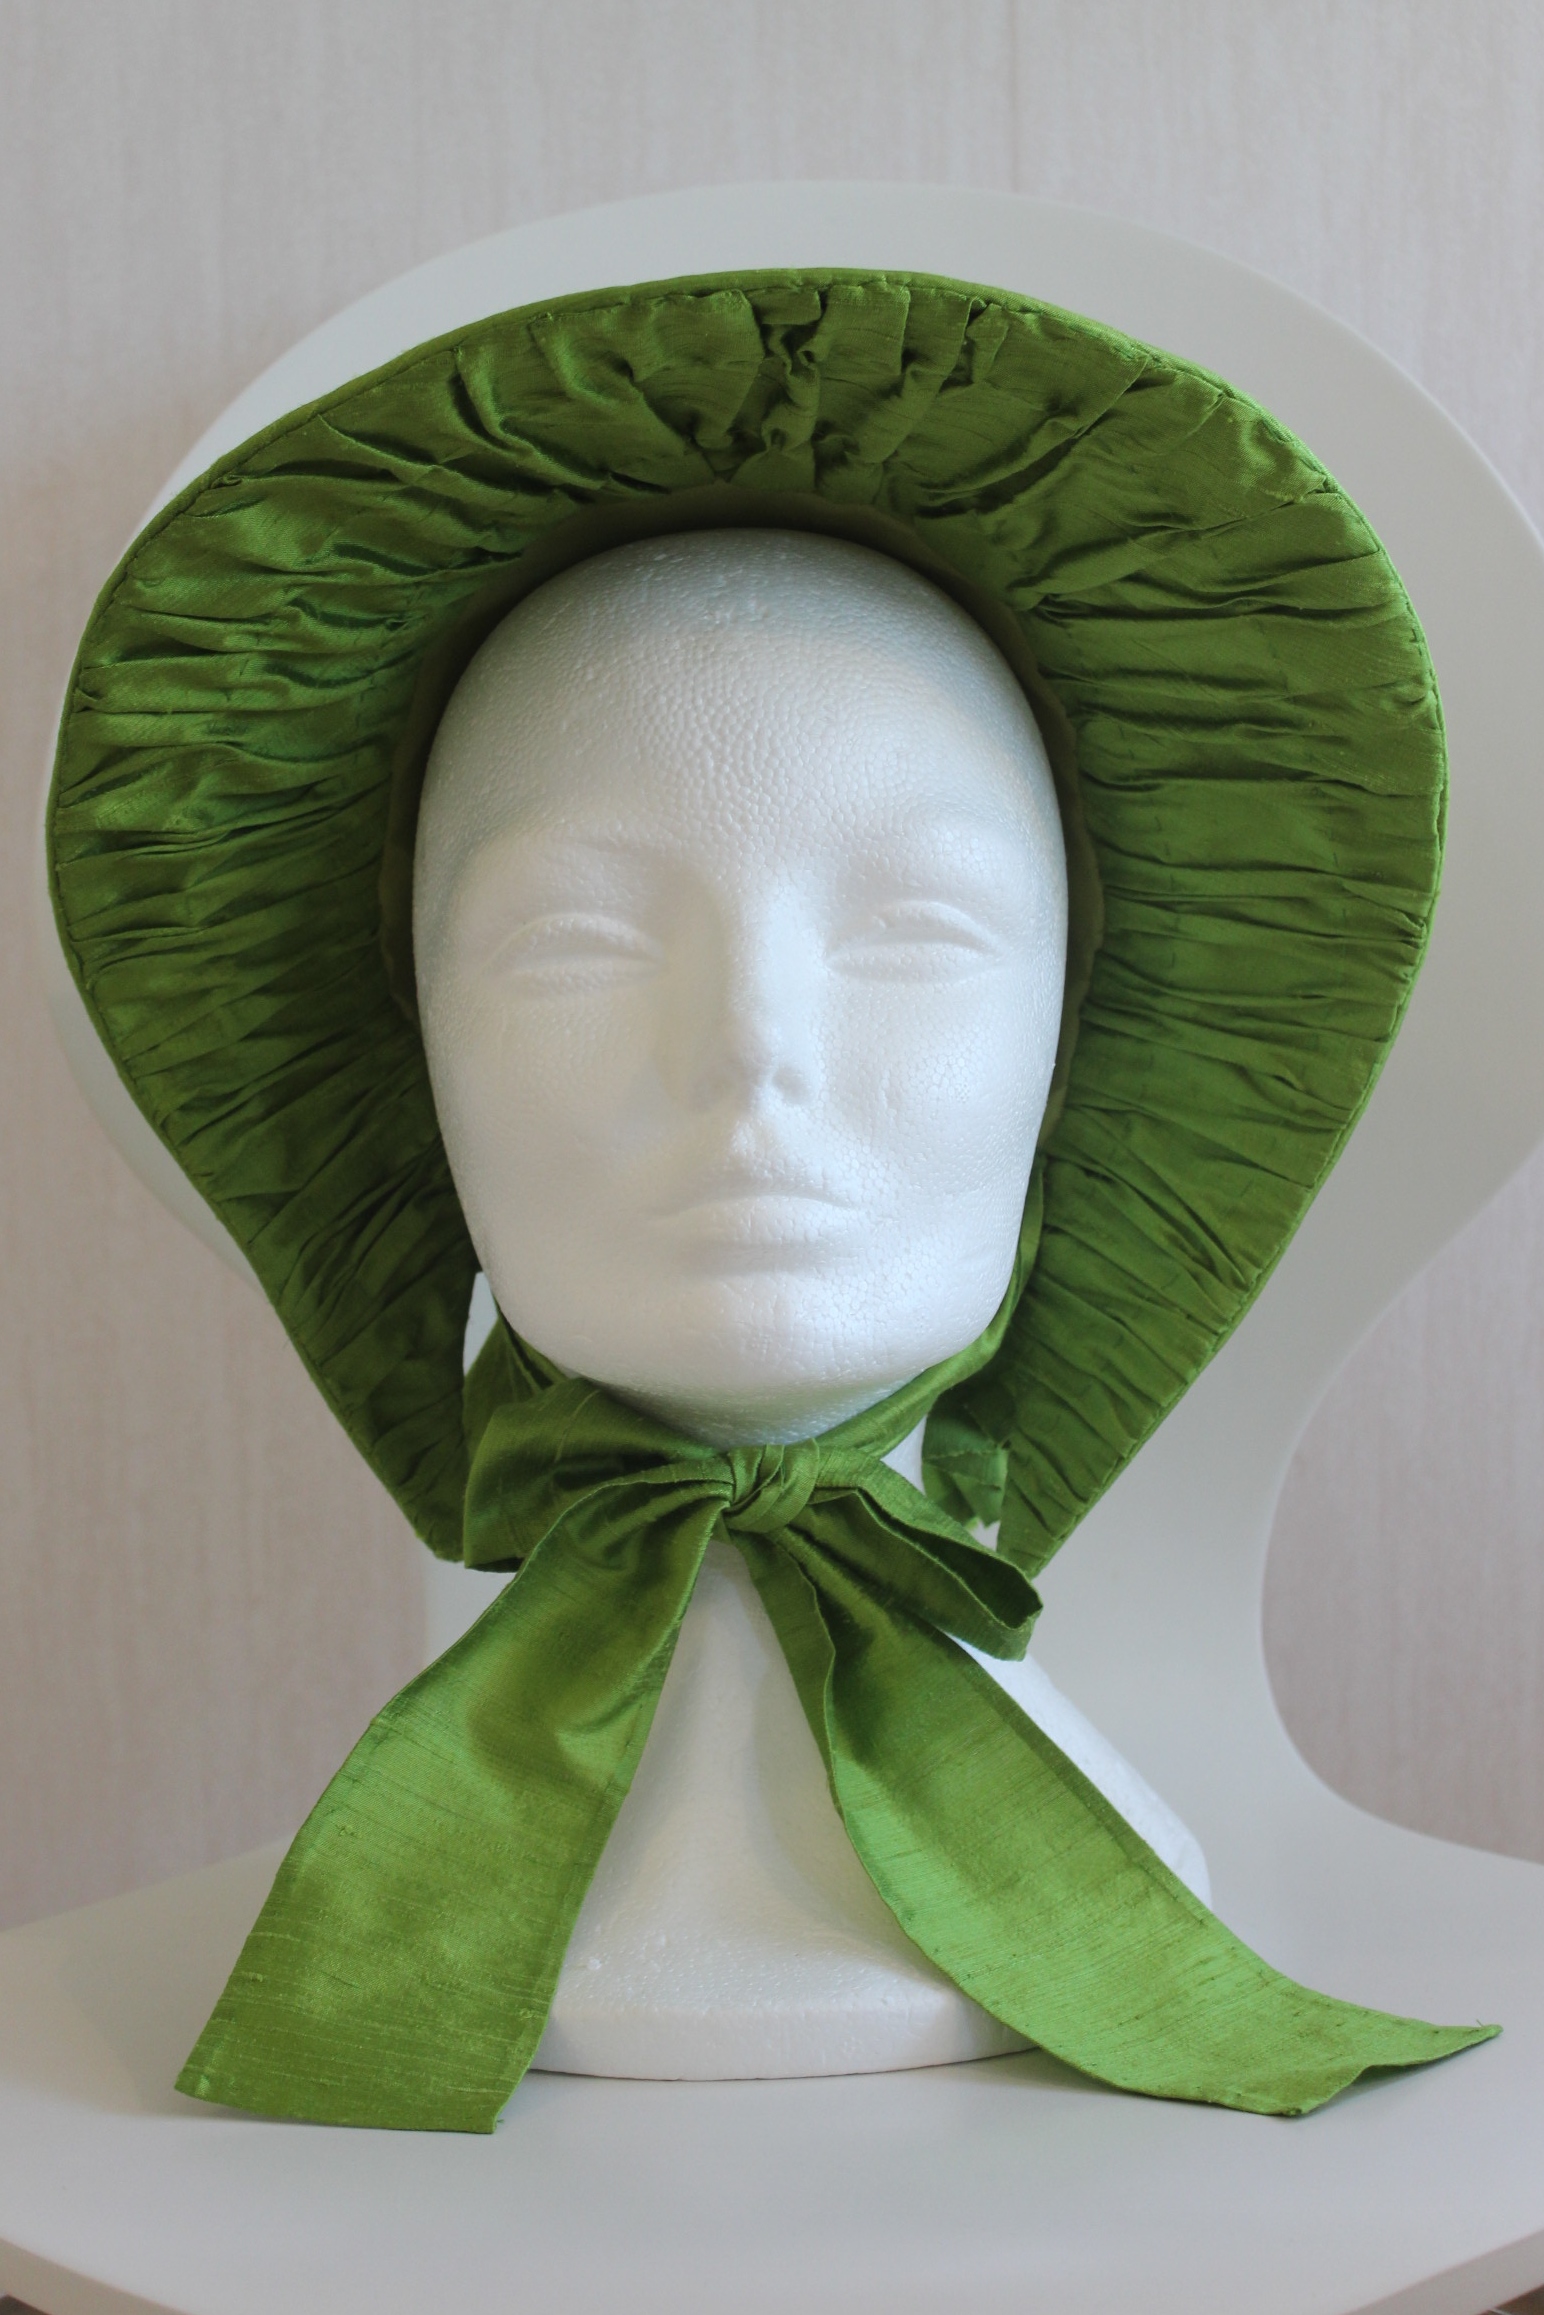
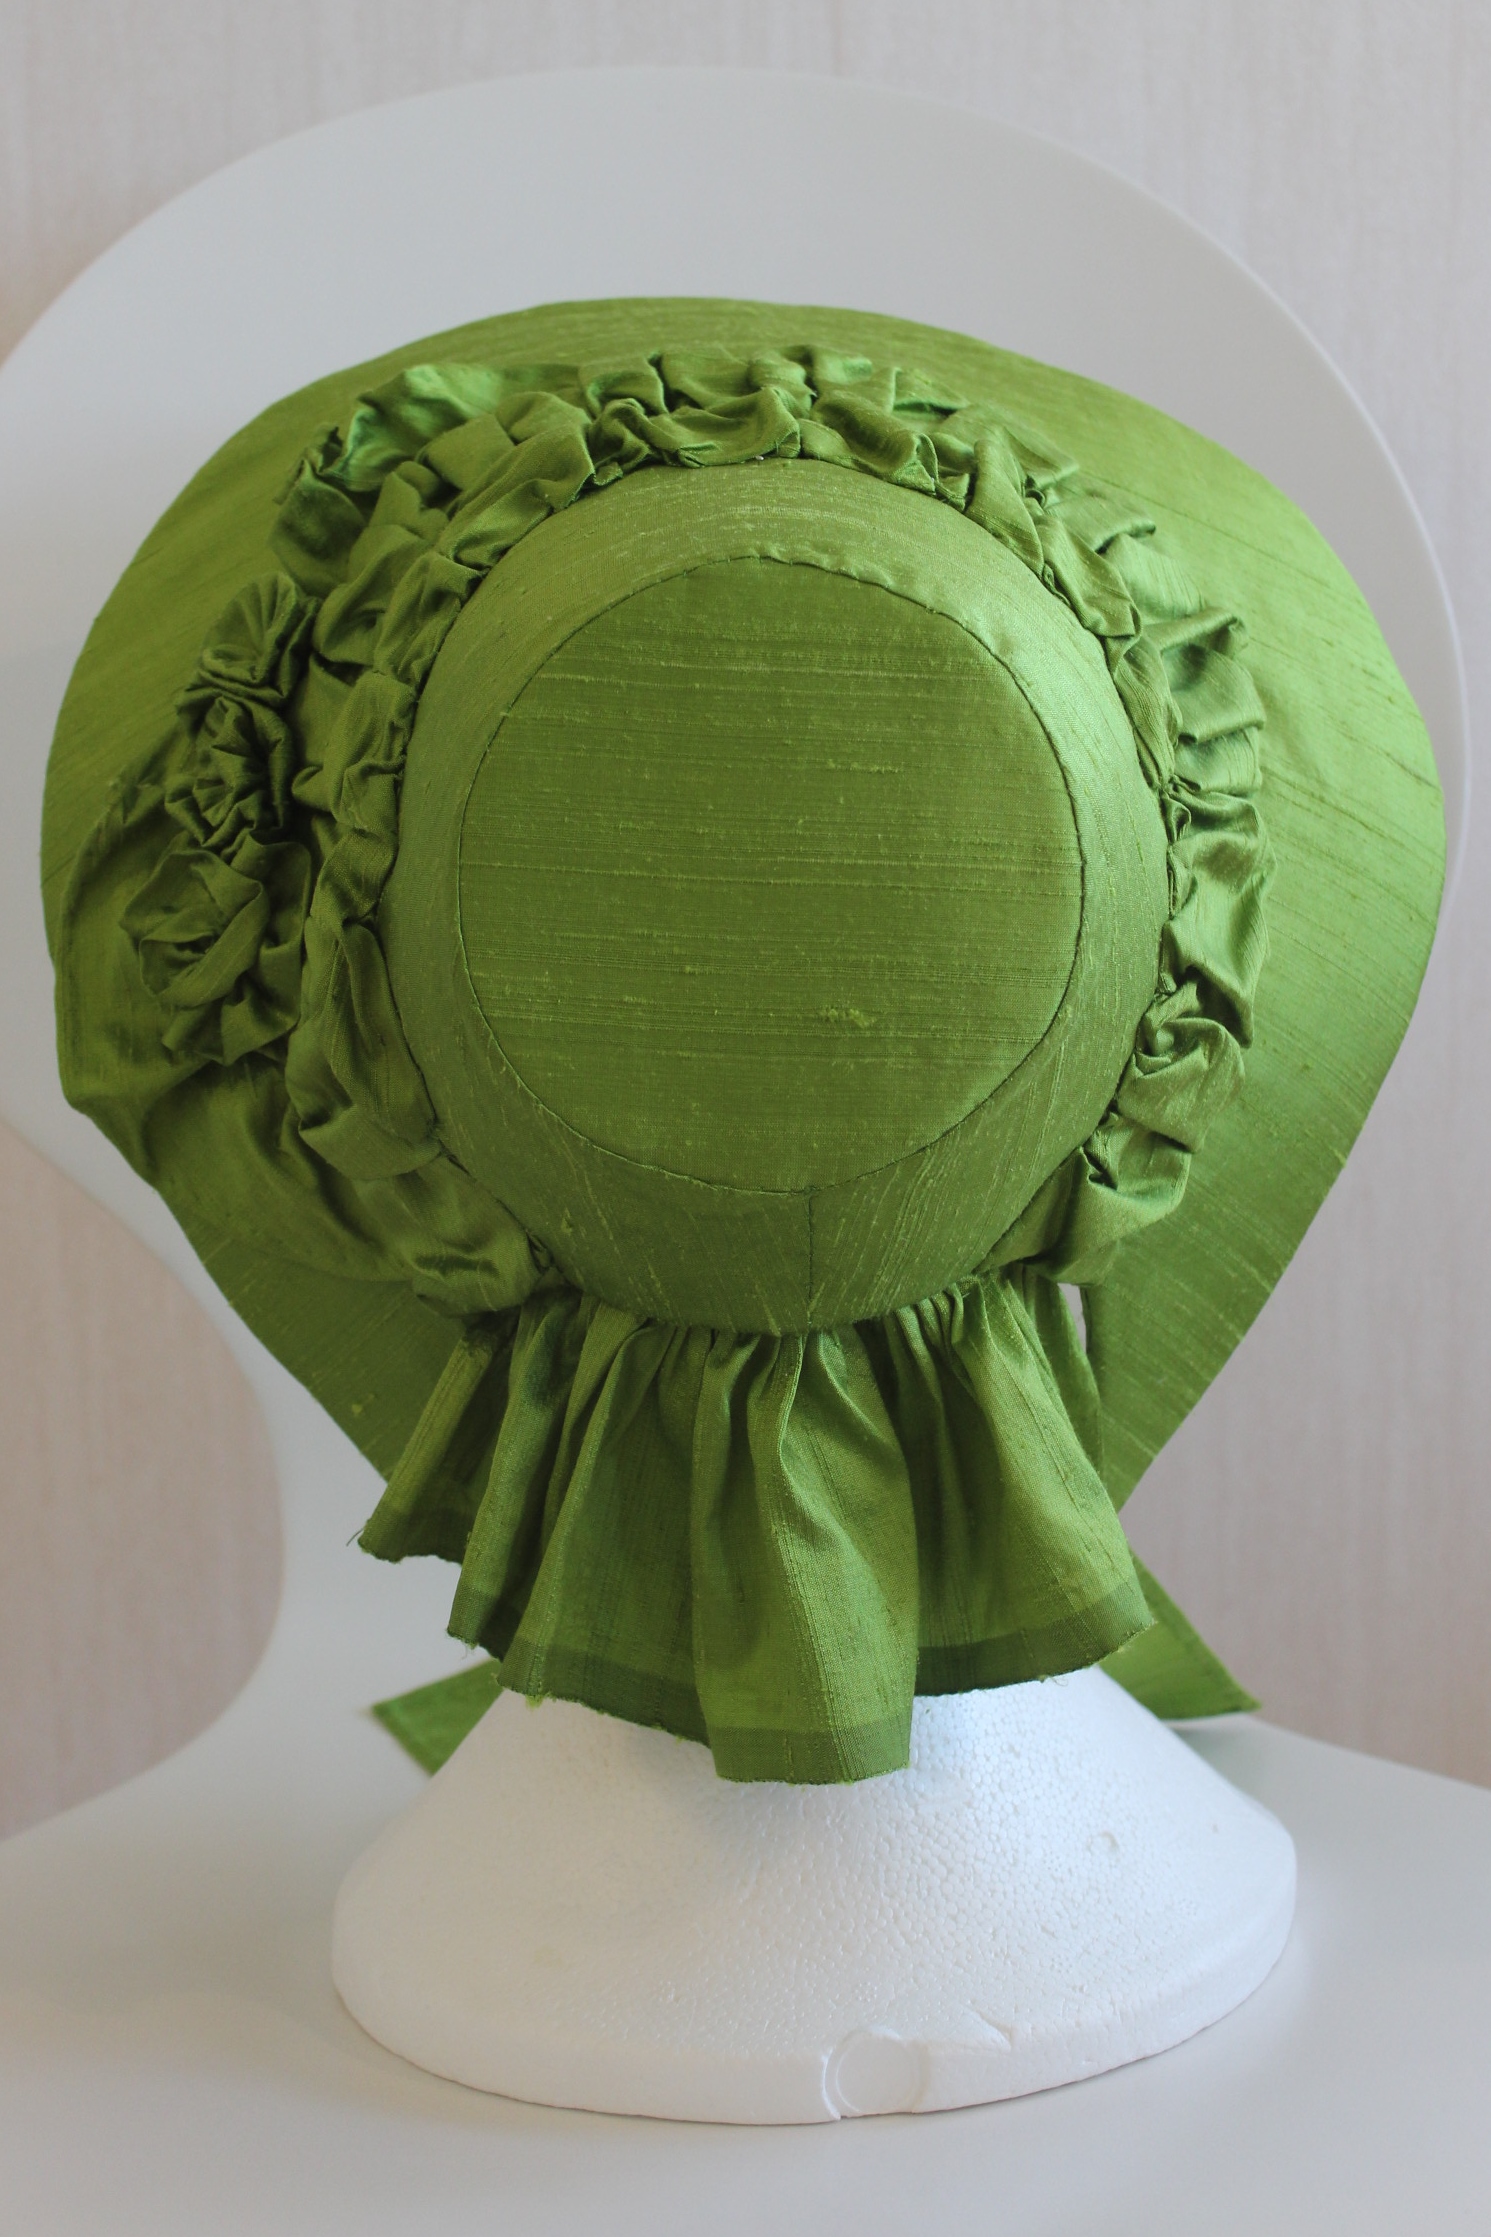
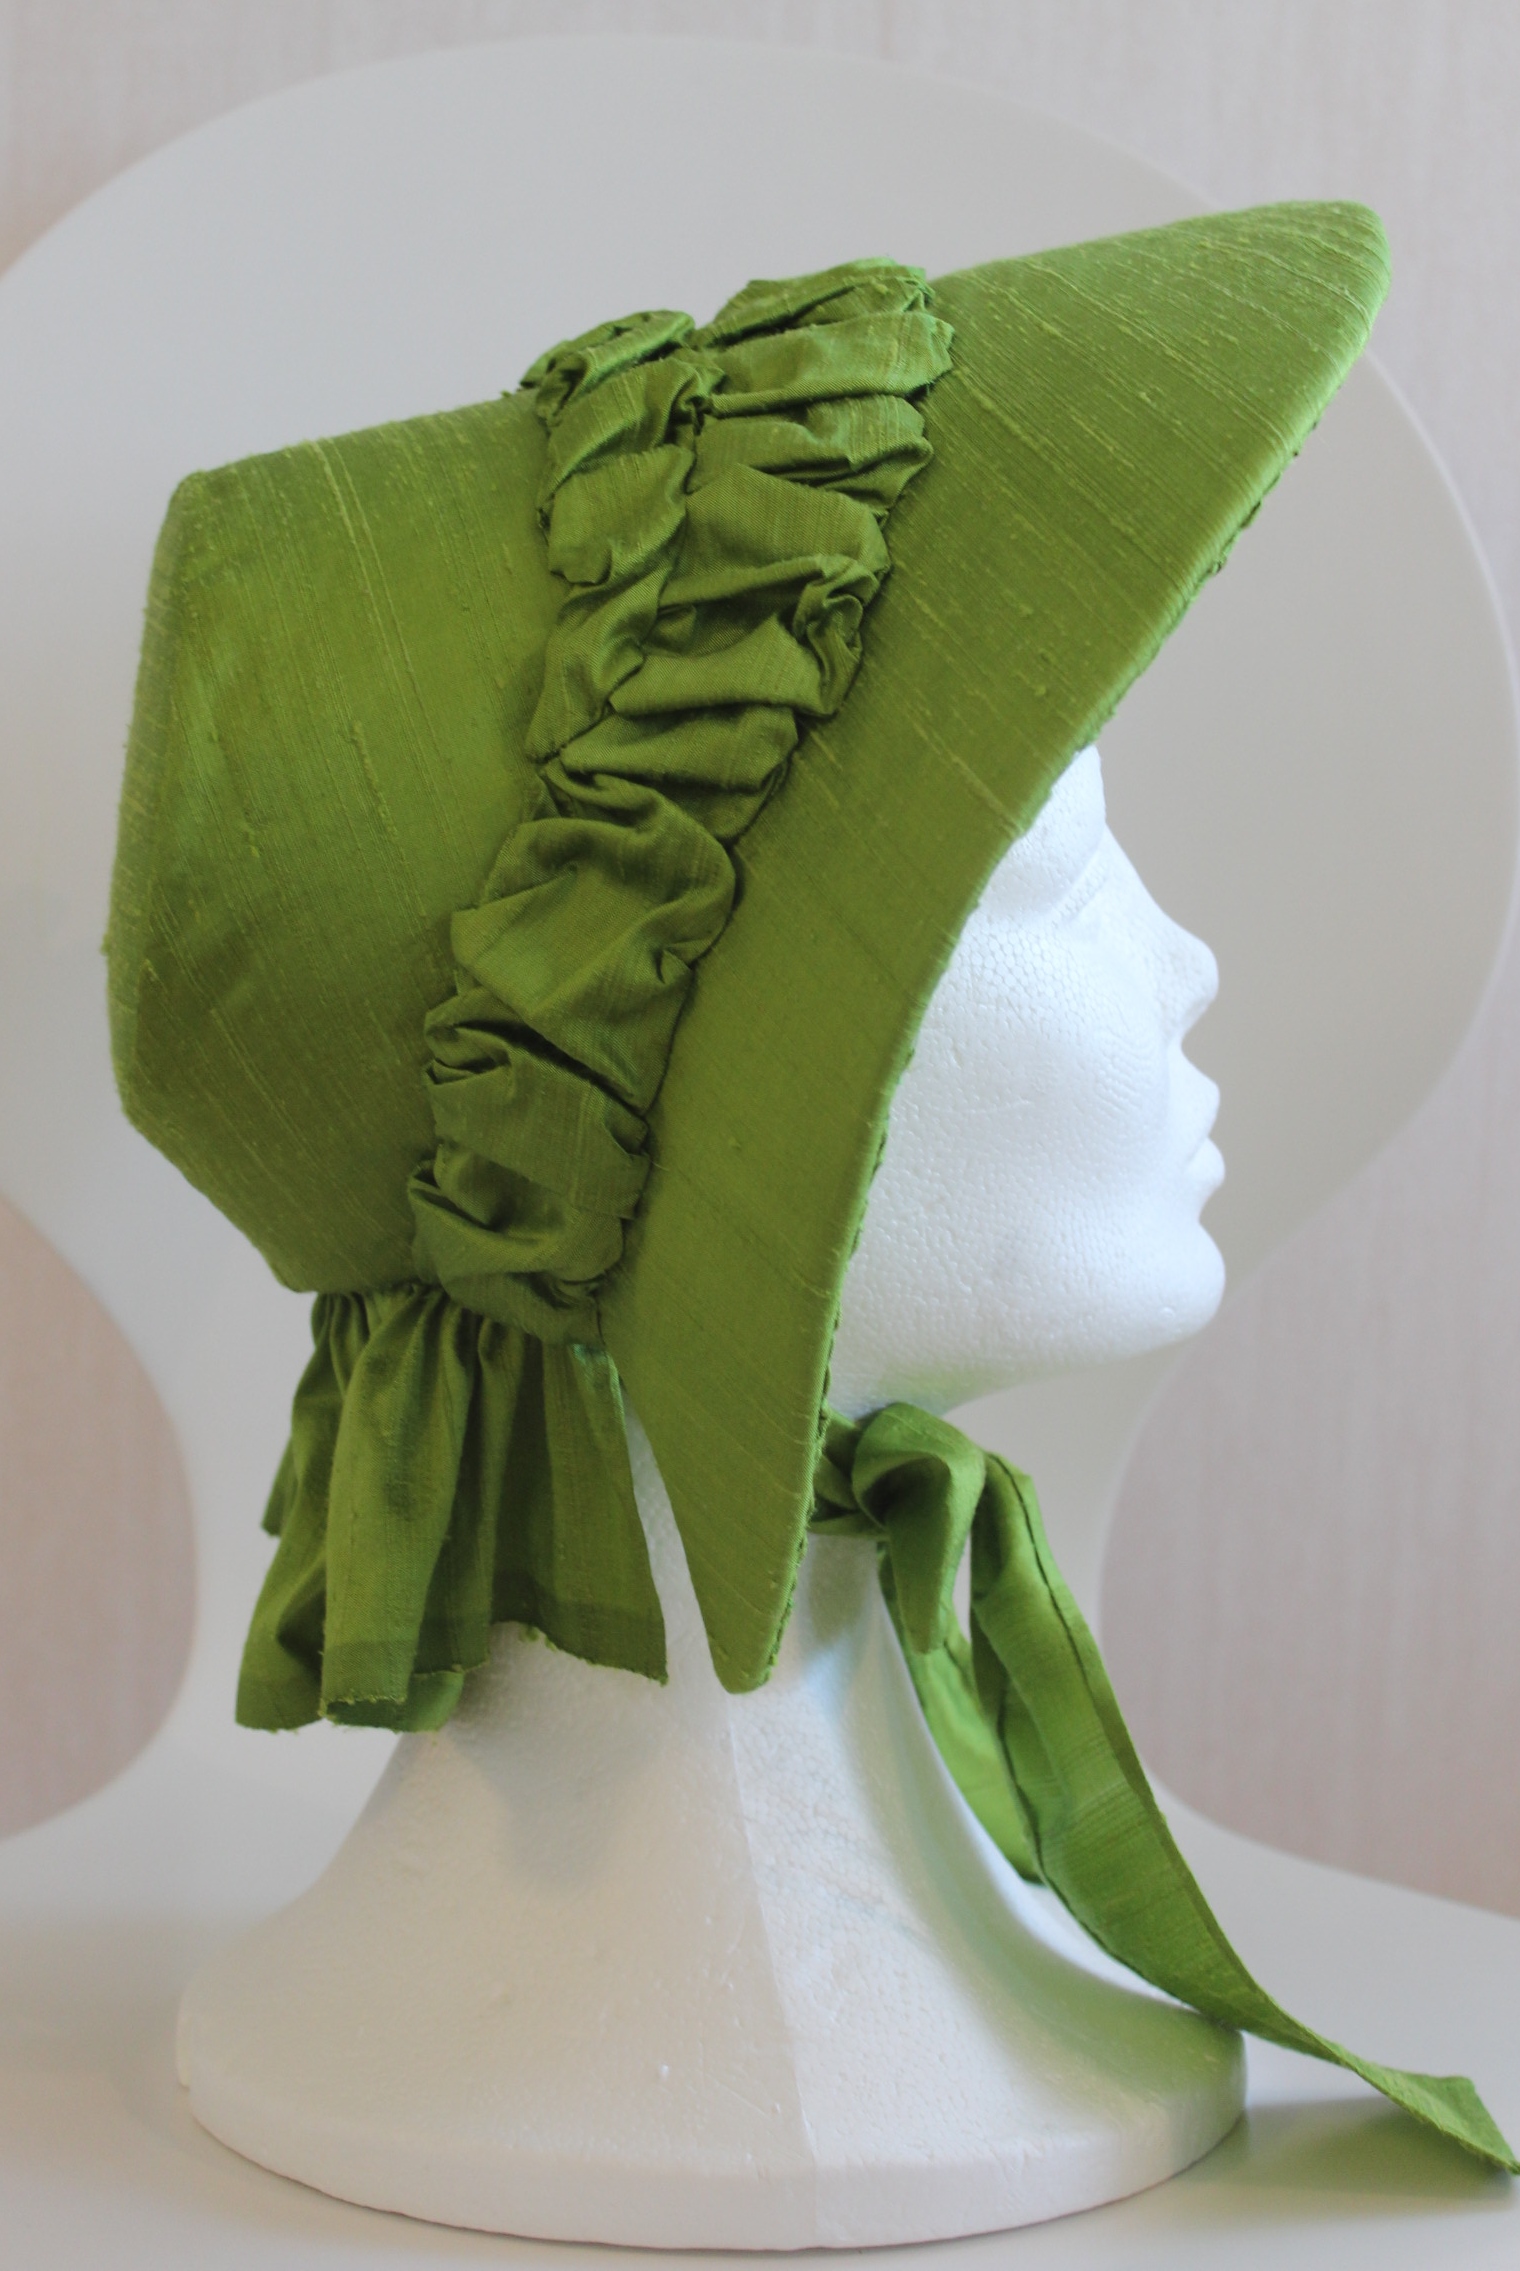
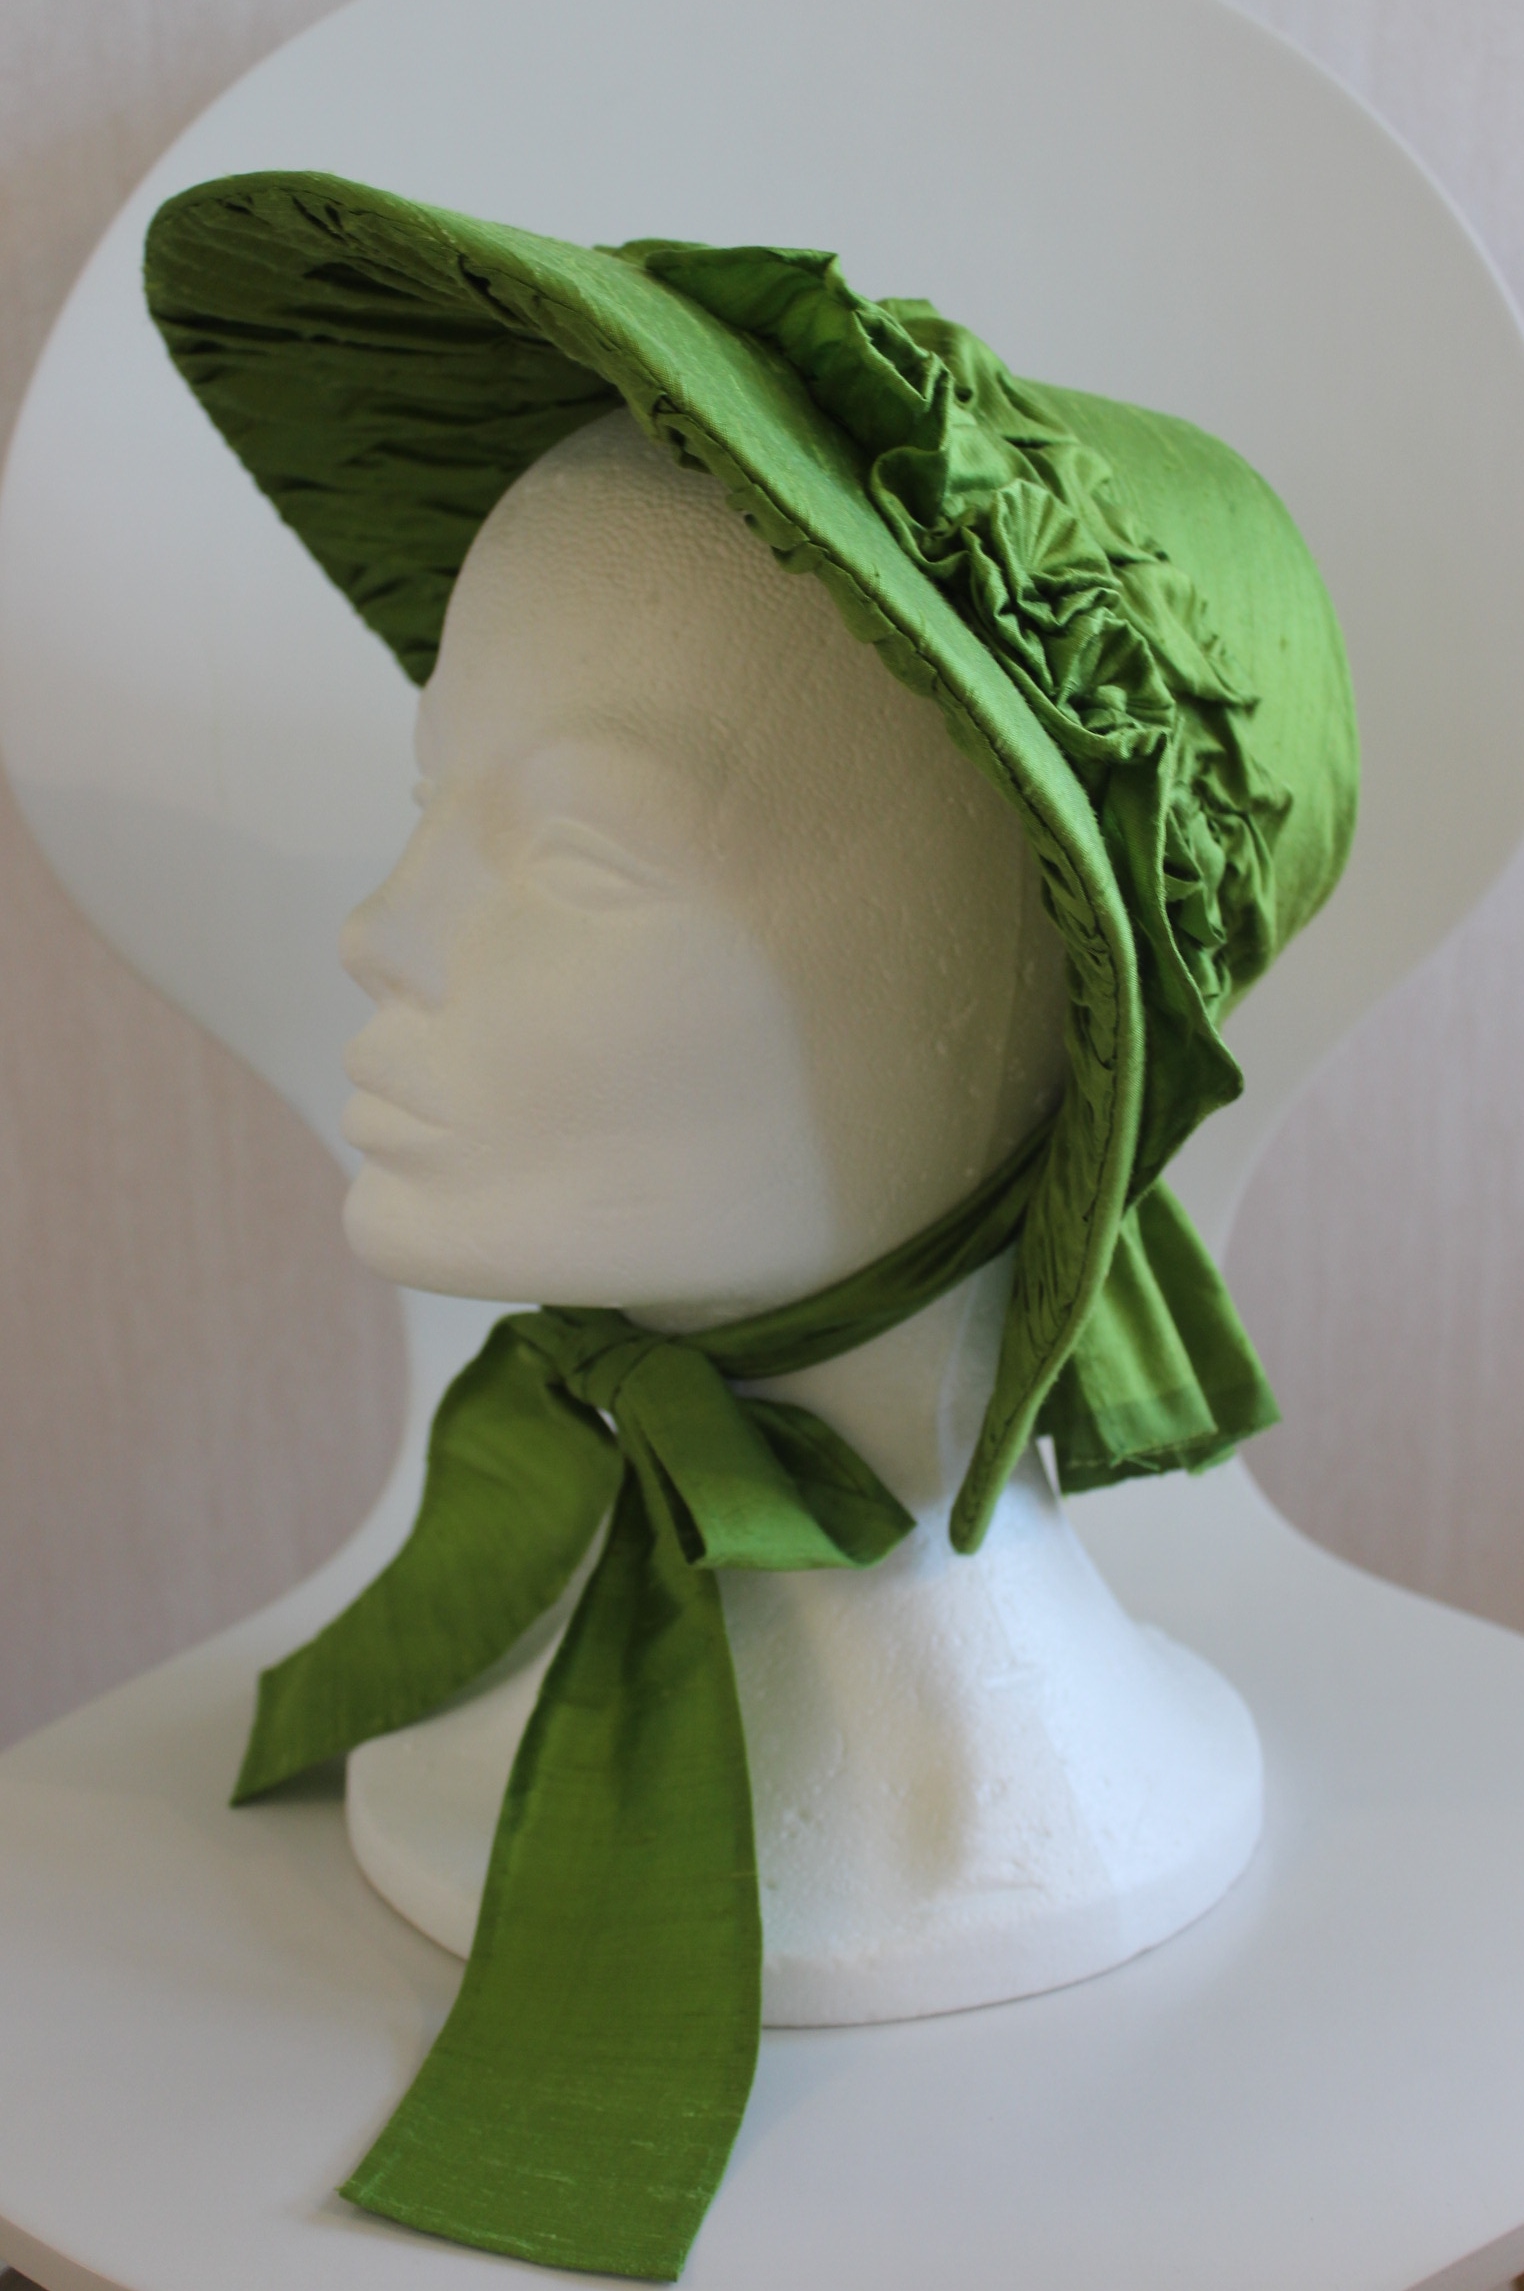
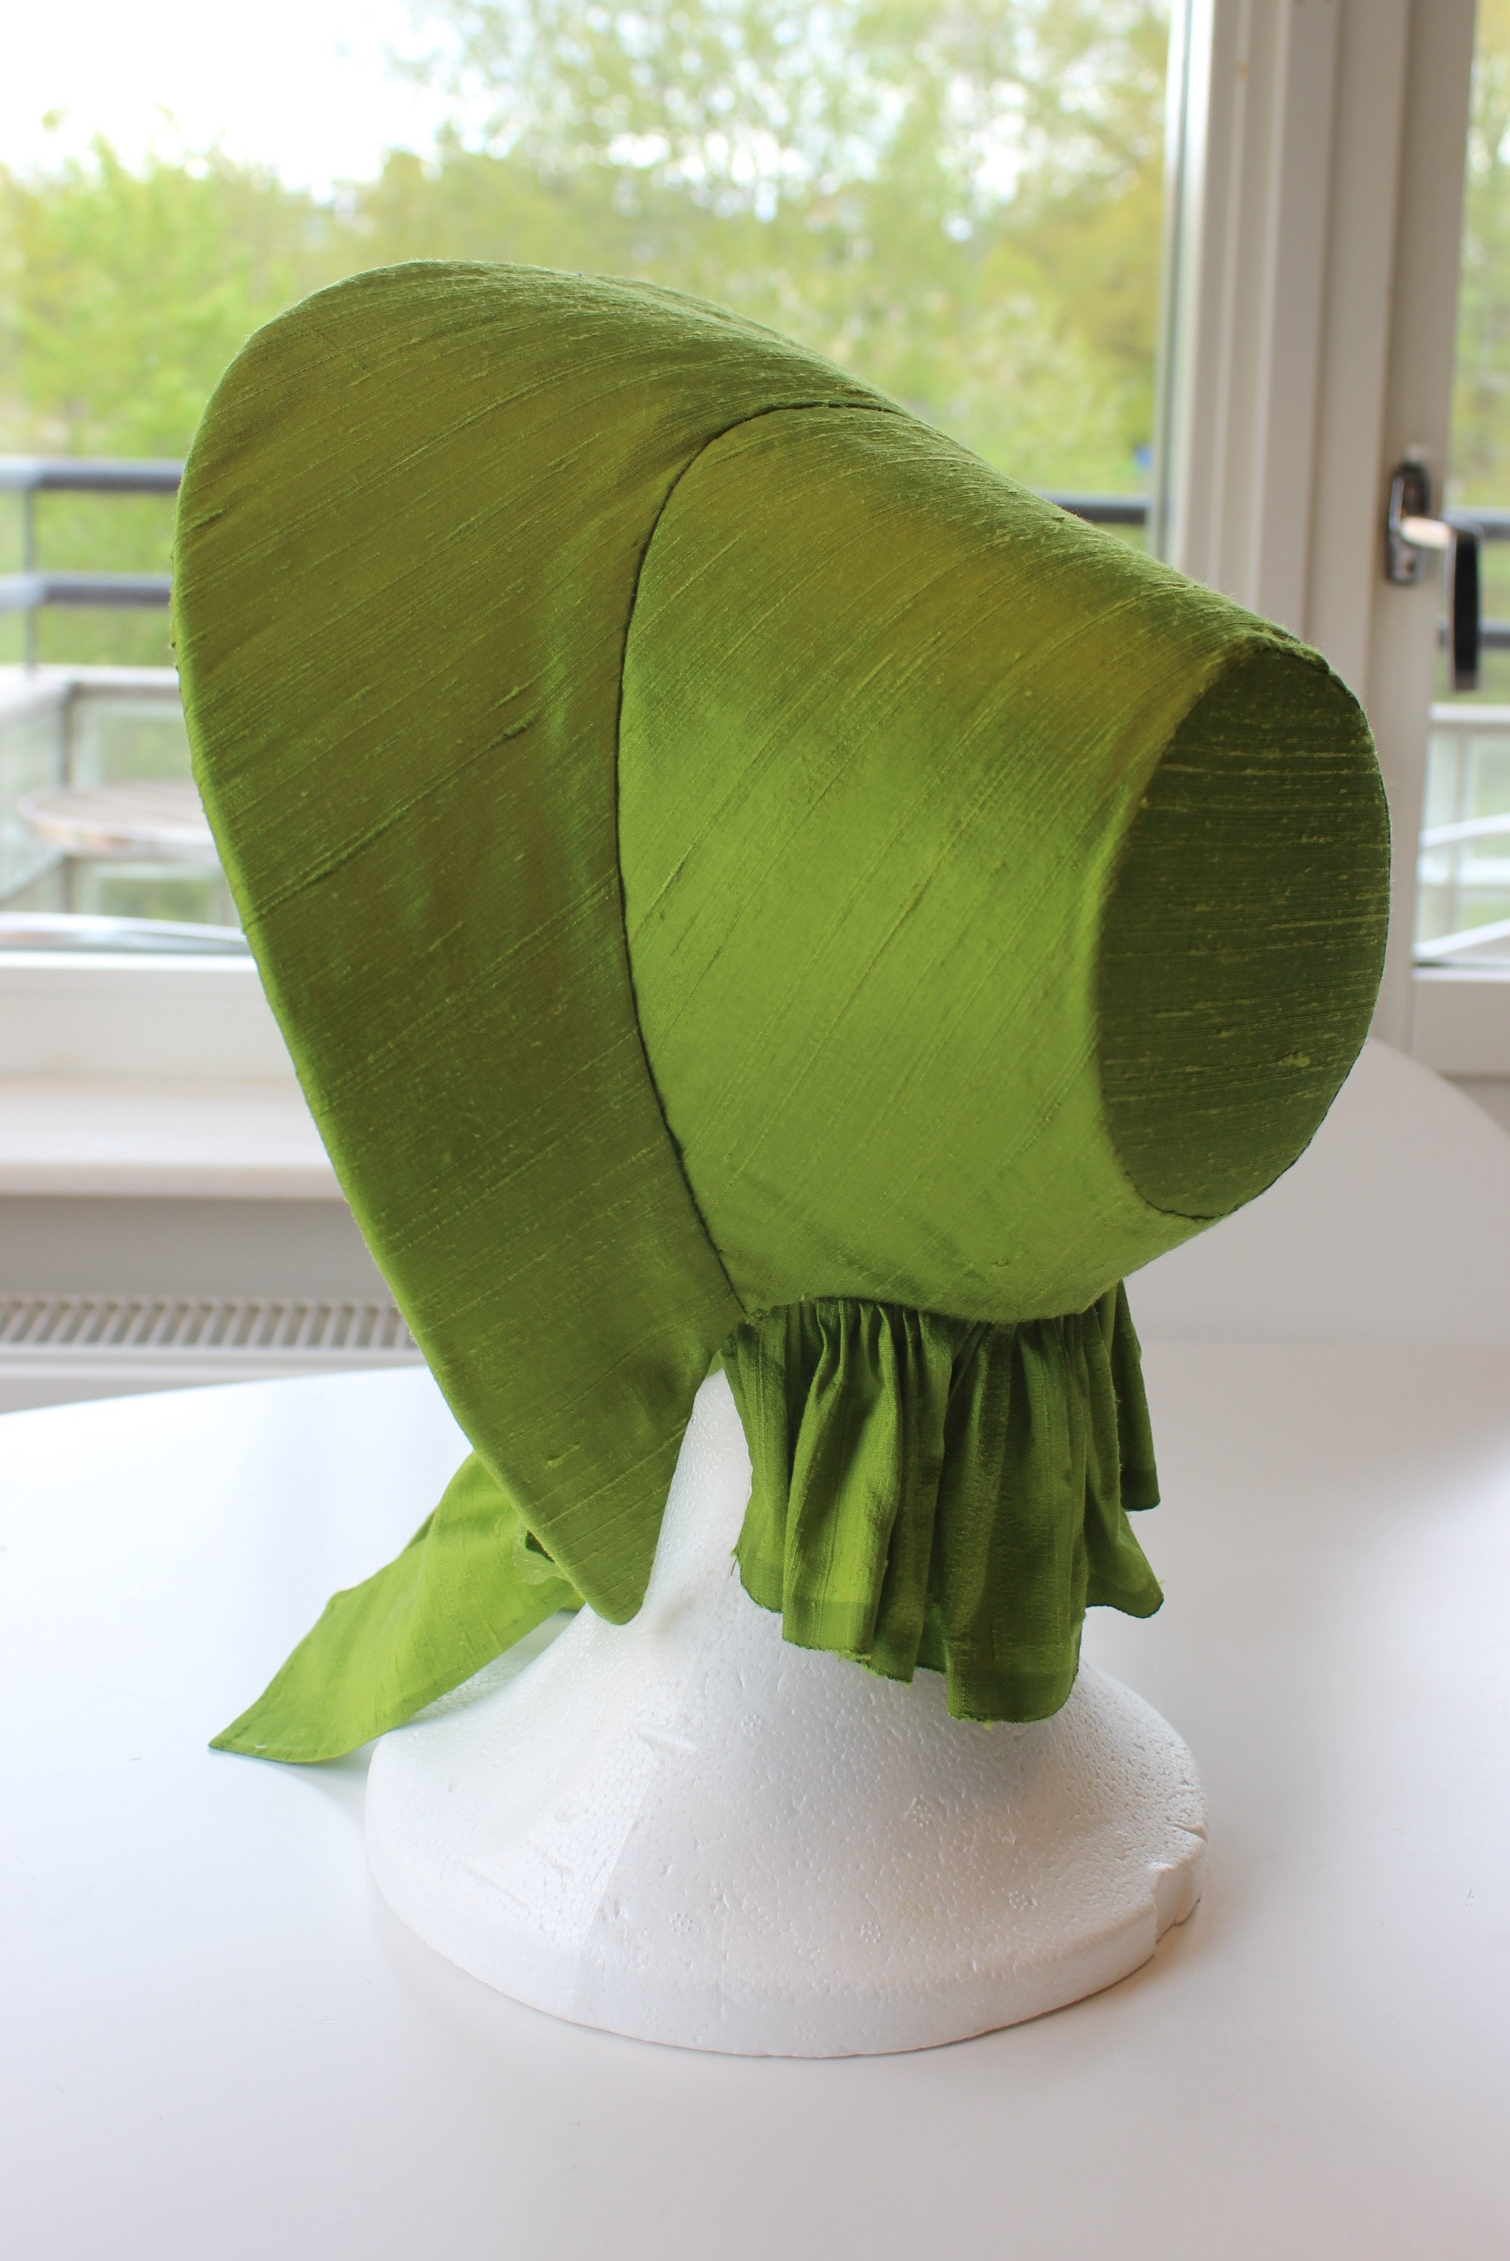
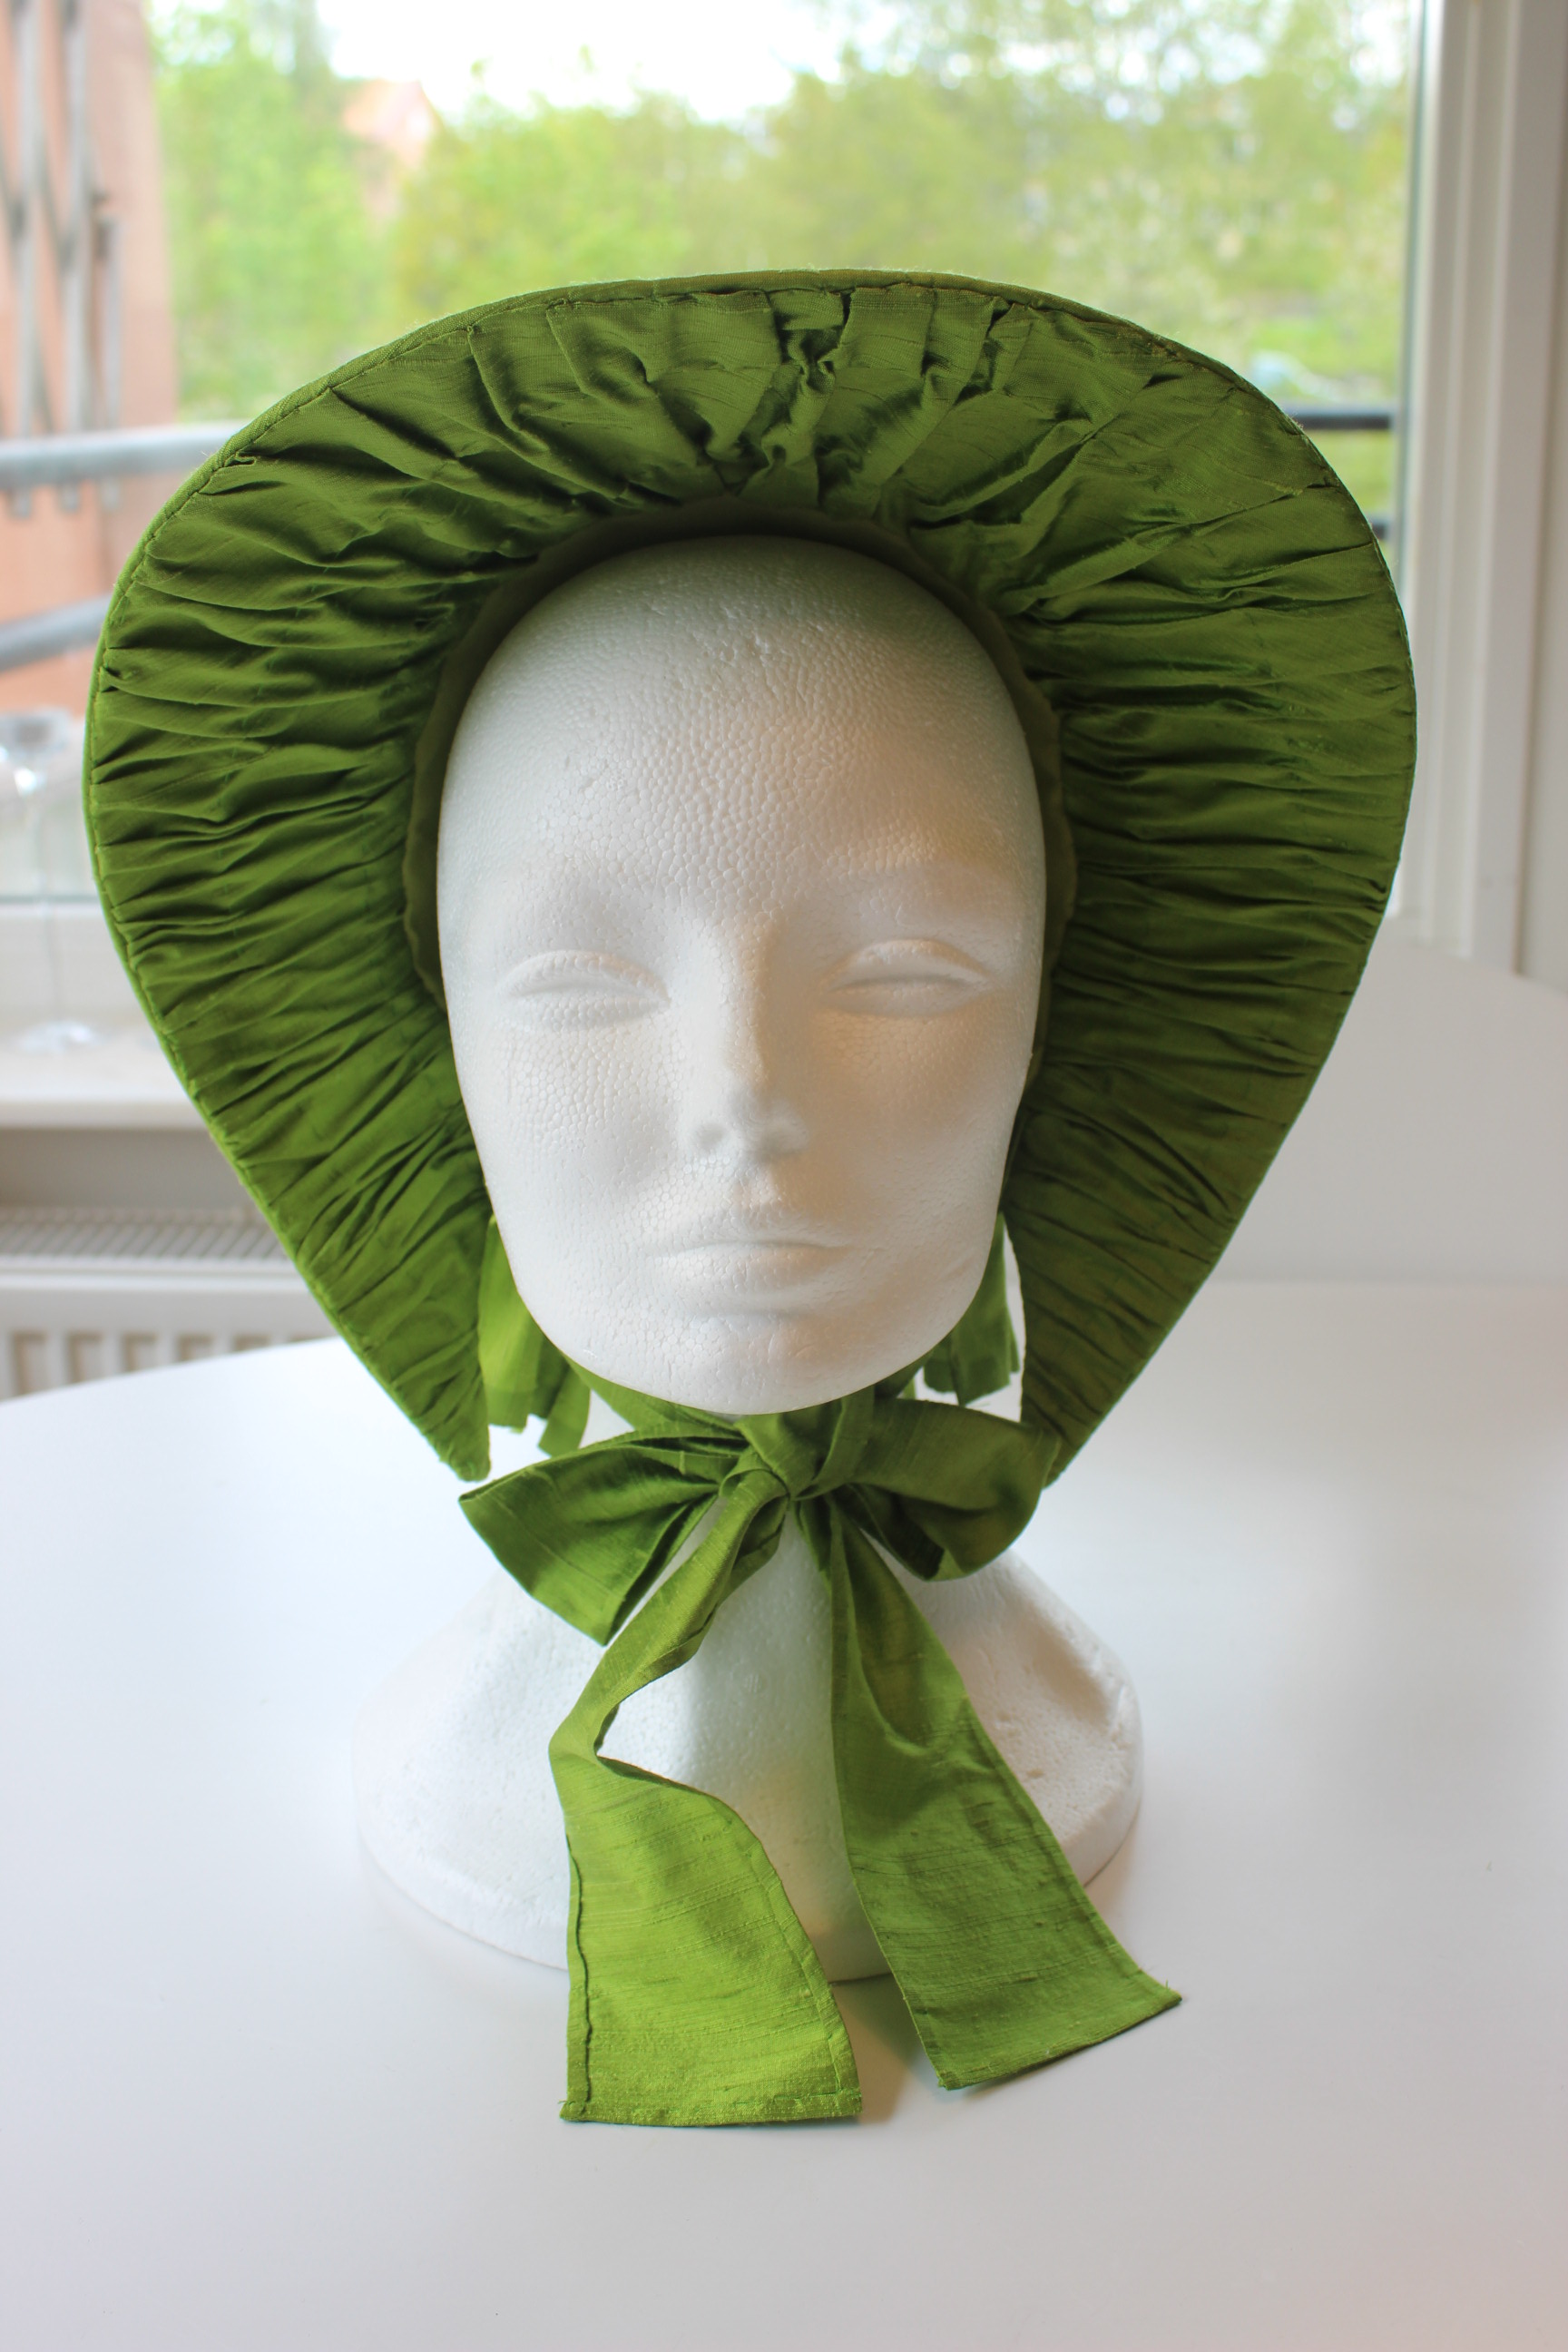
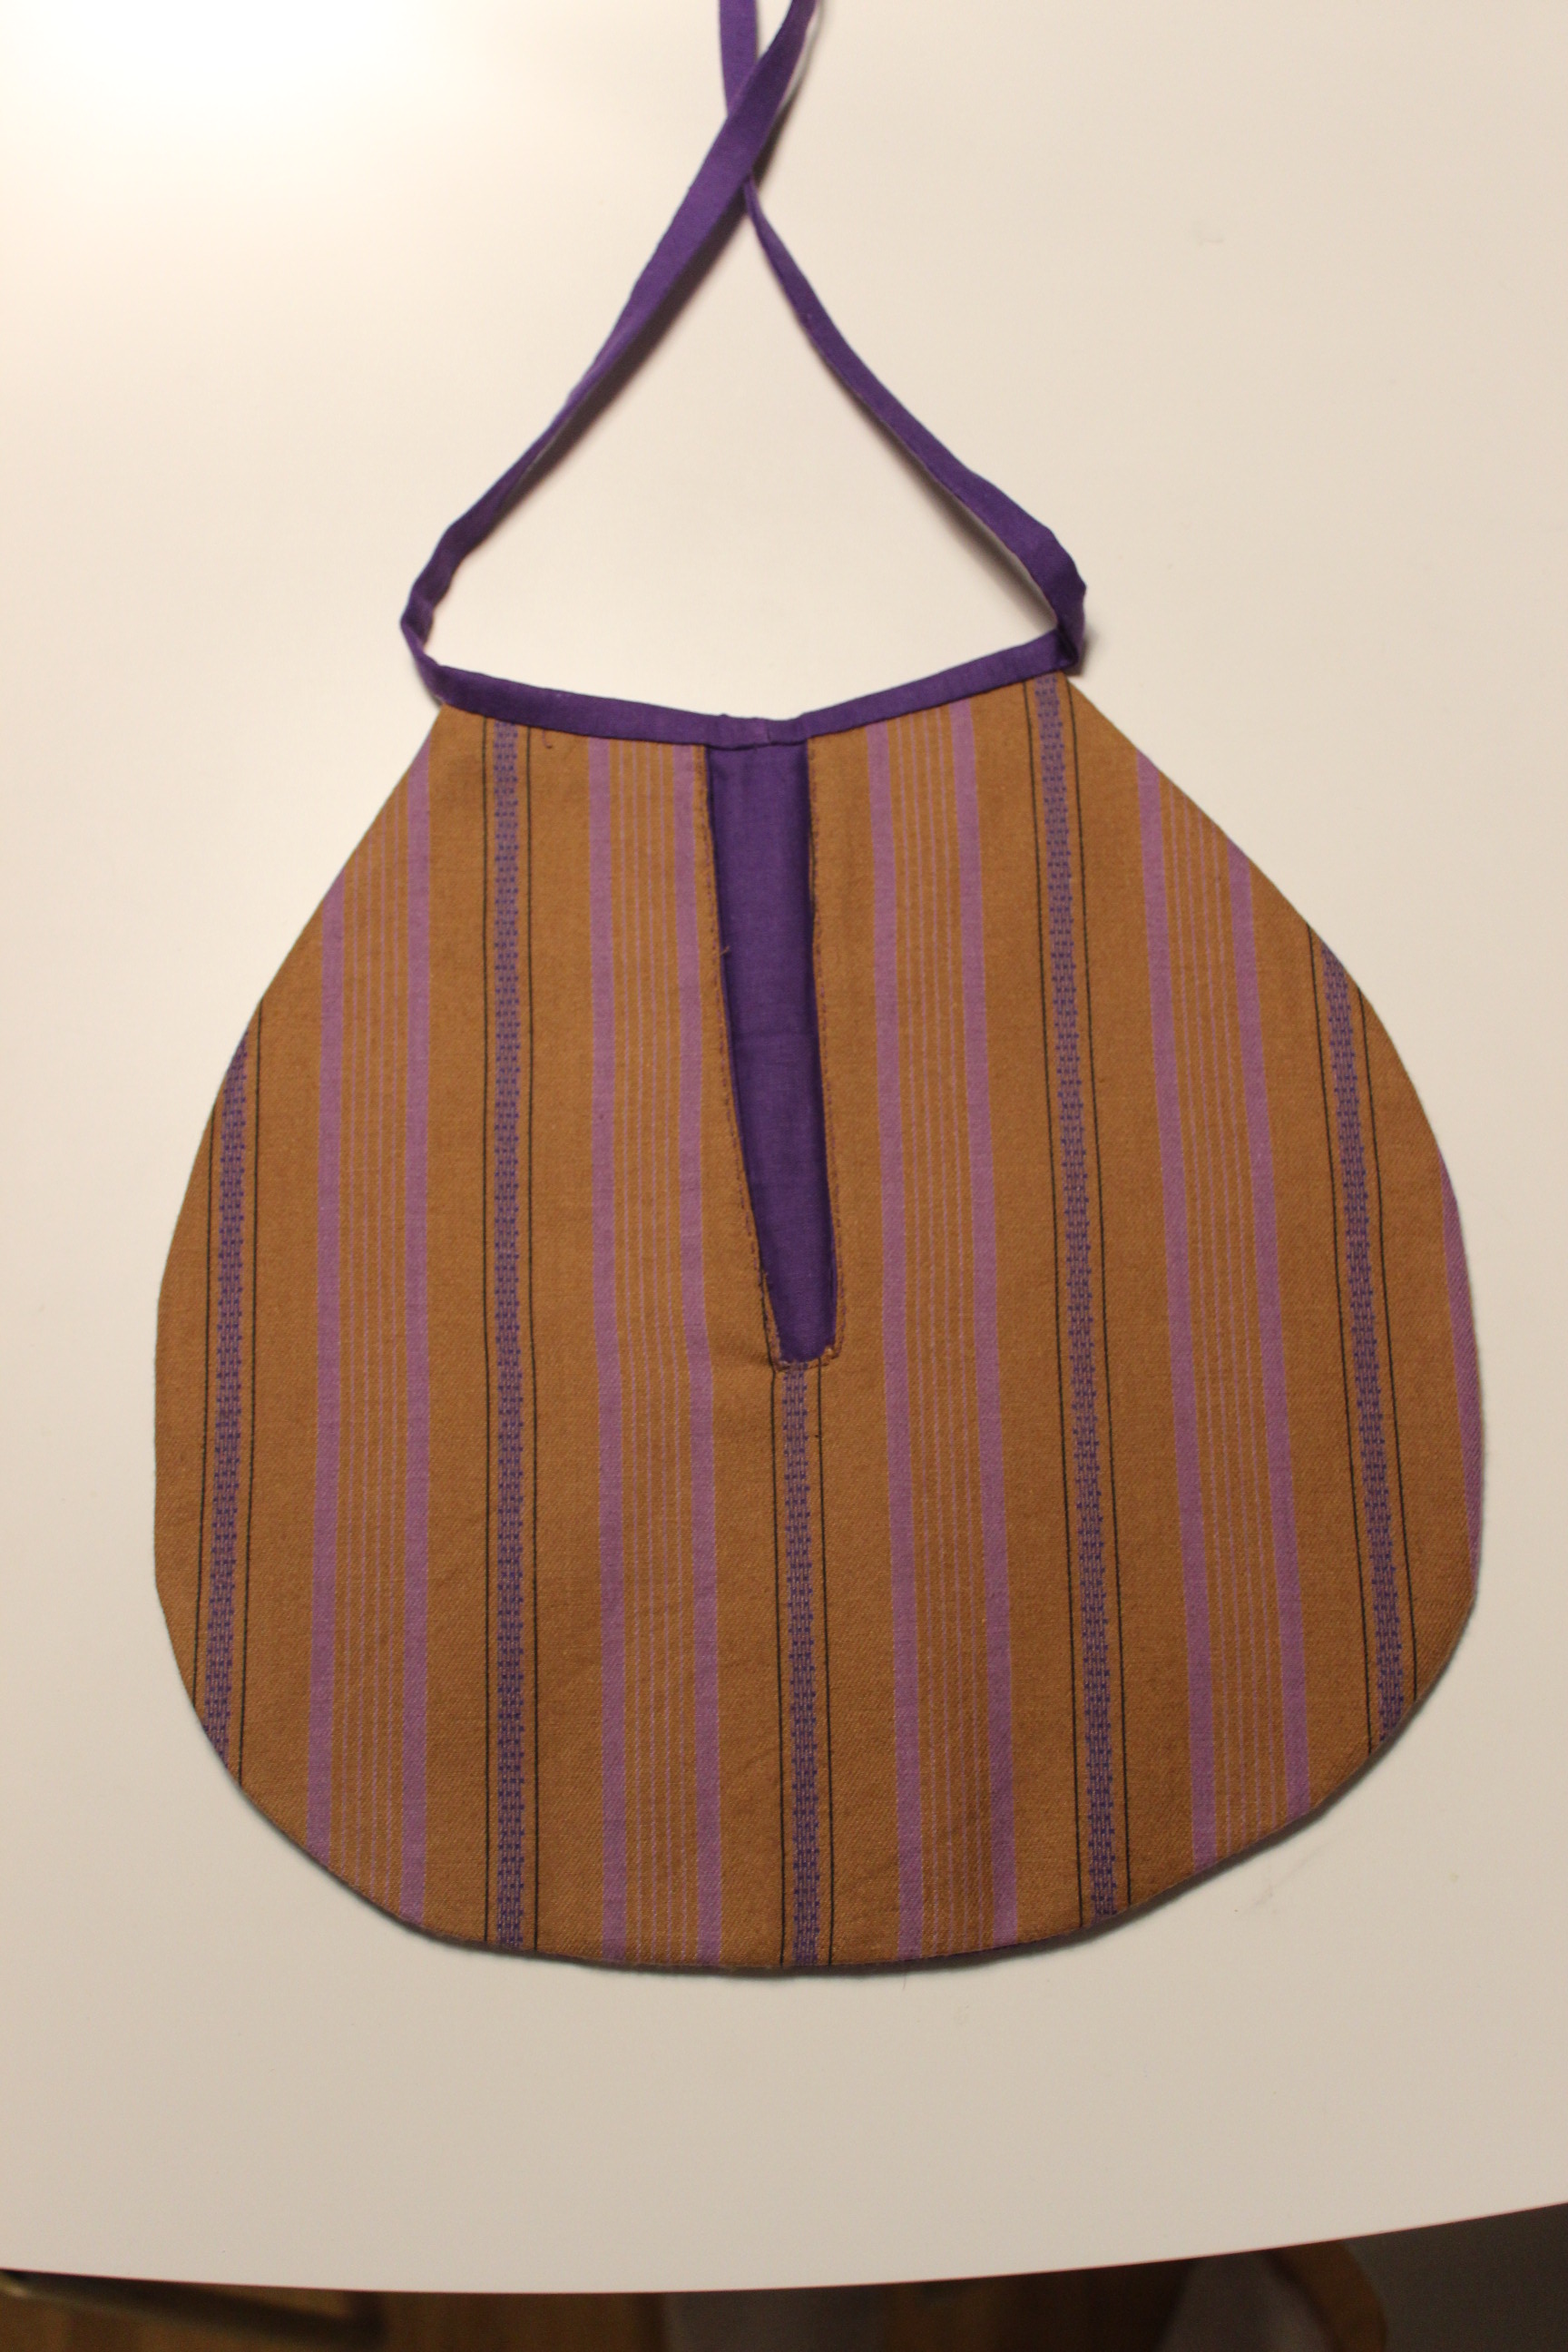
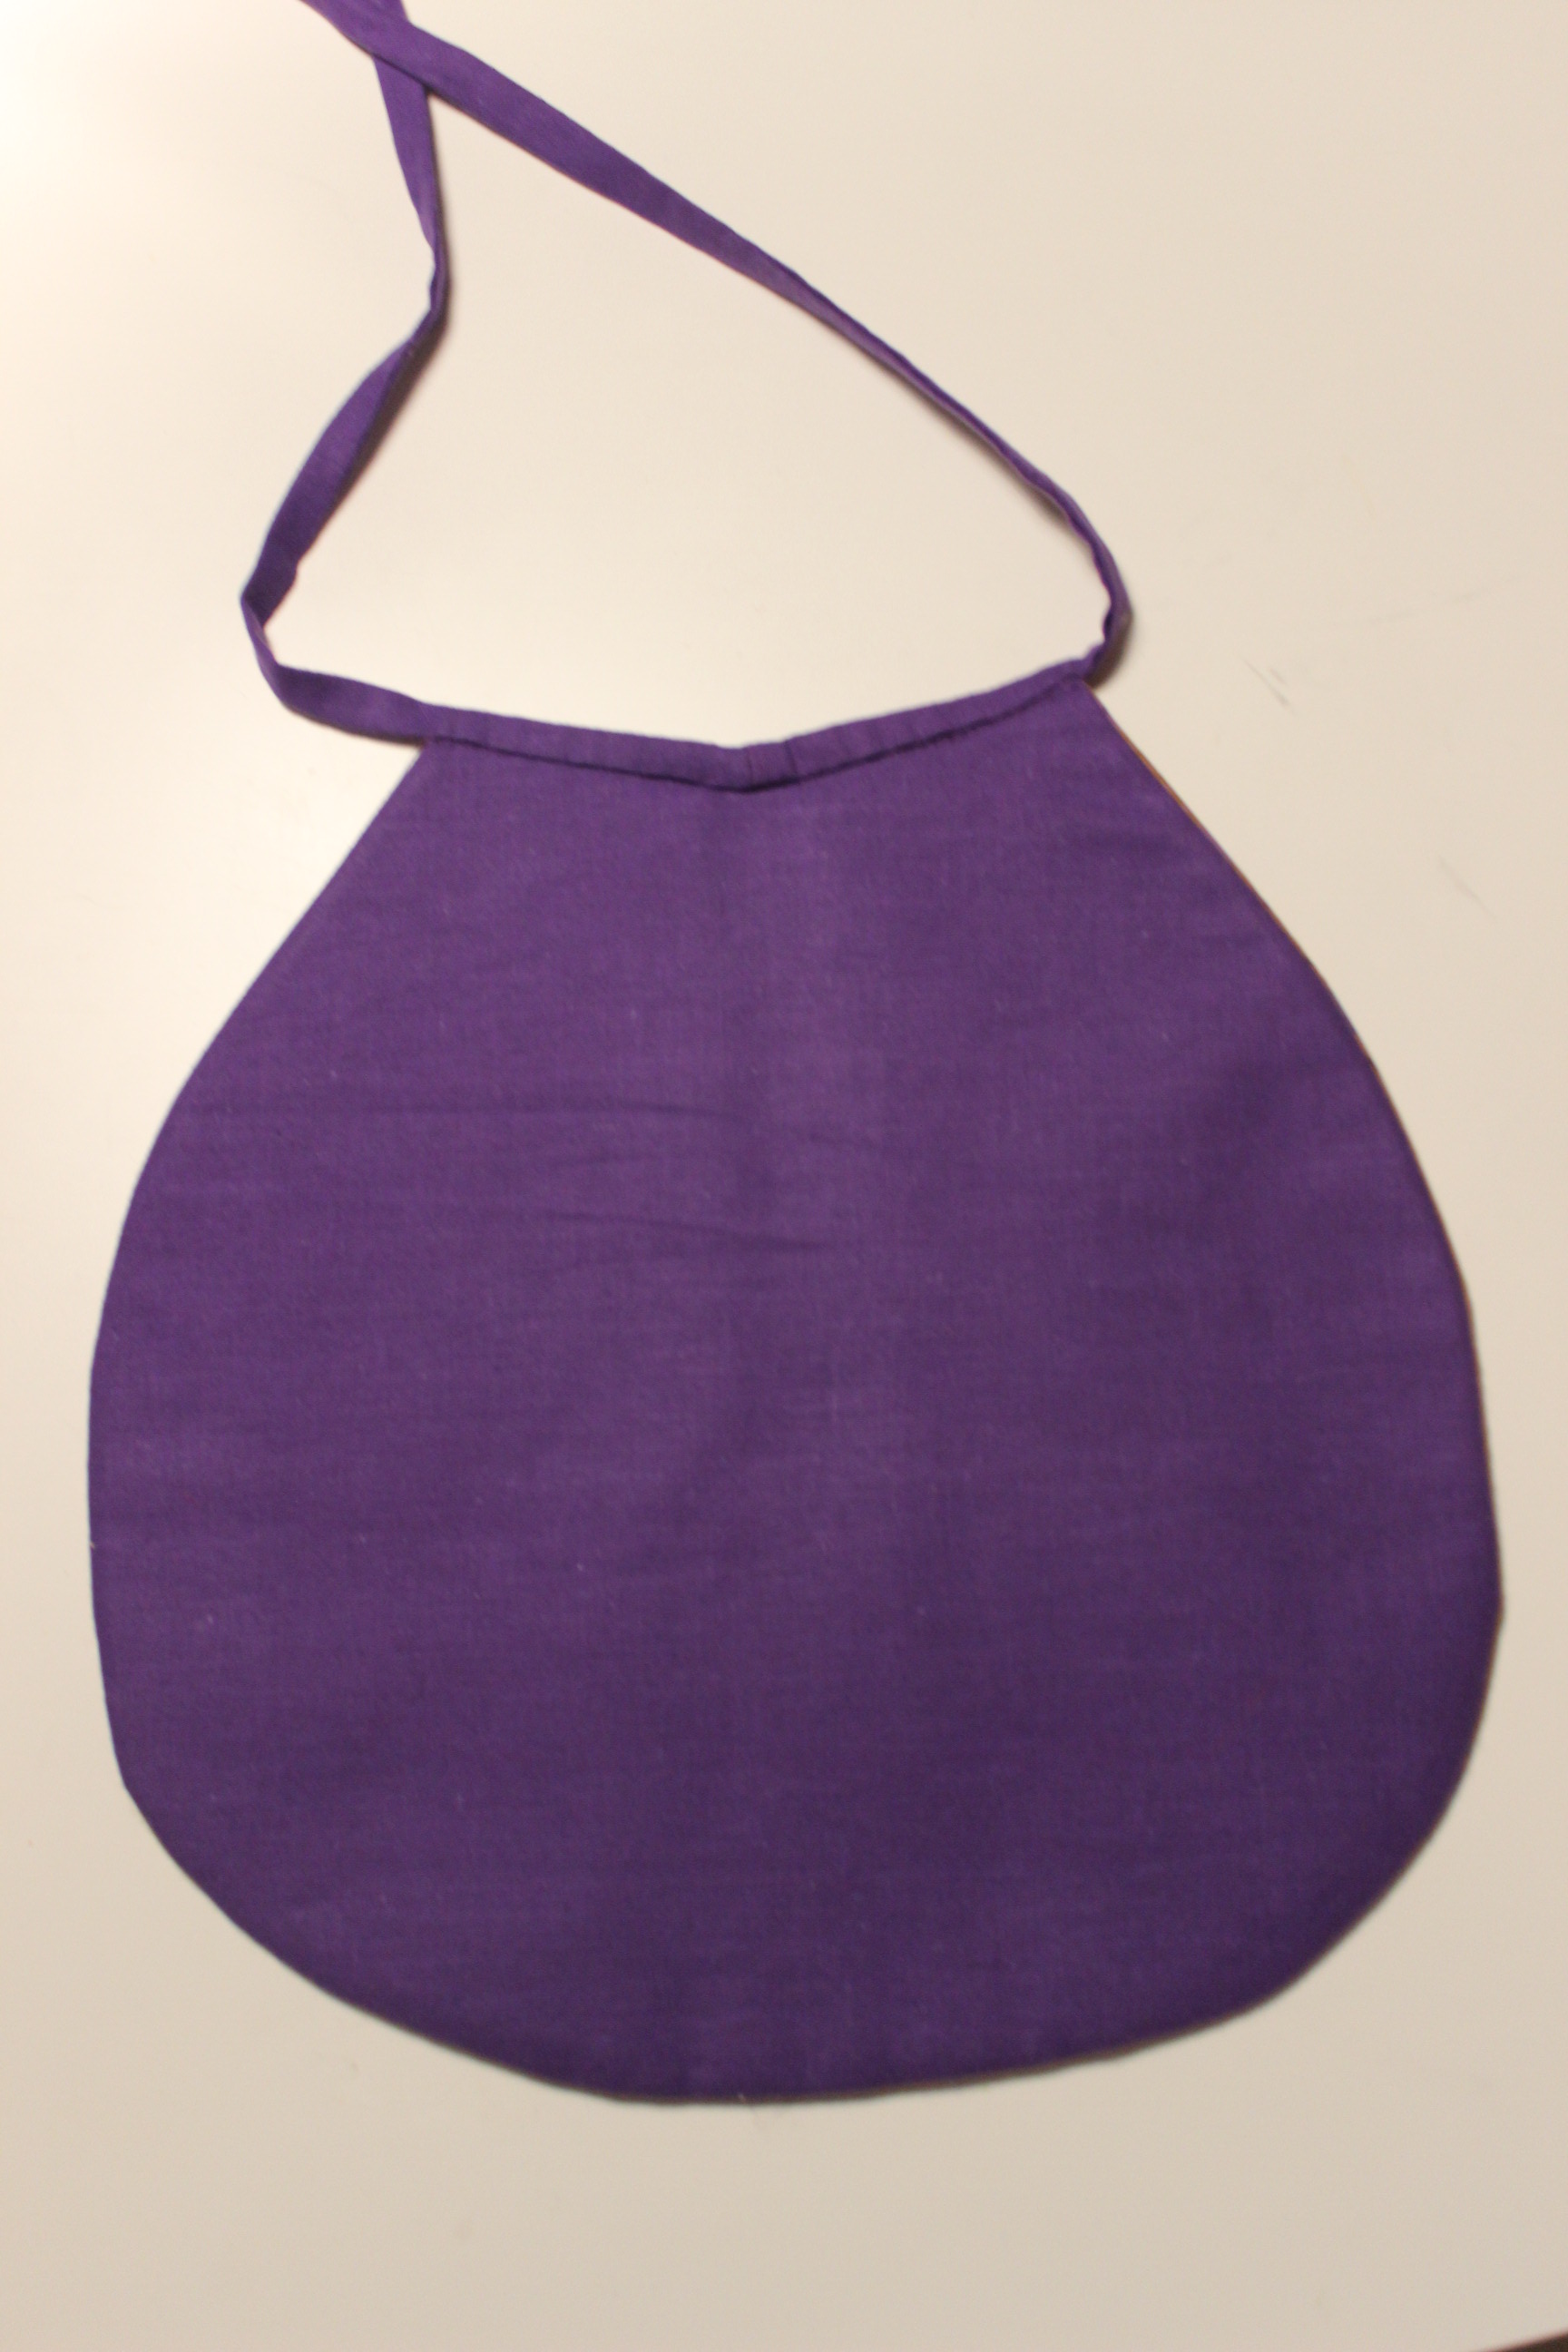
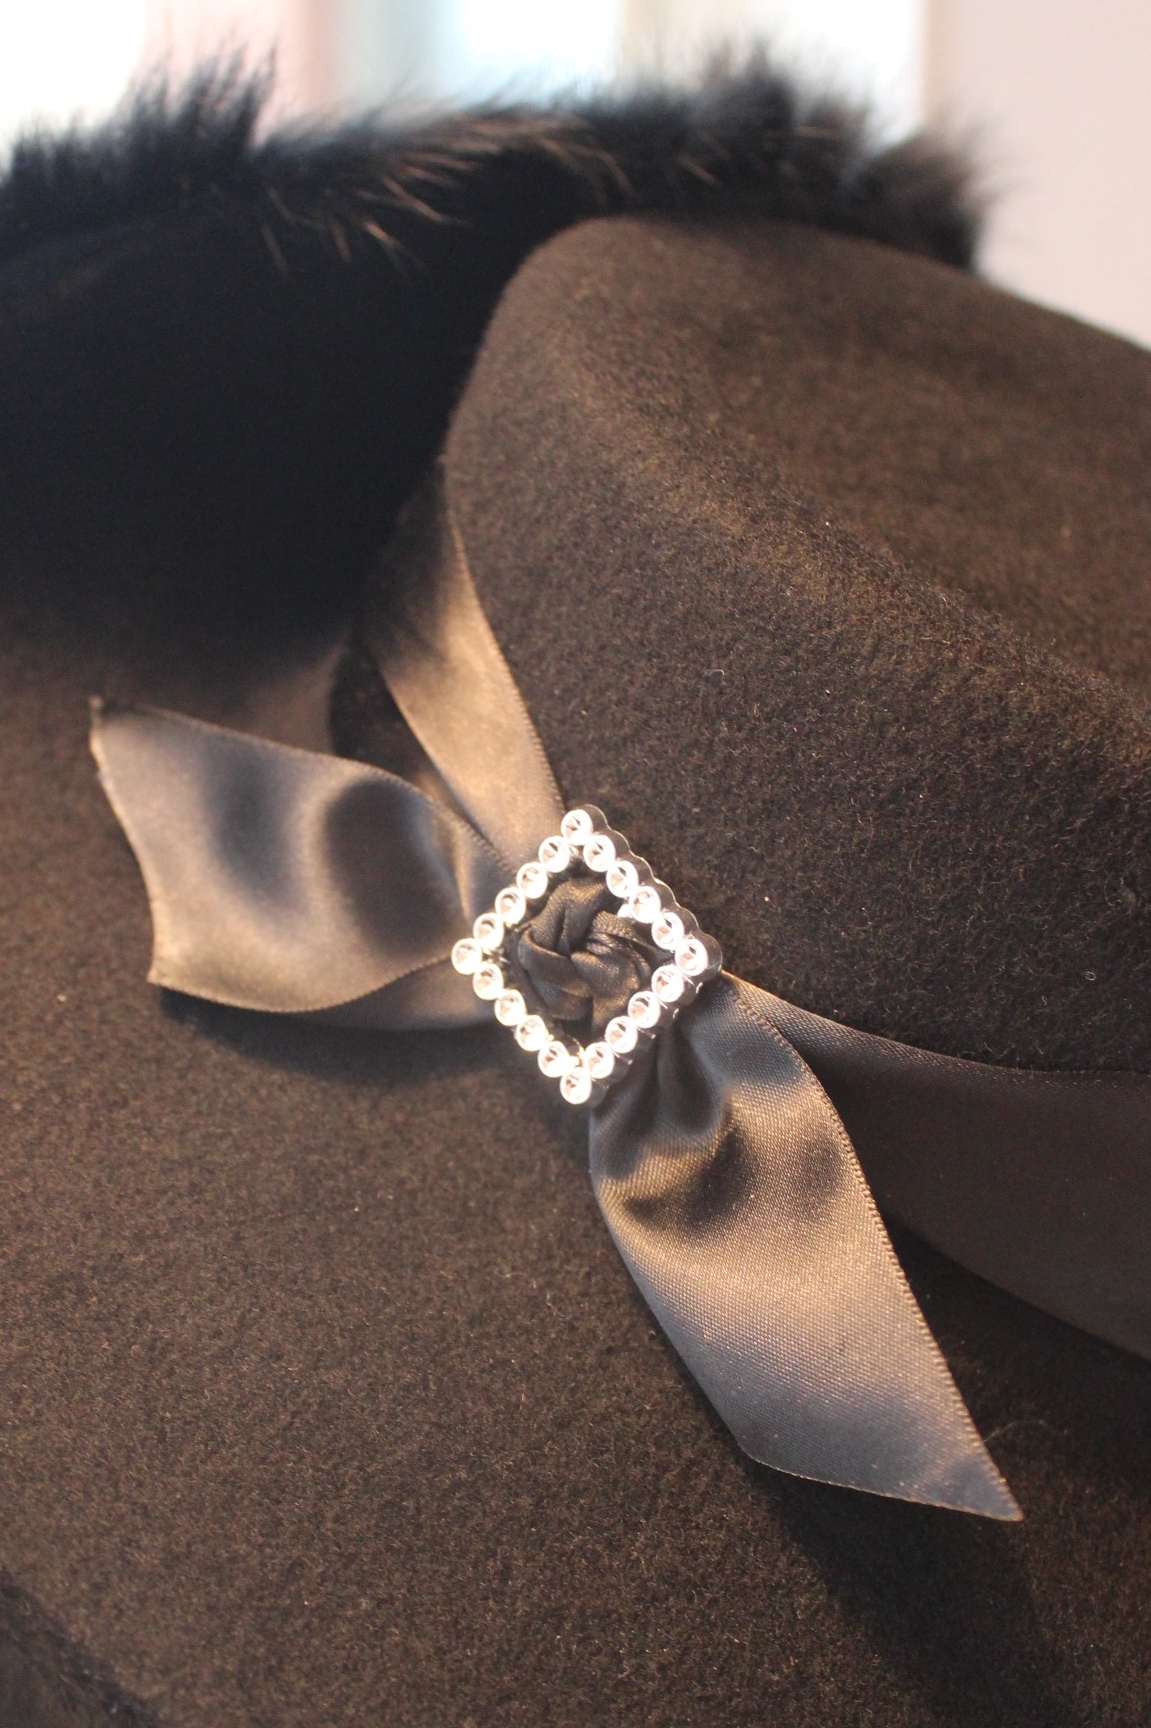
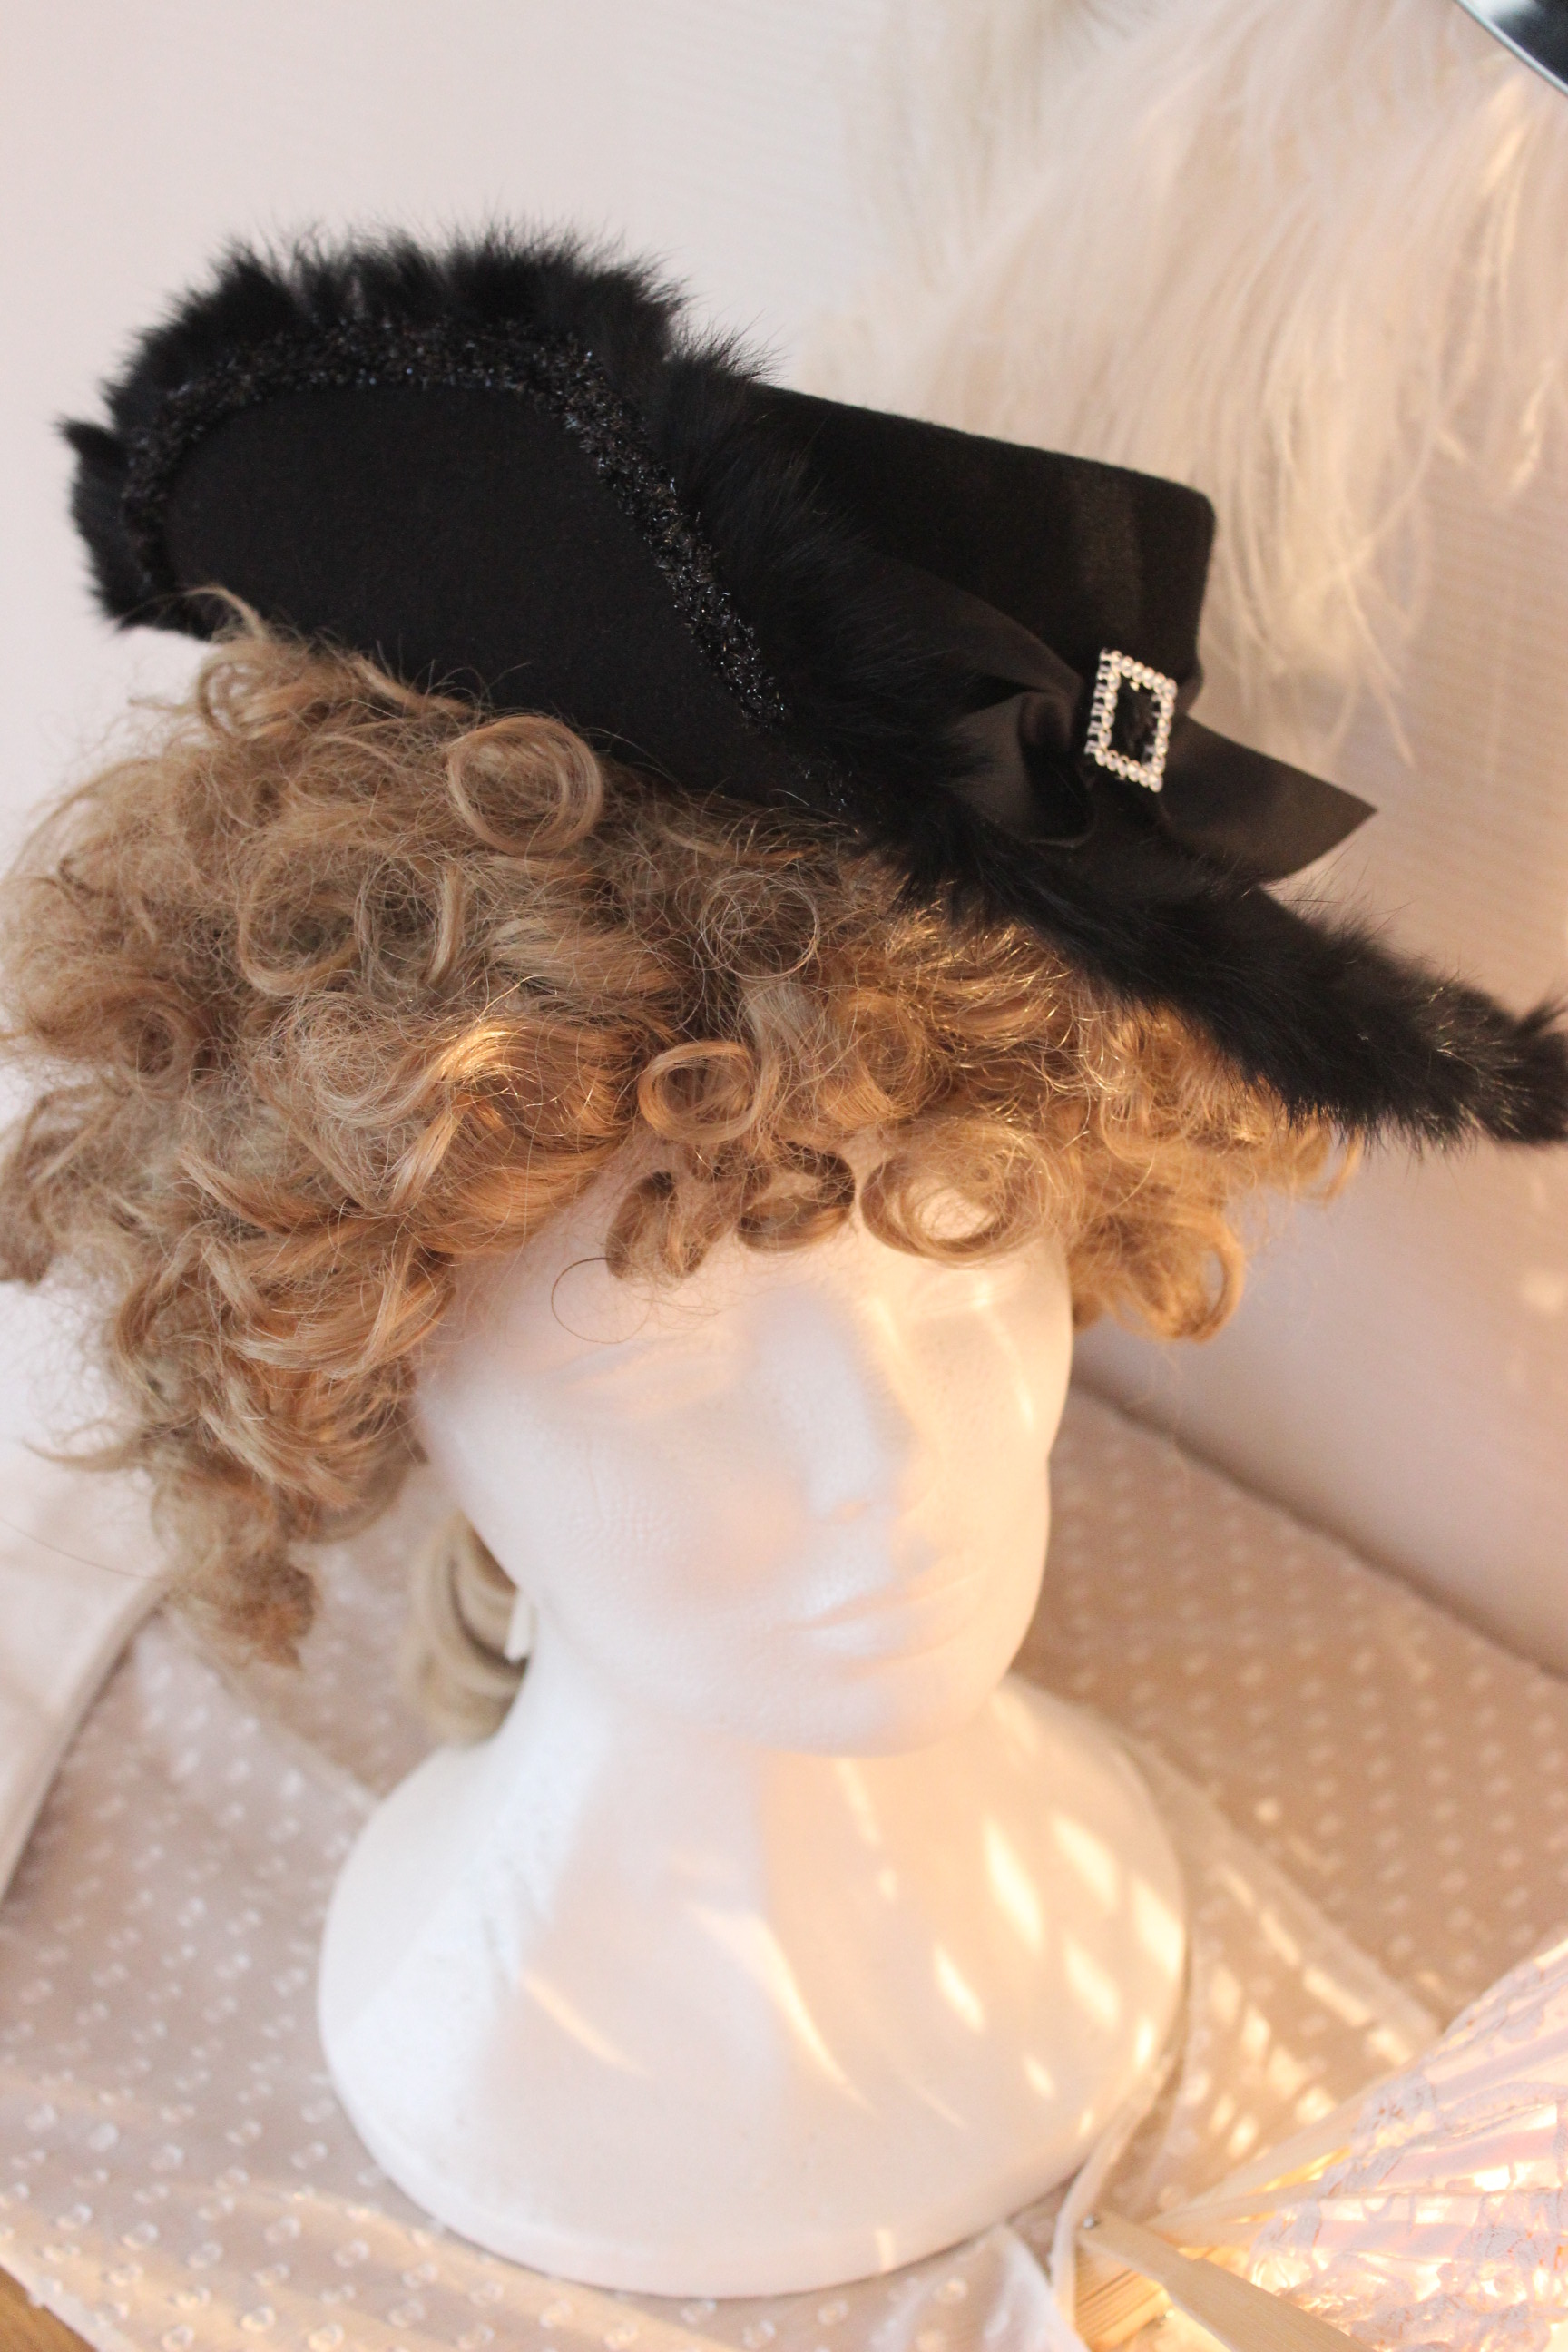
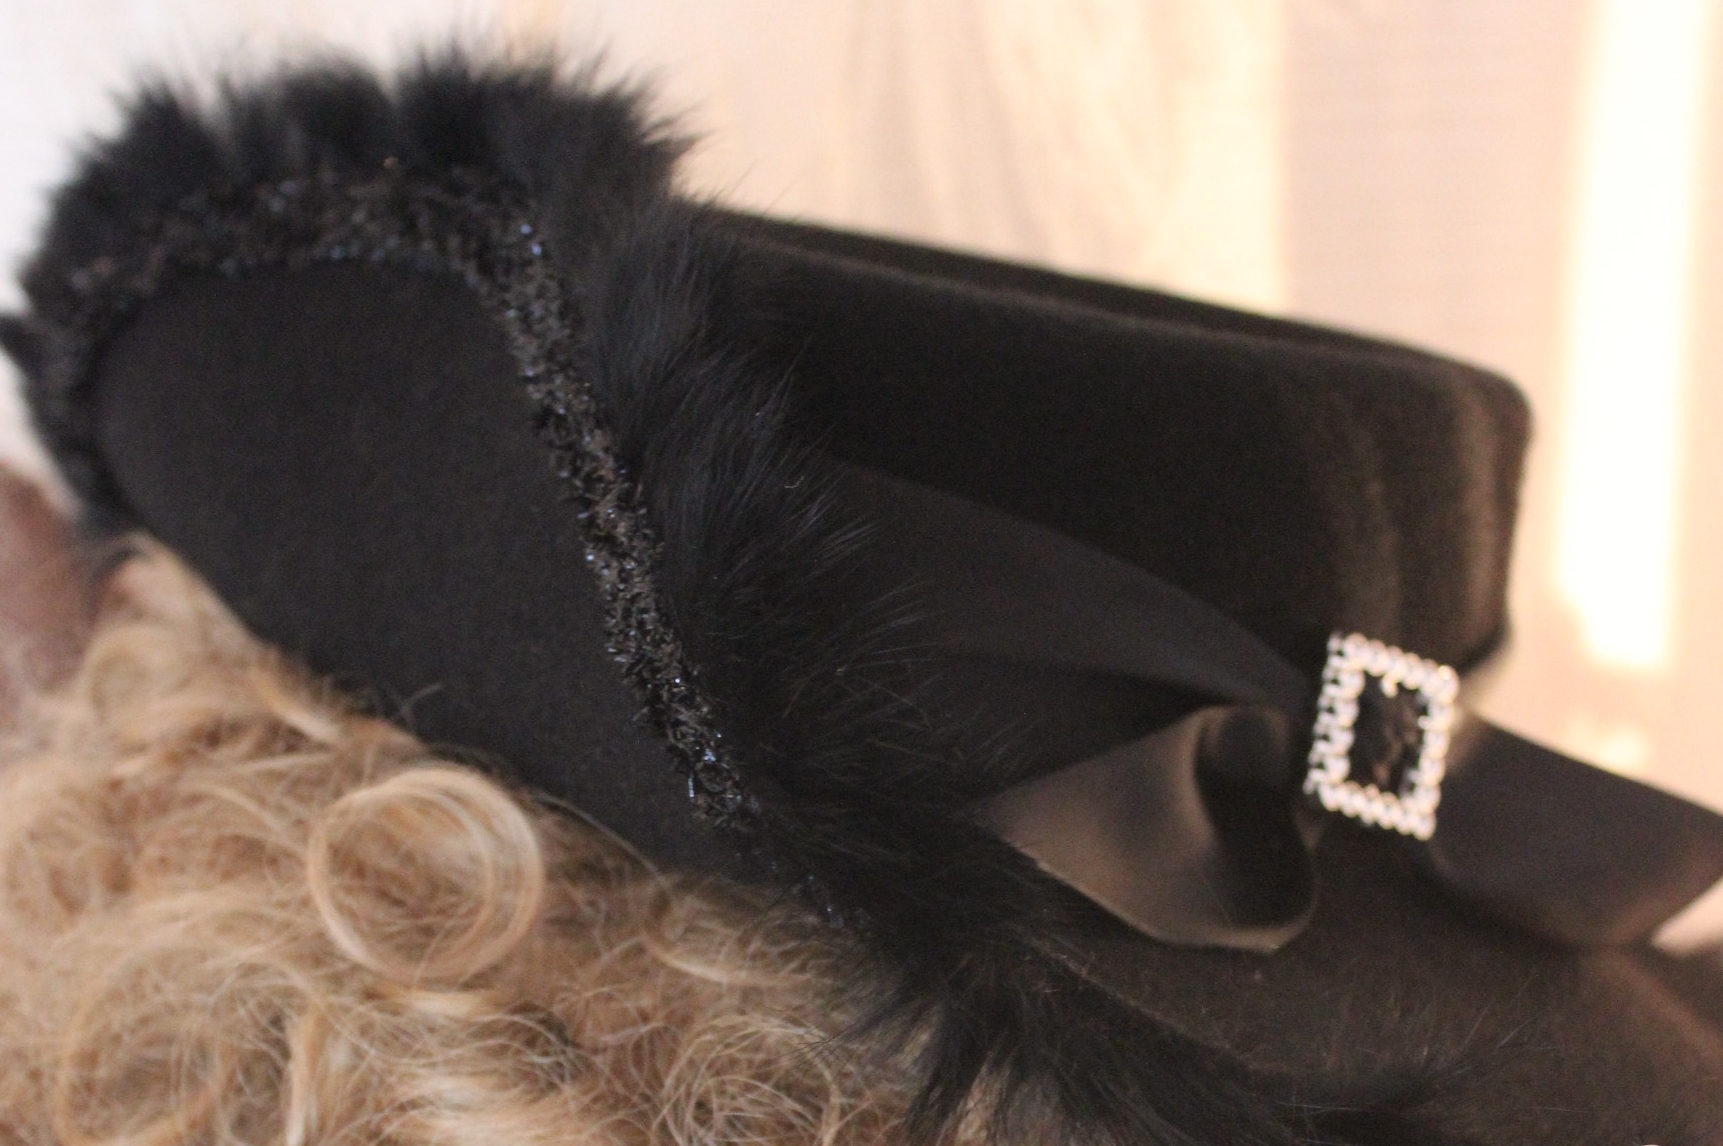
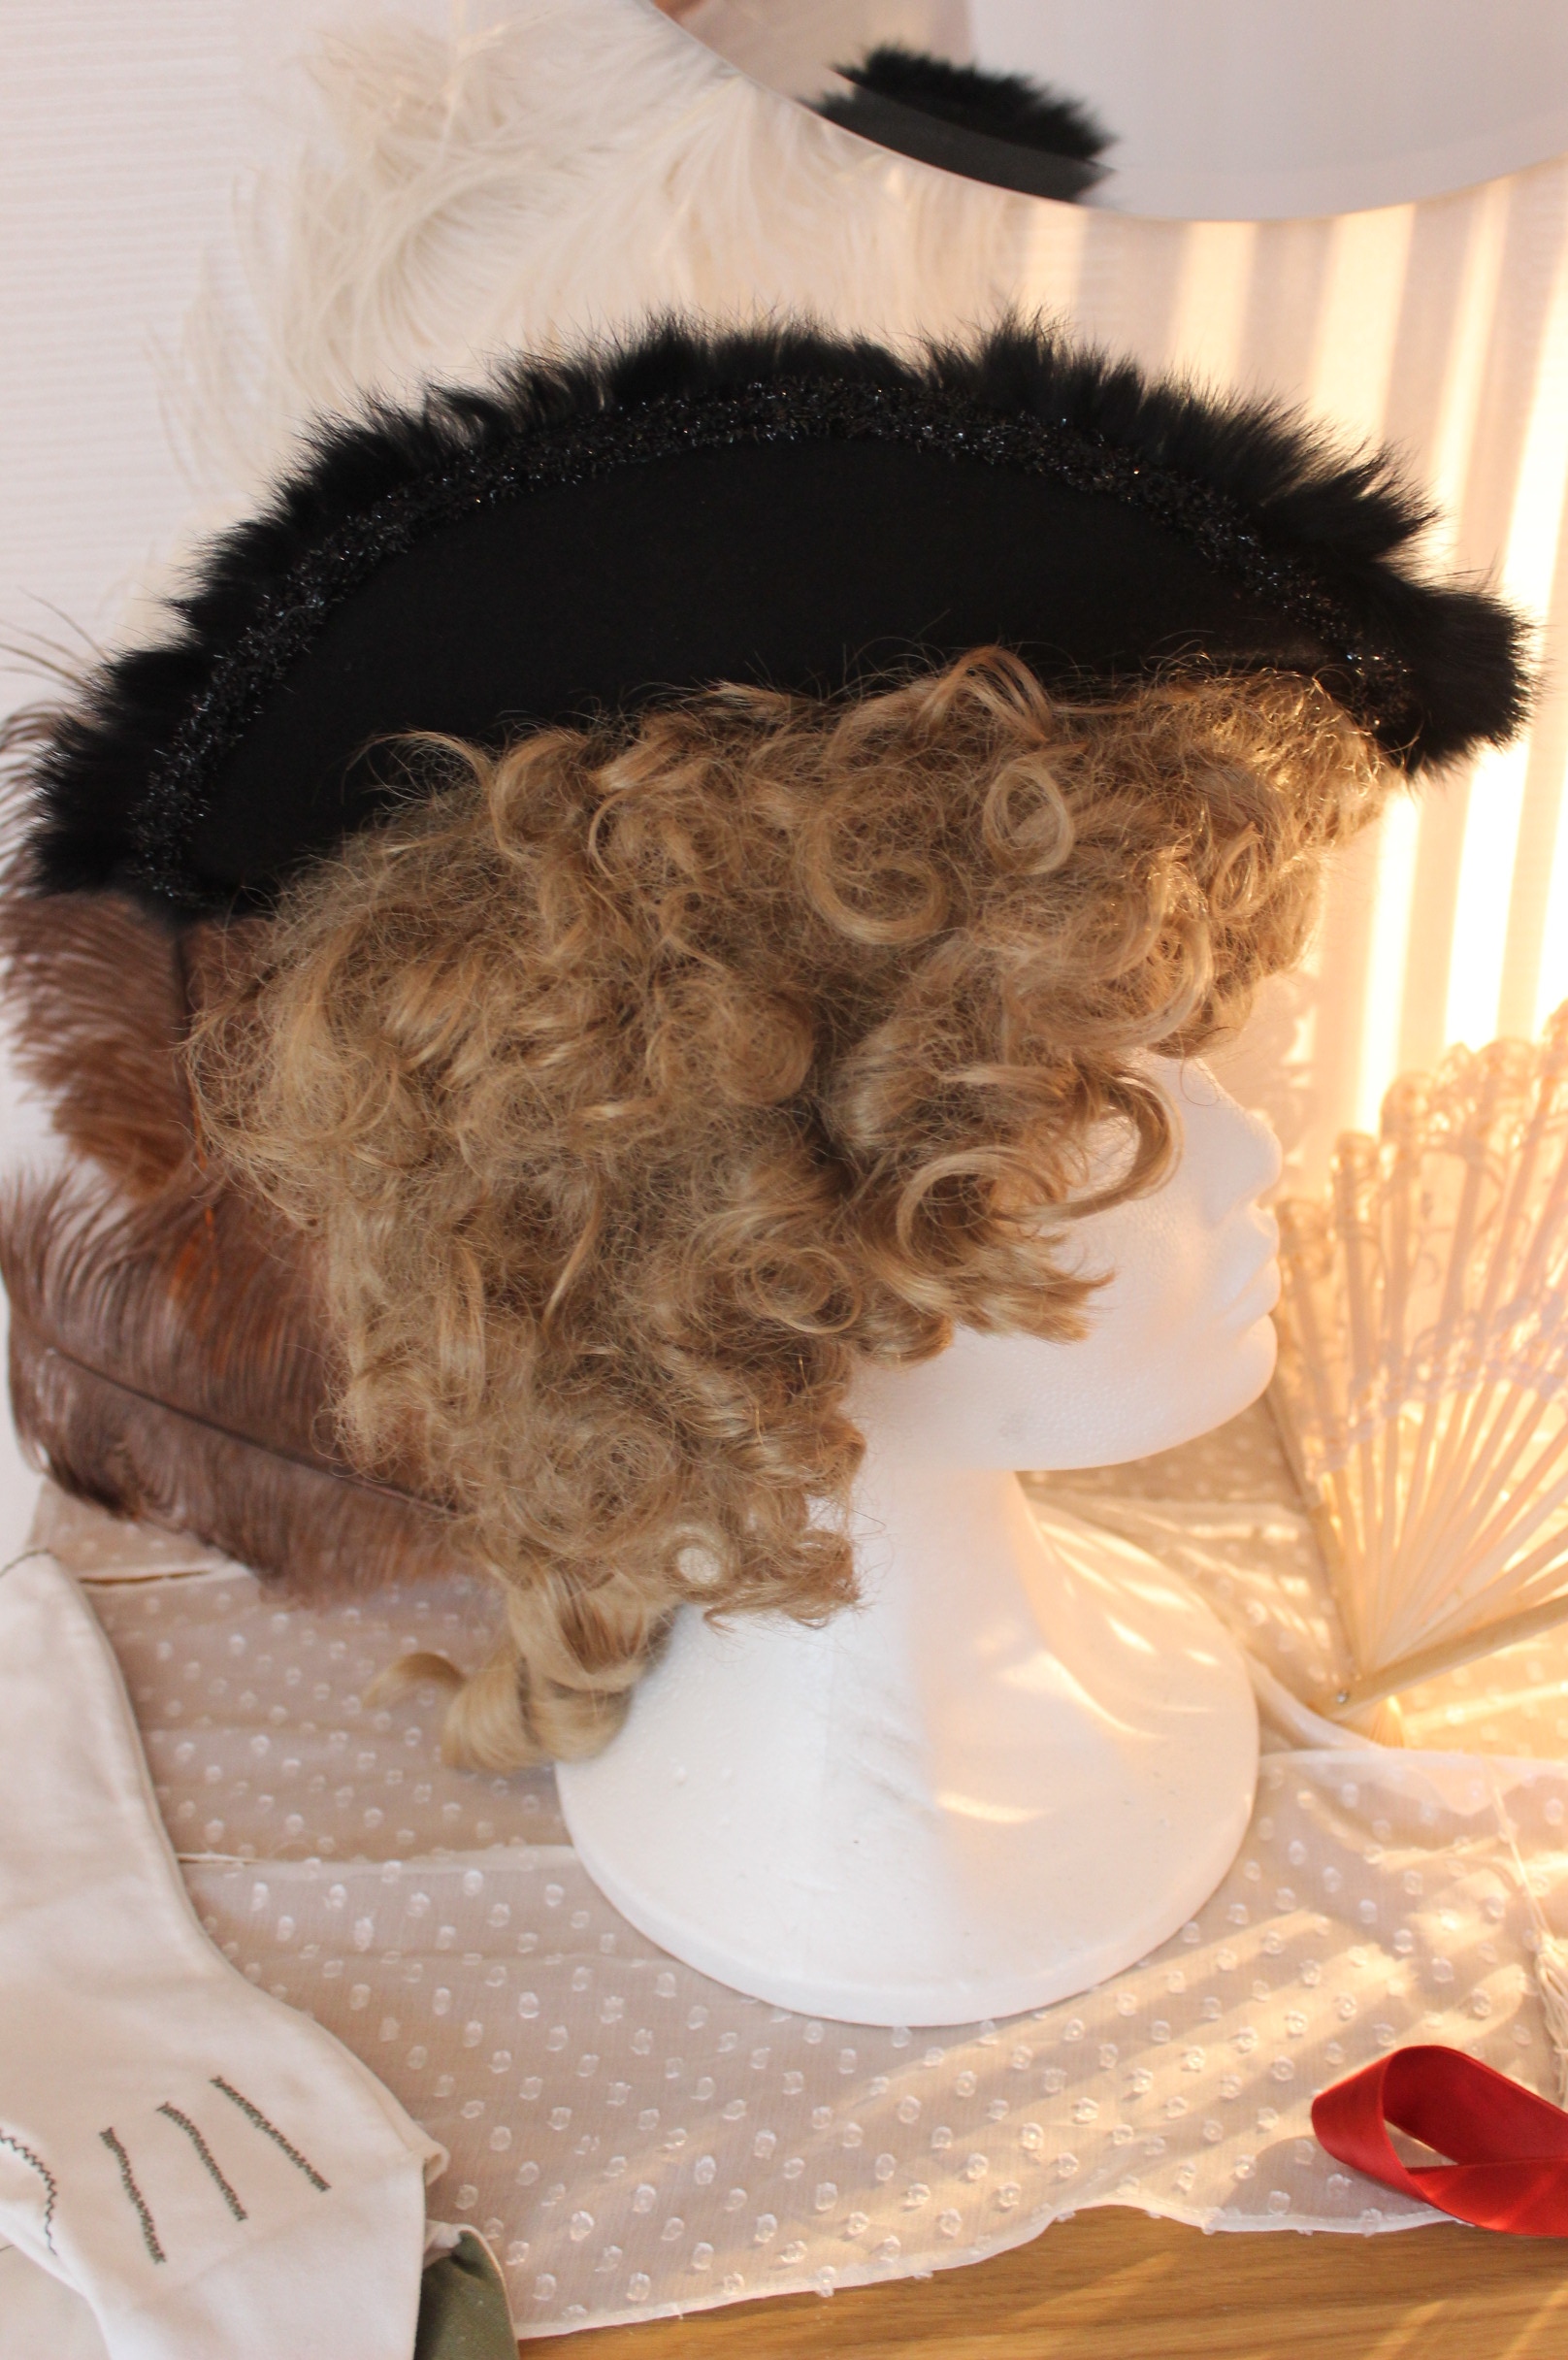
The base for the bonnet was now finished, and all that’s needed was the decoration.


 I think it looks stunning and was a bit hesitant of even adding trimmings and decorations.
To be continued…


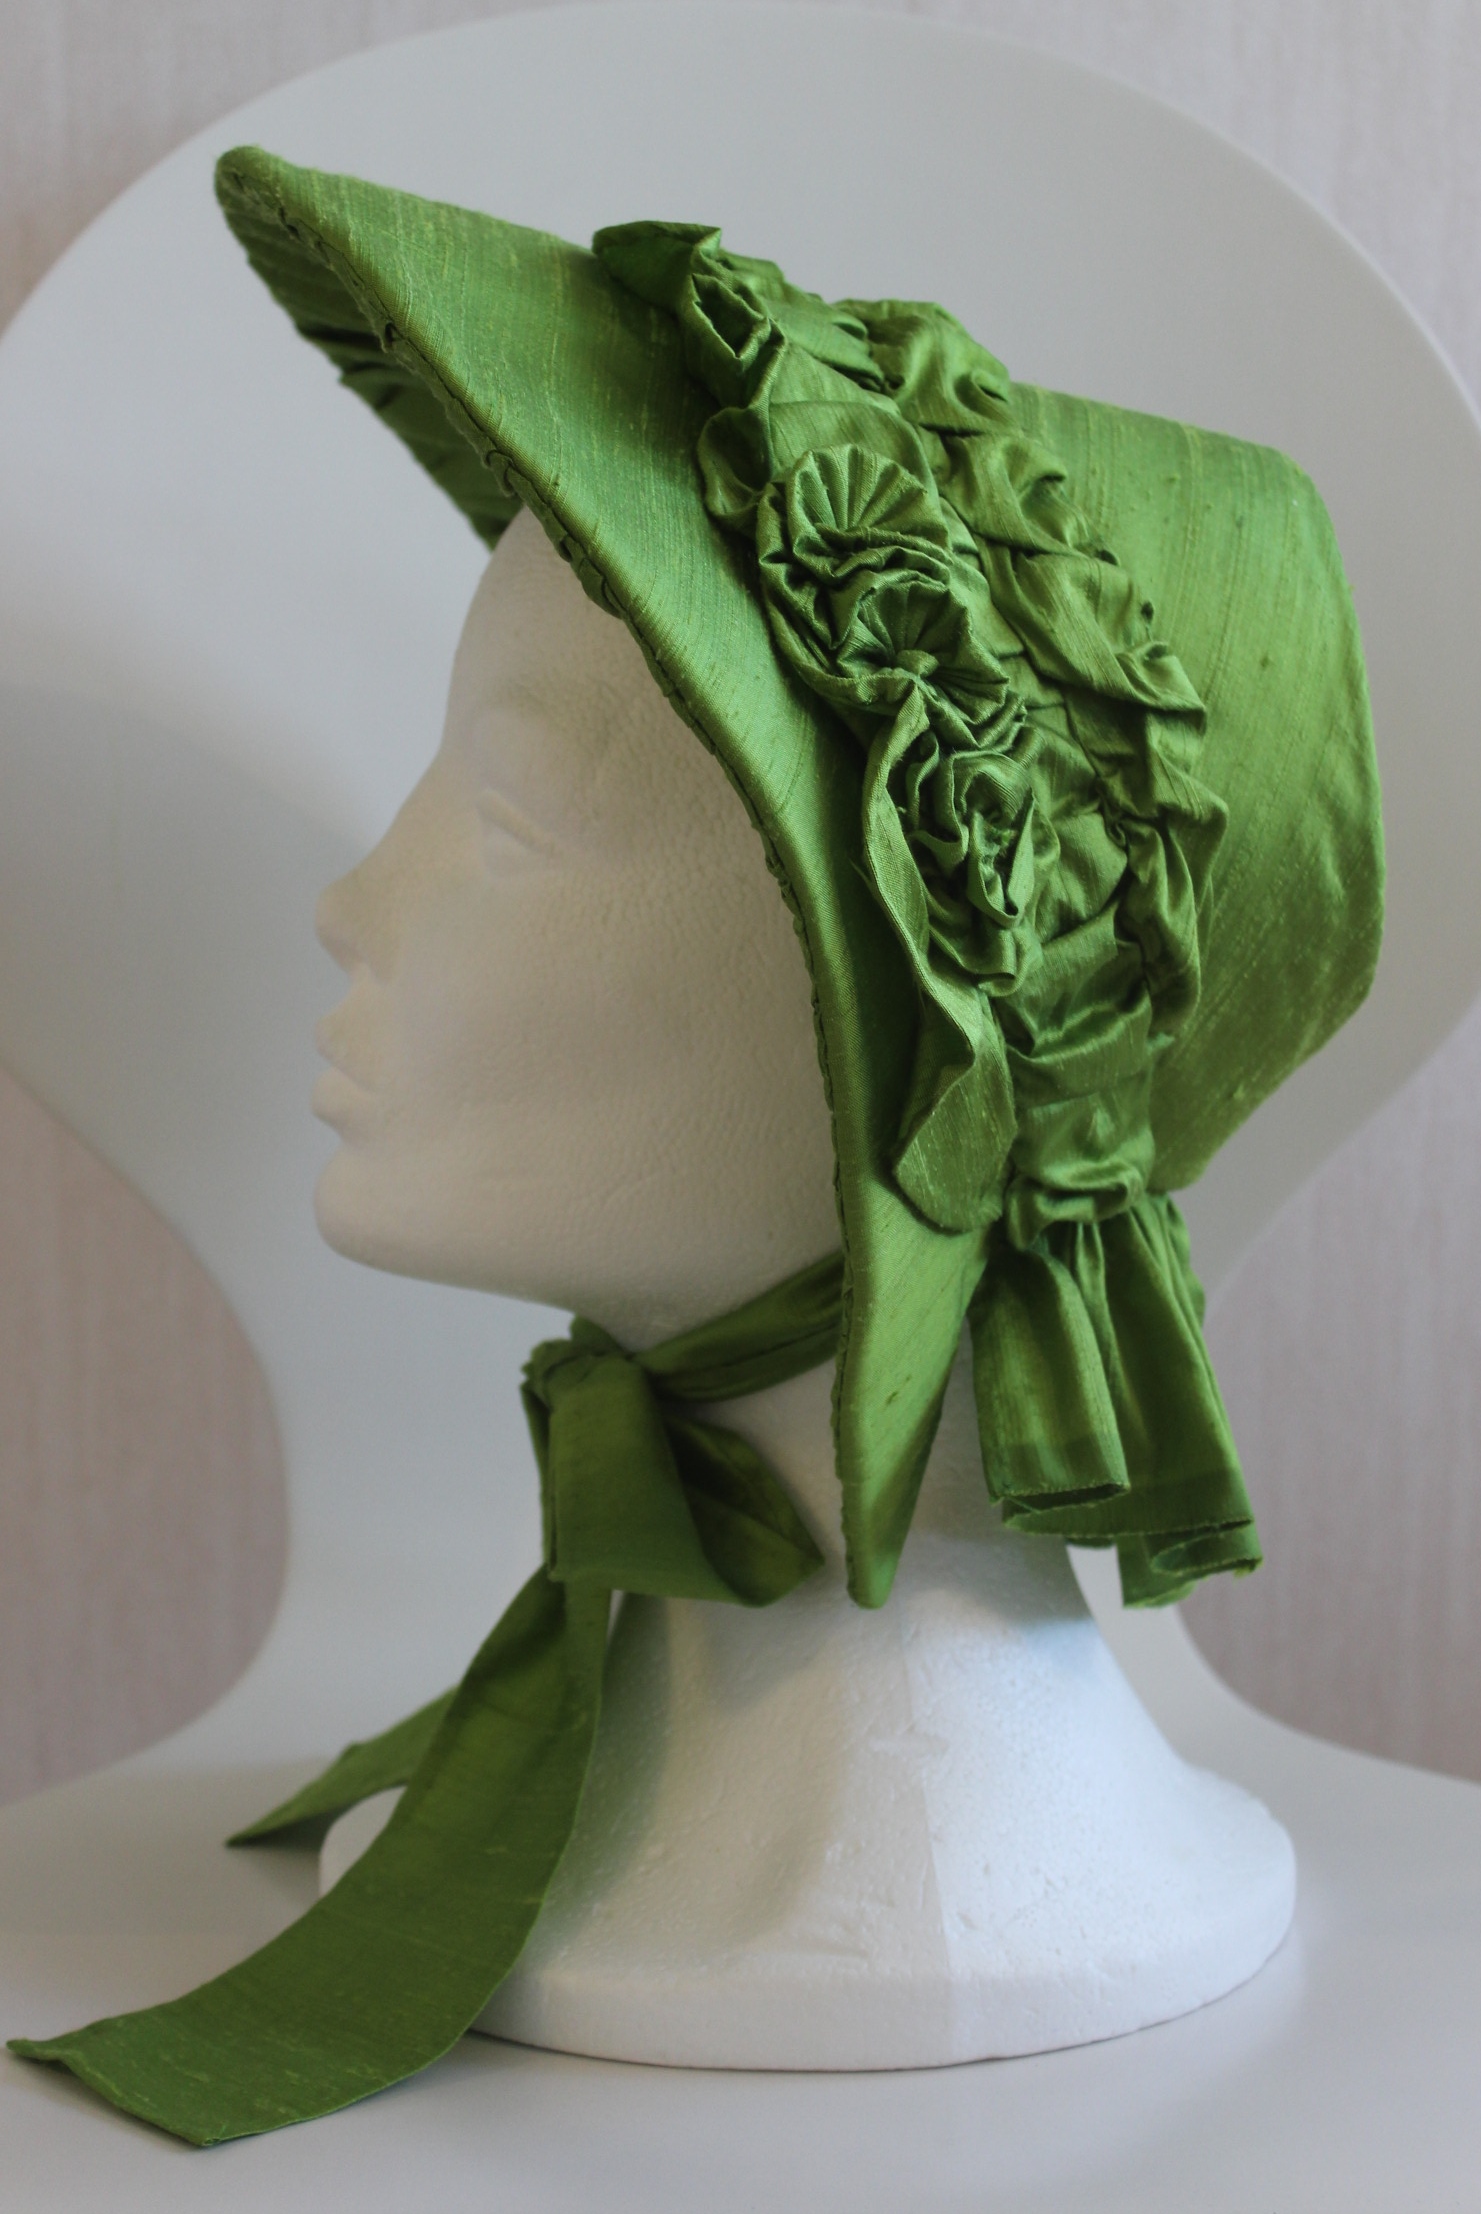
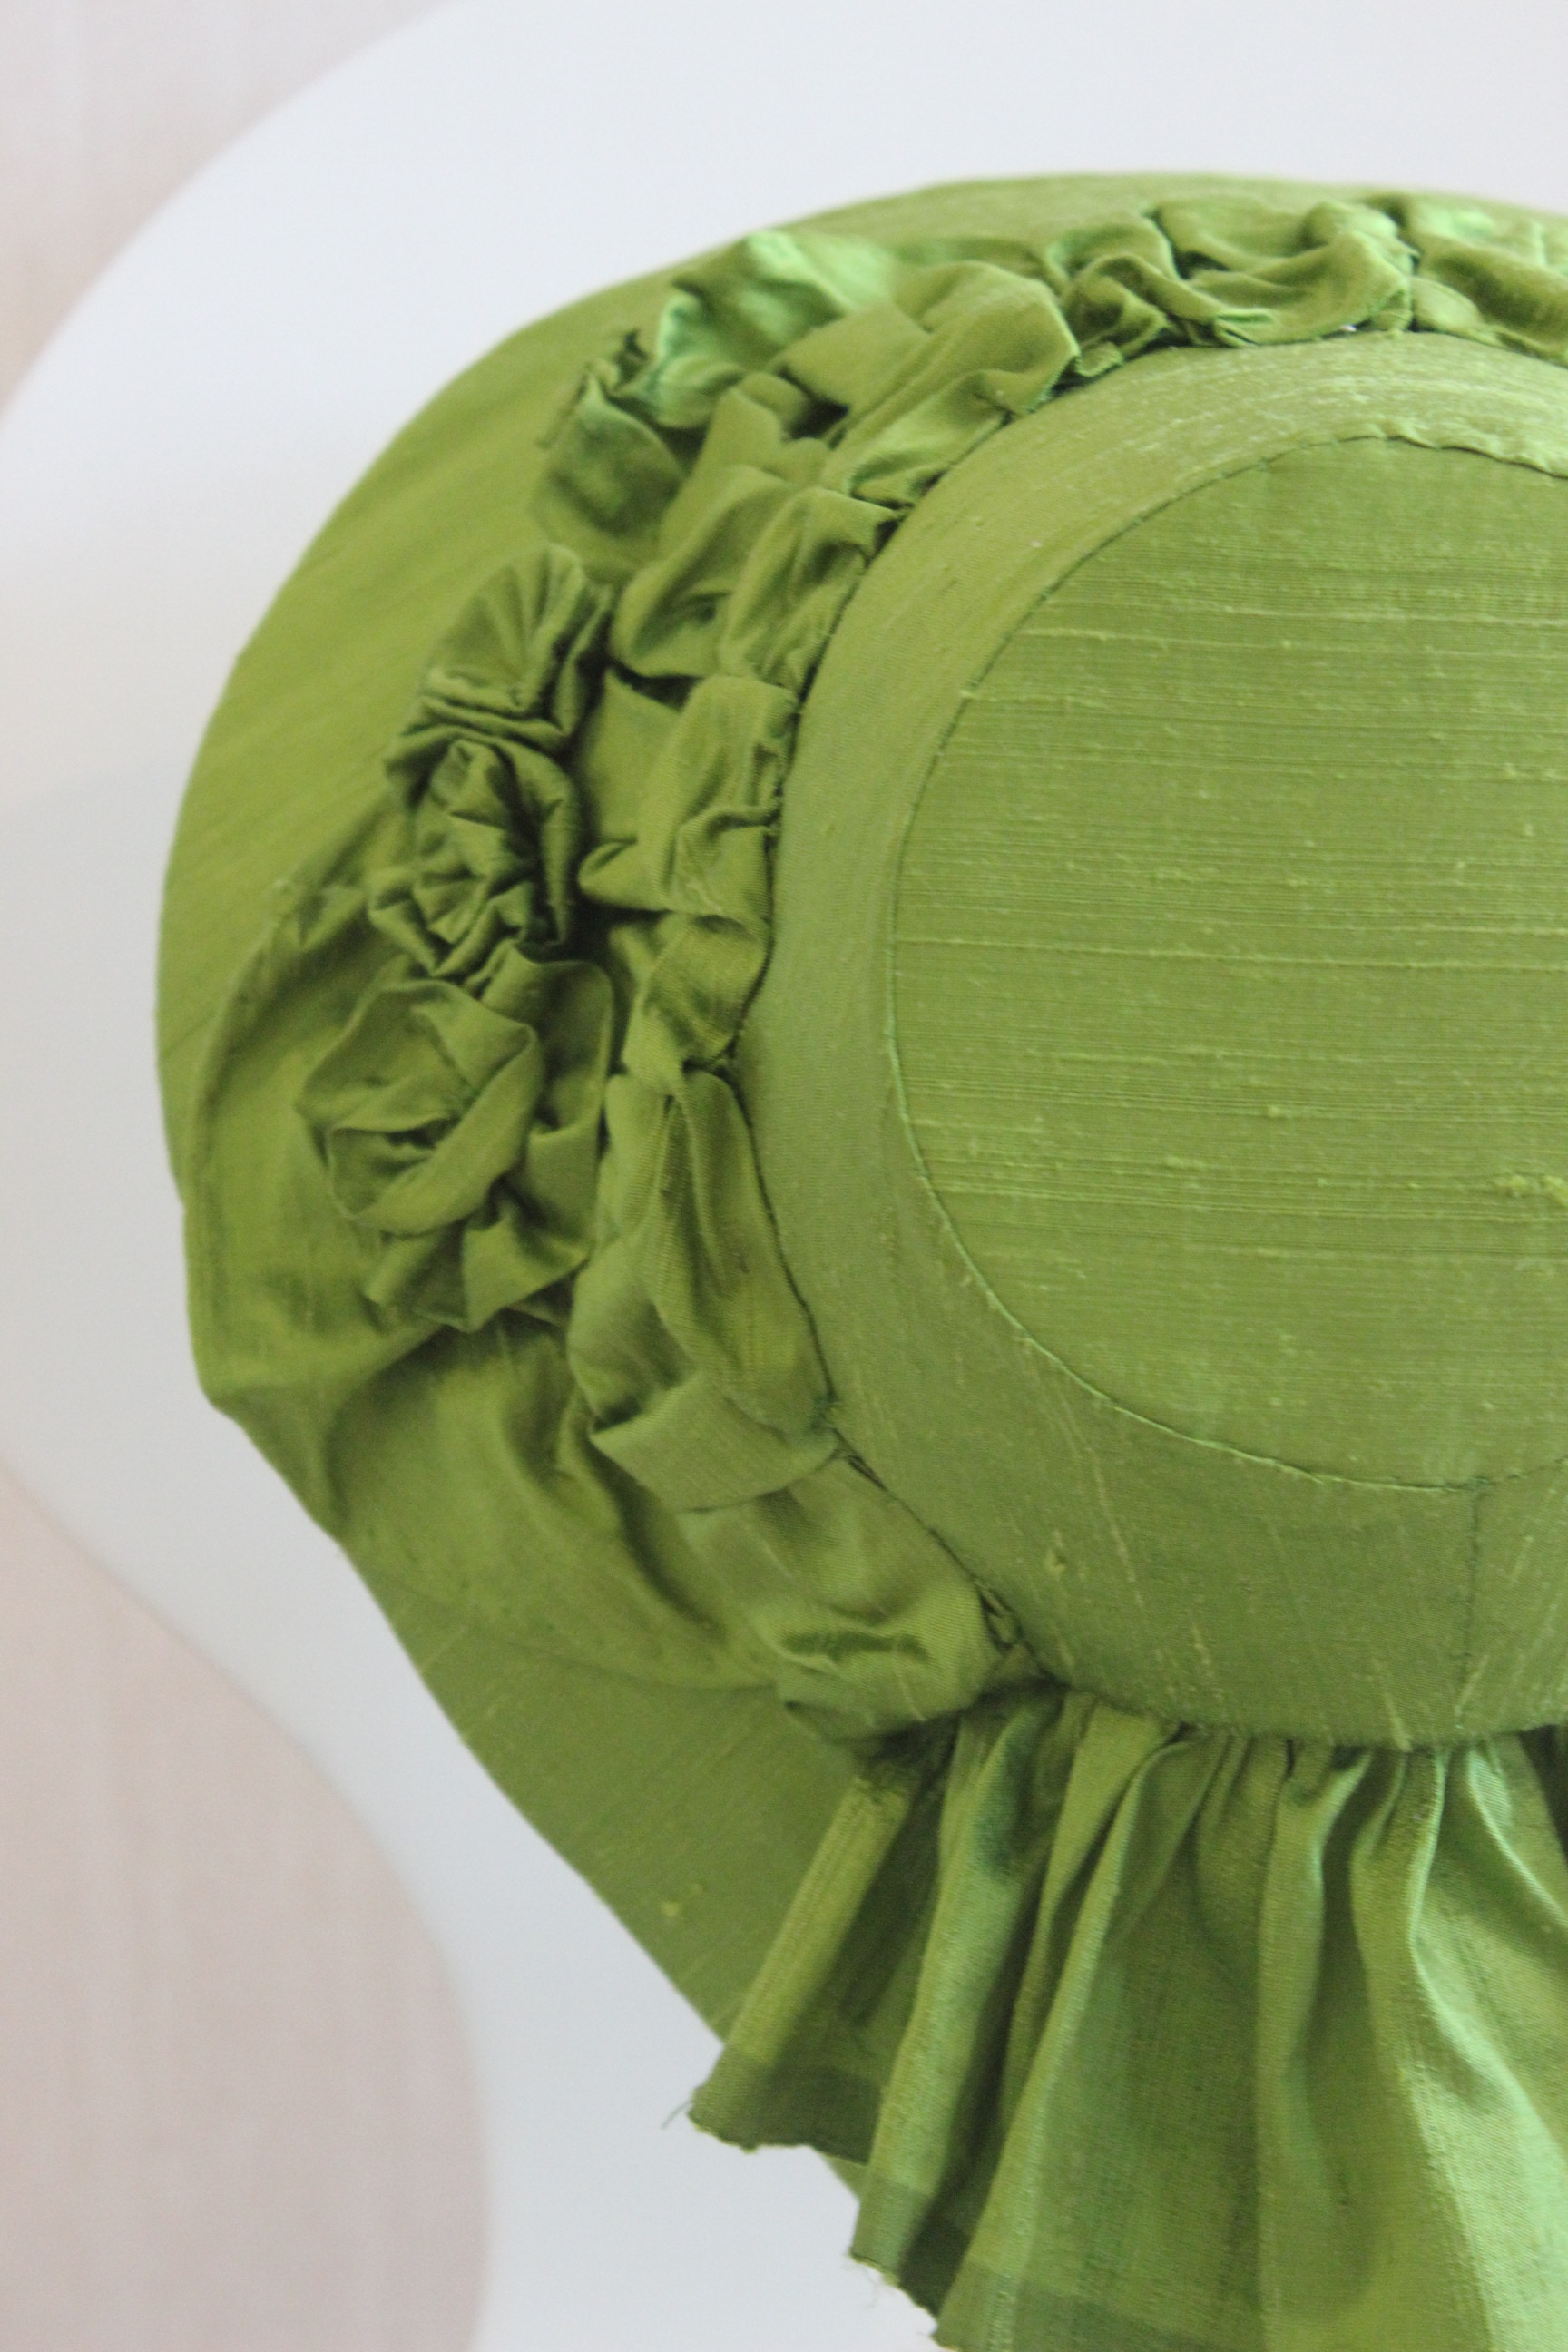
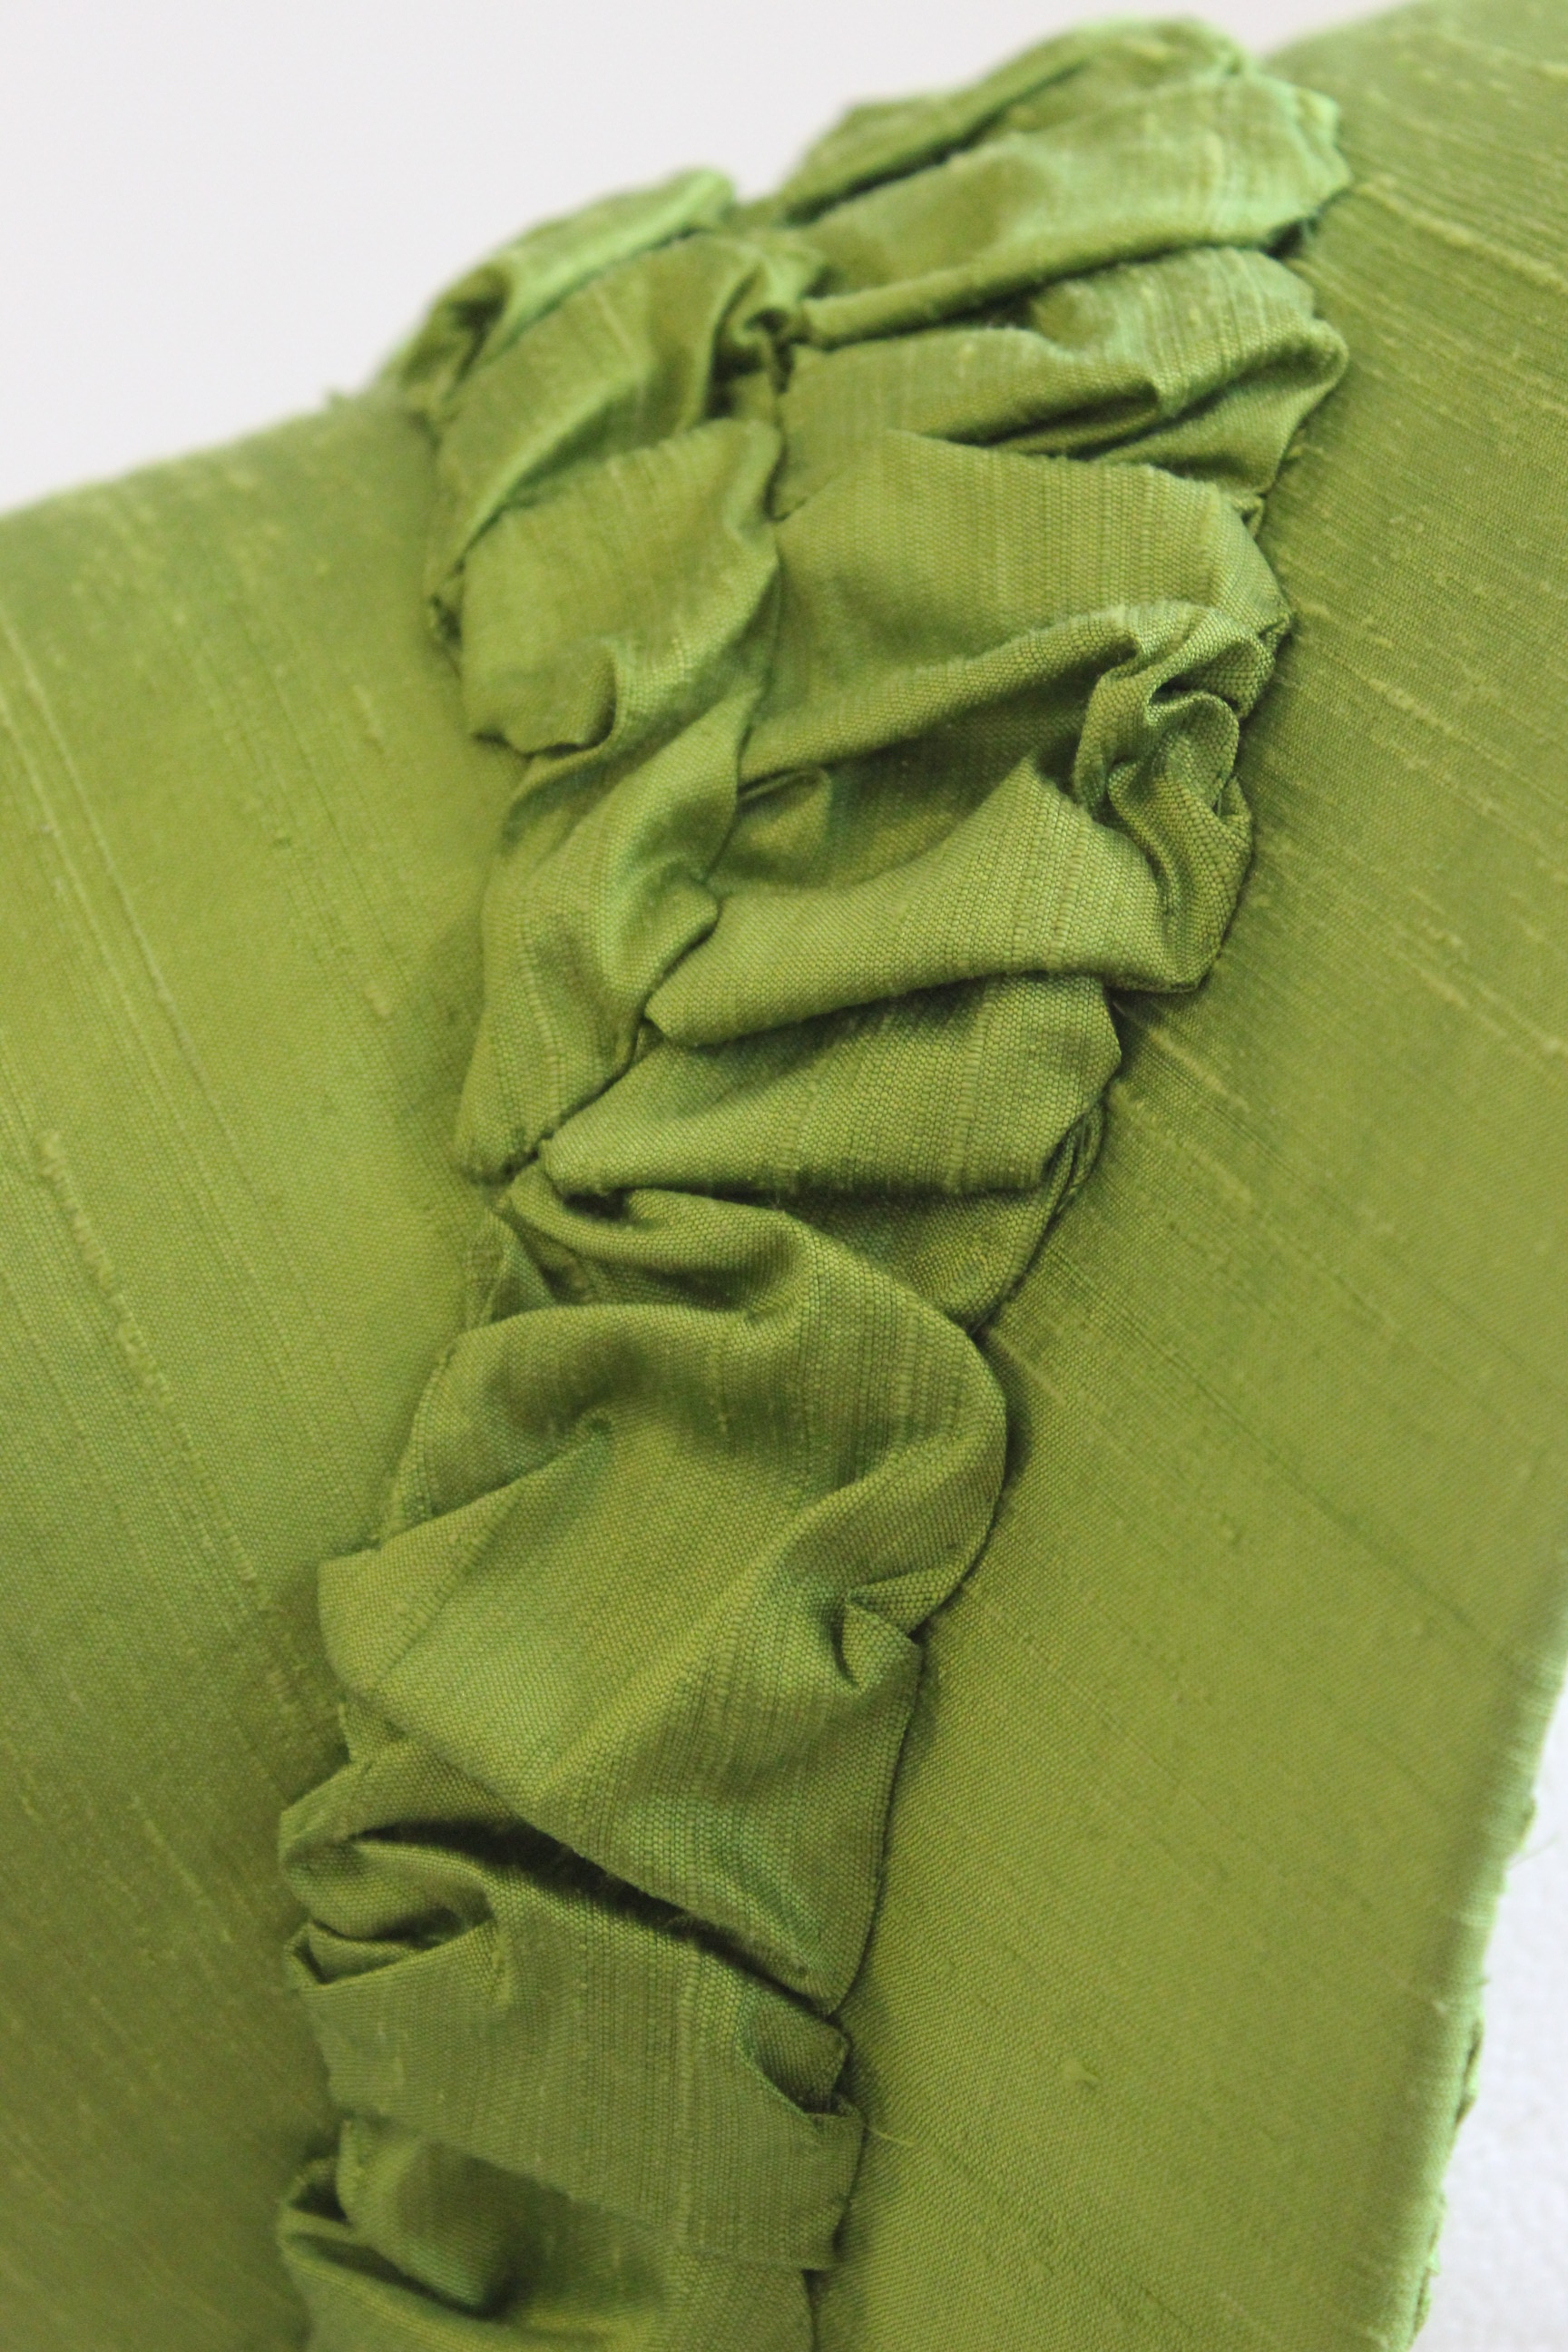
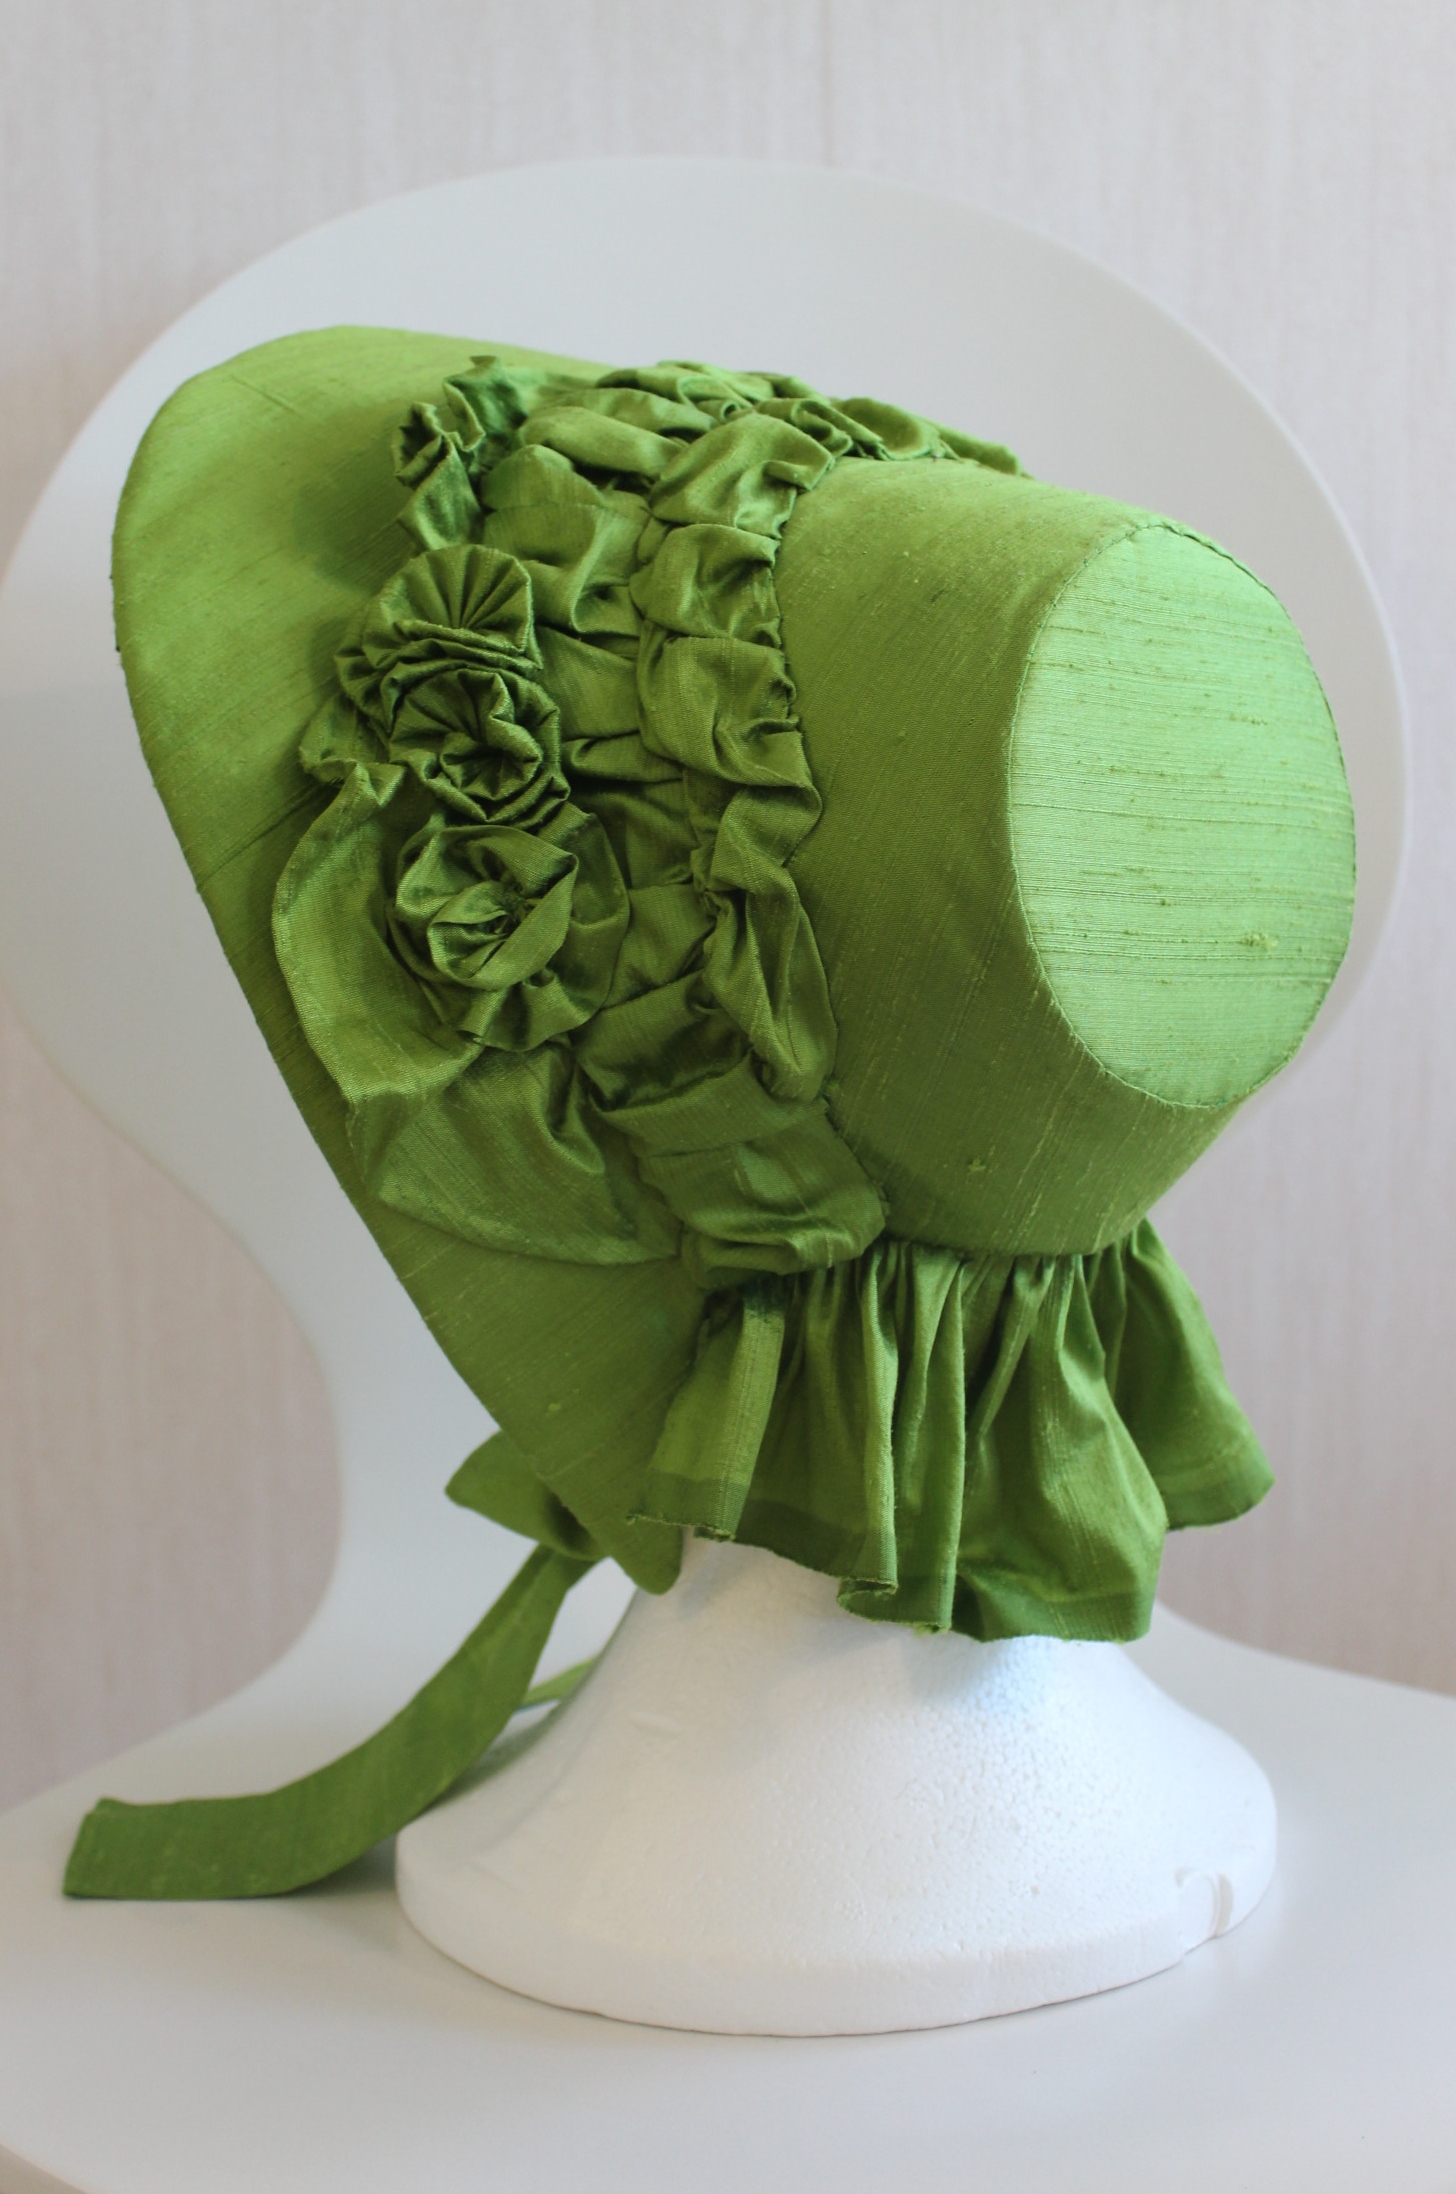
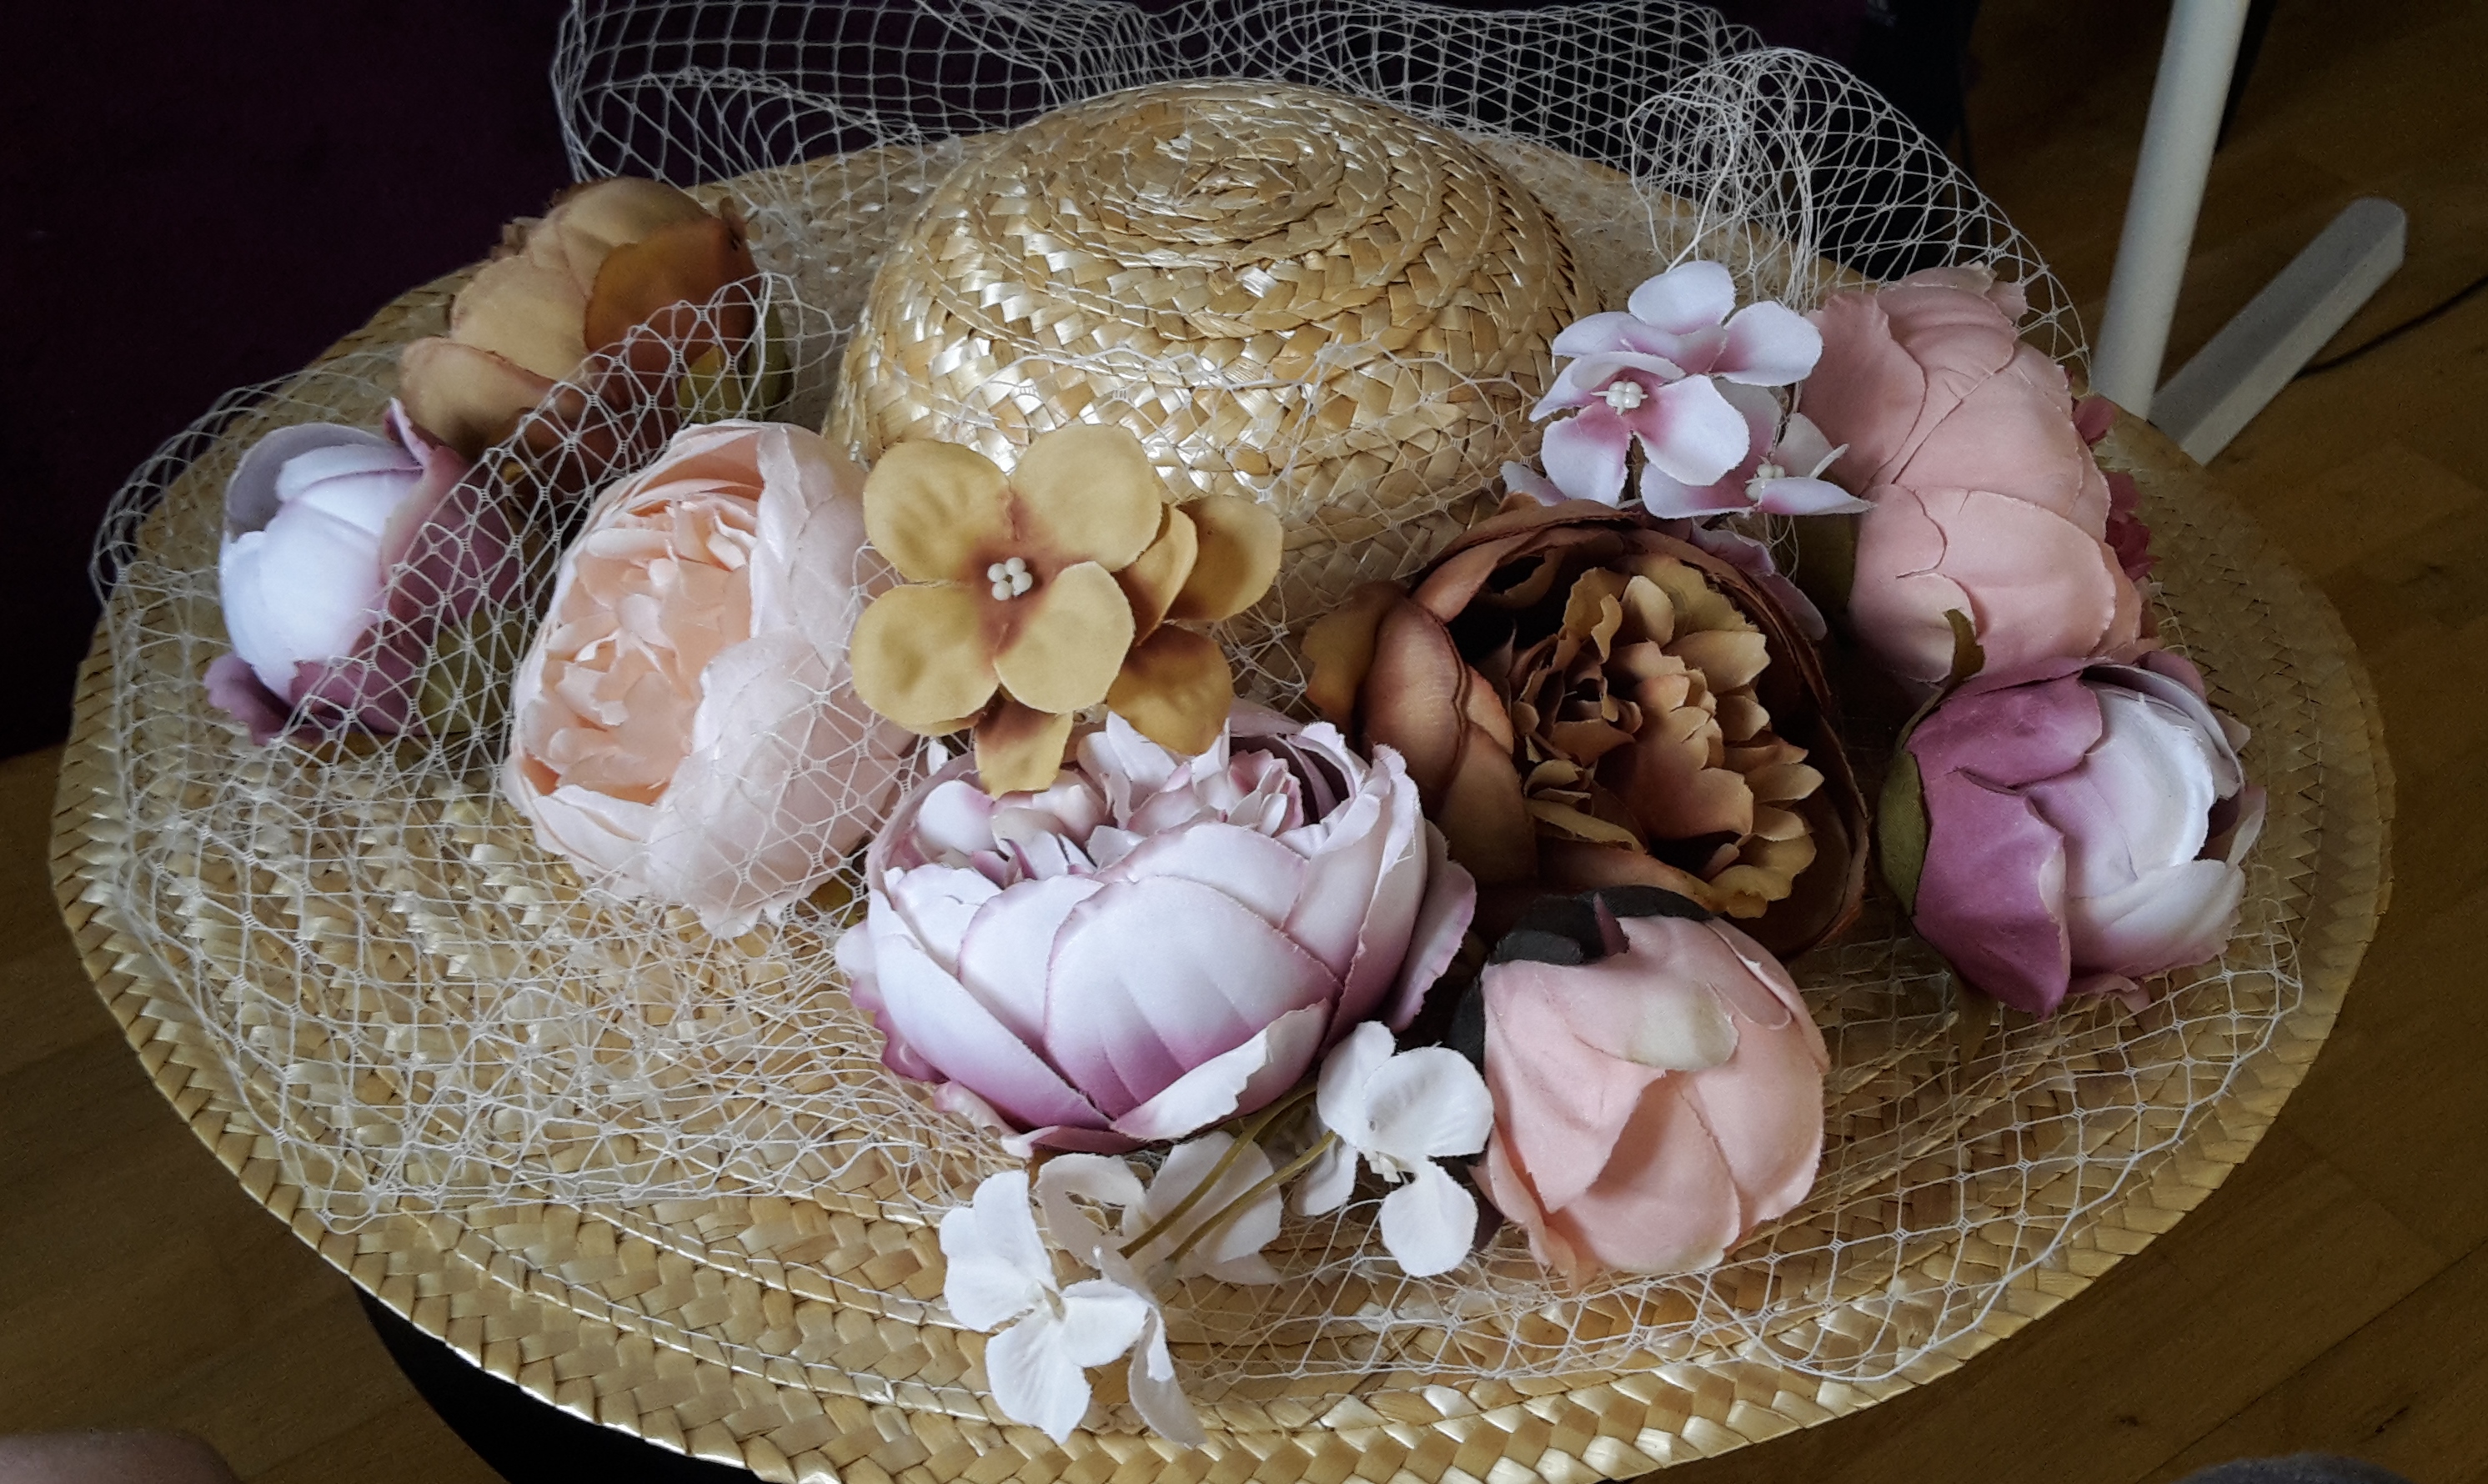
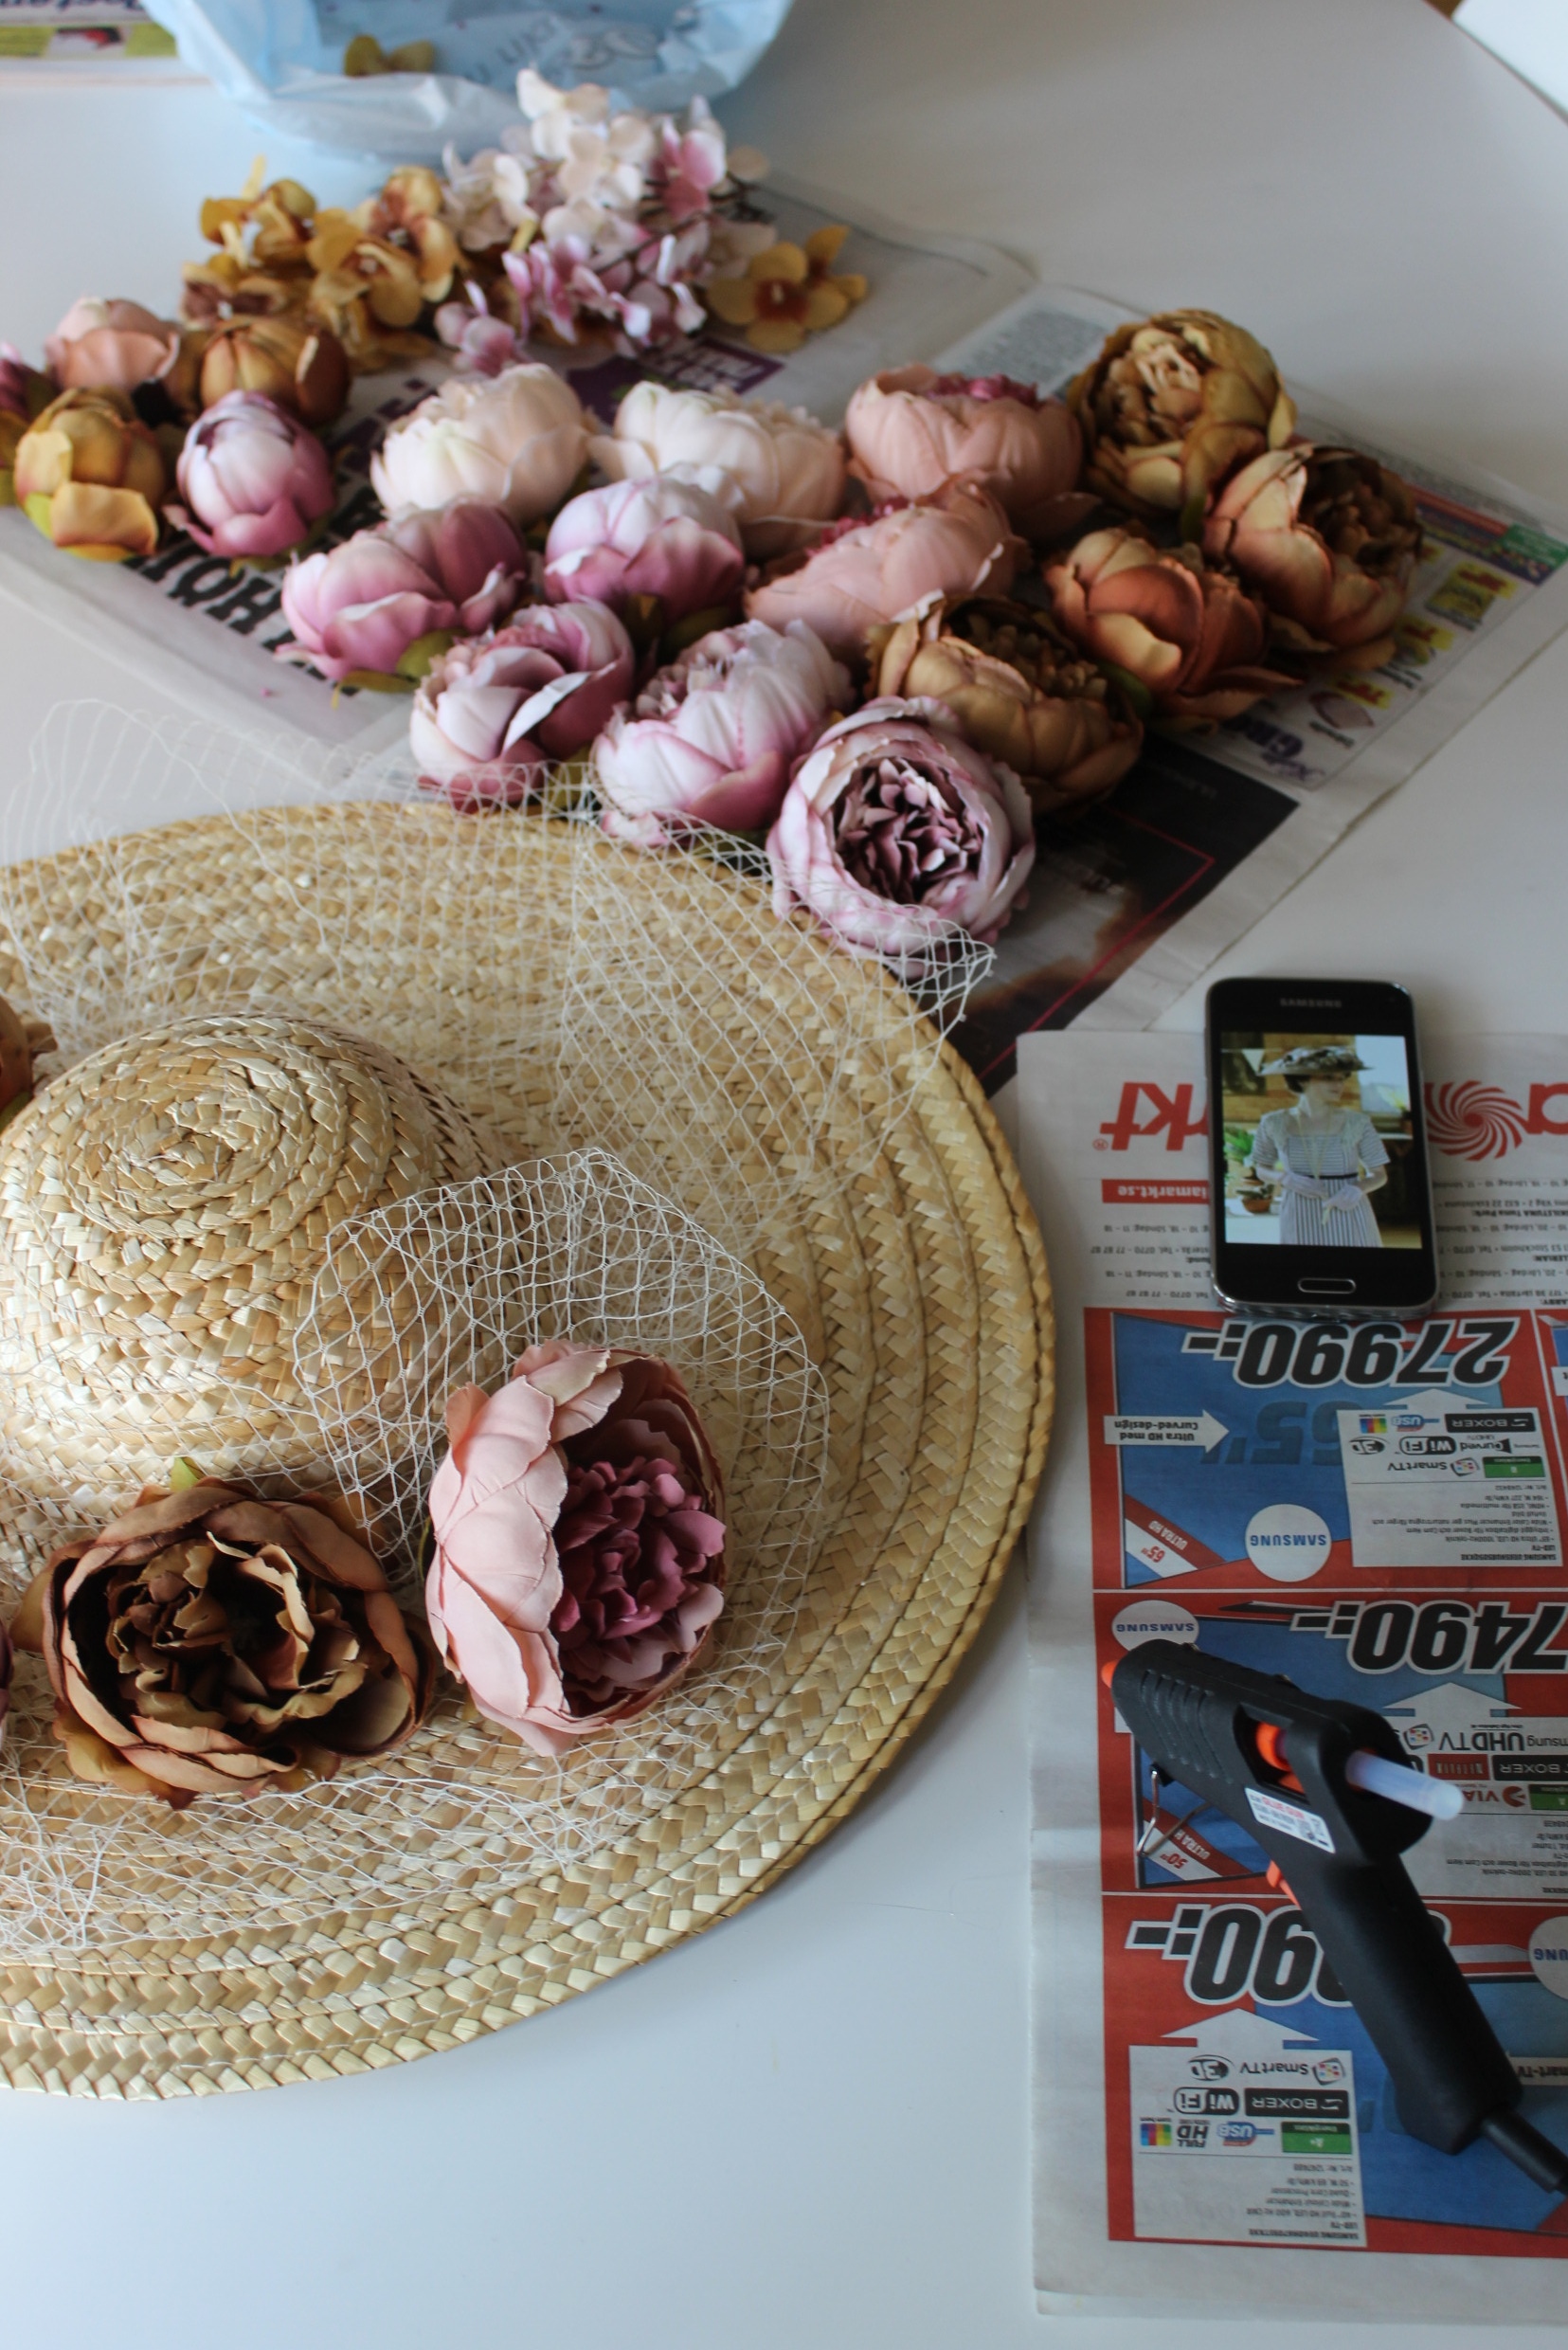
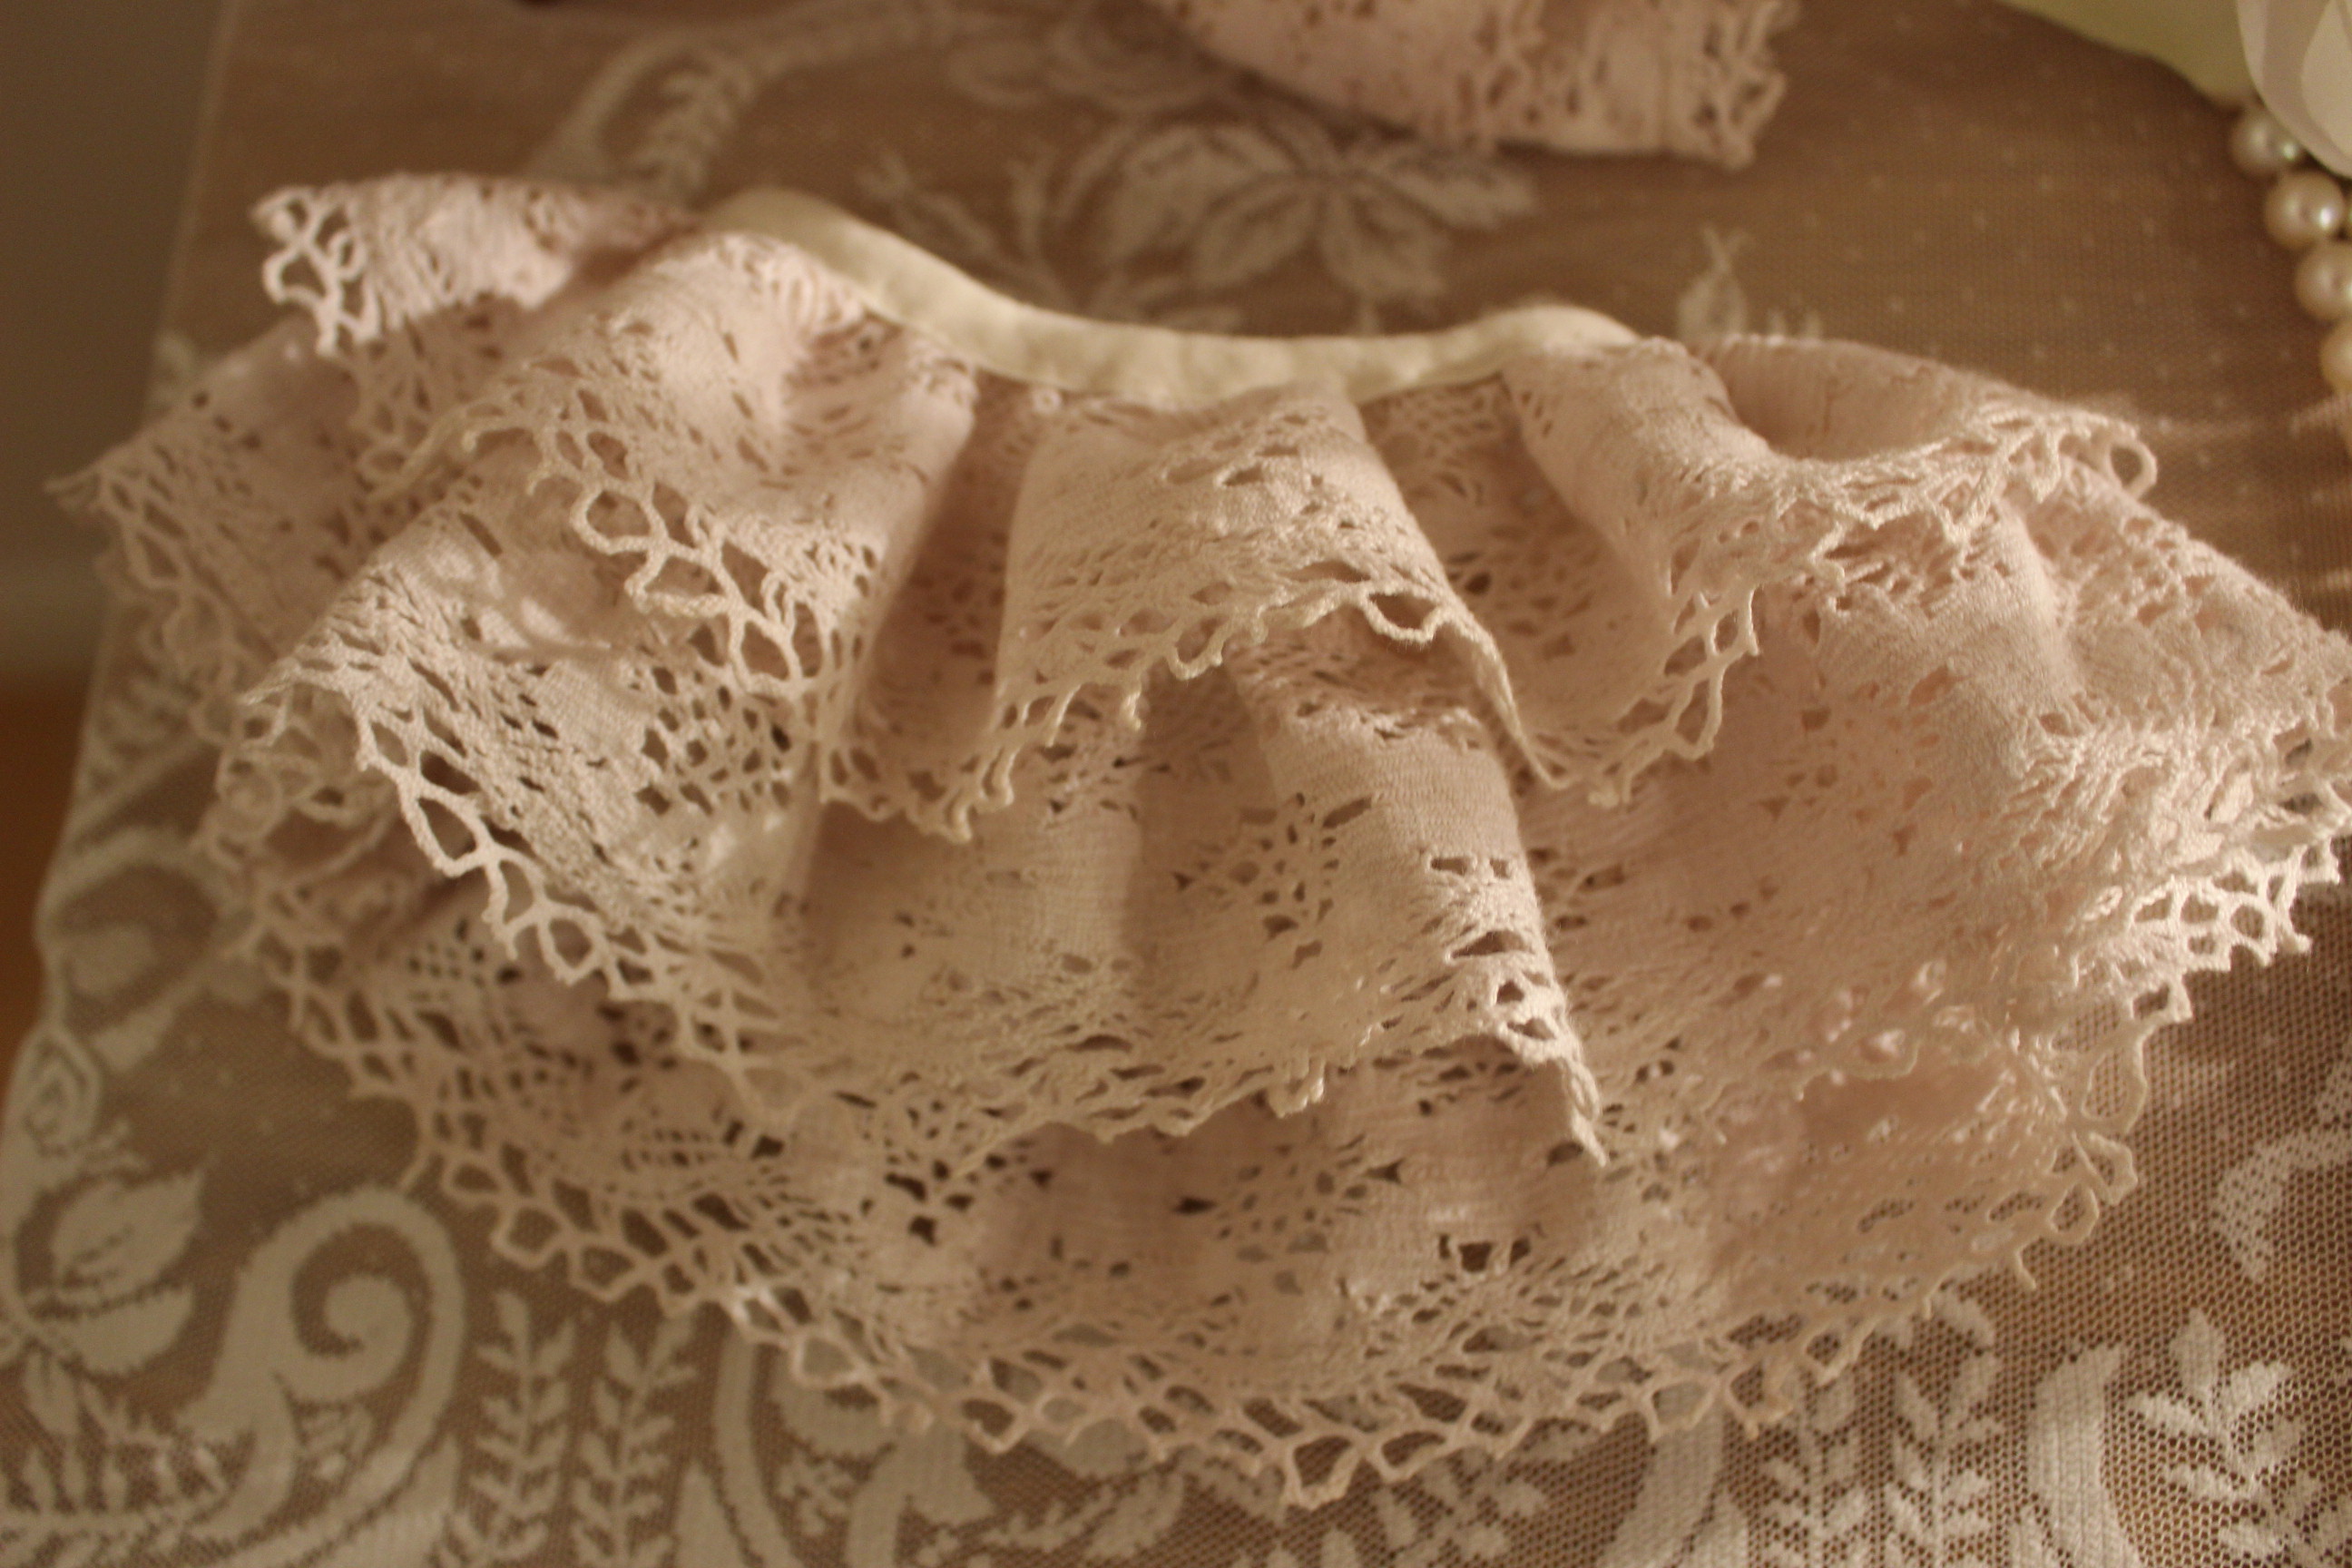
 These are so easy to make and takes really no time at all.
 The first trims pinned on.