Artistic Robe Anglaise

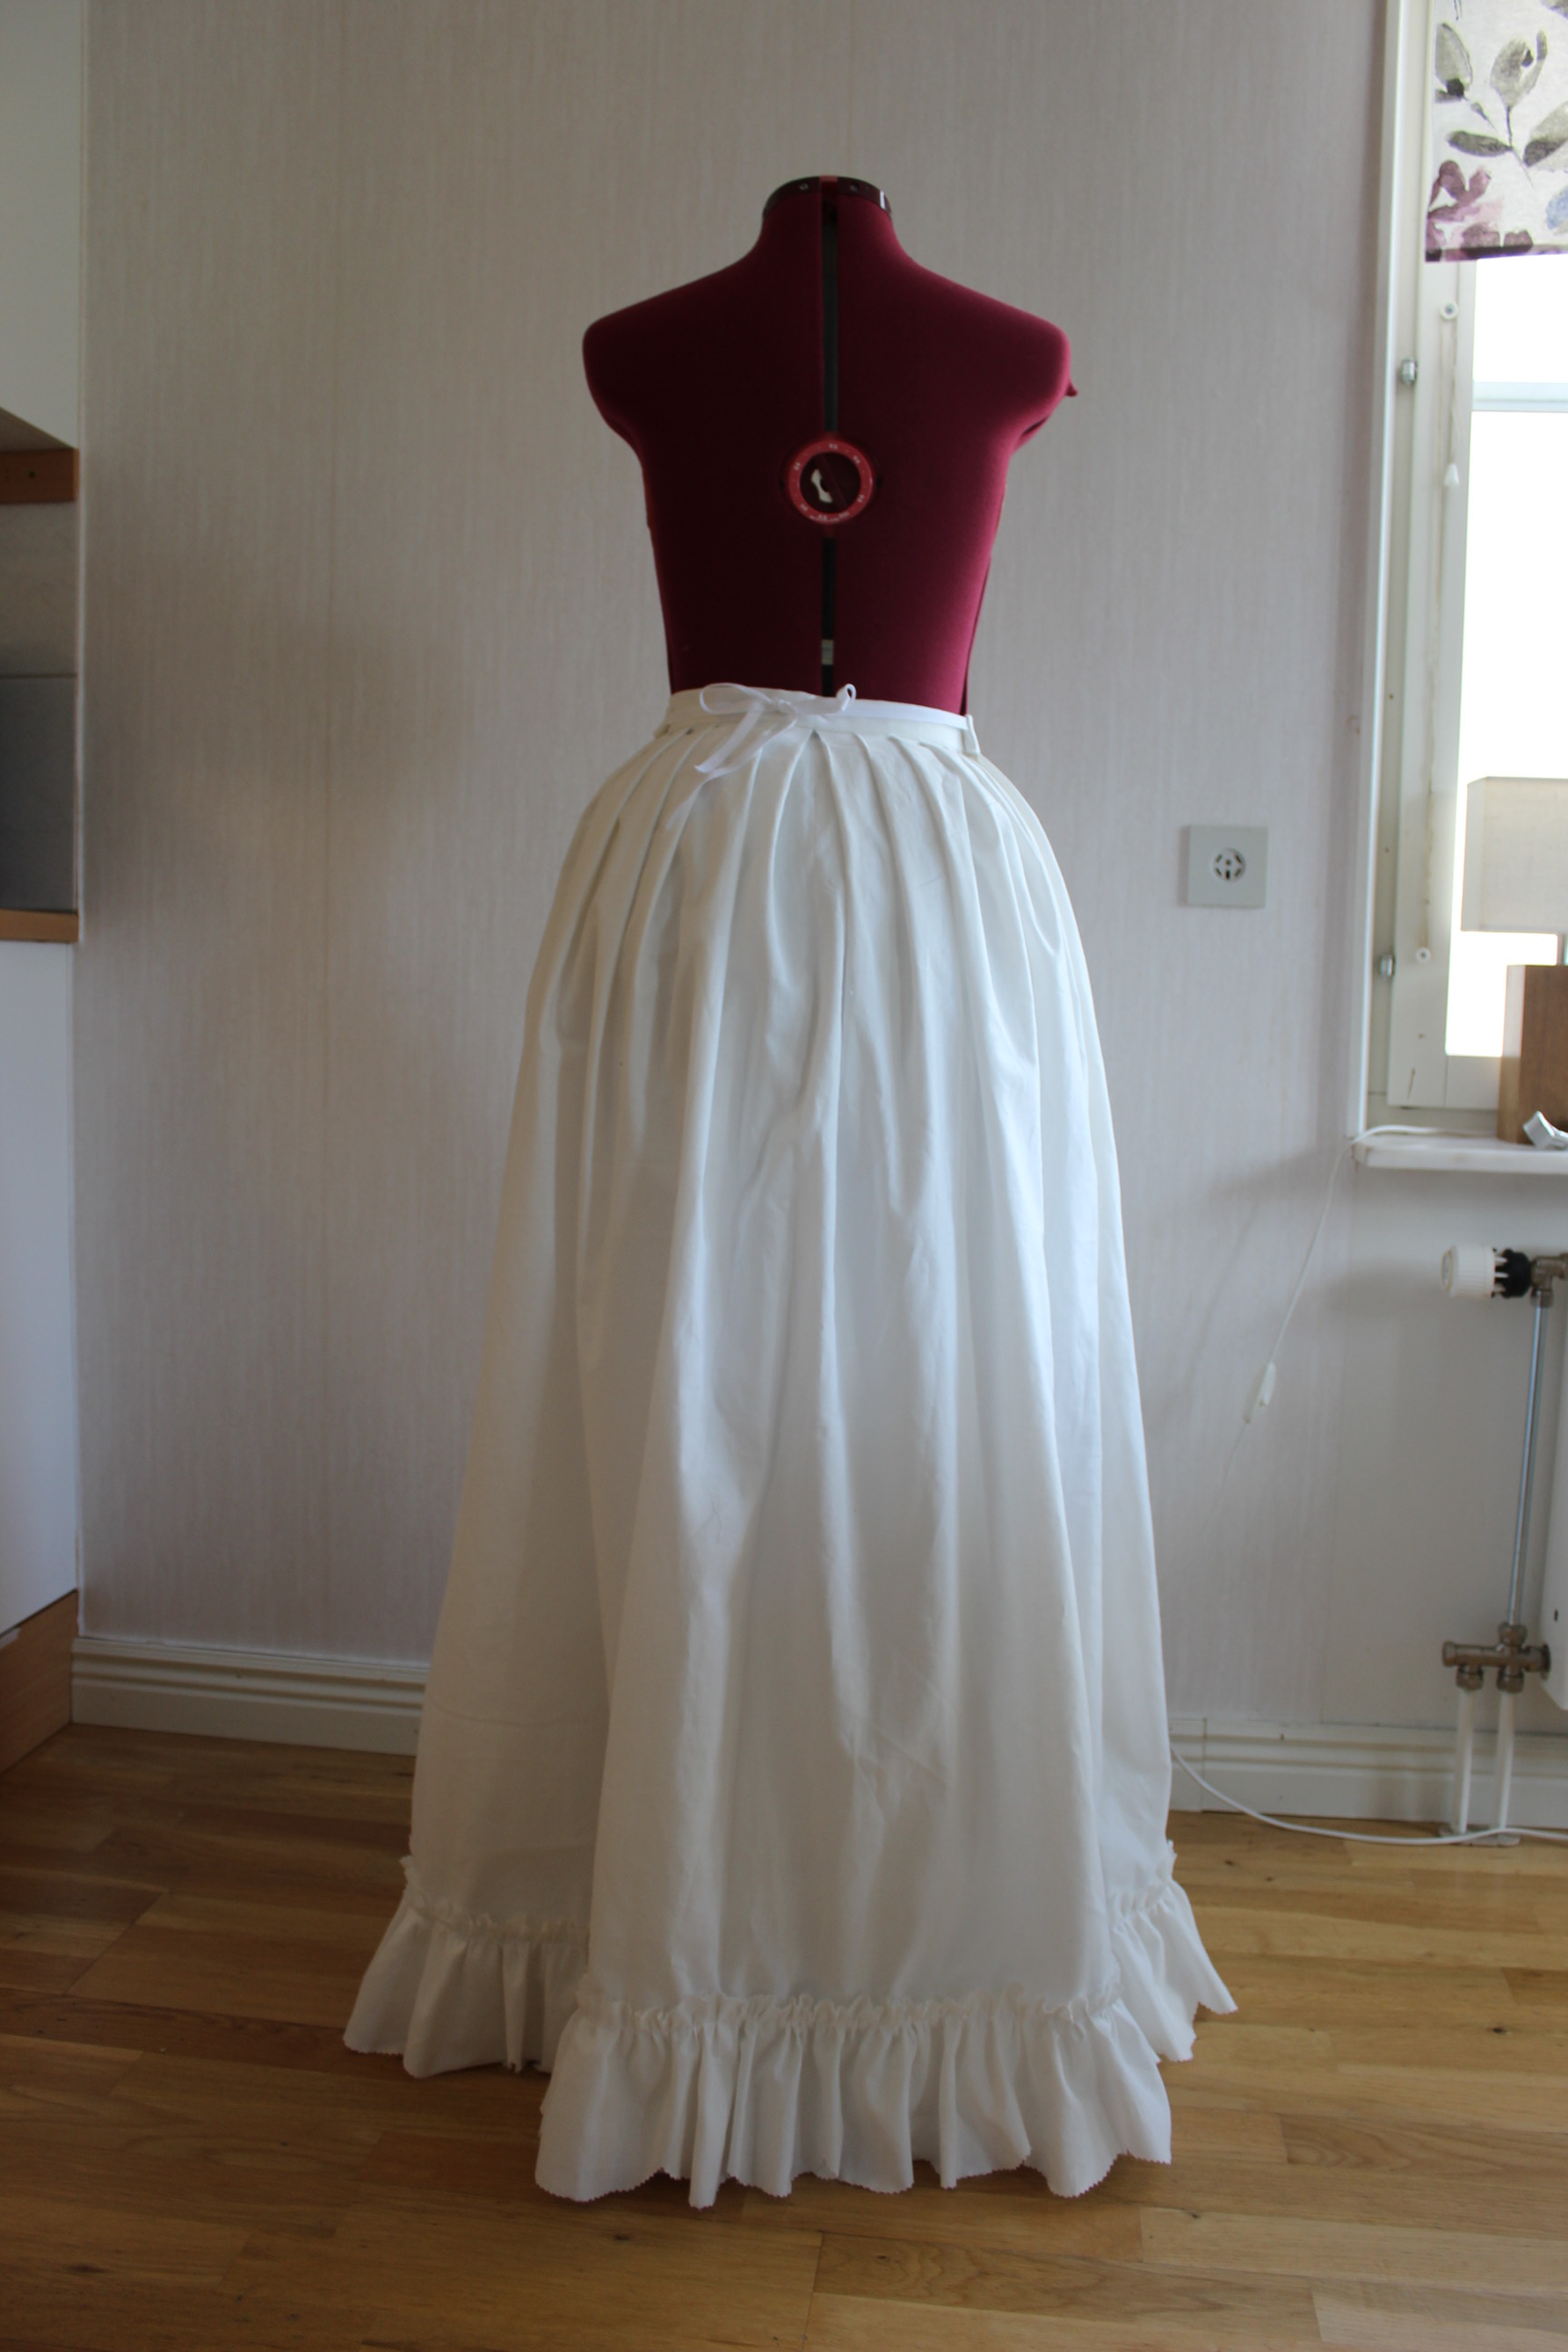
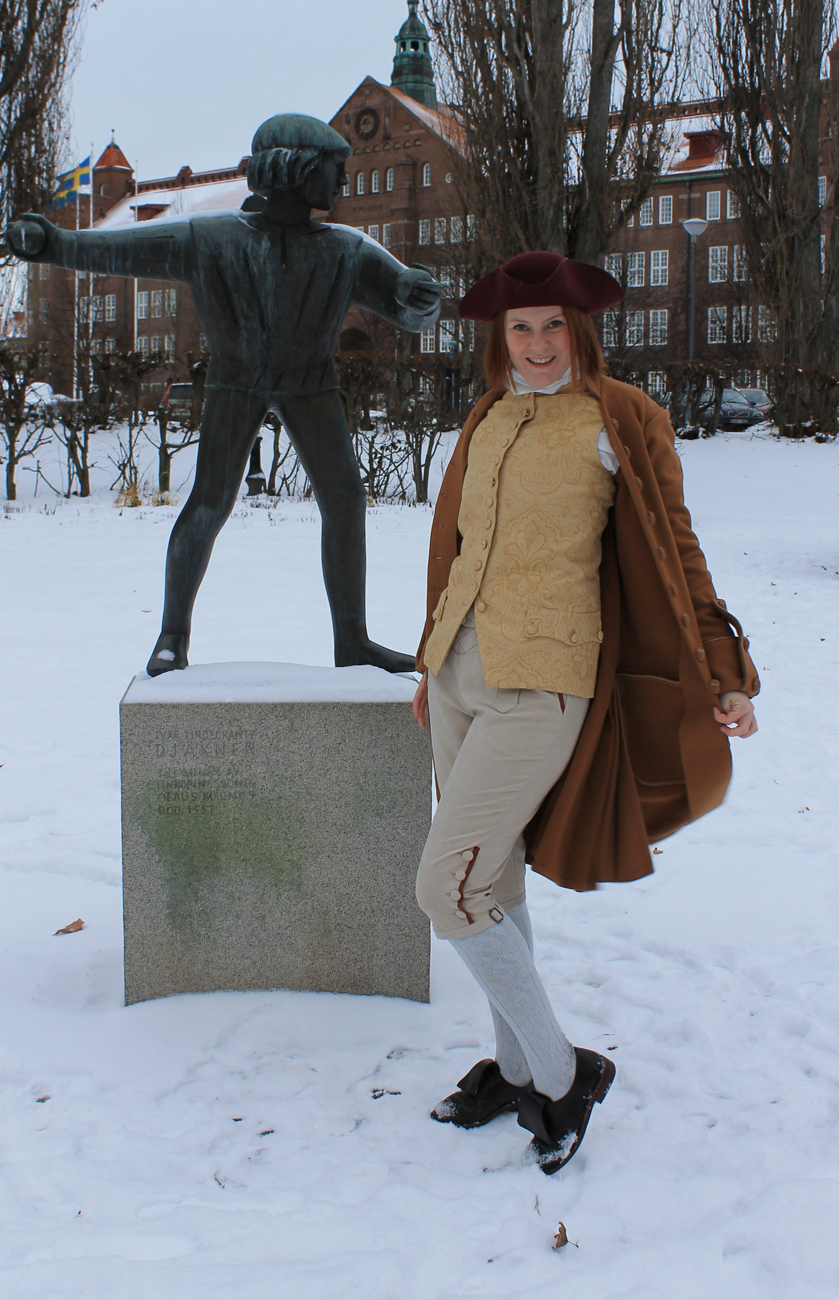
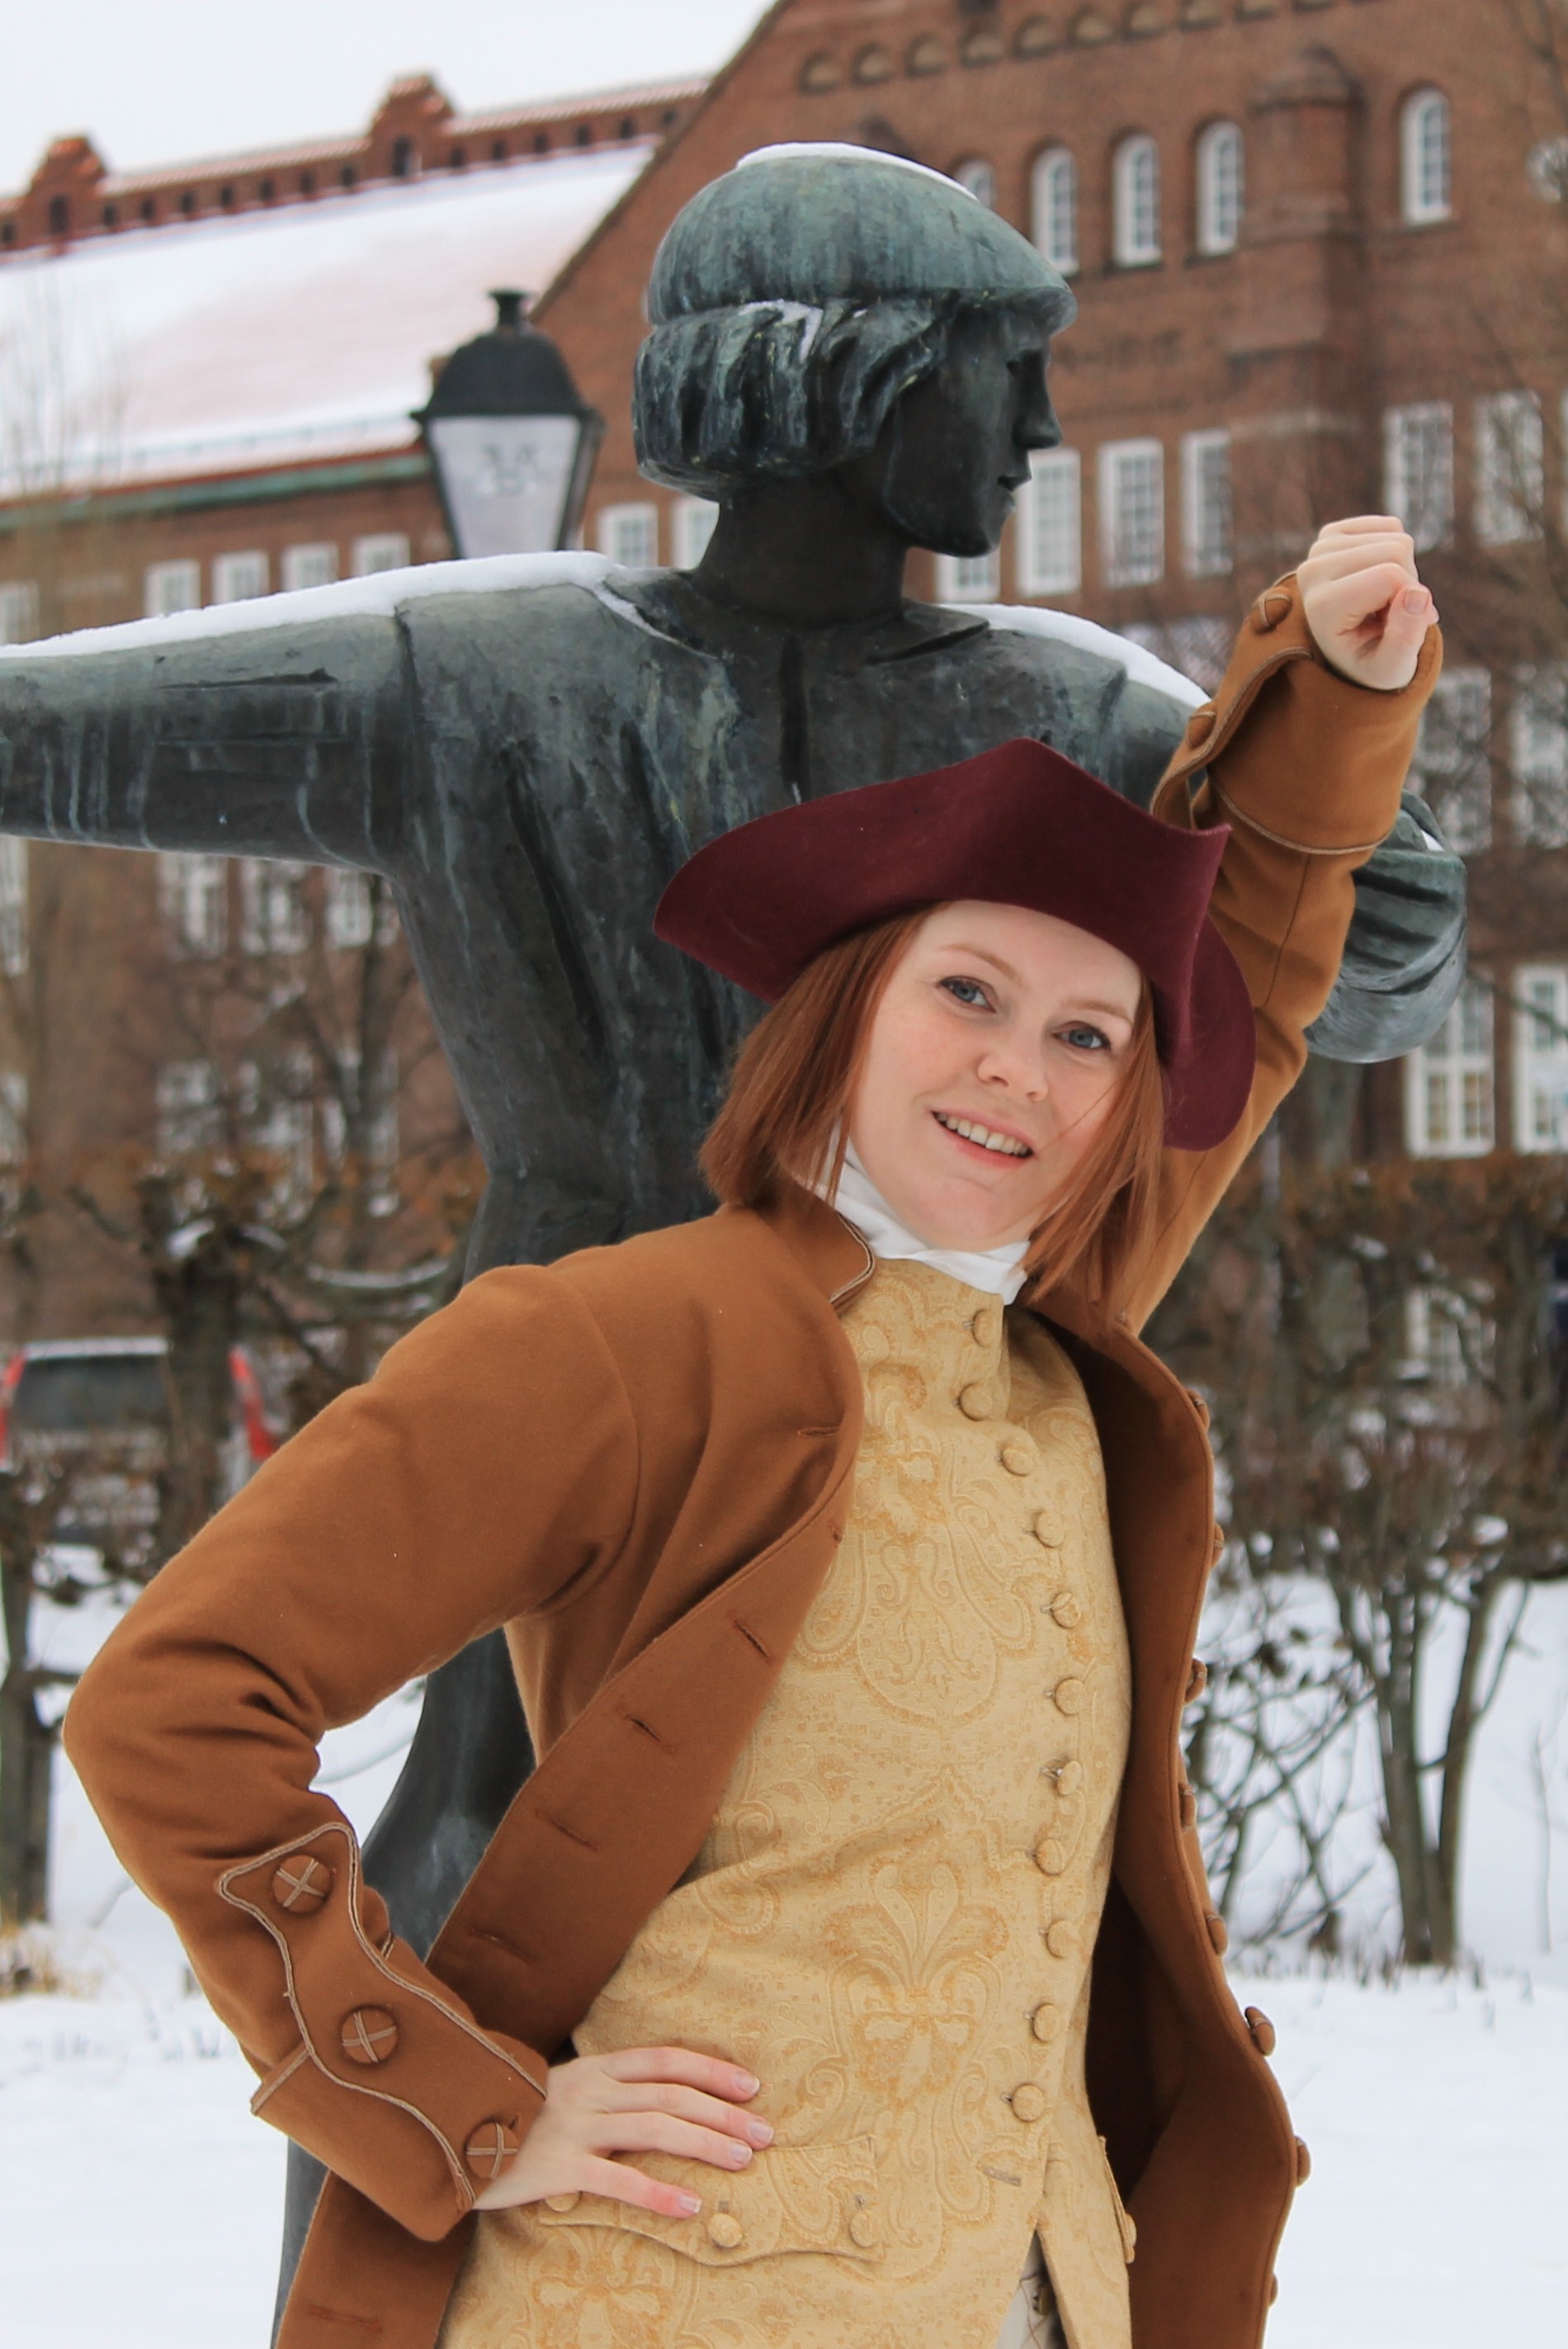
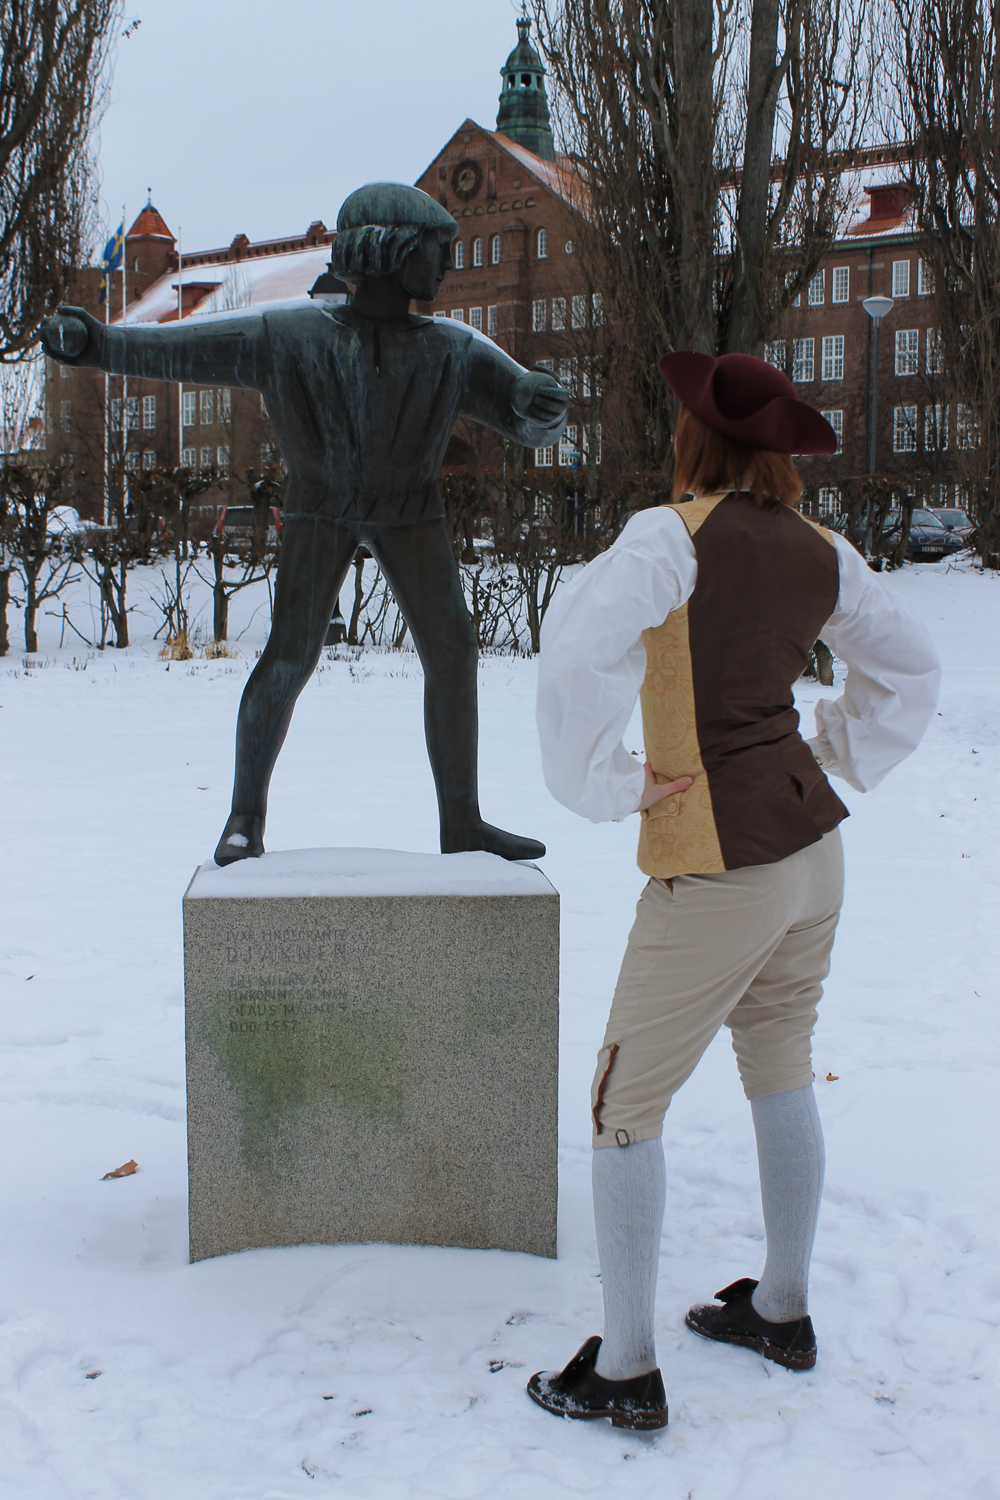
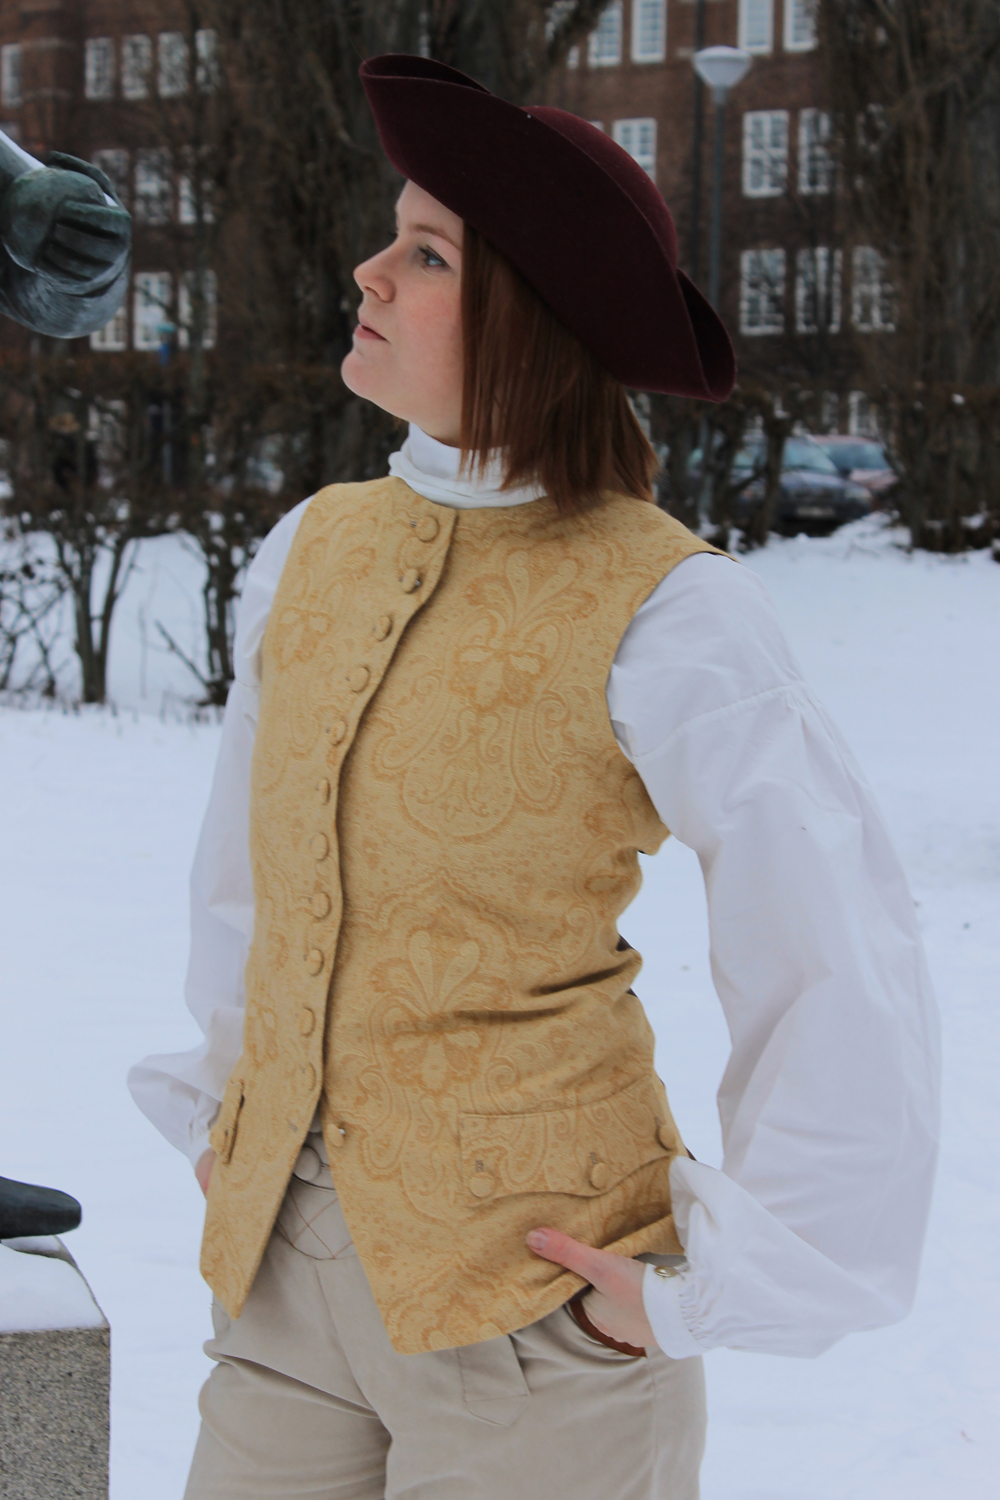
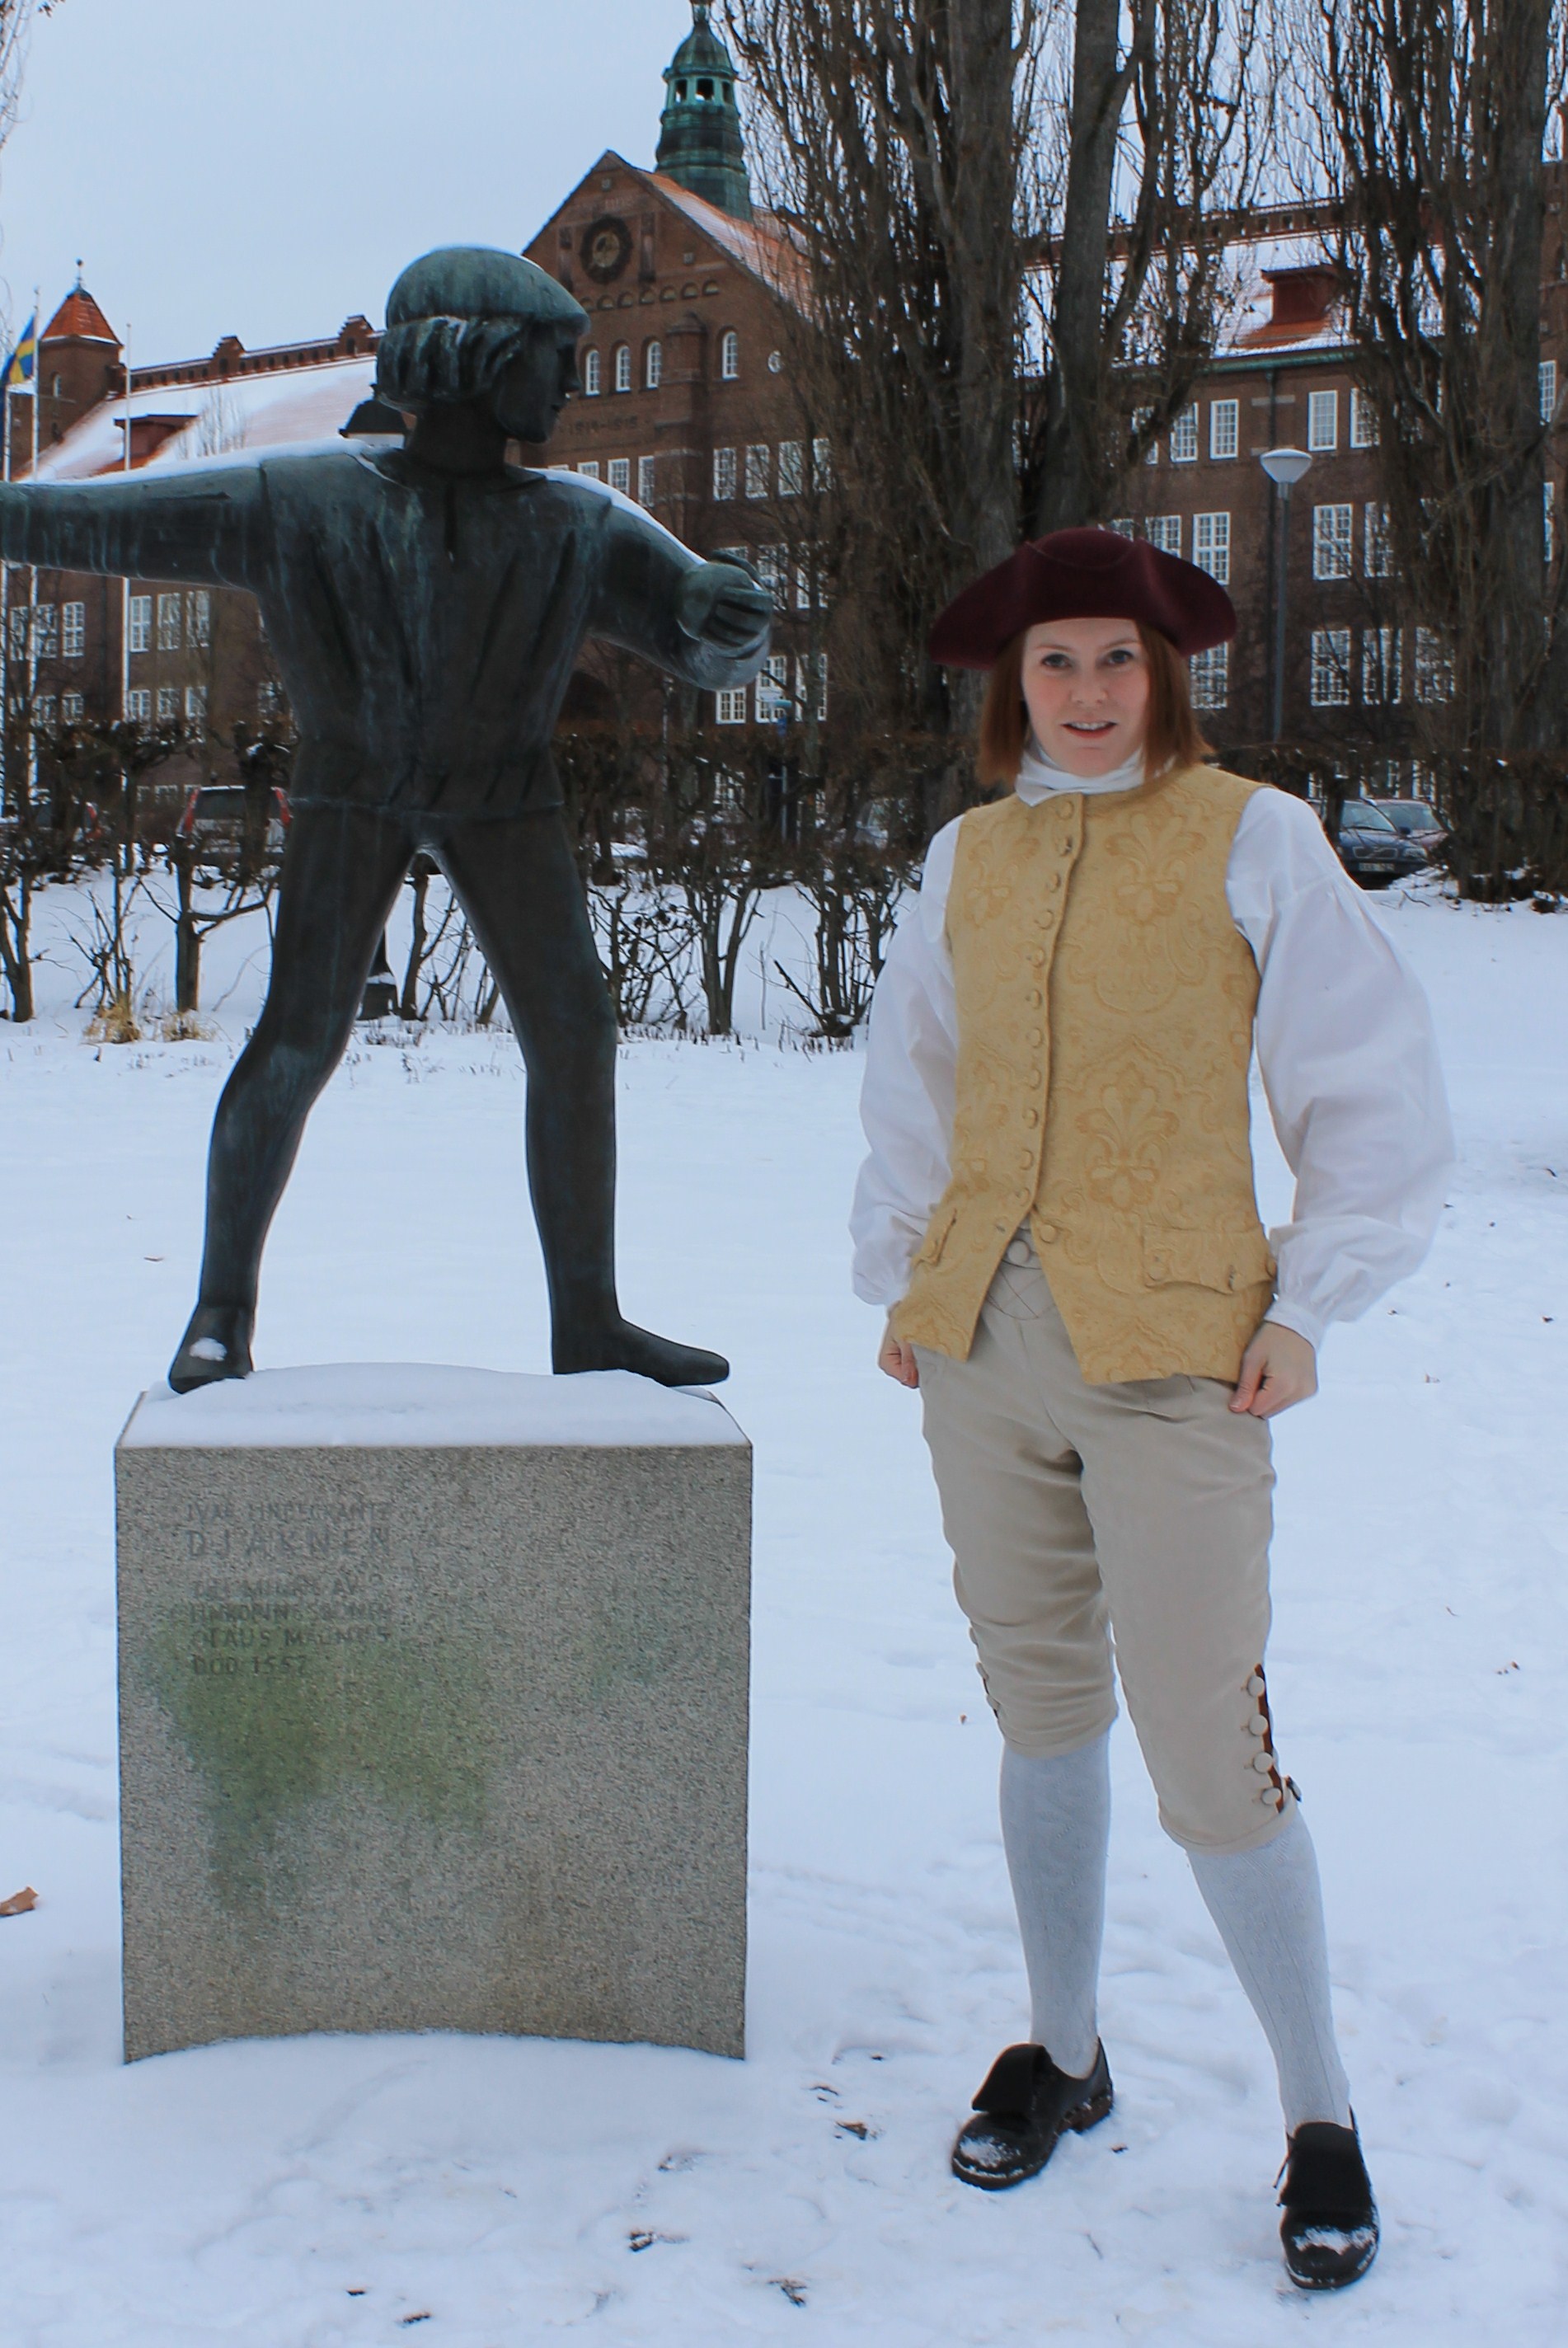
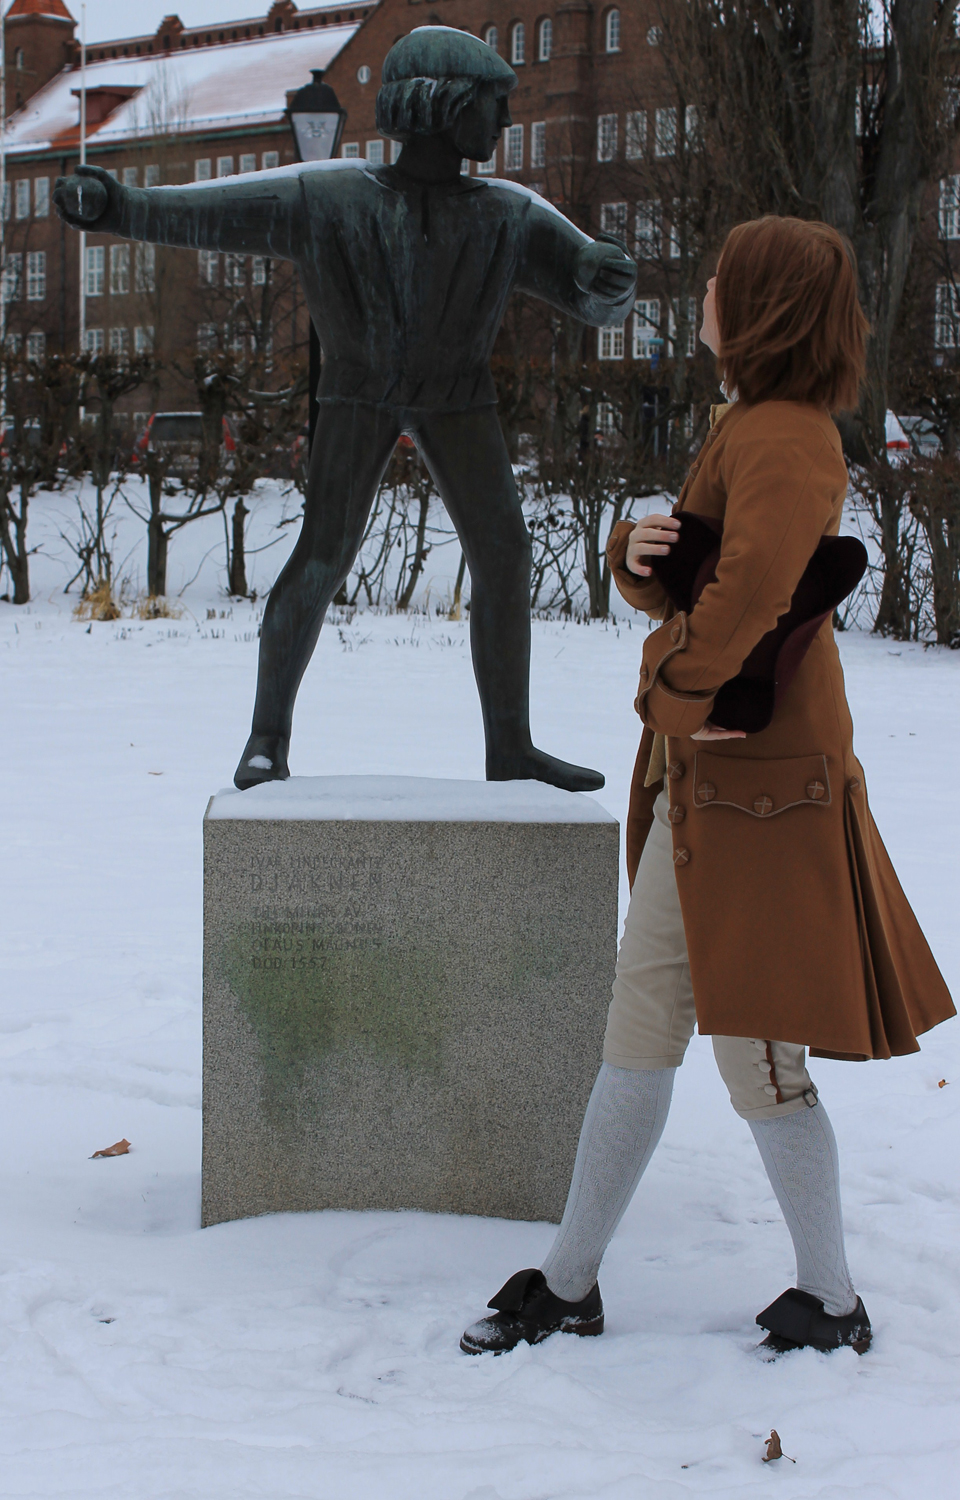
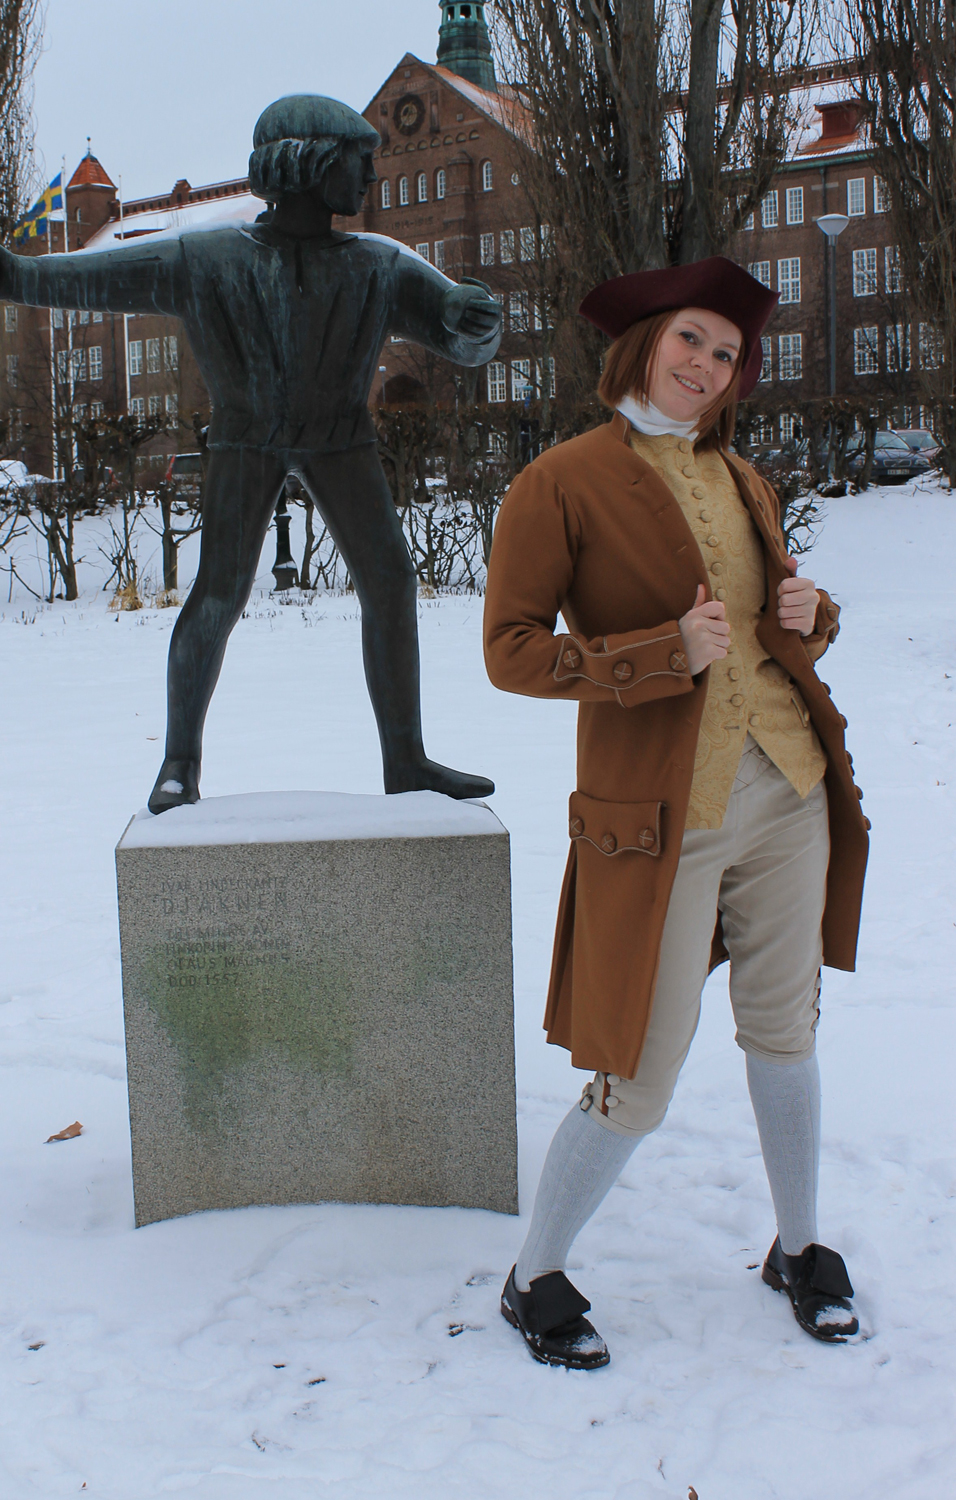
When the 10th HSF challenge – Art, was announced I didn’t need to think for long. I emetetly knew I wanted to make the Rose Adélaïde Ducreuxs dress fom her “self portraite whit a harp”.tumblr_lk71wnynCC1qbkn6io1_500
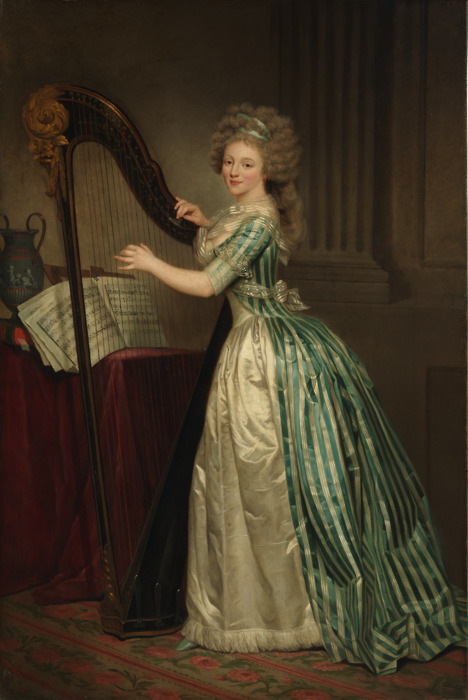
I even took the opurtunity to make the skirt and fichu from the portrait for a previous challenge, to be able to only focus on the dress for this one.

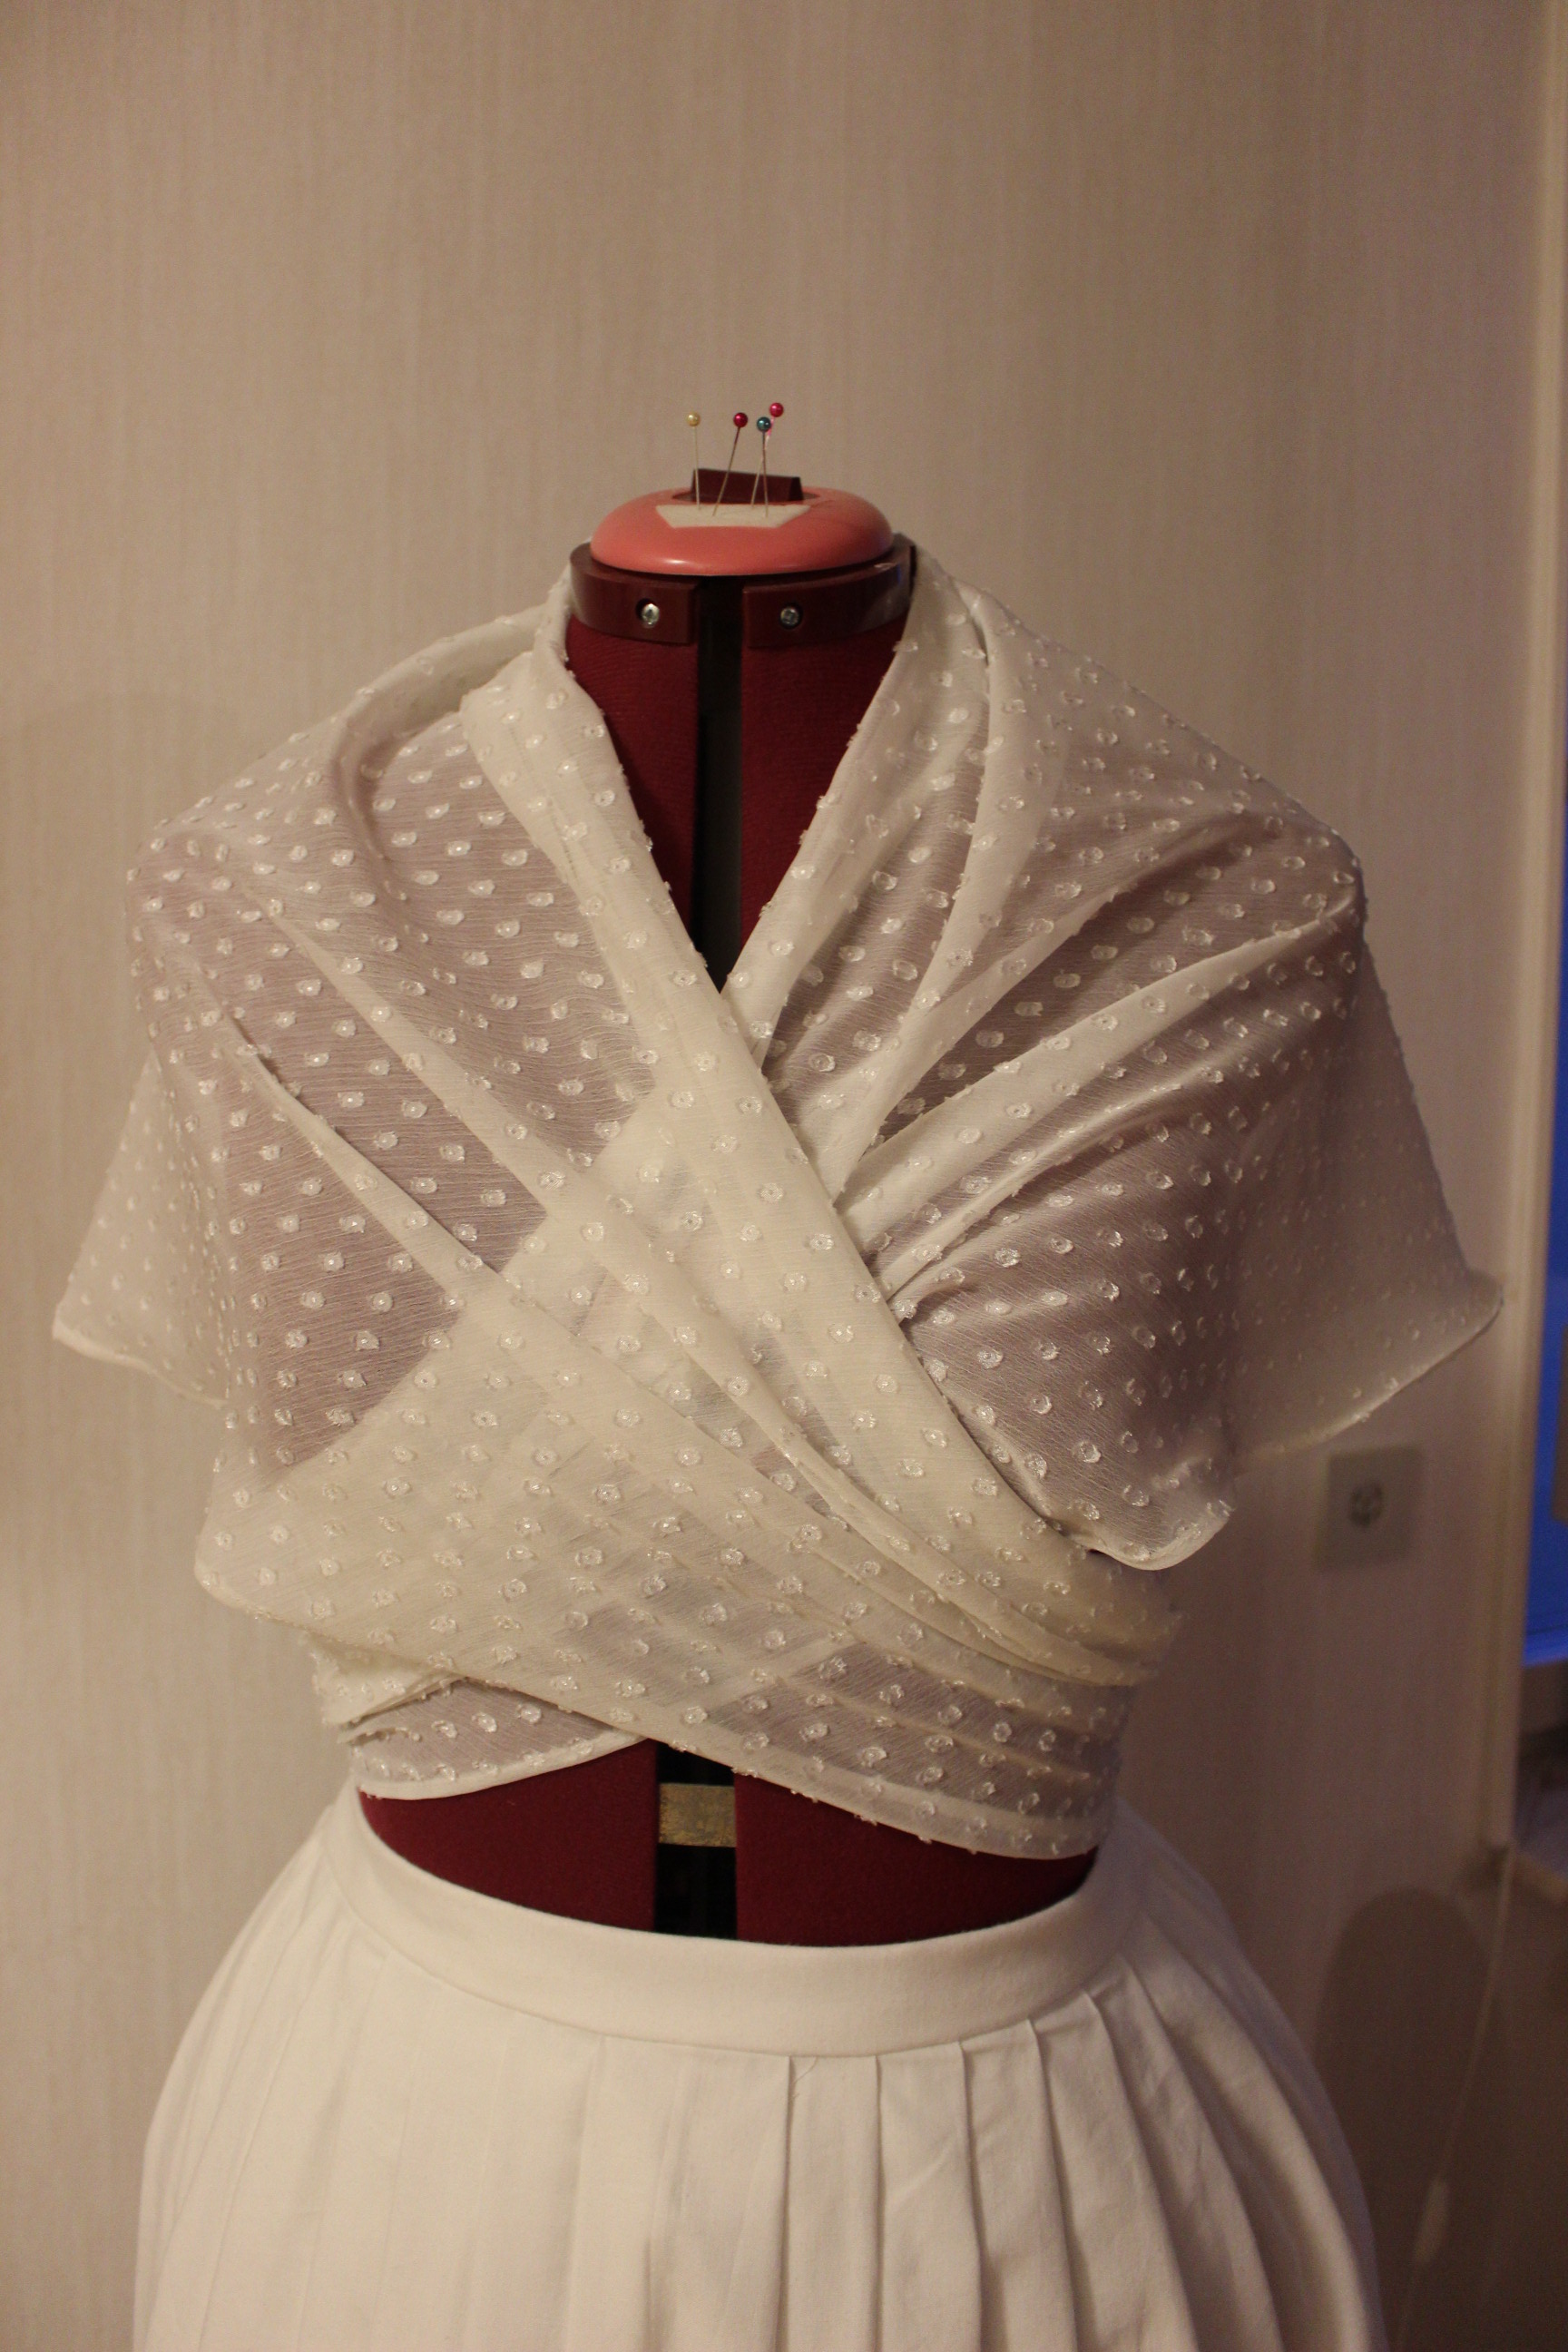
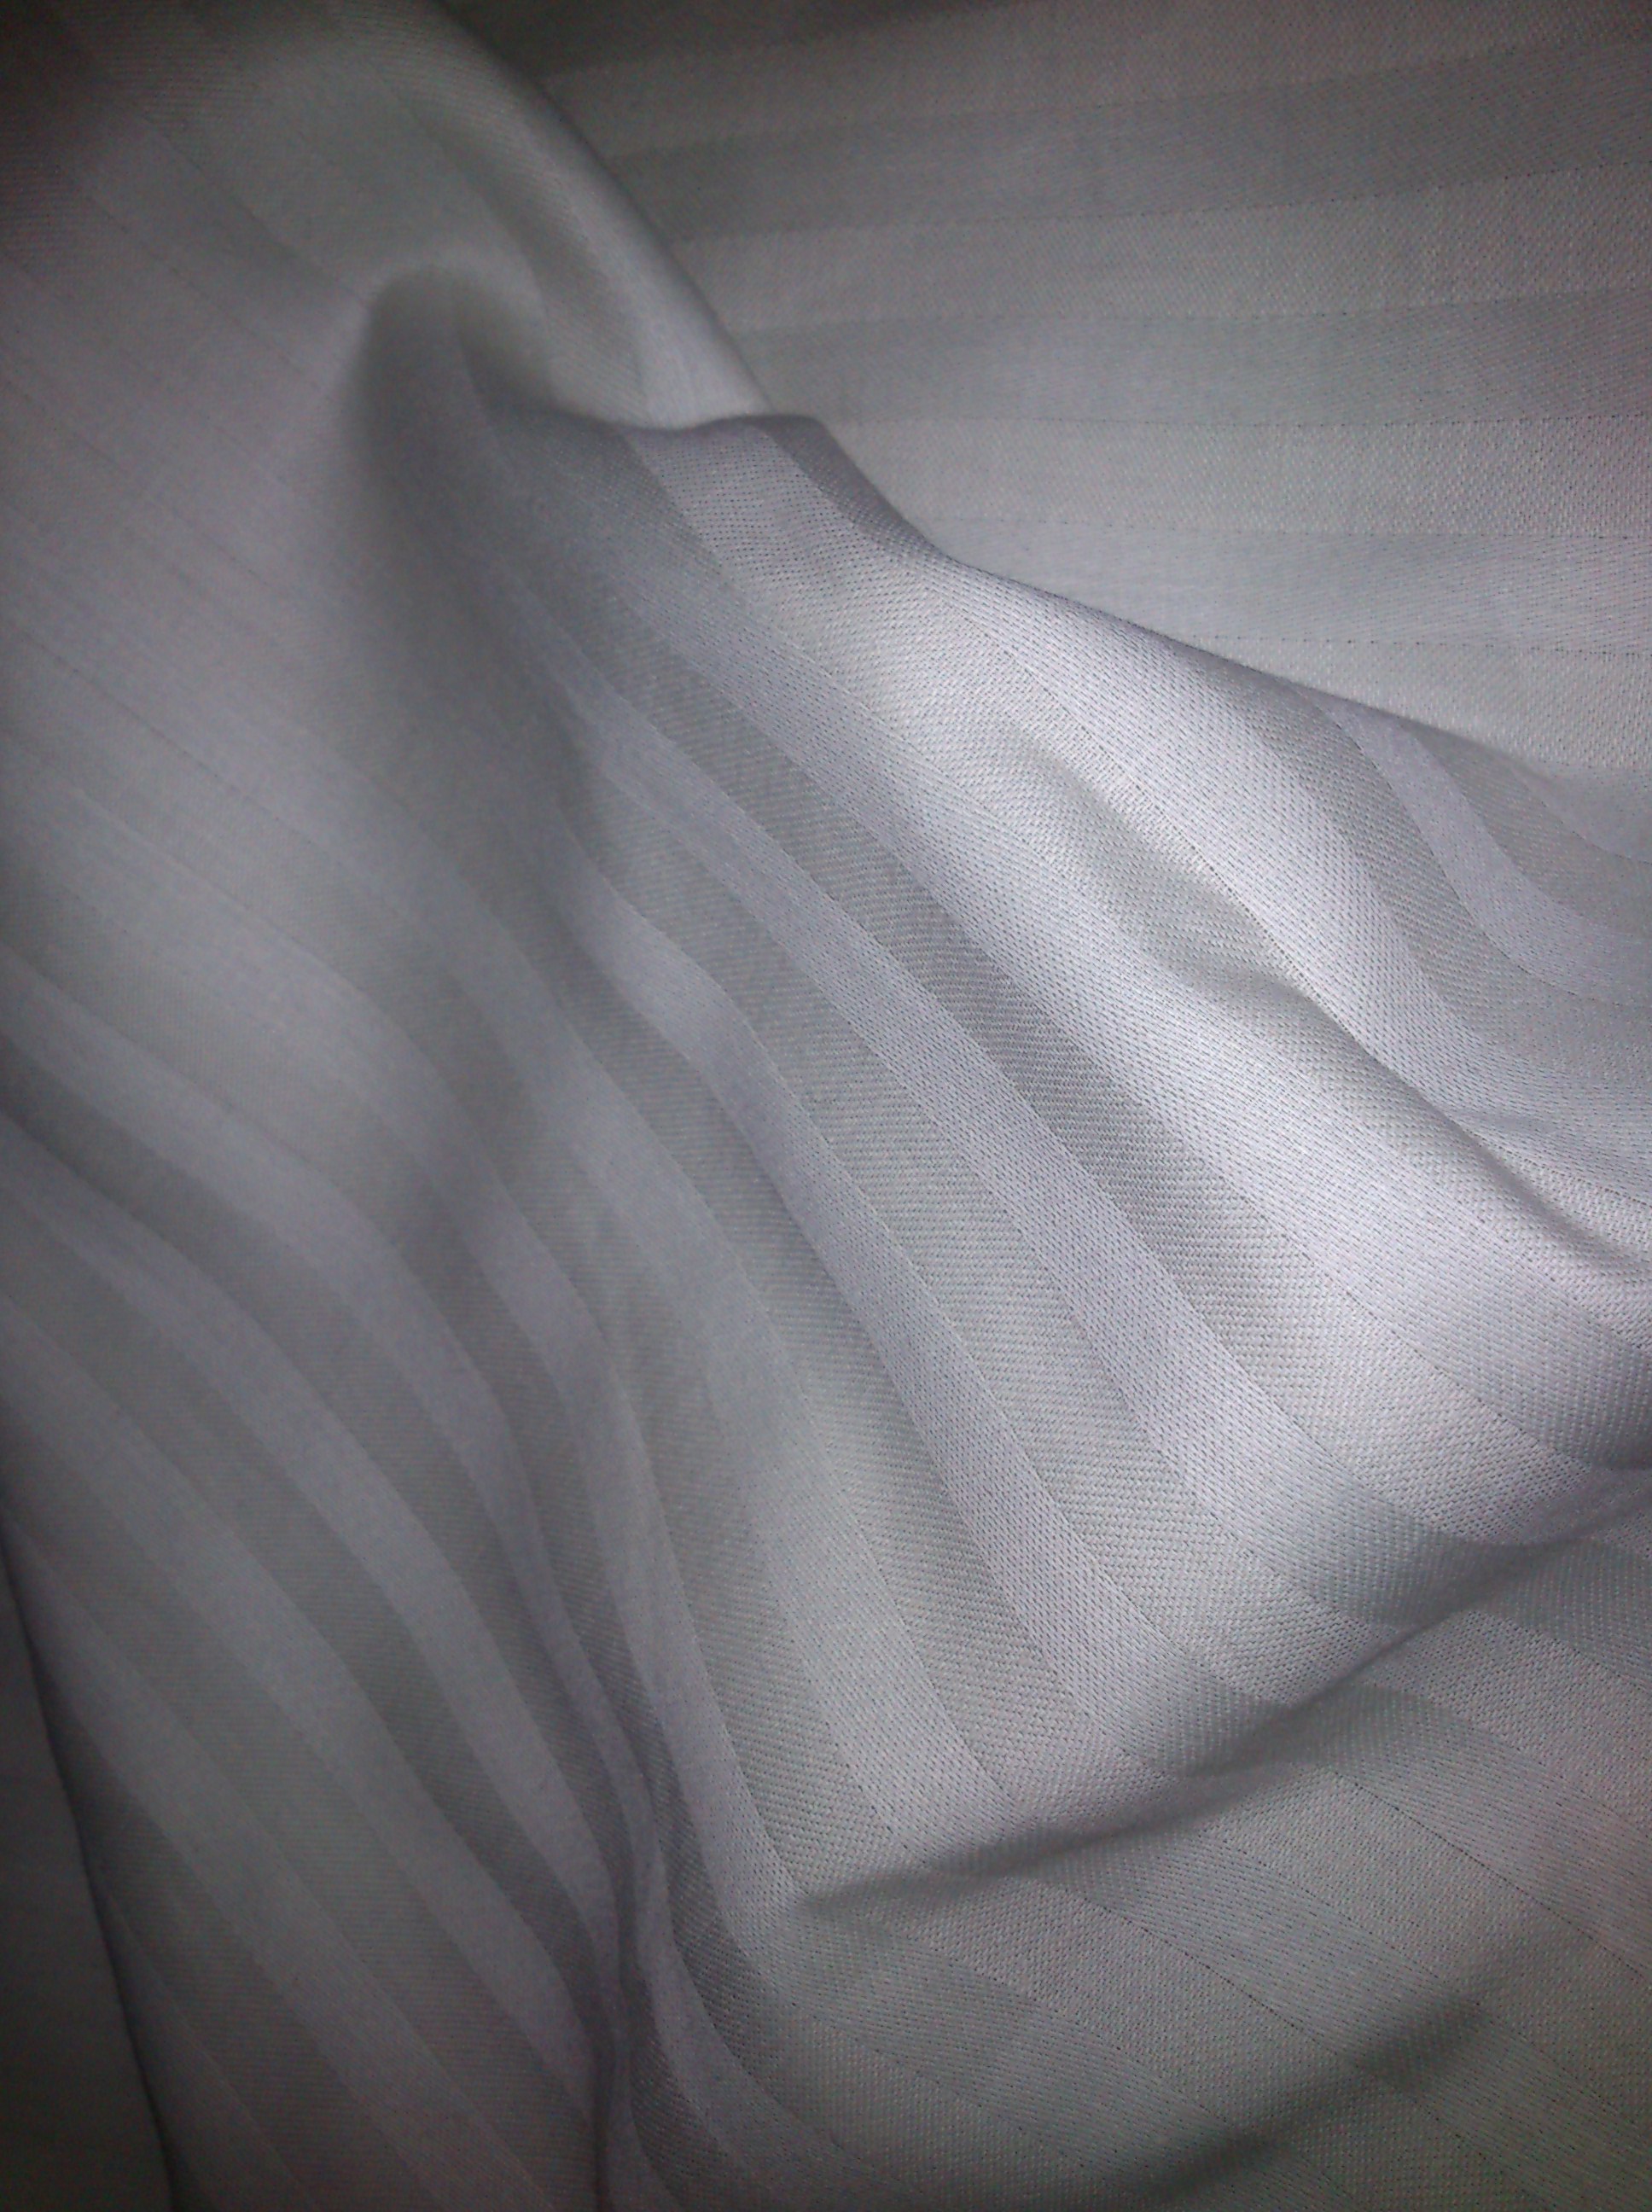
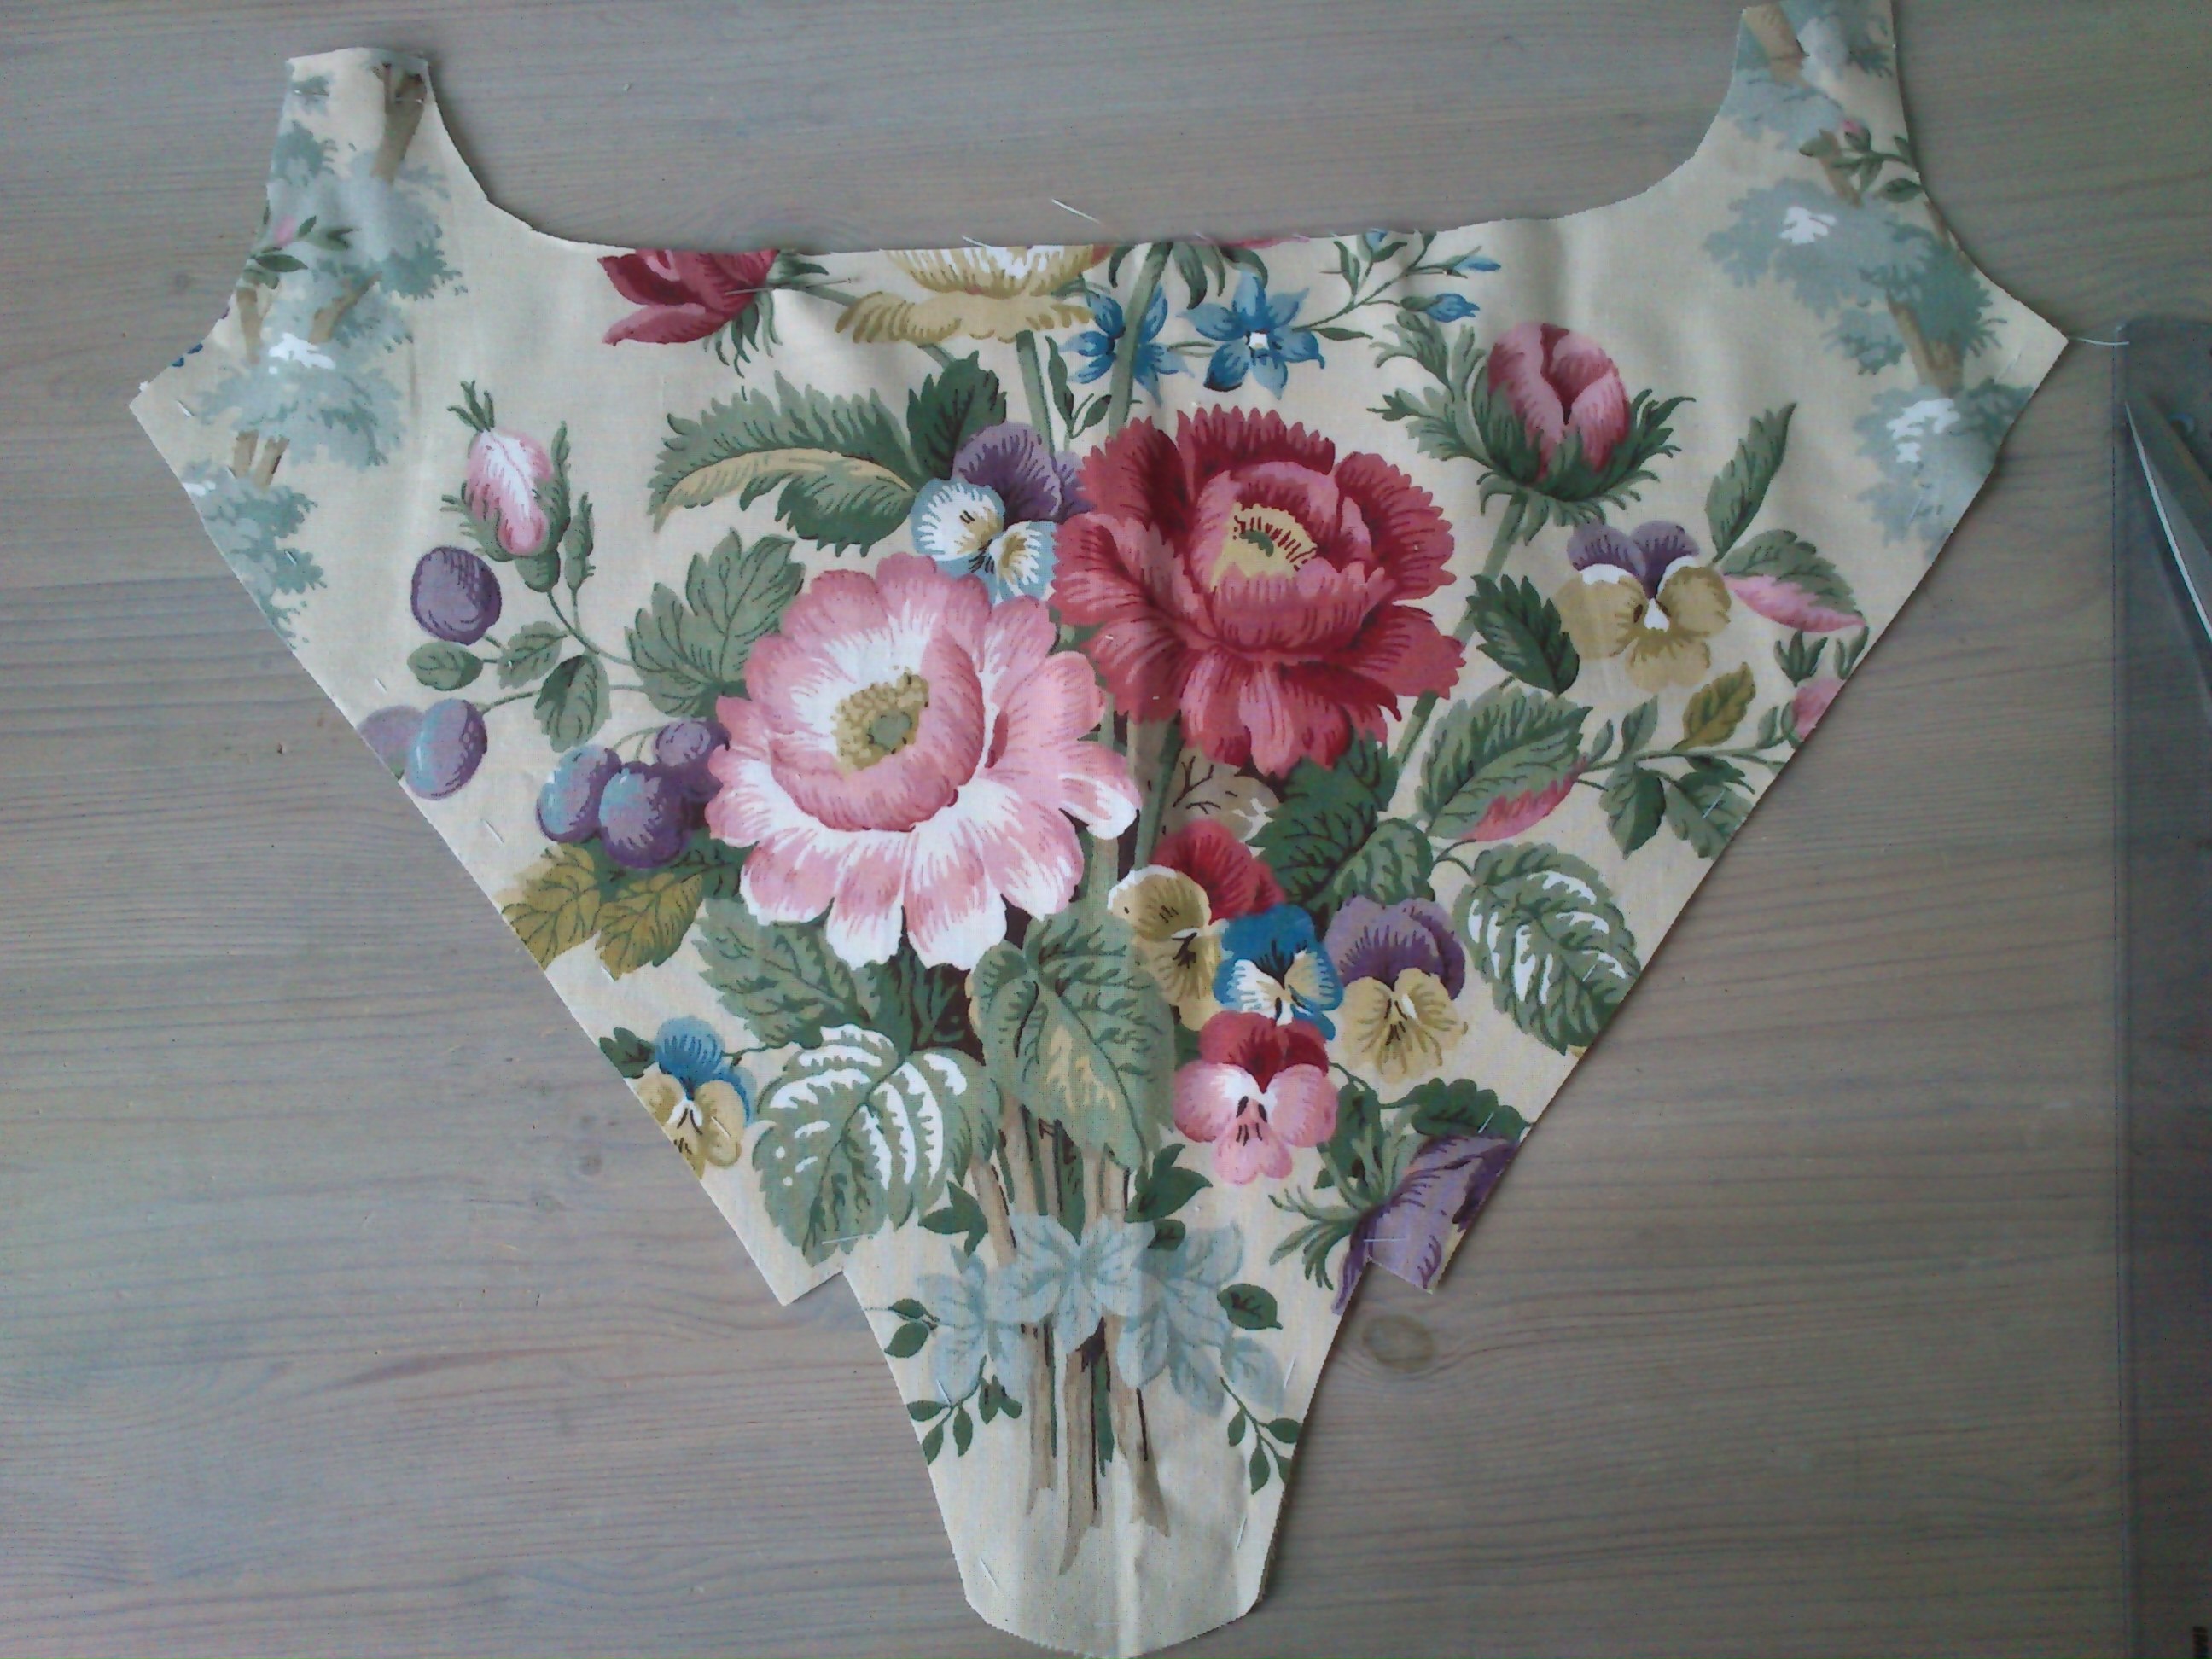
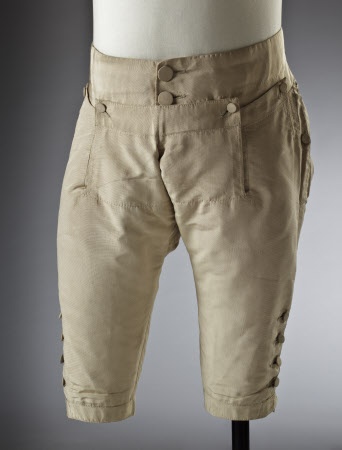
I alreay had the fabric IMG_8367 
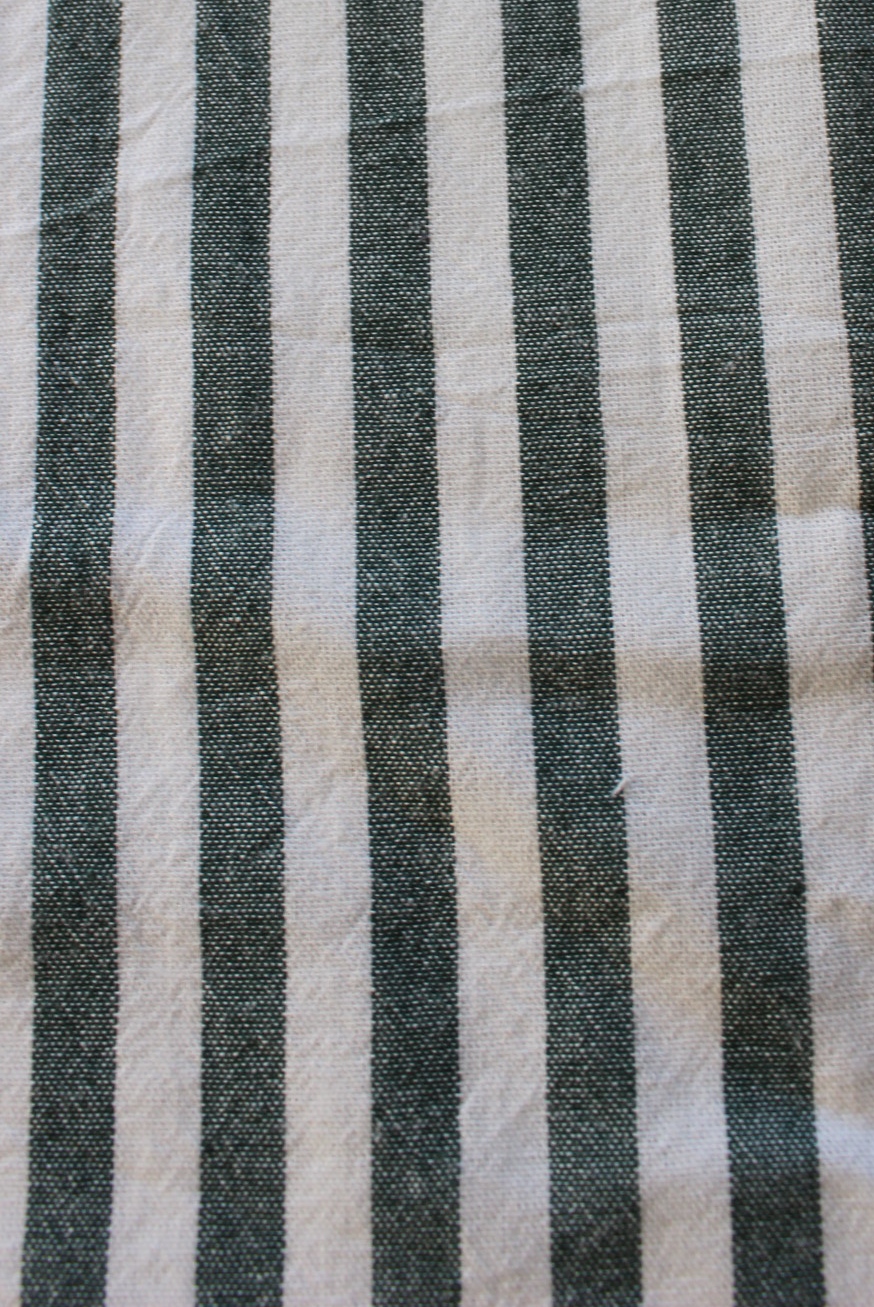
8m of striped cotton, bought on sale about a year ago.

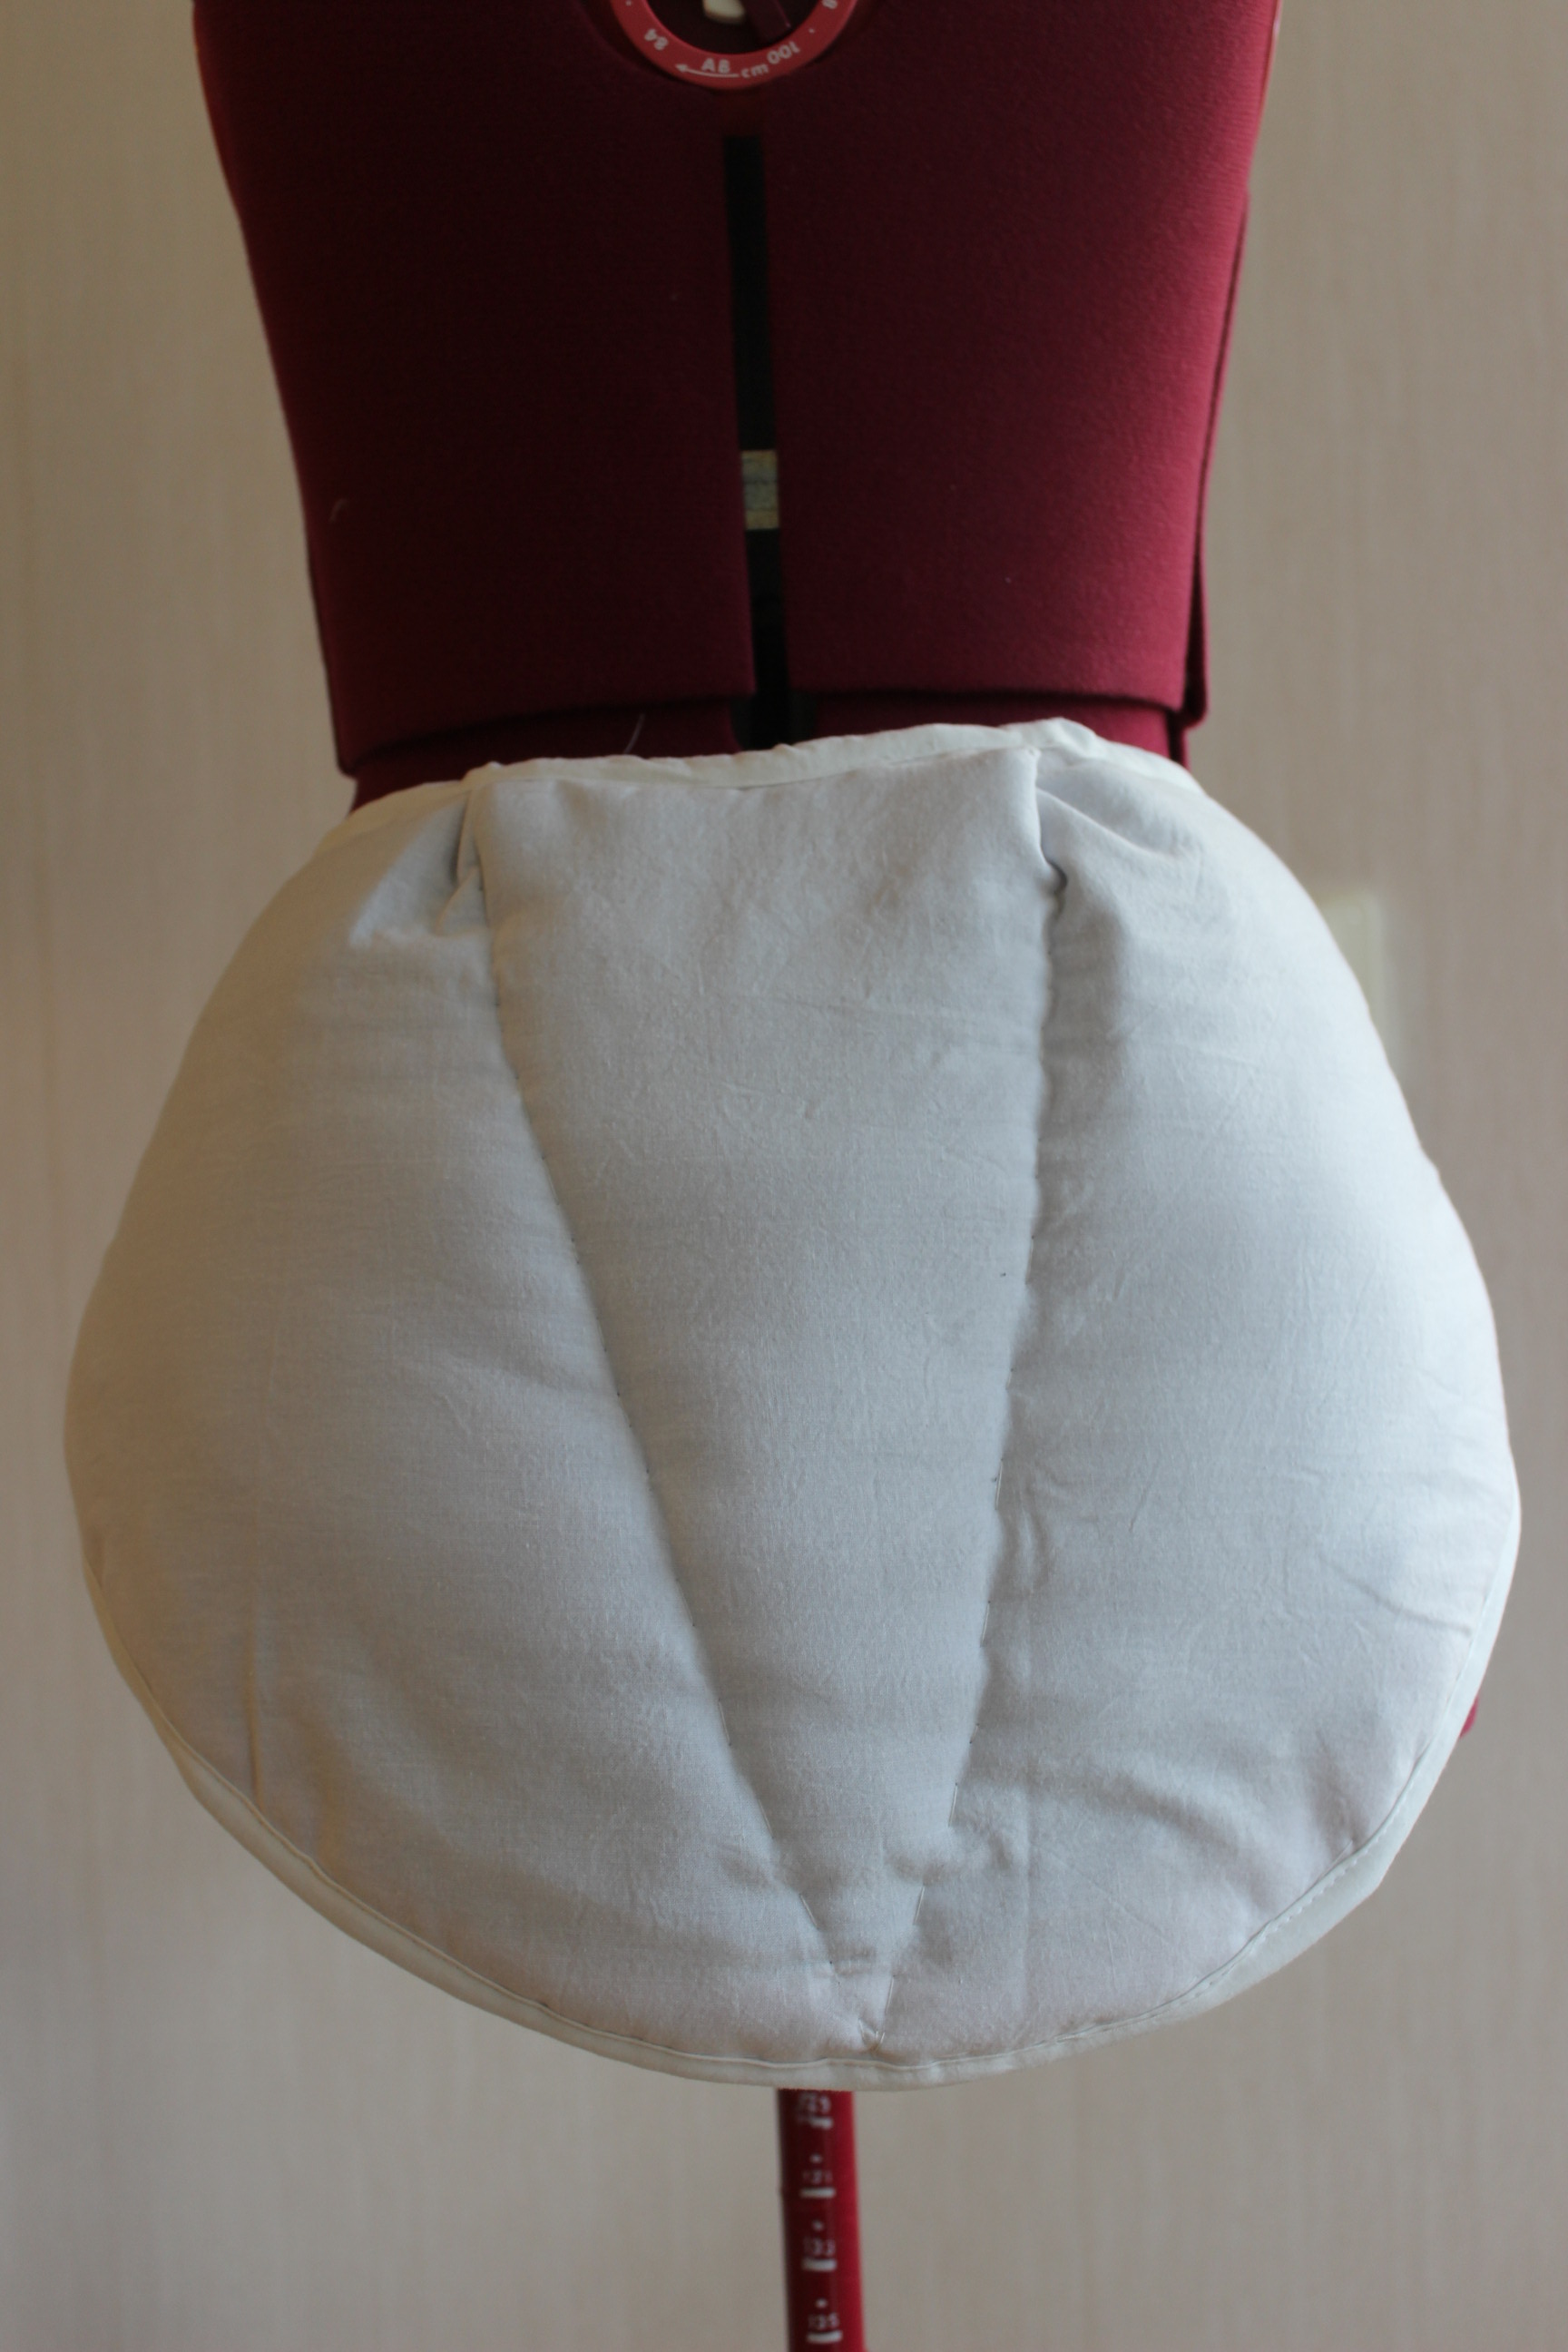
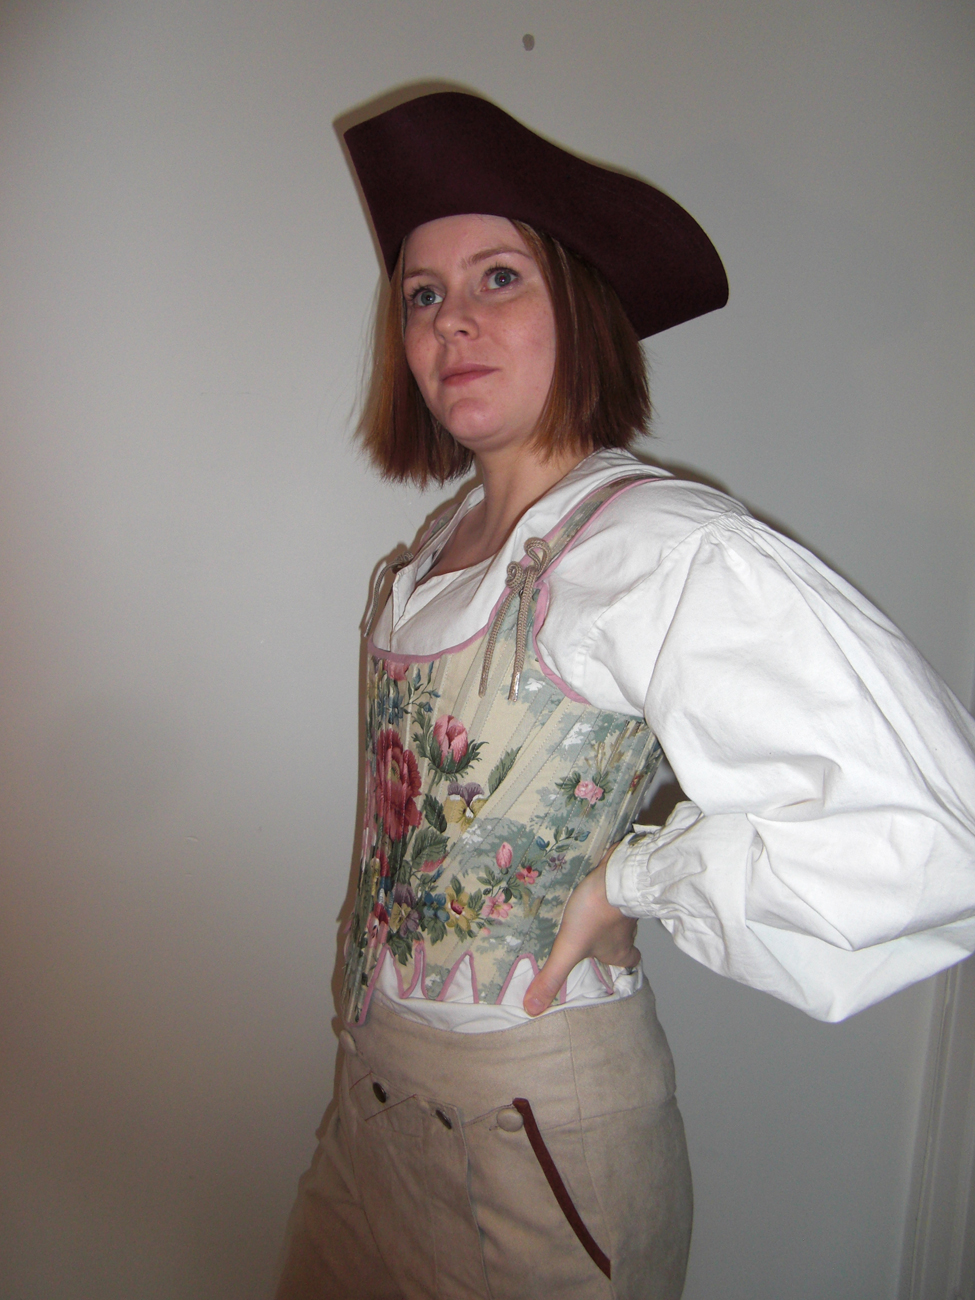
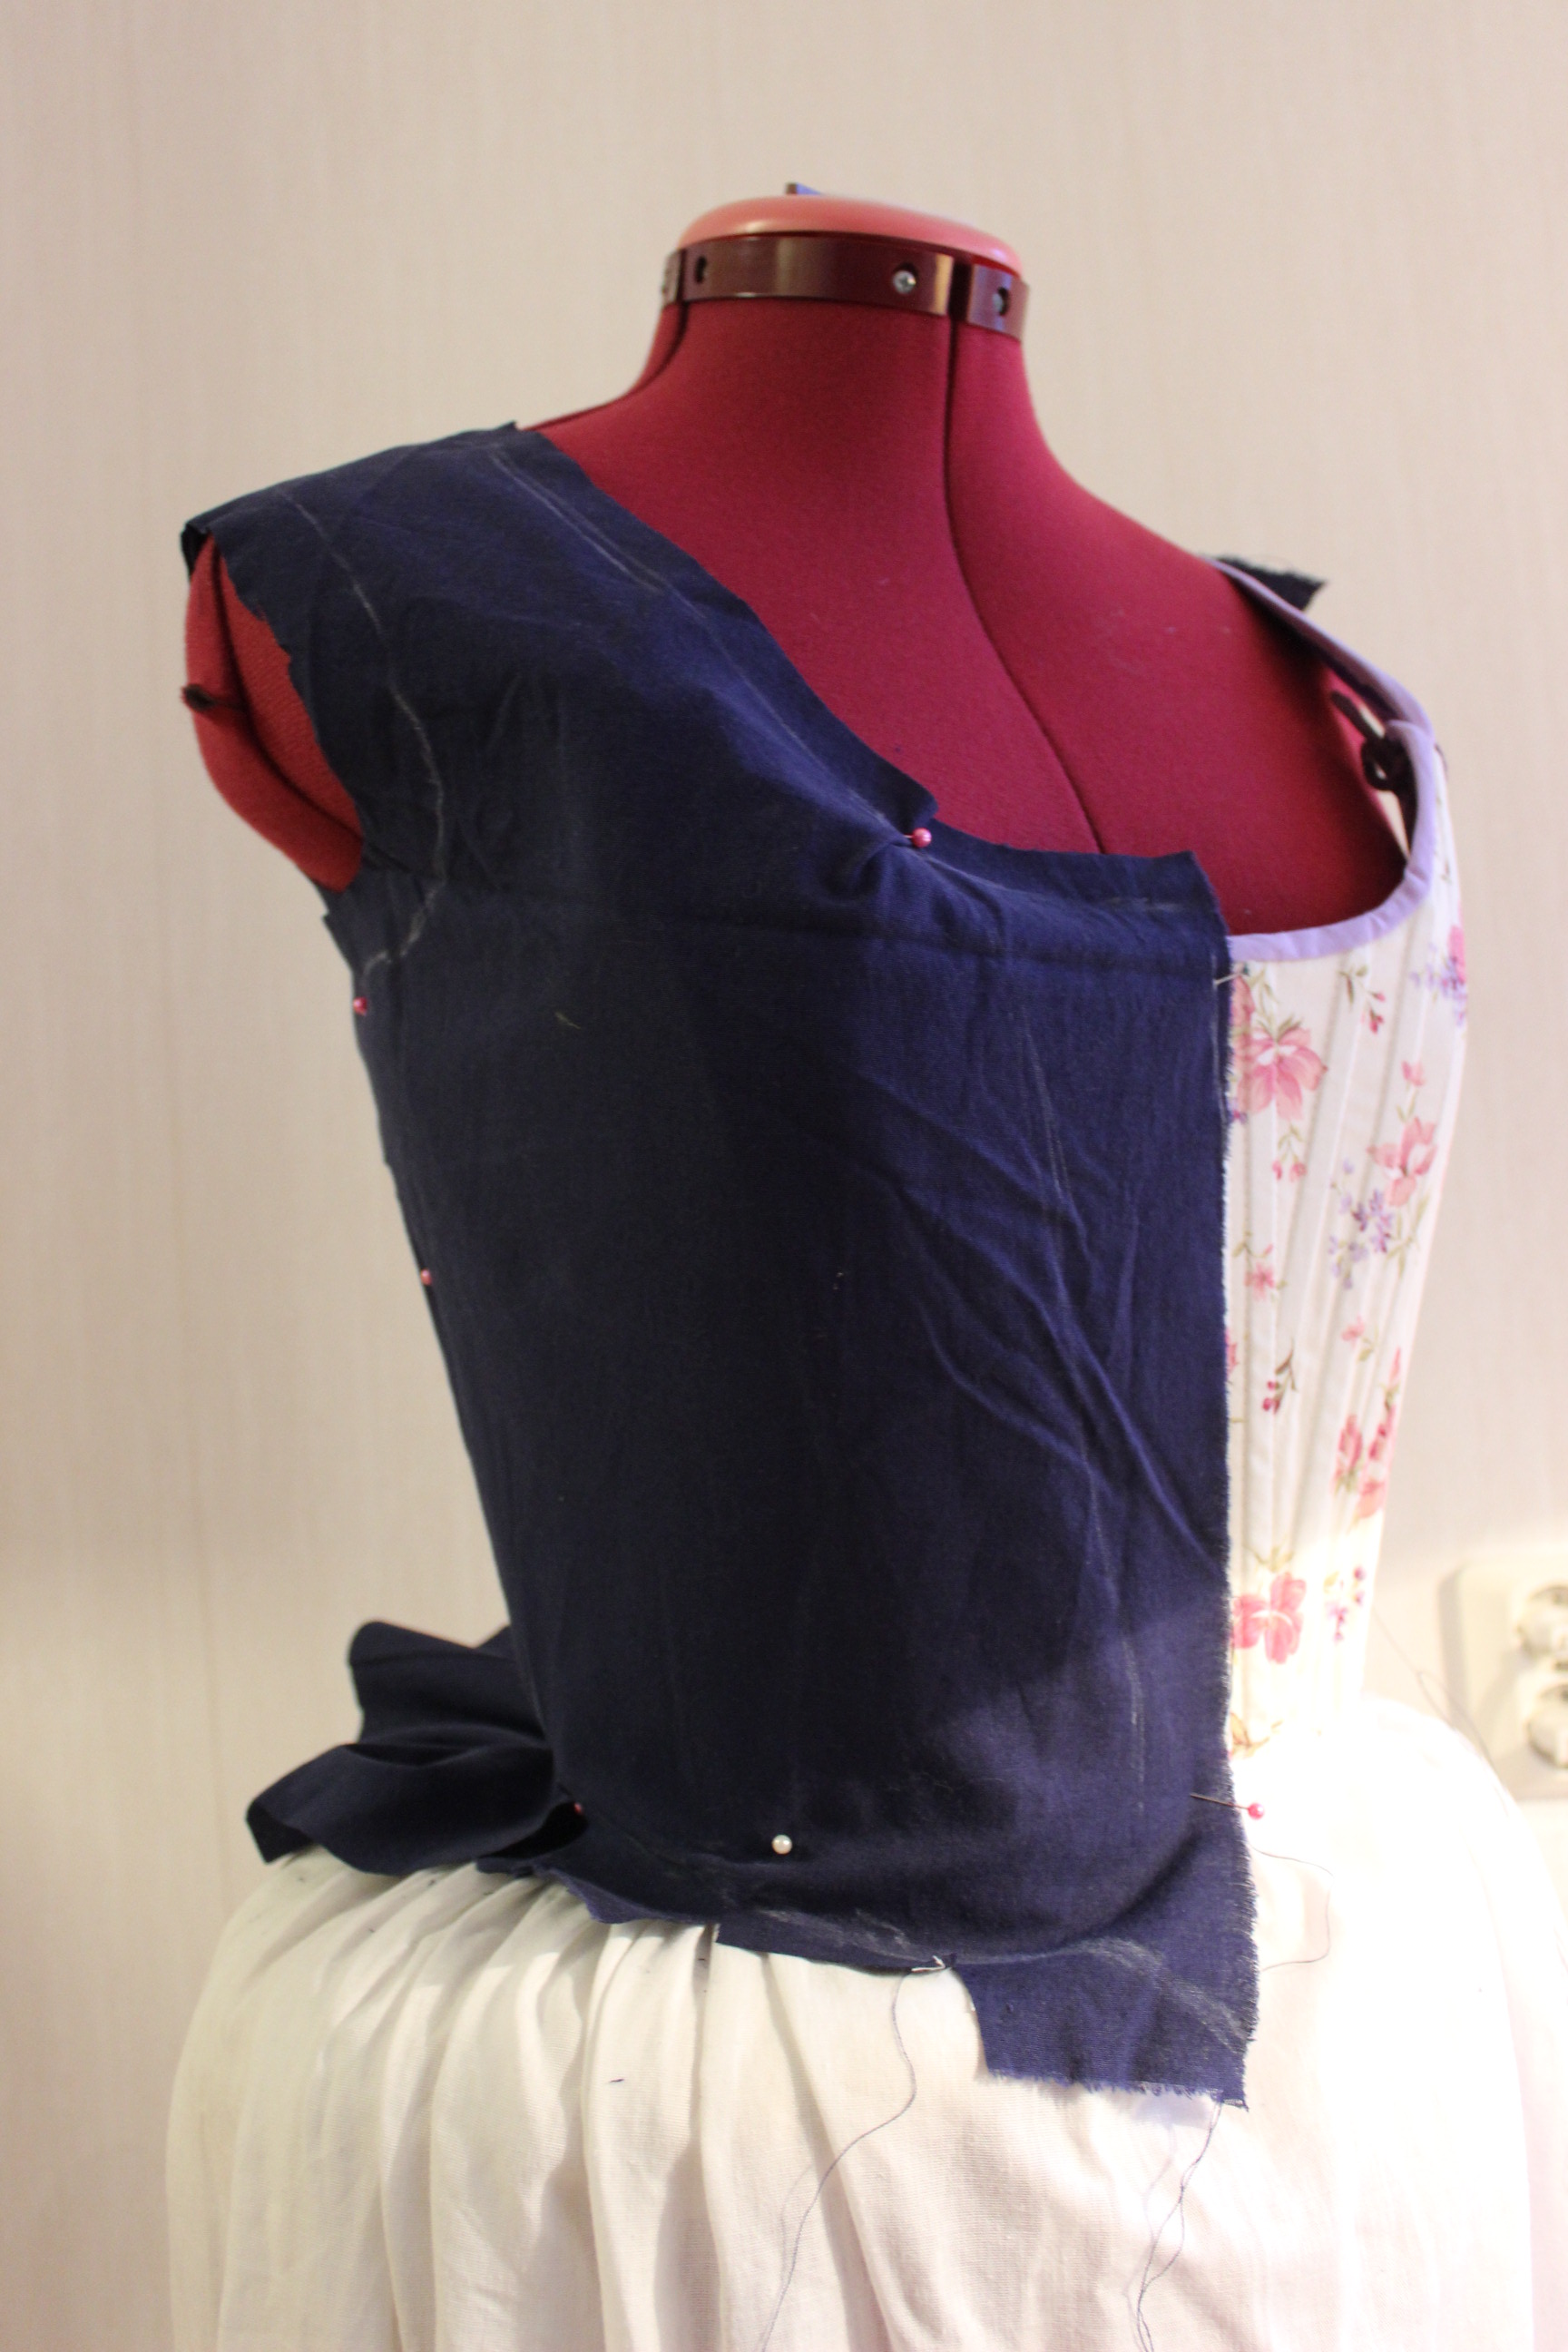
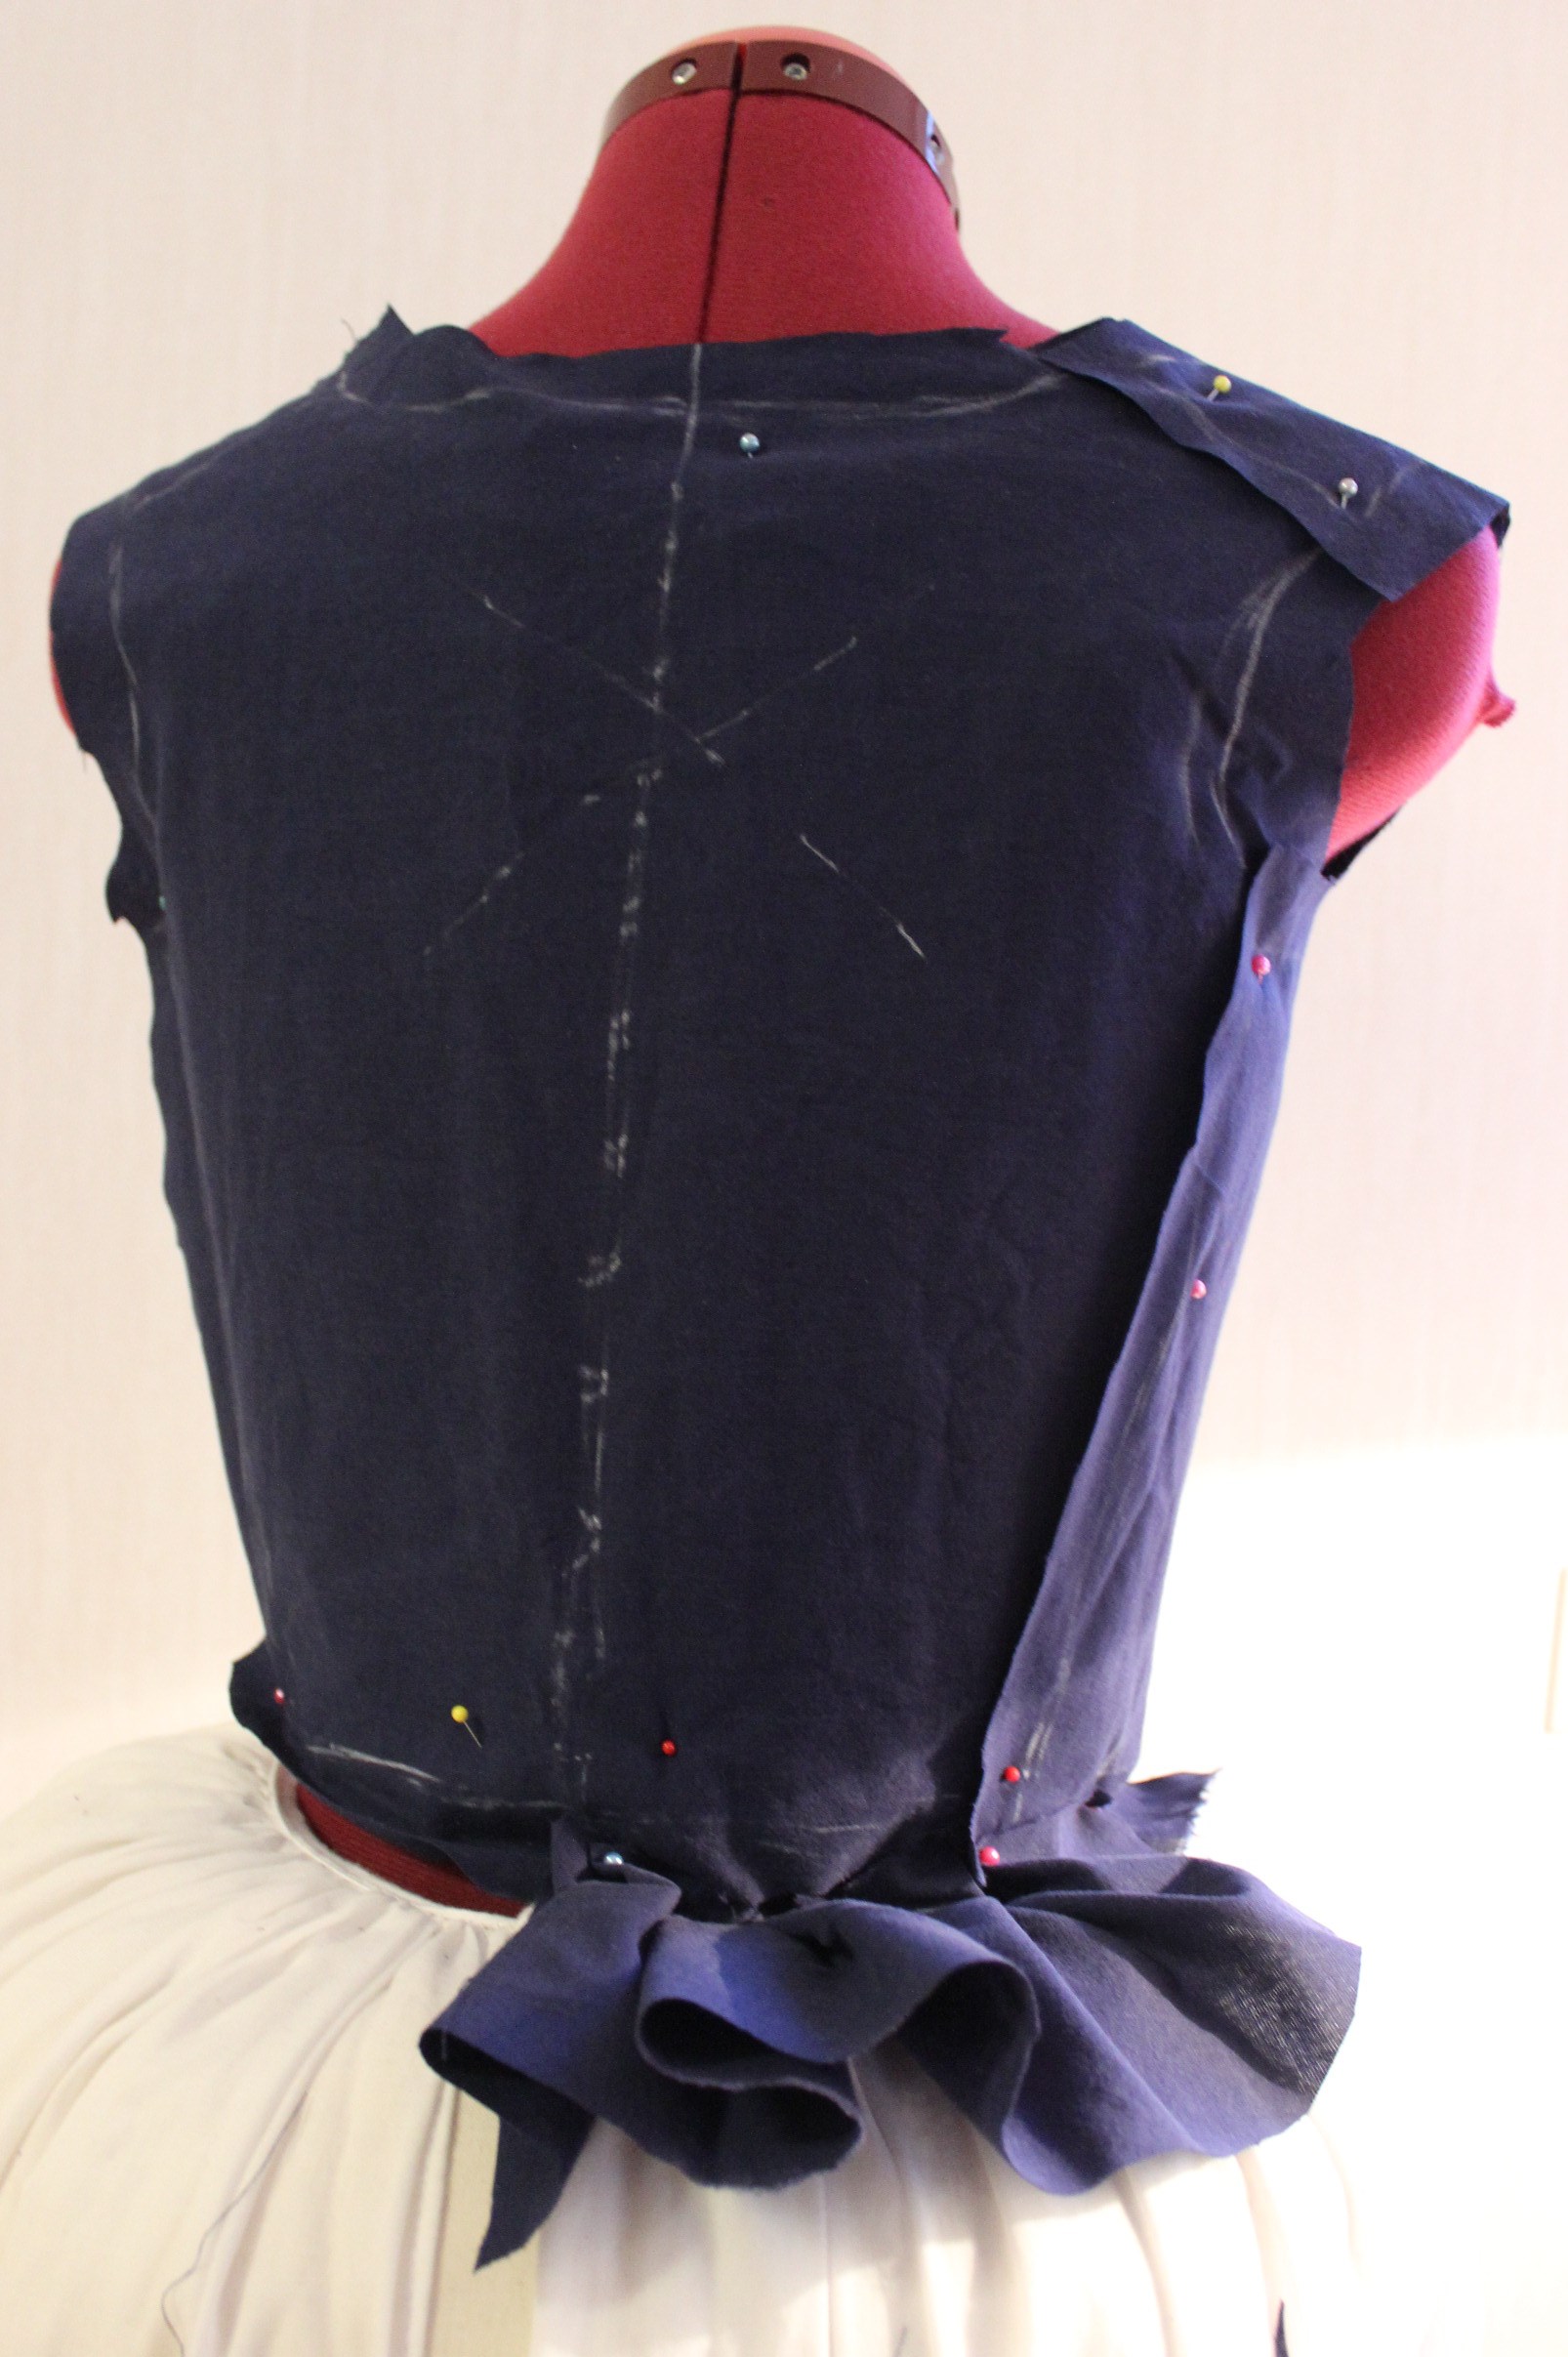
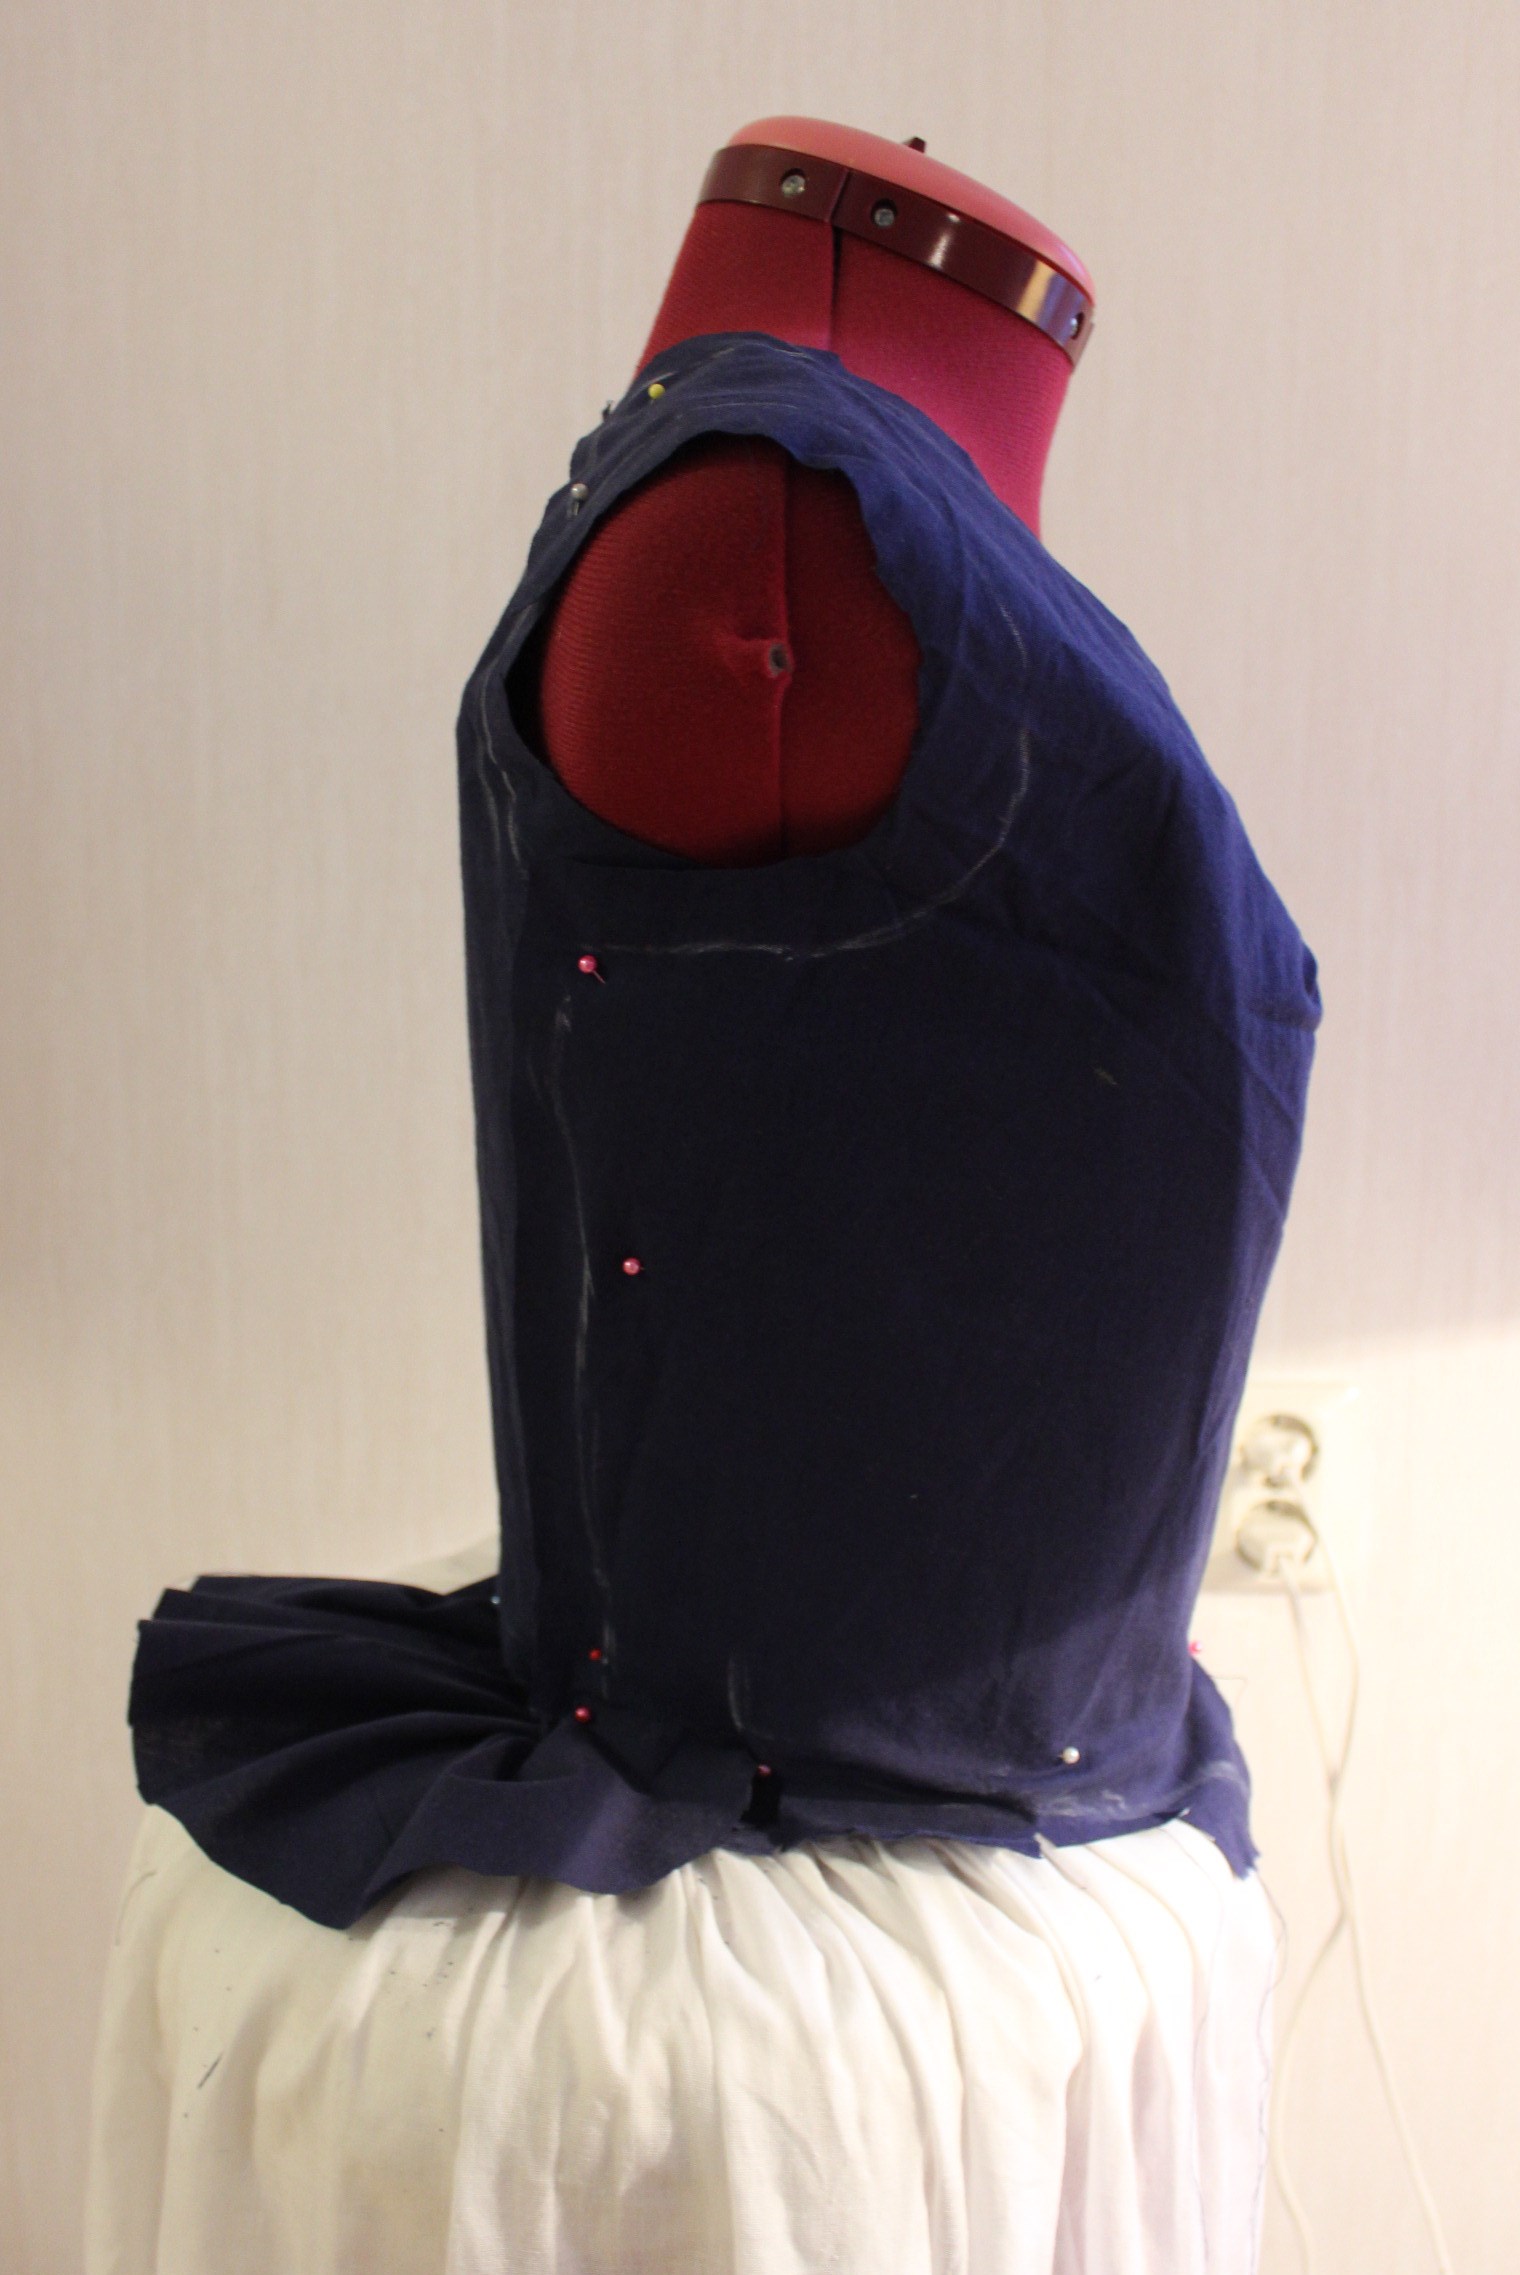
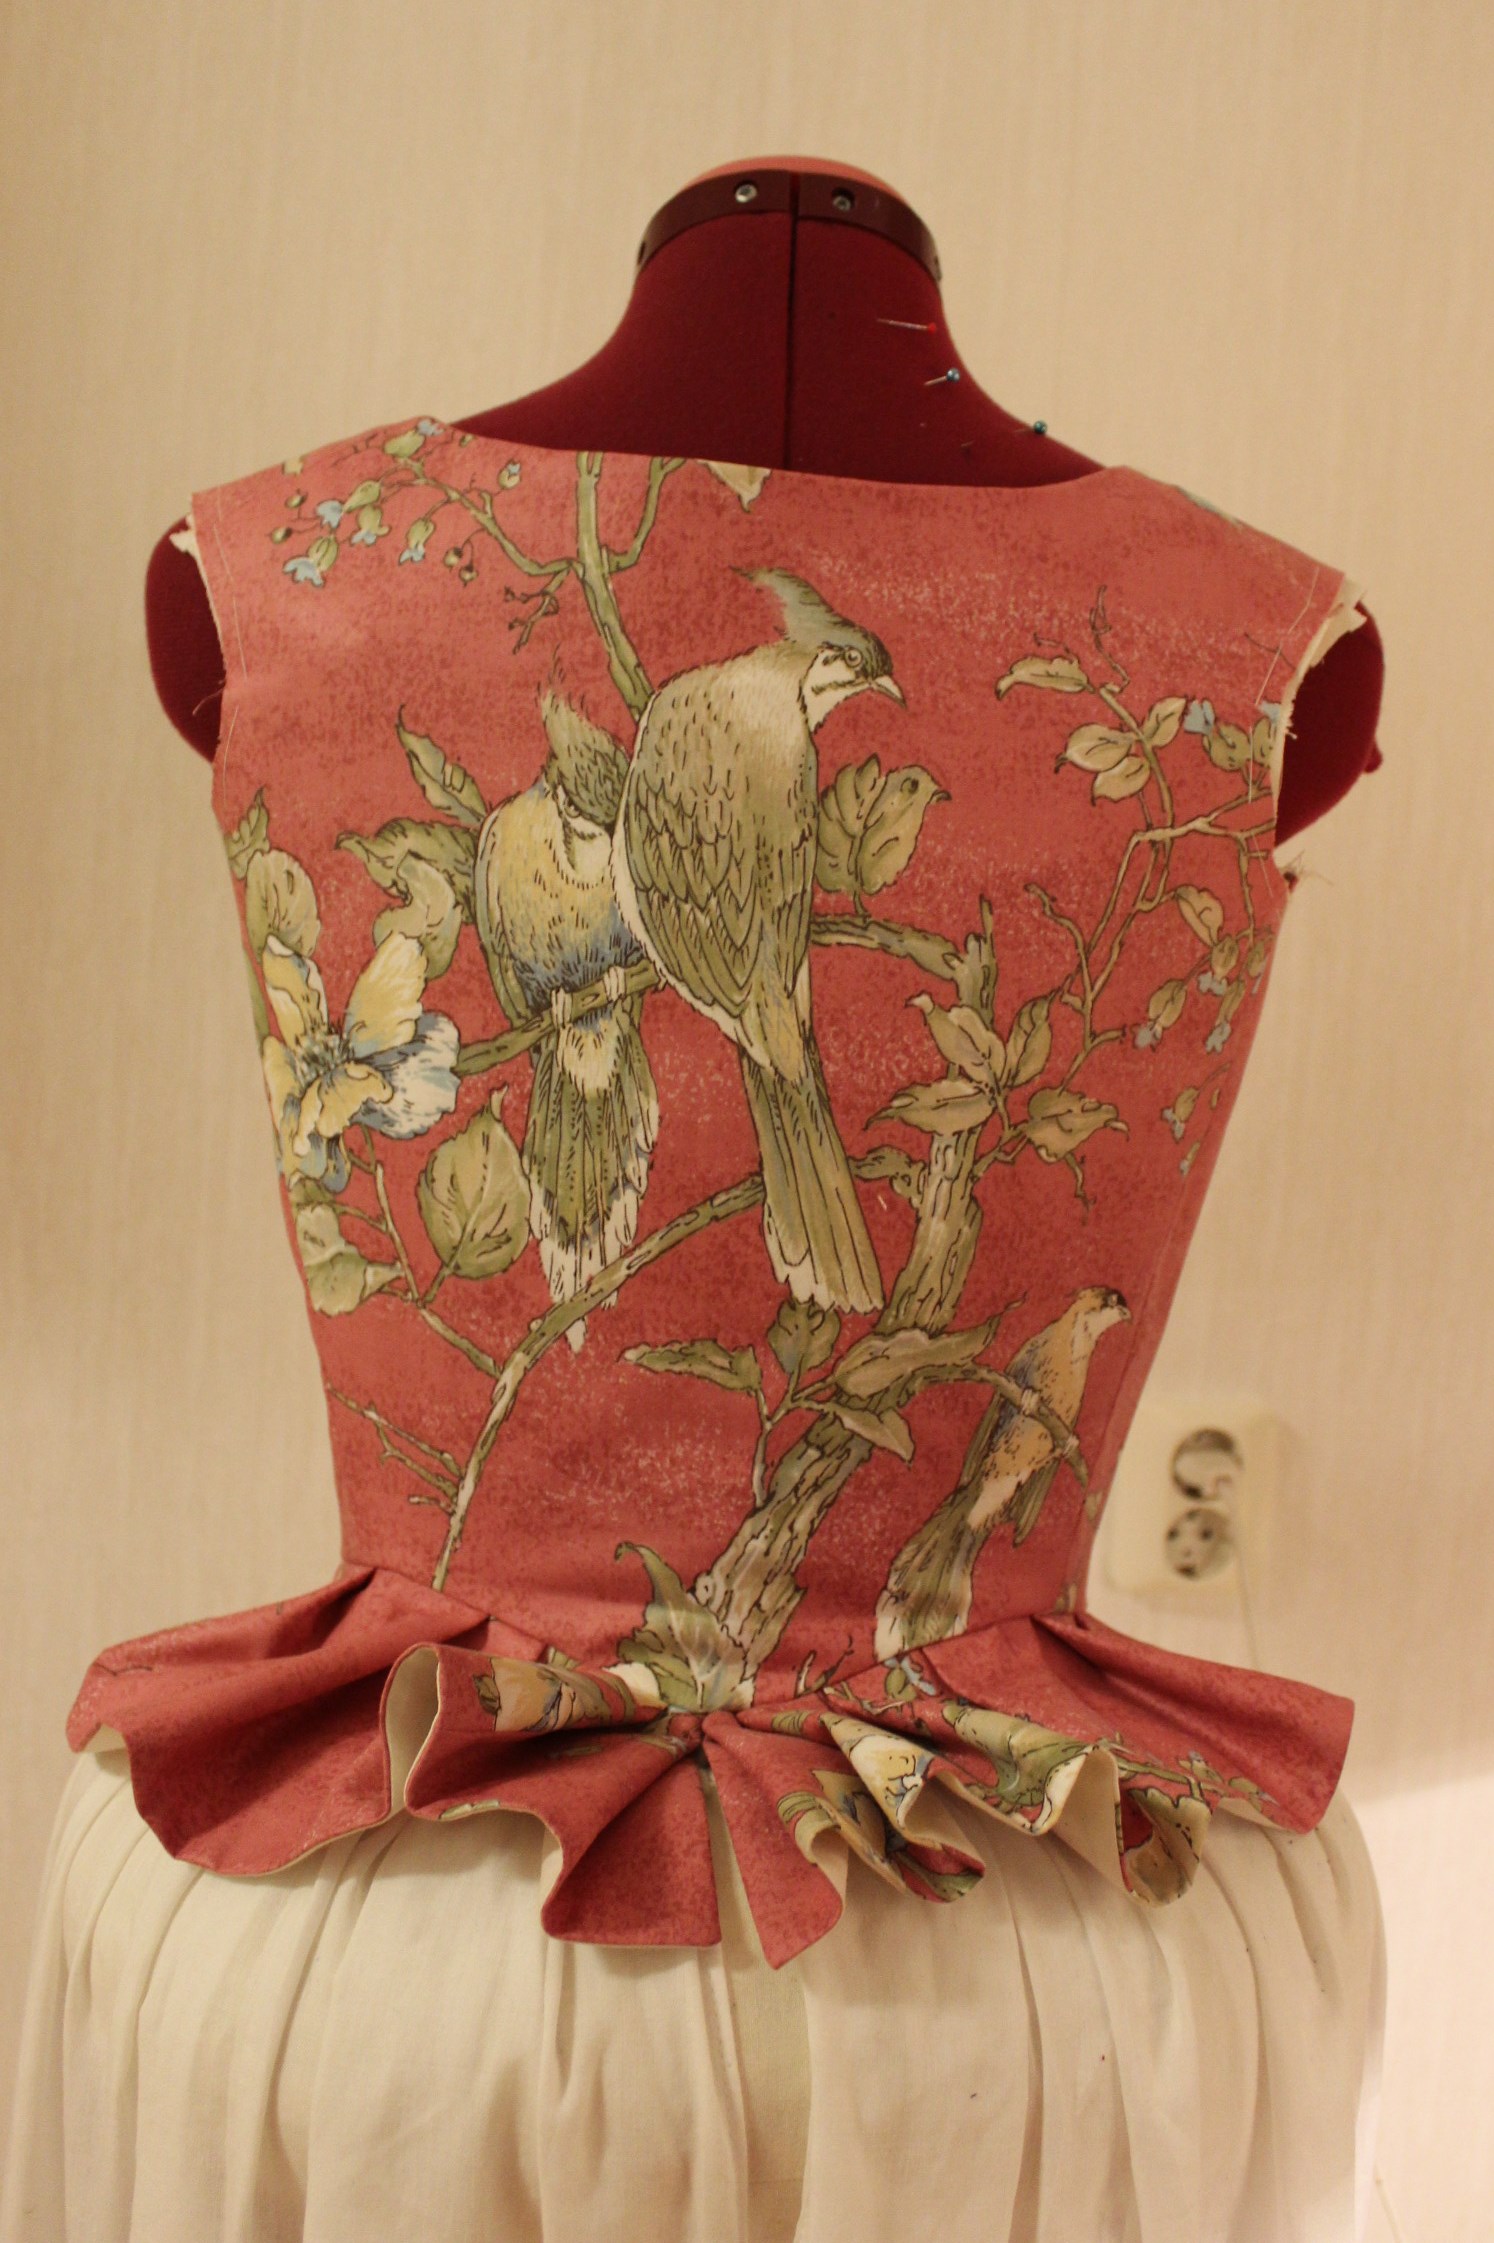
I put my corset, bumpad, and petticoat on the dressform and started to drape the bodice pattern.
IMG_8335 IMG_8331

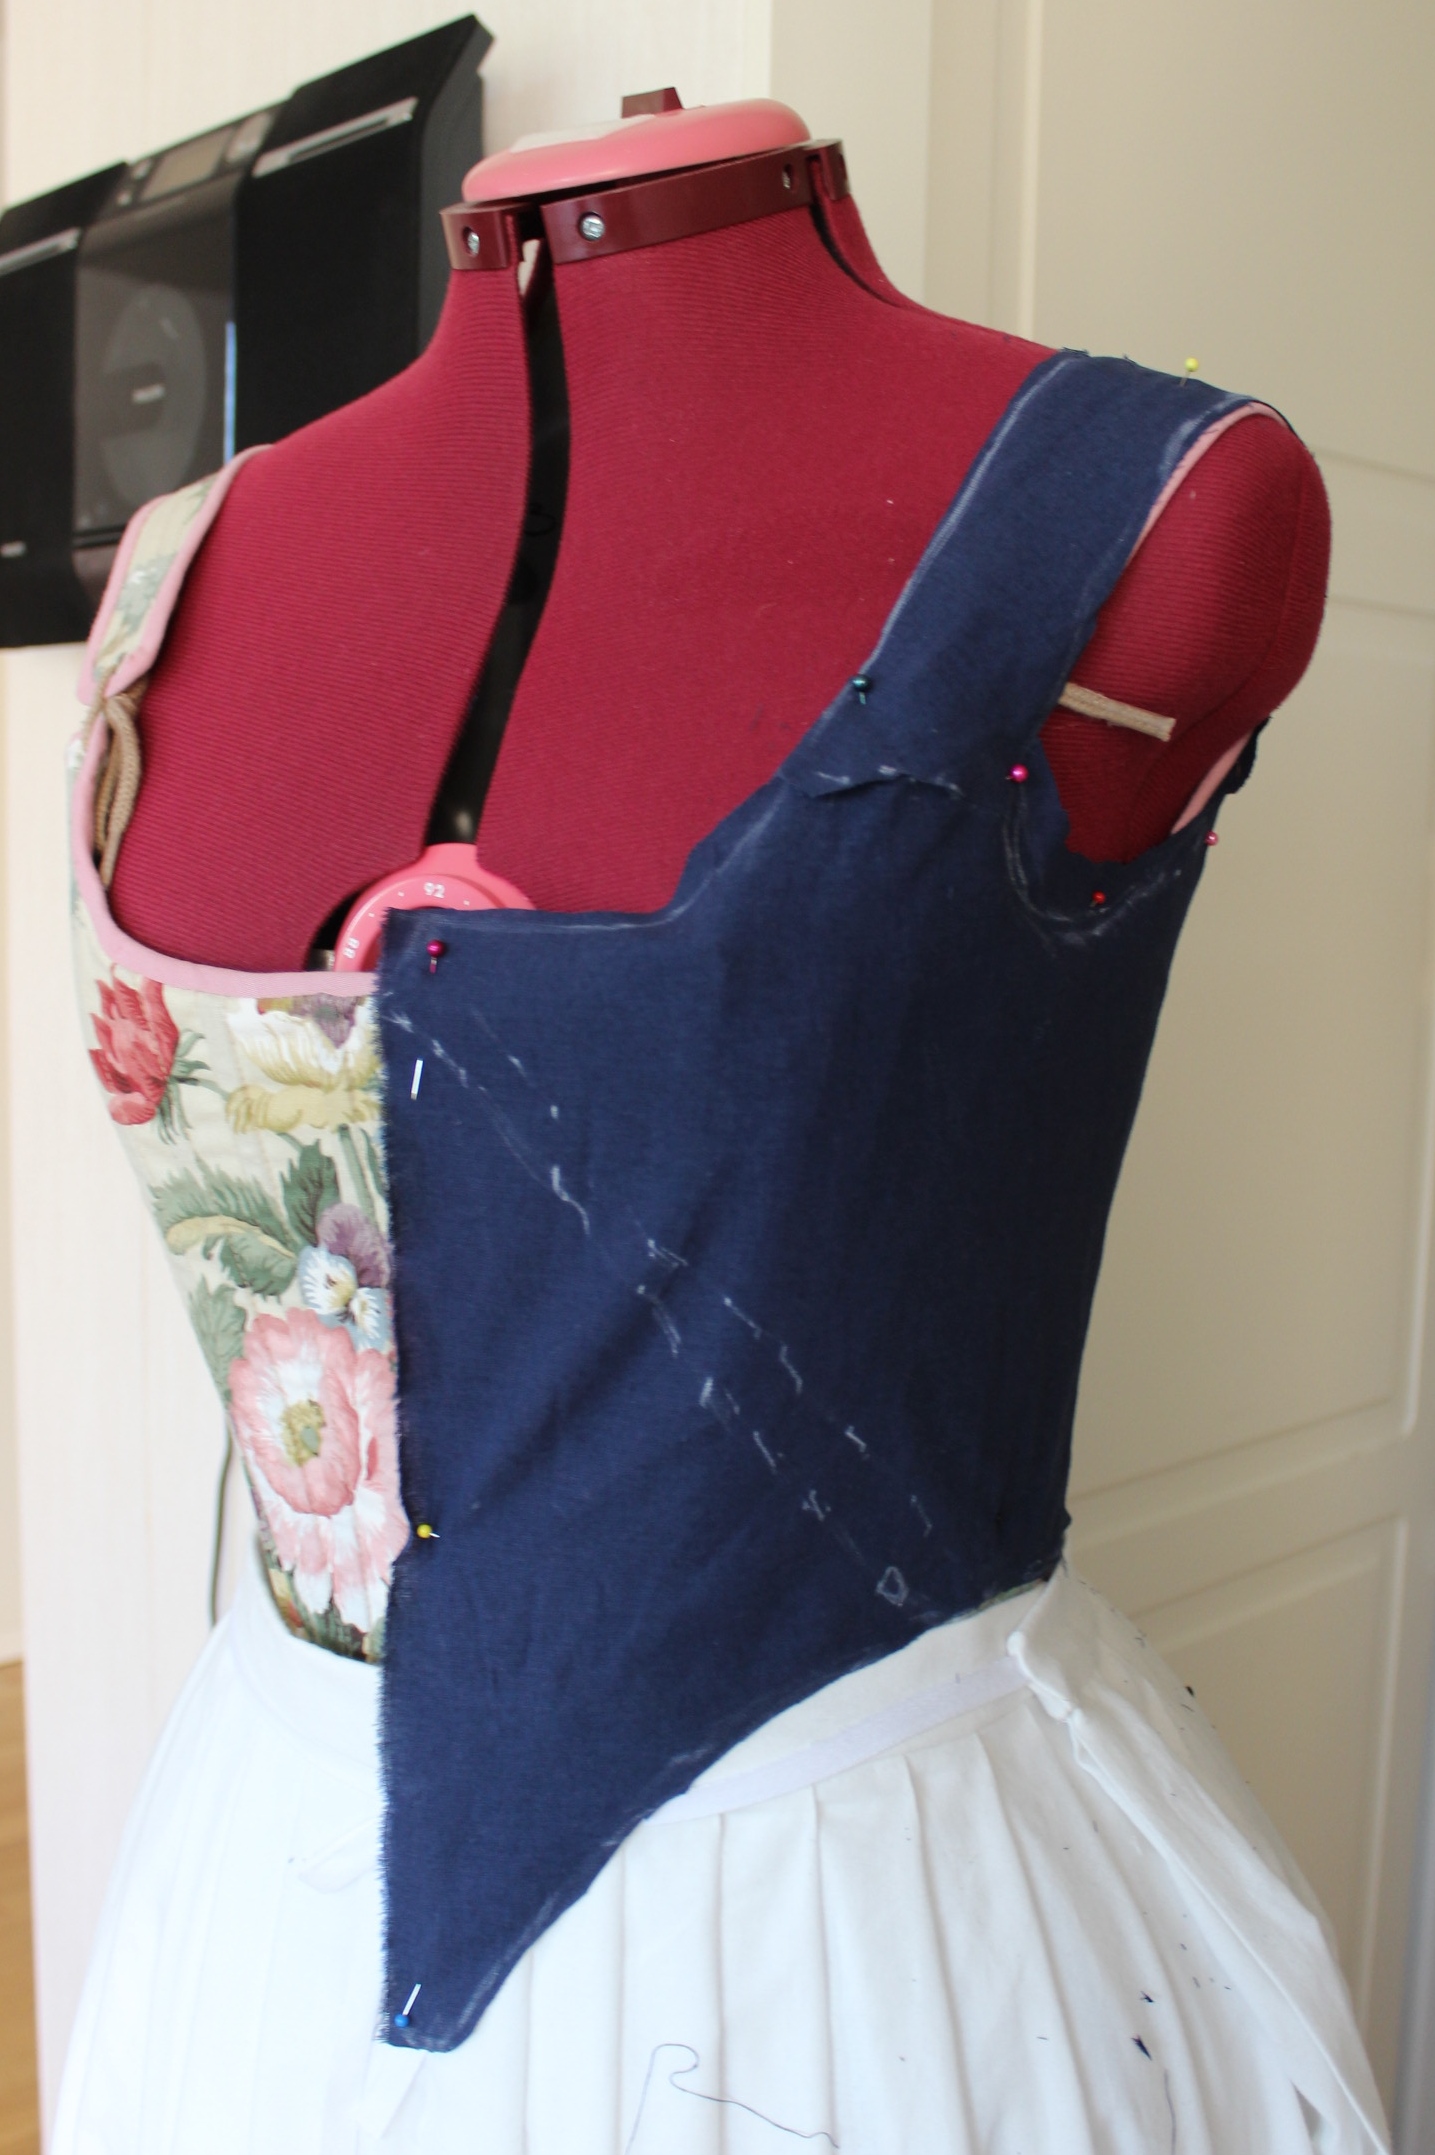
Then I cut the toile, sewed it togeter and tried it on.
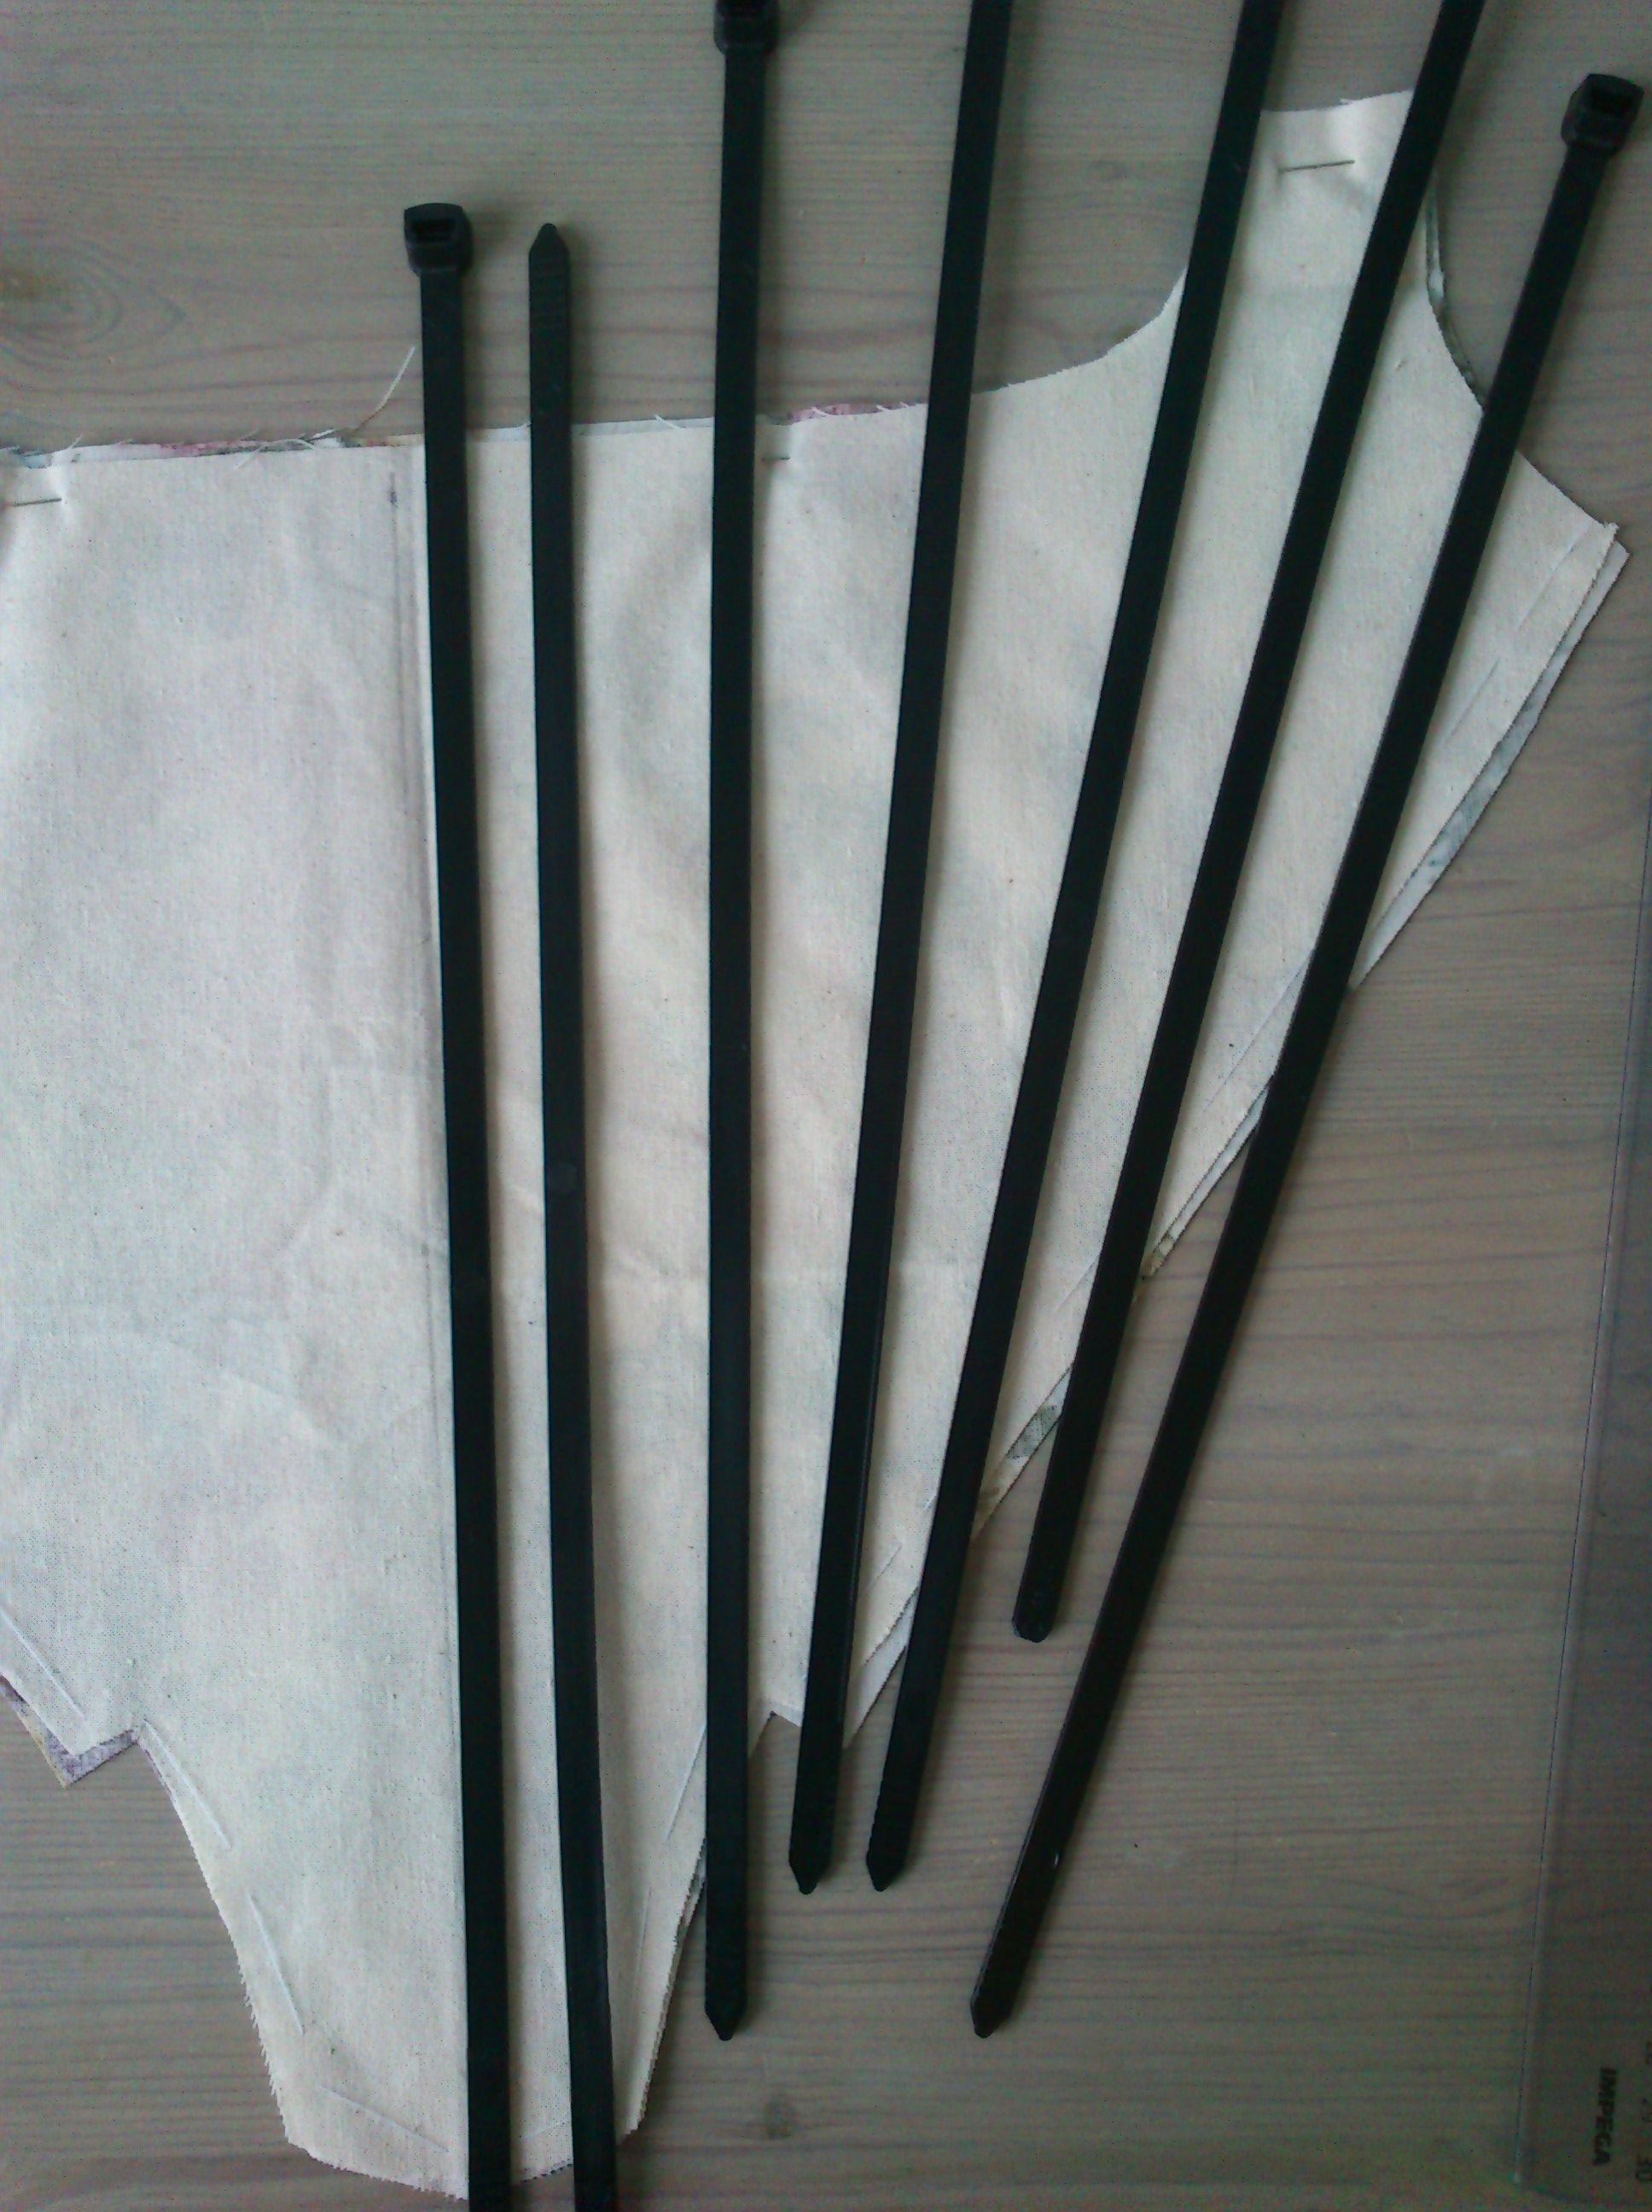
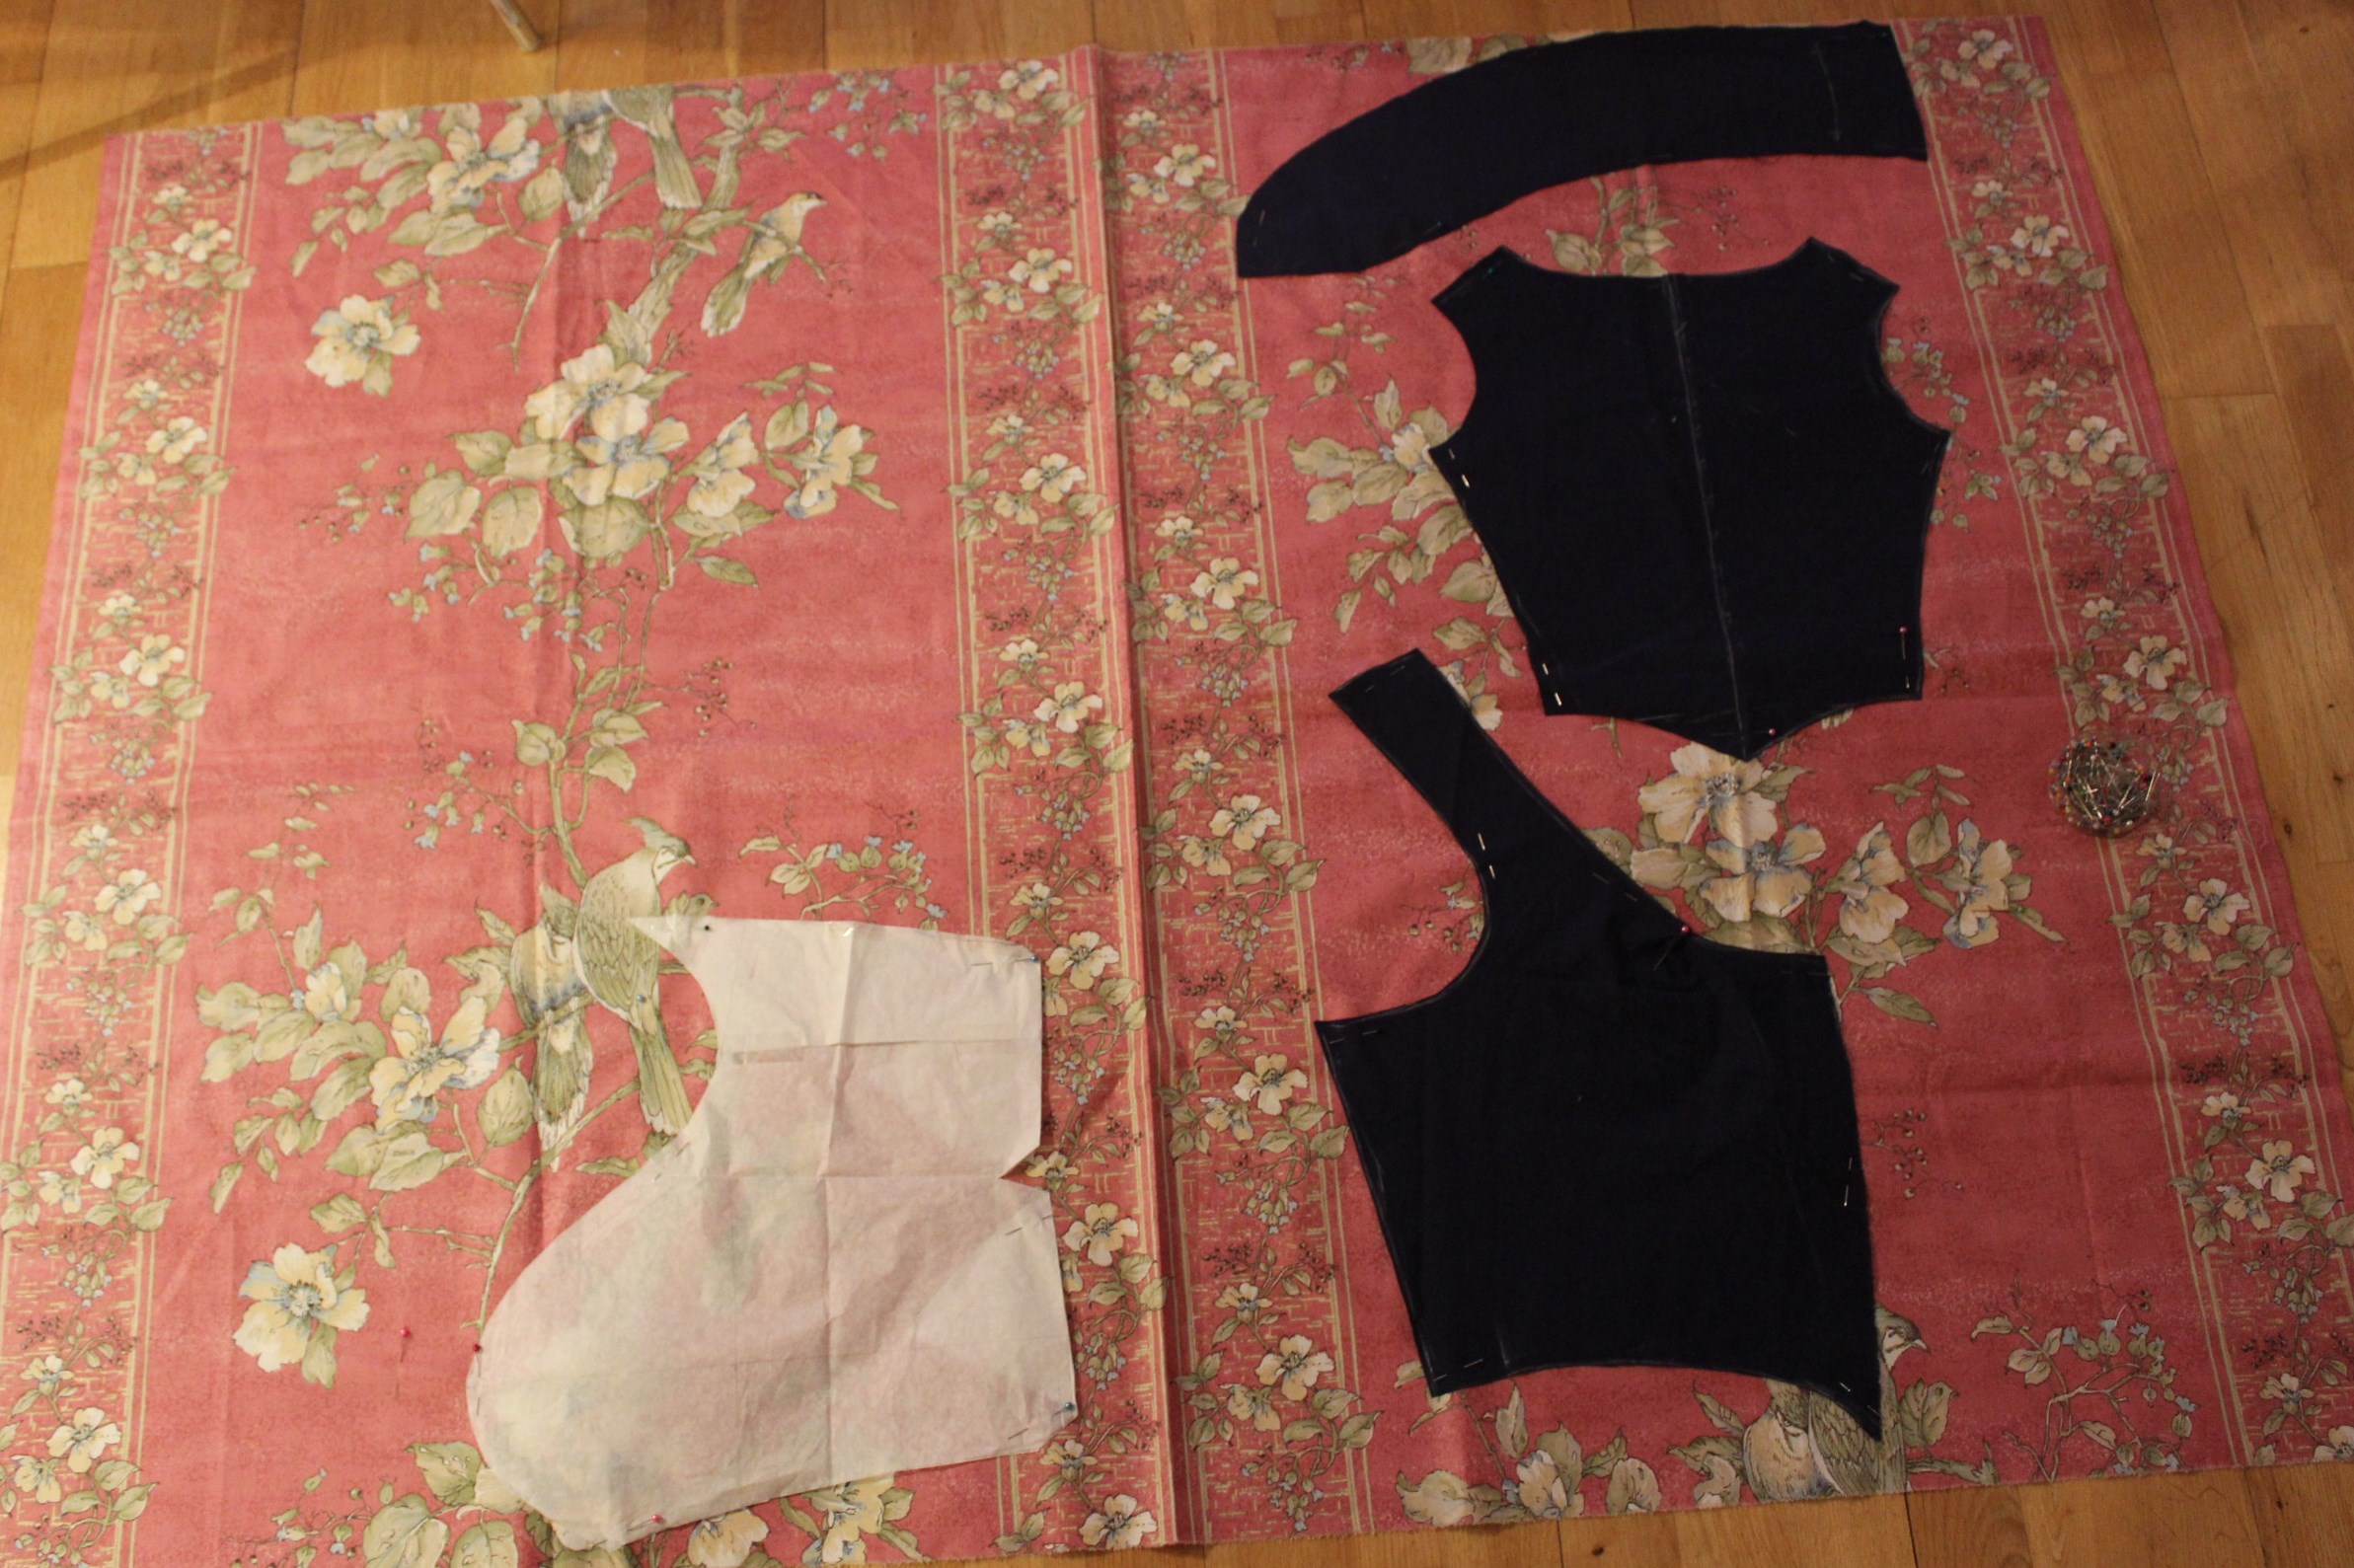
IMG_8337 IMG_8341

Then it was time to cut the fabric.IMG_8361 Besides from the striped cotton, I used a bleached linnen fabric for the zone front and a white cotton twill for interlining.

My original plan was to make the gown entierly by hand, but time ran out and life interupted, and on top of that I’m starting to think it is a waist of time to hand stich a gown in the wrong material. so, after some back and fort, I decided to make it by machine. (And boy am I happy about that decision now…)

I started the sewing by basting togeter all the different layers – so yes, I did do some handsewing. IMG_8364

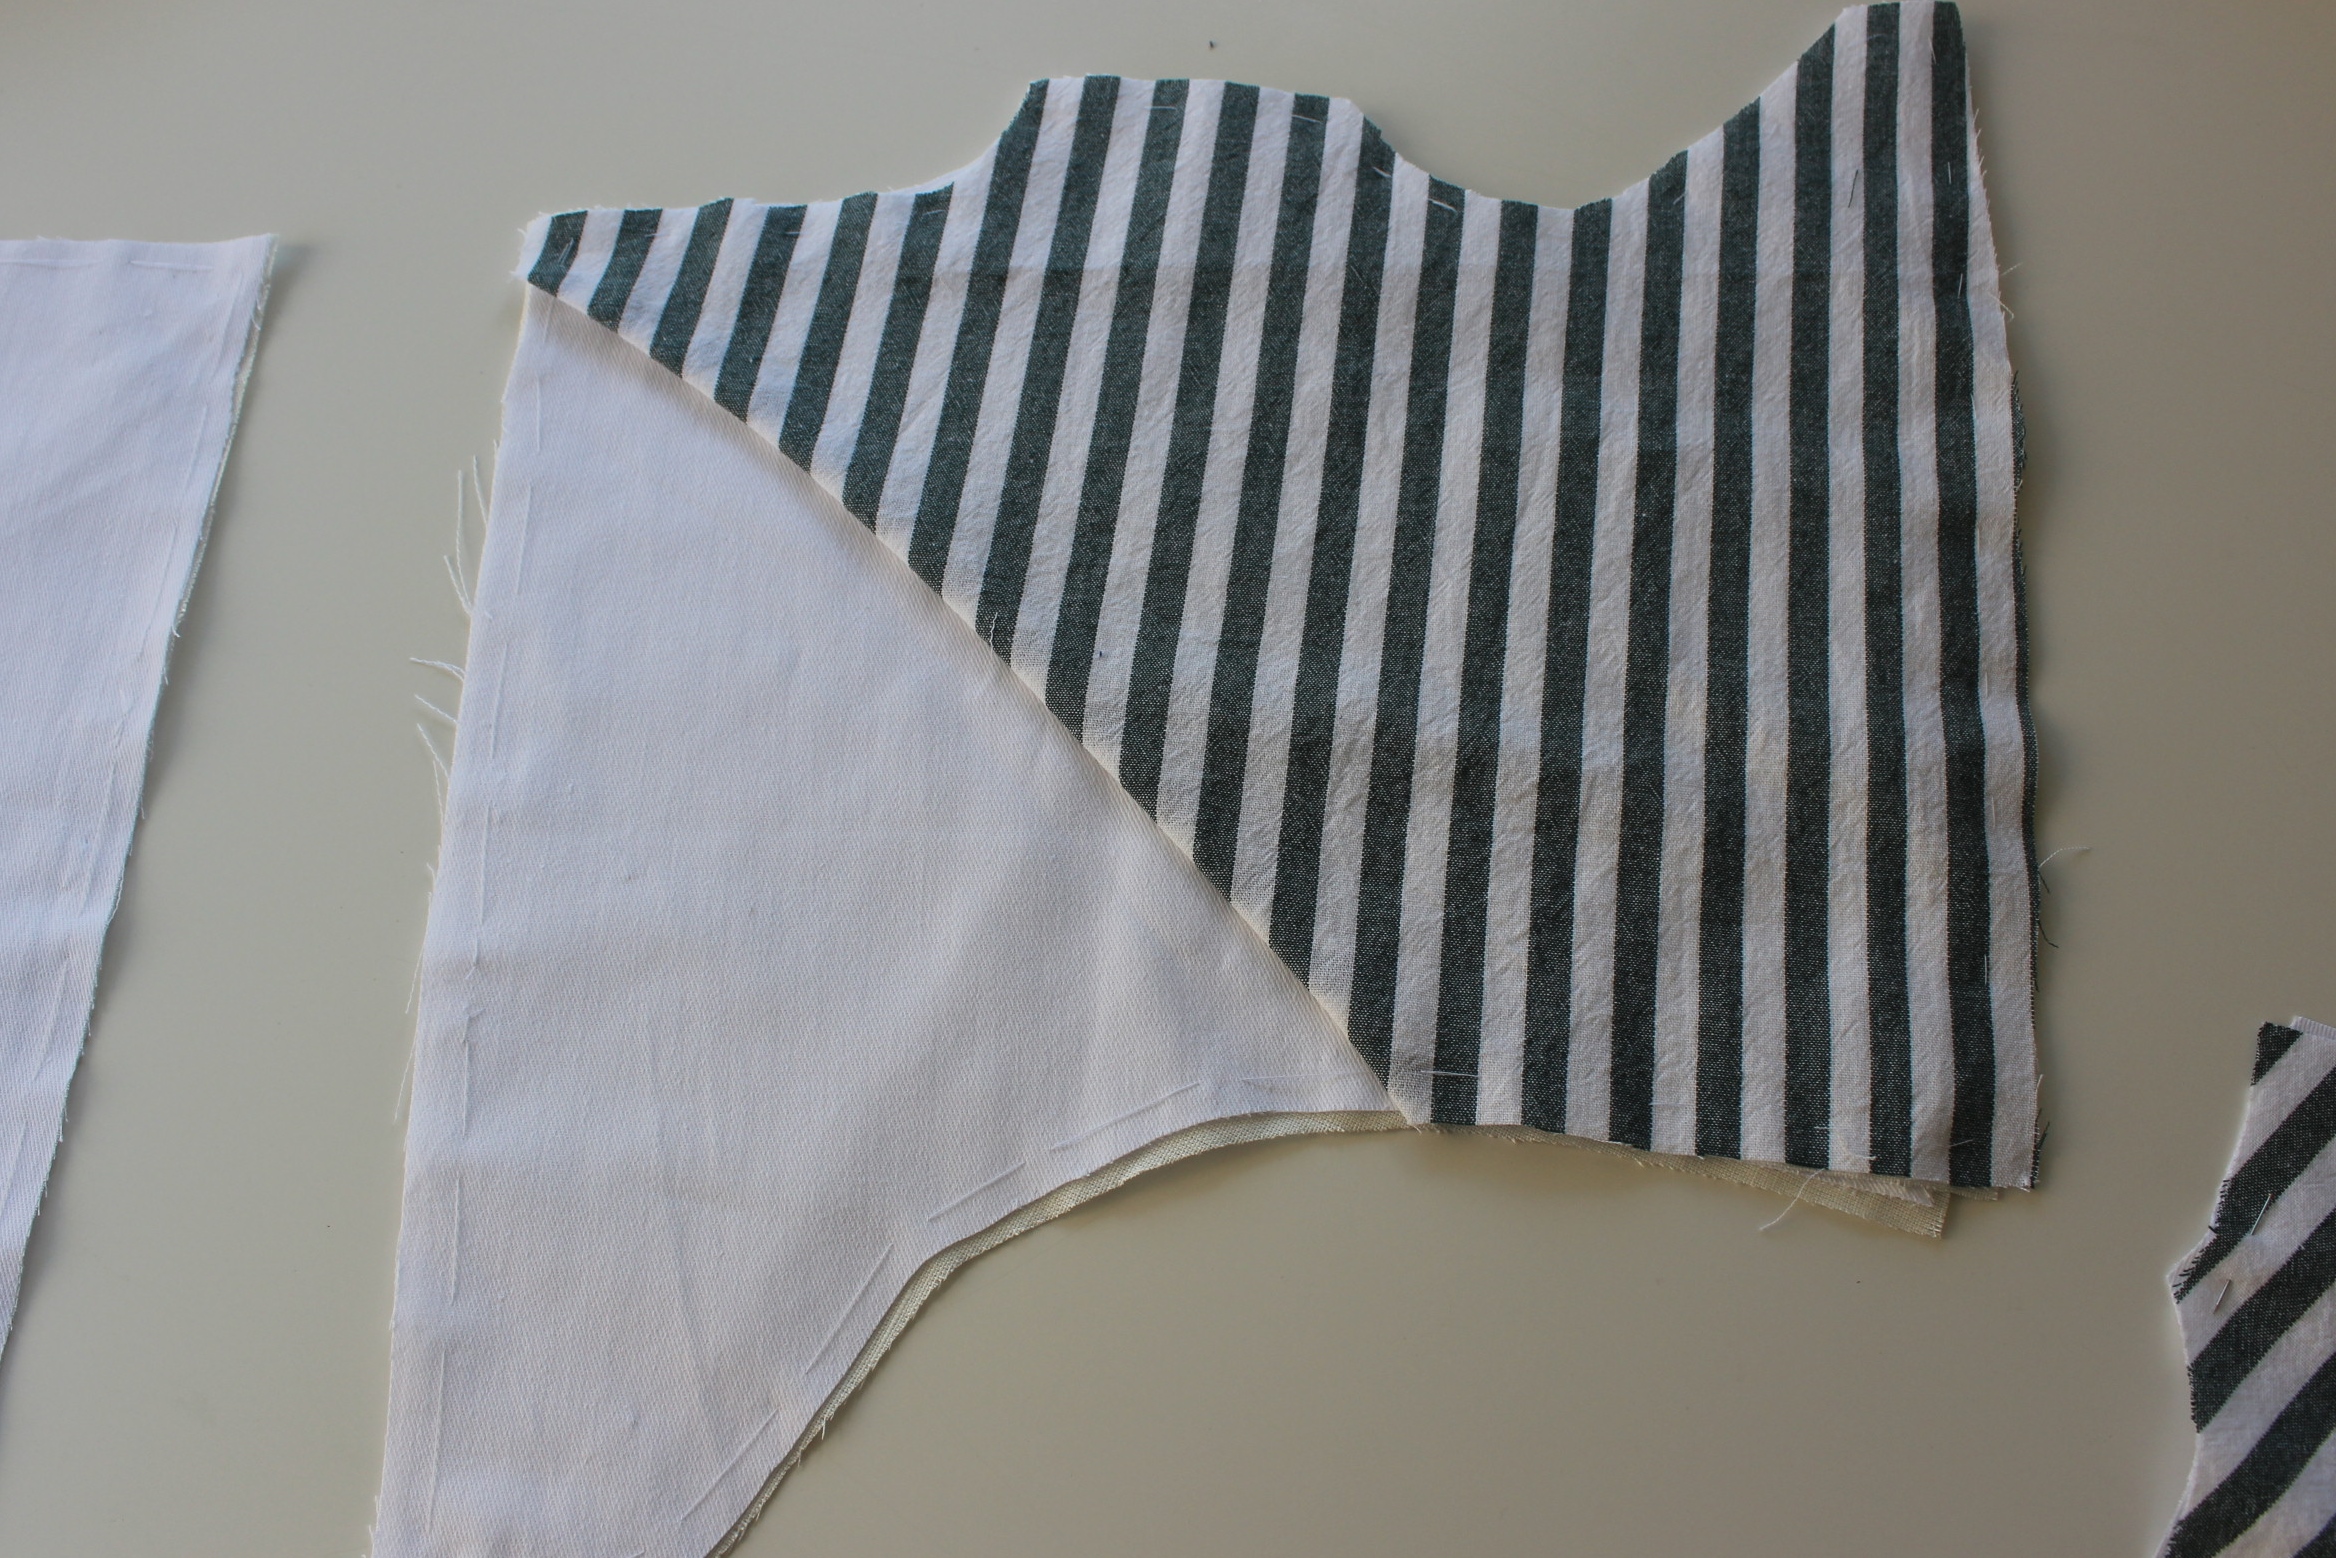
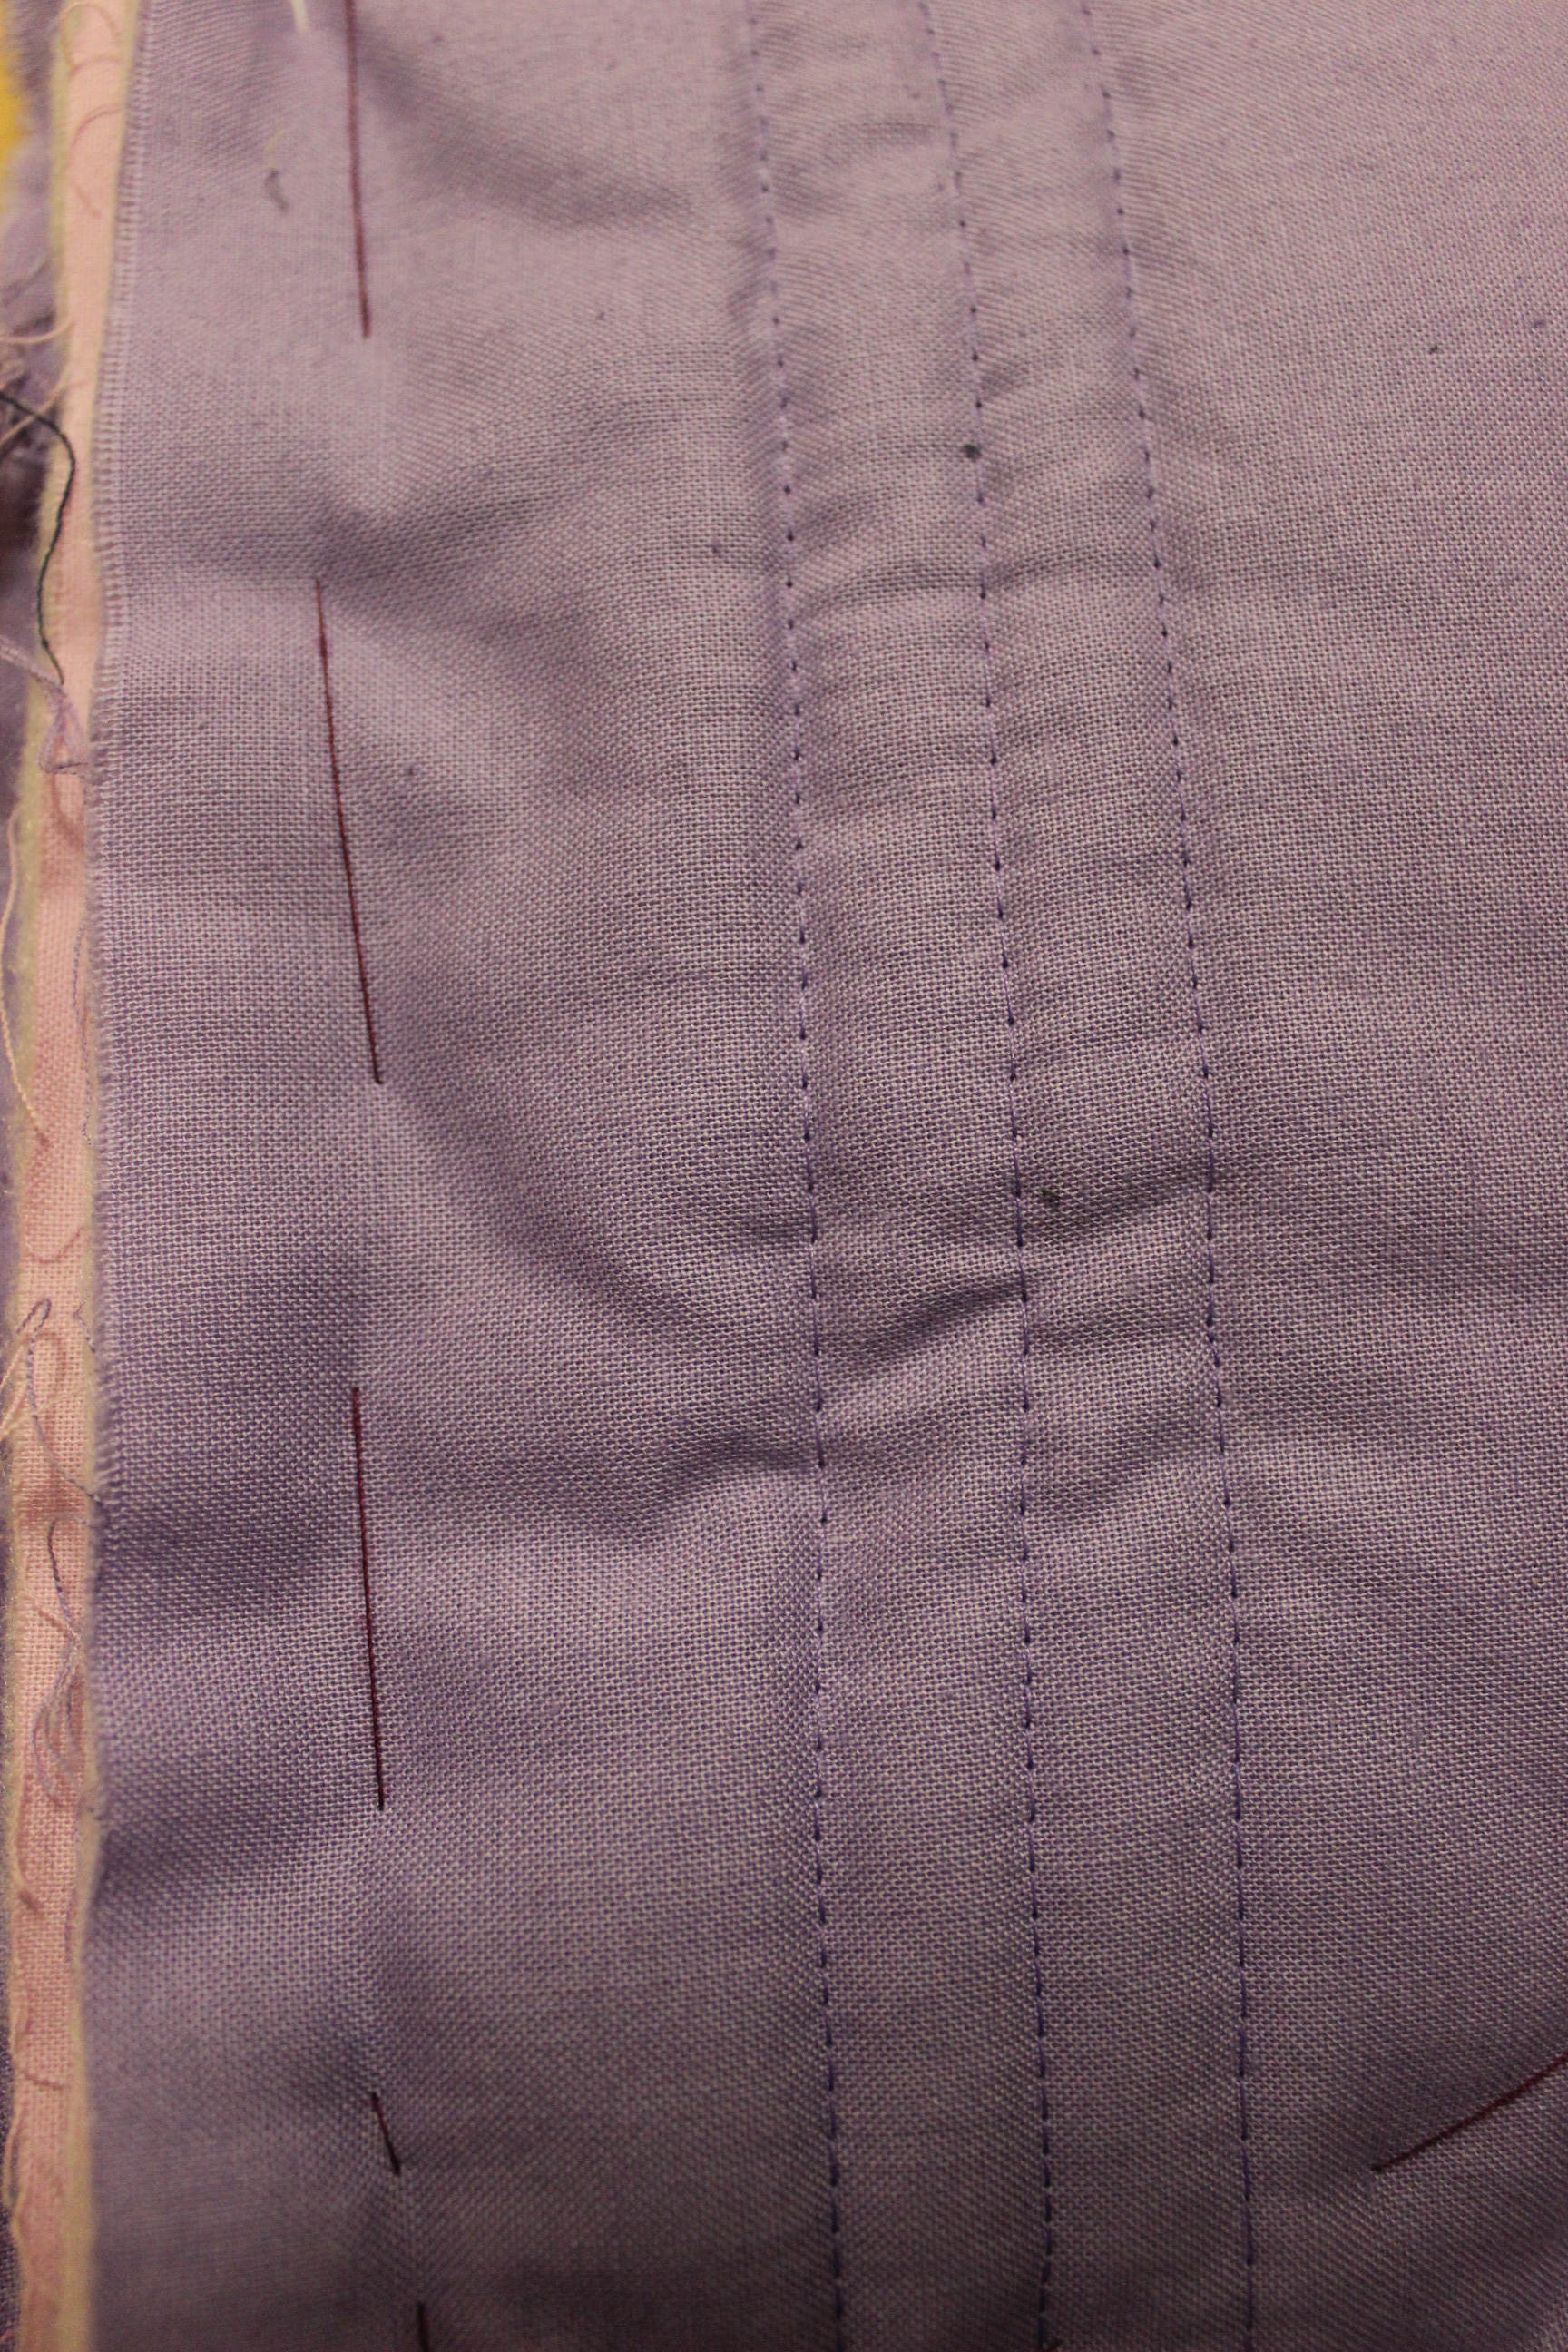
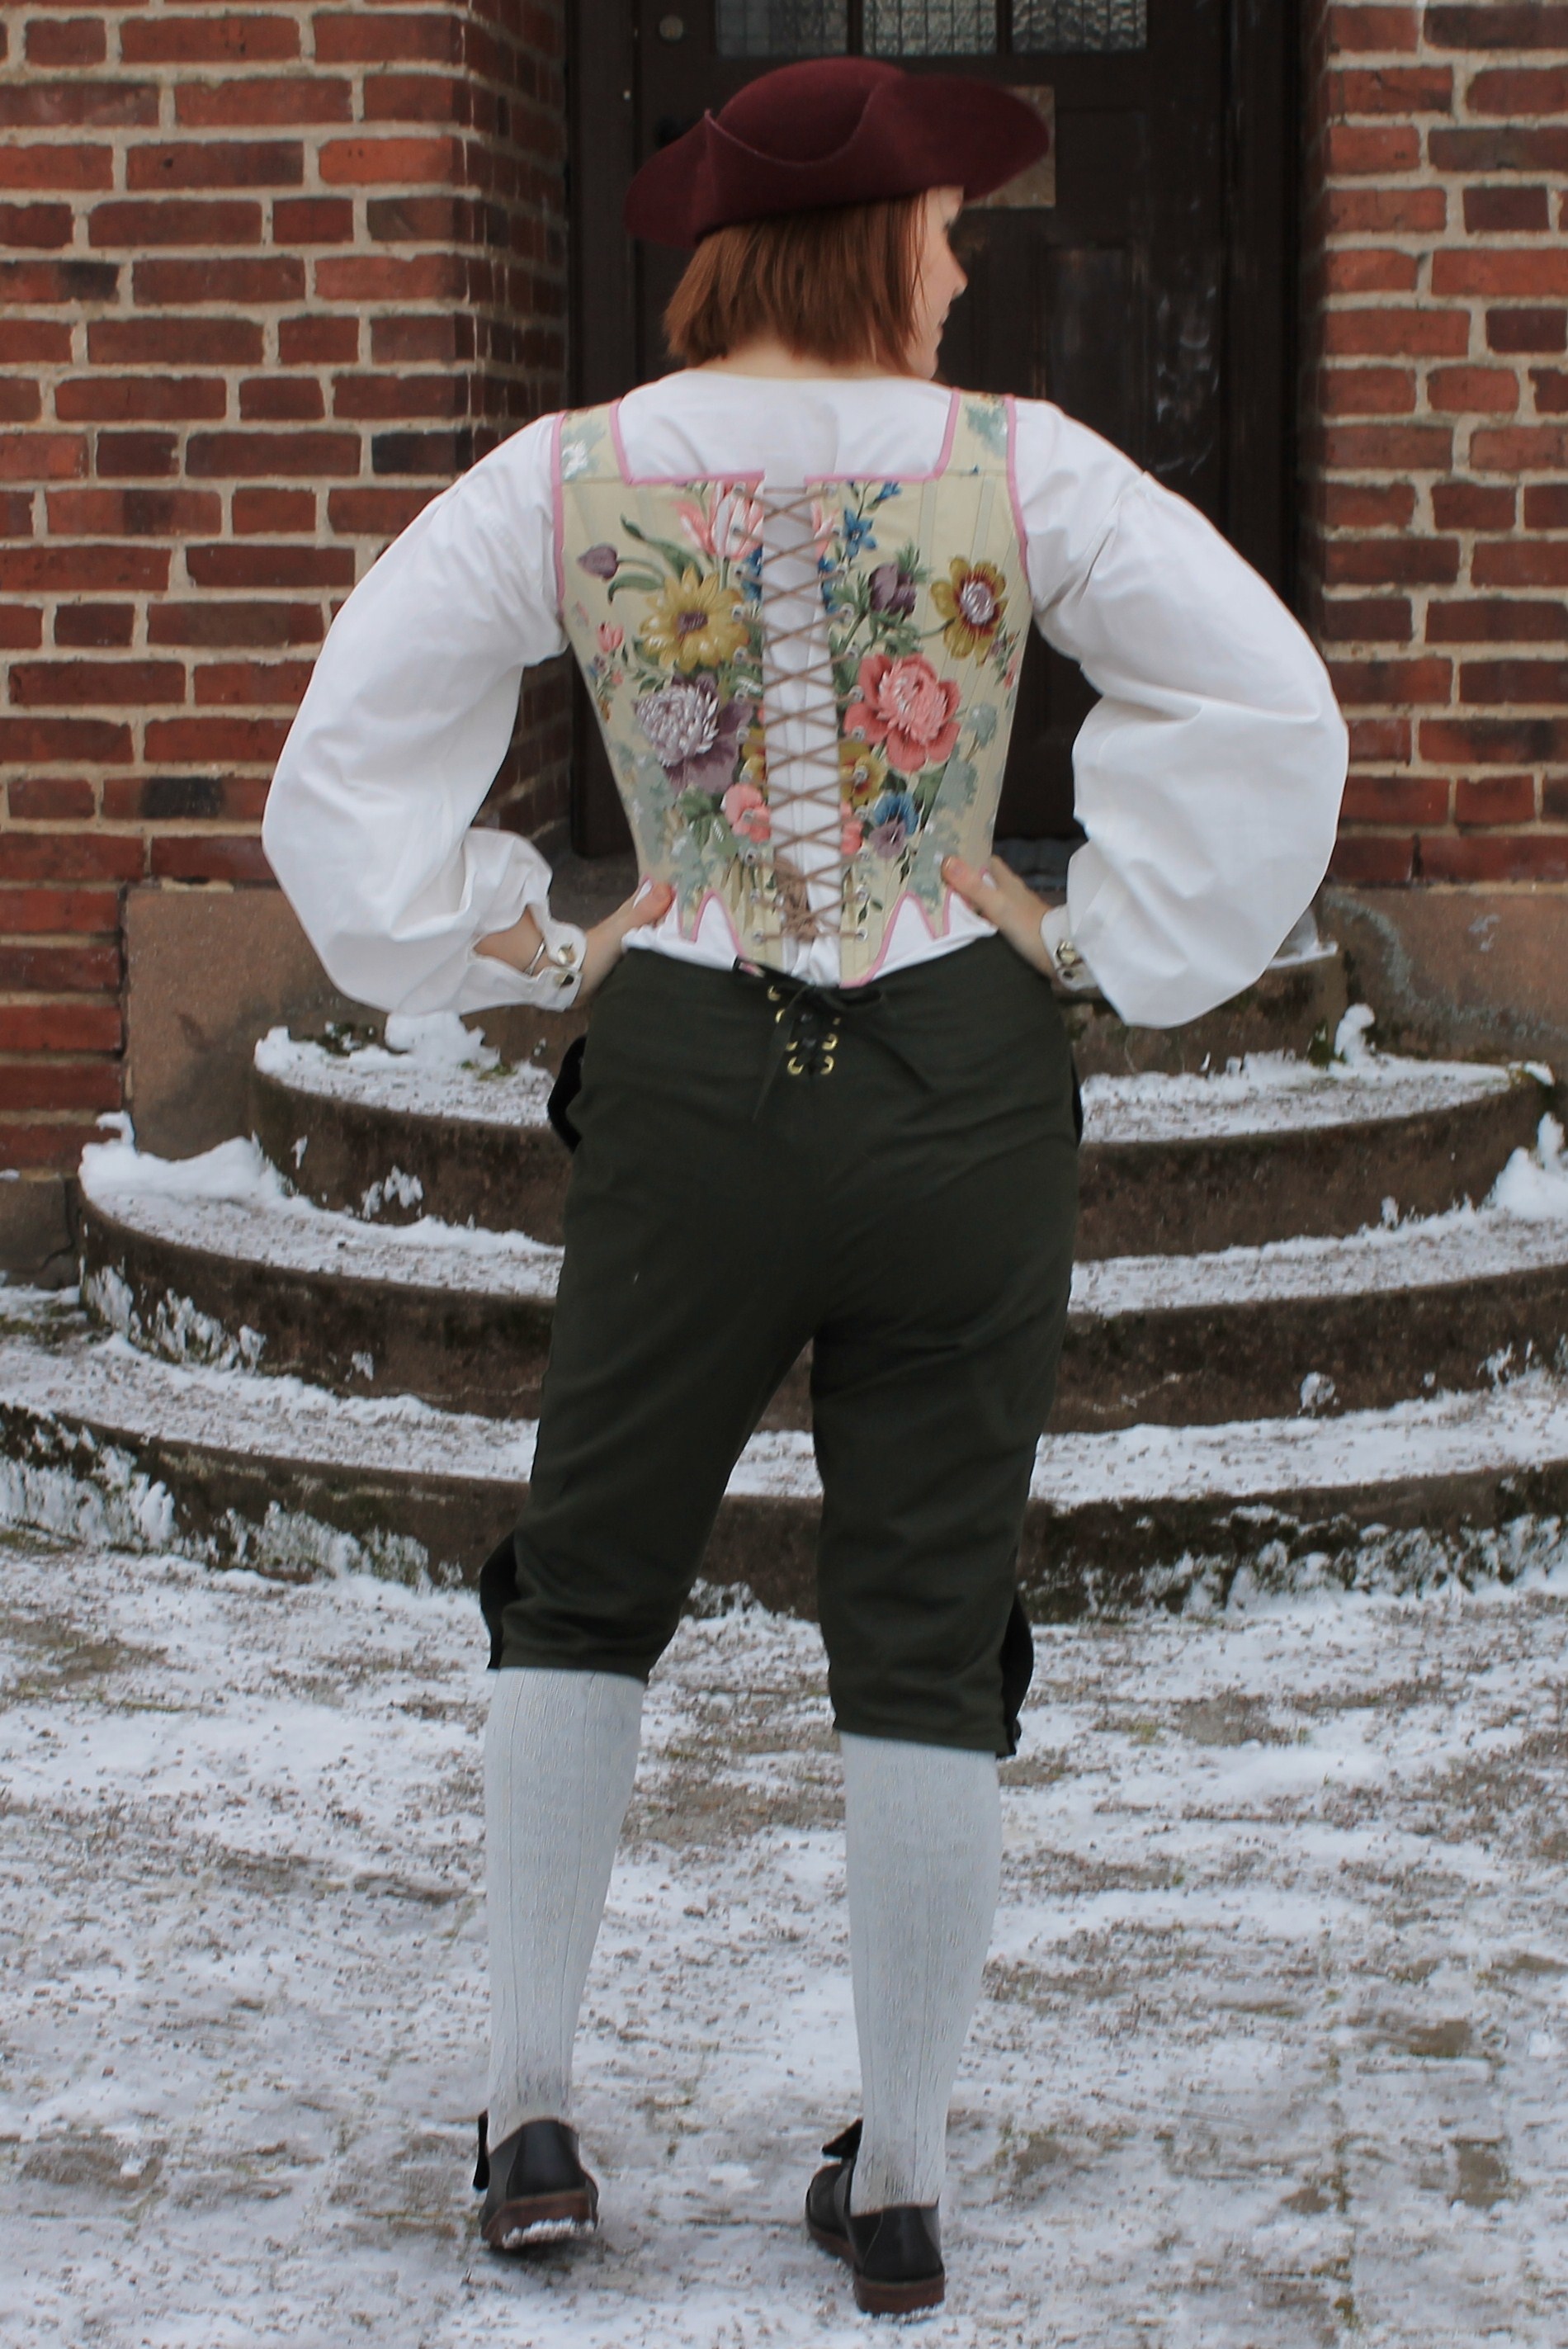
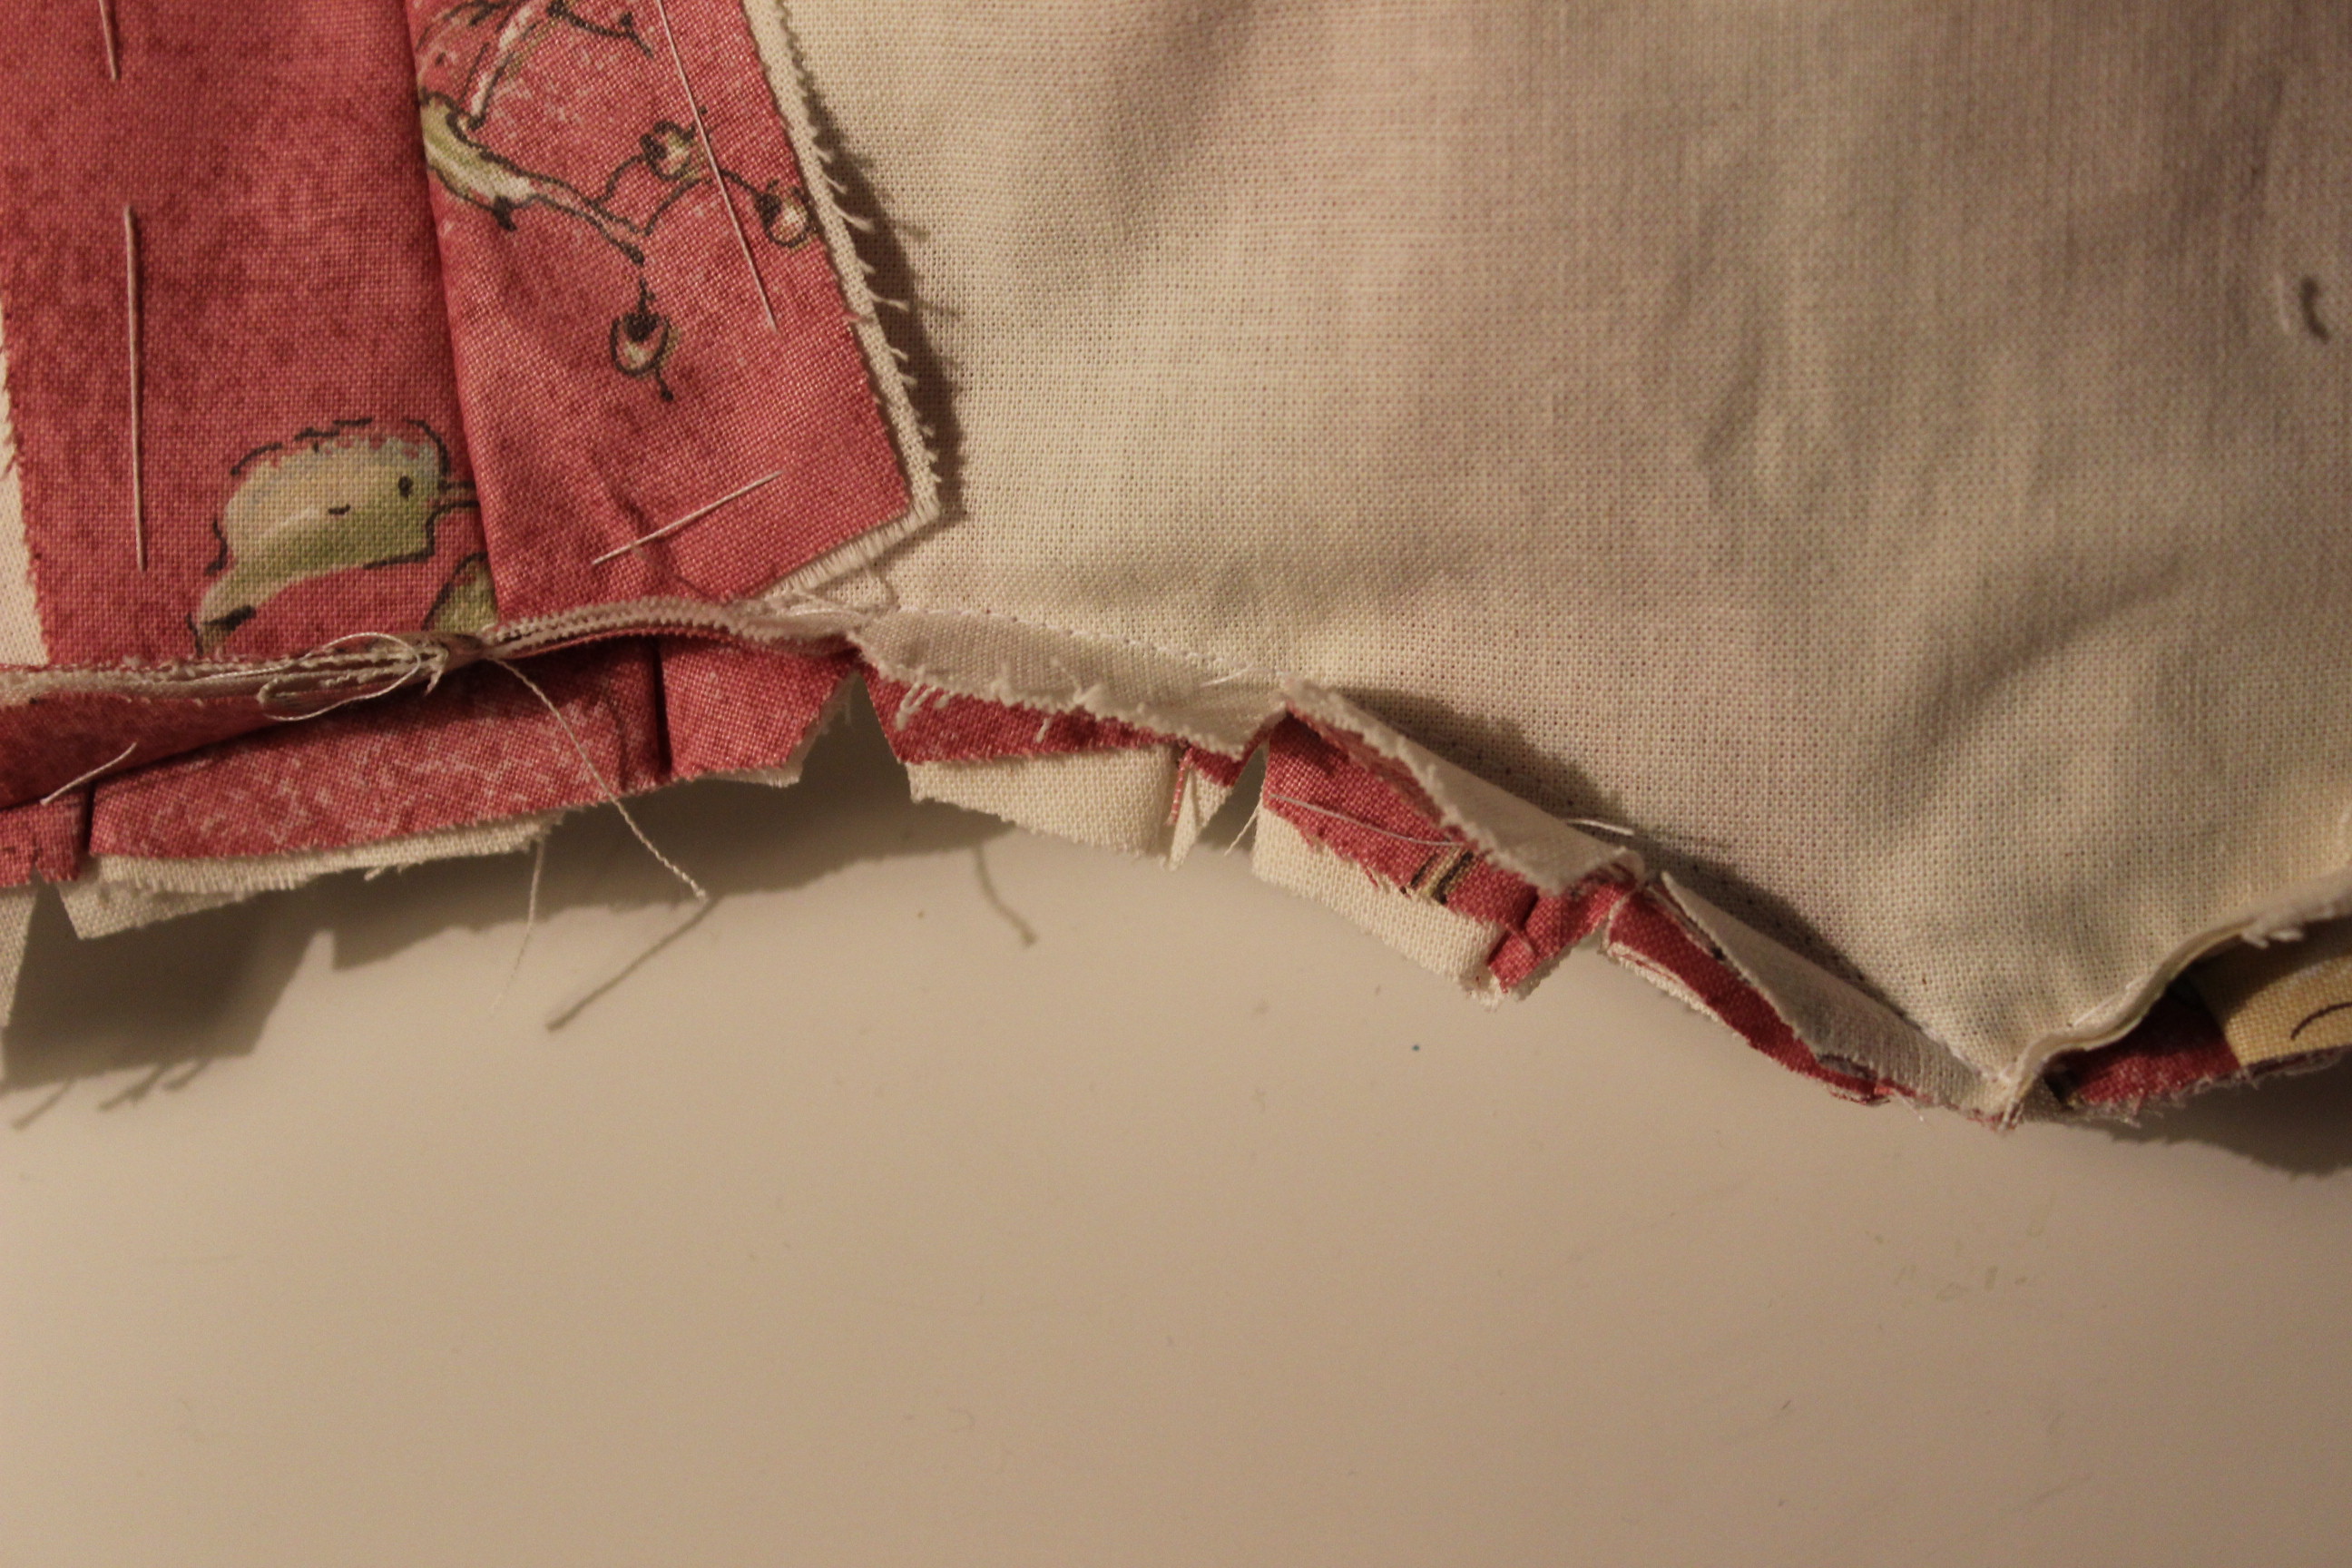
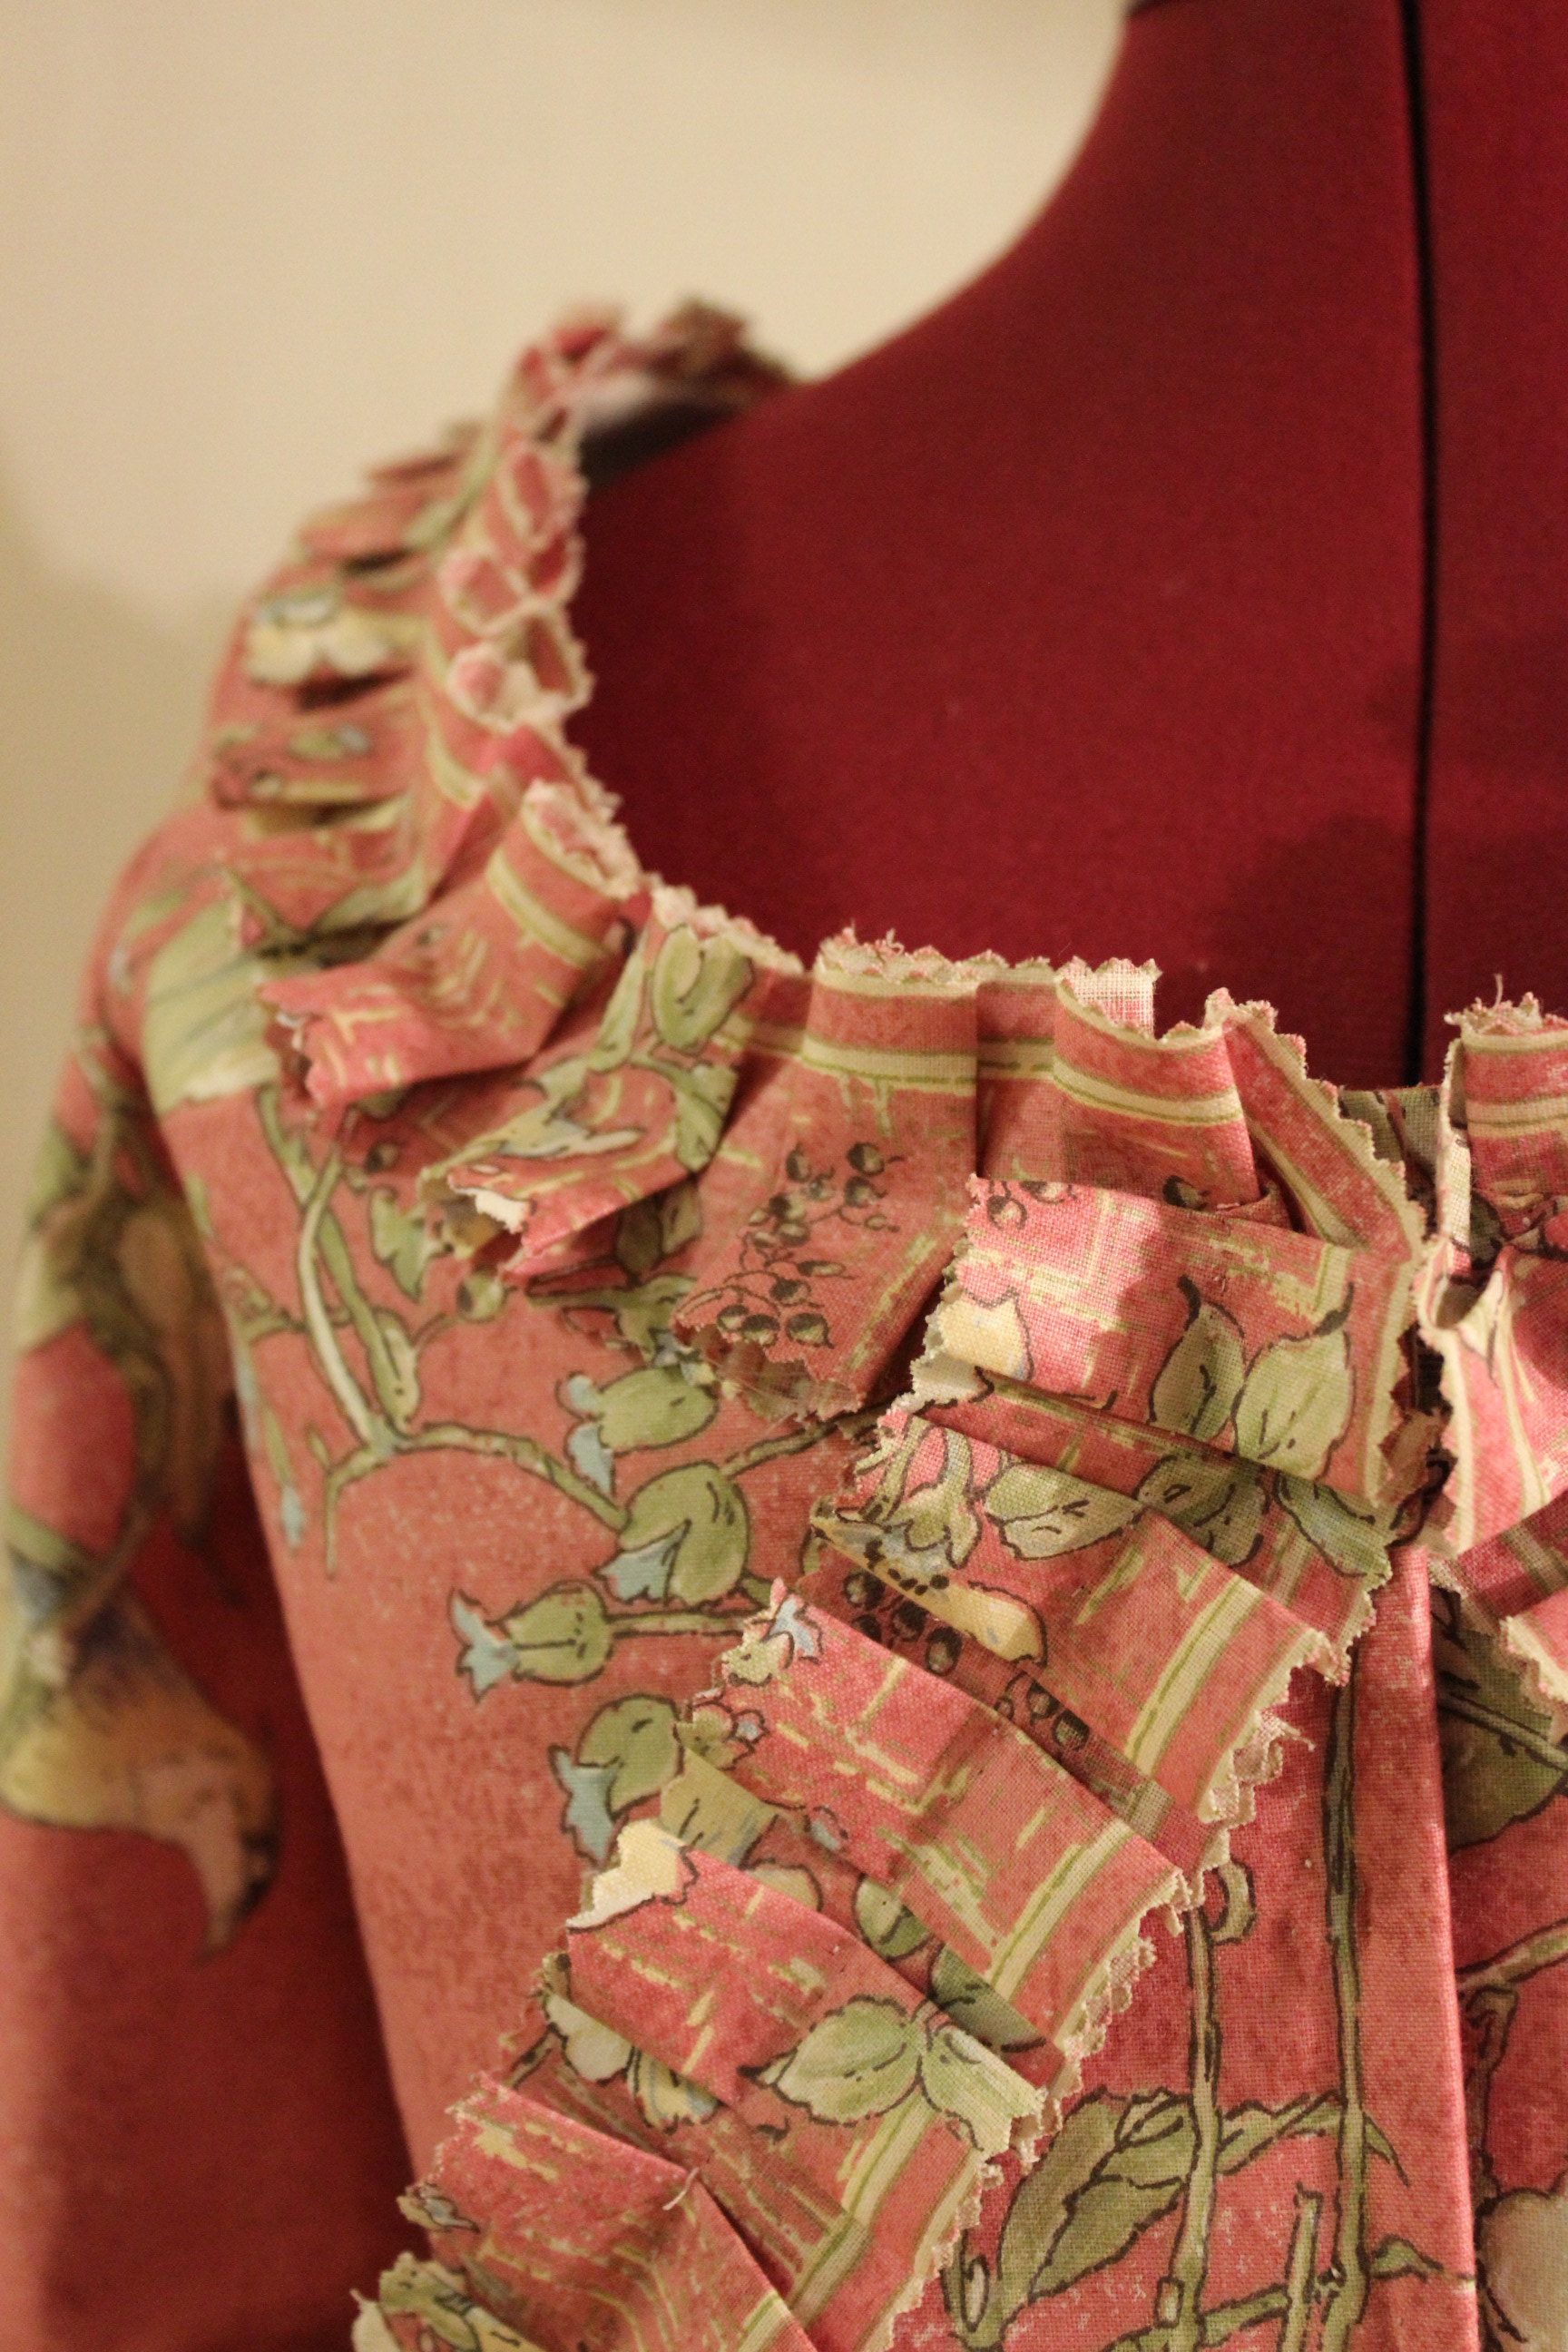
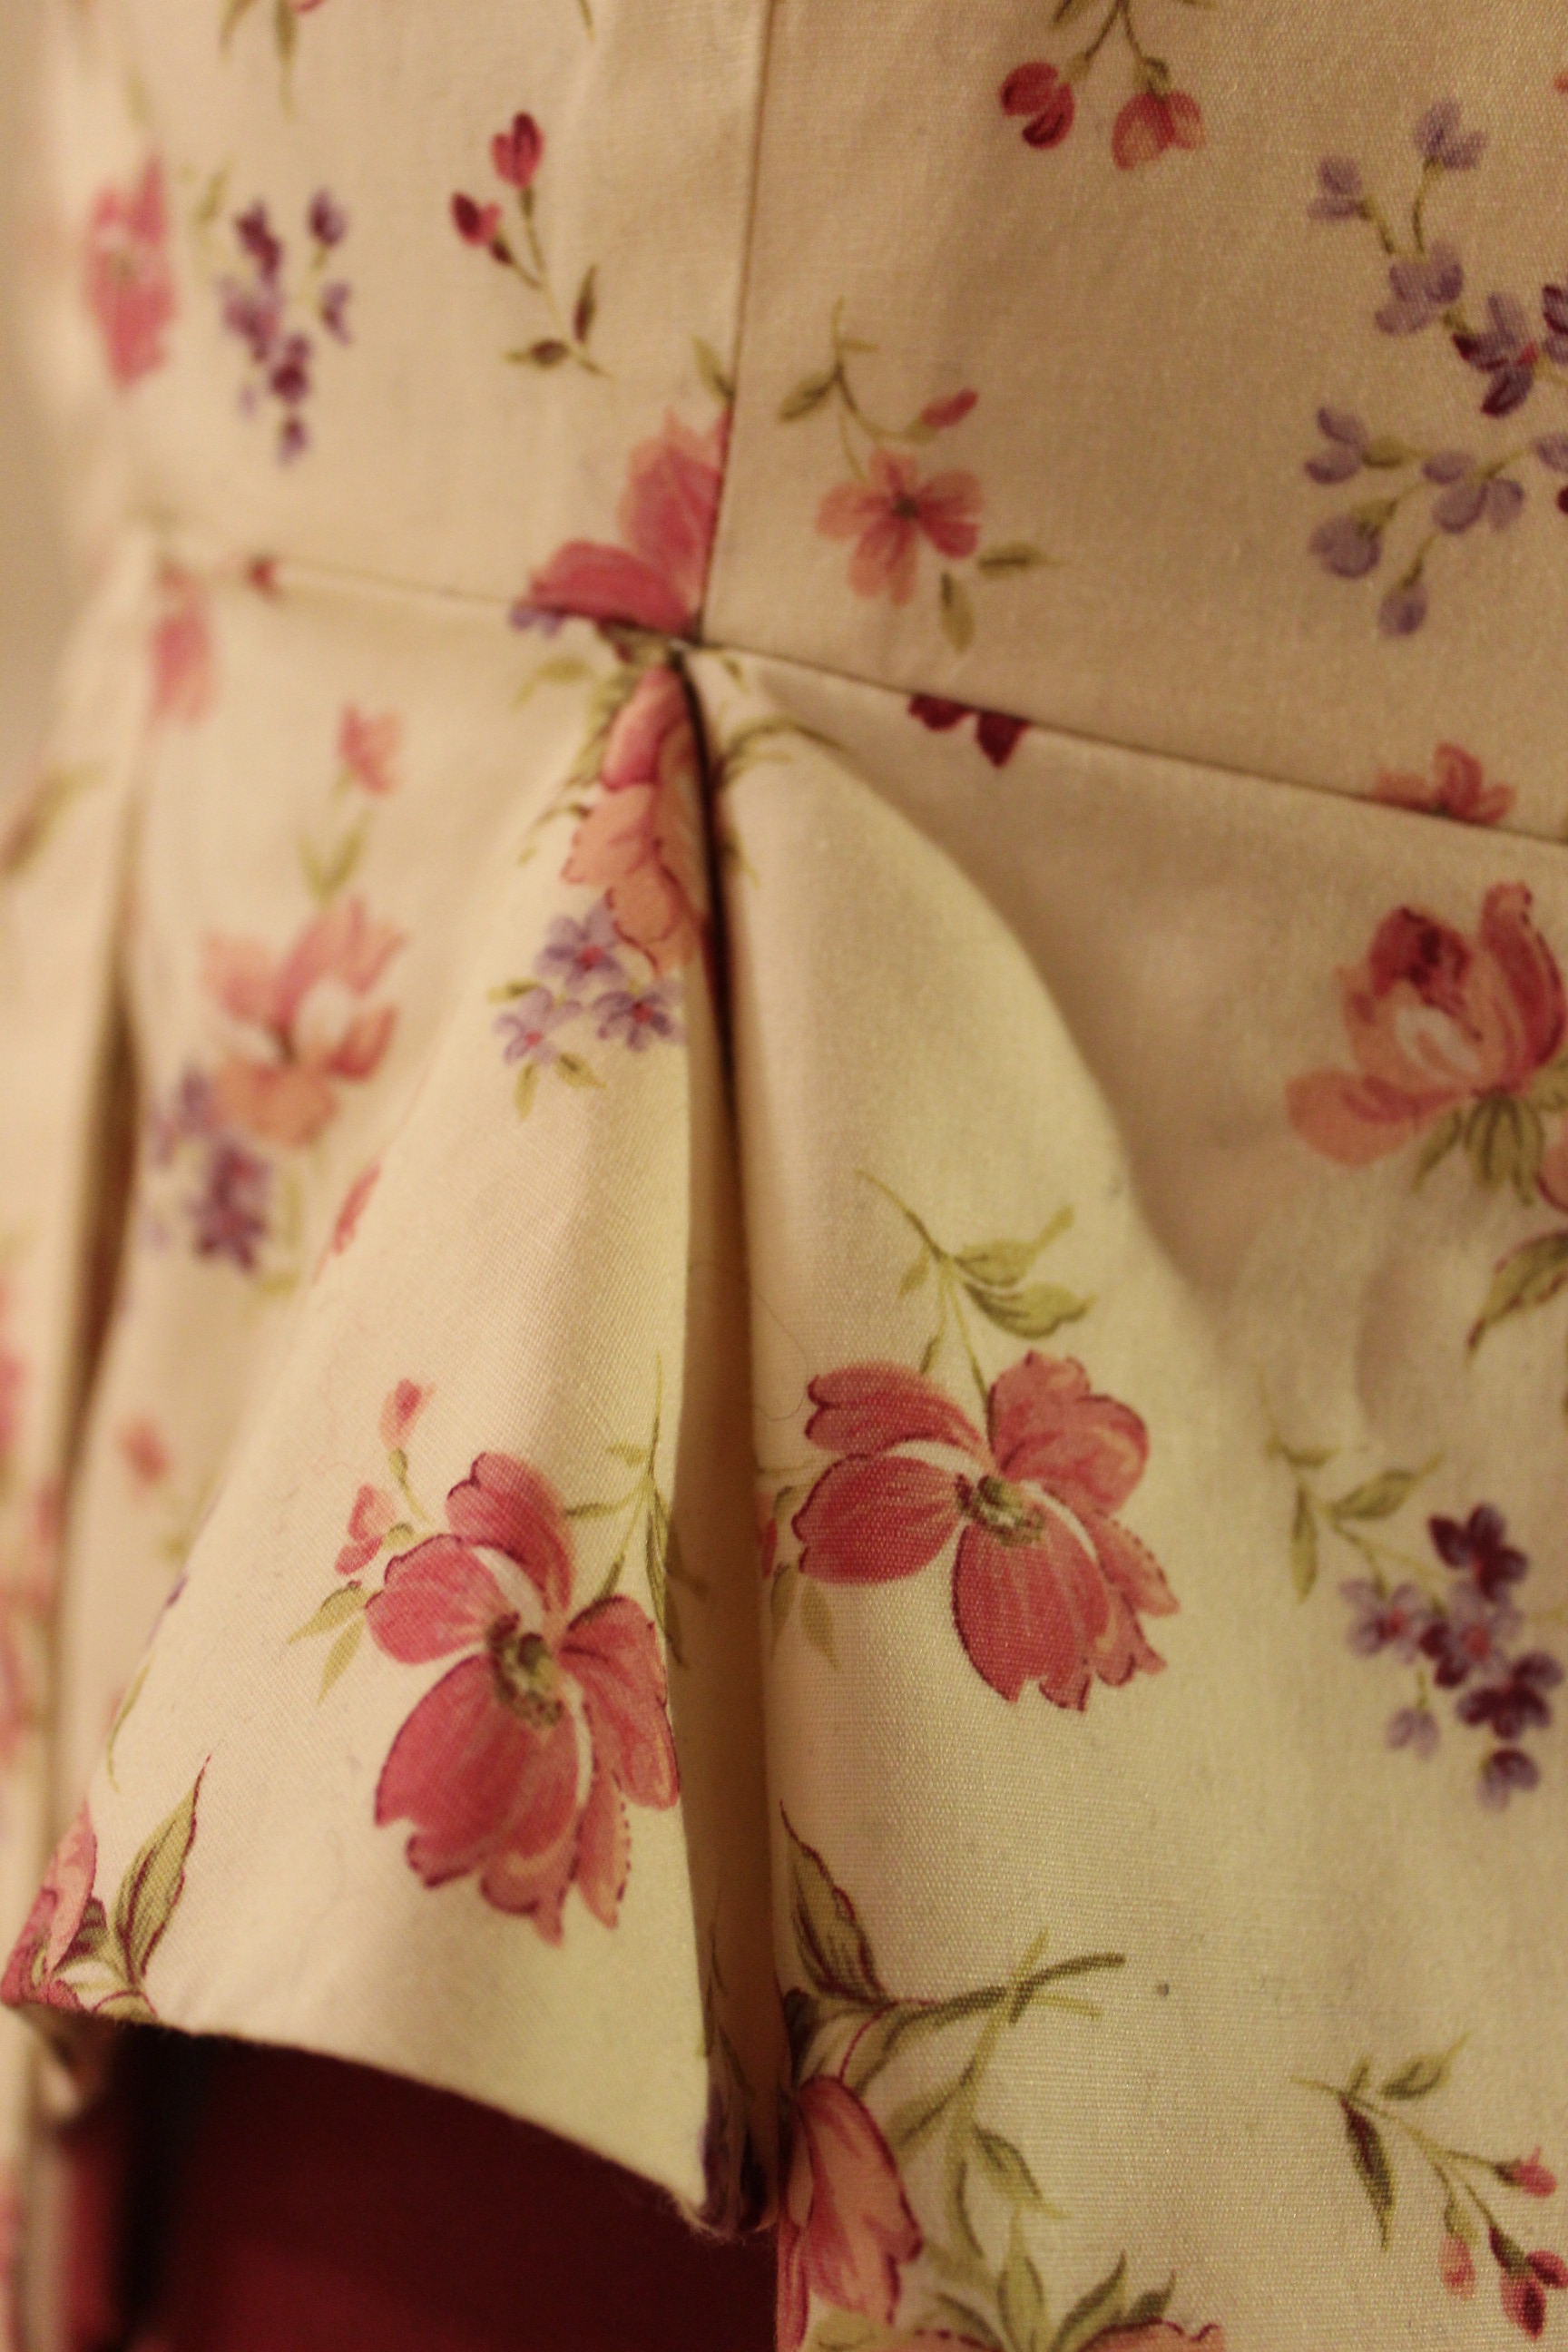
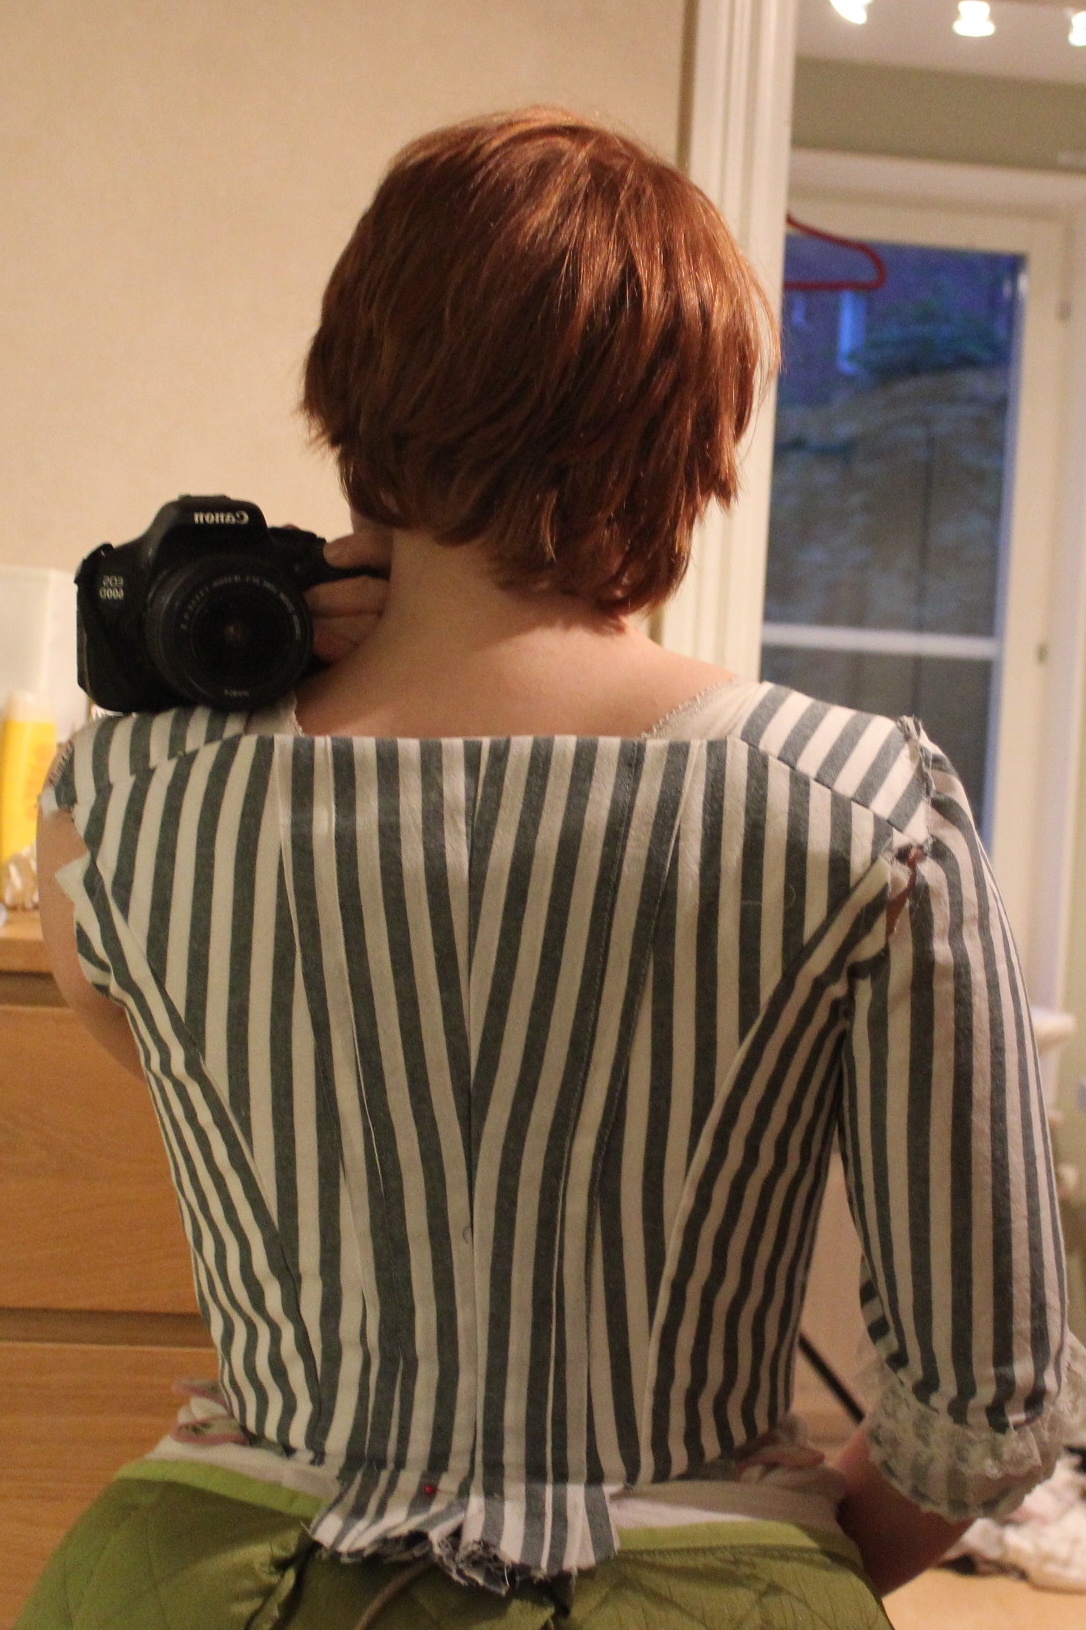
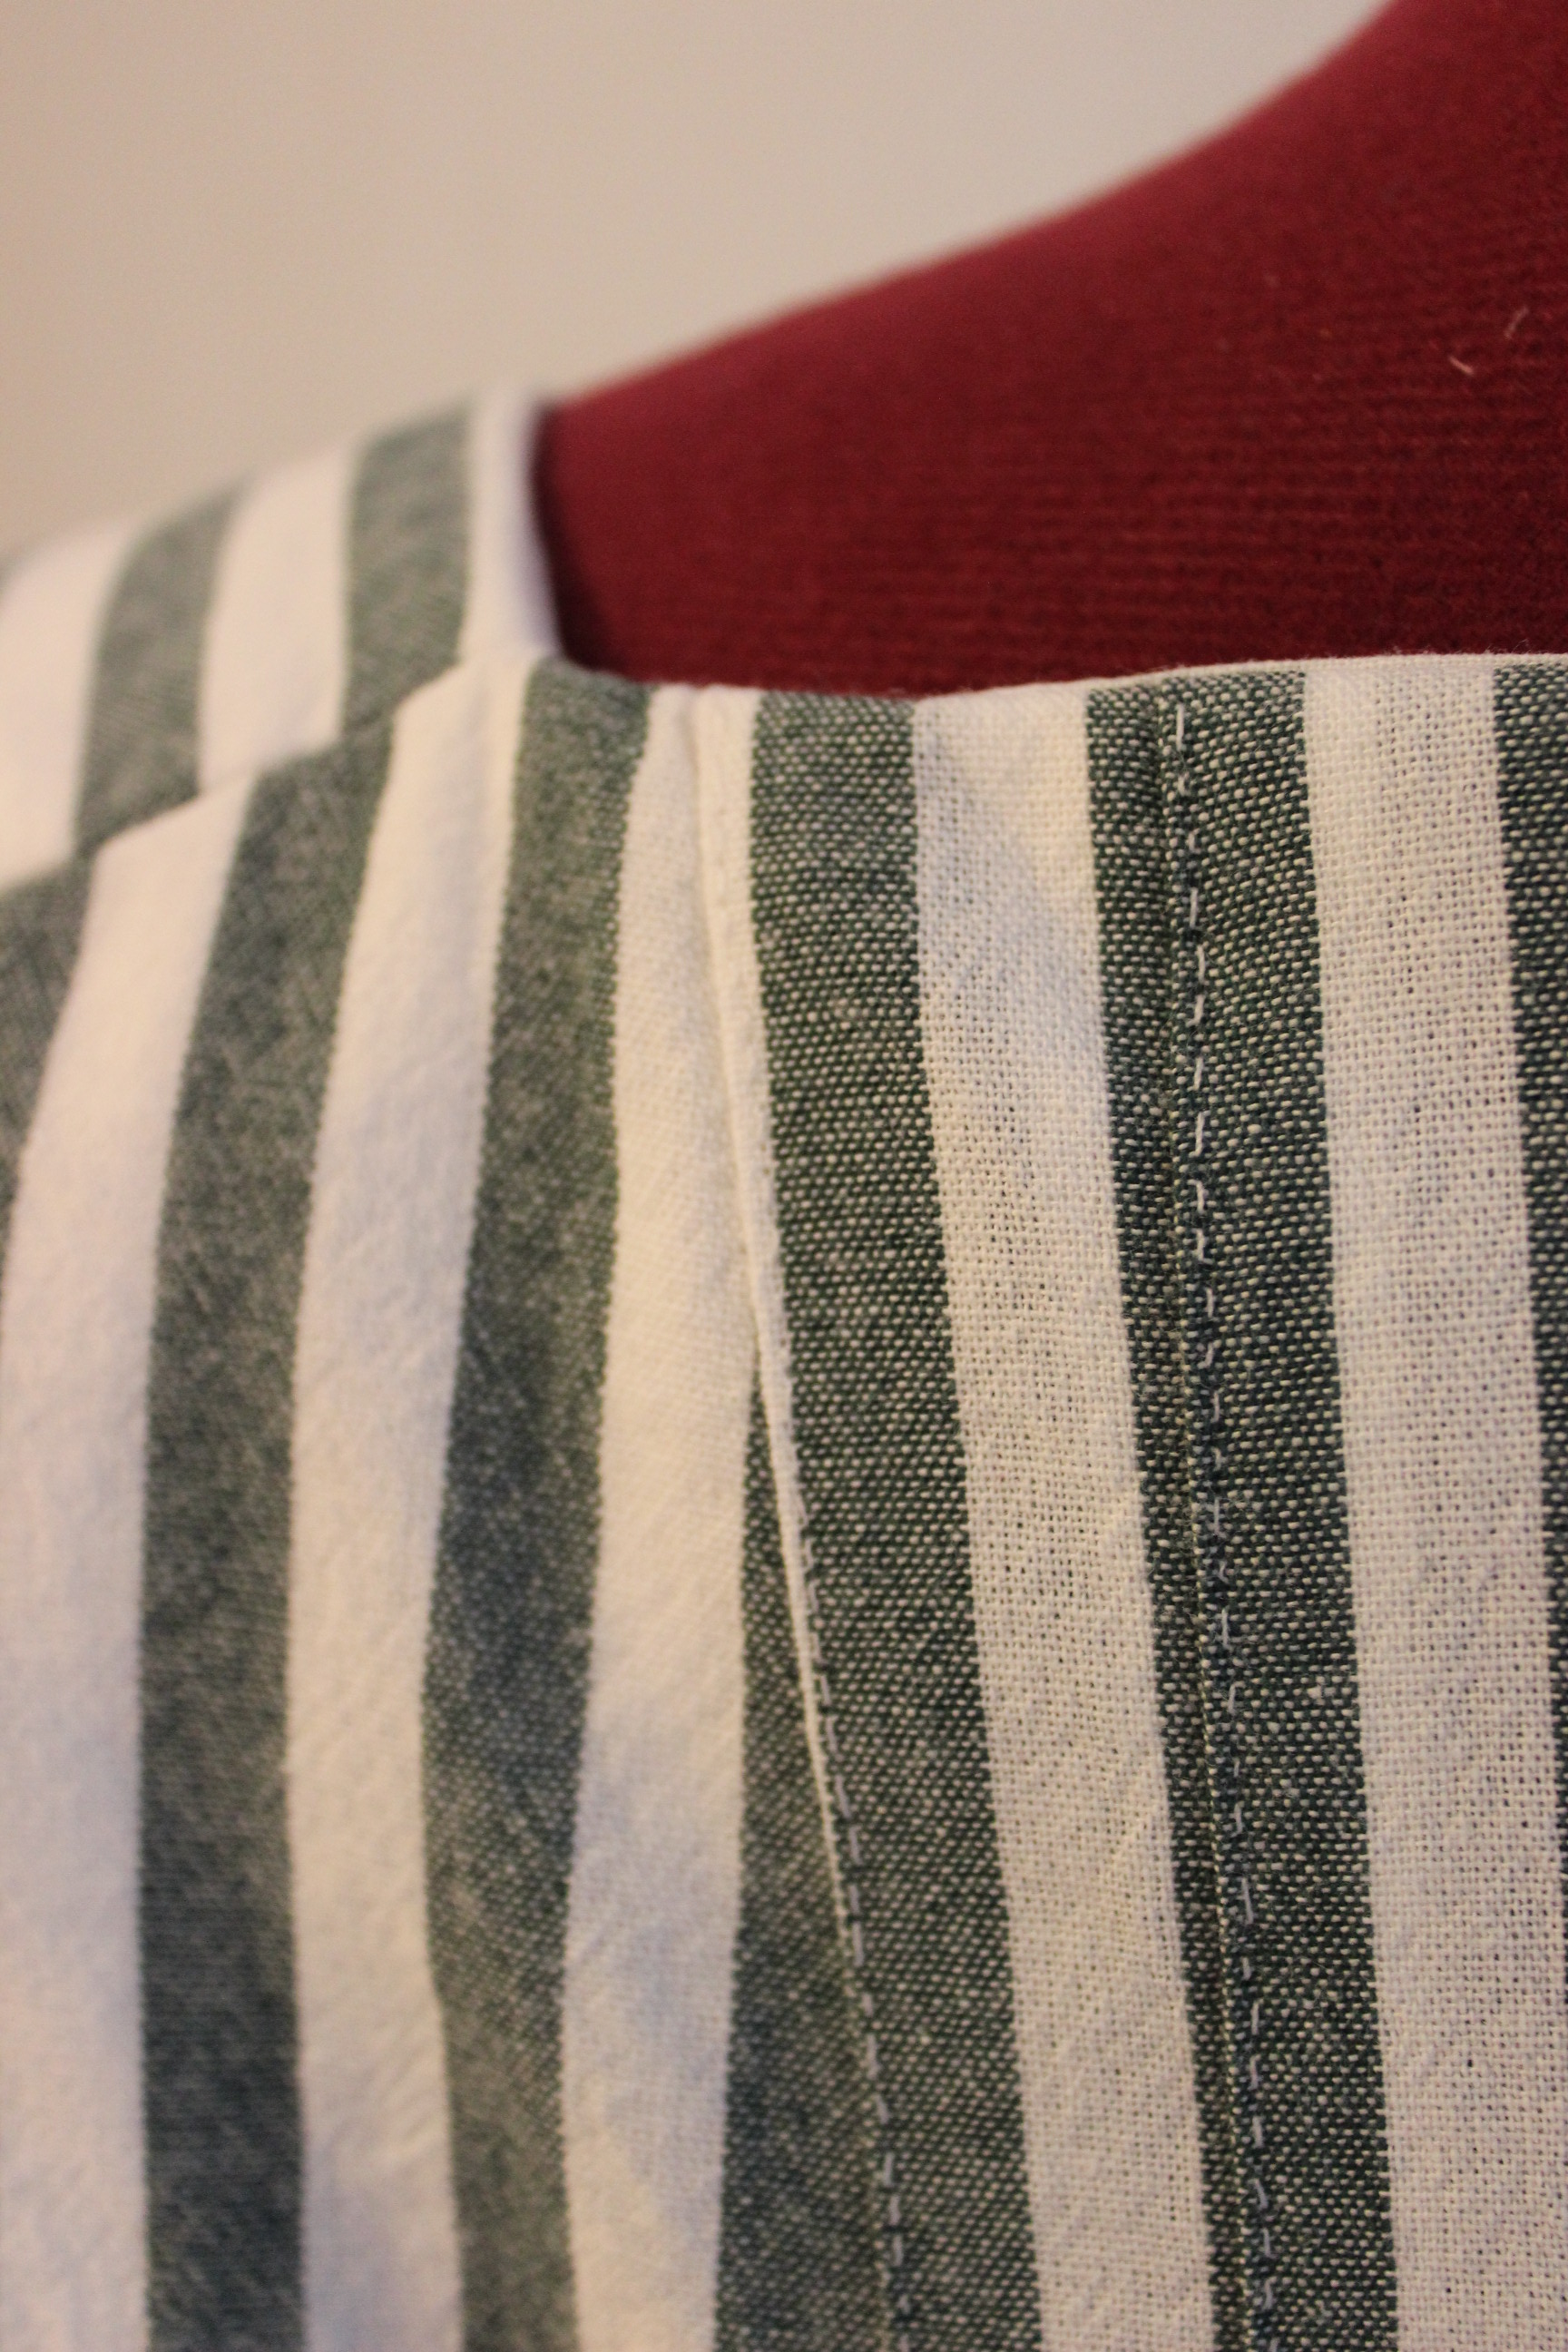
Then I shaped and stiched the back pleats in place, usin tiny backstitches. IMG_8371back piece and back lining.
IMG_8372IMG_8378
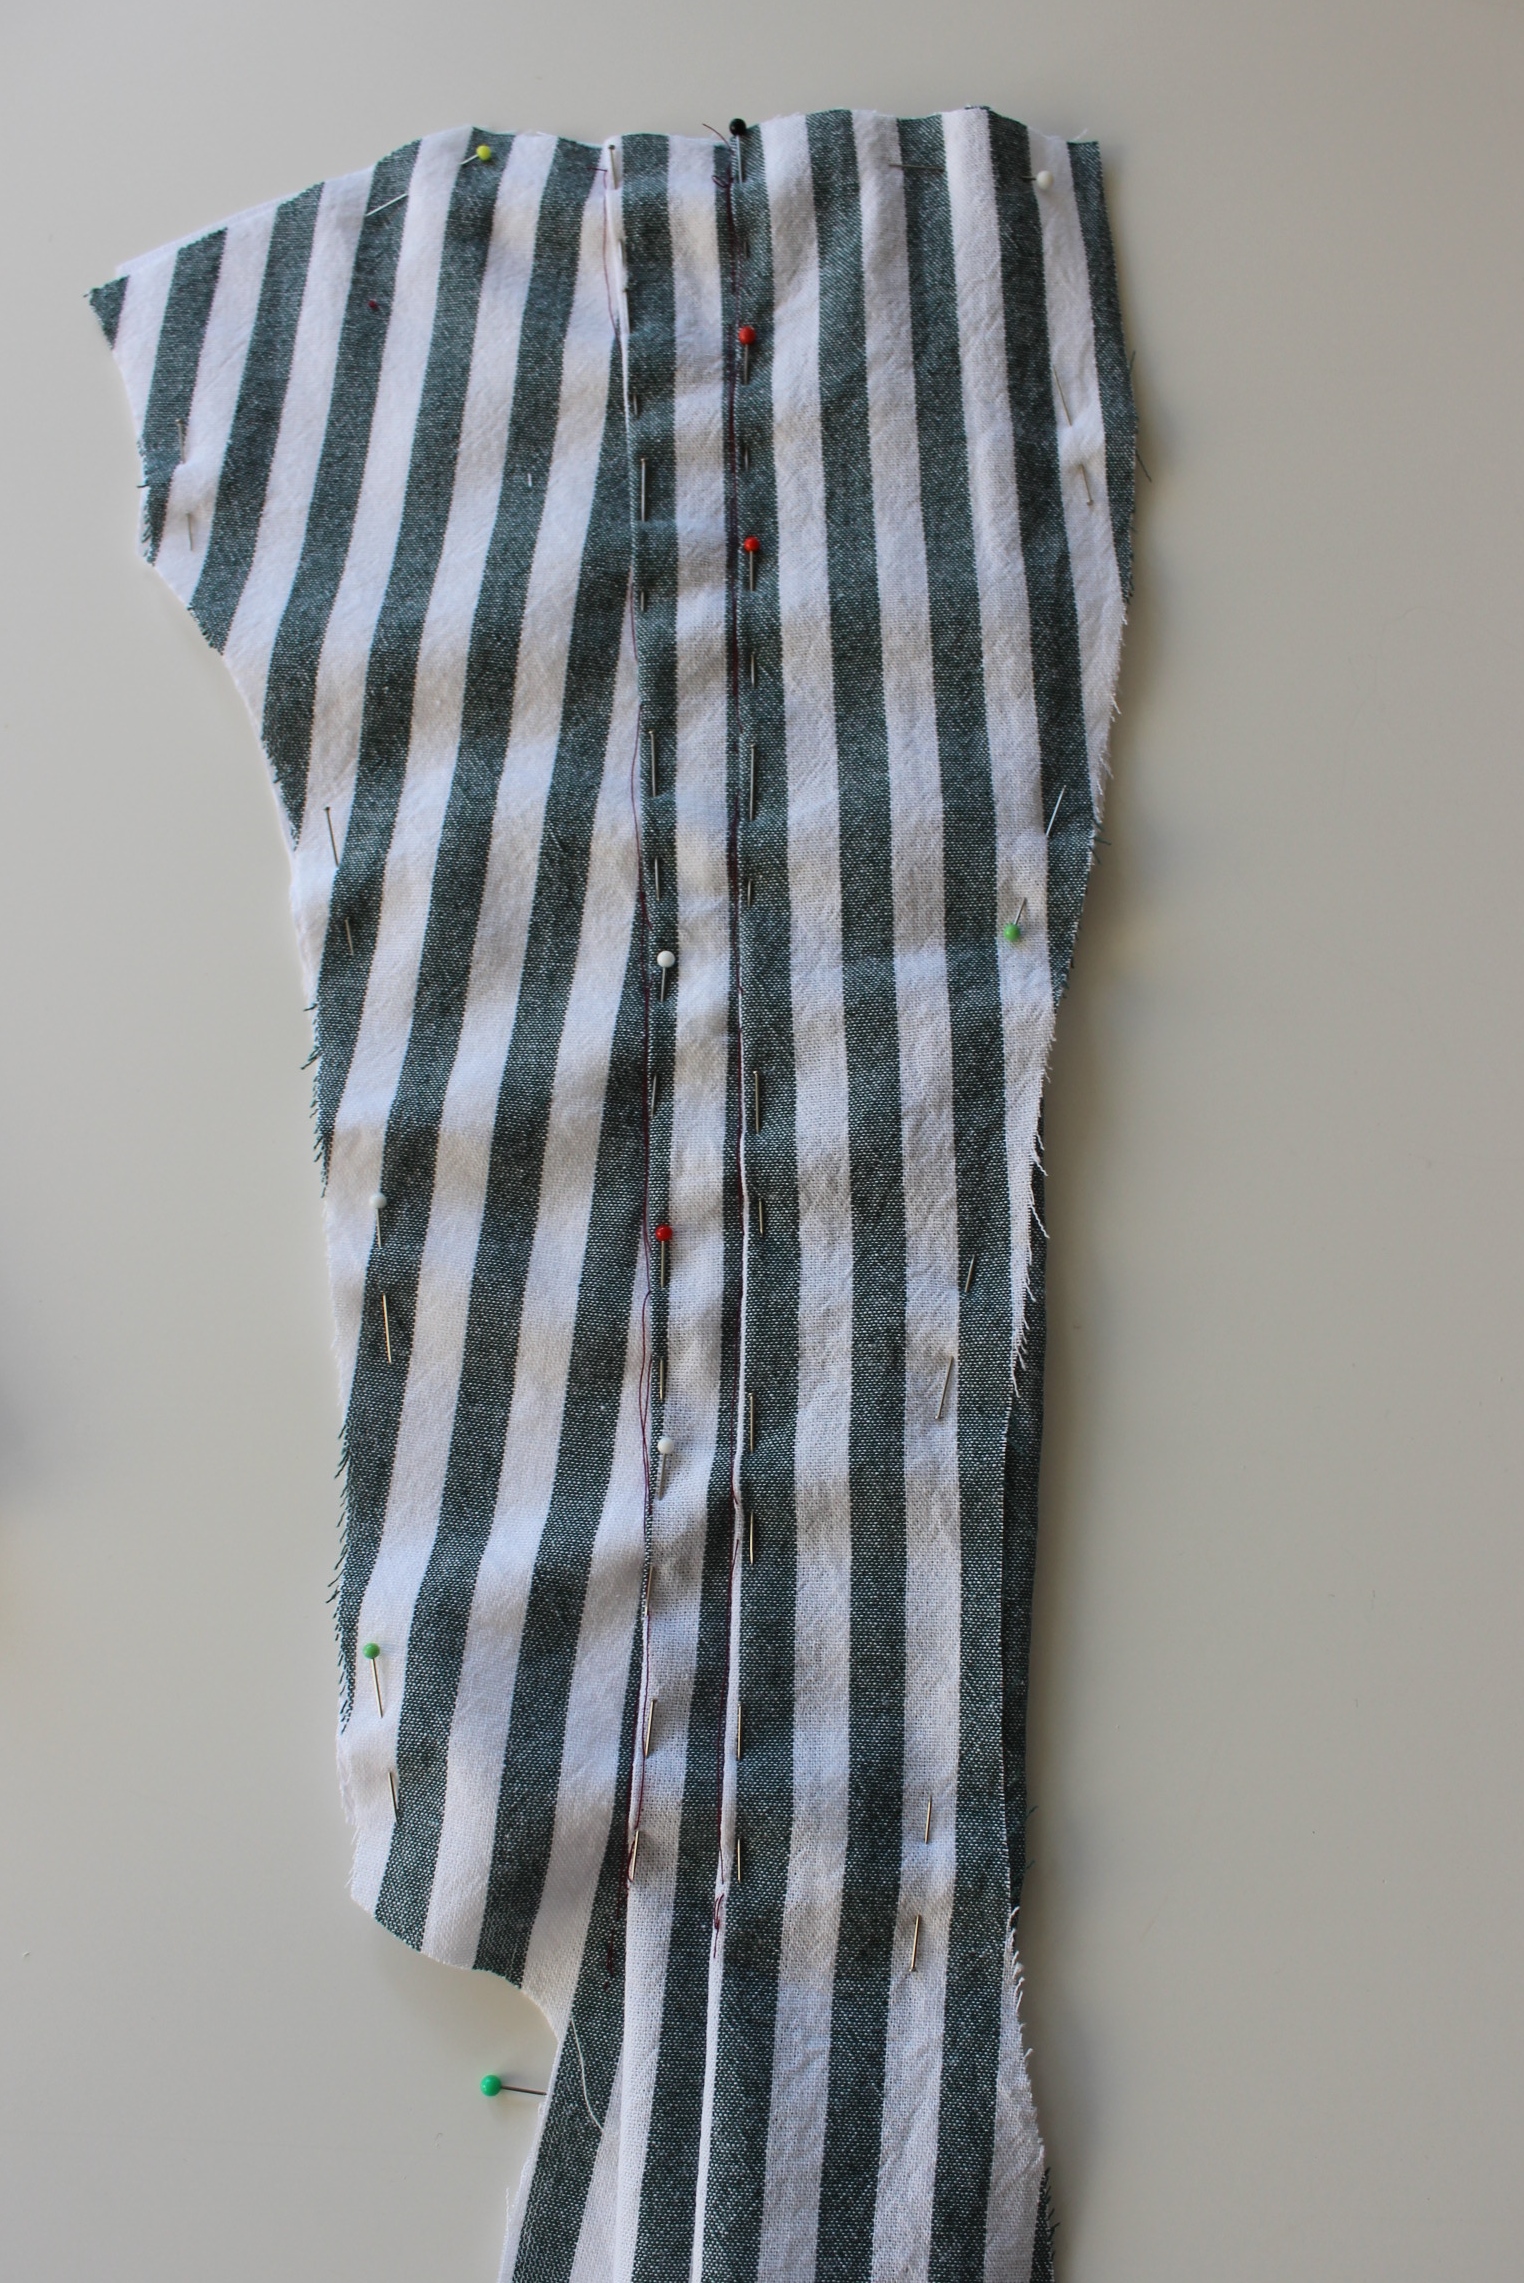
Close-up on the stiches.

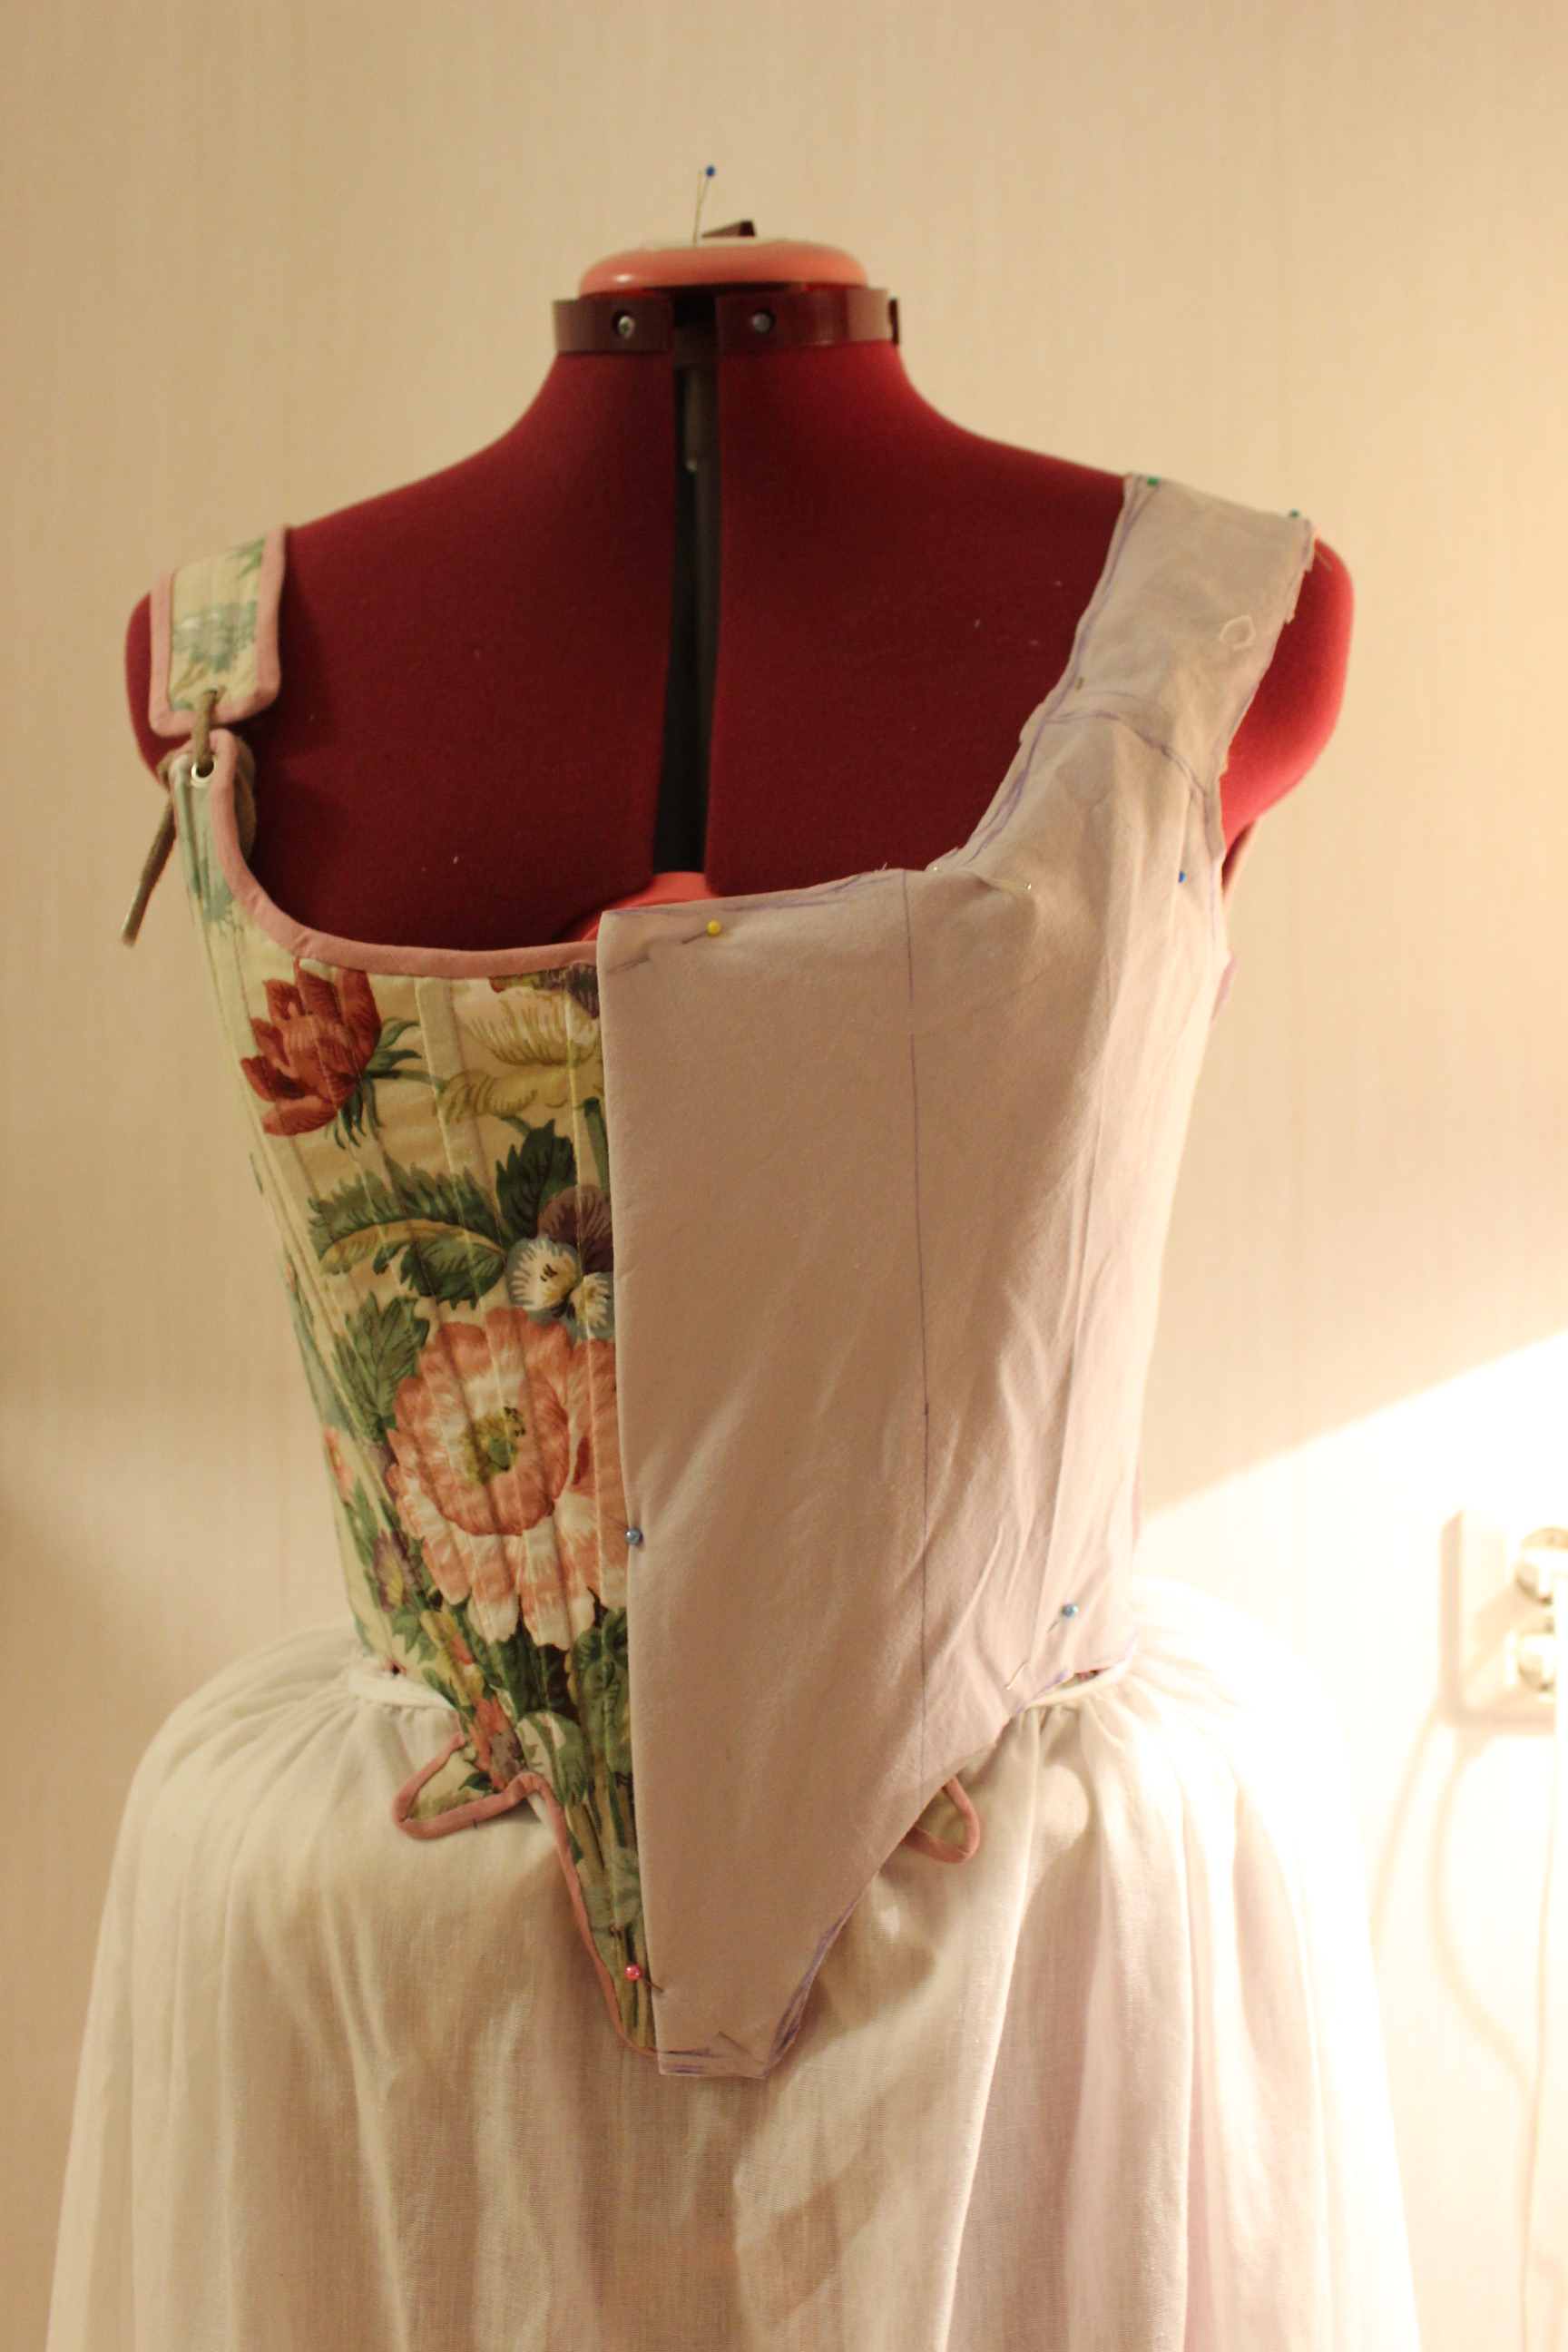
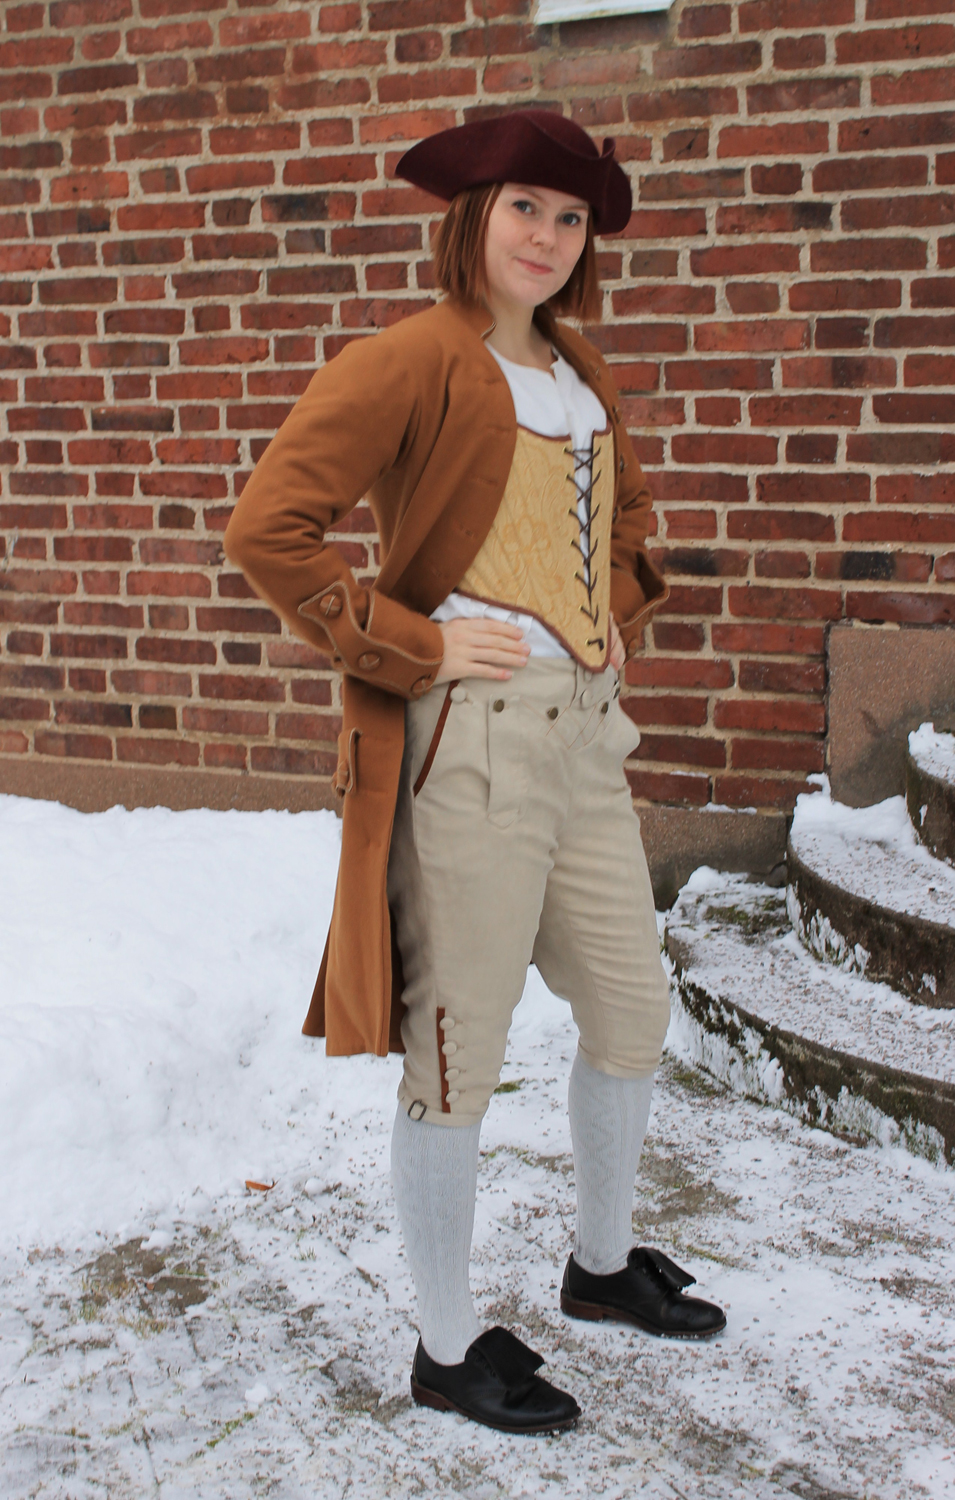
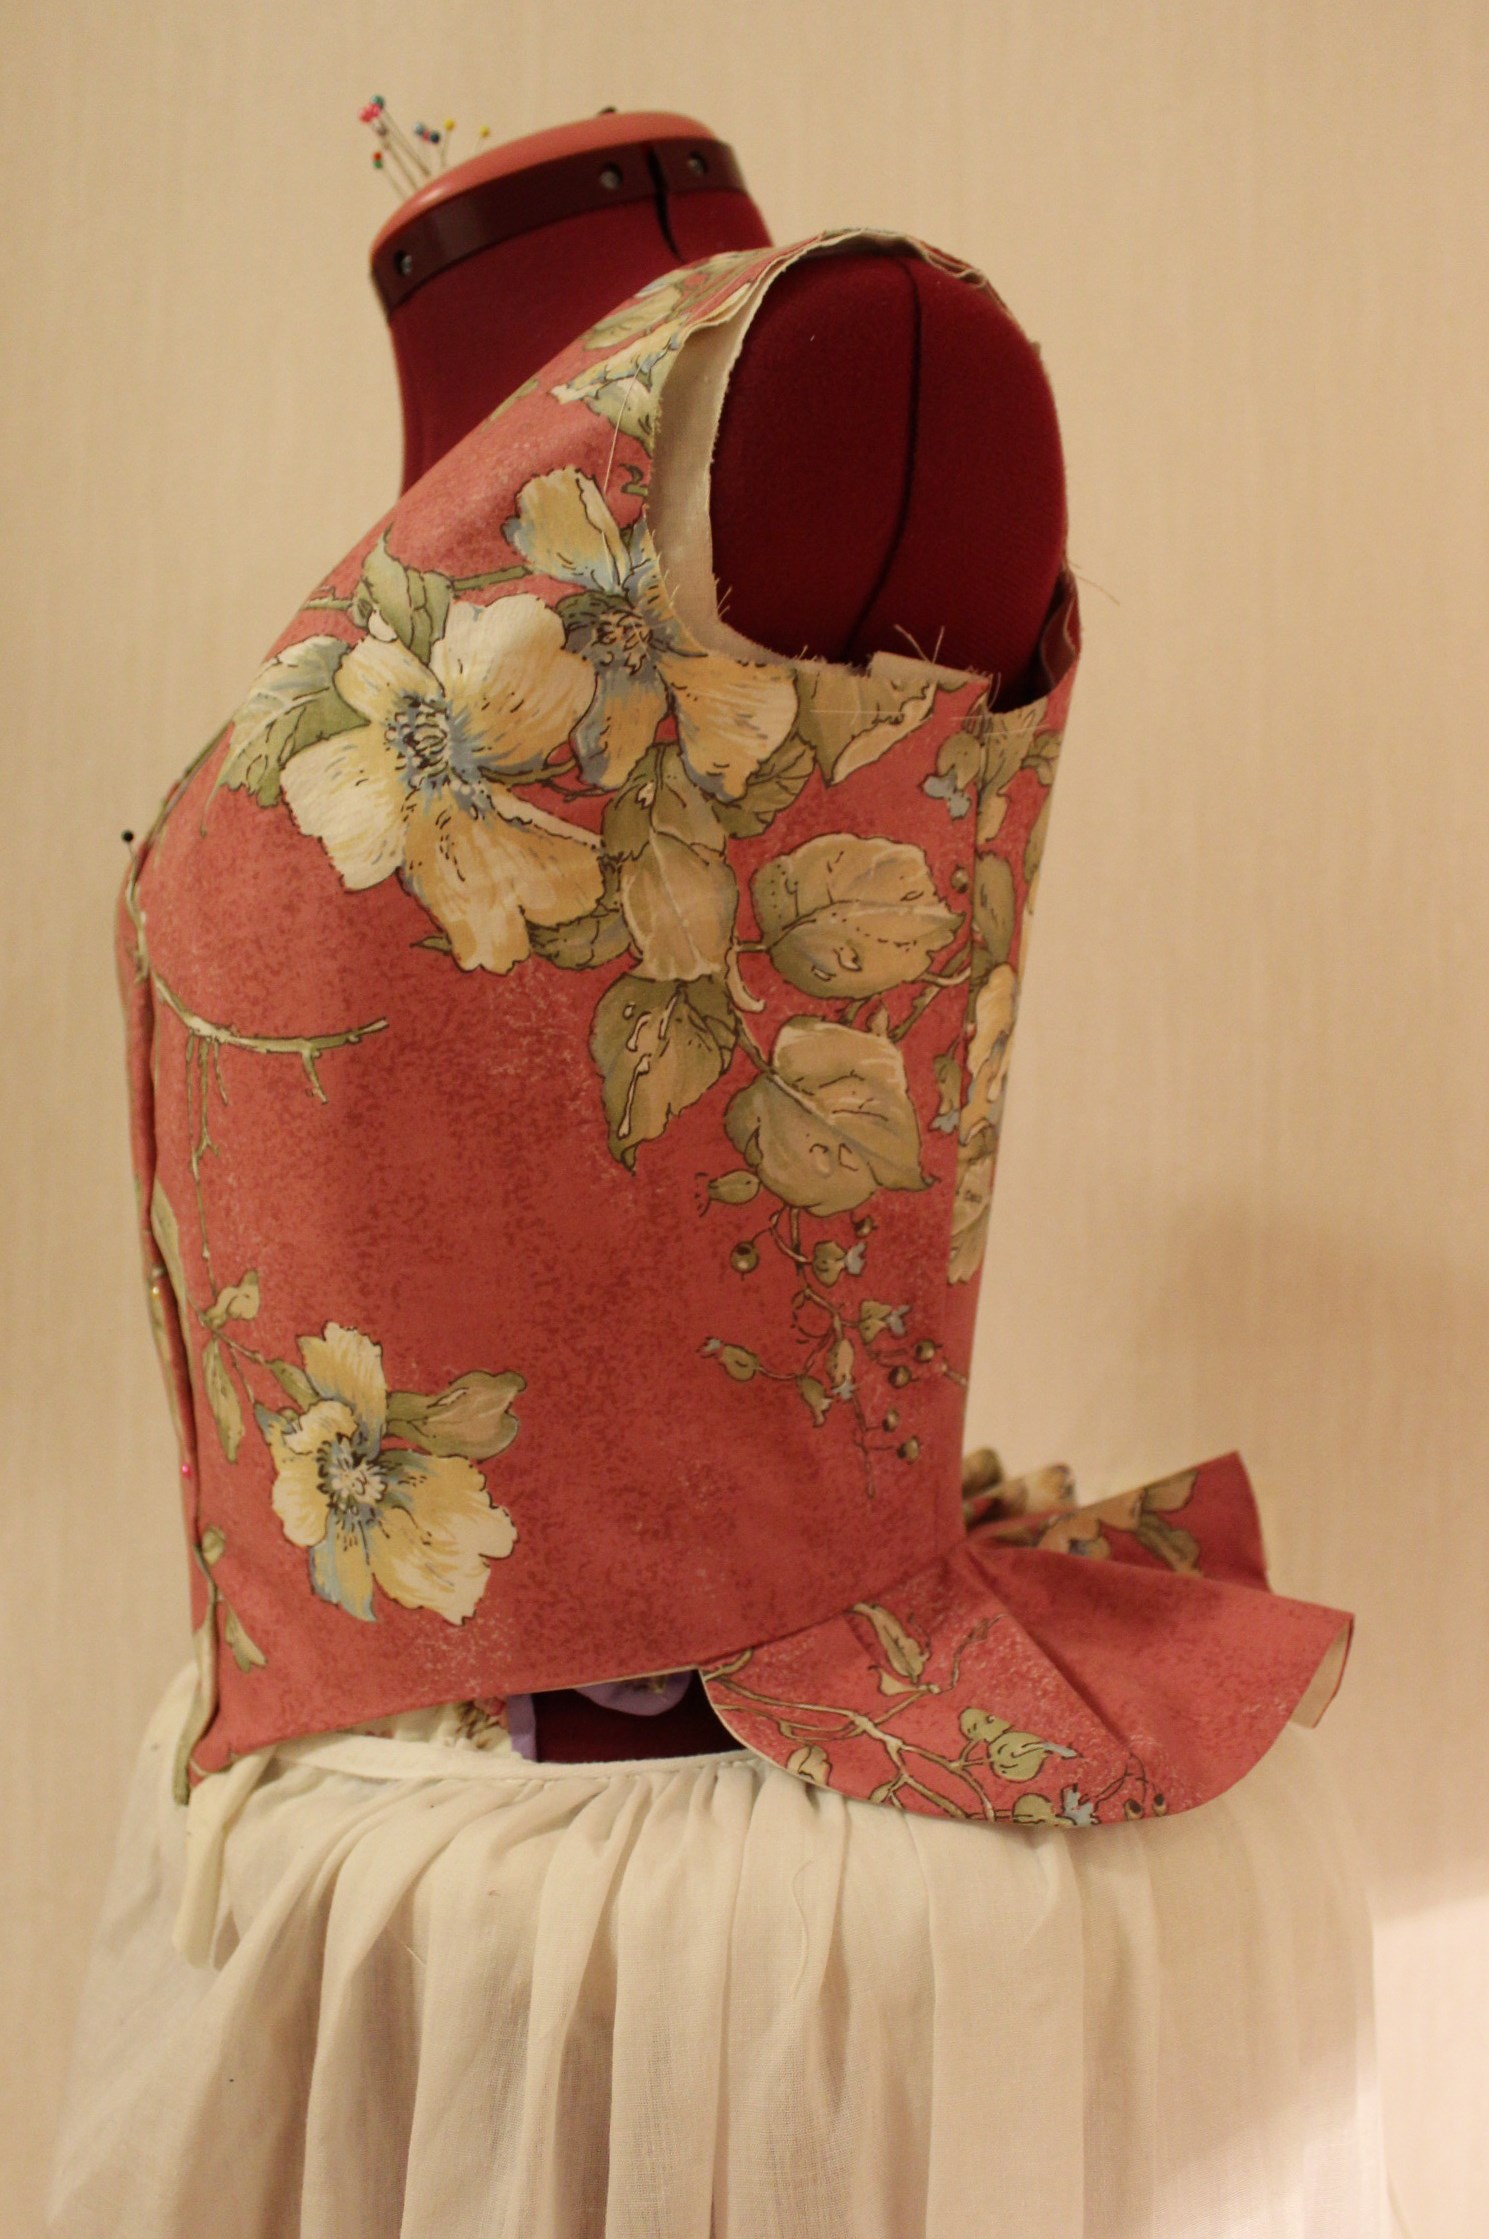
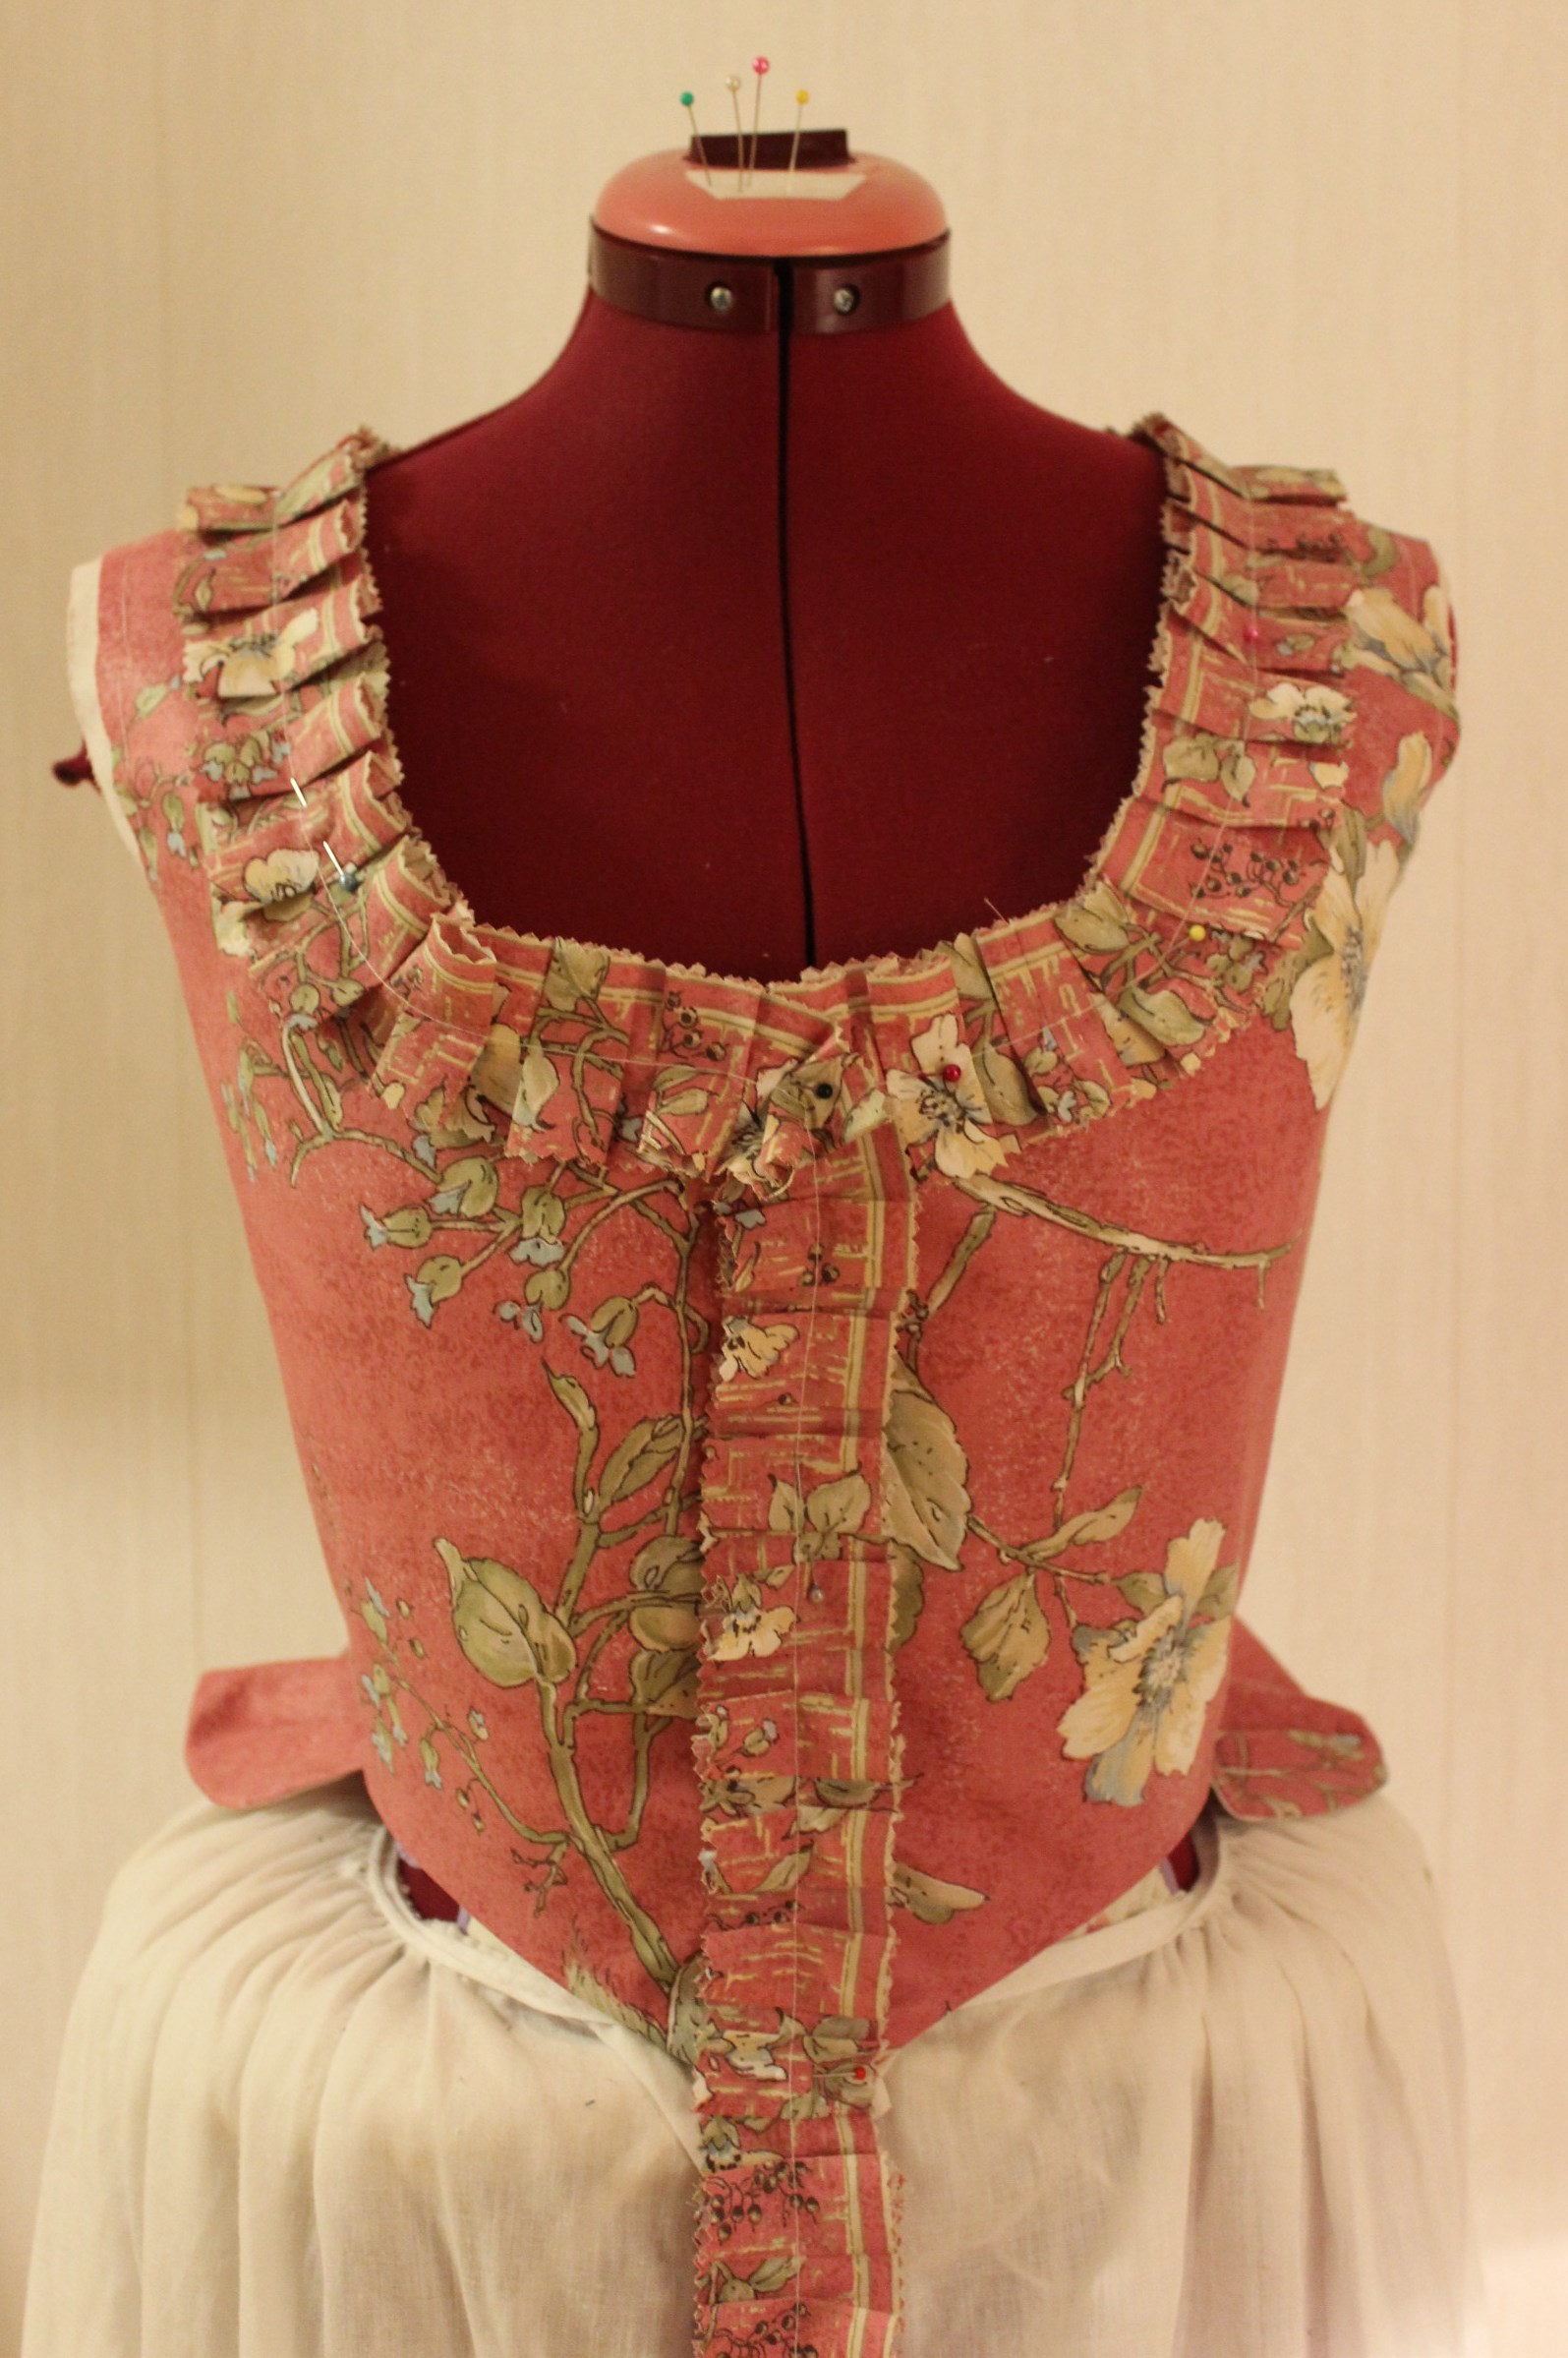
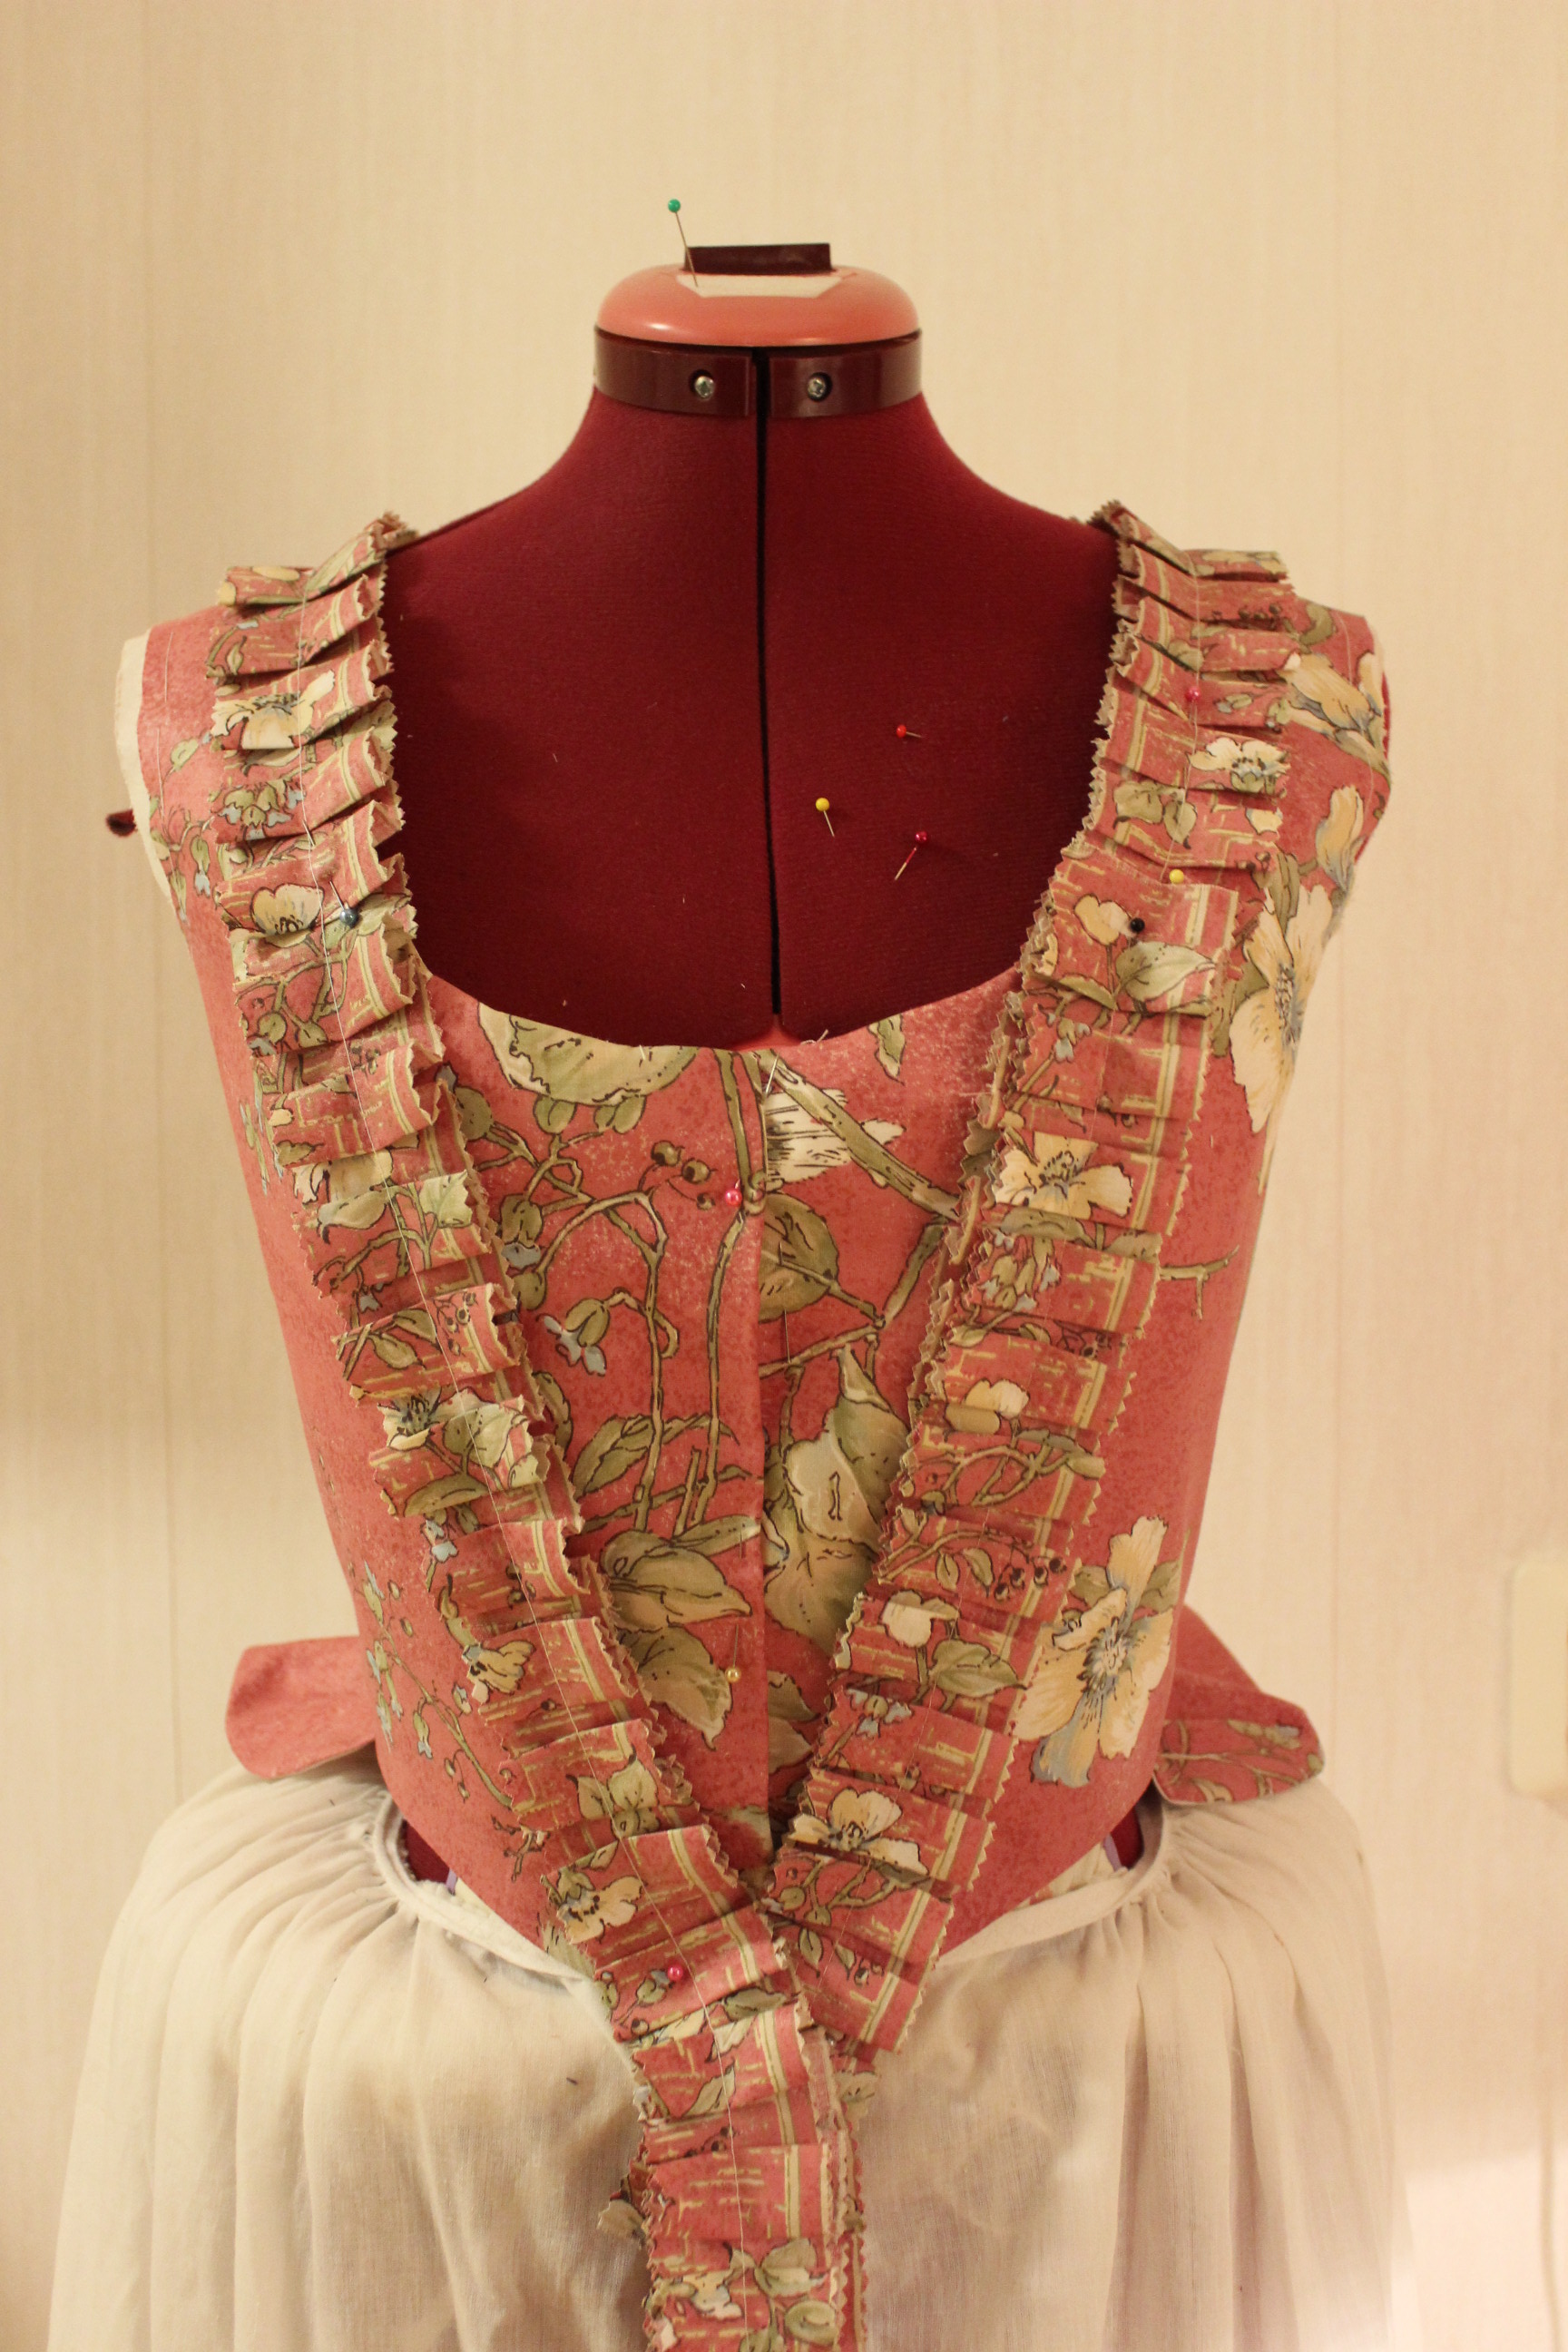
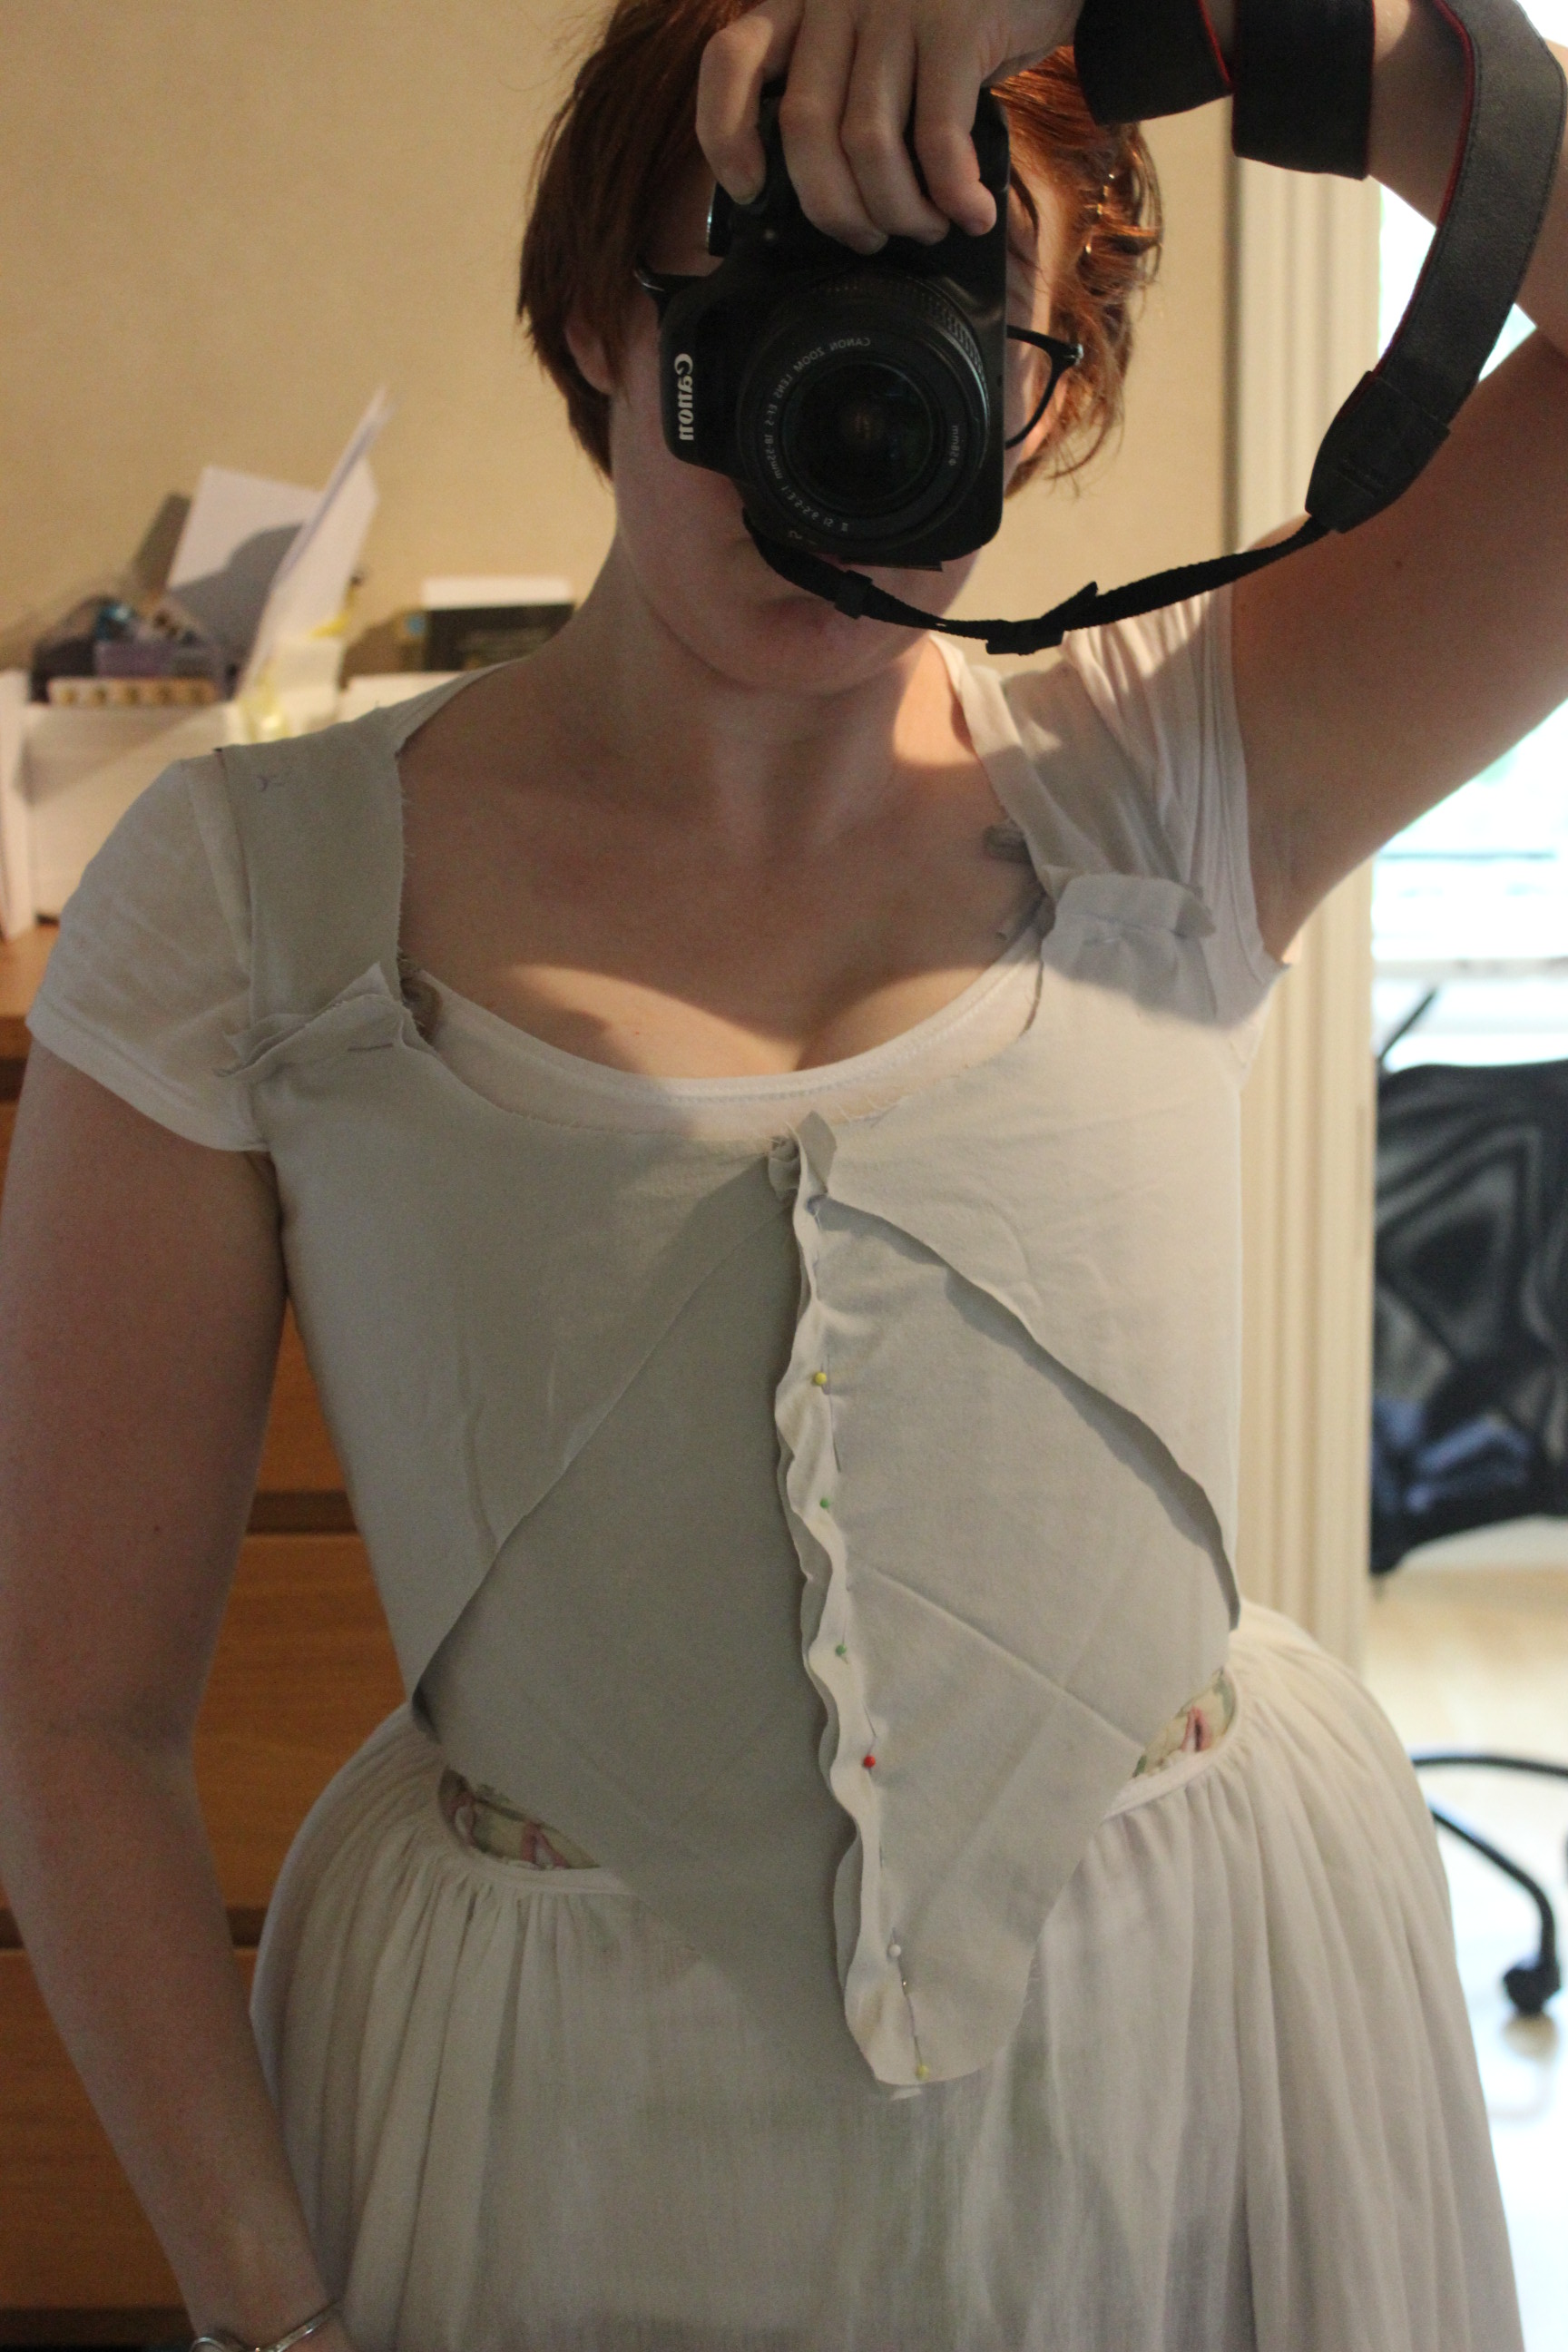
I then sewed the bodice togeter and tried it on to check the front closeur.
IMG_8524 IMG_8530
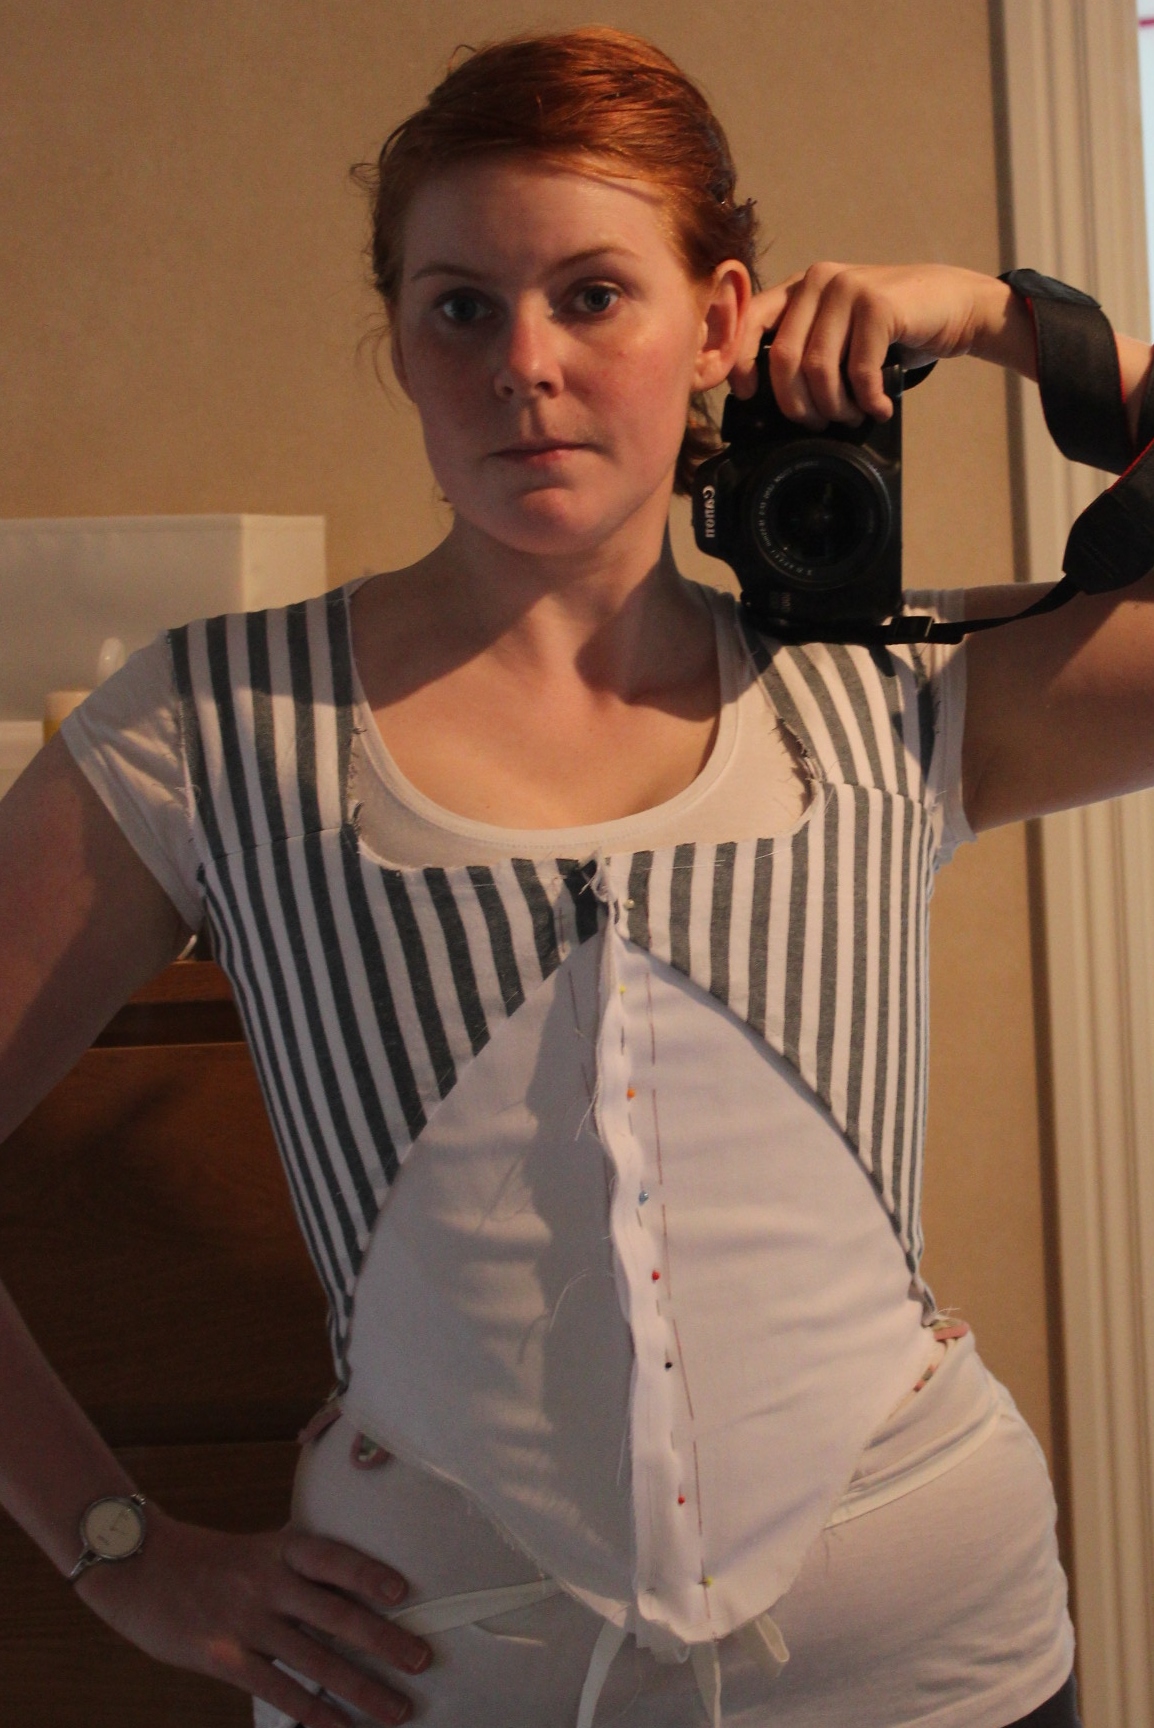
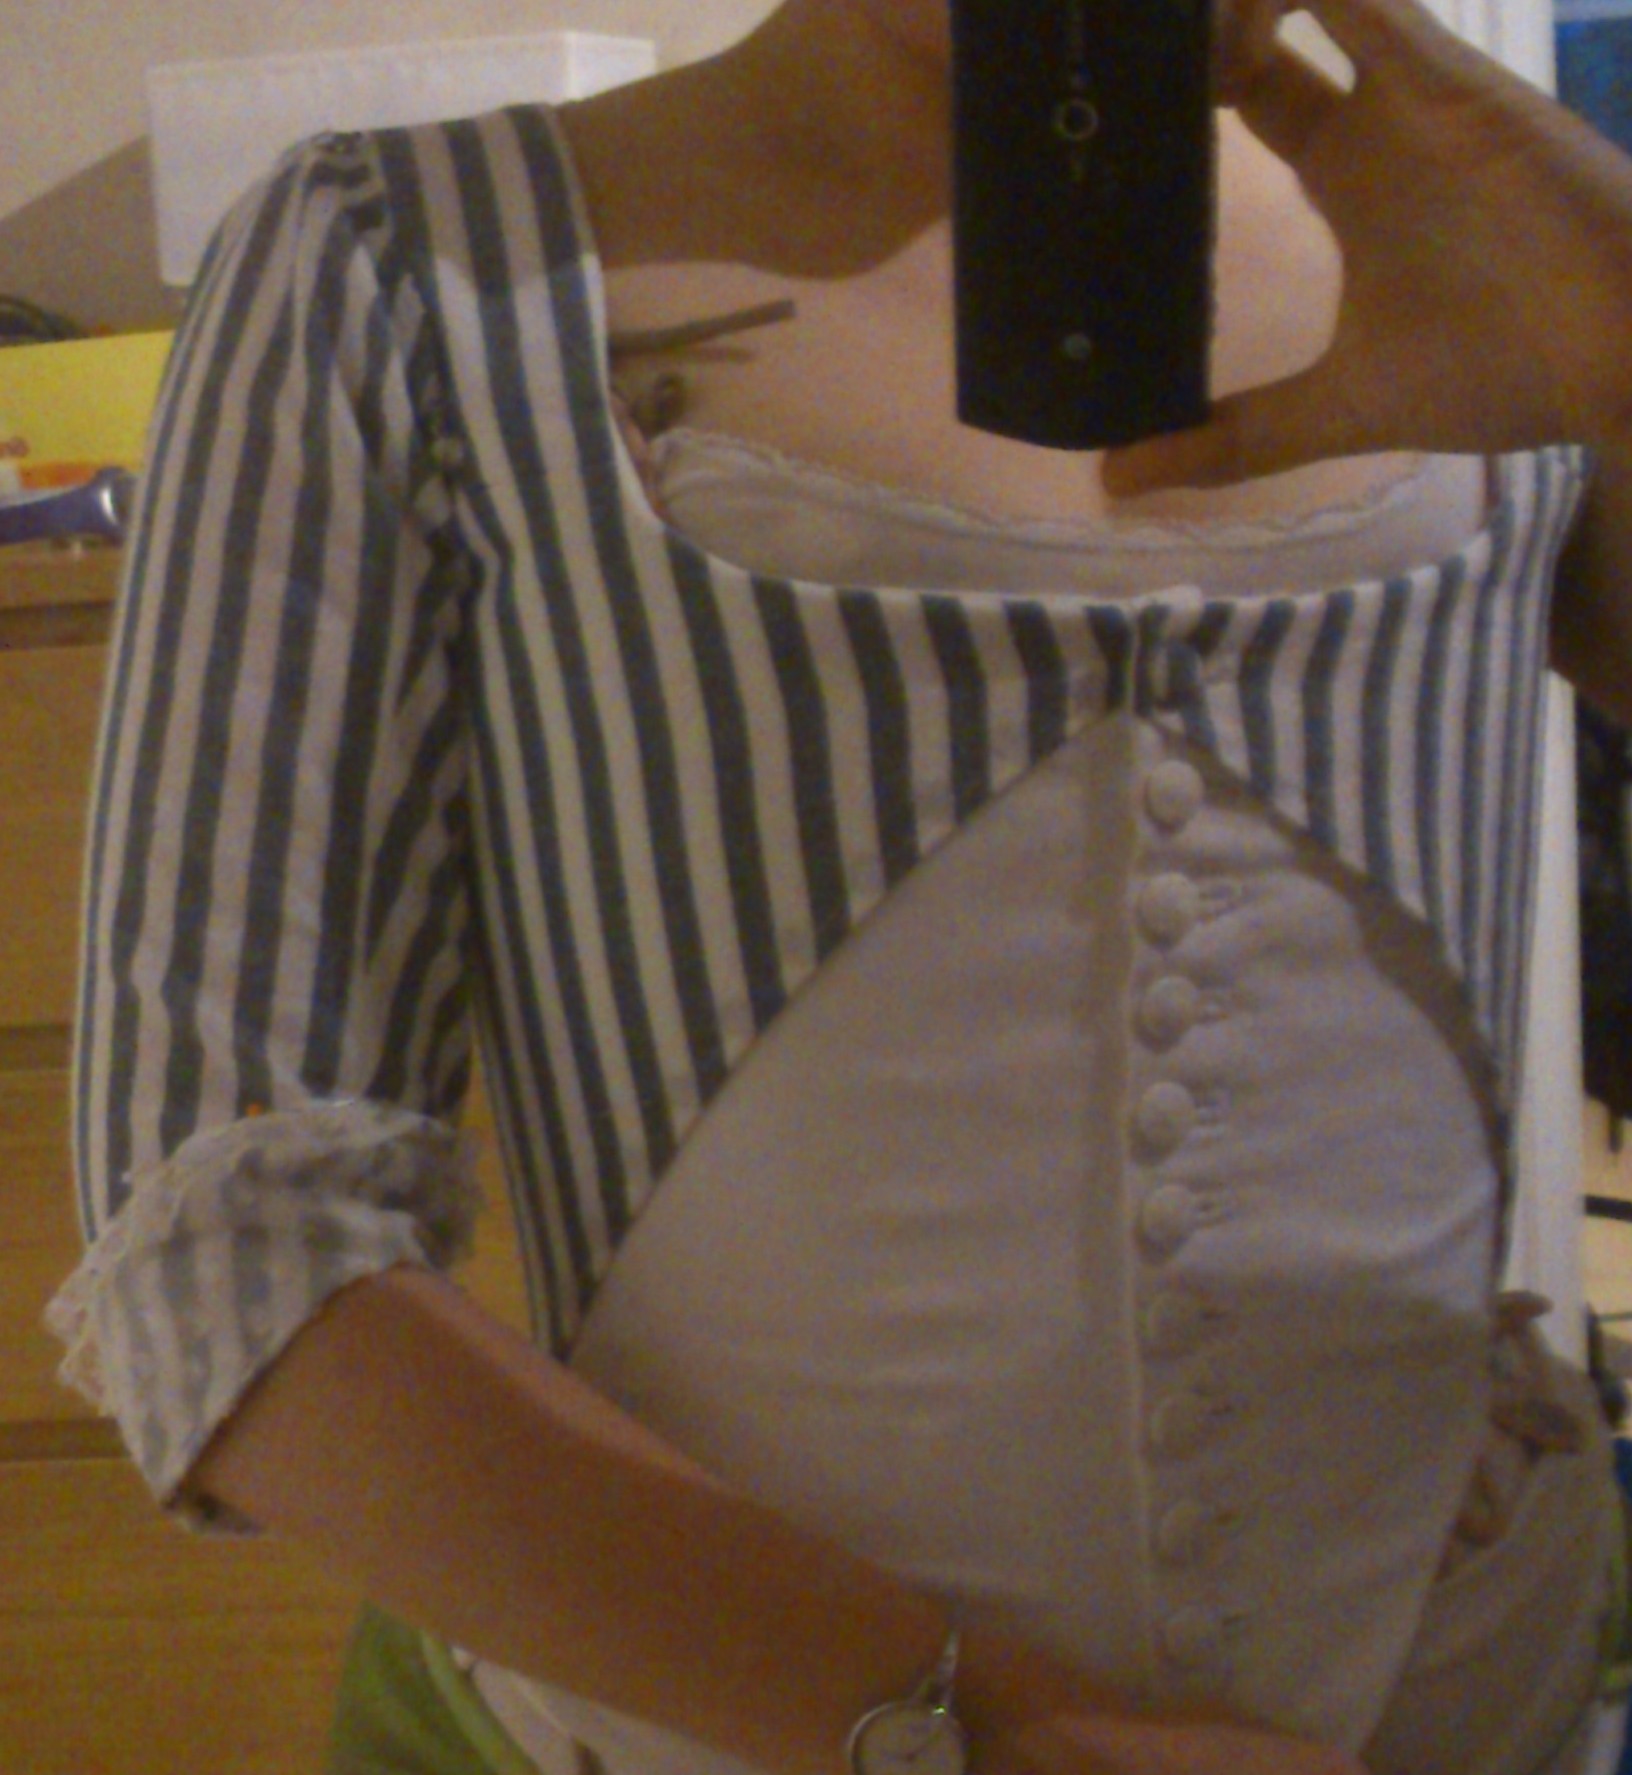
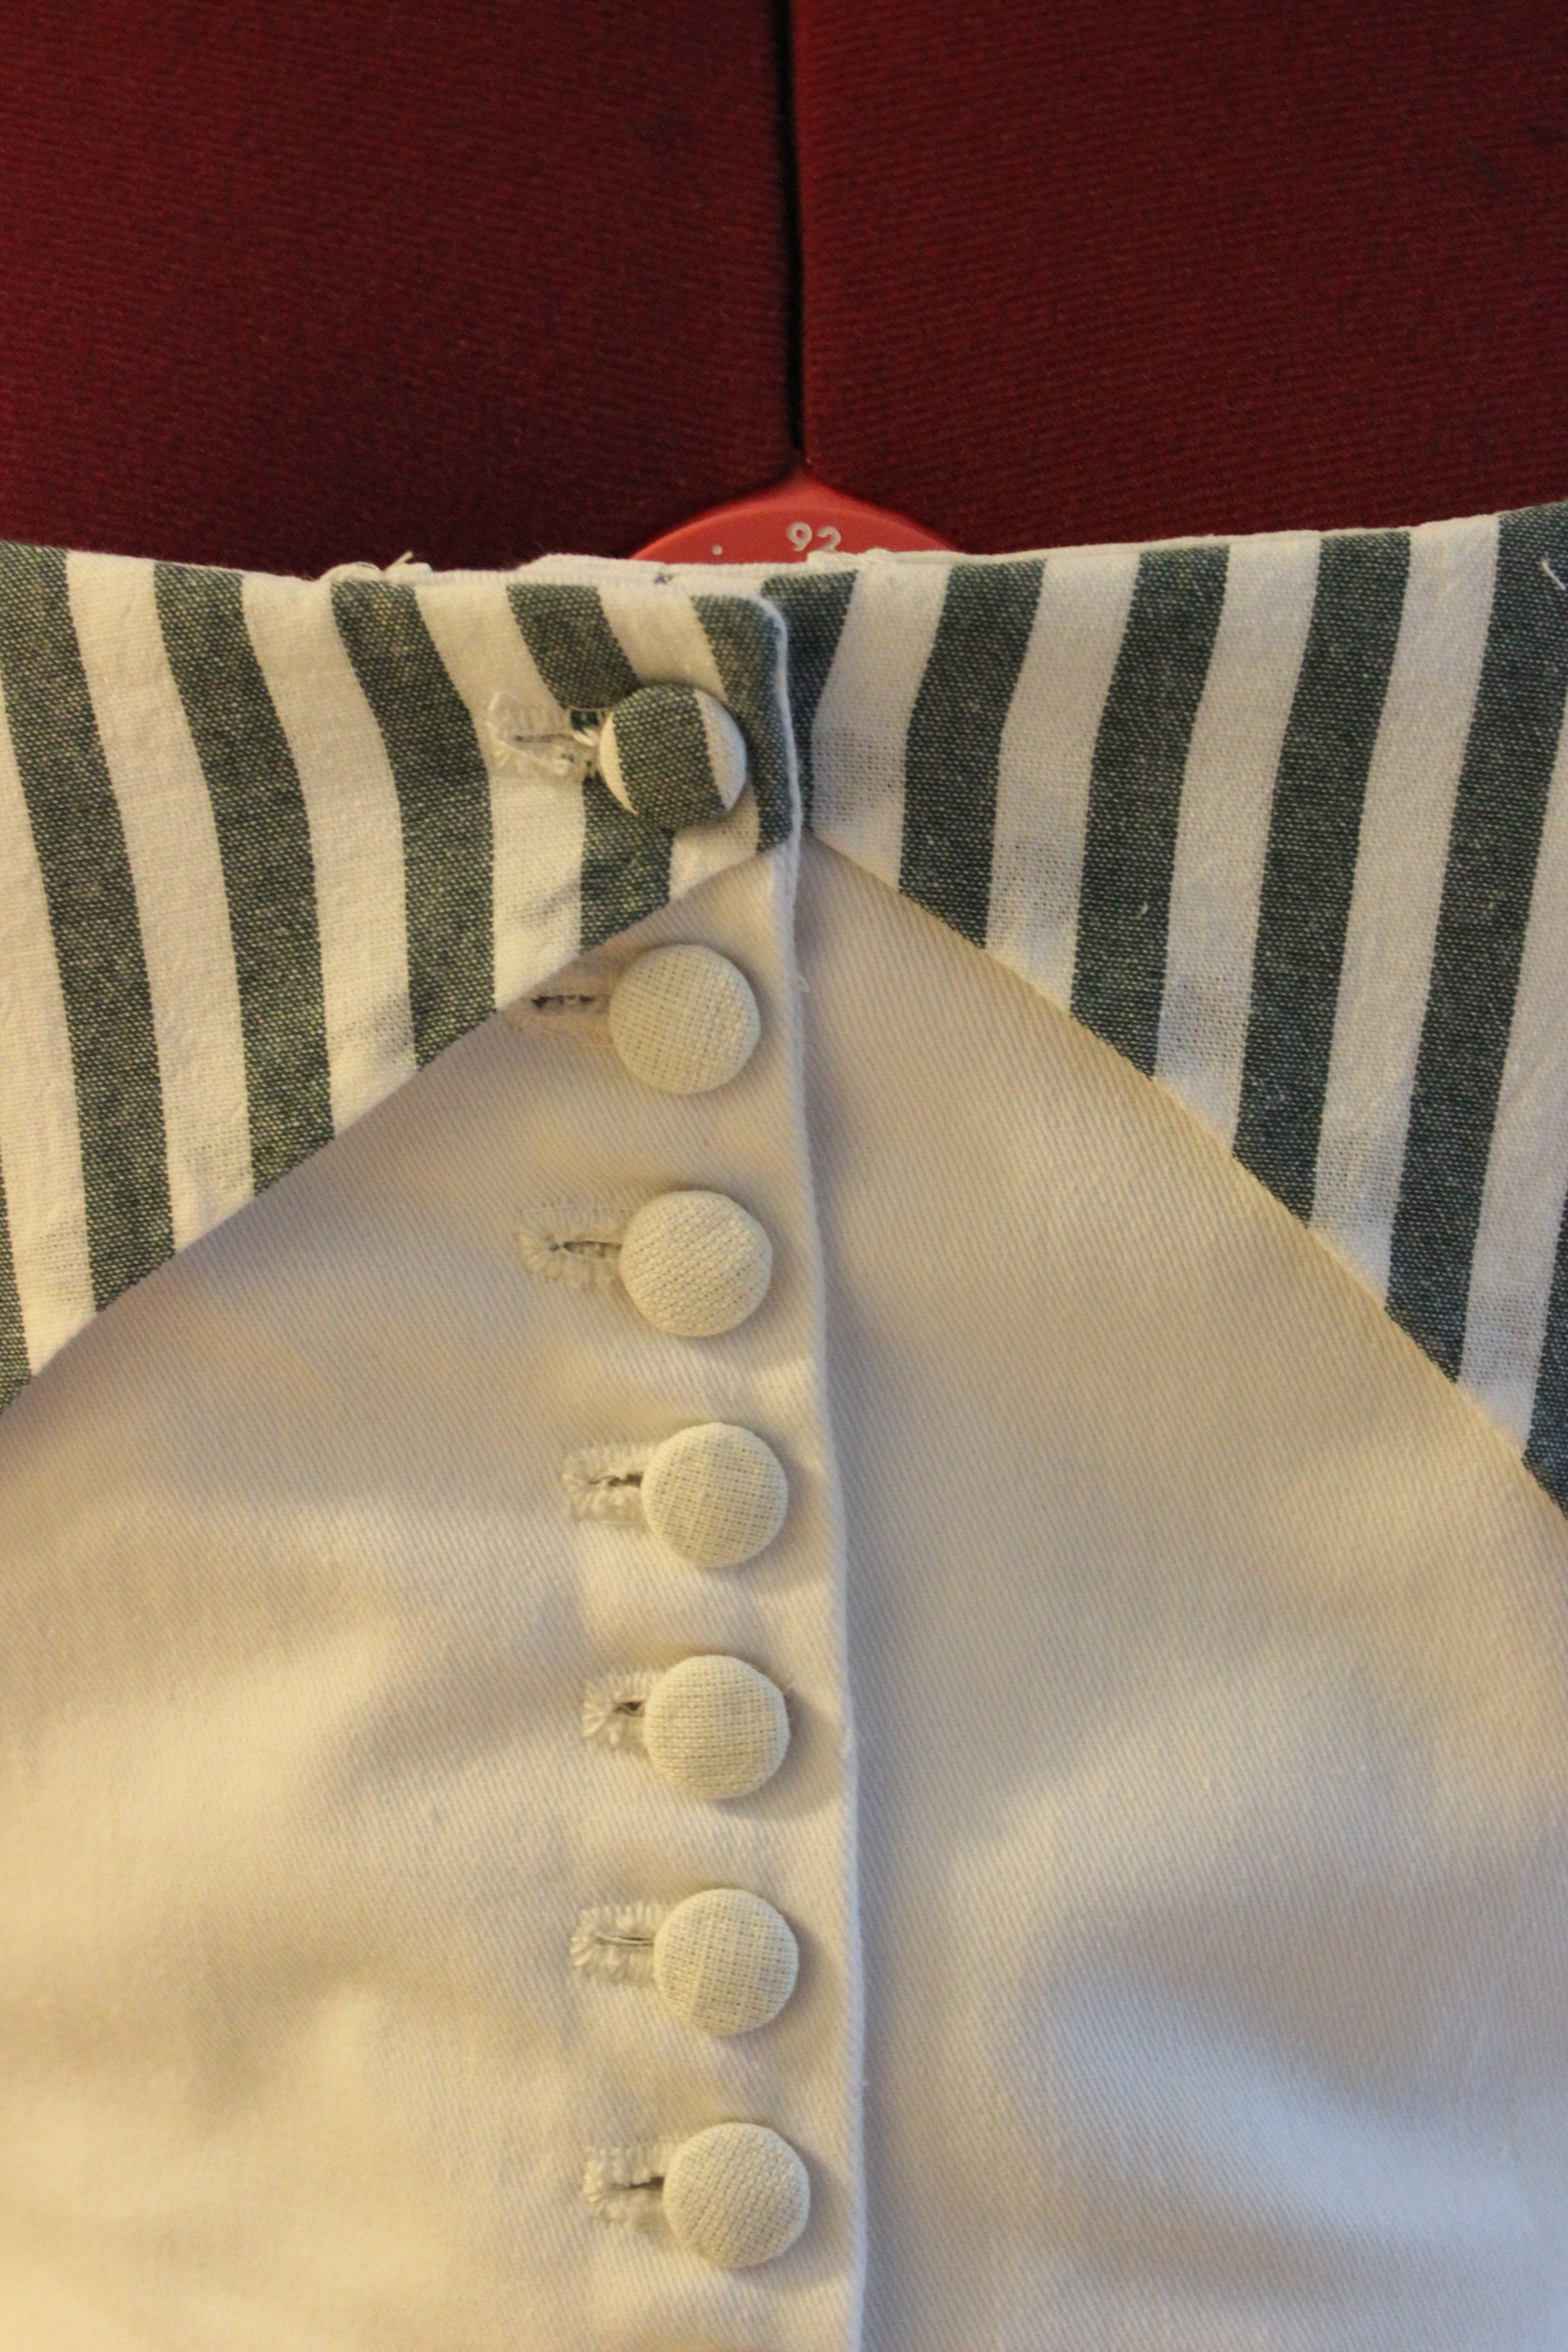
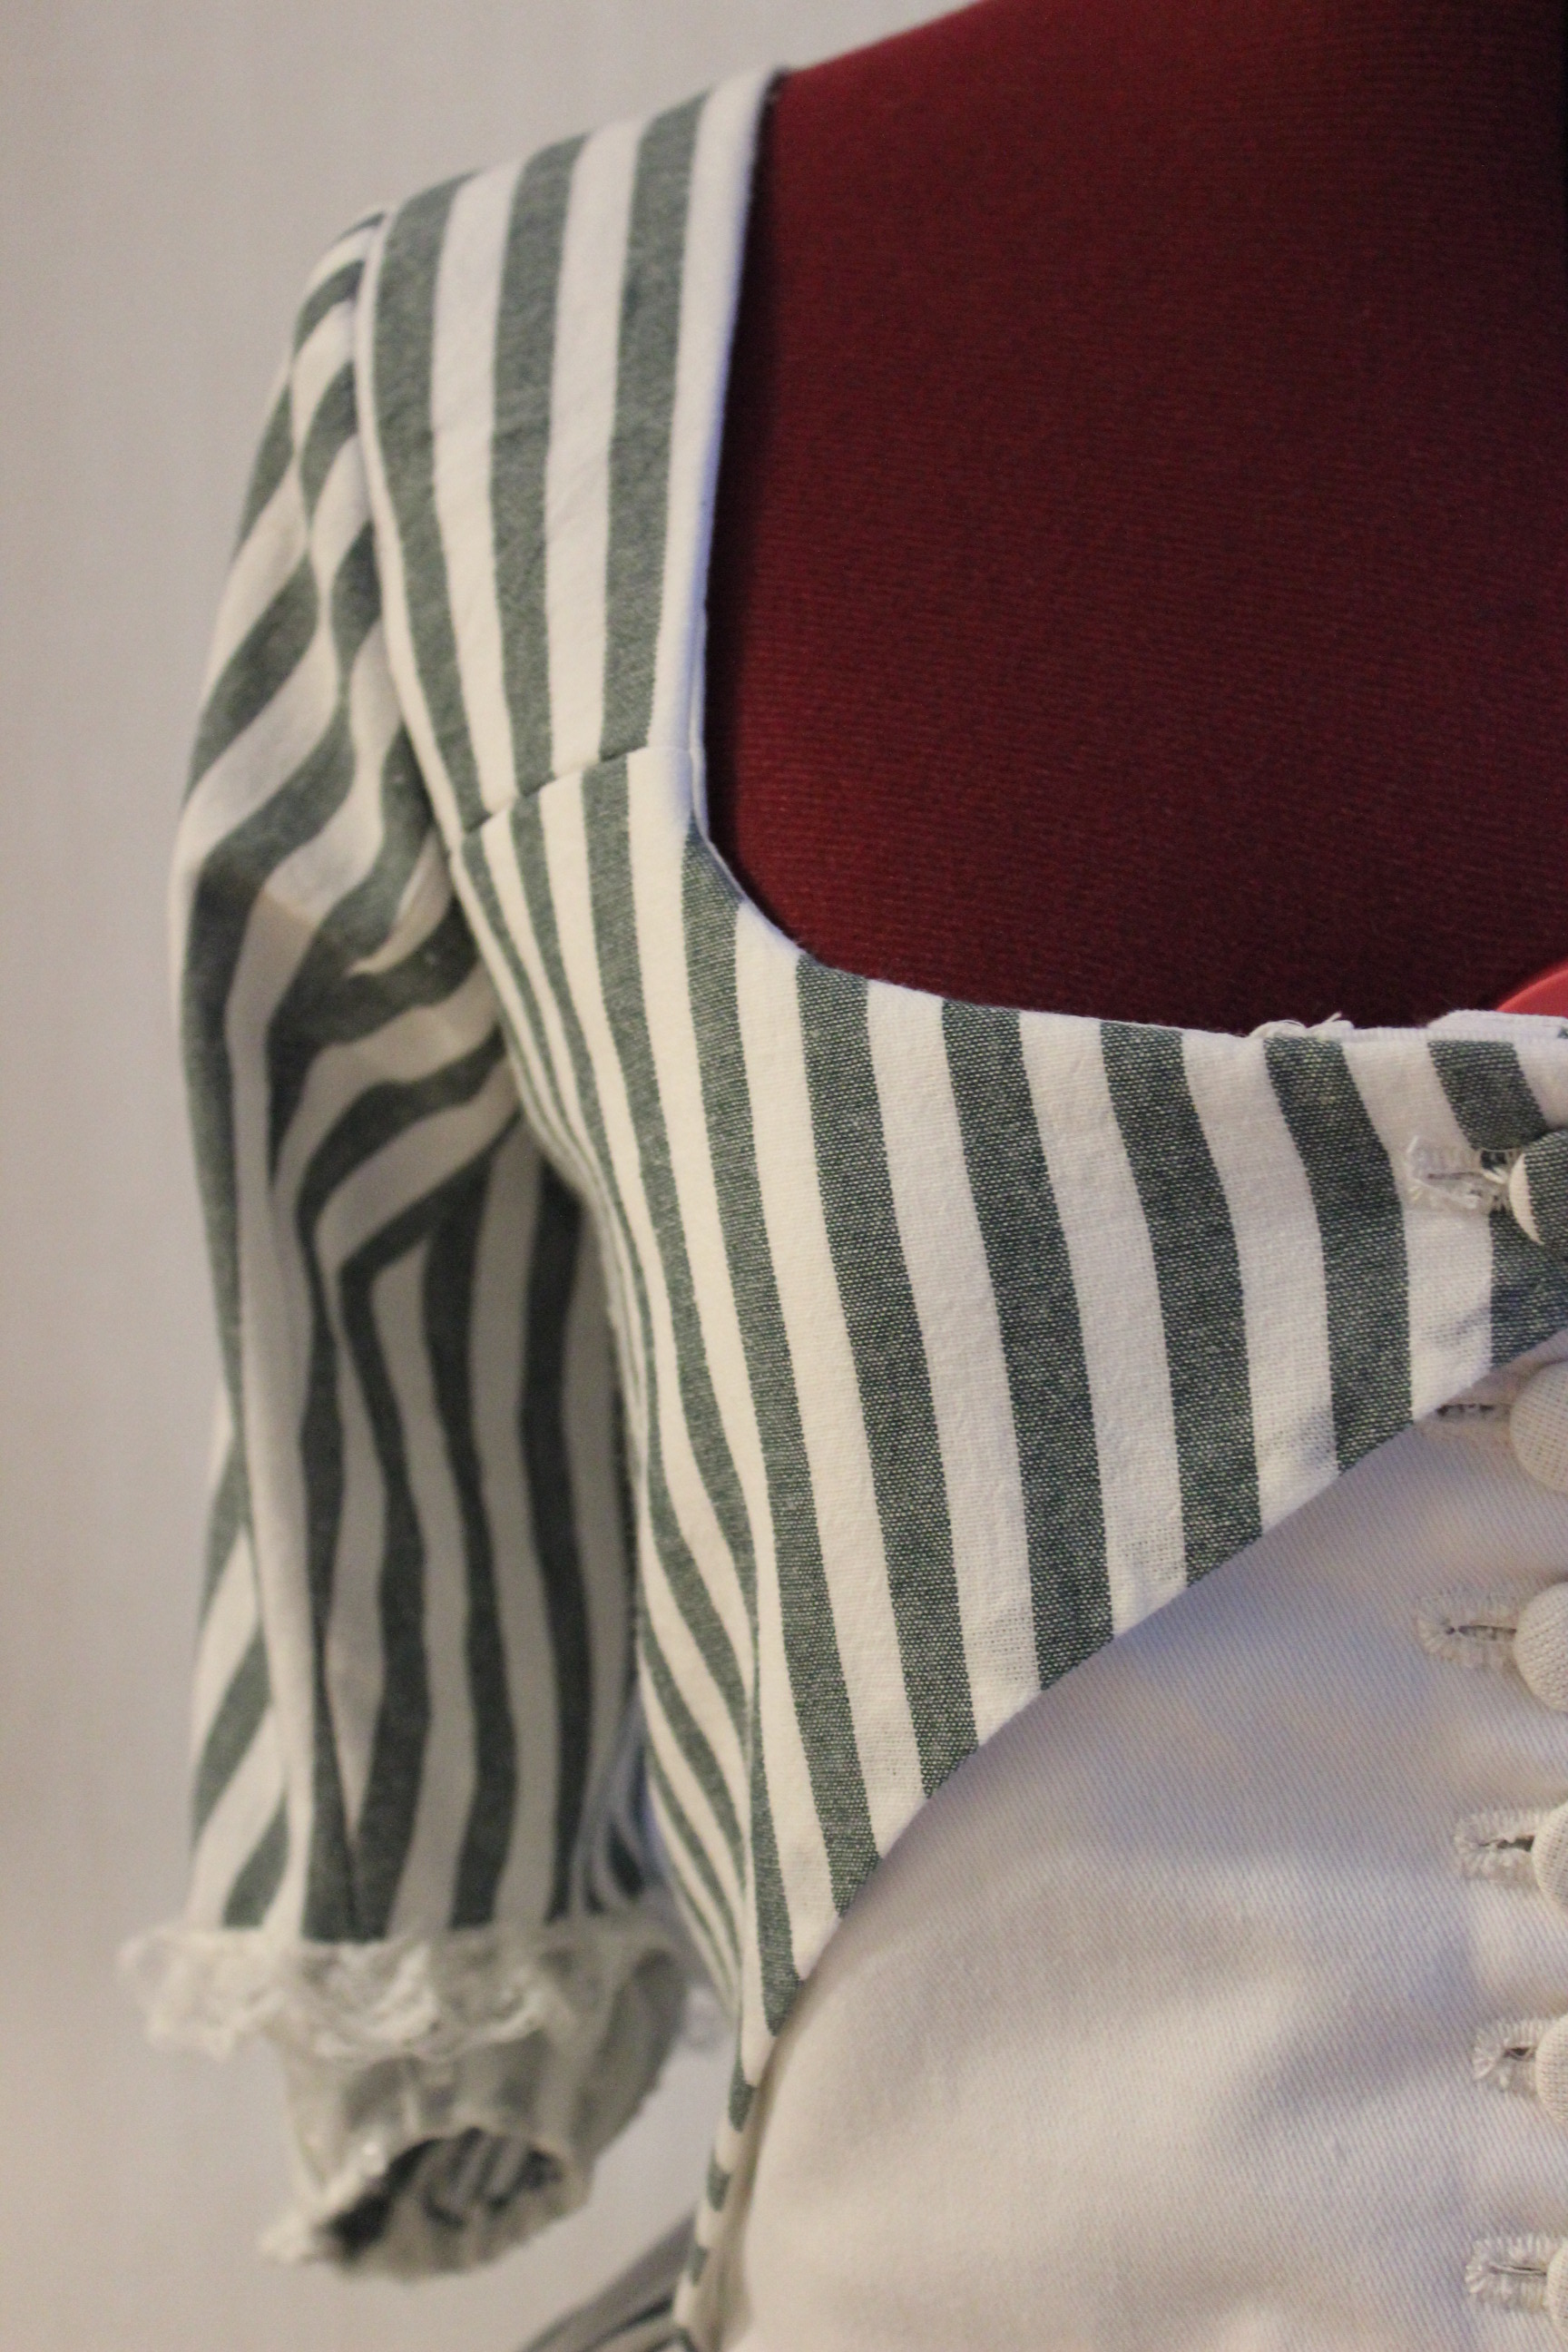
And as you can se the front lines dont match up. So to fix that I needed to adjust the center front line and make a buttonhole placket. This metod is usaly a big no no in sewing but time was sparse and I’ve already manadged to mach the stripes pretty good, so I did’nt want to adjust the side seams.

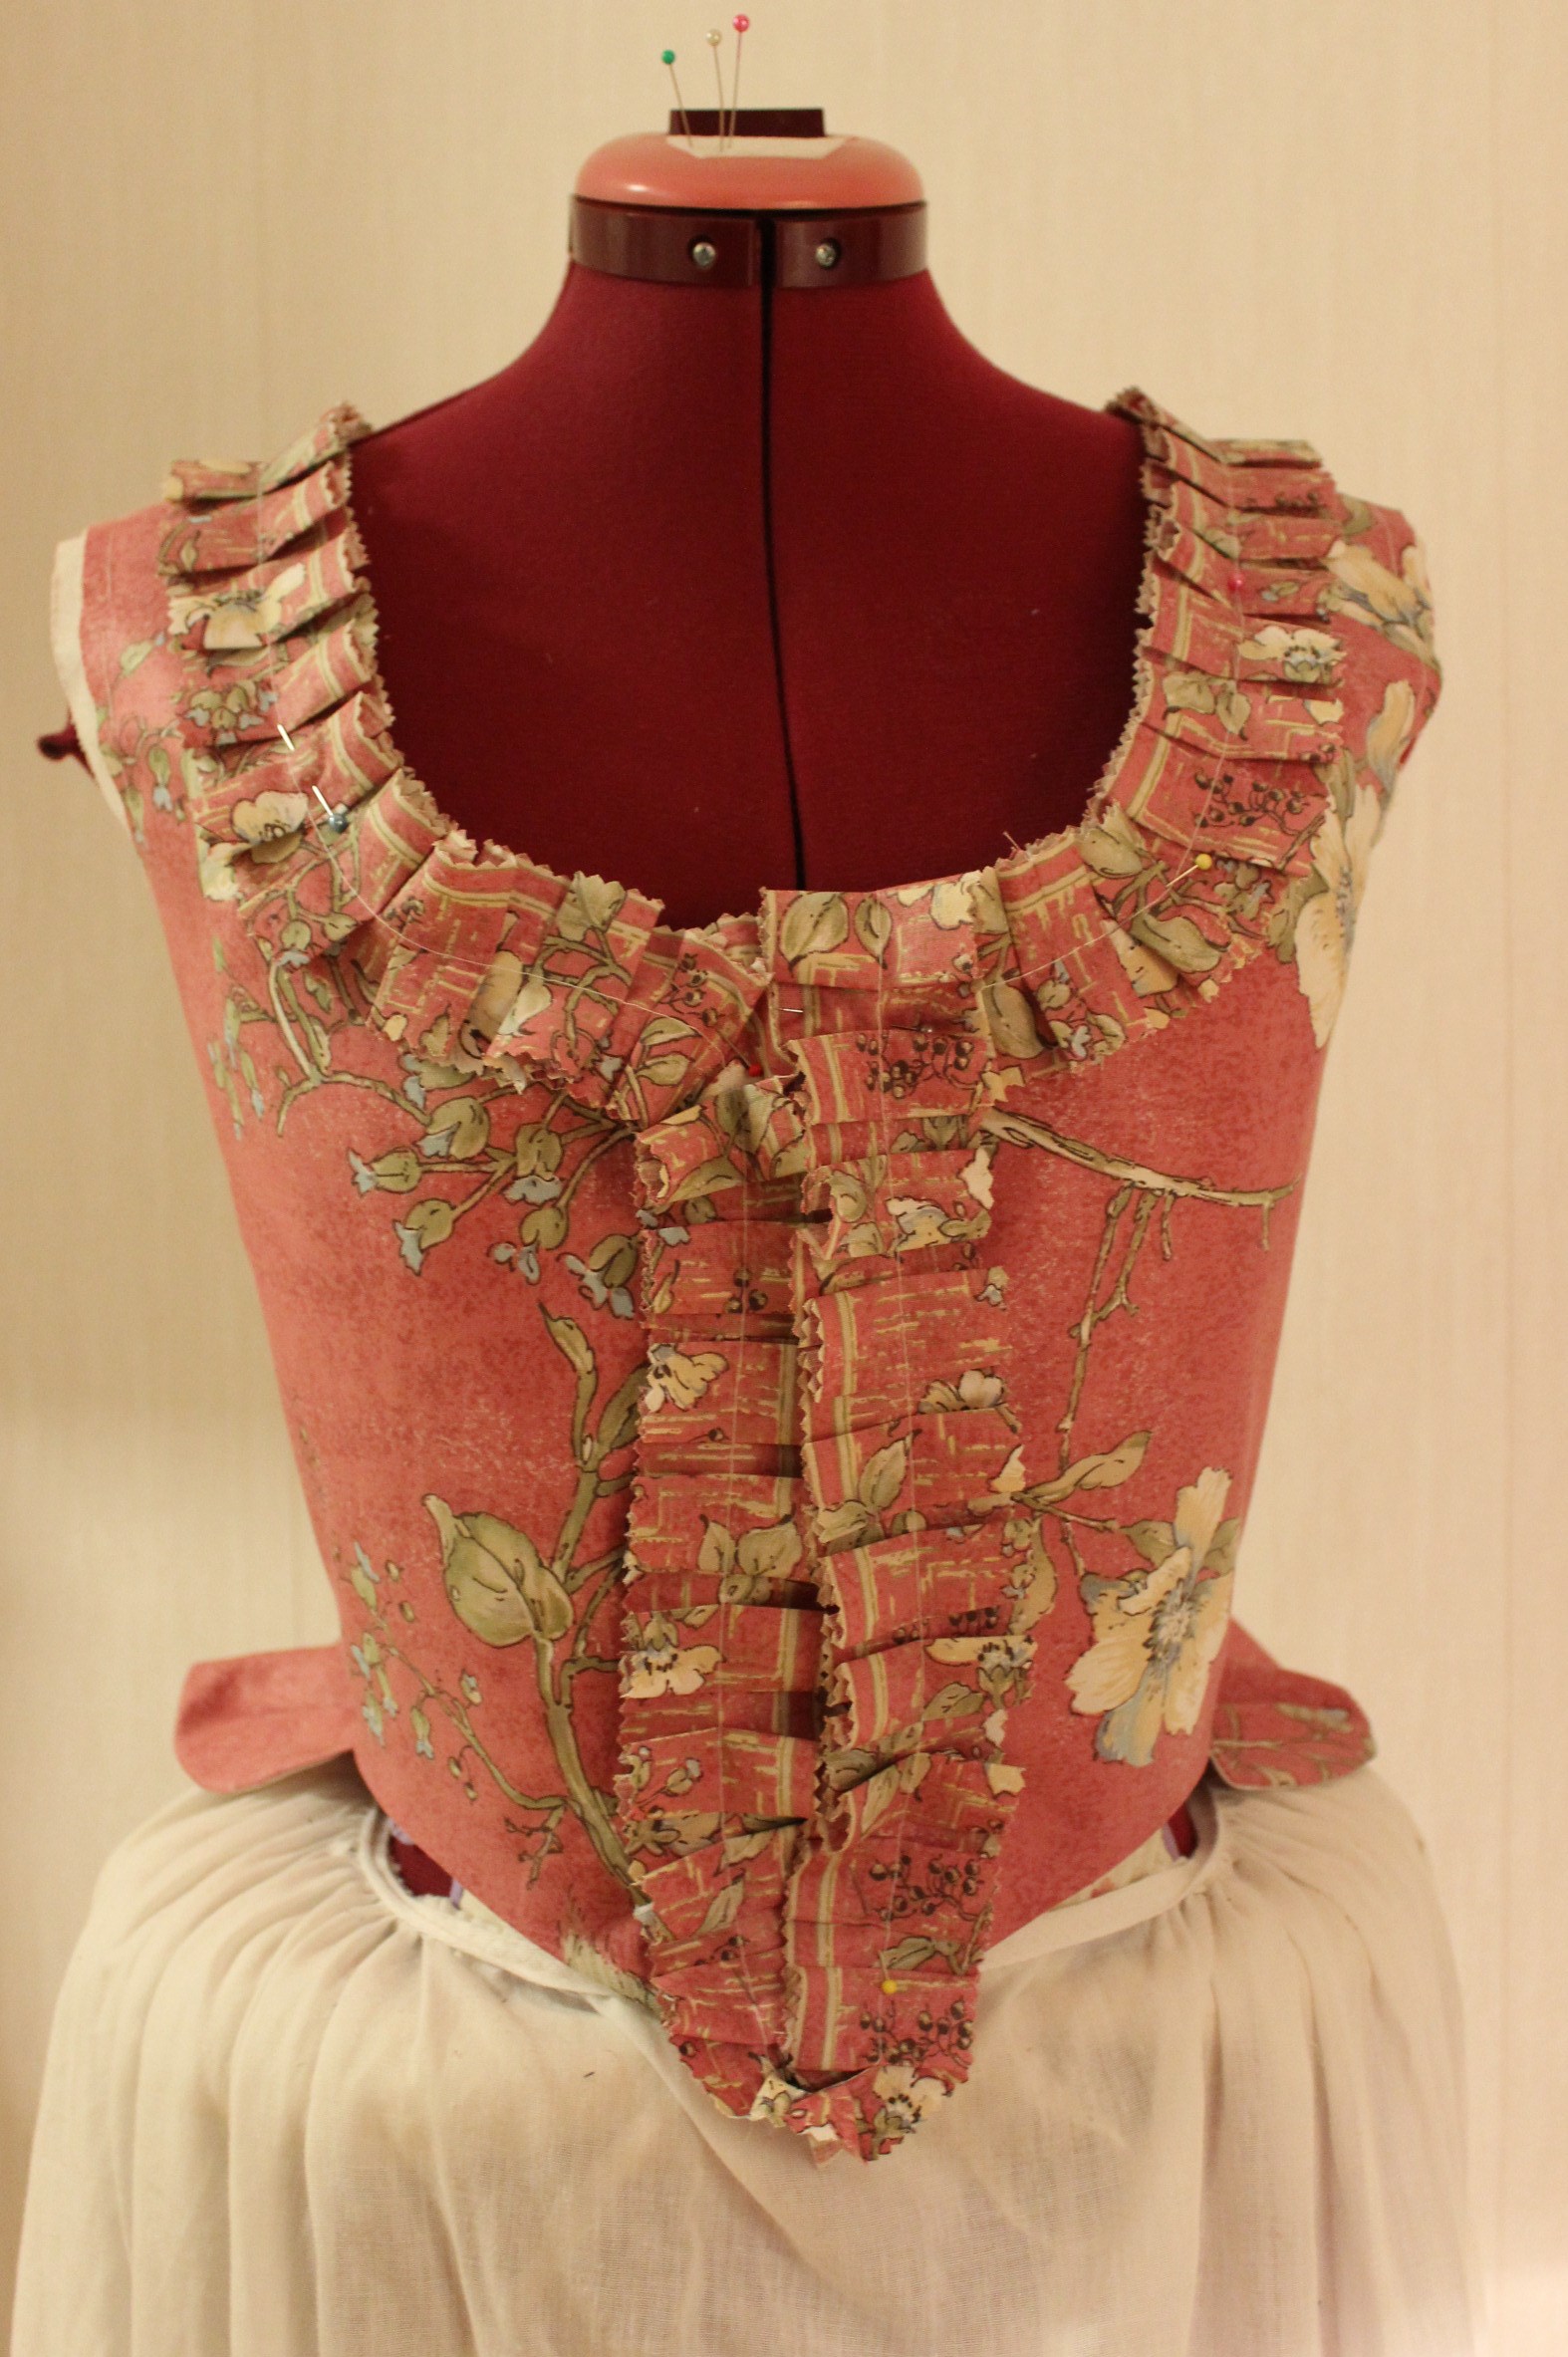
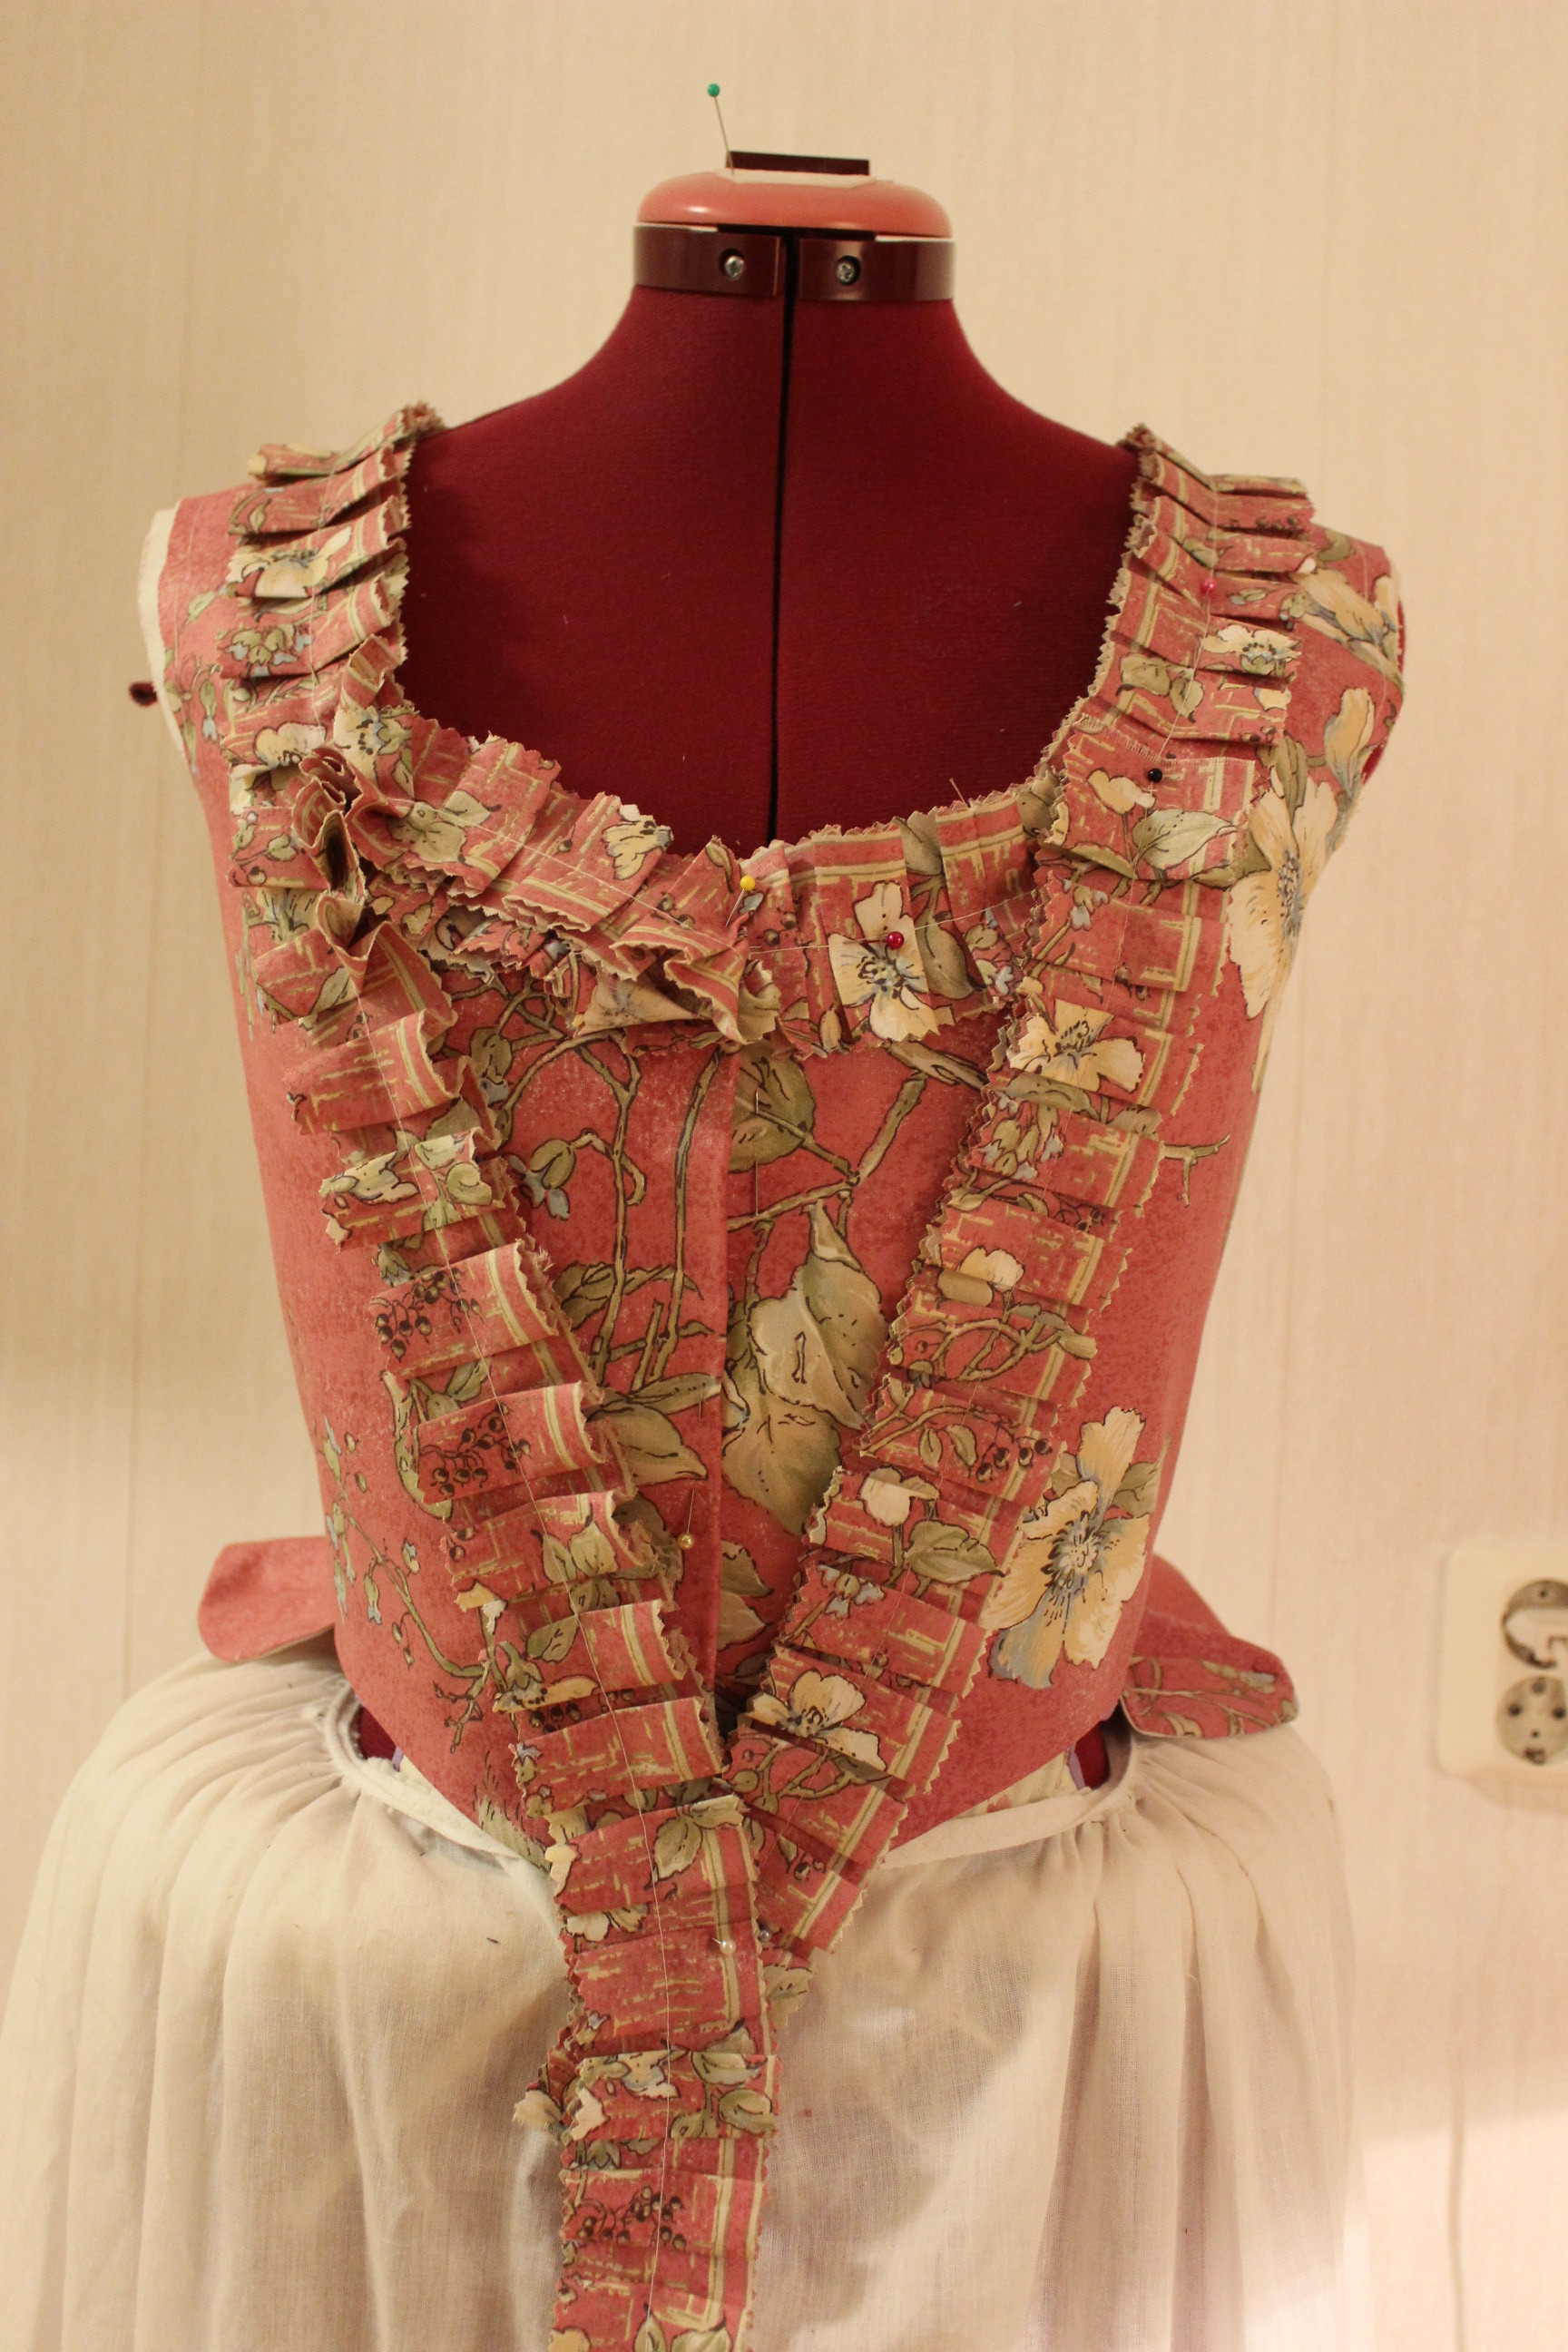
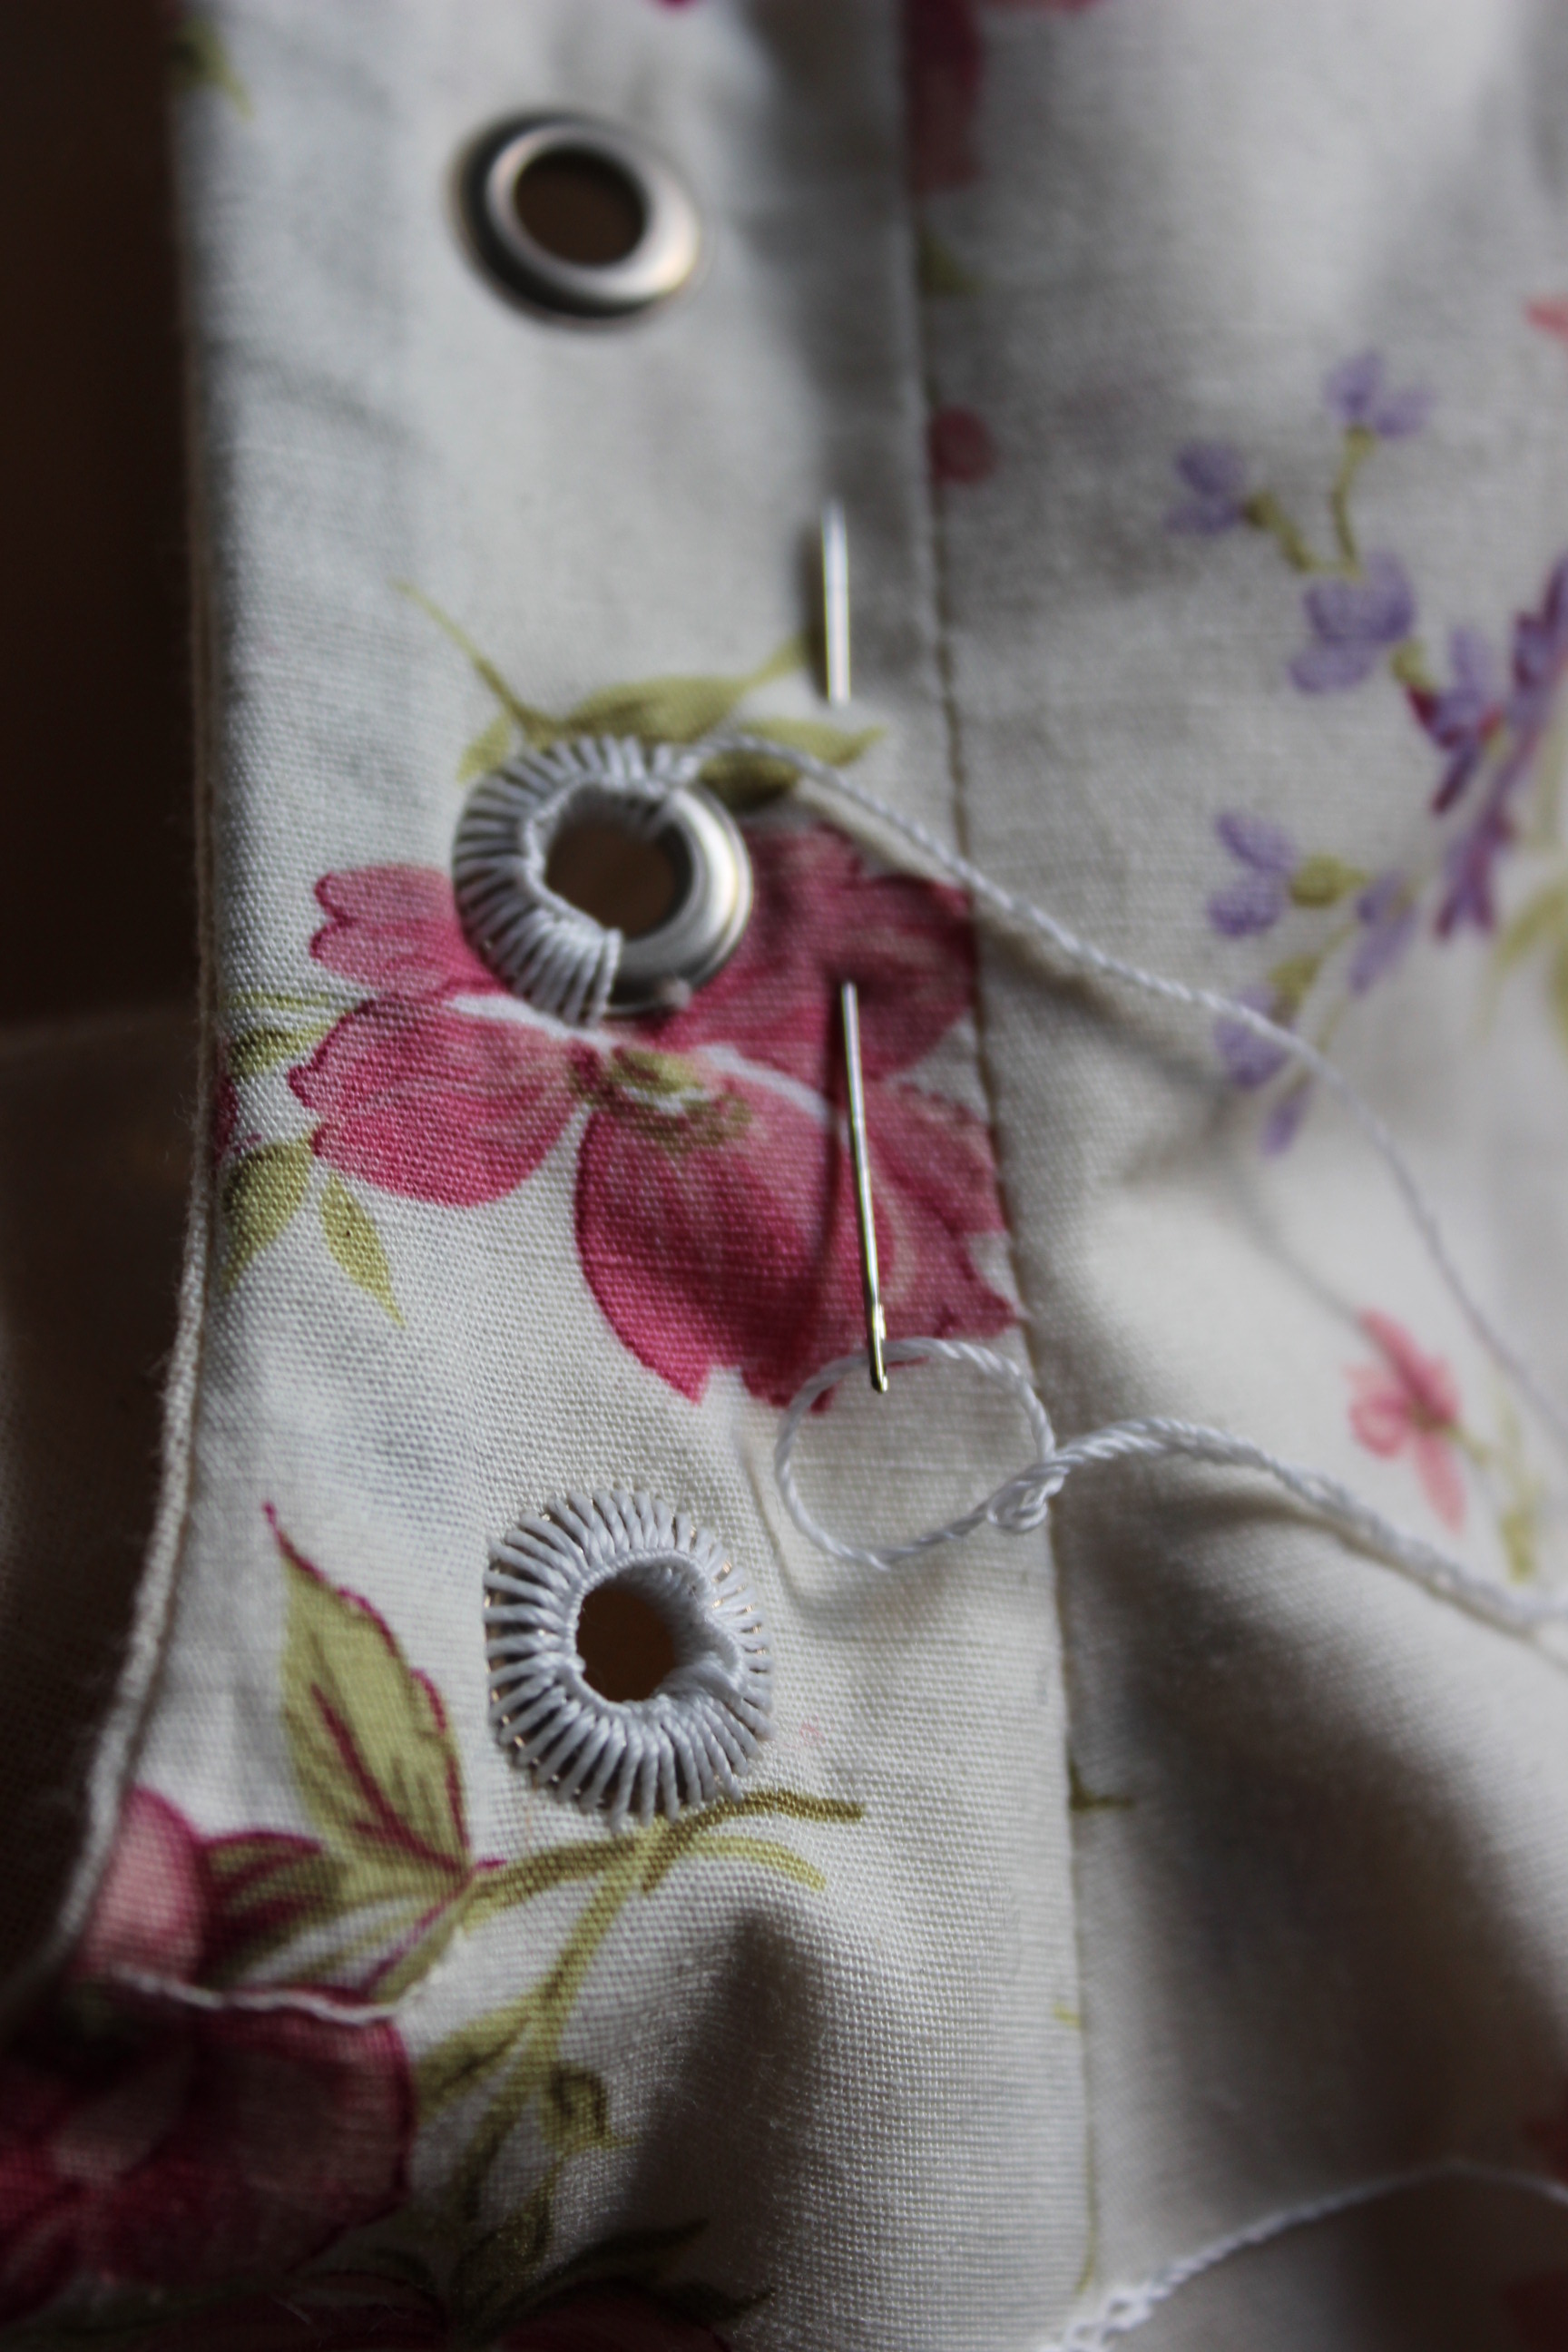
Then I started on the button and buttonholes, also hand stitched. IMG_8539 
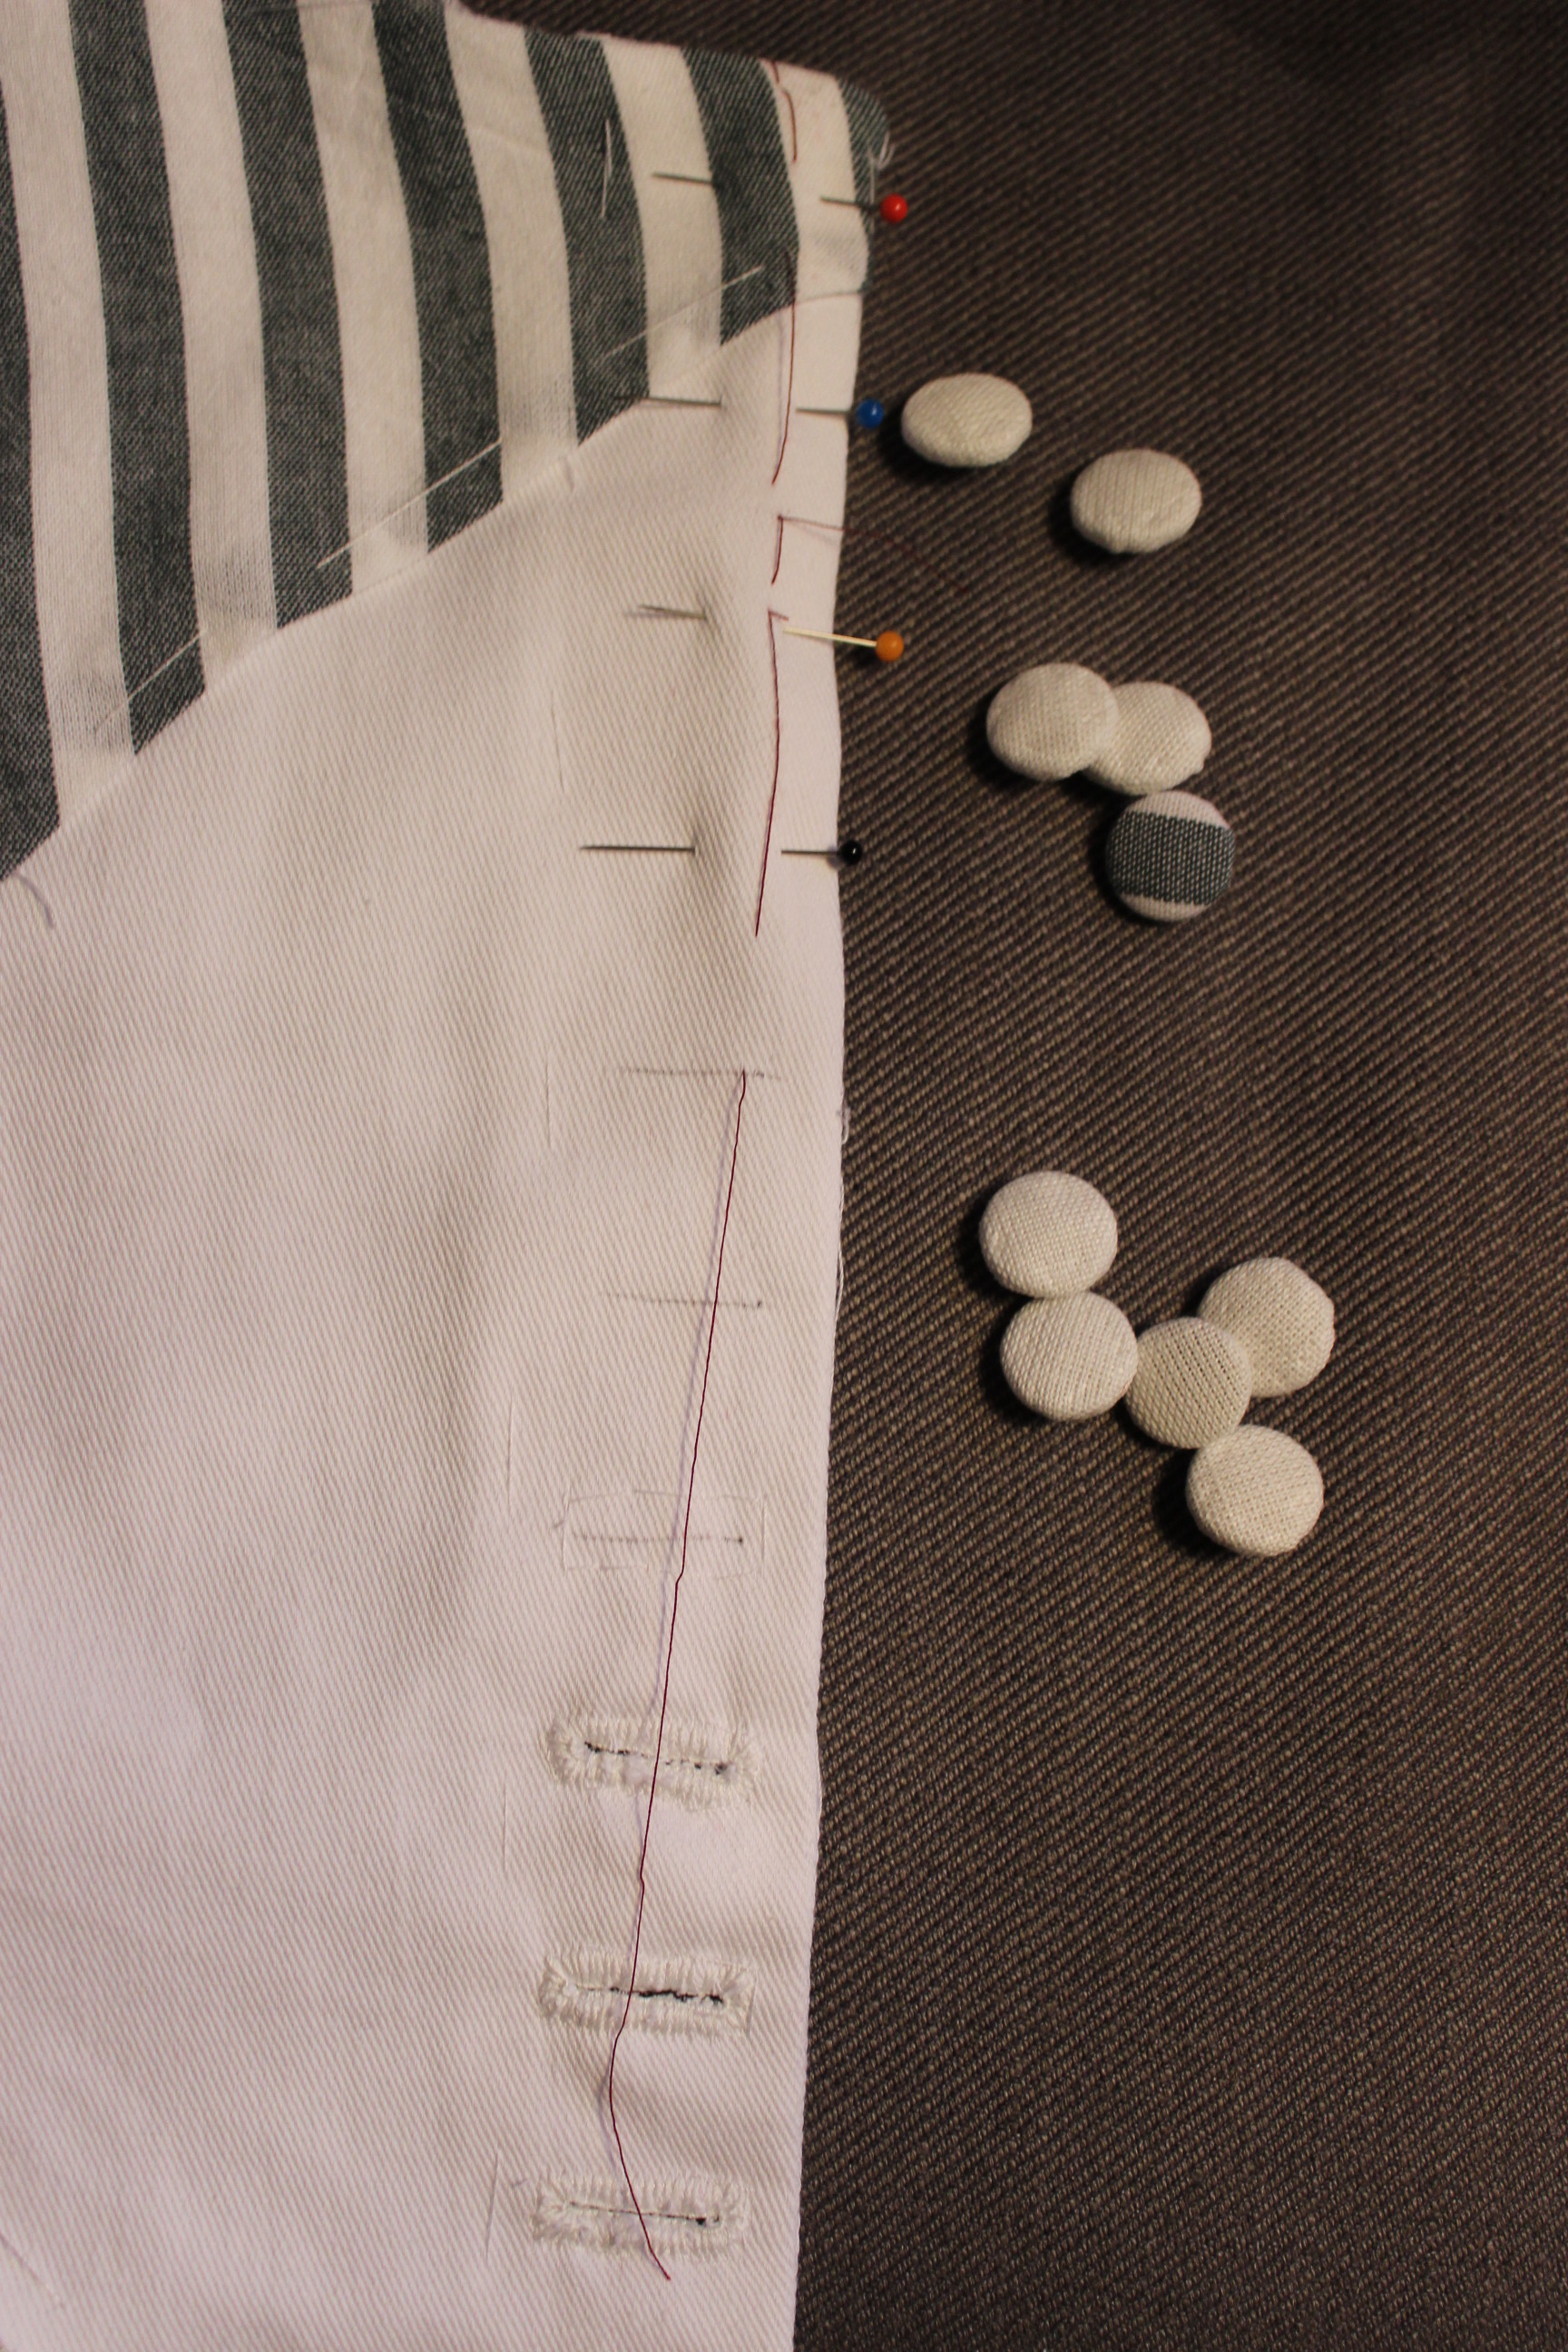
They are not as neat and pretty as I would have liked but they will have to do. And I even needed to use some fabric glue on the buttons to keep them from snapping apart.IMG_8557

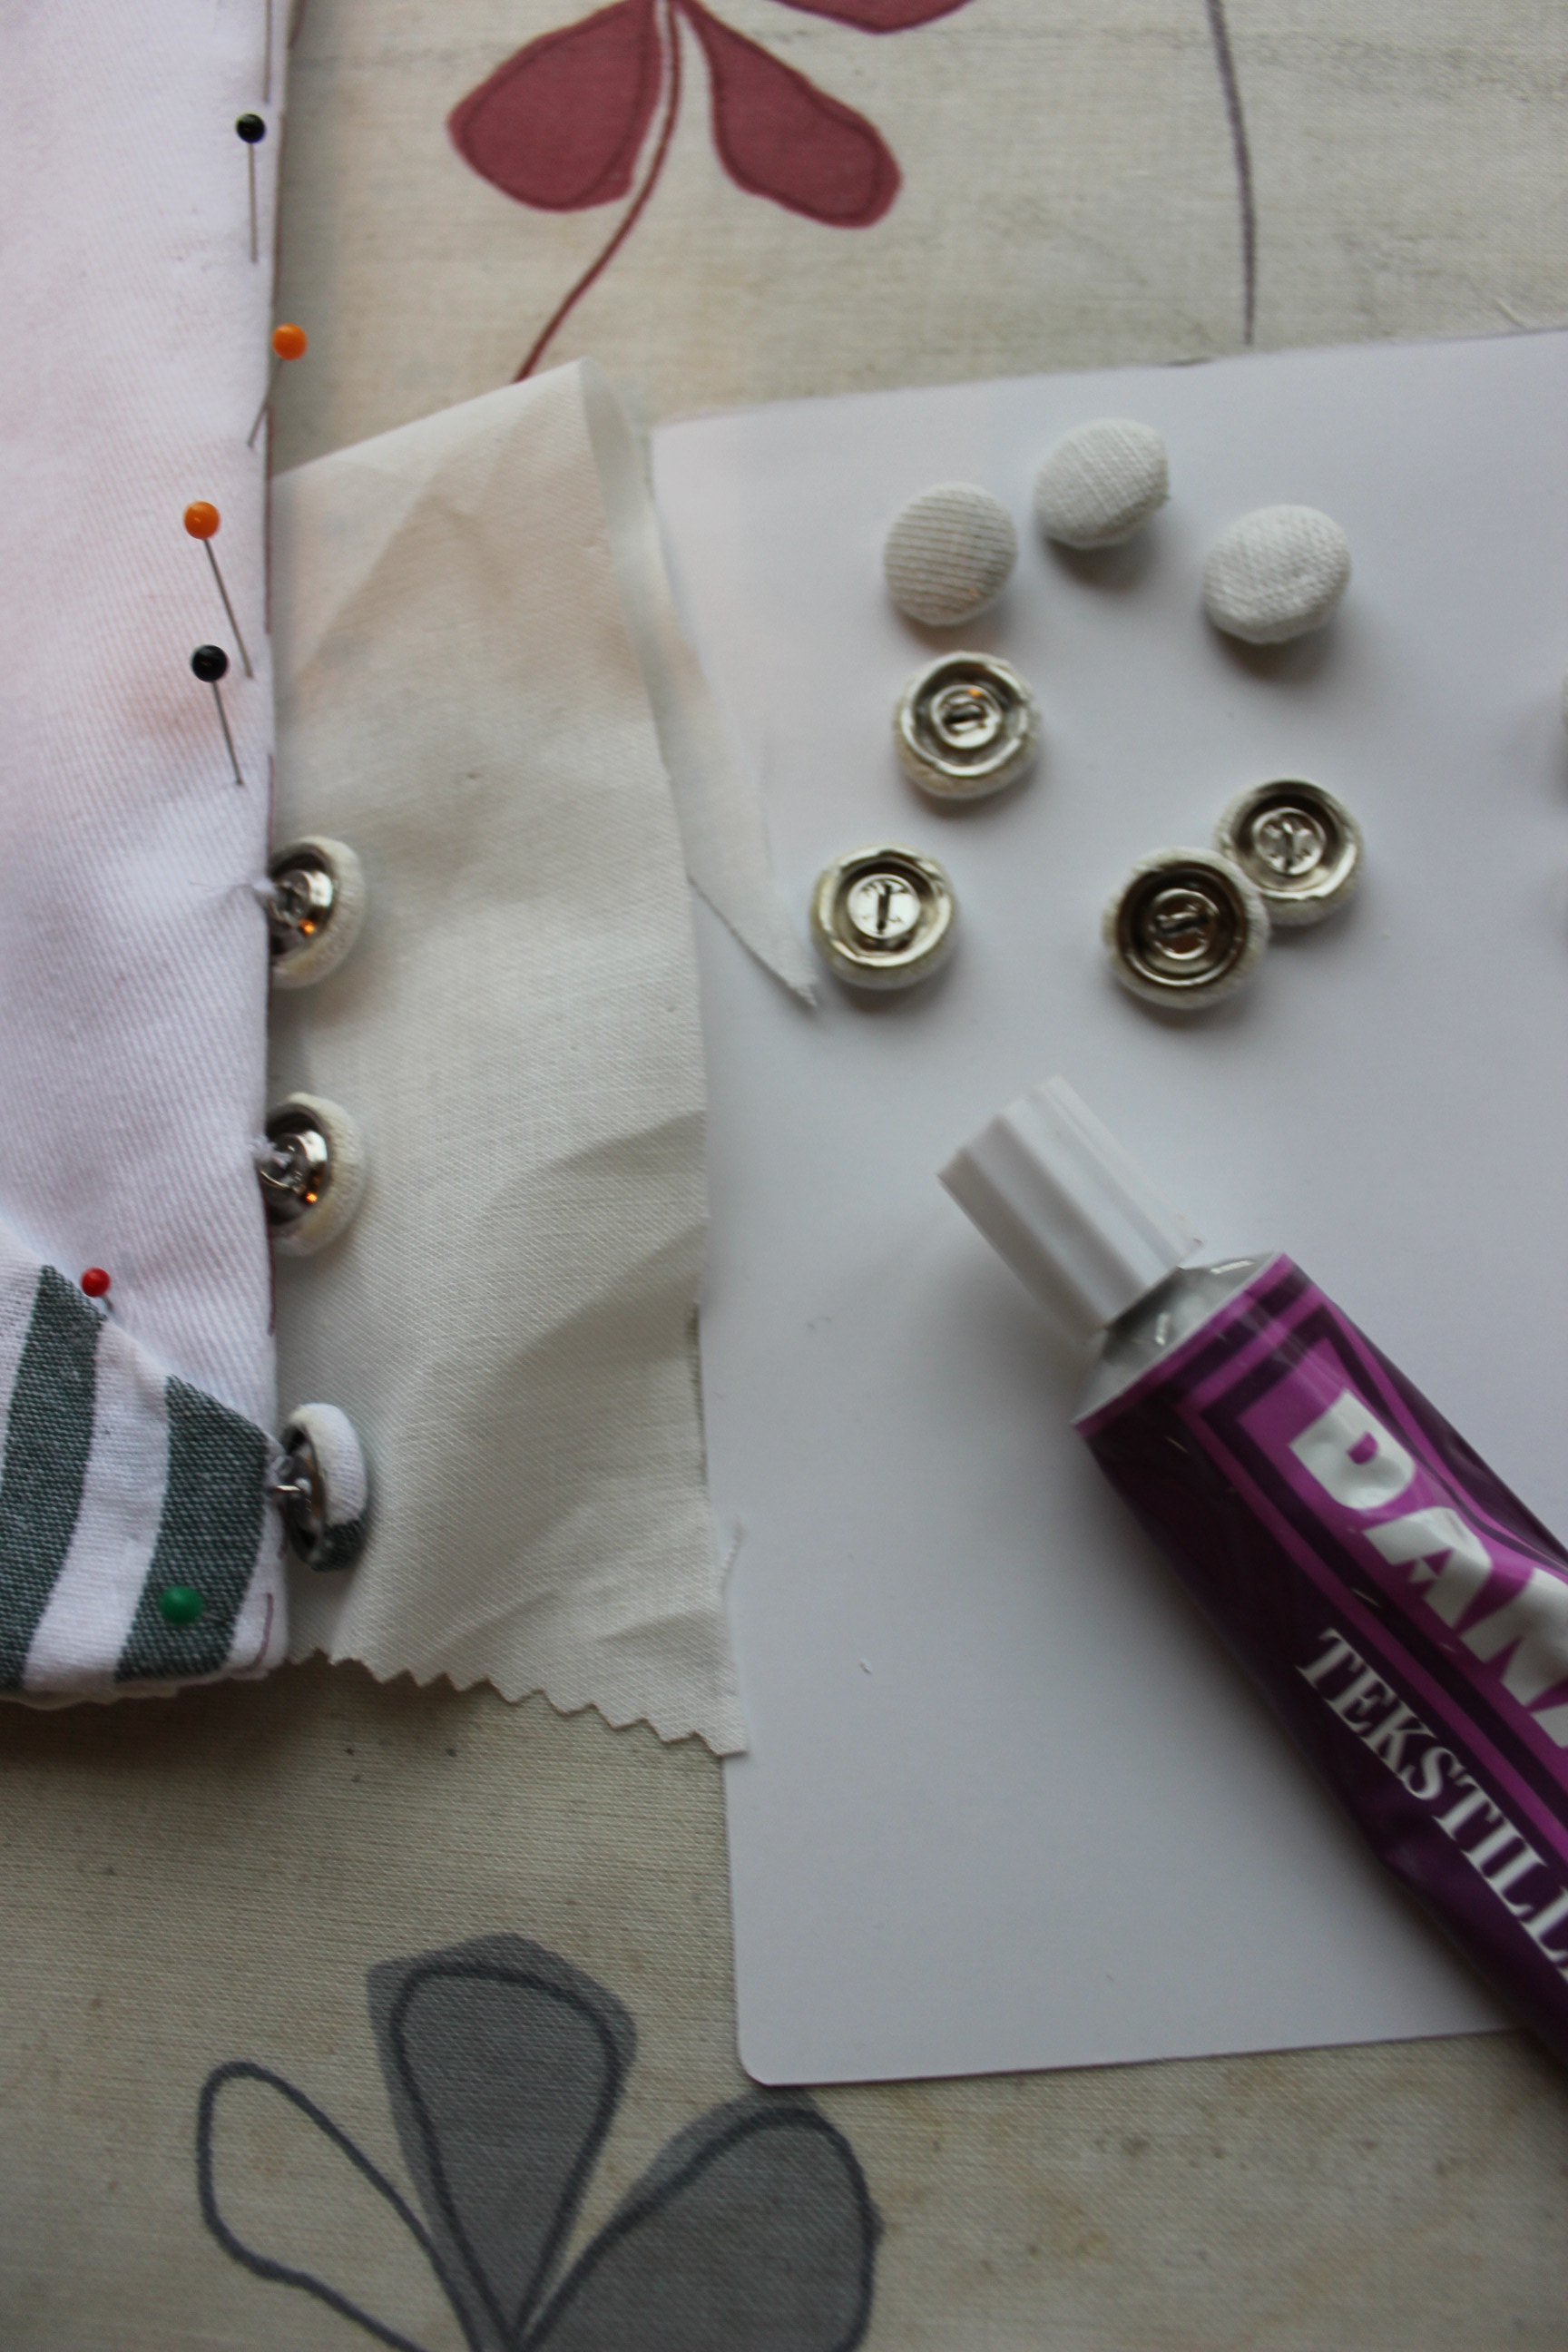
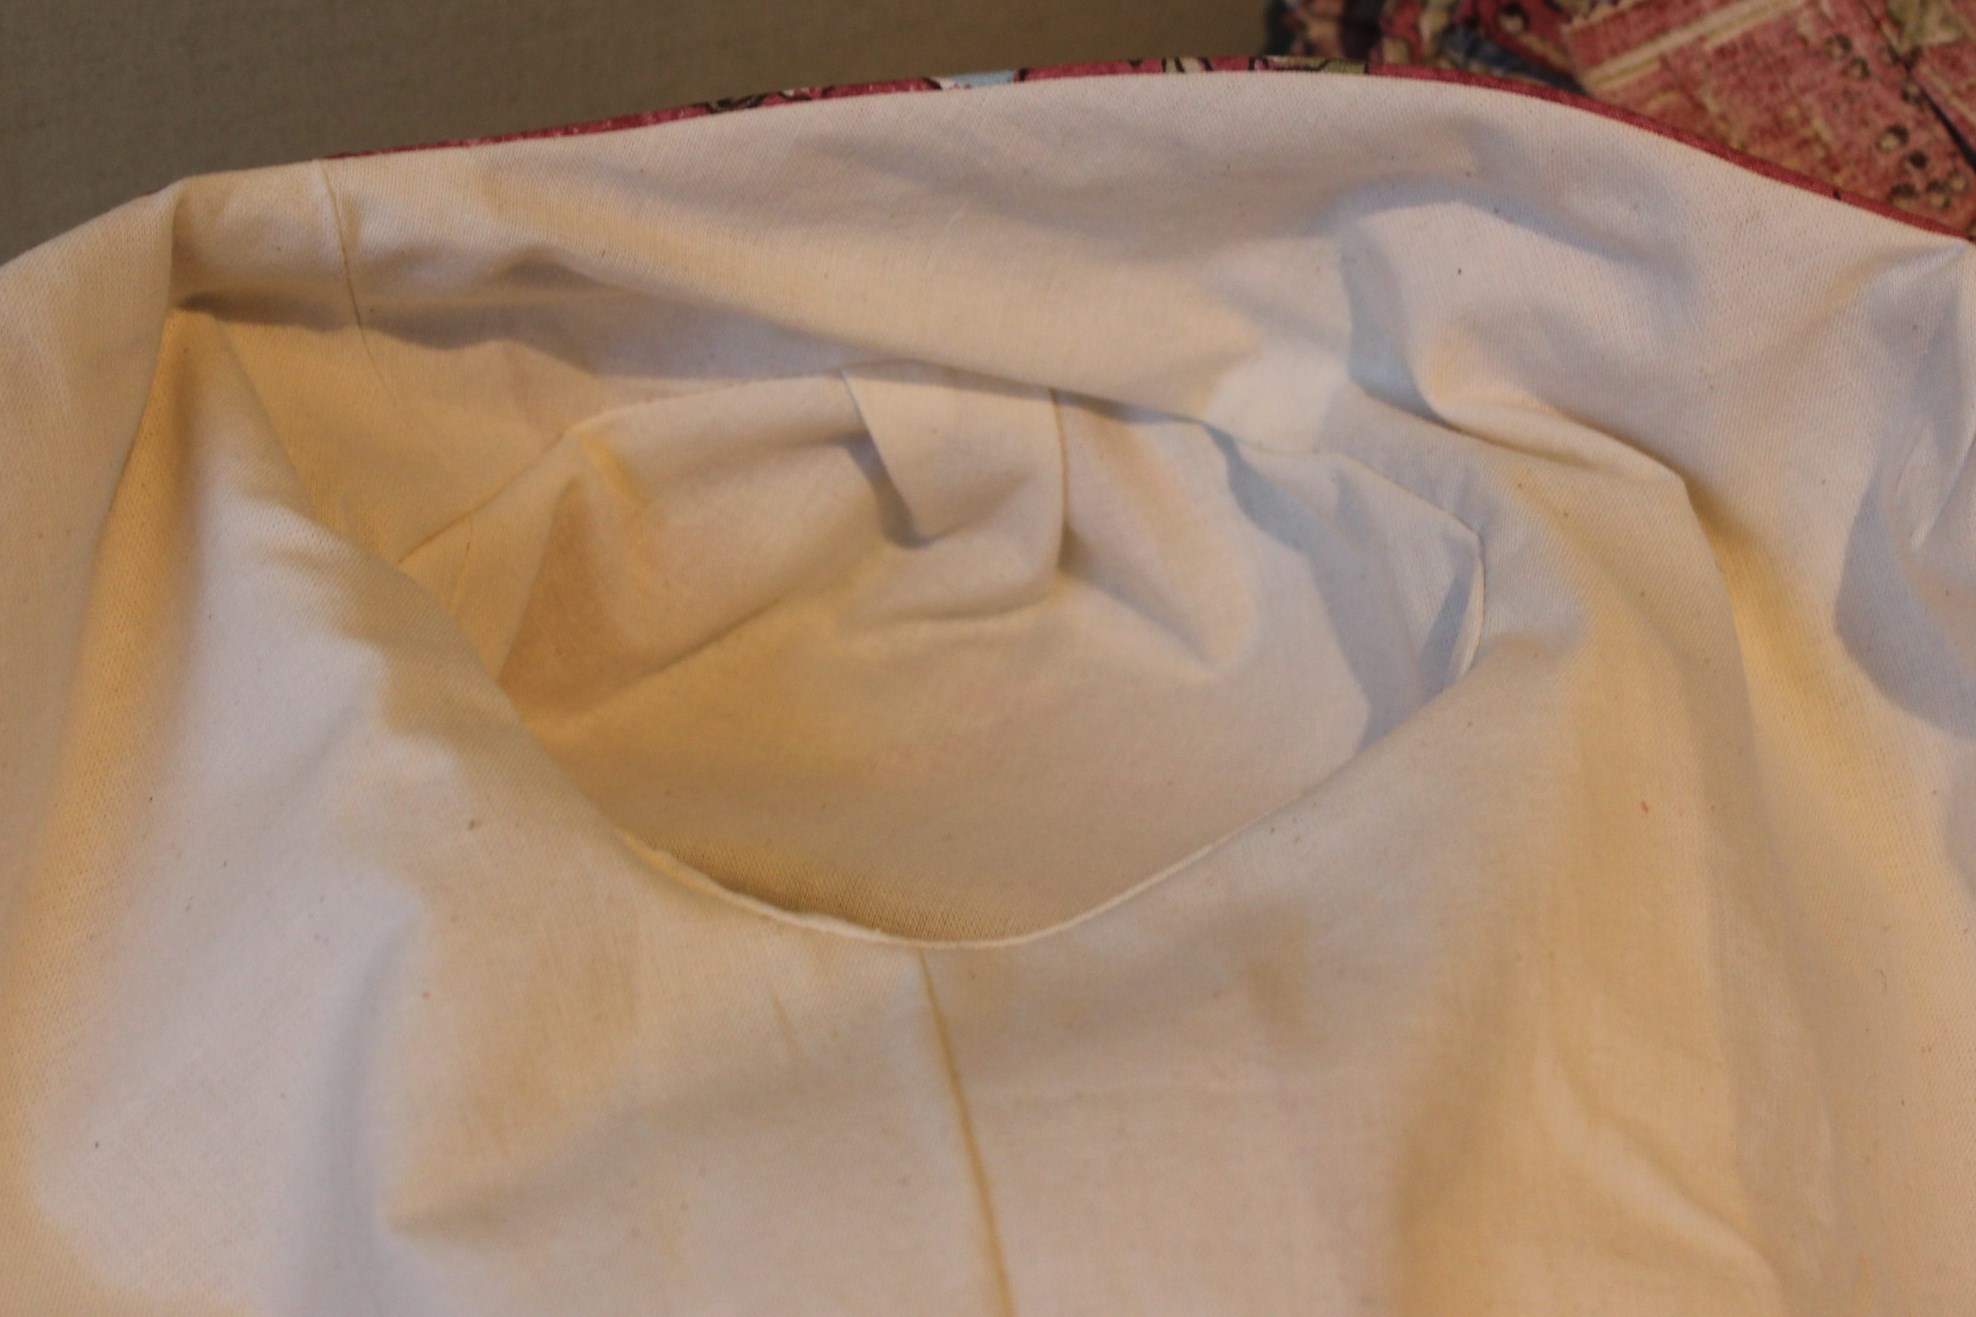
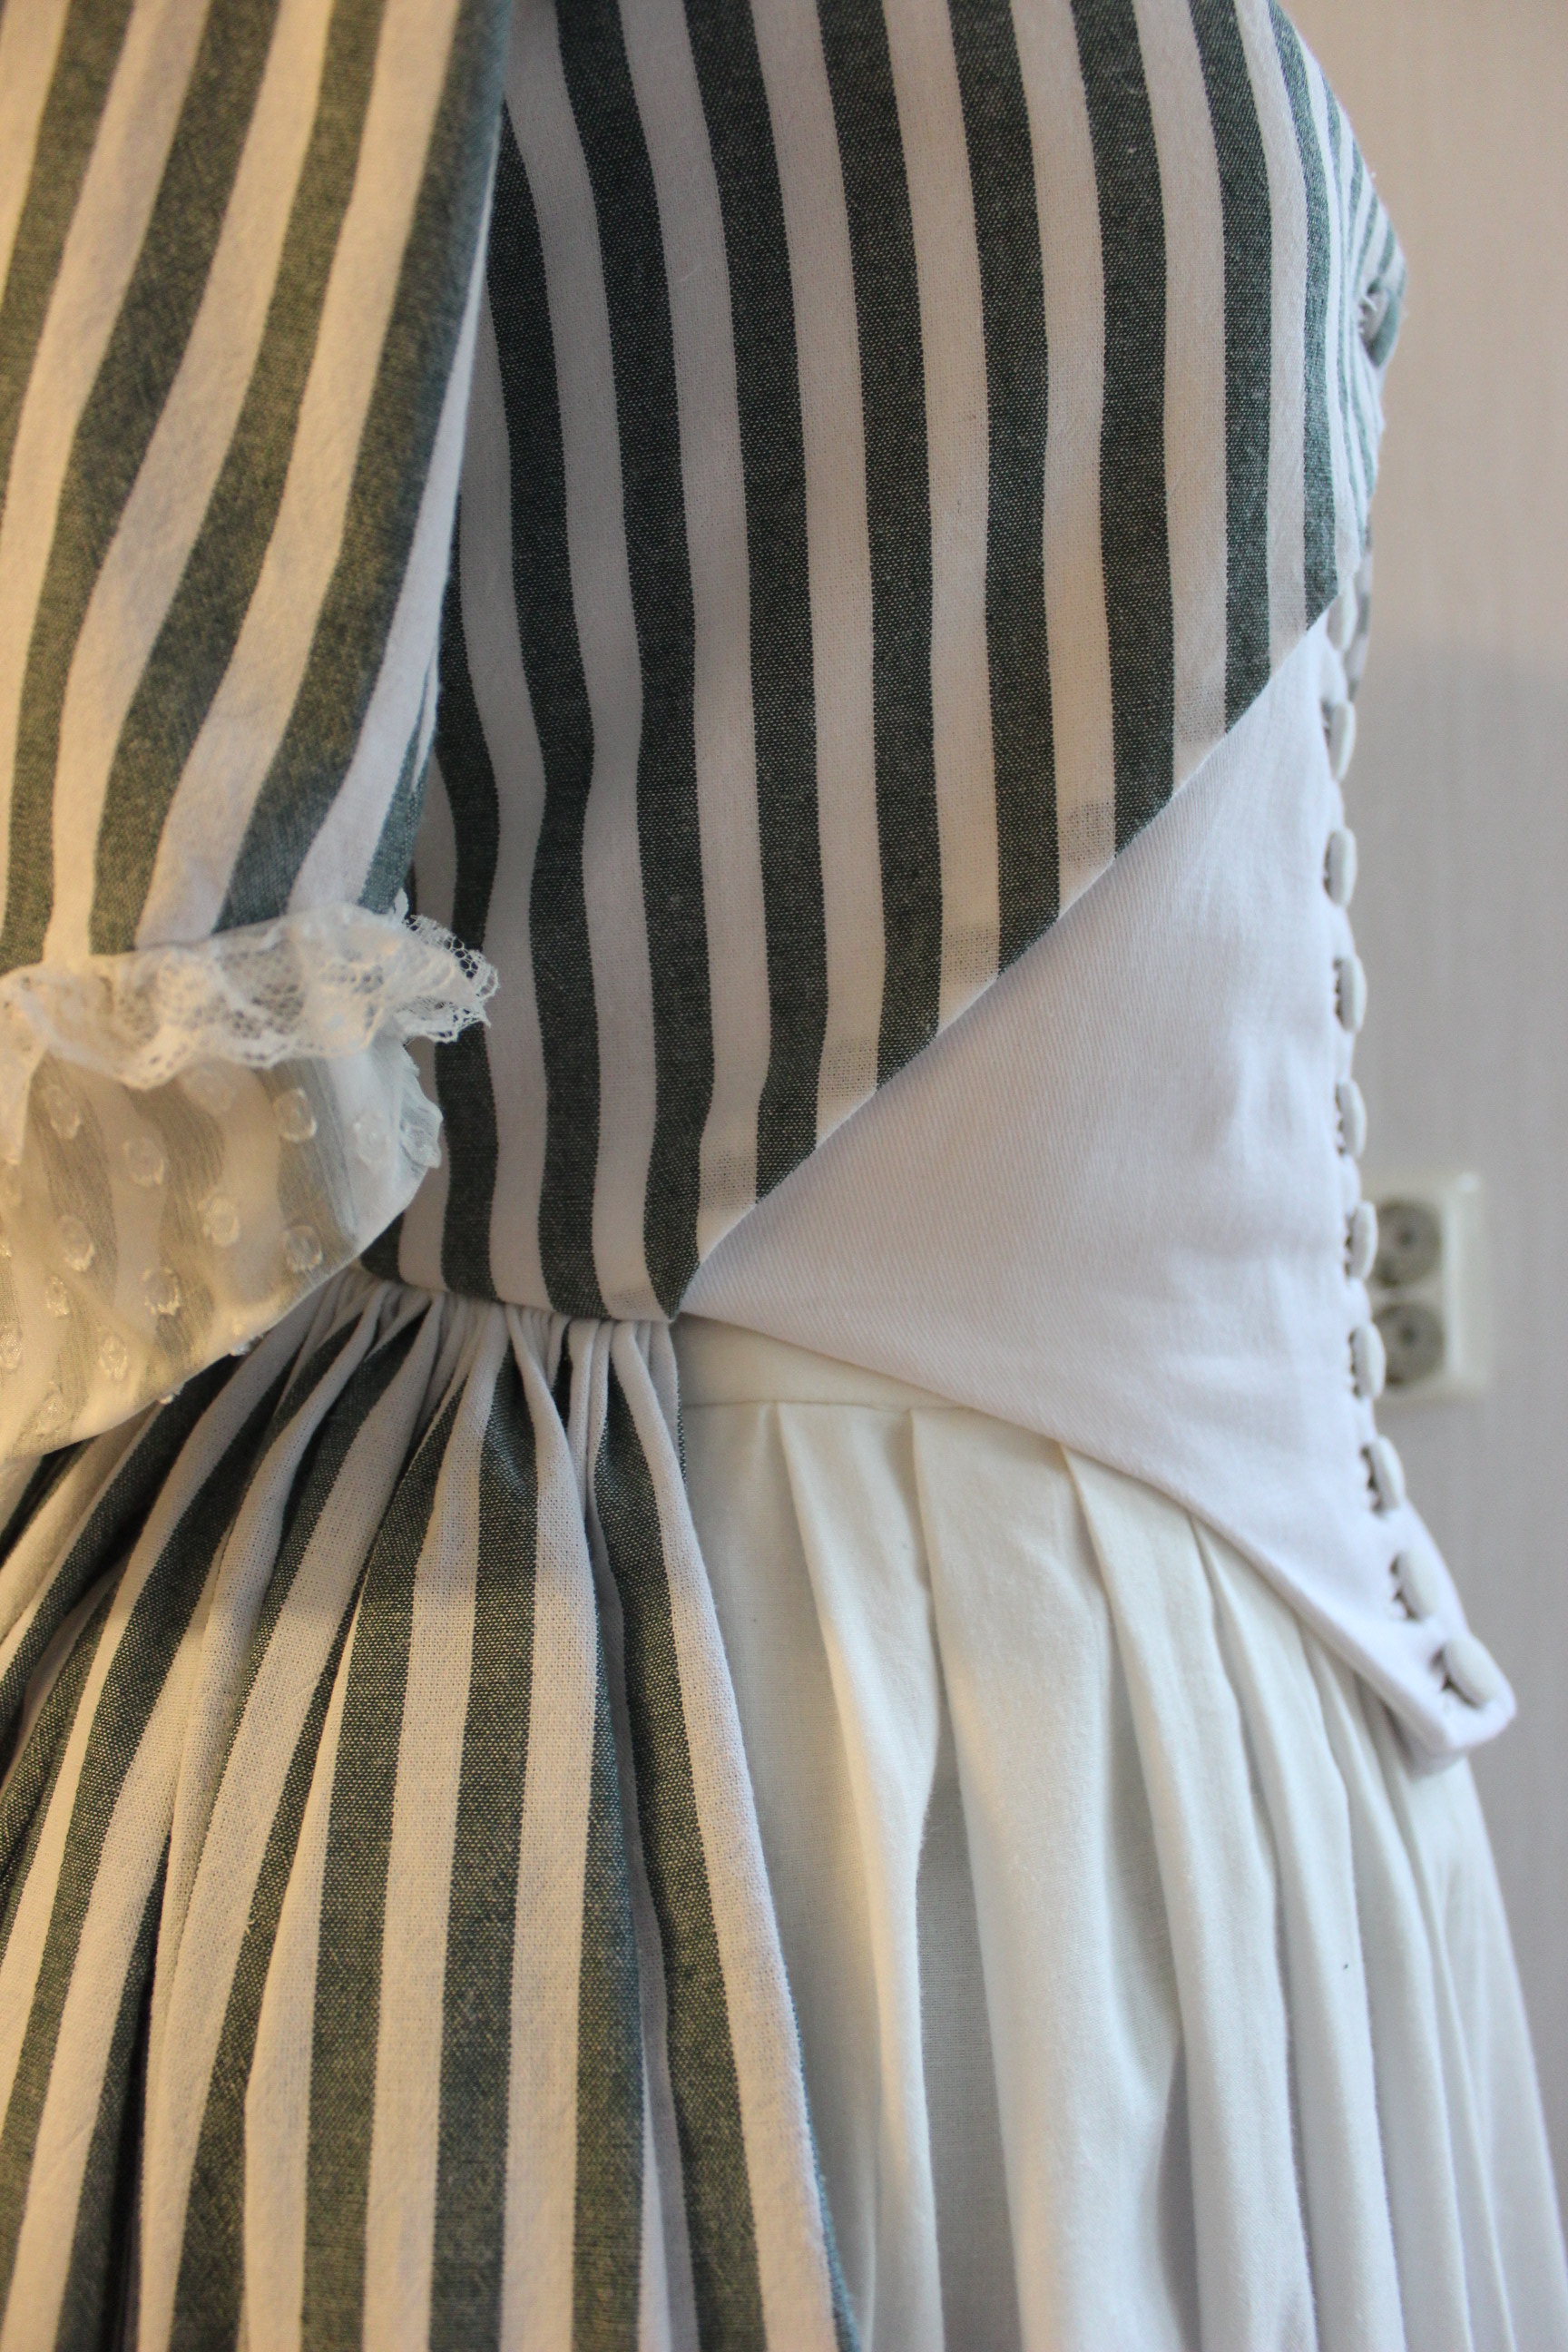
It was about here I noticed that something was of with the front piece interfacing. While basting the layers togeter I’ve manadged to put the interling as outer fabric, then stich the hole bodice up like that and on top of that make the buttonholes. Darn it.
Well there wasn’t much to do then go on pretending that the twill was supose to be the outer fabric. Fortanly, no other part of the bodice was white so the only thing revealing my mistake is the linnen covered buttons… IMG_8582

So I continued by cuting and setting the lining, using a regular white cotton fabric.

Before the next try on I pinned the sleeves on losely to get a grip on their placement.
IMG_8575 IMG_8578
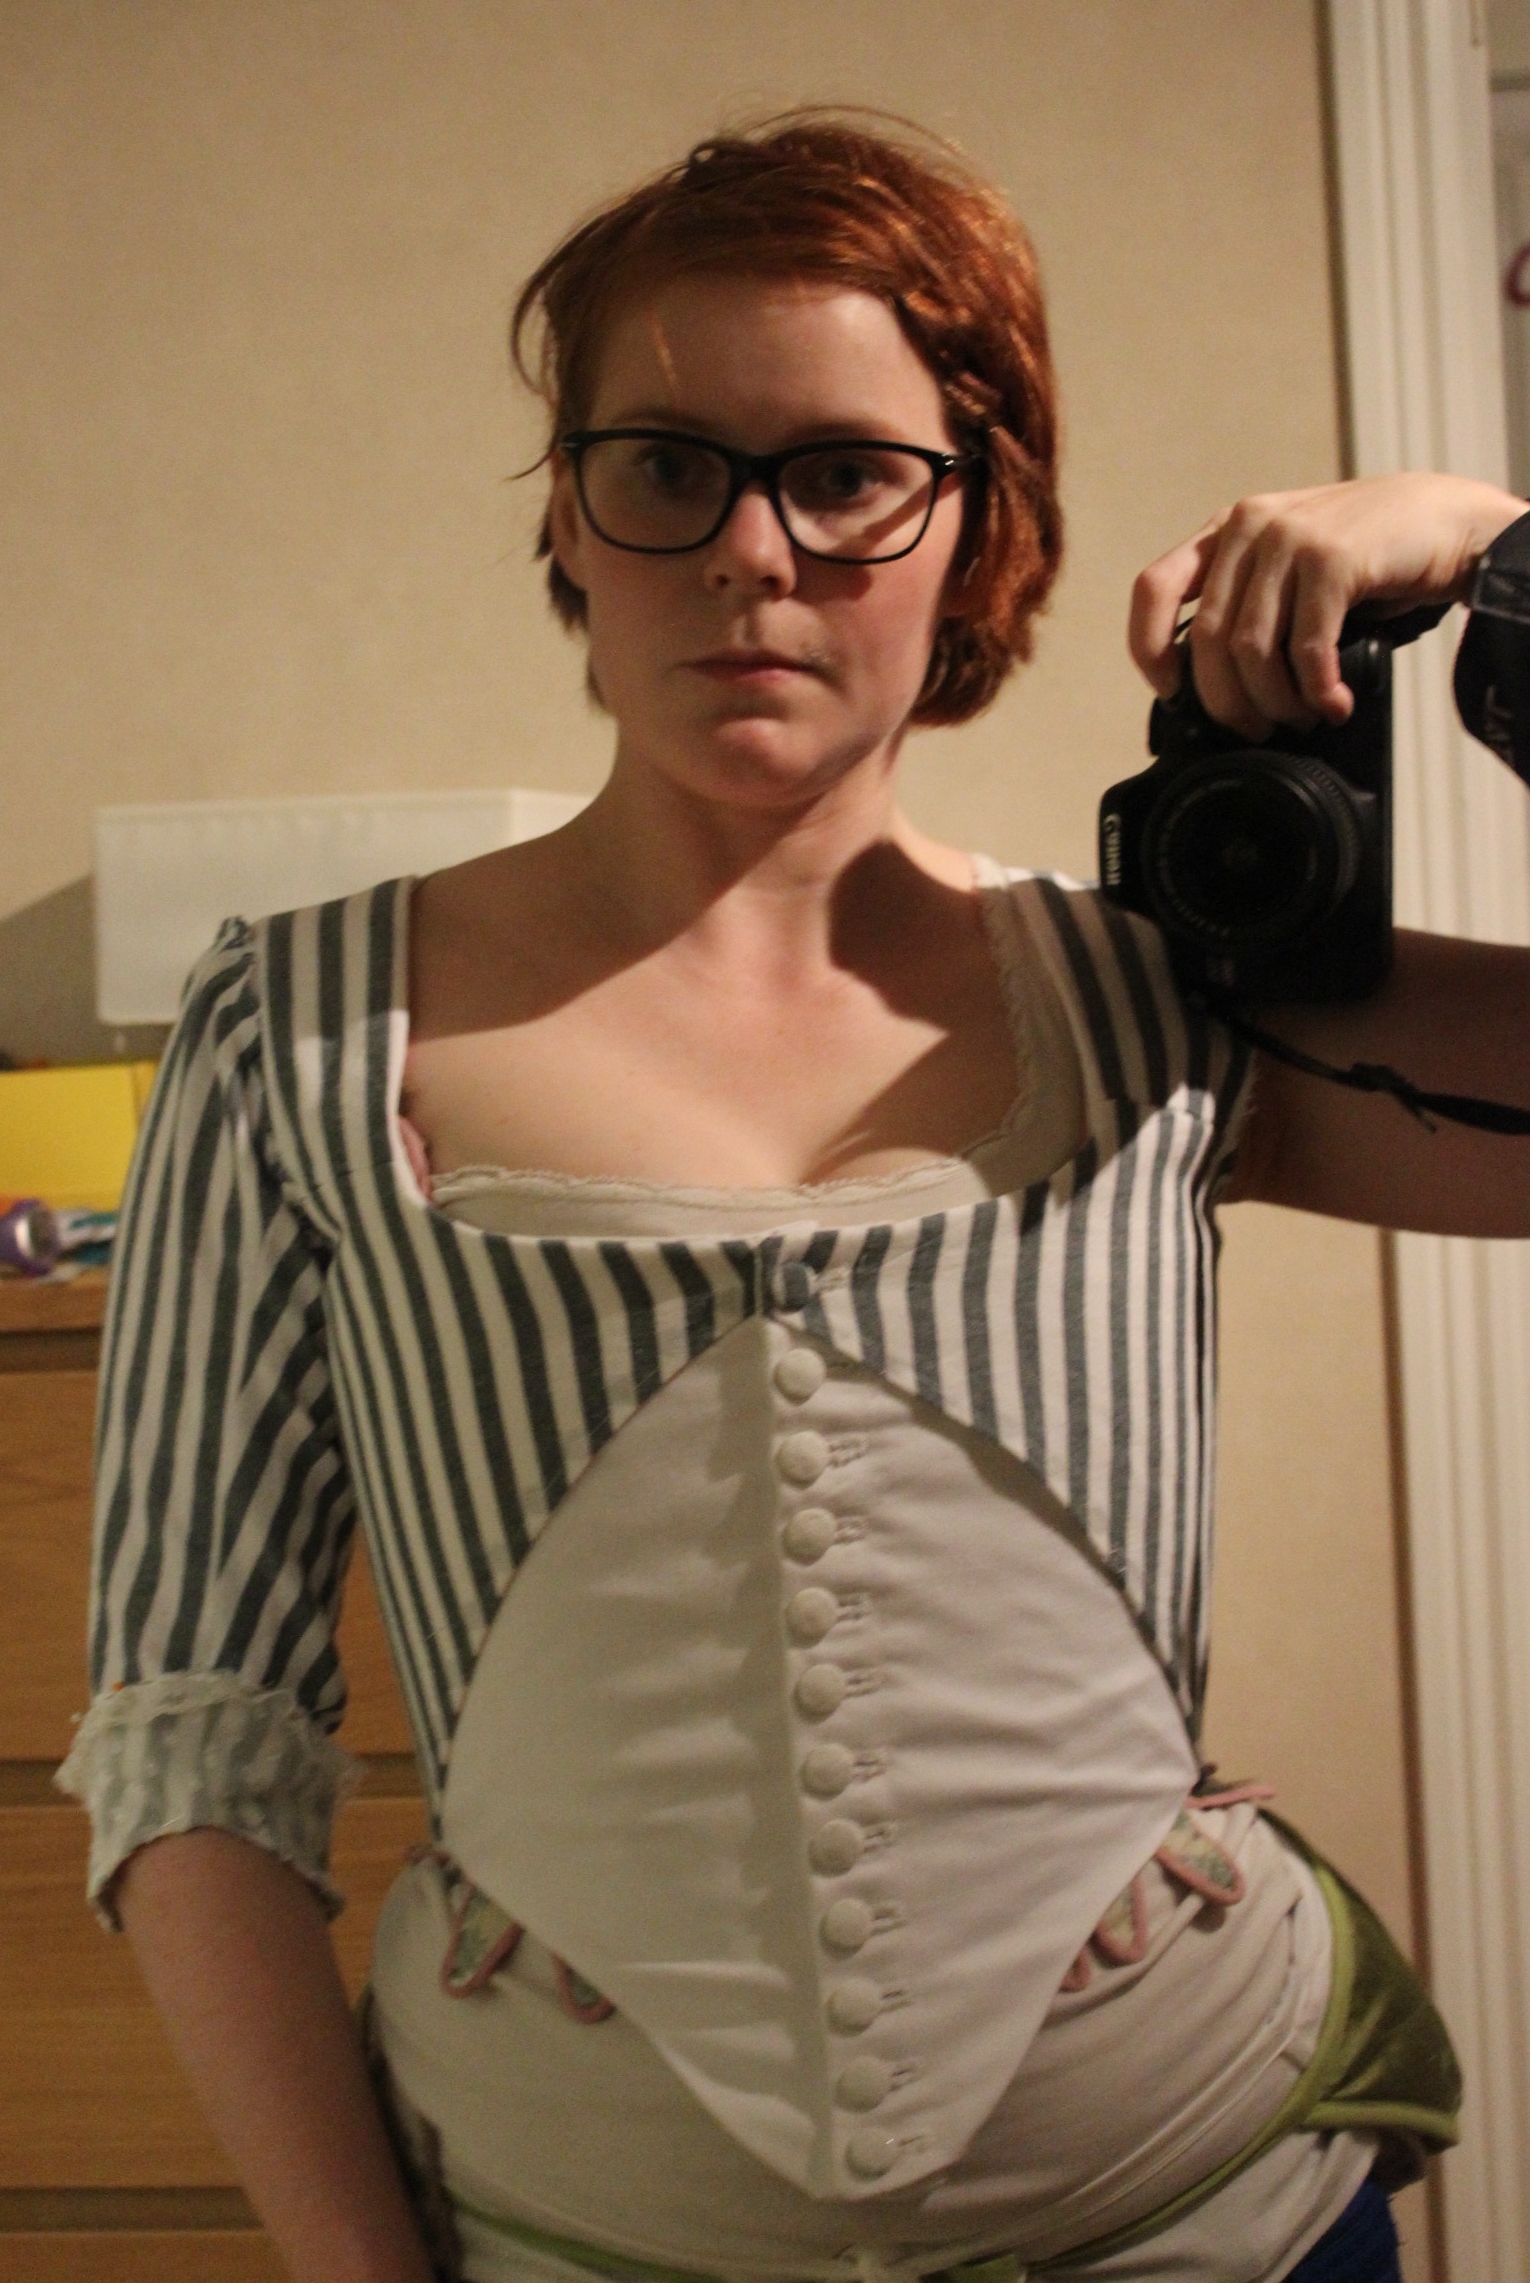
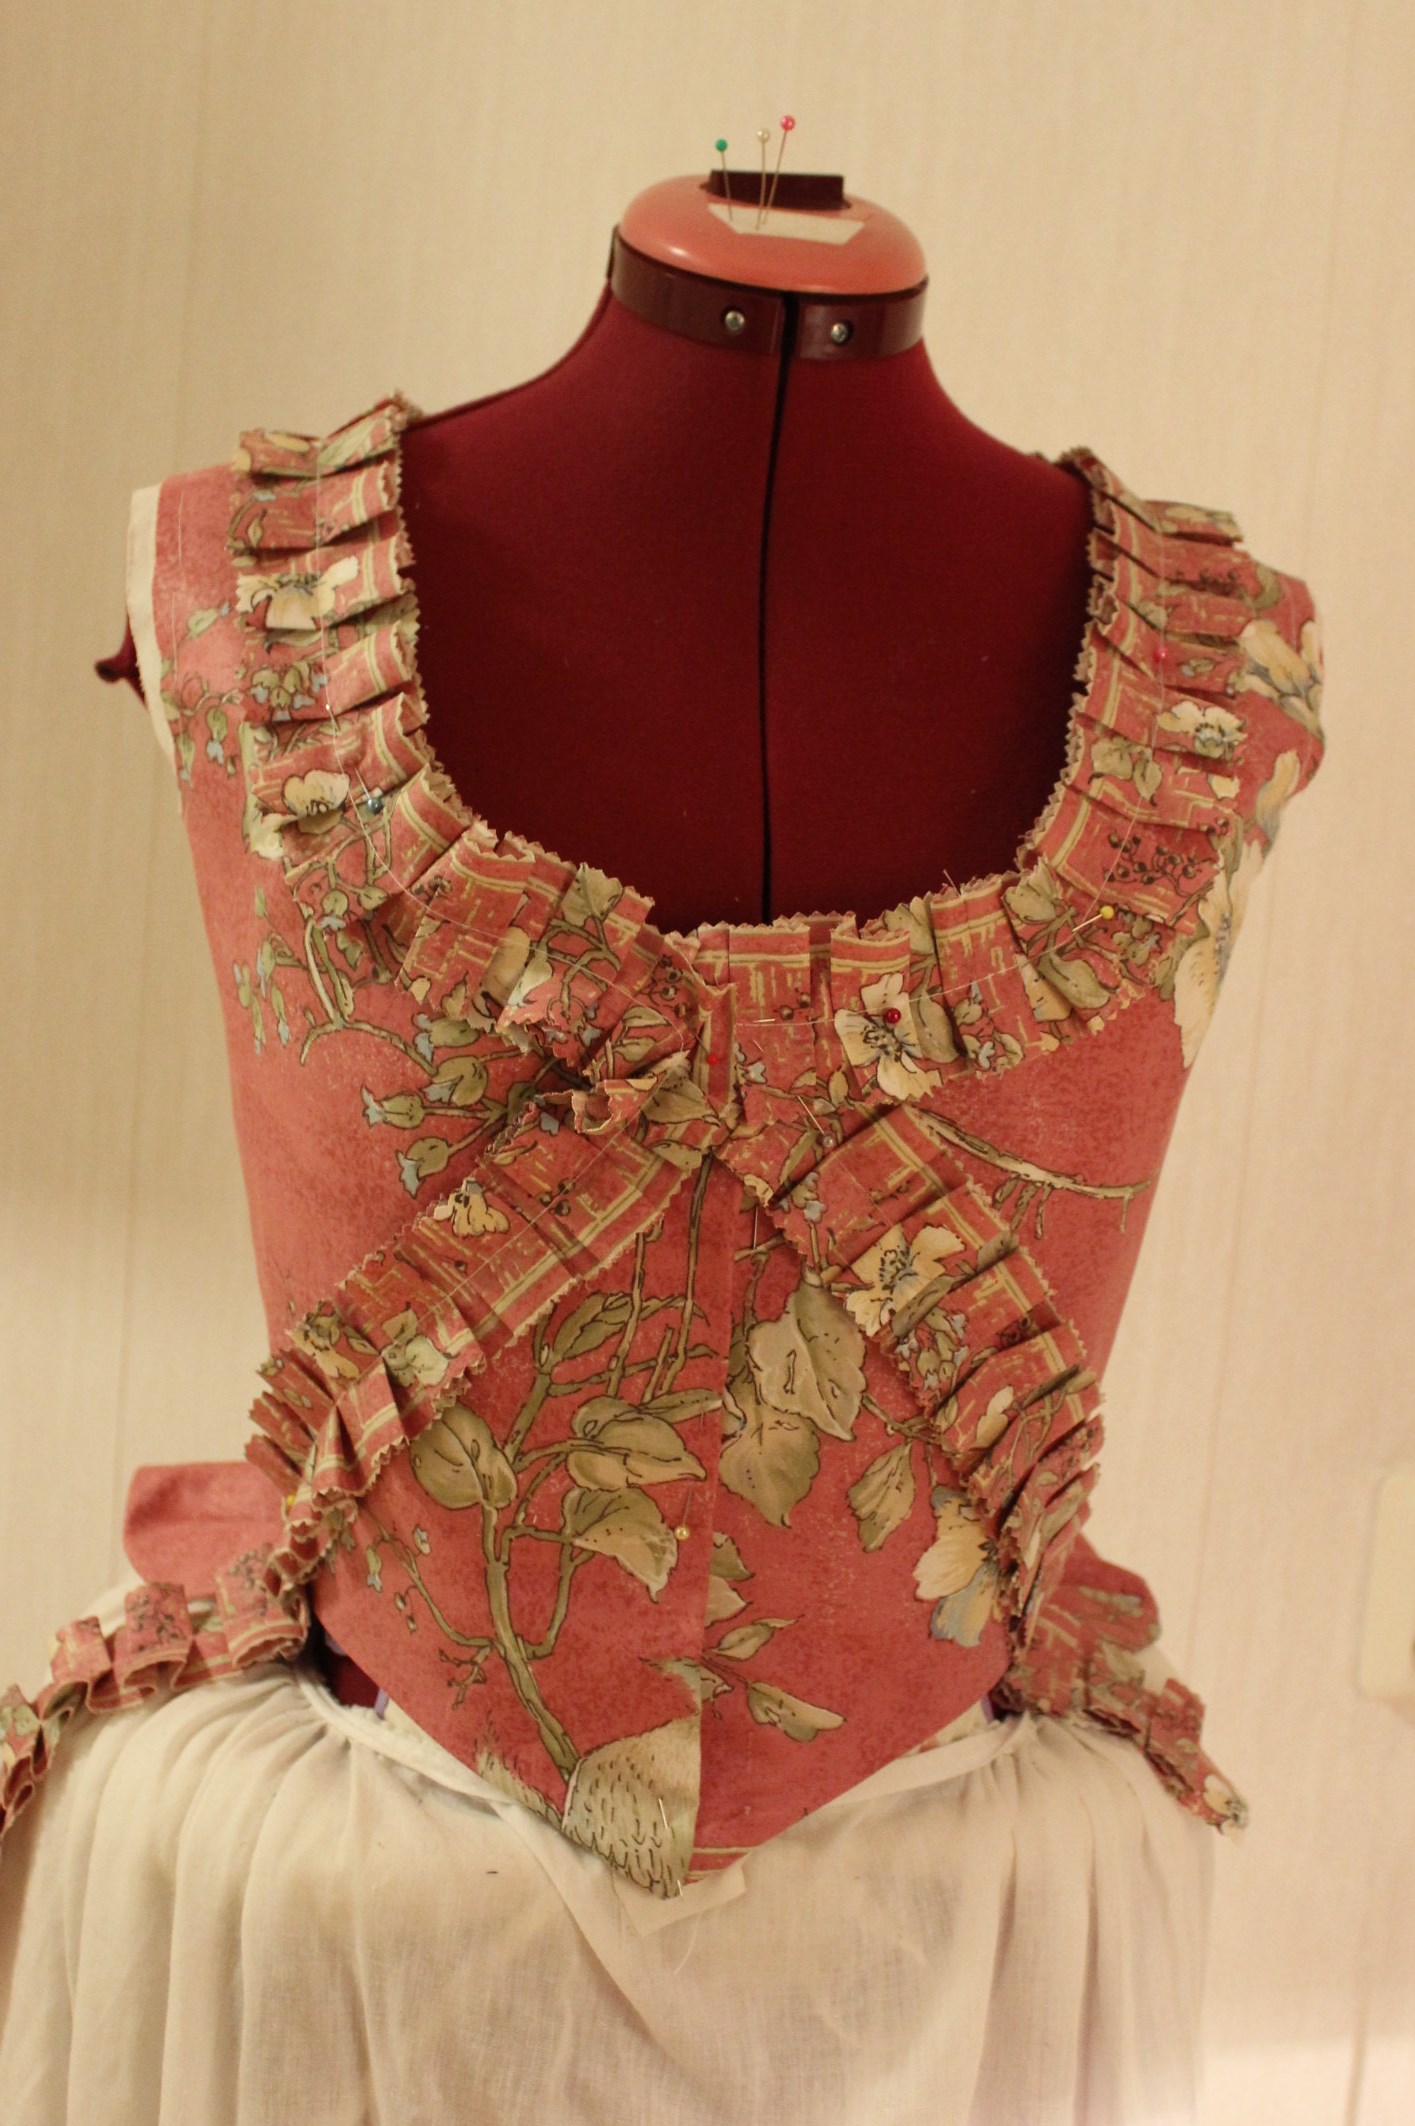
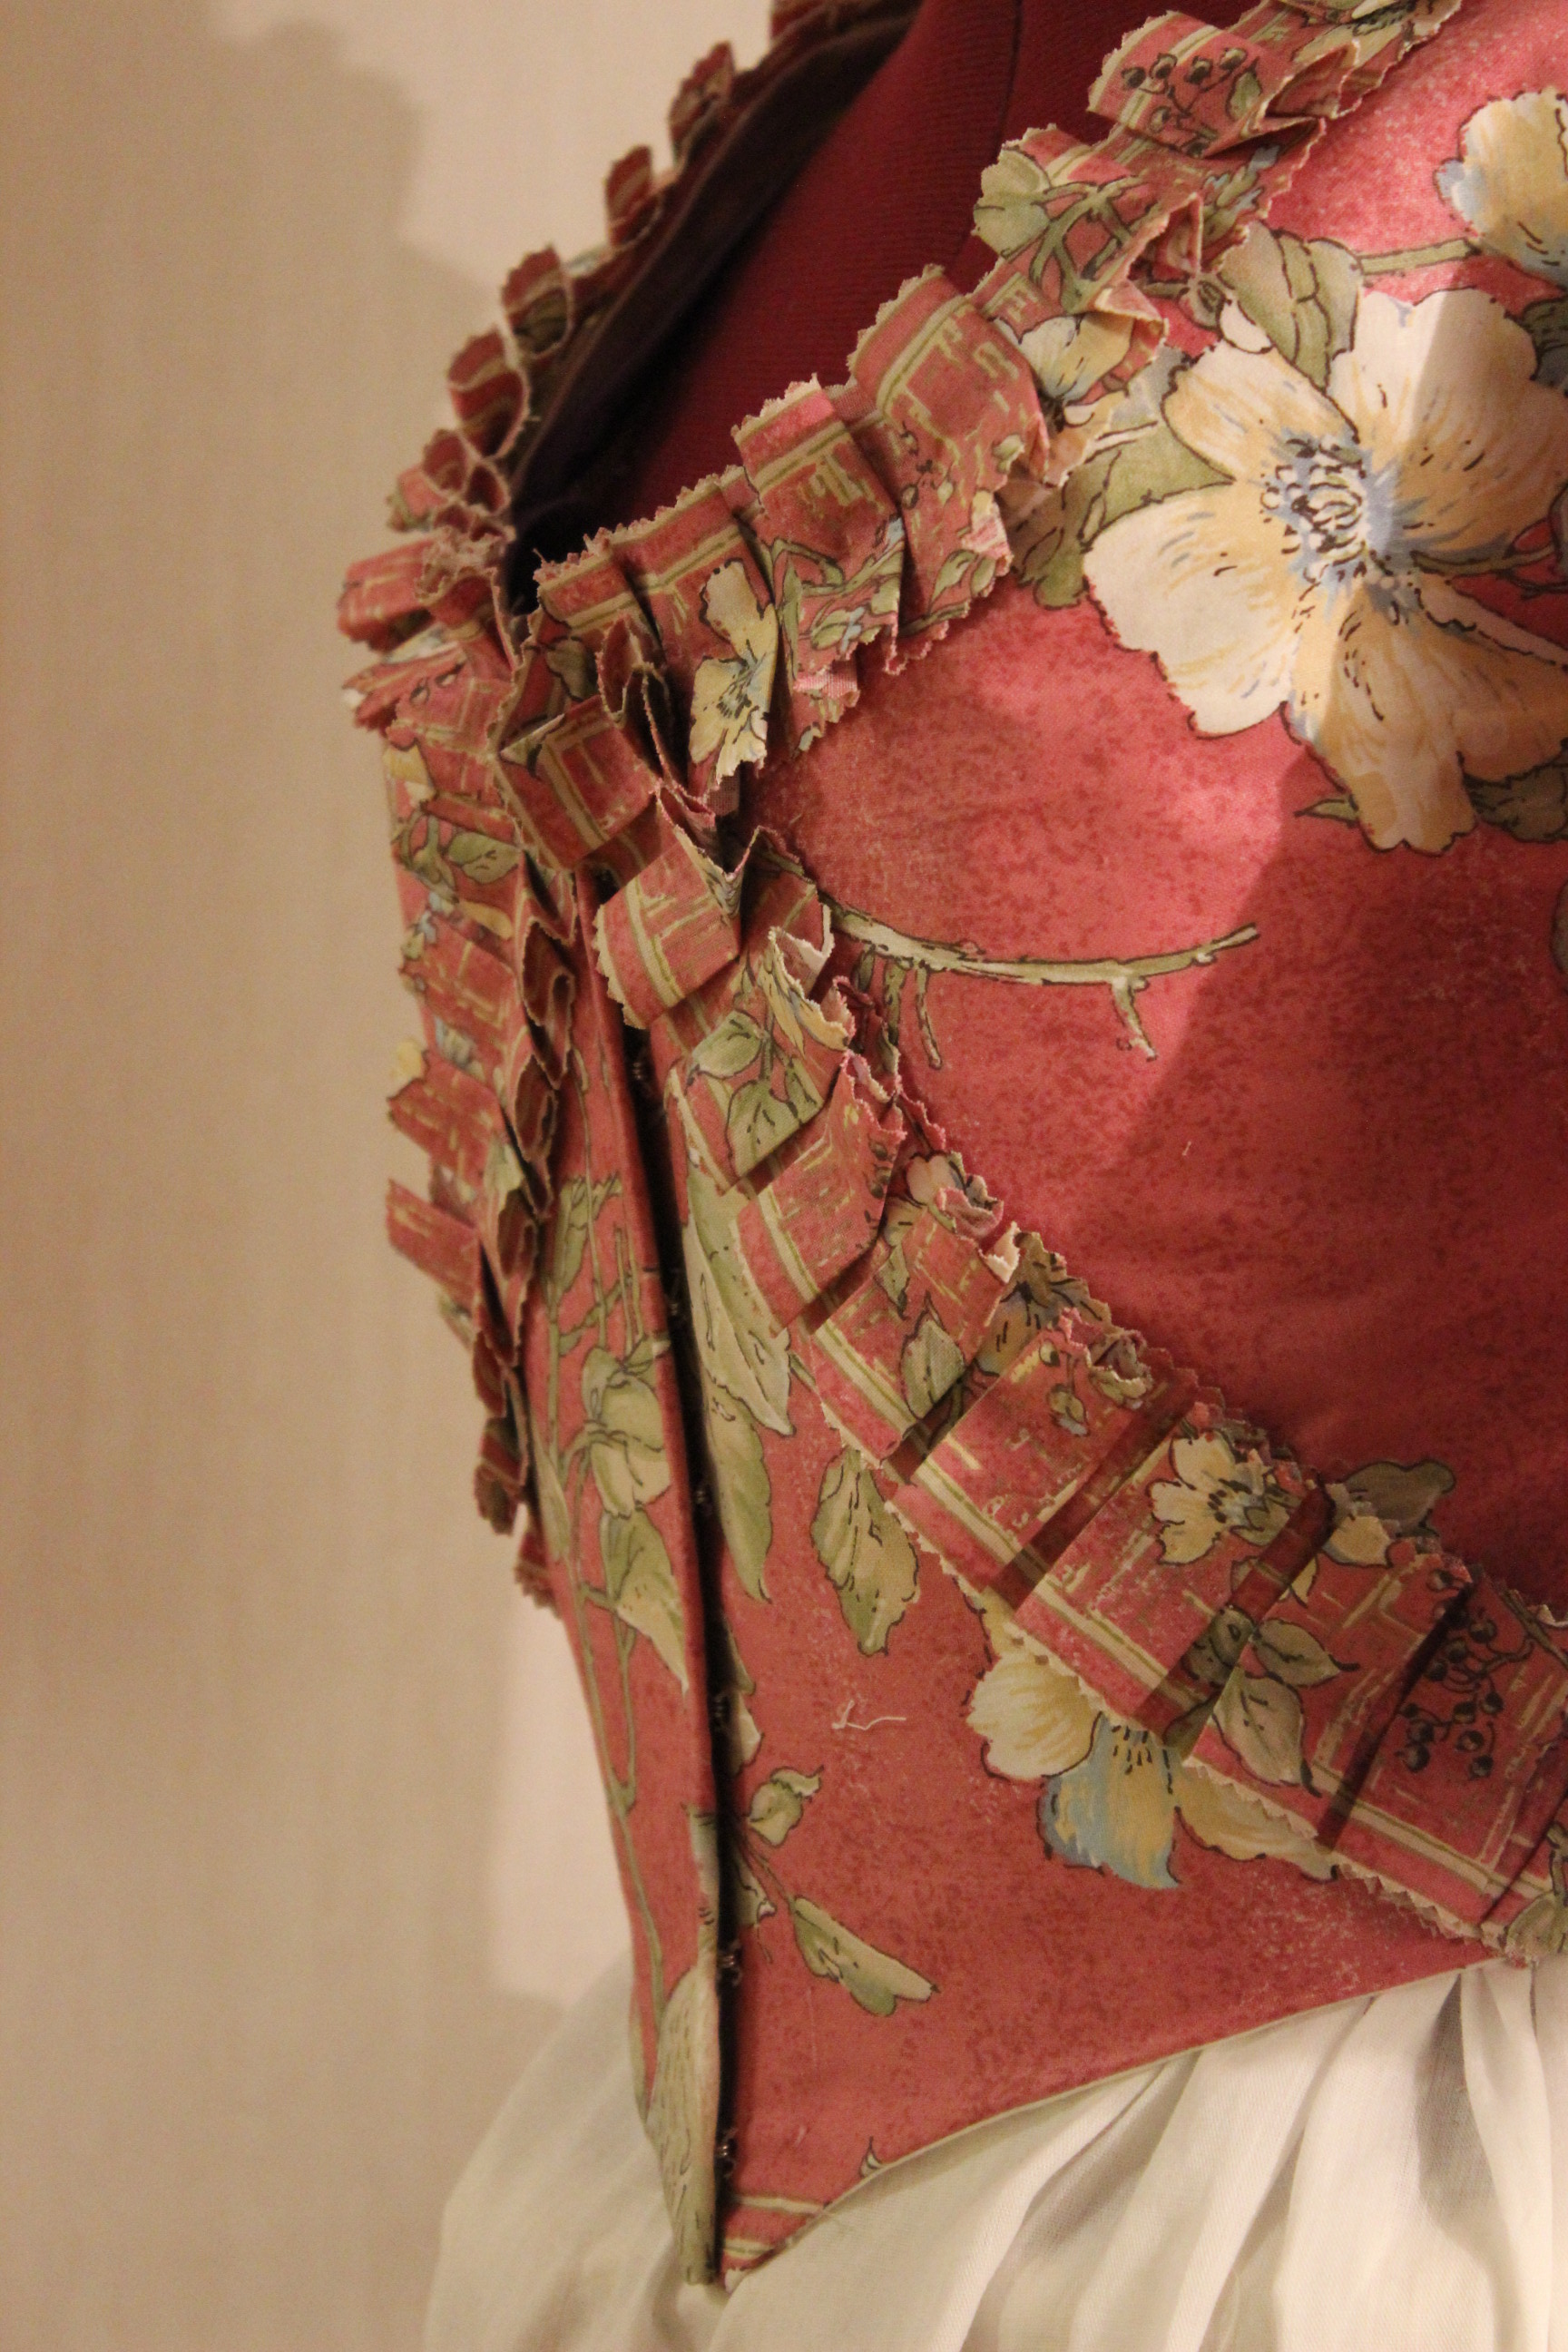
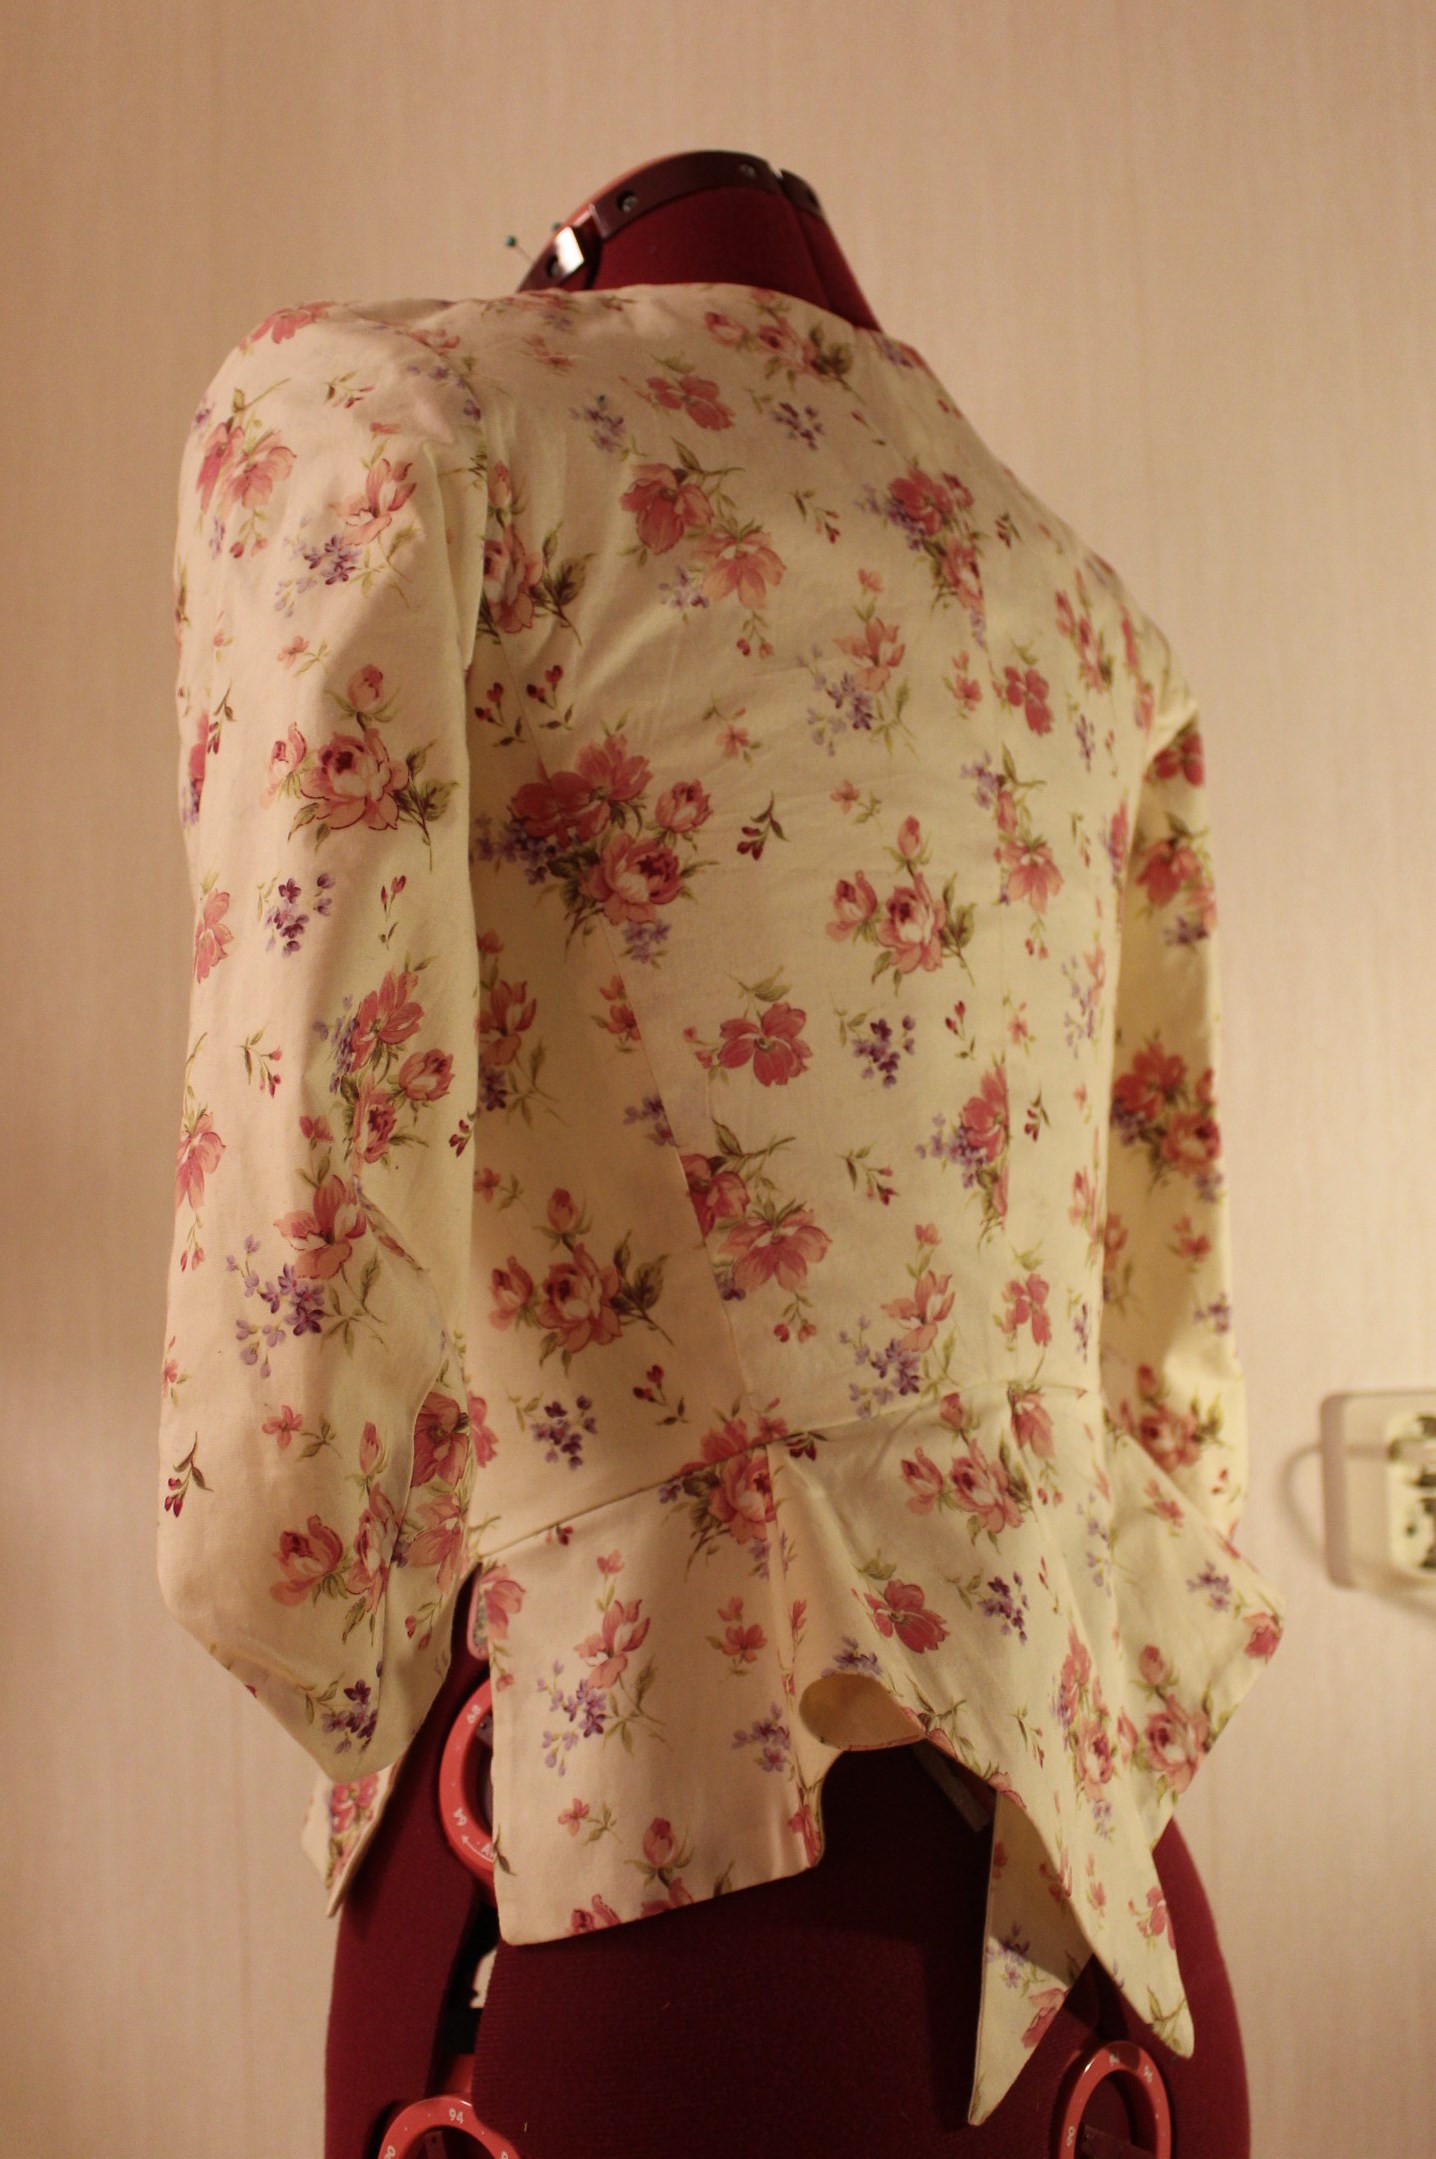
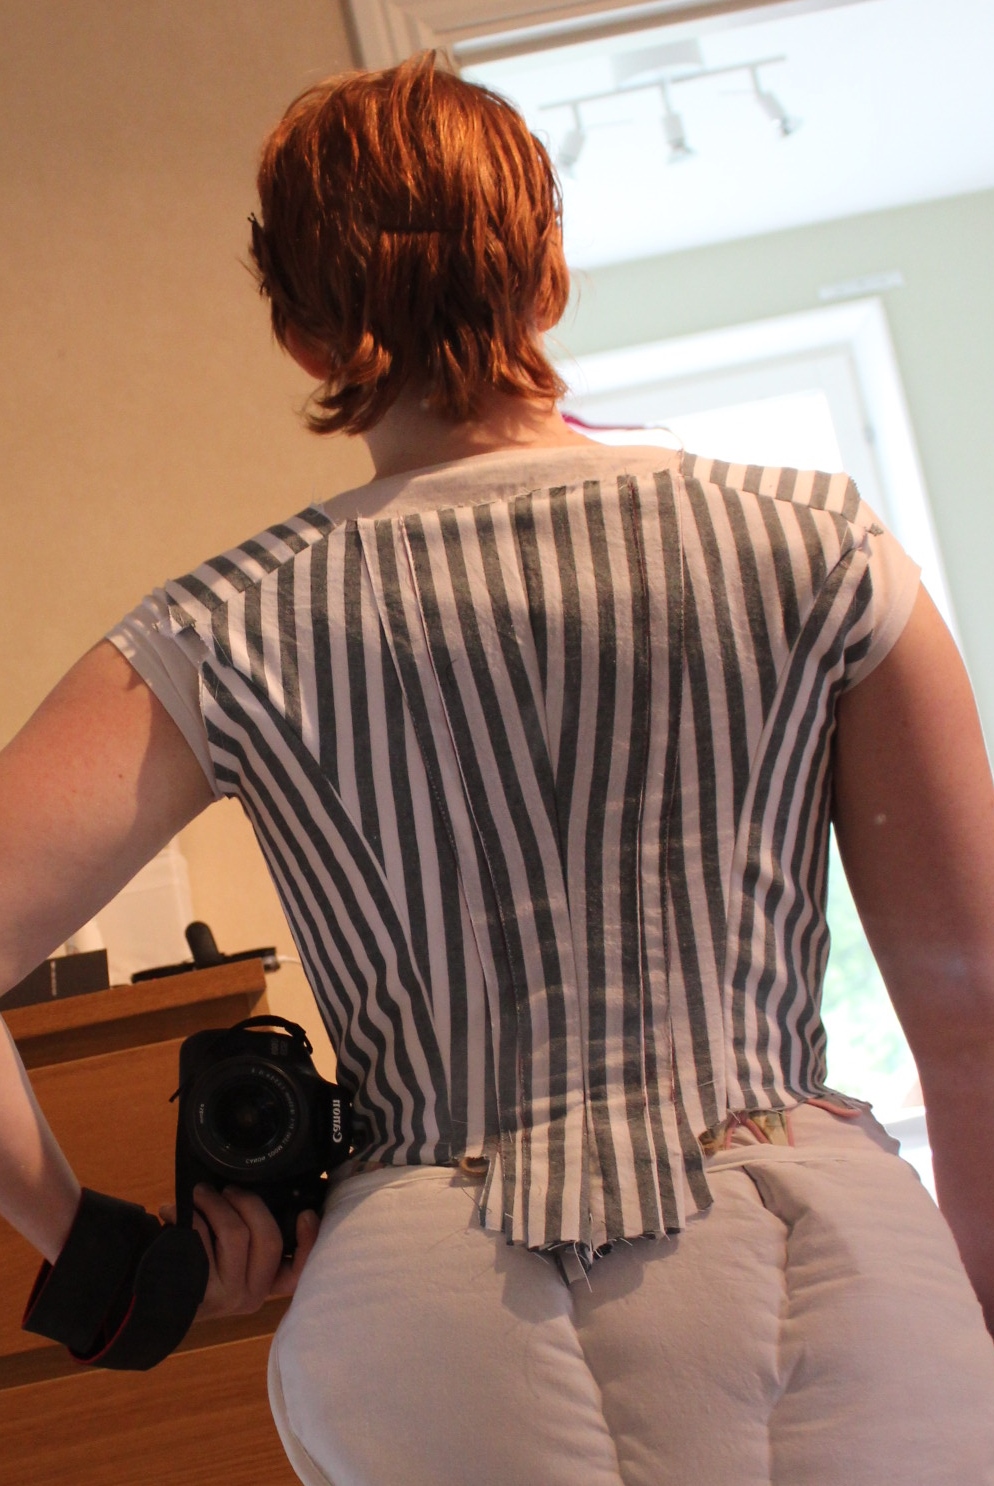
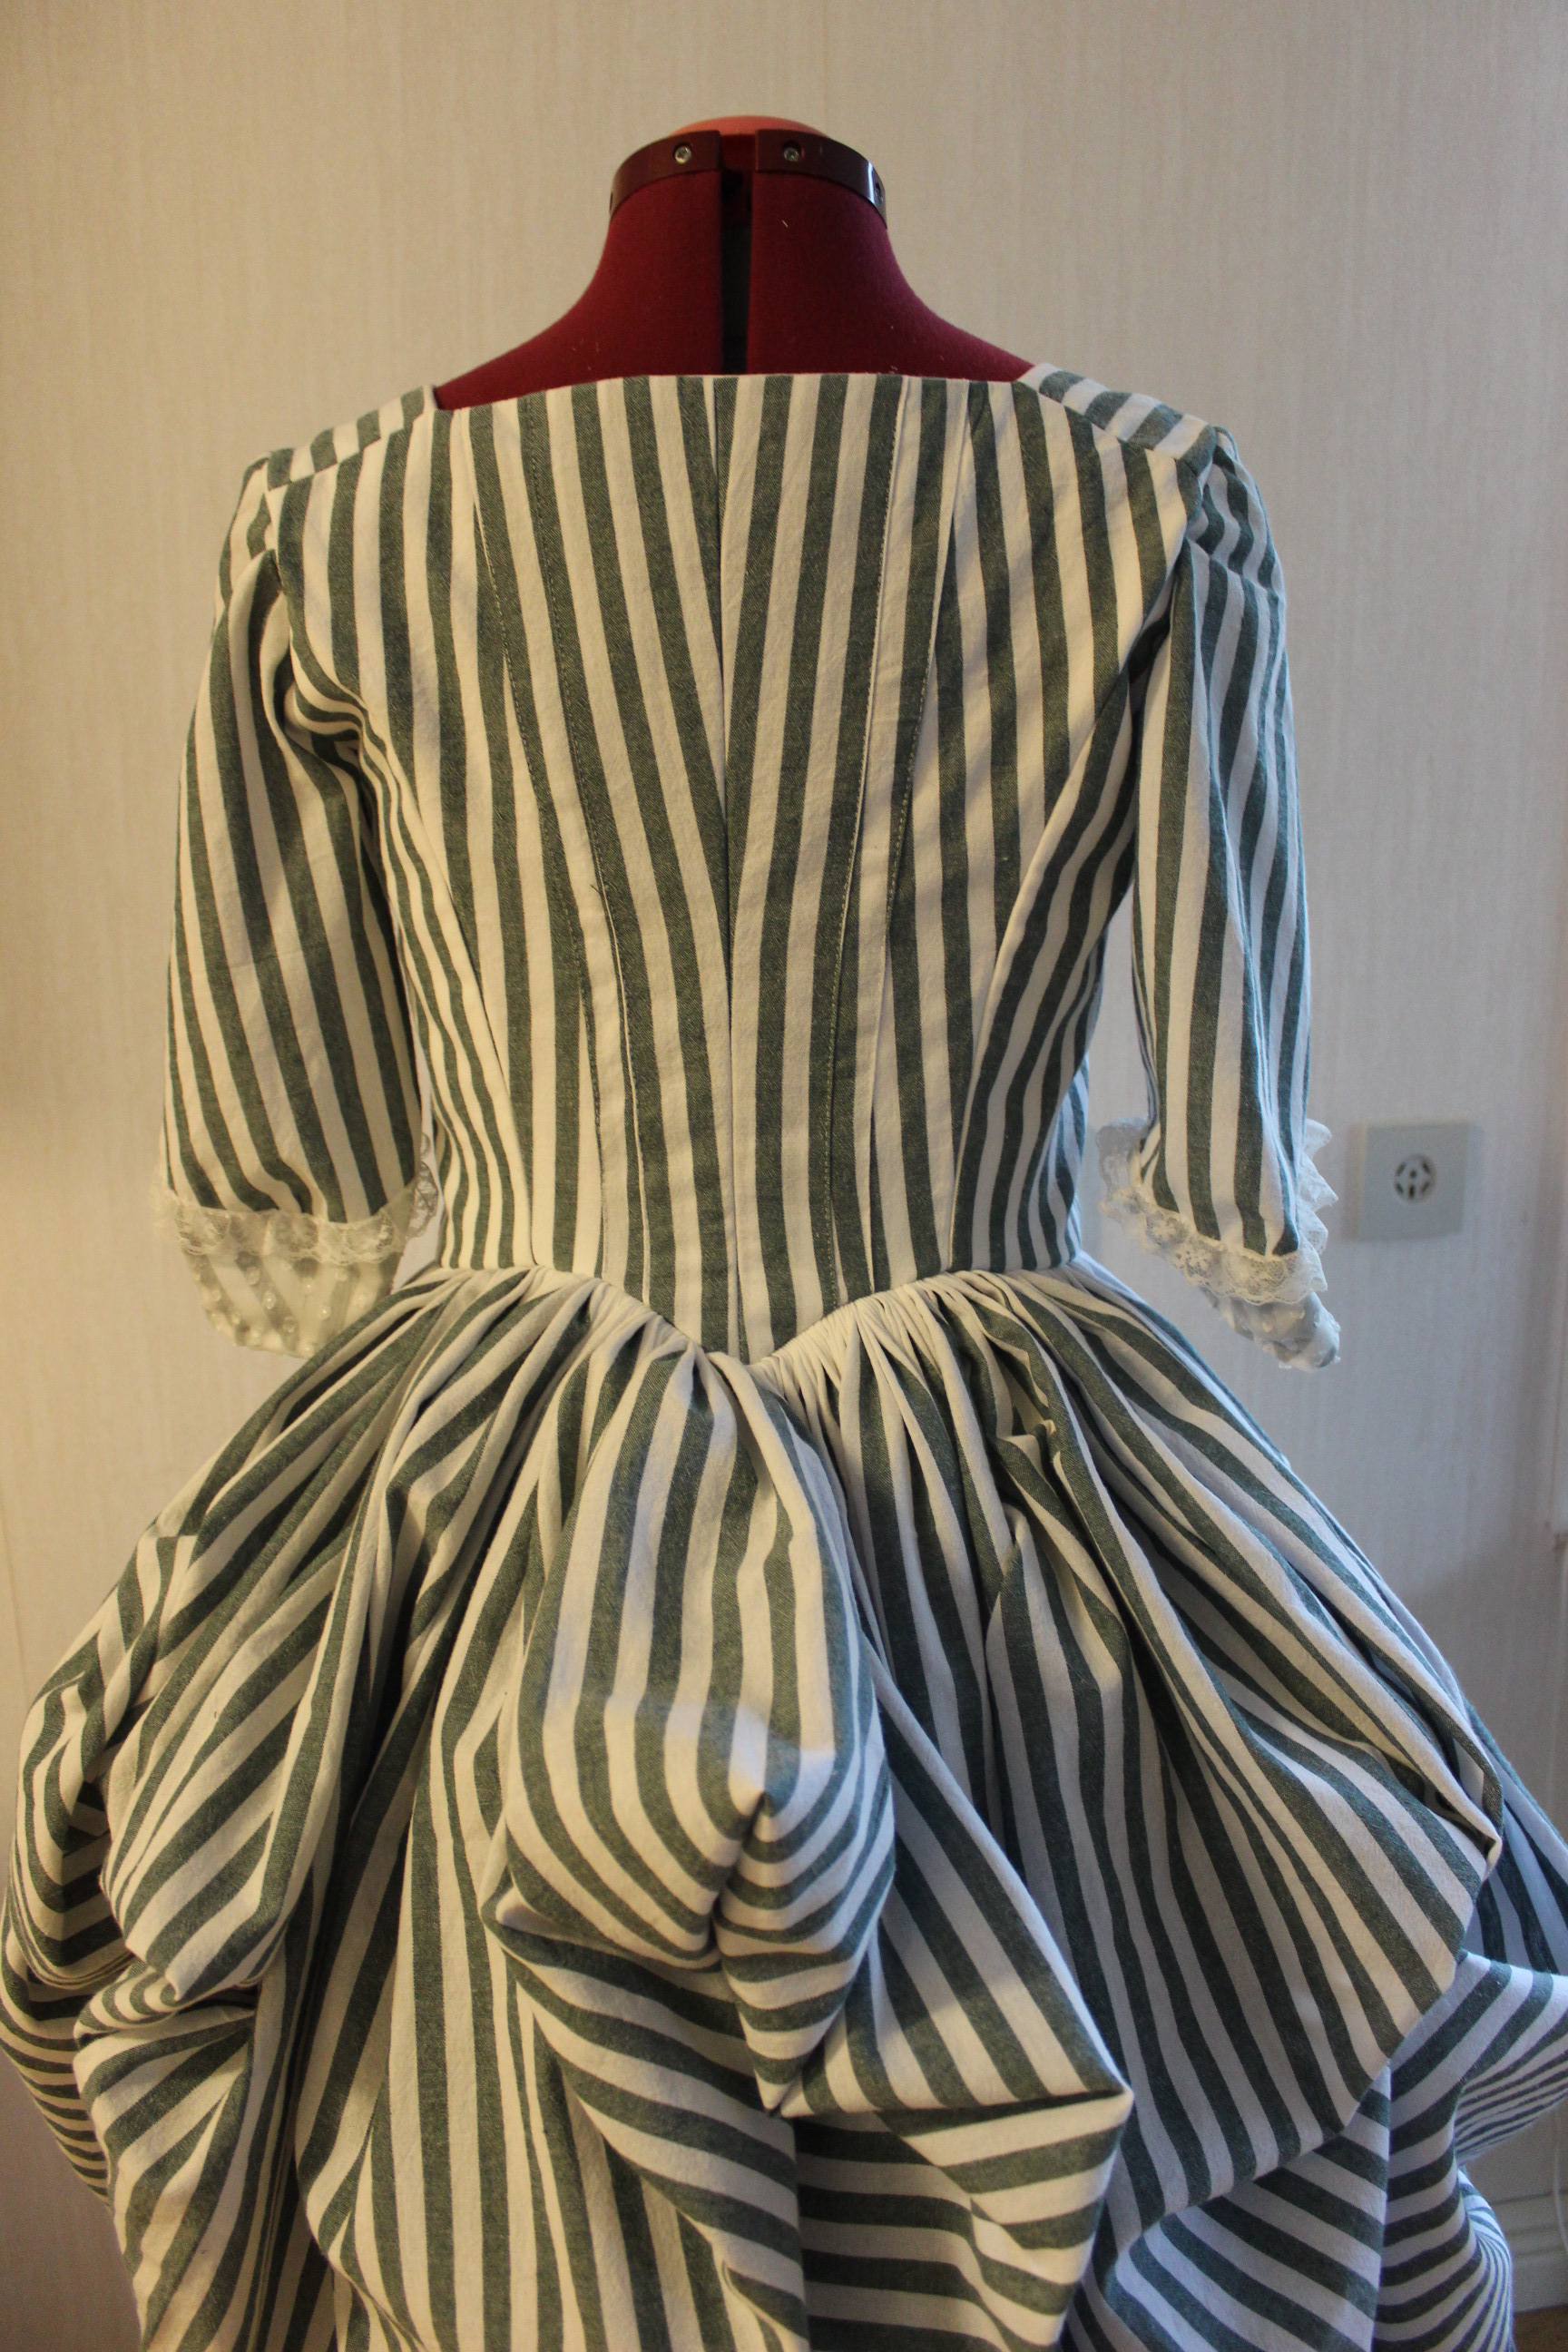
Unfortanly the sleeves were the last things I noticed when I put it on – The stupid bodice was way to smal. I tightened my corset all I could, and did manadged to close all the buttons. Only now the bodice looked horrible and the stresslines were pulling all over the front.

So back to the sewing machine I whent, using the alowence in the side/back seams to make the bodice a total of 2,5 cm bigger. IMG_8591

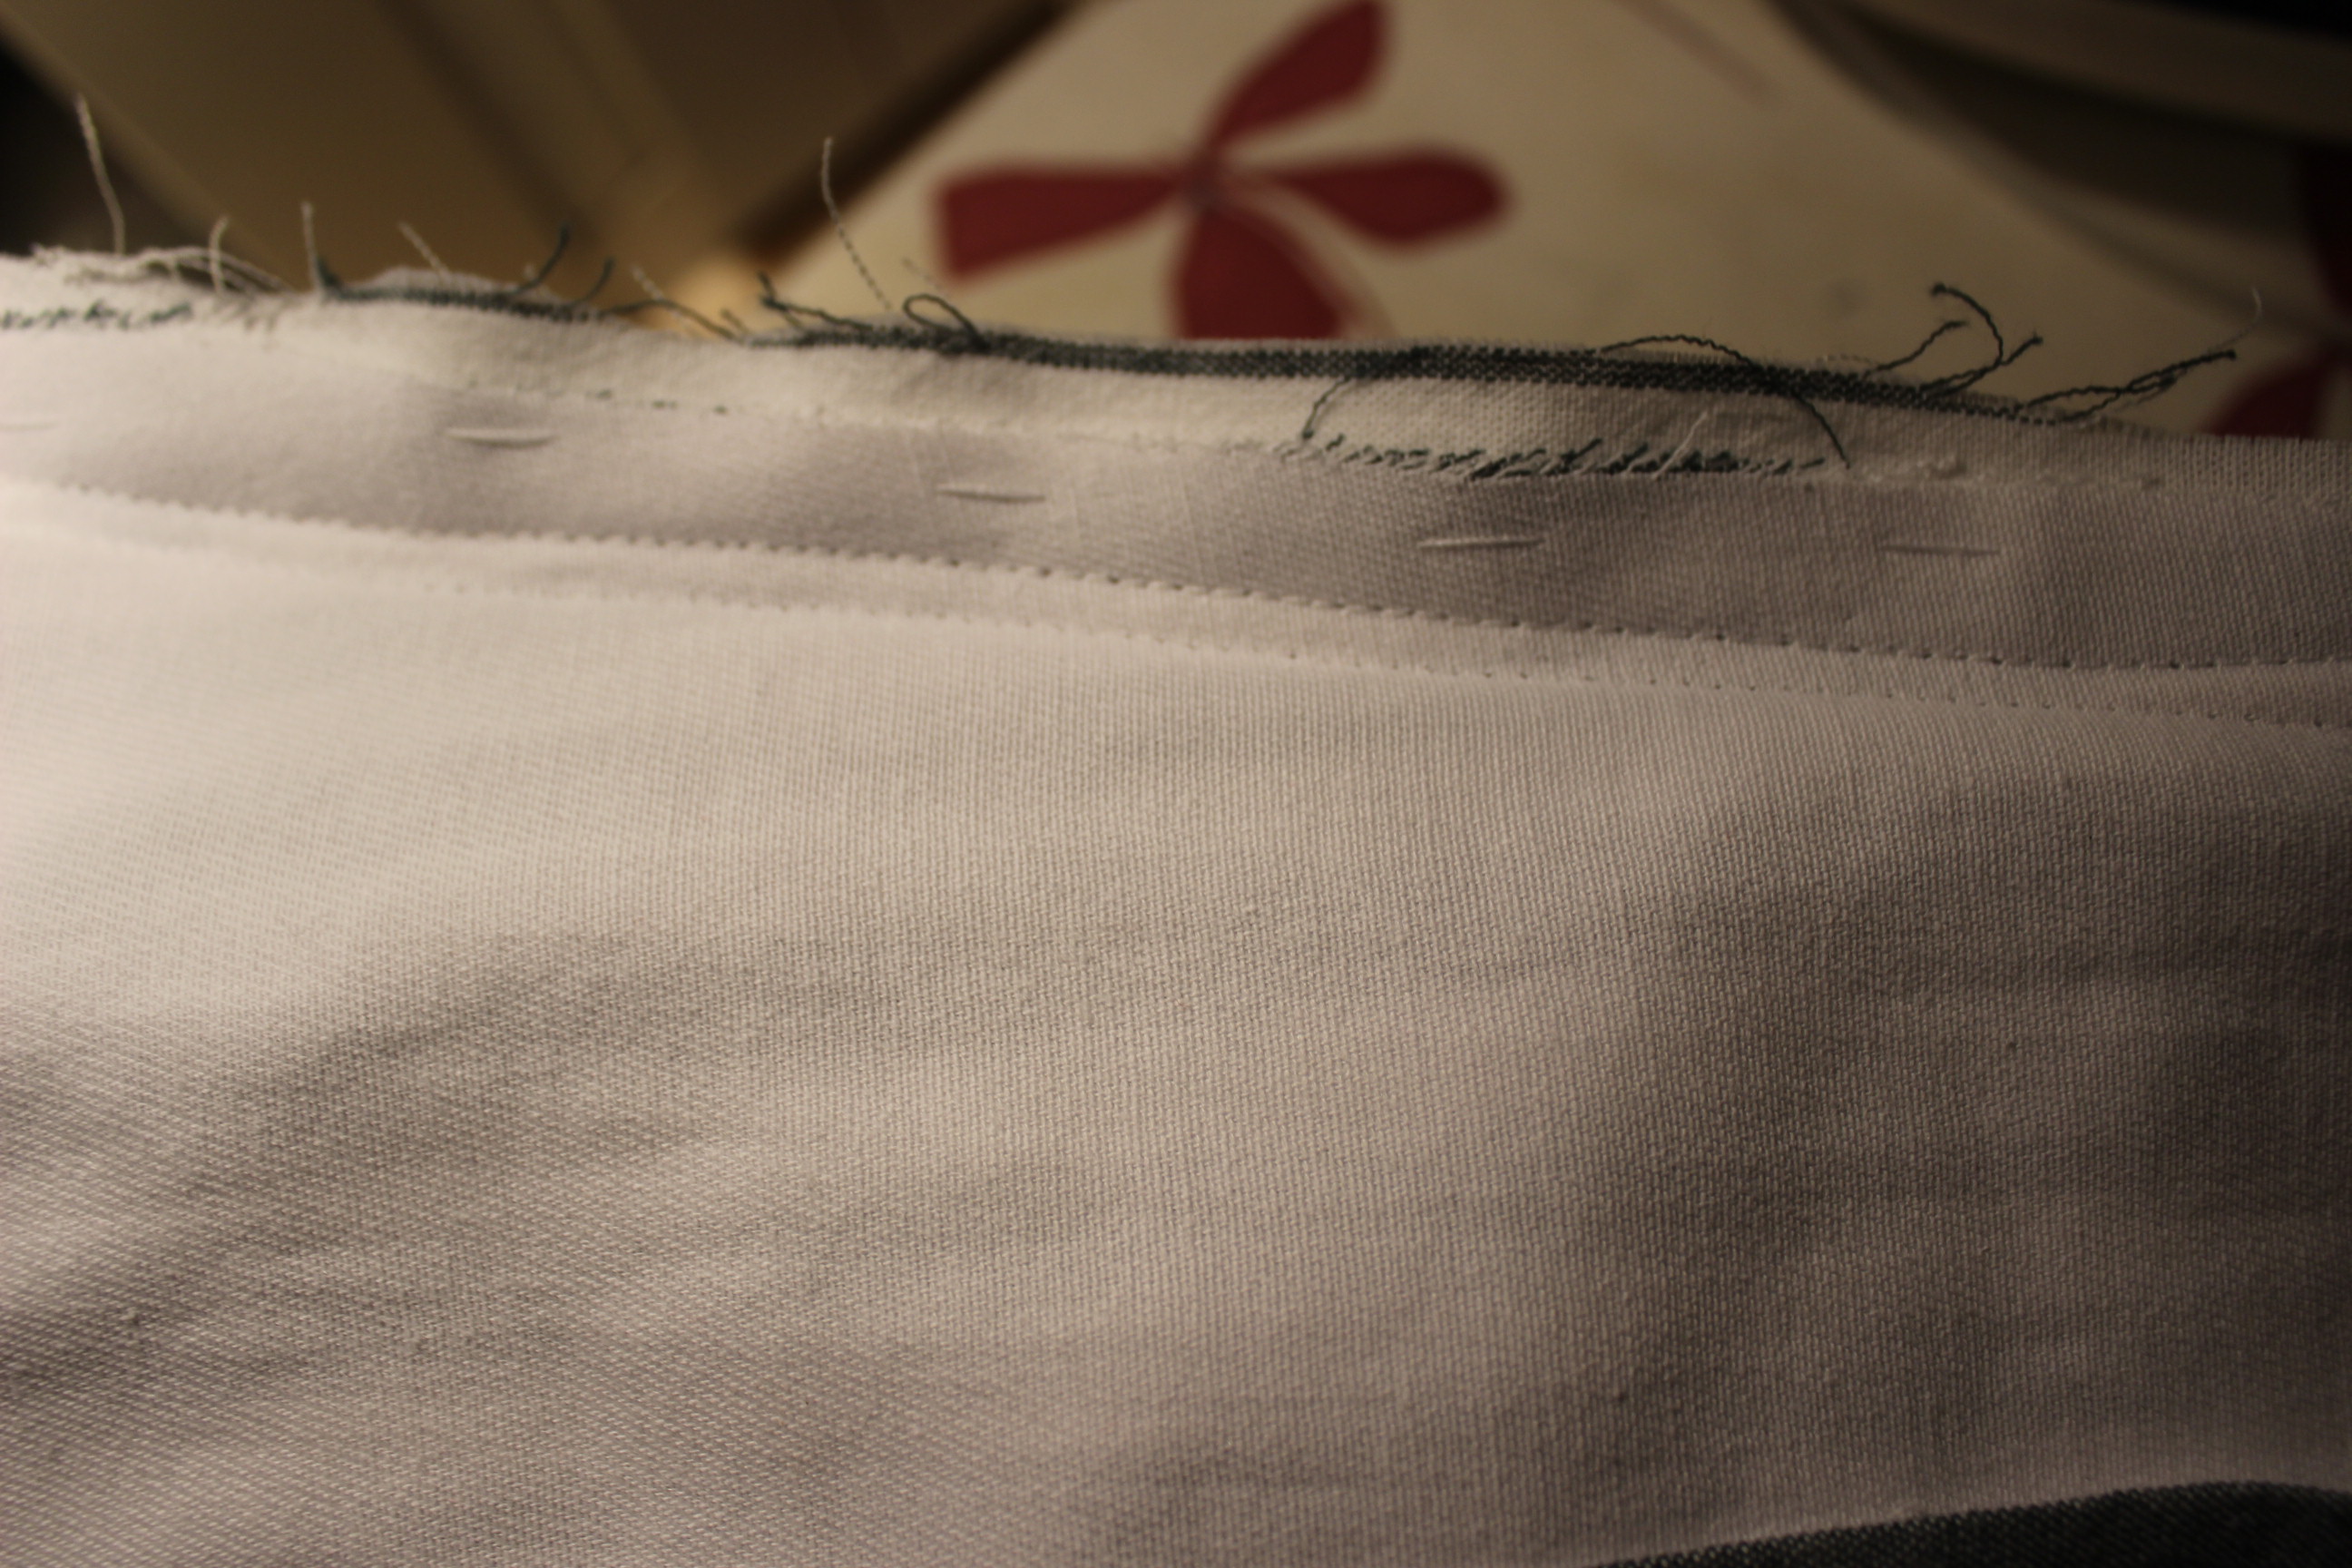
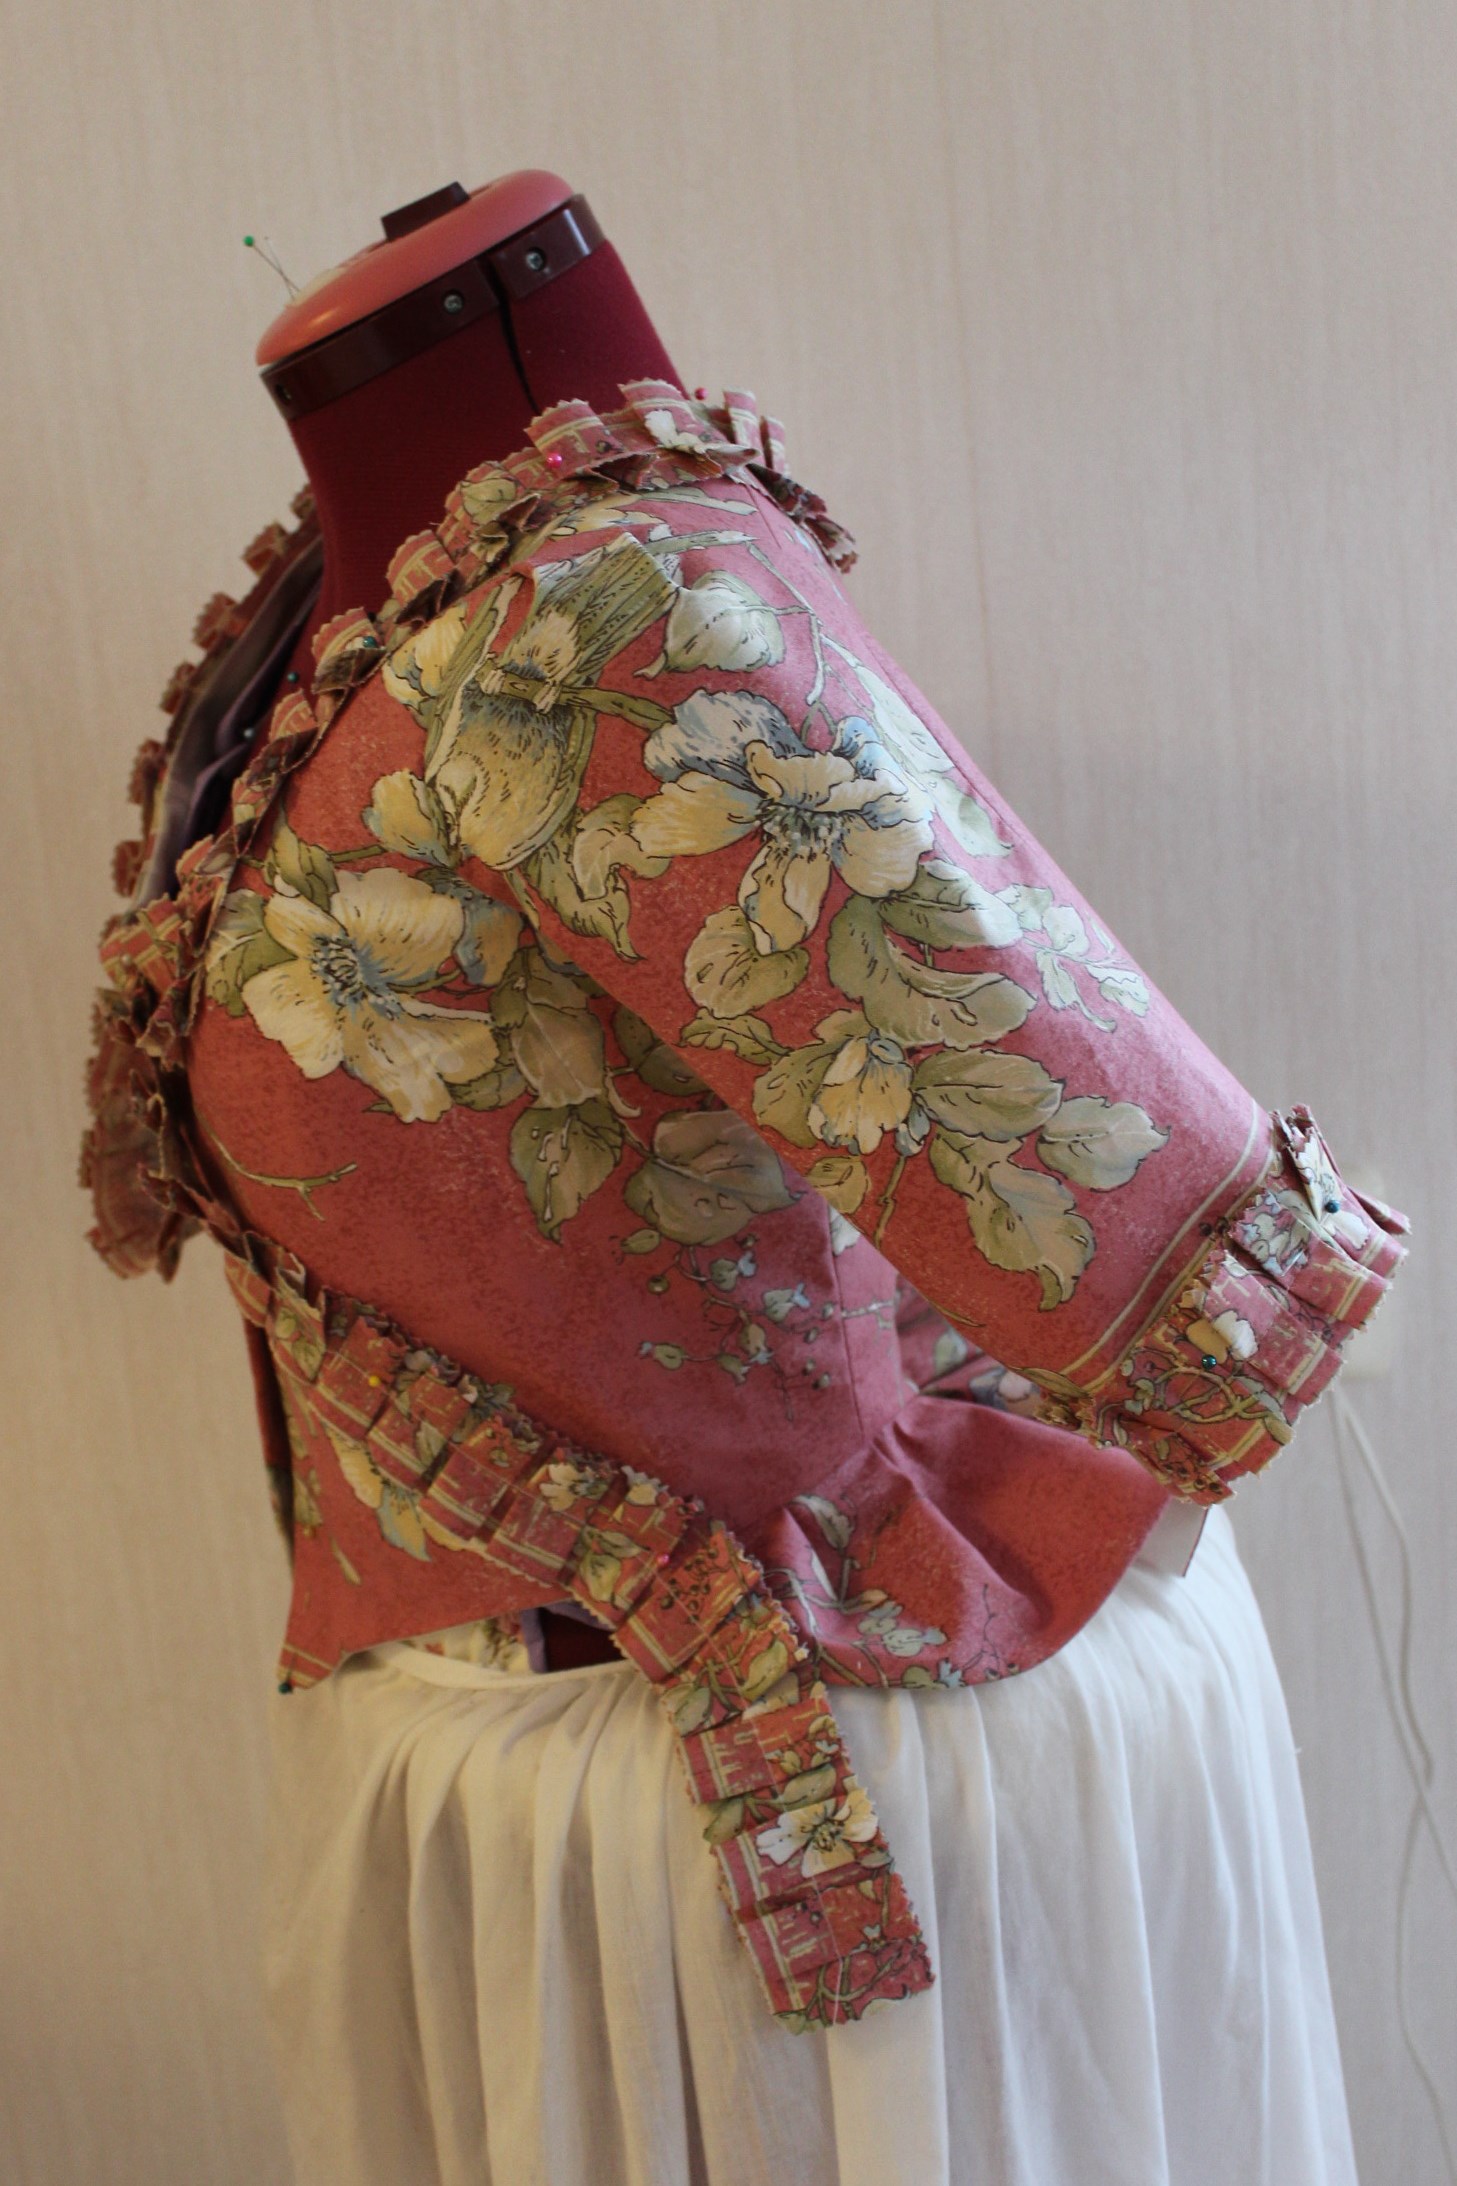
Then I pinned and sewed the sleeves. The insertion was an easy one, but the deciding on the sleeve trim was a bit harder. In the end I decided to stepp away from the inspiration and go with my guts and use a smaler design then originaly planed.

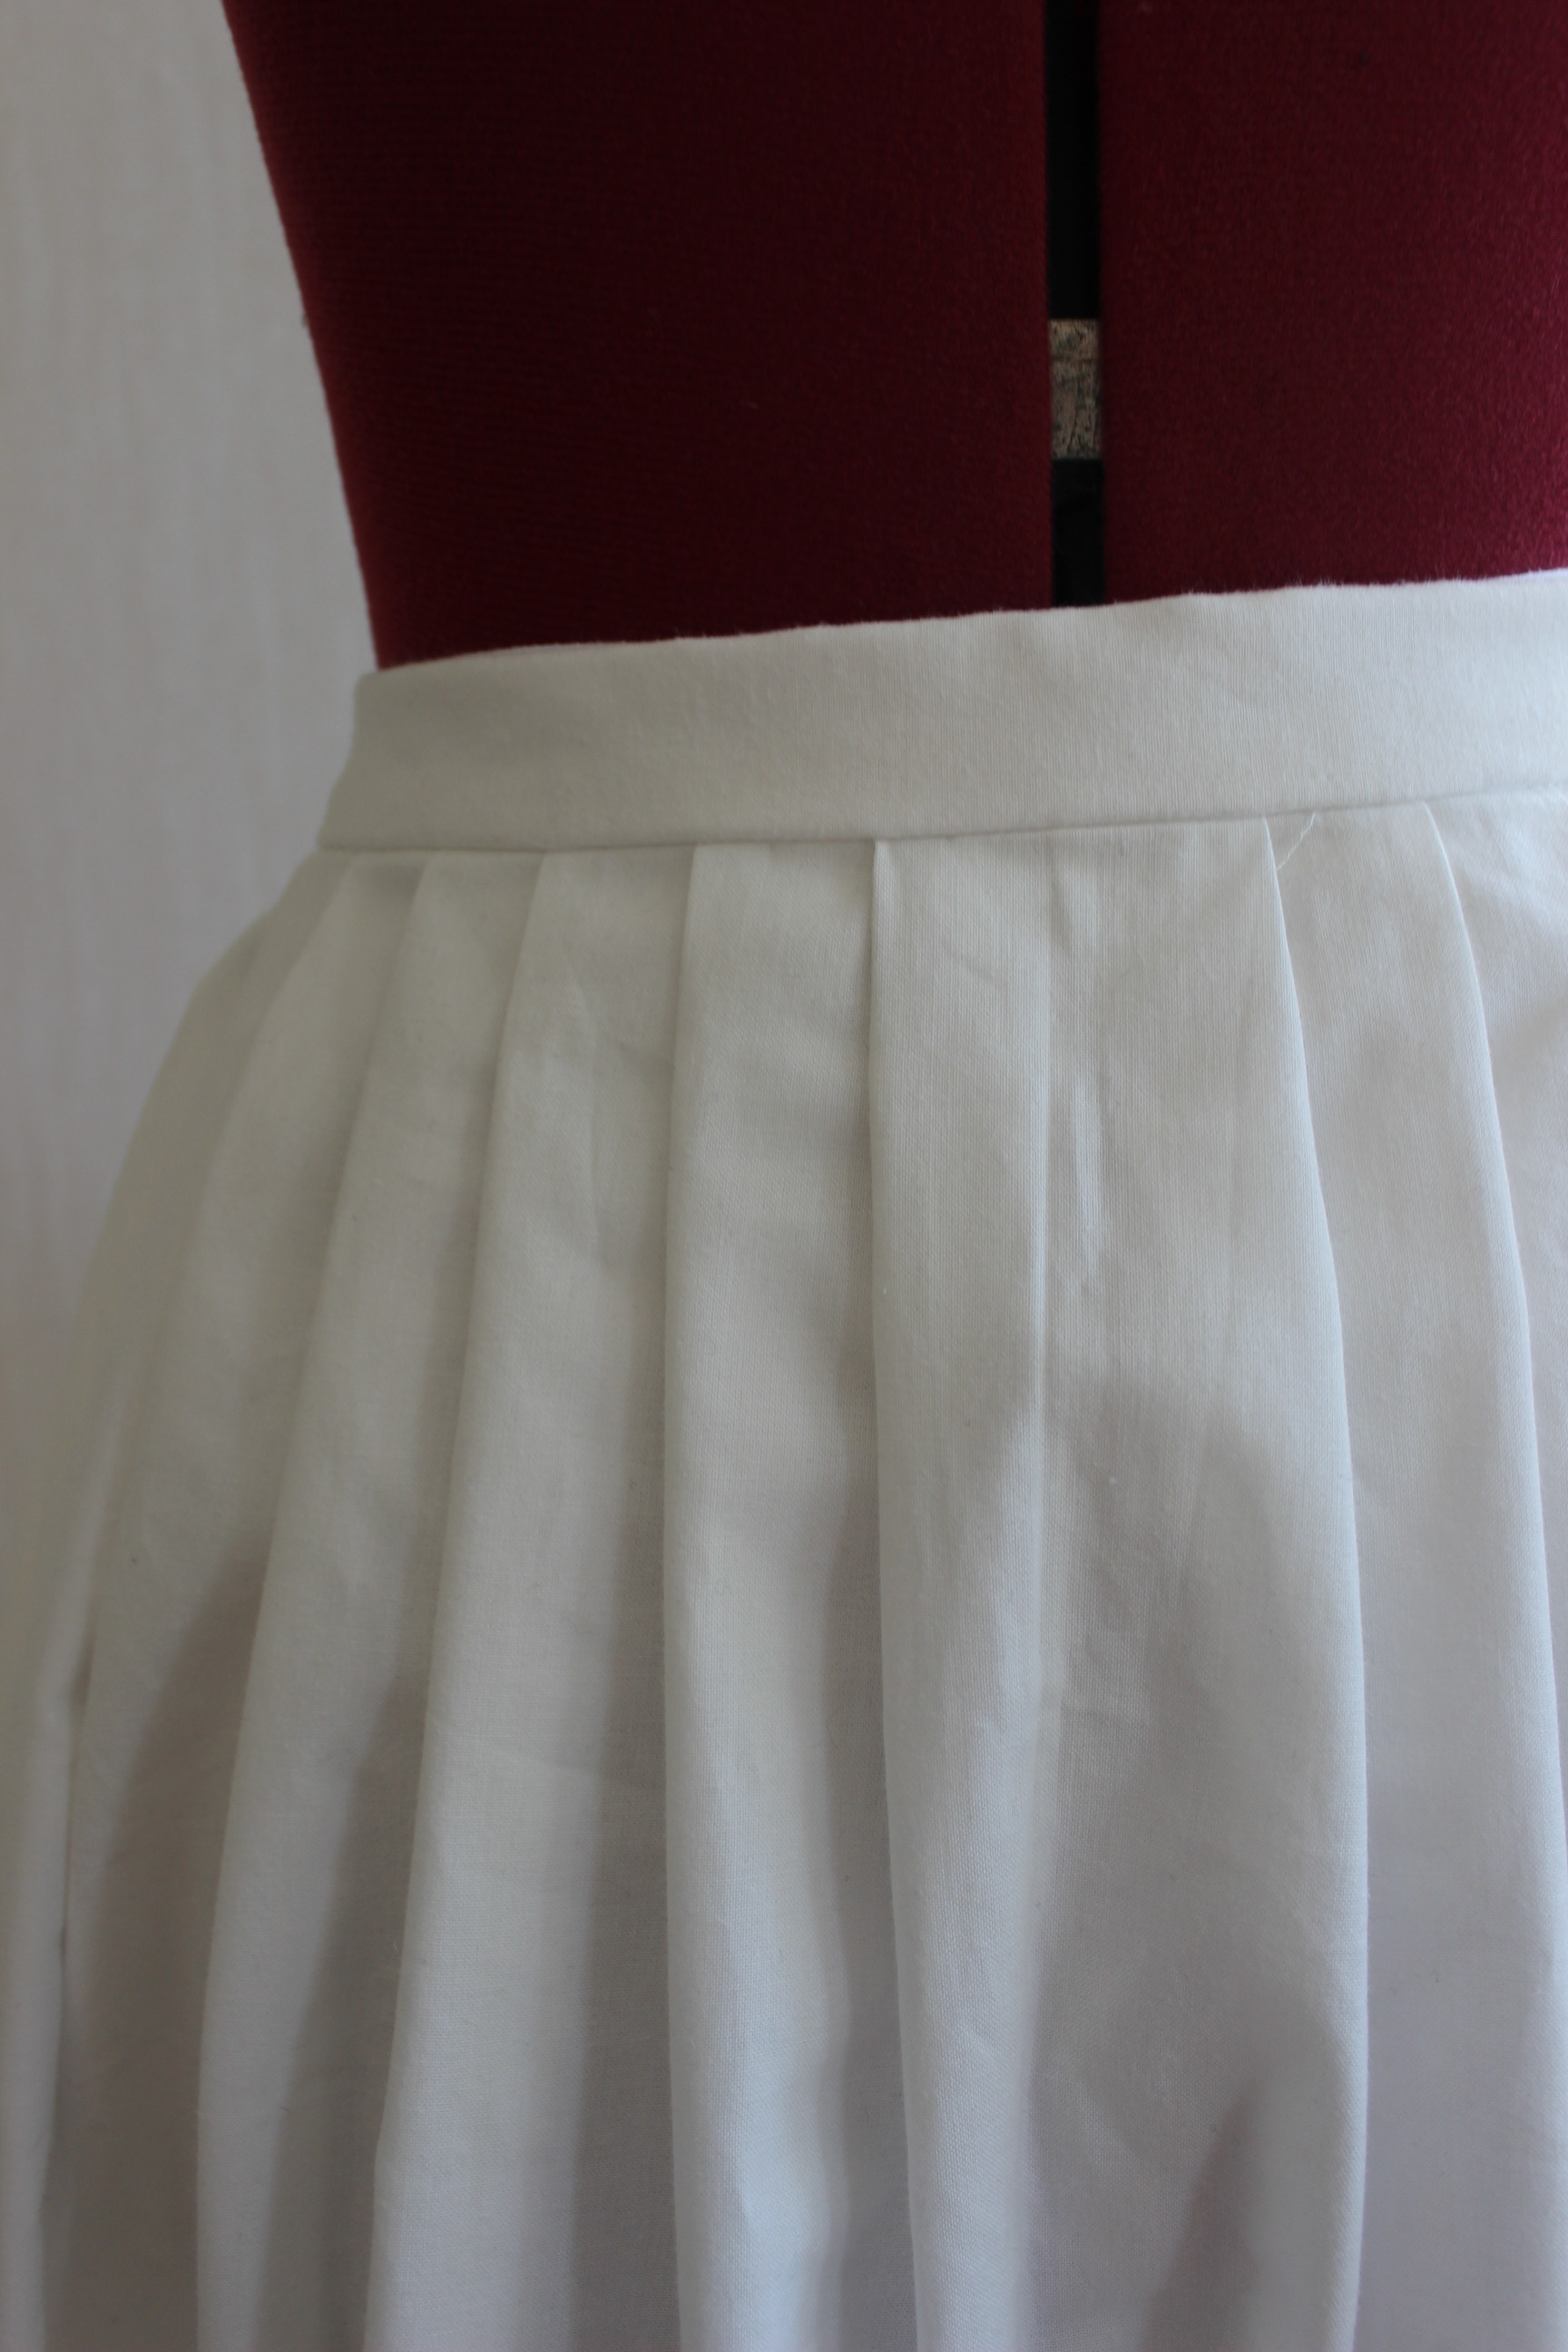
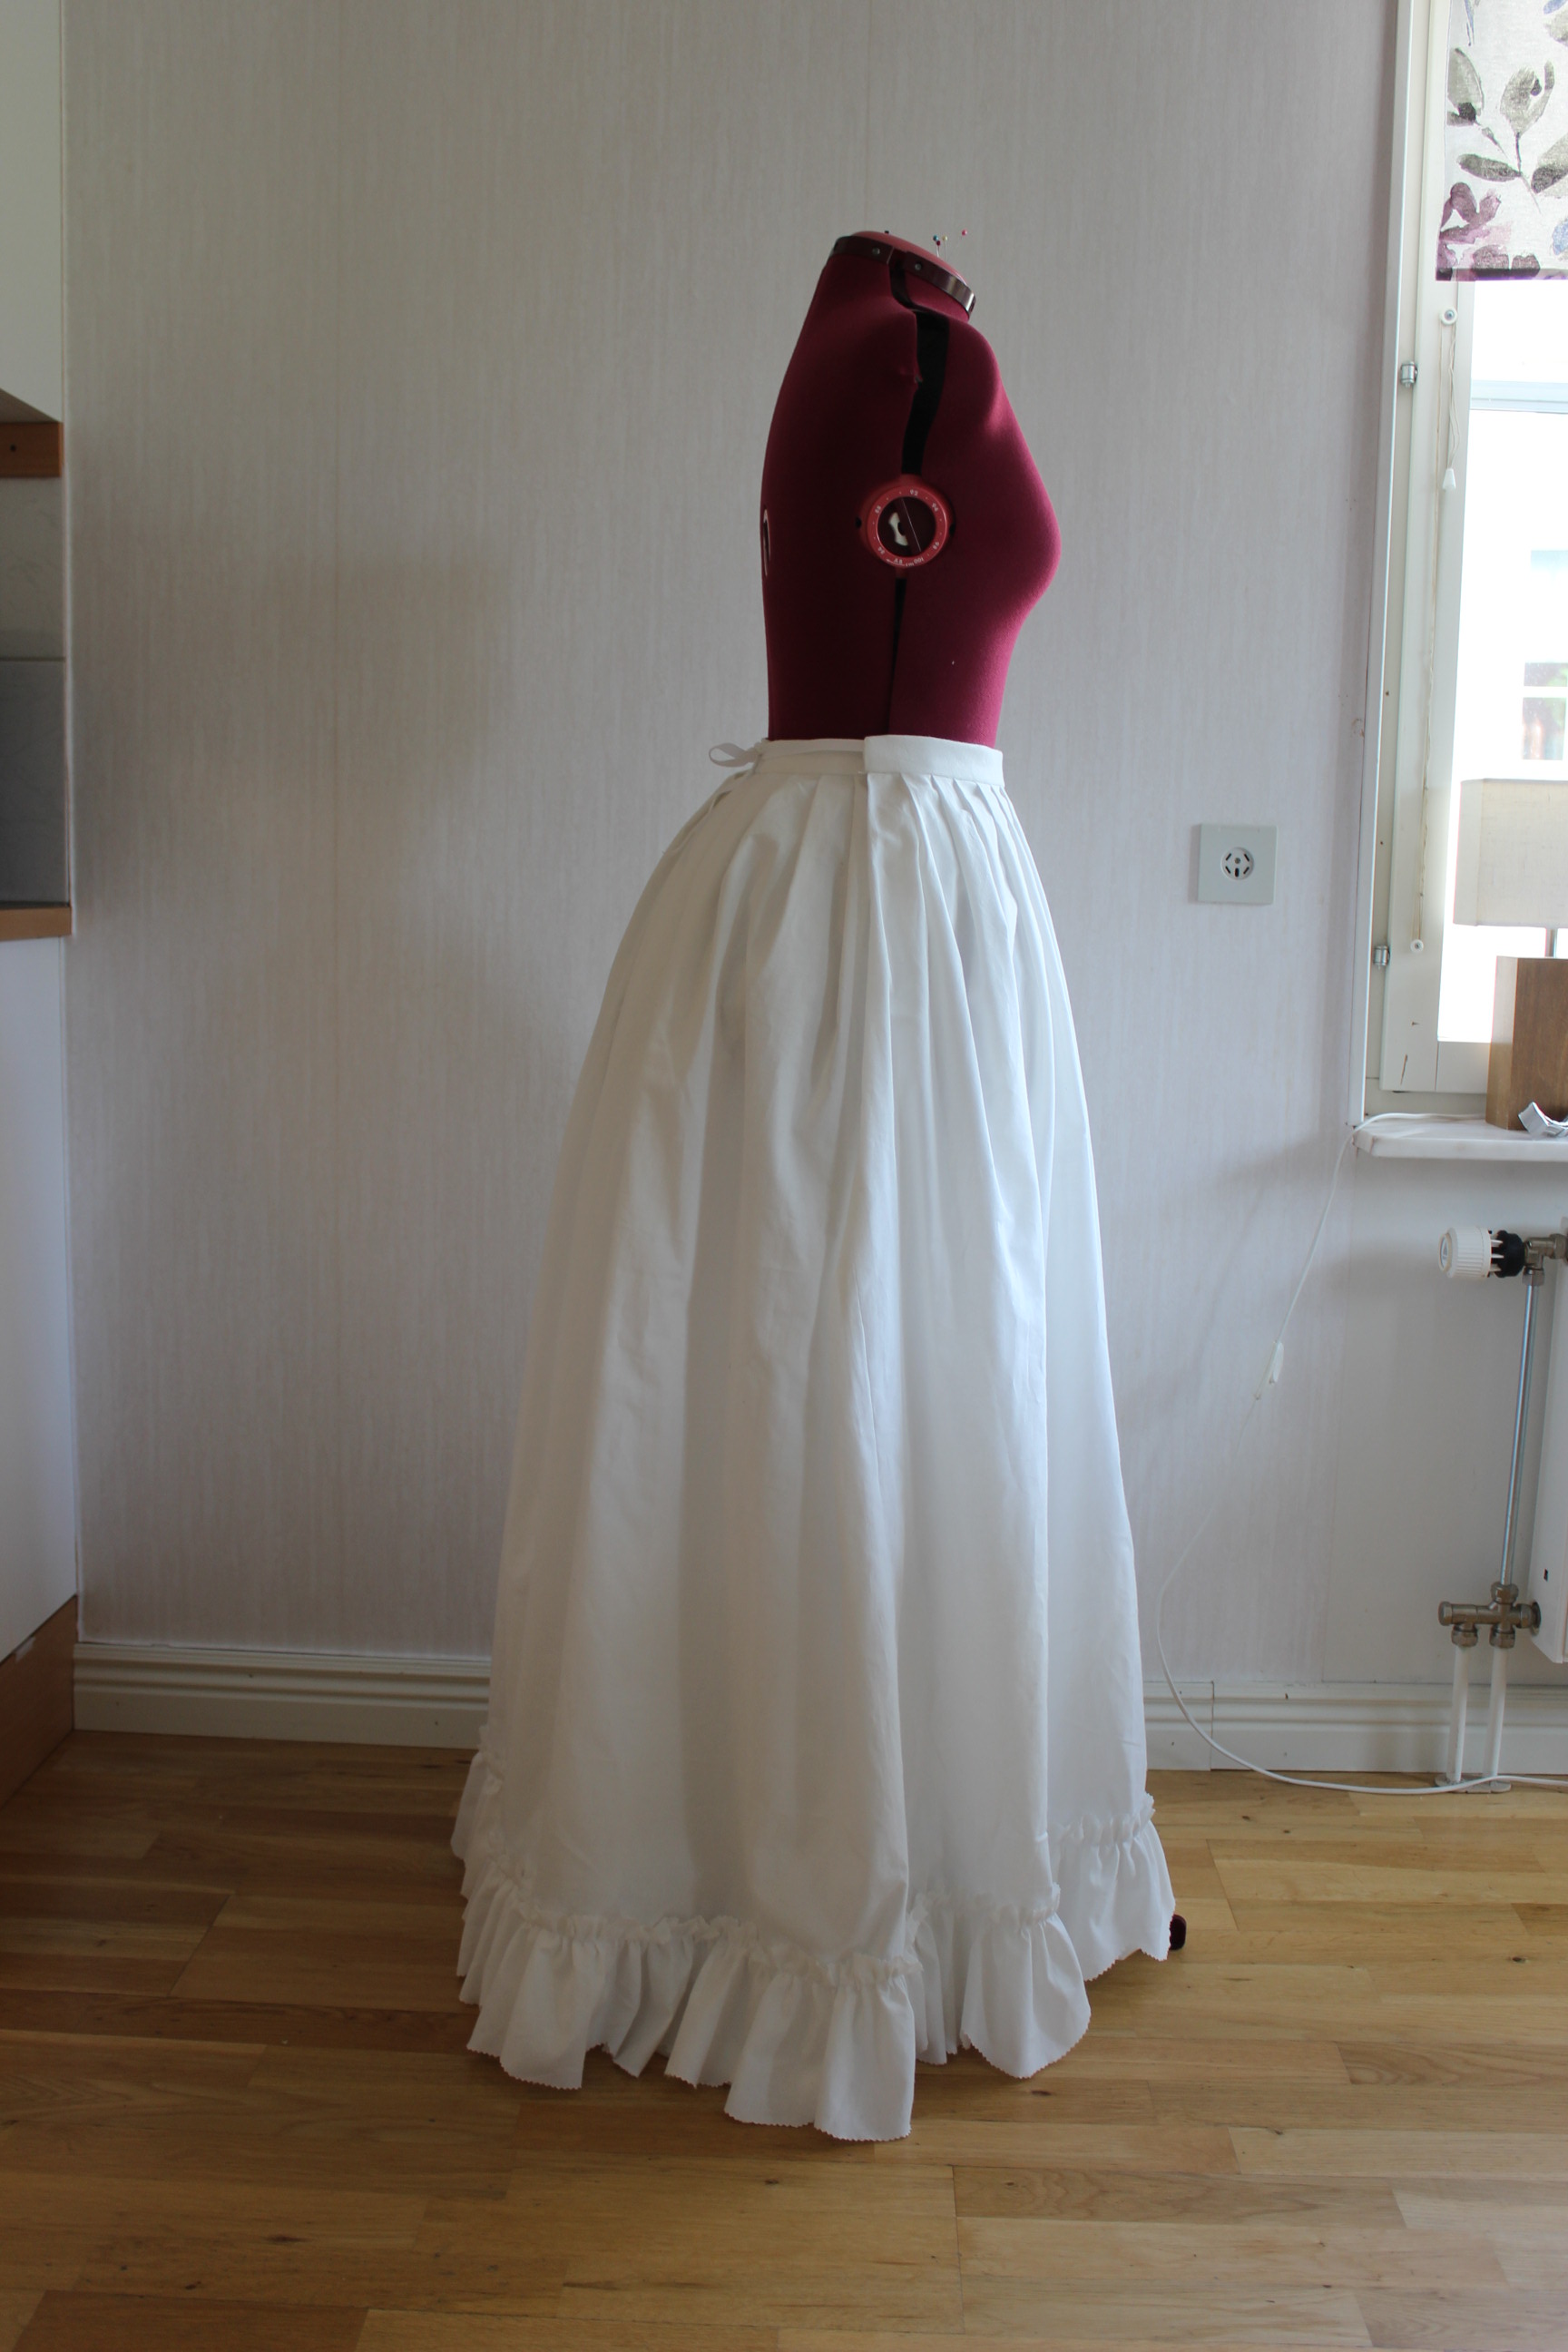
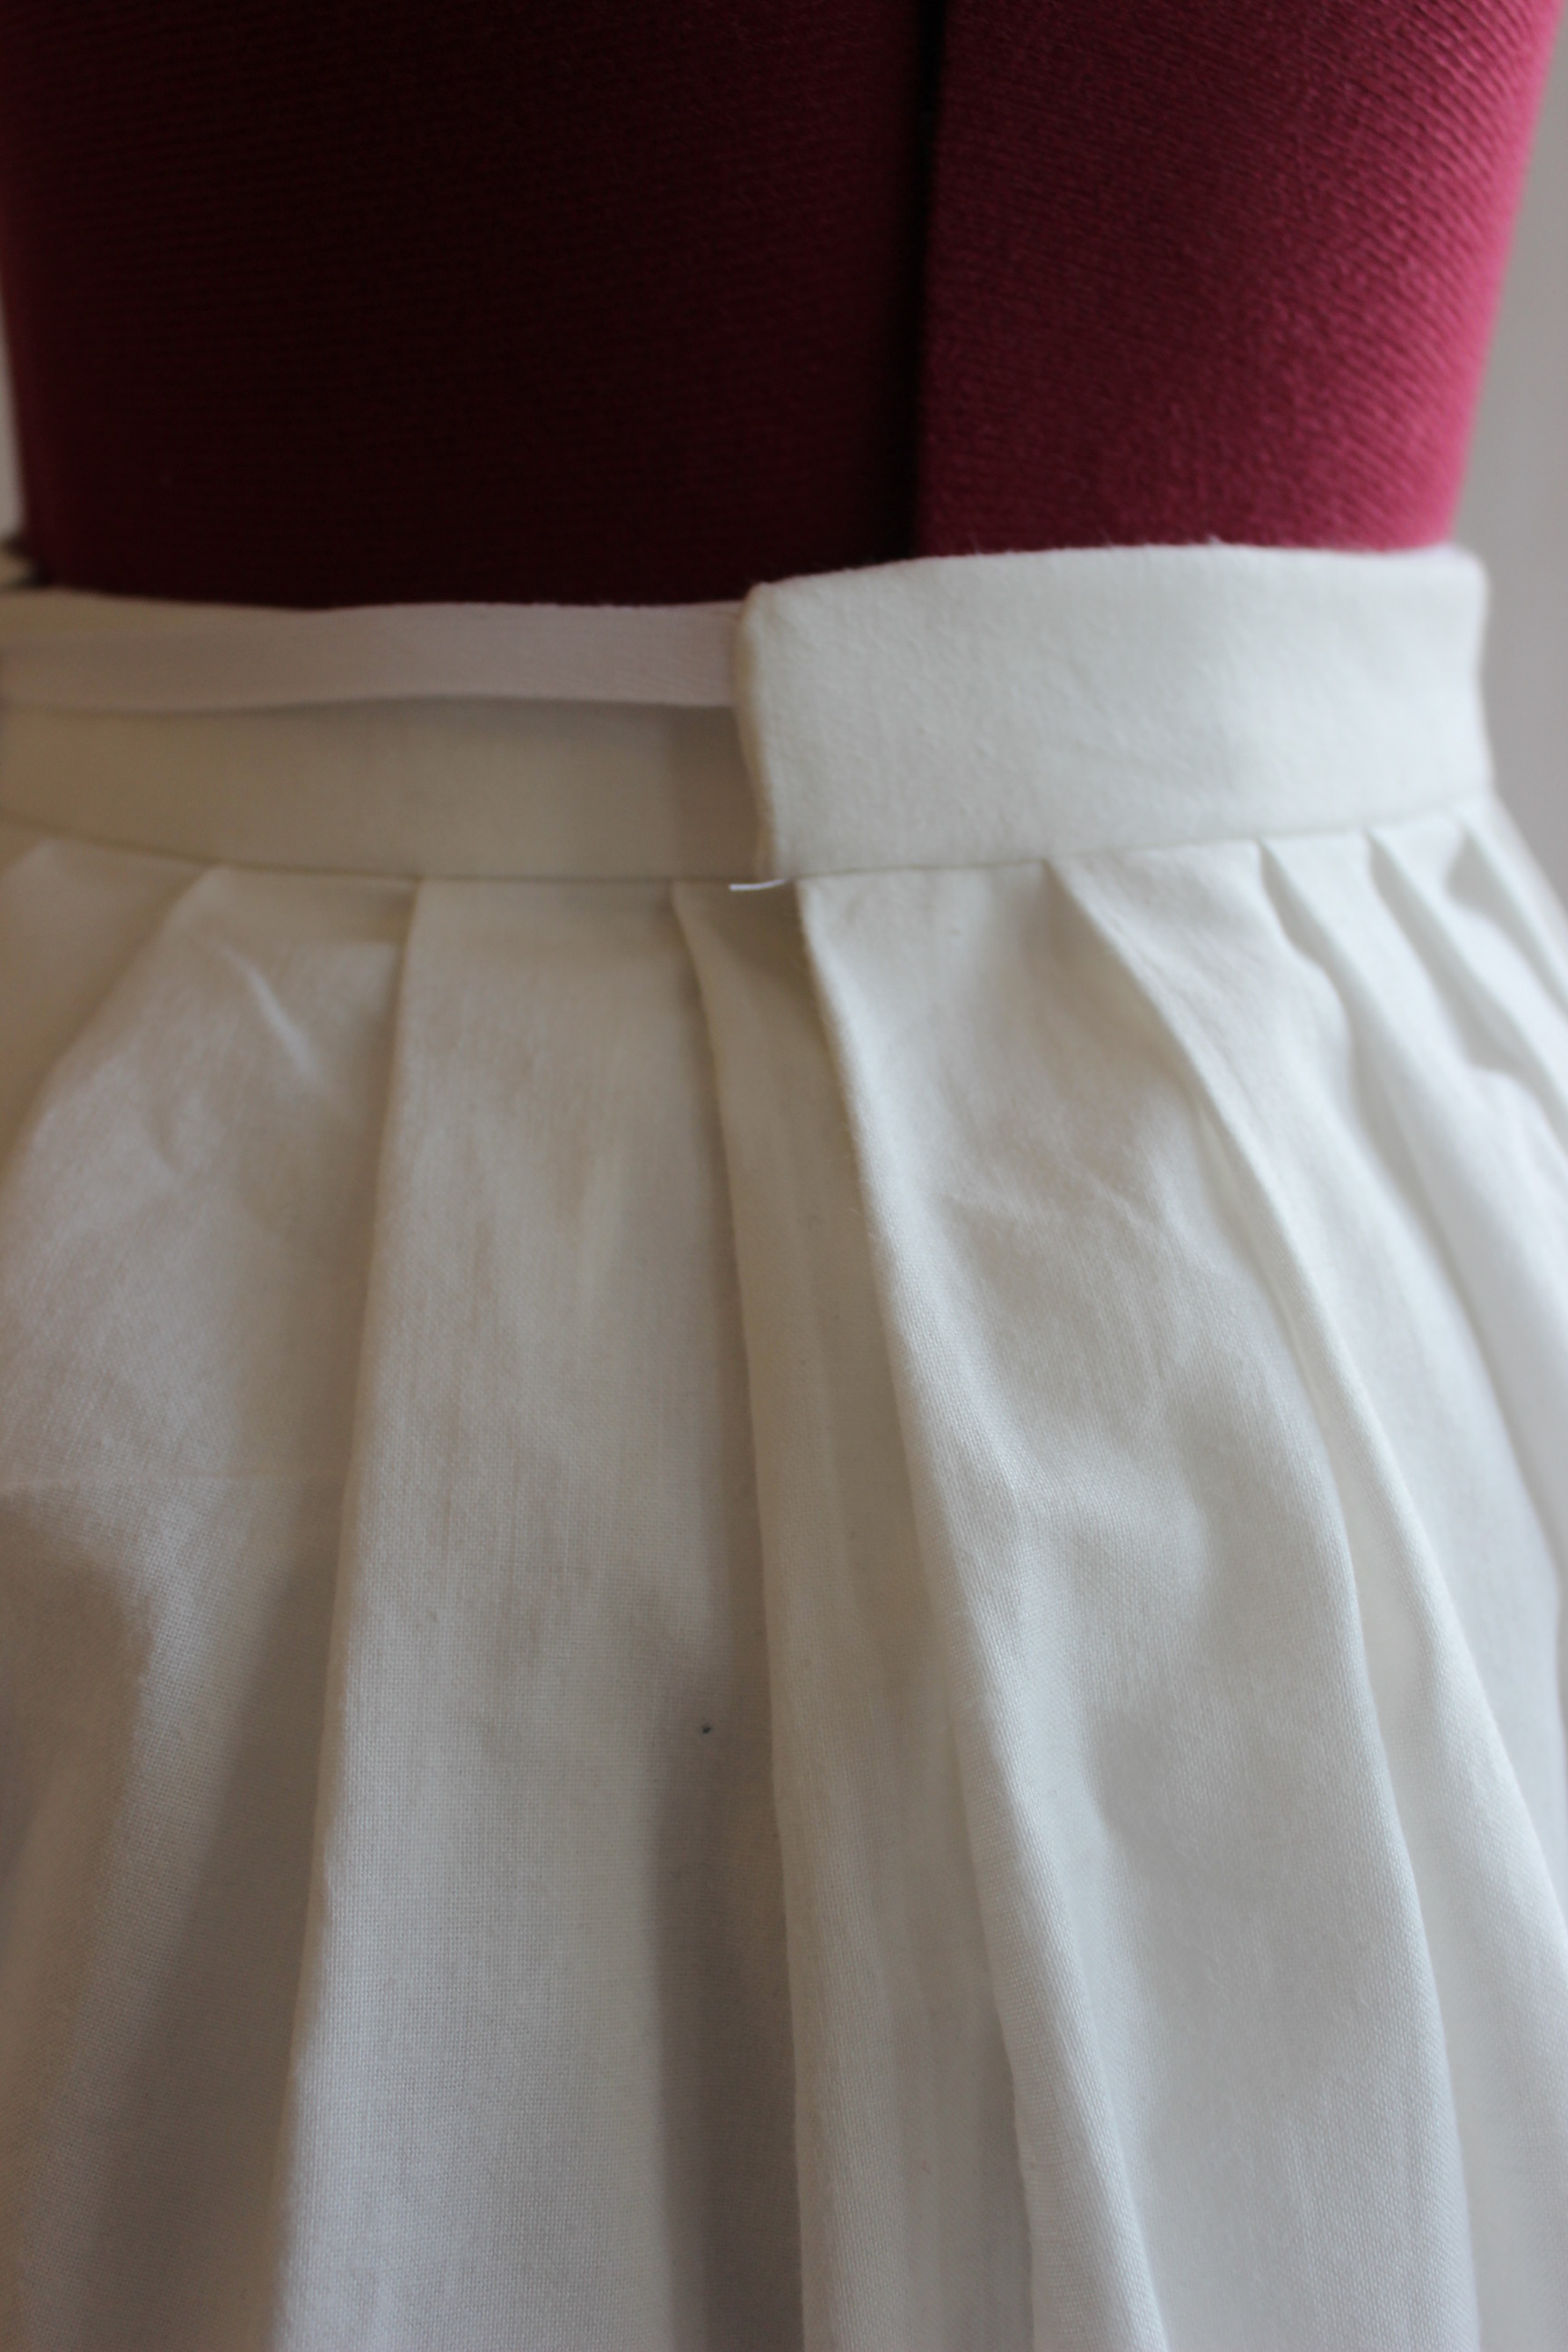
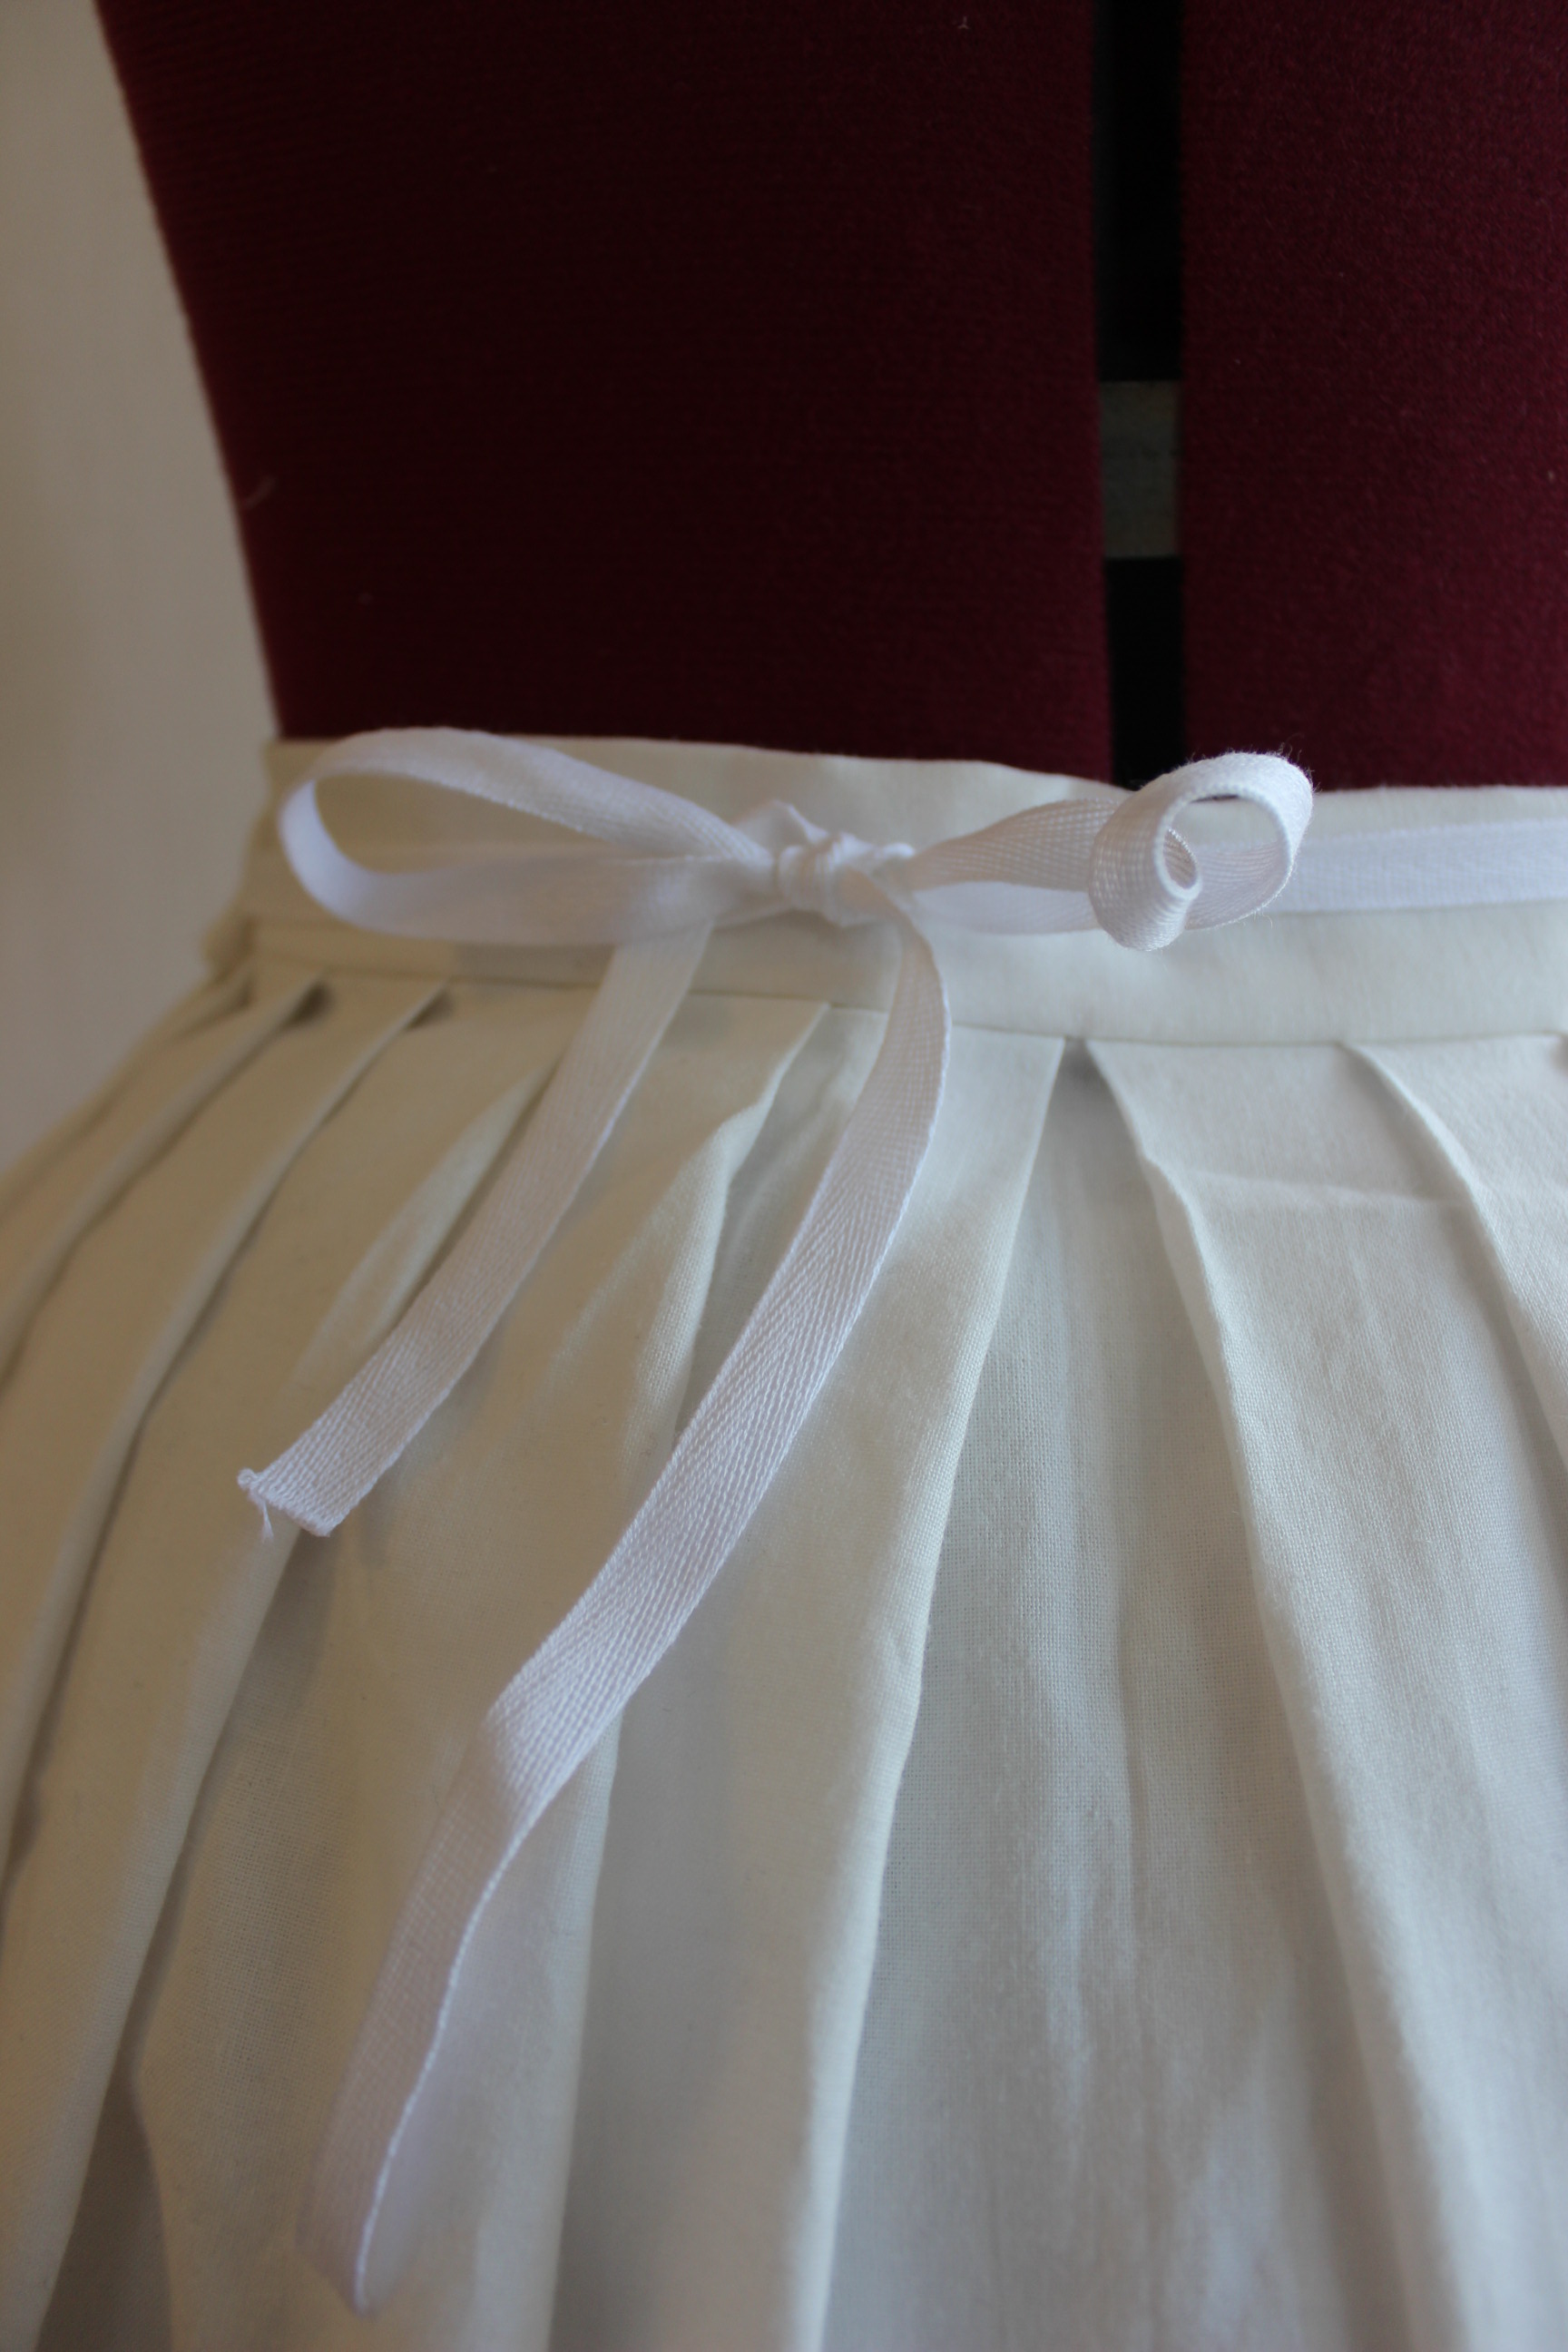
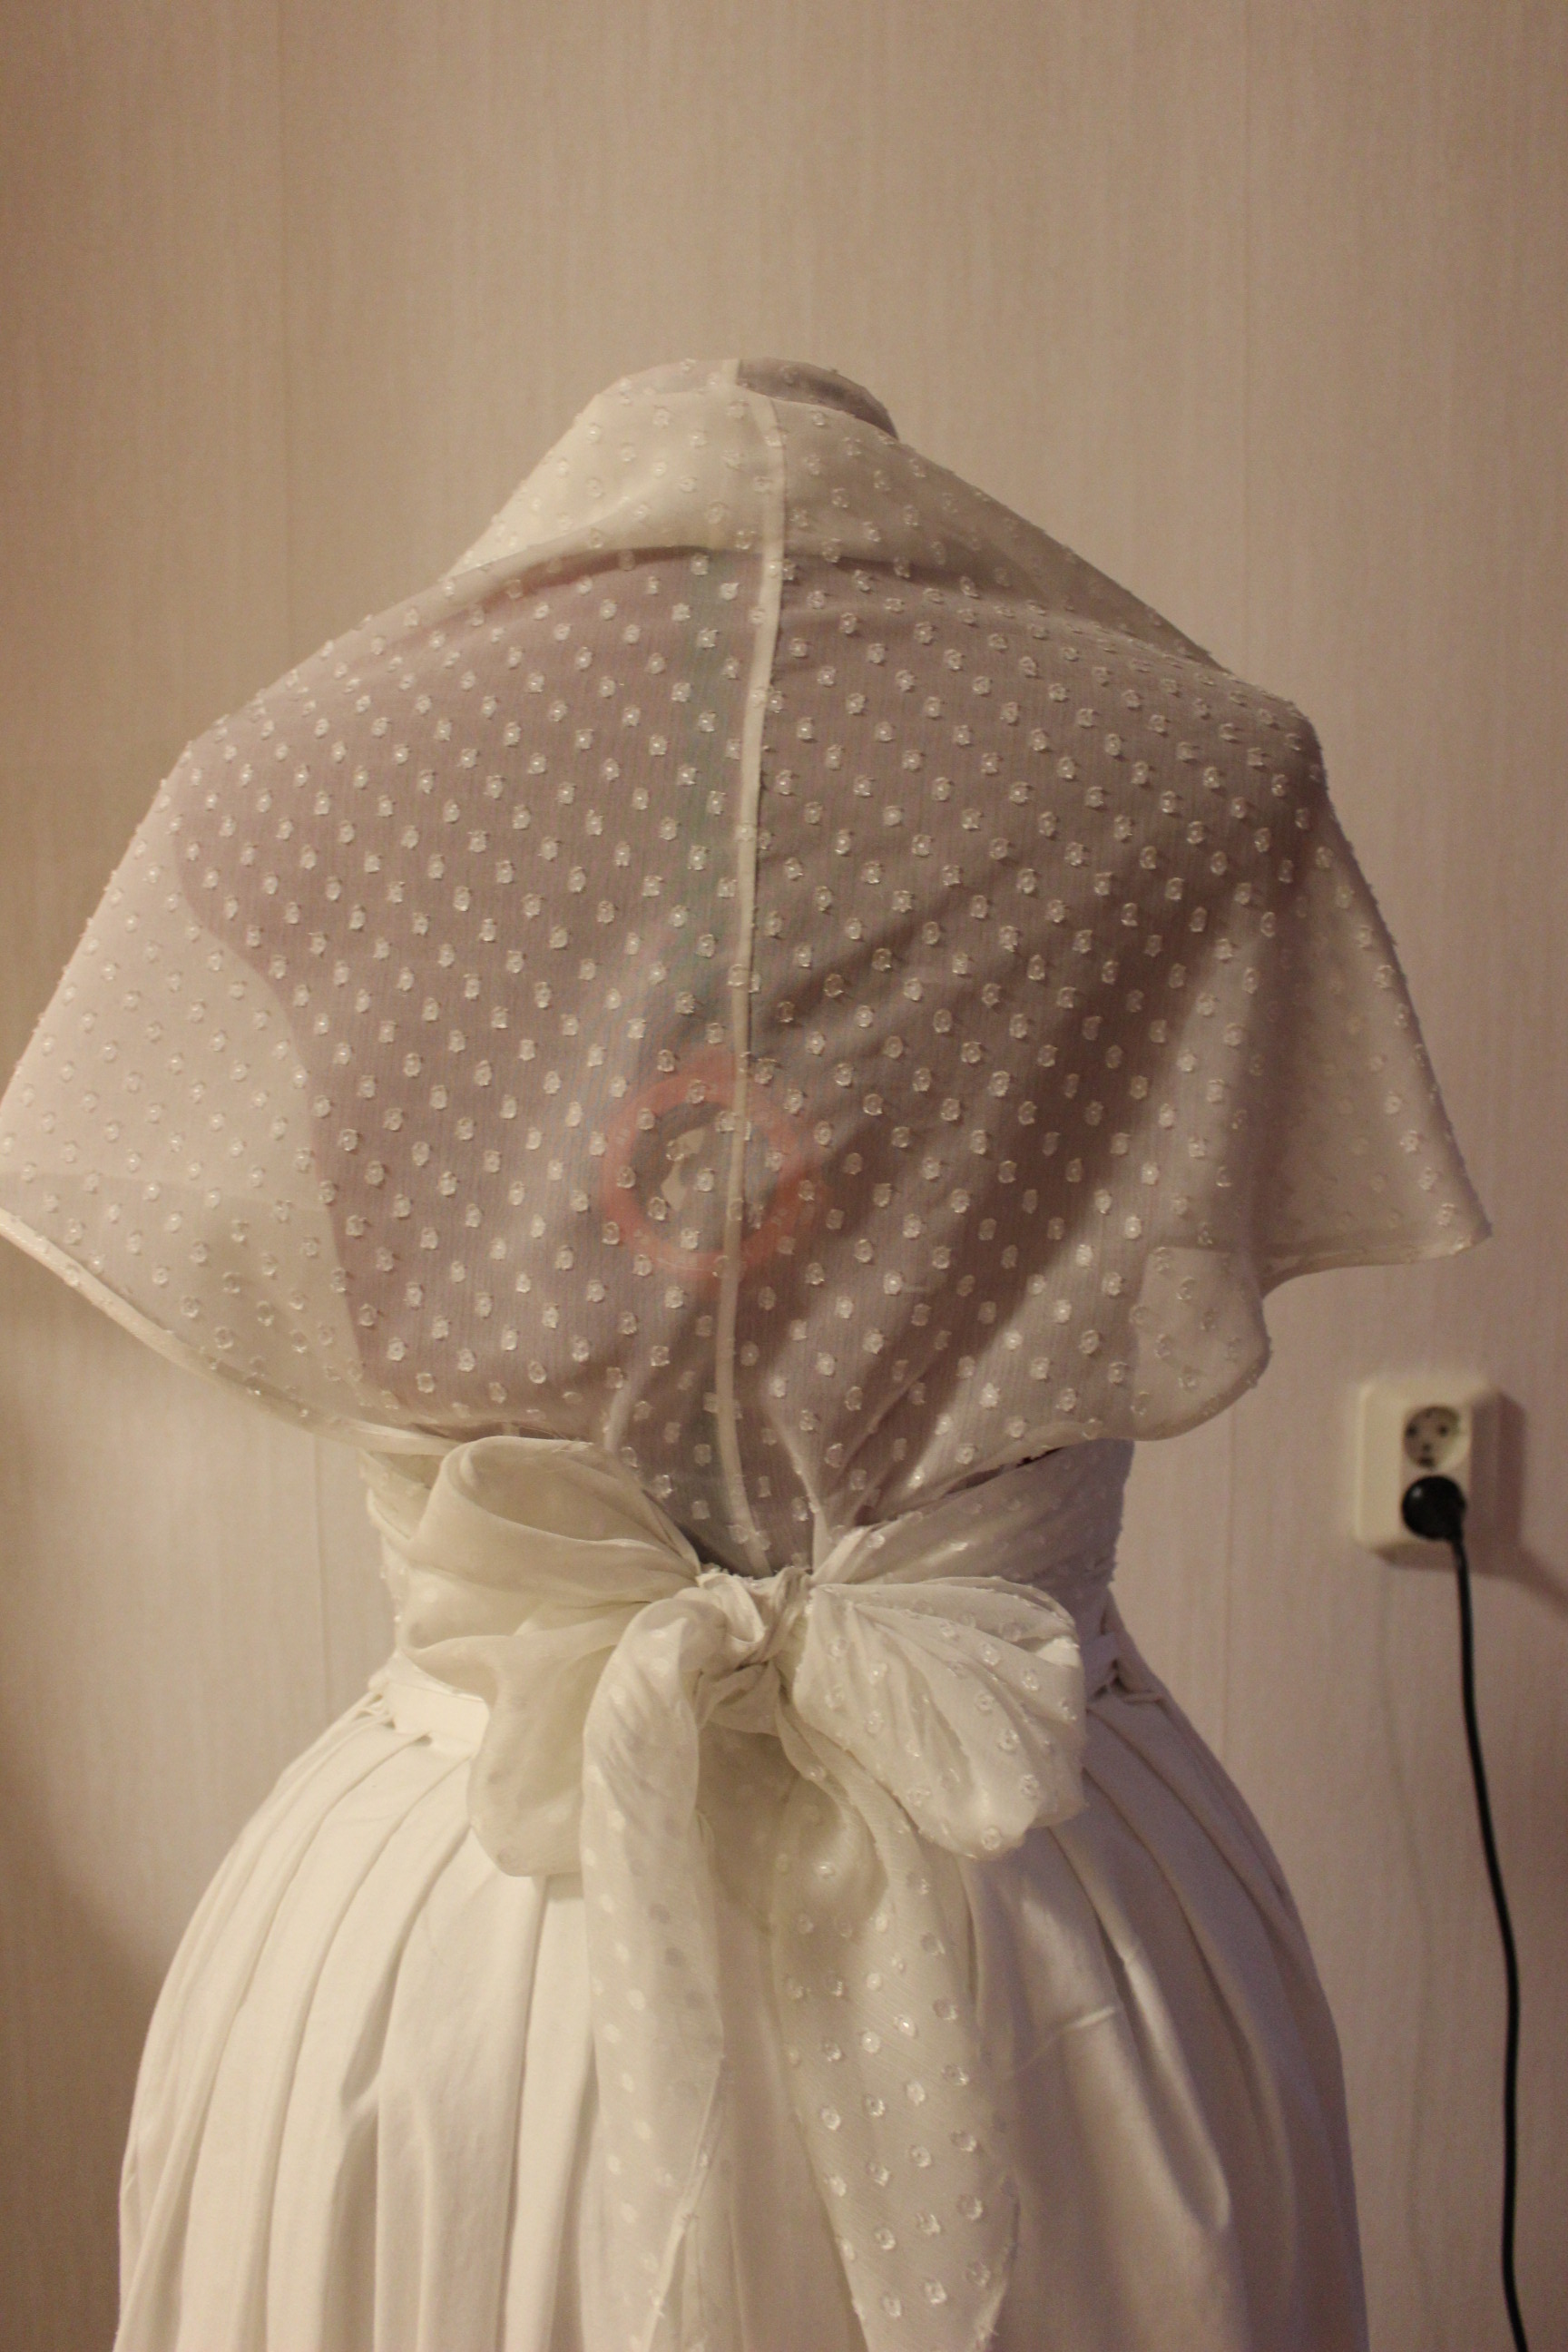
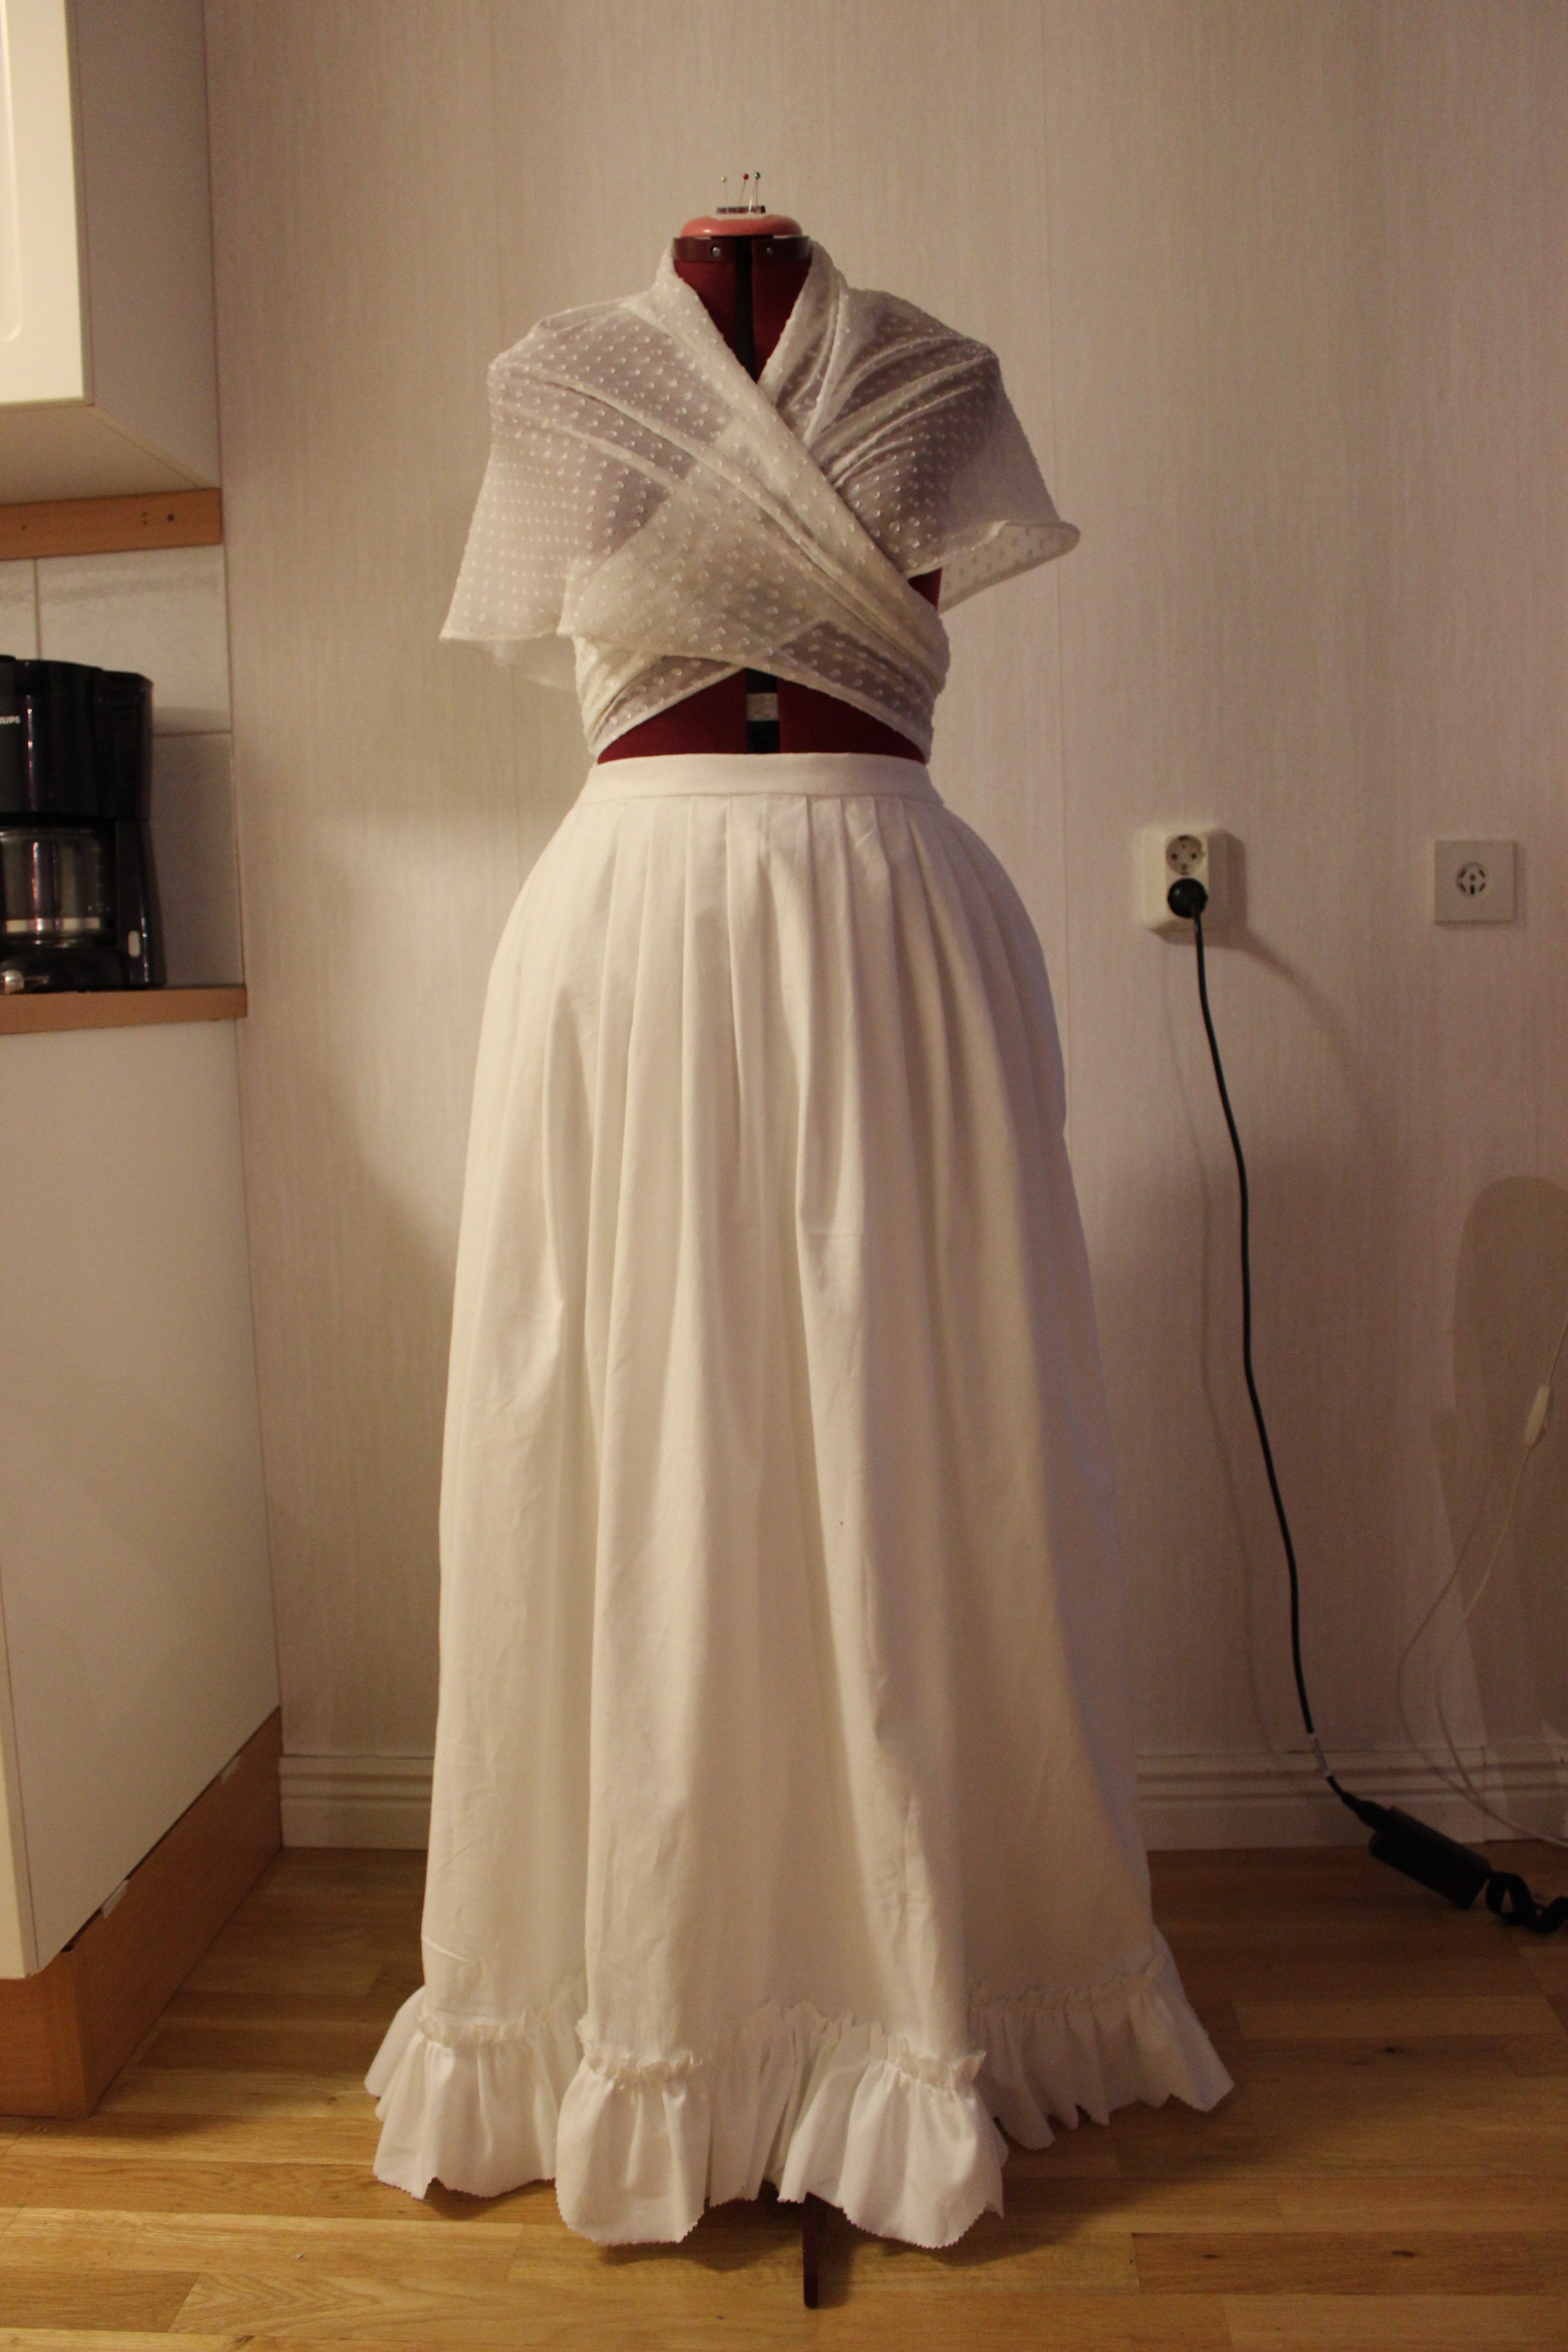
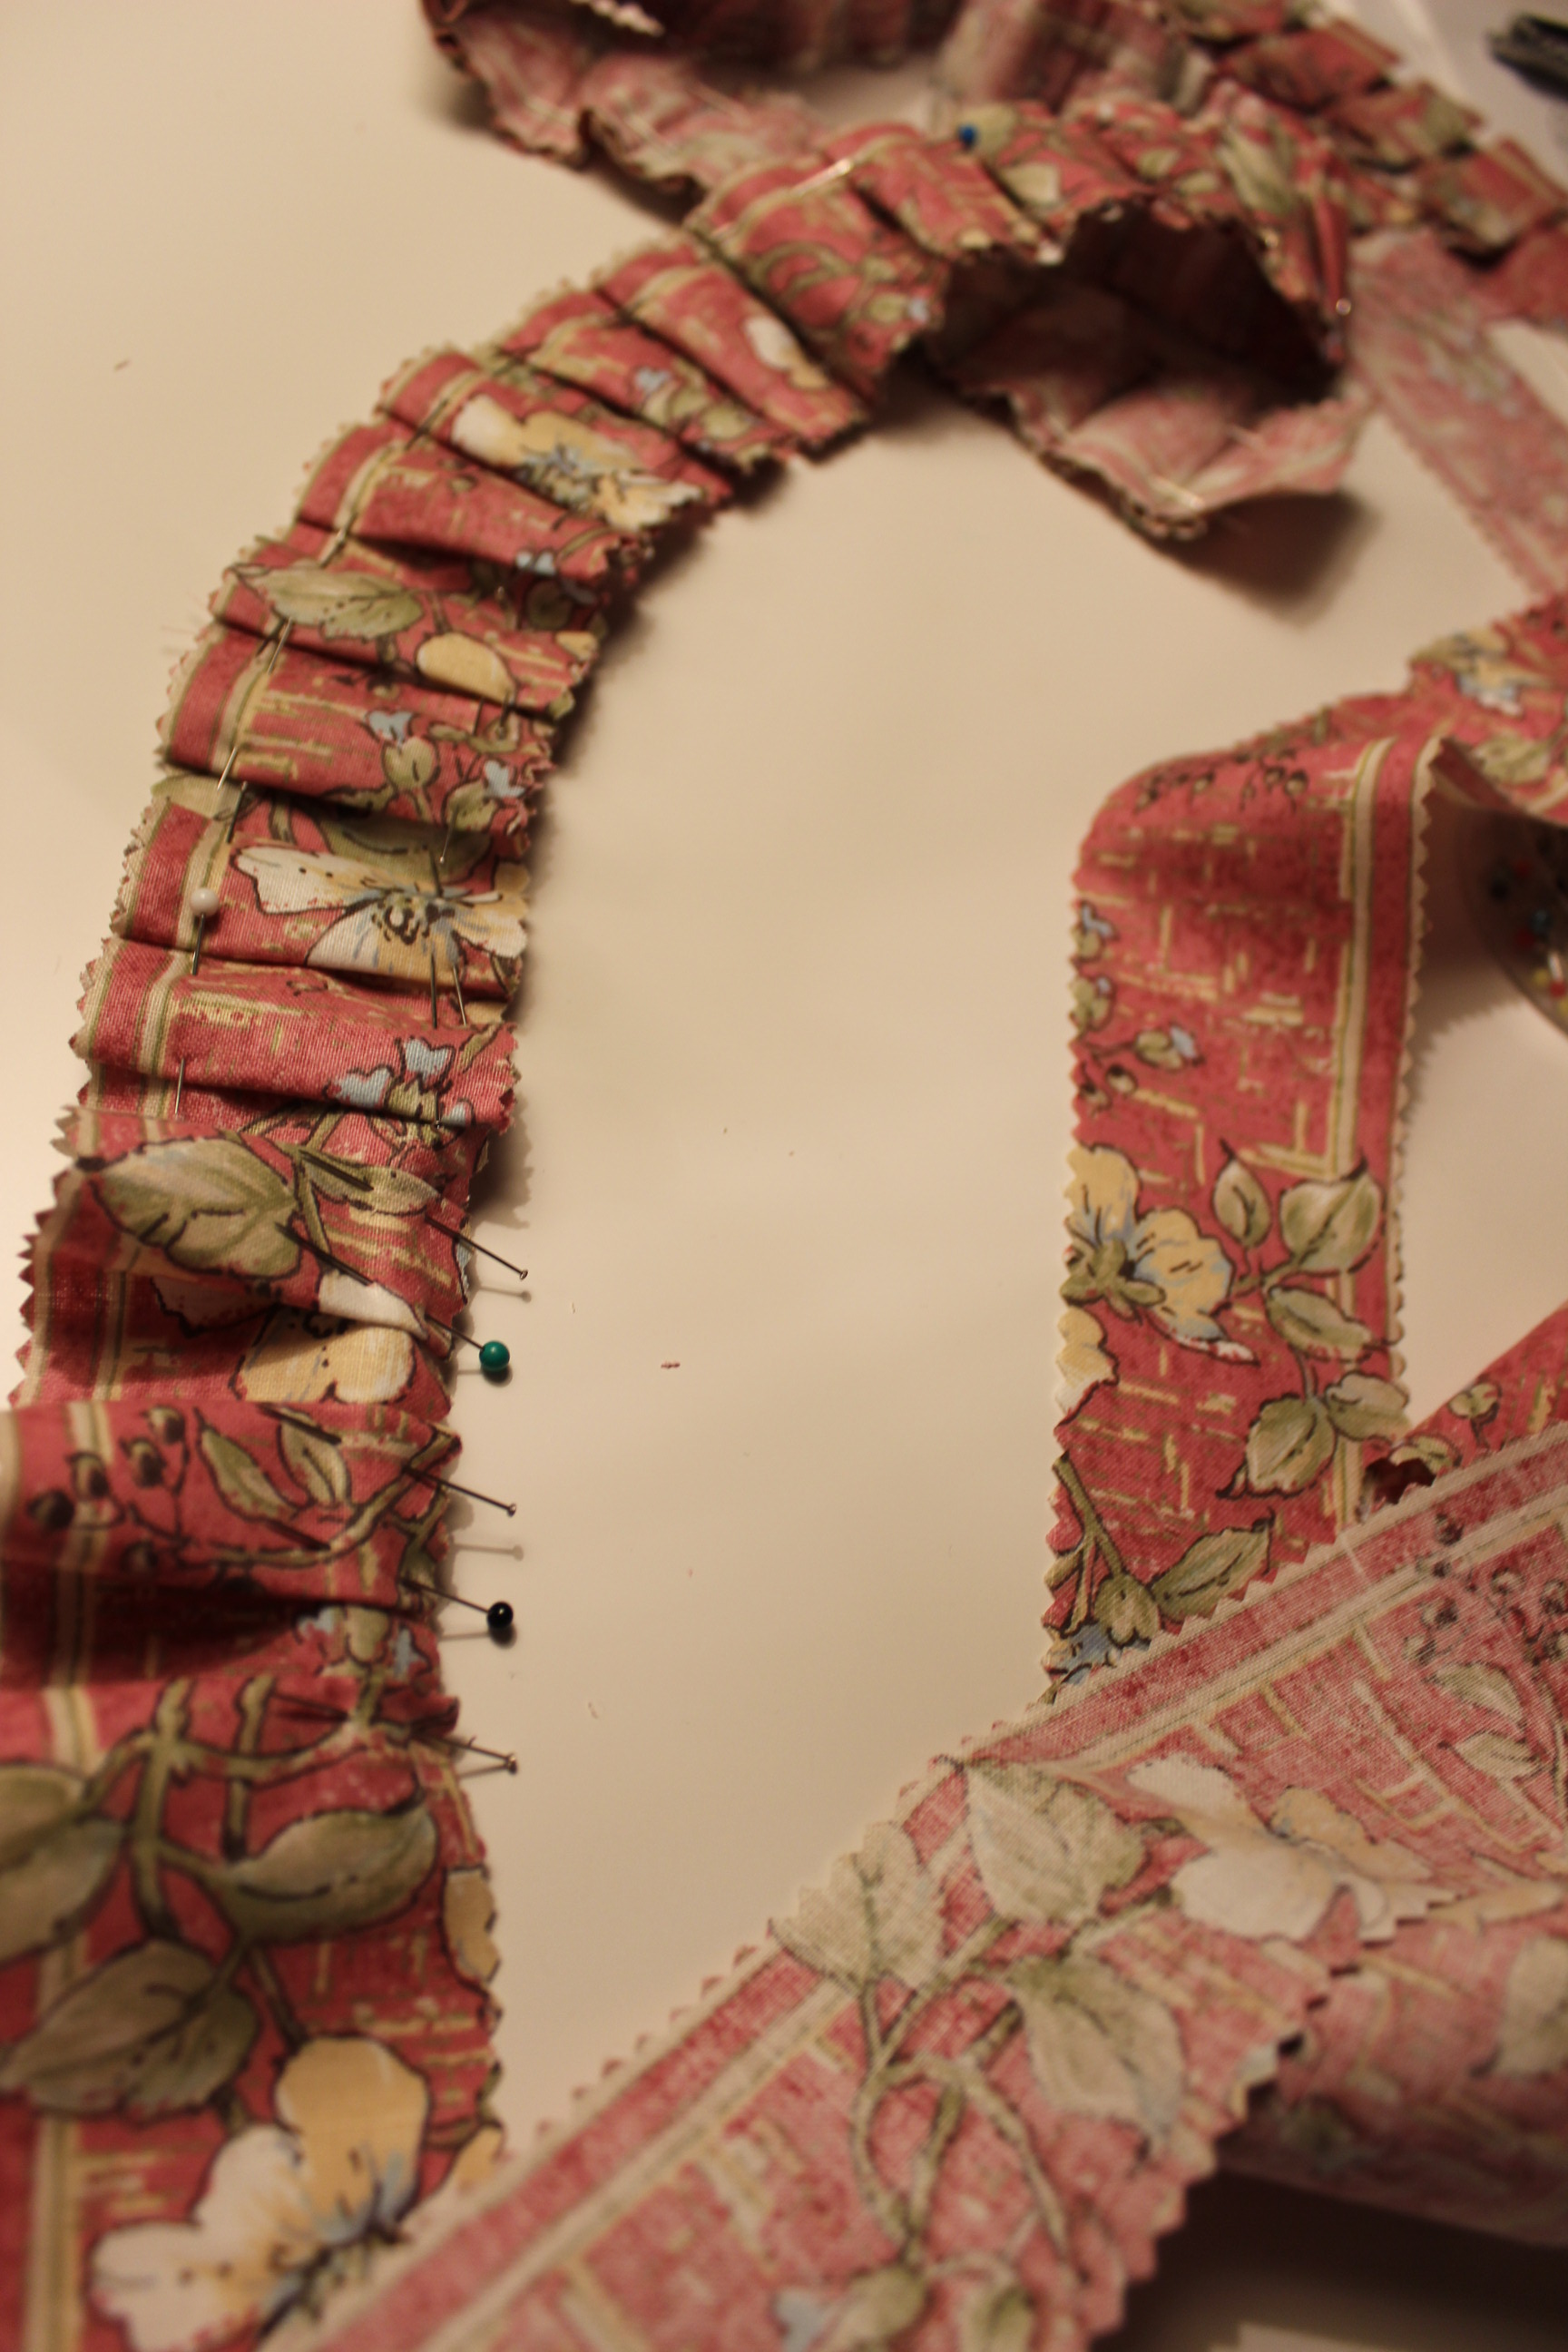
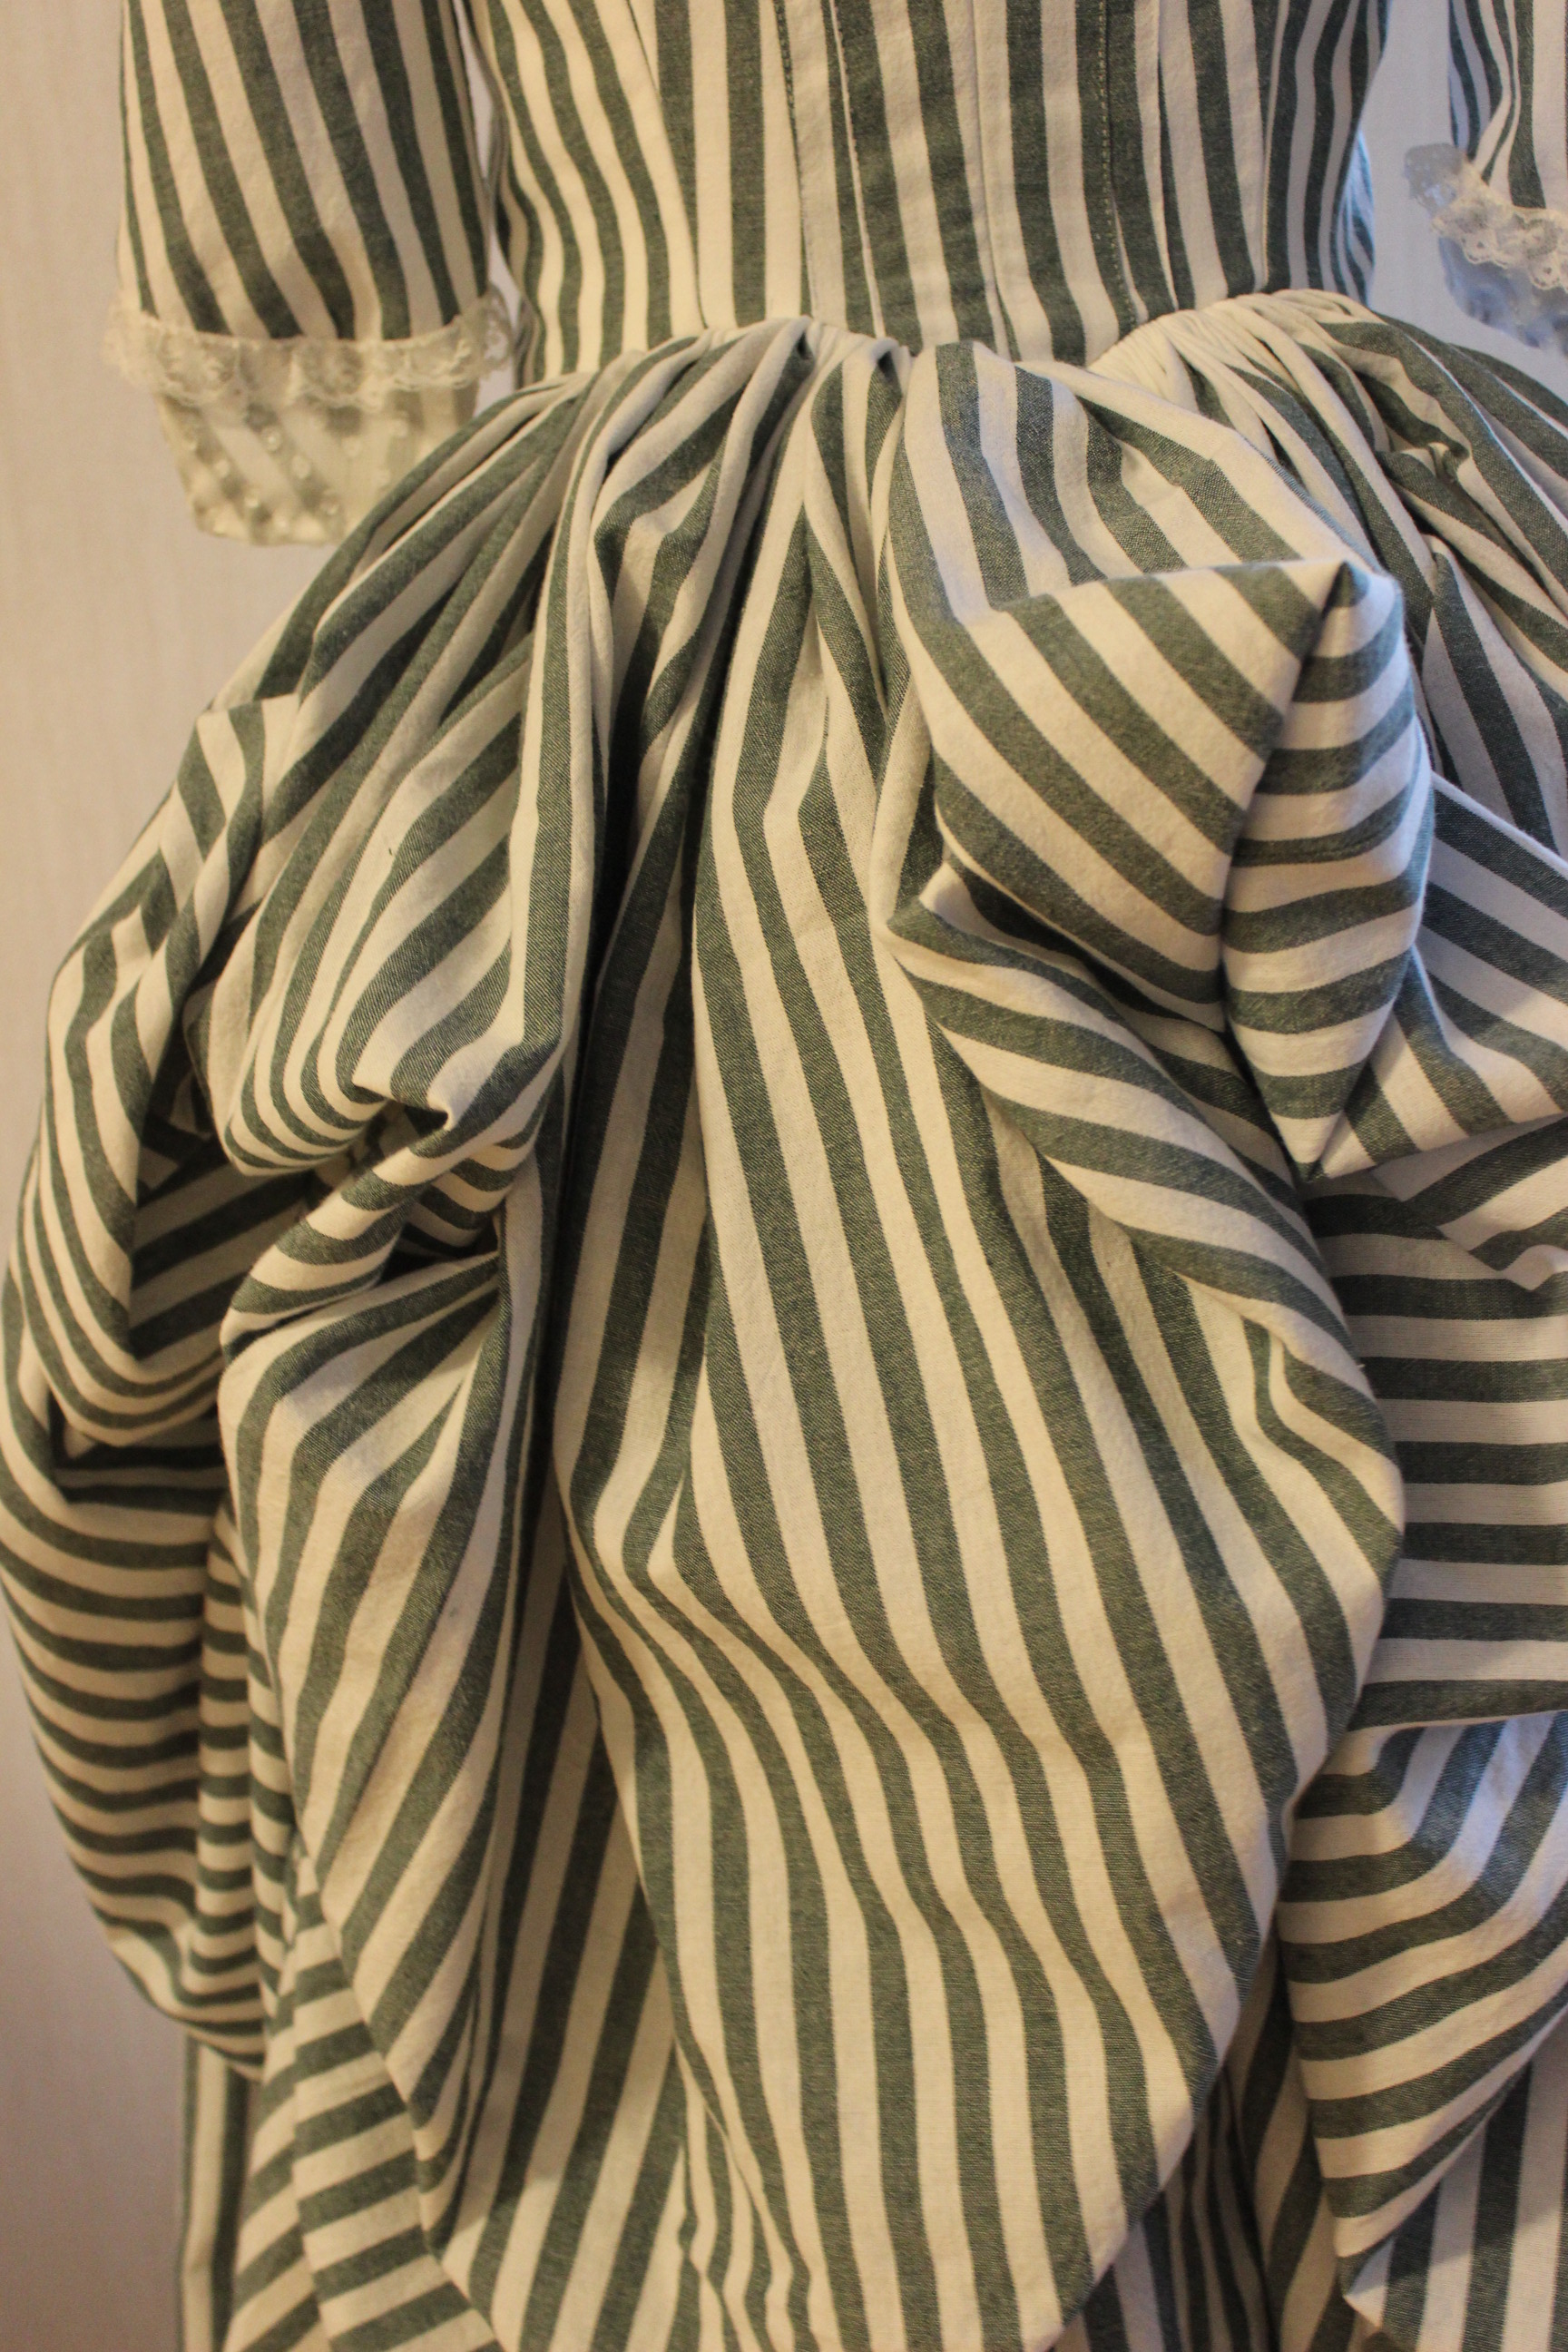
Now it was time for the skirt. I sewed the pannels together and  hand stiched lines of gatering thread, to get them nice and even al over the skirt. IMG_8542 
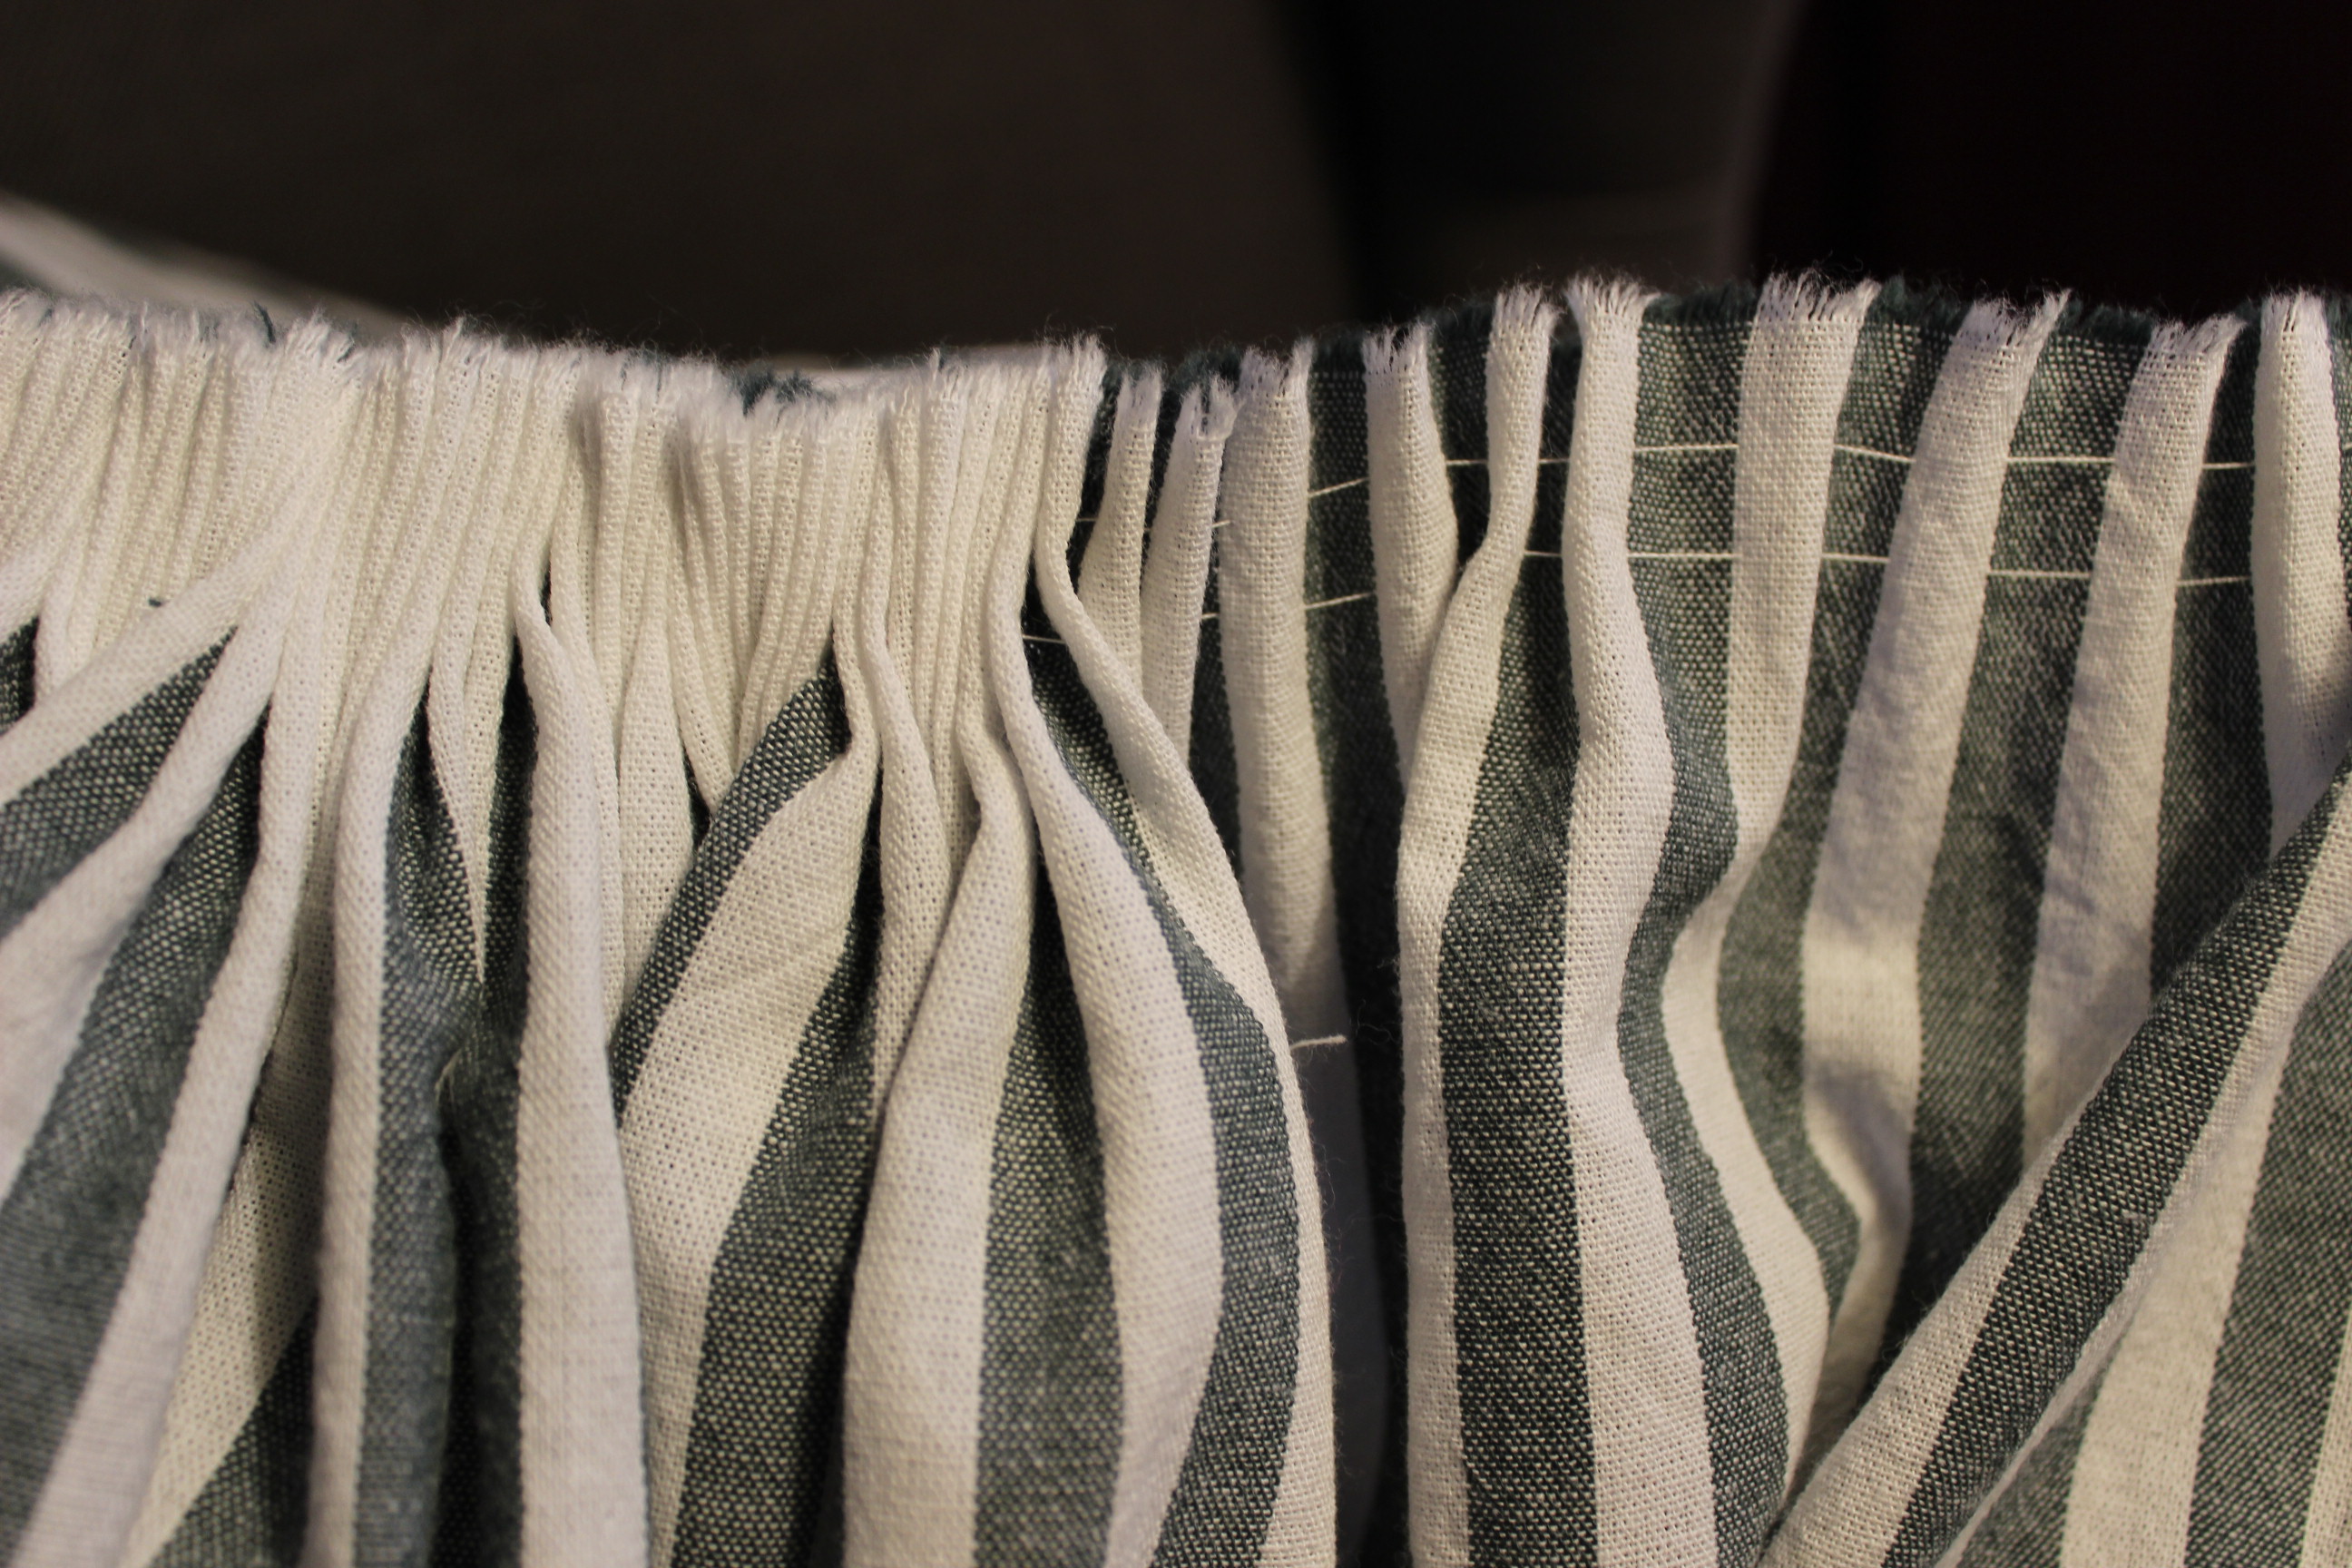
Then I pulled the skirt waist togeter and pinned it to the bodice, using the zone front as a mark were to start the skirt.
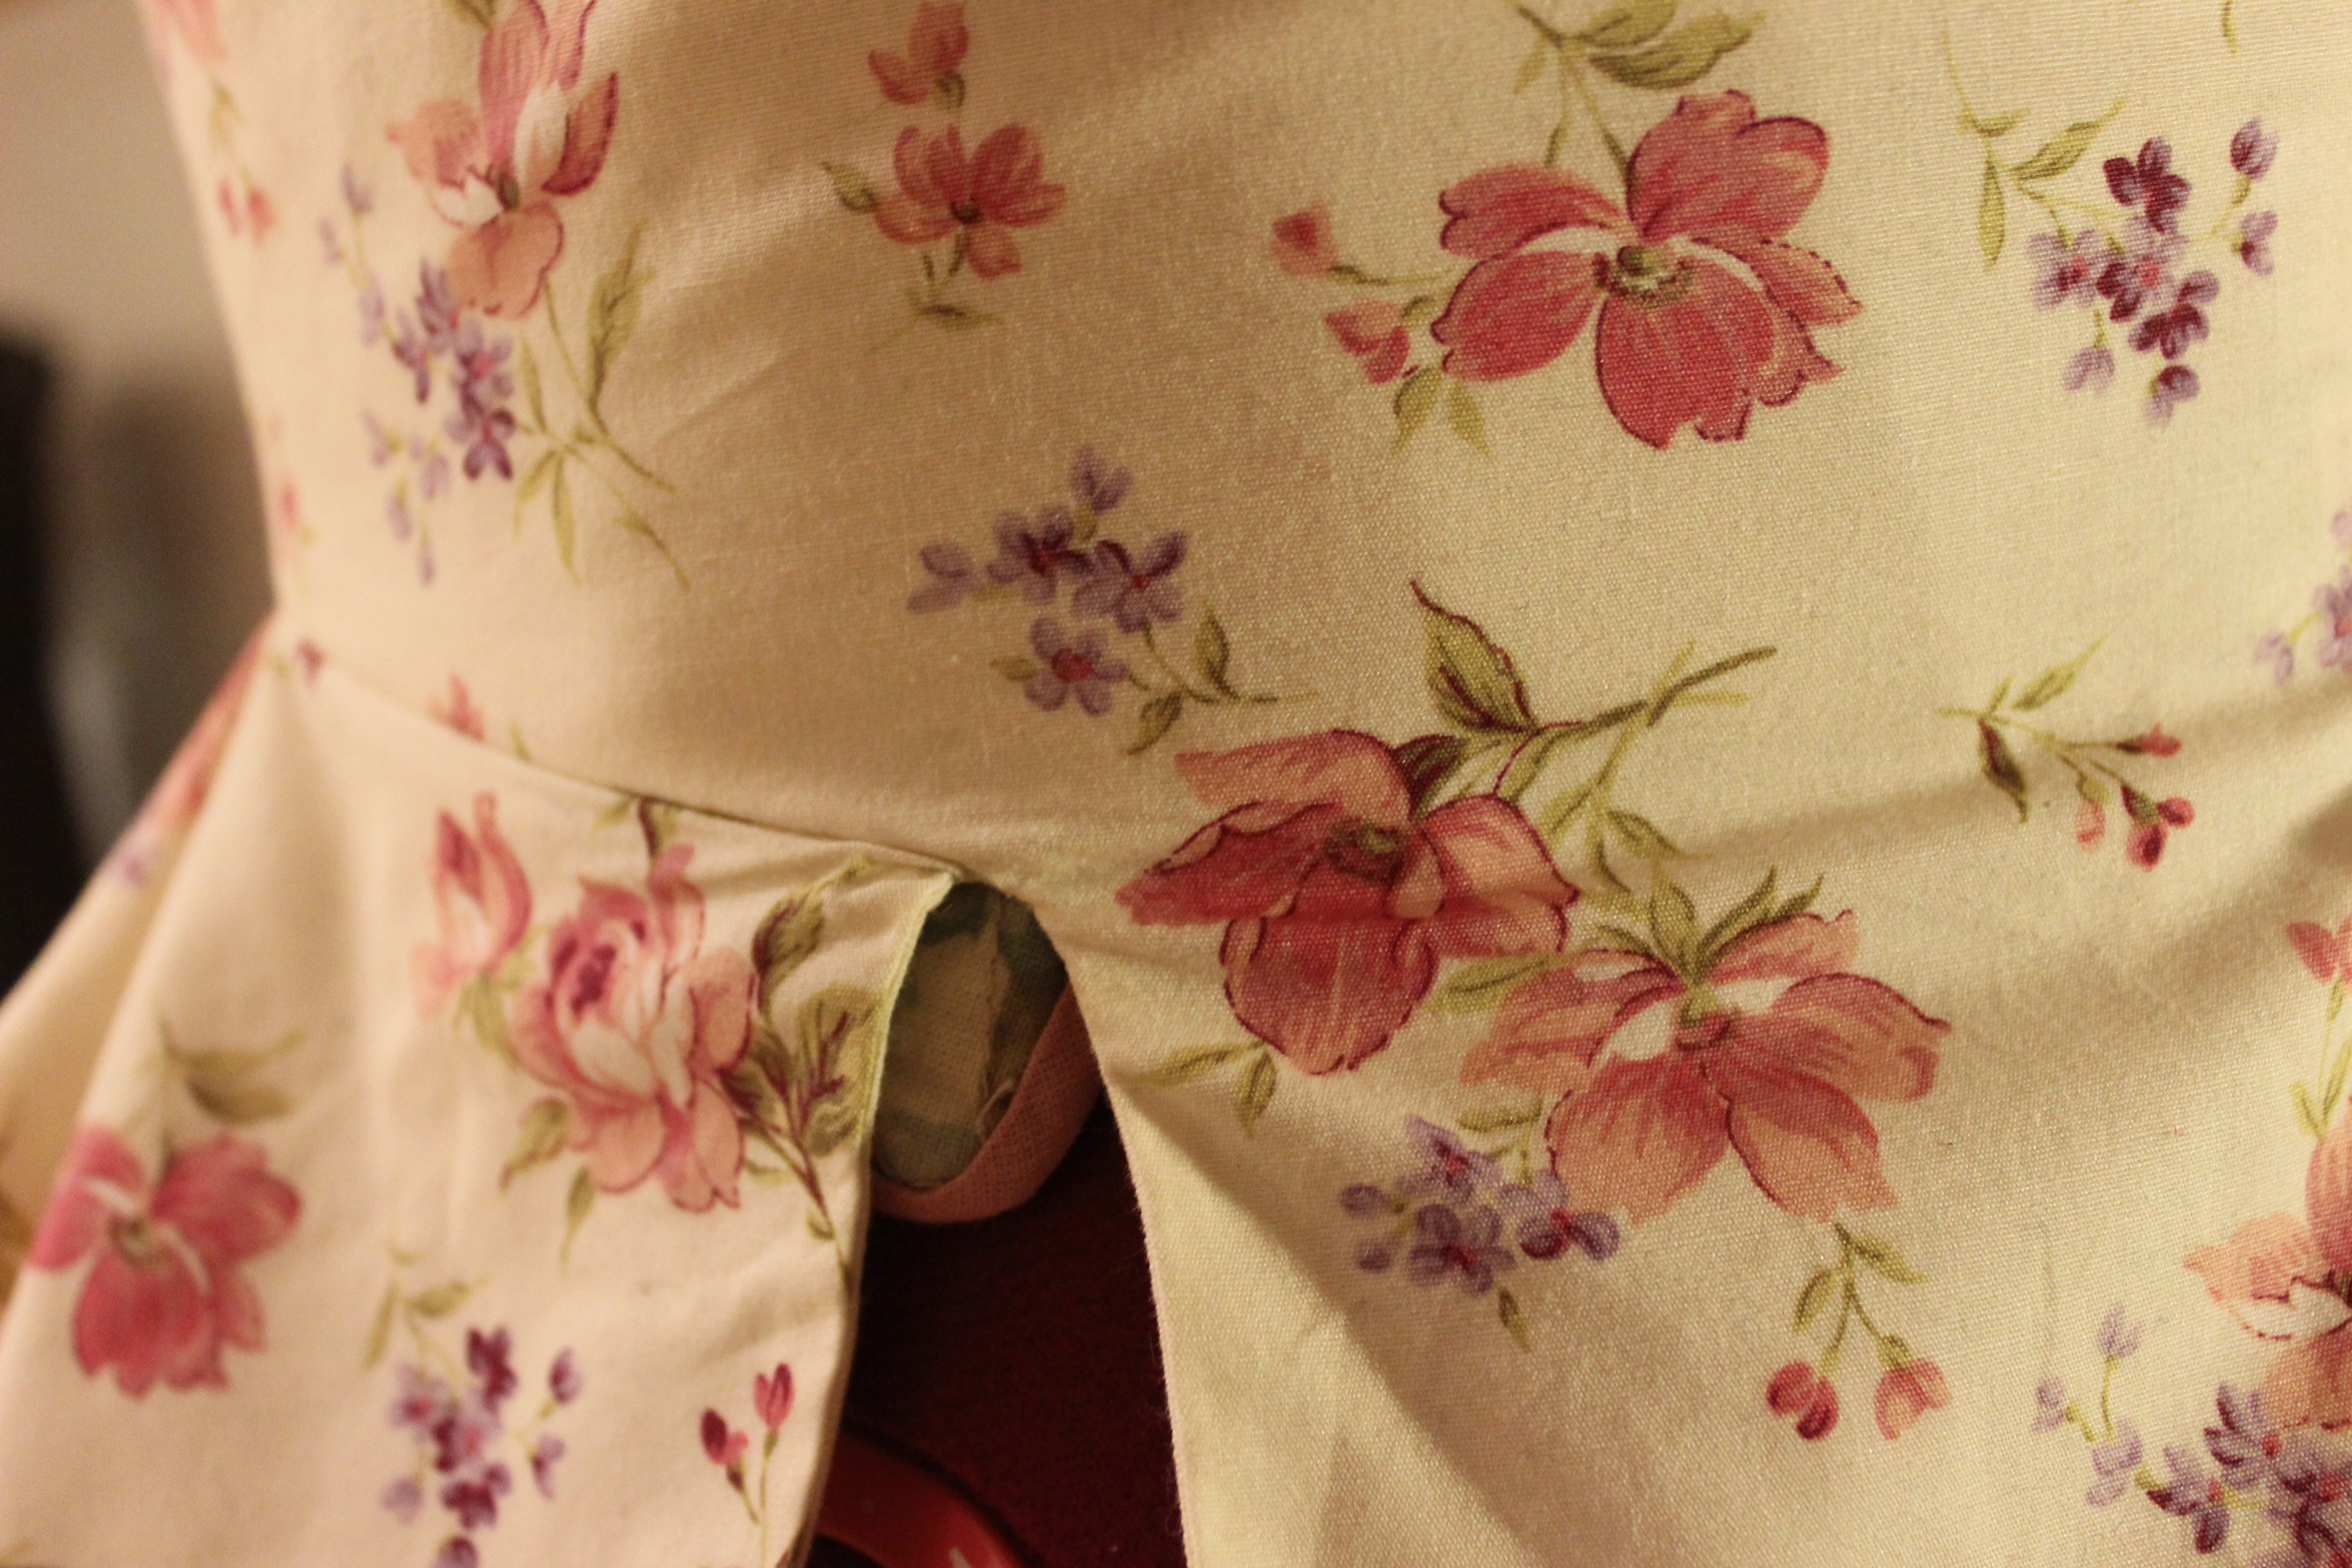
The sewing was abit tricky, geting all the fabric to lay smothly. IMG_8620

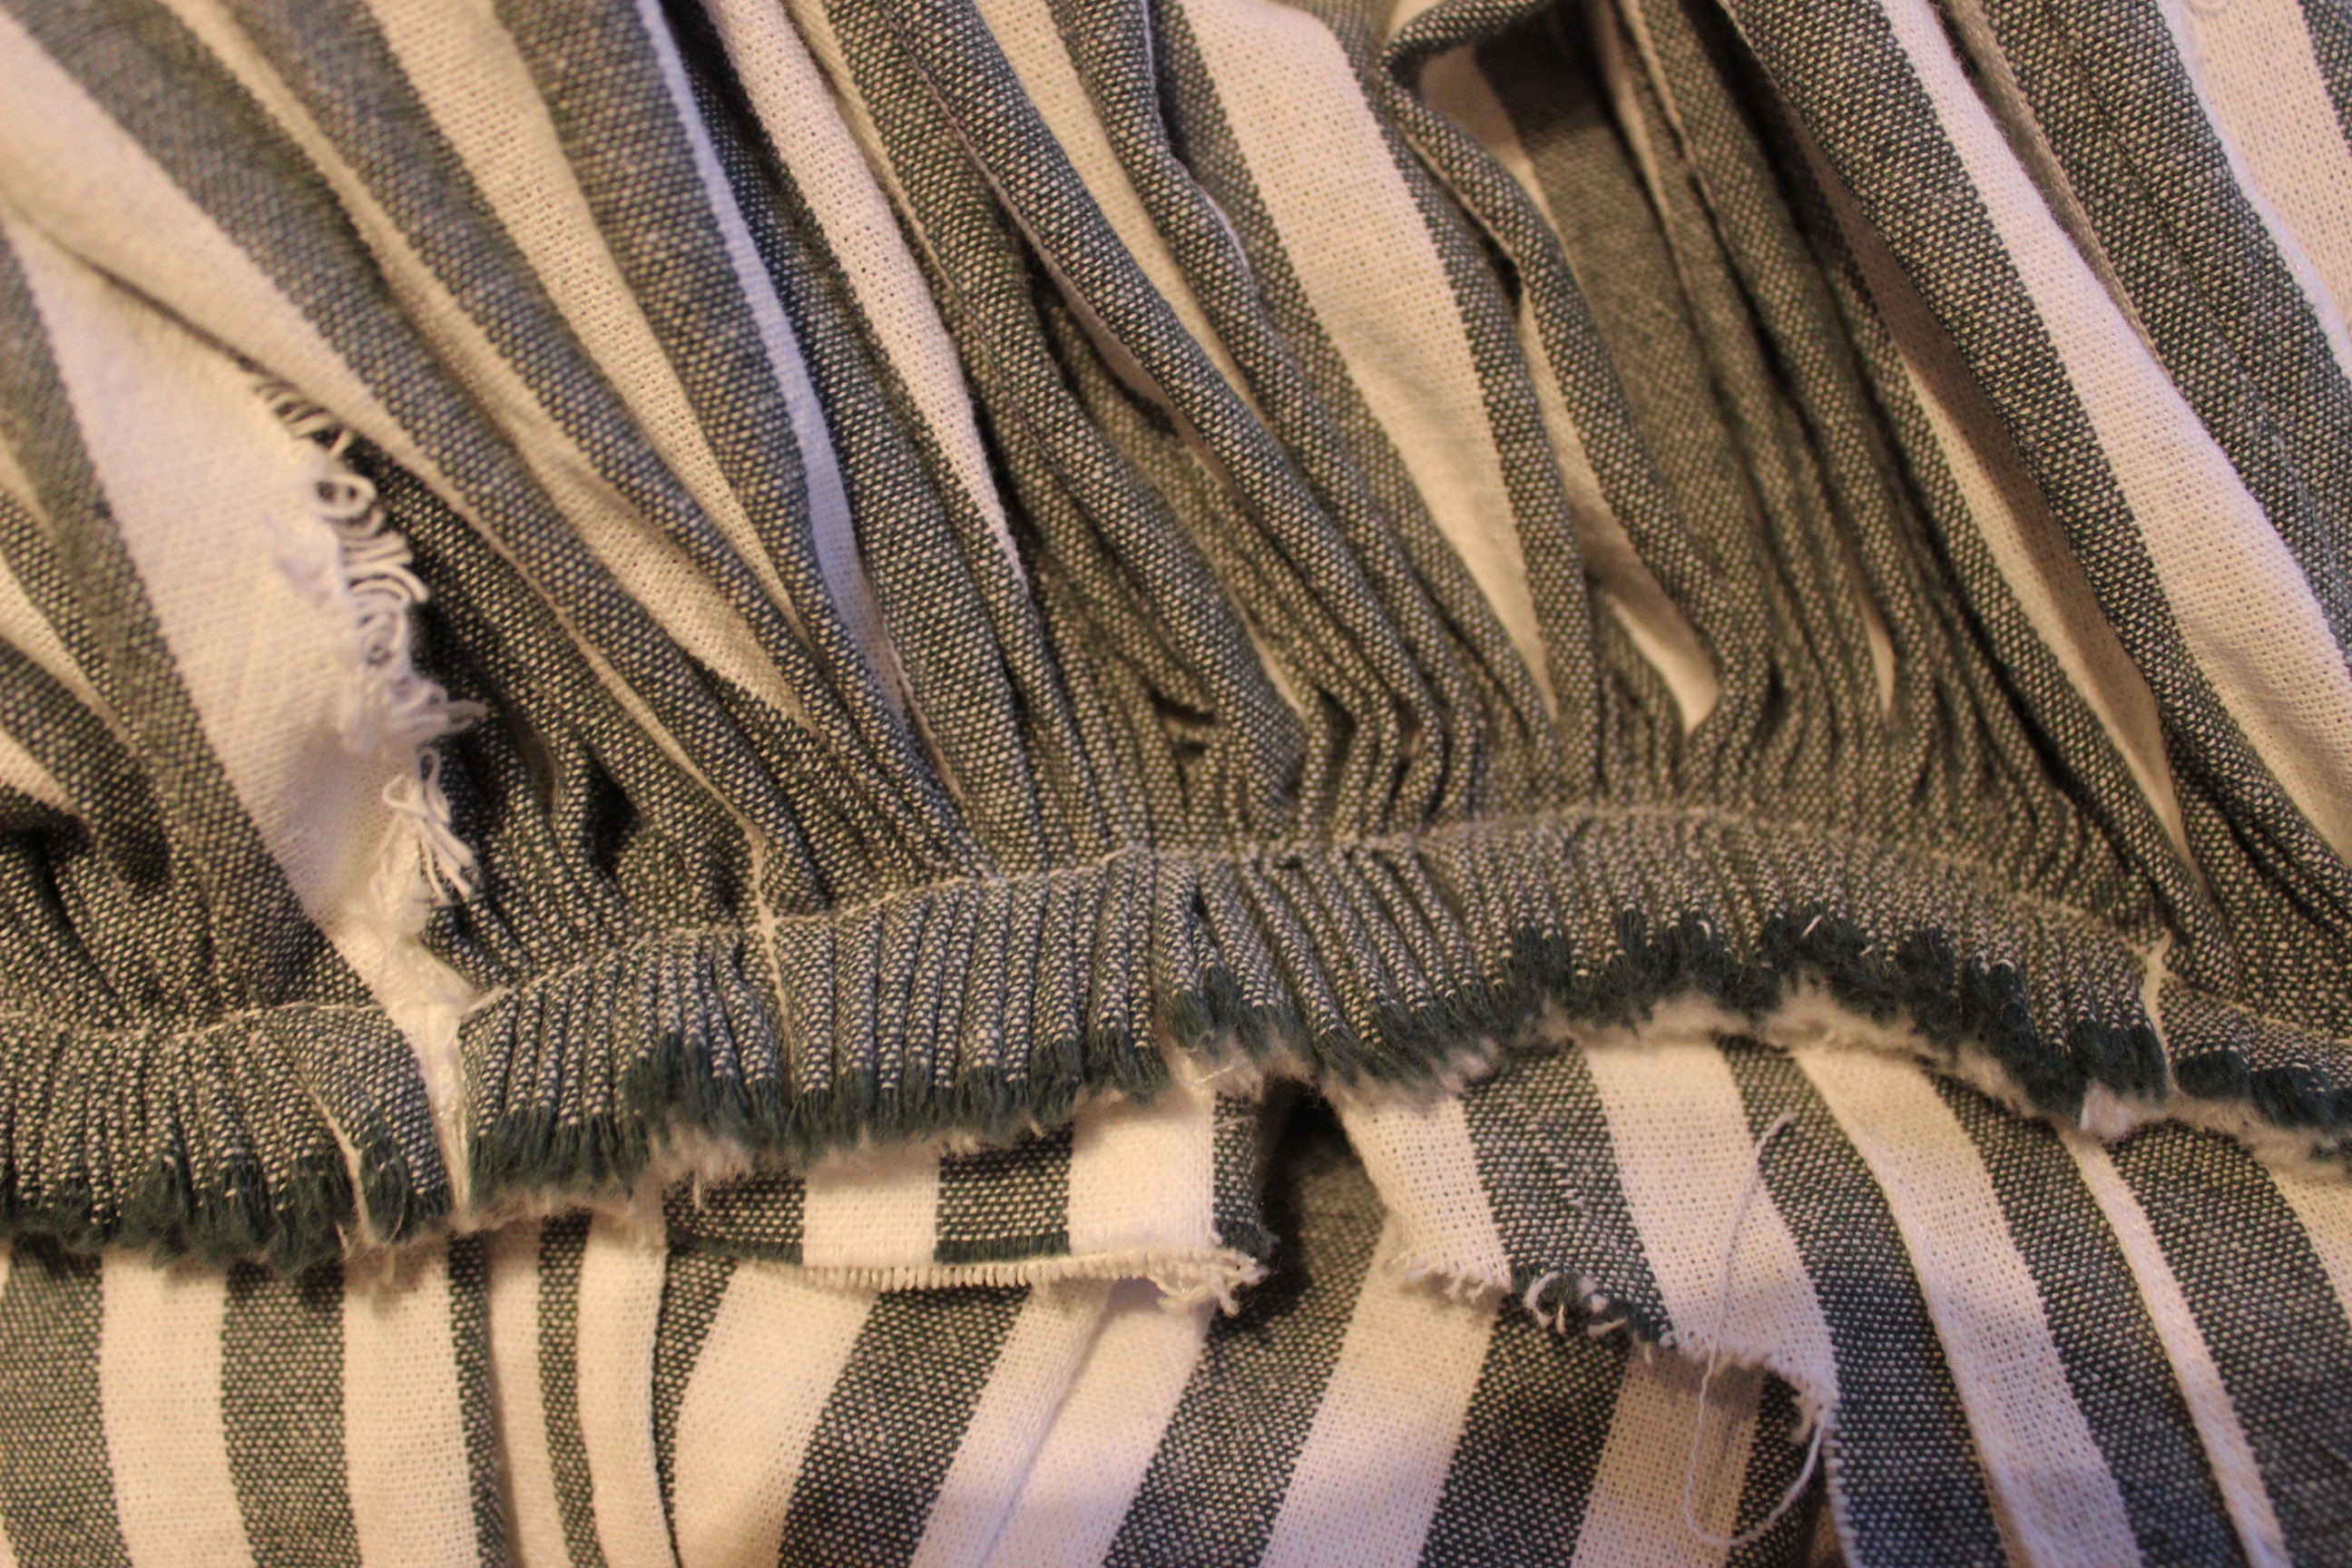
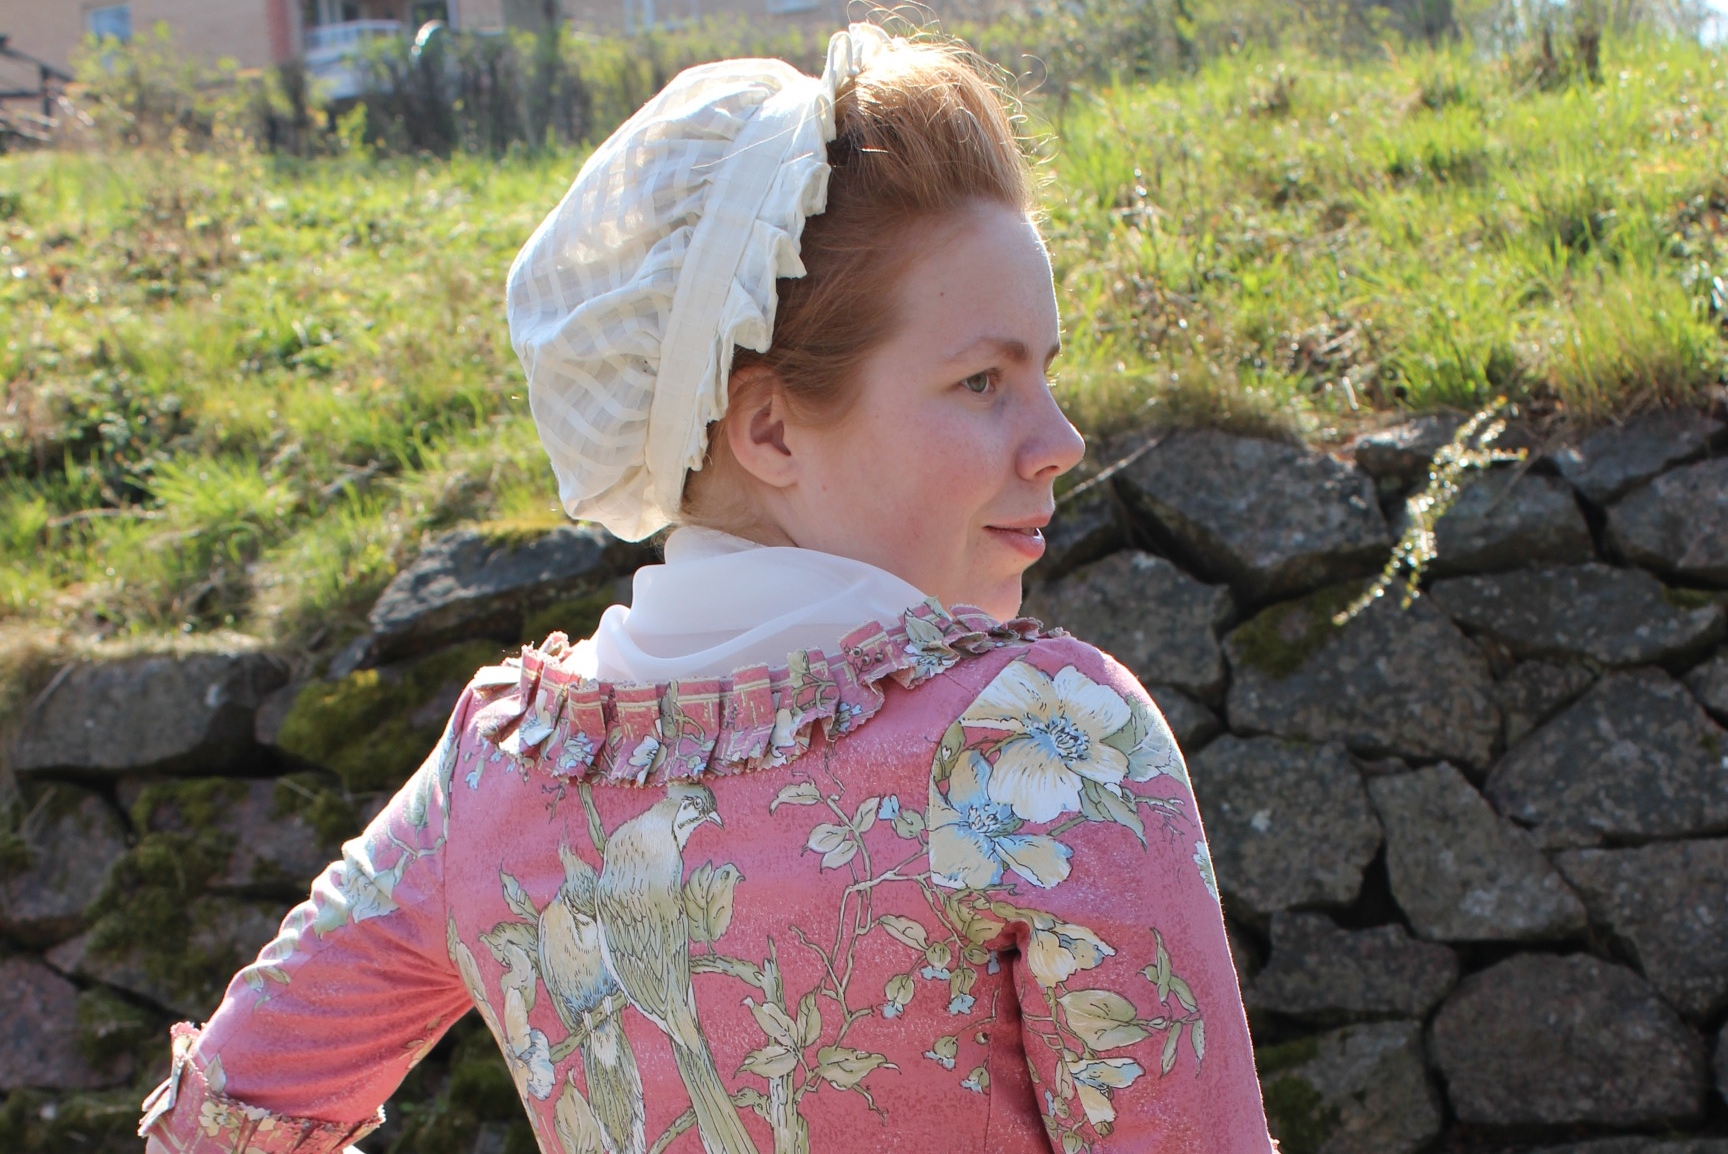
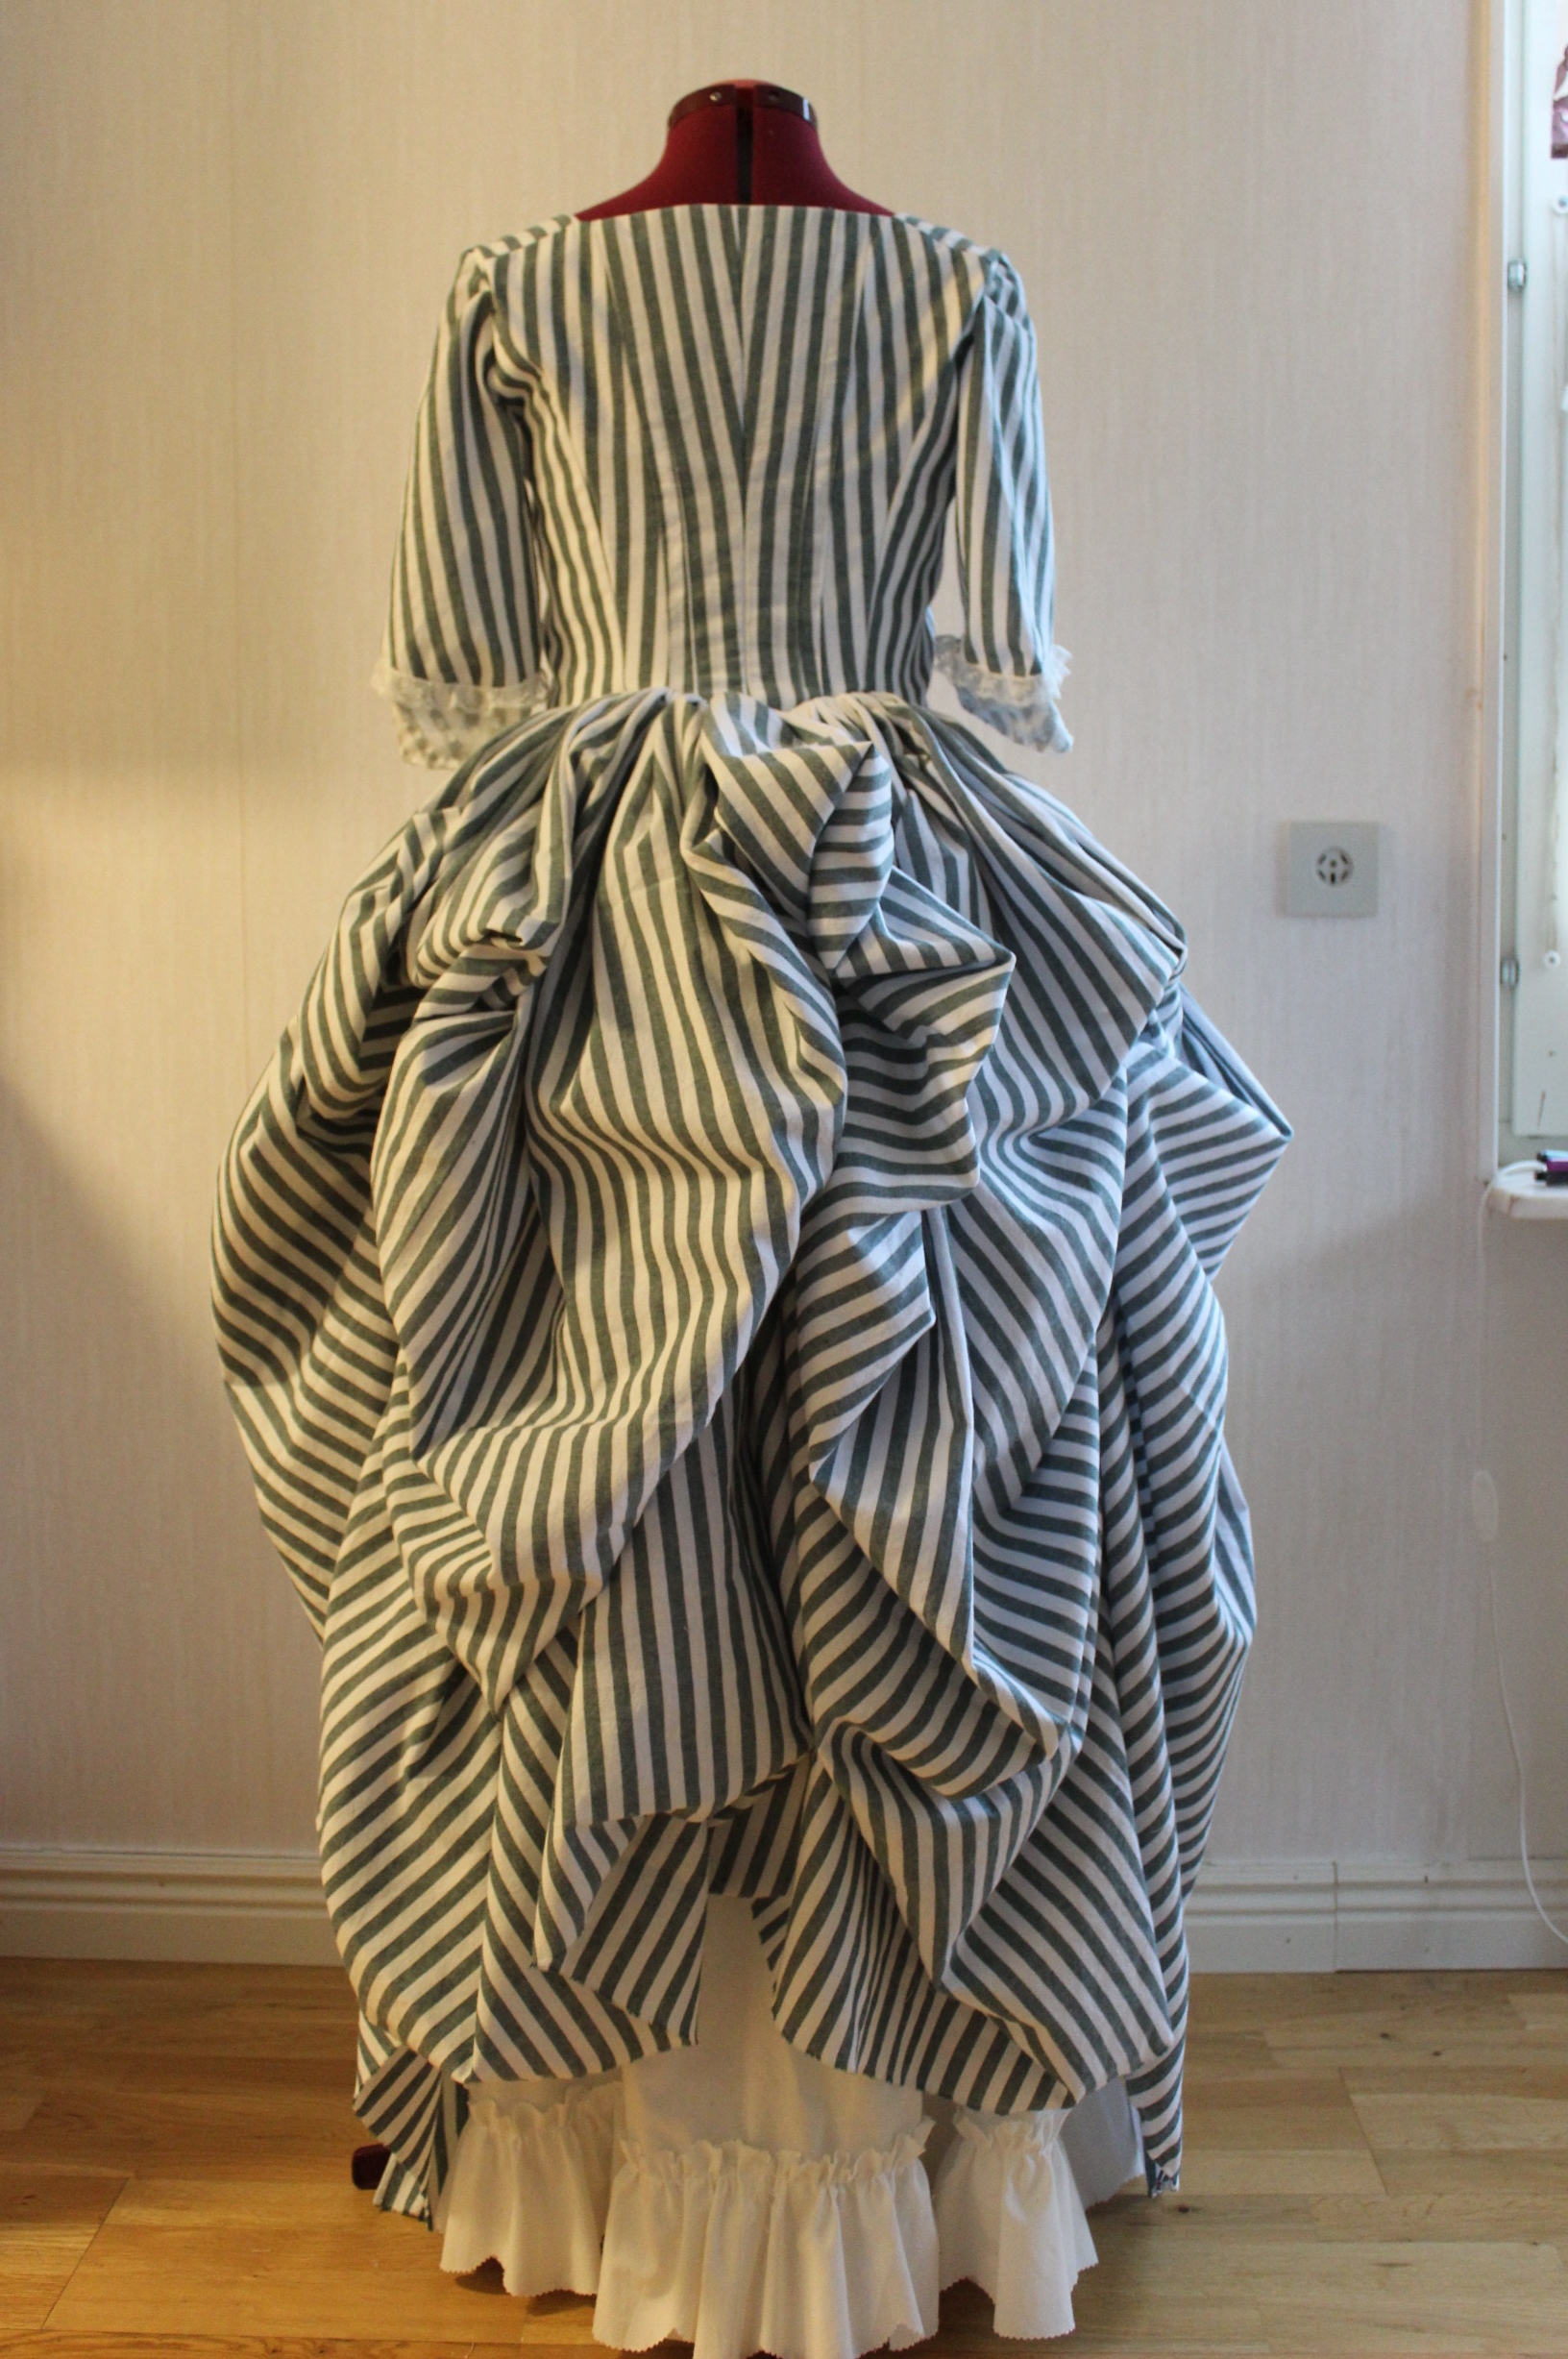
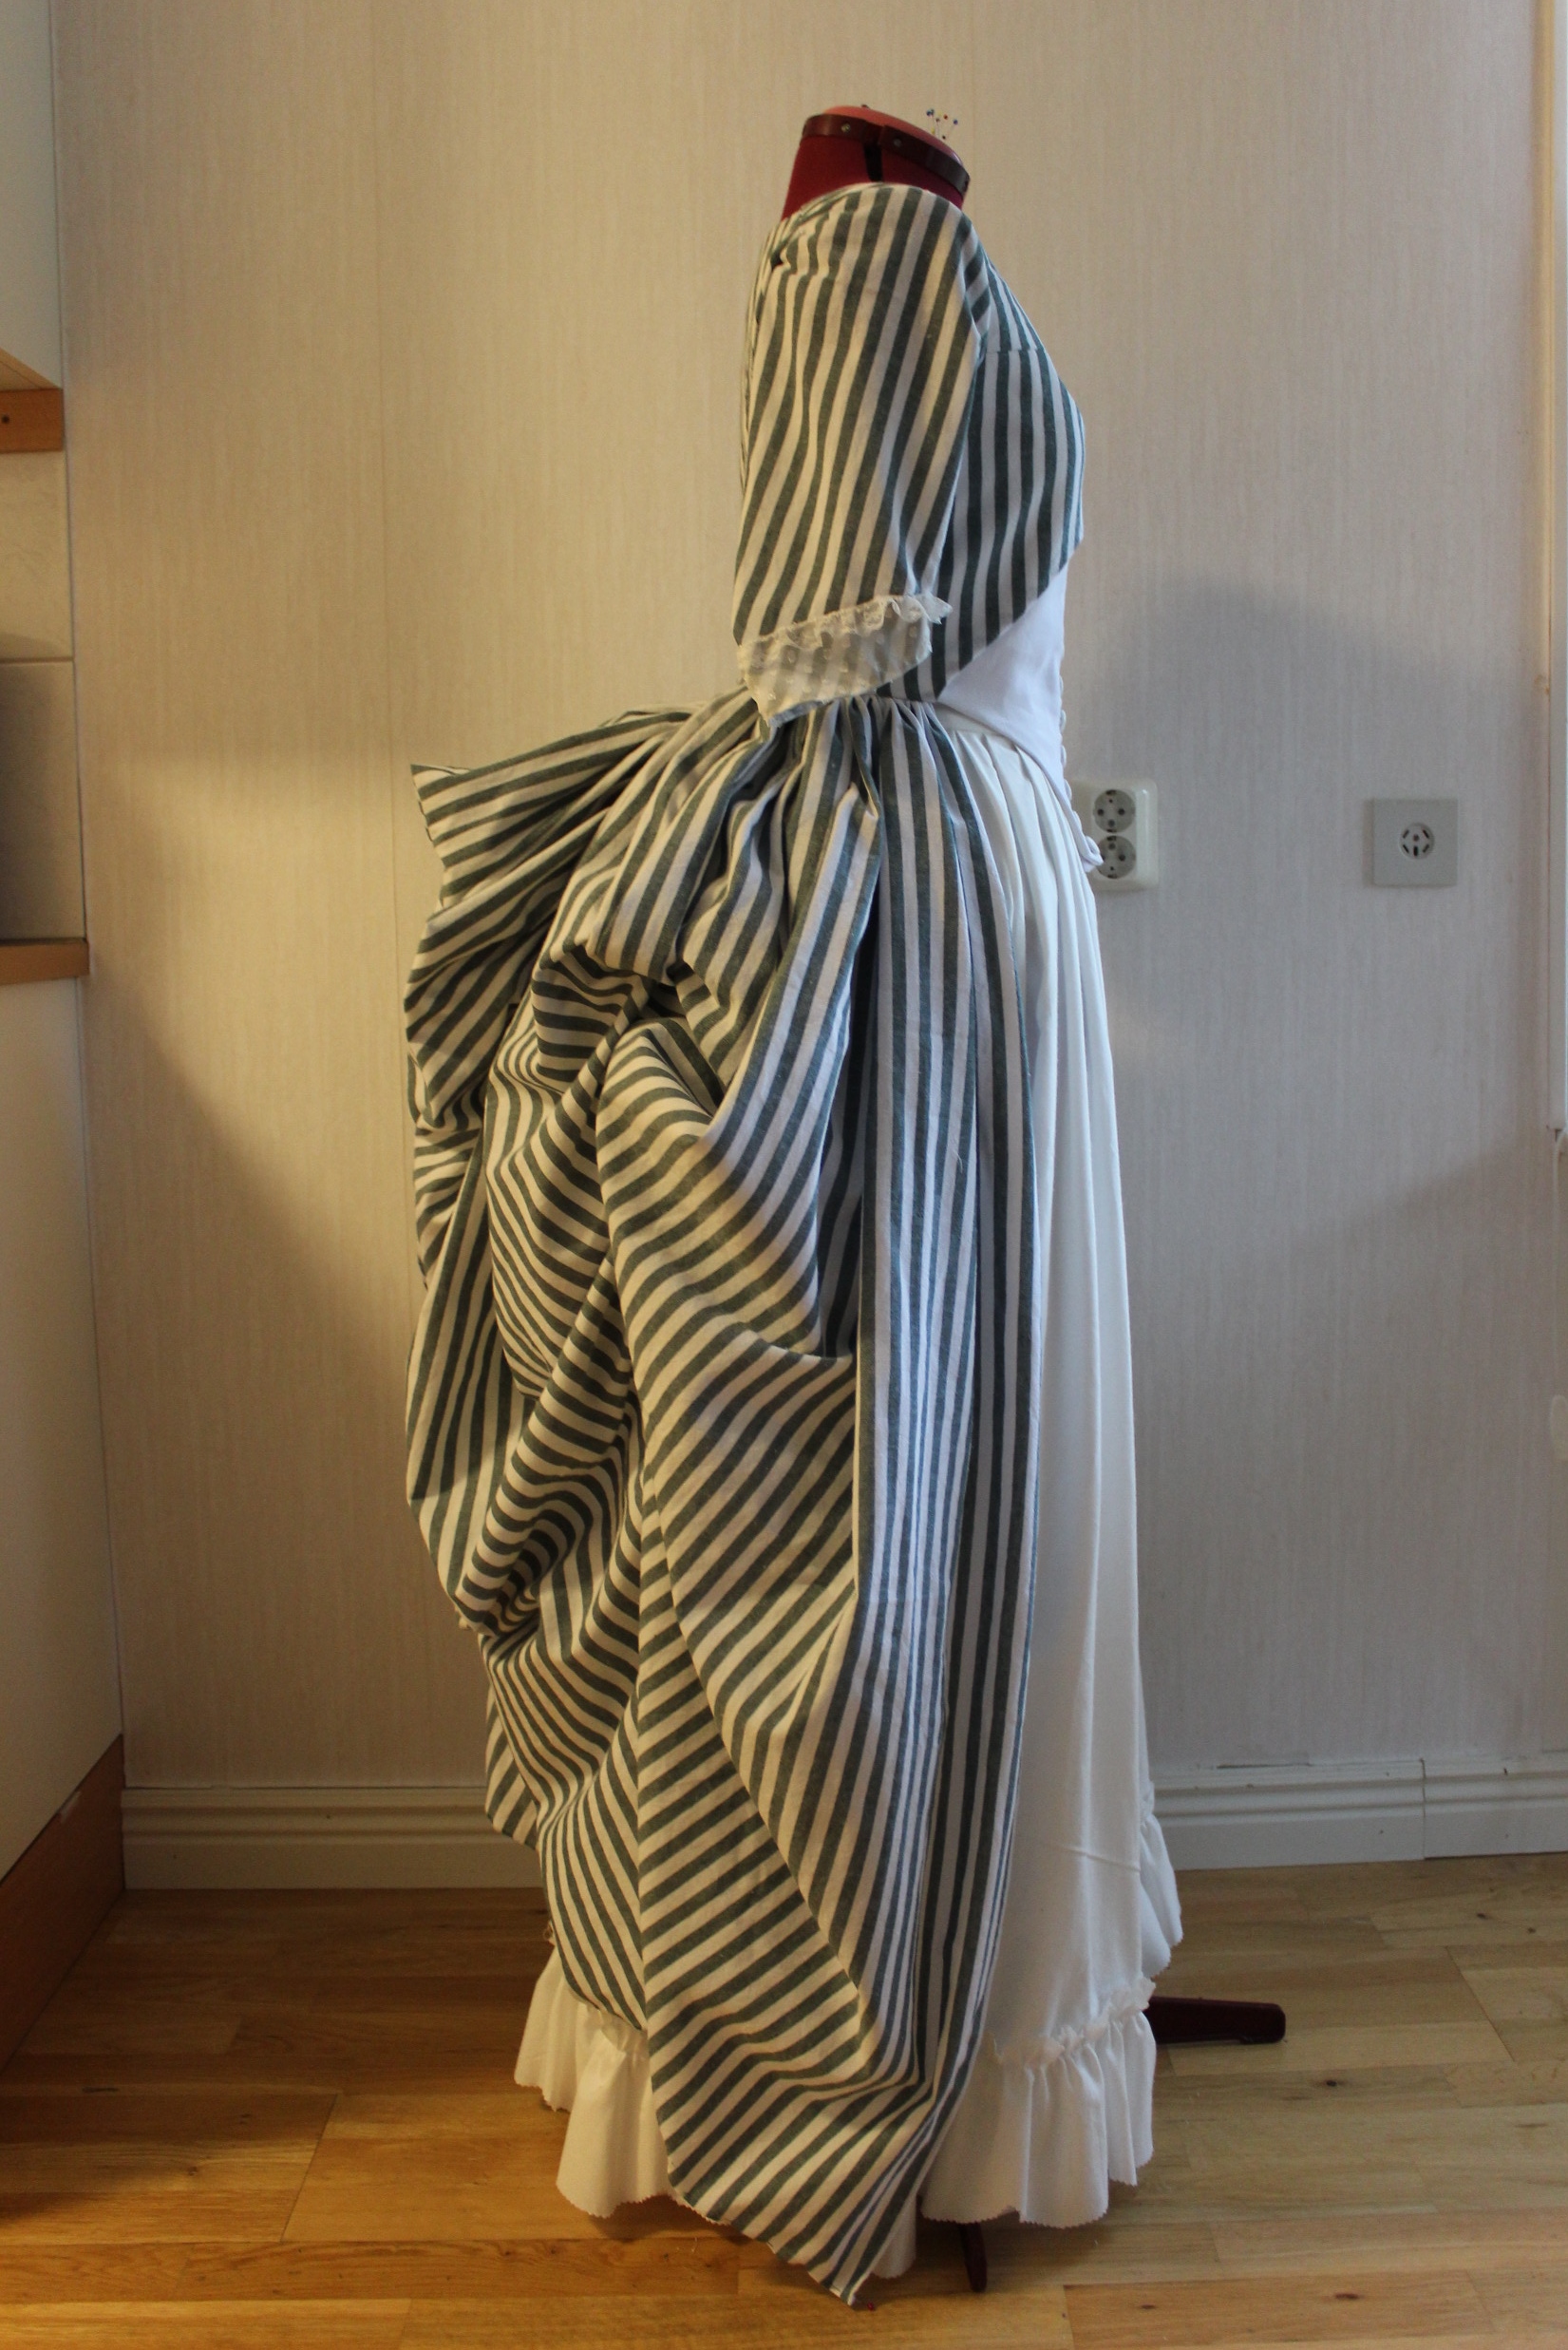
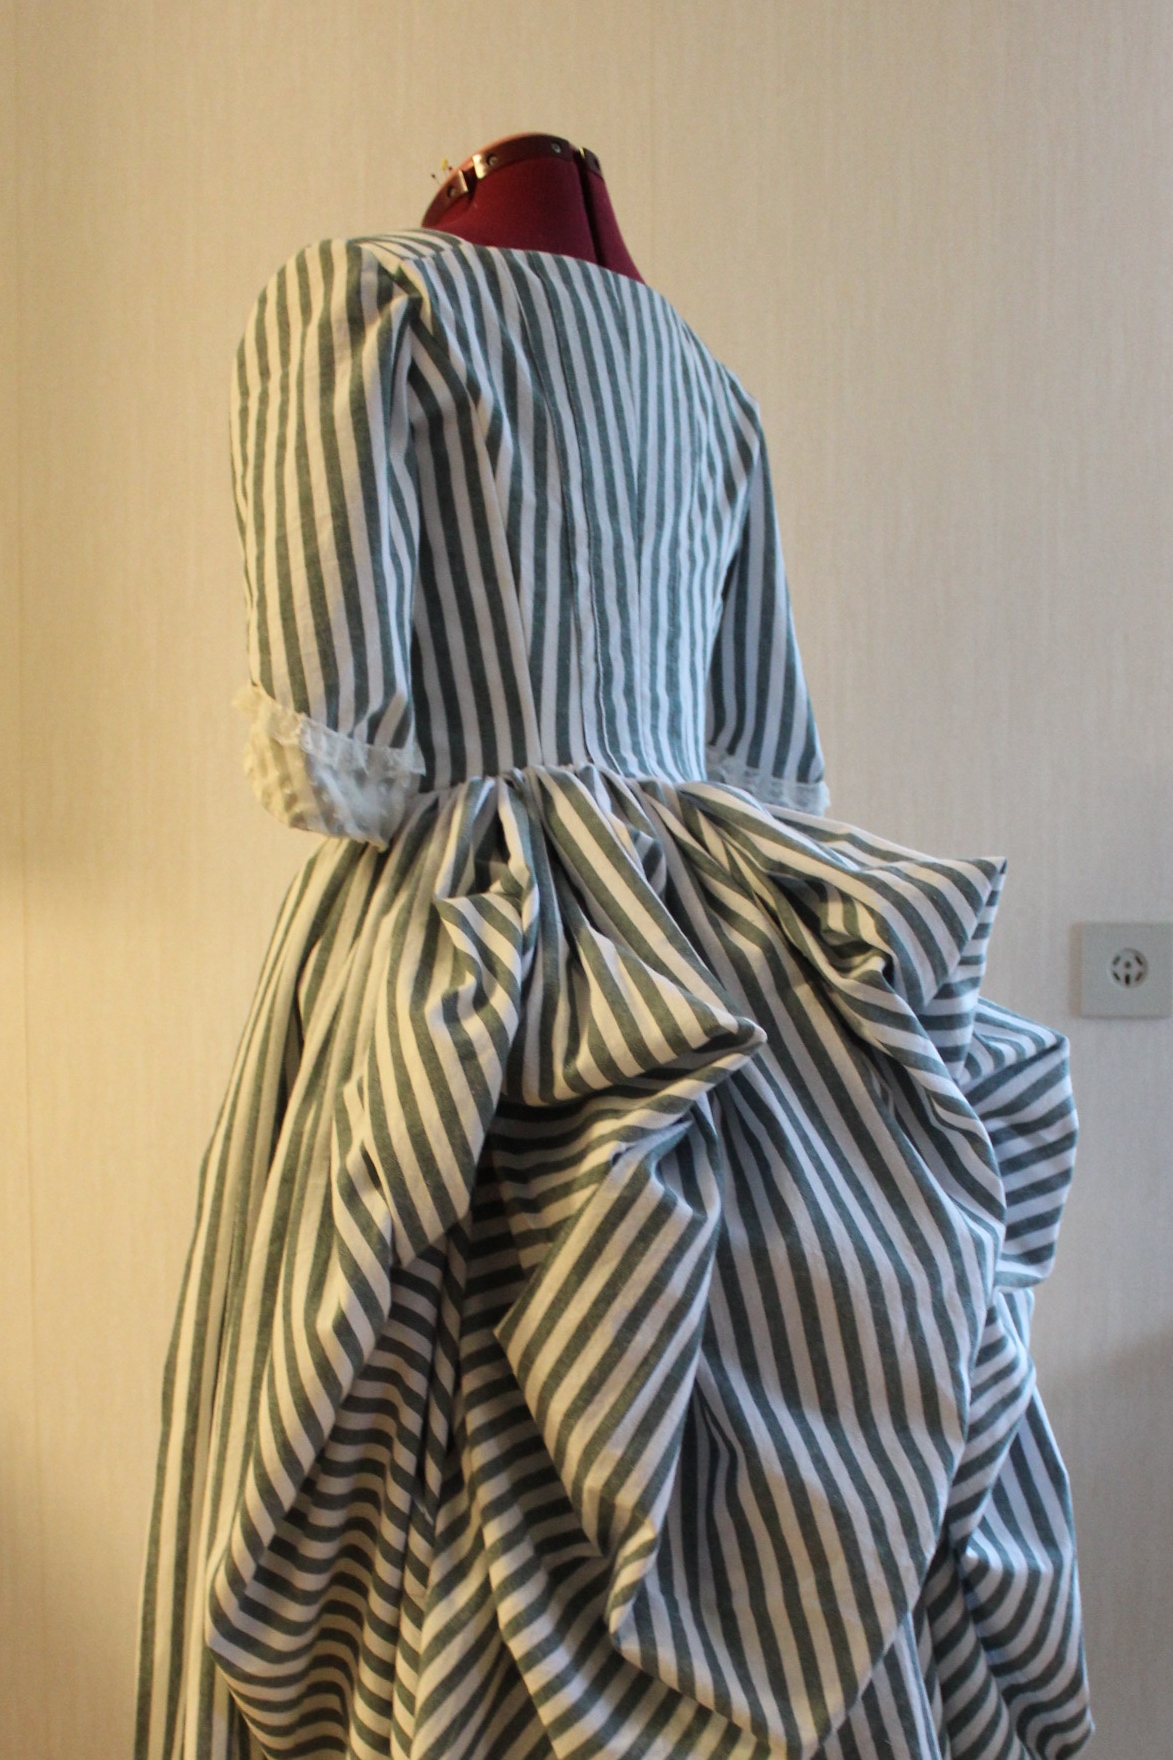
The final touches was to finish of the arm hole, tuck down the lining and stich on some Busteling-ties to make it an “Polainese”.
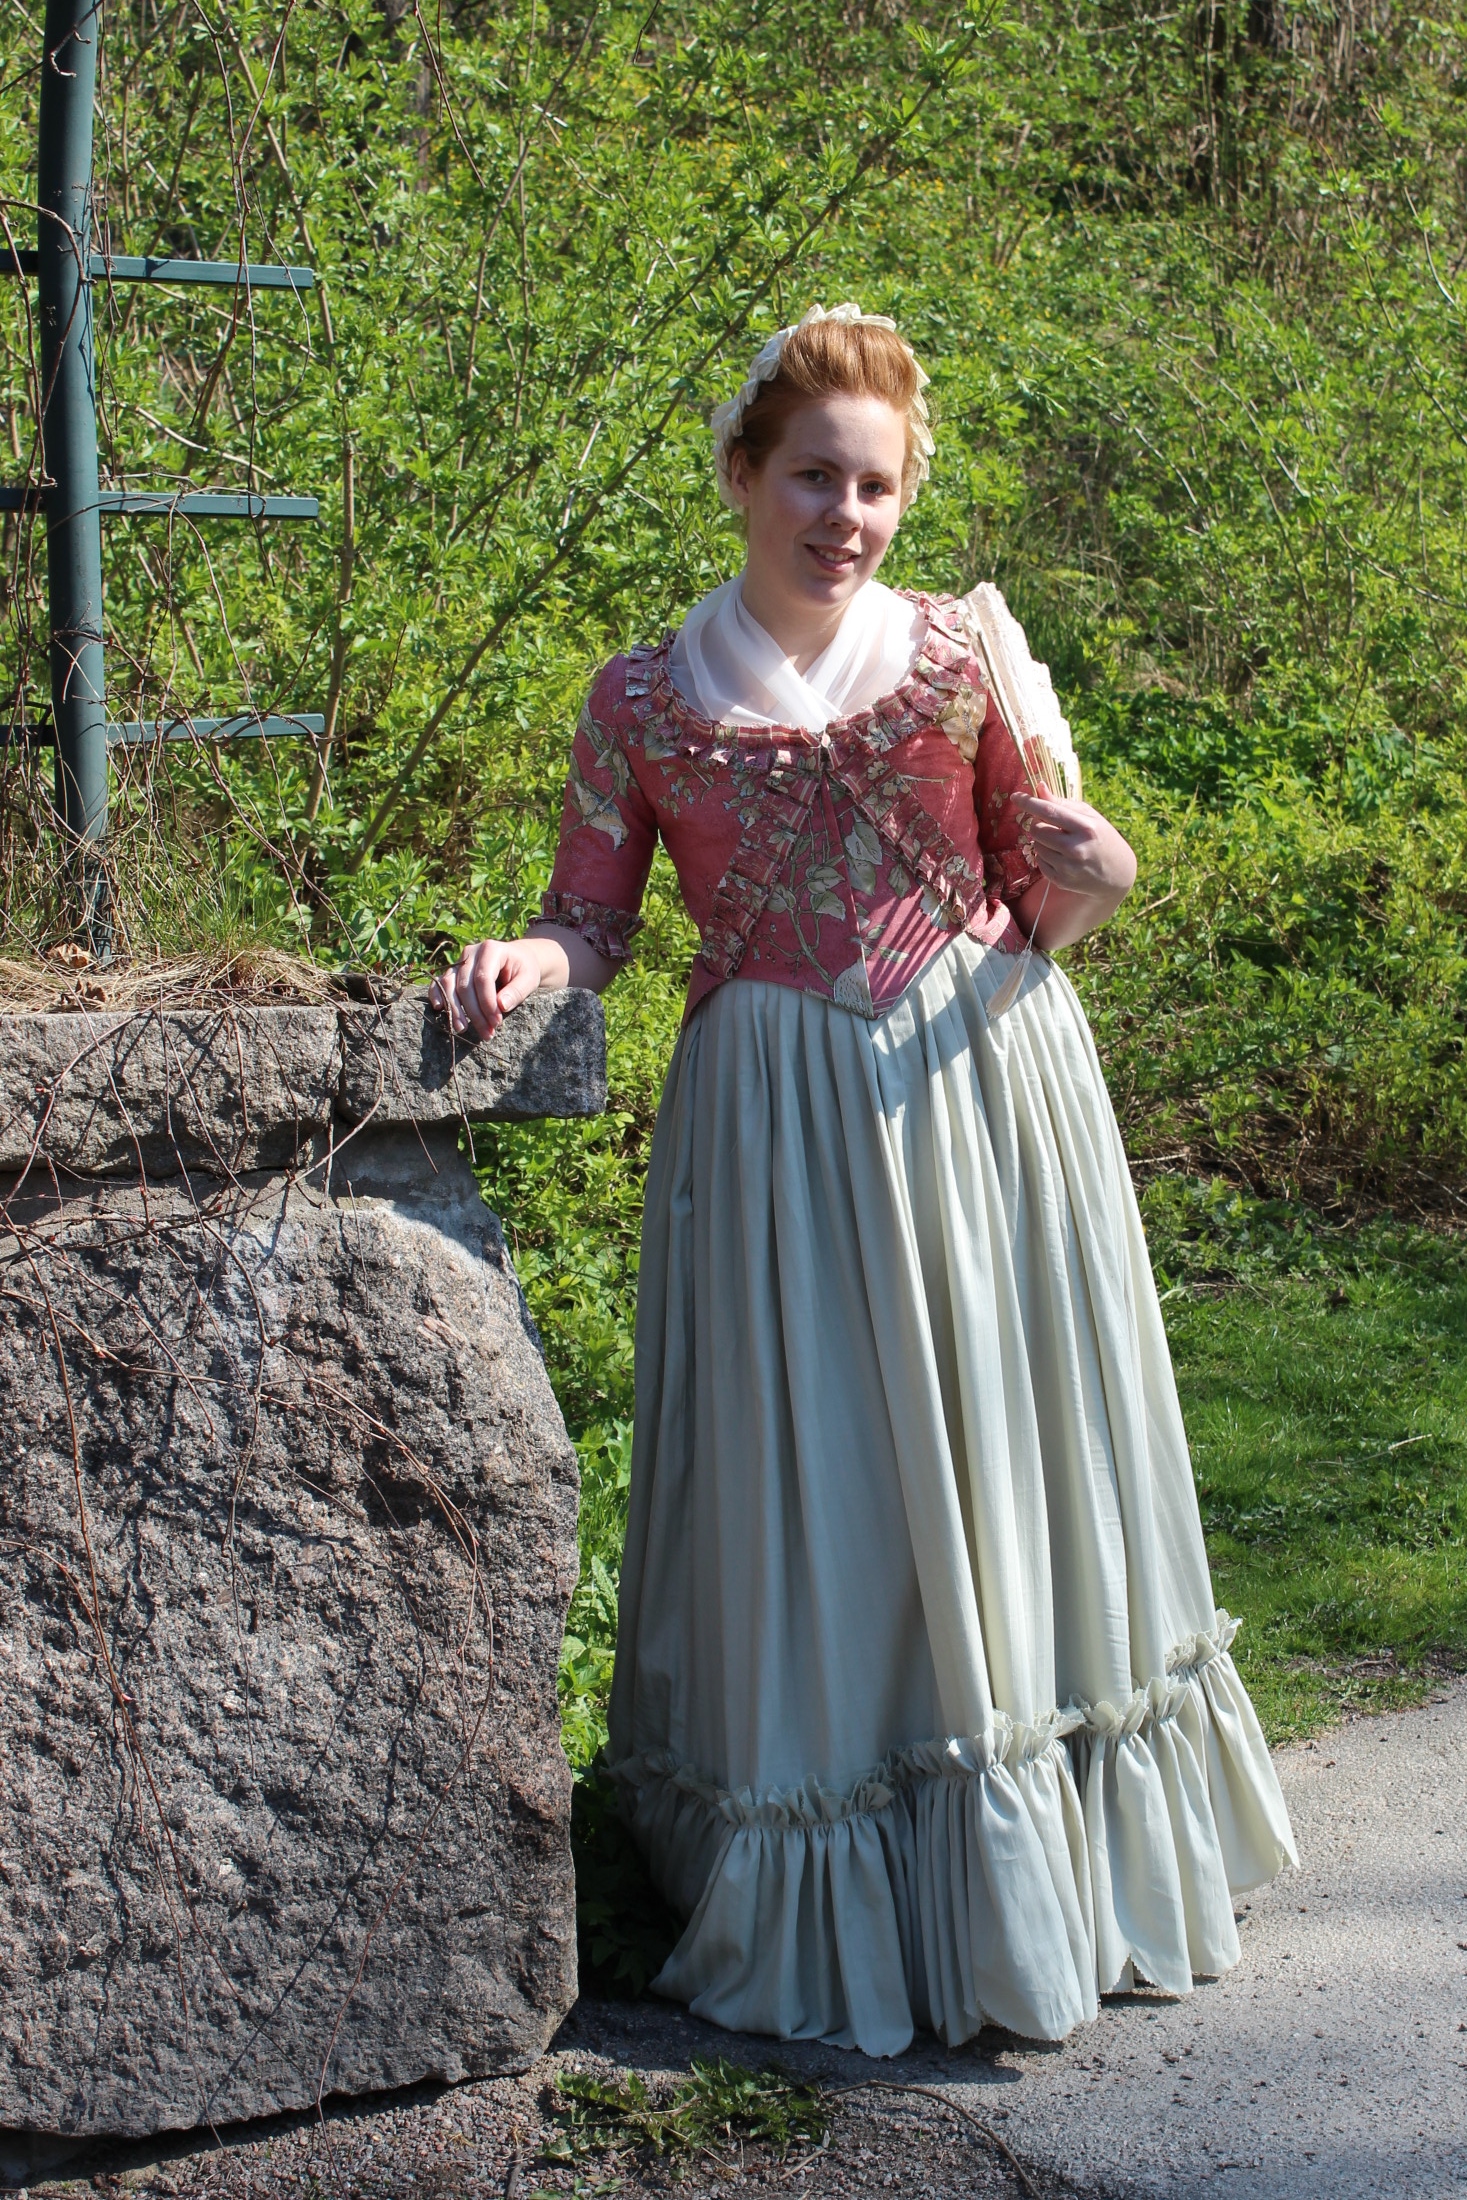
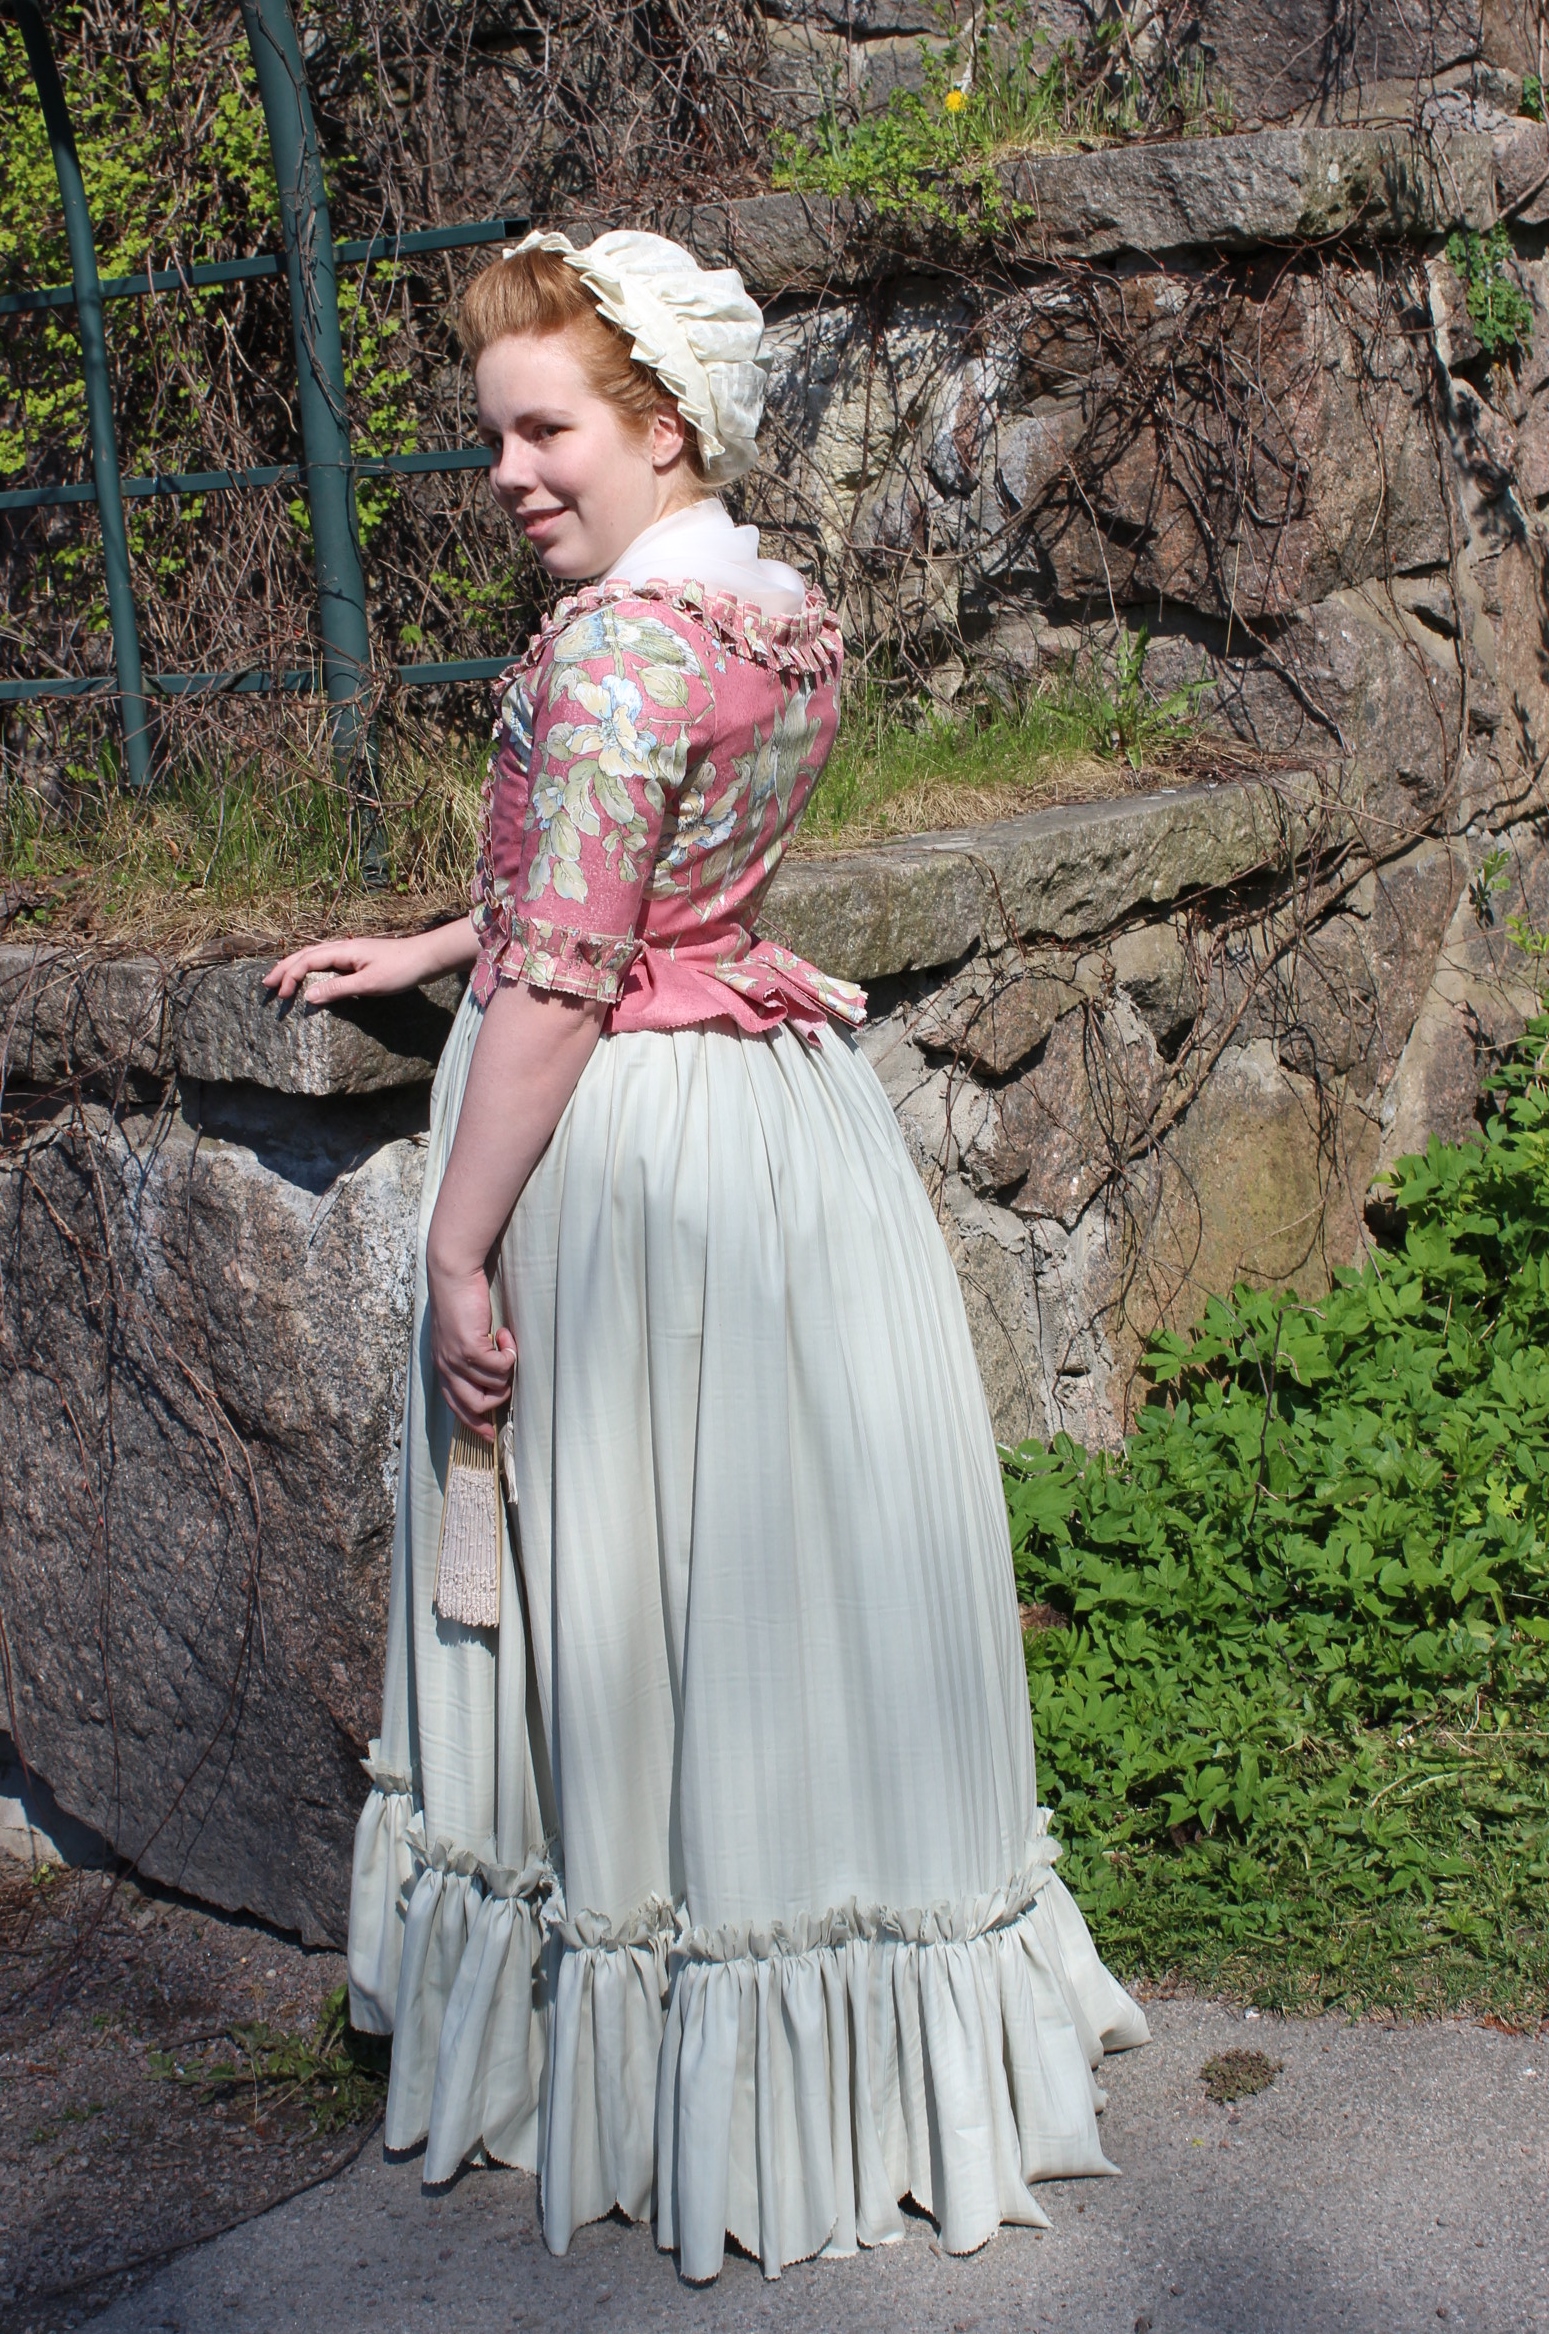
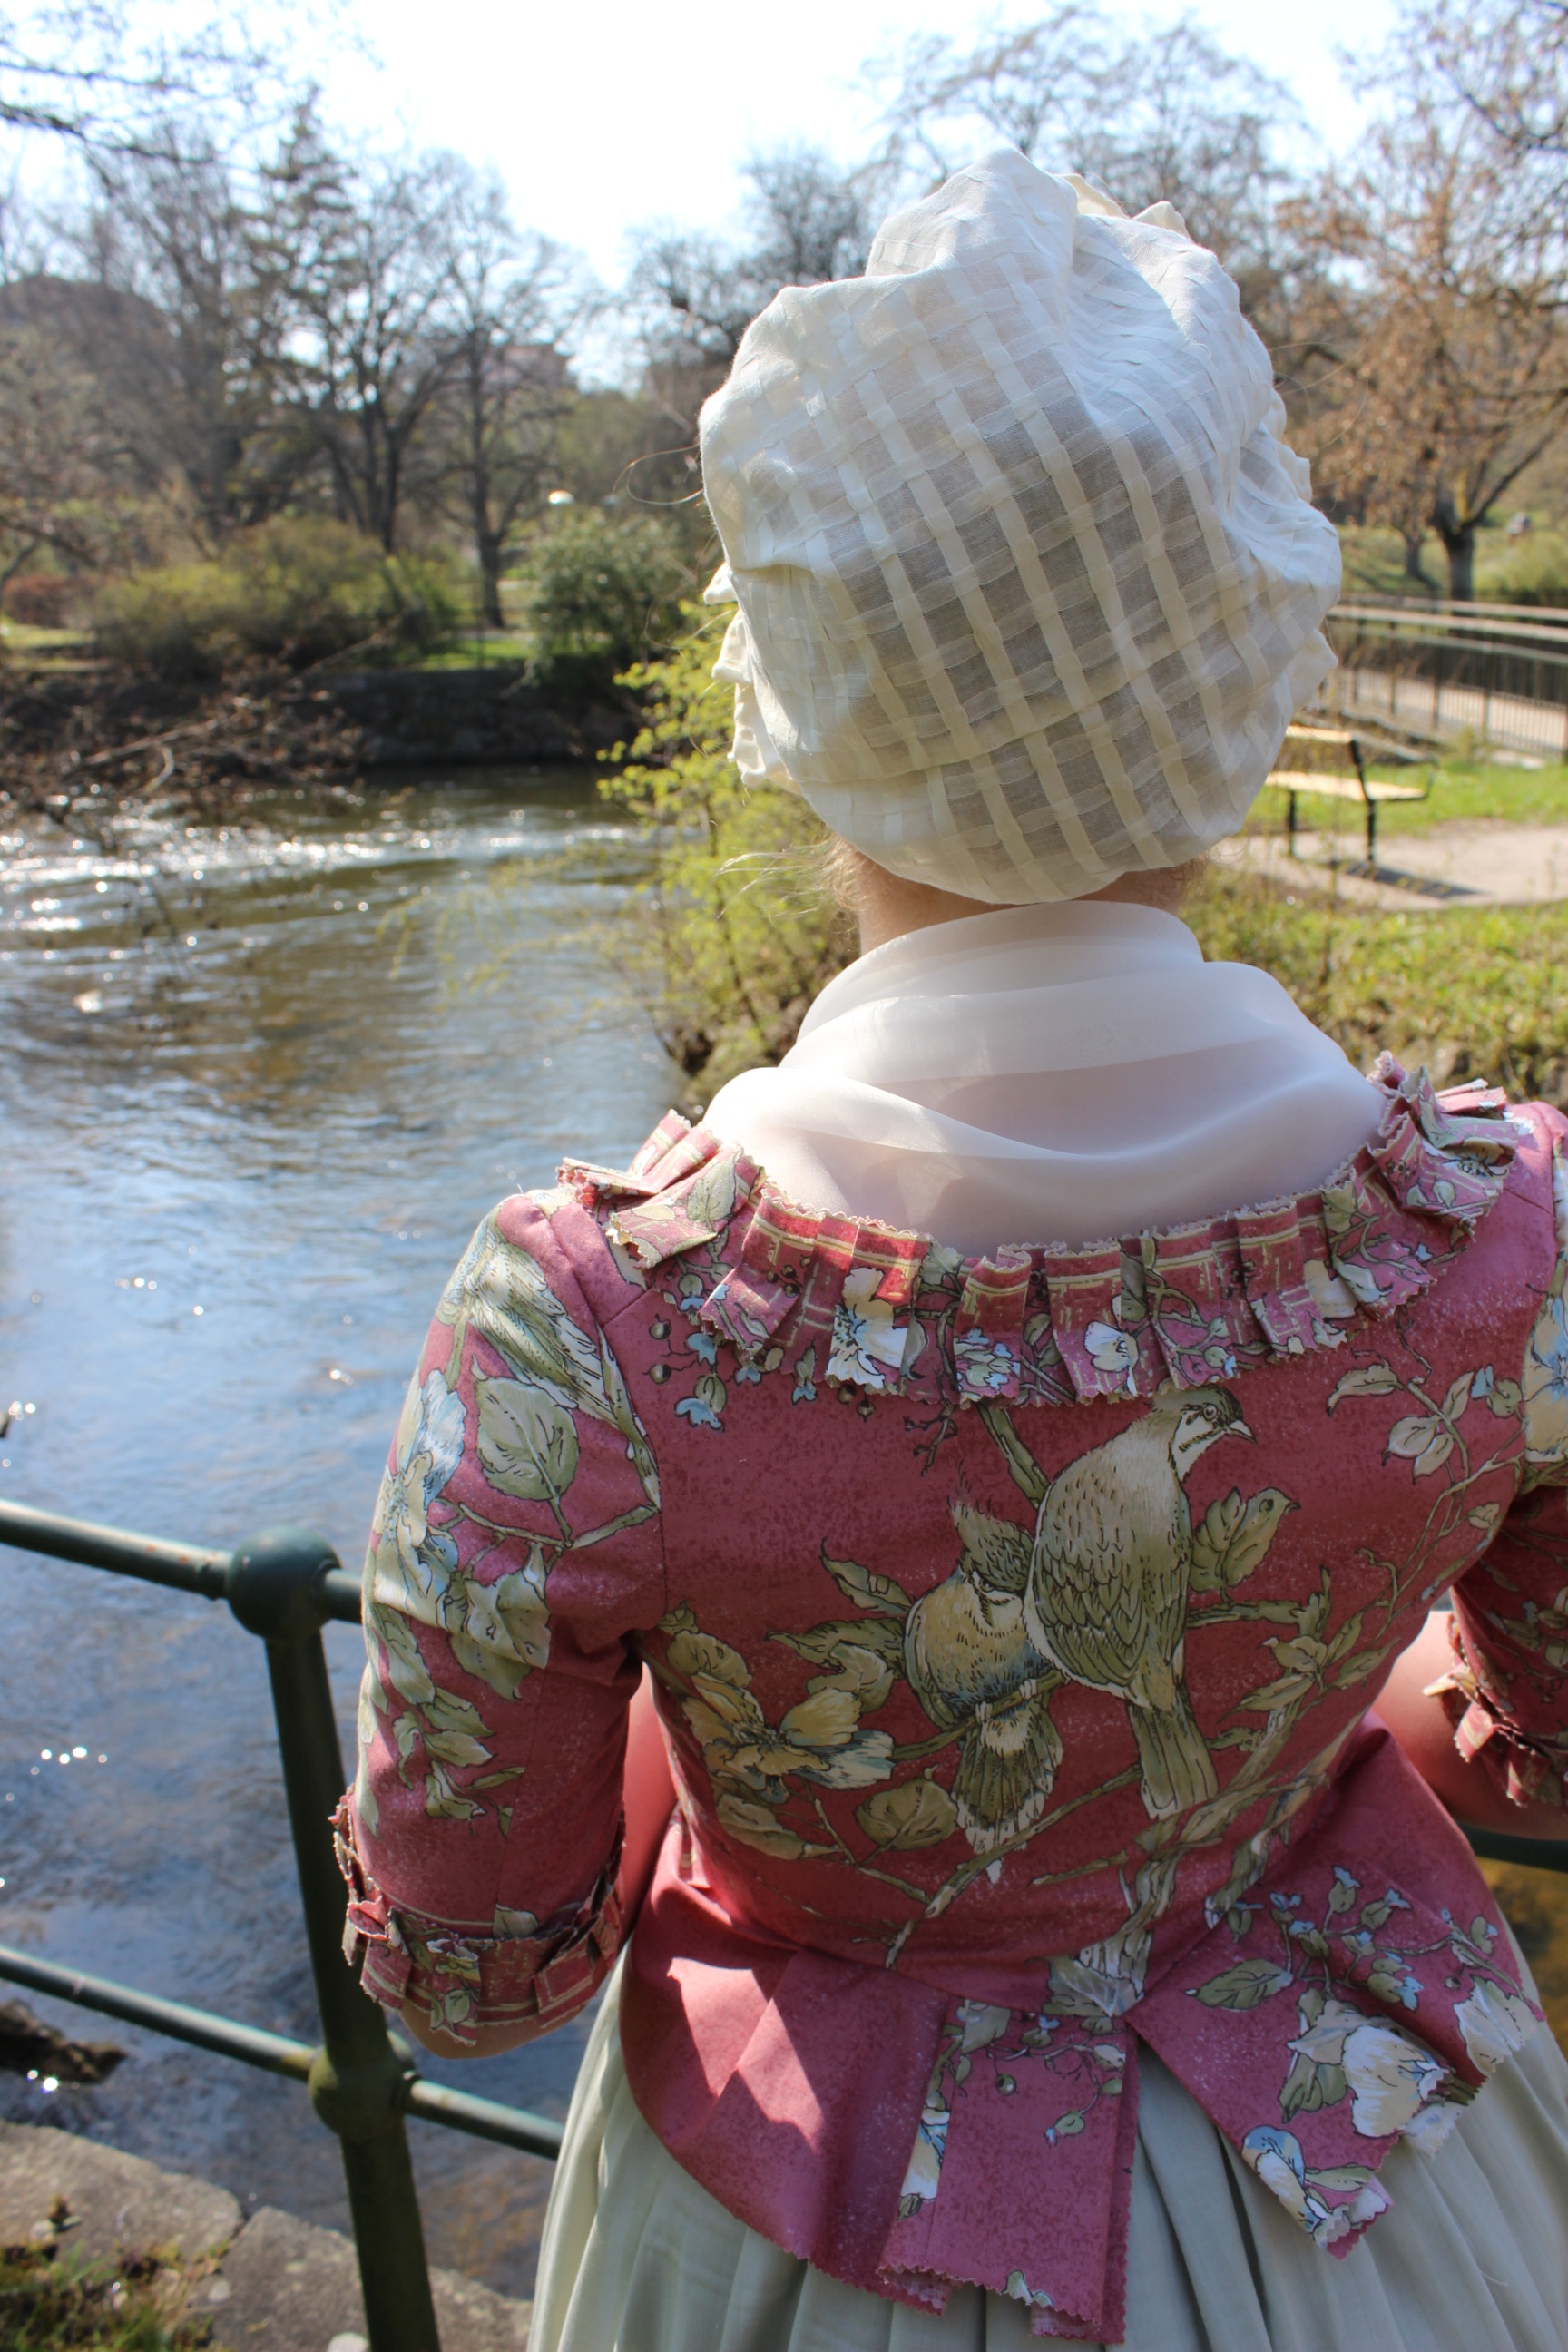
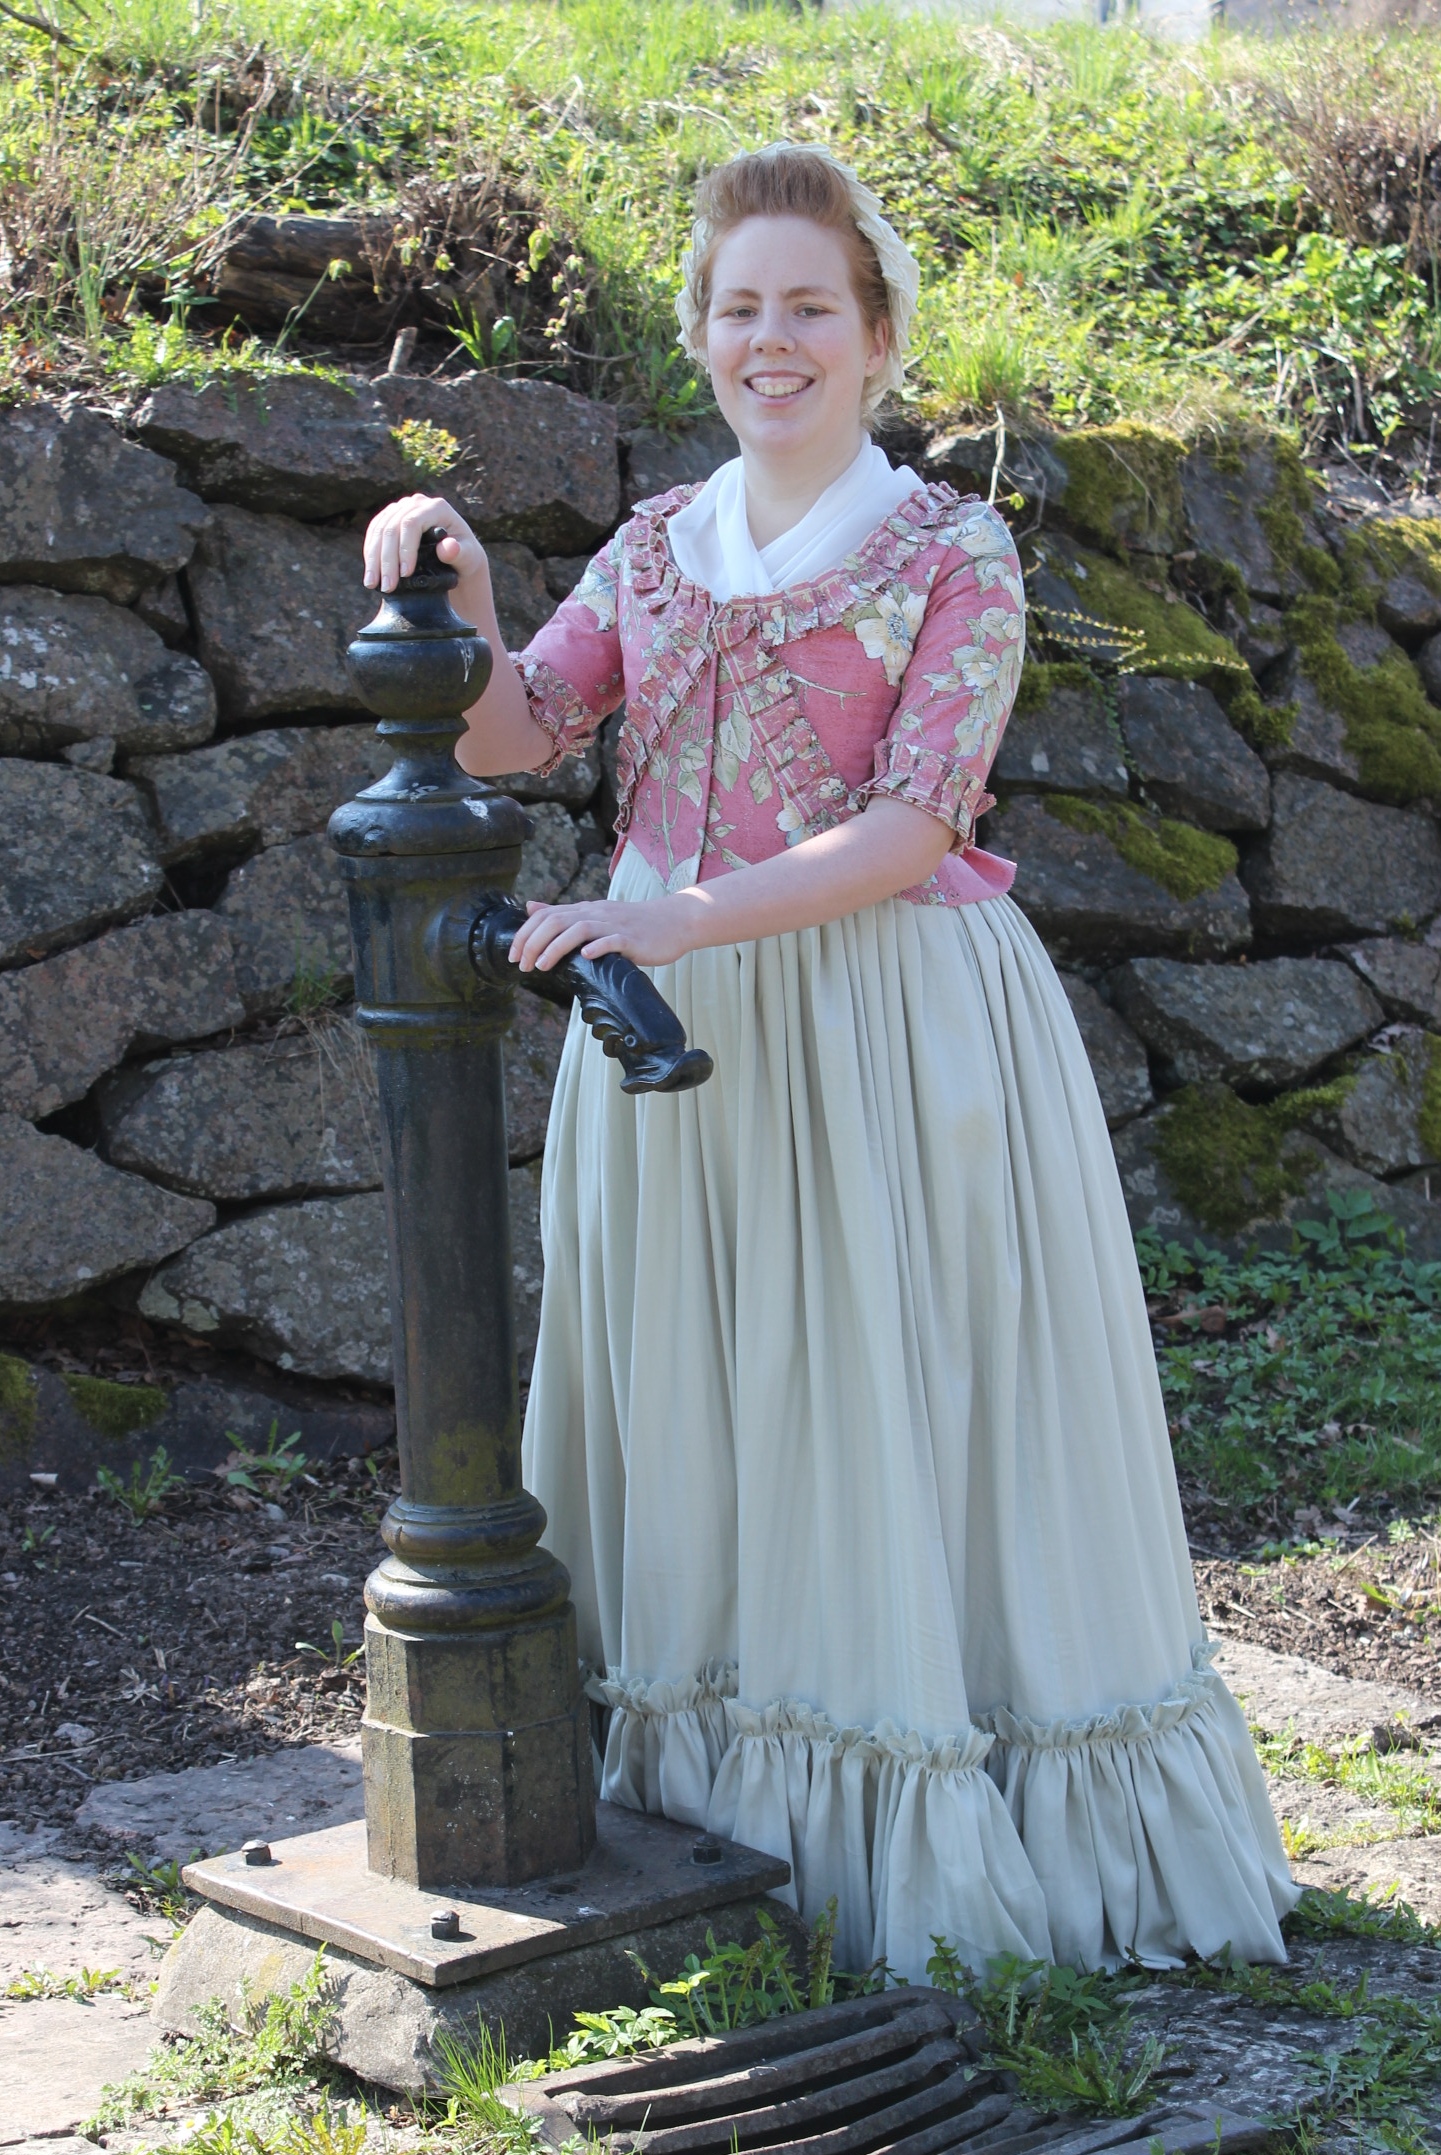
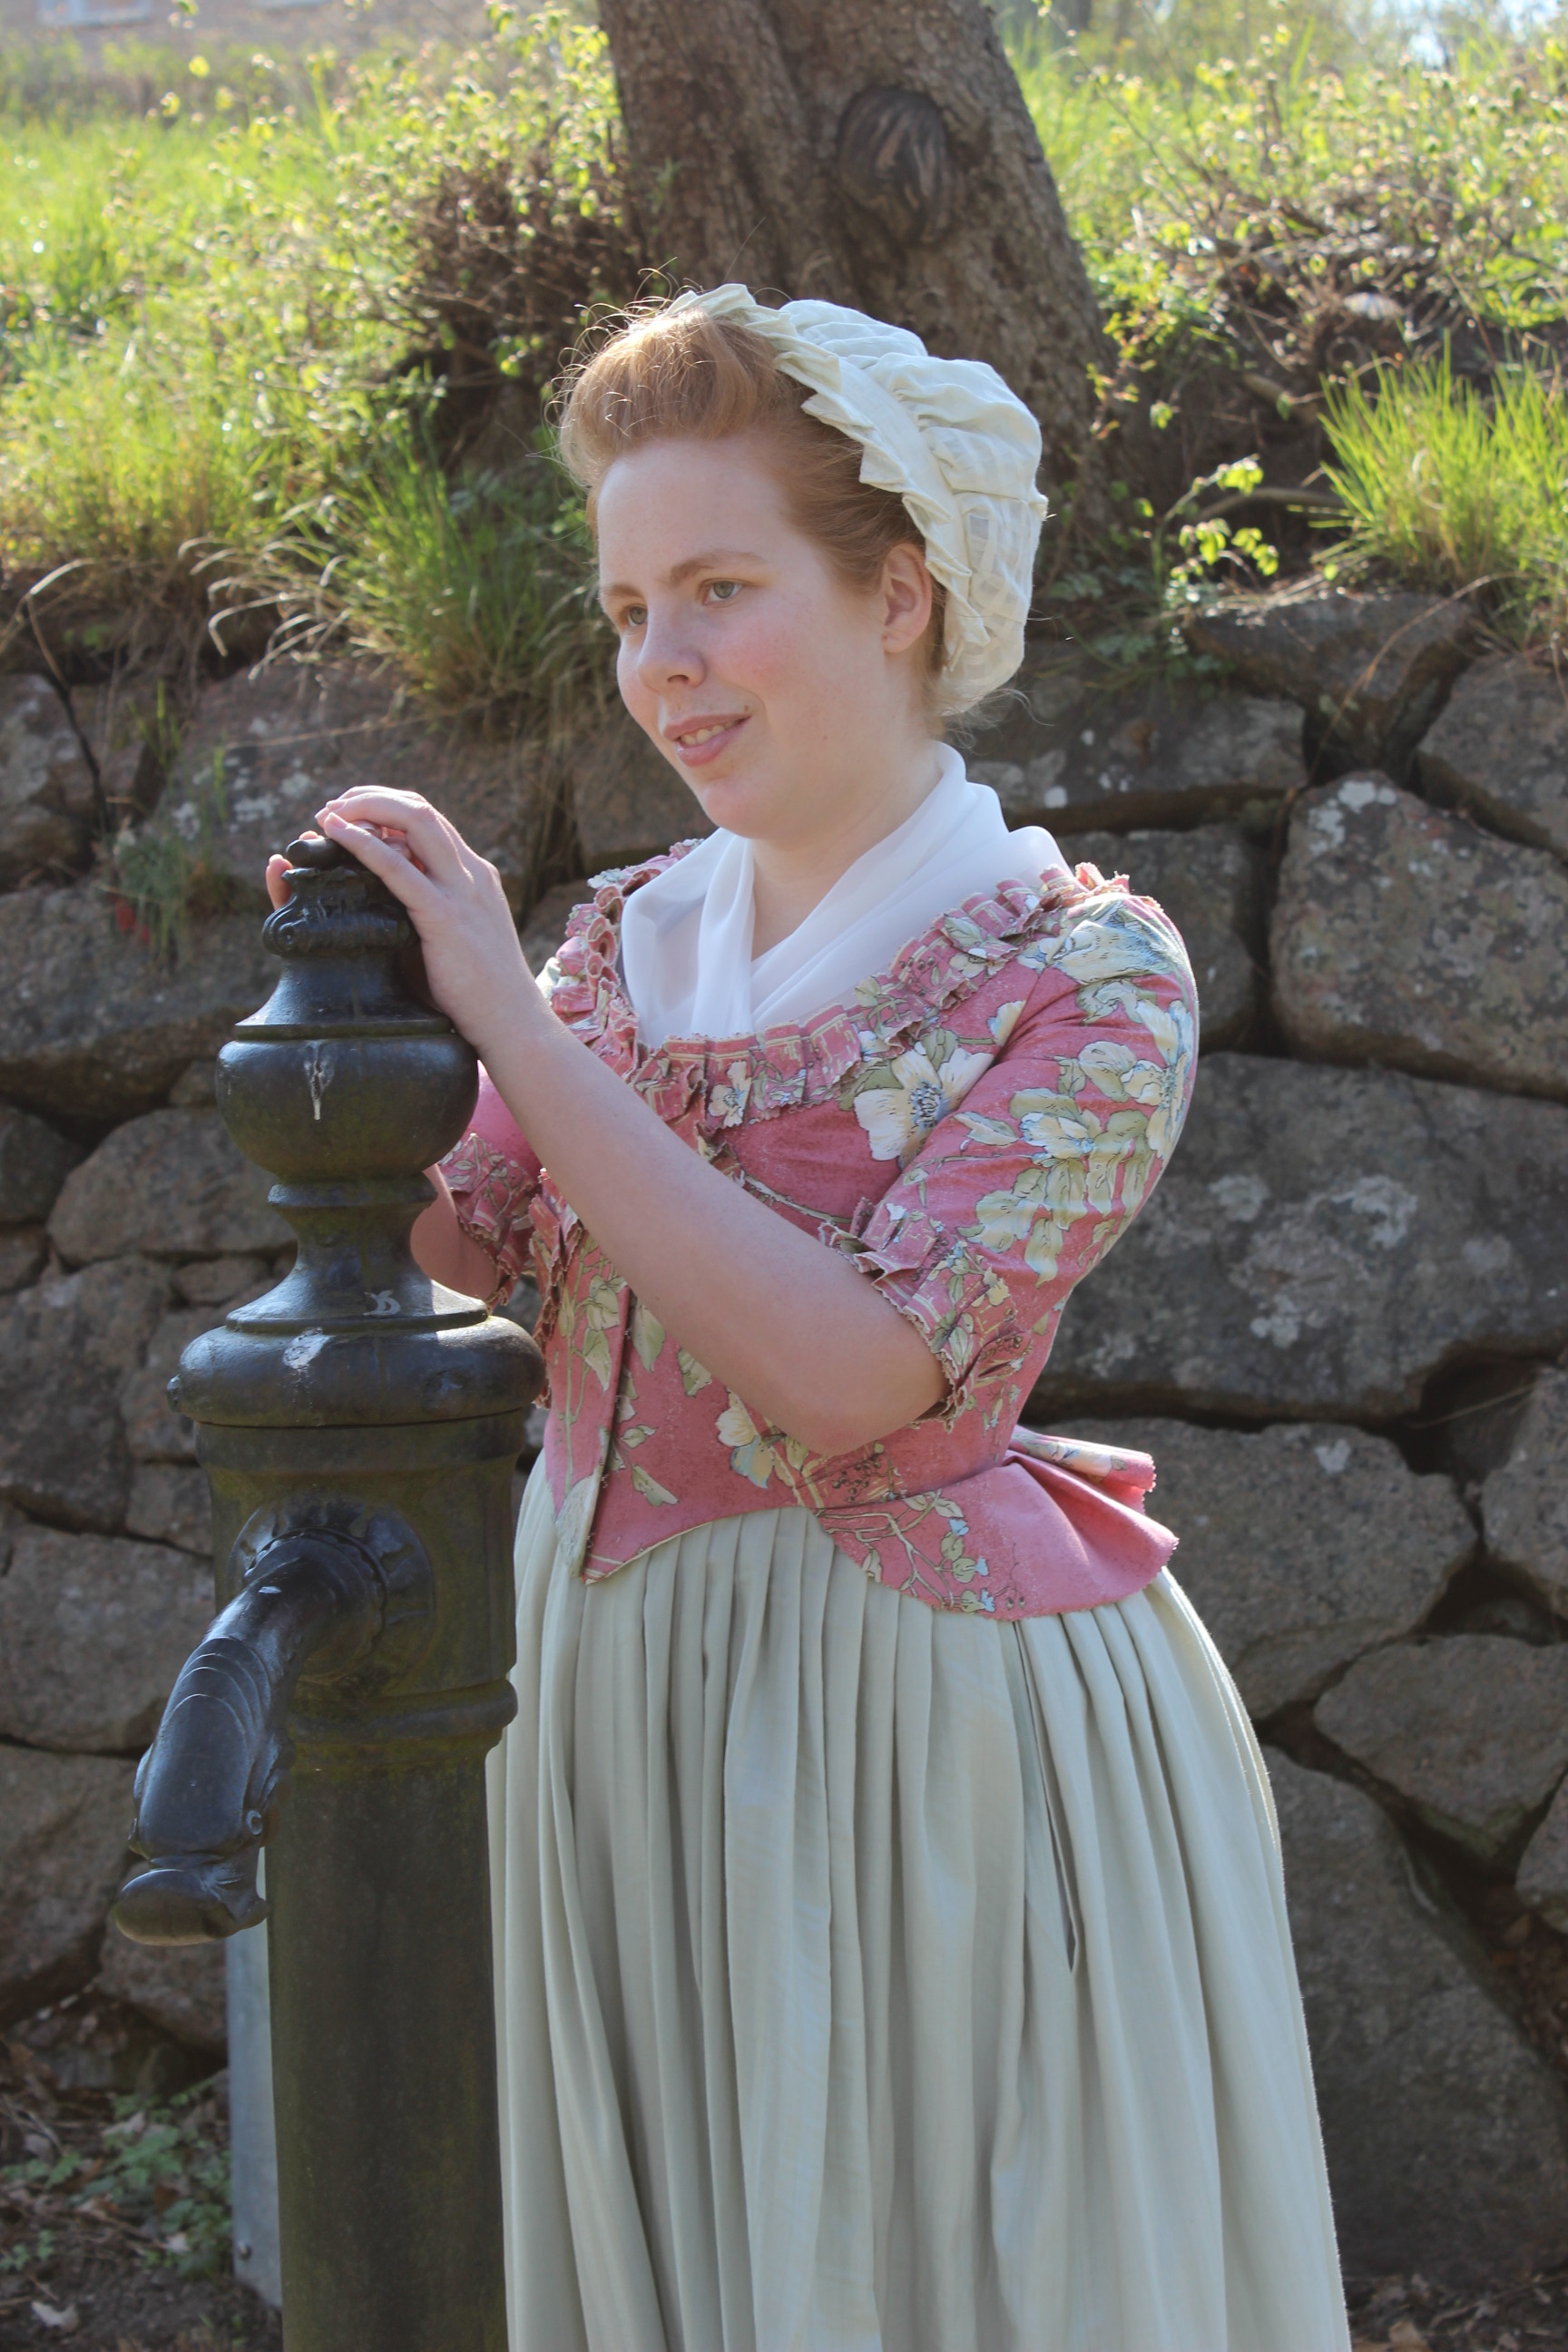
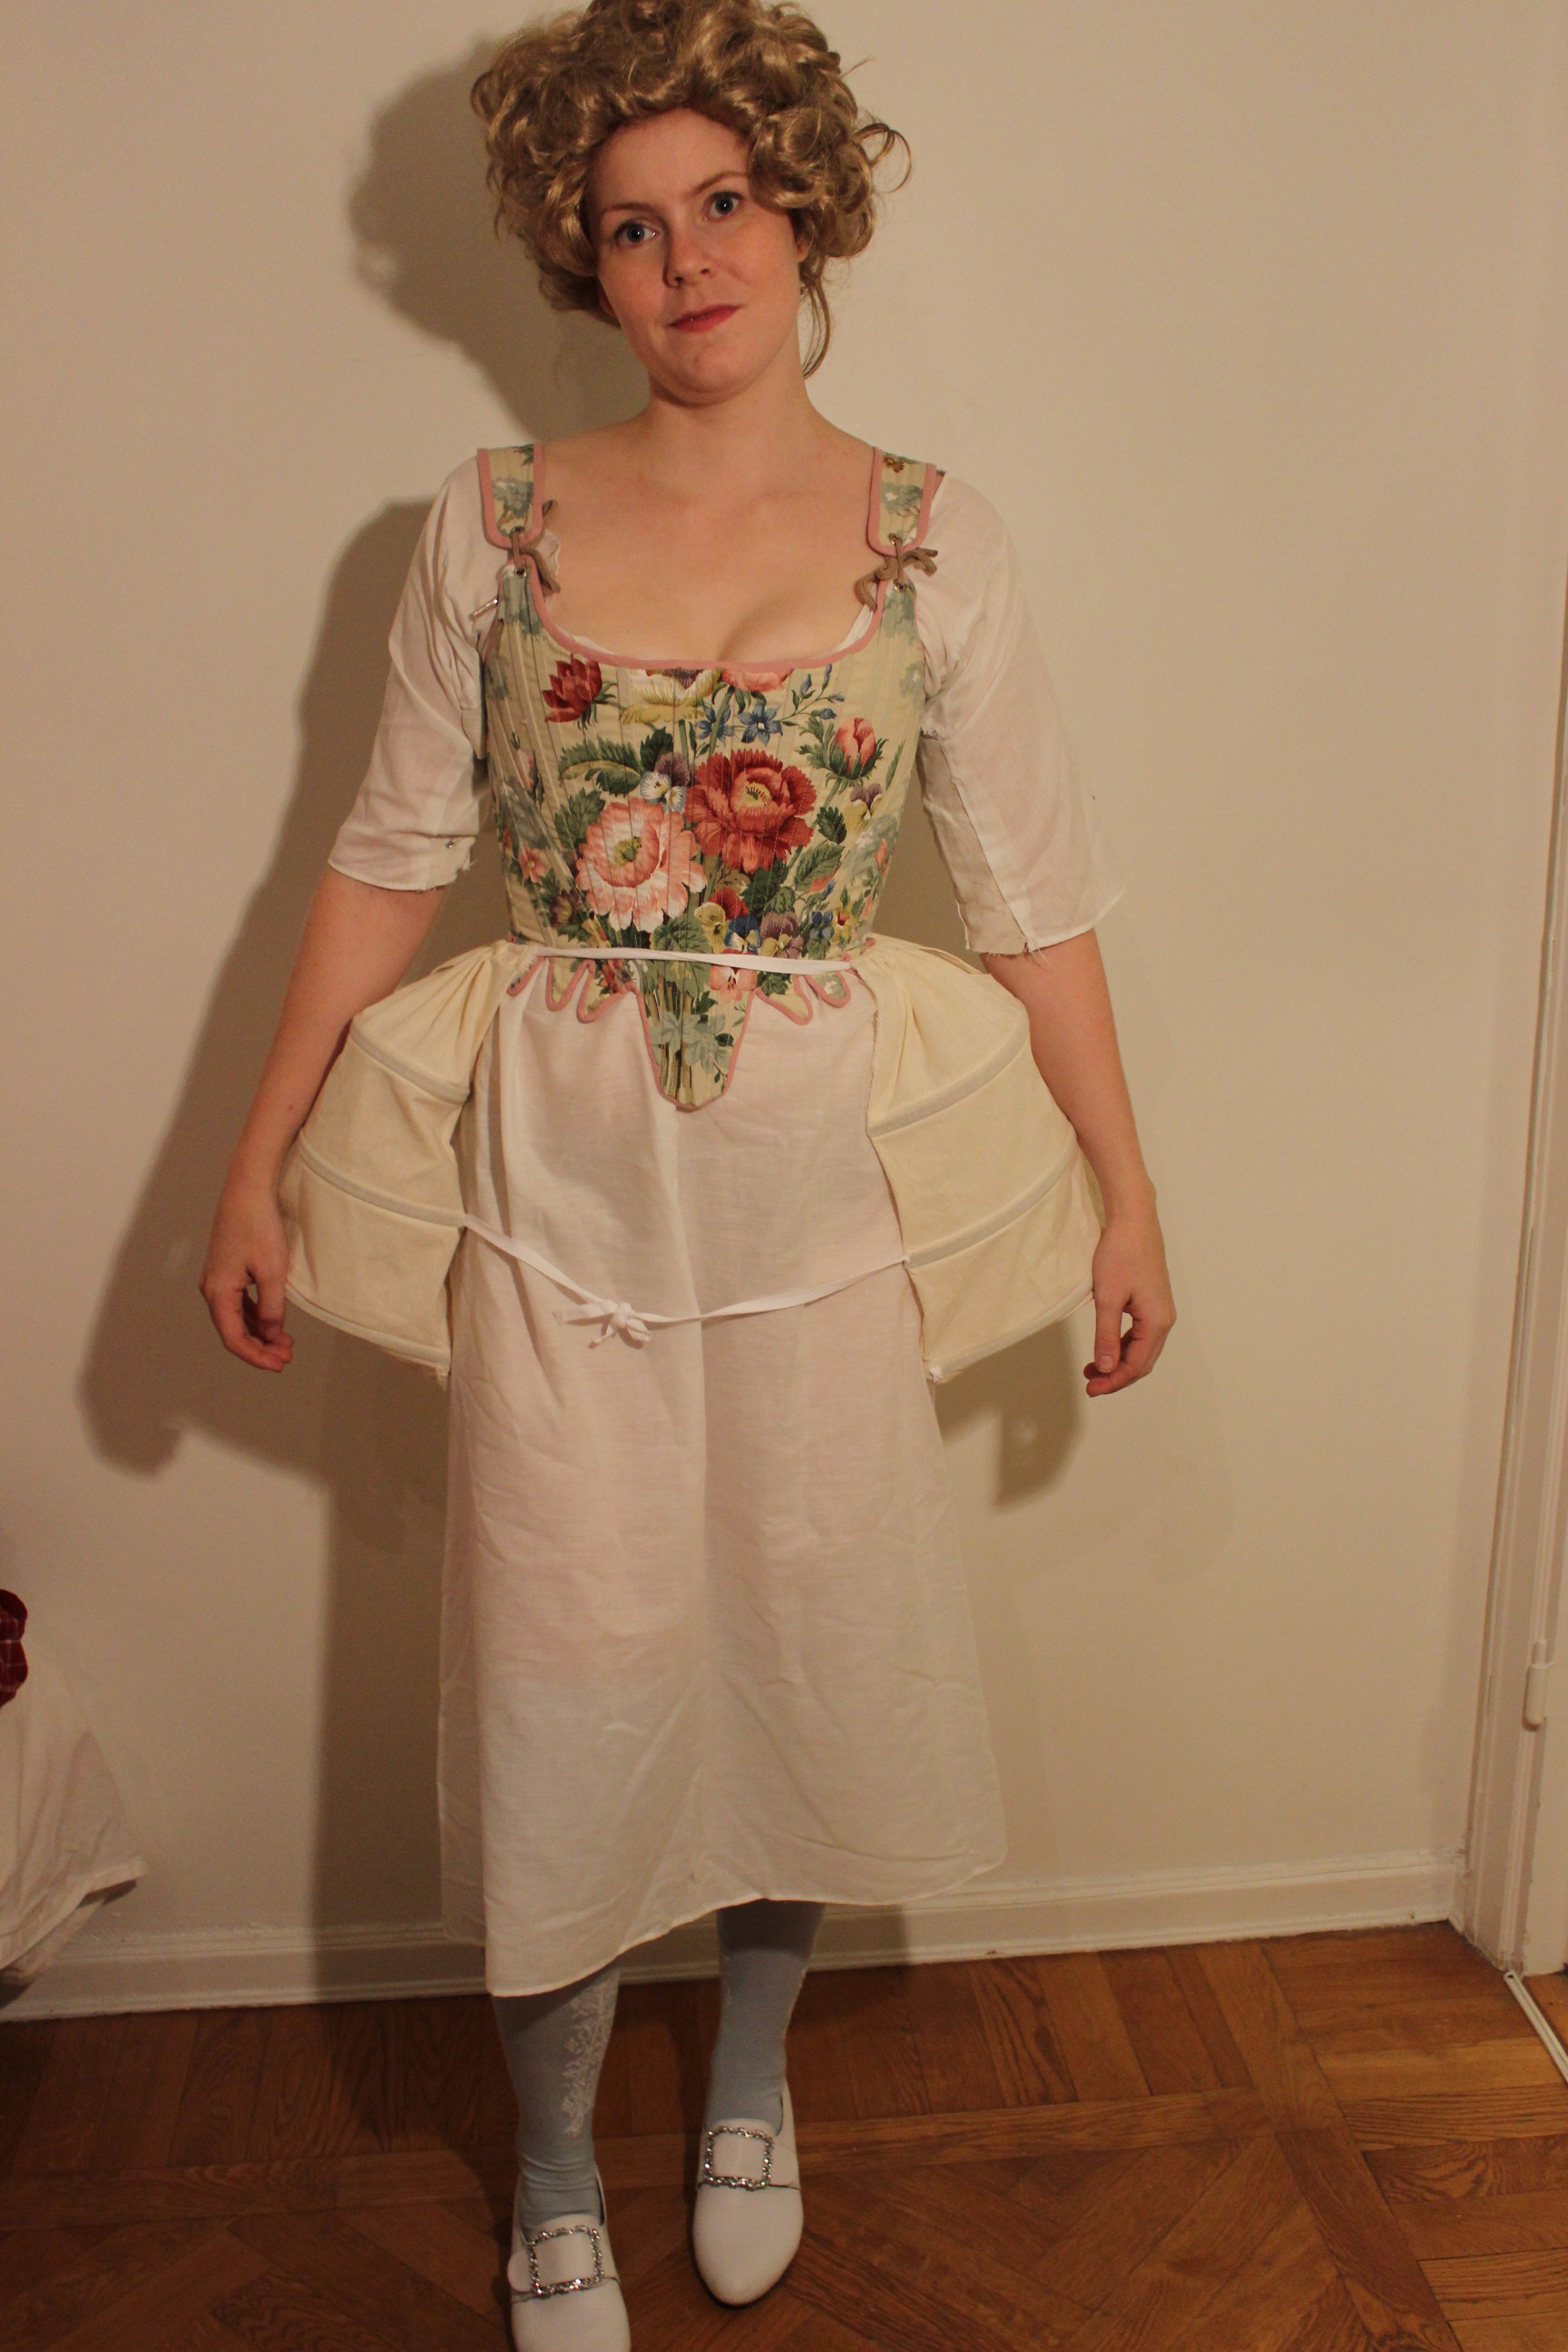
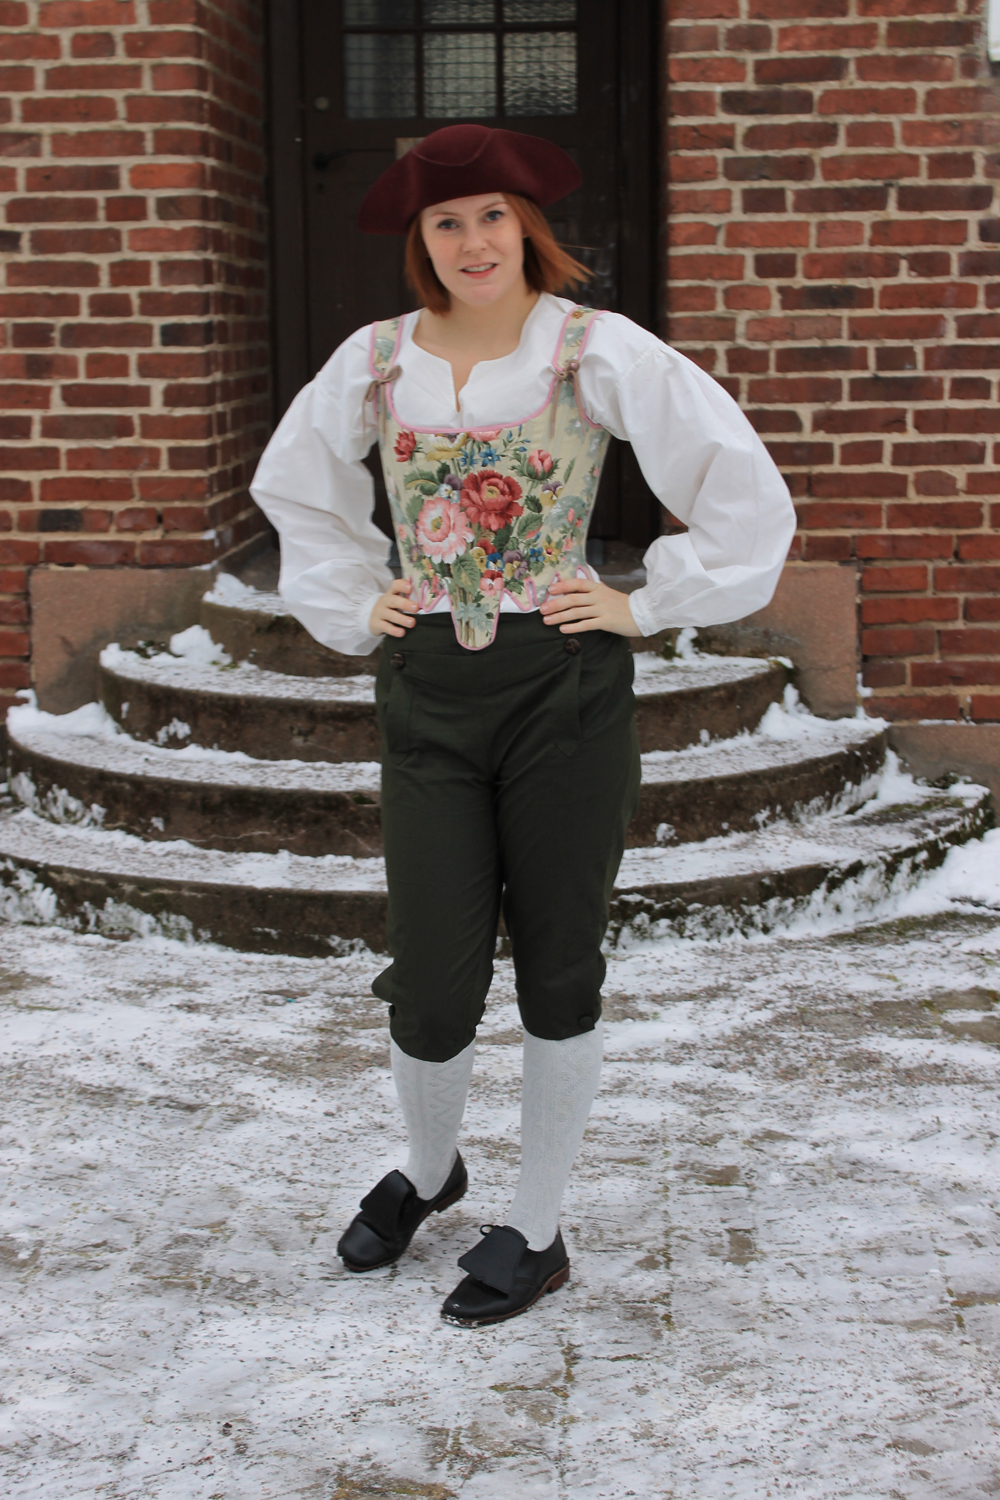
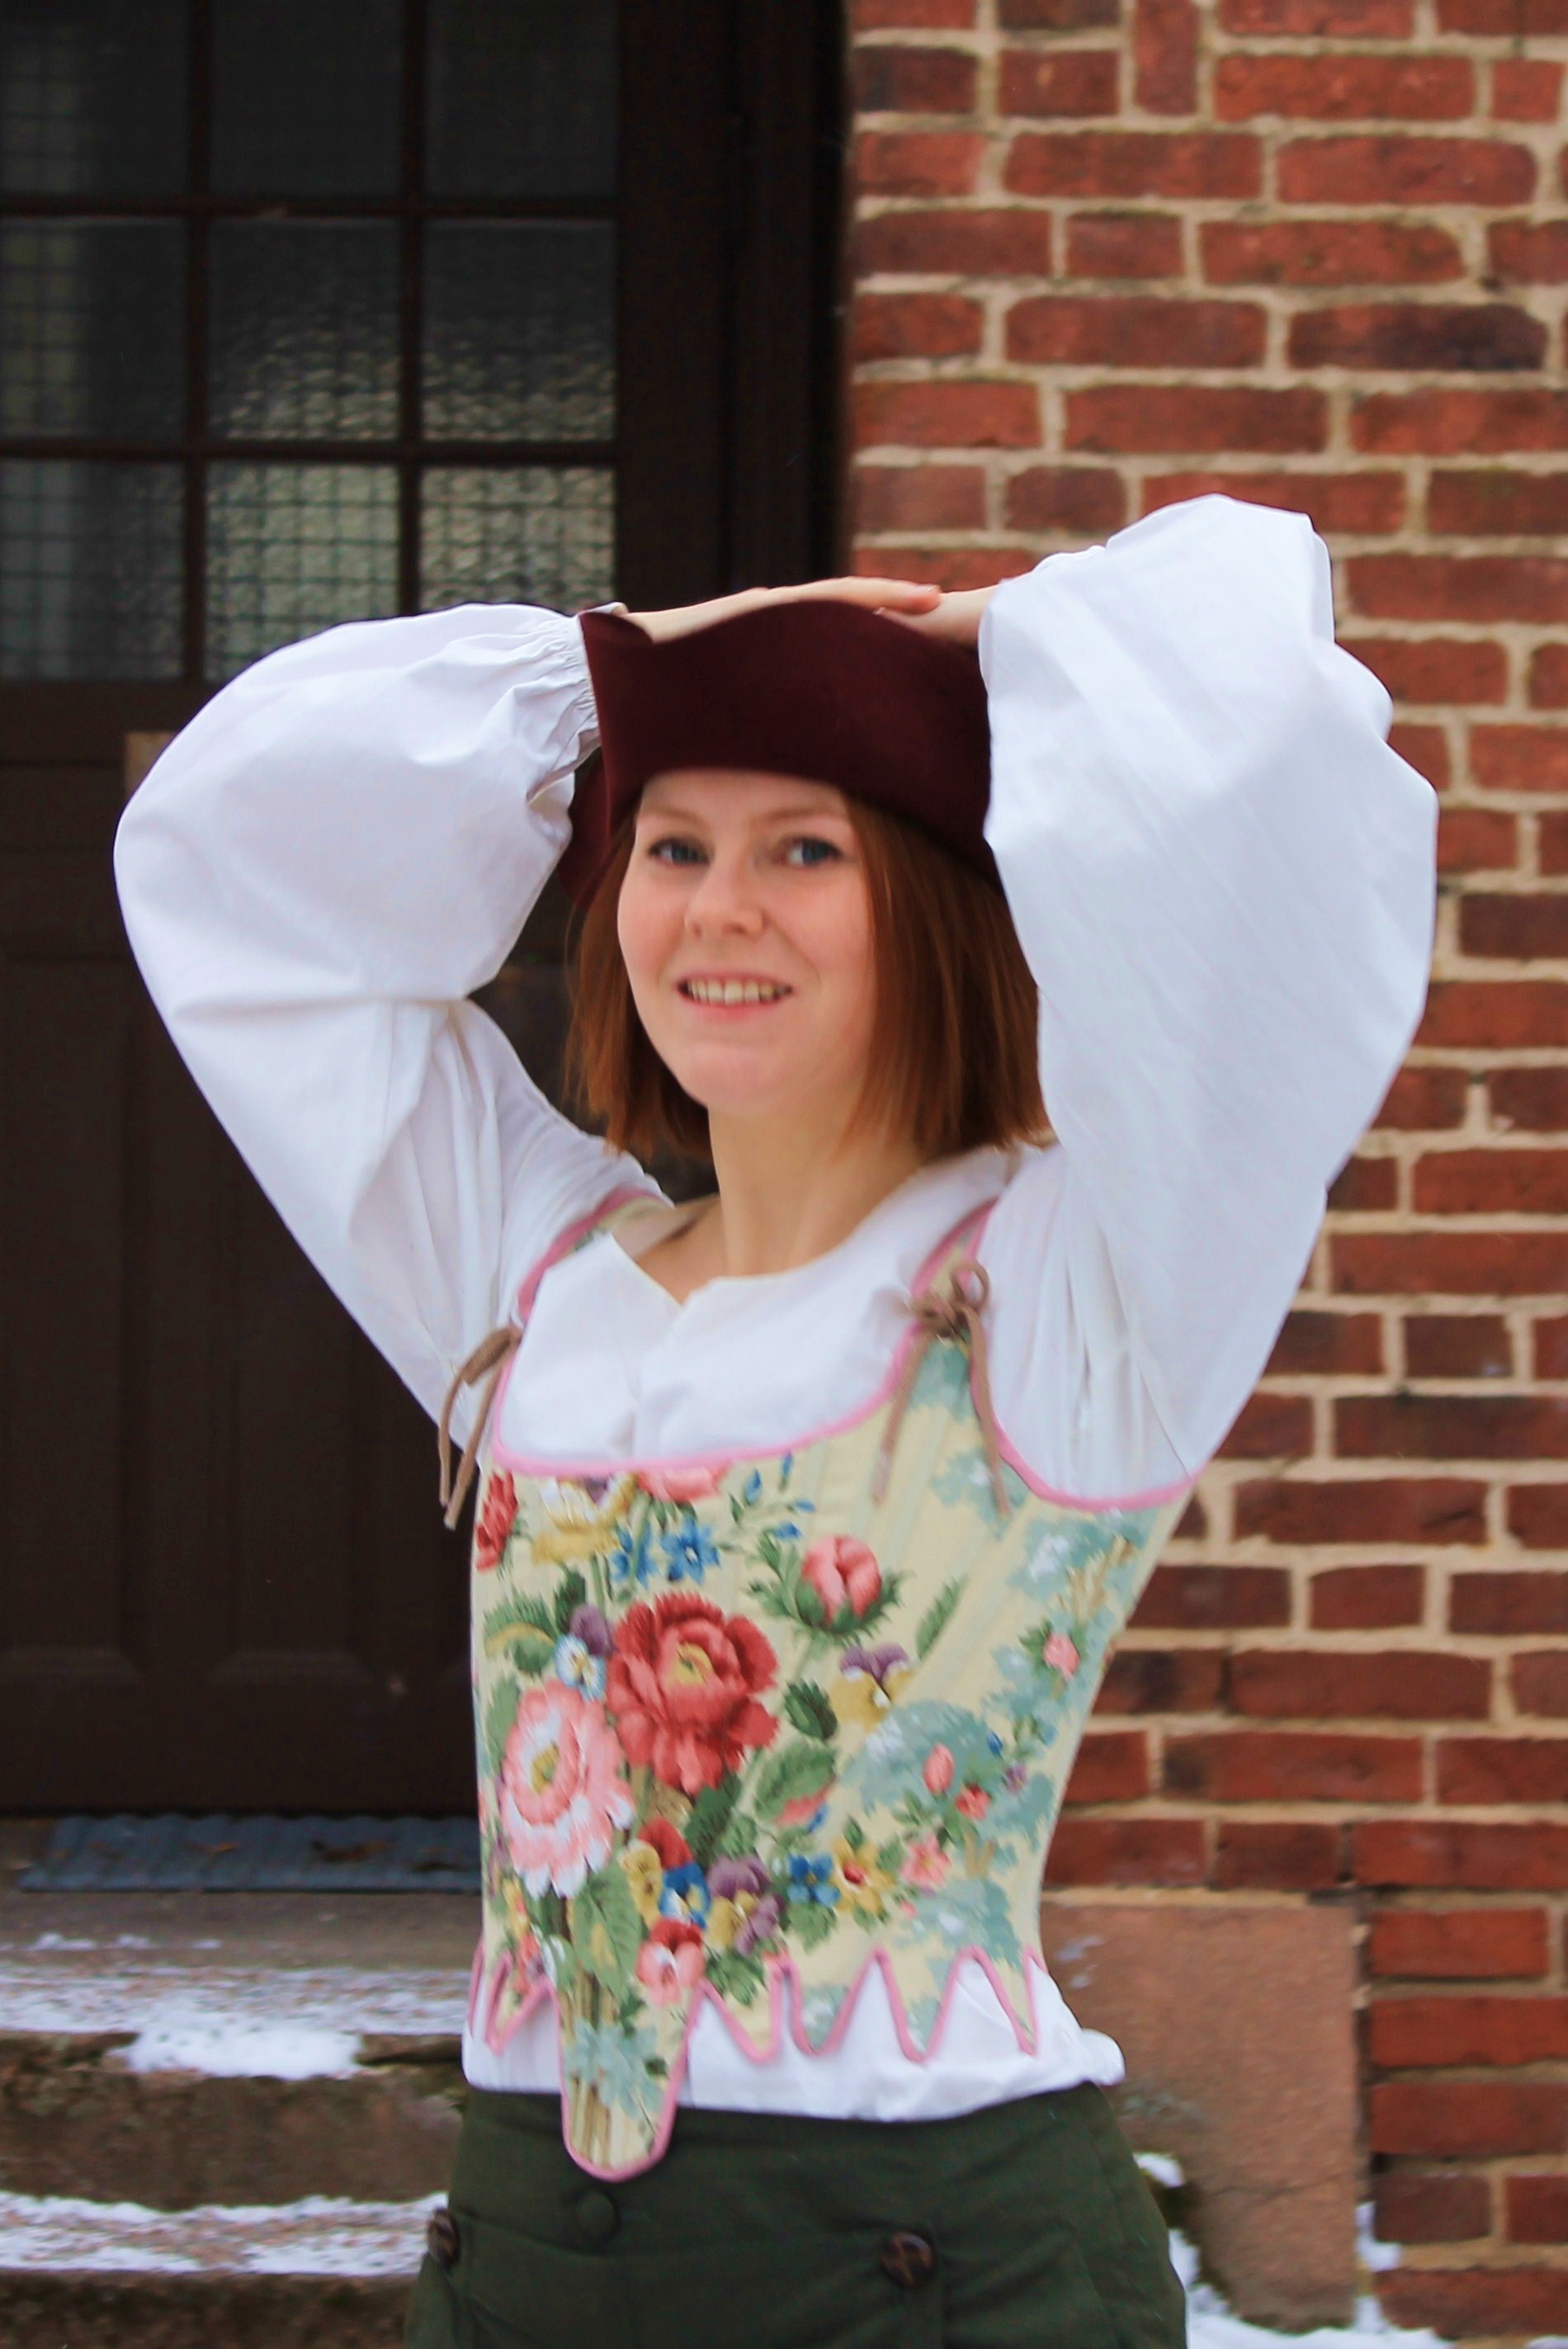
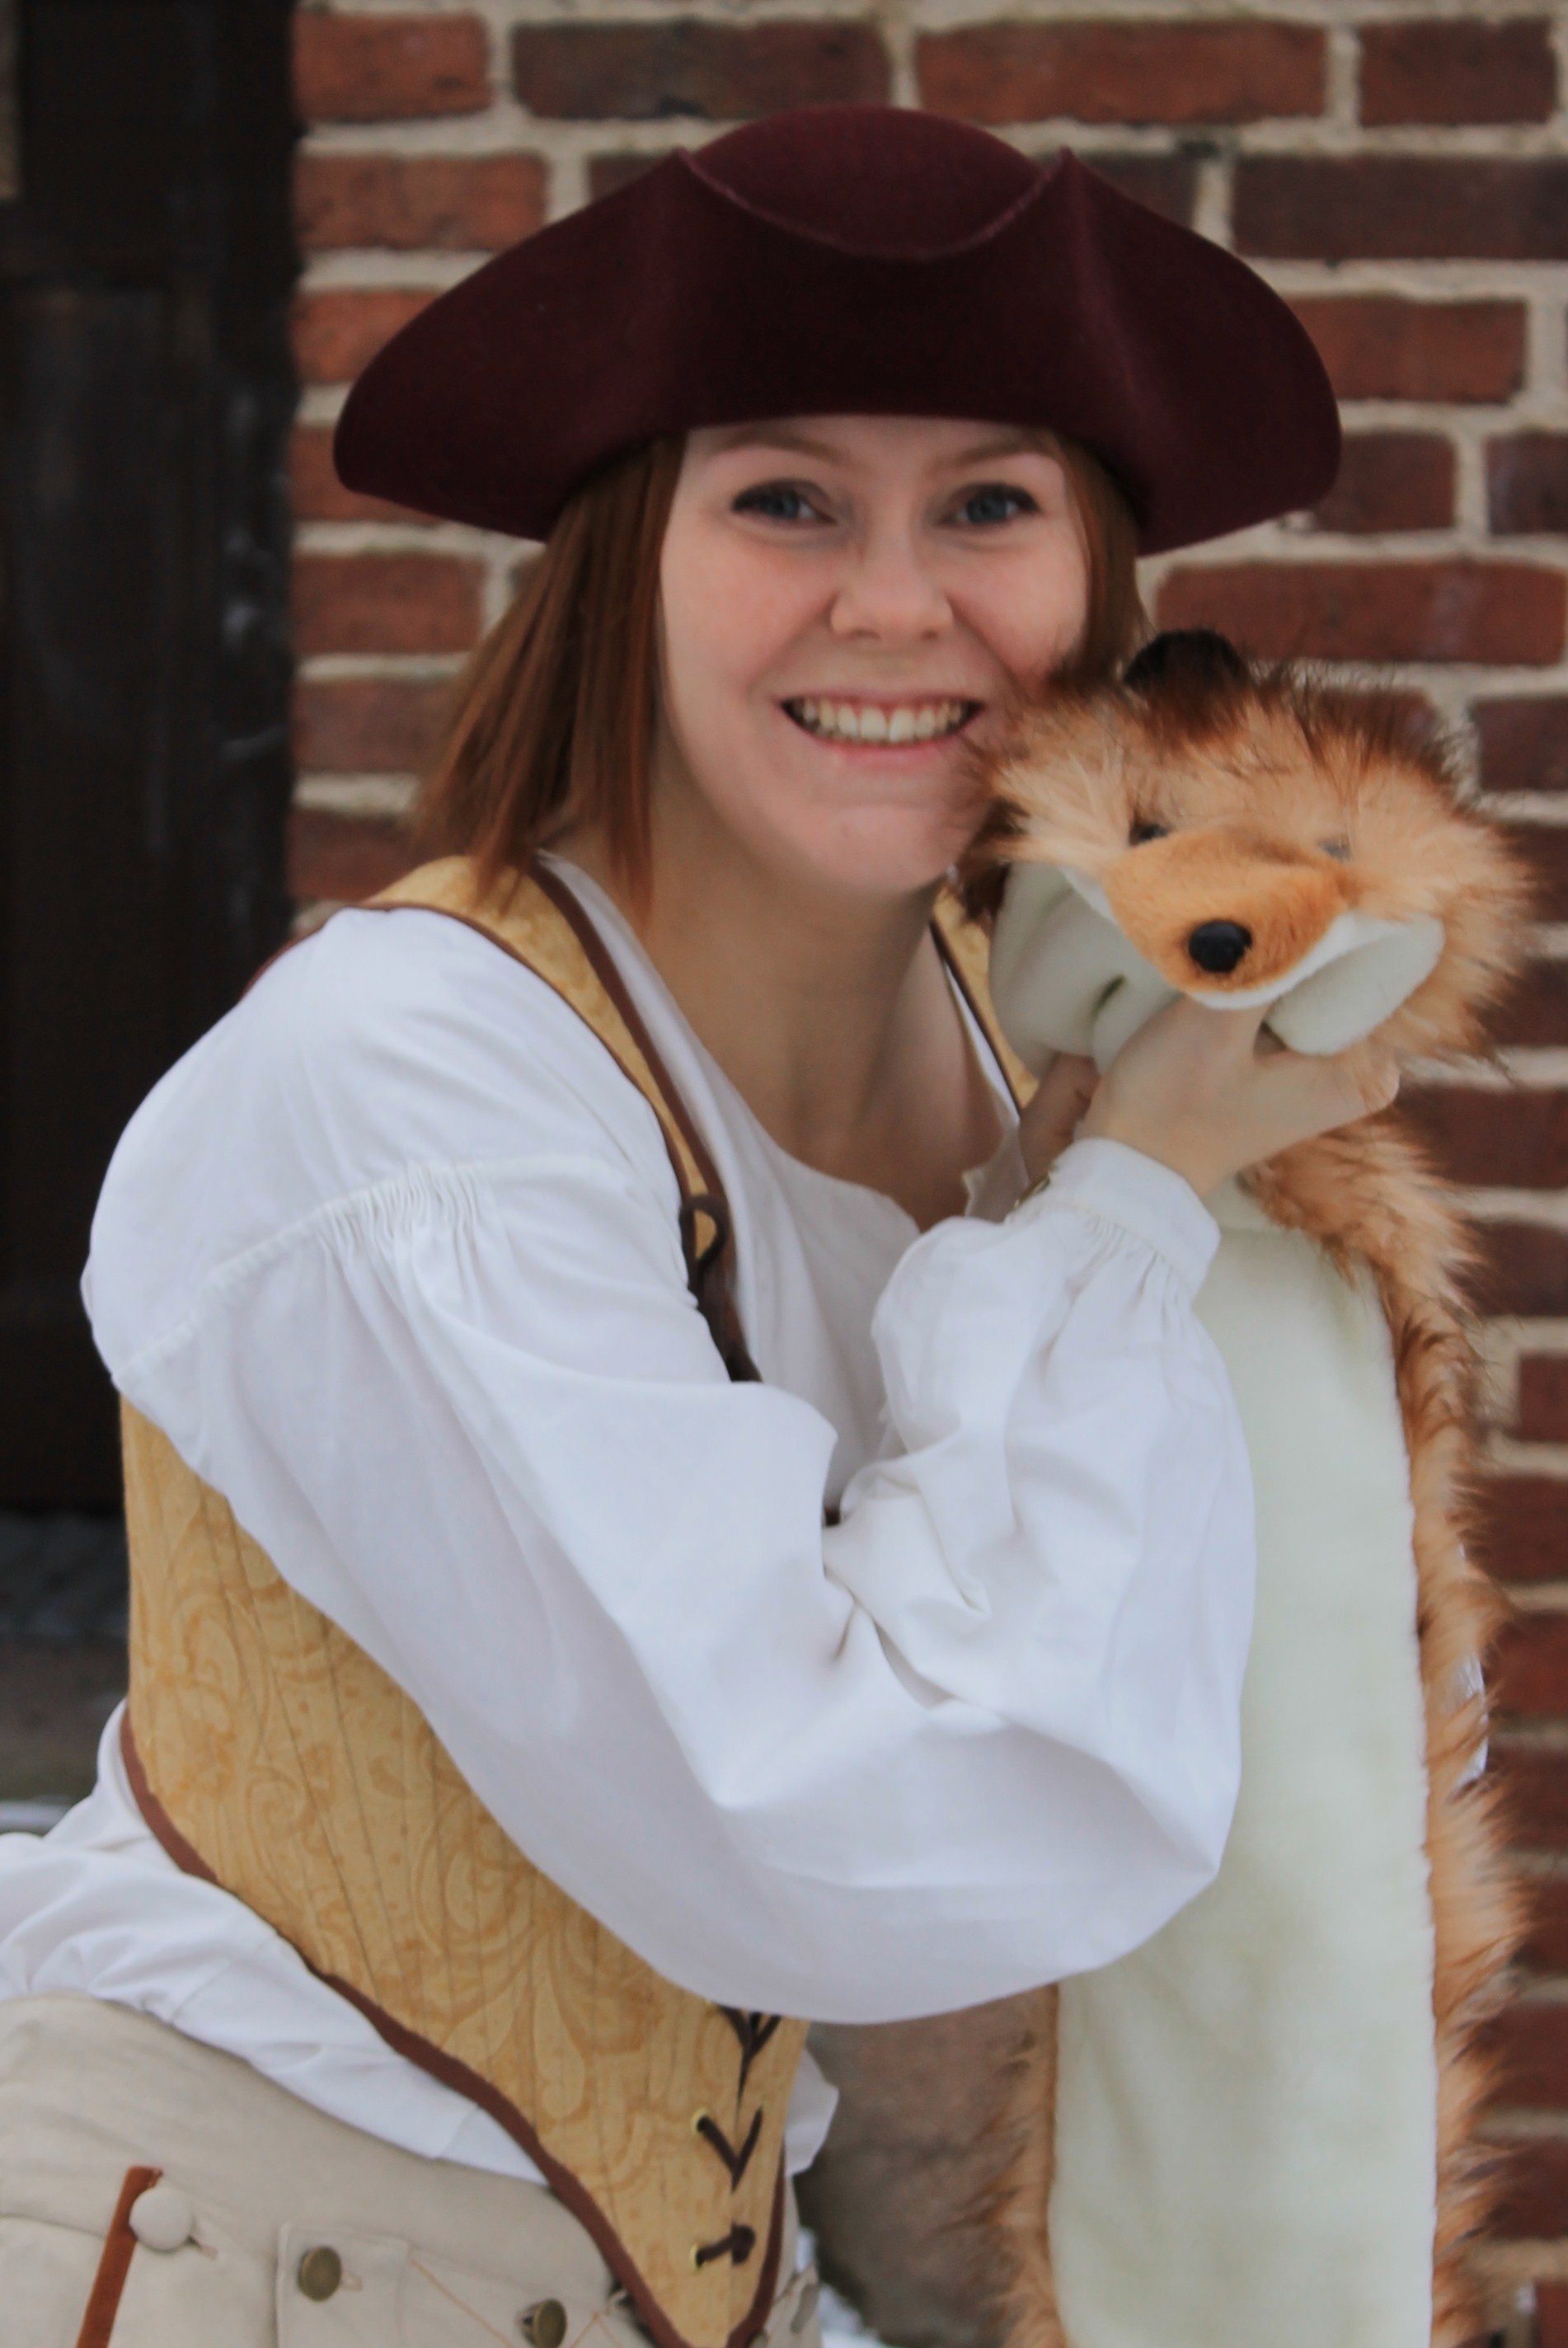
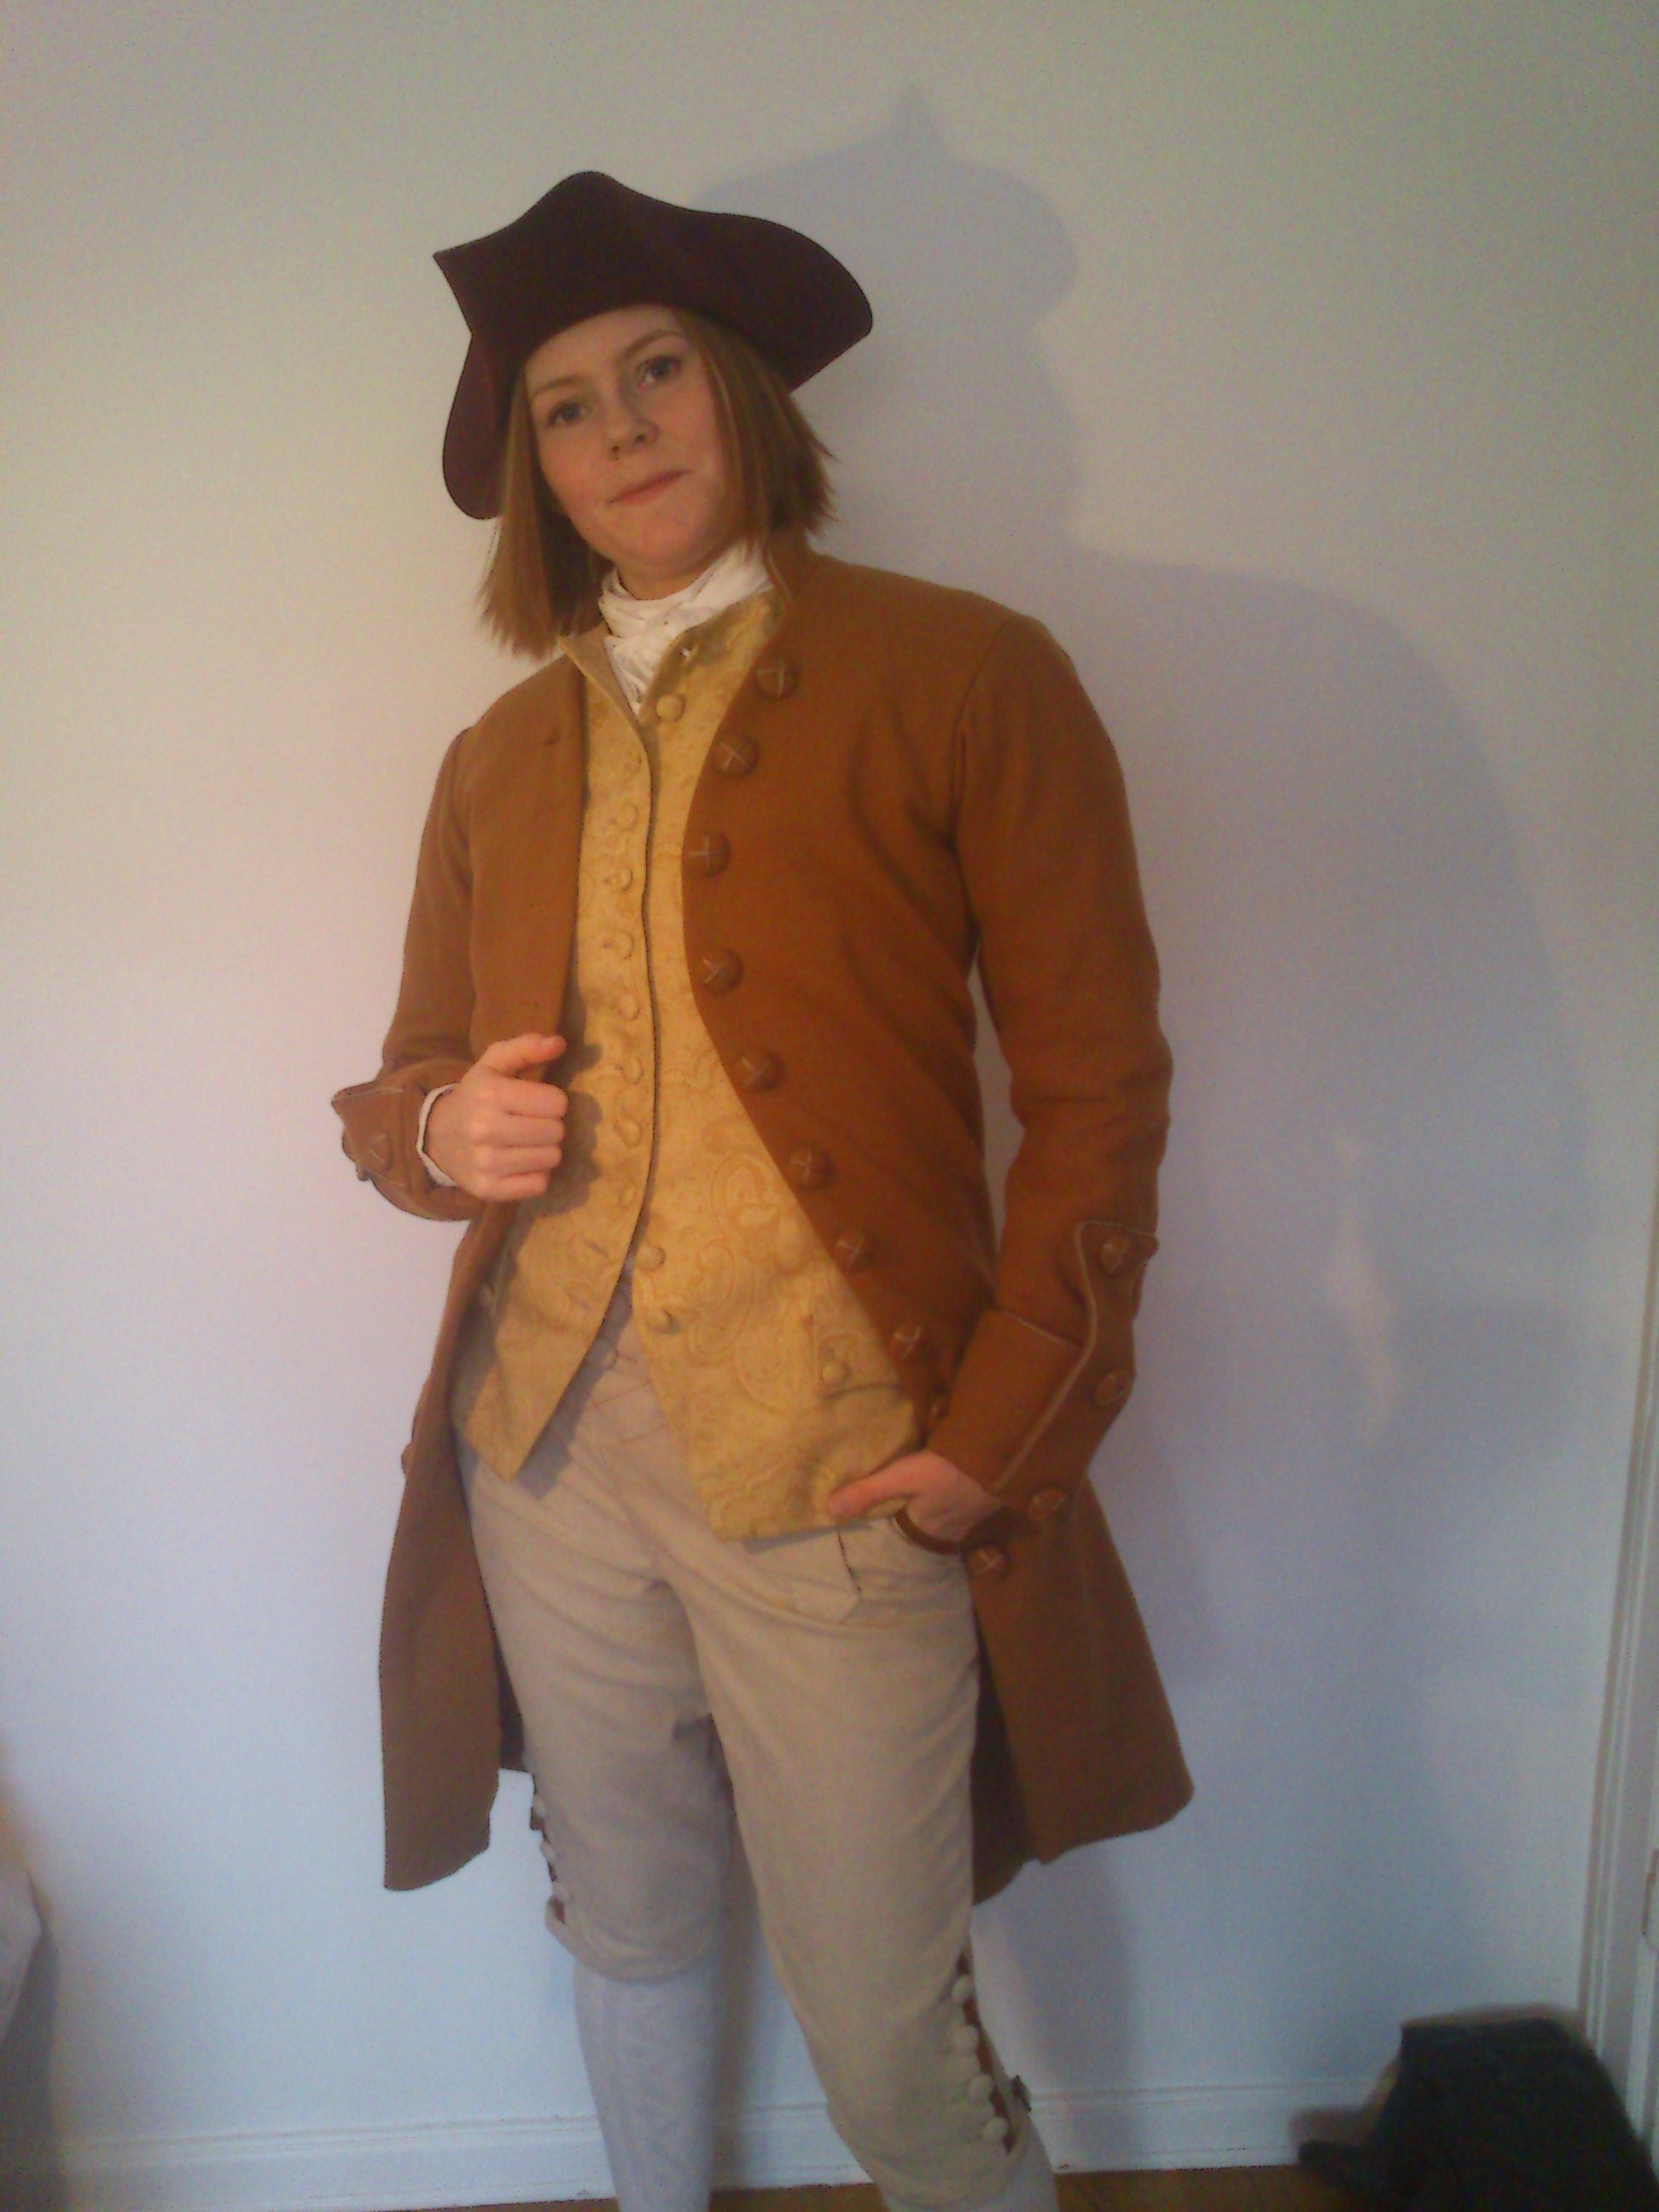
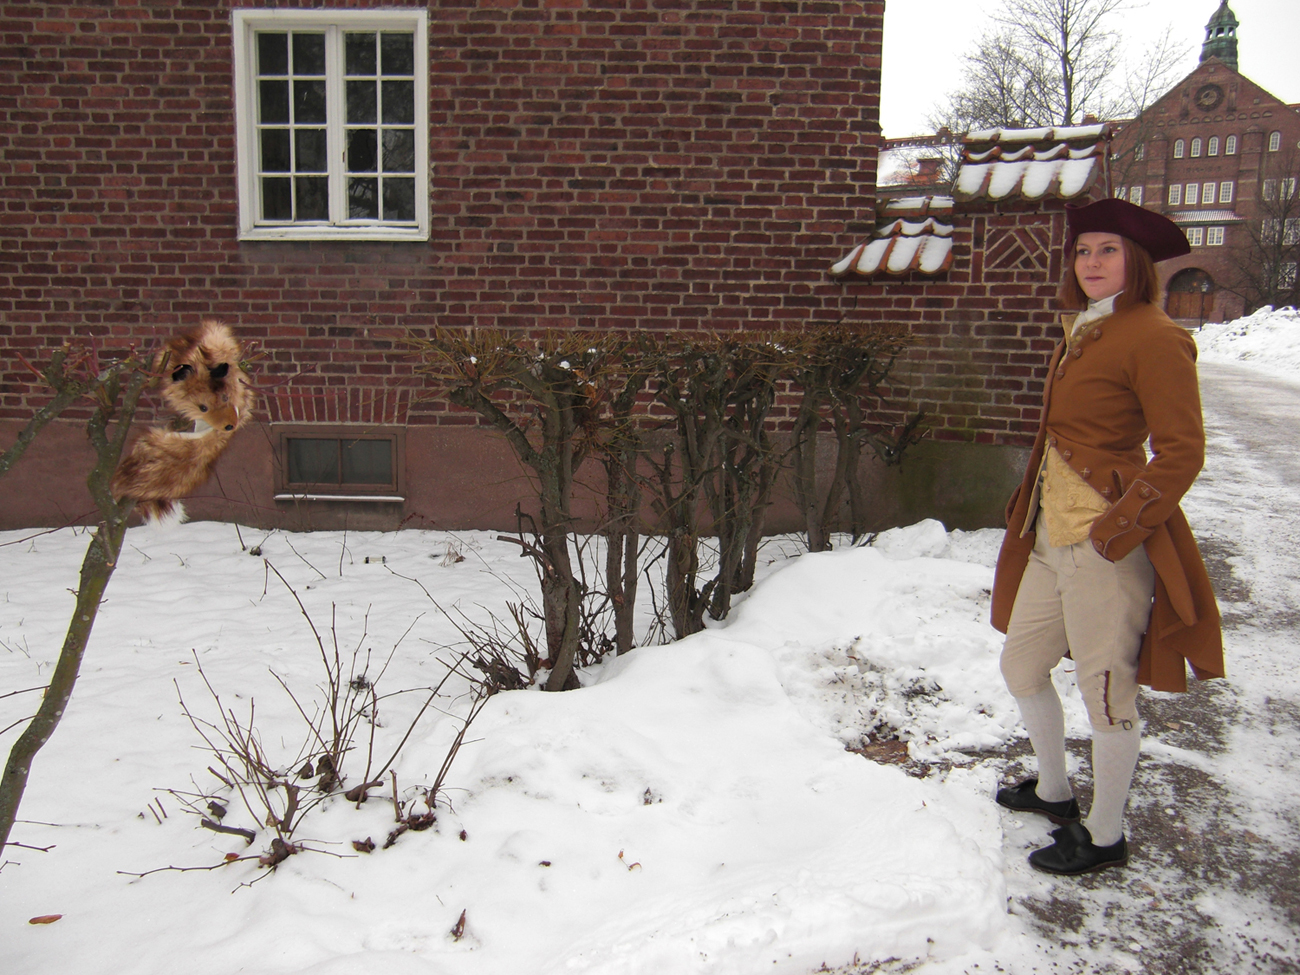
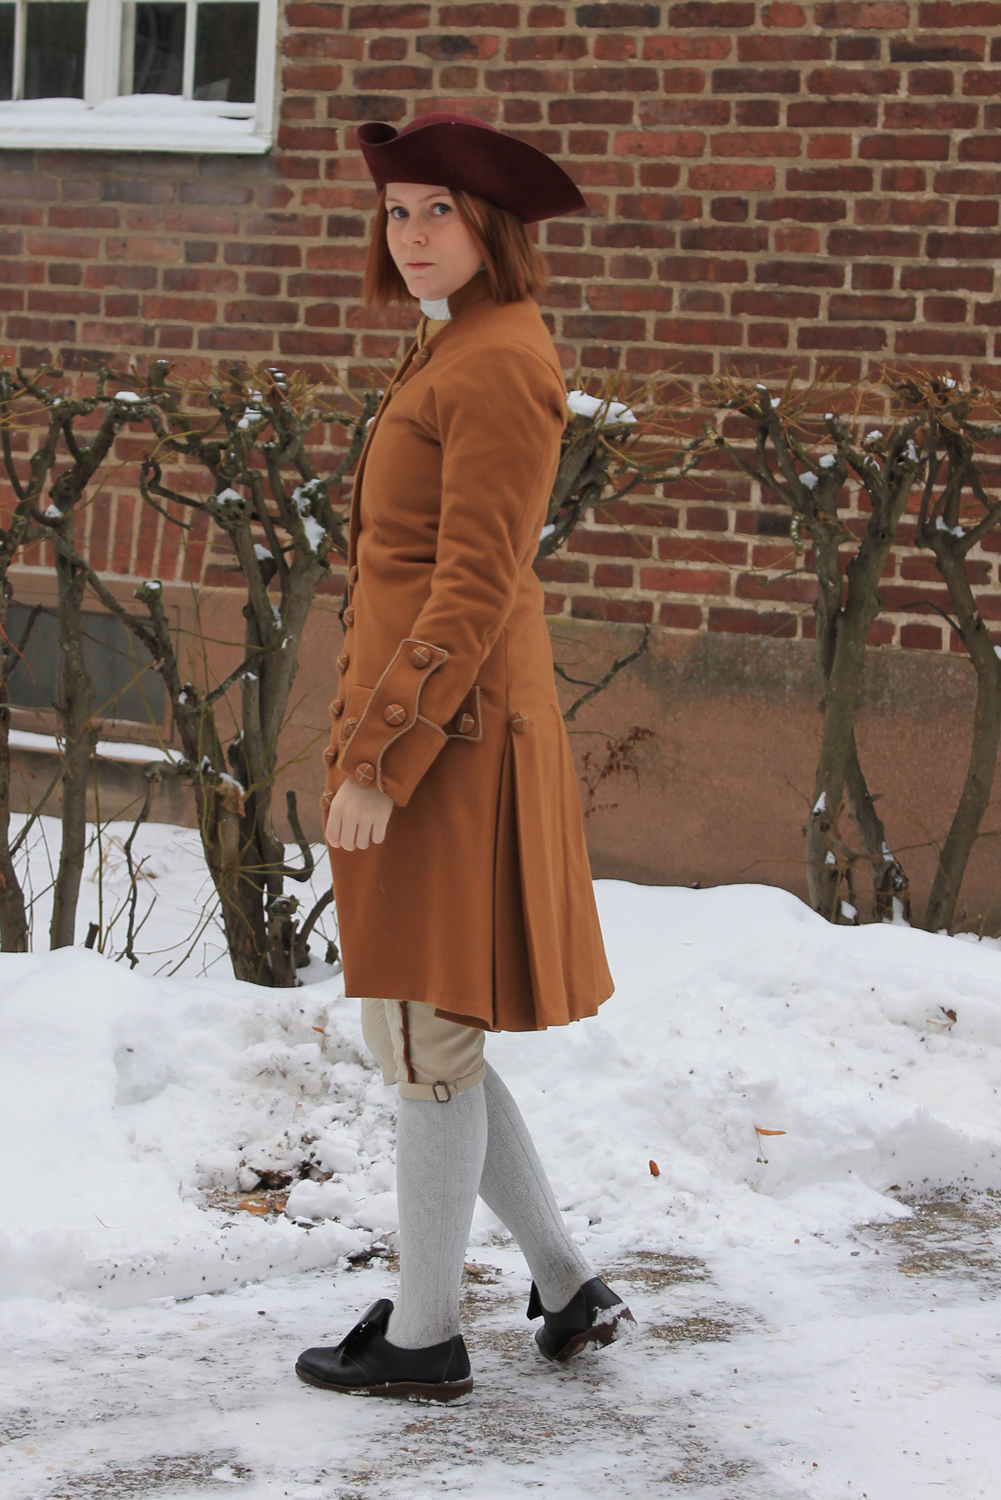
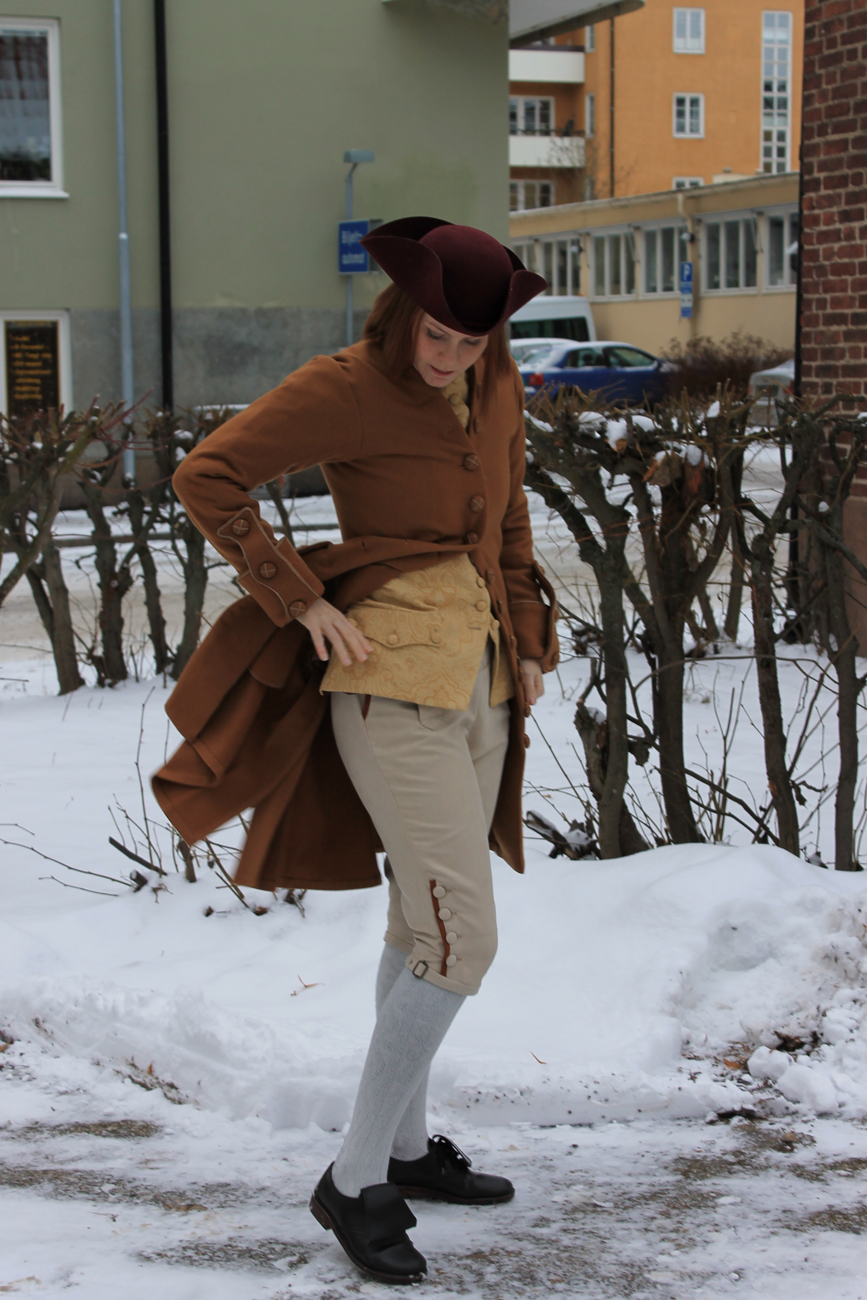
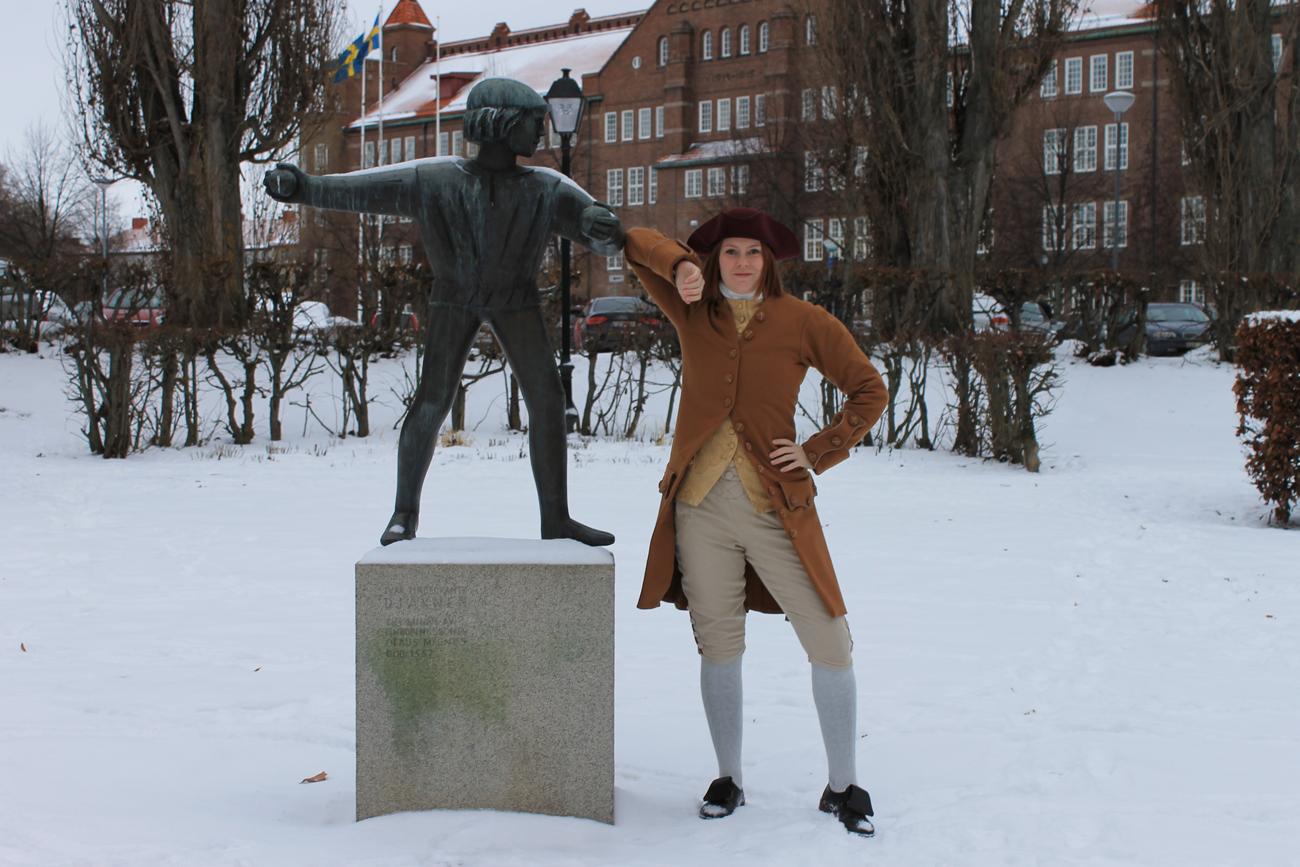
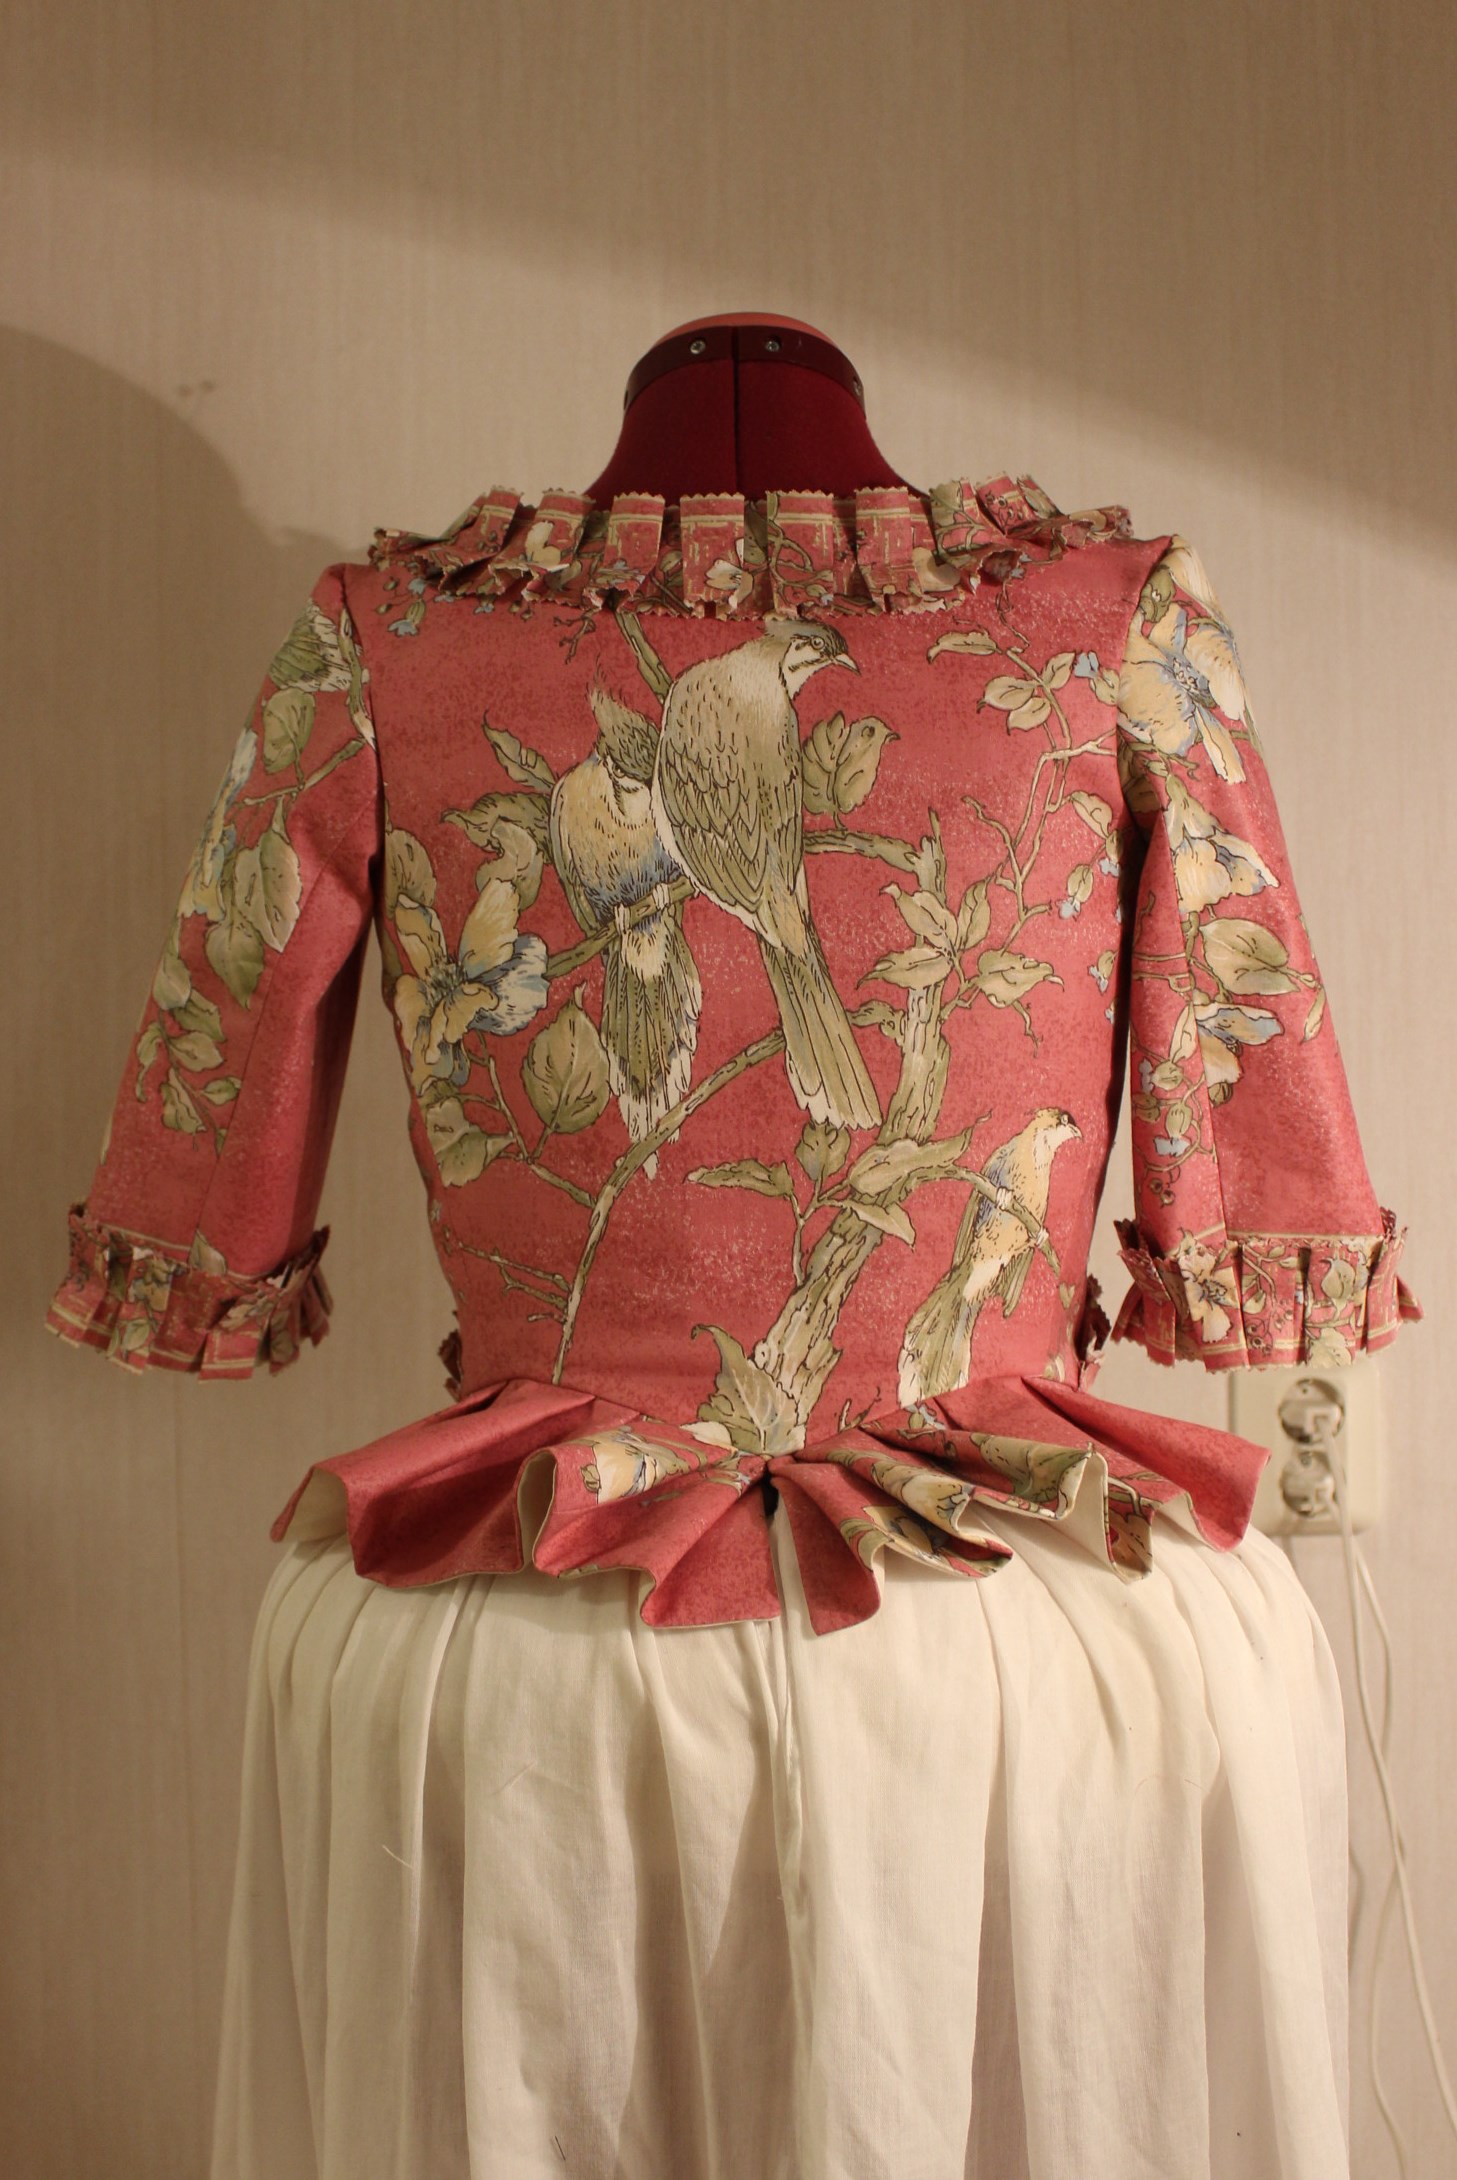
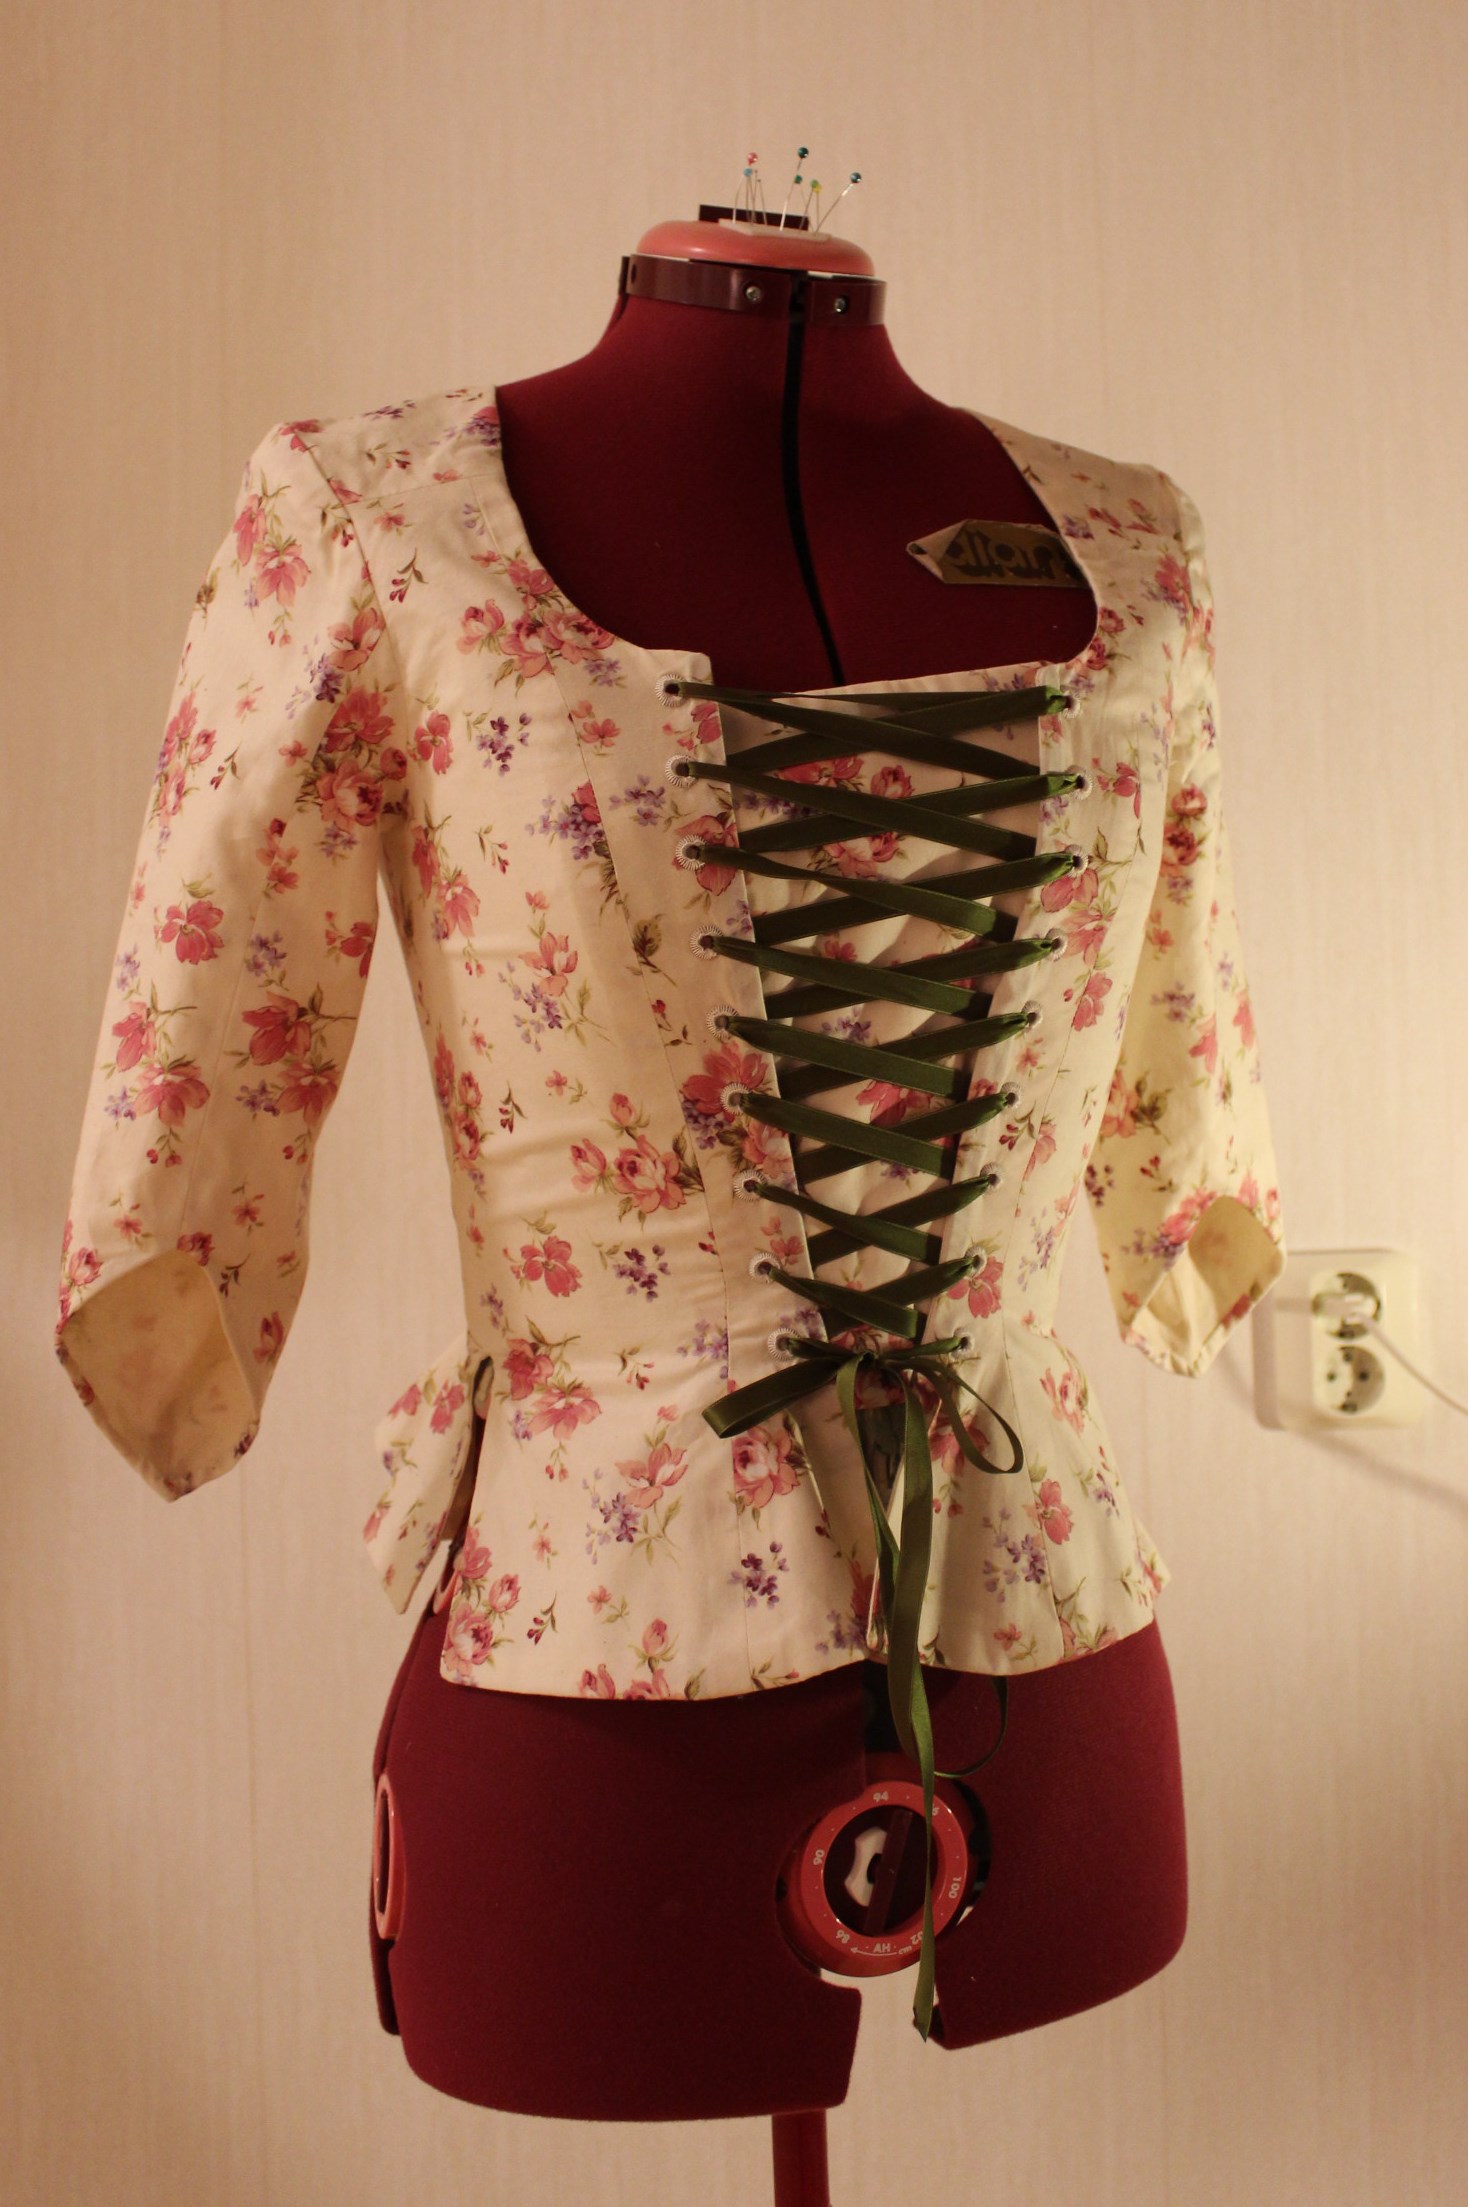
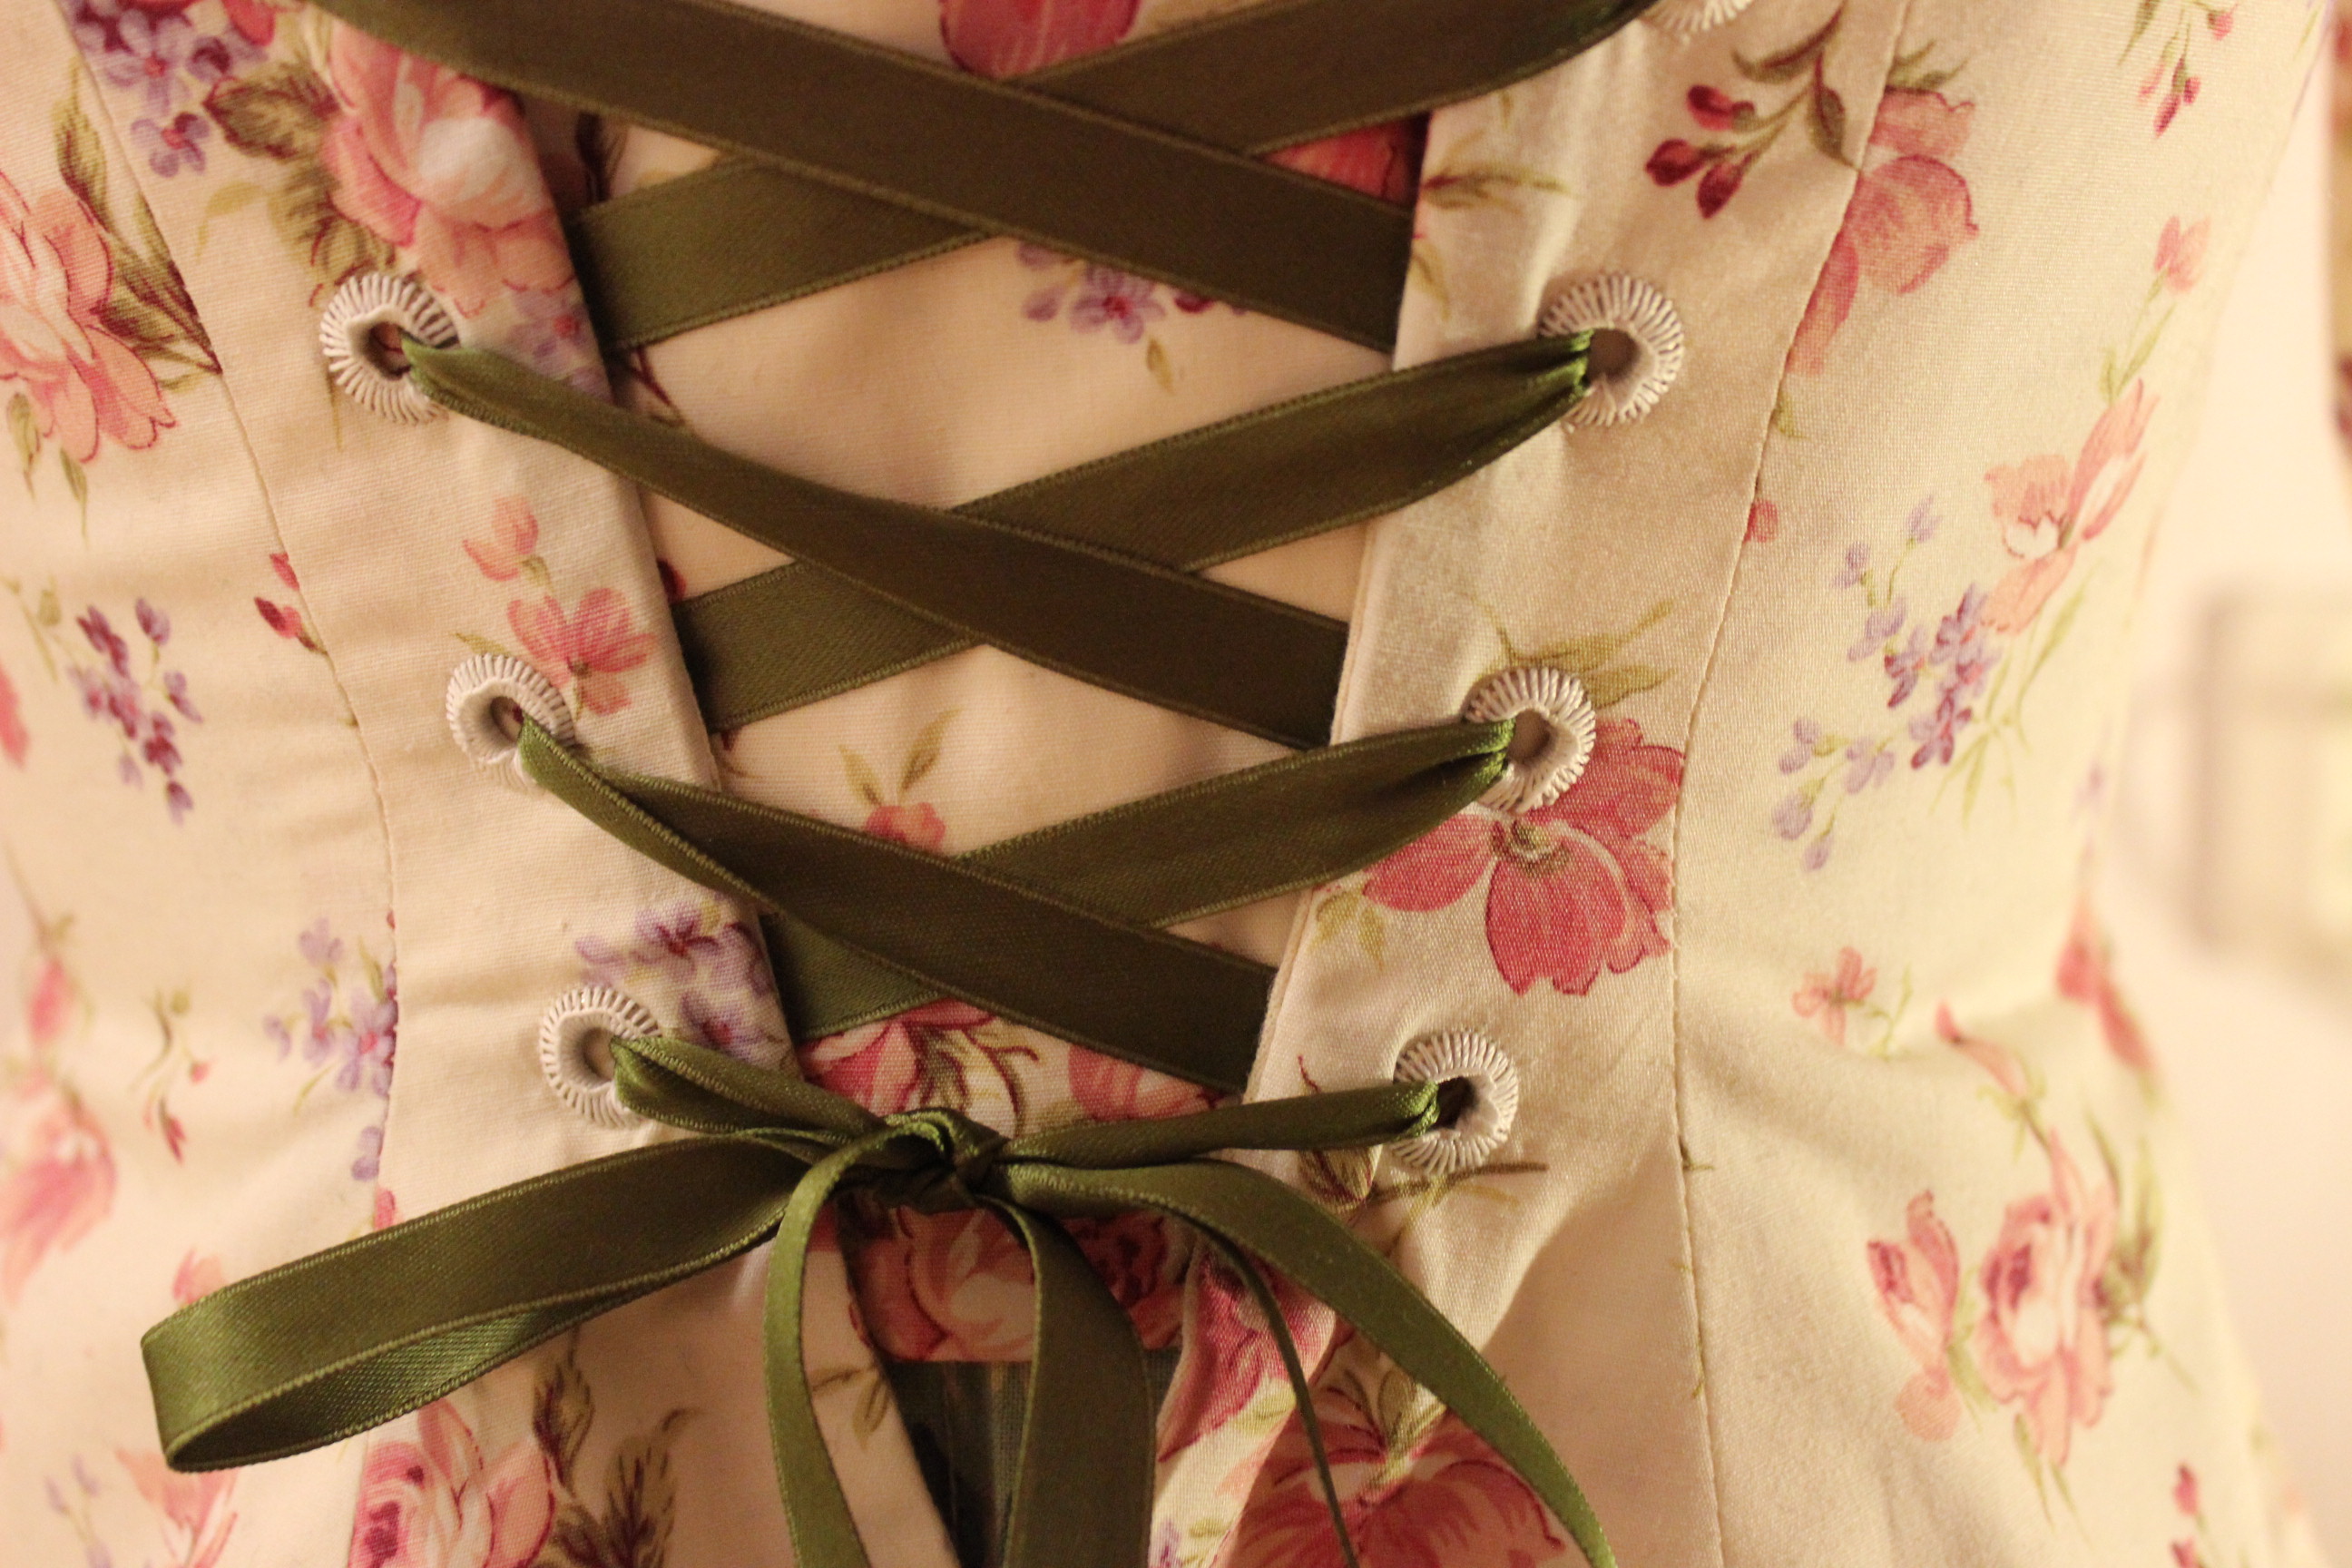
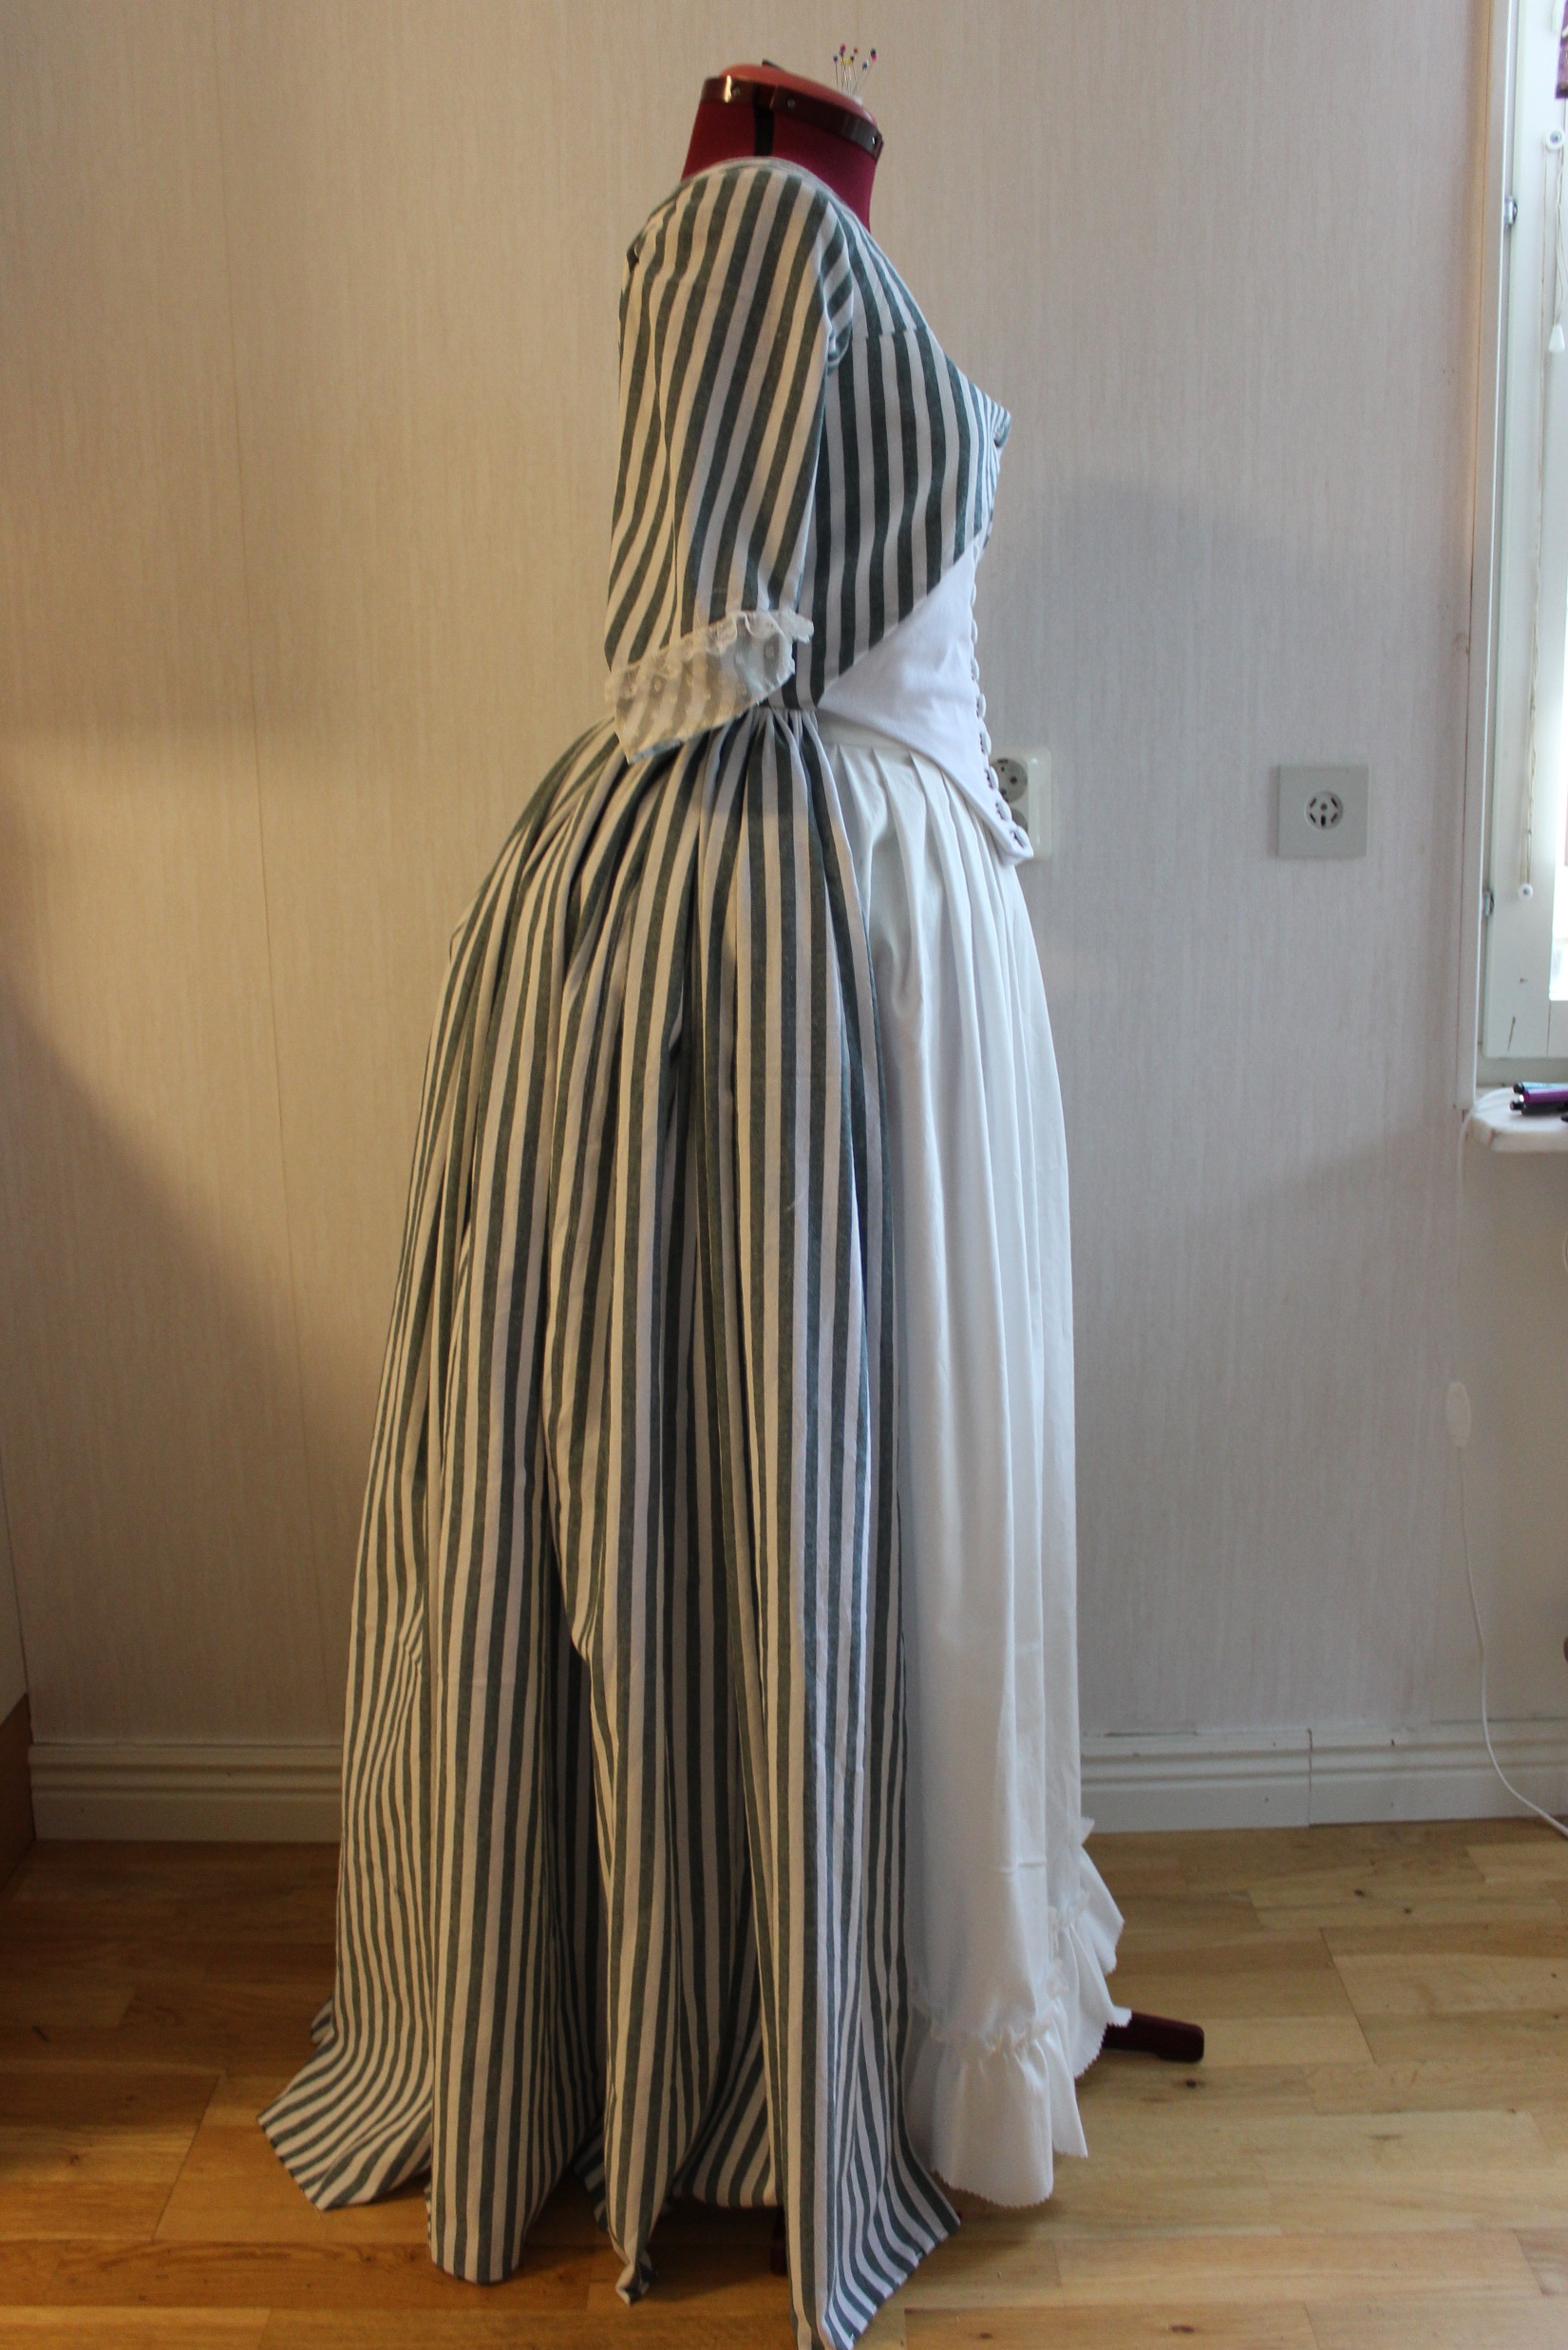
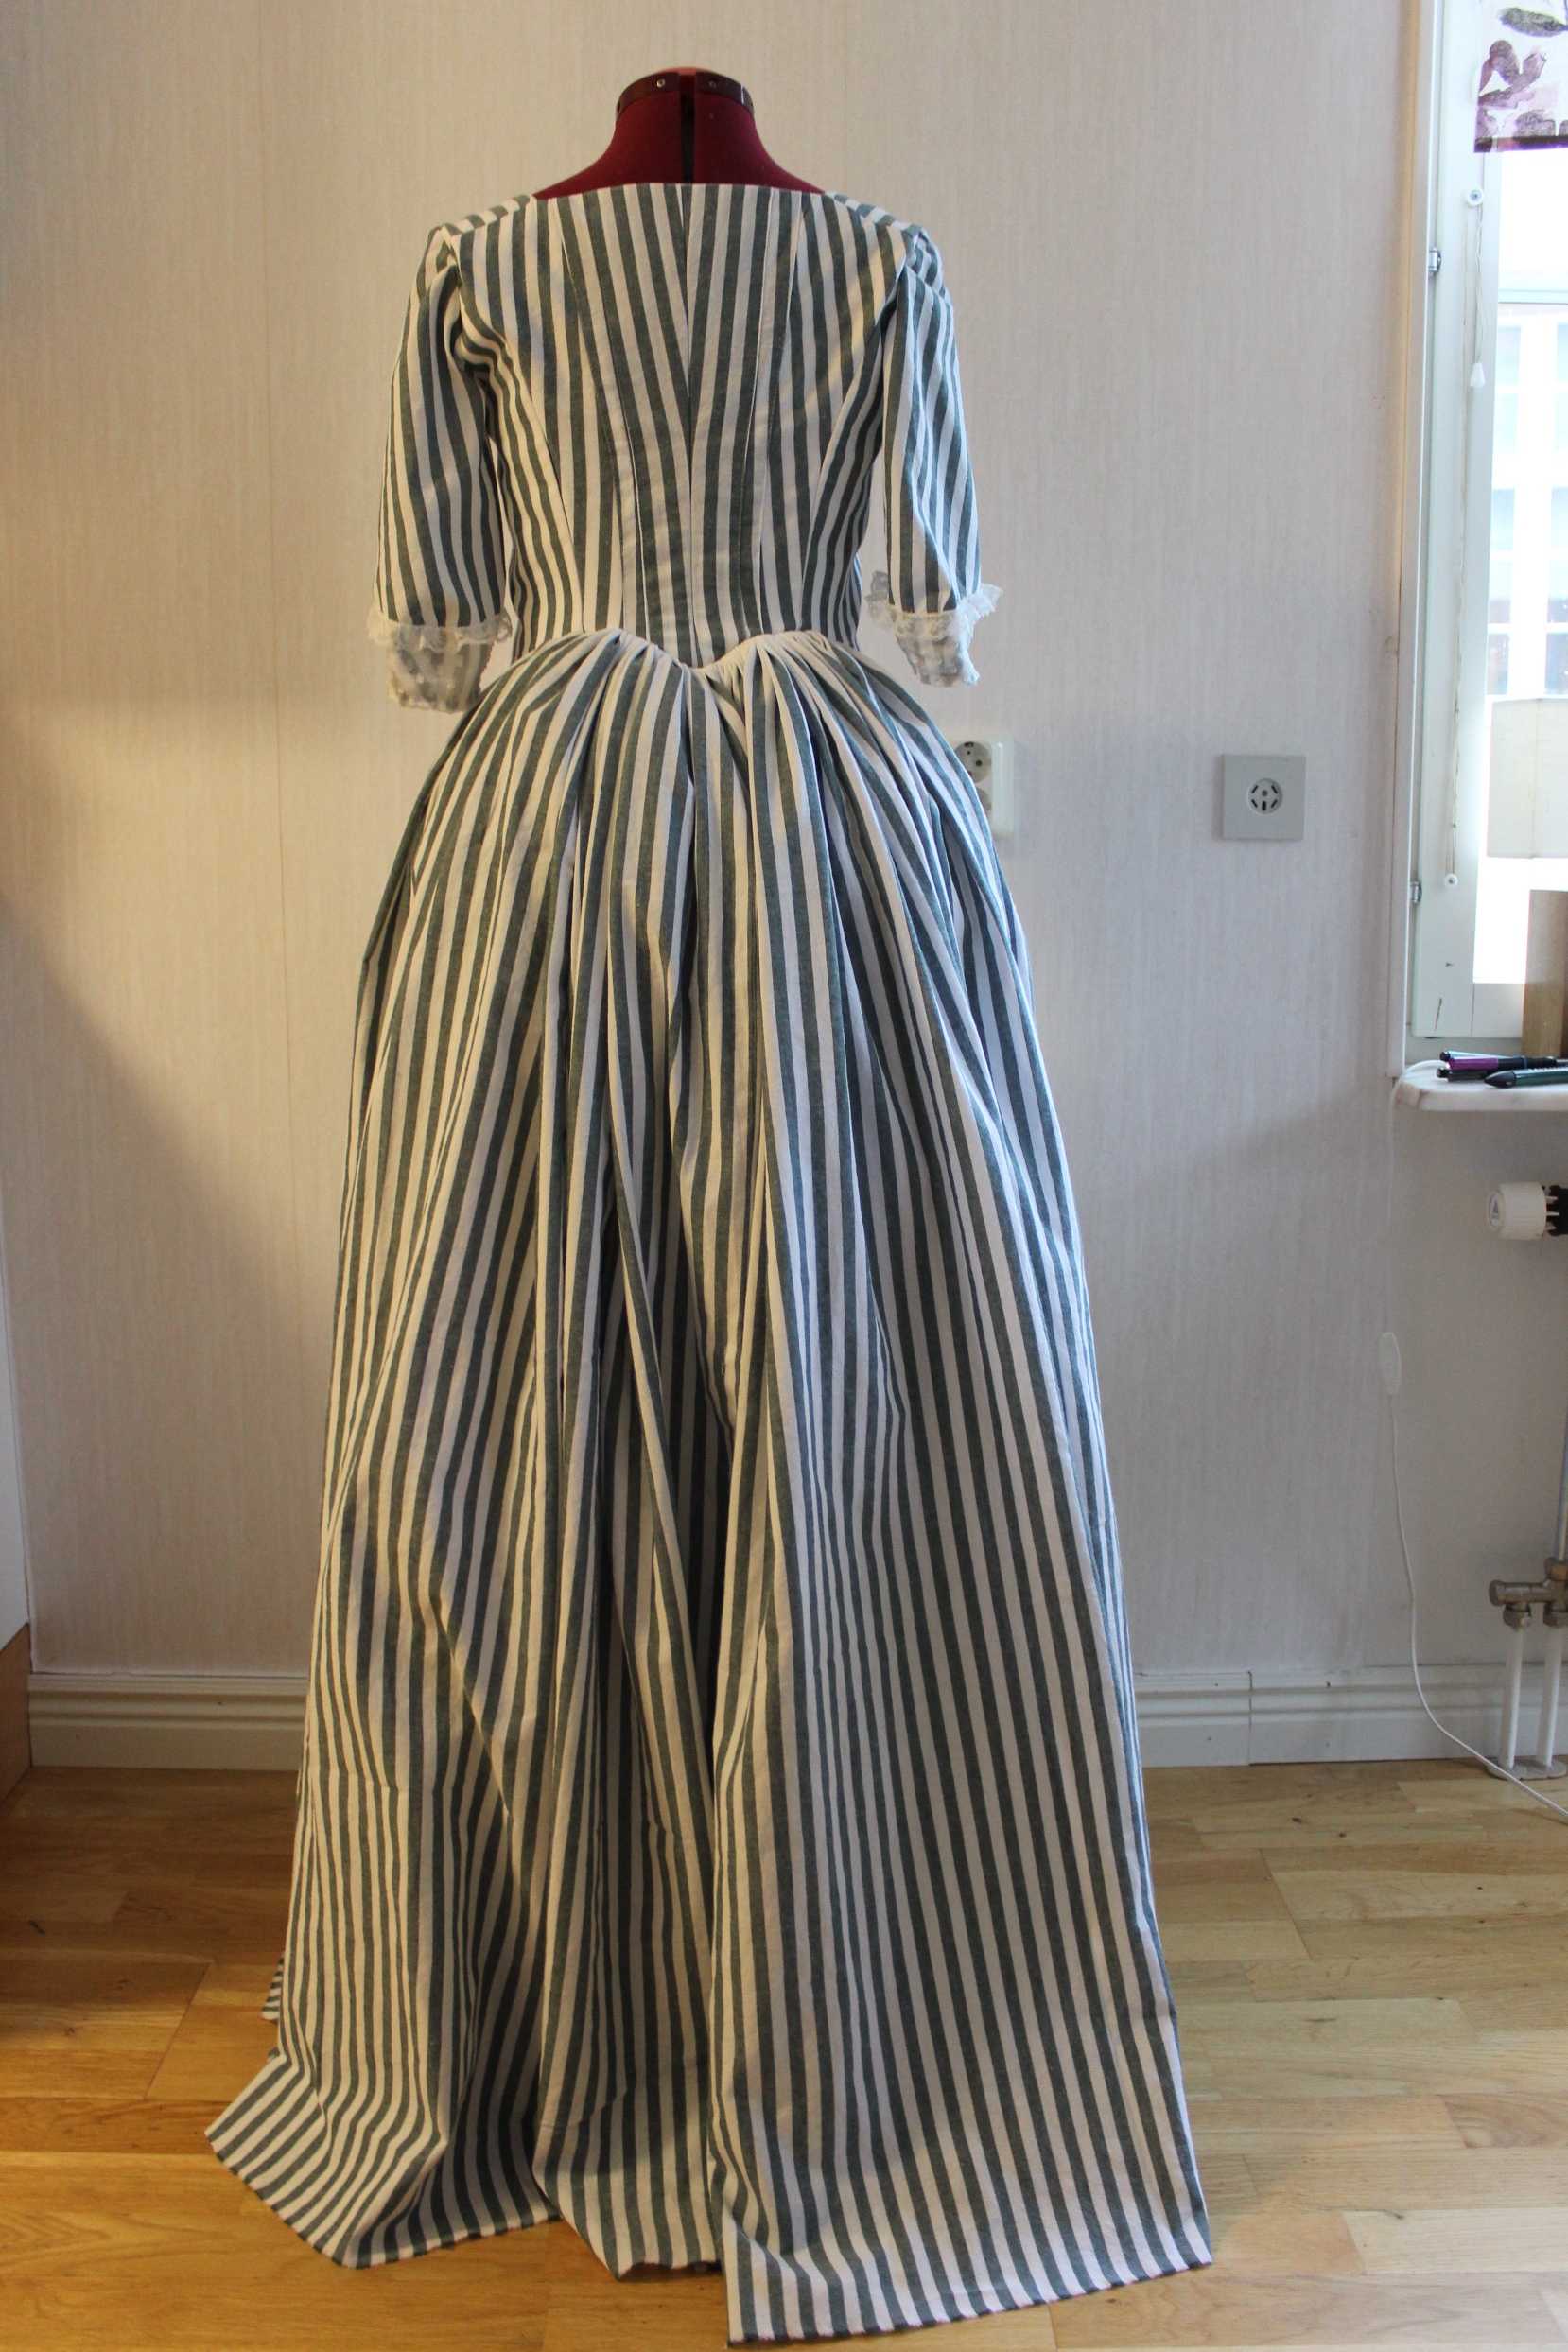
Finished dress:

IMG_8623

IMG_8644

IMG_8645

IMG_8625

IMG_8646

IMG_8621

IMG_8629

IMG_8628

IMG_8630

IMG_8633

IMG_8631

IMG_8632

IMG_8636

IMG_8640

IMG_8641

IMG_8637

IMG_8643

Just the Facts:

Challenge: nr 10 – Art

What: a 1780s robe Anglaise.

Inspiration: Rose Adélaïde Ducreux “self portarit with a harp”.

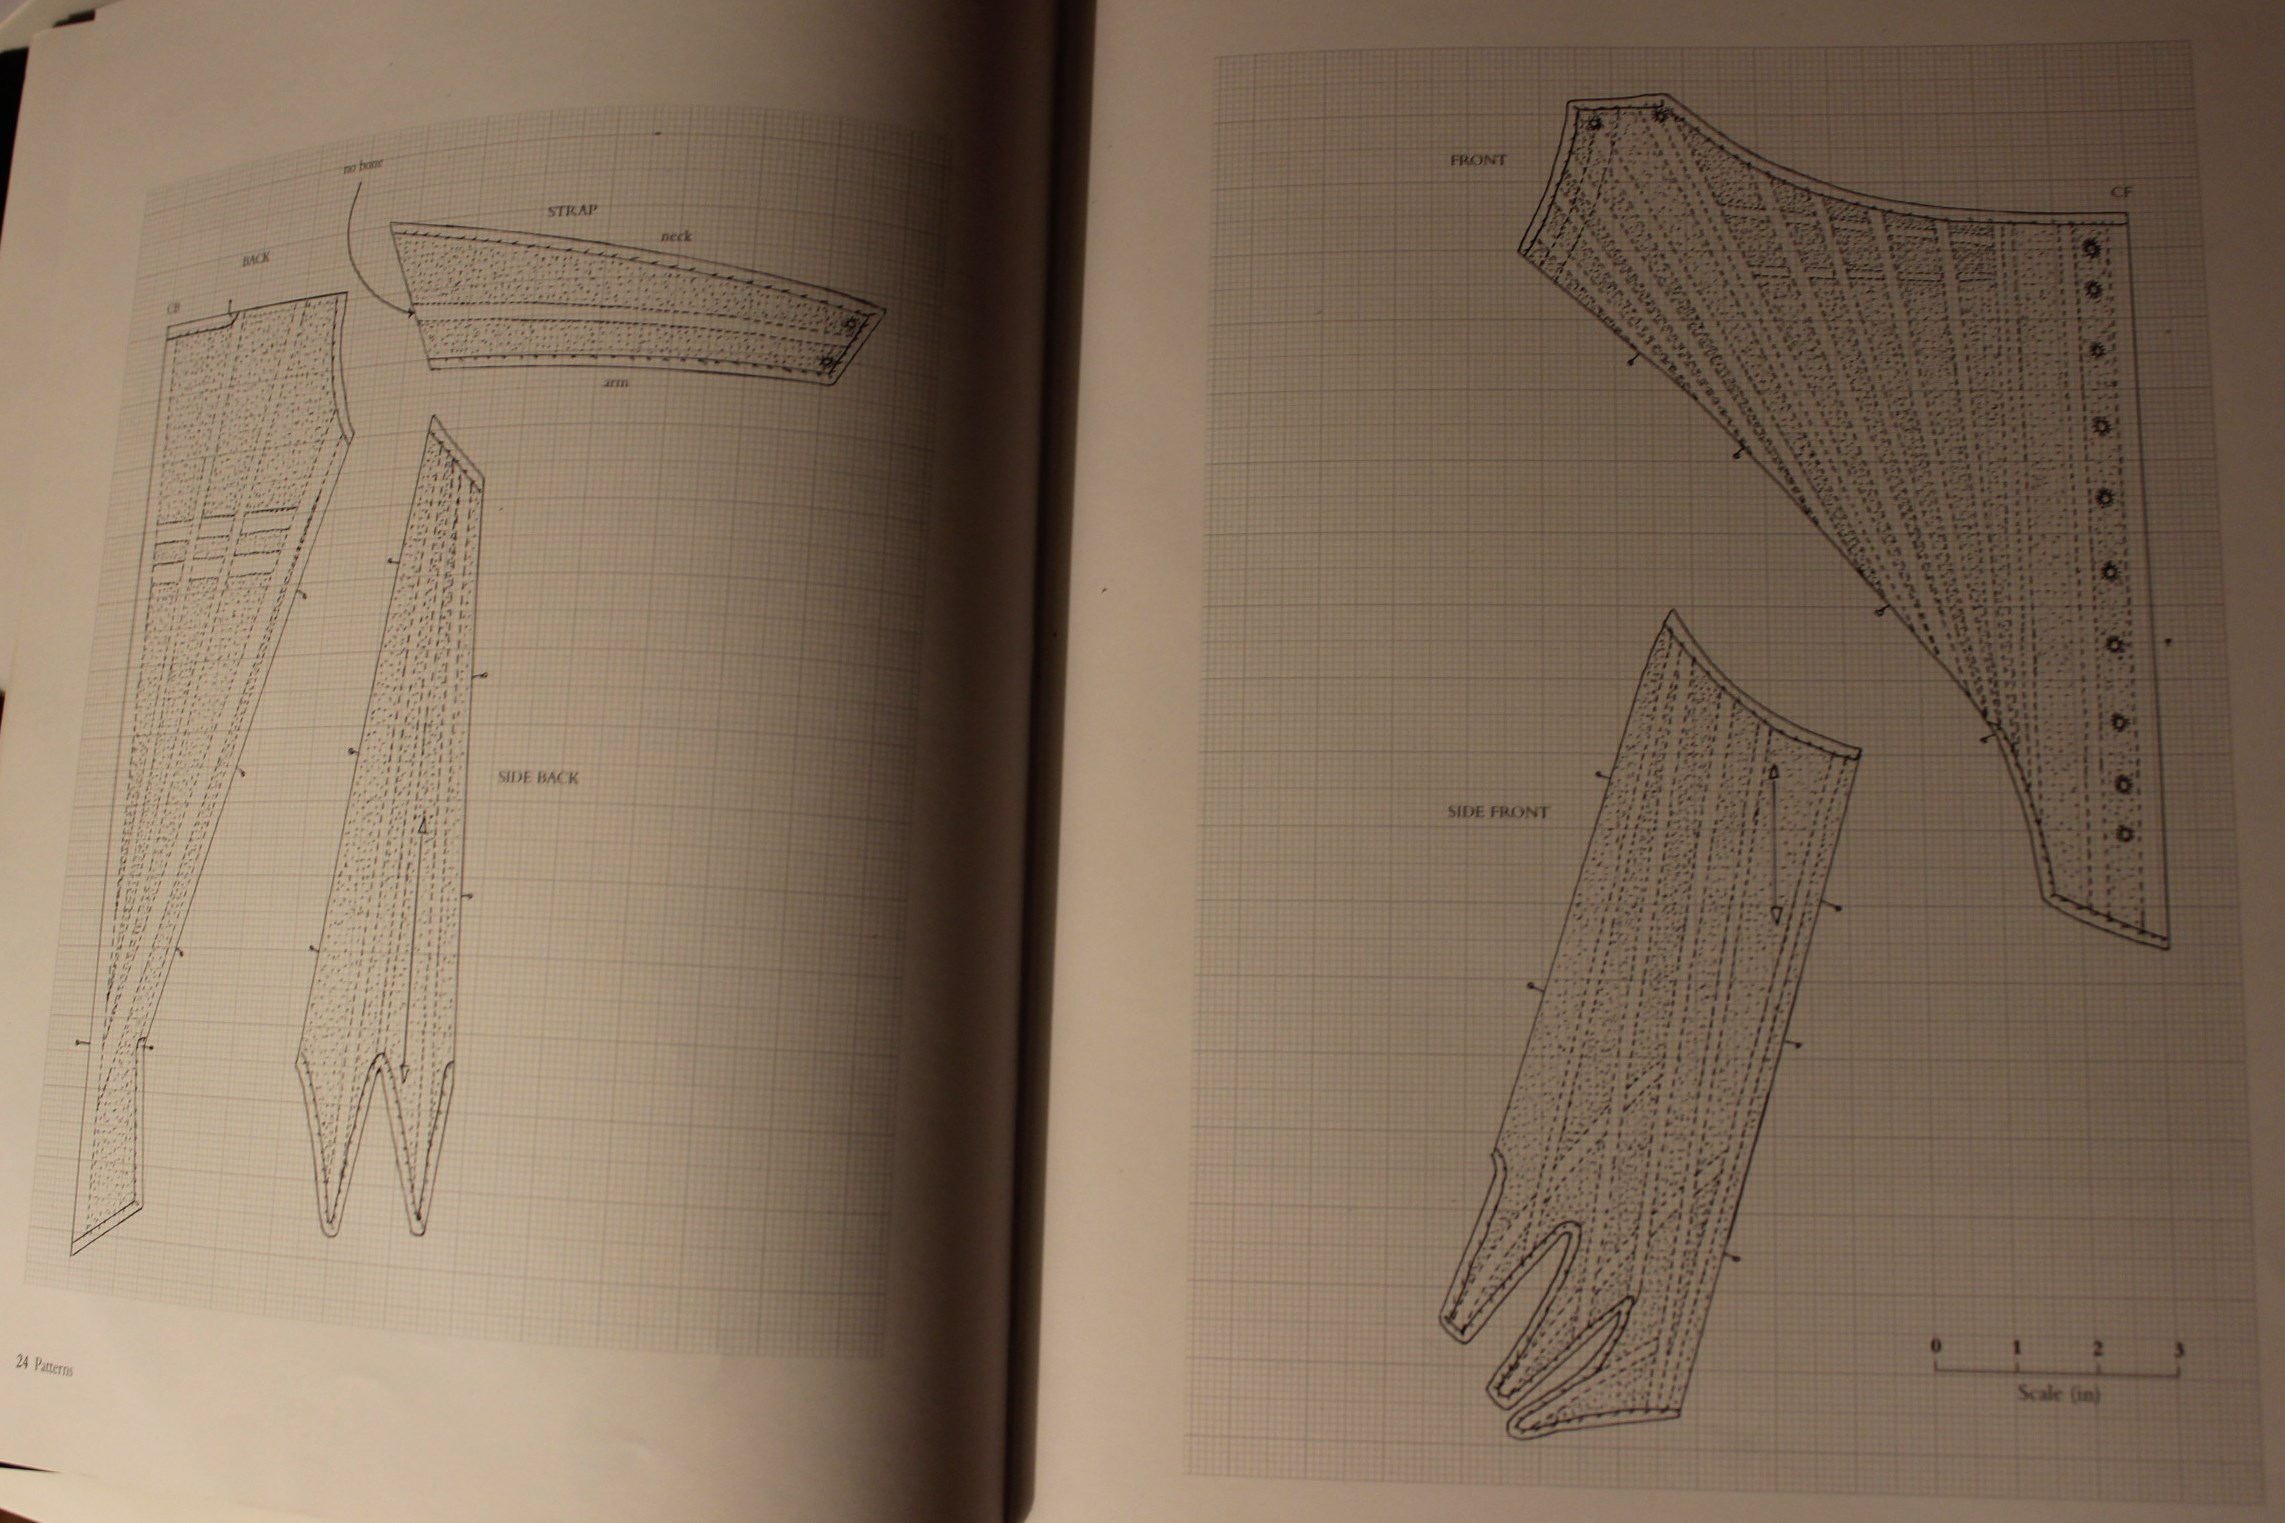
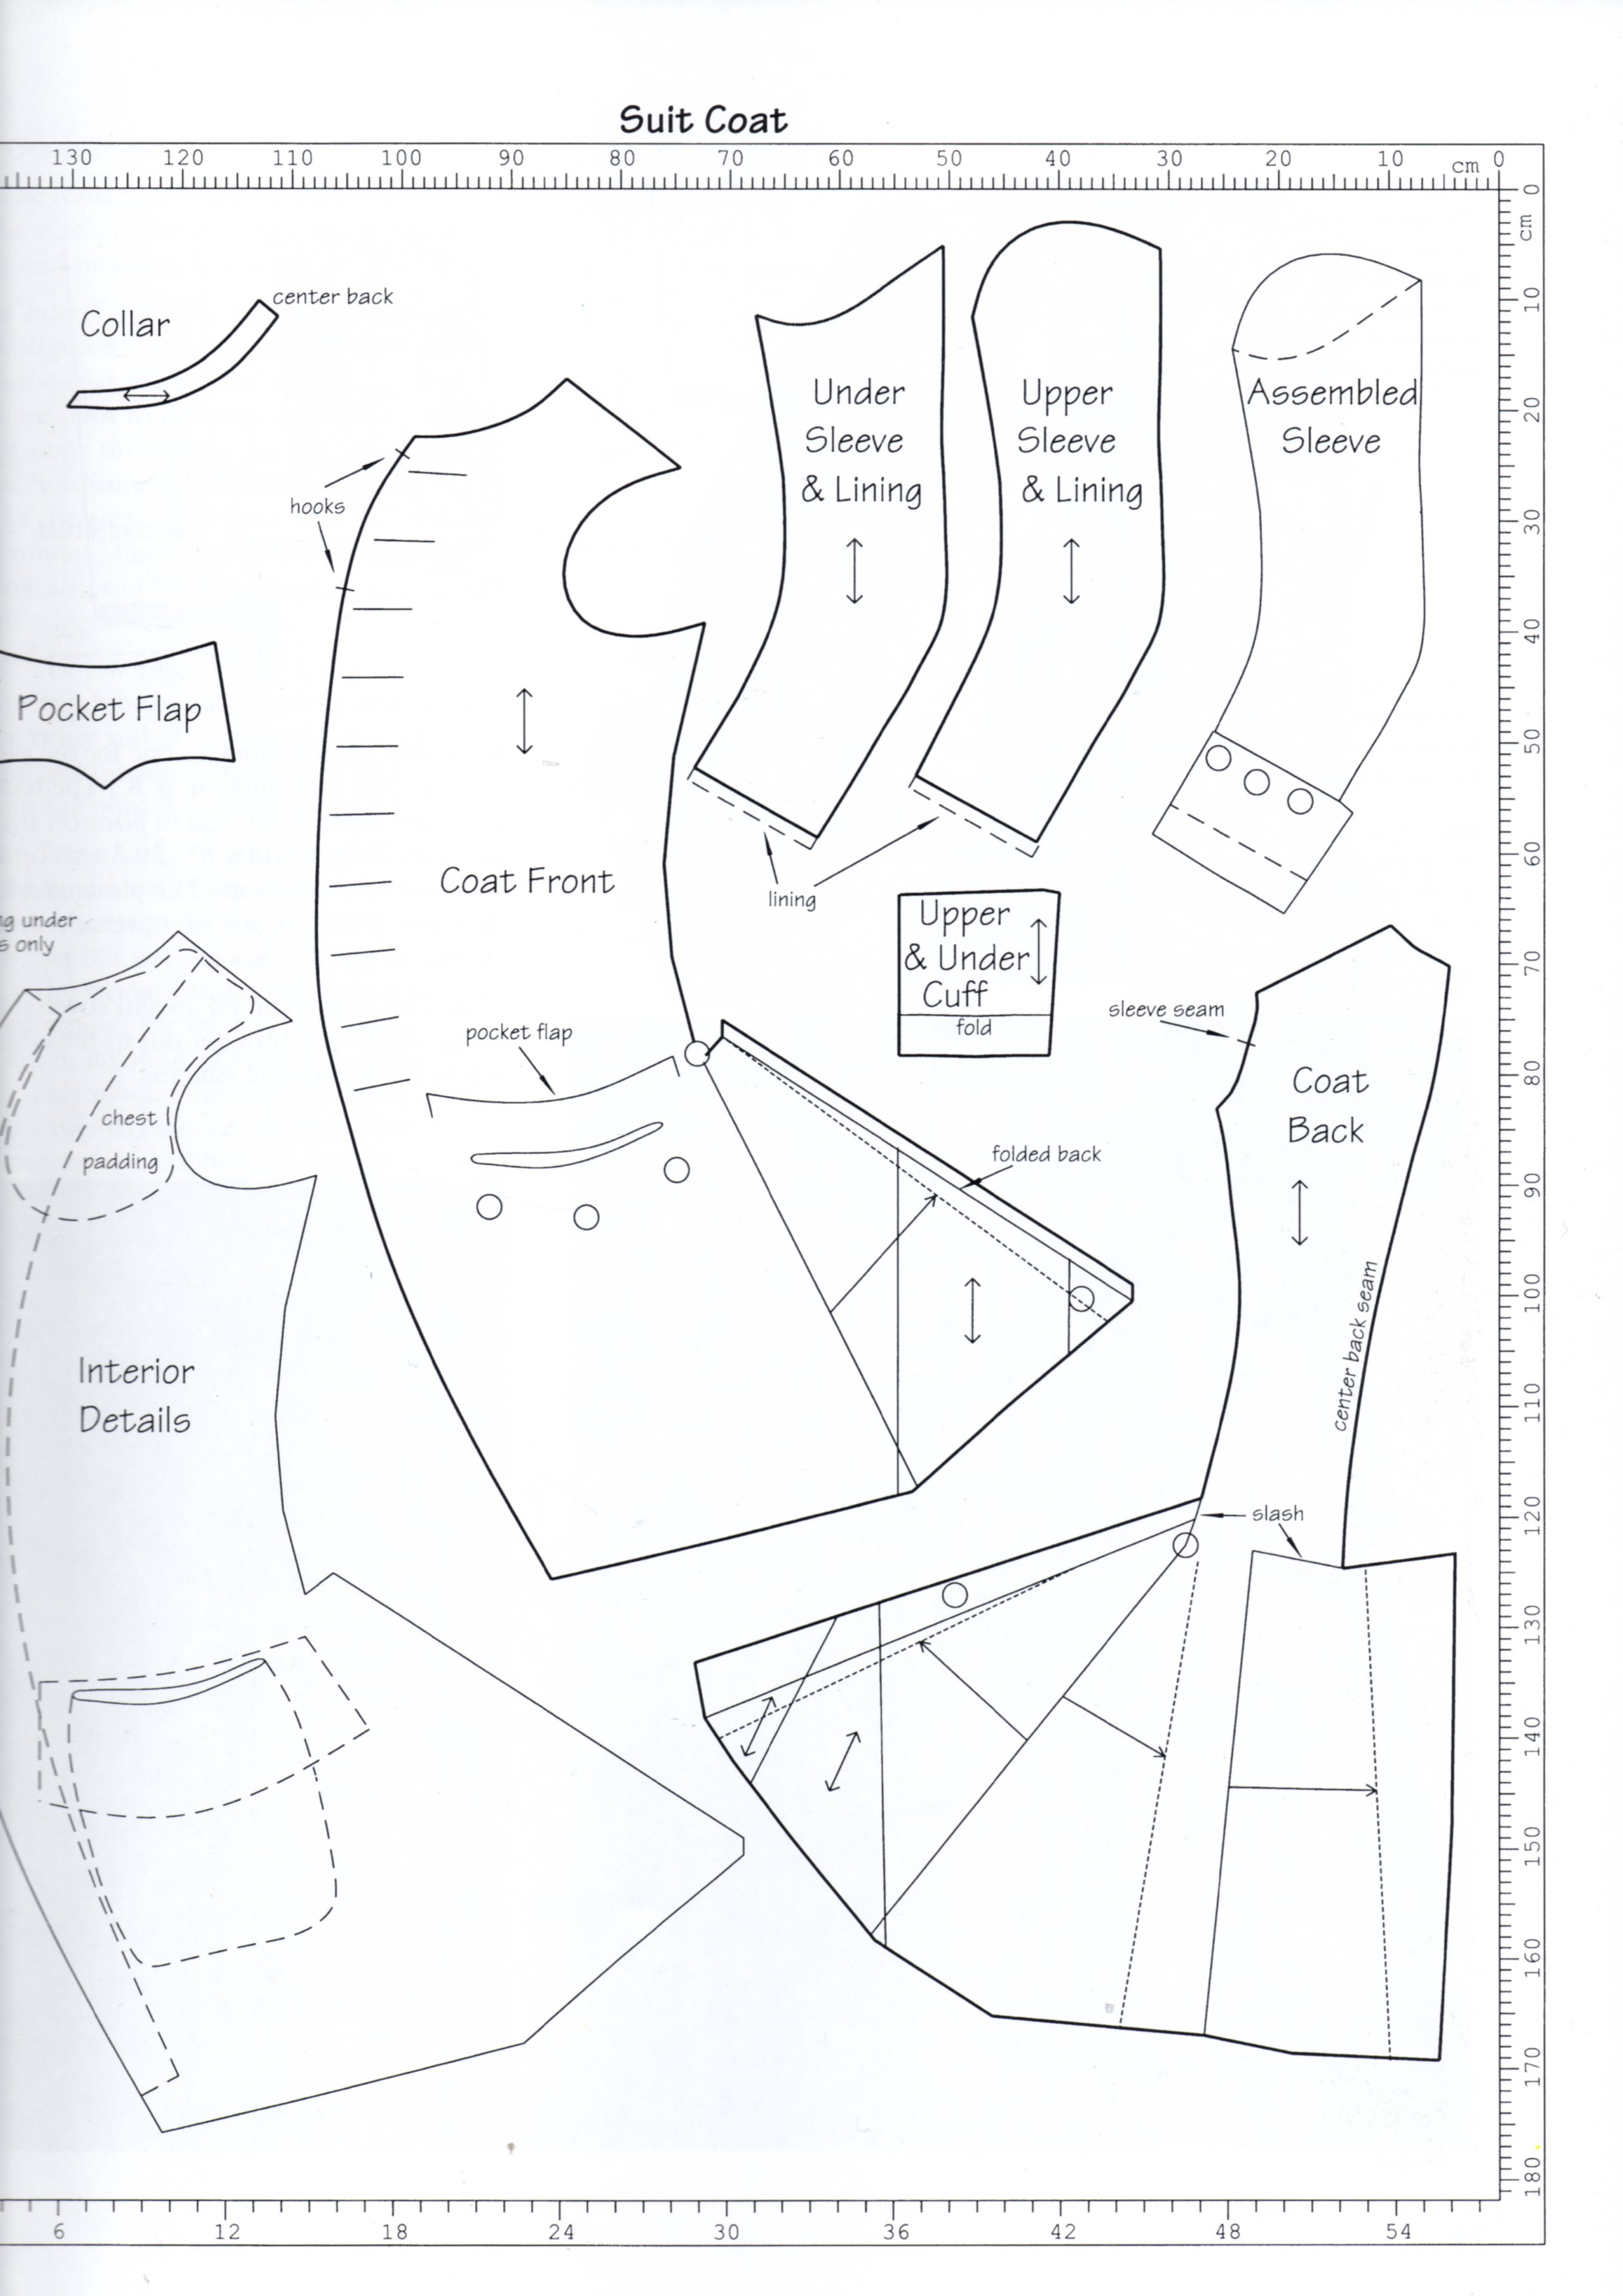
Pattern: I draped my own, using Arnolds “Pattern of Fashion” as a guide.

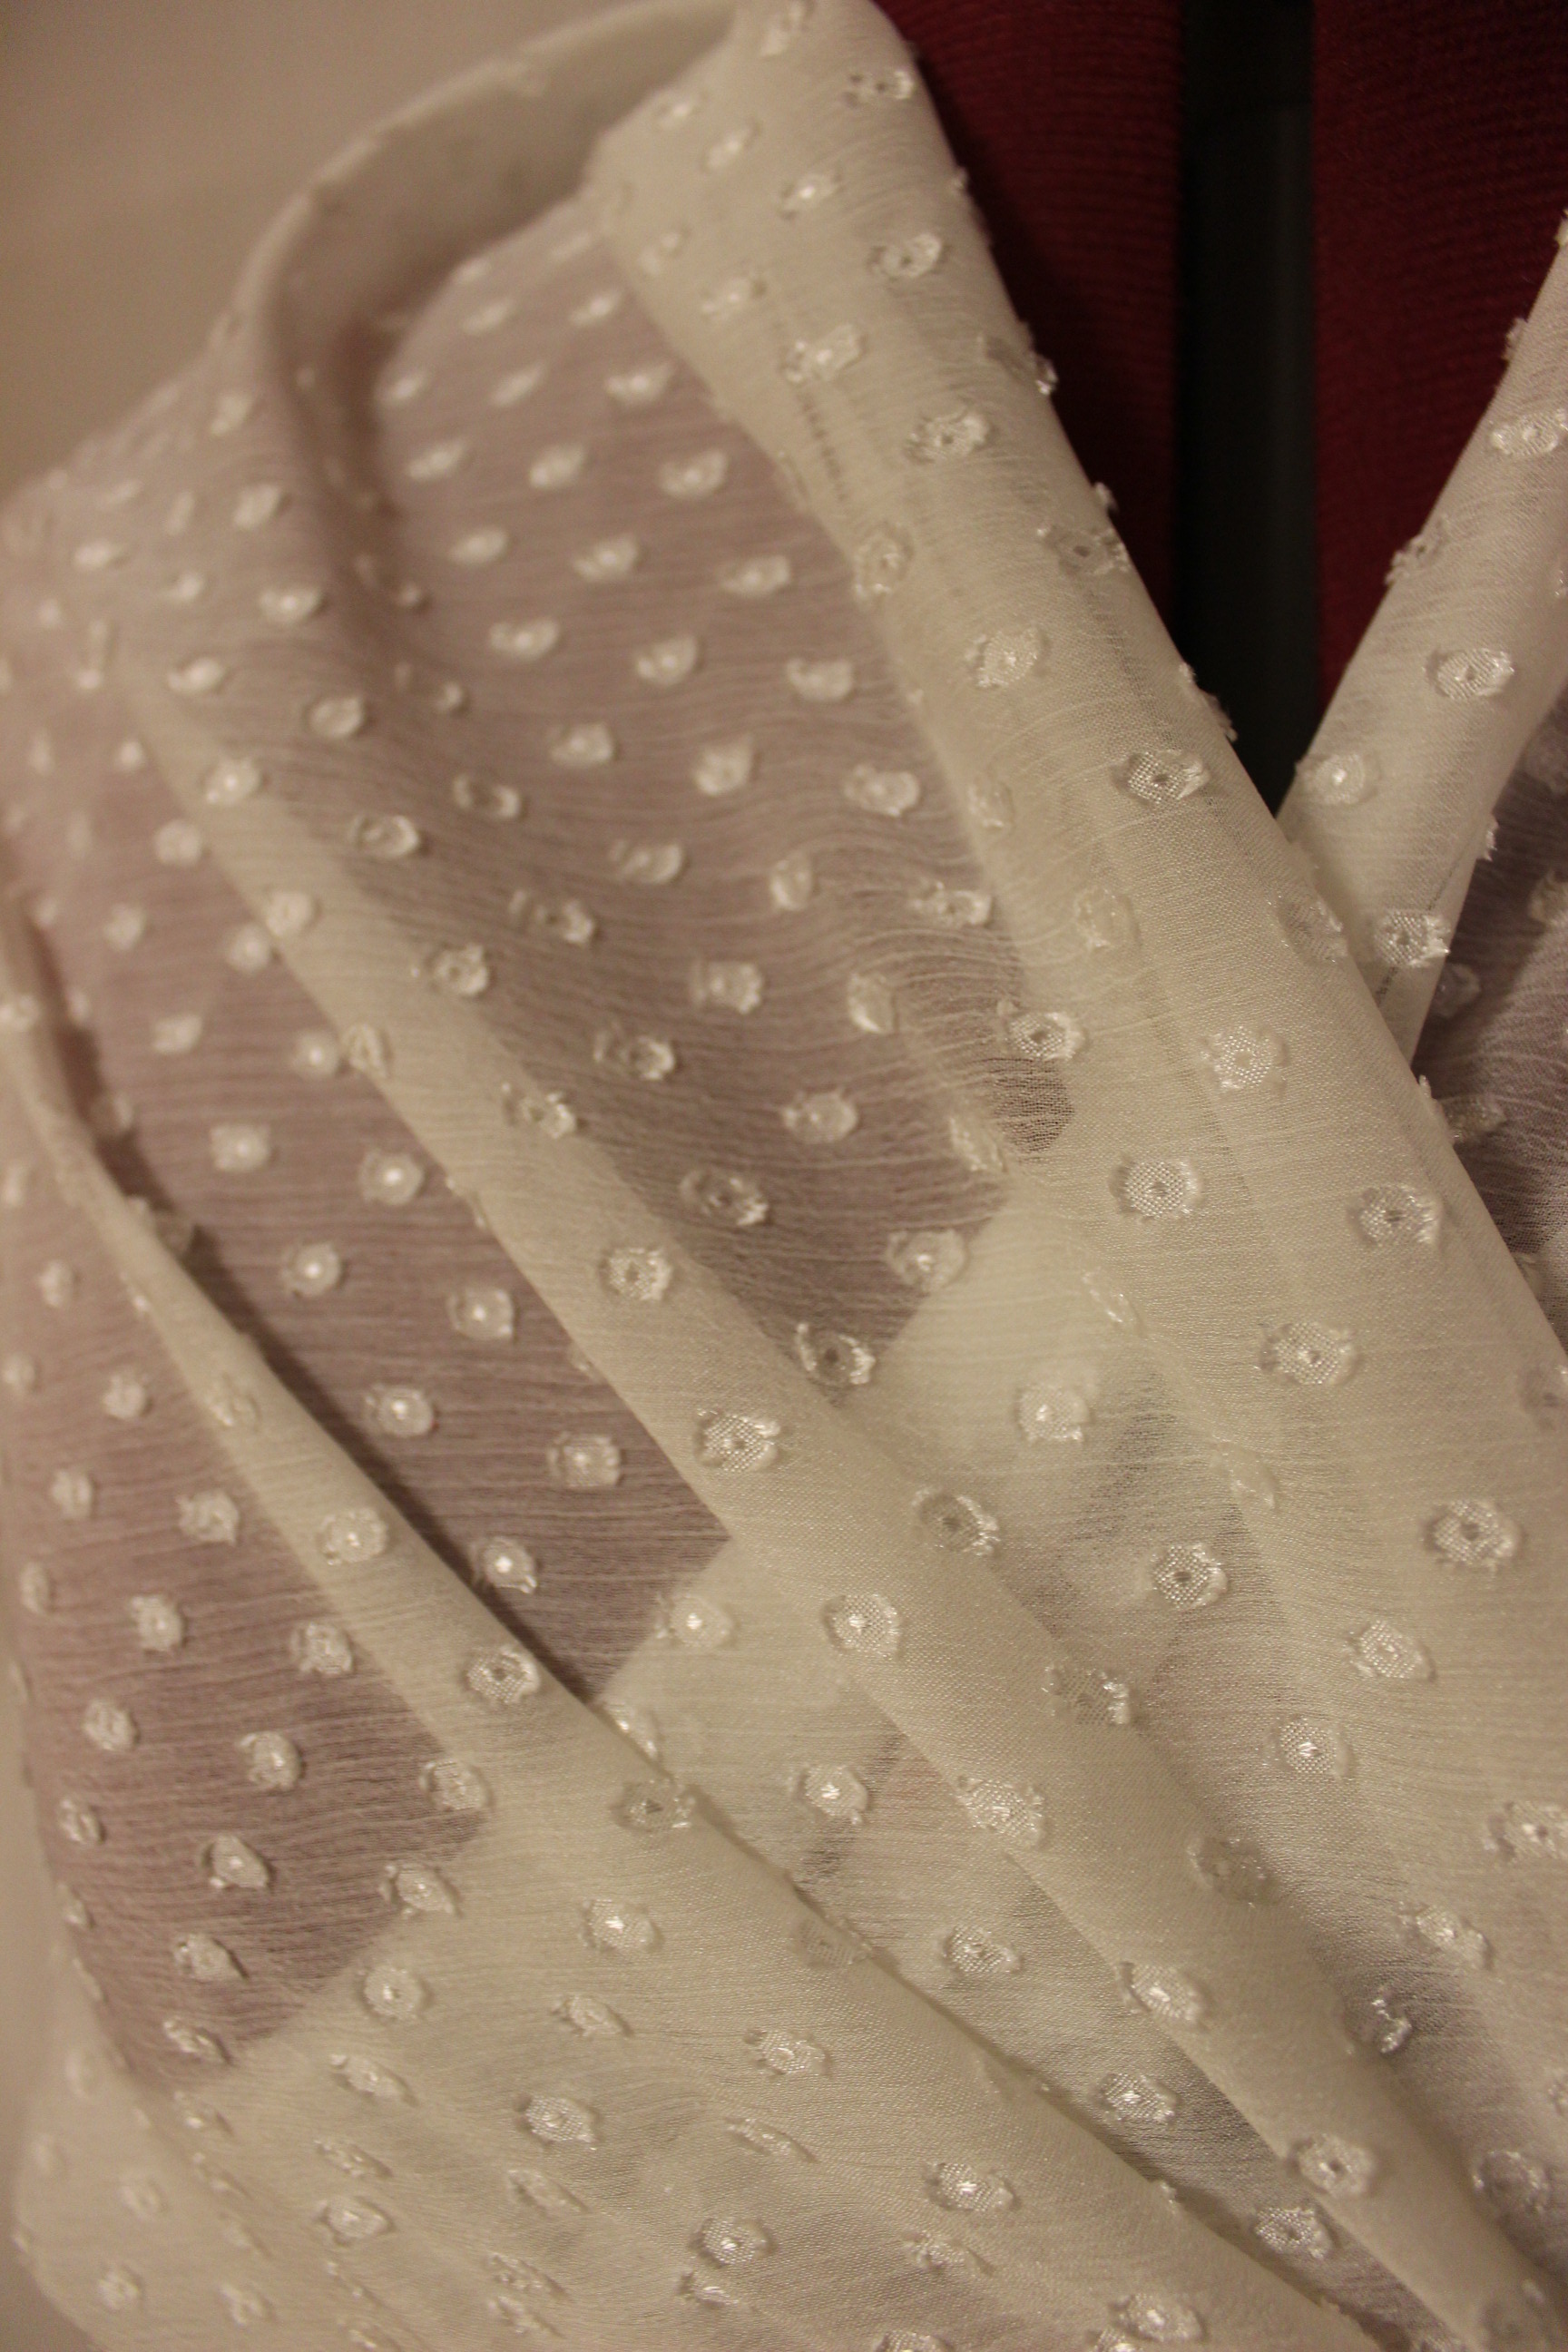
Fabric: 4 m of striped white/green cotton, 0,5 m of white linnen, 0,5 m of white twill for interlining, 0,5 m of white cotton sheet for lining and 0,3 m of white dotted organdy for sleeve cuffs.

Notions: Thread, 10 self covered buttons, 1 m plastic boning, 5 cm cottin string.

How historical accurate: The shape and look of the garment are ok, but it is compleatly machine made with modern tecniques. I dind’t had the time or the money for a compleatly hand made silk dress.

Time: On and of for two weeks – maybe 15-20 hours.

Cost: about 300 Sek (48Usd). All fabrics were stash and bought on sale.

First worn: Not yet, but will be (pared with the White entries) next weekend for the huge historical picknick i the capital.

Final thoughts: The dress are not an exact copie of the one in the portrait, but I do think it looks pretty good. I’m a bit anoyed about the stress wrinkels on the front bodice, but with the time constriant am glad I manadged to finish it of at all. Tomorrow I will give it a real try out and se if it passes the test.


Preview: The Artistic Anglaise

I know I know, I’m late.

I’m late posting, I’m late sewing, I’m late entering the HSF, basicly I’m late doing anything.

“Late” seems to be my middle name lateley, but I know at least the dress will be finished before friday – when I’m going to wear it, and thats the important thing.

In the mean time, I will give you a quick sneek a peak of the dress that refuses to get finished in time.

DSC_1442

And to let you all know in what mood I’m in this evening – I’ll give you a hint: Maybe I should have taken this advice to heart instead of just ignore everything about it. Grr.

White additions

For the HSF nr 9: Black & white, I decided to make some pieces I’ve needed to make my next big costuming project work.

Since my plan is to make a compleatly hand made Robe Anglaise as the next challenge (due 1 june) I needed to give myself a head start. So by making a simple piece for this one, I could save some time and make it possible to start the Anglaise earlier.

The theme of this challenge fit perfectly for some of the pieces I needed for the “Art” gown to be finished.

First: The skirt.

A 18th century petticoat/skirt made from regular white cotton (I needed it to be both quick and cheap).

I used a regular white cotton fabric that I found in my stash.

Since I made almost the exact skirt for the previous challenge, I won’t bore you with construction detals, but instead go straight to the Finished photos. (If you’re still want to know how I made it, take a look at my Pastell UFO skirt.

IMG_8056

IMG_8057

IMG_8060

IMG_8061

IMG_8062

IMG_8063

IMG_8066Just The Facts:

Challenge: nr 9: Black & white.

What: A 18th century skirt/petticoat.

Pattern: None, just measured and cut.

Fabric: 2,5 m of white cotton sheets.

Notions: Thread and 2 m cotton ribbon for tying at the waist.

How Historical Accurate: So so. The time constraint caused me to sew it by machine (and Ialso do think it is stupid to handsew pieces which are clearly in the wrong material). But the shape and construction are plausable.

Time: 4 hours

Cost: 60 sek (9Usd)

First worn: Not yet. But hopefully at june 6 for a huge costuming event.

Final thoughts: I had some trouble deciding on the bottom flounce.The original calles for fringes, but there was no way I was going to get hold on some cheap and sutable ones in time. I did try to make my own, but they lacked the weight neccesary to hang nicely. In the end I opted for a narrow flounce, and I’m pretty happy with the result.

 ***

The second thing I needed was a bigger bumpad.

I’ve made a temporary one about a month ago, to wear with my Edwardian dress. However, I didn’t had the time to finish it, so last night I picked it up again.

IMG_8054Pink and purple cotton basted to several layers of quilt padding.

IMG_8055It was originaly ment to be a quilted petticoat, but as you can see, I didn’t get very far.

I covered the pad in white cotton, leftover from a previous project. Making self fabric bias-tape to trim the edges and make tying ribbons.

IMG_8079It was such a quick and easy project.

Finished:IMG_8071

IMG_8074

IMG_8075

IMG_8072

Just the facts:

Challenge: 9 – Black and white

What: A bumpad – 18th century to early 20th century.

Pattern: None

Fabric: 0,5 m of white cotton (originaly 0,5 m of quilting padding and some leftover fabric scraps).

Notions: Thread.

How historical accurate: Not at all. Maybe the shape will pass, but the construction, material and look is all wrong.

Time: 1 hour (perhaps 30 min more, if it hadn’t been half finished already).

Cost: Nothing since I only used leftover scraps.

First worn: Not yet. But hopefully at june 6 for a huge costuming event.

***

I had time to make one final item before the deadline – a fichu.

I wanted to make one large enough to wrap around the body and tie in the back, like you se in many paintings from the 1780s.

Using some adwise I got on the internet, I cut two large triangles and stiched them togeter to make one huge.IMG_8274

Then I shaped and rounded of the neck, to make it wrap better around the neck. I french seamed the center back, and hemmed the whole thing – everything by machine. IMG_8289

IMG_8291Close up: French seam and hem.

Finished:IMG_8284

IMG_8285

IMG_8280

IMG_8279

IMG_8287

IMG_8276All my “White” items at once.

Just the facts:

Challenge: Nr 9 – Black and white.

What: A big fichu ca 1780.

Pattern: none.

Fabric: 70 cm of dotted white polyester organza.

Notions: Thread

Historial accuracy: I think the pattern shape will suffice, but the material and use of sewing machine is all wrong.

Time: Half an hour.

Cost: Perhaps 20 Skr (1 USD)

First worn: Not yet, but hopefully at a big costuming picknic next month.

***

I had originaly planed to make all tese items compleatly by hand. But as usual life happens, and time is never enough for everything you want to do – so this time the hand sewing had to go.

But I don’t really mind. I kind of think it’s a waist of time to hand sew istorical items made from polyester fabric.

And as you probably can guess – I hadn’t even started the “Big Project” yet.


A 18 century spring Photoshoot

This eastern me and my sister went outside in the beautiful weather to take some pictures of her new ensamble.

She is wearing a chemise, corset, 2 bum-pads, a fichu, a cap, the Pink jacket and the new Pastell UFO Skirt.

Do to some other circumstances we only had about 15 minutes to shoot, but manadged to get some great pictures non the les.

IMG_7724

IMG_7731

IMG_7736

IMG_7751

IMG_7773

IMG_7784

IMG_7791

IMG_7807

IMG_7814

IMG_7802

IMG_7826

IMG_7822

IMG_7825

IMG_7759

IMG_7766Model: Maria Petersson


A 18th Century Pastel UFO

Since I didn’t really had any historical UFOs worth finishing for the HSF challenge nr 8 – UFO (Un Finsihed Object), I decided to make a UFI (Un Finished Idea) instead.

And something I’ve been thinking about, but not had had the time to make, was a matching skirt to my sisters “new” Pink Caraco jacket.

So I brought out the newly re-dicovered light pistage coloured cotton, leftover from my Regency striped gown.2013-07-21 21.24.43I’ve had quite a lot of fabric left (and still do after this project) and it looked so nice together with the soft pink colour of the jacket. So there was really no discussion on what to make of it.

I started by cutting two lenghts of fabric (using the whole width), shaping the top a bit to fit over a bumpad. IMG_7701Then I sewed them together, leaving 20 cm at the top un-stitched, and cut and hemed it to the right lenght.

Then I used 6 withs of fabric, each 30cm broad, to make a ruffle.IMG_7705I sewed the together to a continious piece, and bede sure every piece was the same size.

I wanted to try something new on this ruffle, and drew round shapes on some cardboard to use as stencils when cutting/hemming the ruffle.IMG_7706Smal one for the top, and larger one for the bottom line.

IMG_7707Making a test piece, using some scrap fabric and a rick-rack scissors.

Once I’ve finished the stencils I started to cut the edges of the ruffle. IMG_7709It was a long and tedious work and I emedetly regretted the idea.

Then I stitched on a gathering thread, close to the smaler scalopes.IMG_7711

Gathered, pinned and sewed the ruffle to the skirt.IMG_7717

I placed the ruffle so to make the lower scaloped edge overlap the skirts hem by a few cm.IMG_7719

Then it was time for the wasitband.IMG_7704I cut two pieces each half the wasit measurment, and basted on some interlining.

Then I folded the pieces, putt some cotton cords between, and stiched them together at the ends.IMG_7716Two halves makes a whole wasitband.

I then measured and pinned the pleats in the skirt to mach the front and back waistband. IMG_7721I basted the pleats in place.

And pined on the wasitband.IMG_7720Then I folded the back of the band under and hand tacked it in place.

The finished skirt:IMG_7831

IMG_7832

IMG_7835

IMG_7836

IMG_7838

IMG_7843

IMG_7842

IMG_7846


Just the Facts:

Challenge: nr 8 – UFO (Un Finished Object)

What: A 1750-1780s skirt.

Pattern: None, just measured and cut.

Fabric: 3 m of soft pistage coloured cotton, and scraps of white cotton for interlining.

Notions: Thread, 2 m of cotton cord.

How historical accurate: So so. I think the shape and colour is good. But it is compleatly machine made, and cotton was not really used for this kind of skirts untill a bit later.

Time: Much more then I care to admit. If not for the scaloping on the ruffle, 3 hours, but all and all about 6 hours.

Cost: About 60 Sek (9 Usd)

First worn: On easten for photos (pictures from the shoot will be in my next post).

Final thoughts: Both me and my sister like it a lot. It is pretty, soft and moves nicely when she moves. I will have to make it shorter though – about 10 cm, to make it more of a walking skirt then the evening lenght it curently have. But once that finished I’m sure it will look really lovely and summery.


“Foxhunt” School Project – part 3

The day before me and my sister was supposed to do the photoshoot of the “Foxhunt” Collection, I got it in my head to try to get some more pieces in to it.

So I decided to finish the mock-up for the breeches, thous including them in the Collection. They were already half finished, and only needed the lining, the buttons and some decoration. Sewn in a plain cotton fabric in a lovely green colour.

I also dug up my 1780s corset from half a year before.

grön okDesign sketch: Flowery corset and green breeches.

This corset was one of my second attempt at the 1780s pattern from Salens “Corsets”.IMG_6104Wise from my previous attempt at the pattern I decided to only use it as a guide in drafting the new pattern.

Not historical correct at all, but I still think the flower design looks great (and a bit kitch) on the front piece (and matching back piece).2012-07-10 19.39.19

2012-07-10 19.39.06The boning layout, using plastic cable-ties.

The corset turned out pretty good, and I frekvently use it in my costuming. If you been reading my blog Before, you might recognize it from some of my previous posts.IMG_6184Draping a robe Anglaise.

IMG_1922Photo from “1750s Layering“.

And worn together with the rest of my “Foxhunt” pieces.CIMG6554Where did the boobs go…

And at the photoshoot.korsett-o-byxa

IMG_1274

IMG_1303 ok

“Foxhunt” School Project – part 2

For my school project last year I made a 18th century Collection called “Foxhunt” (Part 1).

When finished with the coat I started on the pants – A pair of mens breeches, using the pattern from Costume Close-up, and this picture as my guide.breeches-silk-18th-century-part-of-a-wedding-suit-from-the-ham-house-collection-surrey-national-trust

byxor okDesign sketch – Breeches.

I bought a light colloured faux sweade fabric, wich I fell in love with on the rack, but hated long before finishing the pants. The fabric was the devil, and totaly hopeless to manuver into the sewing machine, and harder still to hand stich.

The front opening on the pants was also hard to figure out while patterning (and to sew). But it did end up looking great, and the self covered buttons, jeans buttons and, sweade ribbons I used realy cooperated to make a pretty whole.

And I do love the look and the fit of the finished breeches, so I guess it was wort the work.

Then it was time to deal with the waistcoat.

väst okDesign sketch – waistcoat and green breeches.

I used a gold/yellow upholstery fabric I found on sale, and cut the pieces from the same pattern as the coat – only a tad smaller, and without the sleeves. For the back I used brown polyester lining, and the buttons are self covered in the golden fabric.

Fisnished outfit.2013-01-14 13.01.57I’m also wearing: A re-shaped feelt hat, the shirt for my national costume, neck-cloth, stockings and my folk dancing shoes.

And at the photoshoot.IMG_1111

IMG_1096 ok

IMG_1130

ok

IMG_1167-ok

vänta 2

When the whole outfit (coat, breeches, waistcoat and hat) was ready, I had abot 2 days left until the photoshoot.

And  you know I can’t resist making some more items when I got such a massive amounth of time on my hands (ehm… Yeah, right).

So I decided to do a corset to complement the look.

korsett okDesign sketch: Corset and breeches.

Using the leftover golden fabric from the waistcoat and the 1780s corset pattern from Jill Salens book, and all my spear time, I manadged to get it finished in time.

IMG_1175-ok

stryk

IMG_1194

IMG_1239-ok

IMG_1236

IMG_1205

IMG_1253 ok“Foxhunt” cover pic

And if you thought that was it, you are wrong – well kind of. I will show you the rest of the collection next time.

“Foxhunt” School Project – part 1

Last year I attended a class in “Pattern Constuction”.

For the final exemanation we where suppose to make (pattern and sew) something to challenge and push ourself. We would have about a month to design, pattern and sew the item.

And since I always make womens gowns I decided to try my hands at some menswear.

I really like the late 18th century style and decided to try to recreate something like this right one.hämta

I used this fashion plate as my inspiration.images (1)

And drew my own version of it.rockenok

Since I don’t know anyone who would like a coat like this (and no, I wouldn’t even think of asking my boyfriend), I decided to make the costume to my own measurments.

To keep to the original ideá of a mans coat, I used a mens pattern from “Costume Close-up” by Baumgarther, and altered the shape to fit my somewath more womanly figure.img312

I used a lovely brown wool with a nice strong but shapeable feel to it, and decorated it with lots of self covered buttons and suttage ribbons. (And since this was something I made before my blogging days, I sadly have no construction photos).

When the coat was finished I had 2 weeks left to deadline, and being me, I emedatly started working on a couple of other clothing items to make a mini collection.IMG_5997 (Don’t worry, I will show you everything soon).

Finished outfit2013-01-14 13.01.04Coat, waistcoat, breeches and hat.

I decided to name my collection “Foxhunt”, and the day before the deadline, me and my sister went outside to take some pictures.

vänta

CIMG6530

IMG_1029

IMG_1022

IMG_1047

IMG_1075-ok

IMG_1115-ok

A Pink Caraco Gift

When the HSF challenge 3- Pink, was announced in december I was more then sceptical. I am certainly not a fan of pink, I wouldn’t even think of wearing it.

But a challenge is a challenge…

And I decided to face my fears (not a fear really, more of a huge distaste) and do the challenge – and do it all the way.

So searcing my stash for something pinkish (yeah right, good luck) I actually came up with two workable fabric options. One pale pink cotton sheet, and a couple of metres of pink/white checkered linnen curtains – both fabric’s been given to me at some point.

Still not sure of what to make, thinking about something regency, 18th century or early 20th century, I decided to wait until the big opera gown was finished, in late januray, to decide.

Perhaps it was faith, since I found the most wounderful fabric at an internet auction 2 weeks ago.180551824_21ee55d7-97ff-4039-a871-e3a62da1ef96 I emedetly know I needed that fabric. So I bidded on it and won. And a week ago it arrived.

Despite the fact the amount of fabic was really limited (only 1m), I decided to try to get a 18th century Caraco jacket out of it.

But since I’t will need to be a fairly smal jacket, I decided to make the jacket as a “thank you” gift to sister M. She is always so nice and wounderful and helps me with my projects, and without complaining photographs my costumes out in the freezing snow. Thank you so much for everything!

I’m thinking something like this.274015958547564766_VevBYigl_f

So I put my sisters corset on my dressform and started to drape the pattern.

IMG_6070 IMG_6067

IMG_6068

Then I used a good hour trying to get the pieces out, getting the print in the exact way I wanted.IMG_6077

I sewed it togehter using modern sewing methods.IMG_6118

Snipping the allowence to keep the curved edges nice and smooth.IMG_6120

I put the bodice back on the dressform to get a feeling for how it would look.

IMG_6122 IMG_6123

Pretty nice, and I particulary like the birds placements on the back.IMG_6125

I pleated the trim which I cut from the fabric edges.IMG_6082

Then I needed to decide on how to place it. Playing around with it, I came up with 5 alternatives.

IMG_6134IMG_6136

IMG_6142 IMG_6139

IMG_6137I think I like this one the best (let’s just hope my sister like it aswell).

Then I put in the sleevesIMG_6144

Getting all the seam-allownces between the layers.IMG_6145

When I started to pin on the trim, I discovered something strange…IMG_6150…A hint: You will have to keep your hands behind your back…

So I ripped the sleeves out (all four of them) and switched the sides. But the result was the same, only worse. So for the second time in on hour, I ripped the sleeves out. Grrr. IMG_6152I gave up the idea of a nice finished inside, and basted the lining and the outer fabric together. And stiched the sleeves in one last time (after pinning it in on the dressform).

IMG_6178

Then I pinned and hand-stiched on the trim. I used the hooks and thread eyes to lock the light bones on the outer edge of the front.

Finished:IMG_6154

IMG_6168

IMG_6163

IMG_6156

IMG_6159

IMG_6160

IMG_6161

Just the Facts:

Challenge: Nr 3 – Pink.

What: A 1770s caraco jacket.

Pattern: Draped my own using Janet Arnolds “Patterns of Fashion”.

Fabric: 1 m of printed pink qvilting cotton, 1 m of white cotton sheet.

Notion: Thread, 8 hooks and 0,6m of syntetic whale bone.

How Historical Accurate: Not at all. The general look of it is plausable, but the fabric, the print and the construction methods are all wrong and modern. But to be fair – this project was never meant to be accurate.

Time: 12 hours.

Cost: 100 Sek (16 Usd).

First Worn: Not yet (I’m not even sure it will fit her).

Final Thoughts: I like the jacket and would gladly wear it if it would have fit me. Hopefully my sister will like it as much as I do…

Re-make of the Flowery Jacket

This is my first entry to the HSF14, and I submit it as a “Light Entry” for the 1th challenge: Make-do/Mend.

Ive been so pre-ockupied with all my other sewing and work and moving recently, so there has really not been any time left to fix those litle things thats been bugging me about some of my costumes. But now I finaly got the time (at relatives on chrismas) to finish the re-modeling of my 18th century flowery jacket. You can reed more about the original jacket here.

I loved this jacket ever since I made it  2 years ago, even now when I lernt a bit more about historic clothes it’s still one of my favourite items. But latley the fit of it have been bugging me.

2013-04-07 13.37.55 2013-04-07 13.37.34

It’s a bit long in the back and the gromets really need to be covered with thread.

And this challenge gave me the motovation I needed to finaly get it done.

Since there’s not much interesting going on in the sewing I forgot (read: decided not to) take any process photos. But I did snap one with my phone on christmas-eve when working on the eyelets.

IMG_4447

Finished:IMG_4781

IMG_4784

IMG_4799

IMG_4786

IMG_4791

IMG_4792

IMG_4789

Just the Facts:

Challenge: nr 1 – Make-do/Mend. (Light Entry)

What: Fixing some issues on a 18th Century Jacket.

Pattern: None this time (originaly from Baumgarthers “Costume Close-up”)

Fabric: None

Notions: Sewing thread and ivory buttonhole thread.

How Historical Accurate: Not much. Re-modeling and re-fitting of clothes was common practice, but since gromets didn’t even existed back then I’d say 3/10.

Time: 3 Hours

Cost: 30 Sek (2Usd)

First Worn: Hopfully this summer for picknicks and plays.

Final Thoughts: The back of the jacket, do look very short on my dessform. But I decided that’s because she is somehow lening forvard, and I have a realy straight posture, which causes my back to look shorten then it realy is.