
When all the underwear (almost all, I still had the chemise and a second petticoat left to finish), it was time to get started on the dress itself.
Since the dress was for my sister, it was she who ultimately took all the decisions on the final style, and I came with lots of suggestions, inspirations and different looks. inspiration sketch
We finally decided on one main inspiration 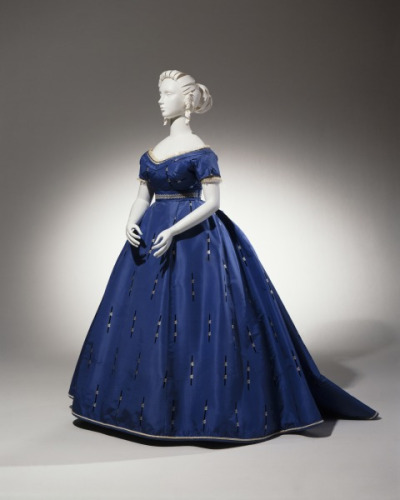 Evening dress ca. 1865, From the Cincinnati Art Museum
Since the budget was particularly scarce on this project, we decided to cheat and use a set of IKEA curtains I already had in my stash for the dress fabric. It’s a thin polyester in a lovely dark blue/teal color that would be really pretty in a style like this.
1 pair of 2,5m x 1.45m curtains would require some really thoughtful cutting and pattern layout, but with some math and quick calculations I was fairly shore I could get the dress cut from the fabric (as long as I didn’t do any errors…)
I also recently ordered 5 m of silver sparkles and a few m of black lace which both would be perfect for this project. (So, not stash, but almost:-))
I started by drafting the bodice pattern using modern templates and my sisters measurements.
Then I did a quick mock-up that we tried on over her recently finished corset.


Lots of adjustments needed
Just to be sure I got everything right (and since I didn’t had fabric for any errors) I did another mock-up of the bodice.

After the last alterations was made, it was time to cut the fabric.
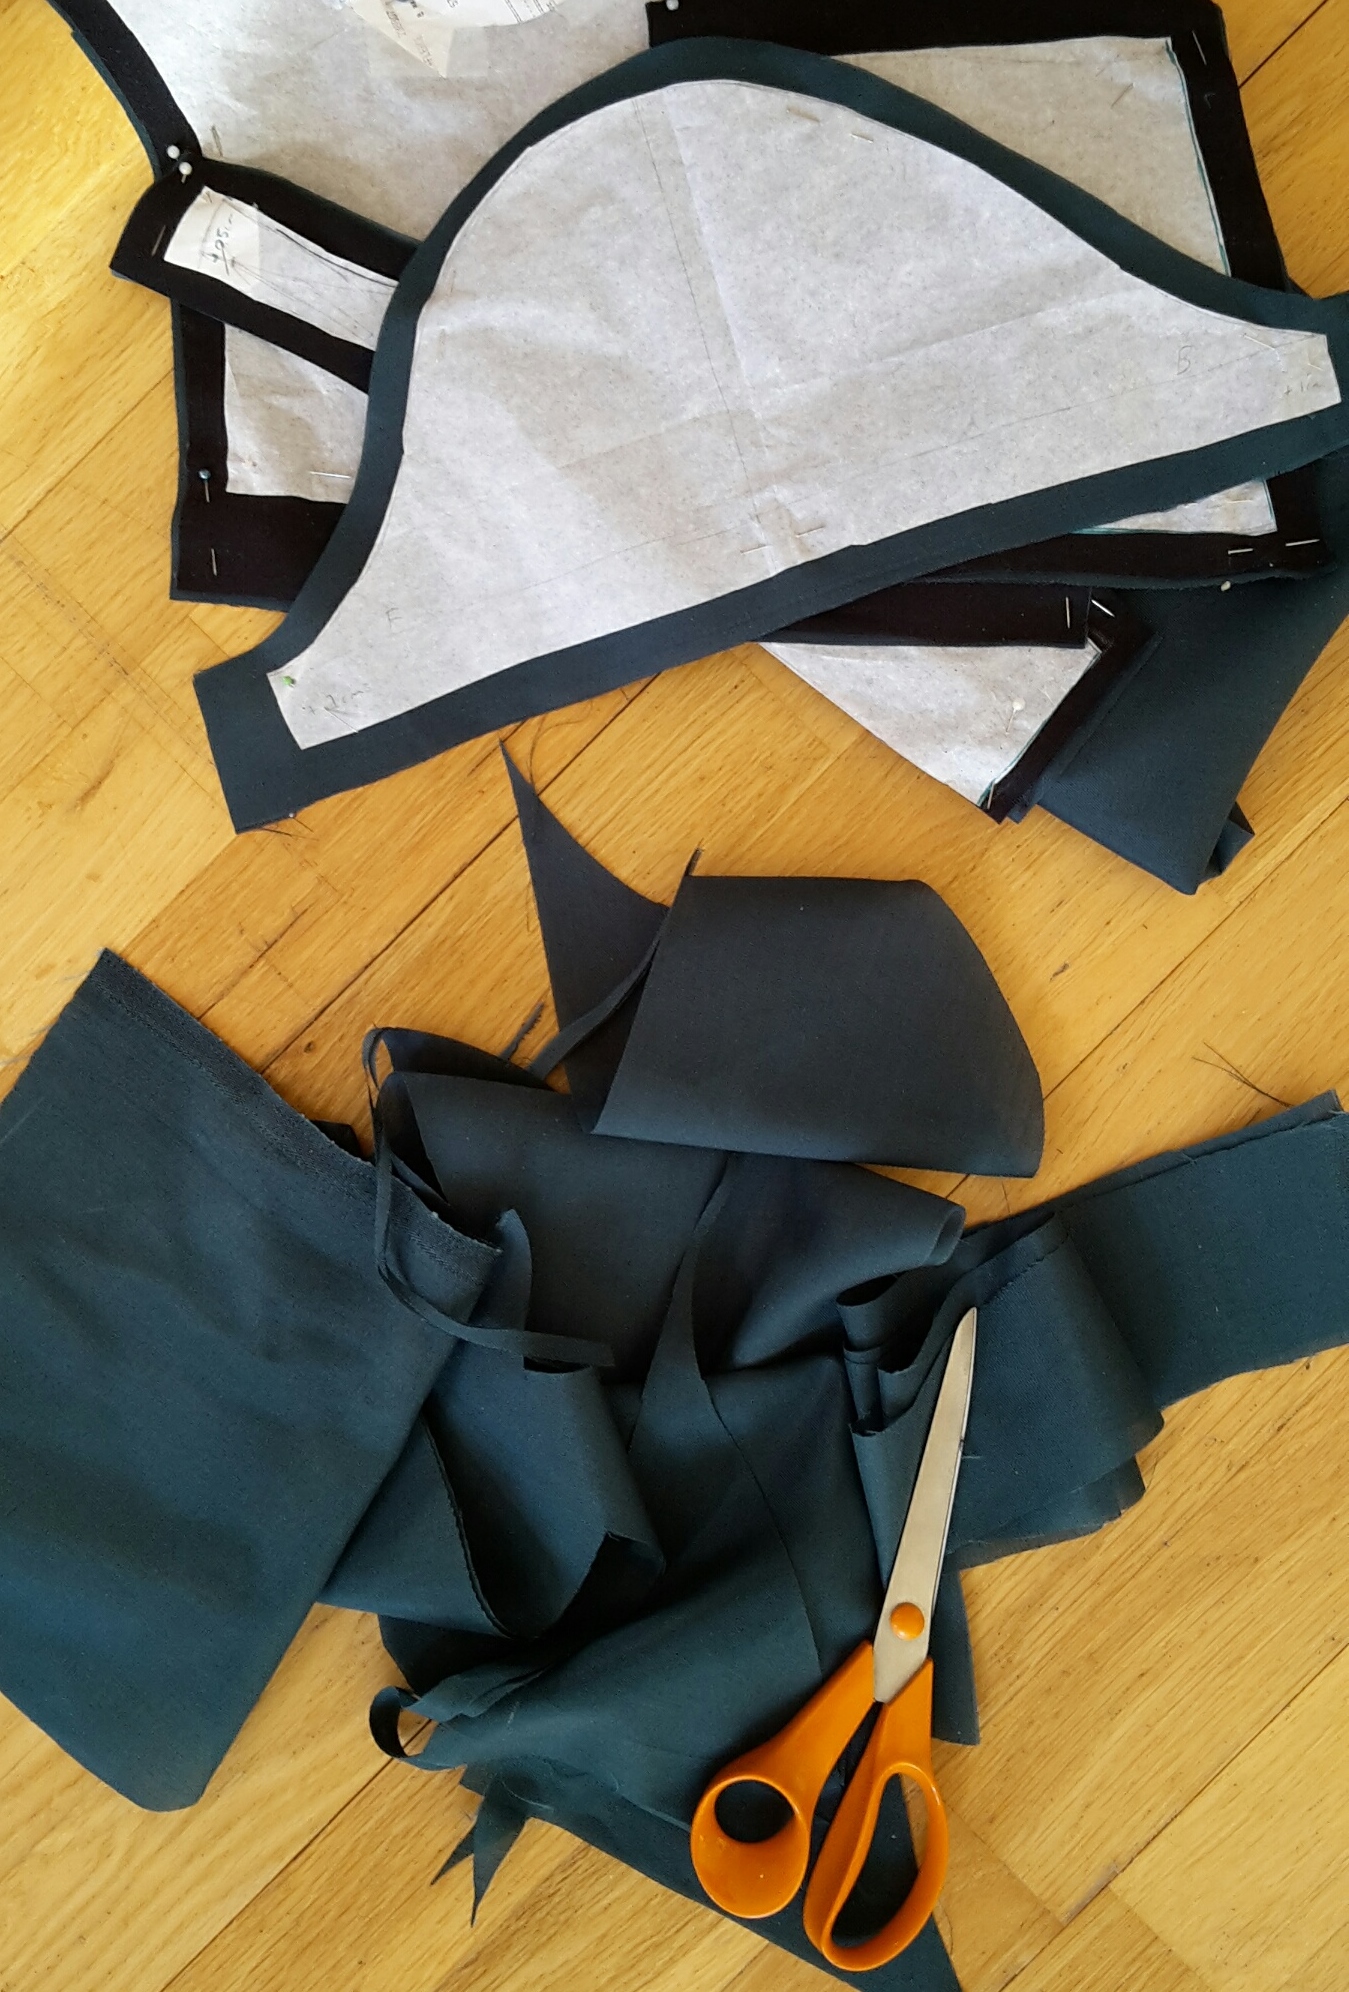 Only scraps left.
Then I got to work making the skirt.
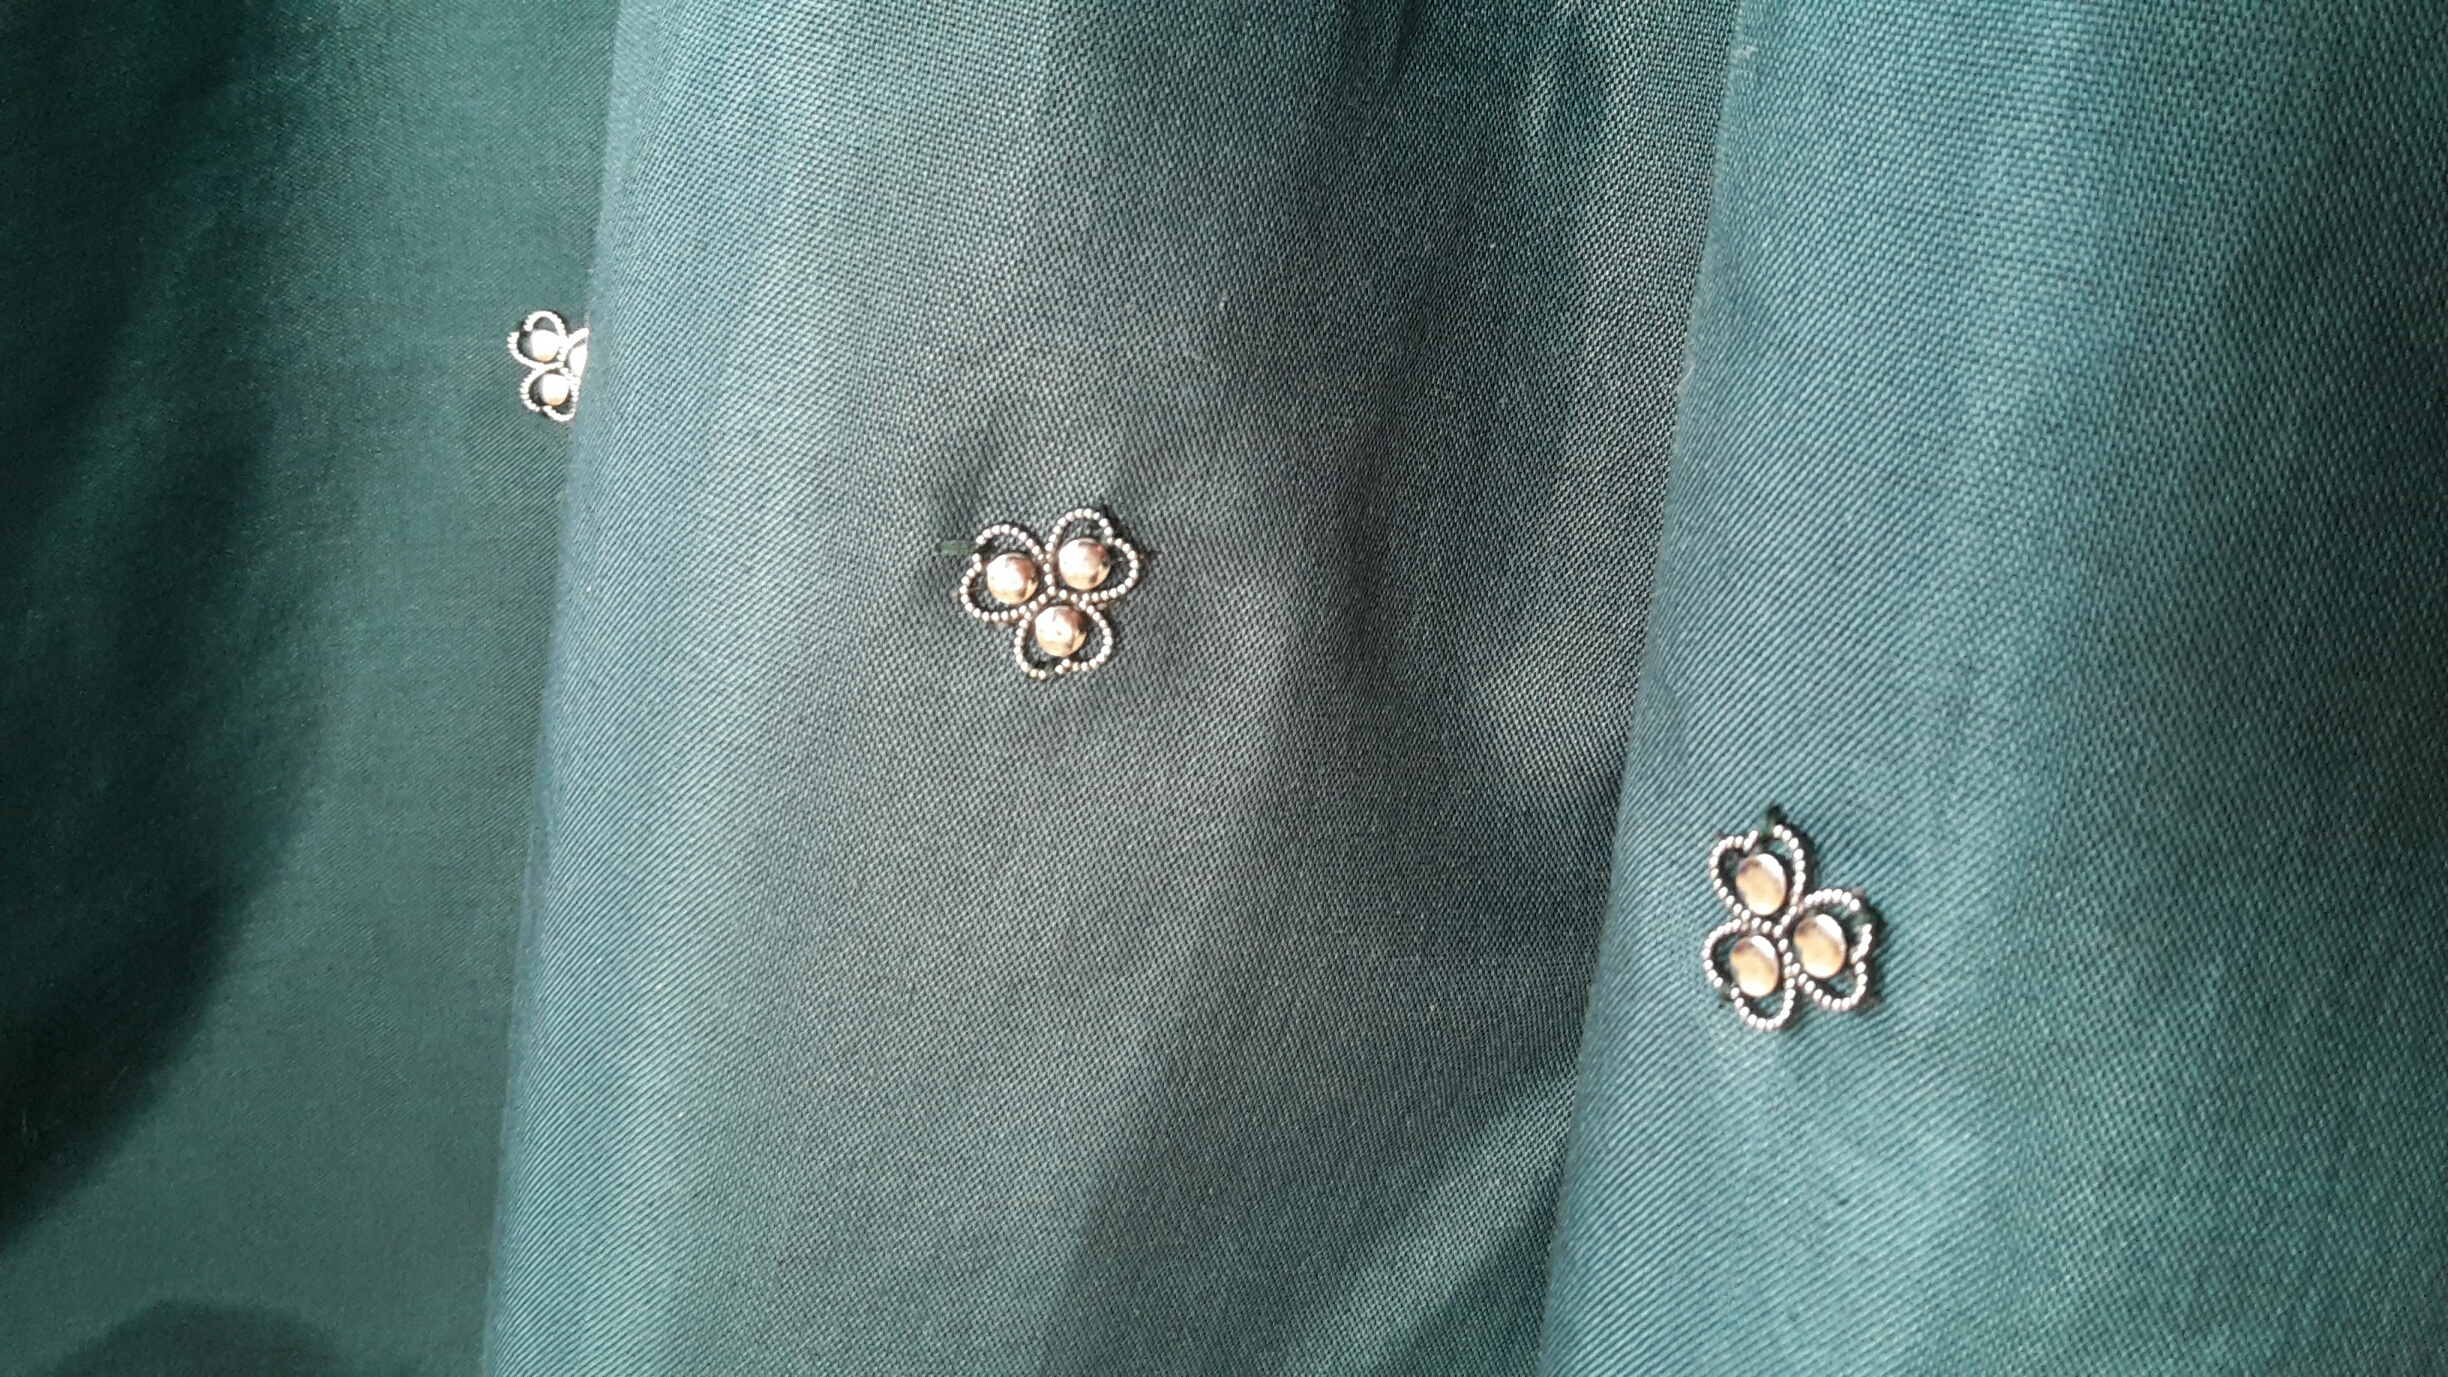
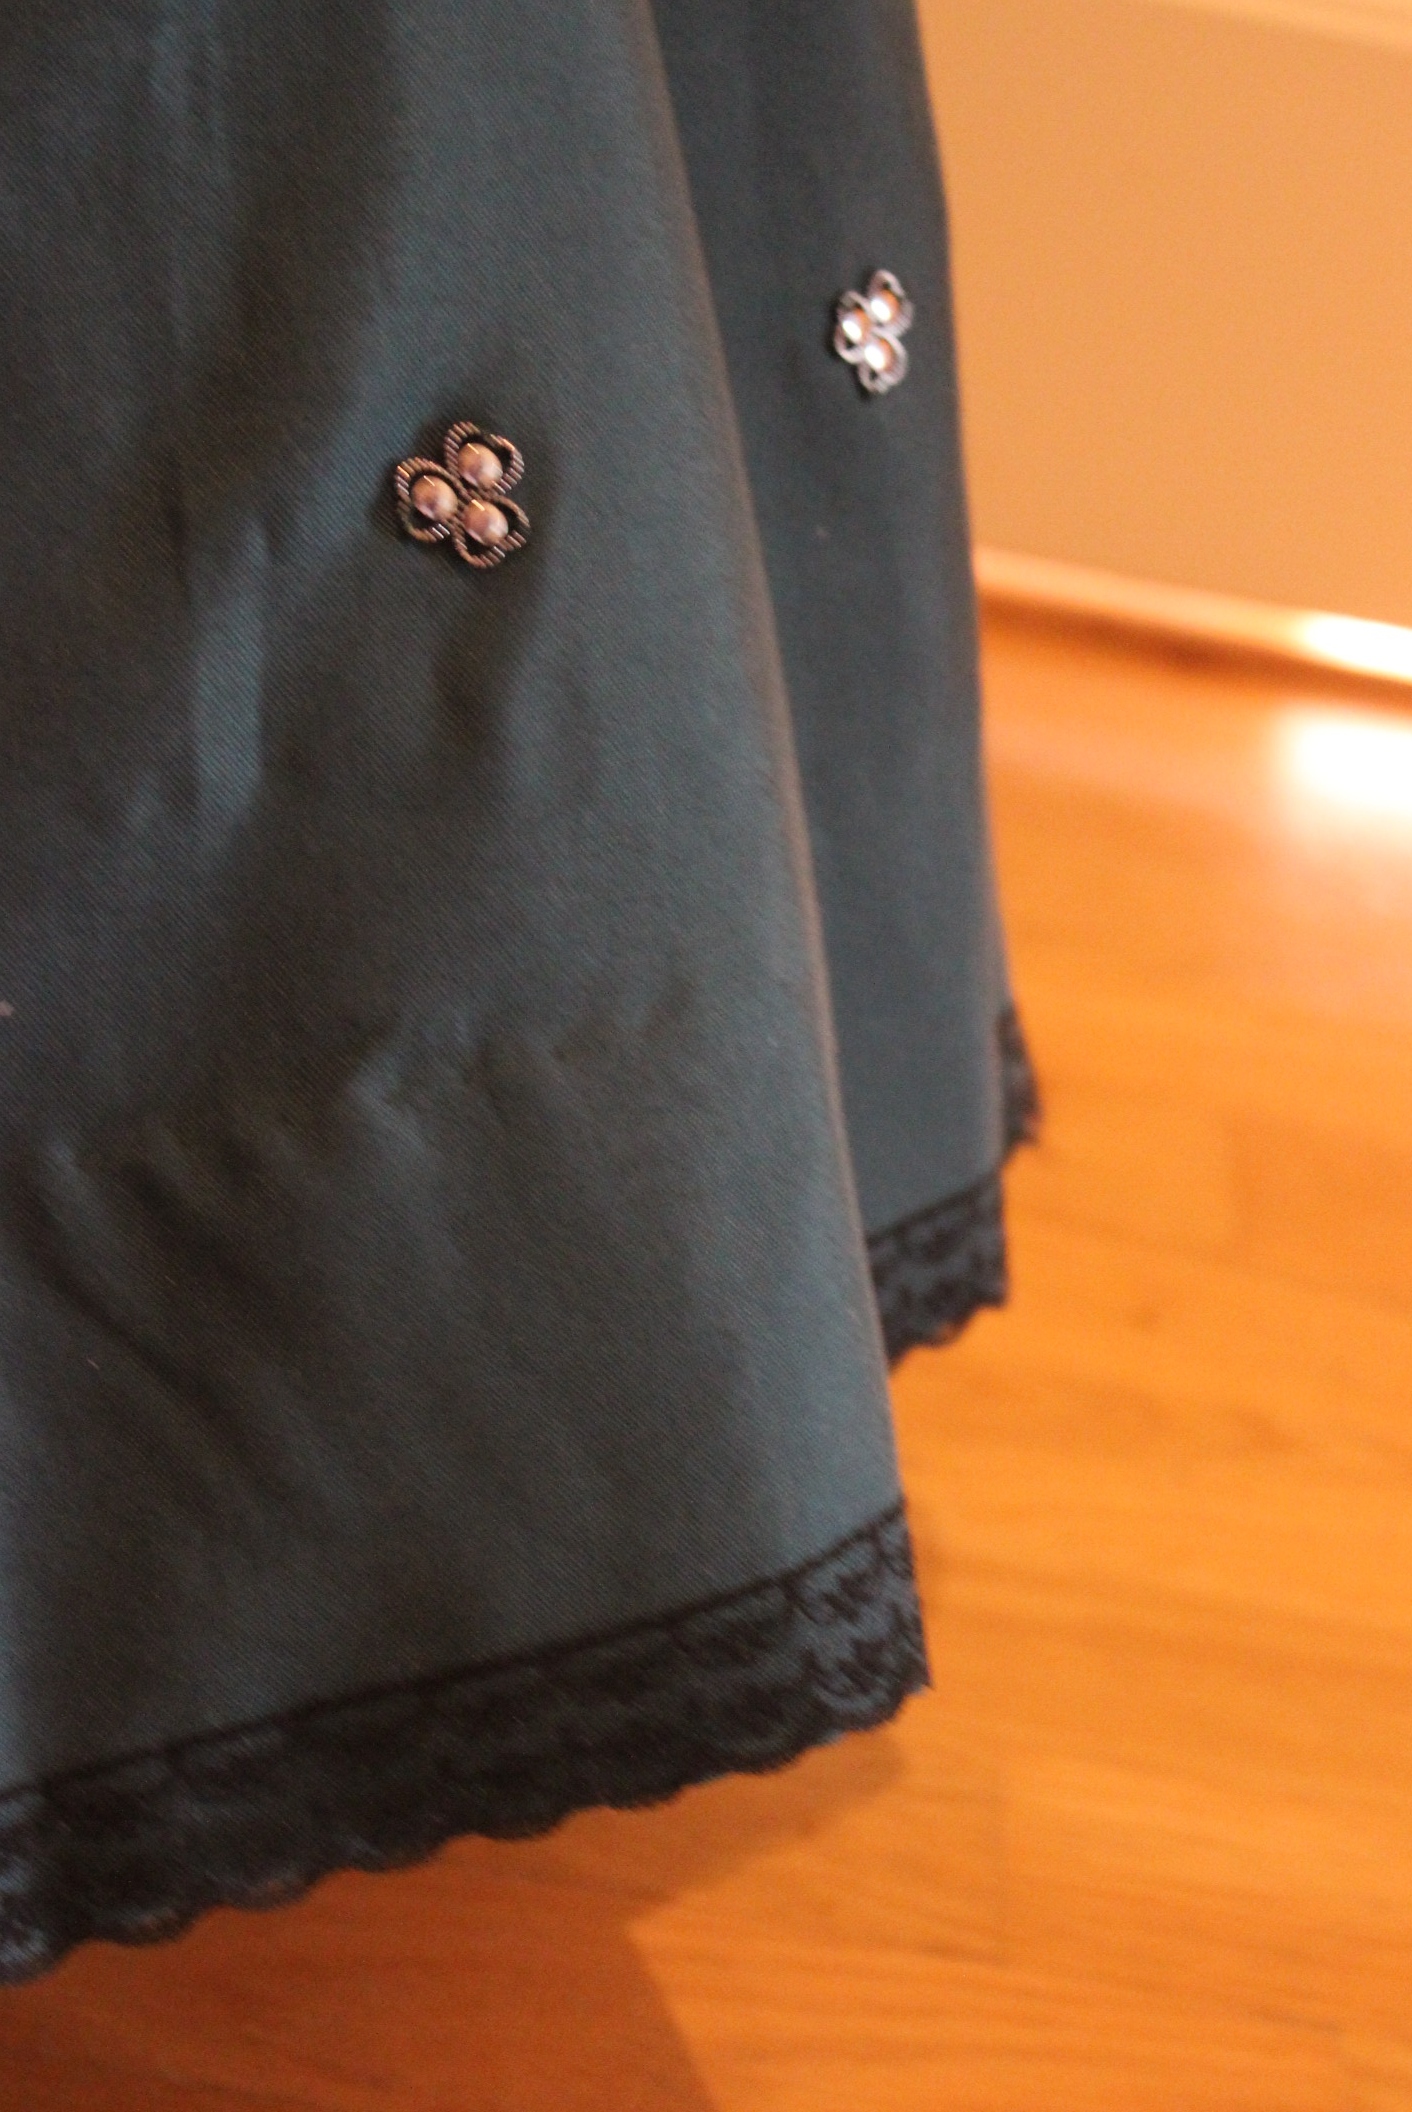
Starting by marking and stitching the silvery sparkles (which I’ve already cut apart) on the skirt panels.
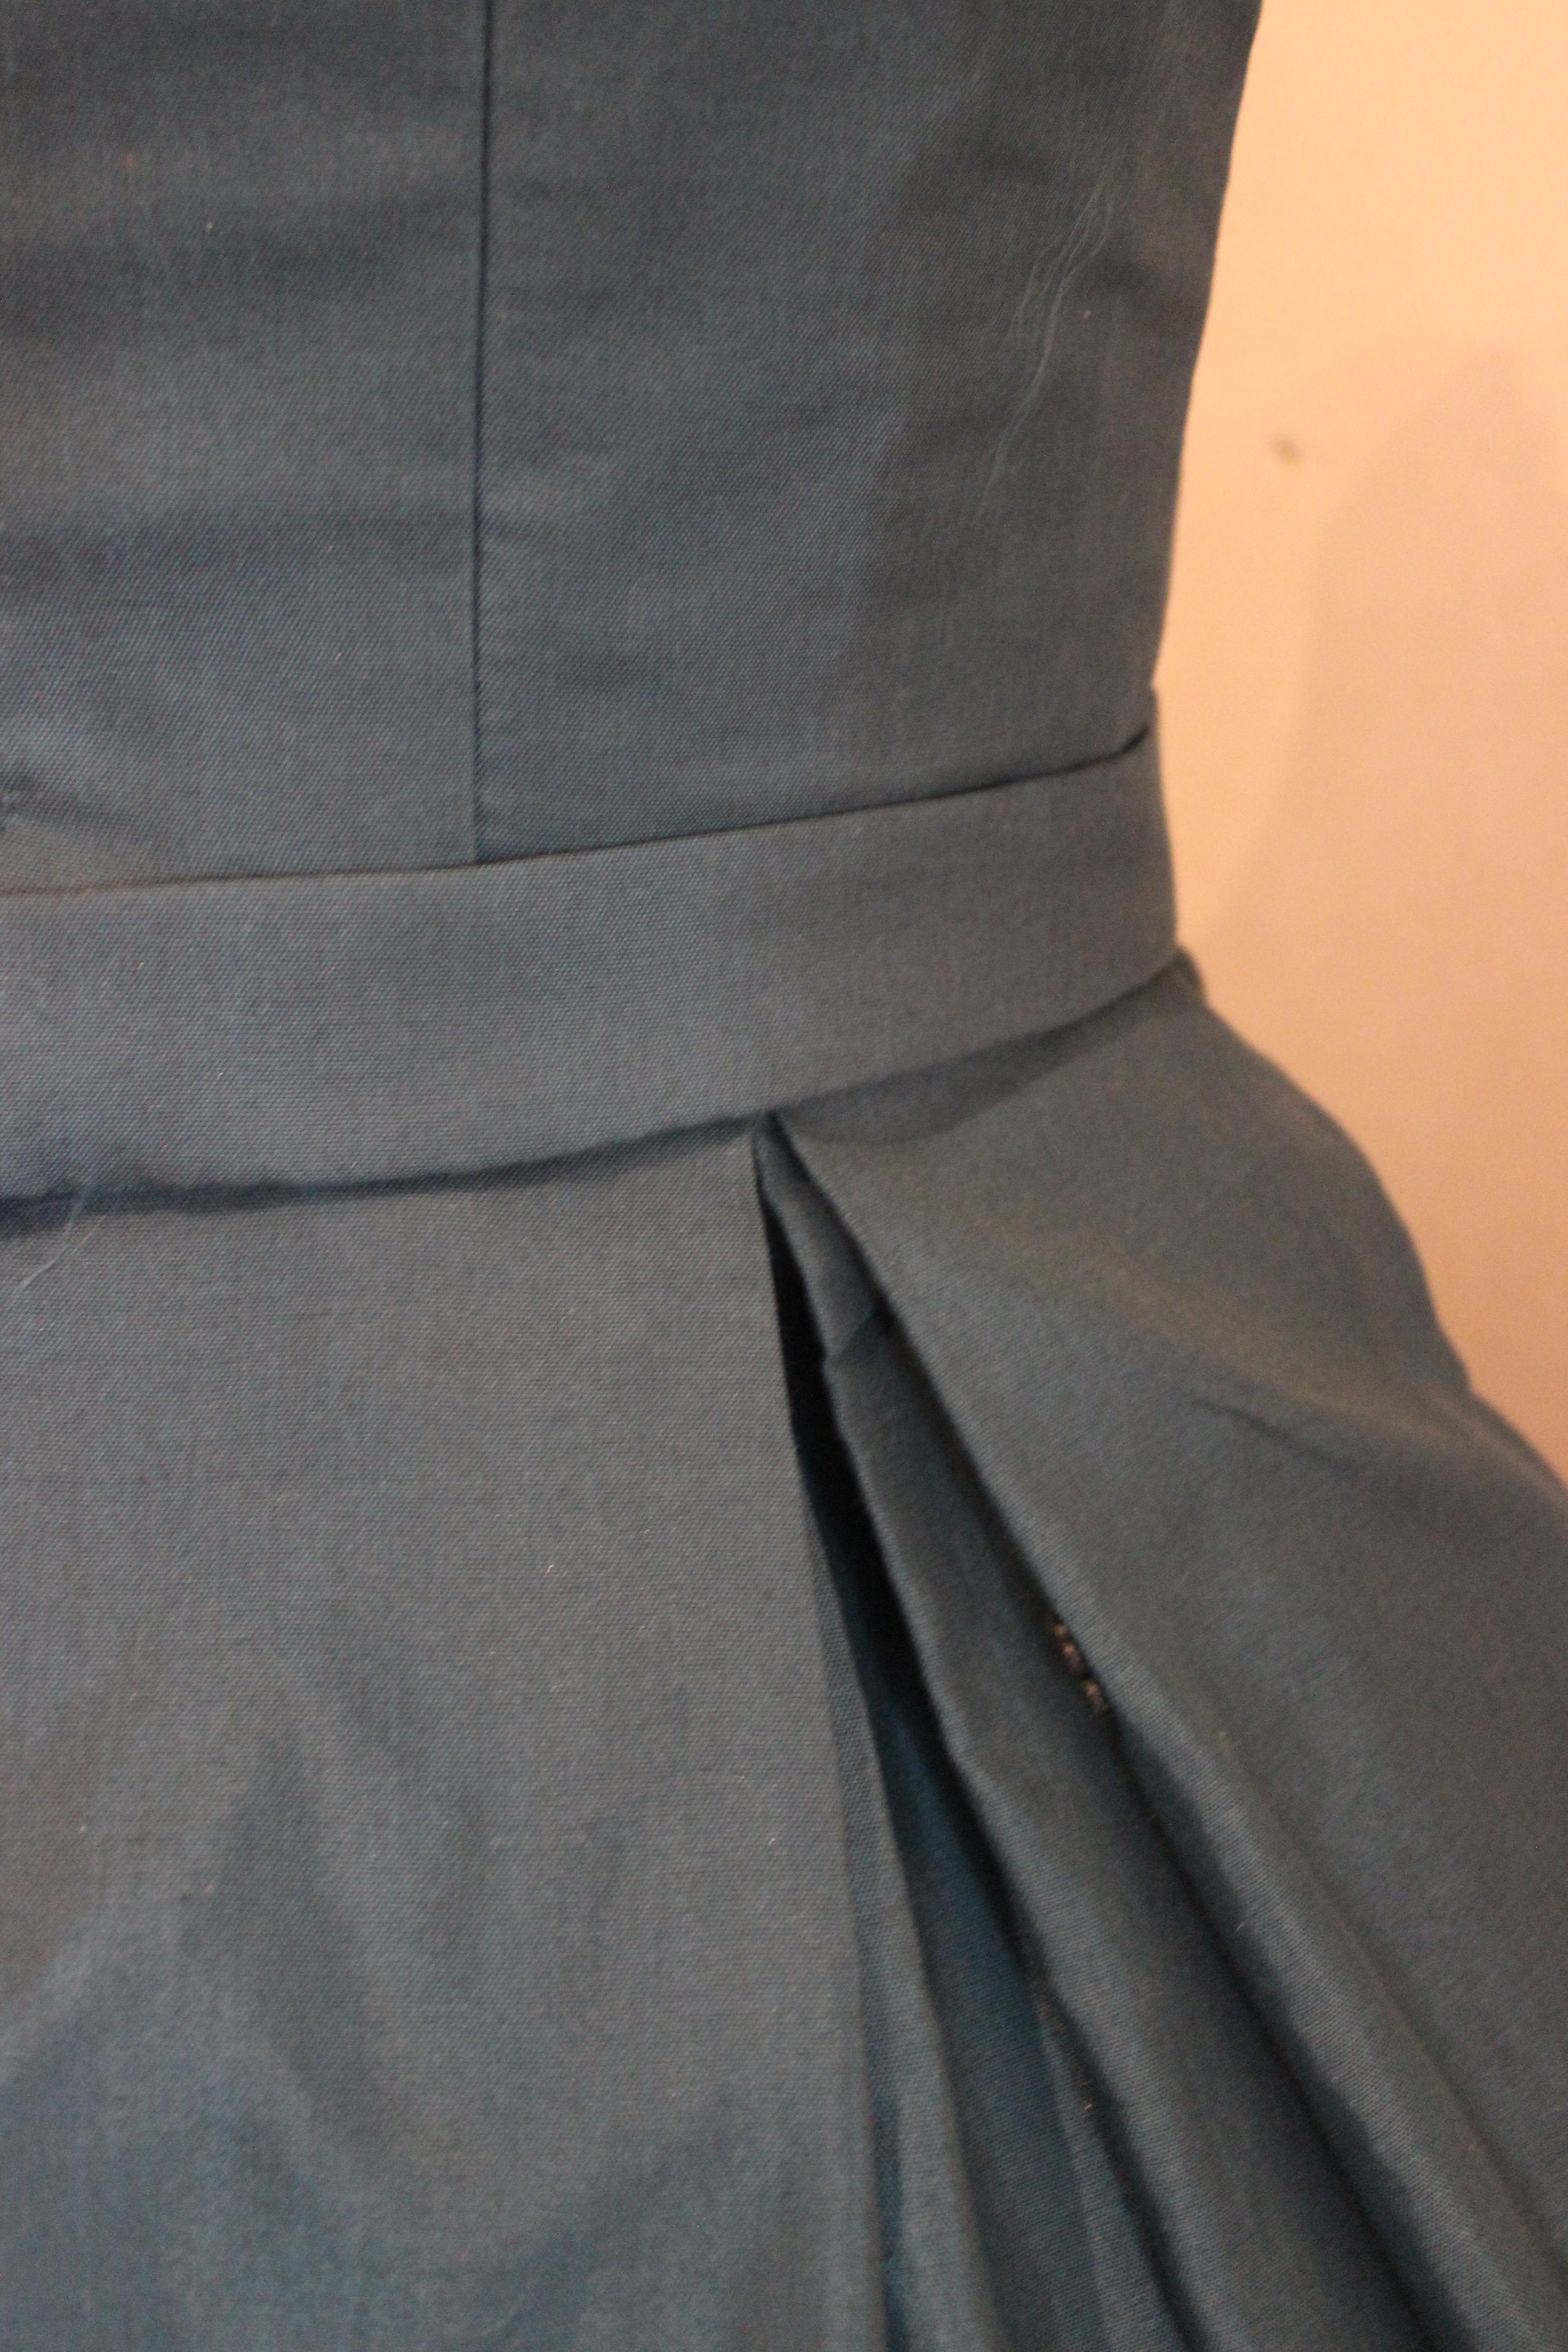
Then I sewed the skirt panels together, interlined it with a black cotton fabric that also would serve as lining and pleated the top to my sisters waist measurement.
not completely happy about the look of the pleats, I put it on my dress-form (over the new crinoline) to get a beter look. Something seamed wrong.
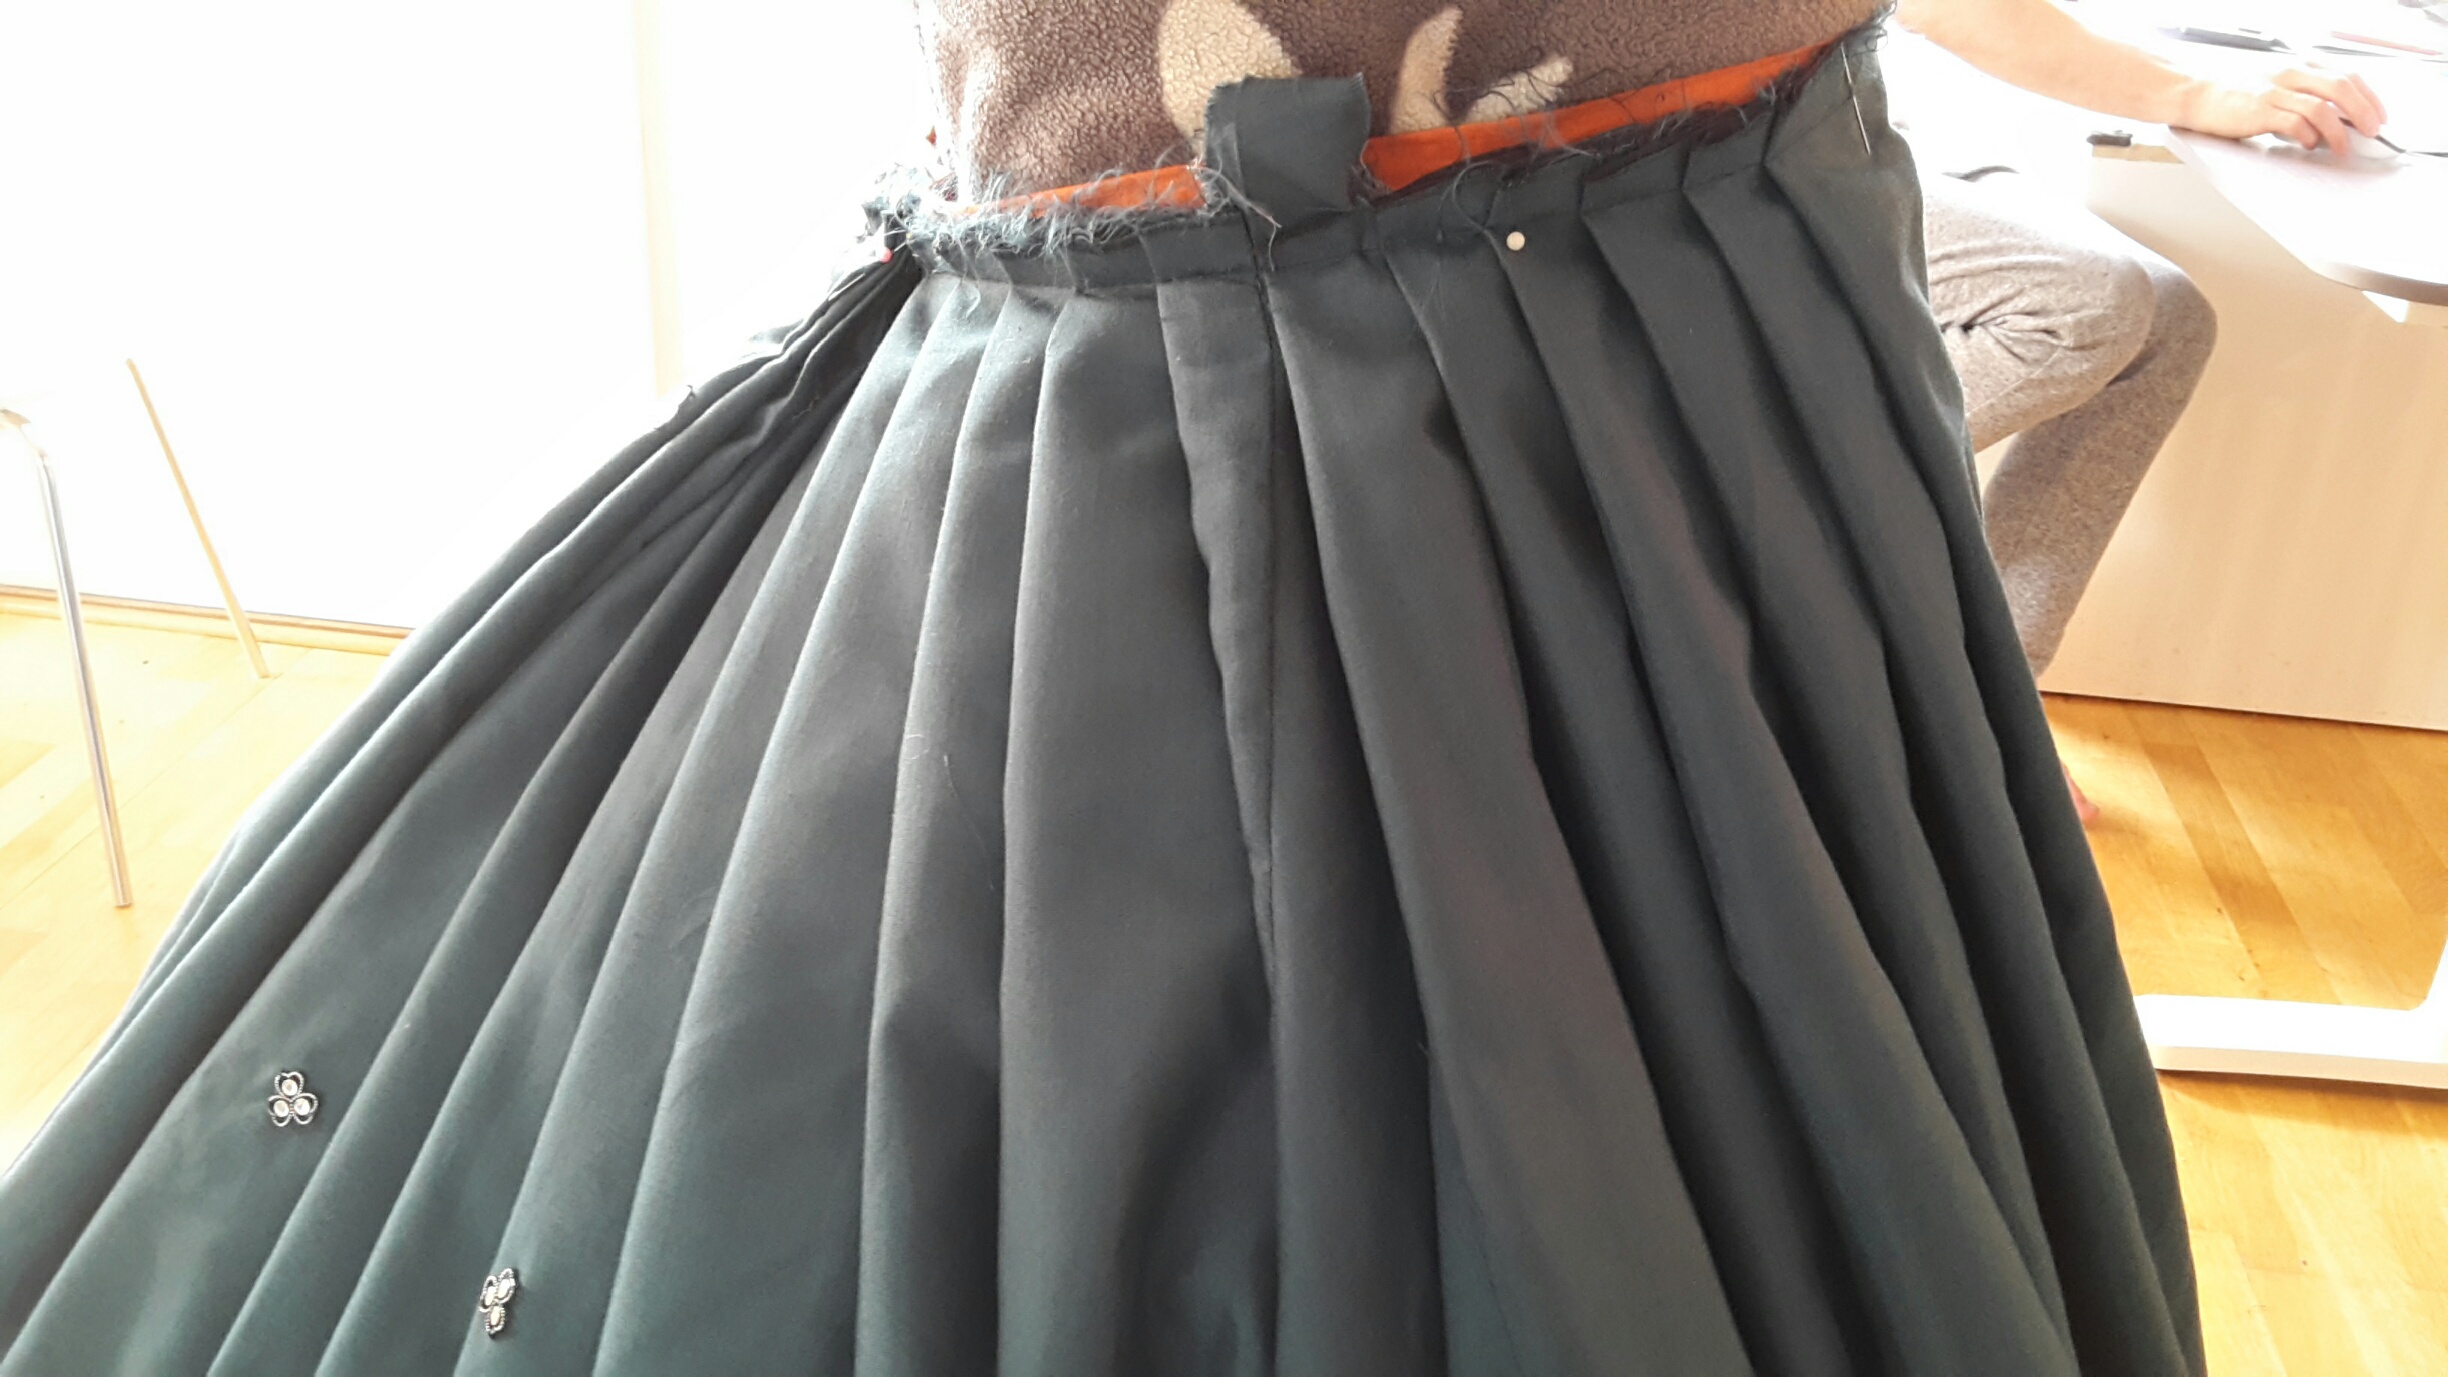 So I grabbed my books and read up on the period way to pleat the skirts to he waistband, and there I found the answer – by the 1860s they left the knifepleats of the earlier period for a few double box-pleats evenly spaced around the skirt. So that what I did.
 Much better
Then I attached the skirt to the waistband and after a final fitting cut and hemmed the length. I also moved some and added some extra sparkles and stitched on a narrow black lace ribbon to the bottom edge.
Then it was time to get started on the bodice.
I started by interlining all the pieces in a strong black cotton twill, after which I stitched the darts and the pieces together. I added some bias tape and bones to the seams to make the bodice old its shape.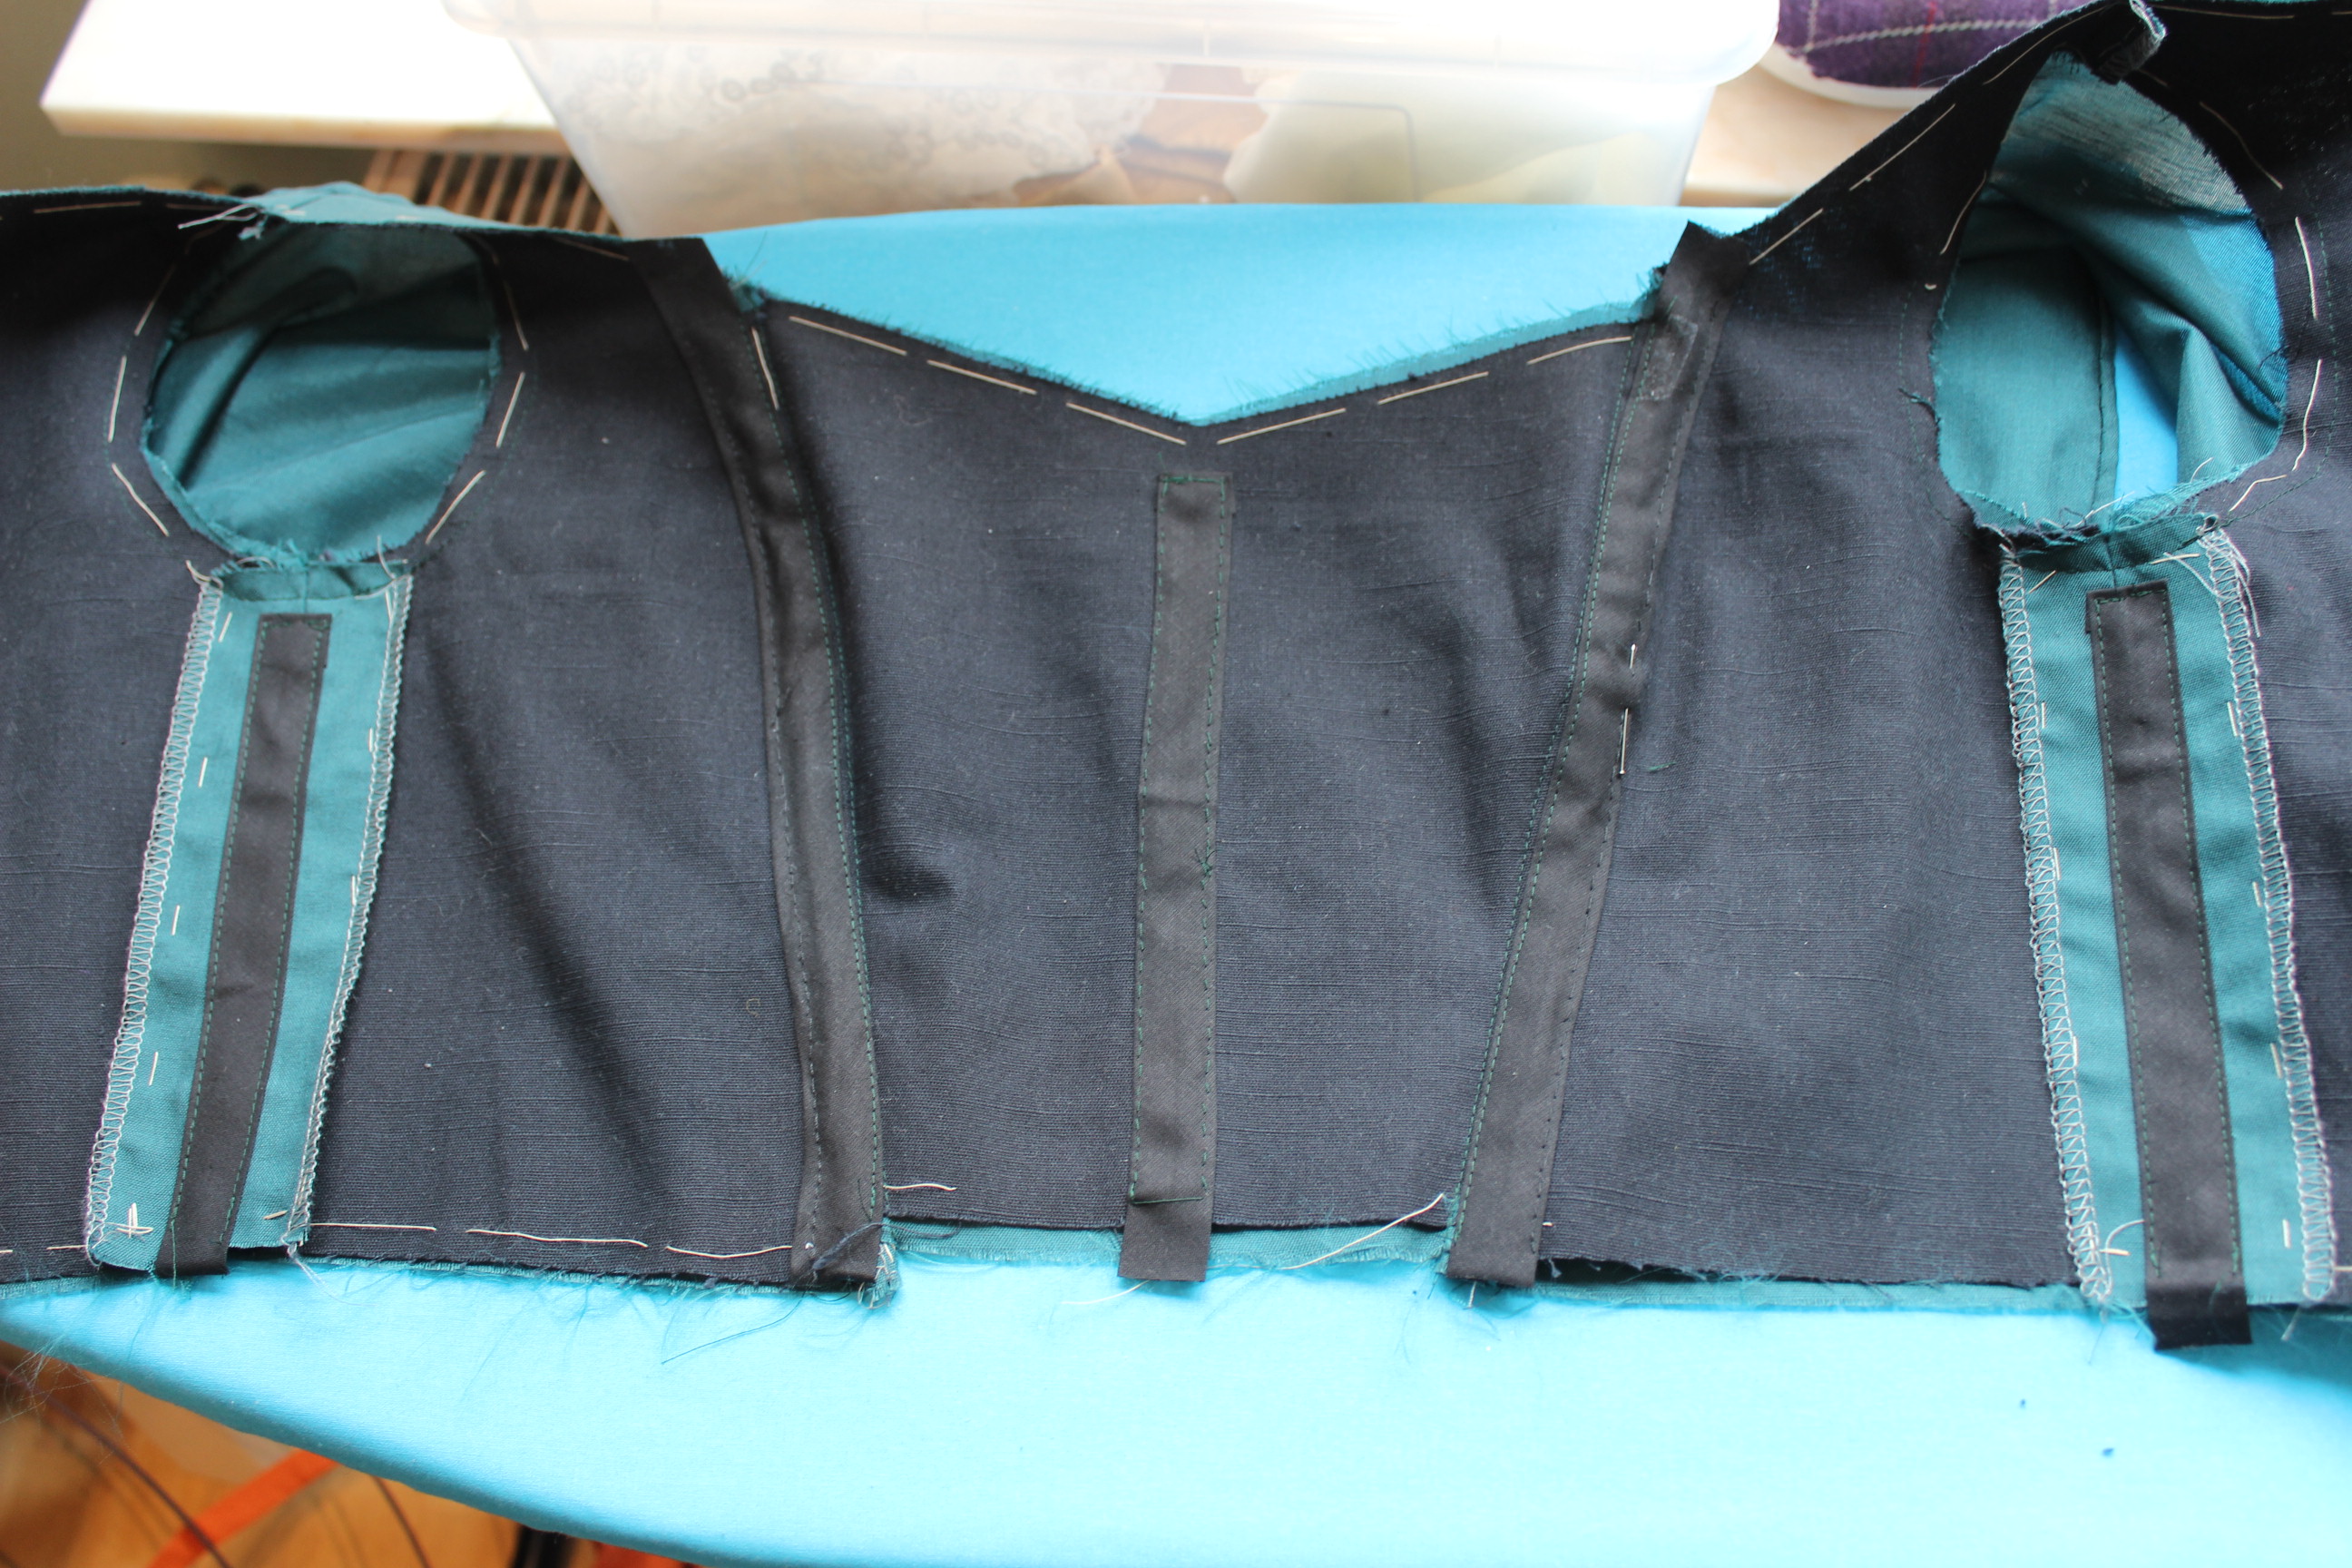 The interior of the bodice
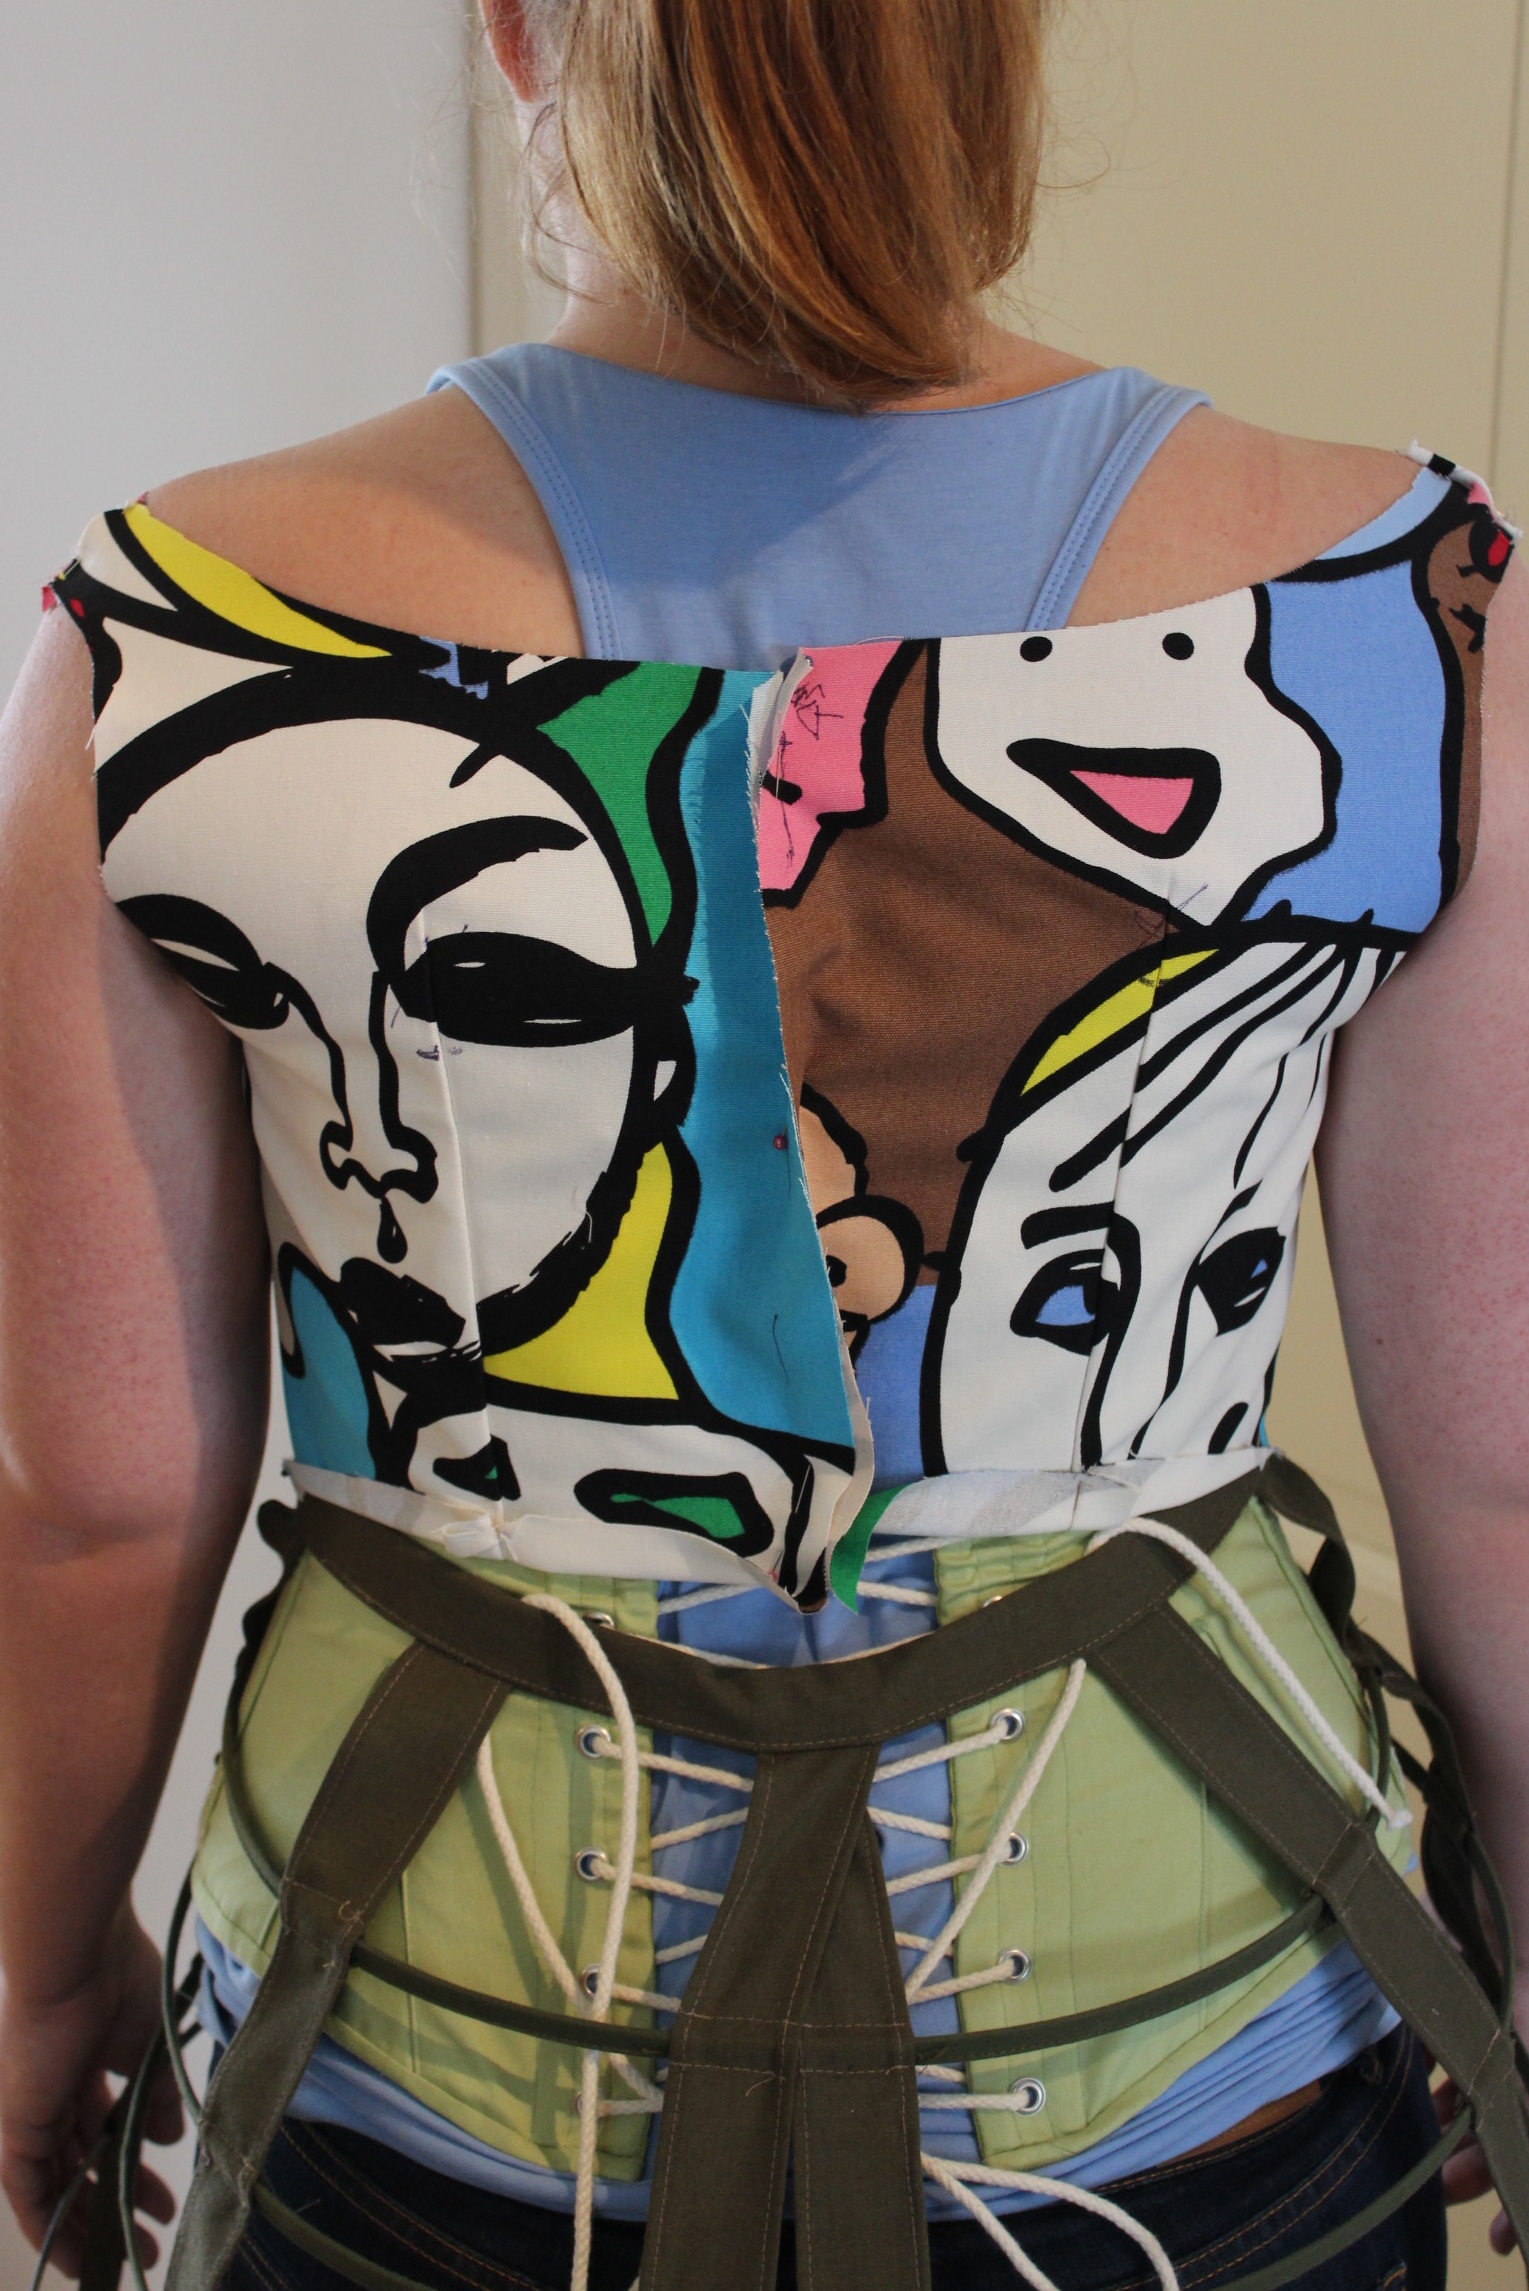
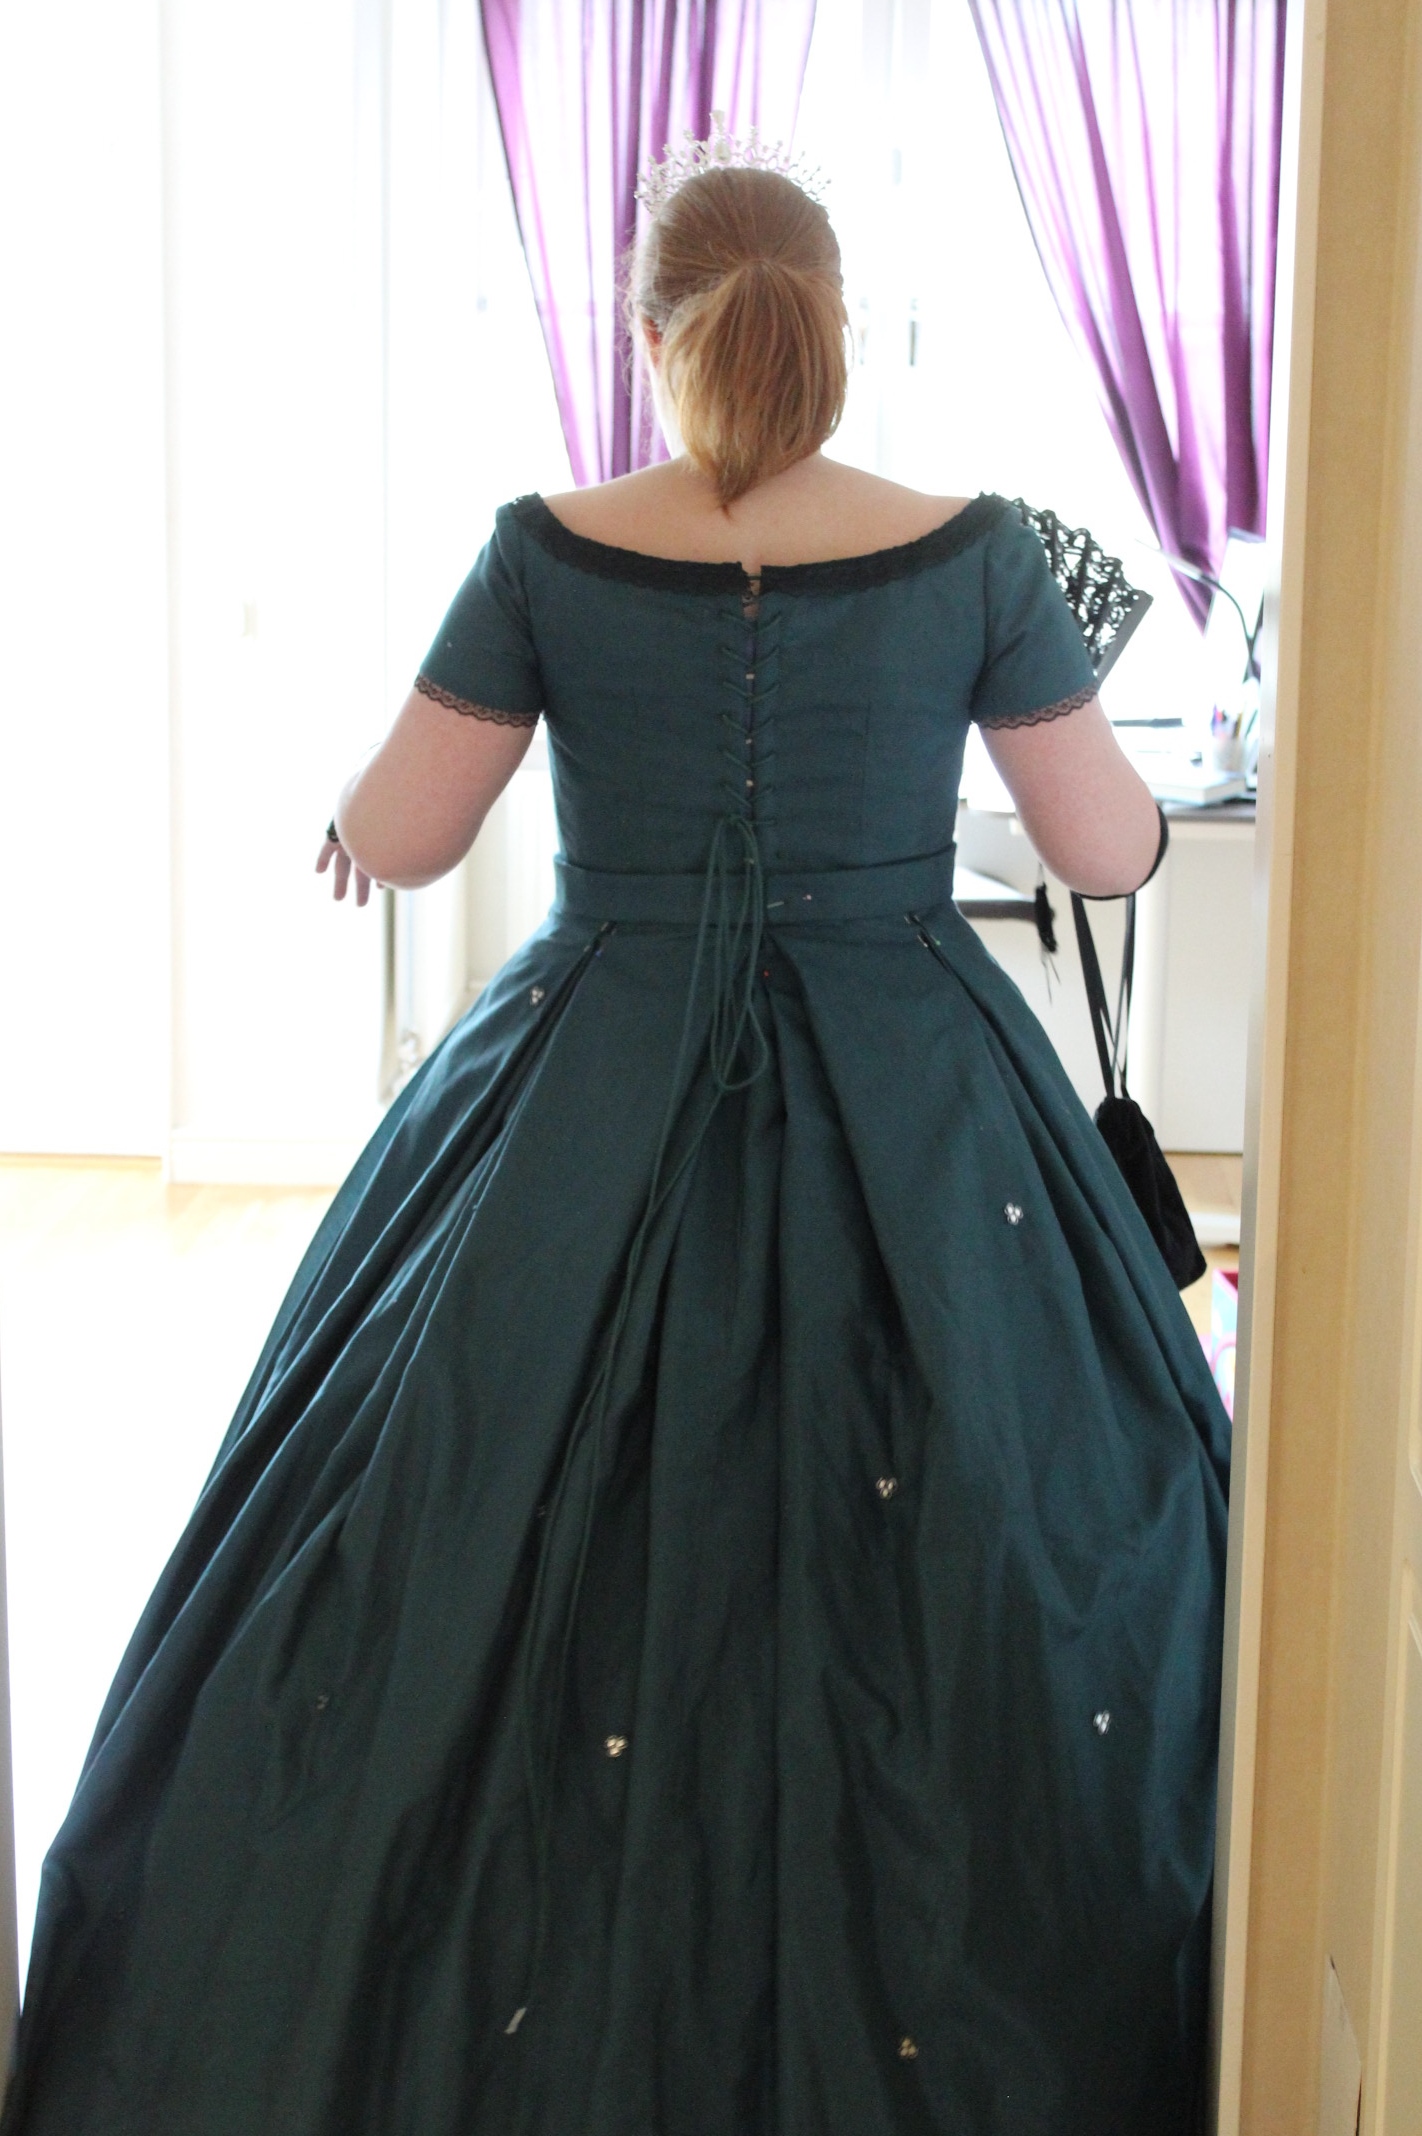
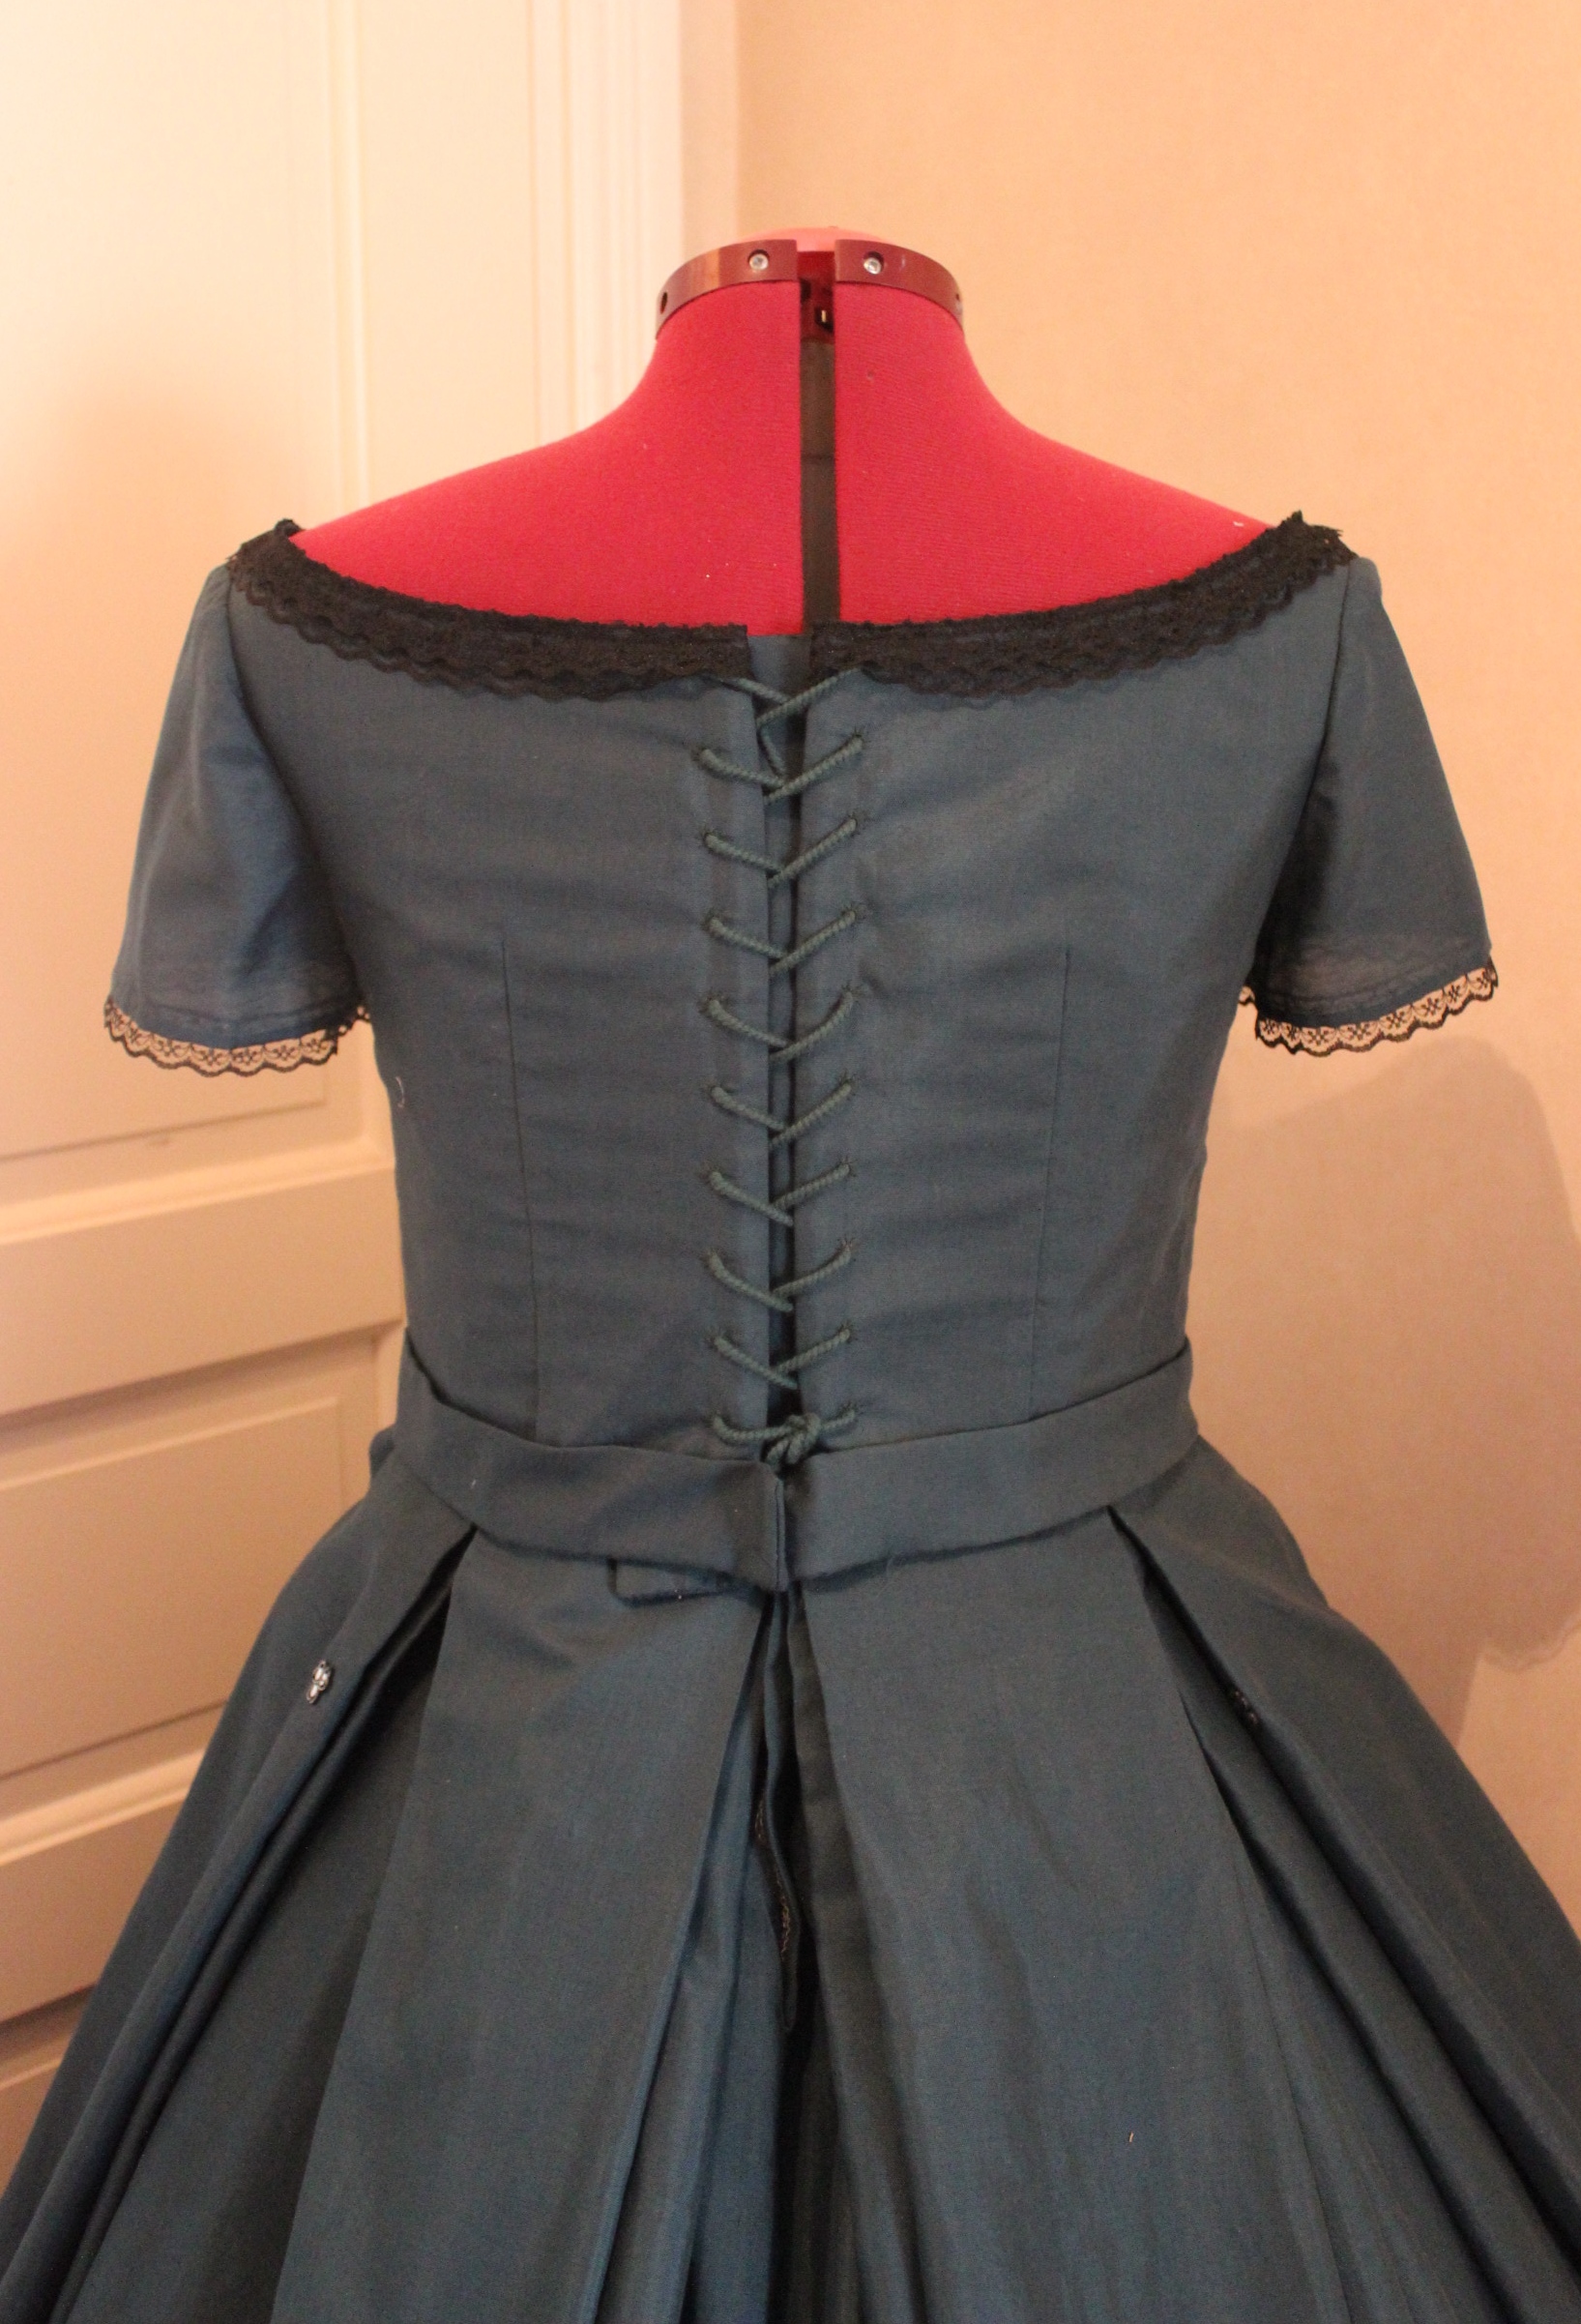
Then it was time to try the gown on my sister.
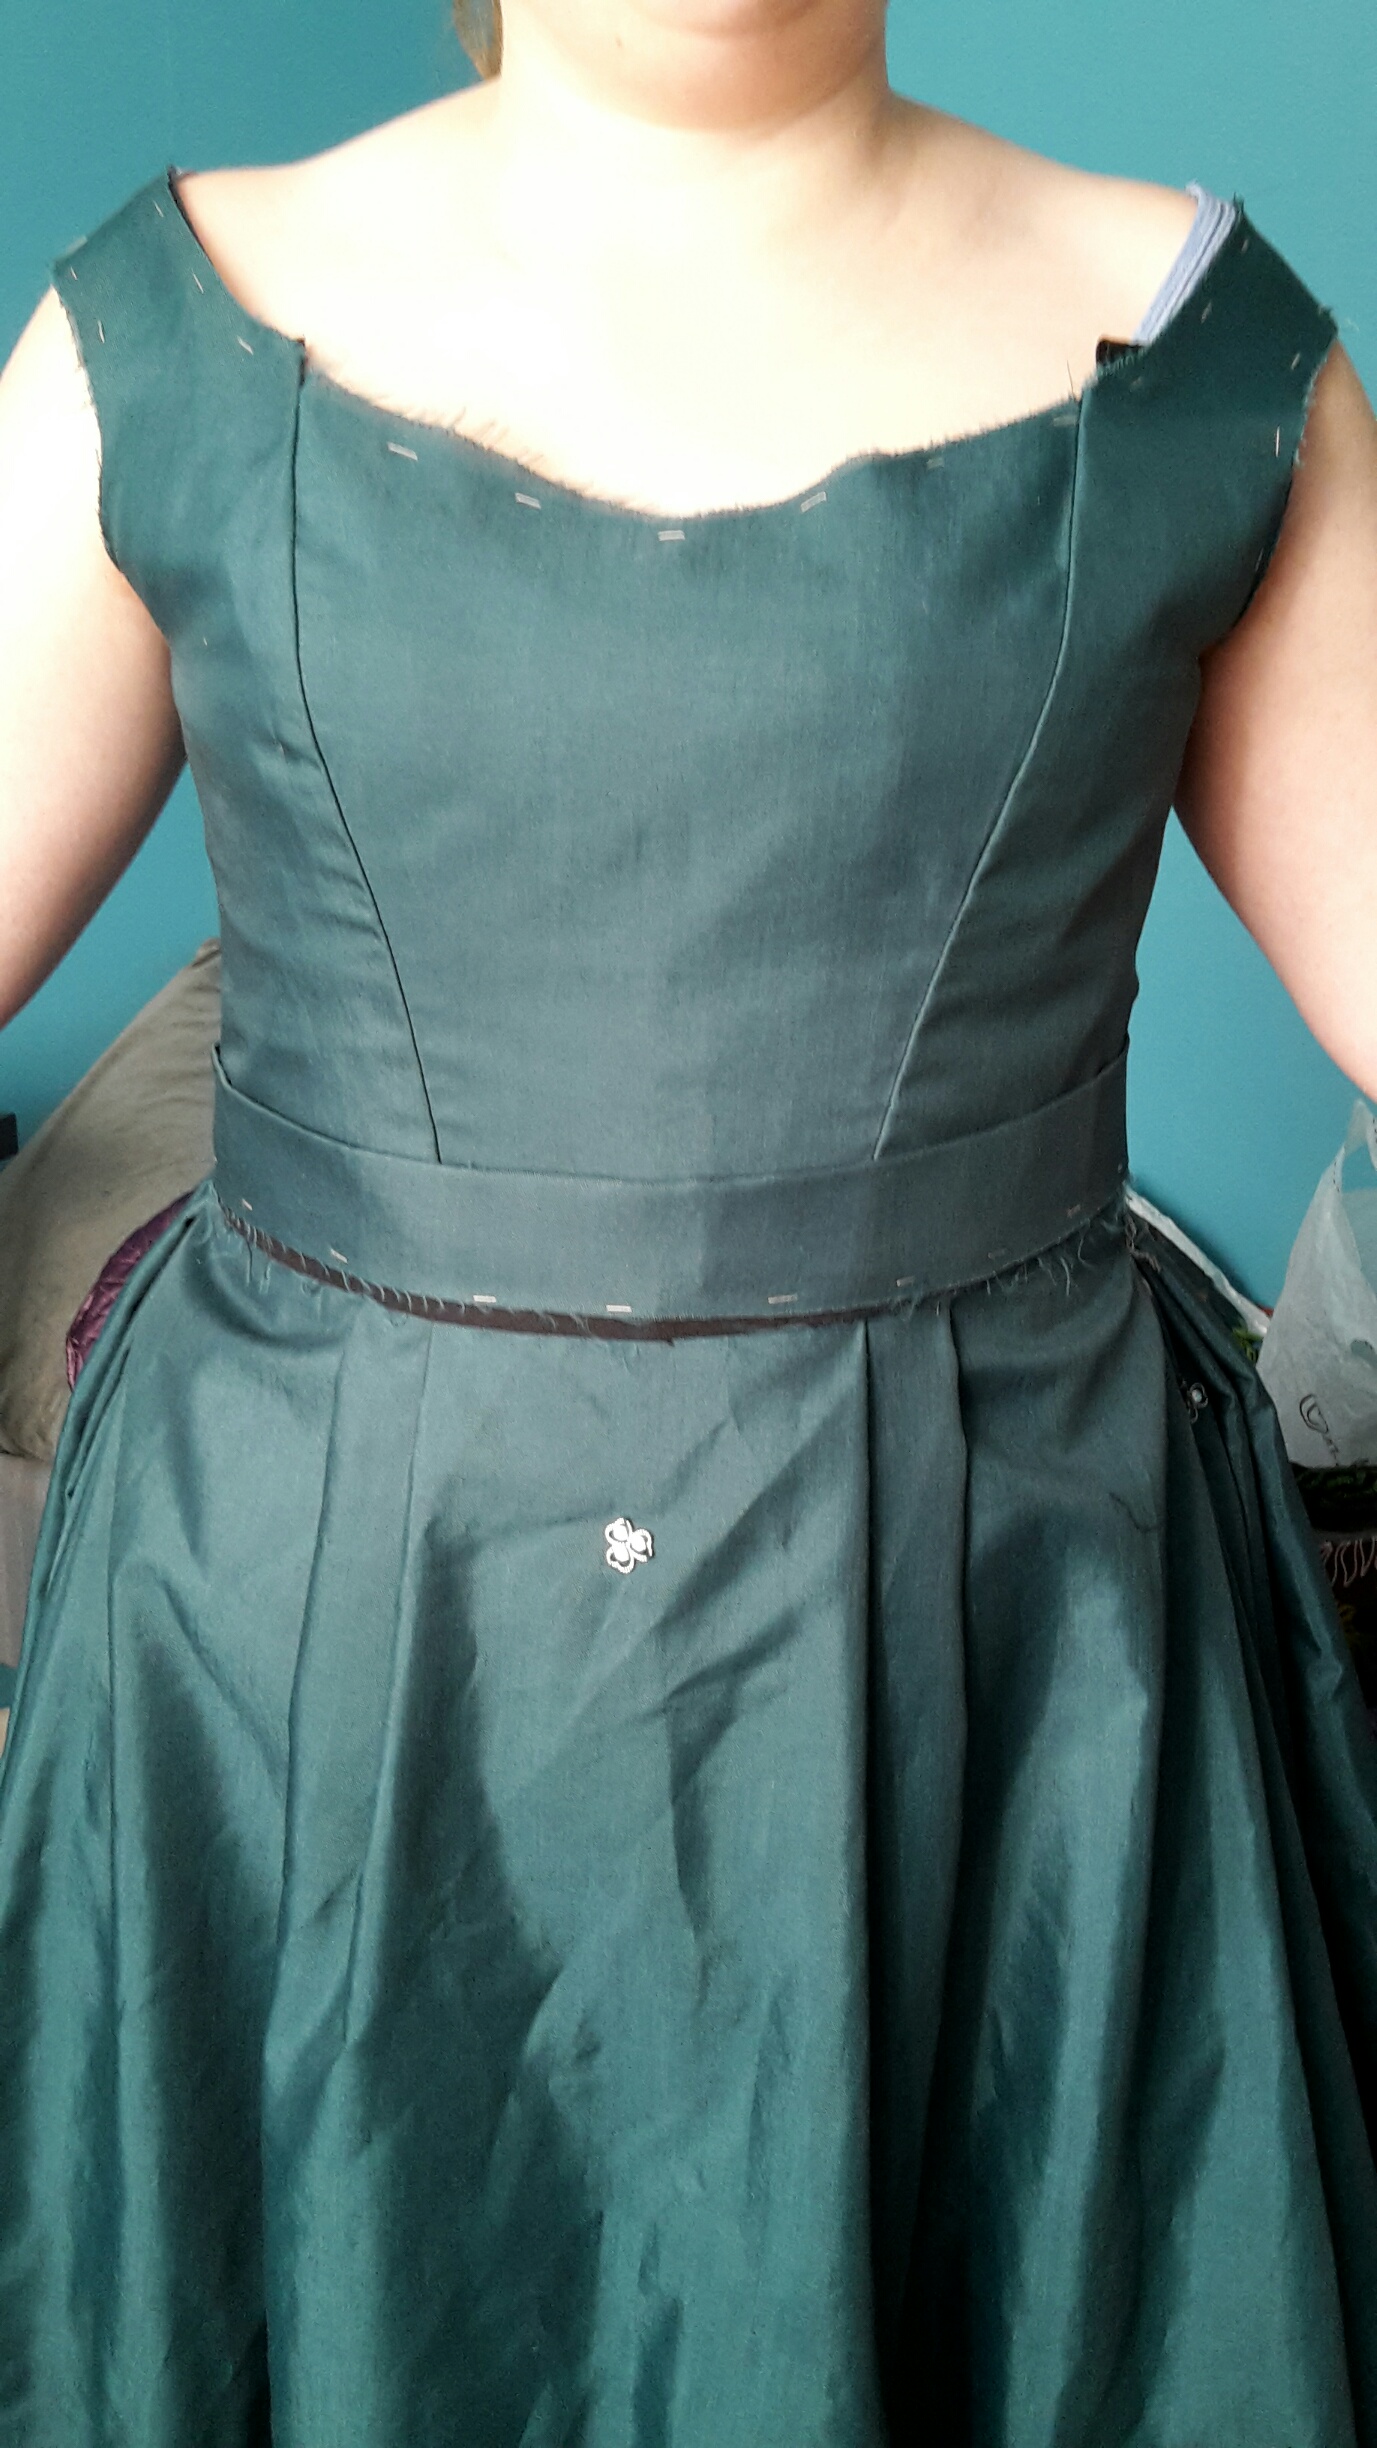

Don’t you just love how she matches the wall…
Thank good for multiple mock-ups. The bodice (and skirt) fit almost perfectly (the wrinkles you see at the back will disappear once I got the center back bones in).
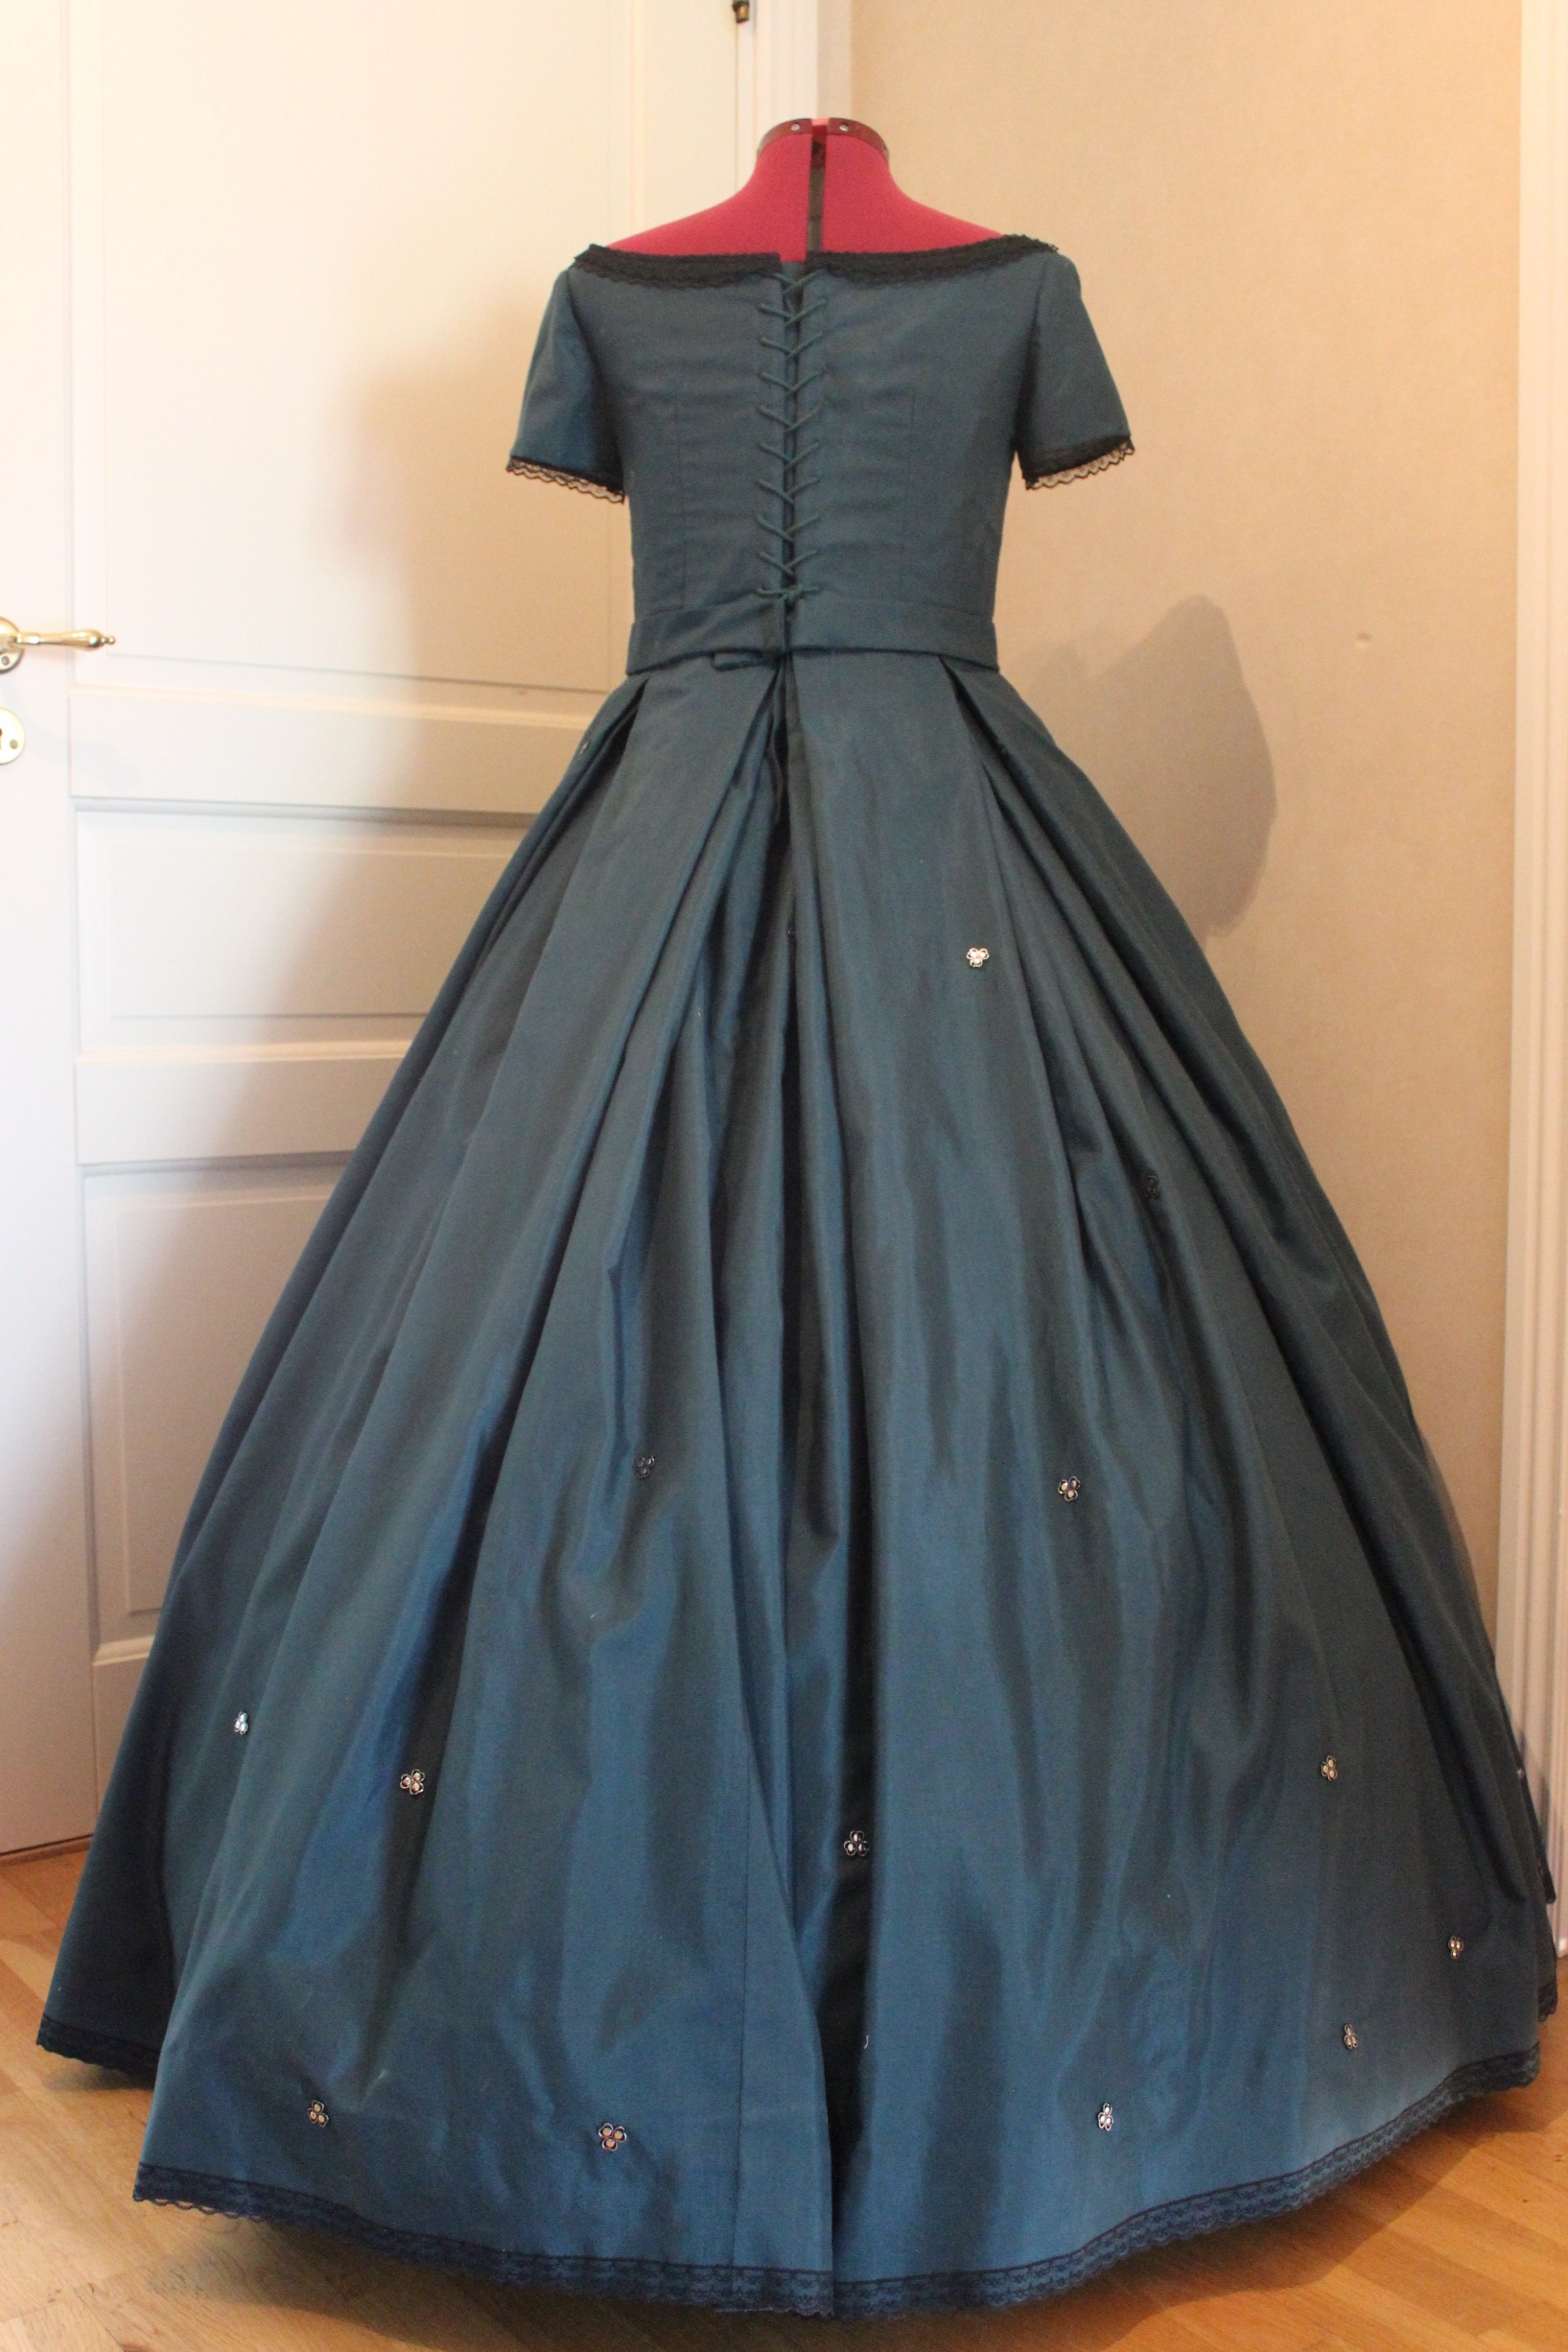
After some minor adjustments, I set the sleeves and the lining and got started on the eyelet for the back lacing. Here I ran into trouble. after almost 3 months of planing and making undergarments for this dress, I still hadn’t found any suitable lacing cord in a color that would work for the dress. I’d been to every sore in town, searched the internet, contemplated using black or even discard of lacing for closure all together, when I realized I might in fact have something in my own stash that would work.
Hurray! The odd colored cotton cord I’d got on super sale a few years back turned out to be the exact shade of Teal I needed – what are the odds? 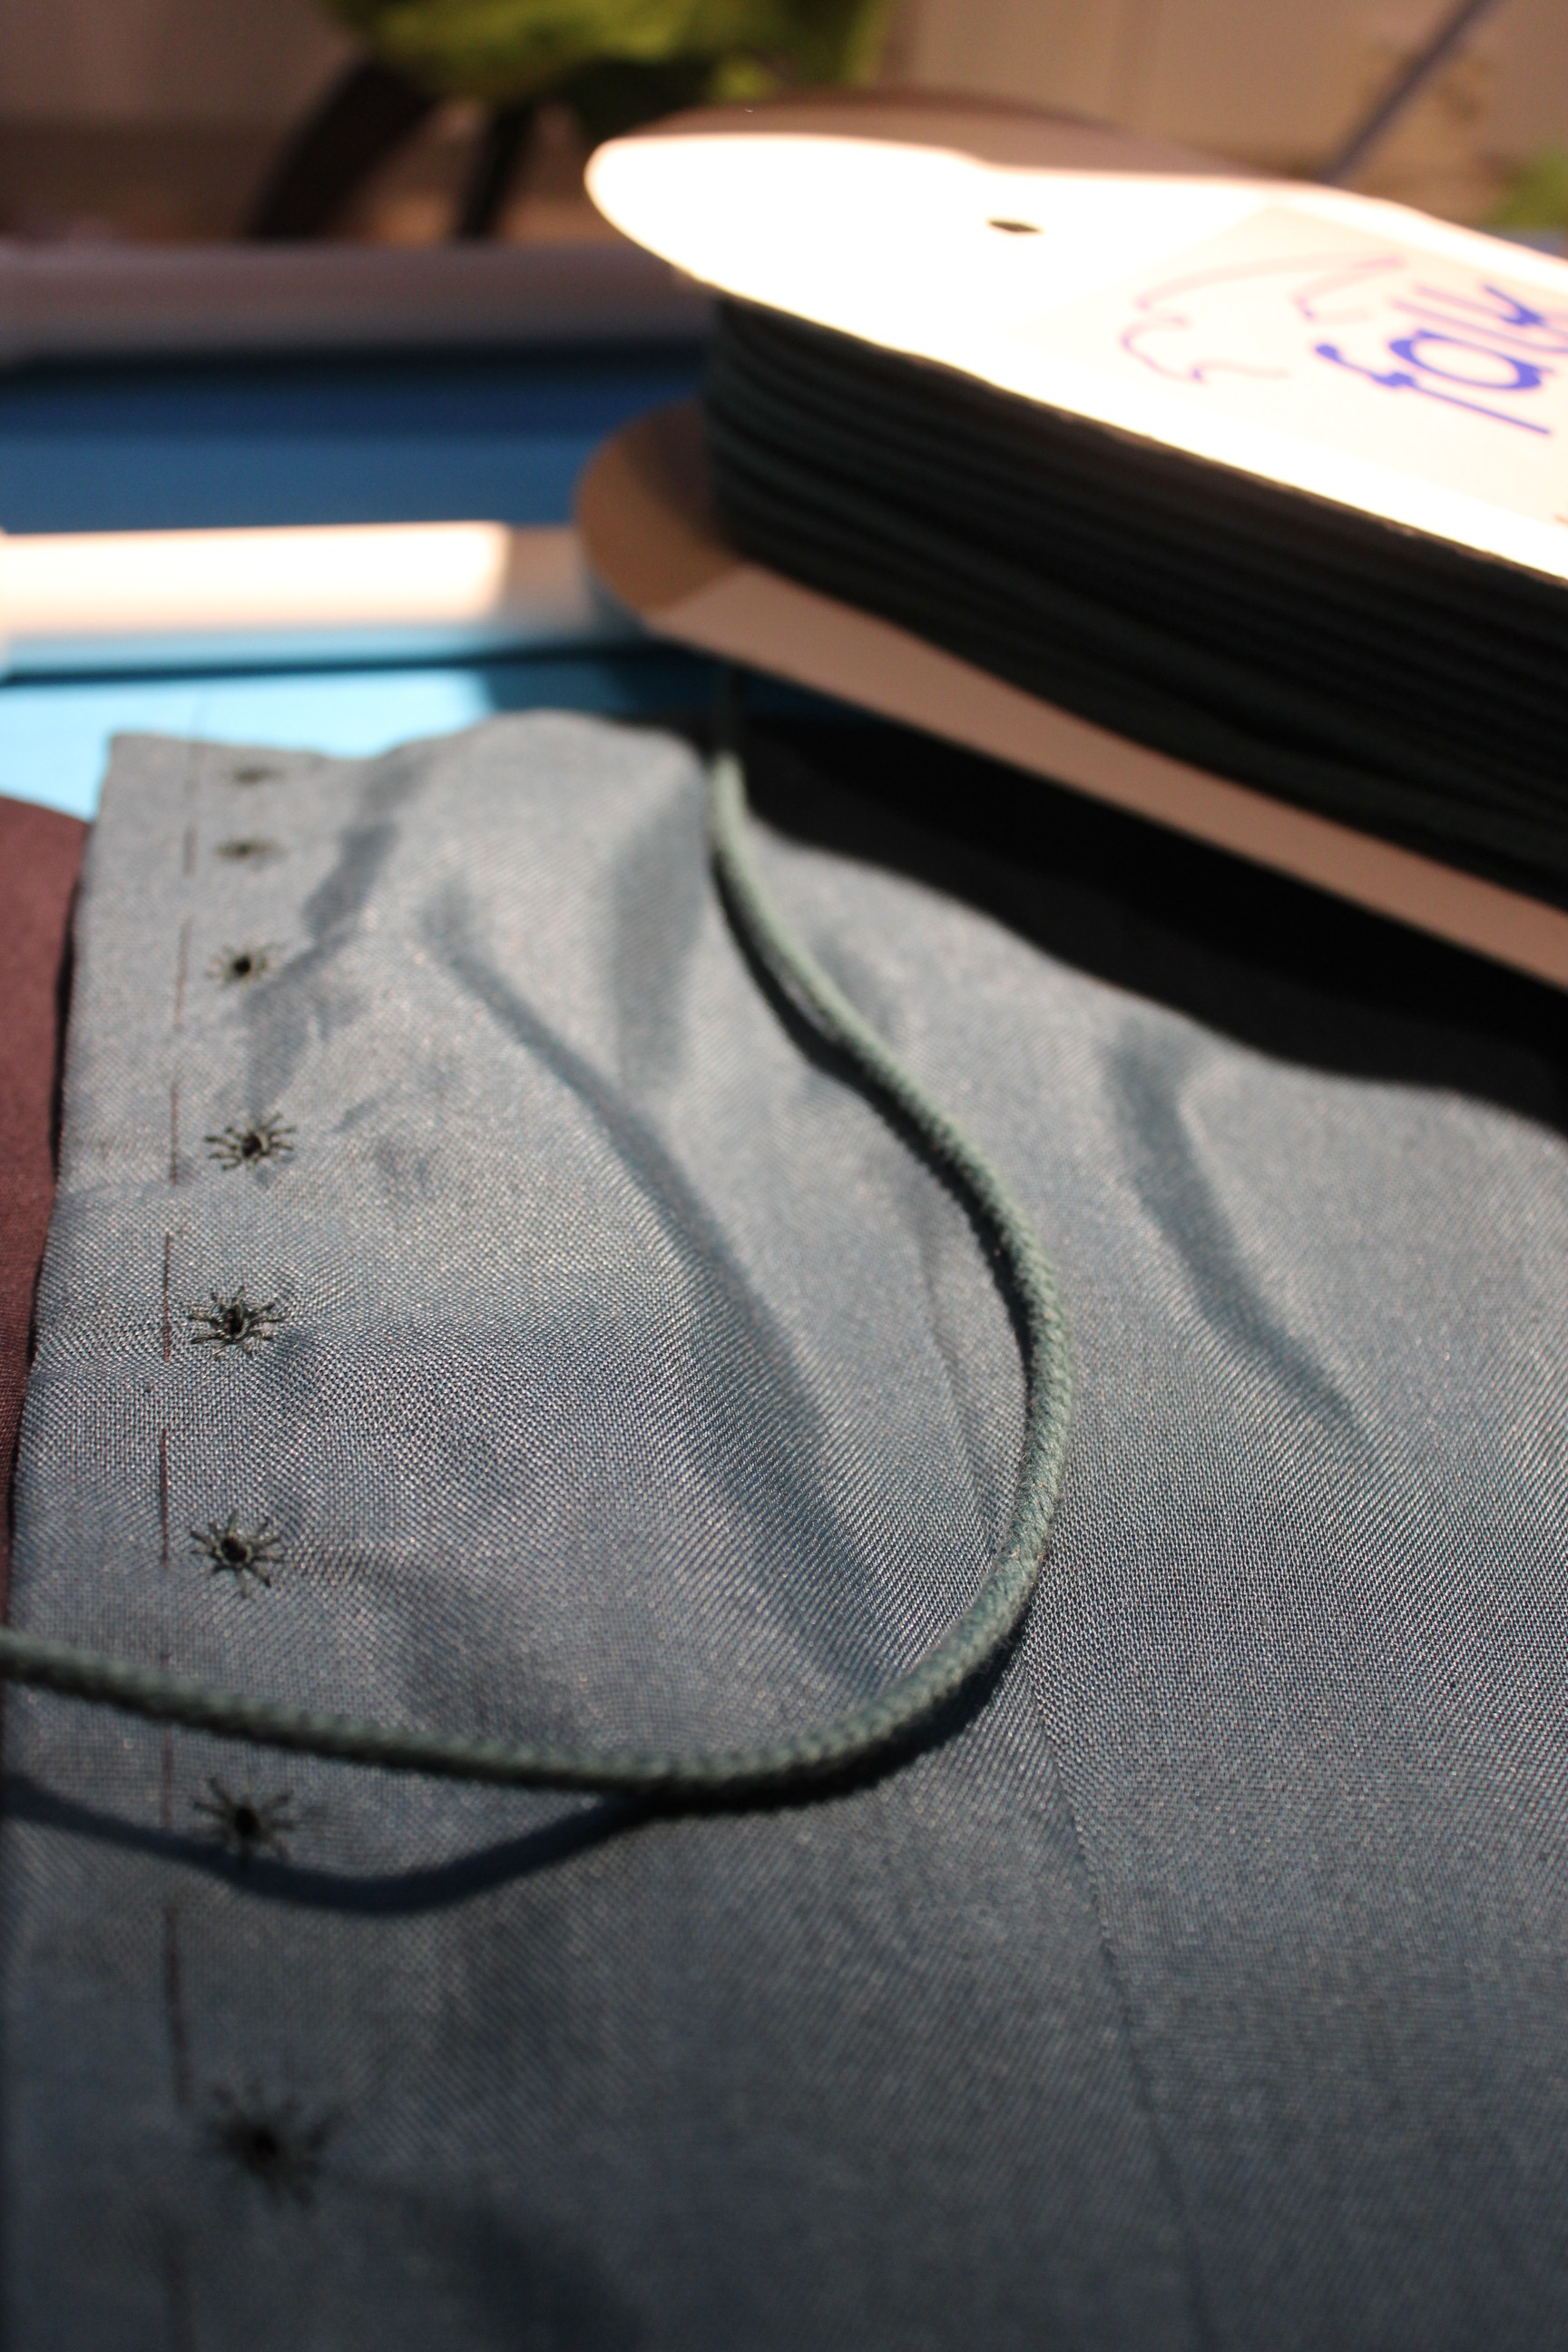 Perfect match! – Is this a sign my stash are to big?
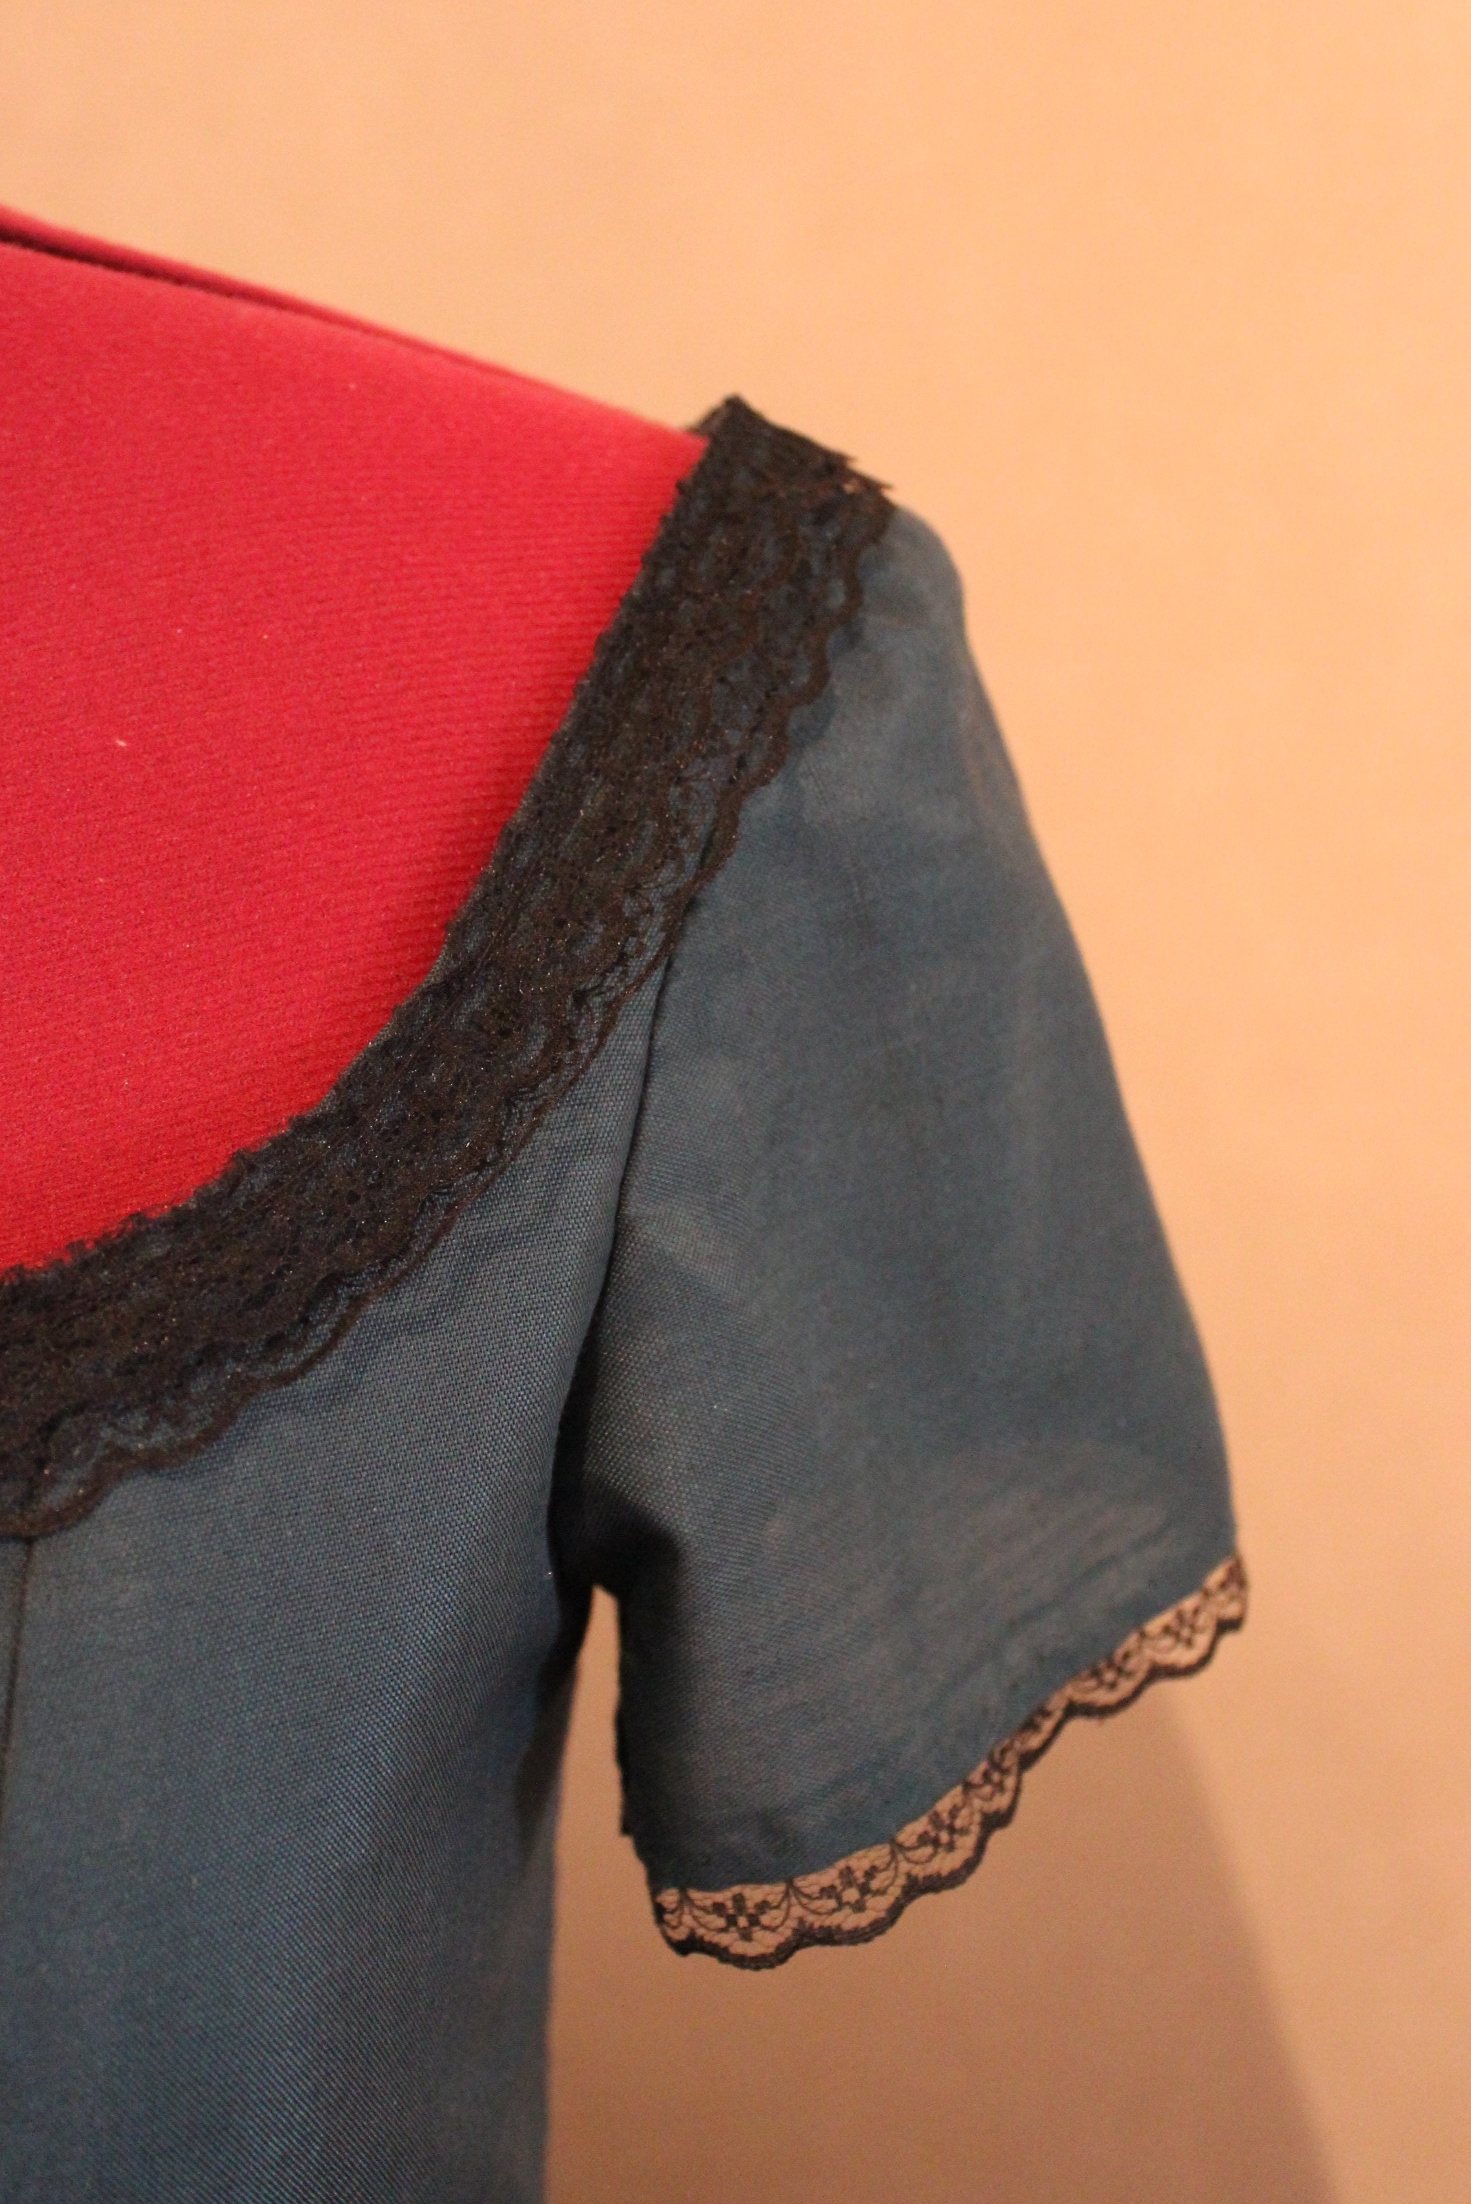
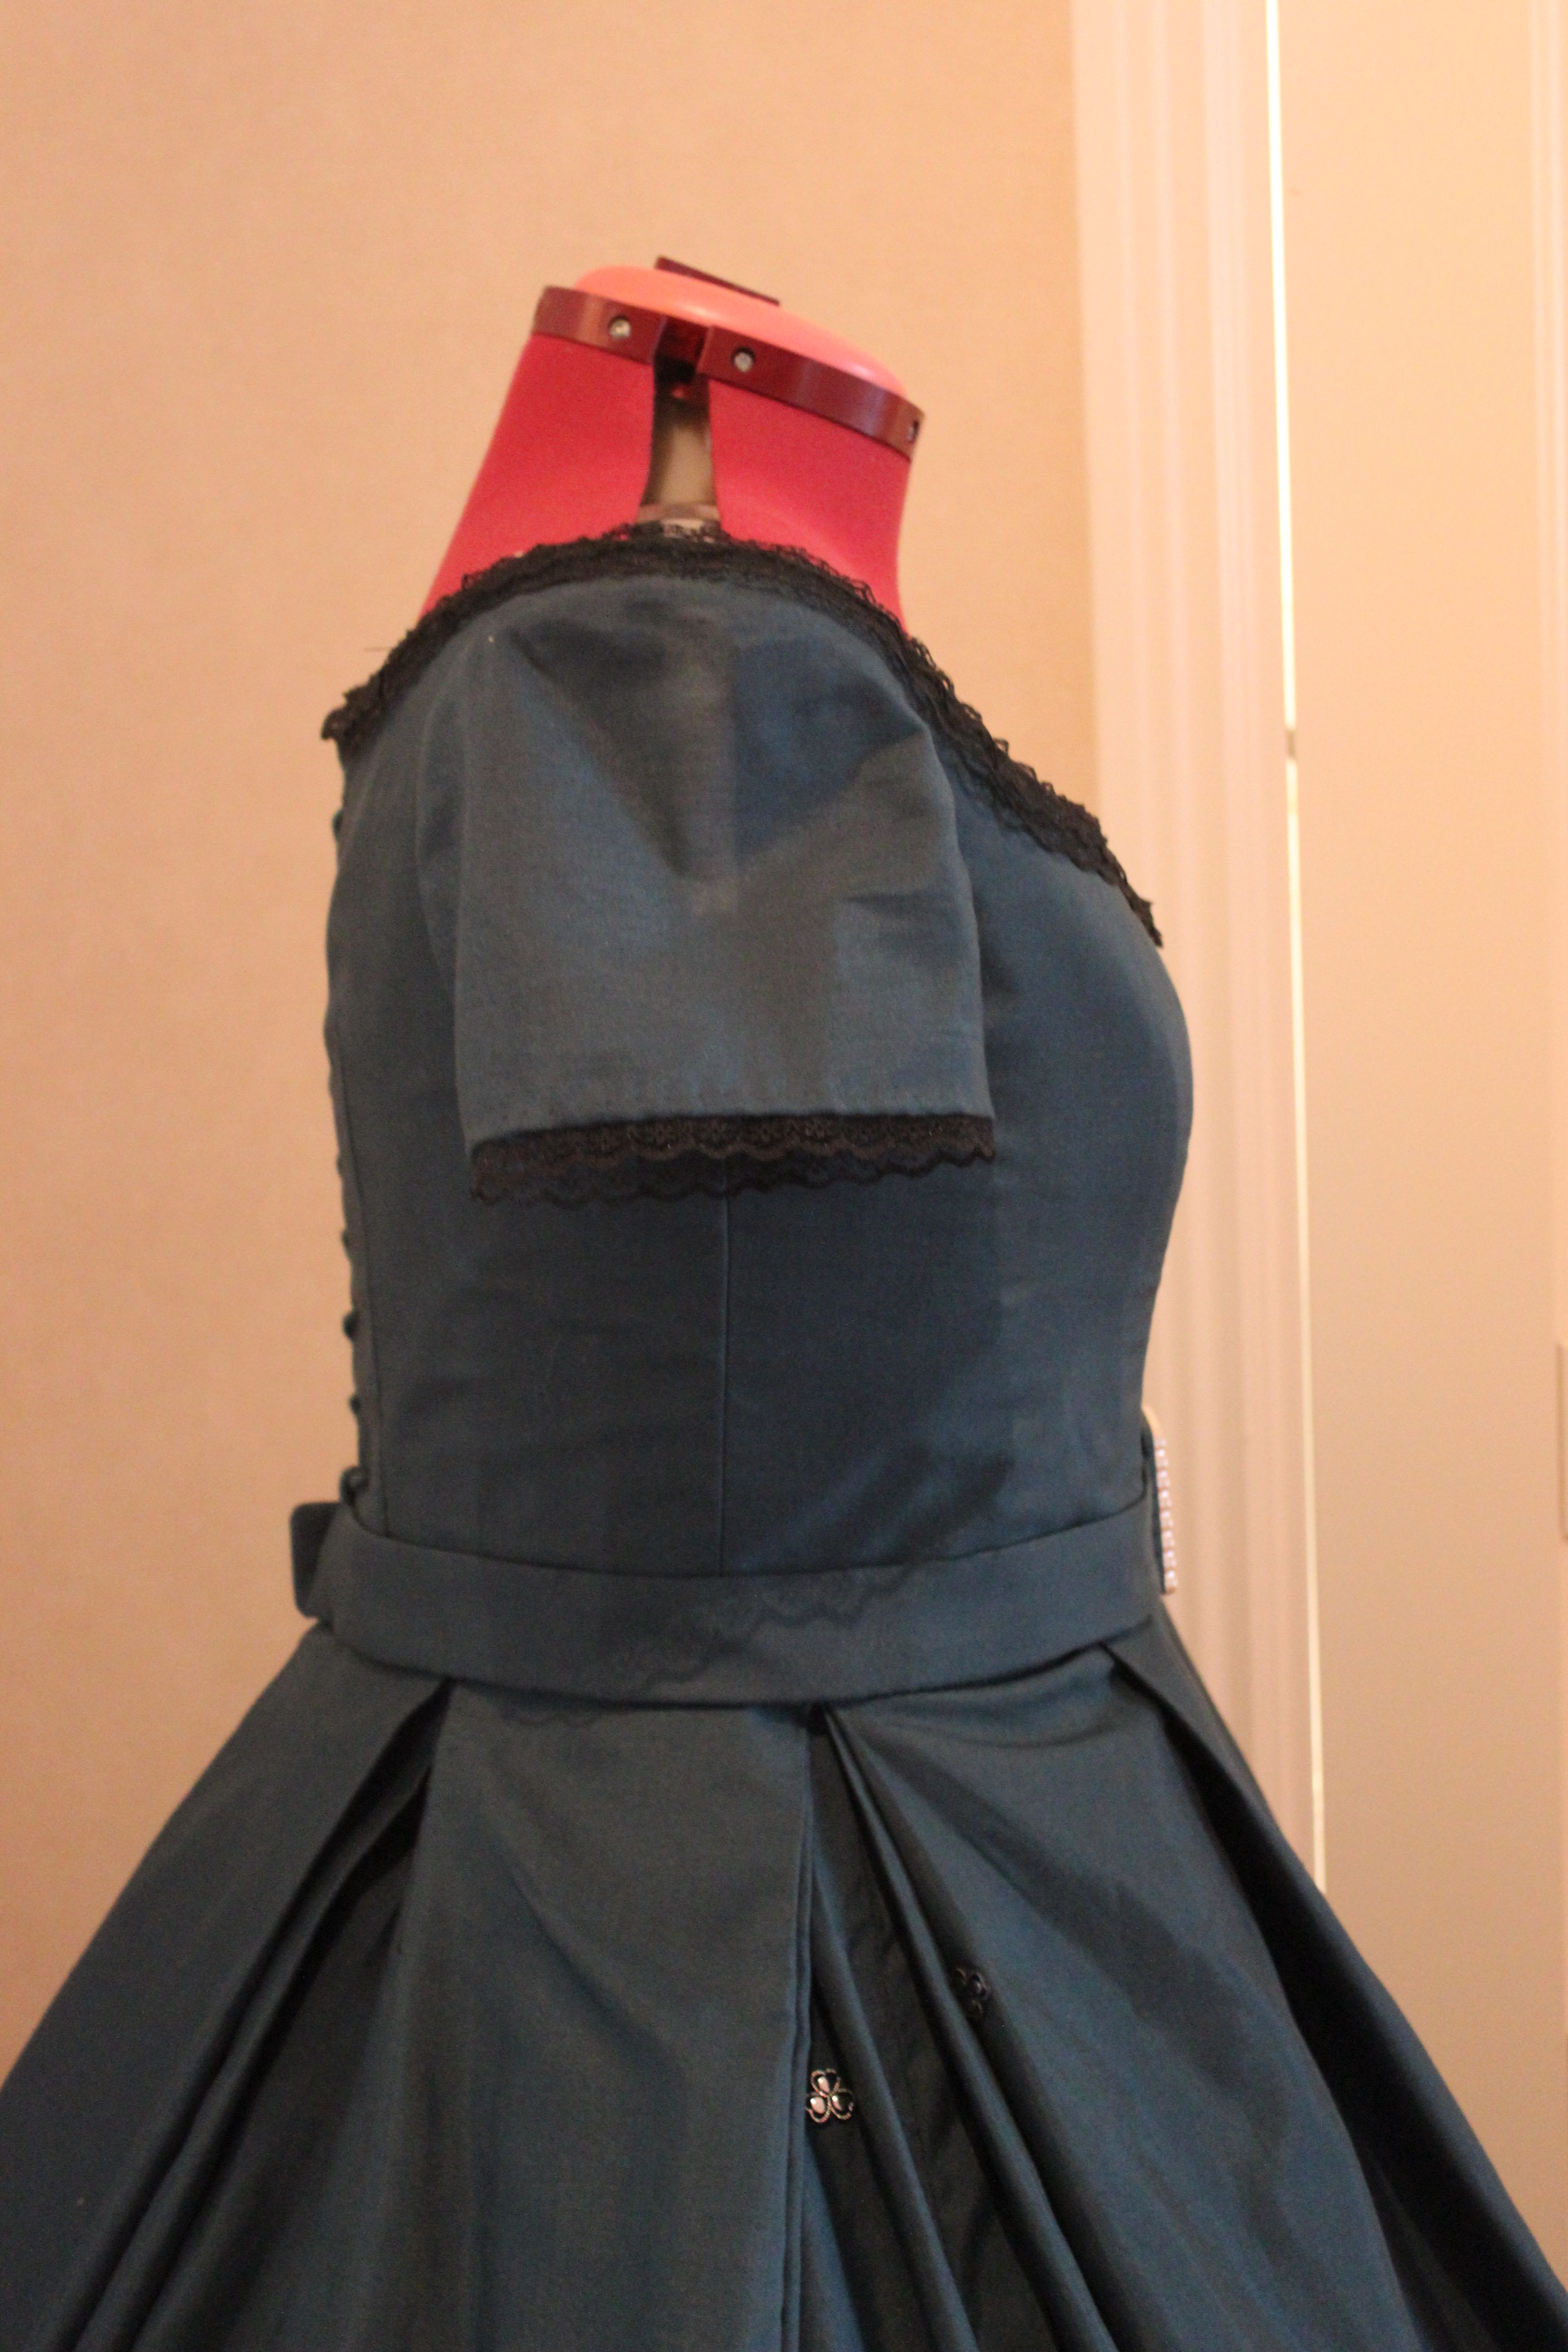
Once the eyelets where finished I stitched down the lining, hemed the sleeves made a belt and added some black lace to the neckline. 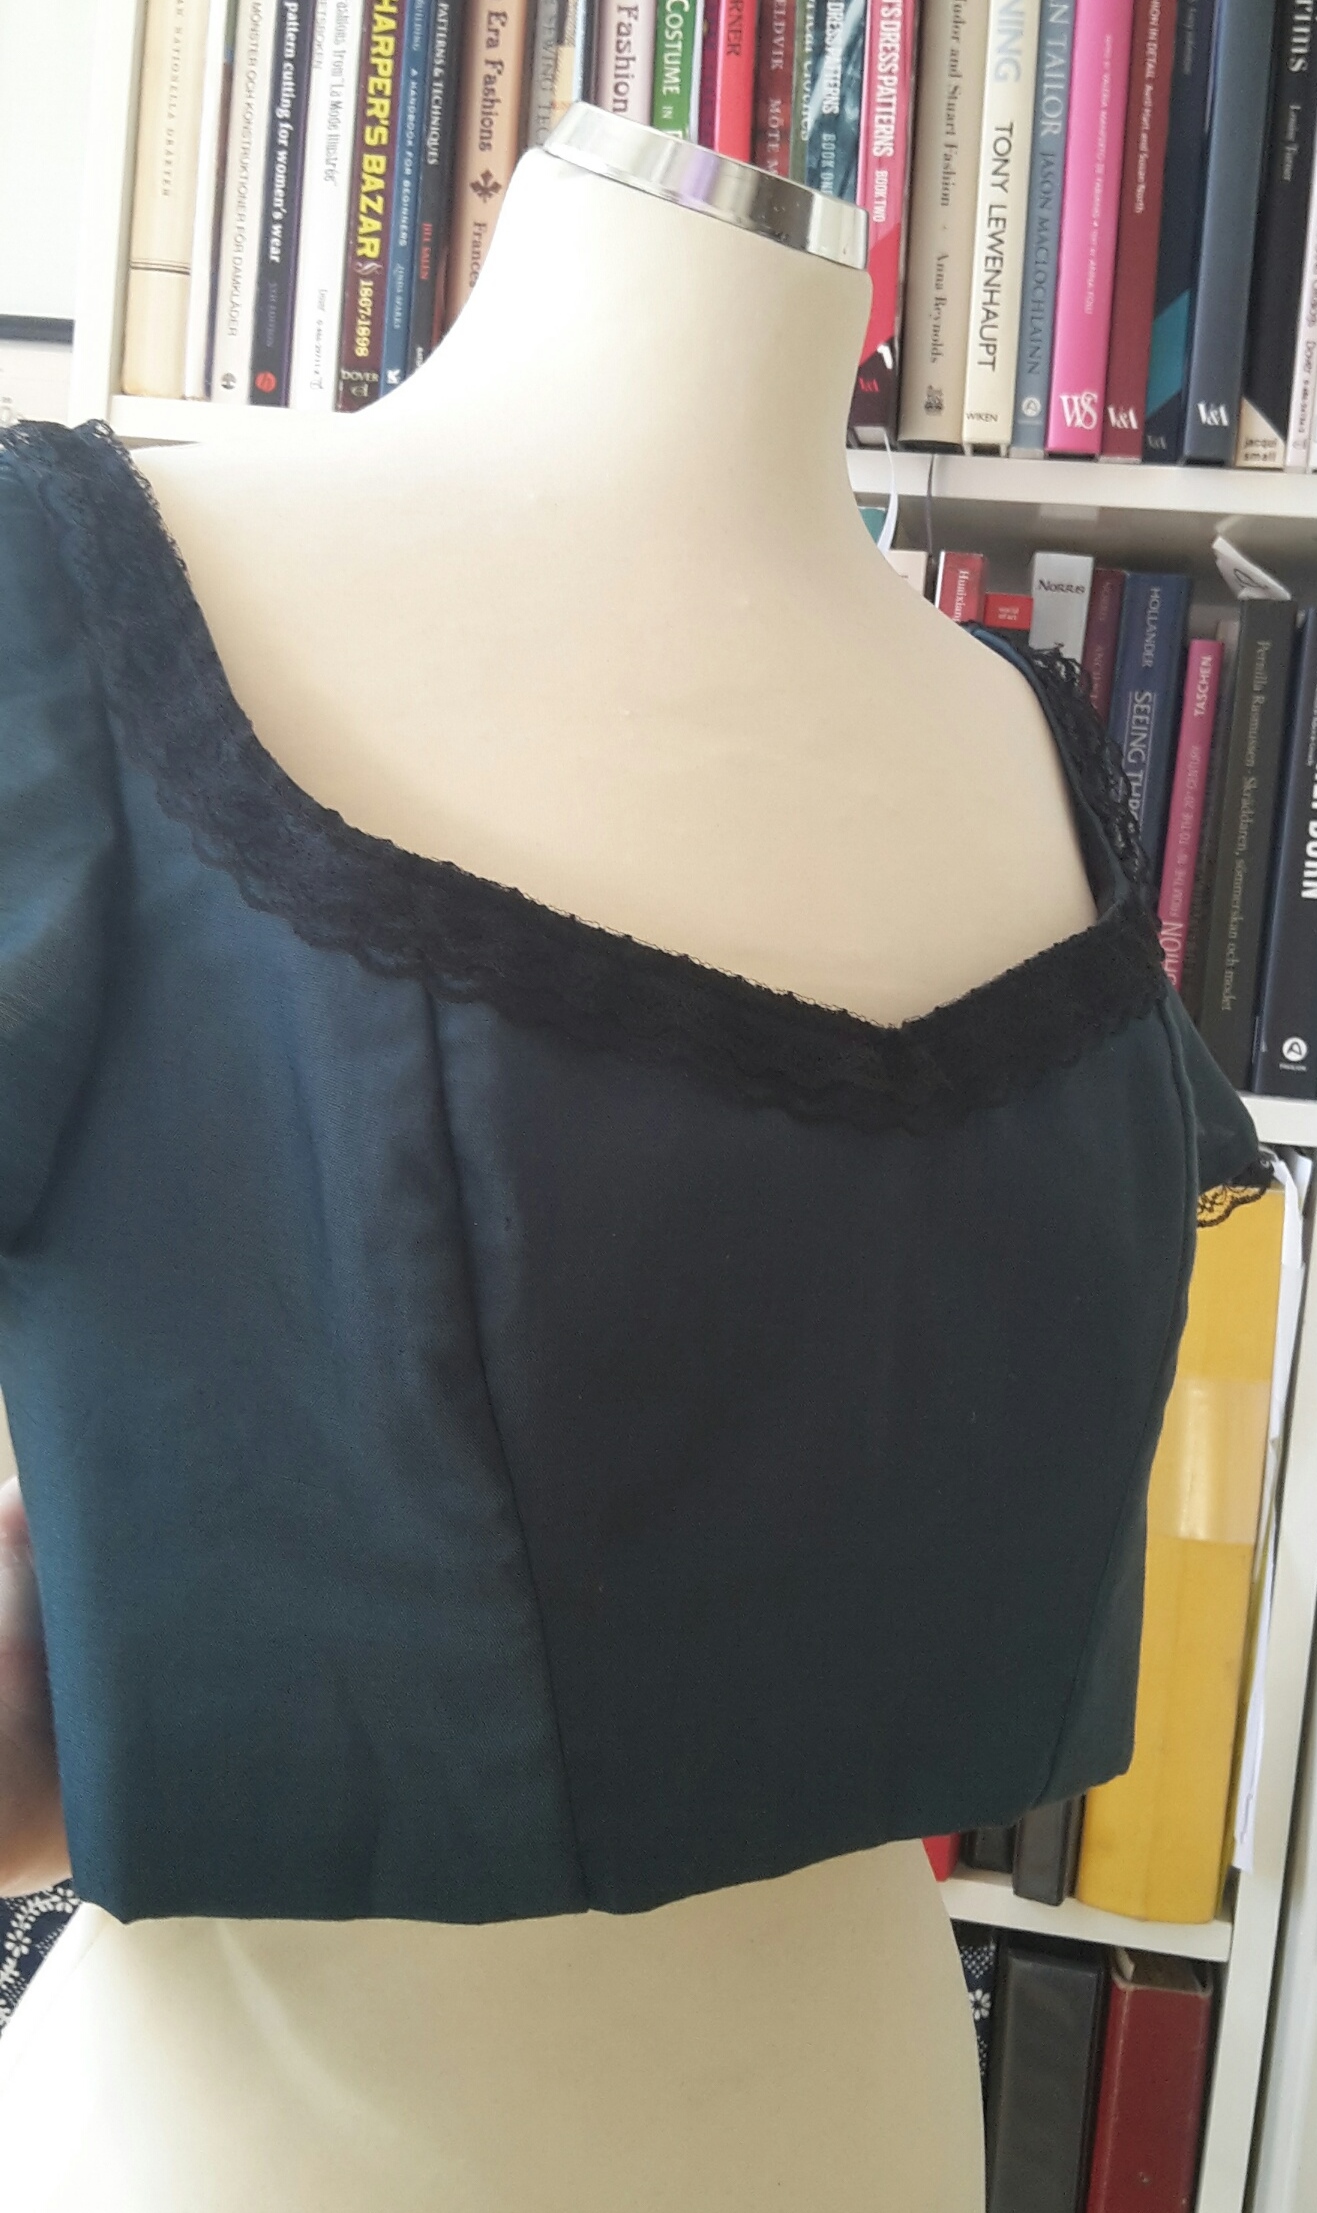
Then I got my sister to come and try it on for a (almost) final fitting, where we marked the skirt length, stitched the belt on the bodice and added hooks and eyes to the waistbands of both pieces to keep the bodice from riding up.

 We also decided on how to accessorize, and to ad a piece of the same black lace around the sleeves and hem.
And since I want to submit this dress for the Historical Sew Monthly nr 5/2017 – Literature, I did some thinking on what book I would choose to make it fit. Then came the obvious answer – Victoria and her Court by Virginia Schomp (find preview from Google Books here).
Because who if not Queen Victoria would house a gown like this.
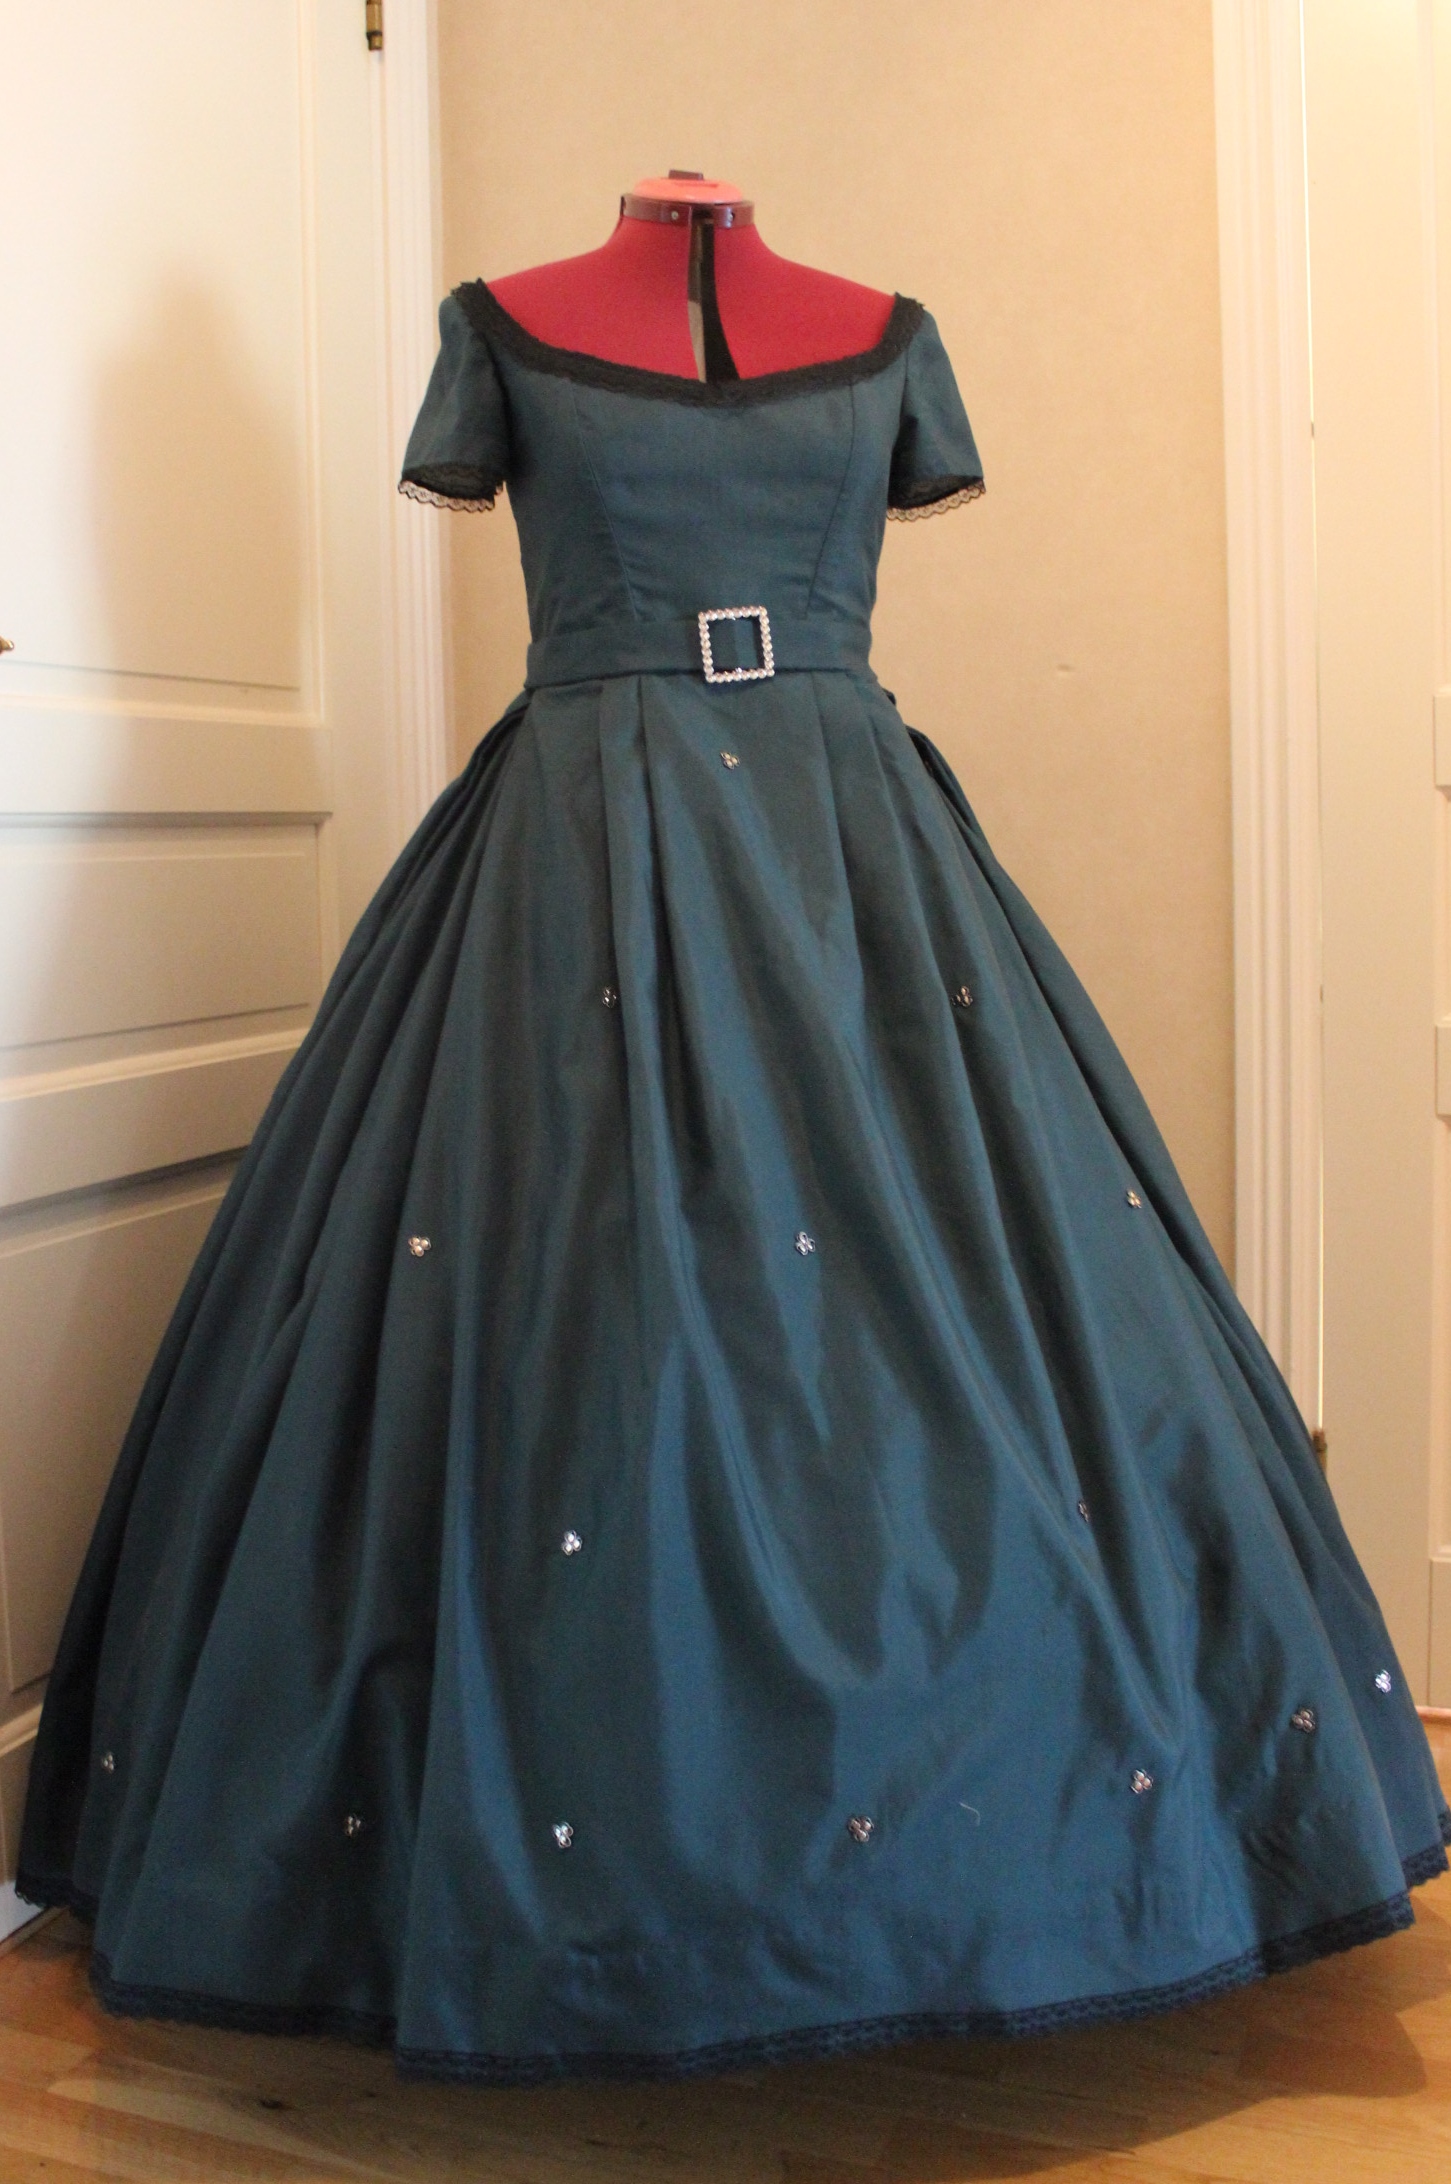
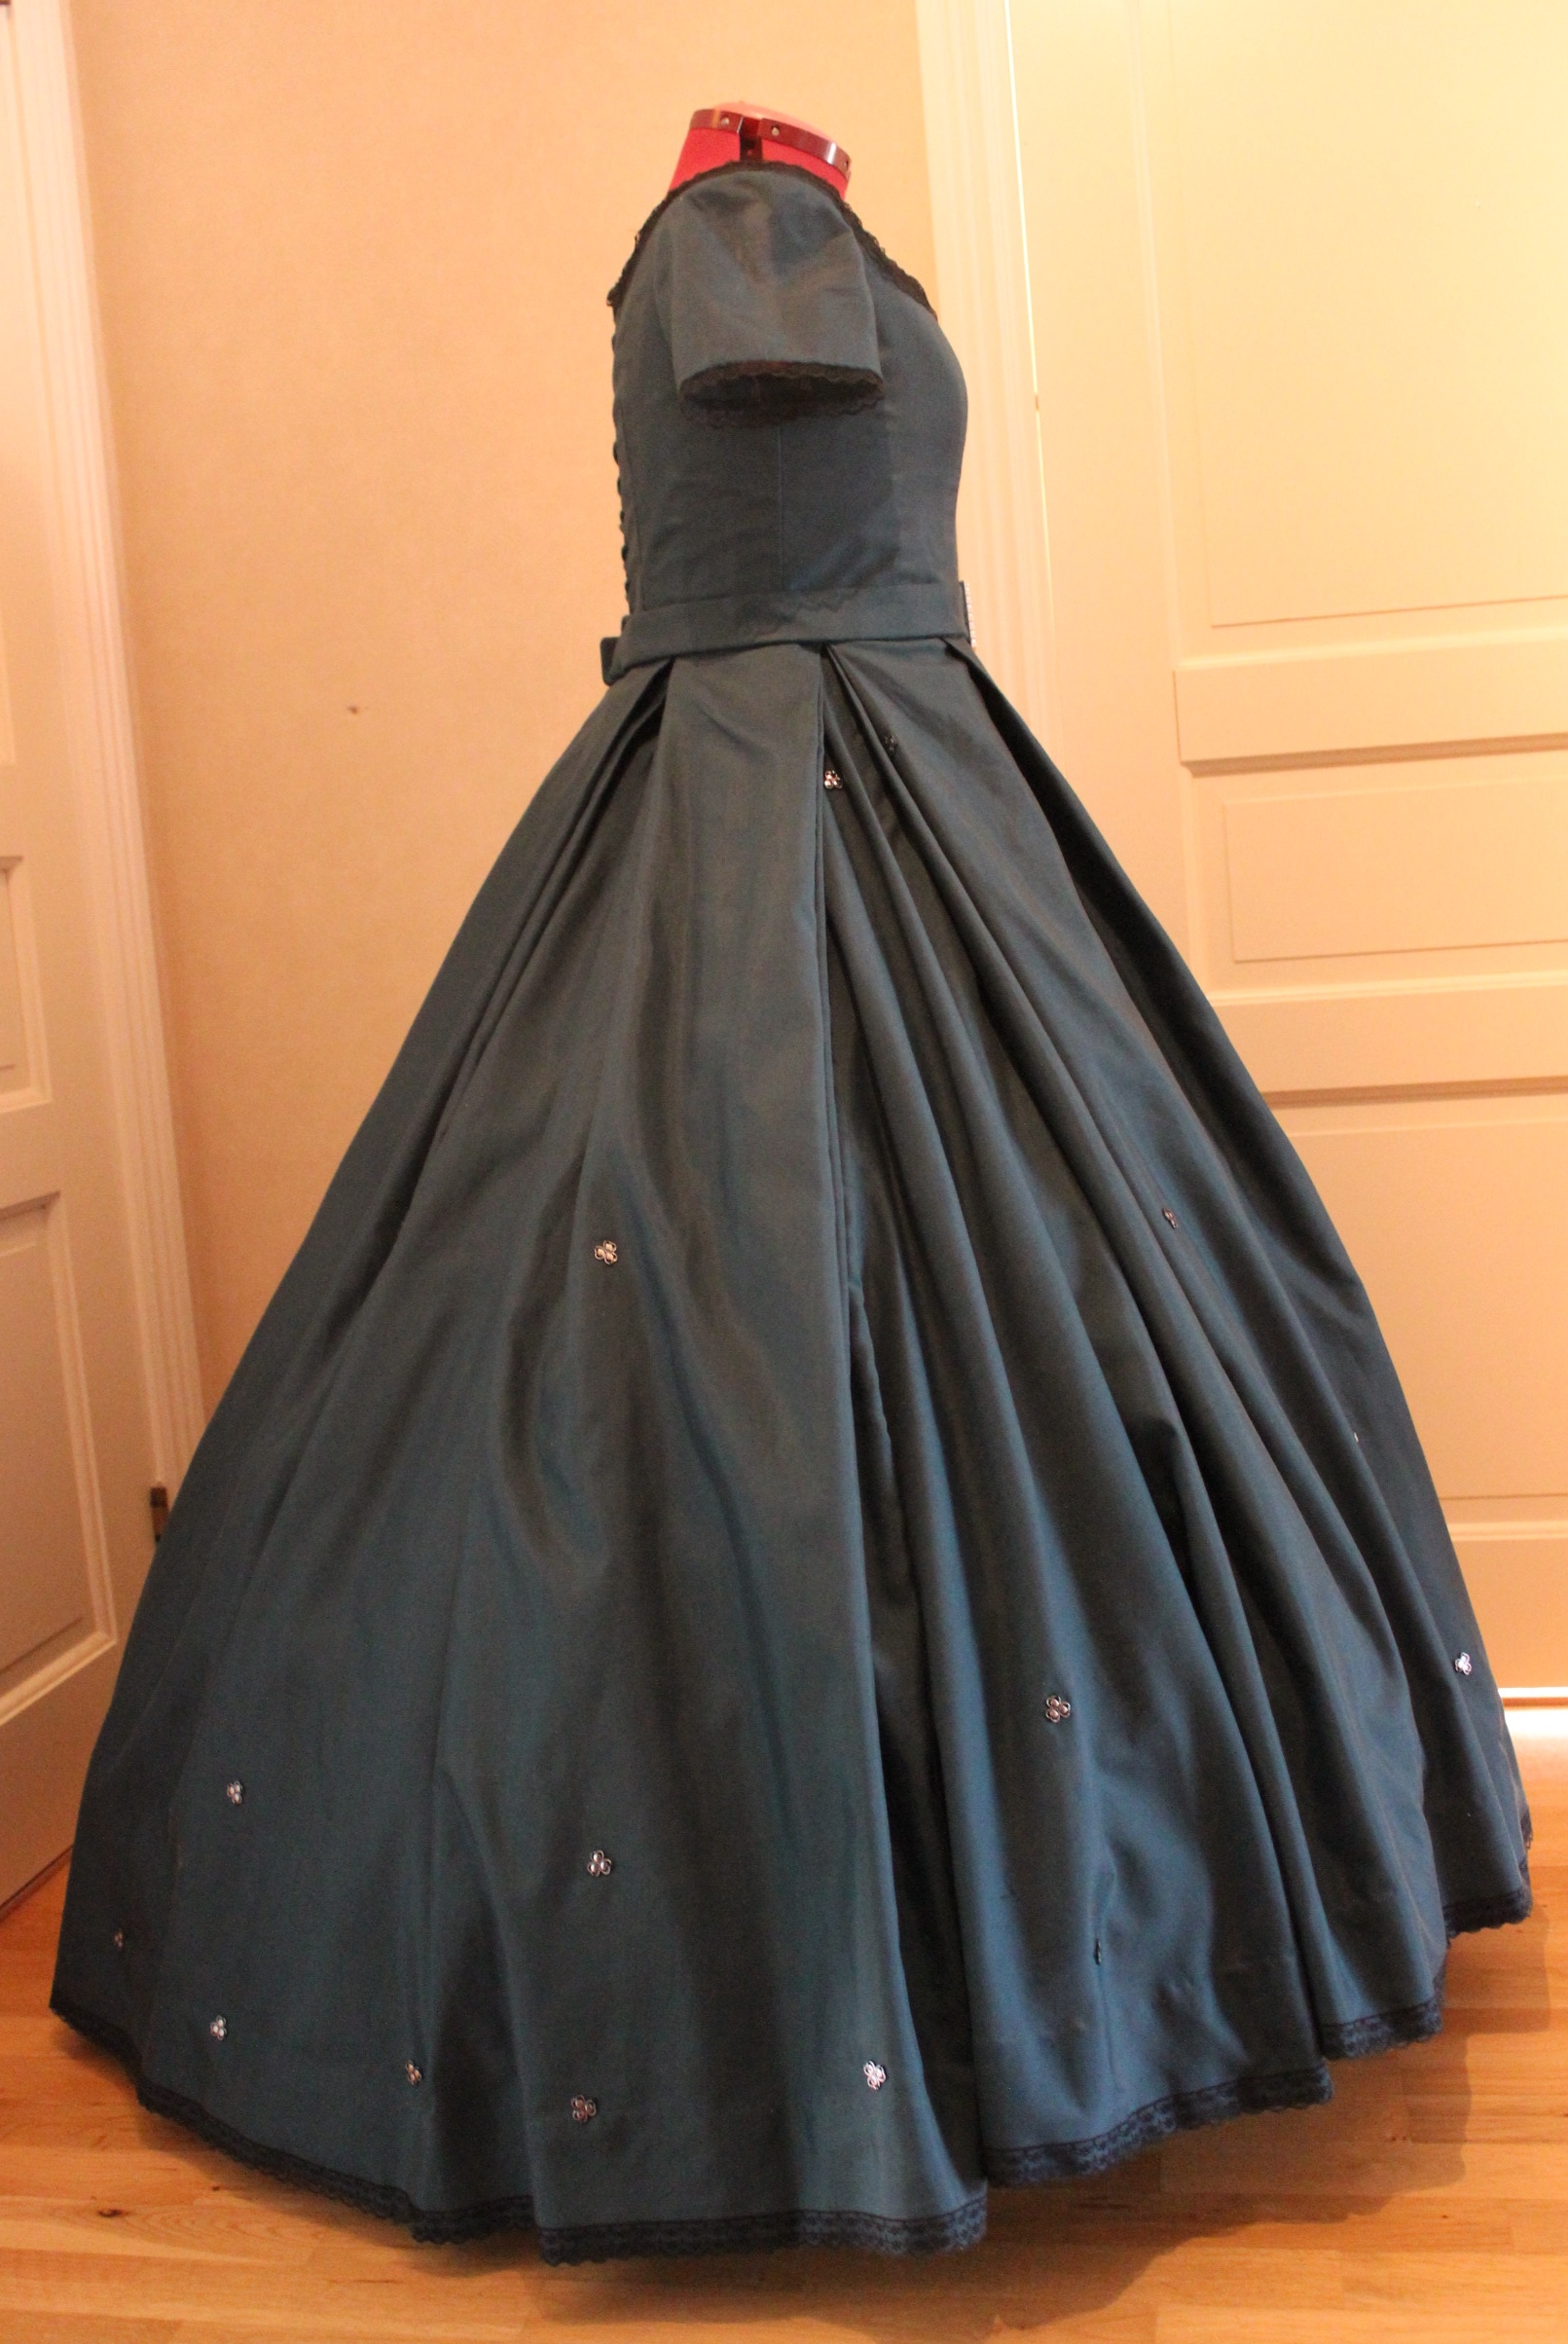
The Finished dress:


Just the facts:
Challenge: Nr 5/2017 – Literature
What: A 1865s evening dress
How it fit the challenge: It’s a plausible outfit for one of Victorias many ladies in waiting, or even the Queen itself, as described in Virginia Schomps book Victoria and Her Court.
Pattern: I drafted my own after studying the 1865s dresses from Waughs Cut of women’s clothes and Arnolds Pattern of Fashion.
Fabric: 5 m of teal colored polyester curtains (2 pieces 250 x 145 cm each), 4 m of black sheets for lining and 0,5 m of black cotton twill for interlining.
Notions: Thread, Buttonhole-thread, 7 short bones, 1m black bias tape to use as bone casings, 1 m heavy interfacing for the belt, 1 belt buckle, cotton cord for lacing, lots of silver spangles and 7 m of black lace for decoration.
How historical accurate: The shape/look is right, but the construction, pattern and material are all modern. So maybe 4/10
Time: In total about 20 hours (on the dress).
Cost: Almost everything came from stash and/or was really, really cheap. I think I payed about 300 Sek (30 Usd) total for everything. But on a dress like this there really is no limit at what it could cost.
First worn: For photos on May 1 by my sister, and later for a ball on May 6 2017.
Final Thoughts: Both me and my sister are totally in love with this dress. I love how it’s so stylized yet over the top at the same time. The small bodice comparied to the lovely exaggerated shape of the skirt, and the subtle sparkle of glitter when it moves makes me very happy. I also had a lot of fun making it. Only problem is, now I want my own…
