For the HSF 22 – Gentlemen, I had some grand planes, but life happened and the project has been postponed till next year.
So instead I decided to make and submit the complementary accessory to the original outfit – A 18th century riding hat.
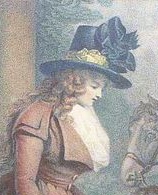
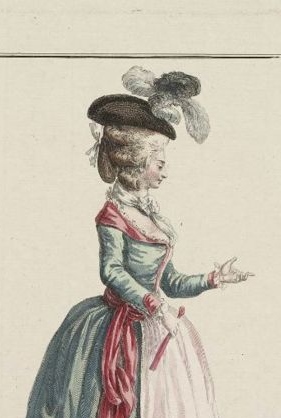
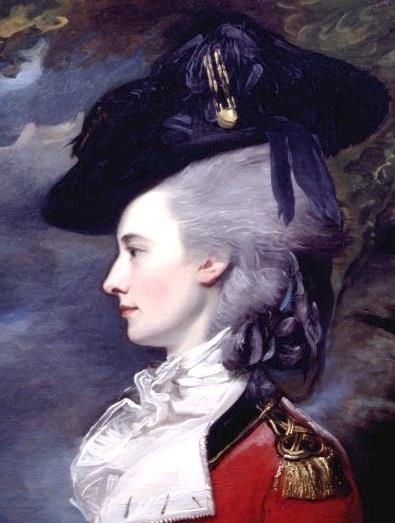
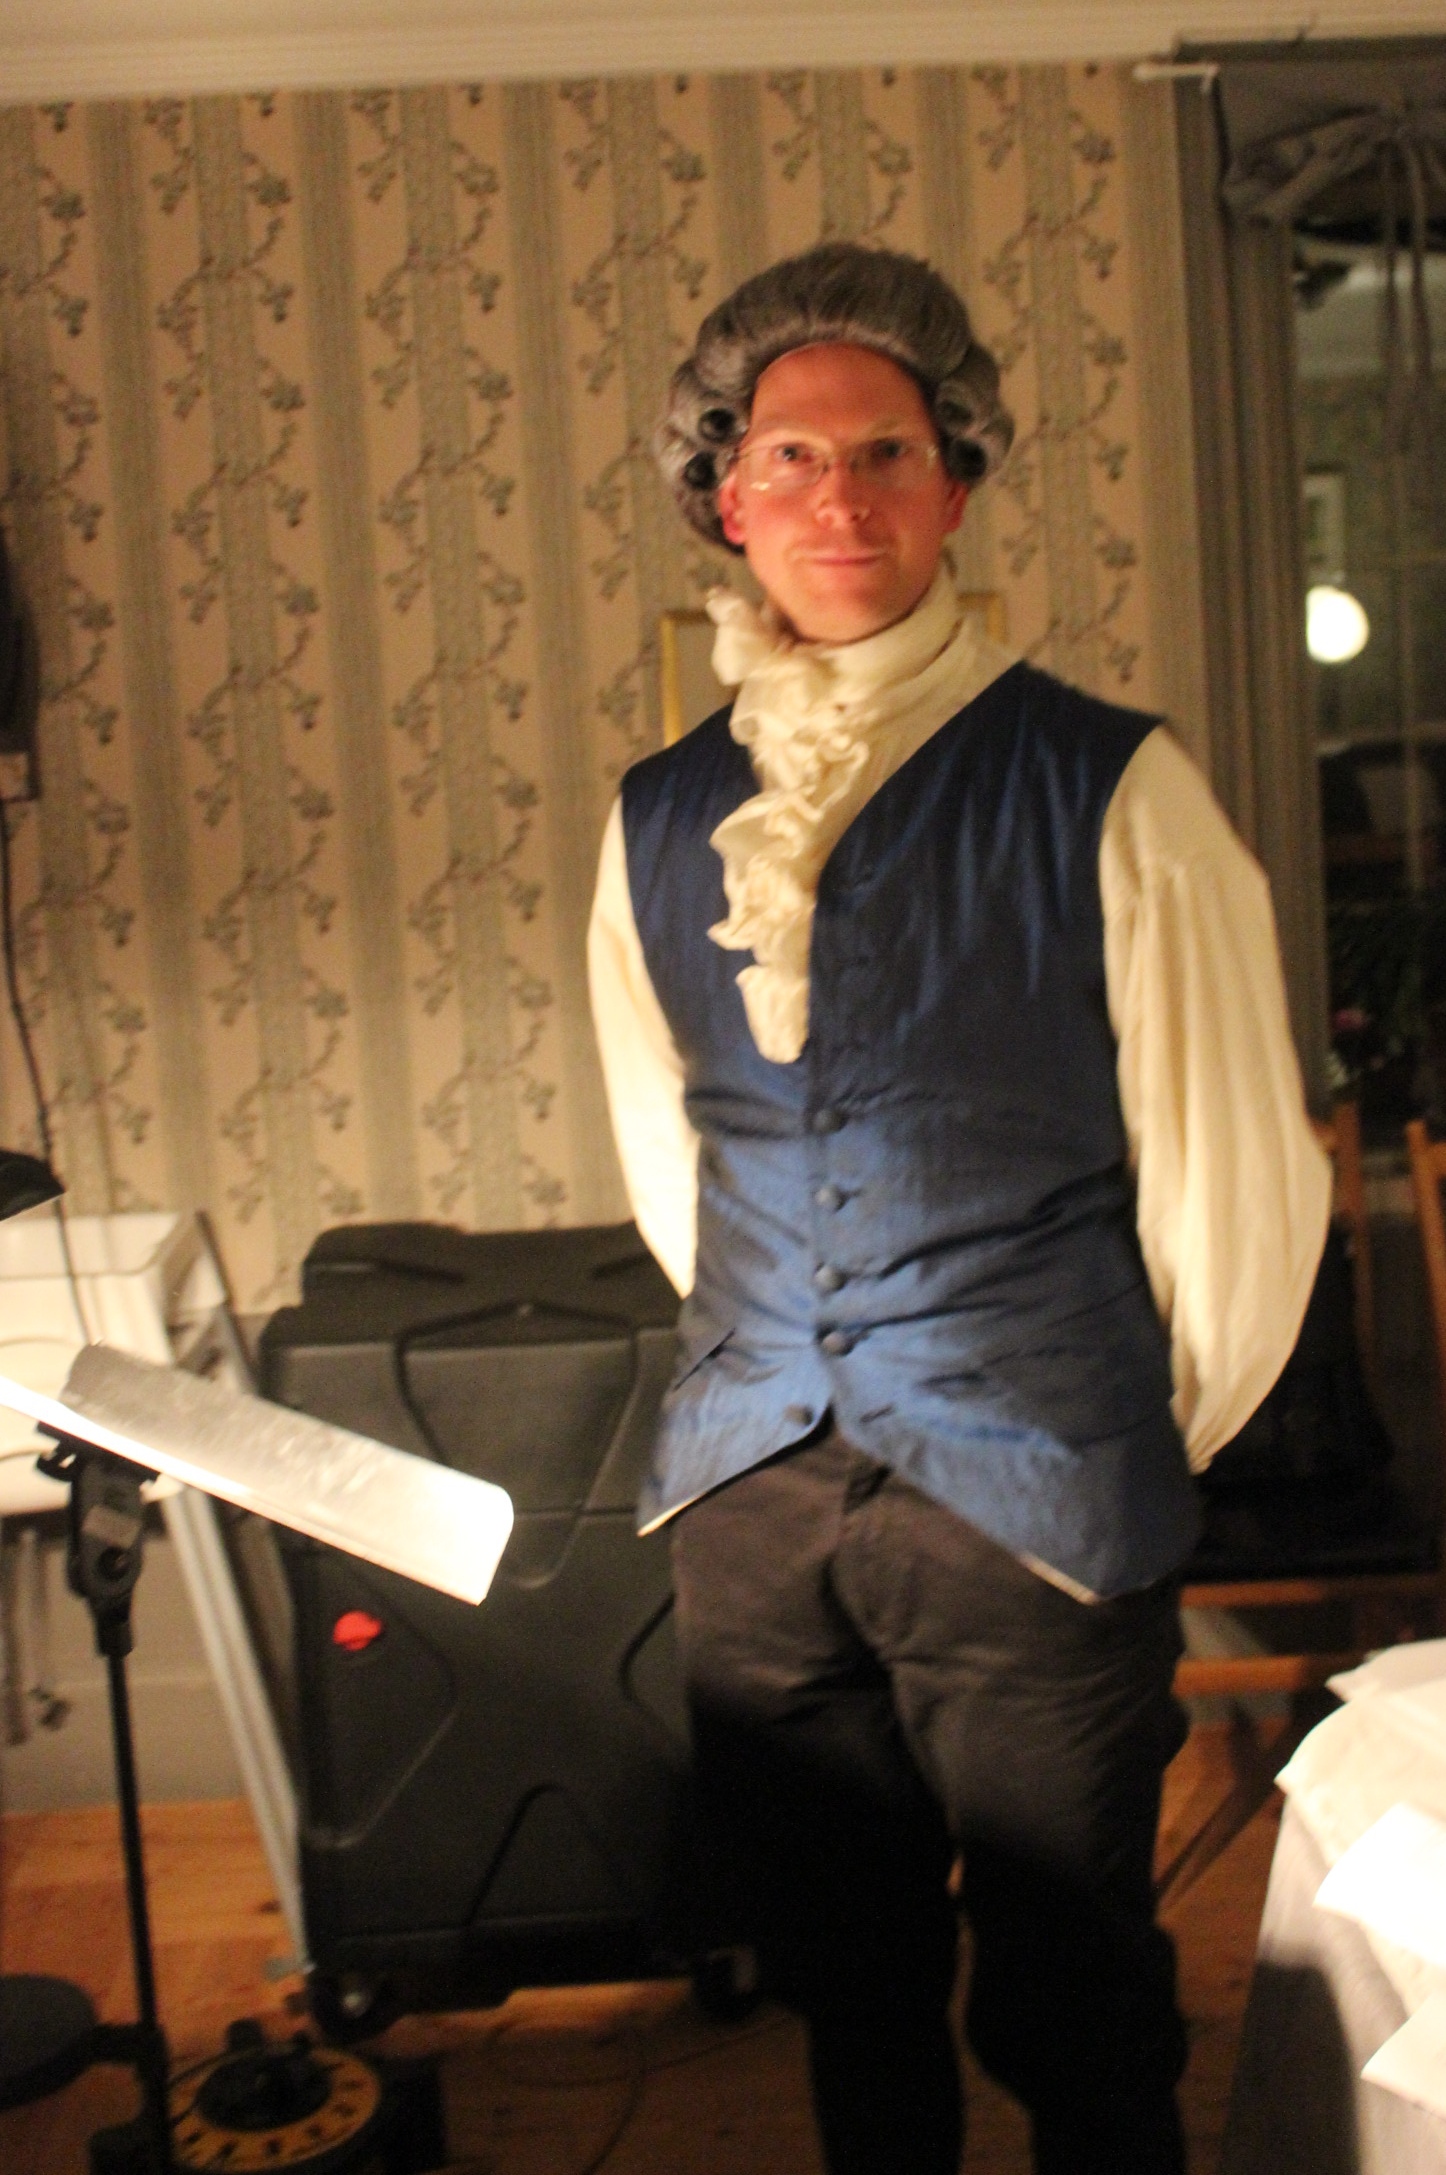
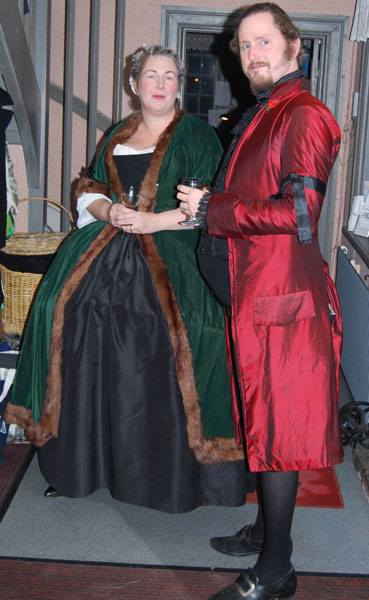
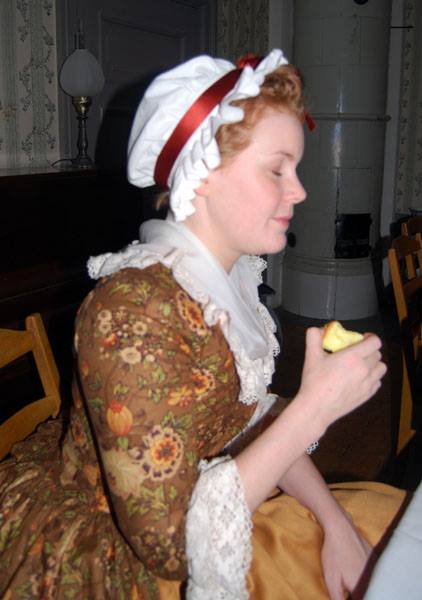
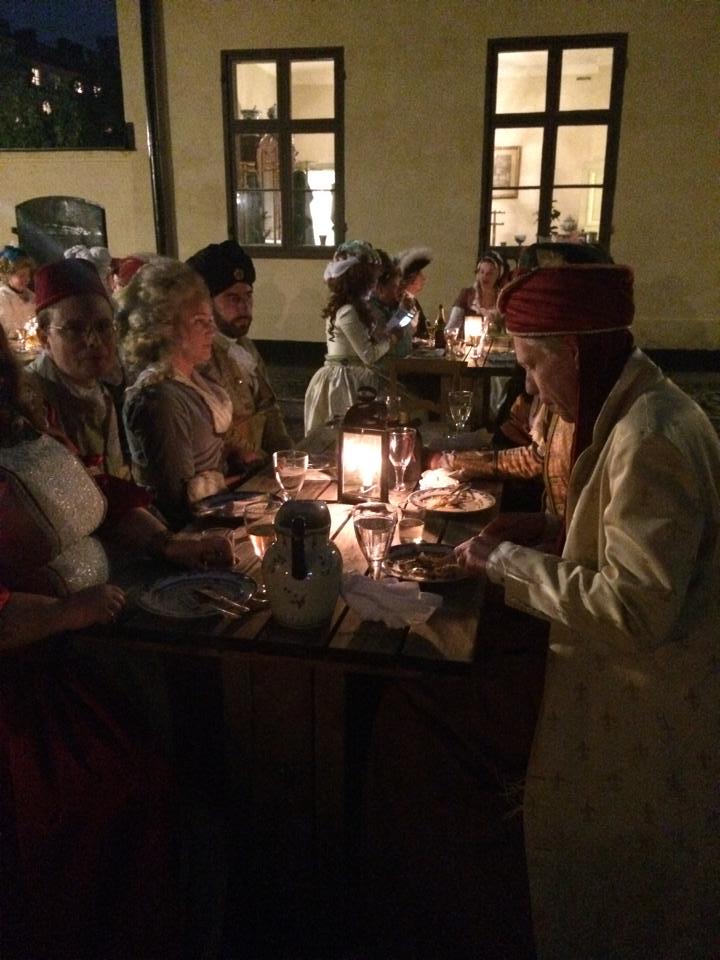
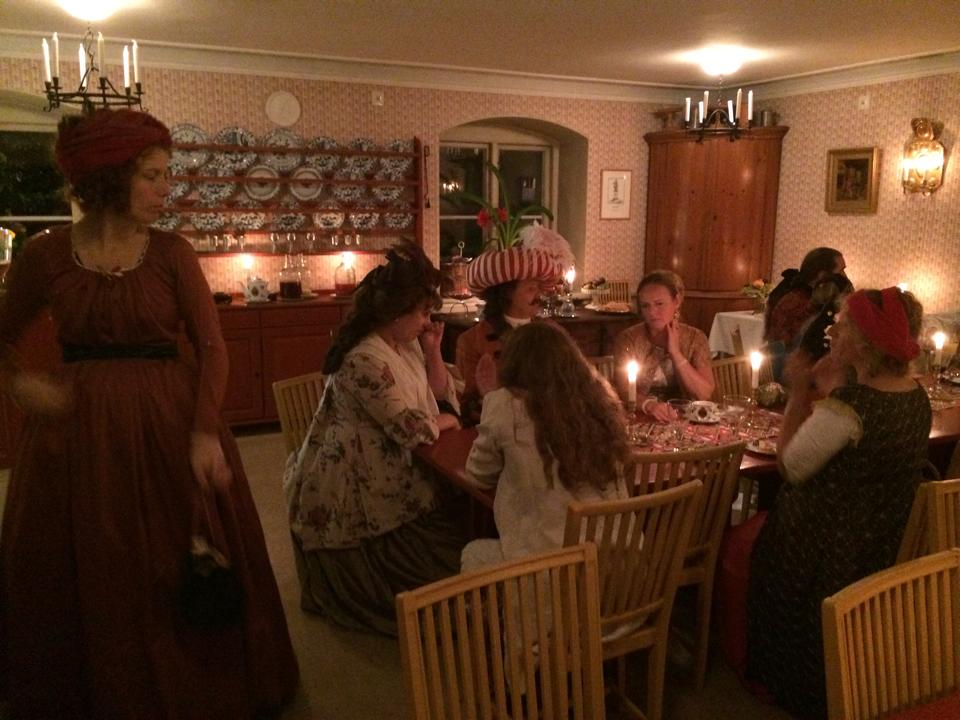
Some inspiration: 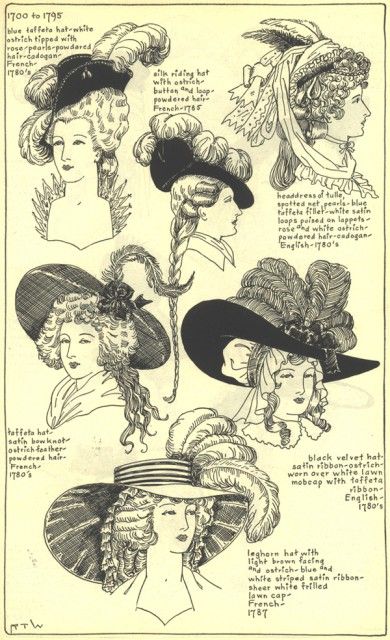

To start, I bought a simple wool/felt hat at the local fashion store.
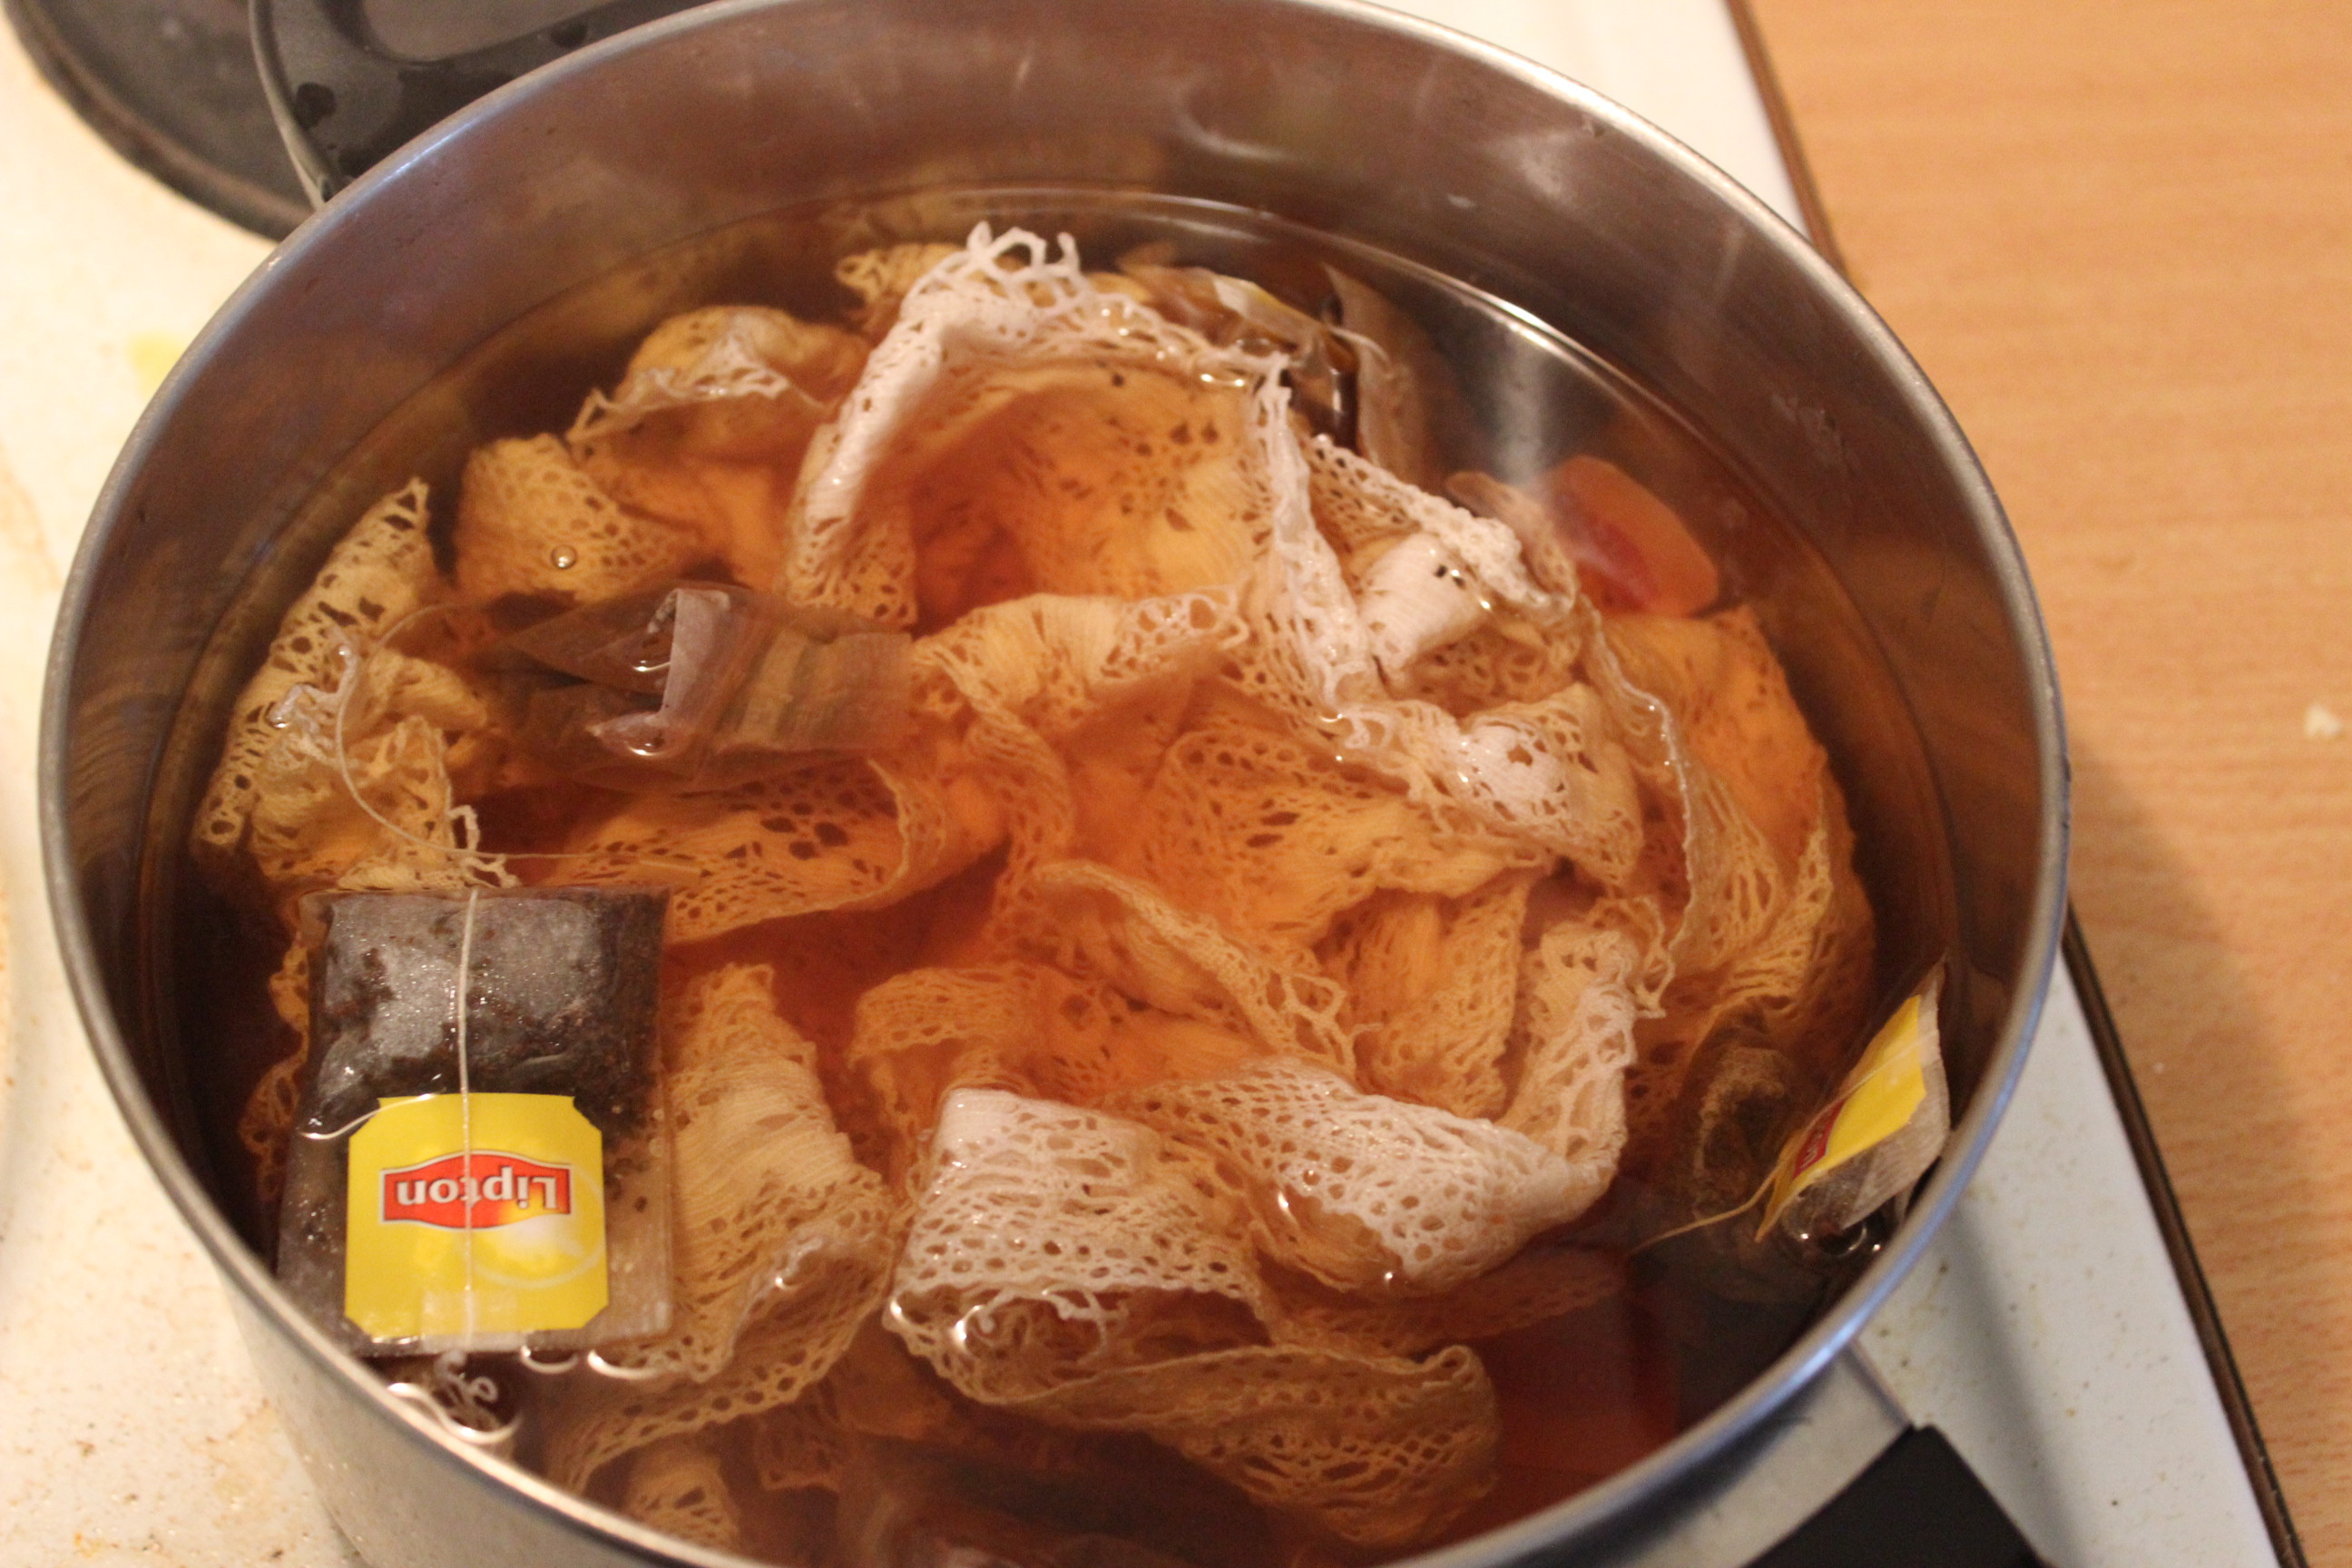
Then I drowned it completely in hot water, and forced it onto a acting hat block (a flower pot) and molded and pinned it to shape.
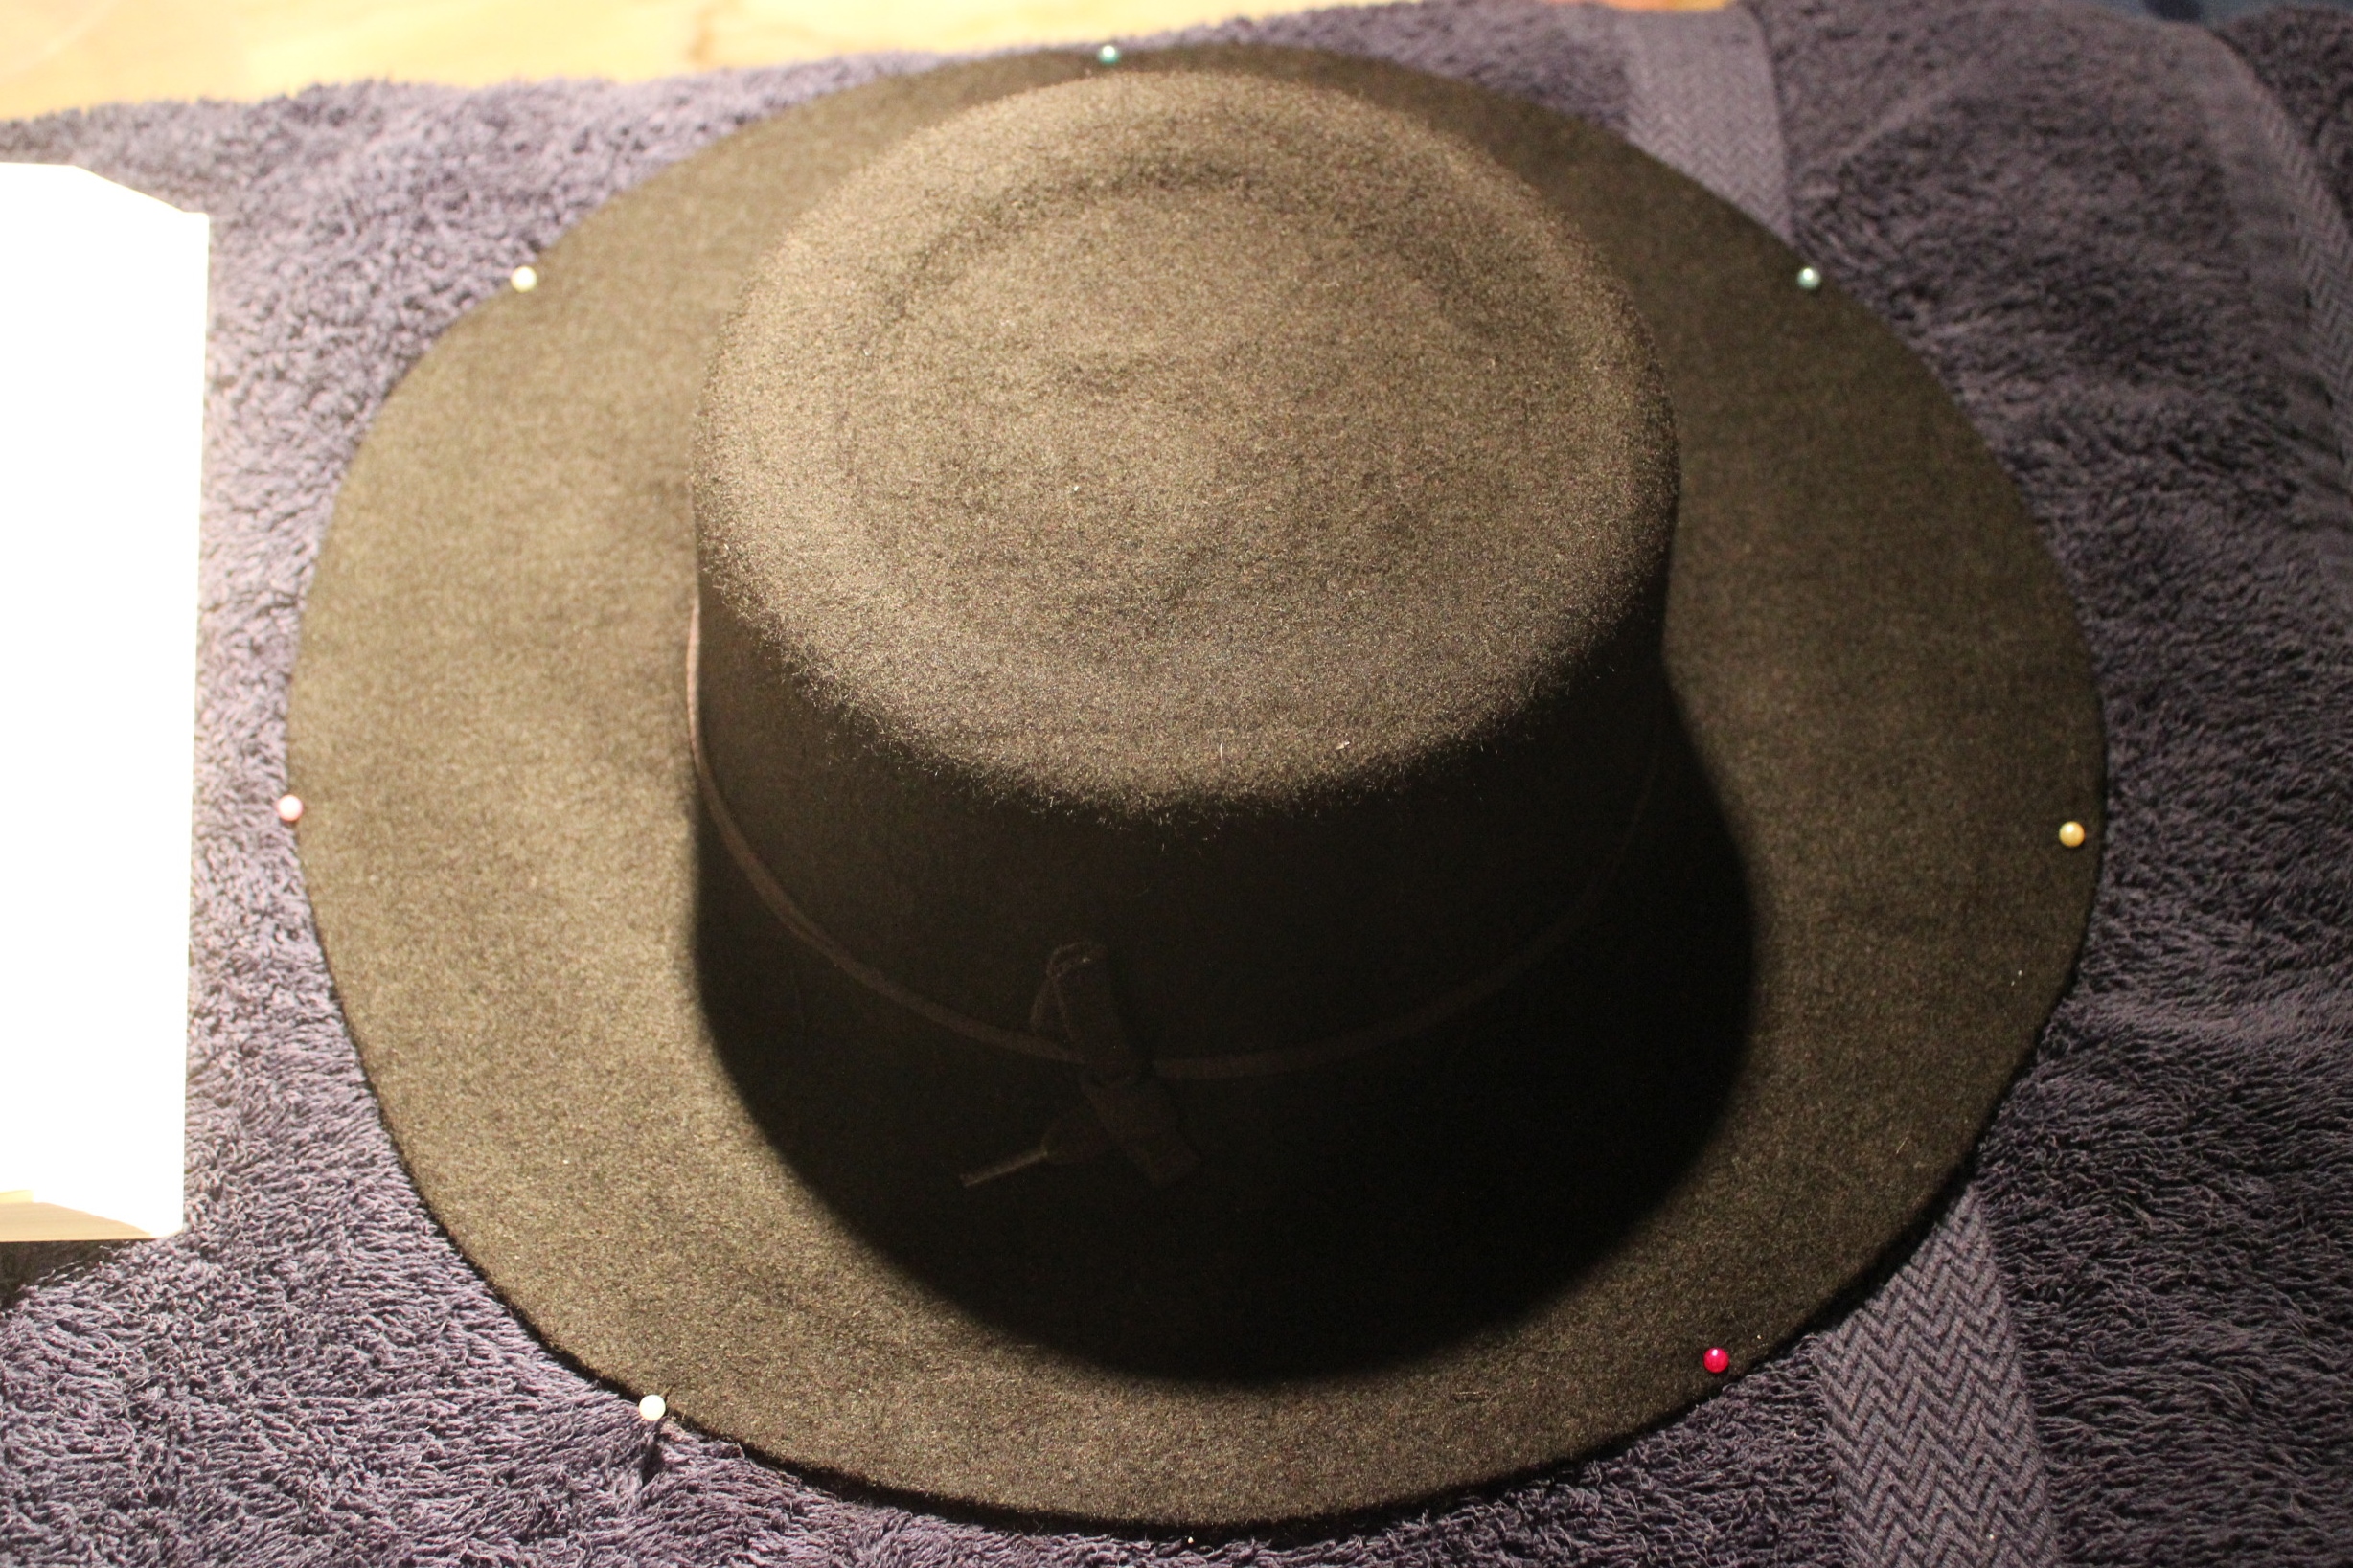
I used some weights to make it hold its shape while drying over night.
When the hat had dried and the shape was set I pinned one of the side up and stitched it on. I then added a length of feathery trim I found in my stash. 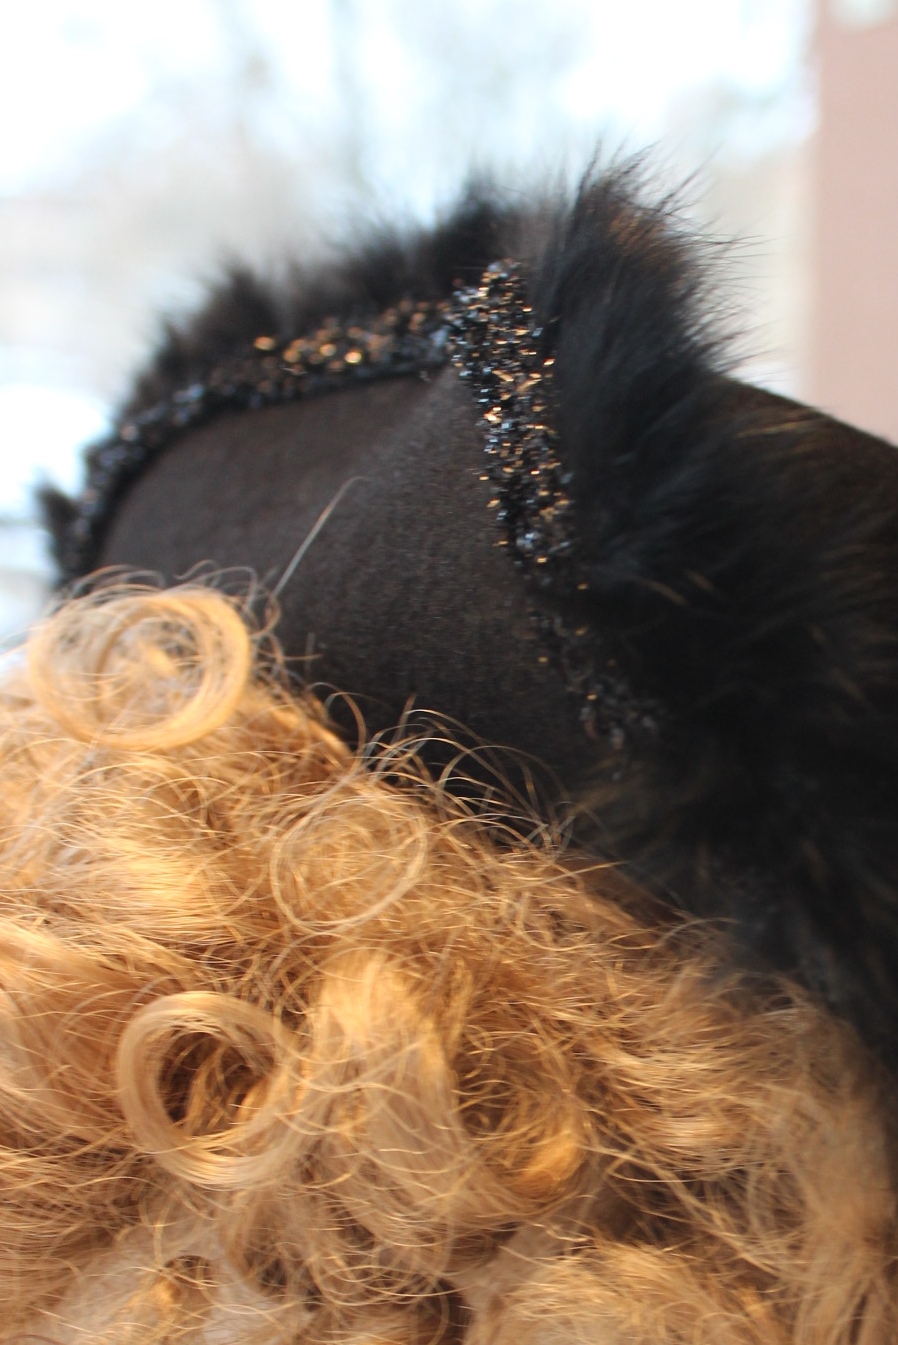
I also added a piece of black satin ribbon and a small buckle to finish it of.
The finished hat:


Just the facts:
Challenge: nr 22 – Gentlemen
What: A 18th century riding hat made from a regular fashion wool hat.
Notions: Thread, satin sash, 1 silver buckle and 80 cm of feather ribbon.
Time: Active time, maybe 30 minutes (24 hours if you count the drying).
Cost: 100 Sek (16 Usd) – 79 Sek for the hat, and the rest of the notions came from stash.
How historical accurate: Not really. Apart from the fact that black wool hast were common for riding attire, there is noting accurate about it.
First worn: Not yet, since this is part of a whole ensemble which is not yet finished.
Final thoughts: I can’t quite decide if I like it or not. It may be that it looks to “costumy” to be any good. But I guess I can always add more feathers.
This was such a fast and easy project that I cant help feel I’m totally cheating as the HSF goes, but at this moment I don’t care, I’m just happy to have something to submit as my final item to finish this years race.
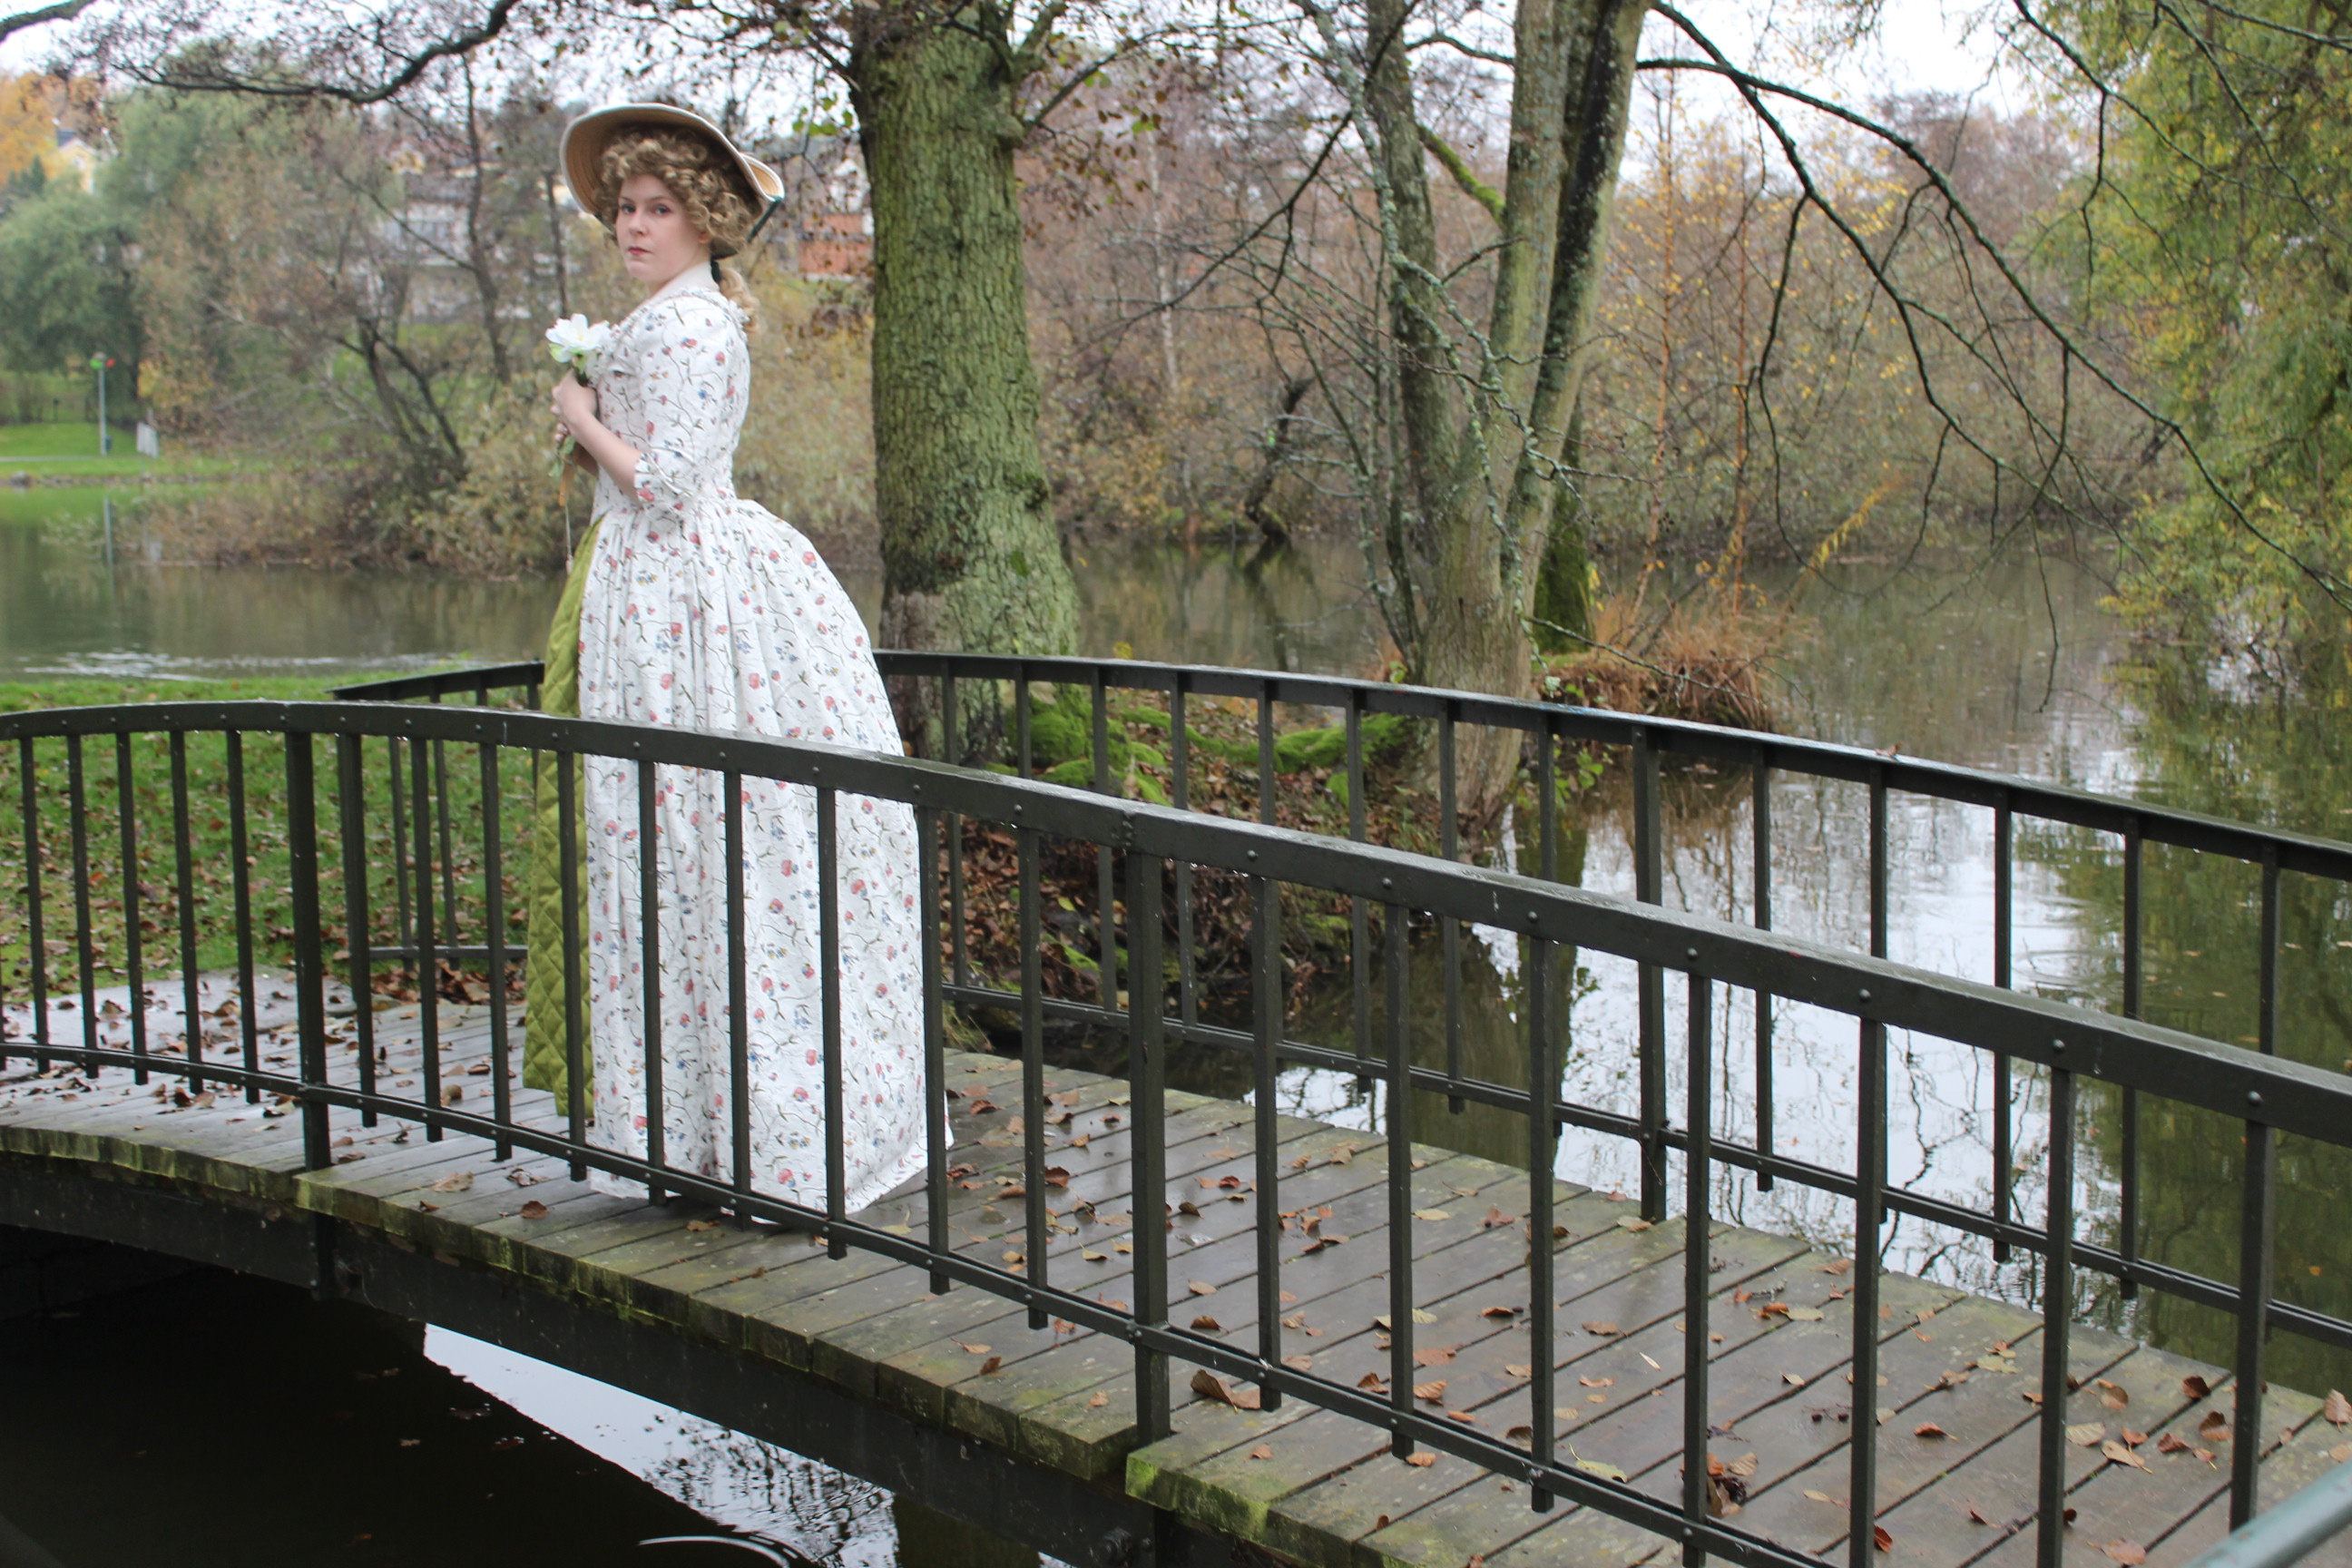


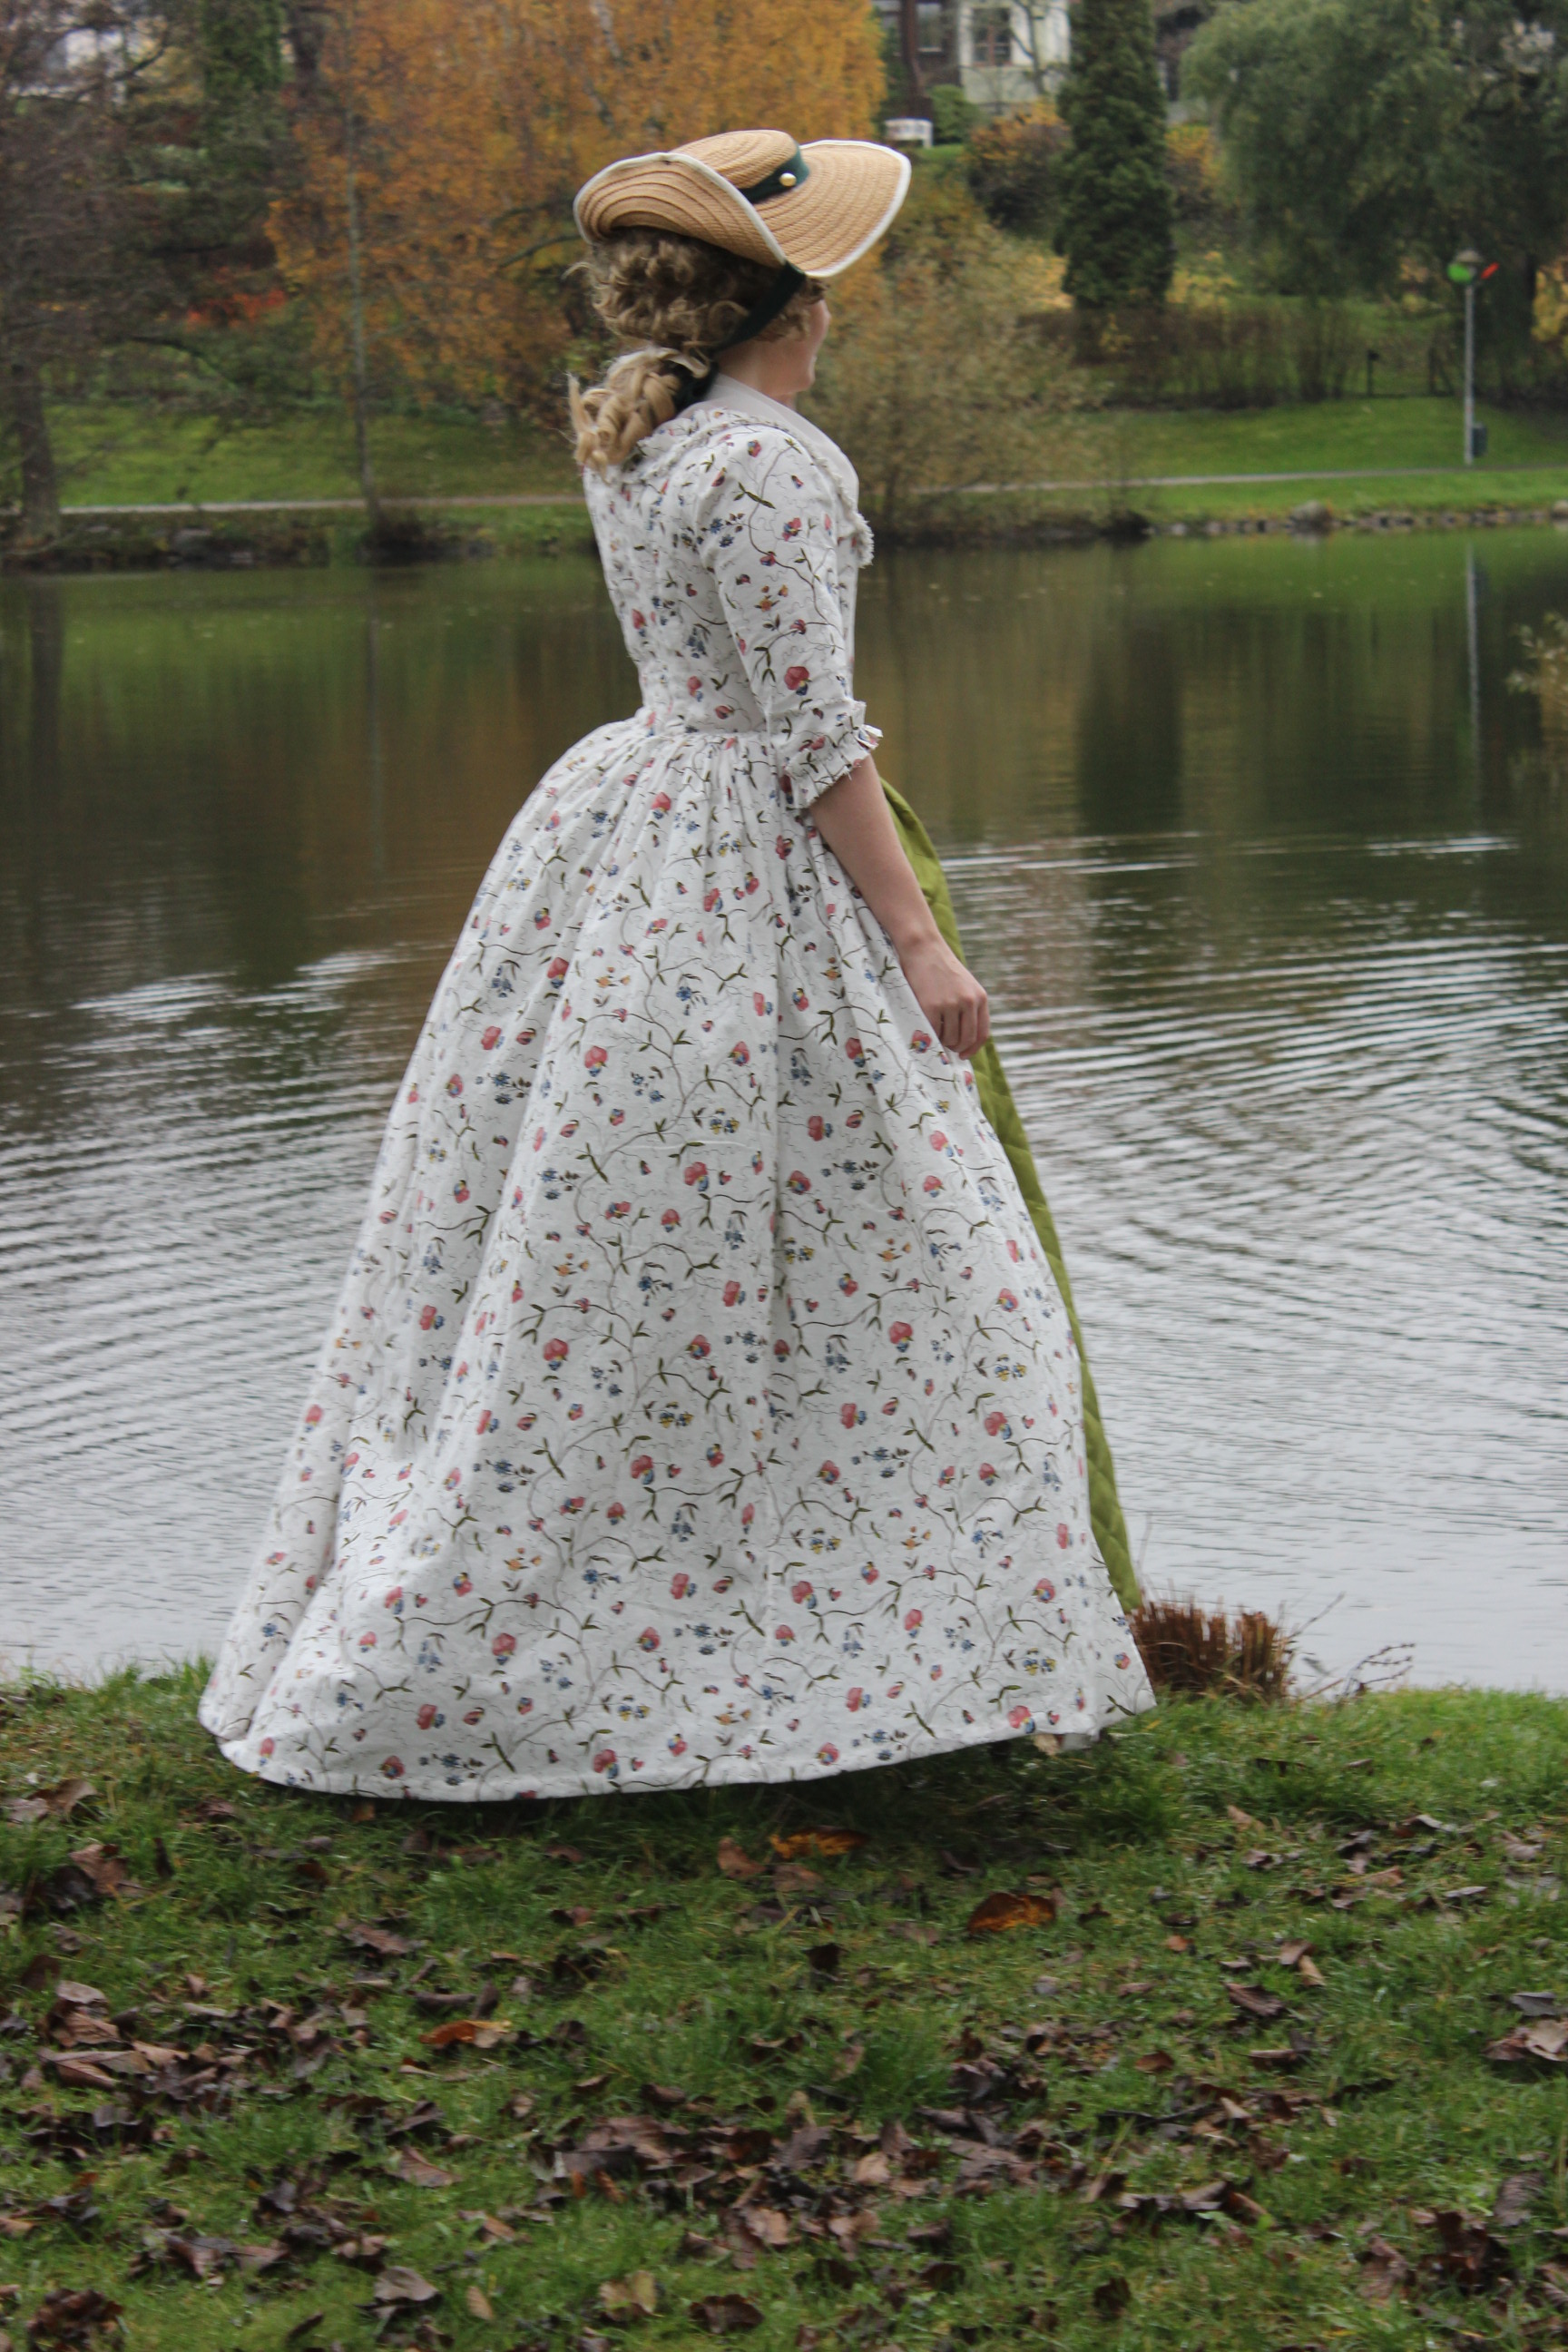


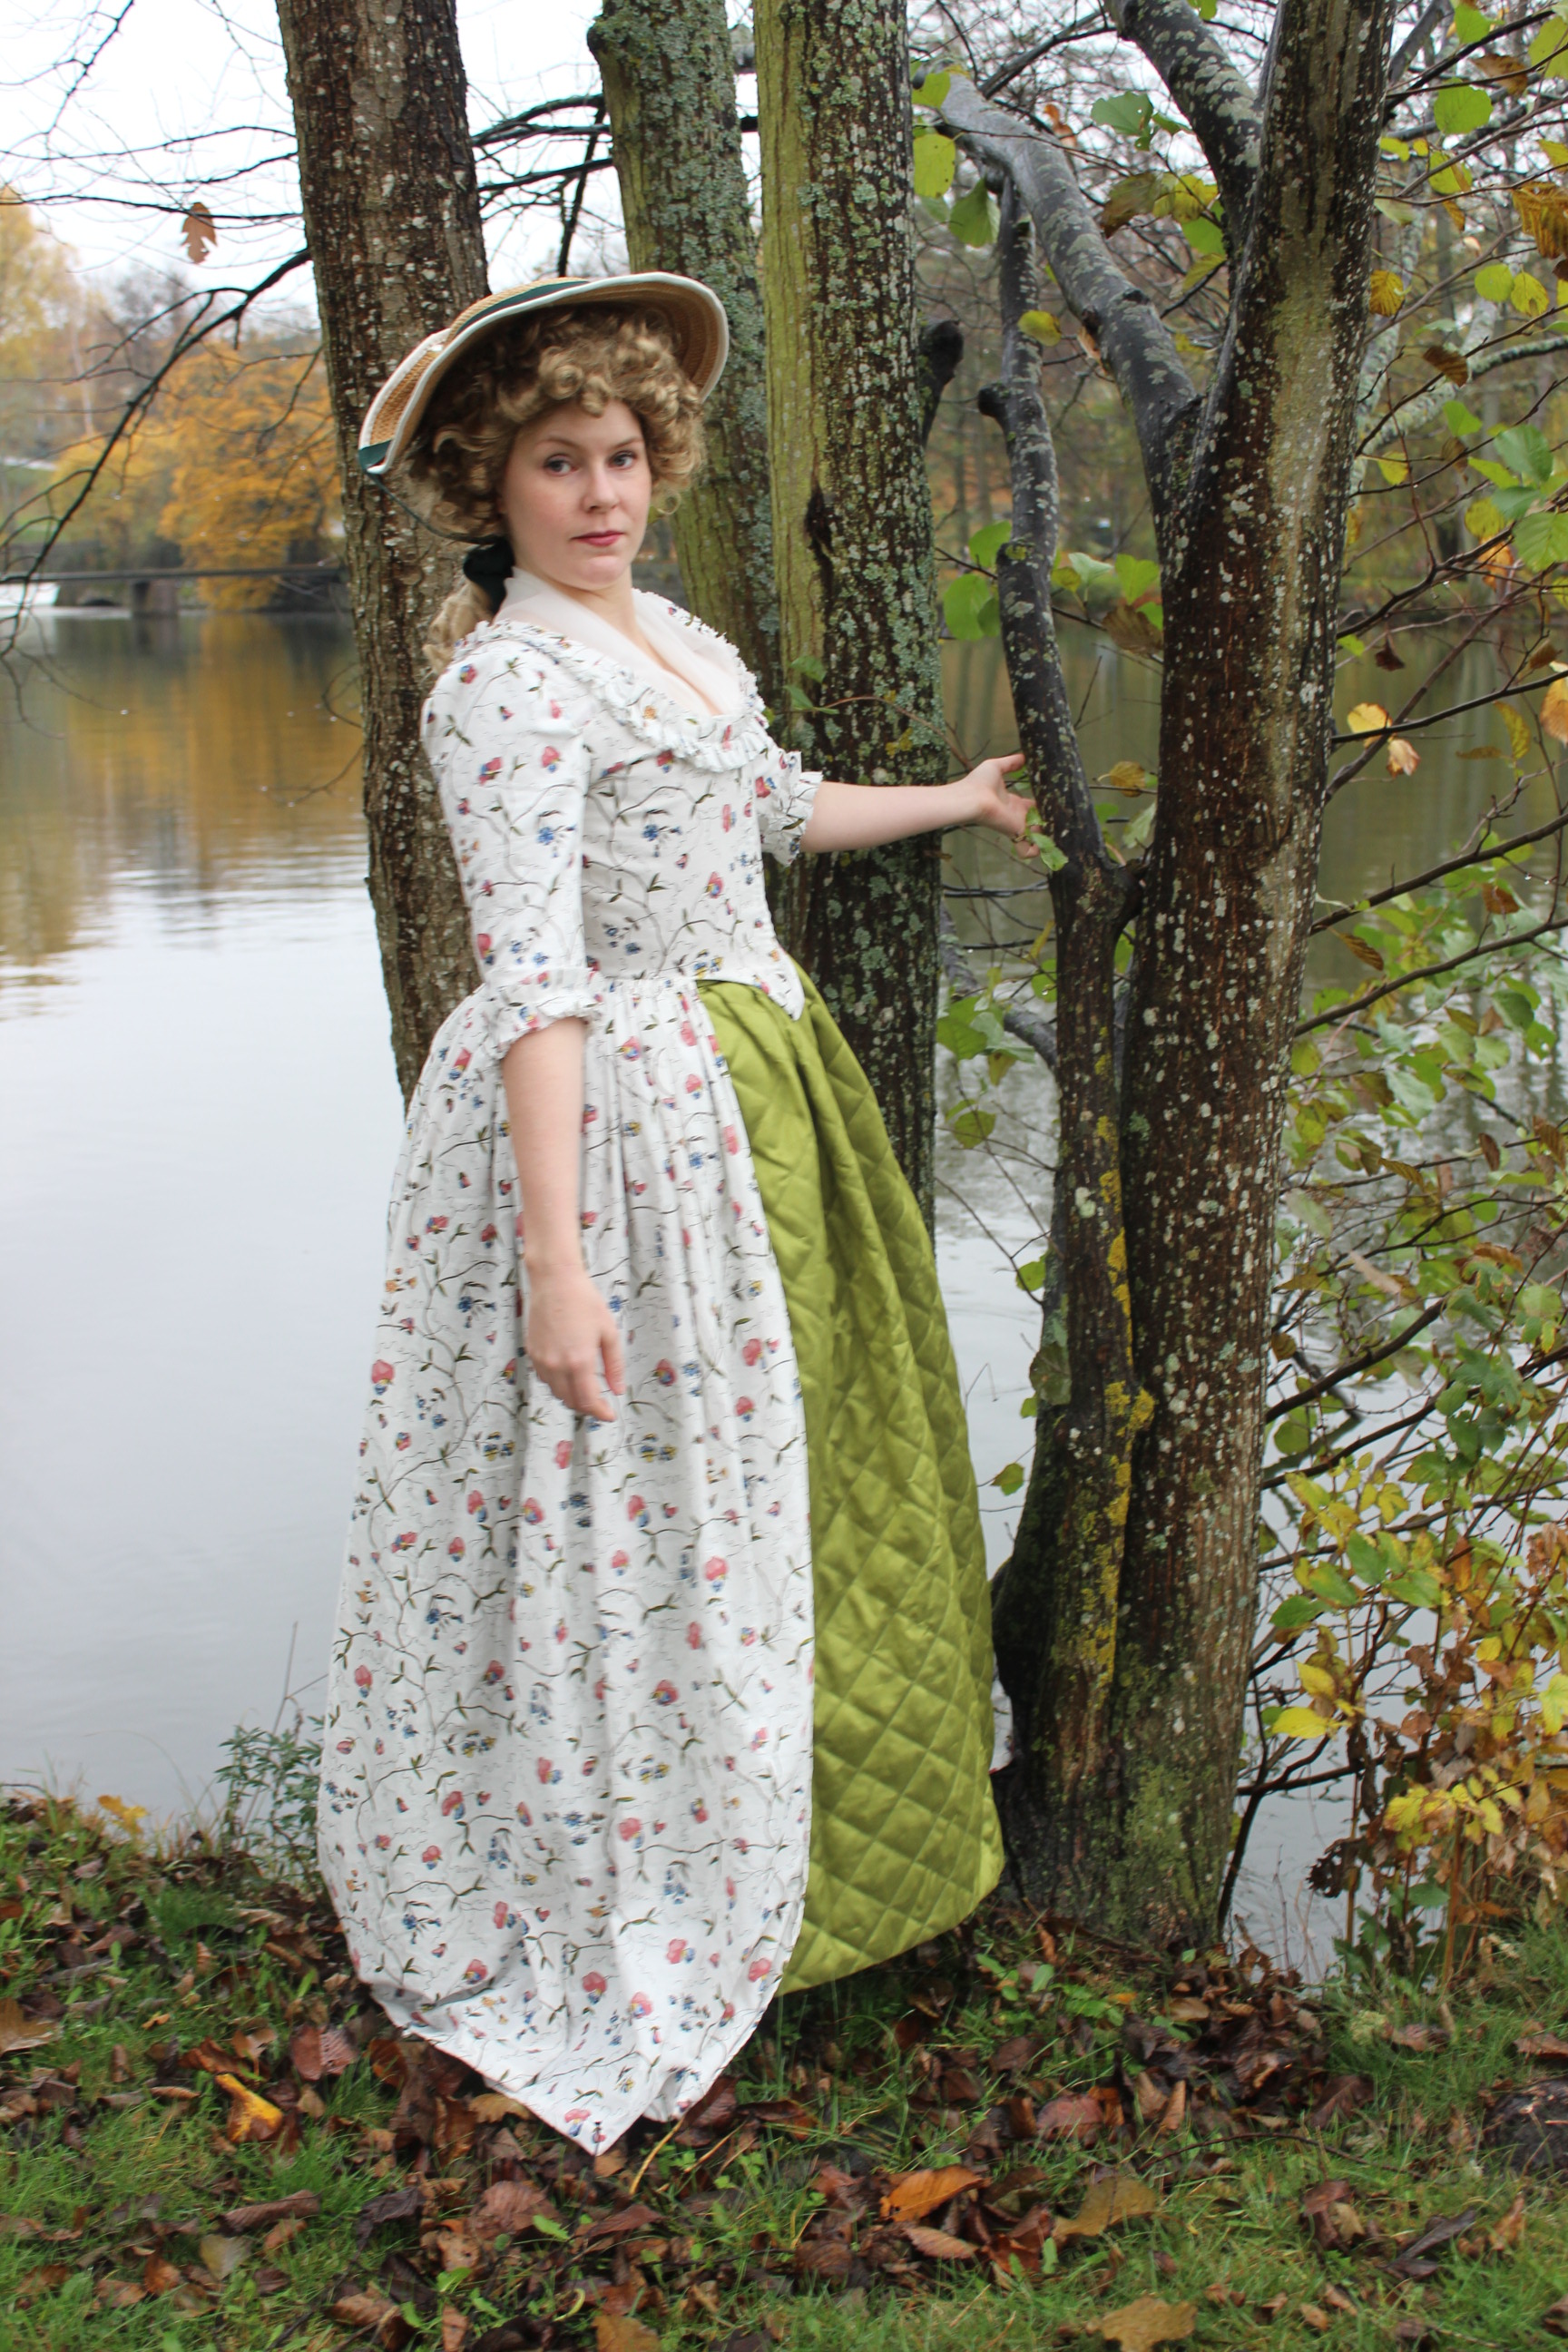


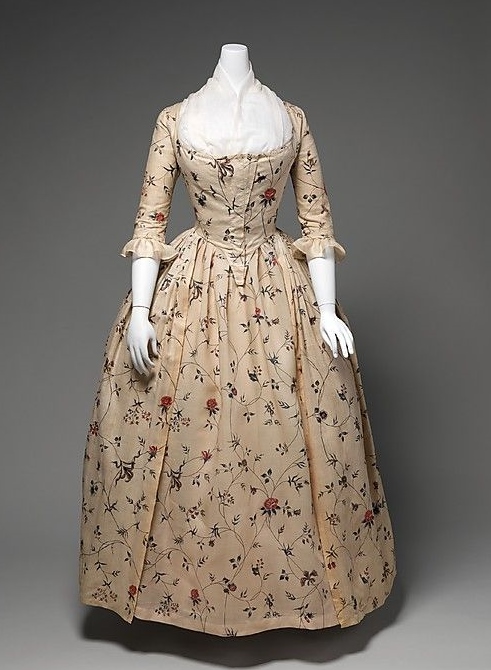
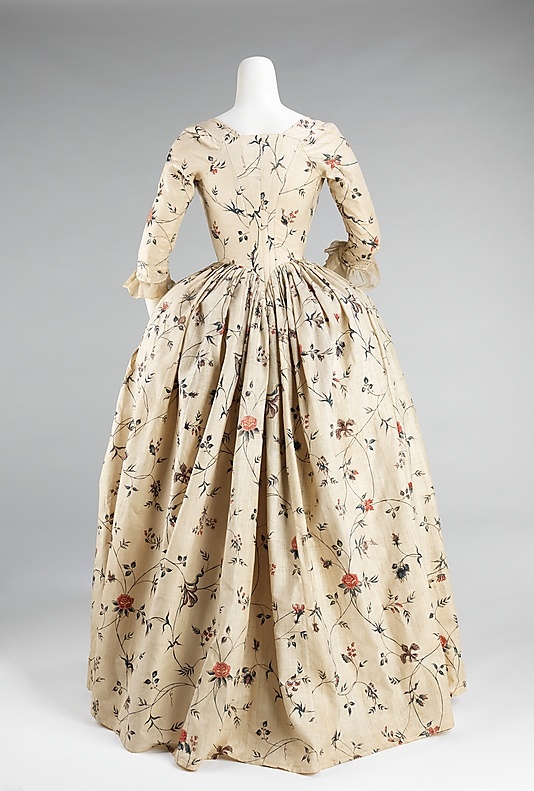
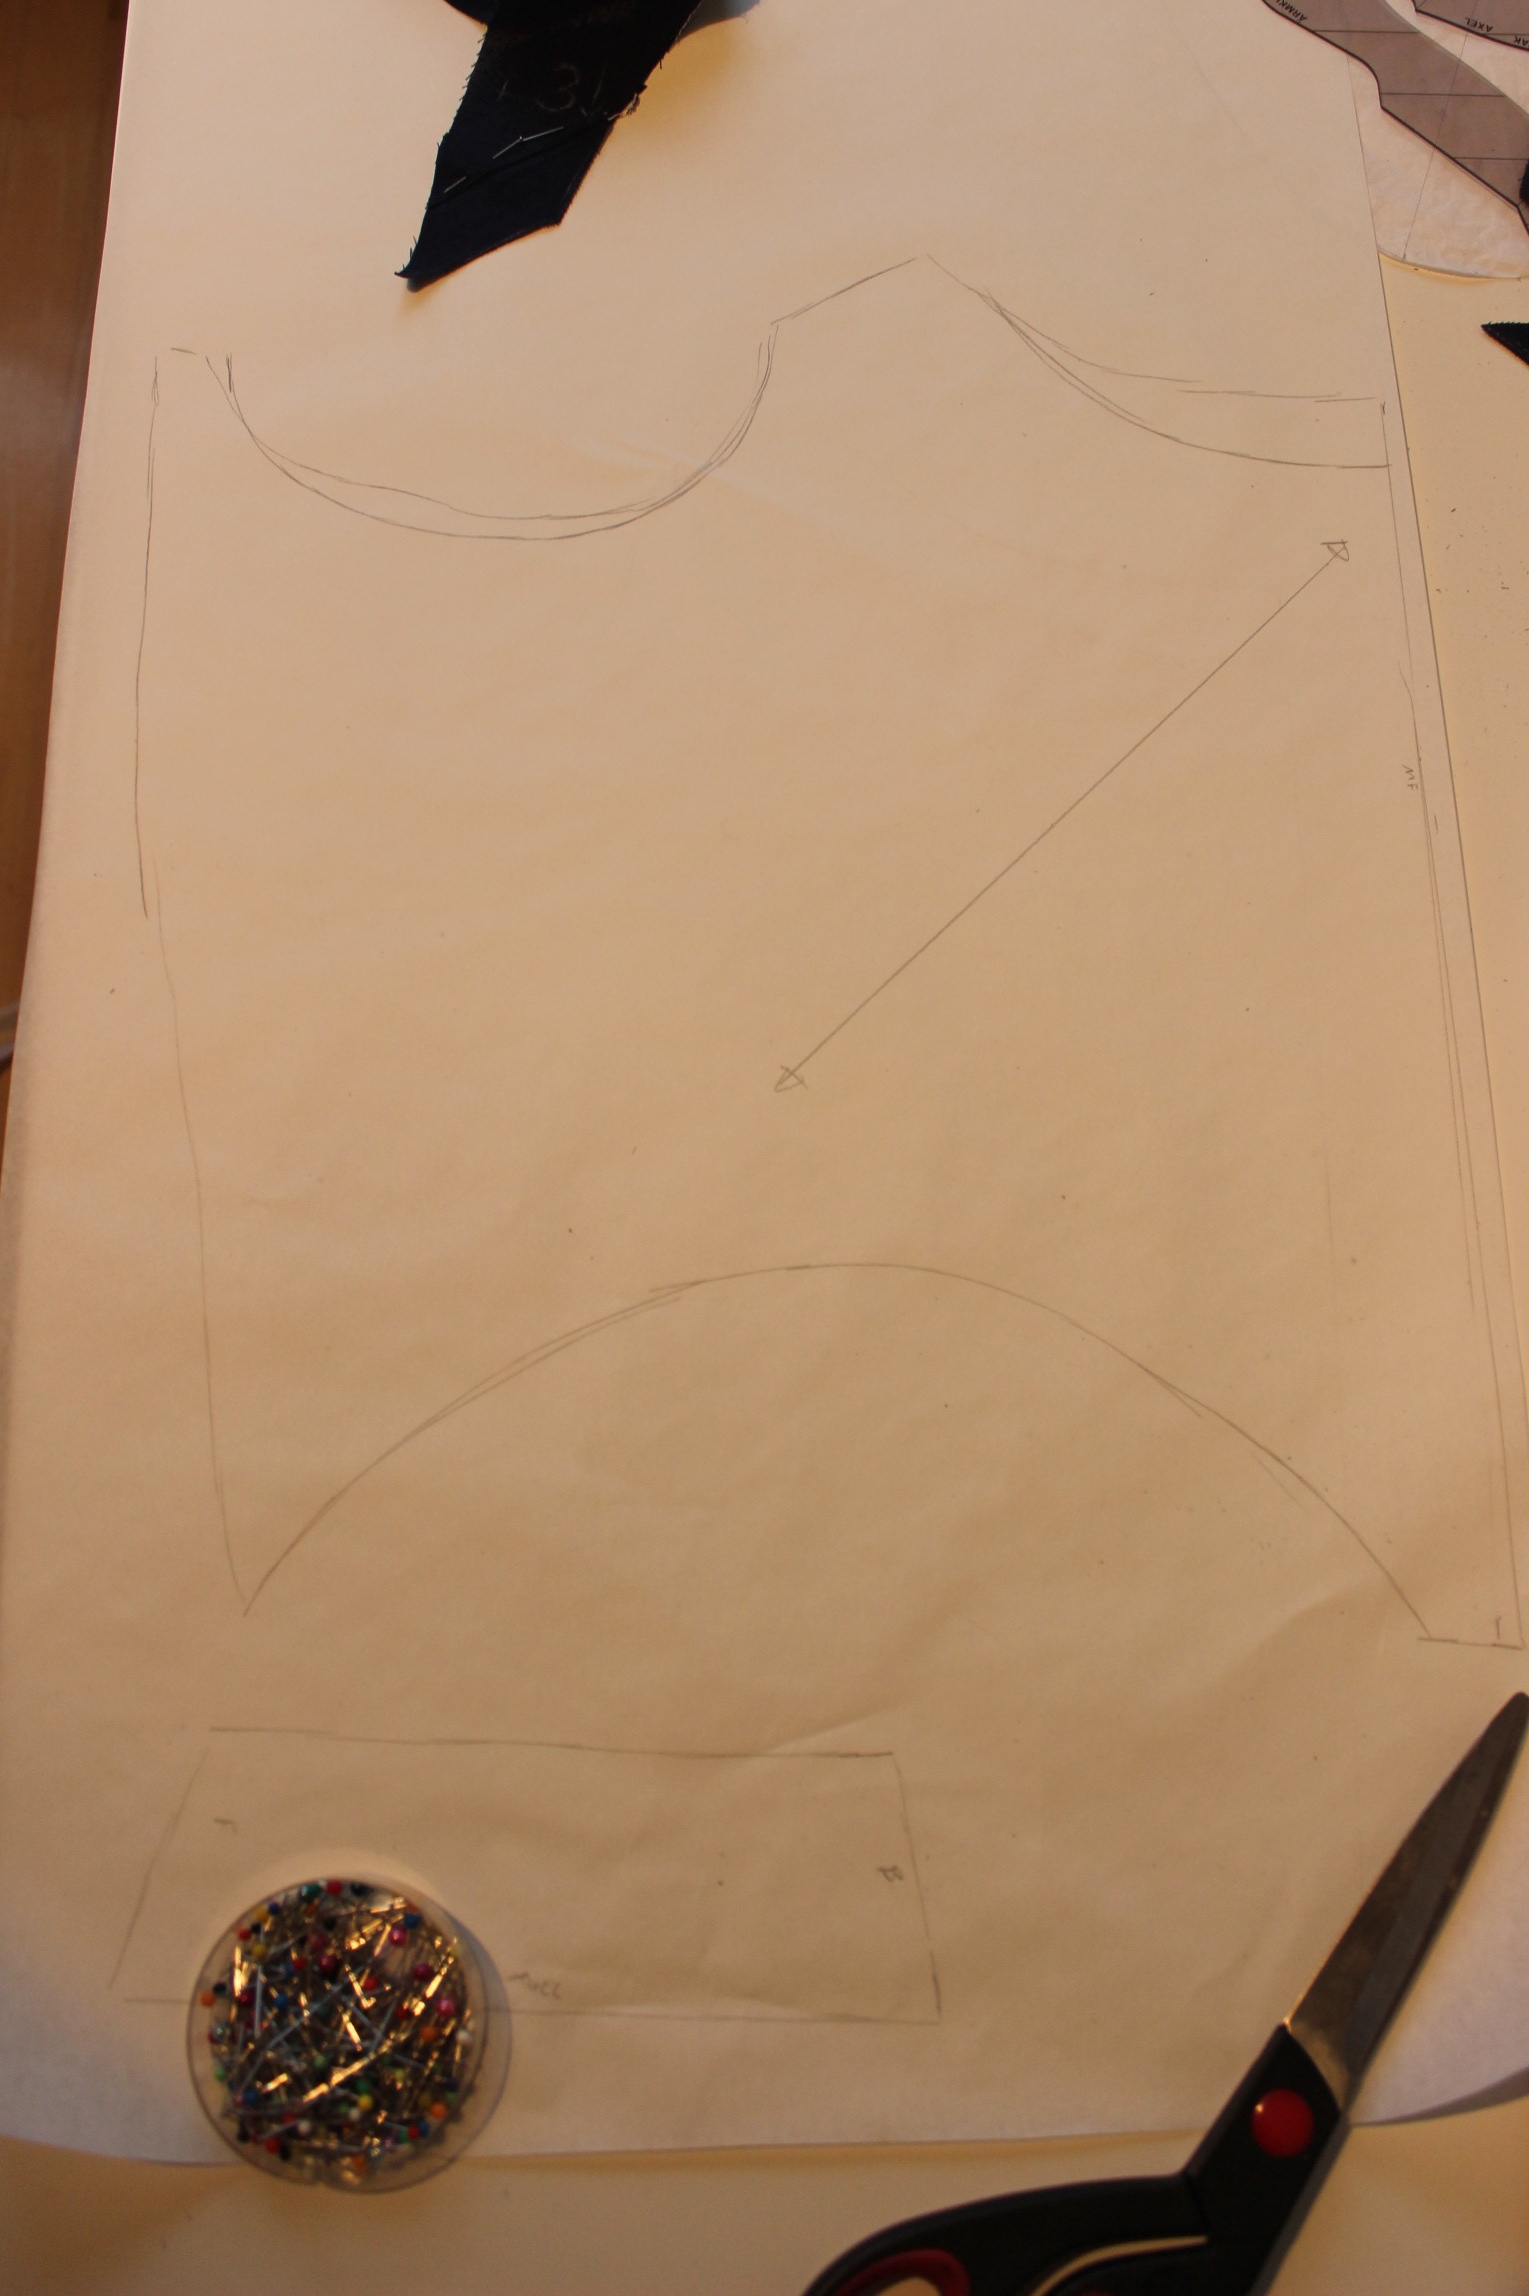
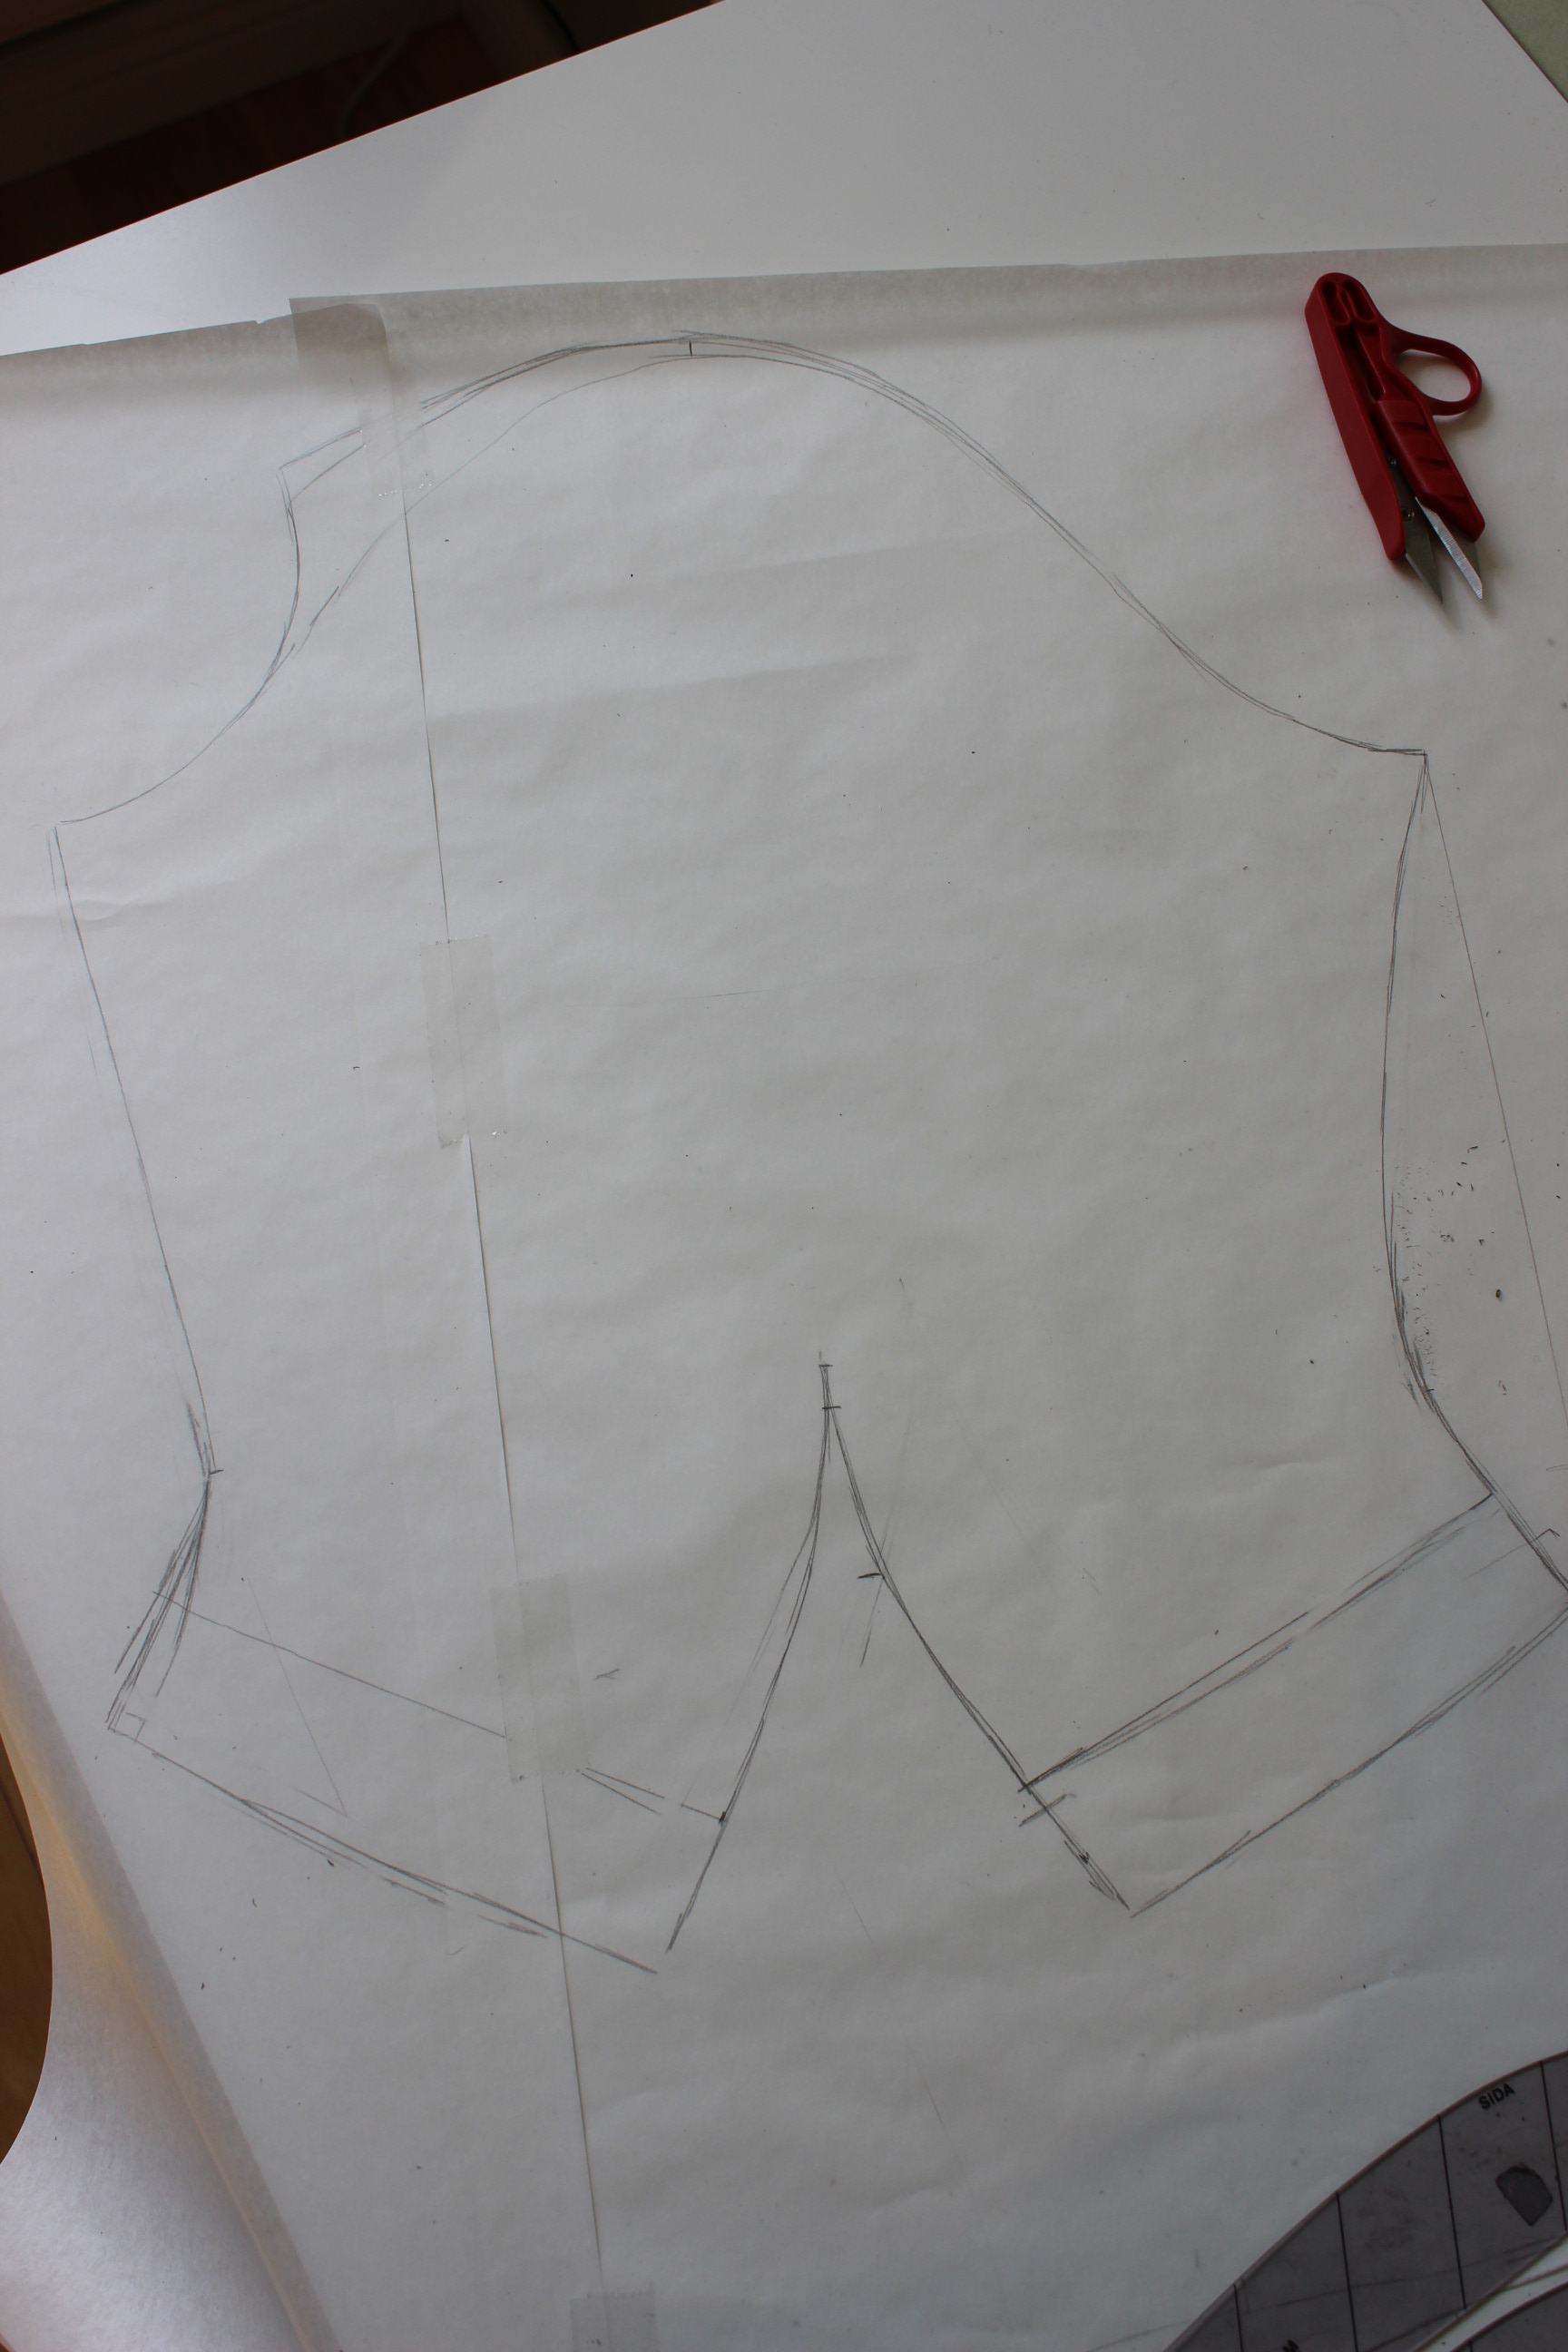

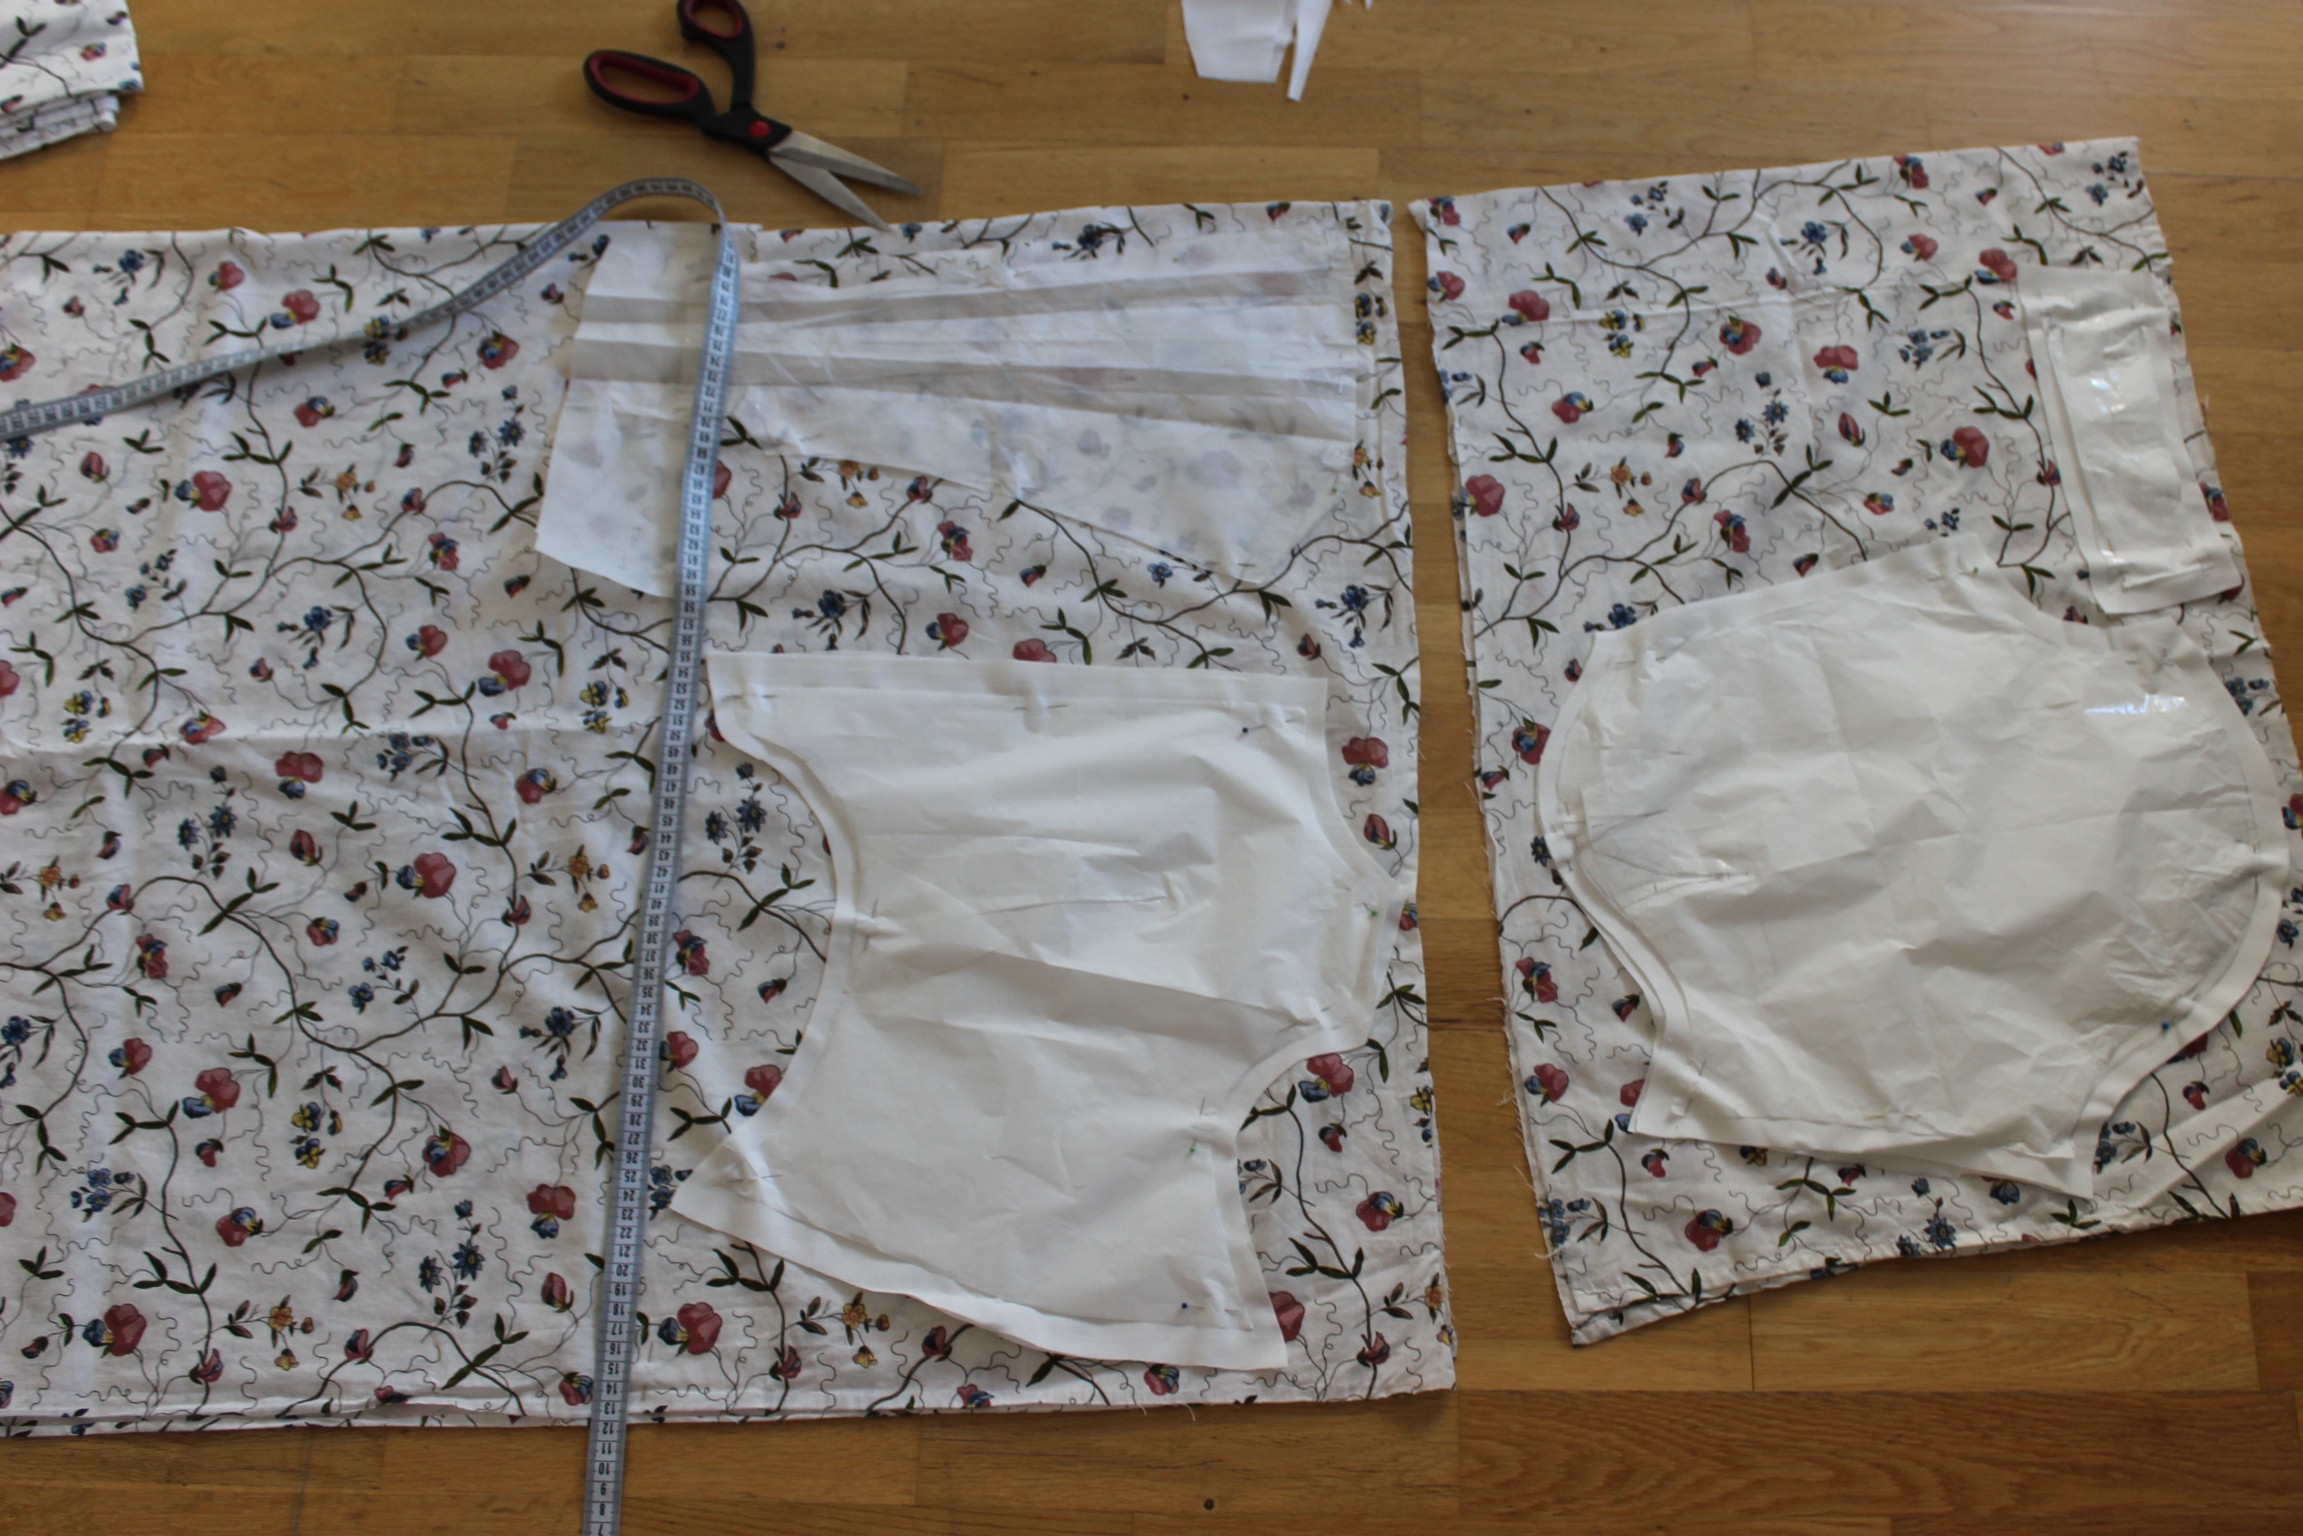


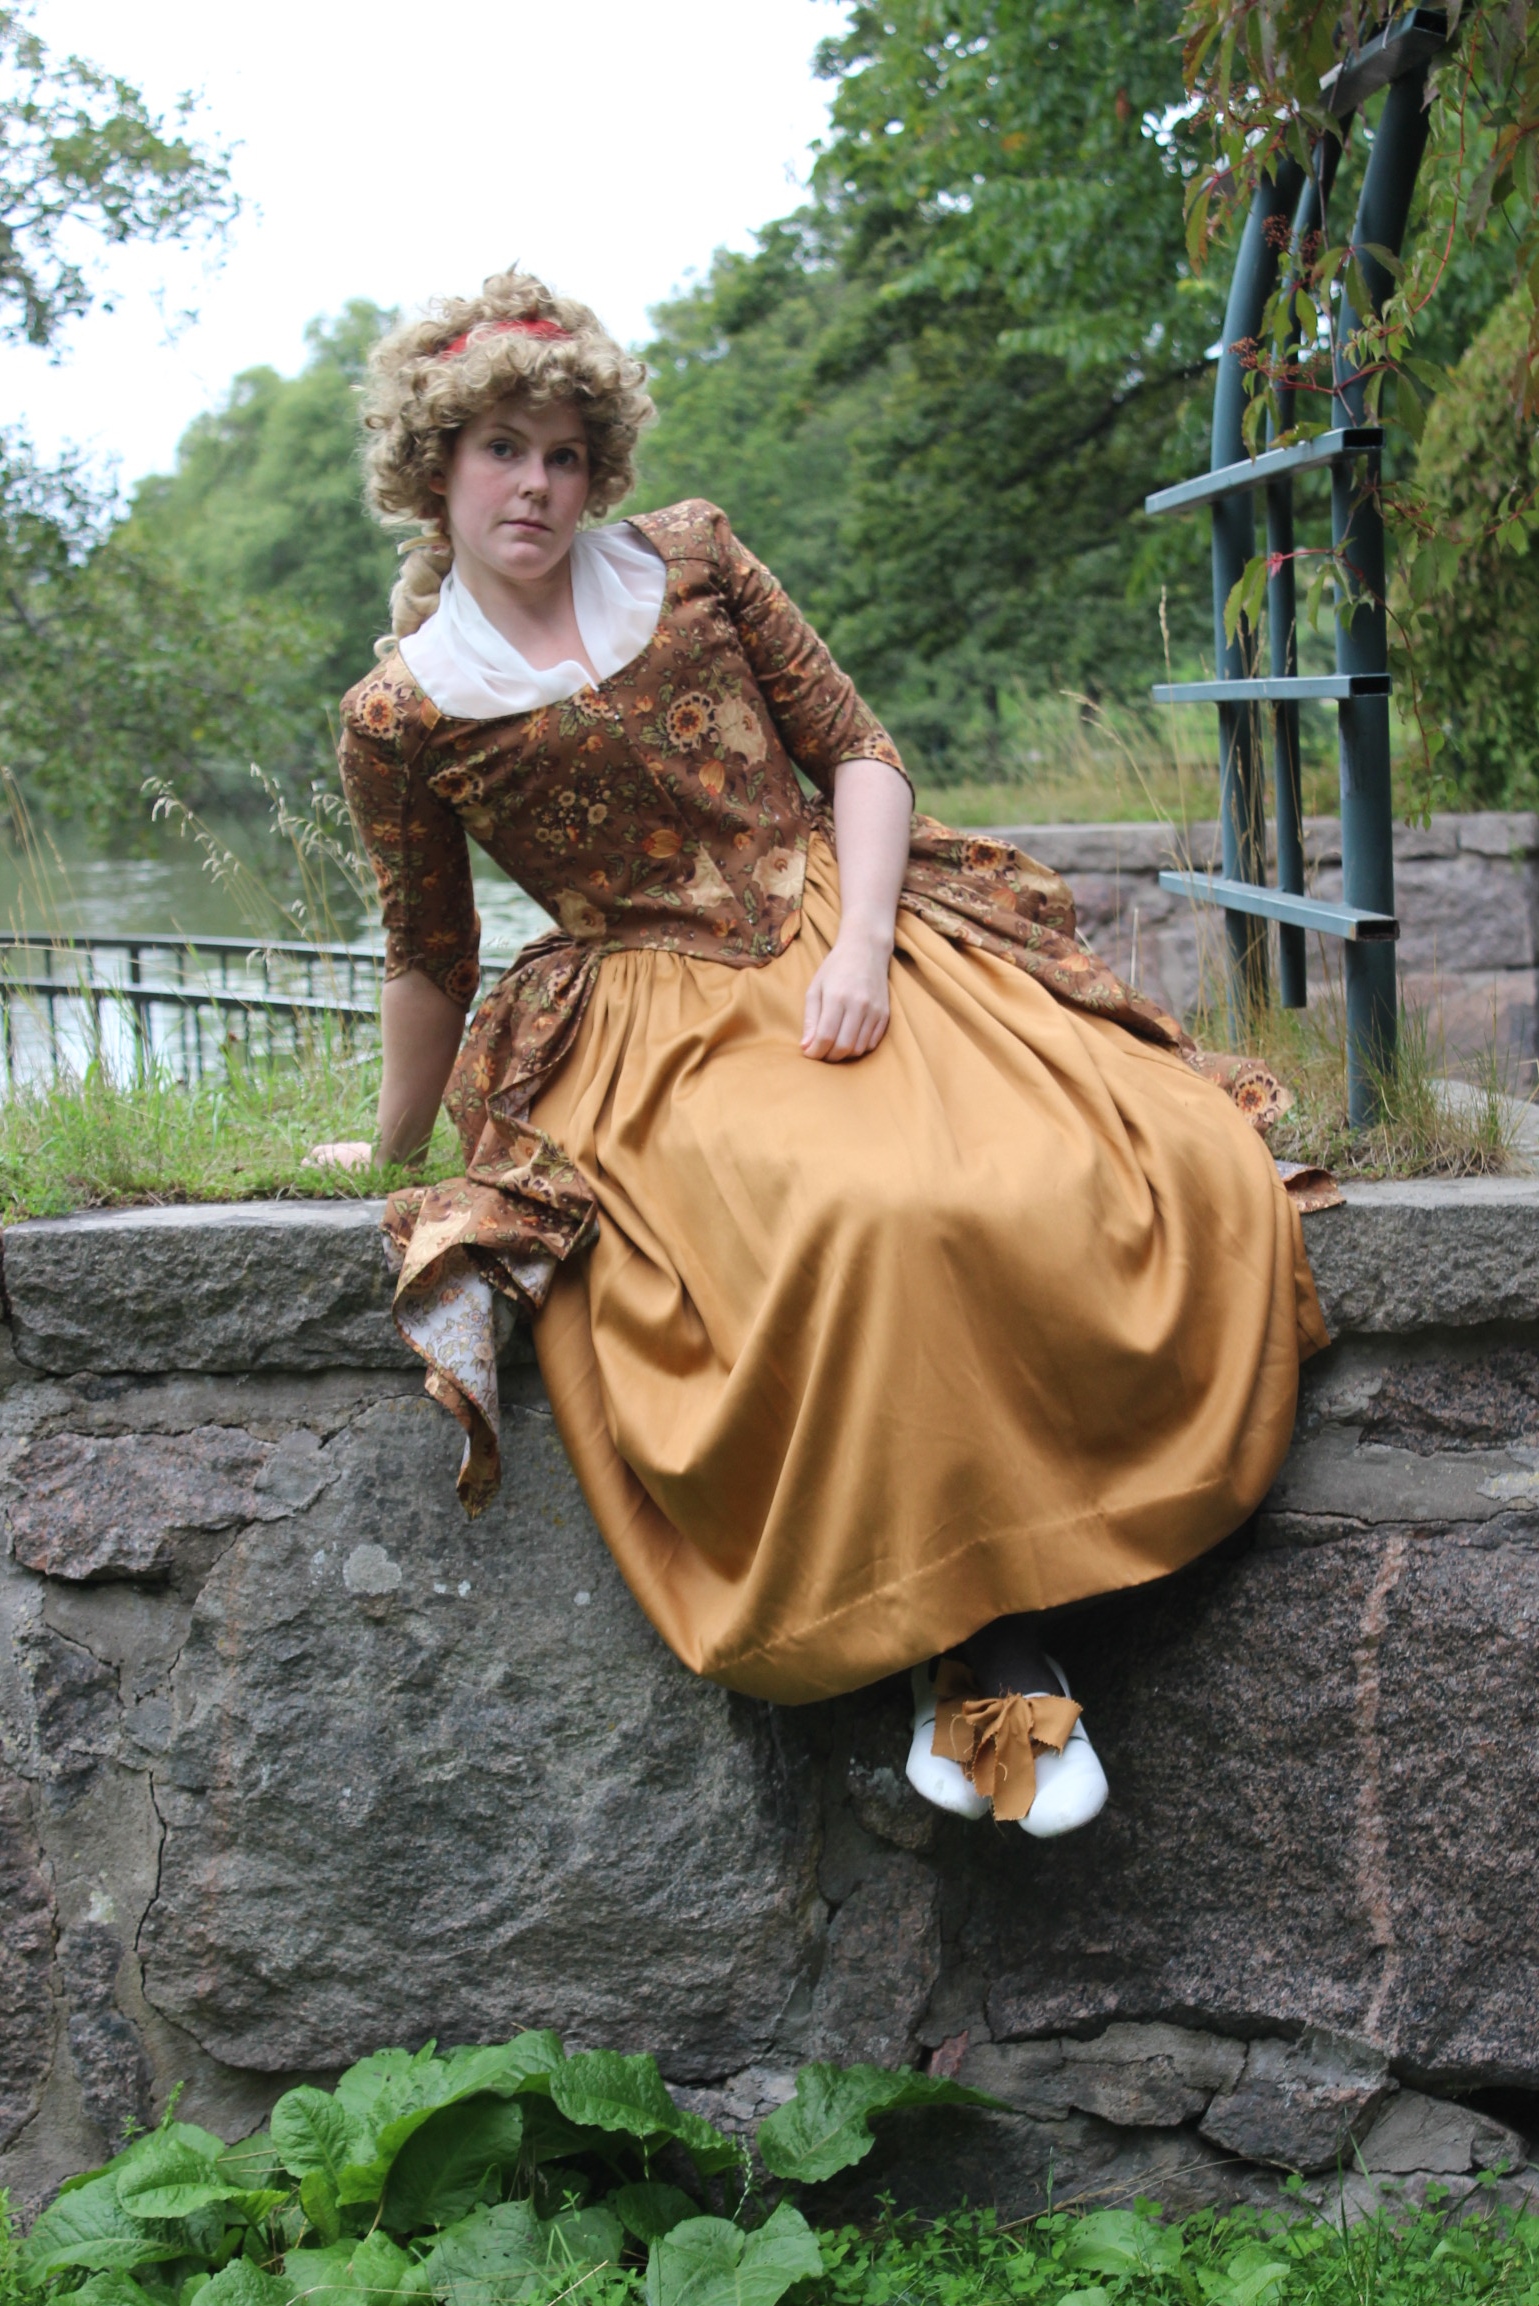
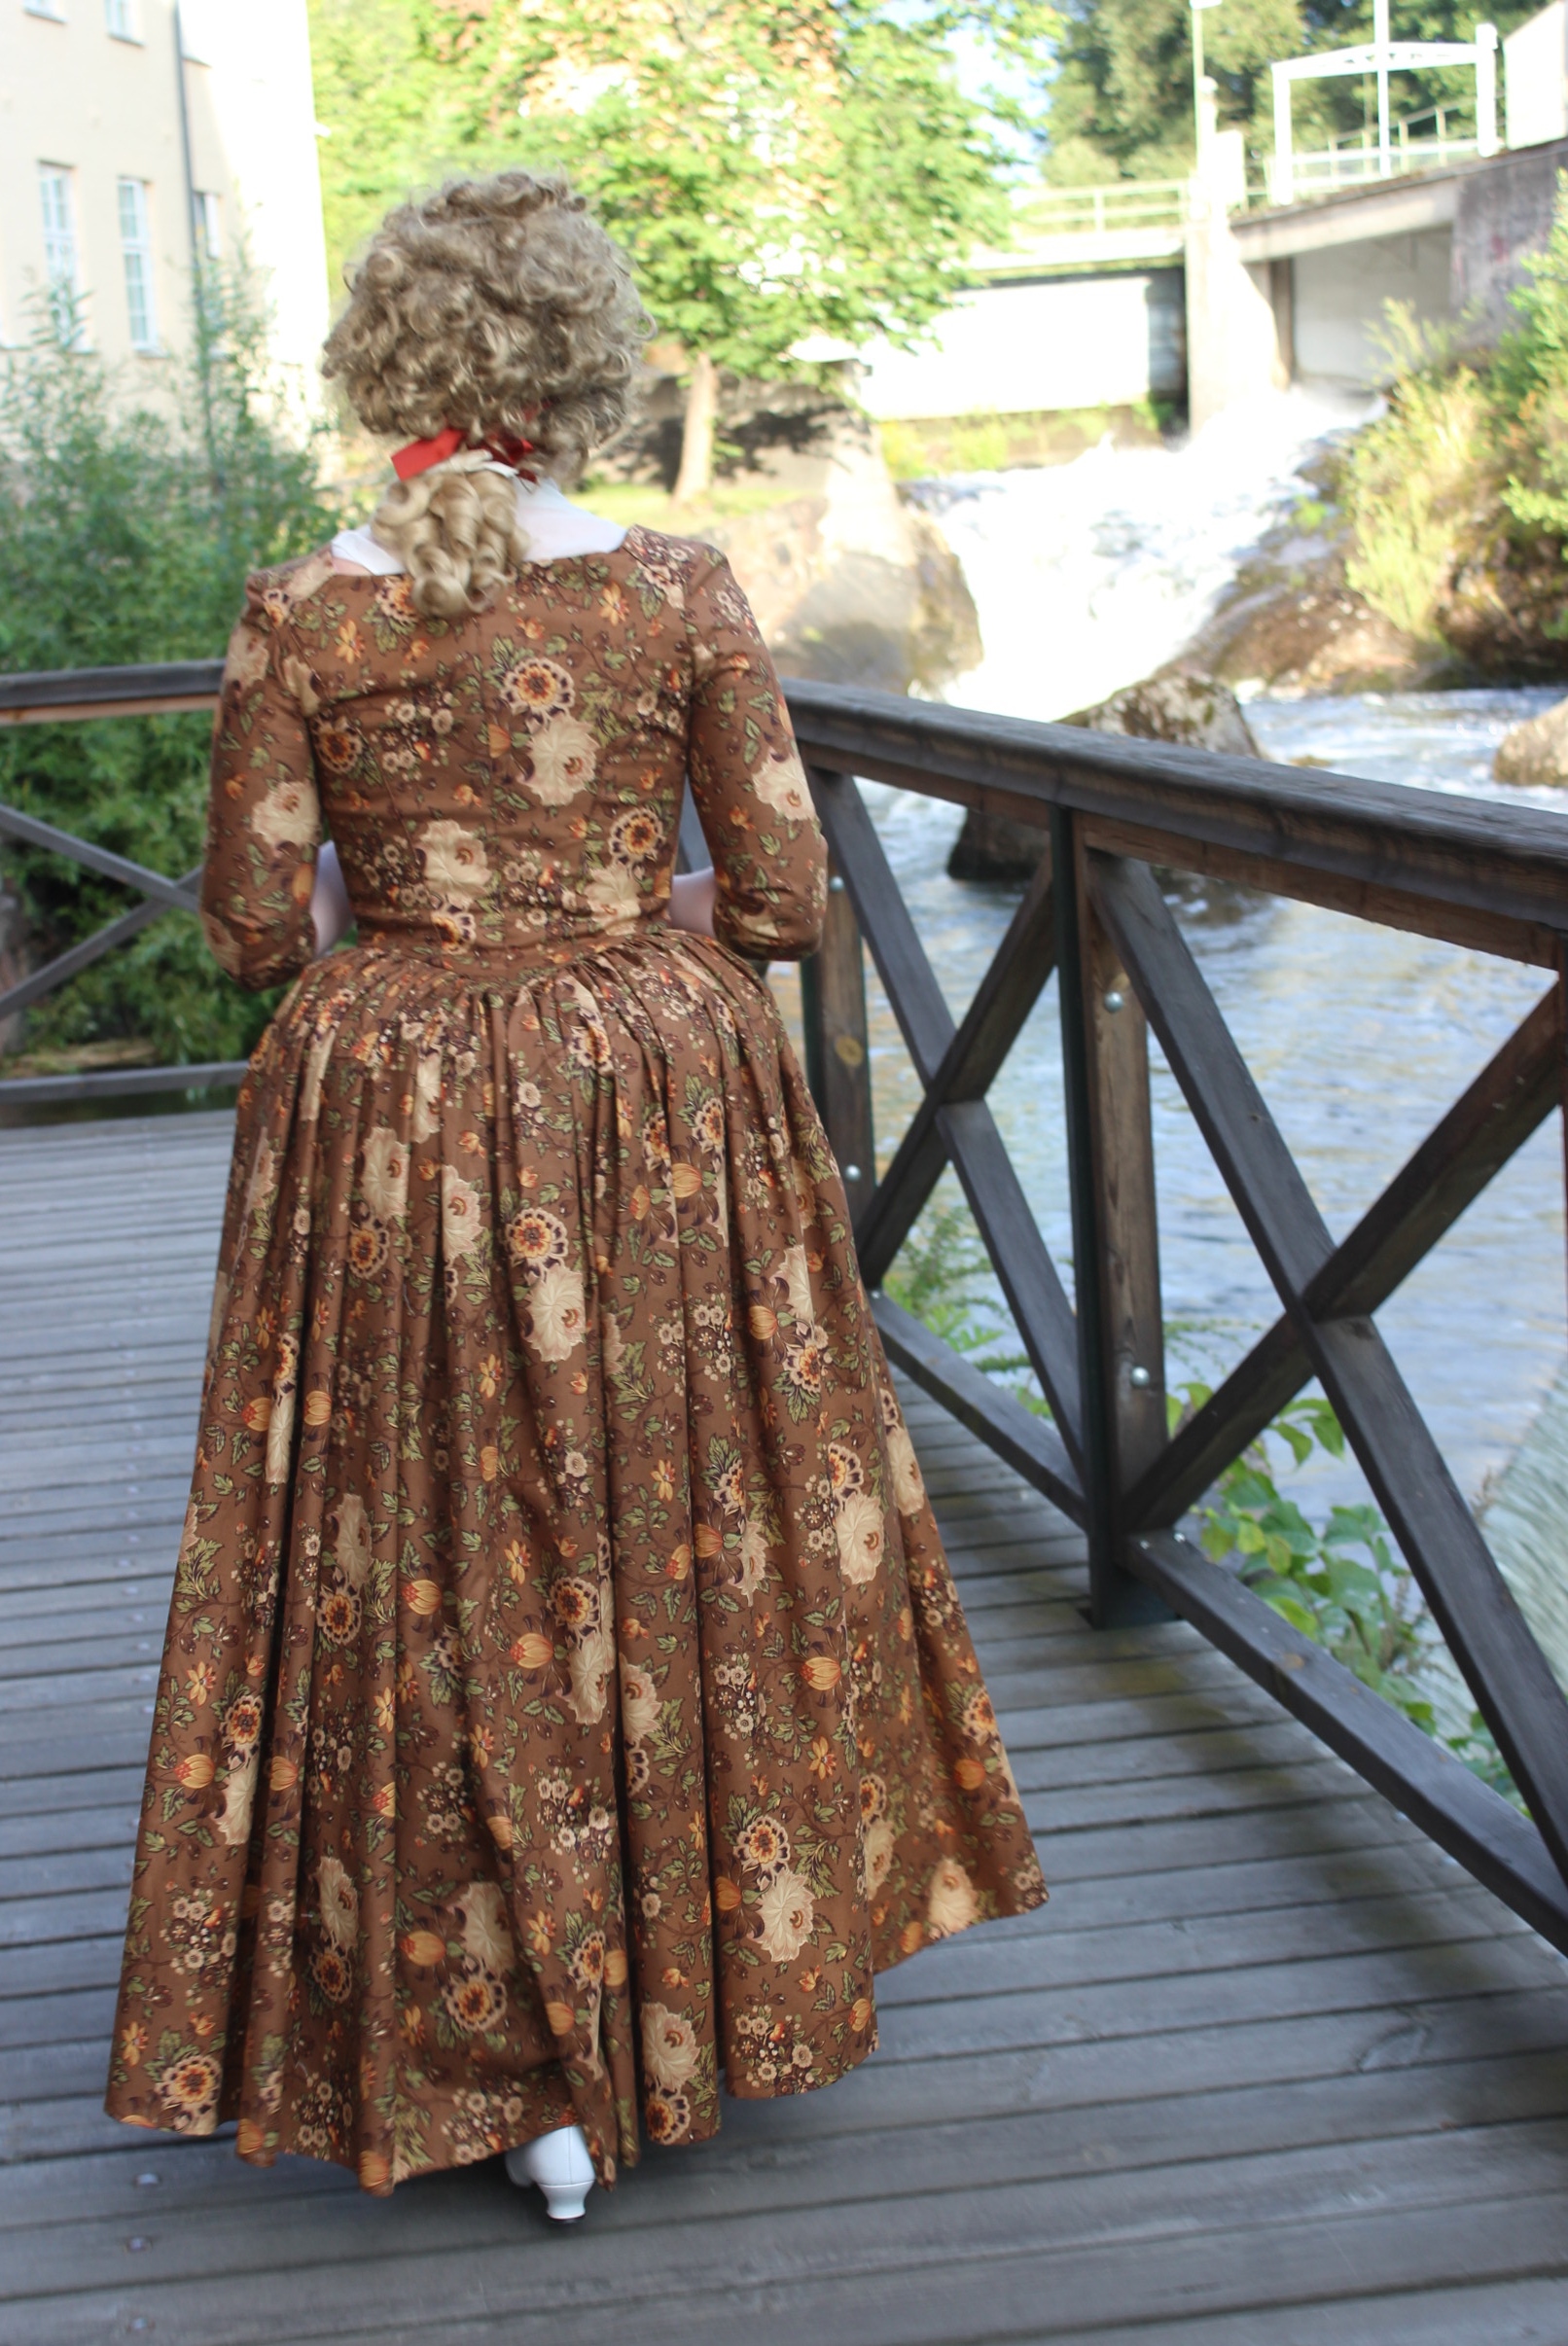
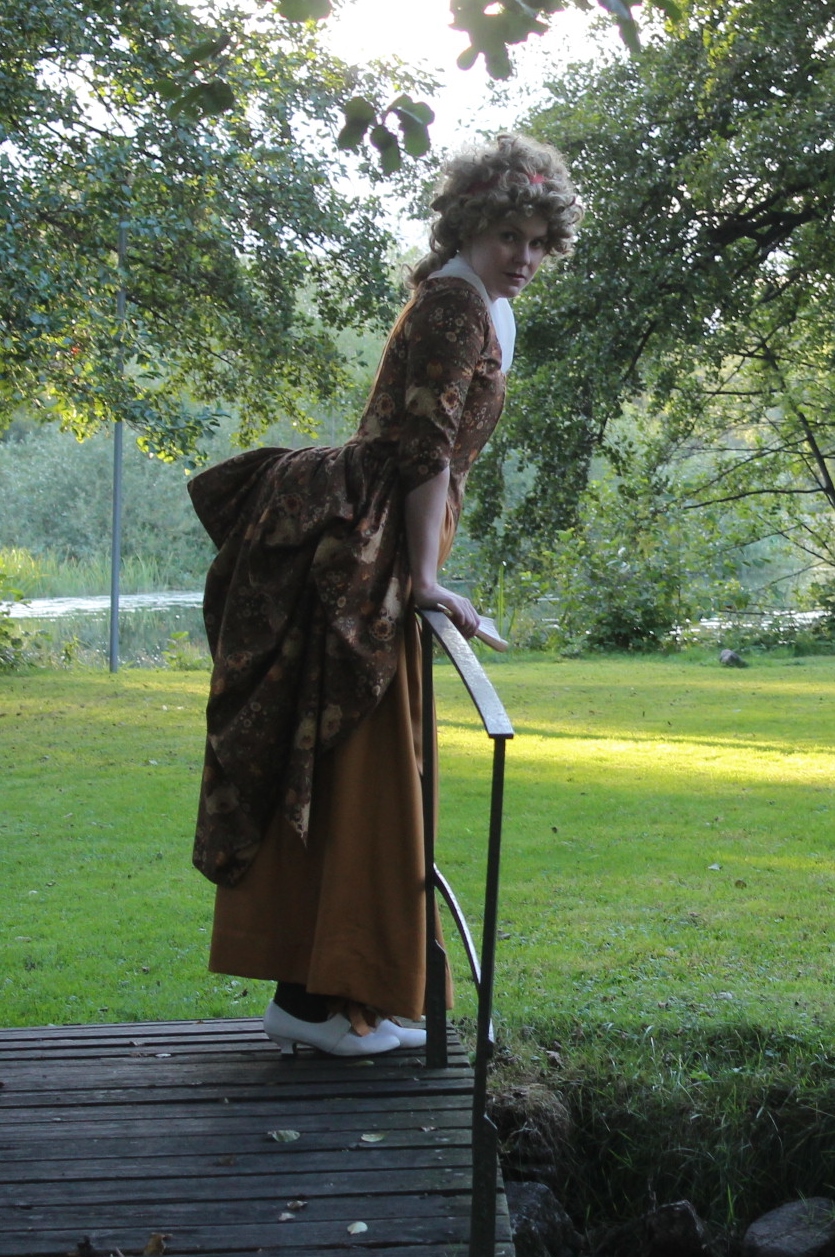
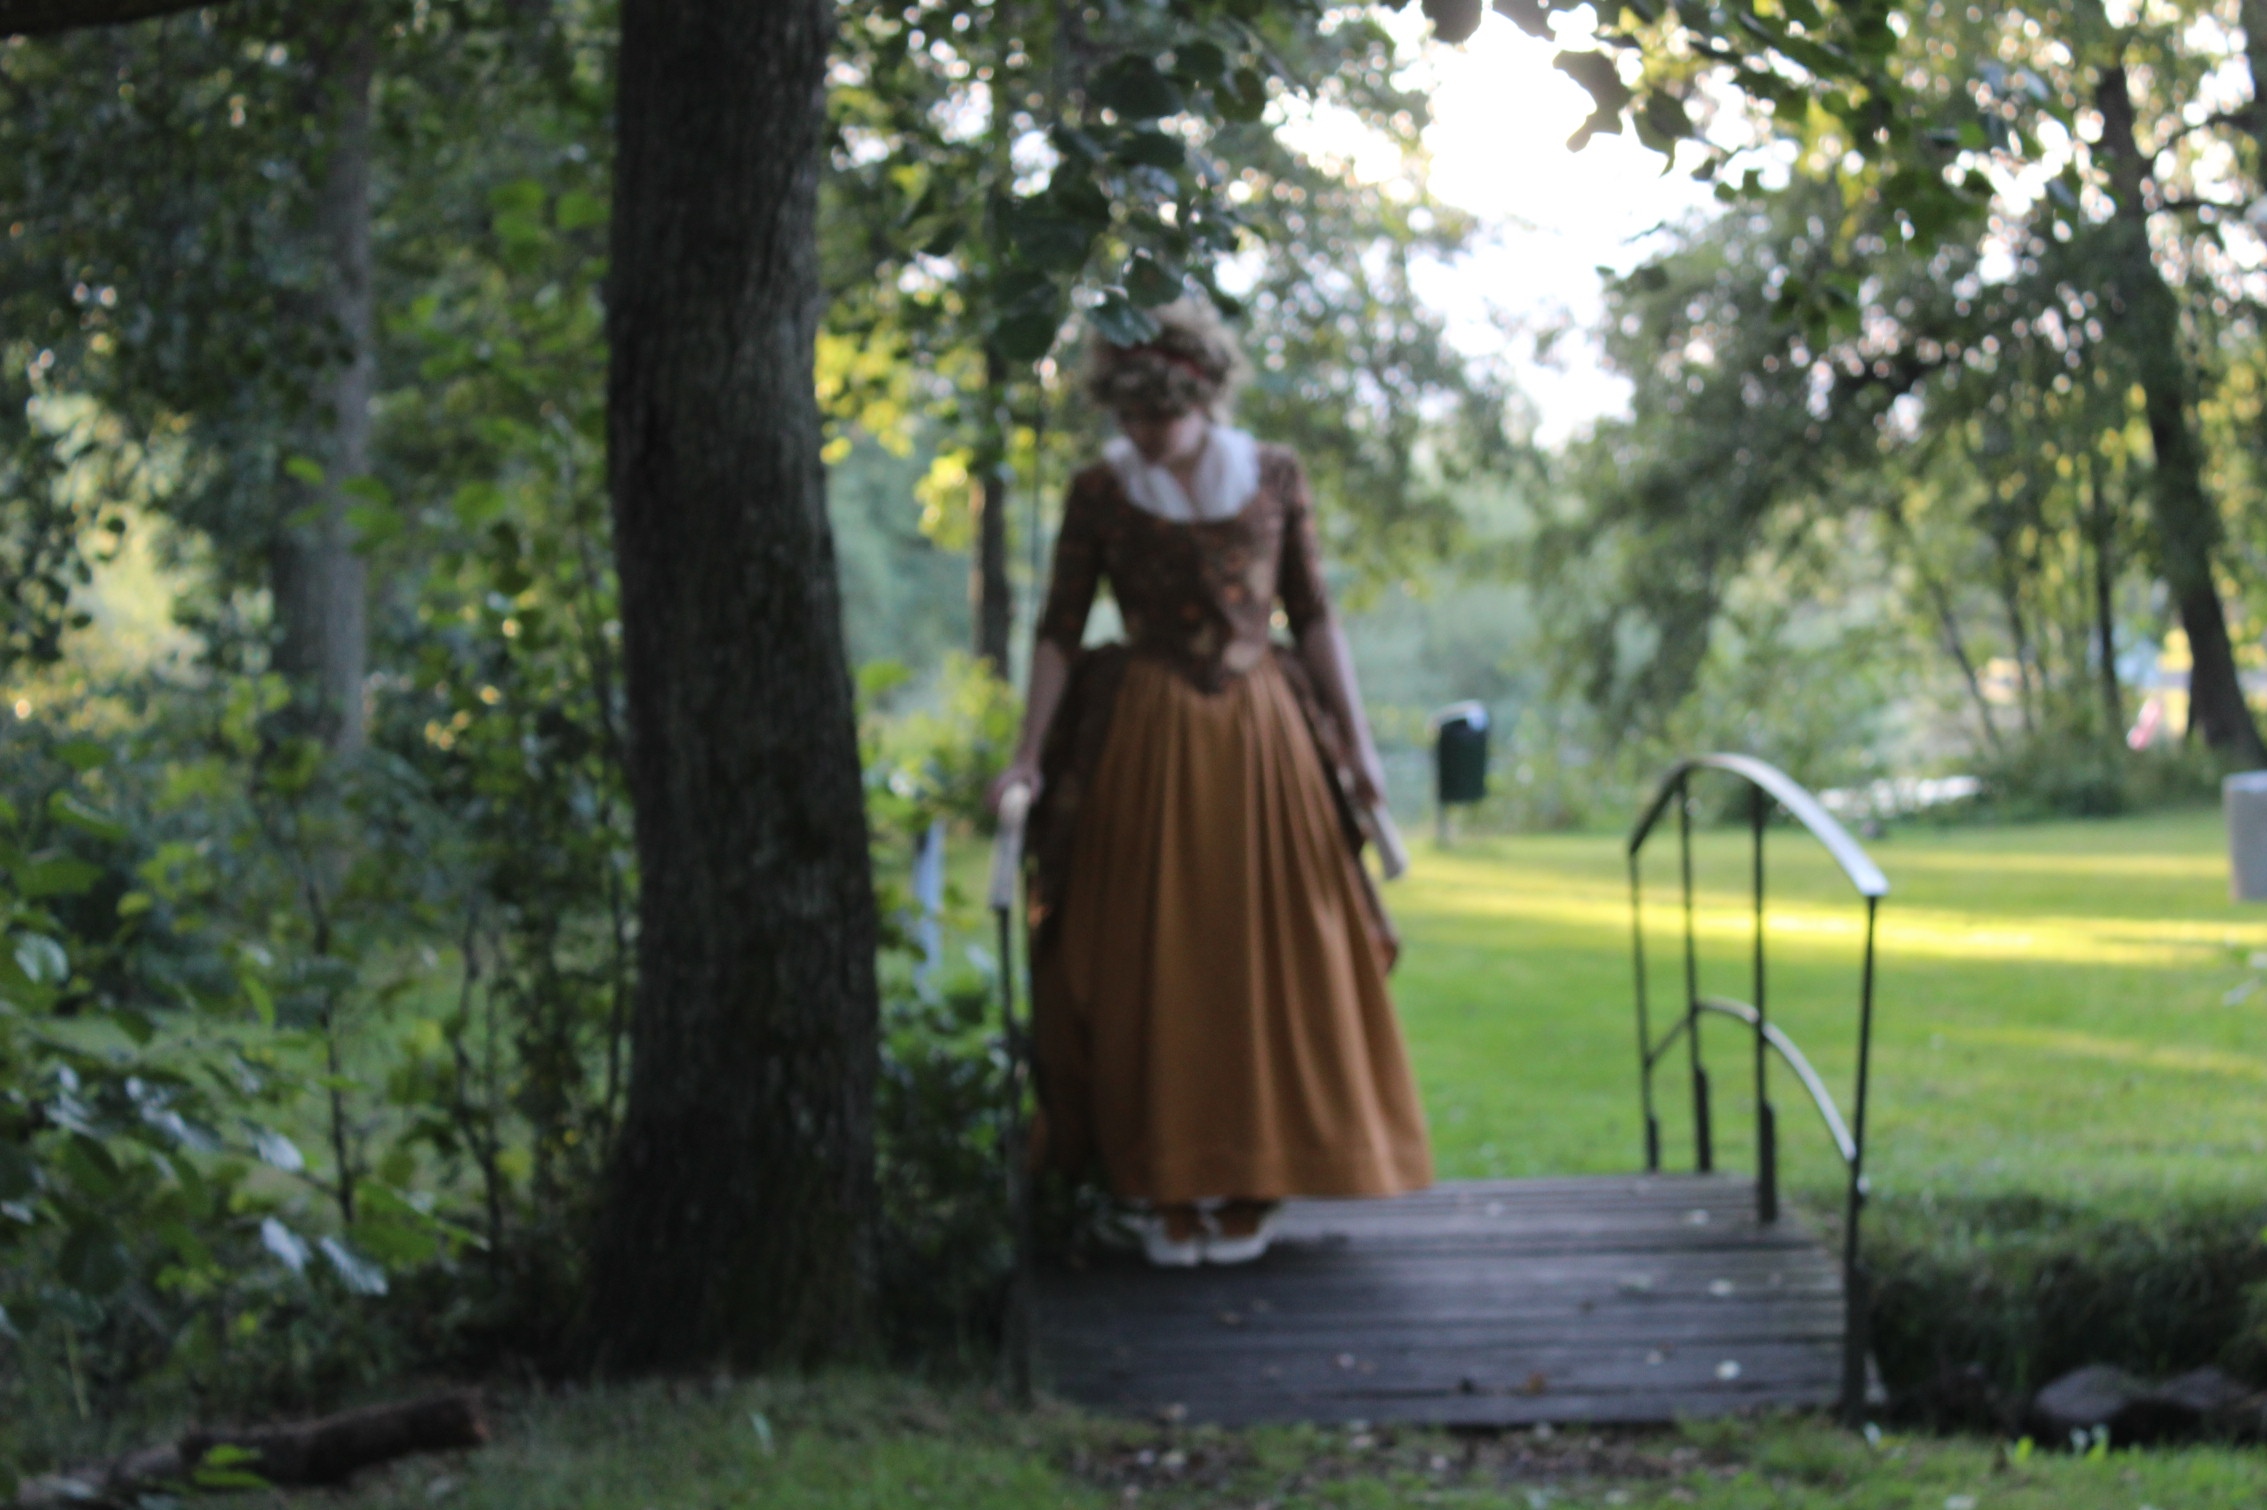
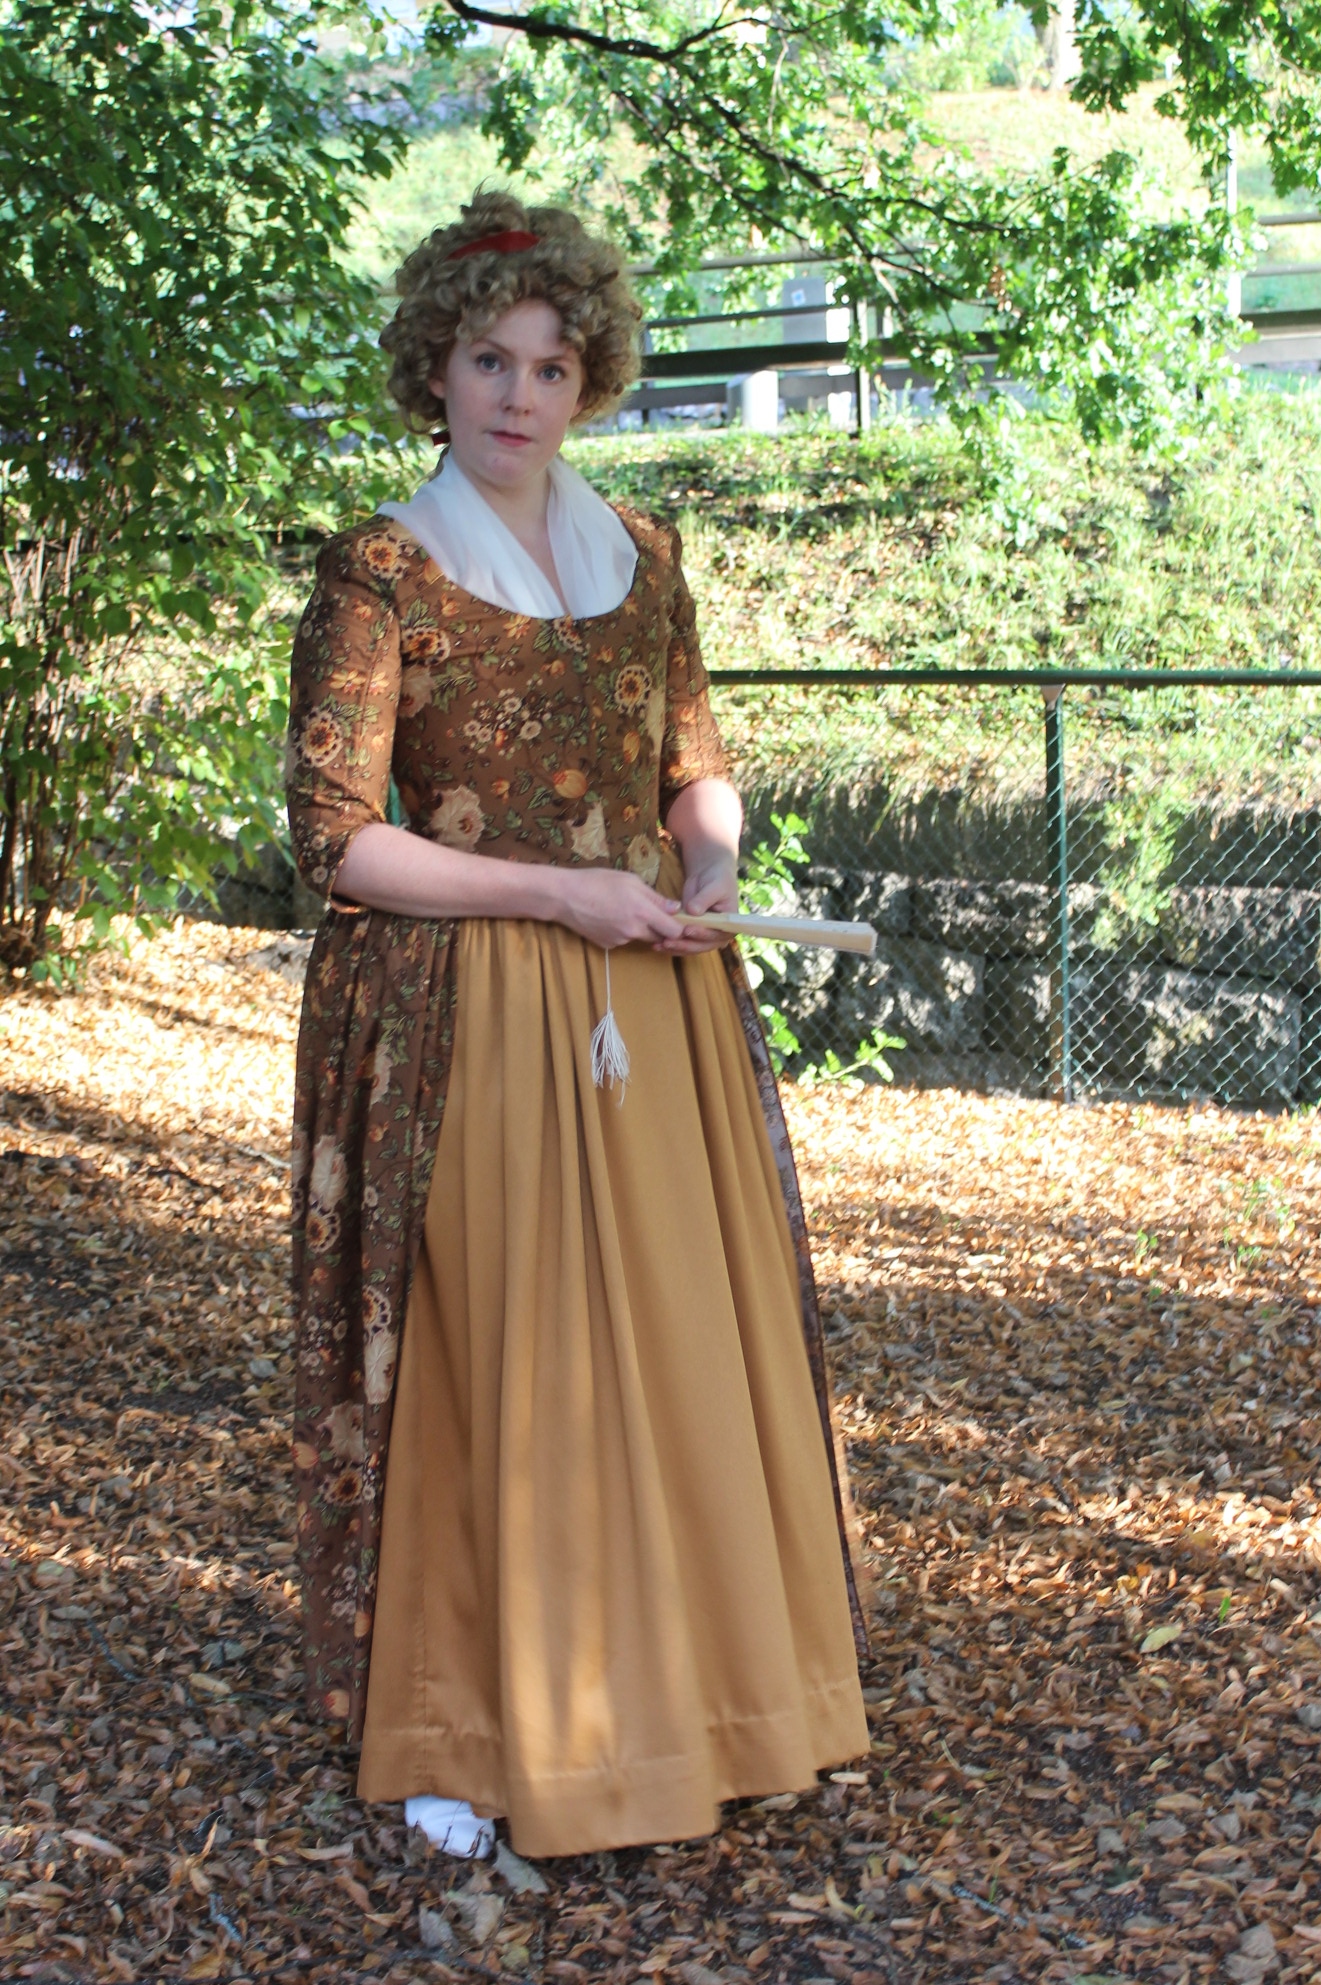
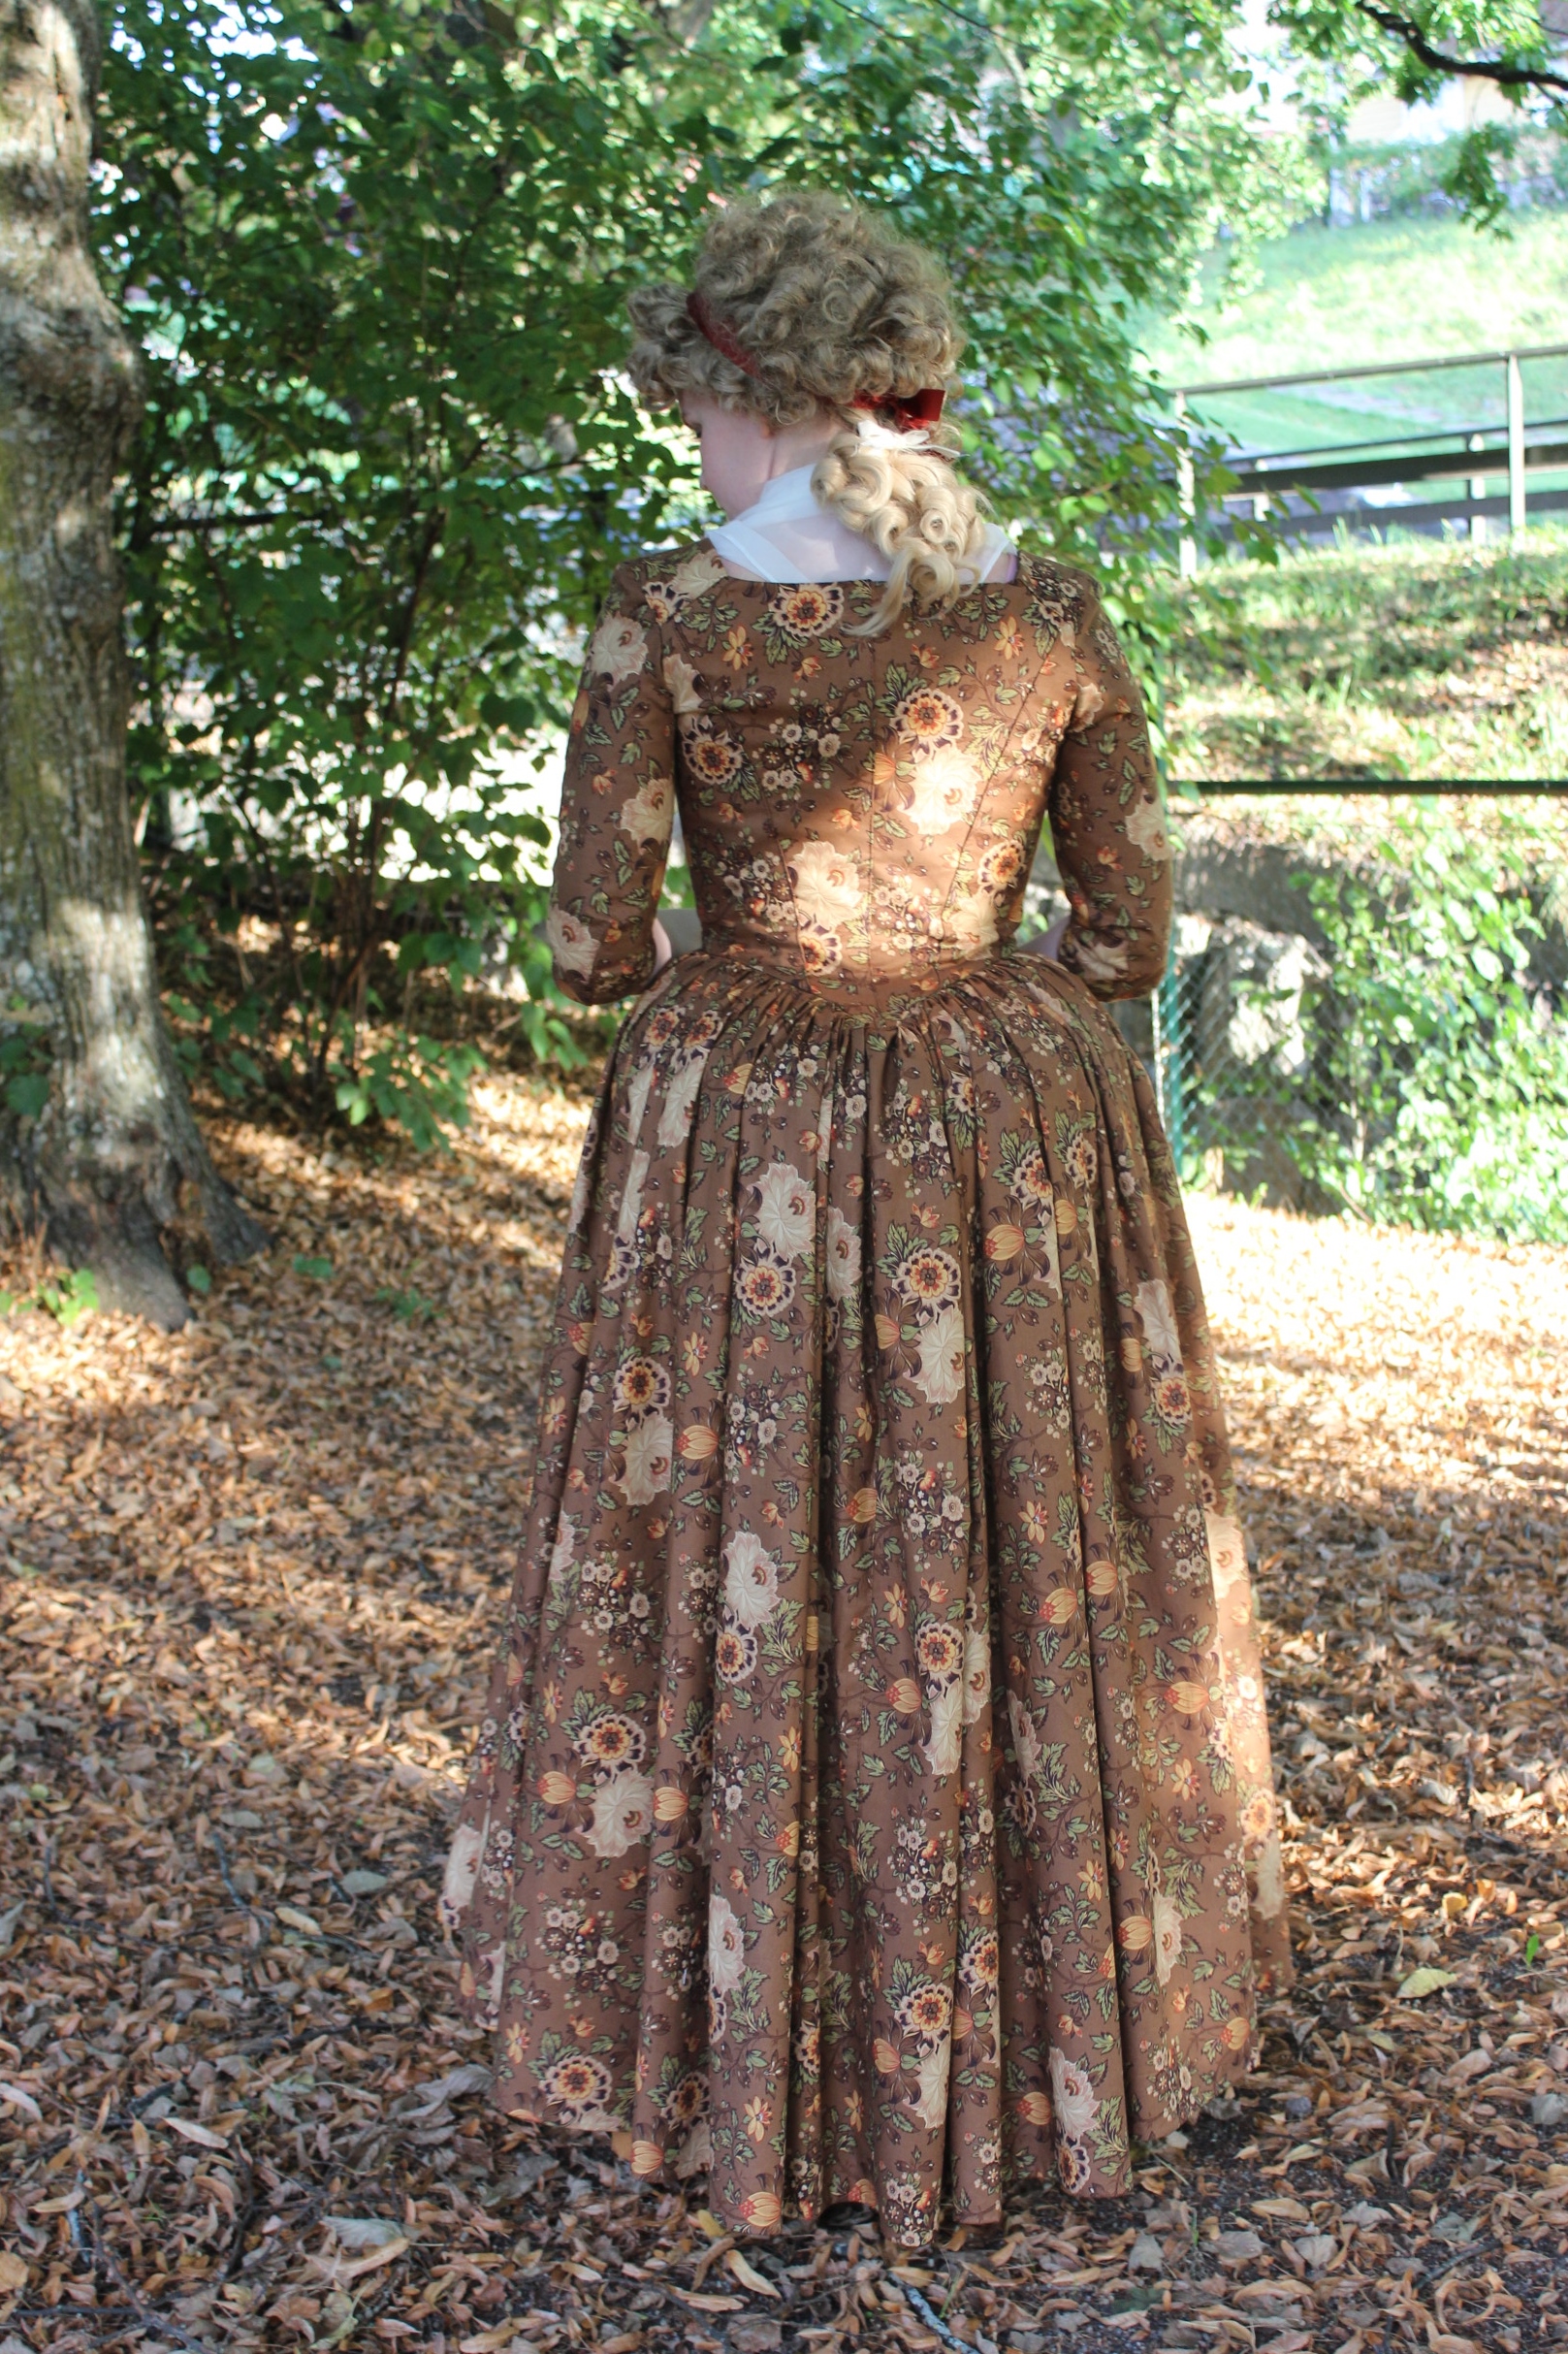
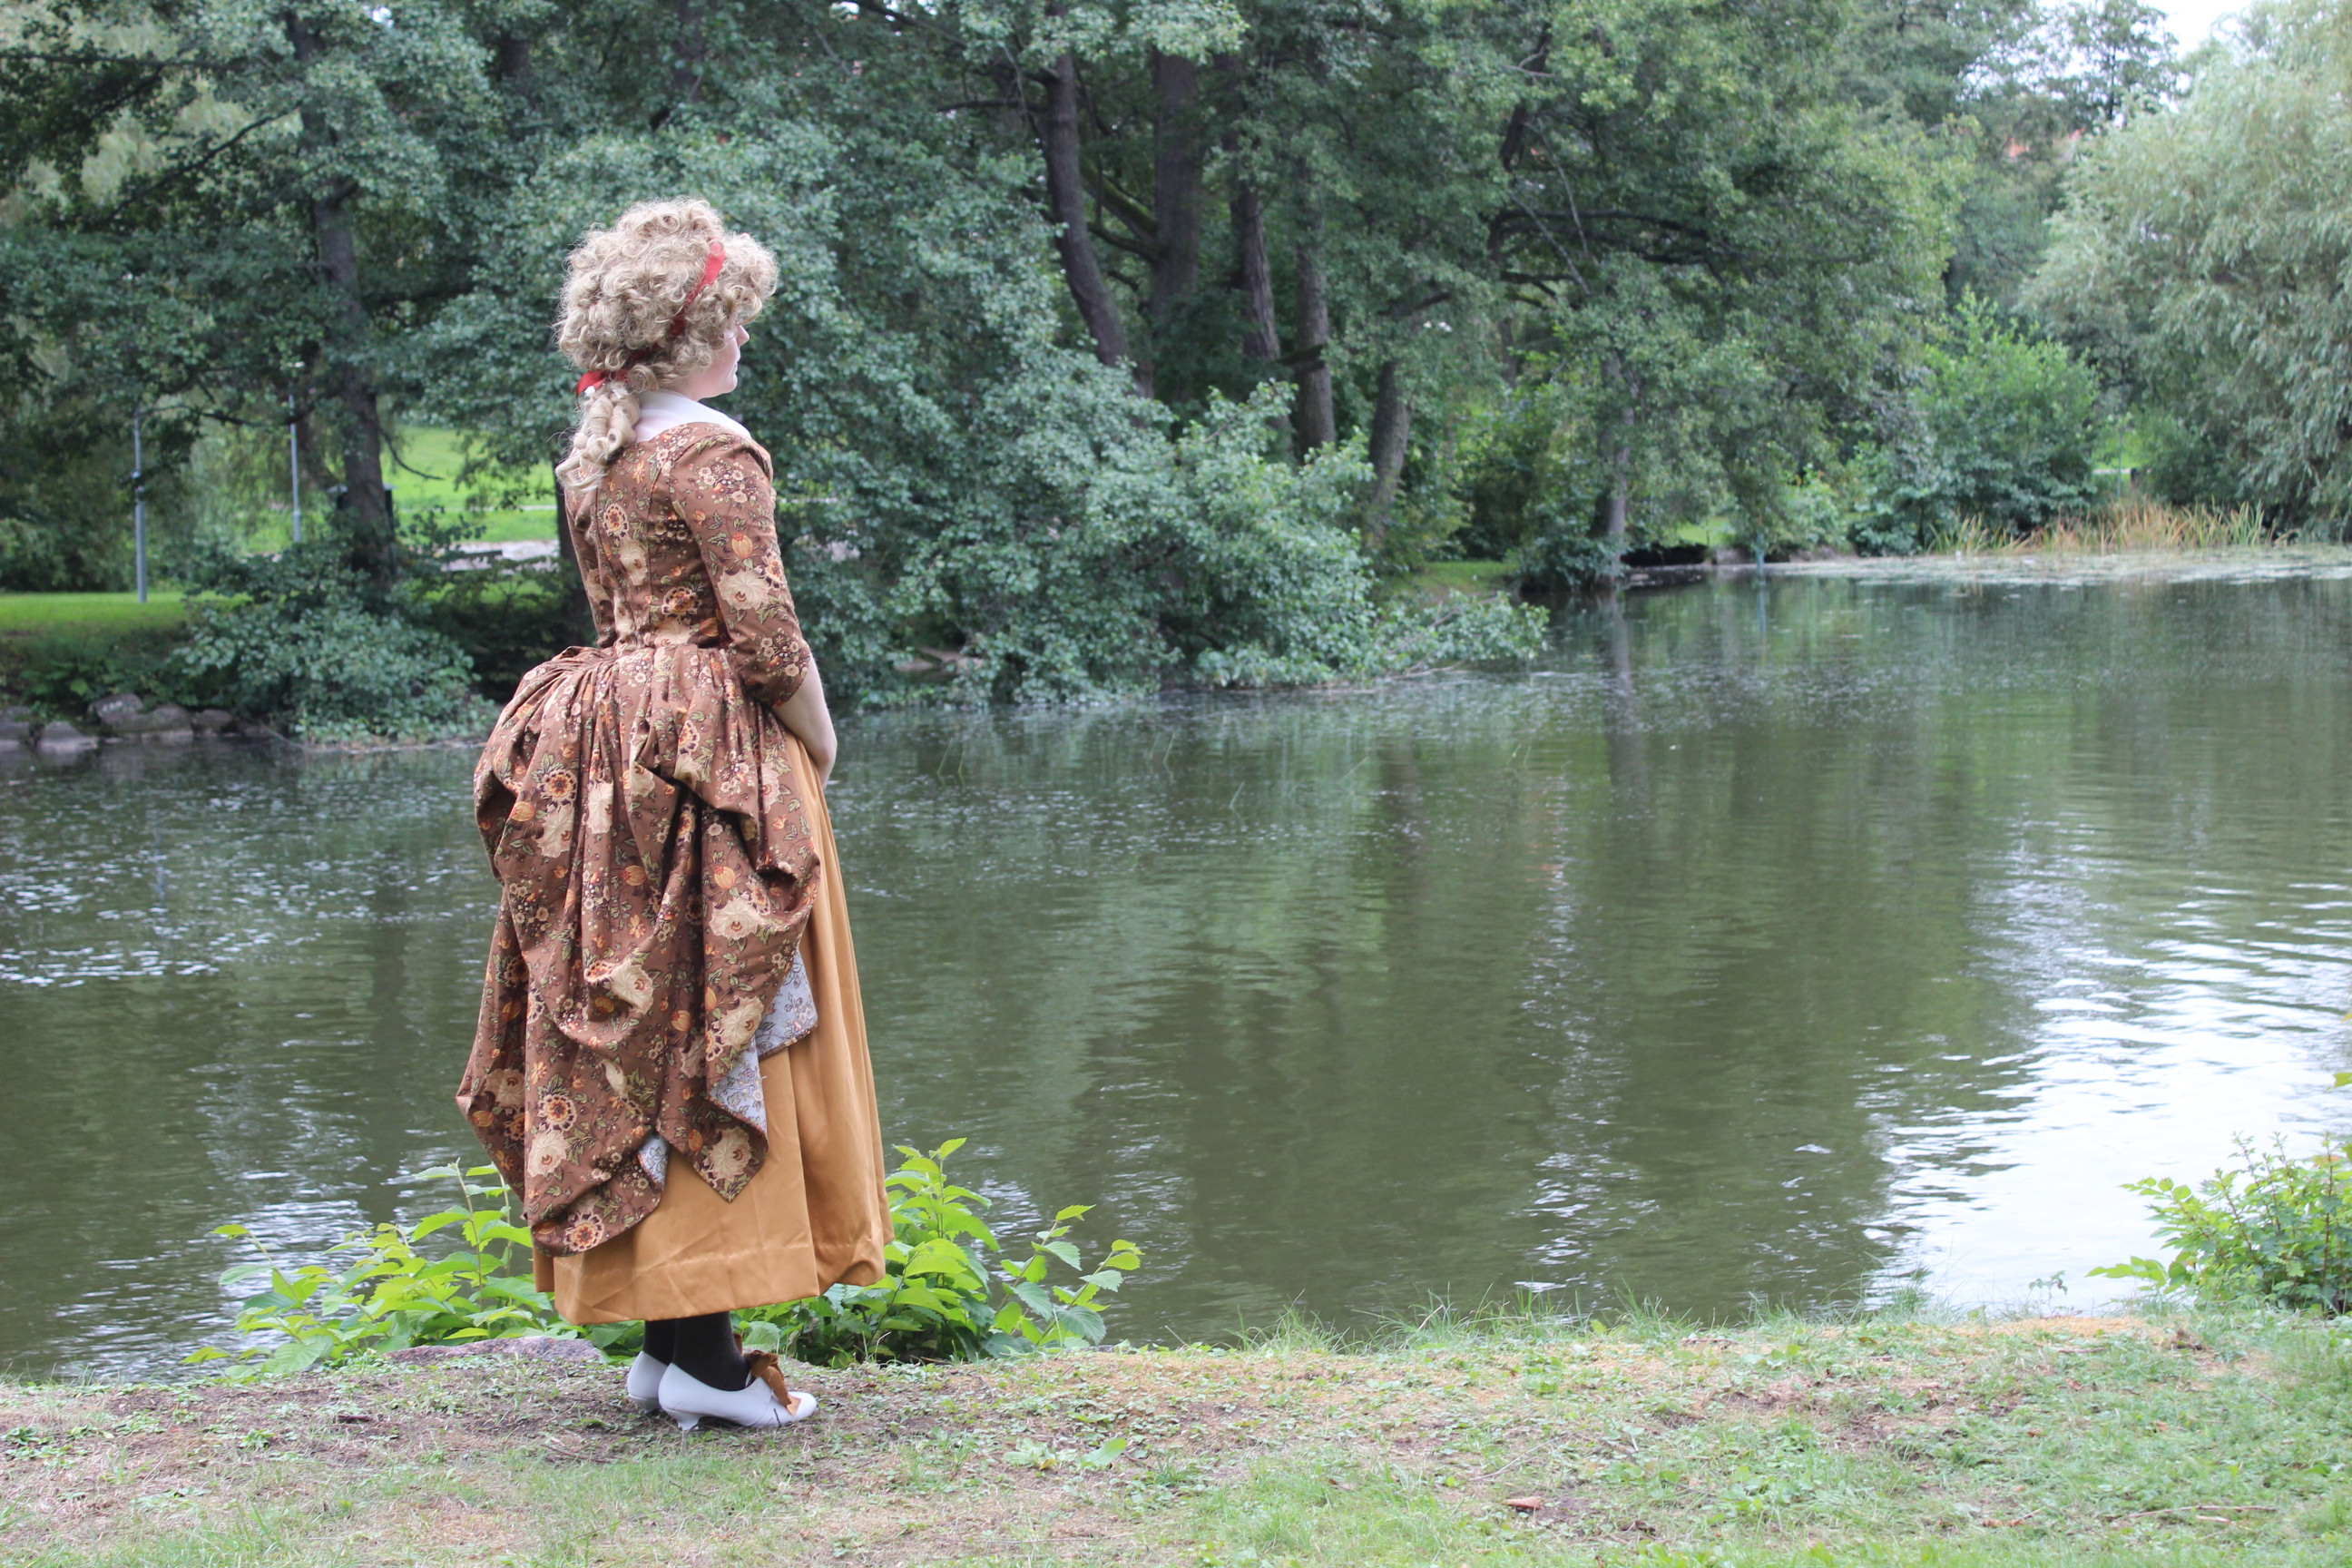
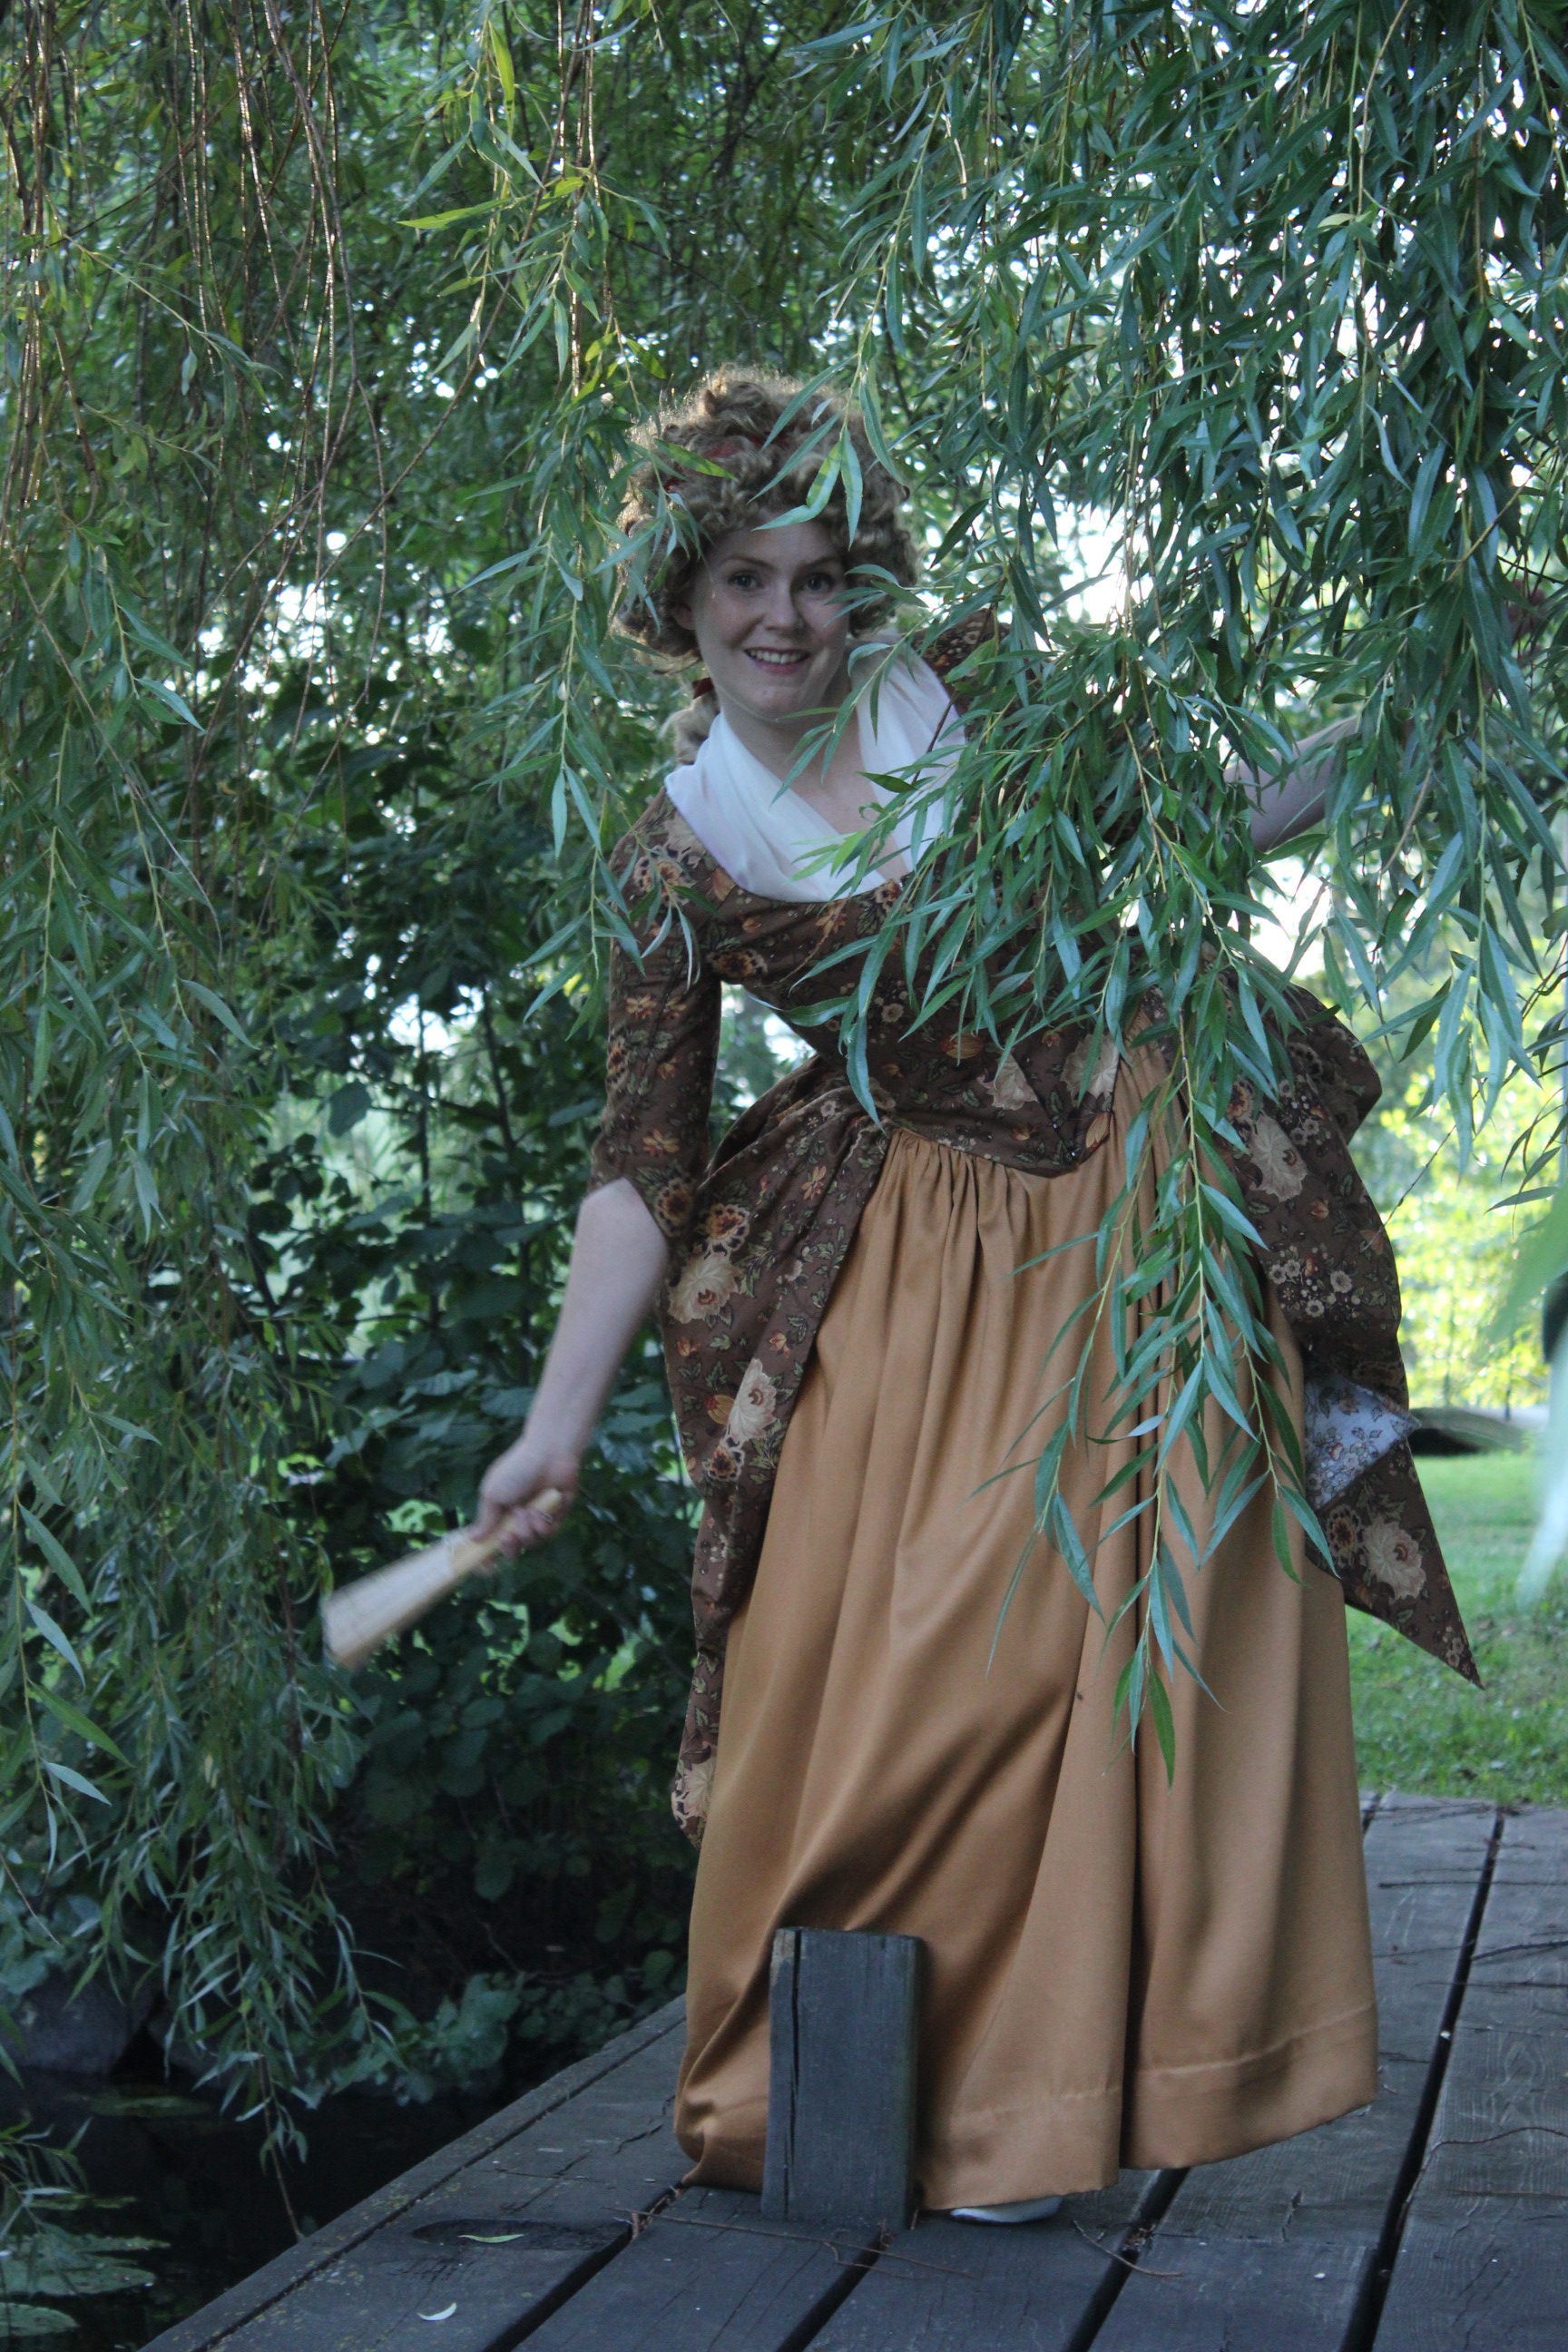
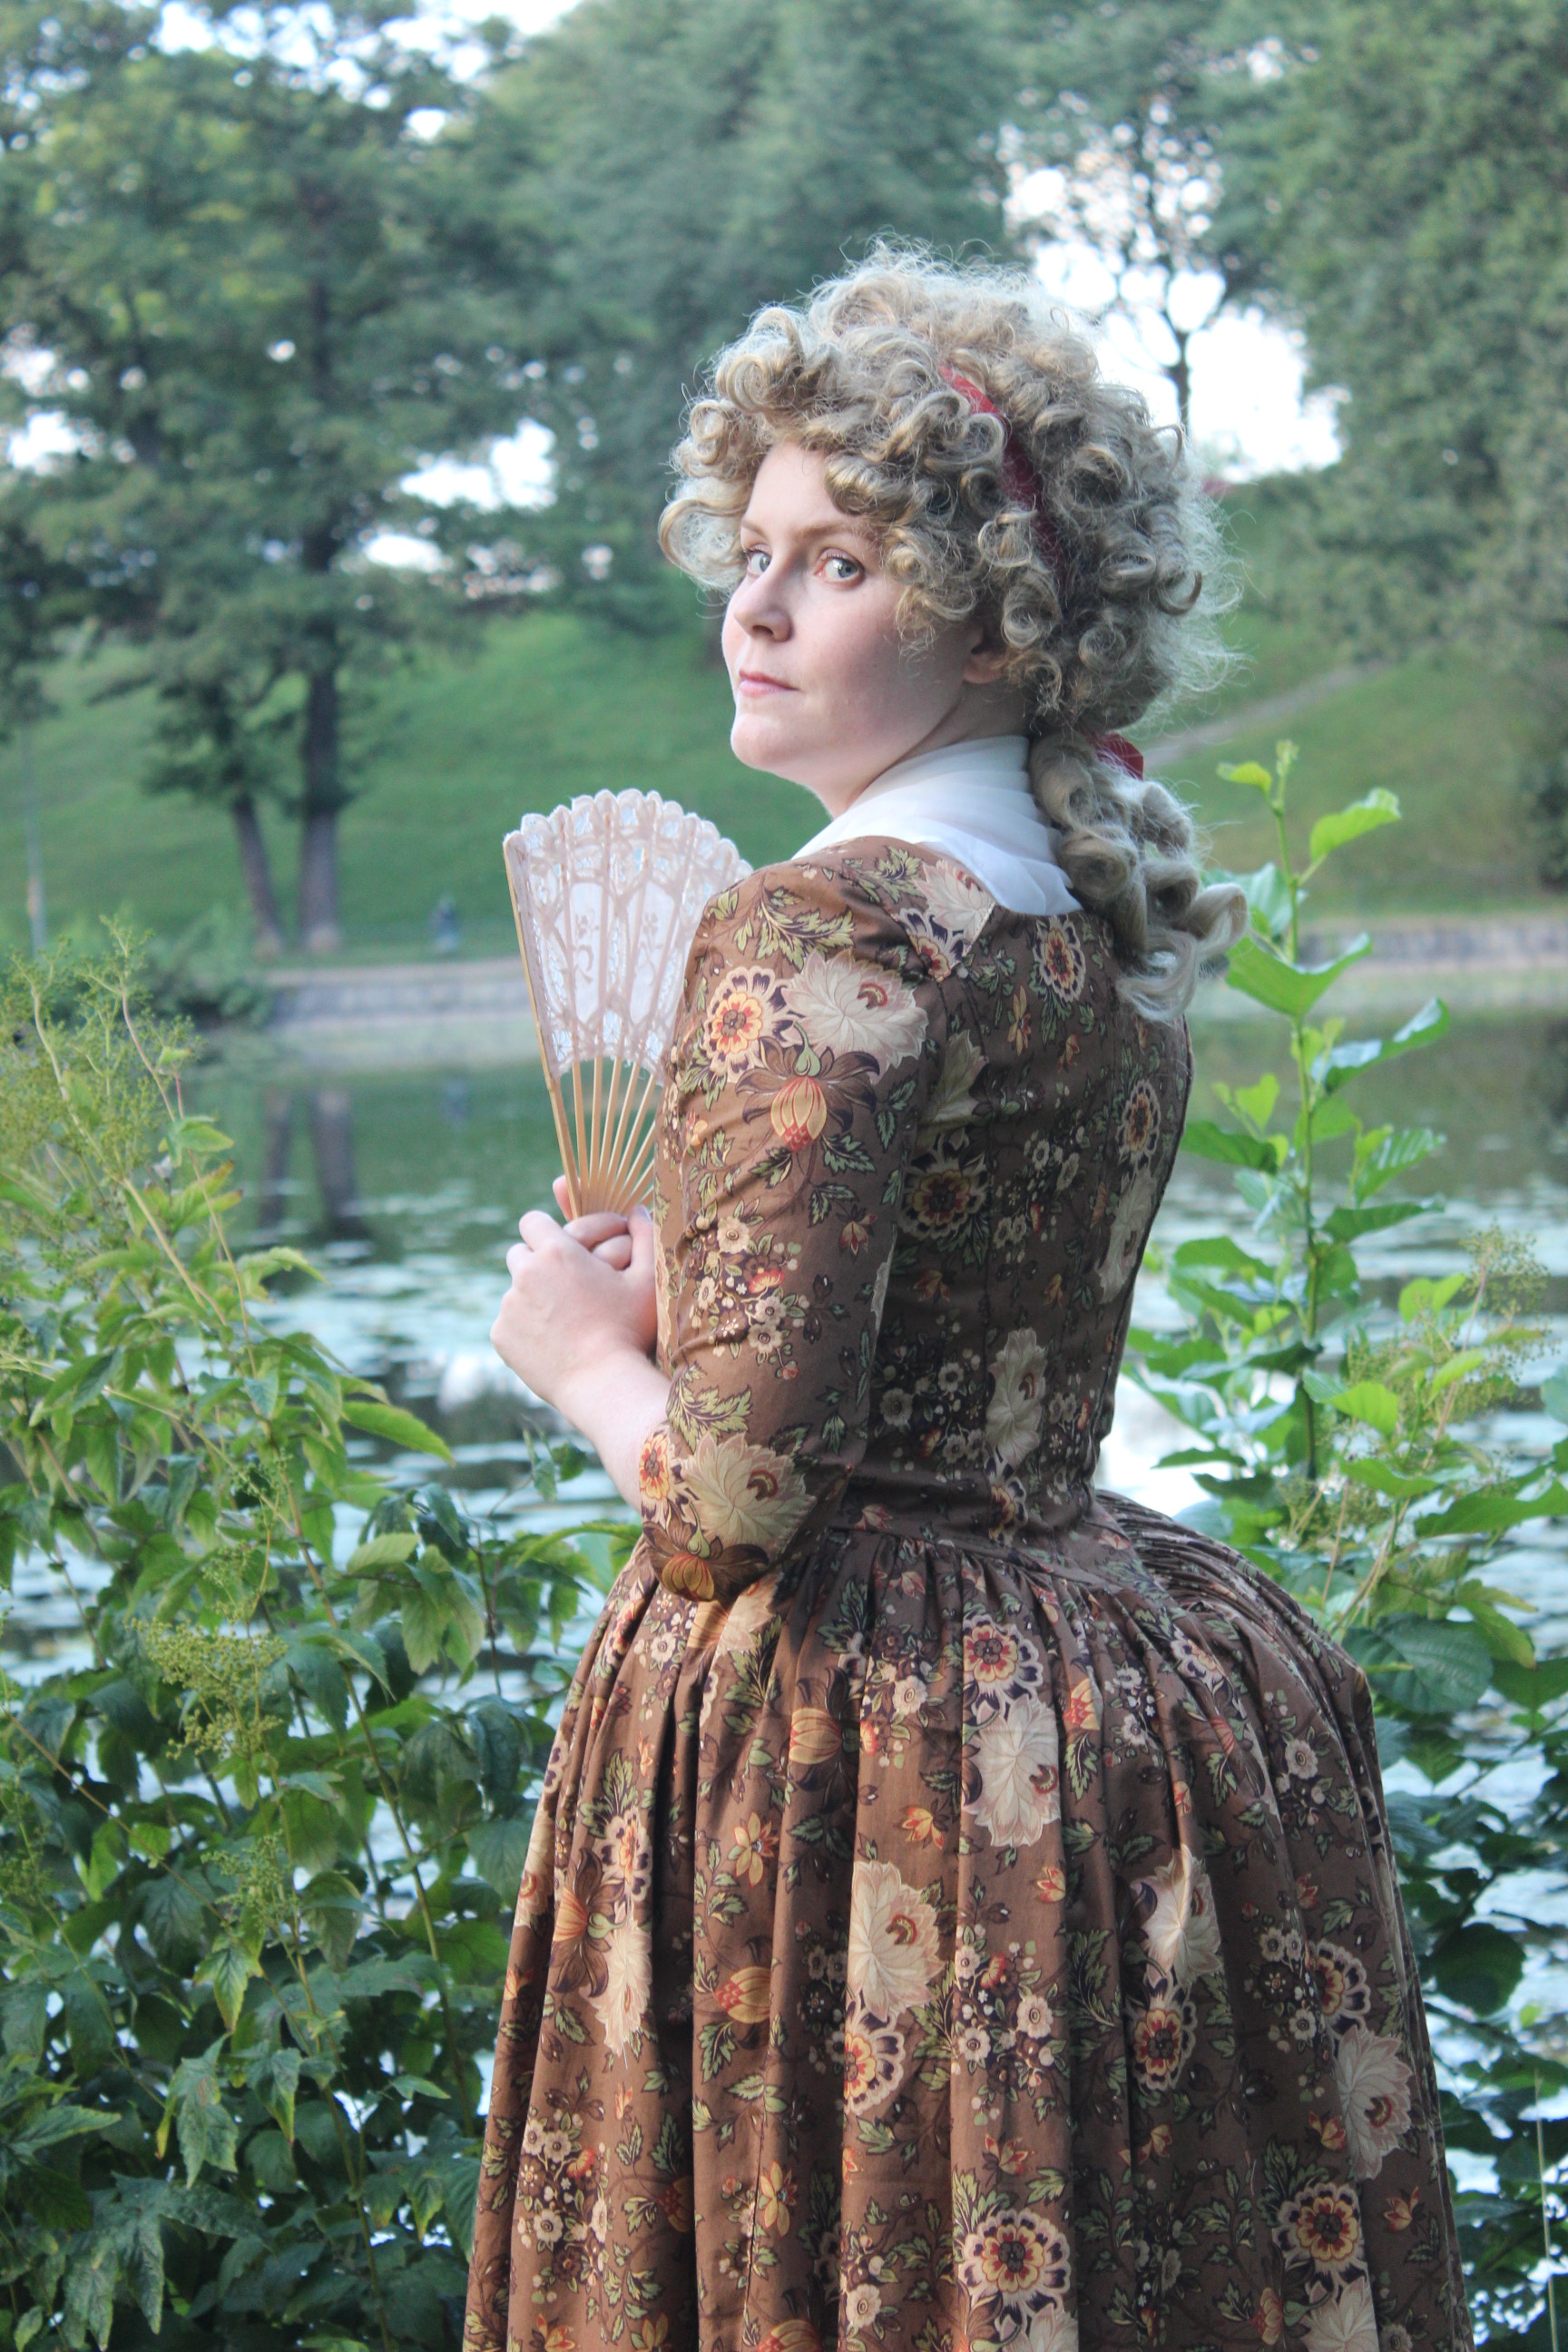
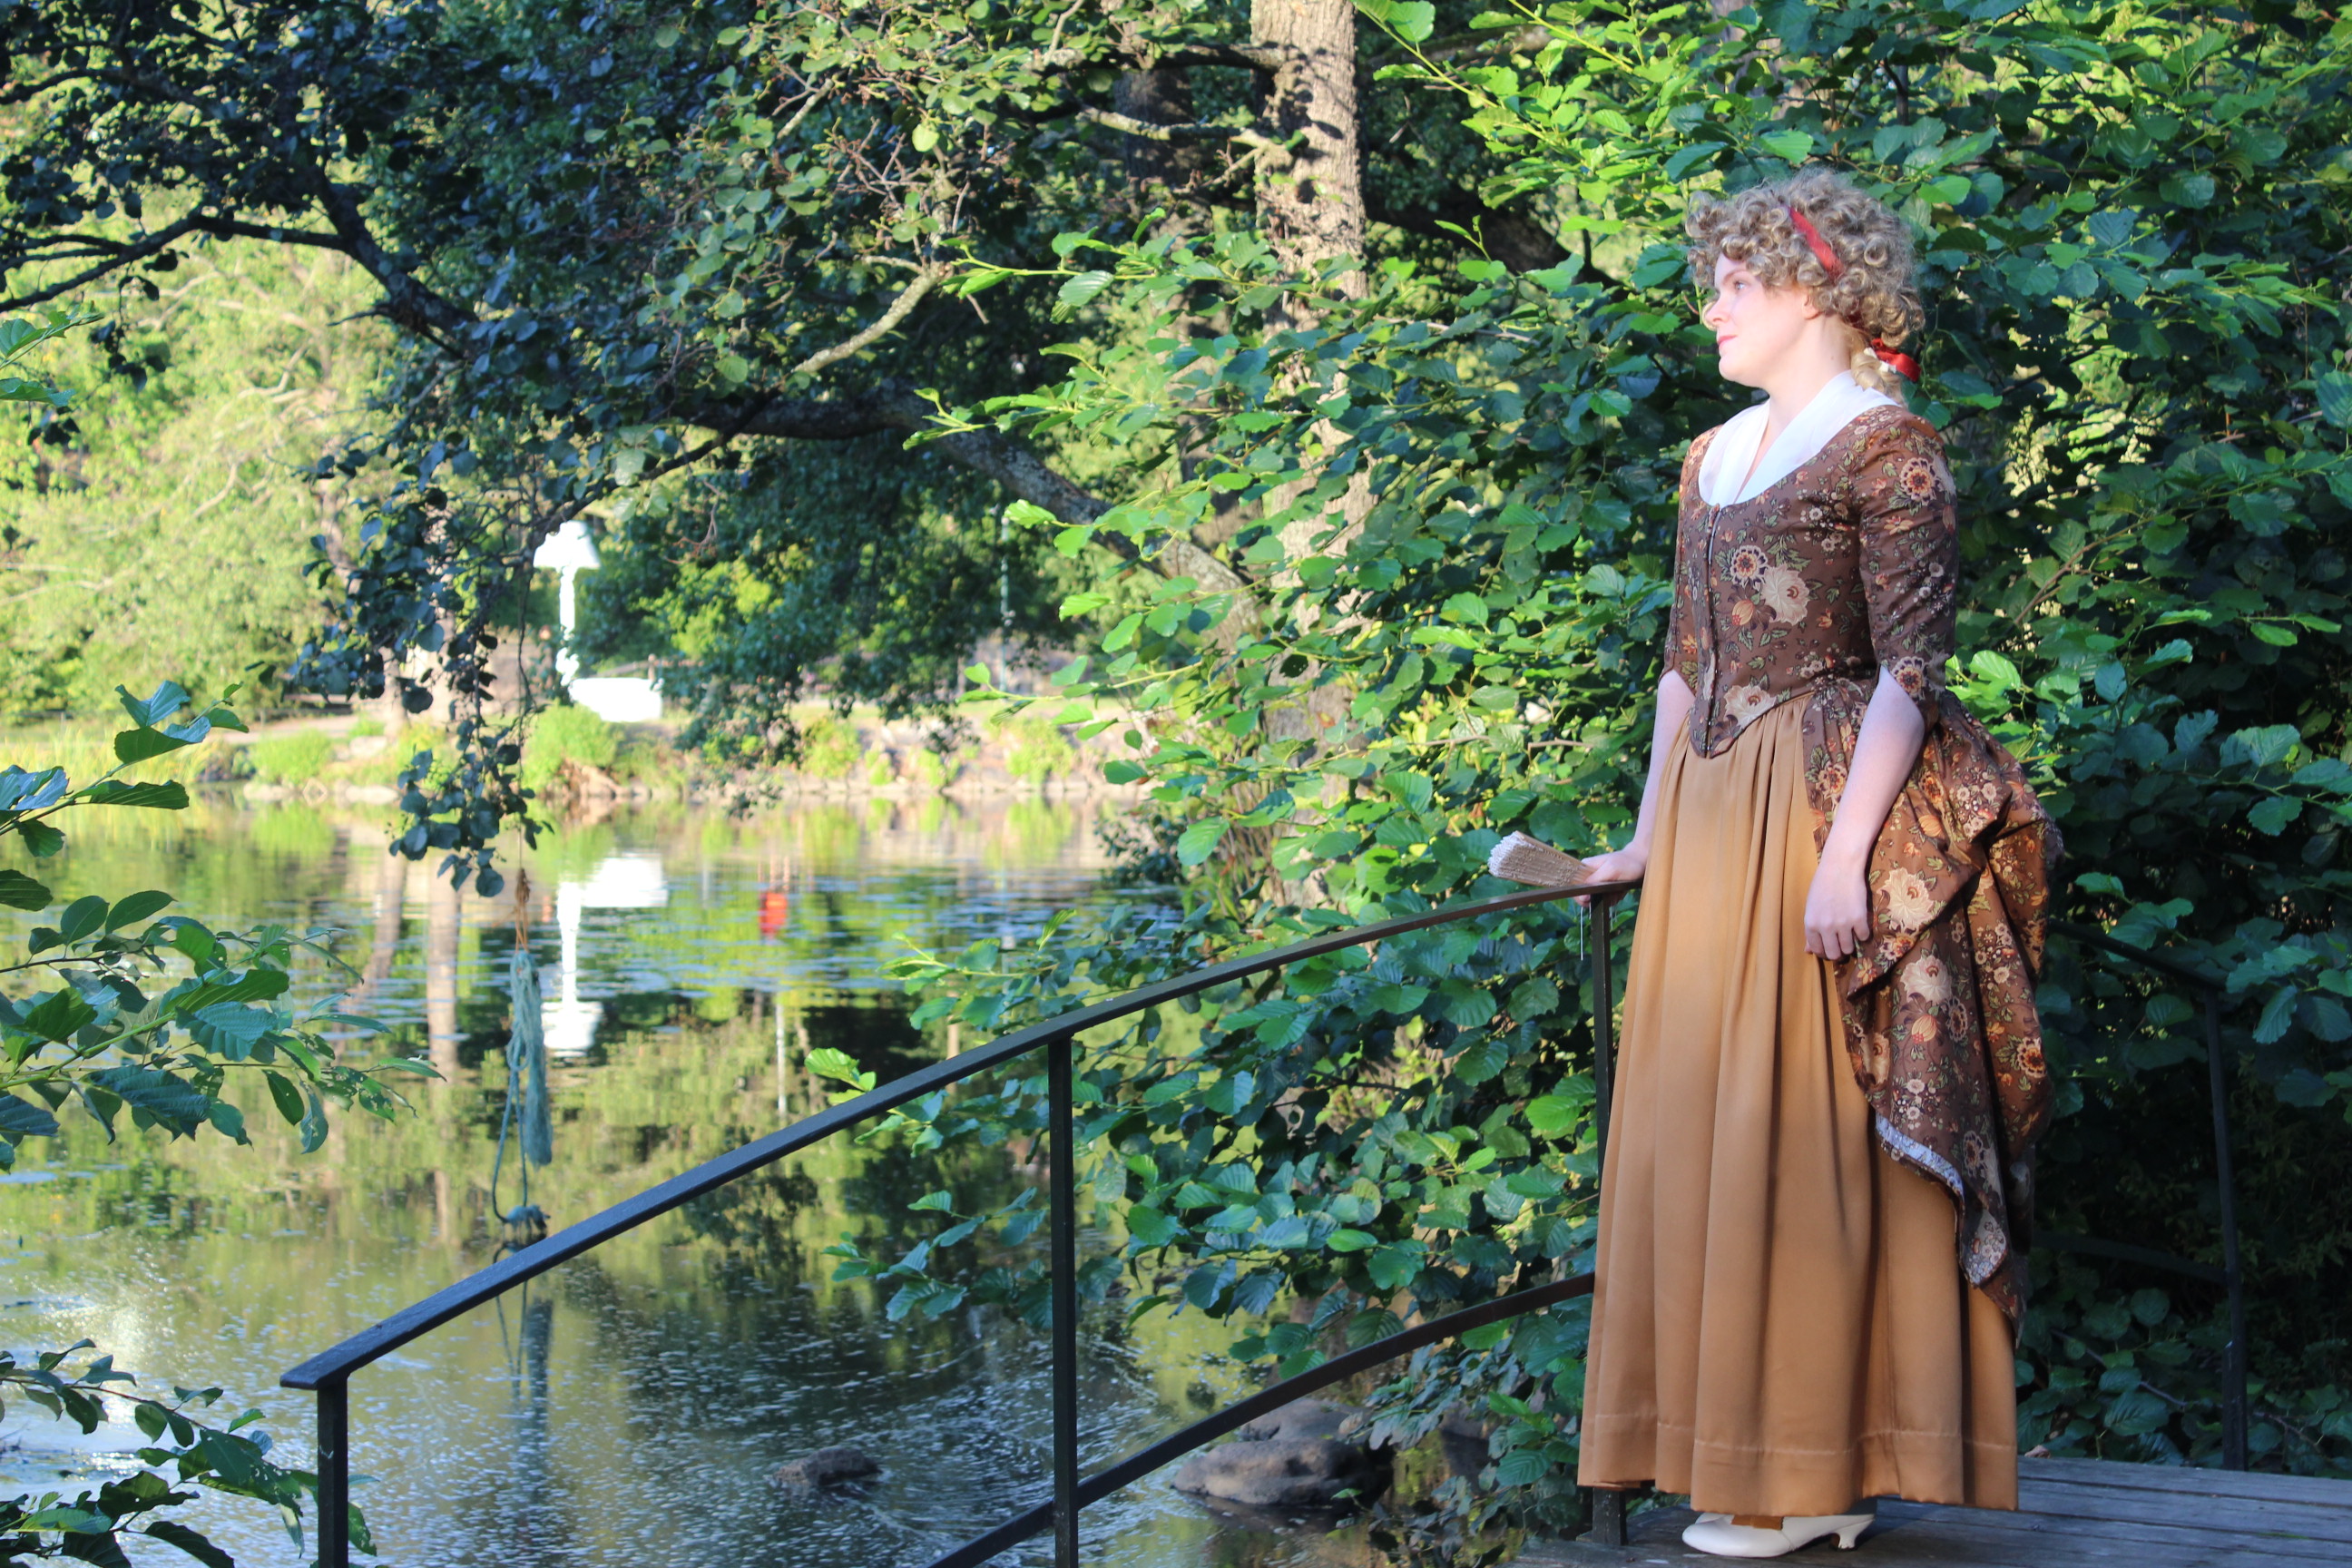
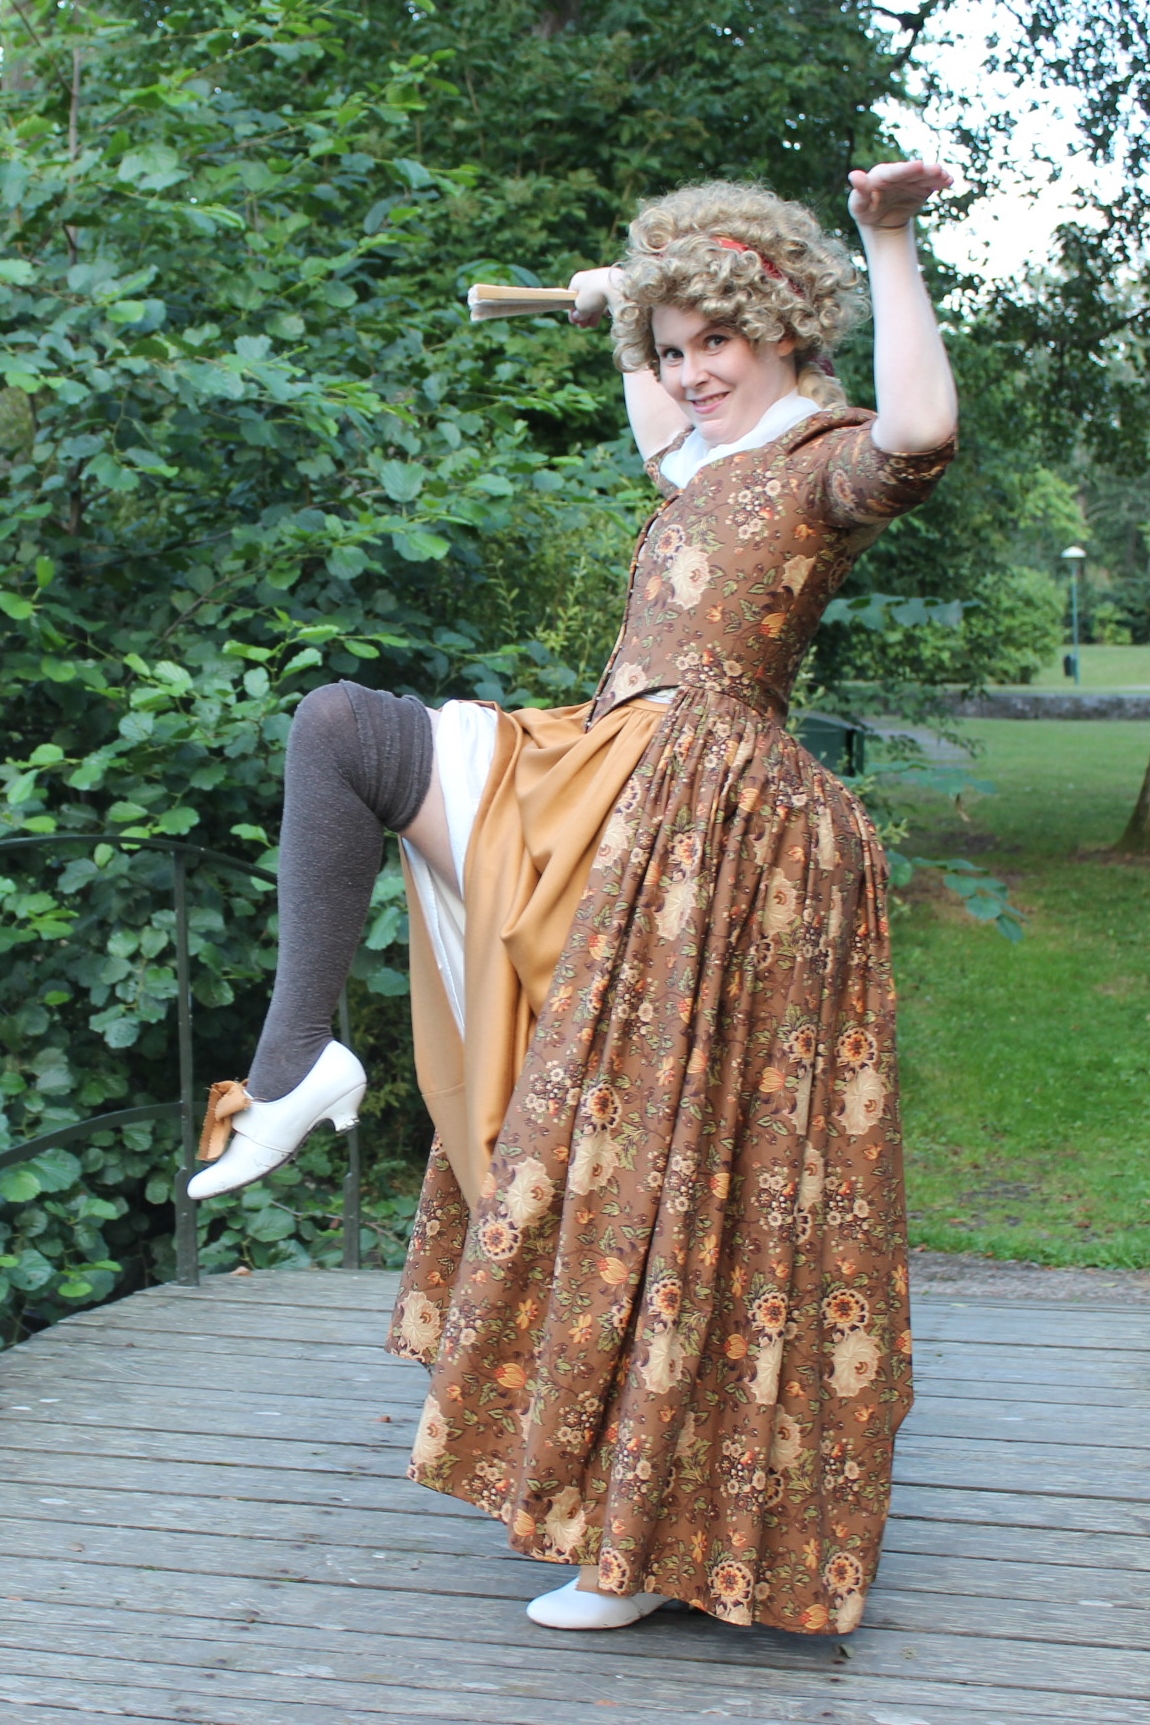
 Photo by Jennifer Garner
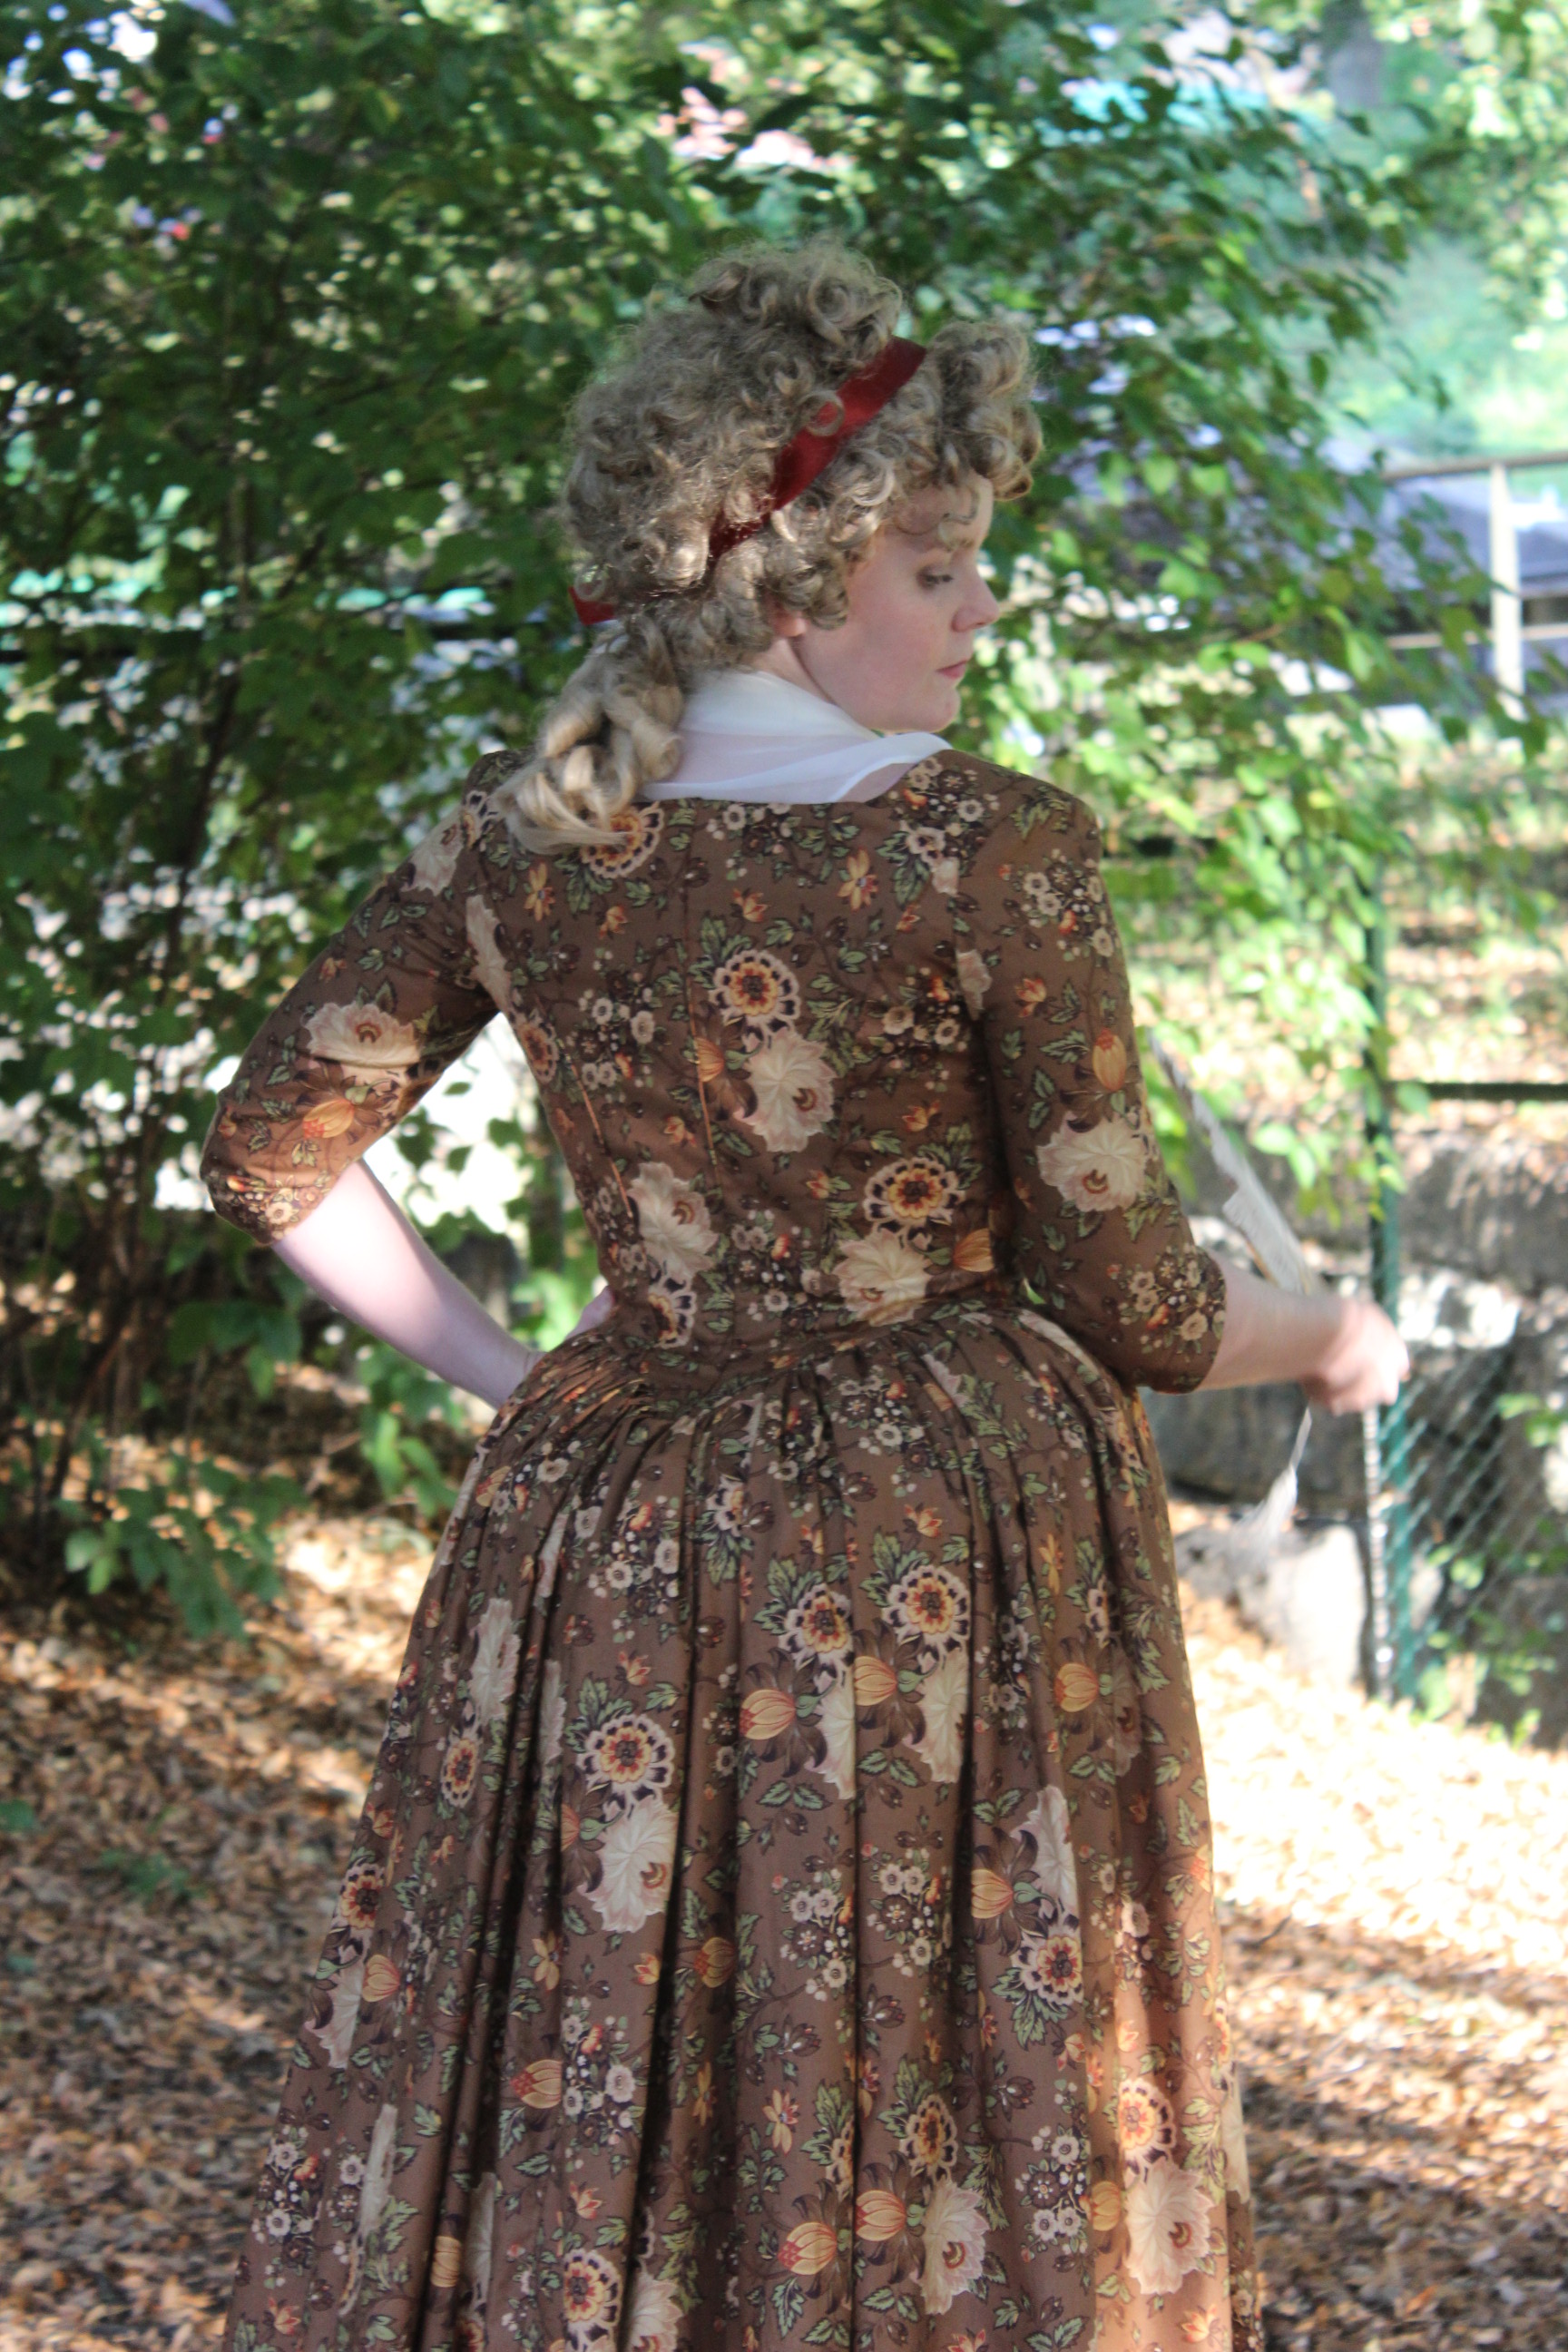


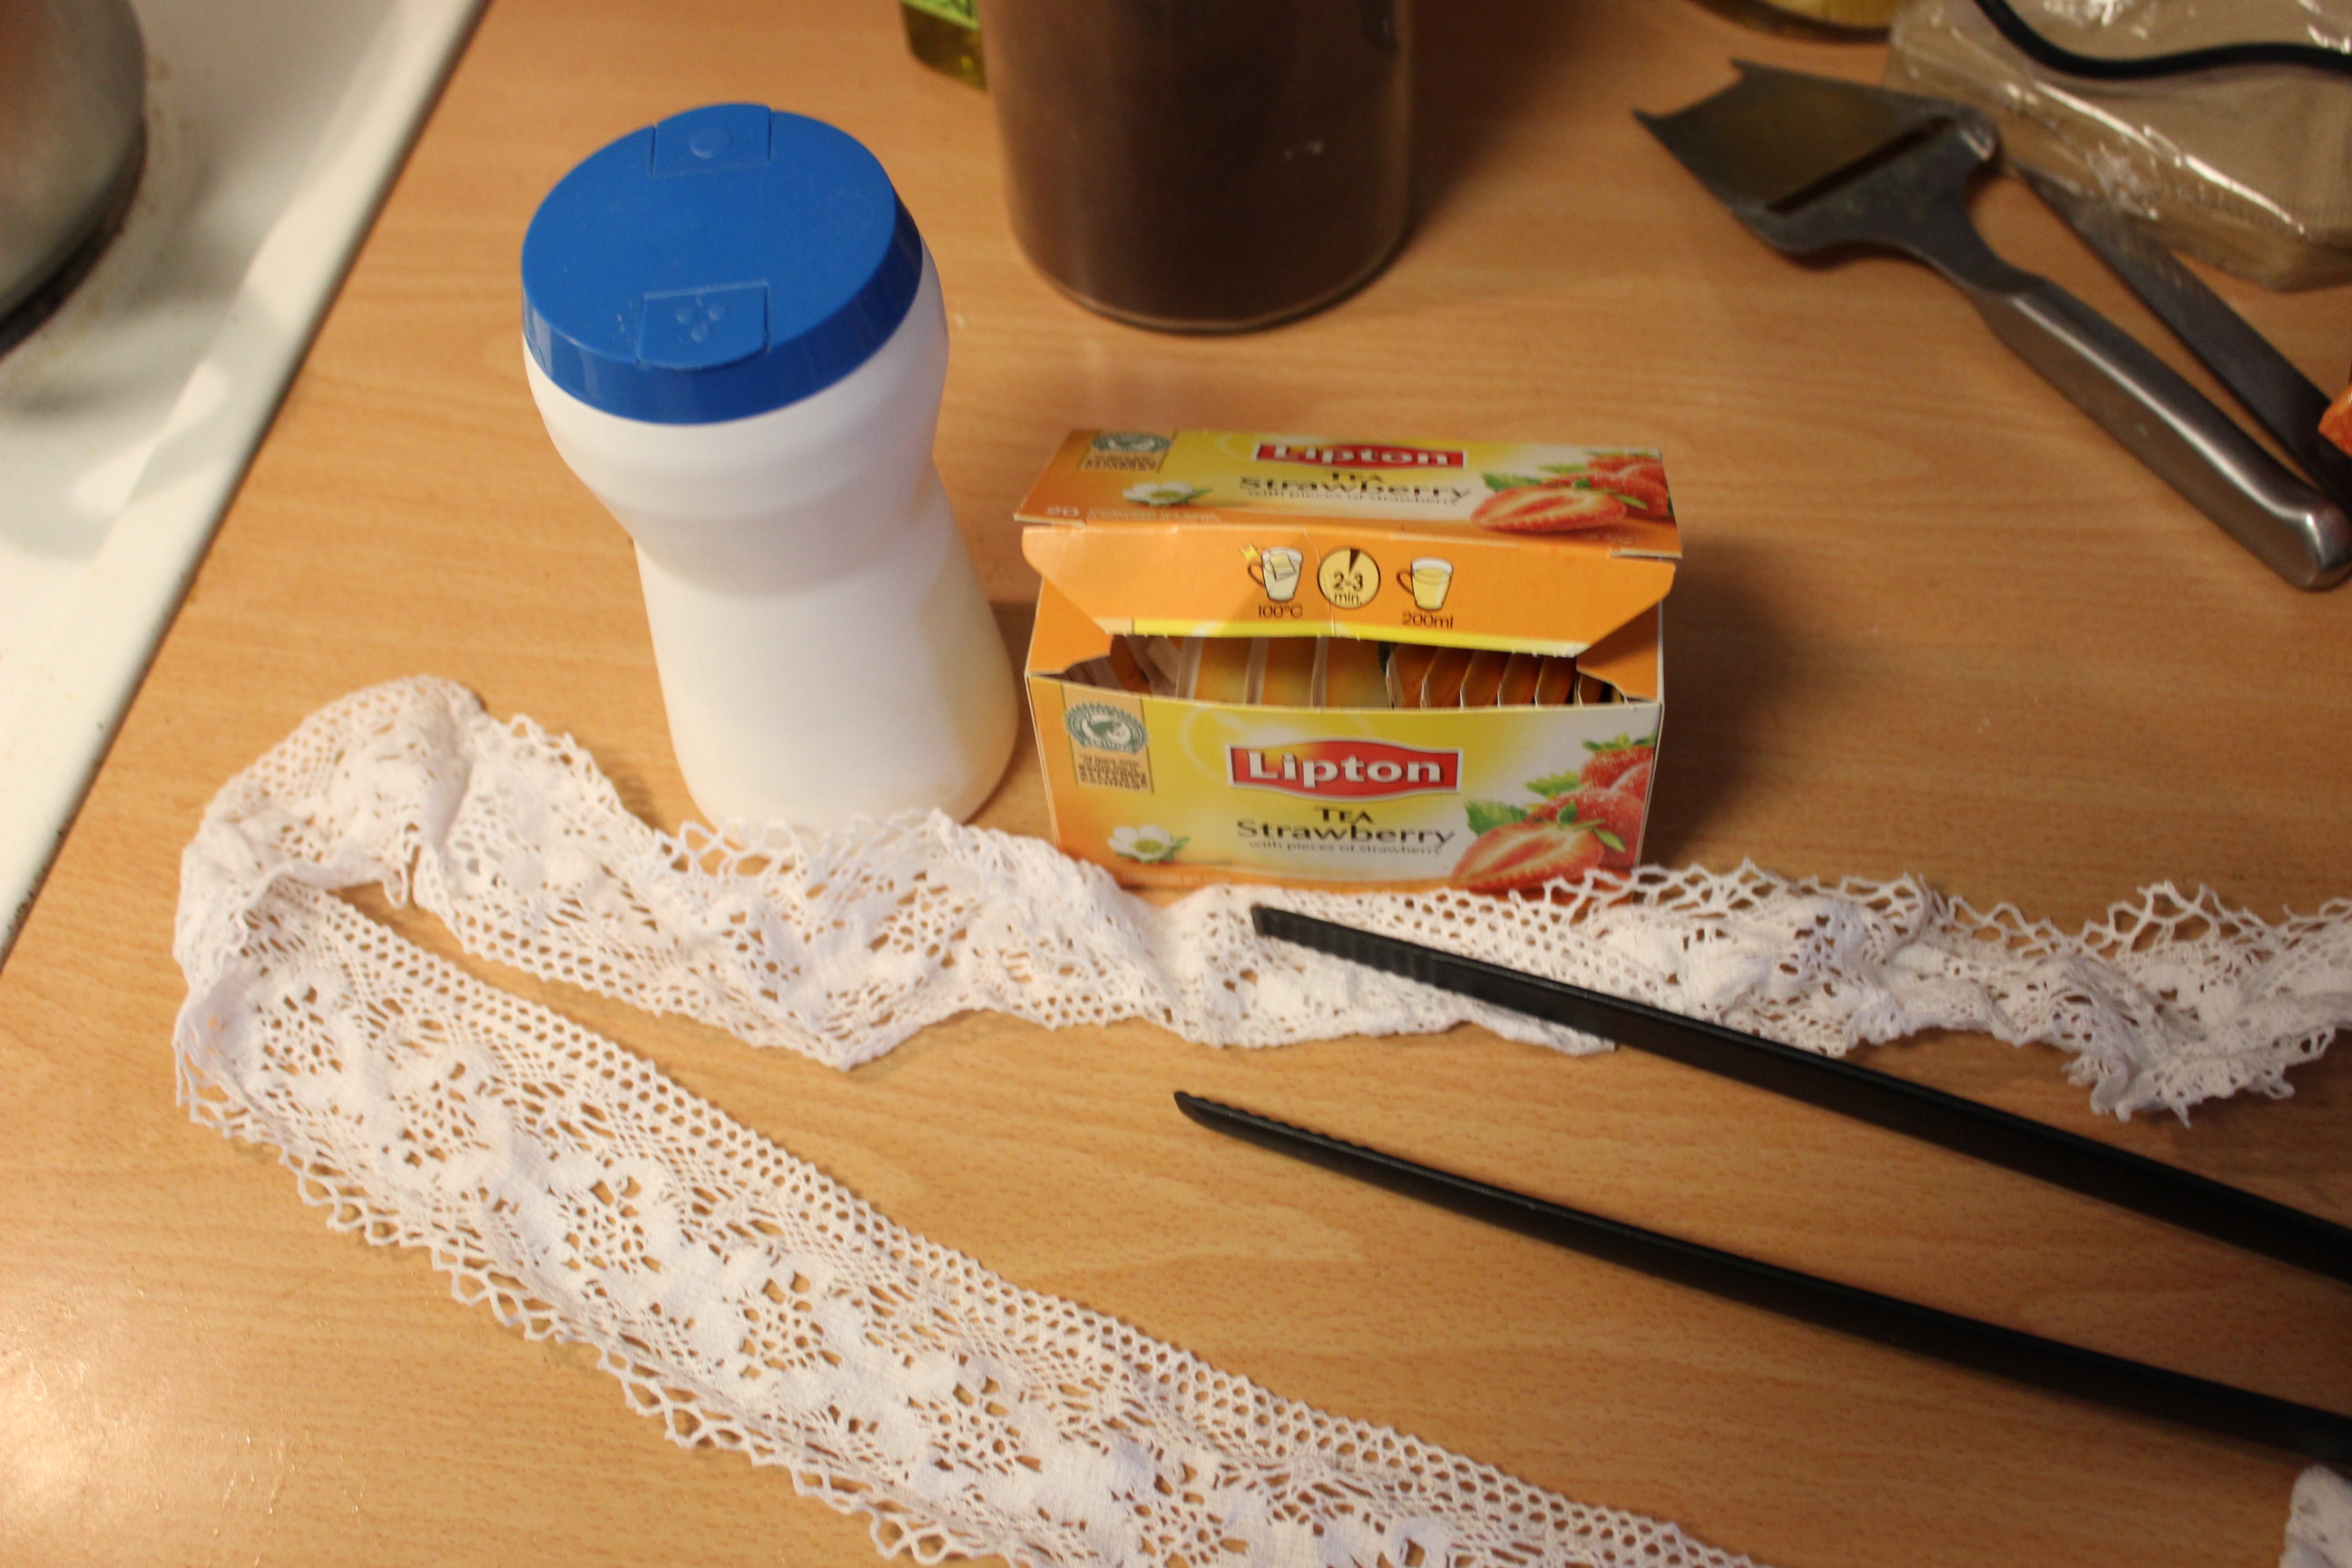


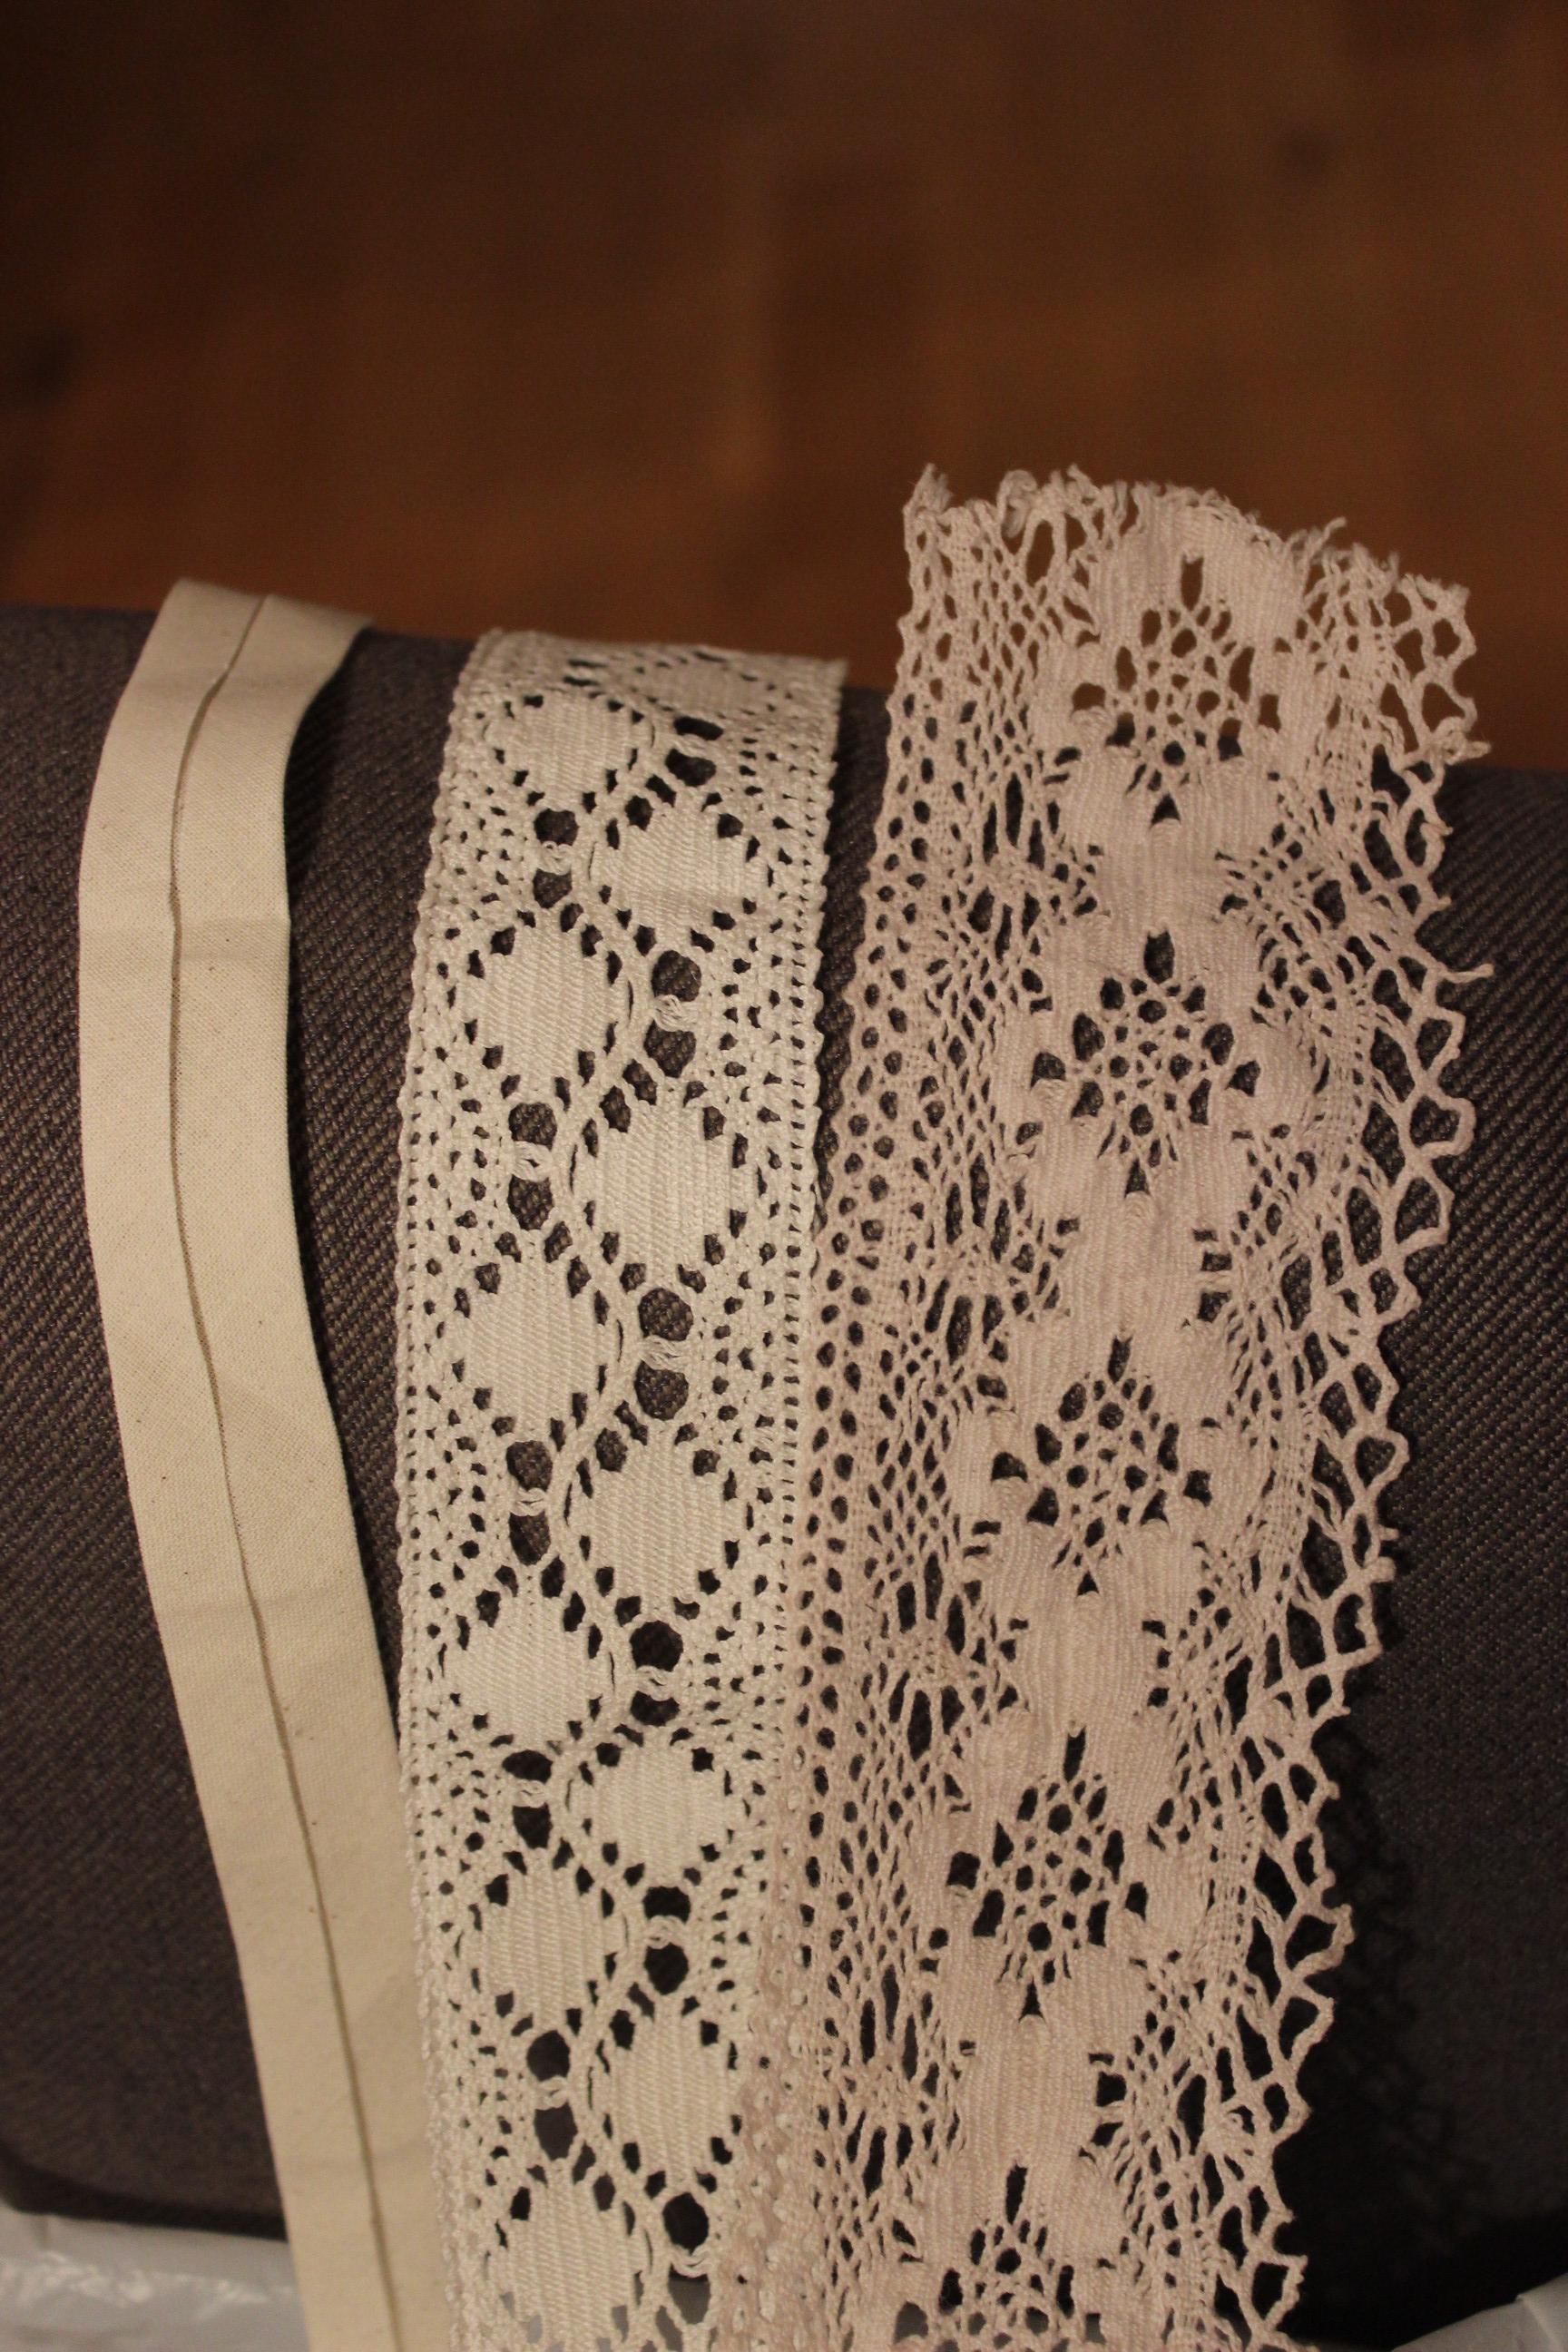


 cut them in a white leftover linen I found in my stash.