18th century Red Riding hood

About a month ago I decided I needed to make myself a 18th century cloak/cape
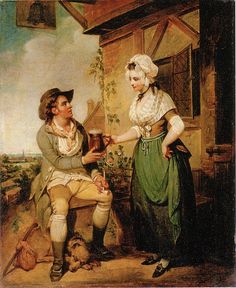
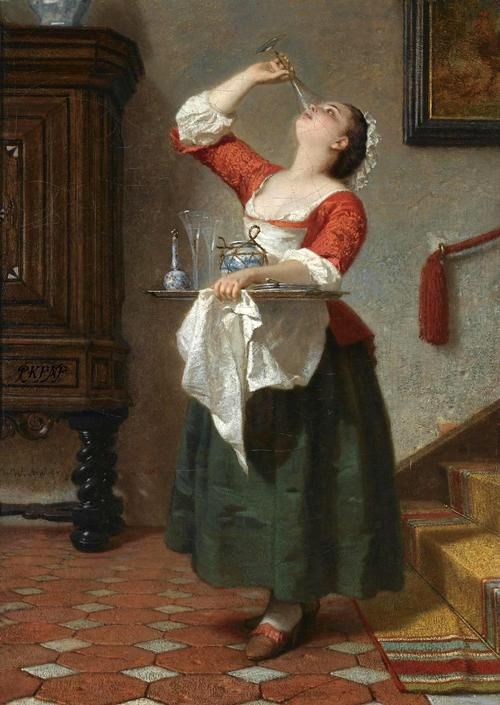
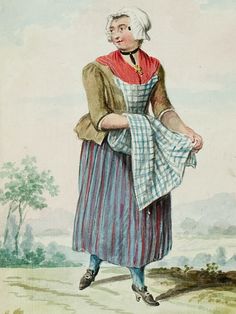
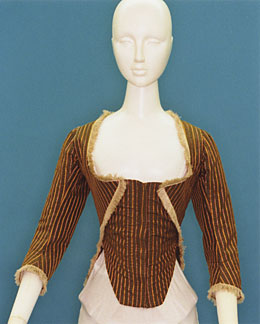
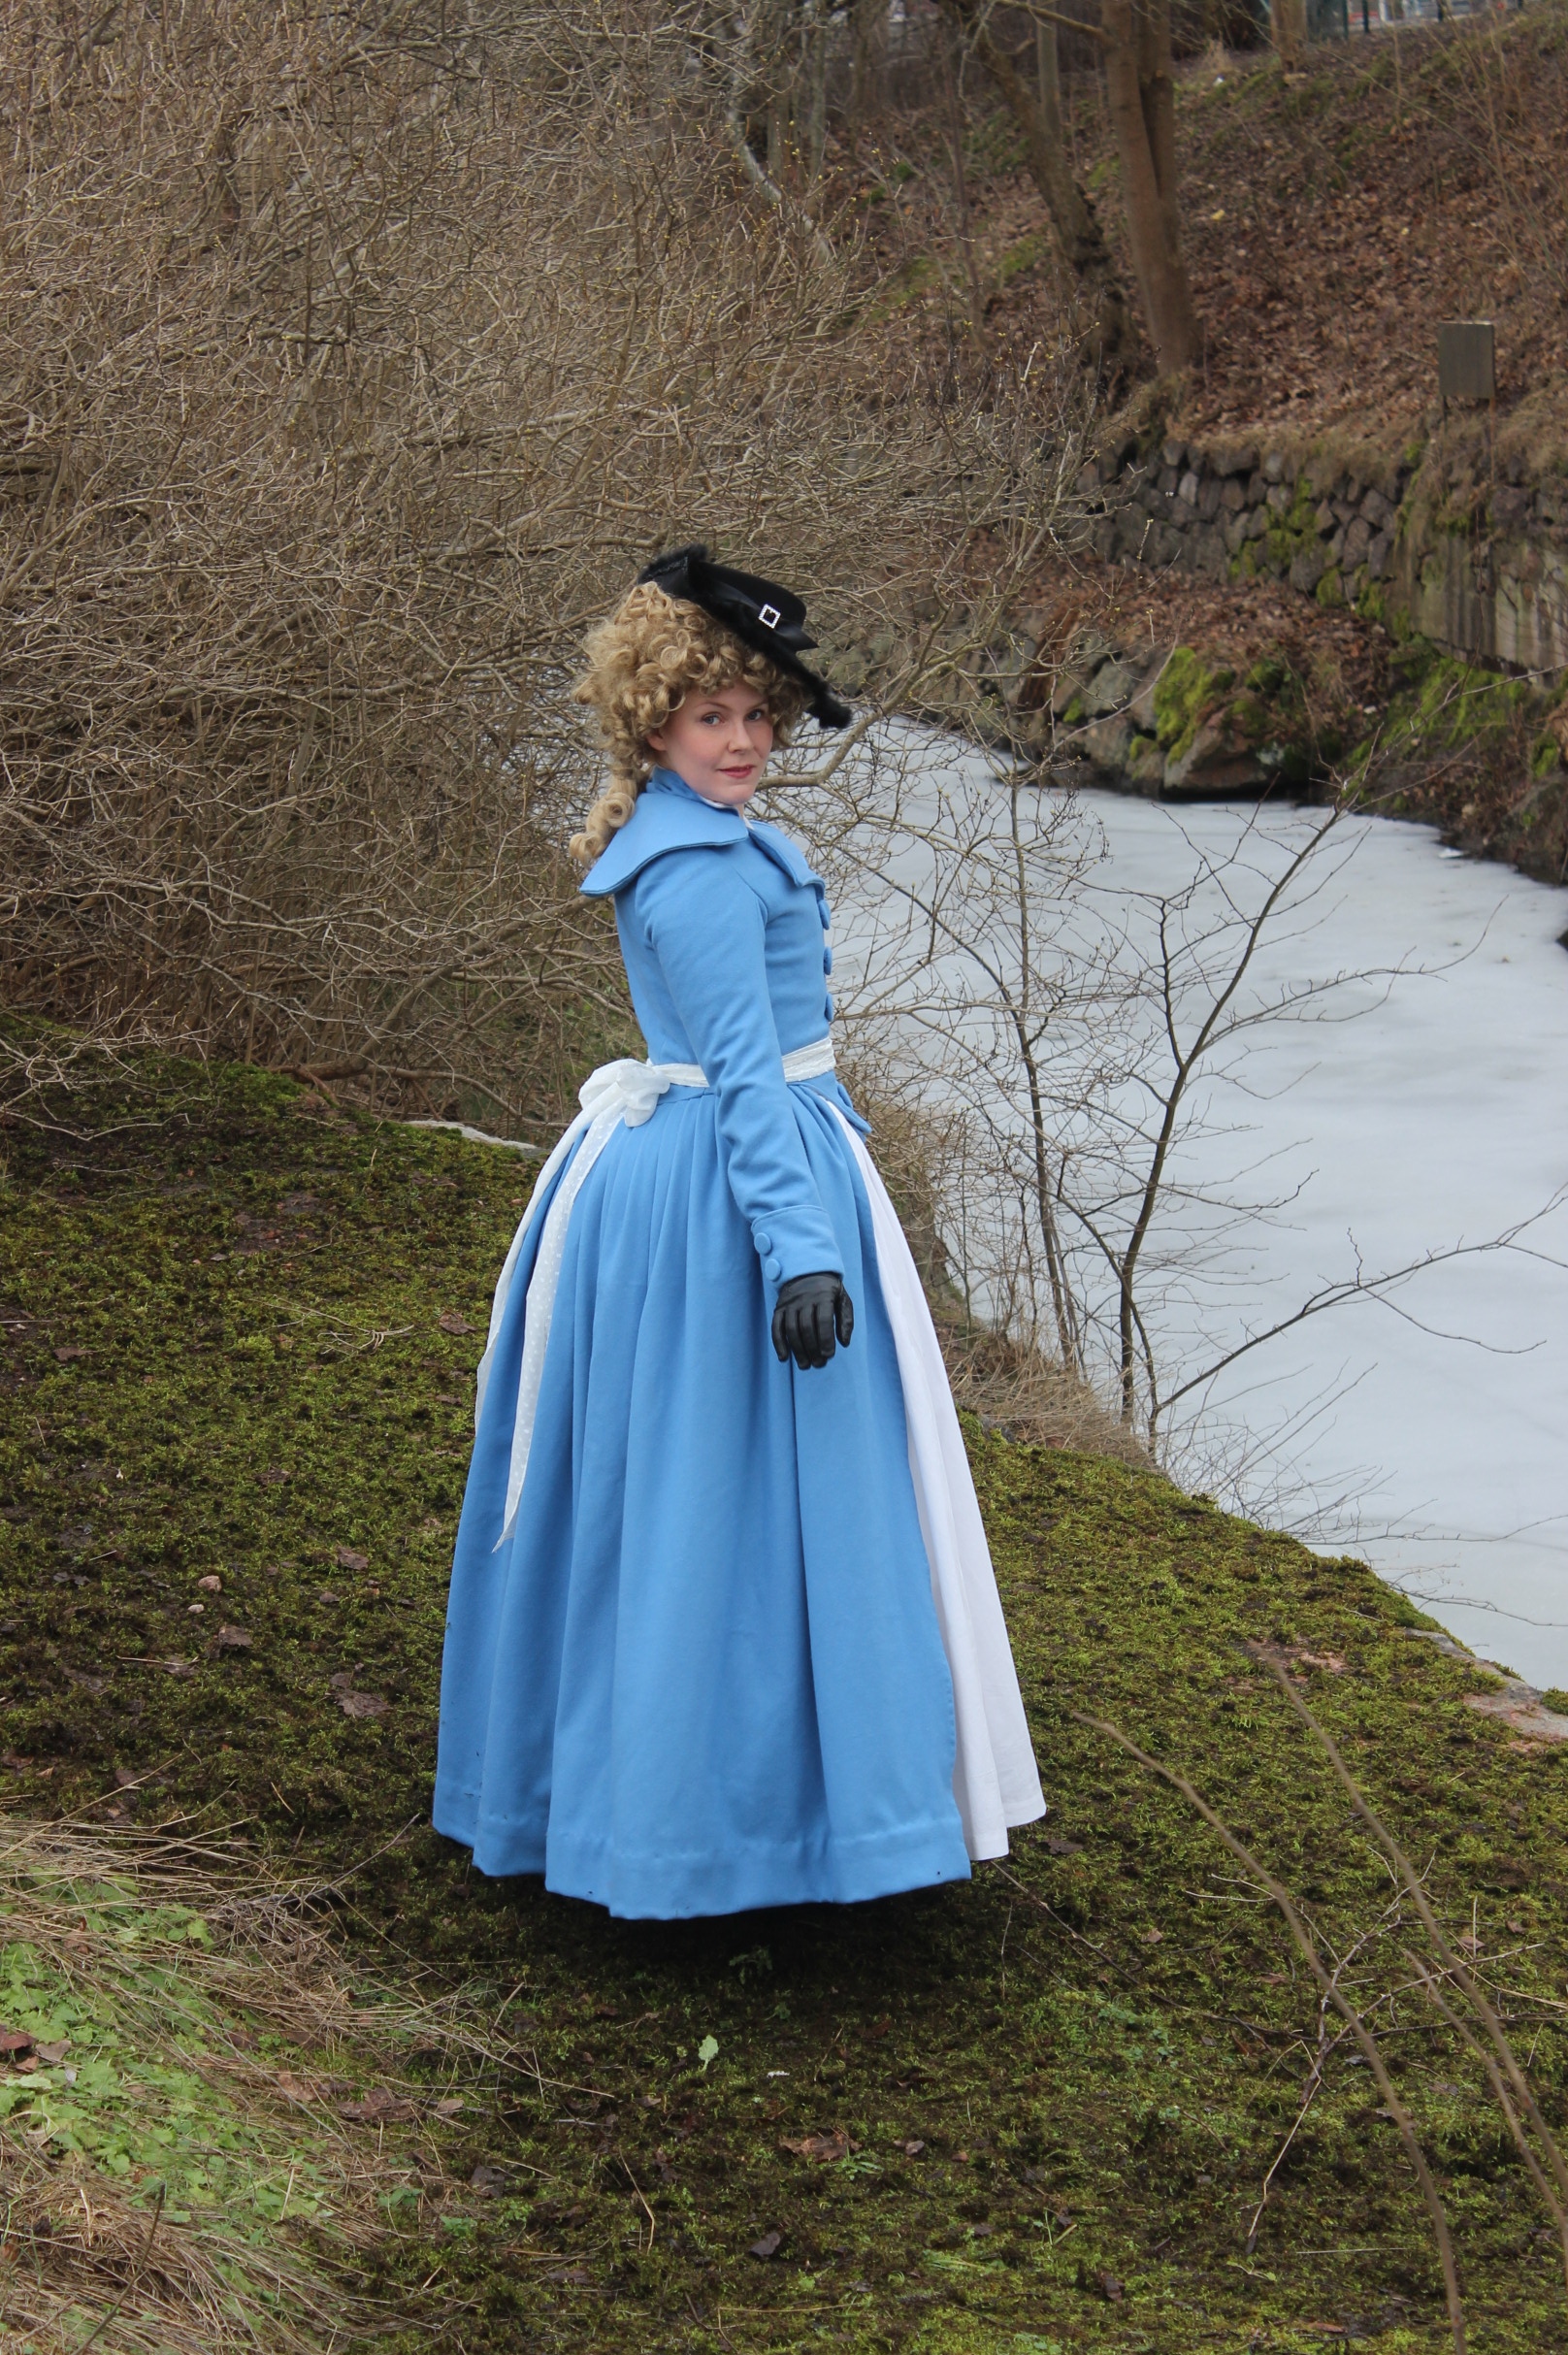
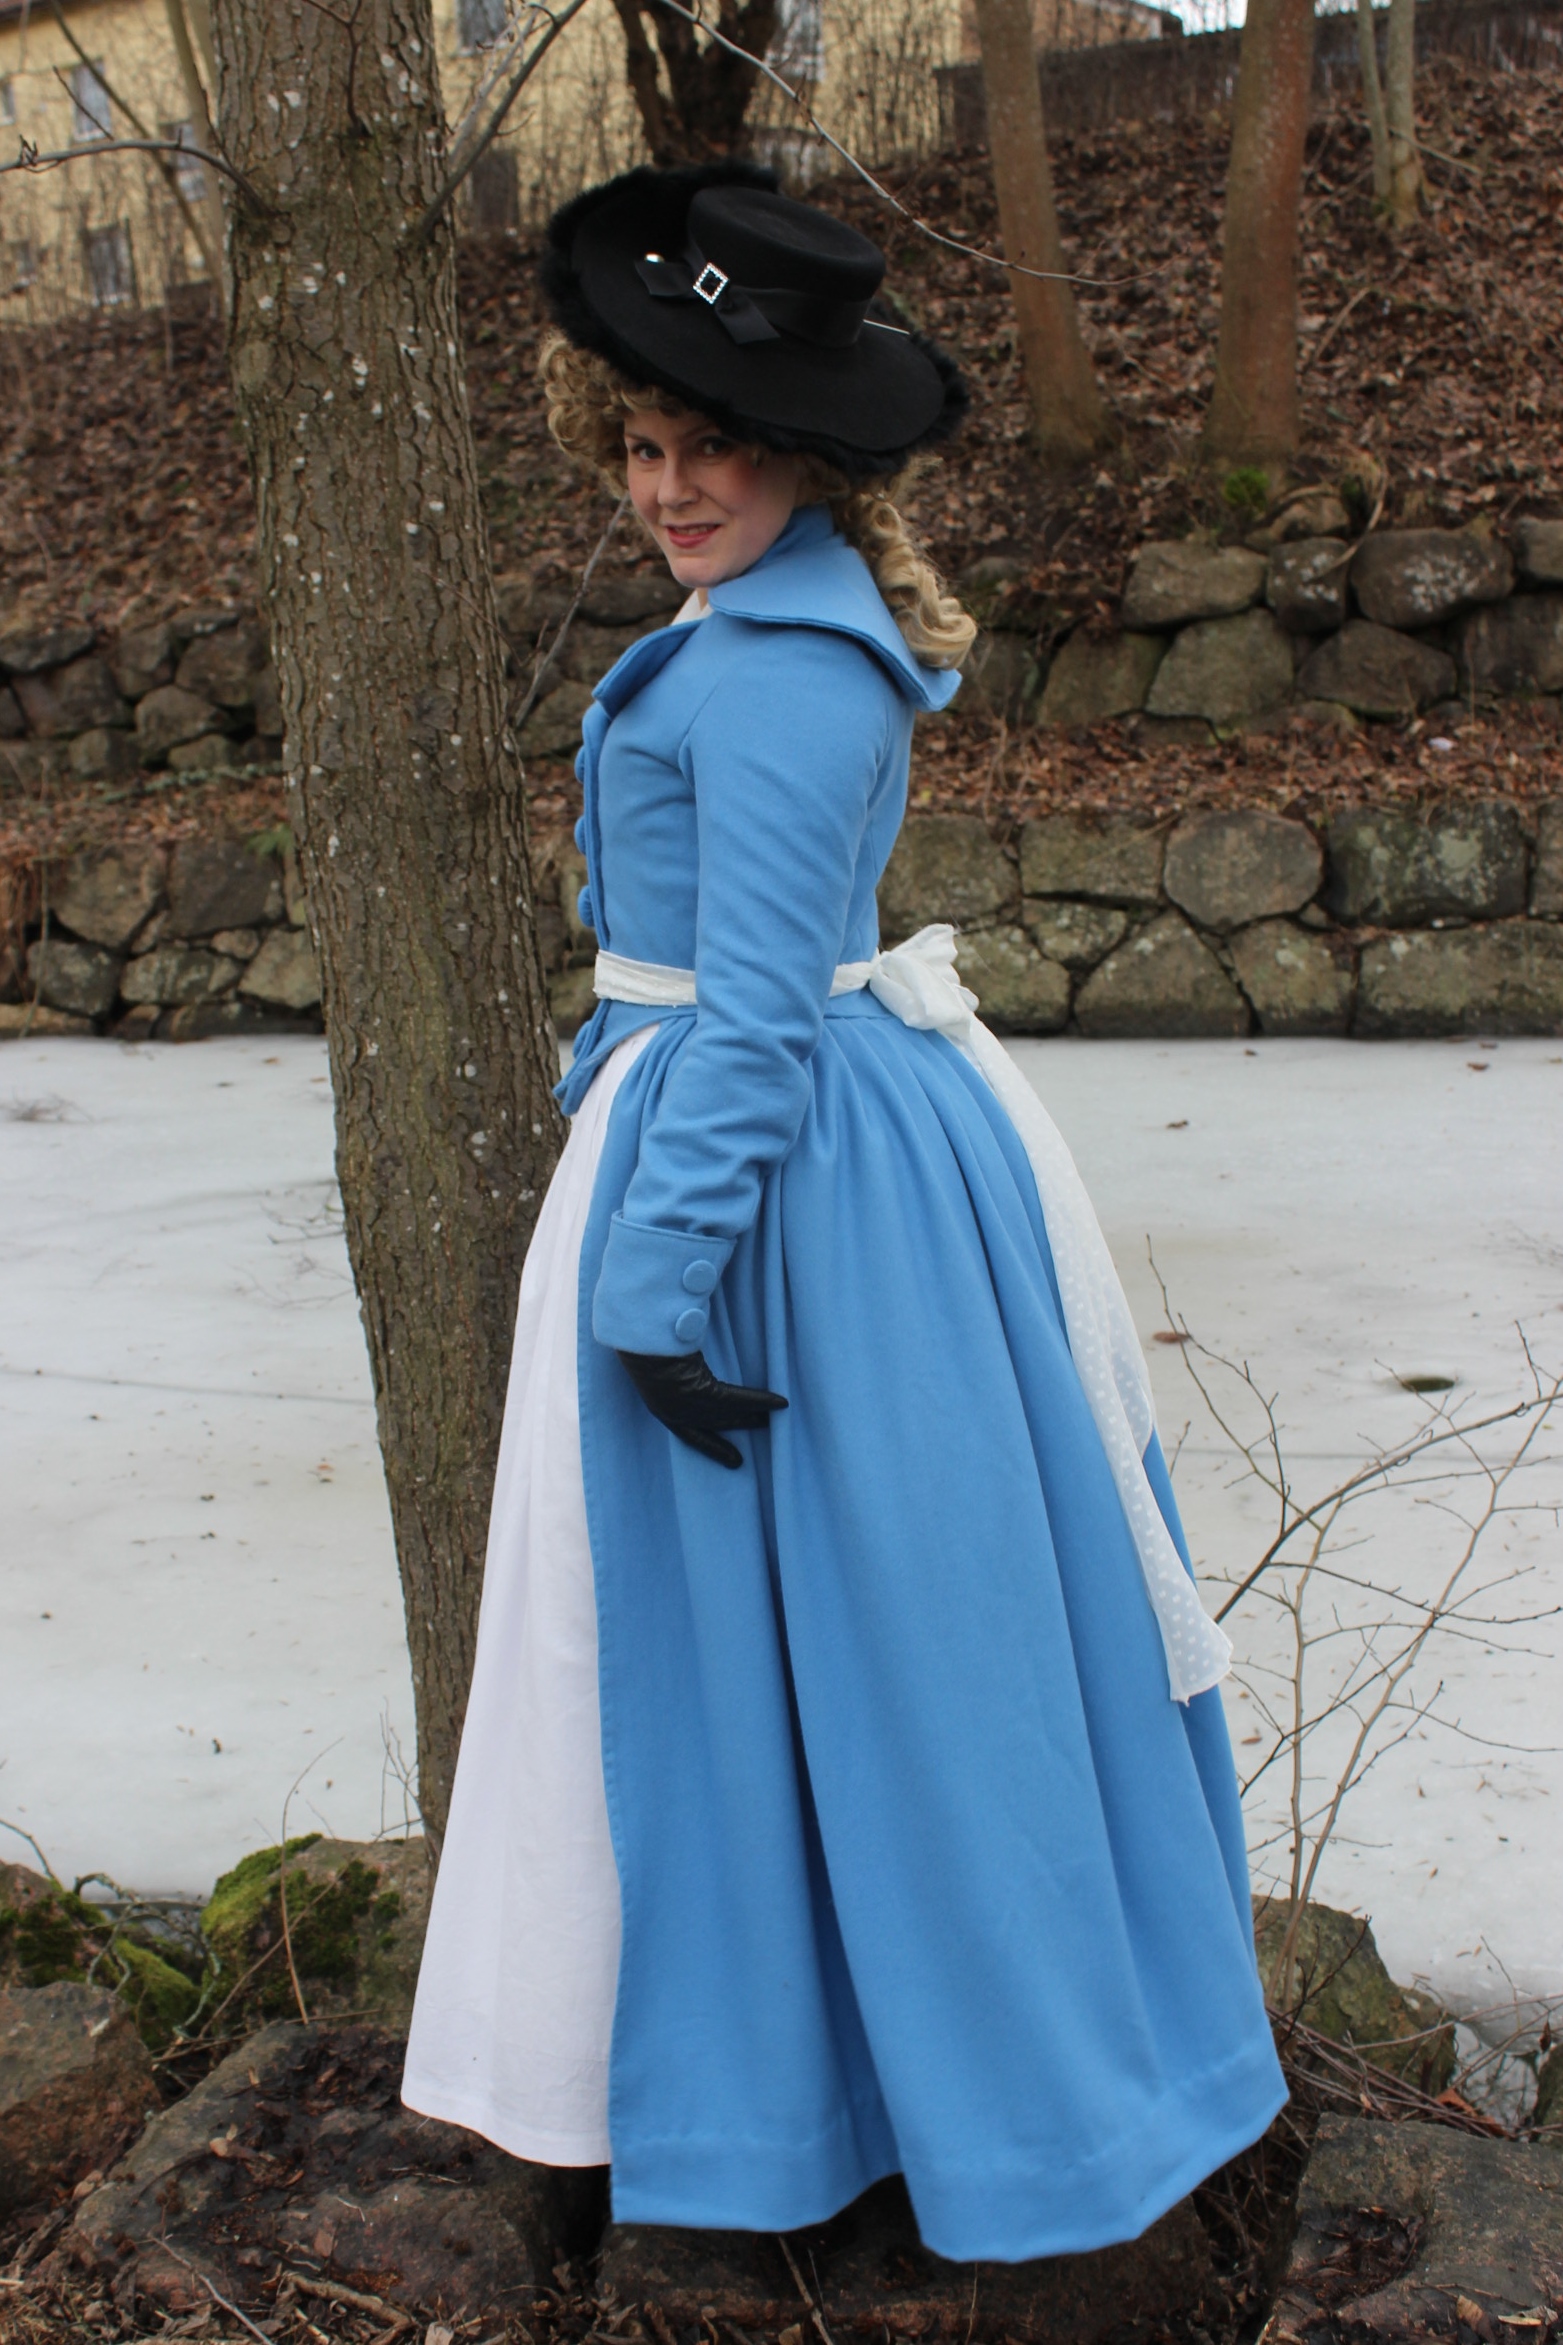
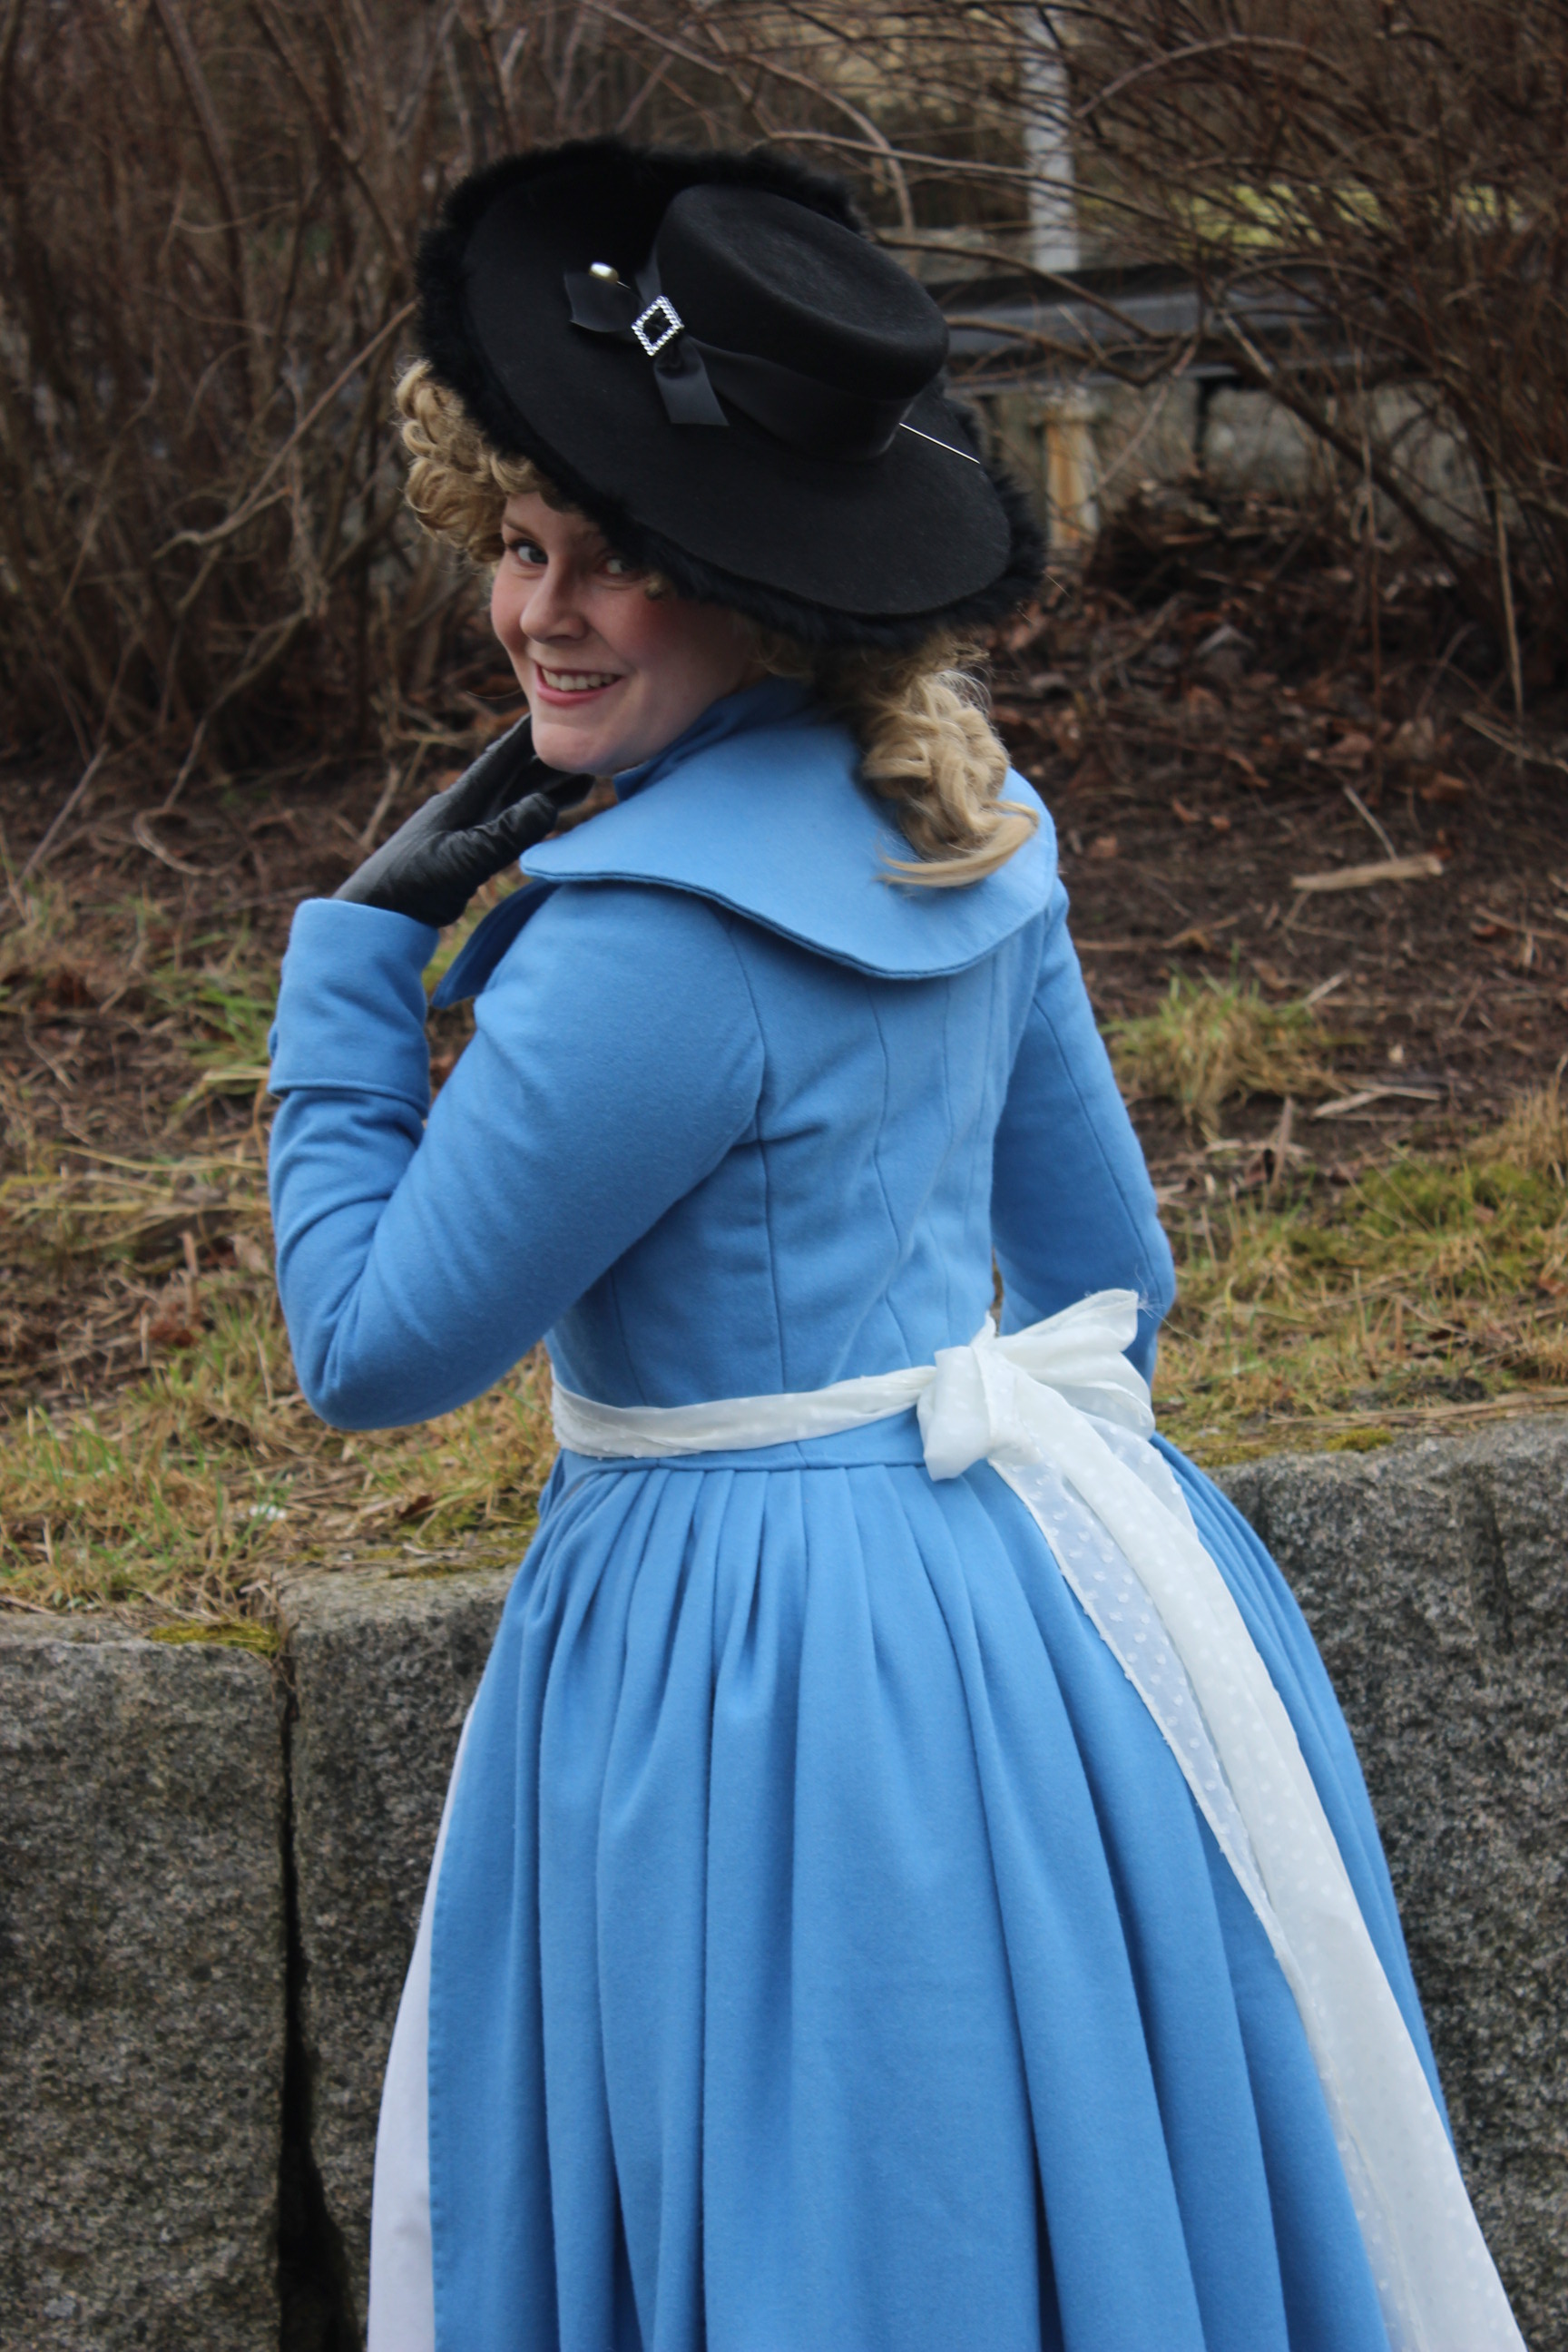
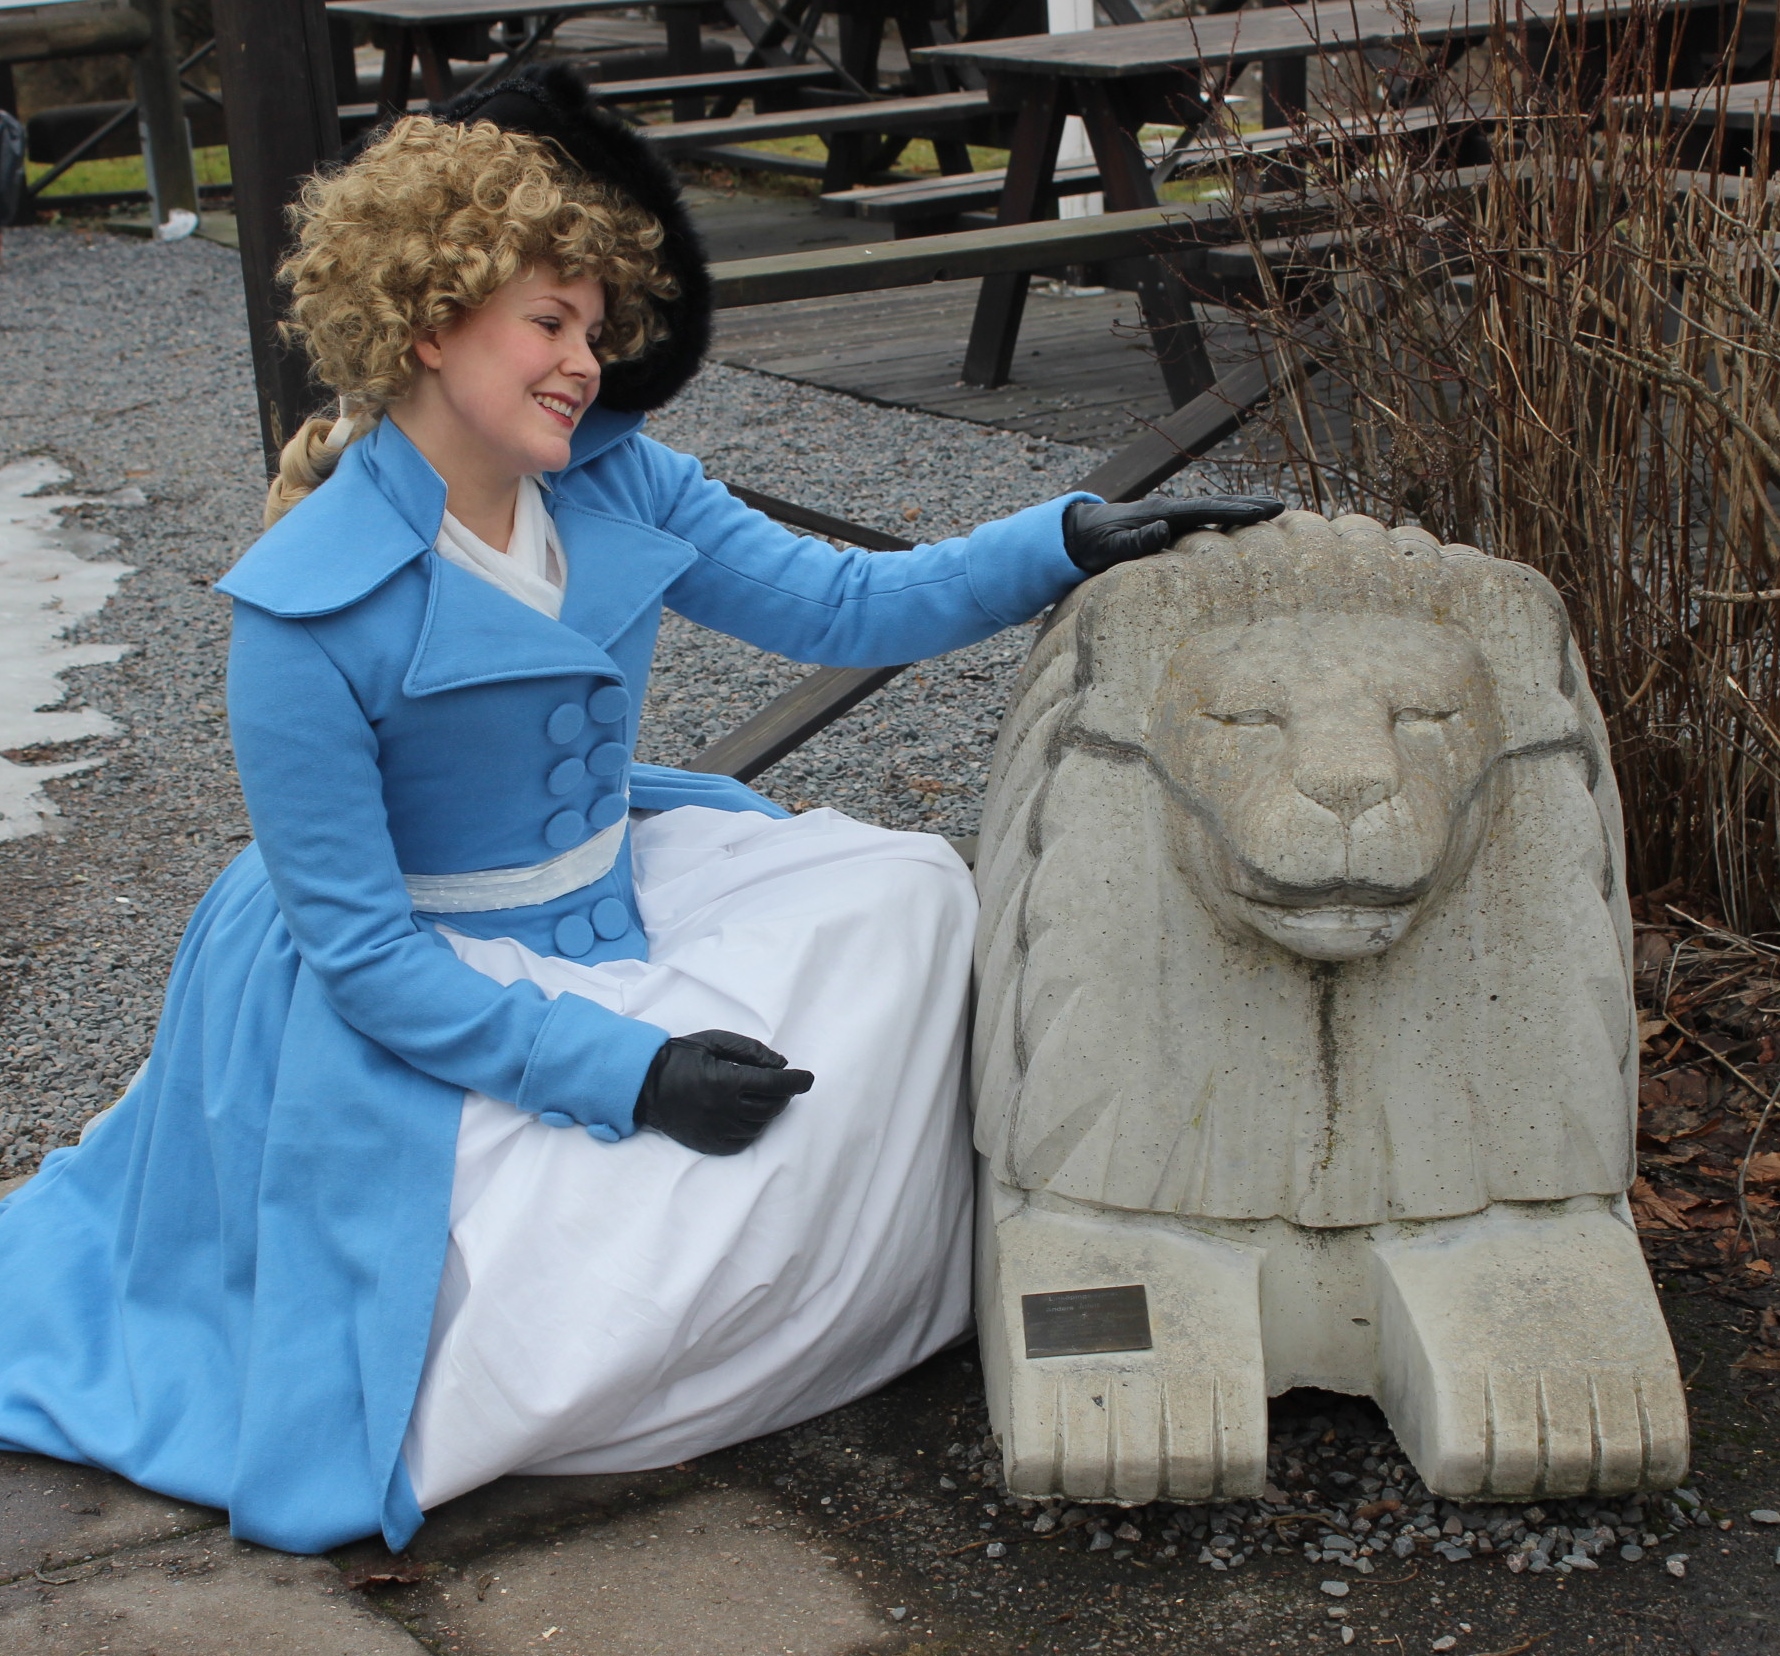
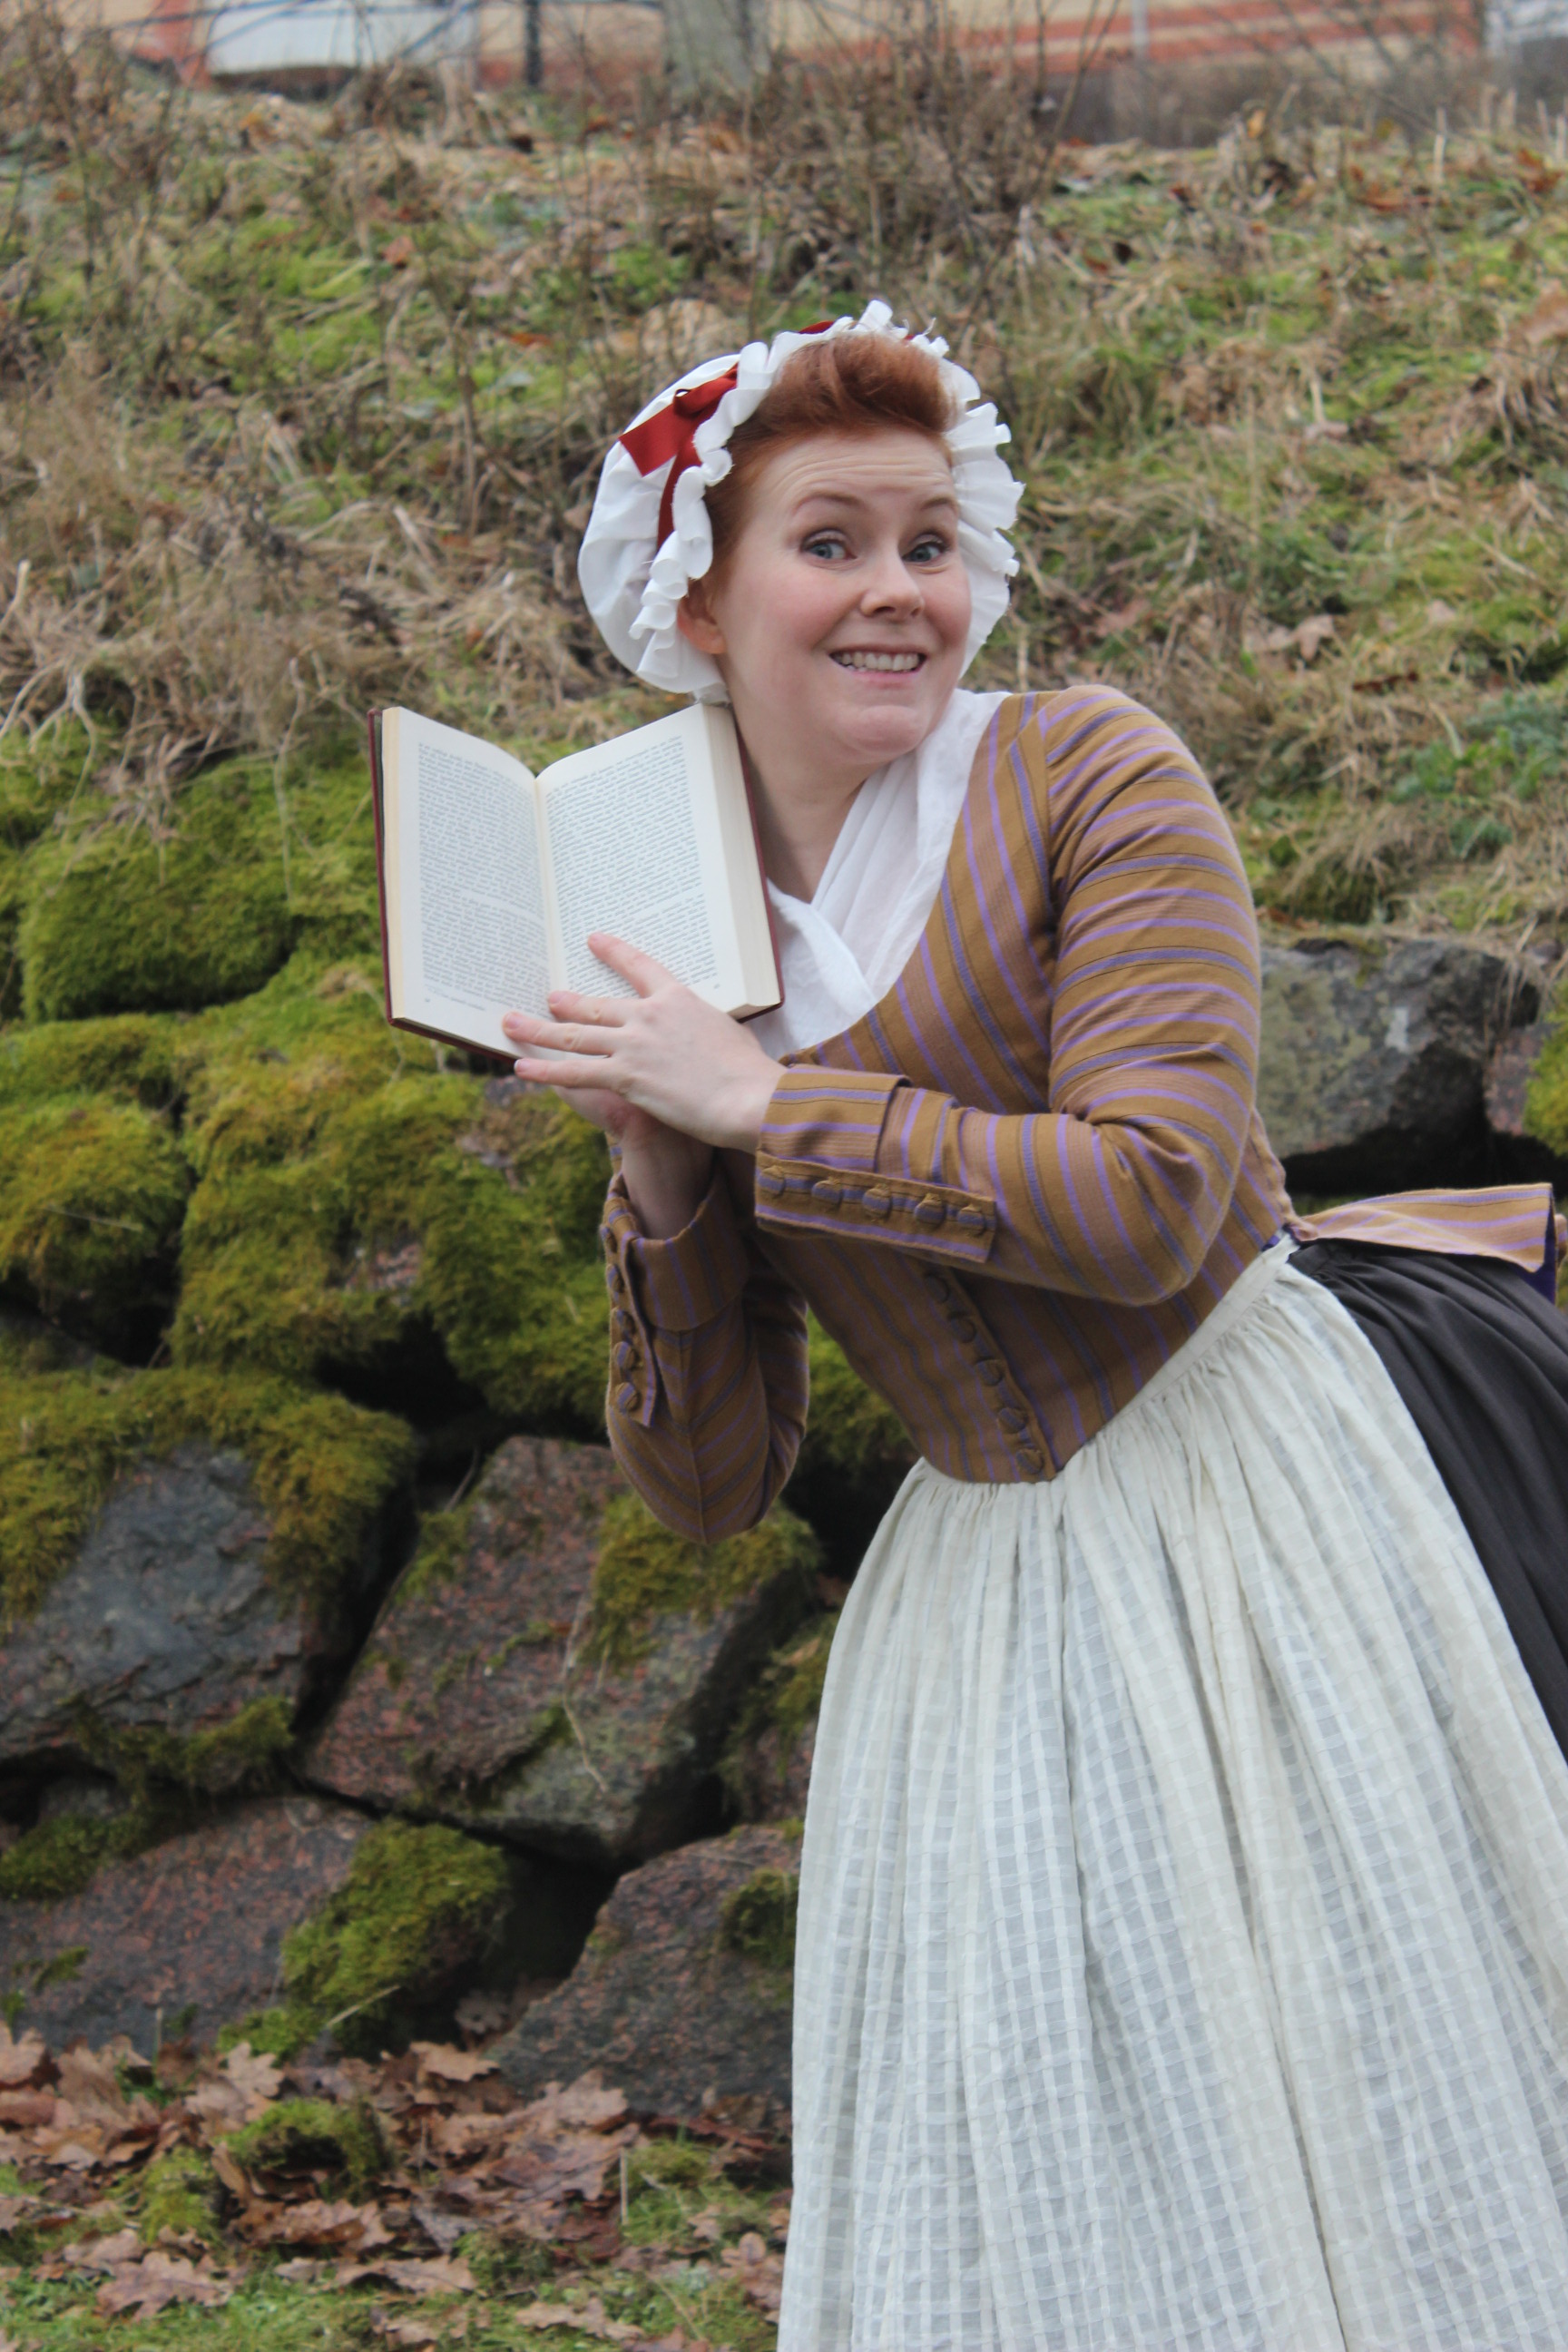
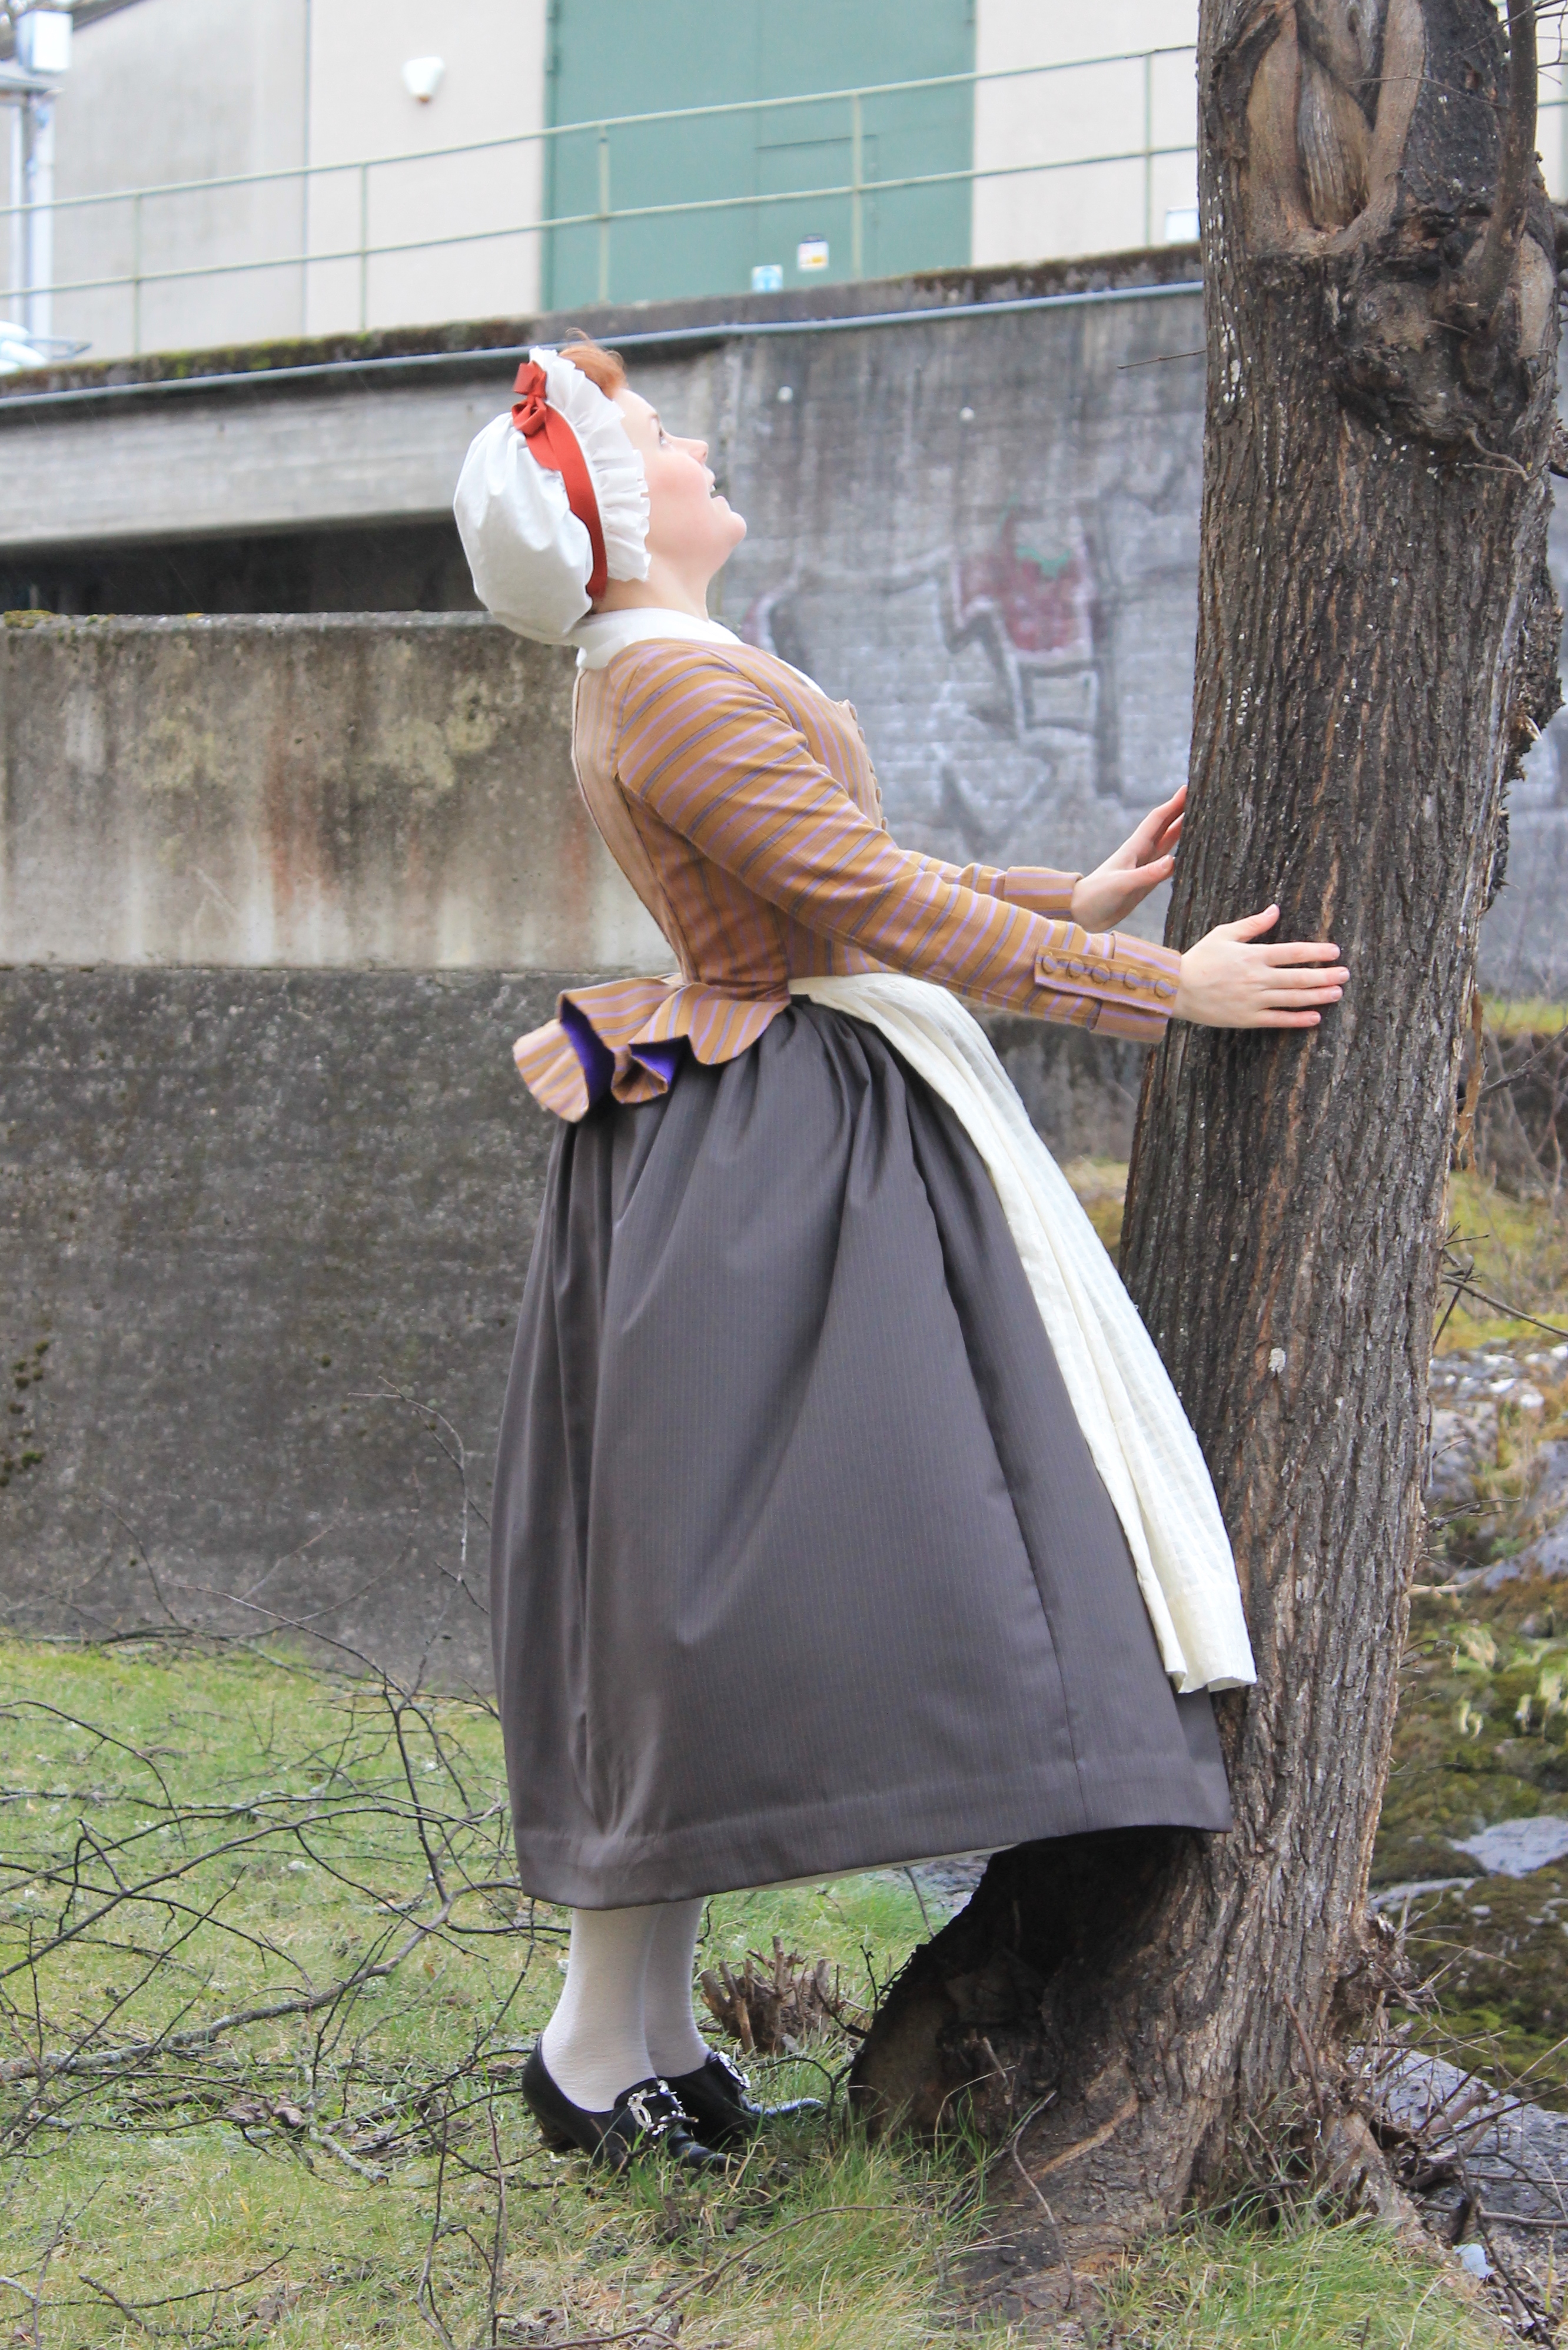
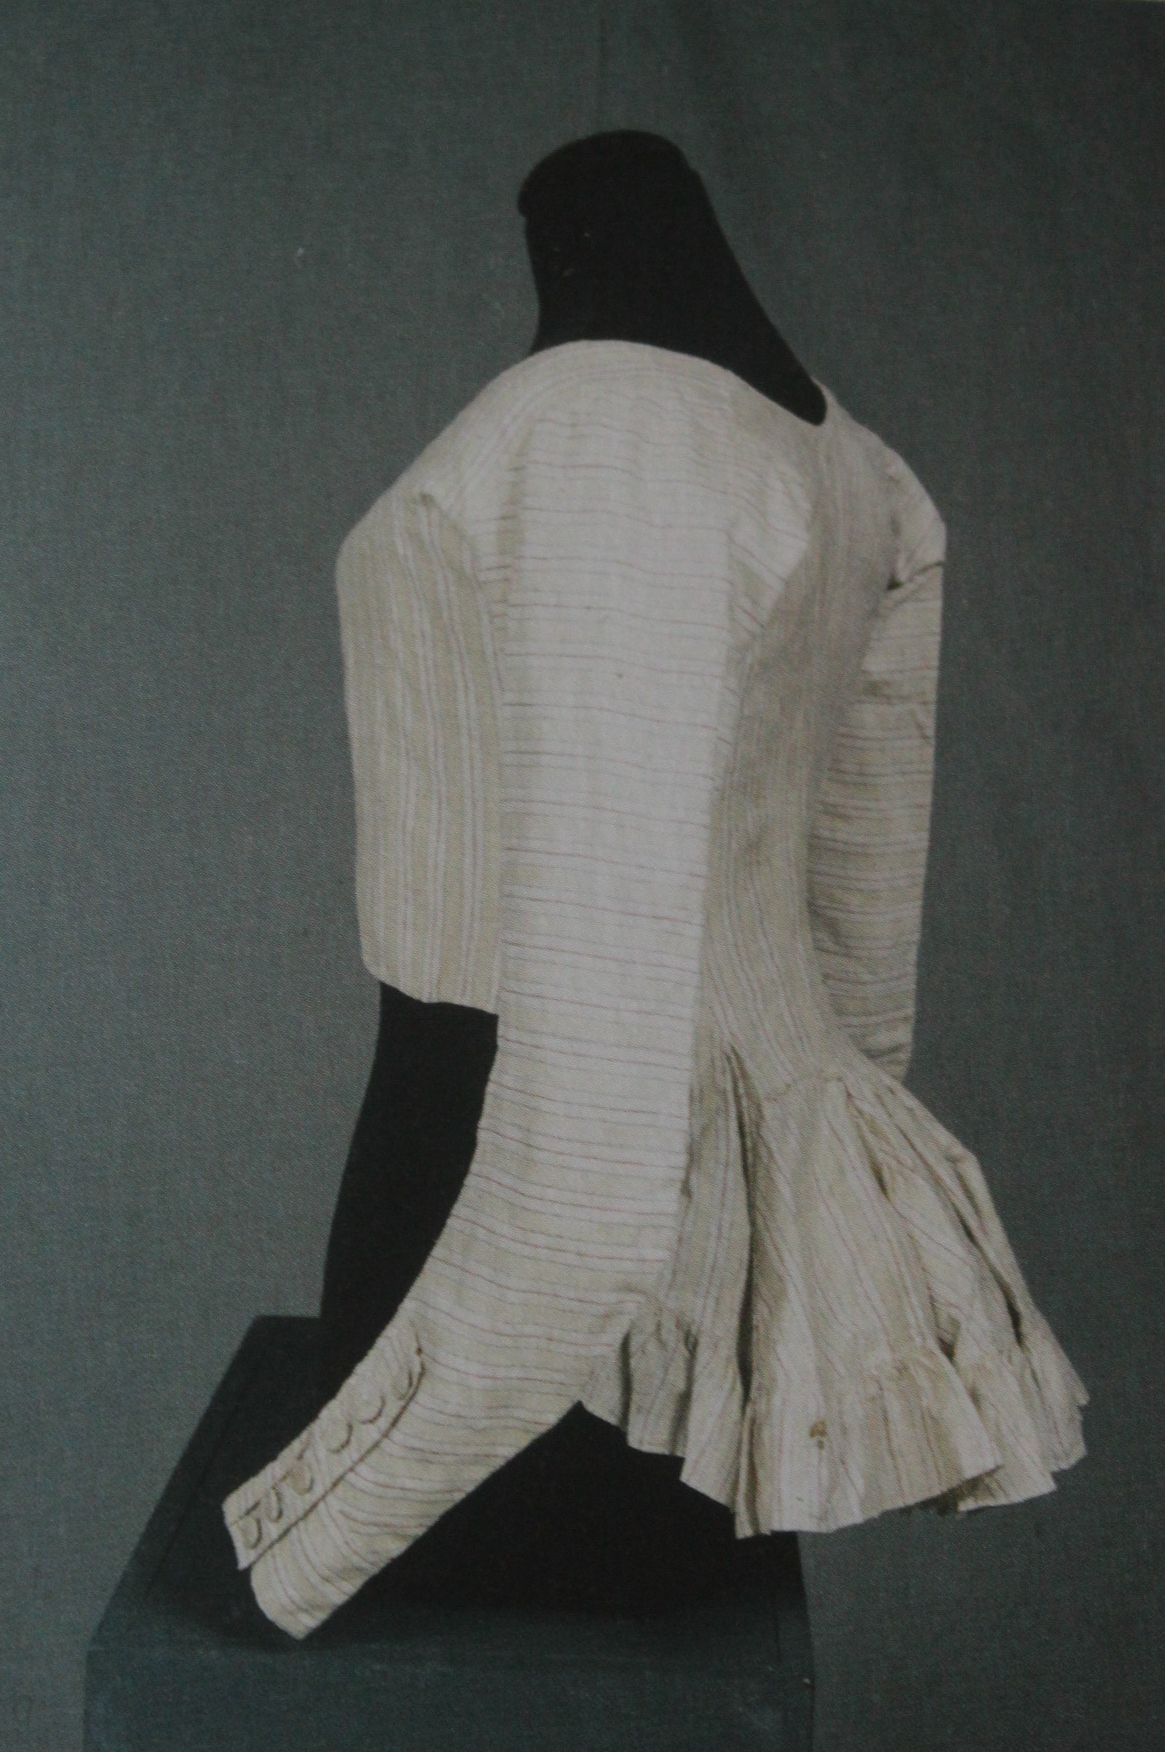
4d7ebb3a5de7f11a4aff68e52445404bLove this picture

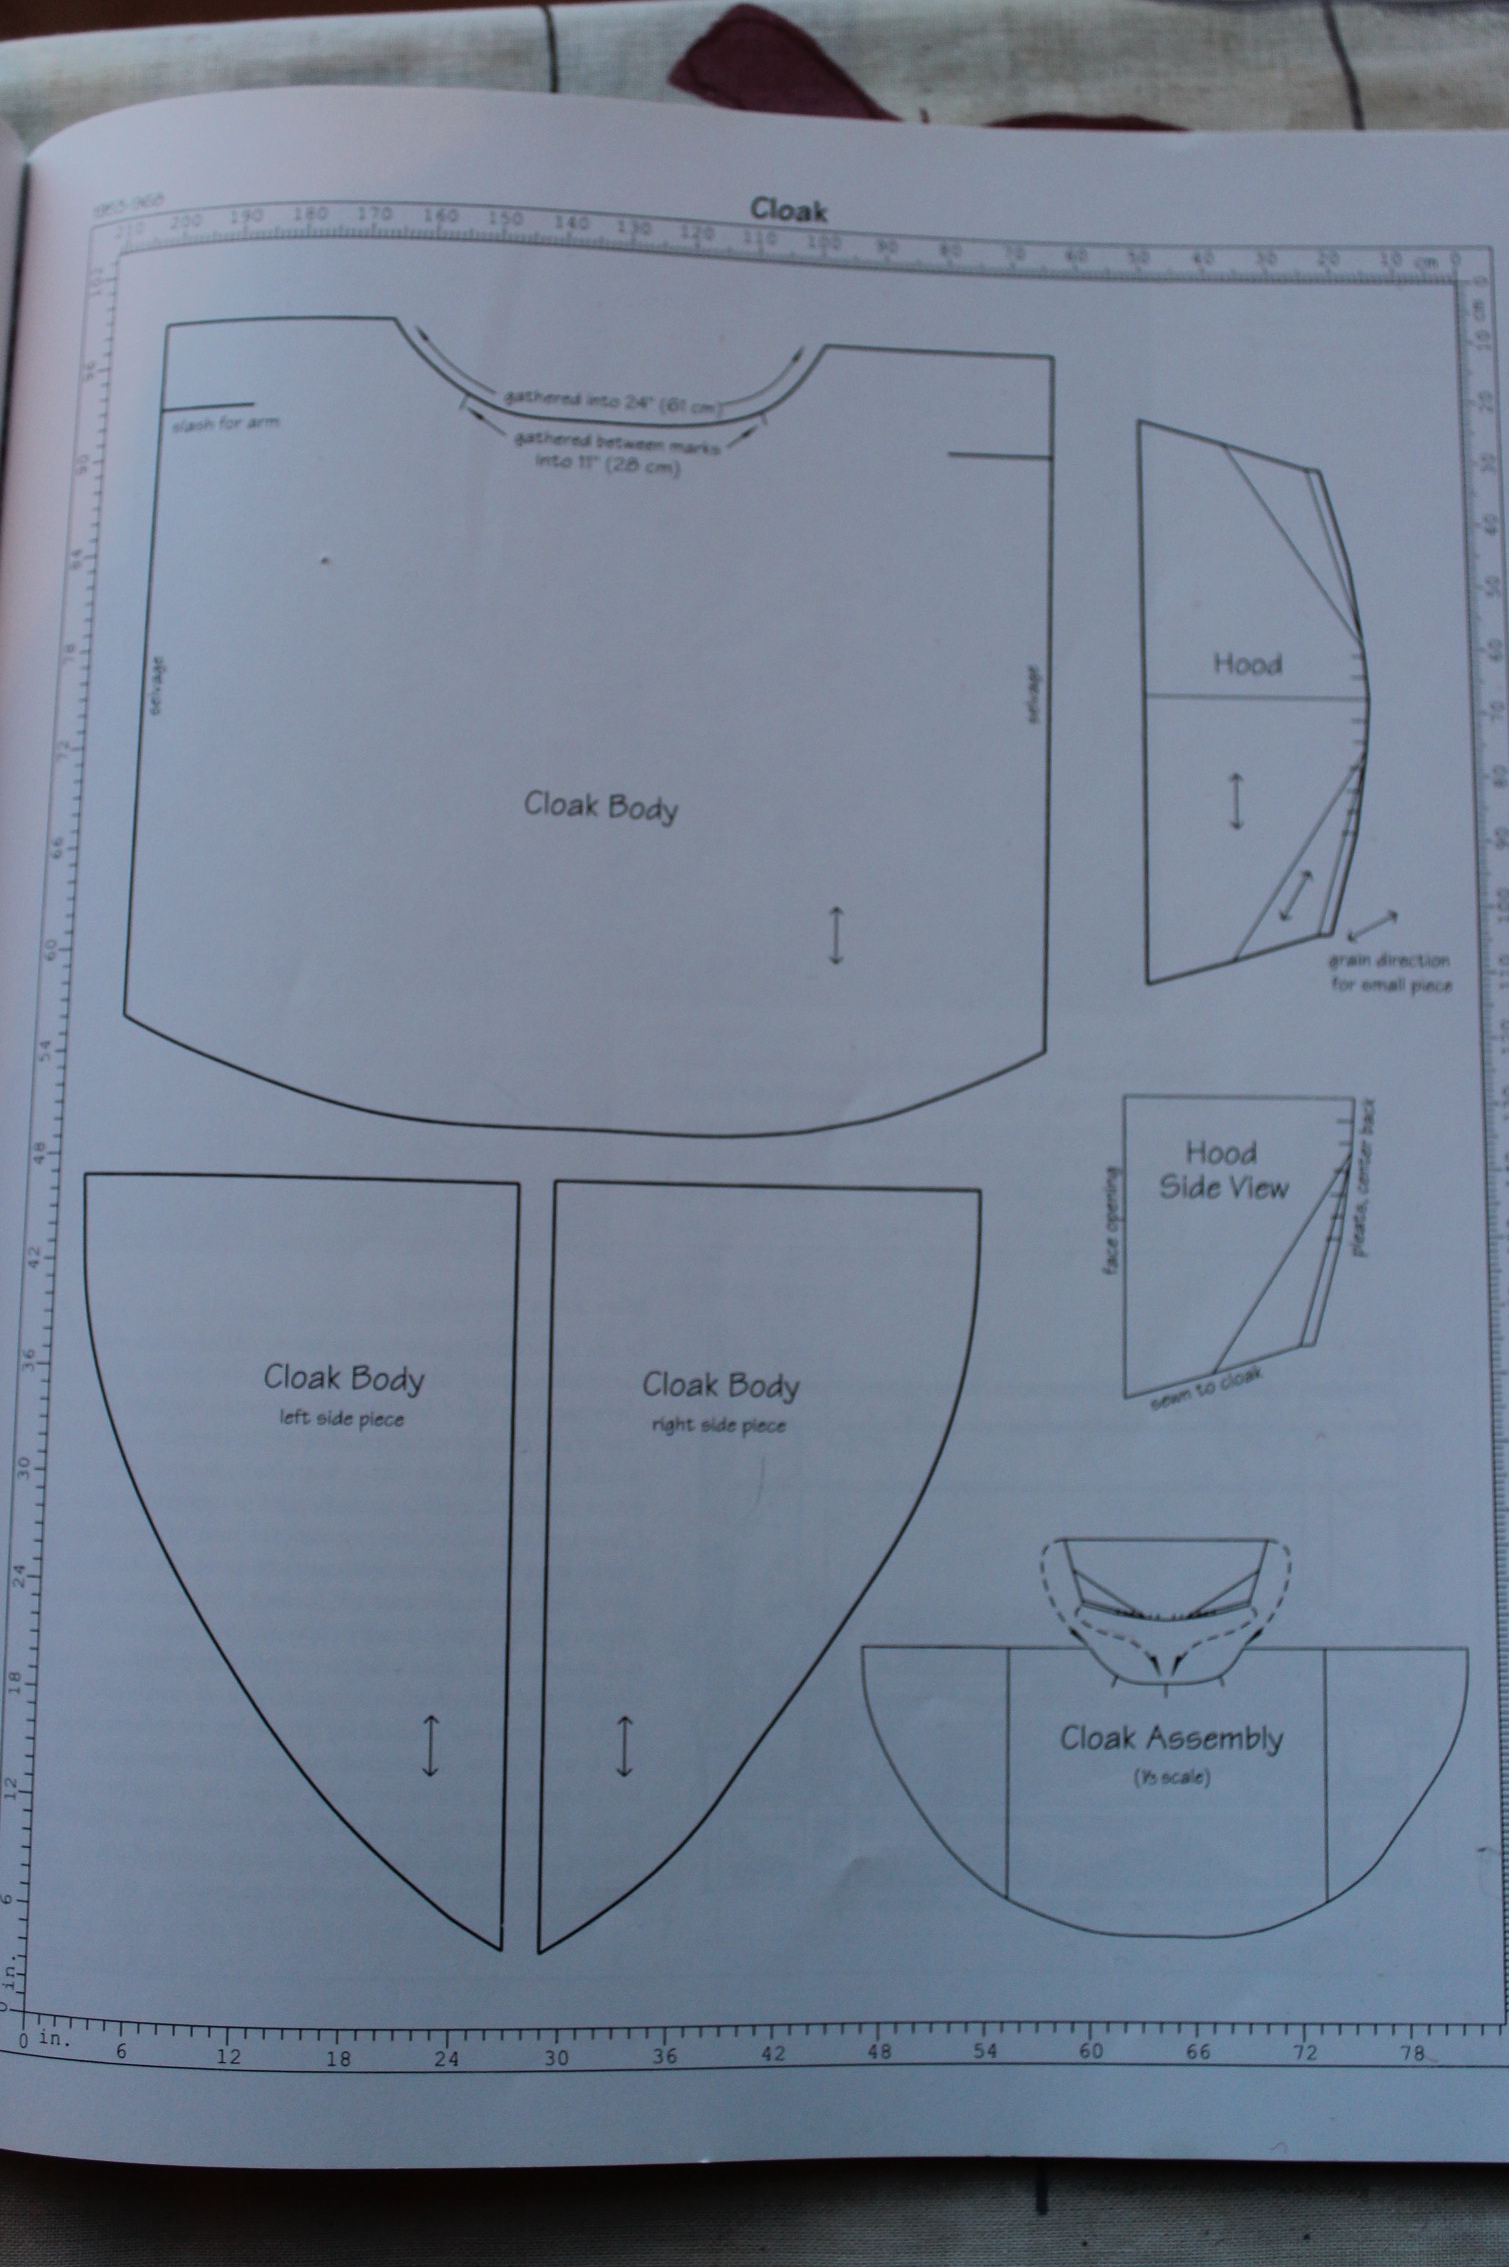
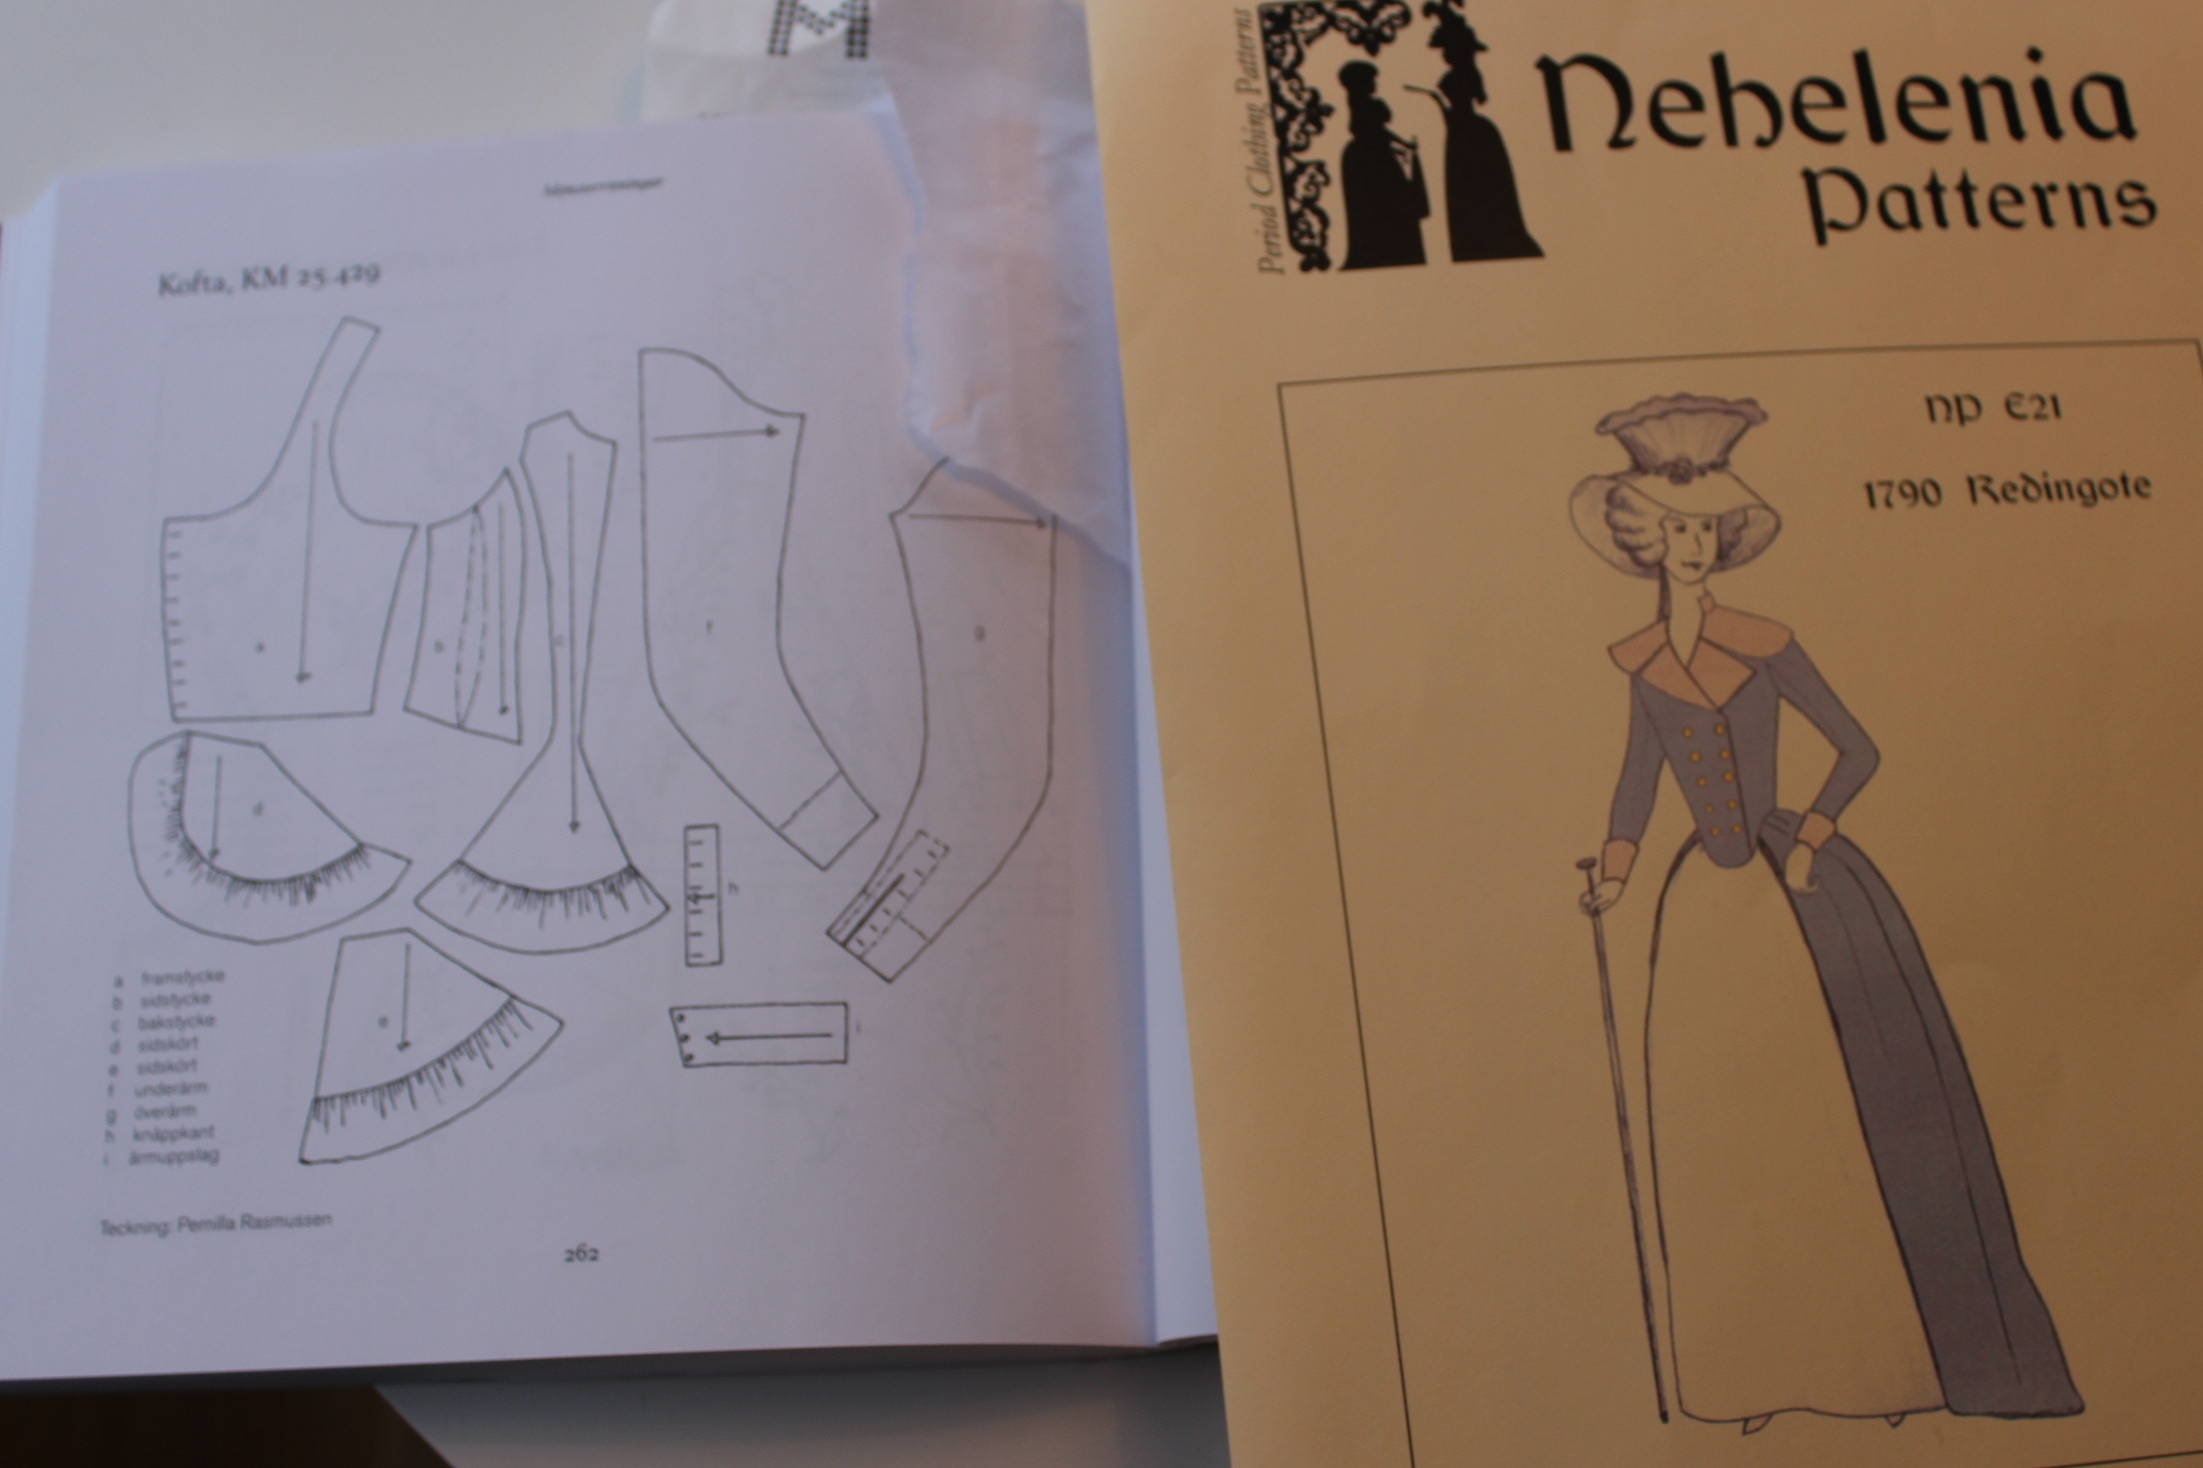
I decided to use Baumgarters Cloak pattern from “Costume close-upIMG_5888

IMG_5883Sewing Empire made herself one of these too, and writes a good sumary about her work on her blog.

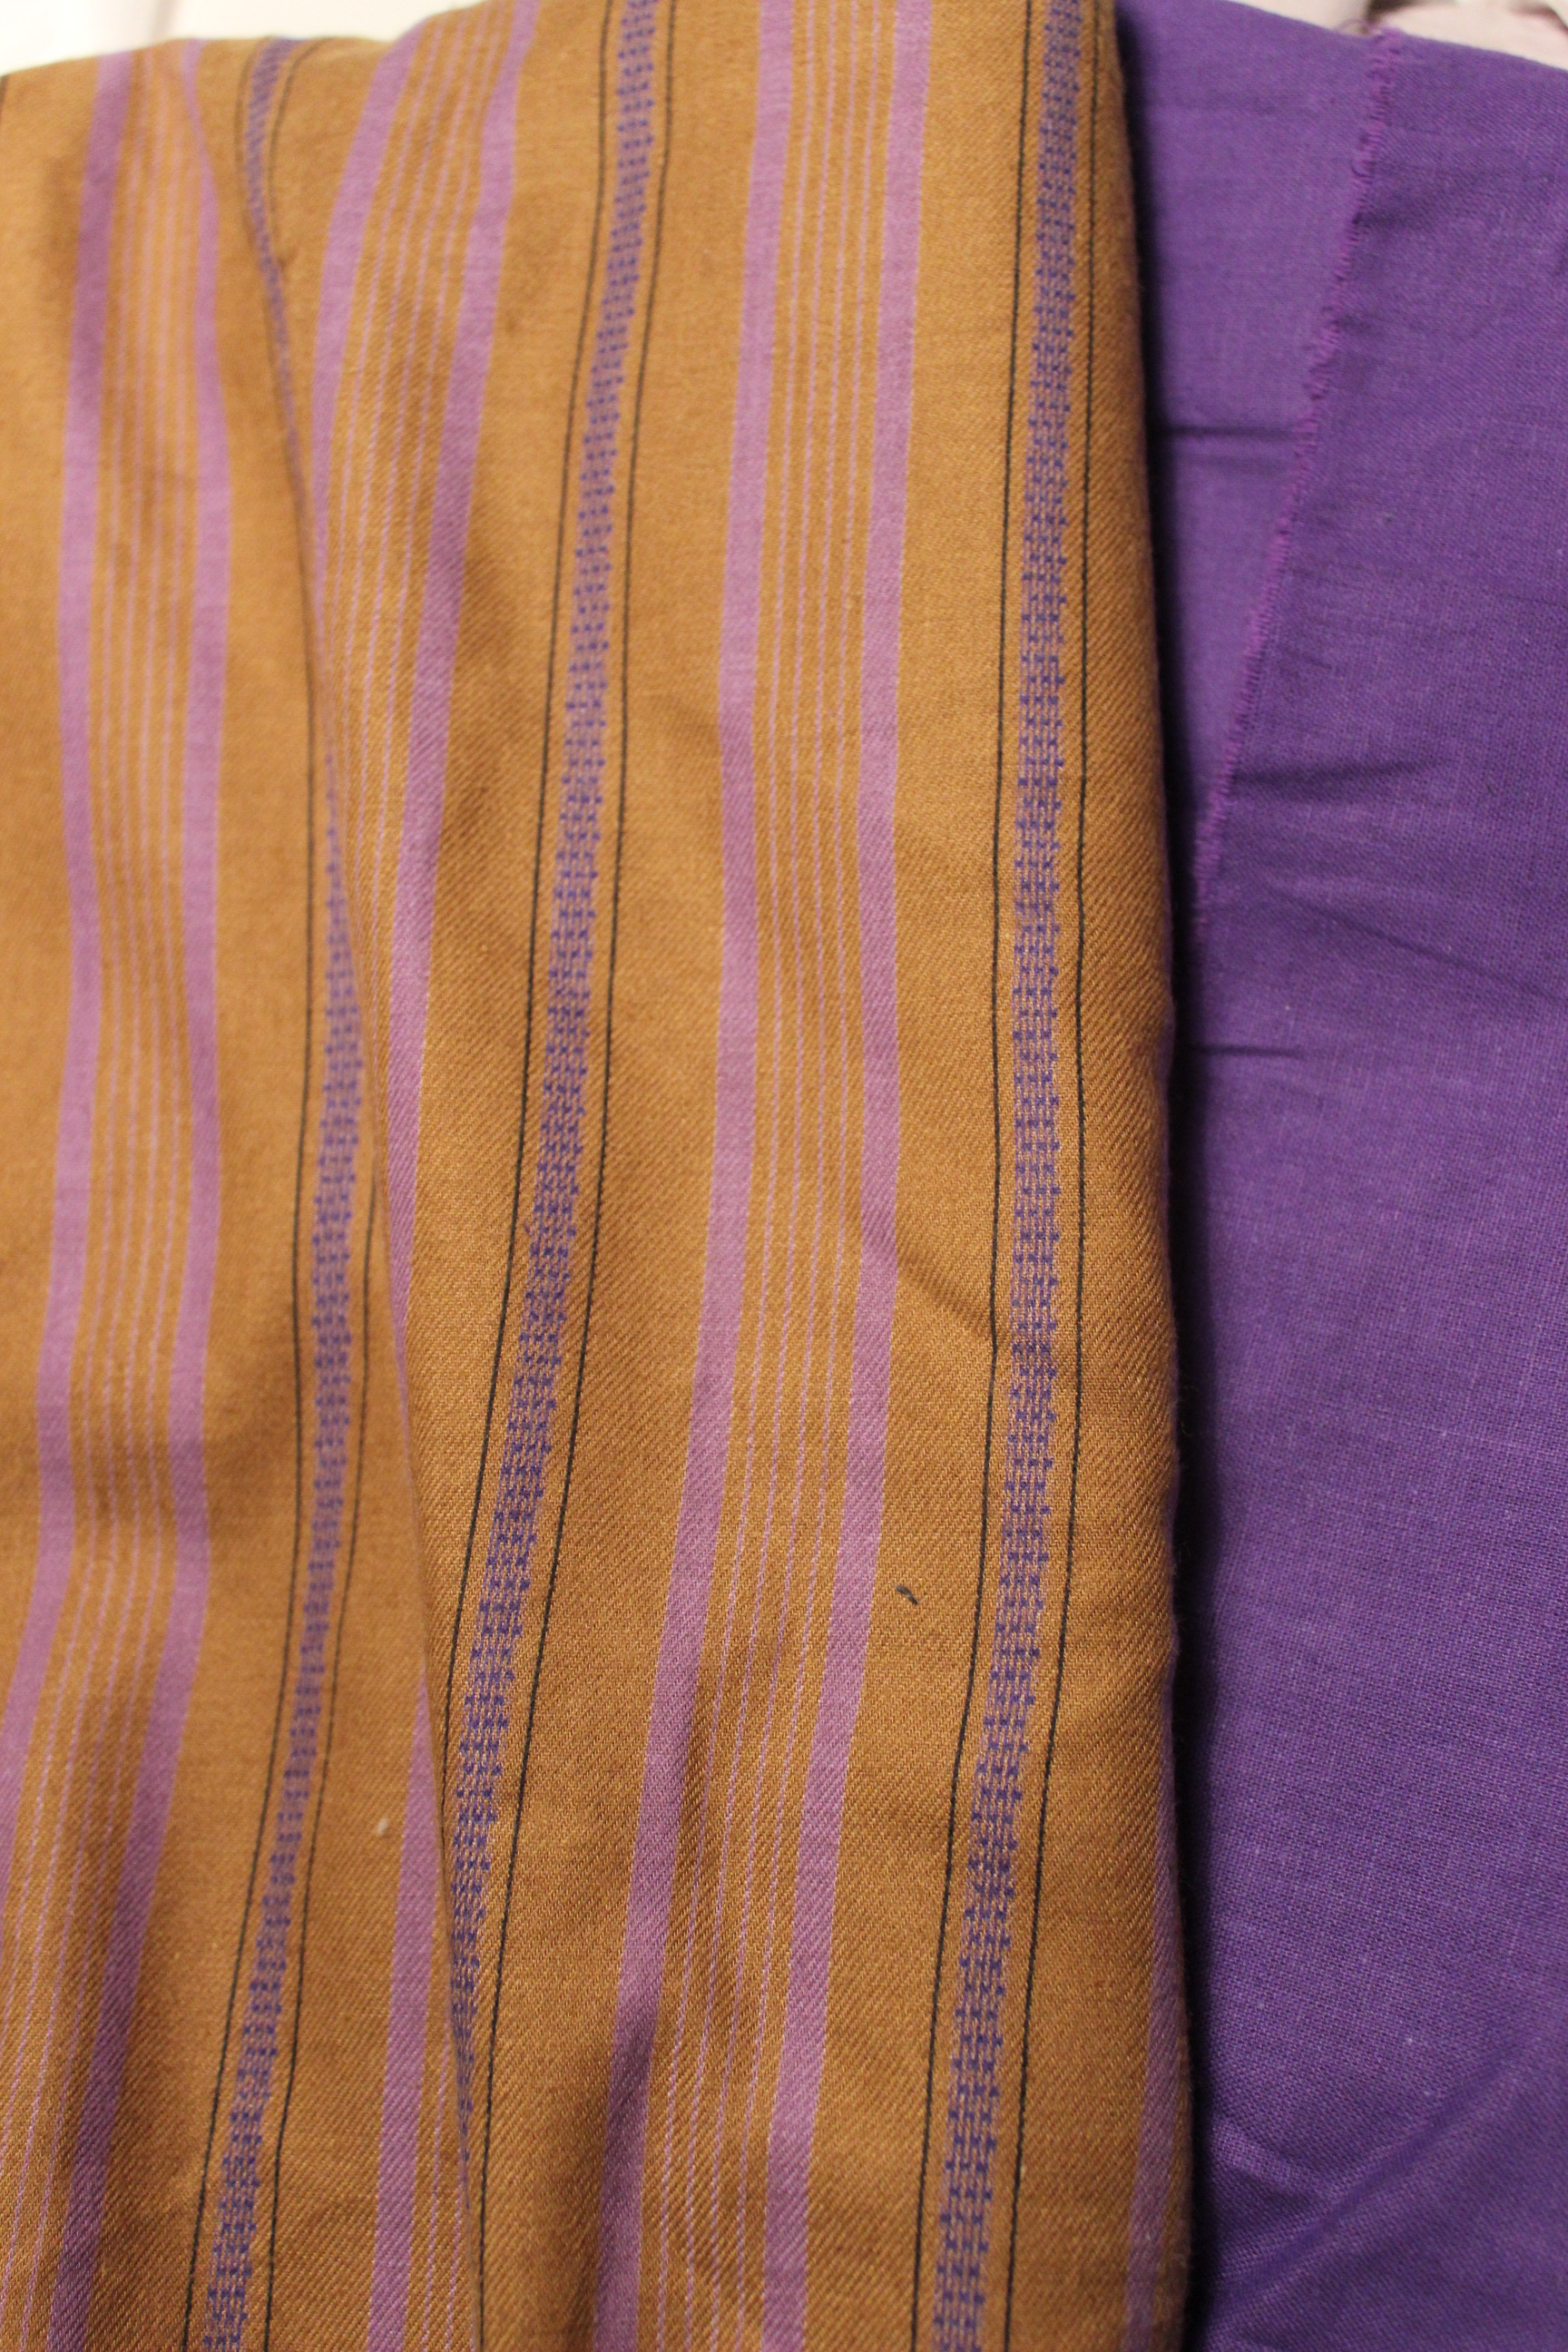
For fabric I used an old roll of red wool I got for free a few yers ago.   IMG_5870The fabric are realy coarse and I never thougt I would ever be able to use it for anything, particularly not for a garment.

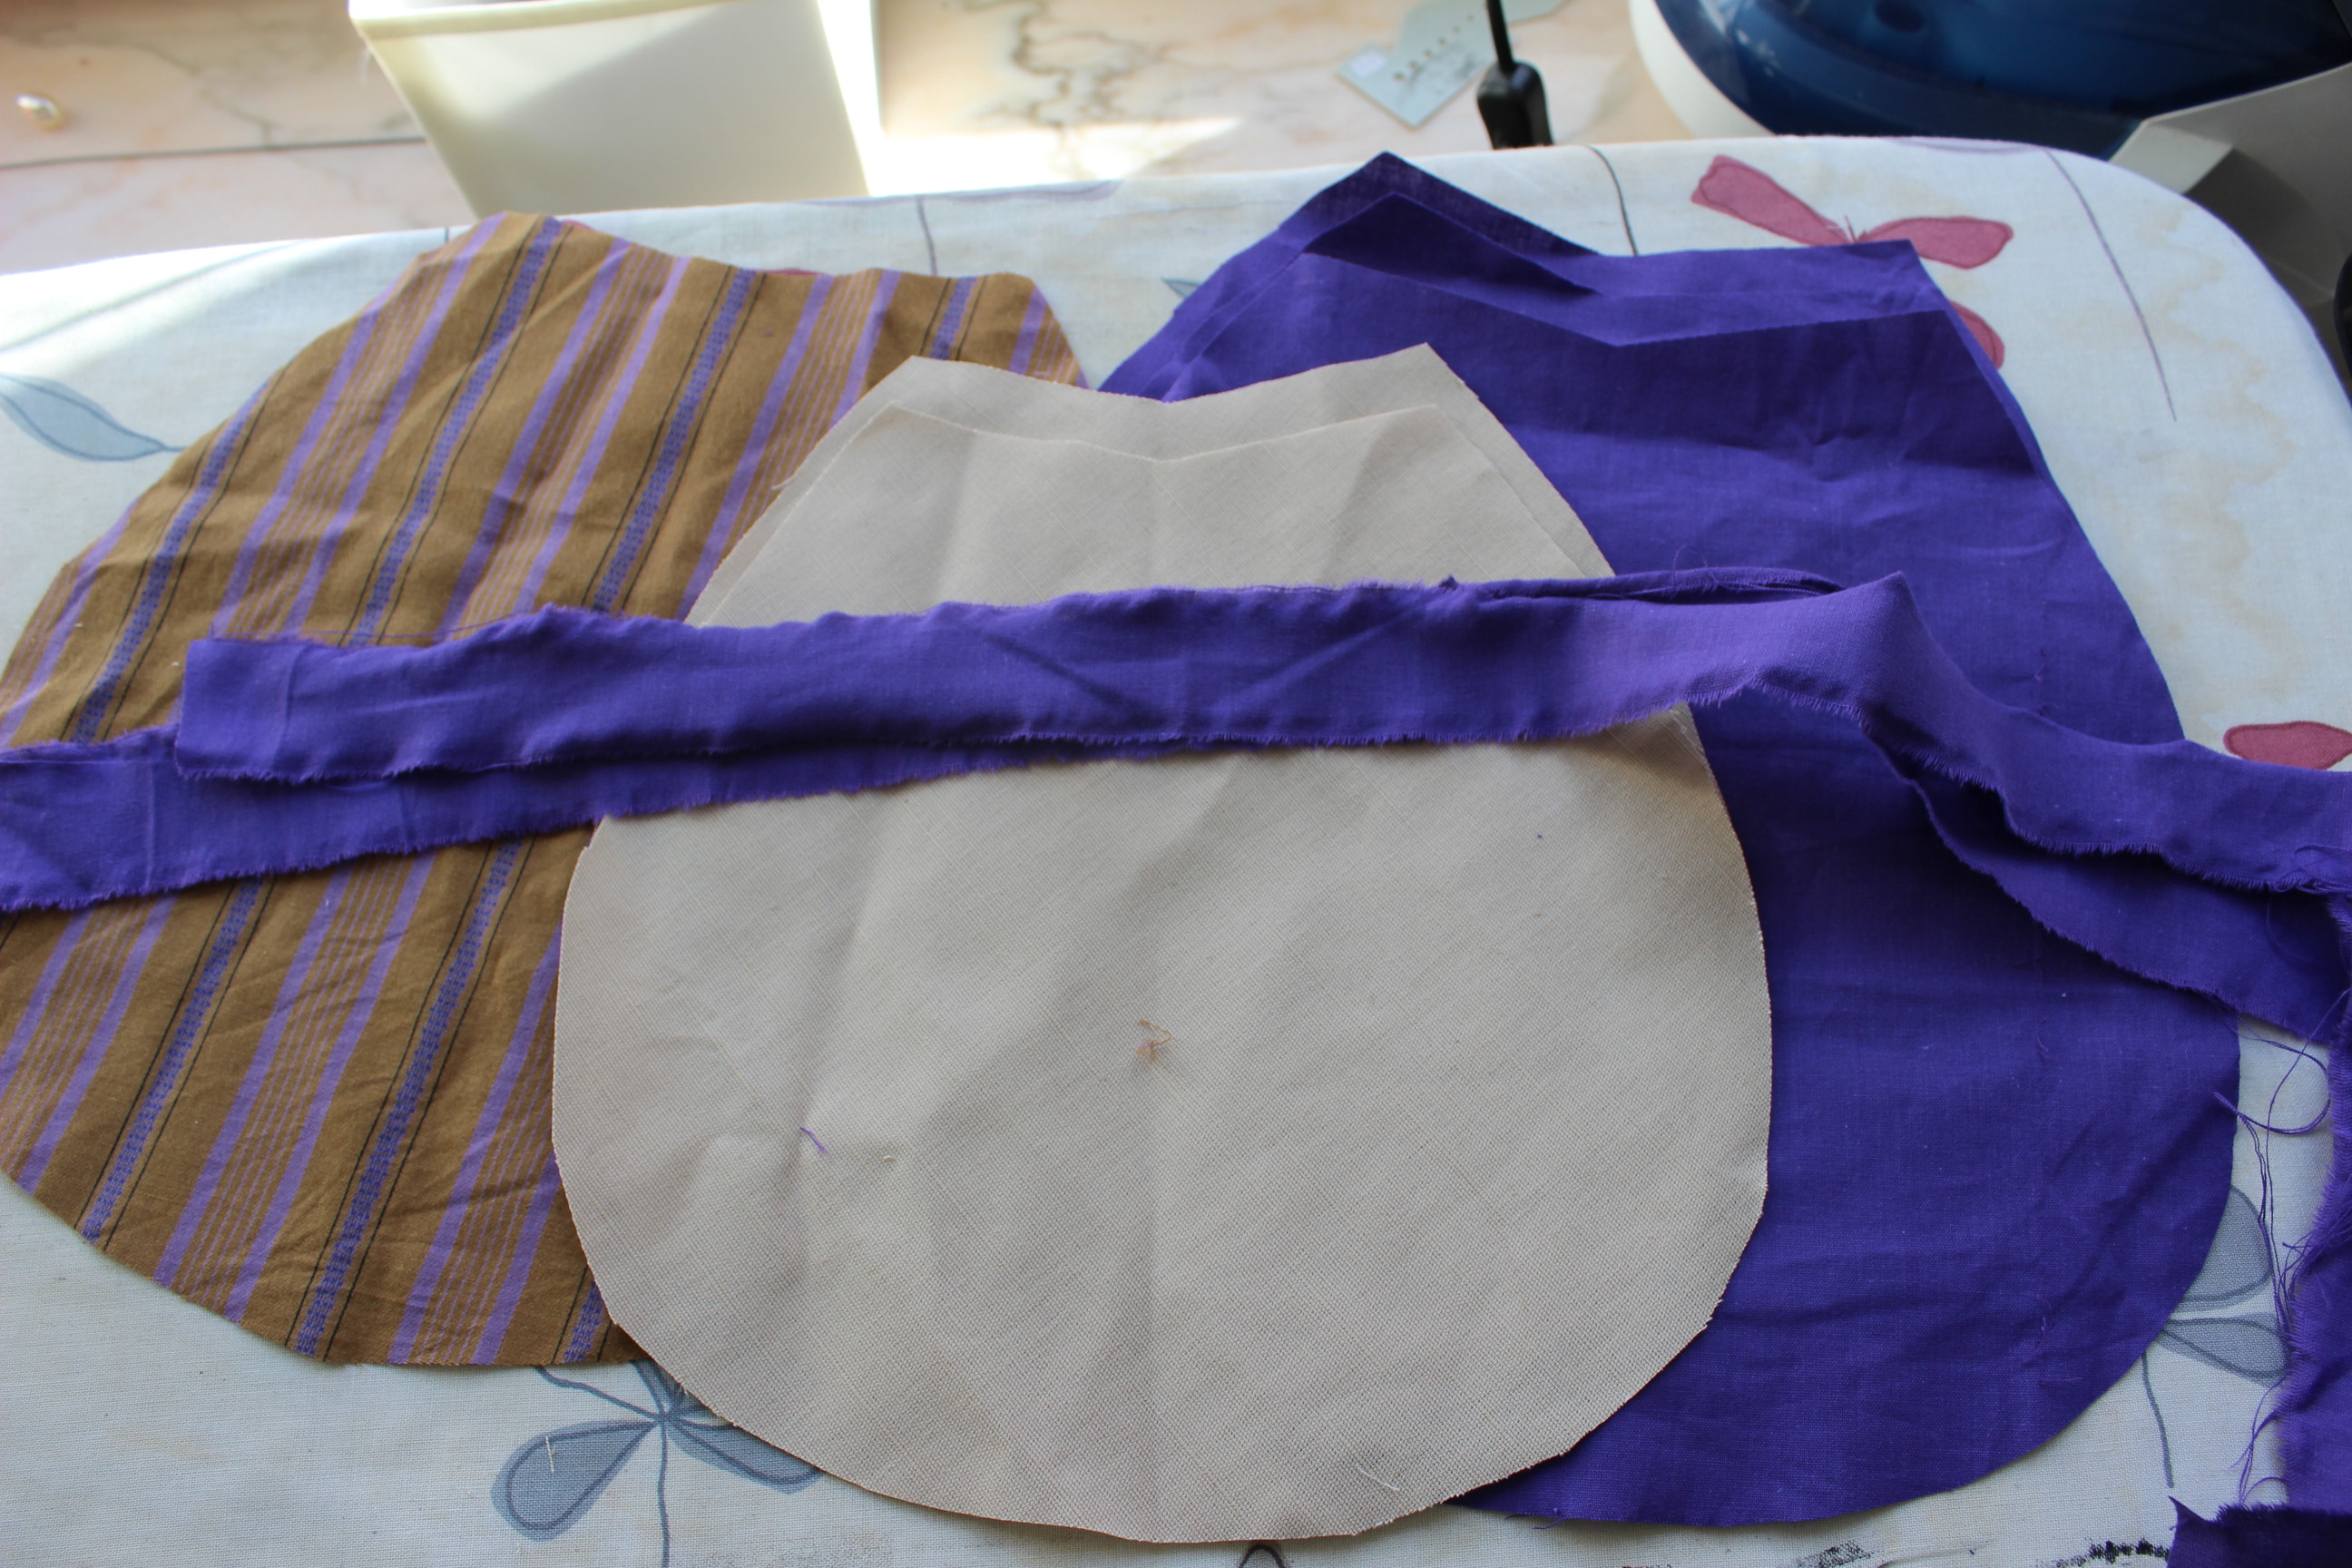
For lining I dug into my scraps bin, and found a dark red linnen leftover from a gown I made several years ago.IMG_5878
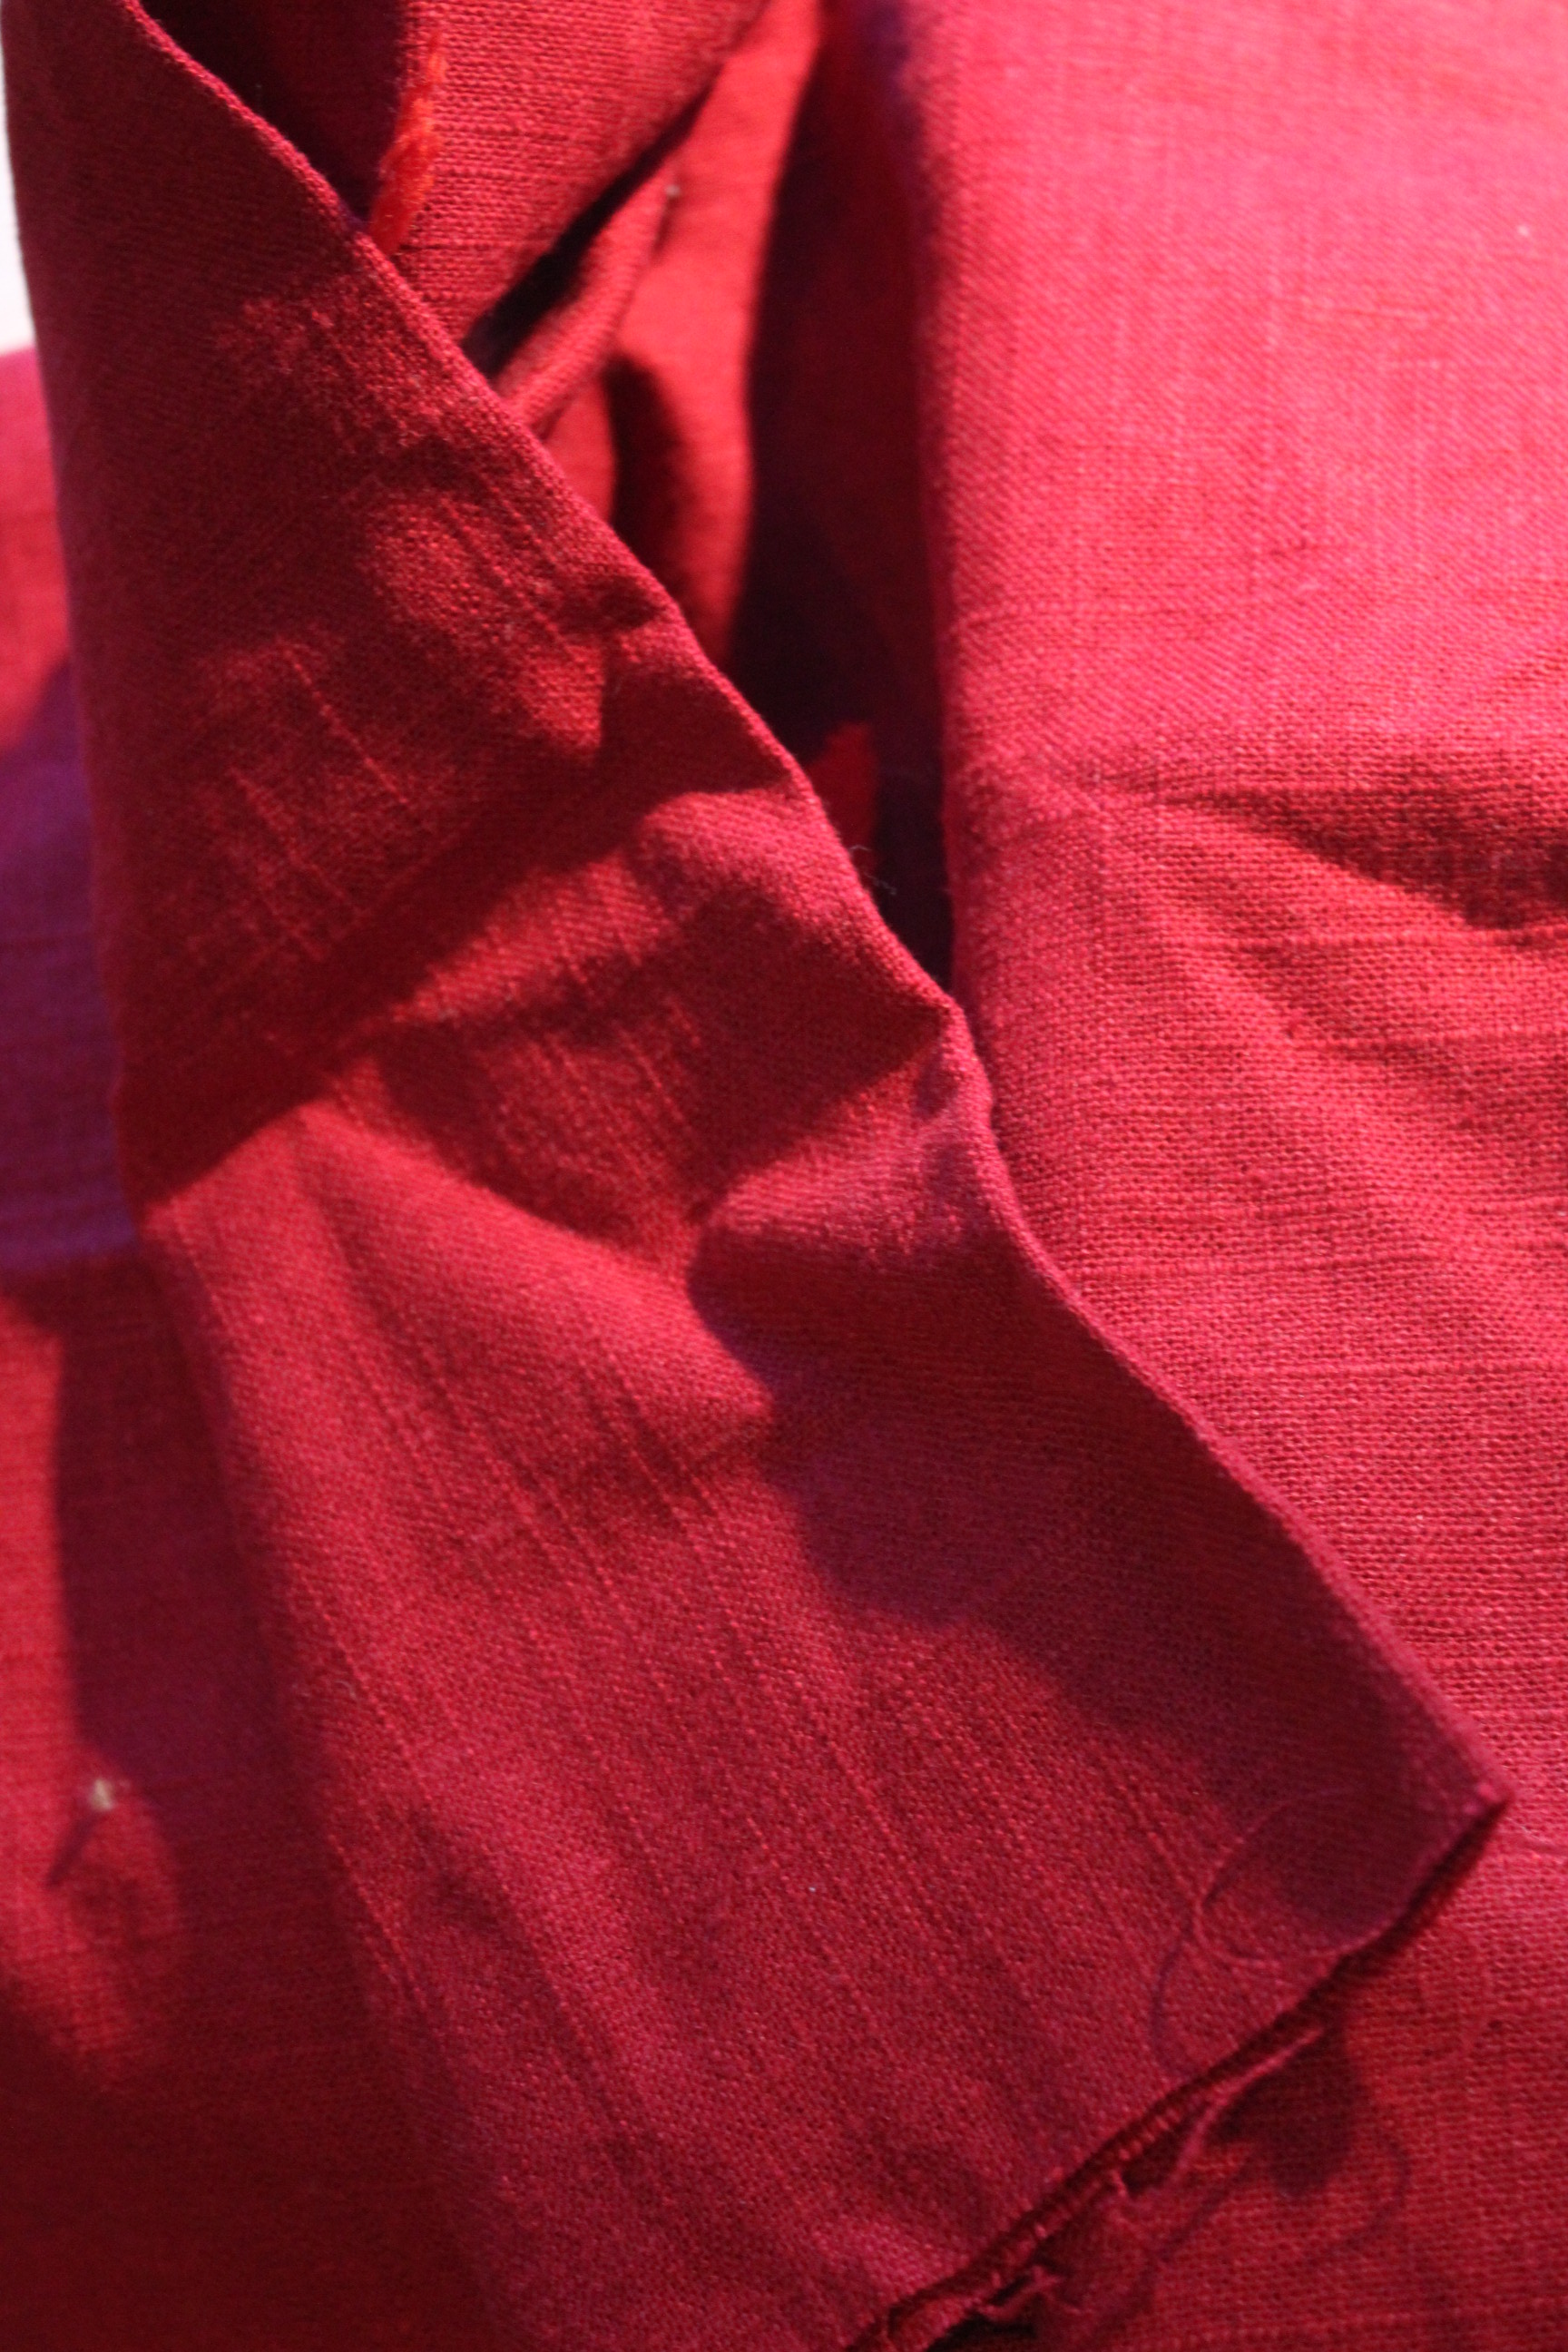
The amount I had was just enough for the hood.

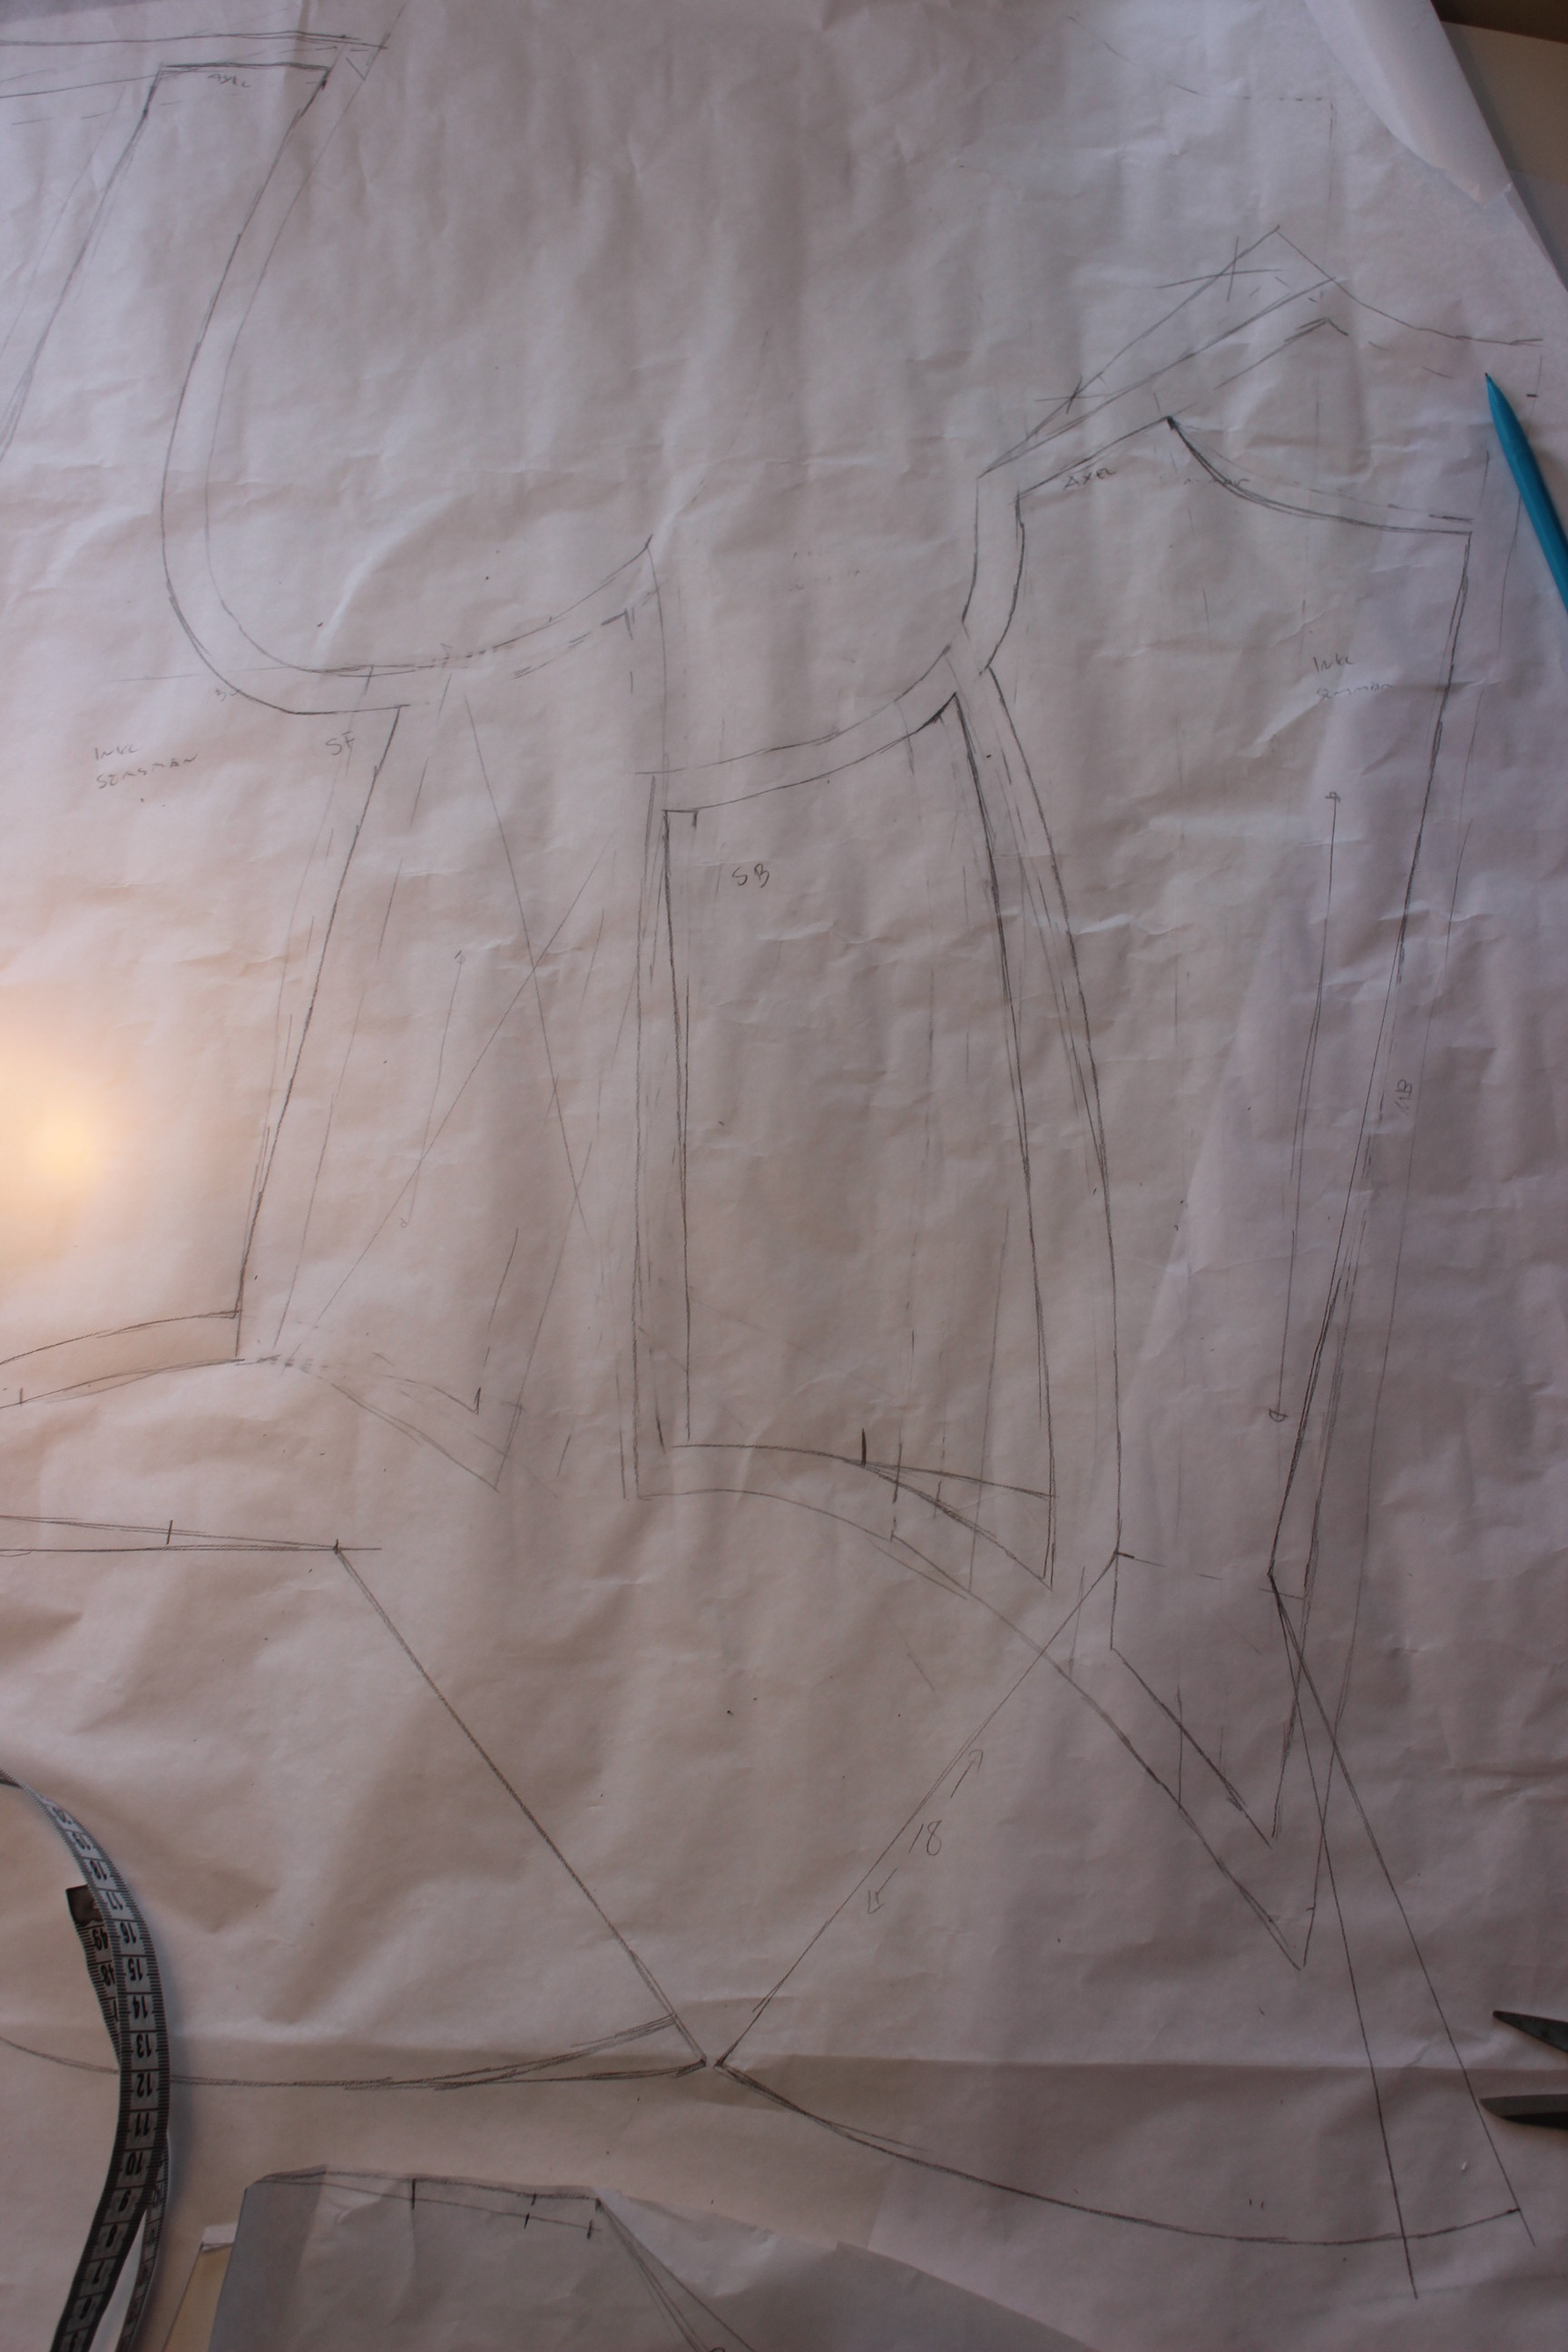
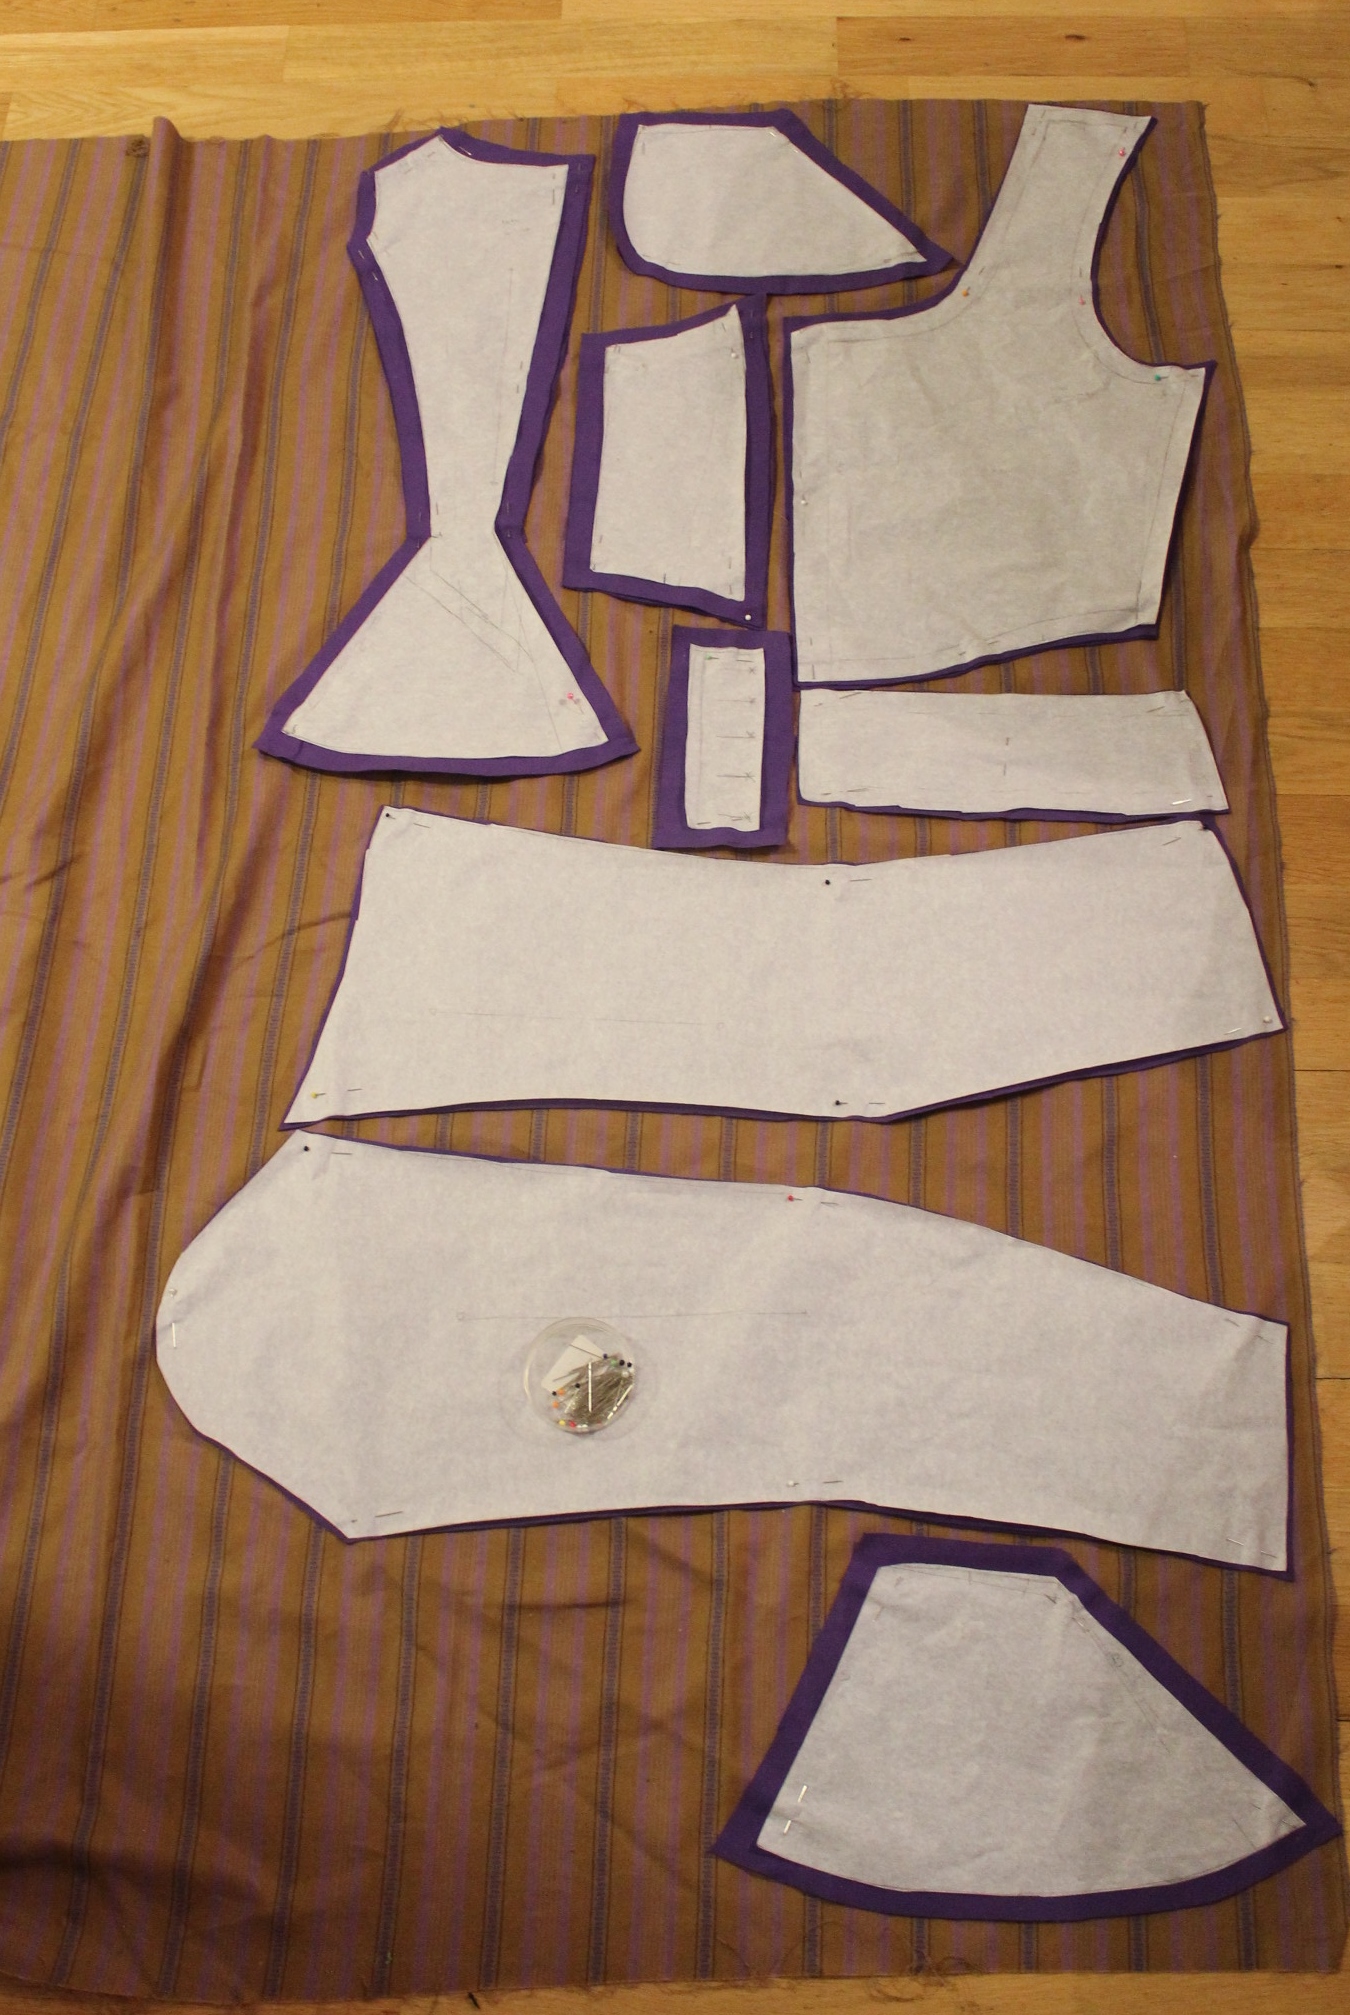
I didn’t traced the pattern, but measured and cut everything from memory. IMG_5868

Then I did the same with the hood.IMG_5874

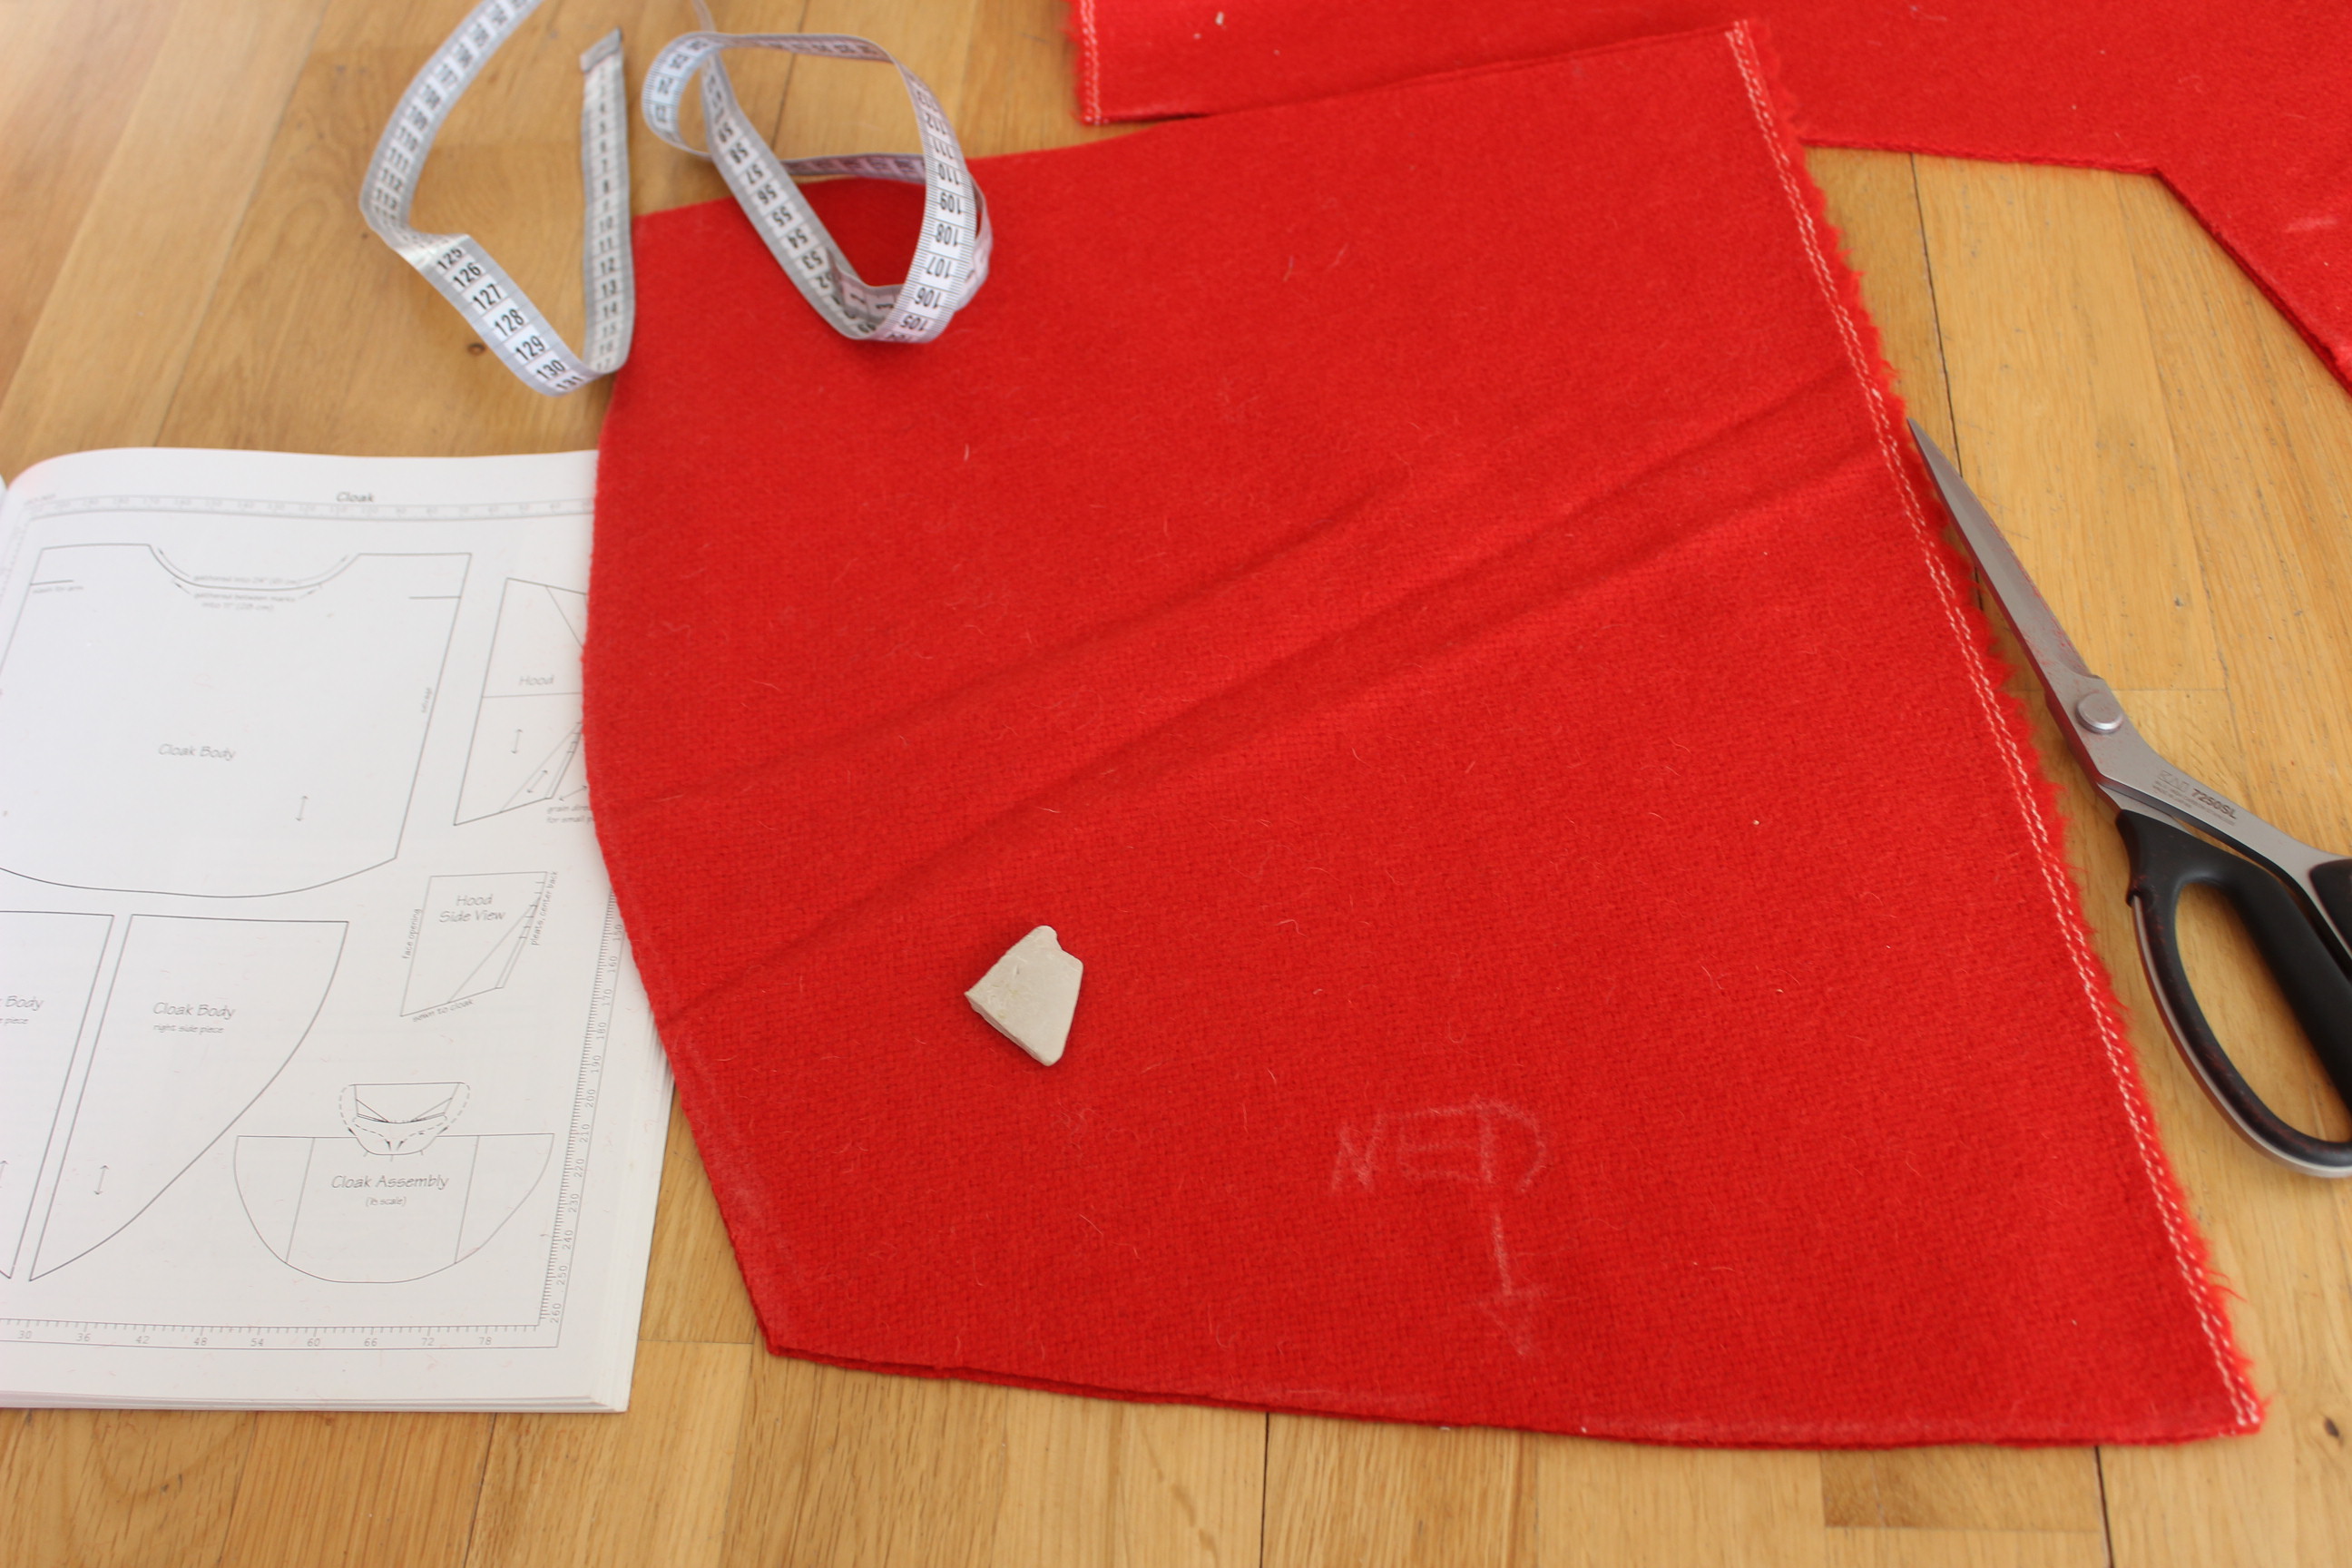
The construction of the cape was really simple and straight forward.
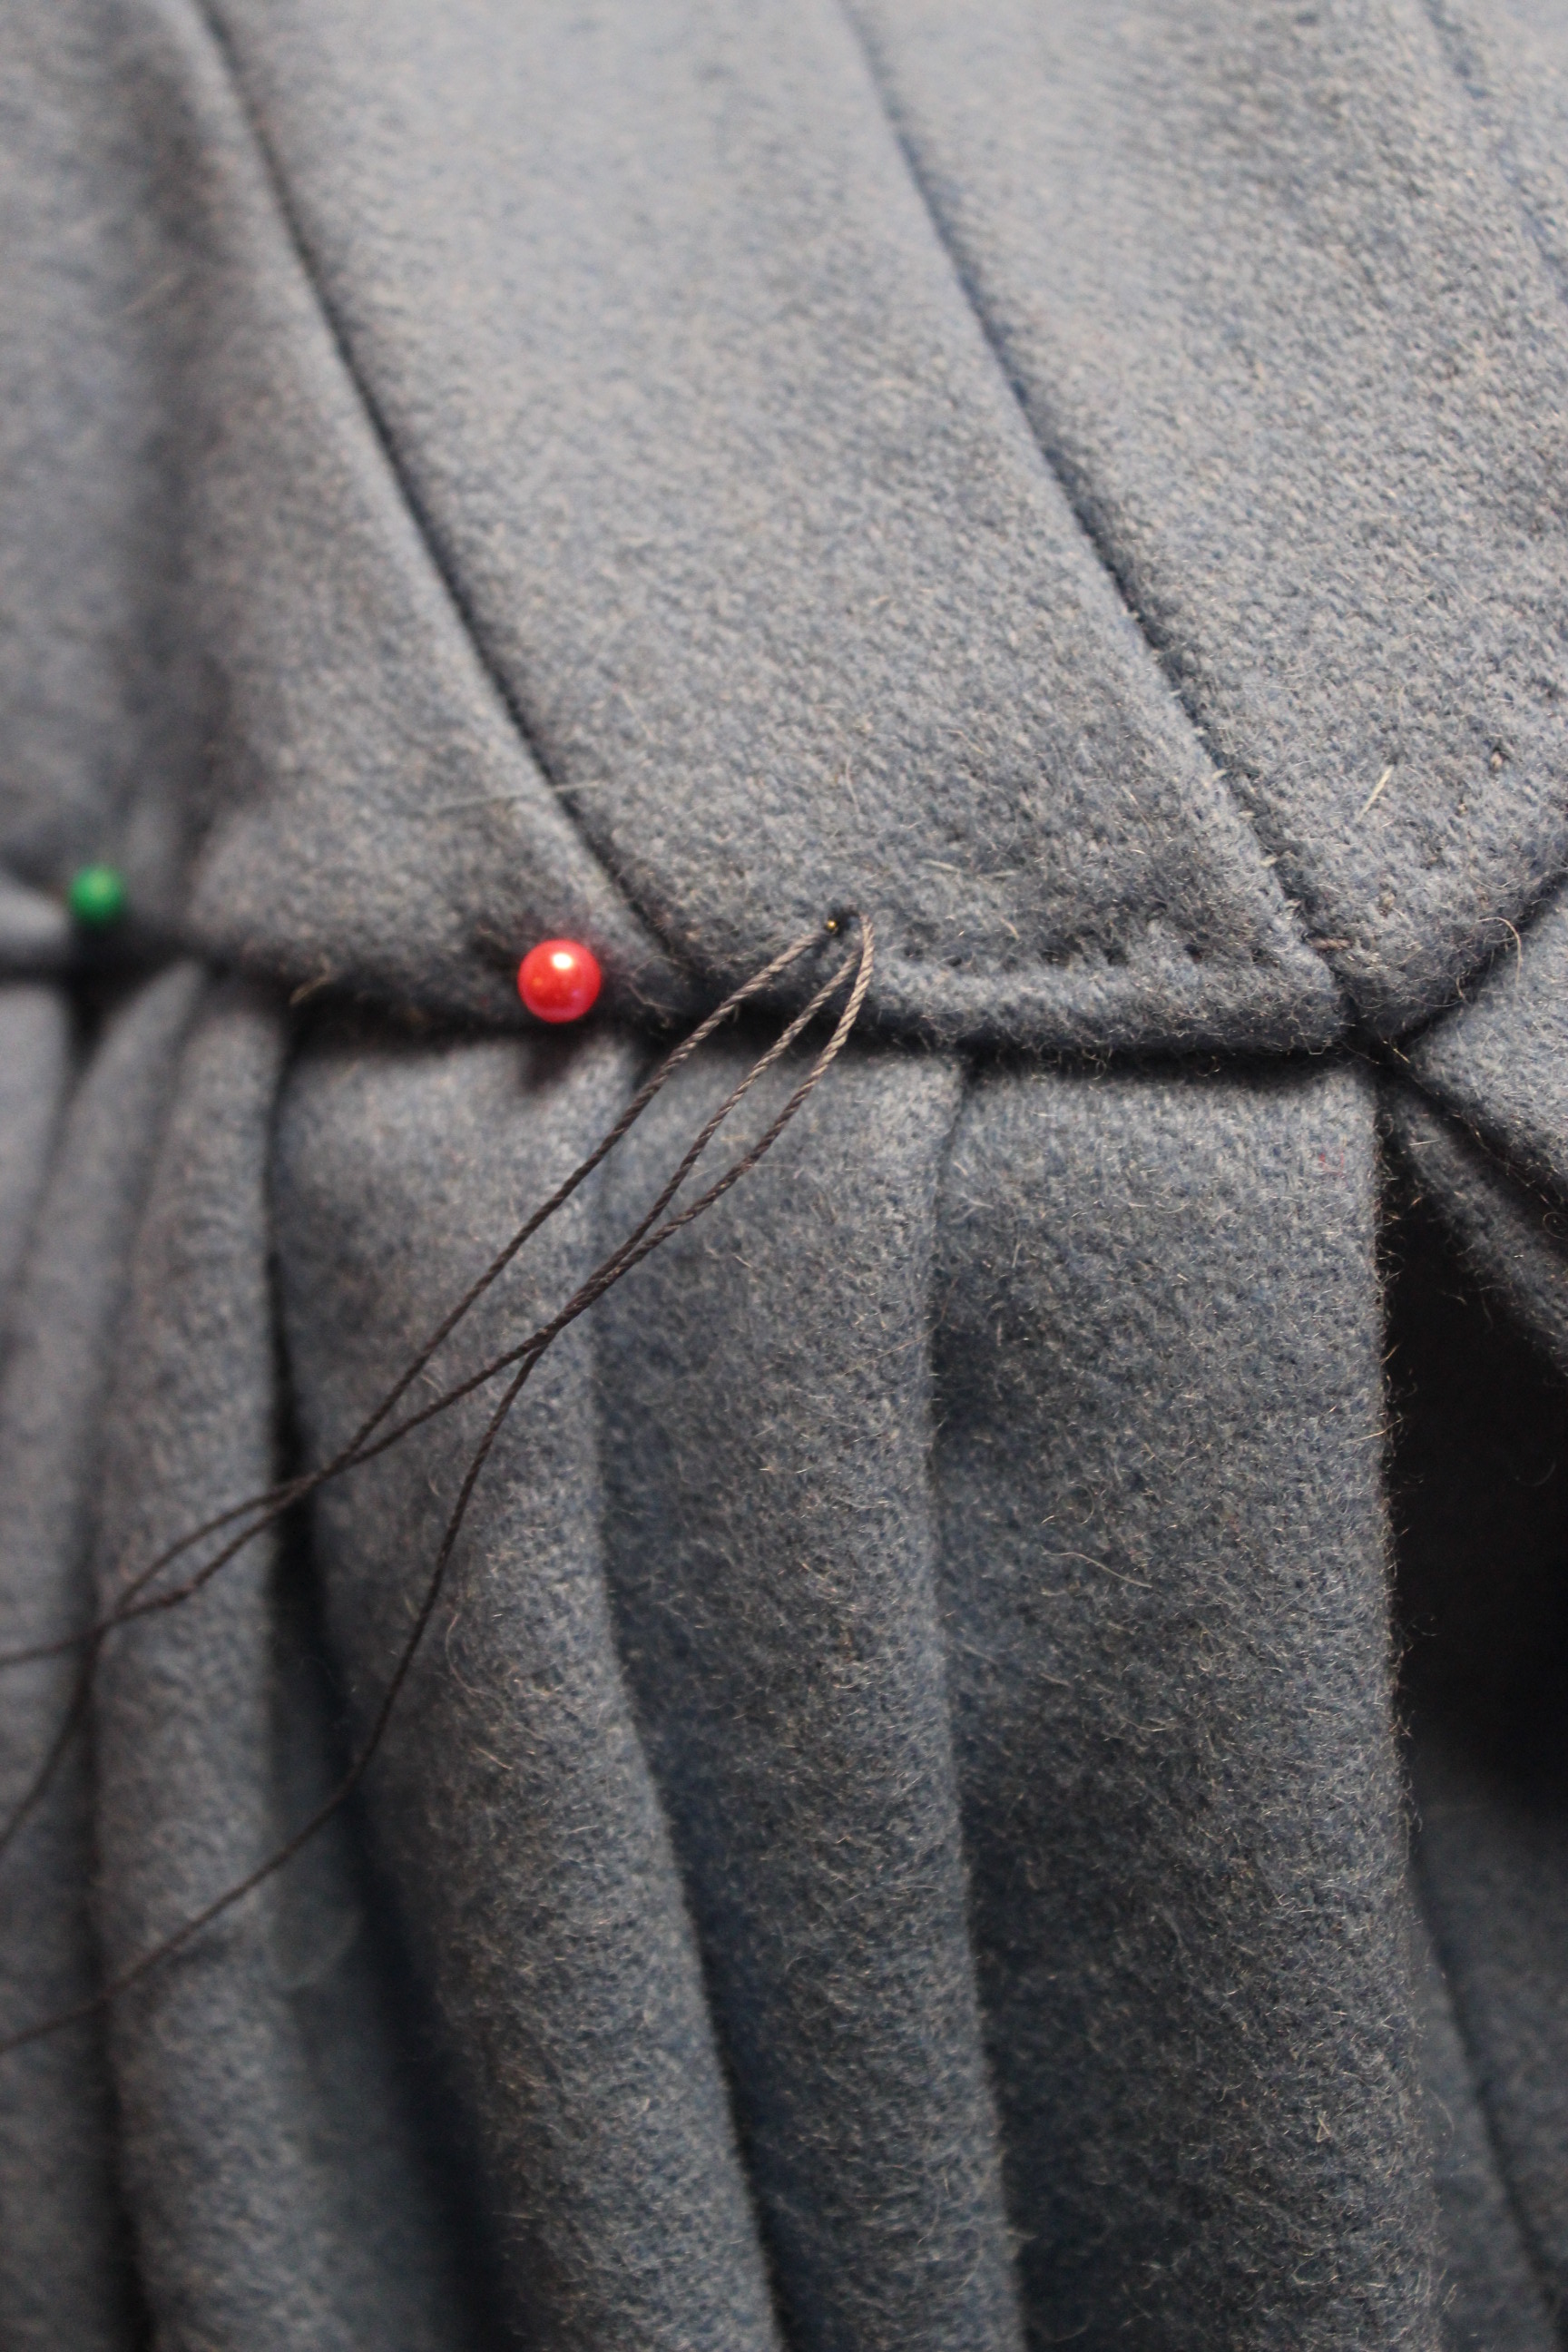
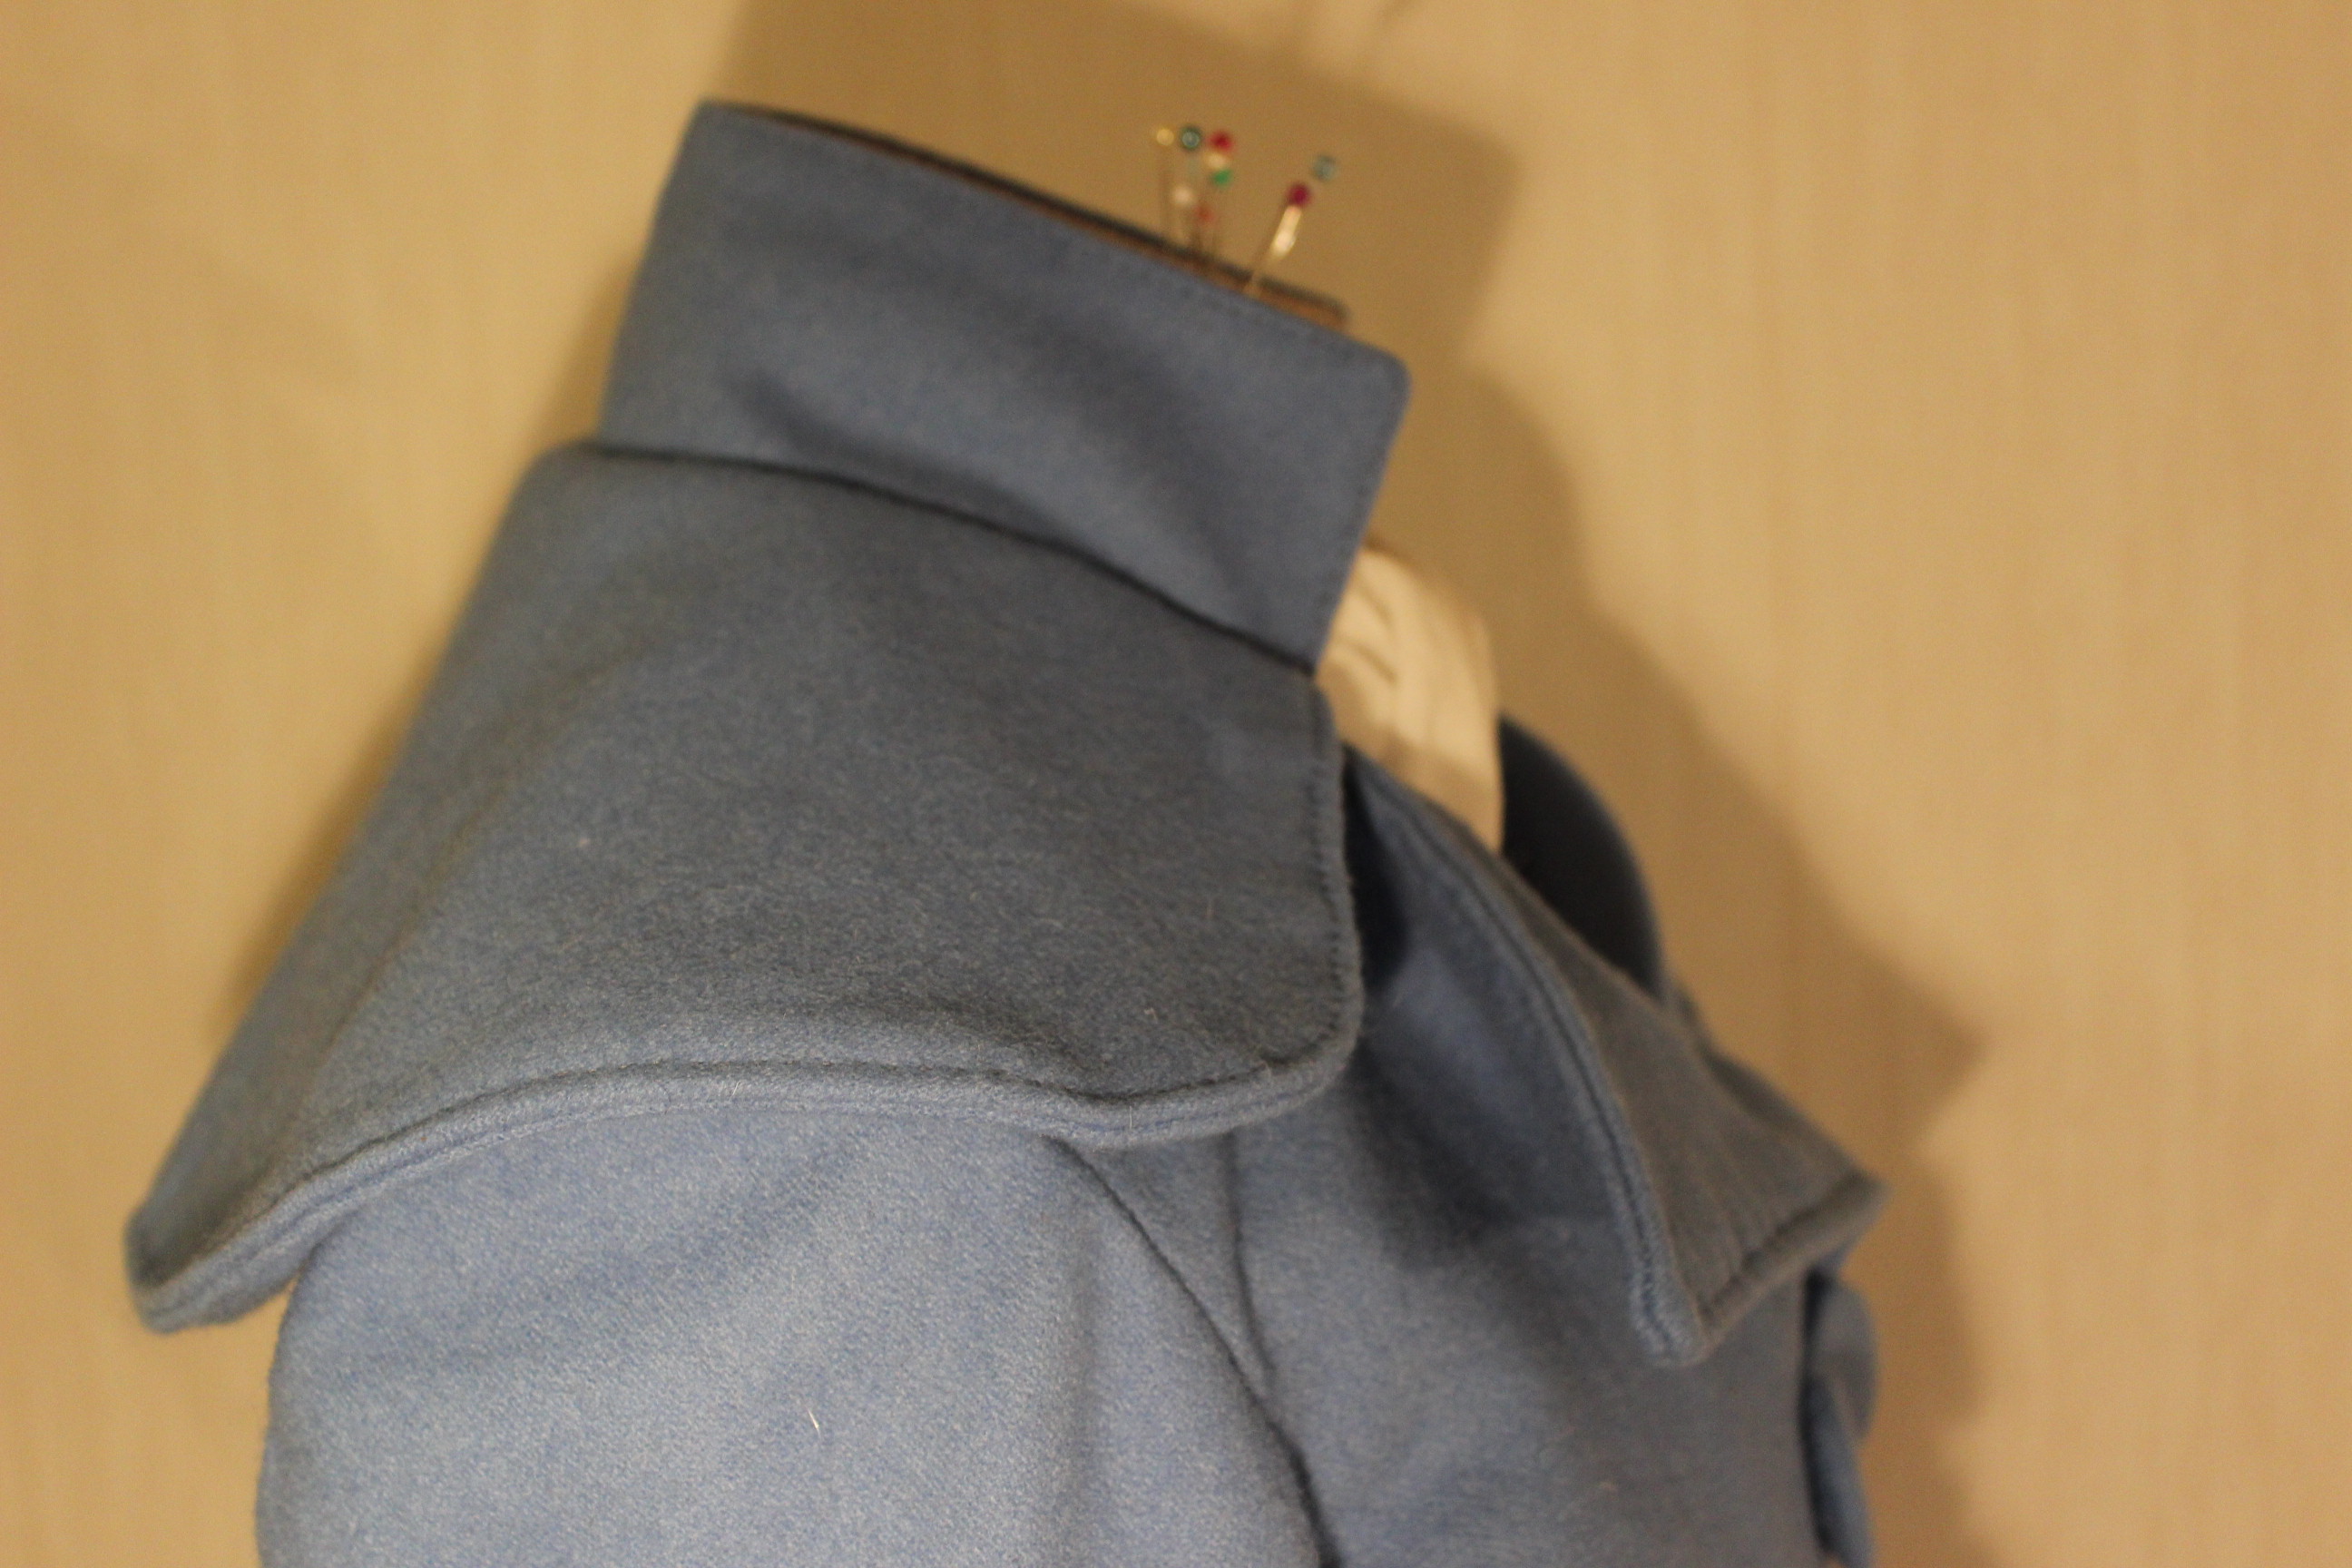
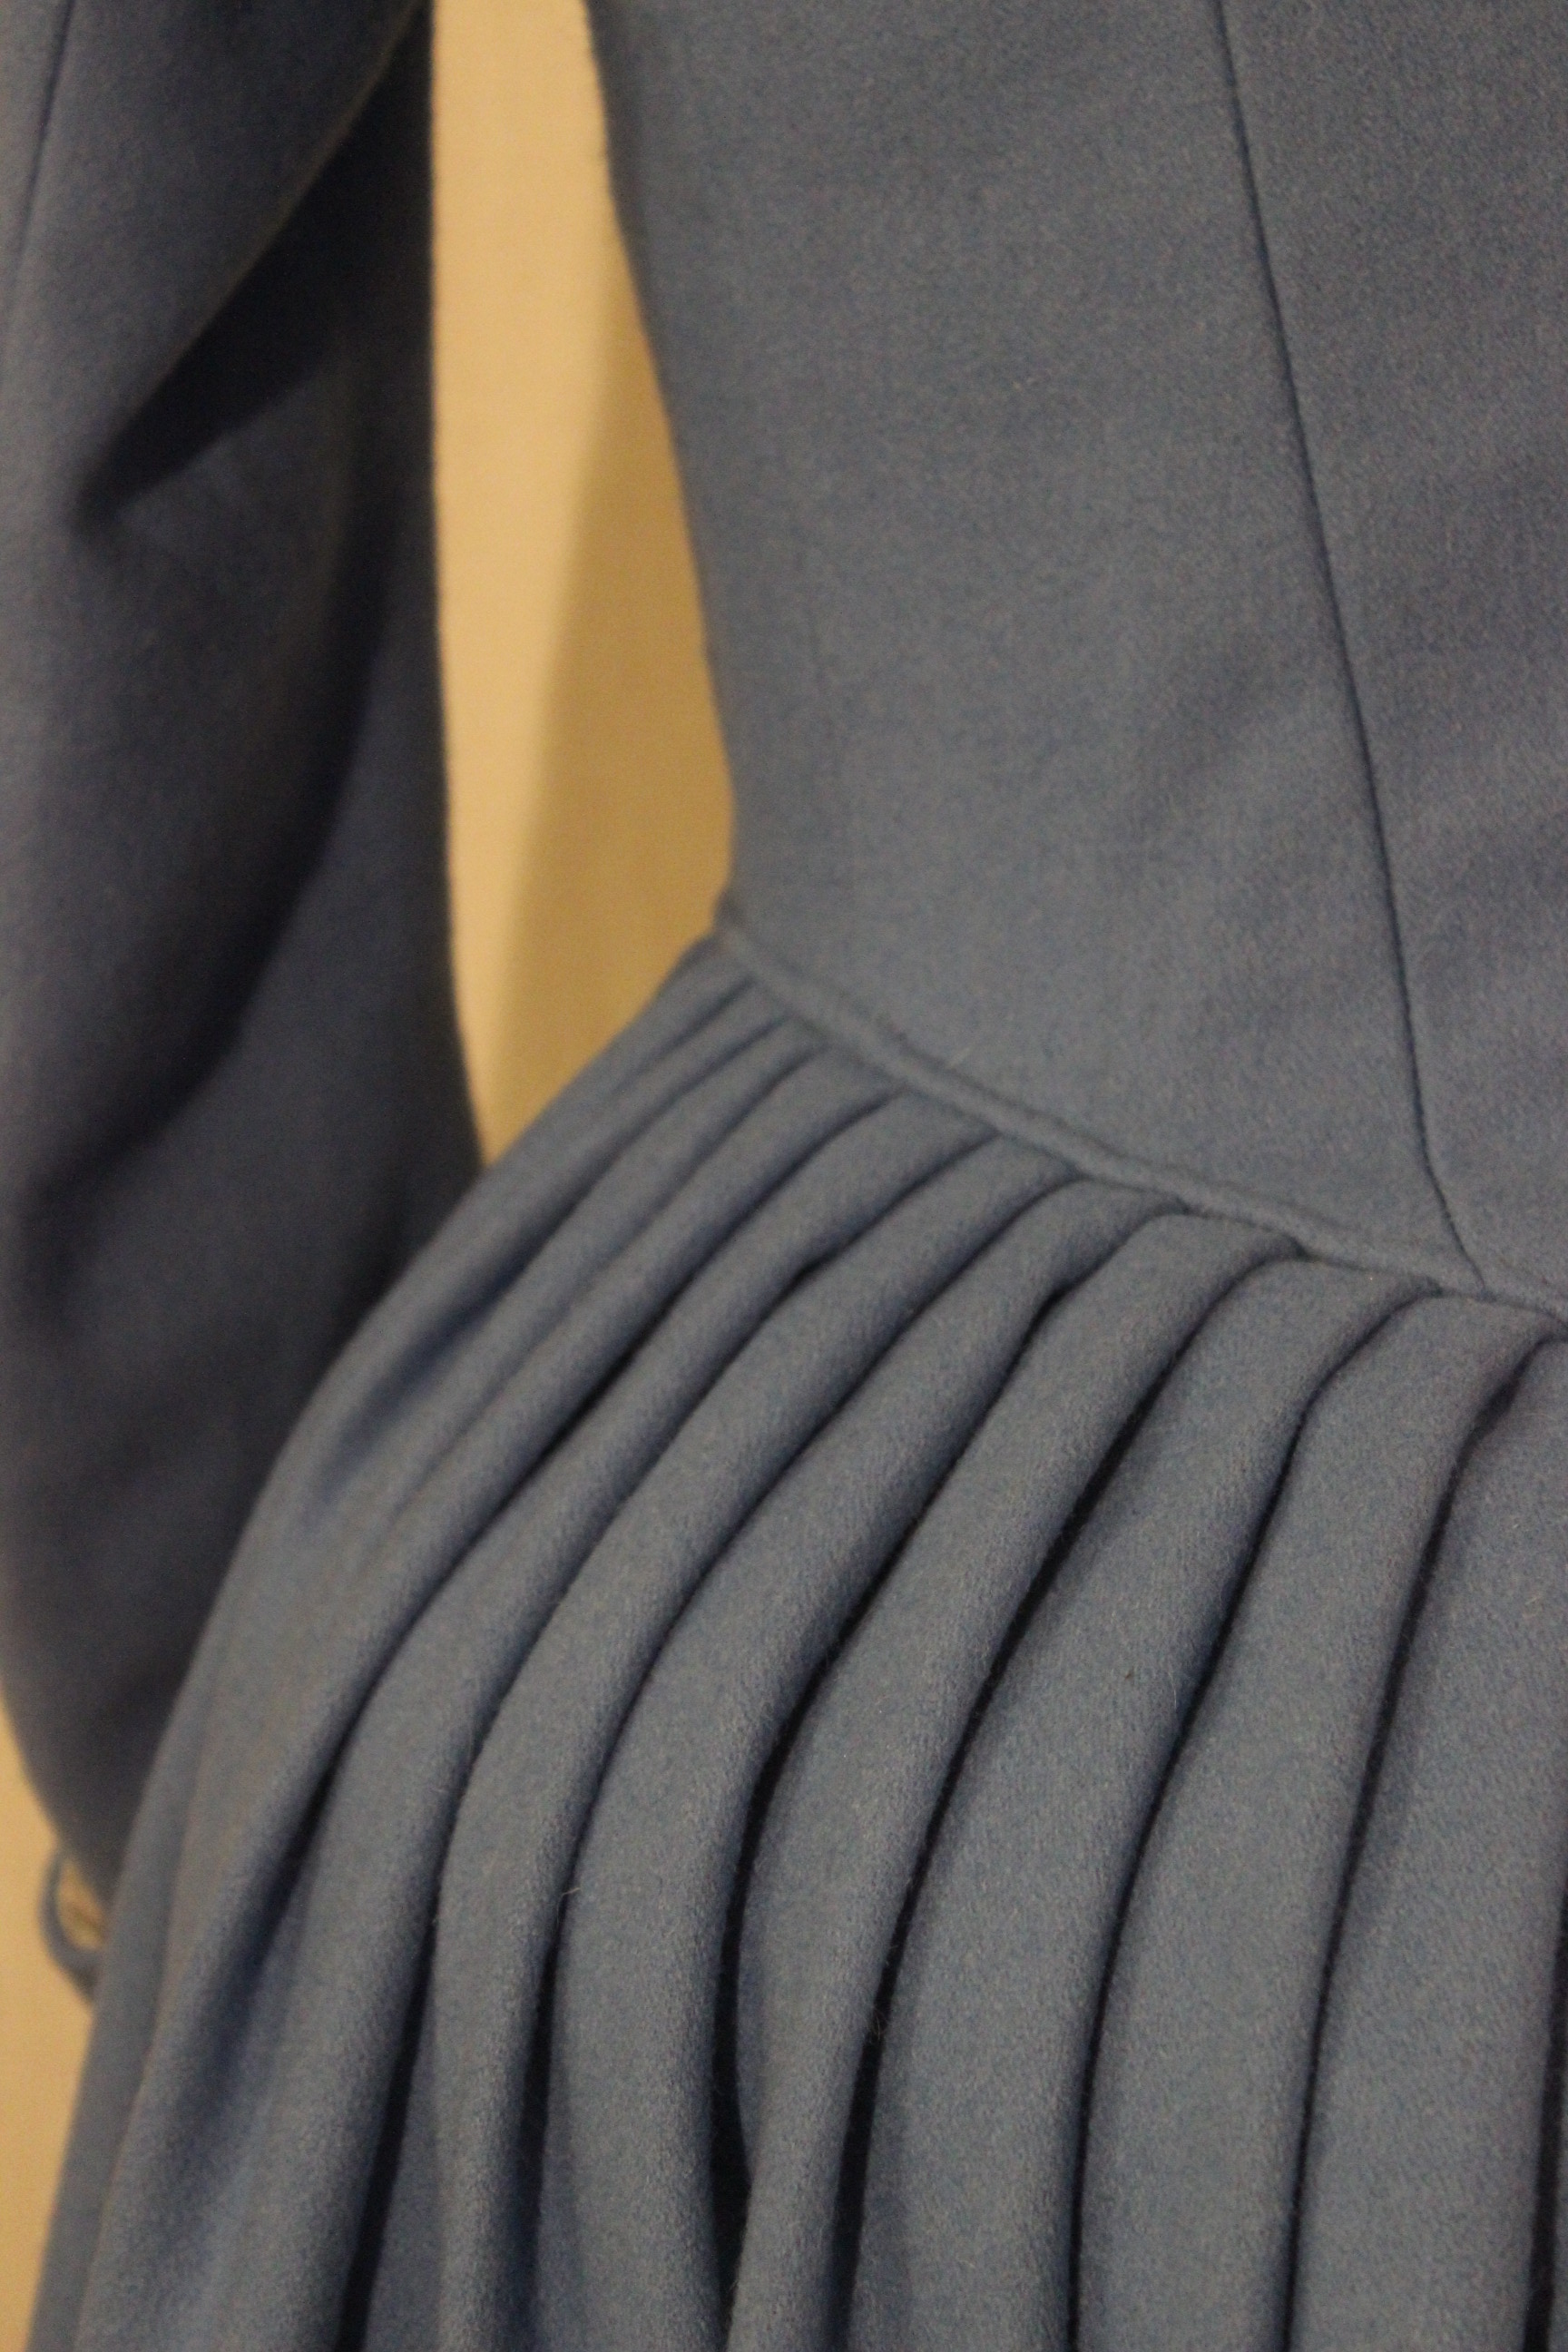
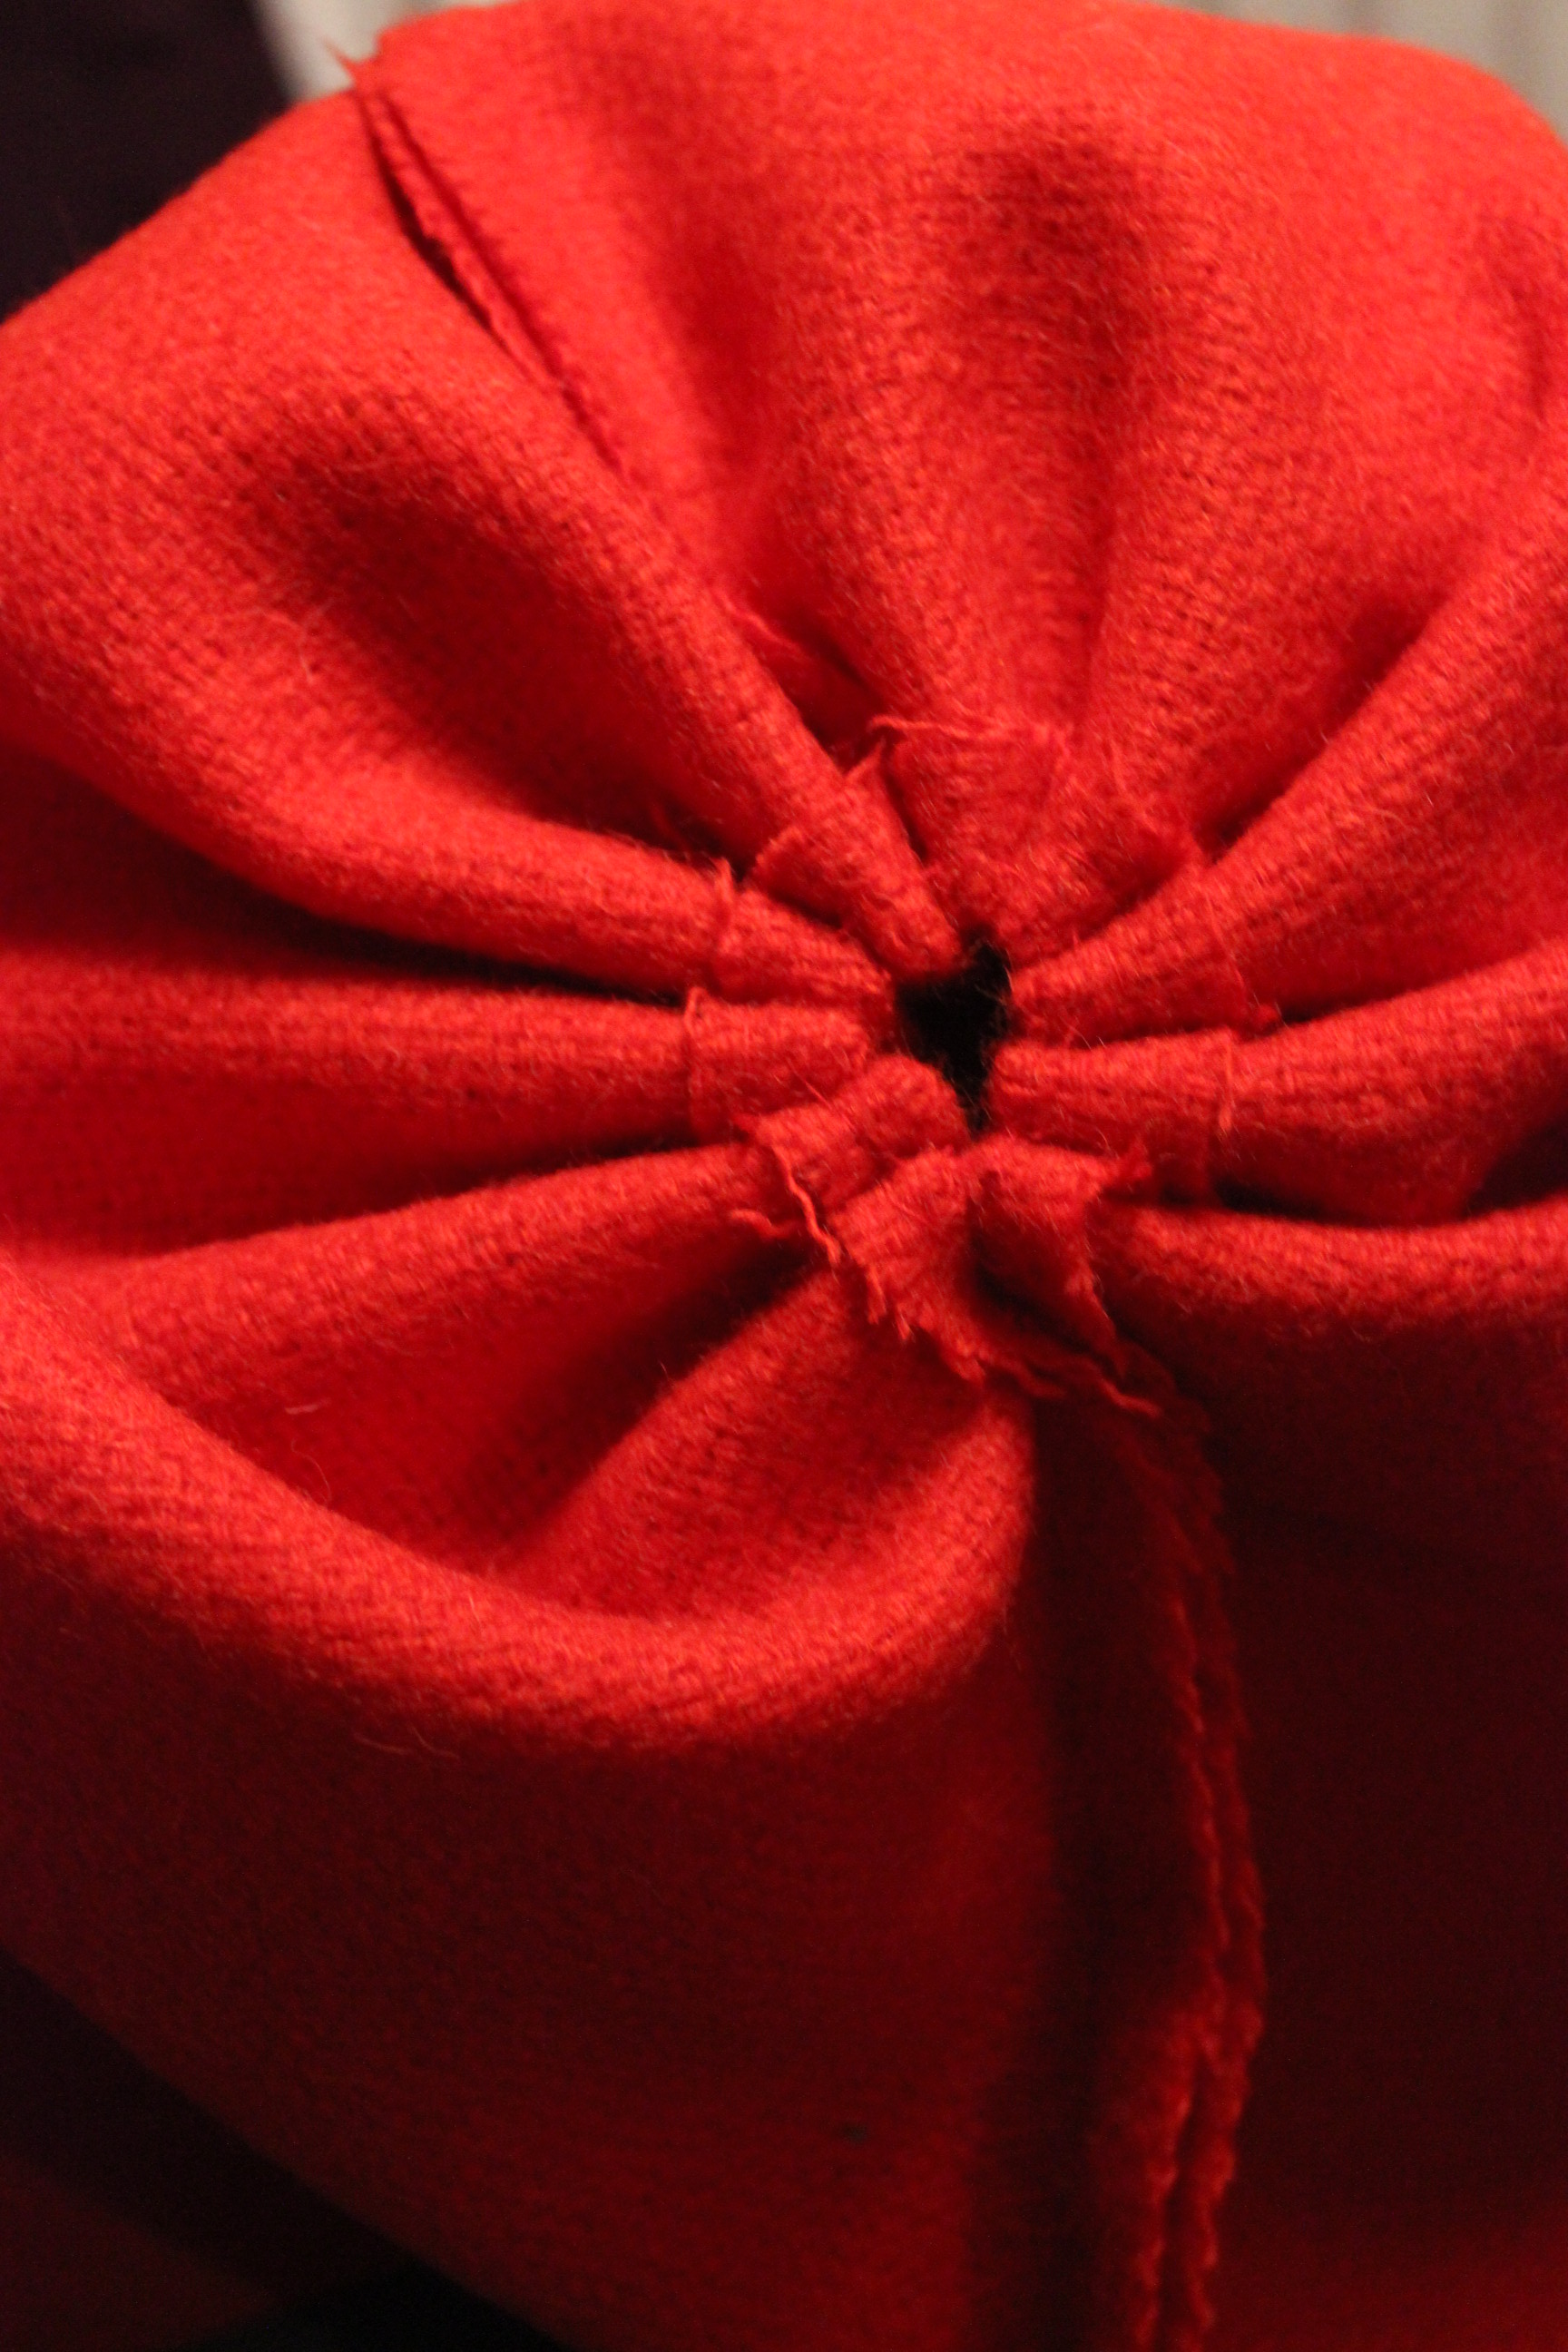
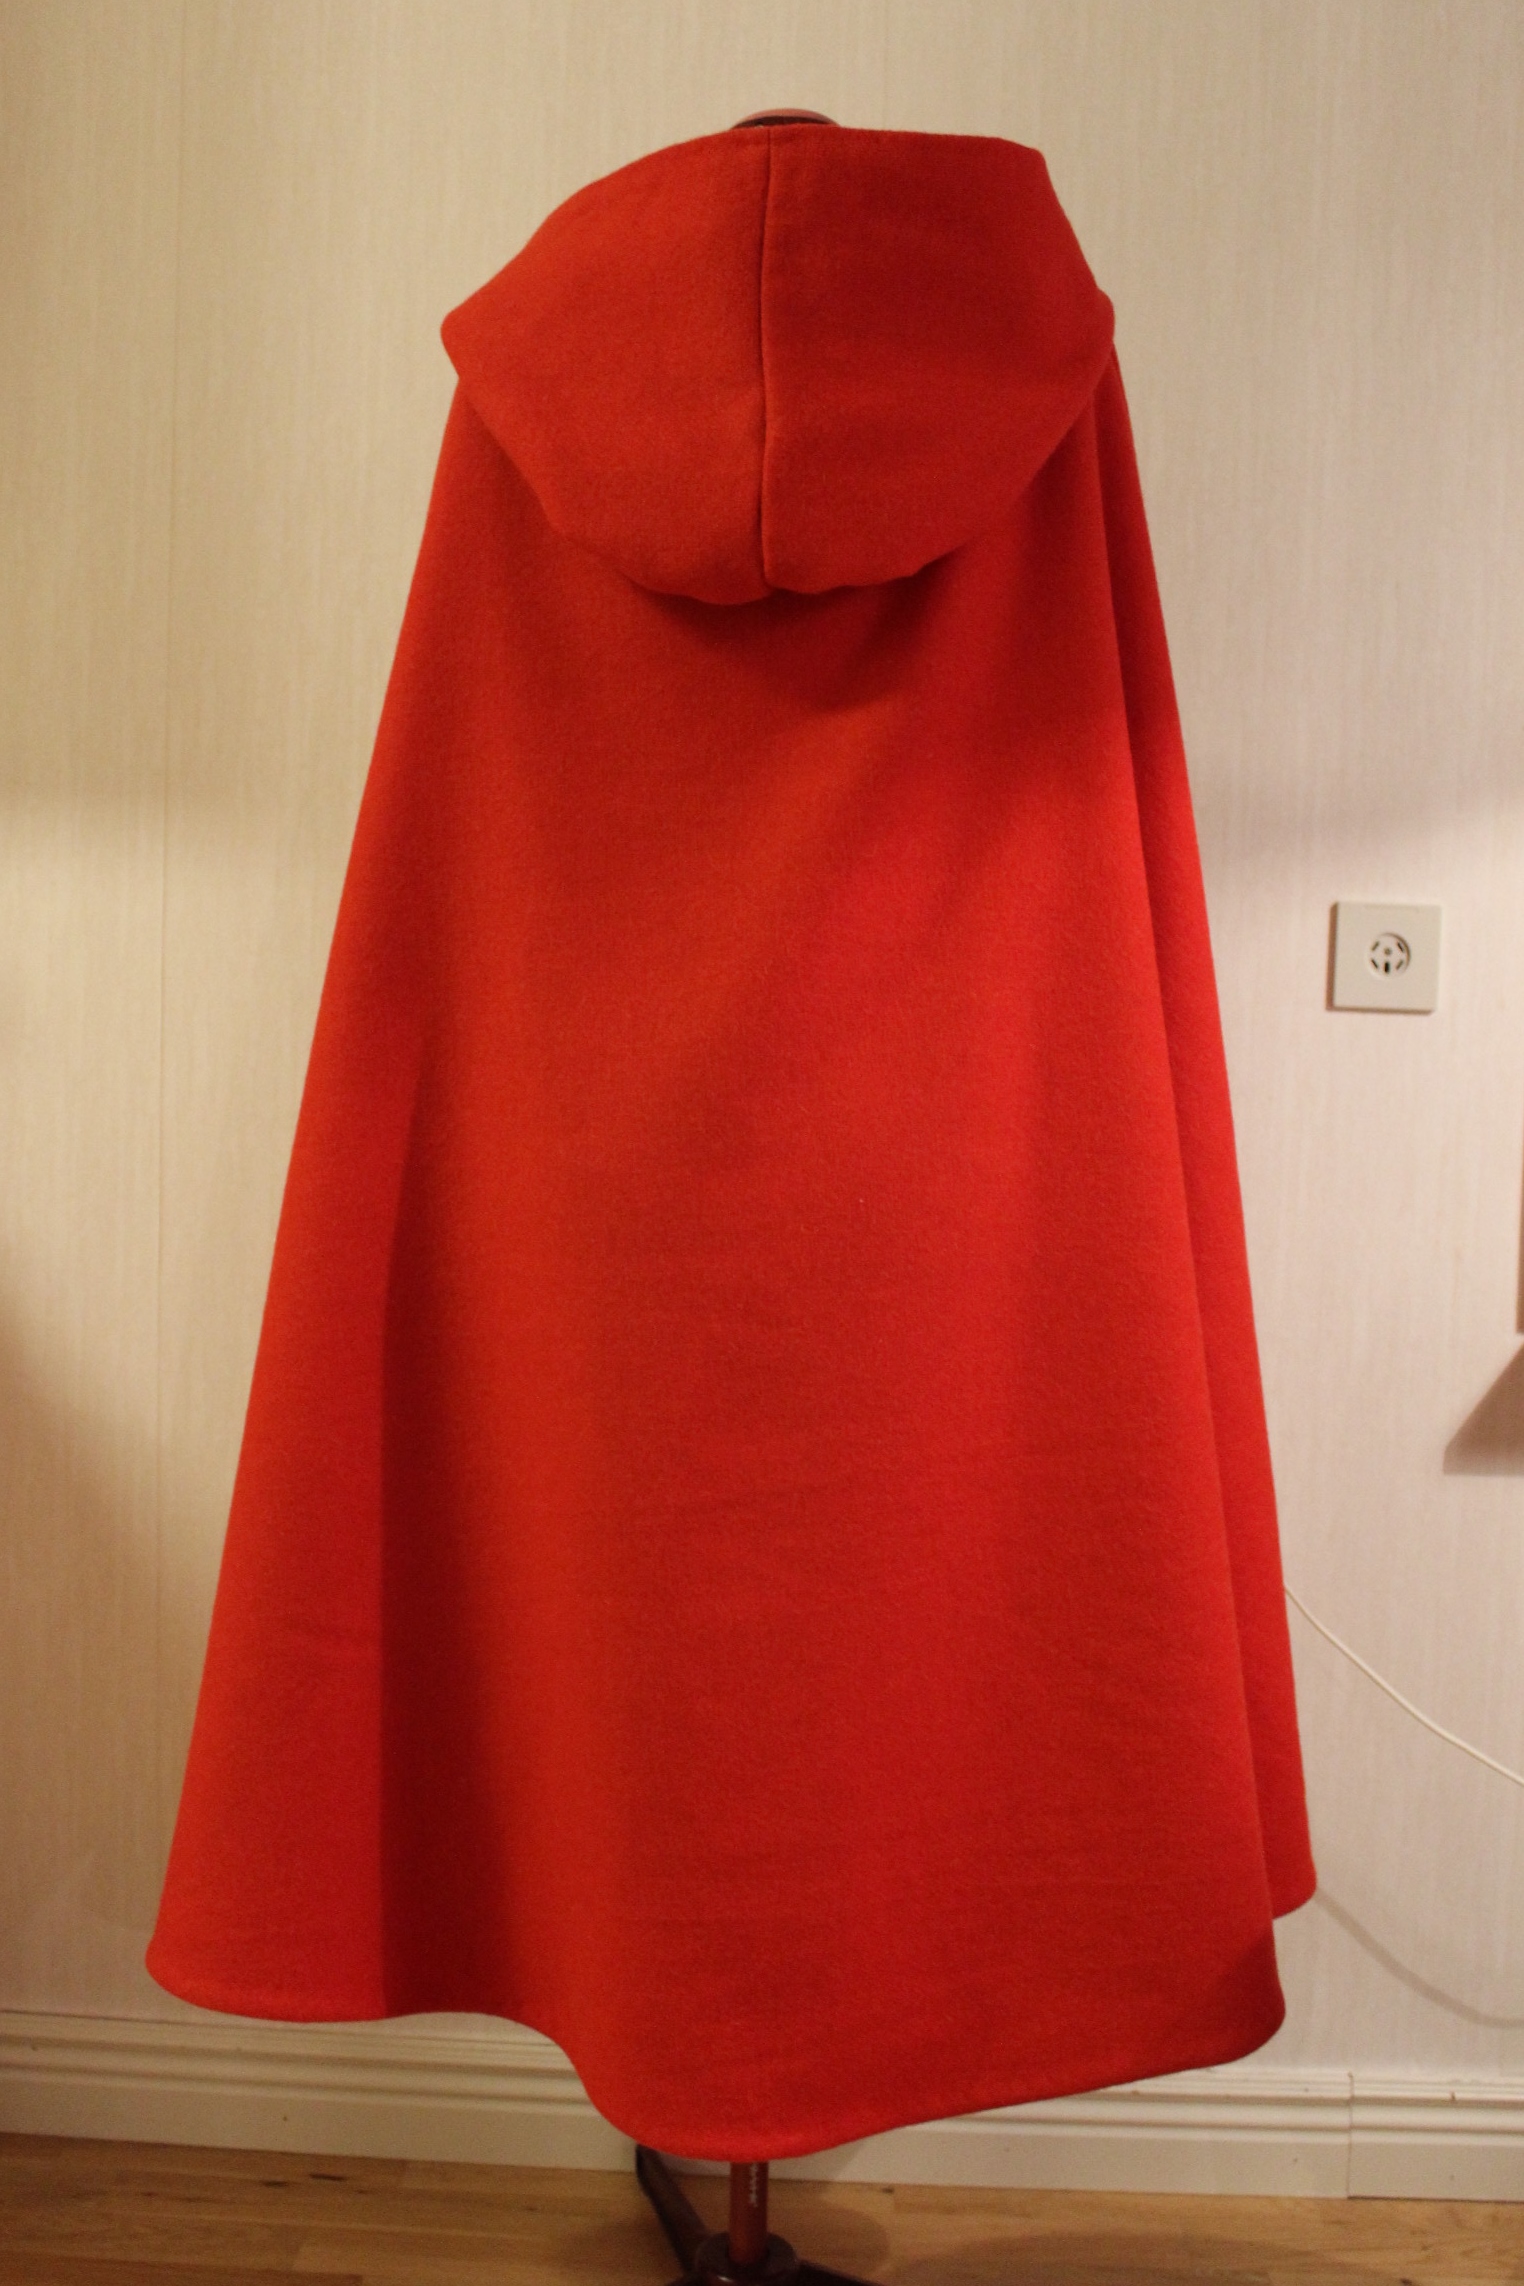
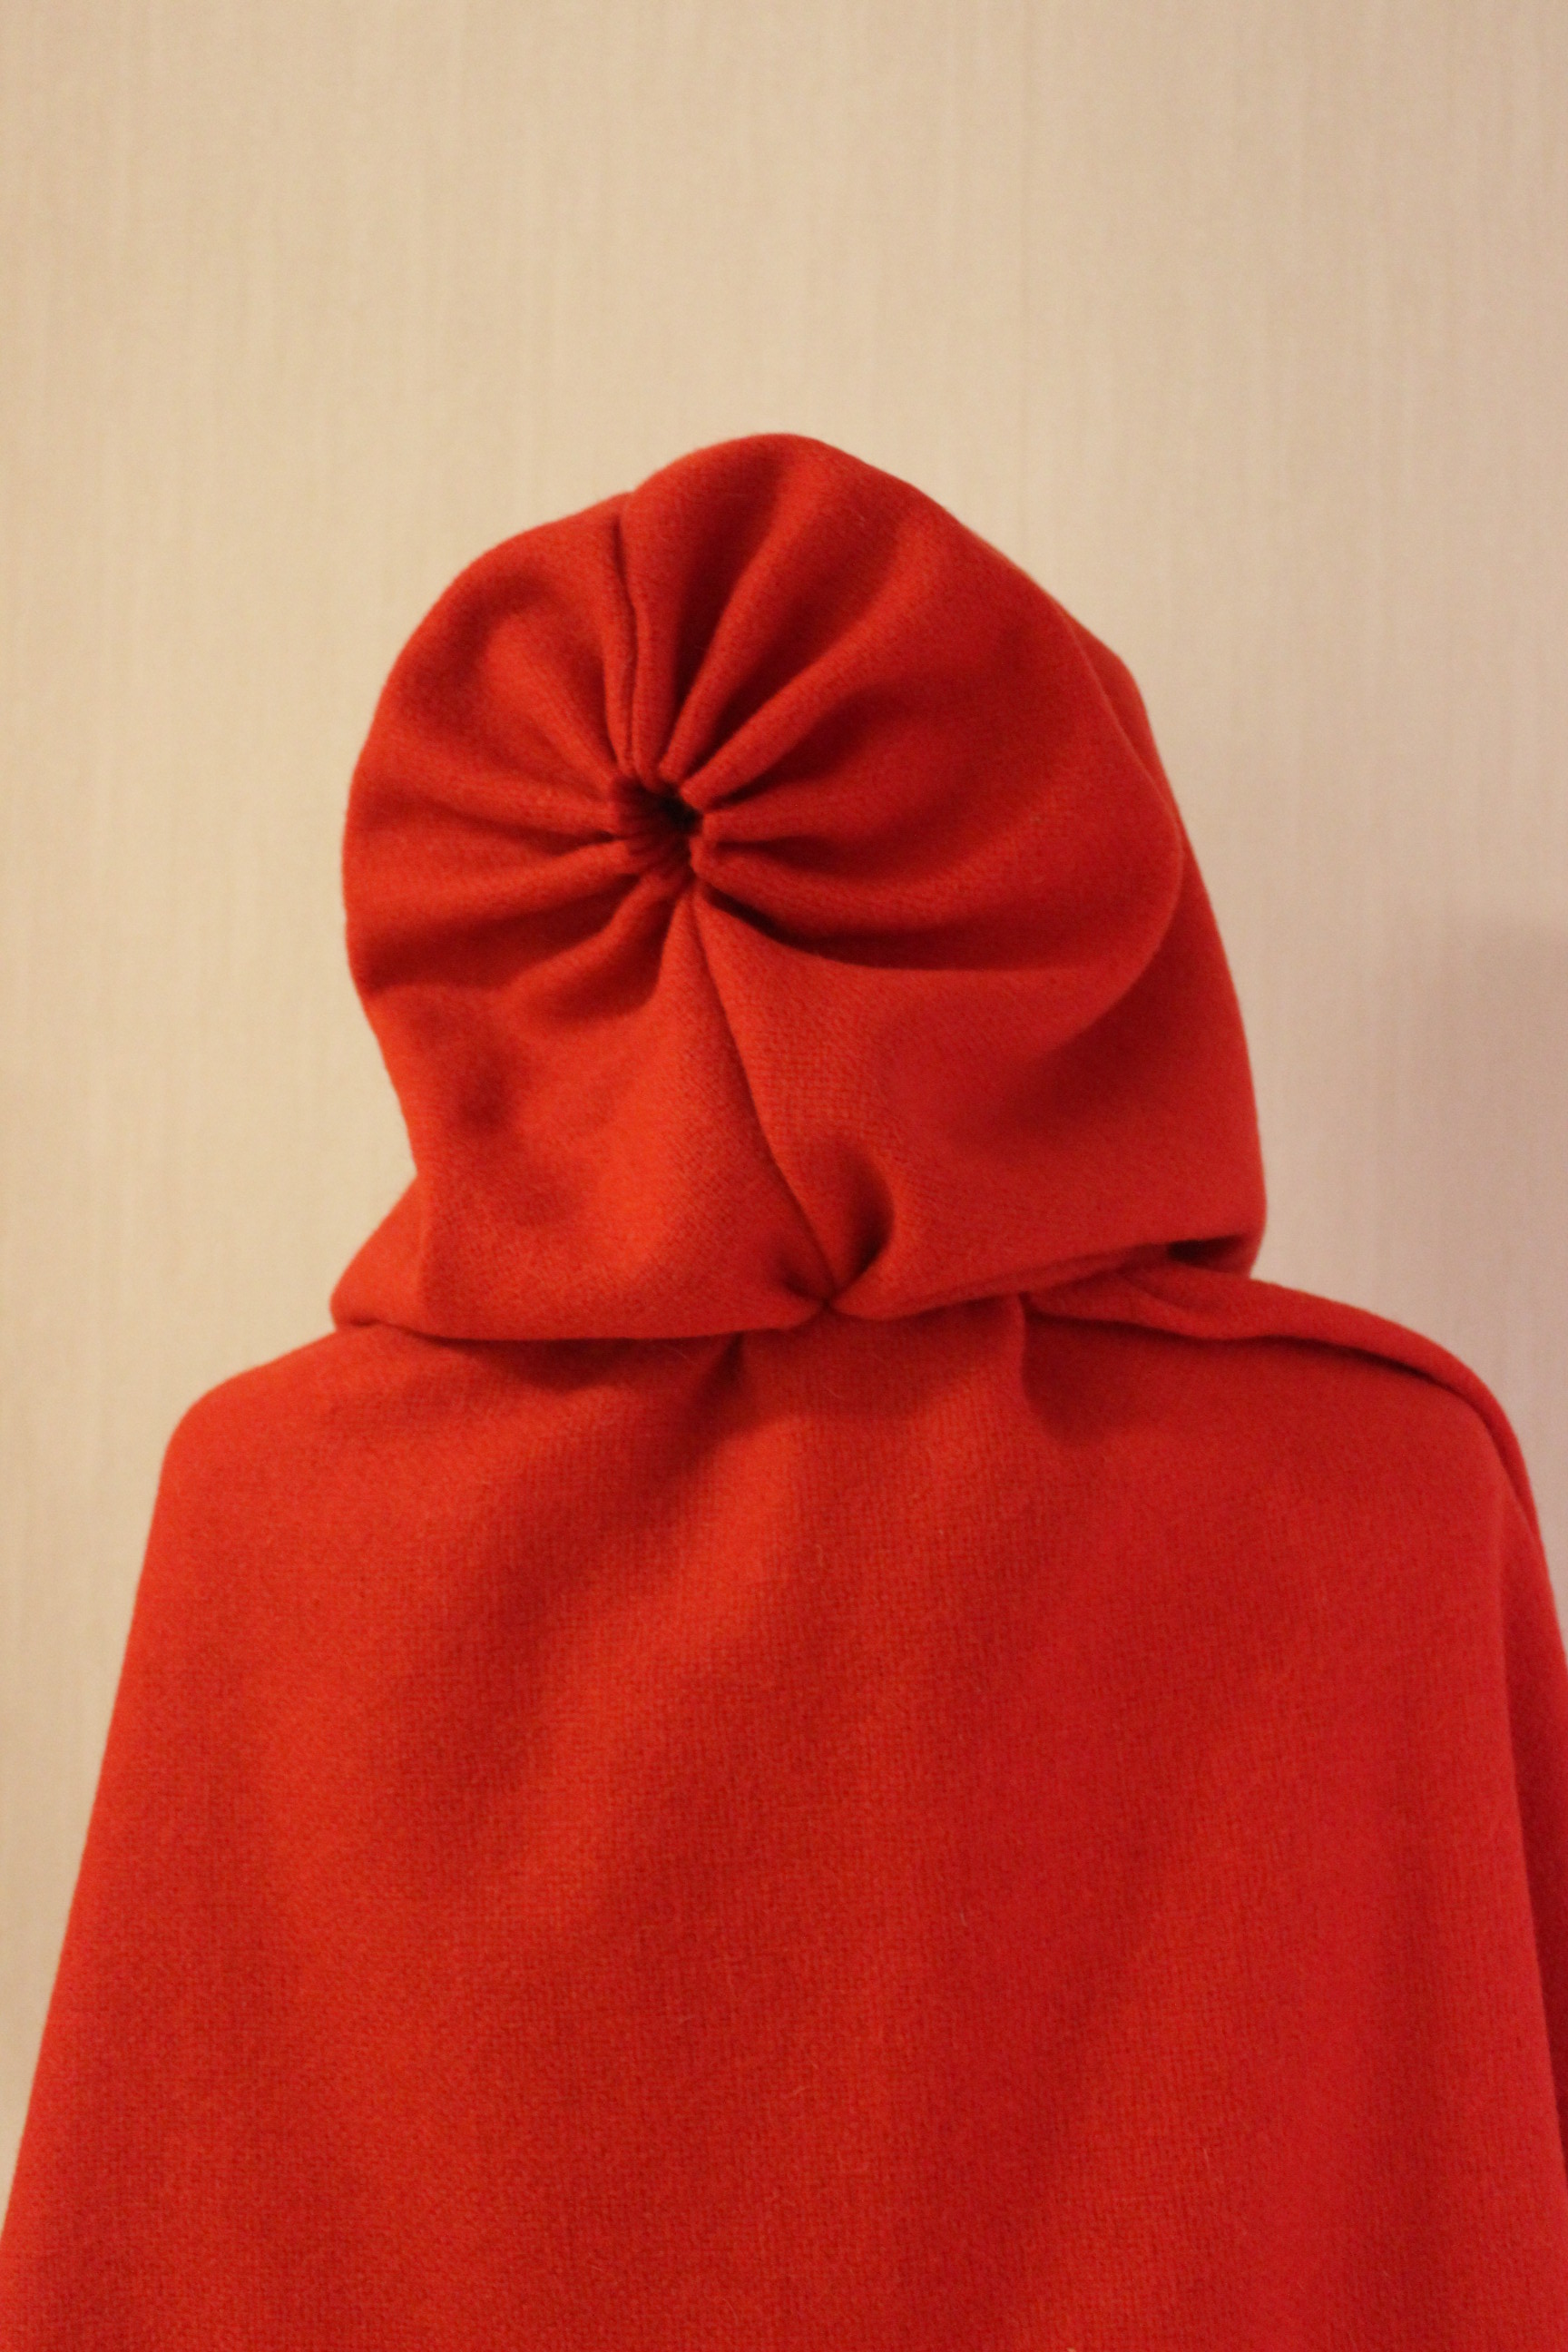
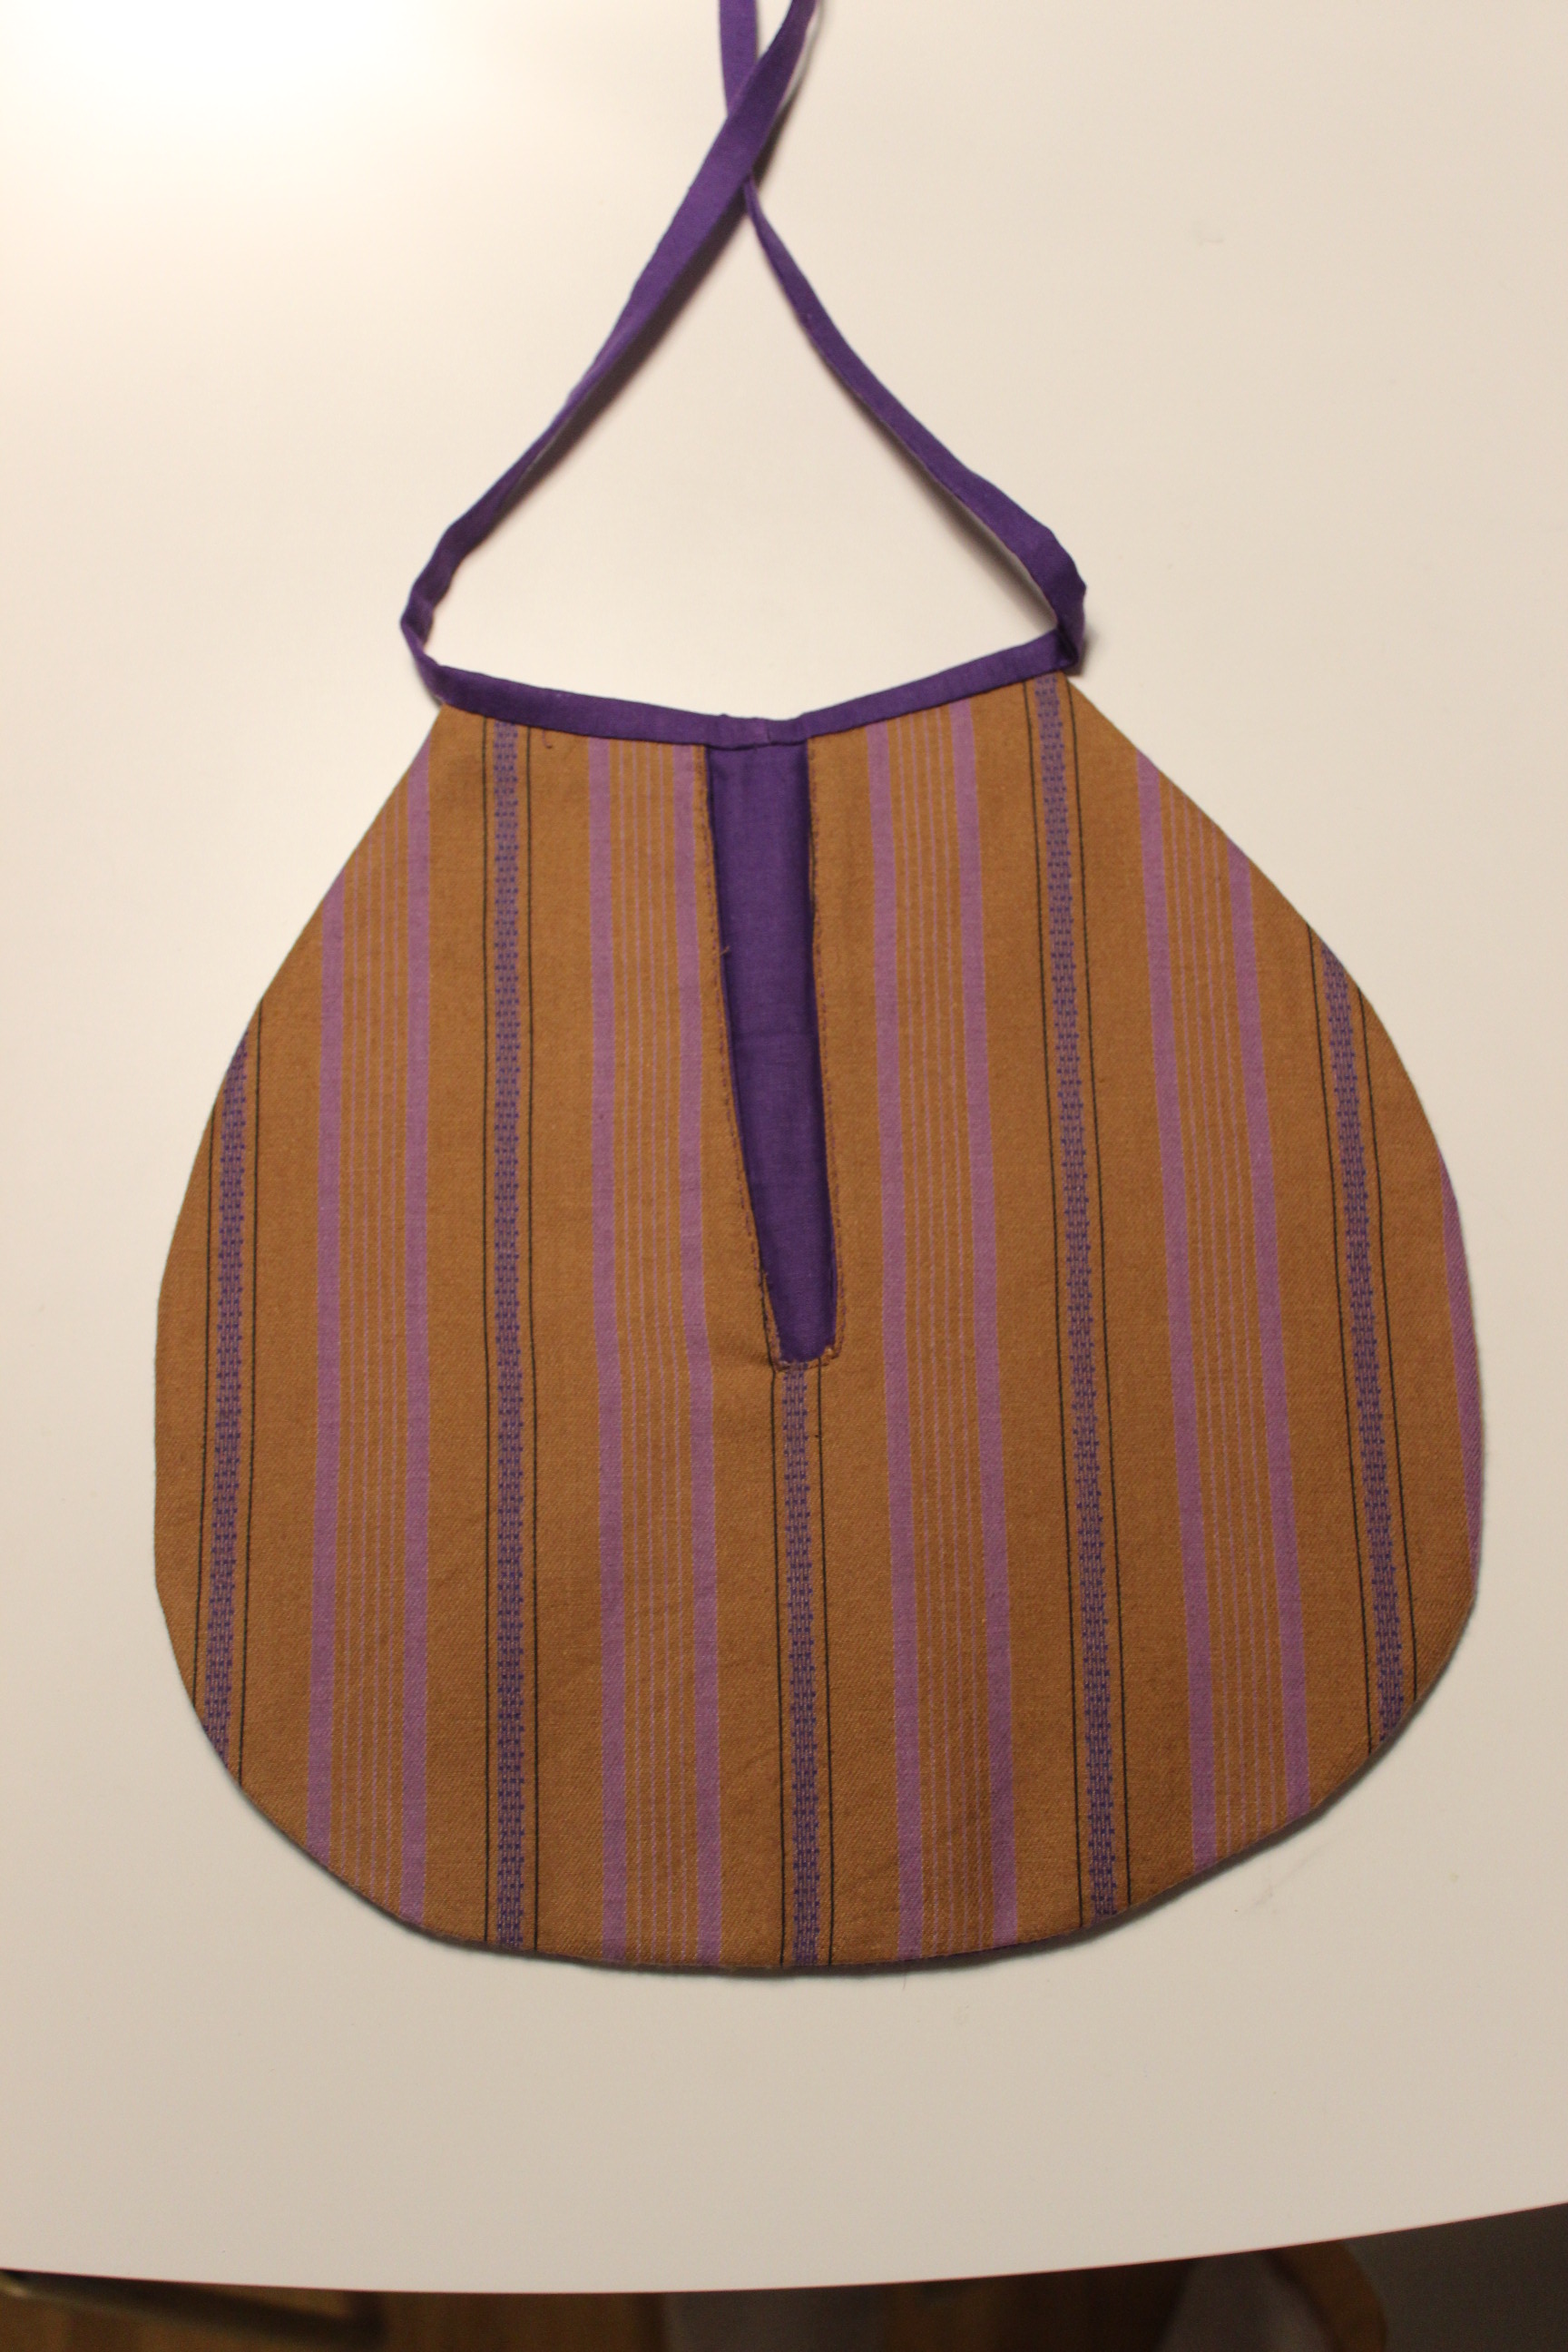
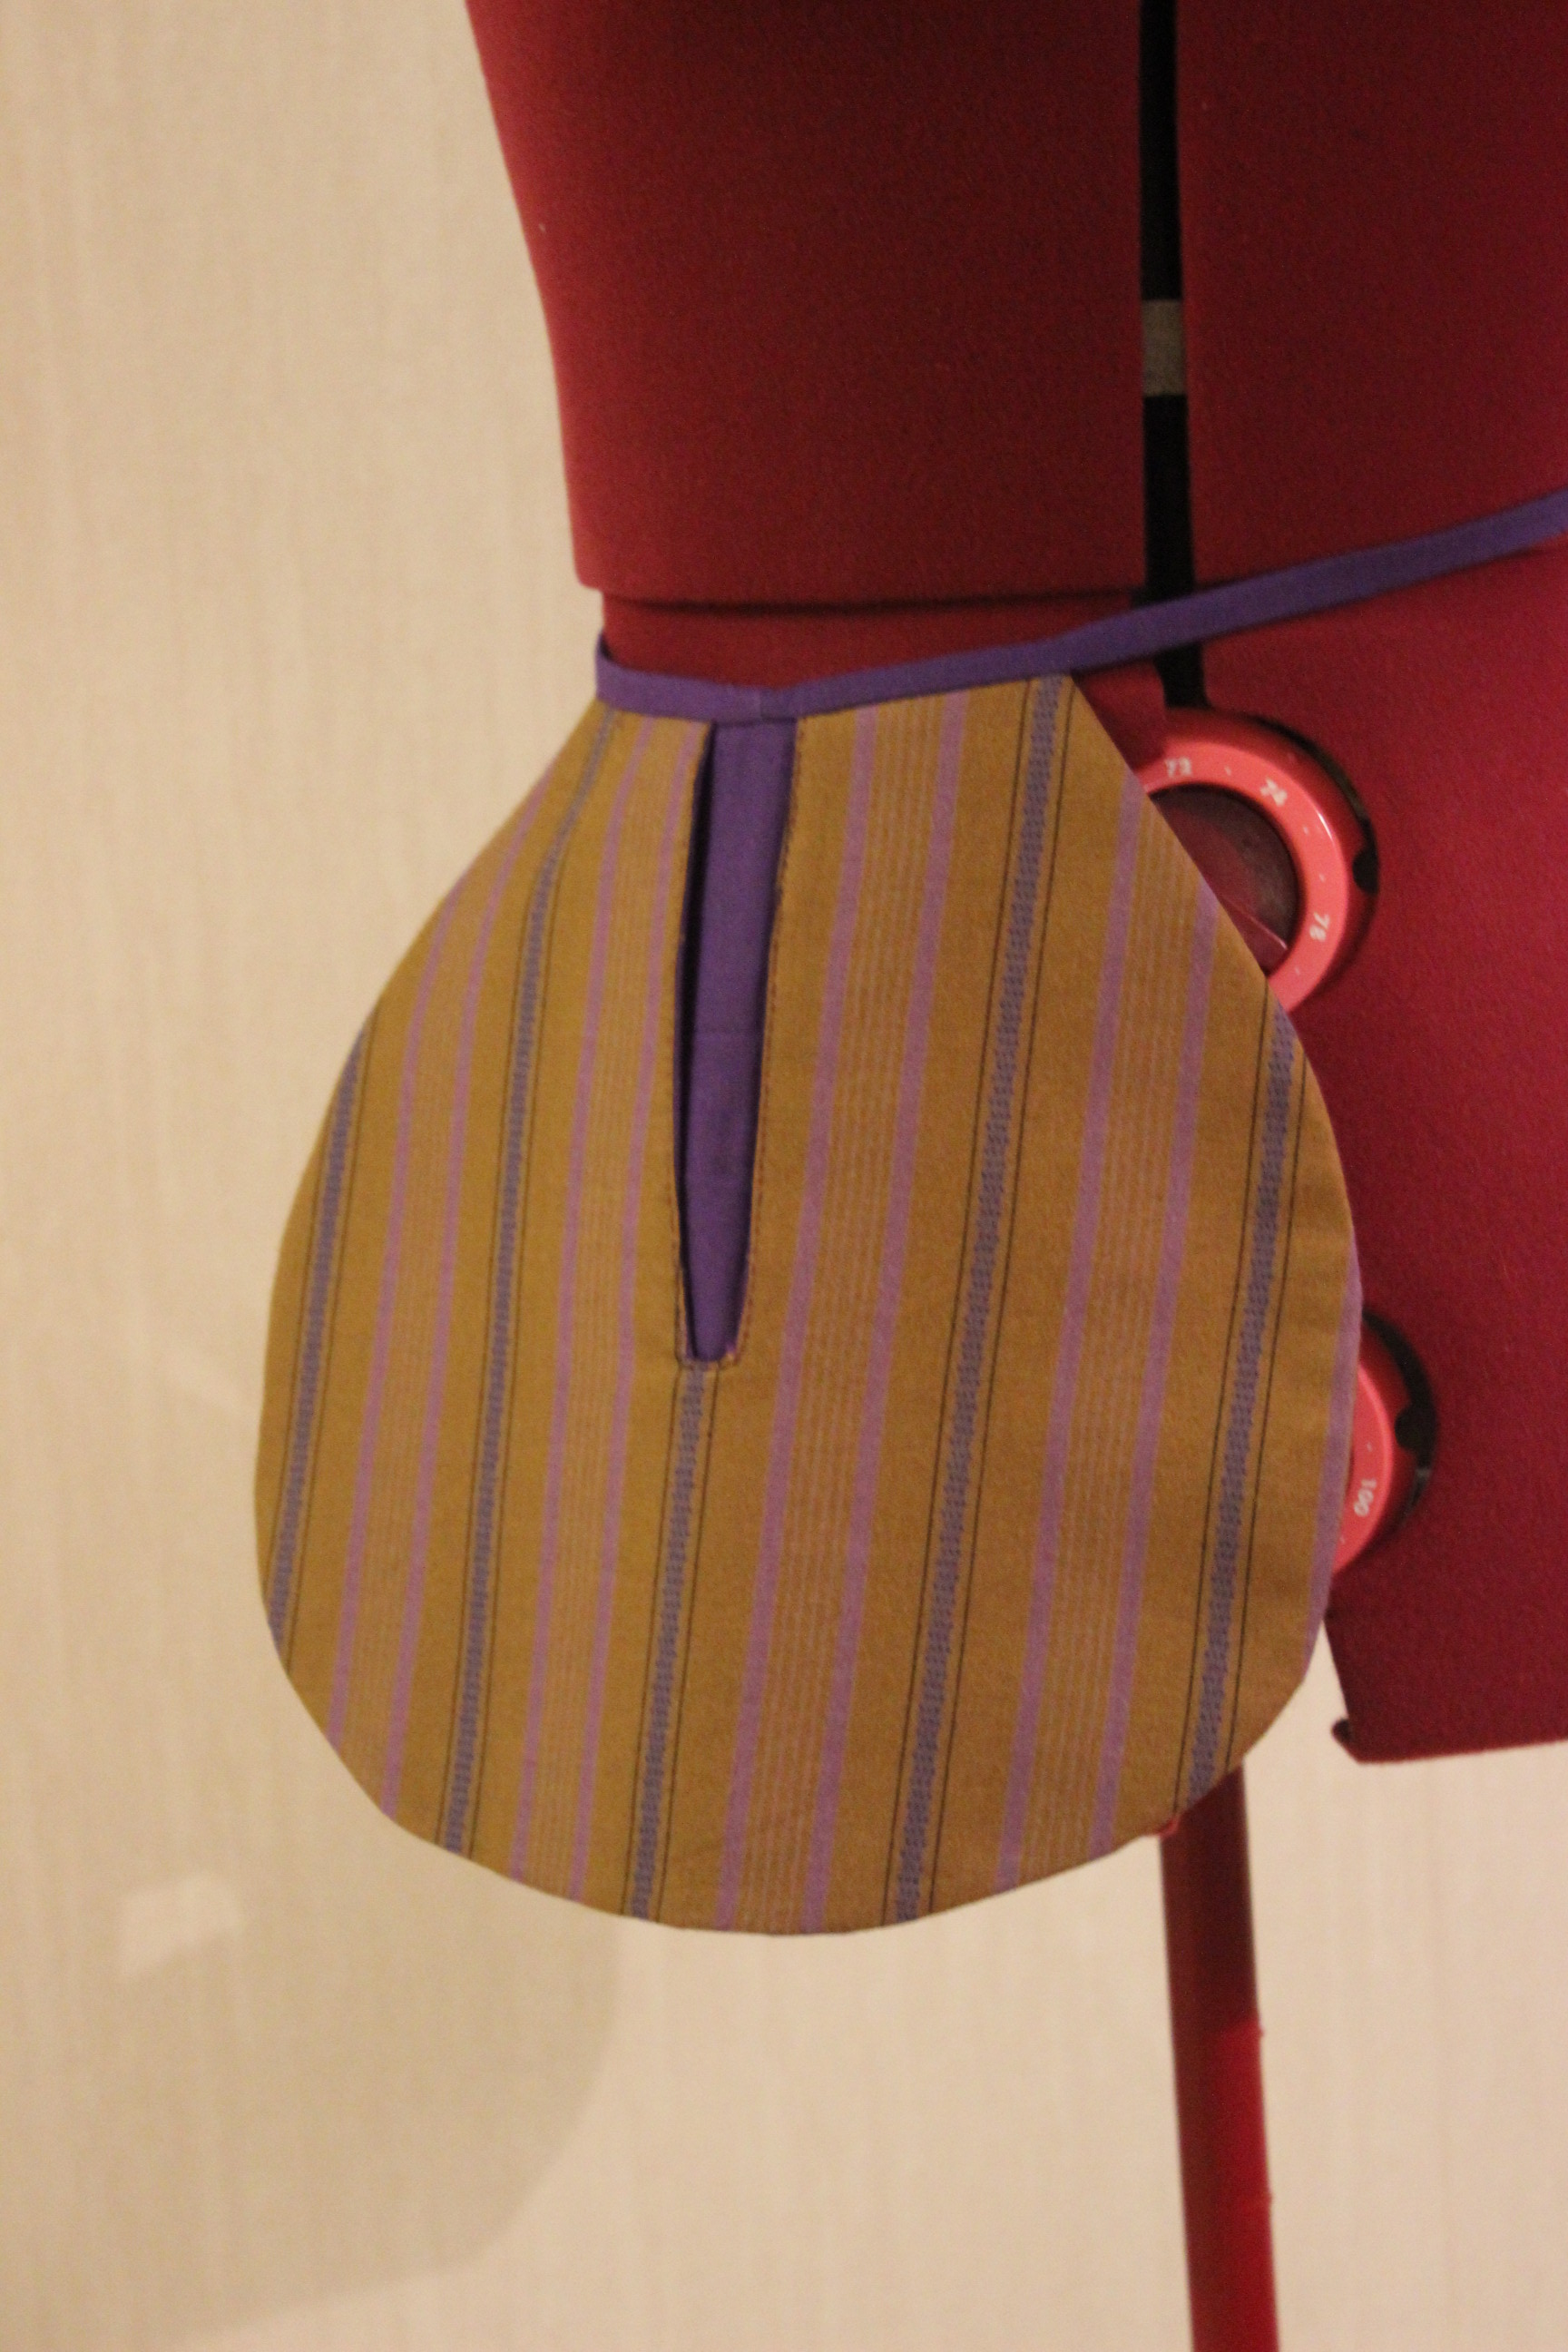
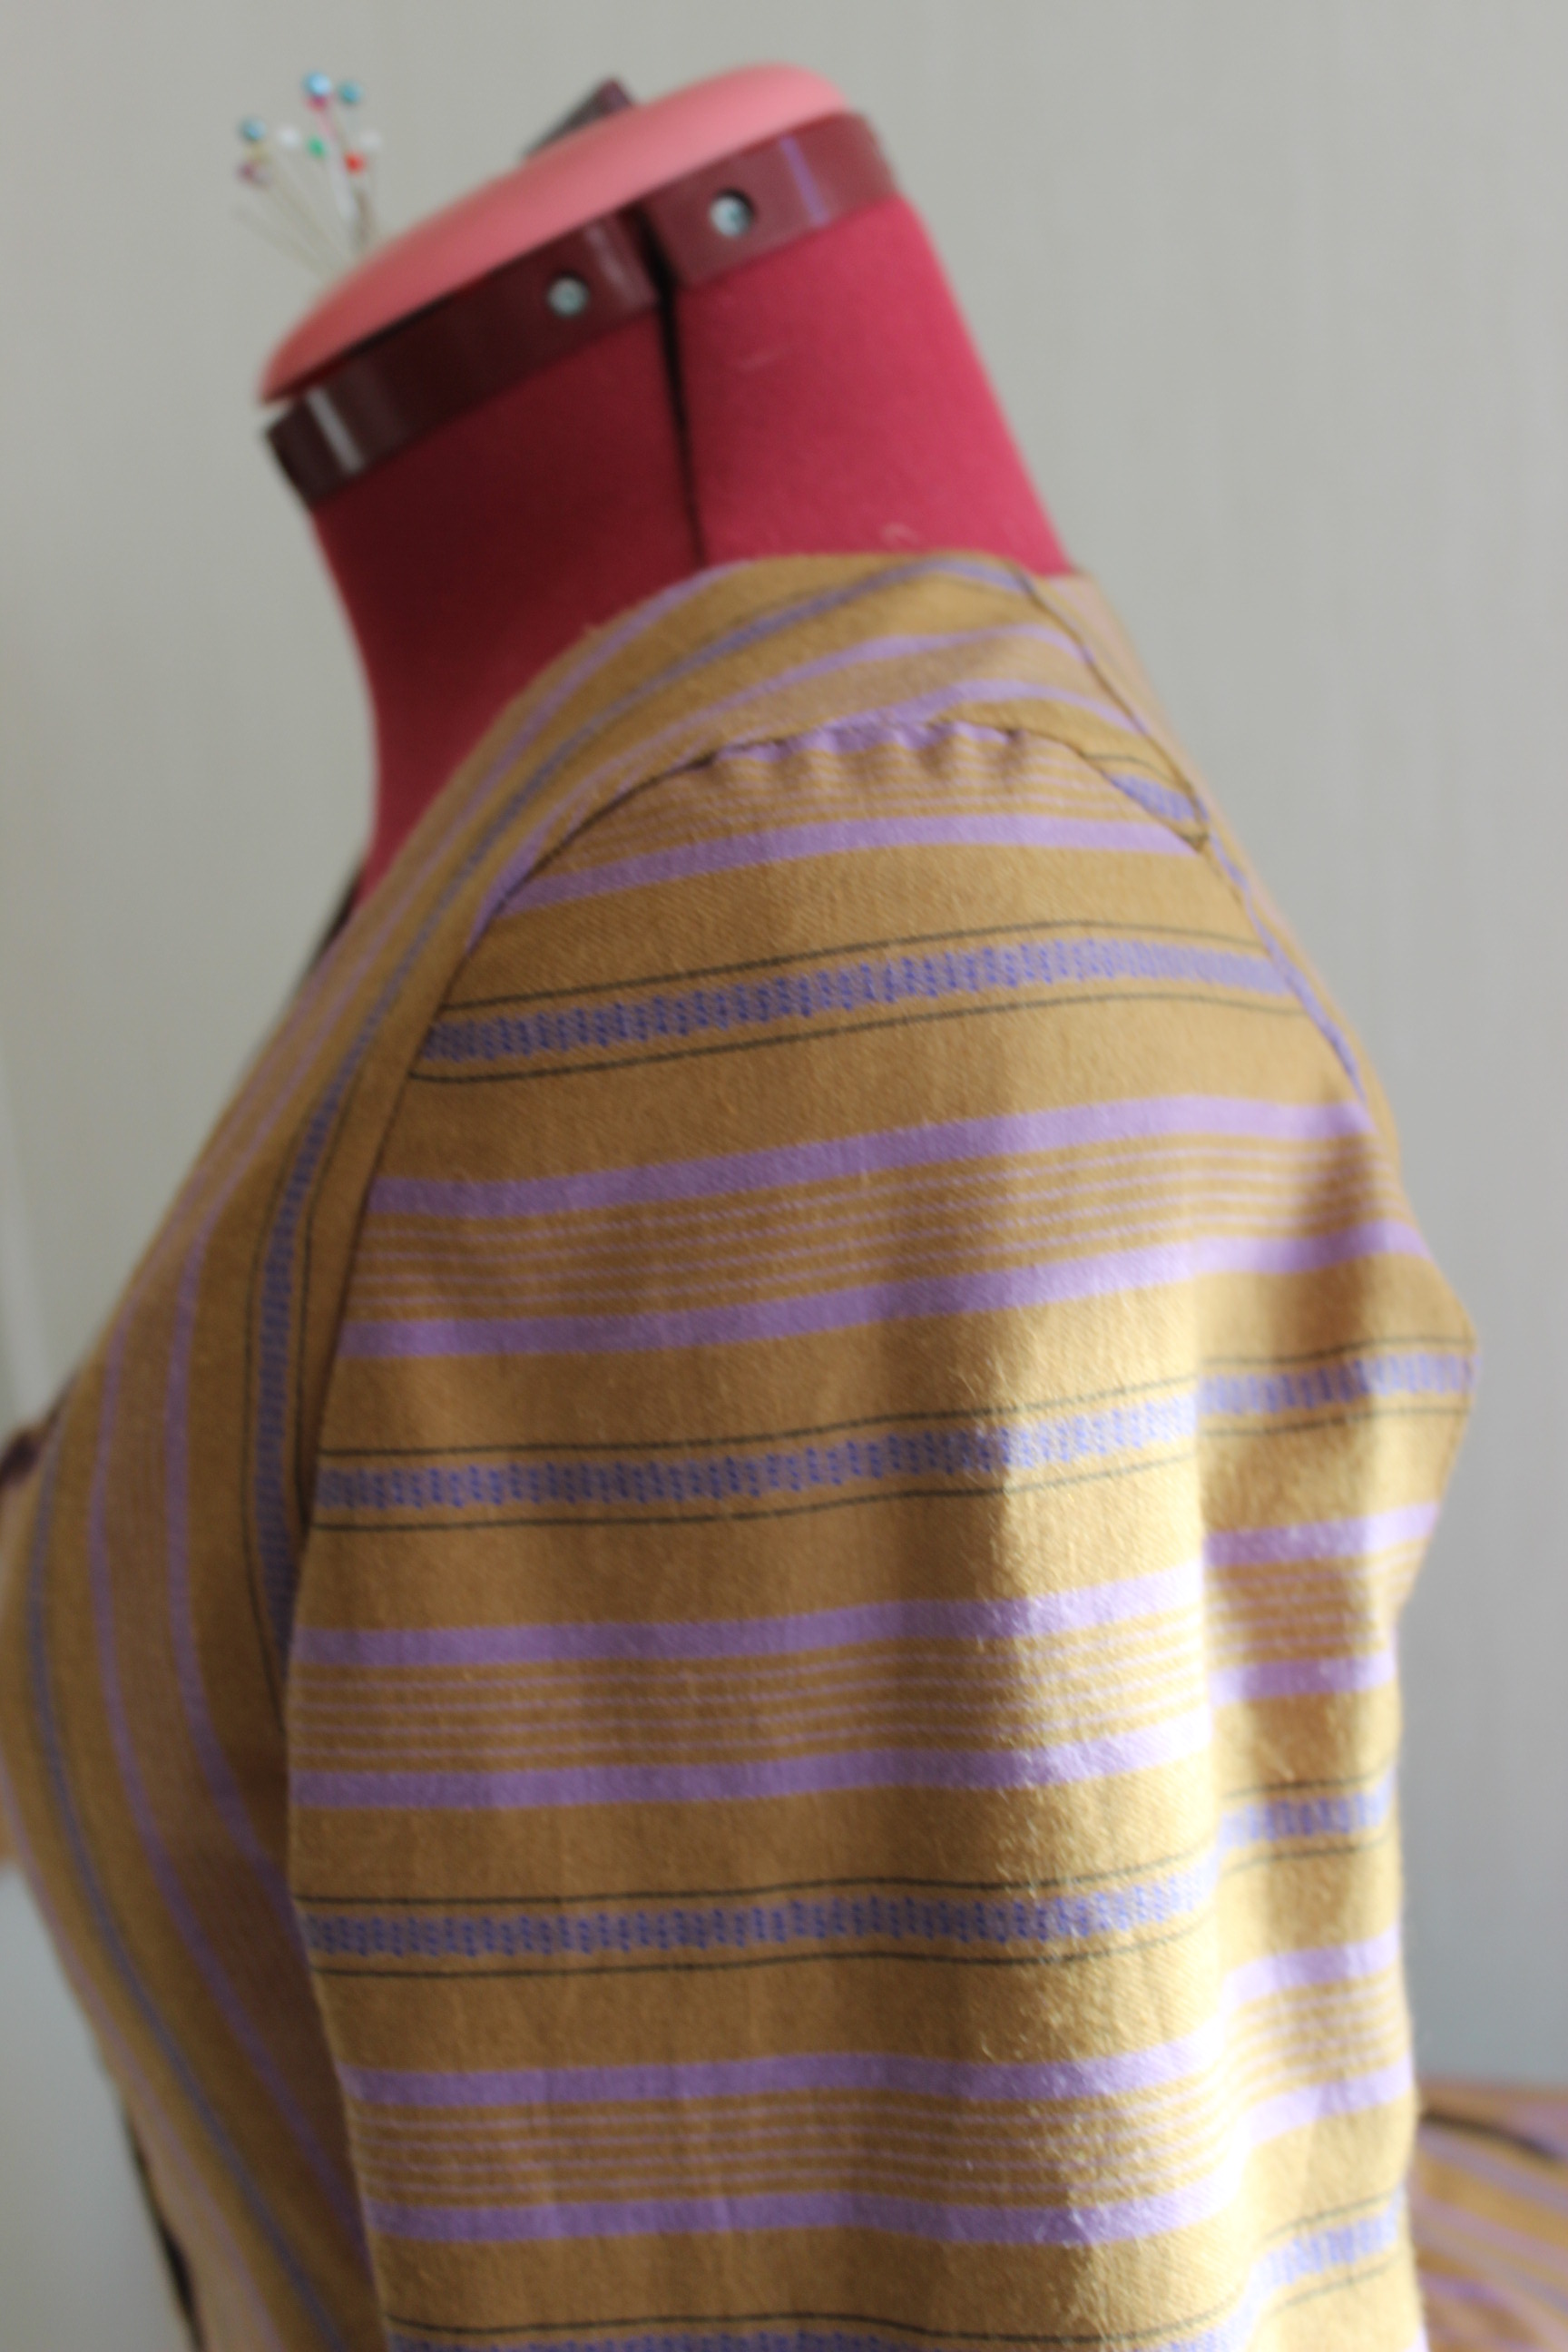
The only tricky part was the hood.IMG_5890
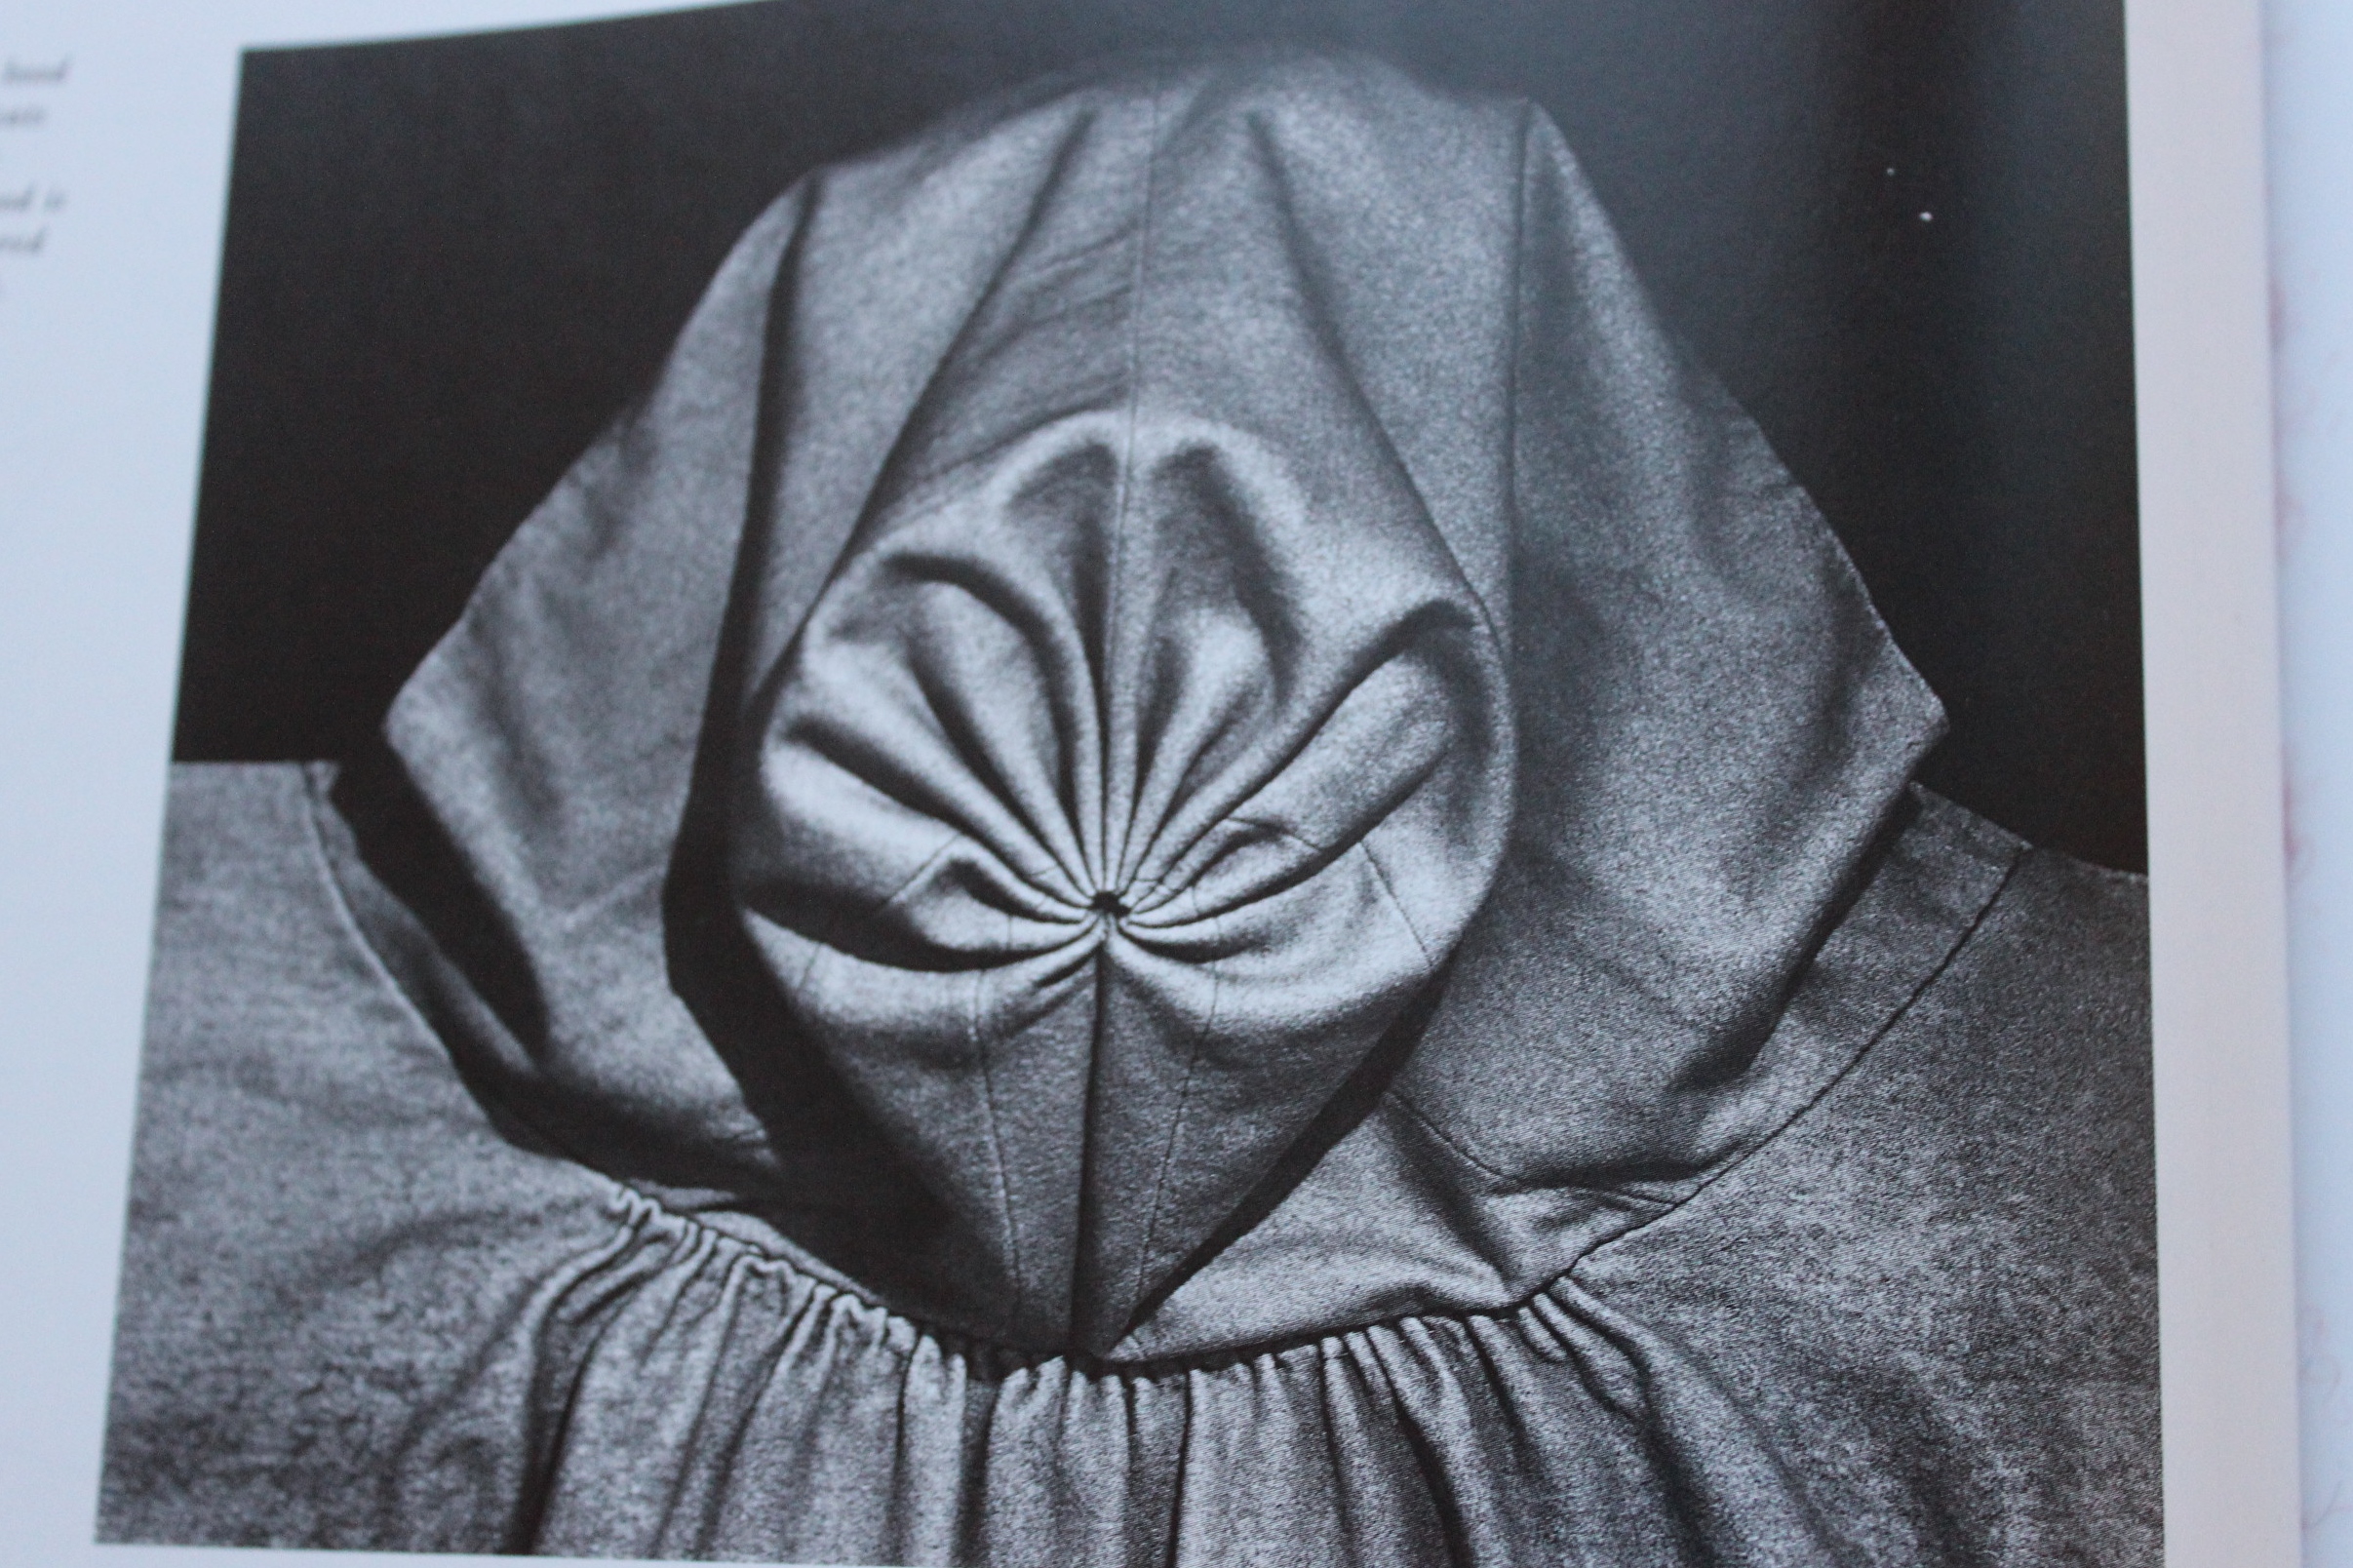
Picture of back of hood from “Costume close-up”.

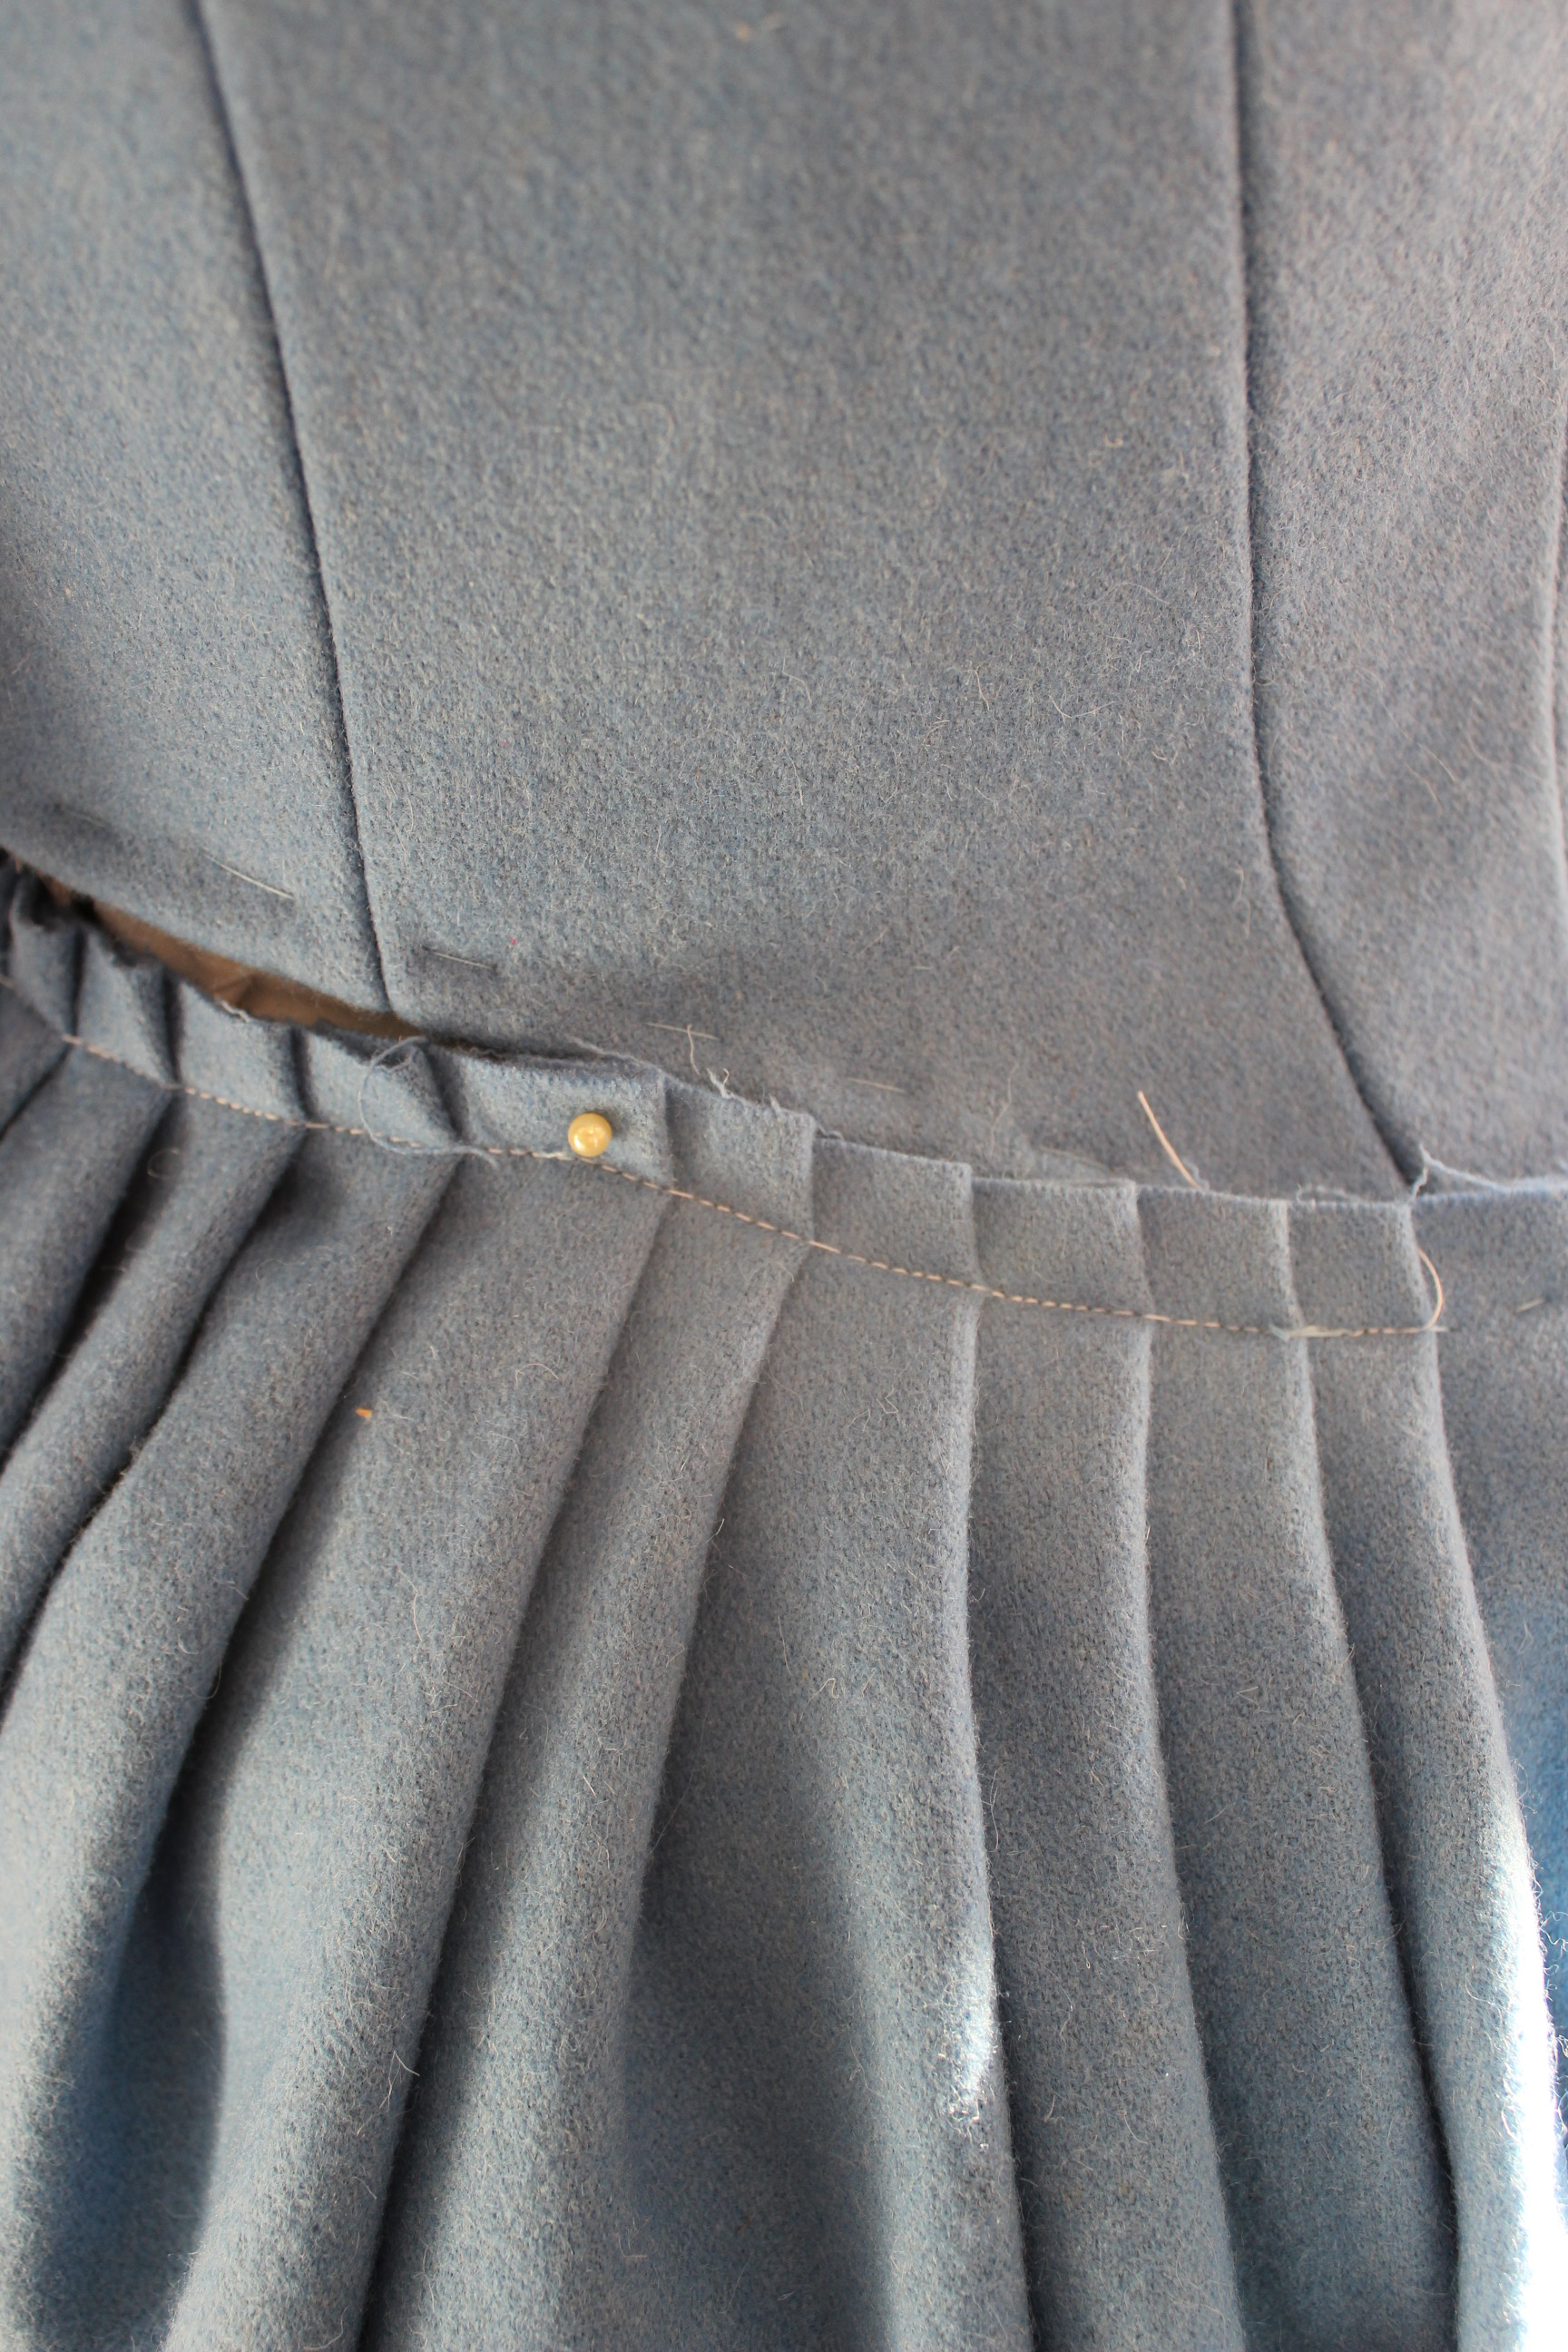
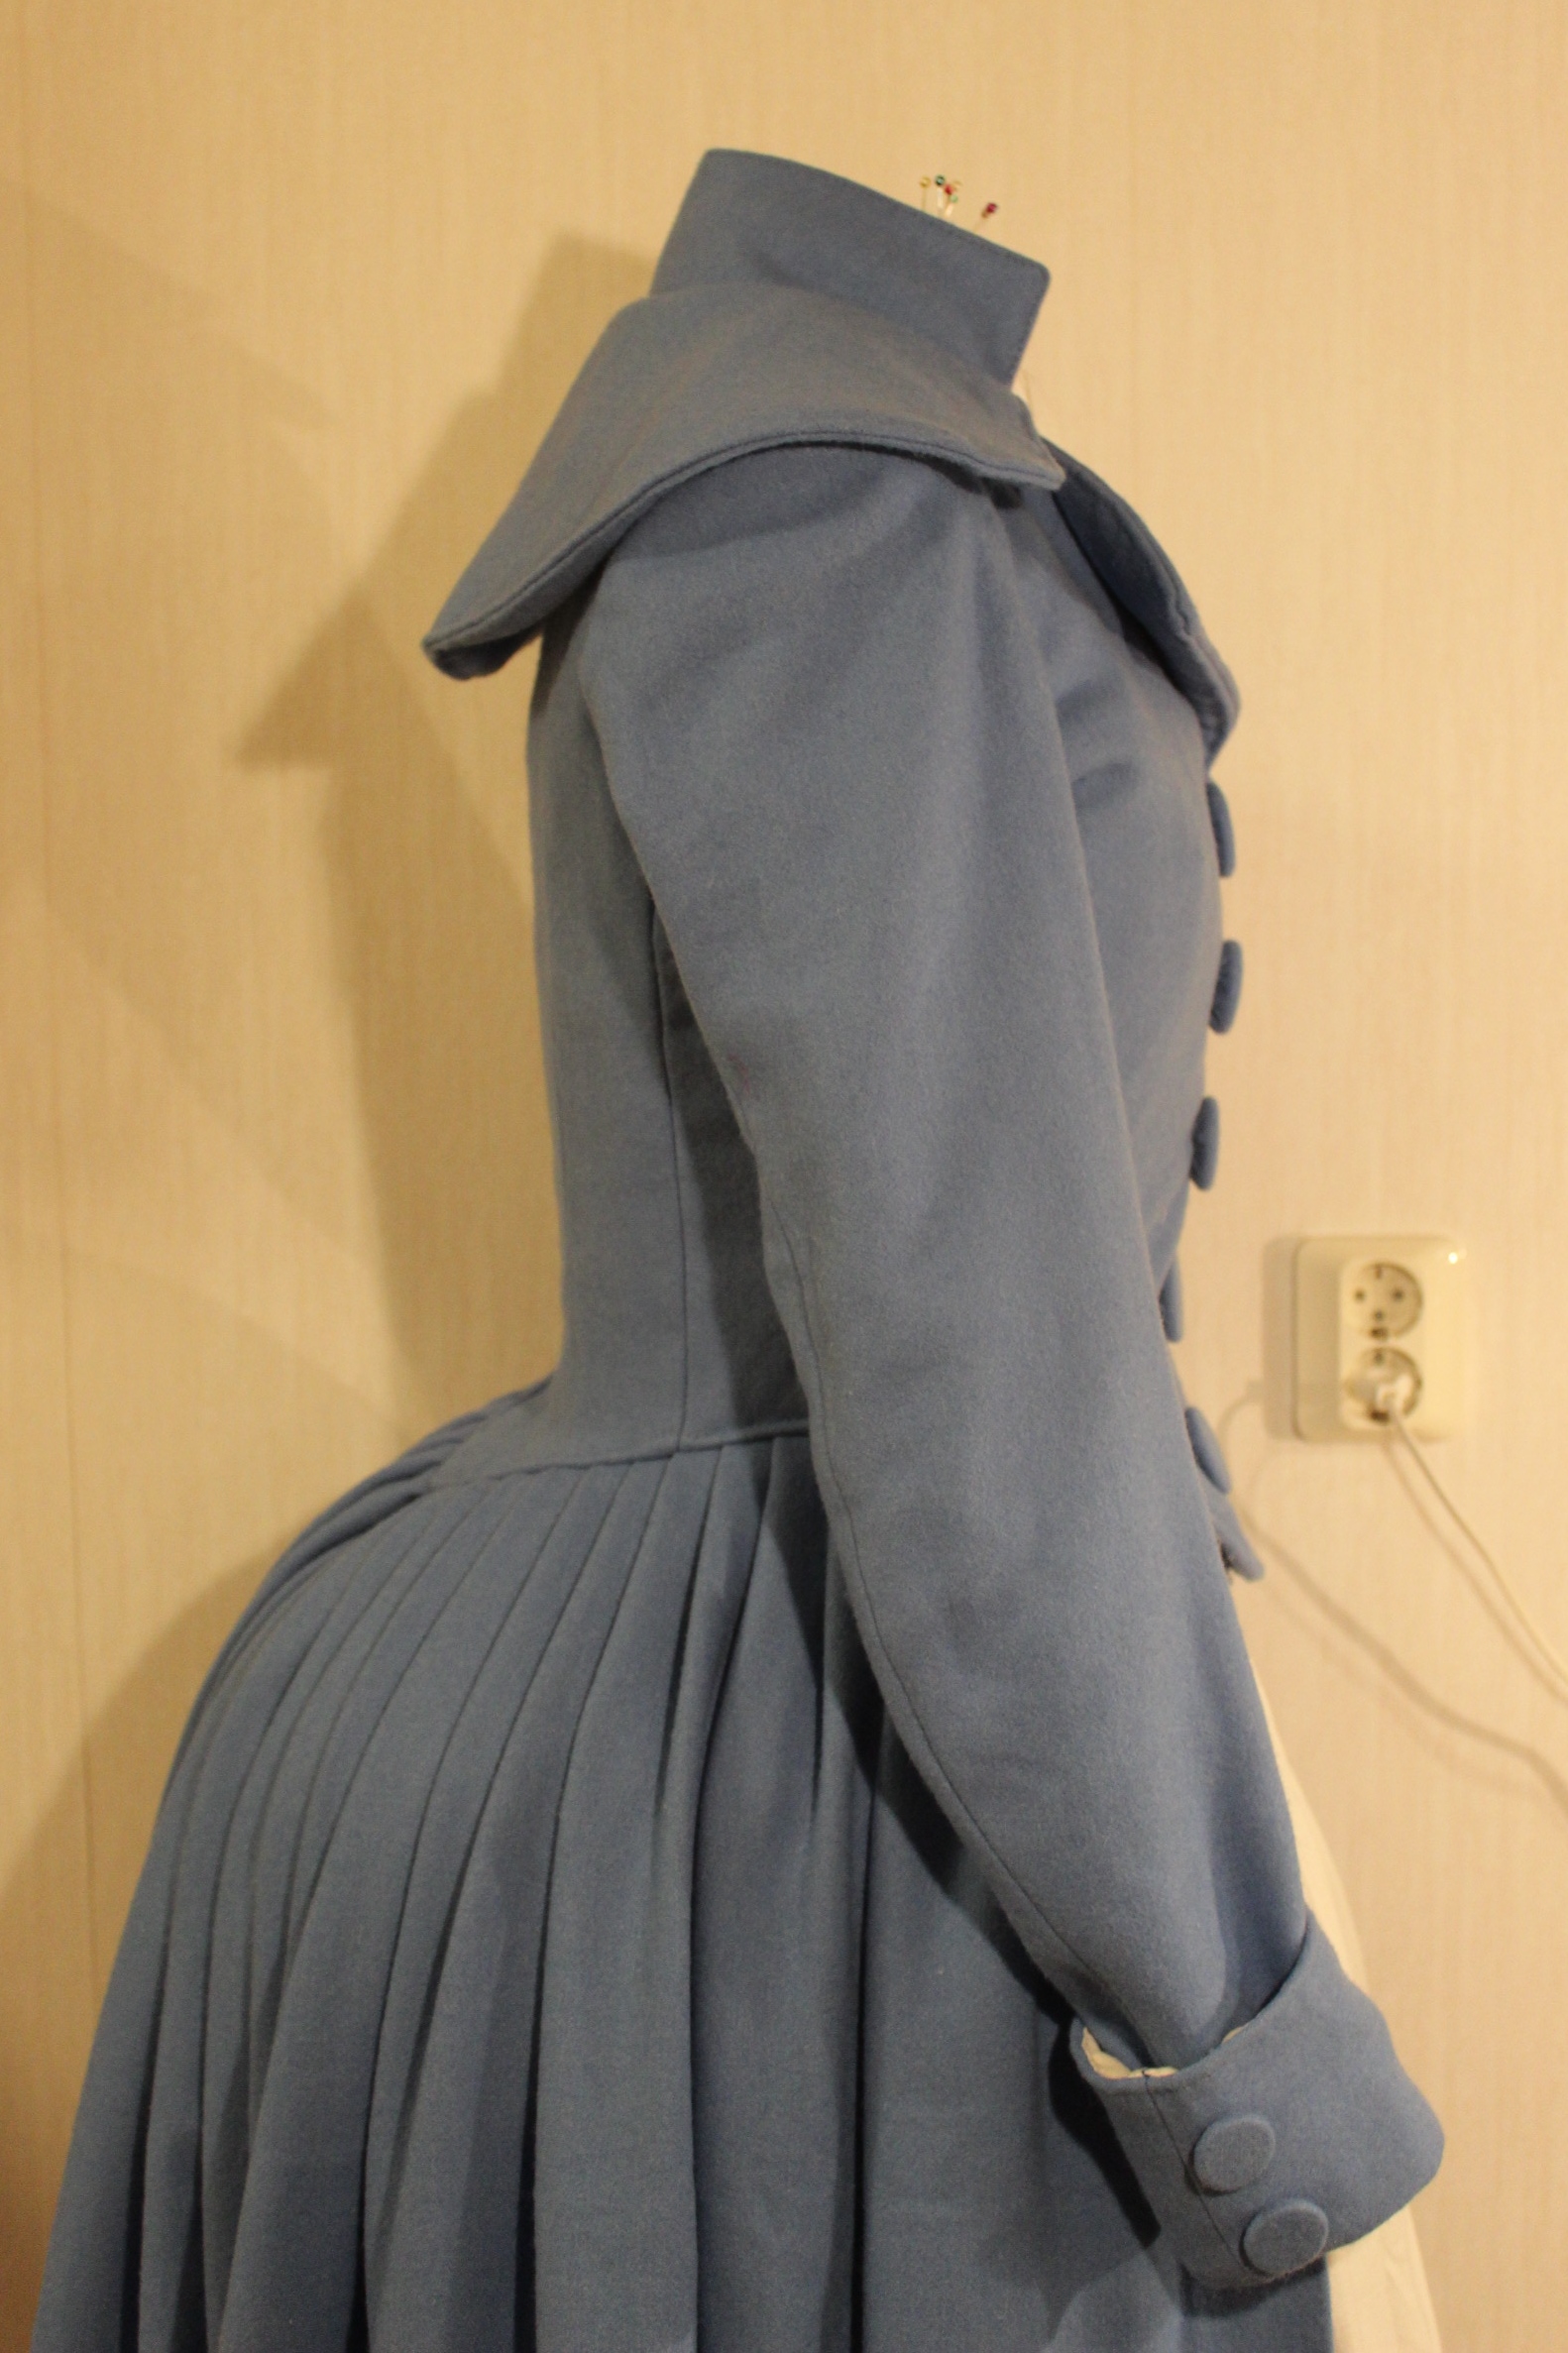
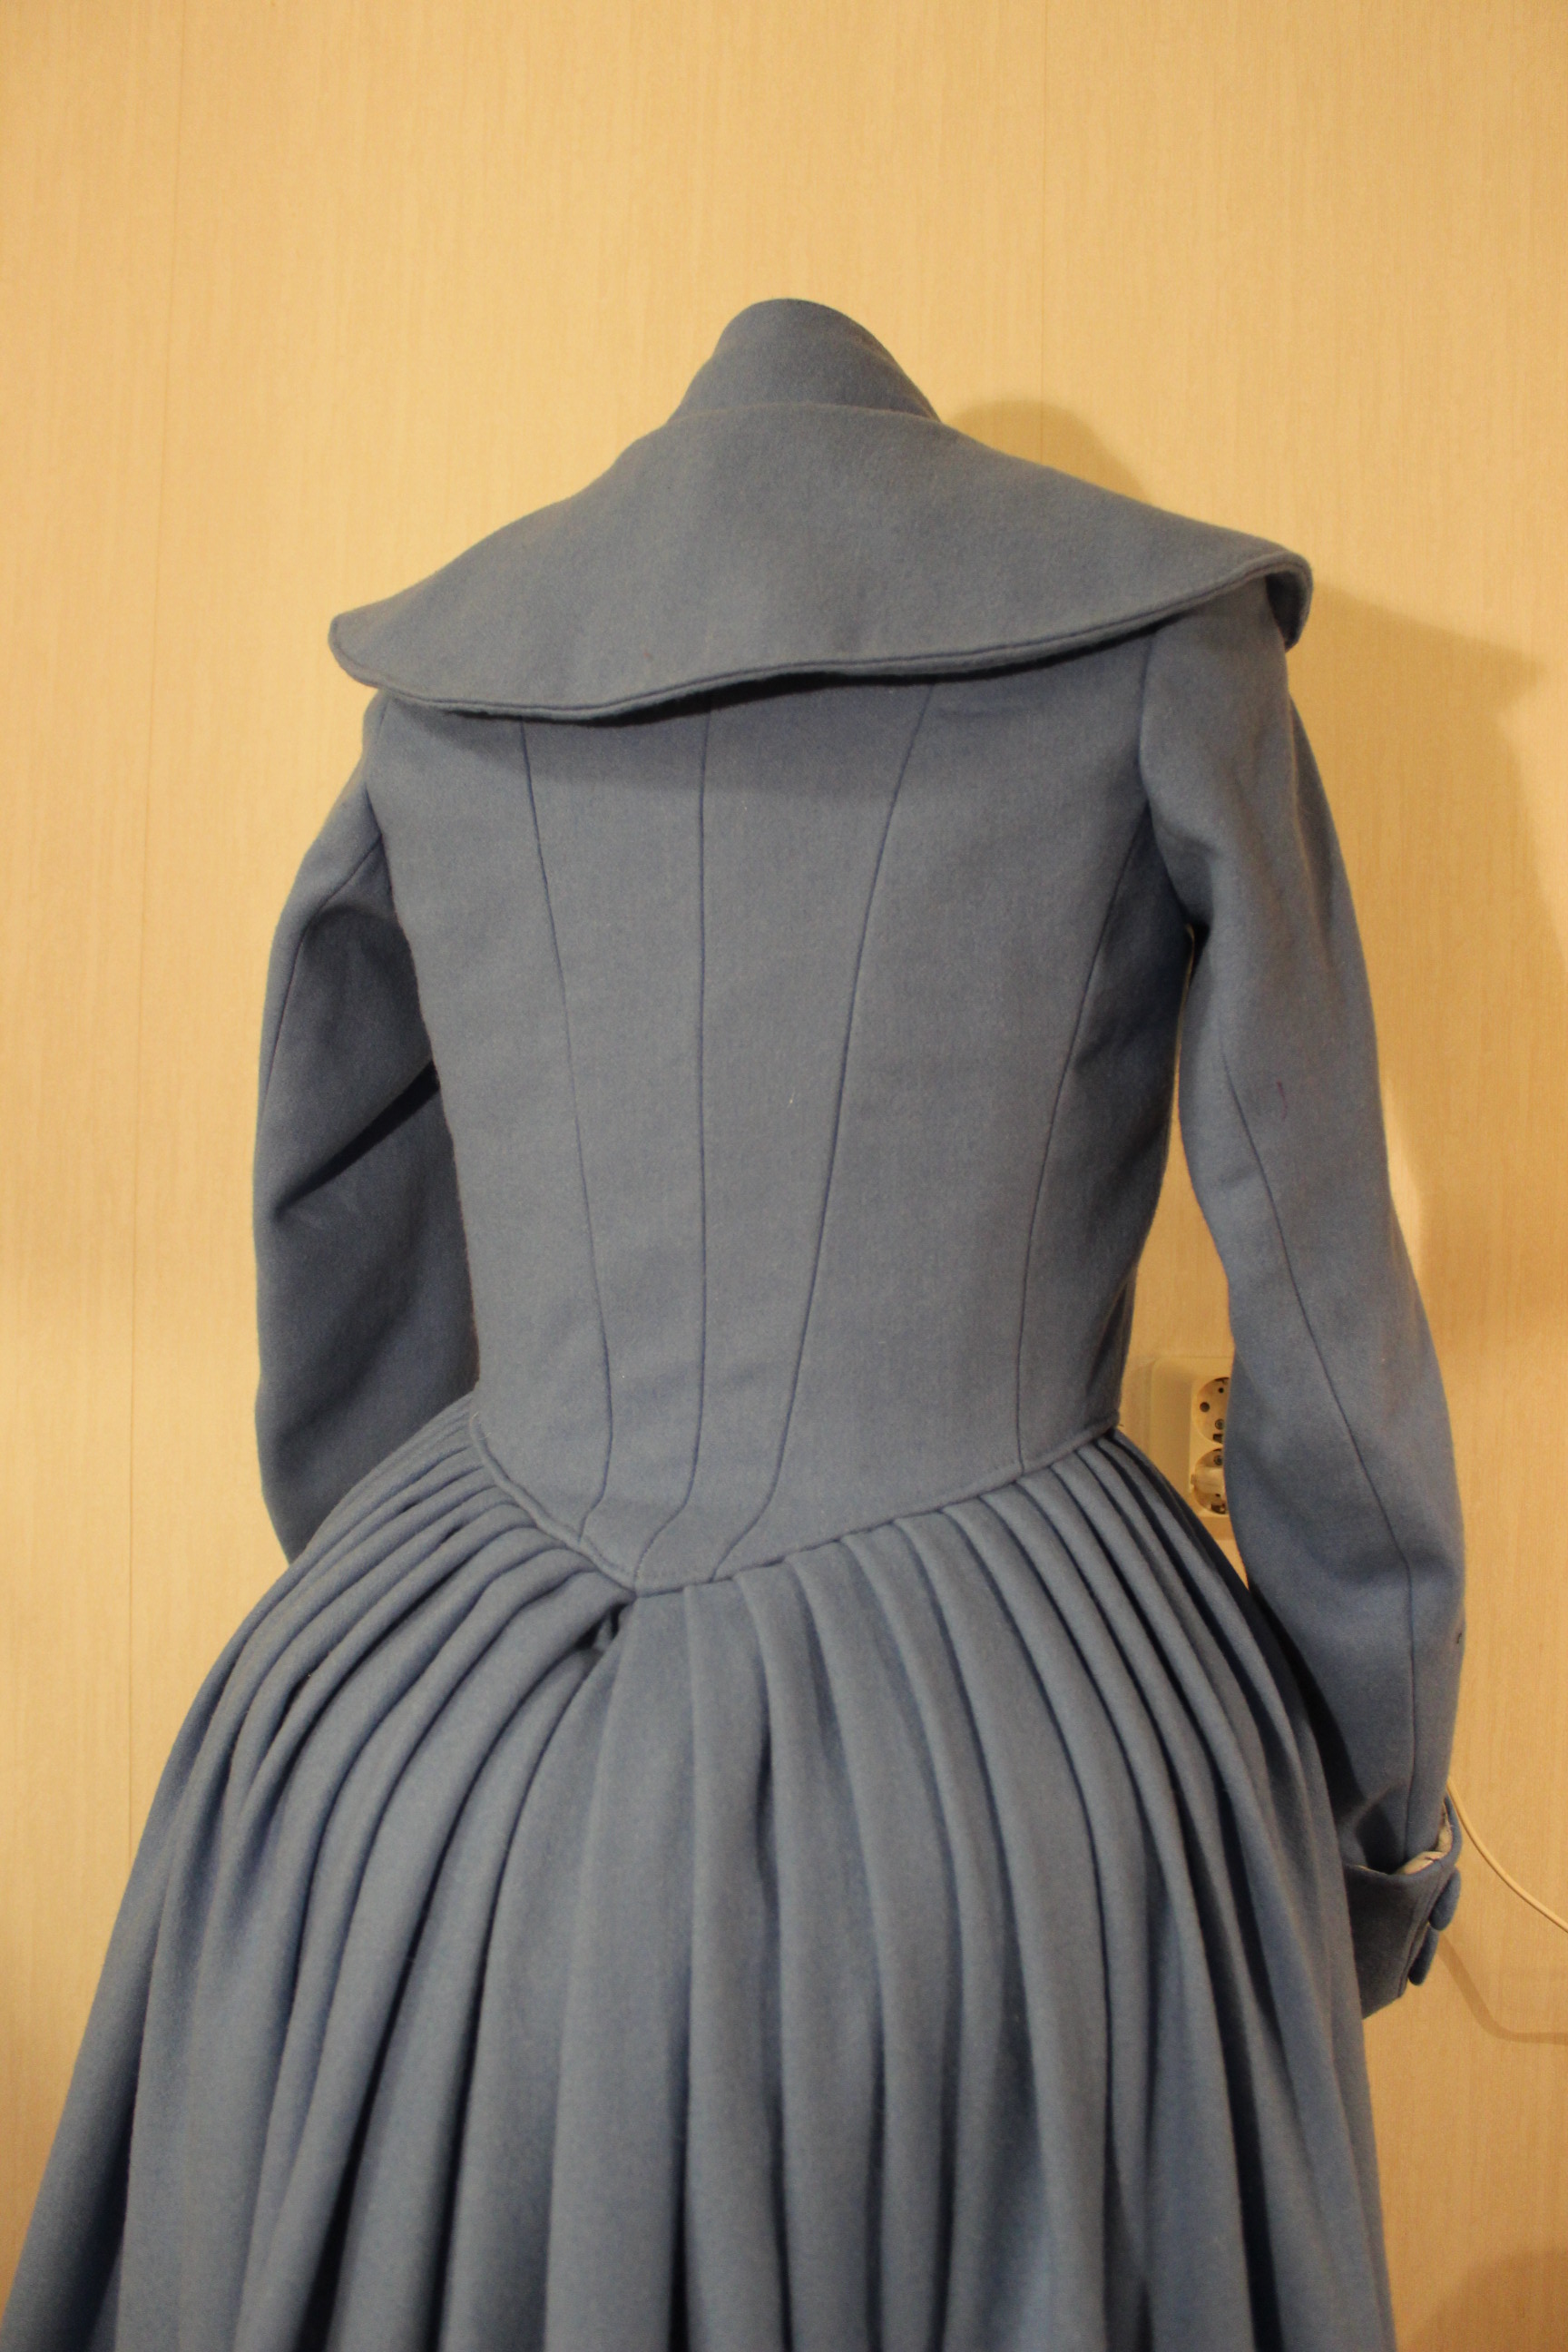
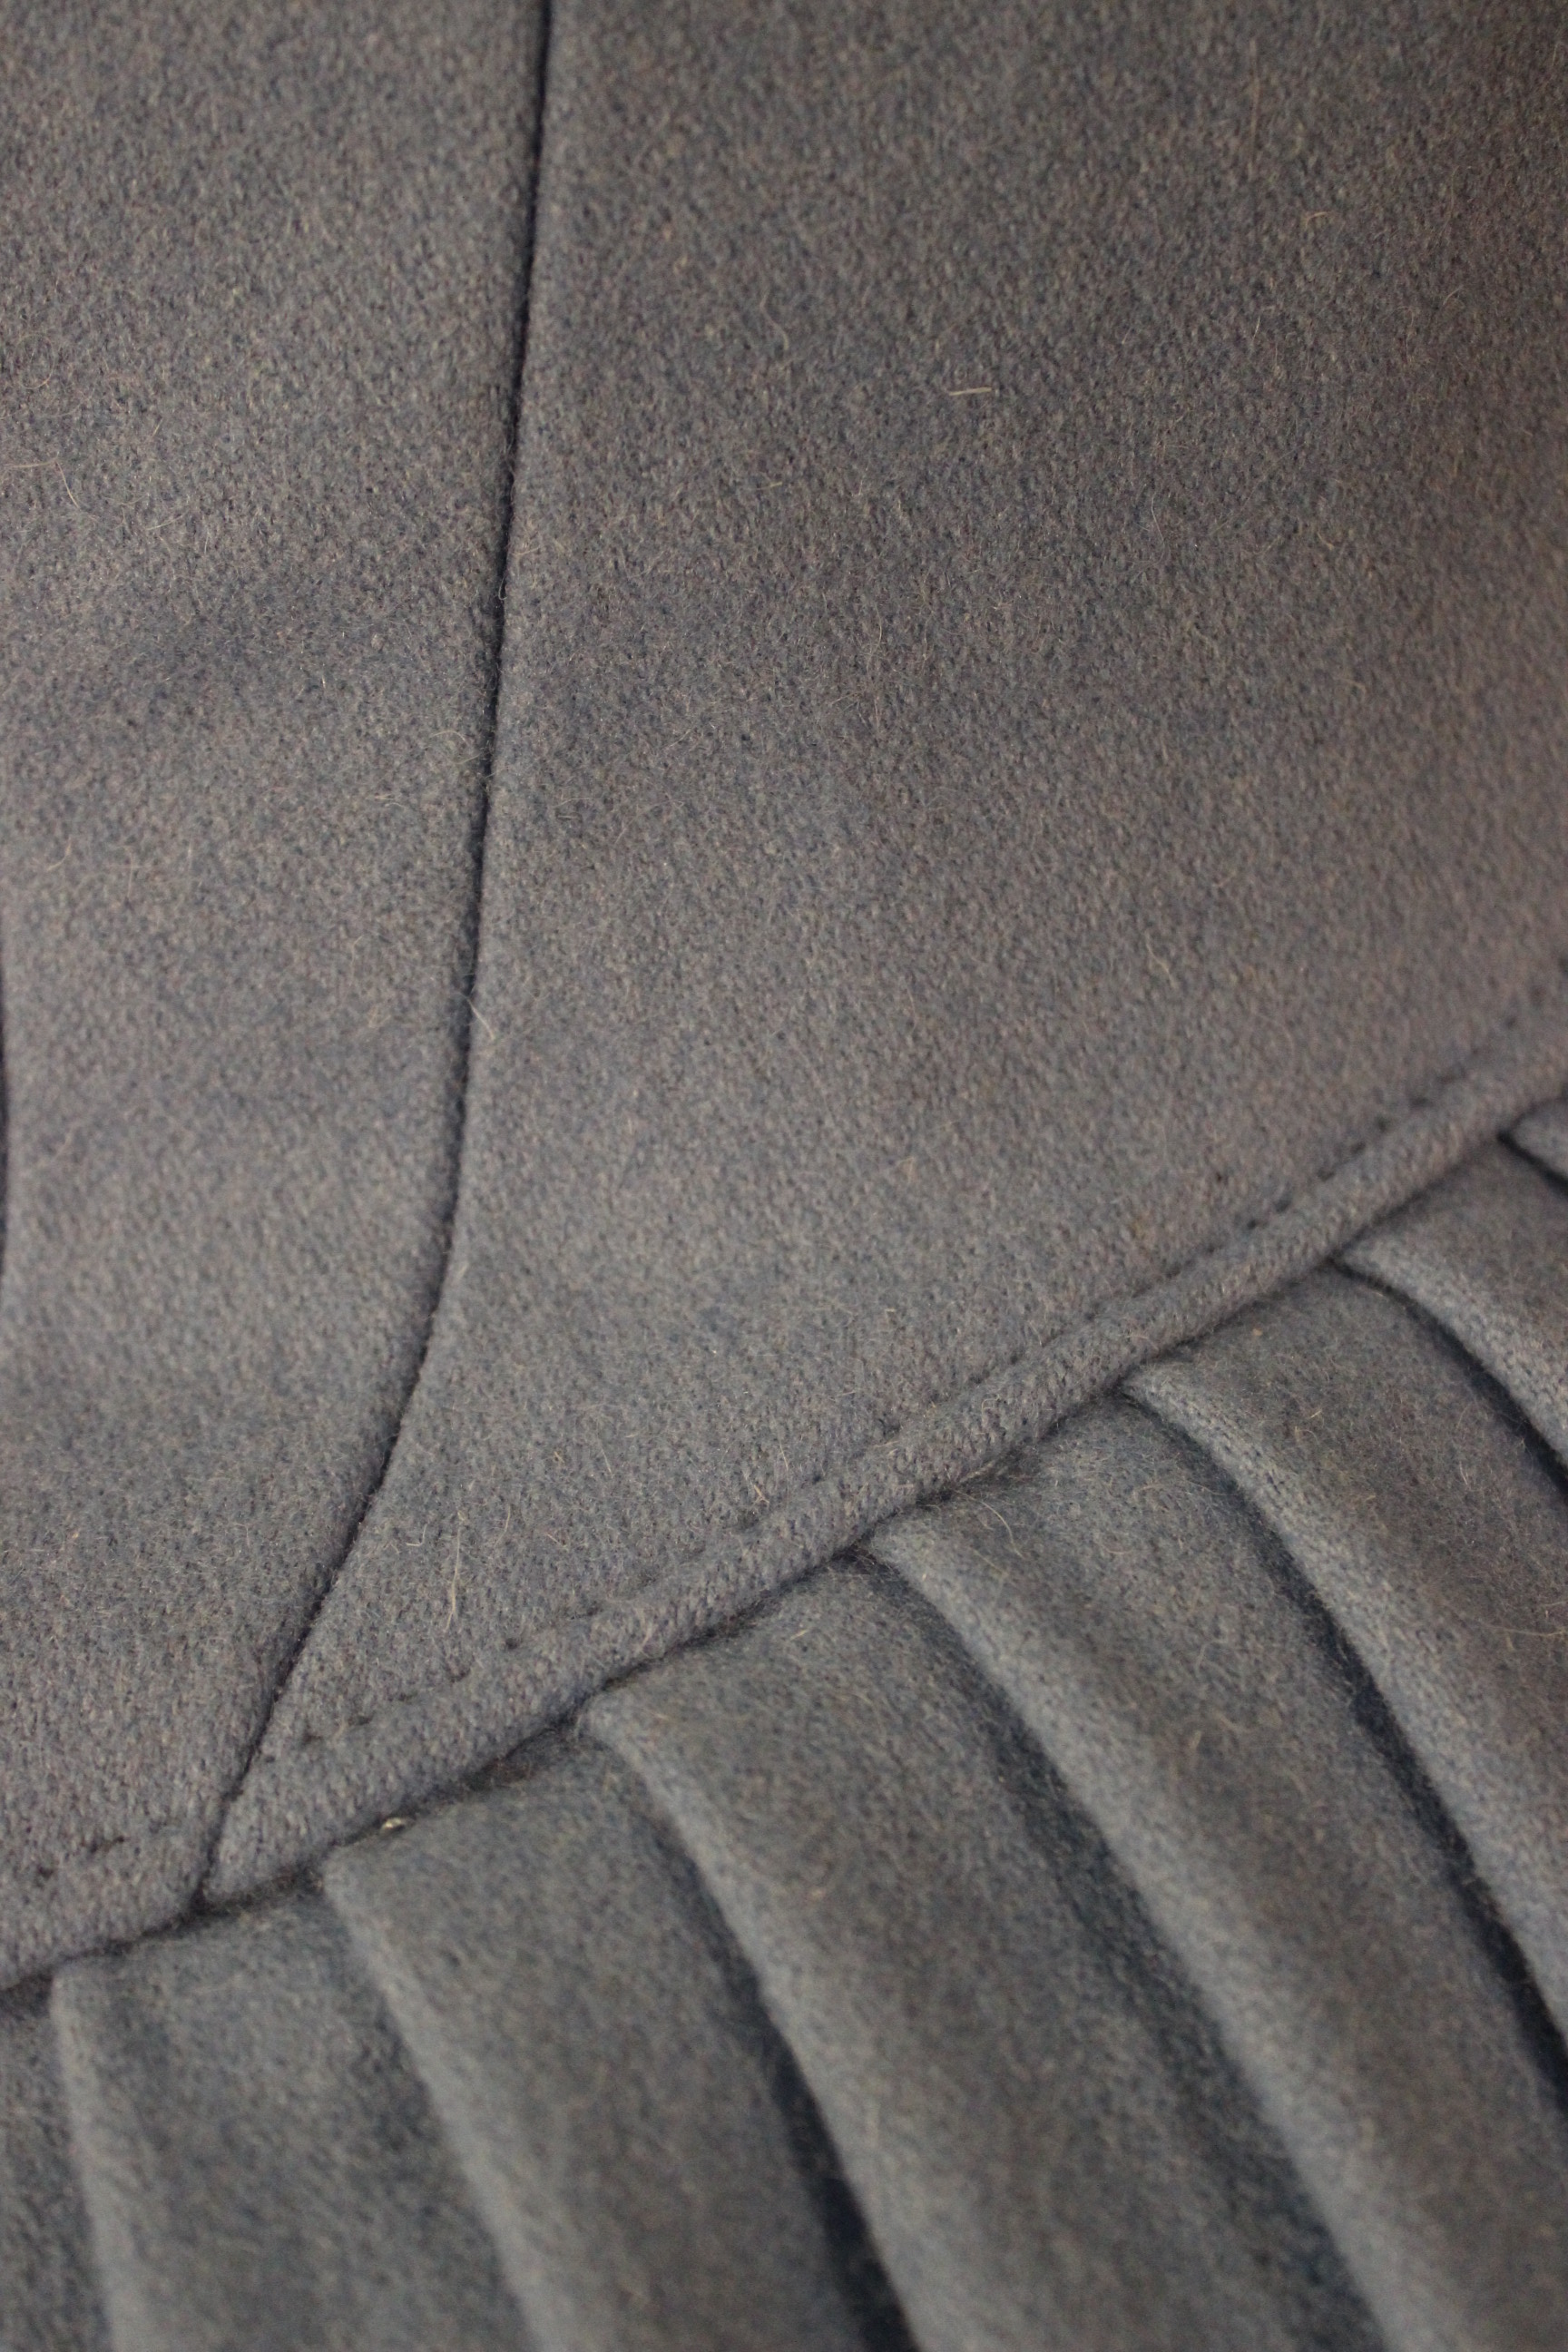
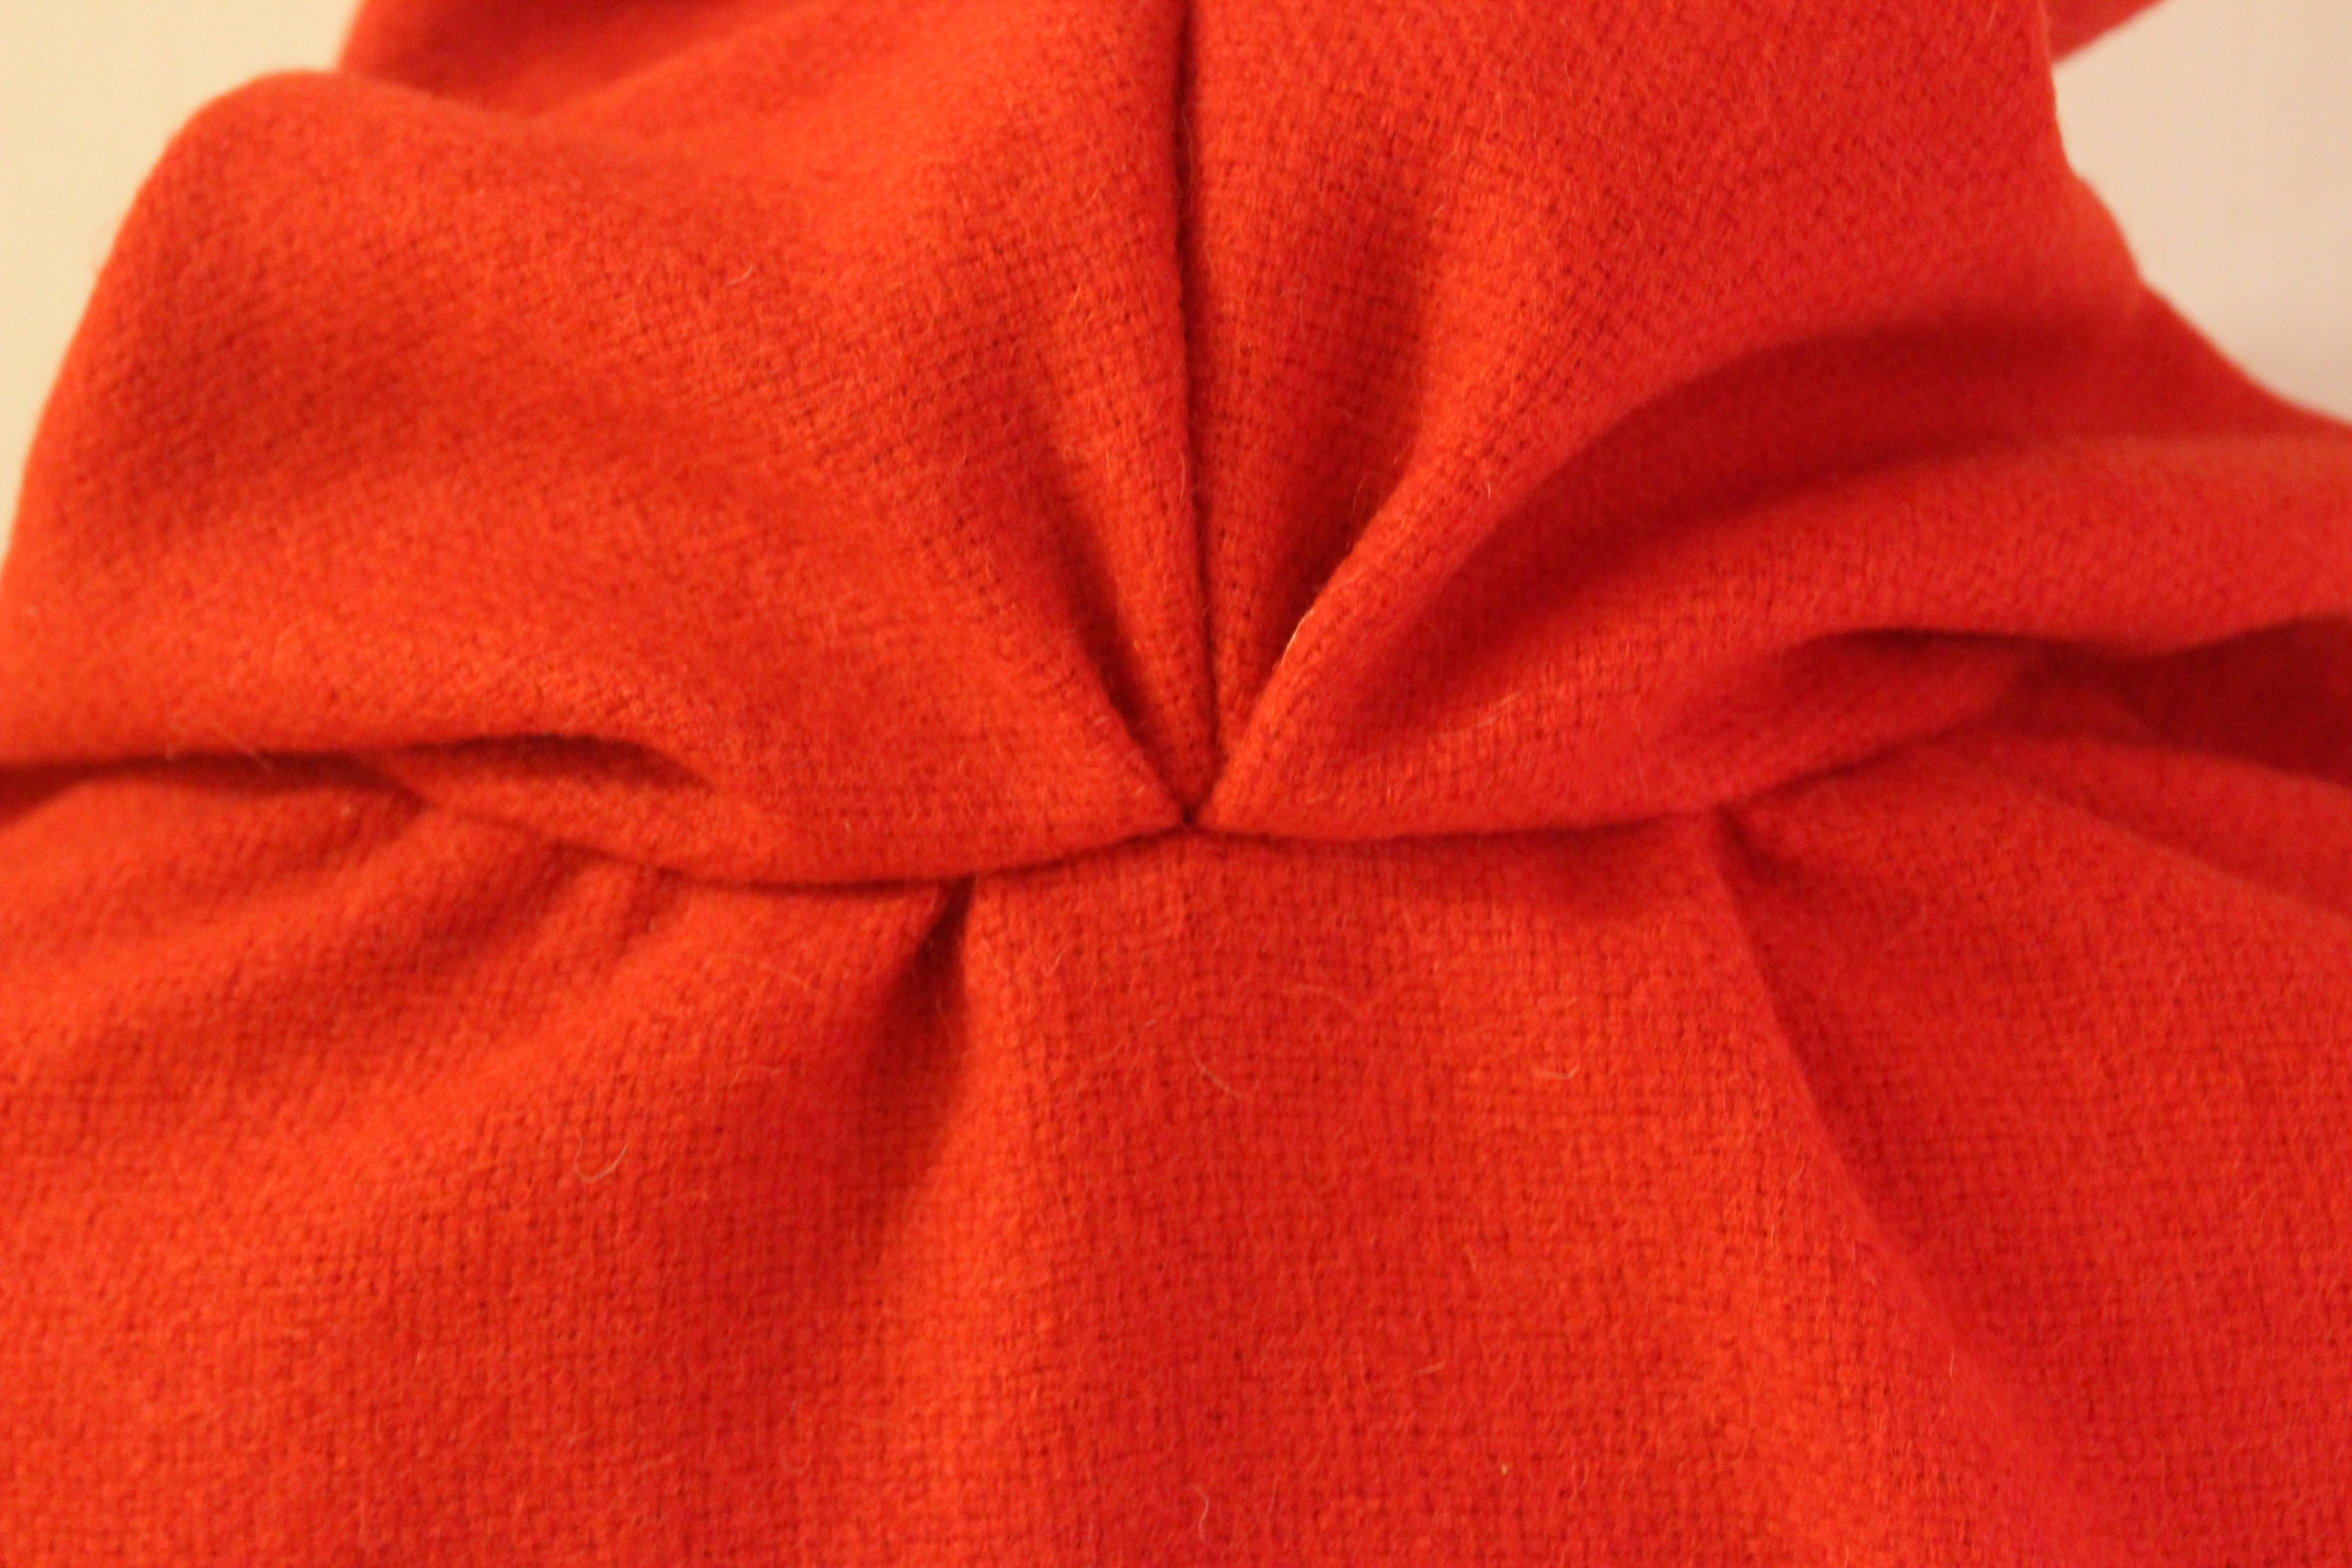
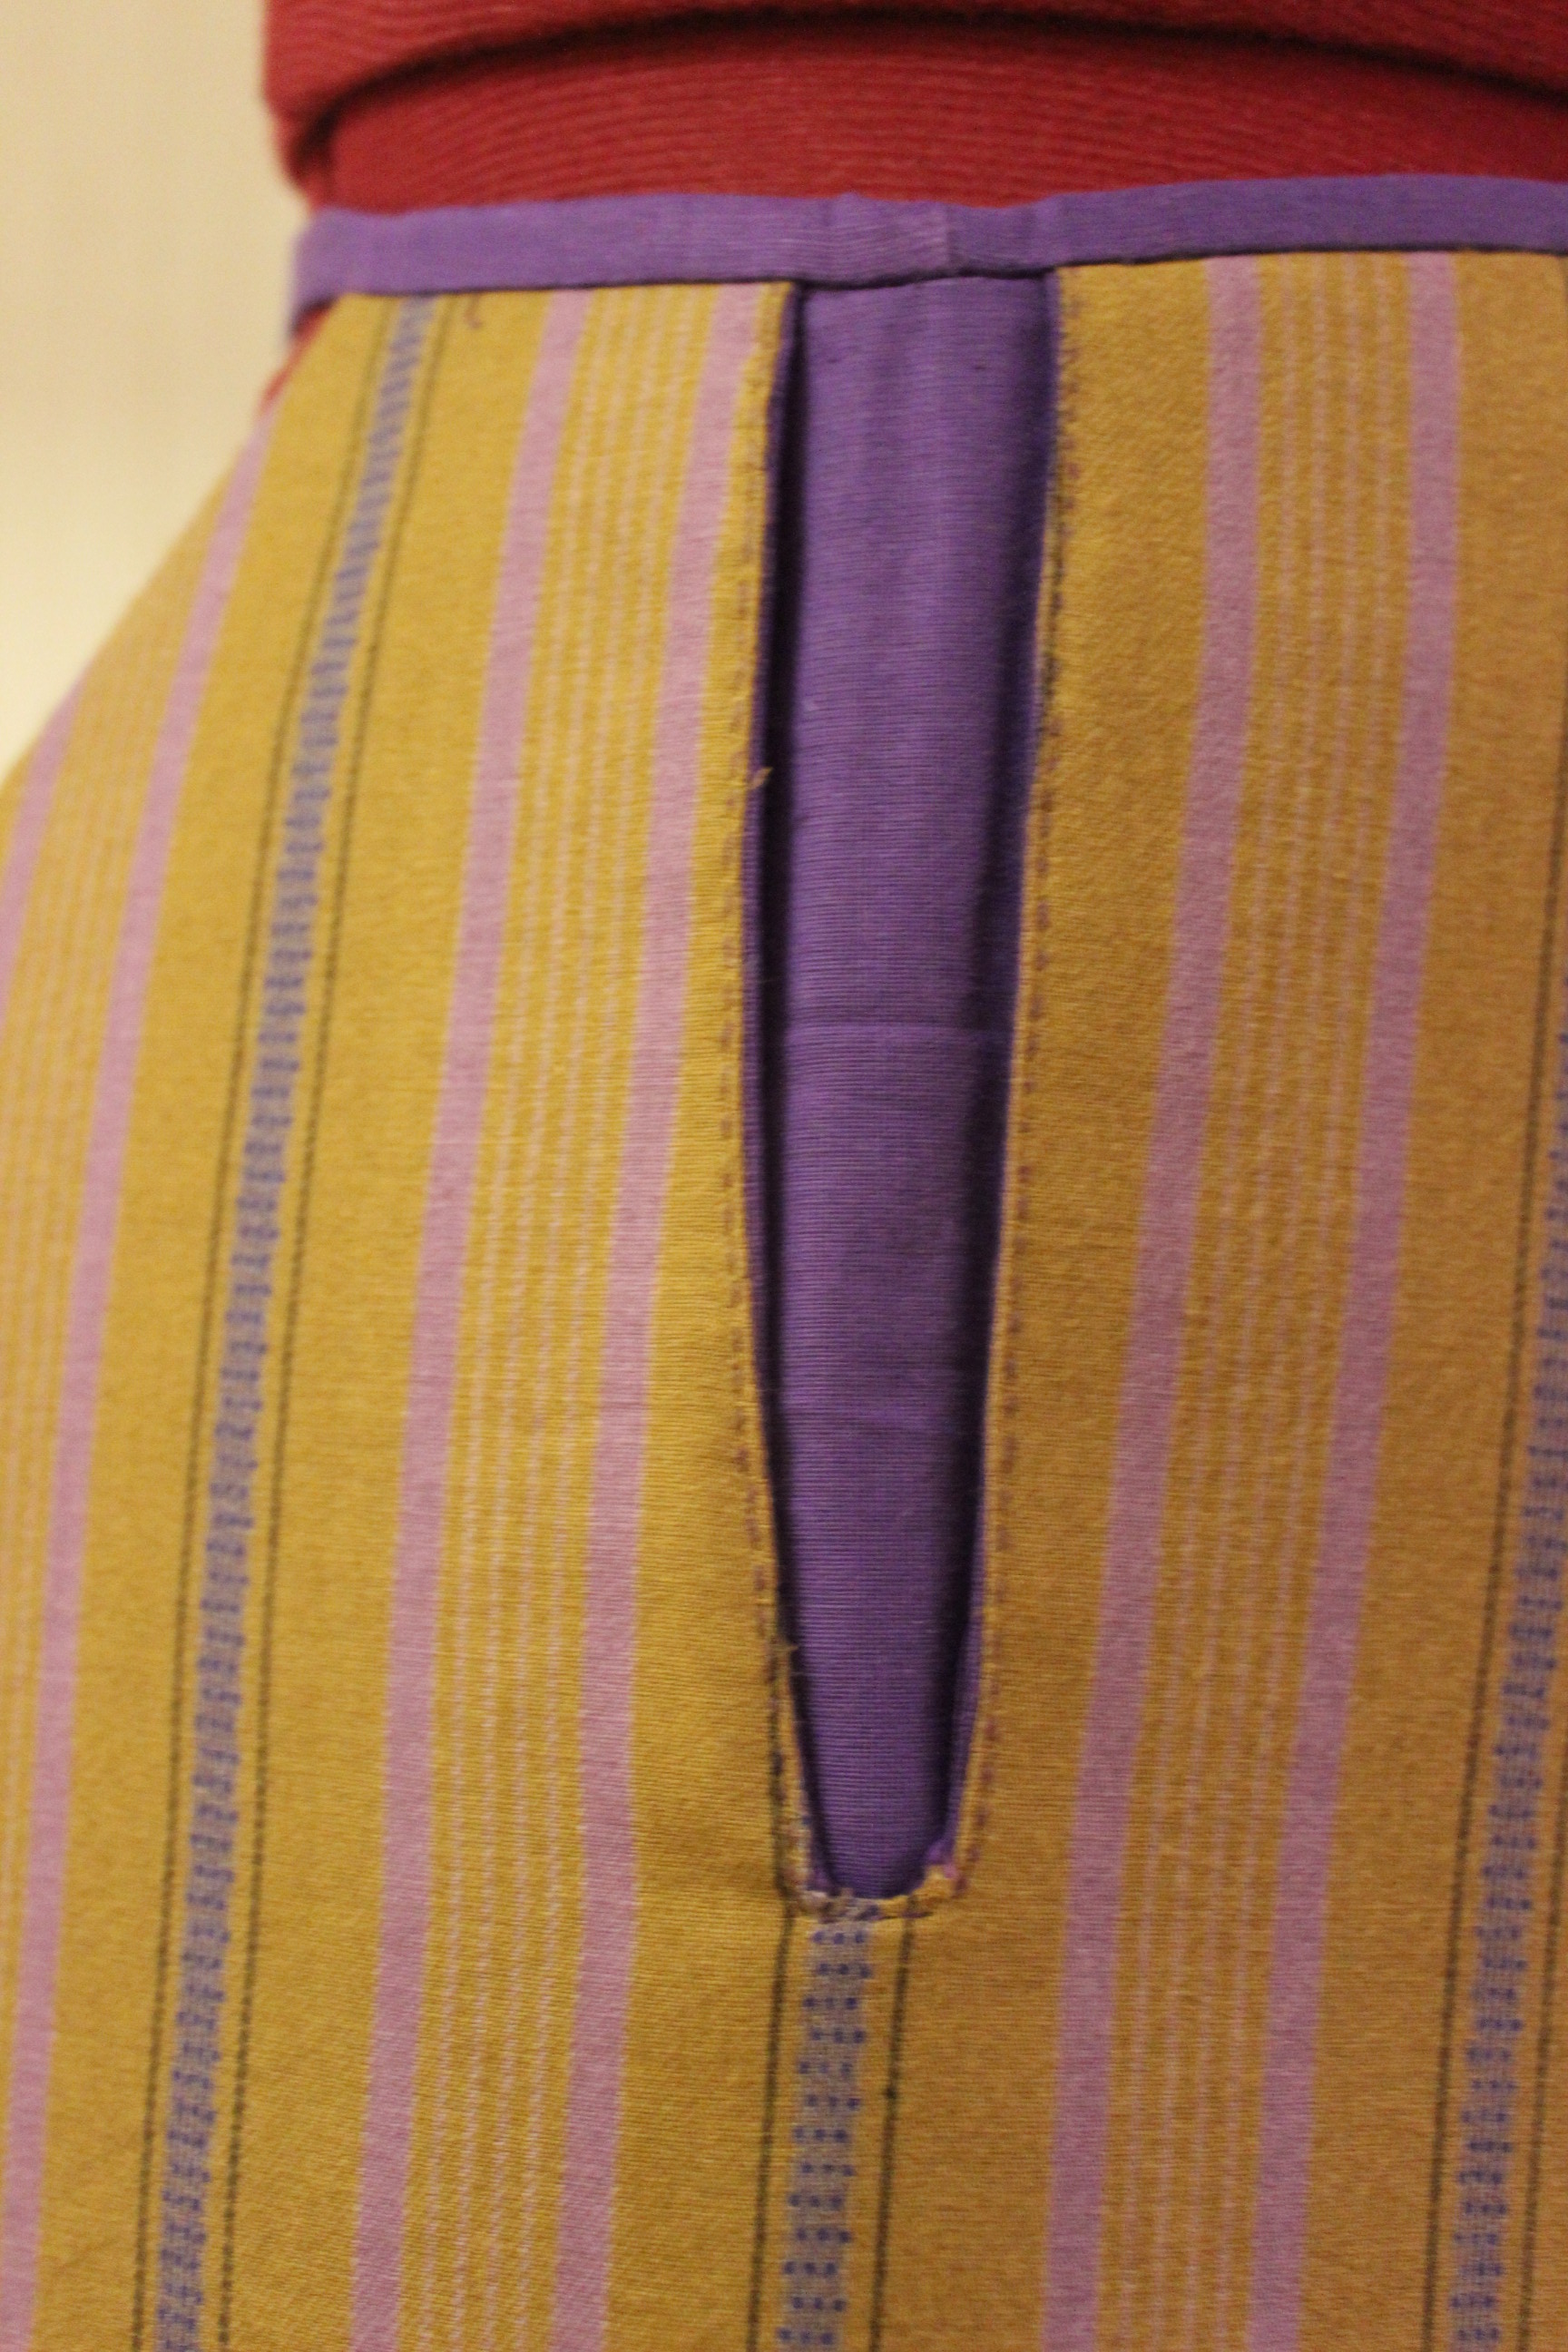
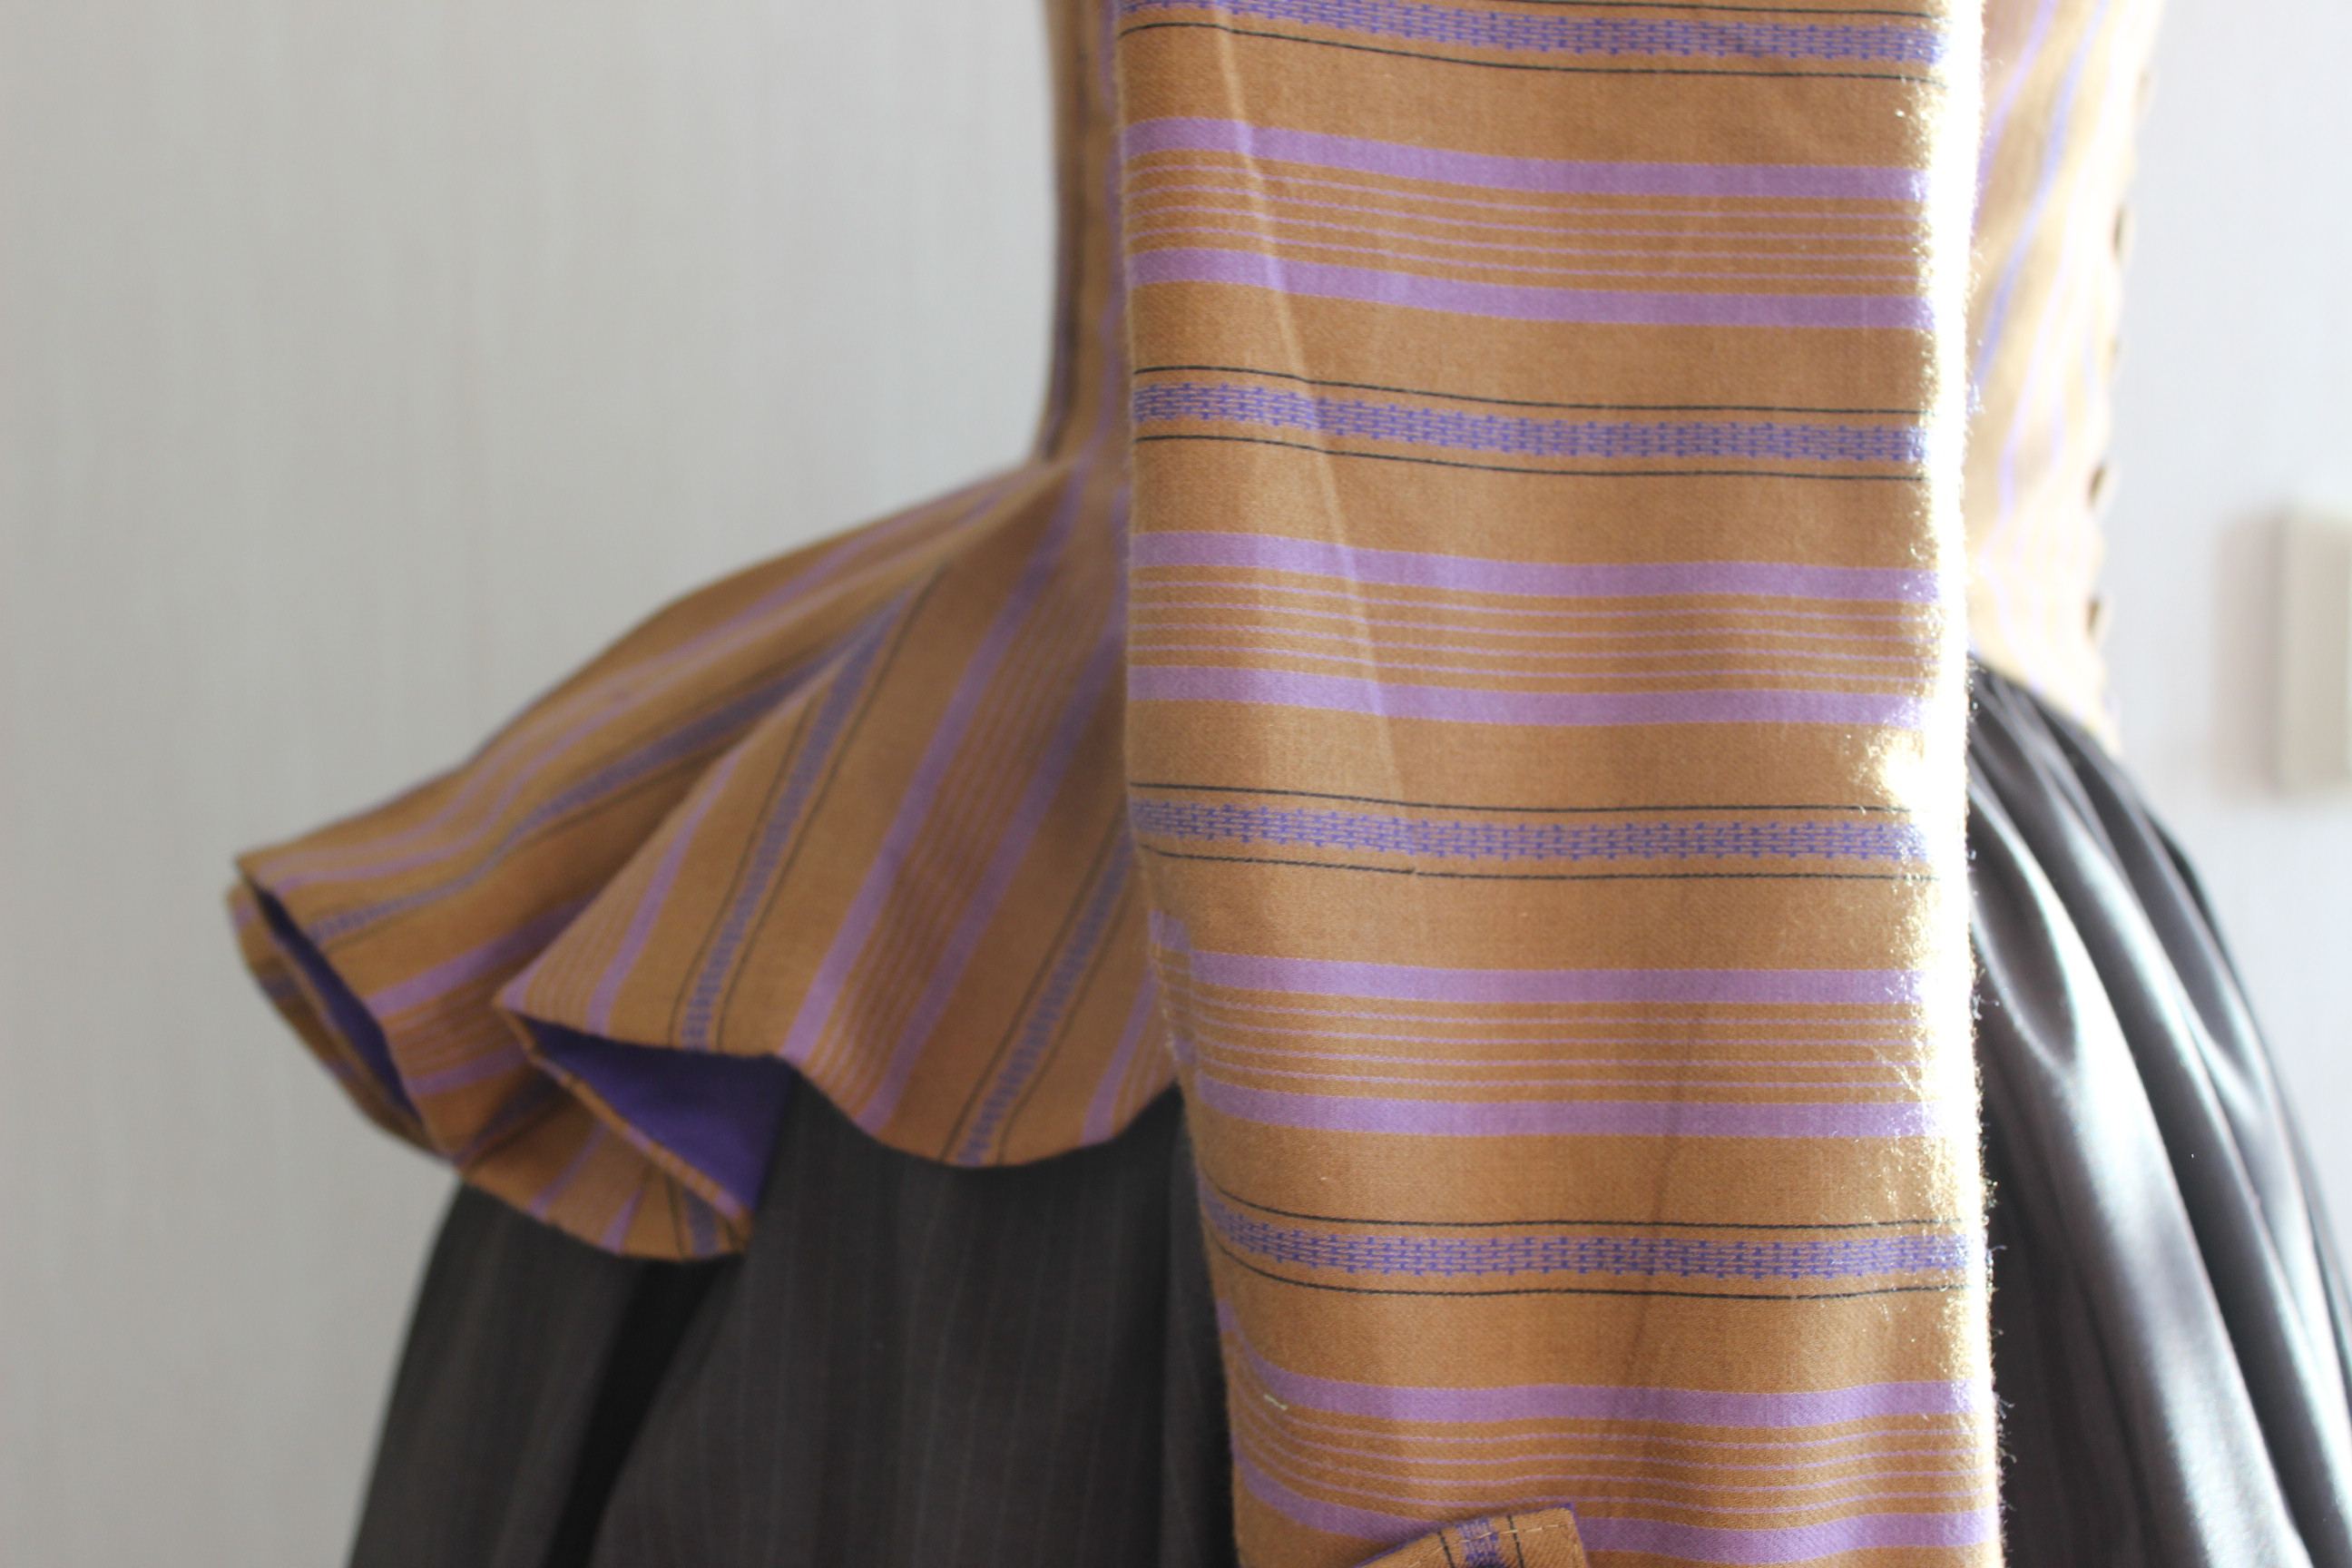
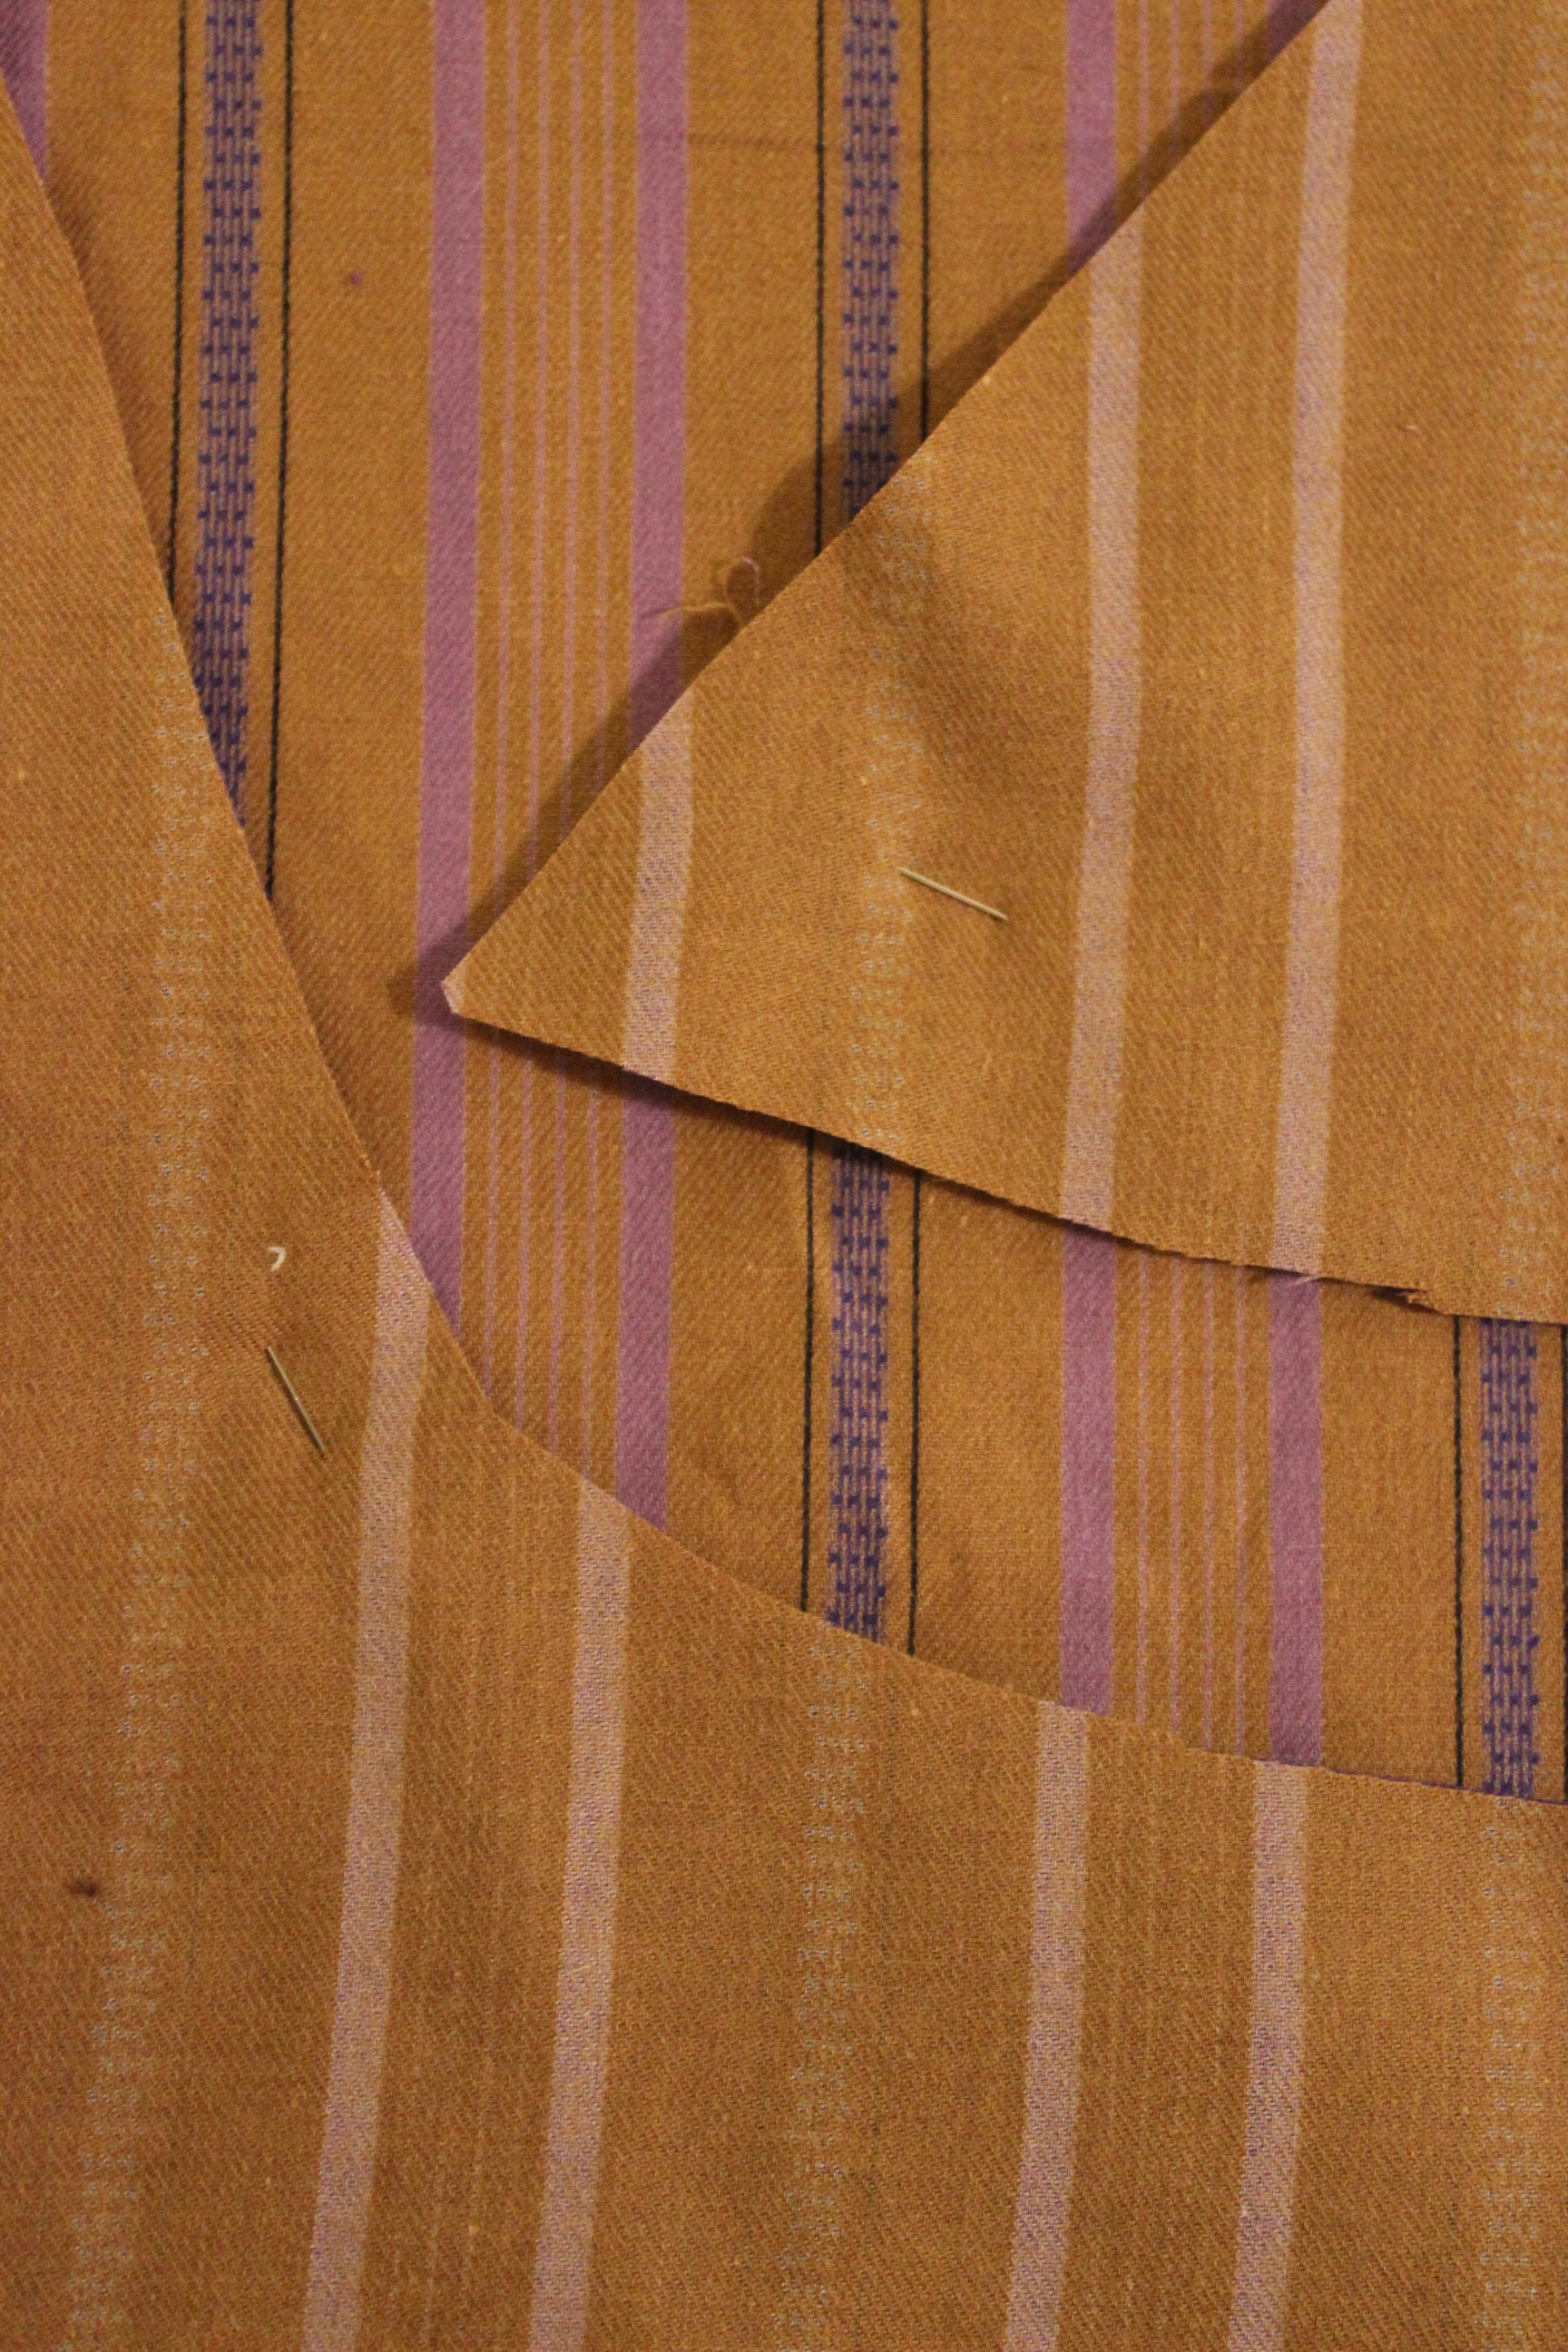
In the description it’s said to be pleats giving the “fan” shape, and after some fideling and testing, I figured out how to make them behave as in the picture above.
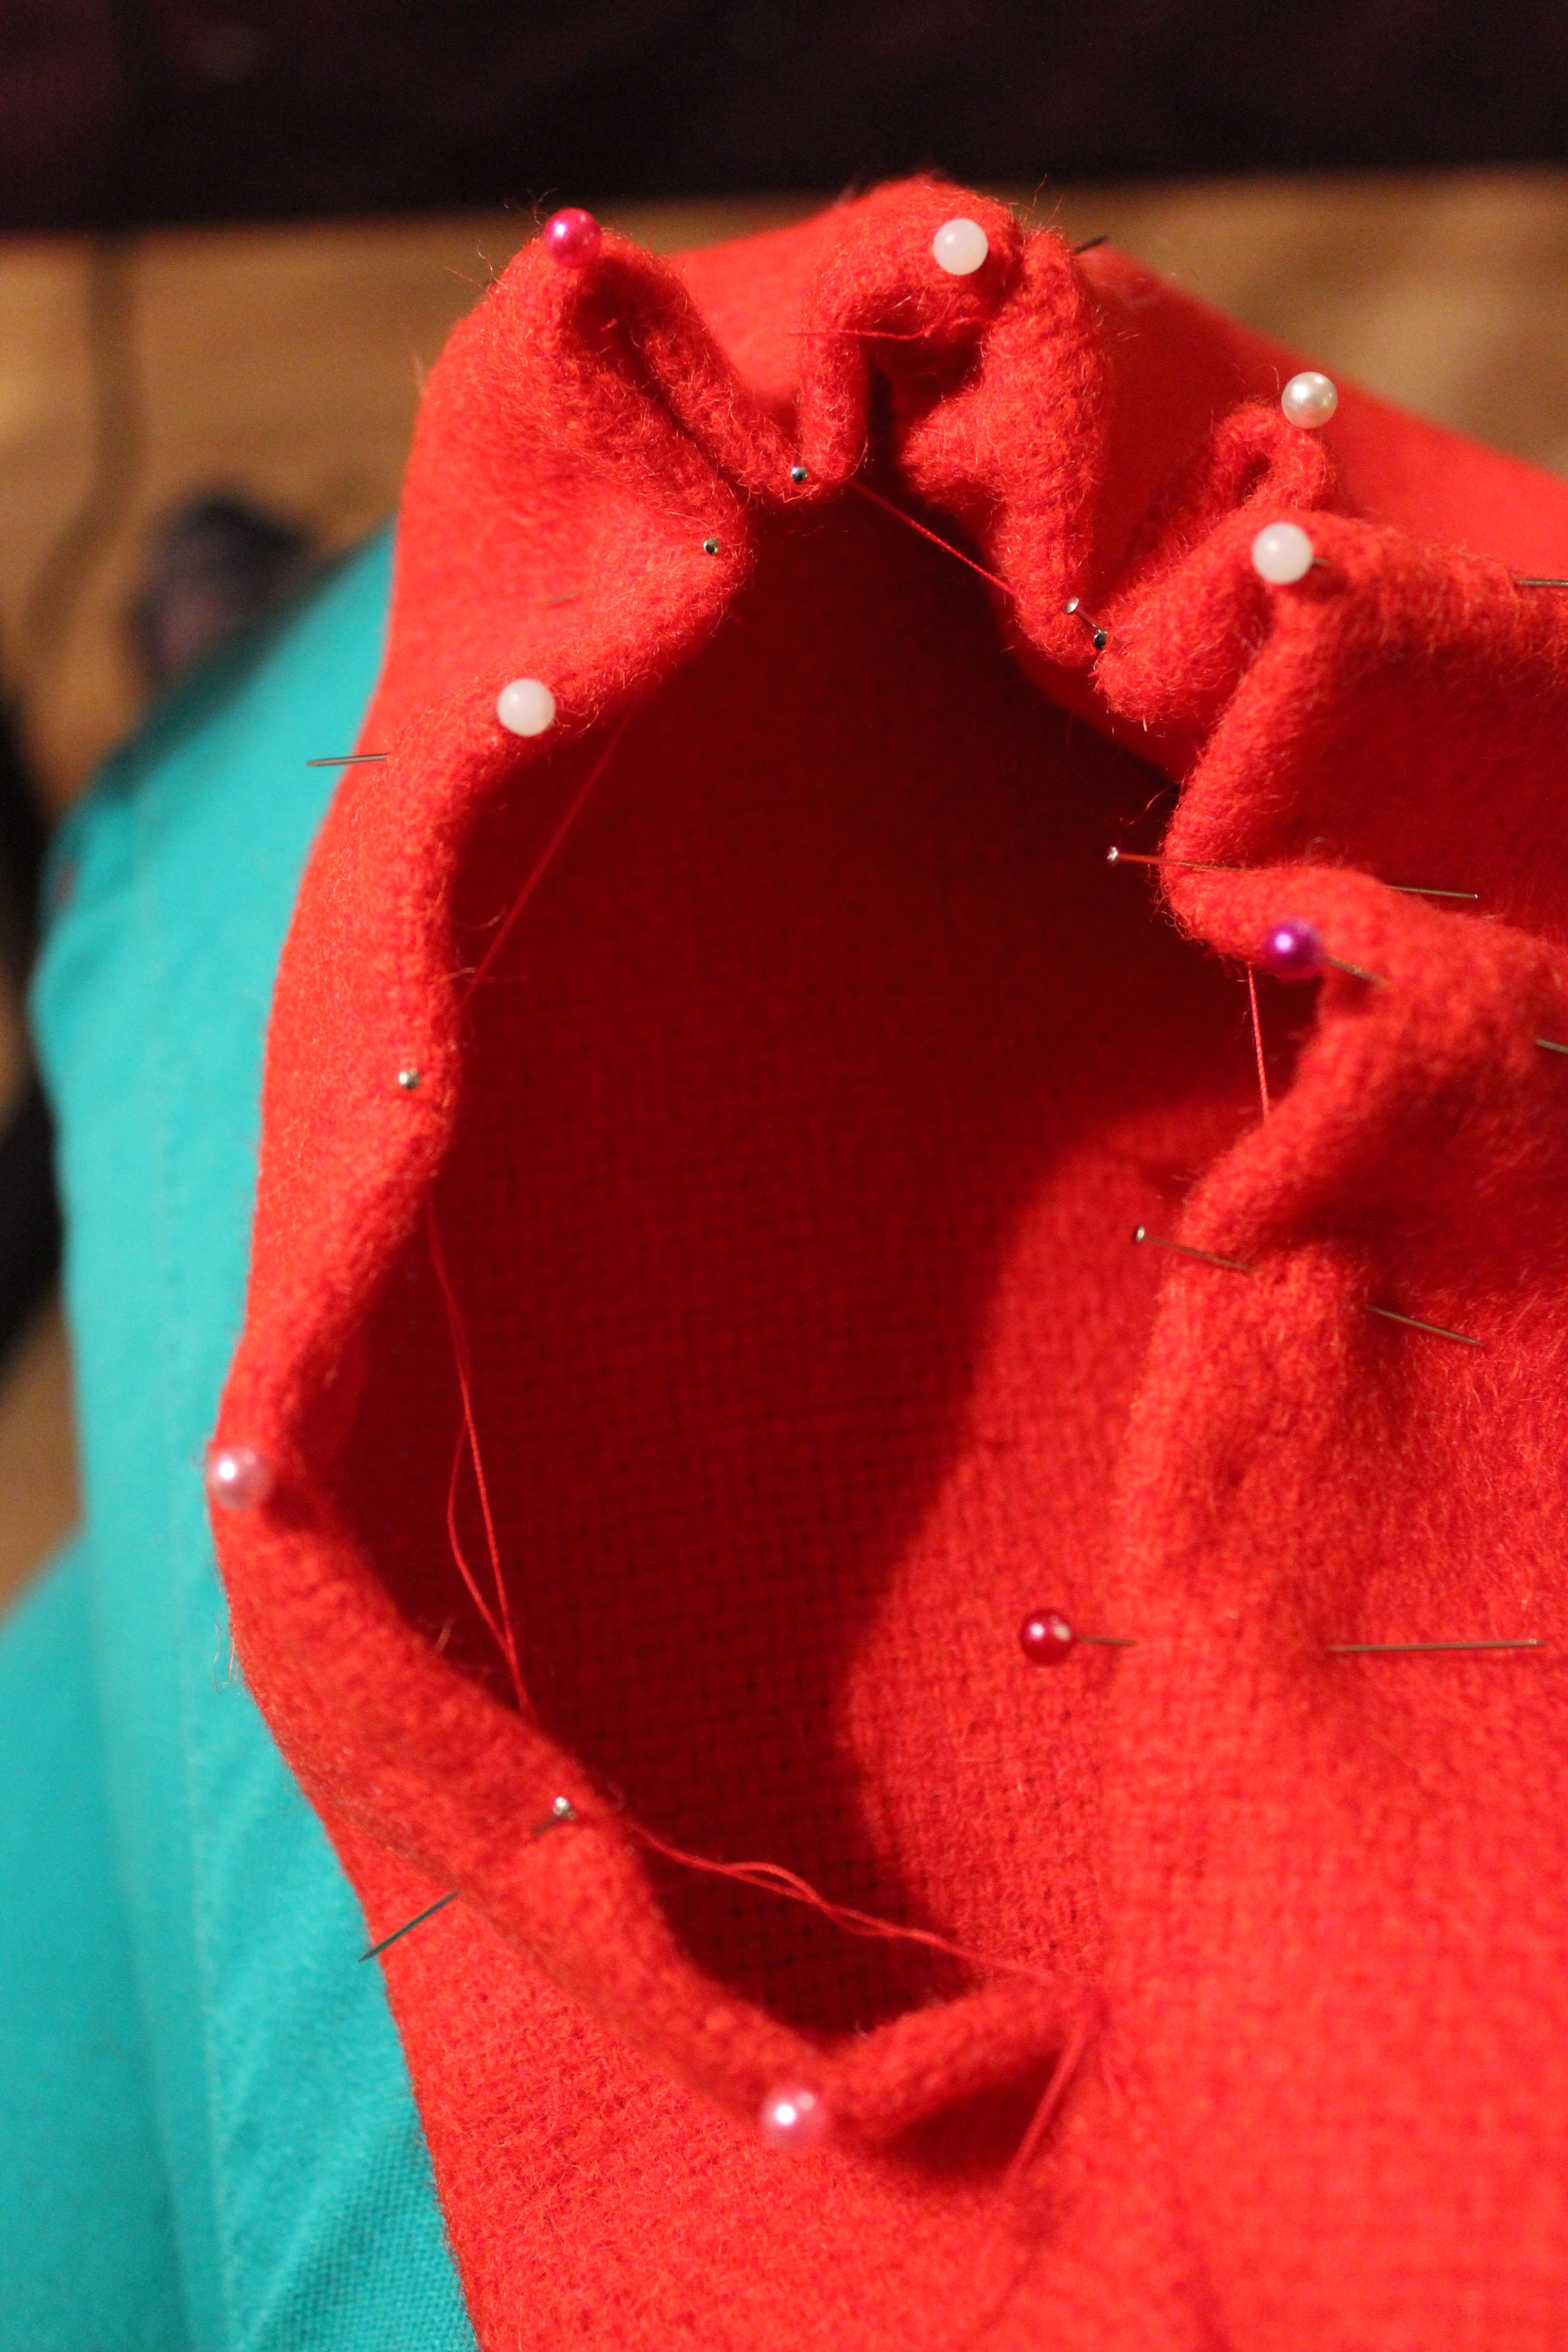
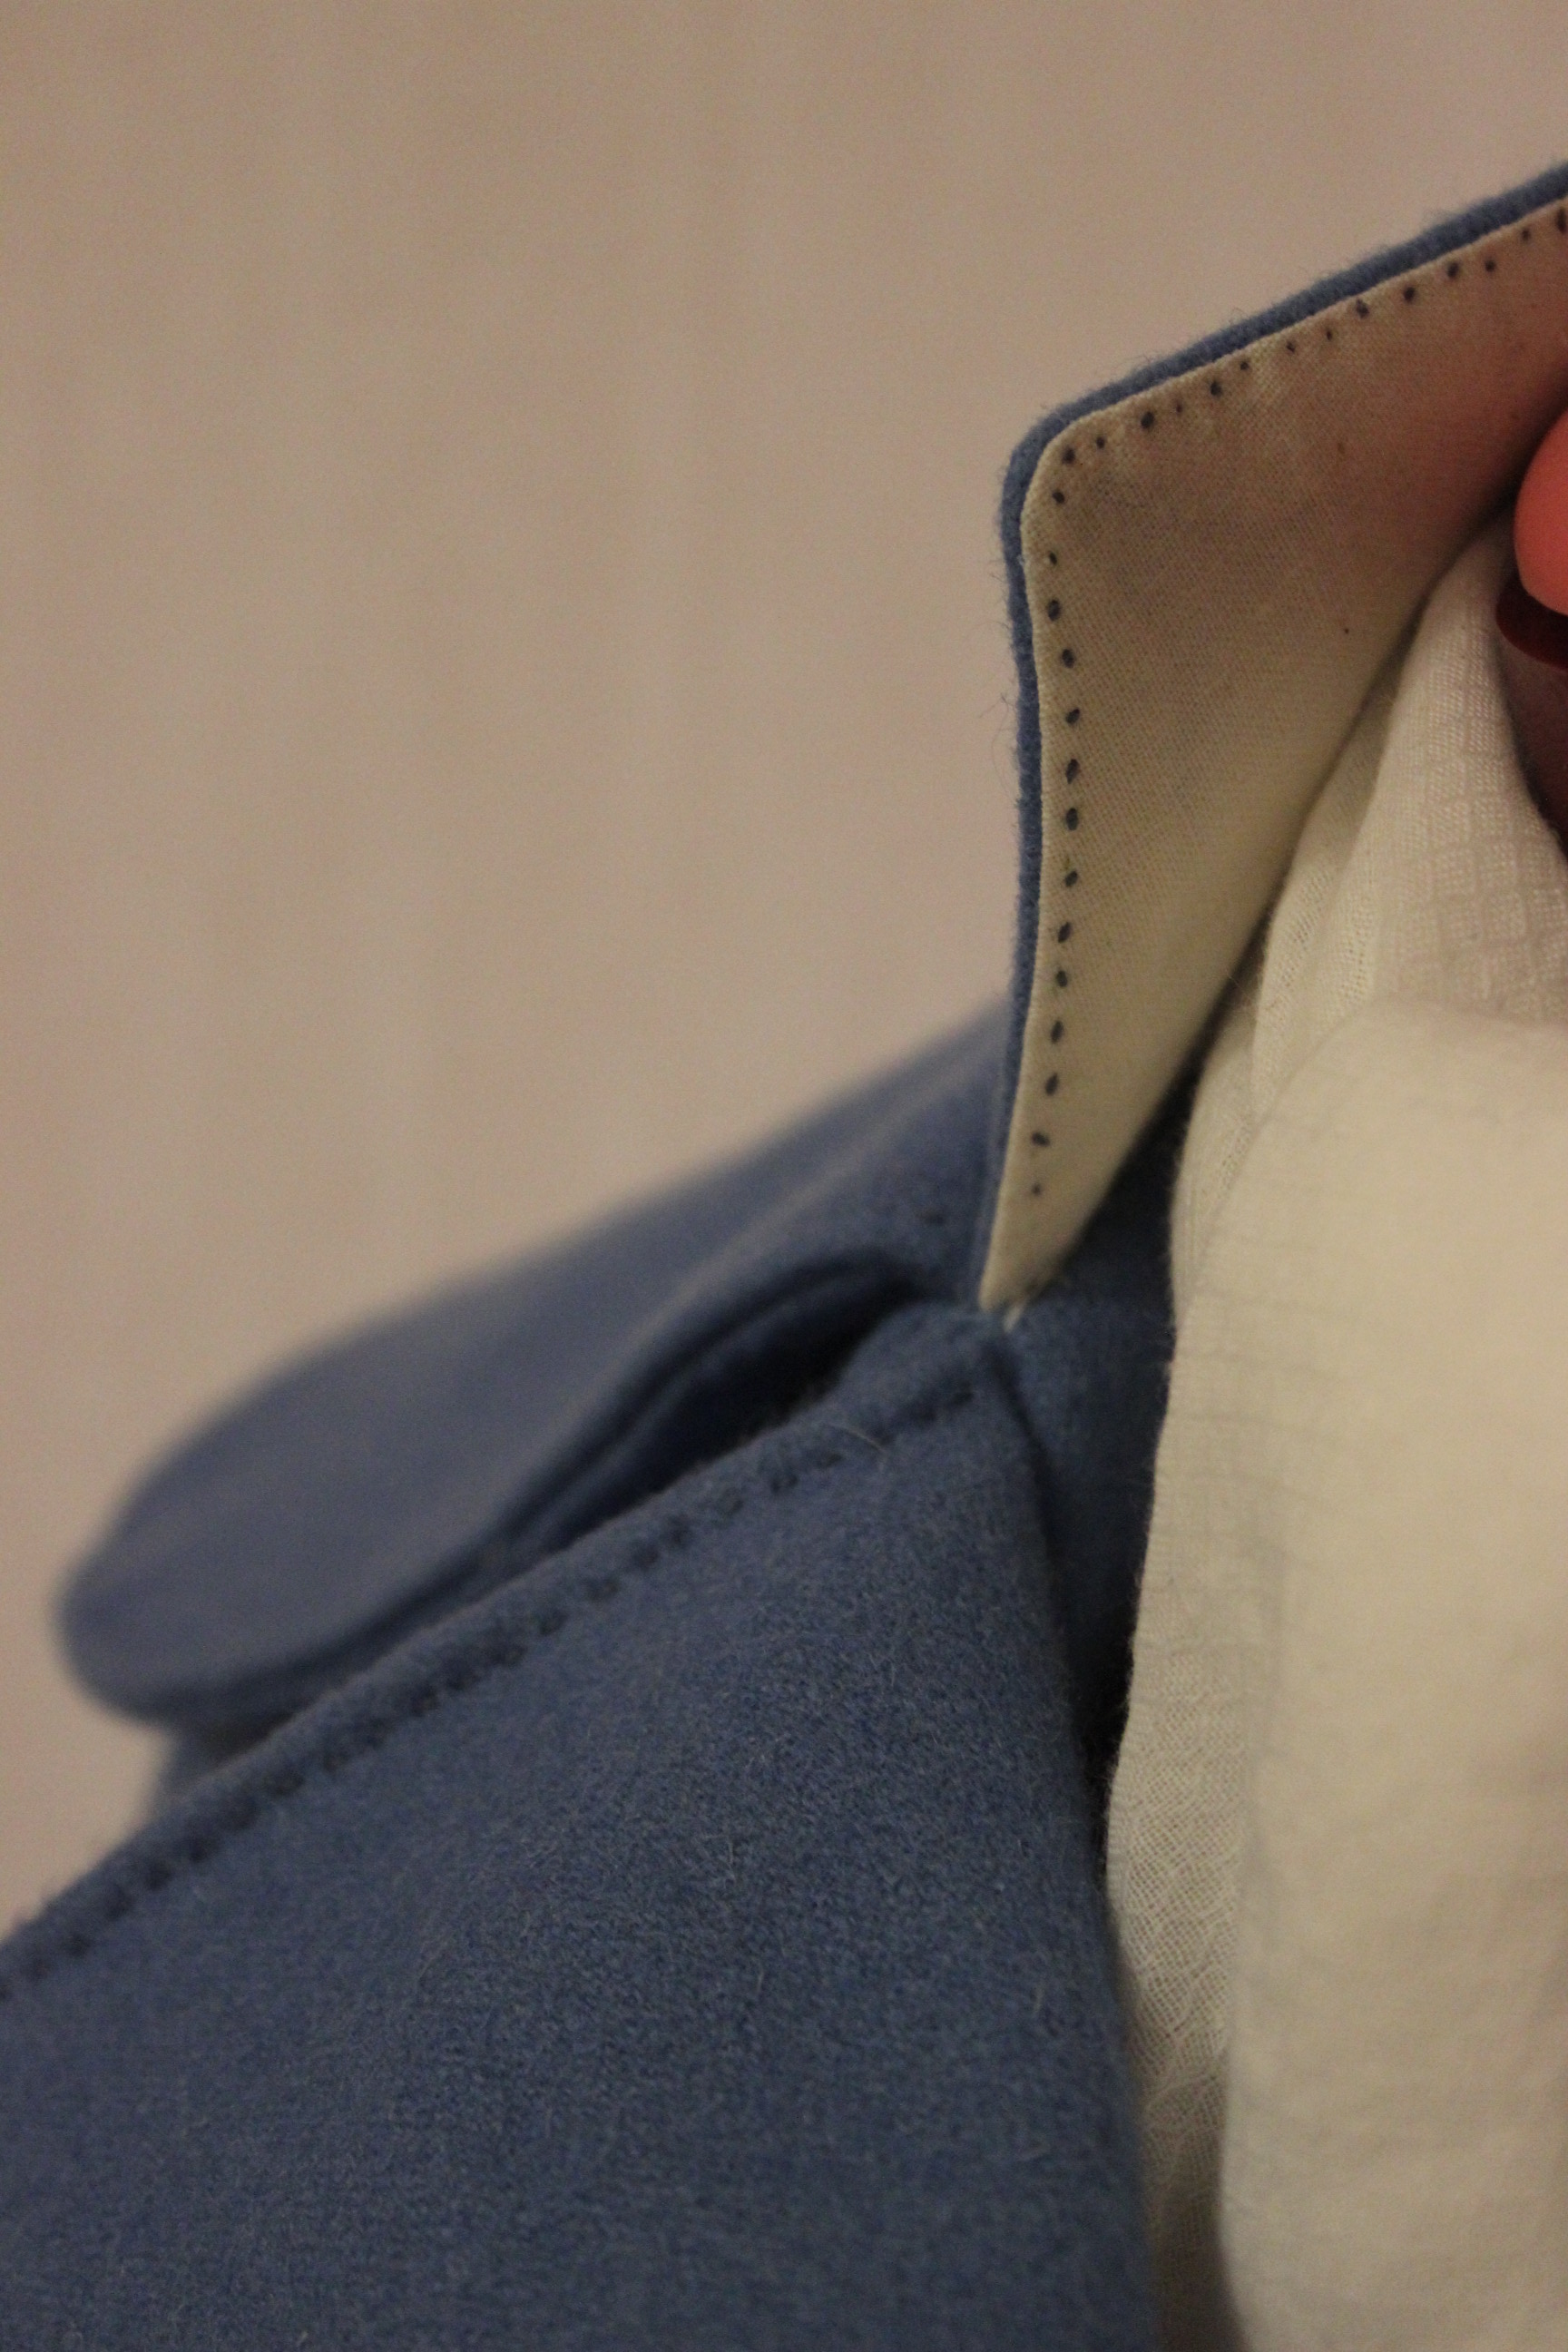
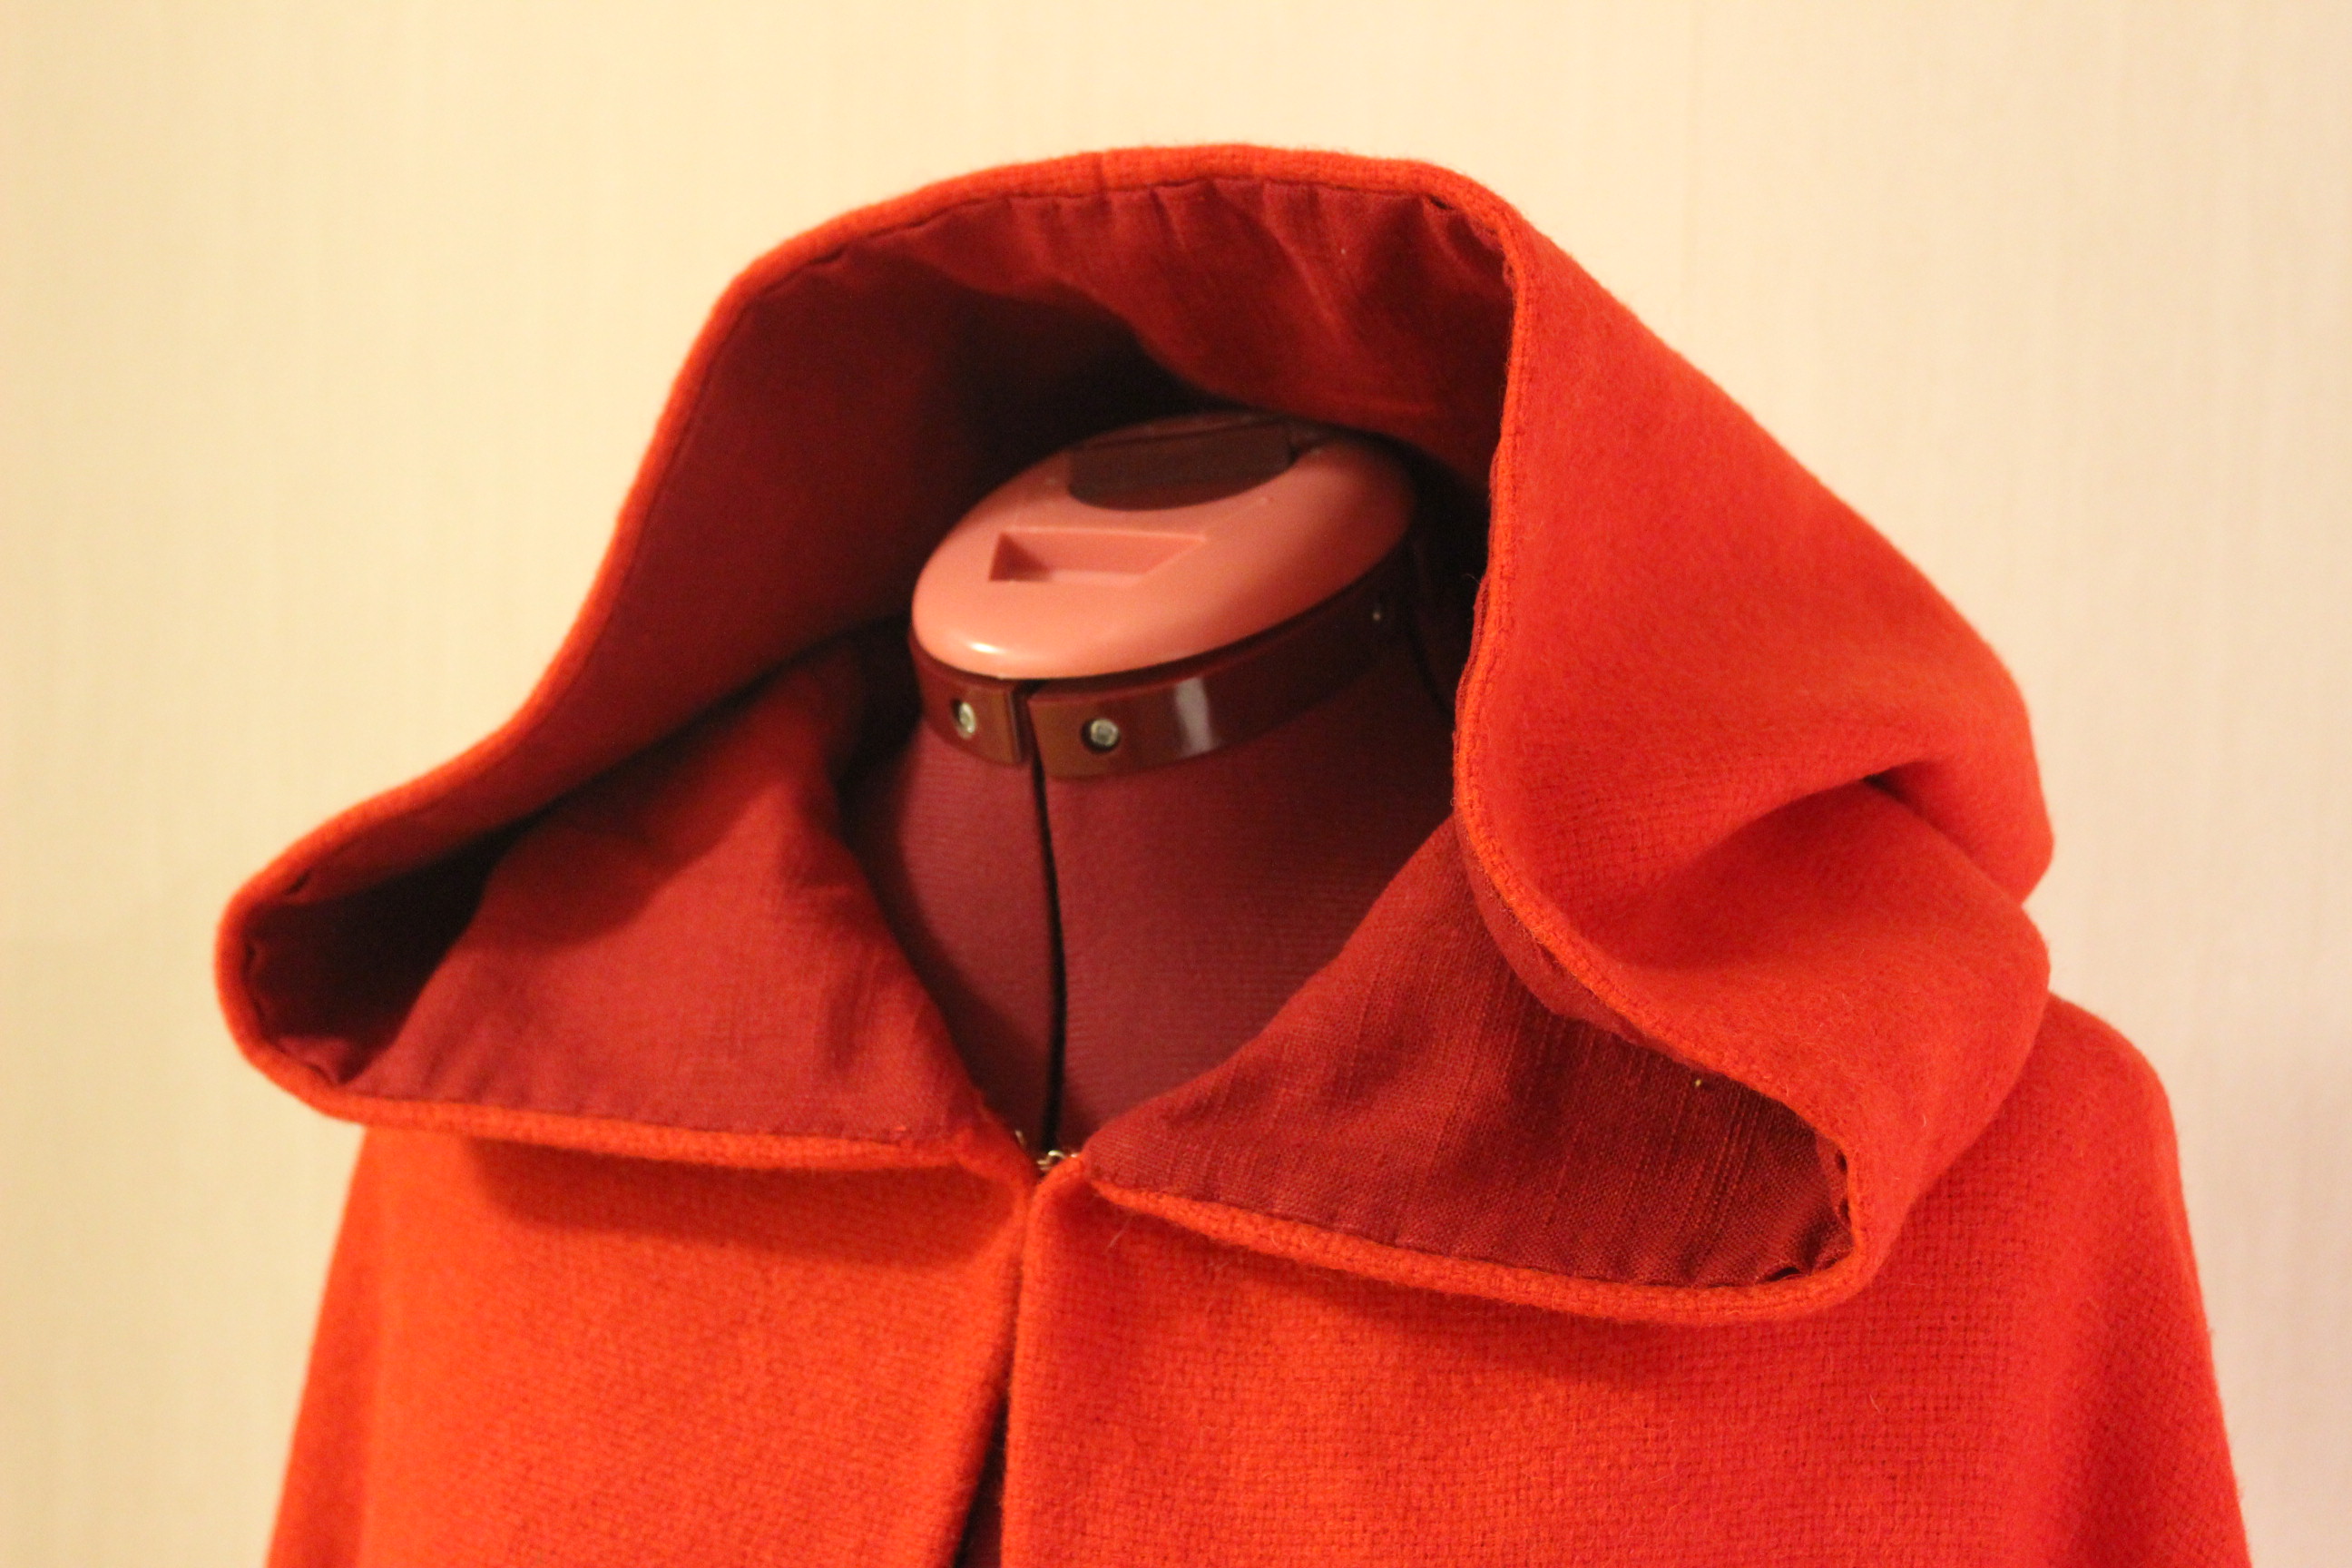
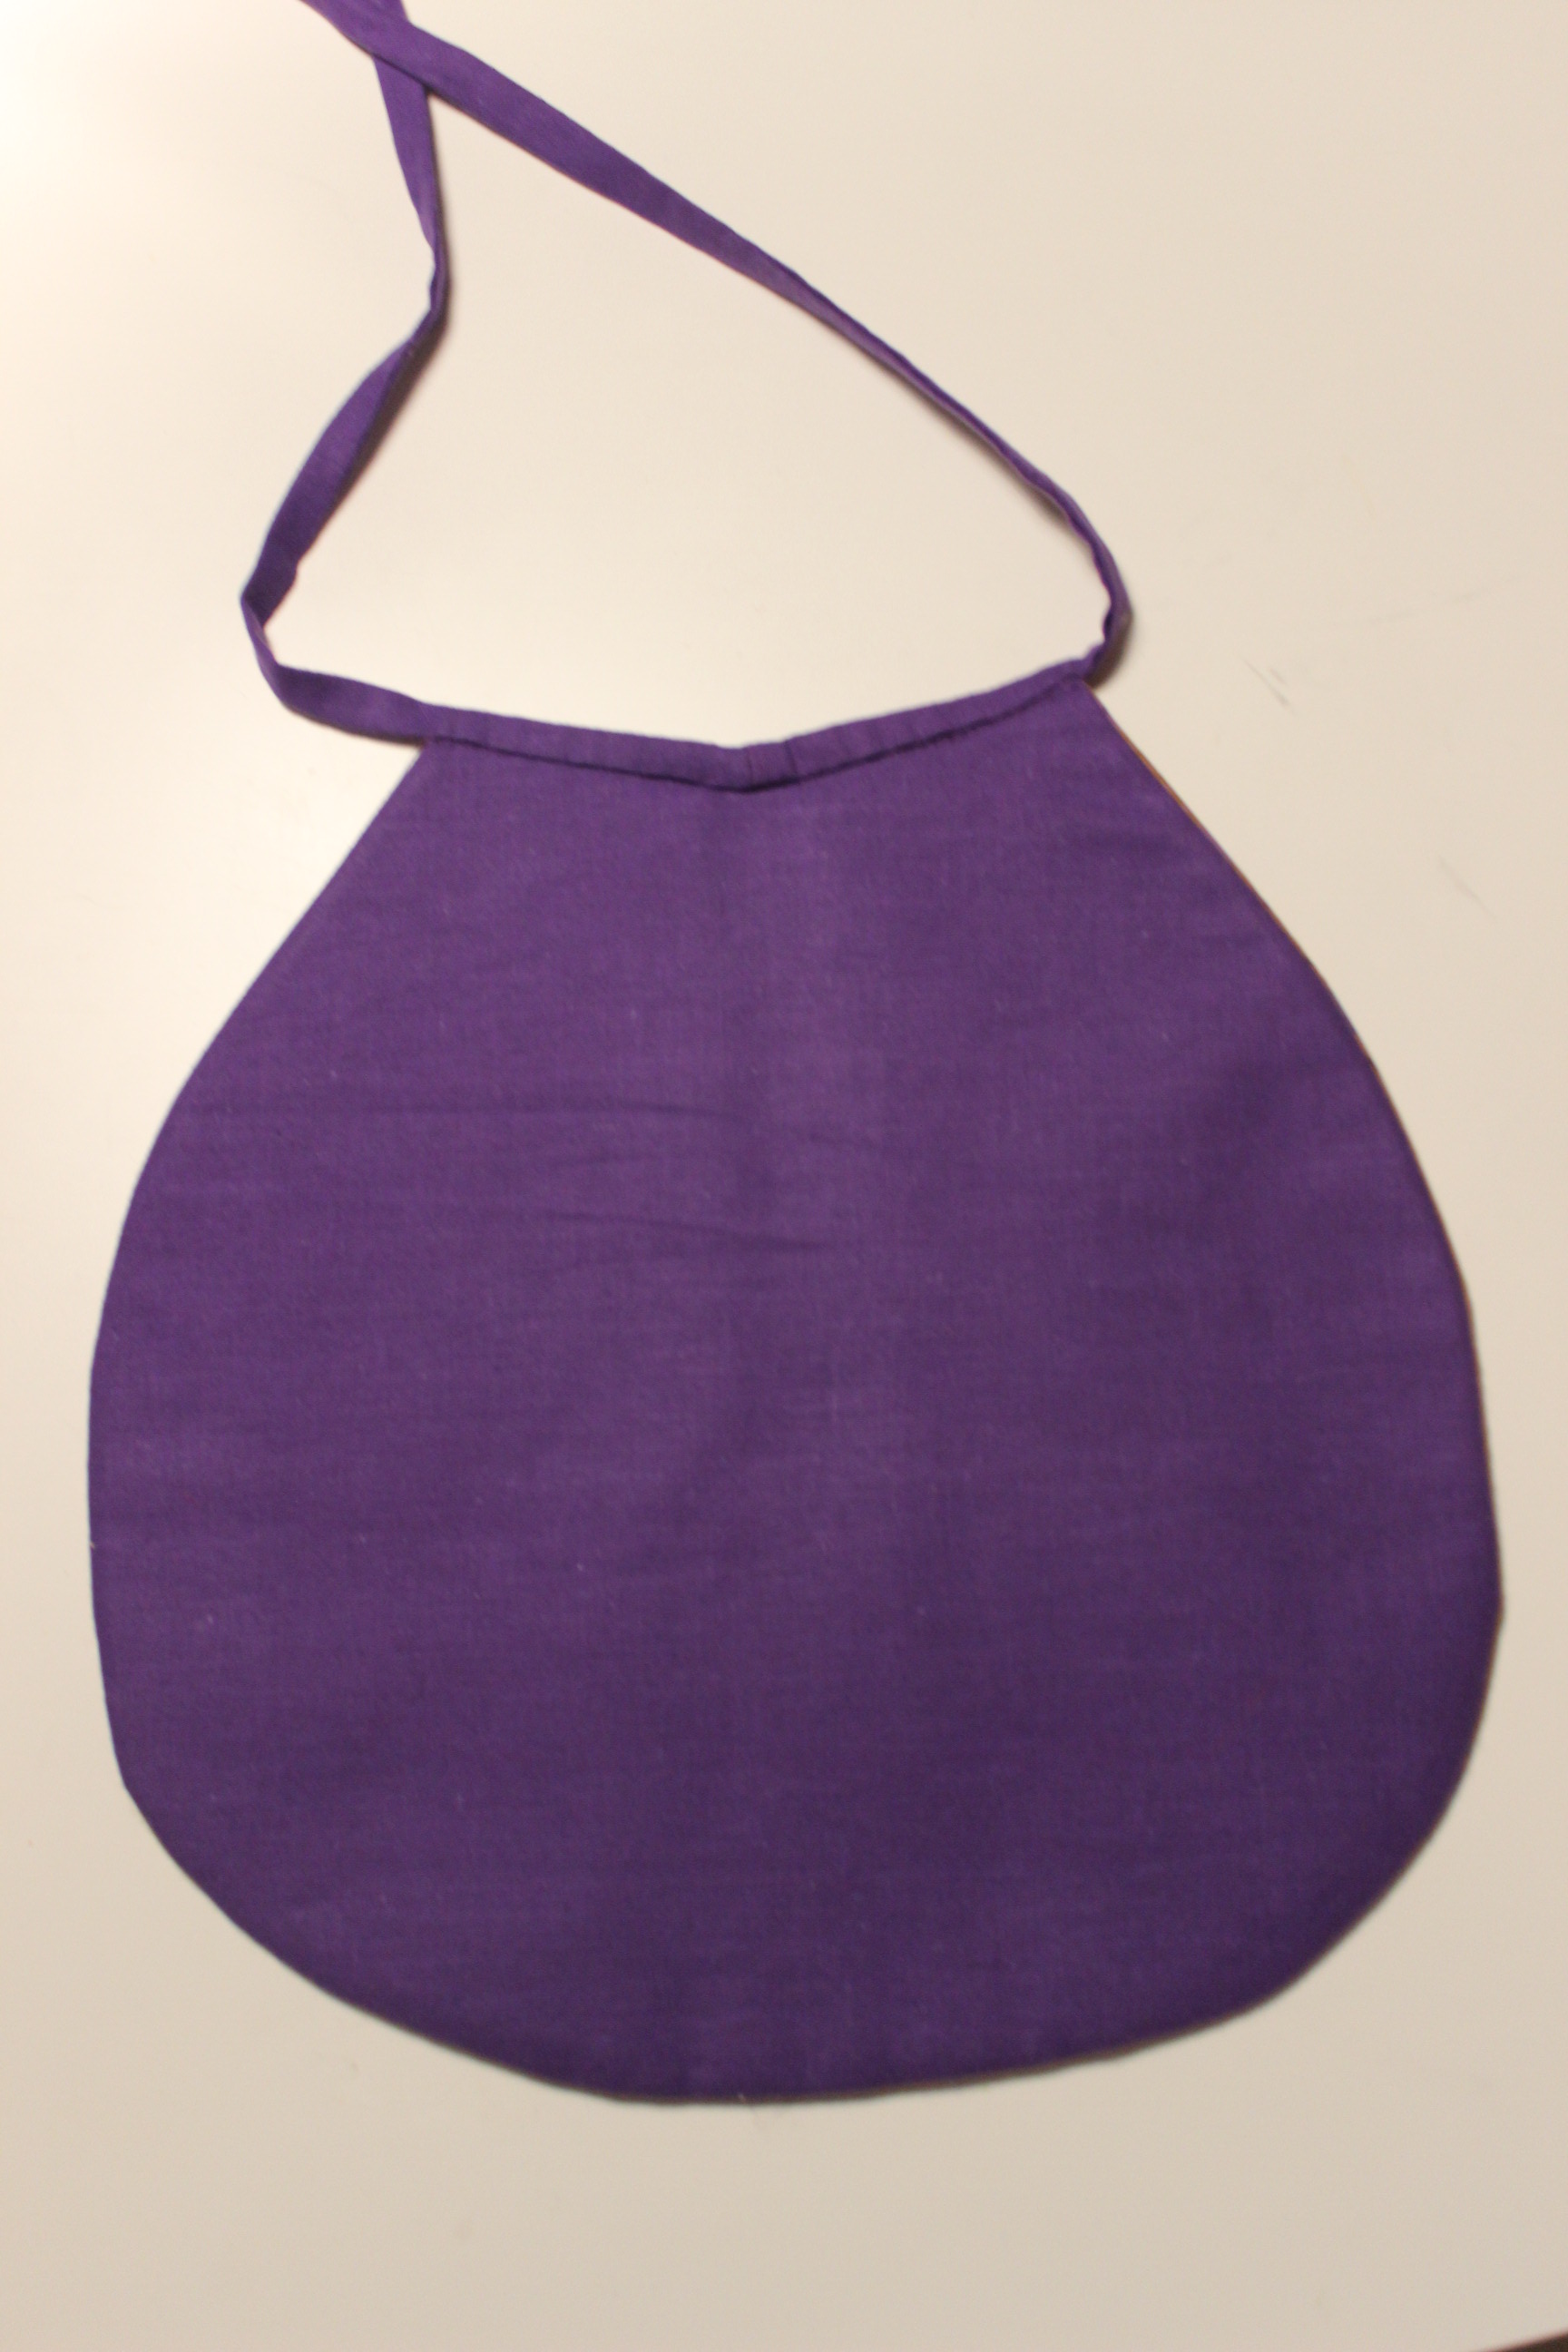
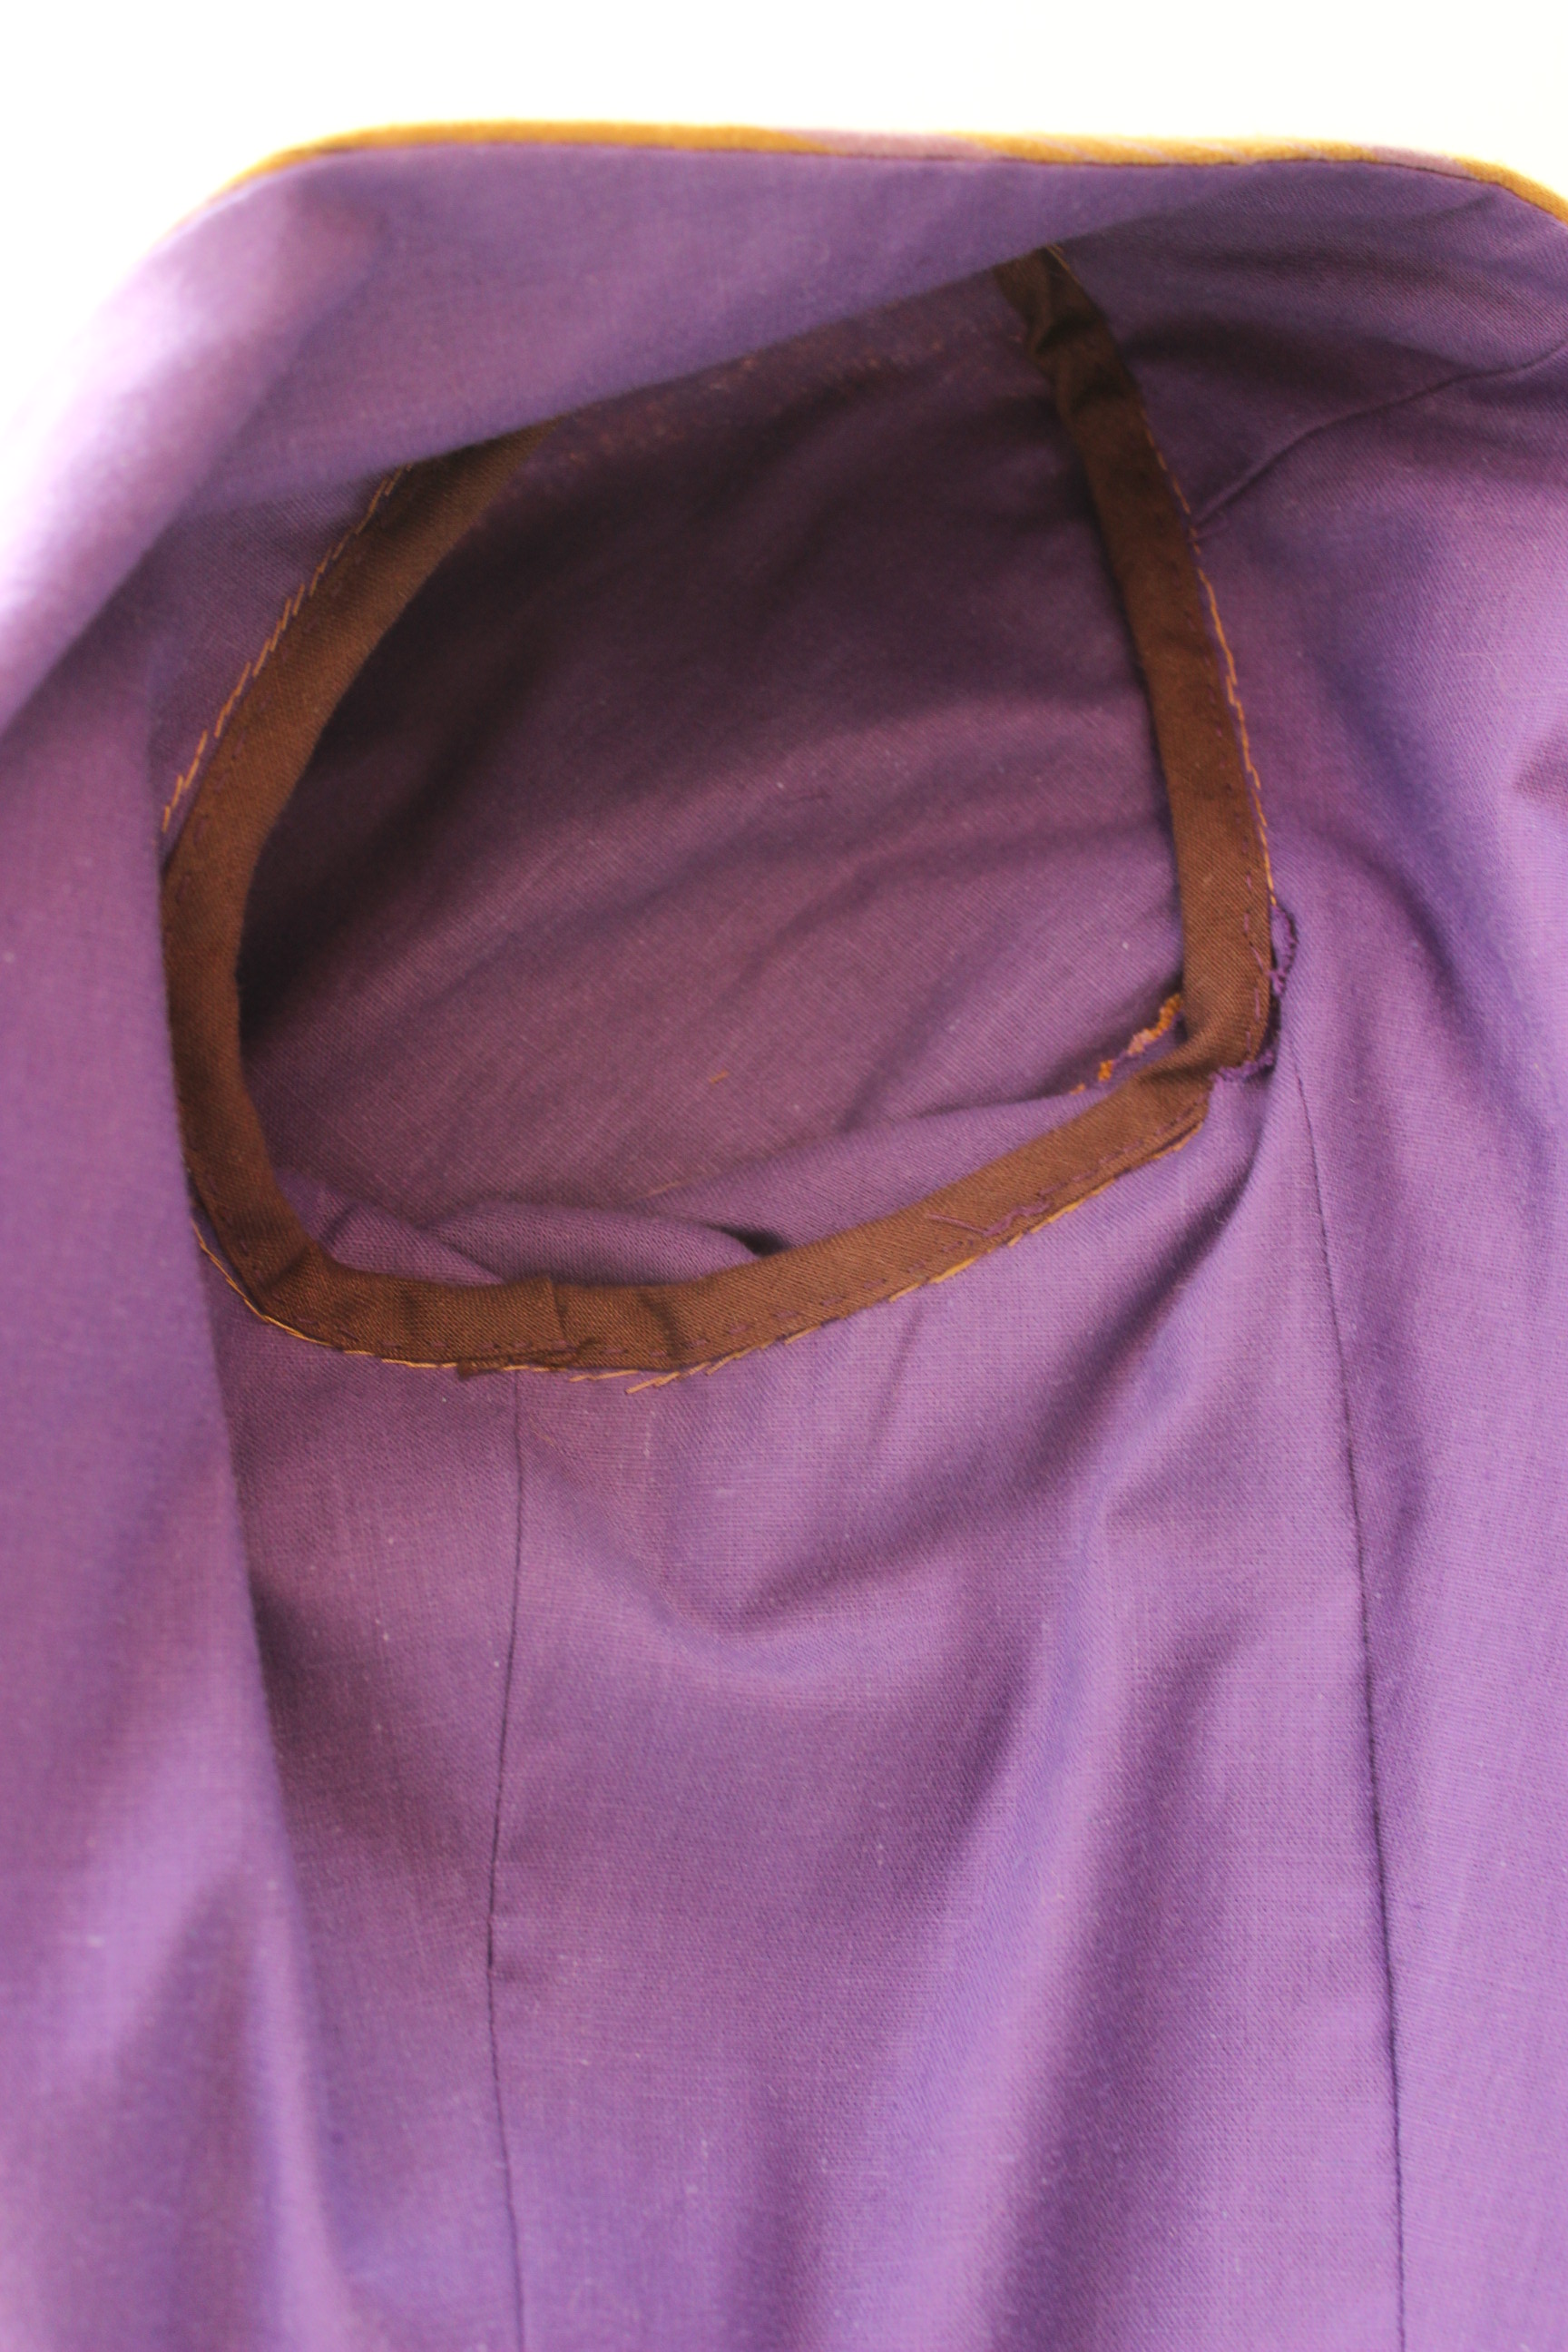
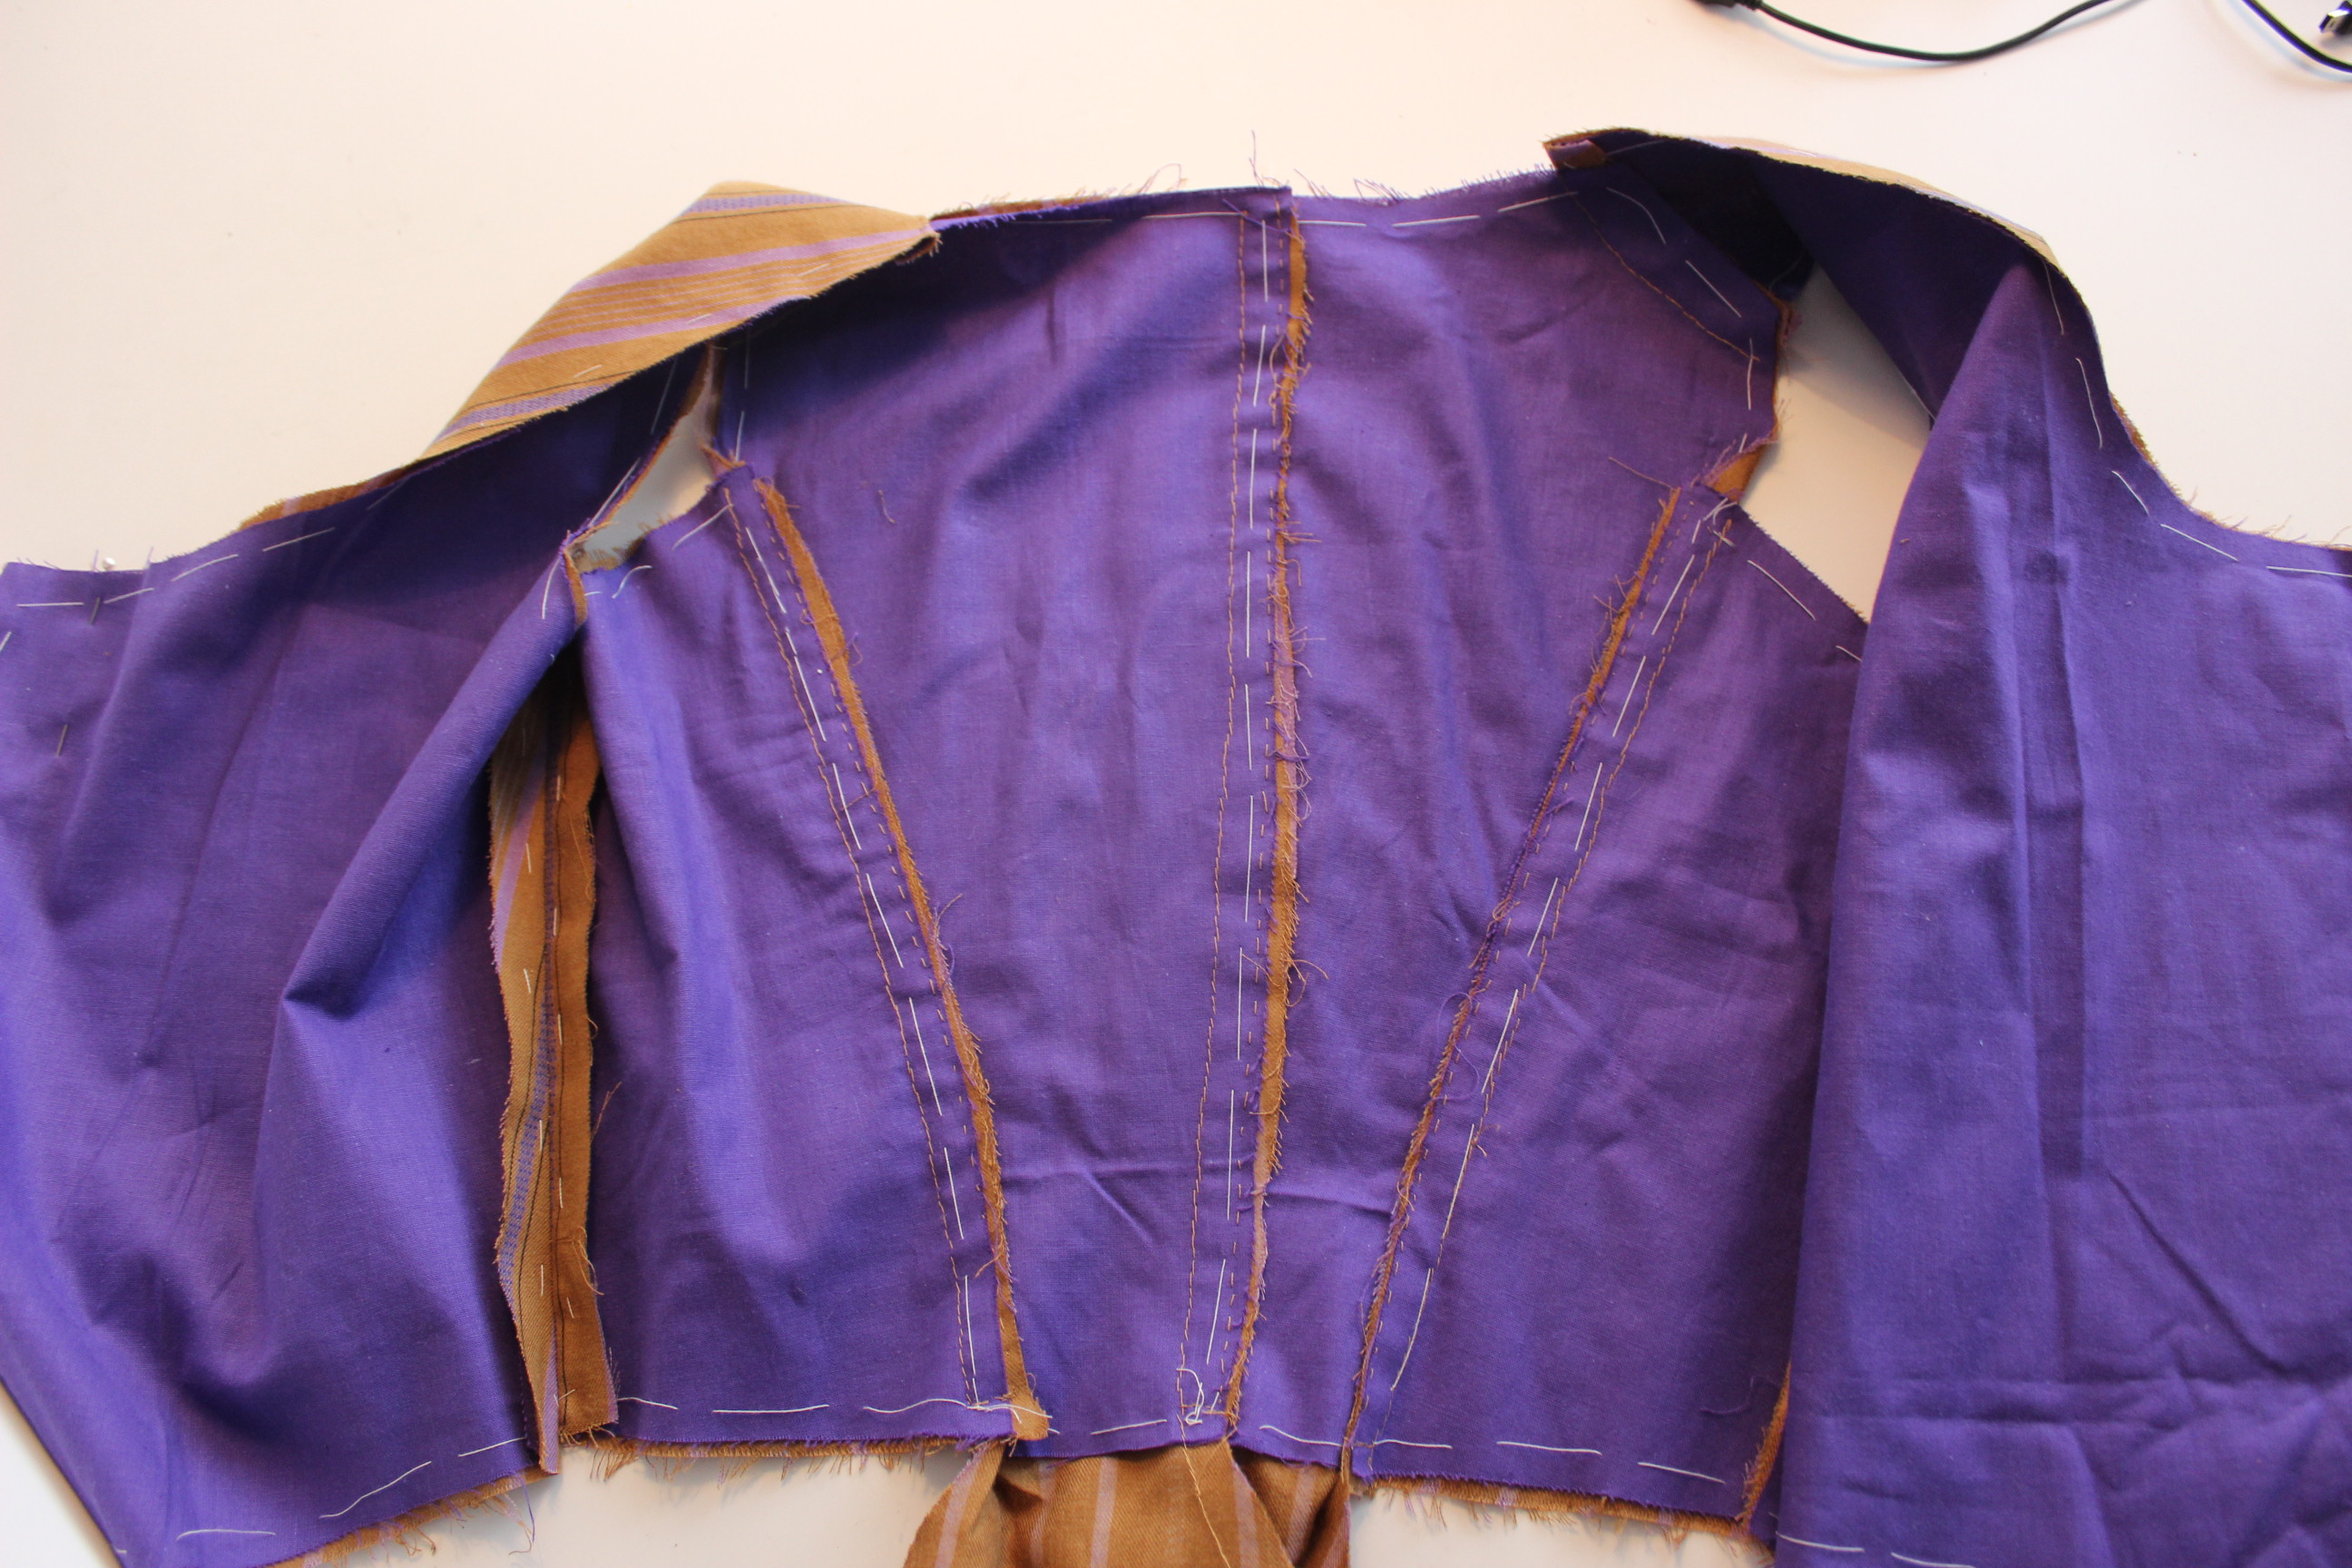
IMG_5893 IMG_5895
IMG_5898
From the inside

Once I knew how to do it the lining was really easy to assemble in the same way.IMG_5899
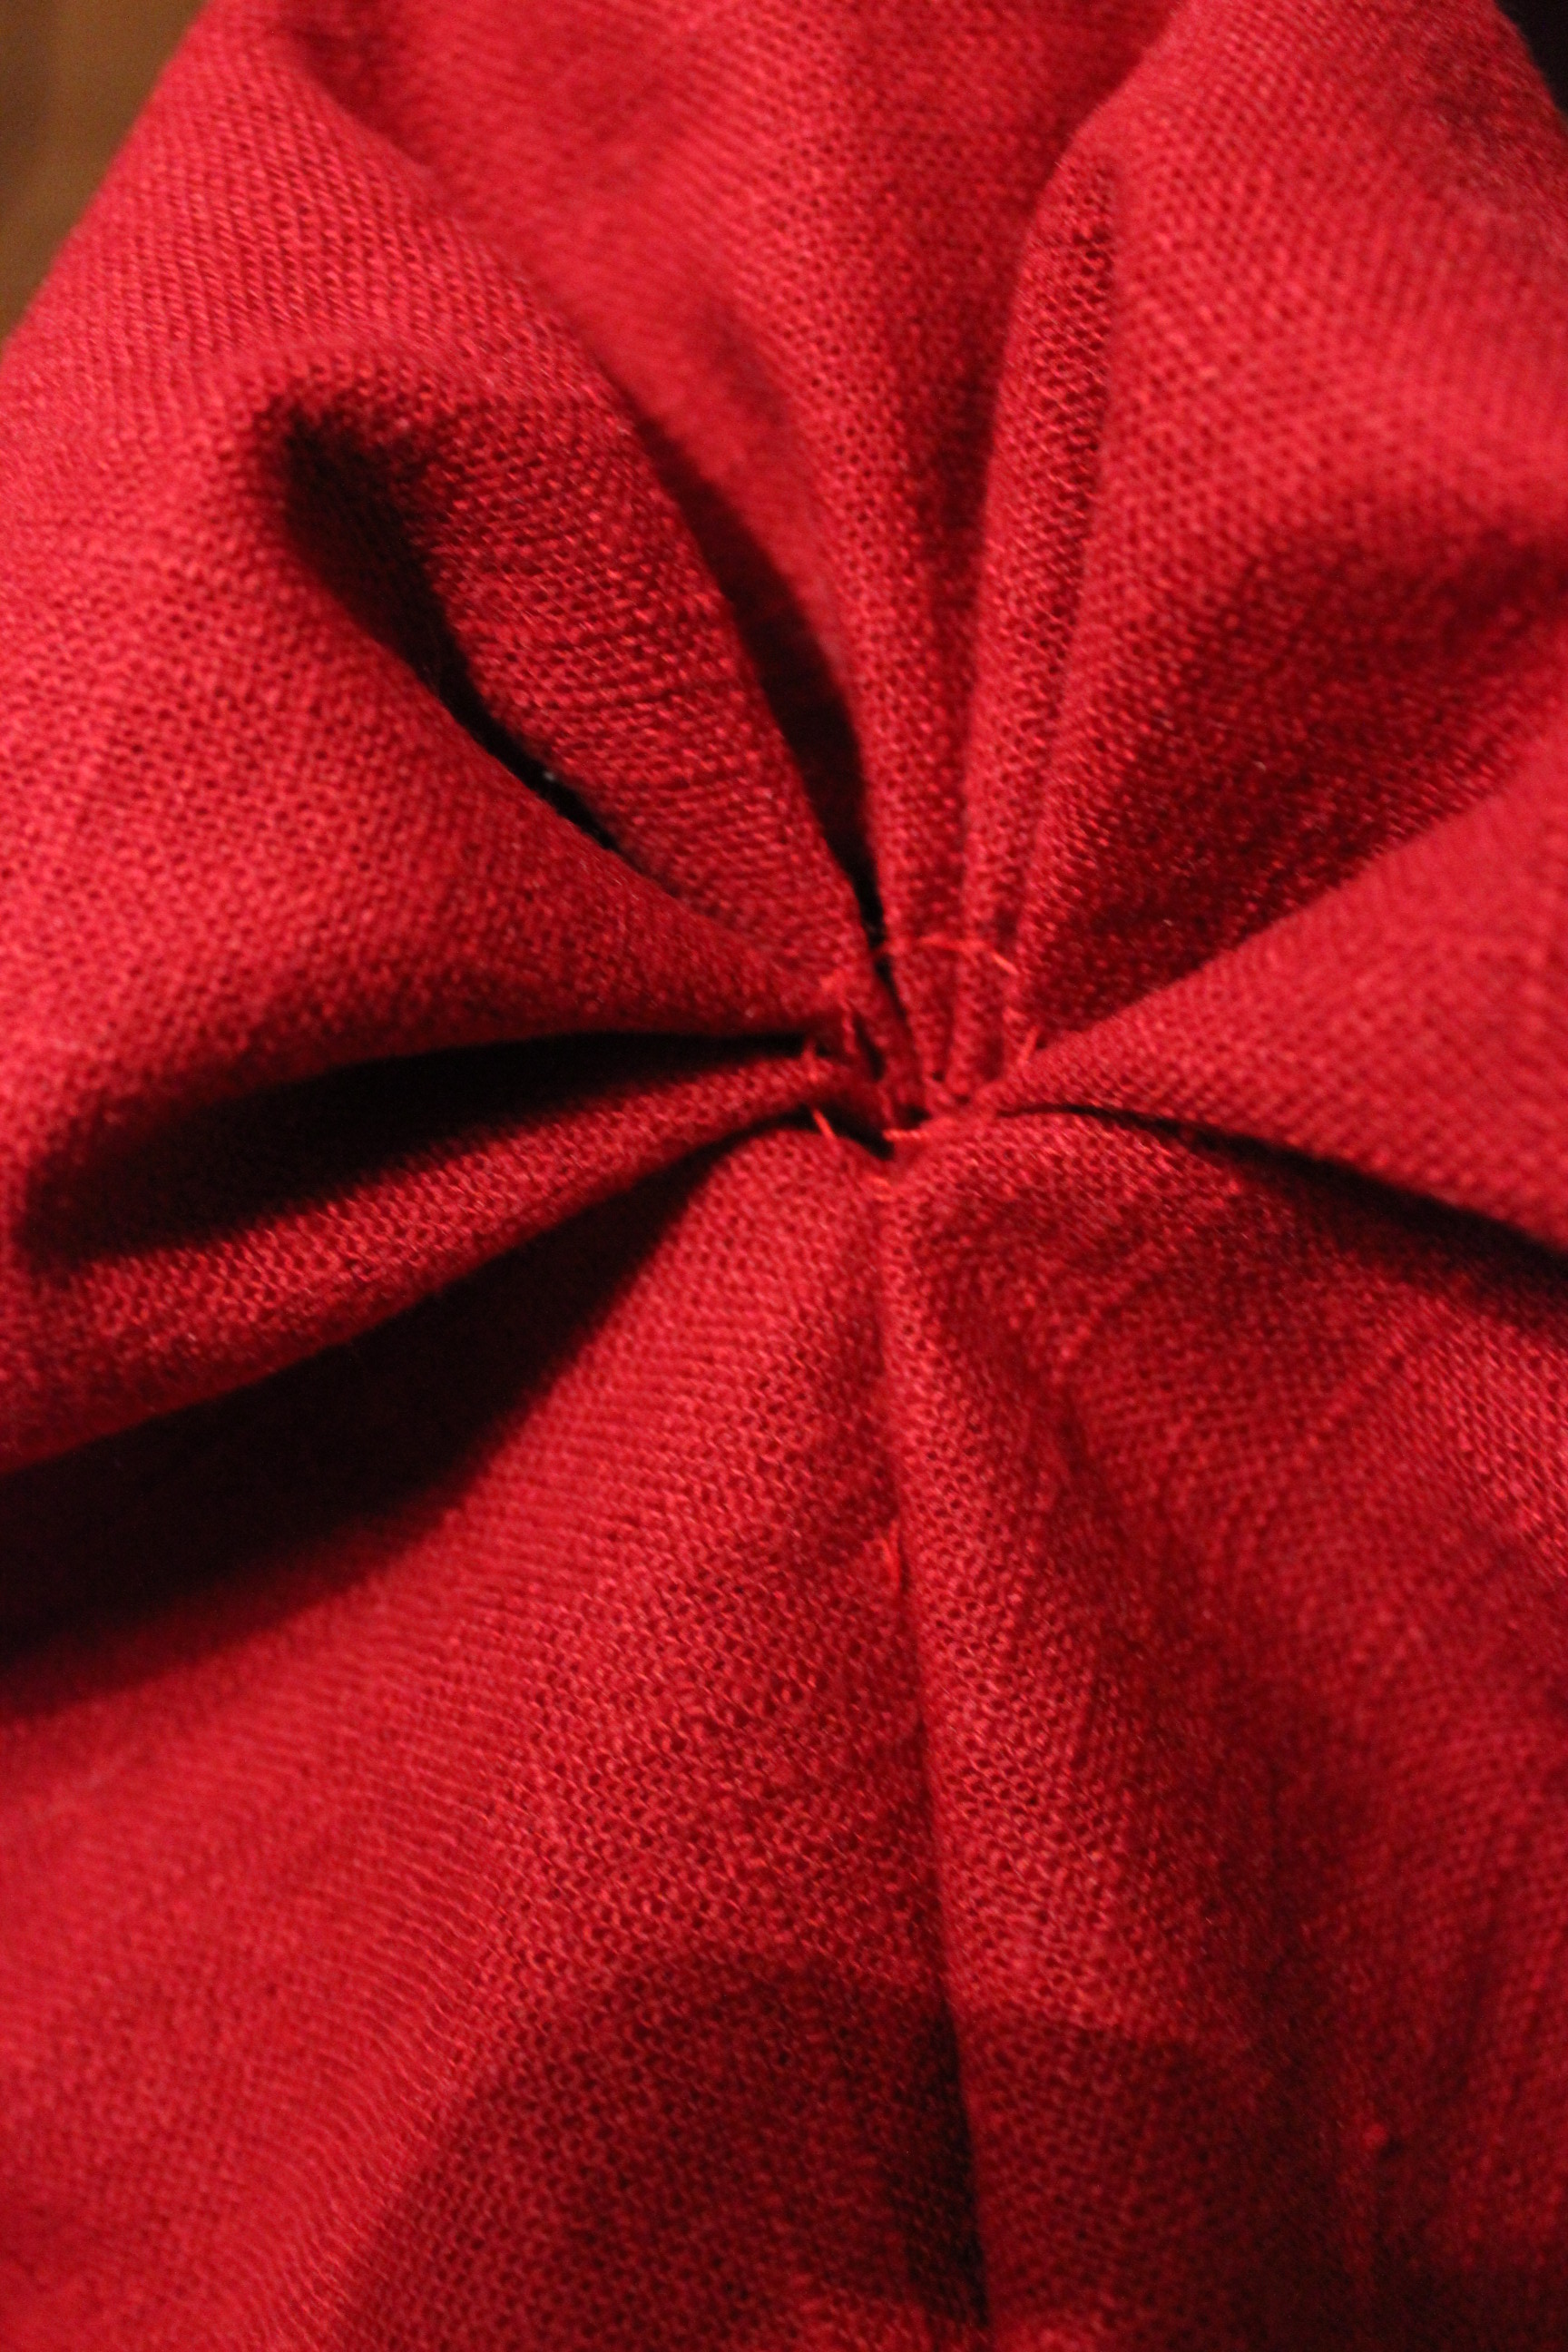
Even though the look of the folds in the thinner linen was a bit different.

IMG_6082
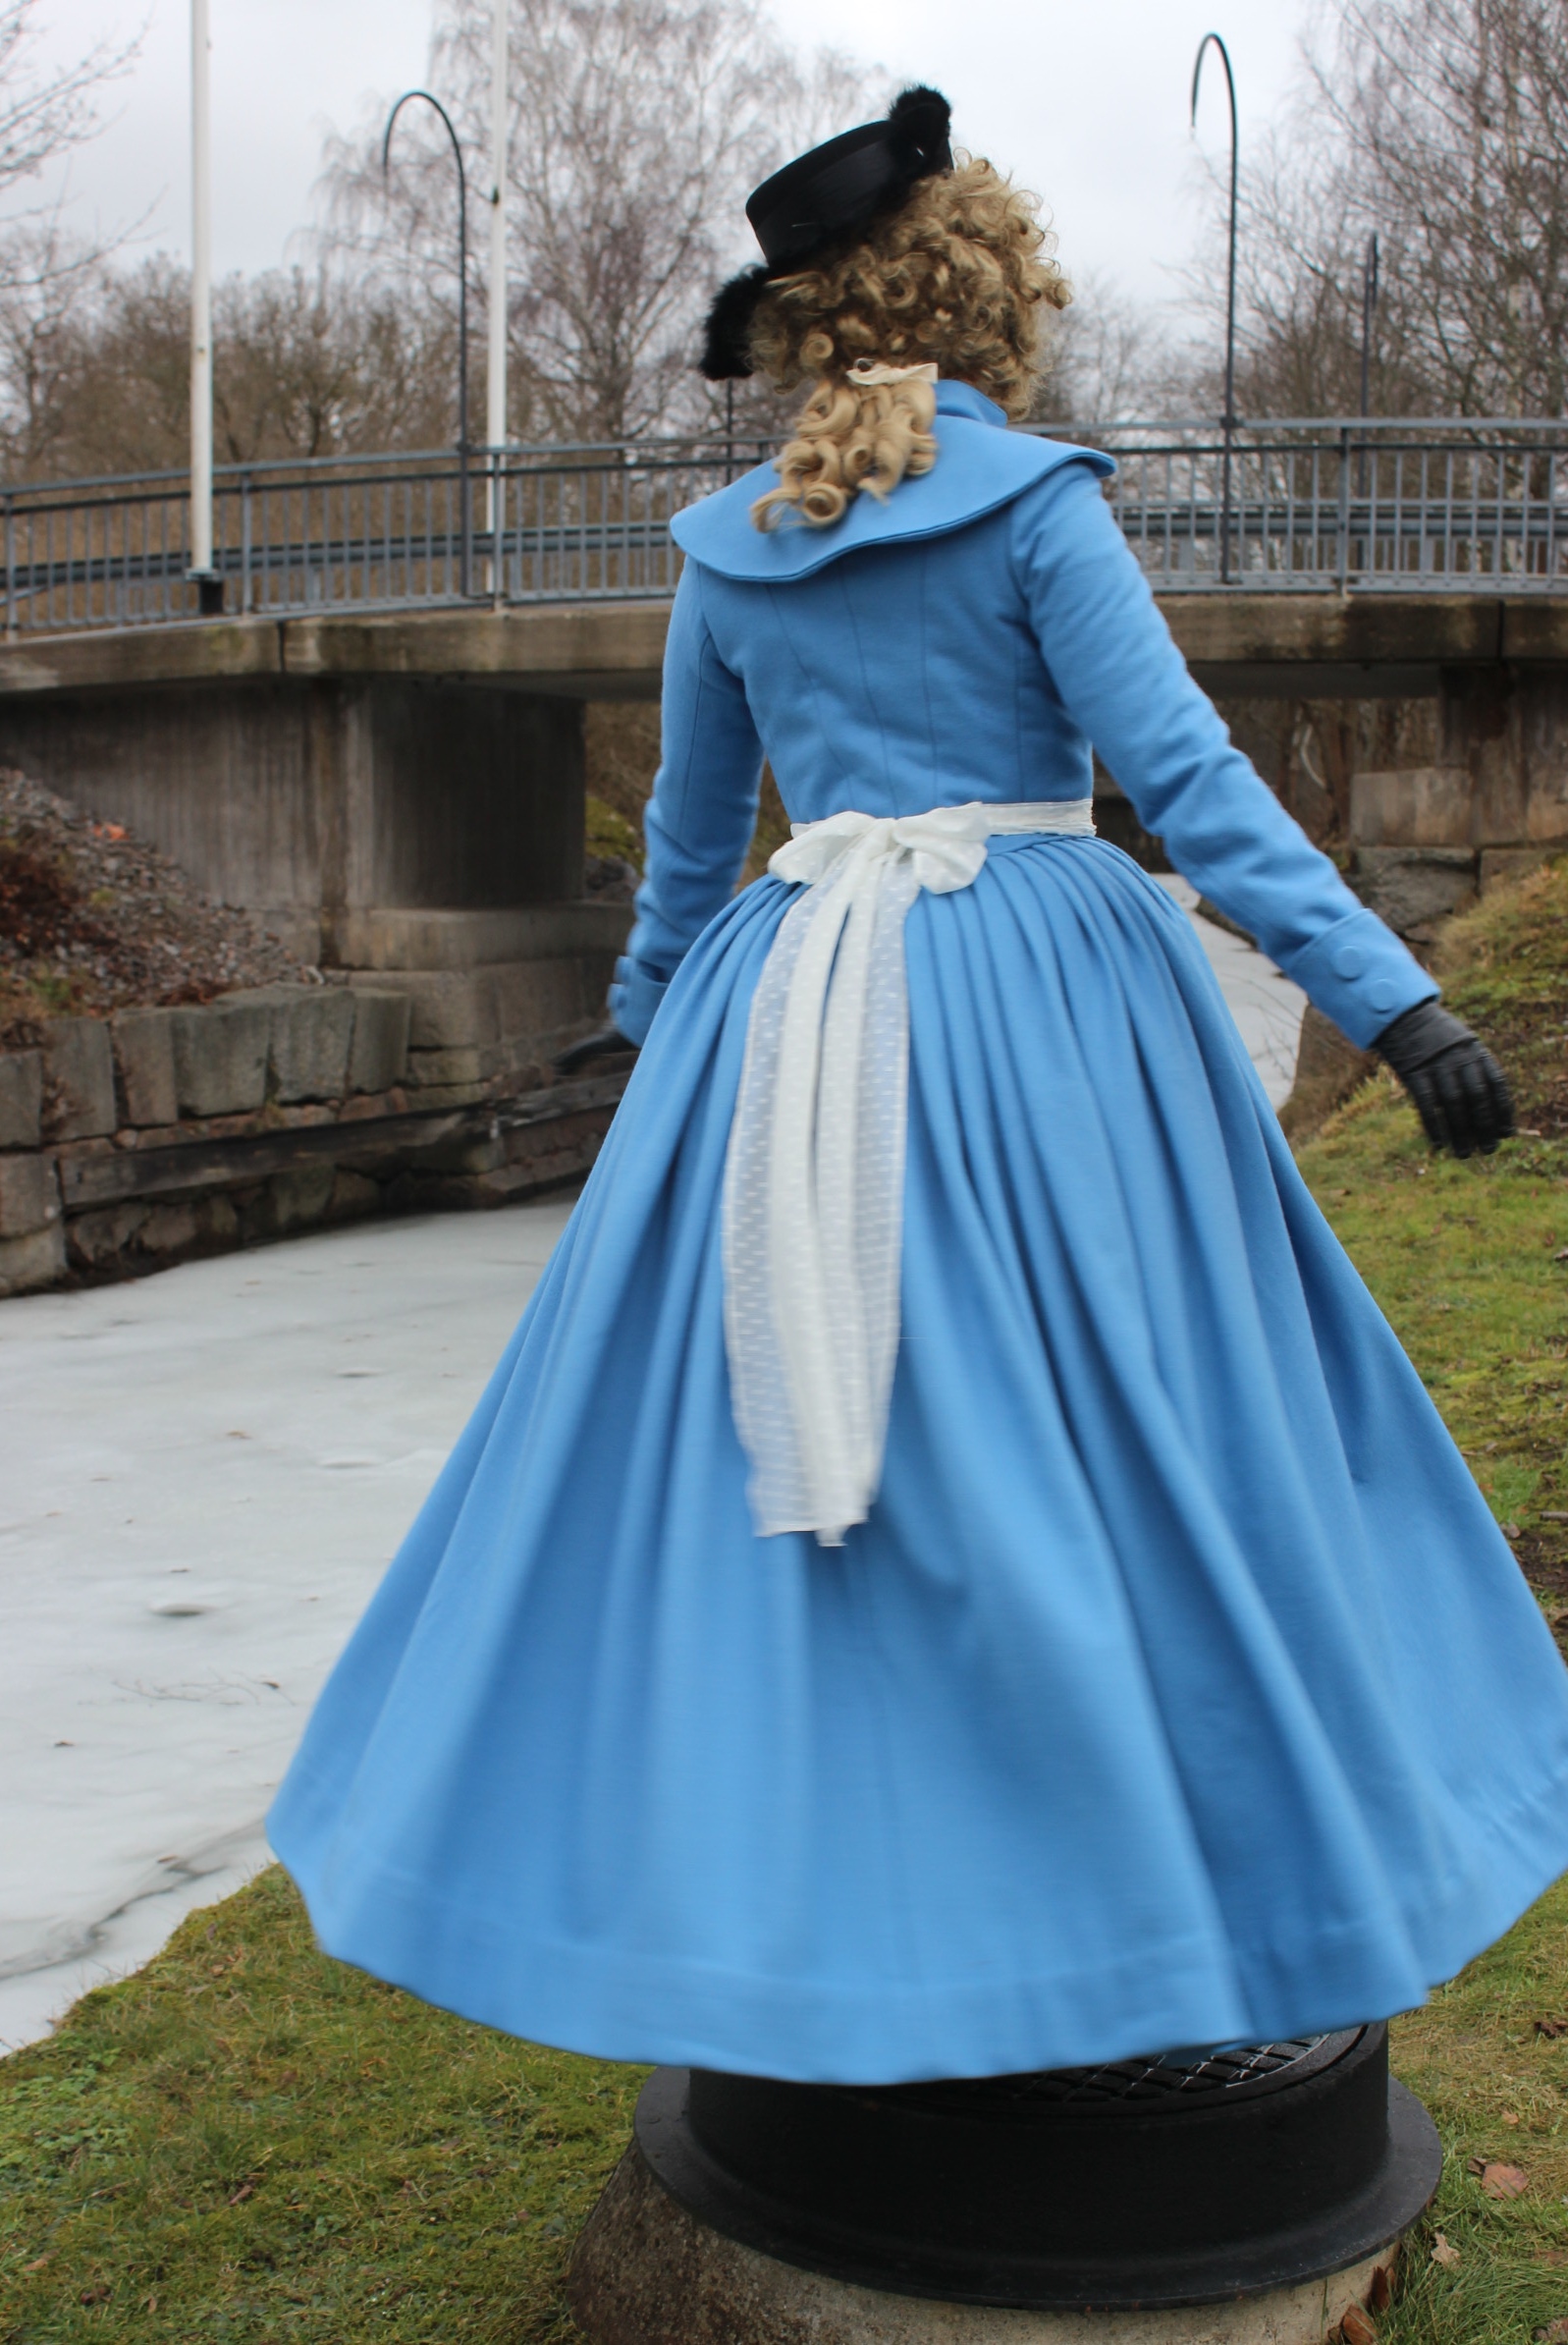
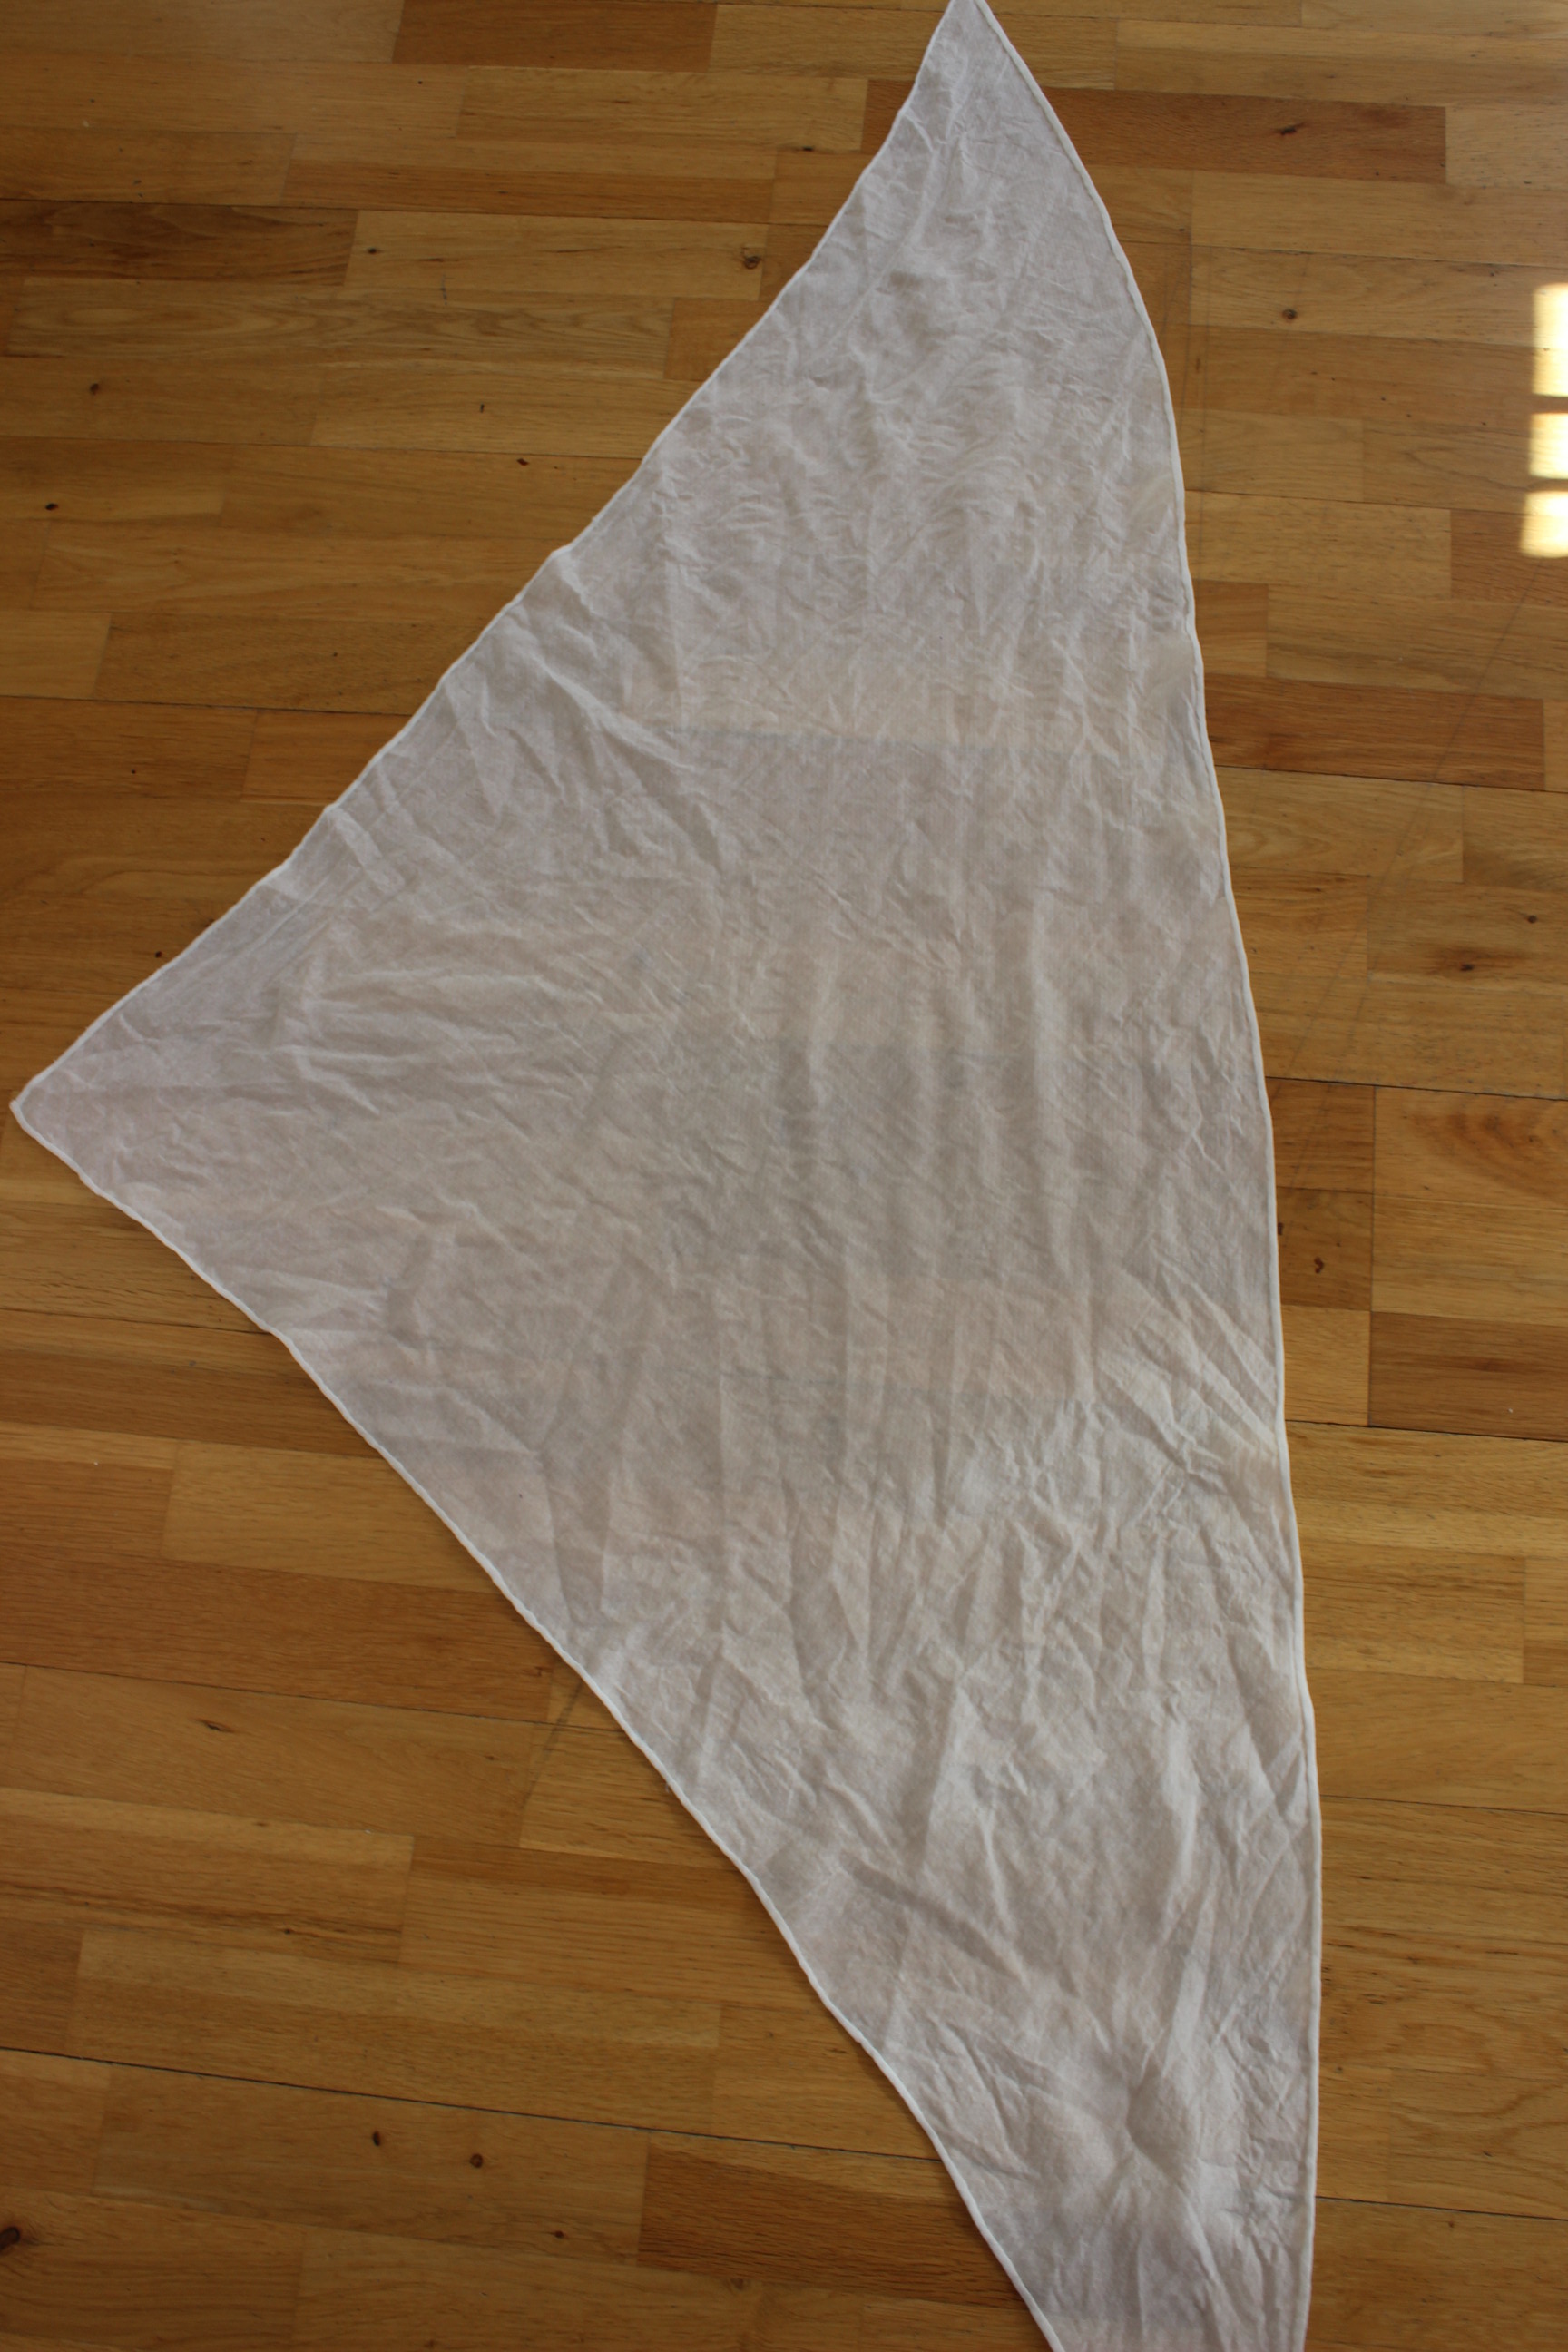
It is huge, laying on the floor like this.
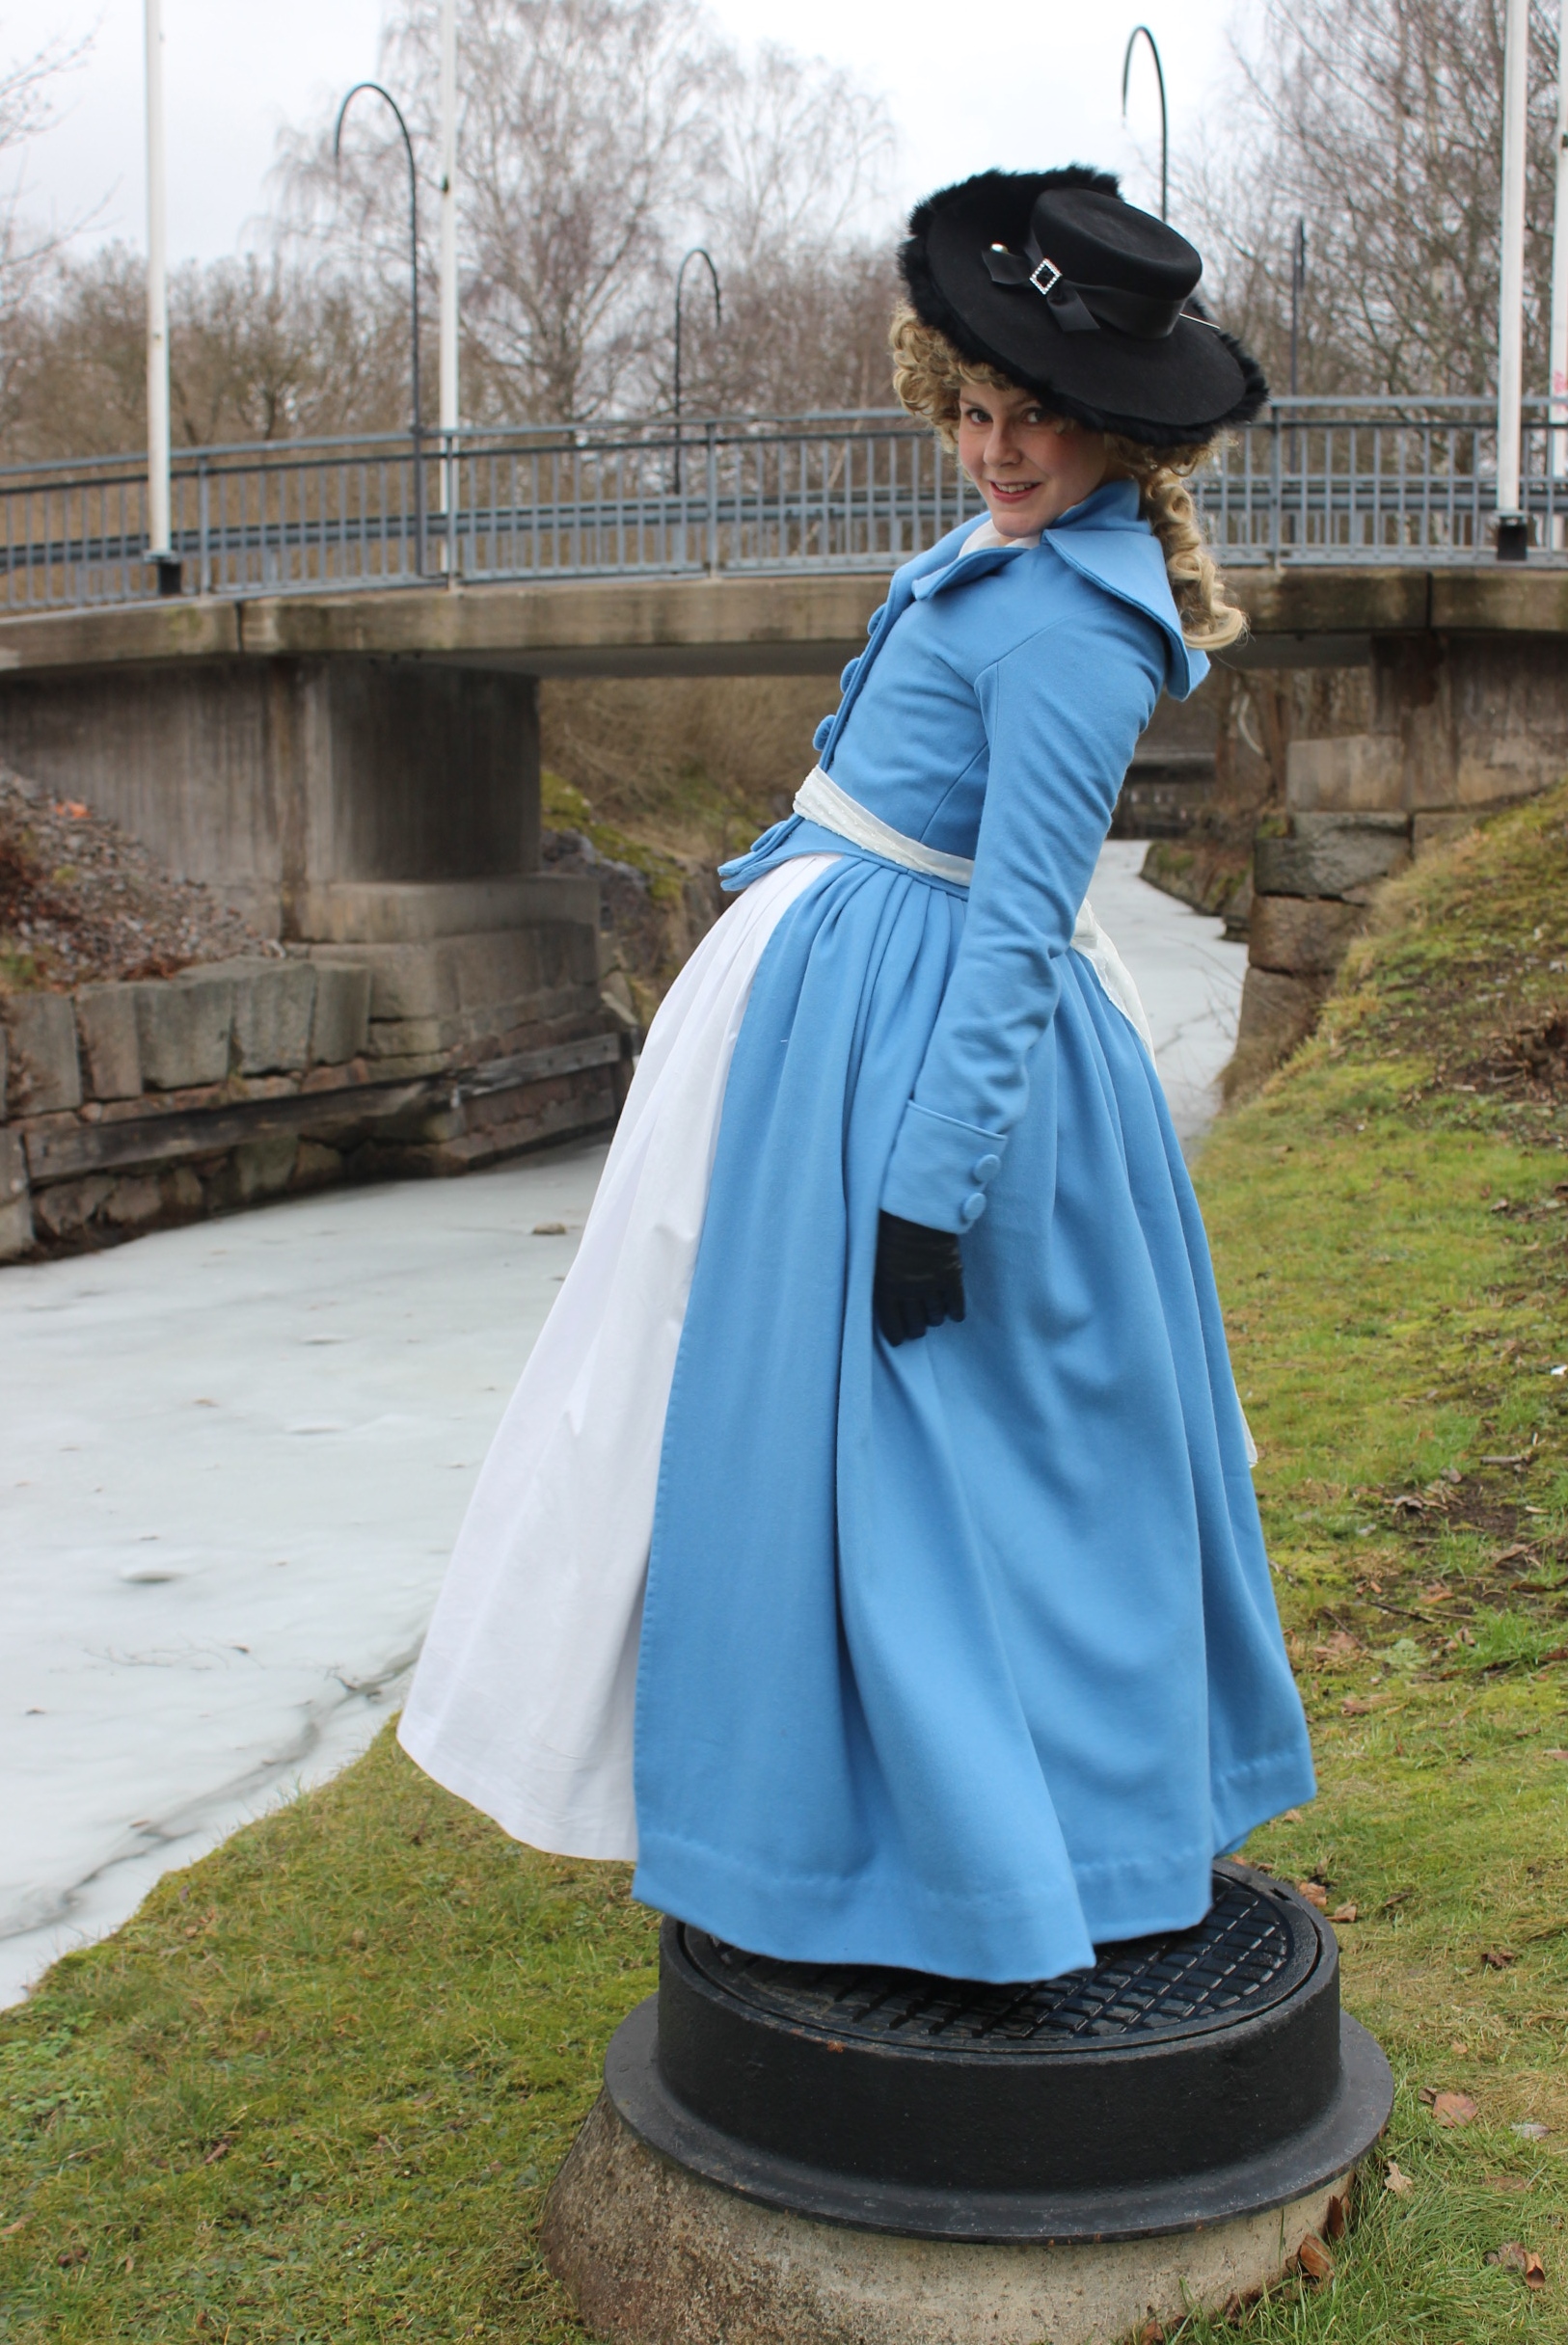
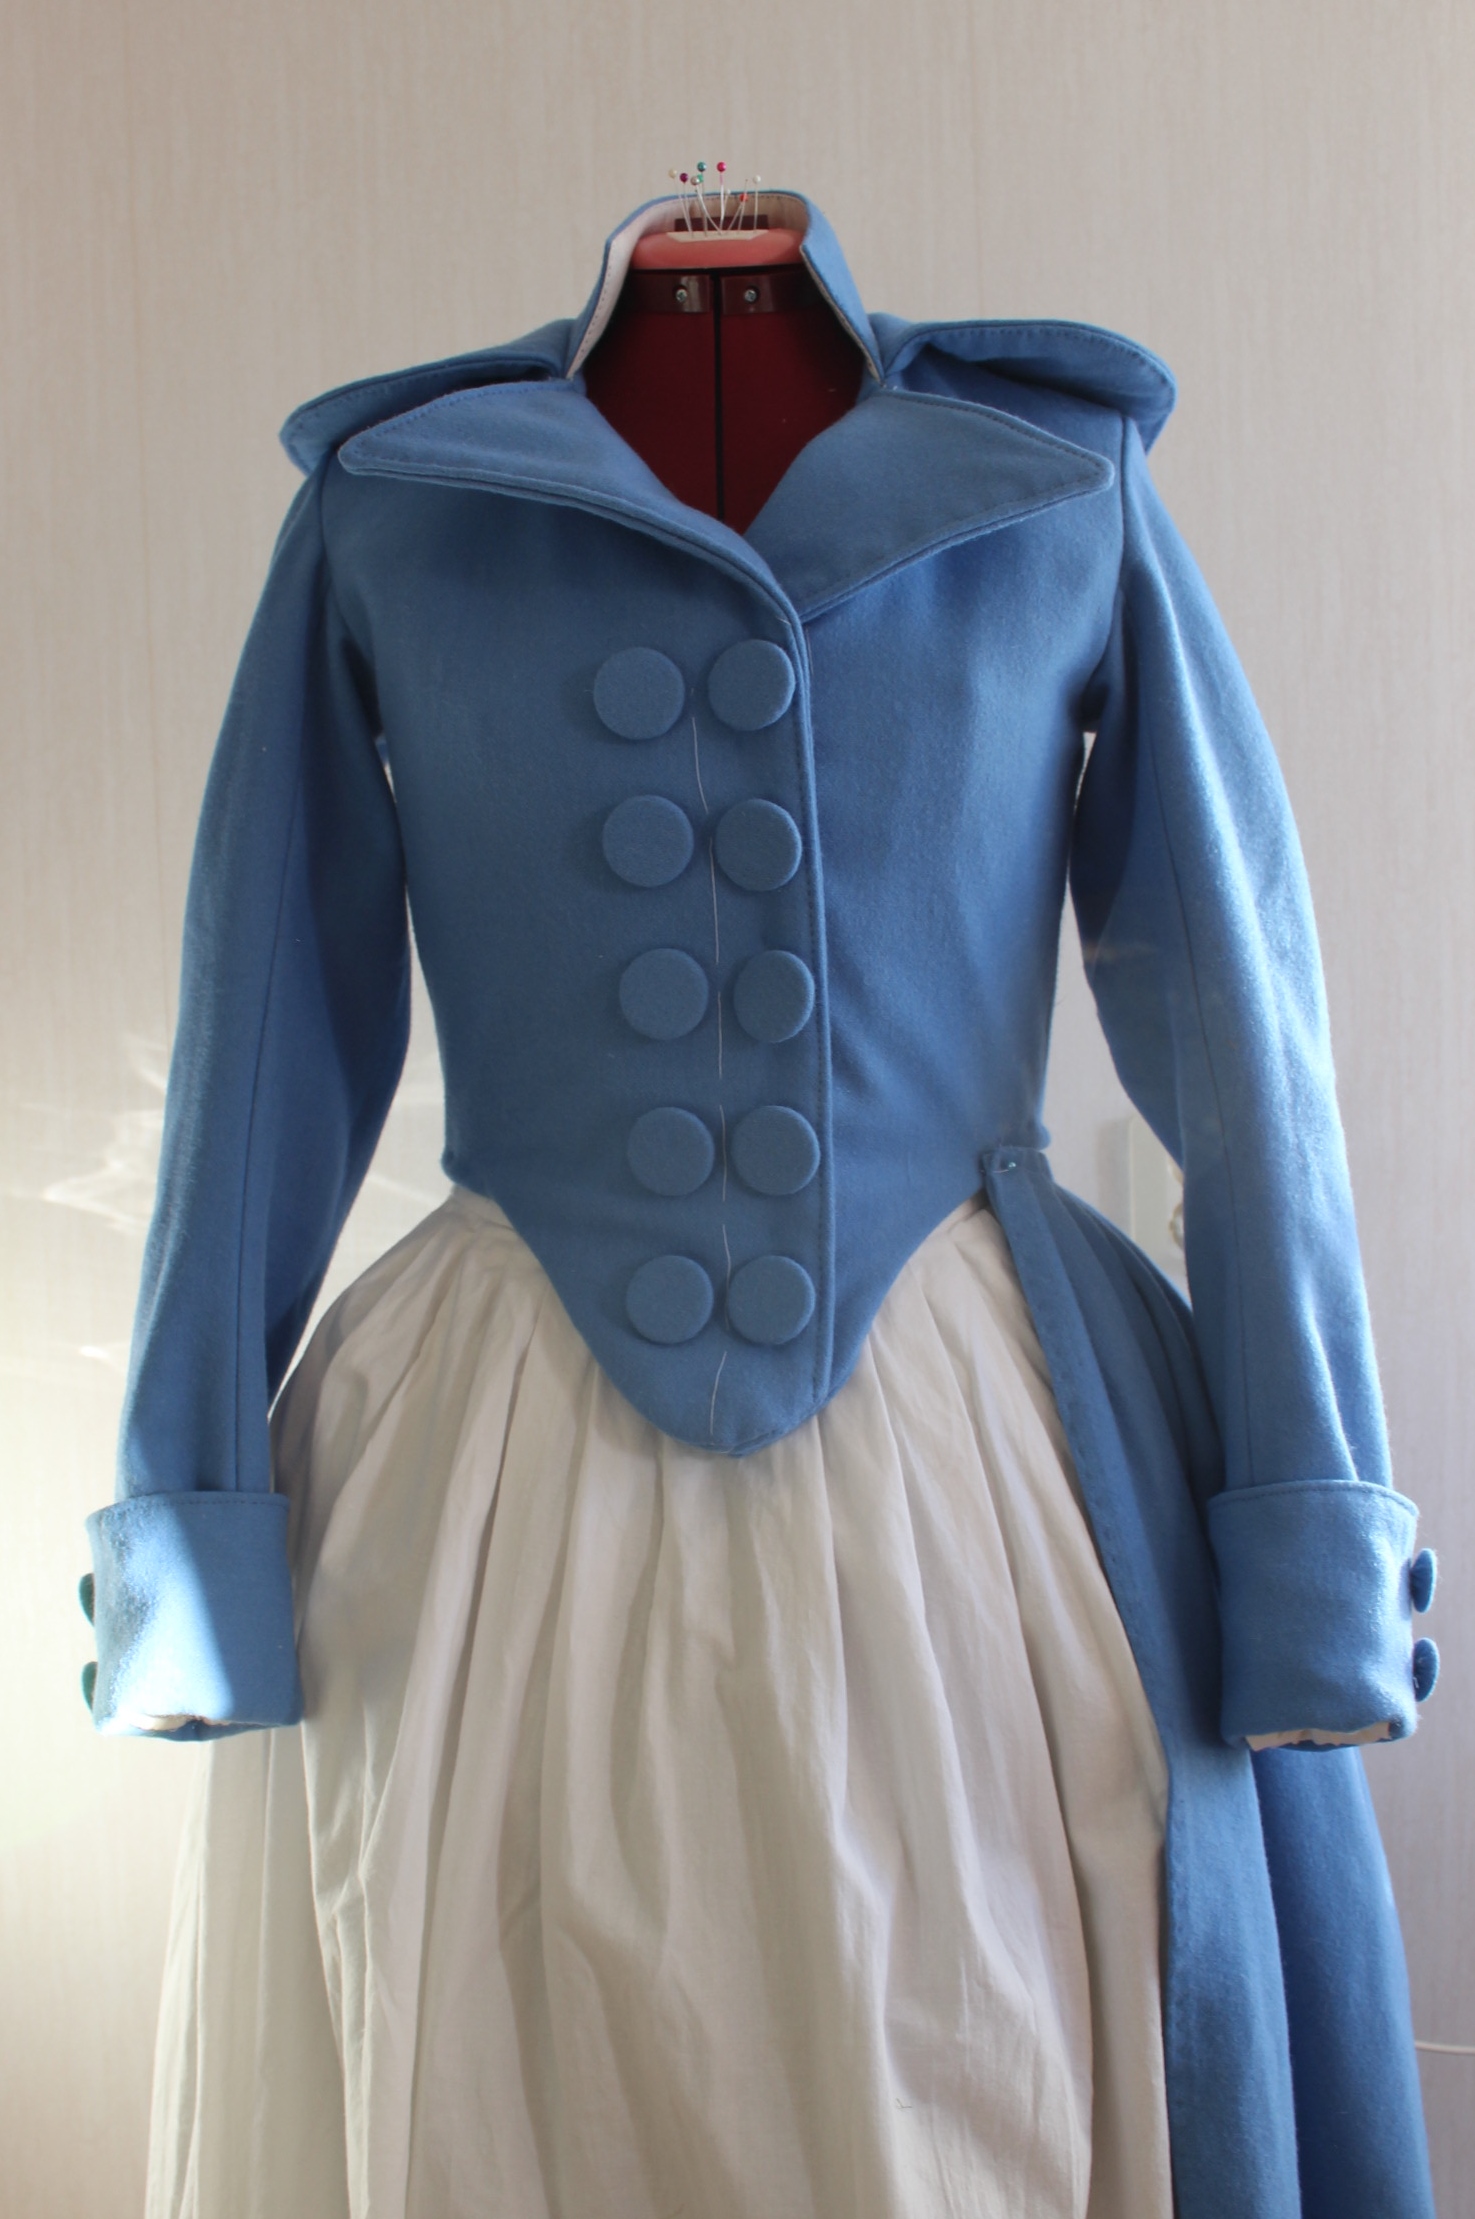
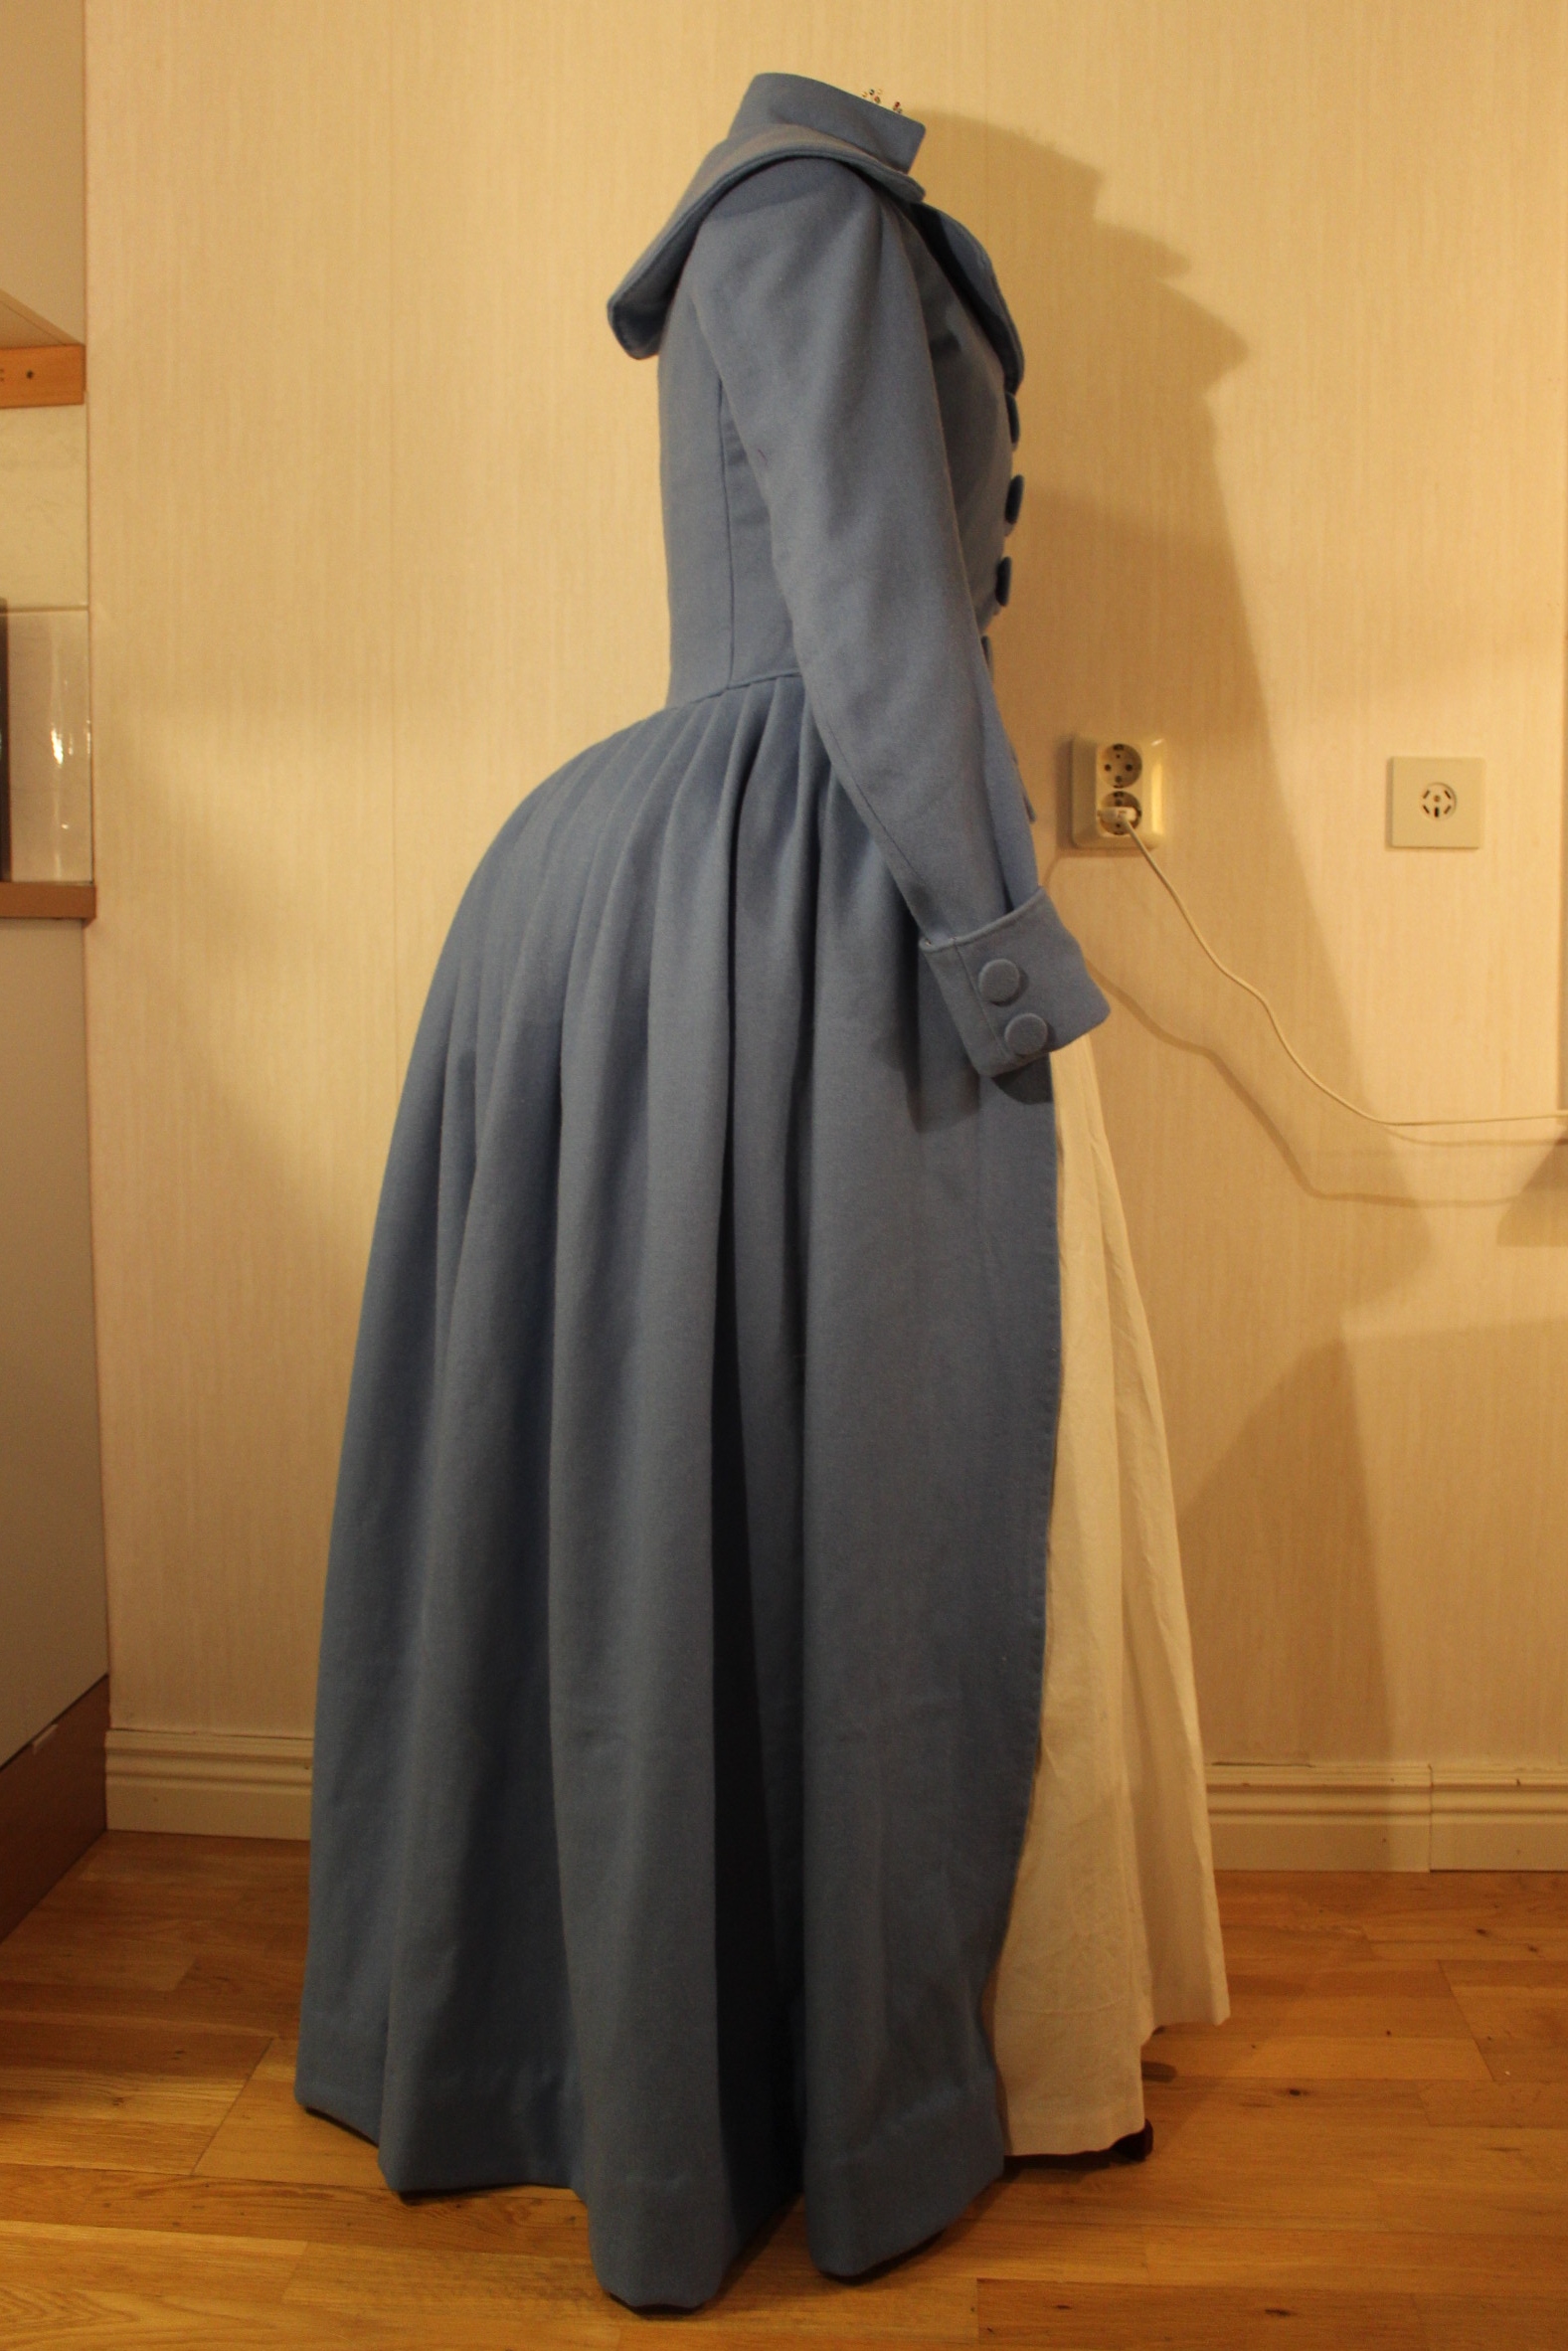
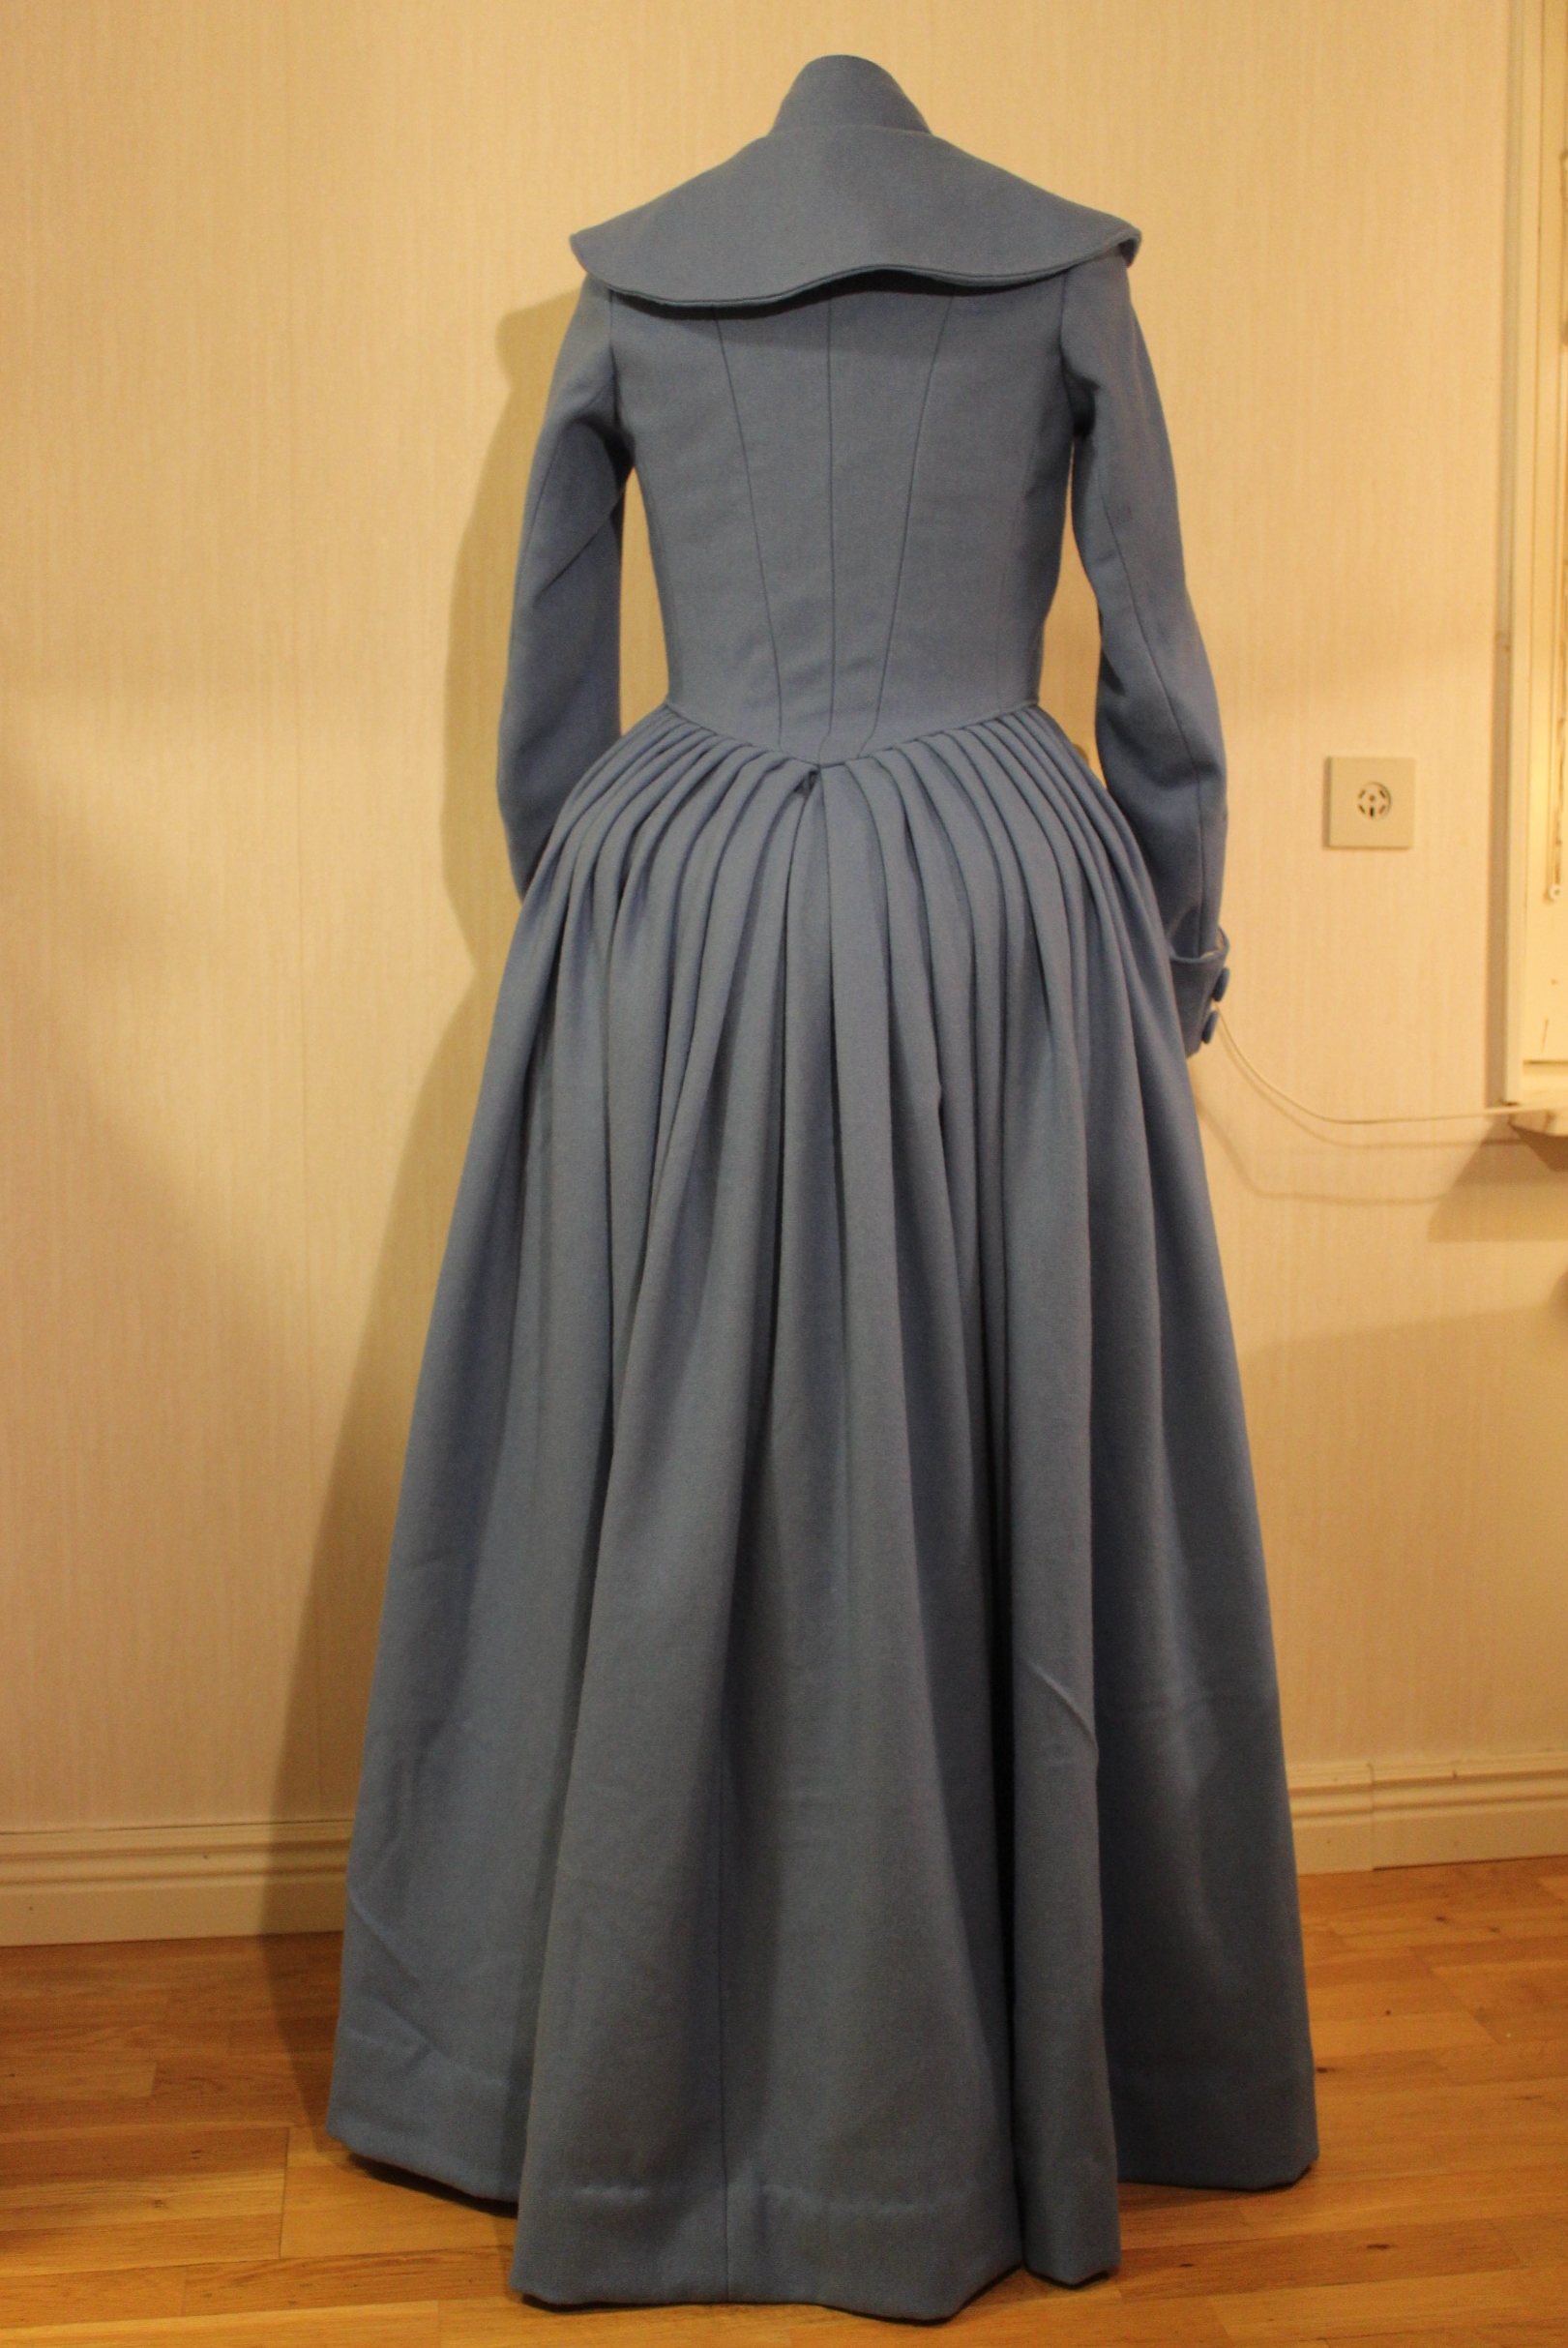
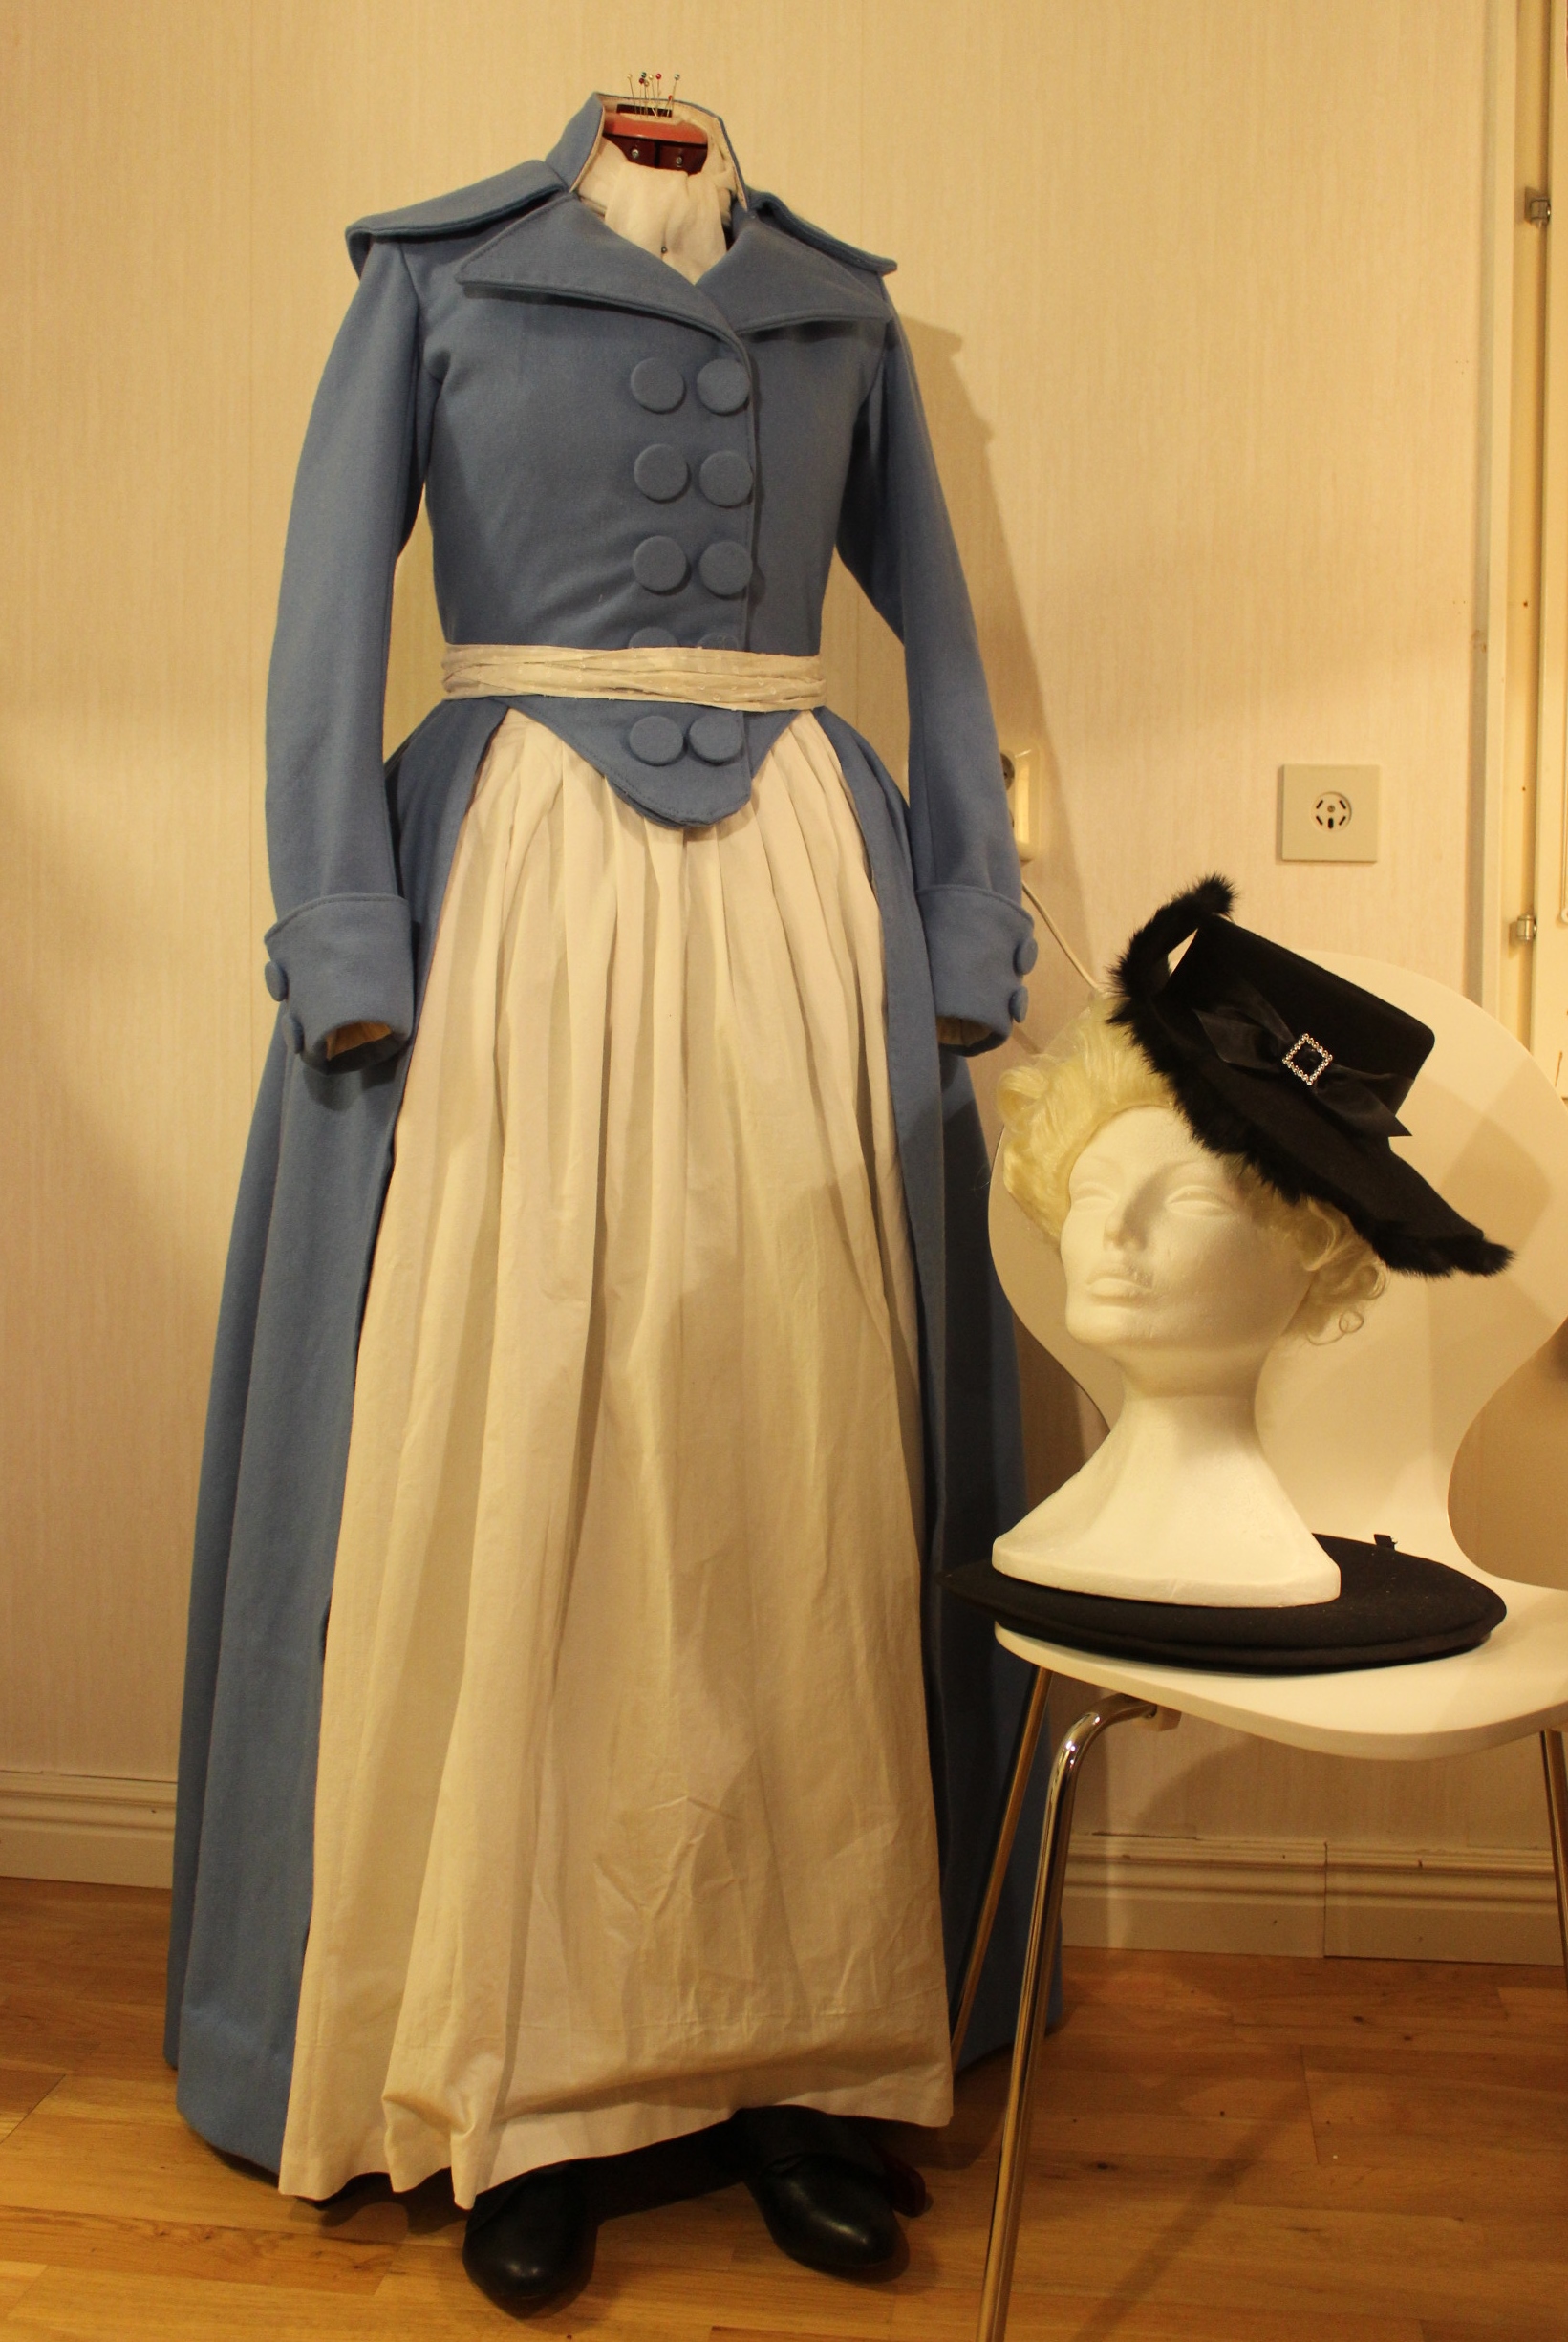
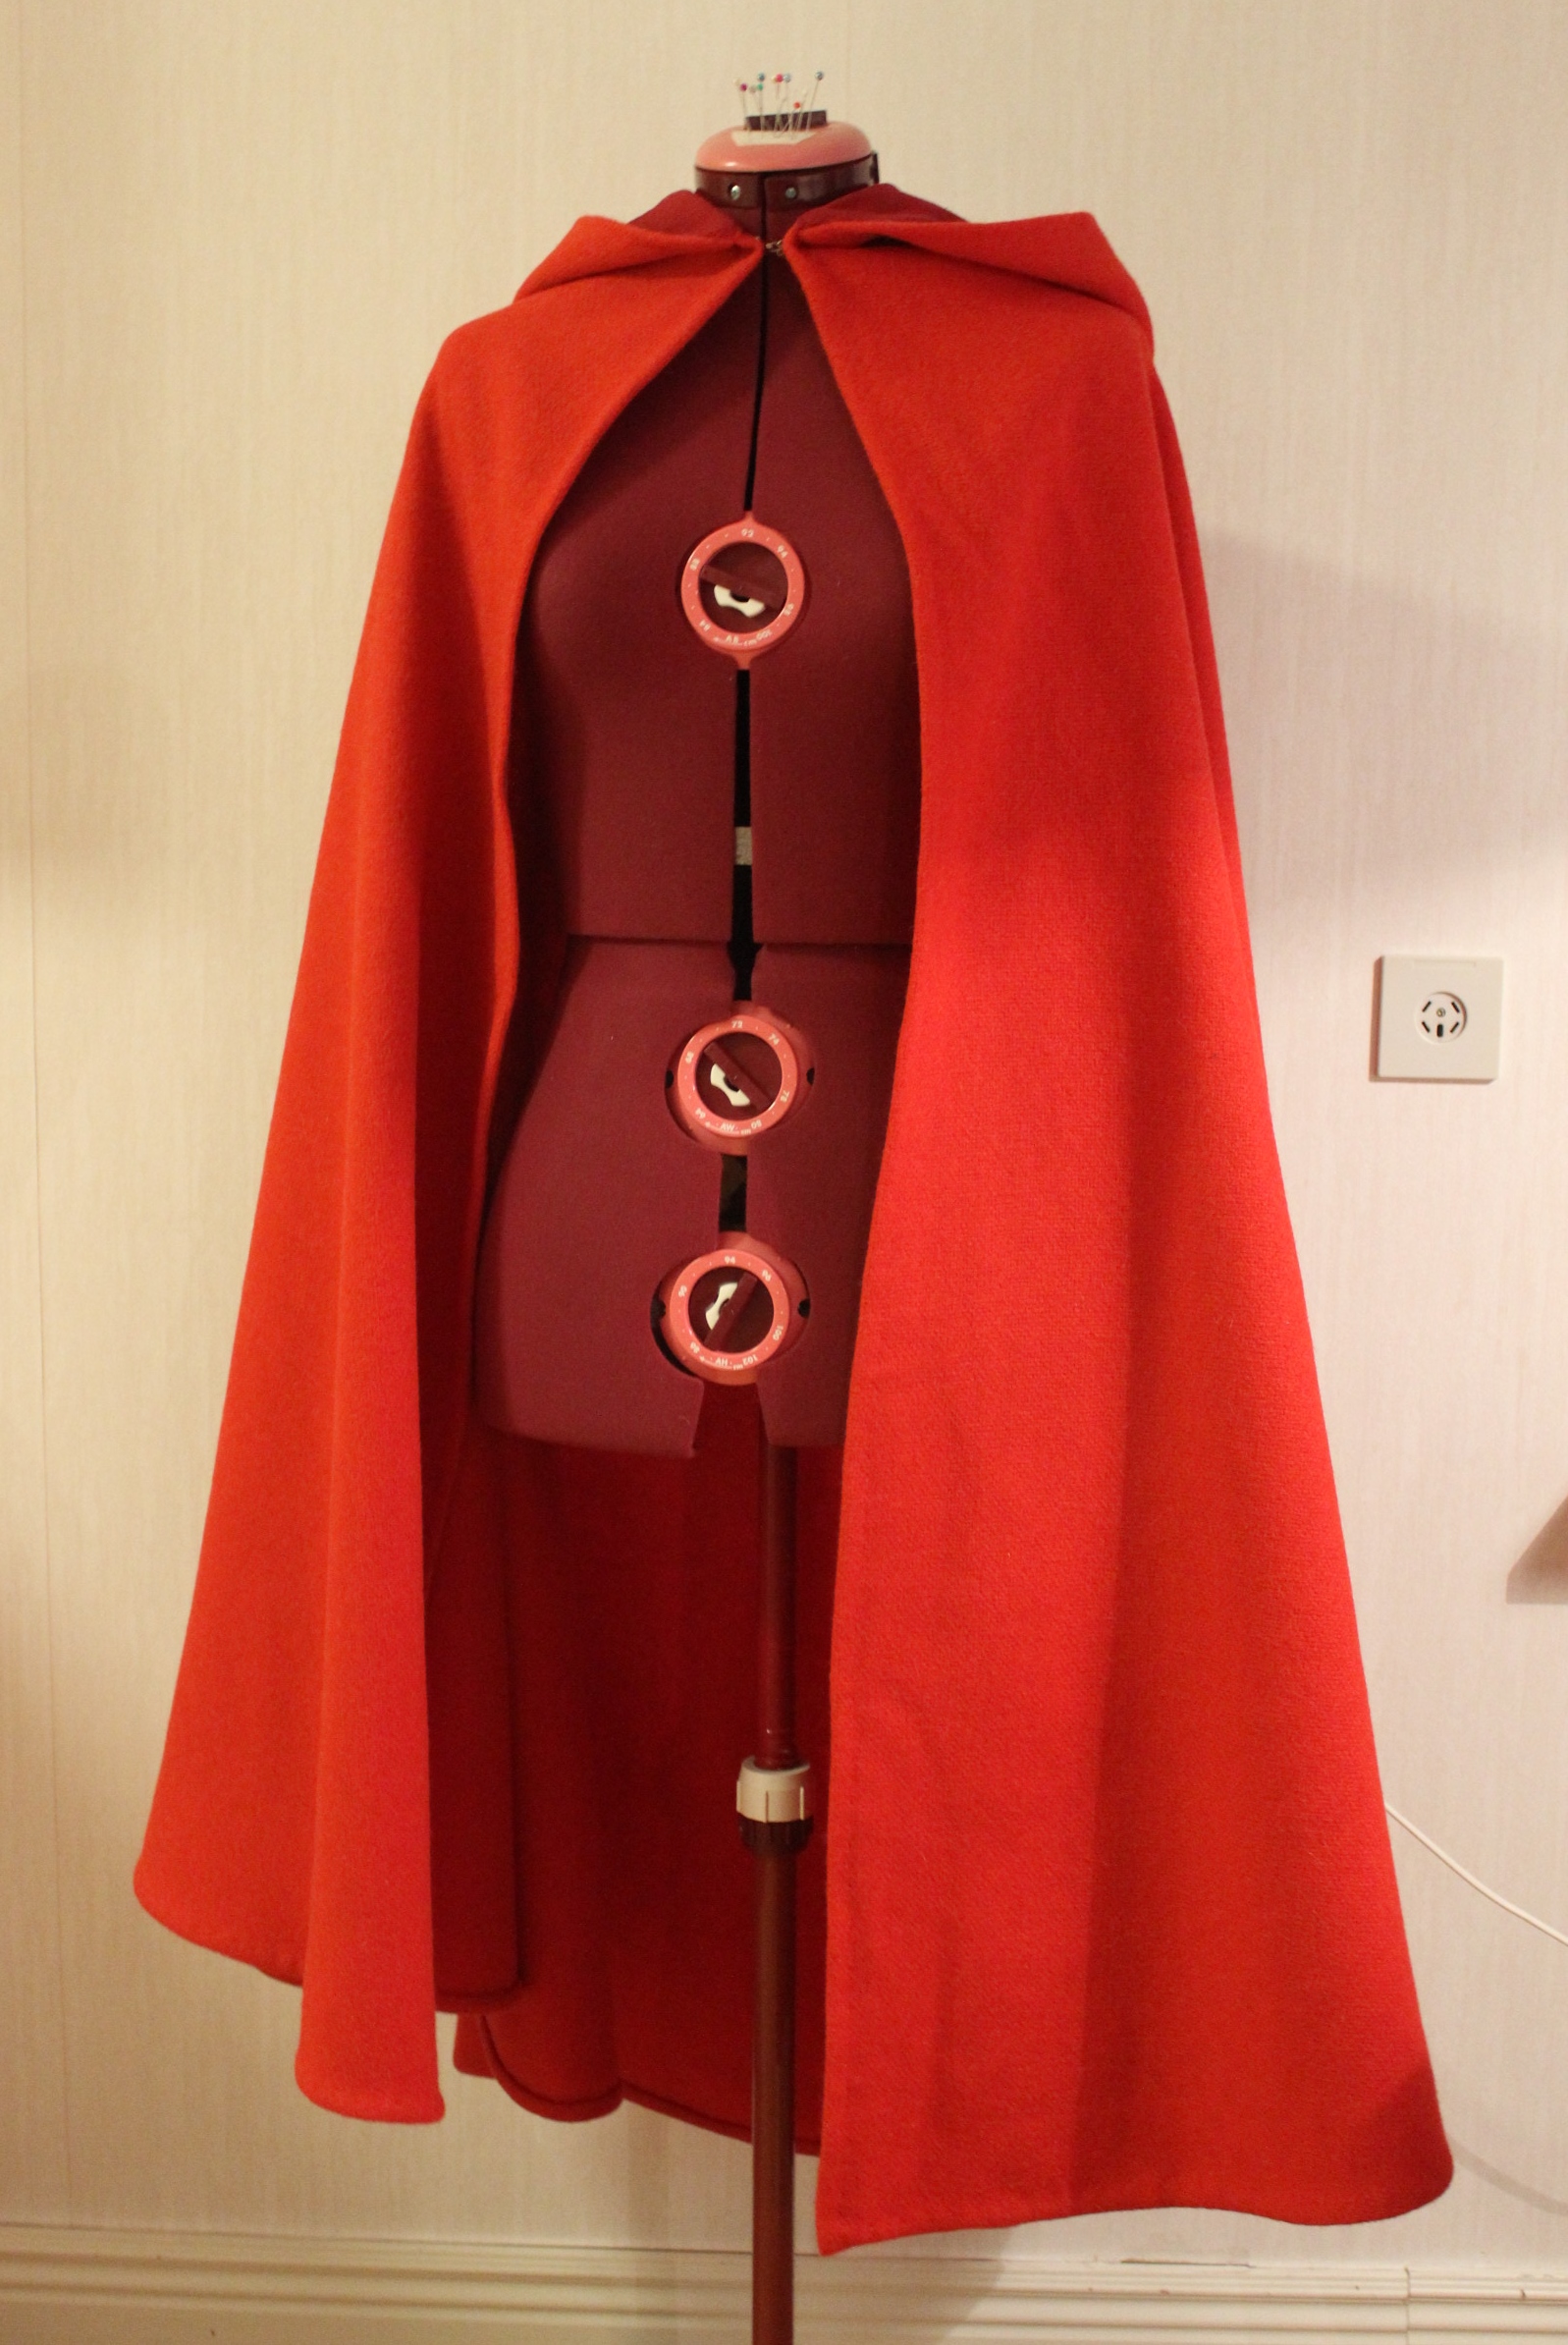
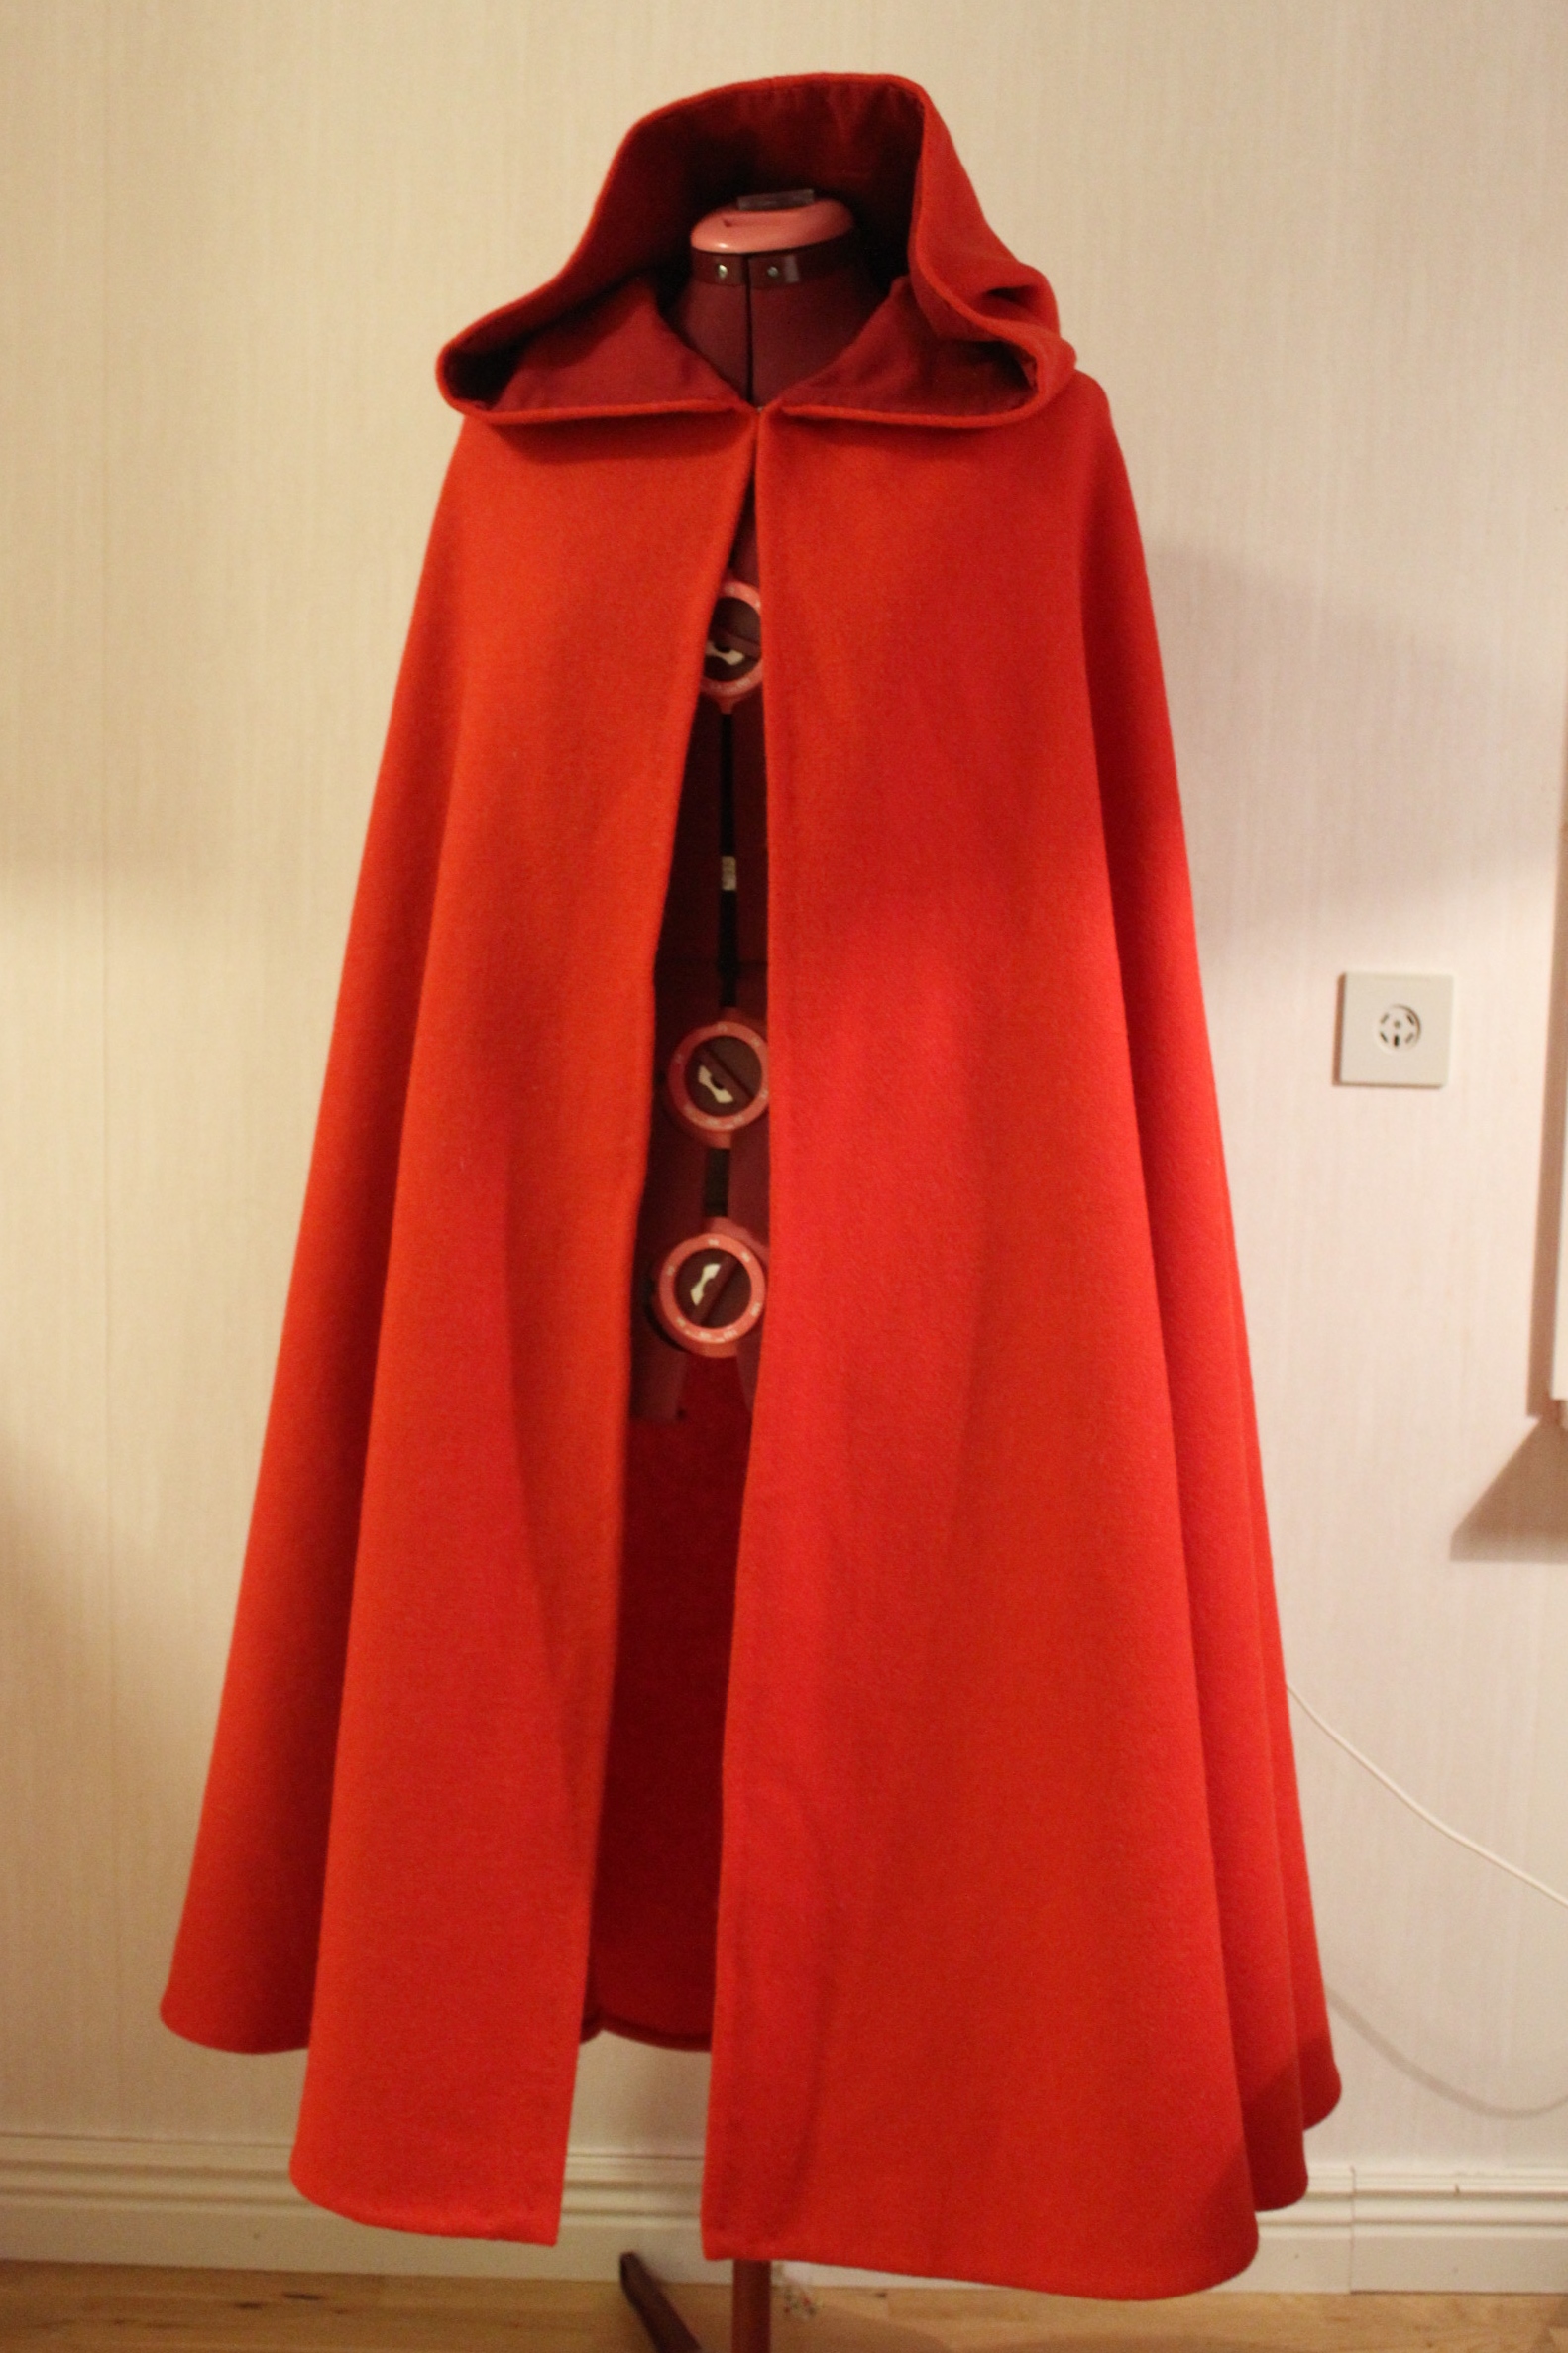
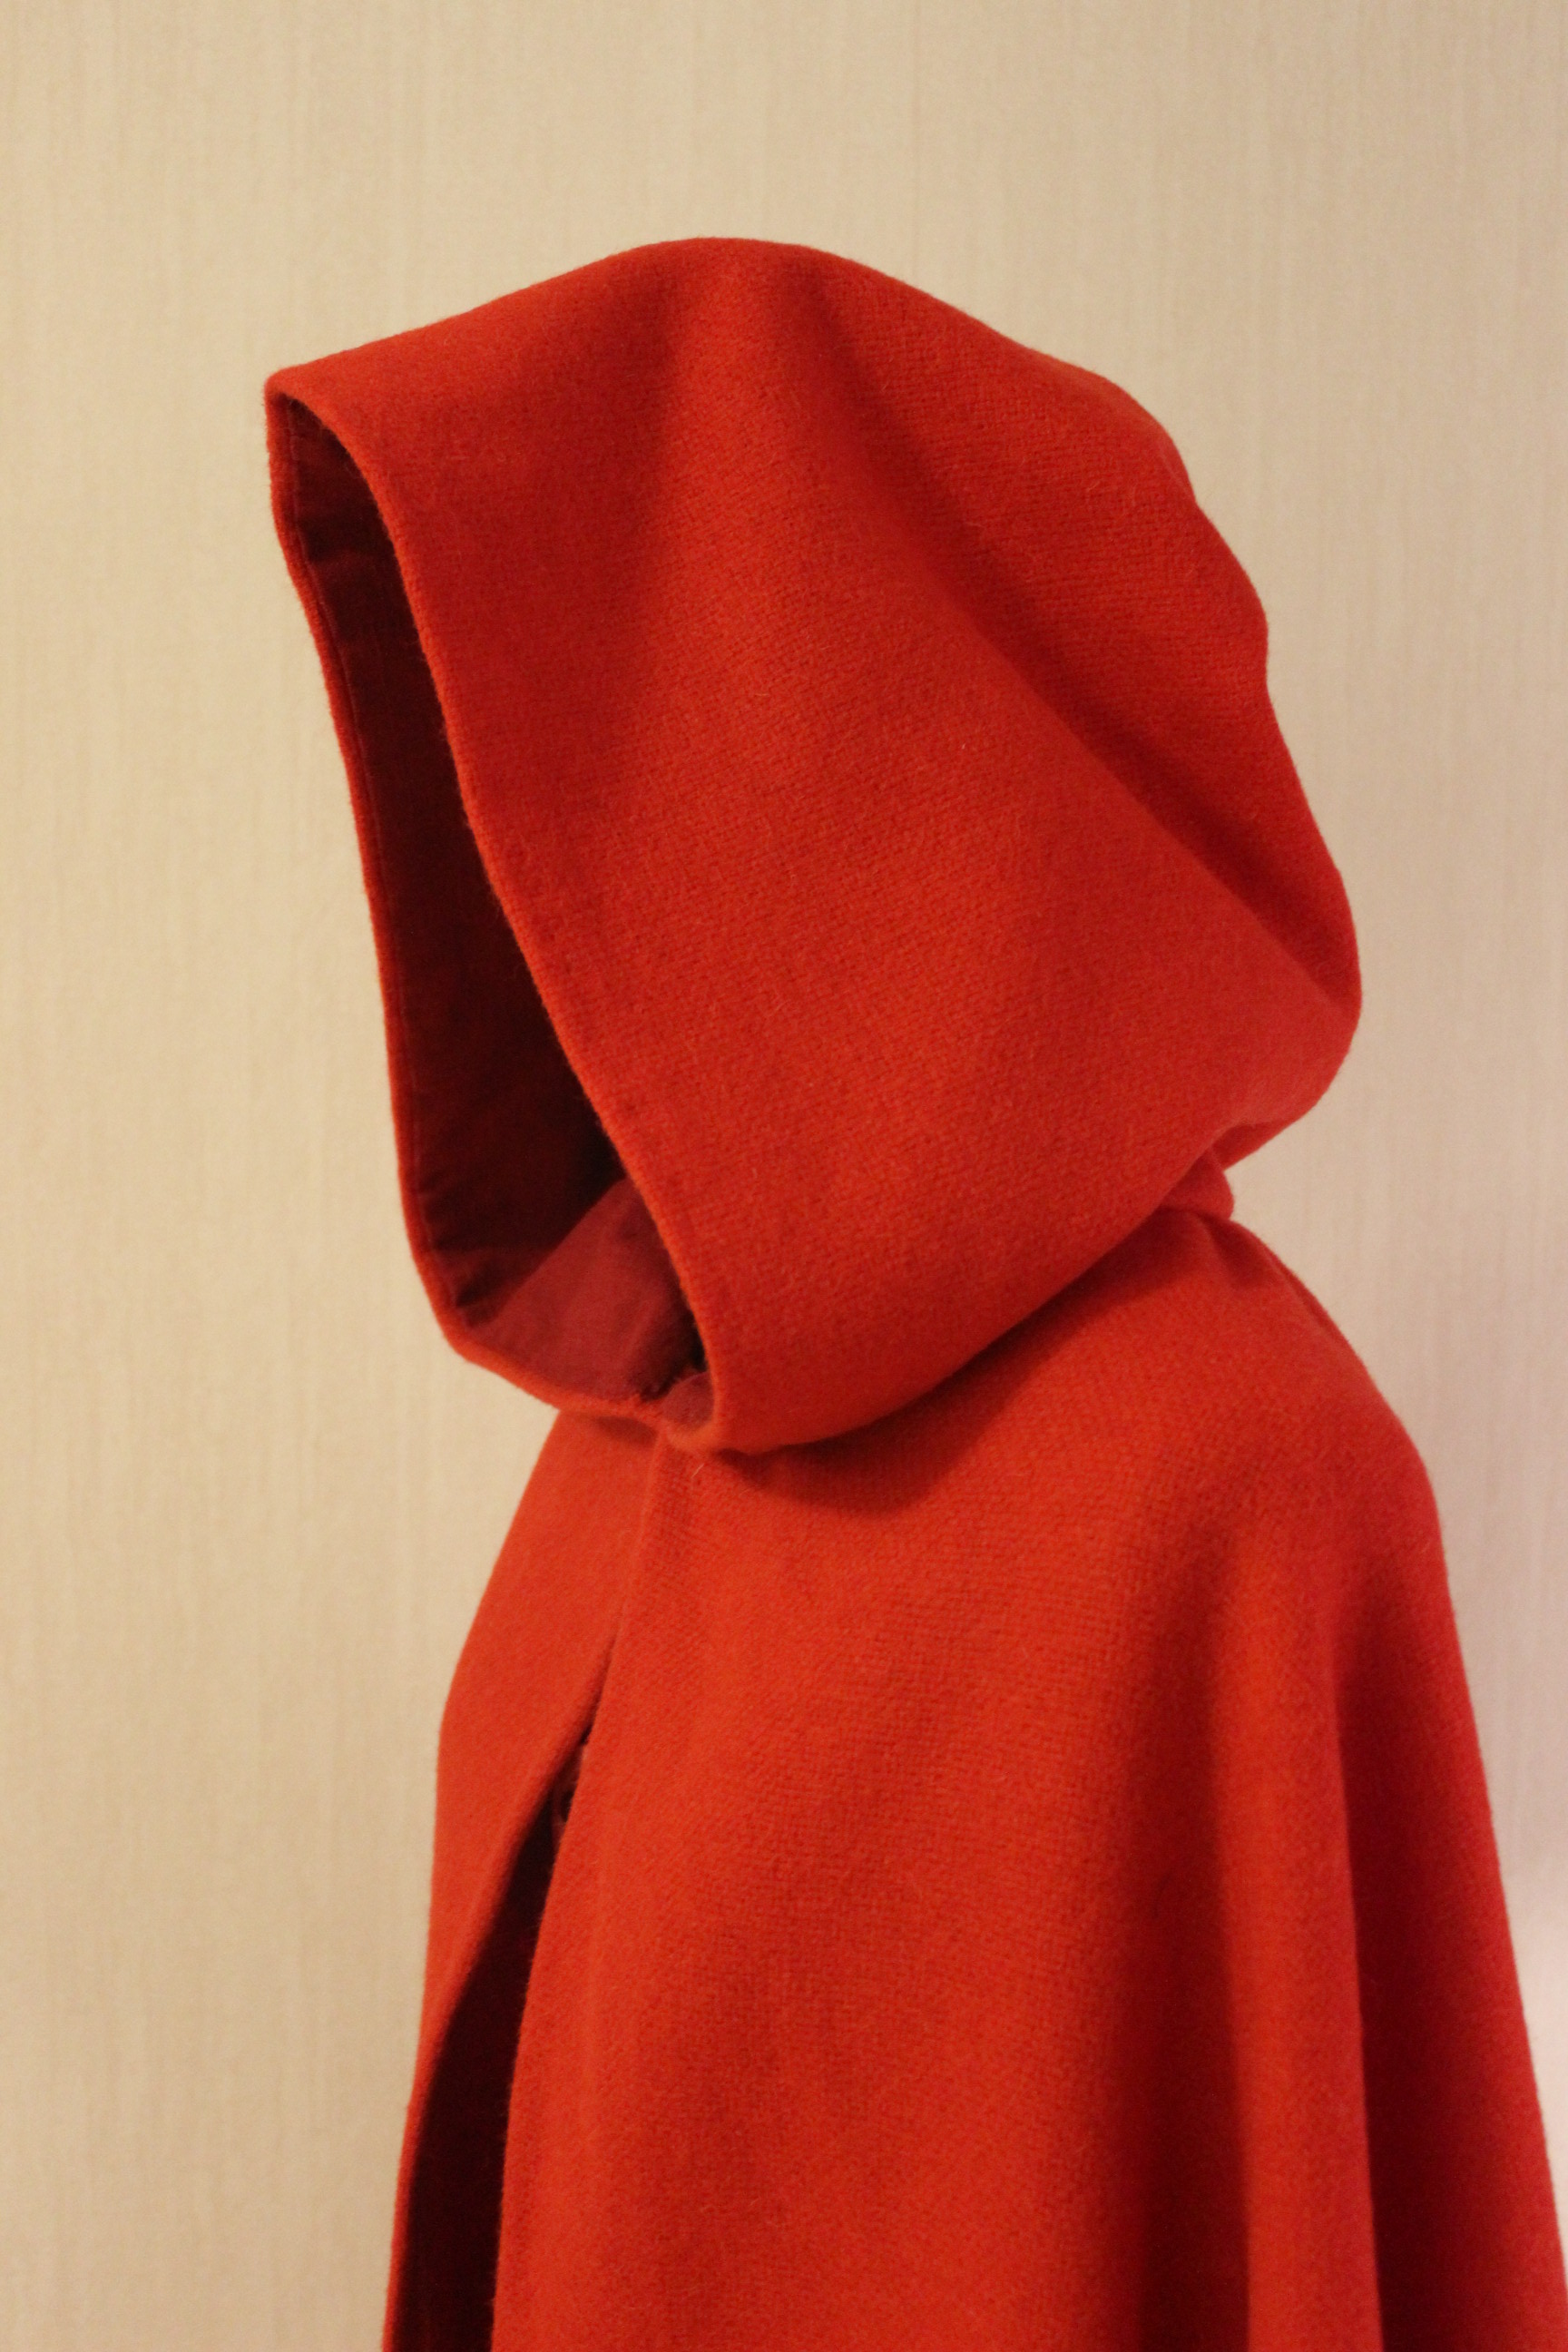
Finished:IMG_6061

IMG_6060 IMG_6058

IMG_6069

IMG_6064

IMG_6074

IMG_6070

IMG_6072

IMG_6065

IMG_6066

IMG_6067

IMG_6080

Just The Facts:

Challenge: nr 3/2015 – Stashbusting

What: a 18th century wool cape

Pattern: Baumgarters “Costume Close-ups” Cloak pattern

Fabric: 3 m of red wool (upholstery fabric) and 40 cm (scraps) of red linen for lining.

Notions: Thread and one hook and eye.

How historica accurate: So, so. The colour and look of it are right, but I doubt they would have used this type of coarse wool for anything other then isolation. I did handstitch the hole cloak but i used syntetic tread – since thats what I had in my stash. All in all I give it a 6/10.

Time: About 5-8 hours – it went pretty quick and only took me about a day to finish.

Cost: Basicly nothing – The fabric was gifted to me and the rest was all leftovers or old stash.
But if I would have bought everything new I guess 300-400 Sek (40Usd)

How it fits the Challenge: It is made completely from stash fabric and scraps. And since I never thought I’d be able to make something from the wool I’m extra happy that it turned out so lovely.

First Worn: On Feruary 28th, for photos.

Final Thougts: I Love it! I felt so pretty and coosy in it, and only wish I would have reason to wear it all the time.
And since I do have fabric left, I’m are already thinking on making one for my sister.

18th century Tavern Maid – Accessoares

The days leading up to my planed “18th century Maid“photoshoot, I worked on getting all those small items and accessories in order.IMG_5489

Here are some of the things I made and used to get the look just right:

The leftovers from the jacket (part 1. & part 2.) I turned into a simplified version of a 18th century pocket. IMG_5867Cutting the pieces in front, back and strength fabric – all of which was almost unusable scraps to begin with.

It was such a quick project (took about 2 hours, once I figured out how I wanted it).
IMG_6093 IMG_6094

IMG_6087In hindsight I should have made bias tapes for the opening as well, but suppose I didn’t had enough fabric anyway.IMG_6090

I also made a new fichu, since I wanted something les fancy then my regular silk one.IMG_6105It’s basically a cut triangle, with hemmed edges.IMG_6106

I re-used my white apron, but shortened it about 12 cm to get it to fit lenght of the skirt. IMG_6103IMG_6102

I also used my “old” cap (made it a couple of months ago) paired with a orange/sierra ribbon.IMG_6097

The final touch was to ad a cross, which I bought on sale in January for about 10 Sek (1,6 Usd).IMG_6100

IMG_6107Everything a proper maid will ever need.

Tavern Wench/Maid – photoshoot

Her are the photos of my recently finished Maid Costume.

I’m wearing:
The Yellow Caraco jacket (part 1 & part 2), brown short skirt,  stays, quilted petticoat, and accessories as cap, fichu, apron, bumpads, stockings, black shoes, bible and a cross necklase.
IMG_5961

German maid, evidence of patterned jacket worn with solid skirt - kopiaInspiration

IMG_4587

IMG_4597

IMG_5974“This is my favourite part… but I’m having a bit trouble living by it…”

IMG_4609

IMG_5989

IMG_6010

IMG_4627

IMG_4631

IMG_6002

IMG_6006

IMG_4680

IMG_4681

IMG_6016

IMG_4666

IMG_6047

IMG_4710

IMG_4690Photos: Elin Evaldsdottra och Maria Petersson

Stash-busting 18th century Caraco (part 2)

Here comes the finishing steps of making my yellow Caraco jacket (read Part 1).

After the assembling of the bodice, and insertion of the lining to the jacket, it was time for the clouser.
Since it is was a stash-busting challenge, I knew I needed to find some solution in my own bins. And after some searching I did. 20 small buttons.IMG_5043Trying out the layout on the pattern, 10 on the bodice front and 5 each on the sleeves.

Even though hey might have worked as they where, I decided to cover them in self fabric.IMG_5156Cutting small circles to cover the buttons, making sure the purple stripe is centered on all of them.

Then it was time to start on the buttonholes.IMG_5380Markings and buttonholes on the sleeves.

And on to the bodice front.IMG_5400Pinning the edges together to mark the button placement through the buttonholes.

Once the clouser was done, I thought it looked pretty shabby, puckering and not laying flat at all.IMG_5404

Thankfully the problem was adverted once I realized I hadn’t pressed the buttonholes properly.
And once I did they looked so much better.

IMG_5407Hard to tell from this picture, but the difference are really obvious in real life.
Lesson learnt – don’t cheat on the pressing!

Then it was time to attach the sleeves.
I stitched them from the inside and covered the raw edges with a bias tape (also left-over scraps) IMG_5497

Then I finished the jacket by inserting a few plastic bones in the front and back seams, giving it a good press and putting it on the dressform for pictures. IMG_5496The purple lining makes me so happy.

Finished:IMG_5455

IMG_5481

IMG_5460

IMG_5458

IMG_5461

IMG_5486

IMG_5464

IMG_5462

IMG_5465

IMG_5466

IMG_5475

IMG_5468

IMG_5474

IMG_5478

Just the facts:

Challenge: nr 3/2015 Stash-busting

What: A 1780-1790s working class jacket

Pattern: A combination of the “Kofta KM 25.429 (jacket) pattern from “Skräddaren, sömmerskna och modet” (“the Tailor, the Seamstress and the Fashion”) and Nehelenia patterns nr E21 1790s Redingote.

Fabric: 1,5m of yellow/lilac striped cotton, 2 m of purple cotton for lining and interlining.

Notions: Thread (purple and yellow), yellow buttonhole thread, 4 cable ties for boning and 10 buttons.

How historical accurate: As much as I could, and to the best of my abilities. The fabric and colors are plausible, the patterns and construction are accurate and came from good sources. I hand stitched the whole garment using period techniques. The only thing I can think of that not right are the use of plastic boning and polyester thread for the buttonholes. I give it 8/10.

Cost: 10 Sek (1,6 Usd) since almost everything came from stash and was leftovers from previous projects. The only thing I bought was the yellow buttonhole thread.
But if you would buy it all anew I’d say about 250 Sek (36 Usd).

Time: It went pretty fast considering it is all hand sewn. About 10-15 hours I think.

First Worn: on February 28 for photos. I started the jacket with the intention of wearing it to a 18th century Tavern Event in beginning of February. But as it happened I newer went. Hopefully I will get another chance later this spring.

Motivation/ How It fit into the Challenge: Even though it did not use up a lot of fabric, I think the jacket serves the challenge both in using leftover stash fabrics and notions, and in helping me re-discover all the little pieces of left over fabrics I already own.
I also think the garment itself is suitable as the women who wore such jackets would not be splurging on new fabrics.

Final Thoughts: I really loved making this jacket. It was such a joy how fast and easy it came together, and I think it looks adorable. I want to make lots more of these jackets.

IMG_5489Accessorized and ready for more pictures.

Stash-busting 18th century Caraco (part 1)

I found this fashion plate on Pinerest in early January an knew immediately I wanted to make something similar for an 18th century Tavern event I planed to attending in early February (unfortunately life happened and I ended up not going, but at least now I have a costume if the opportunity arises again).

German maid, evidence of patterned jacket worn with solid skirt - kopiaI made the skirt and shortened my apron to match.

Then it was on to the jacket.

In the book “Skräddaren sömmerskan och modet” by Rasmussen, I found the description and pattern for this jacket called a “Kofta” which translates to “a kind of soft jacket”. IMG_5036With it’s short front, tails/peplum at the back and long sleeves, it was perfect!

For pattern I used the “Kofta”-pattern combined with my new favorite 18th century pattern, the “1790s Redingote” from Nehelenia Patterns.IMG_5030

I made a franken-pattern, using parts of this and parts of that to get the shape as I wanted. IMG_5039

Then I cut and made a mock-up.
IMG_5063 IMG_5069
IMG_5061The fit was surprisingly good, and all I needed to do was to lower the neckline a bit (I made the decision to make a wide neckline instead of the high one from the fashion plate), and trim the peplum a bit.

Then it was on to the fabric.
Keeping in with my New years resolution, I decided to go through the stash before heading to the store.
That turned out to be a really good thing, since I found exactly what I needed – A soft yellow cotton with purple stripes in a odd (left over) length, that would be on exactly enough for his project. And a purple cotton lawn I previously used for mock-ups, which would be great for lining and interlining. IMG_5044Then I realized that this project would fit perfectly into the HSM/15 nr 3 – Stashbusting, and did a little happy dance (to my hubby’s surprise).

I cut the pieces one layer at the time, to make sure to line all the stripes perfectly. IMG_5079Laying the first layer up side down on the second layer makes it possible to perfectly match everything.IMG_5082

I basted the whole garment together for a first try on.
IMG_5142 IMG_5134
Some minor alterations like shortening the sleeves and lower the neckline a bit more was all that needed to be made.

I stitched the pieces together using period techniques (stitching from the outside),IMG_5148 making sure to line the stripes properly.

IMG_5150From the inside you can see the purple interning and boning channels sewn into the seam allowance.

IMG_5147
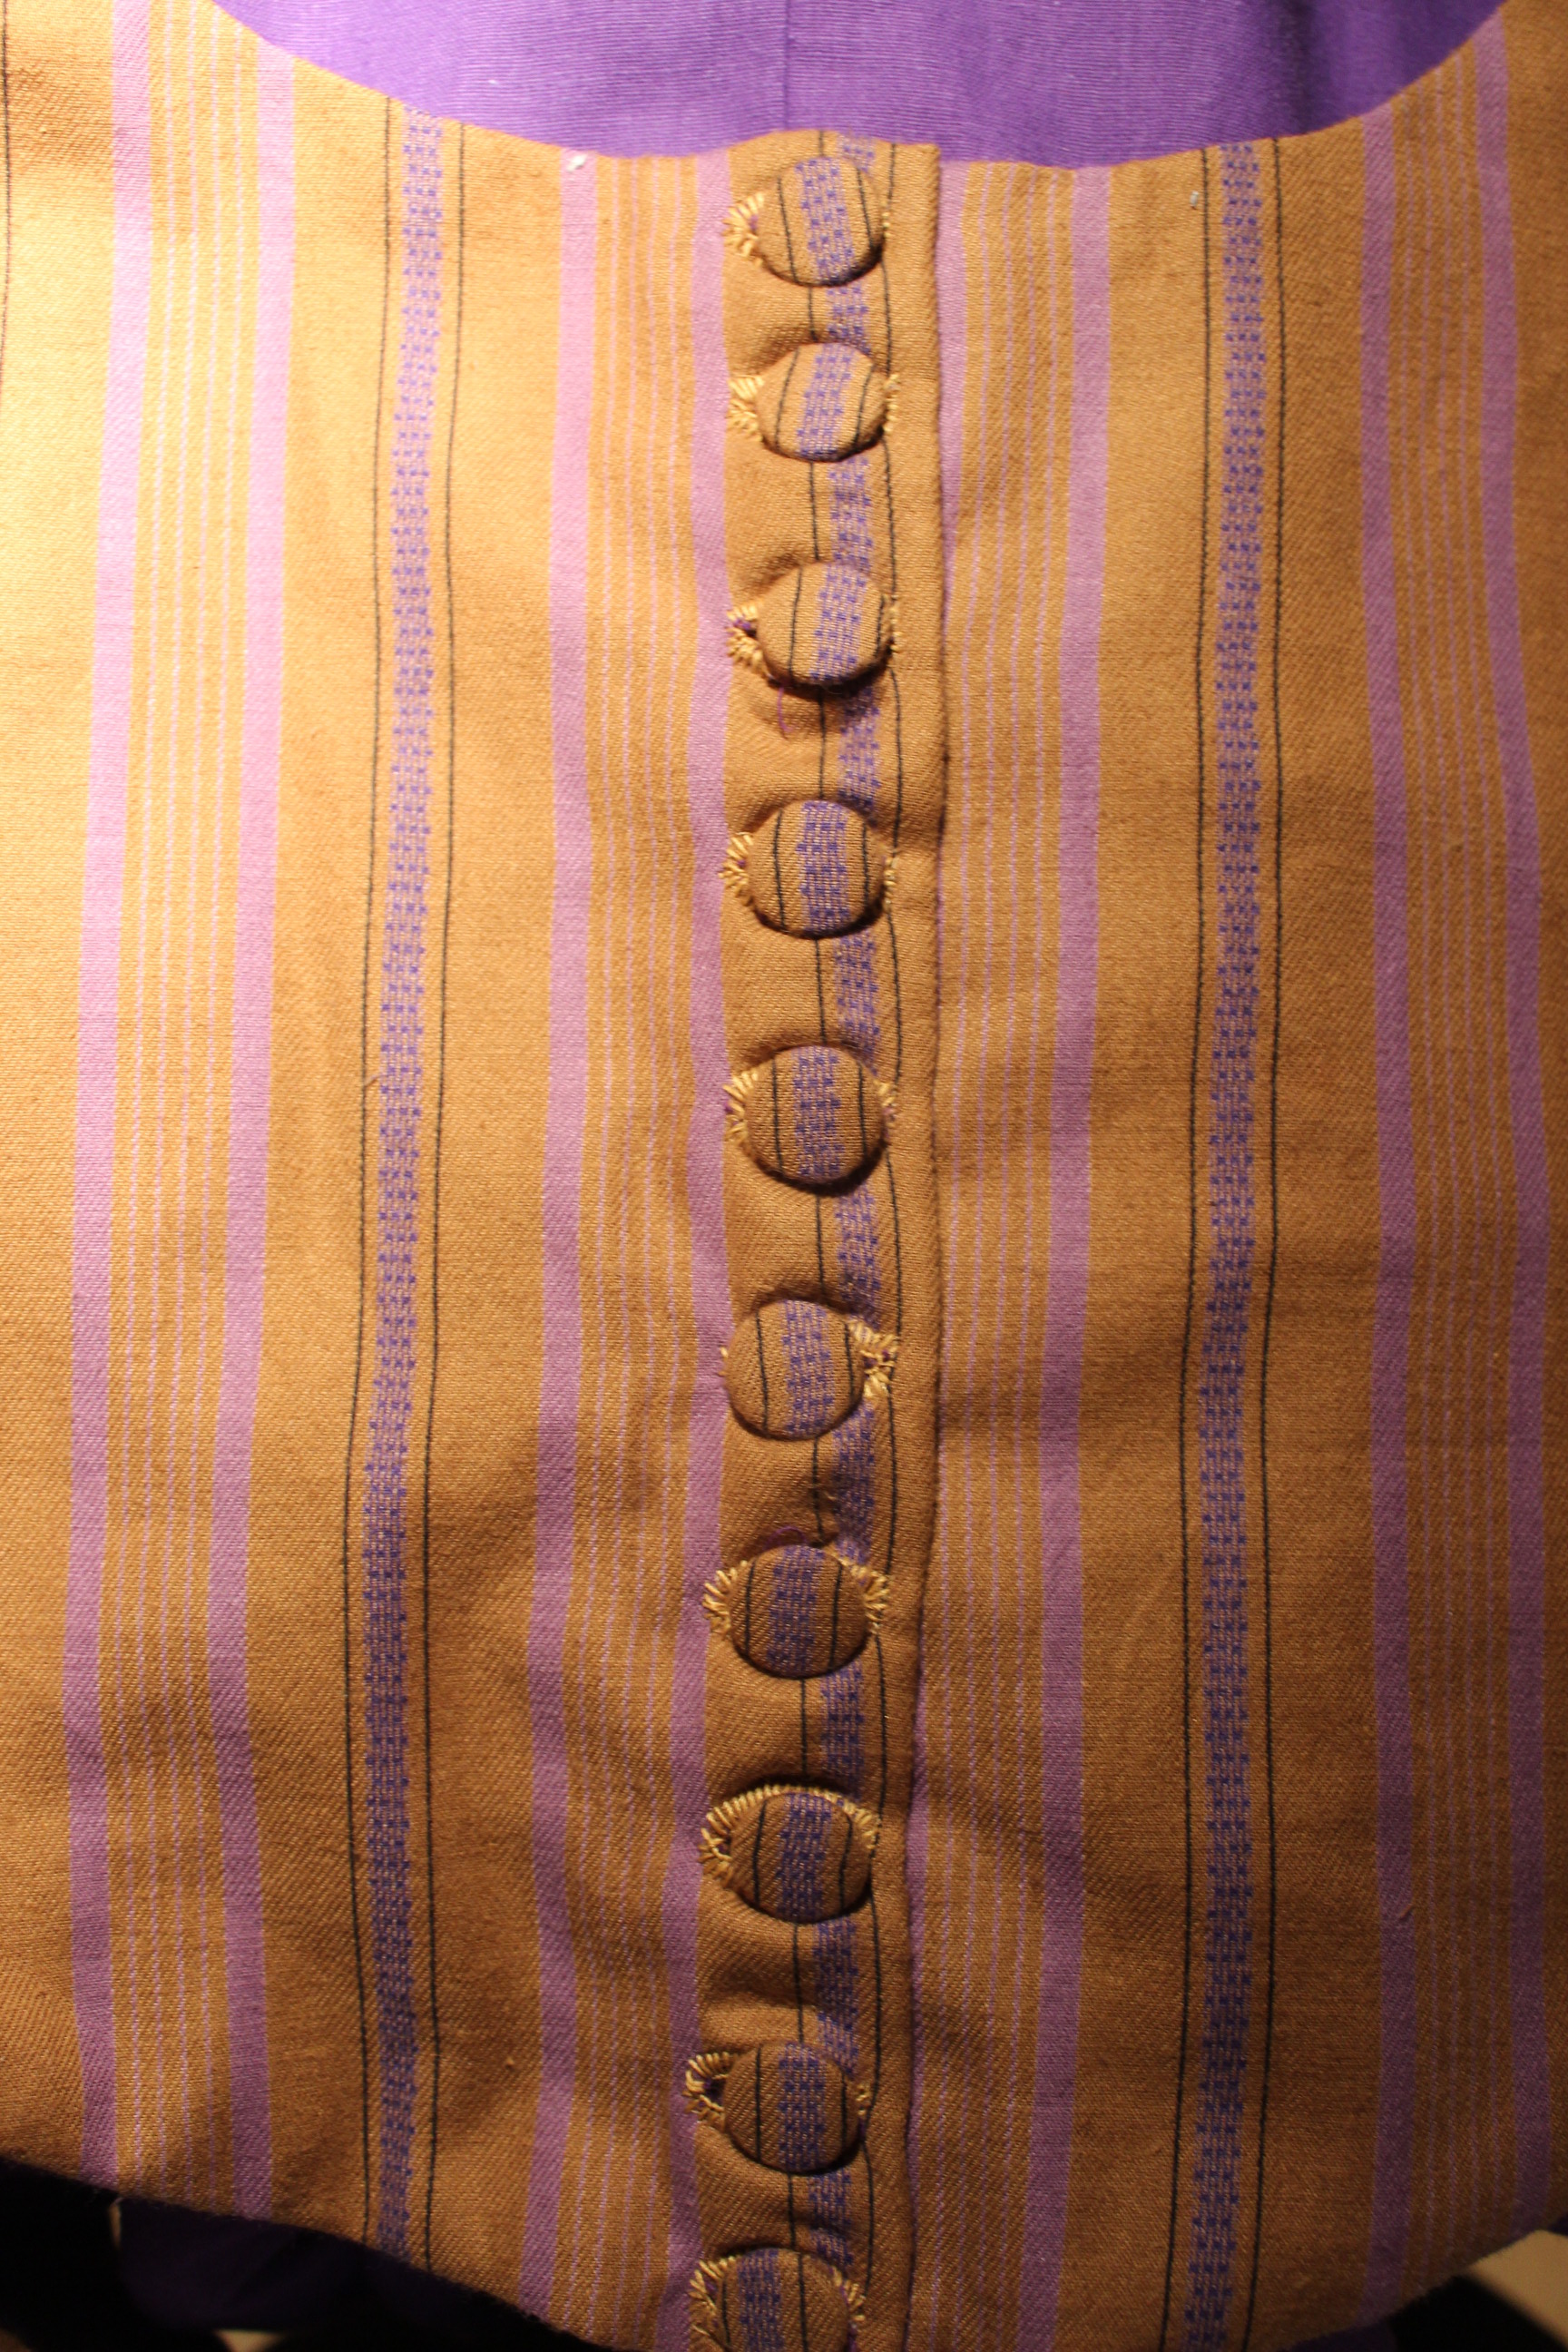
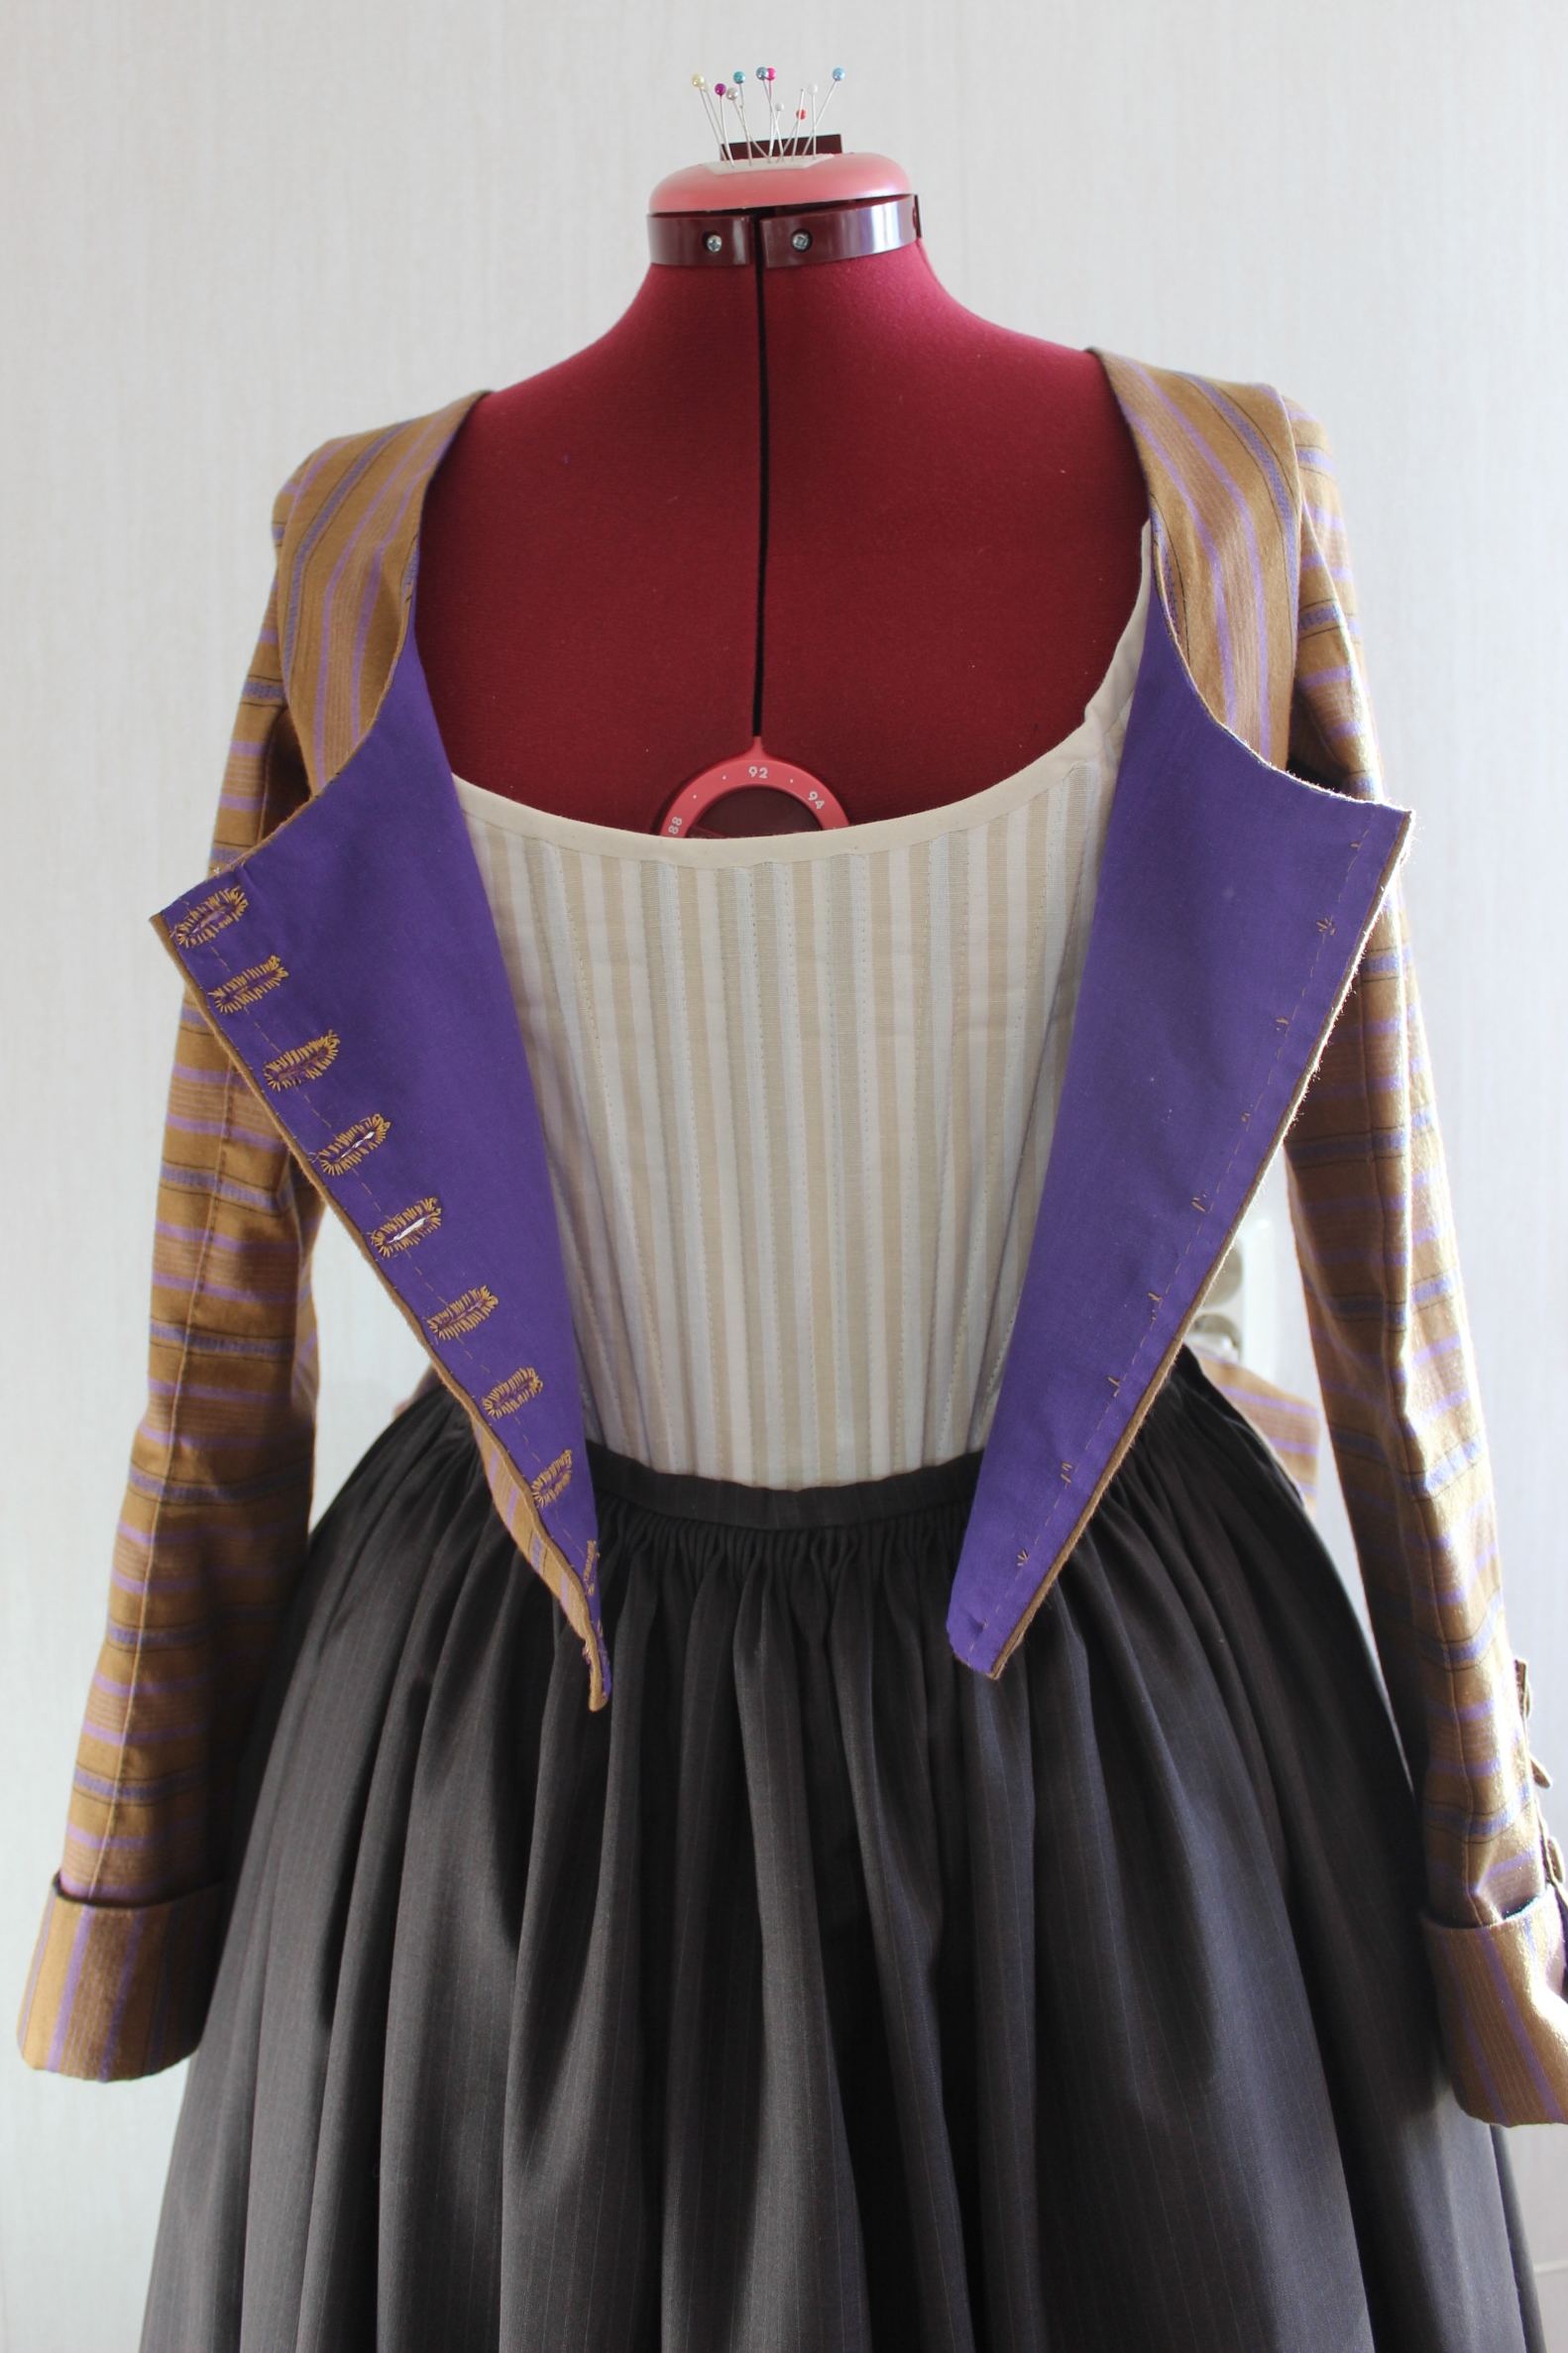
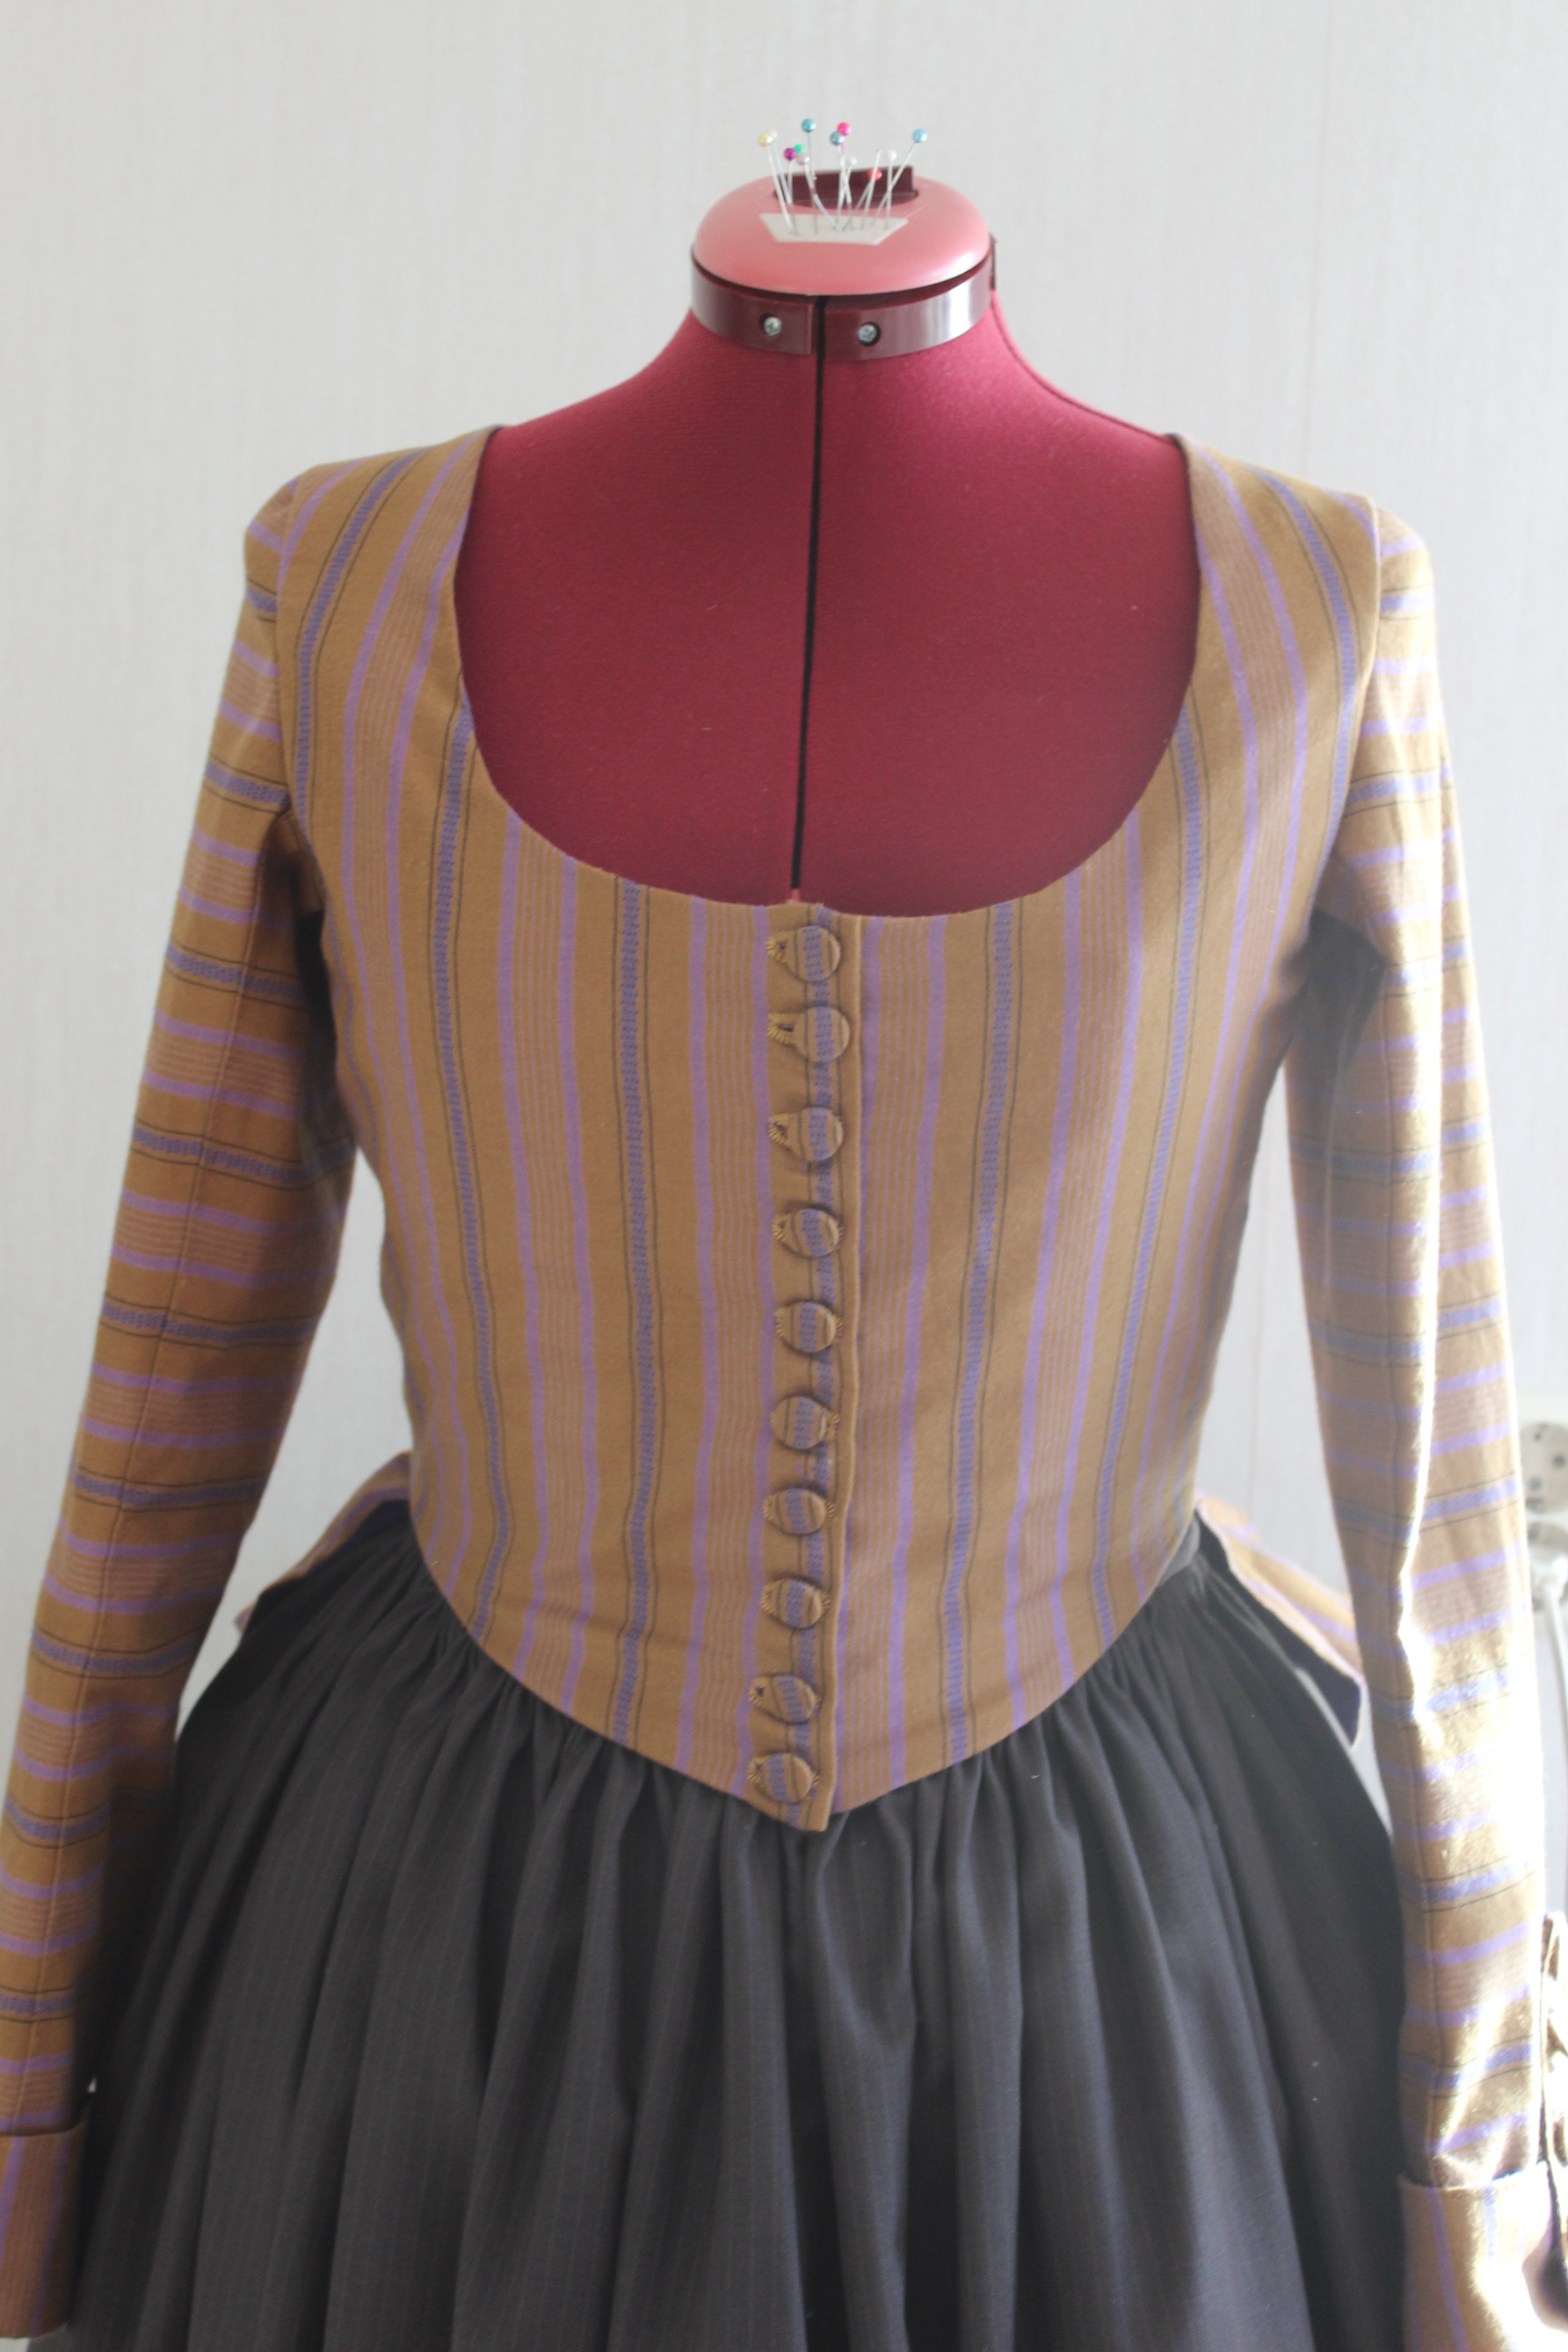
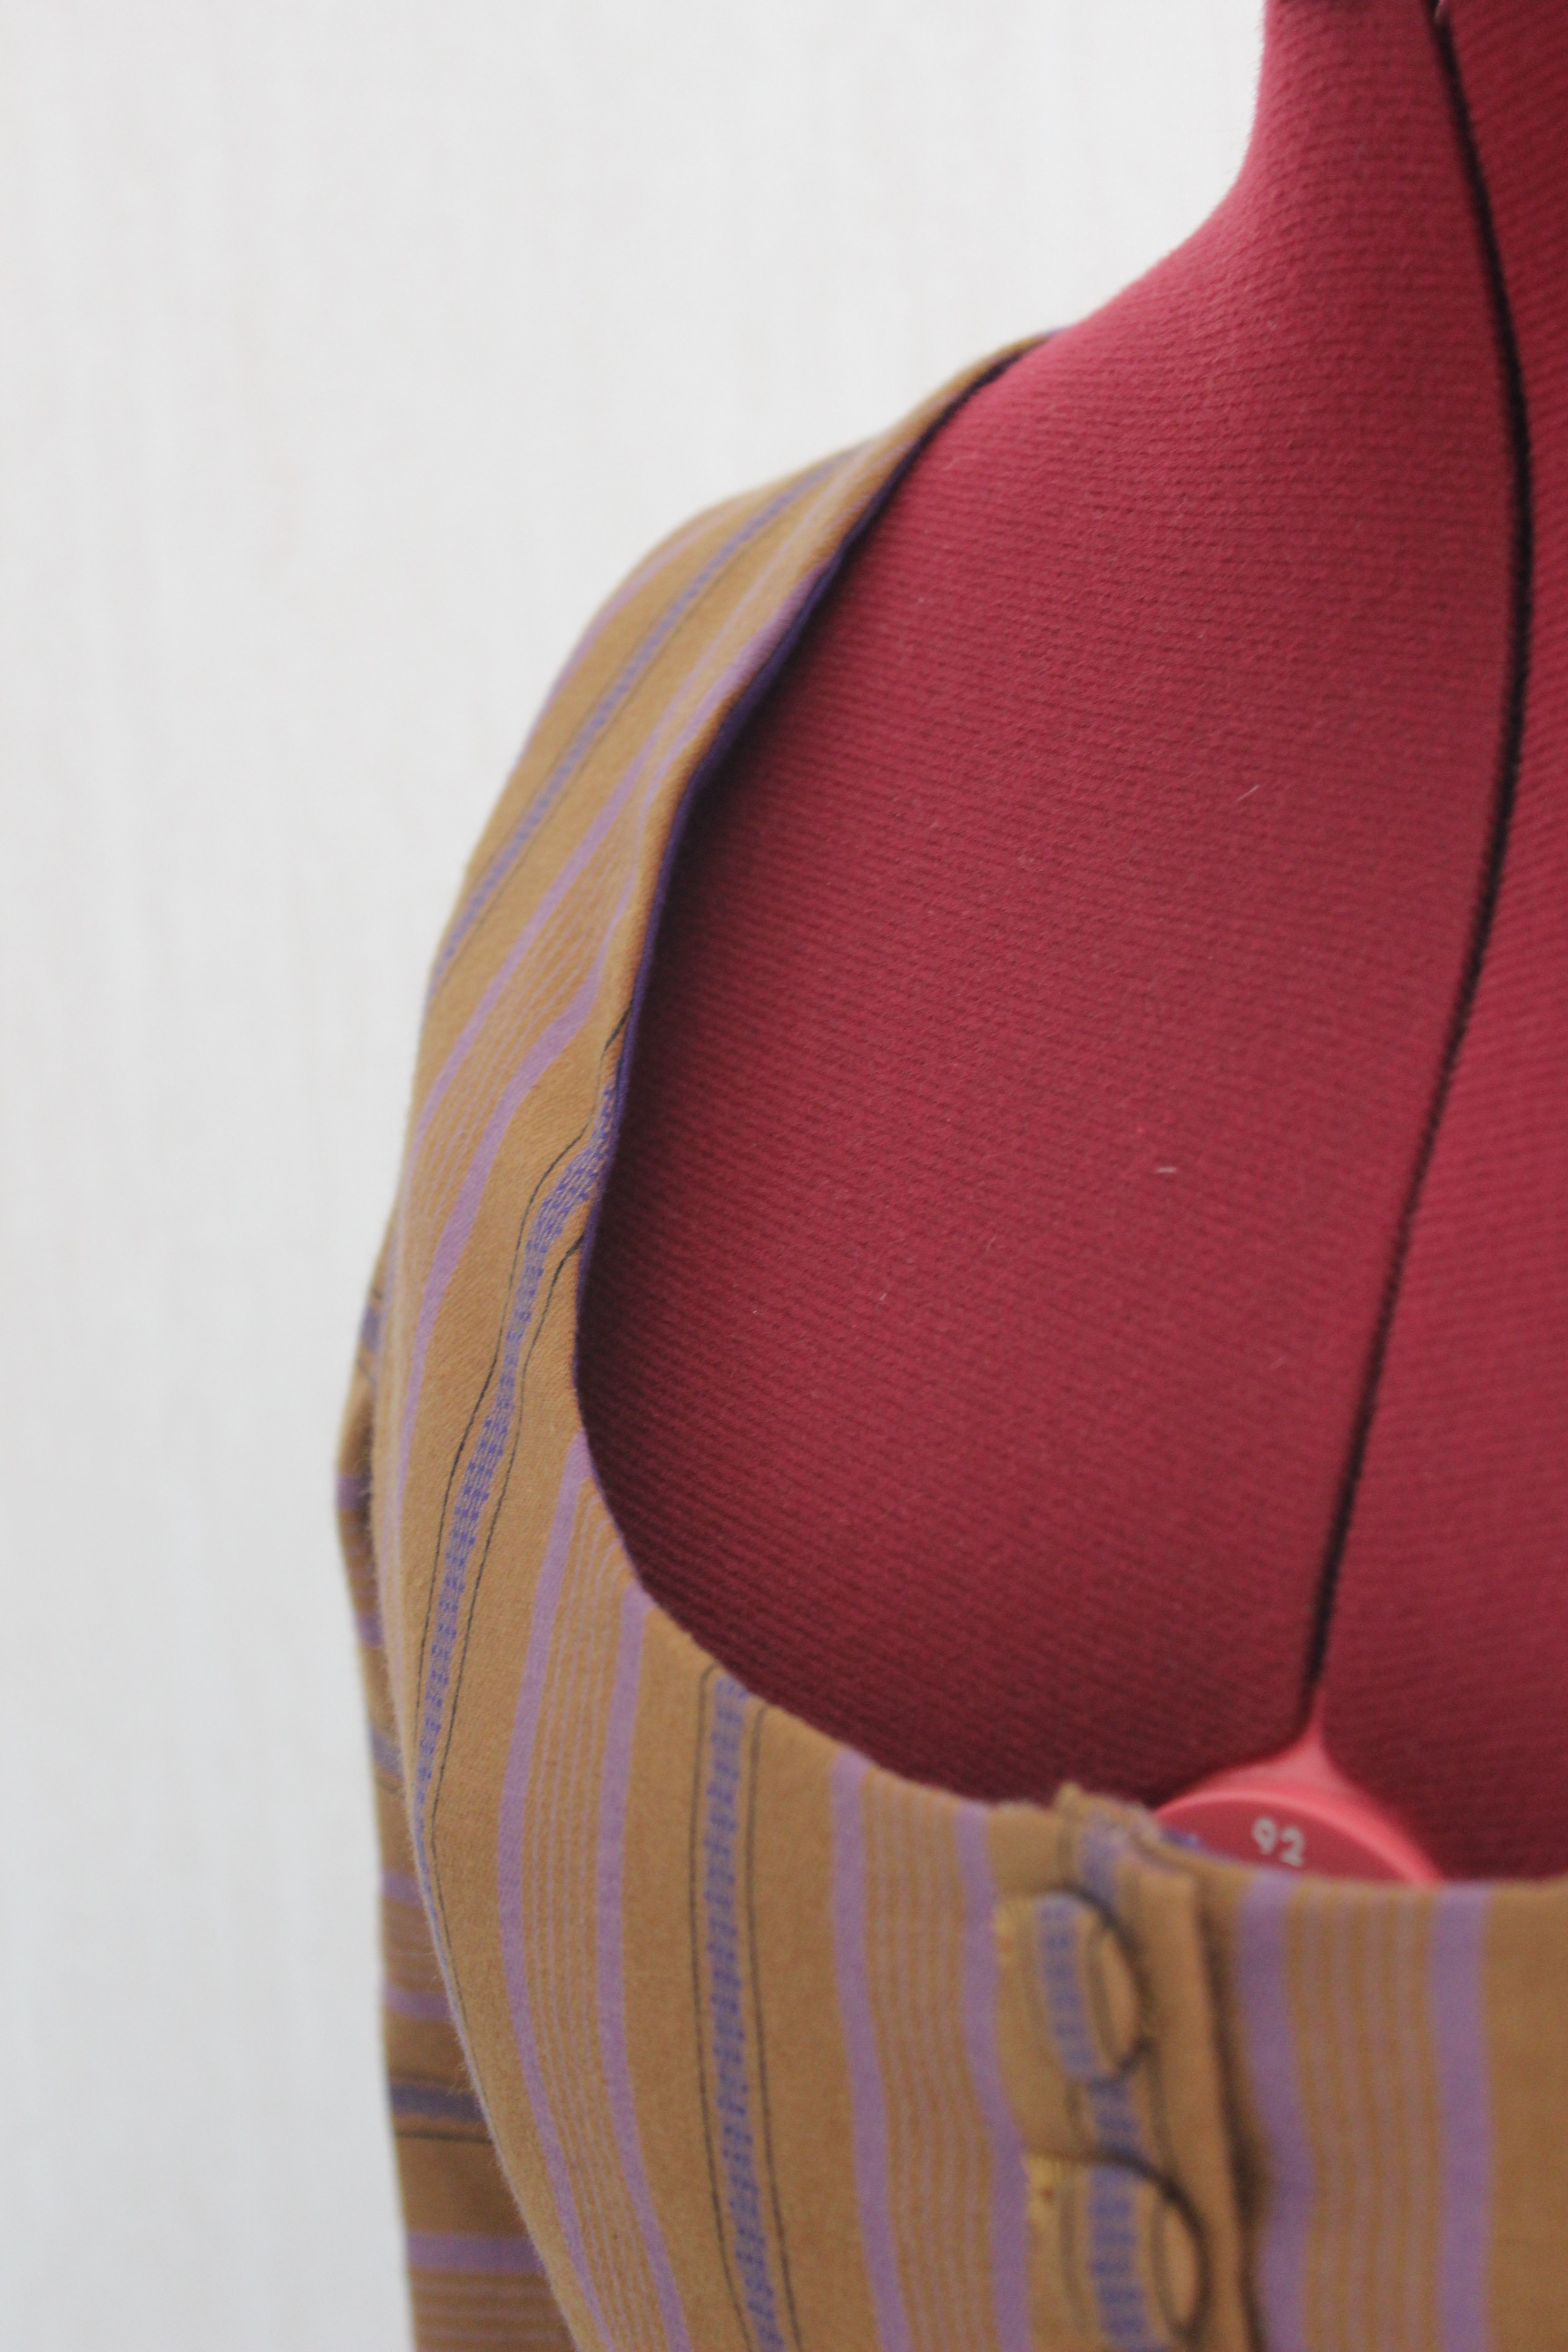
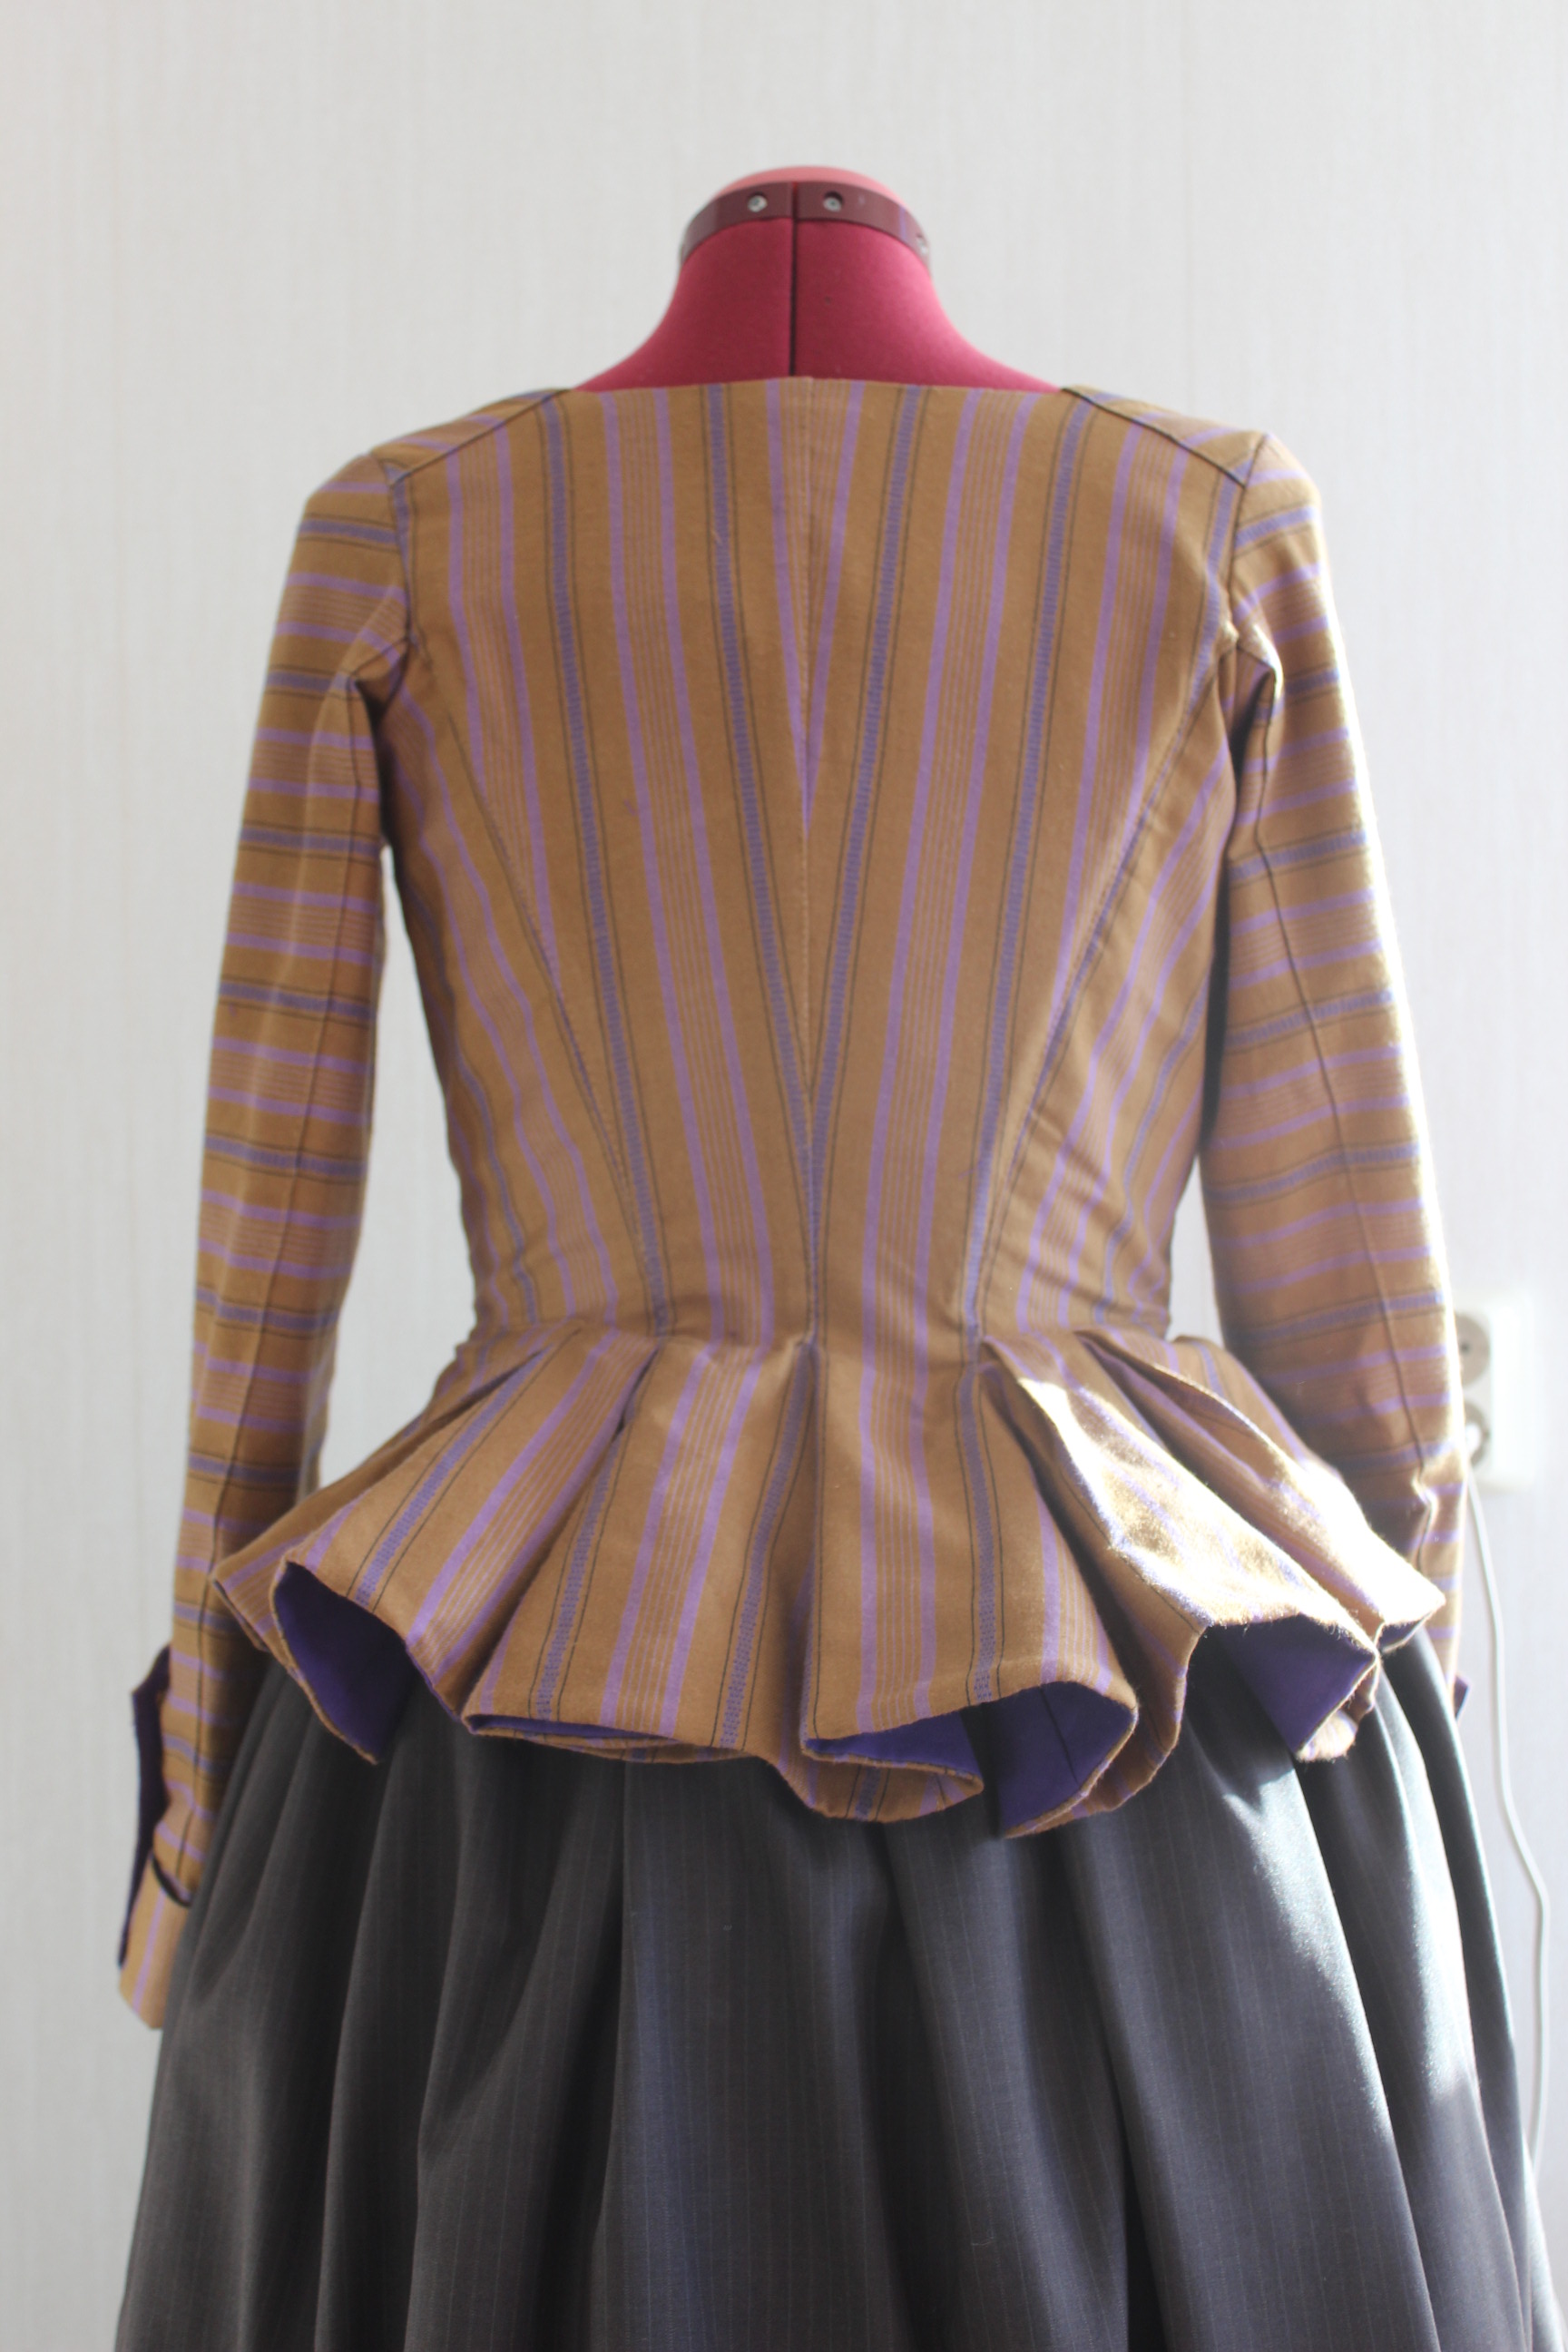
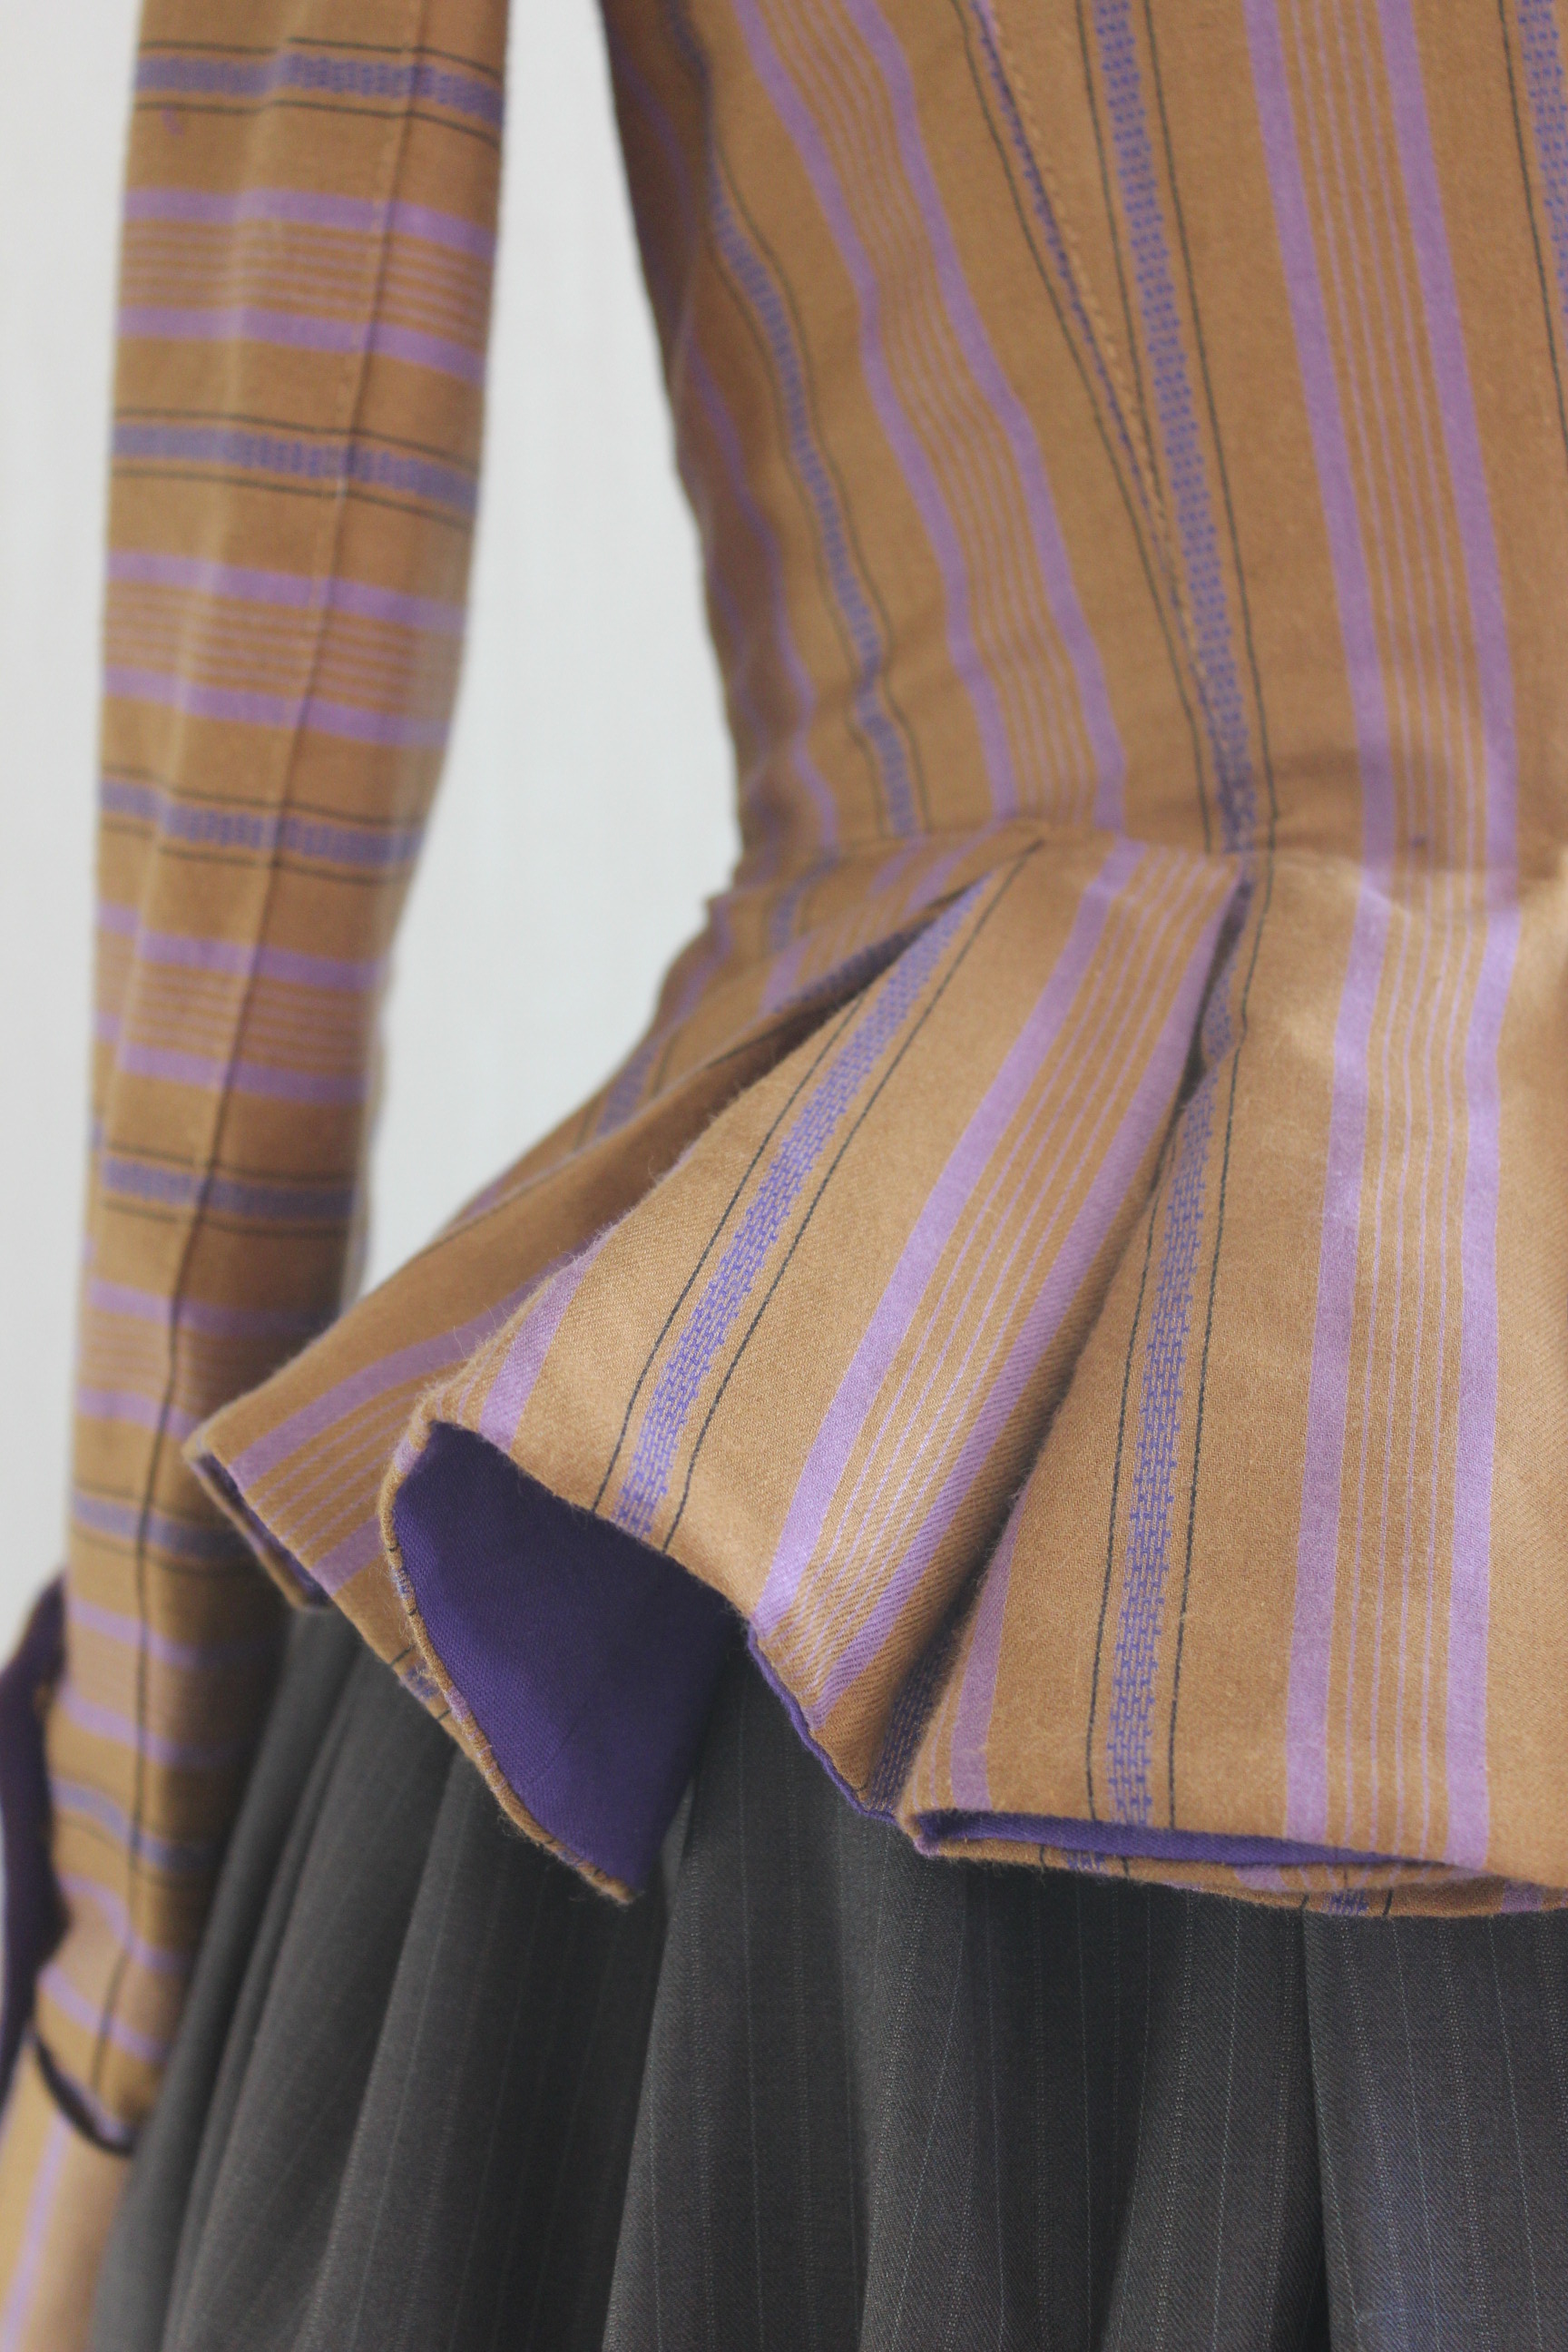
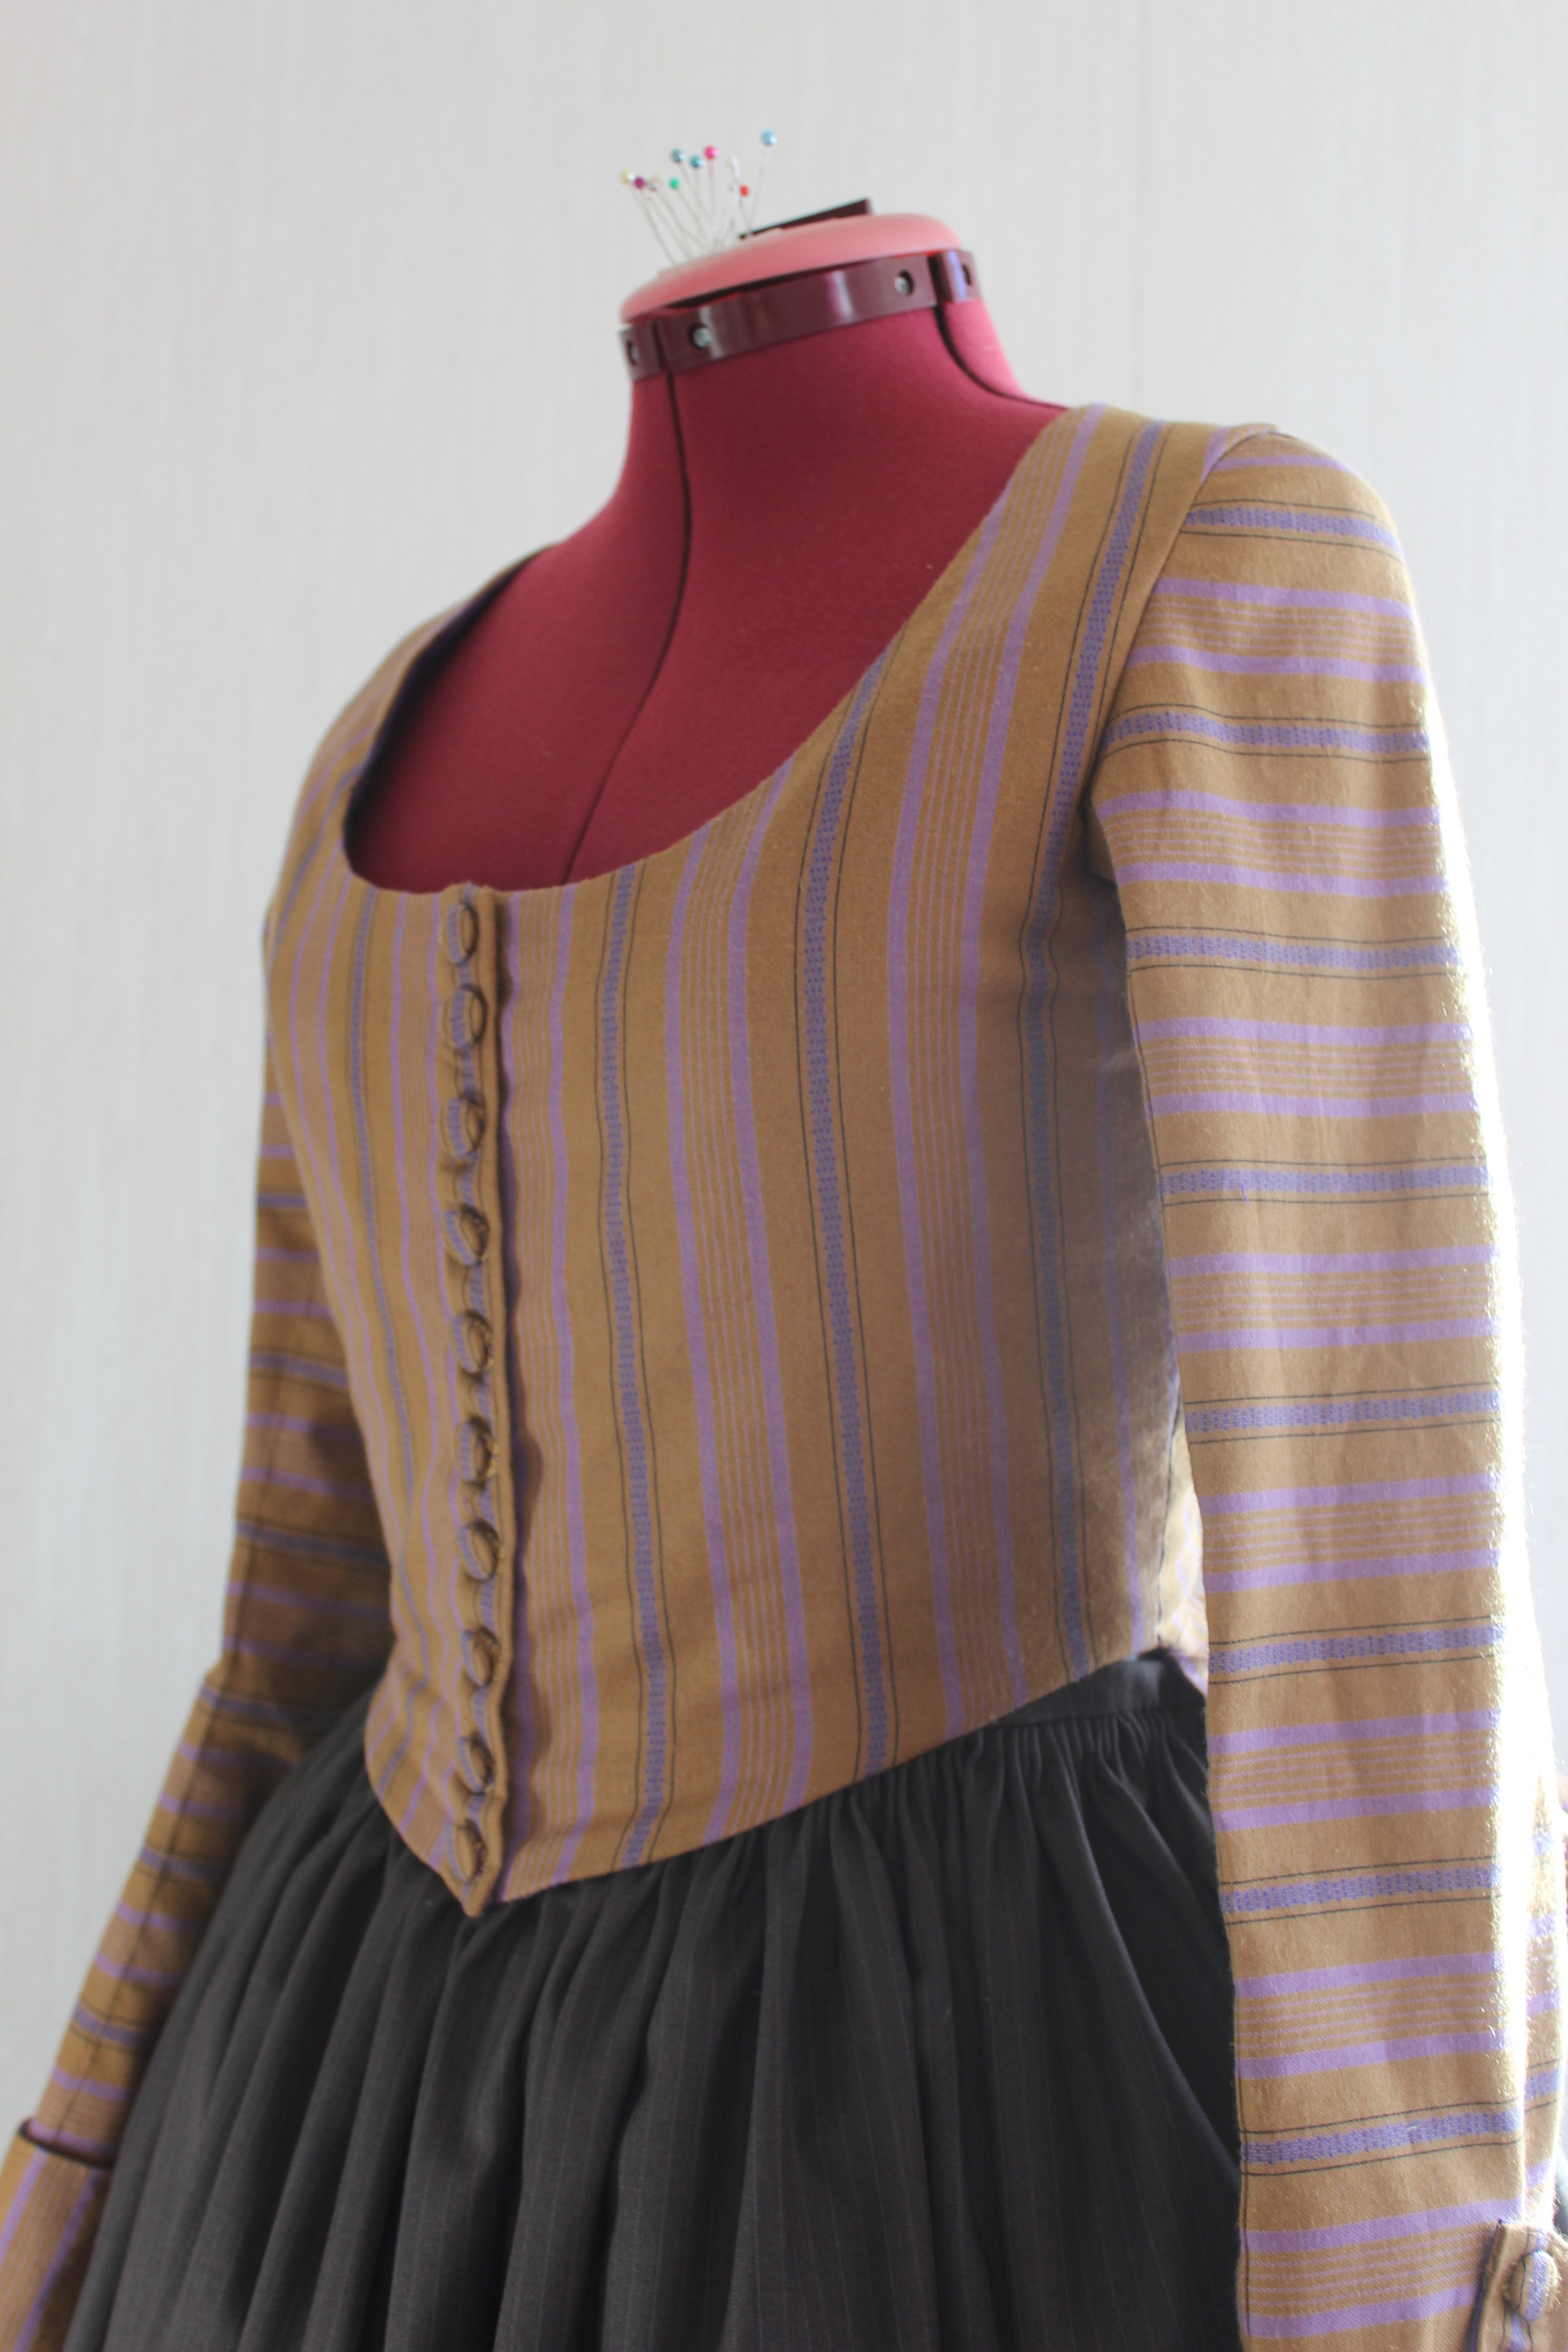
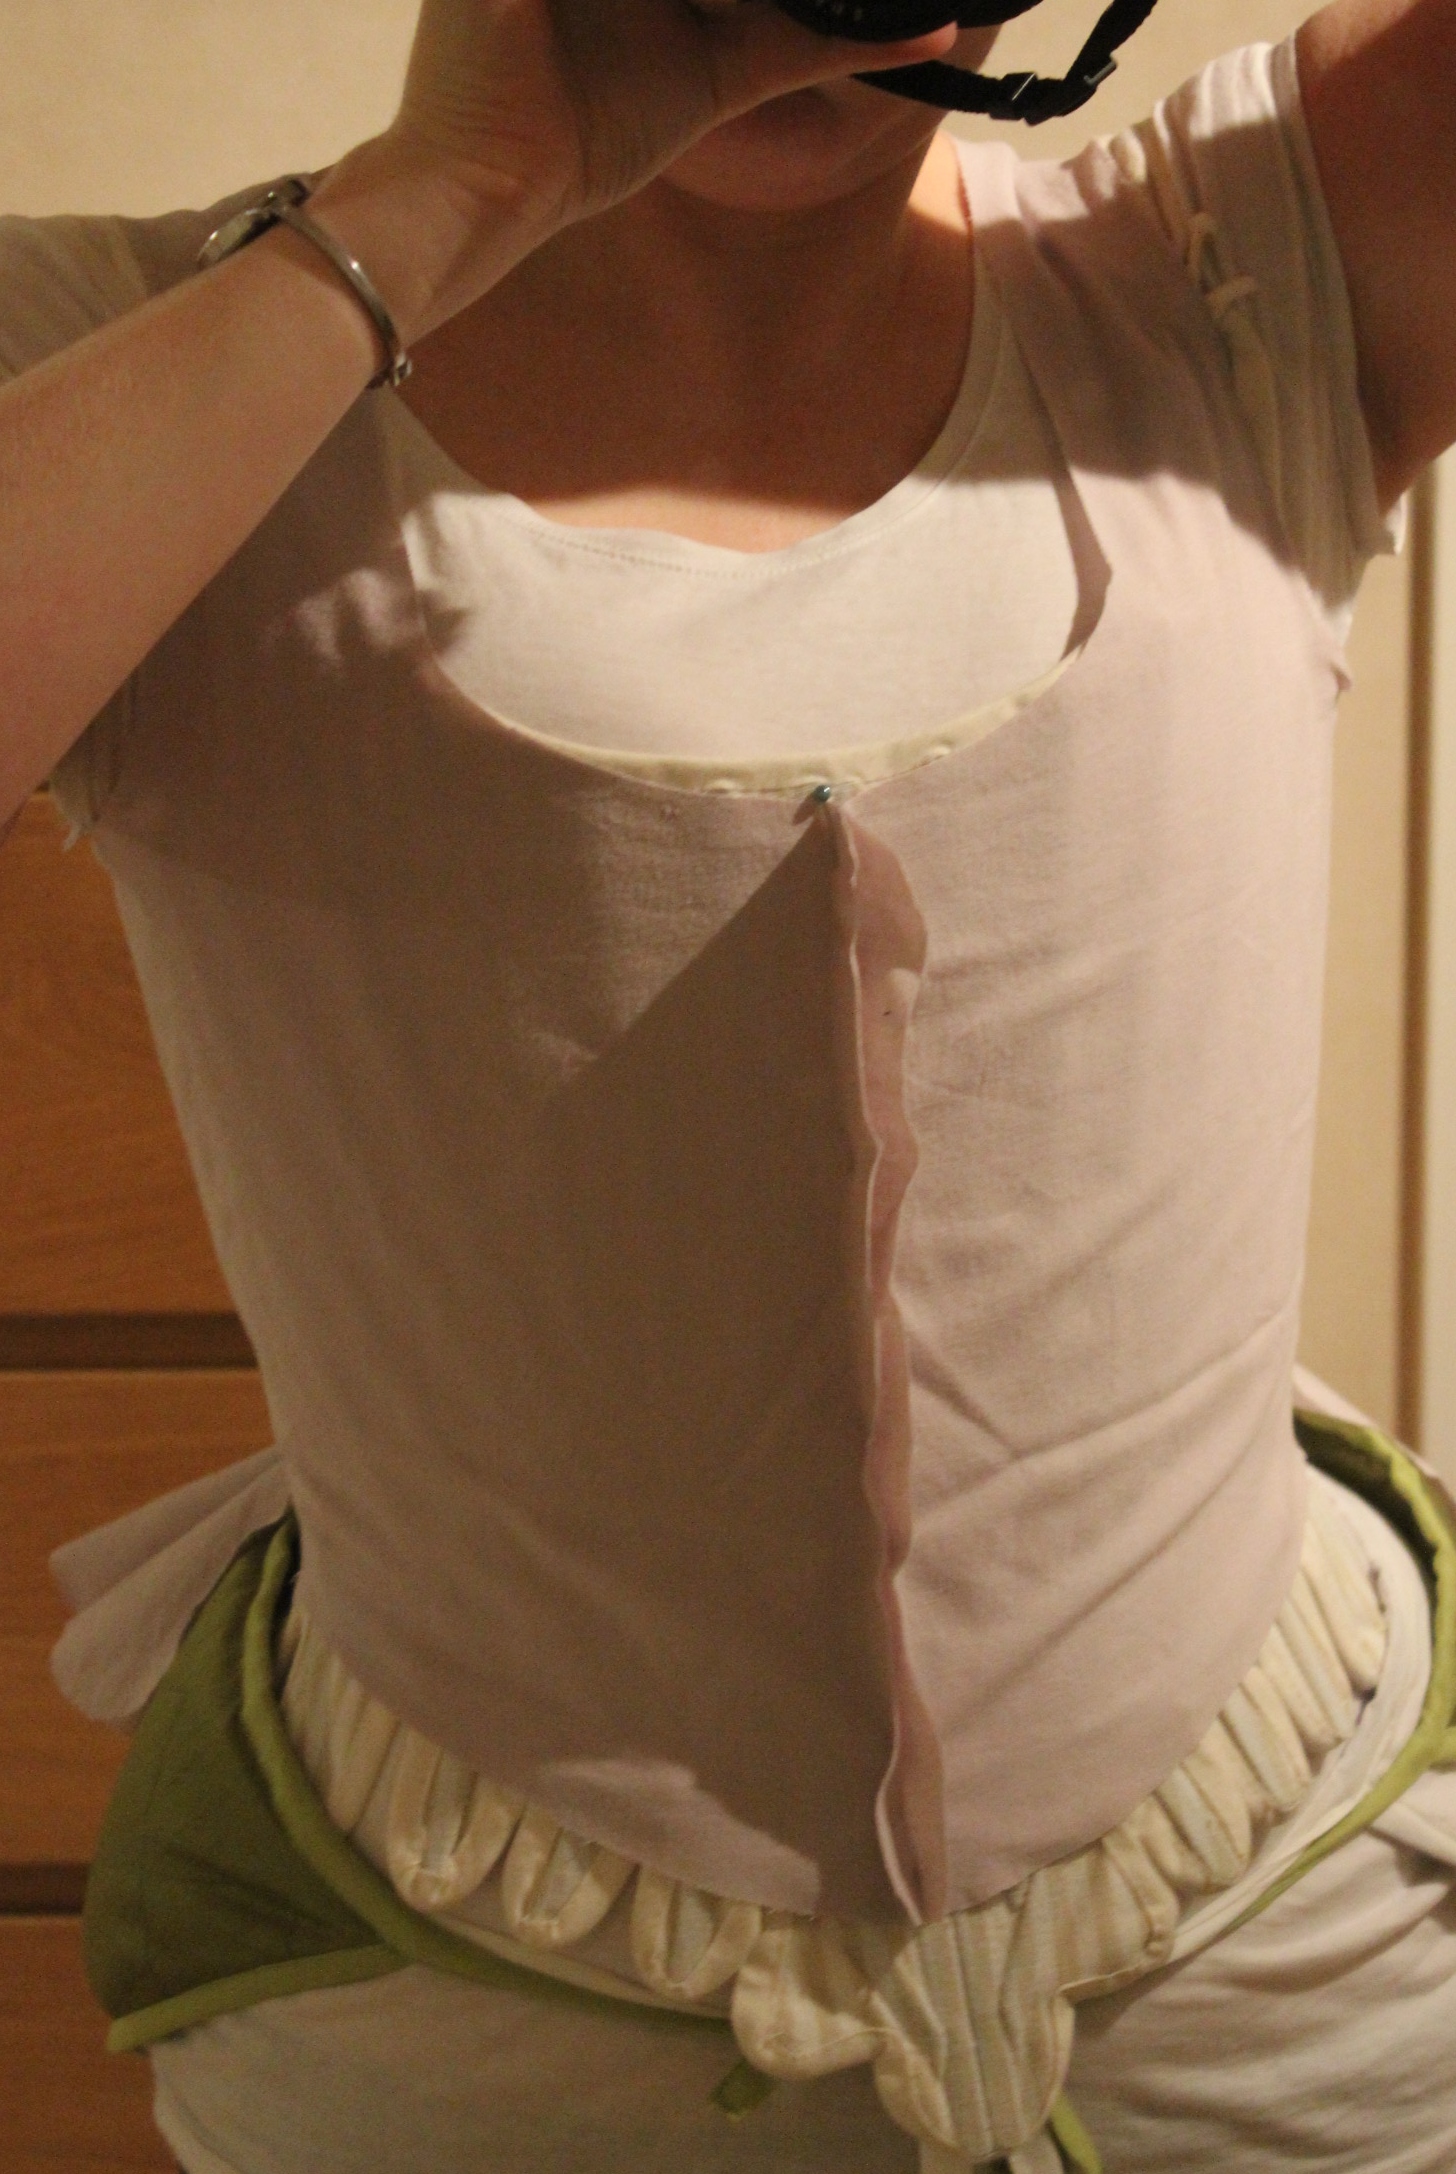
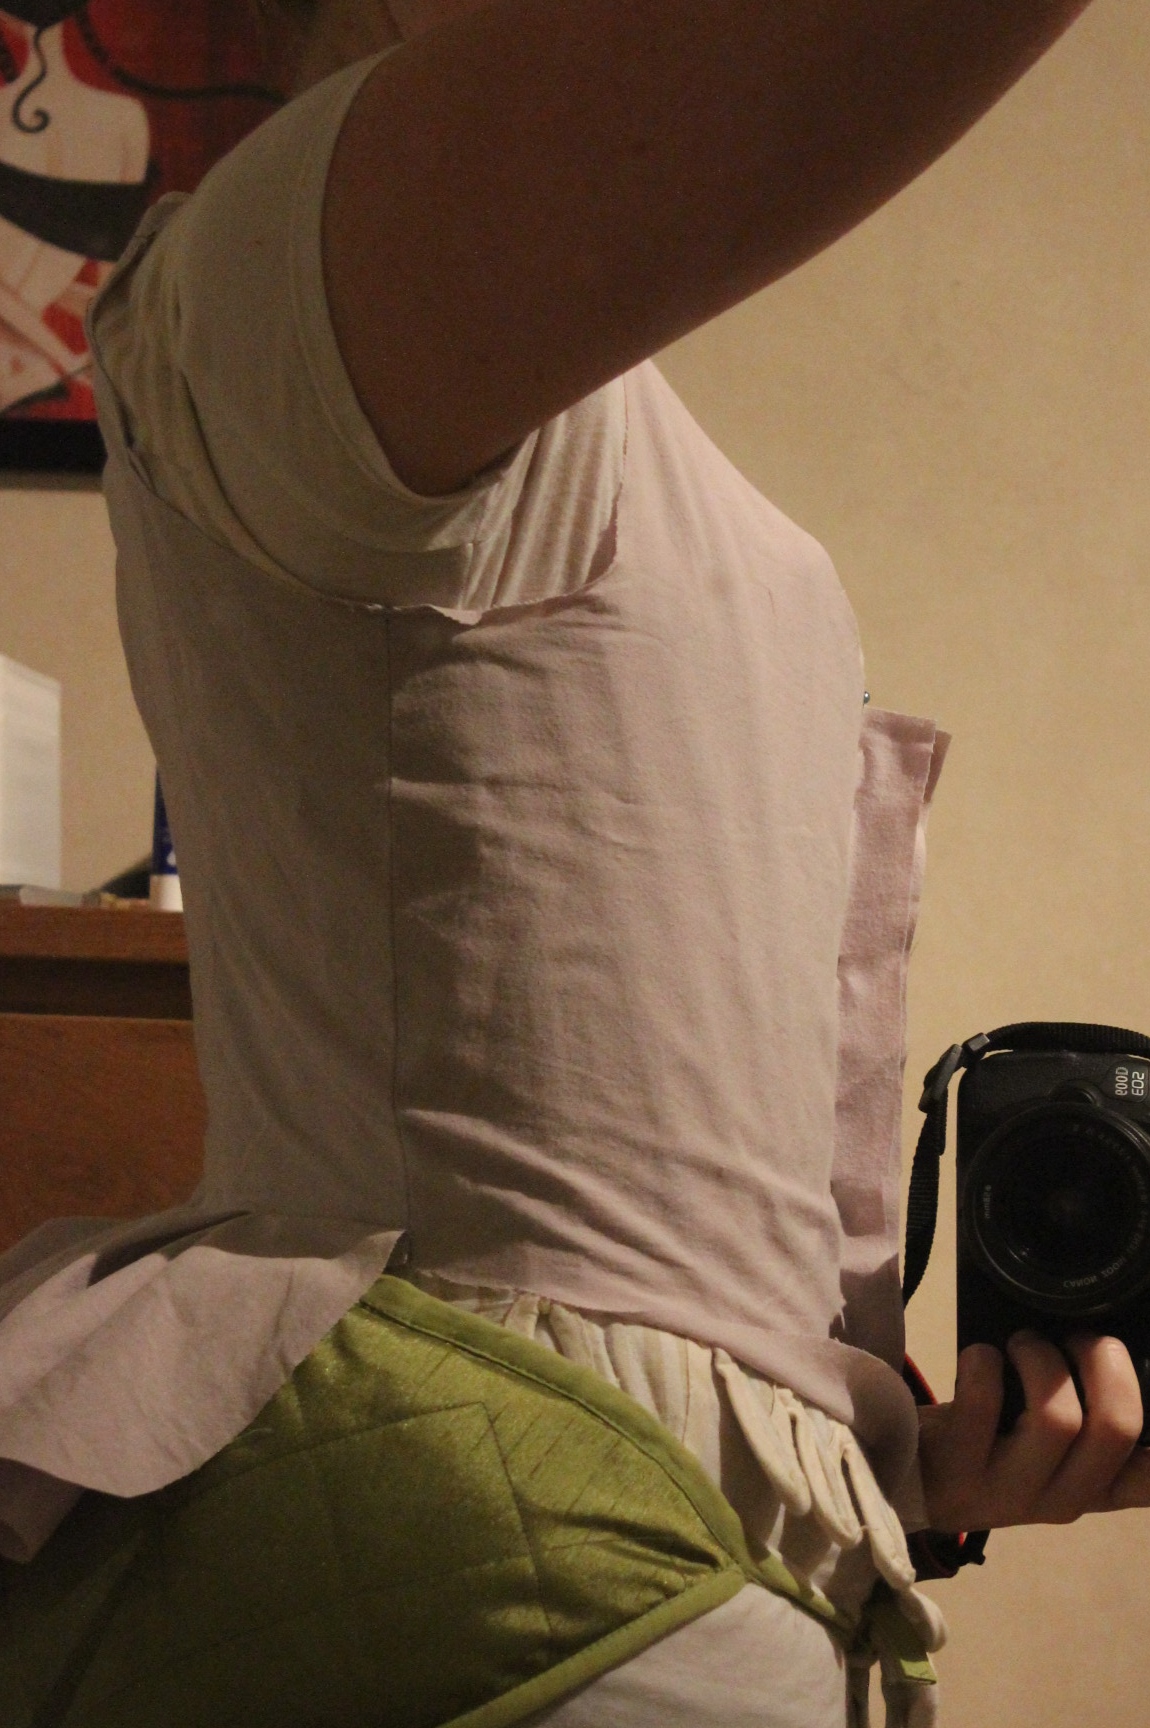
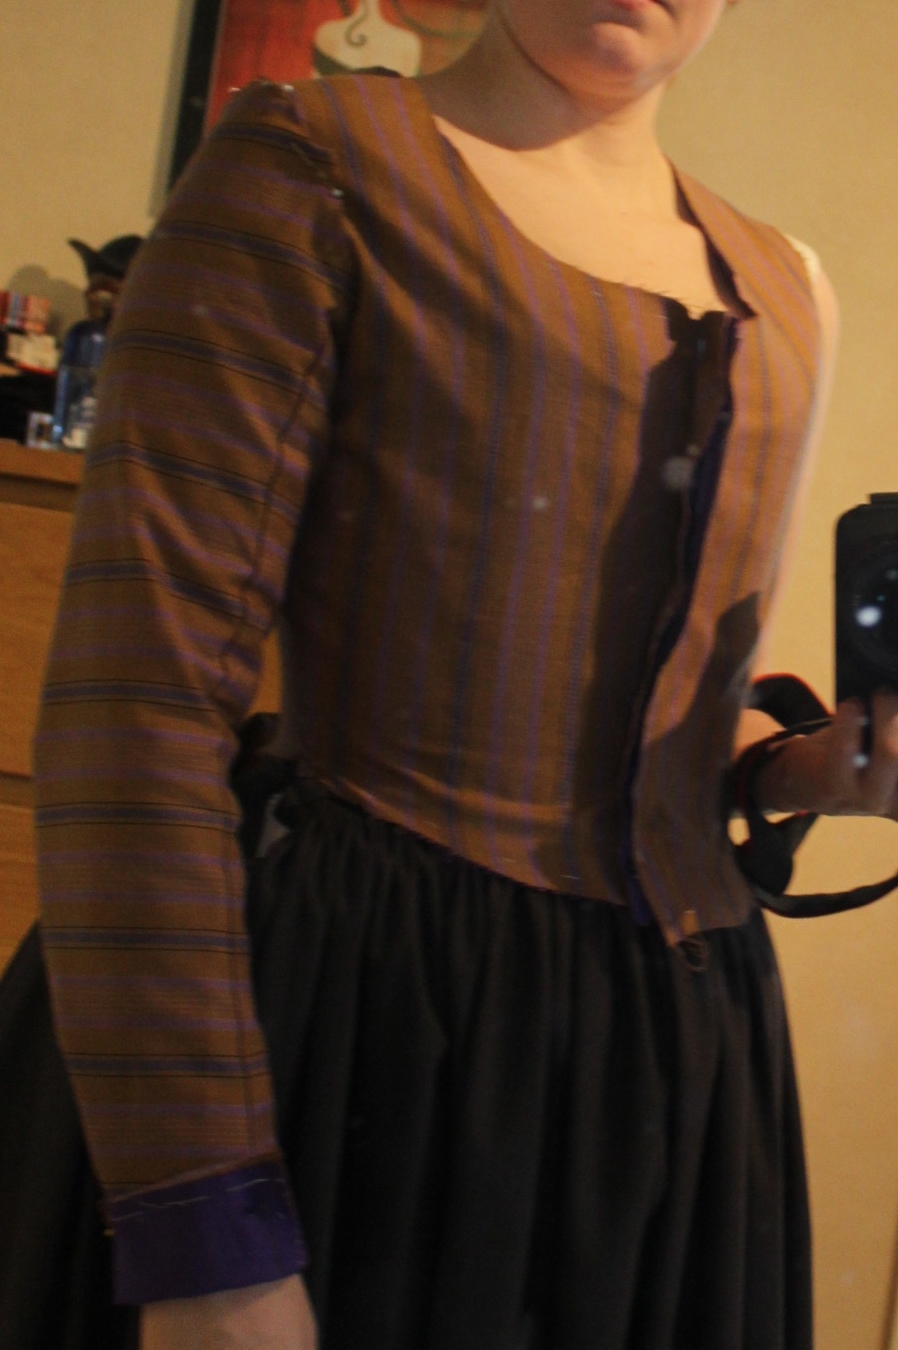
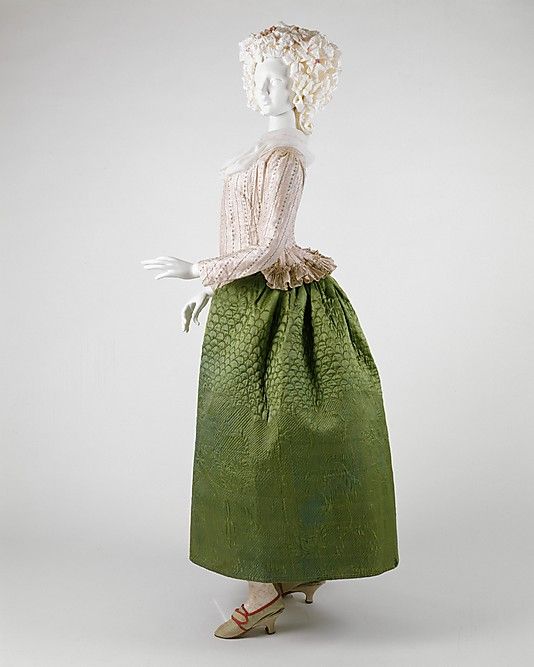
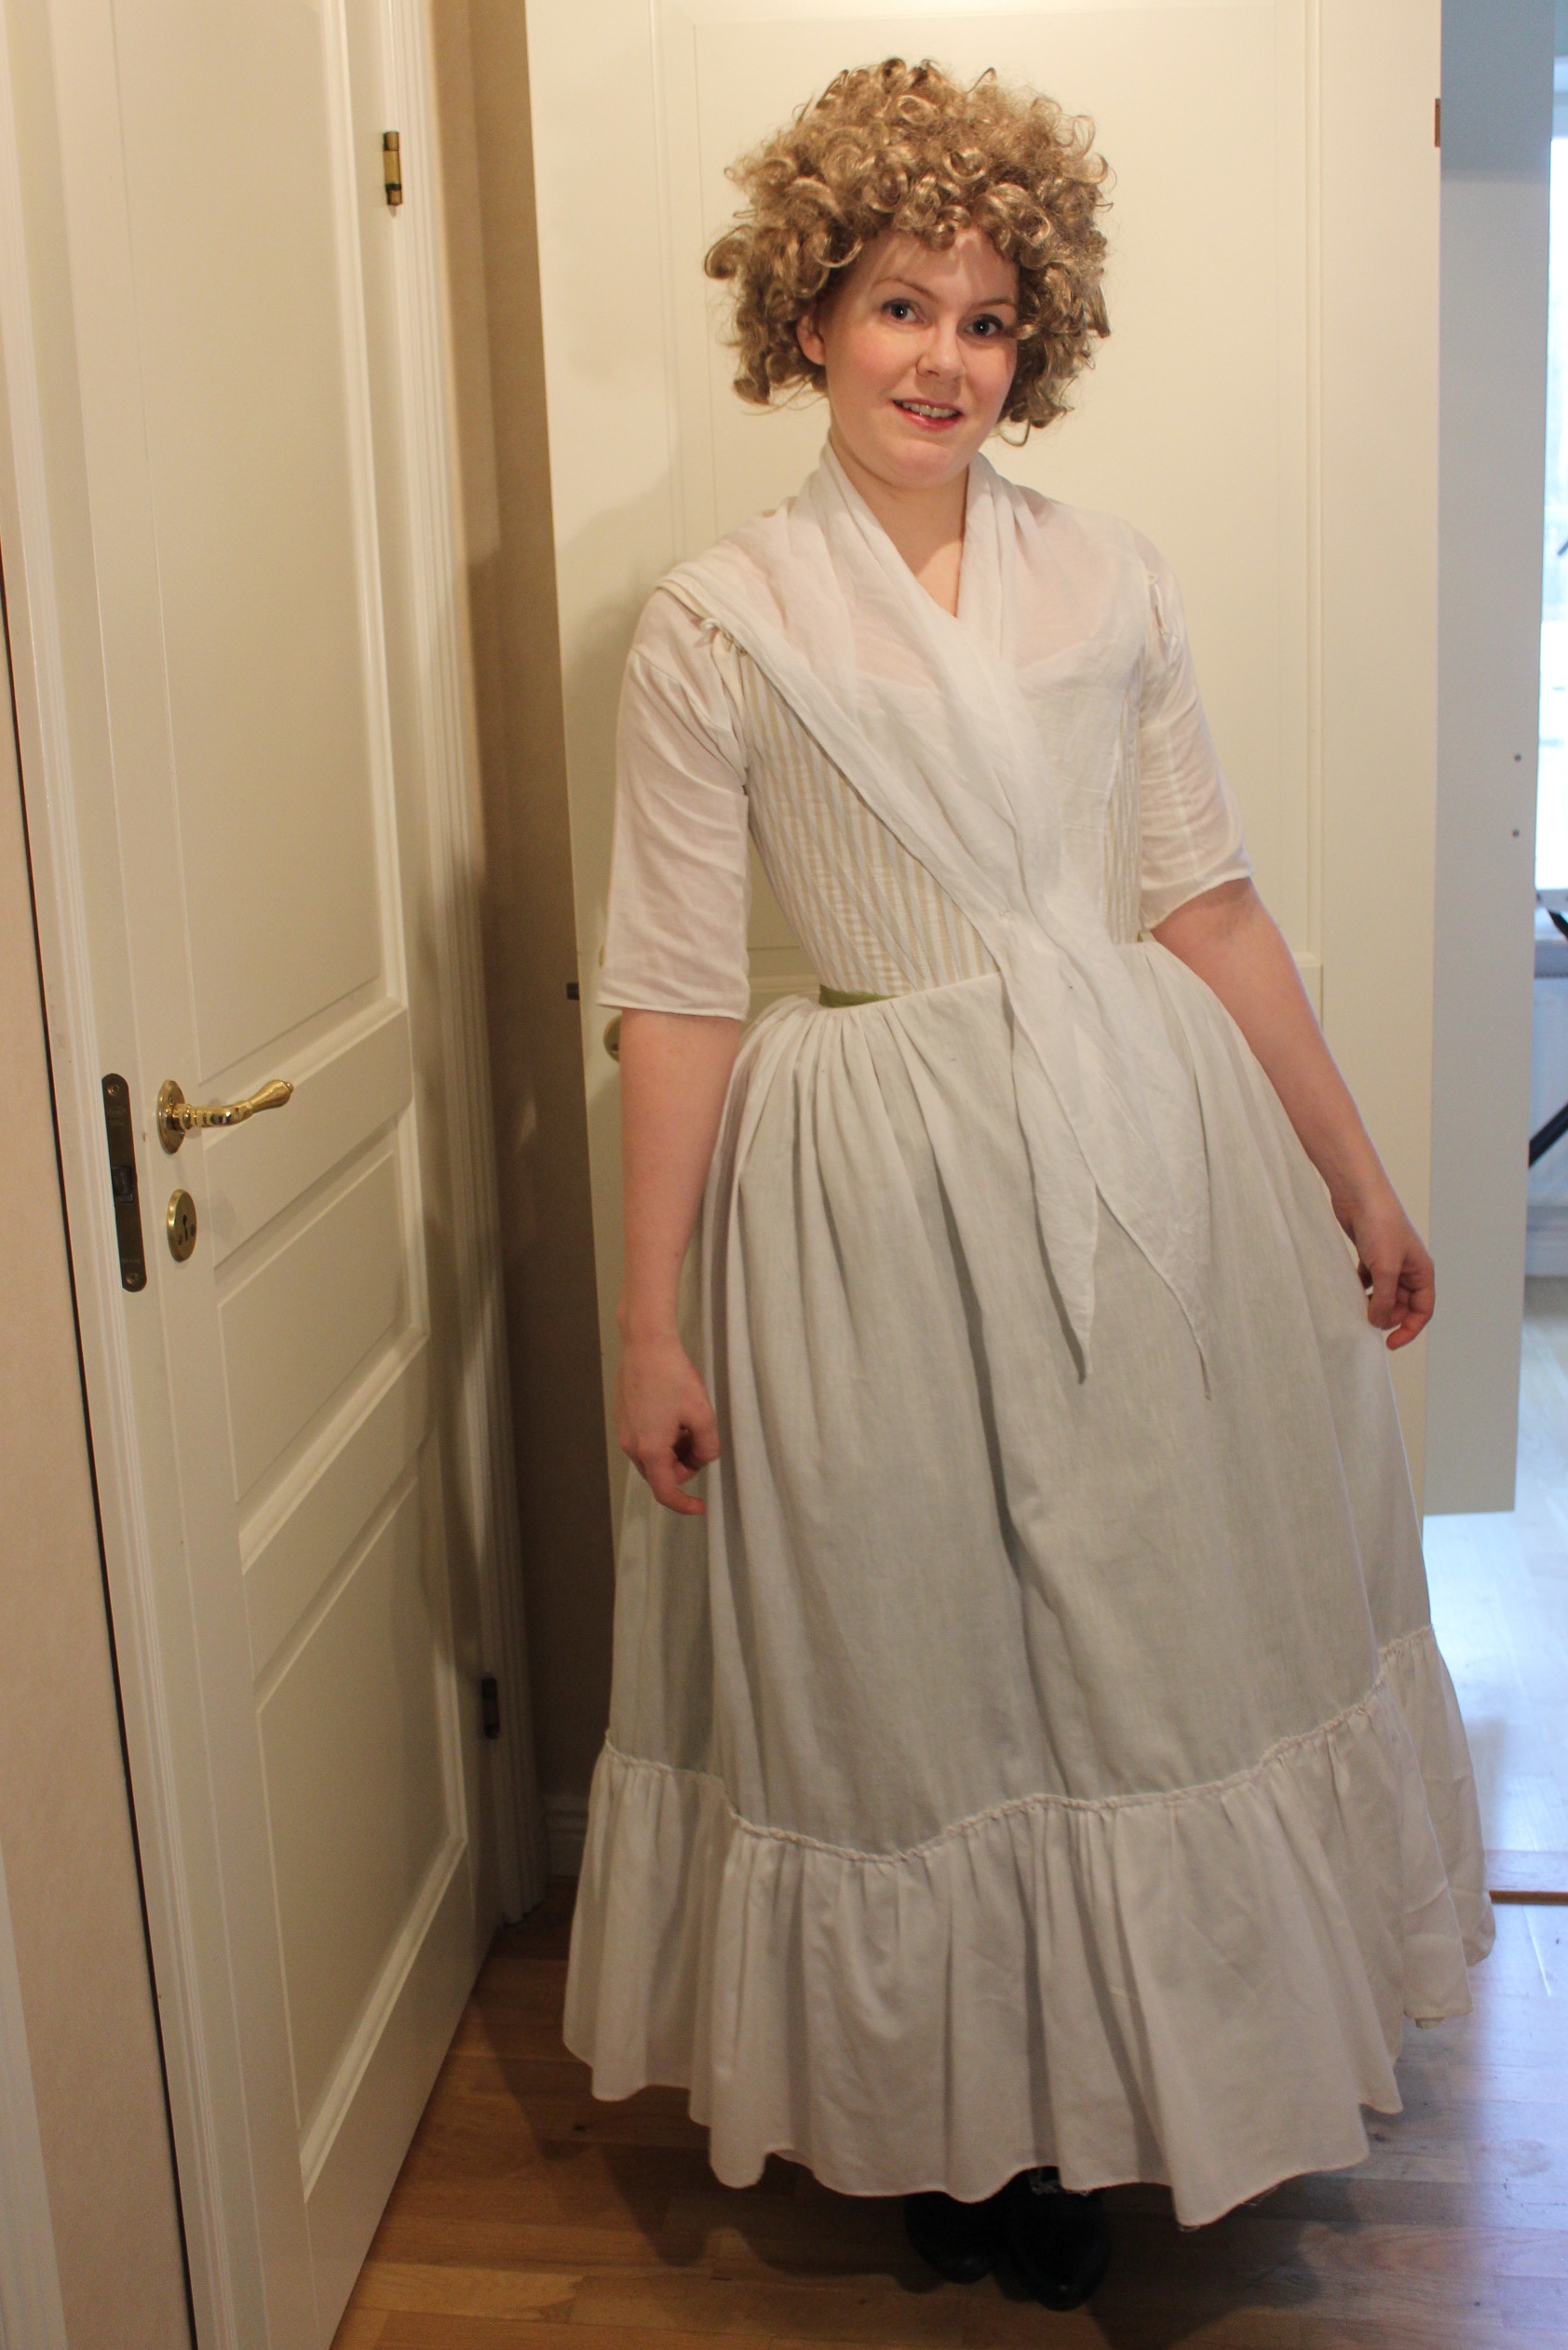
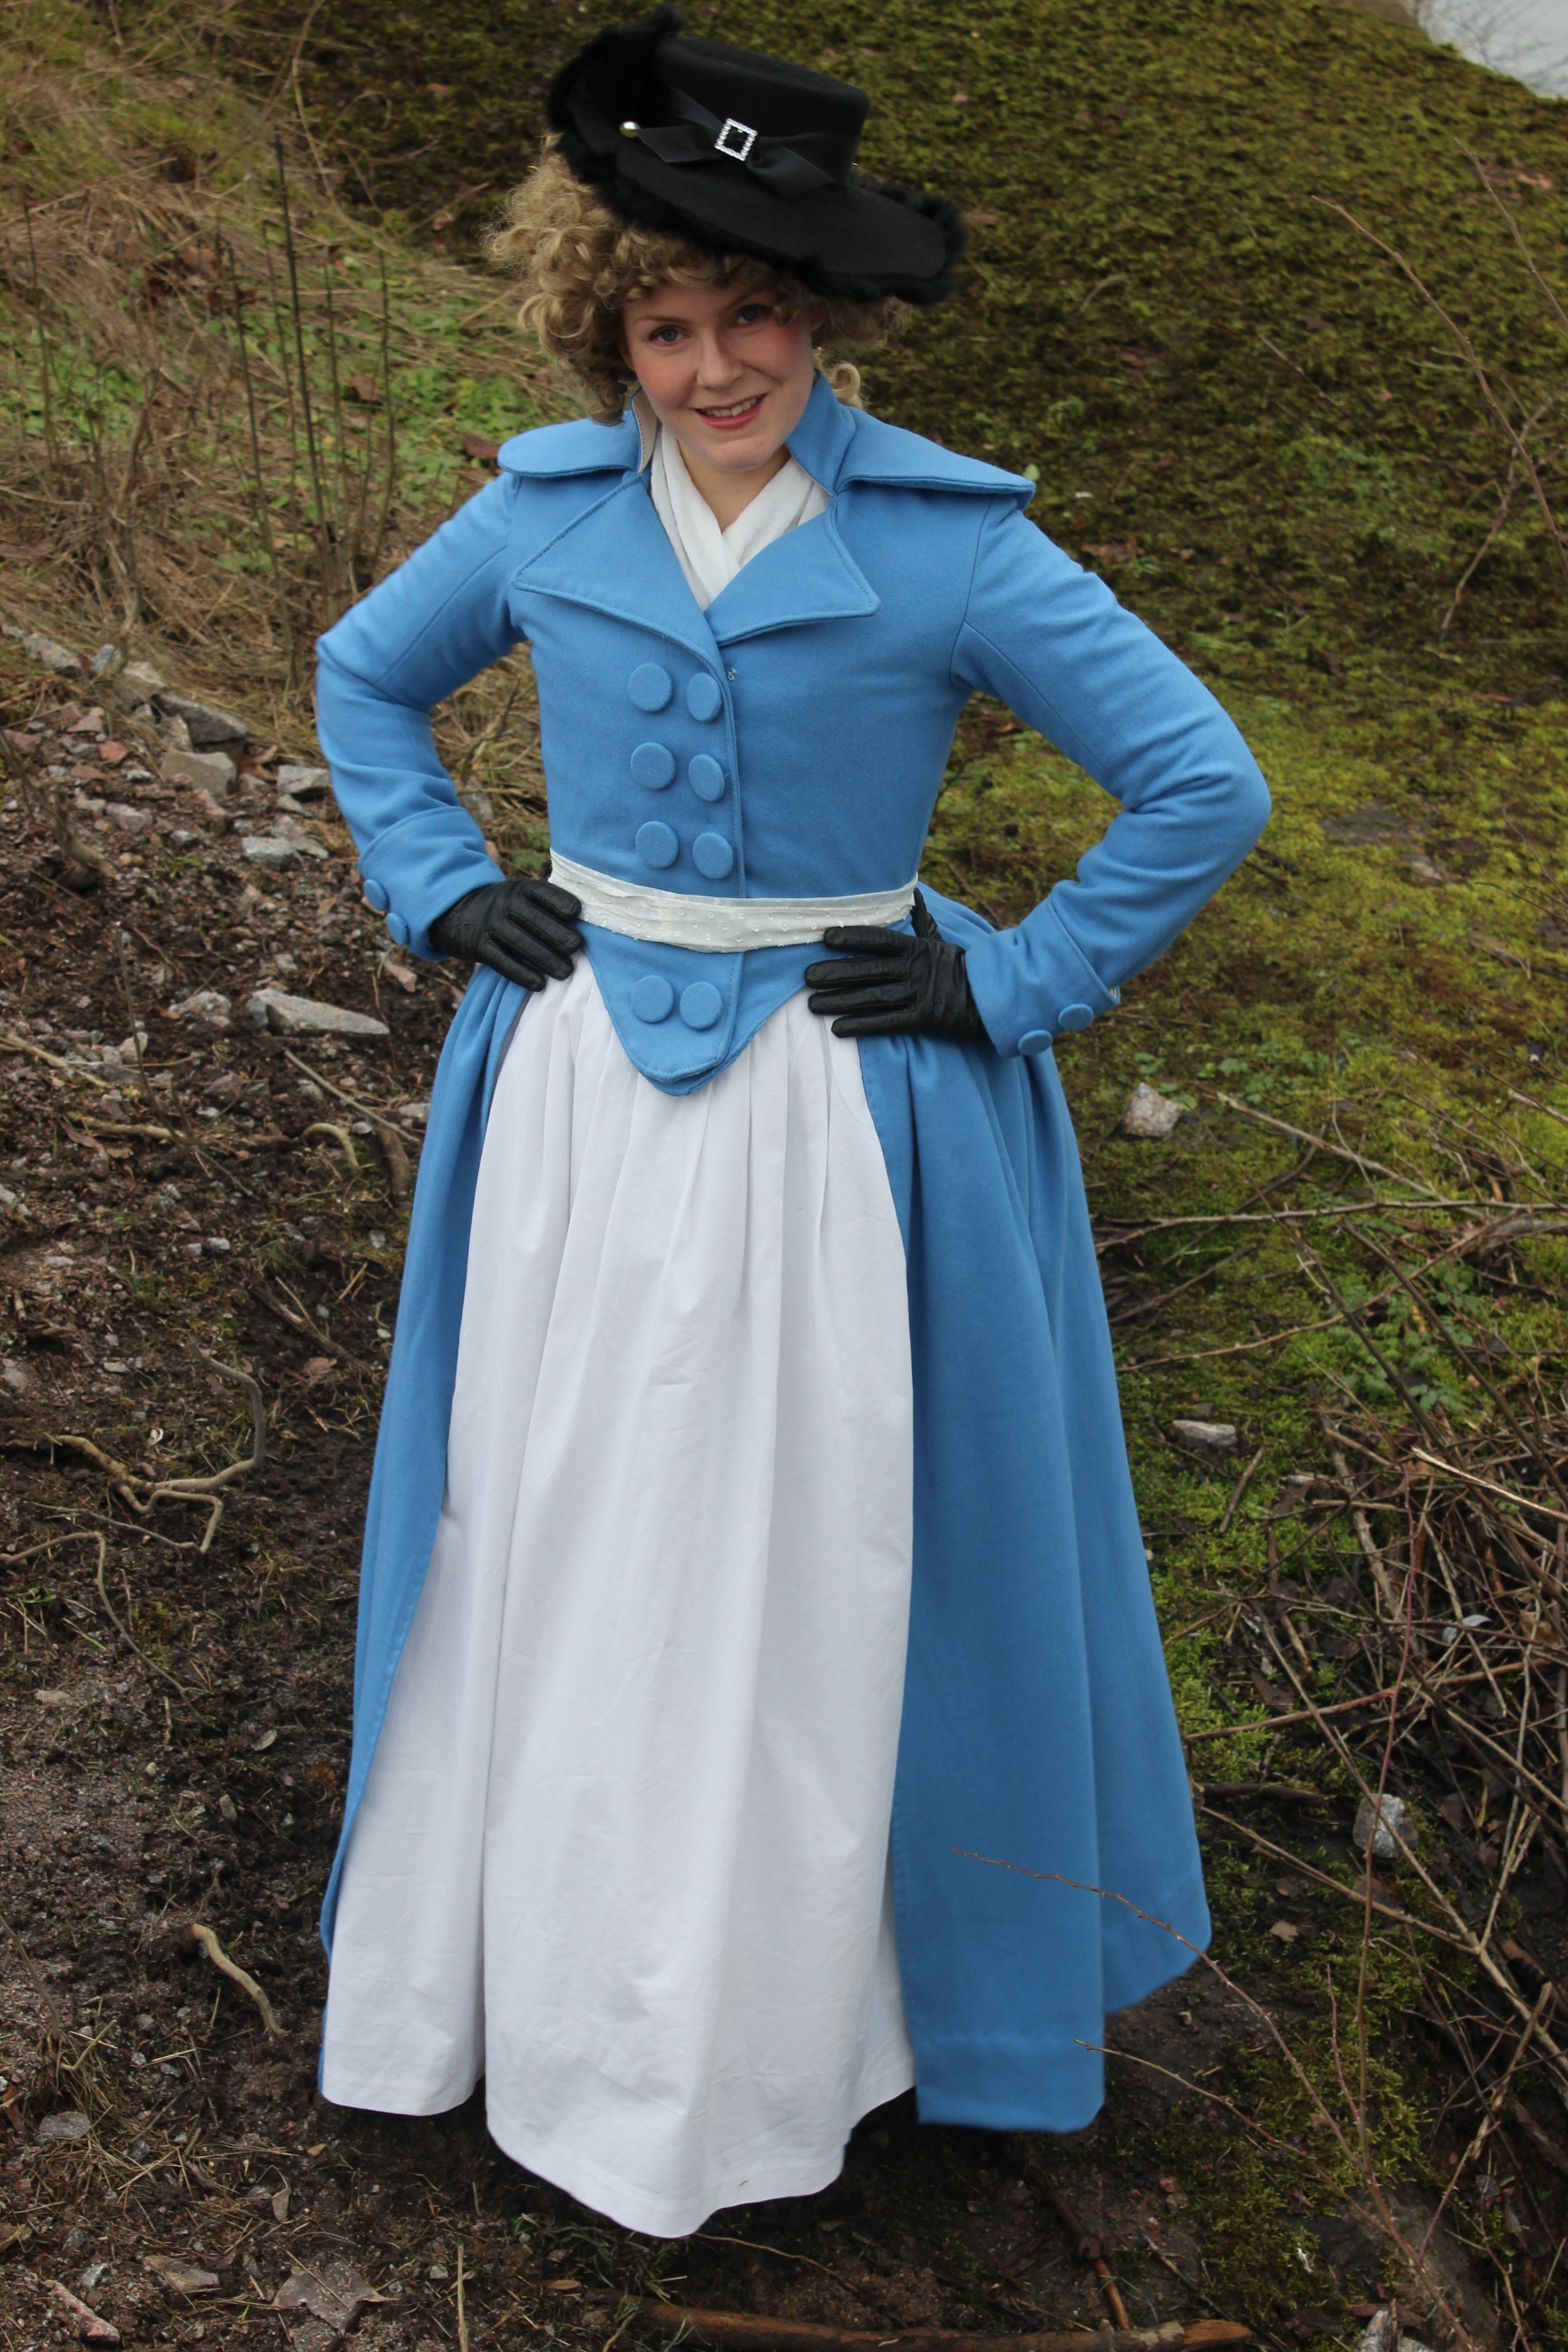
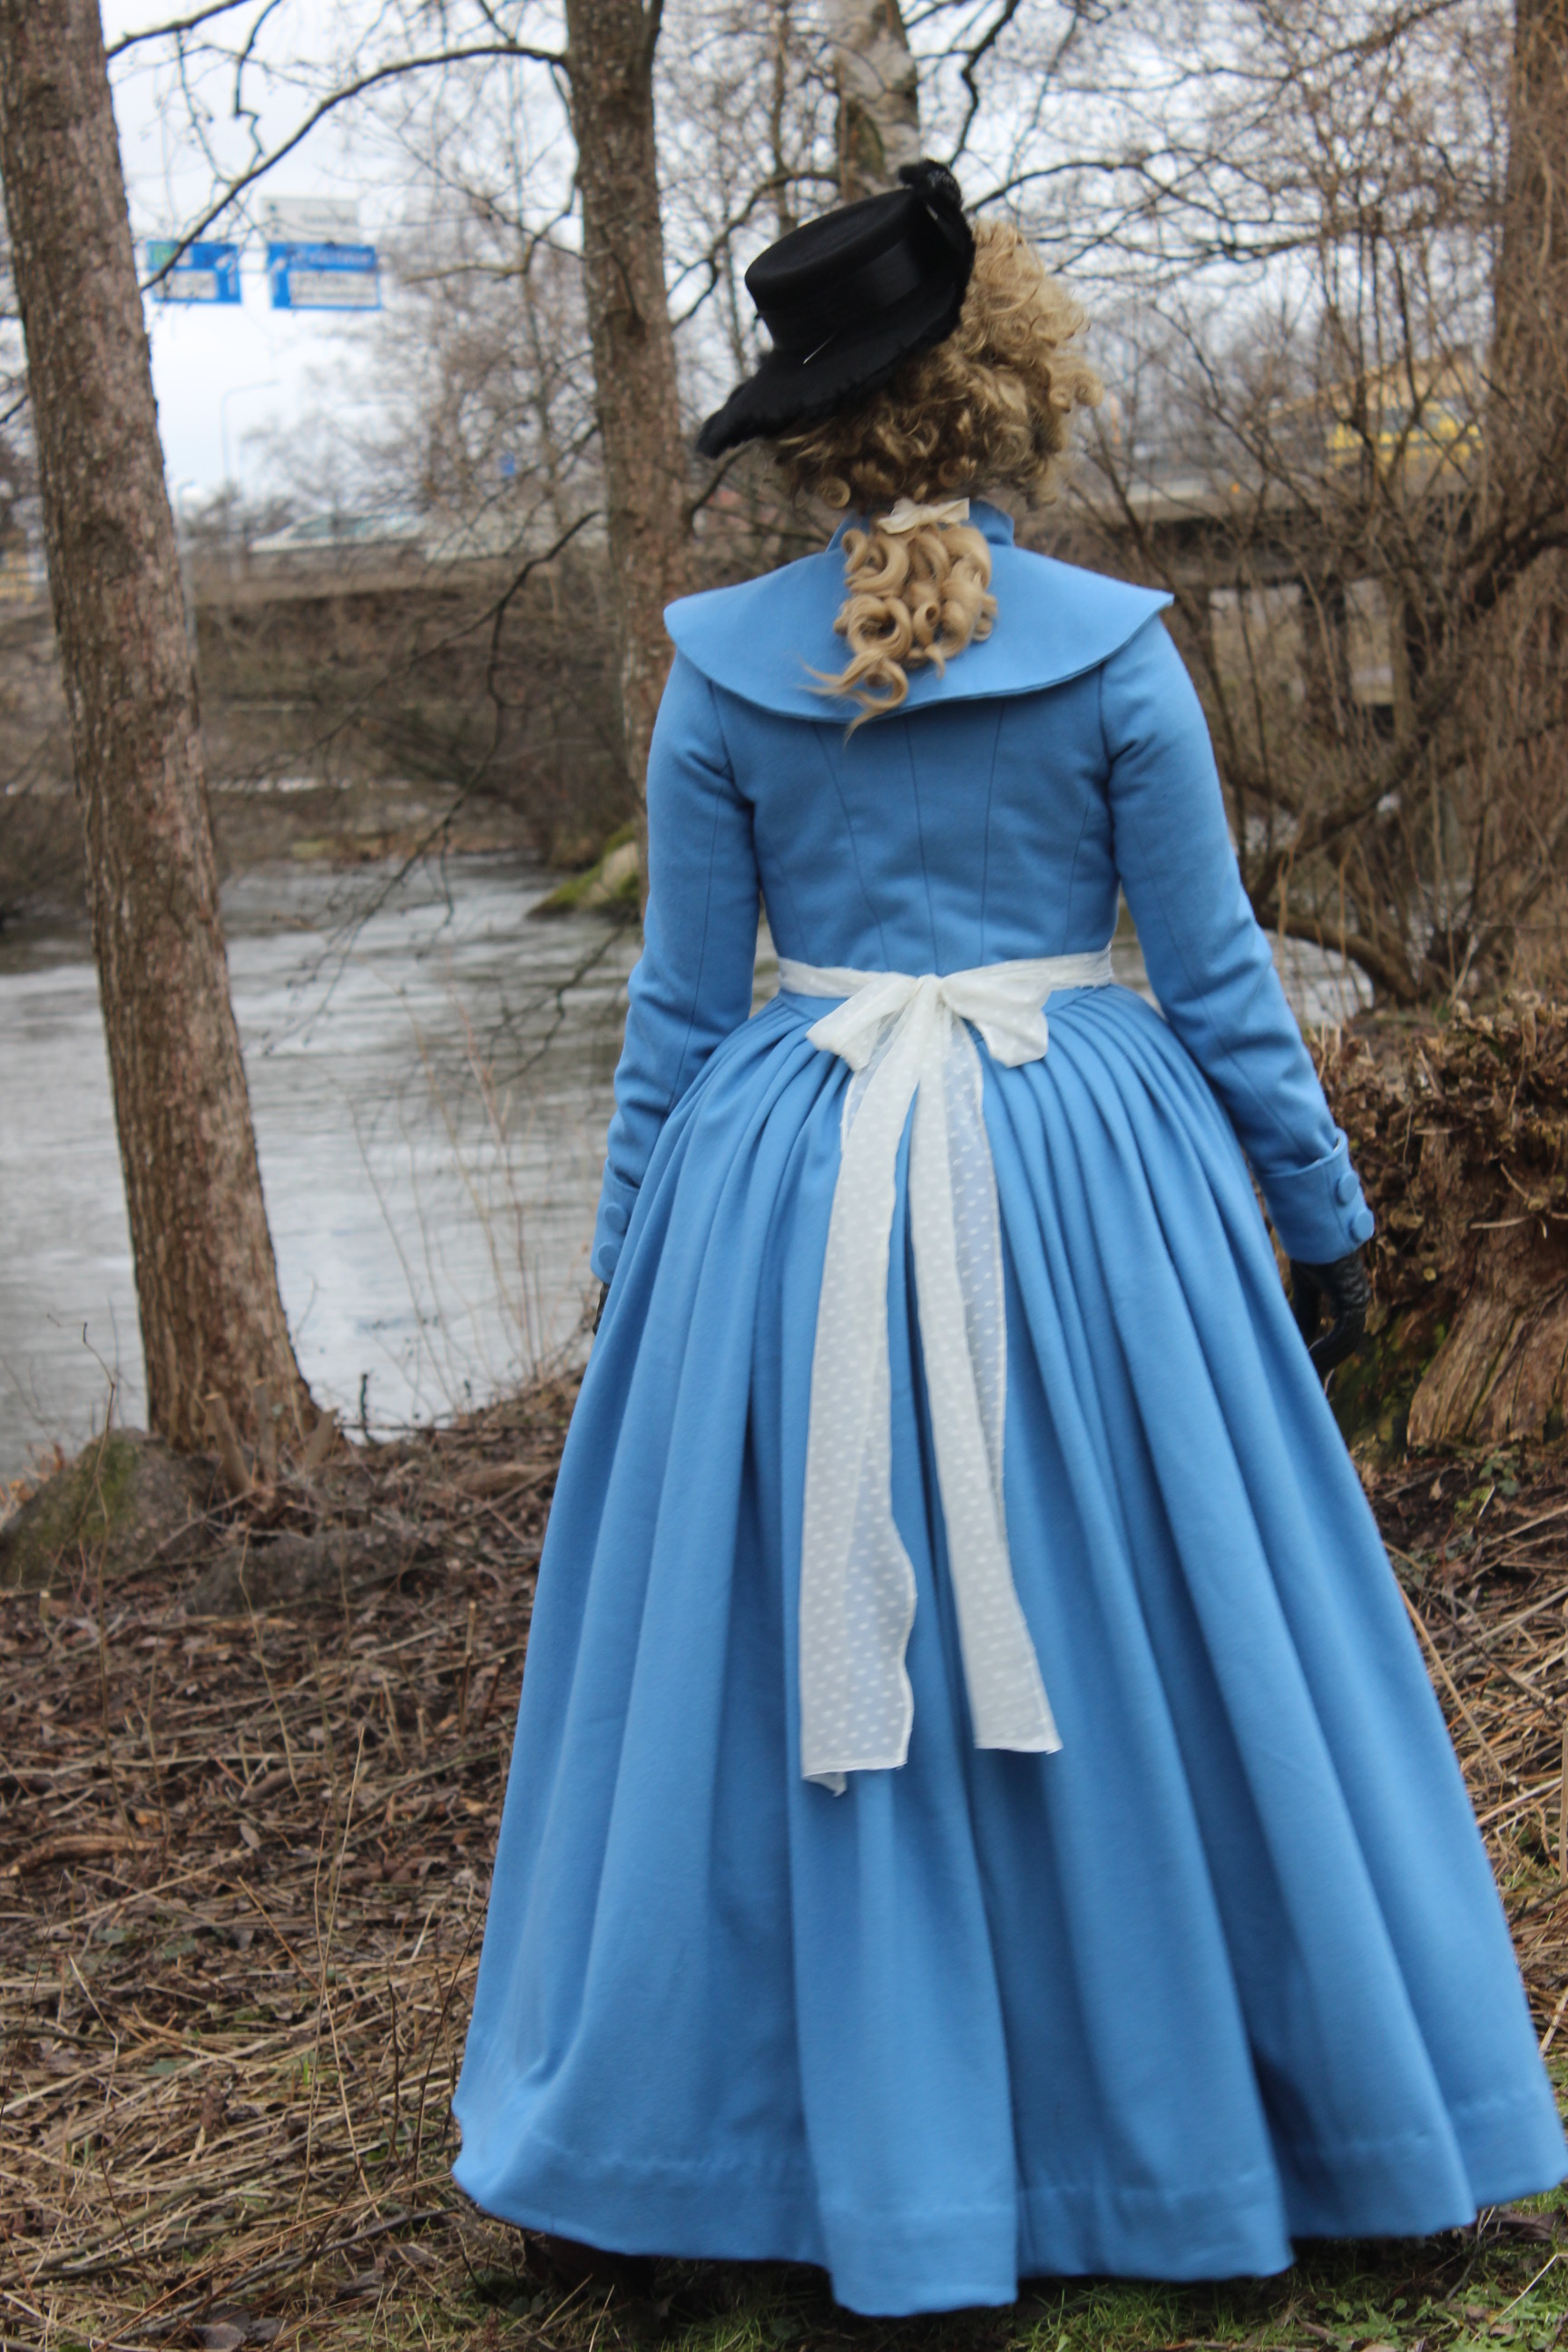
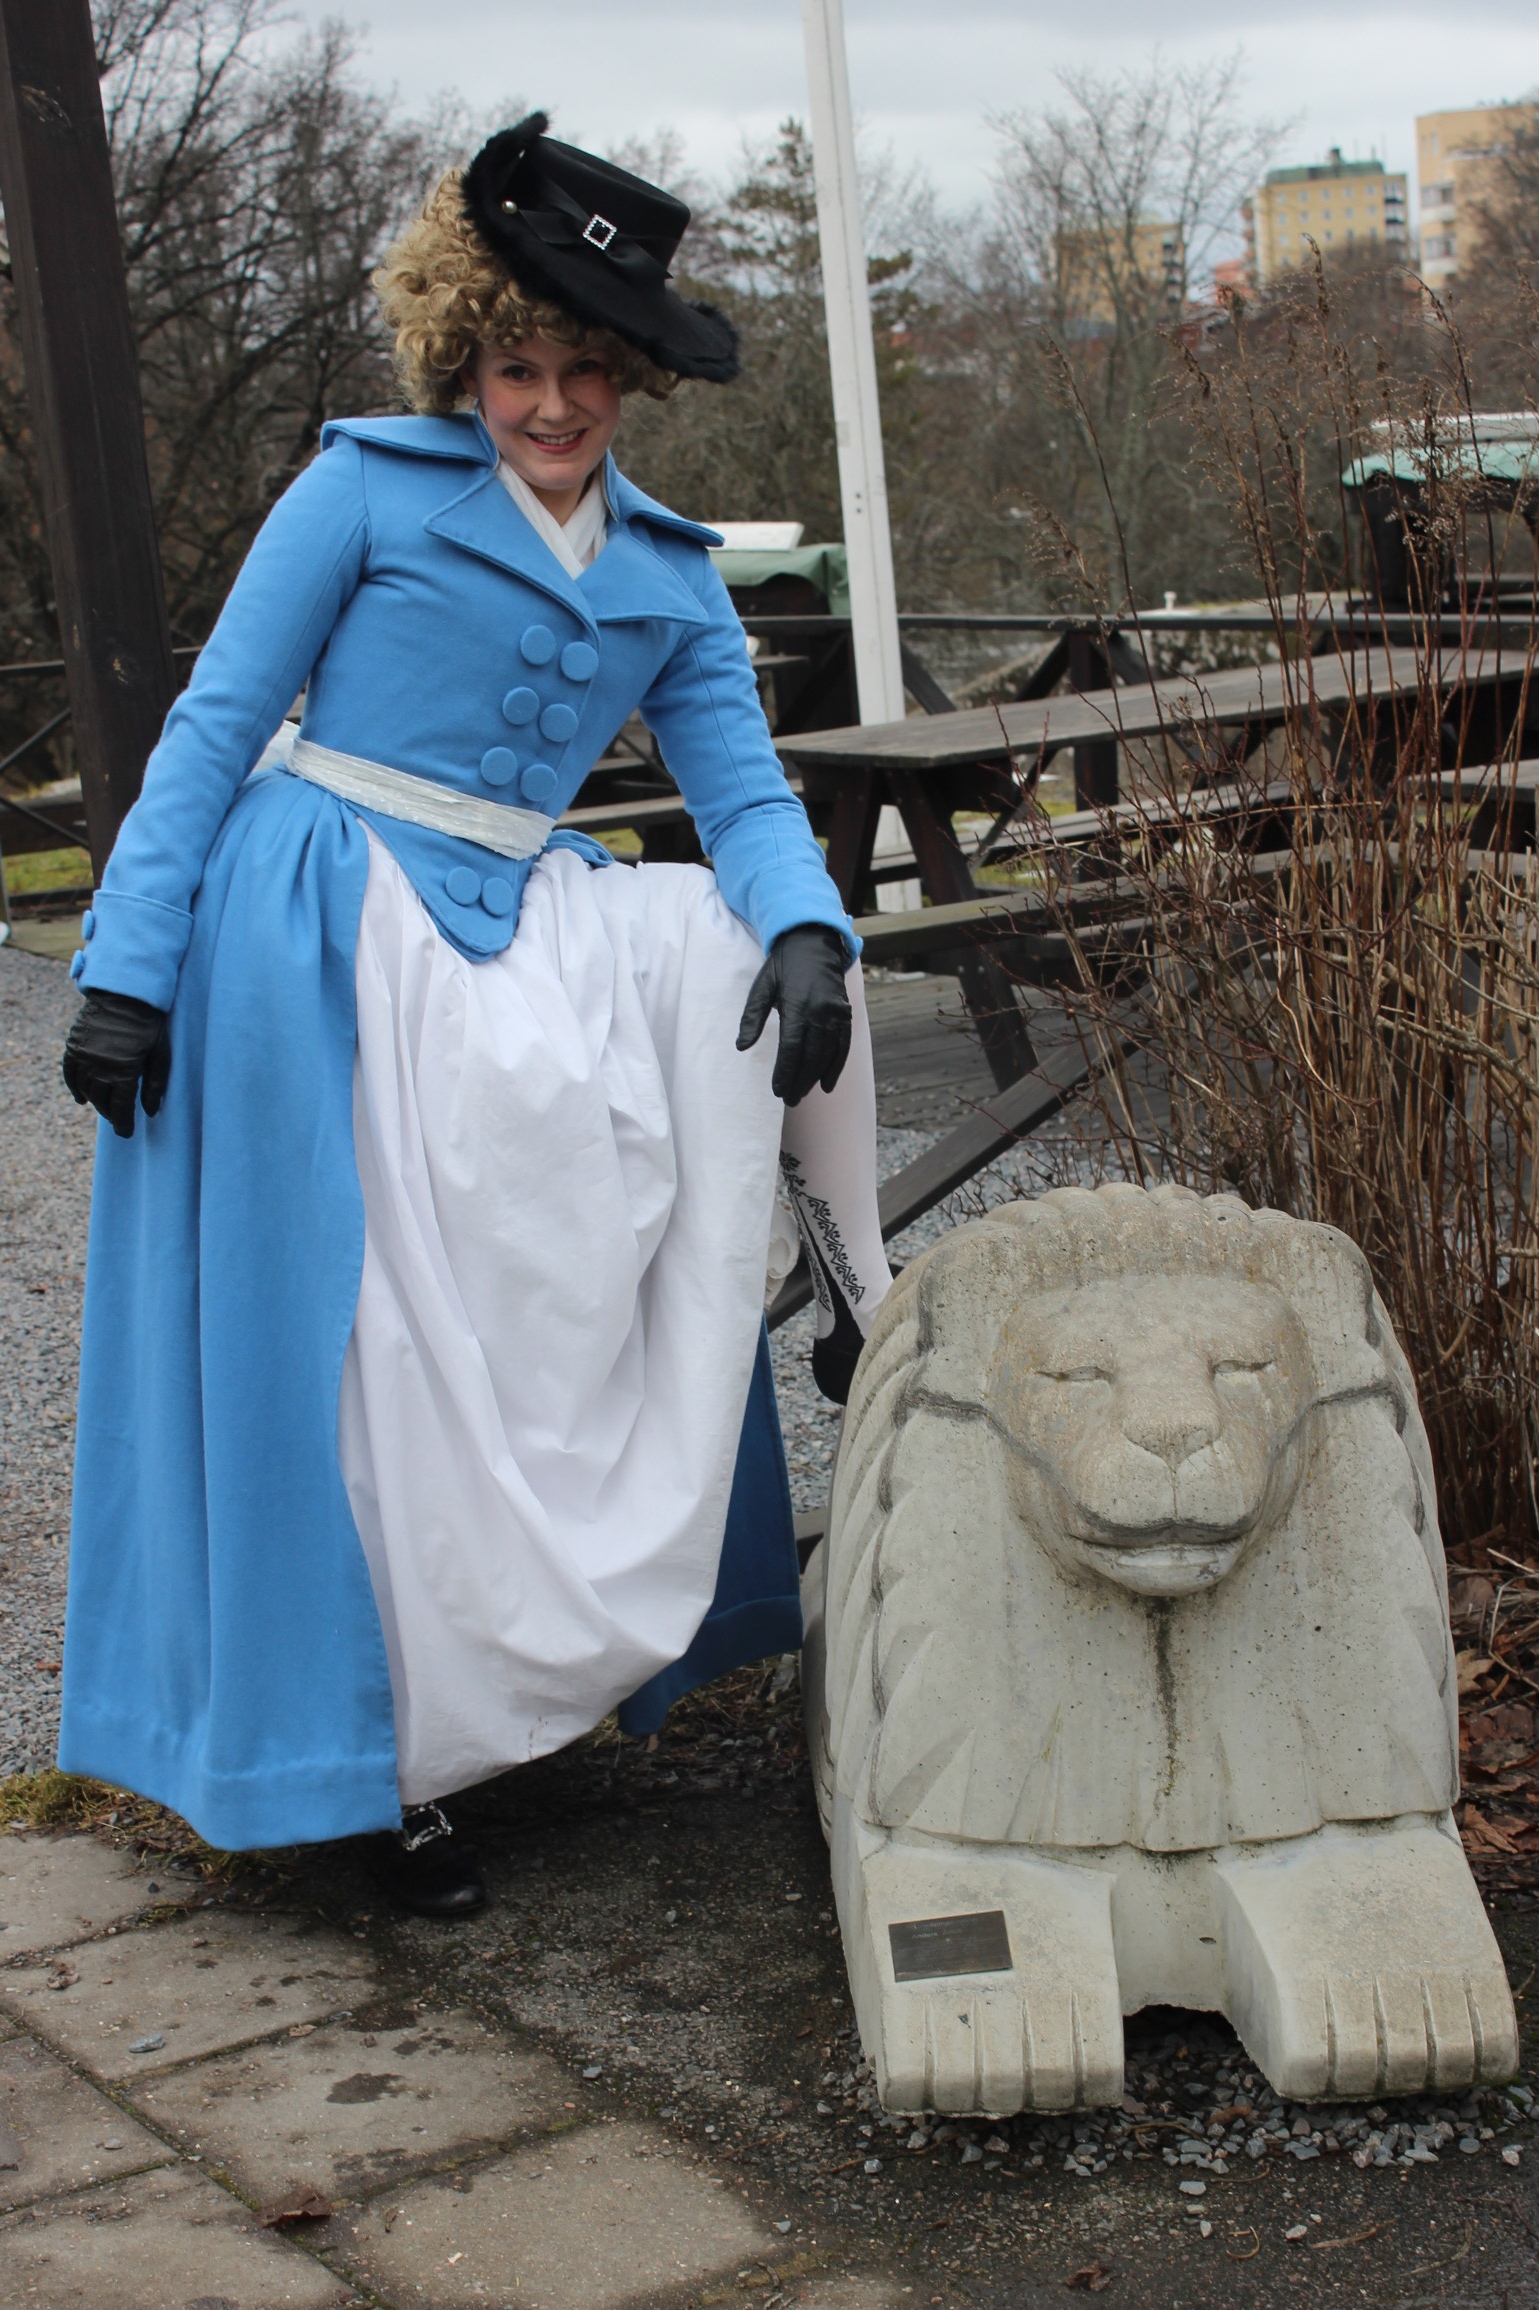
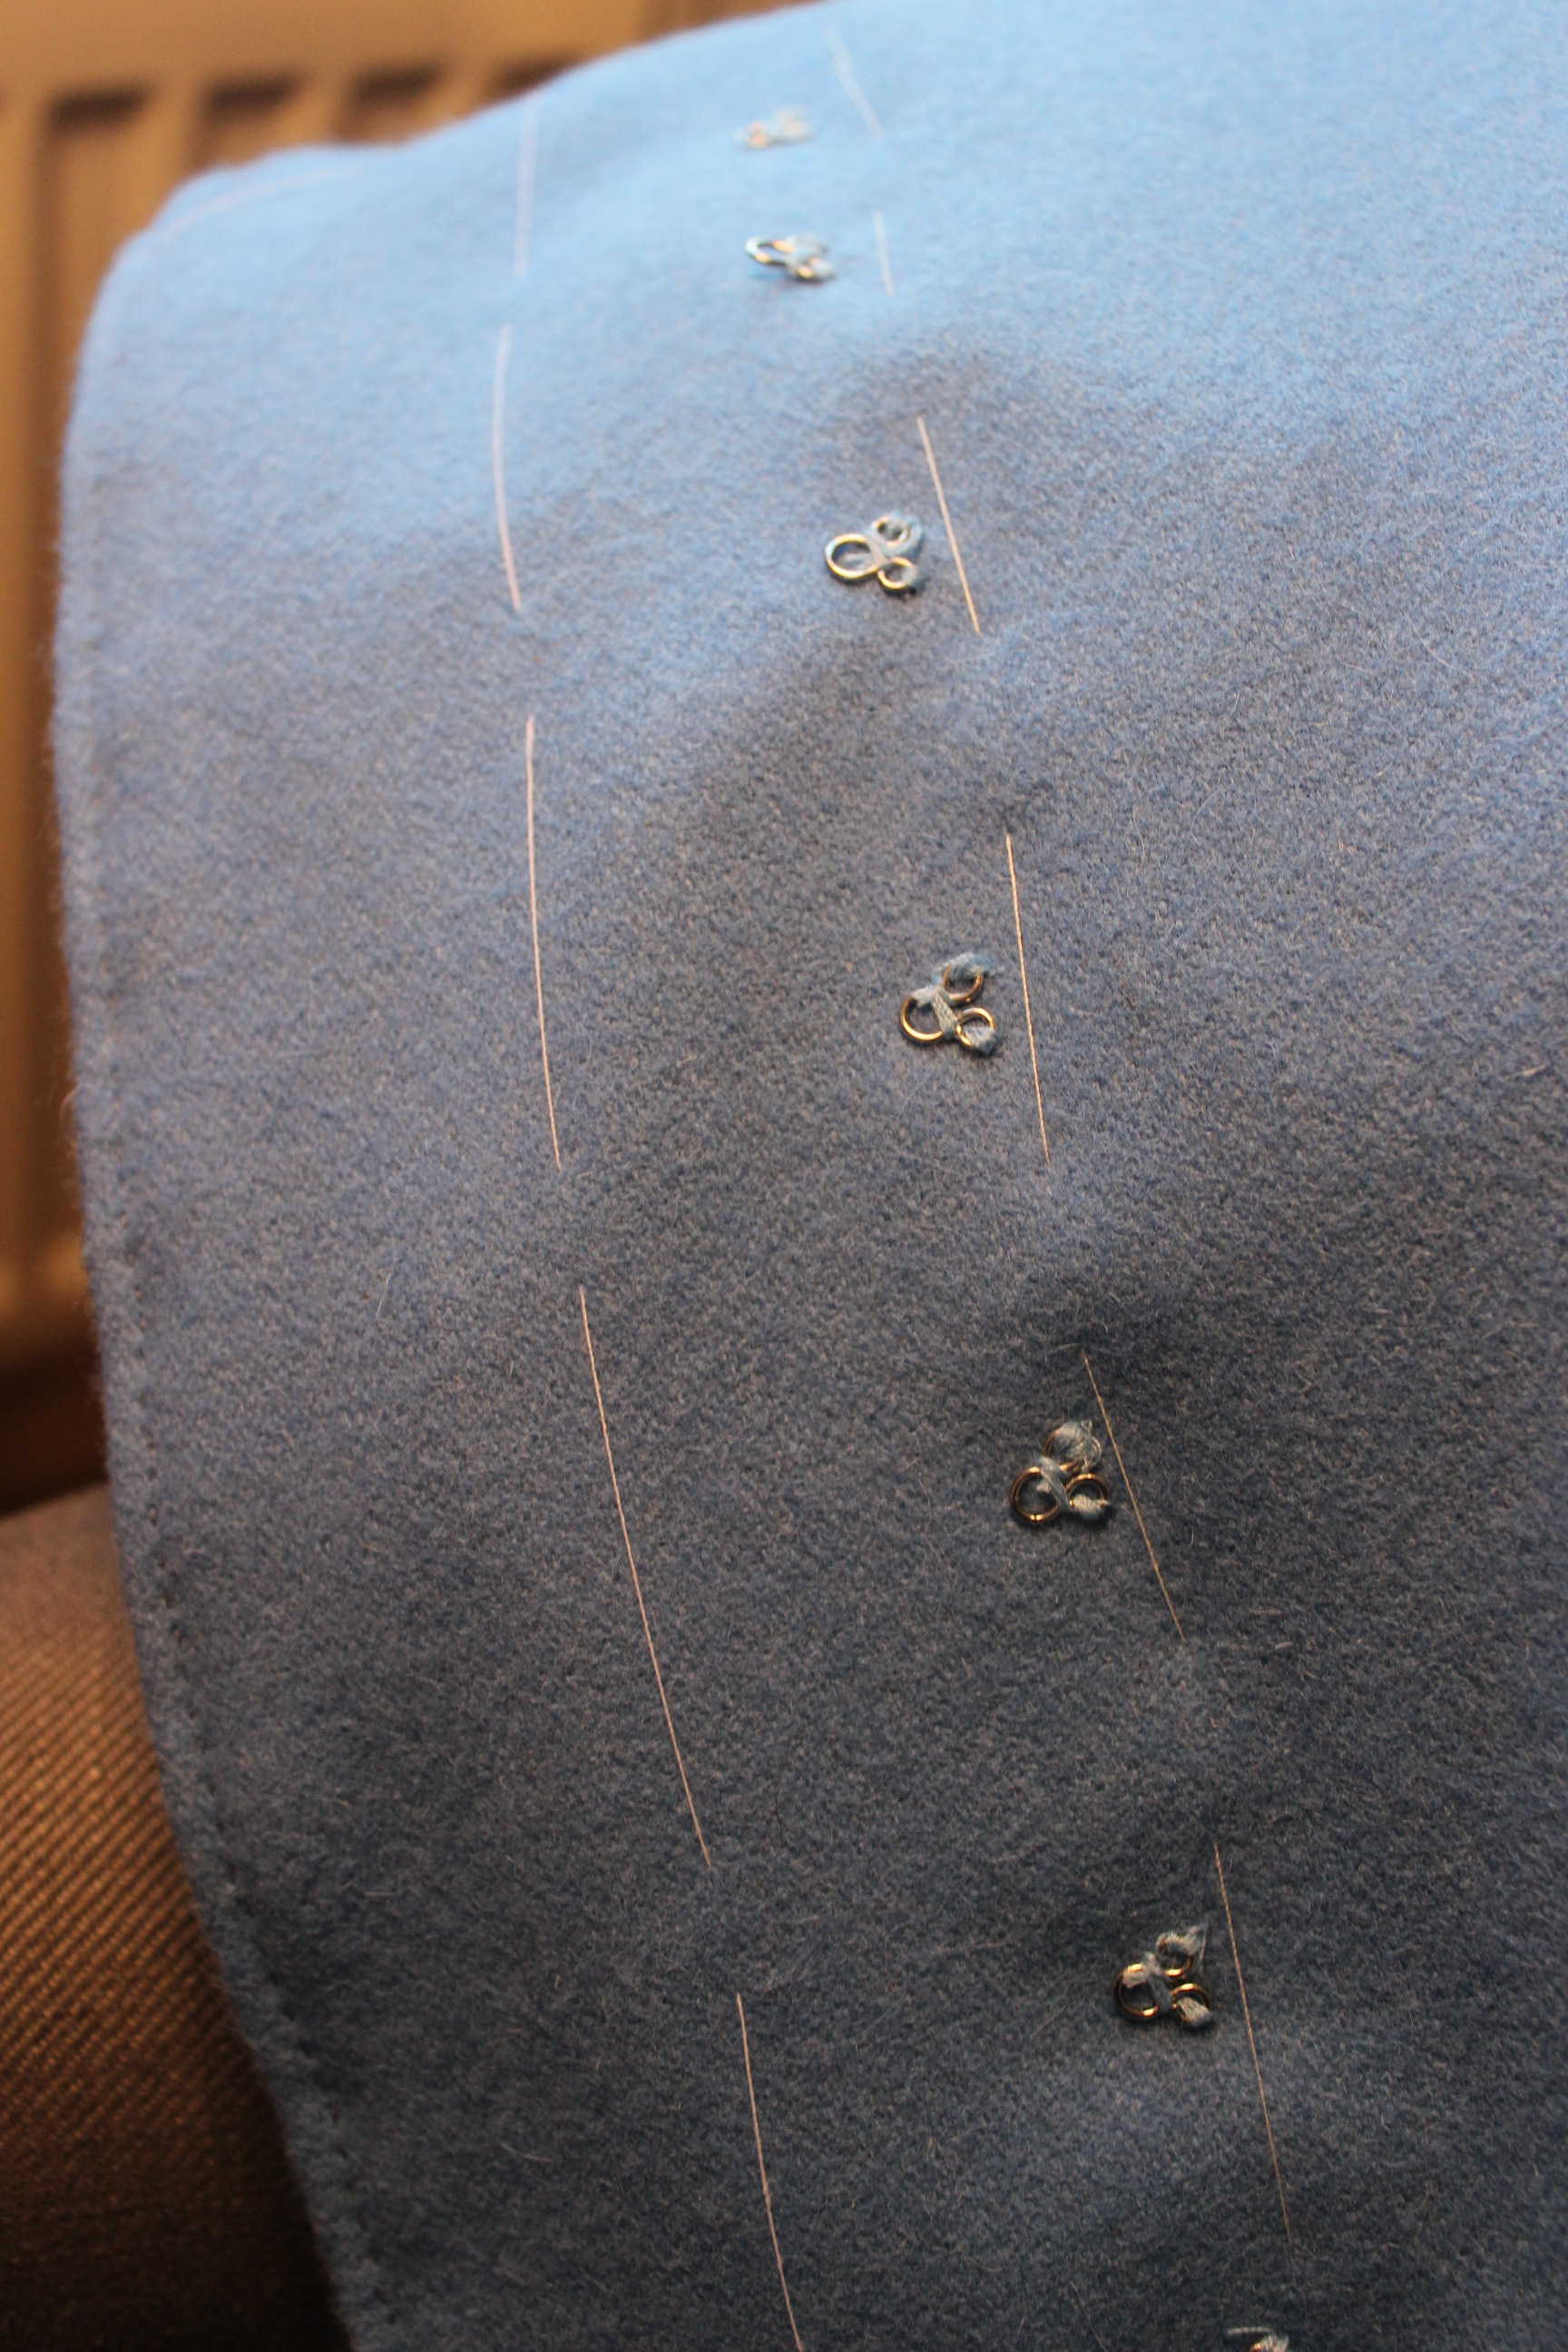
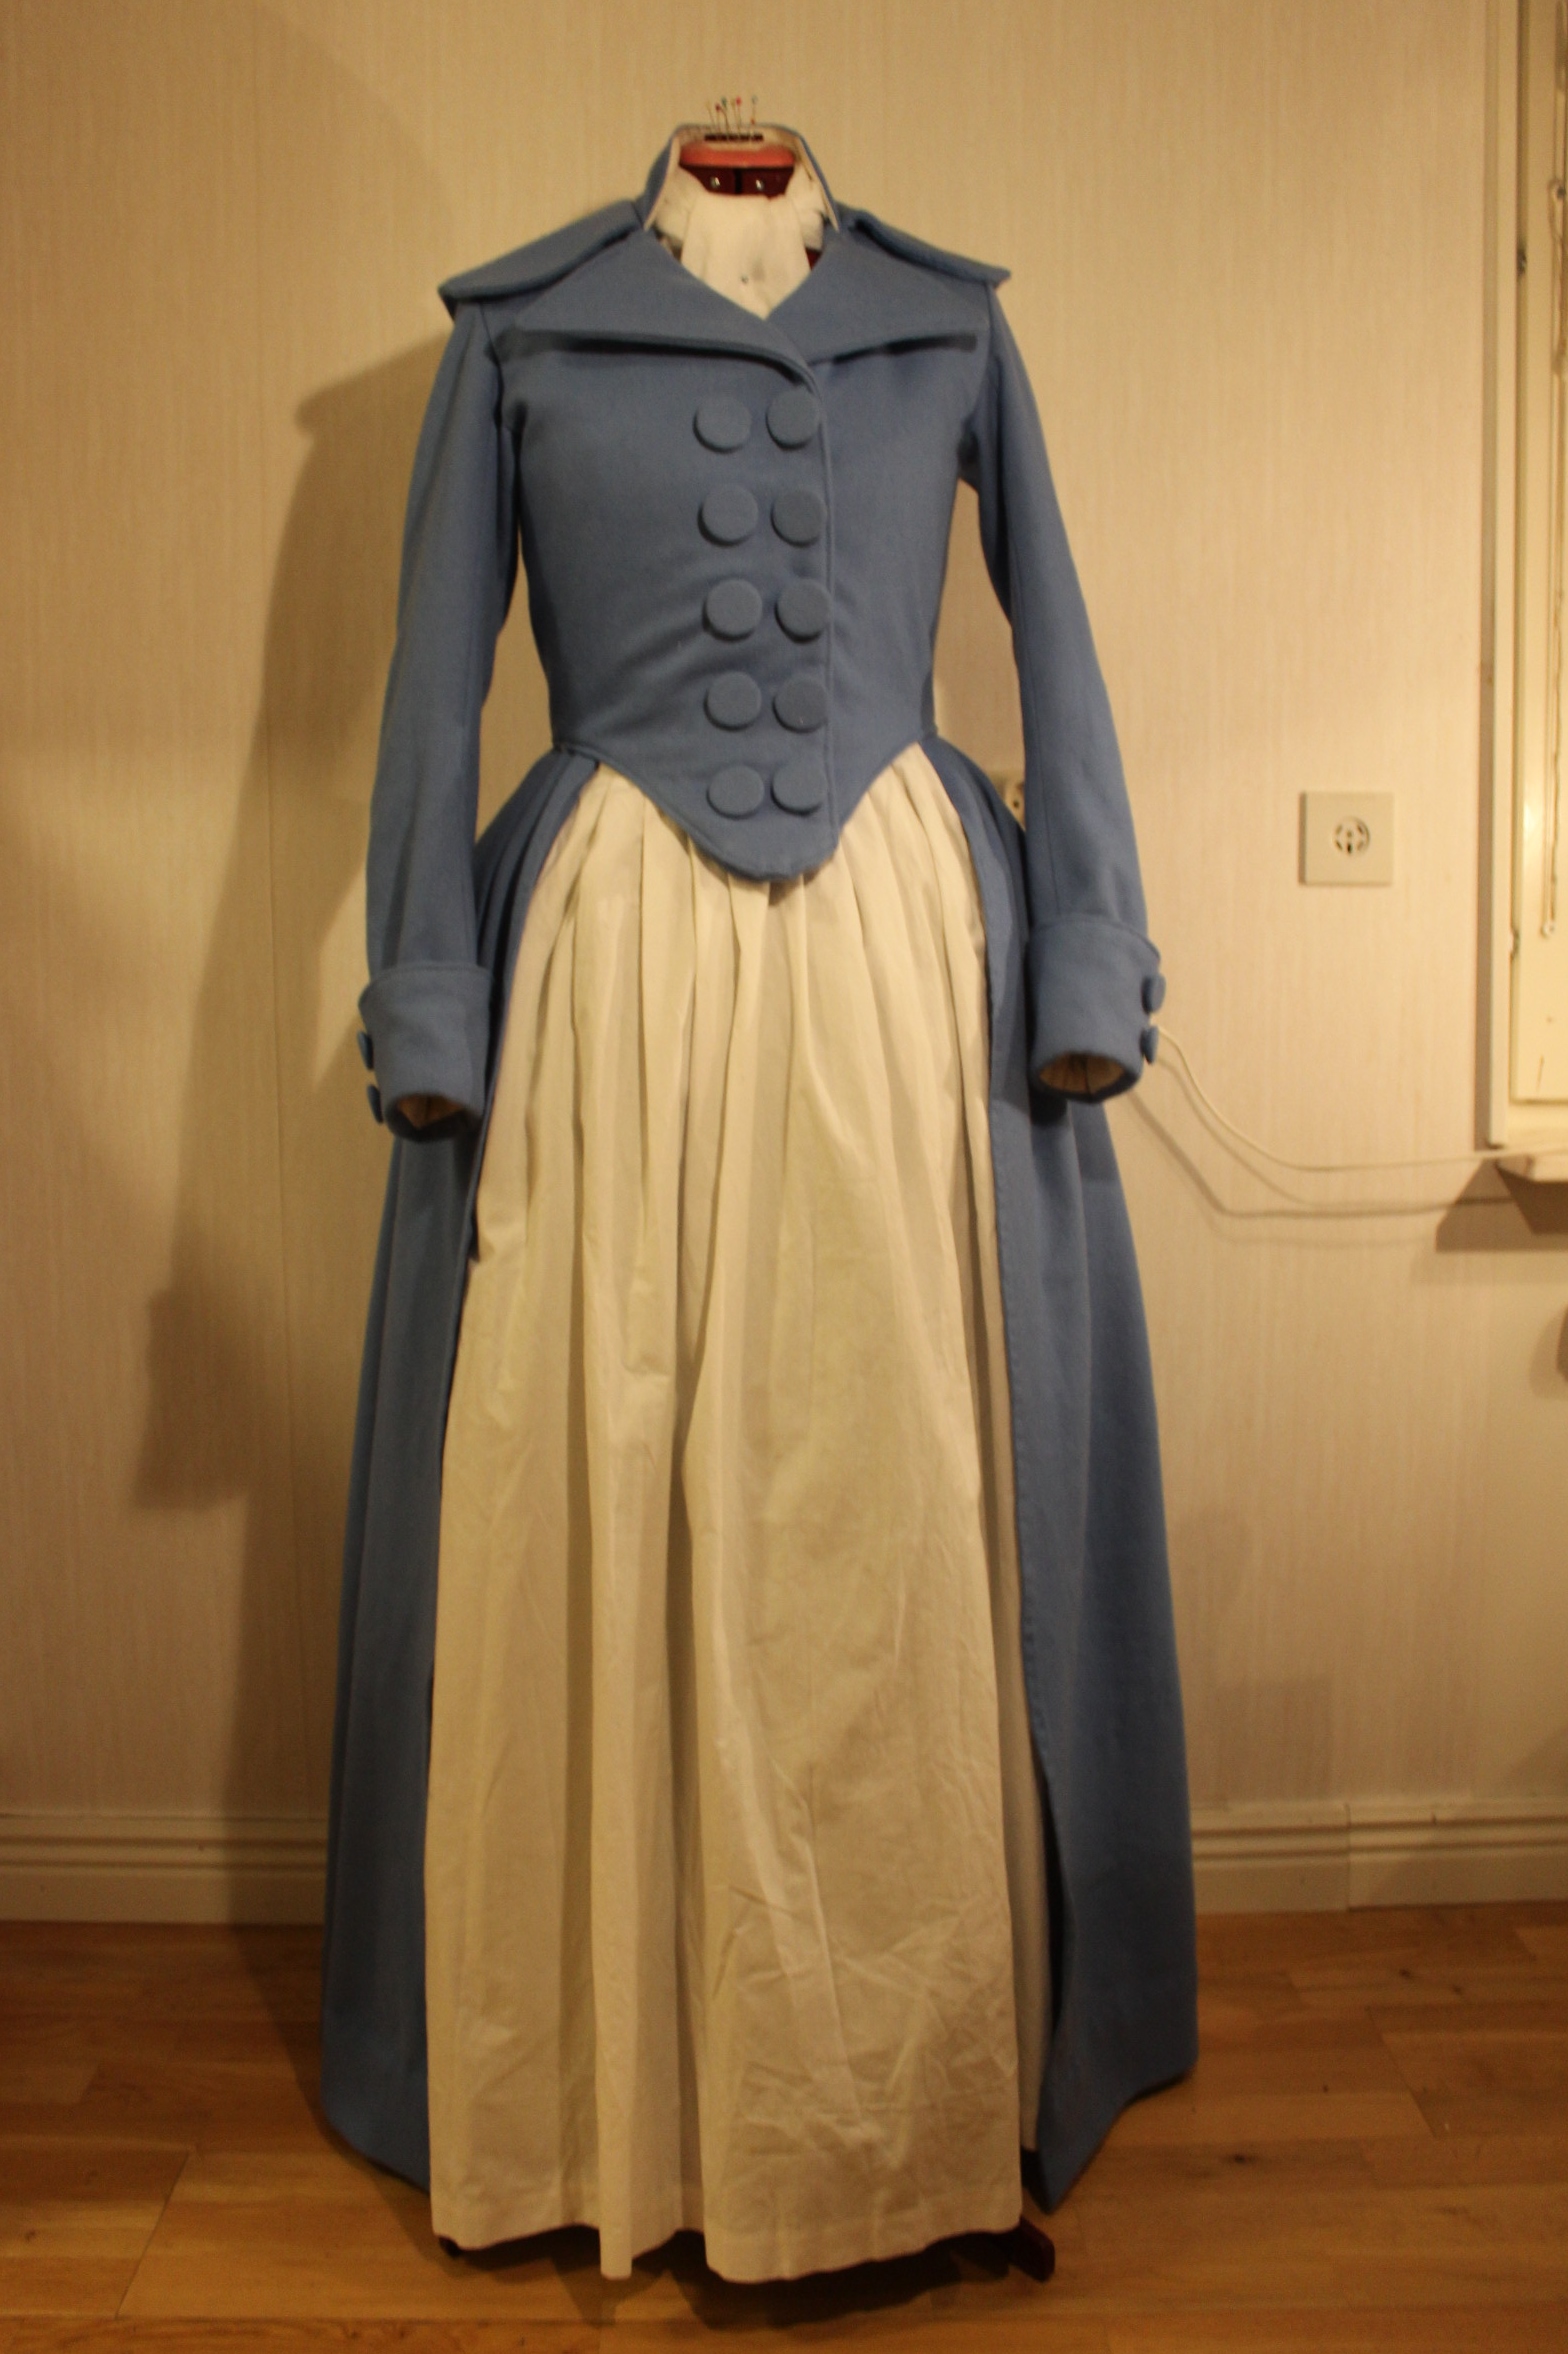
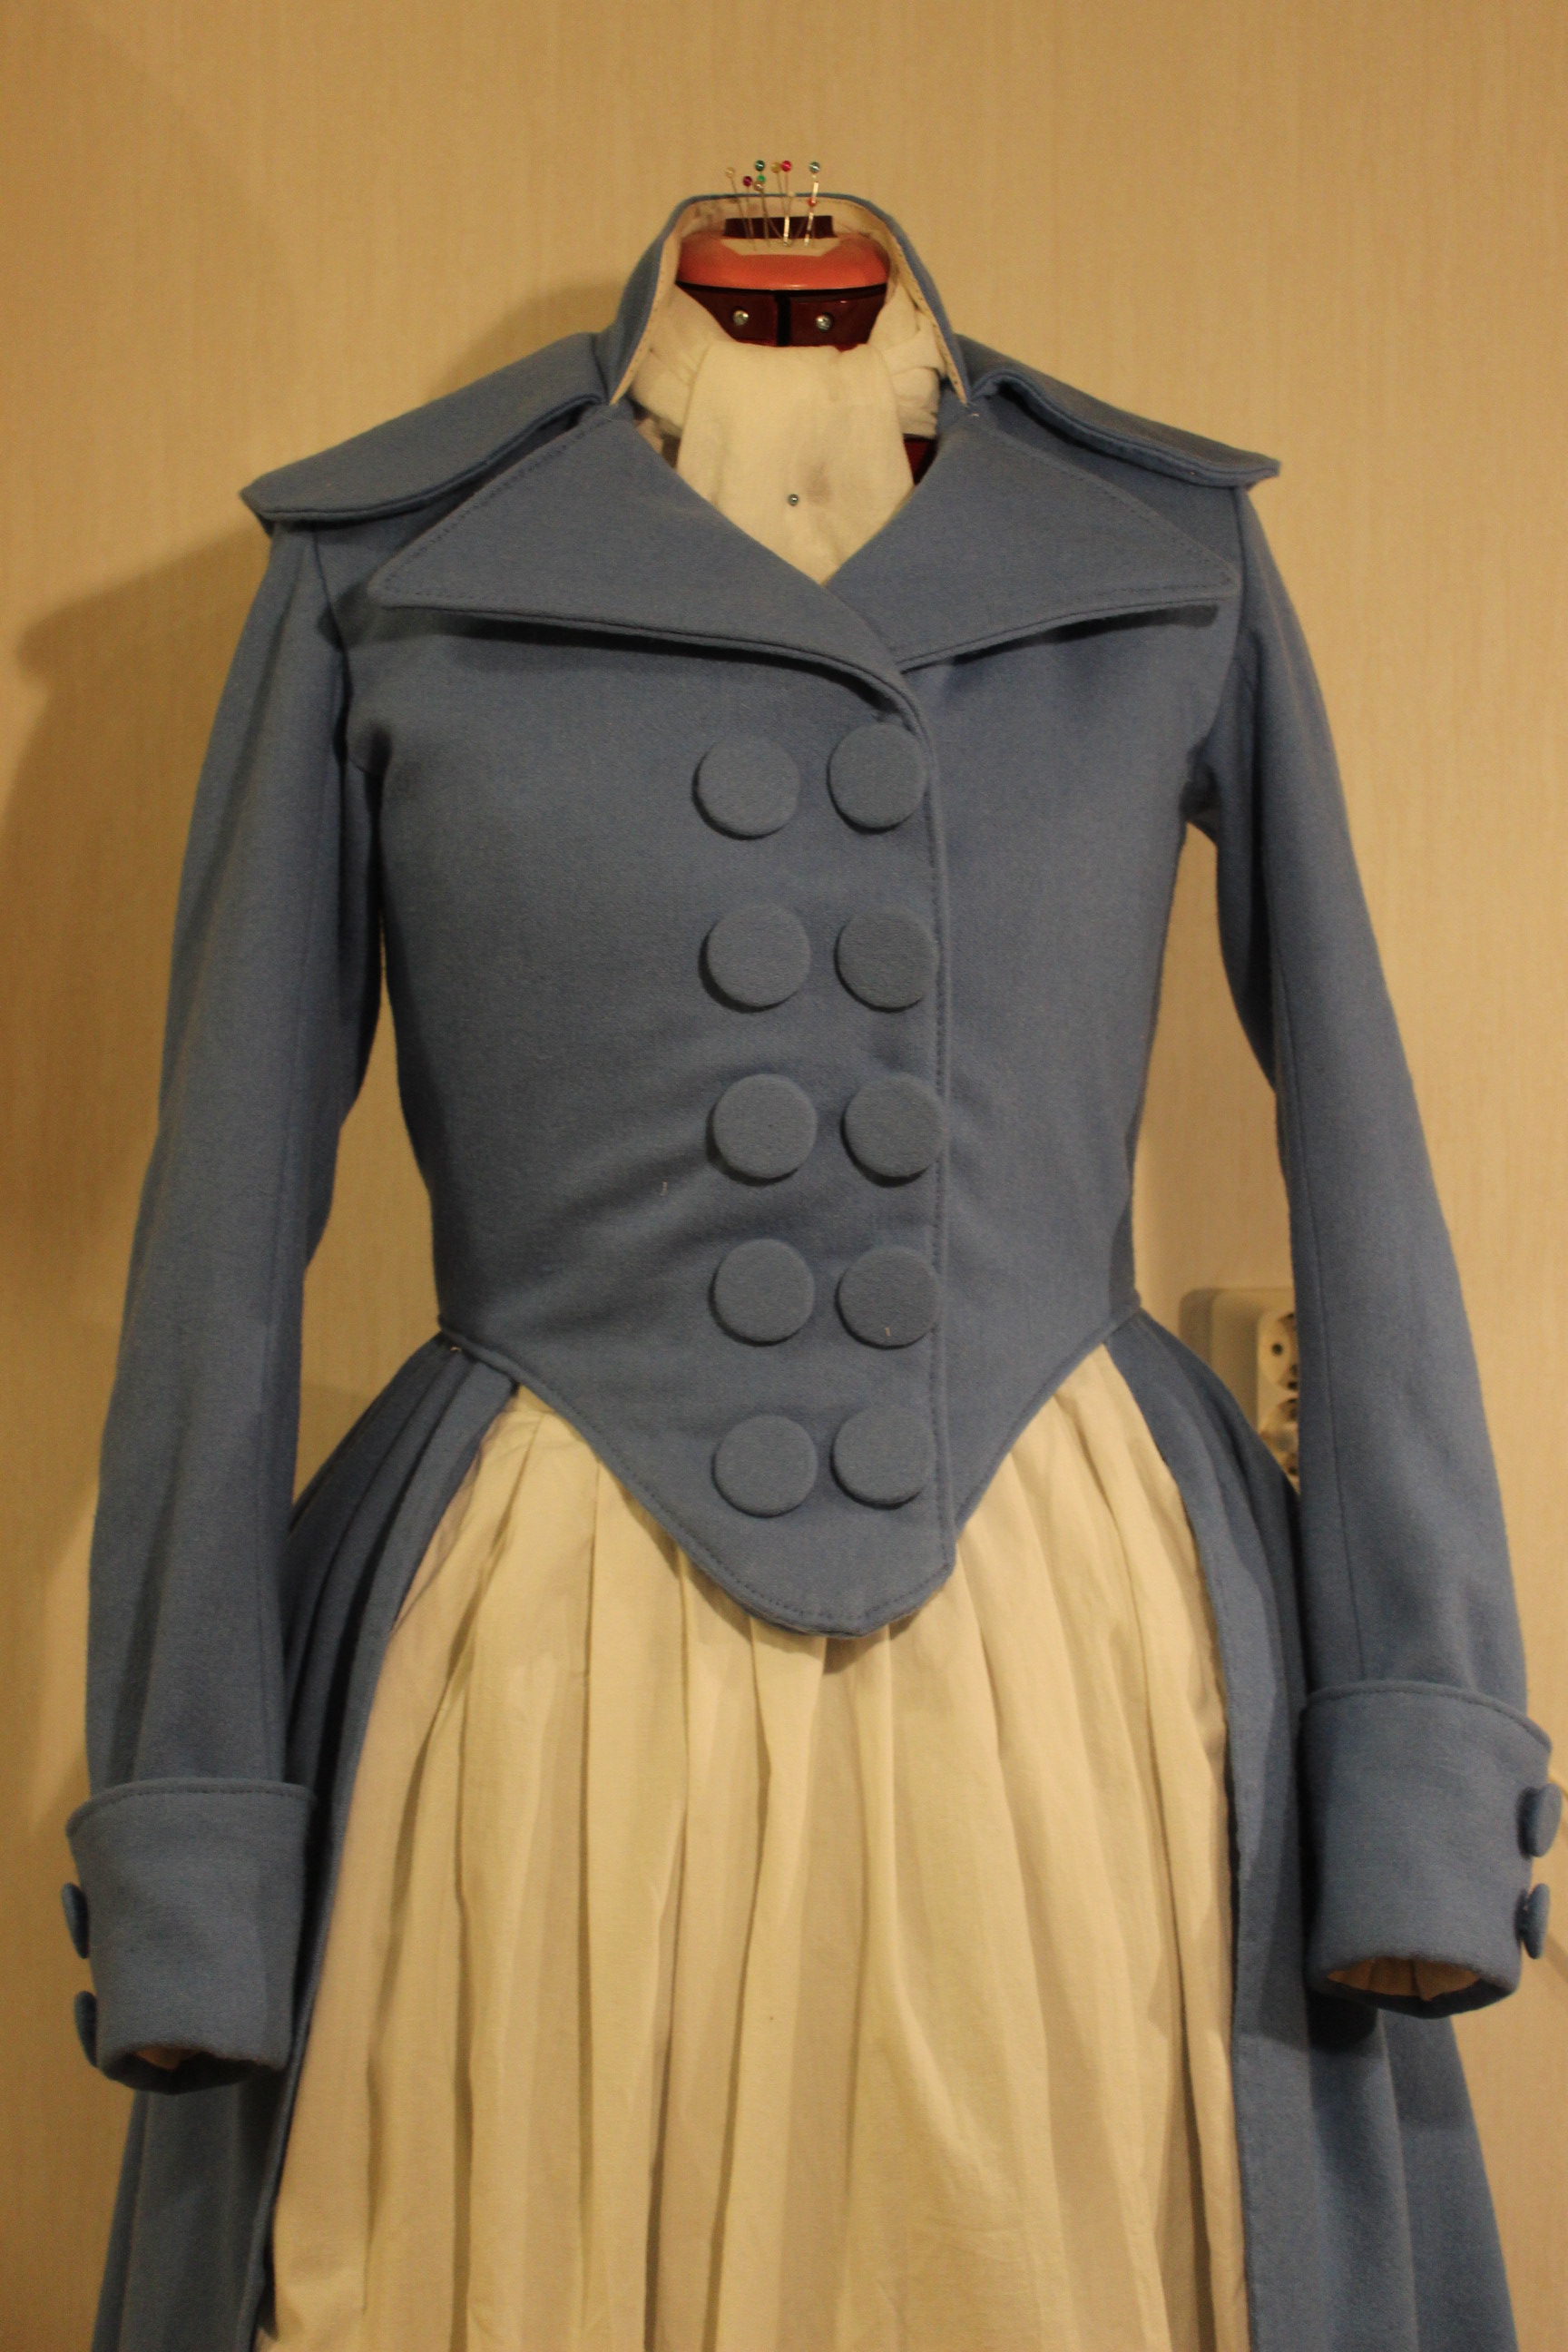
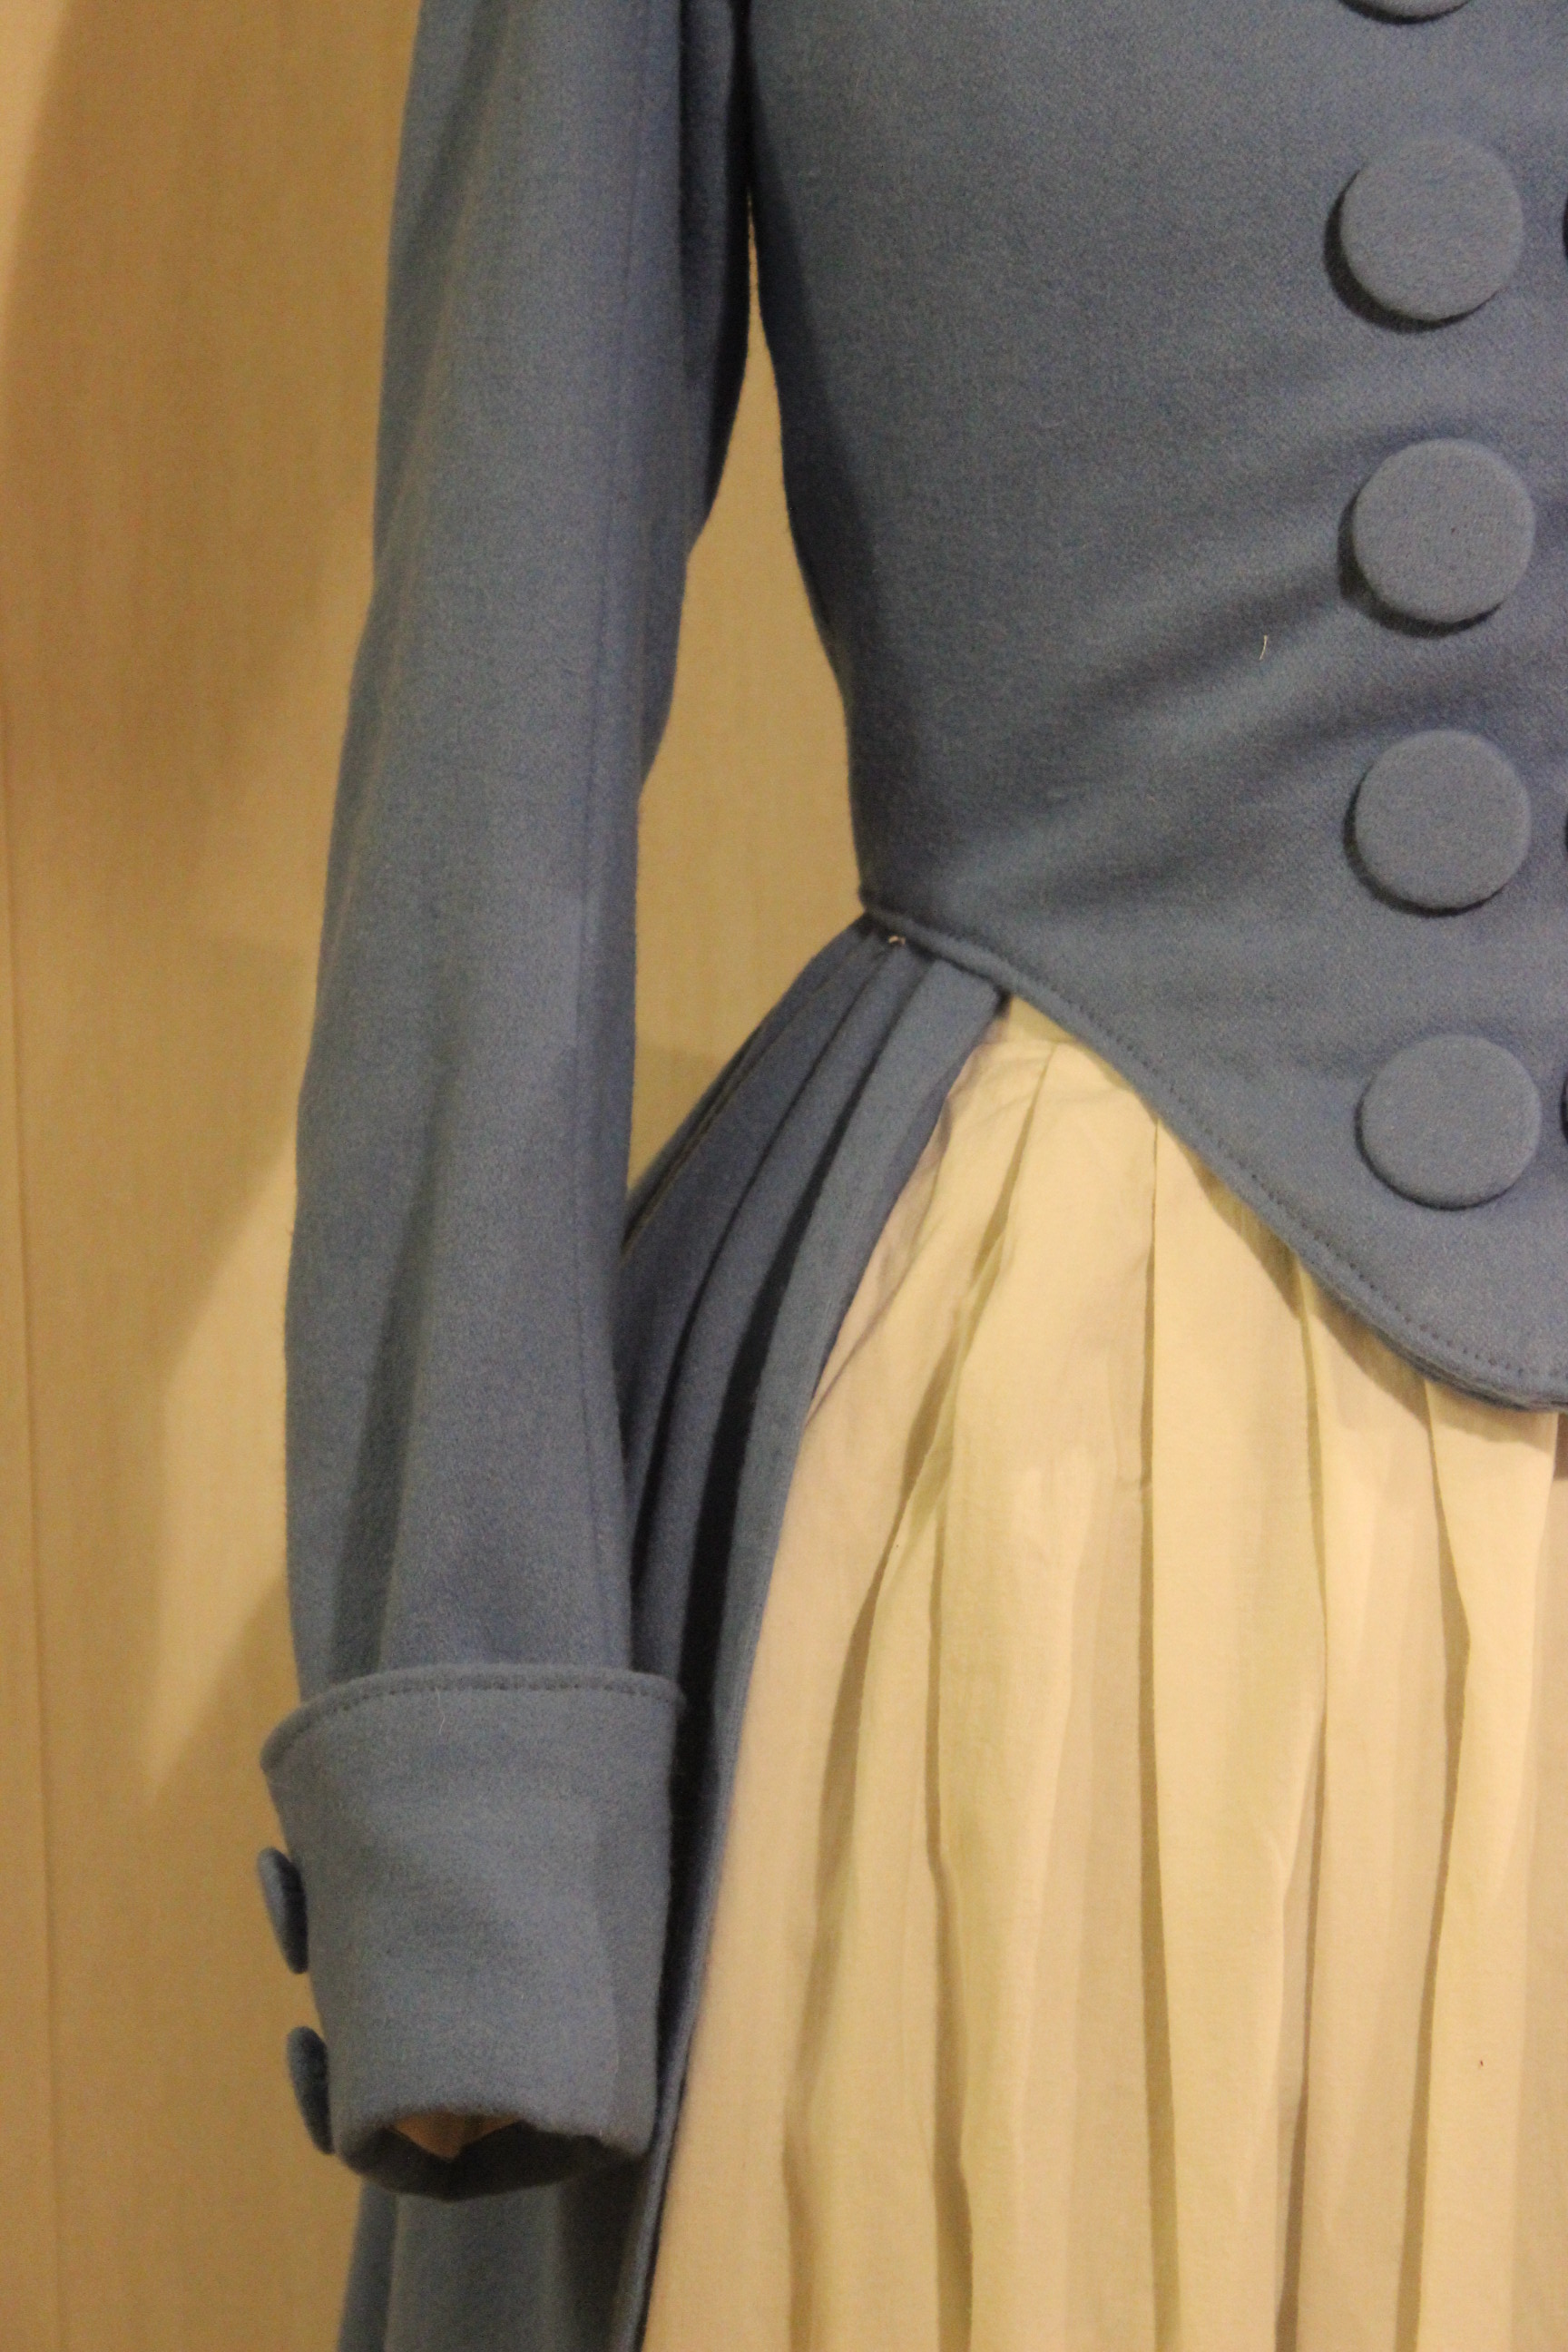
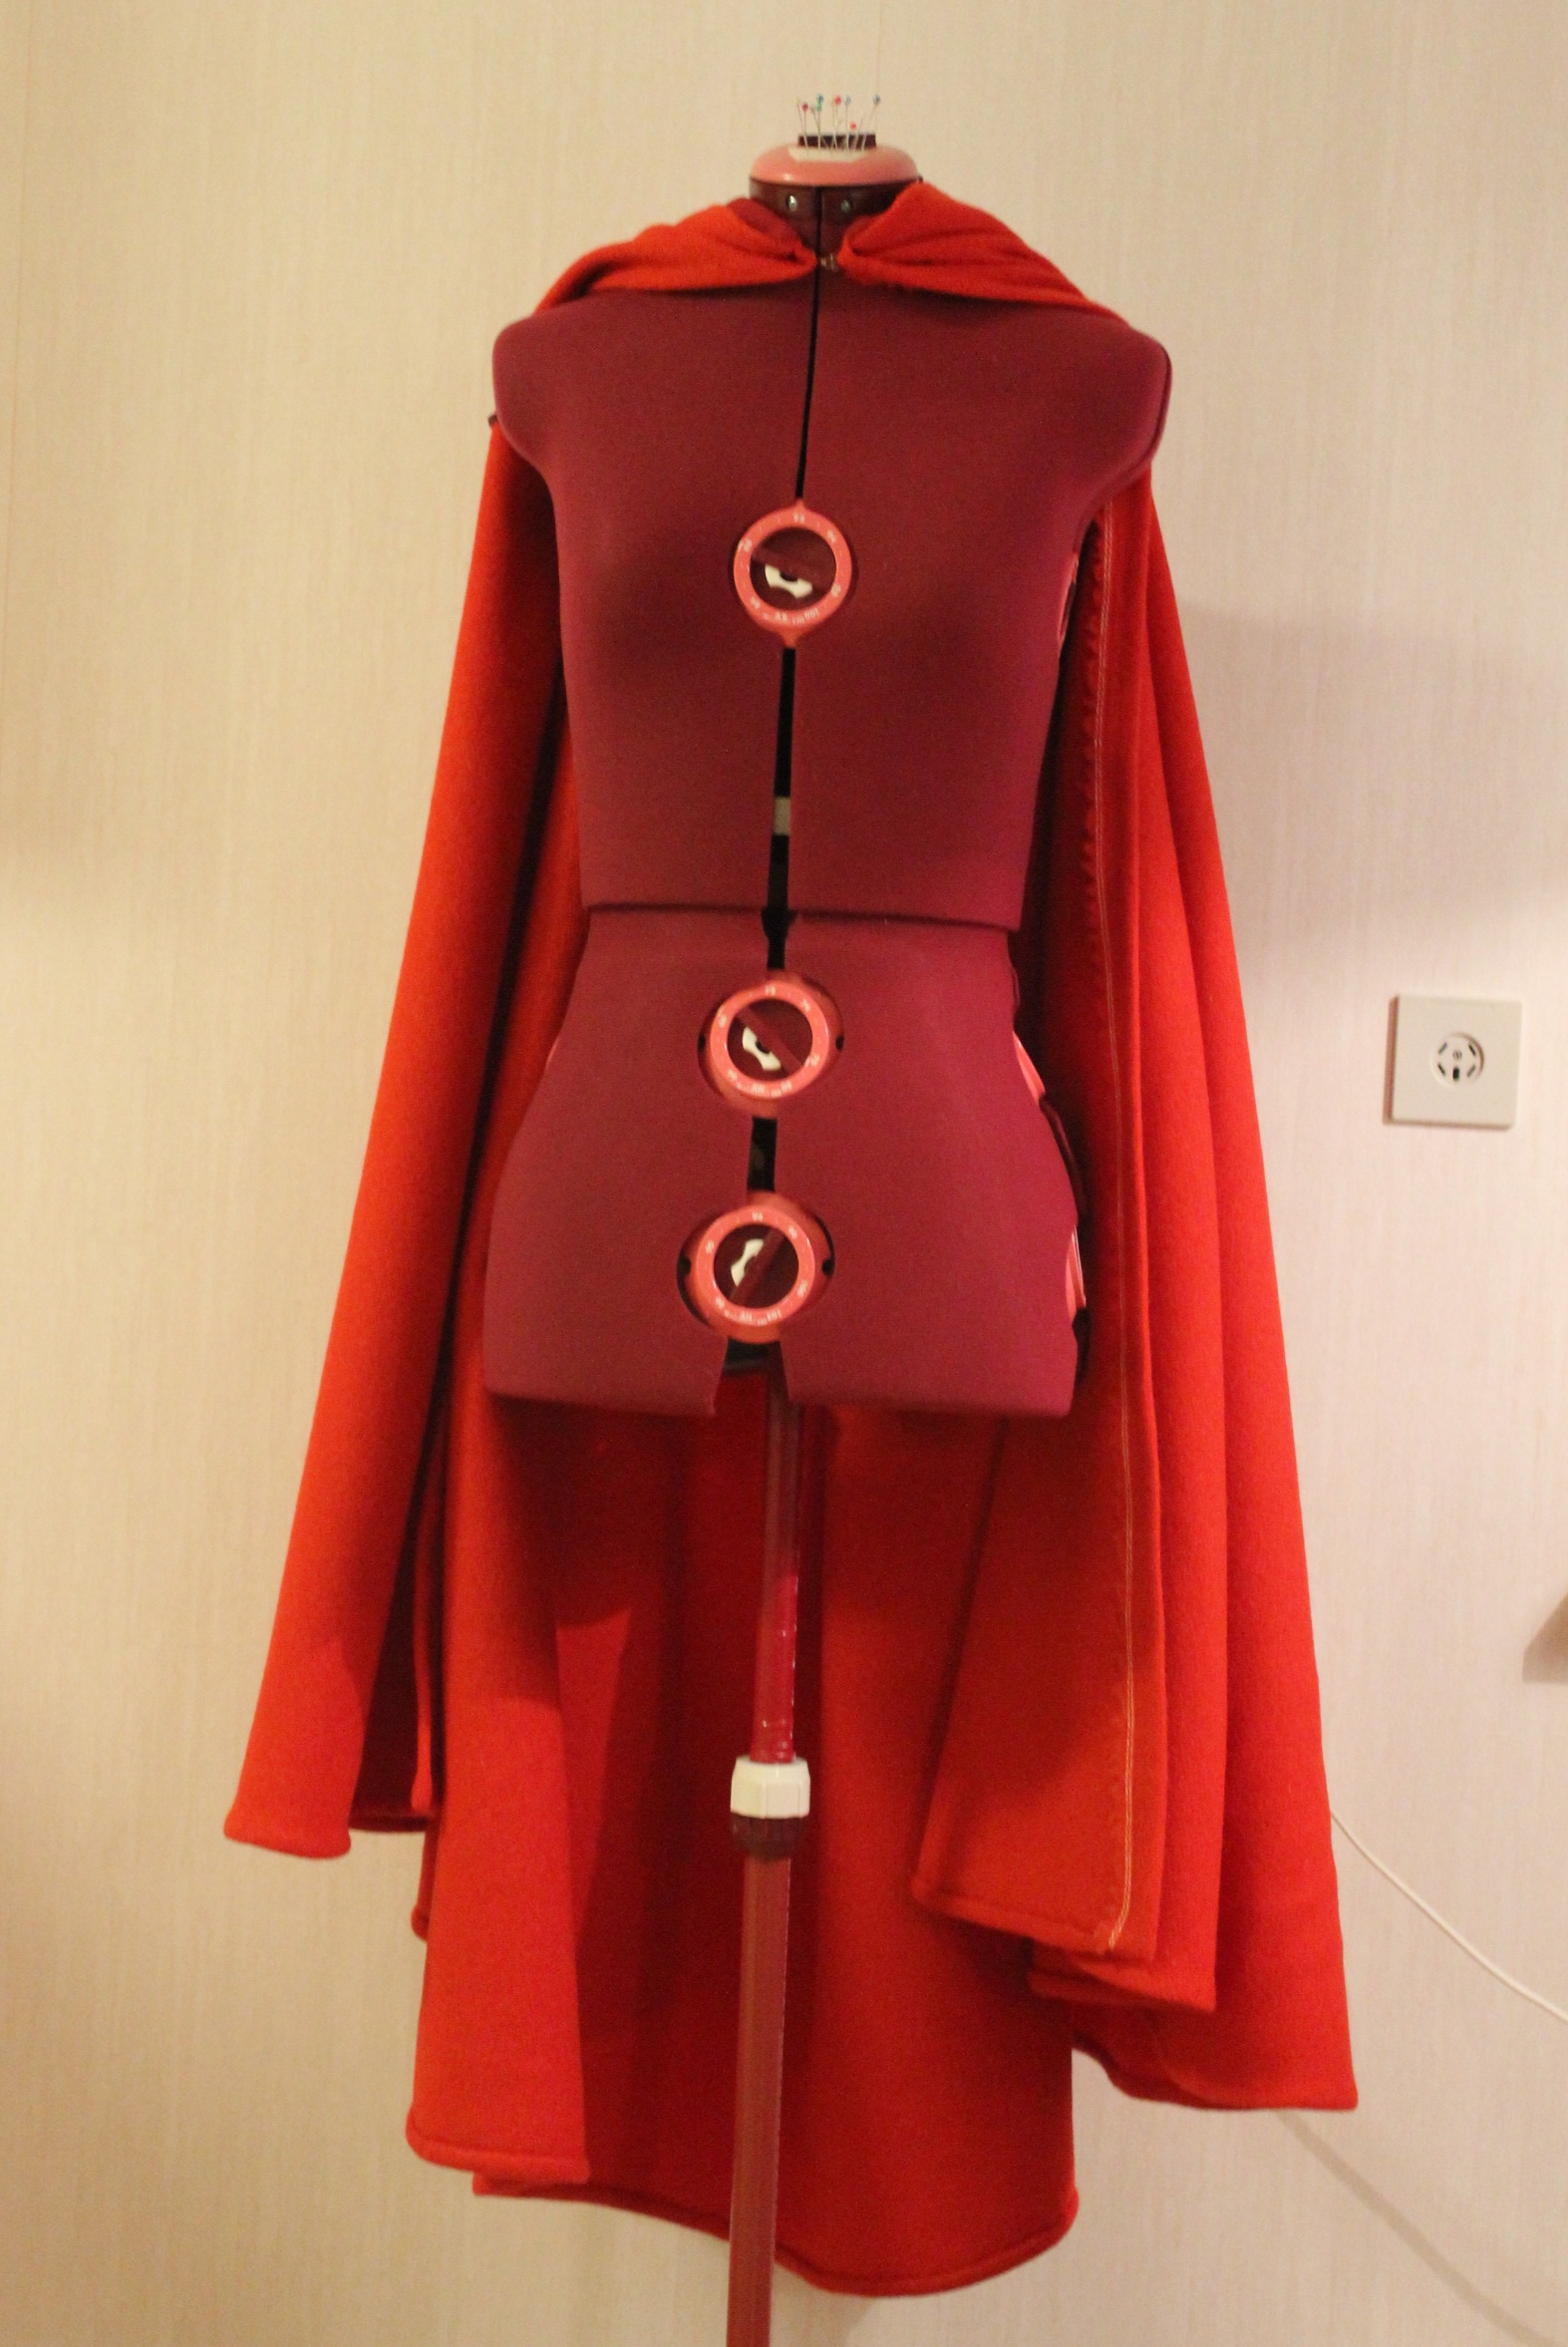
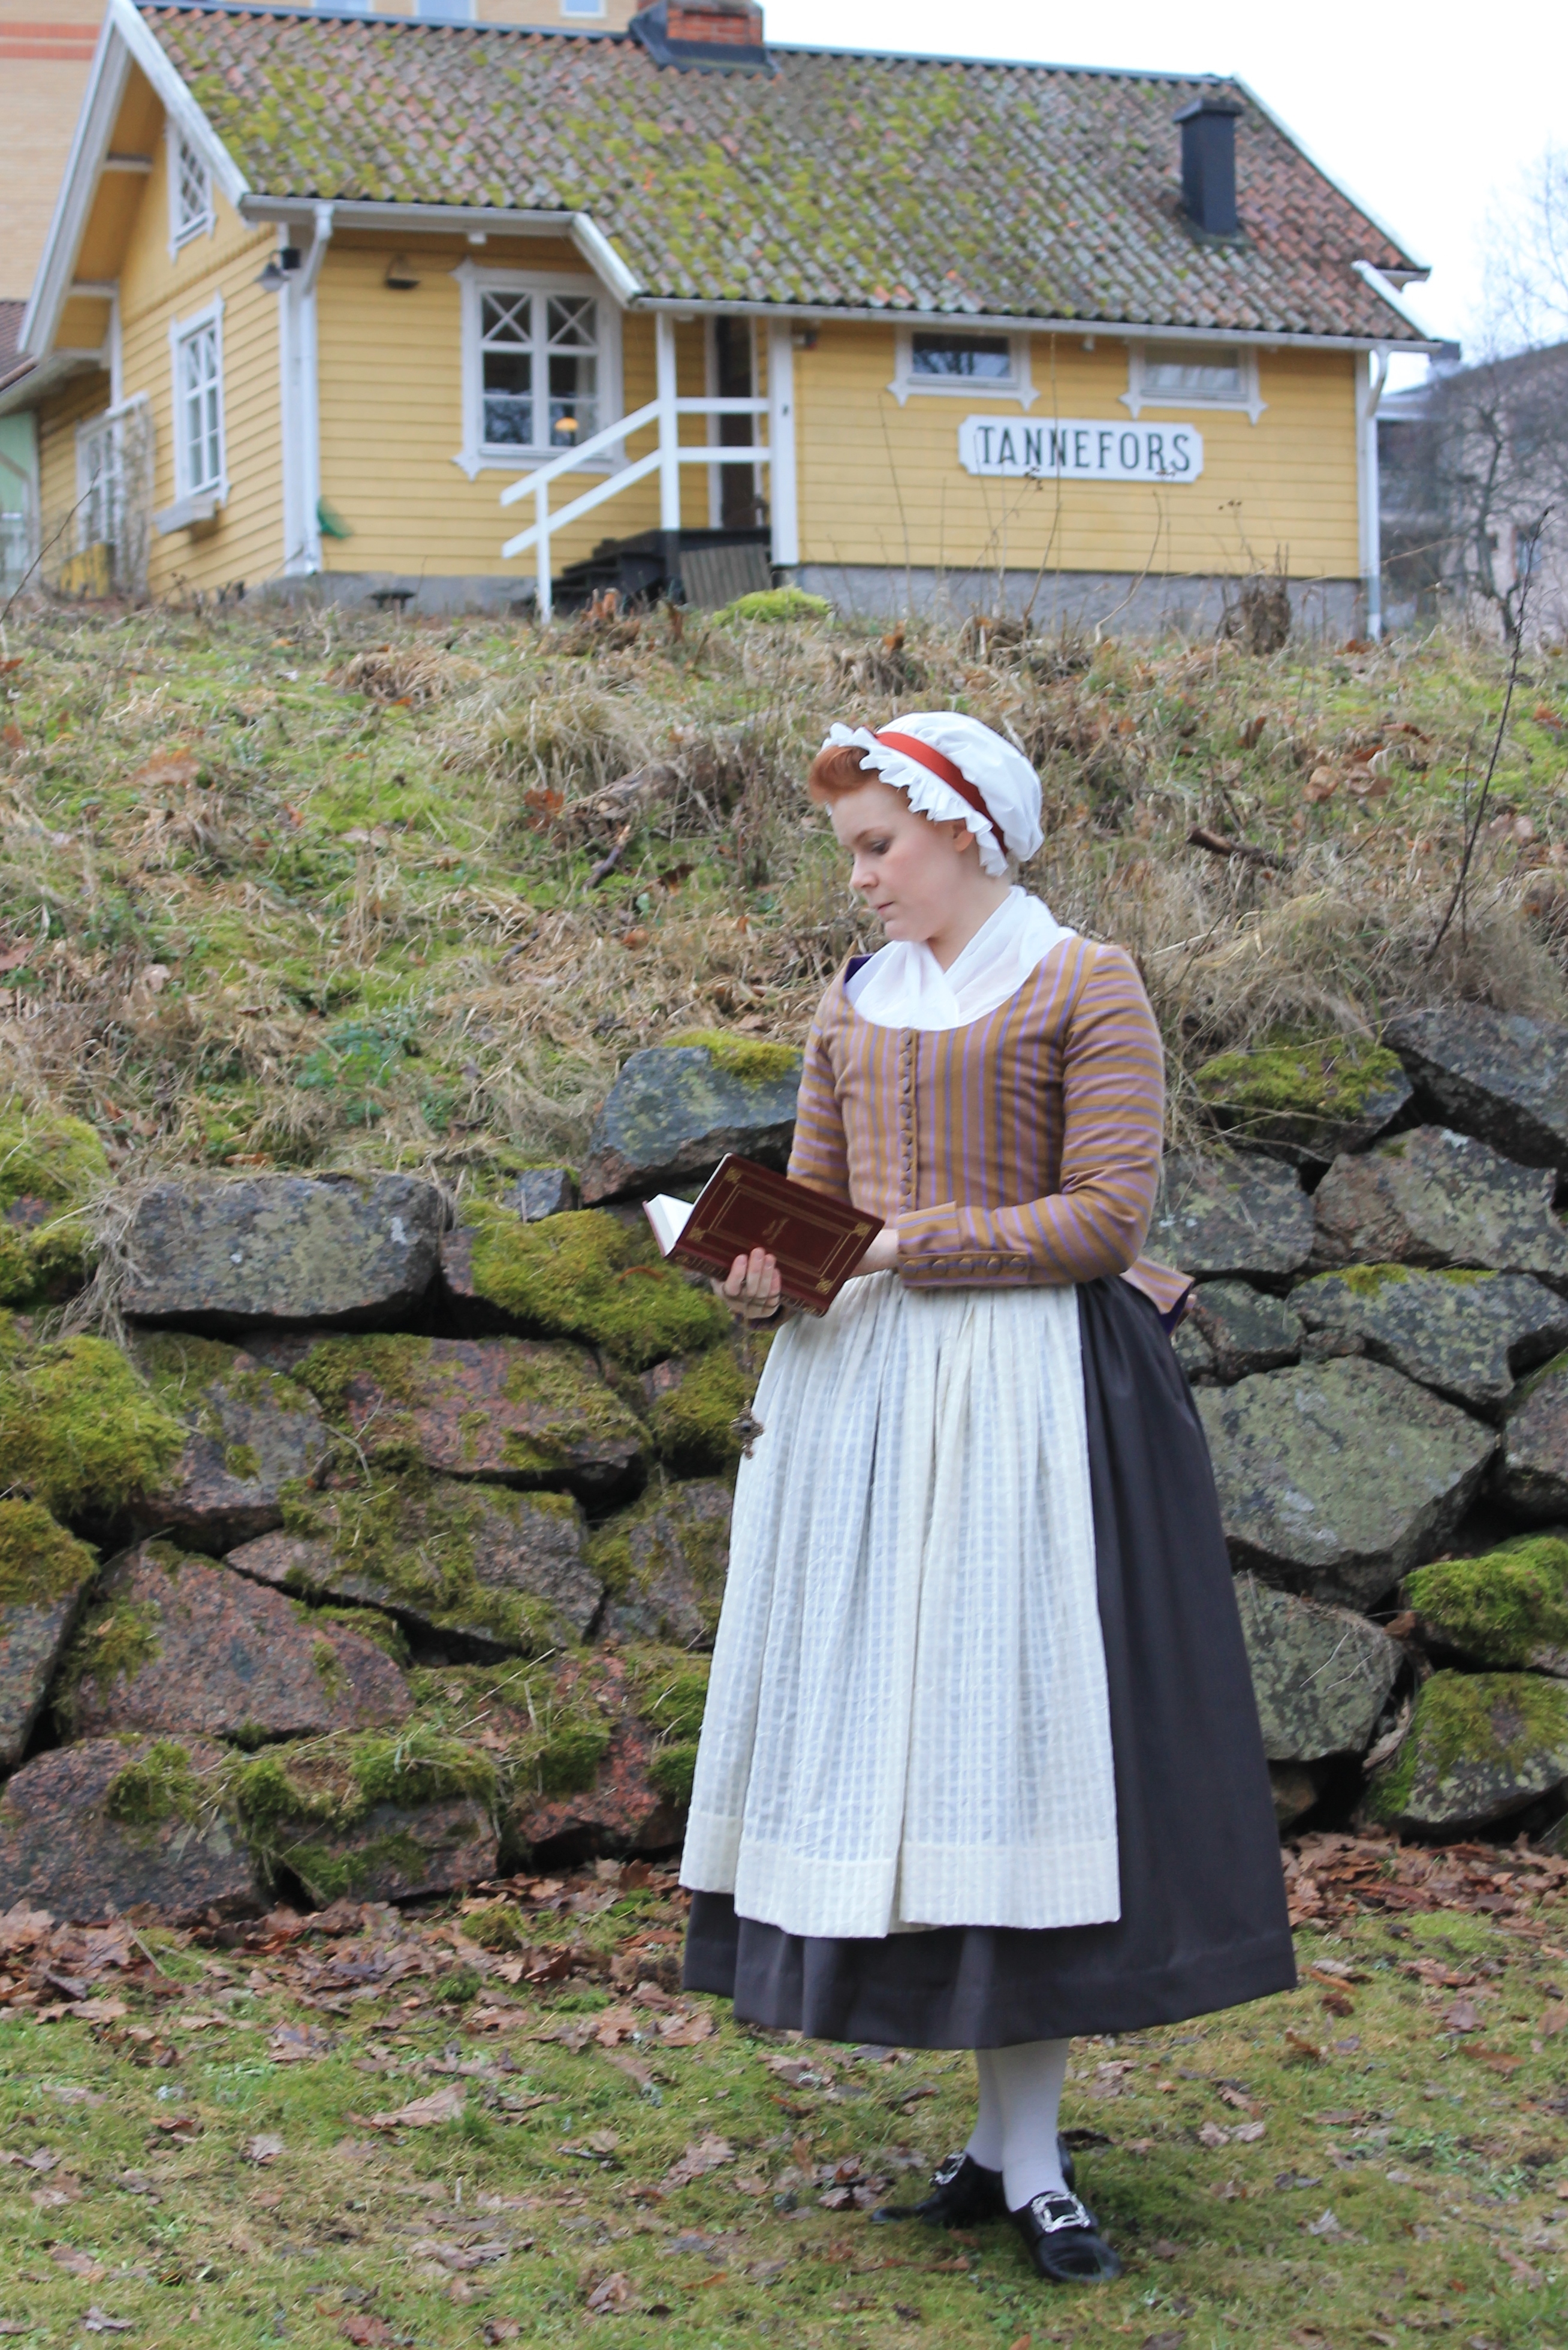
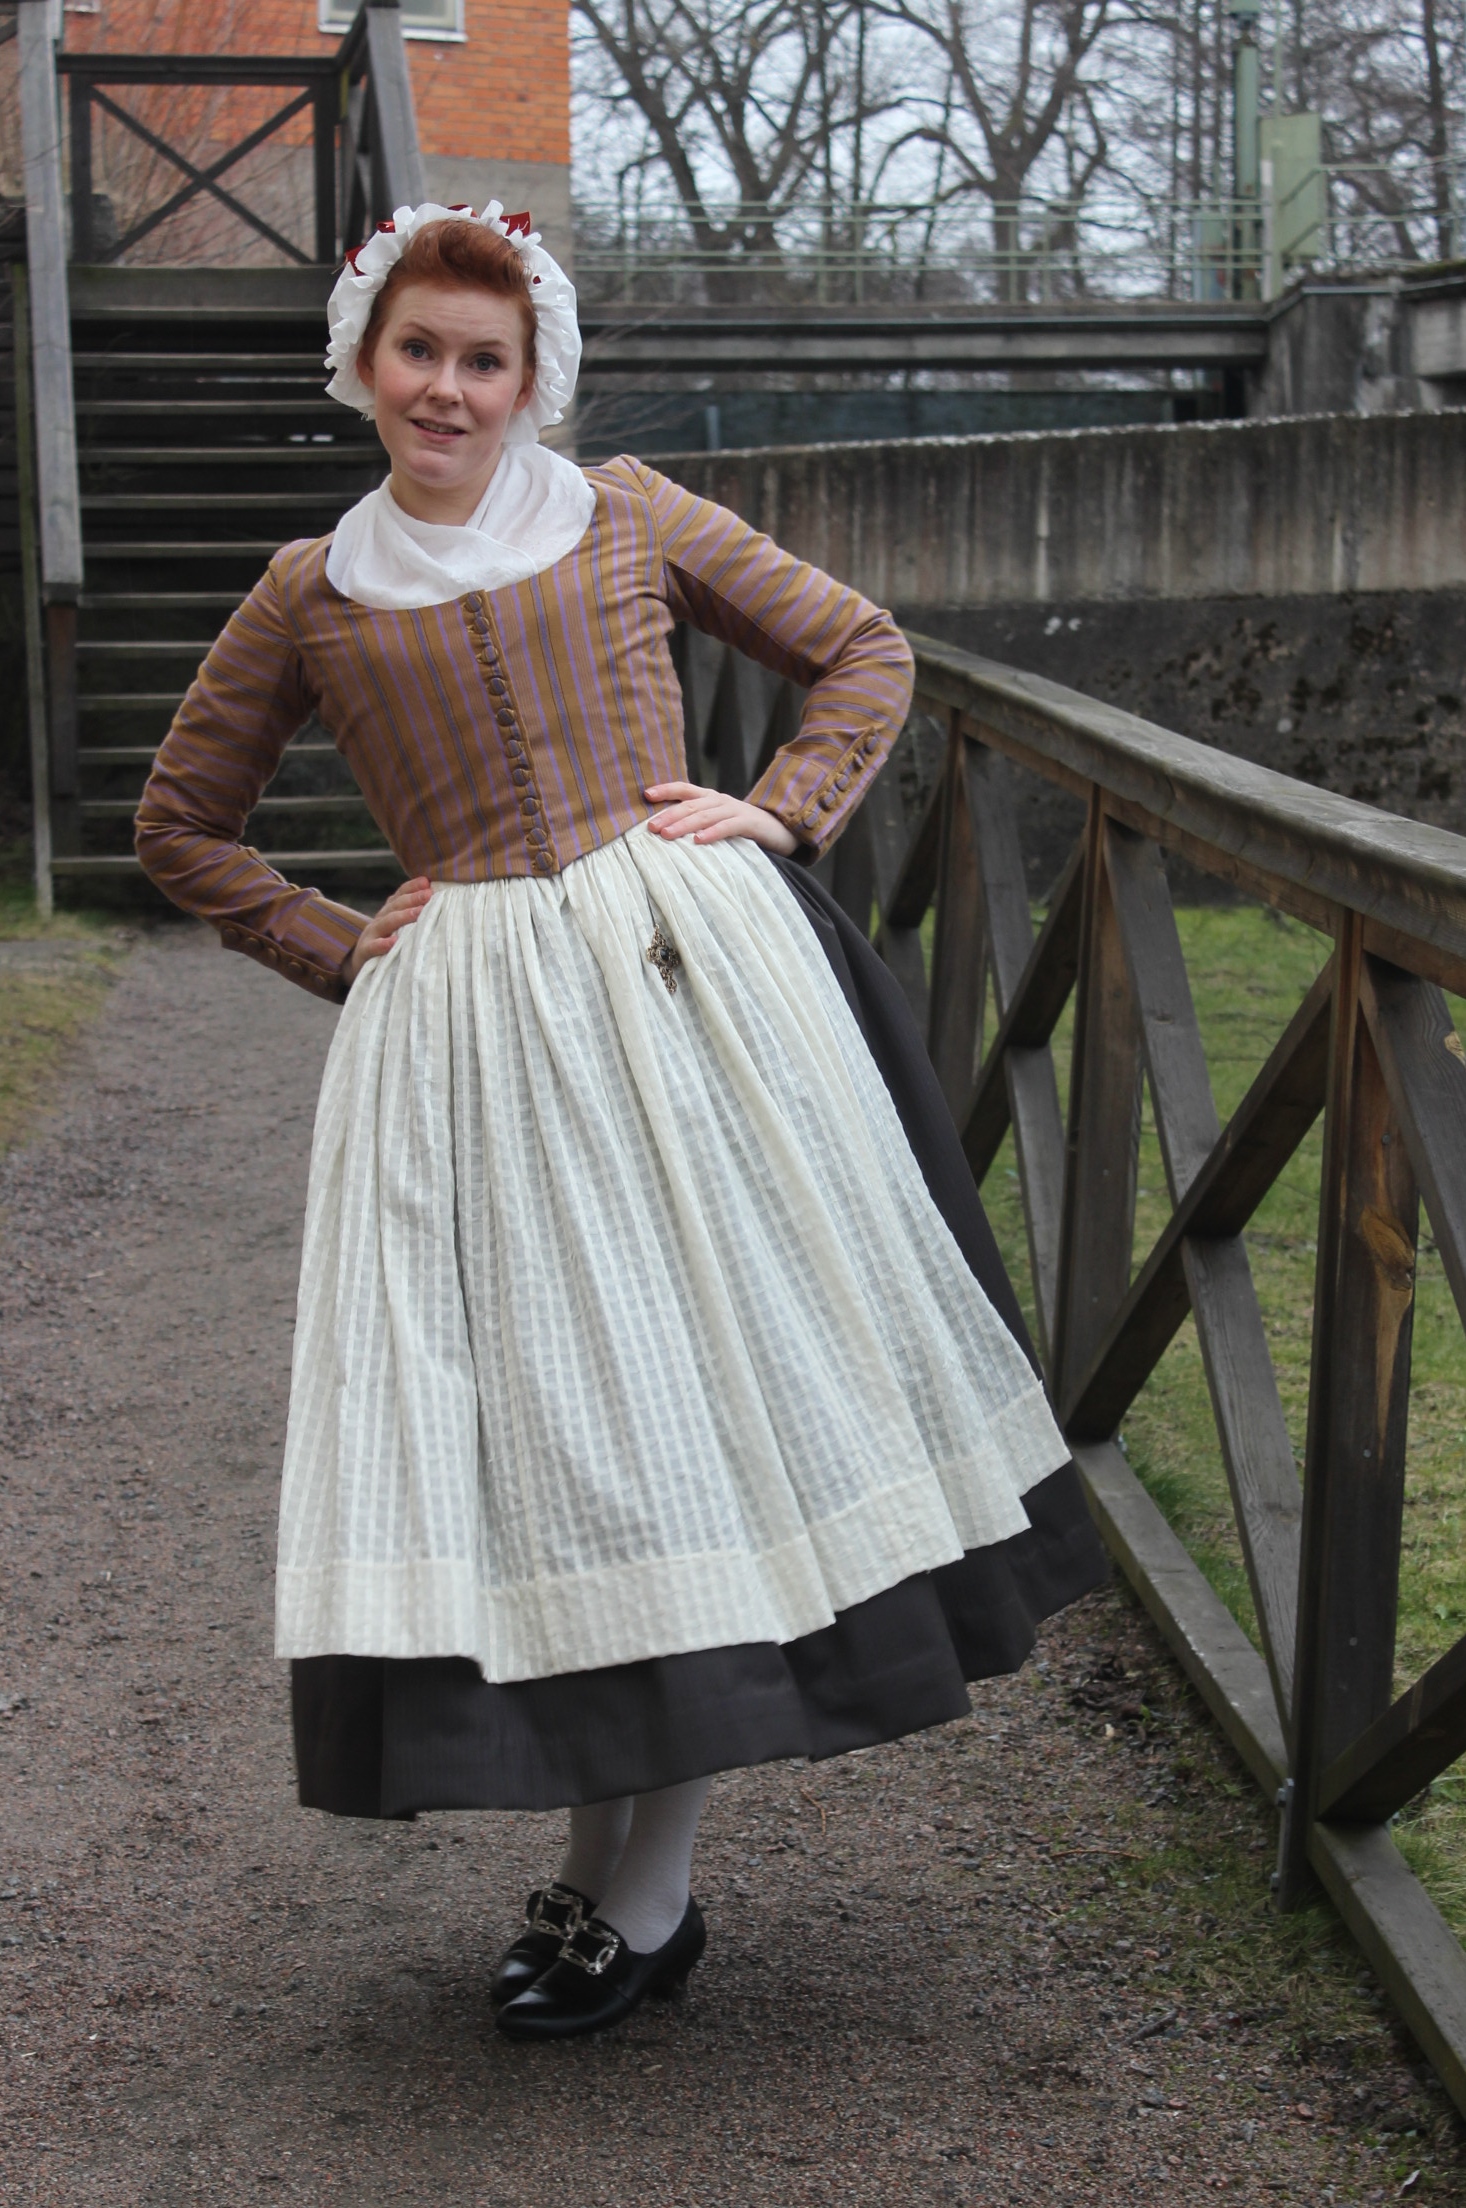
I love the look of the bodice like this – perhaps I need to make a waistcoat from this pattern.

To be continued…

1890s winter Undress

Here we go again, with a peek of my historic underwear:

1790s Winter LayersIMG_5760Fully dressed in Redingote, petticoat, belt sash, gloves and hat.

IMG_5768Taking of the accessorizes we can ses the Redingote in full.

IMG_5769Without the Redingote we can see all the white layers beneath – The skirt in full view and the fichu tucked inside the skirt.

IMG_5778Removing the skirt we find the petticoat and the complete fichu.
I also wear a quilted petticoat (you can spot the green waistband above the petticoats).

IMG_5791And underneath there is a bumpad, worn over chemise, stays, stockings and shoes.

A Blue 1890s Redingote – photoshoot

We had so much snow this year, with snowfall just about every night for weeks.
But go figures, just when I finished my Redingote, and set a day for the photoshoot, the weather changed and in just a few day everything was gone.

Well, not much to do.
Me and my sister did go ahead and did the photoshoot anyway.

I wore the Redingoat paired with my black riding hat and slightly modified white skirt. I also wore a white fichu and belt, my 18th century corset, quilted petticoat, 2 bumpads, hedgehog wig and black leather gloves.
I was perfectly warm and cosy the whole shoot, and I was surprised how much I liked the whole outfit.

IMG_5608

IMG_5615

IMG_5622

IMG_5634

IMG_5633

IMG_5638

IMG_5653

IMG_5658

IMG_5662

IMG_5697

IMG_5709

IMG_5712

IMG_5752

IMG_5732Photo: Maria Petersson

A Blue 18th century Redingote (part 2)

In my last post (part 1) I begun to tell you about my latest entry for the HSM – a blue Redingote.
Here are the rest of it.

Once the lining was inserted I got to work o the lower front edge. It is always a bit tricky to get the button edge right and when the garment are double breasted and have a rounded edge it is even more difficult.IMG_5453But after lots of pining and folding (and some cutting of excess) I managed to get the edge to look like I wanted.

About the buttons (where I left of last time) I decided to cheat, and use hook and eyes.IMG_5516I could not decide on 10 or 8 buttons, so I wanted to postpone the decision to sometimes in the future. Without buttonholes the dress look a bit strange but I can still change my mind and make them at a later point.

I put the jacket on my dress form to get a better view and to pin the skirt on. IMG_550110 buttons and half a skirt.
It would even look great without the skirt as a jacket. Maybe next time (or if I decides I need the skirt fabric for something else…)

I pleated the skirt into 1,5 cm big pleats hiding a lot of excess fabric at the back pleats.IMG_5508

Then I prick stitched the skirt to the bodice.IMG_5521

 The final thing to do was to hem the skirt, and to give it a final pressing.

Finished (lots of pictures):IMG_5555

IMG_5558

IMG_5579

IMG_5577

IMG_5560

IMG_5559

IMG_5546

IMG_5547

IMG_5550

IMG_5553

IMG_5568

IMG_5527

IMG_5537

IMG_5576

IMG_5540

IMG_5543

IMG_5566

Just the facts:

Challenge: Nr 2/2015 – Blue

What: A 18th century Redingote

Pattern: Nehelenia Patterns nr E21 – 1790s Redingote.

Fabric: 4 m of light blue wool, 1 m of white cotton for lining and 0,5 m of thick linen for interlining.

Notions: Thread, Buttonhole thread, buttons (10 big + 4 smaller), 8 hooks and eyes,

How historical Accurate: So so. The fabrics and pattern are pretty good, but I used modern construction techniques and made lots of the work sing my sewing machine and polyester thread.

Time: A lot. I would guess about 15-20 hours since it’s lots of hand stitching in tere.

Cost: ca 400 Sek (ca 65 Usd)

First worn: On February 21 for photos.
But I would love to wear it on an winter event in the future.

An anecdote: This is probably the one garment I’ve been re-starting (mentally if not psychically) the most times, and I’m so happy I finally managed to finish it (and not even hate it).

Final thoughts: I love the pattern, and definitely will be using it as a base for more 18th century gowns. But If I could do it again I would have made the overlapping in front wider to get a more distinct double breasted look.

IMG_5523