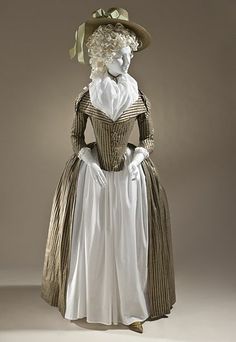
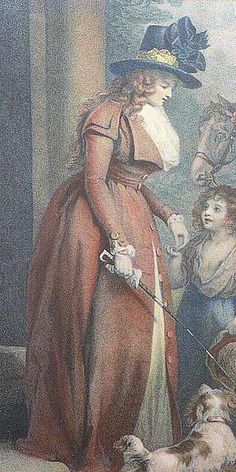
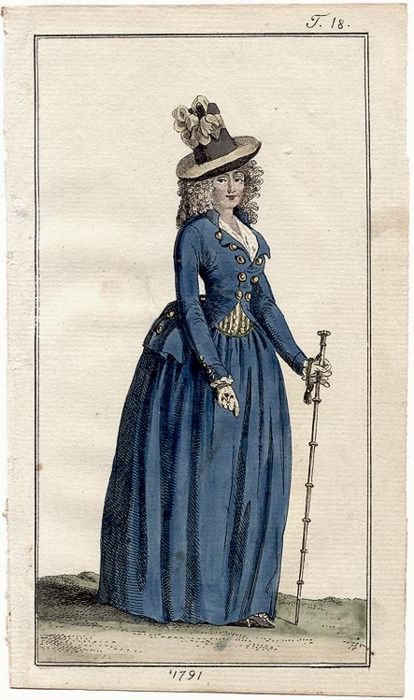
I’ve been totally in love with Jens (from “Festive Attyre“) Redingote since I first saw it about a year ago.  I knew at once I need something similar.
The problem was when…
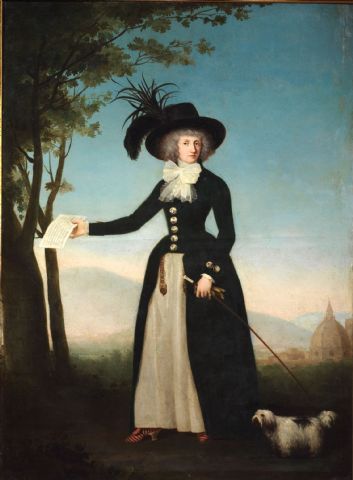
A year ago I put the picture on my “to do in 2014“-list, and there it waited…
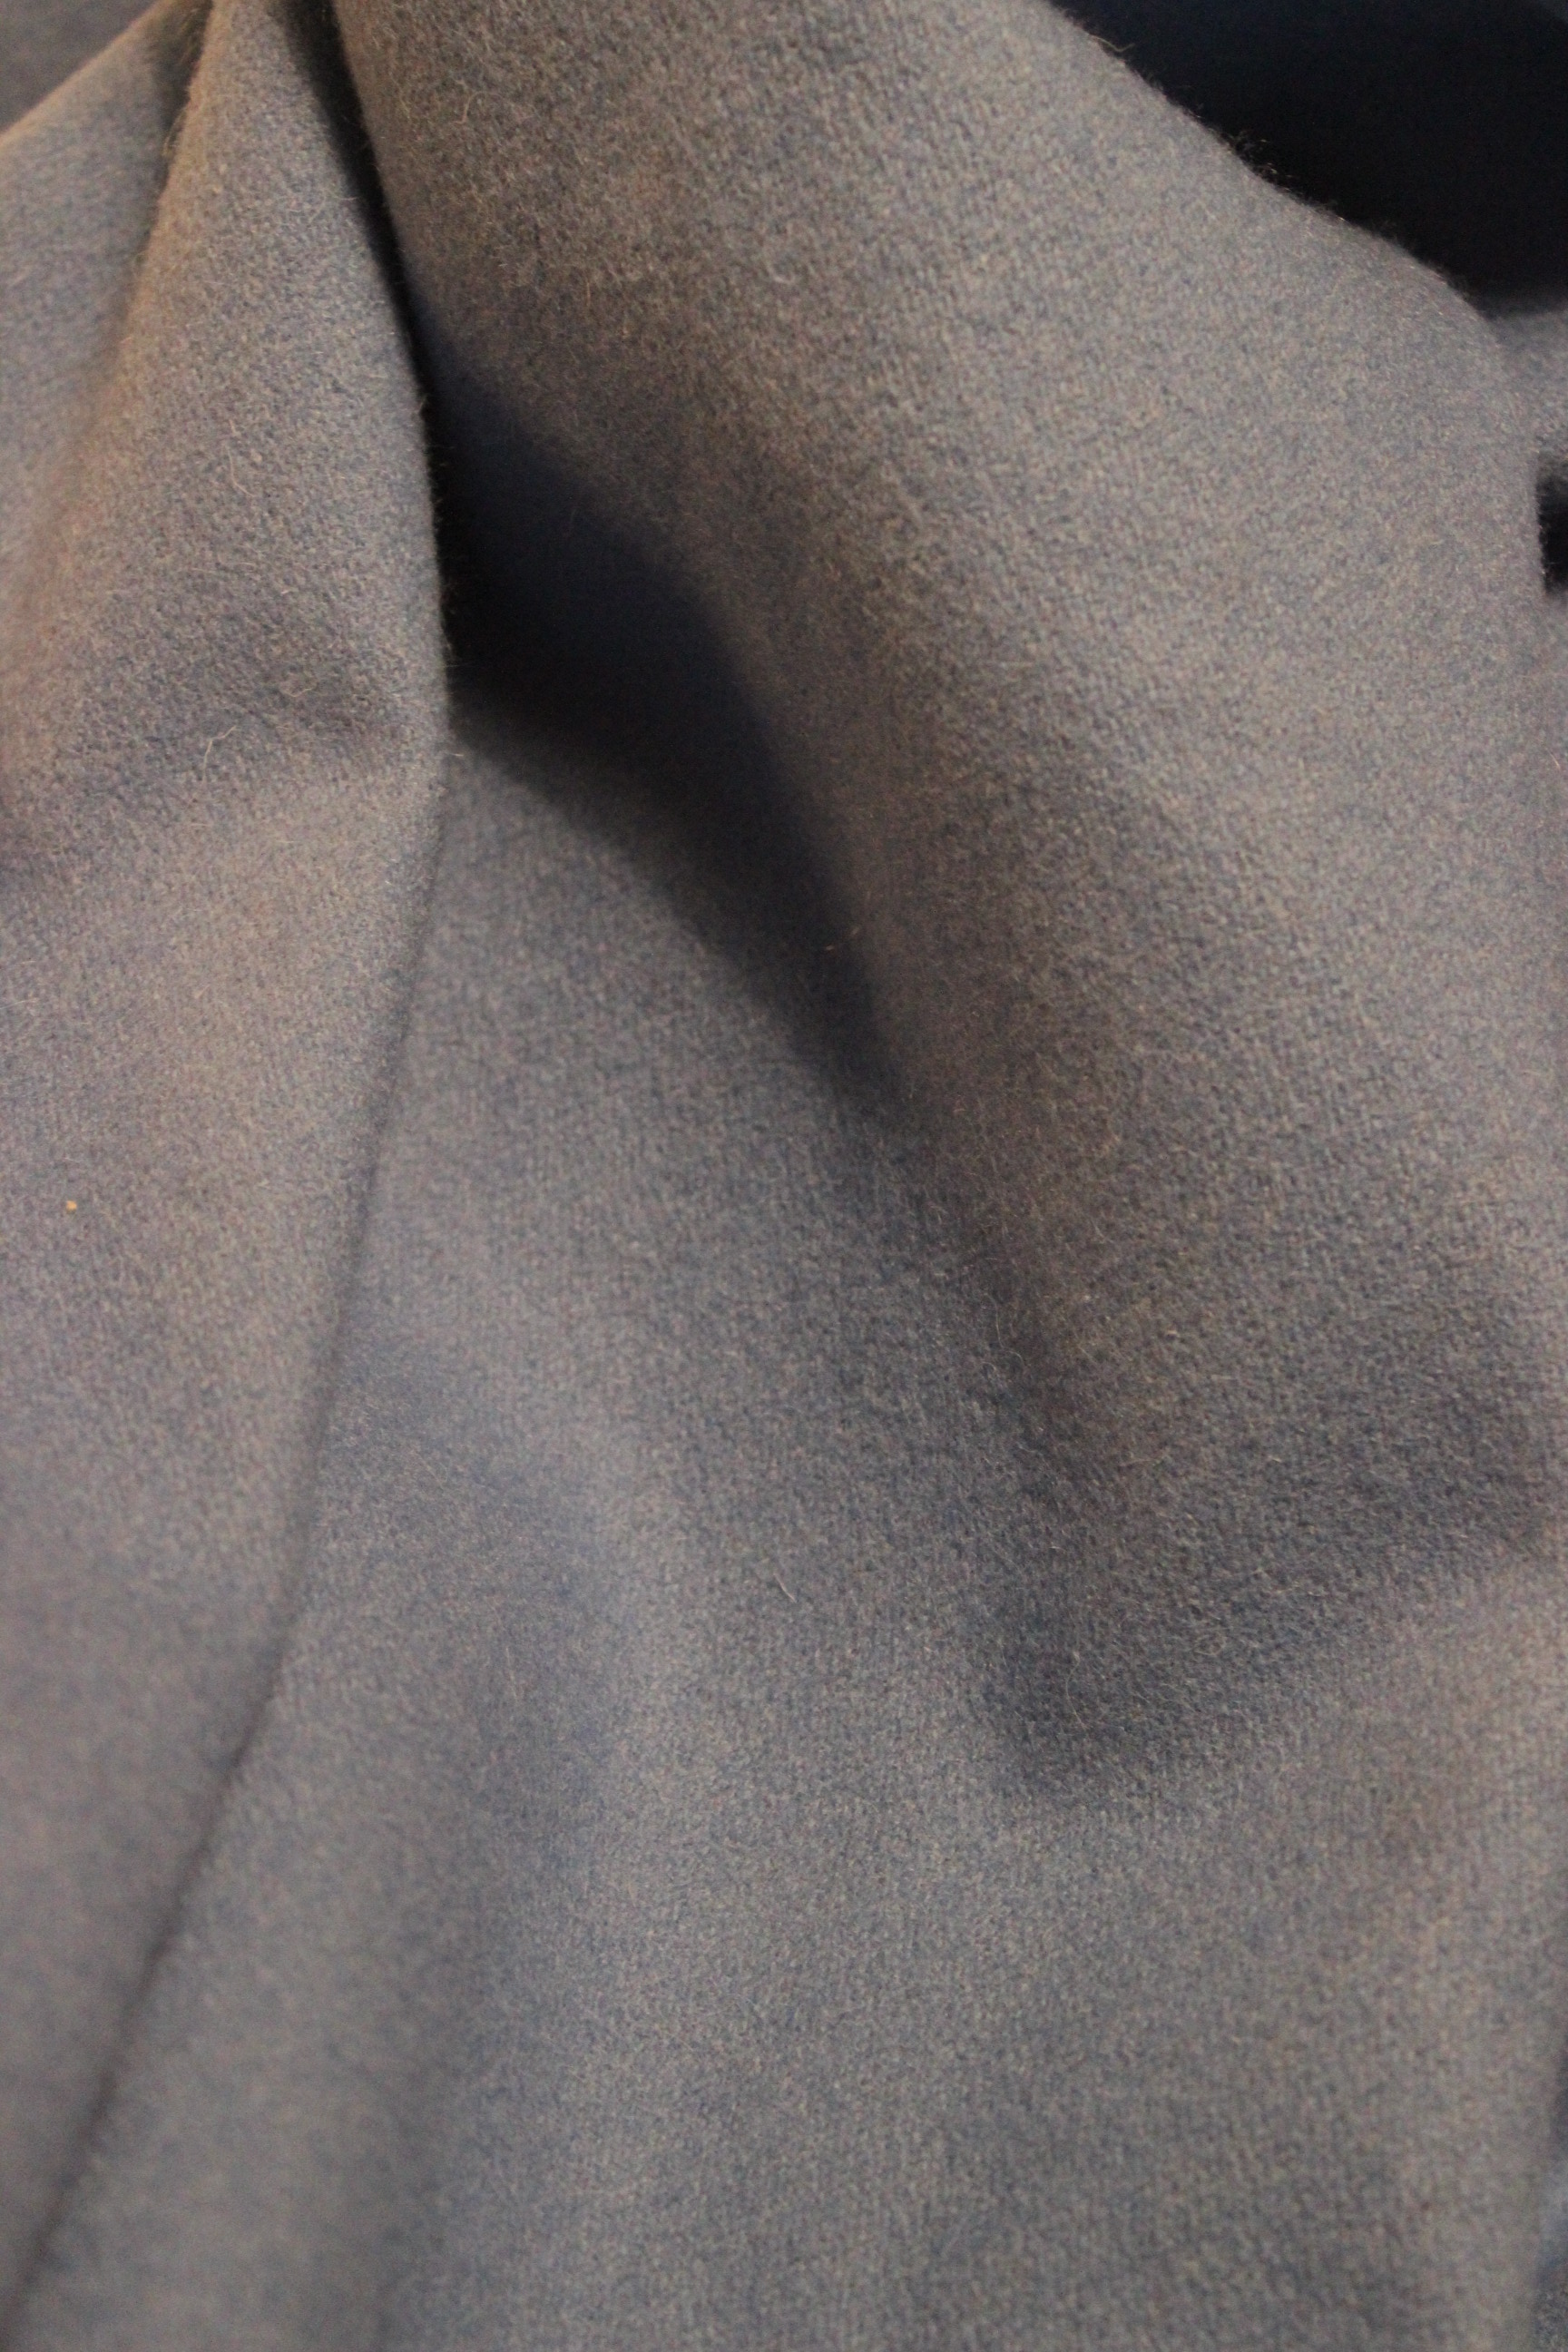
I found this fabric on sale last winter, and thought it perfect for this project. 
But I had so many other things to make for the HSF14, and when I could have had time I was already longing for spring and thinner clothing.
So I pushed it forward to the HSF14 nr 15 – Outerwear.
I bought this pattern in July determent to get the ball rolling in good time for he challenge.  But as work got really busy after summer that didn’t happened.
By then I had a new goal – to make it for the HSF14 nr 22 – Menswear.
Well, I did start working on it in October.
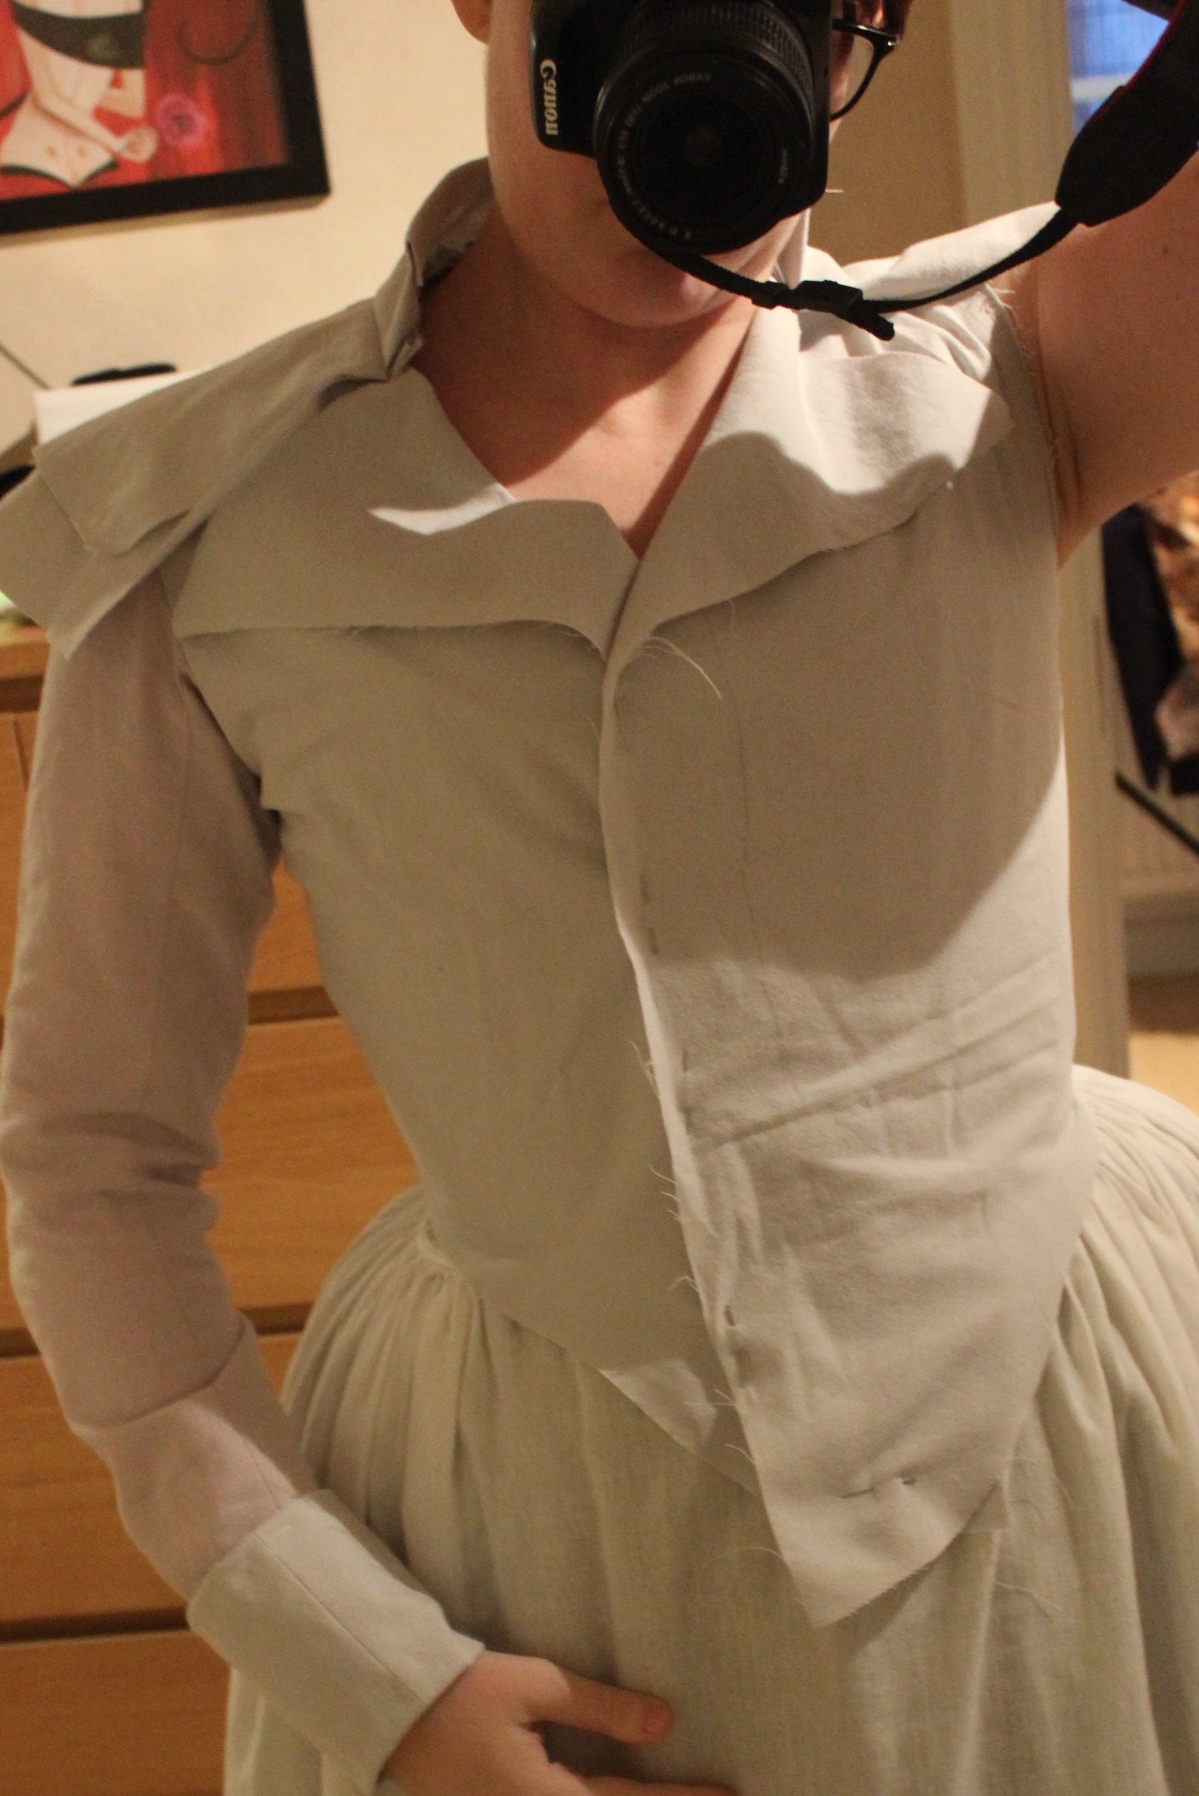
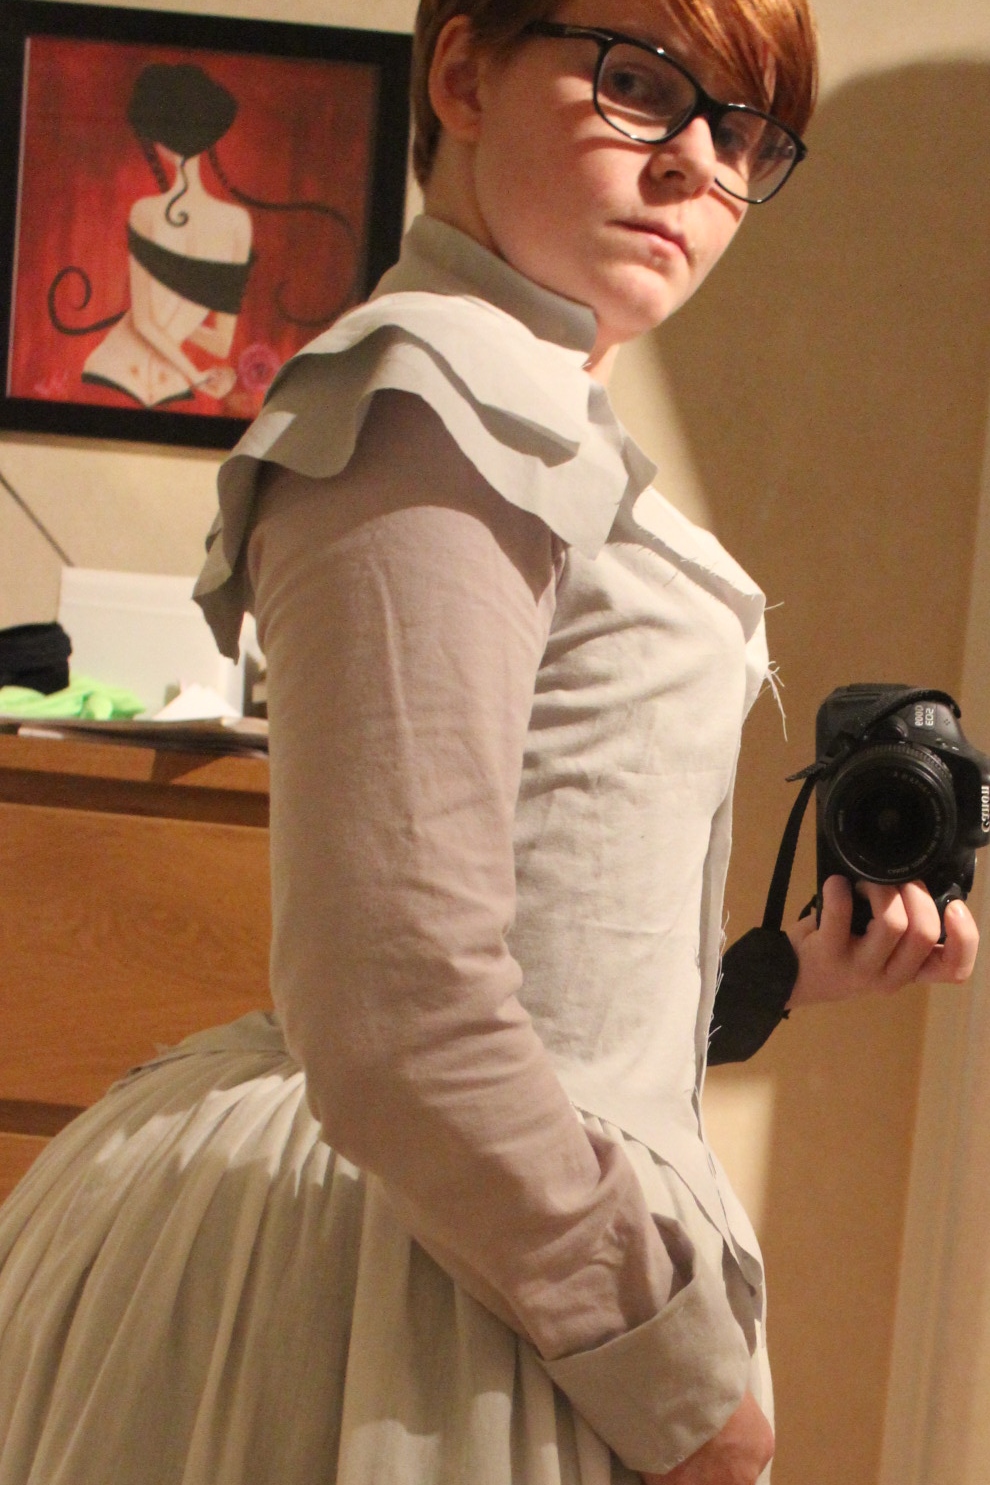
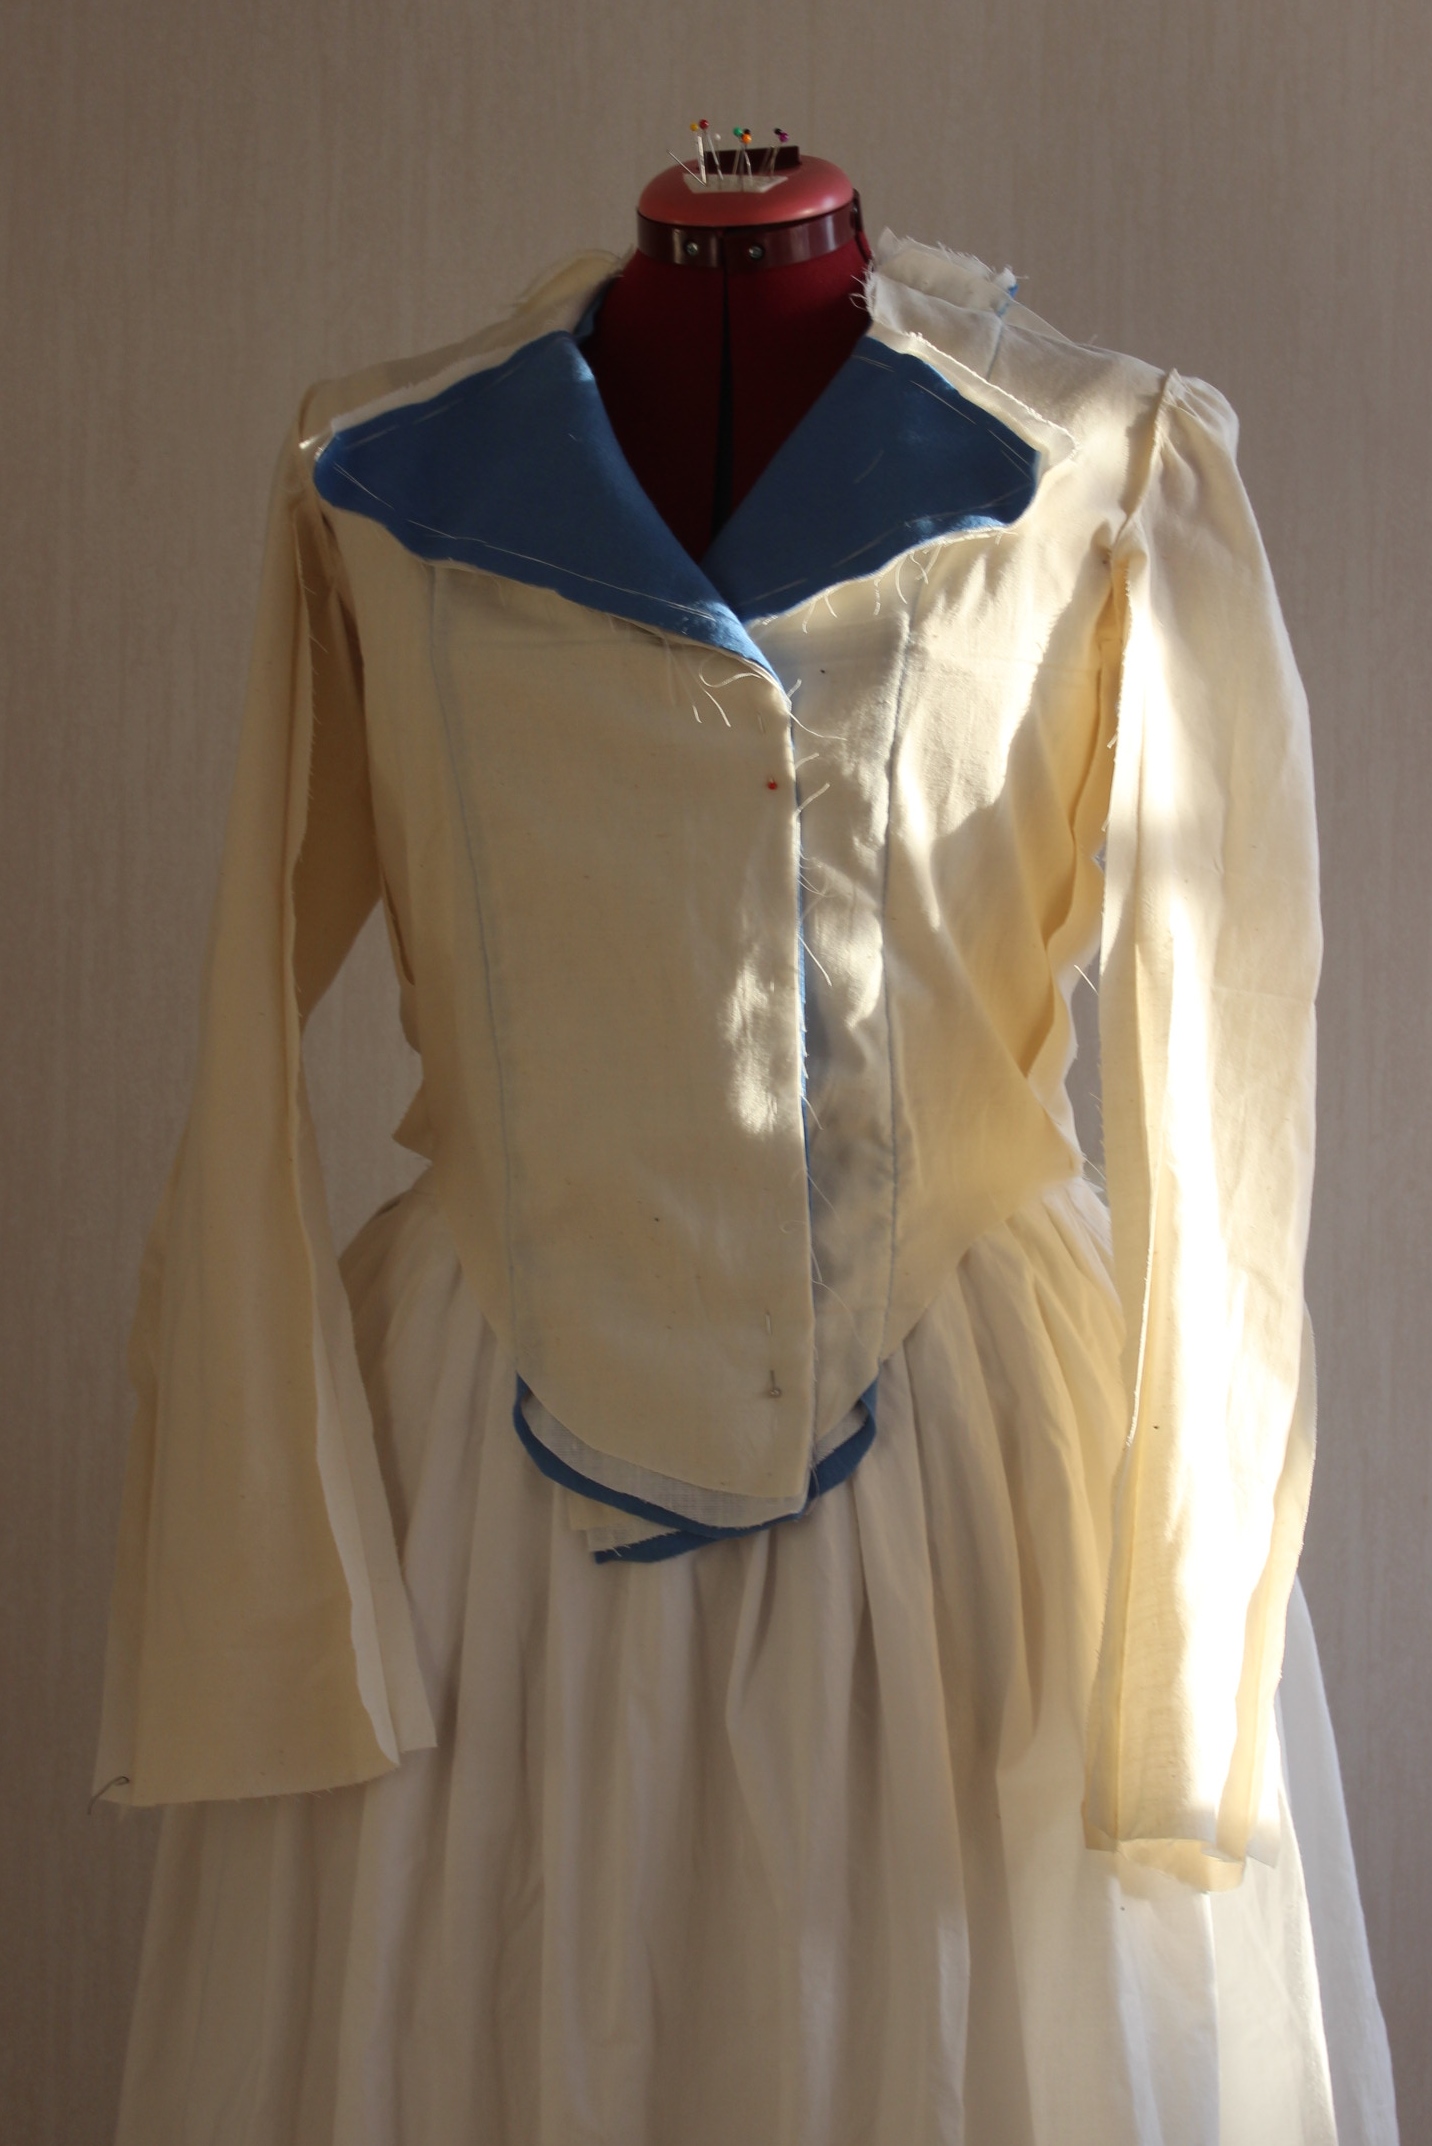
I traced the pattern and cut and stitched the mock-up.


 I was really surprised of how well it fit straight out of the package.
It’s not usual to get a nice back like that on the first try.
But then life once again caught up with me, and I had to take a break from sewing.
I postponed the 22 challenge completely, deciding to try to finish it on my Christmas leave.
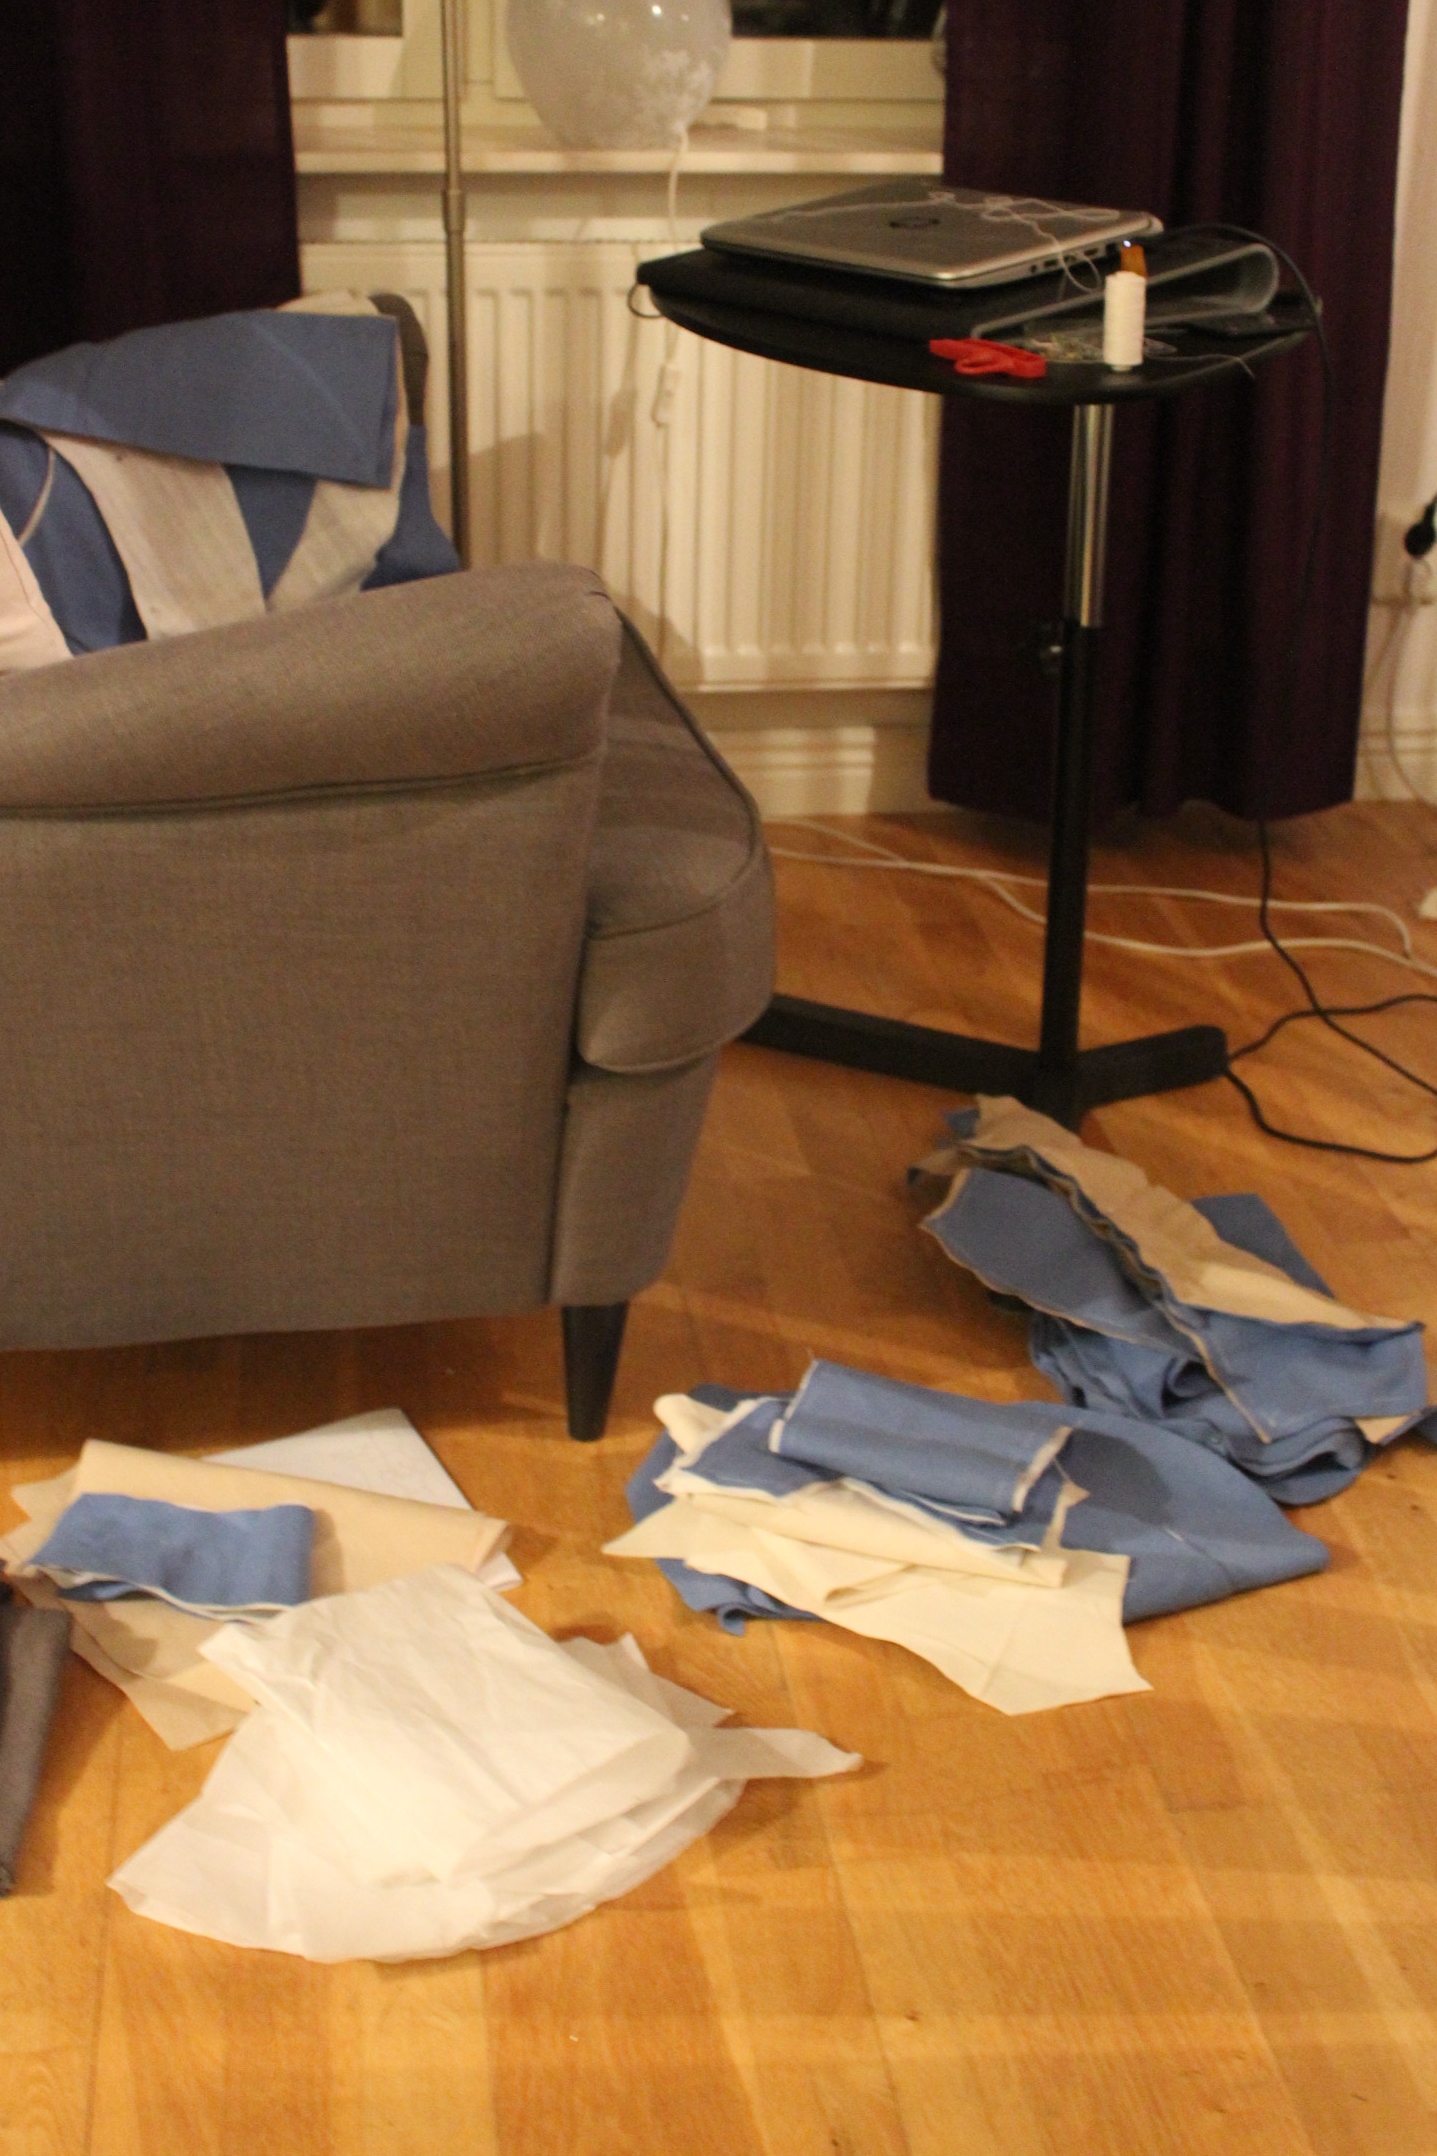
And between working on my two Christmas dresses, I actually got the fabric cut and the interlining basted. My creative chaos. This is how I sitting in my chair watching series while pinning, stitching and sorting the pieces in different piles.
Sometimes around December 26th, I realized I would never finish within 2014 – and I had so much new stuff I wanted to make for 2015.
Bummers.
I made a 18th century hat as a late entry for the menswear challenge, and felt rater like a failure.
But then the Dreamstress revealed the challenges for The HSM15, and there it was – challenge 2/2015 – Blue!
That was exactly what I needed to finally finish the long awaited Redingote.
(even though I got distracted by the much quicker Mars entry).
Anyhow, here is what I’ve been doing on the evenings for the past month.
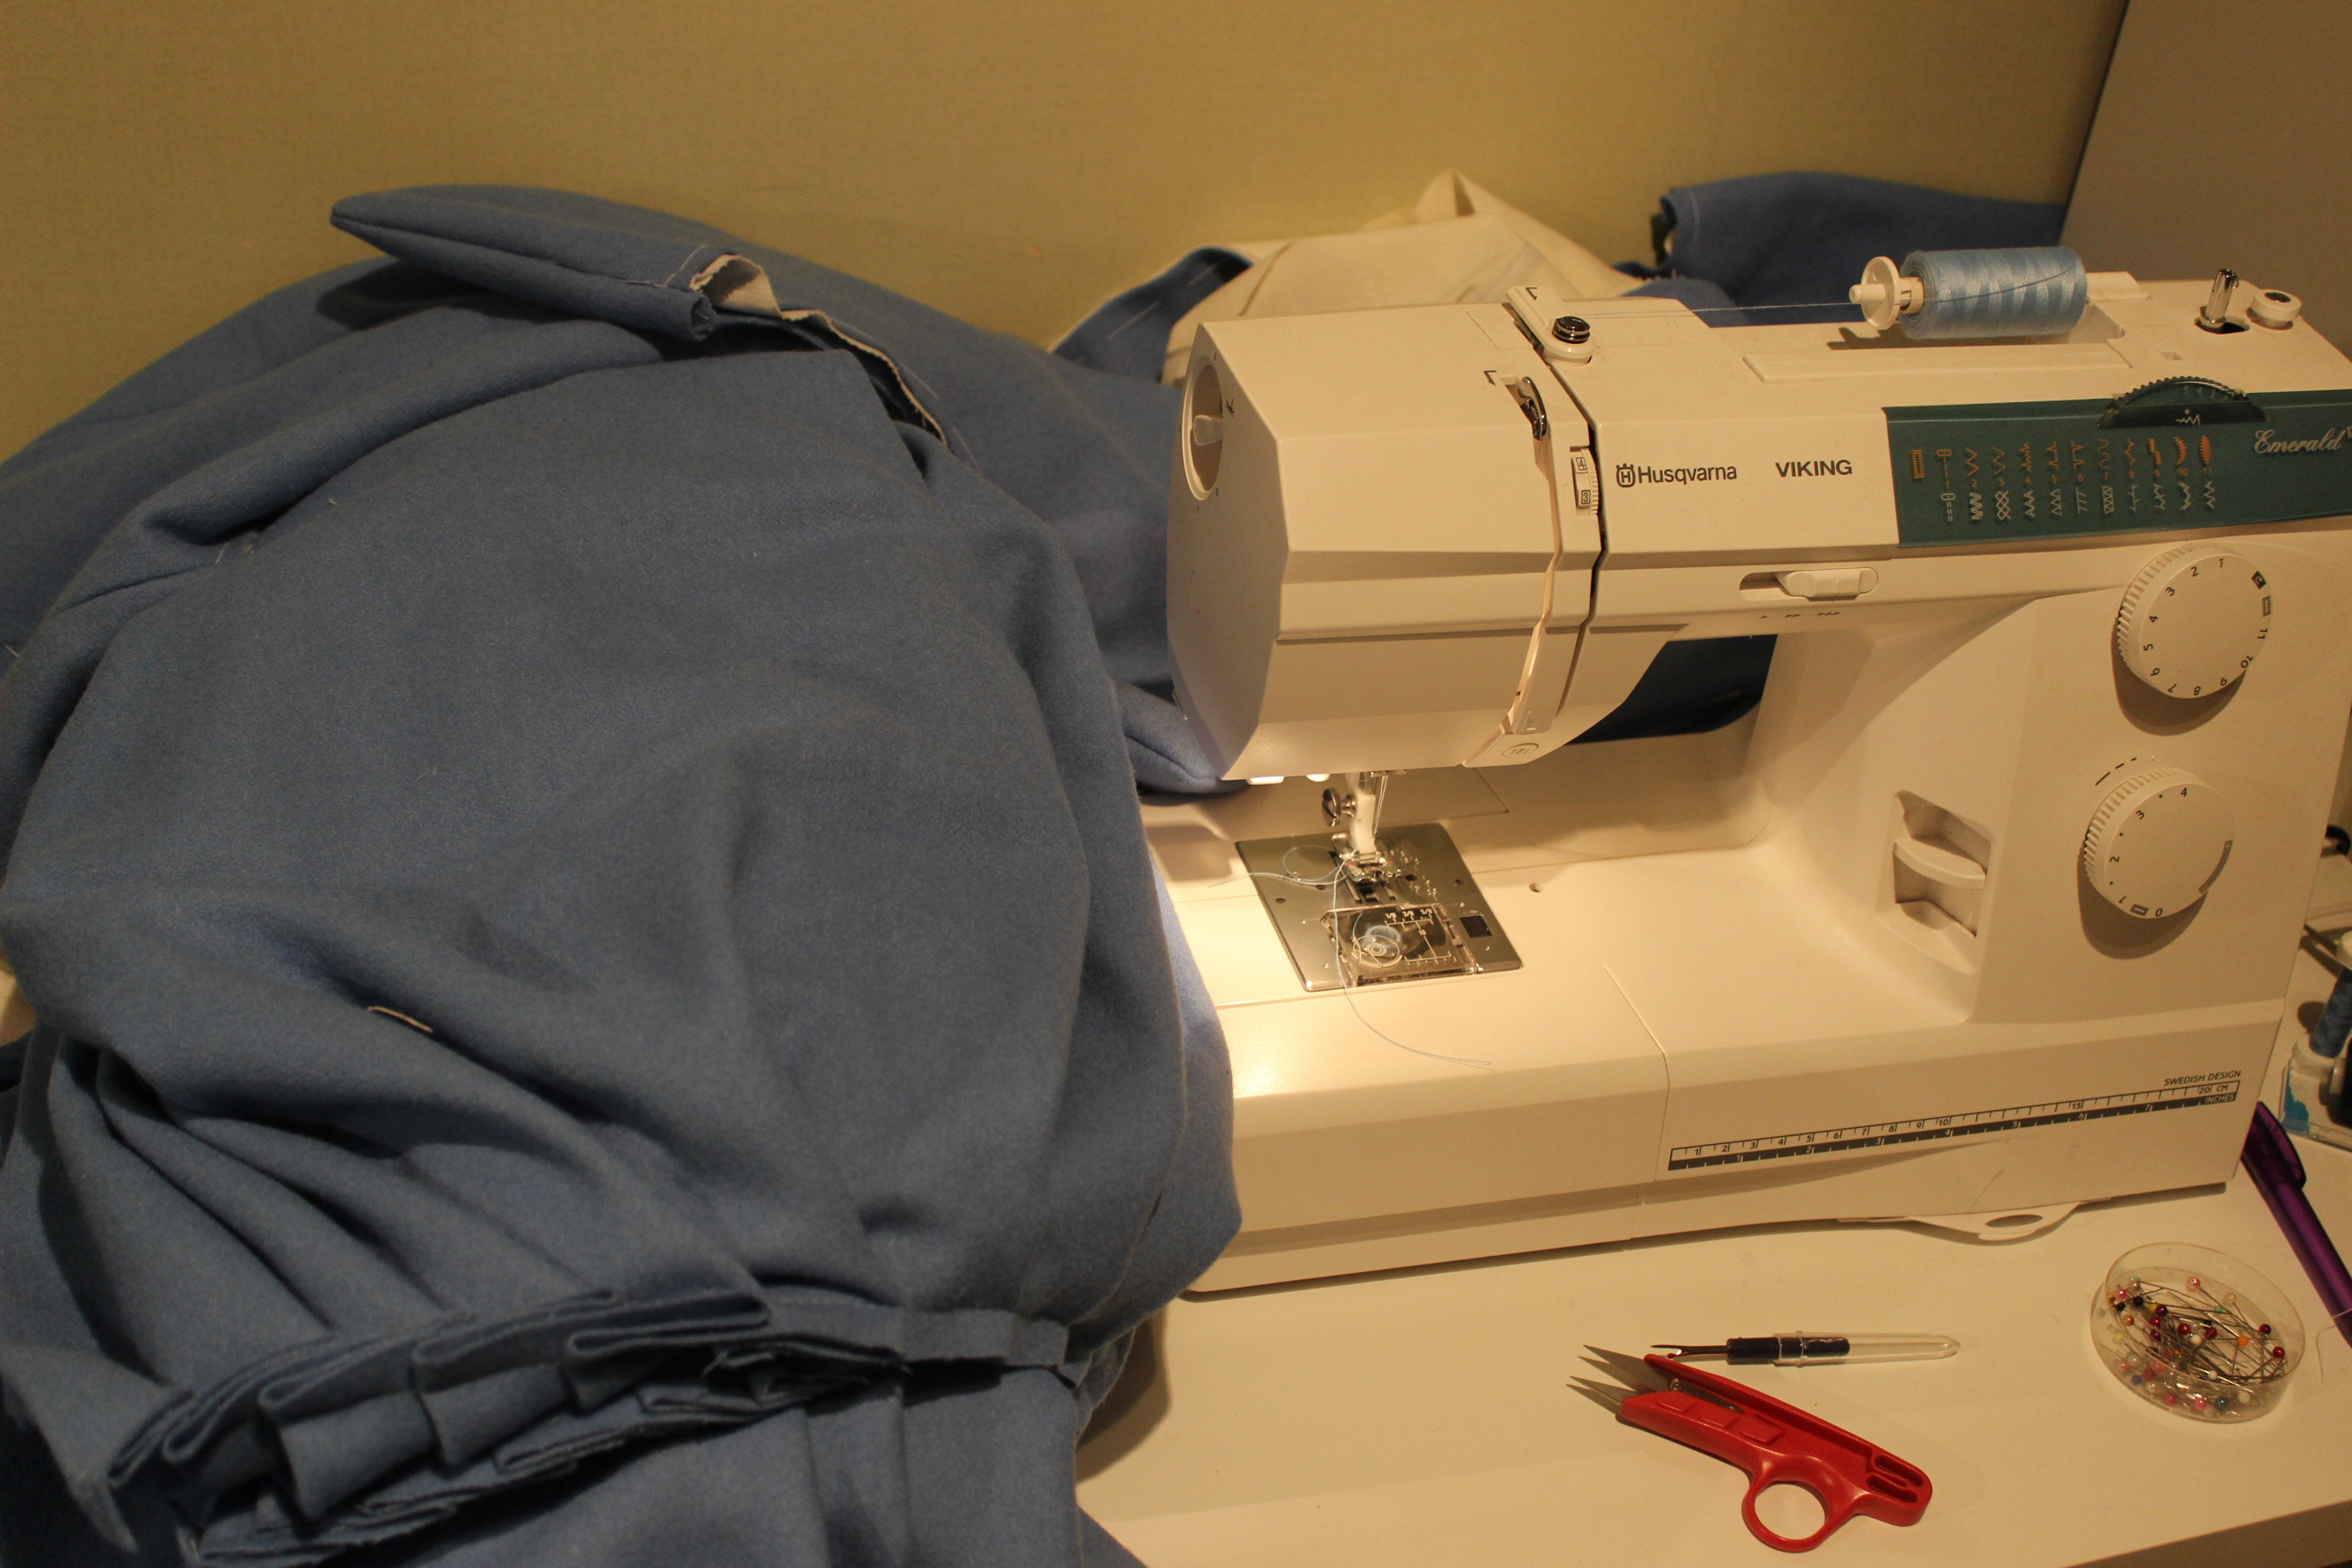
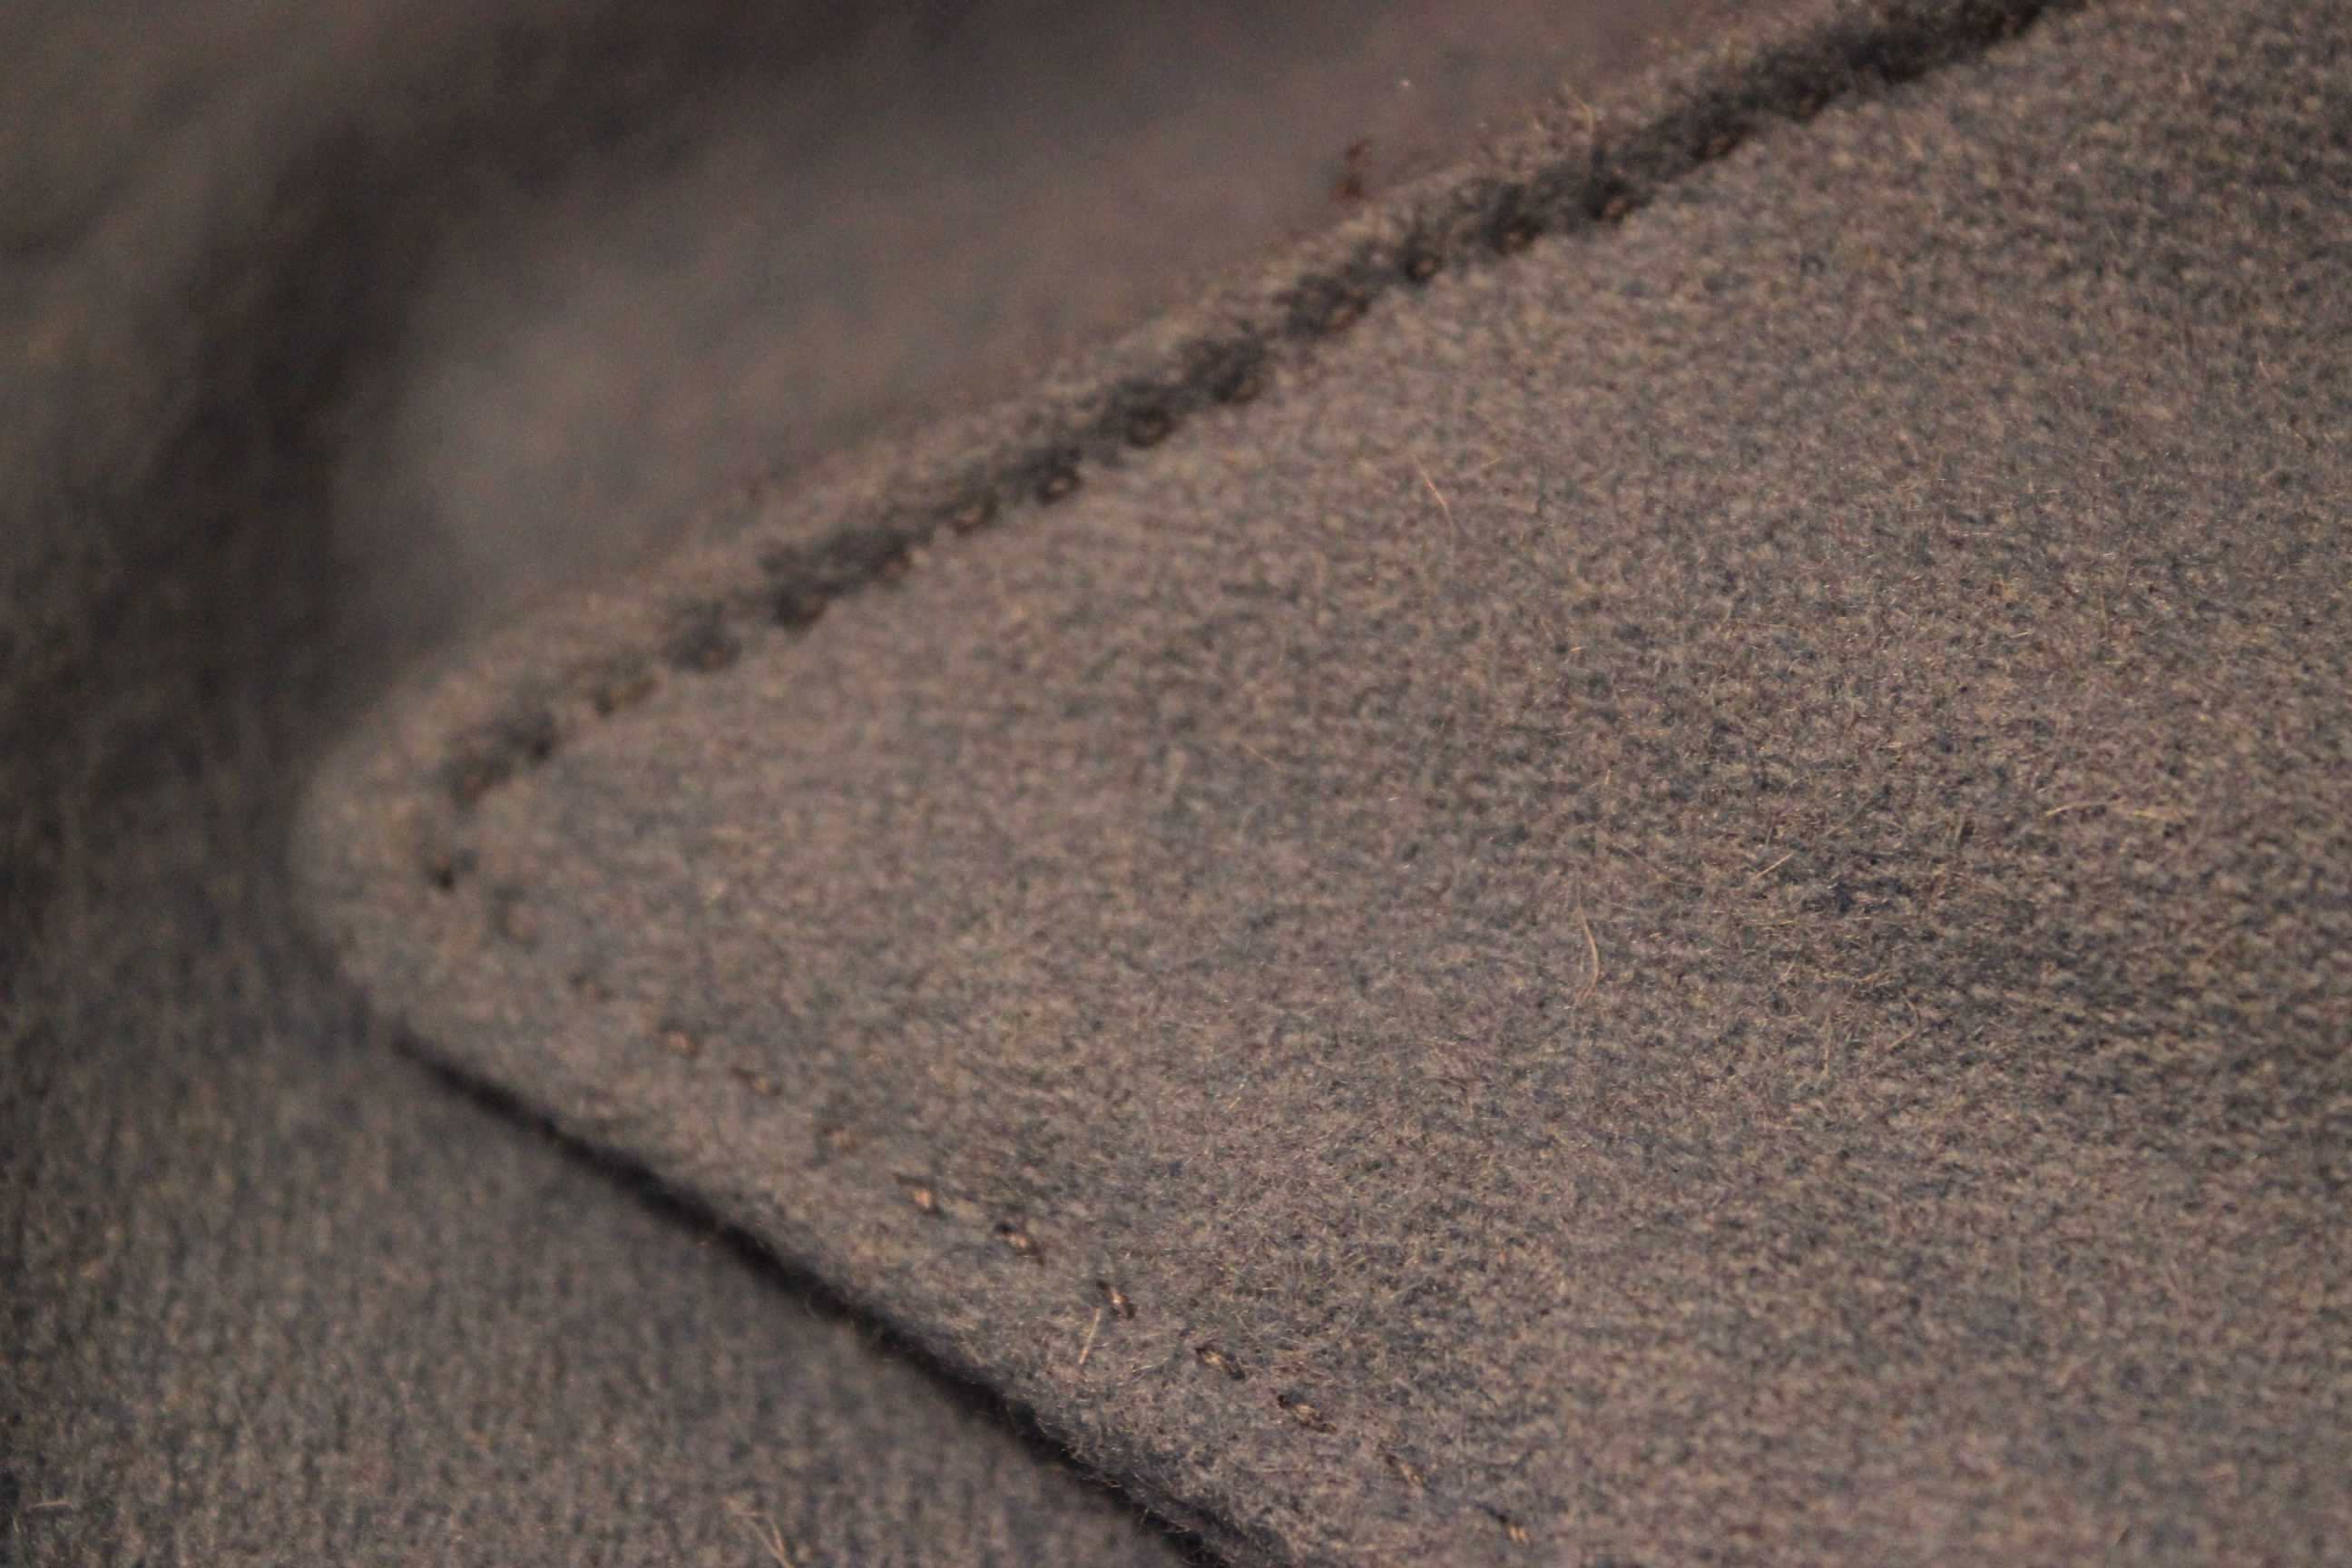
 Stitching the long seams together using my sewing machine.
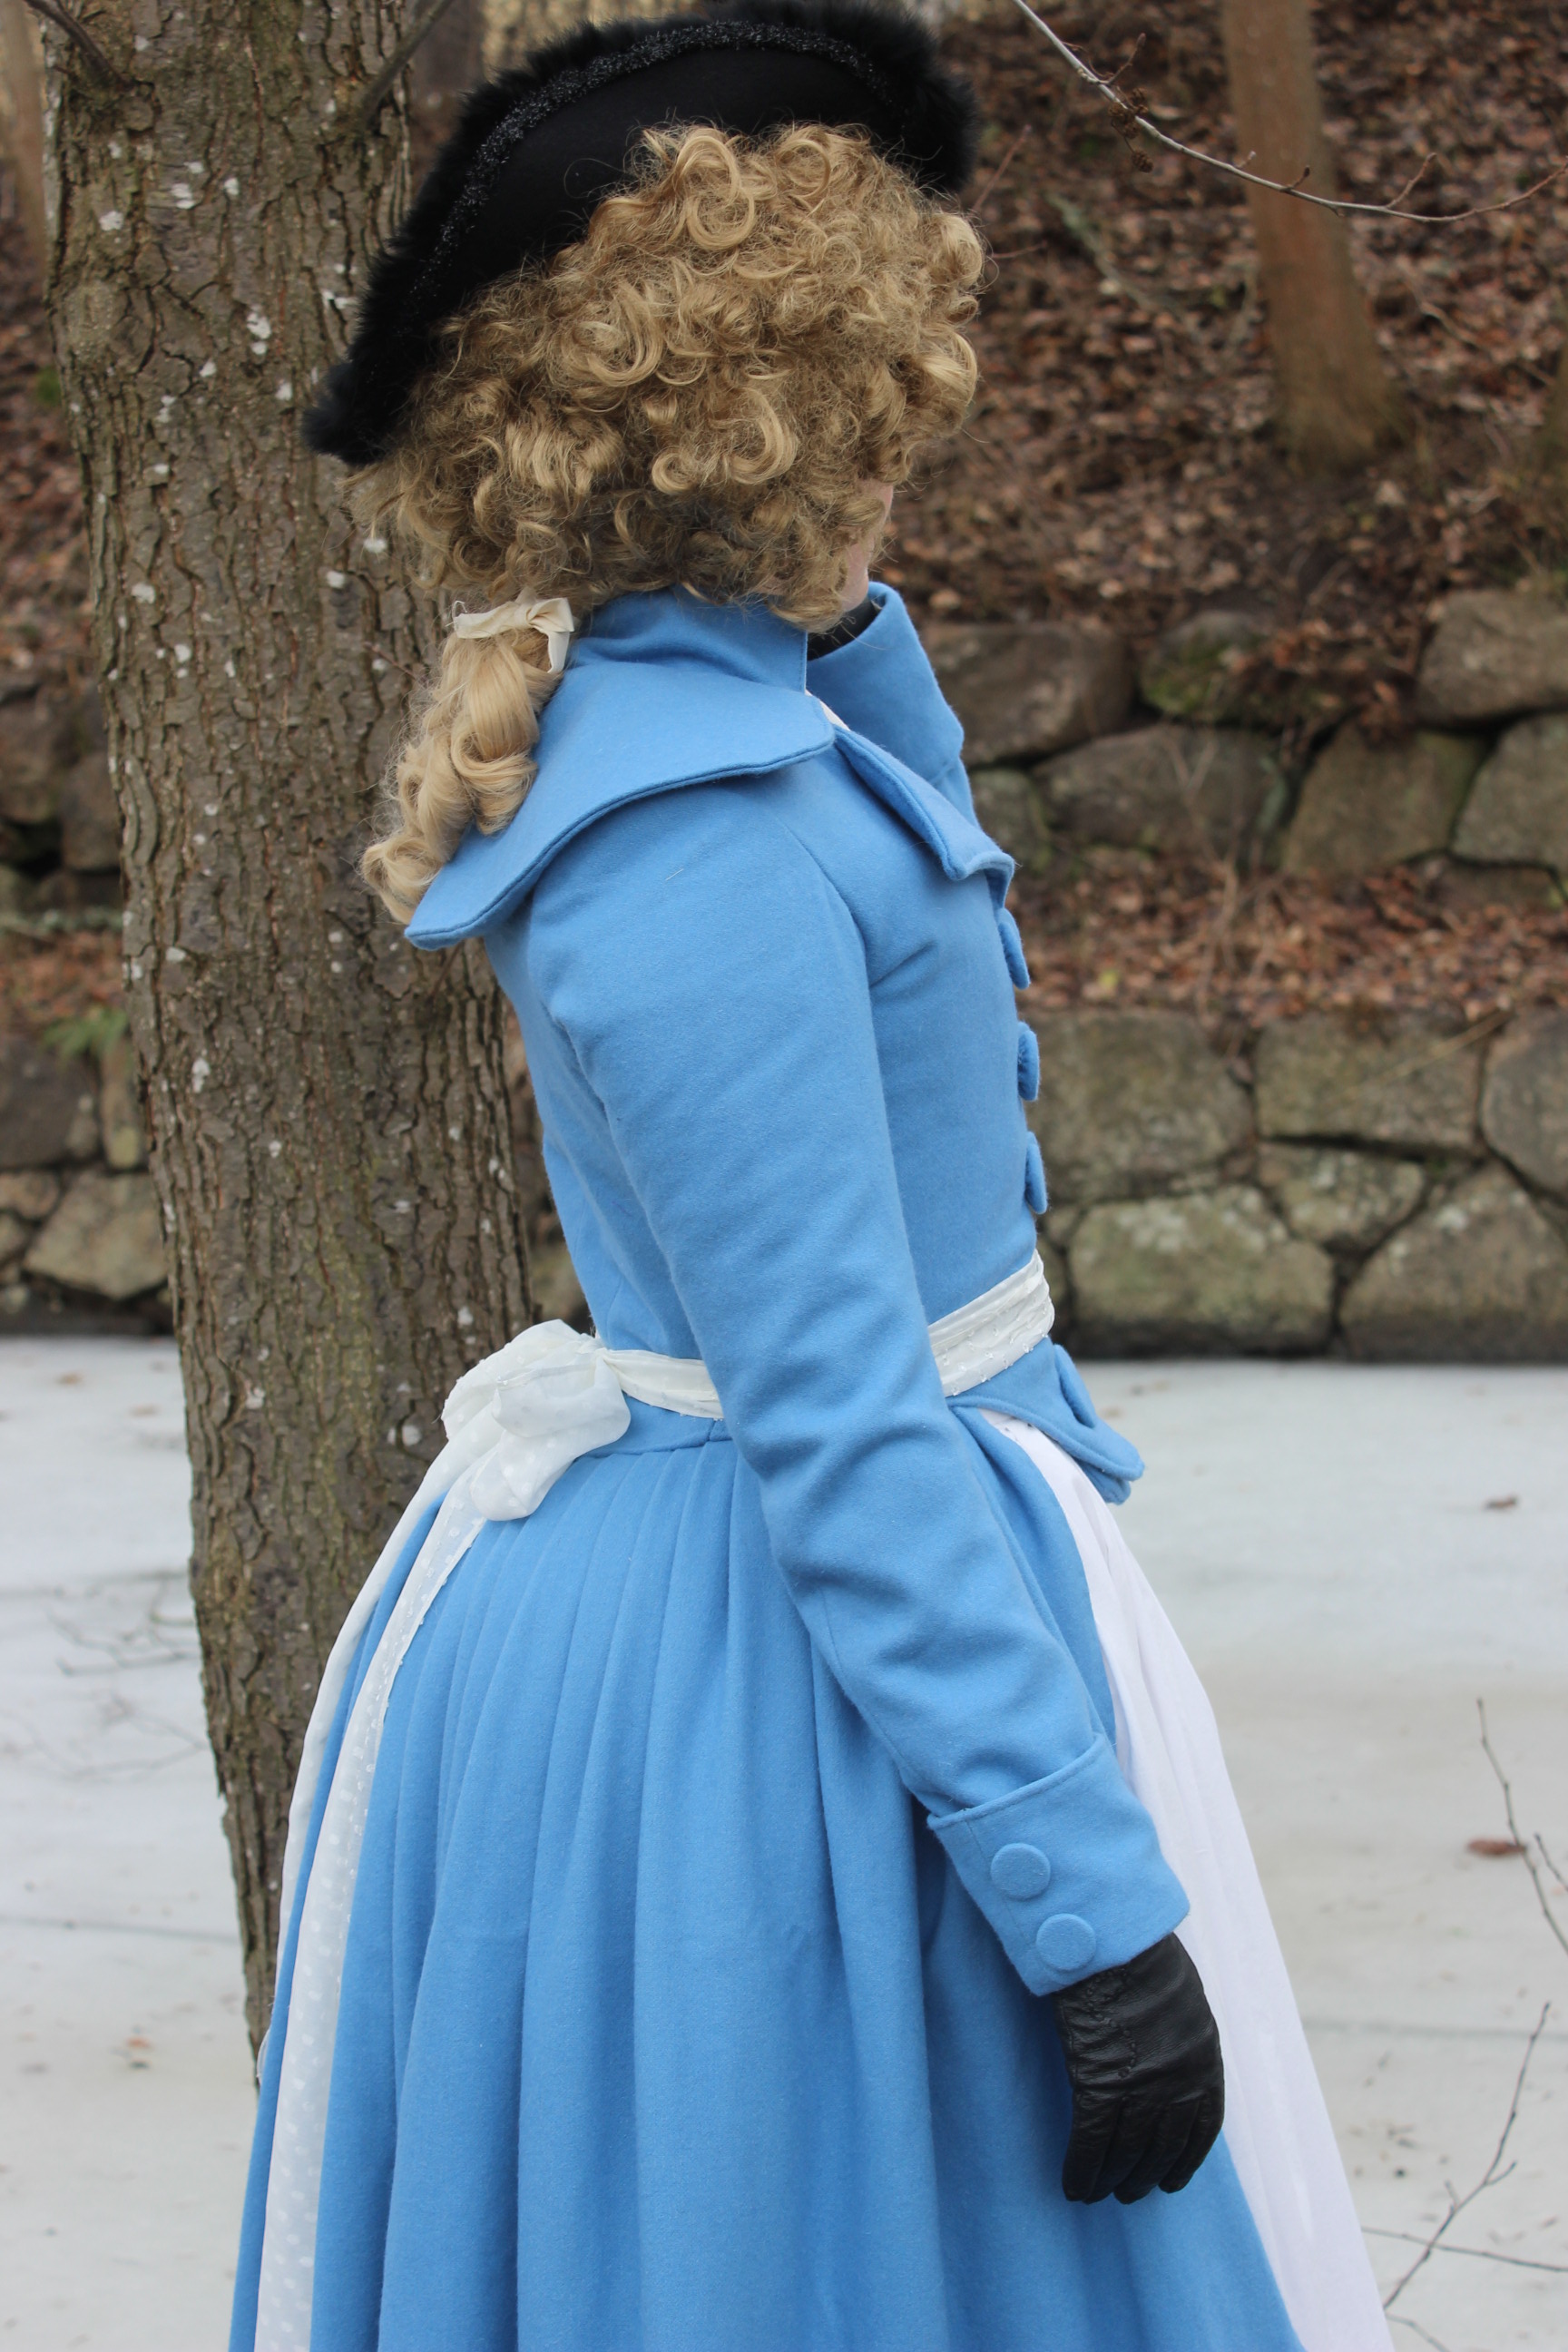
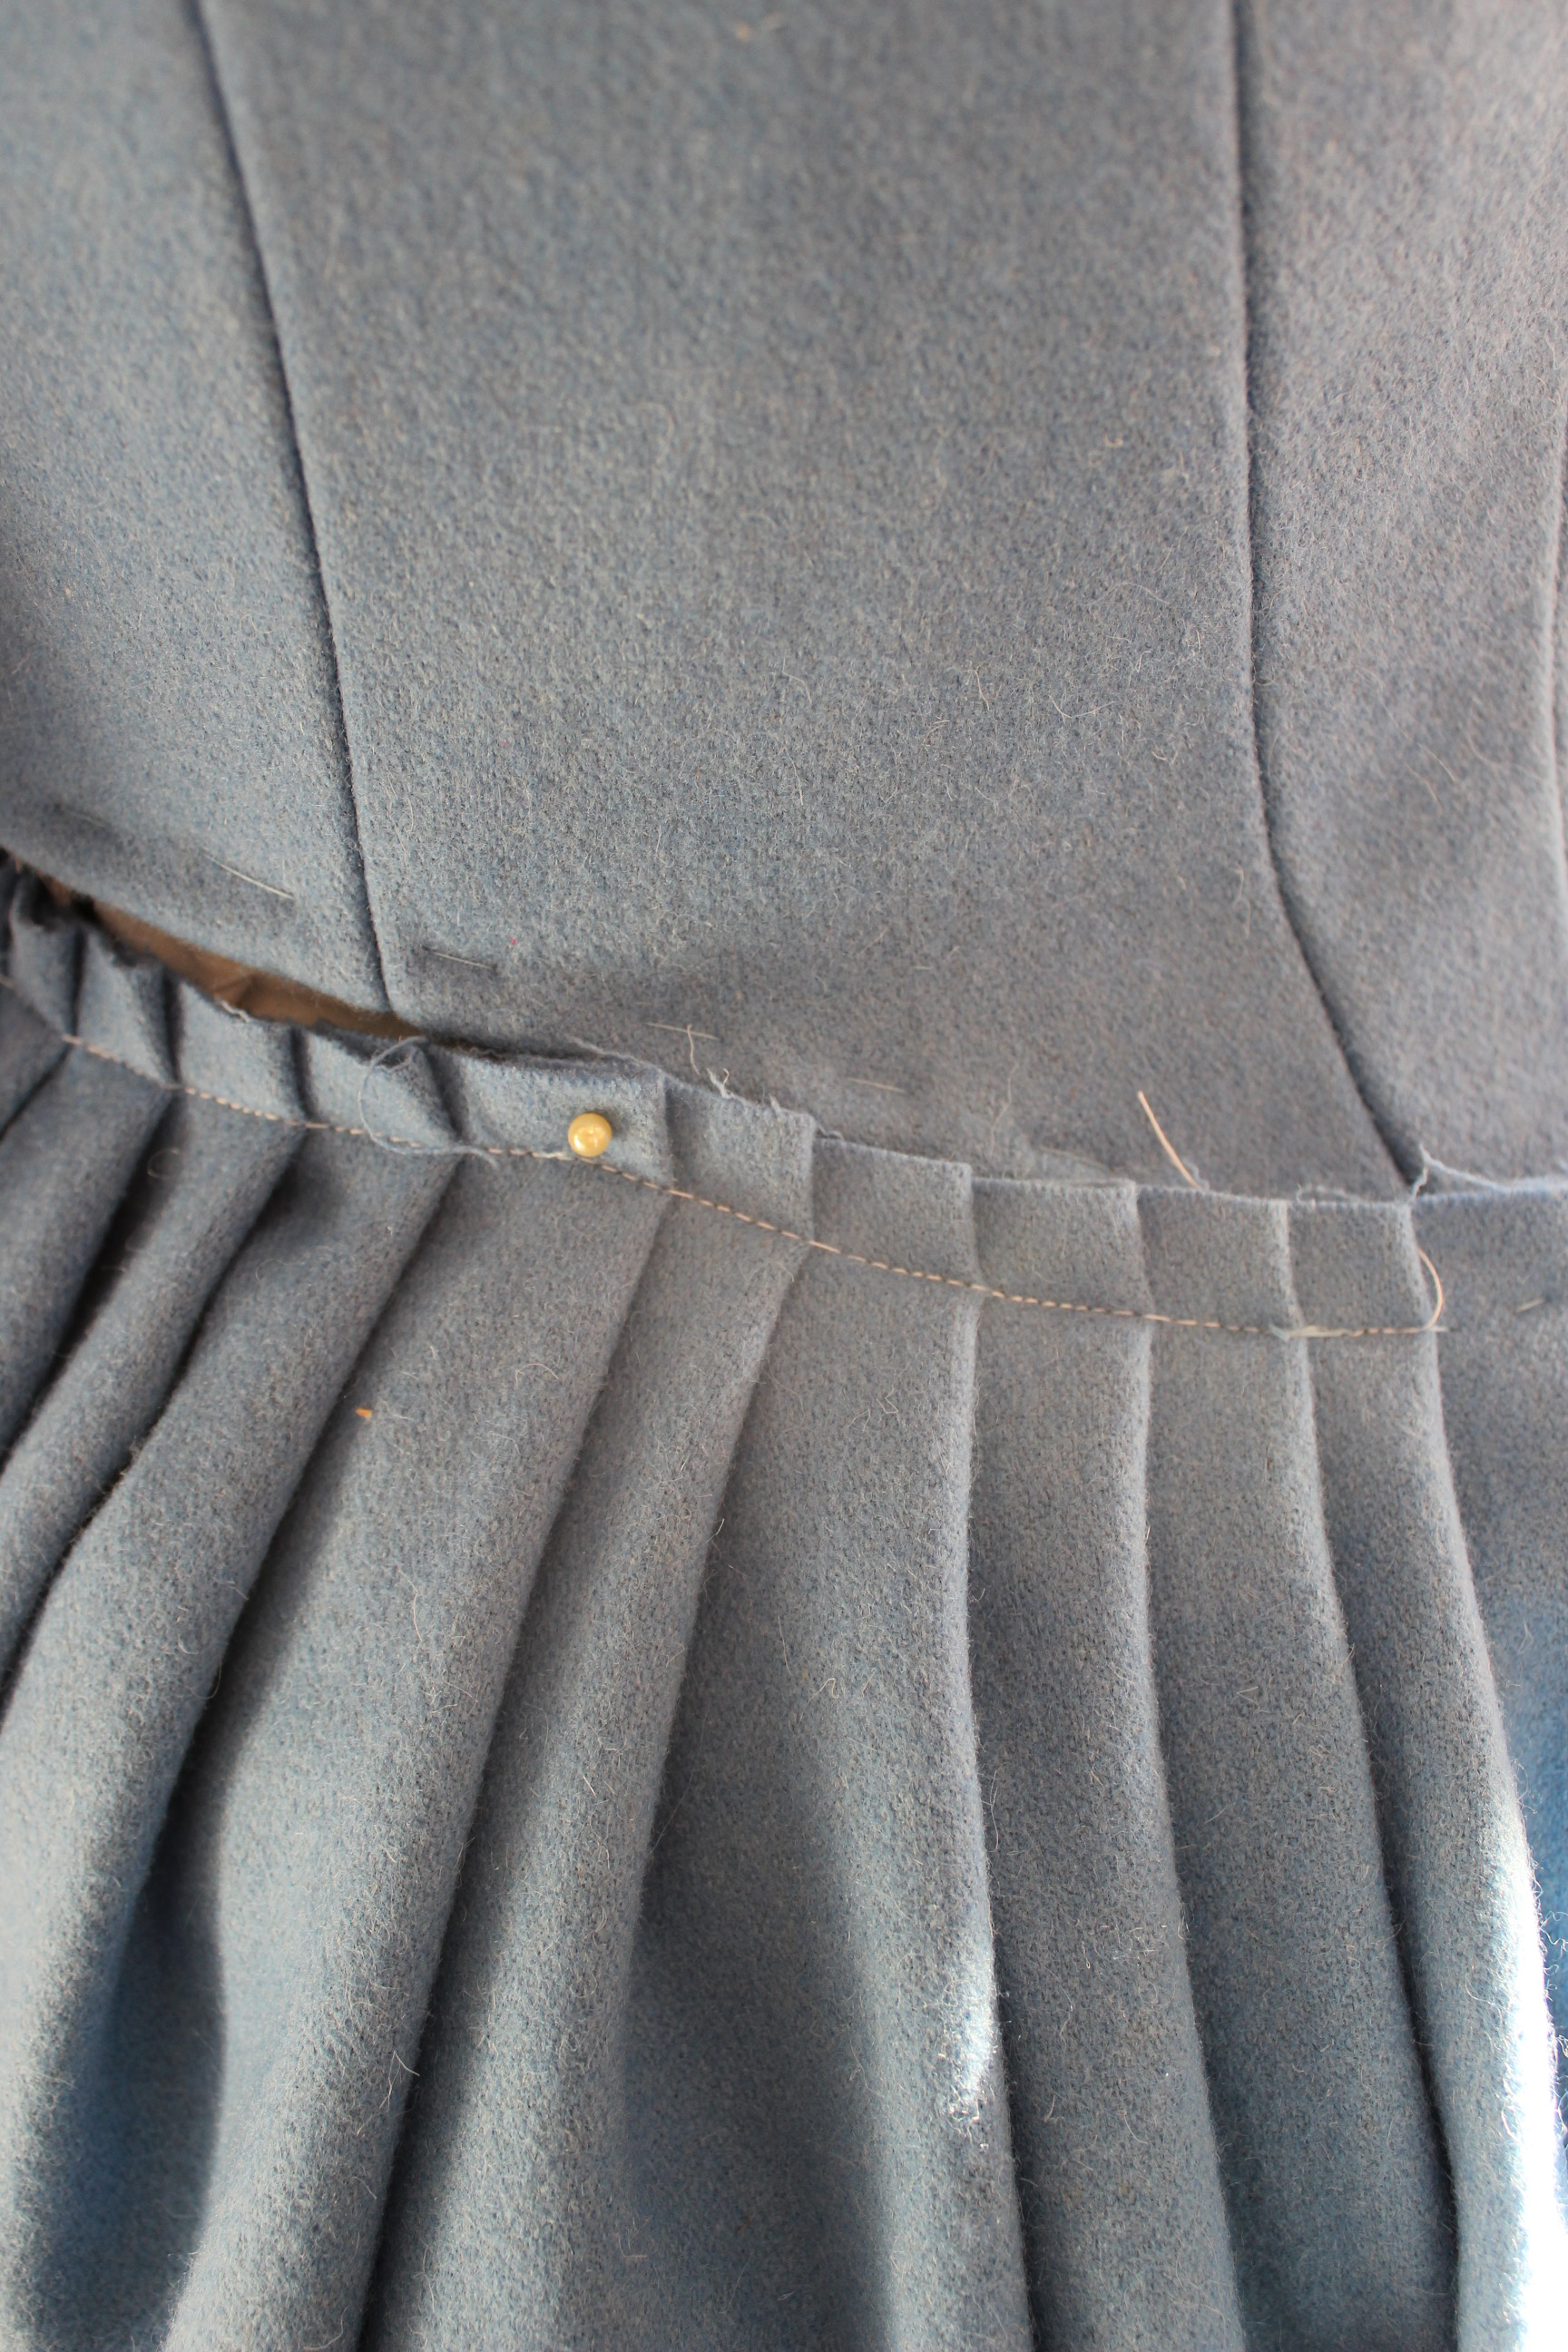
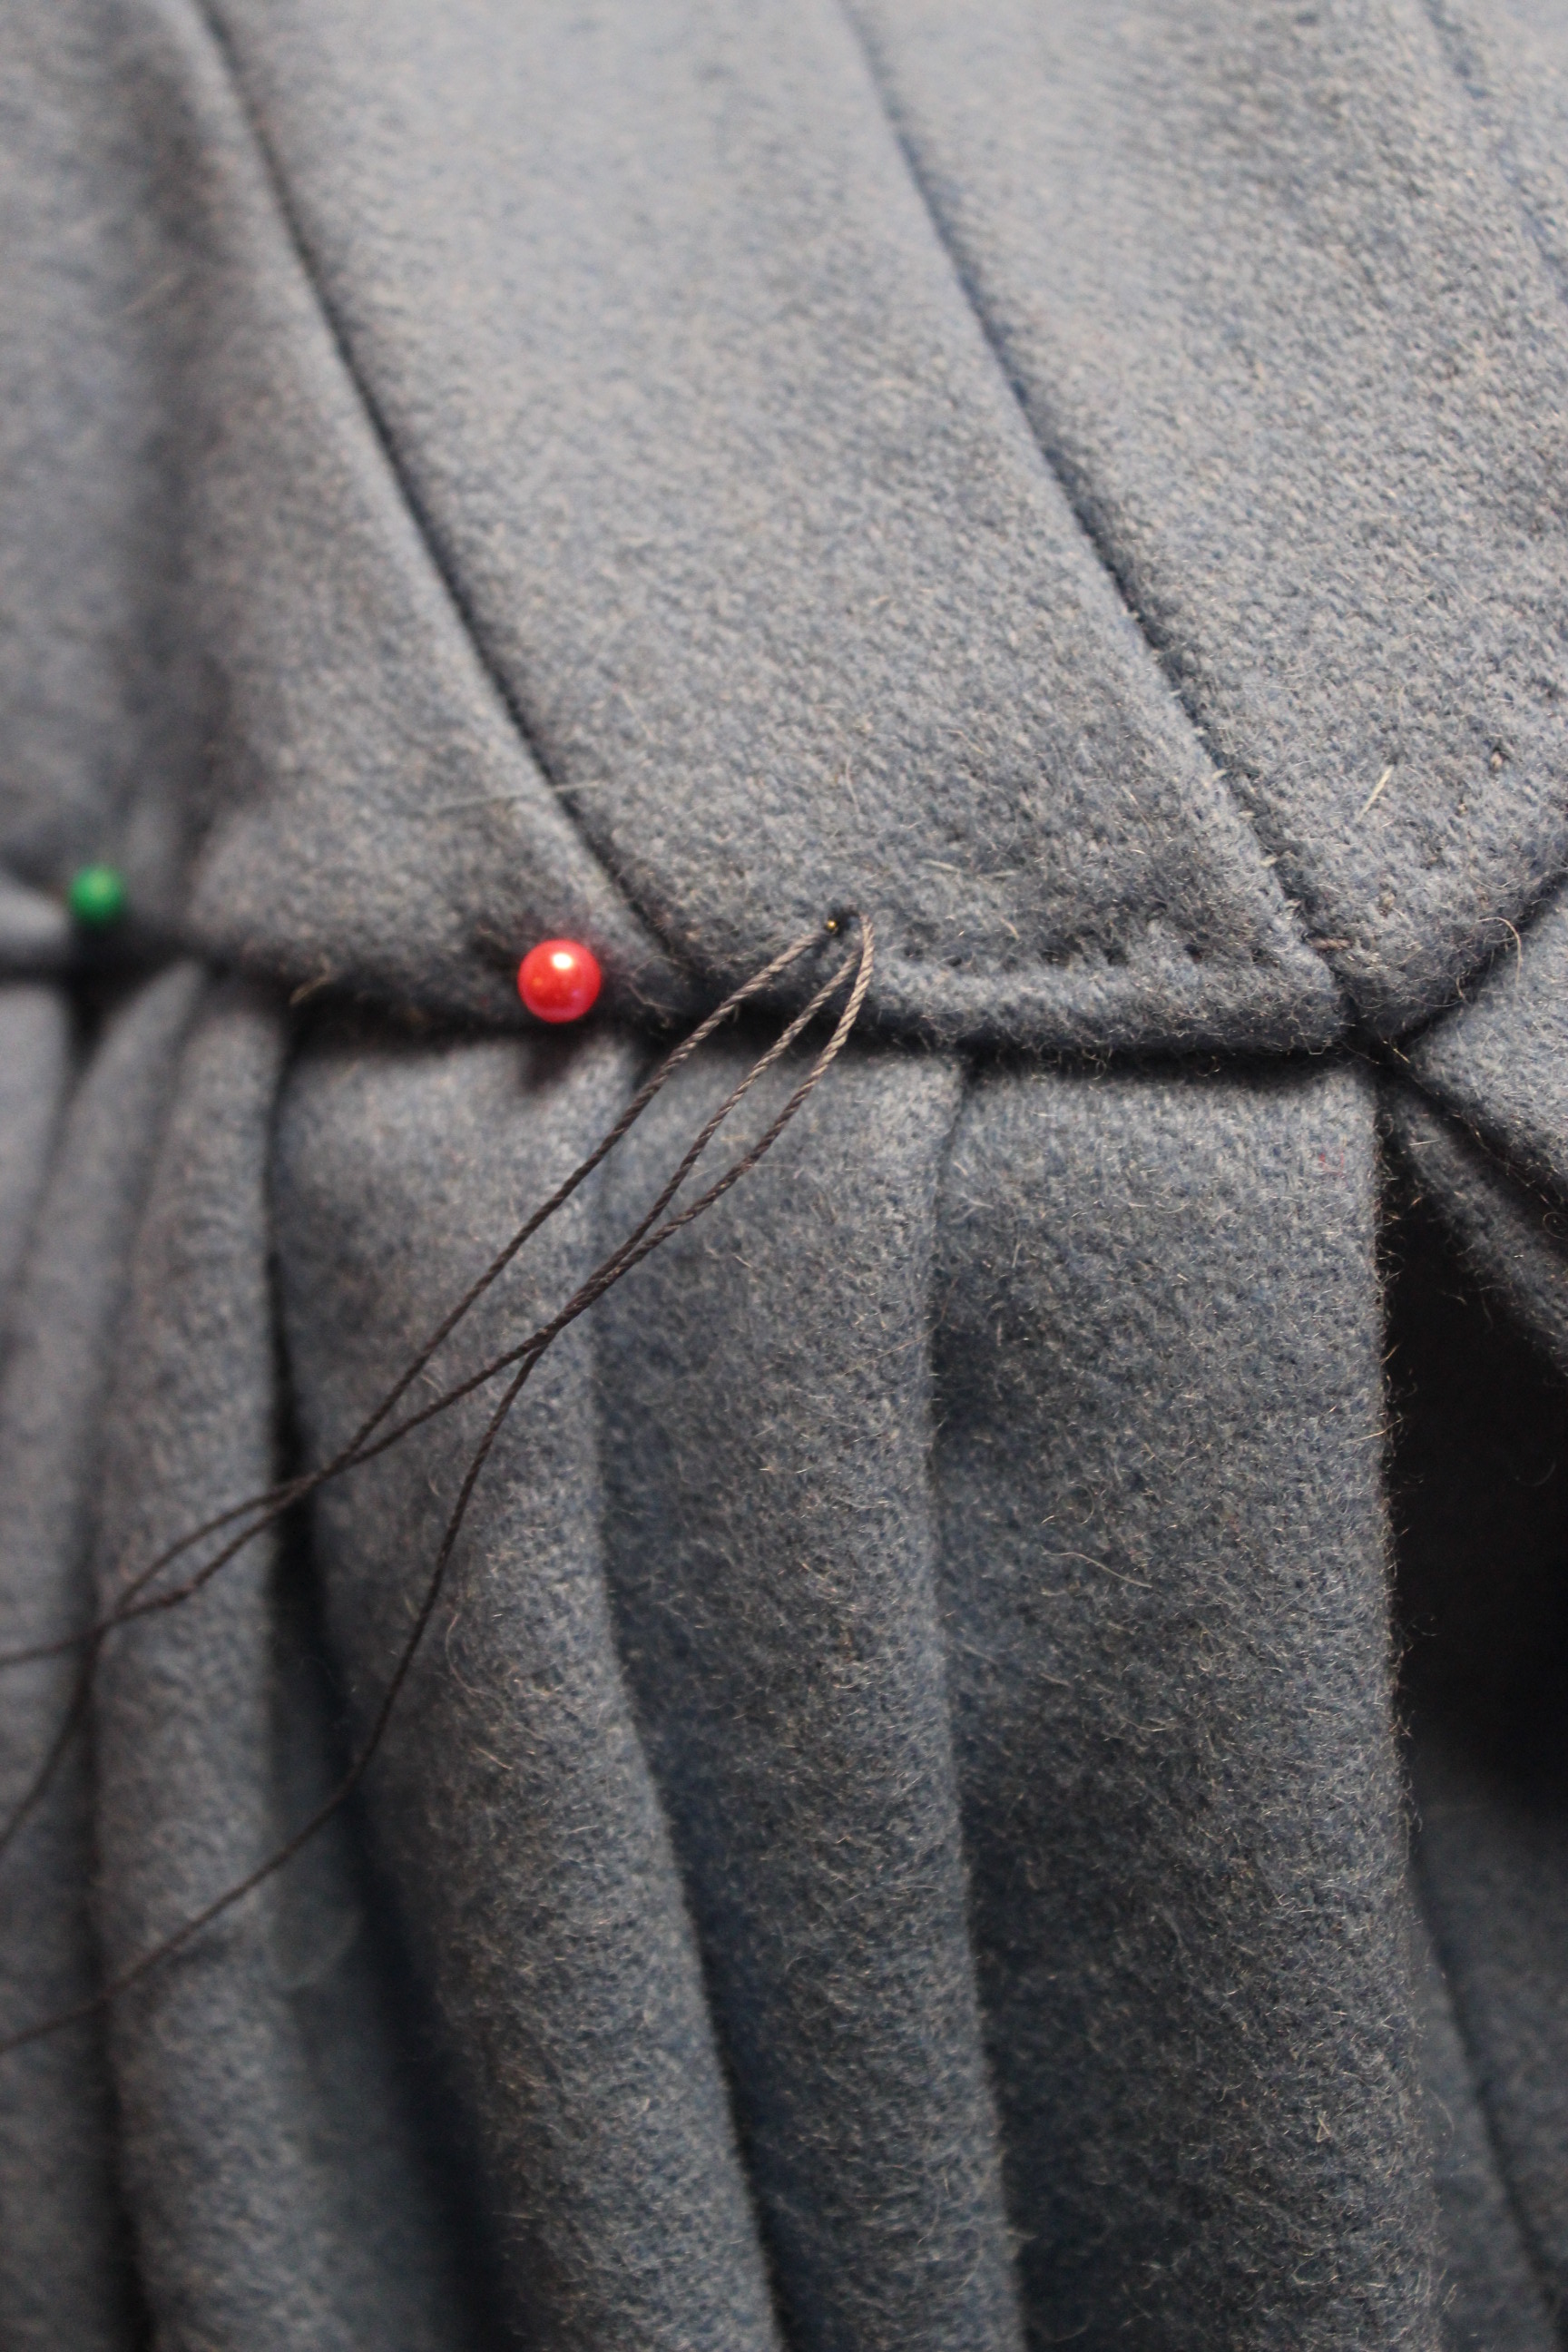
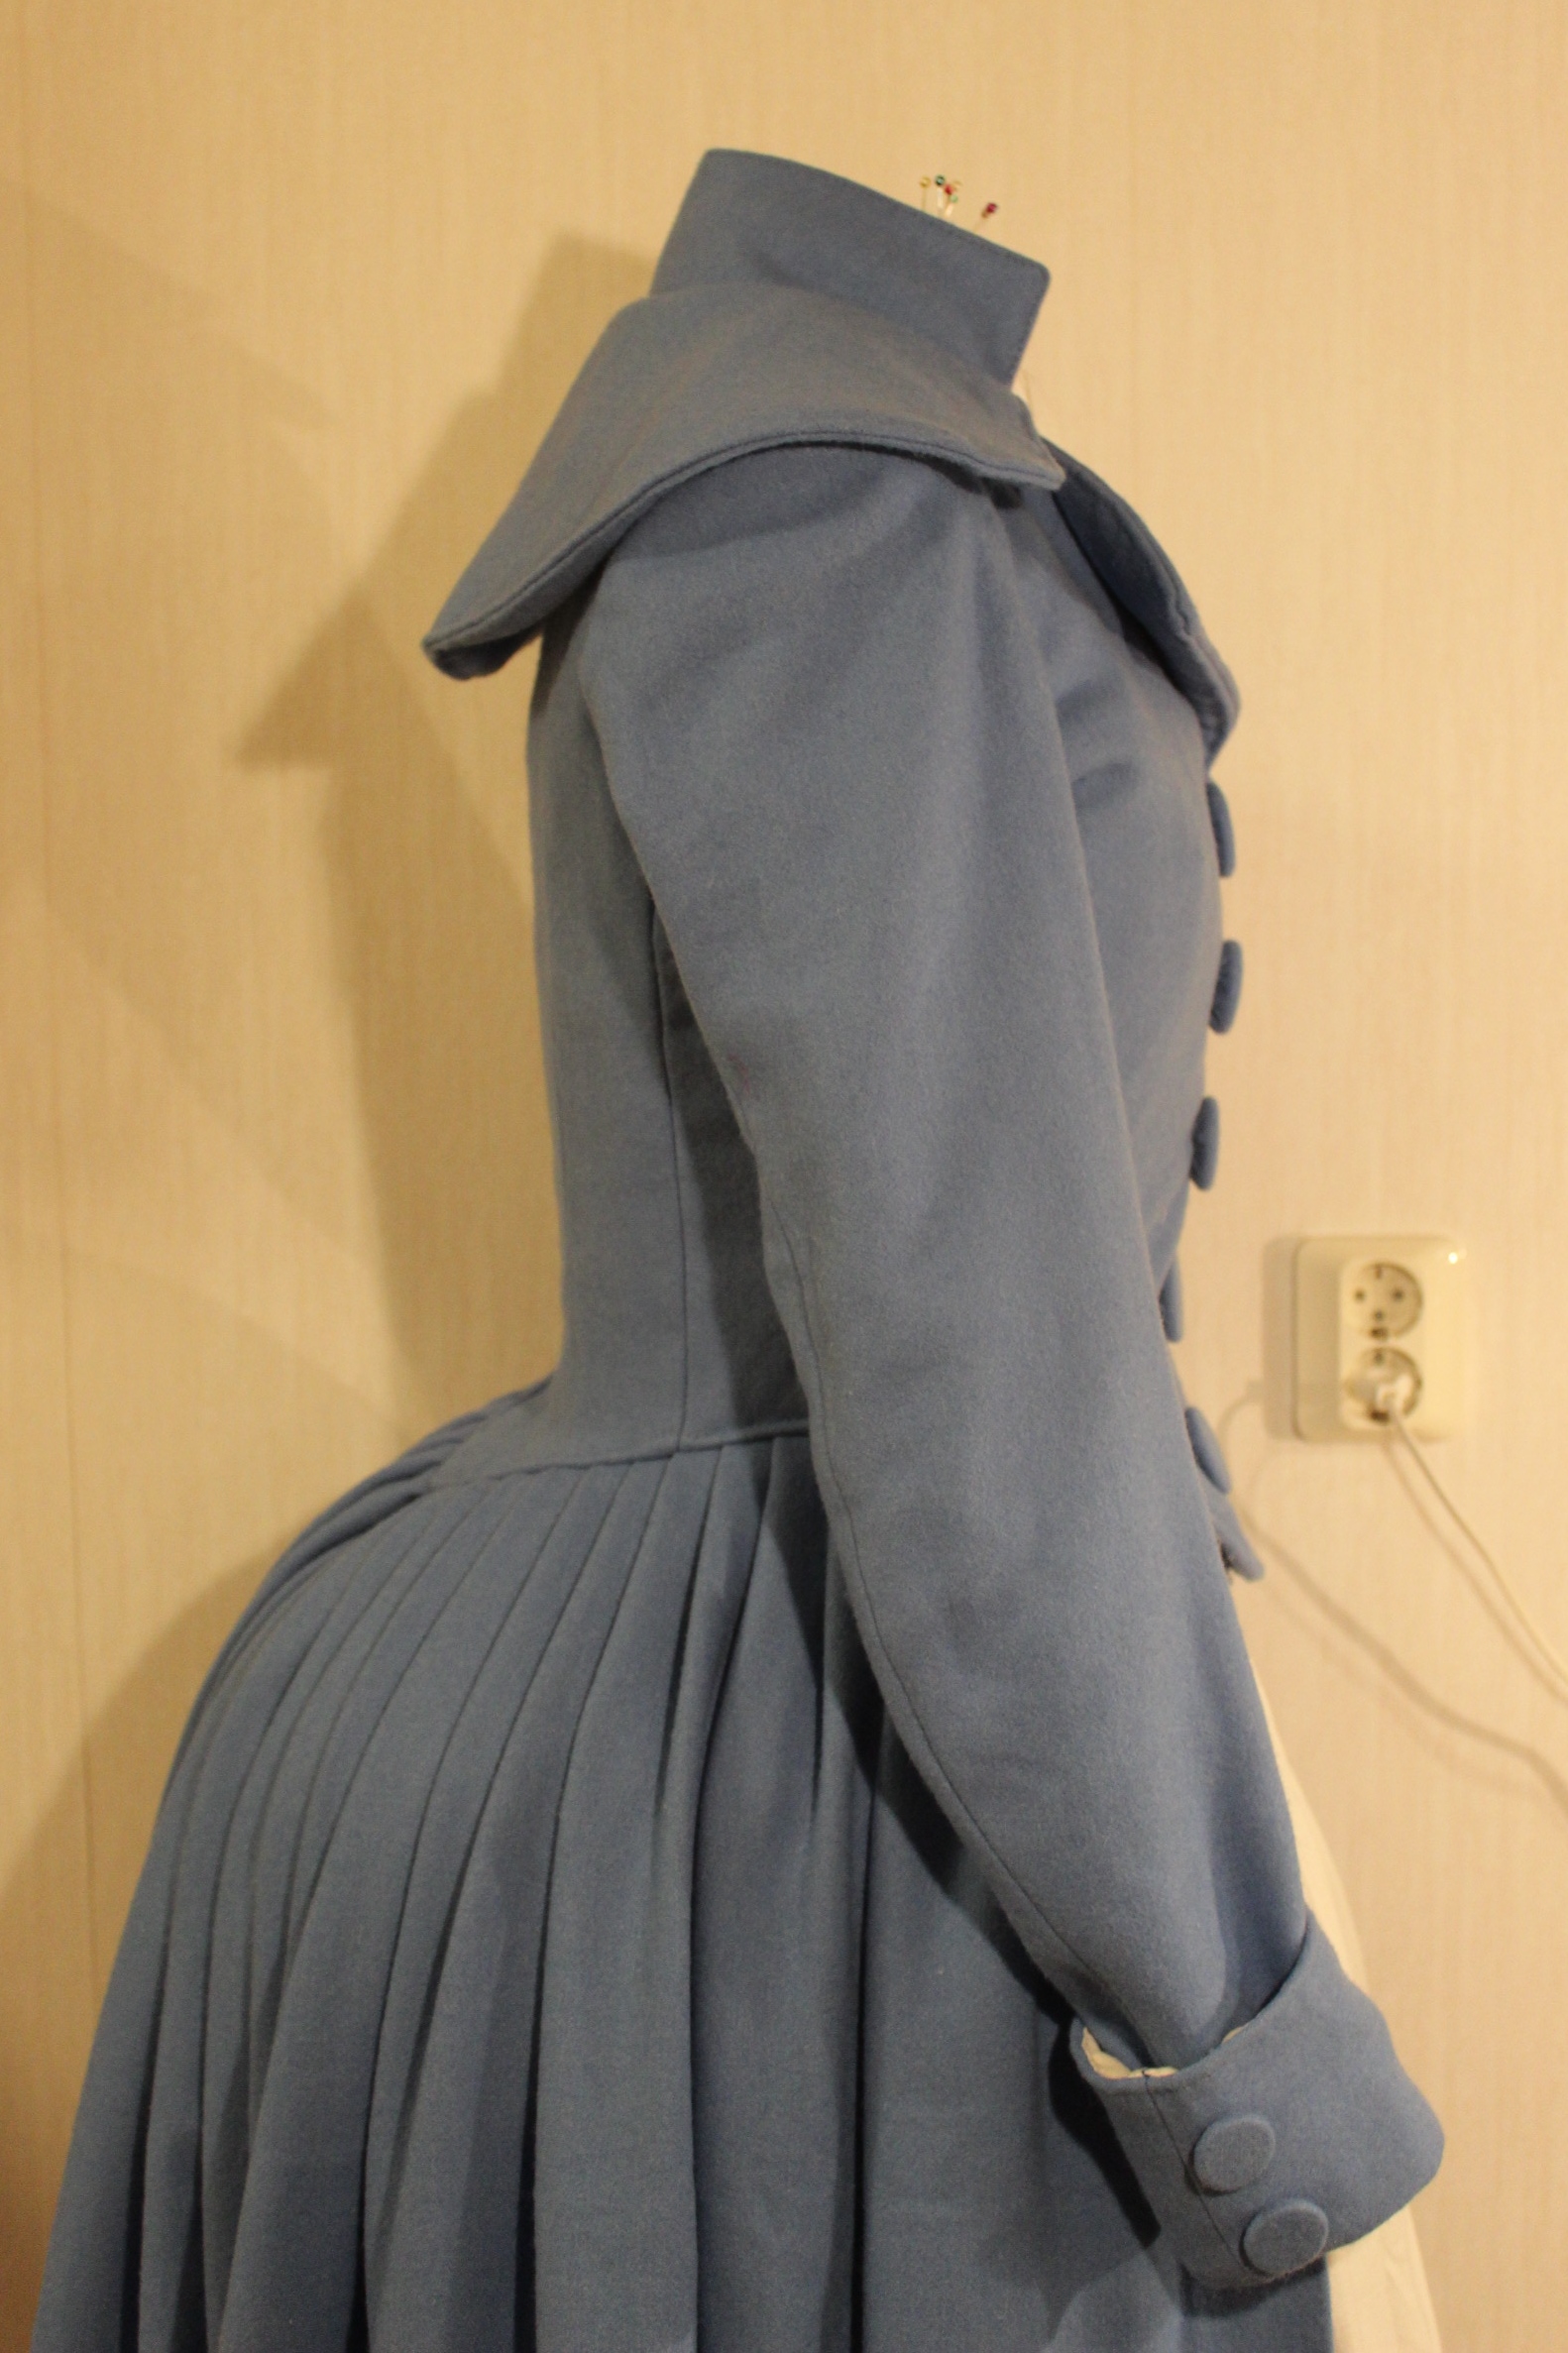
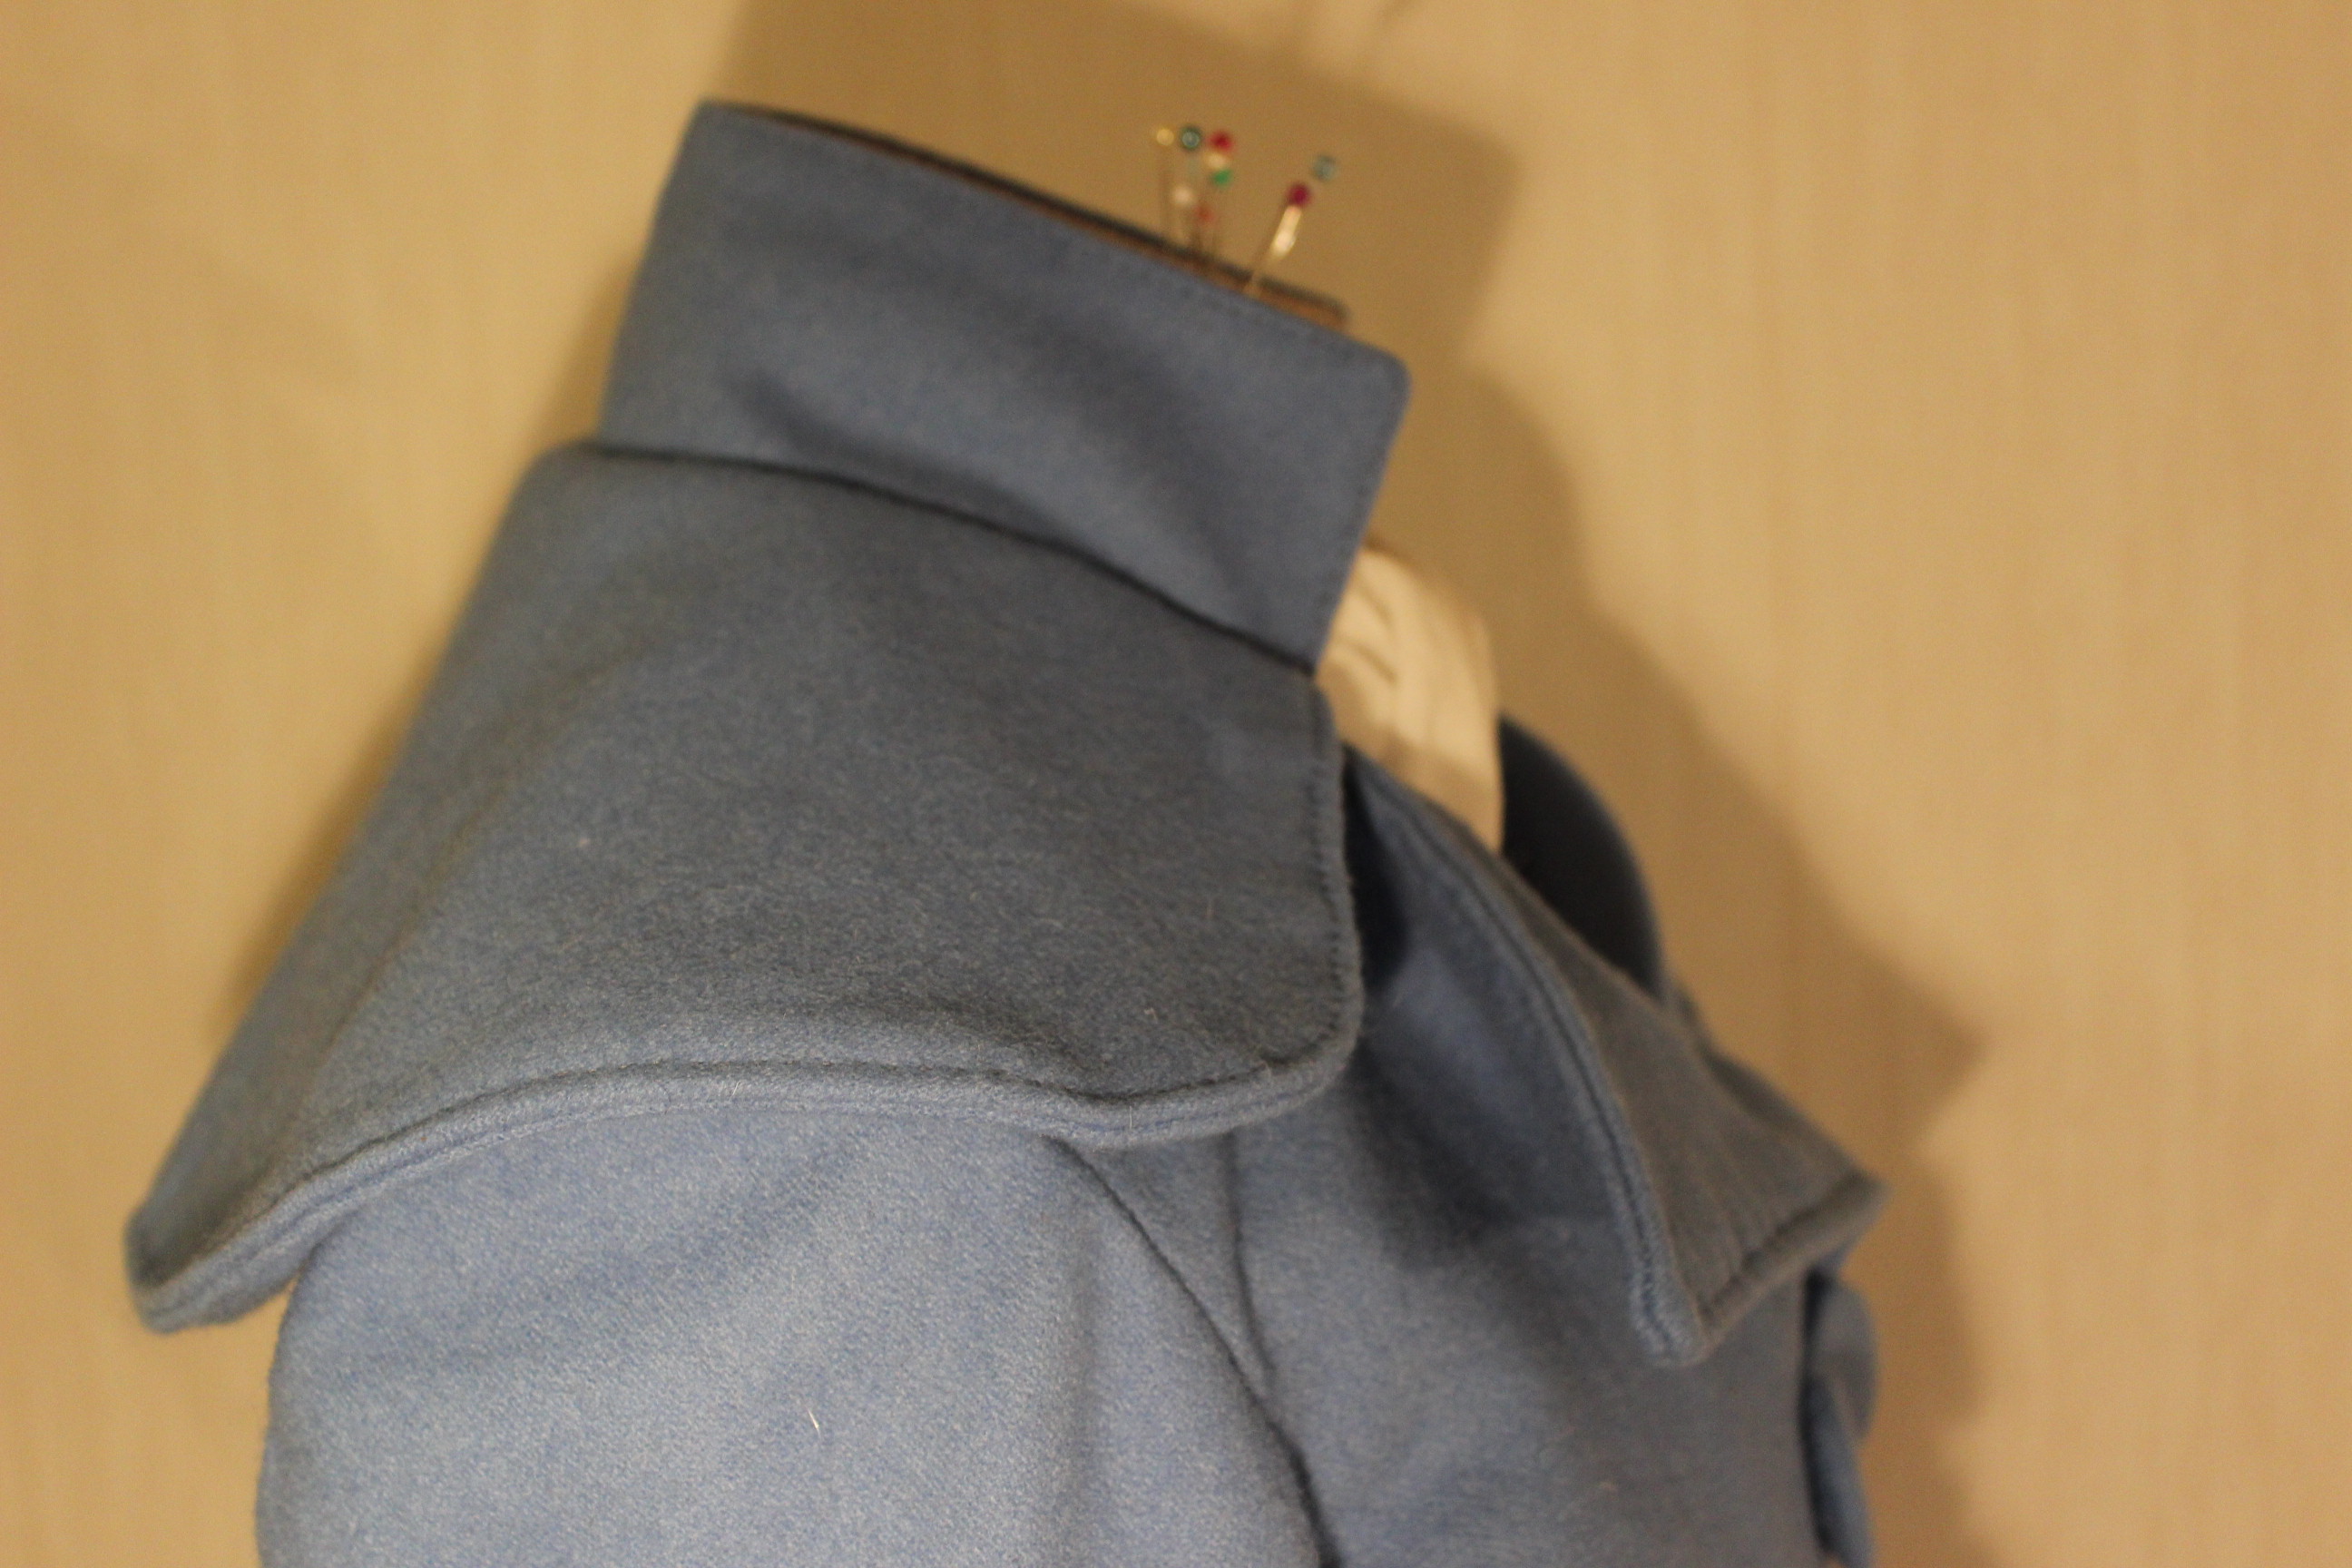
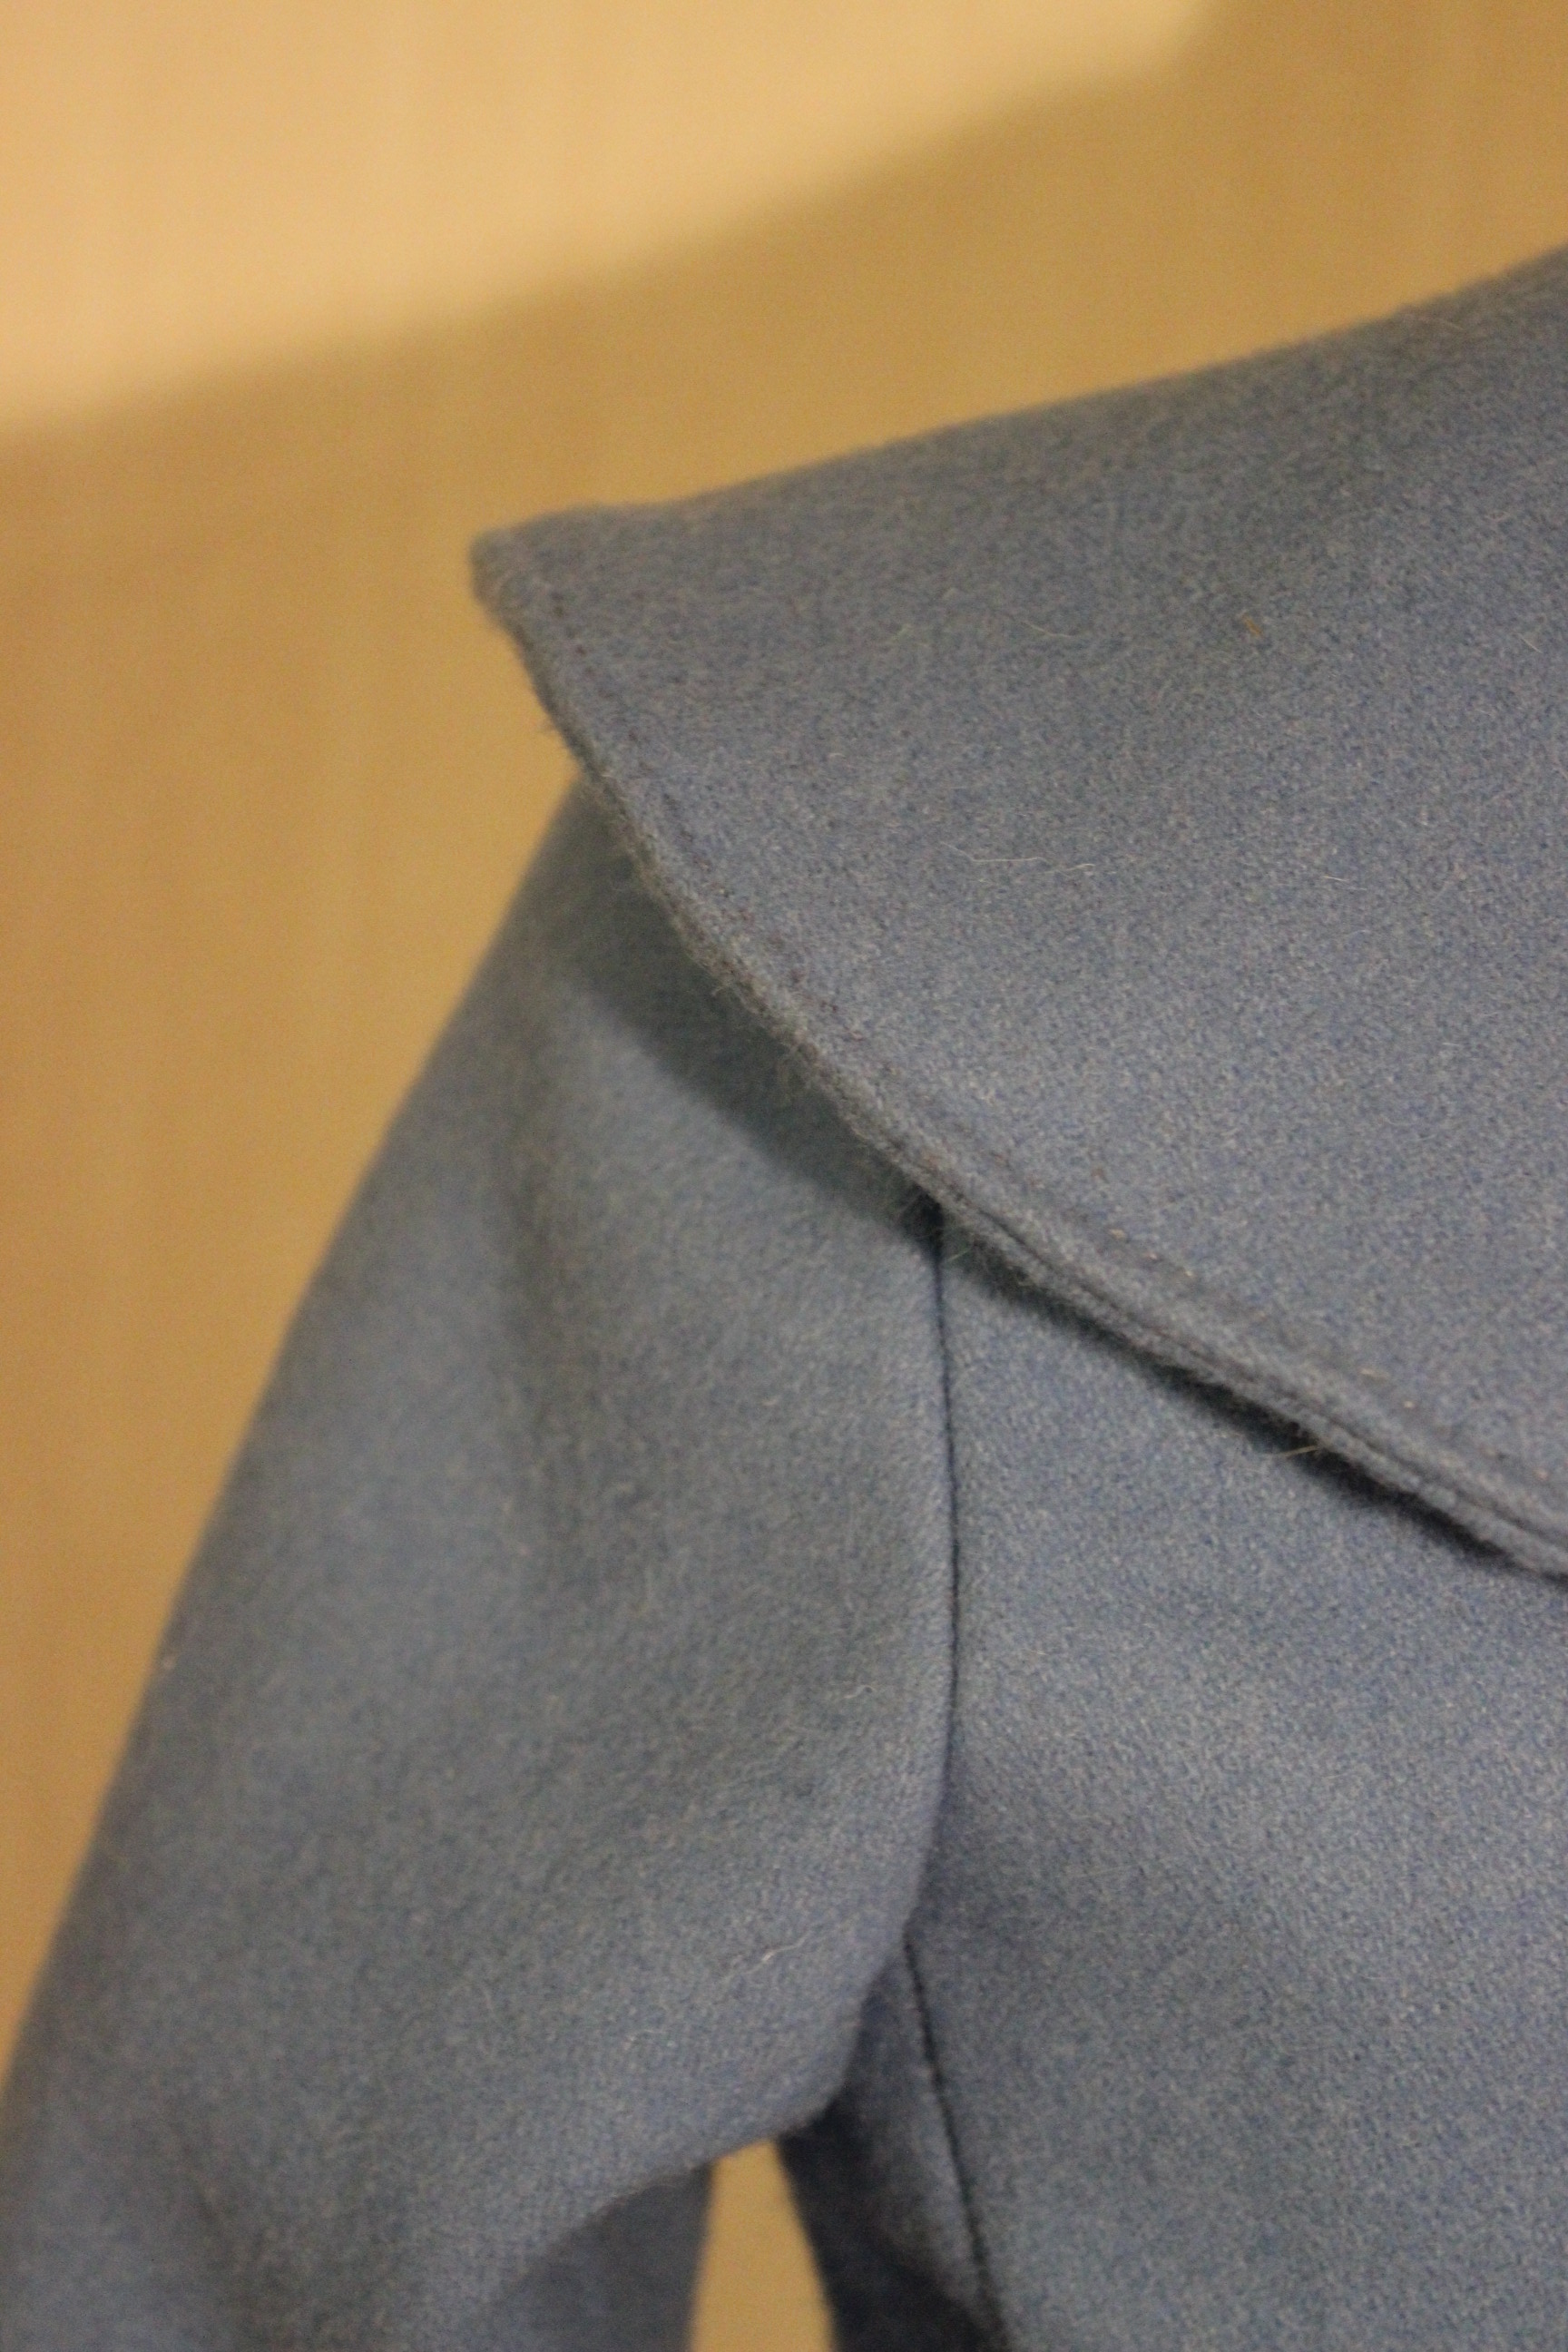
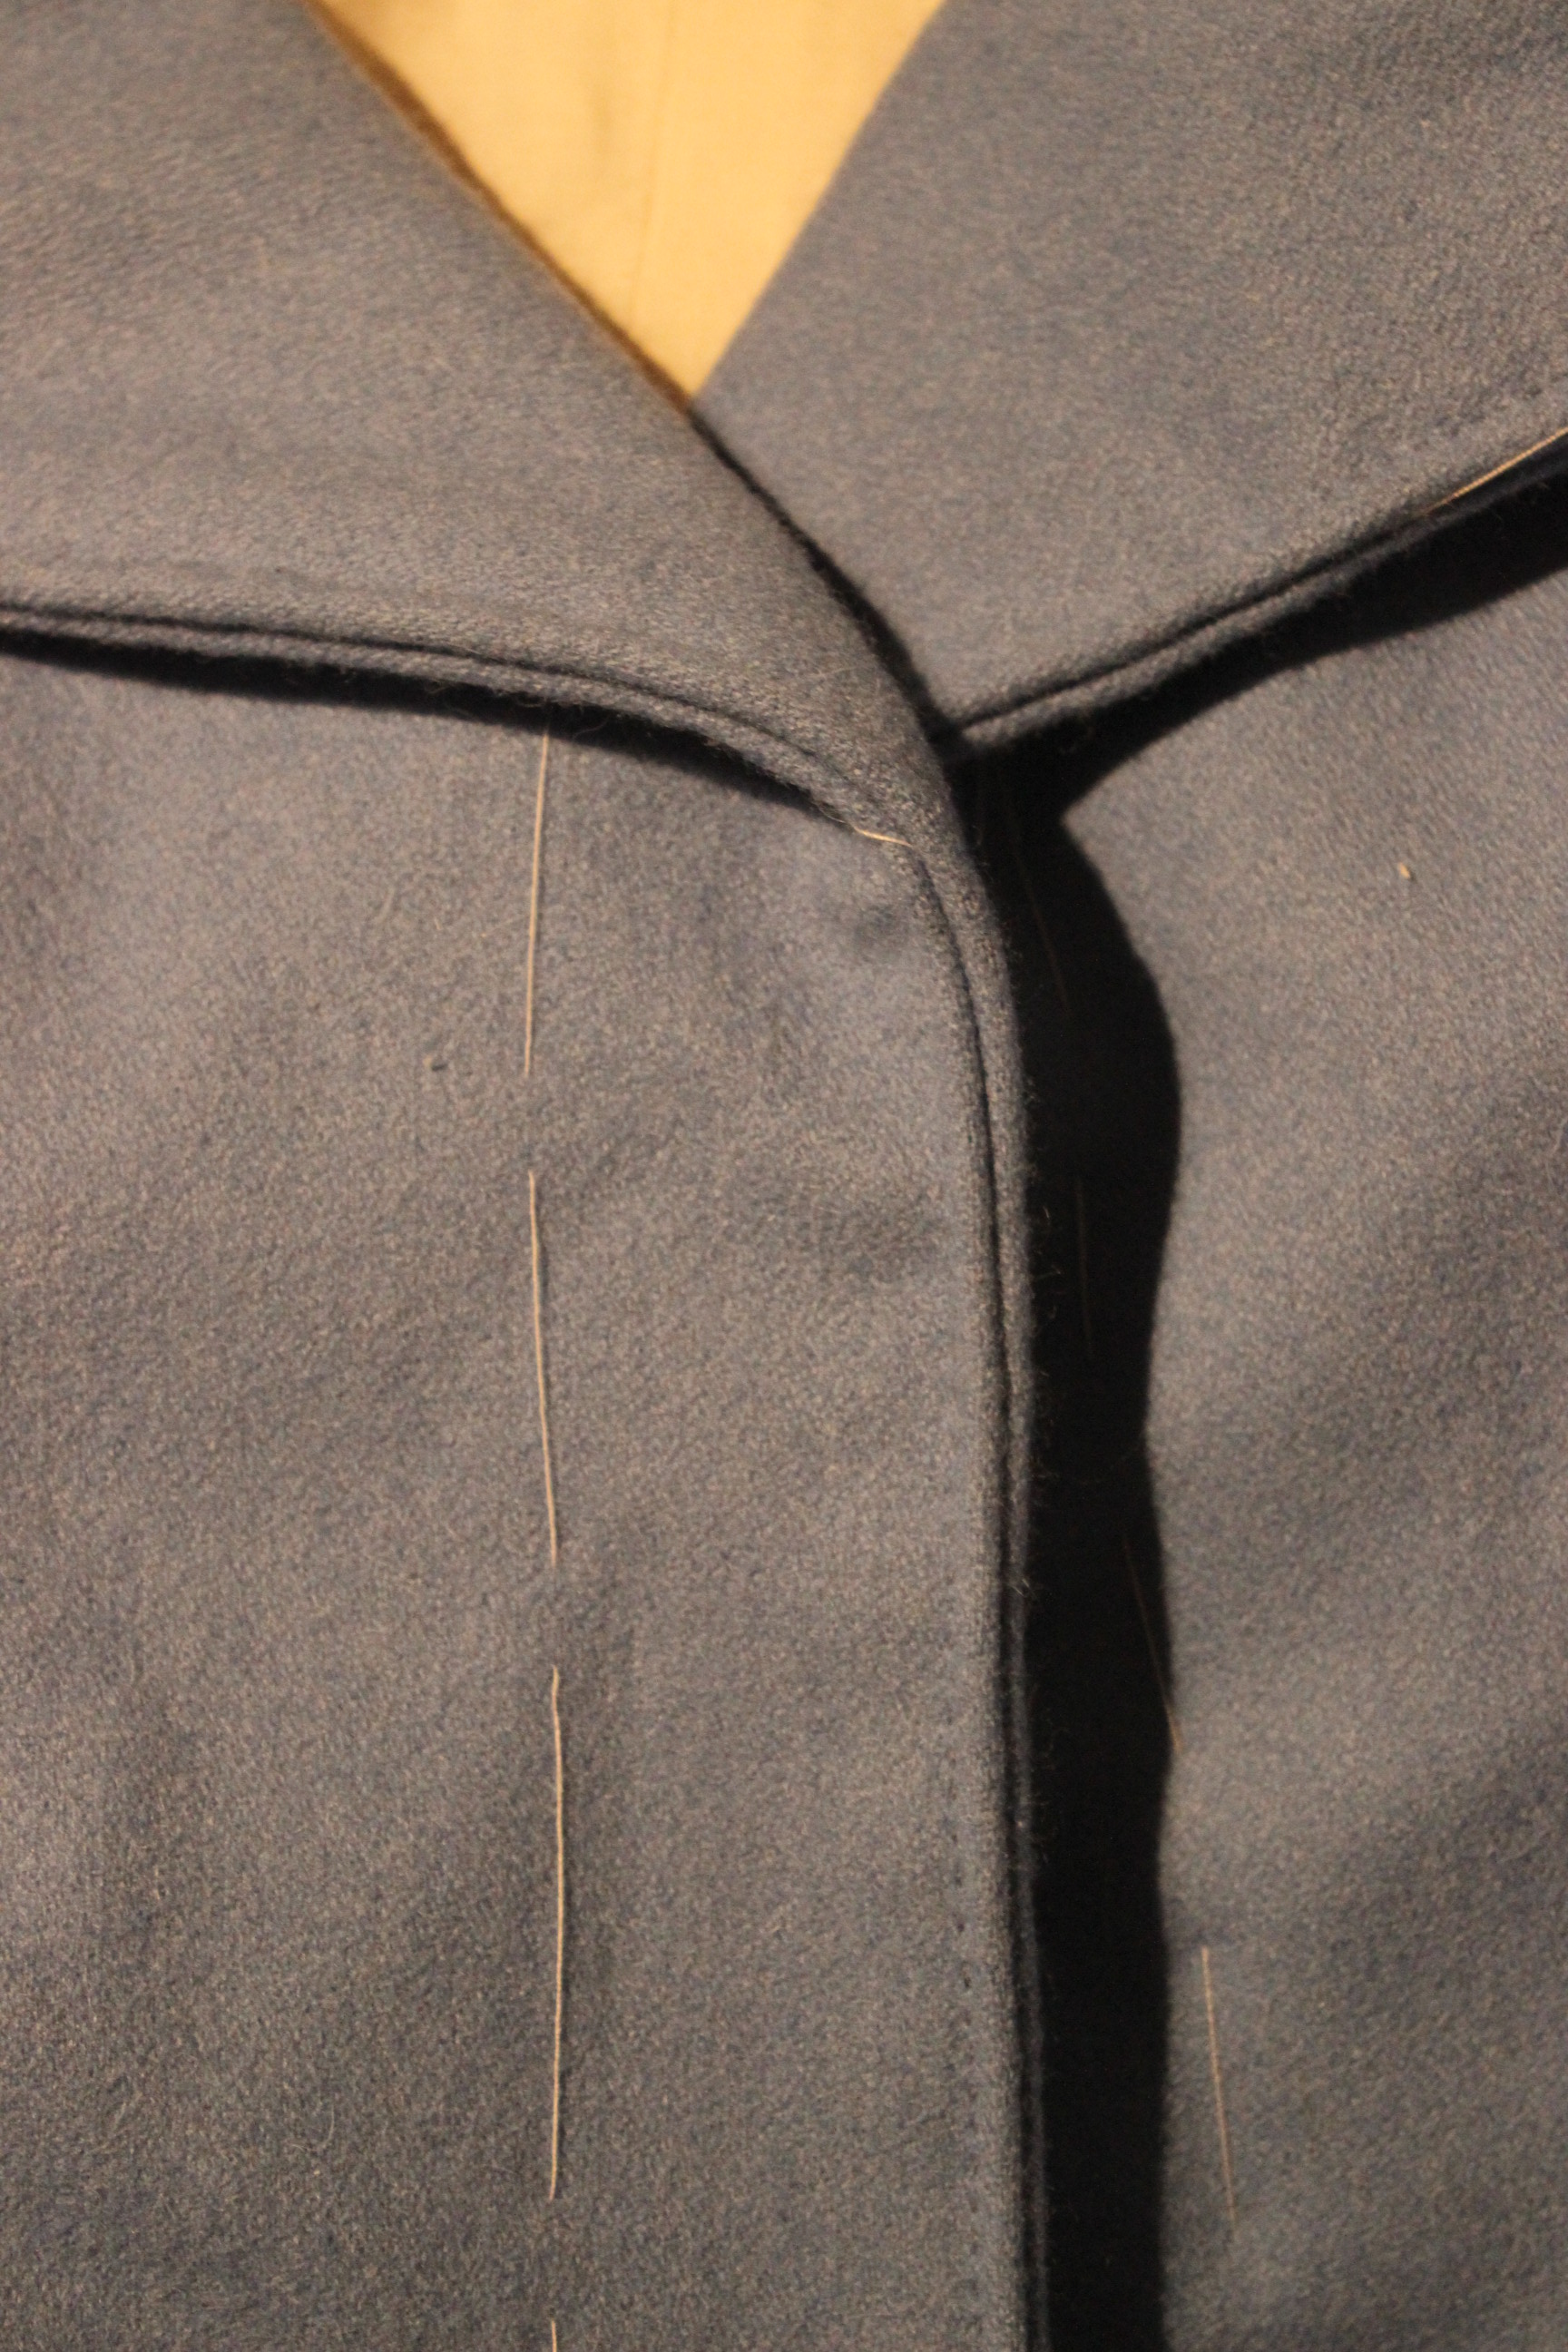
I decided to make more rounded shape for the corner on the collar instead of the patterns more square one. Shaping the collar.
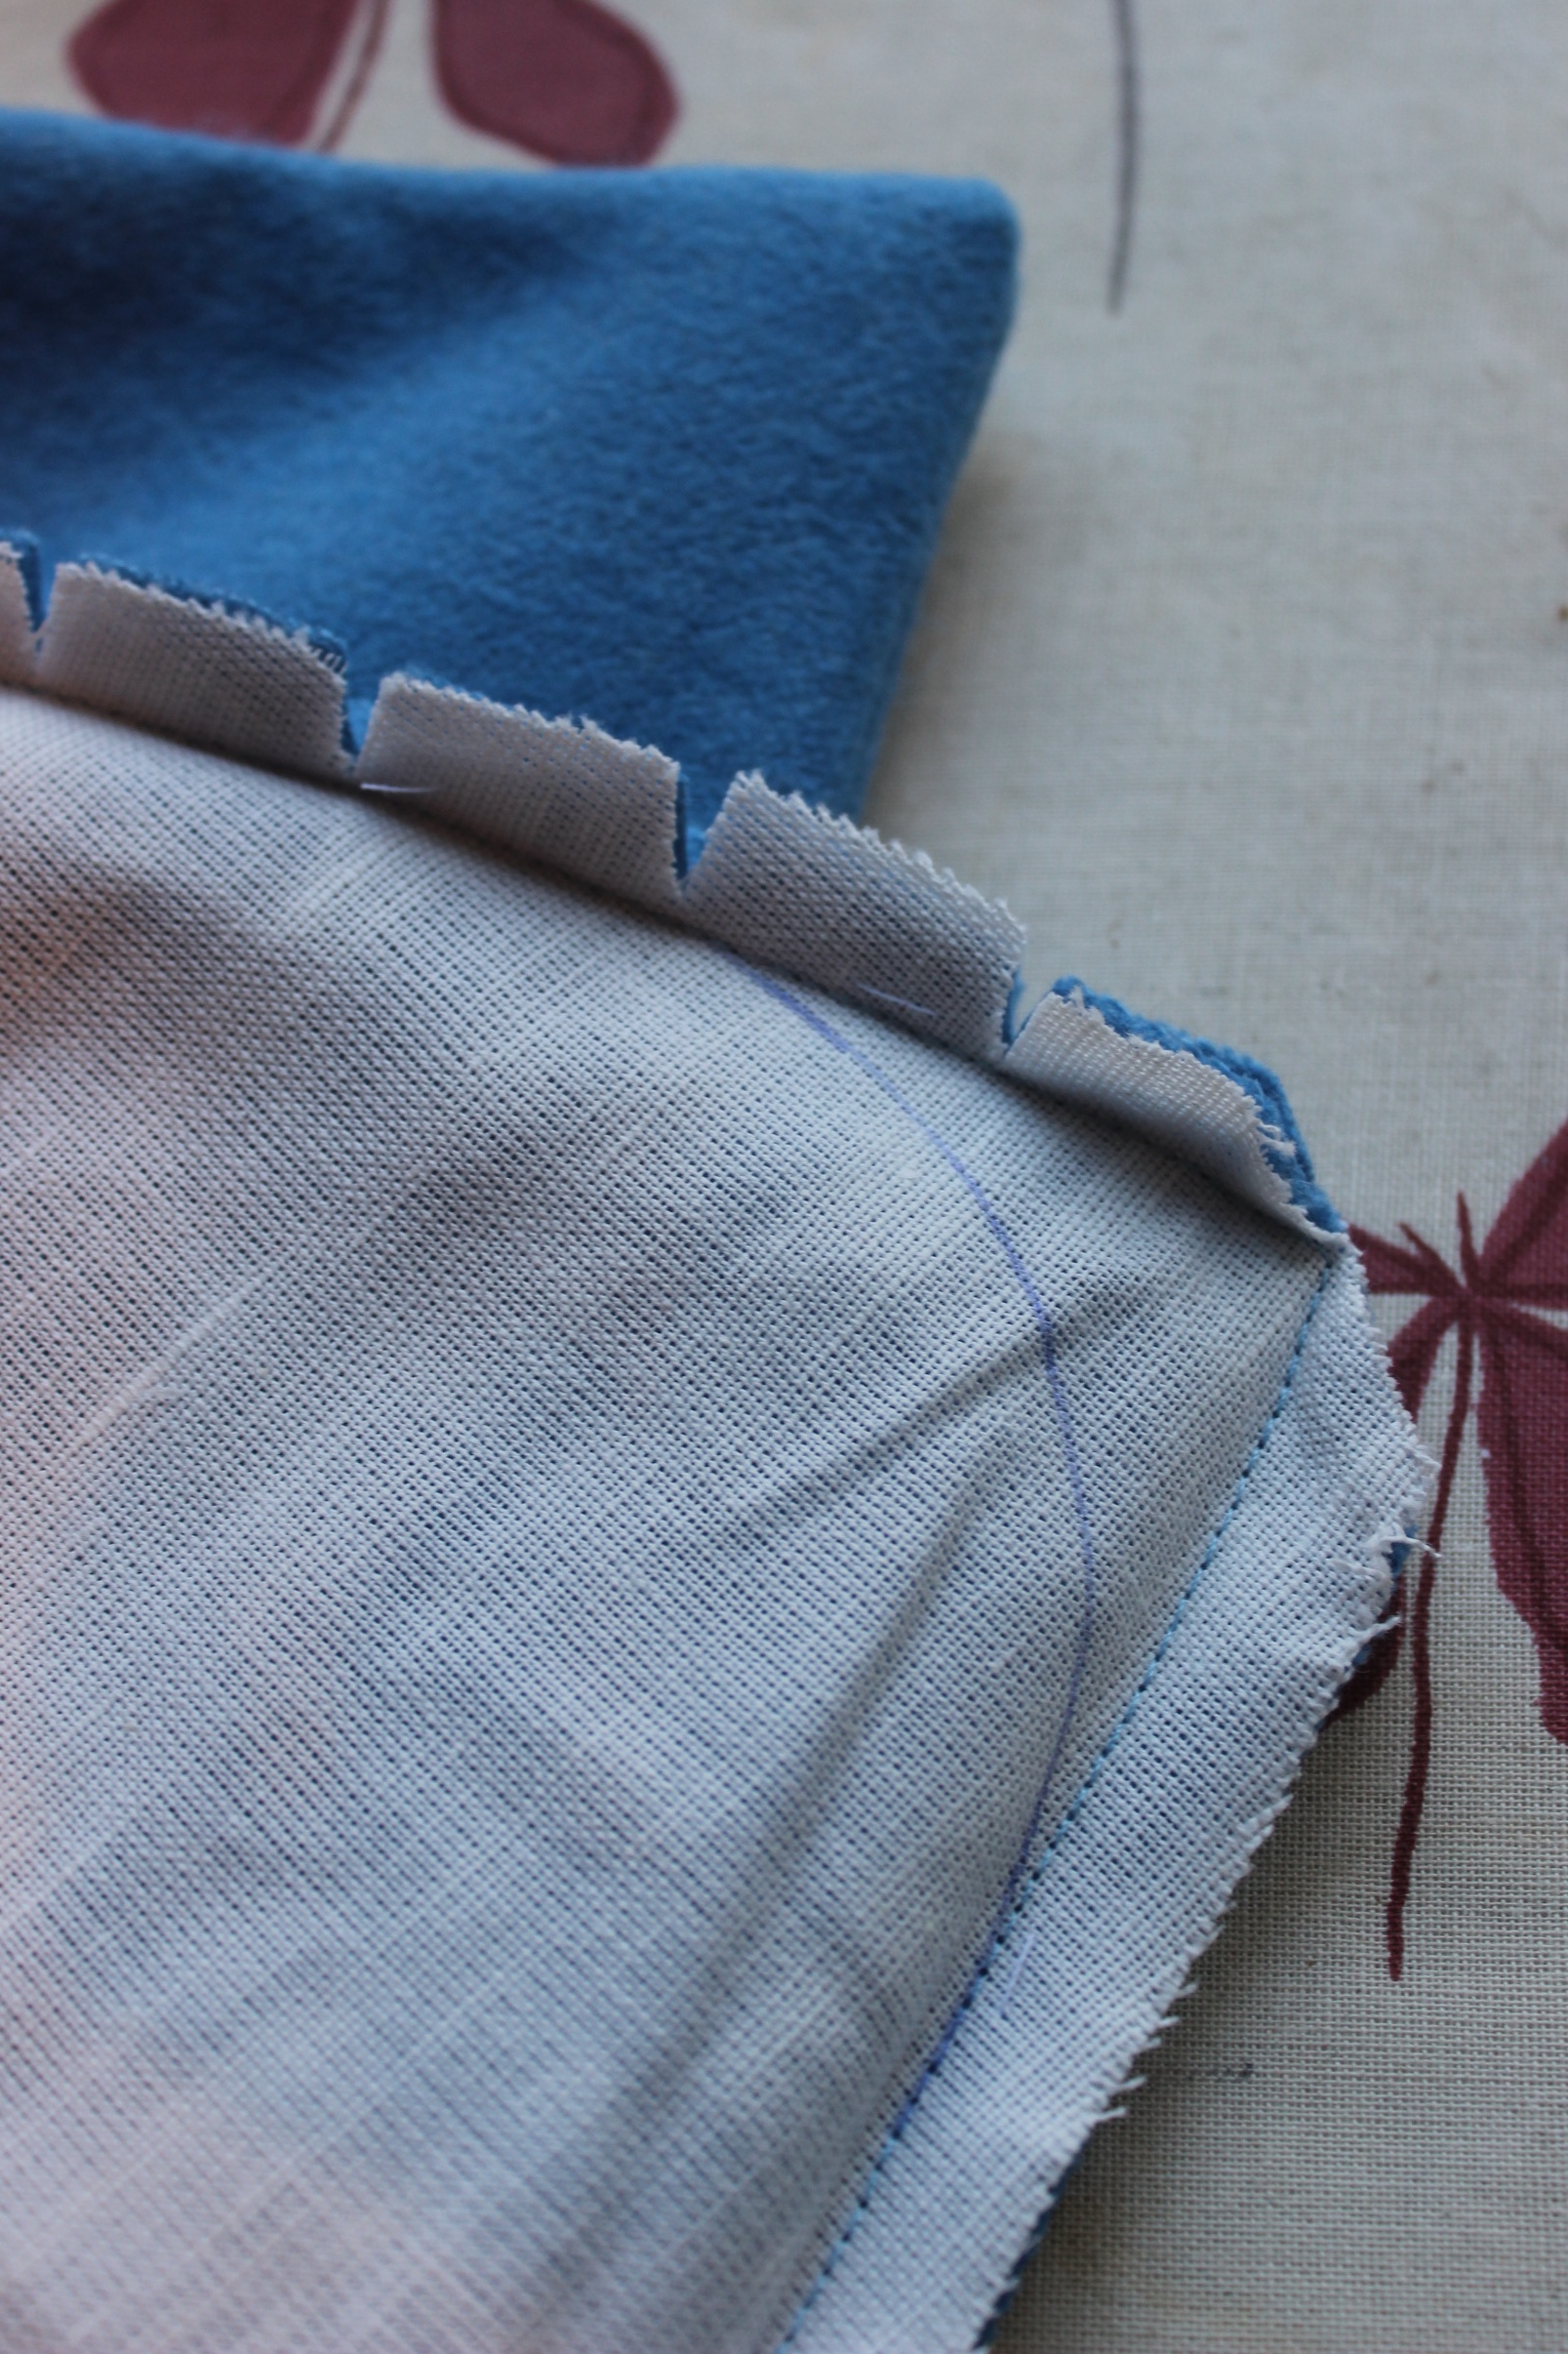
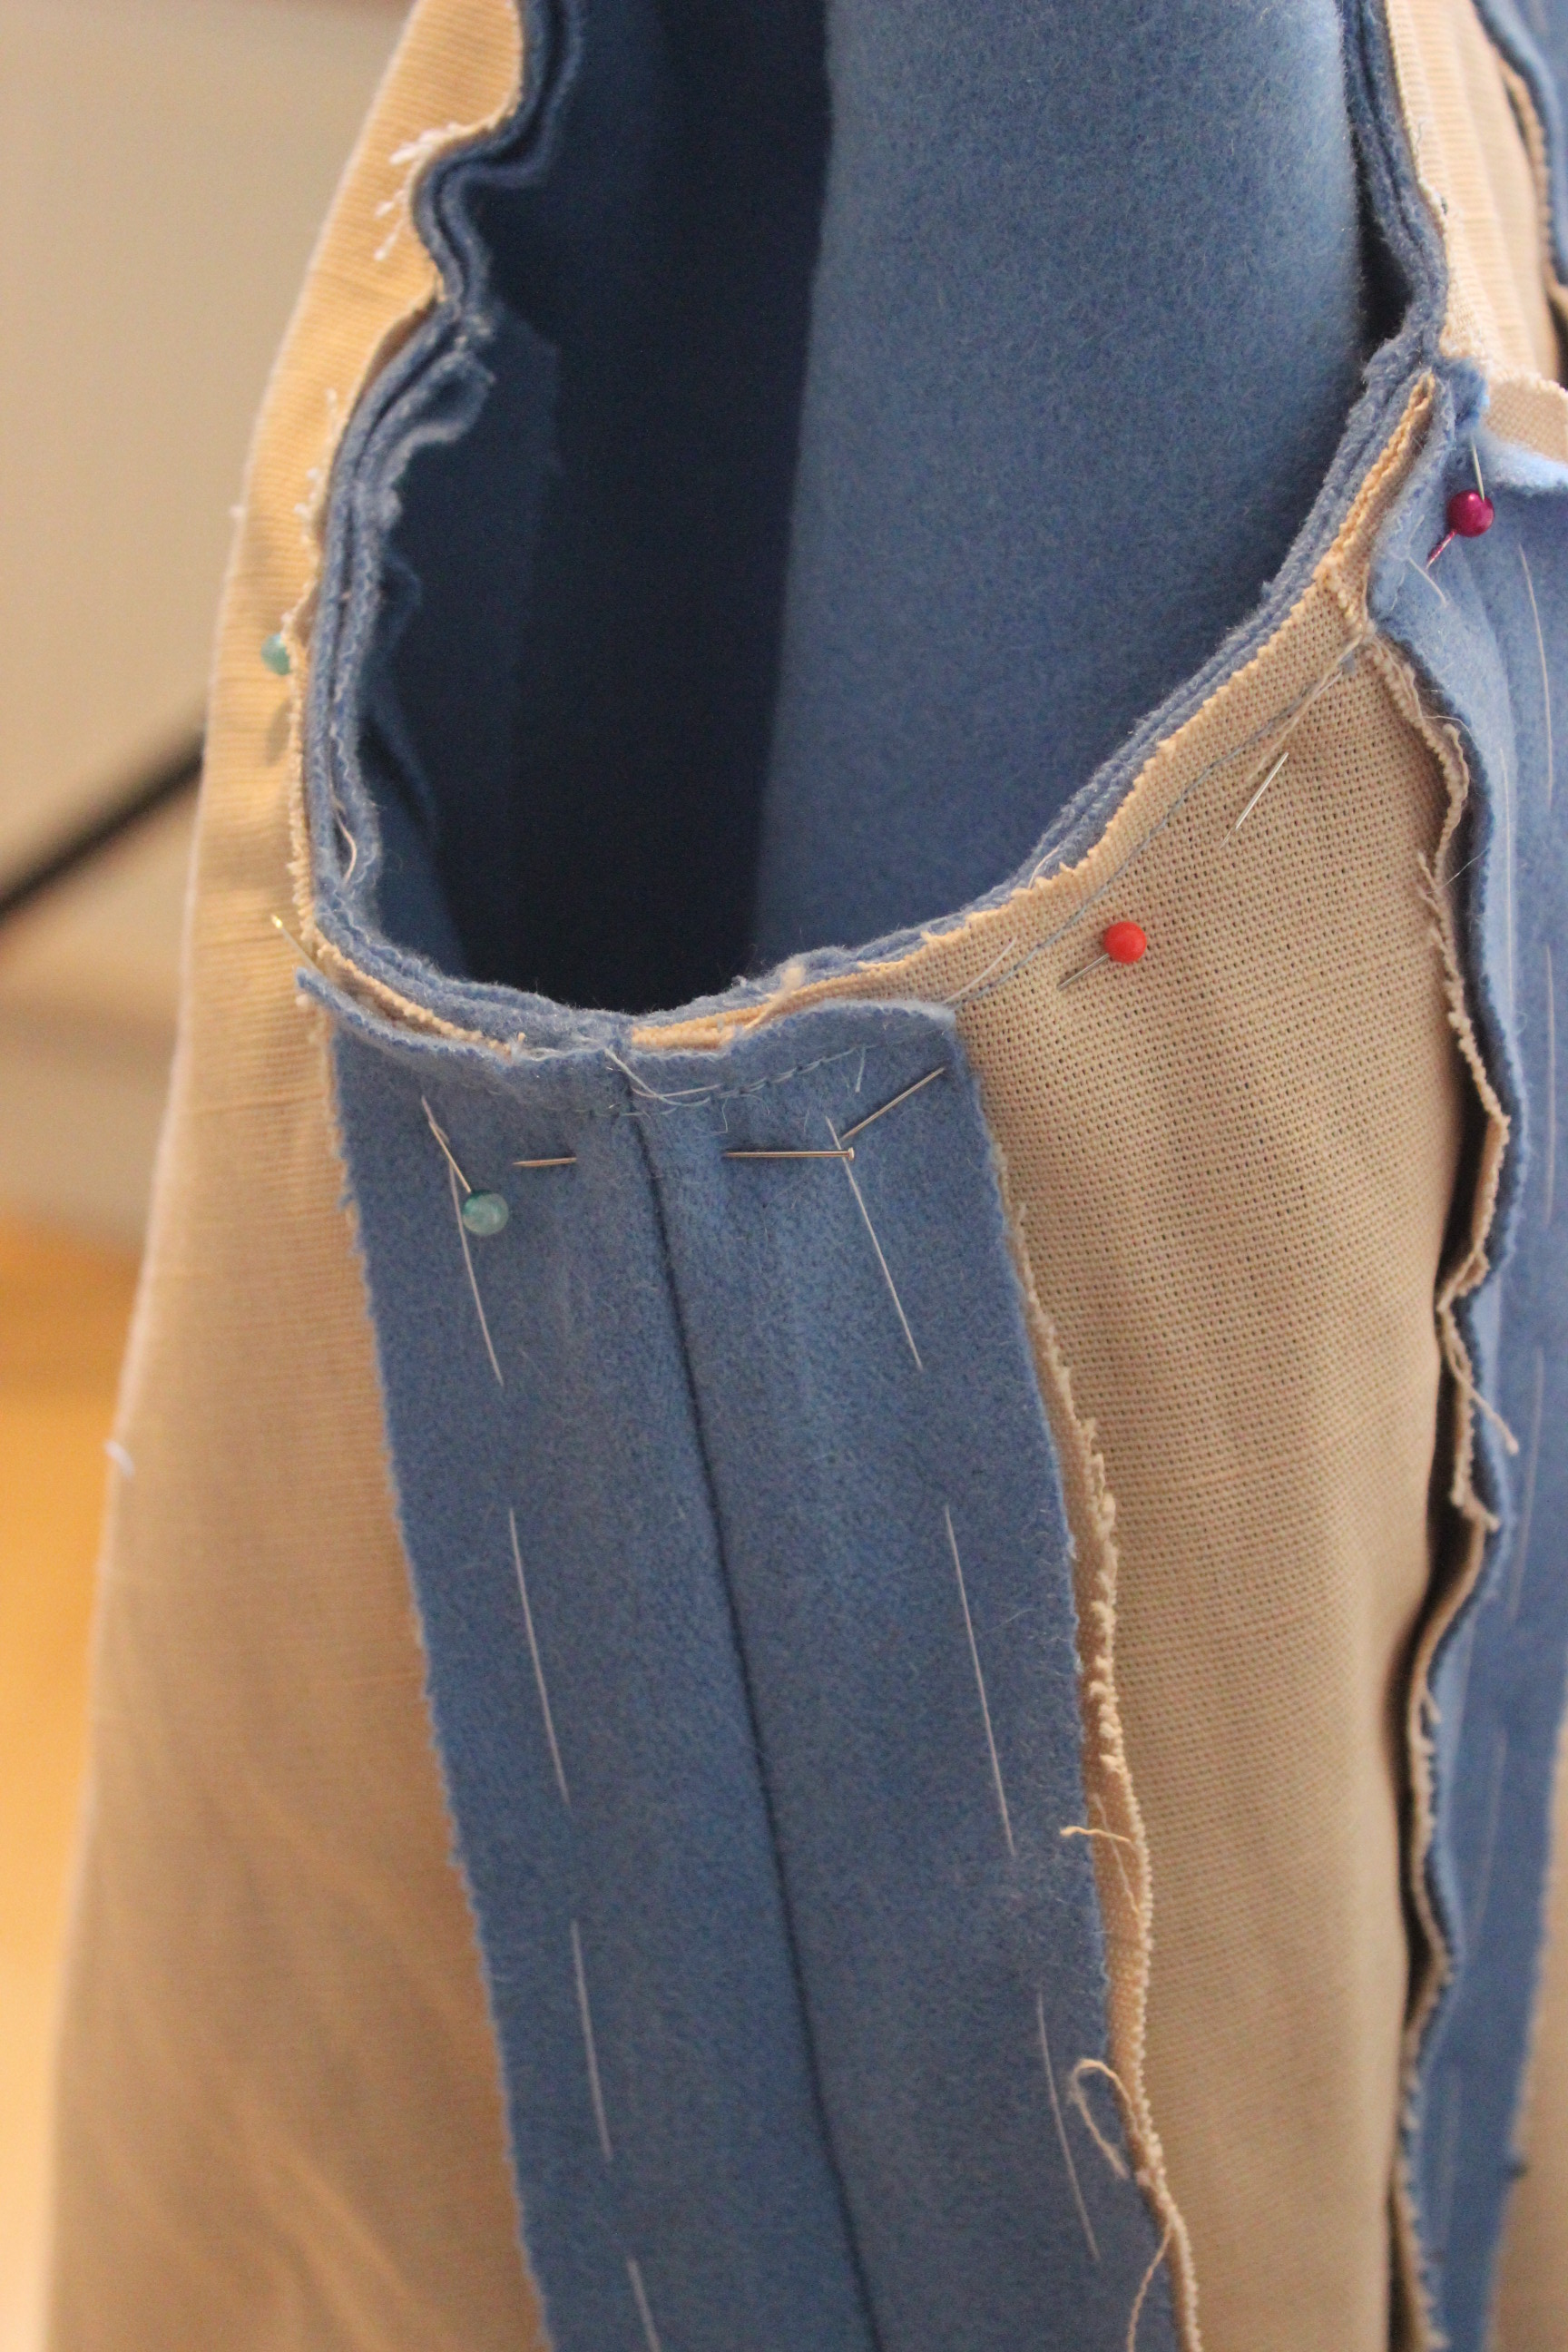
 I also needed to lower the arm hole a bit to keep it riding up my armpit.
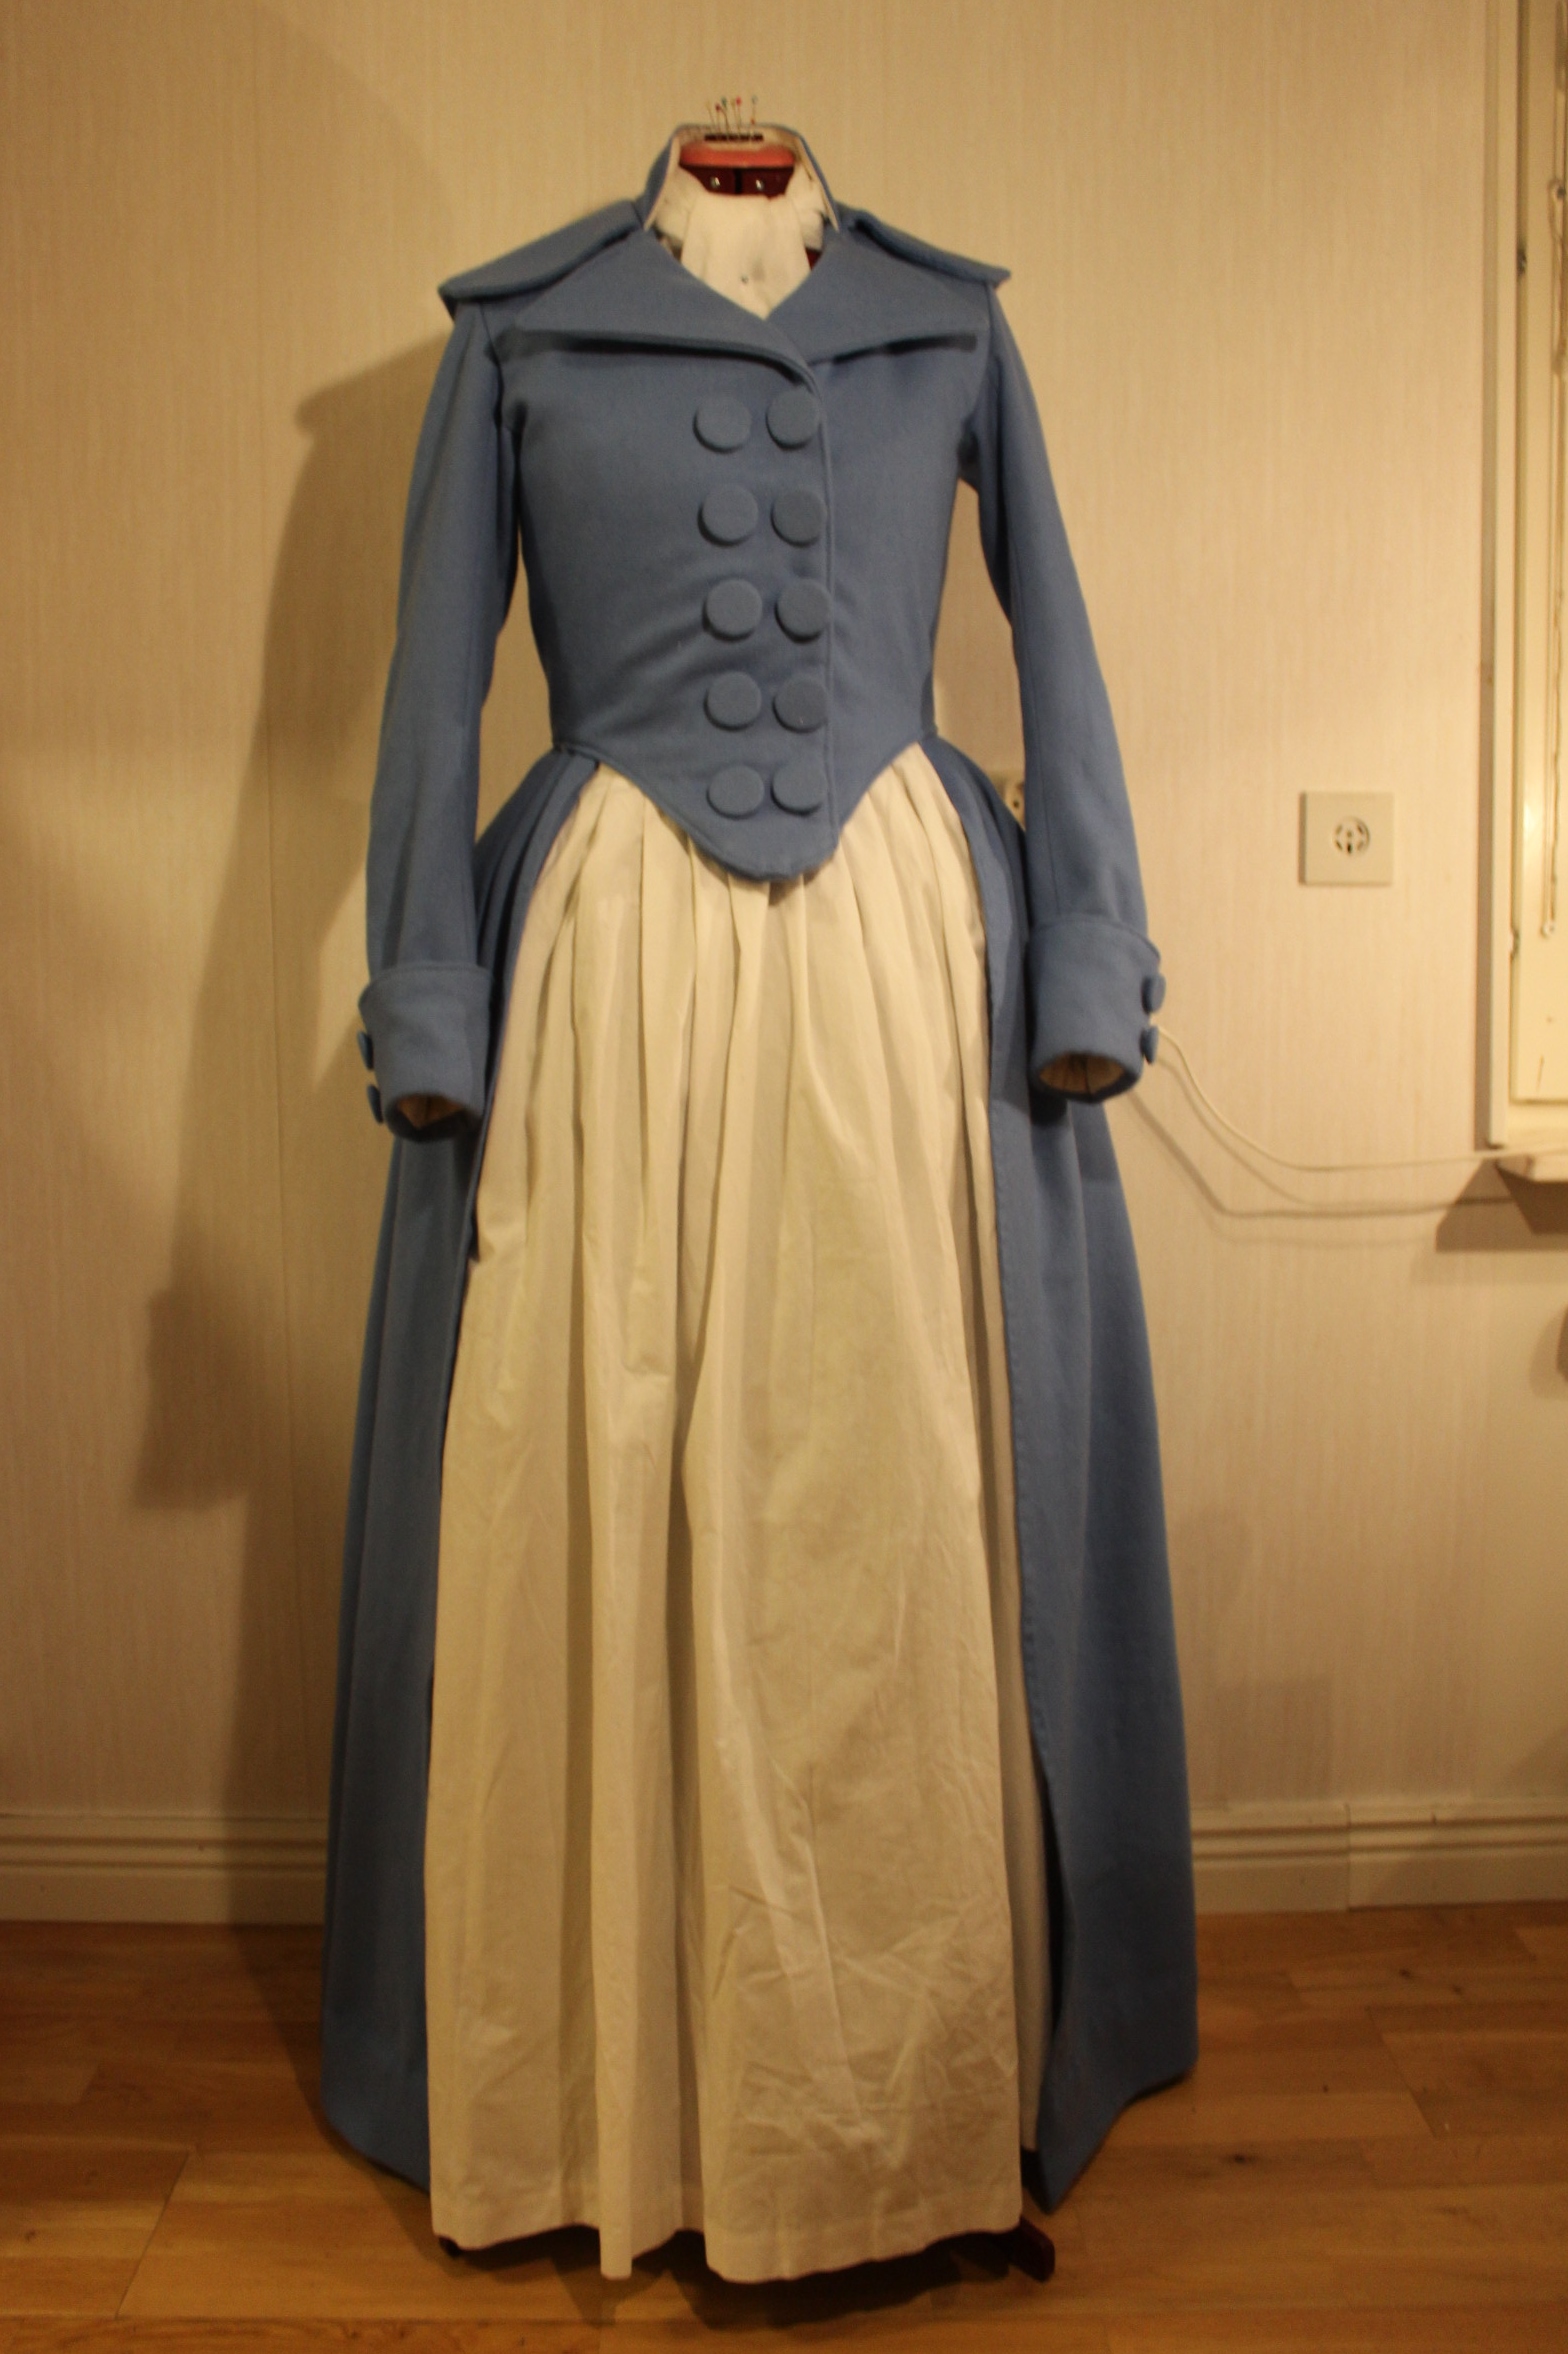
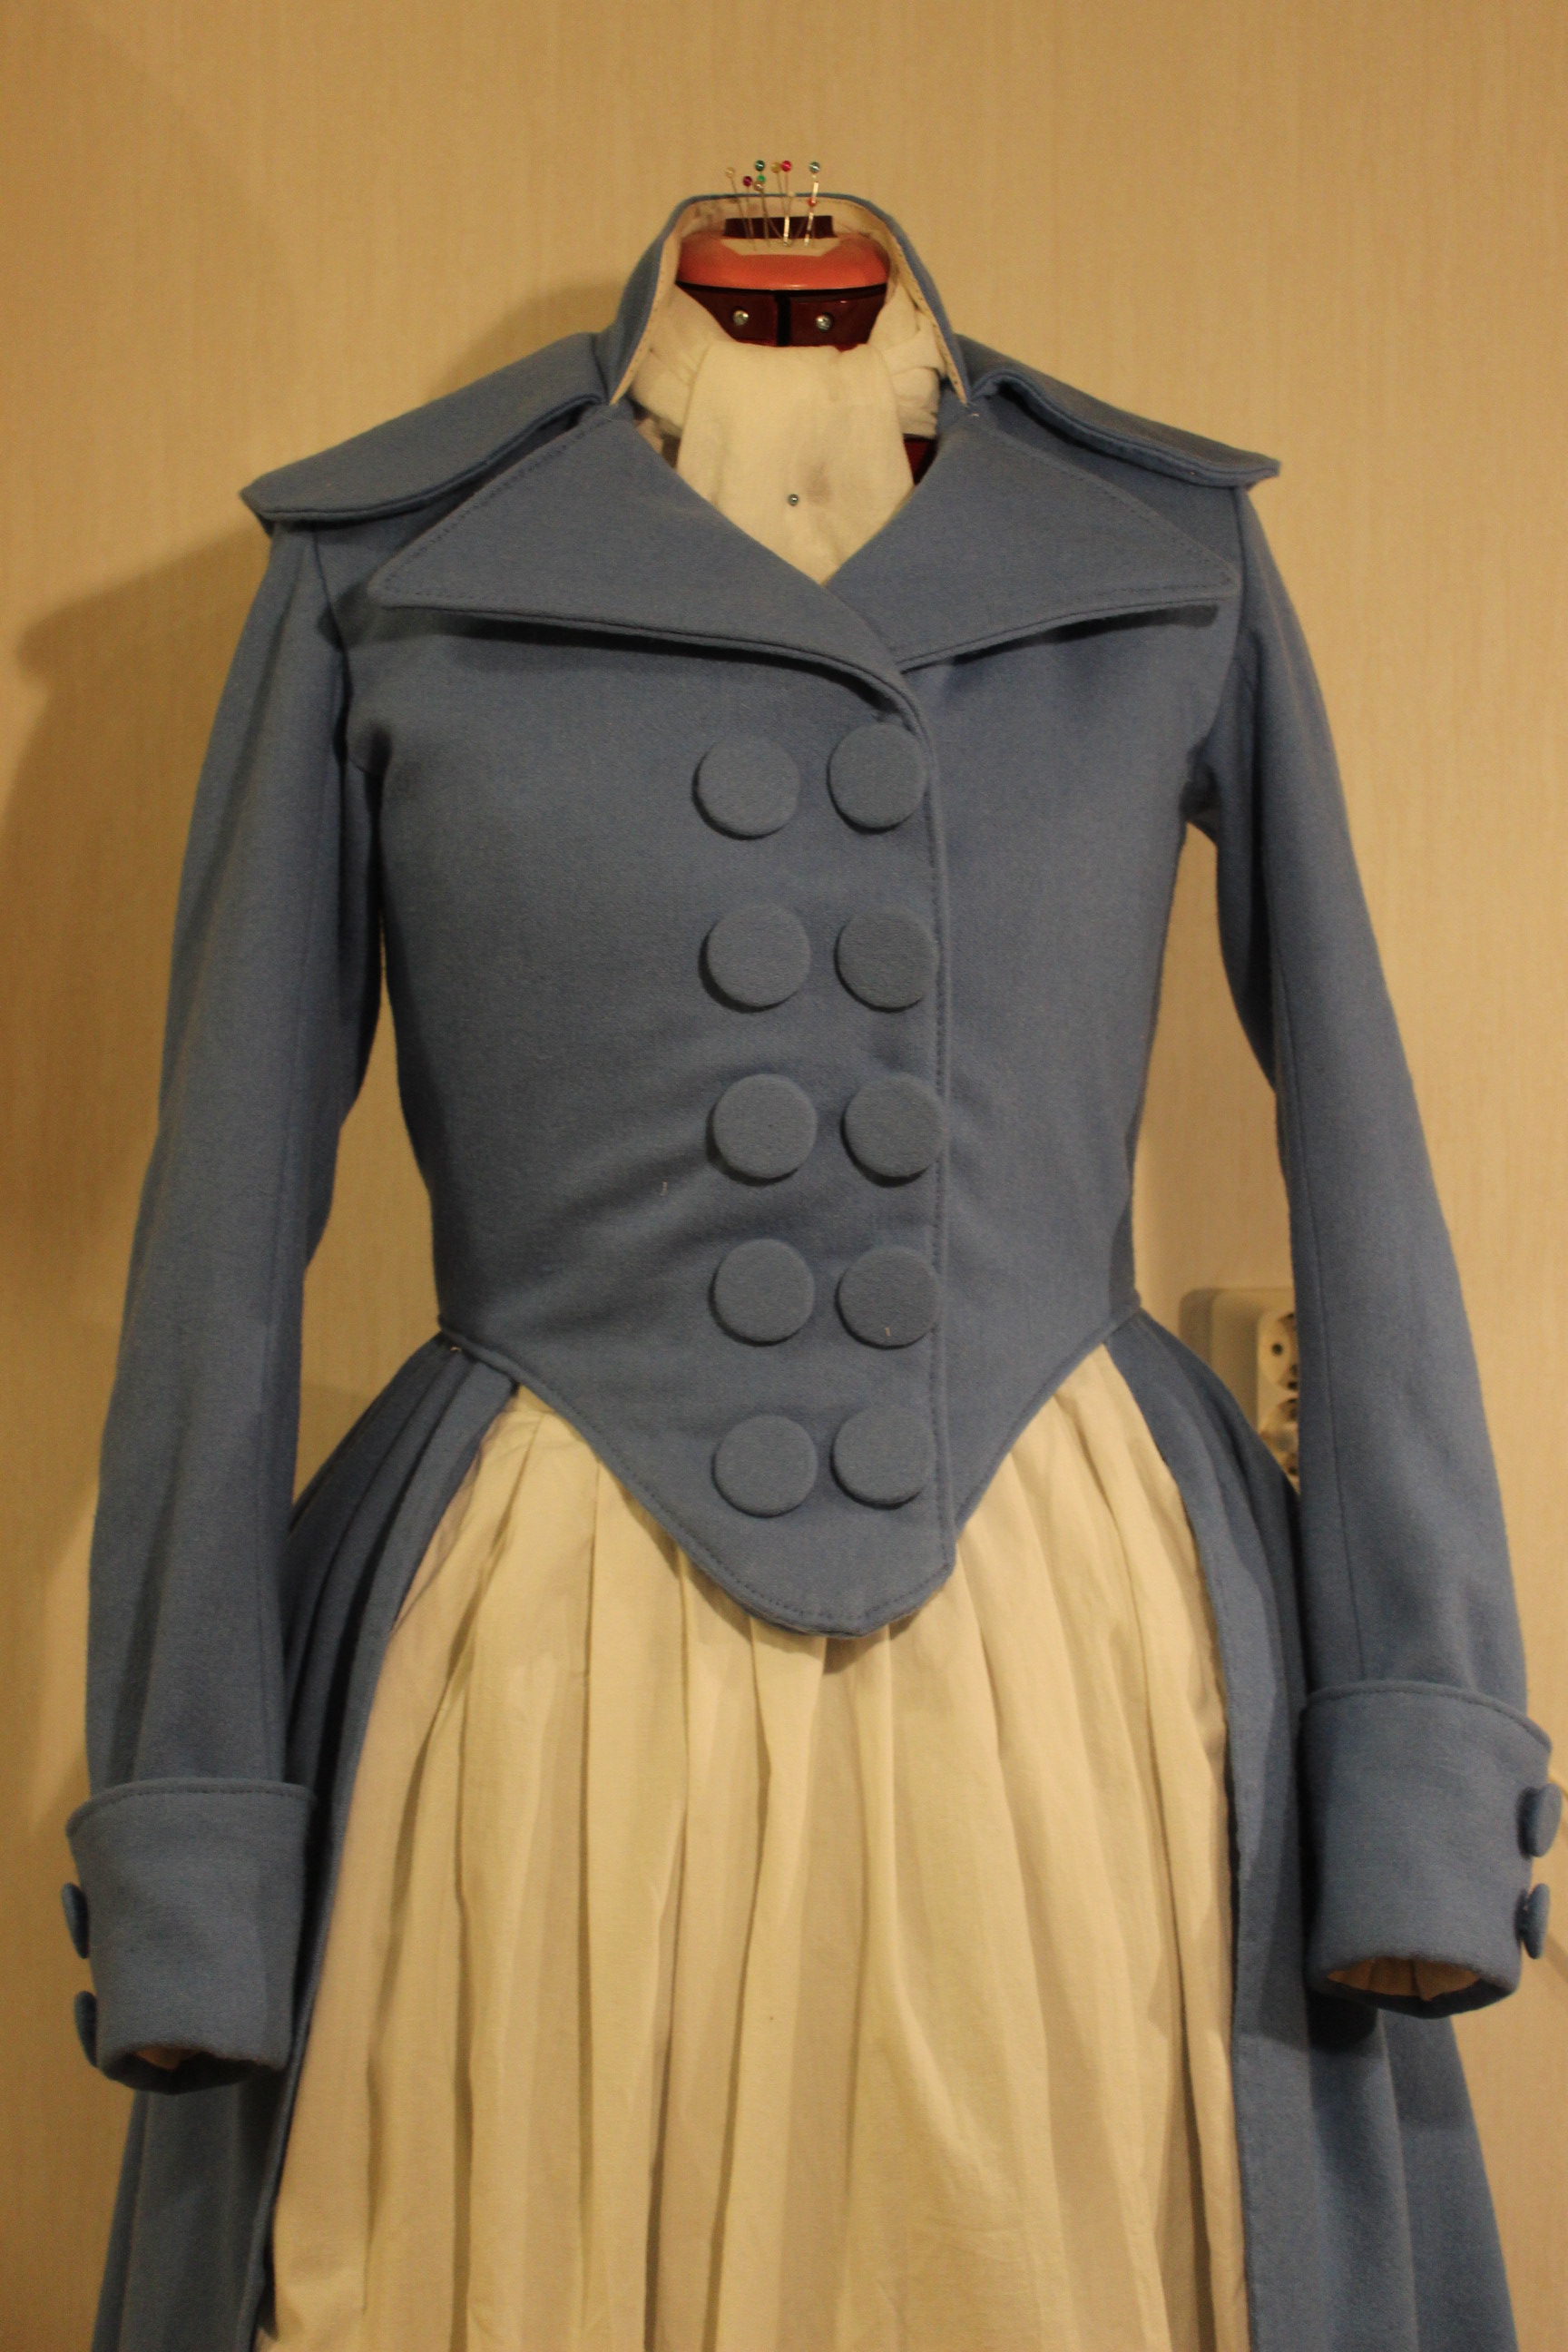
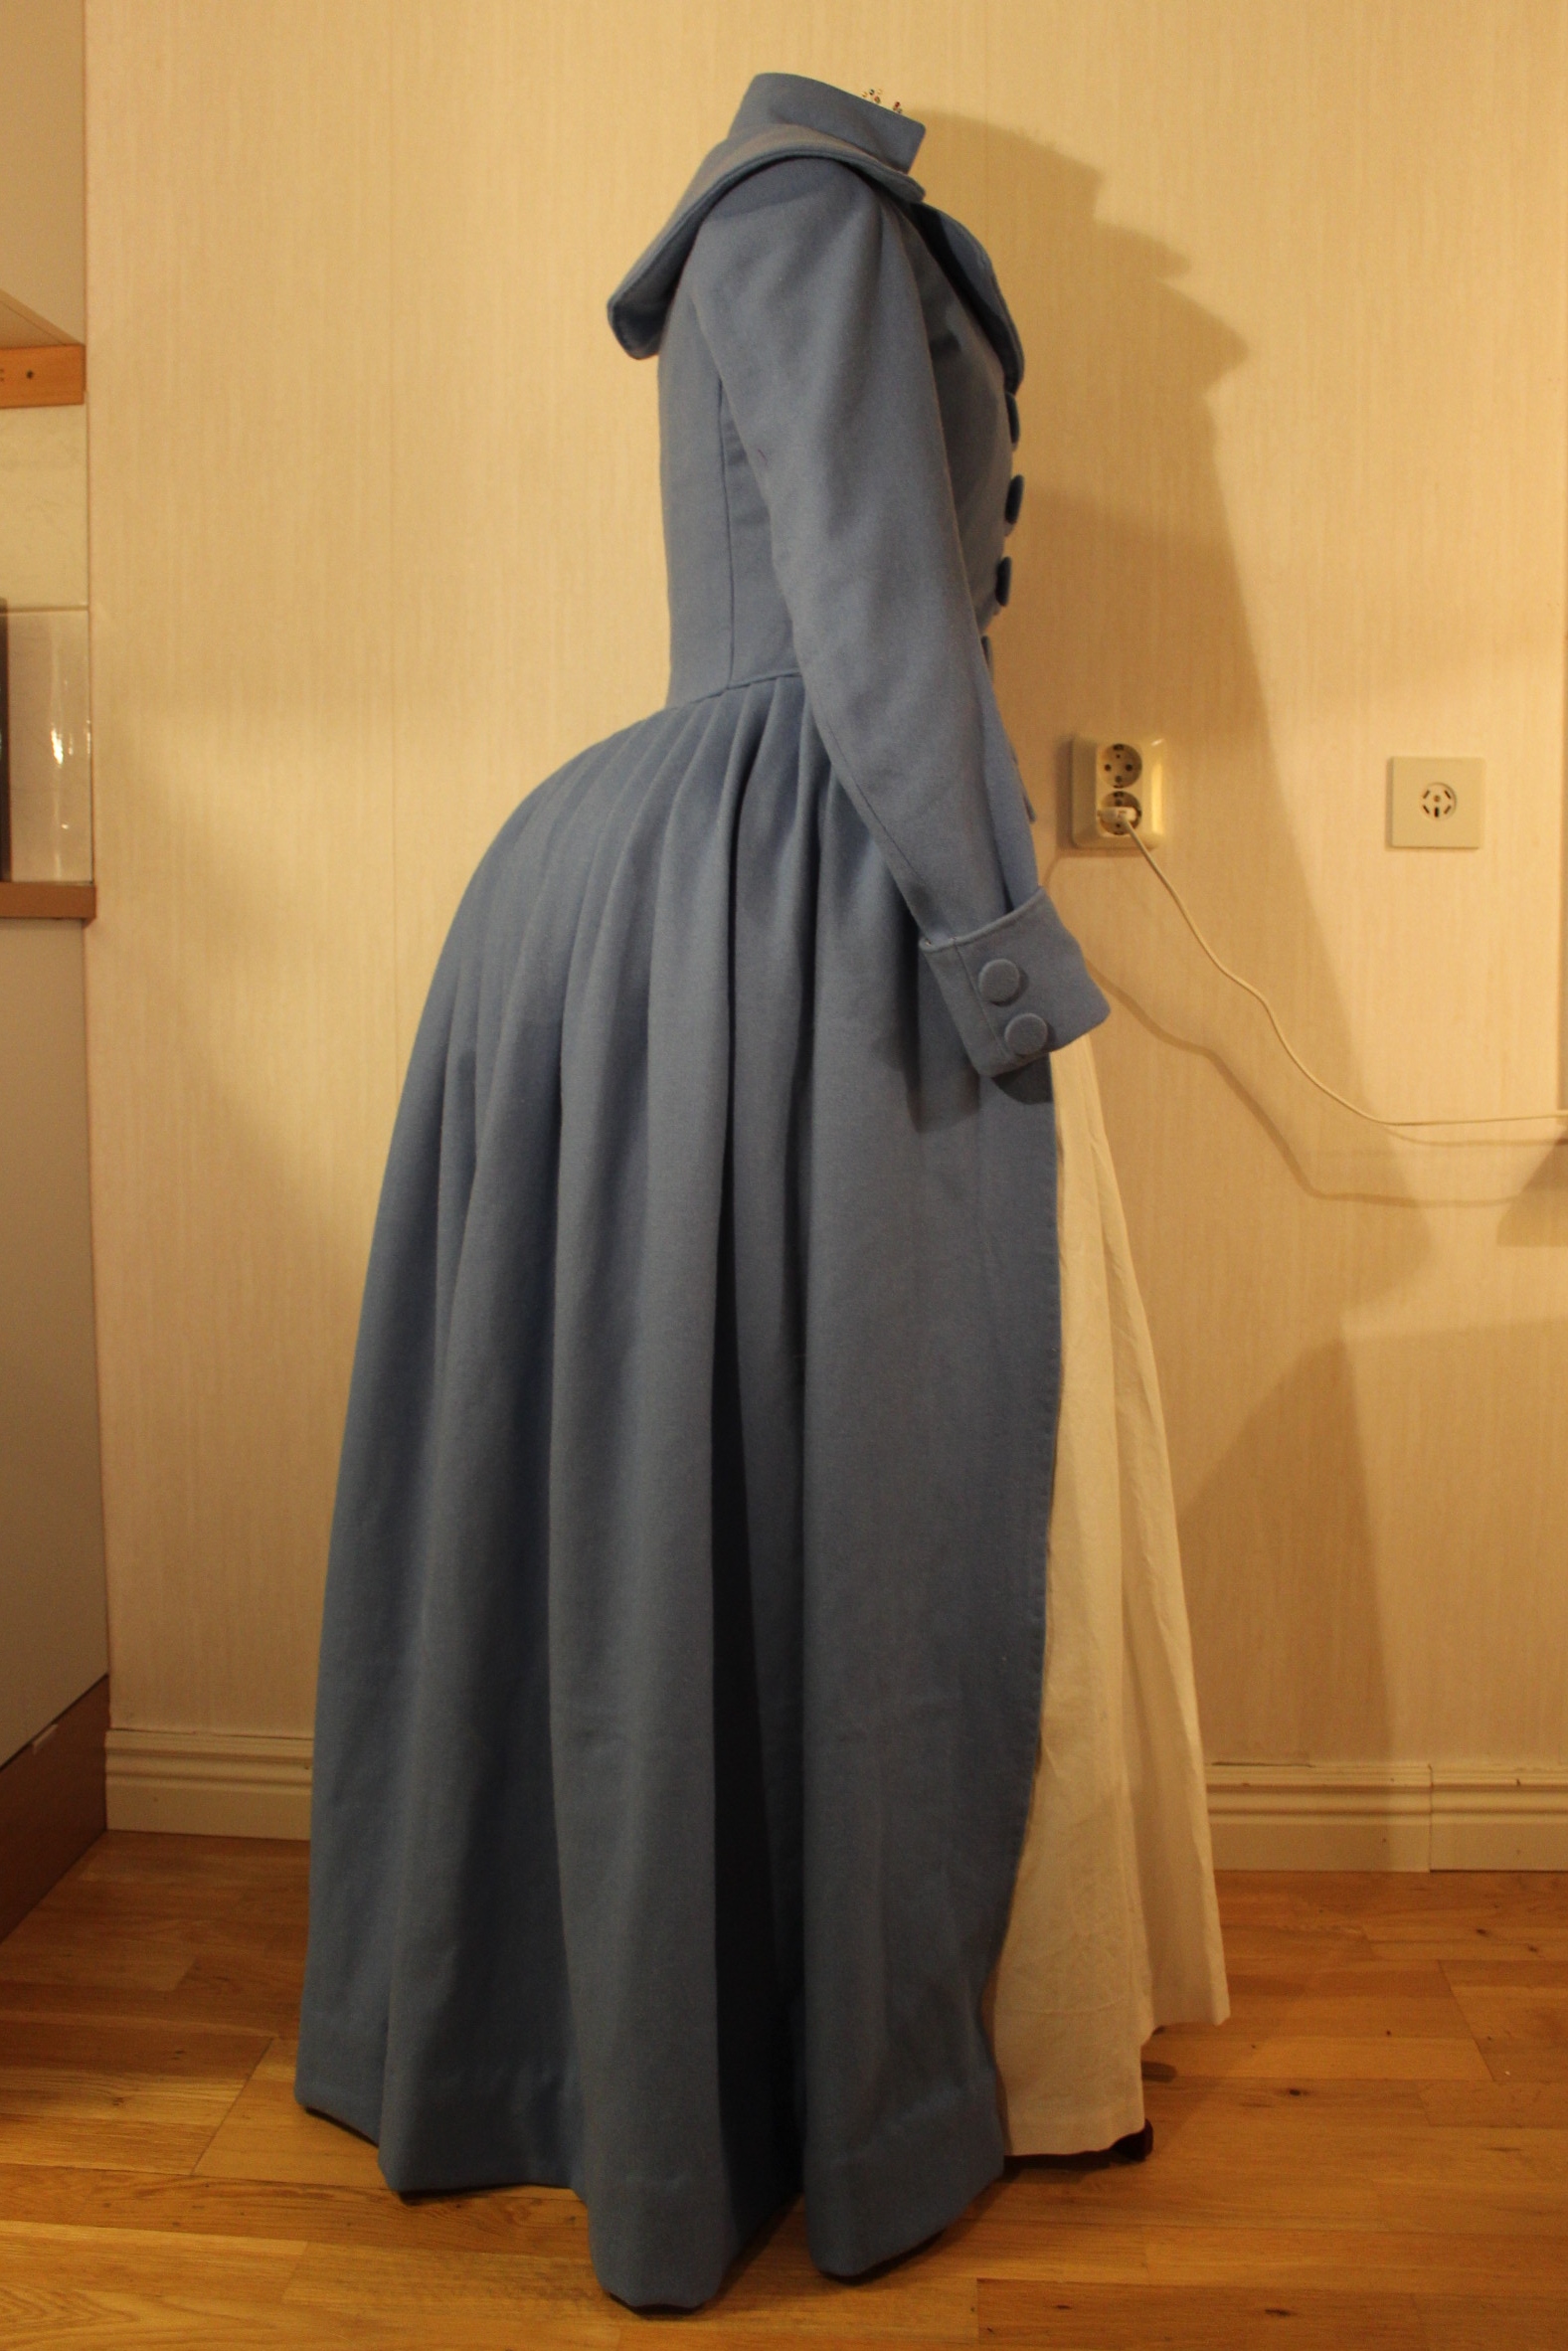
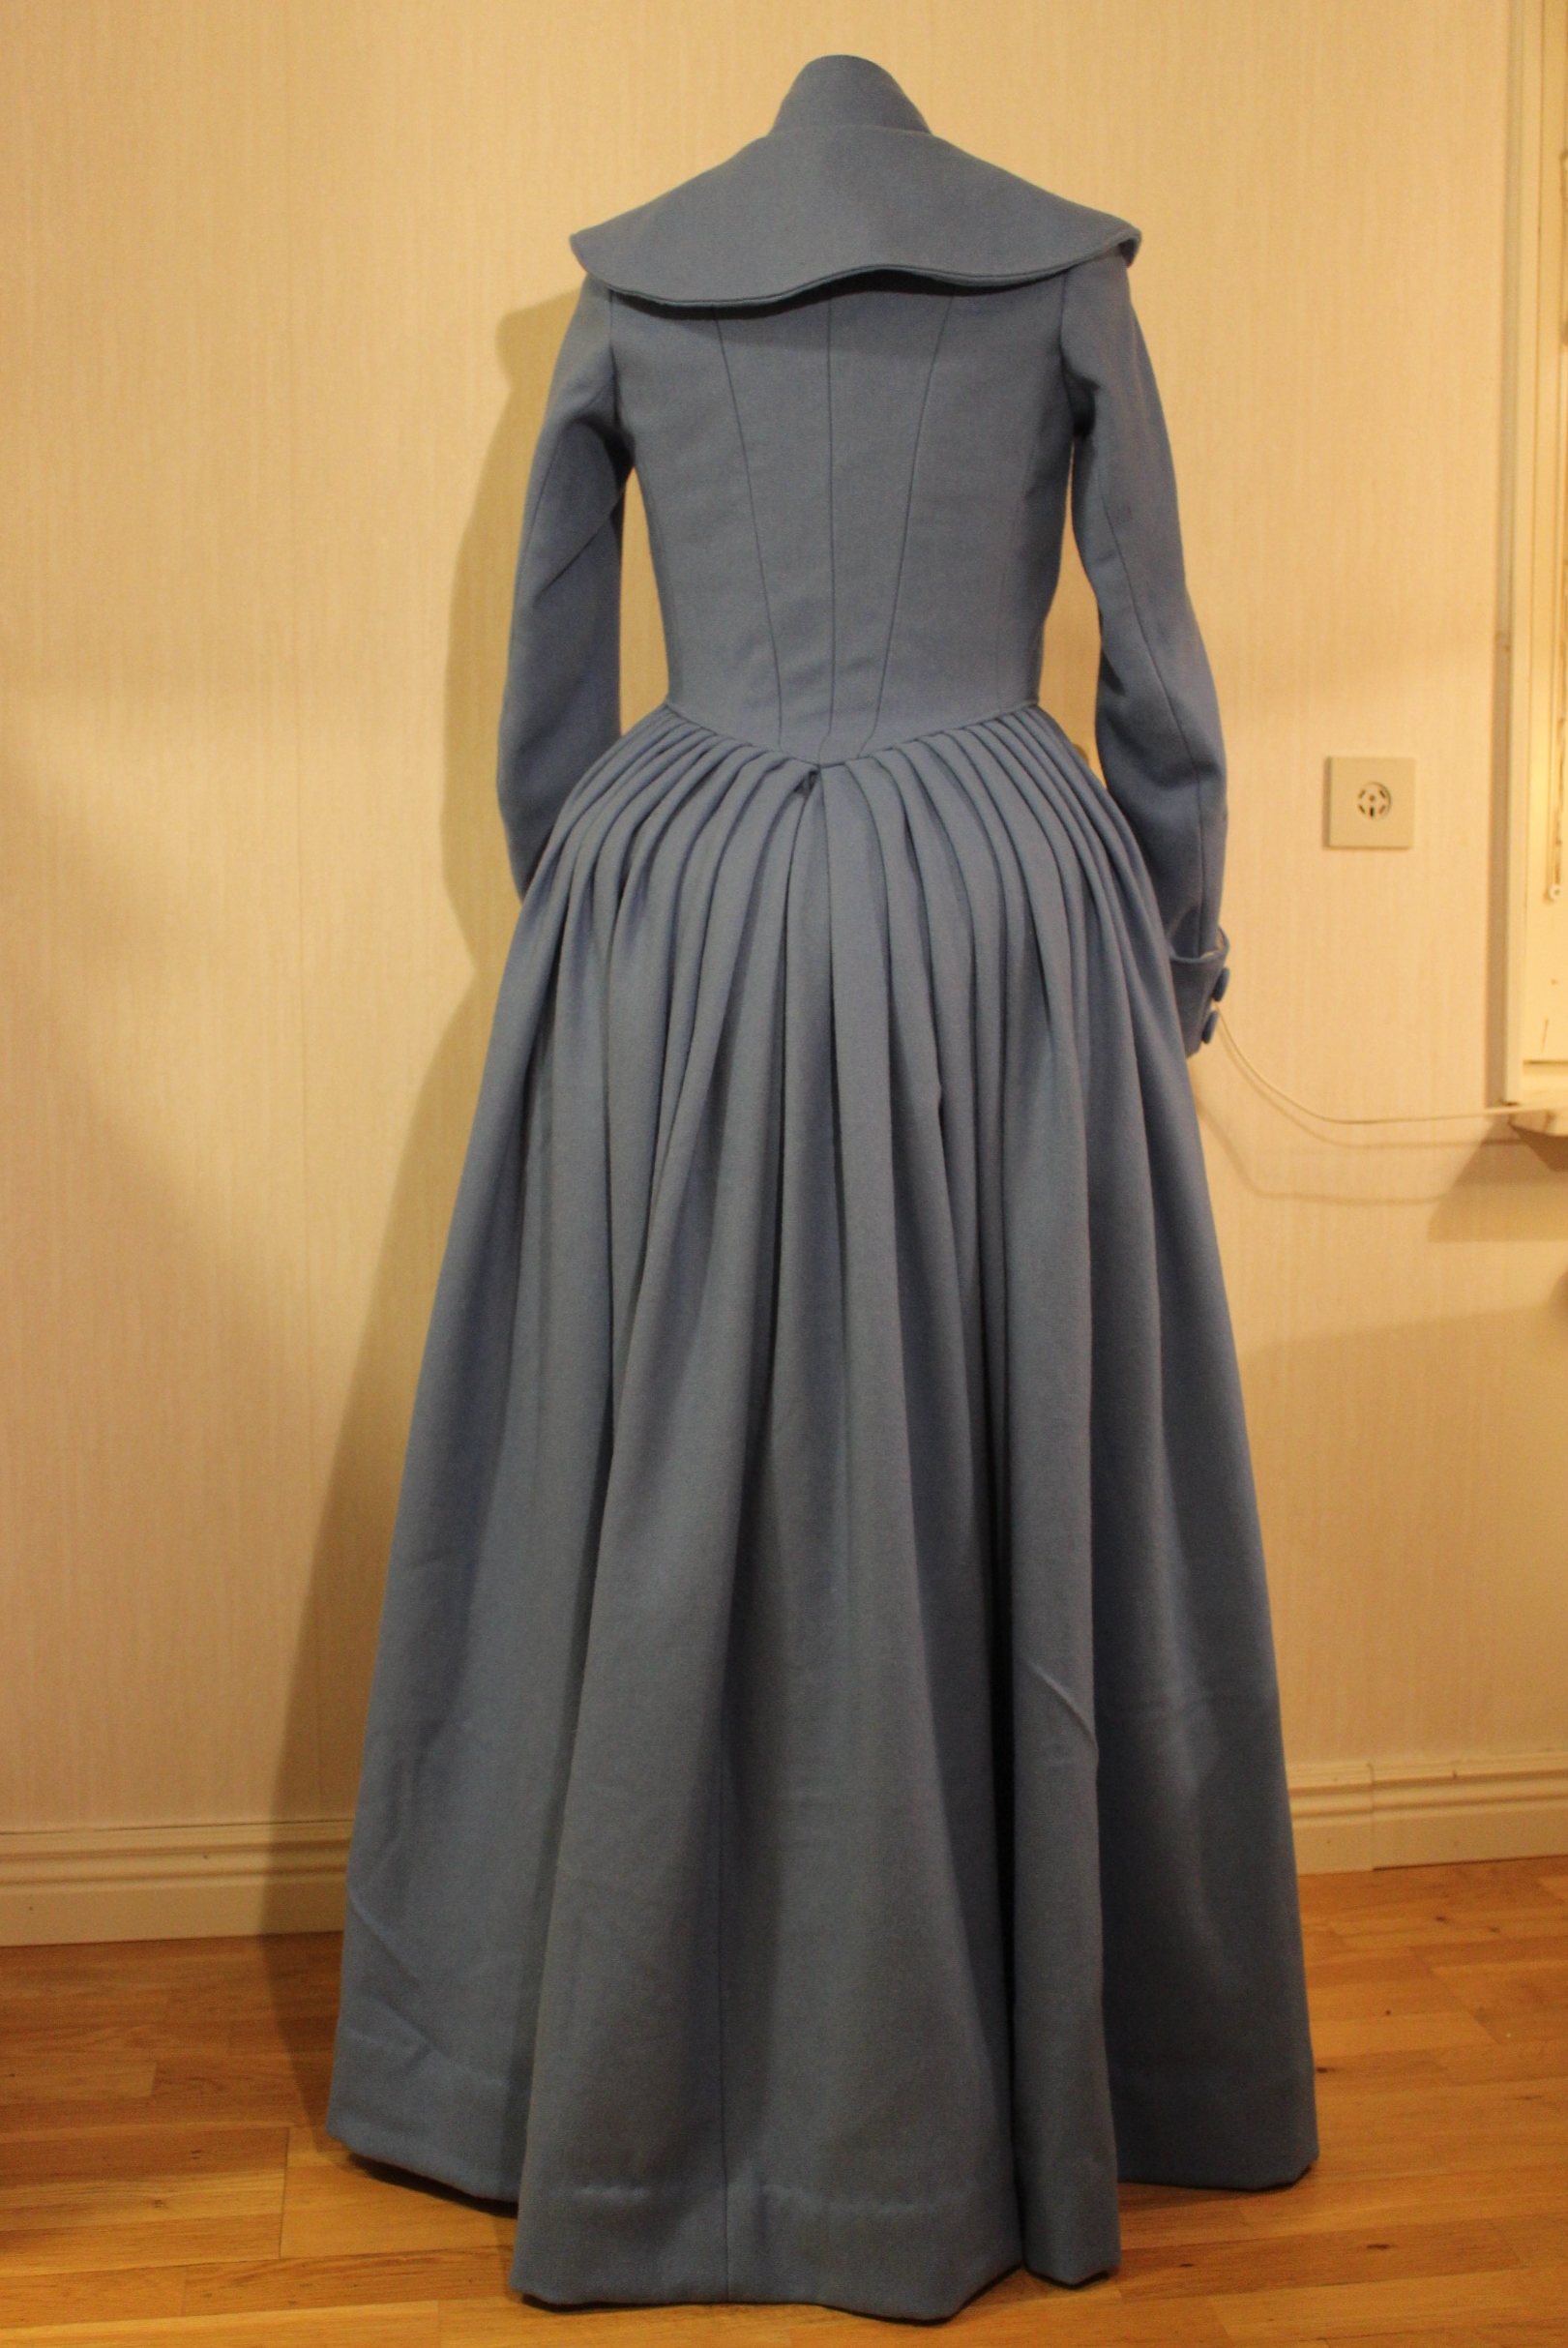
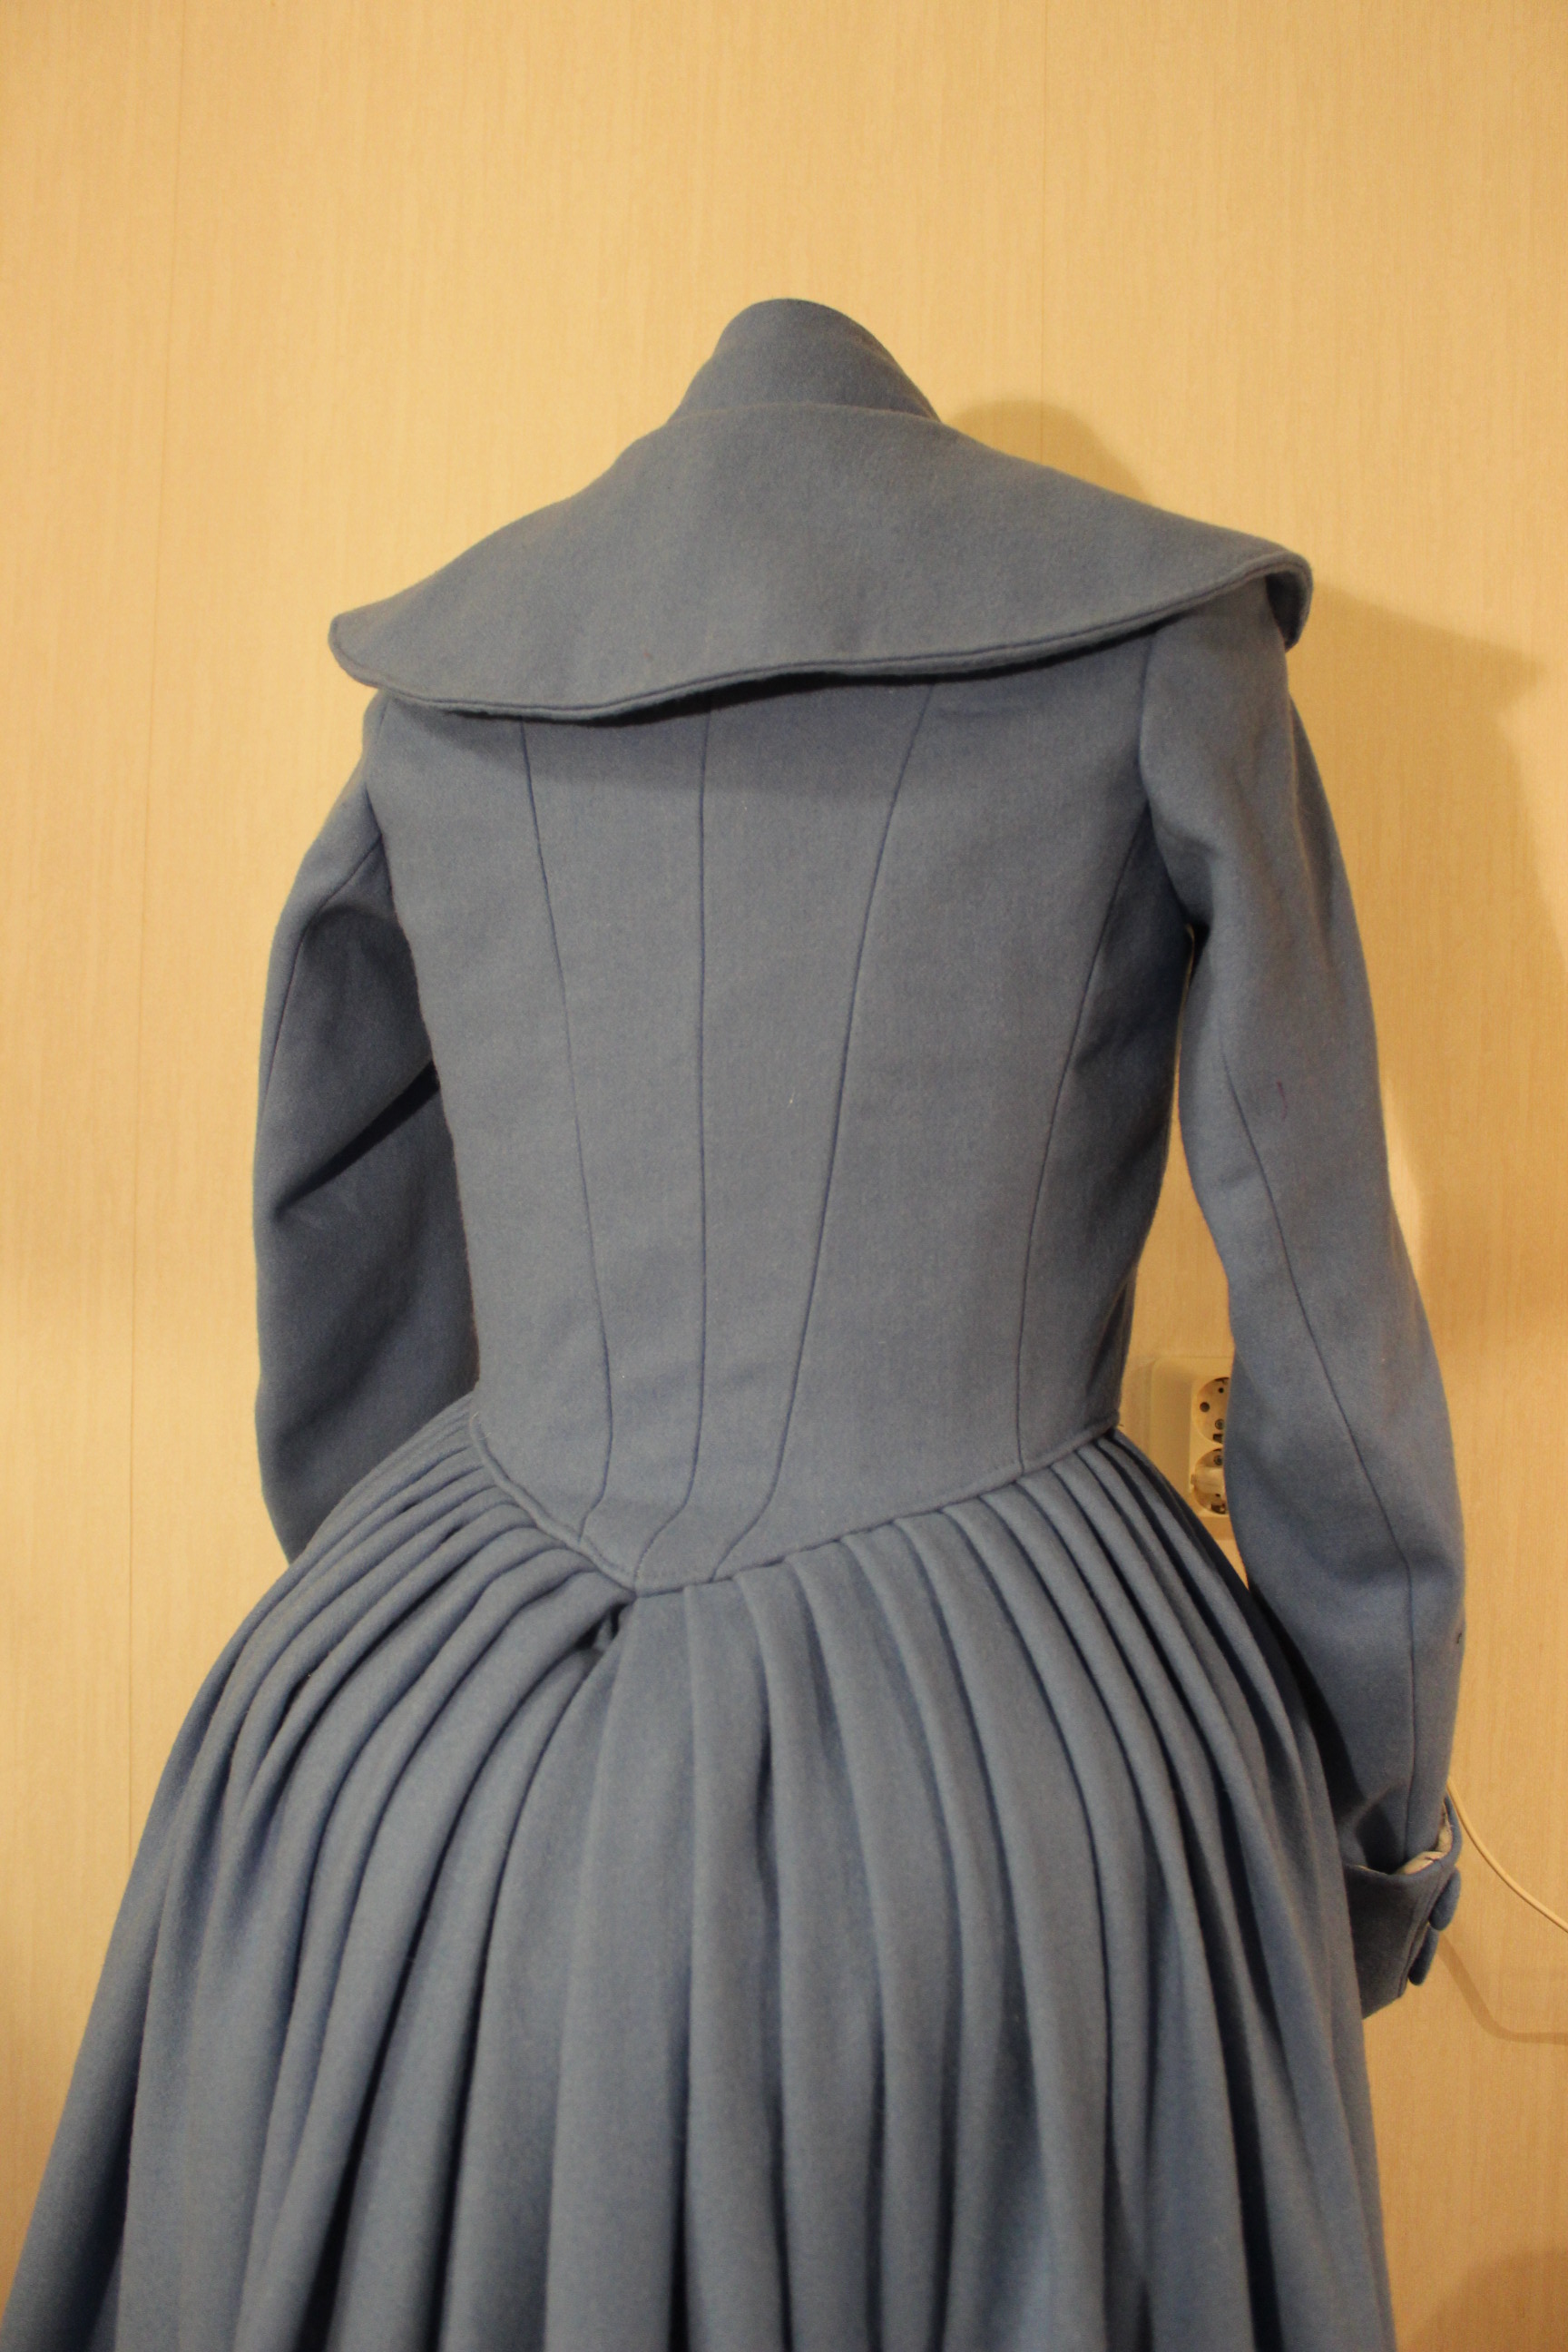
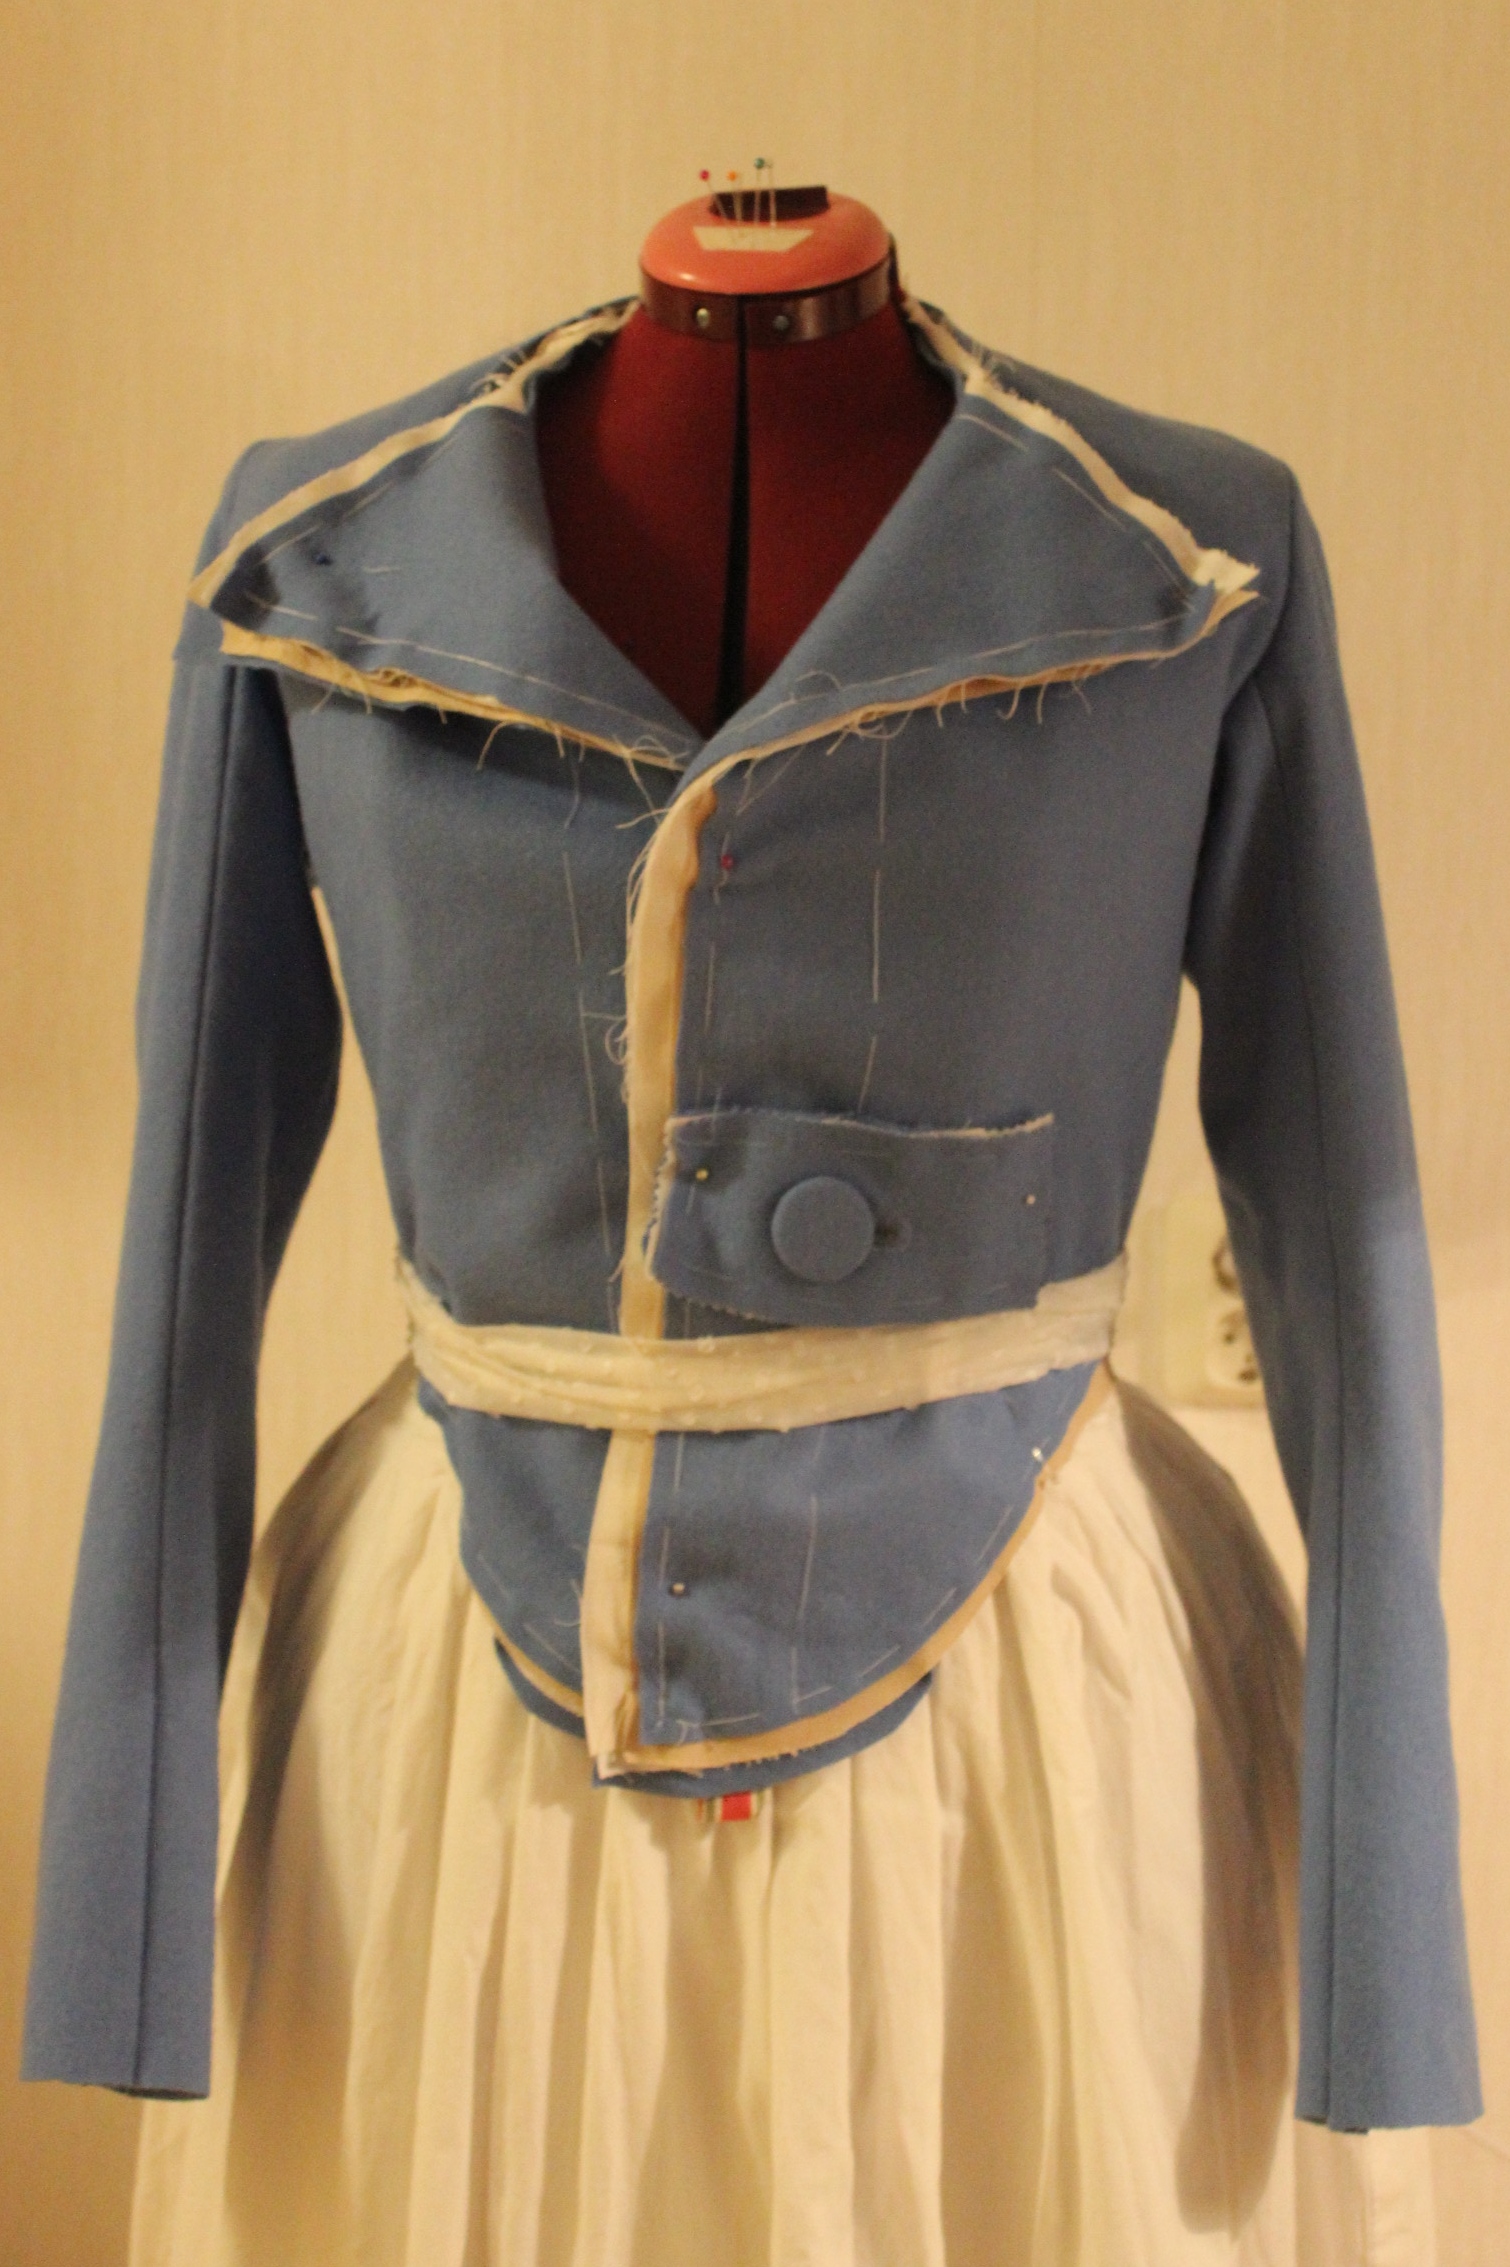
A first test on the dress-form


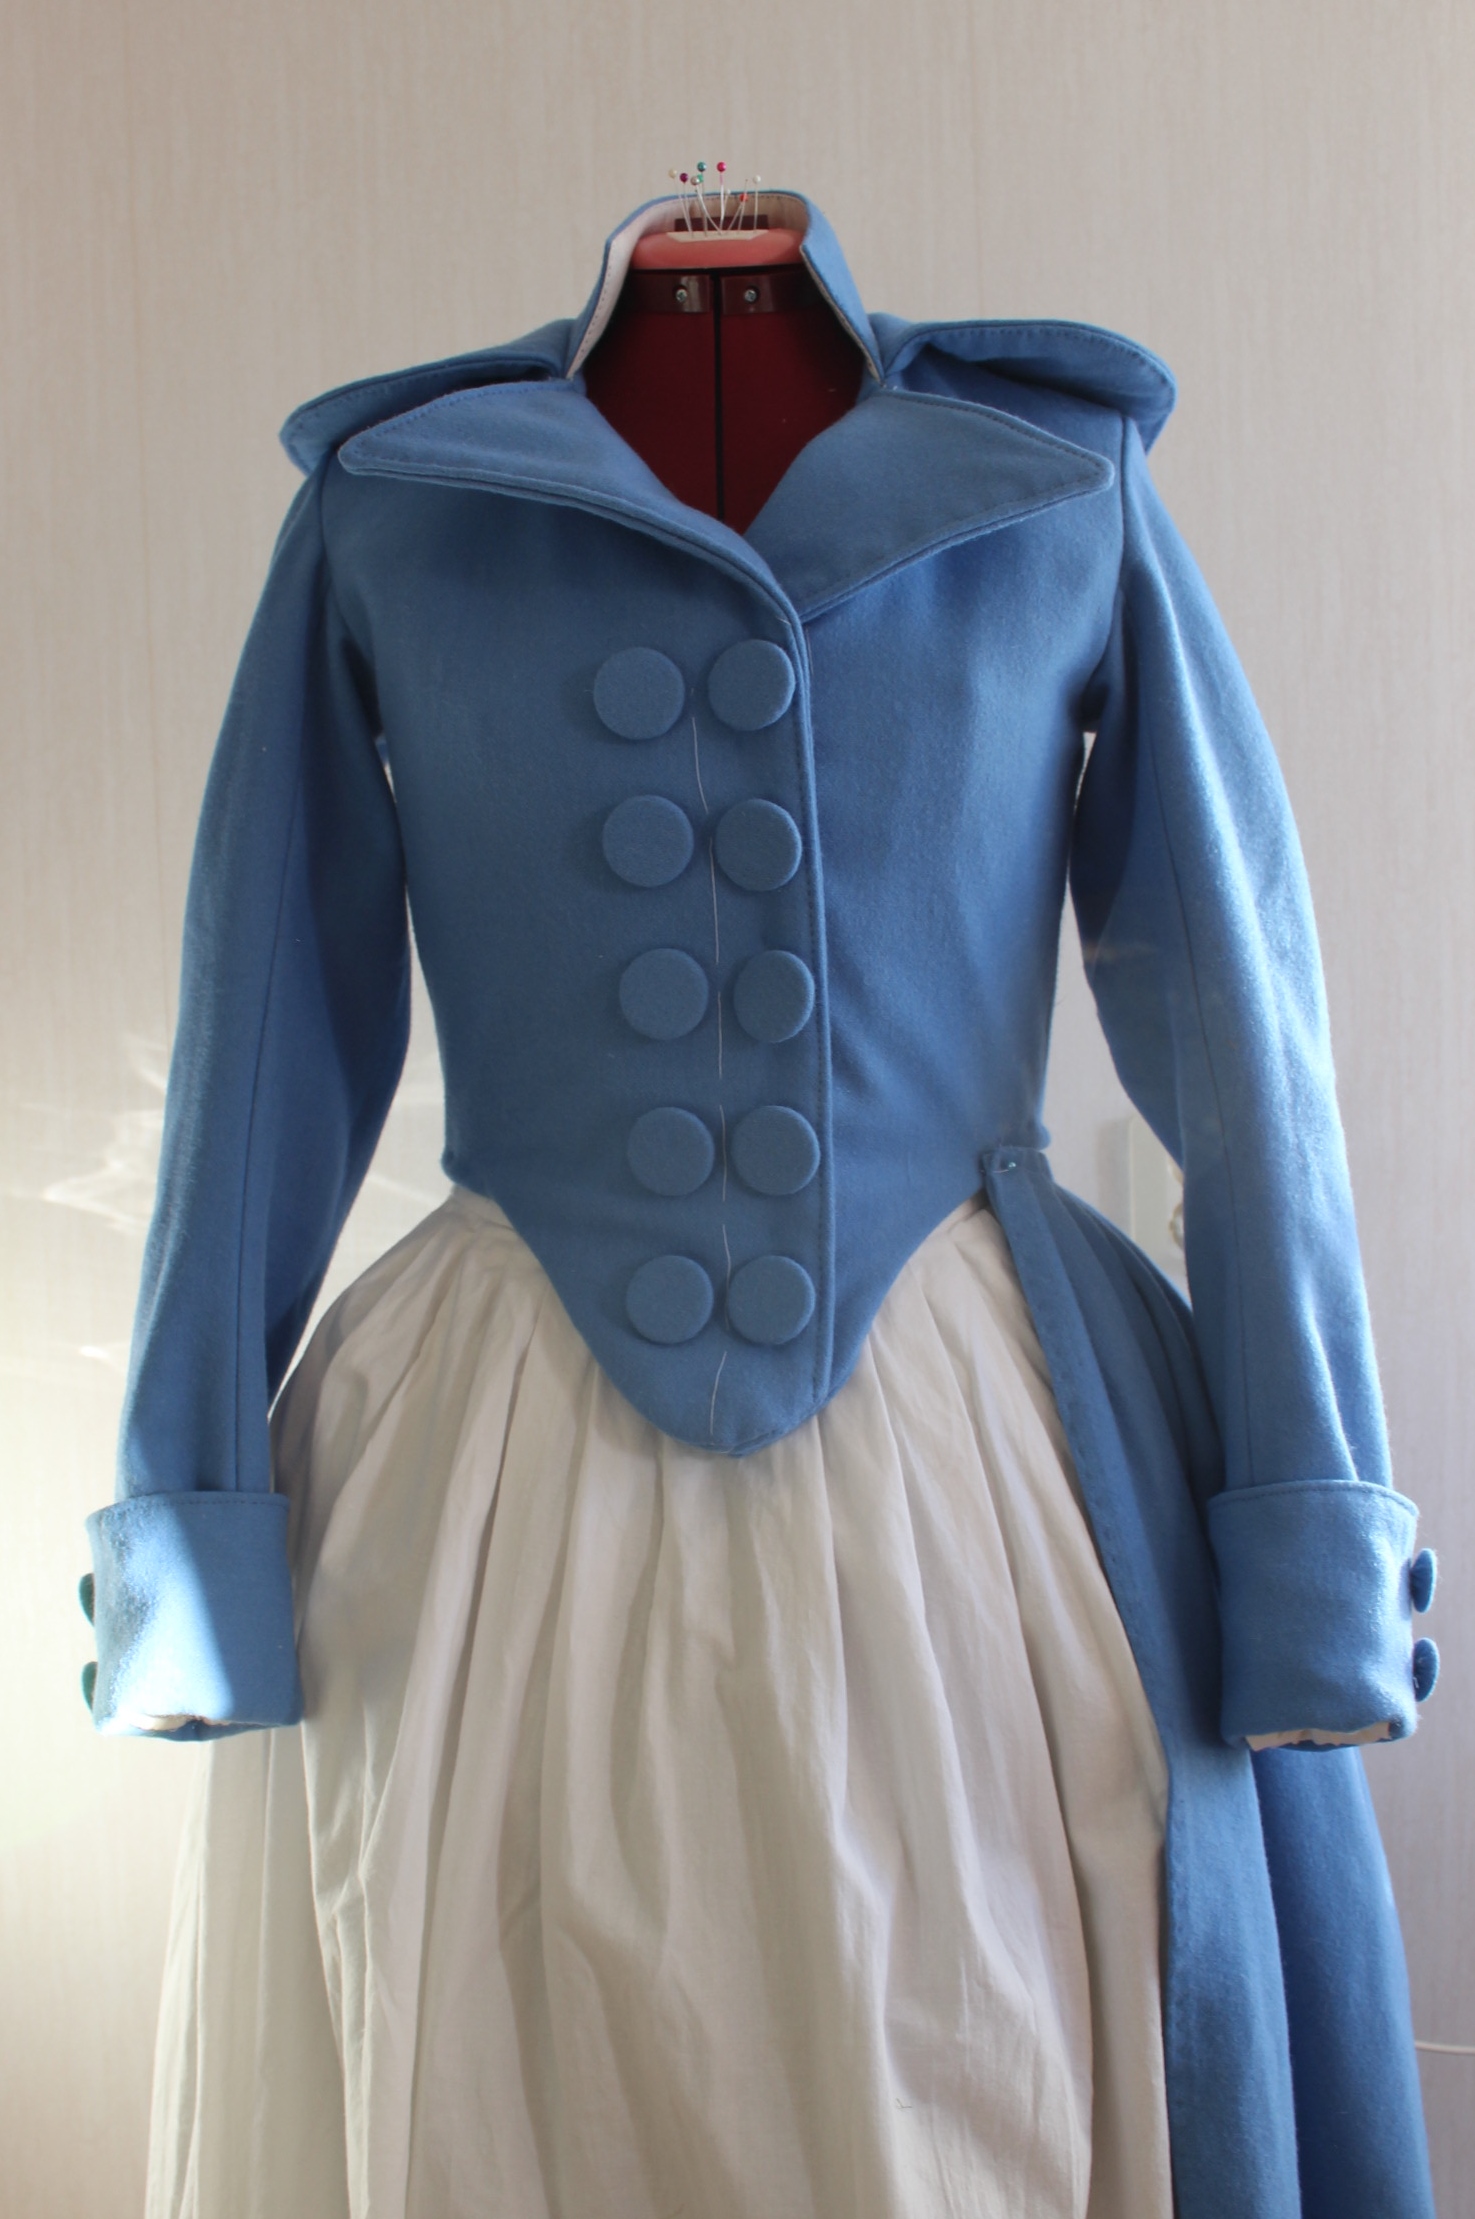
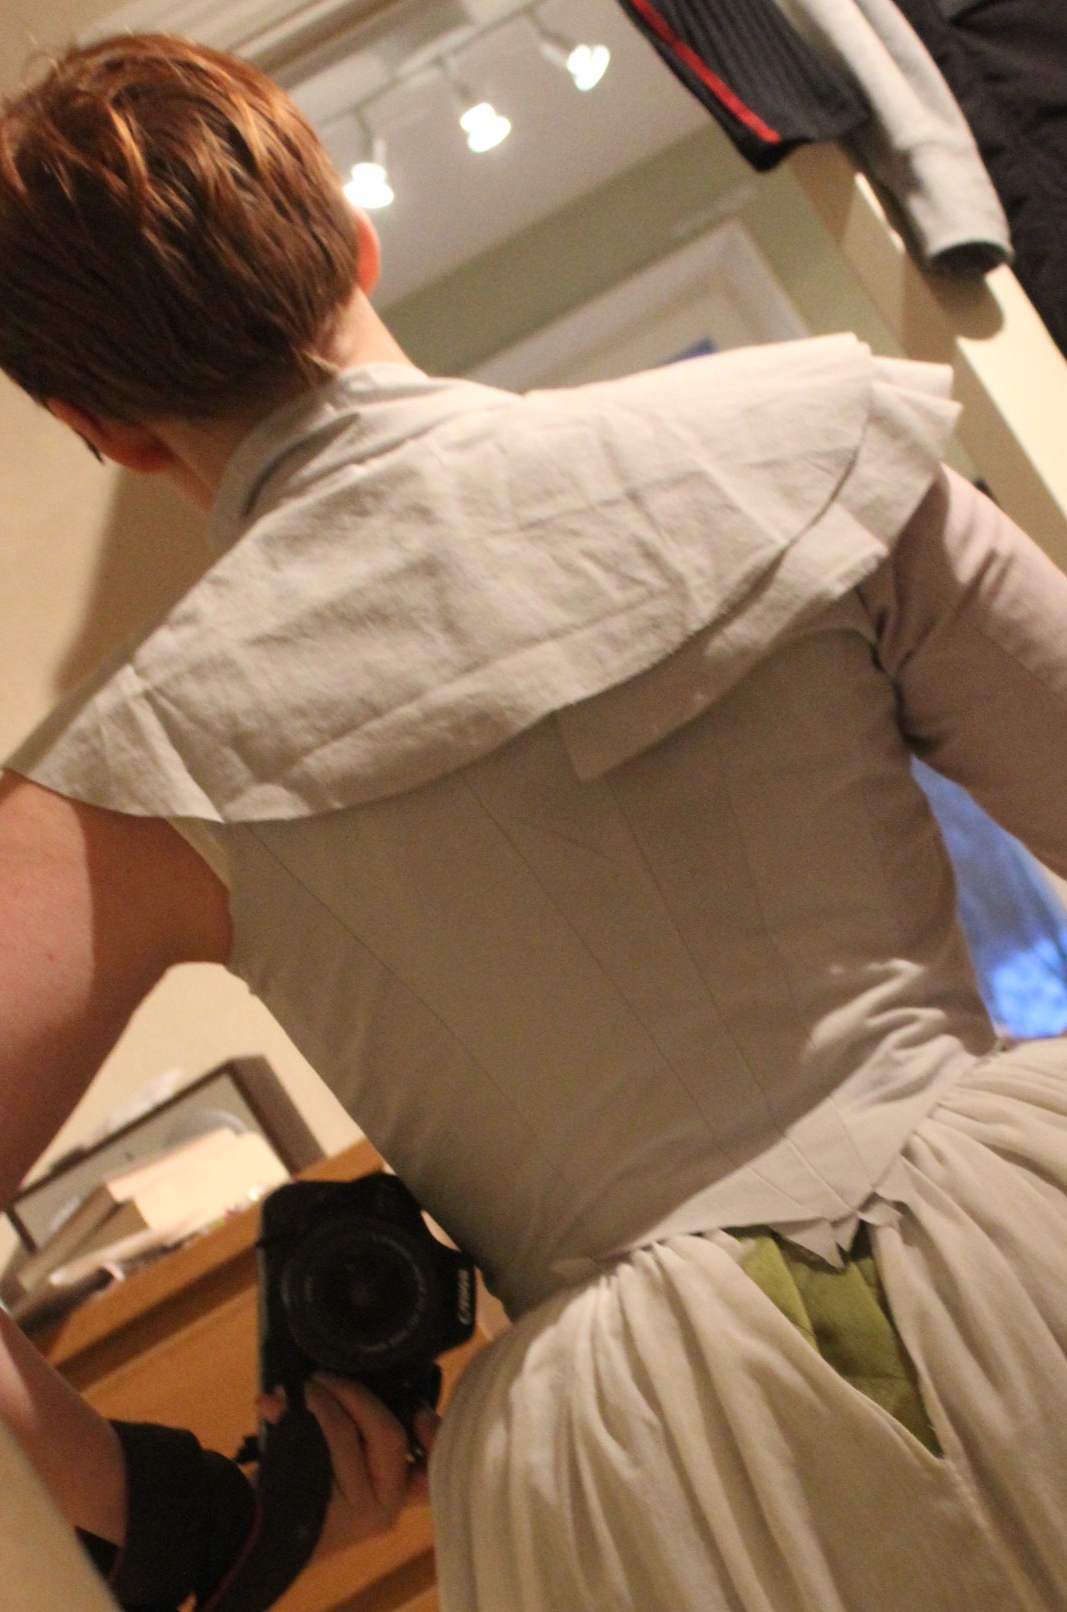
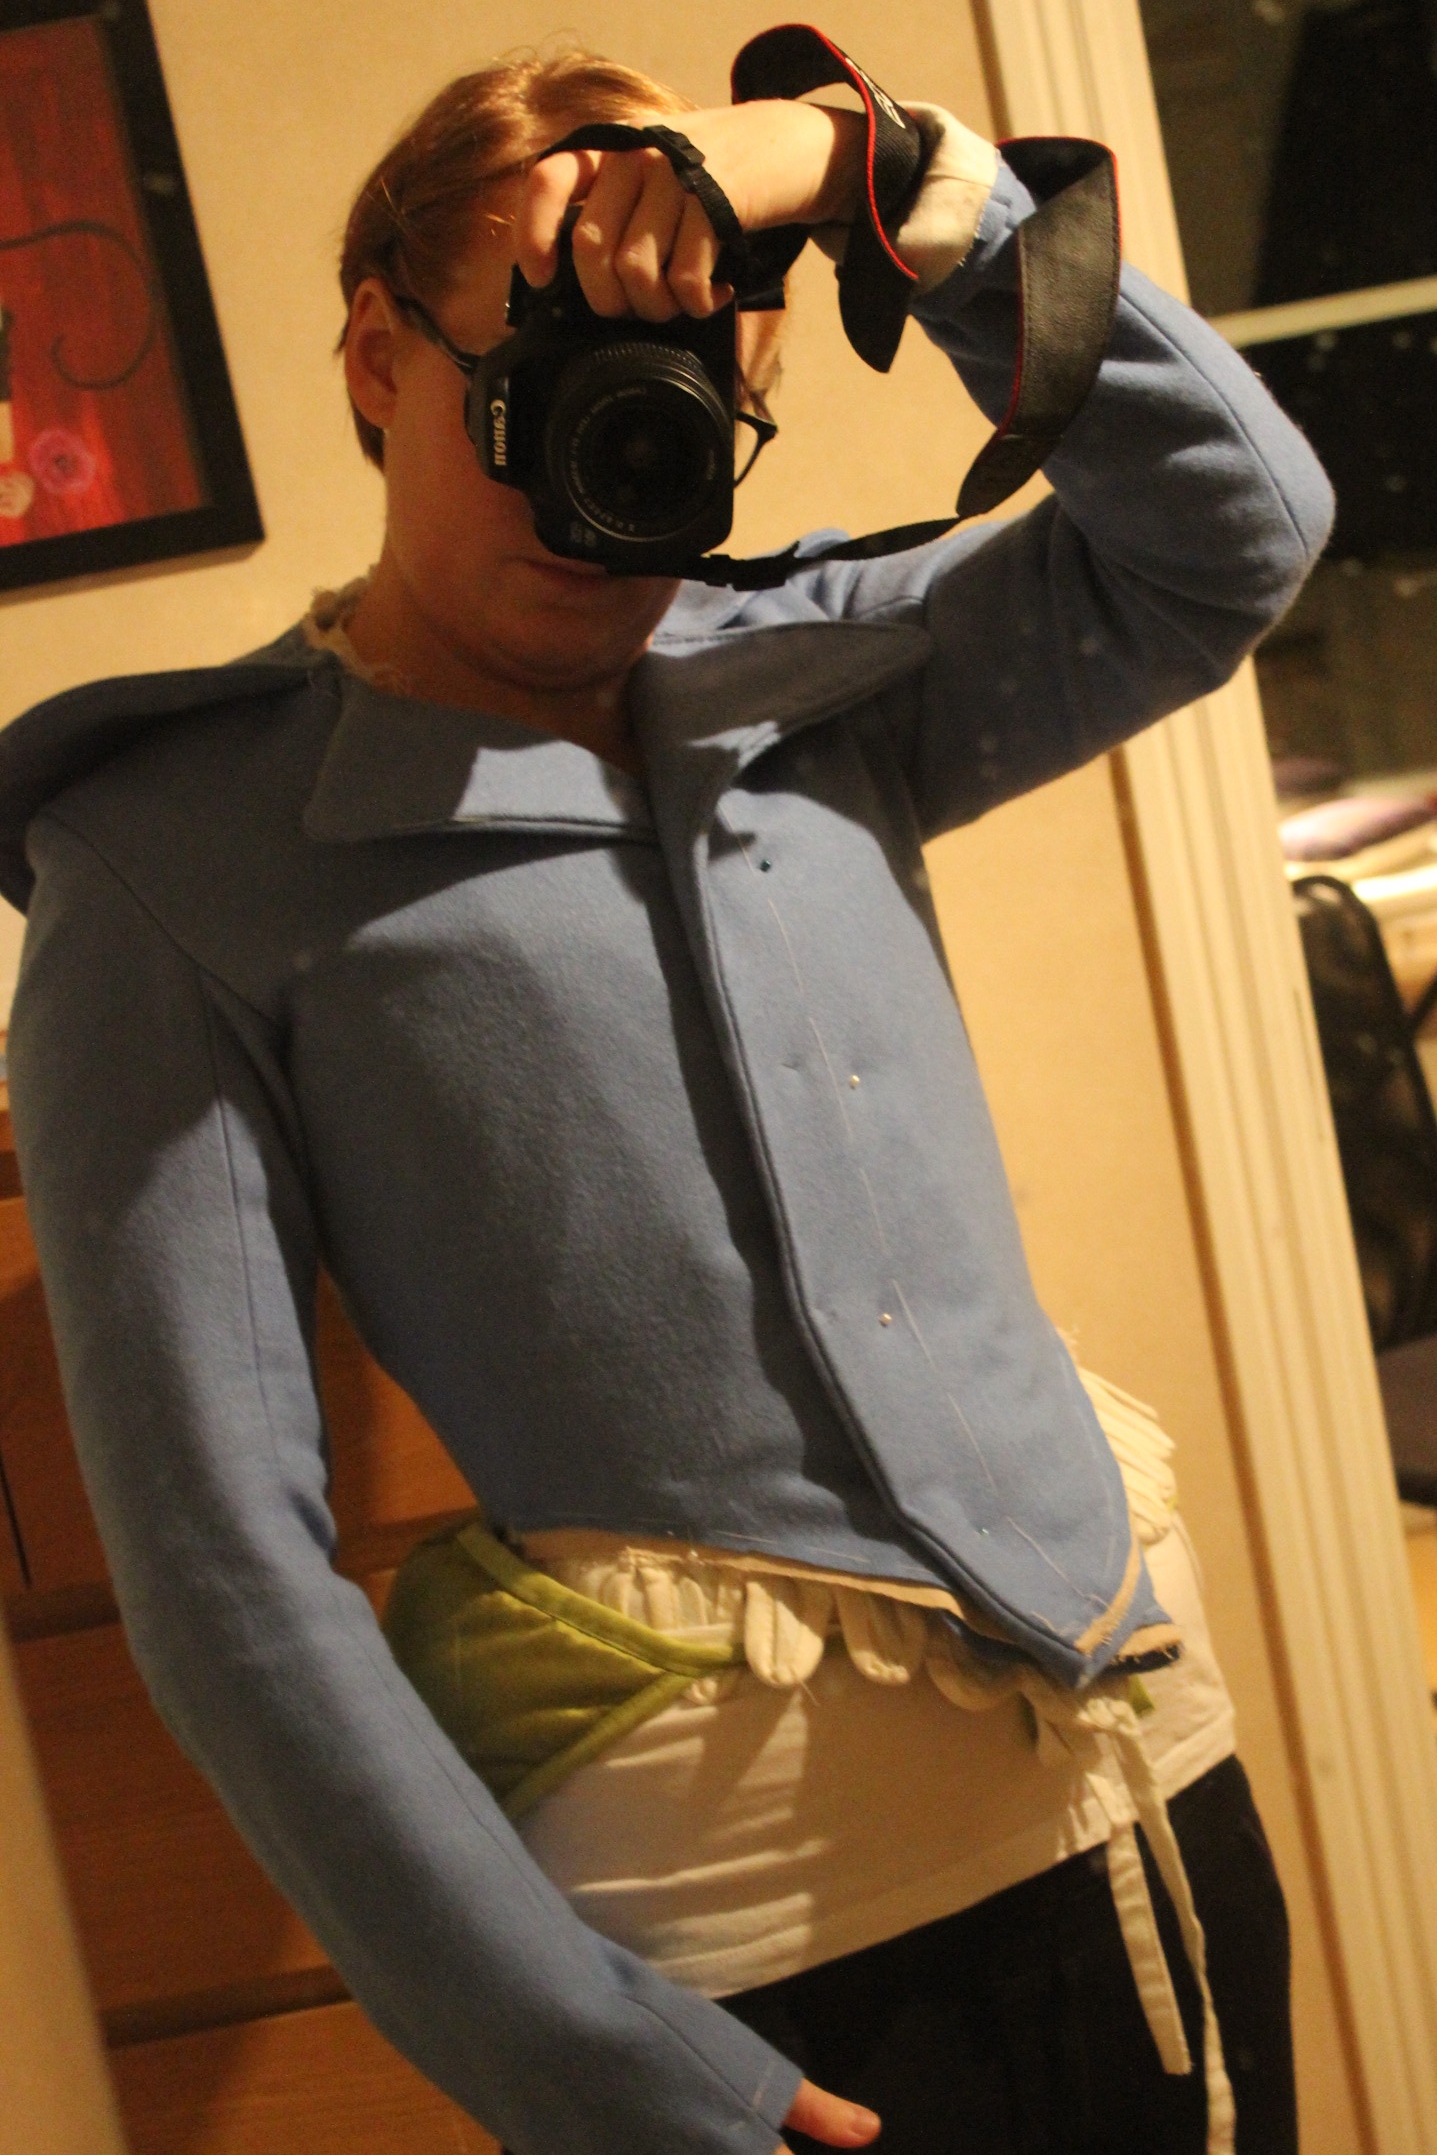
Once the lining and sleeves was attached, I put it on to try the fit. I can’t say enough how pleased I an with the sizing on this pattern.
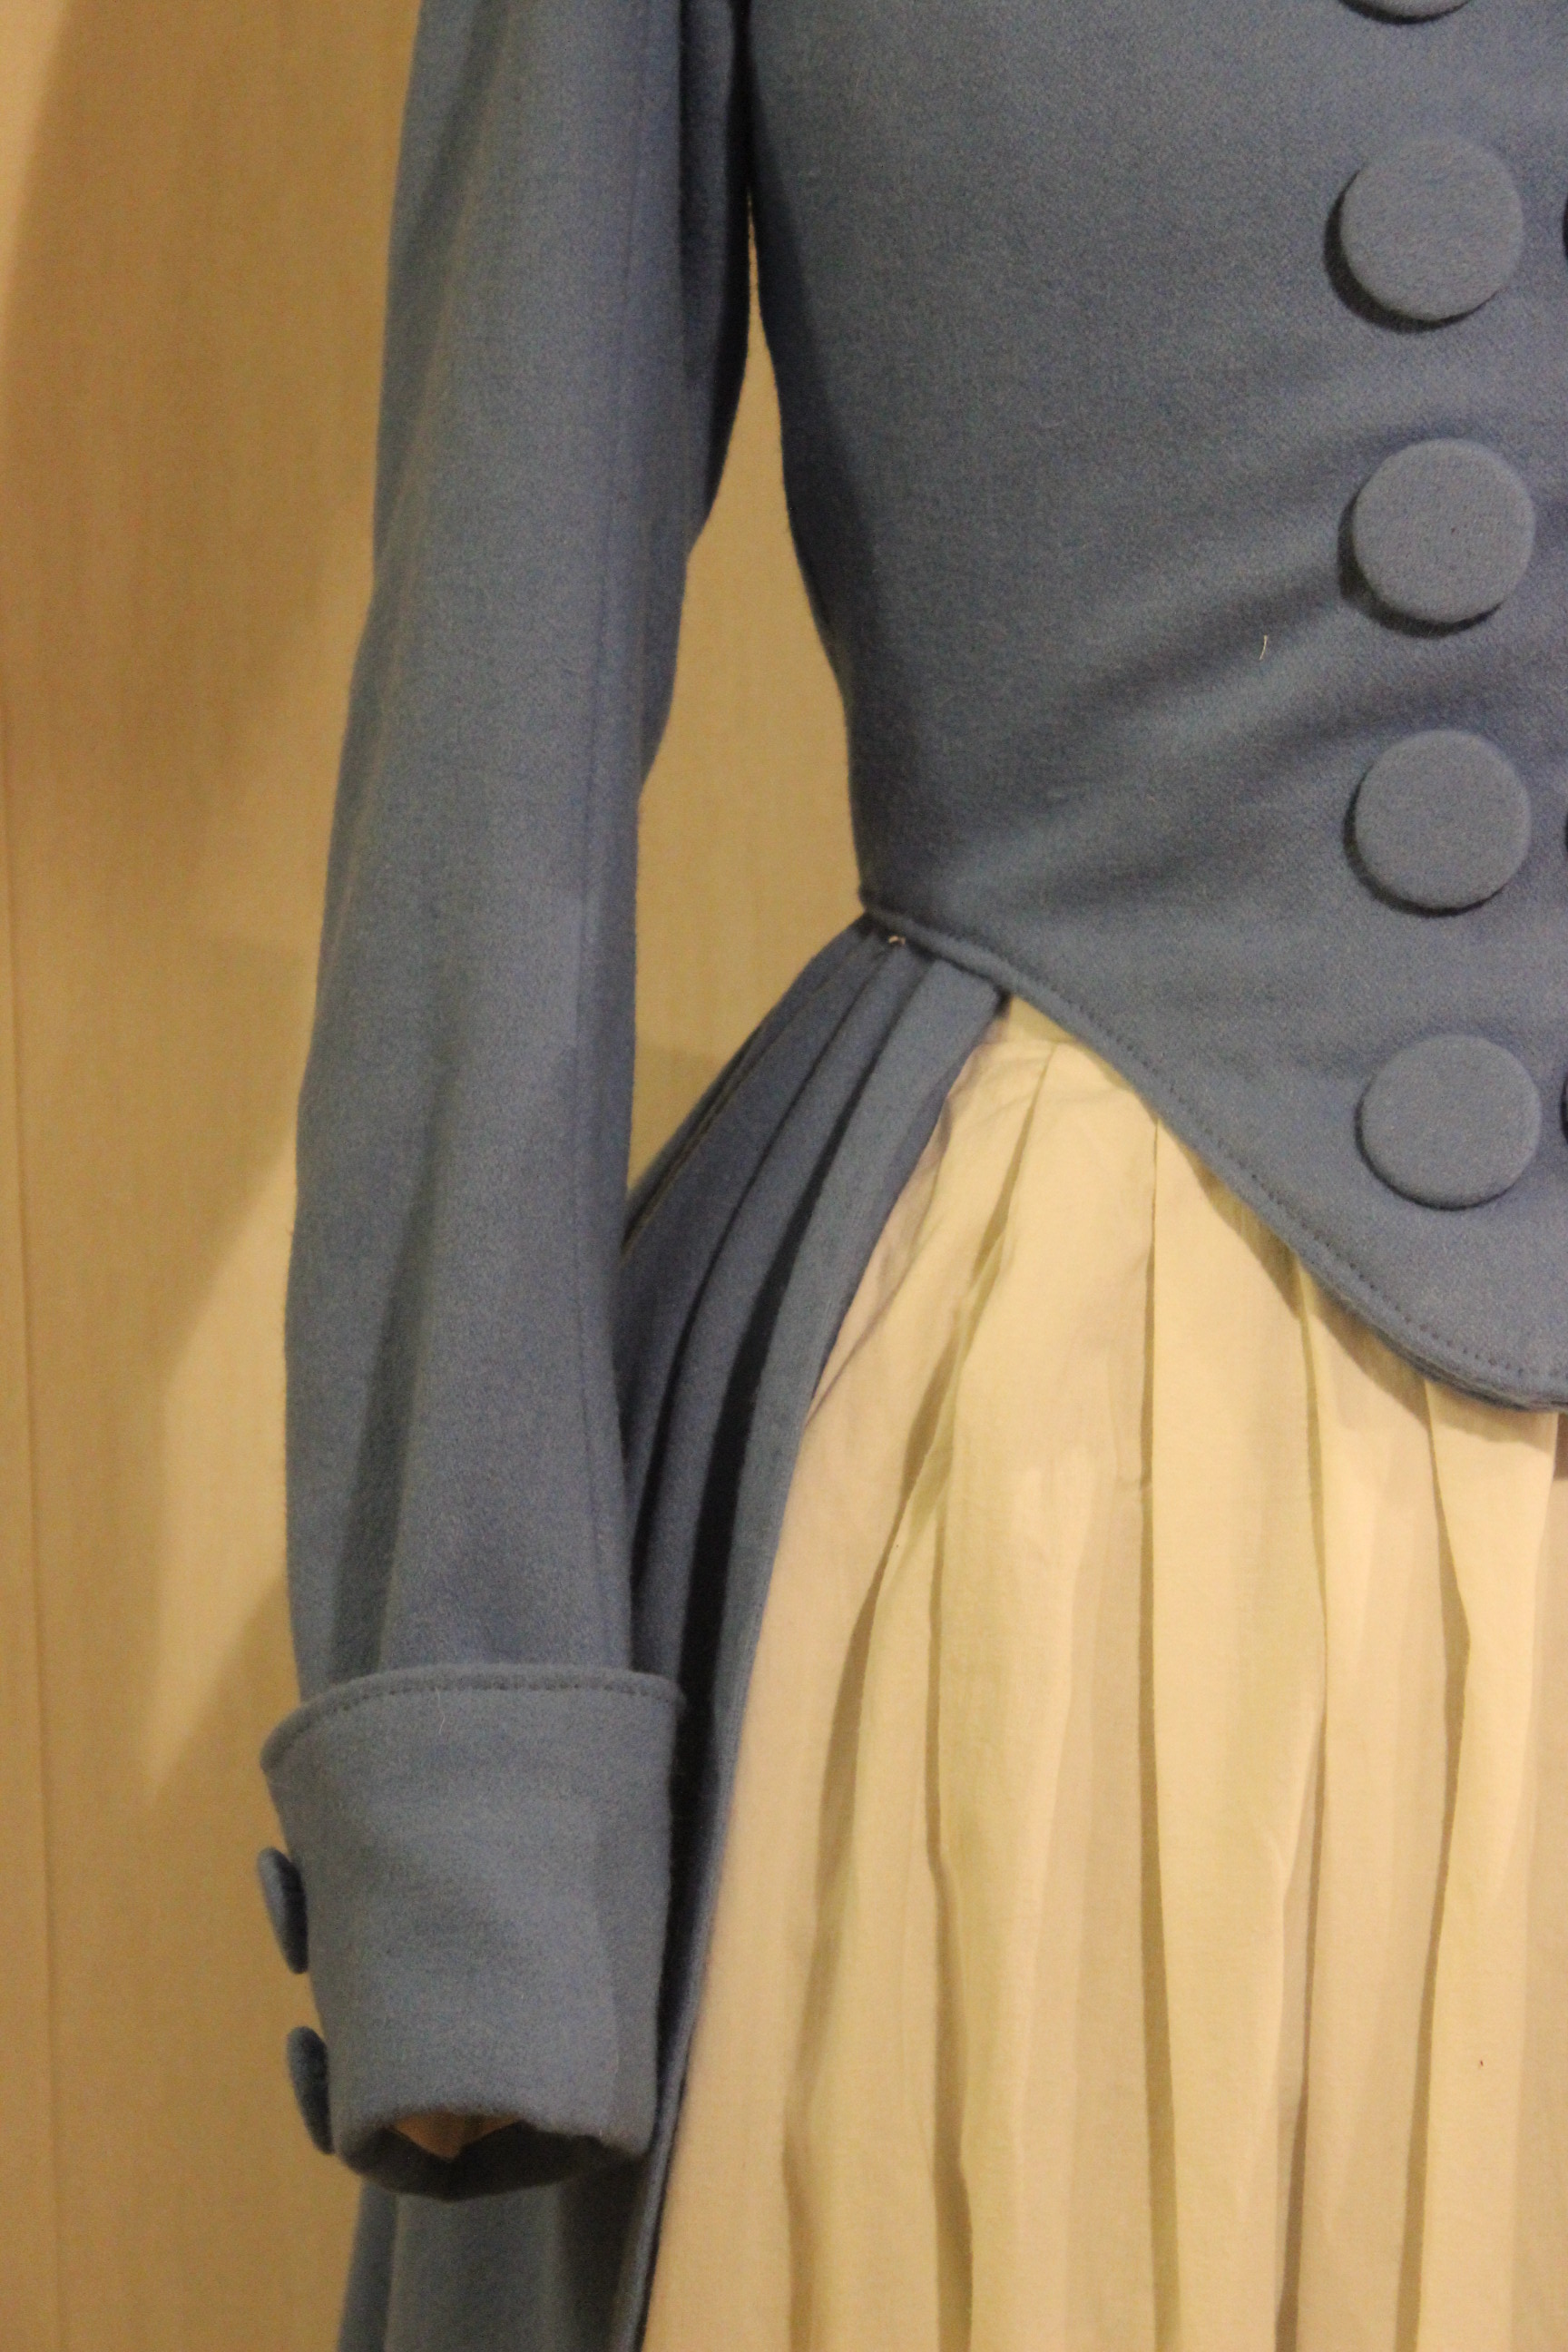
The only thing I needed to change was the length of the sleeve.
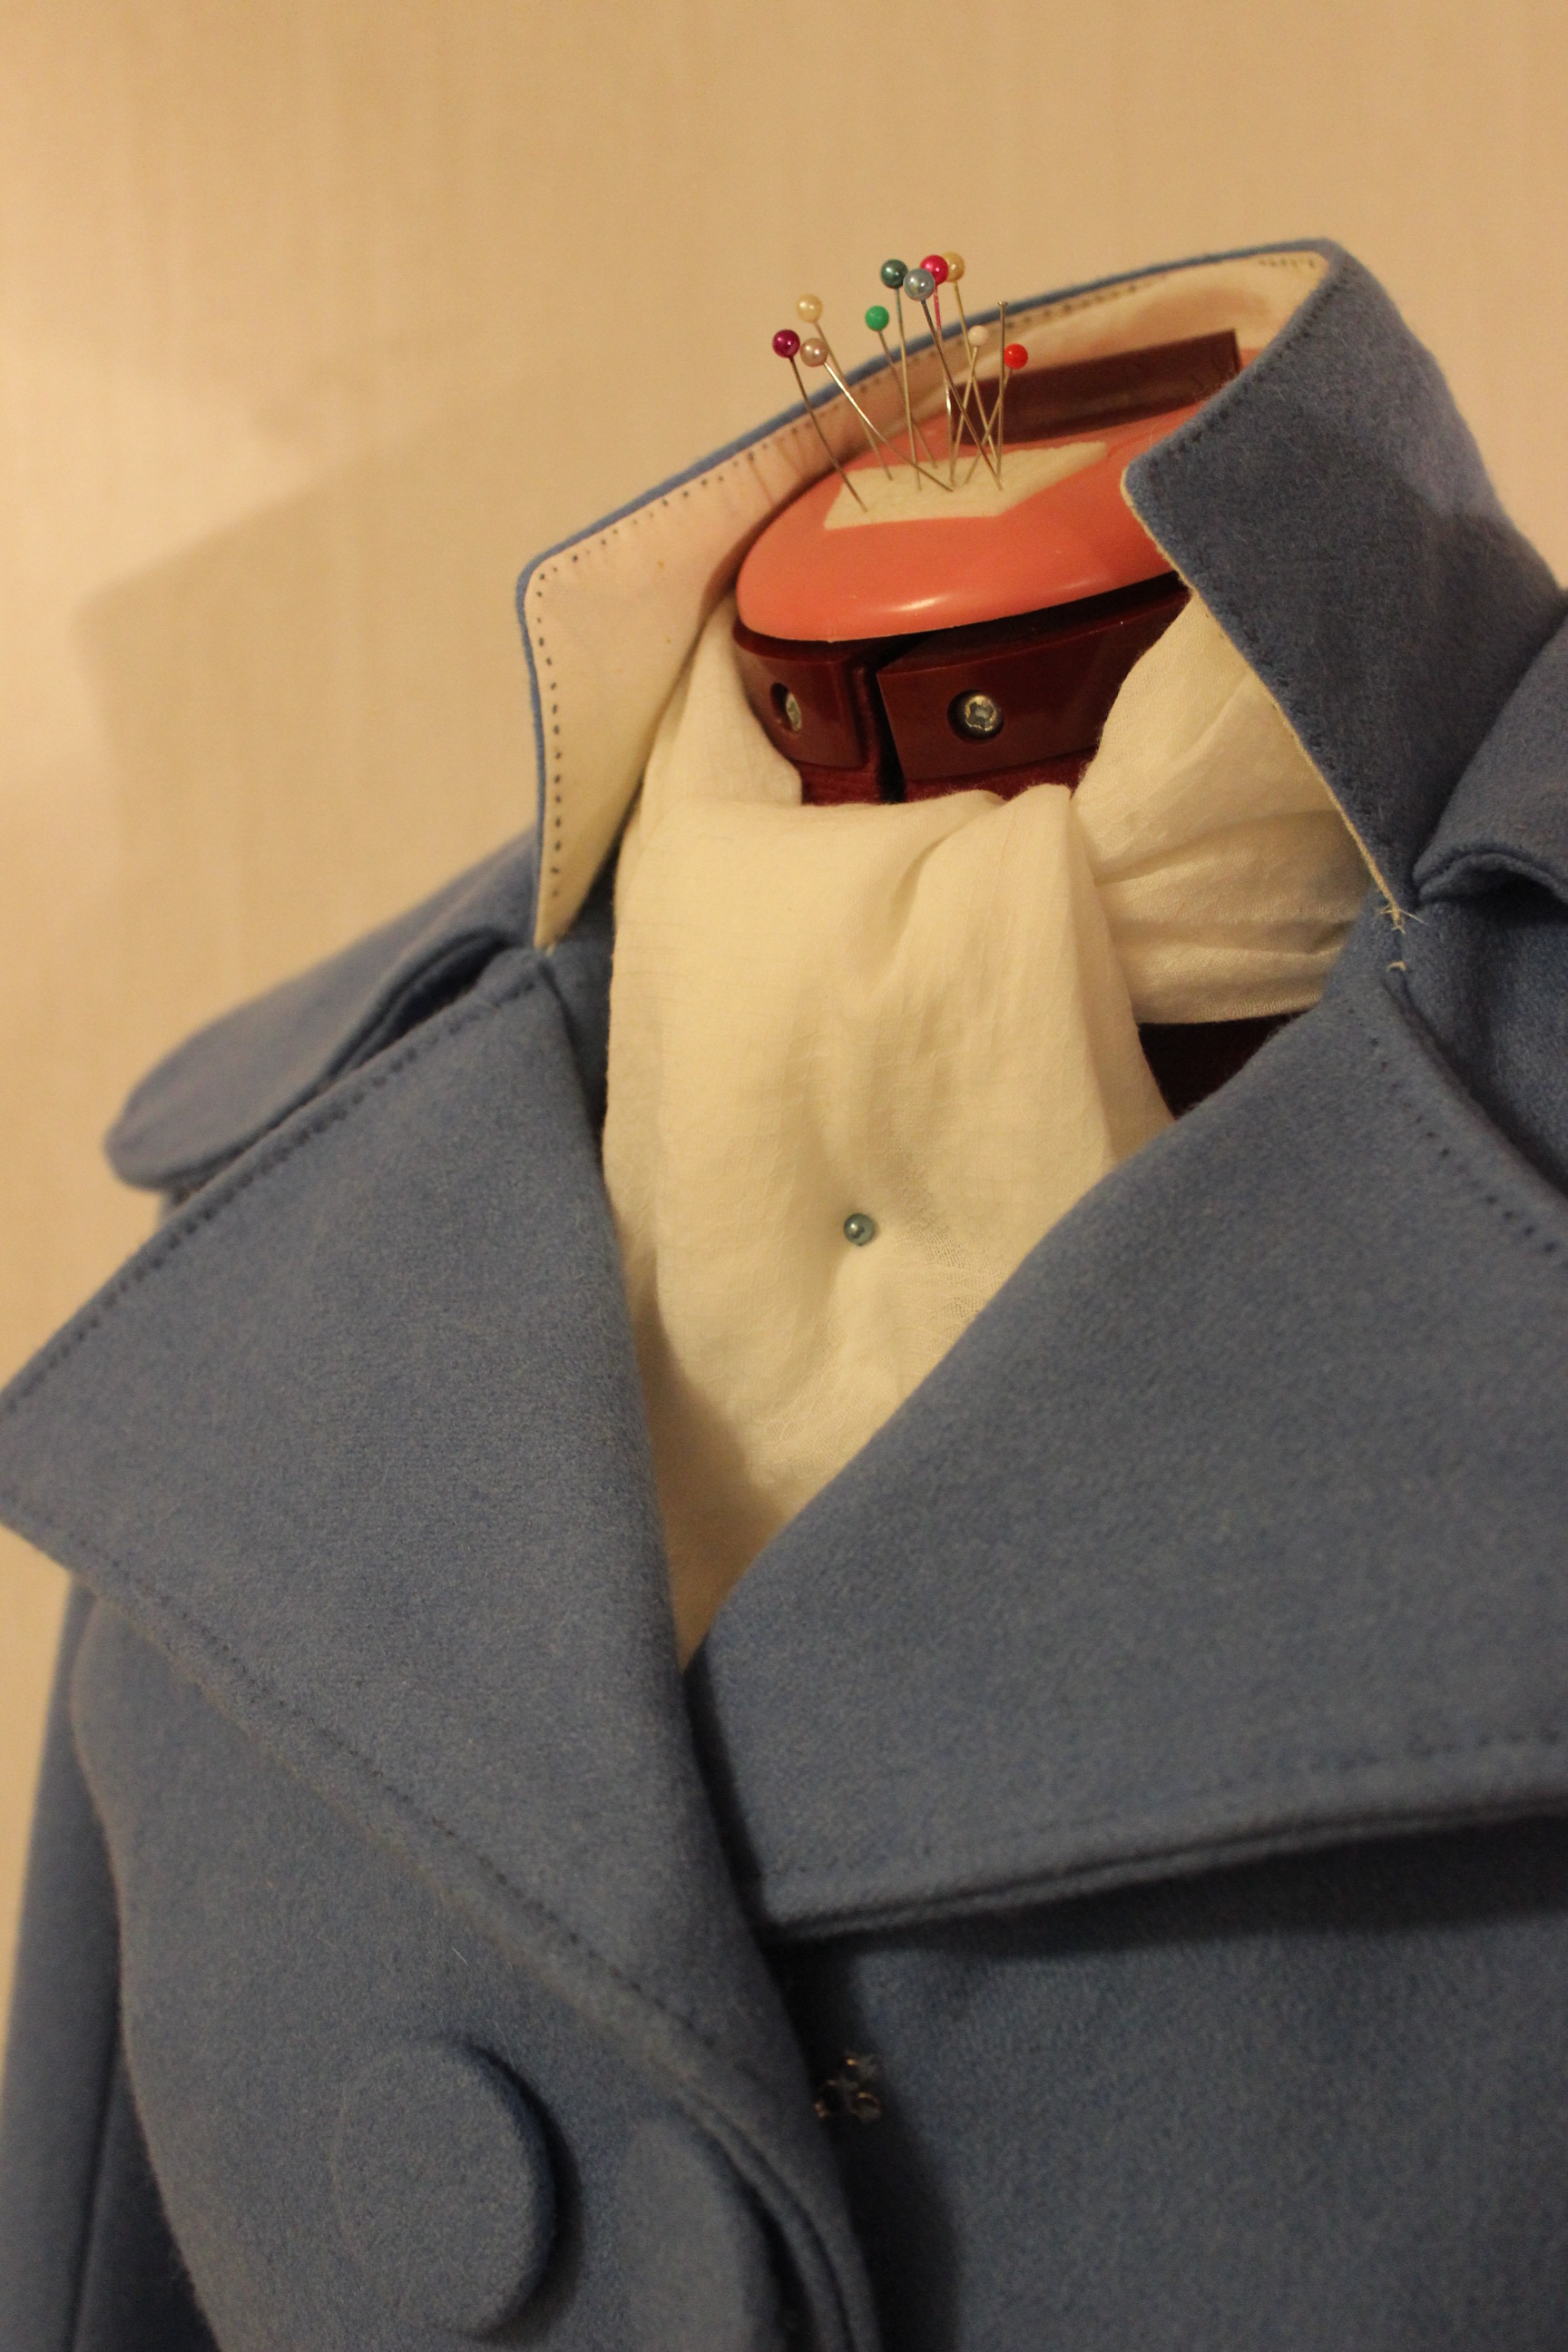
The center front marking matched up perfectly. 
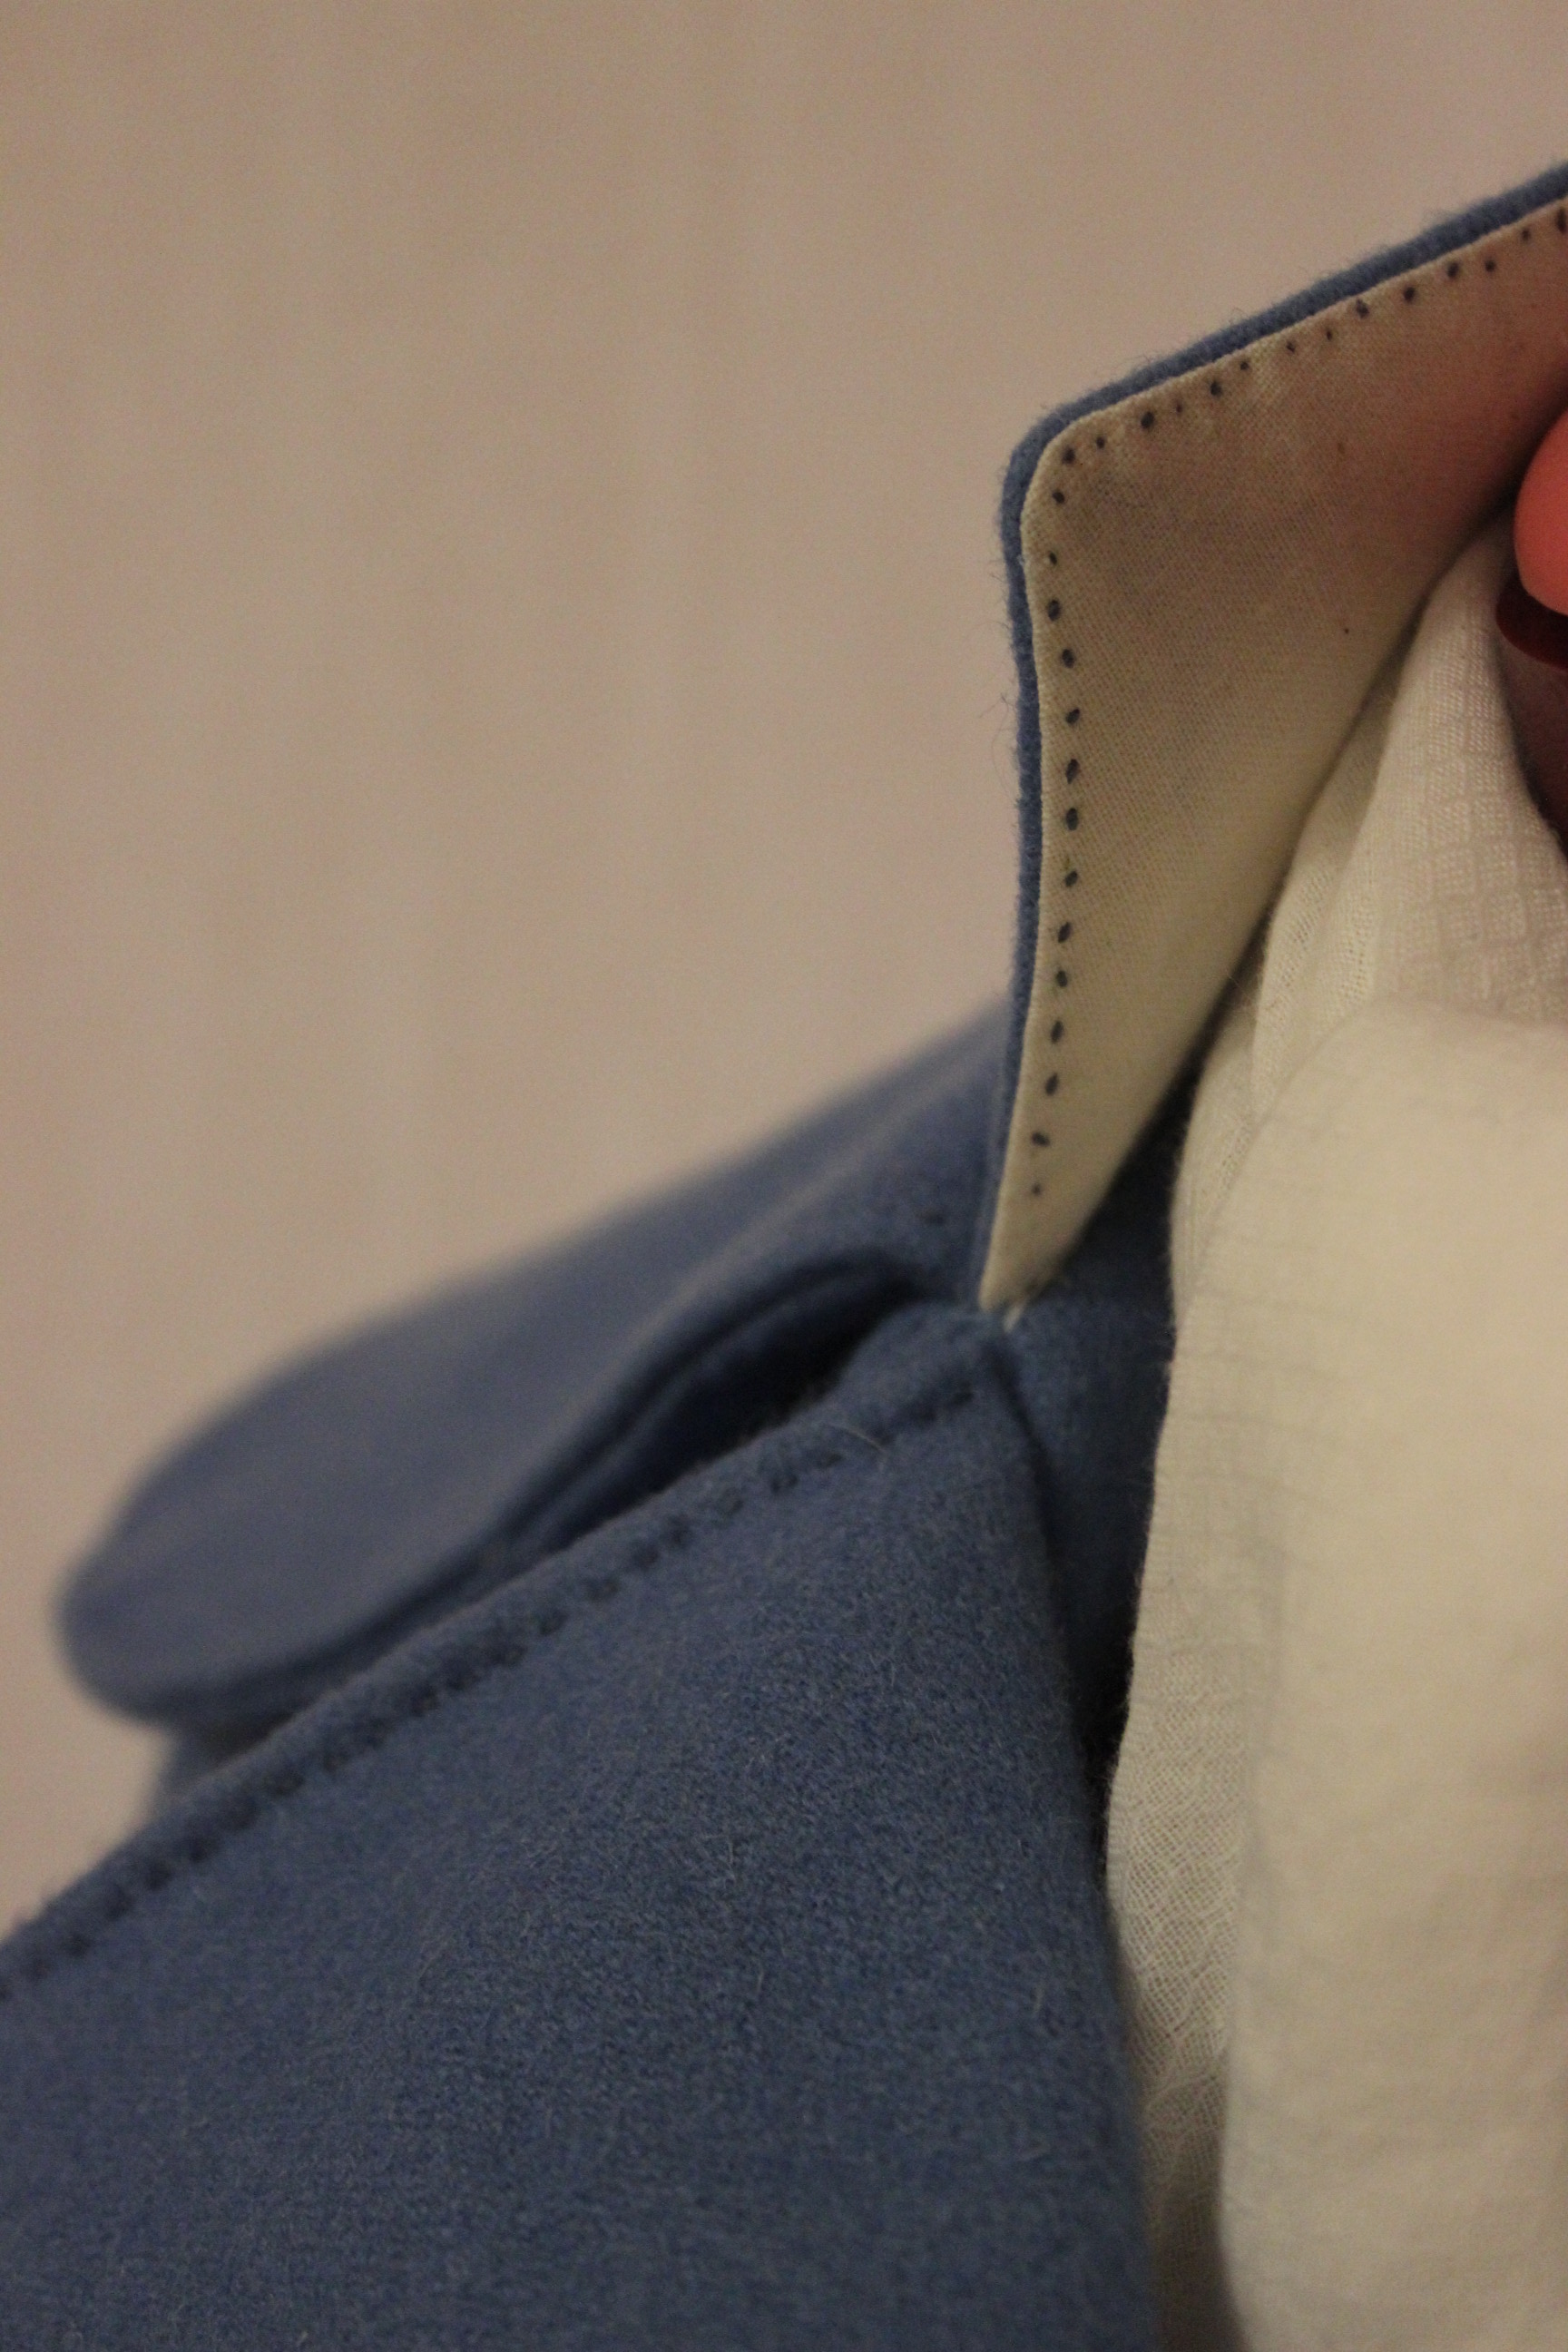
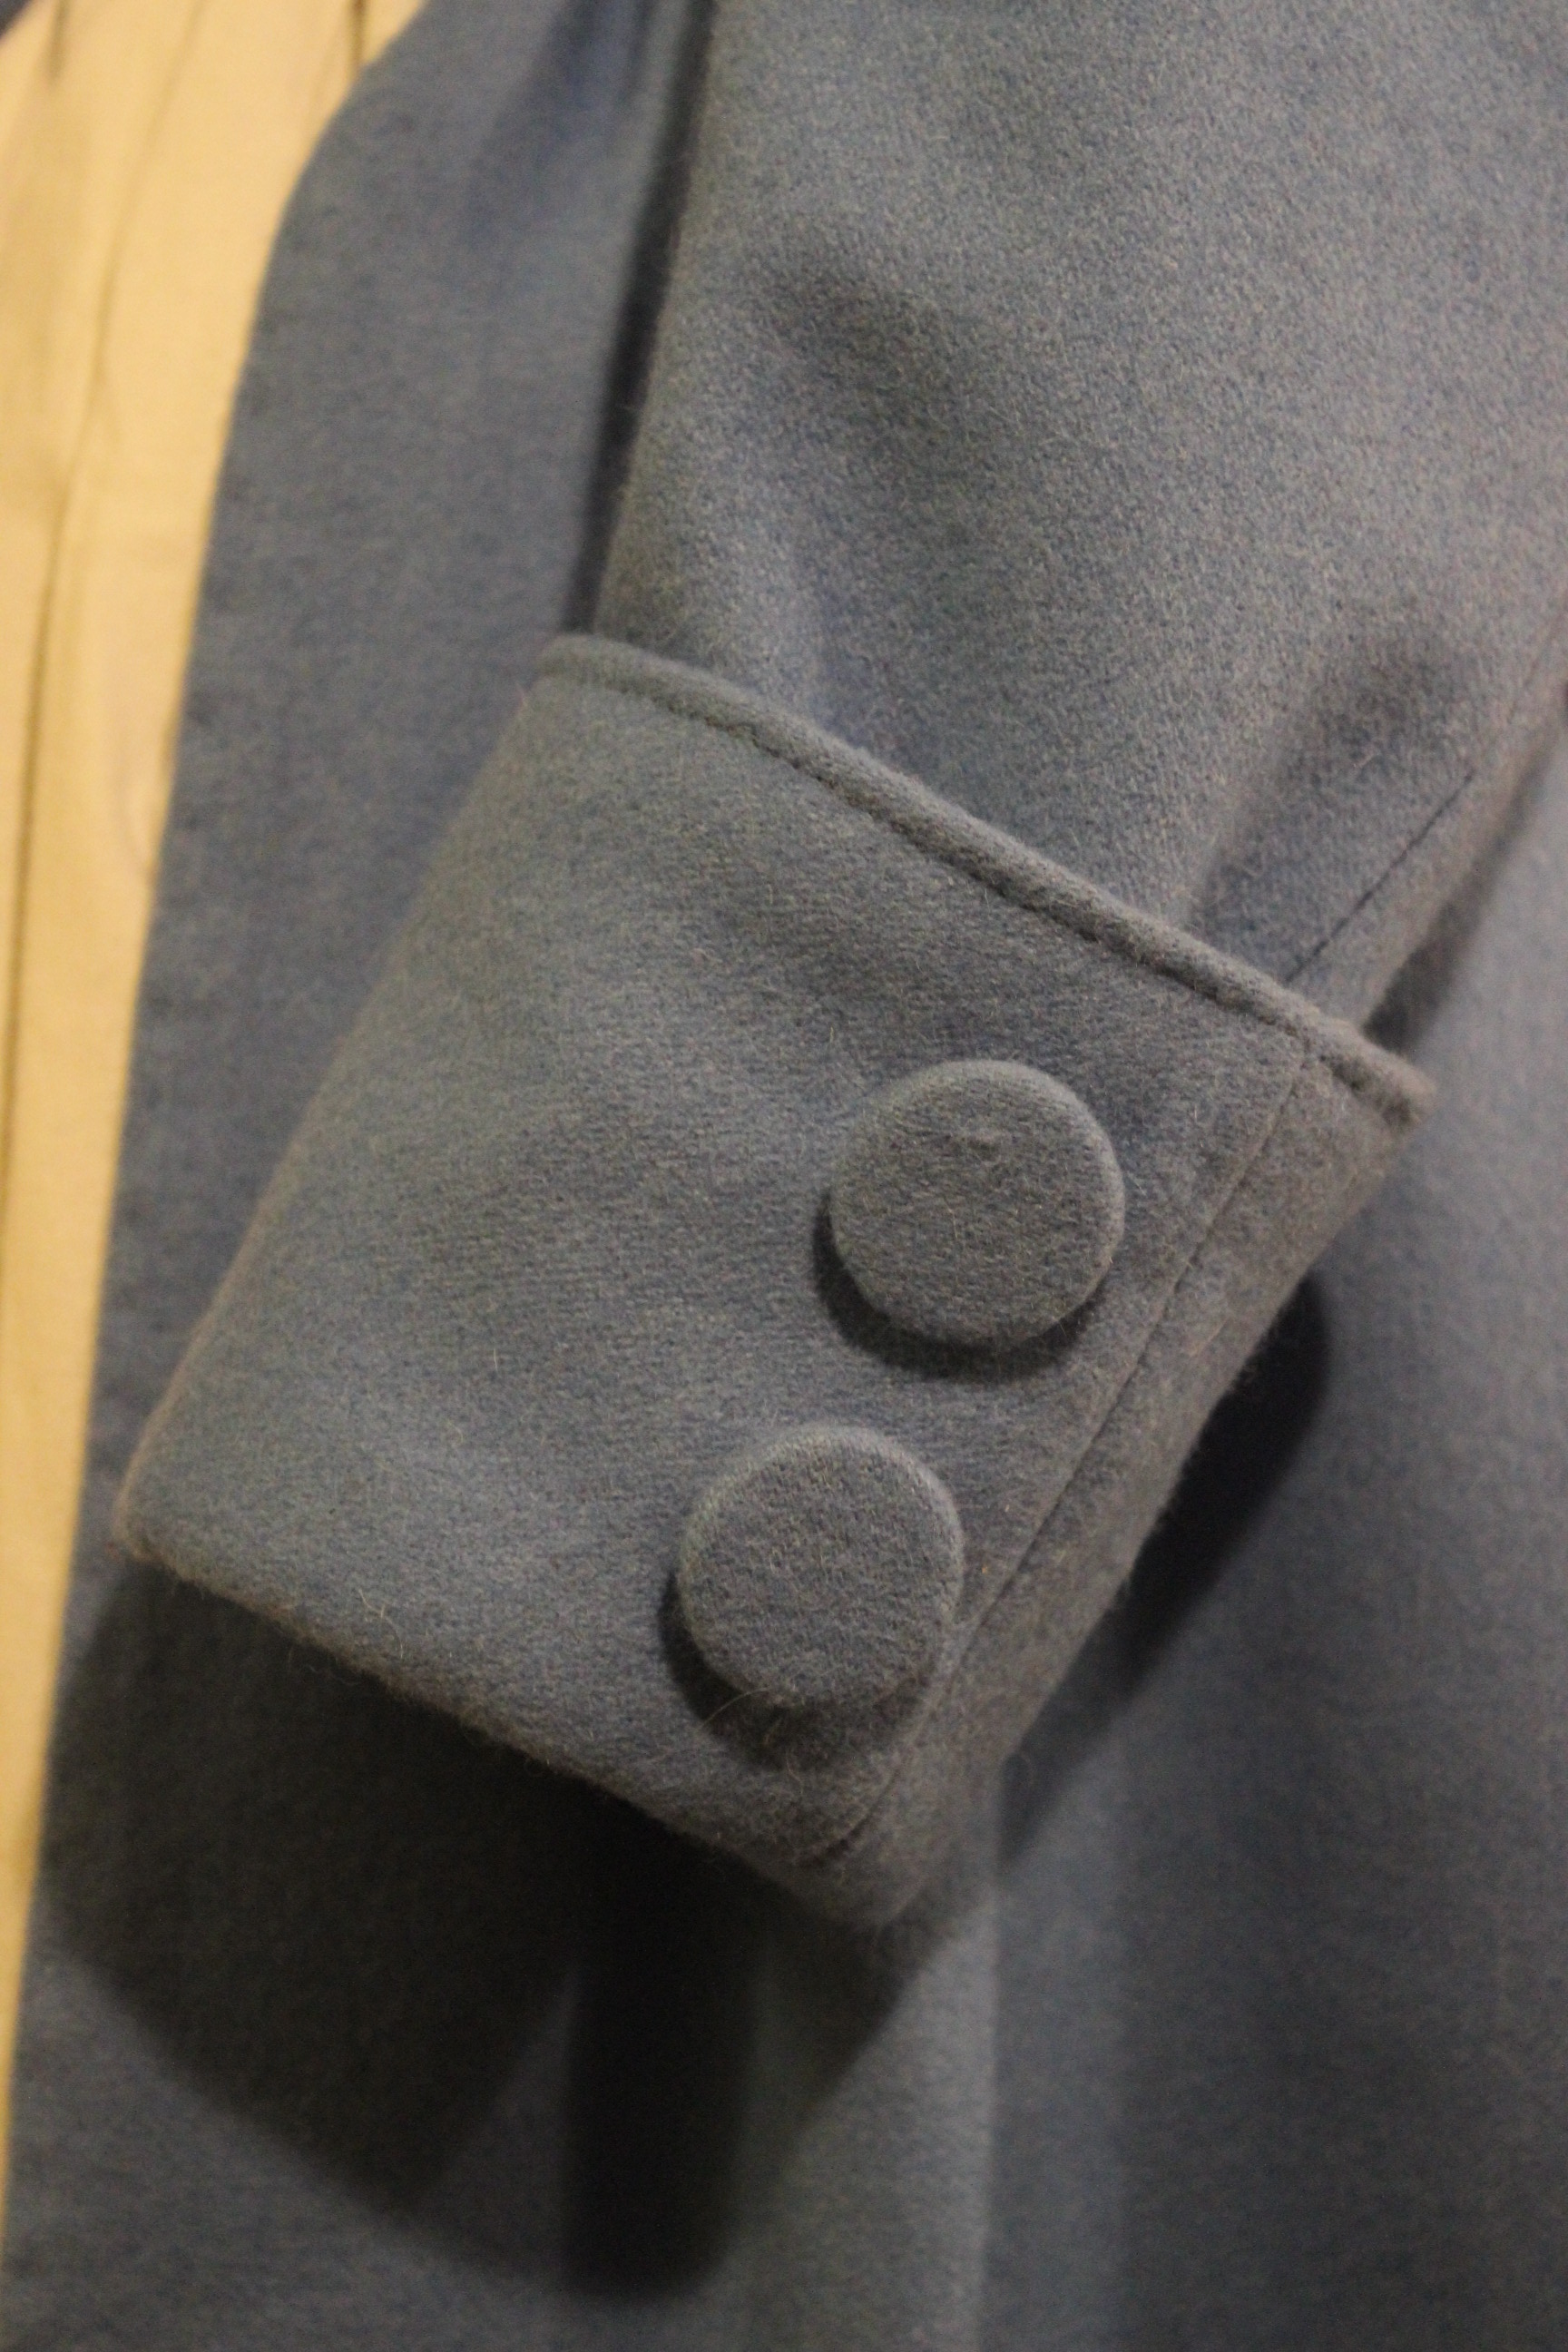
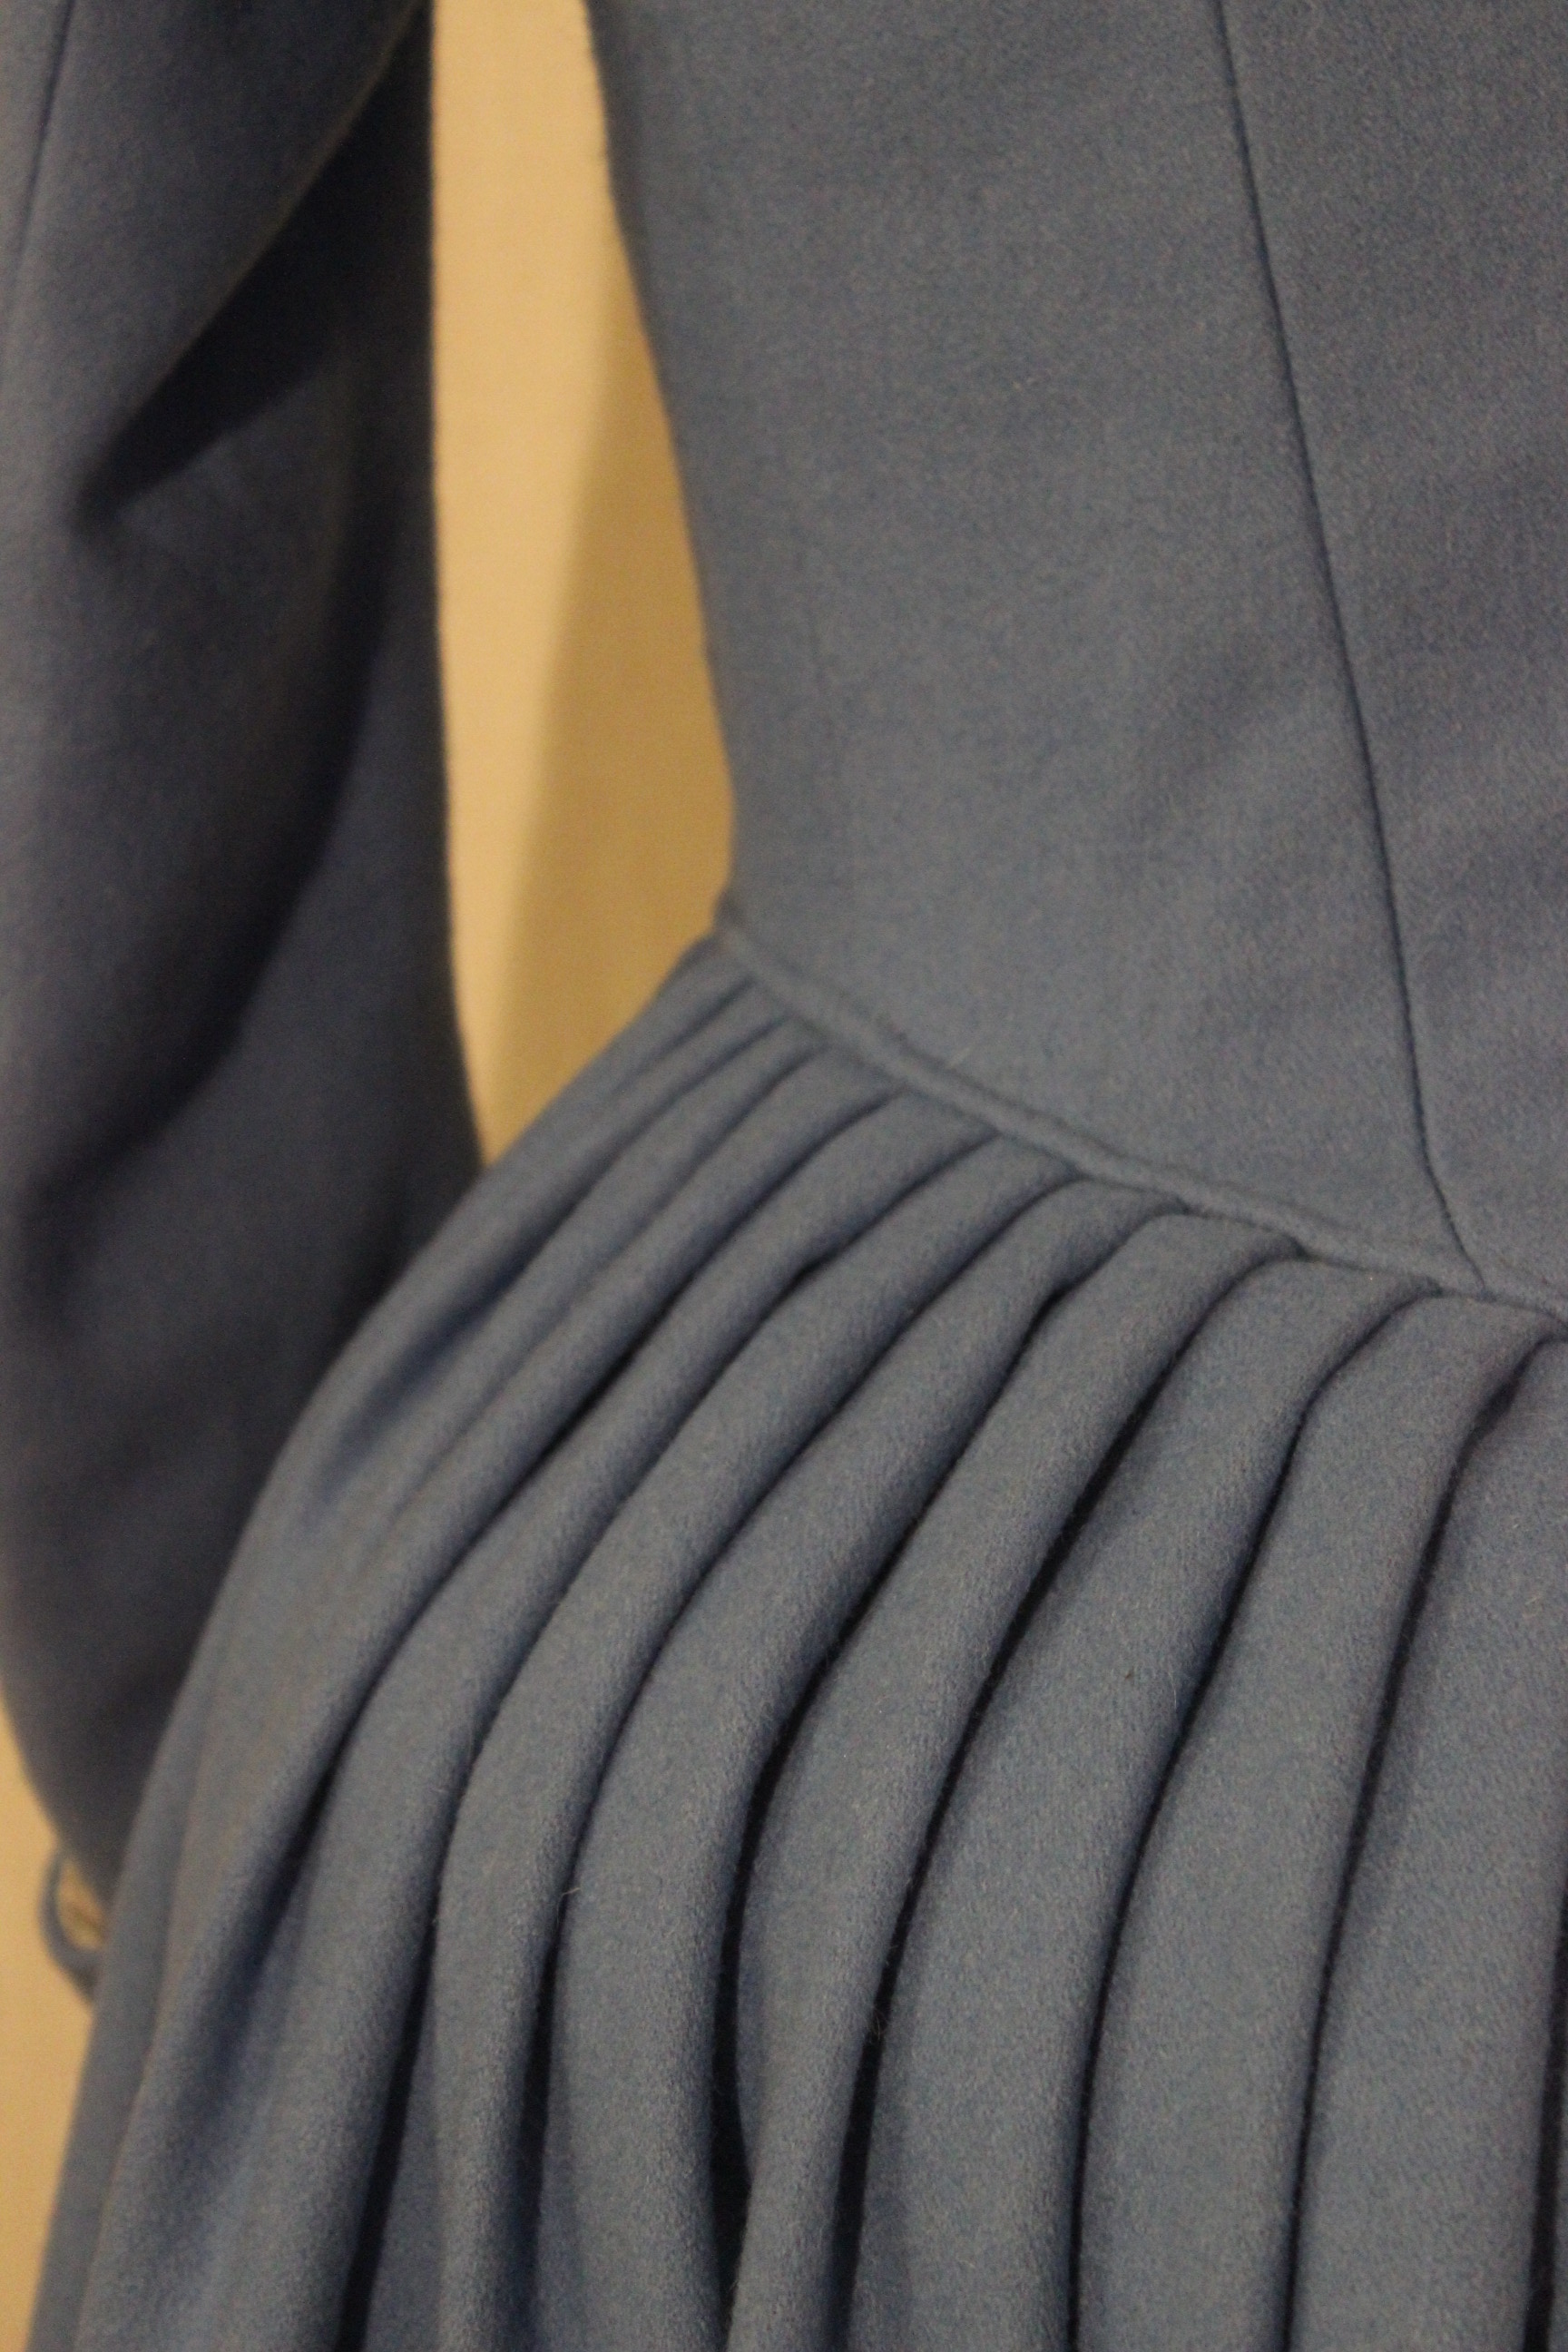
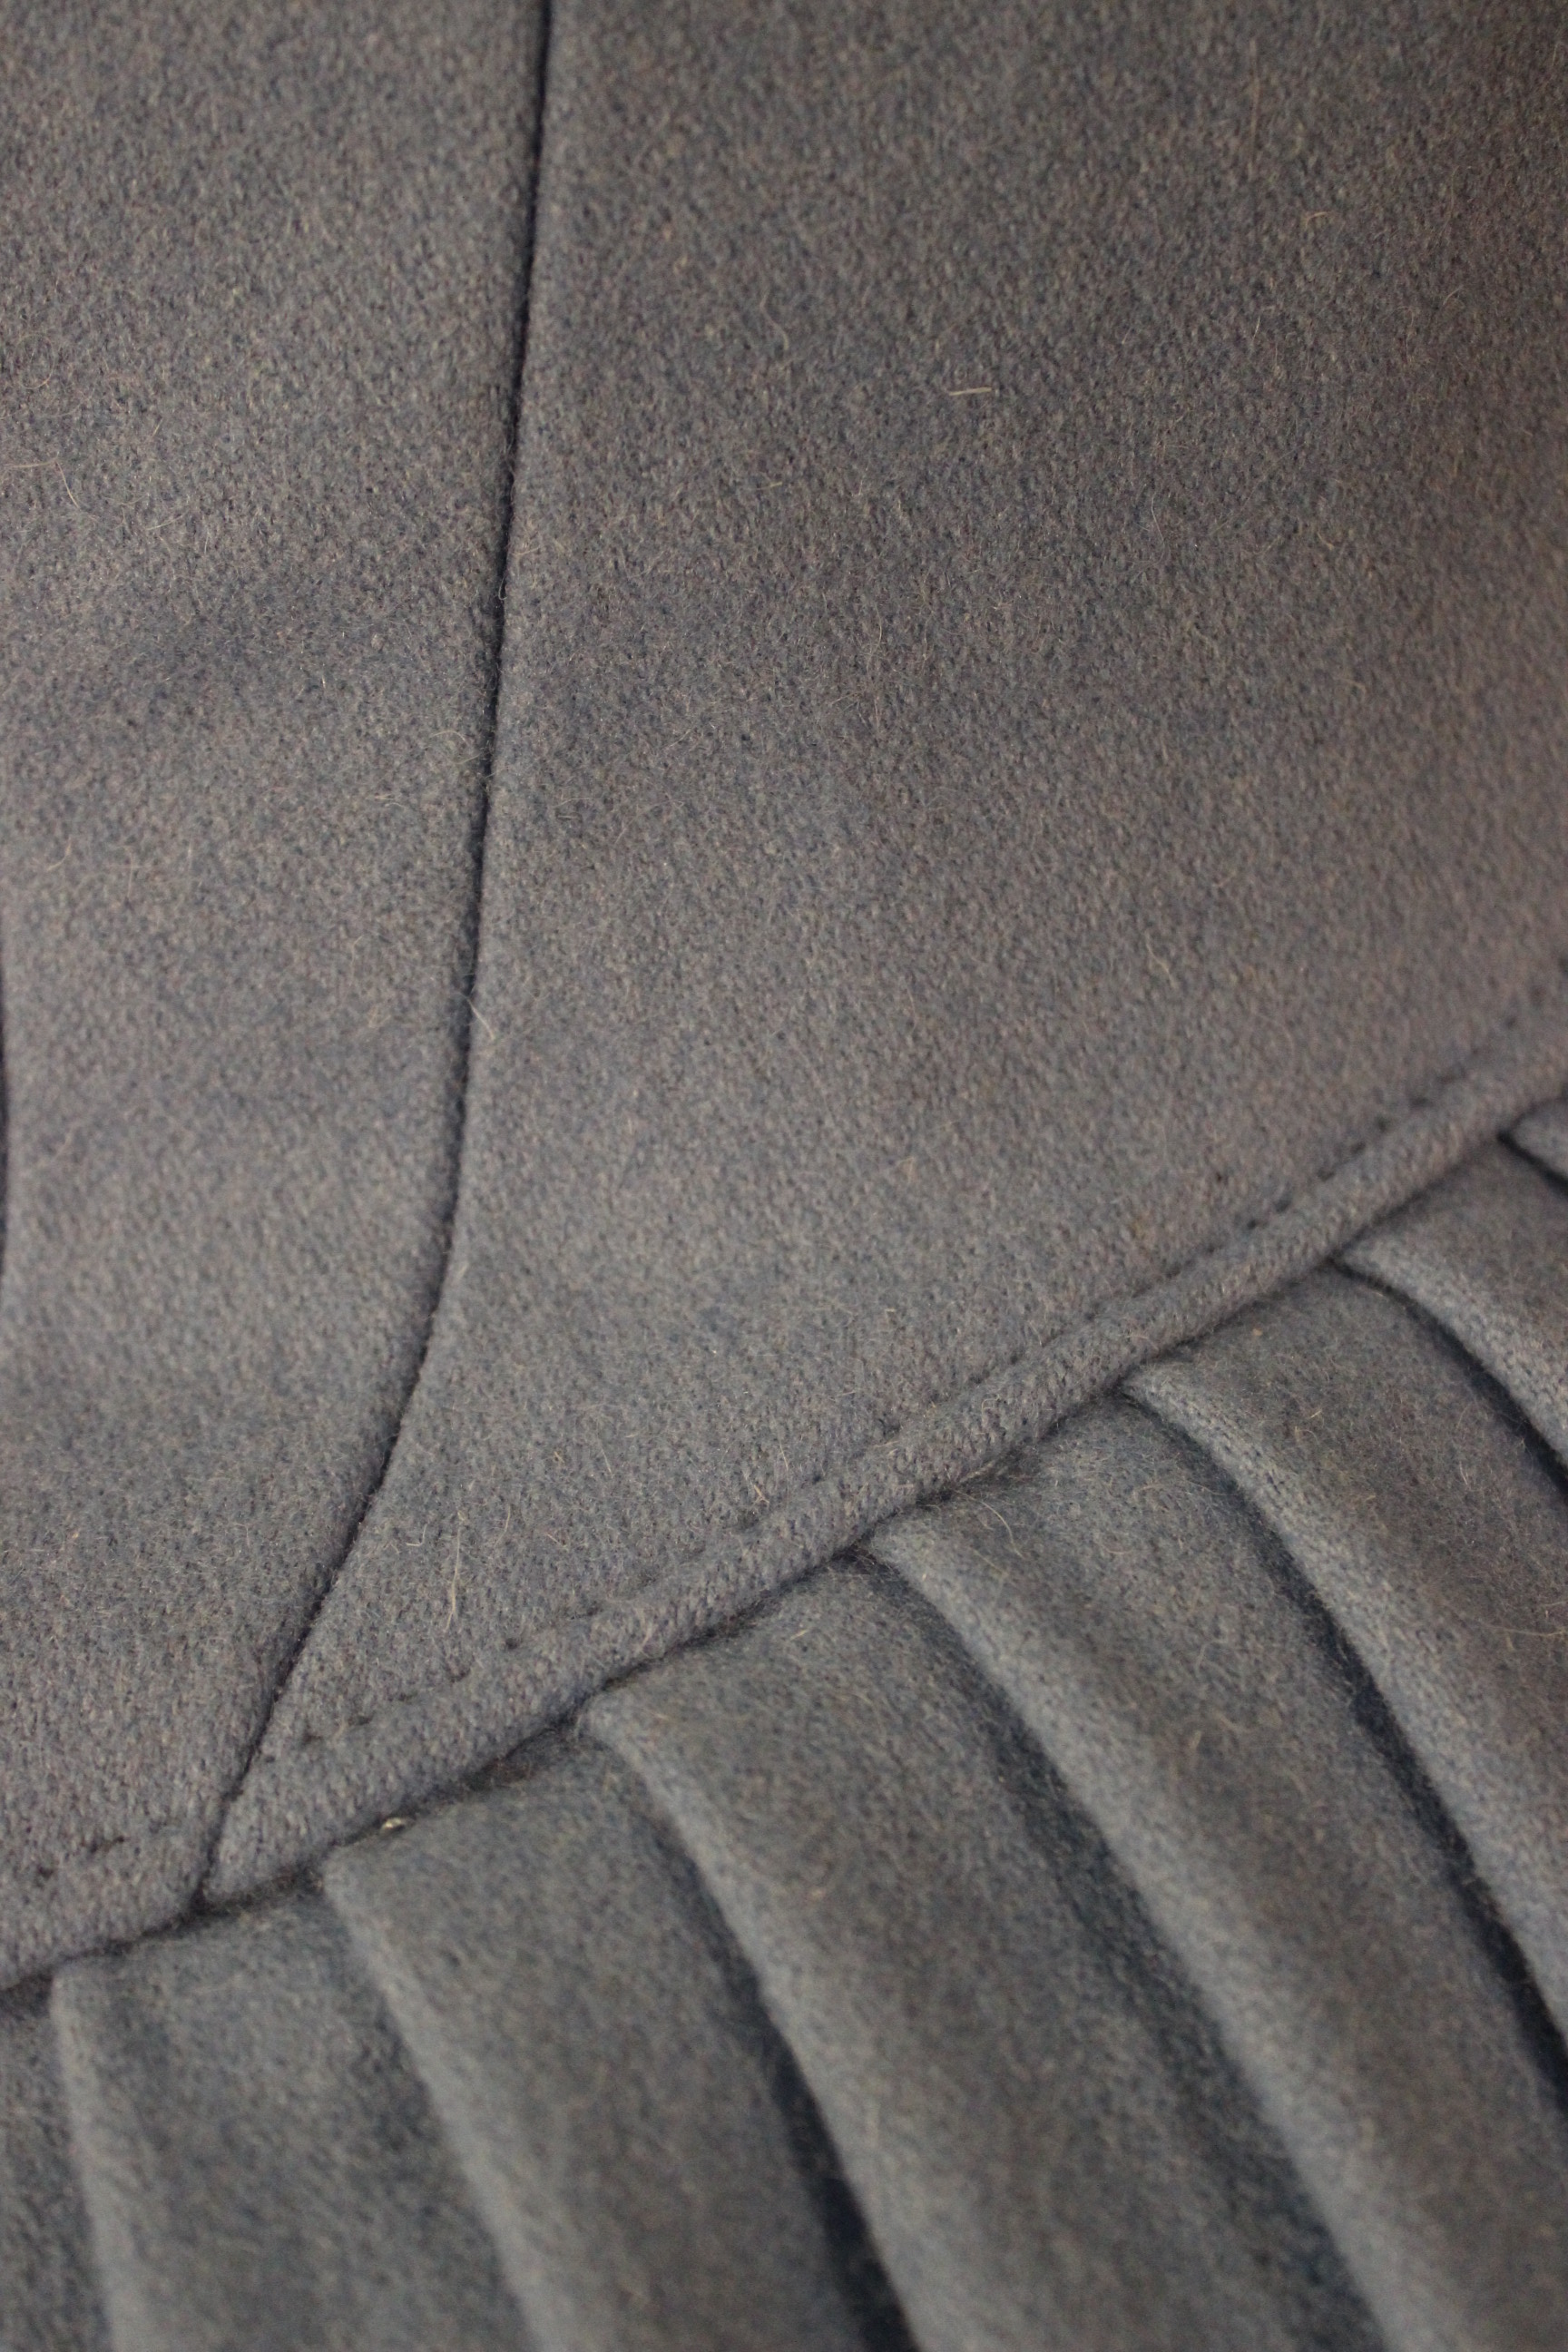
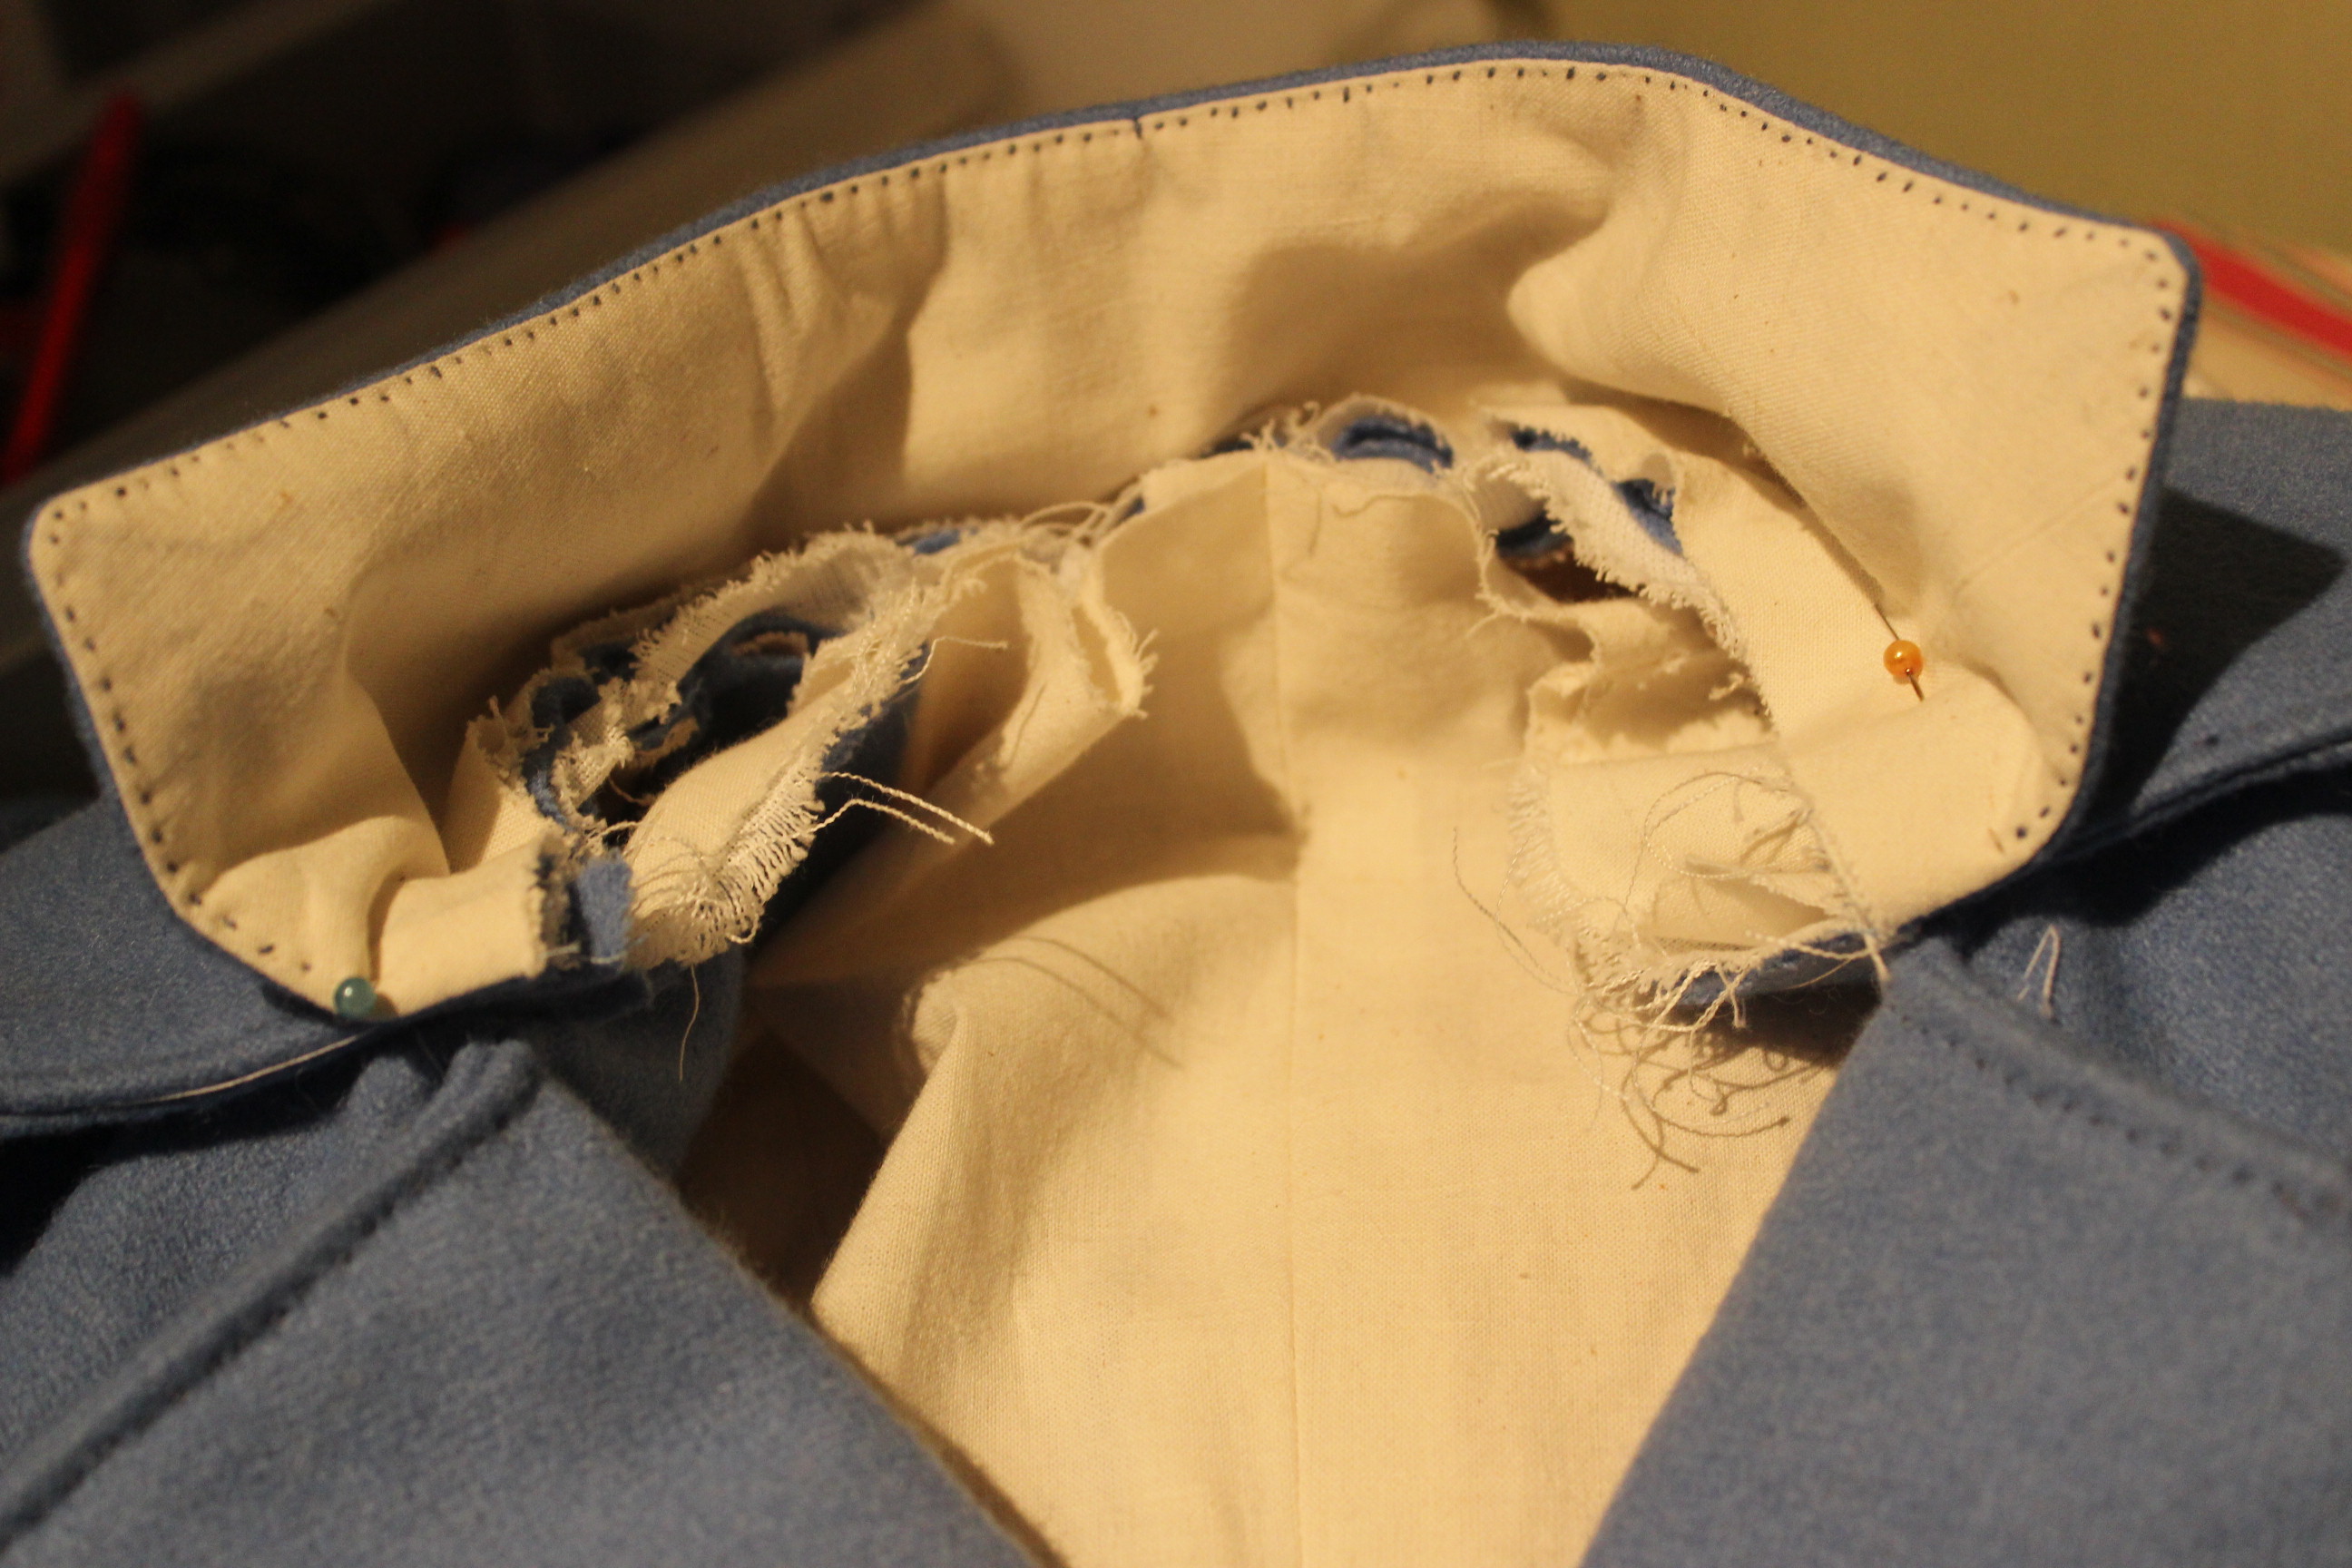
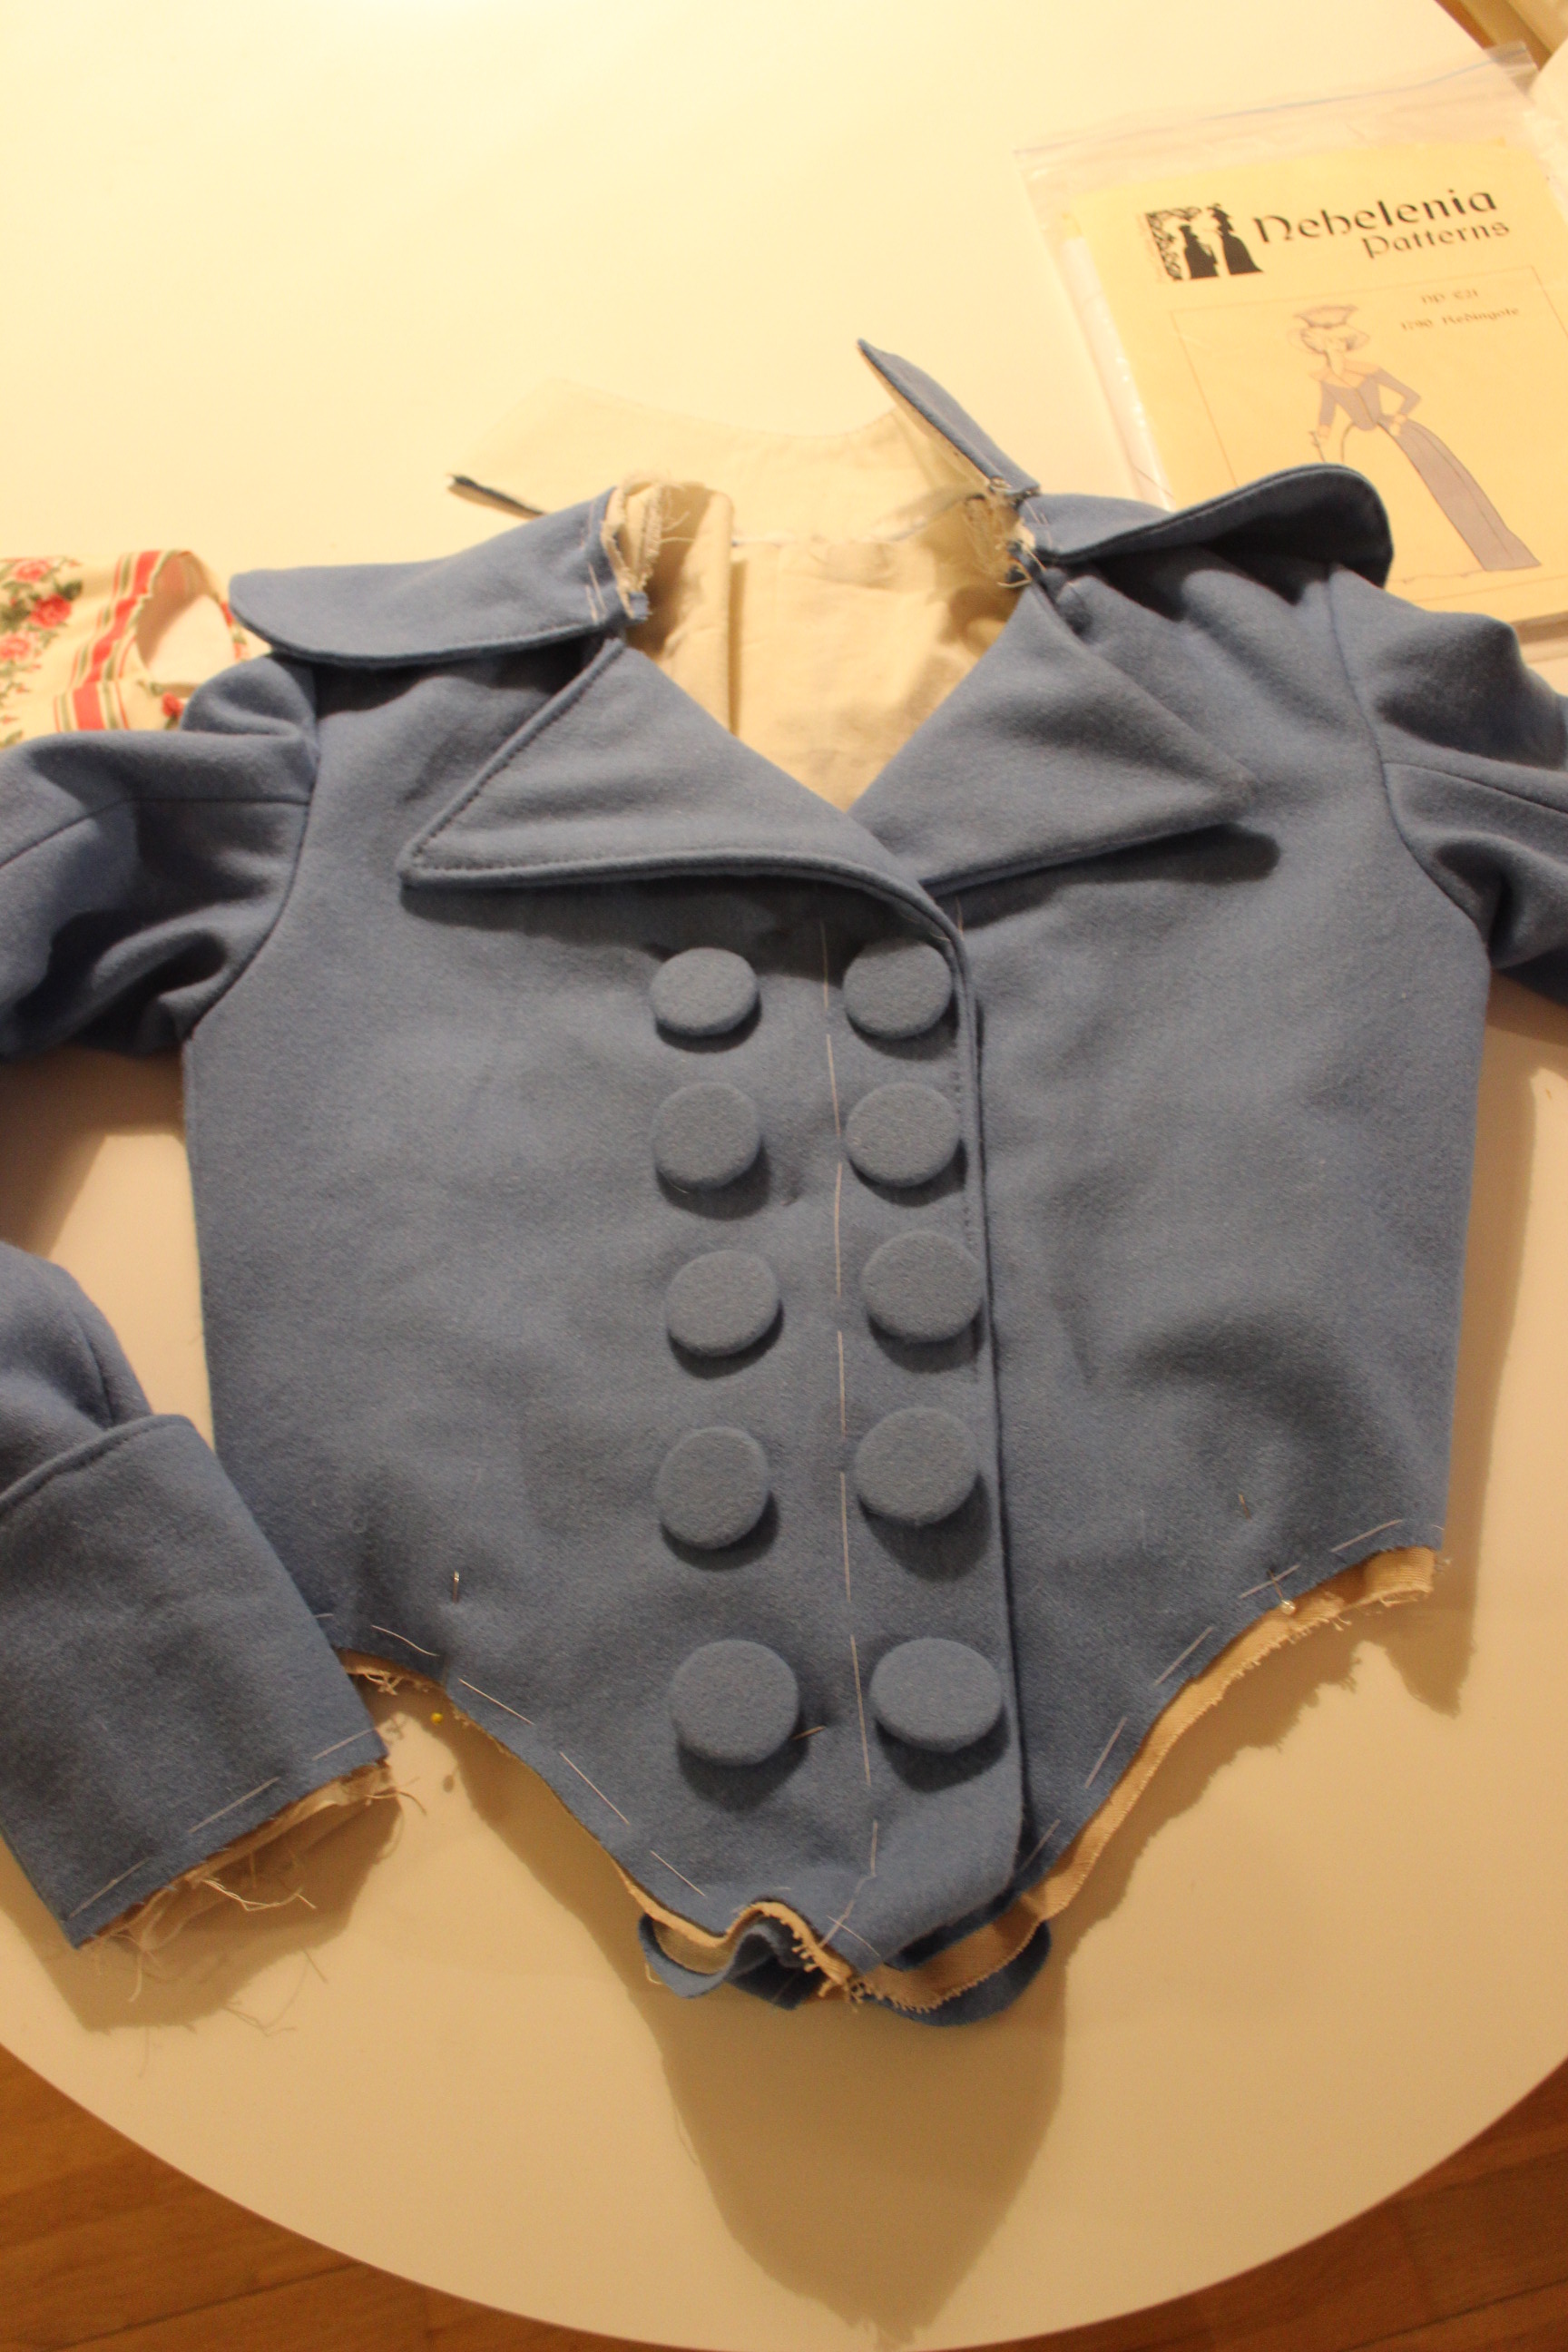
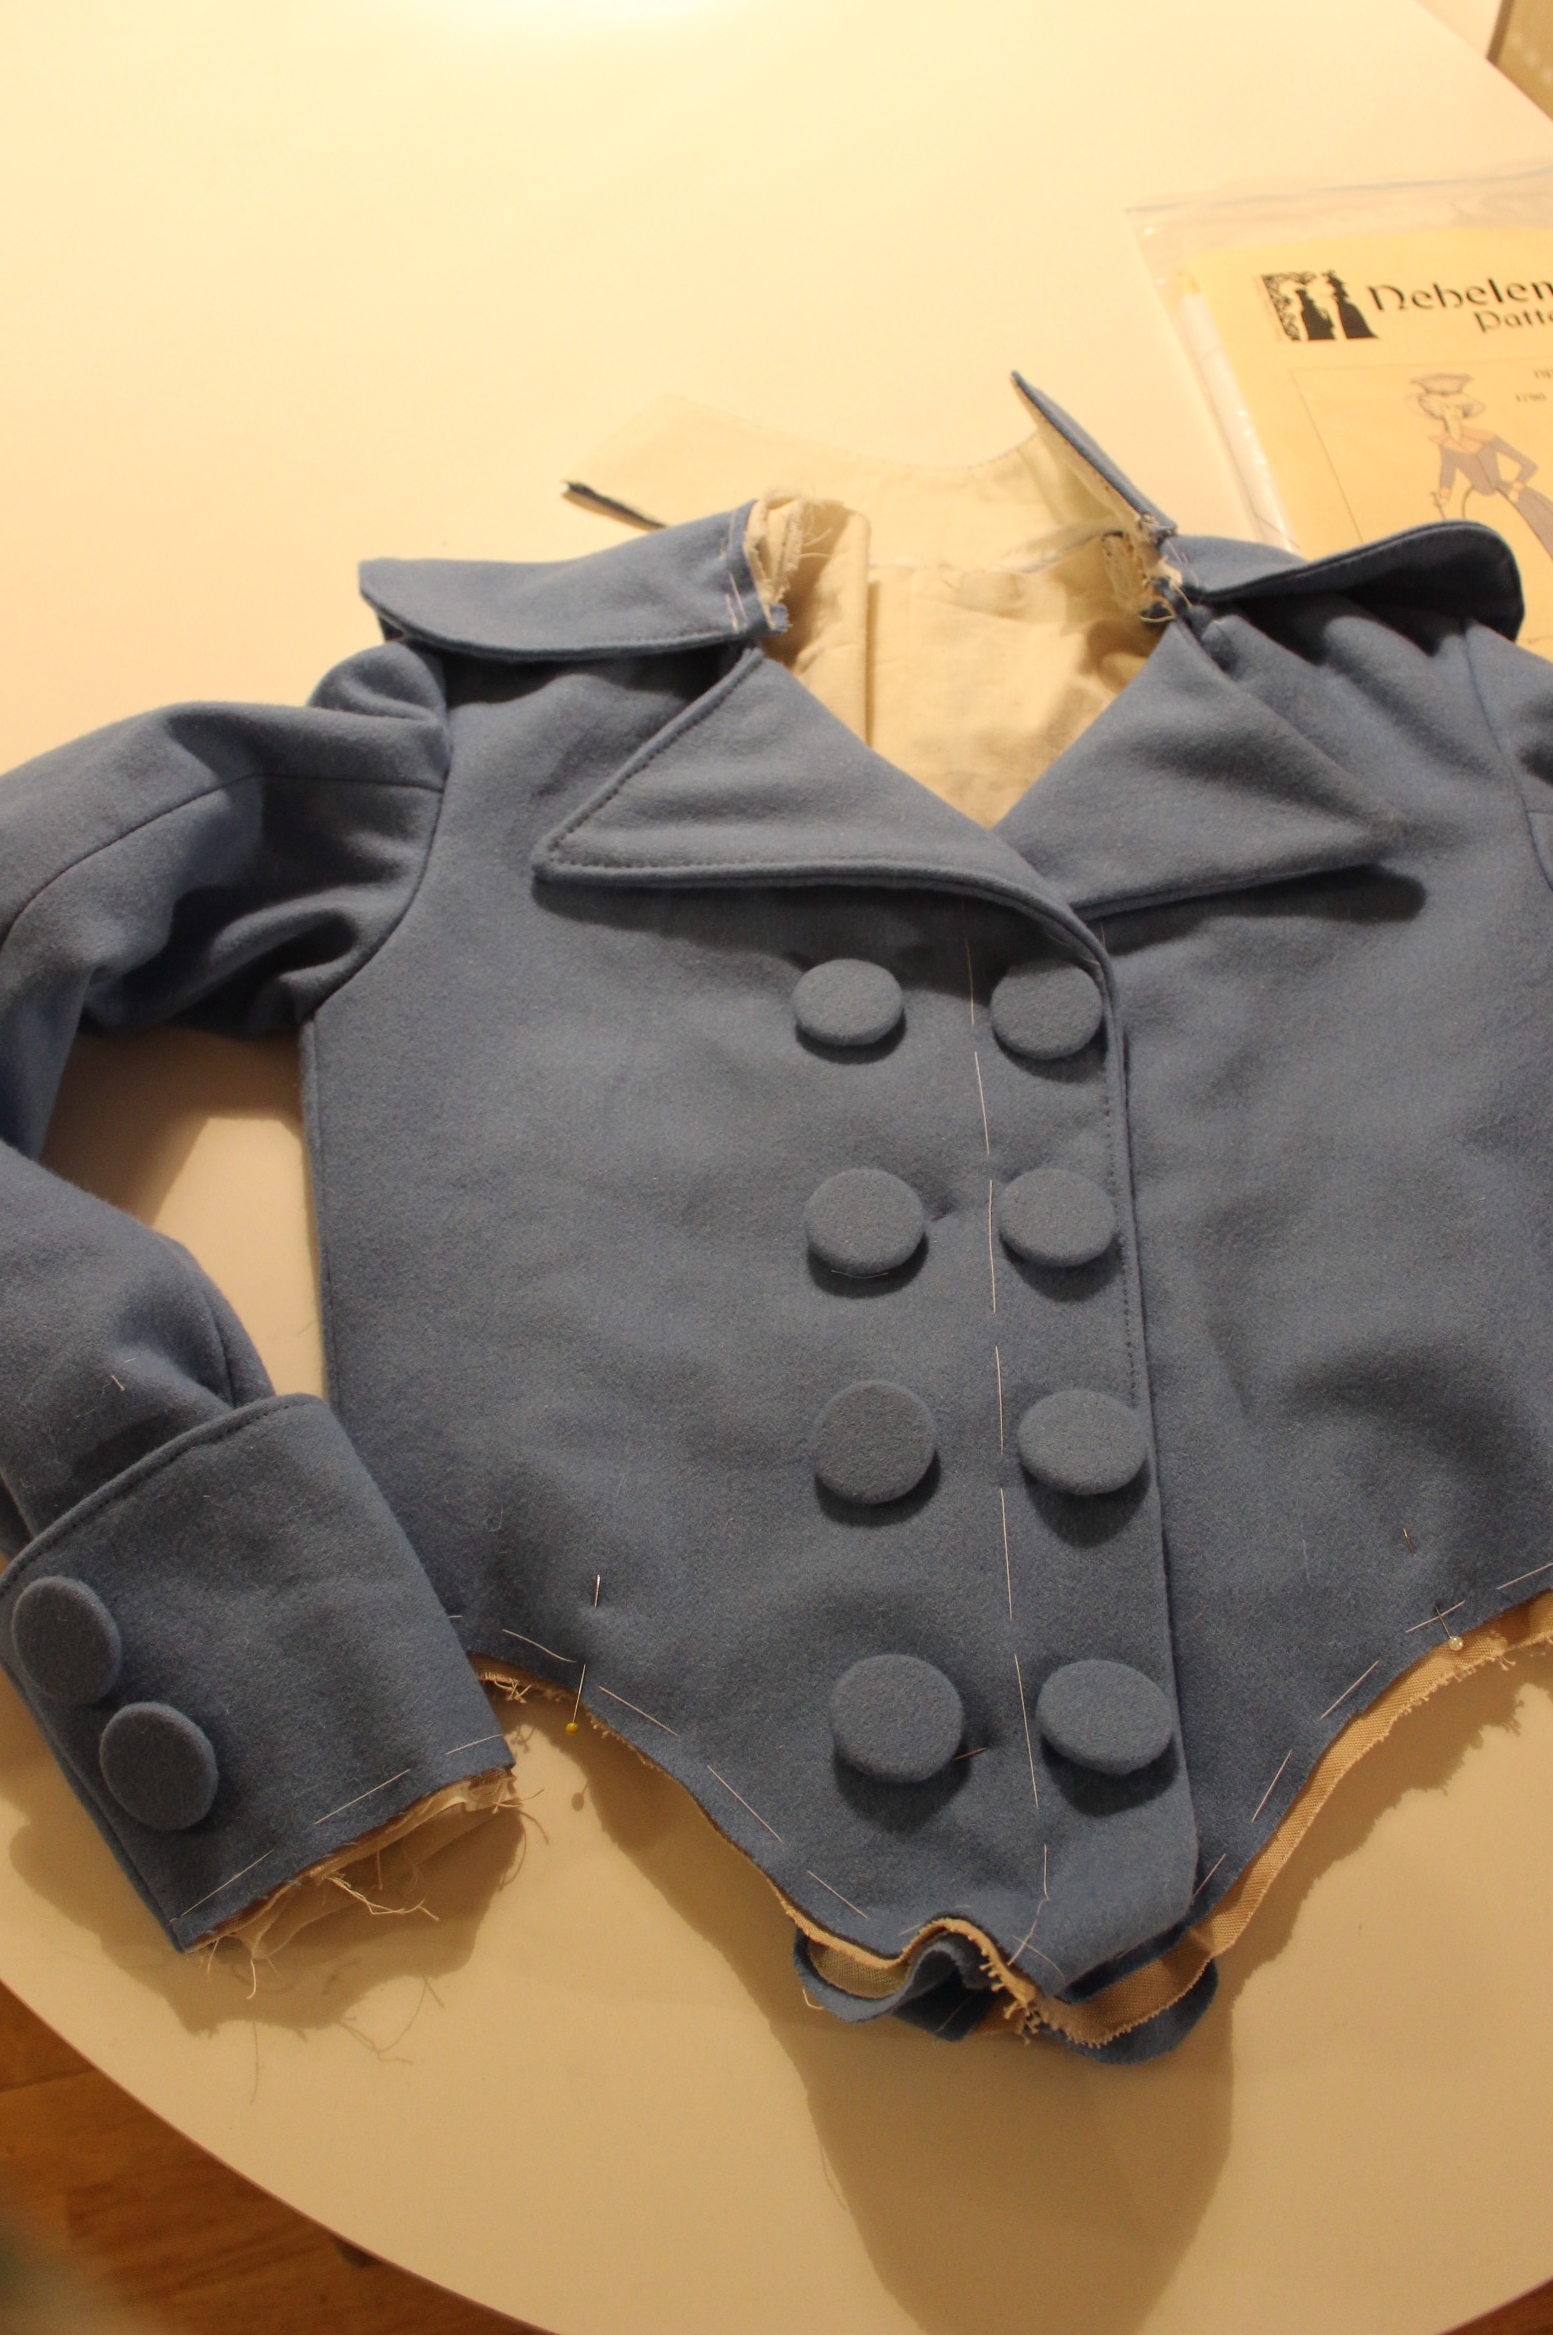
I then spent a few evenings stitching all the reinforcing/decoration on the collars and cuffs.
Then I stitched the ling down. 
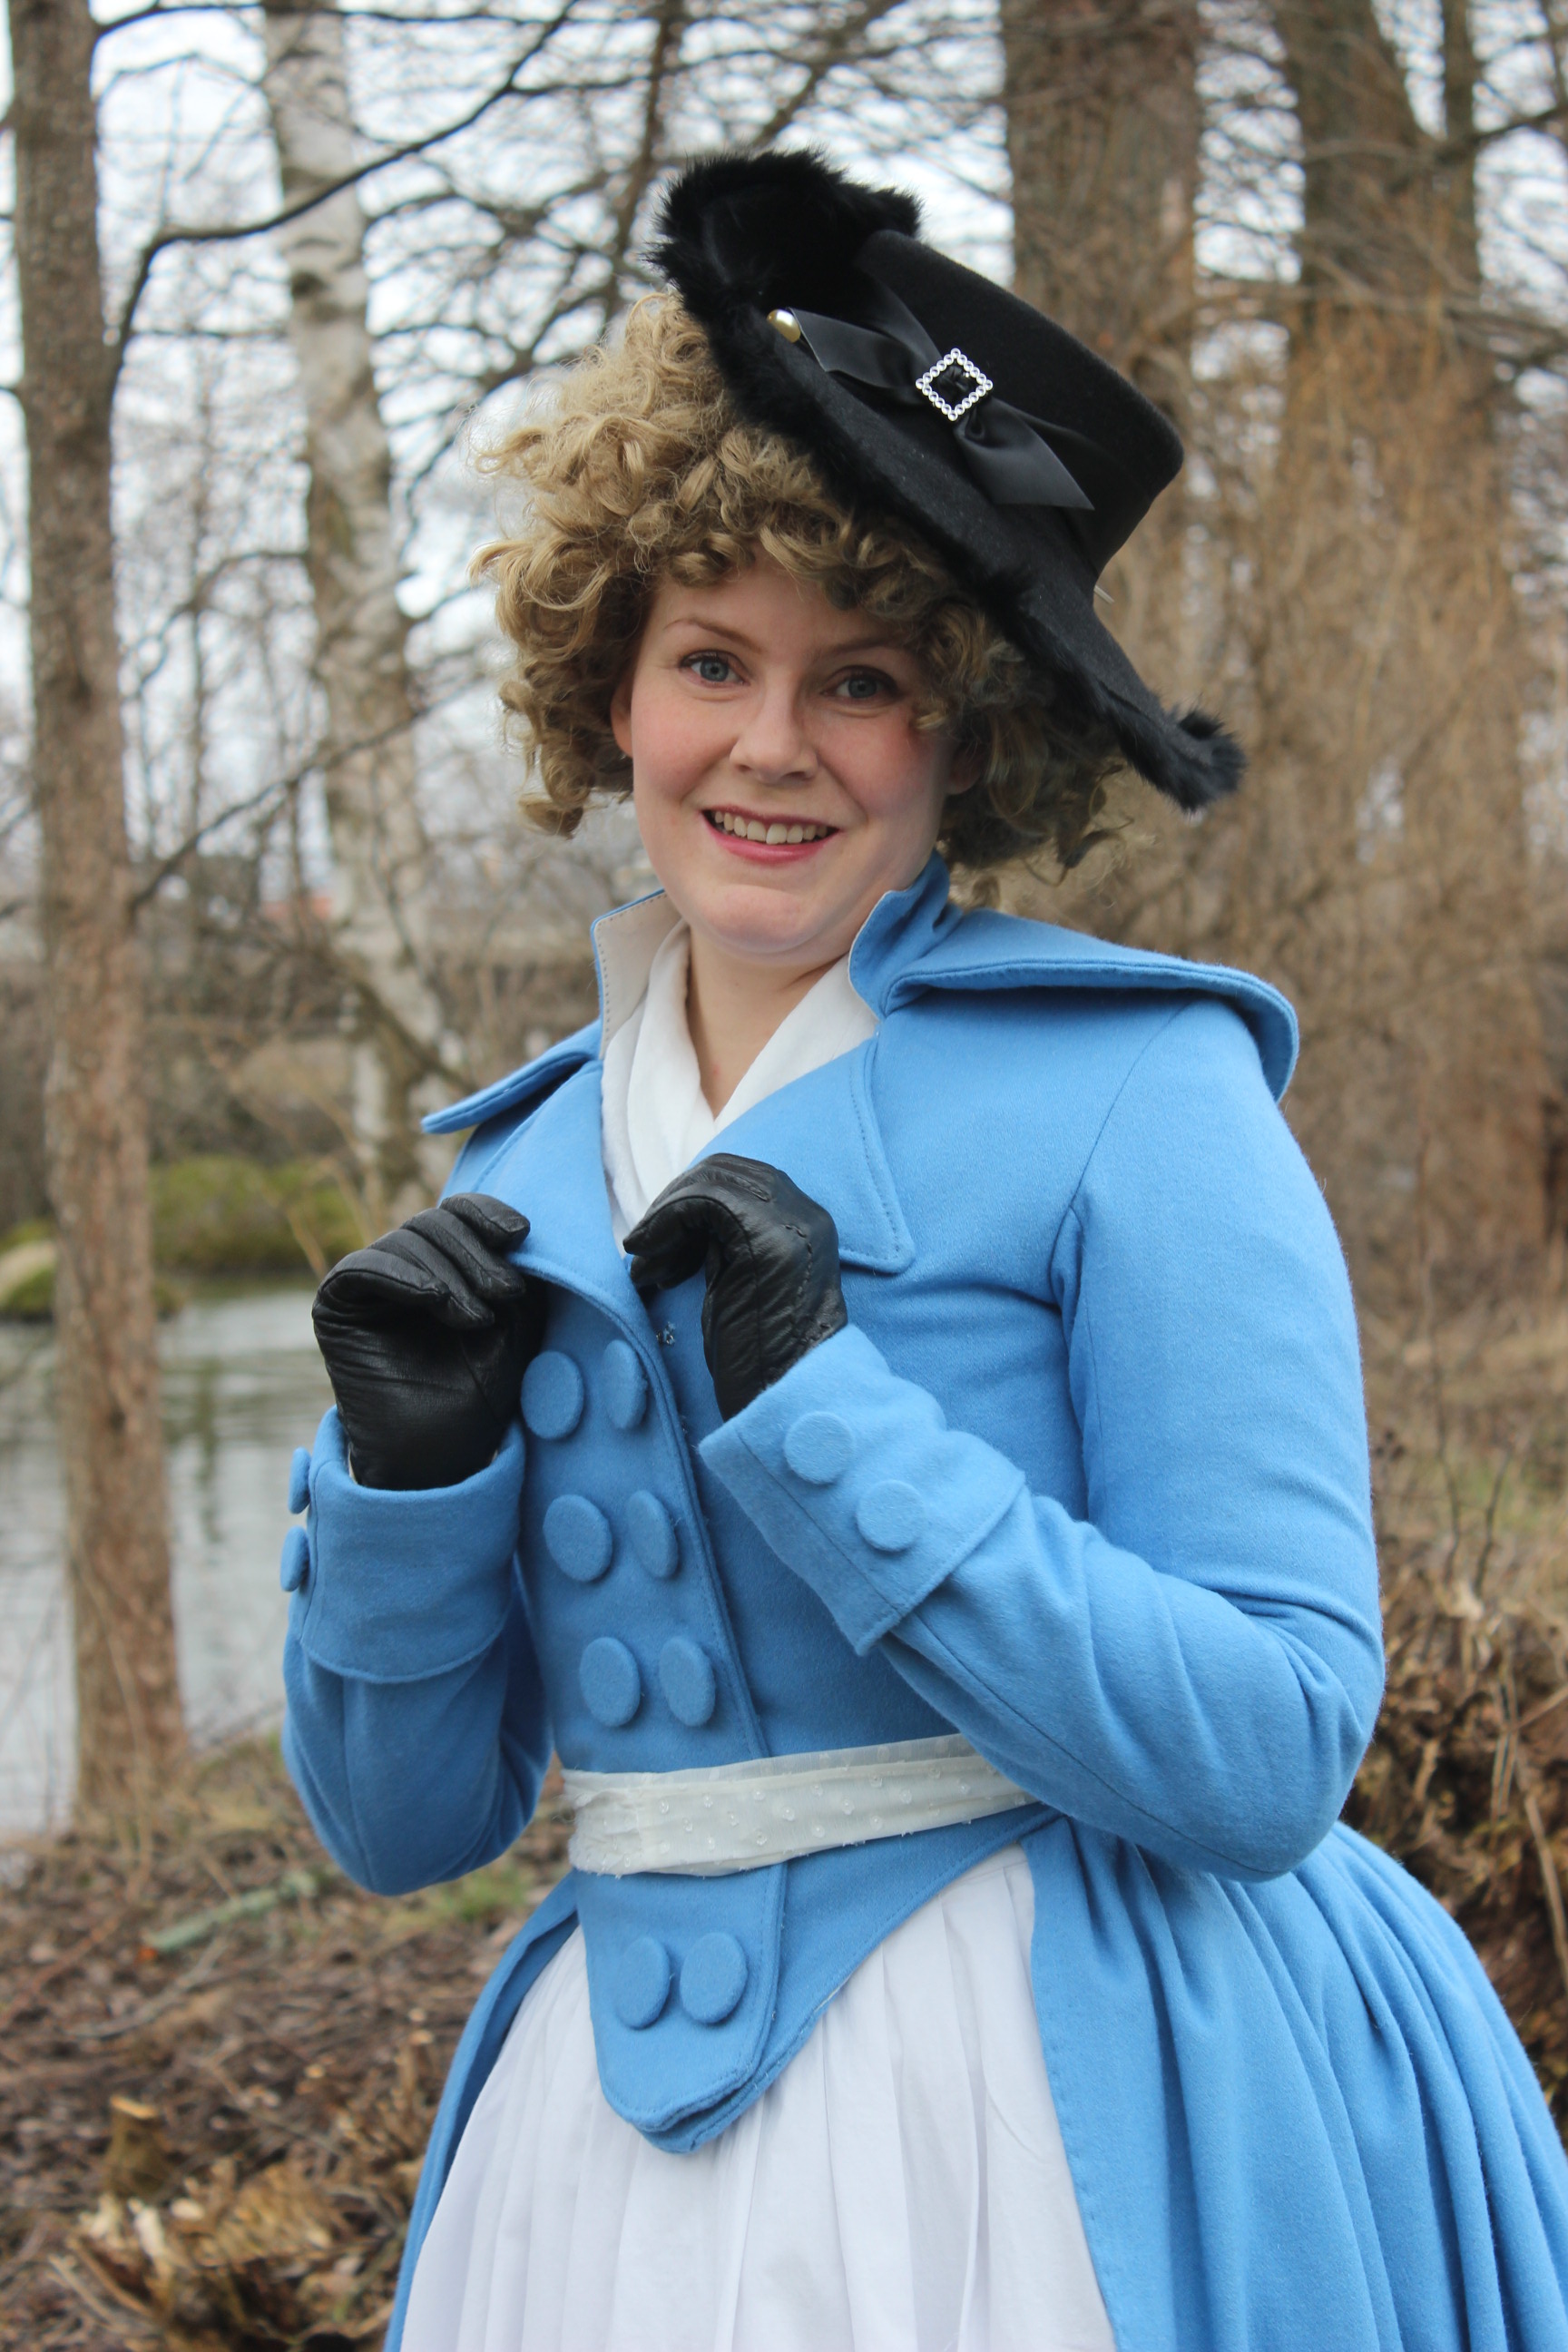
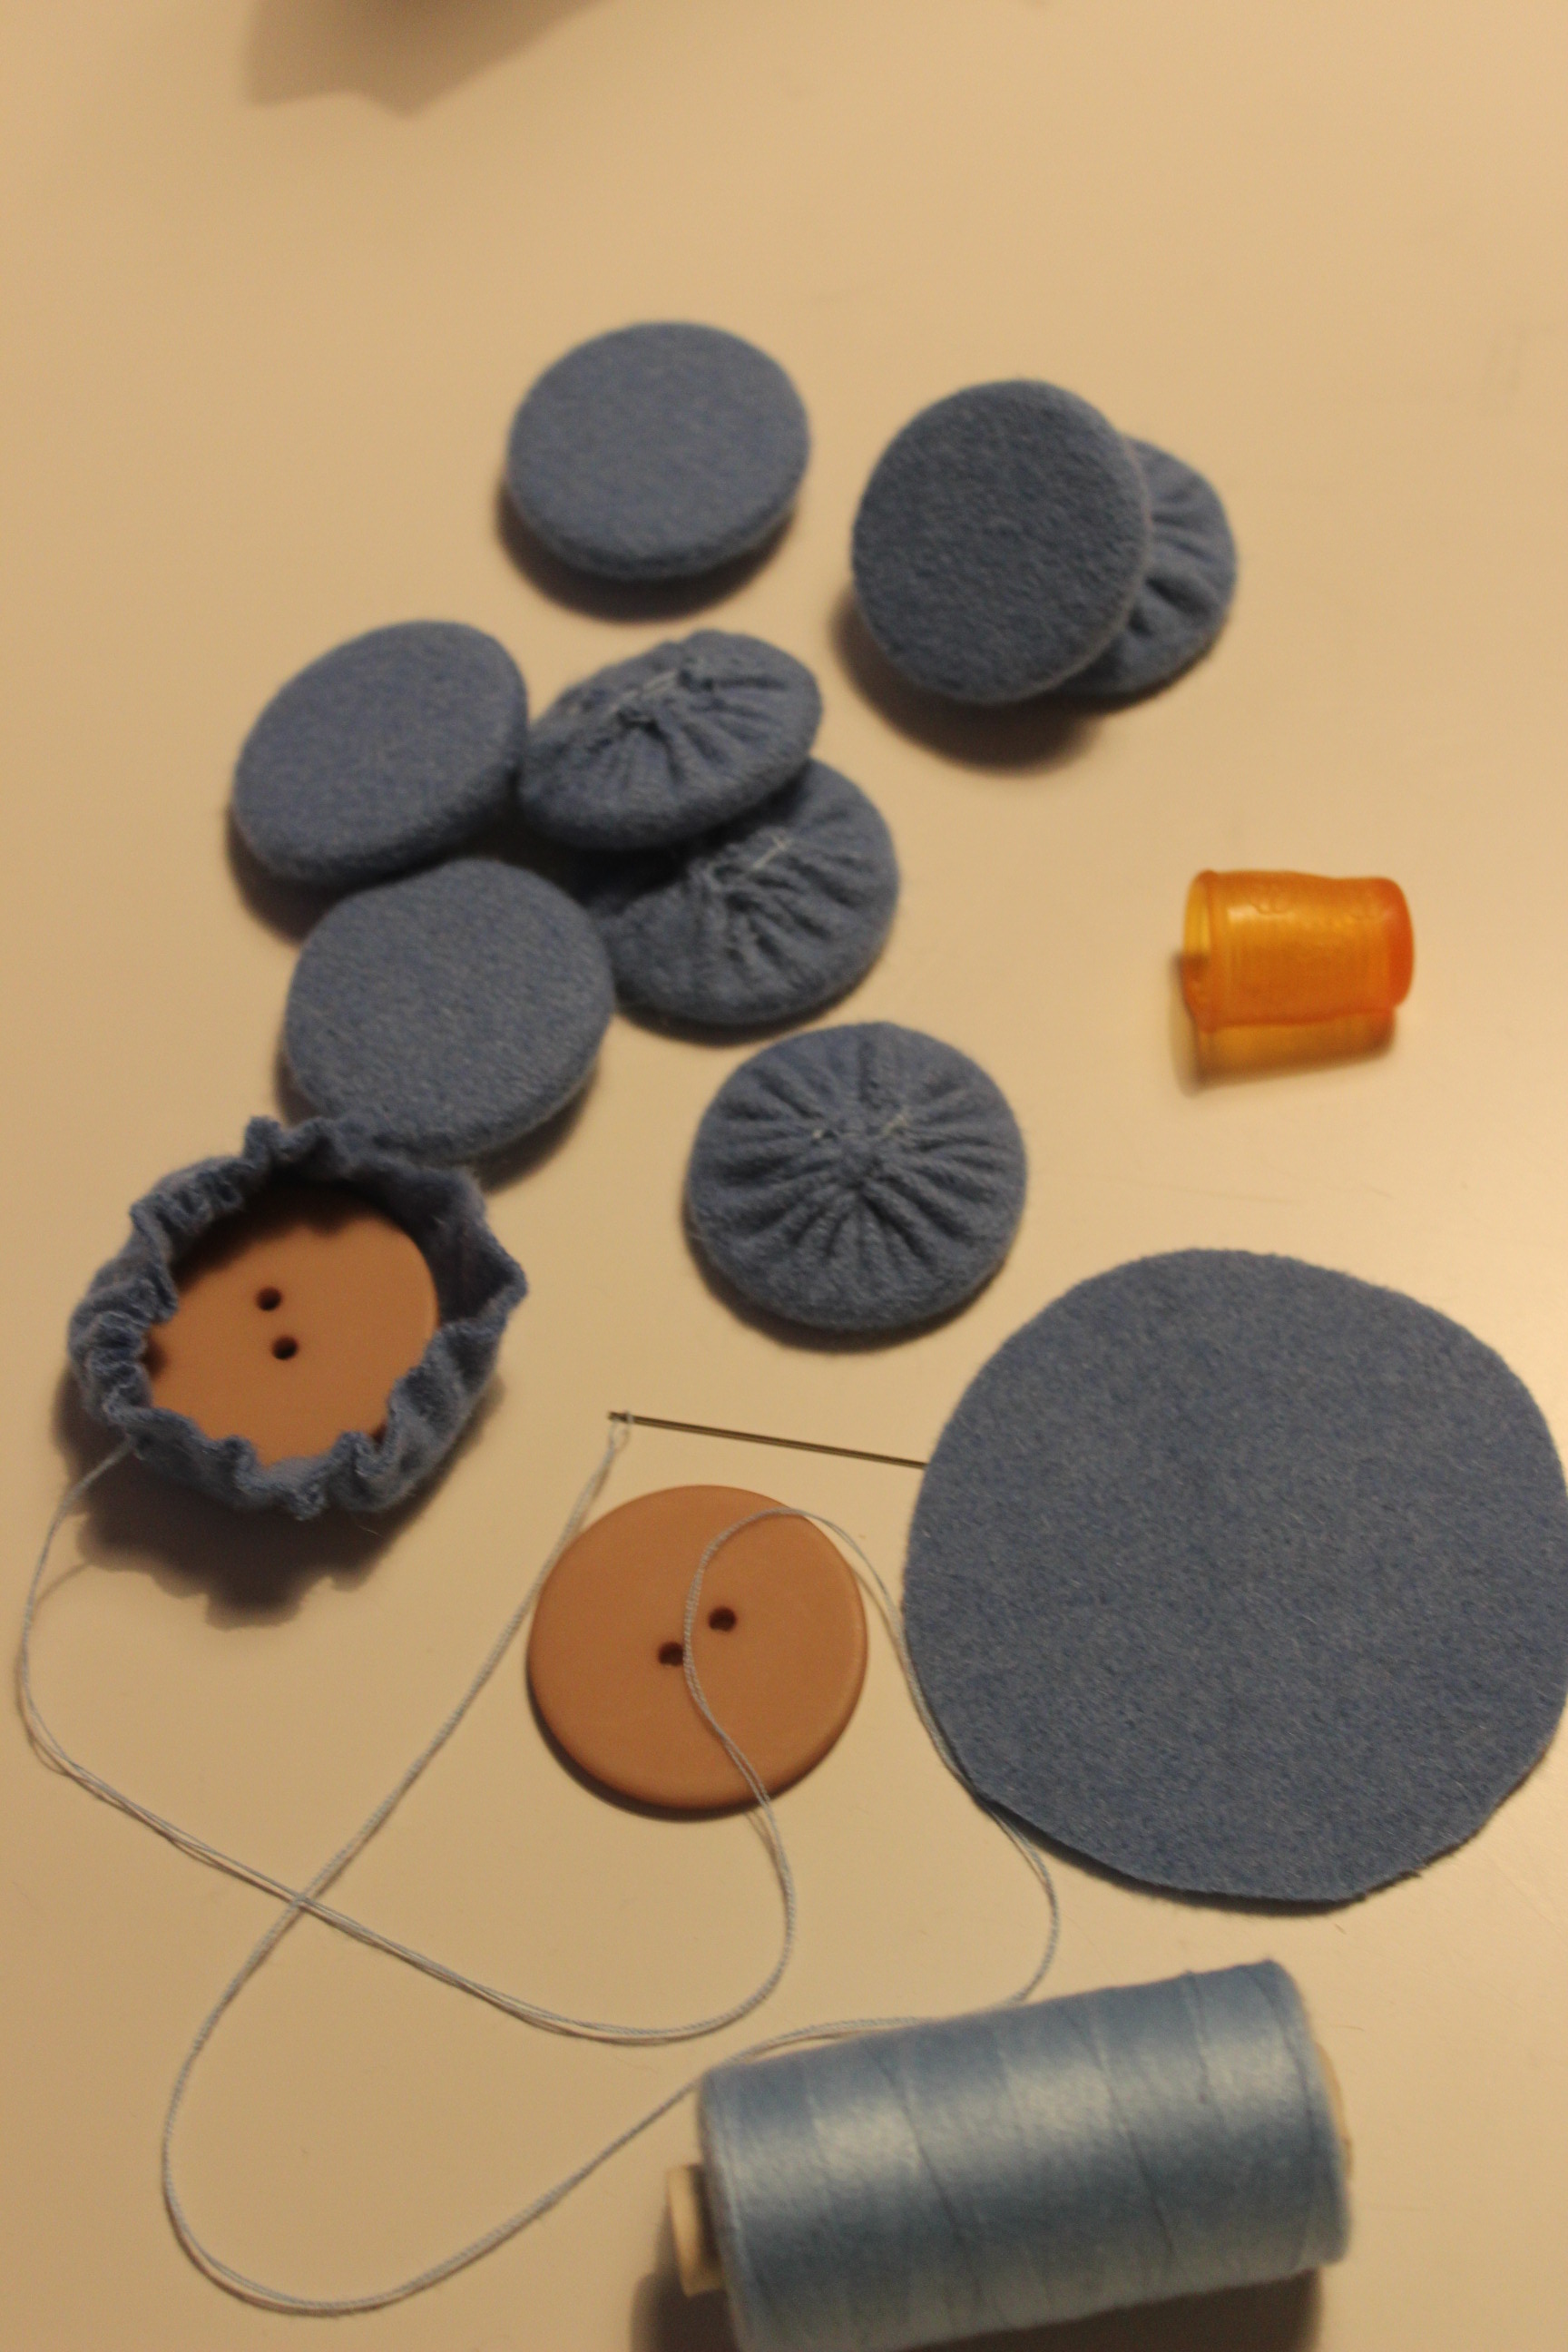
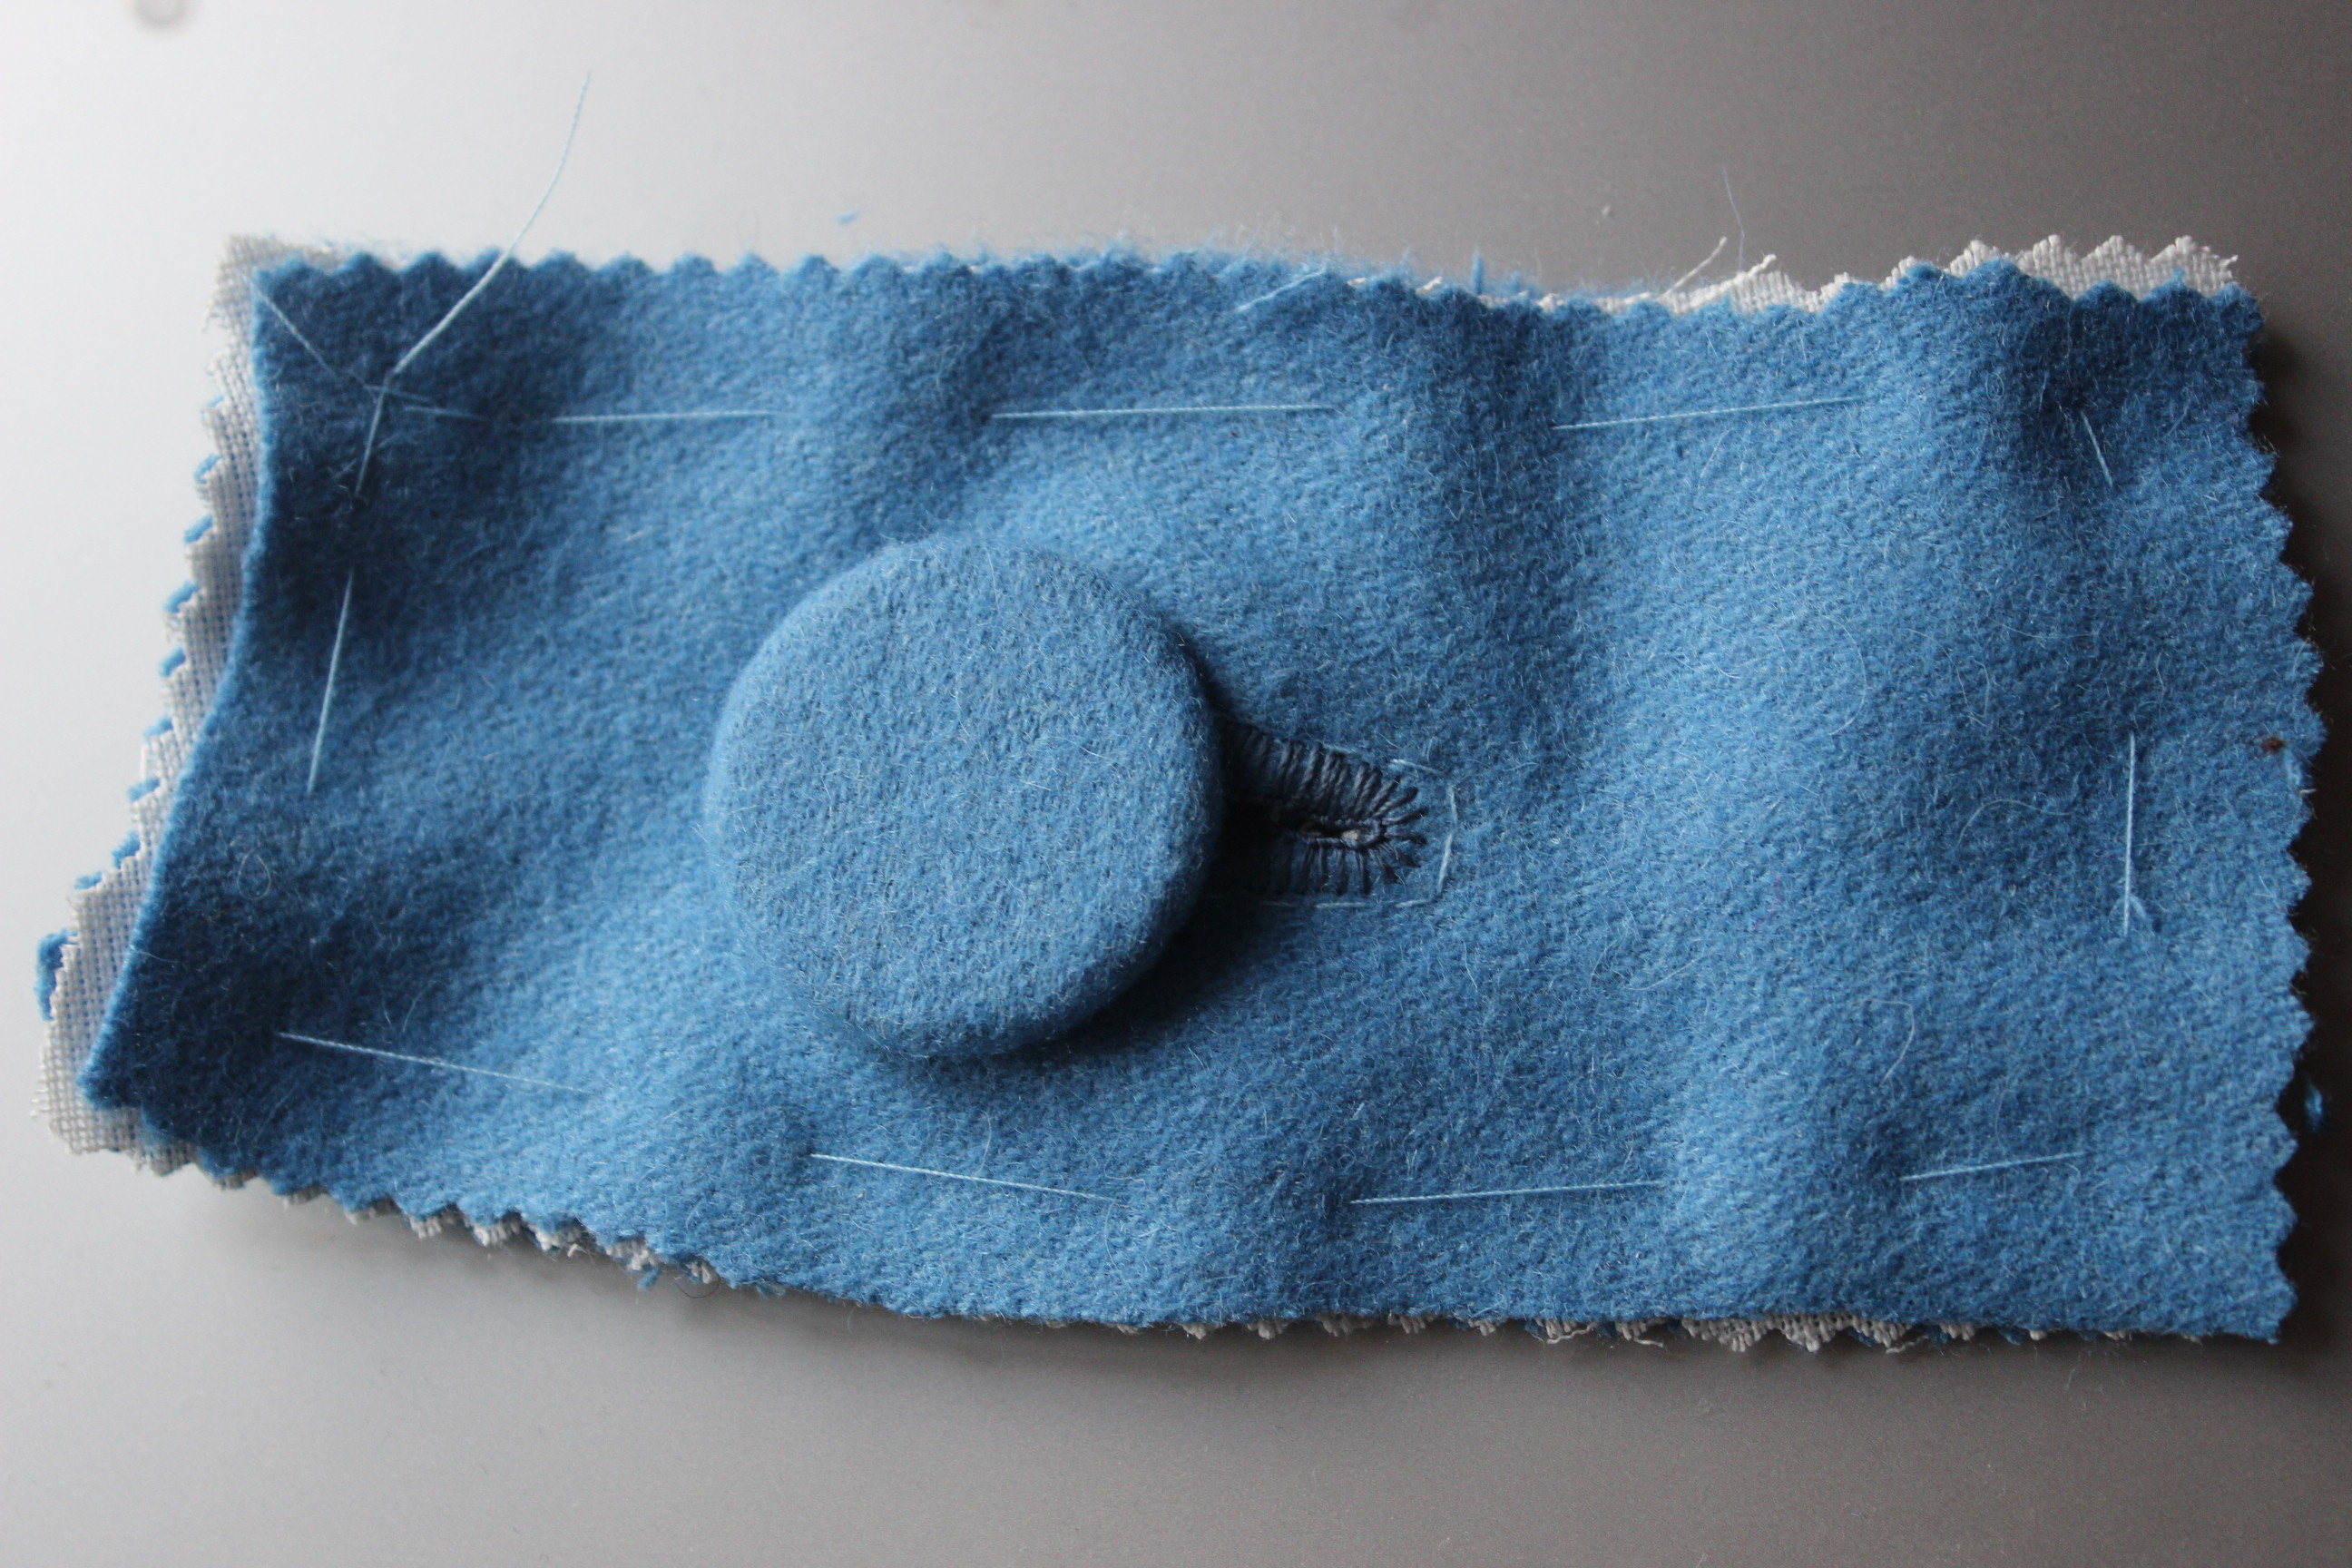
I couldn’t find any metal buttons I liked (like the ones Jen have), so I decided on fabric covered ones instead. Covering regular buttons in fabric.
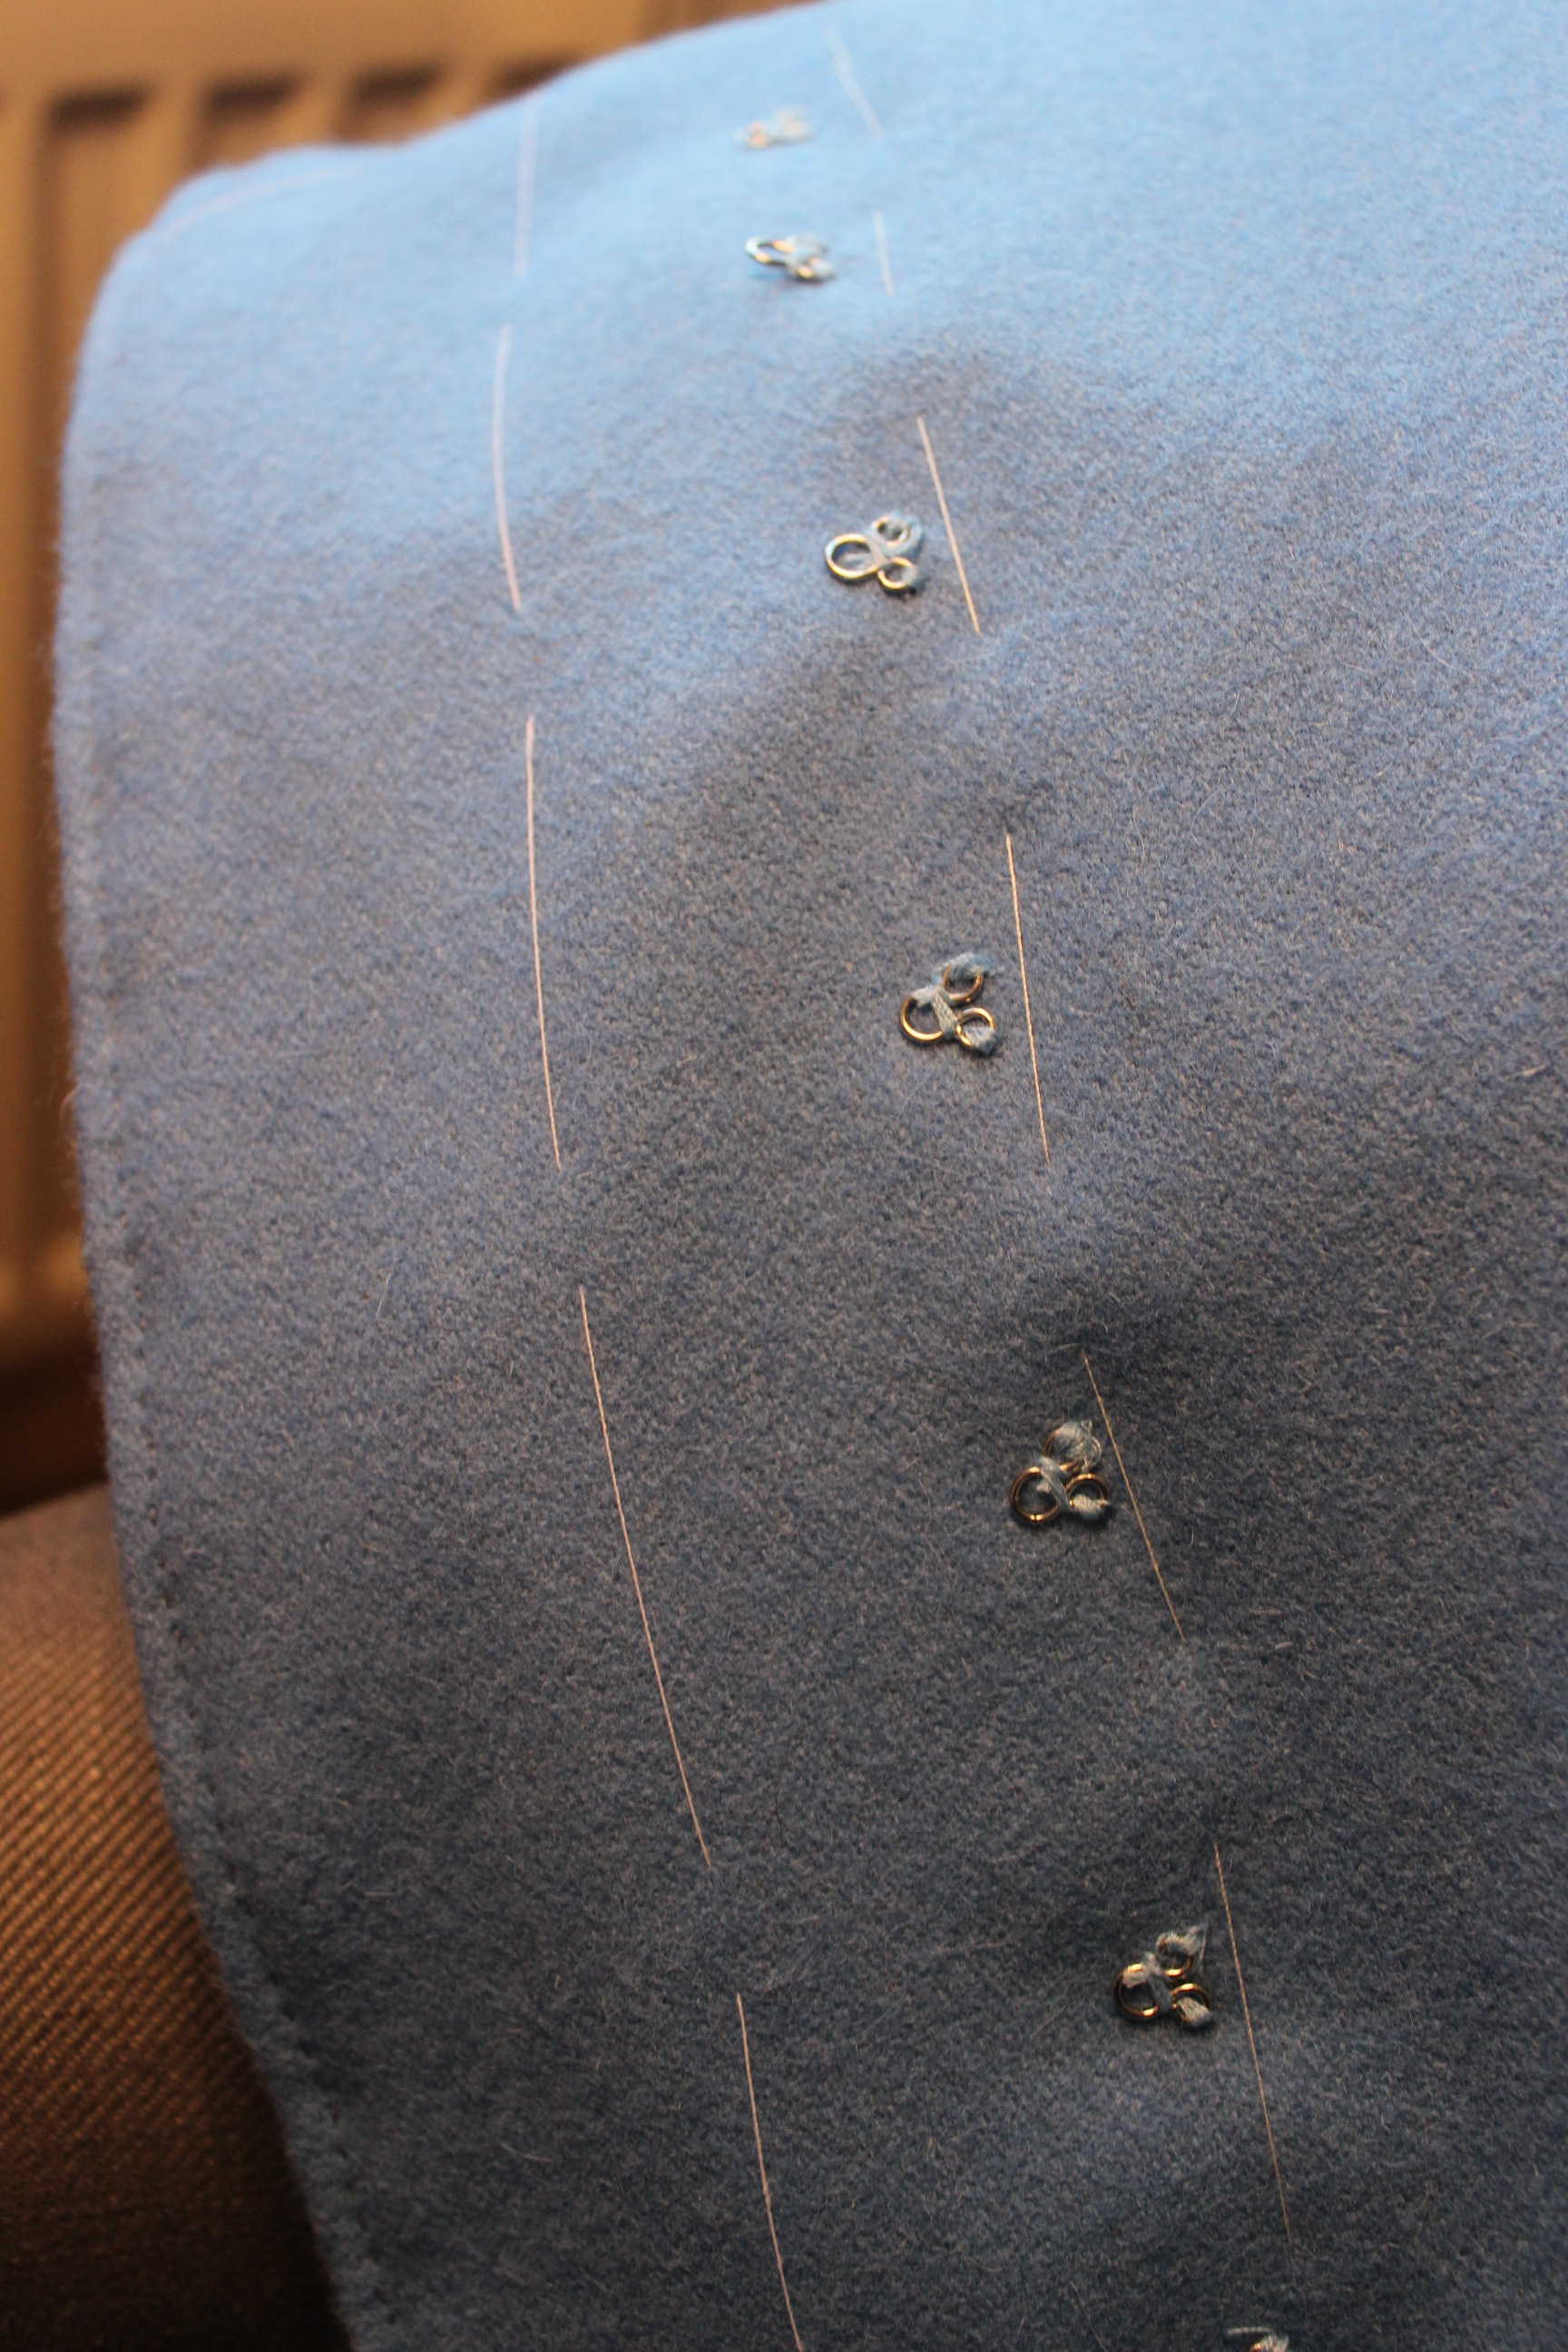
Once the buttons was finished, I needed to decide how to make the buttonholes. I tried a few ideas like, regular hand worked, piped or bound.  Testing the hand worked button holes on a scrap piece.
And how to space the buttons


decisions, decisions…
To be continued…

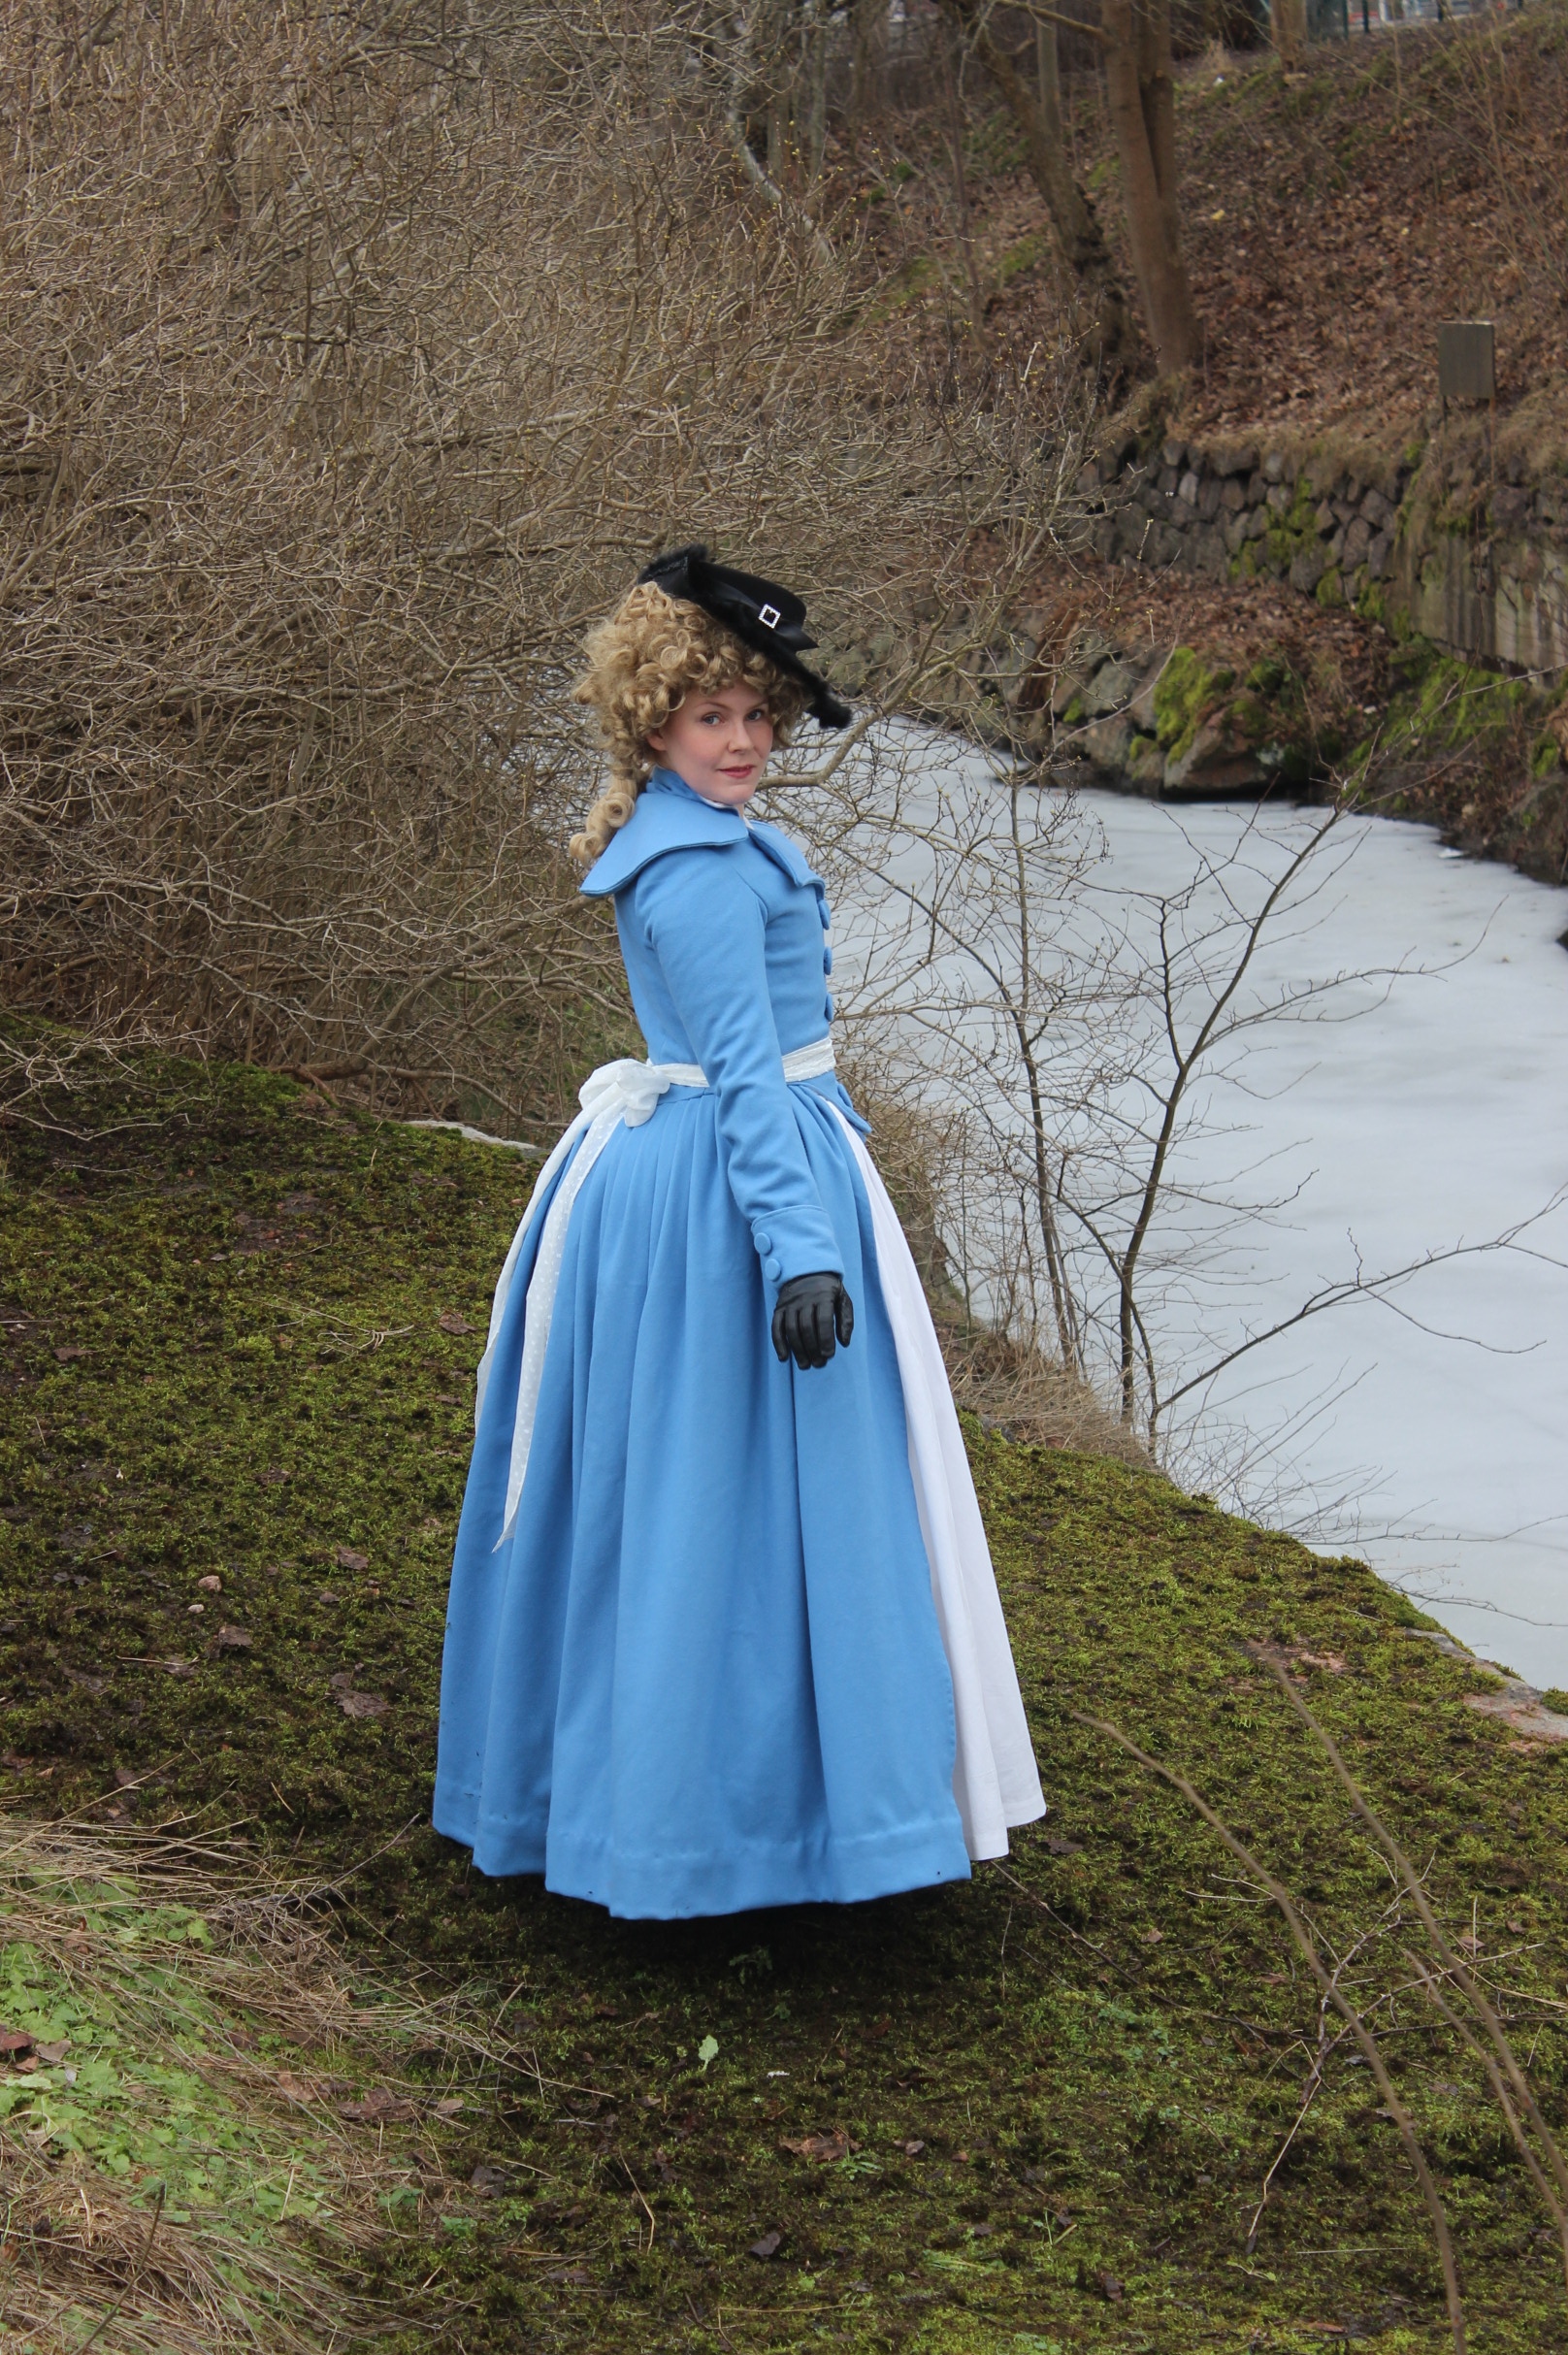
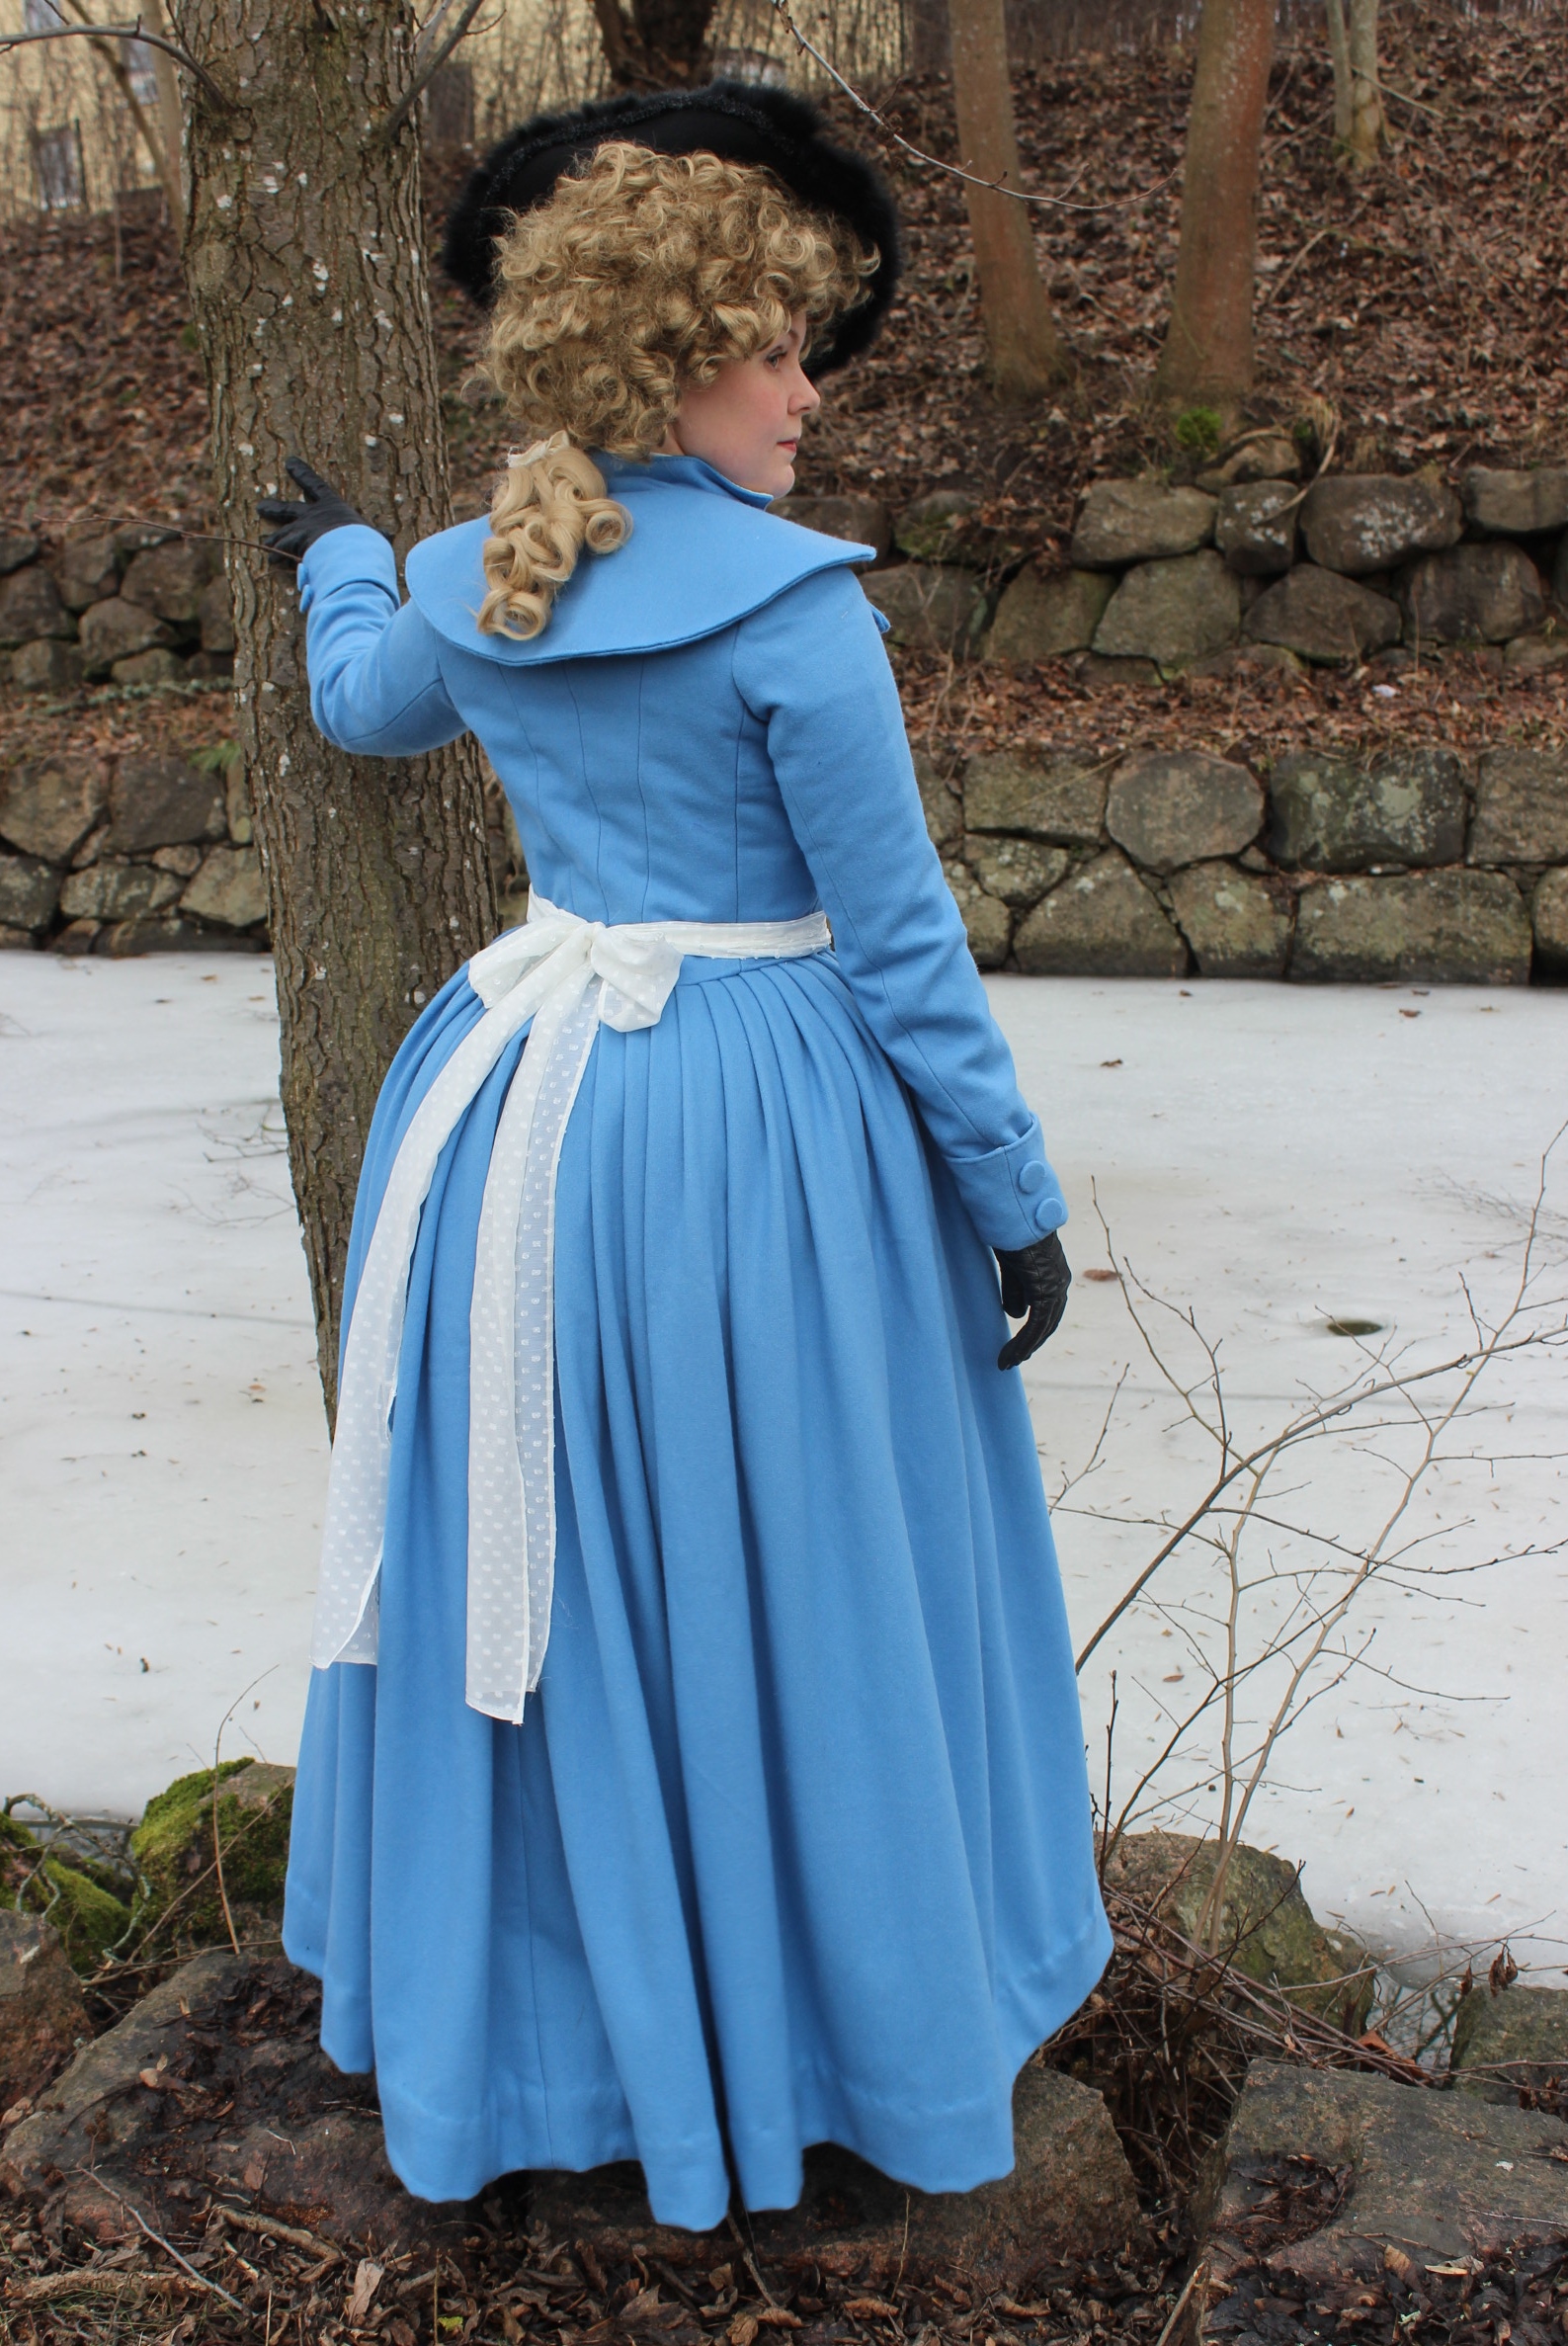
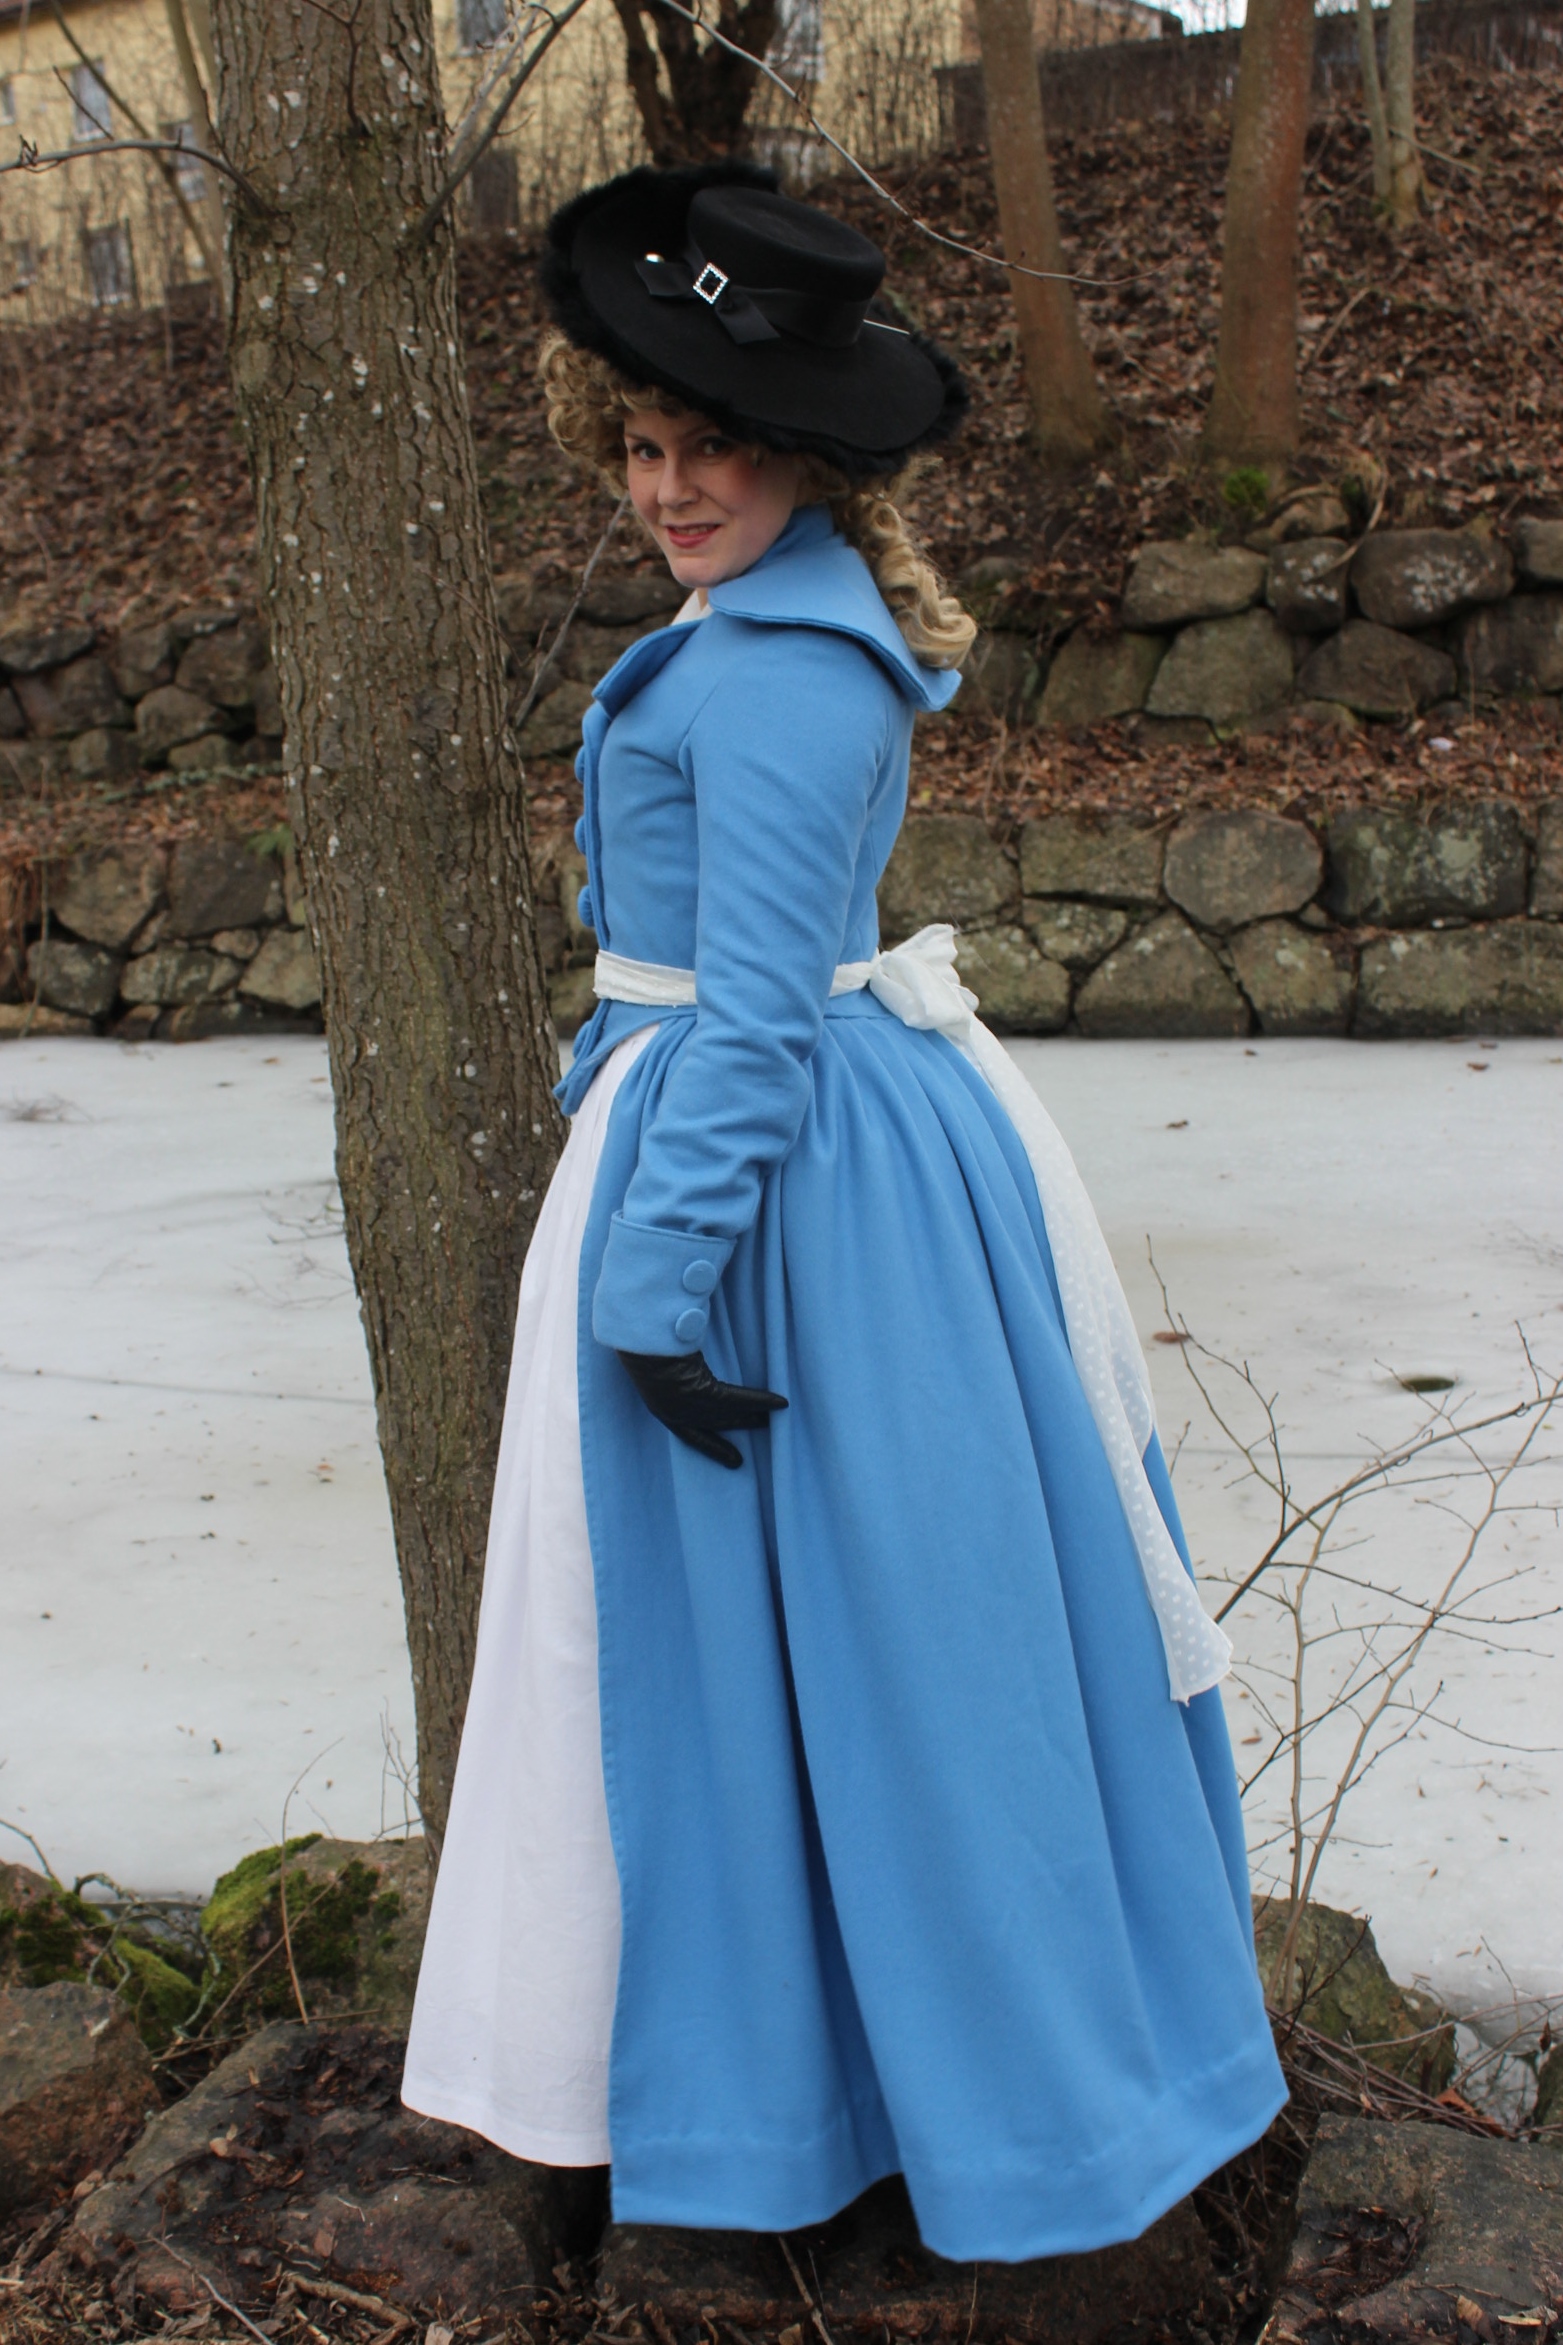
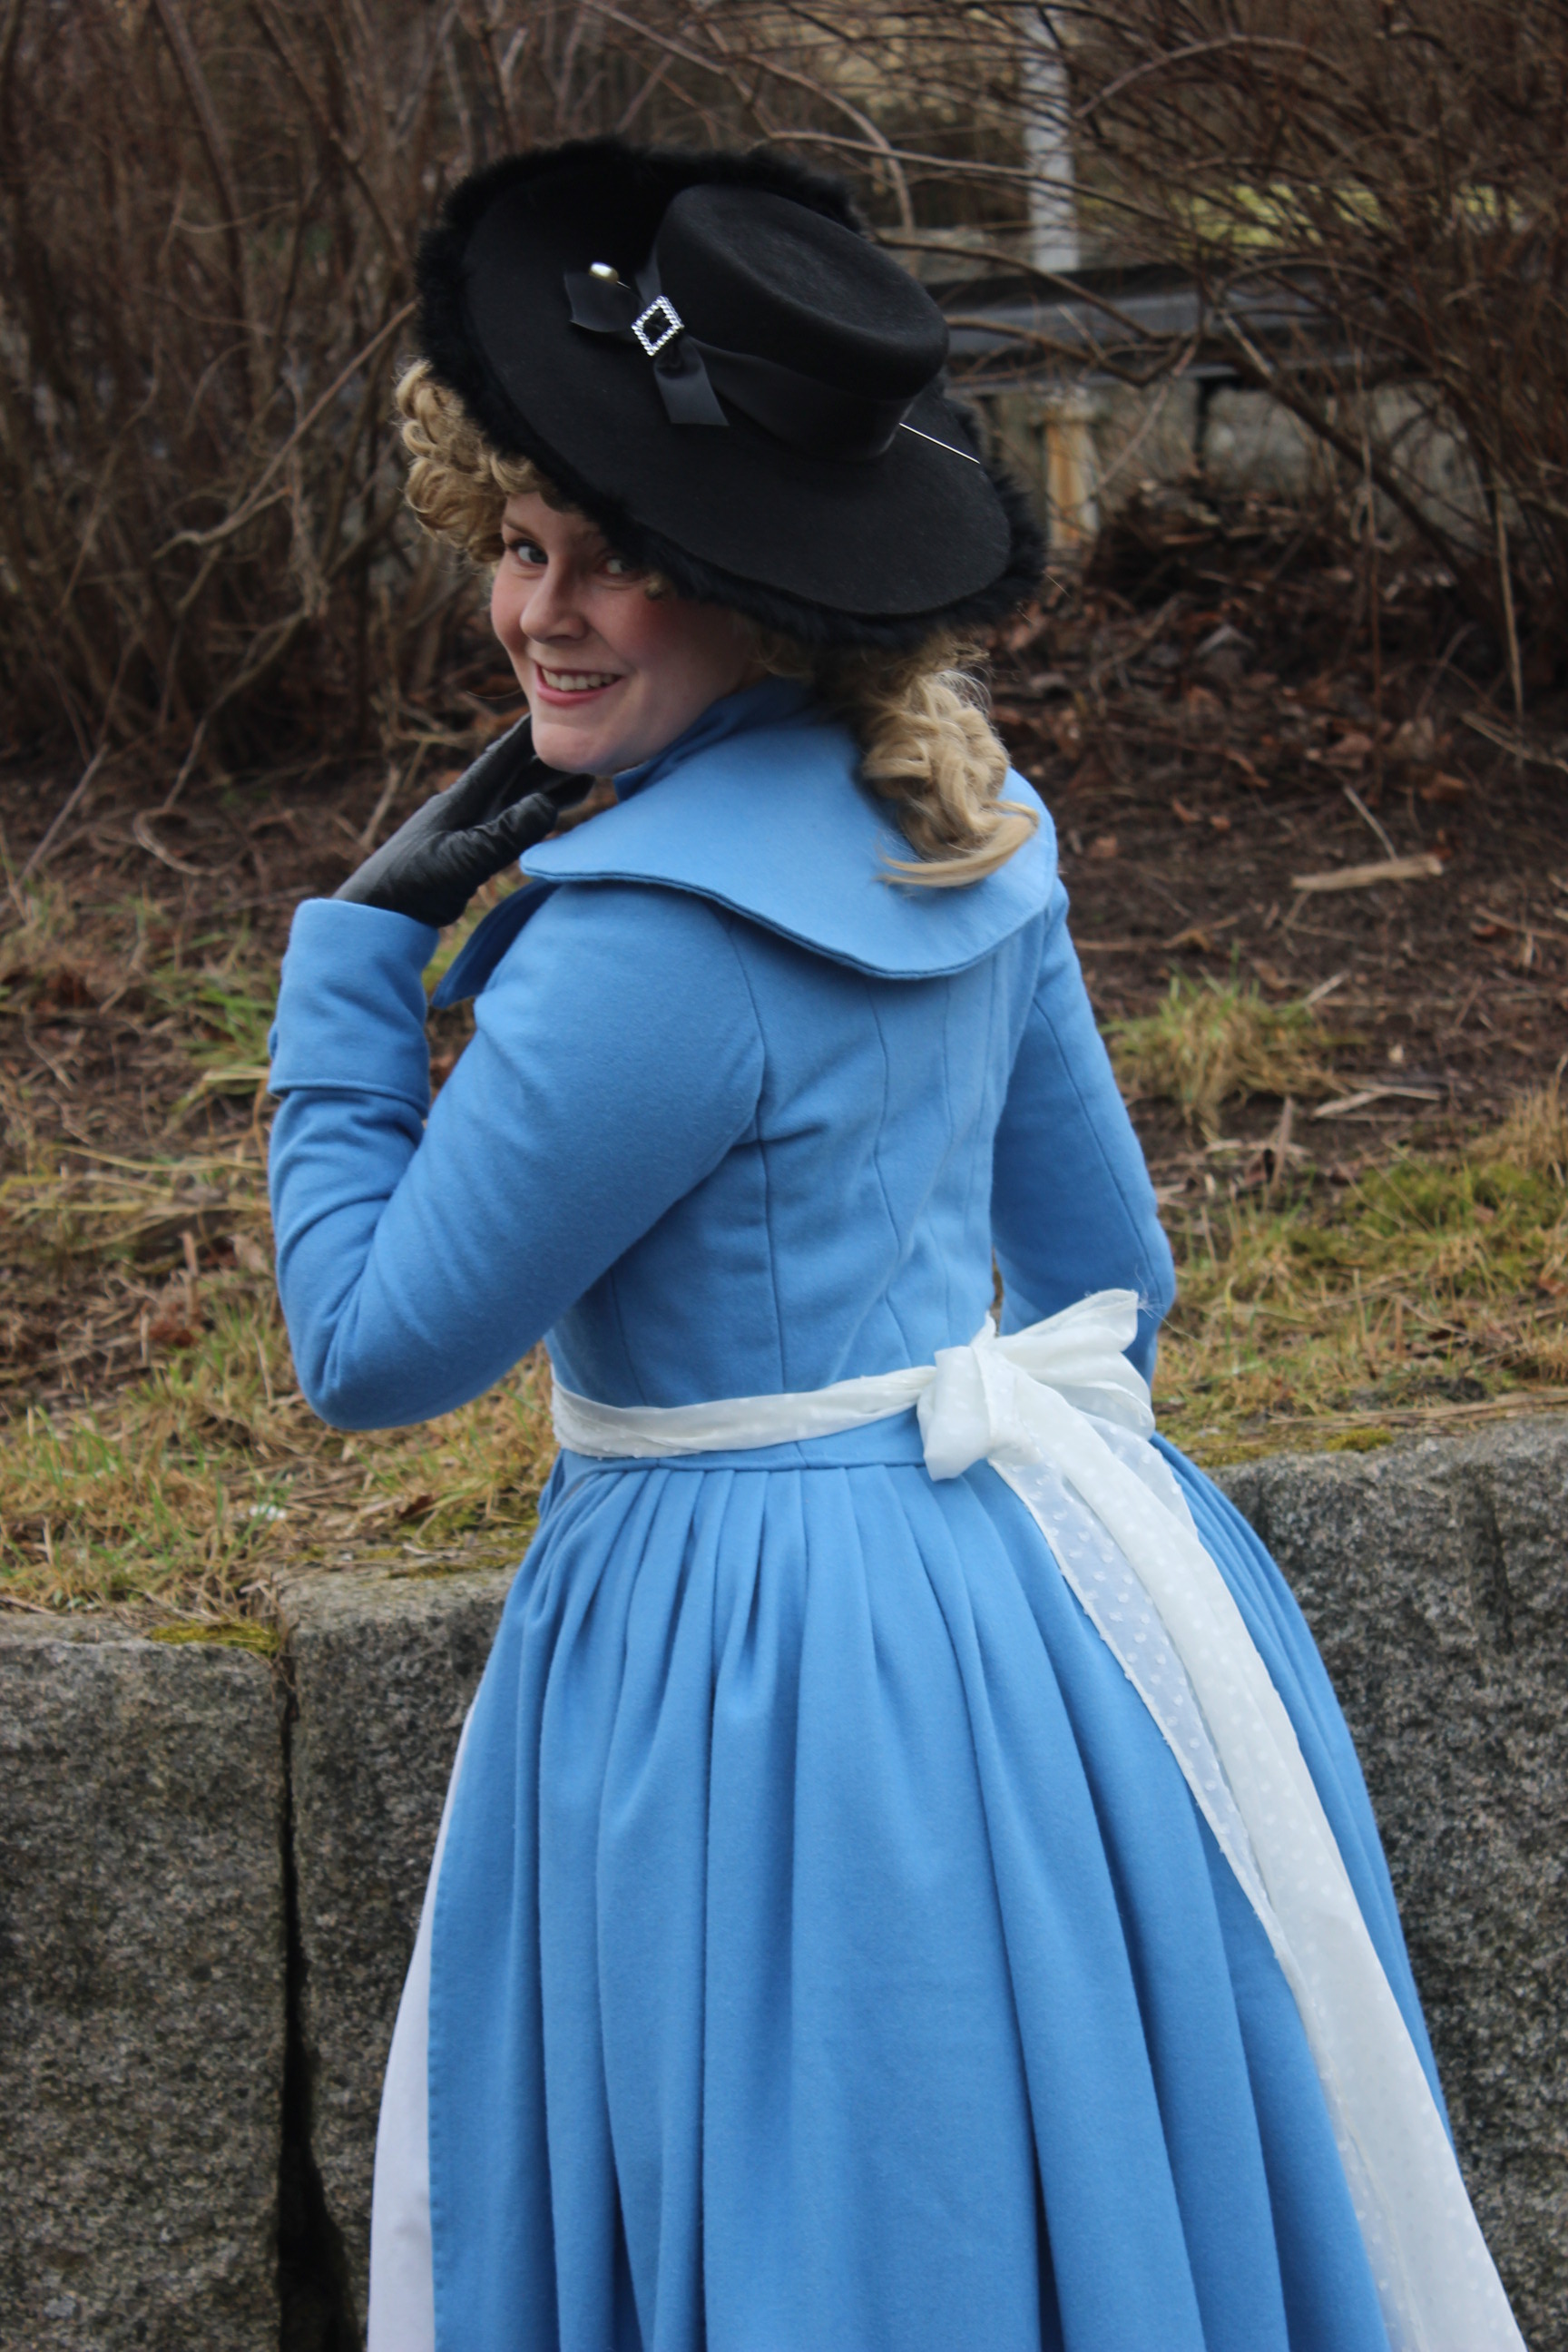
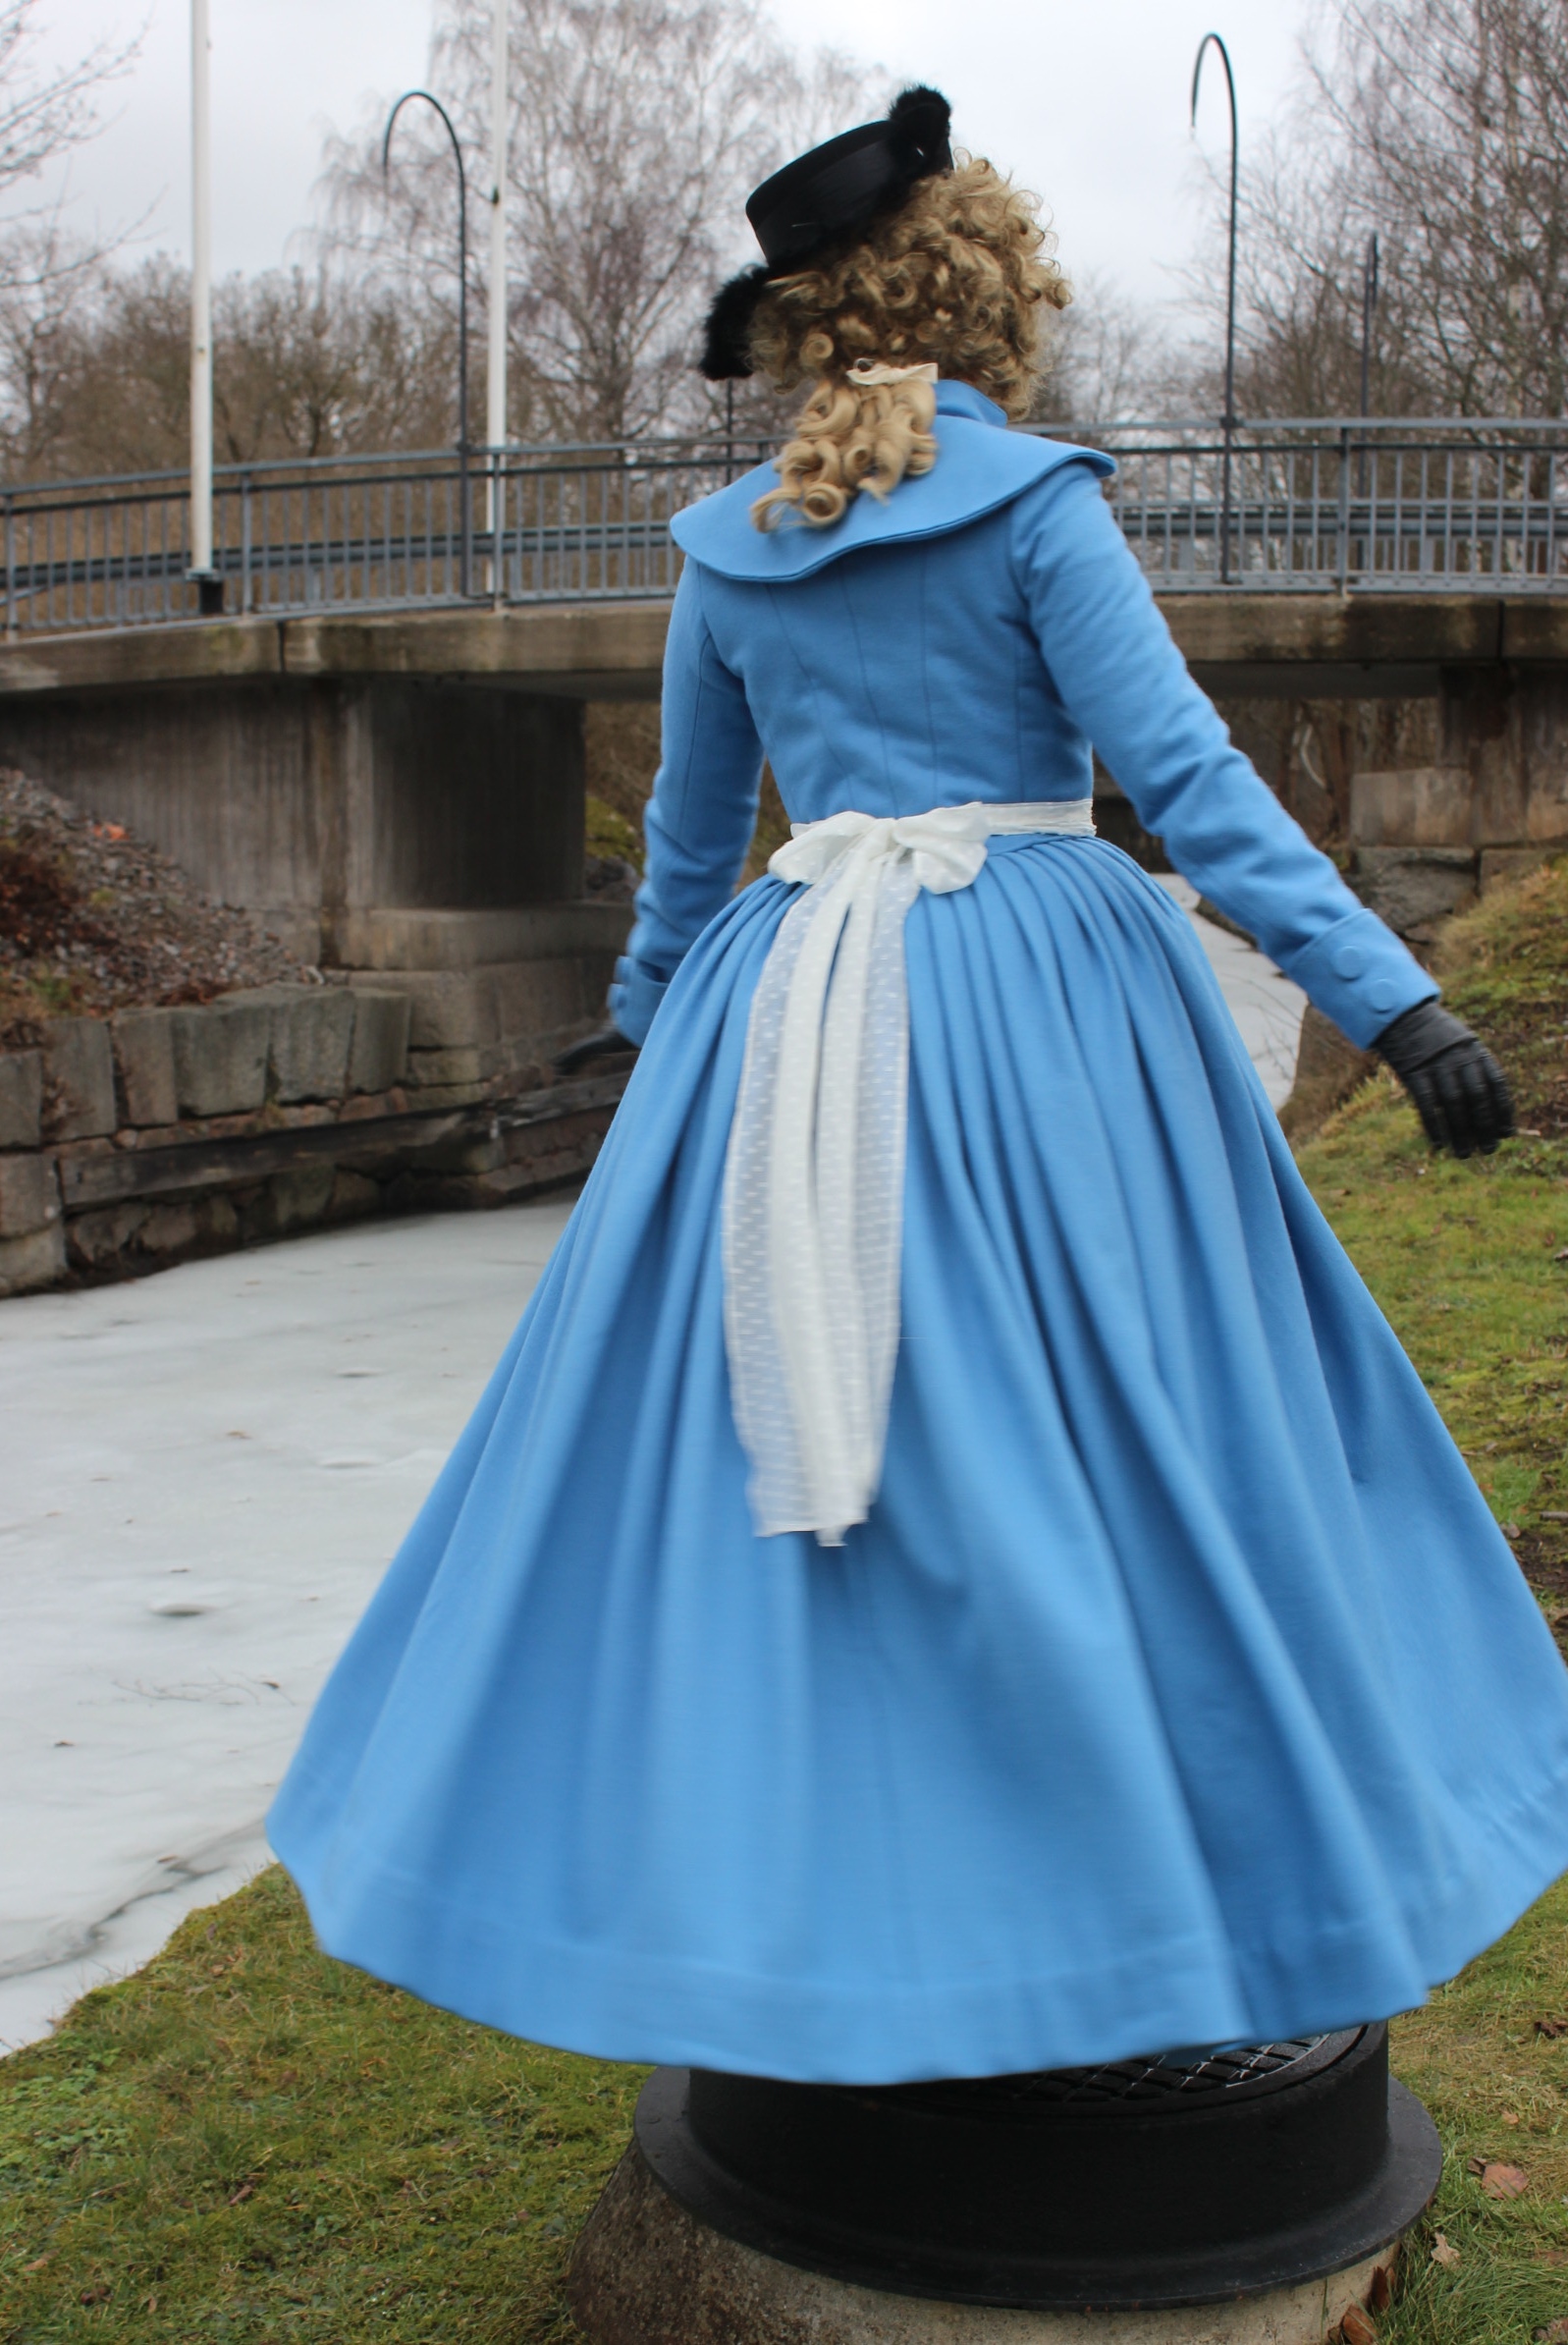
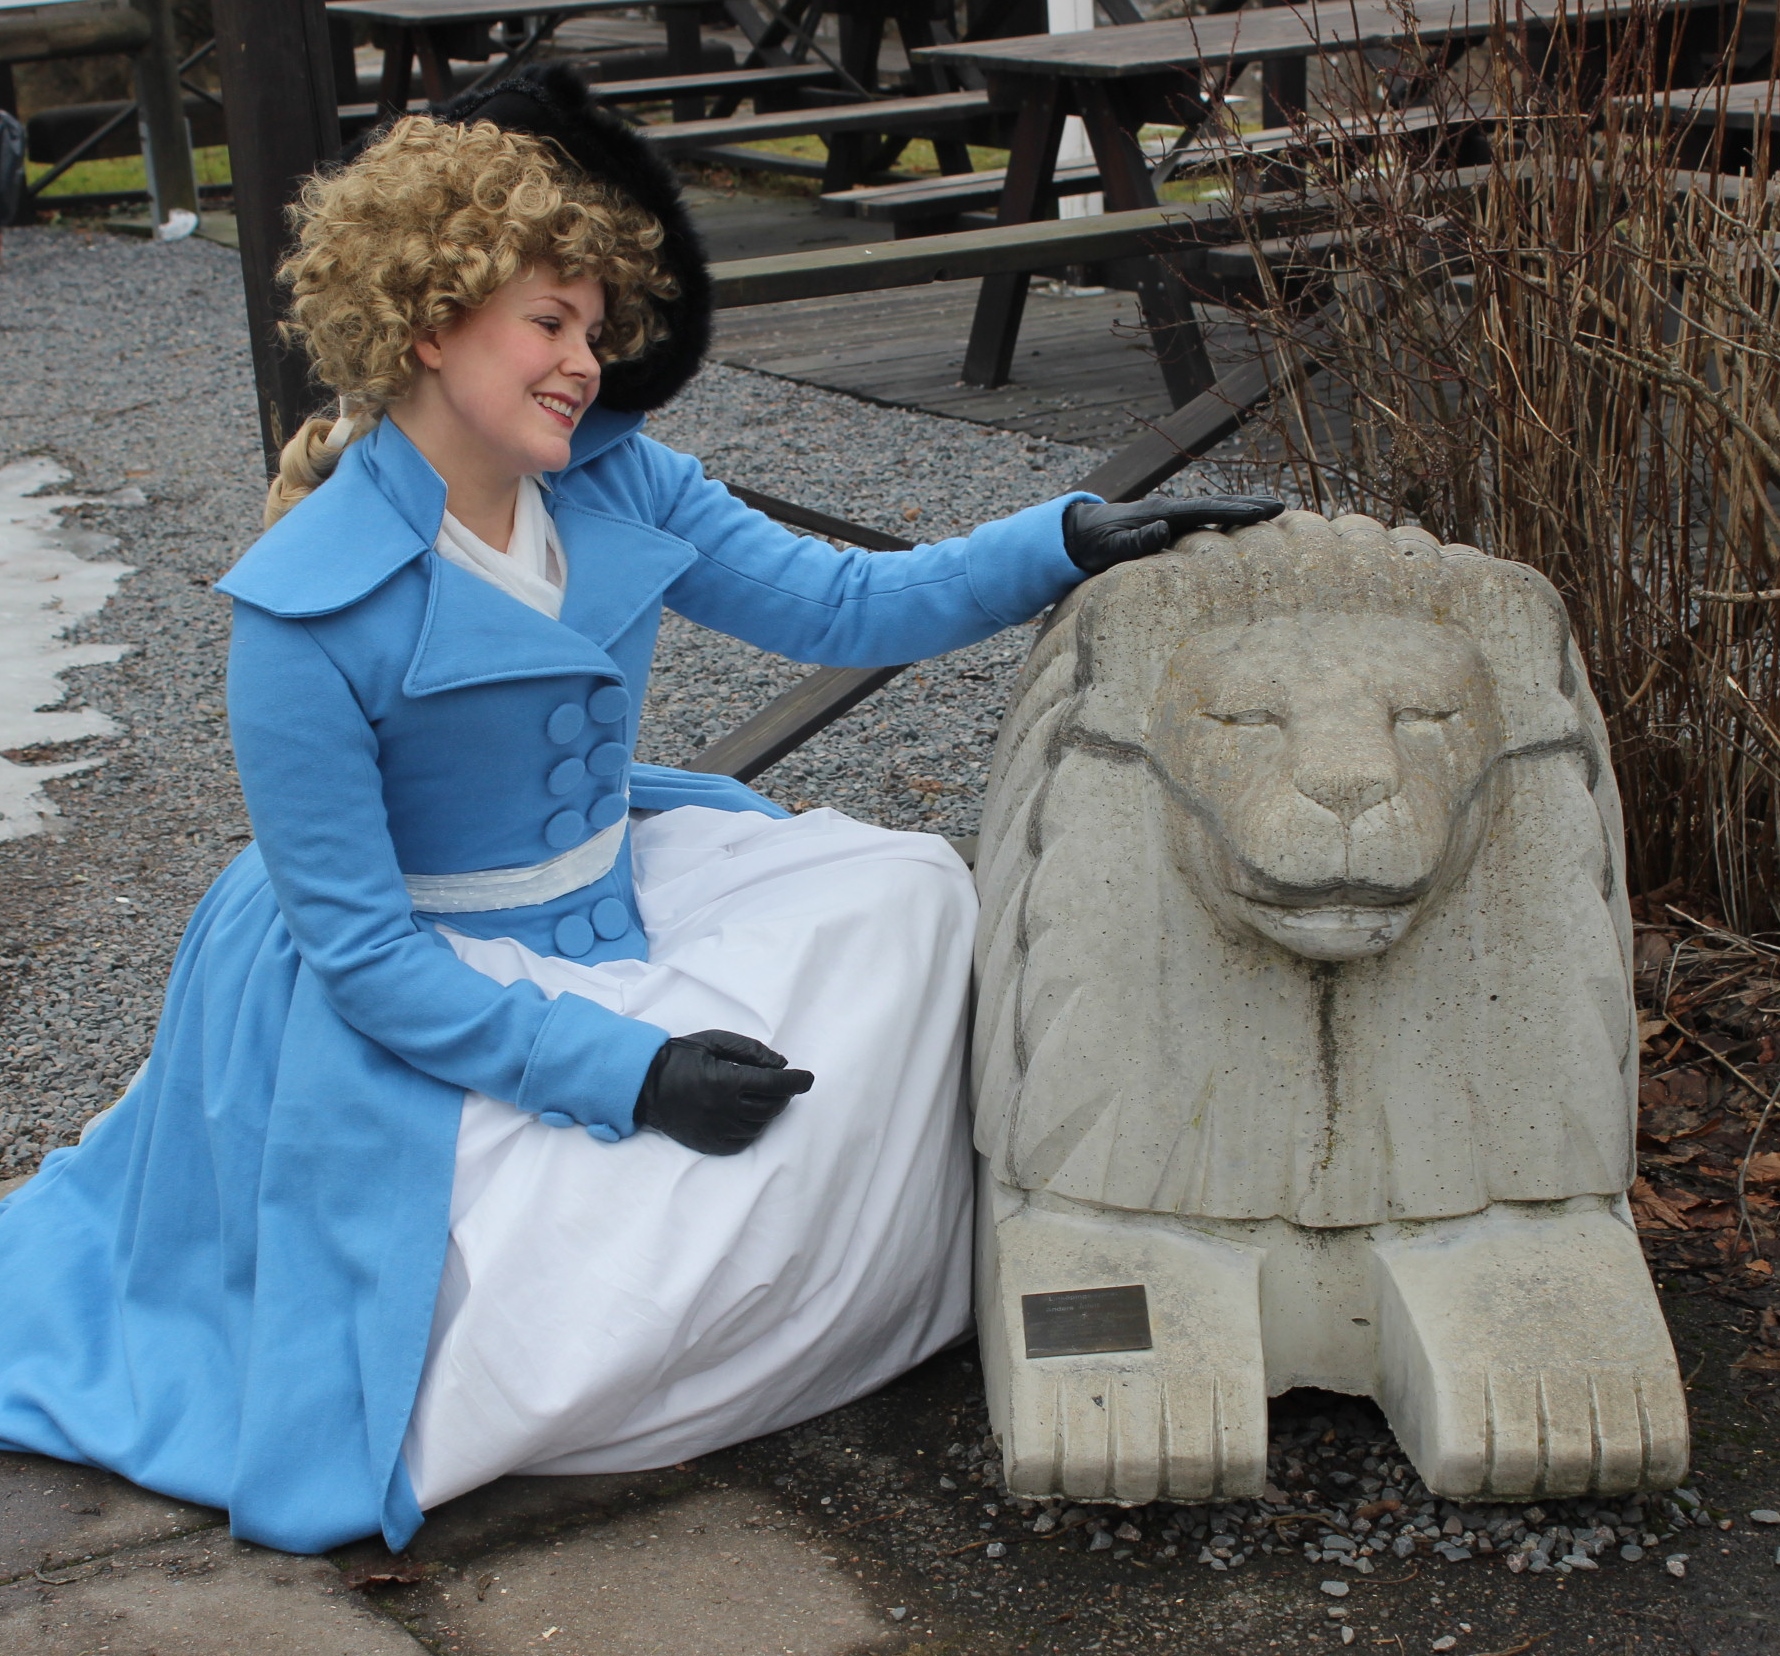
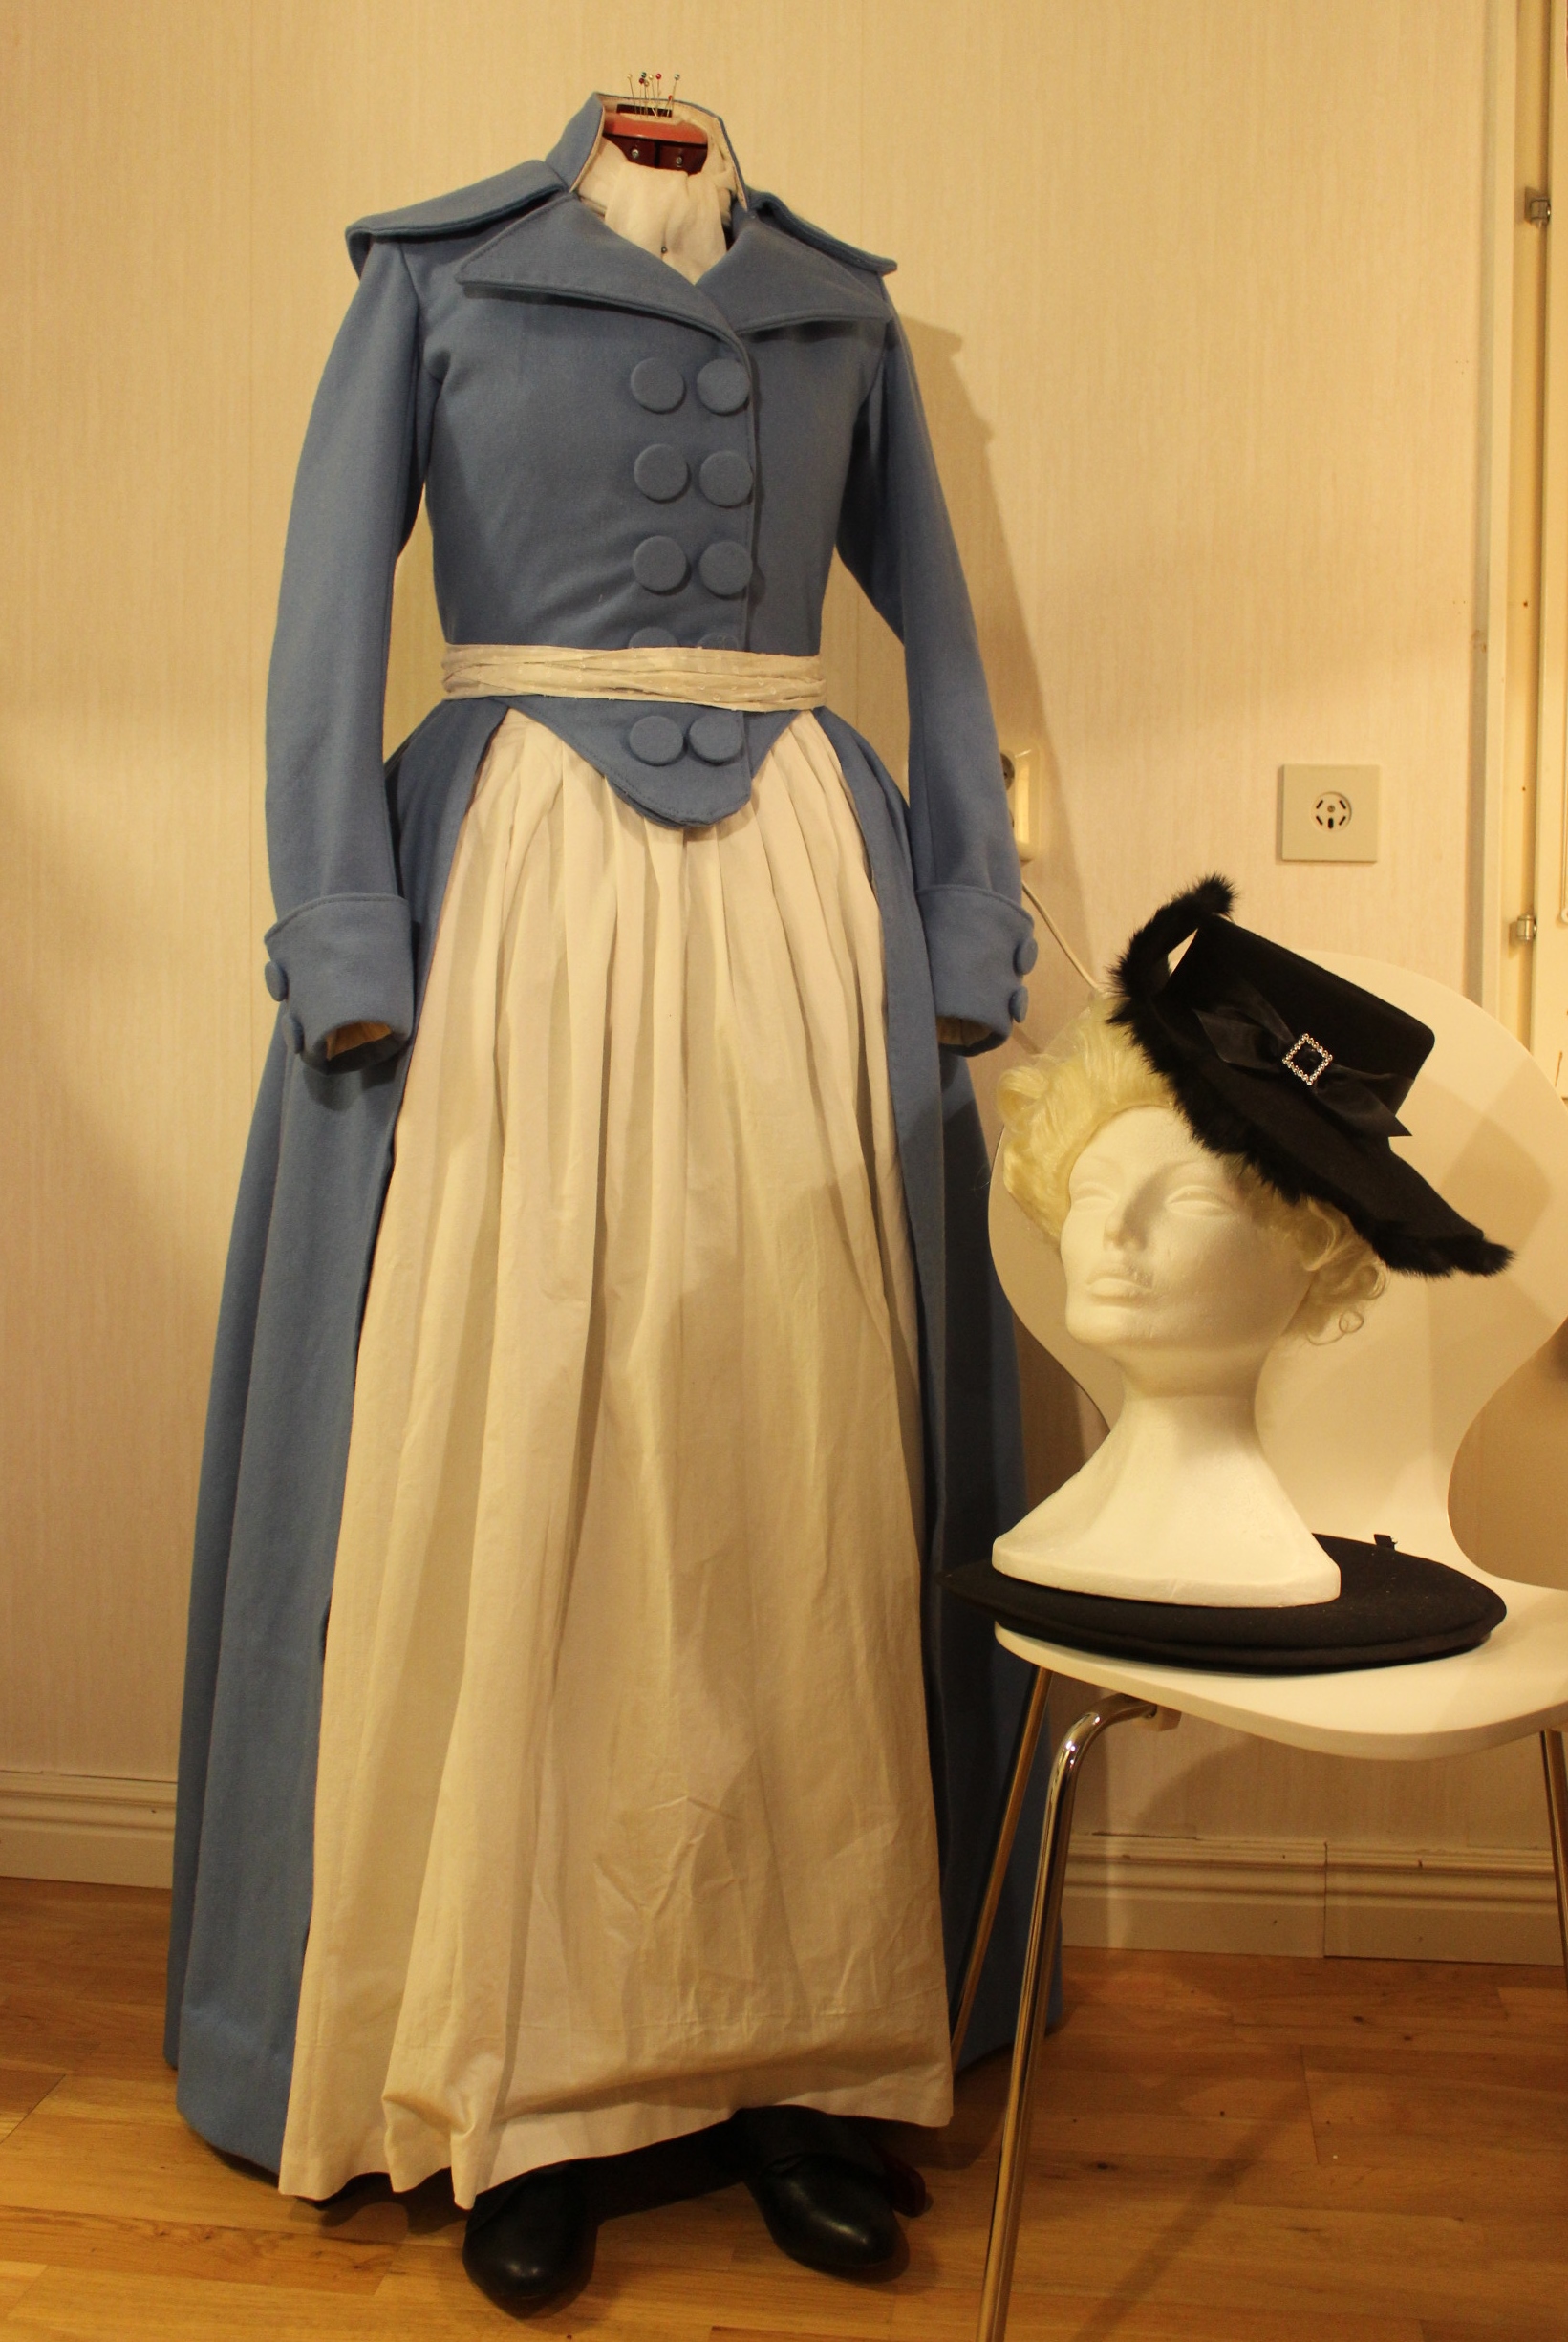
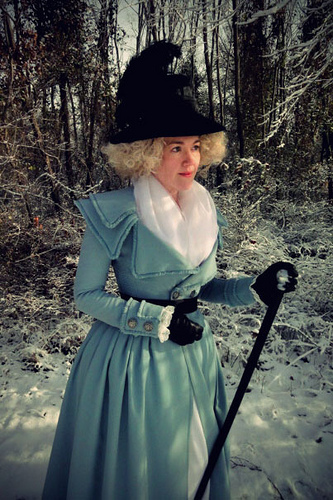
 Fully dressed in Redingote, petticoat, belt sash, gloves and hat.
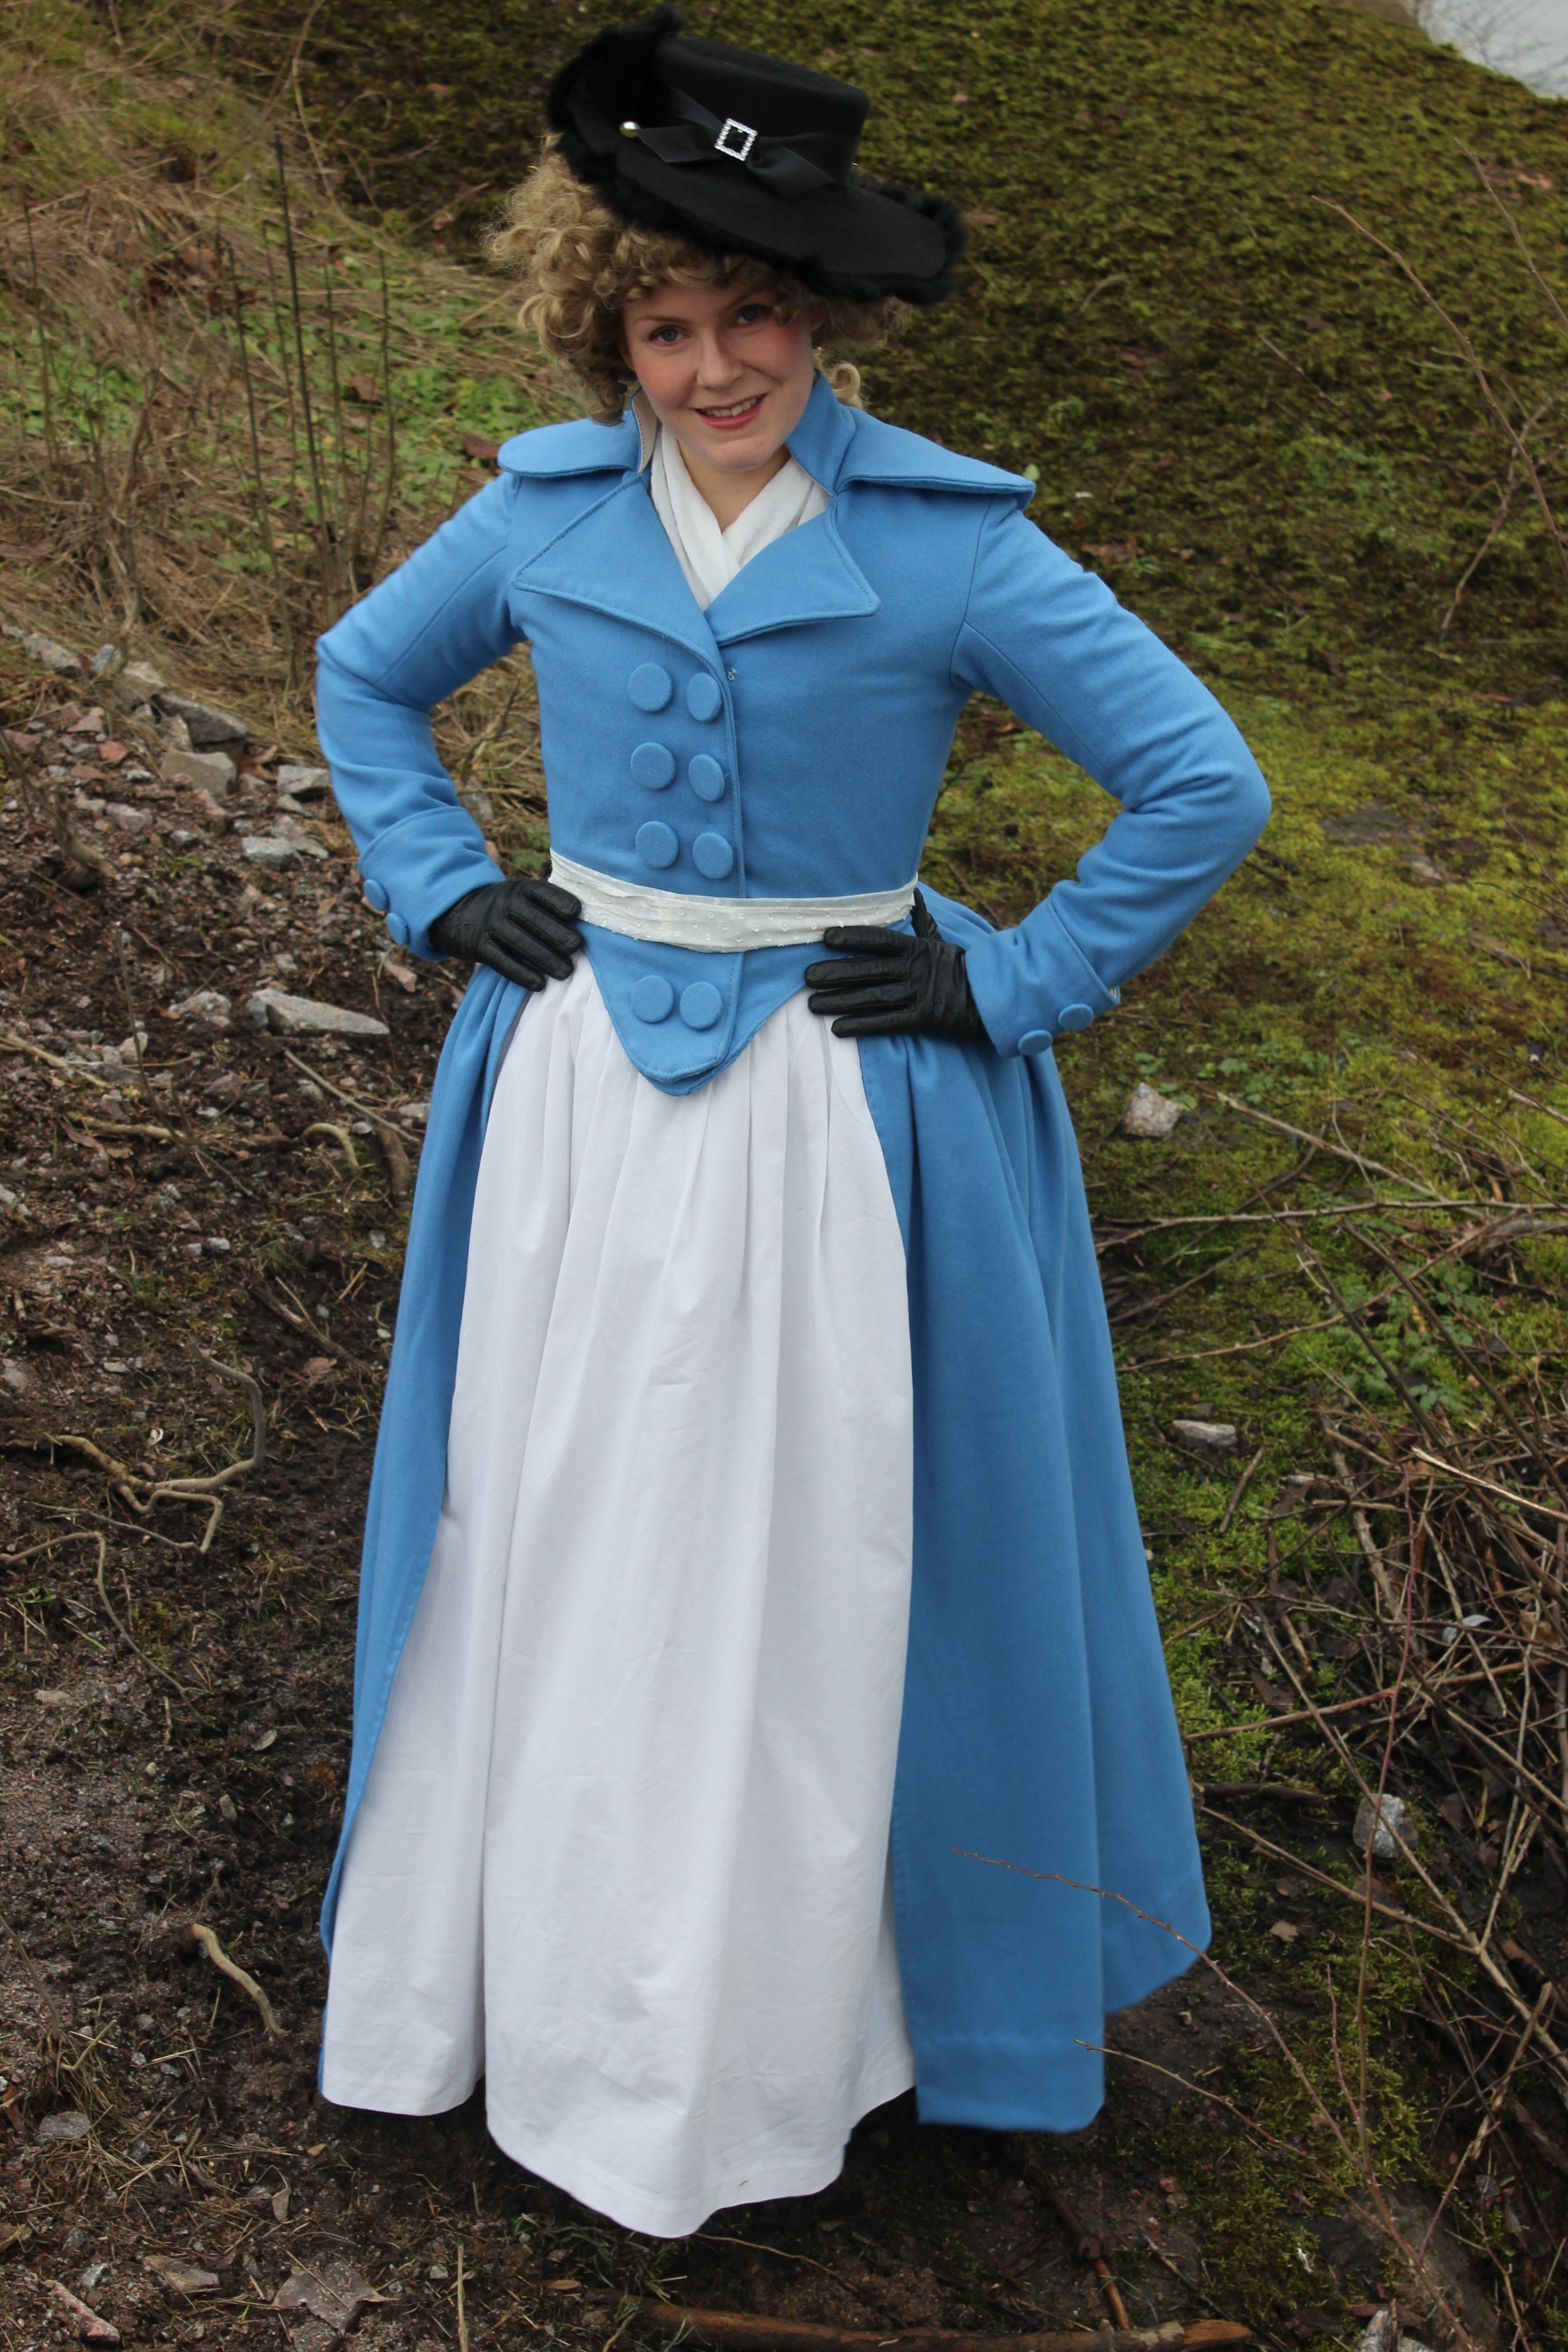
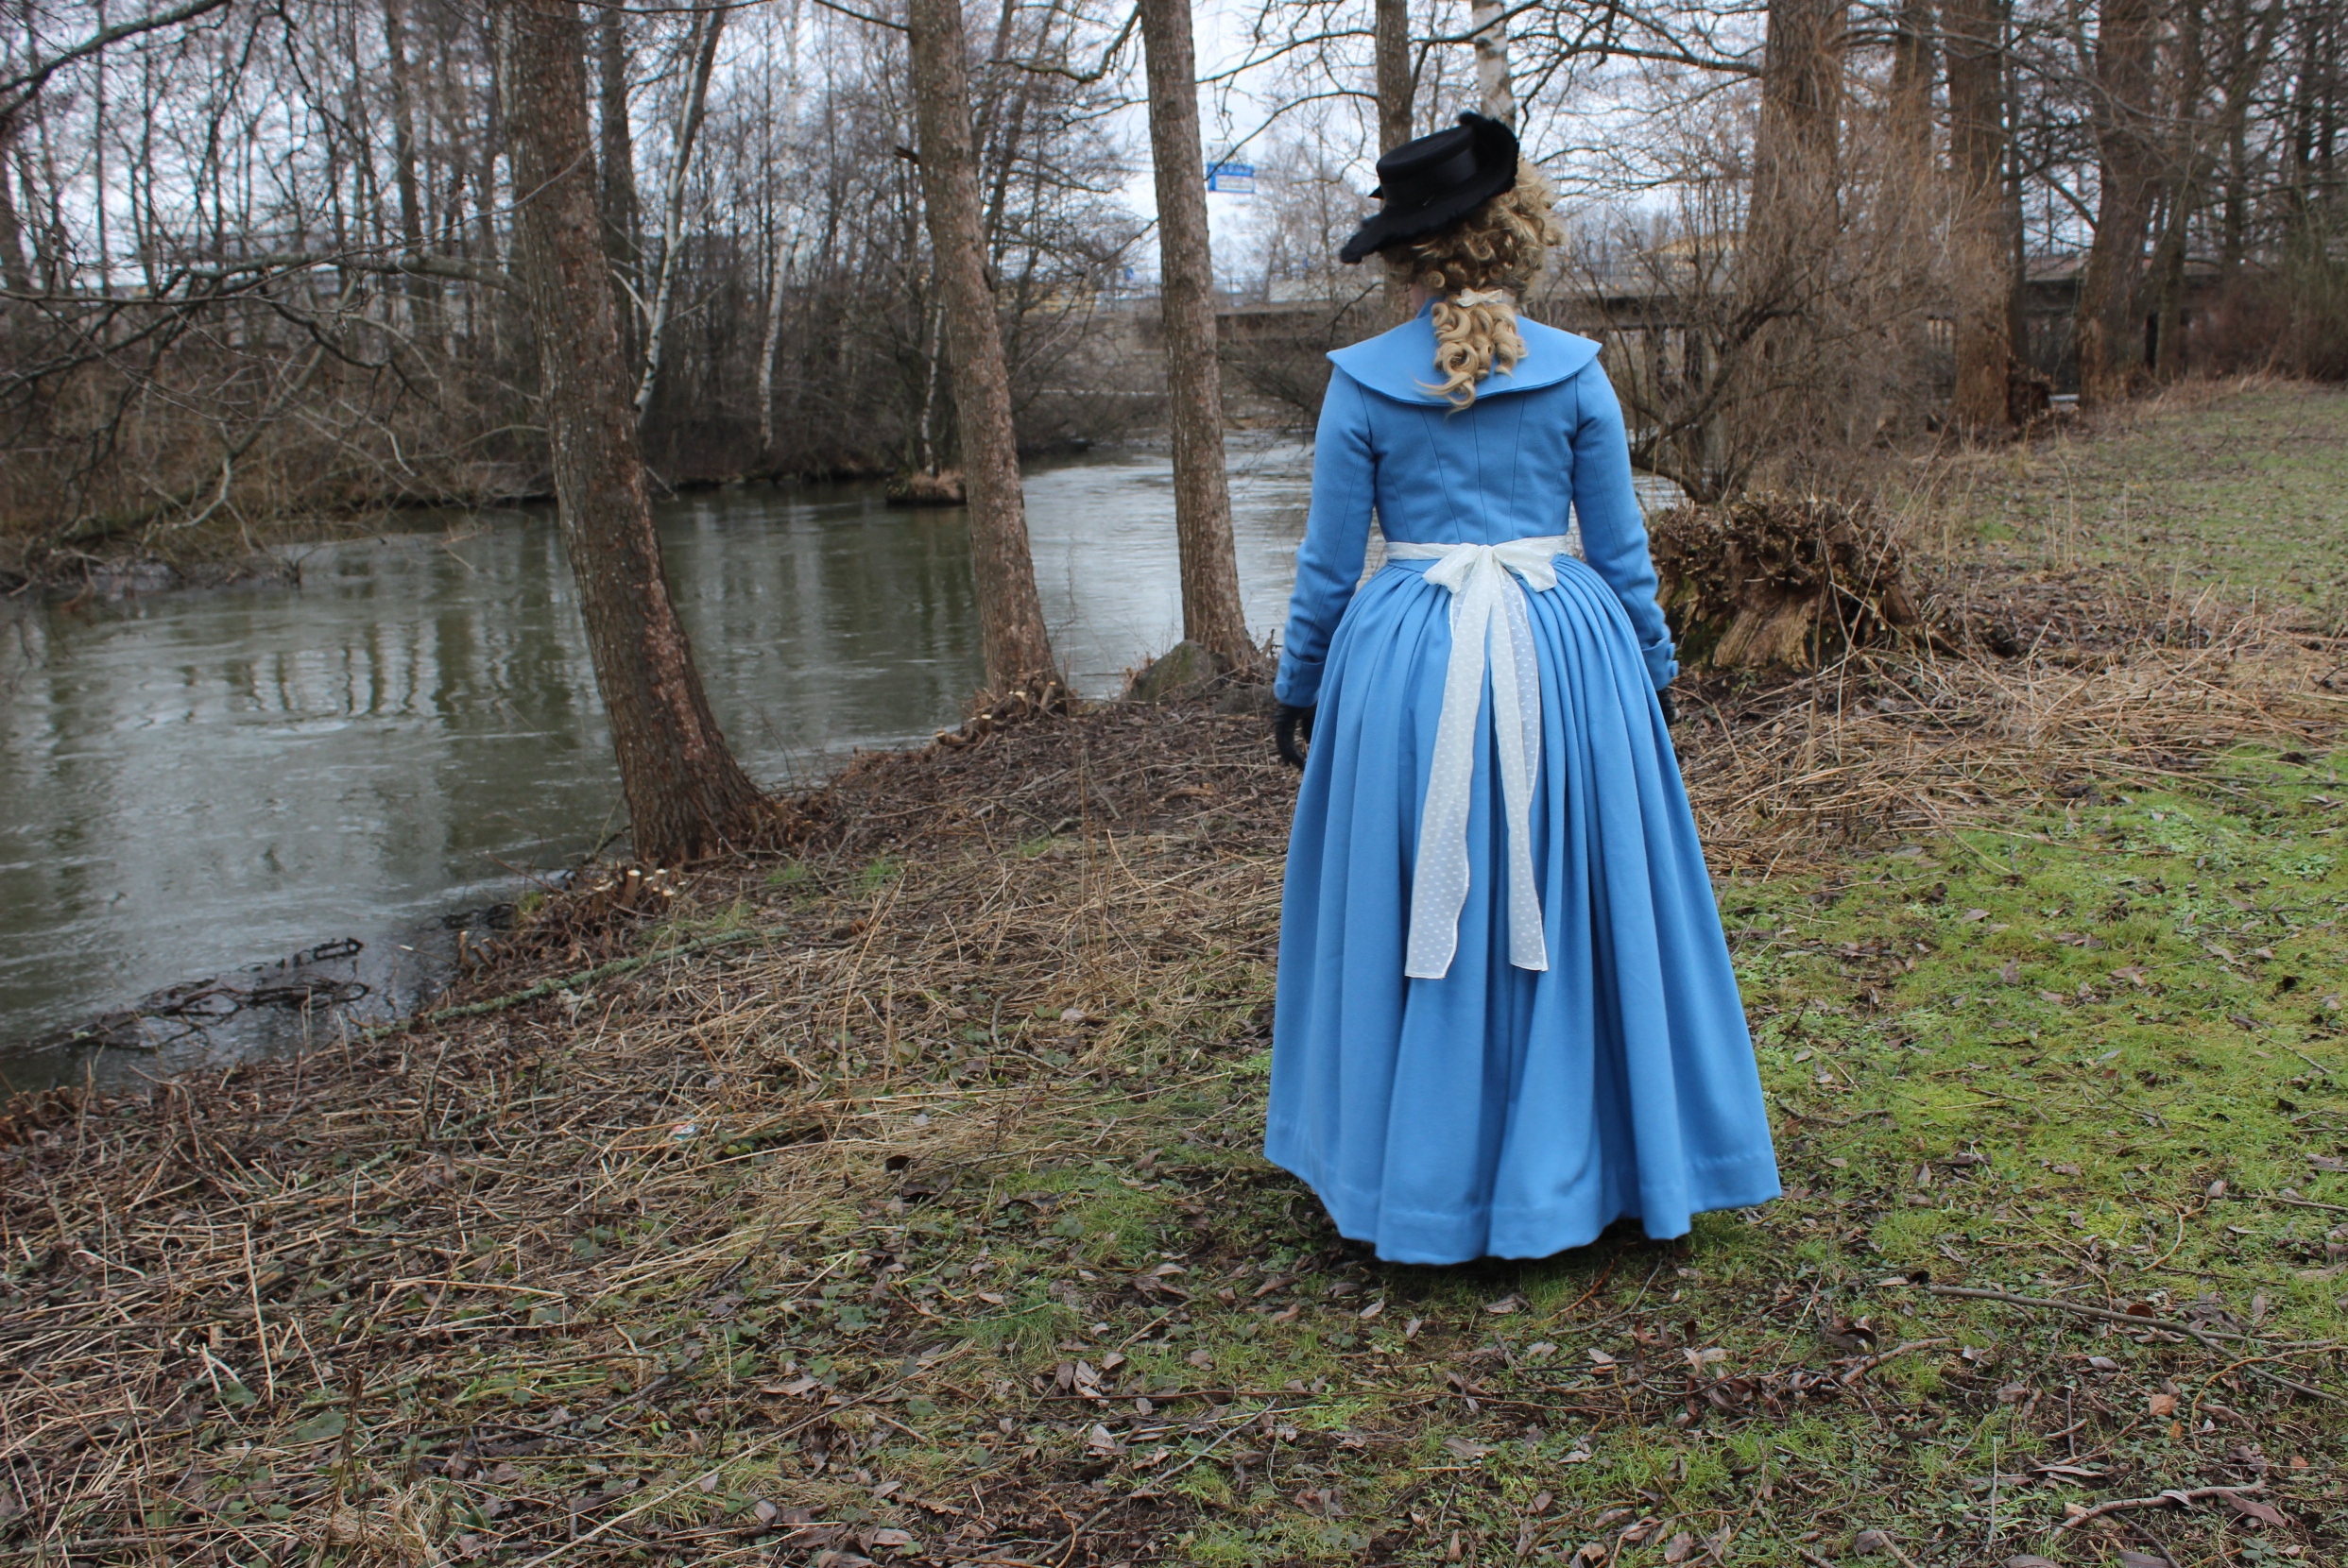
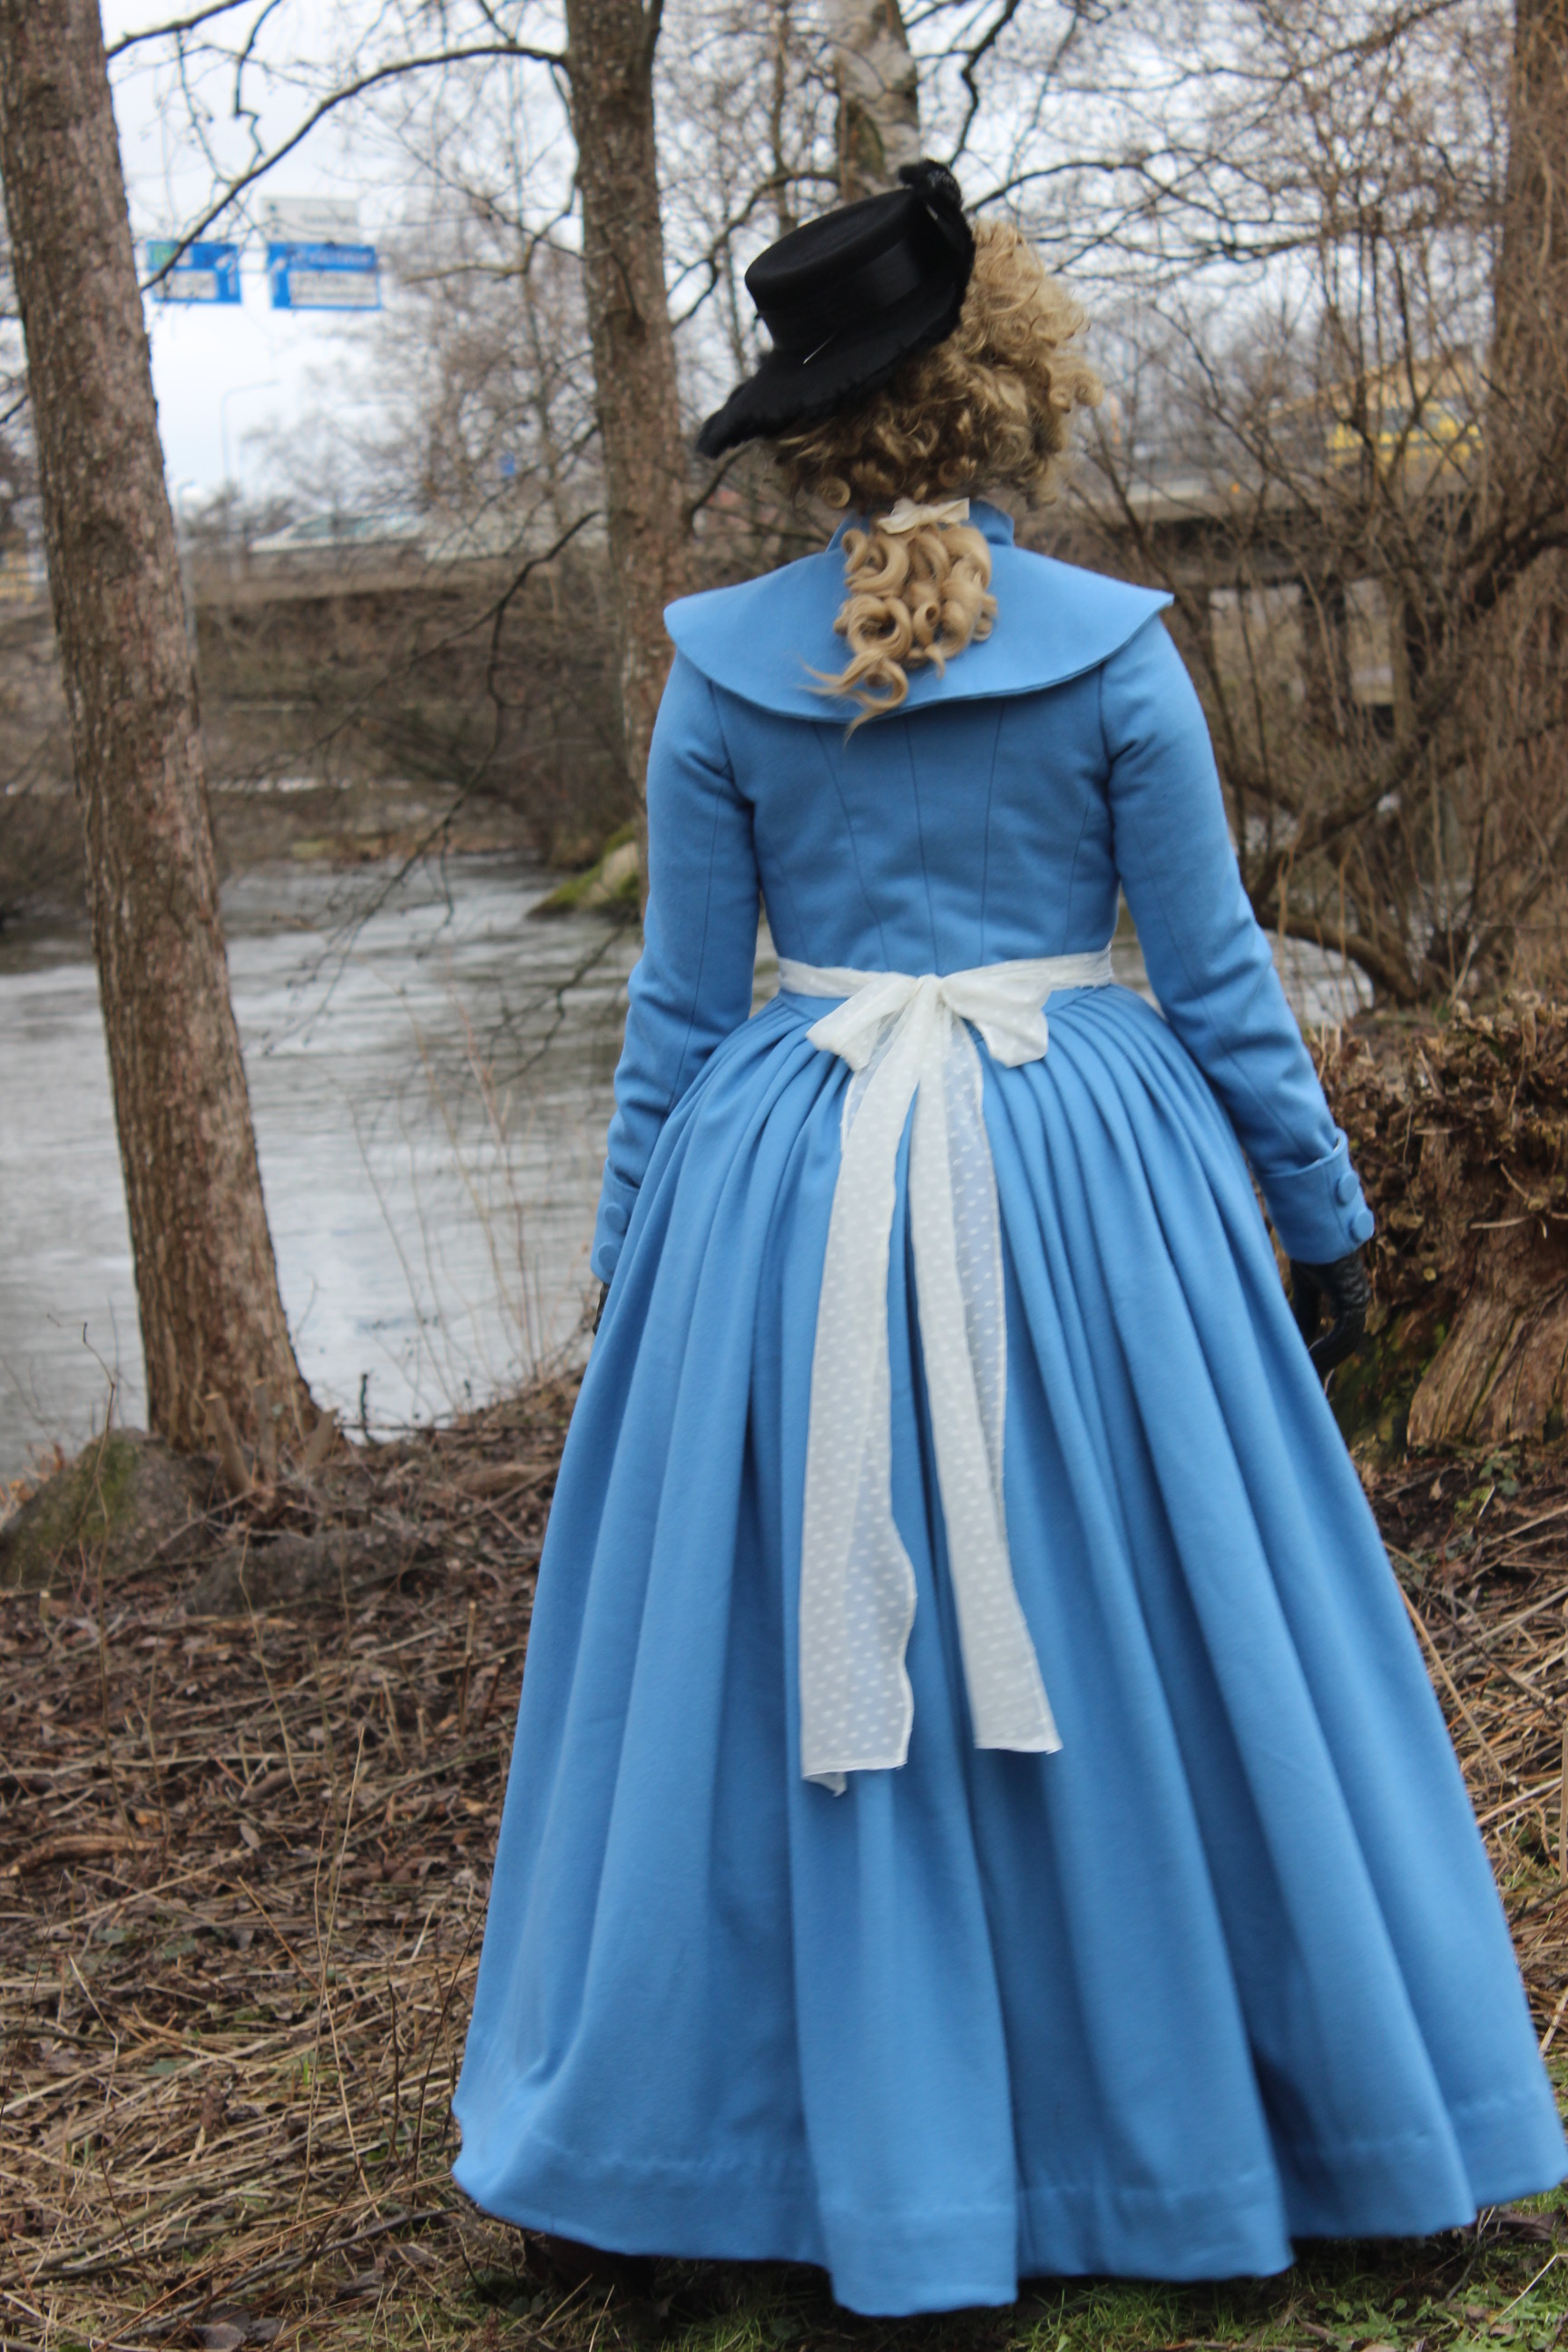
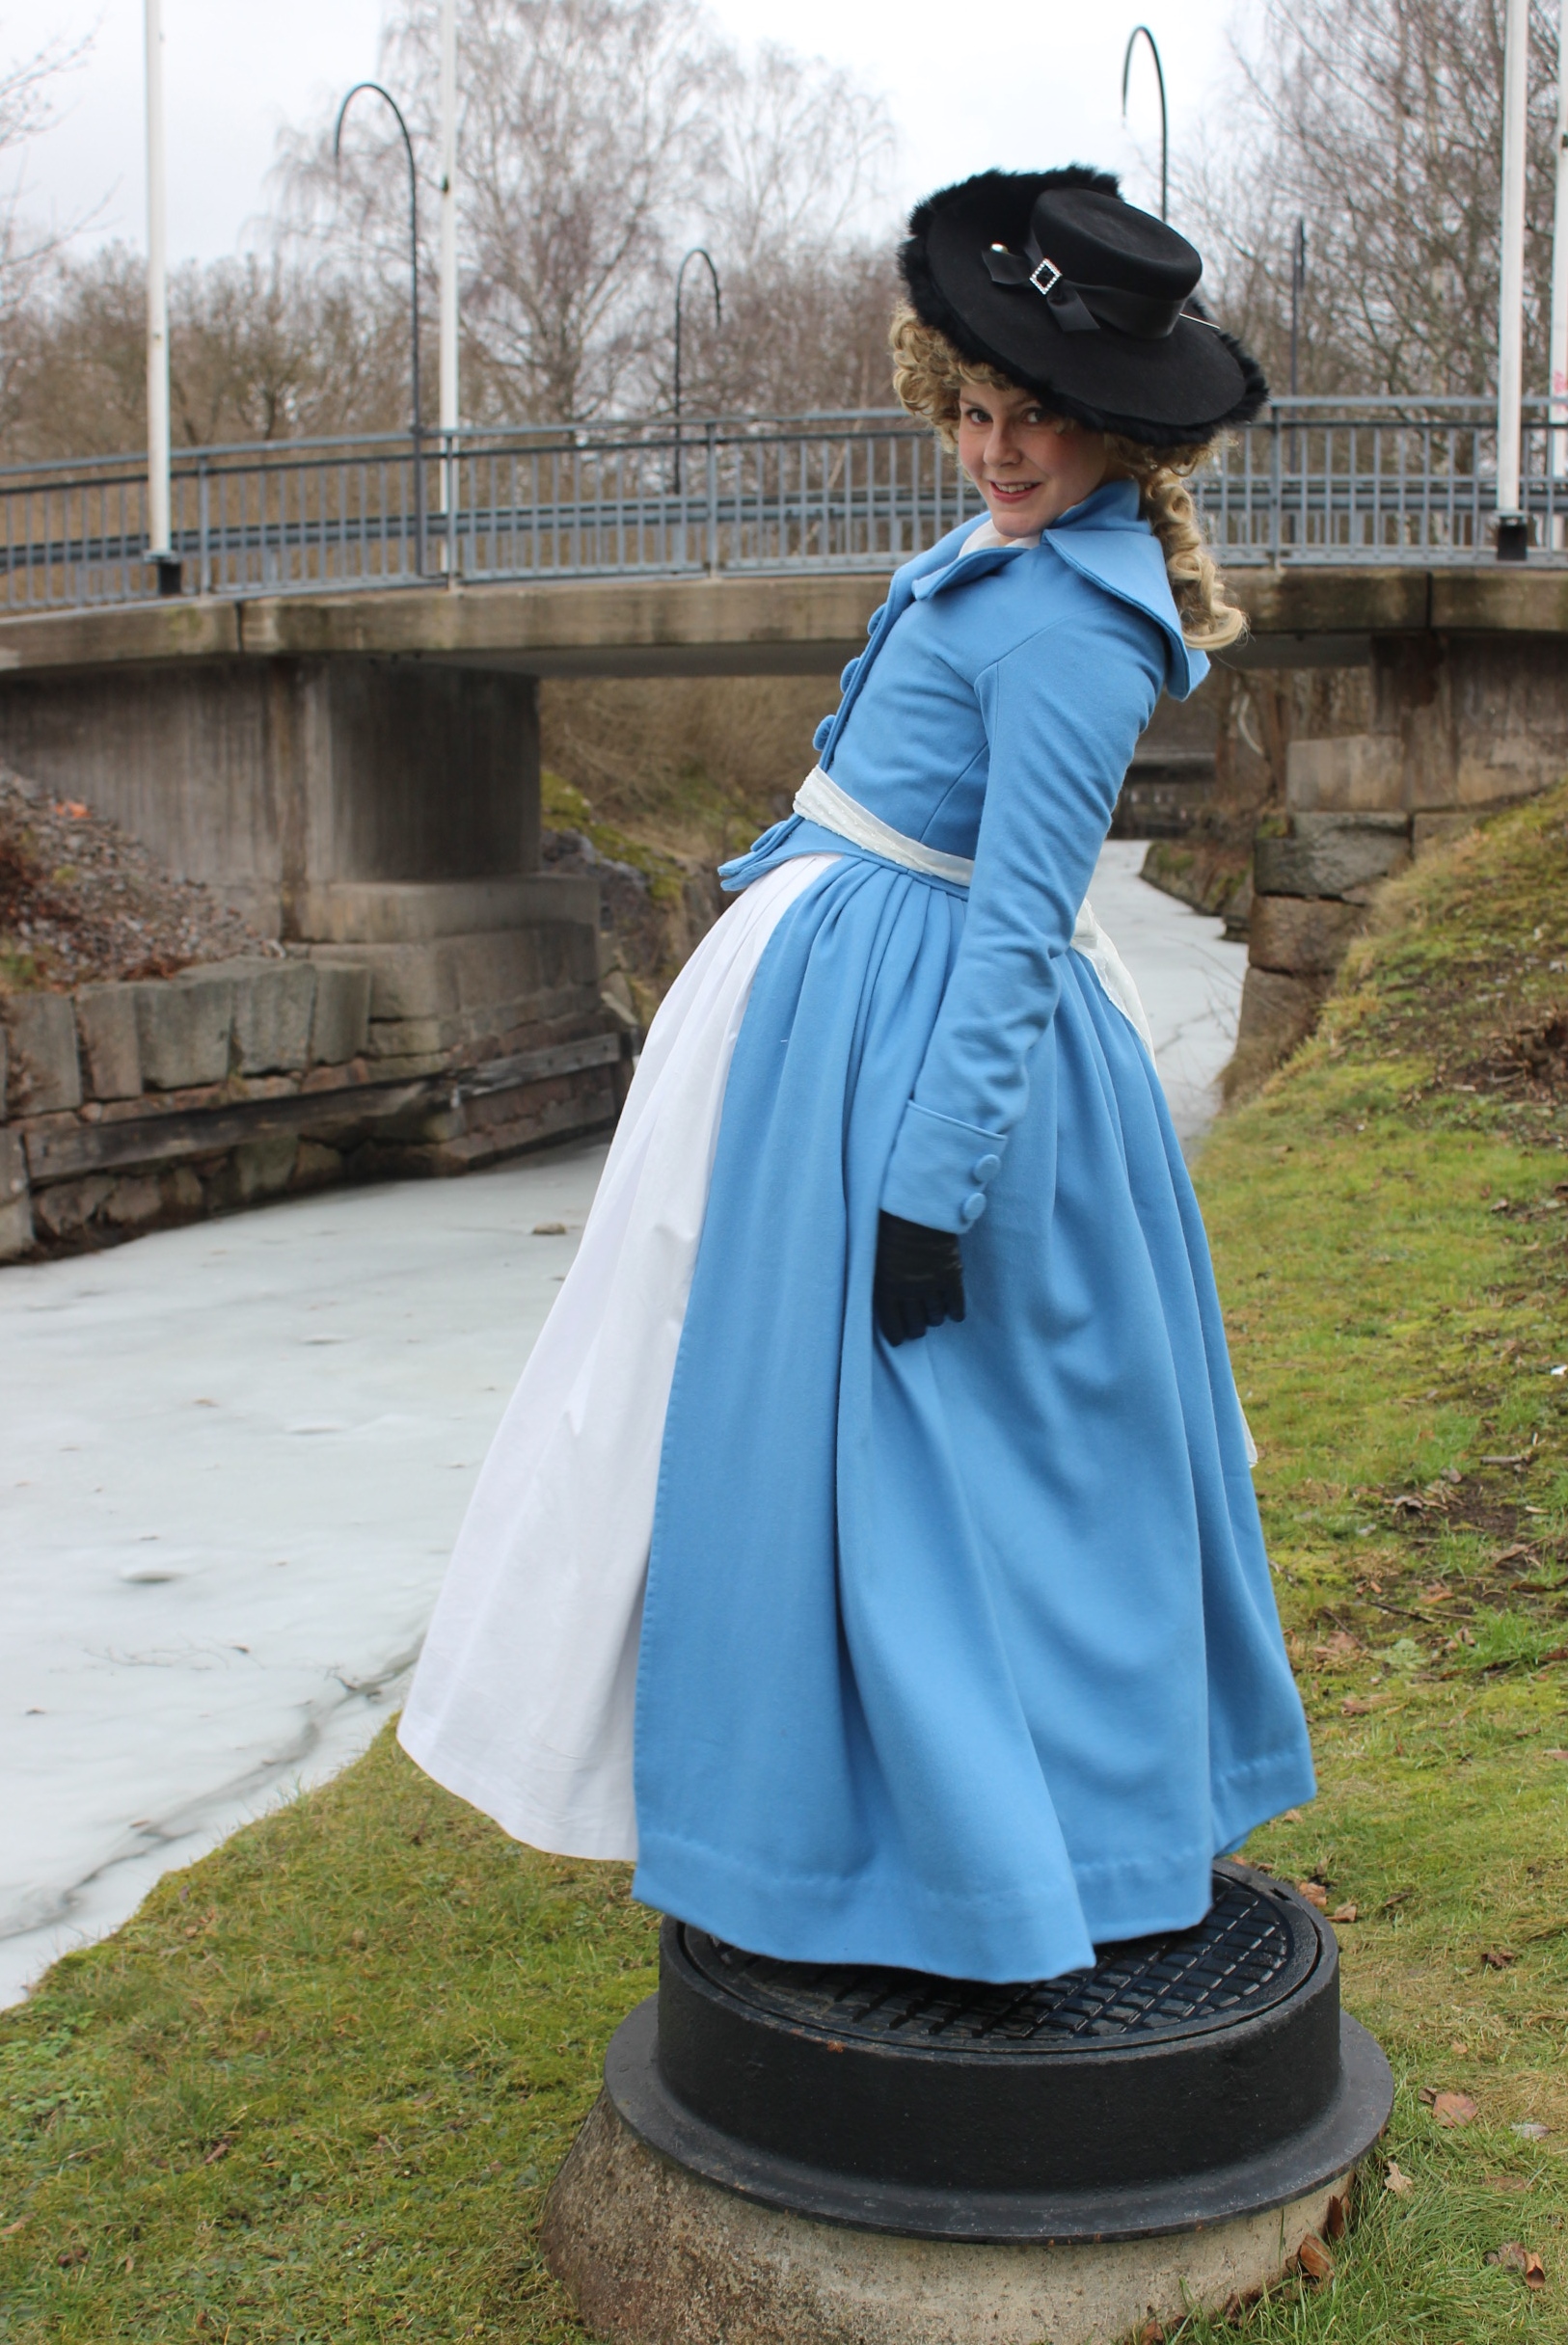
 Taking of the accessorizes we can ses the Redingote in full.
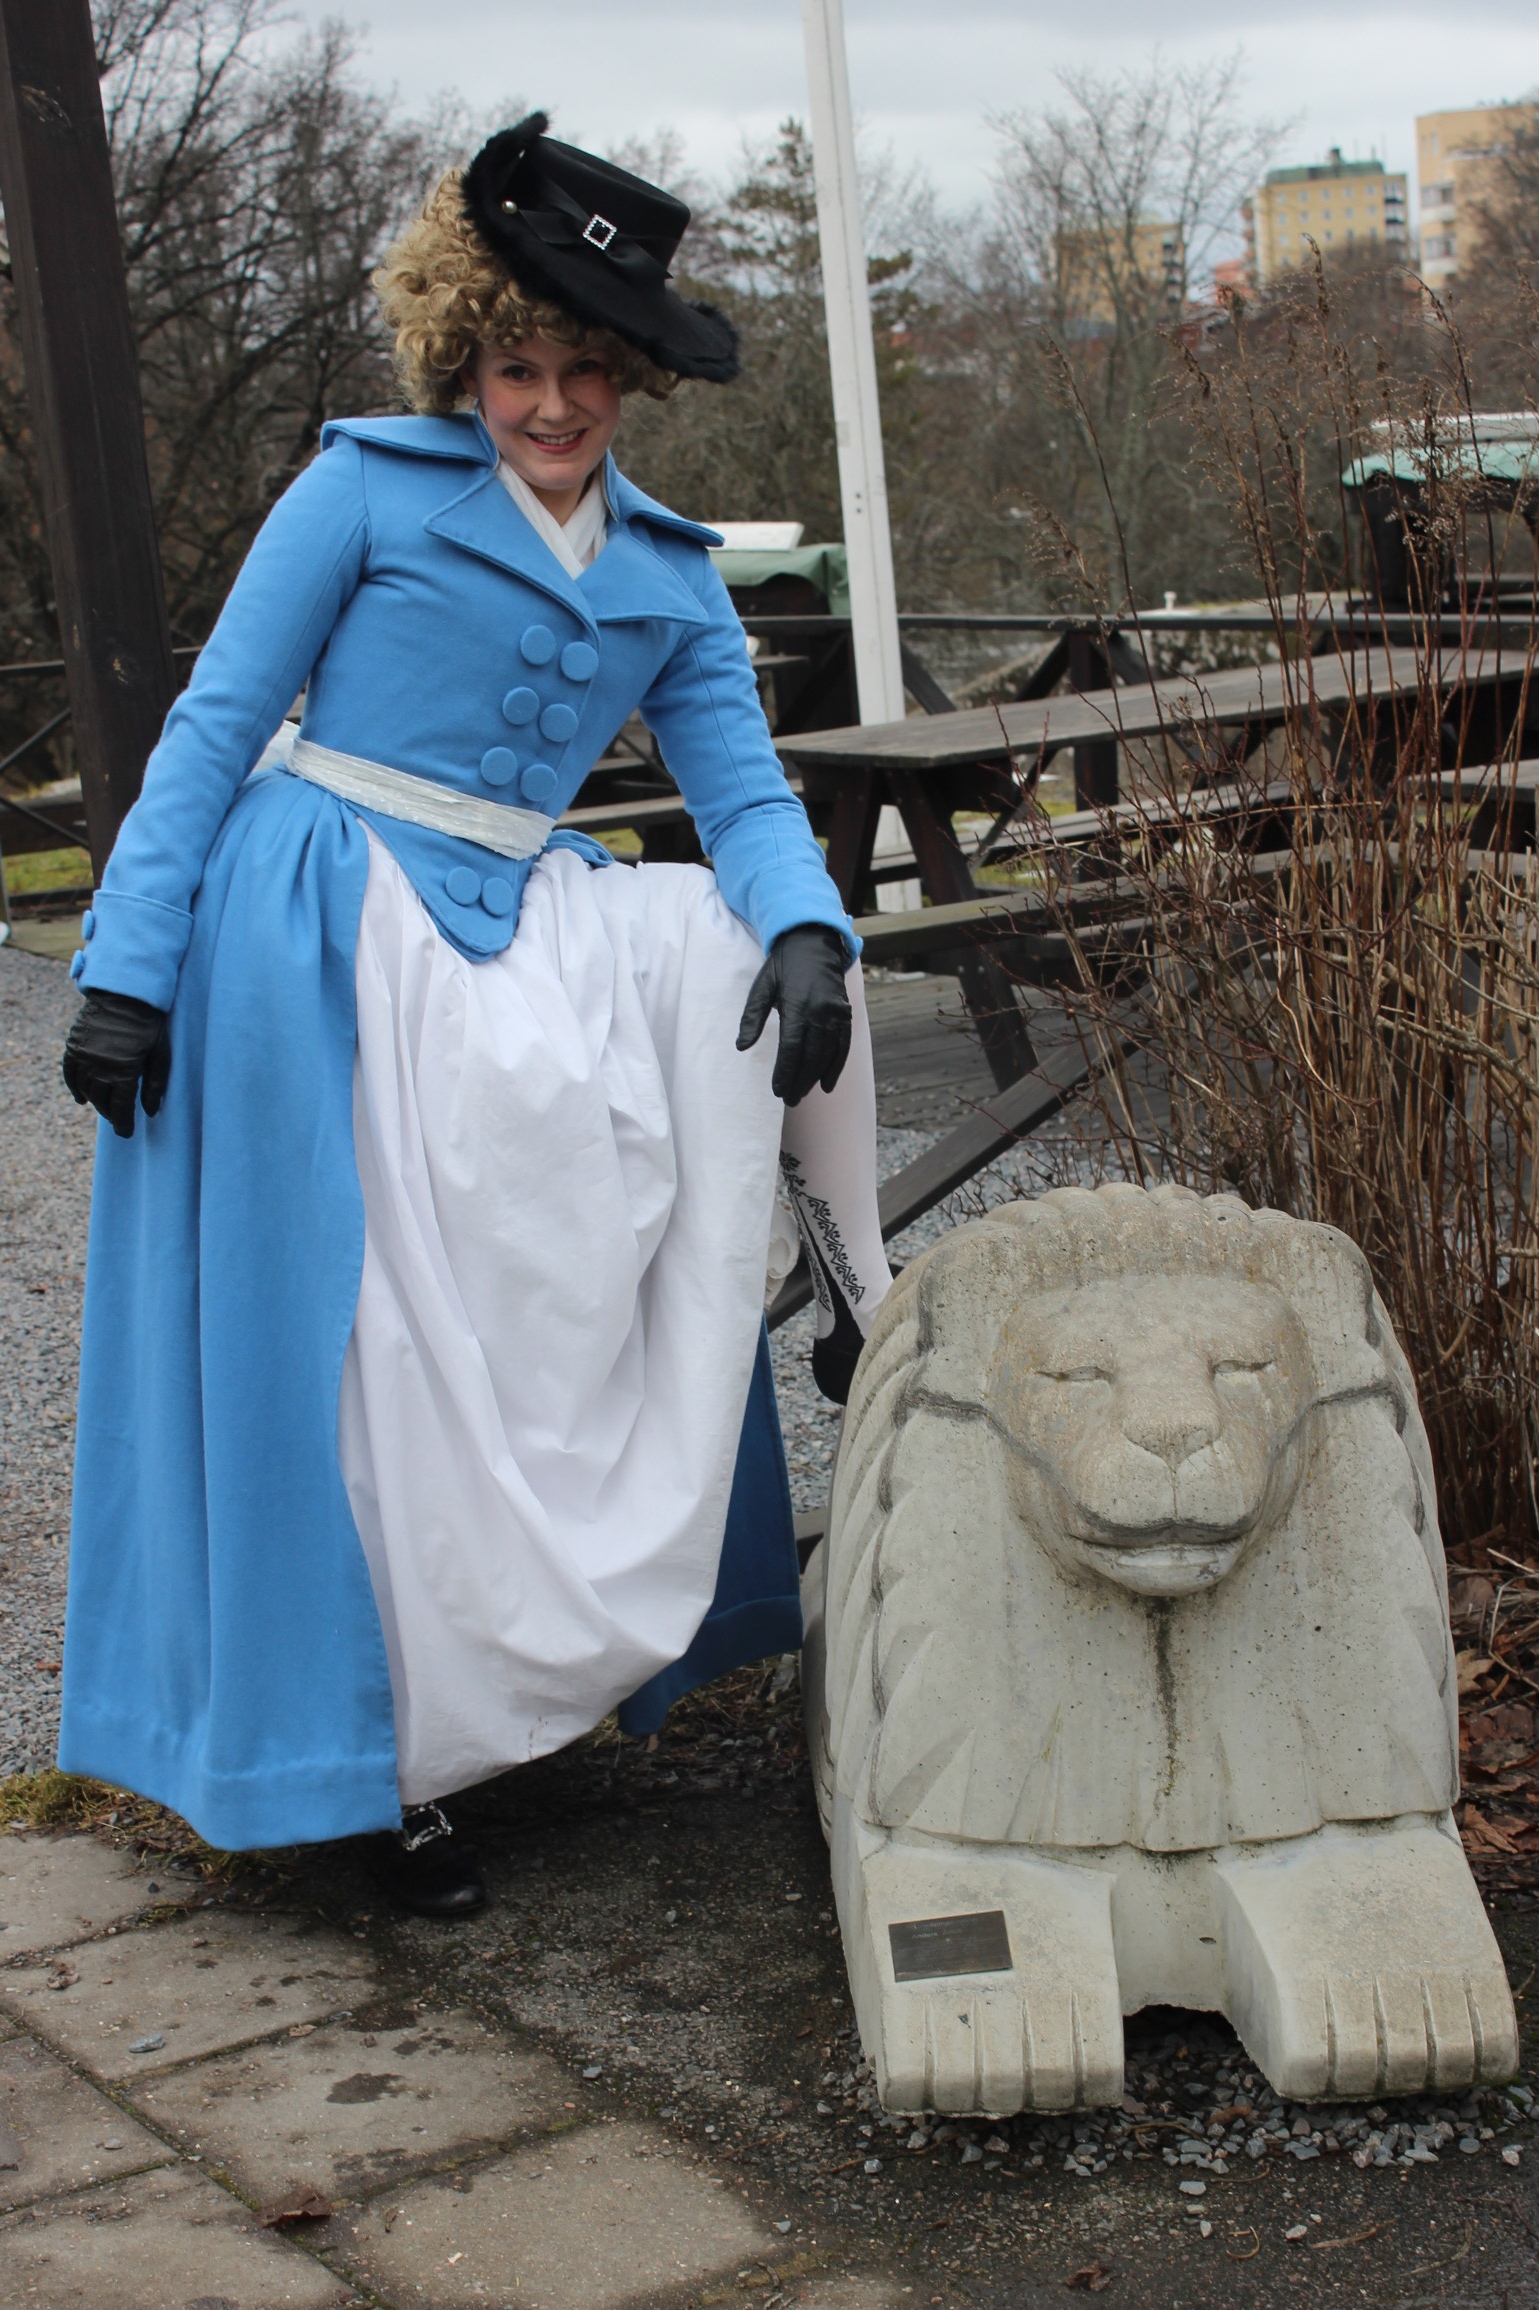
 Without the Redingote we can see all the white layers beneath – The skirt in full view and the fichu tucked inside the skirt.
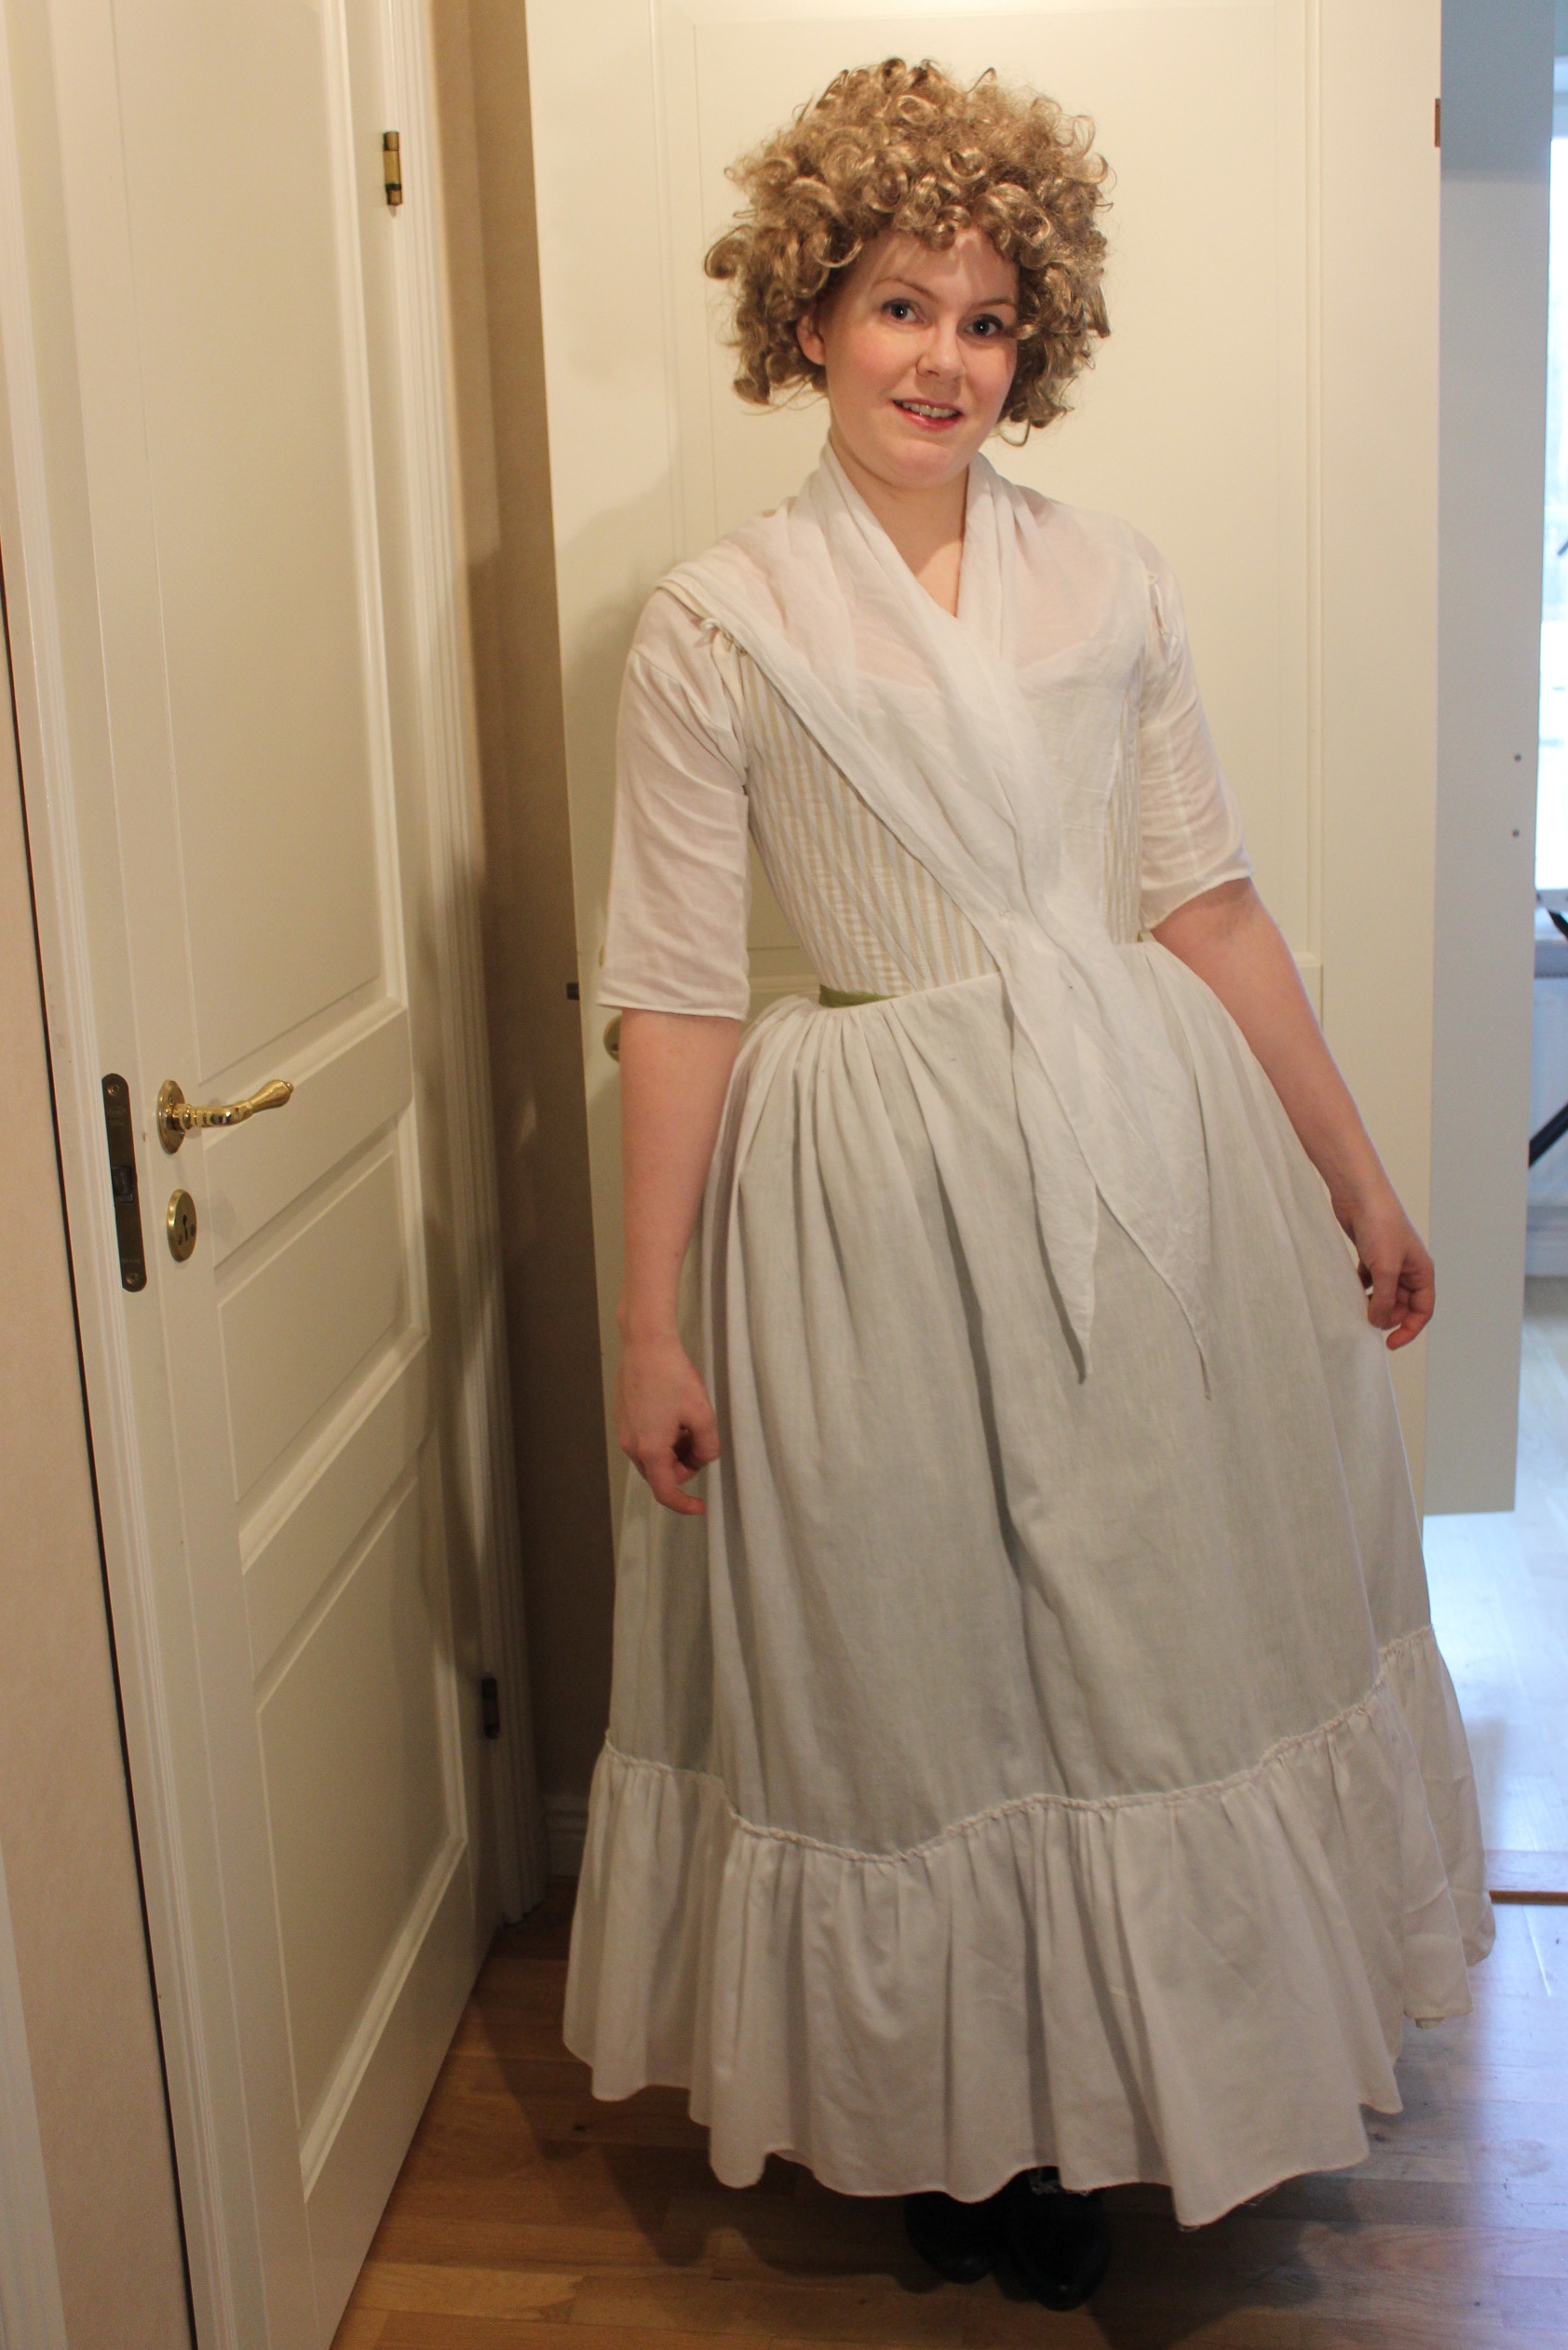 Removing the skirt we find the petticoat and the complete fichu.
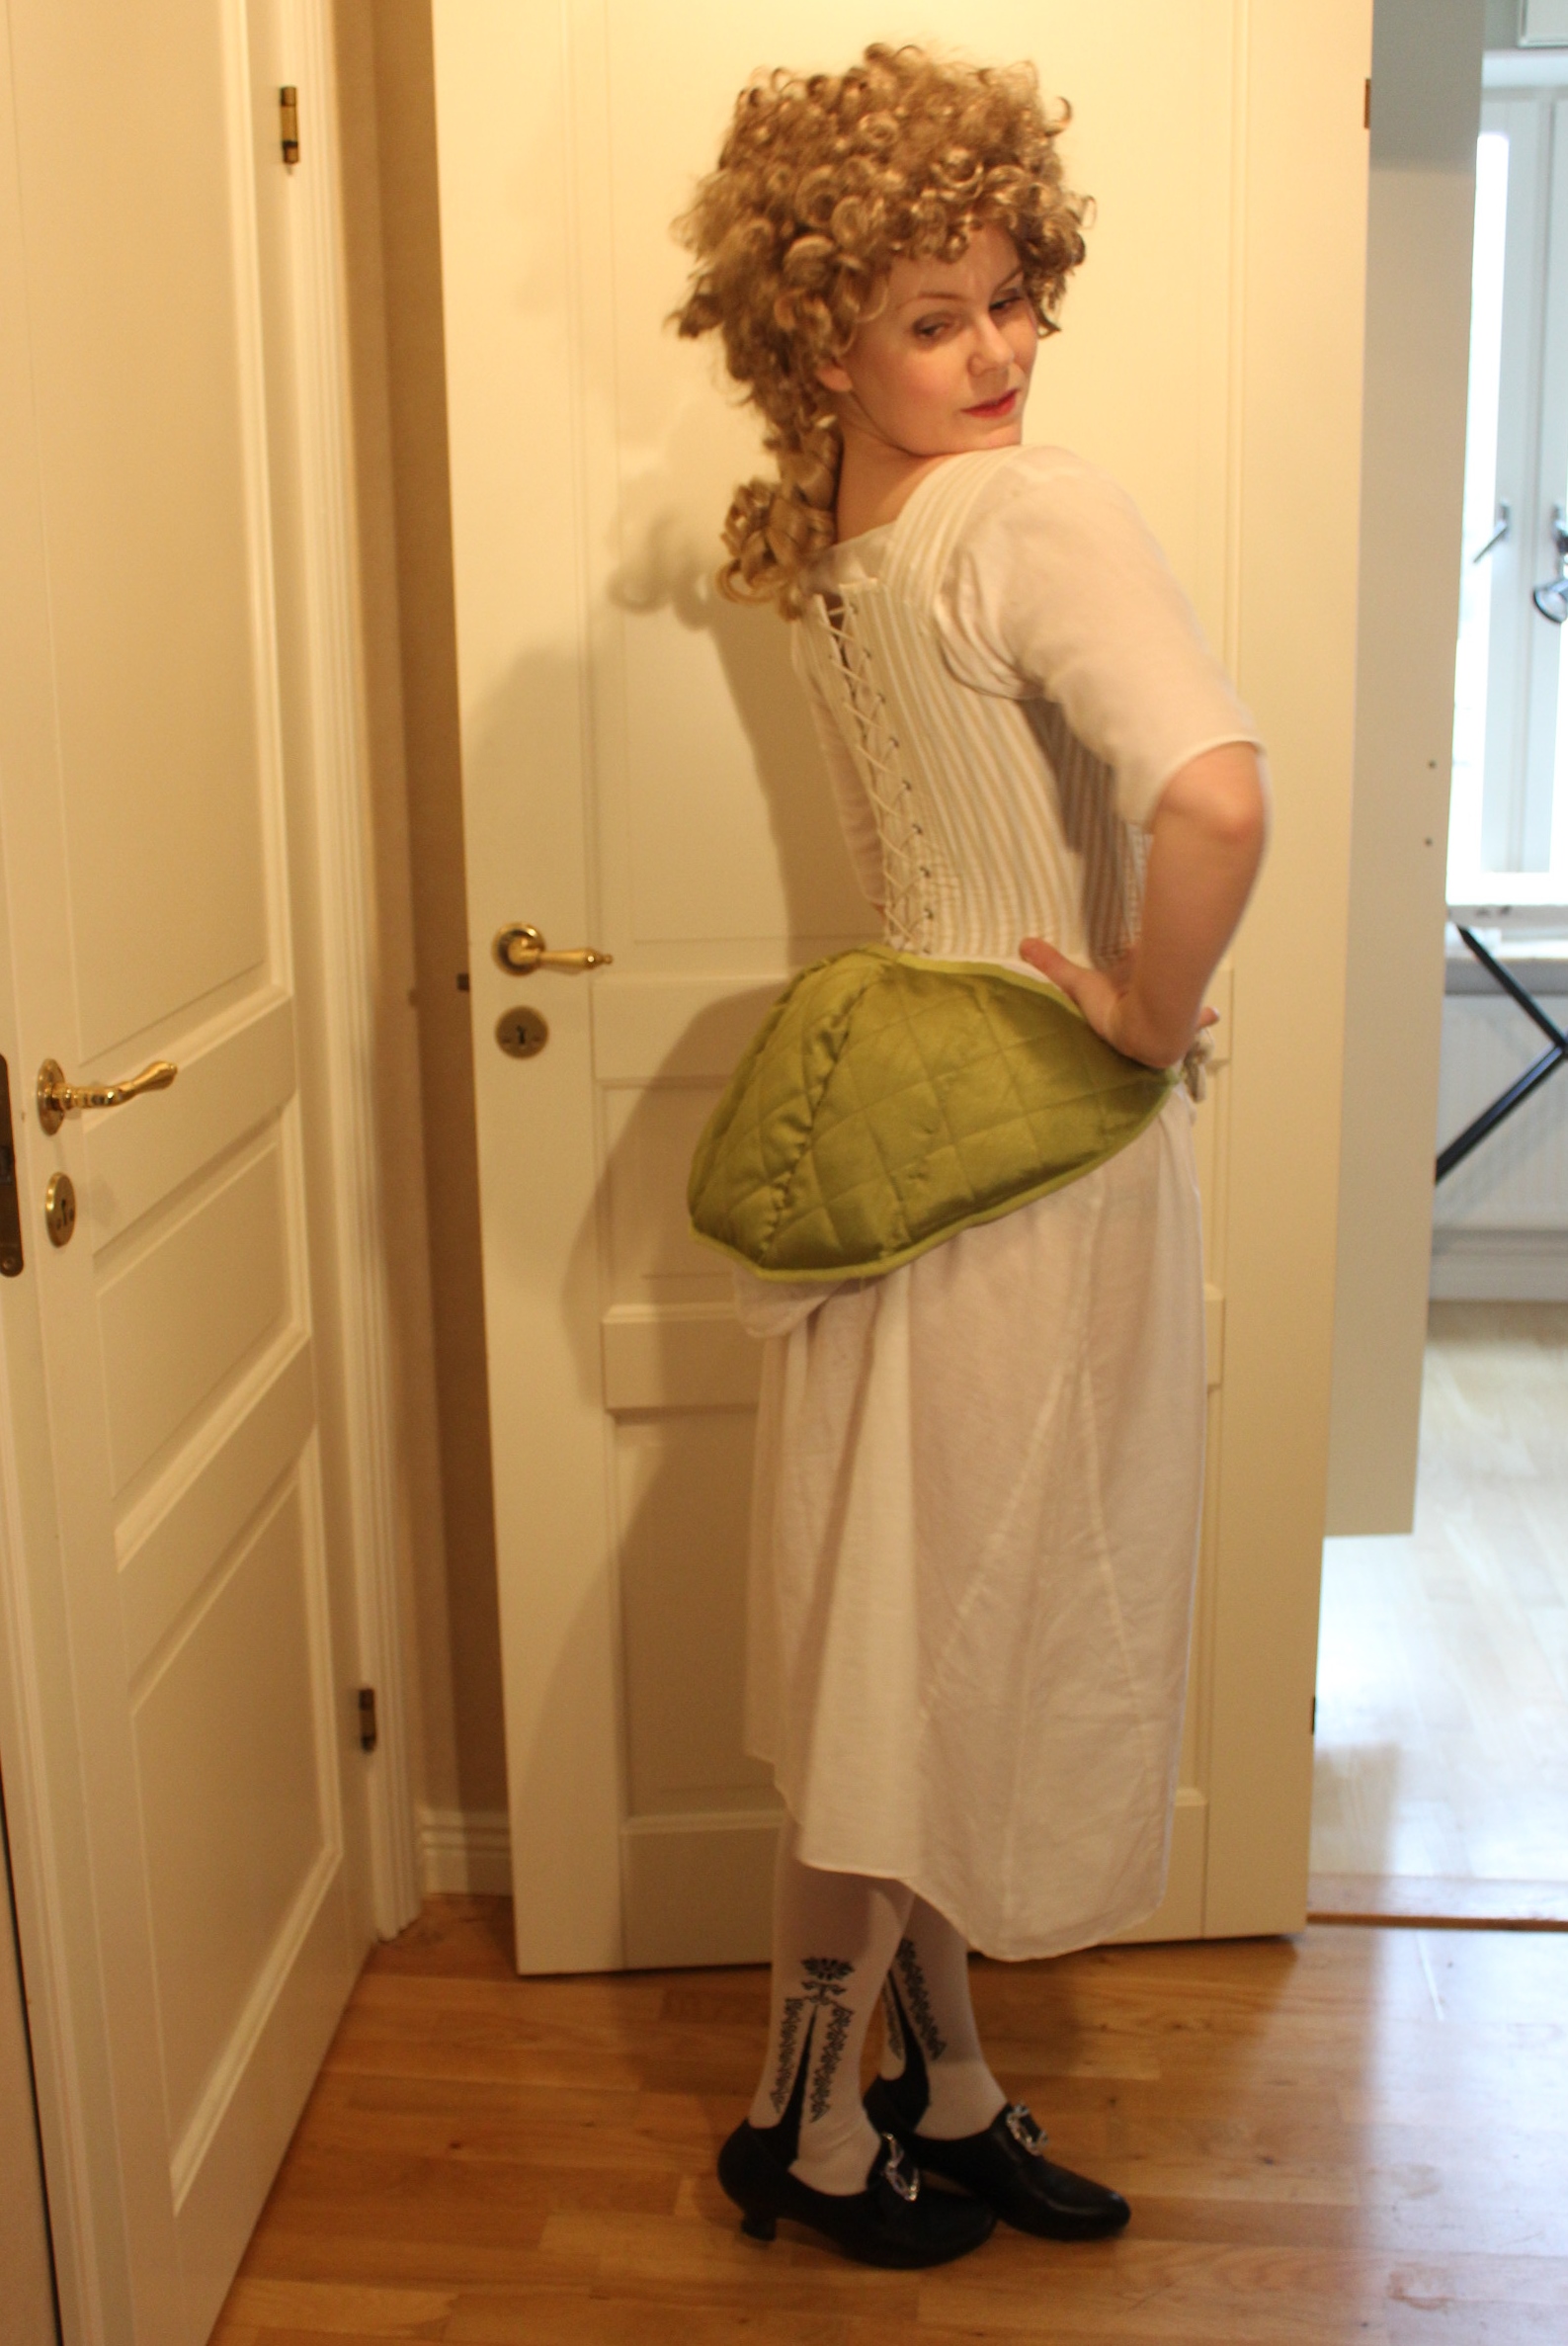 And underneath there is a bumpad, worn over chemise, stays, stockings and shoes.