Victorian Bustle

Combined with the HSF challenge nr 13 I decided to make a victorian bustle. After all I had about two days to complete both the bustle and the challenge piece before the photoshoot.

And in case you wonder why I’m constantly in a “last minute” rush before the photos is to be taken – it is for a purpose. I deliberately set the dates for the photoshoots a bit too tight for me to finish the intended garnment. If I didn’t, I’d just make something new up and be even more stressed out to get even this new piece finished before the shoot. So a bit stressed and one night of crazy sewing before each shoot is better than super stressed out and several nights of crazy sewing.

To get back on track – I just added a bustle to the pieces to be done in two days time (see – too much time left).

For the pattern I used The American Duchess bustle pattern and tutorial.

LTbustle basic pattern

Here are the picture of her finished bustle.

lobster bustle 12-30-12 (1 of 2)

I used a “dusty turqouise” cotton twill, and some black ribbons (to match the challenge piece). I quickly sewed it up, put in the steel boning and tried it on my sister…

…and it looked horrible.

2013-06-06 17.56.21

It was way too big, and didn’t look neat and pretty at all. I tried to pin away some of the excess fabric at the sides but it didn’t help.

So I picked up my cutting tools and cut off 20 cm off all of the metal boning, then I sewed the bustle together again and made it much smaller than before.

And this time it looked just right.

IMG_3092This picture is from the photoshoot me and my sister had of the HSF challenge 13, which I will tell you more about next time.

Big planes for an unsinkable ship

This spring I got news that the world touring “Titanic exhibition” was coming to a city near by.

GetAttachment(3)

I immediately began to dream of going to the exhibition in a costume. I have never been to any other event or fair dressed in costume, but just thinking of dressing up in 1912 fashion and walking amongst this incredible old things preserved under water seemed too good to pass.

I contacted the 19th century costuming group where I’m a member, and suggested a collective trip (but didn’t get a “go” before this week). I then started to plan my outfit (ok, dresses had been dancing in my head since I first saw the ad), lookin through all my costuming books and the internet for inspiration. I went through my fabric stash to see what I could come up with, and then I searched the web some more.

I needed to make all pieces of clothing for this one, since I have never done anything early 20th century before. Thank god I had already started on a 1910 corset for a later HSF challenge.

I also managed to get one of my sisters interested in going – and of course she needed a dress too.

So with less than two weeks to go until the exhibition I’ve got two whole outfits to plan and execute – including headdresses, bags, and underwear. Why do I never learn…

***

So after some heavy thinking and fabric searching (both in my own stash and in stores) I came up with two doable outfits for the exhibition.

My sisters dress was the easy one: she is quite a little princess – so what else than an evening dress fit for first class, a bit like Rose’s dresses in the movie Titanic (1997).

Rose's Dinner Dress“Dinner dress”

jumpgownactual“Jump dress”

I love the sheer black net/chiffon over the dark red colour of the underdress. It looks so luxurious and tasteful at the same time. That’s why I didn’t hecitate when I found this fabric for only 29 SEK per meter (3 EURO) on a sale in my local fabric store.

2013-06-24 10.26.05(the blue stripey colour is from our sofa, and not in the fabric)

A lightweight black tulle with black and silvery flowers.

I also got this lovely wine coloured viscose to match.

2013-06-24 10.21.27

And together…2013-06-24 10.22.16 Look how perfect the dark red goes with the black and silver in the tulle. (and the picture does not do it justice).

The pattern for my sisters dress will be Arnolds 1909 (probably the most reproduced dress ever) evening dress.

2013-06-23 20.27.19

To save time I decided that she didn’t need a corset for this one (she’s got a 1880 corset since before that will do for now). And since this will be an evening dress – she doesn’t need a hat, just a haircurler and a grecian updo with this lovely hair-comb that I got on sale last week.

2013-06-24 10.20.37

When it came to my dress it got a bit harder. I wanted to make a daydress and use fabric that I already owned.

This green fabric with decorative stripes that’s been in my stash for over two years will be perfect for some less exclusive day wear.

2013-06-24 10.24.20

After lots of searching the internet for suitable dresses I finally decided to use the green dress in the picture below as inspiration, but to make some changes to it. I will probably lengthen the sleeves a bit to fit the strict standard of skin exposure at this time. Perhaps i will even make some neck-insertion to cover up the hint of skin in the neckline.

fashion-plate-girls-1912

I will also need a corset and chemise (wich I already begun for the 15. HSF challenge).

For shoes I will use the Astorias that I ordered from “American duchess”  as a birthday gift for myself two weeks ago.

gibson-black-34side-340x340

For the hat I’m thinking of buying a straw hat and then trim and decorate it to match the dress.

For gloves, bags, jewelry and stockings I will have to go with less than perfect alternatives that I can find in my (or my sisters) stash. There is only so much you can do for your first costuming event.

Theater seamstress in training

In January 2012 I finished my last course in school and moved back to my hometown. Pennyless, unemplyoed and bored I decided to make the most of my newfound spare time and learn more about sewing and costuming.

I contacted my nearest theater atelier and begged to be taken in as a no pay trainee. They agreed, cleared a table for me, and let me stay on for 6 months, doing all the things the other tailors and seamstresses did.

I had such a good time and learned so much working in the atelier. I got experience from sewing and all the other things going on around the theatre.

Sadly I was working all the time and did forget to take pictures, but here are the few that I did get and some I found on the internet.

6797180018_978a5fe247The pattern drafting room

ImageHandlerkgNewspaper picture on “open House” day. My workplace was right where the two ladies stand, opposite to the awesome young tailor cutting some organdy for the never ending neck ruffels.

imagehandlerjgAnother article of a really great tailor, covering the cartoon figure Bamse in new fur.

ImageHandlerlhgThe costume supervisor showing off a wonderful 1930s velvet robe.

ImageHandler kjghEveryone’s working hard. I’m the one in the background to the left (between the young girl and the beam).

kostym_farliga__mediumCostume fittings with tailor and costume designer squeesed in to the fitting room.

7298564A fraction of the costumes in the storage.

2012-09-07 08.47.53A polar bears head waiting to be styled with glitter.

2012-09-07 15.32.56Who wouldn’t like to be a dancing, singing and sparkling polar bear…?

Thanks to all the wonderful tailors and seamstresses for really letting me in to your team, and never holding back on your incredible knowledge.

To style a bergère

If you like history or costuming – or the two combined, you know that a lady never ever leaves her house without something on her head.

Different eras calls for different headwear but it has always been present, and can easily make or break any historical outfit.

Since I’ve been sewing so much 18th century costumes lately, I needed to make myself a hat – preferebly one that could be used with several different outfits.

So today I give you the Bergère:

sc107232_fpx&obj=iip,1

“A bergère (French for shepherdess) hat is a flat-brimmed straw hat with a shallow crown, usually trimmed with ribbon and flowers. It could be worn in various ways with the brim folded back or turned up or down at whim. It is also sometimes called a milkmaid hat. It was widely worn in the mid-18th Century.

It has been suggested that the hat was named after Madame Bergeret,who is certainly holding a shepherdess-style hat in a Boucher portrait painted c.1766″ (from Wikipedia).

FRANOI~1

And here are a few other versions of the hat.

bergere-hat-workshop_pic

vigee-lebrun,_self_portrait_in_straw_hat_BVigée Le Brun in a selfportrait

lamballe-miniaturePrincess Lamballe (and my inspiration for “the Chemise a la Reine”)

IMG_2176

straw-hatsPicture from the movie “The Duchess” with Keira Knightley

It is a pretty simple hat to make on your own, but I will not go into details as The Dreamstress have this wonderful tutorial which really says it all, and which I used to make my own version.

Some pics of my hat in the making.

catalogueImageAn ordinary straw hat.

2013-06-11 17.50.10Cut, reshape and glue the crown back on.

2013-06-11 17.48.35Trimming

2013-06-11 17.48.56For the trim I used the pre-quilted leftovers from “The green Quilted Petticoat”

So far I’ve used this hat for three different dresses and re-trimmed it once.

“The Anglaise of satin trouble”IMG_2325

IMG_2422

“The green Quilted Petticoat” and “The Flowery Jacket”DSC_0091

DSC_0080

New trimming with feathers and ribbons for…DSC_0524… “The Chemise a Lamballe”DSC_0389

DSC_0317

Chemise a Lamballe – Pictures

For the Chemise photoshoot (construction post Here) me and my sister went to this amazing group of old houses from late 18th centrury, located in the middle of our town. It’s not like “Old Town” or something like that just these old wooden houses, with their lovely gardens left untouched in the midst of all the modern houses. (I will show you all of their beauty in a photo-post one day).

We took so many good and wonderful pictures, and it was soo hard to select only a couple of them to show you. But finally I managed to get the numbers down. So here are 12 of my favorites, which I think best captures the softness and beauty of the Chemise a la Reine.

DSC_0295

DSC_0301

DSC_0325

DSC_0332

DSC_0338

DSC_0369

DSC_0389

DSC_0394

DSC_0401

DSC_0409

DSC_0547

DSC_0566And of course we had to make some advertising for this fabolous grill – after all it’s barbecue season…

Photo: Maria Petersson

Chemise a Lamballe (Reine)

For the HSF:s 12th challenge – Pretty Princesses – I went trough my mental archive for all my favorite royalties.

Like Anne Boleyn…

AnneBoleyn3

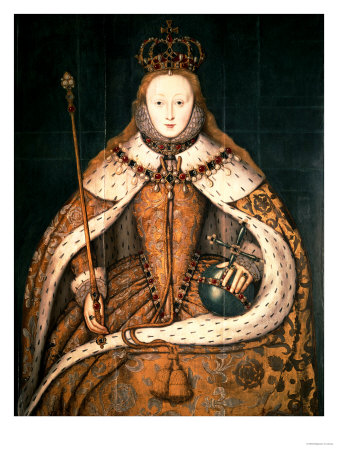
Or her daughter Elizabeth I.72707

Or perhaps the Swedish queen Kristina.drottning_kristina_av_sverige

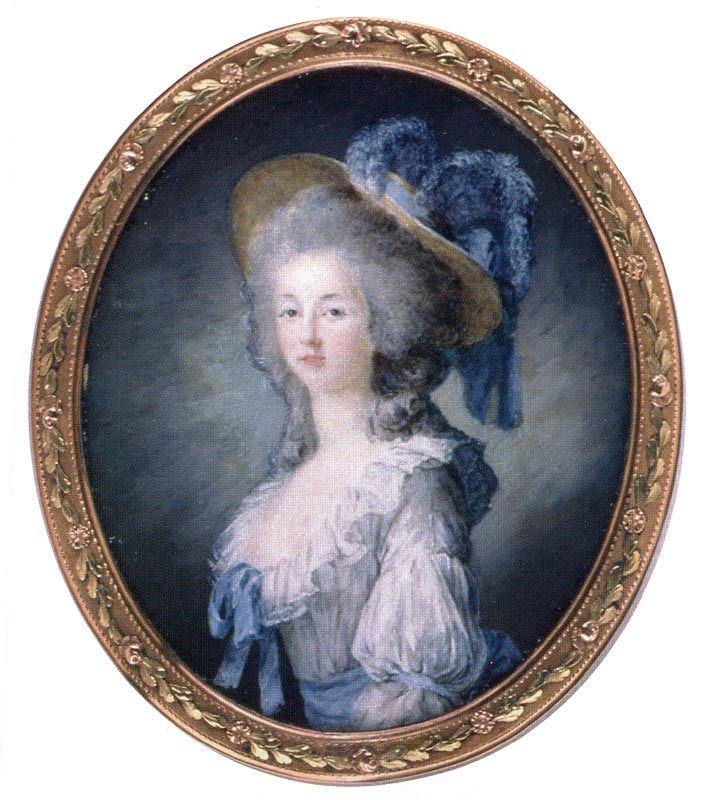
And of course there are always the (in)famous Marie Antoinette.Marie_Antoinette_1775a

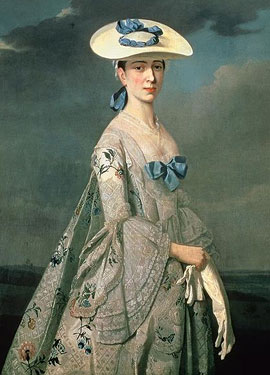
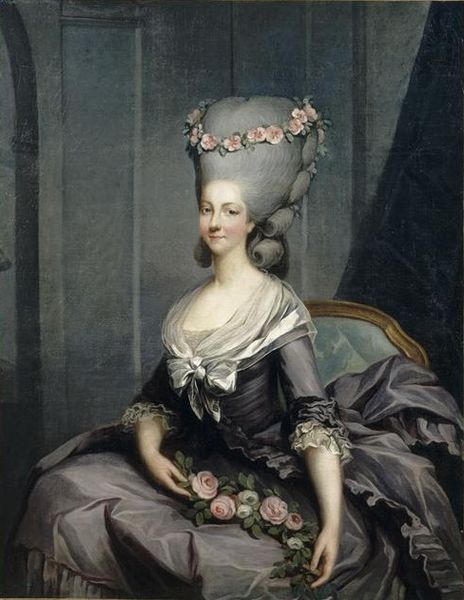
I knew I wanted to make something pretty but much simpler than what you normally visualise when you hear the word “princess”. And then I remembered the fascinating and really tragic faith of one of Marie Antoinettes friends – the princess Lamballe.464px-MadamedeLamballe

Married at 17 to  Louis Alexandre de Bourbon-Penthièvre (a marriage that lasted only one year, before the prince died of sicknes). She then moved on to Versailles and became a close friend to the new french queen. A friendship that would cost her life in the most brutal way when the revolutinaries in 1792 stormed her home, dragged her through the streets and threw her to the mob (which killed and mutilated her within minutes). They then put her head on a spike and paraded it down the streets outside Marie Antoinettes prison window.

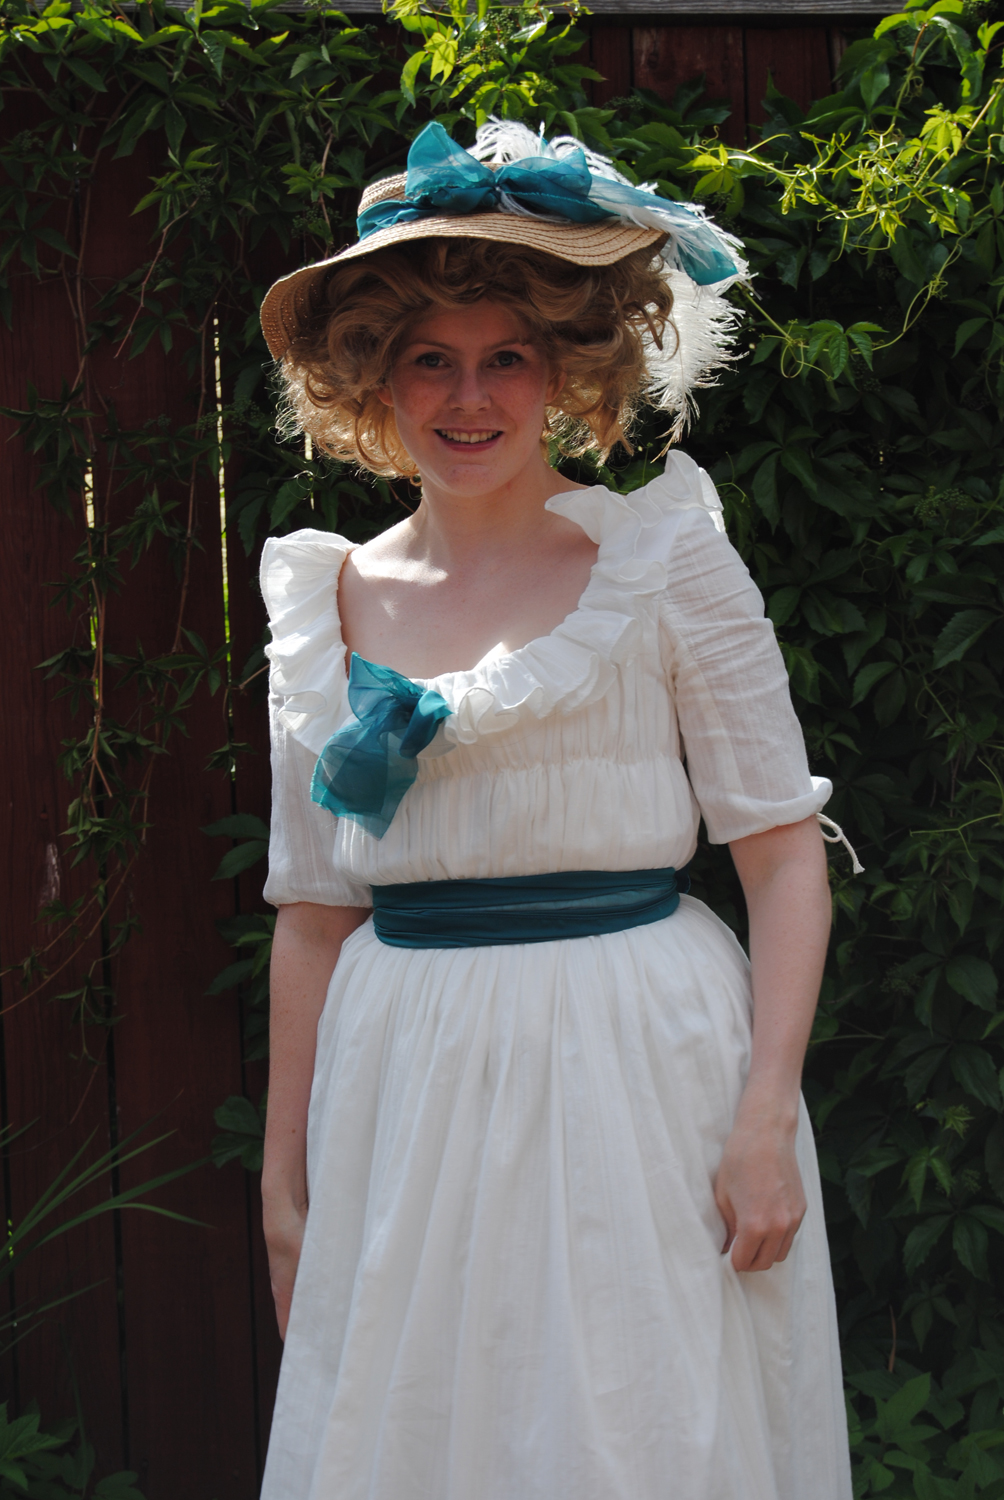
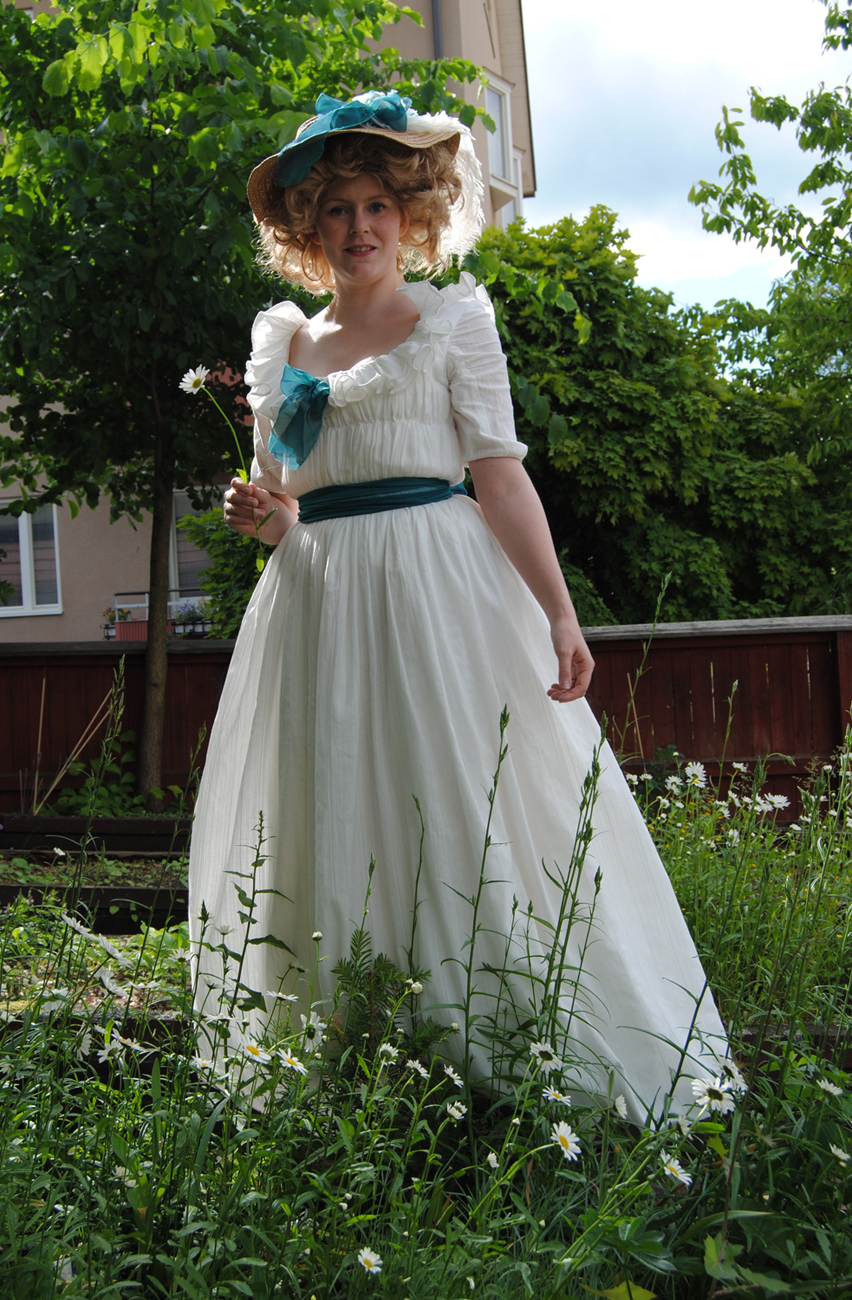
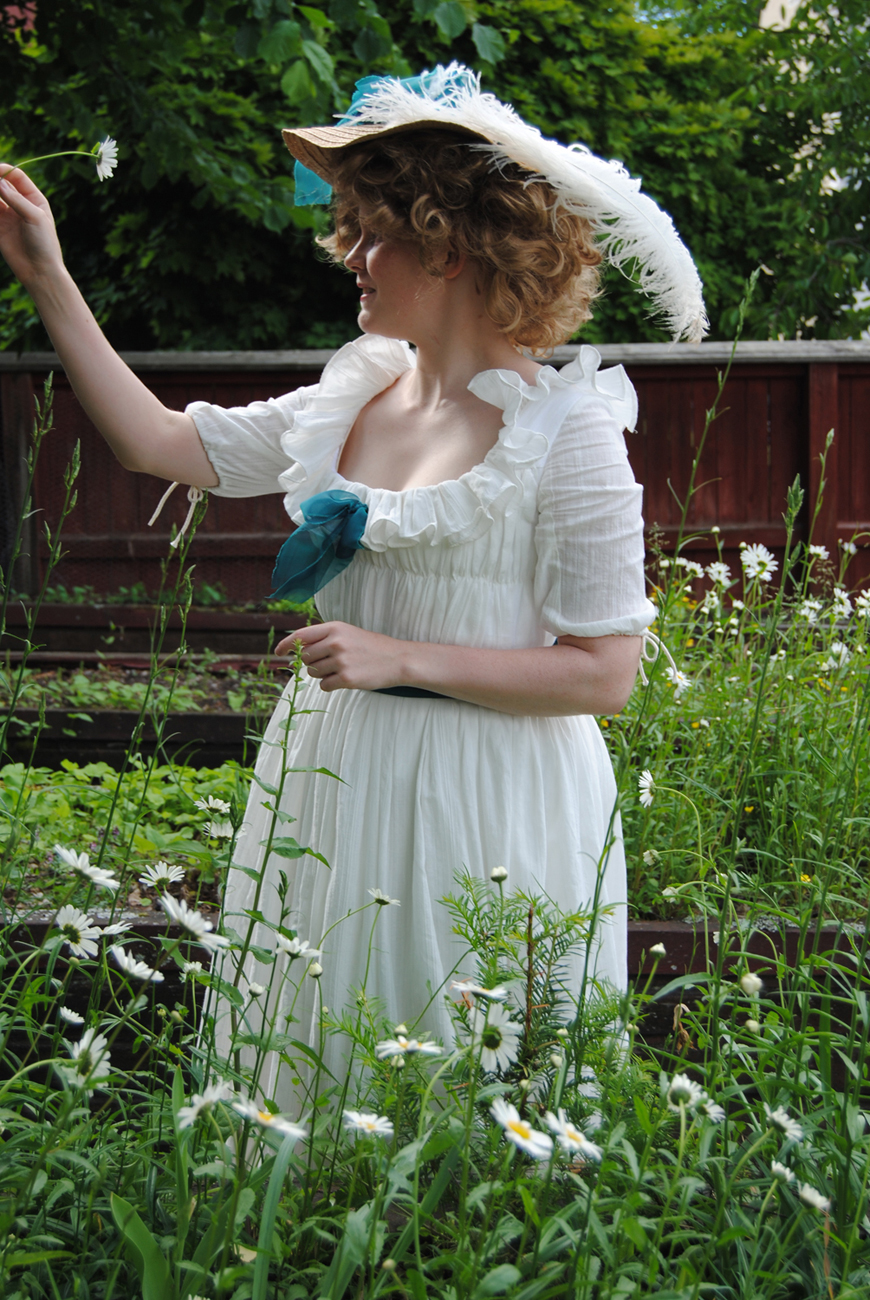
In most of the princess portraits she is wearing the “chemise a la Reine” – a style Marie Antoinette made famous and Lamballe was known to favour.lamballe-miniature

So what would be more suitable to hounor the princess with than to recreate the dress she loved.

The pattern is from Waughs “cut of woman’s clothes” and the fabric is a lightweight cream coloured striped cotton voile.

2013-05-29 17.38.05

I originally planned to make the dress all by hand but soon realised that I din’t have that kind of time for this project. Since I am starting this dress with only 3 days to go until challenge deadline I decided that it needed to be sewn on  machine.

So I cut out the pieces, measured and sewed on the channels with the cord already inside. One at the waist and one about 10 cm above the waist.

Then I put it on my dressform to get a perception of what it would look like and to cut the neckline. As you can see, it is horrid. Way to much fabric and bulky gathering from the cord. It doesn’t look slim and neat as it should.

2013-06-11 15.52.072013-06-11 15.51.51

So I decided to start all over again – thank god I hadn’t handsewn the whole thing.

I took it down and cut the skirt off, and sewed it togheter in the front. I then re-made the gathering at the waist of the skirt without the cord, using only thread gathering.

Then I started to drape a toile for a foundation bodice on my dressform.

2013-06-11 17.37.022013-06-11 17.37.09

I also decided that the gathered sleeves had to go, and instead made a pair of fitted 3/4 sleeves.

I sewed the bodice together and draped and sewed a gathered front and back piece on the foundation.

And this time it looked so much better.

2013-06-13 12.26.352013-06-13 12.26.24

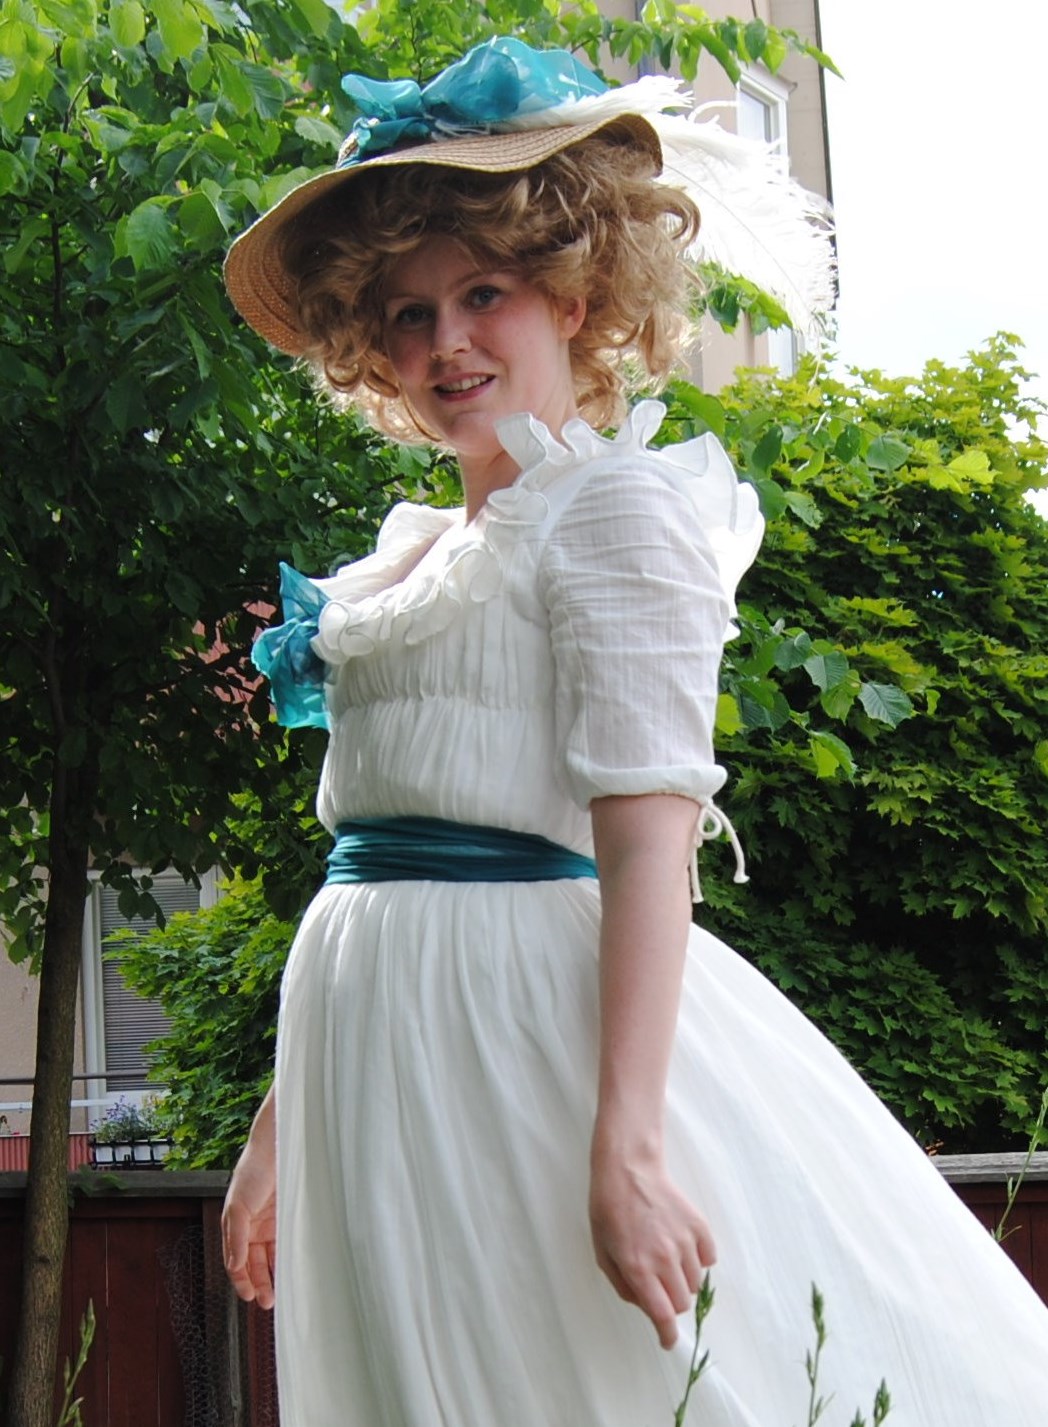
Then I sewed on the skirt, the sleeves and put on neck ruffle and the belt – made of turquoise/blue organdy. I hemmed the skirt and put the hooks and eyes in for the back clousure.

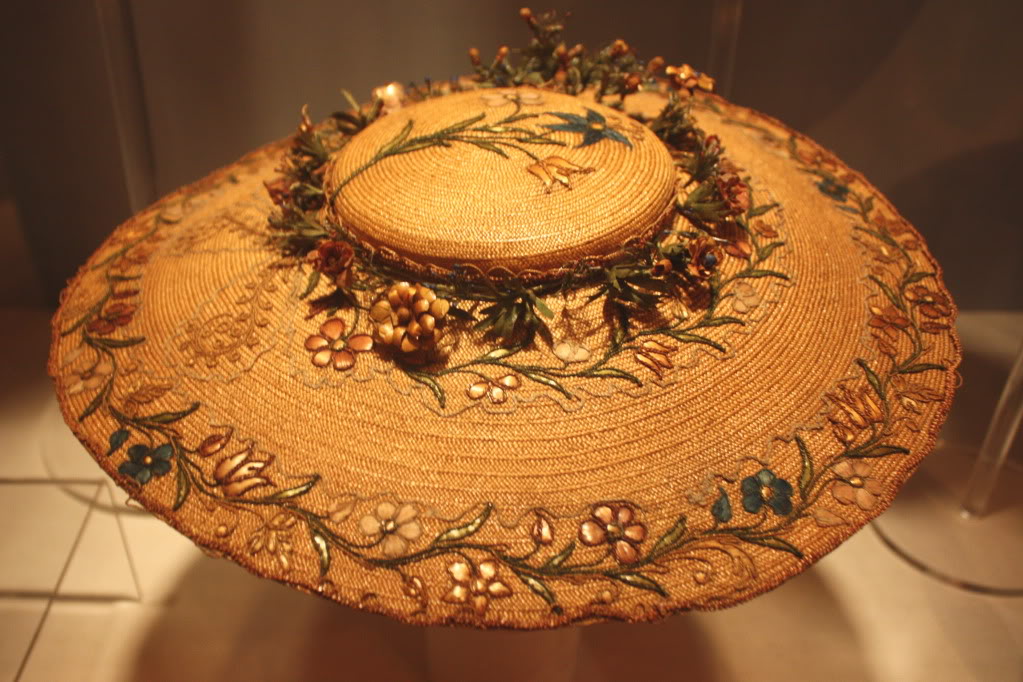
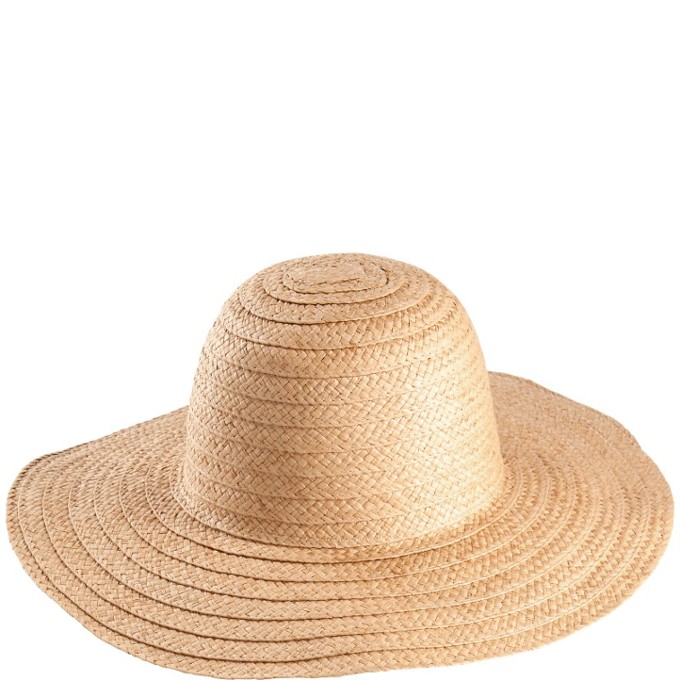
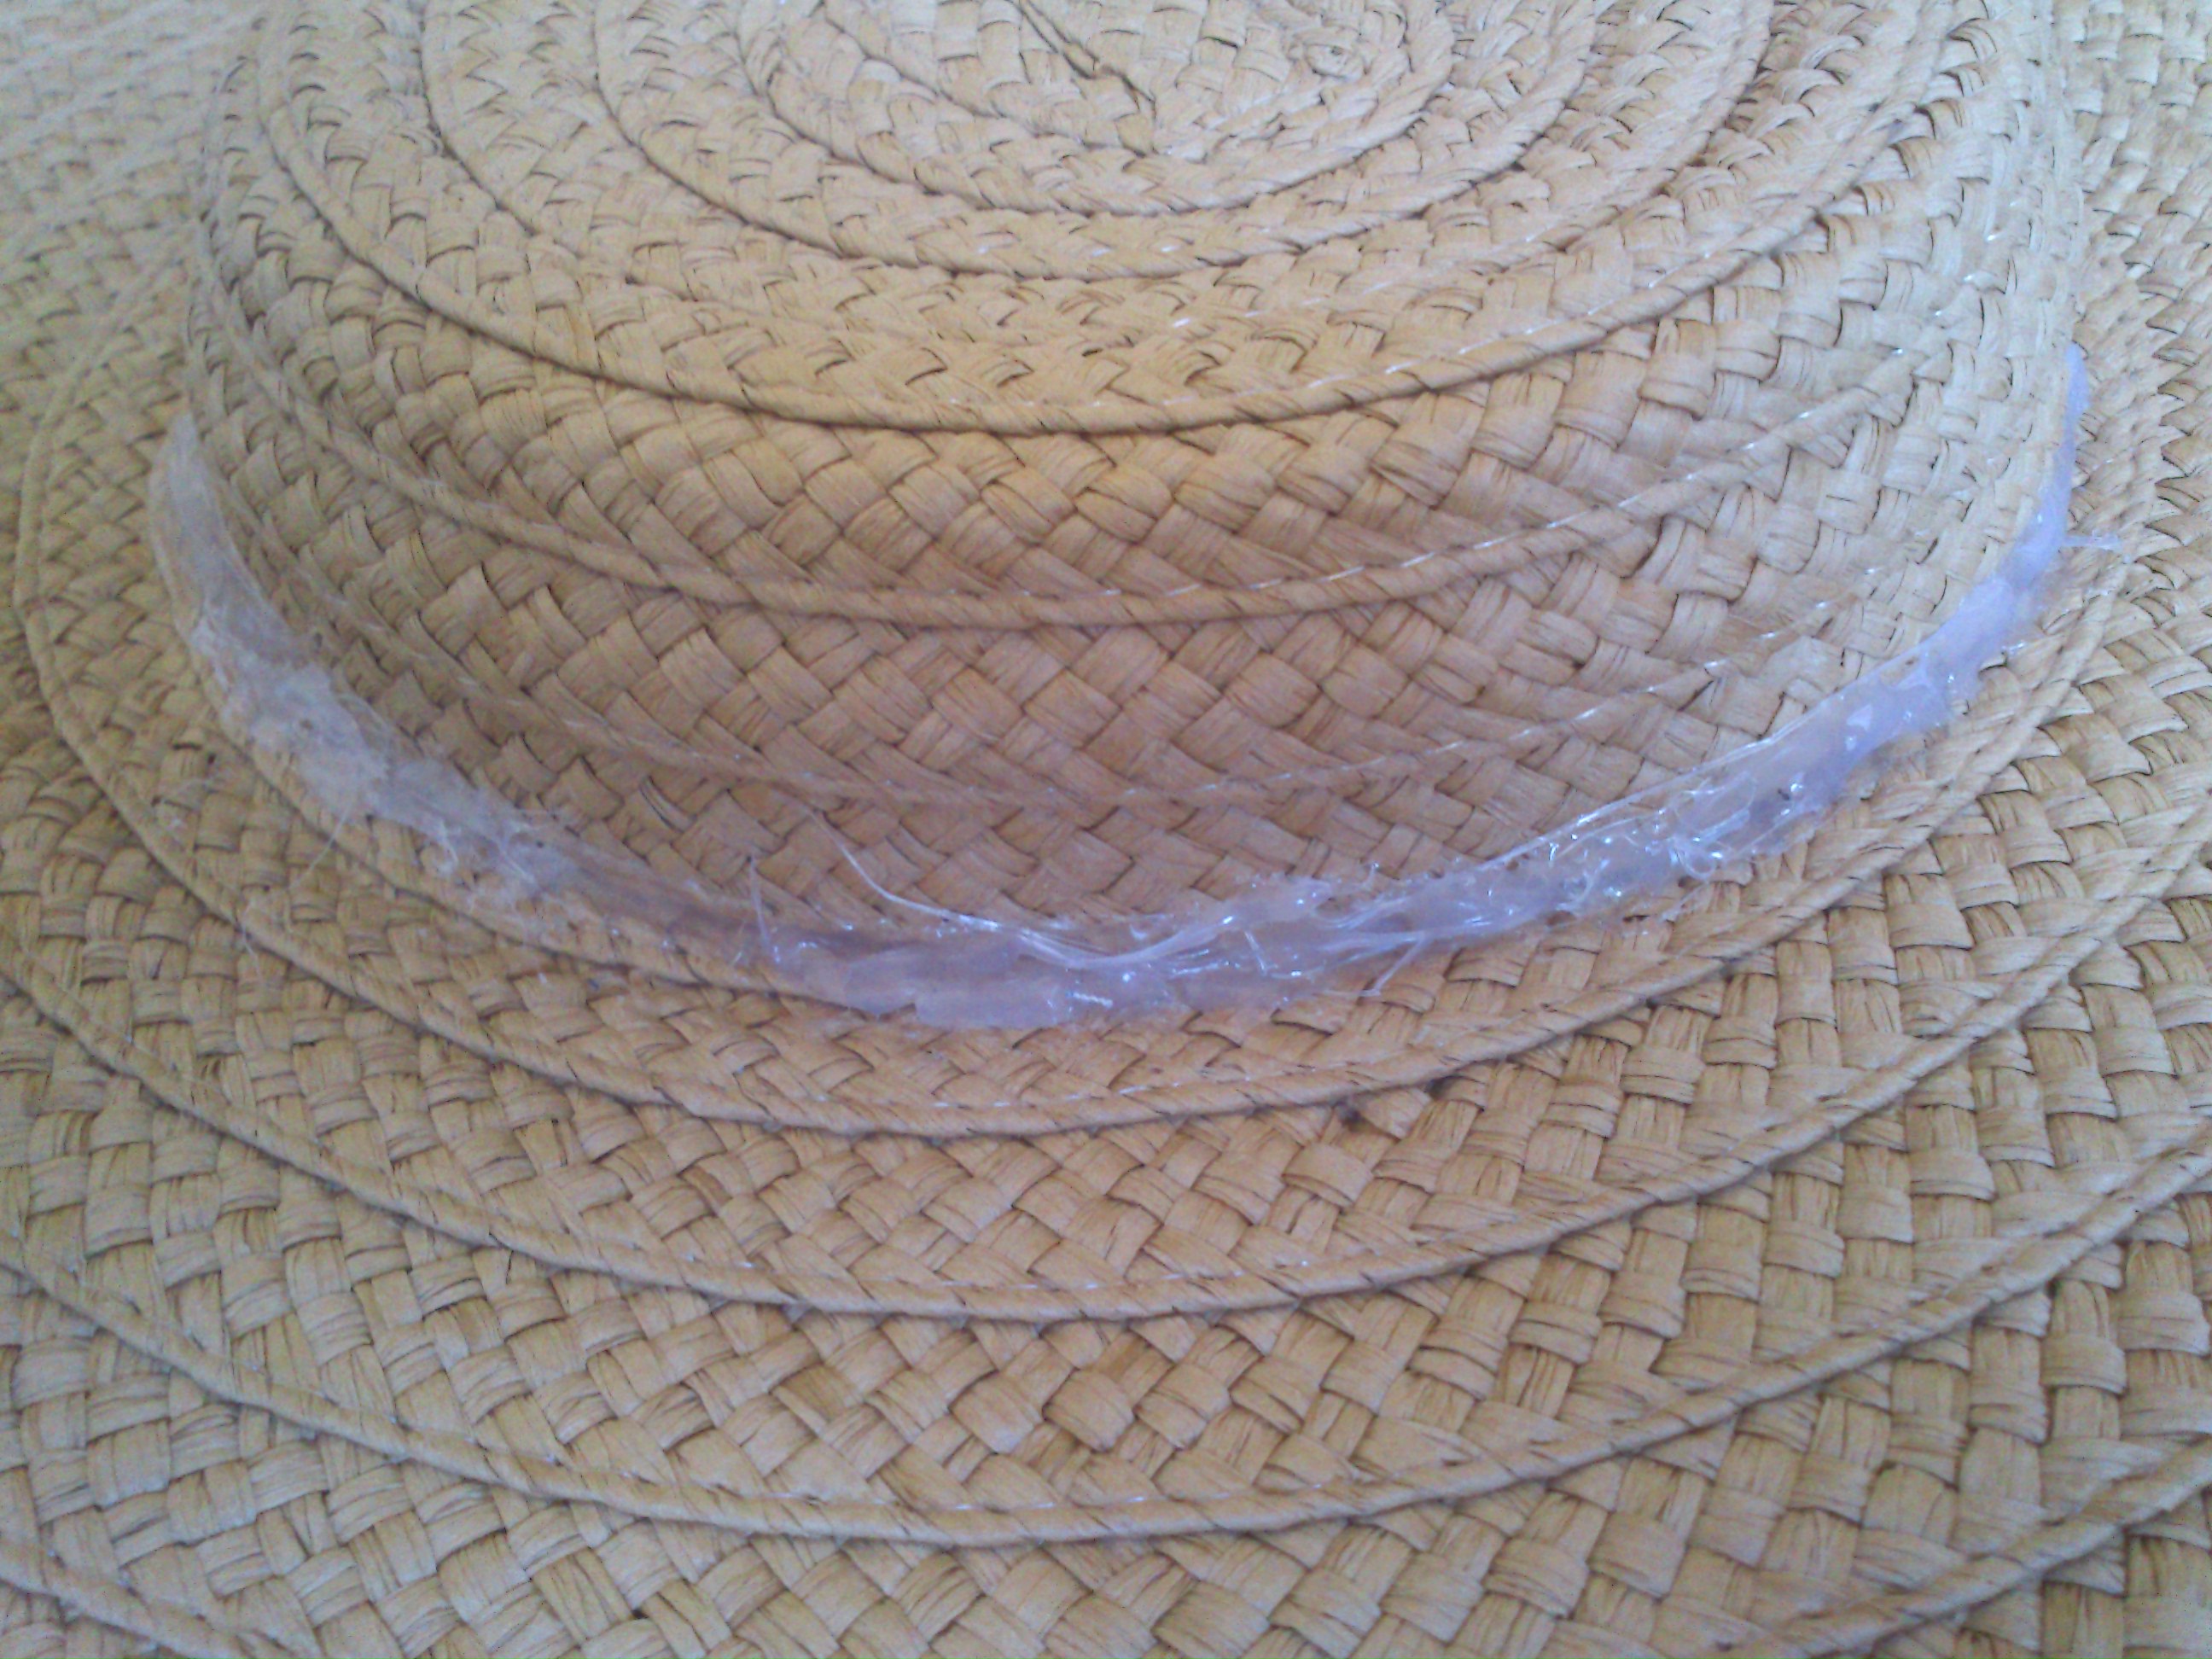
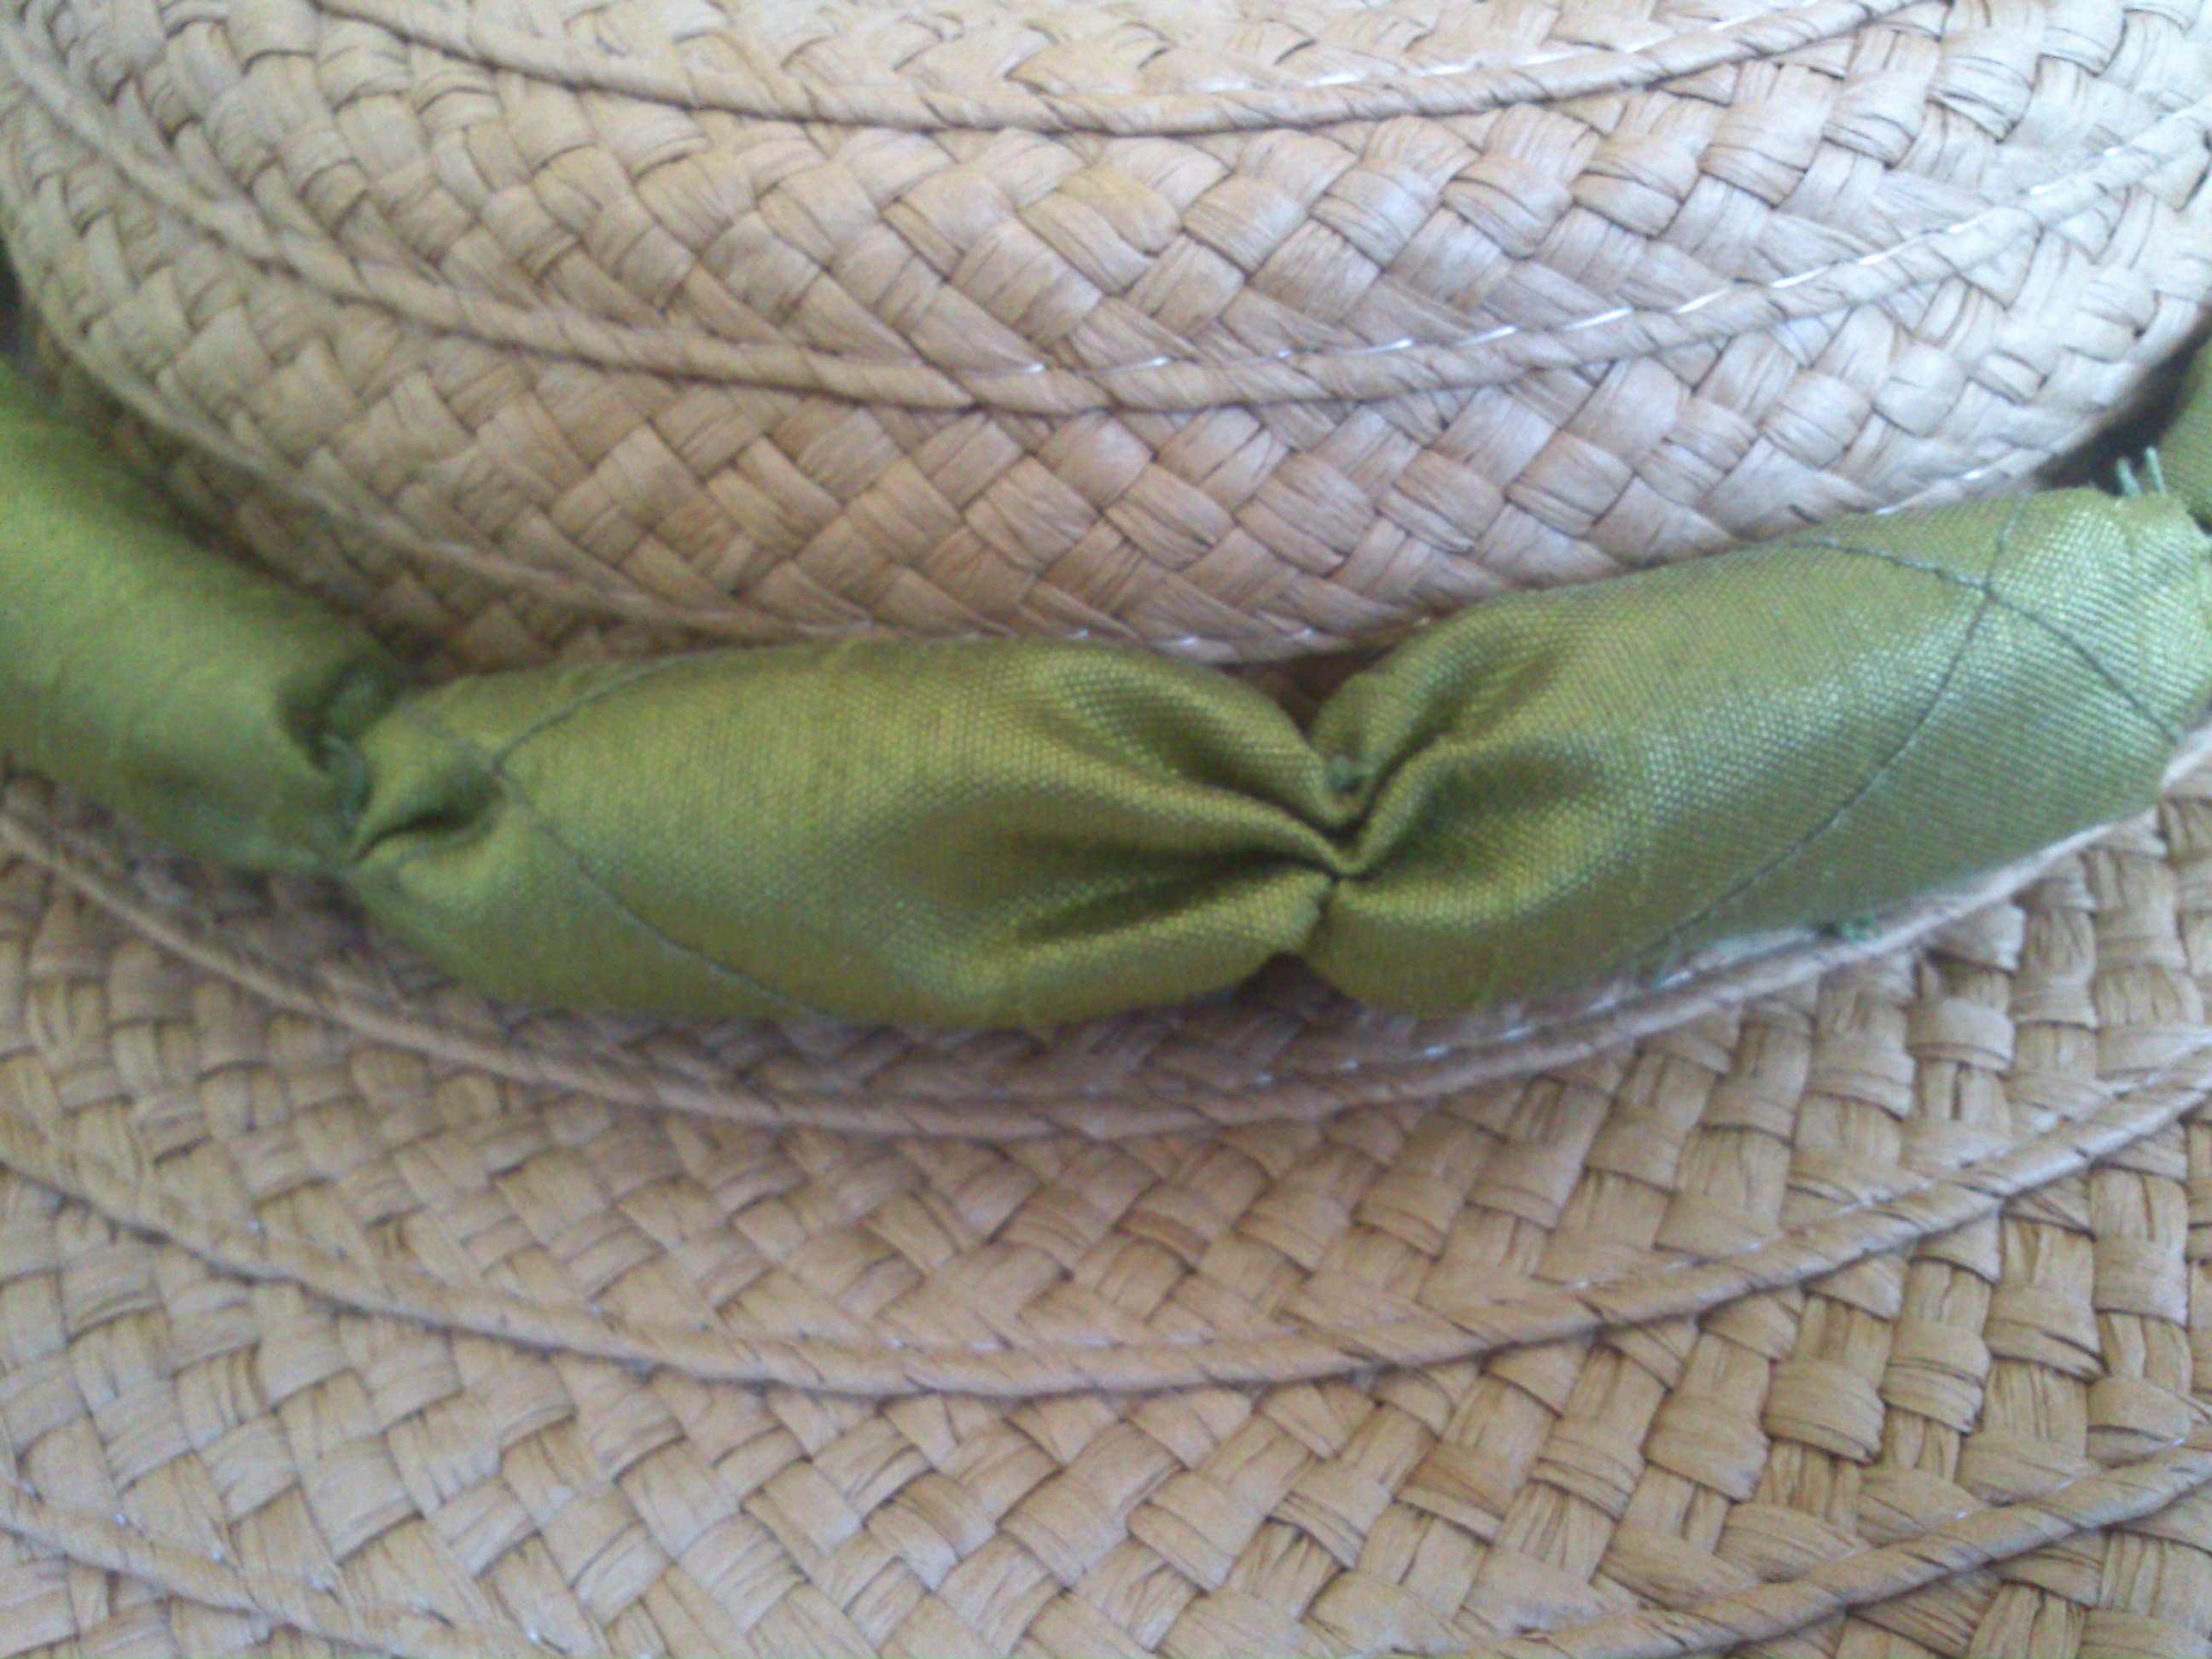
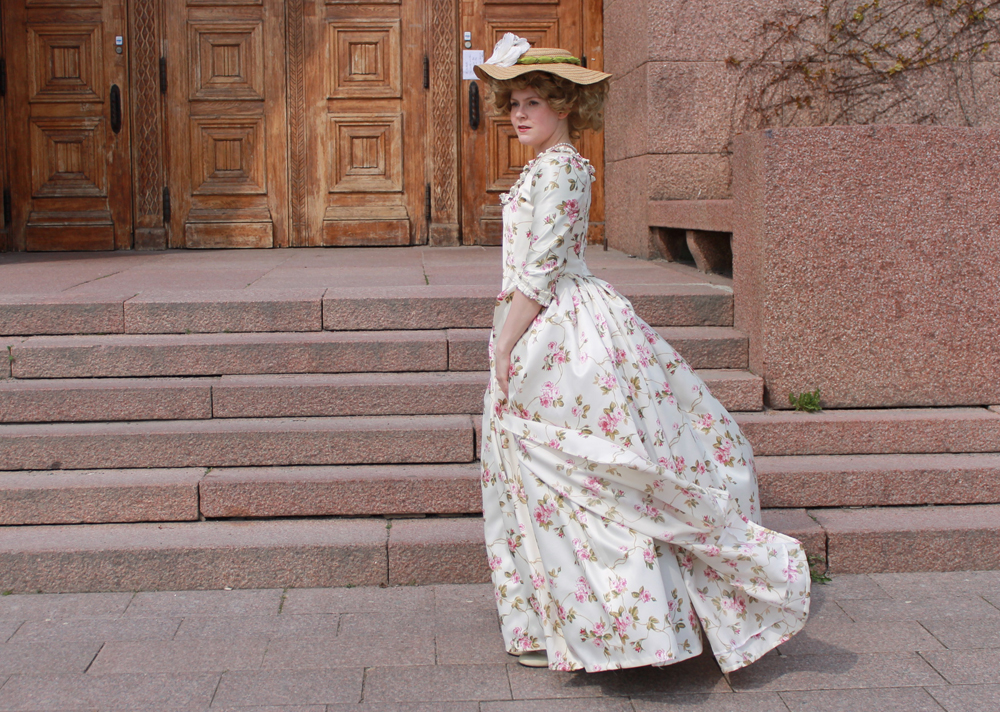
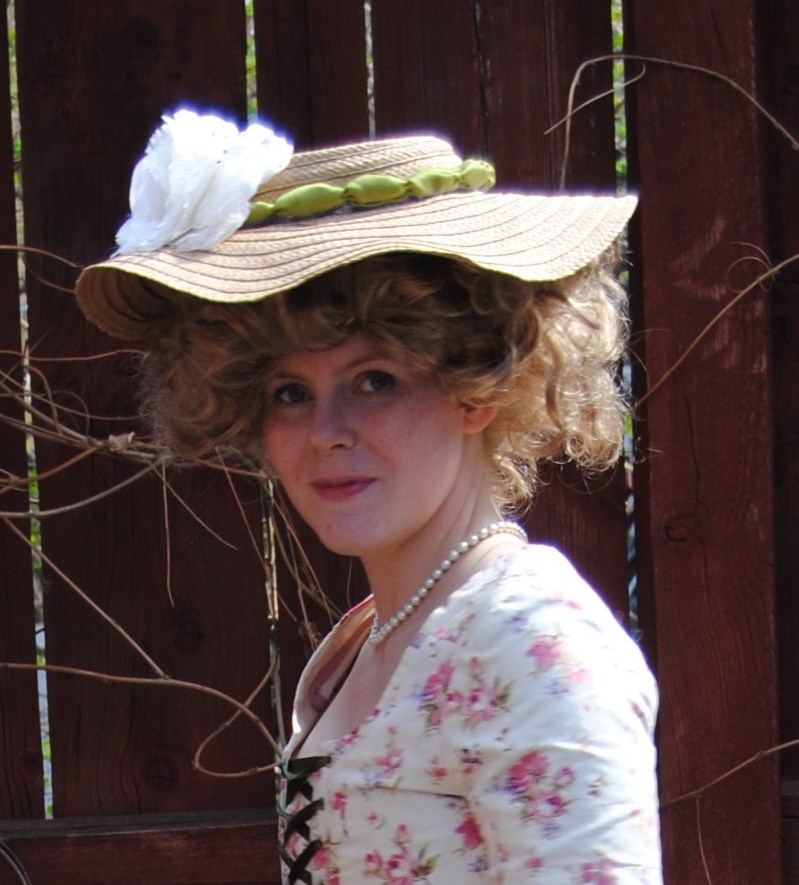
For this outfit I also re-trimmed my bregere hat.

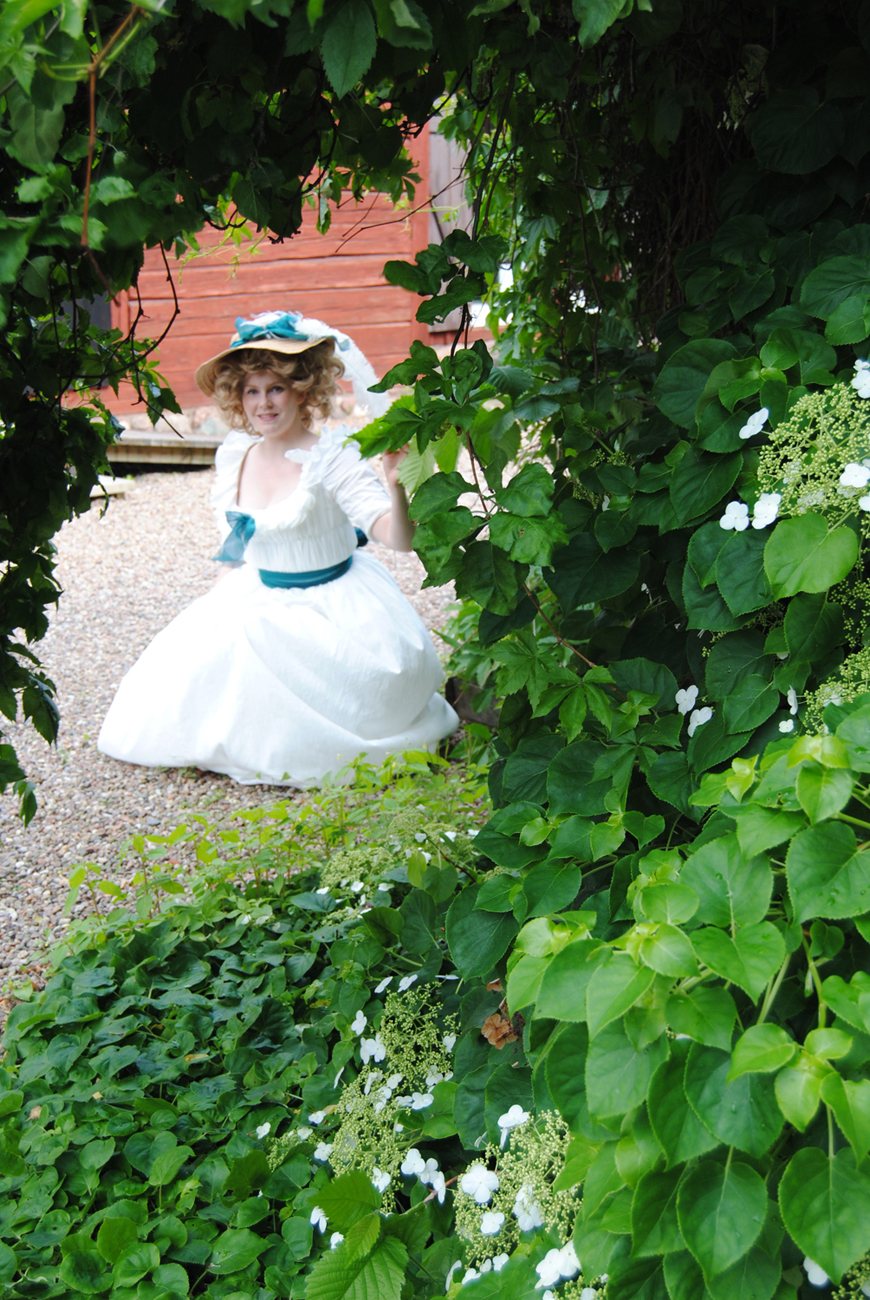
Then me and my sister went outside to shoot some gorgeous photos. (More pictures from yesterdays photoshoot will be shown in upcoming post.)

porträtt

Just the facts:

Challenge: Pretty Princesses.

What: A chemise a la Reine (Gaulle).

Year: 1780s.

Pattern: I draped my own.

Fabric: 4 m of striped cotton voile and 0,5 m white cotton fabric for interlining and lining, and 0,5 m turquoise organdy.

Notions: Thread, hooks and eyes.

How historical accurate: Not at all – totally machine sewn, in a way too heavy fabric. The only thing that is accurate is the color and the silhouette. 3/10.

Hours: About 15.

Cost: Approx. 16 USD (100SEK), everything came from stash.

First Worn: On the photoshoot yesterday.
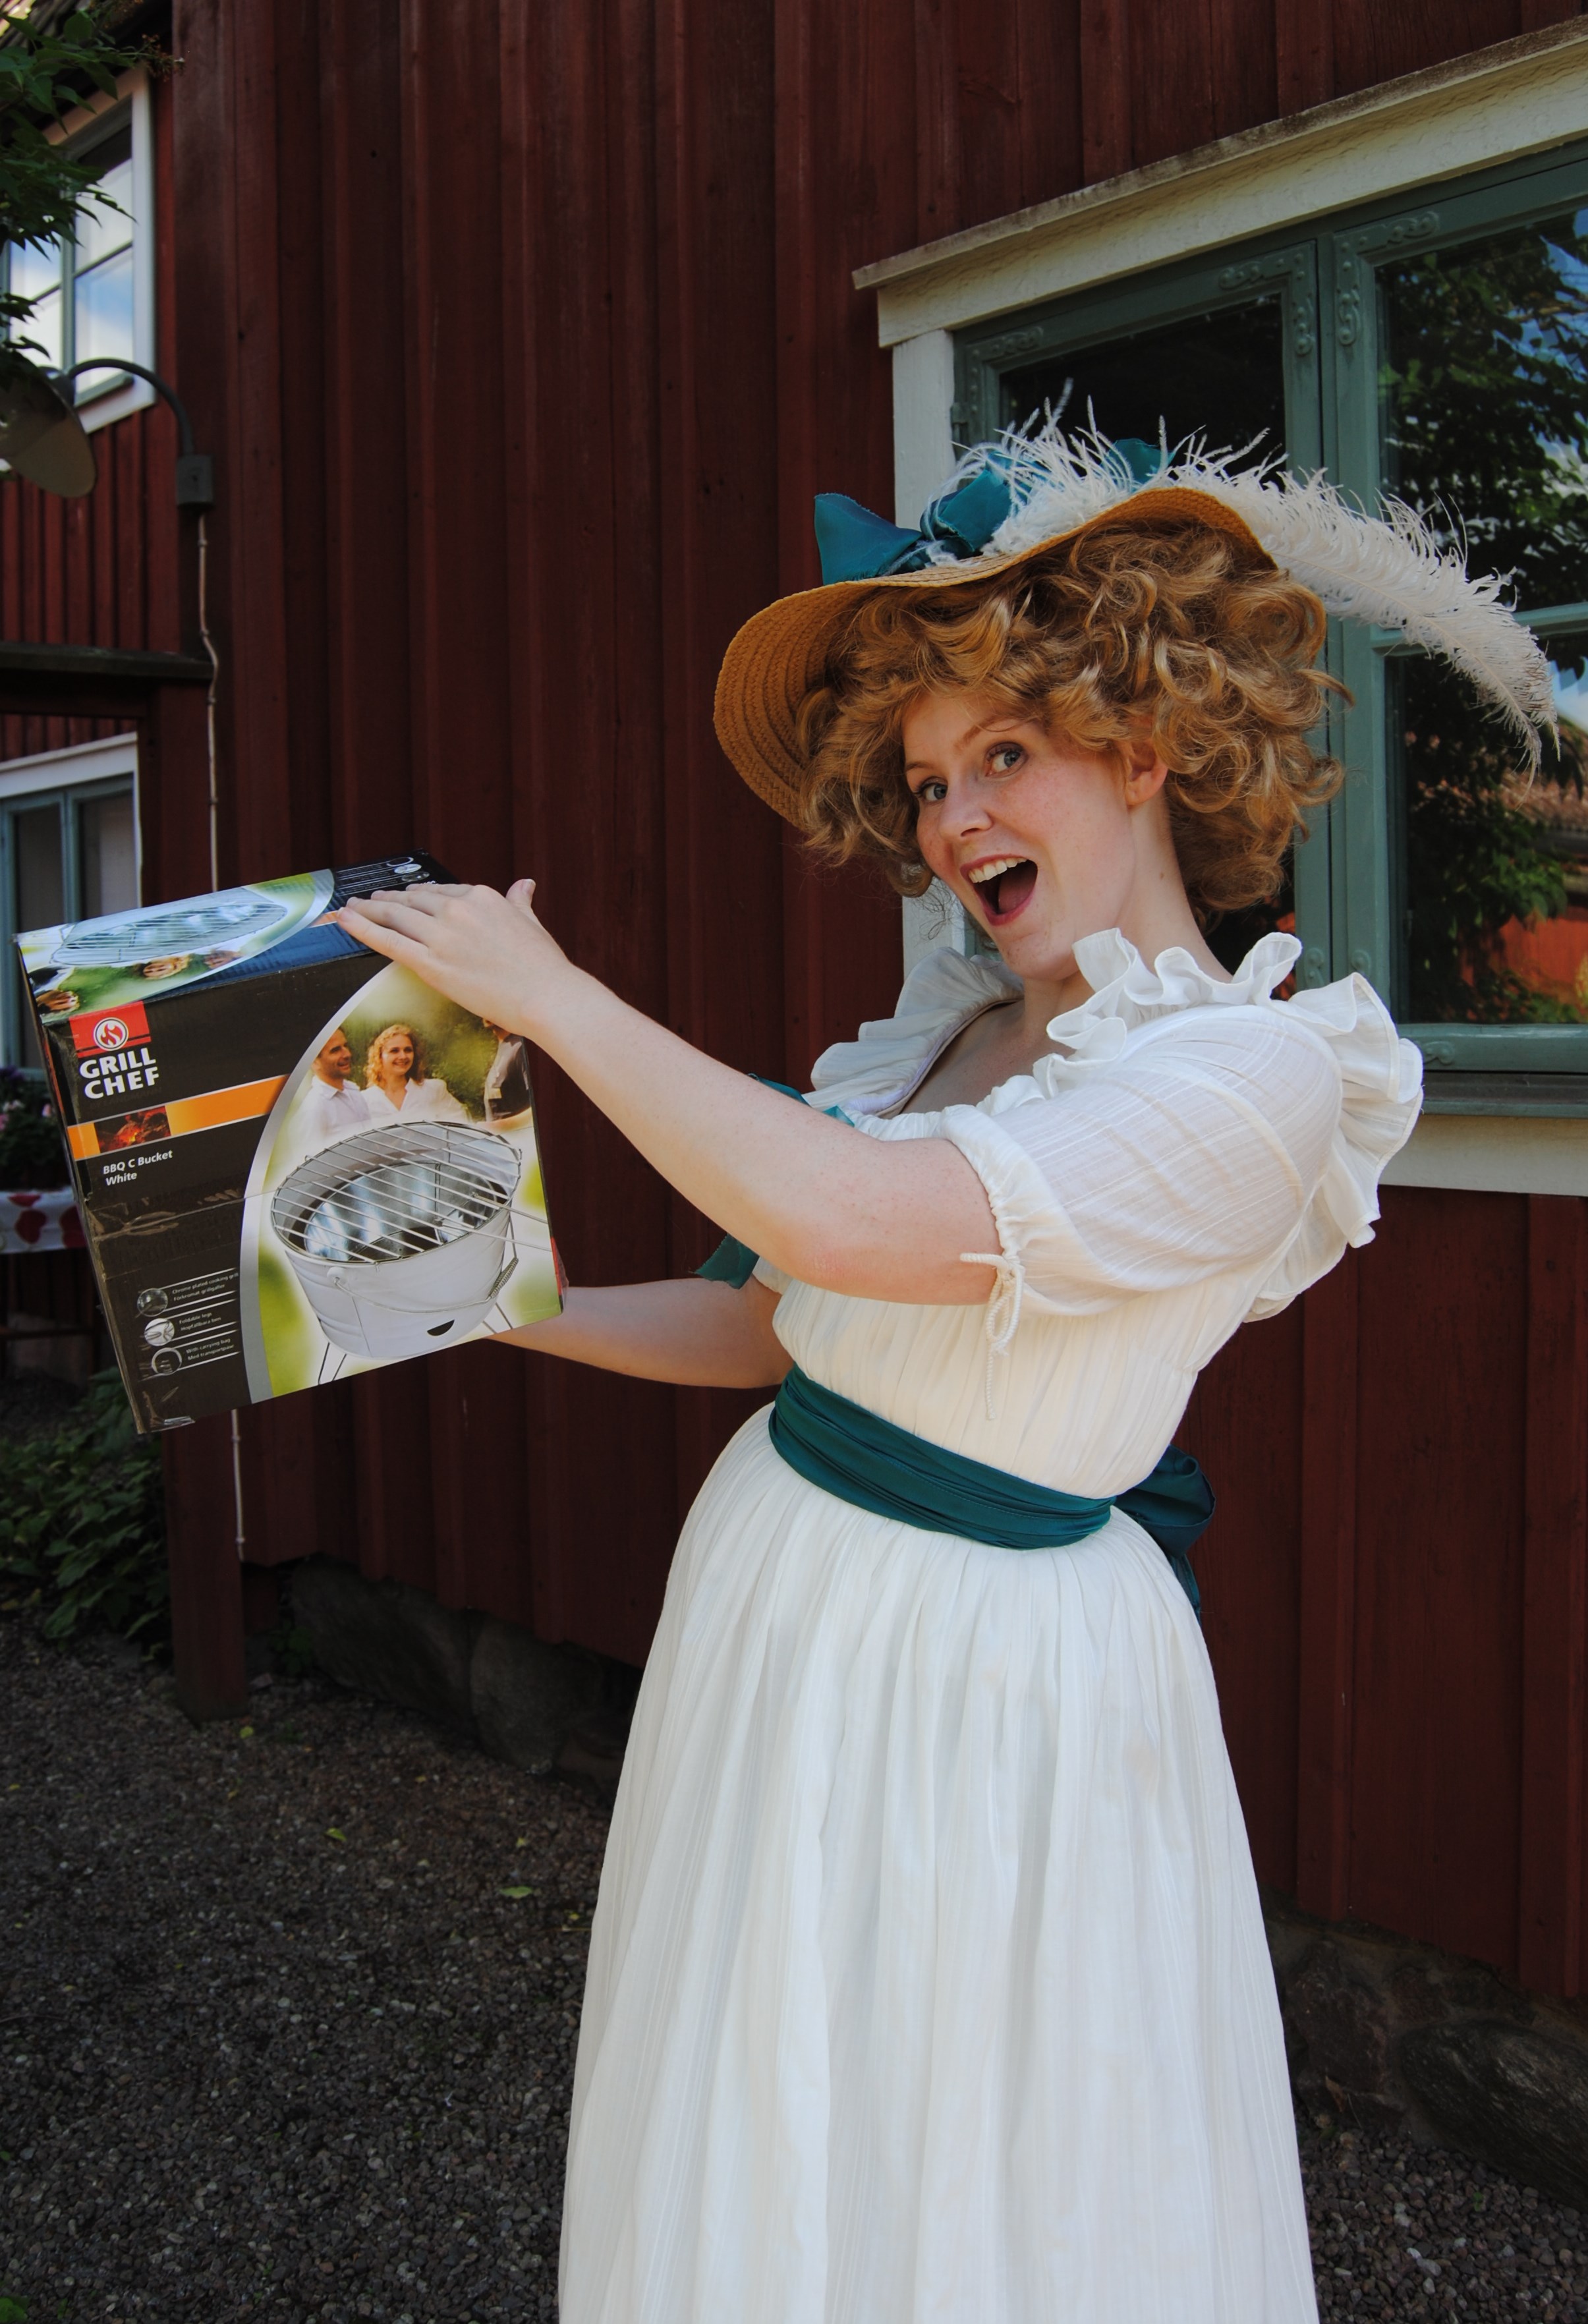
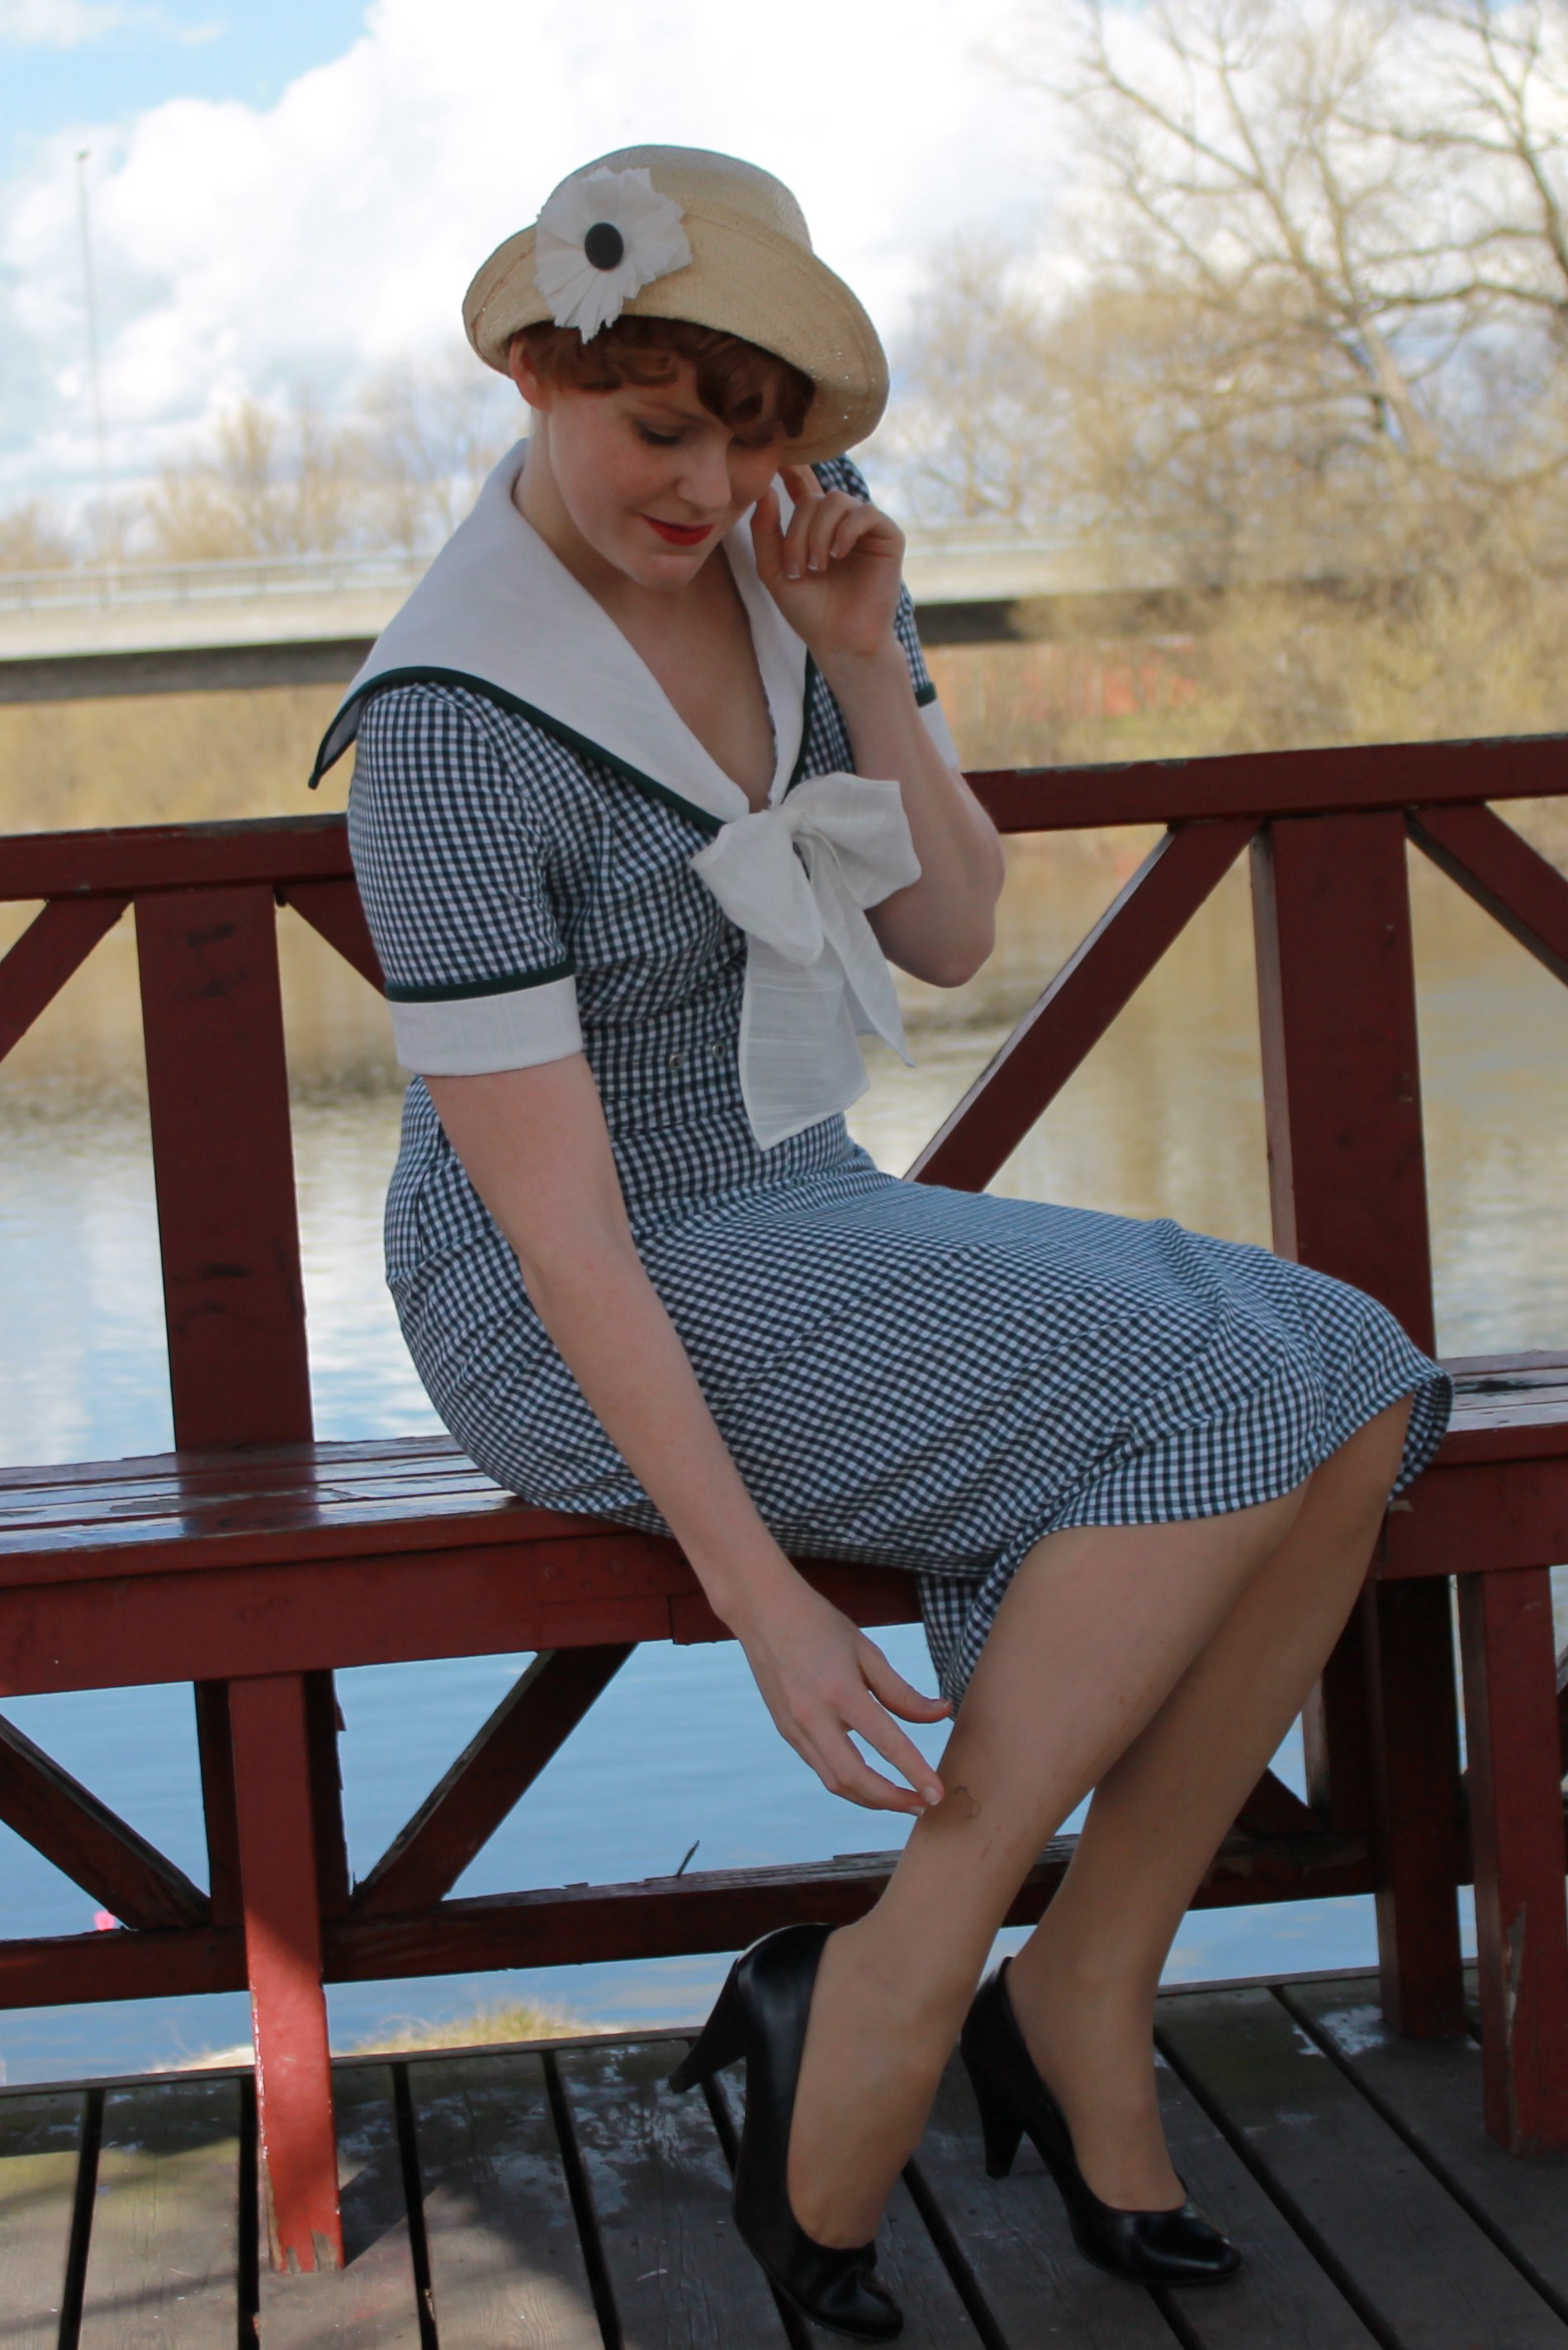
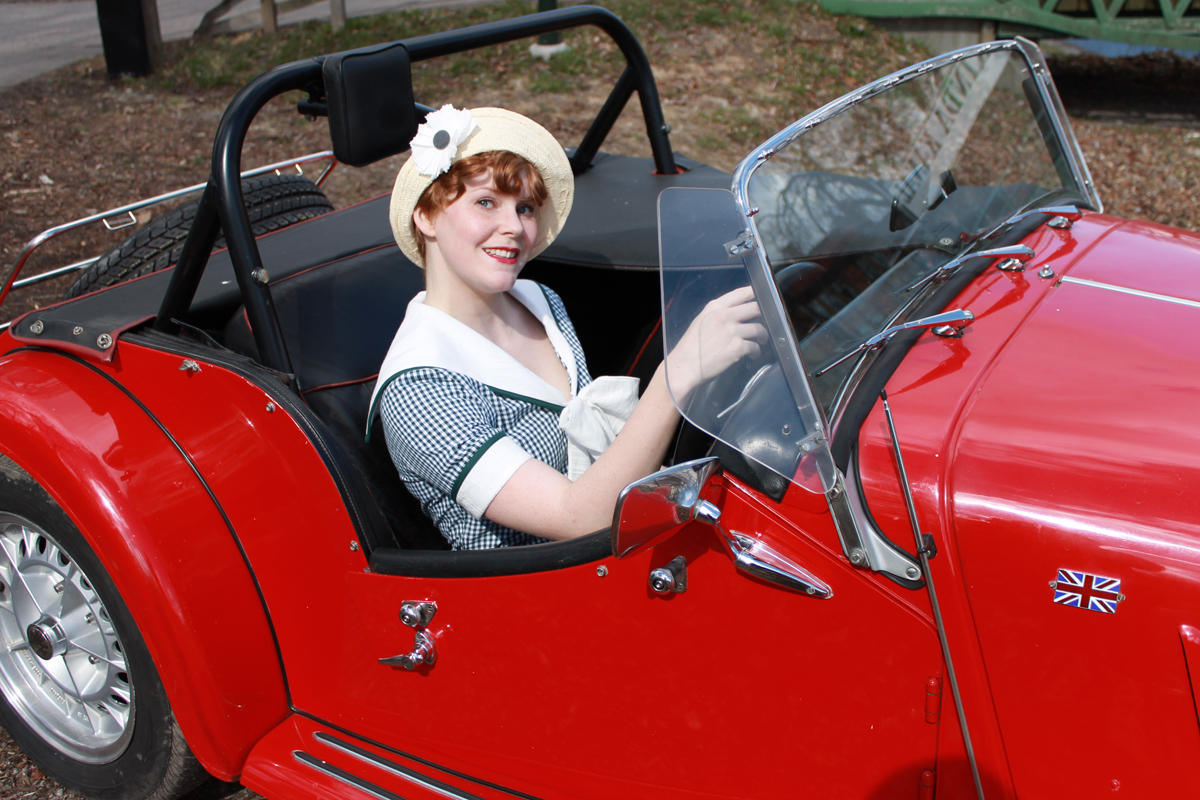
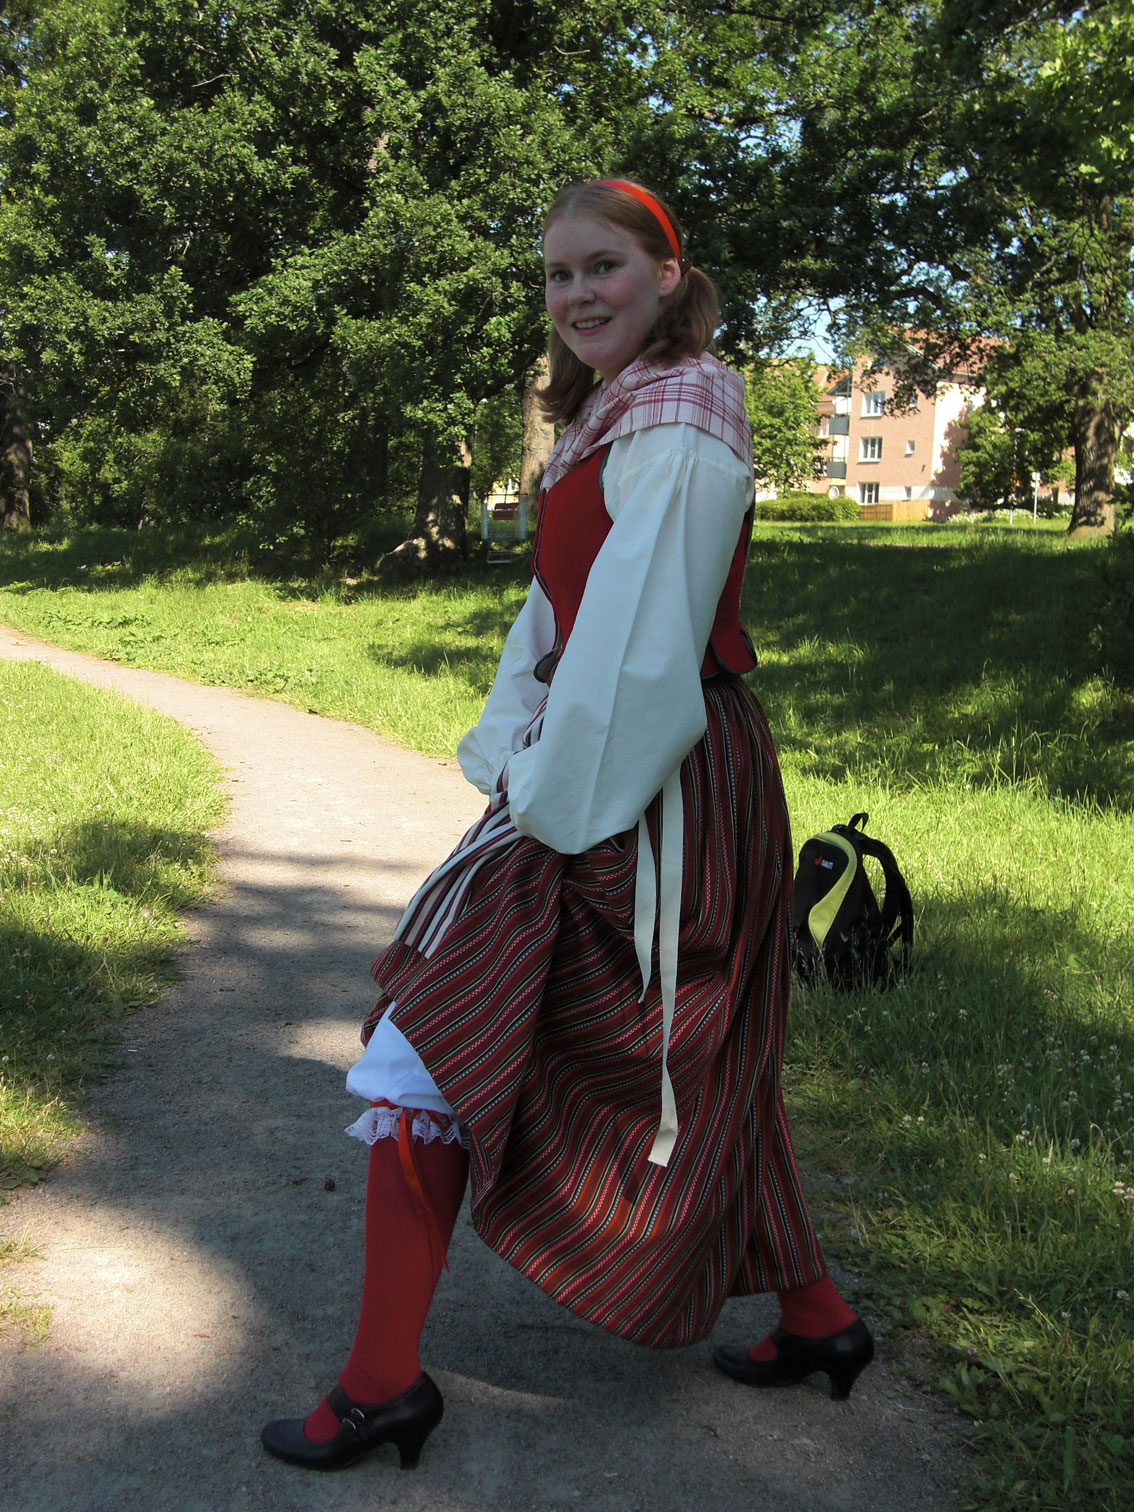
1930s sailor outfit

The 8th challenge in HSF, By the Sea, needed some heavy thinking and decision making on my part. There where so much I wanted to make but at the same time I didn’t have a lot of time to make something (as this challenge was due right before the two big challenges “Flora/Fauna” and “Literature”). So something relatively simple was the plan.

I went through a lot of lovely inspiration pictures (which I will show you some next time), and finally decided on this beutiful dress from 1934:

1934leach-way19

So I went fabric hunting and straight away found this perfect green and white seersucker on sale for about 2 euro/yard (15 SEK/m). I also got some green bias tape and a grey beltbuckle. The white fabric for the collar is a striped cotton voile from my stash.

2013-06-10 21.17.05

I didn’t have a pattern that would work for the dress so instead I constructed my own after studying some patterns from Waugn’s “Cut of womens clothes”. I cut out all the pieces and pressed interfacing on the collar, cuffs and belt.
The sewing went quick and esay, but when it was time for a try on I realised that I still hadn’t got used to my new smaller measurments, and of course managed to make the dress about two sizes too big.

So I made the dress smaller and then sewed on the collar, cuffs, marked and sewed the length of the skirt.

To really get the right 1930s look I decided to also make a matching hat. I bought a cheep straw hat and re-shaped it with some water and decorated it with a flower/bow.

Then I asked my sister to help me take some pictures down by the canal near my home. The weather was perfect, and we had a good time, got some lovely pictures and some really long looks by the tourists and joggers that went by.

IMG_1928

IMG_1937

IMG_1951

IMG_1961

IMG_1978

IMG_2010

IMG_2035

When we were done and on the way home, we spotted a beautiful old car, and asked the owners if we could take some shots of it. The owners were really enthusiastic and even asked me to step into the car. I know nothing about cars but strongly suspect it wasn’t from the 1930s – but it doesn’t matter, it was fun anyway.

IMG_2045

IMG_2053Photo by Elin Petersson

Just the facts:

Challenge nr 8: By the Sea
A 1930s dress worn with my soft entry – the straw hat

Fabric: 2m of white/green seersucker and 0,5 m white cotton voile

Pattern: I drafted my own

Notions: Thread, bias tape, beltbuckle and gromets.

How accurate: I really don’t now that much about 1930s sewing, but I guess they didn’t use sergers… but maybe 70 %

Hours: About 10 hours

Cost: 16 USD for the dress (the beltbuckle was about half the amount), and about 16 USD for the hat

First worn: On the photoshoot

Making my Skedevi folk costume

Three years ago I finally decided to make my own national costume. Being  both a folkdancer and seemstress it was long over due to return the one I’ve been borrowing for the past 5 years and start on my own.

As part of a folk dancing team it was not hard to find the right person to help me get the project started by letting me buy some home woven fabrics at a good price.

All the pieces of clothing are hand sewn with waxed linnen thread.

Starting with the shirt in a white cotton fabric I quickly got used to the handsewing way of  pleating, fellseaming and hemming. The construction was relatively simple with only squares, rectangles and underarm gores.

skjorta skedevi fram

Next up was the skirt in a striped, rather corse wool. It consisted of one big rectangle which was pleated to a waistband and closed with hooks and eyes.

kjol skedevi tyg nära

kjol skedevi tyg

The apron in a striped cotton fabric was constructed the same way: a rectangle pleated to a waistband which ties in the waist.

IMG_3012

The neck-cloth consisted of one squared piece of checkered cotton which only needed hemming.

IMG_3017

The only piece of the costume which really needed some thinking and fitting was the bodice. I bought the pattern and got some help figuring out the right measurments and fitting for the mock-up.

sömnadbeskrivning väst sid 1

The fabric is a red wool fabric (kind of like brothcloth), natural linnen for the linnig and some green ribbon for trimming.

IMG_3040

väst skedevi ofärdig bak

väst skedevi ofärdig foder

For this costume I also needed some accessories which I could not or would not make.

IMG_3025Some jewelry – a brooch and a pair of cuff links.

IMG_3019And a bag worn at the waistband of the skirt.

You will also need some red wool stockings, some kind of petticoat or bloomers and a red ribbon for your hair – if you are unmarried. Married woman wear their hair in a headcloth or a coif.

Here is my finished folk costume on my dressform taken three years ago. You will get some pictures of it in action next time.

skedevidräkt docka fram

skedevidräkt docka bak

väst skedevi docka fram

Skedevi national costume

Being june 6th and the National day of Sweden it seems only fitting to tell you a bit about the fantastic display of national costumes that as a tradition are beeing worn today.

In the part of sweden where I come from (Östergötland) there are eight different folk costumes for women to wear (Gryt, Kinda, Nykil, Risinge, Skedevi, Svinhult, Vånga and Ydre). Which one you choose is based on where in the county you were born.

Being part of a folk dancing team I’ve been wearing variations of these costumes since I was about 6 years old.

The most common of all the national costumes from my county is “Skedevi”. It is the one commonly known as “Östgötadräkten” (the costume of Östergötland). If you don’t know which one you want or should wear as a woman you most certainly should go for Skedevi.

I want to show you some pictures of the beautiful and colorful variations of folk costumes in my county.

SkedeviSkedevi

OG.111976.Skedevi.folkdrakt

8246355_fullscreenAll the pieces of clothing for Skedevi

IMG_2955On grand rehersal for todays dance show

midsommarIn action