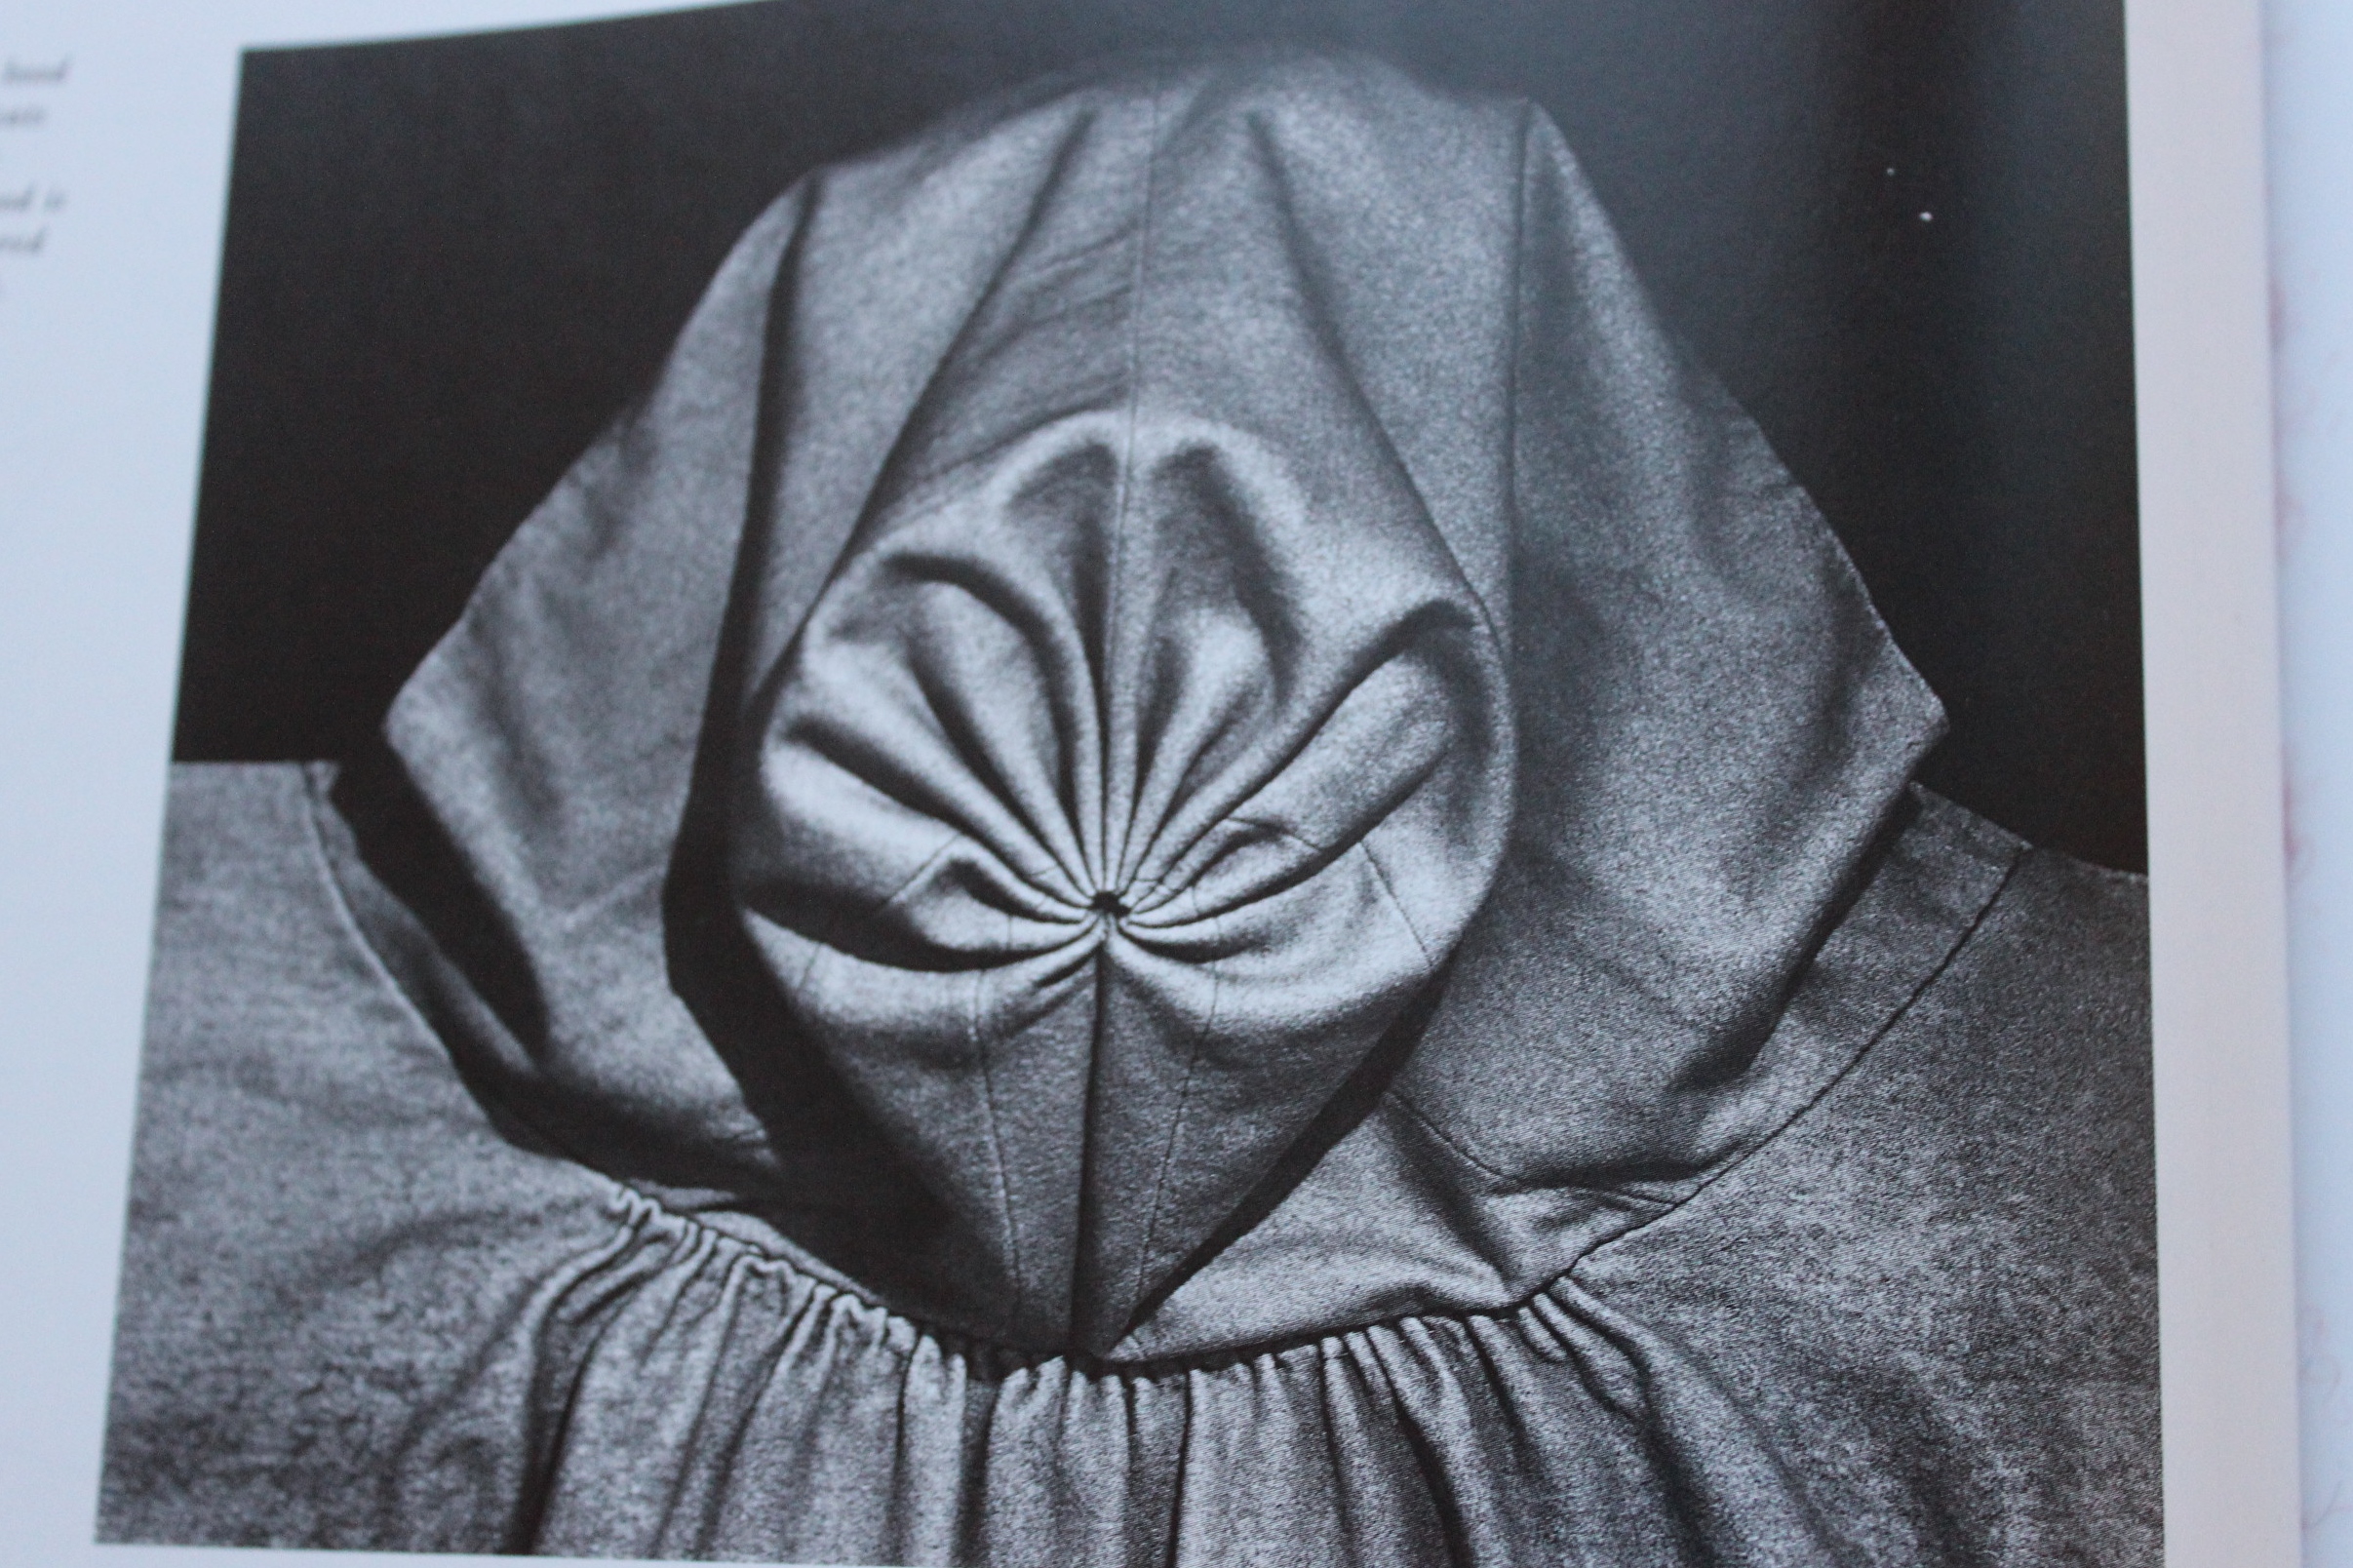
The one thing I felt would be the hardest to replicate in my chosen painting was not one of the clothing pieces, but the girls beautiful hairdo.

My short red modern hairstyle do not lend itself well to even the easiest of historical hairdos.
I’ve tried hairpieces and wigs but never been totally happy with it – try to blend or attach hairpieces to a non existing do, or wear a wig when the small red hair at your sideburns take every opportunity to escape.
No, the only time I feel I actually can get away (barley) with my modern hairdo is while wearing a fully covered head-cloth, hat, bonnet, turban etc.
So what to do?
I needed to find an appropriate head coverage to make.
So on to the ever knowing Pinterest I went.
And found two alternatives that I really liked:
The simple head-cloth with its adorable turned up brim.

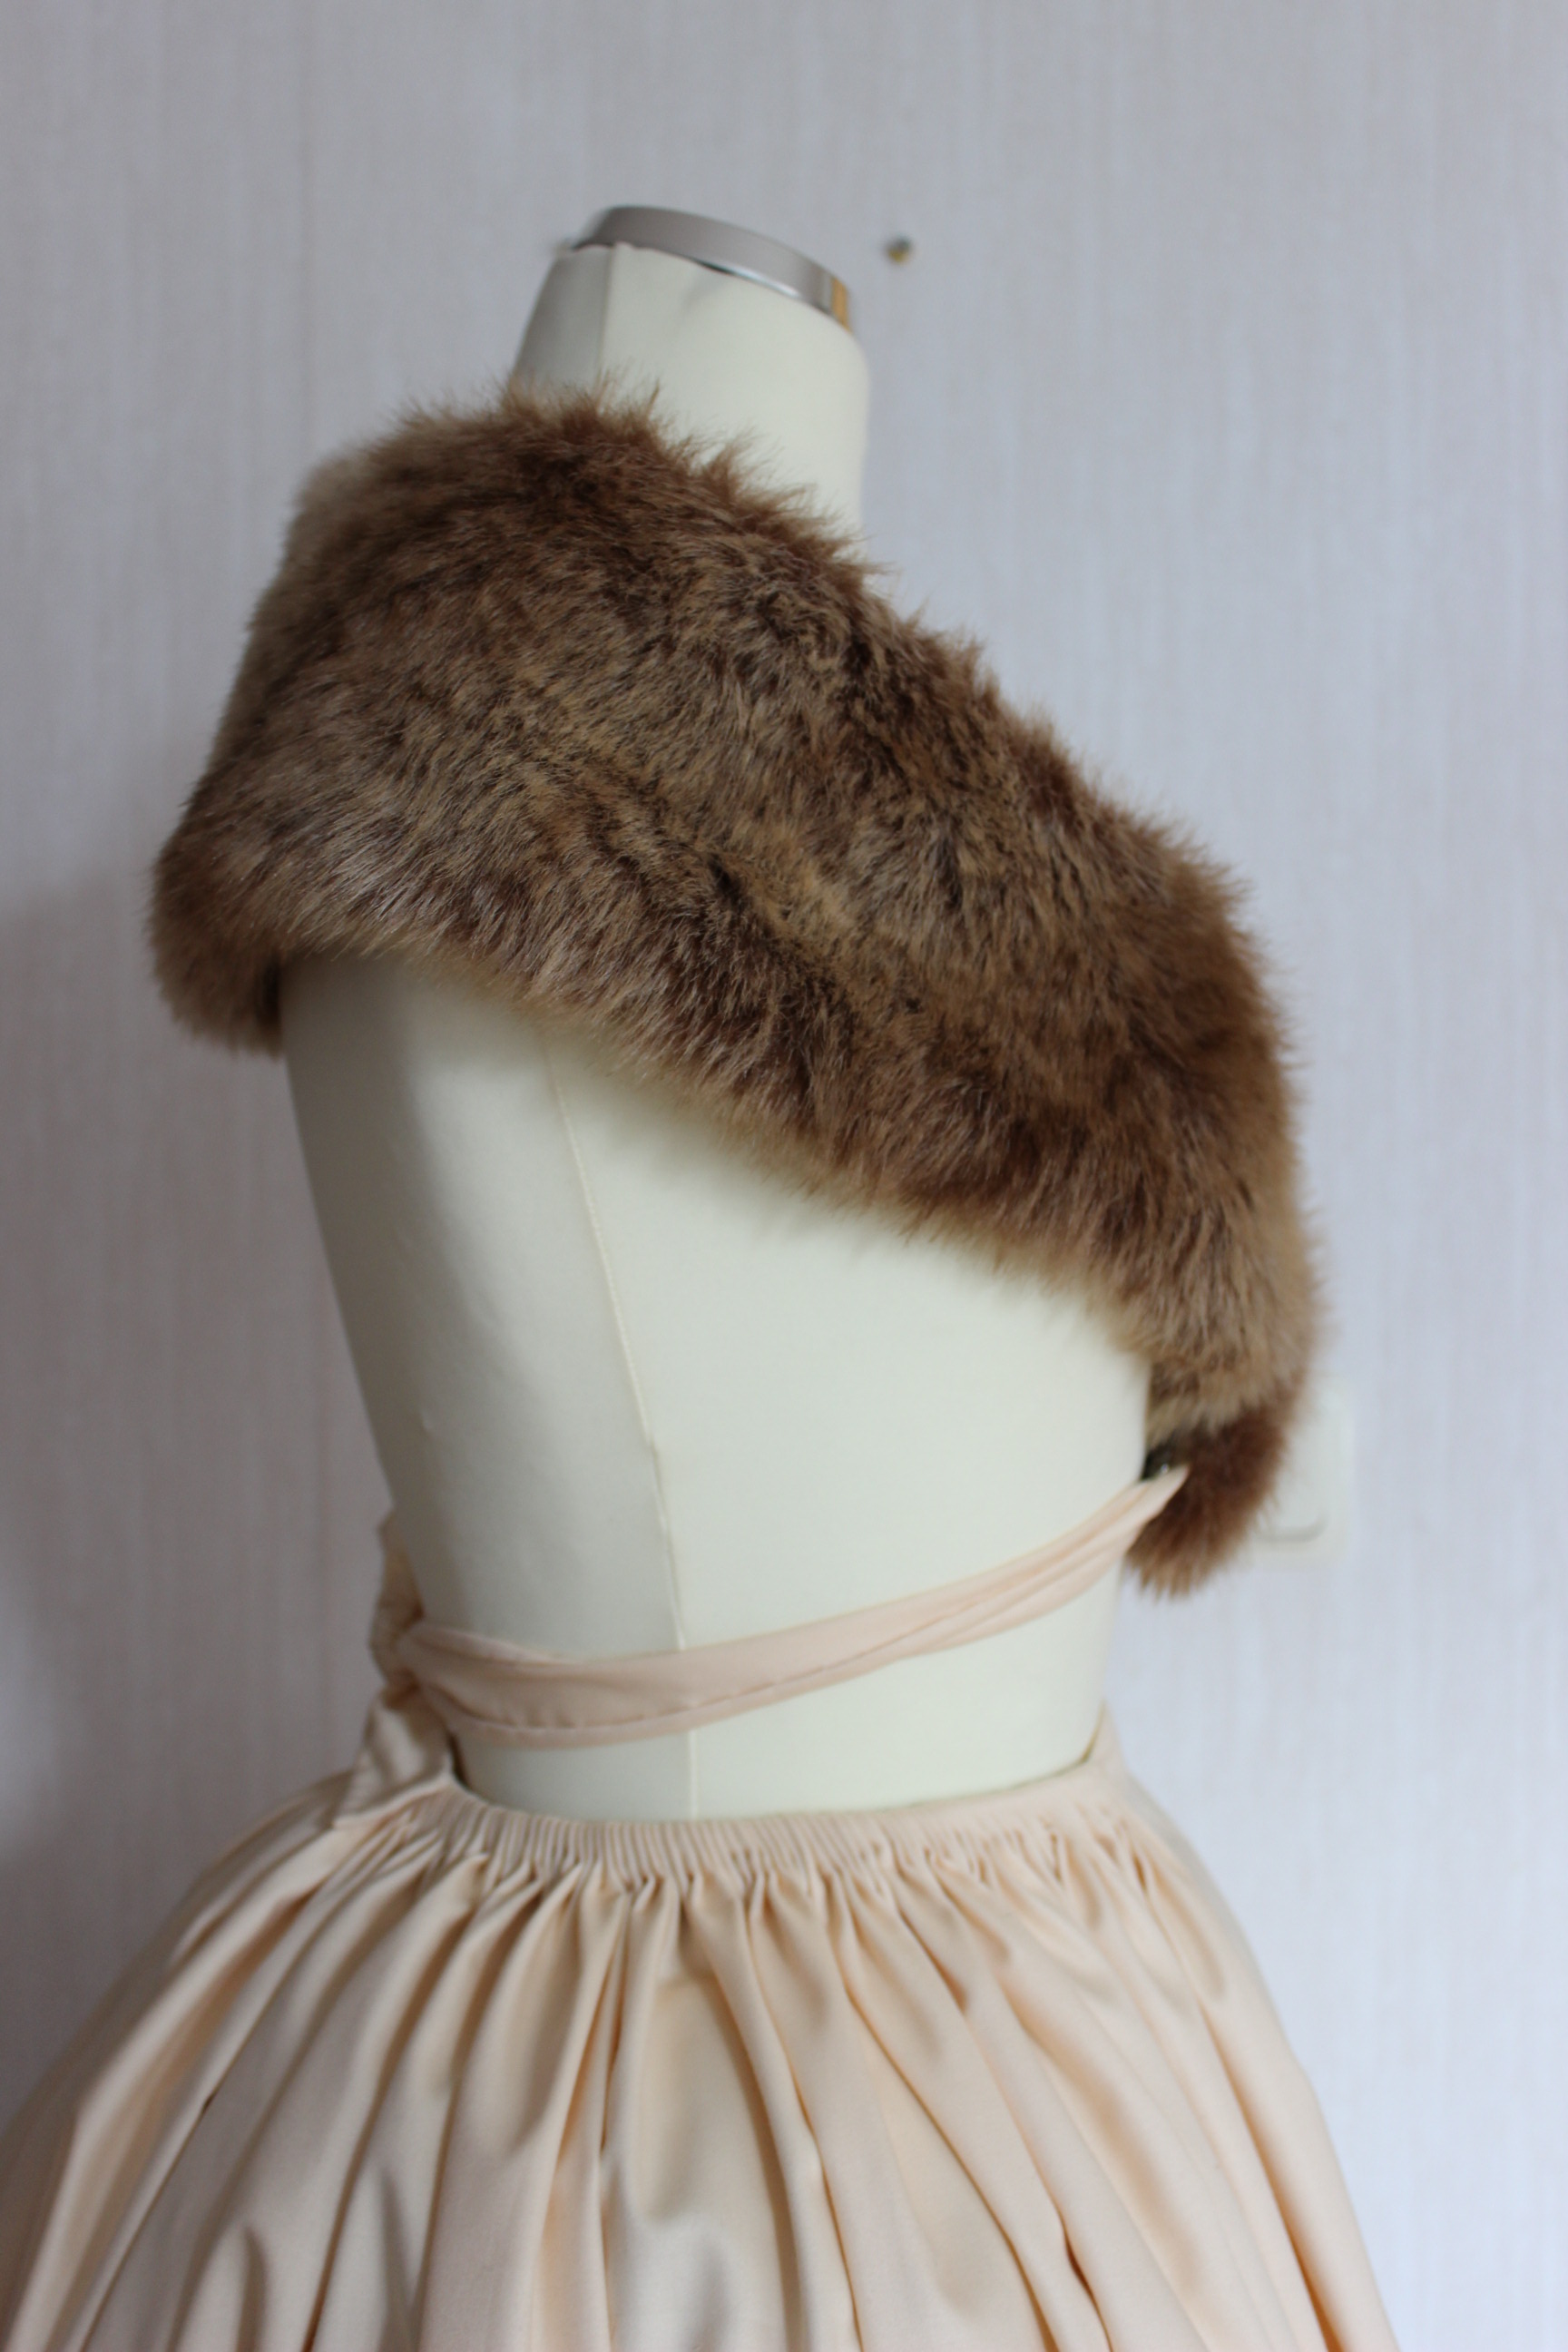
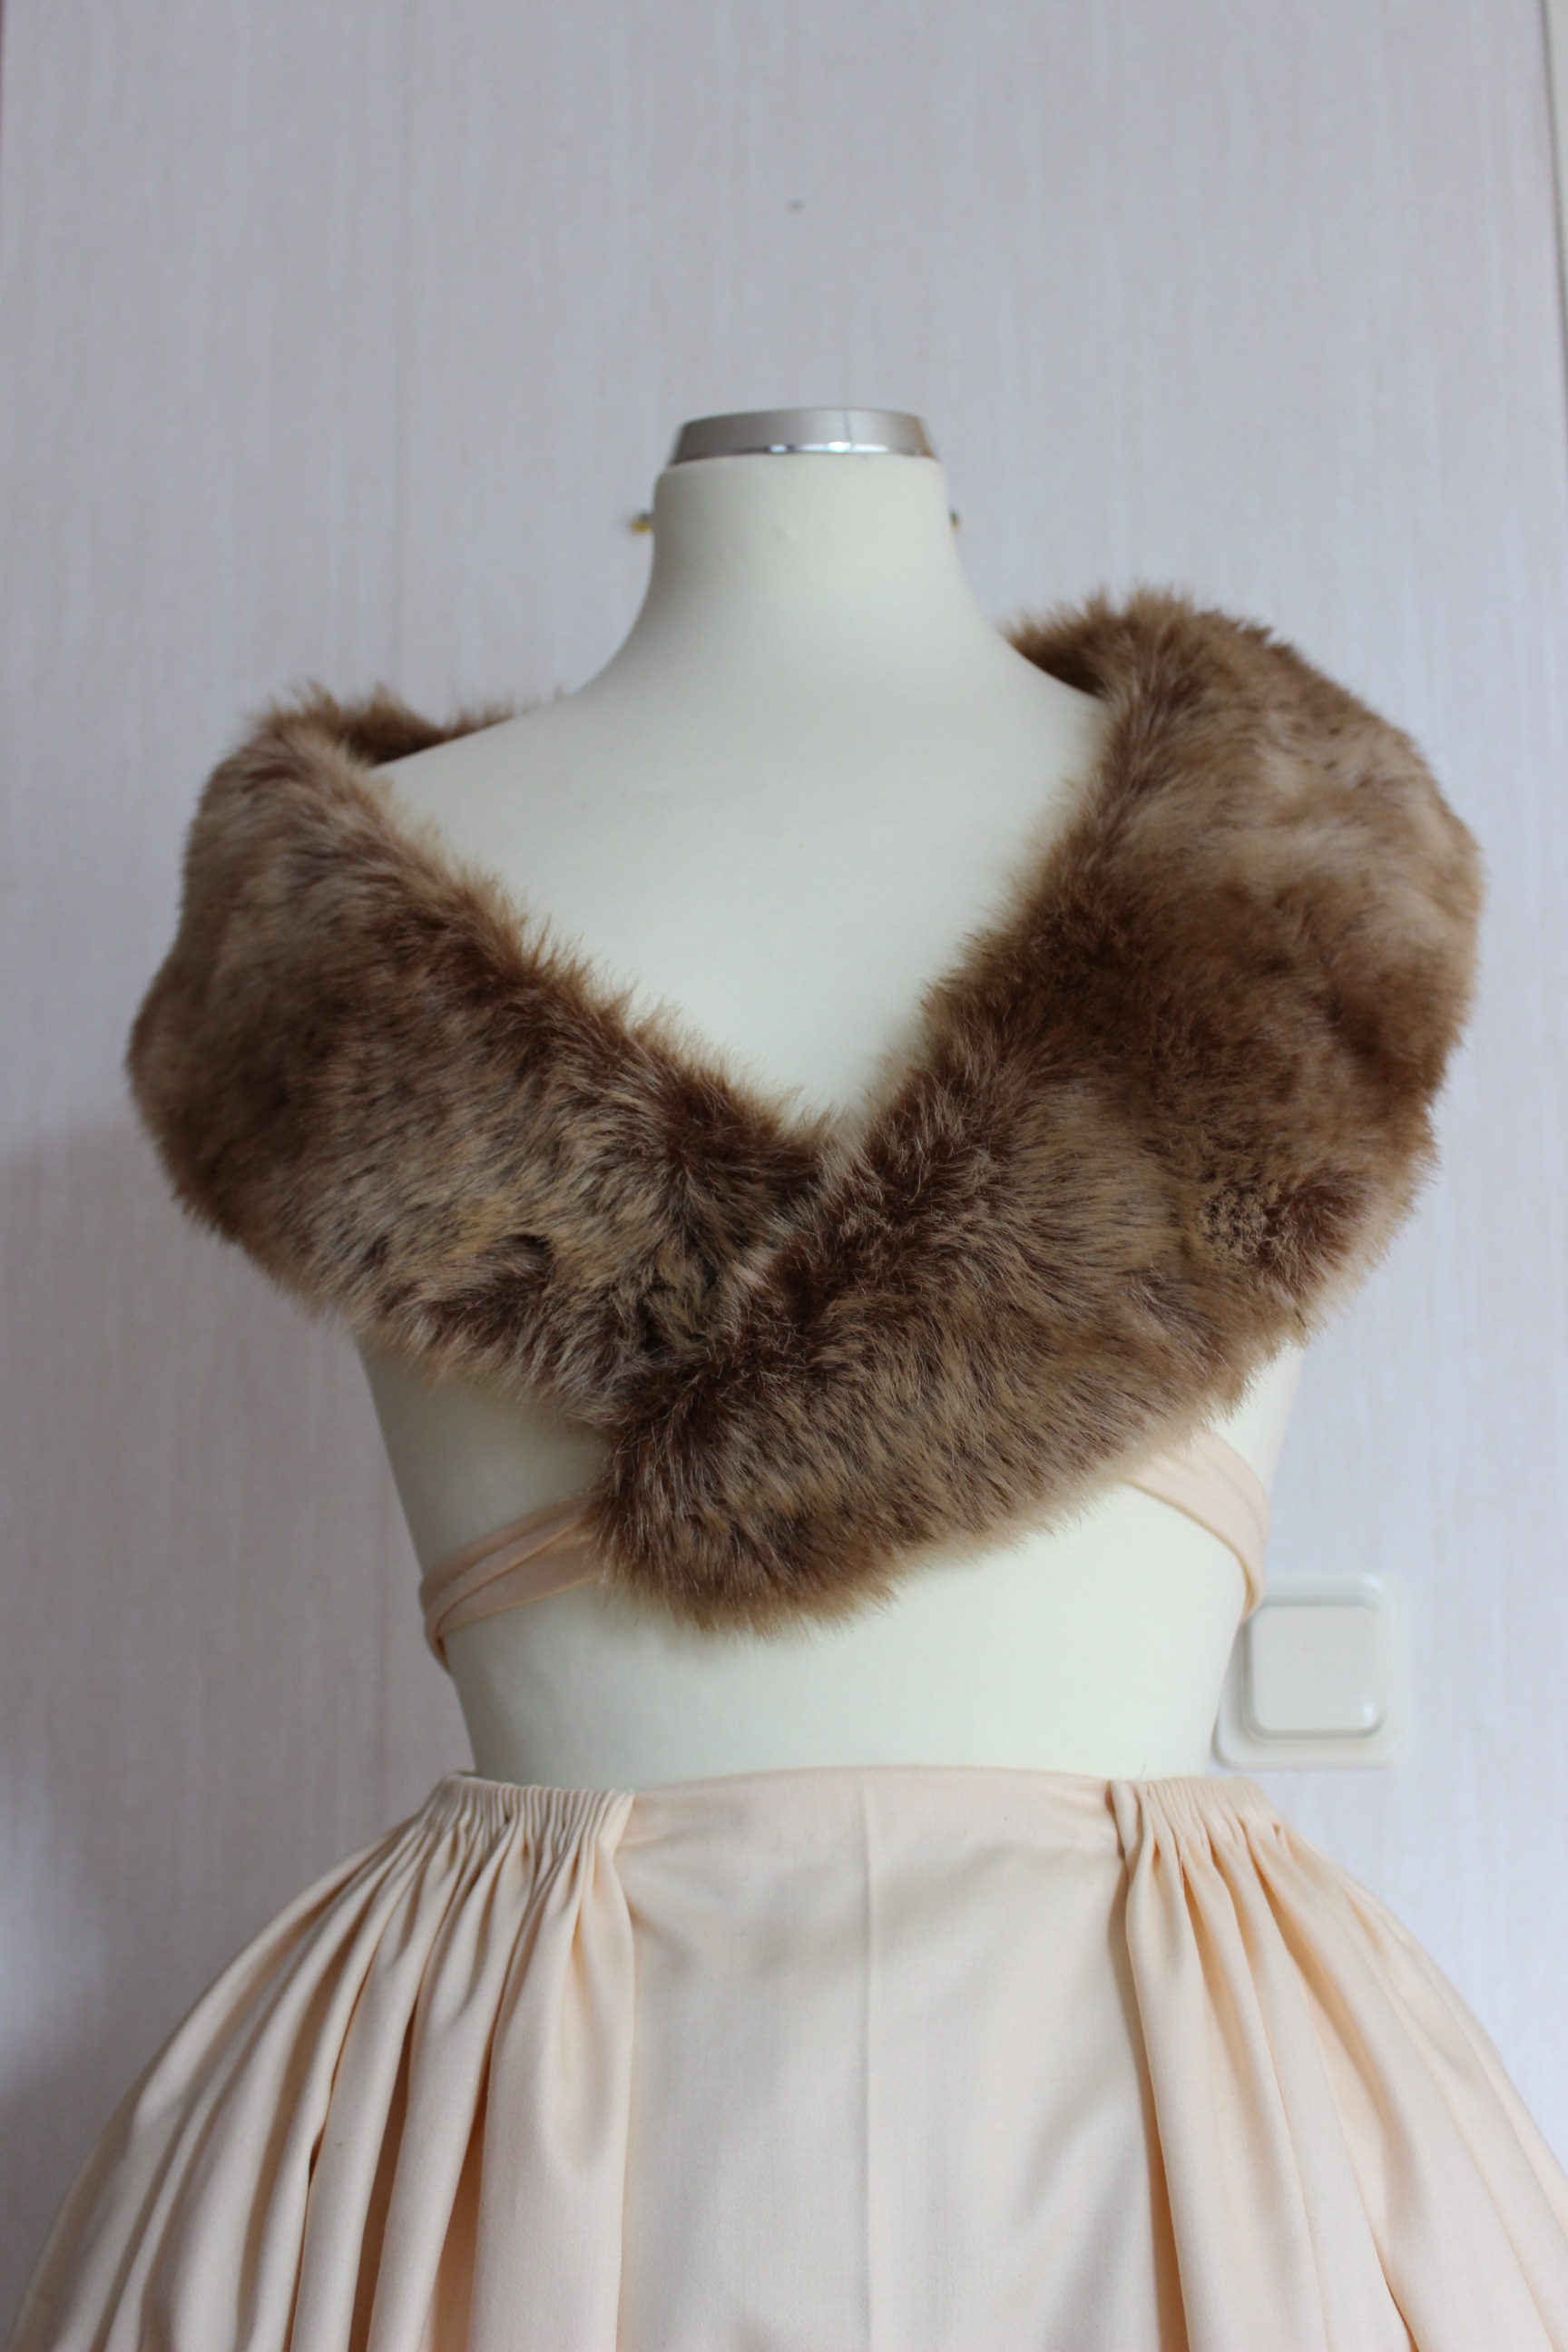
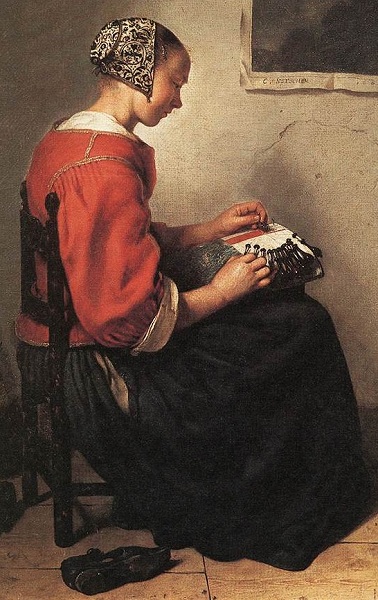
And the smaller Coif, which may not cover all of the hair, but probably would work better together with my bodice and fur collar and still giving me some neck.  I almost wish I’ve found this painting earlier, so to make this as my 17th century project instead…
This example is worn with a forhead cloth – perfect for taming my short and flying bangs. 
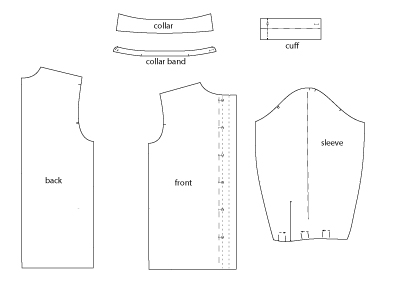
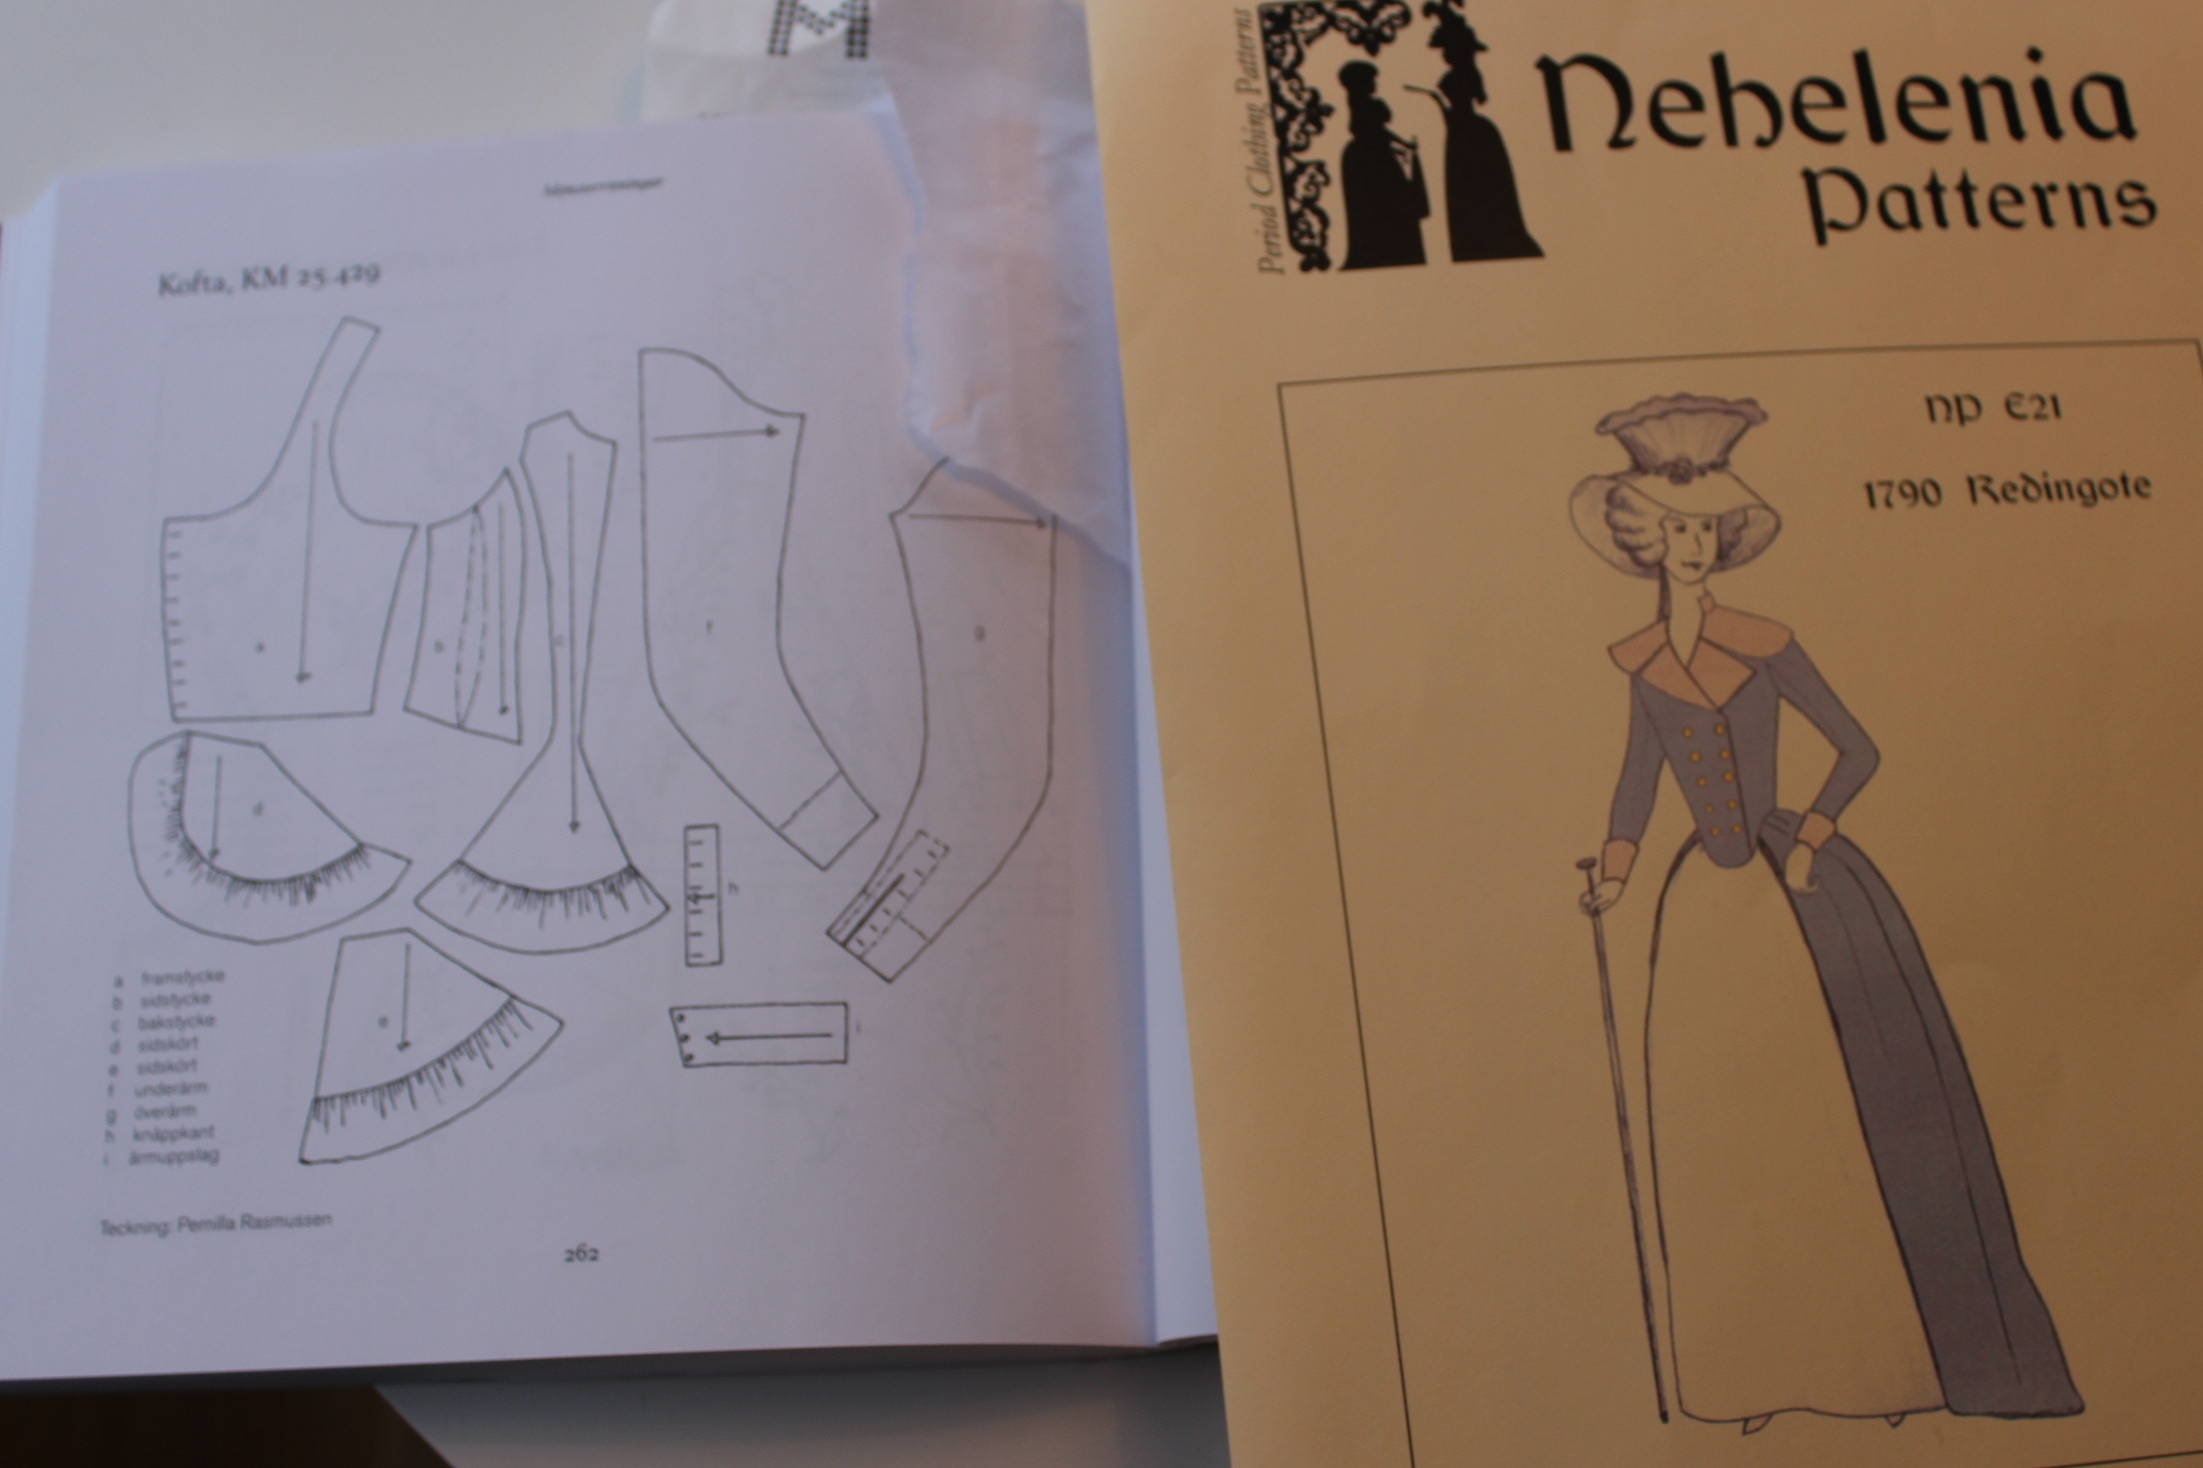
Patterns for this kind of coif can be found in almost every book covering this period in time.
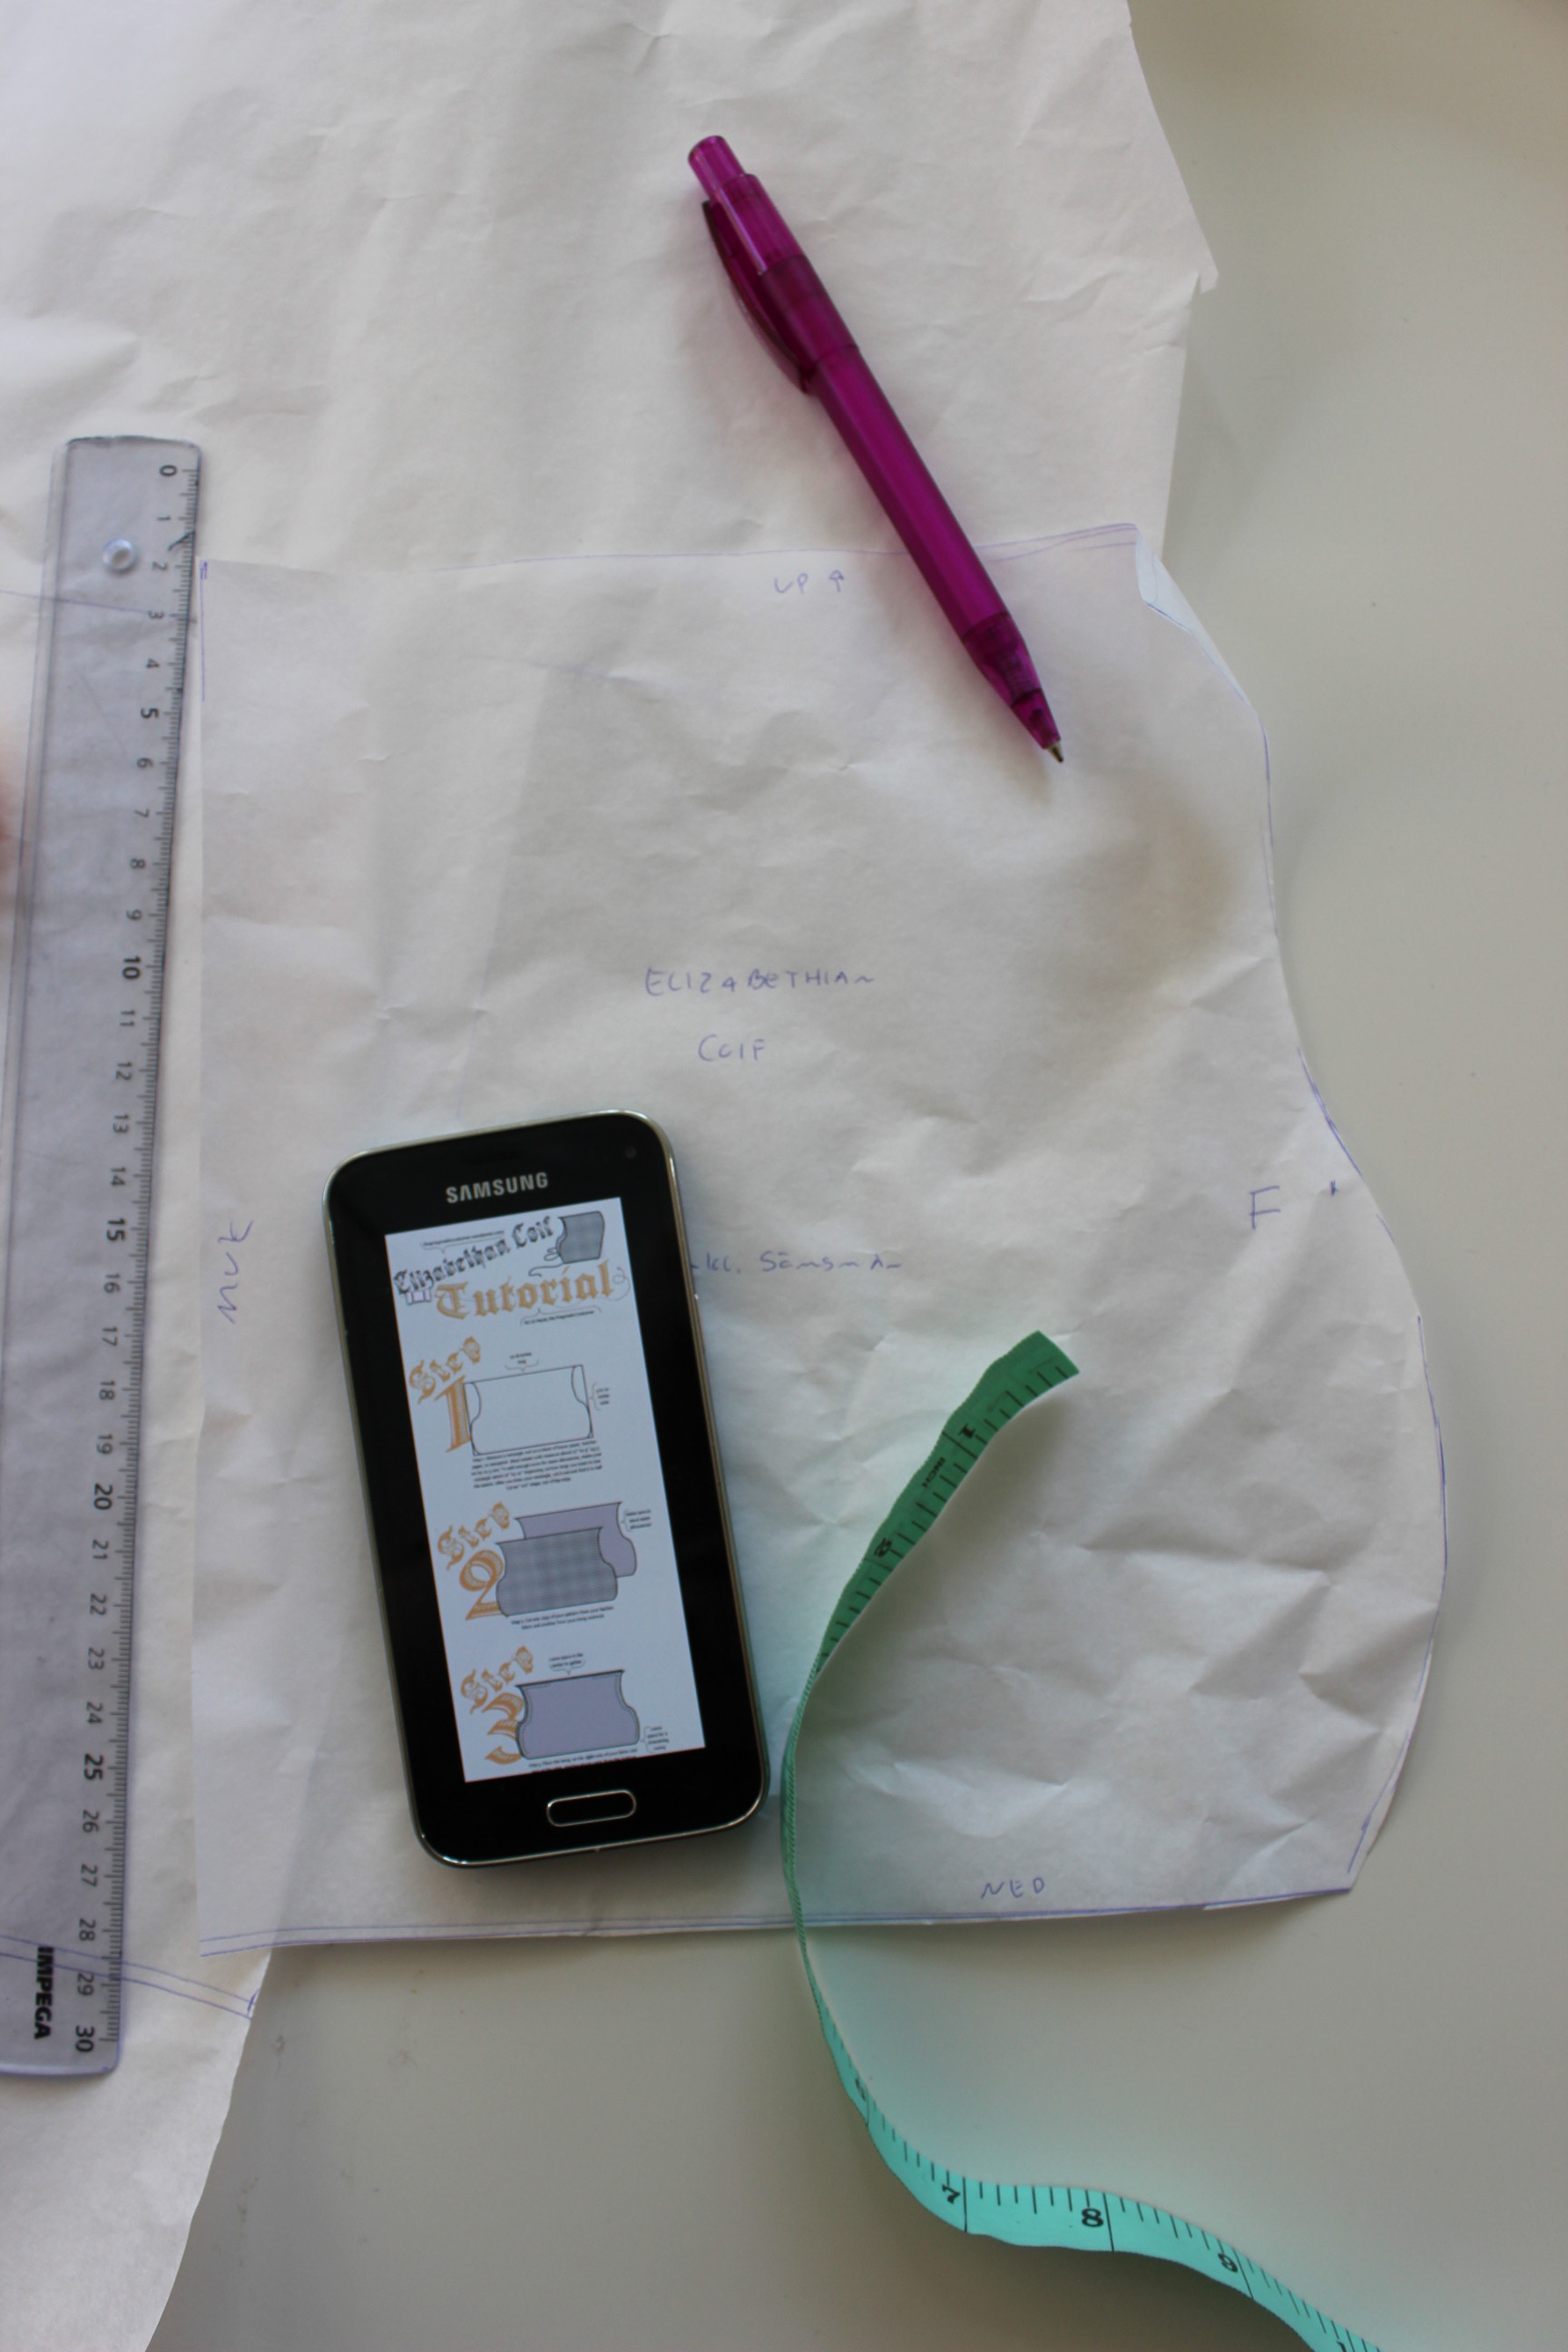
But I choose to use the great pattern/tutorial from “The pragmatic costumer”

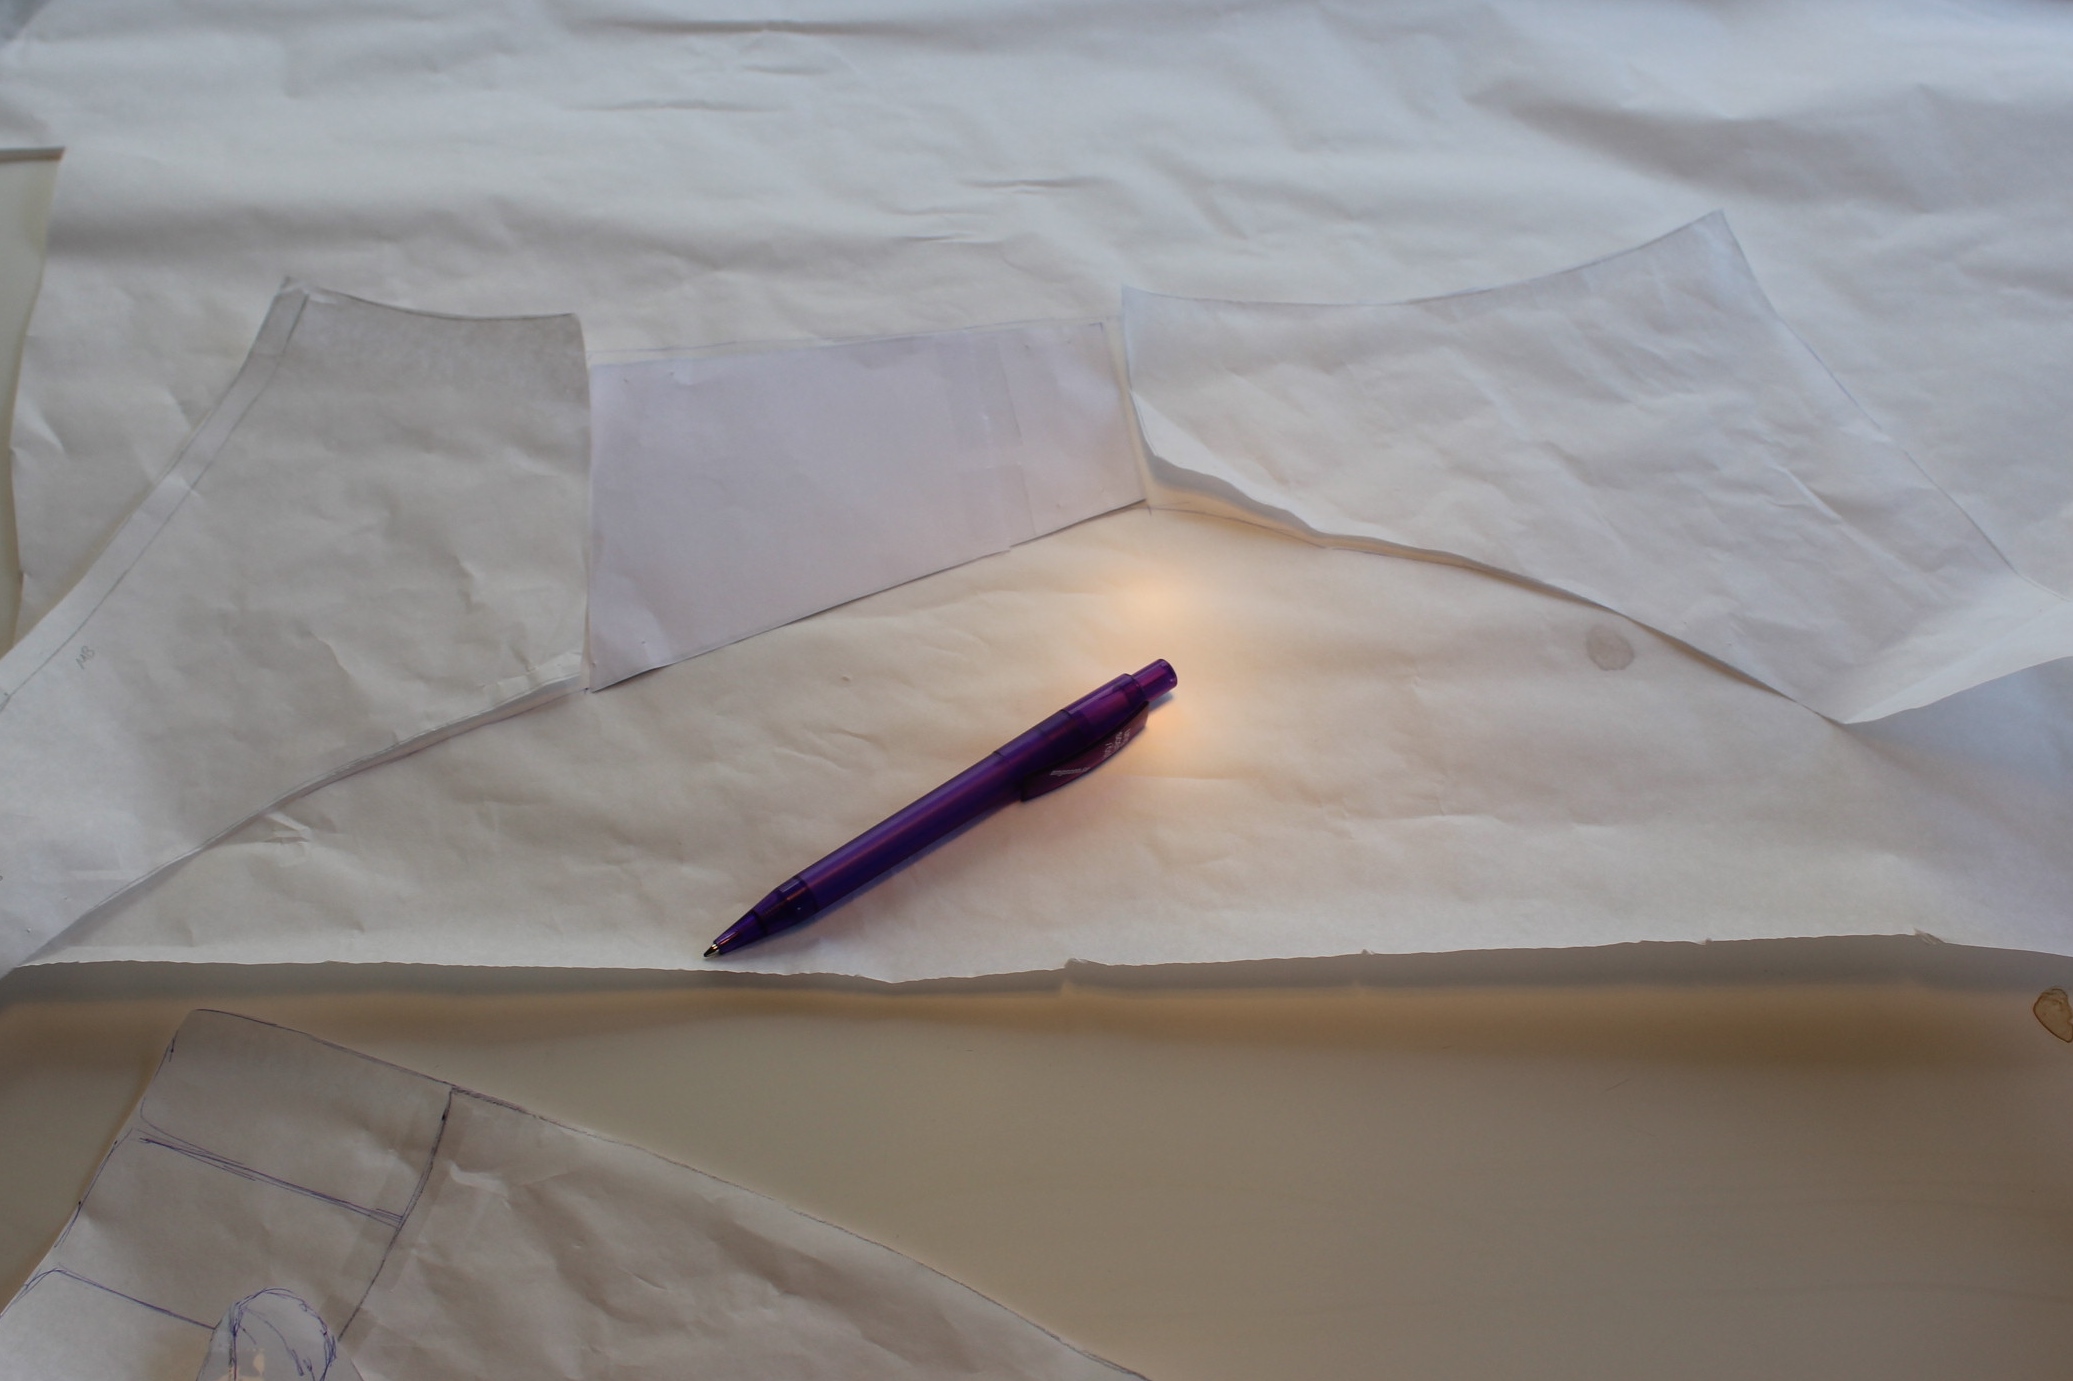
So this weekend I drafted the pattern – following the awesomely easy instructions.
While drafting I decide to not make a mock-up but a kind of working toile instead.
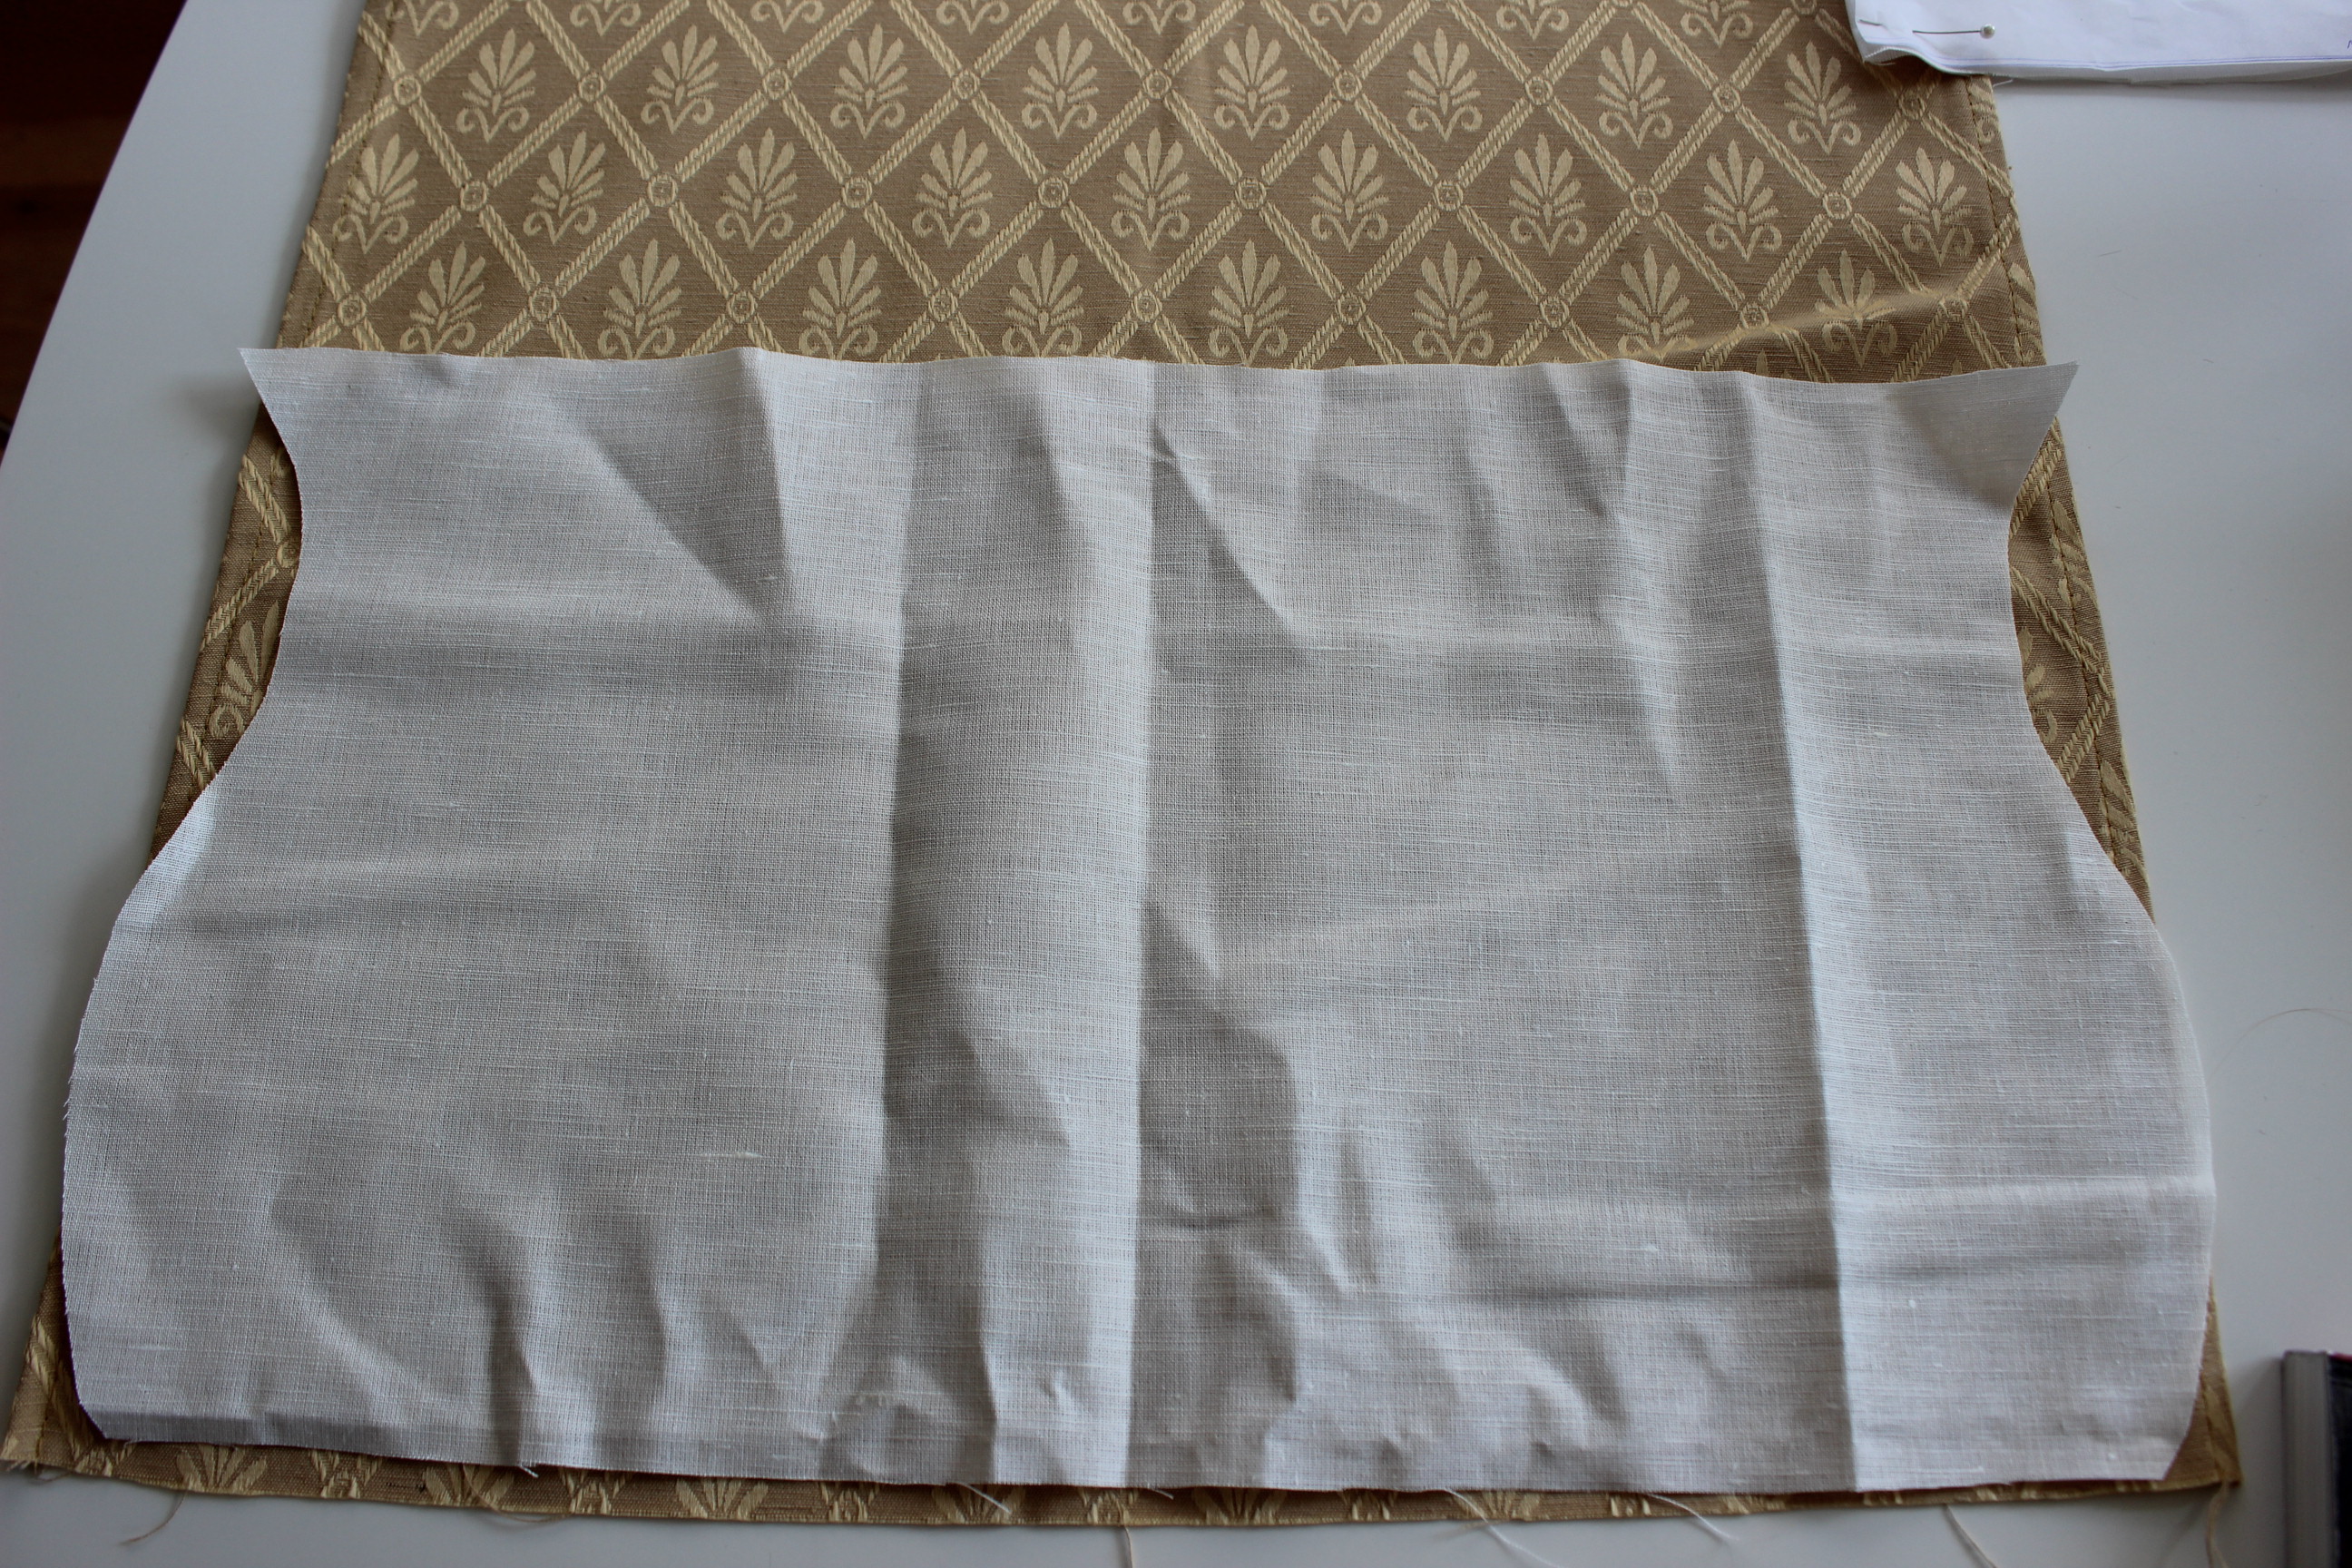
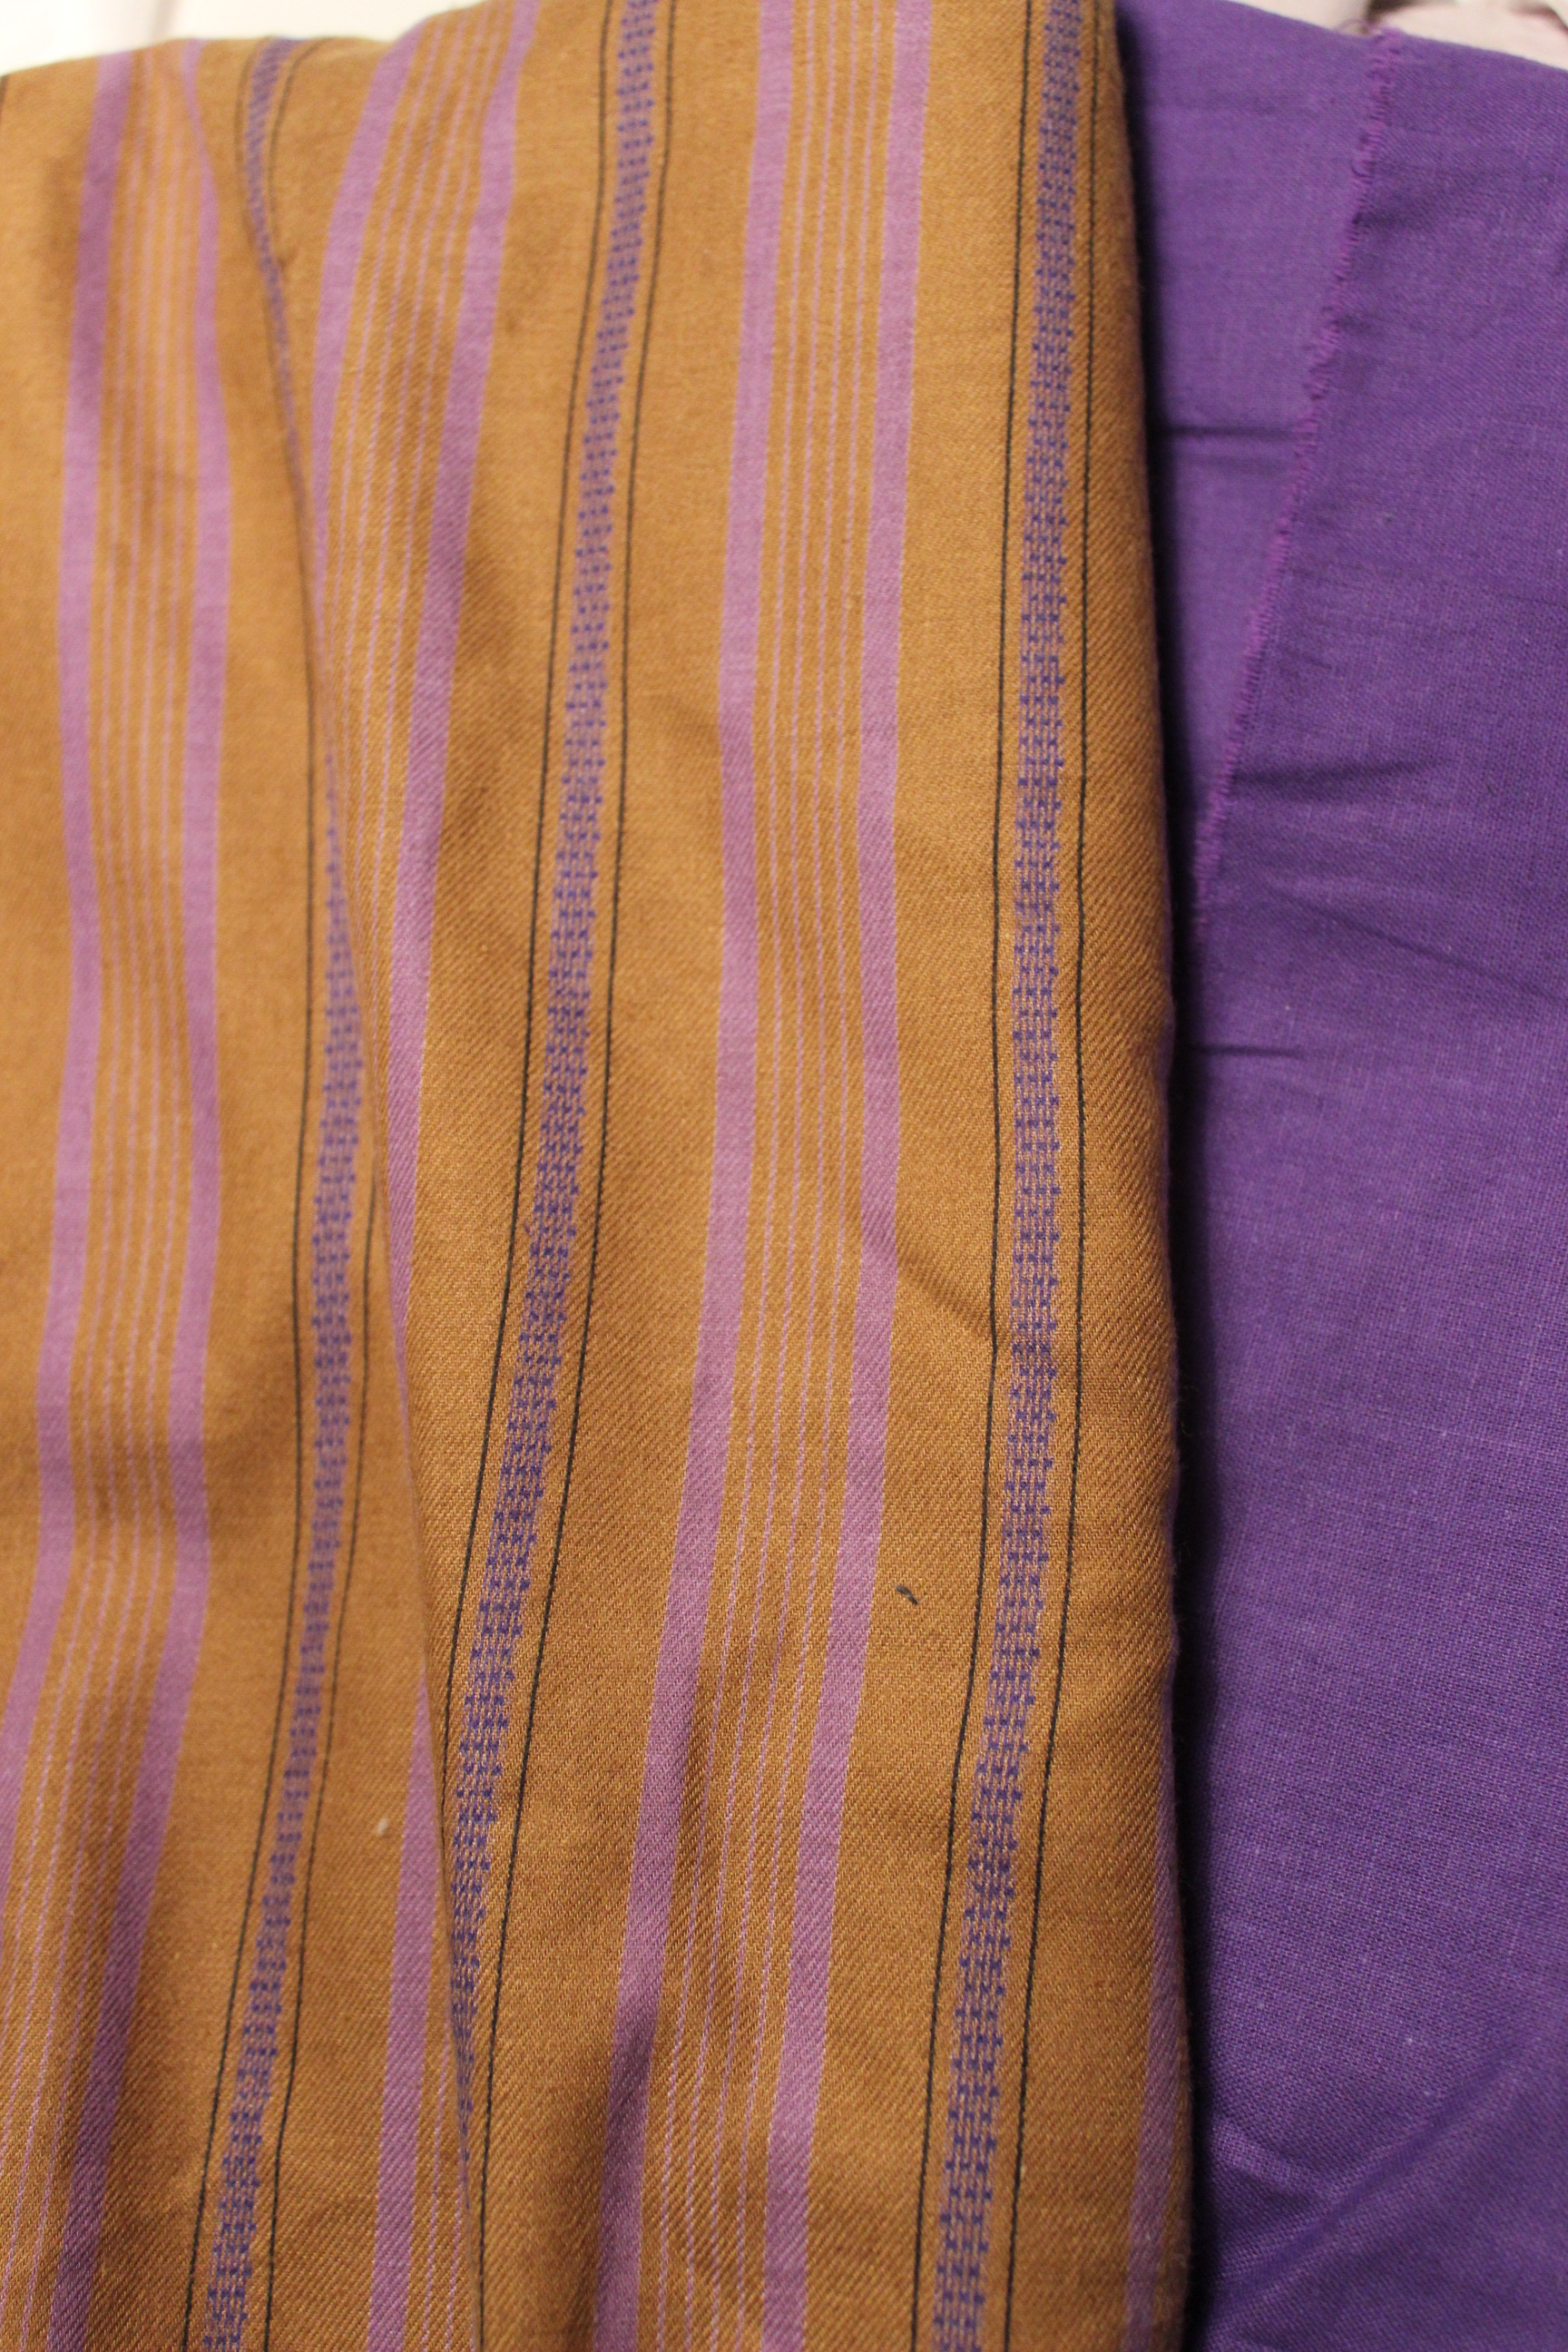
So I dug through my fabrics and found this lovely patterned golden polyester fabric, I’ve bought with 17th century doublet, dress or waistcoat in mind.
 Yep, it’s really that narrow.
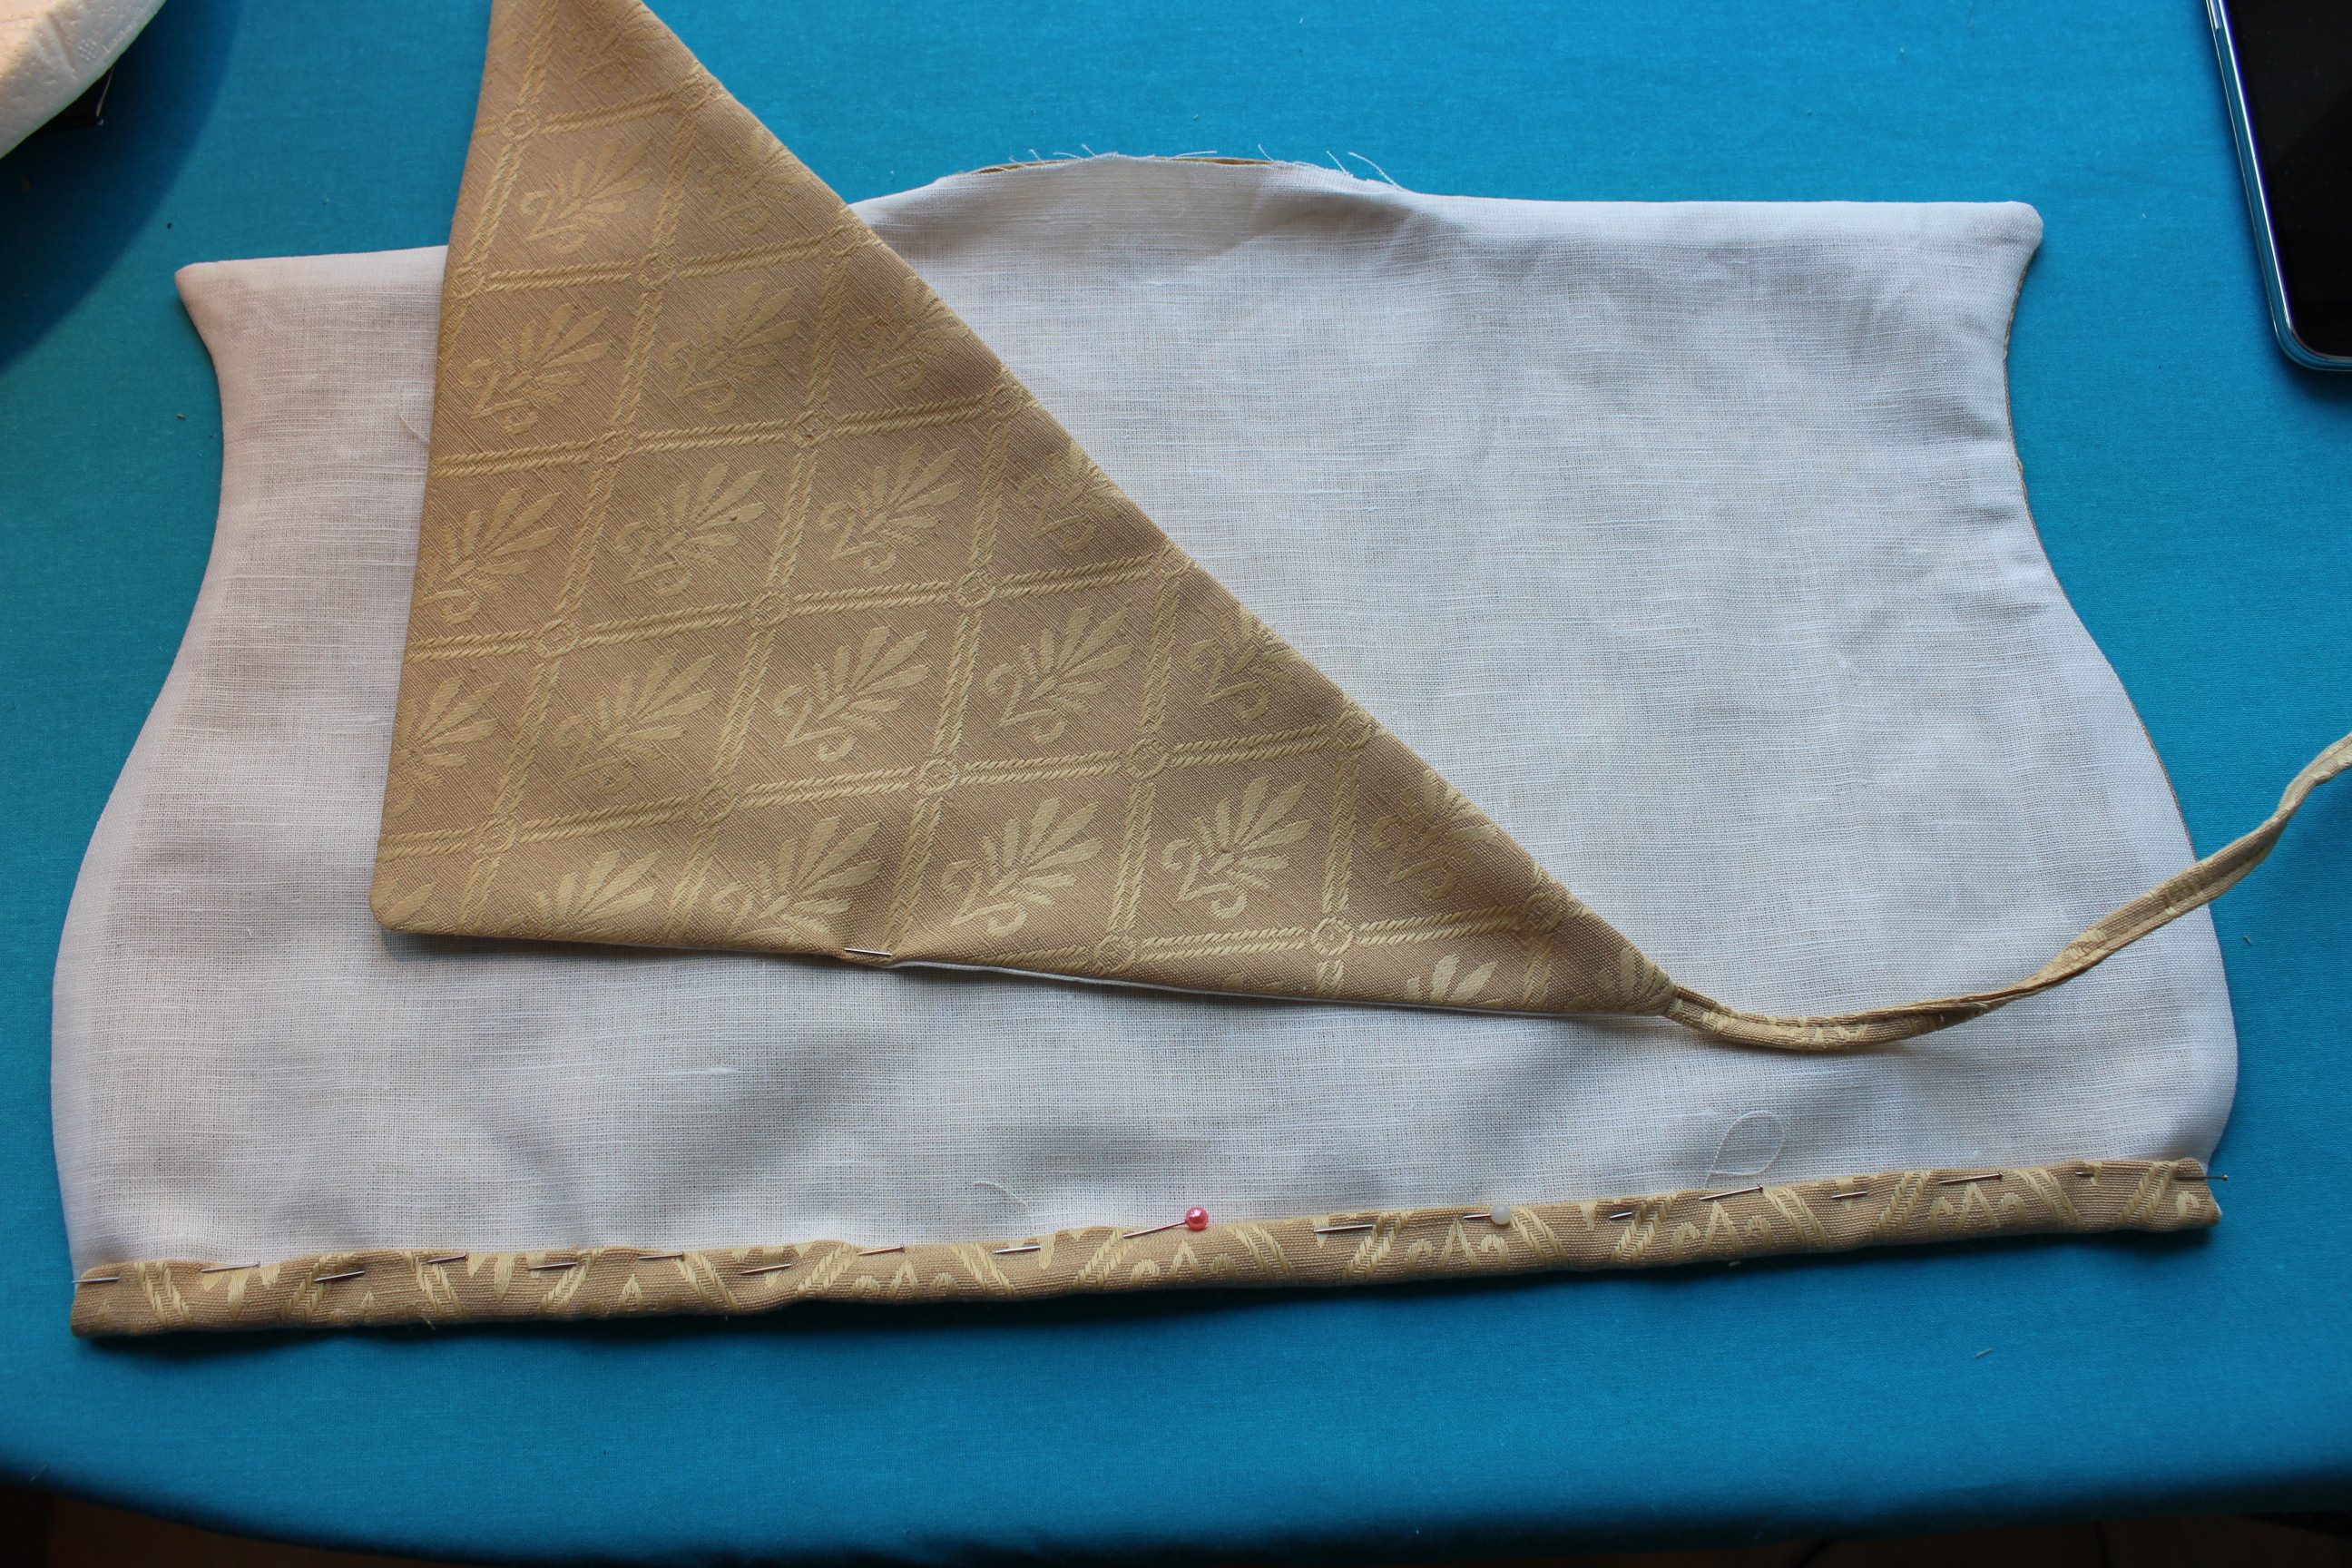
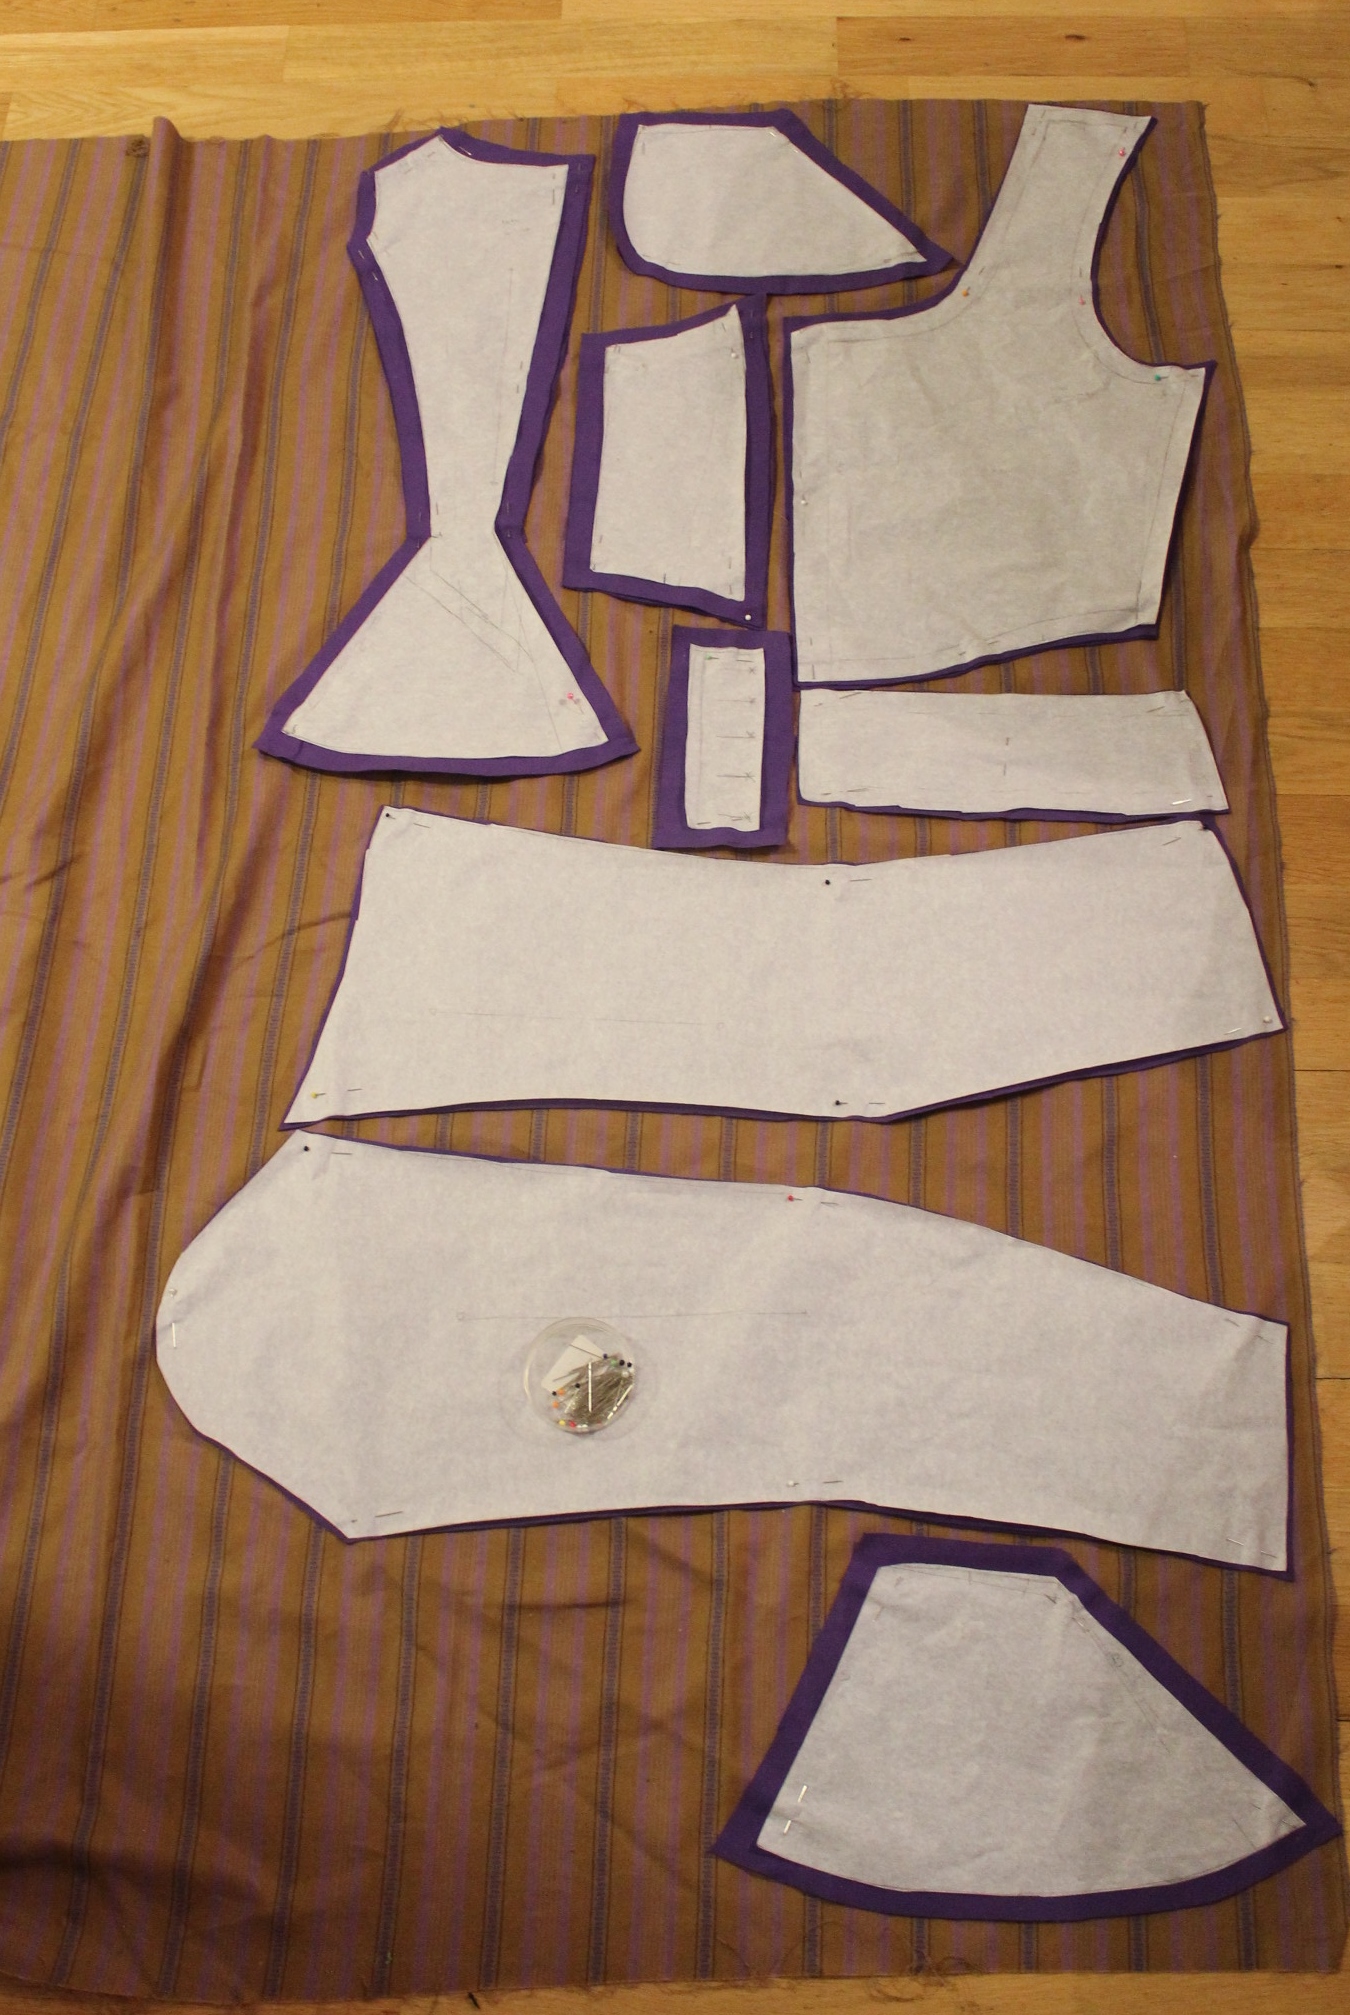
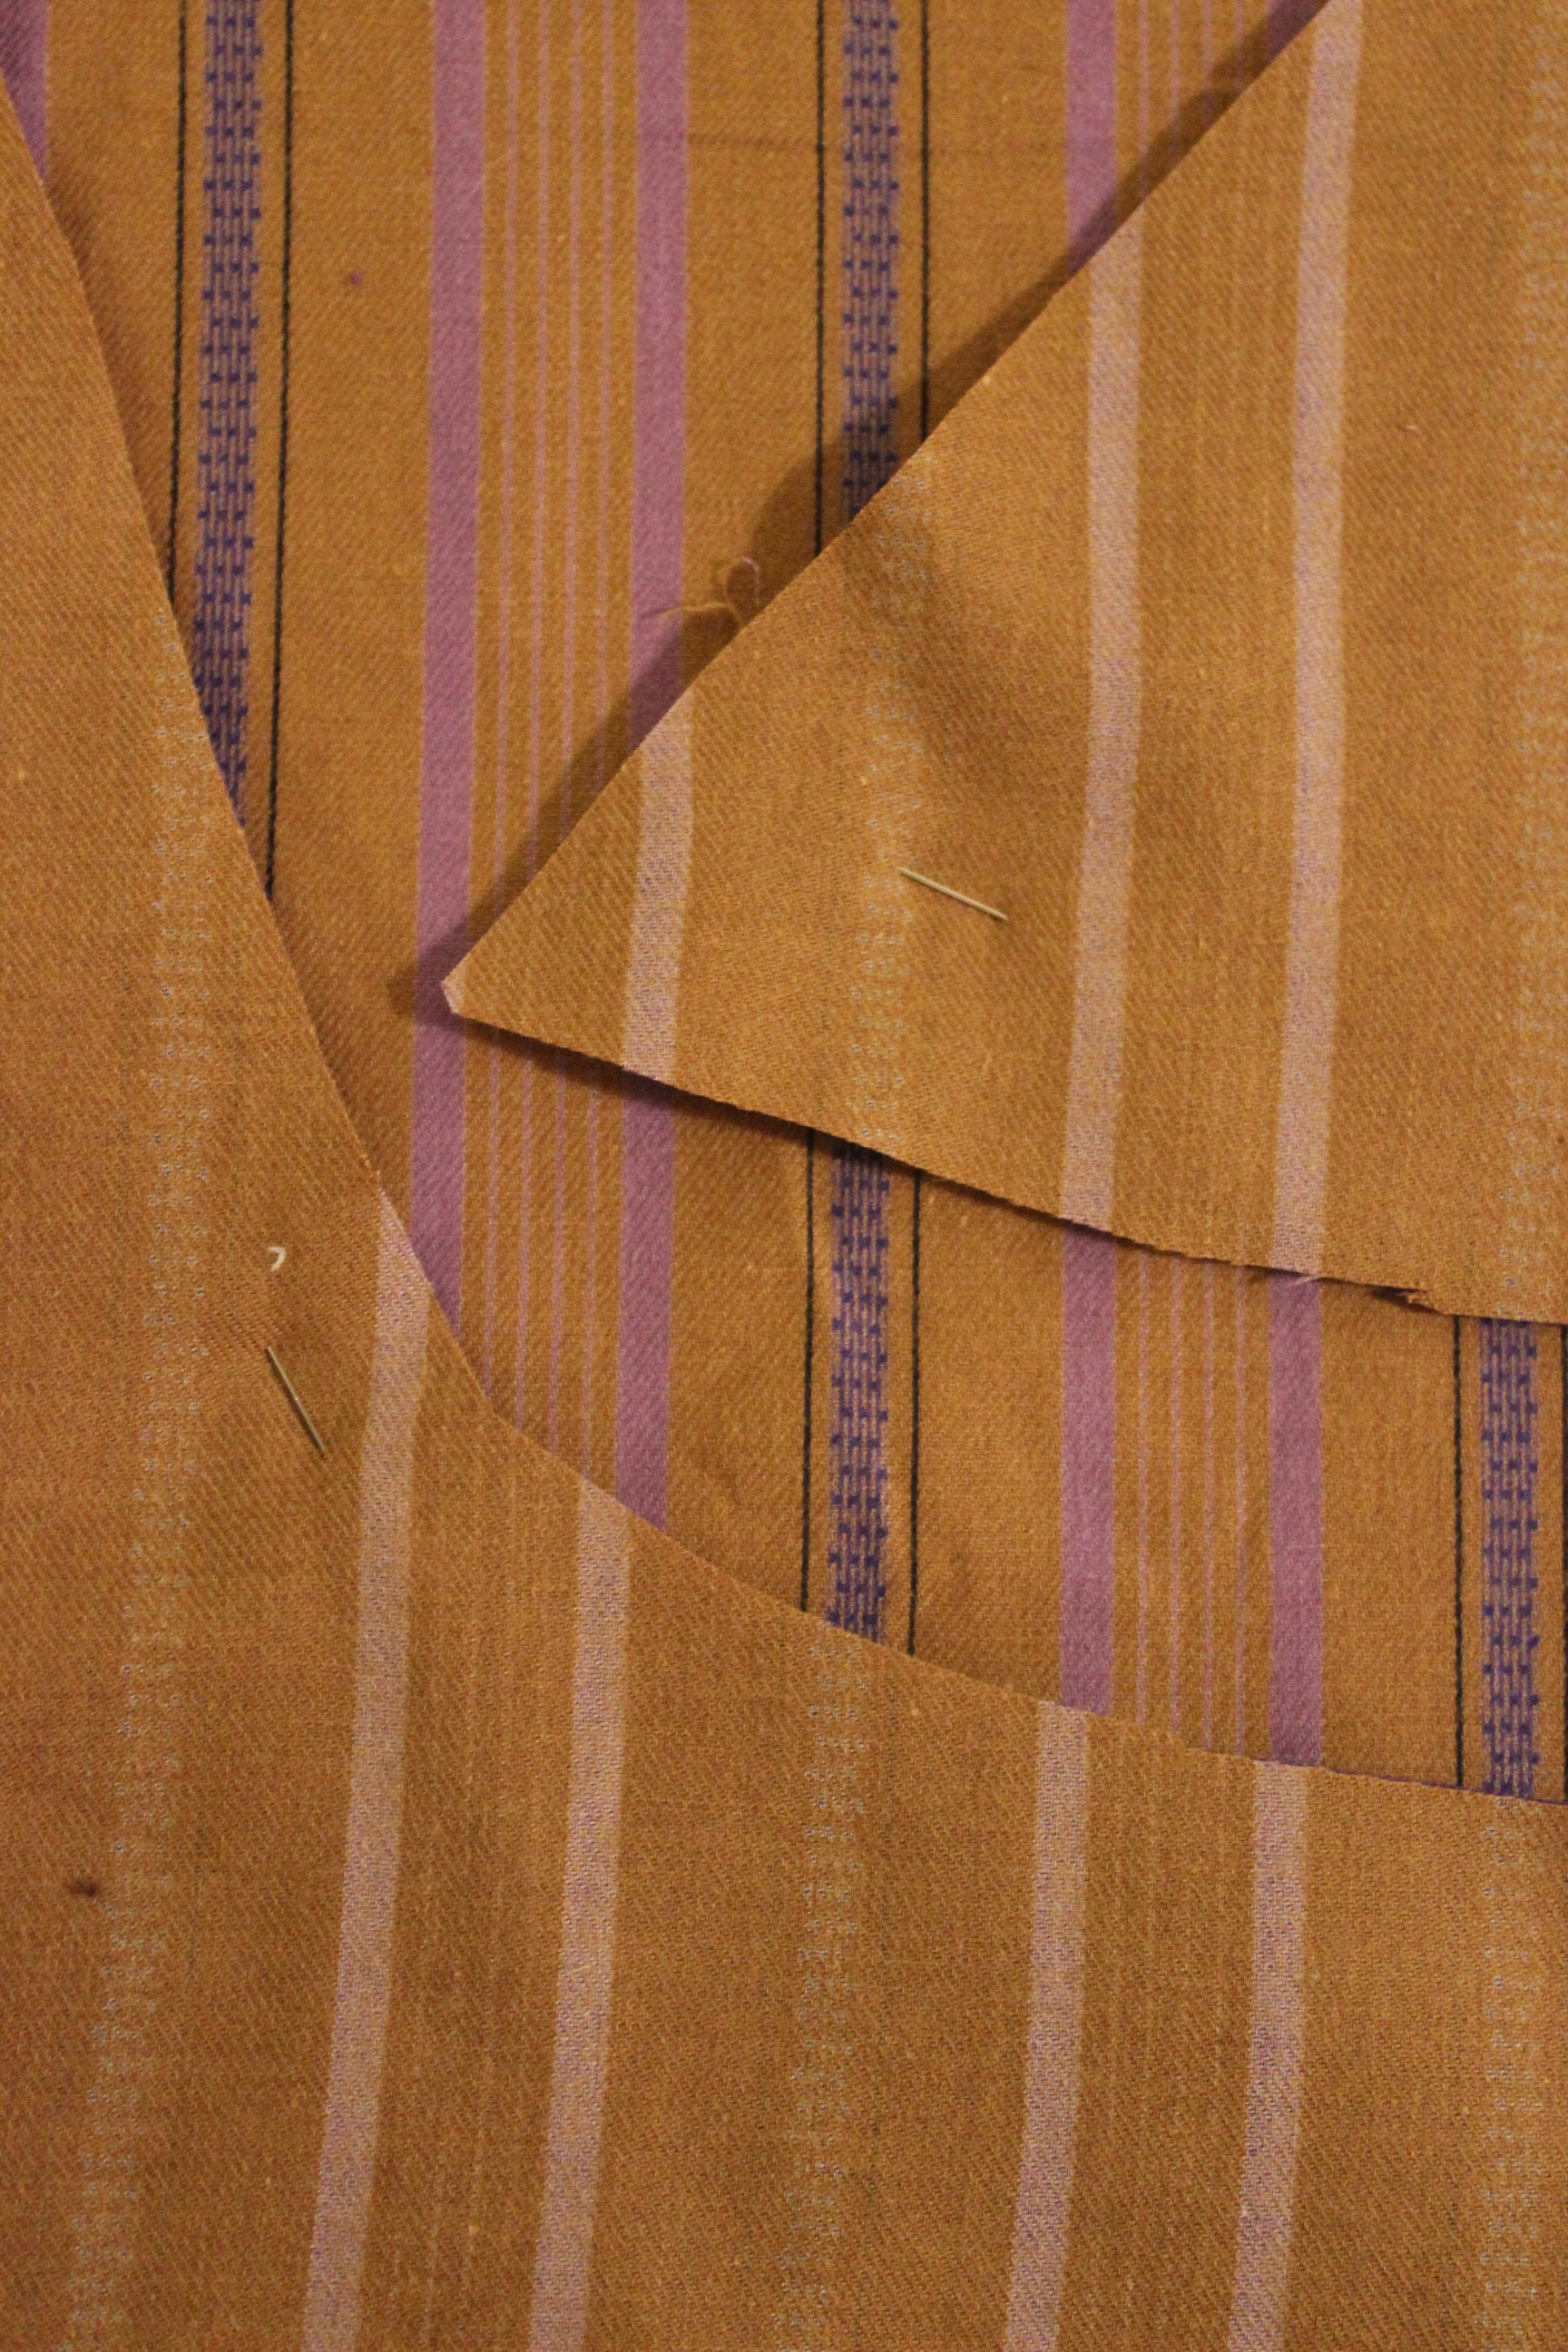
So I cut the pieces in golden polyester and white left over linen fabric.
I also added some pieces for the forehead-cloth. 
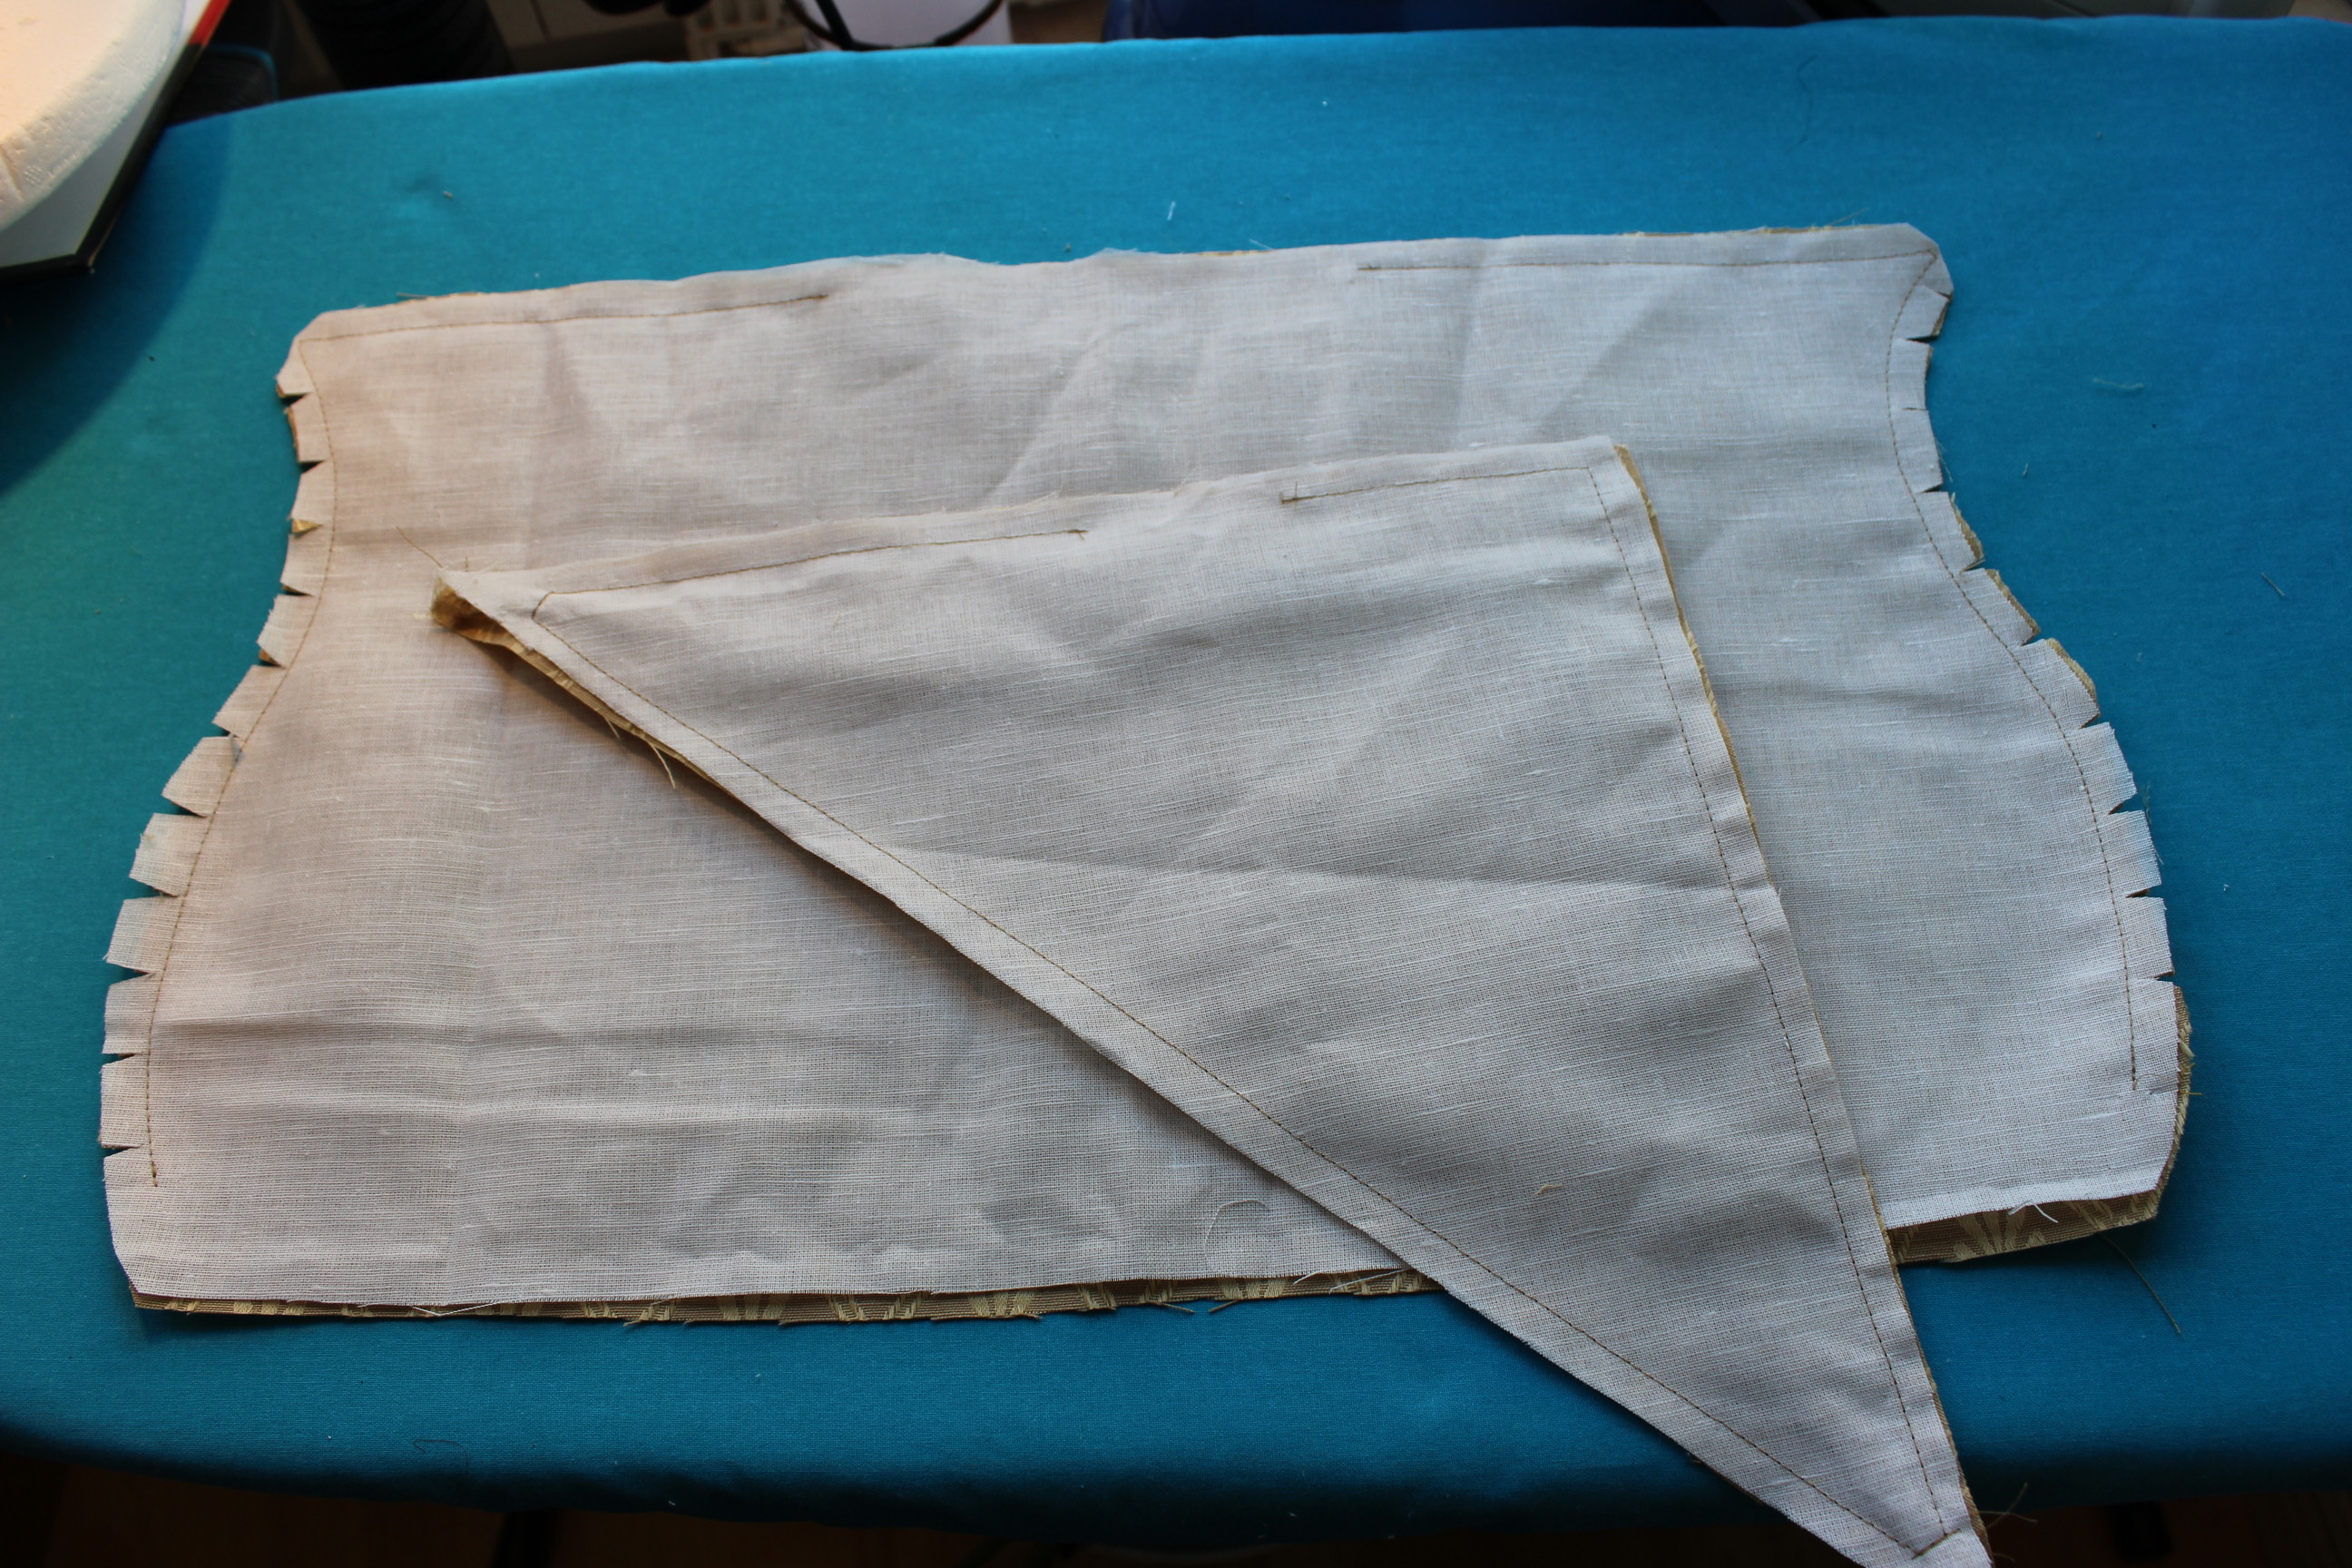
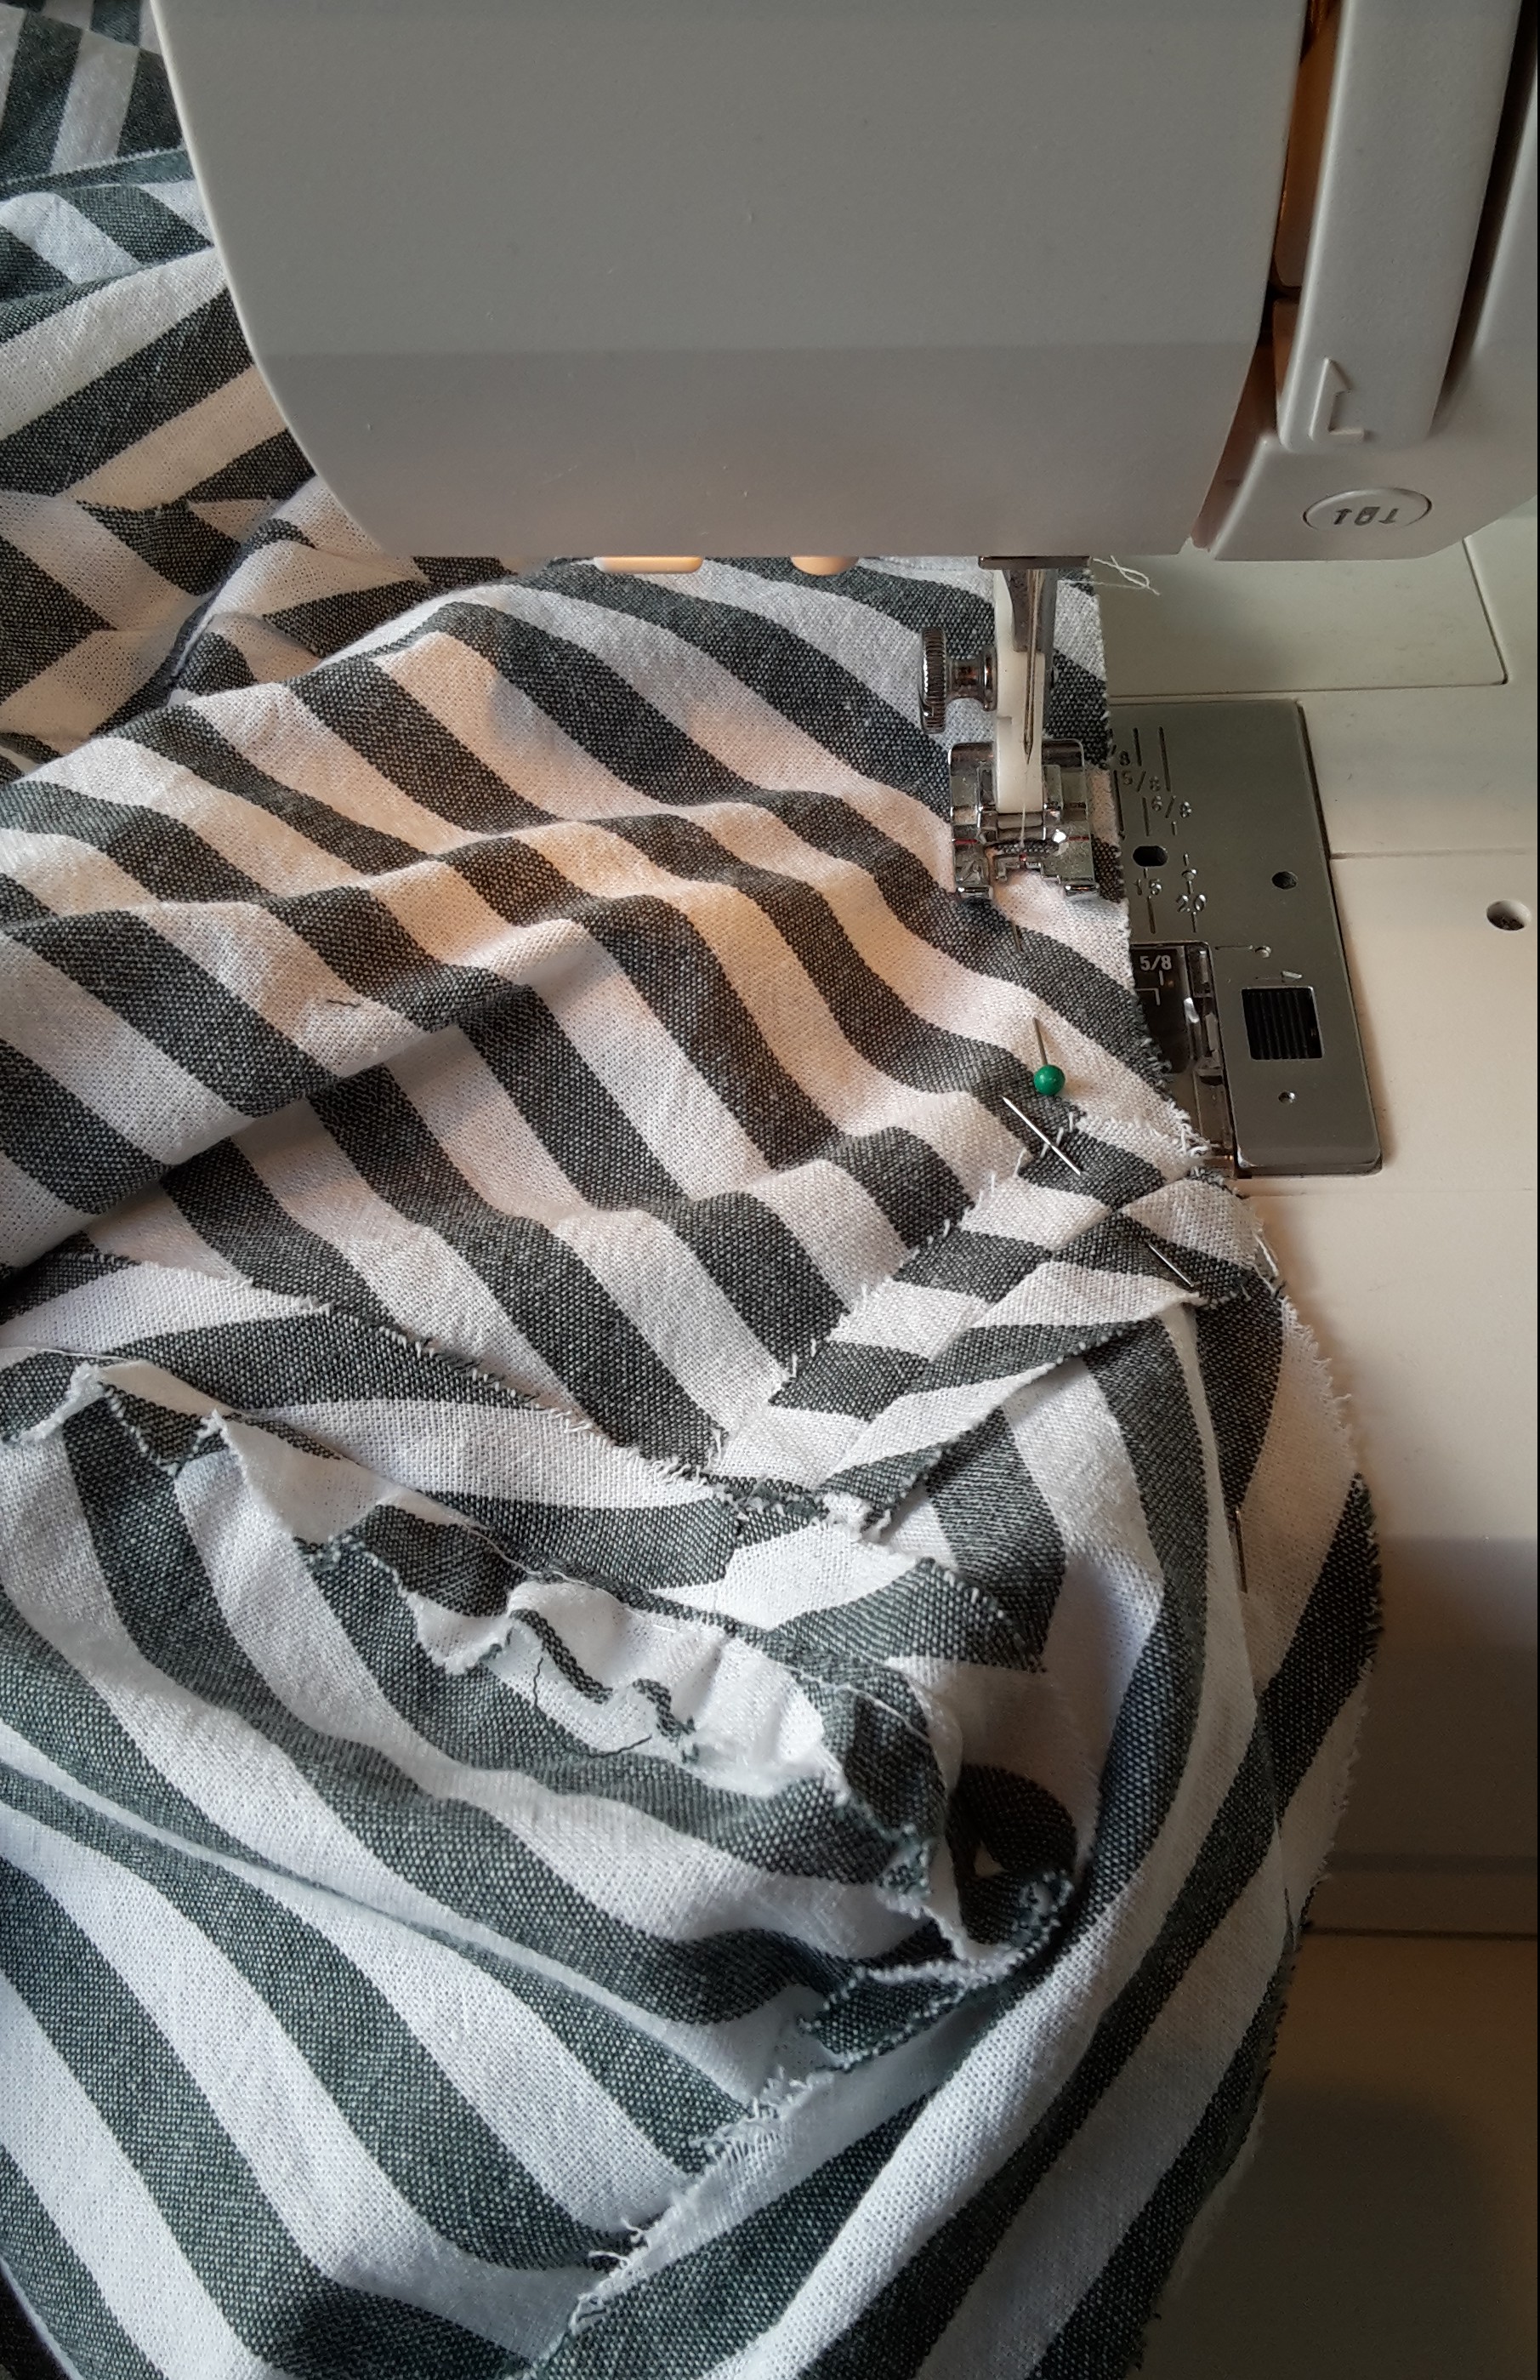
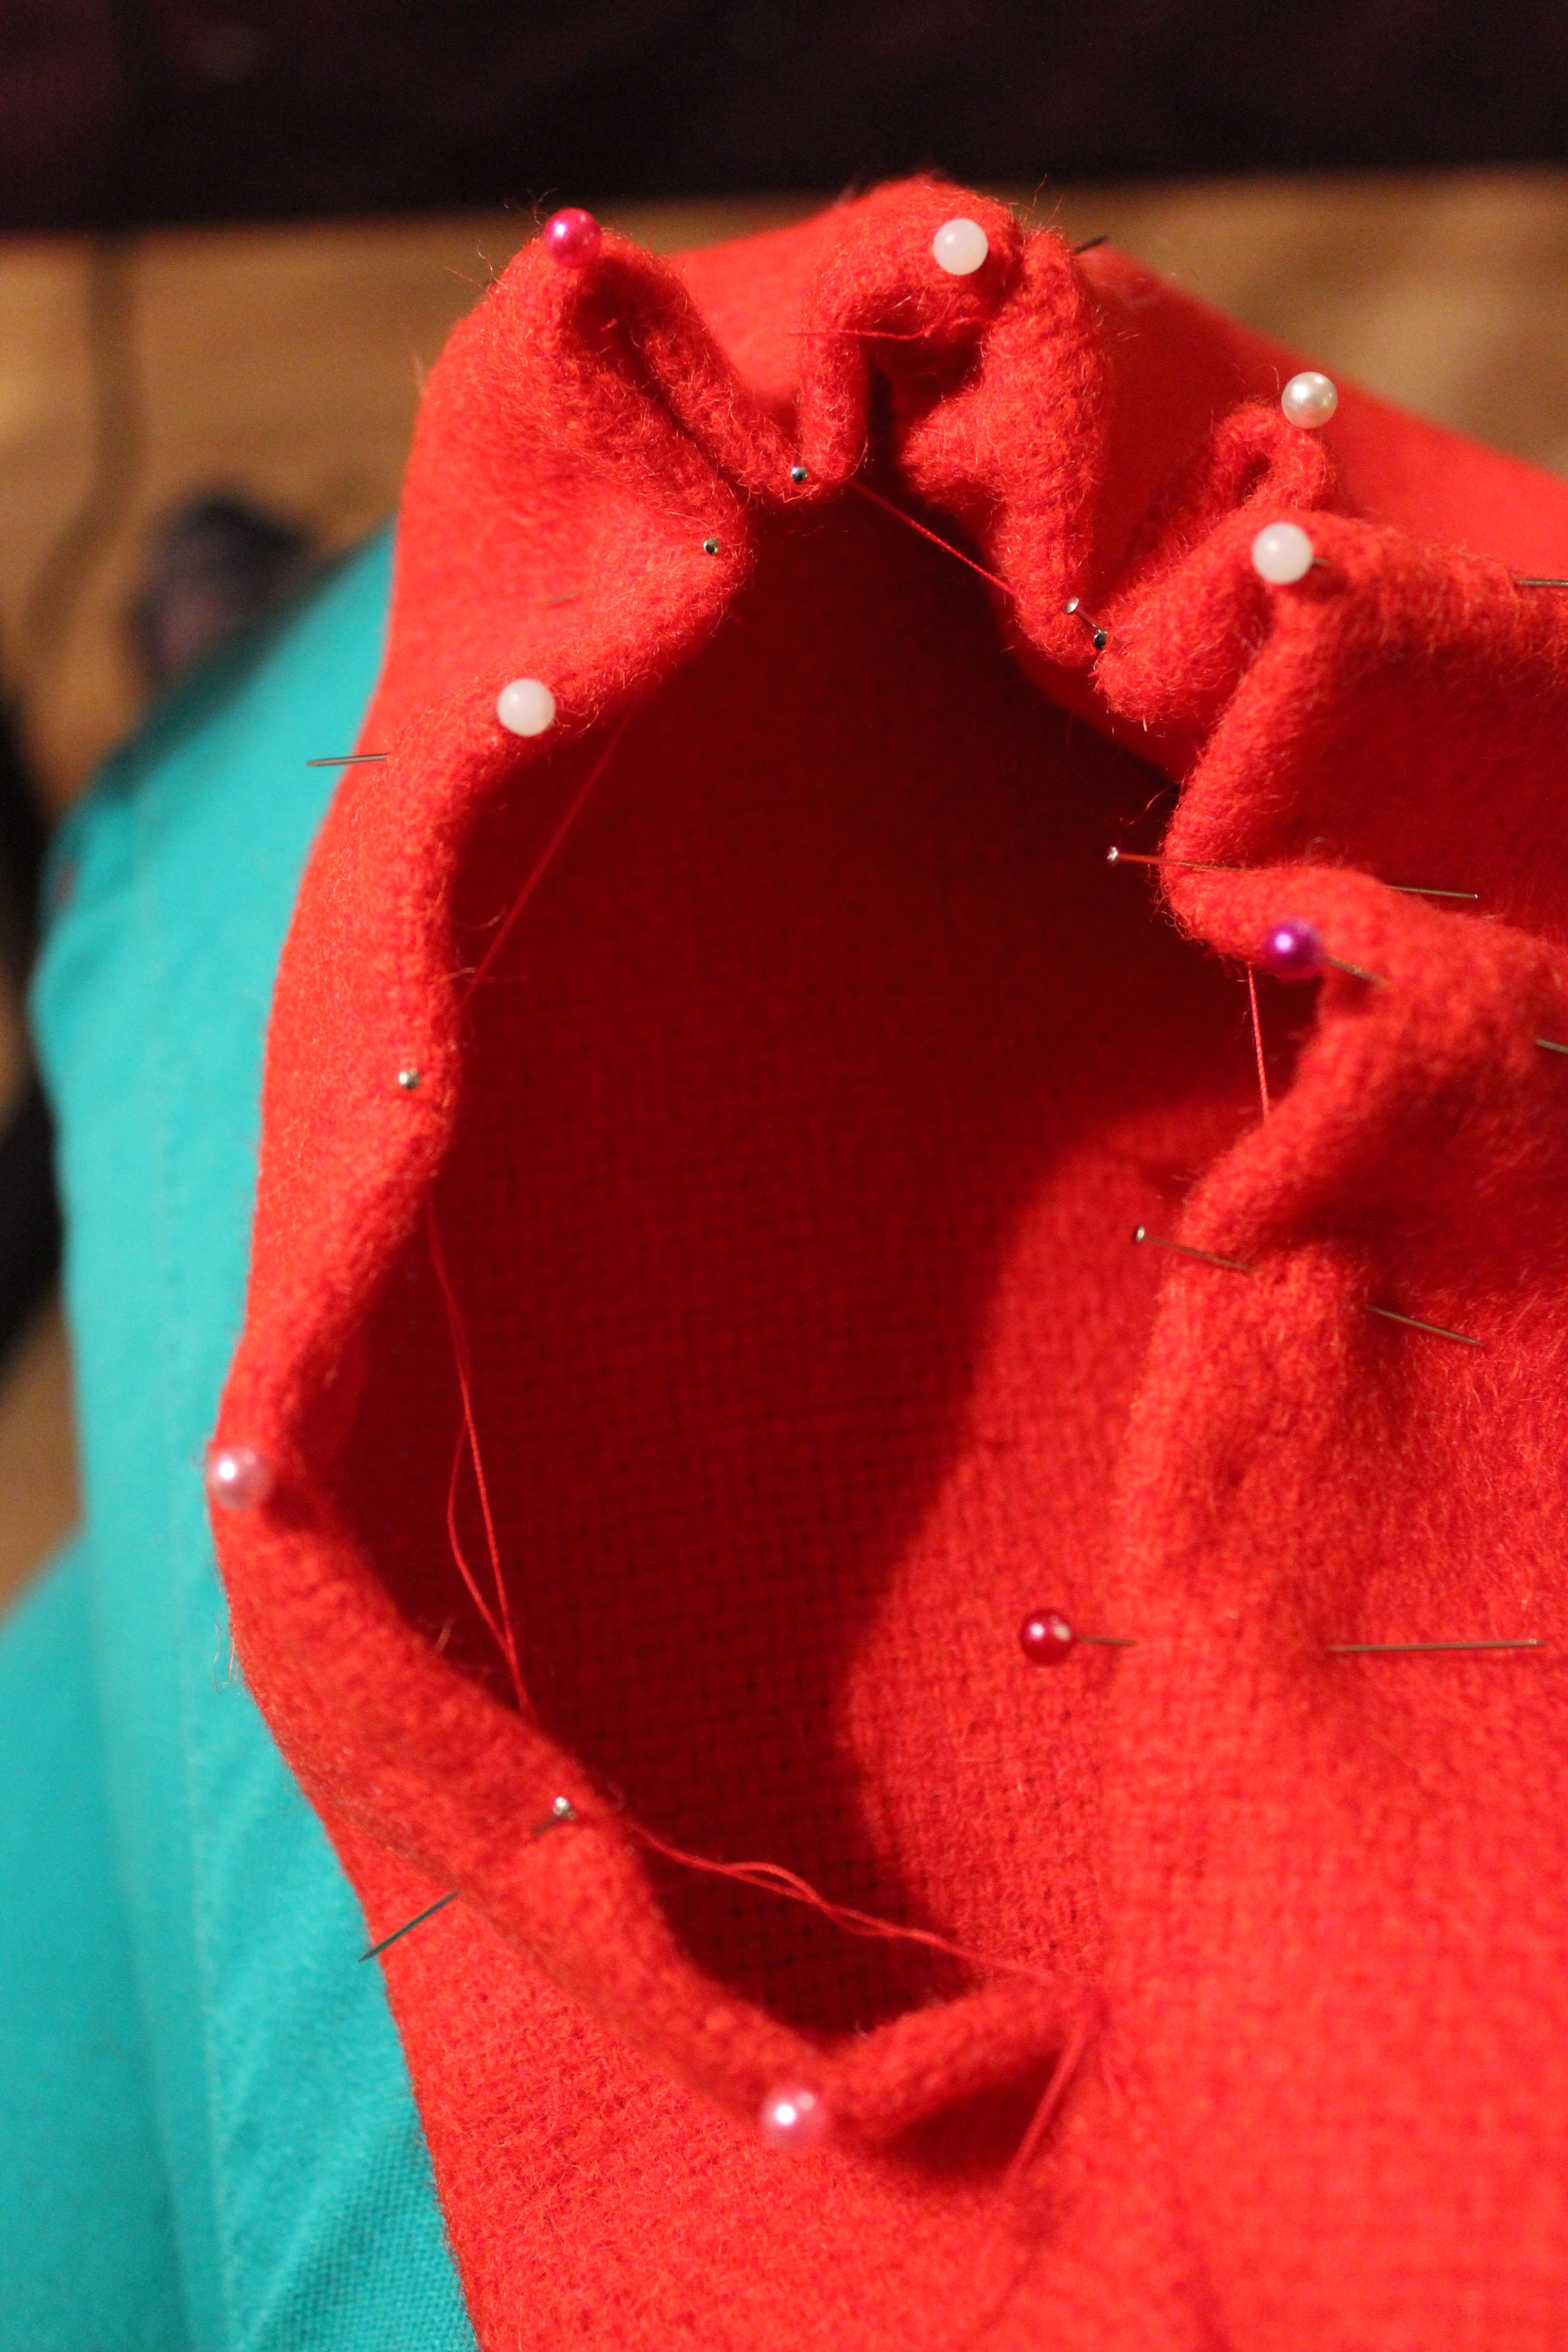
As a “mock-up” I didn’t wanted to wast any time making it up, so I stitched the whole coif on the sewing machine. First seams ready, time to turn and press.
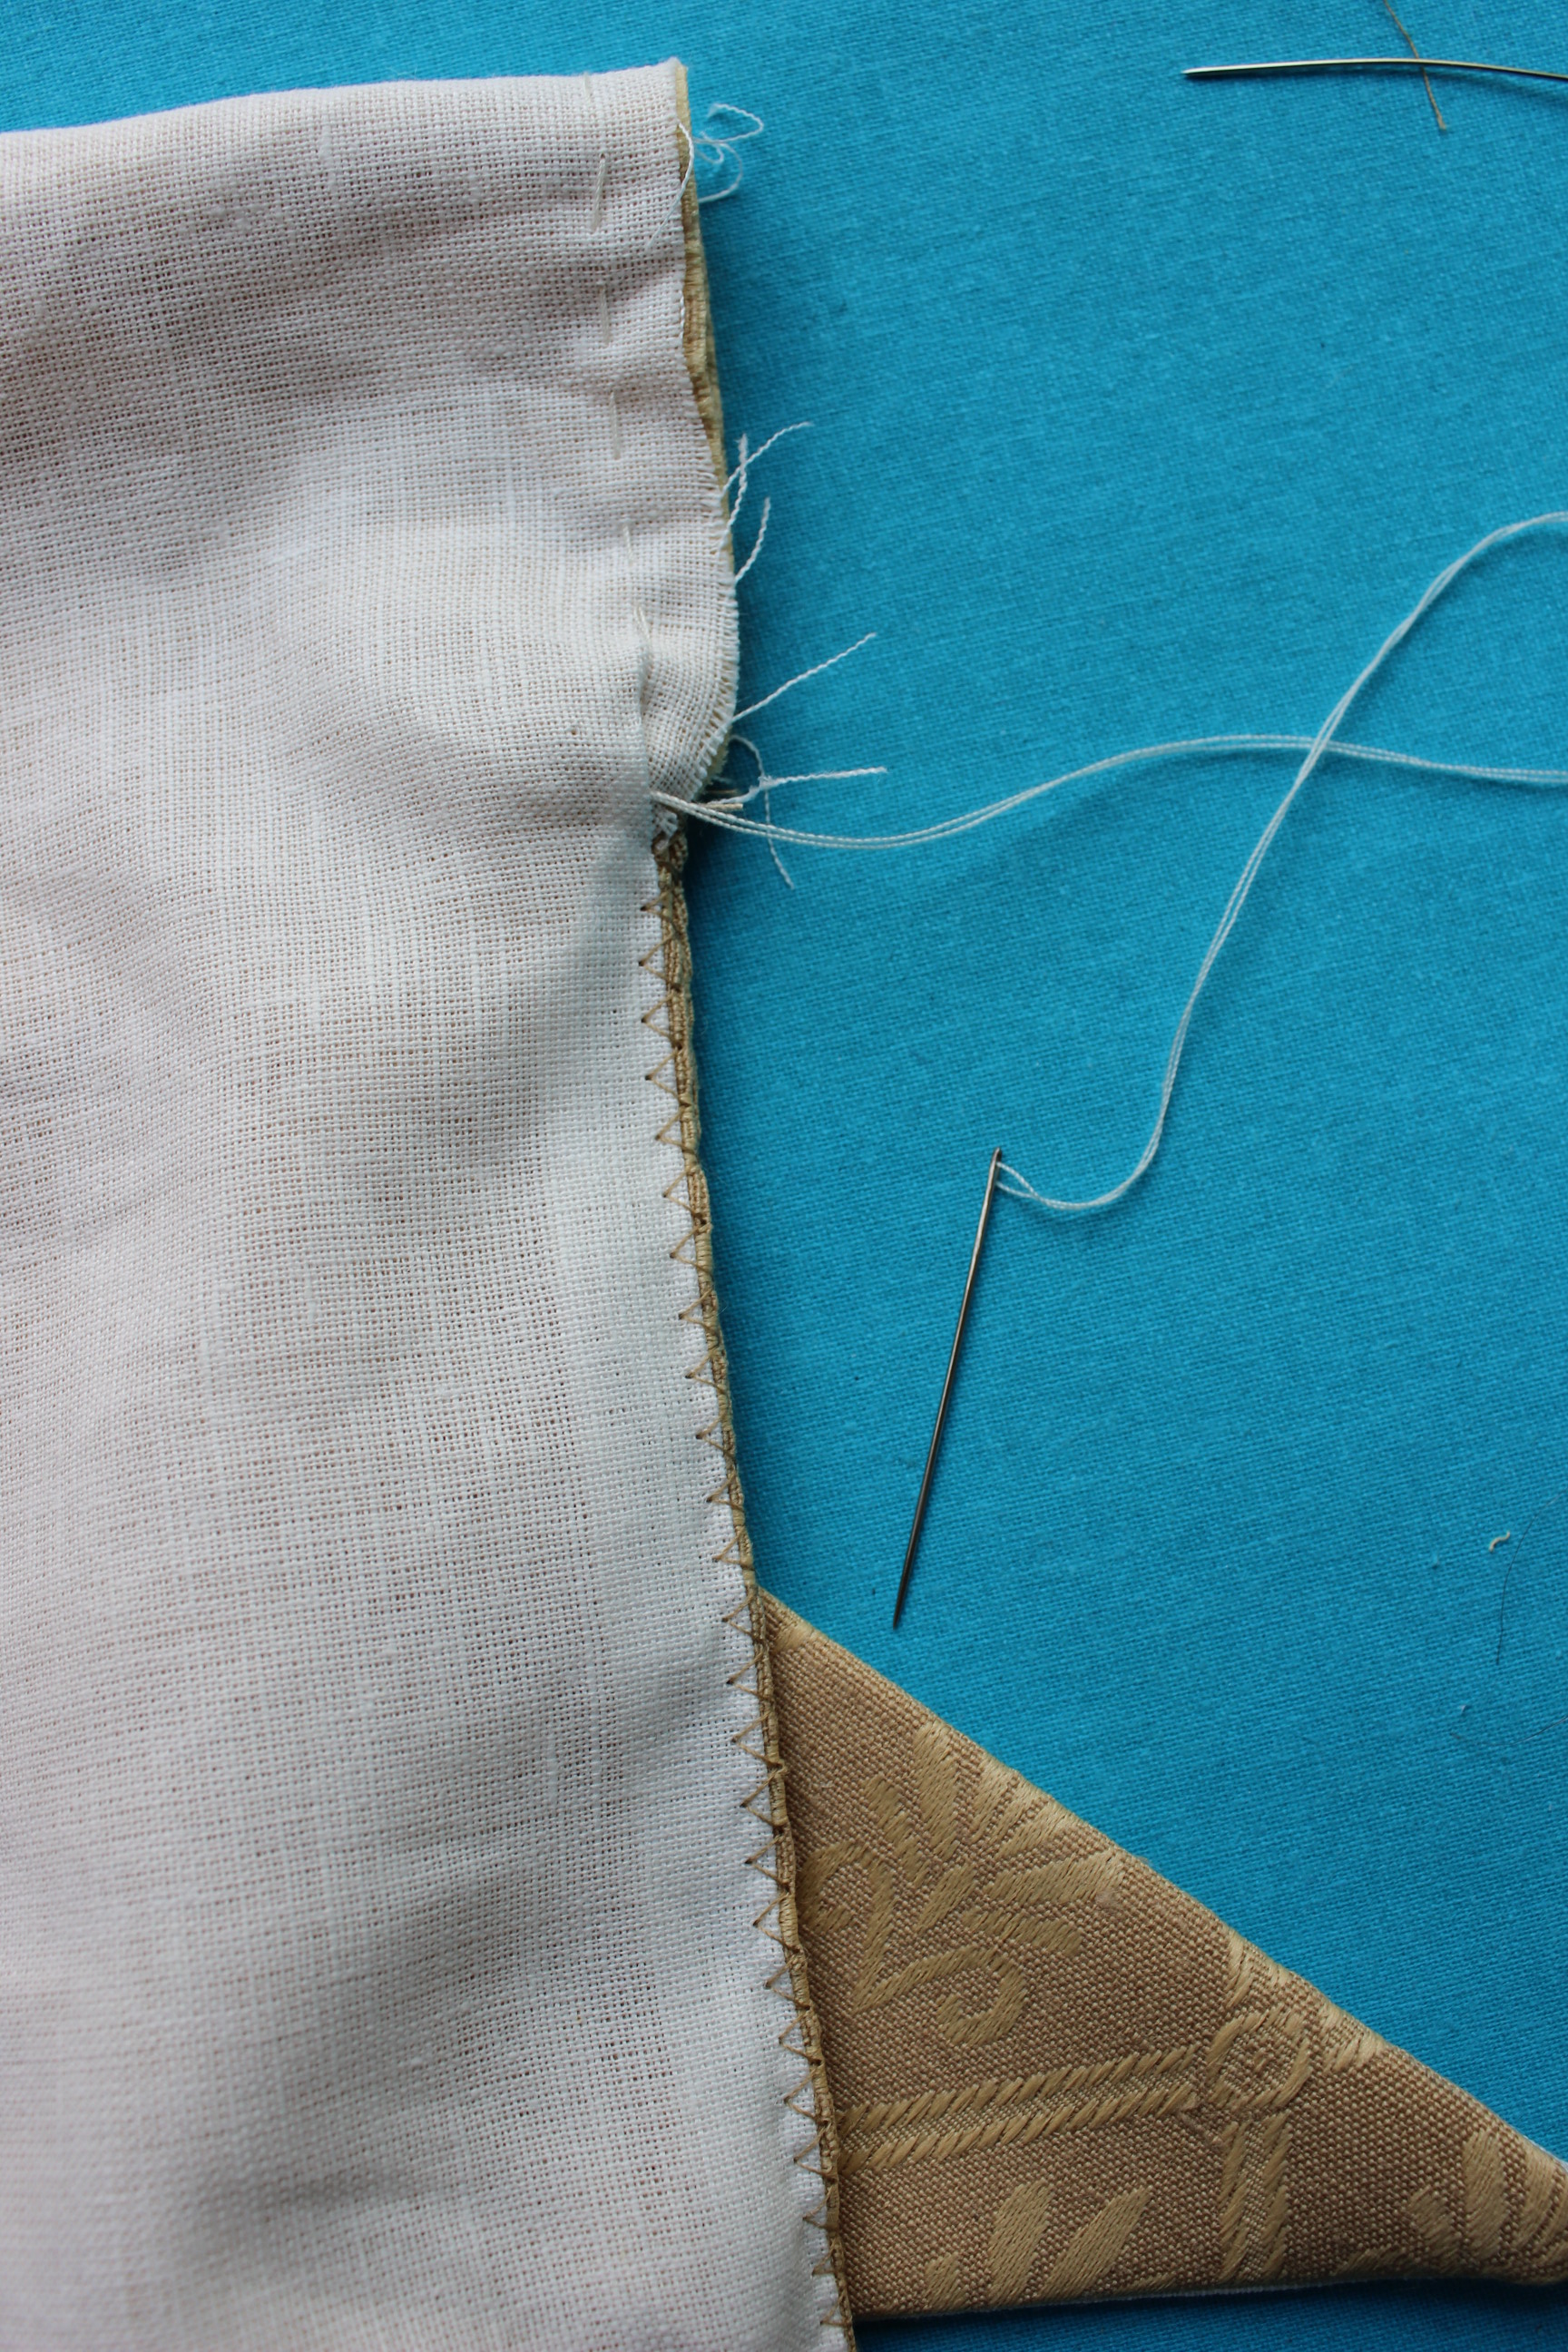
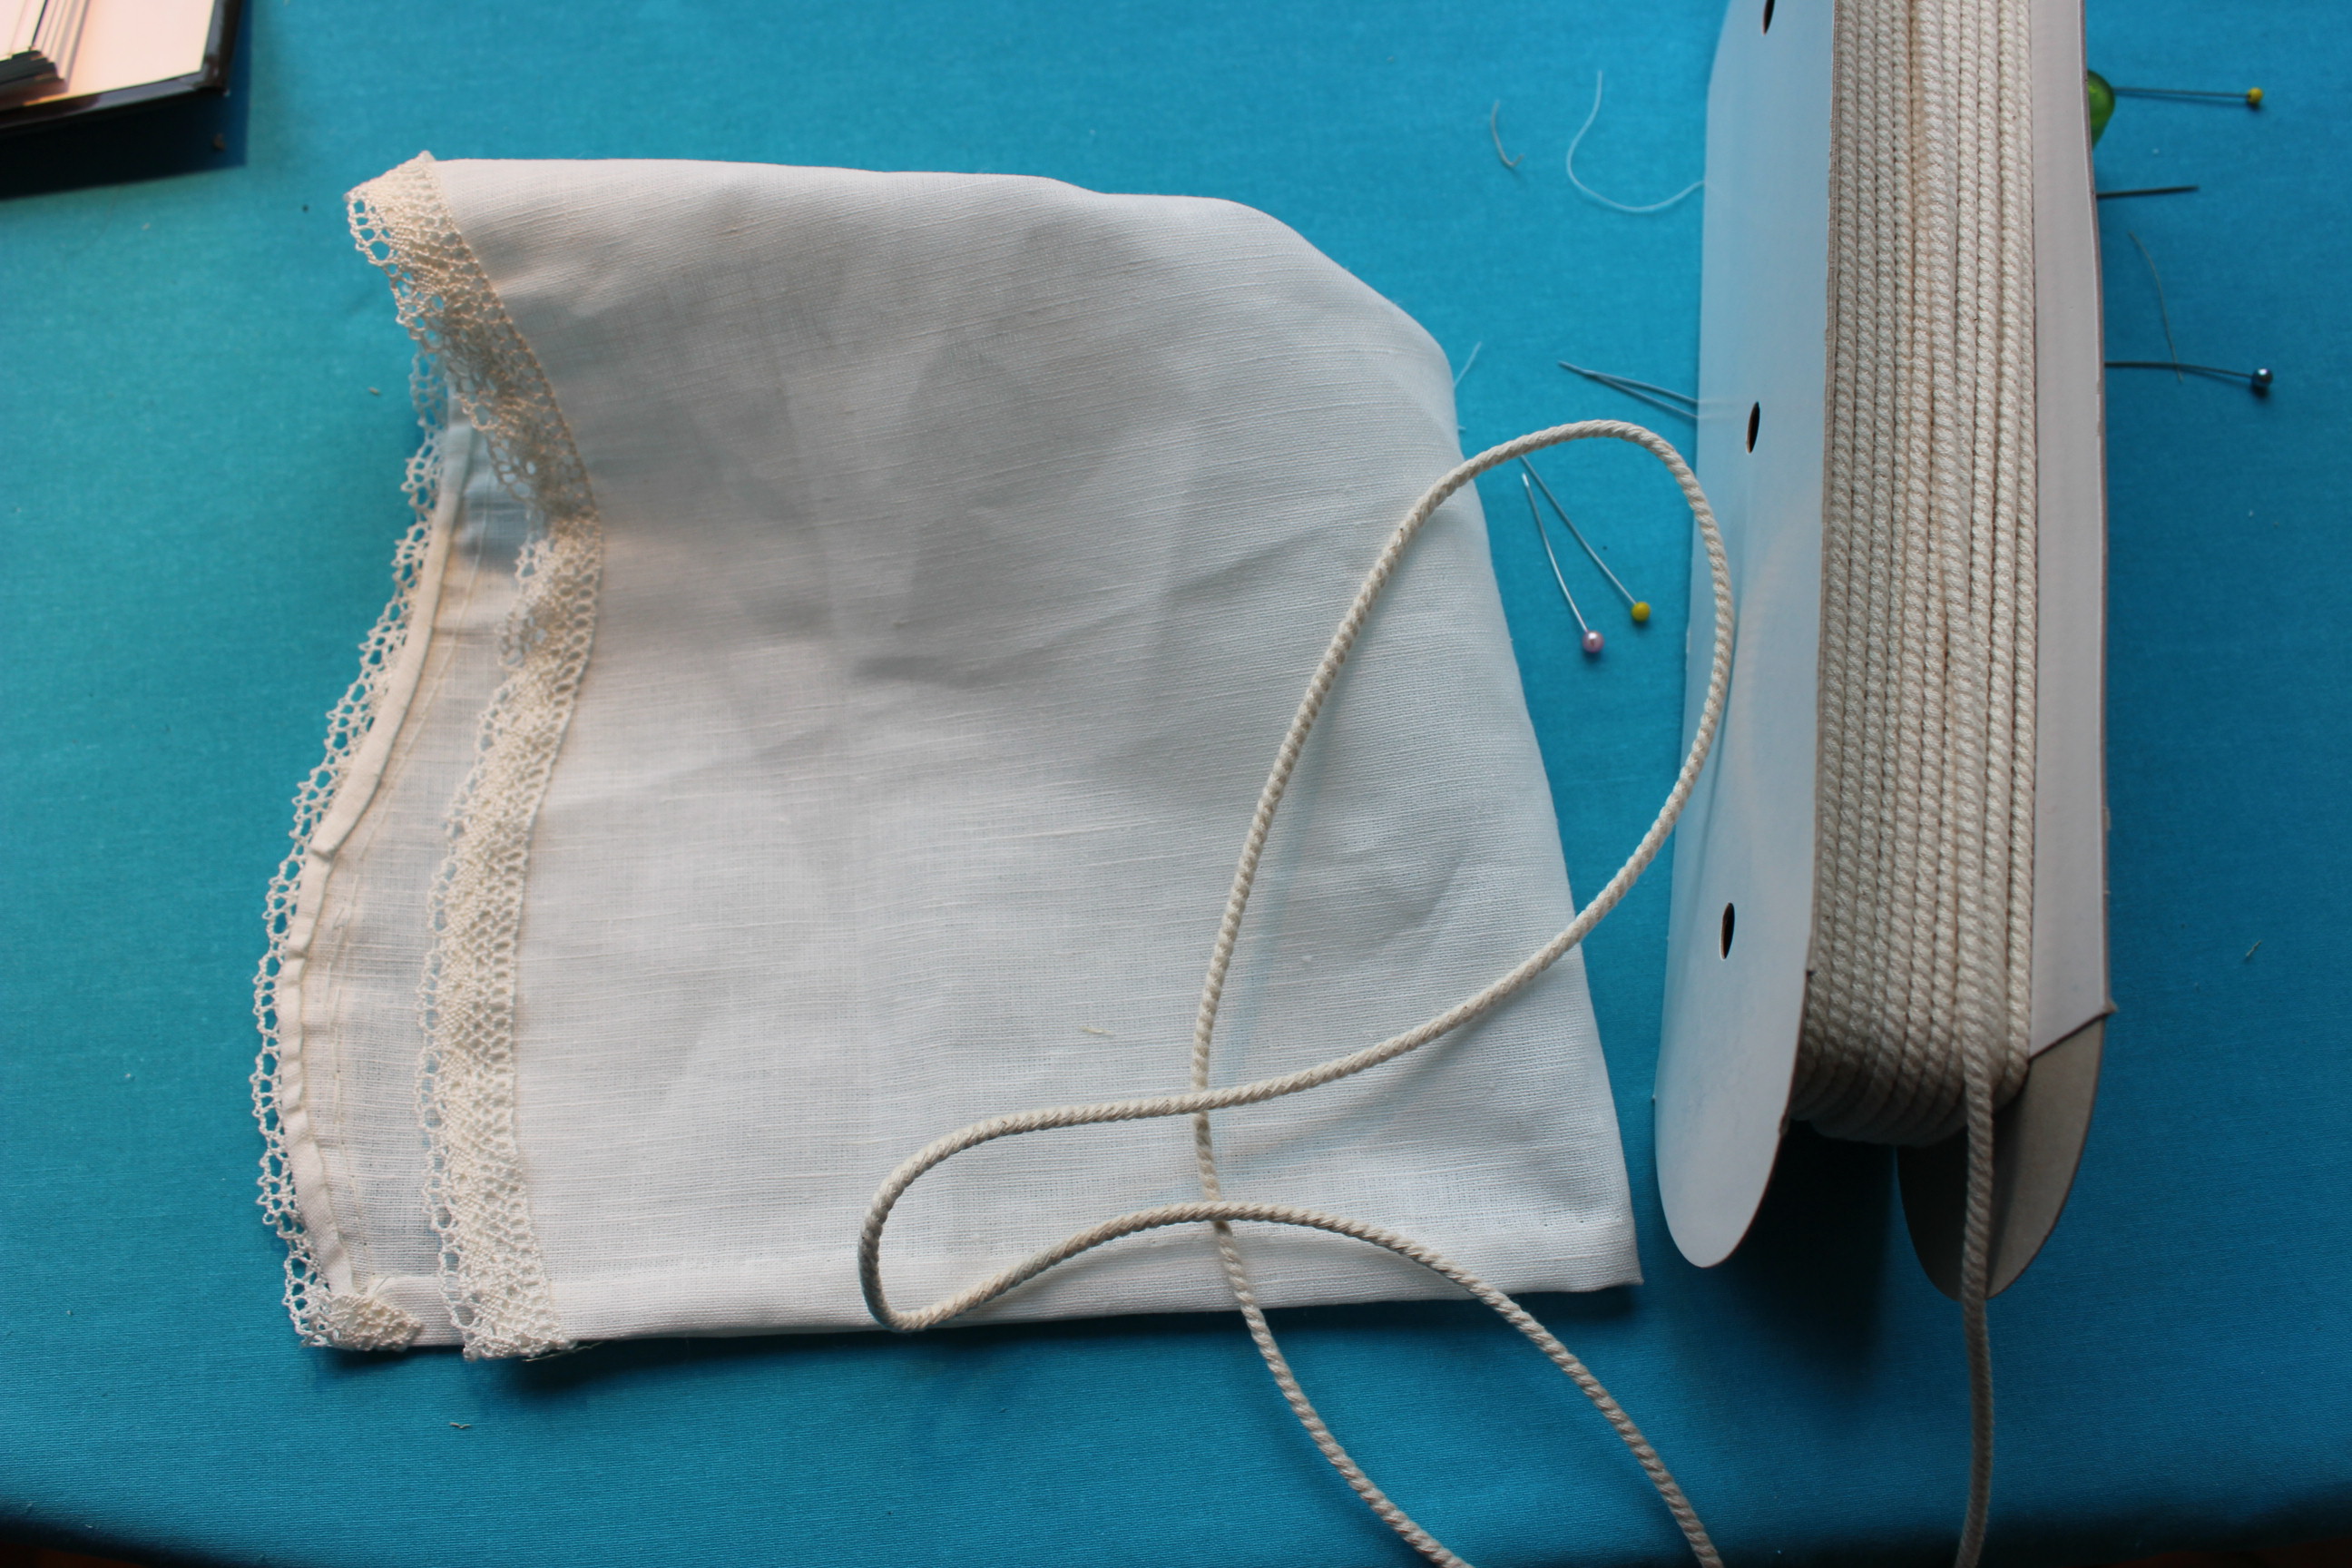
Then I folded the channel for the gathering cord.
I sigzaged the back seam and basted around the opening to get a nice closed top.


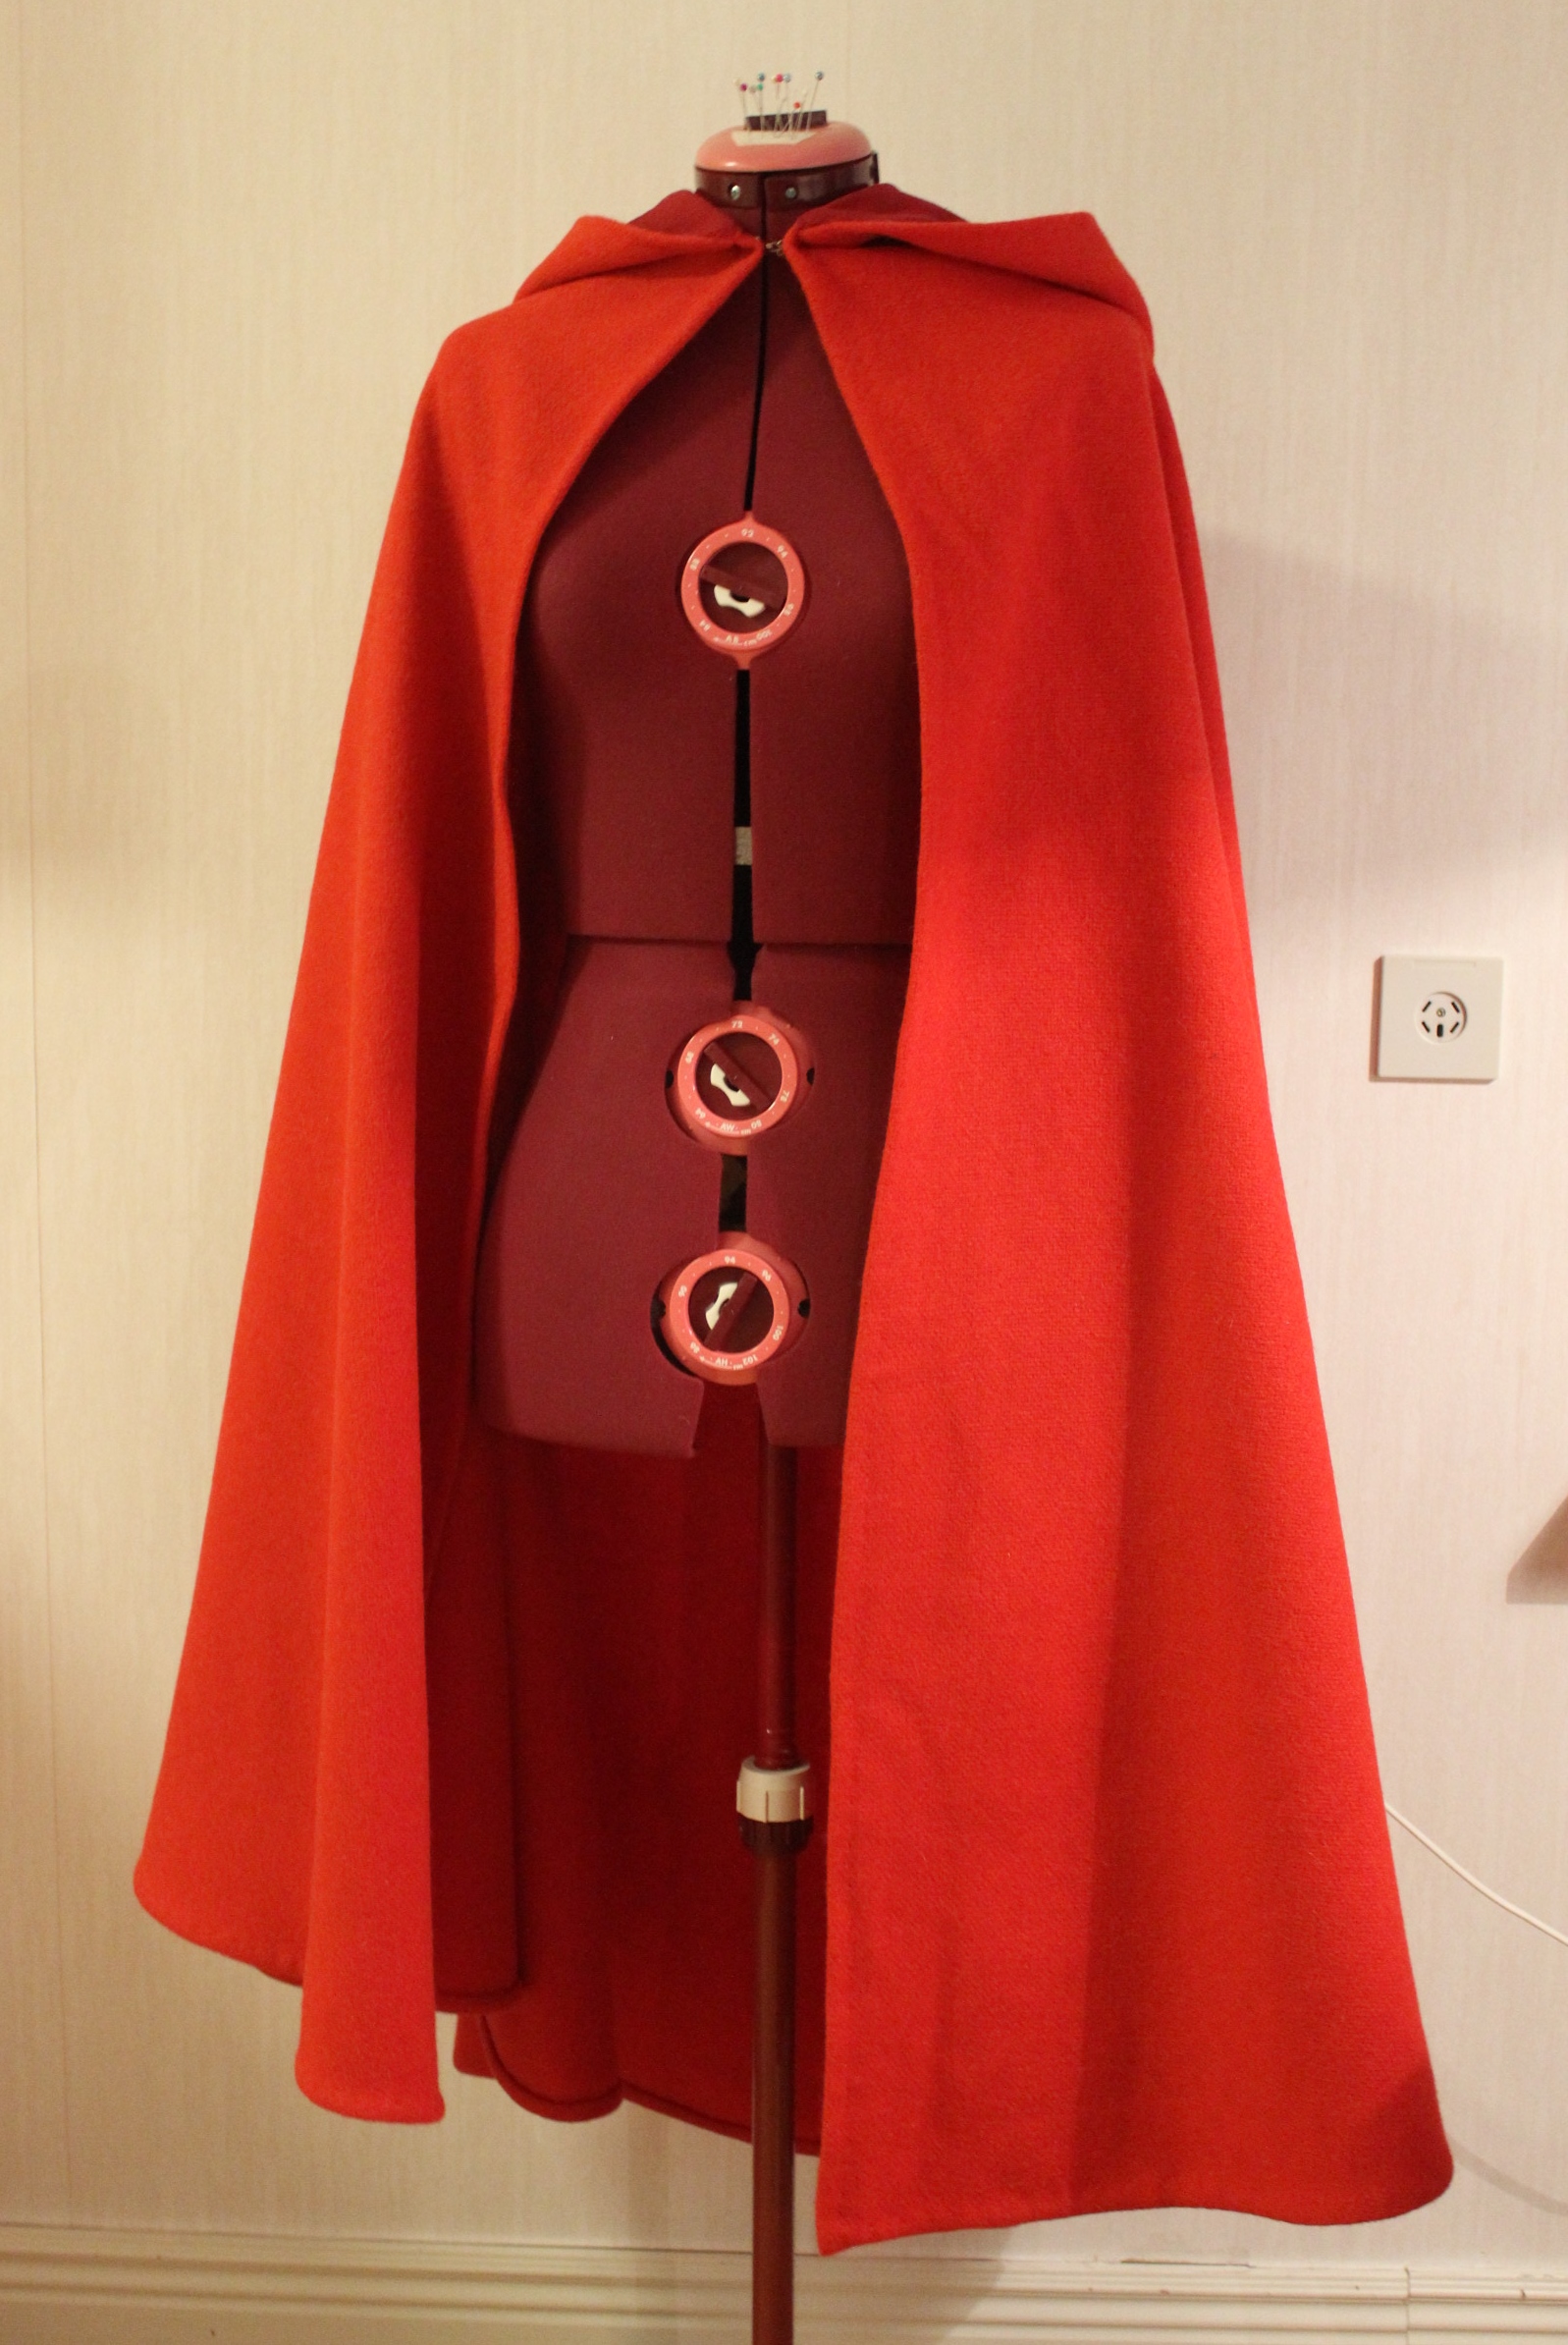
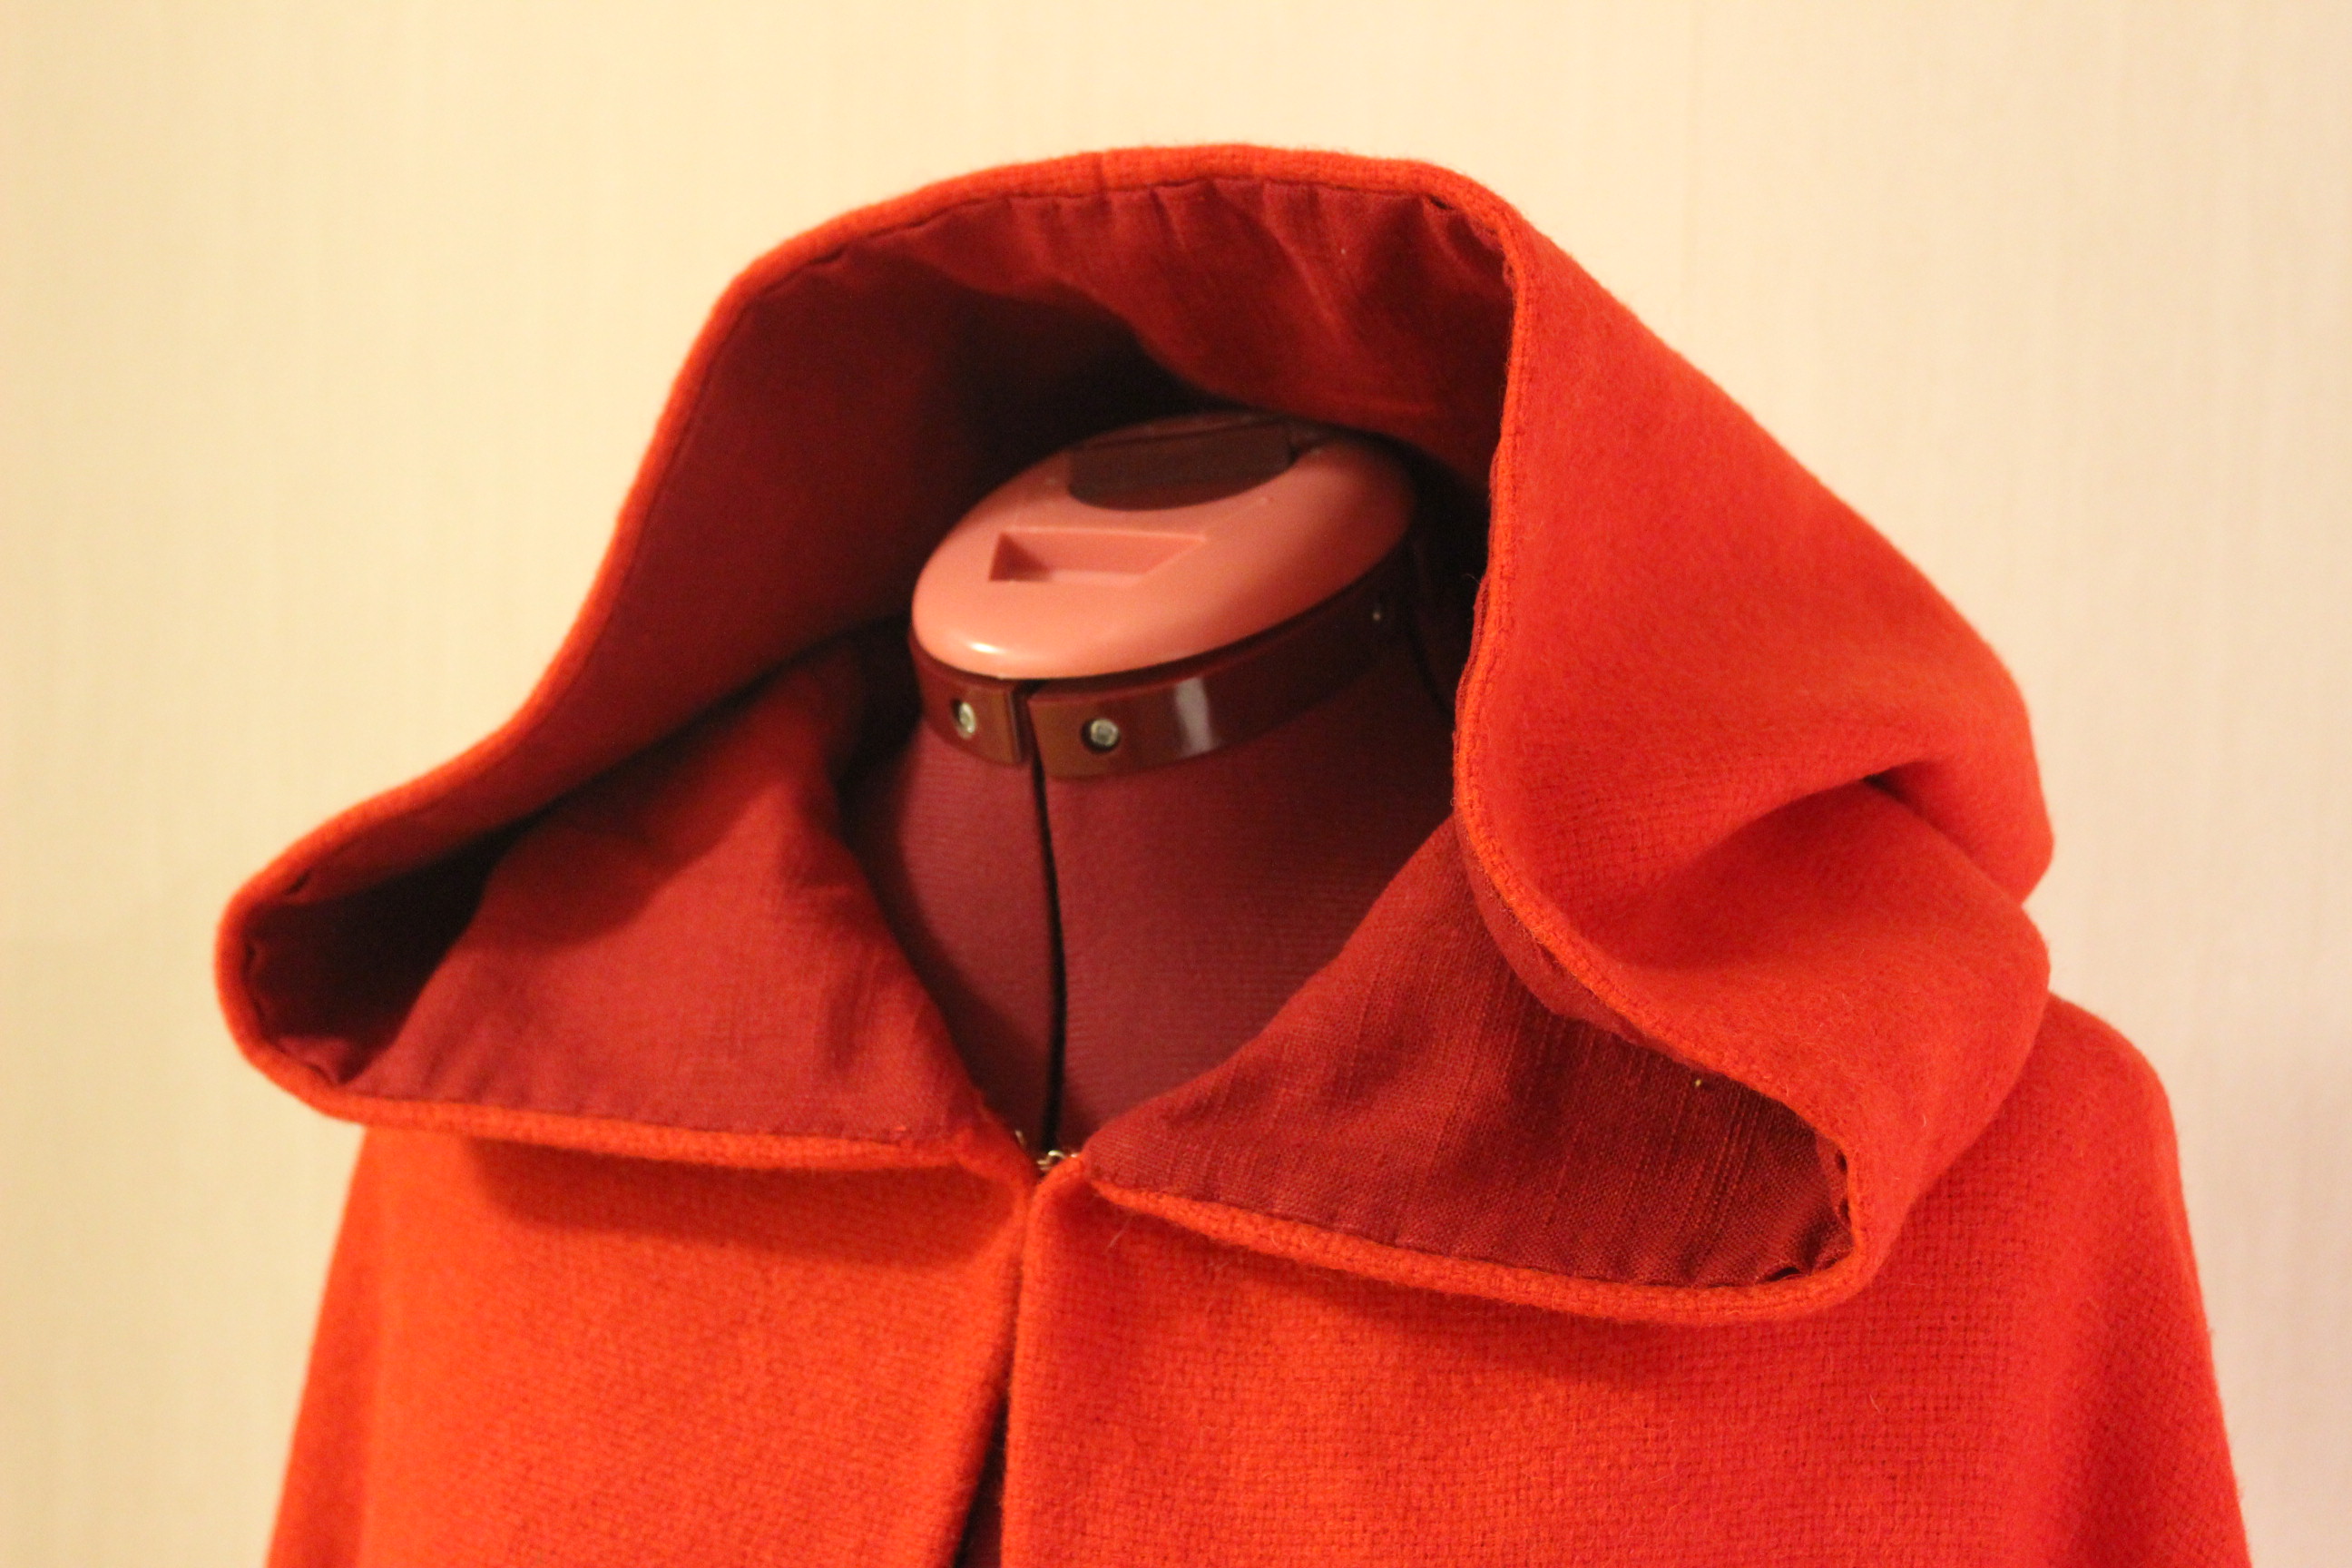
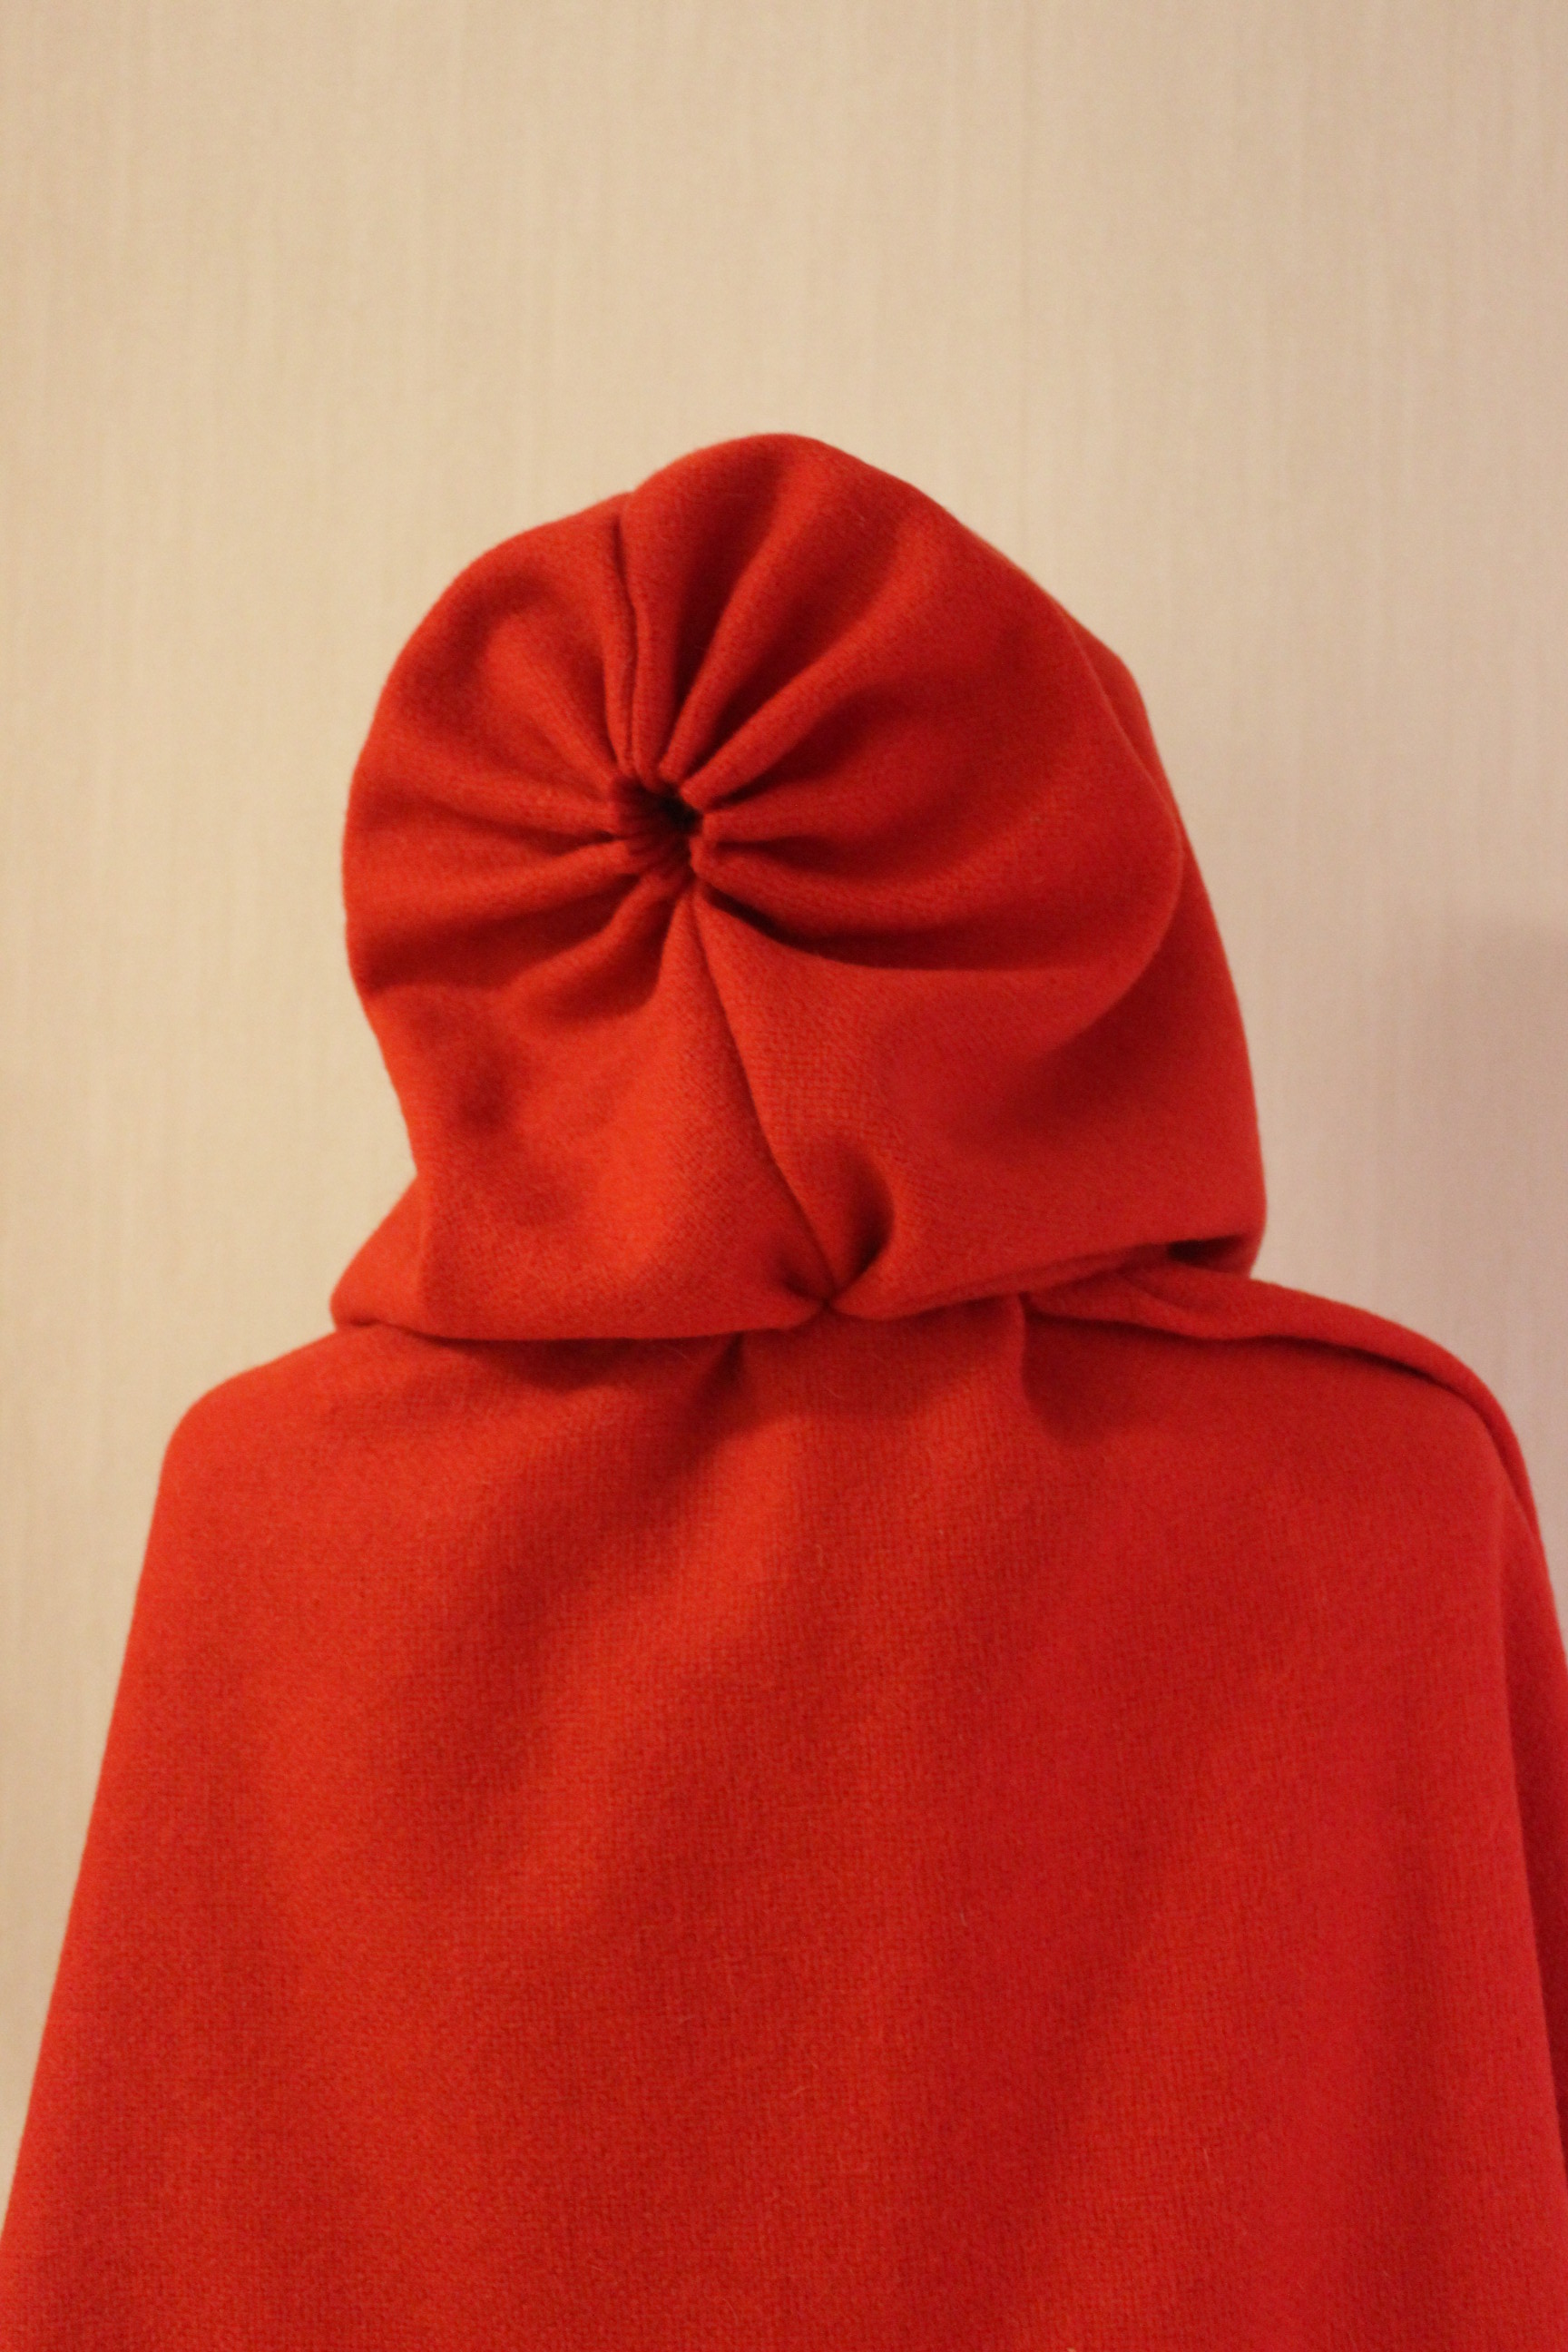
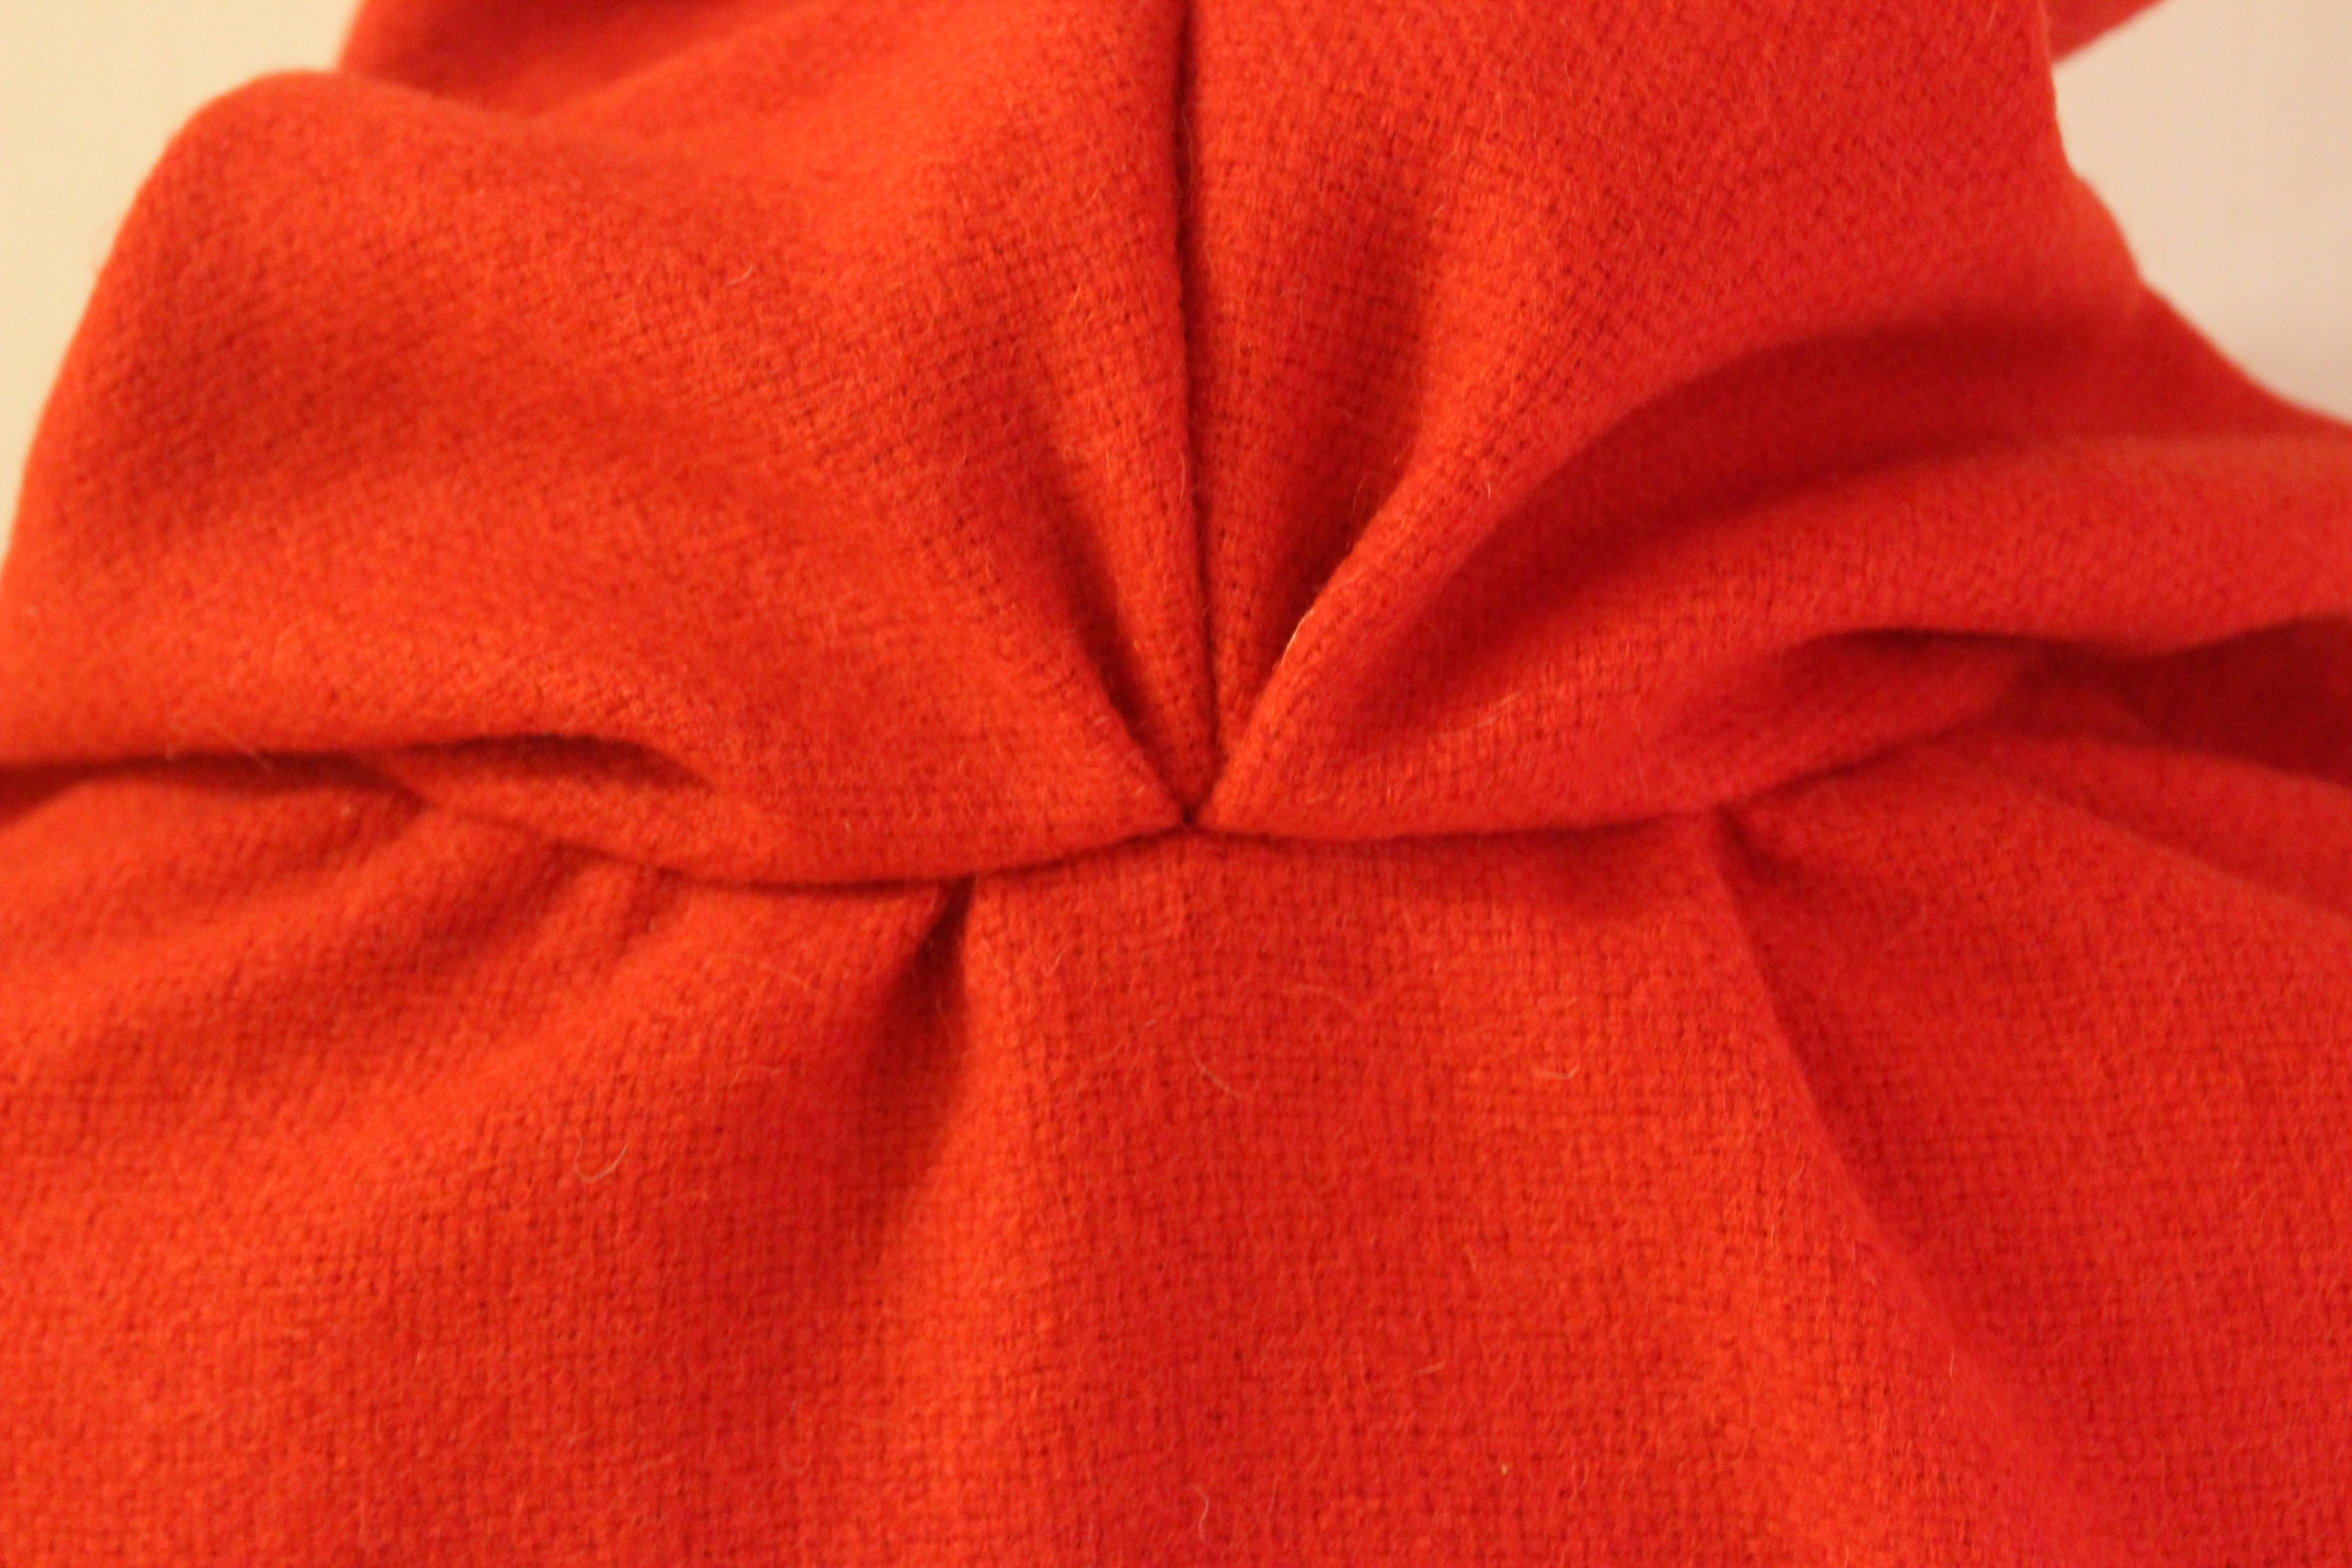
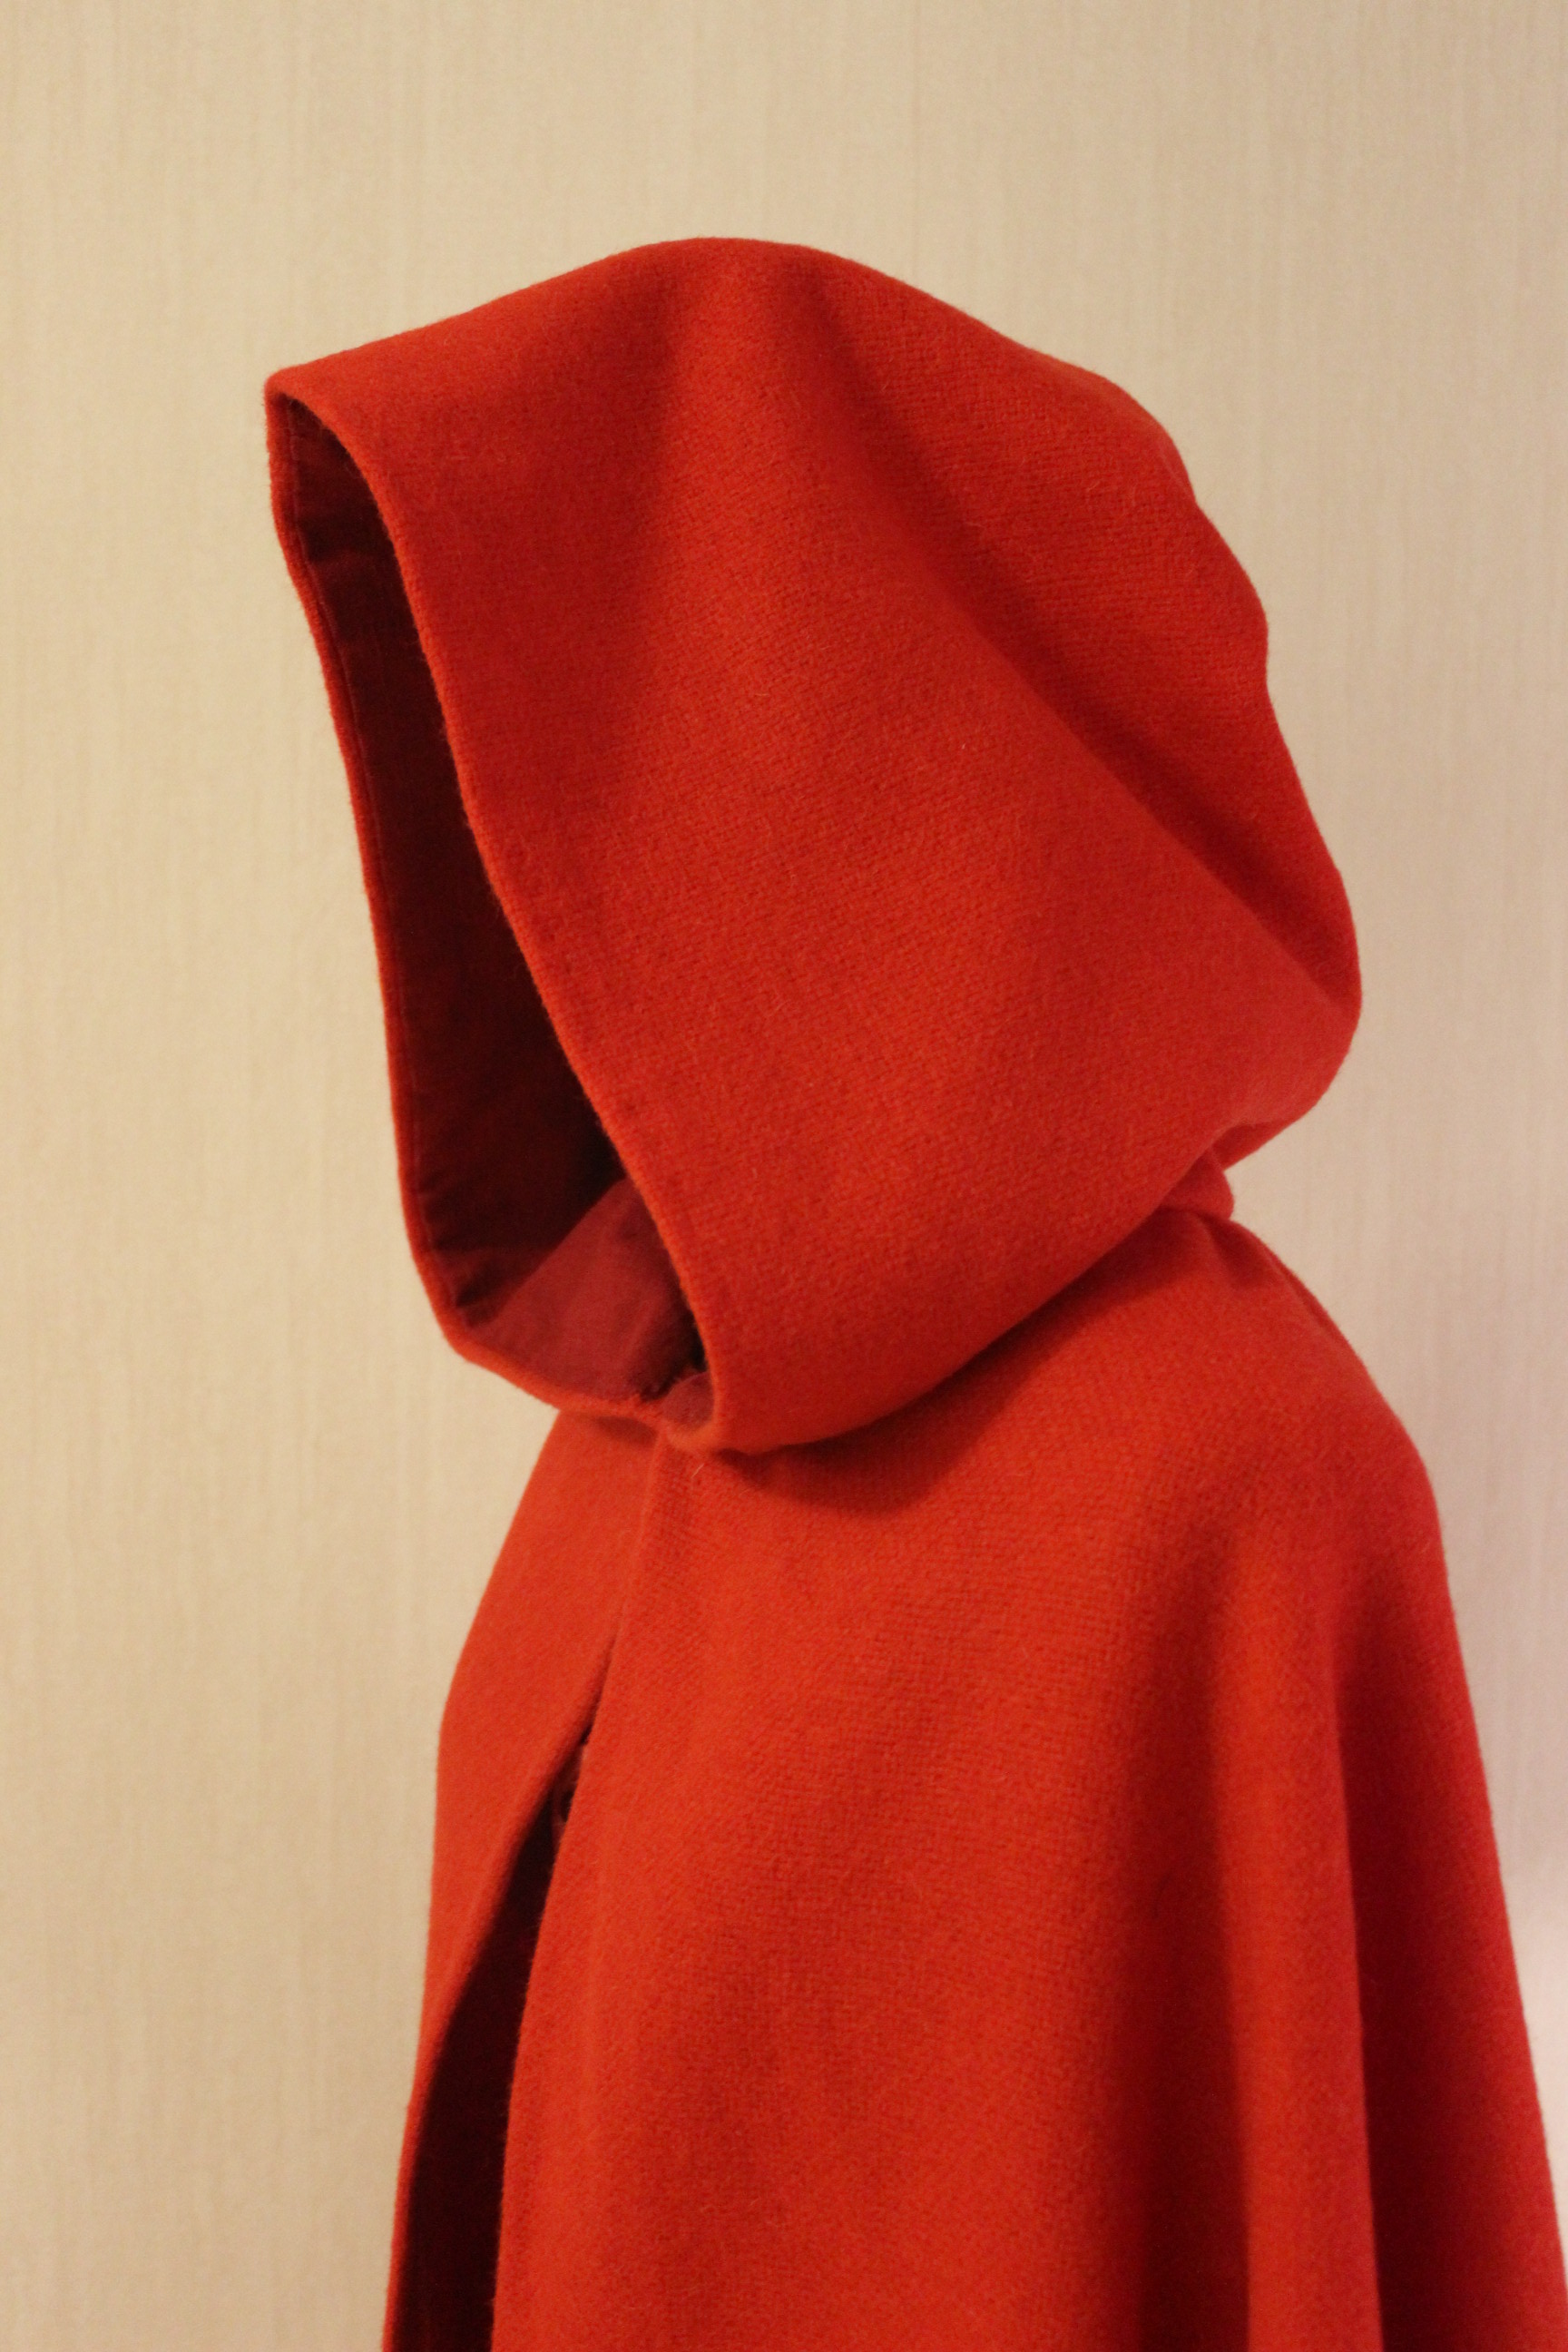
The technique was almost the same as in the hood on my 18th century red riding hood.
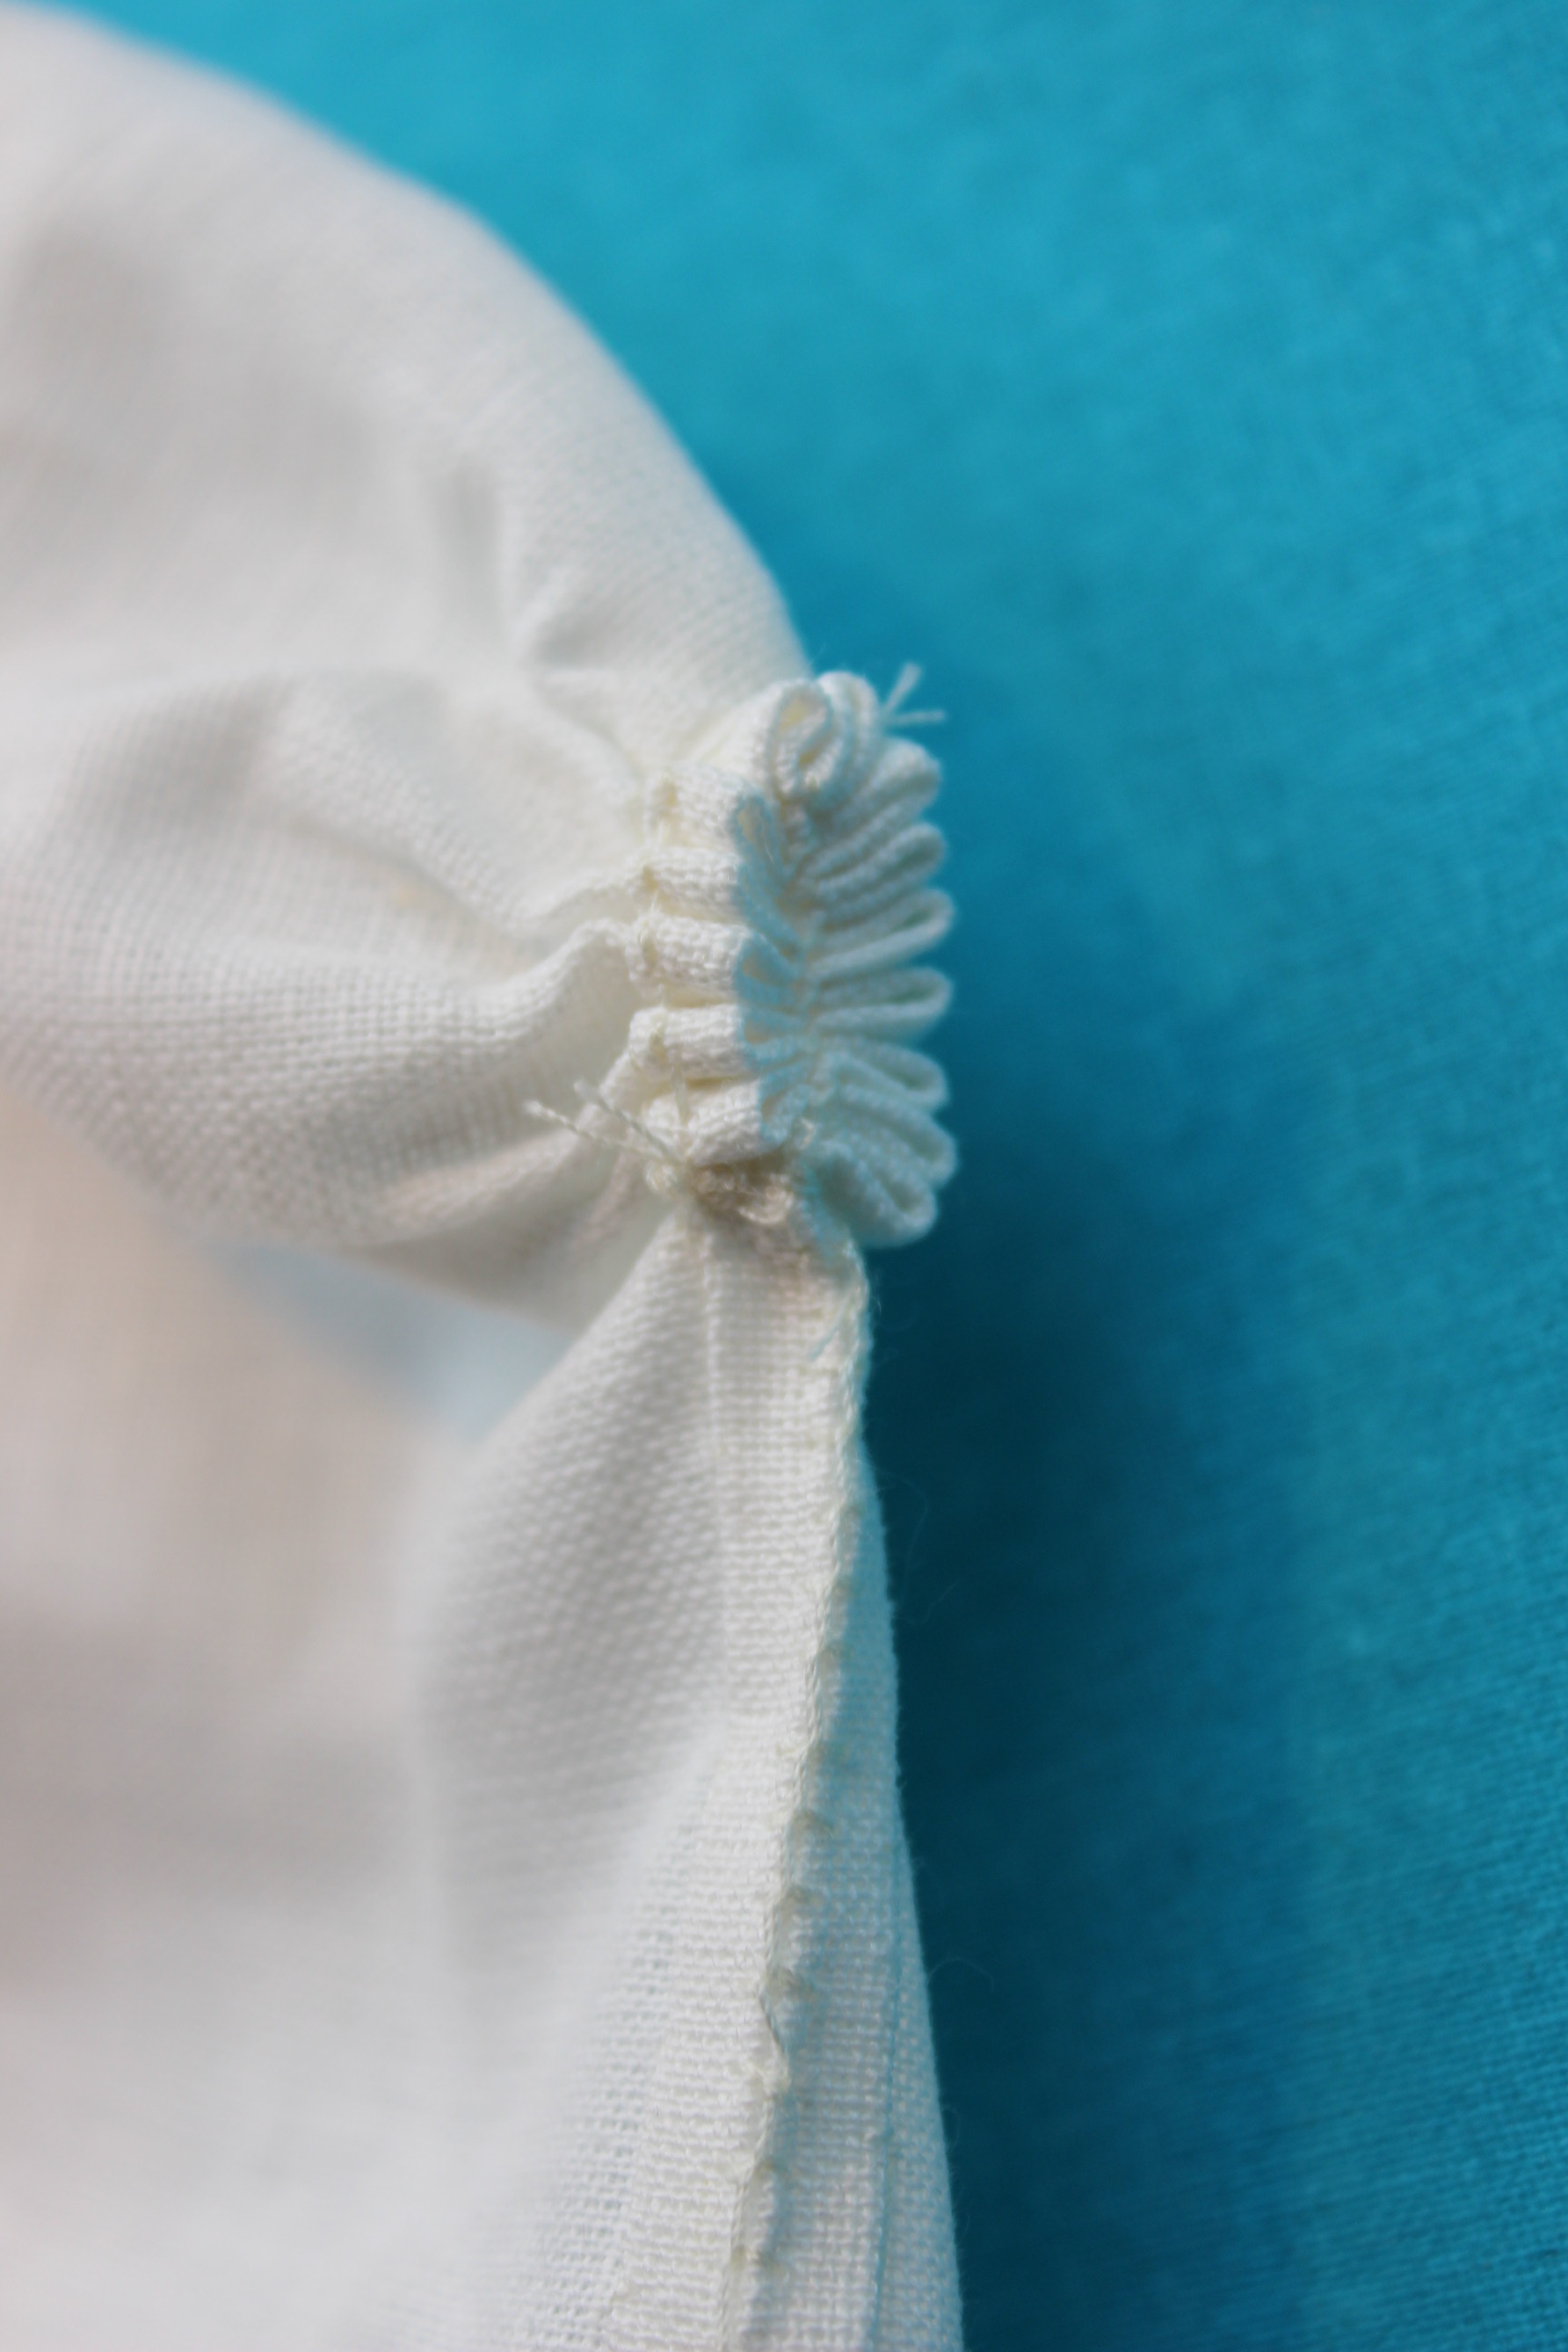
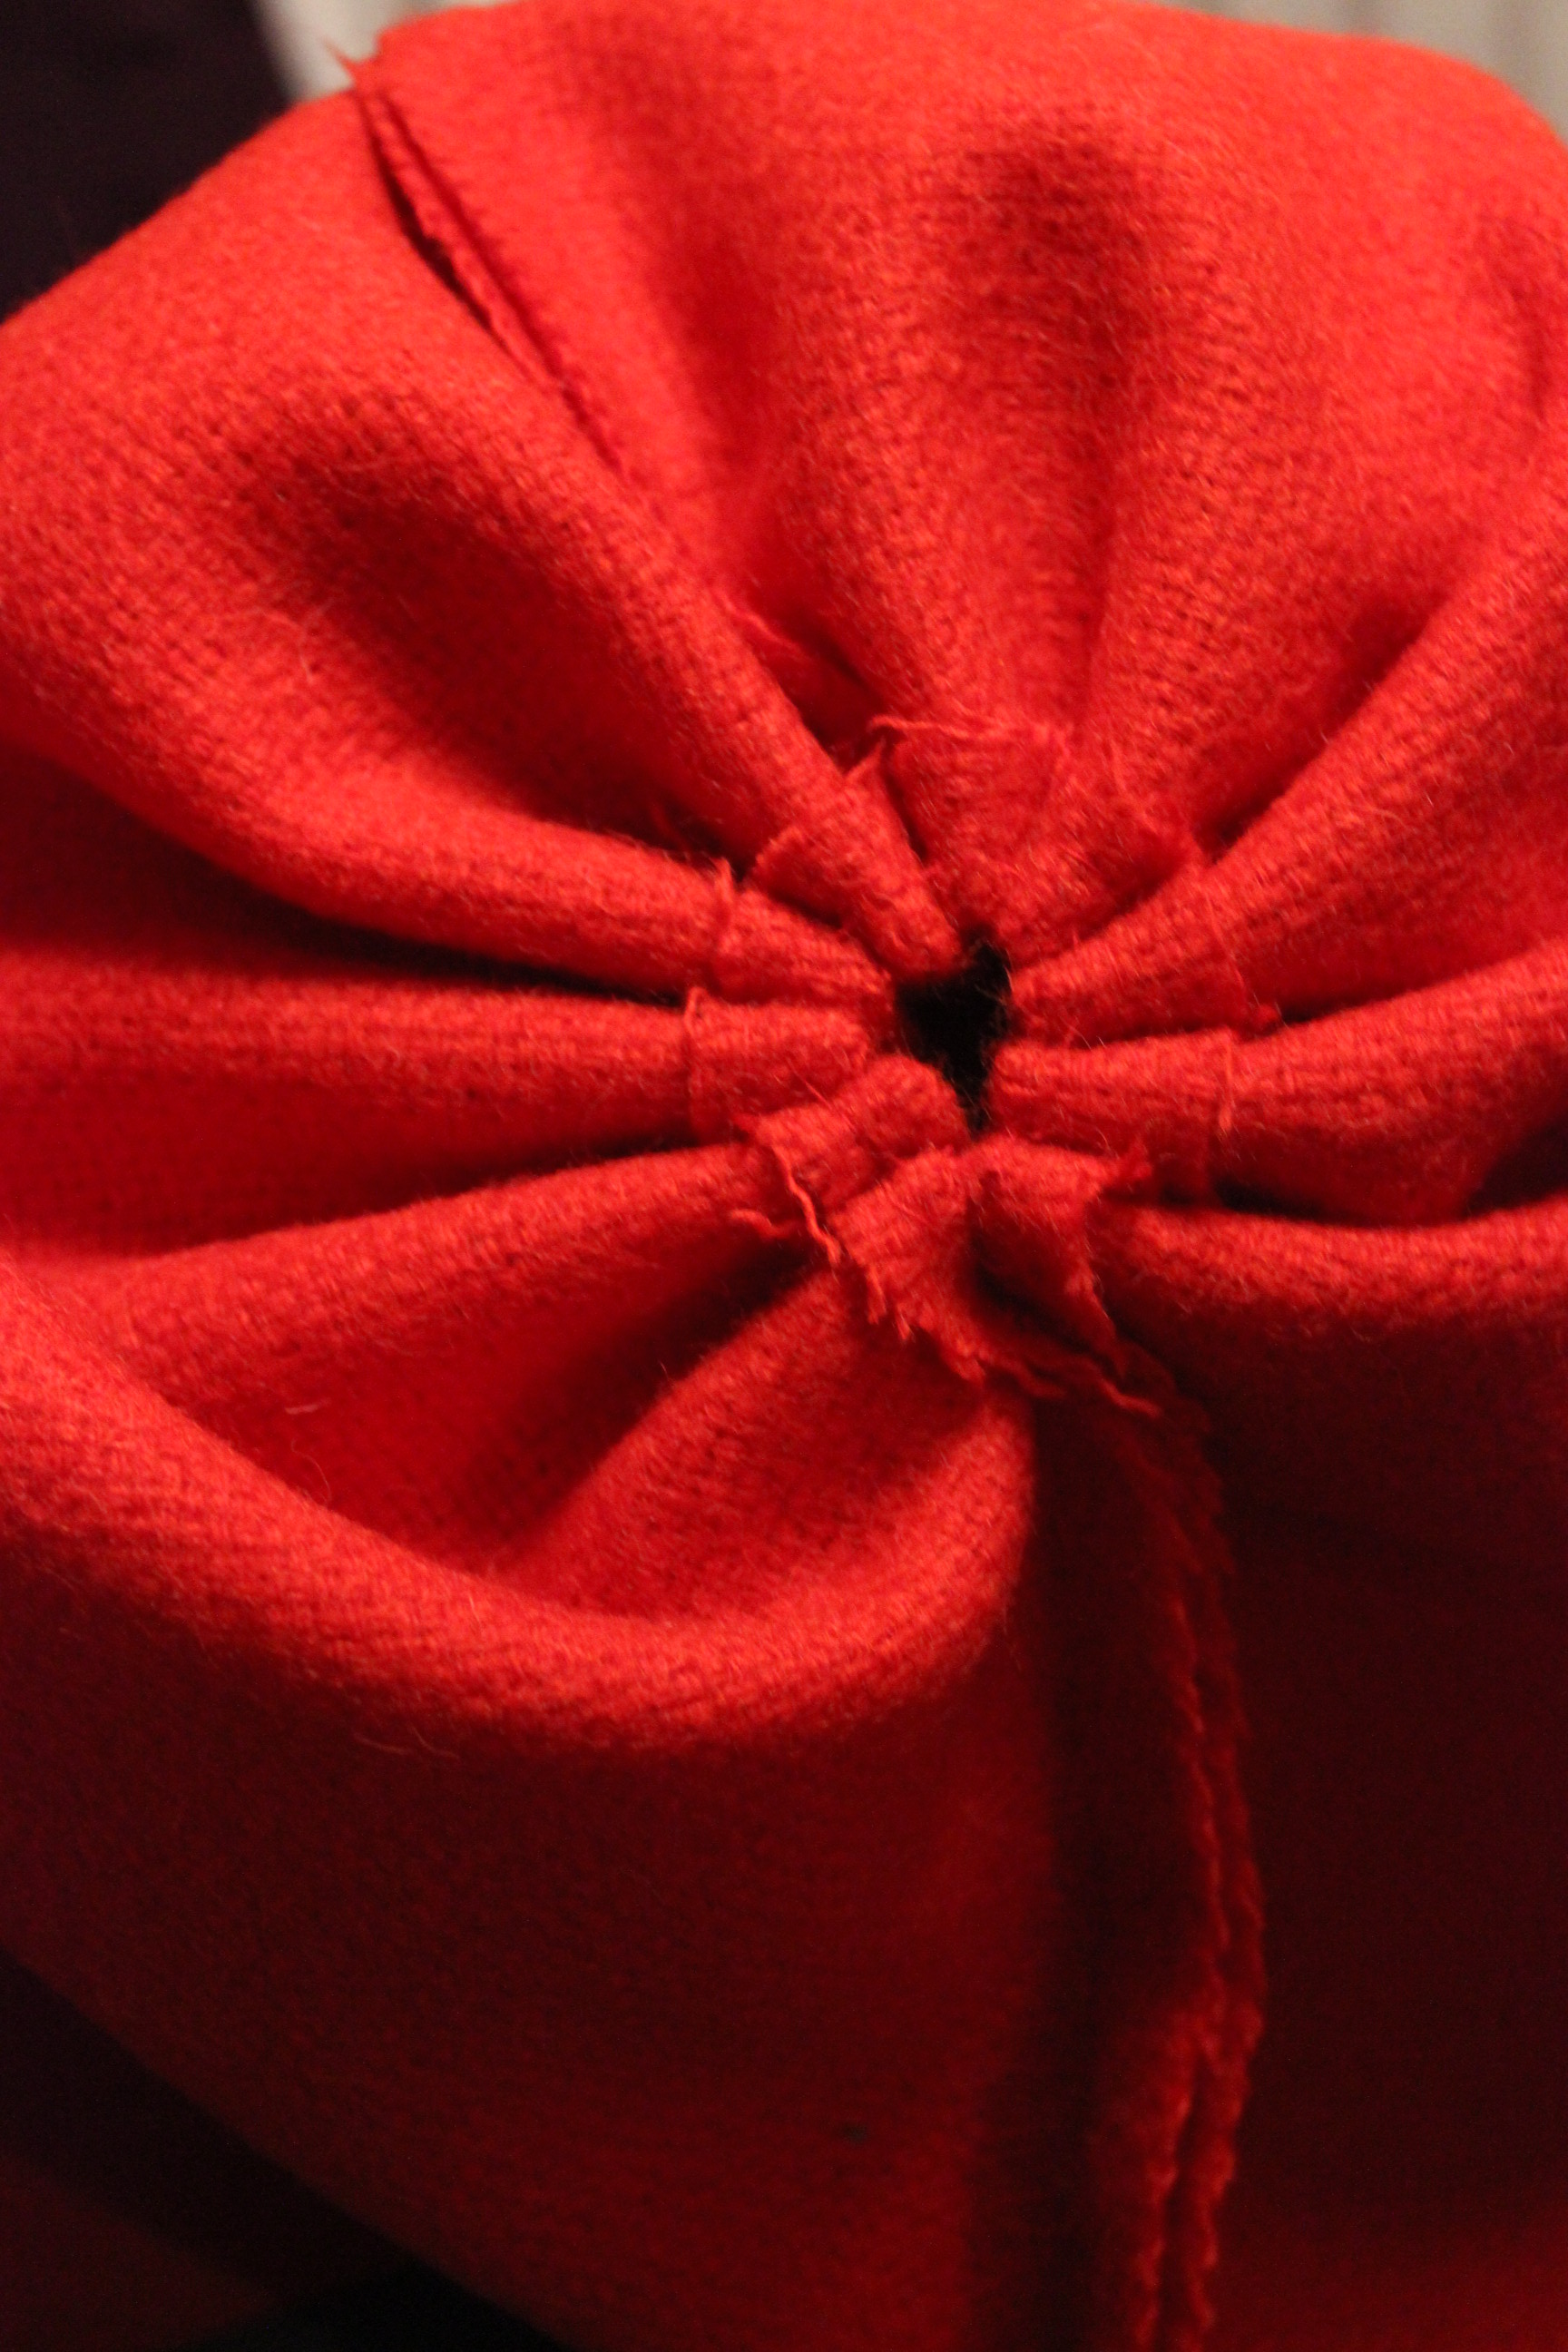
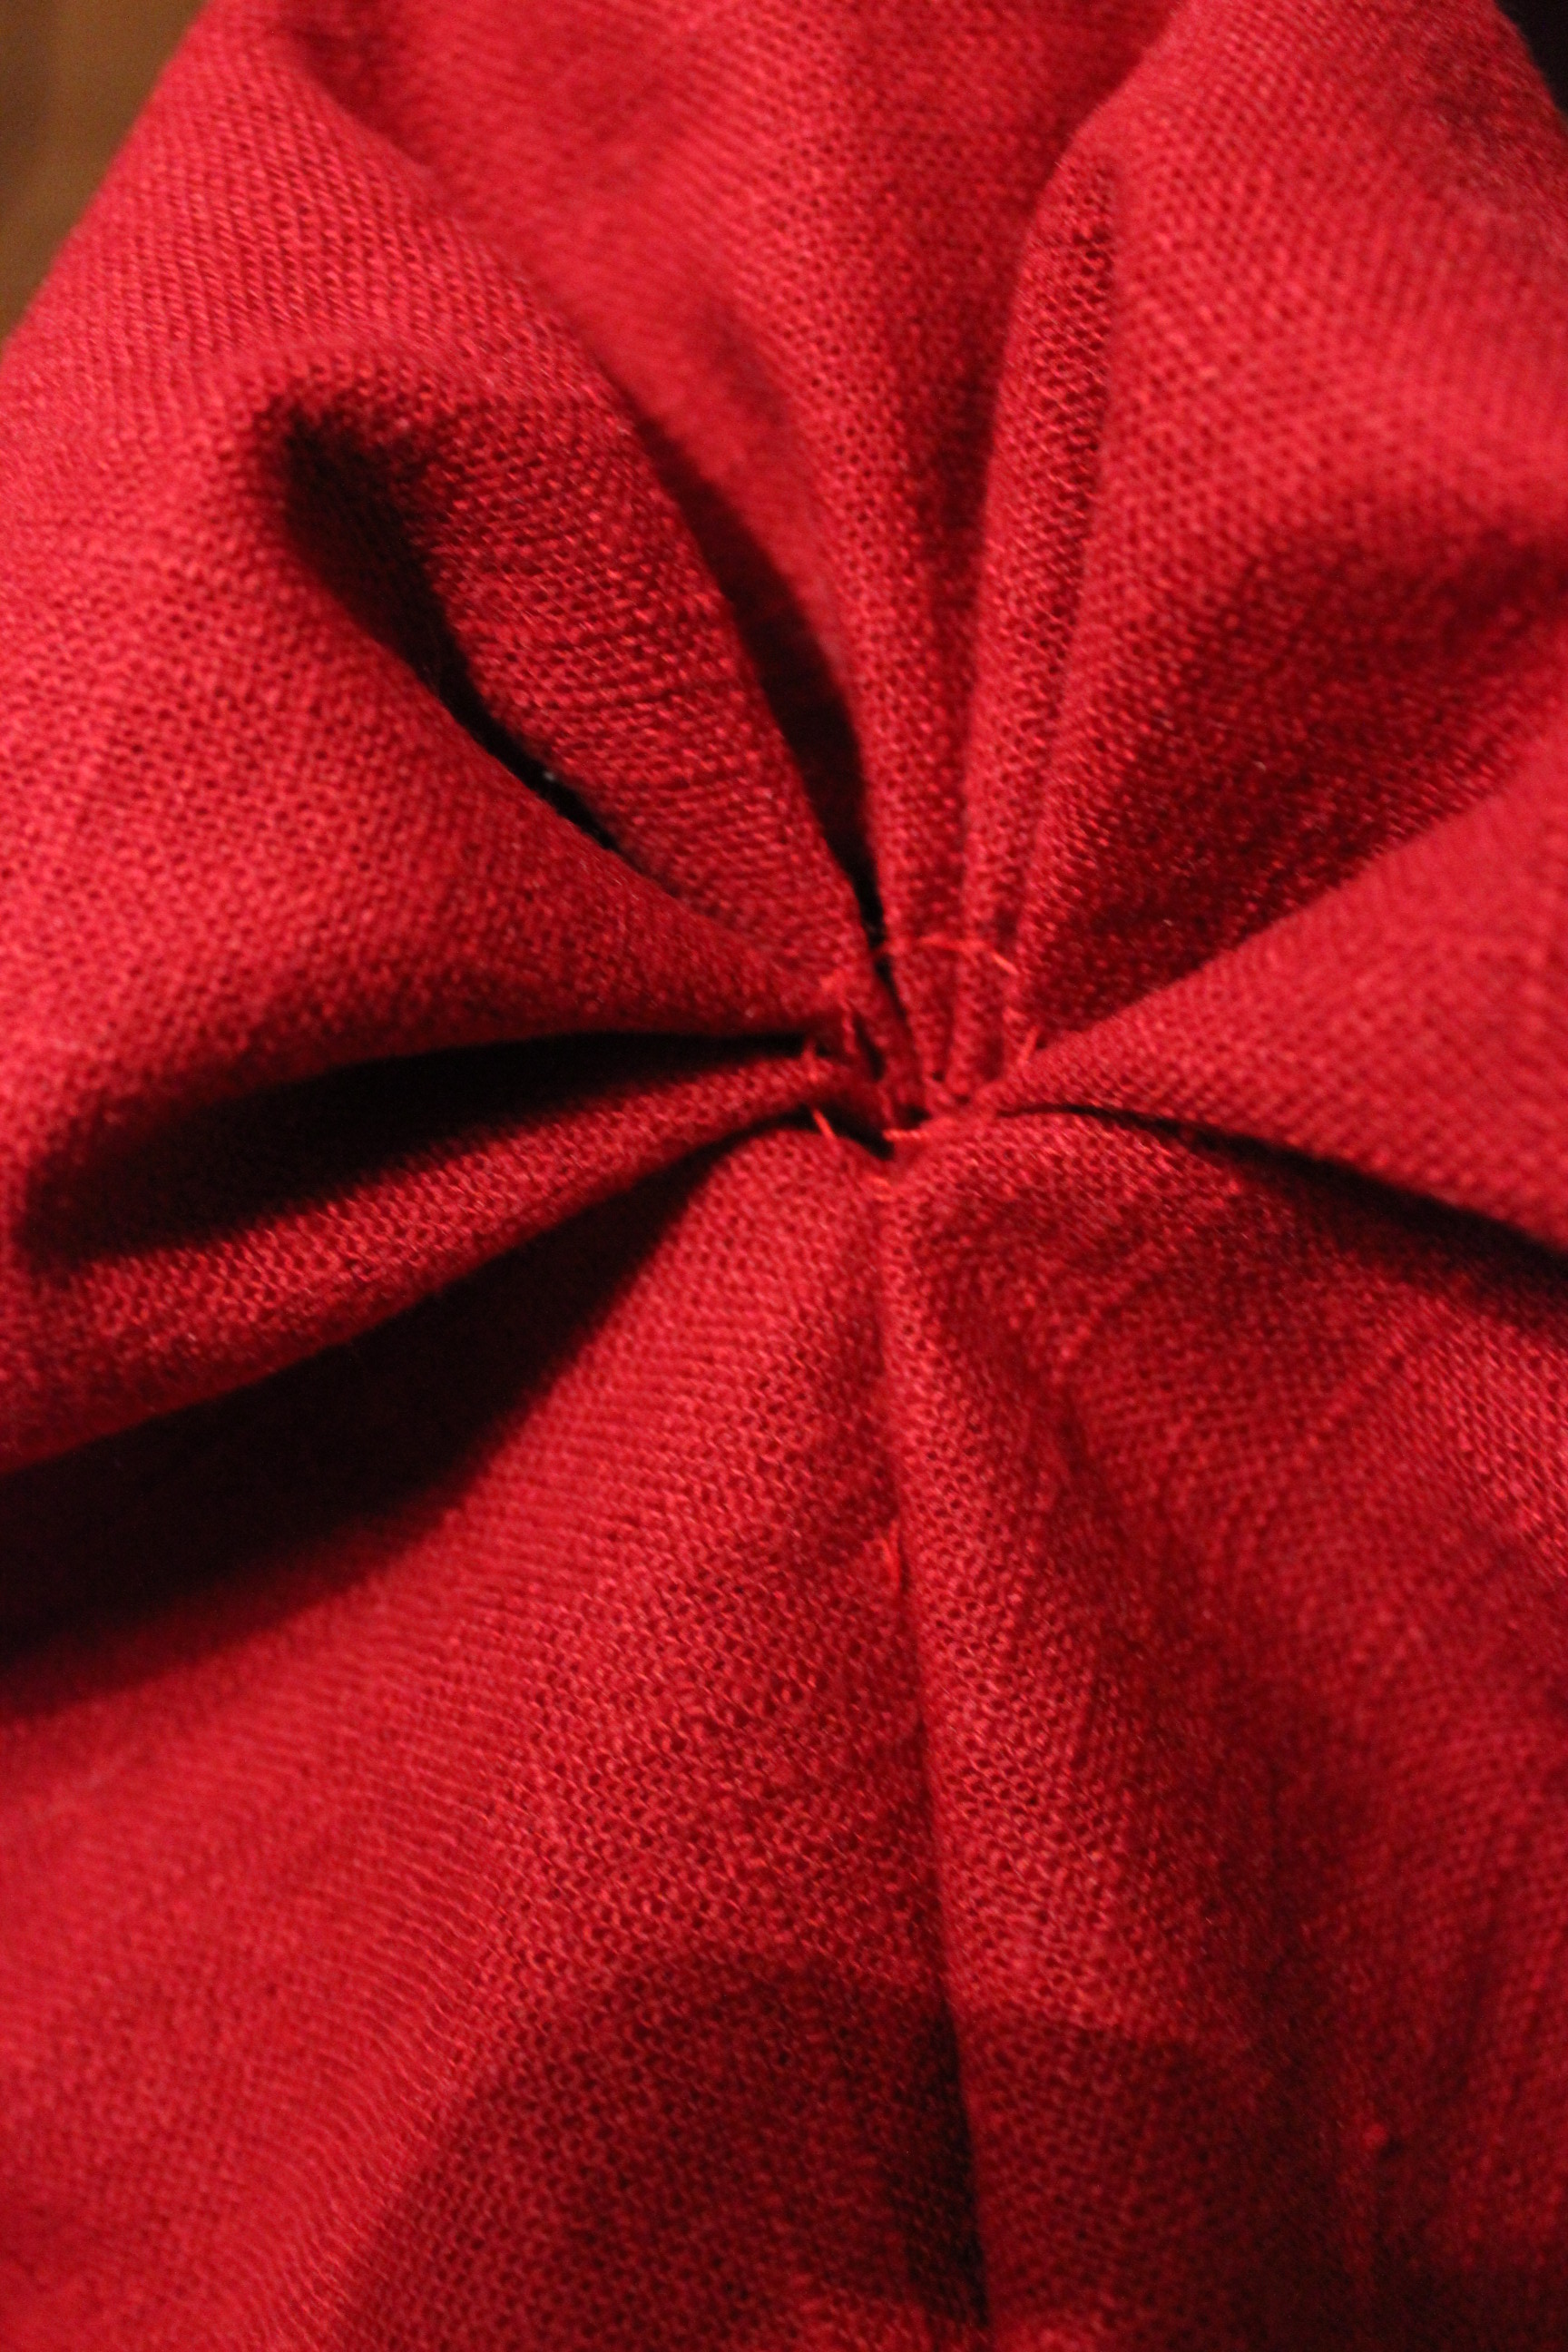
And lastly I put in the gathering cord.
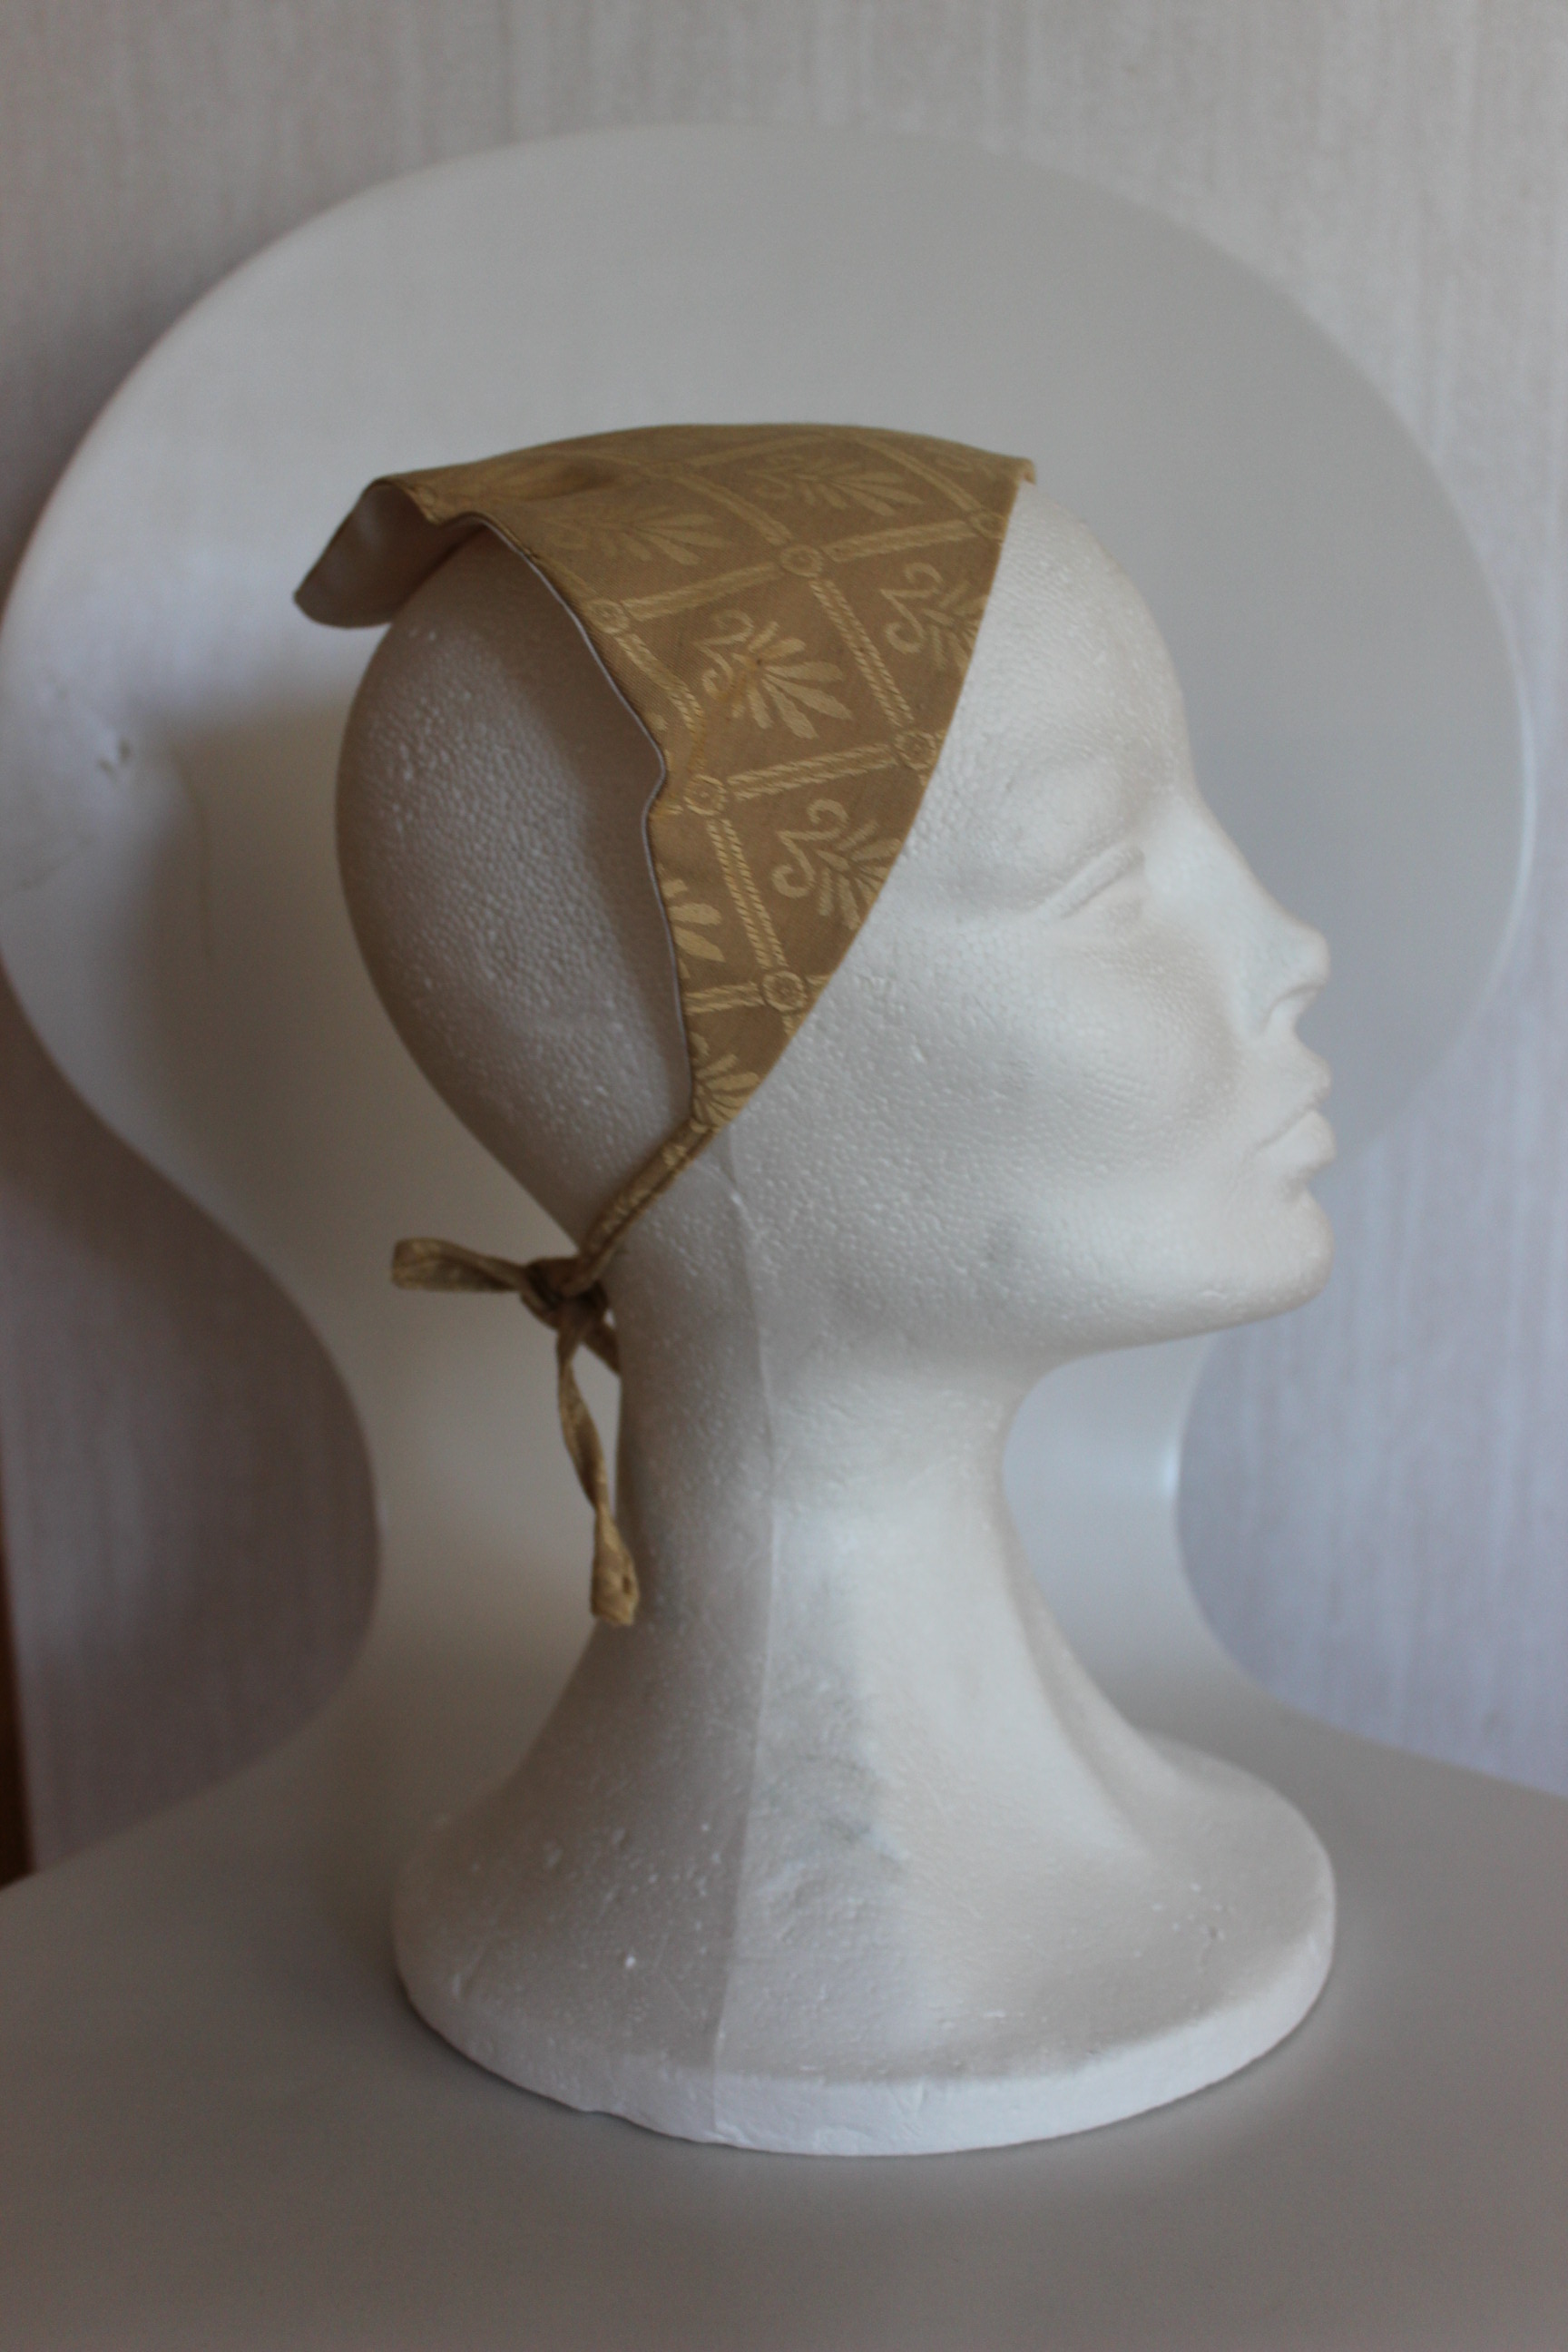
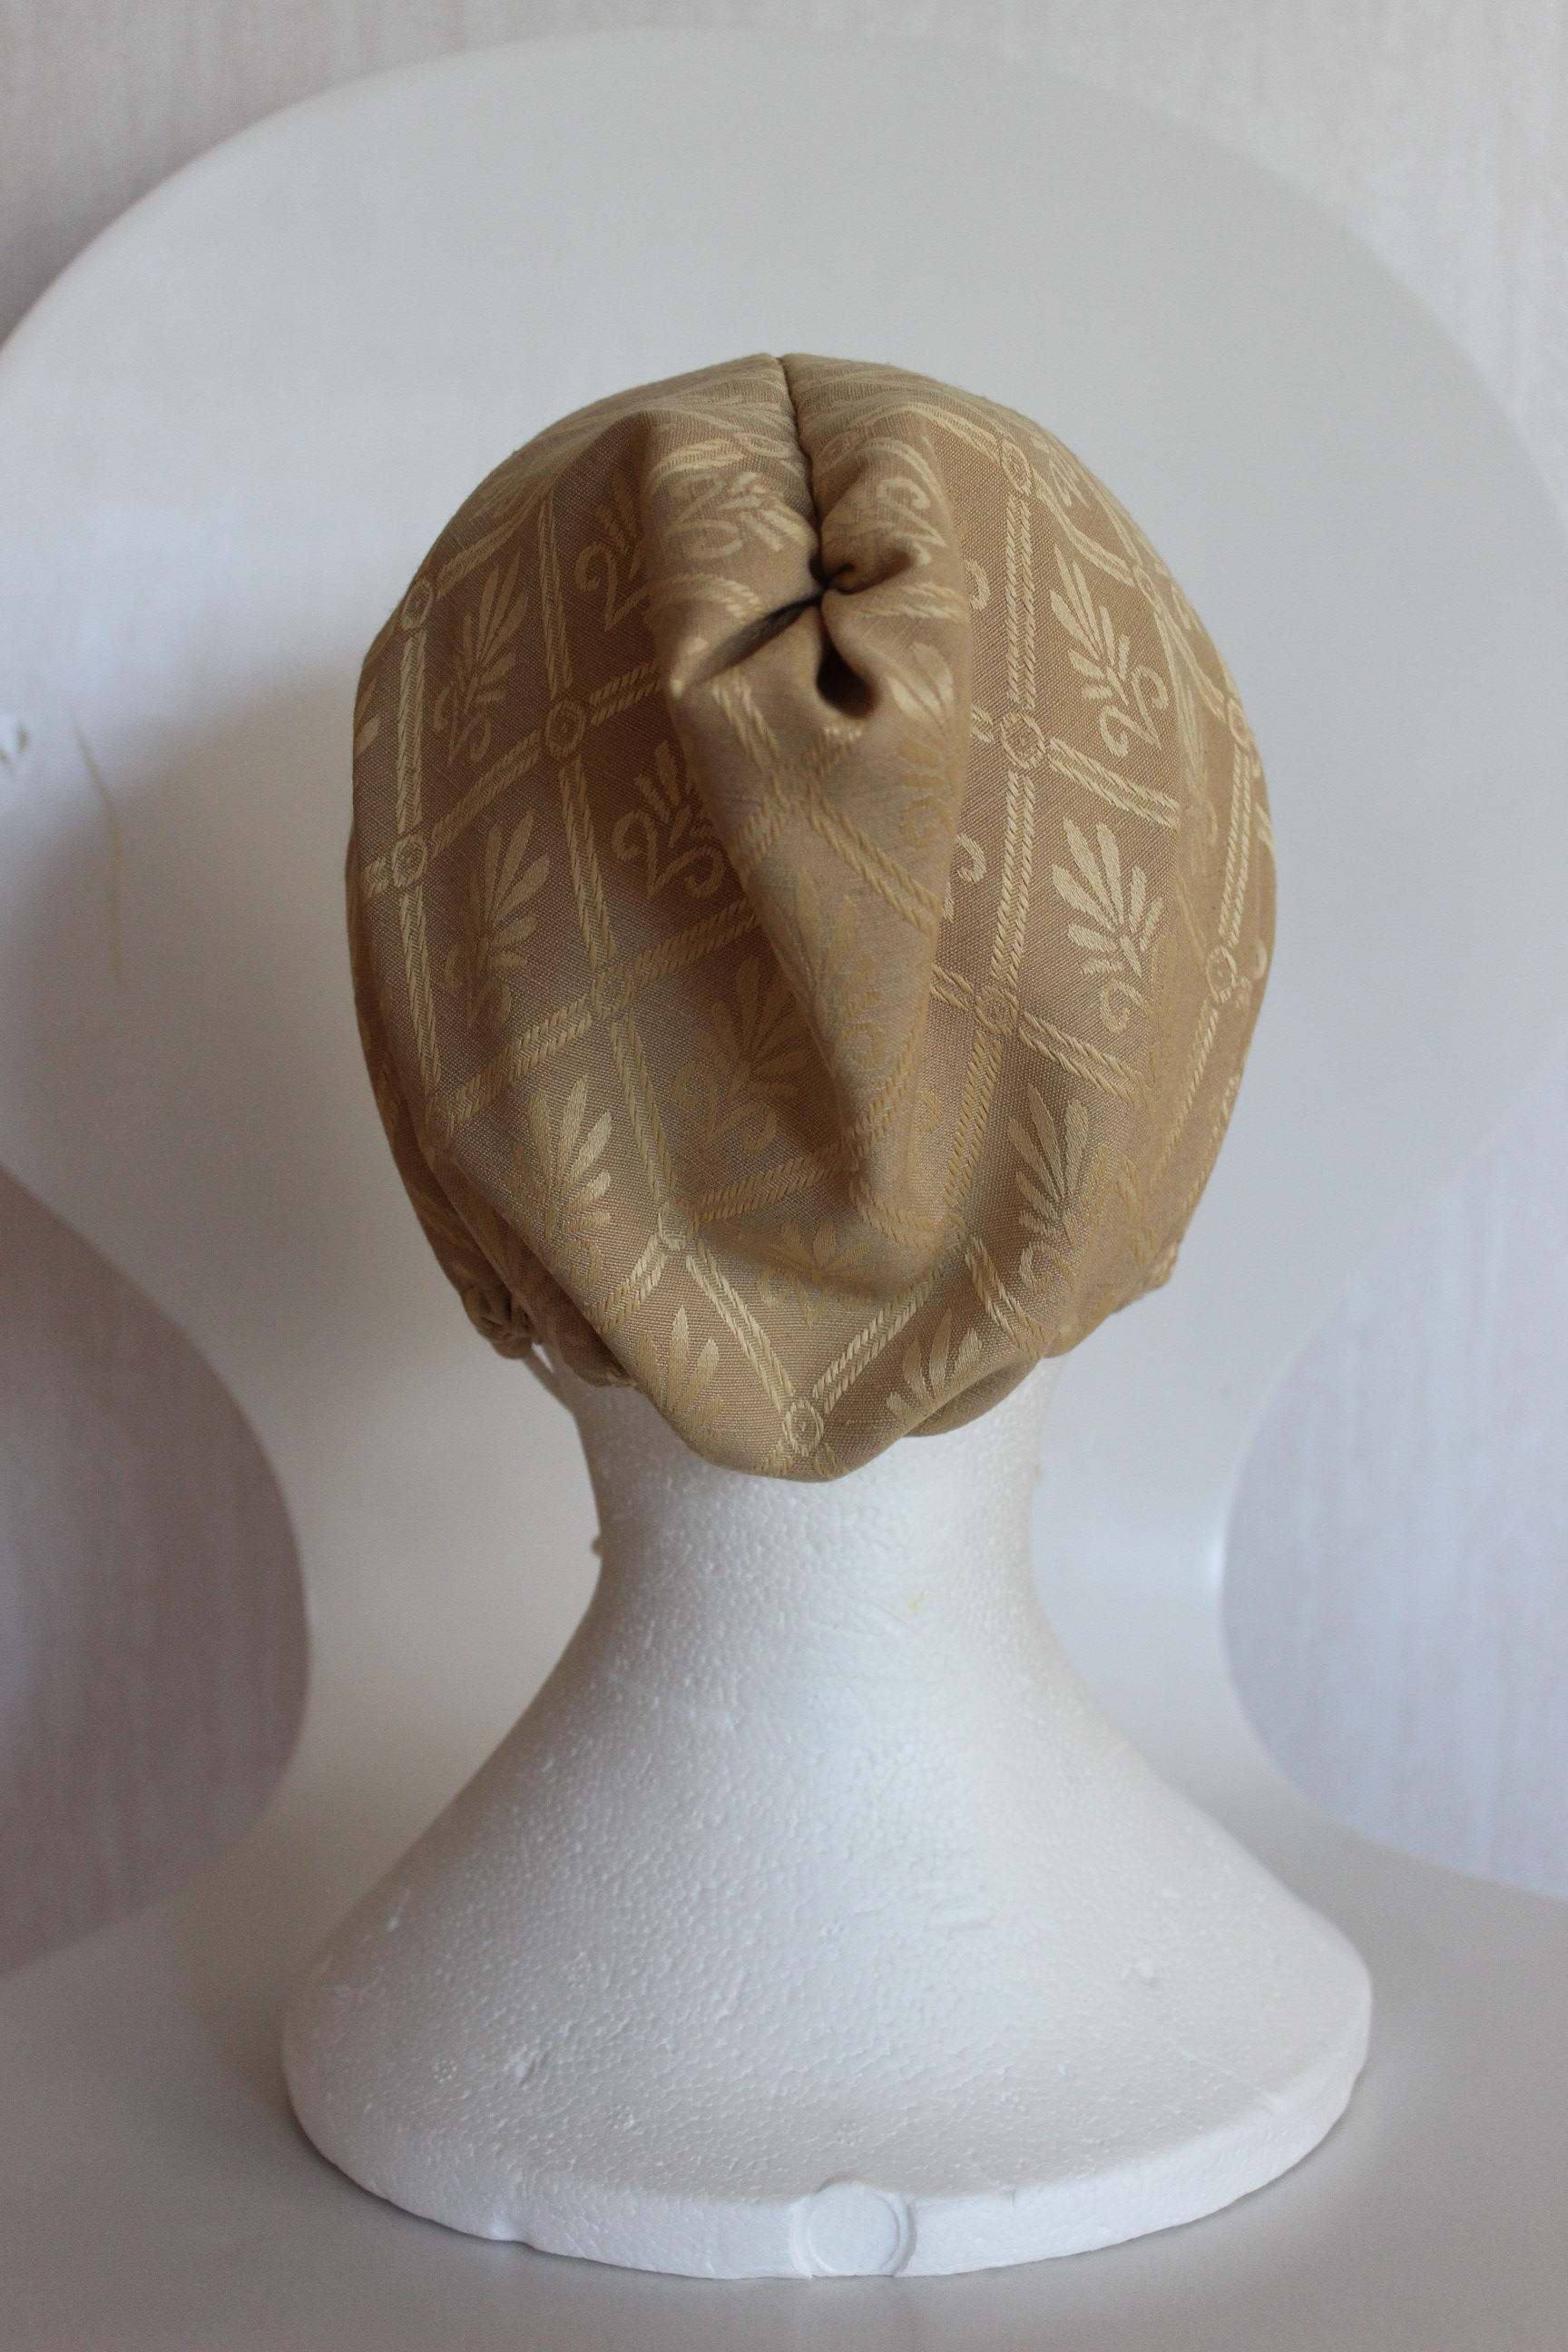
 They look so small and cute – and actually quite good in this fabric.
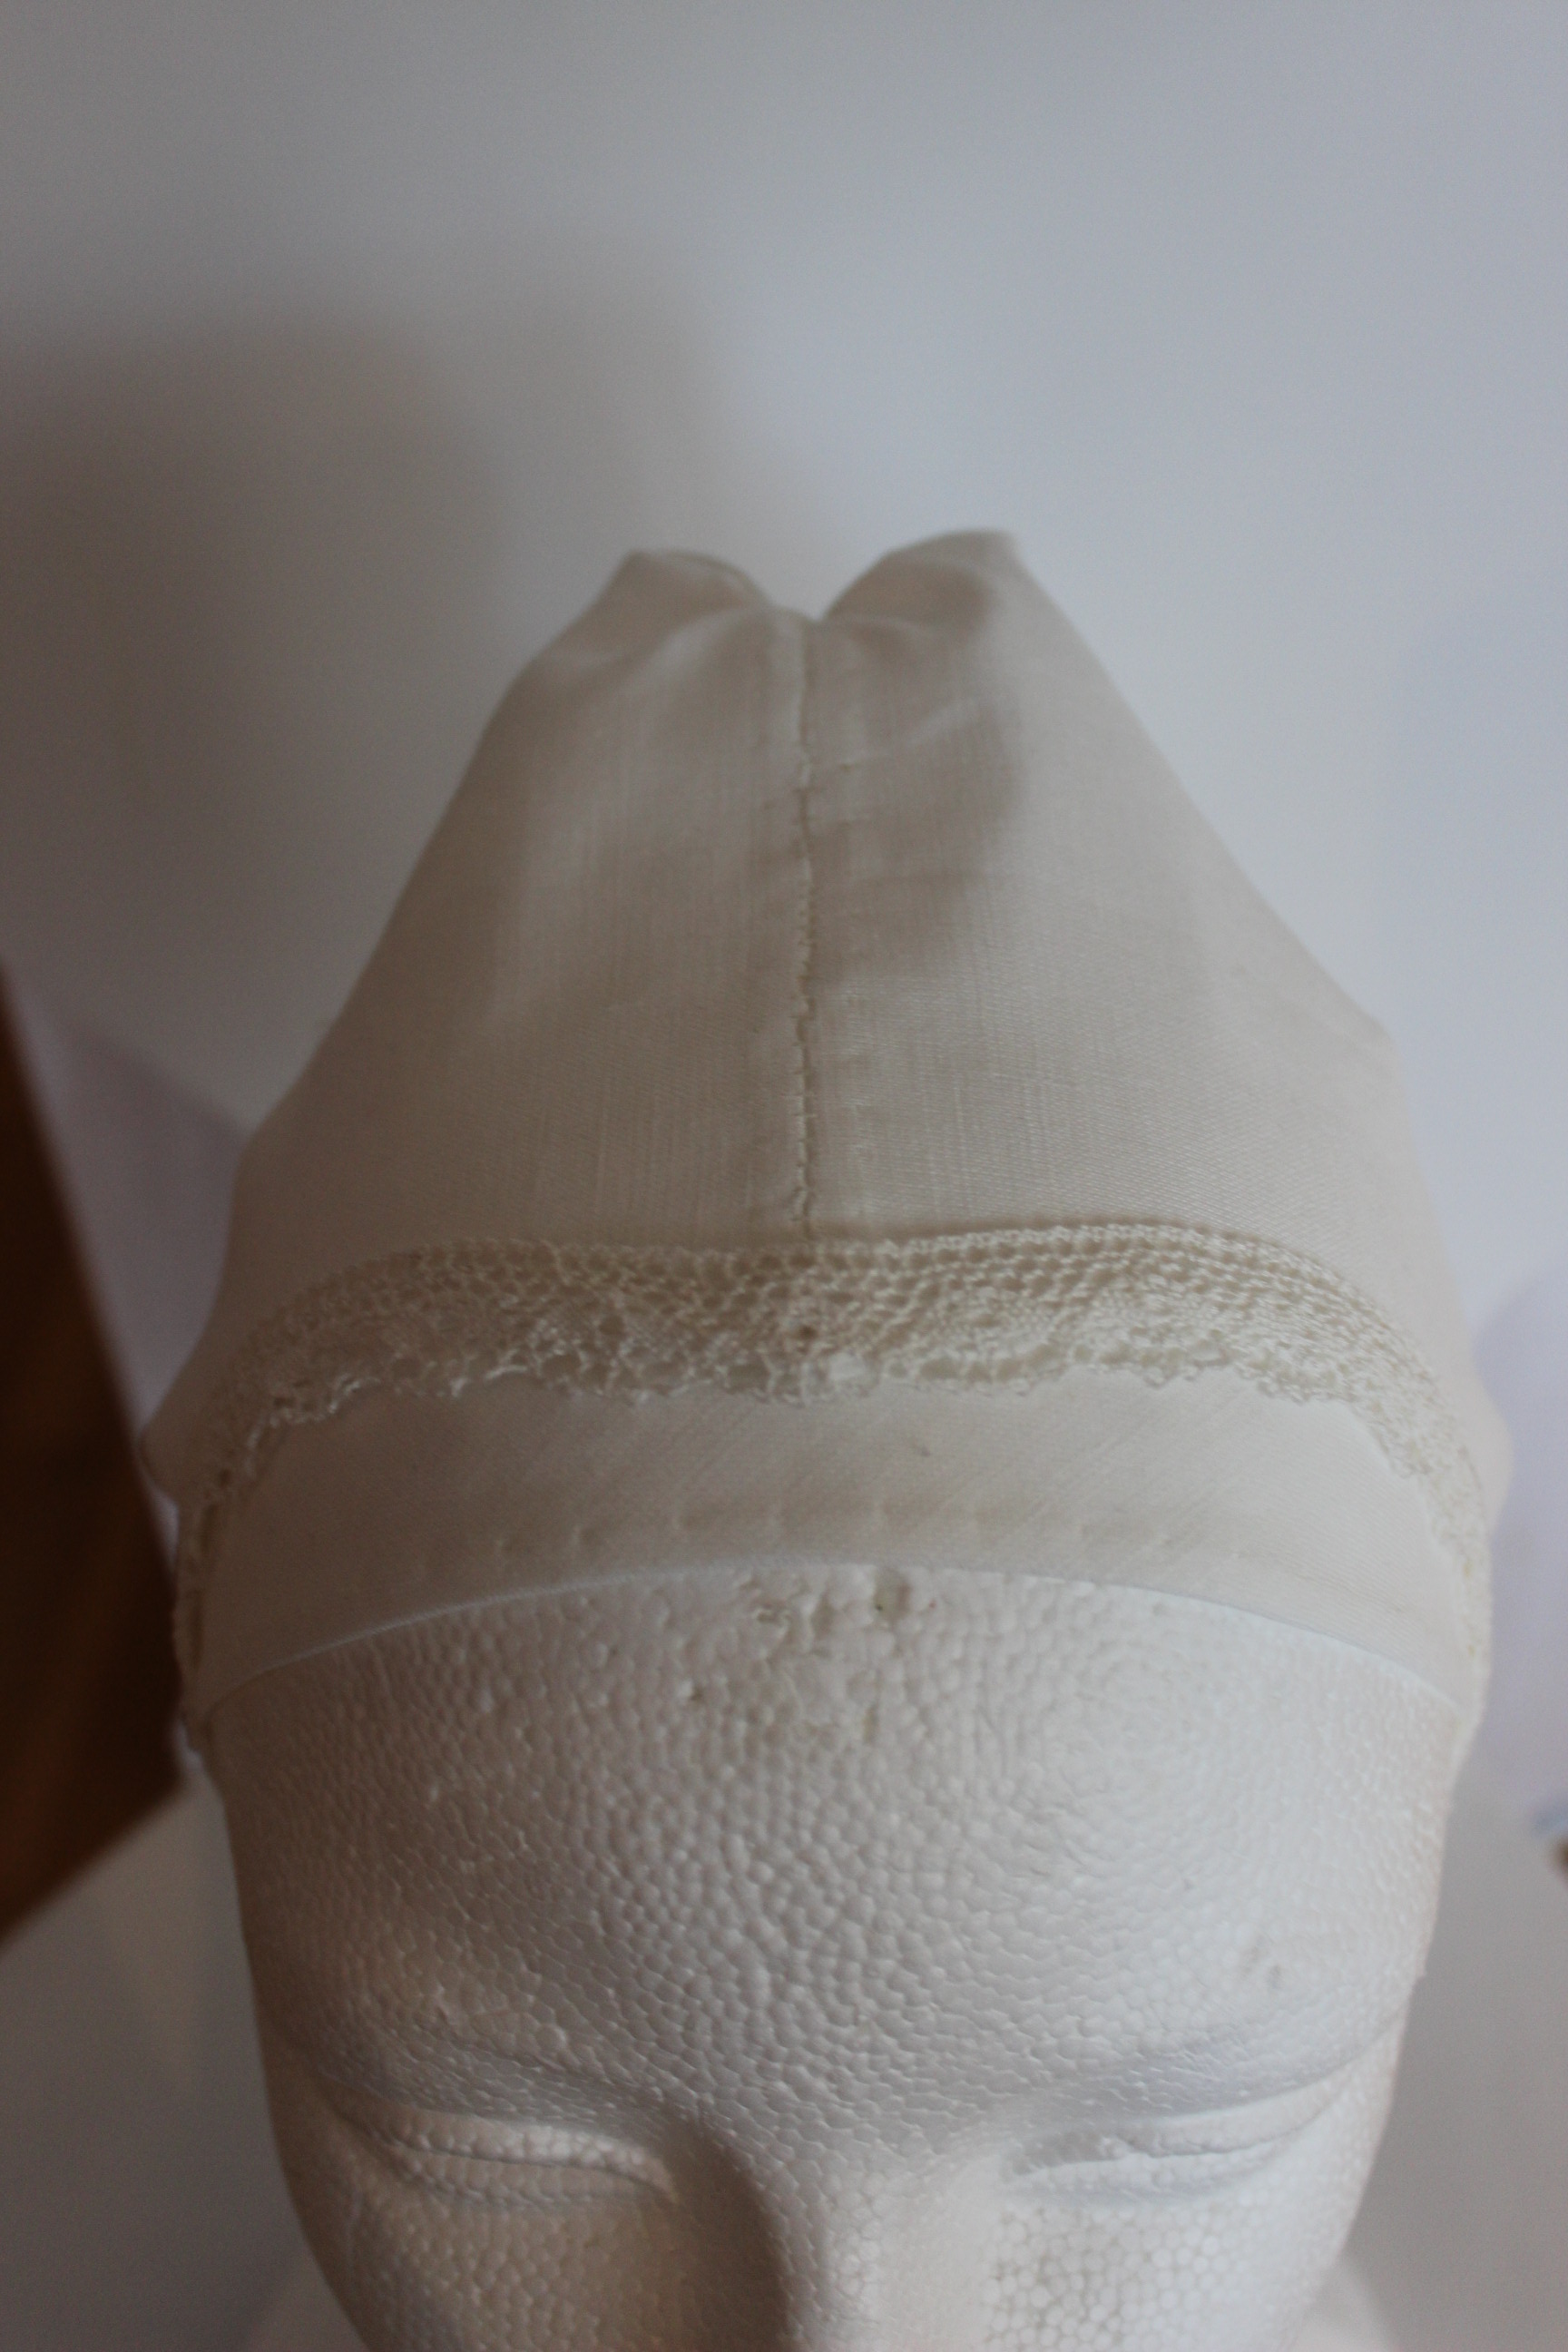
Finished forehead cloth:
Finished gold patterned Coif:


***
Then it was on to the real deal.
 Nice linen /cotton blend ready for the linen thread and needle.
This time I only cut one of each piece (omitting the lining) to reduce the stiffness and bulky feeling I got from the patterned one.
I just whinged it on the size of the forehead cloth, and it seemed to work nicely on the test run, so I use the same size on the linen one.
One thing I changed on this one was hemming the center back opening before gathering it – this way makes for a much nicer finish.
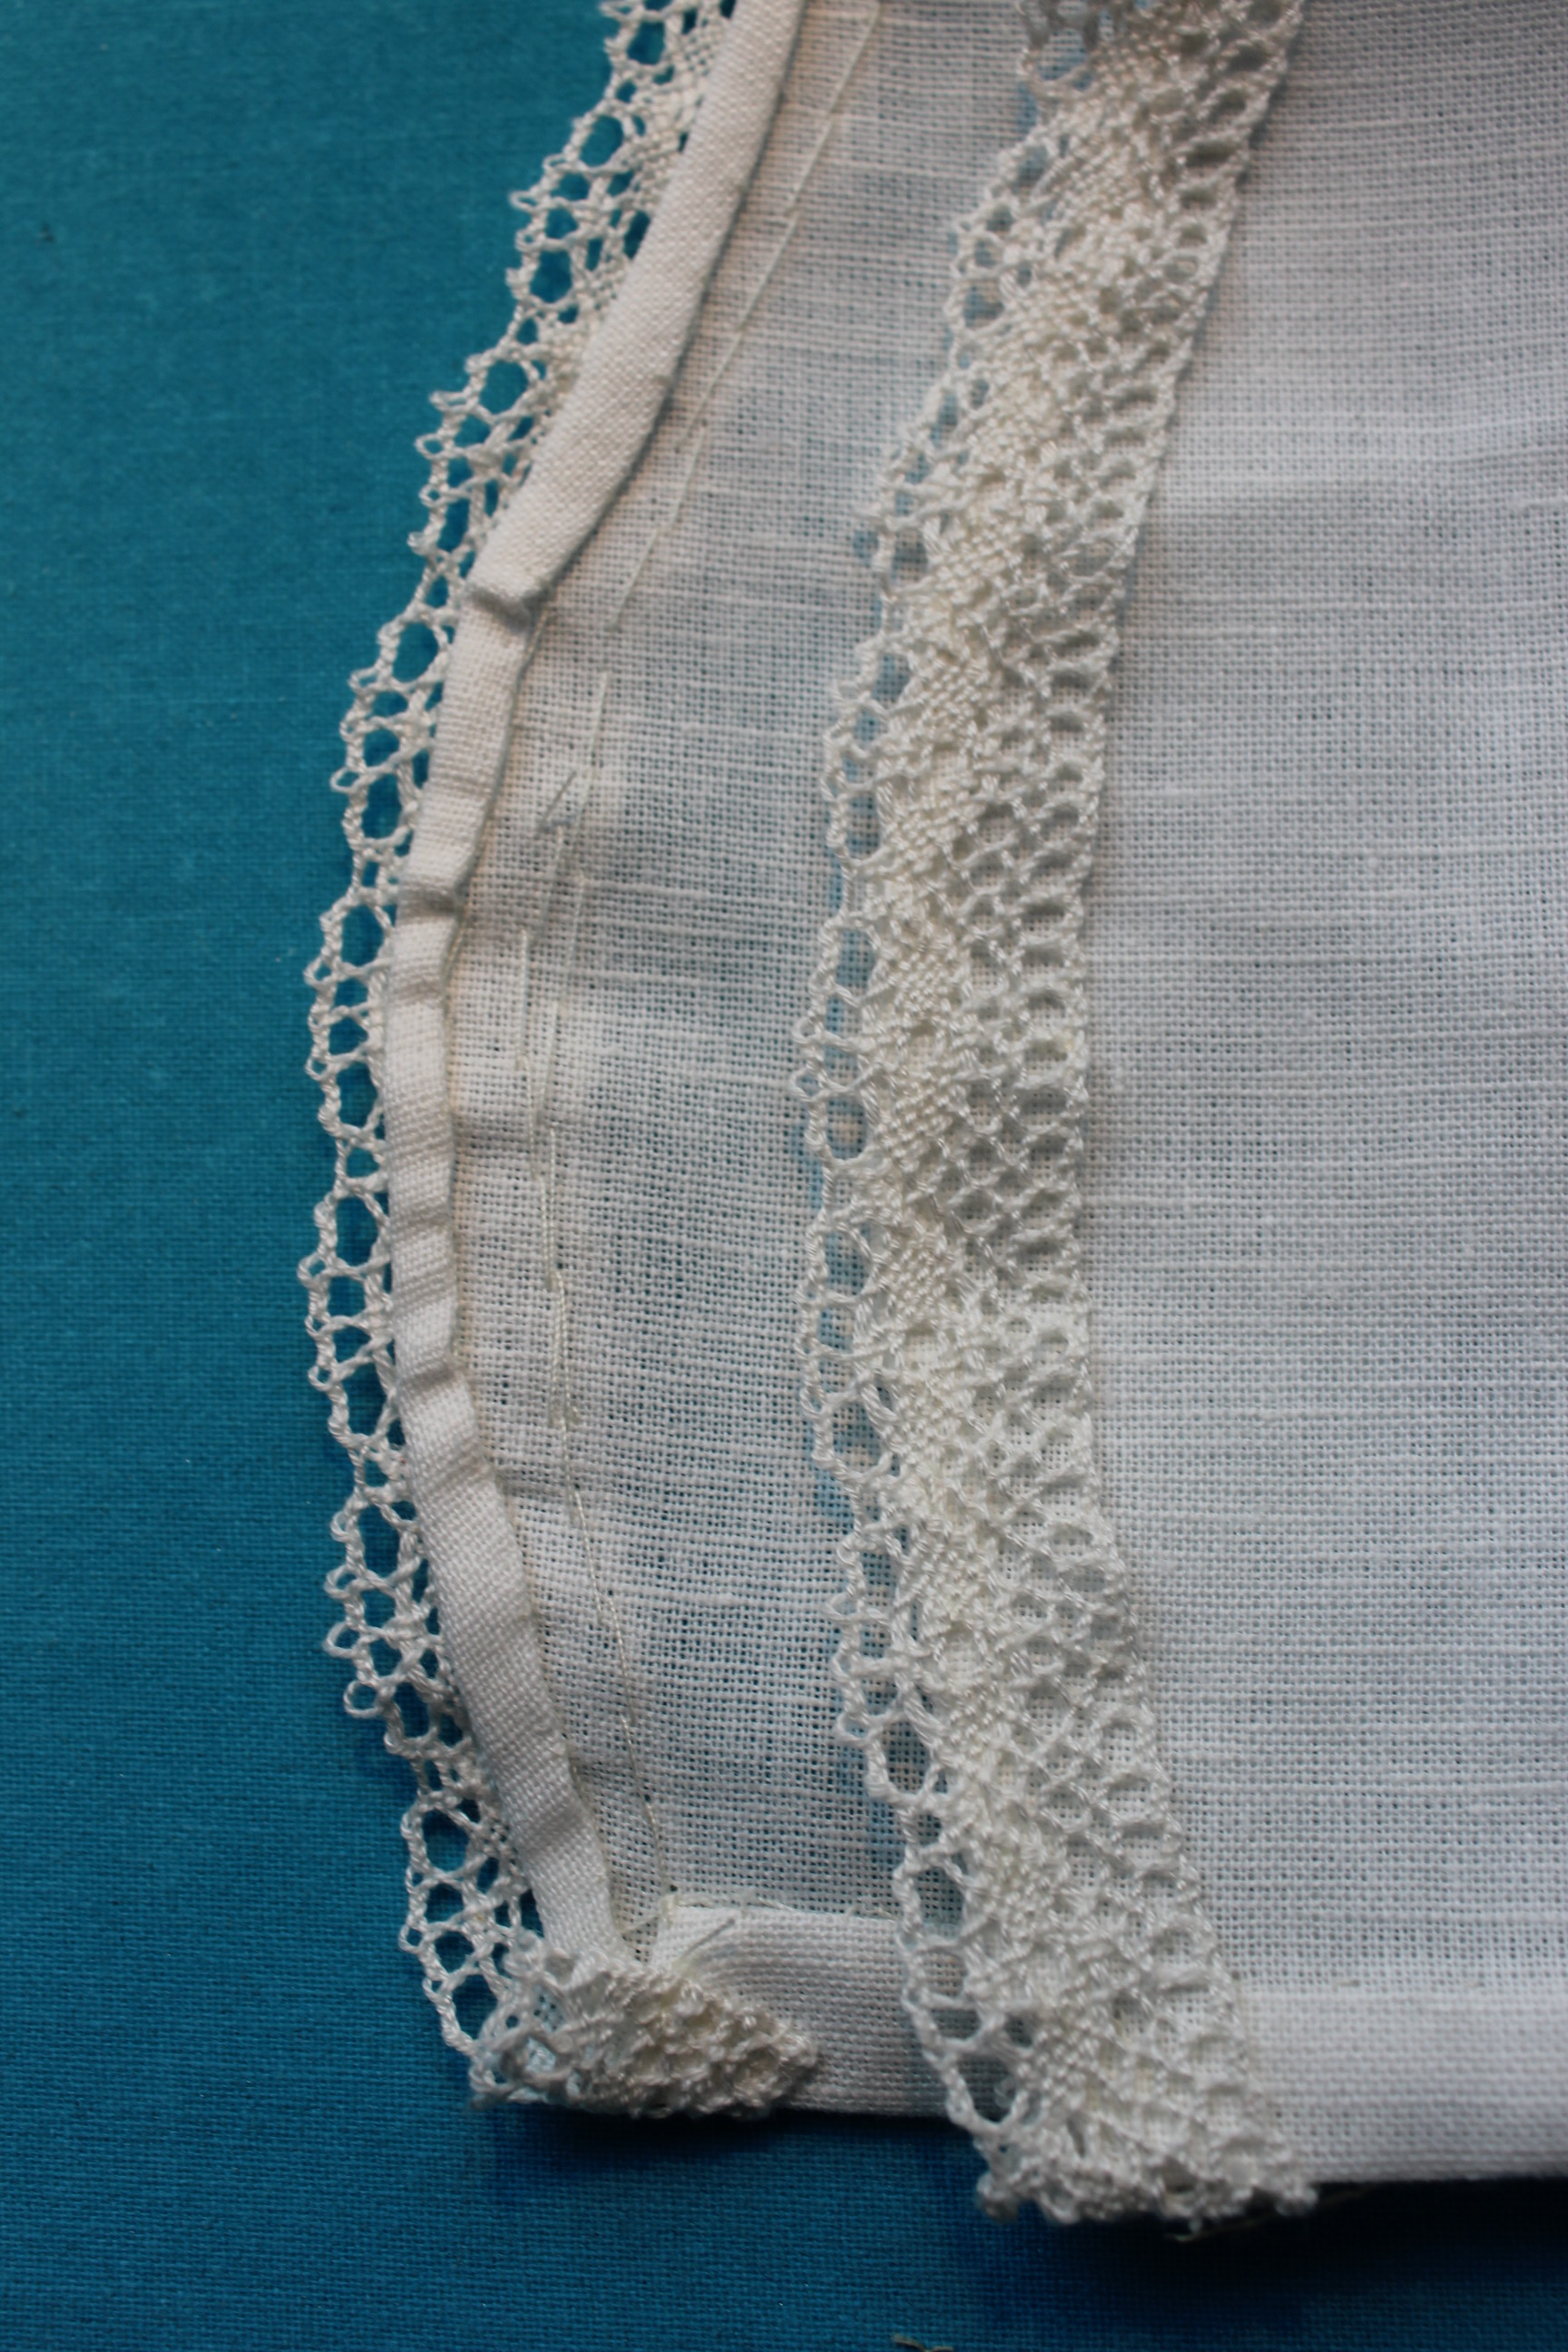
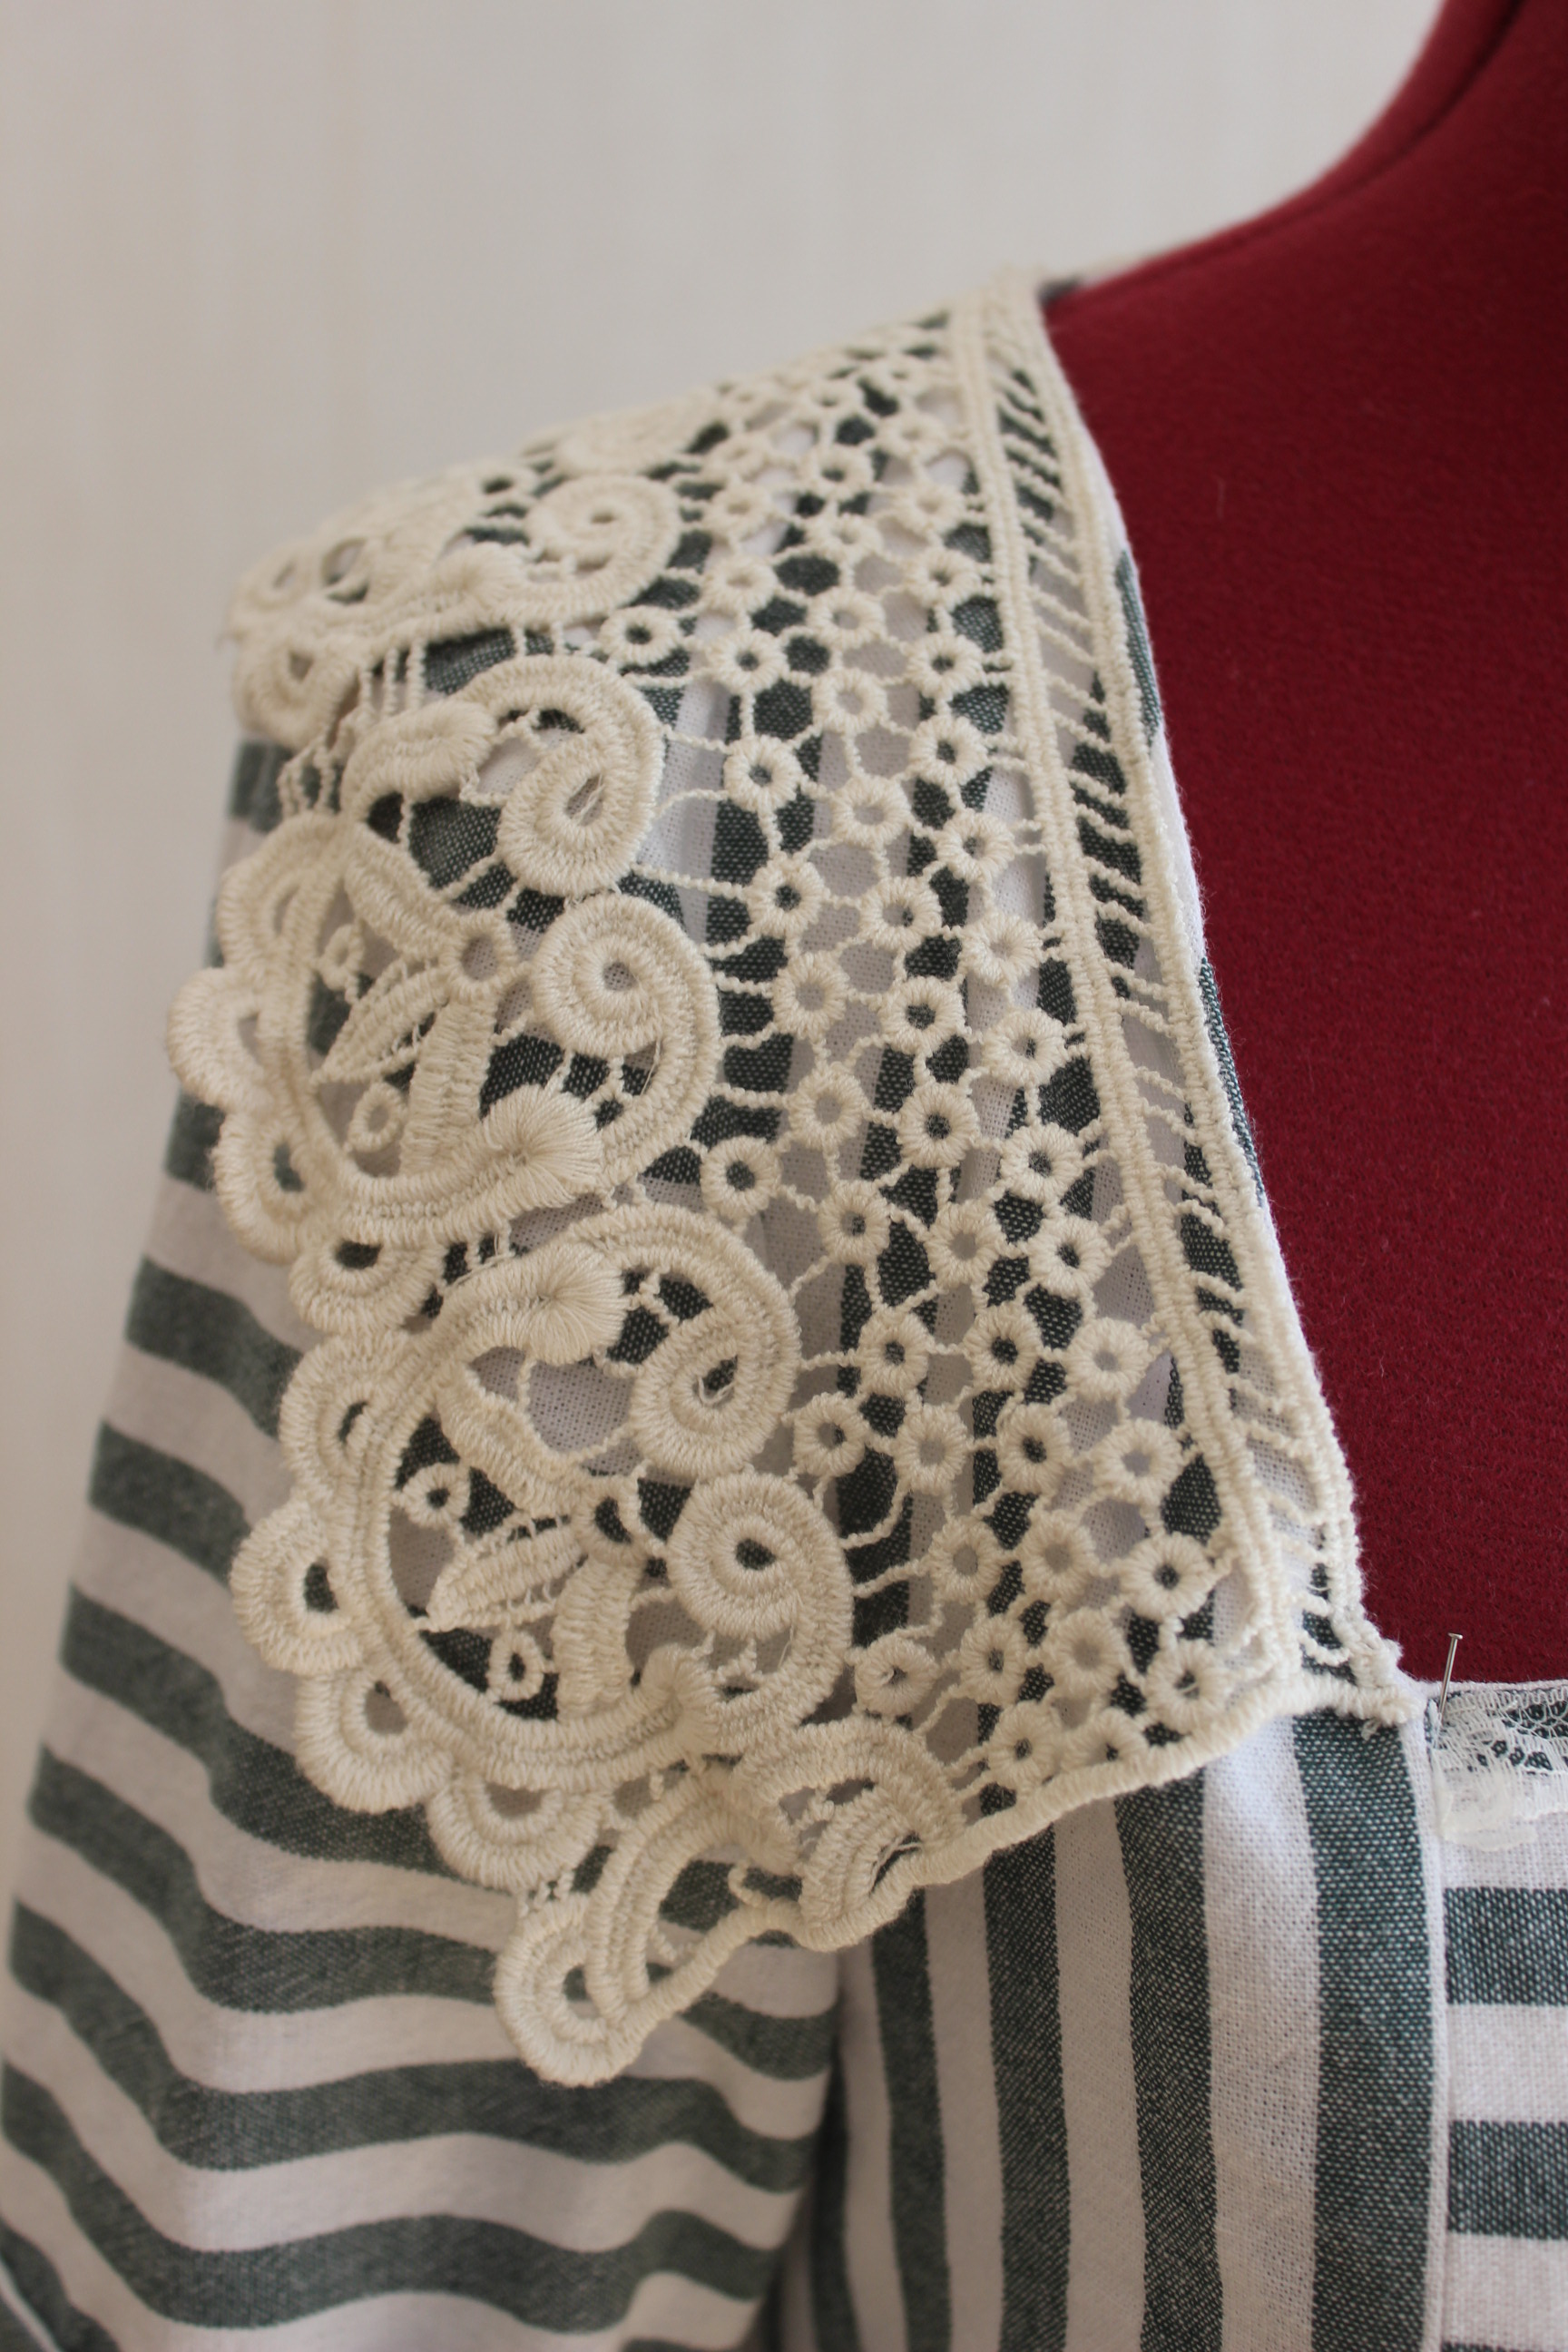
I also added some scrap lace to the outer edge.
 Getting the gathering cord ready.
 like a baby’s cap…
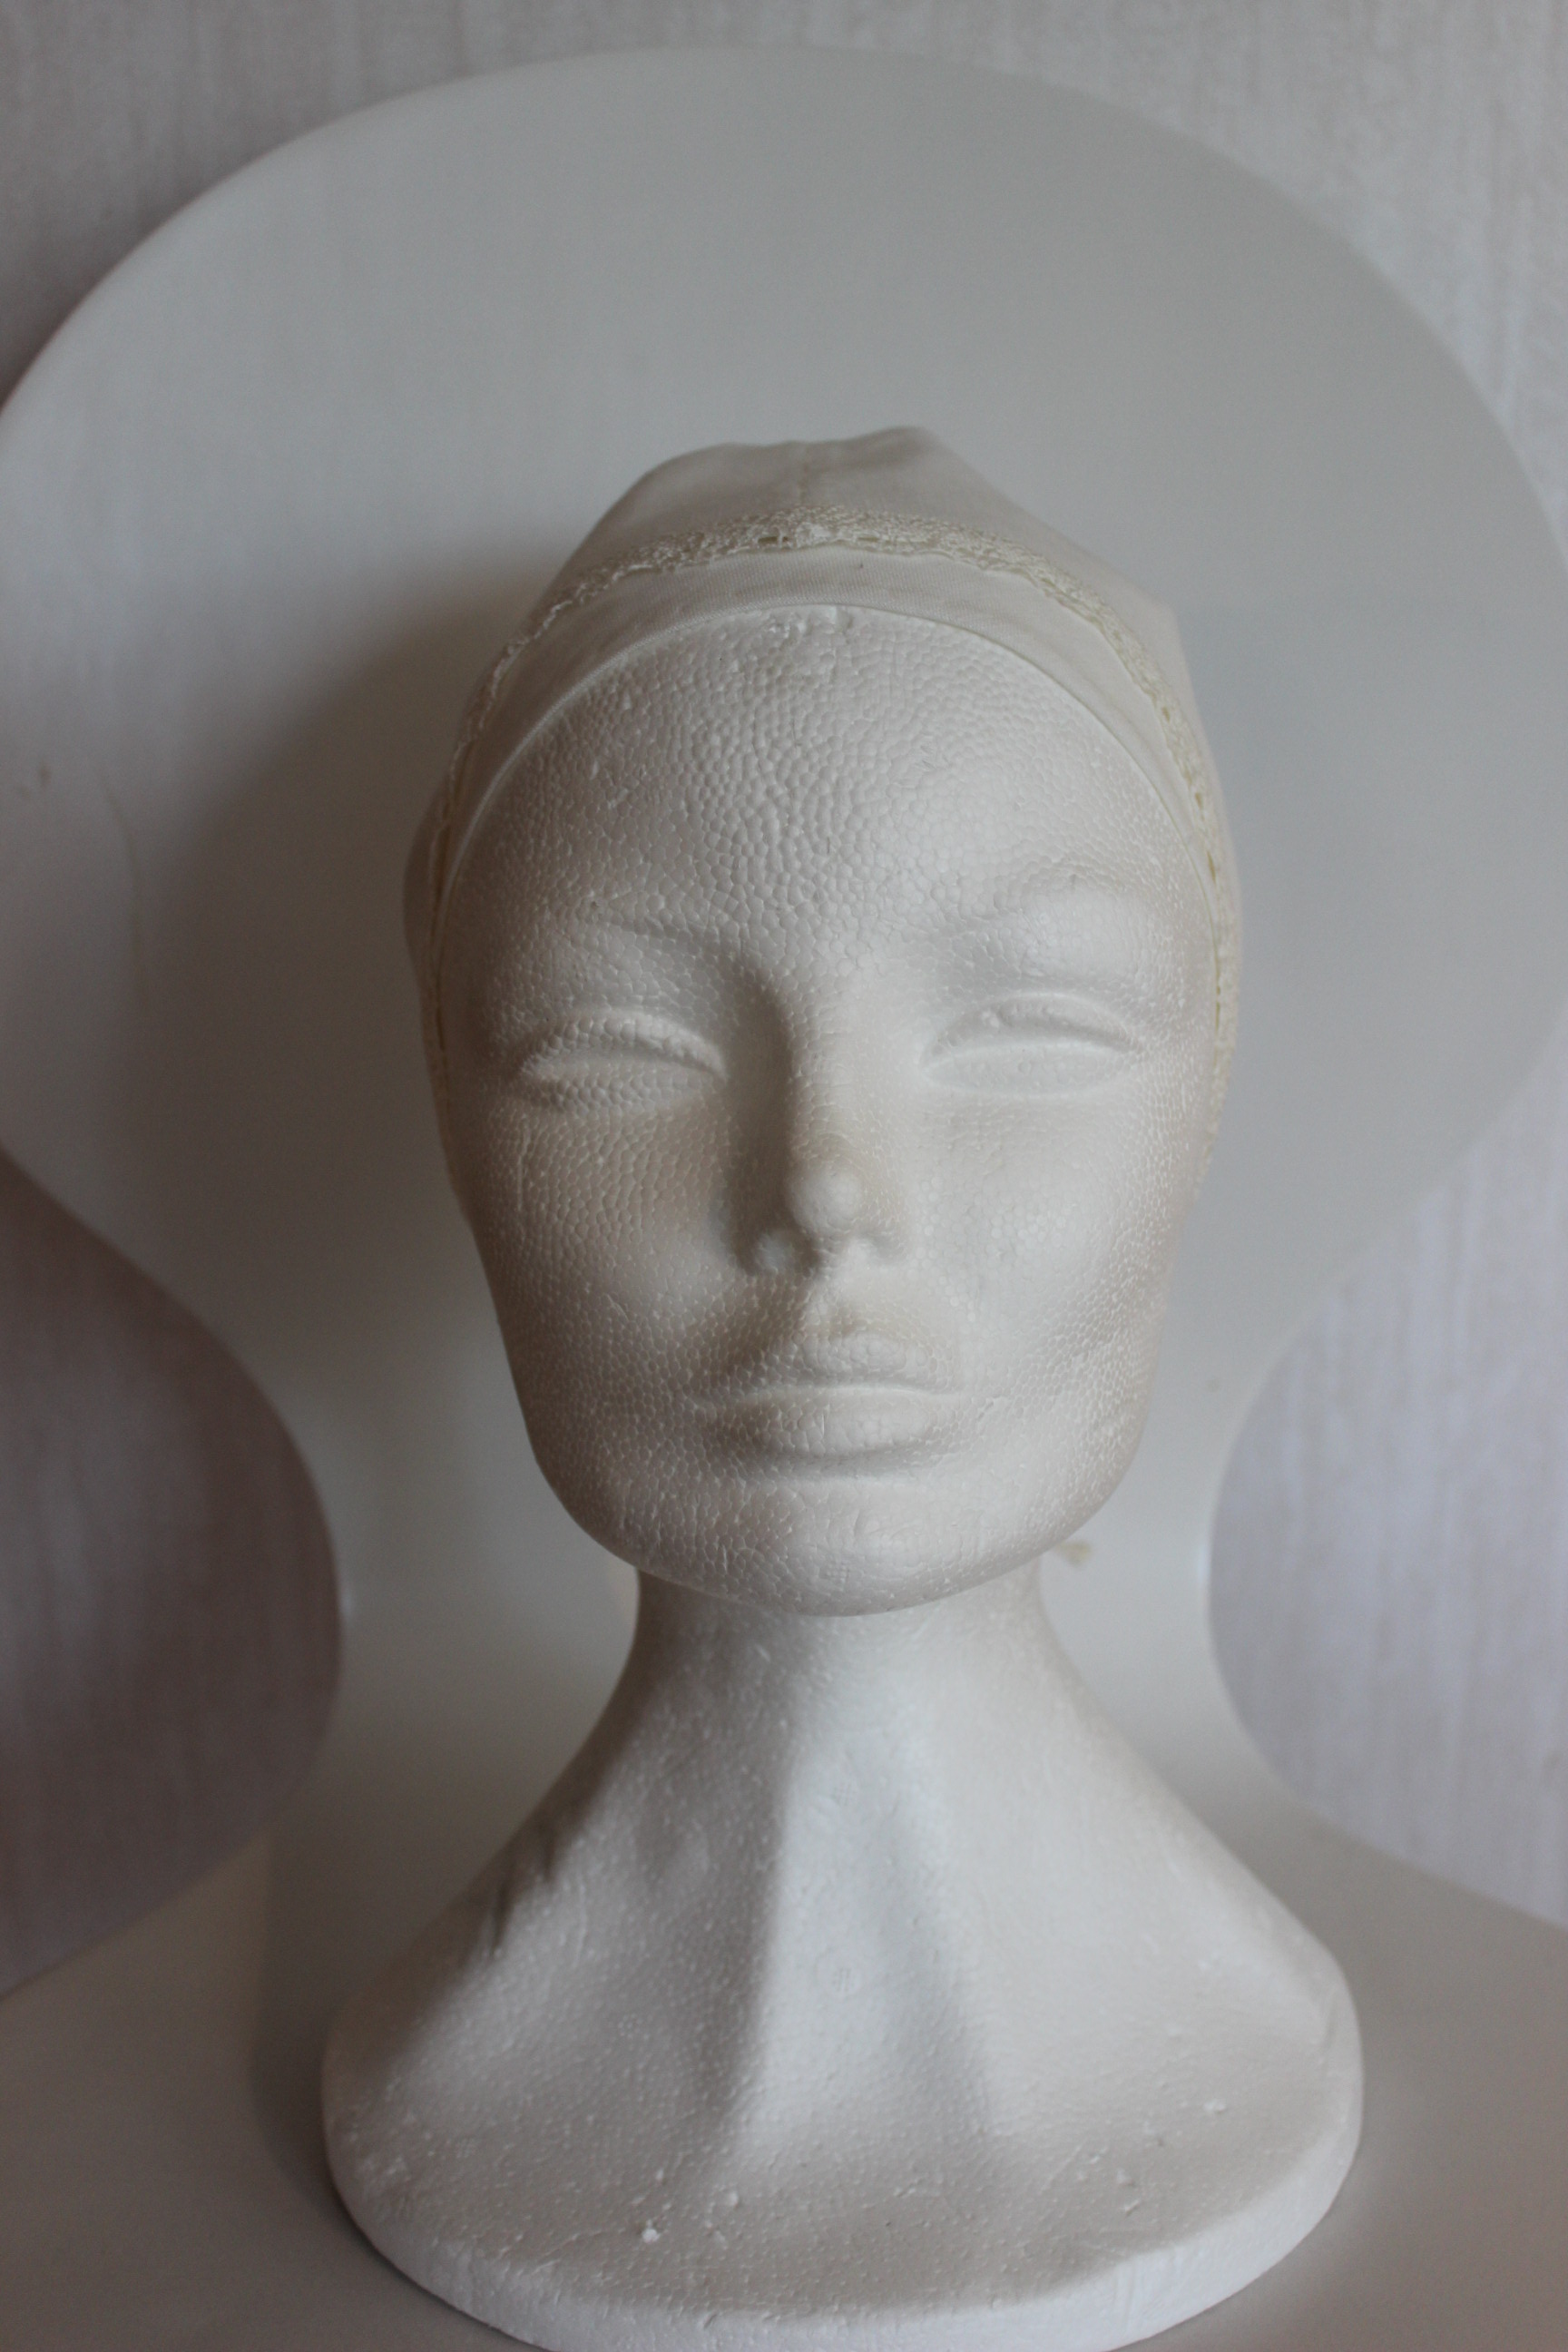
Finished linen coif:


The Facts:
Challenge: nr 7-2015 Accessorize
What: Two 1550-1650s Coif
Pattern: Based on “The pragmatic Costumer”s pattern tutorial (which was awesome)
Fabric & Notions: (for both coifs) 30 cm linen fabric, 30 cm patterned gold polyester fabric, thread, 50 cm (x 2) thin cord and 60 cm small lace.
How historical Accurate: The linen coif are pretty straight on – accurate pattern, material and stitches. About 8/10
The patterned one are completely modern – polyester fabric and machine construction. More like 5/10
Time: 3 hours total for both (linen 2,5 hours, patterned 0,5 hours).
Cost: About 80 Sek (10 Usd) total.
First Worn: hopefully someday soon for photos.
Final Thoughts: I really like the way they both came out. So simple and fast – I even consider the possibility to make and sell these in a near future.


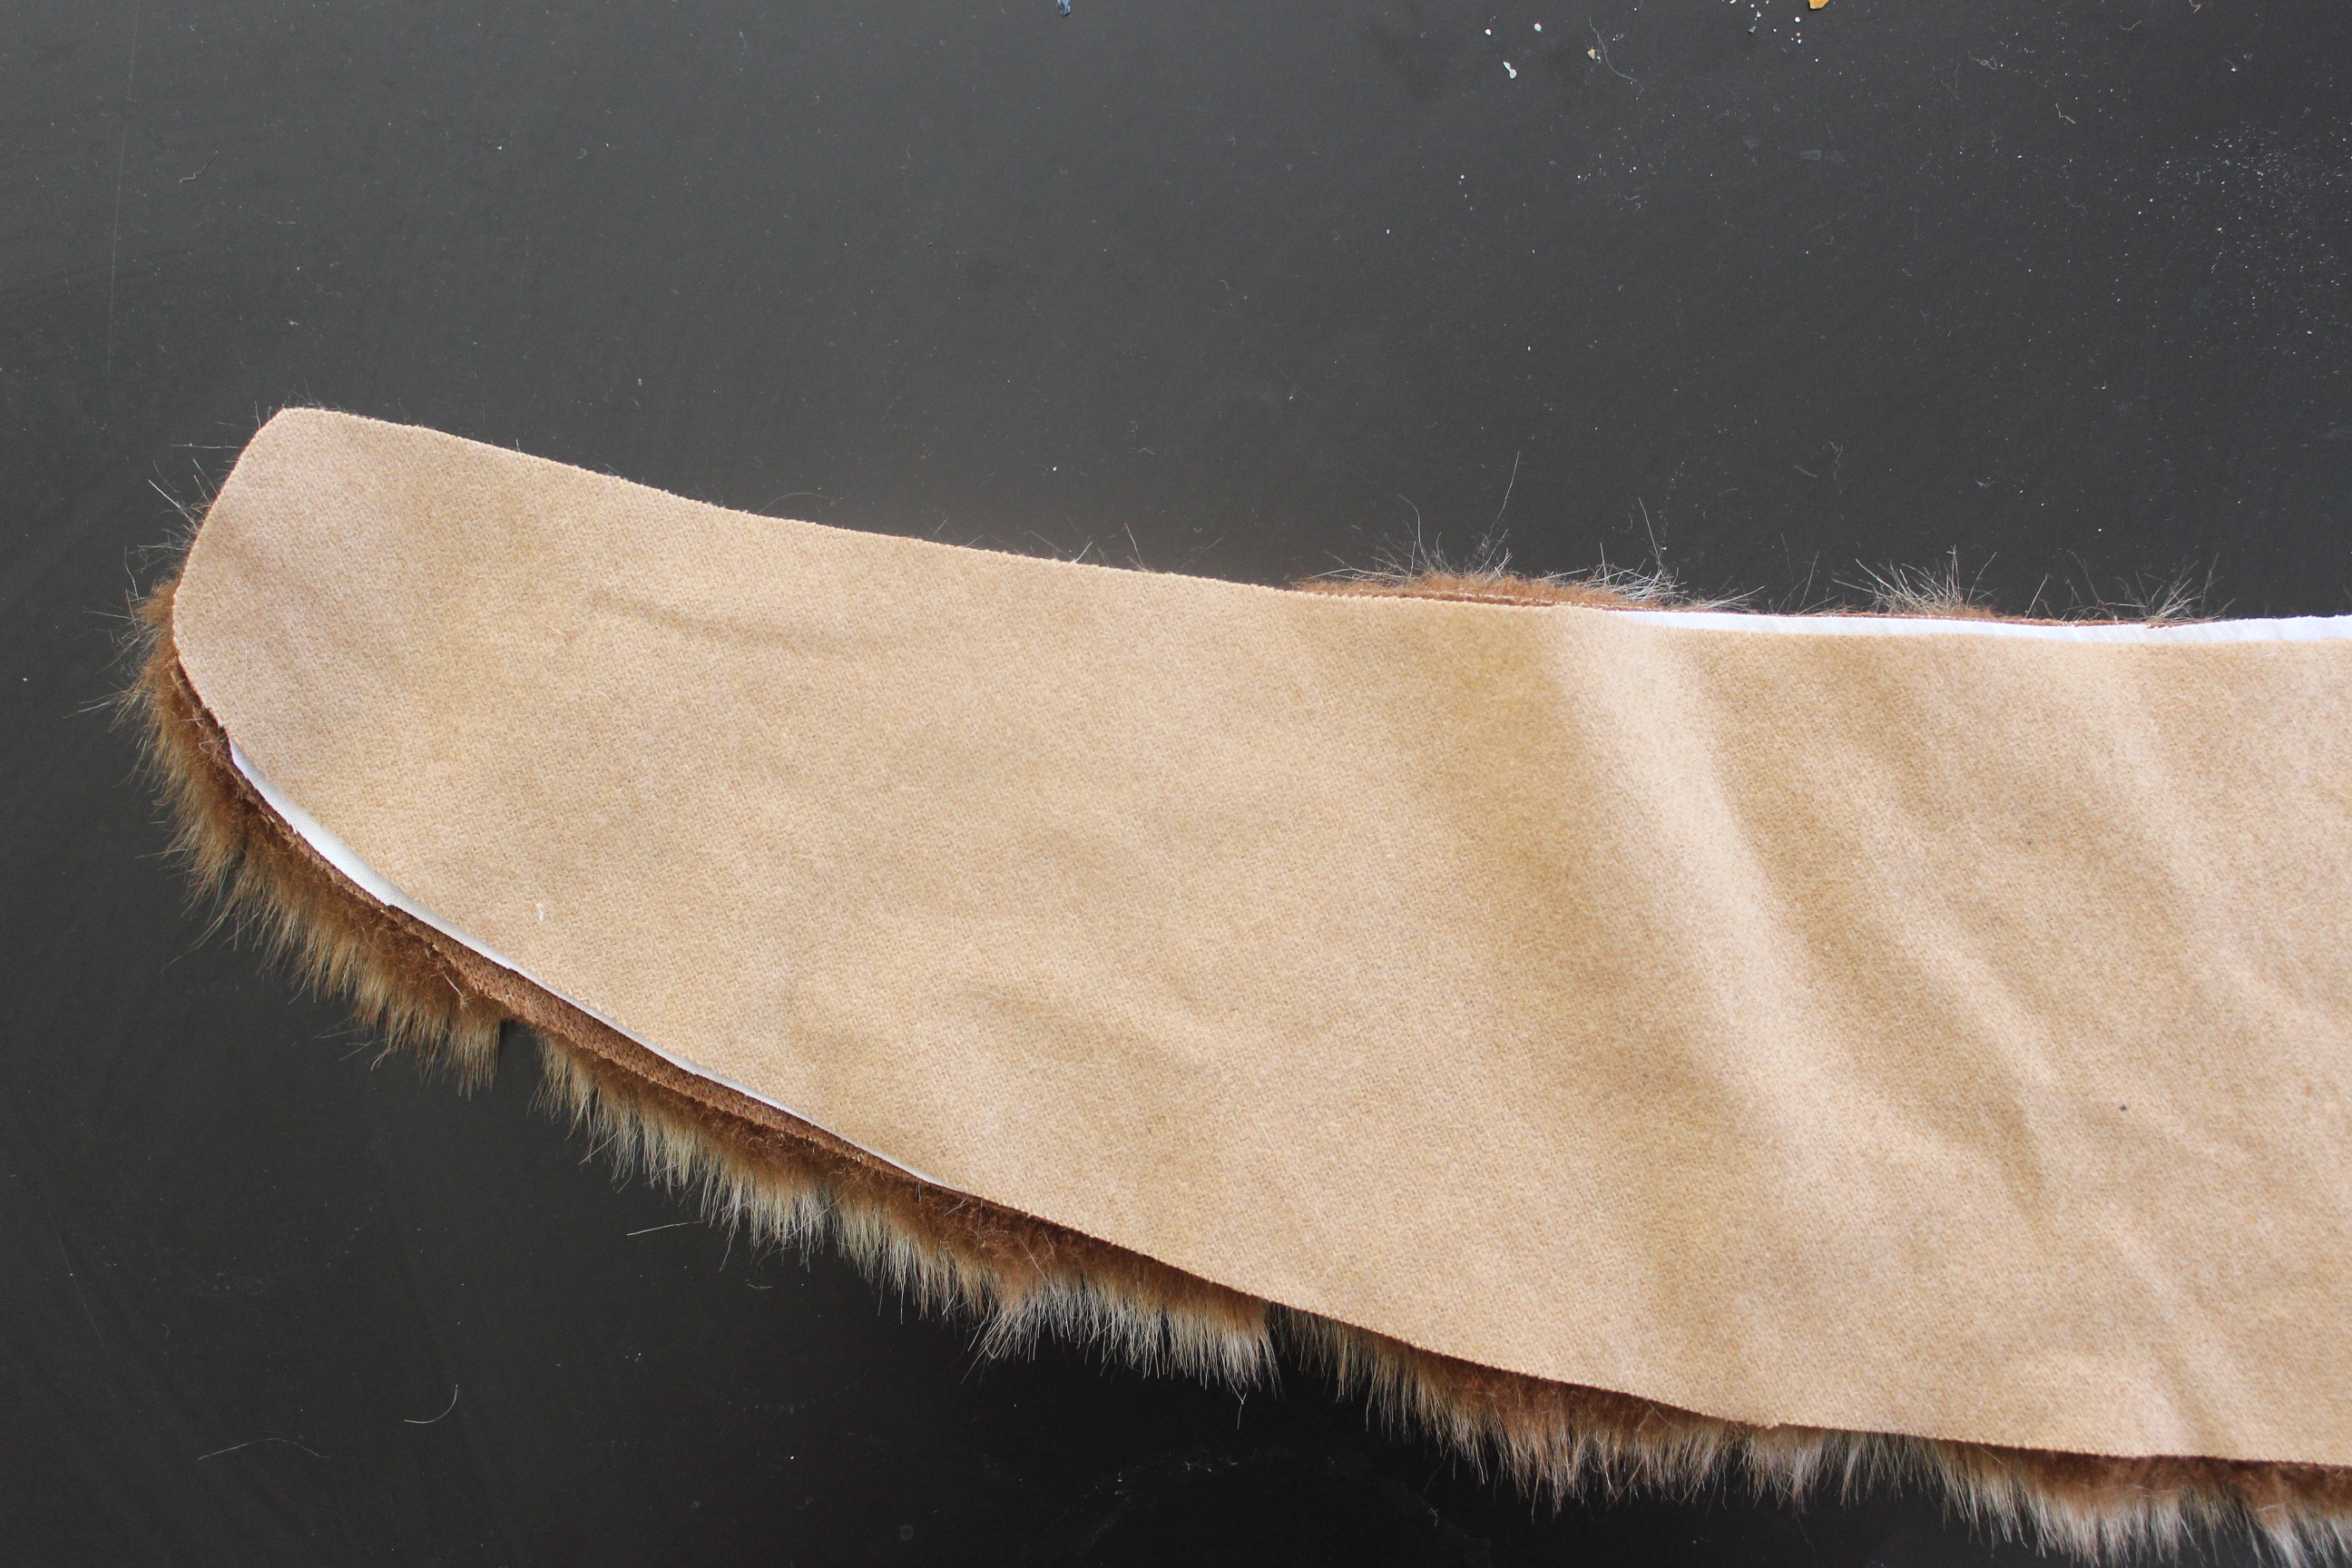
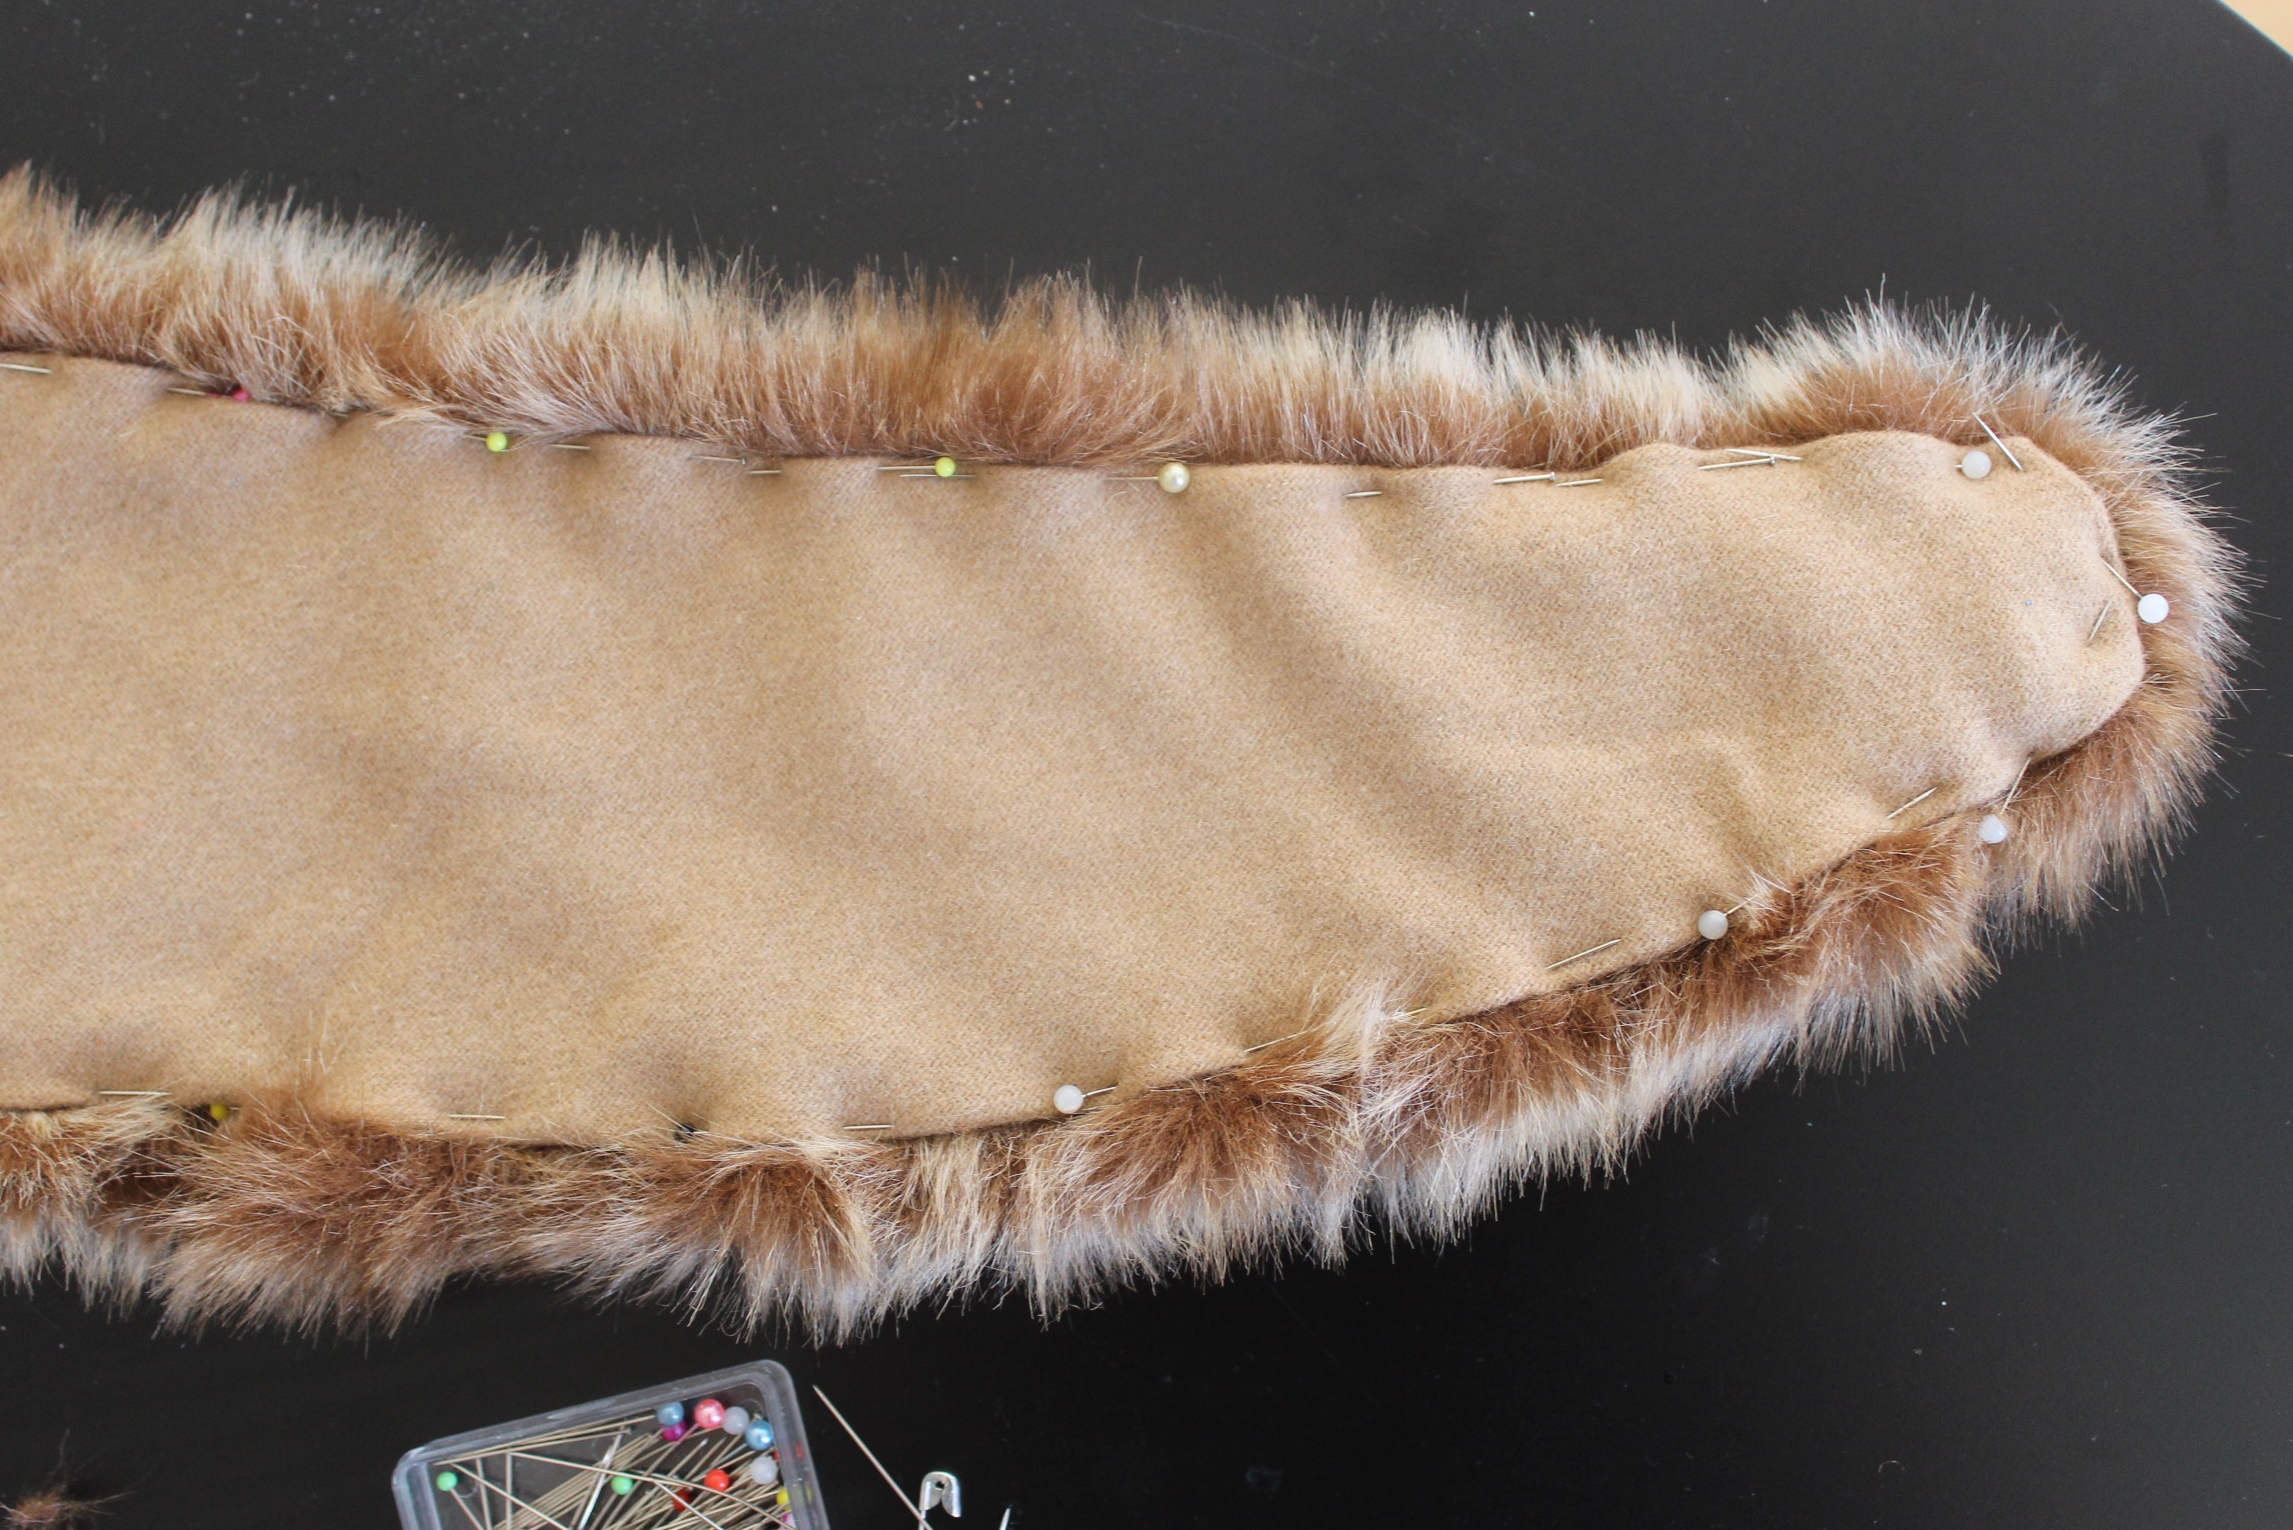
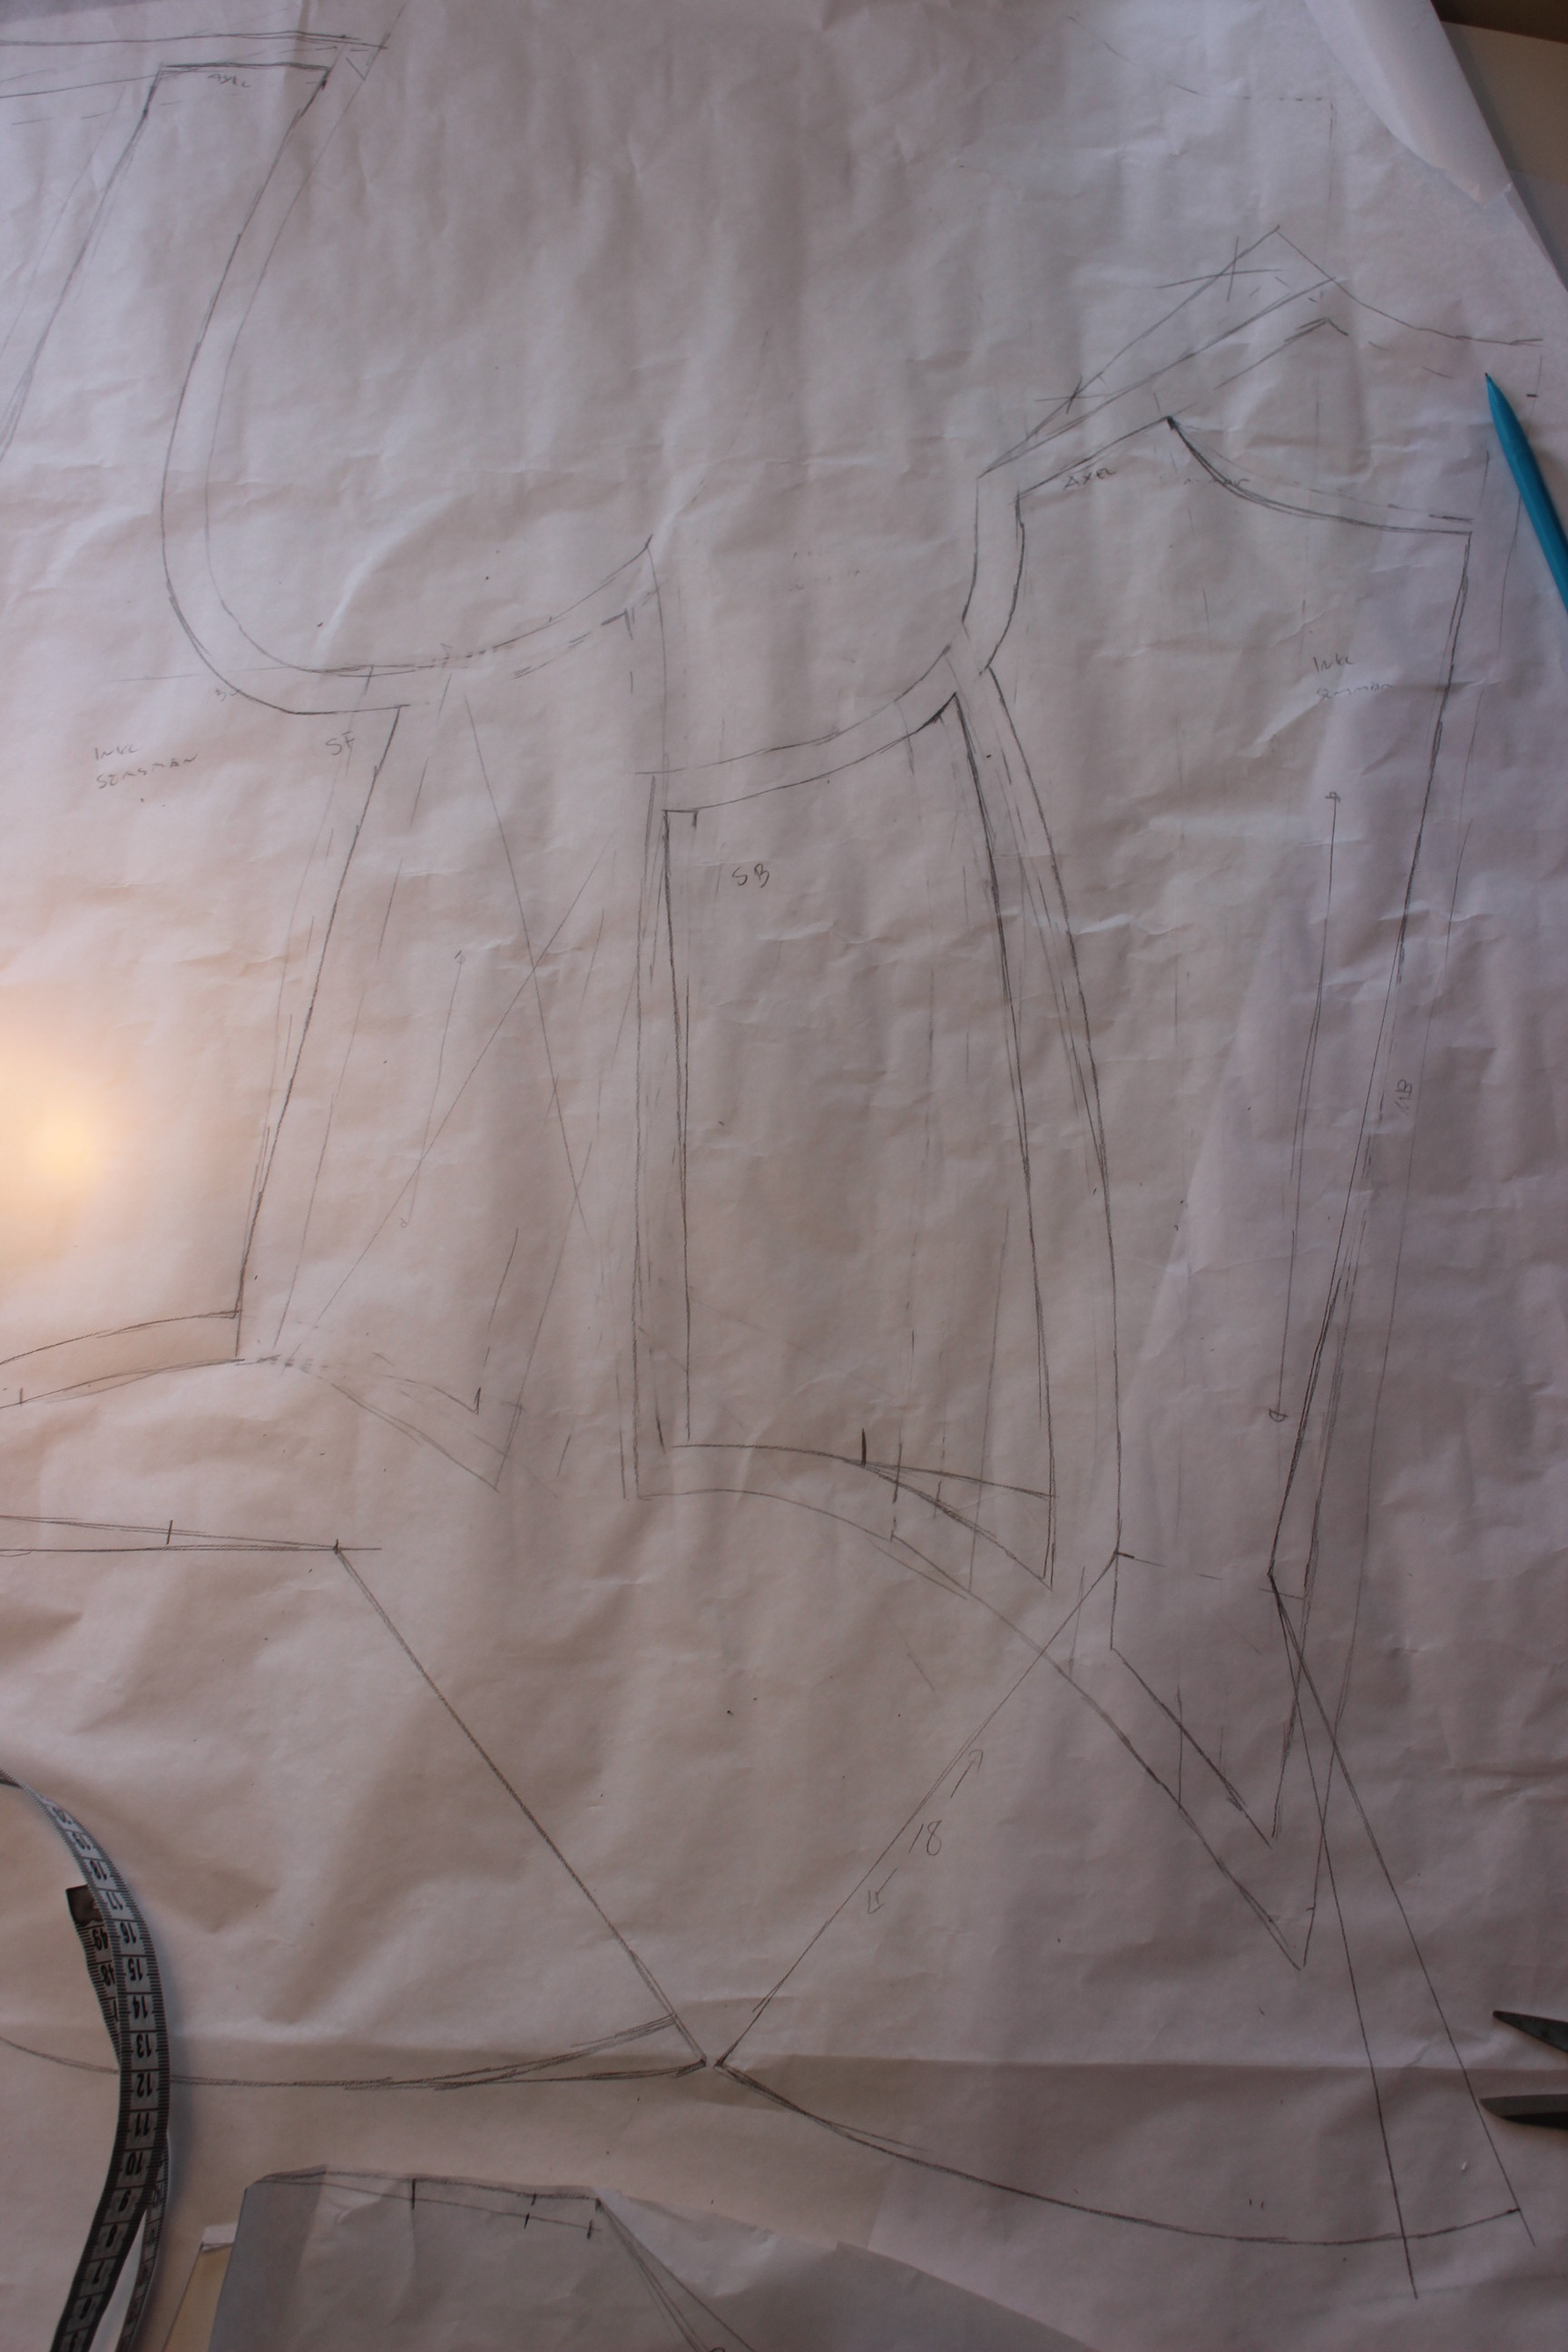
 Drafting from the bodice neckline
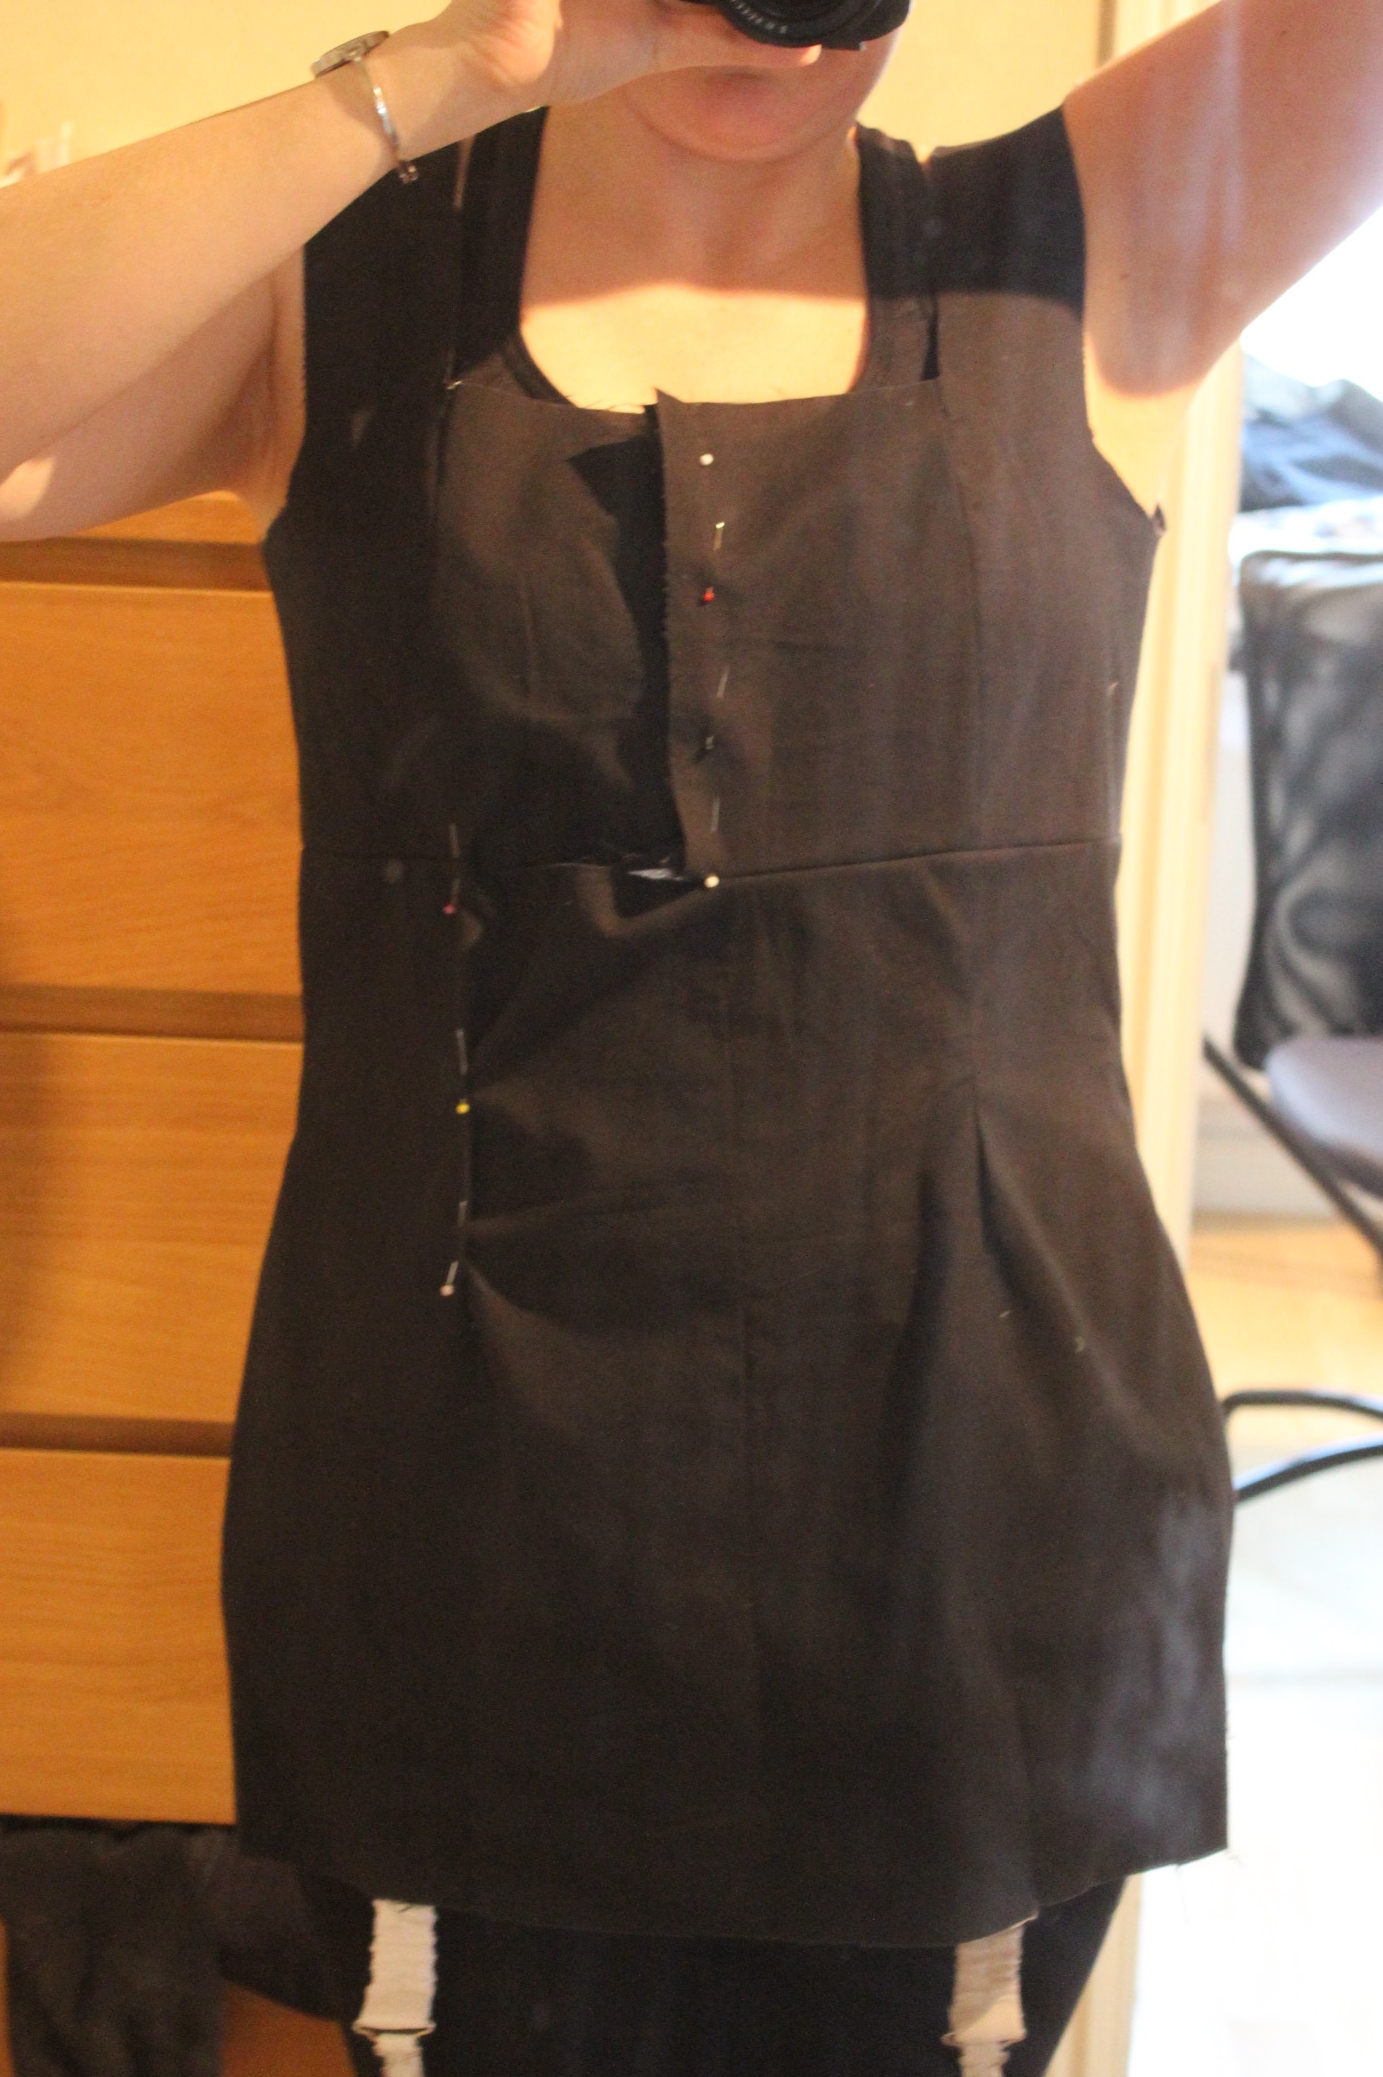
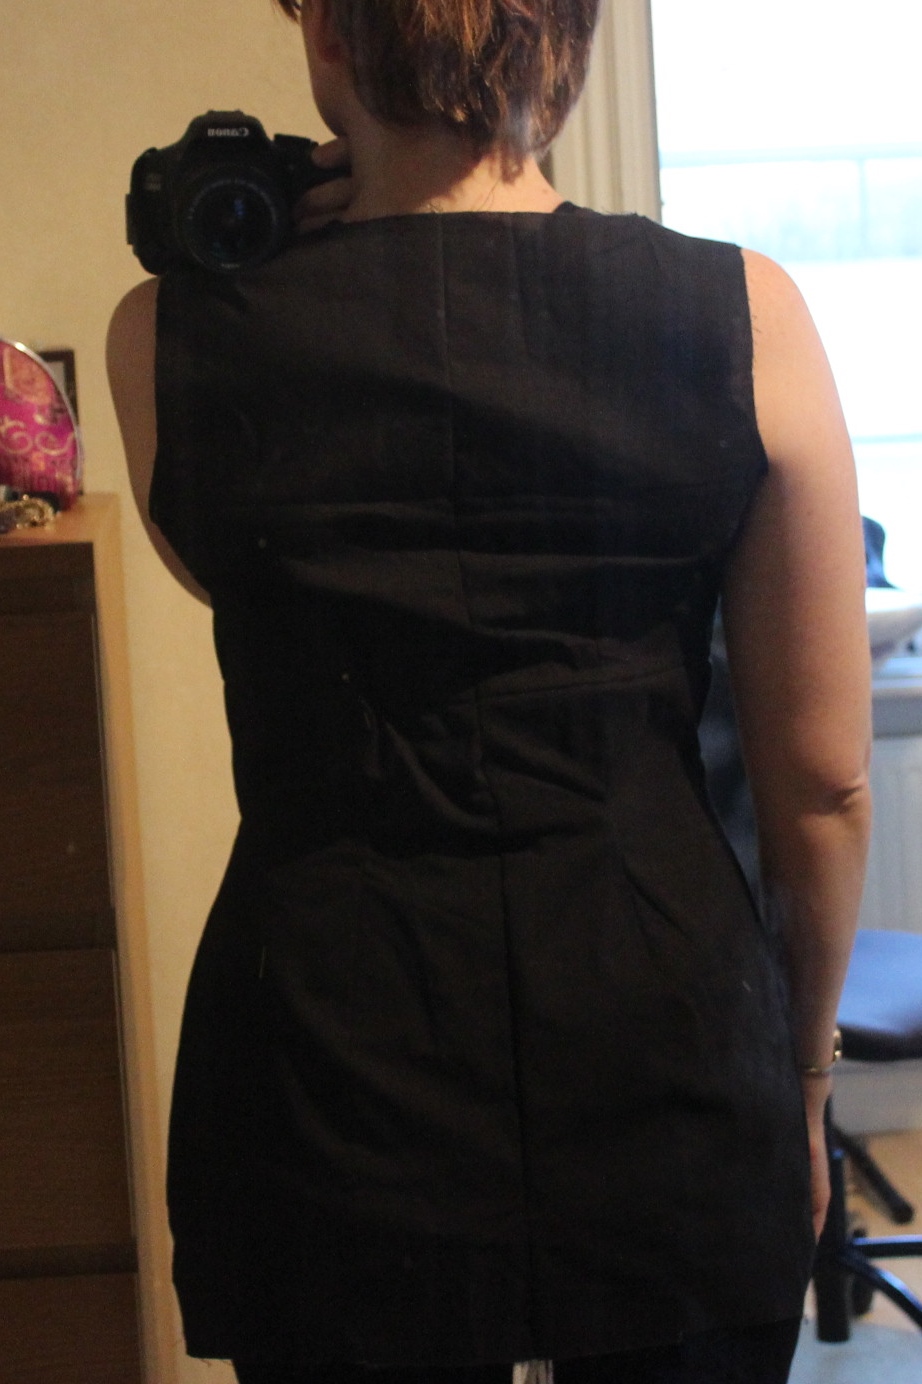
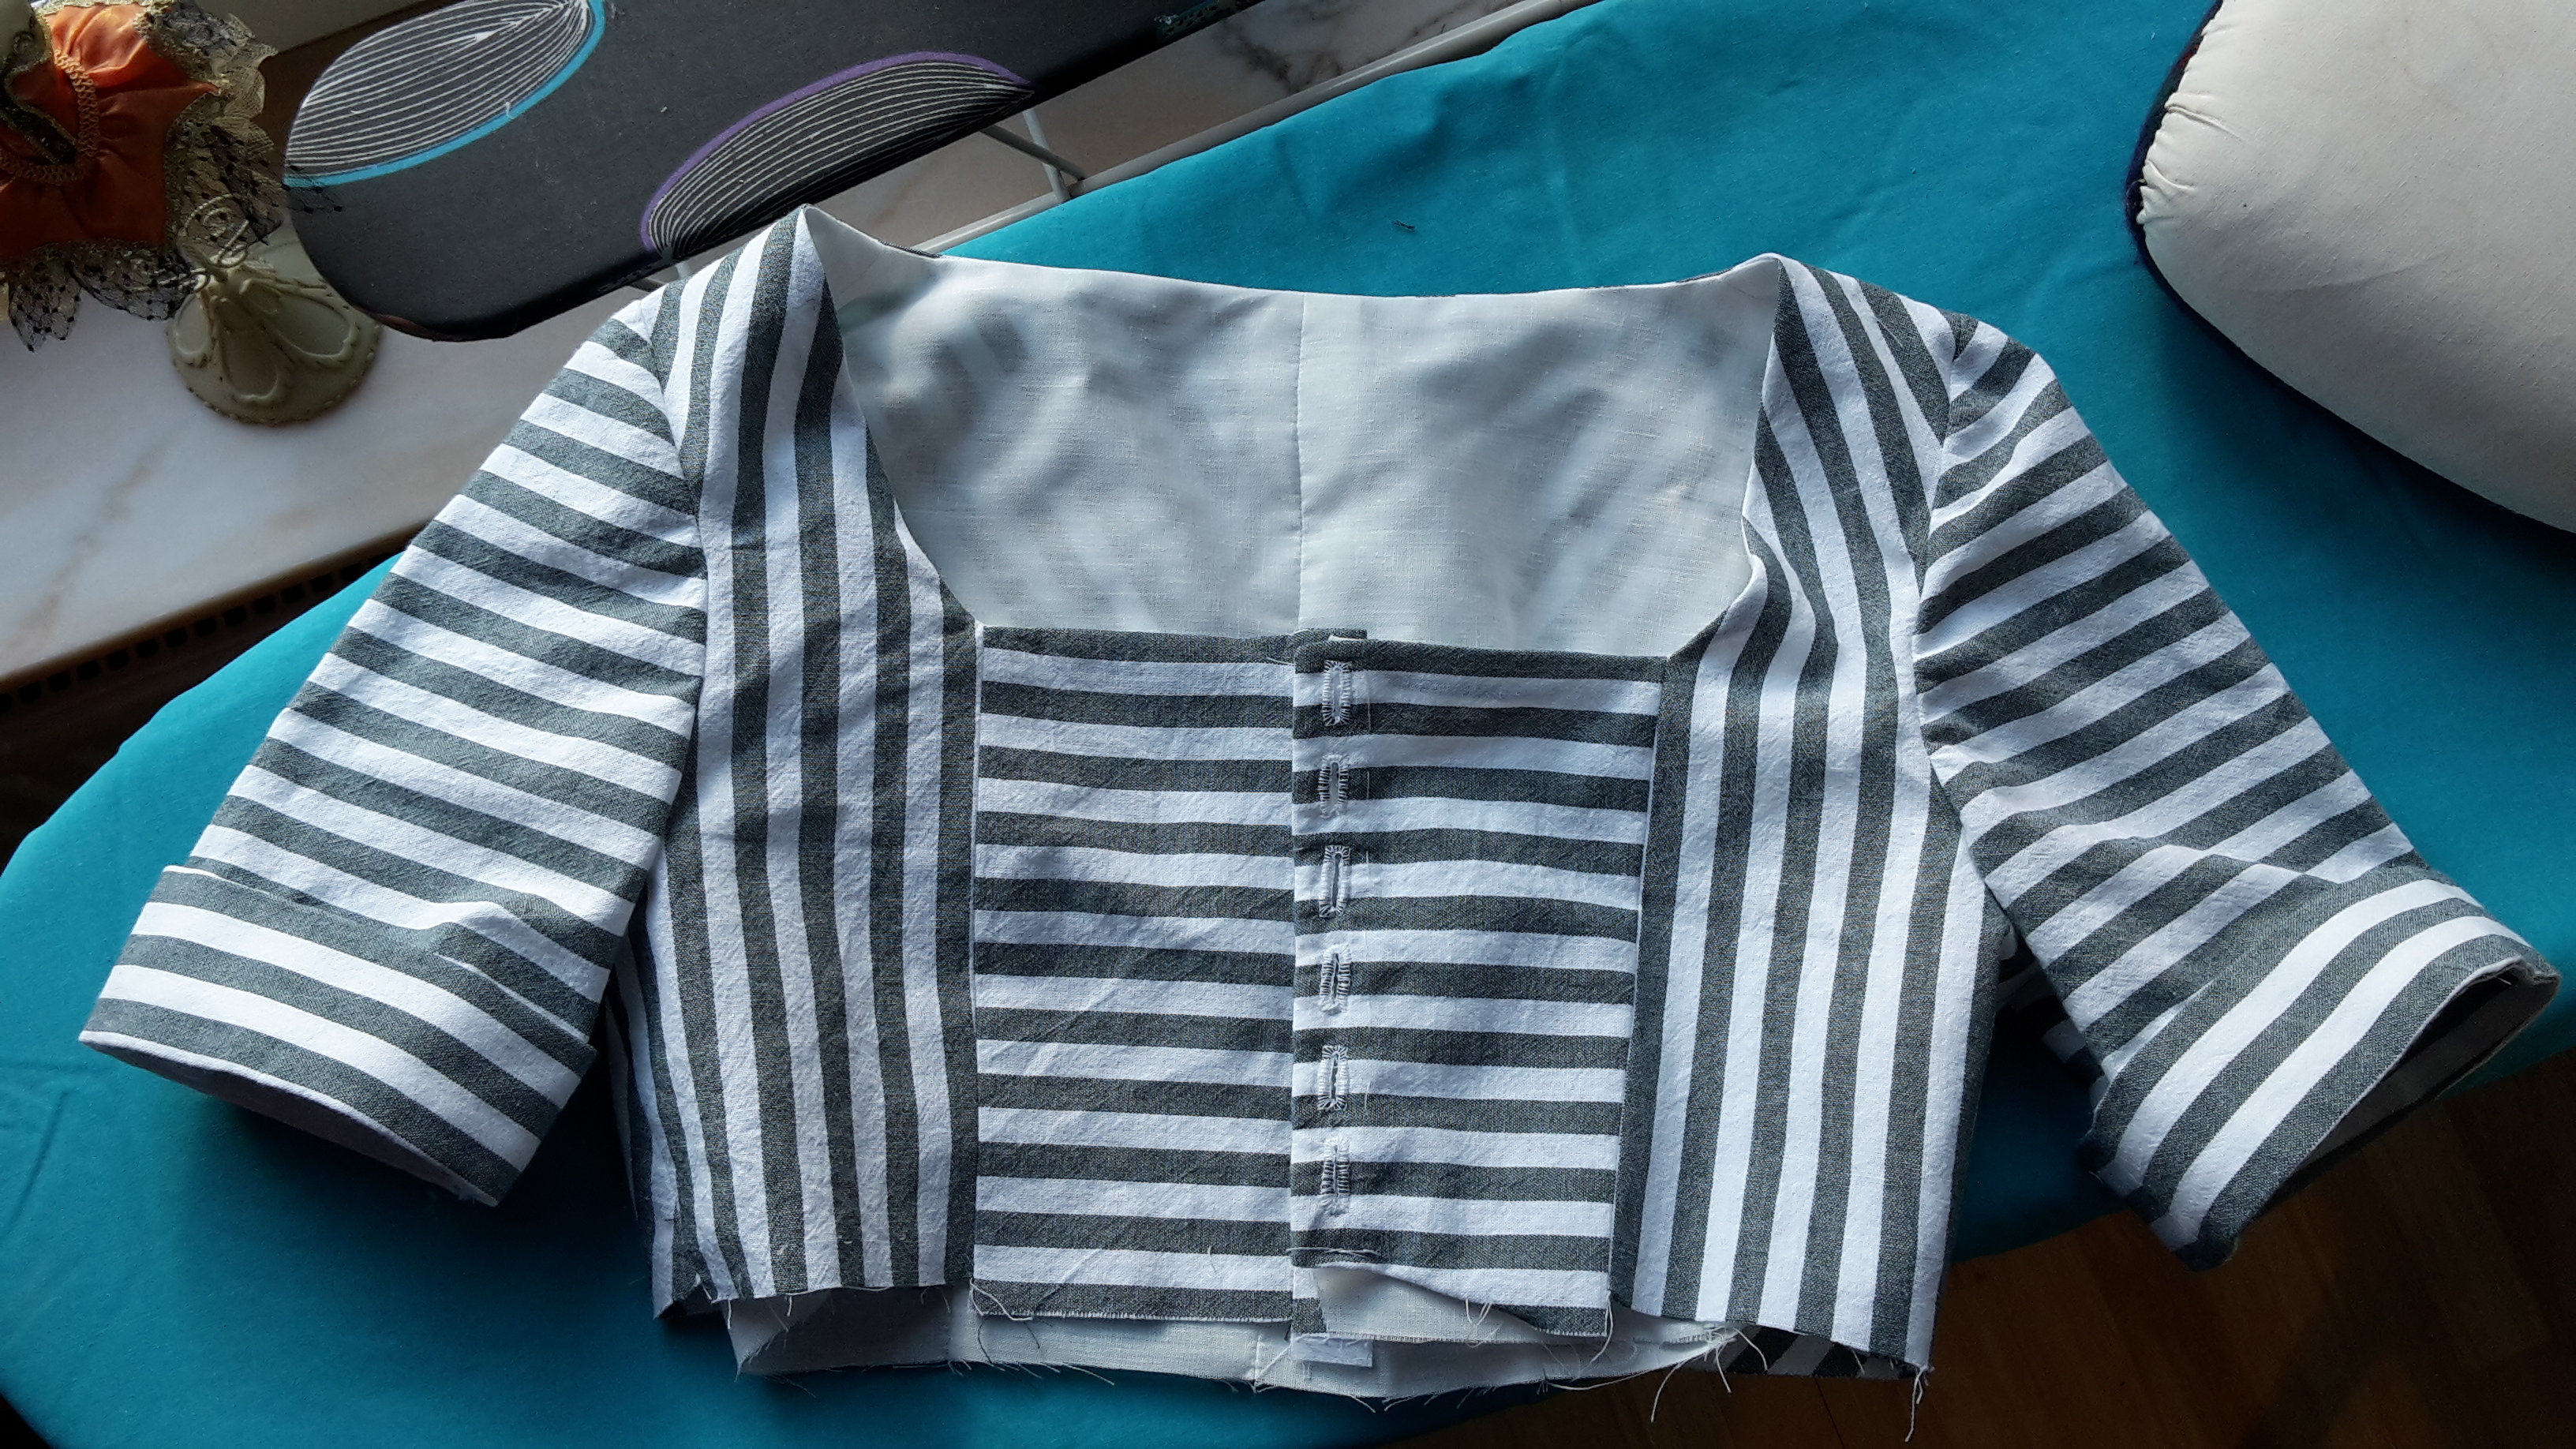
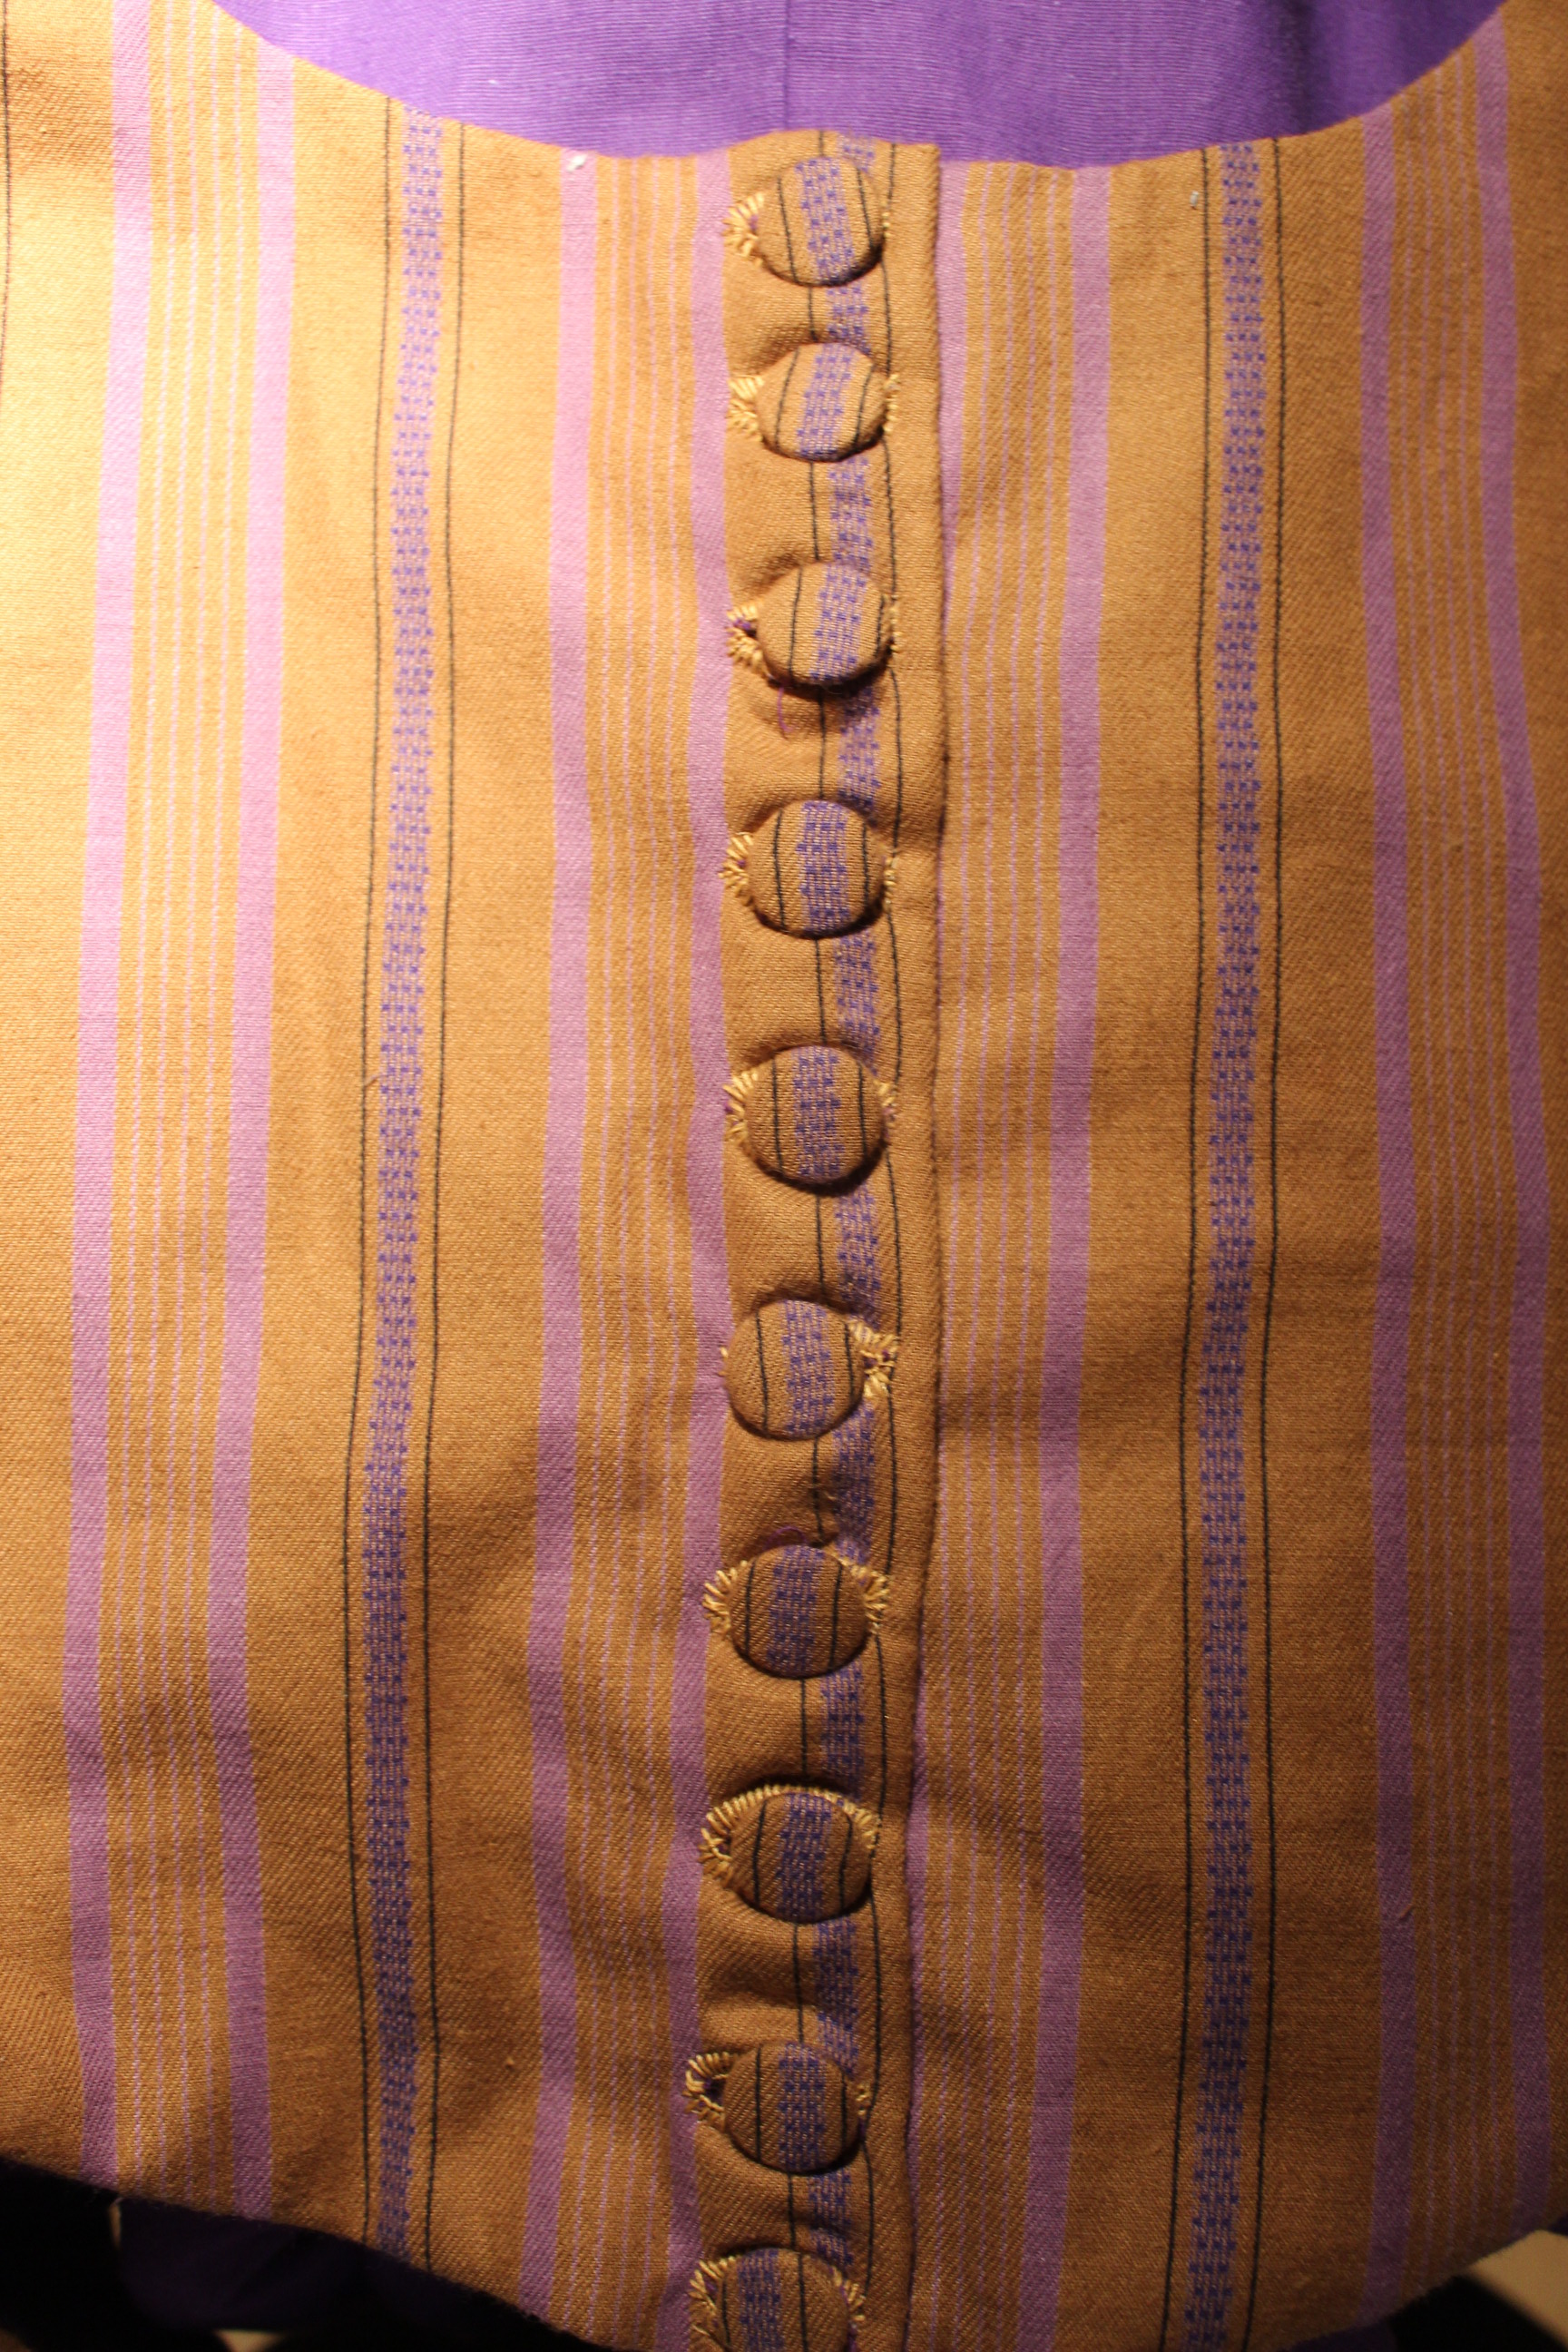
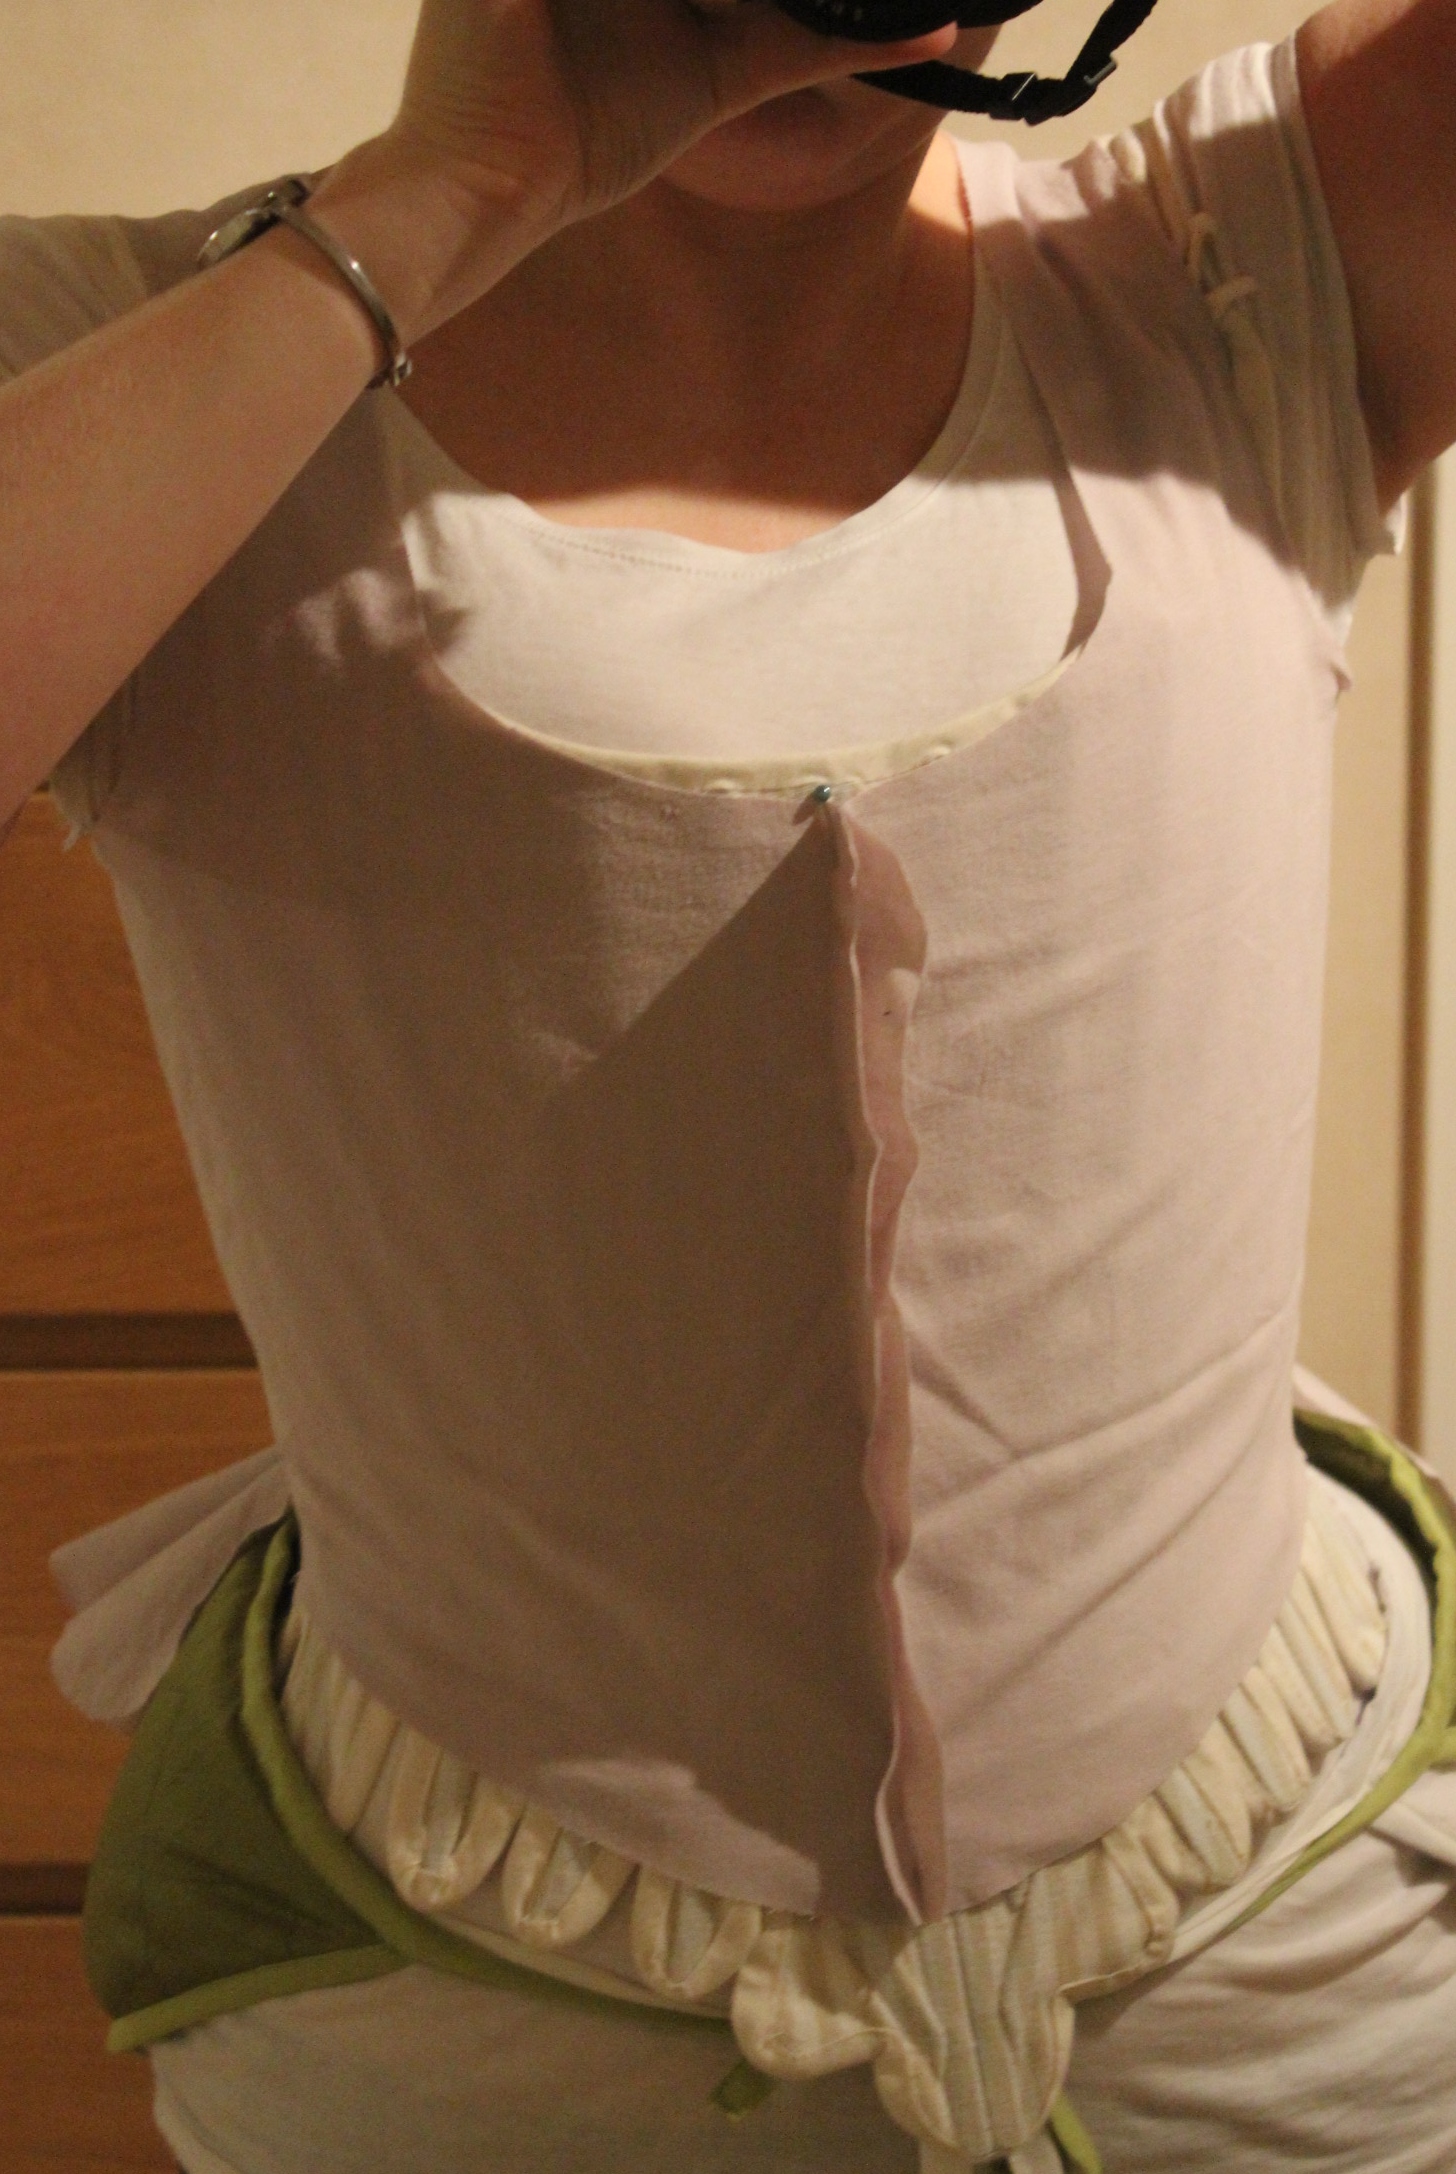
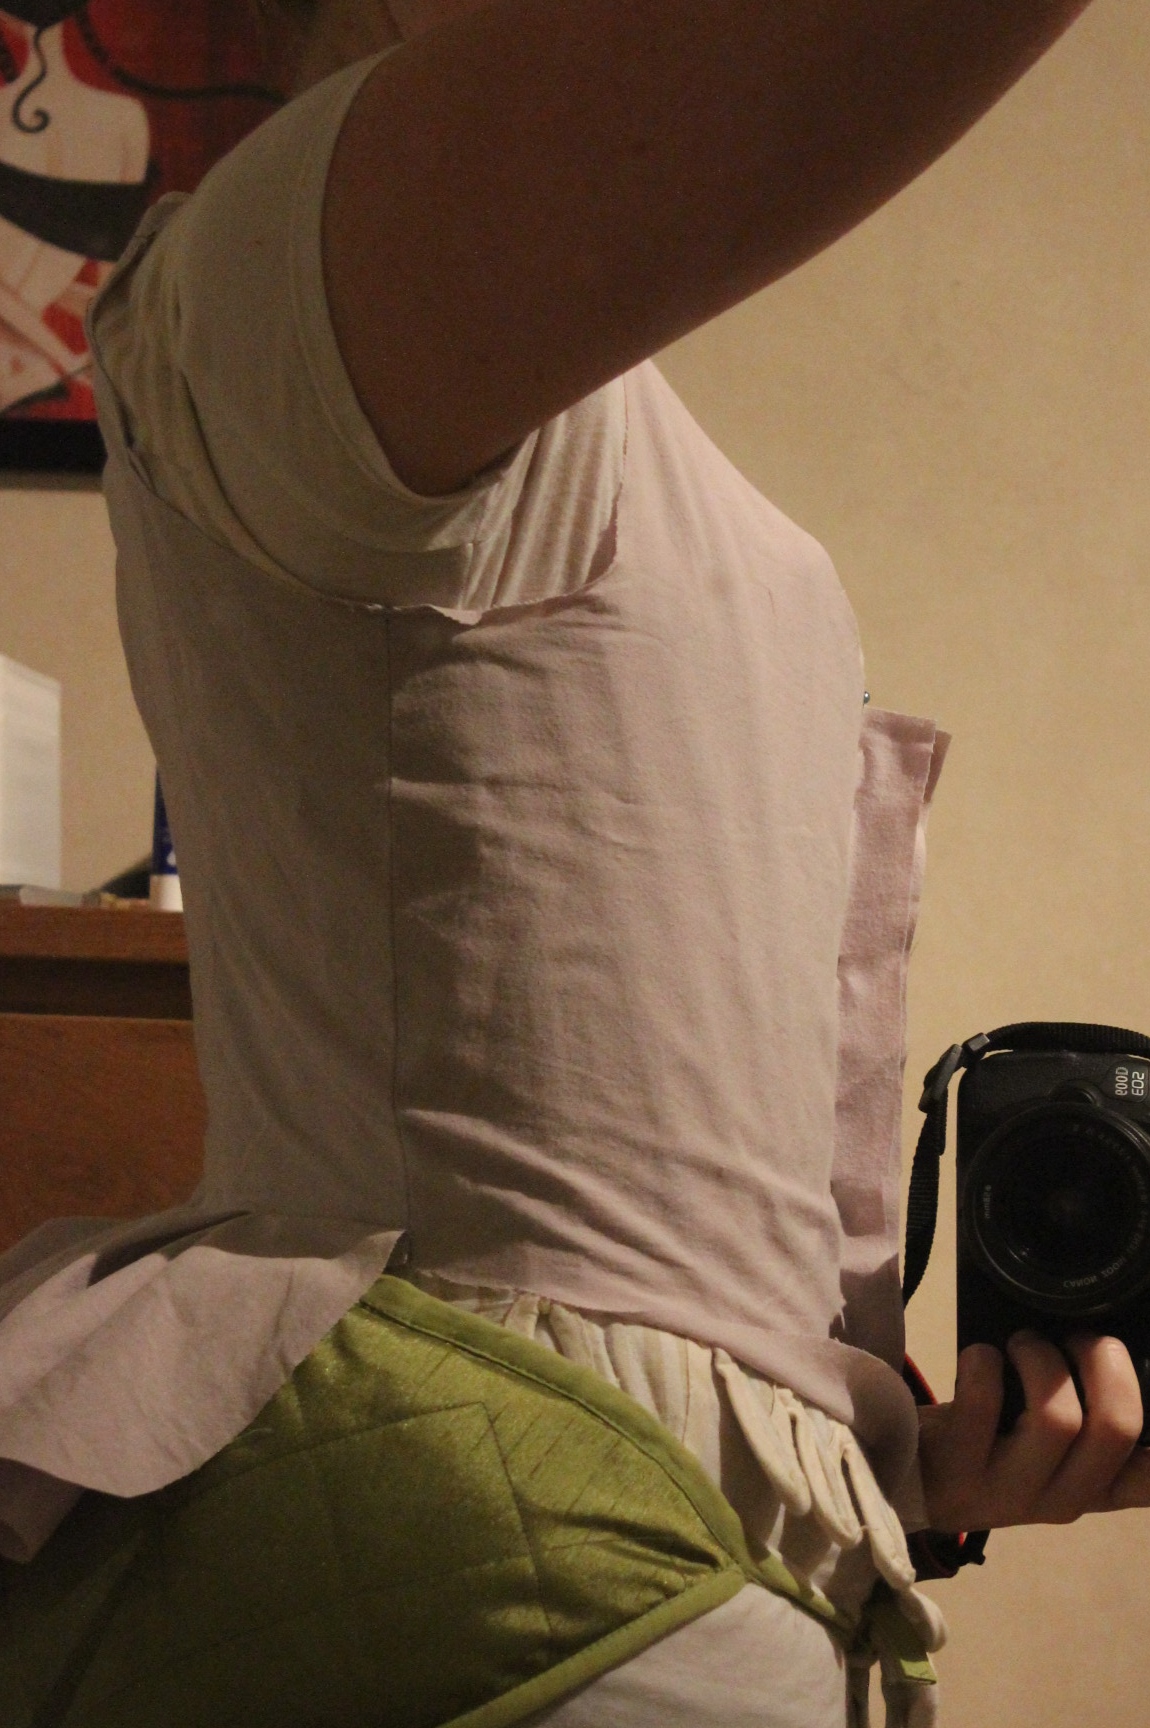
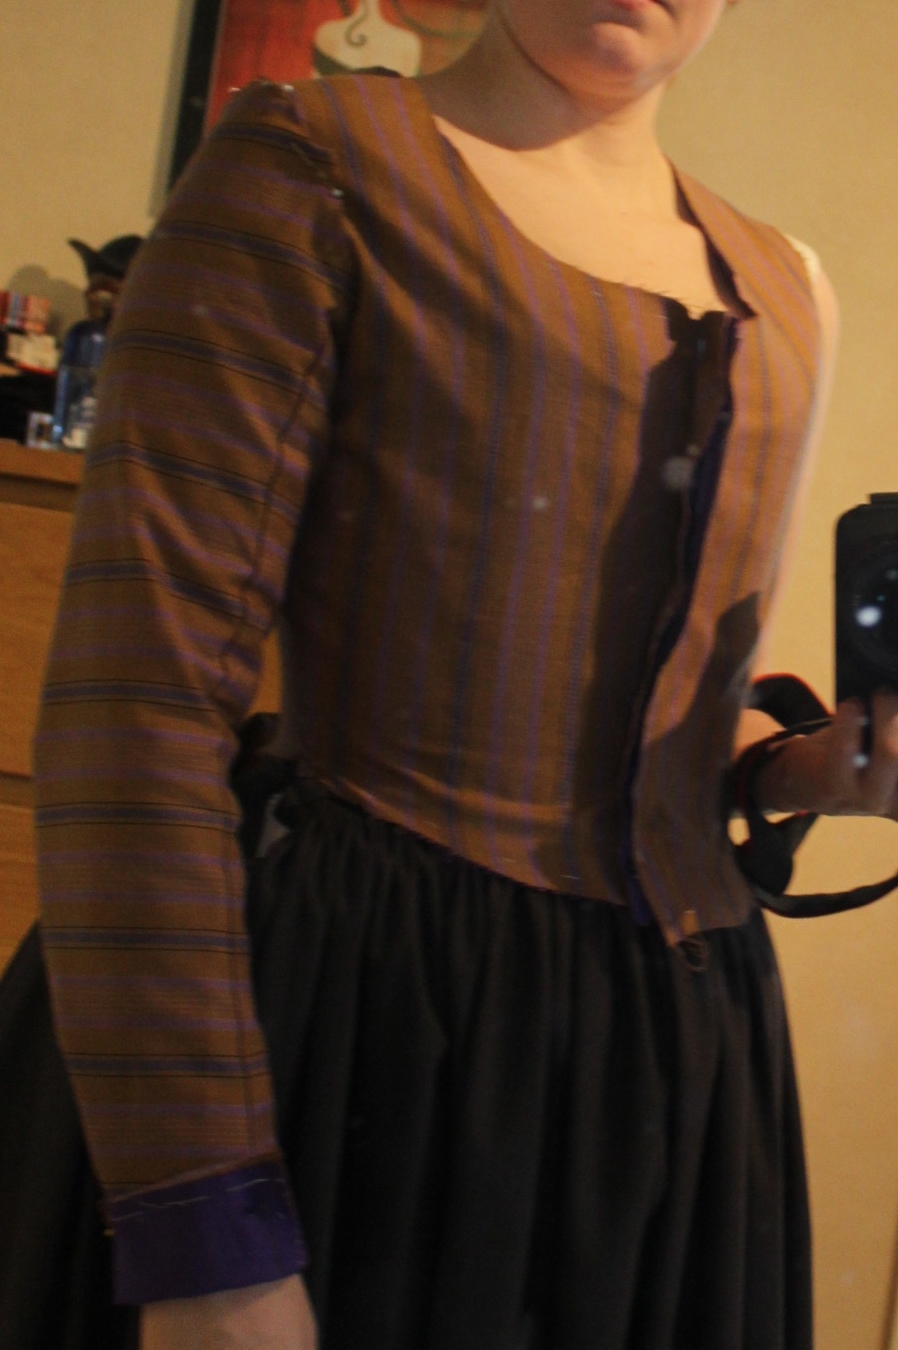
 (Spoiler alert 1 . bodice mock-up)
 I also used some leftover linen for interlining and a small piece of lightly brow wool

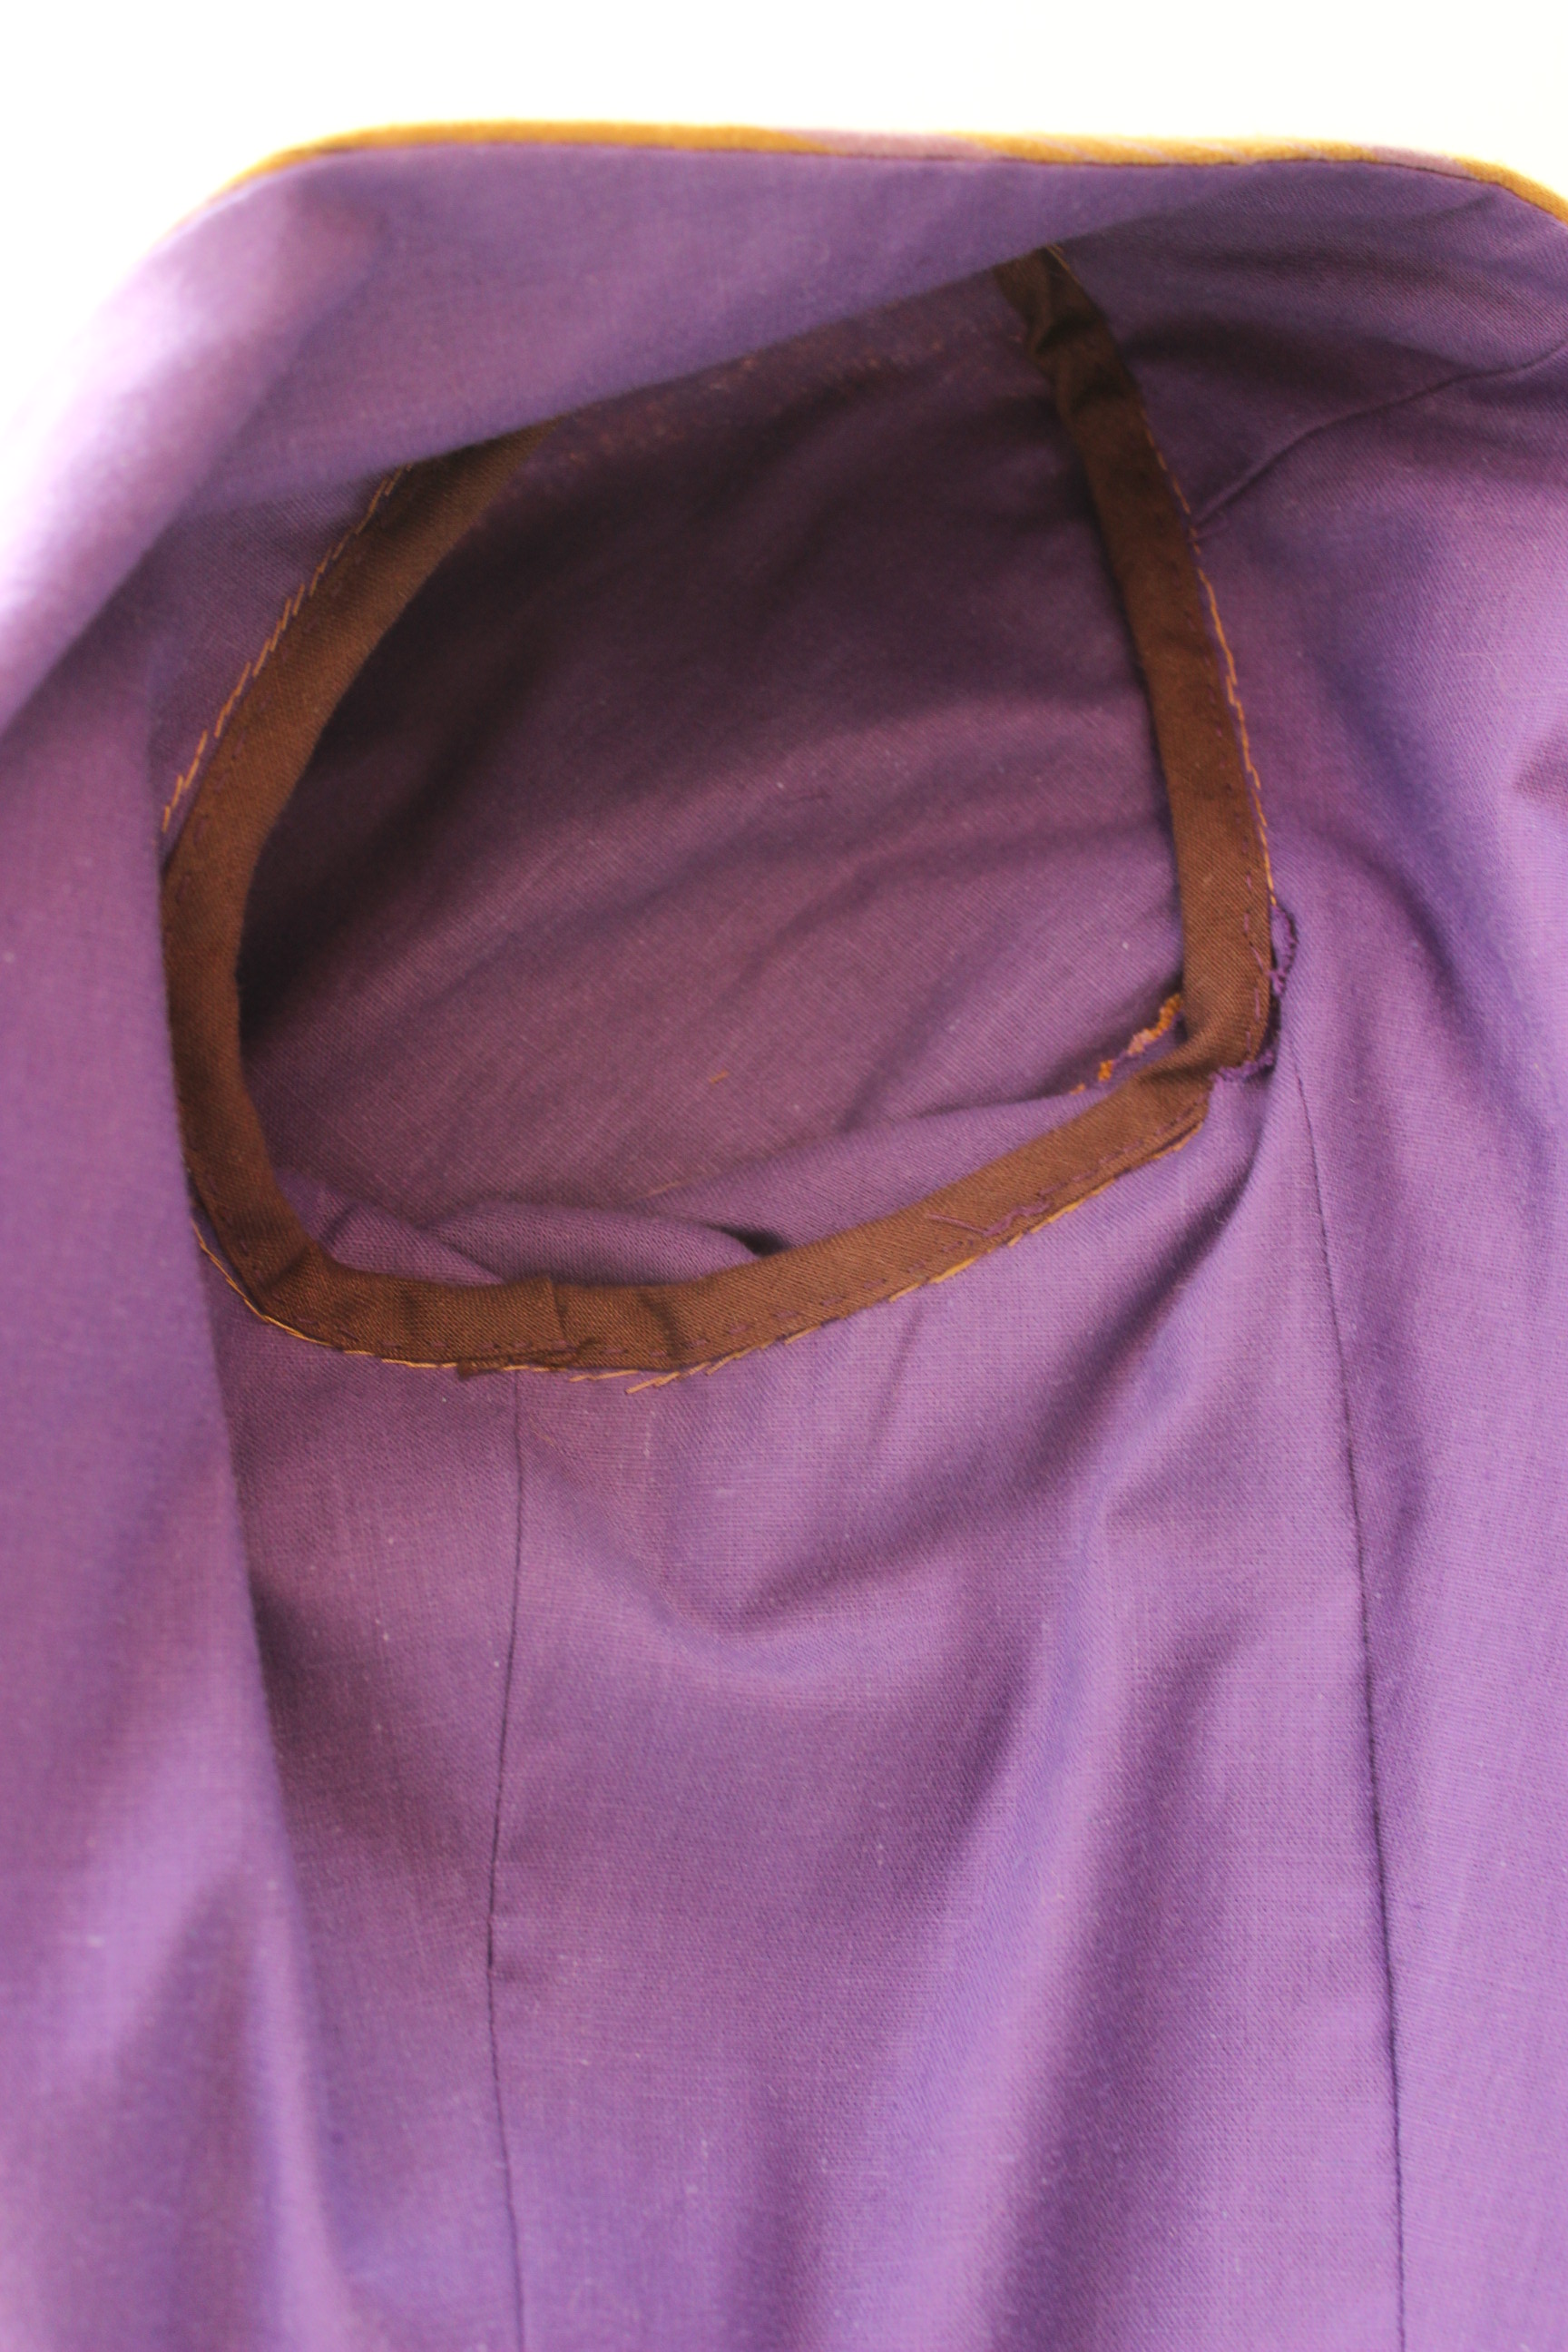
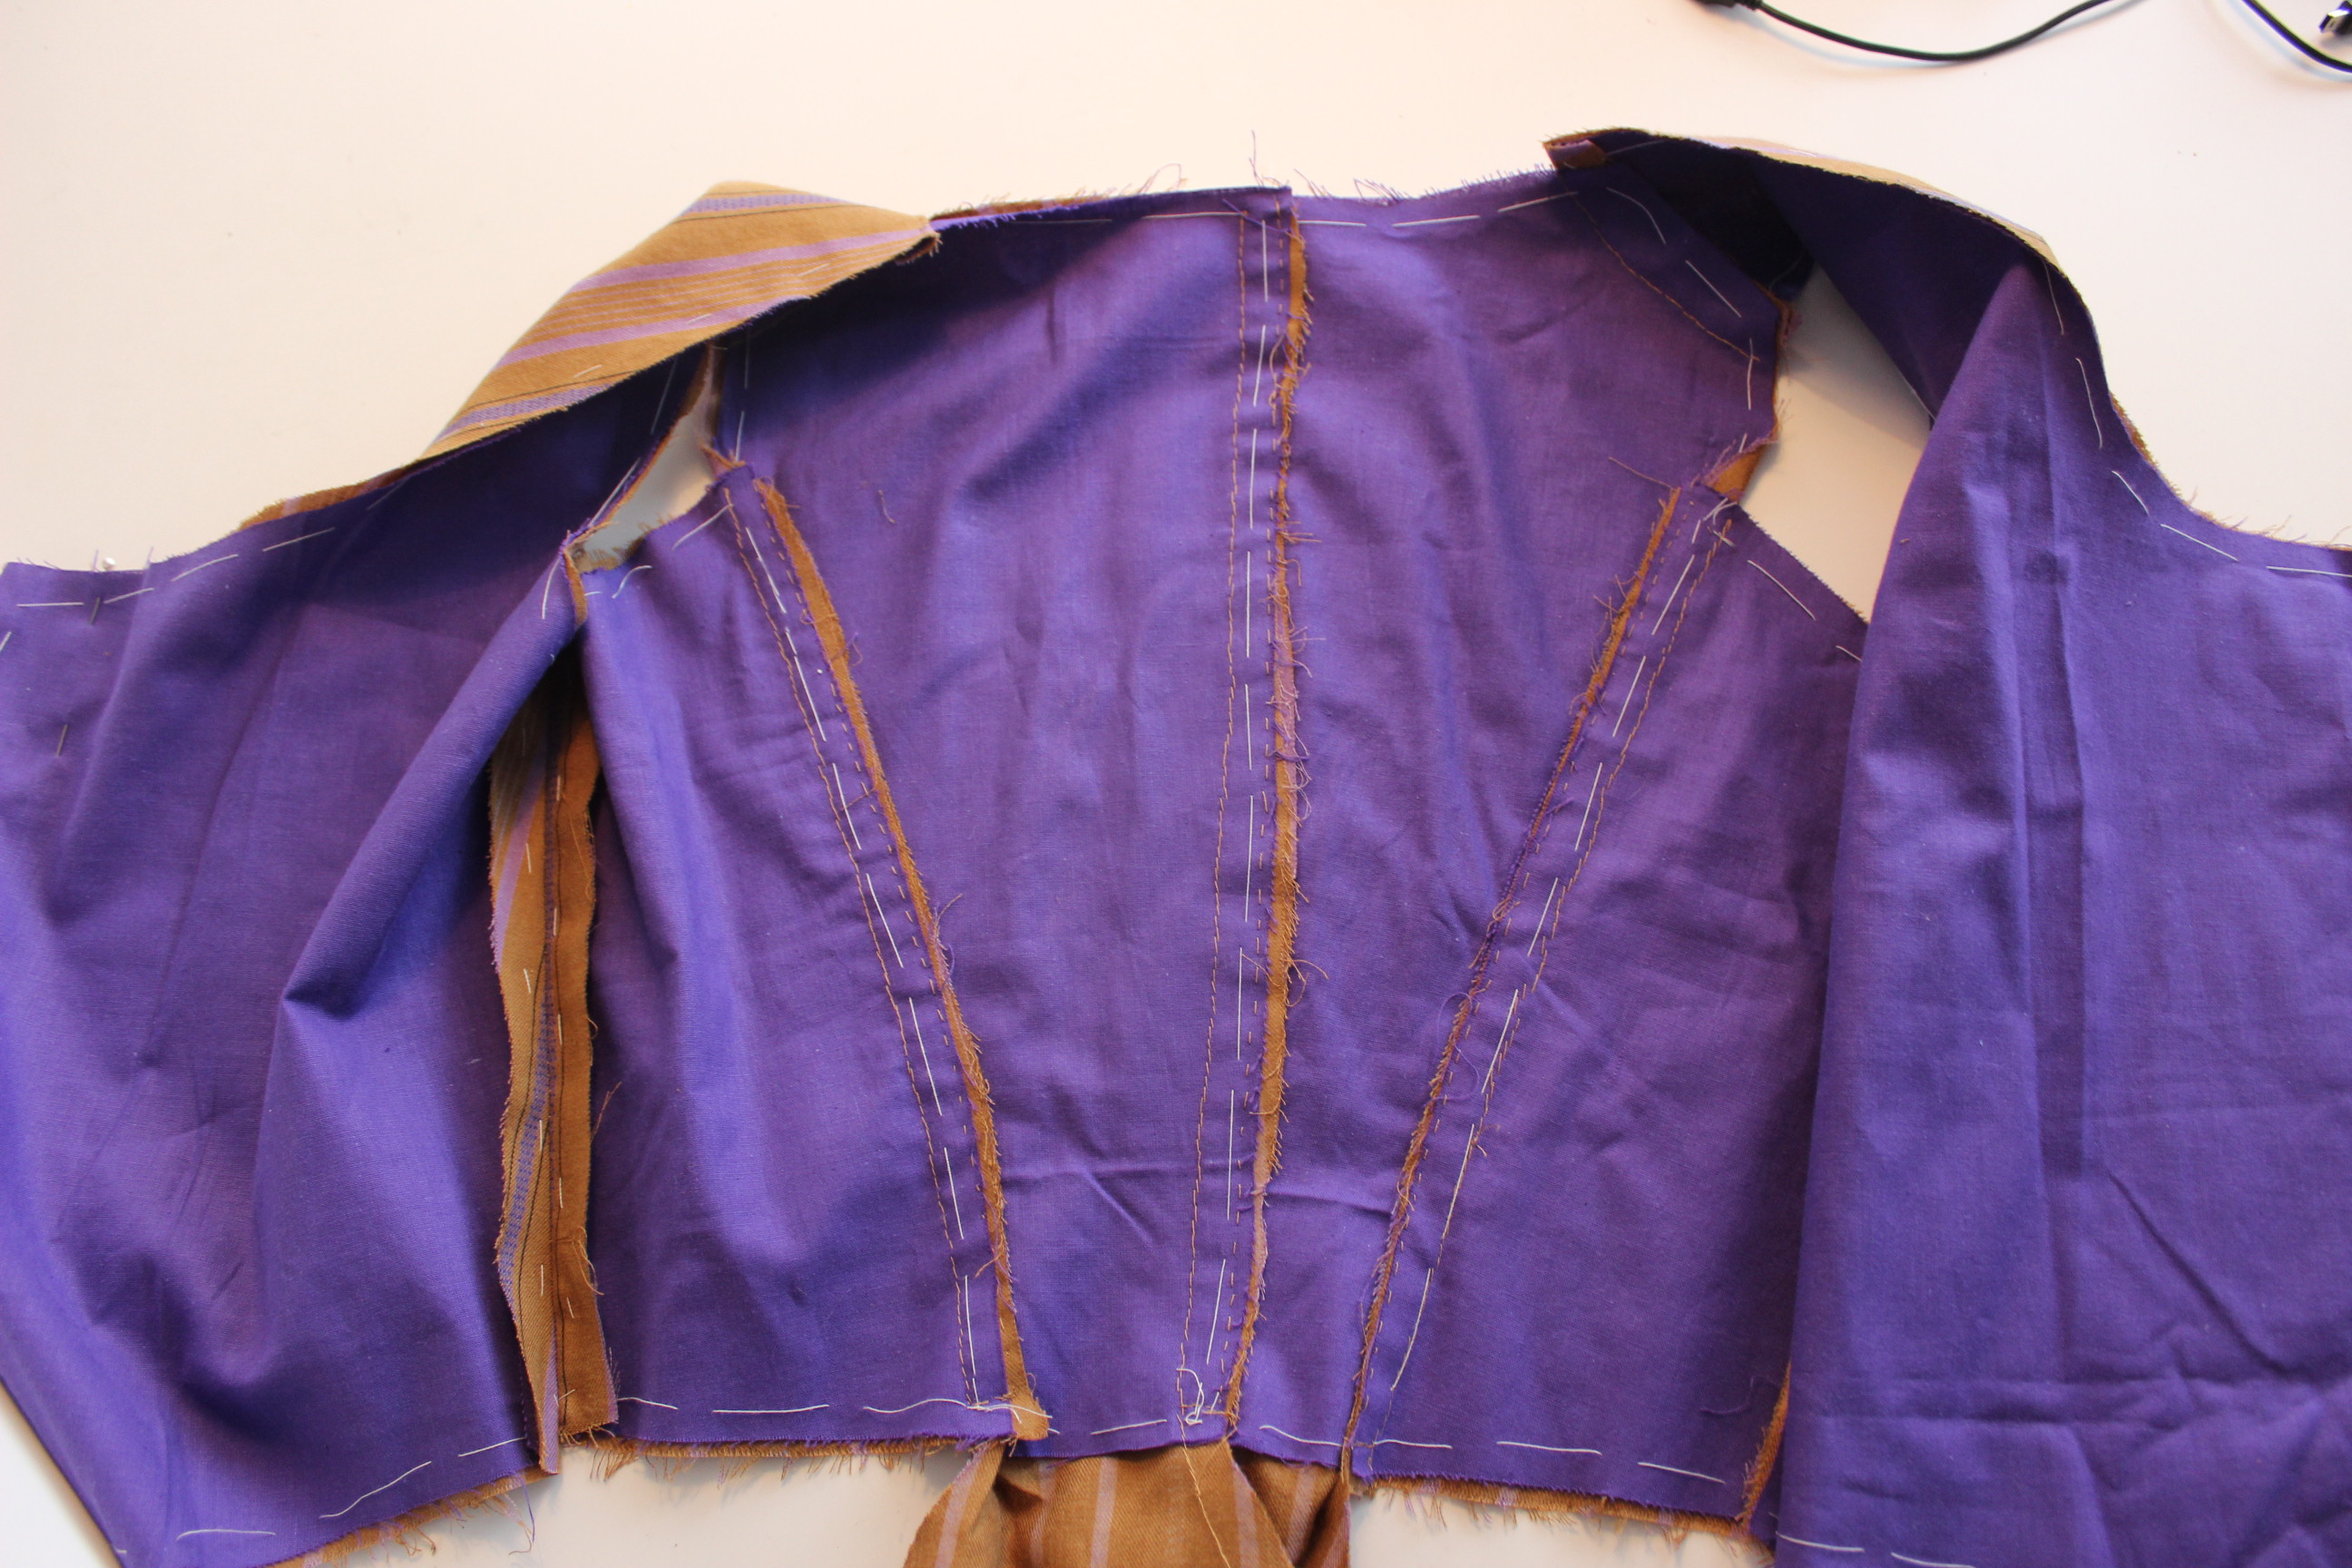
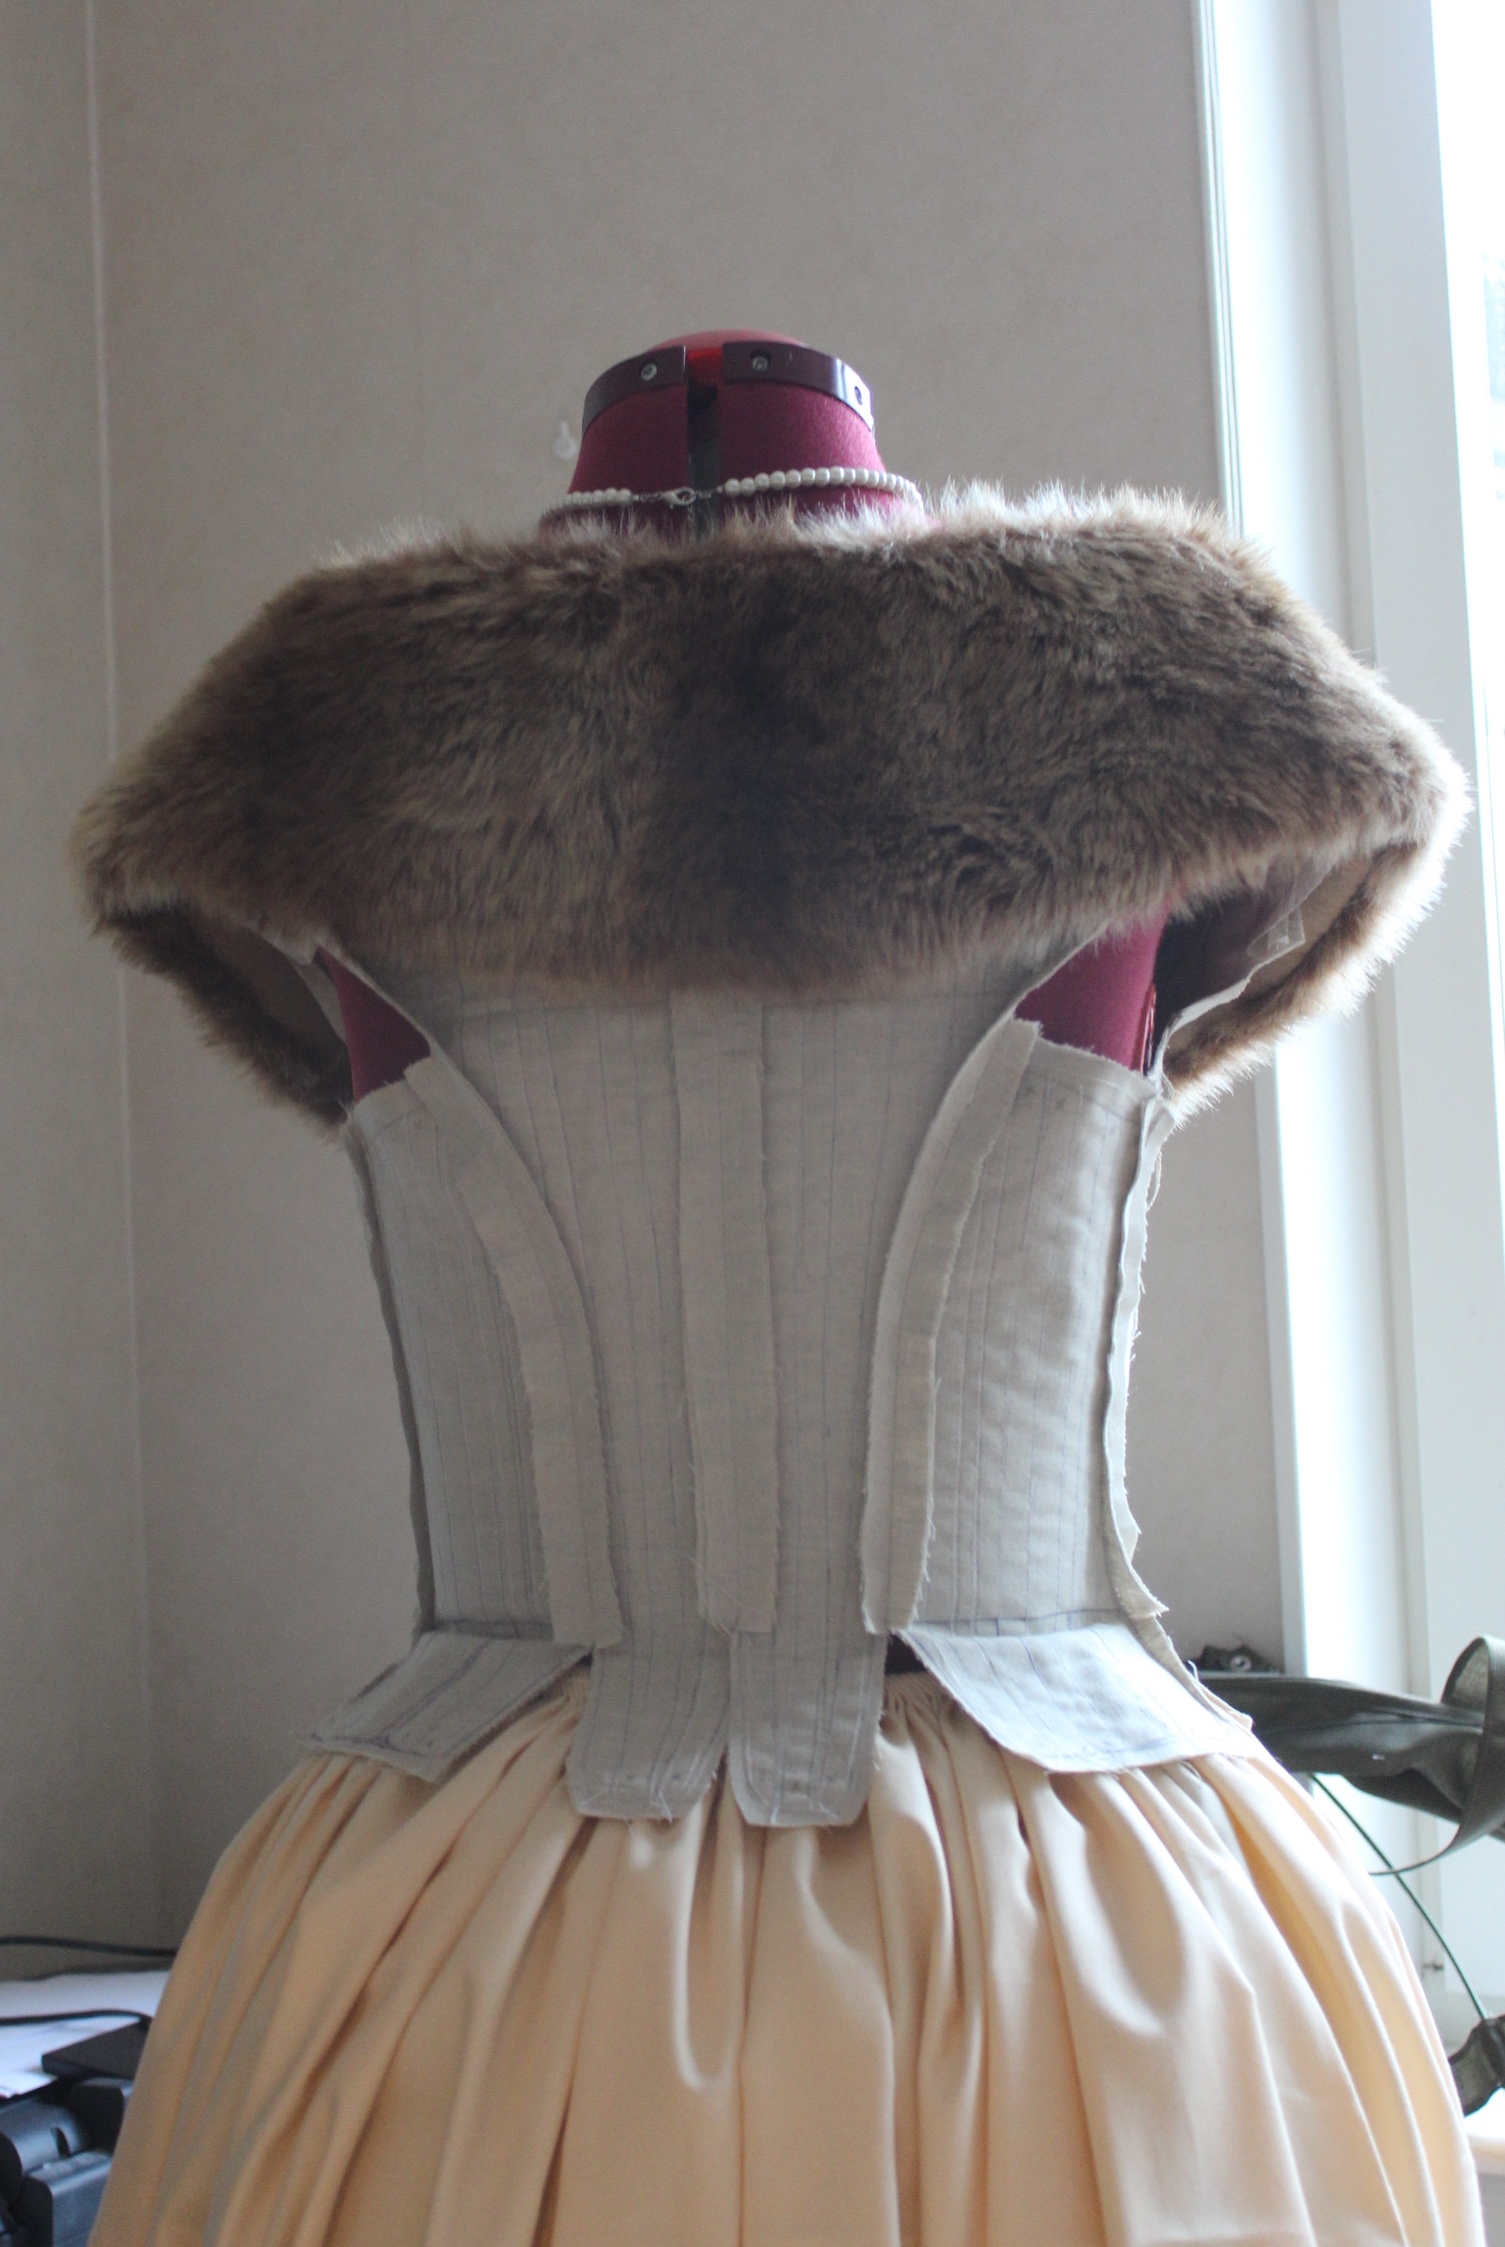 (Spoiler alert 2 – bodice foundation)
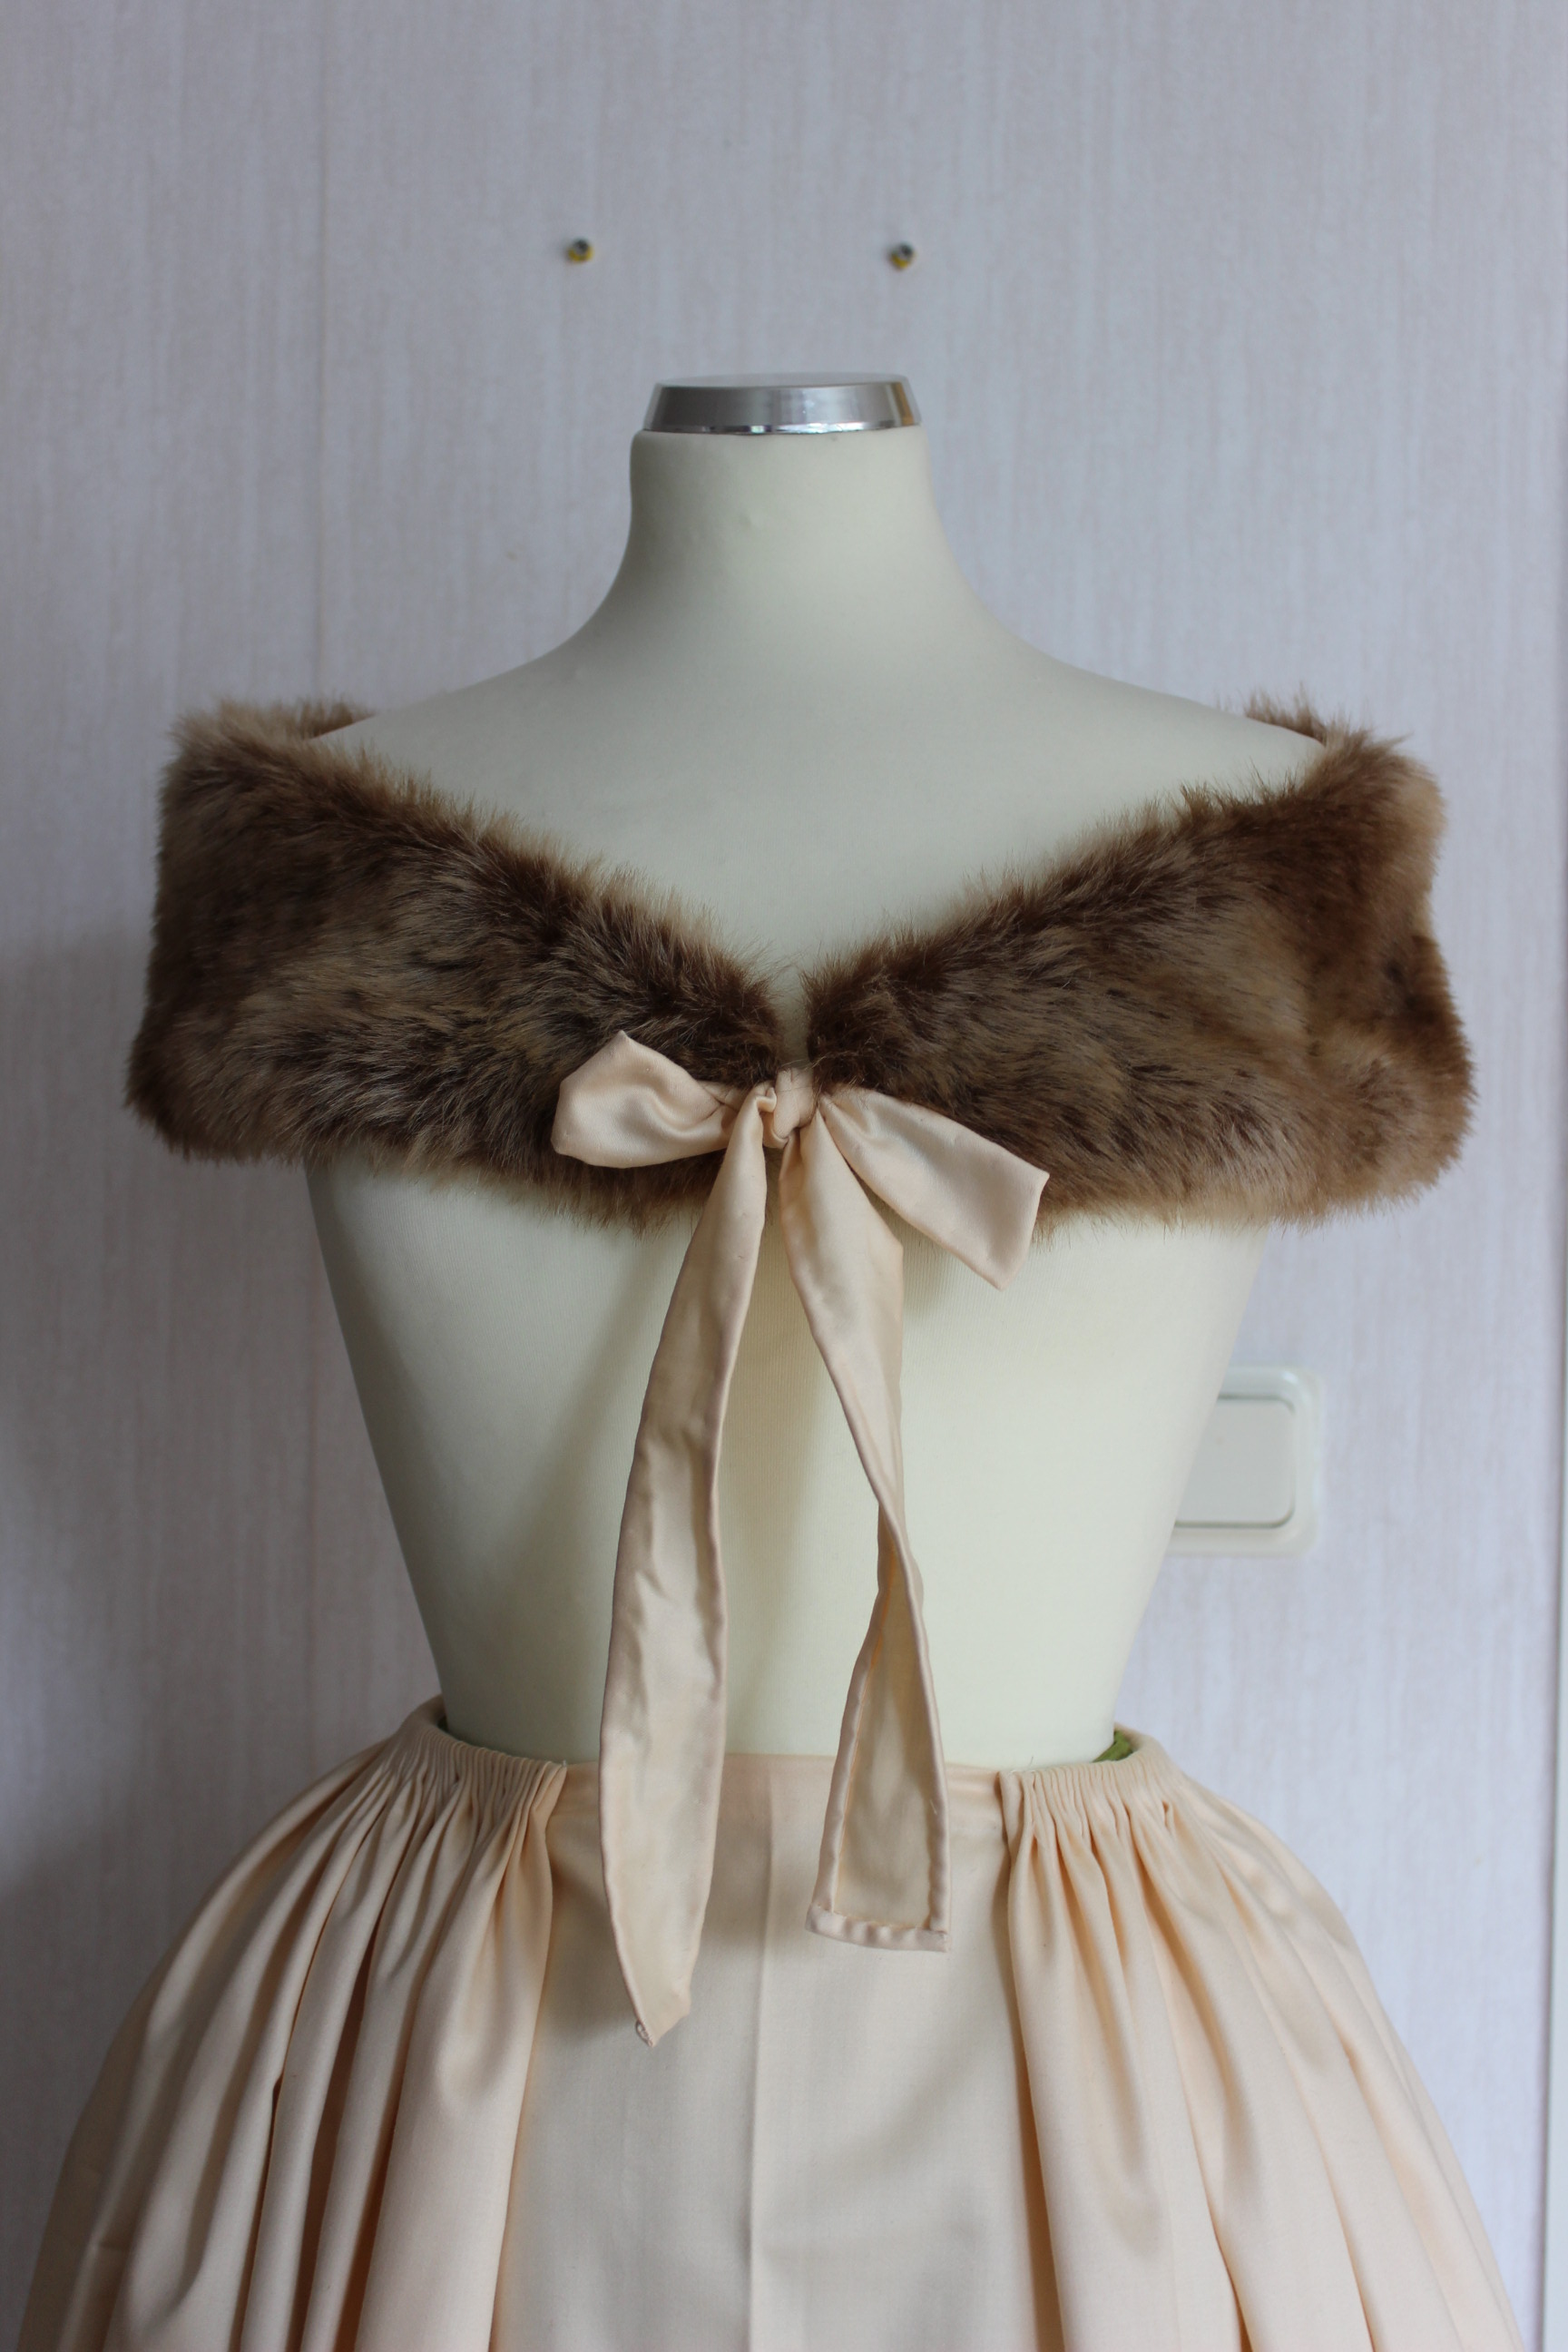


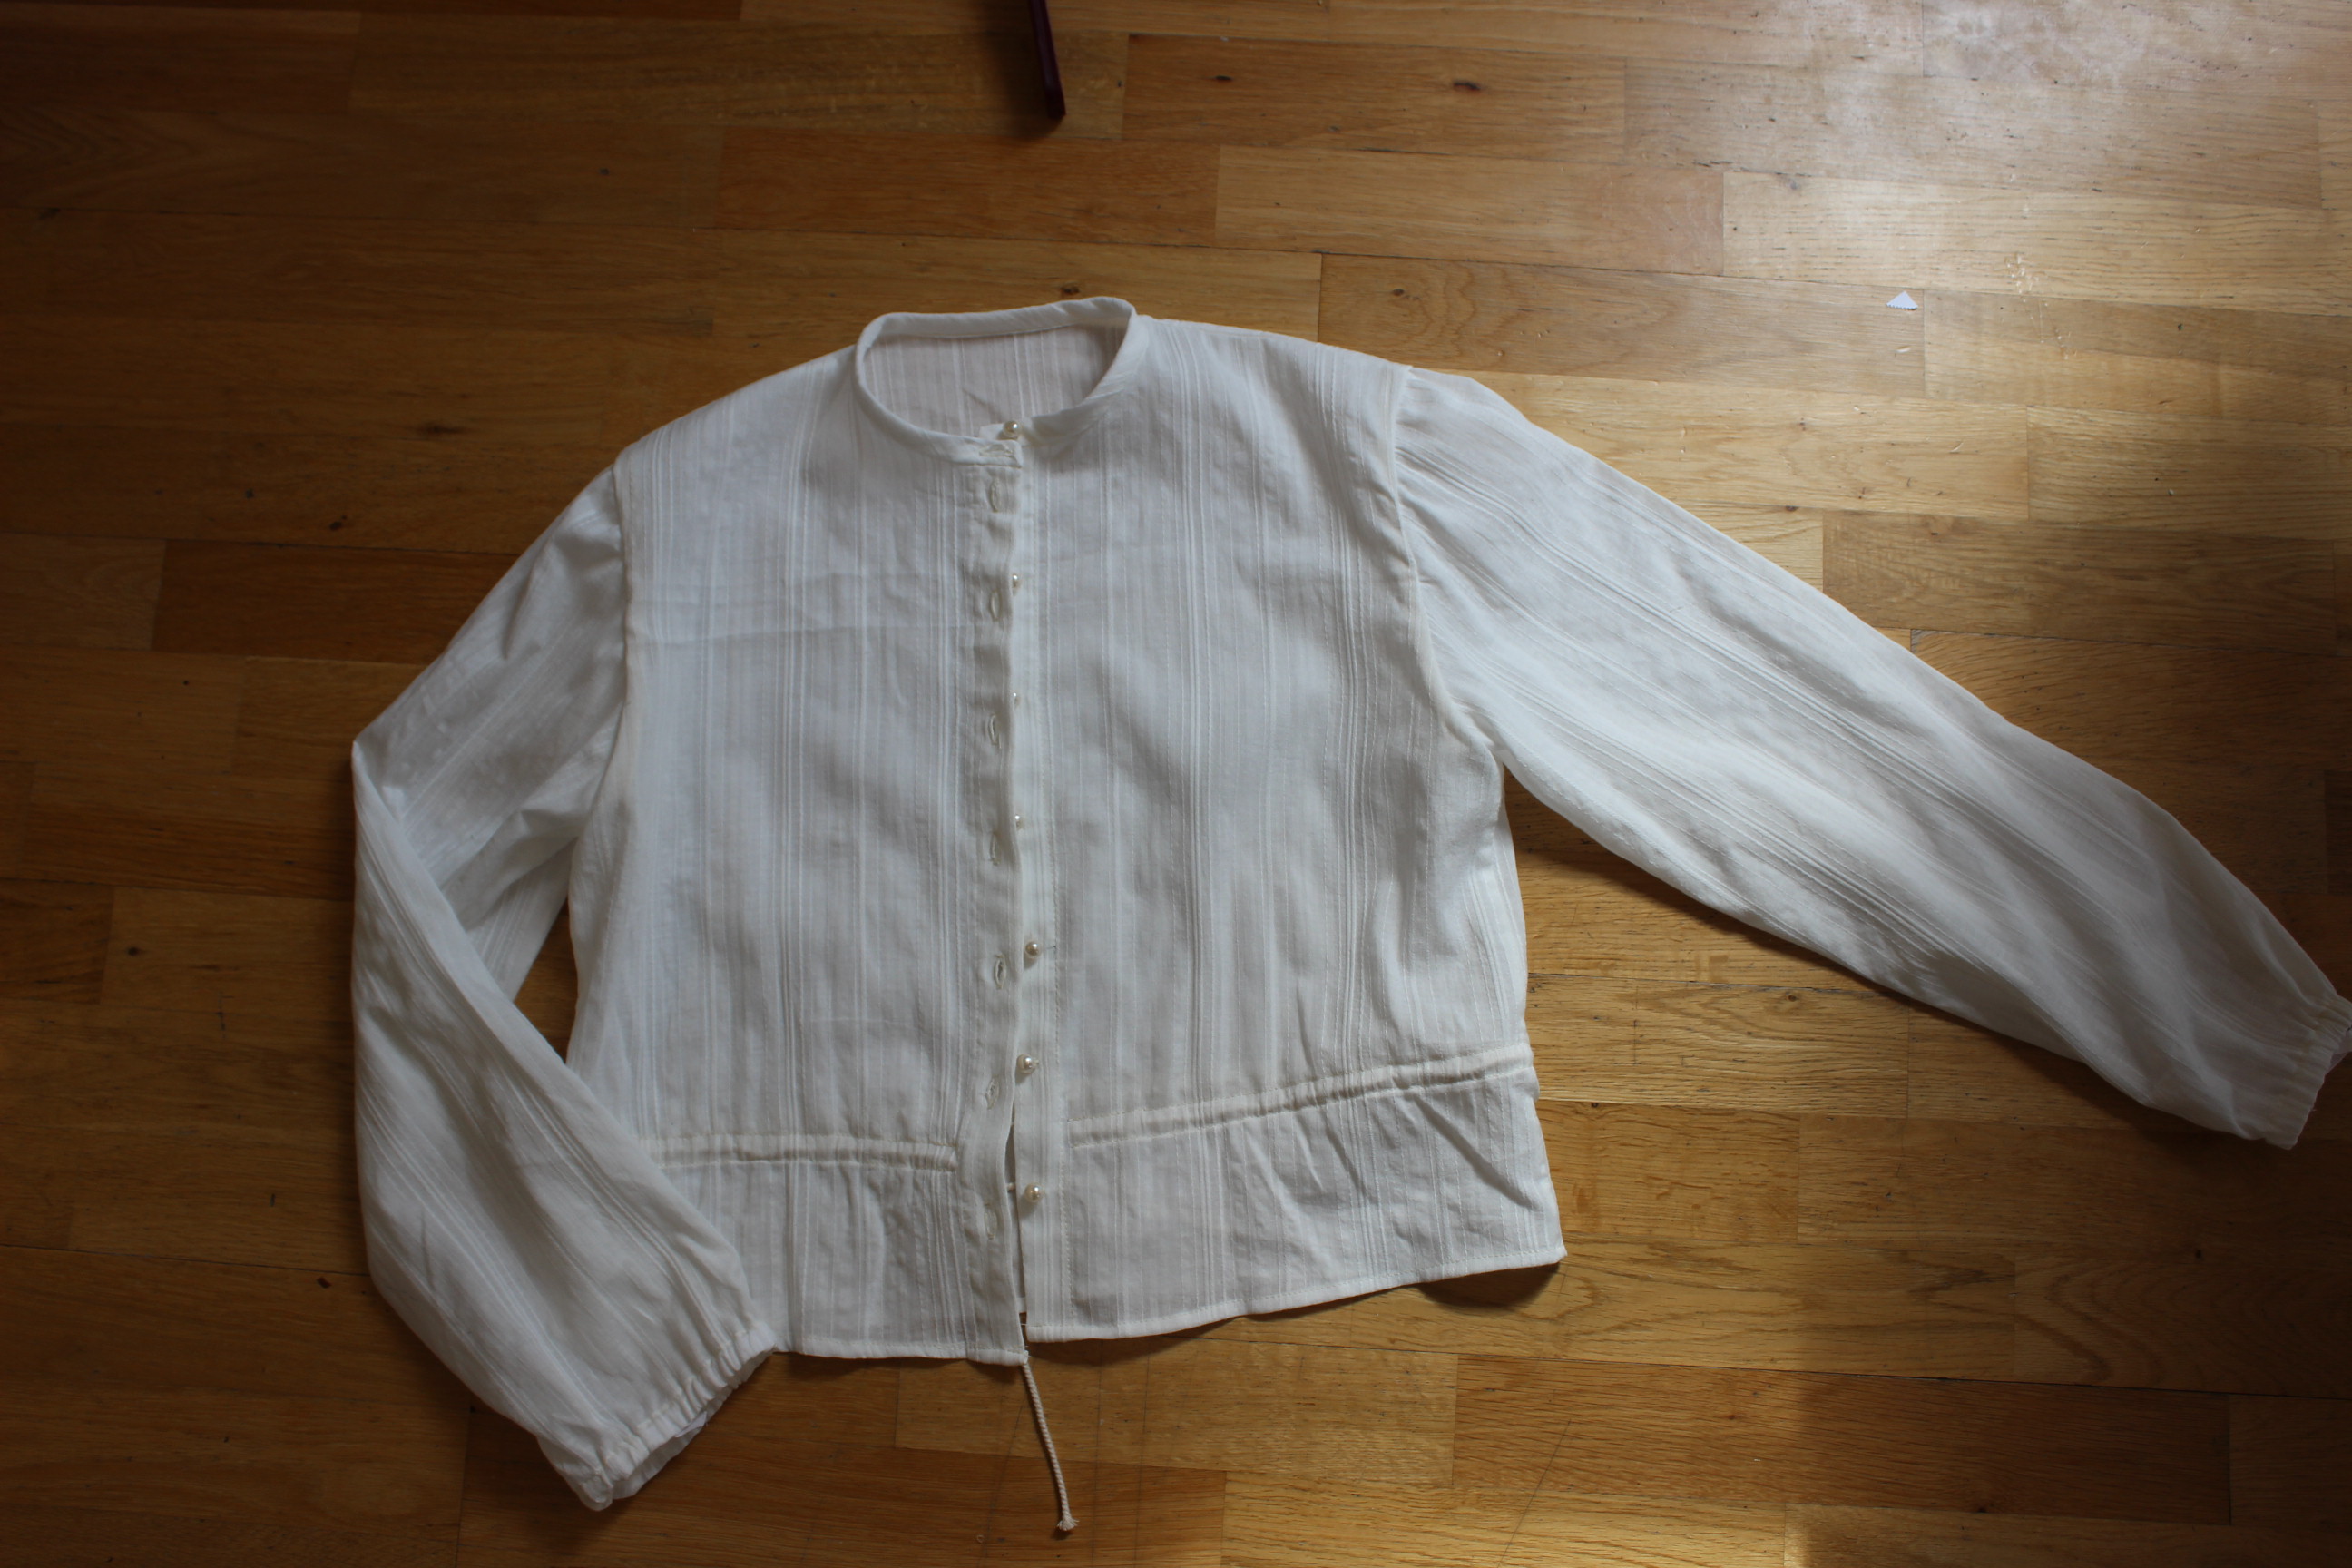
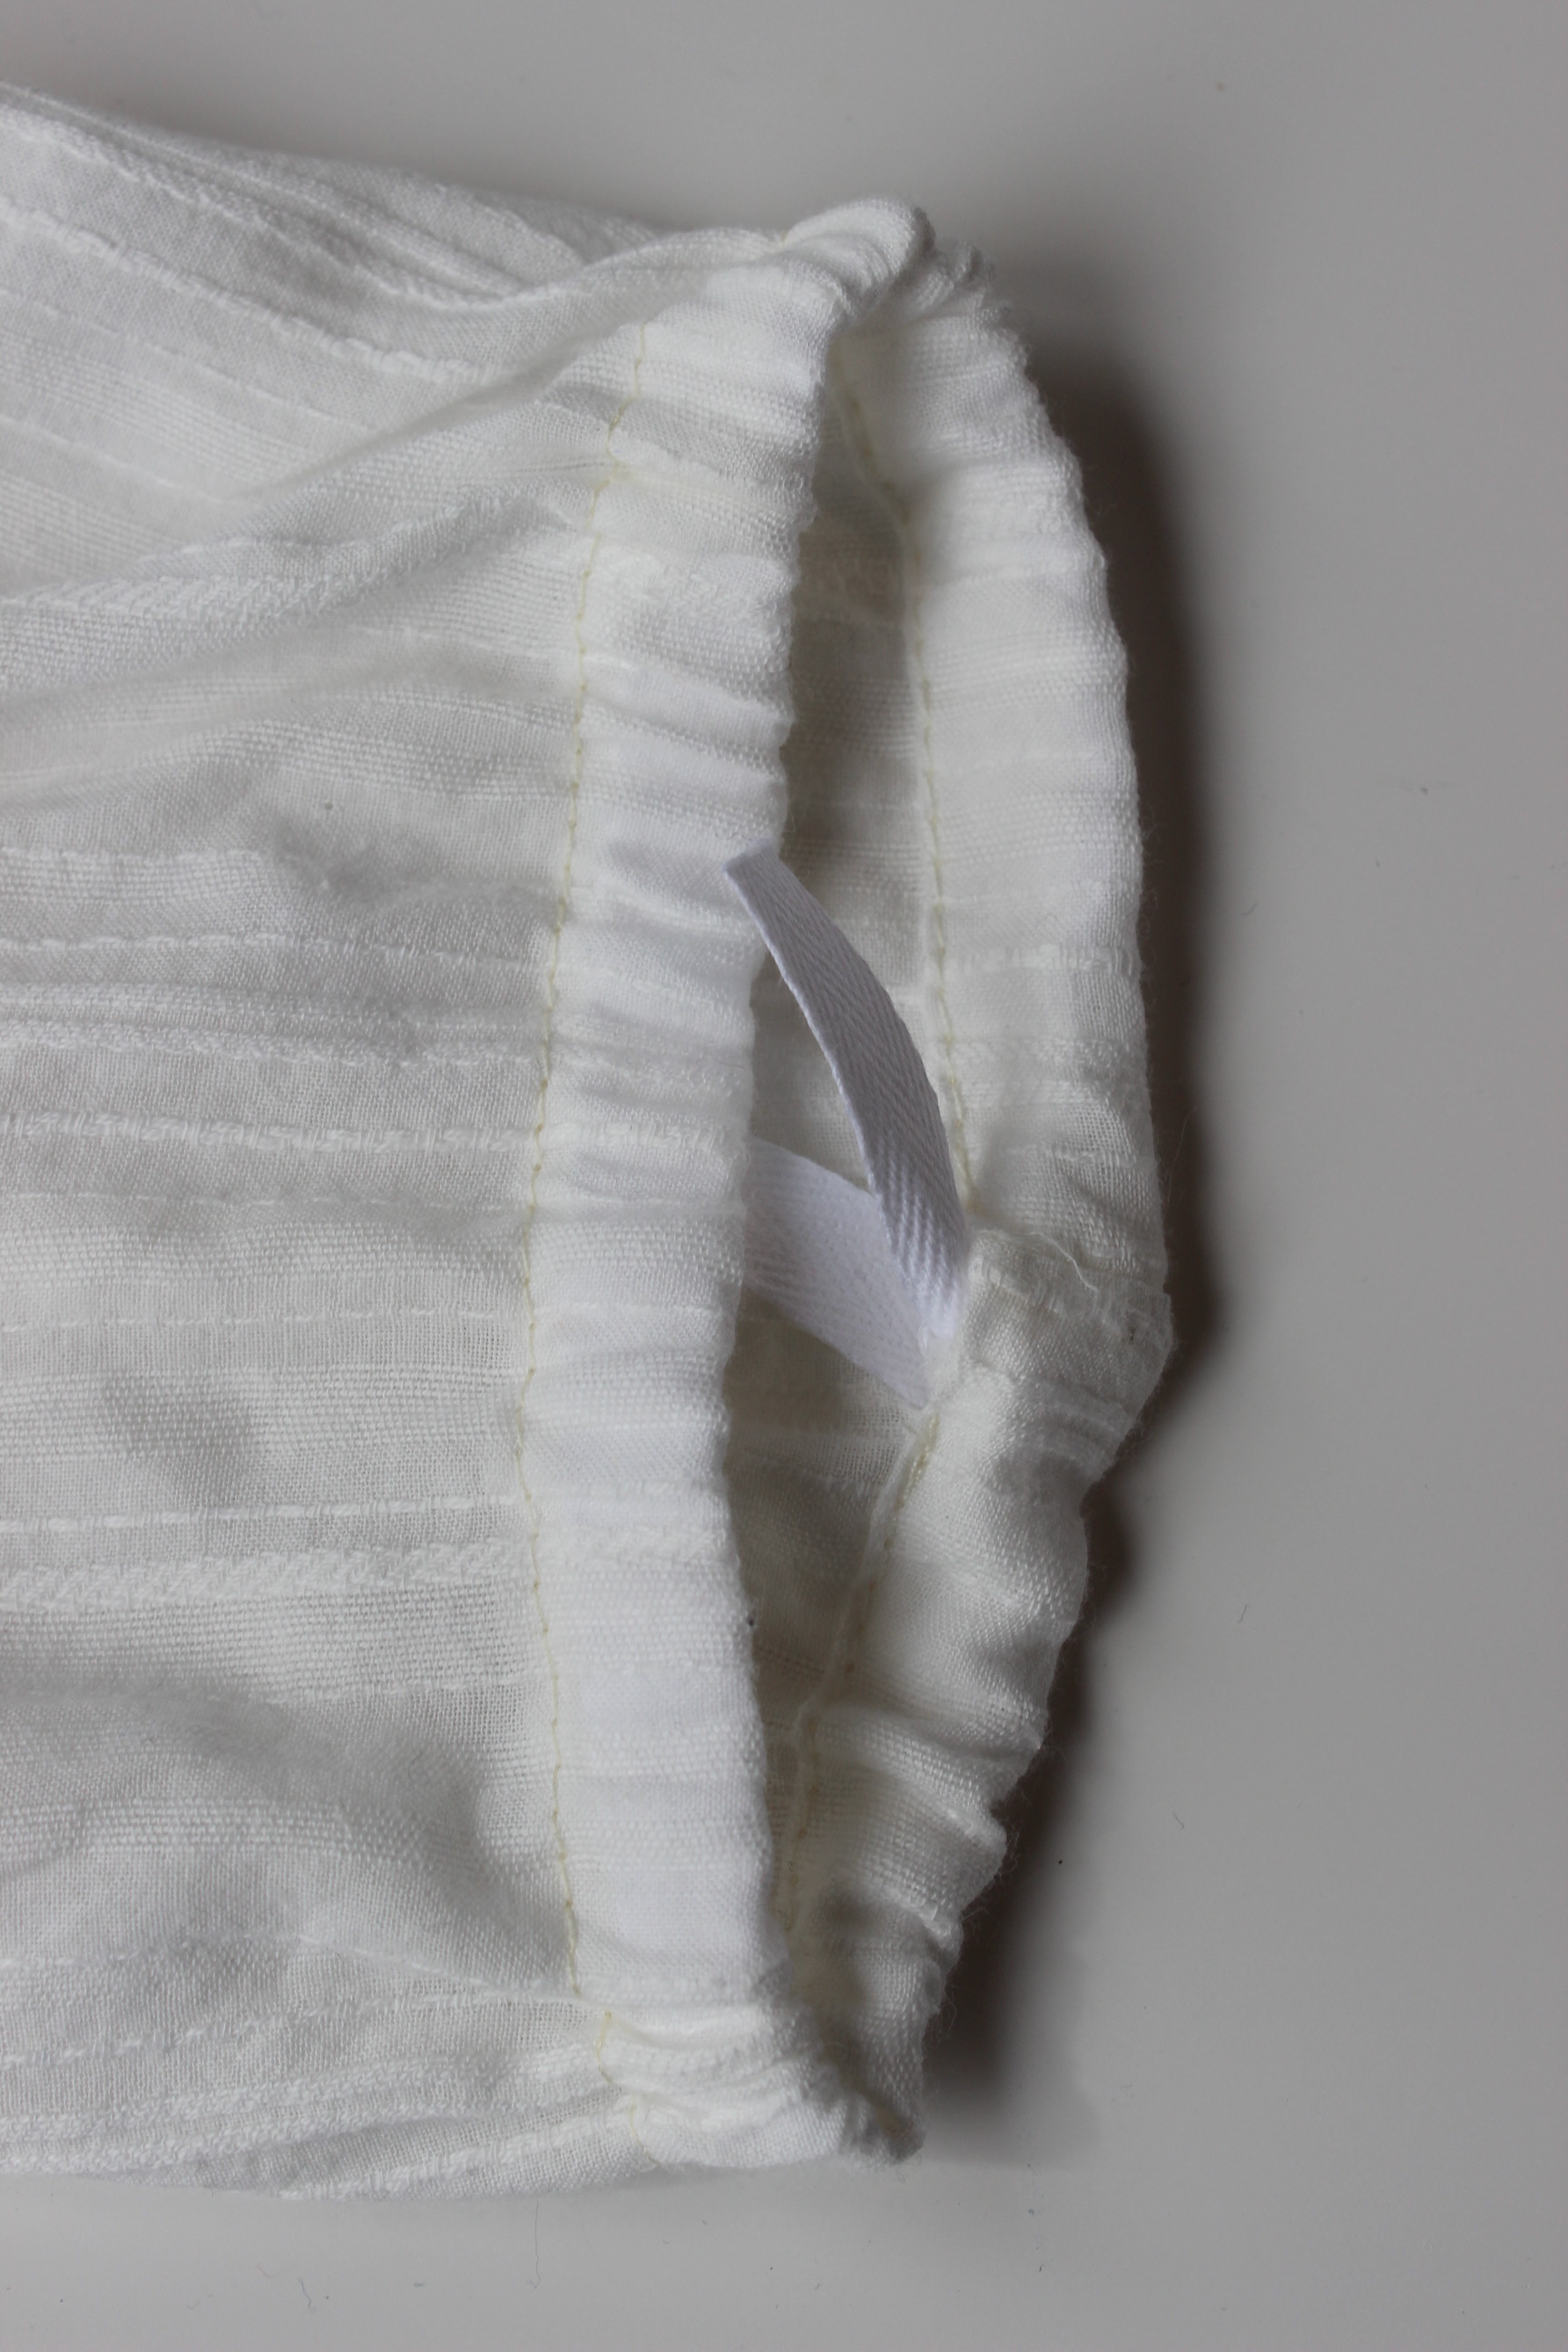
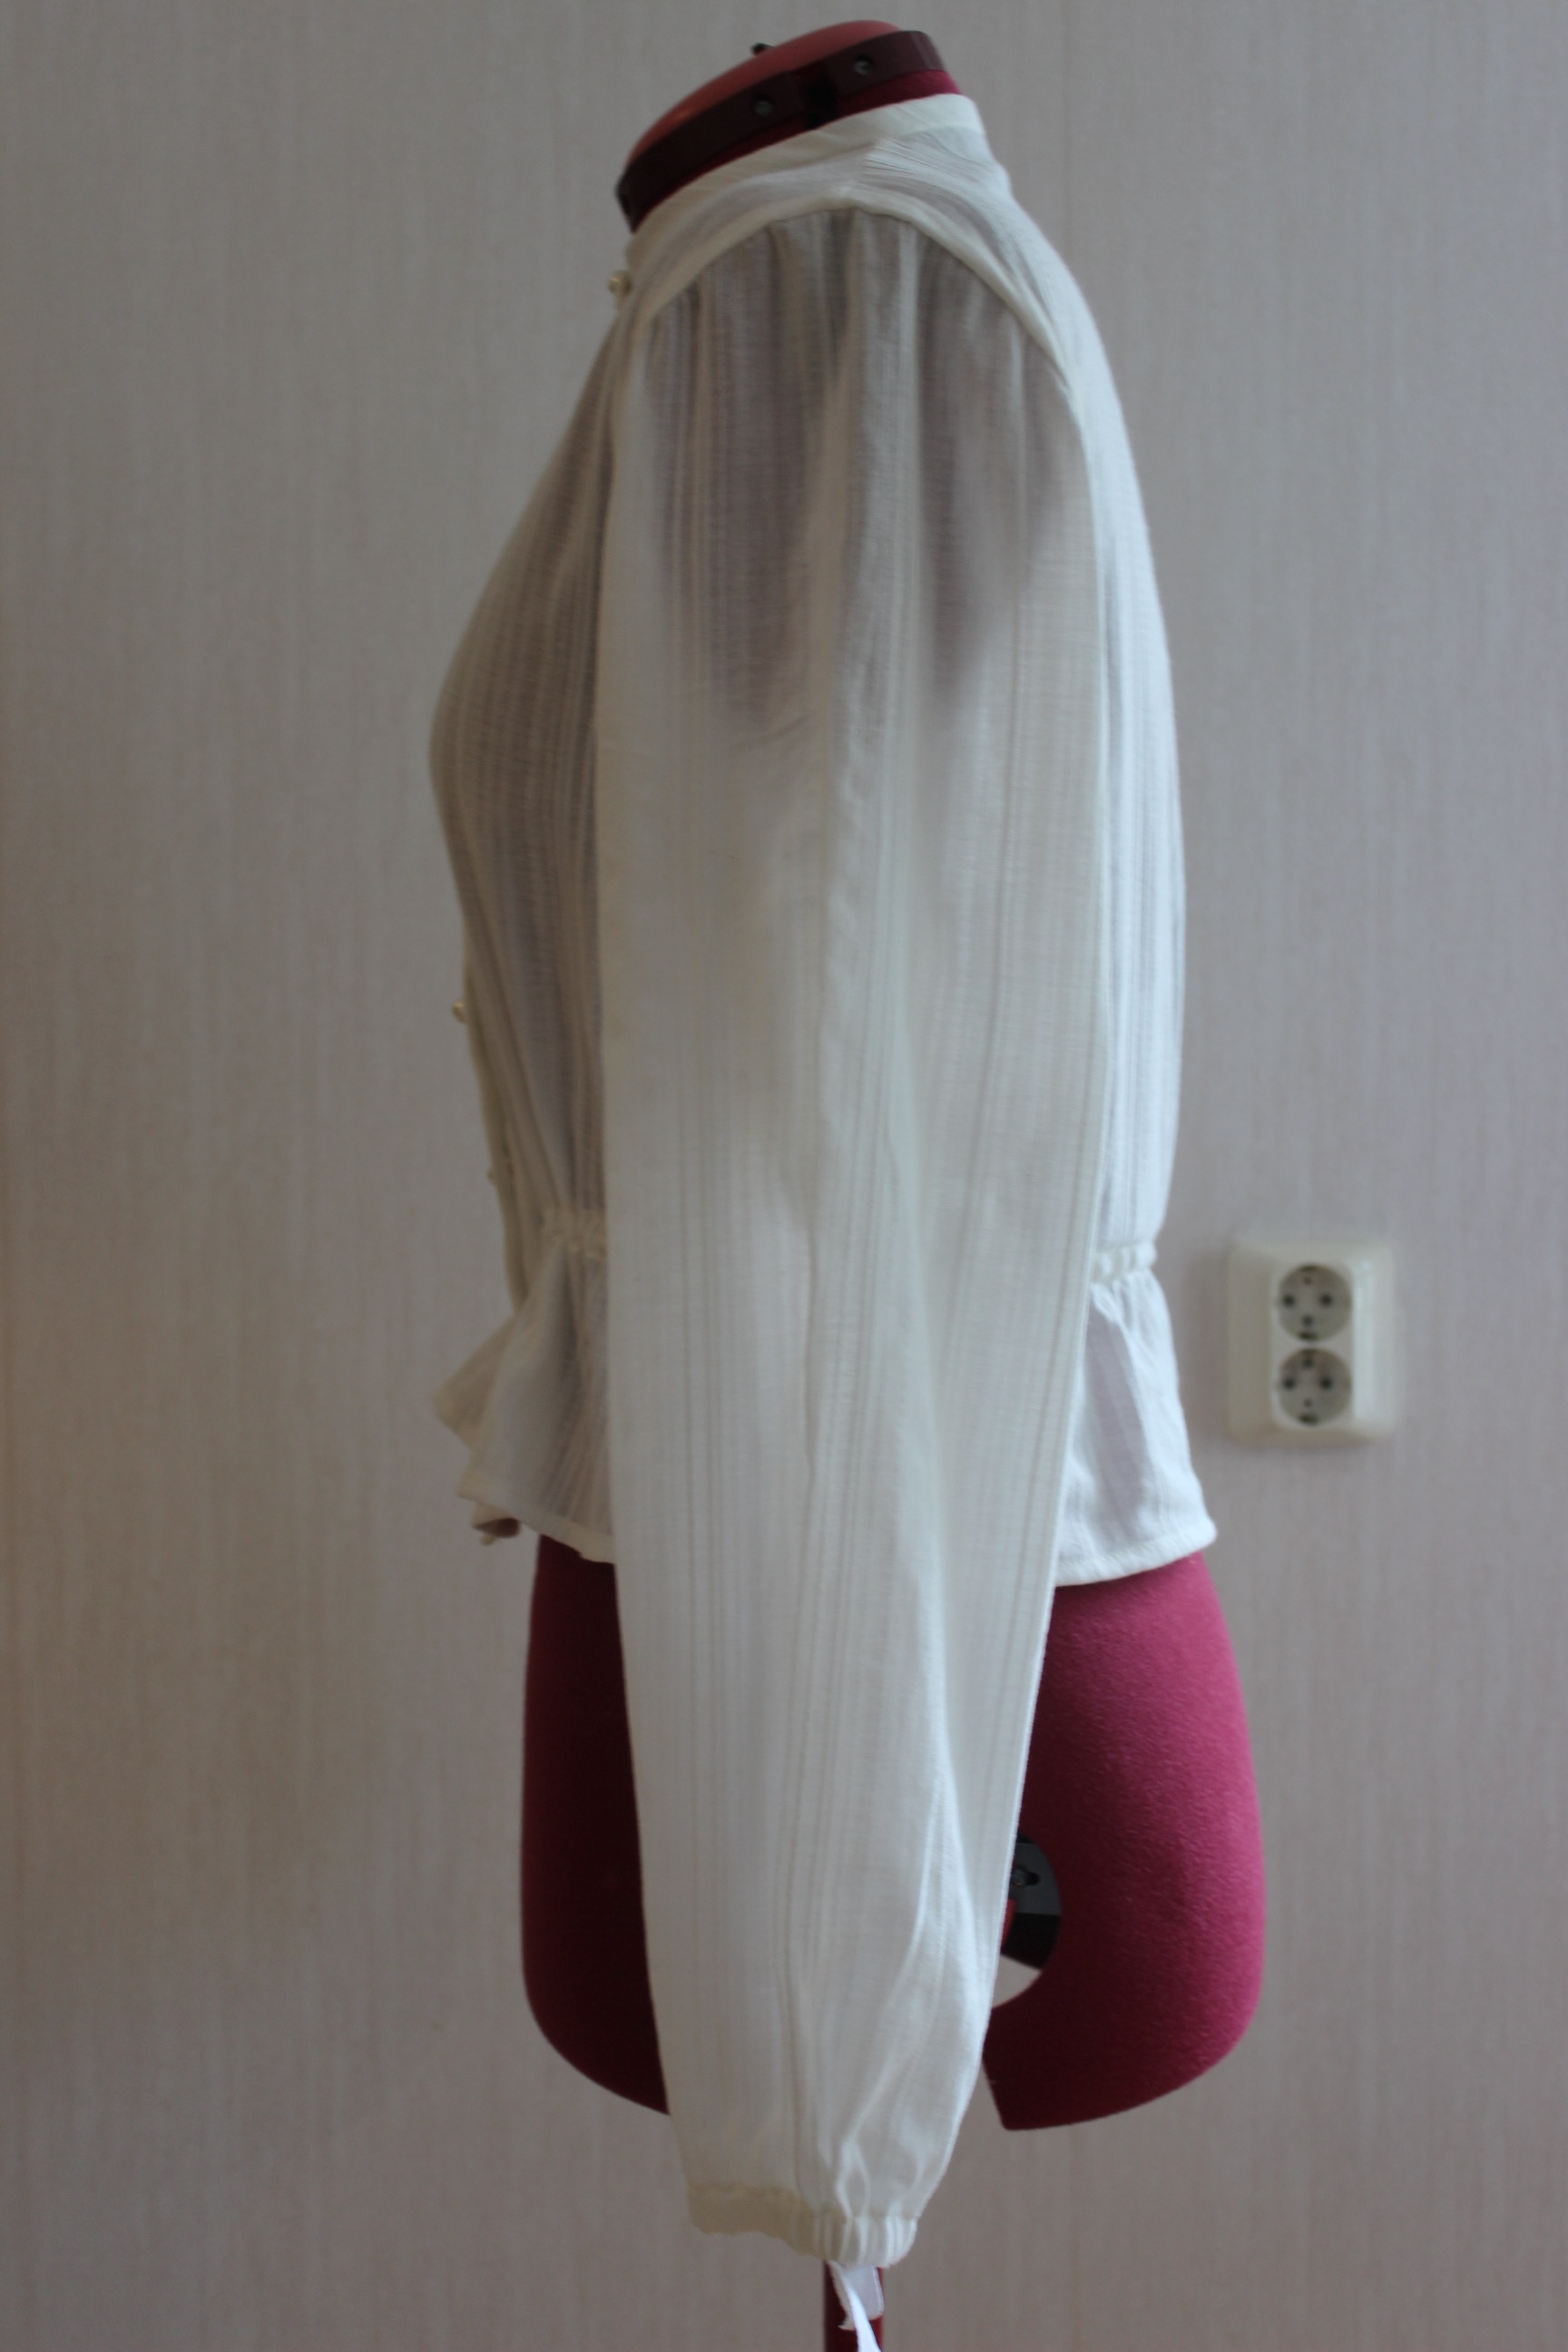
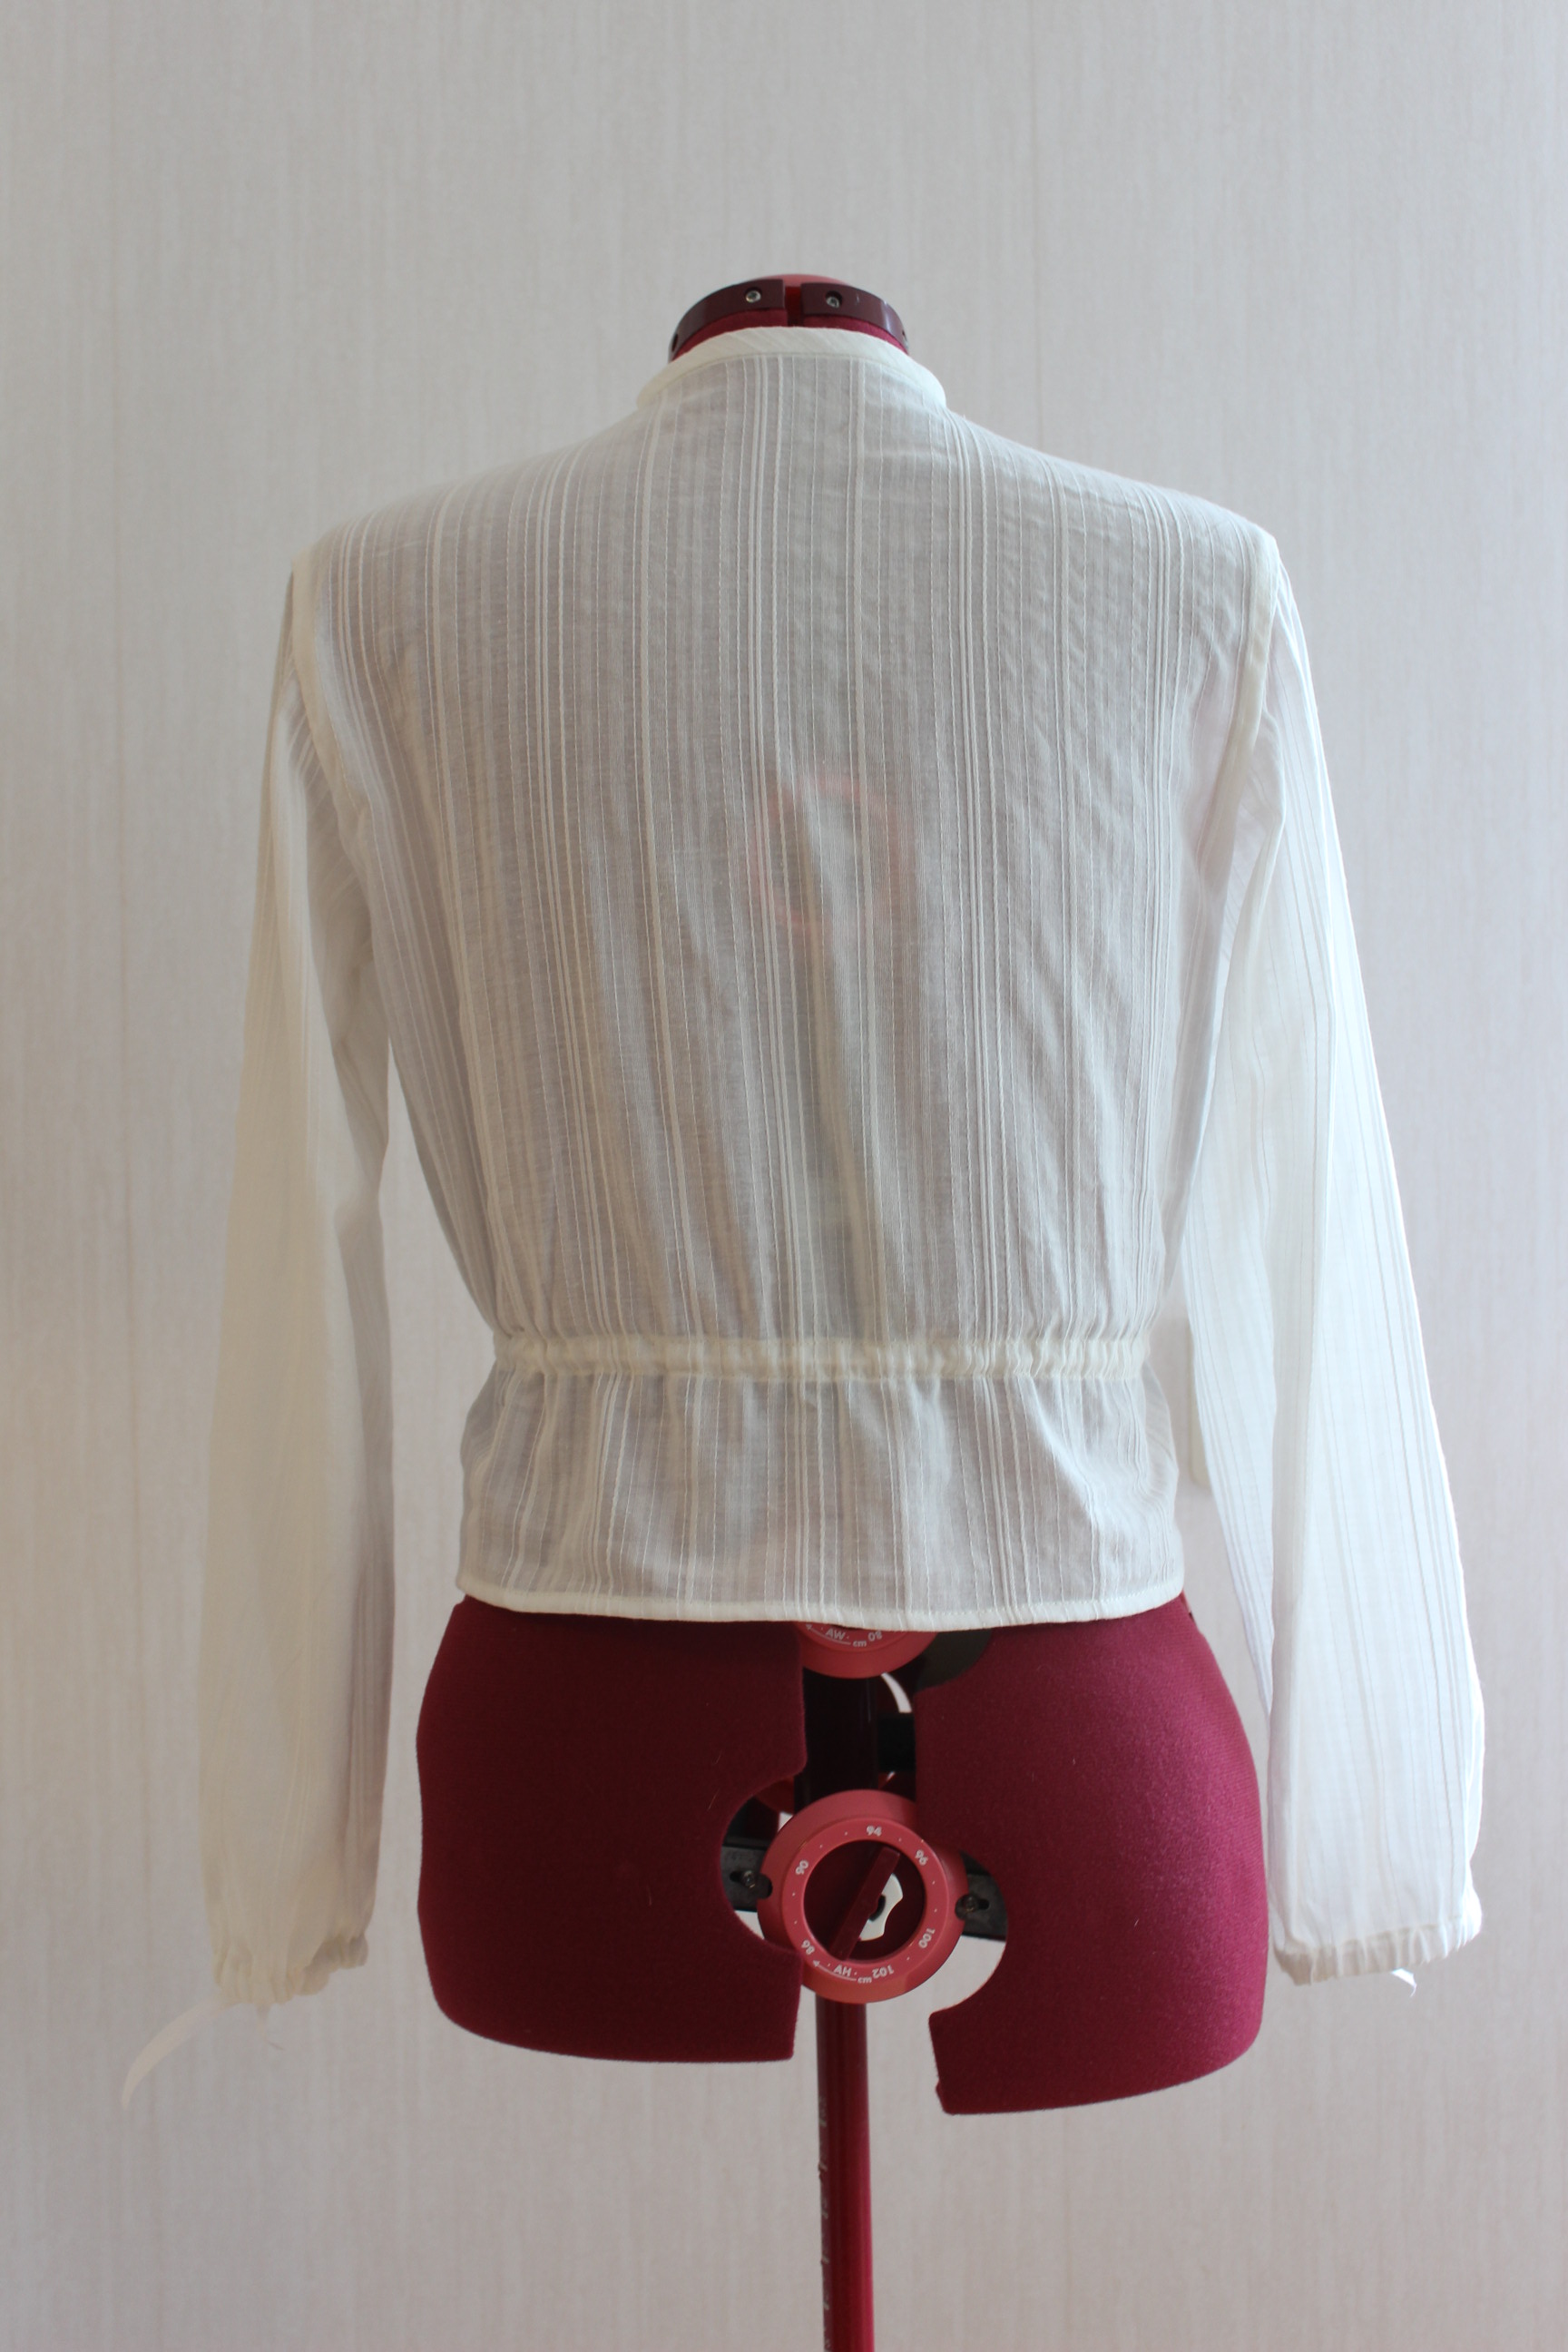
 Sewed and set the sleeves, covering the seams with bias-tape to get a clean finish. Then I hemmed the shirt, added the bias-tape for the drawstring waist.
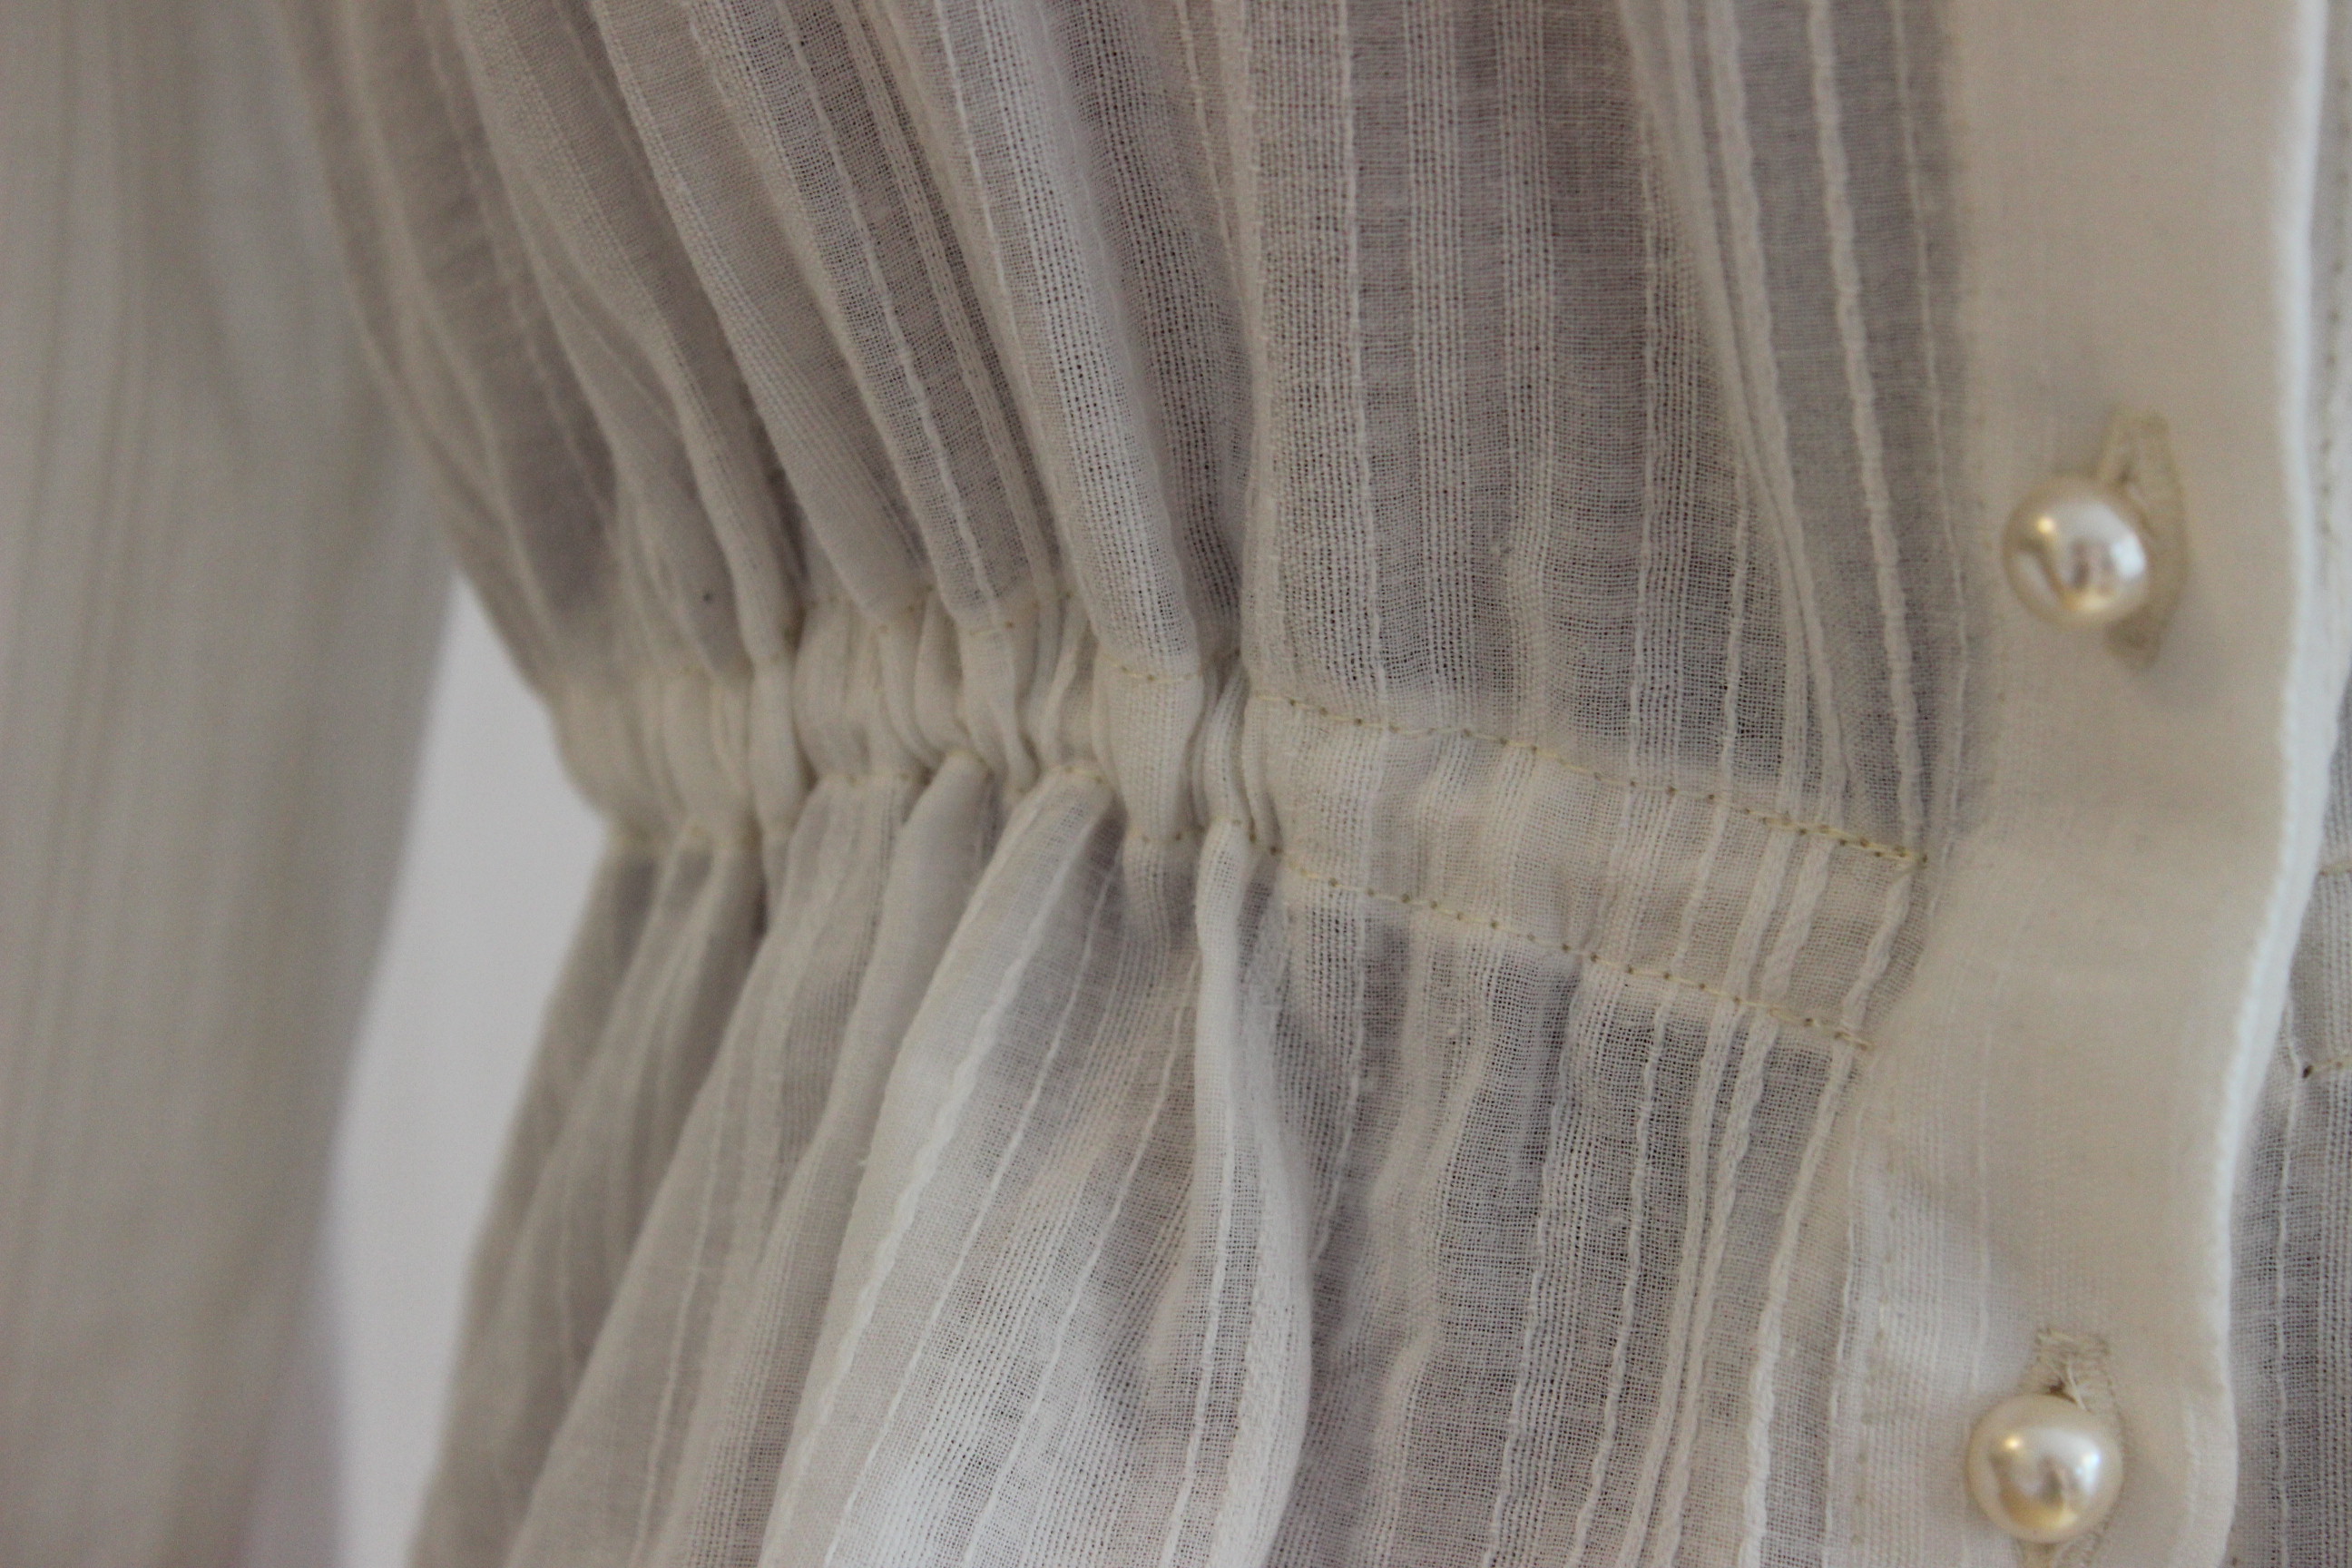
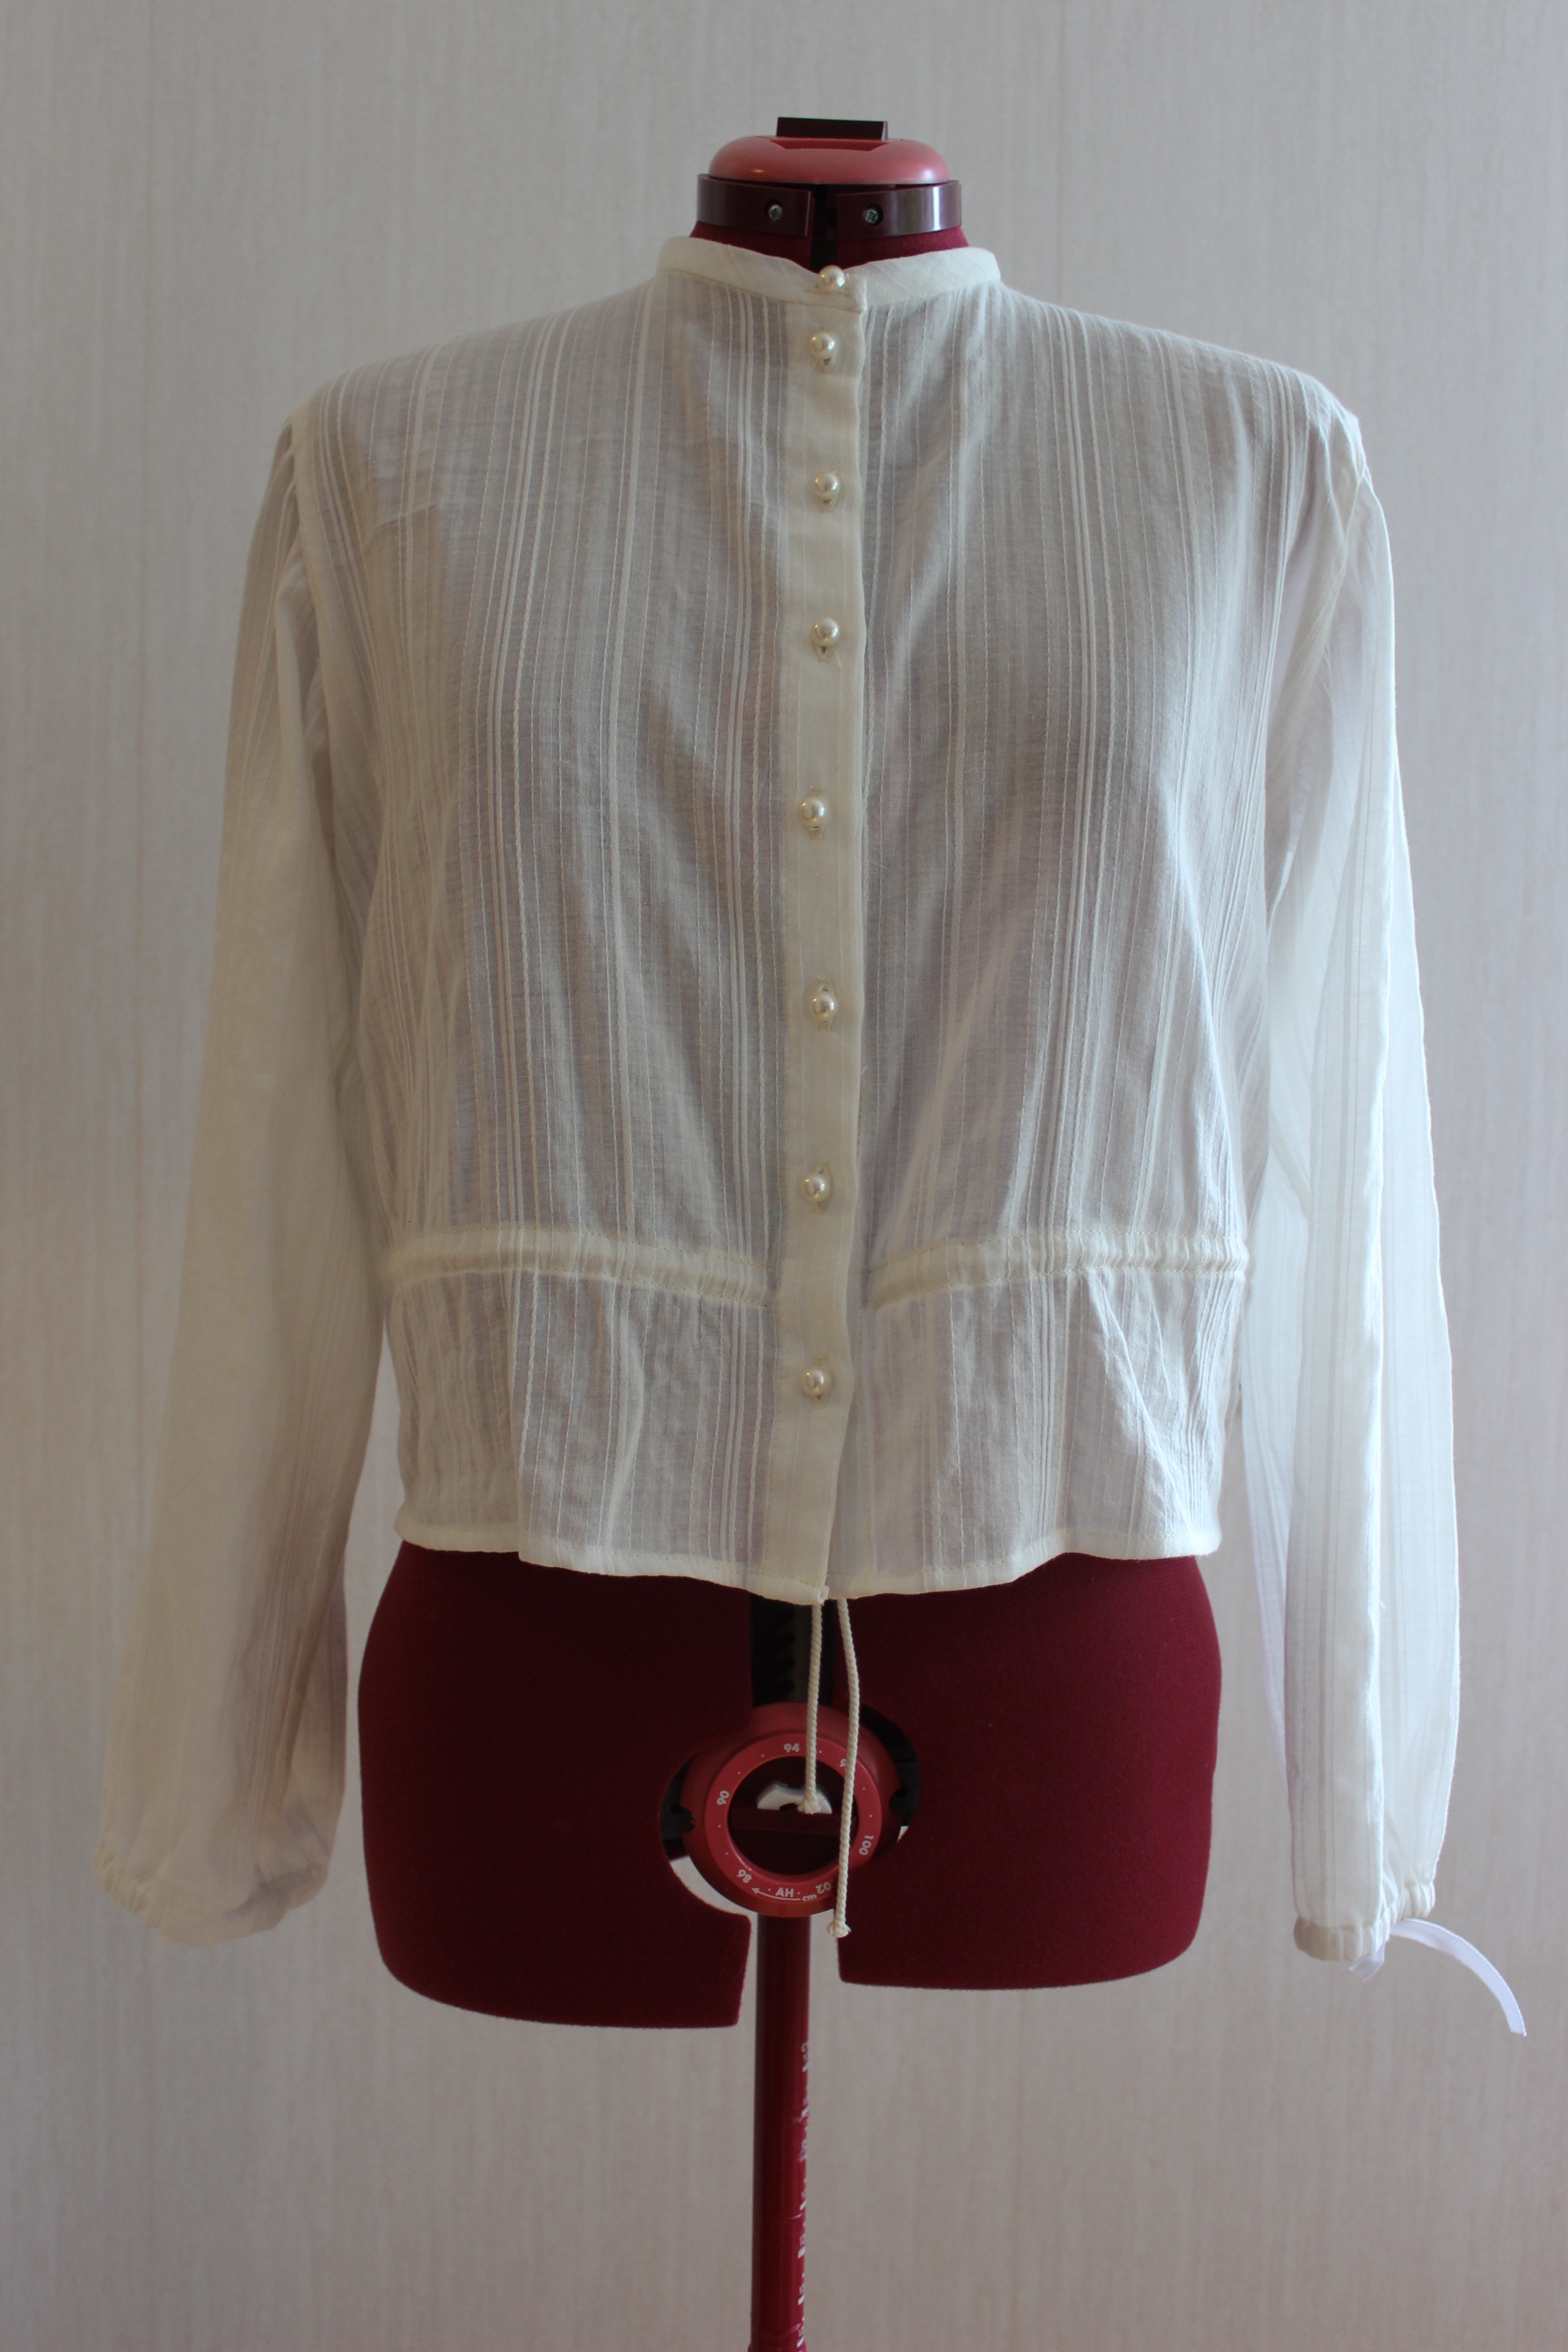

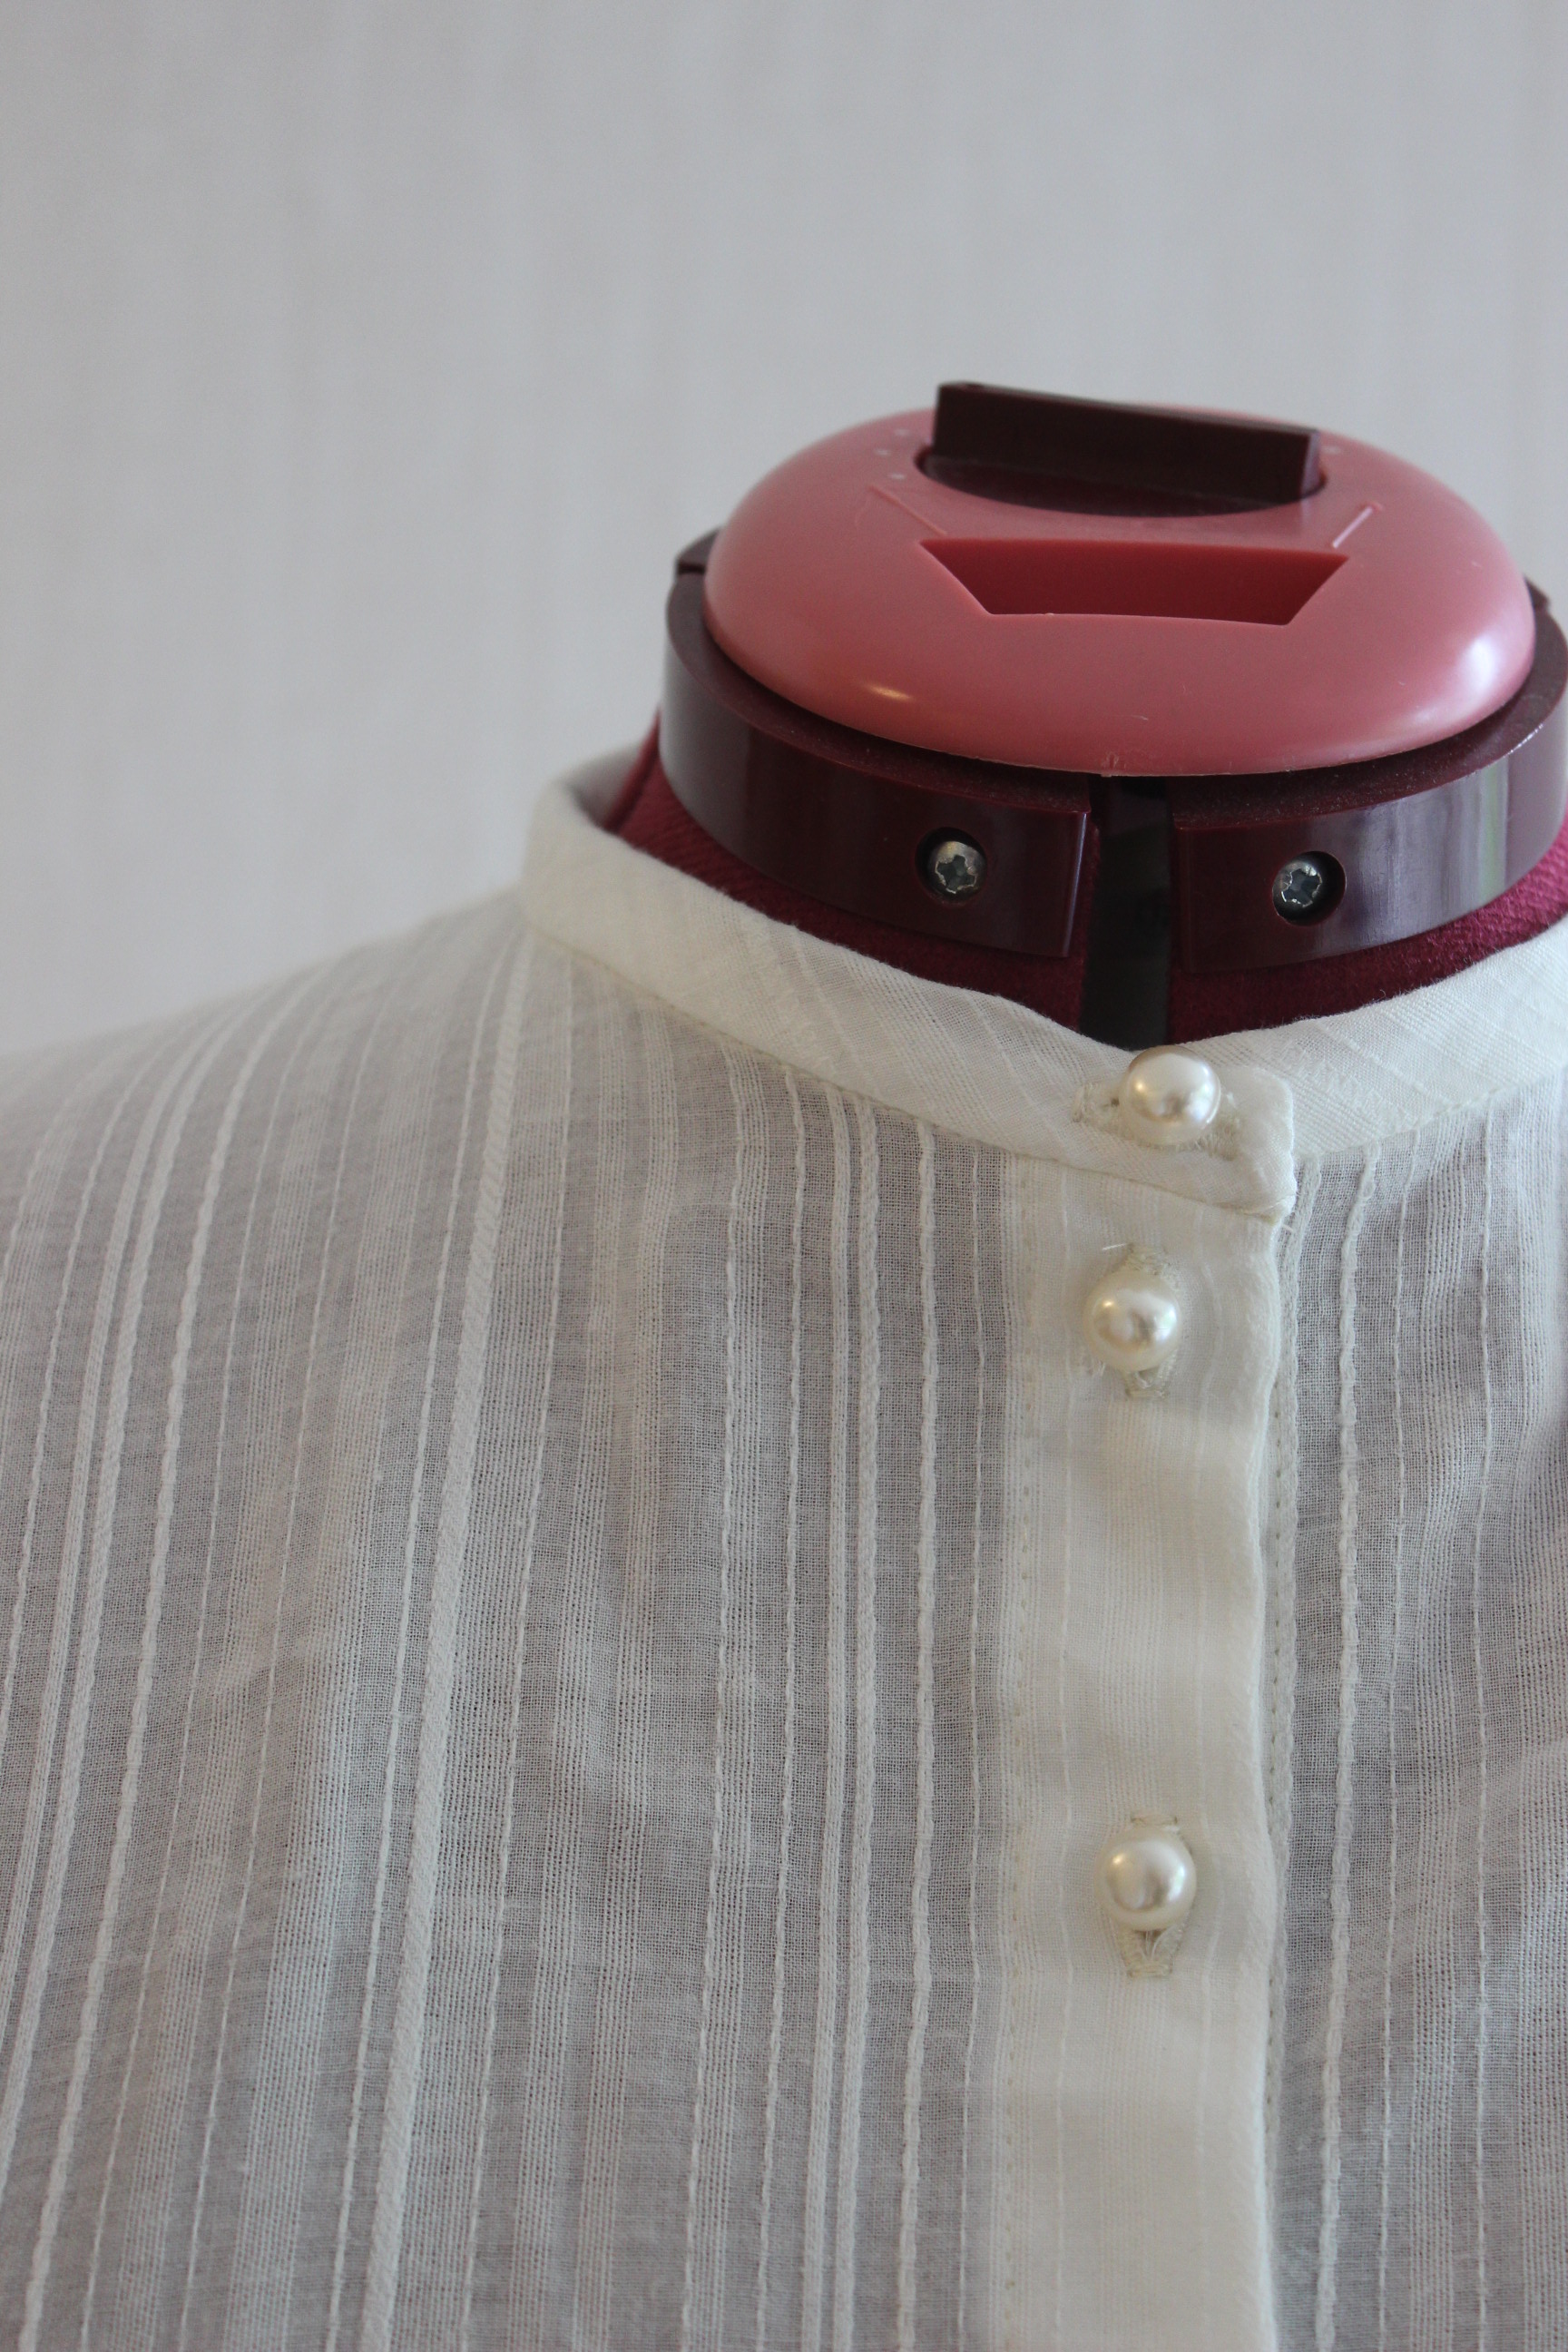

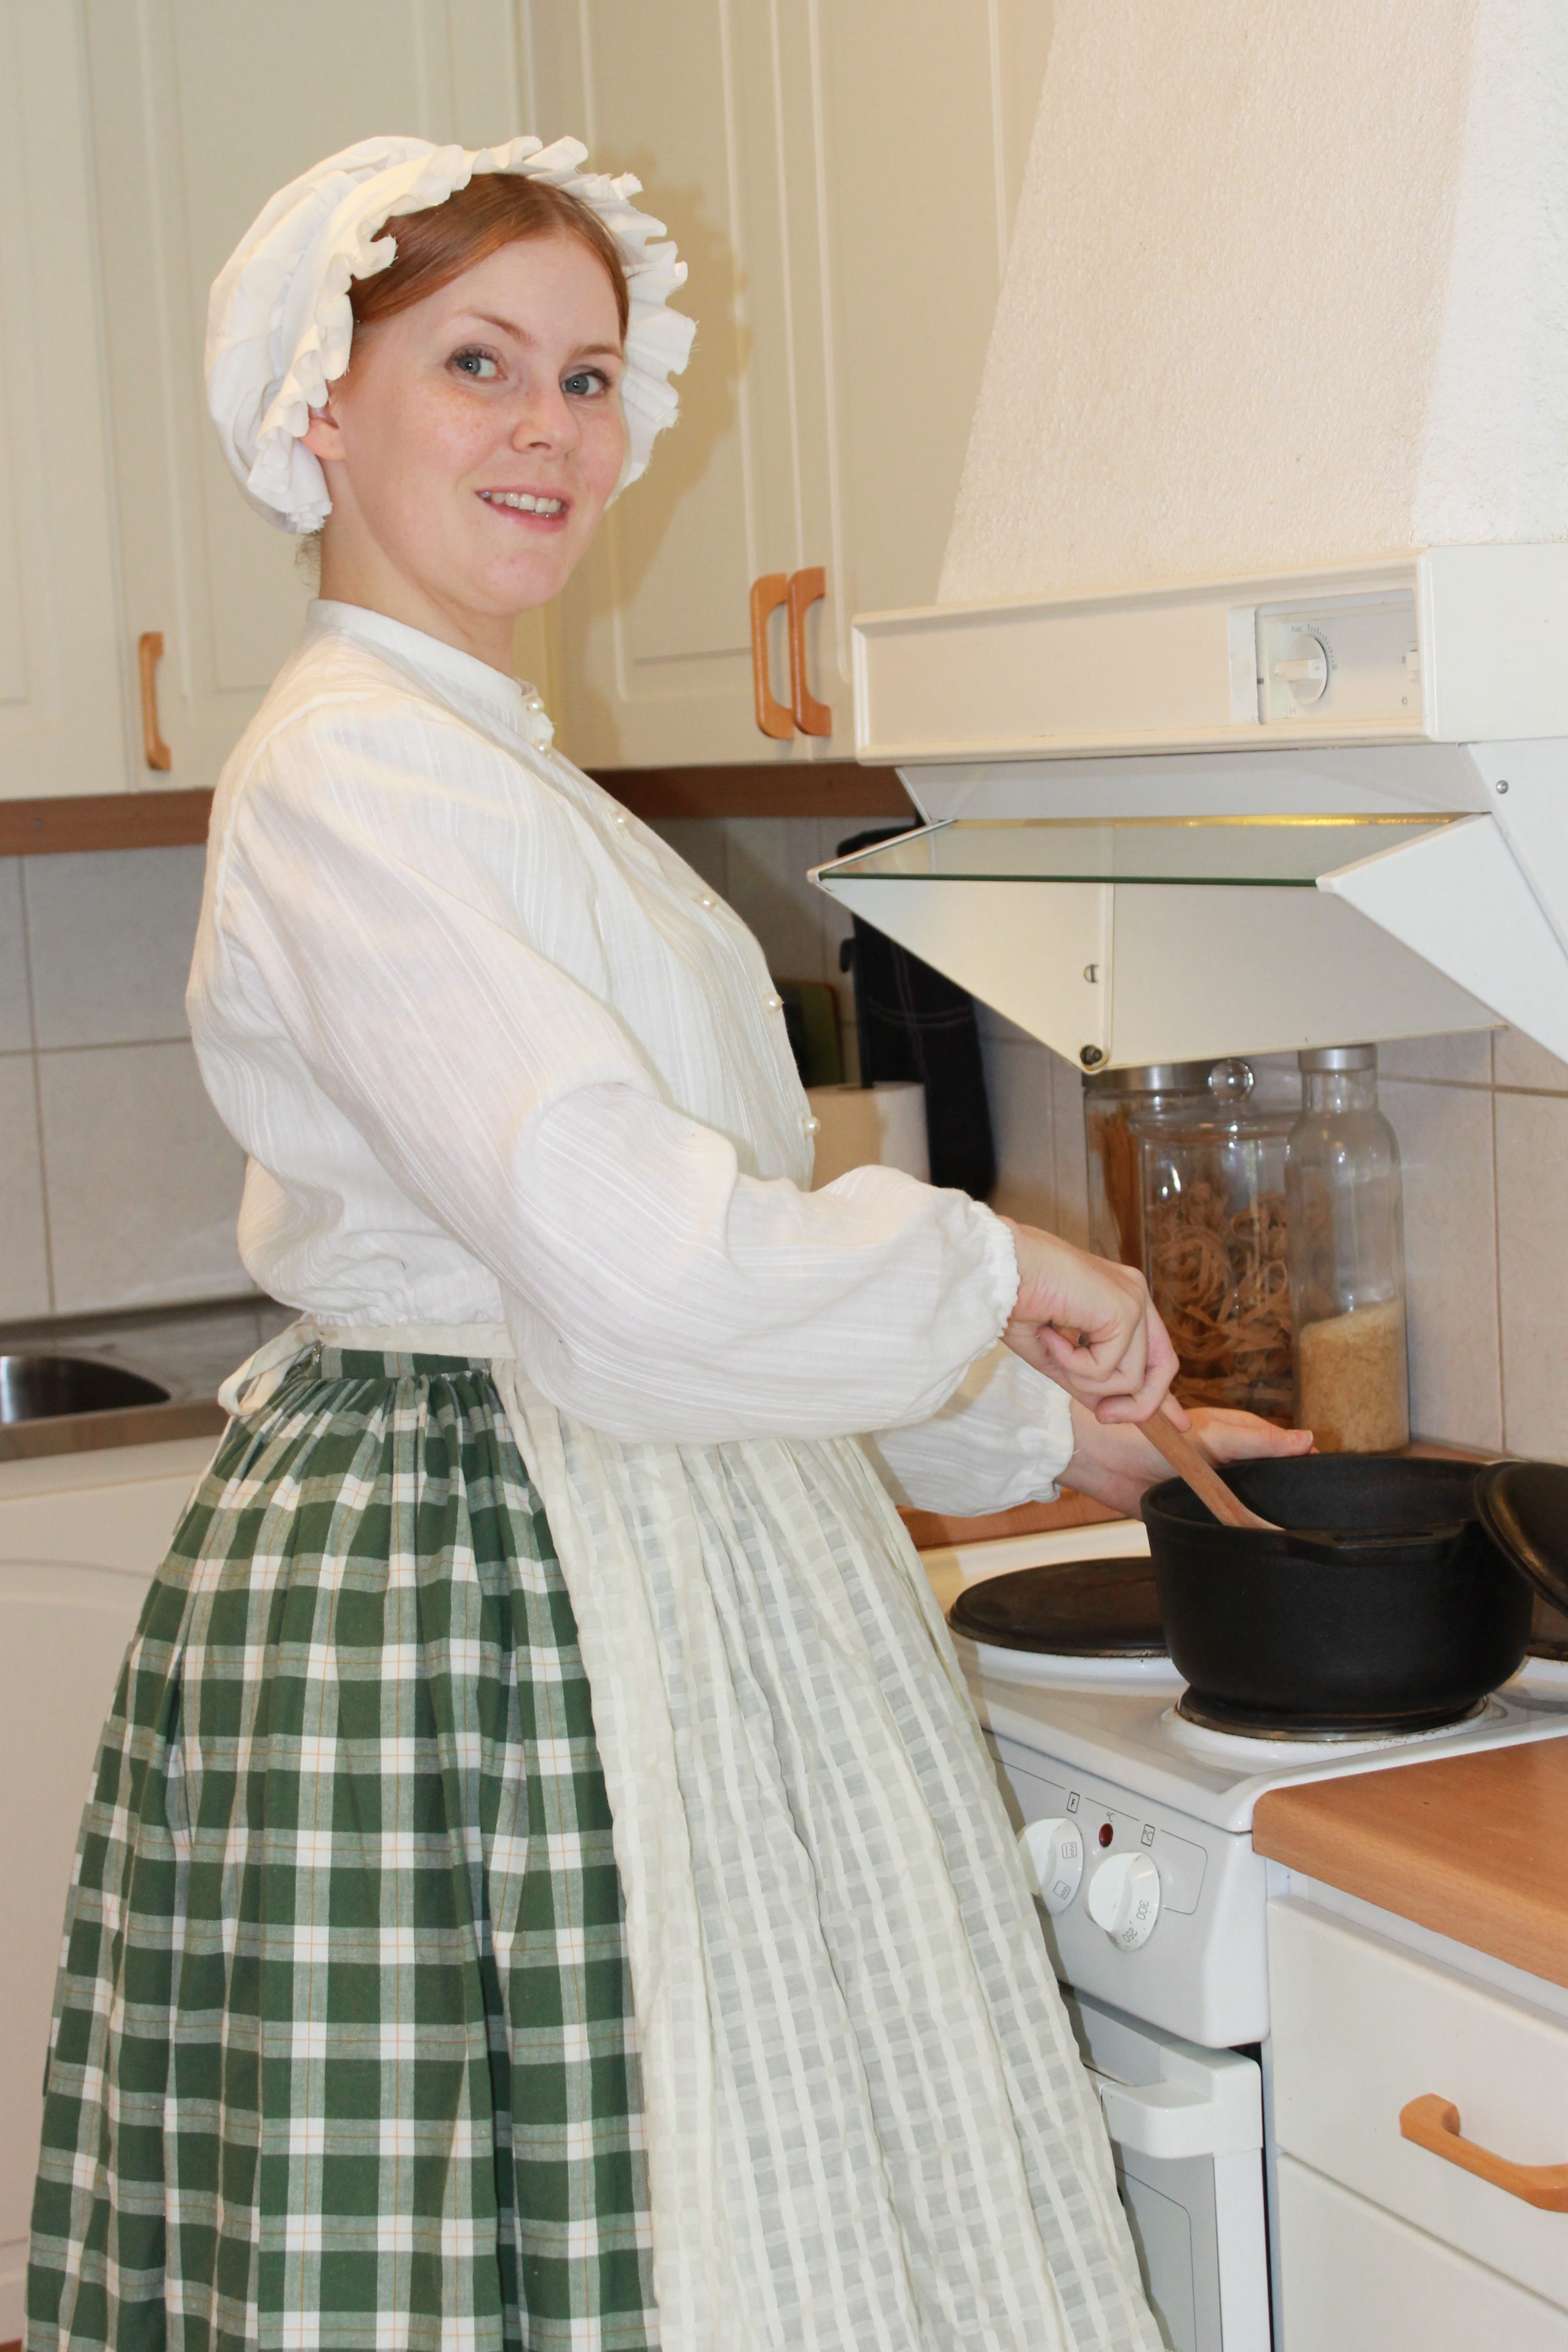
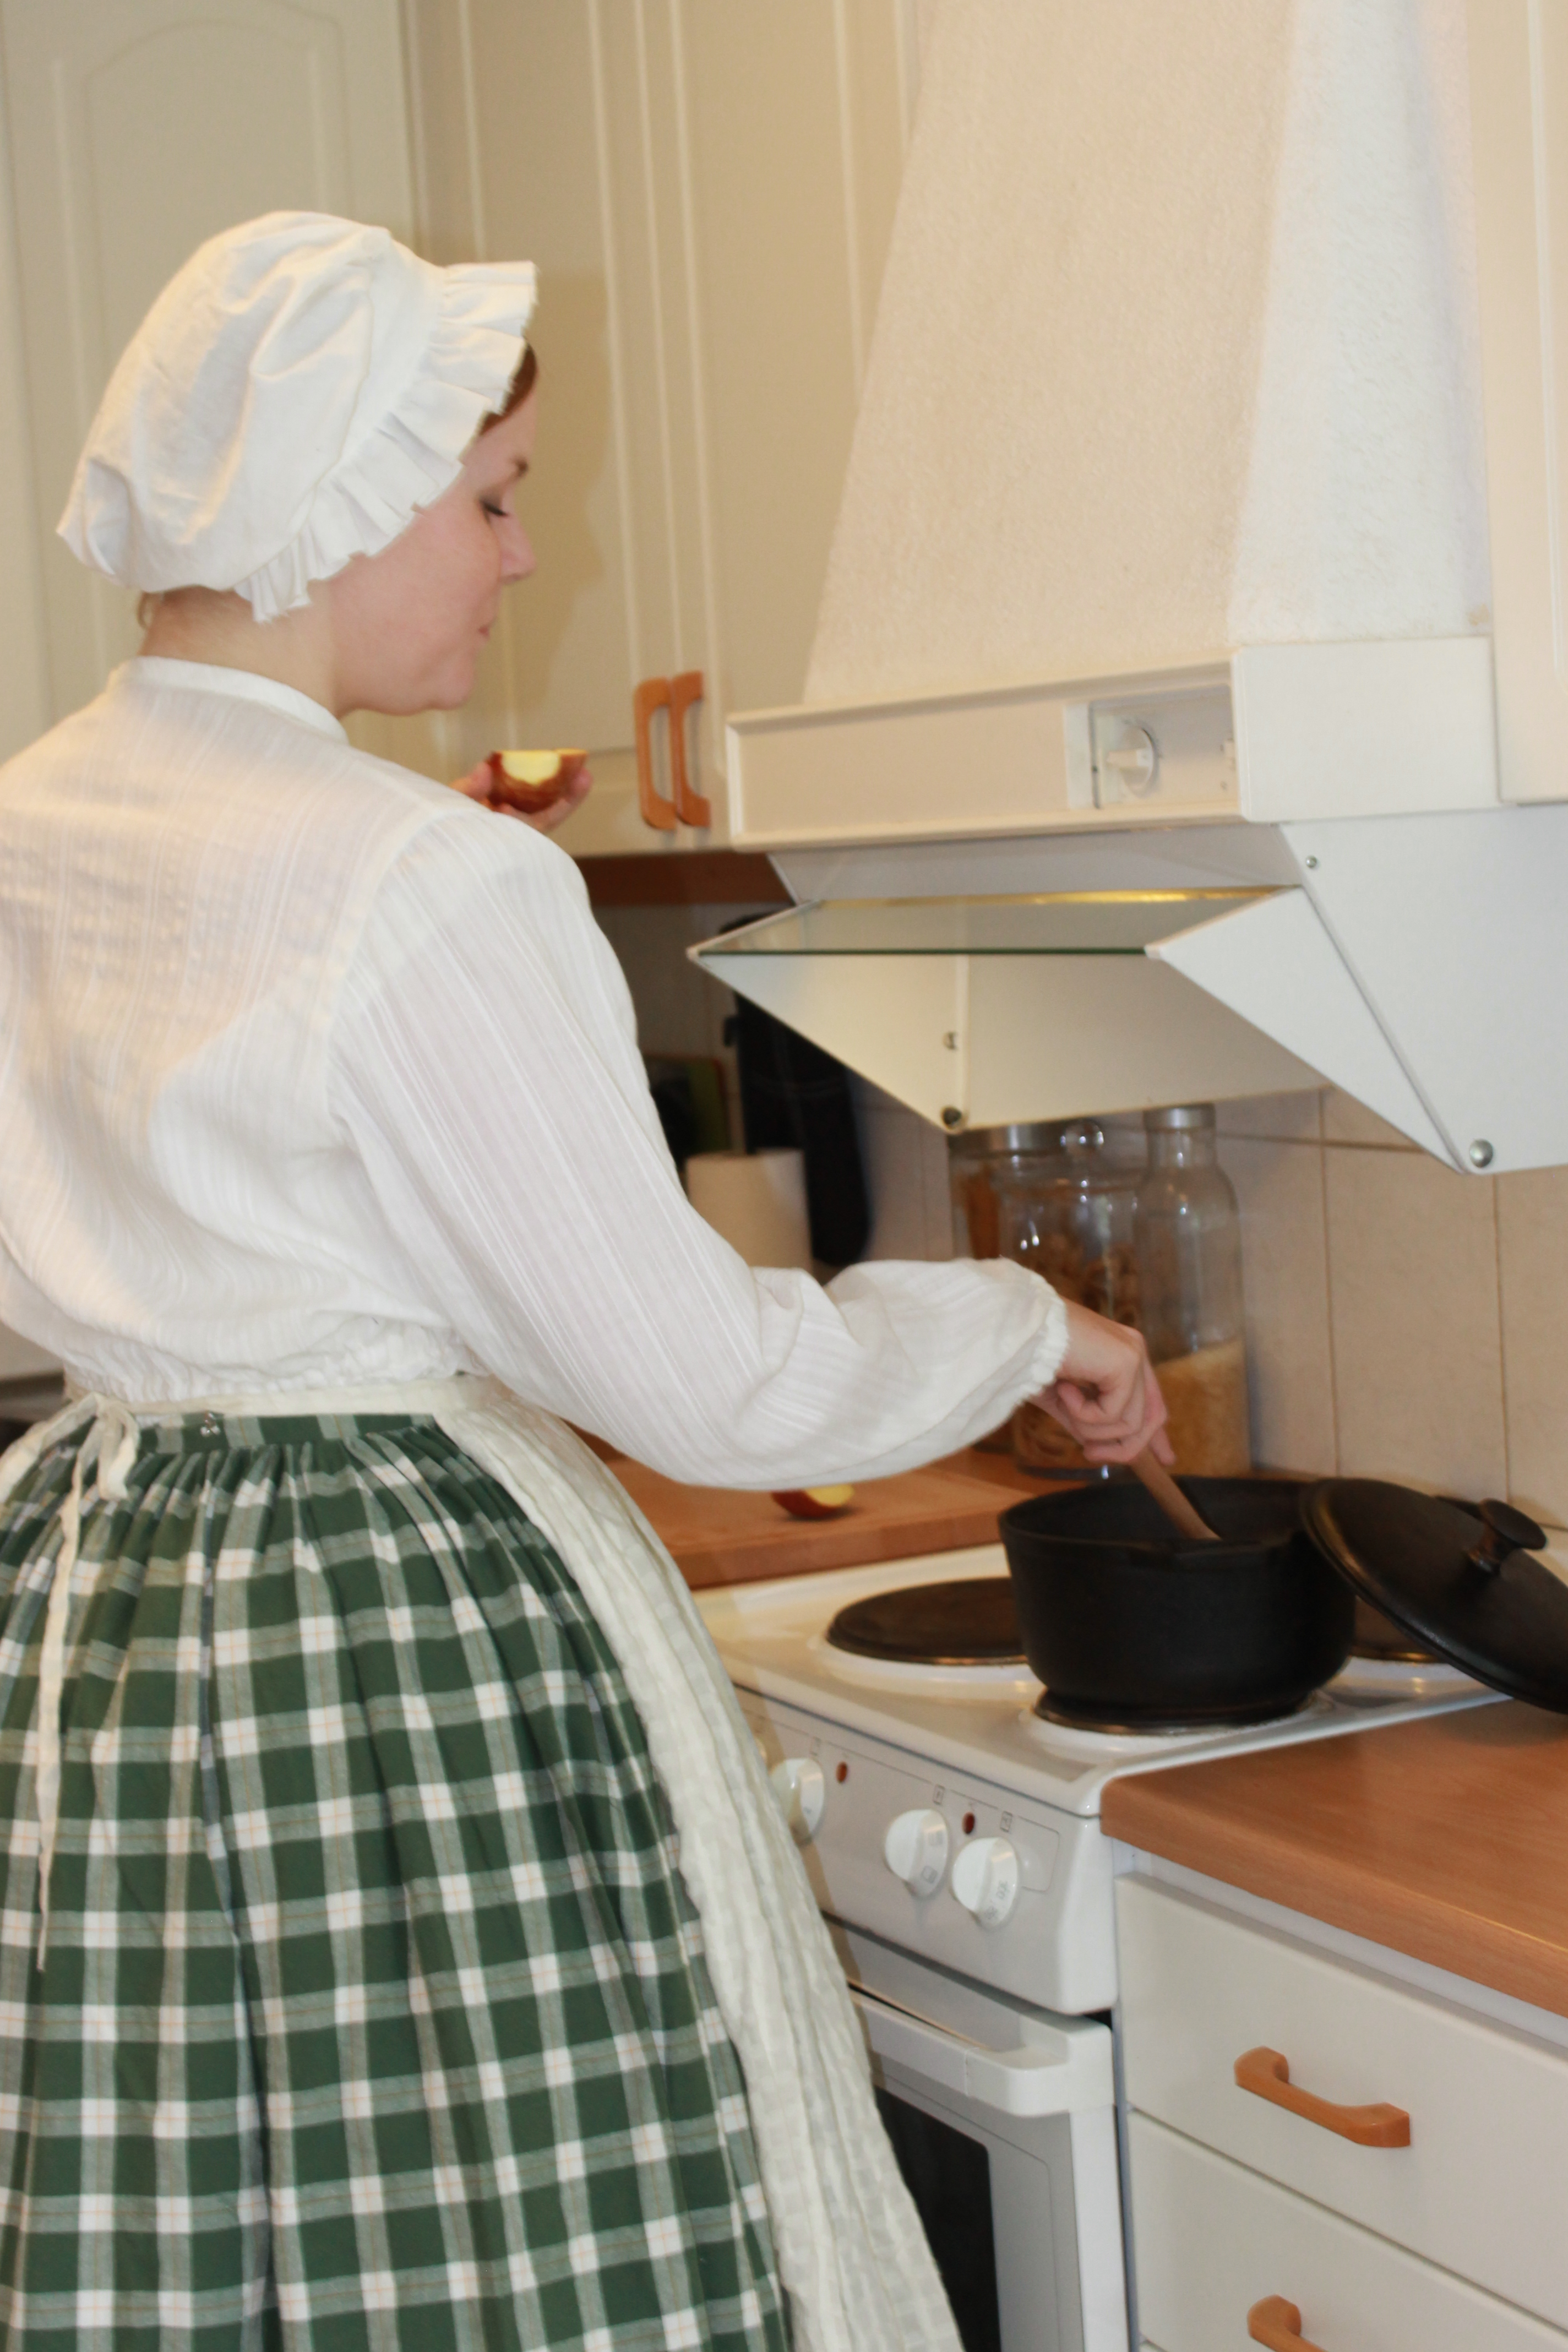
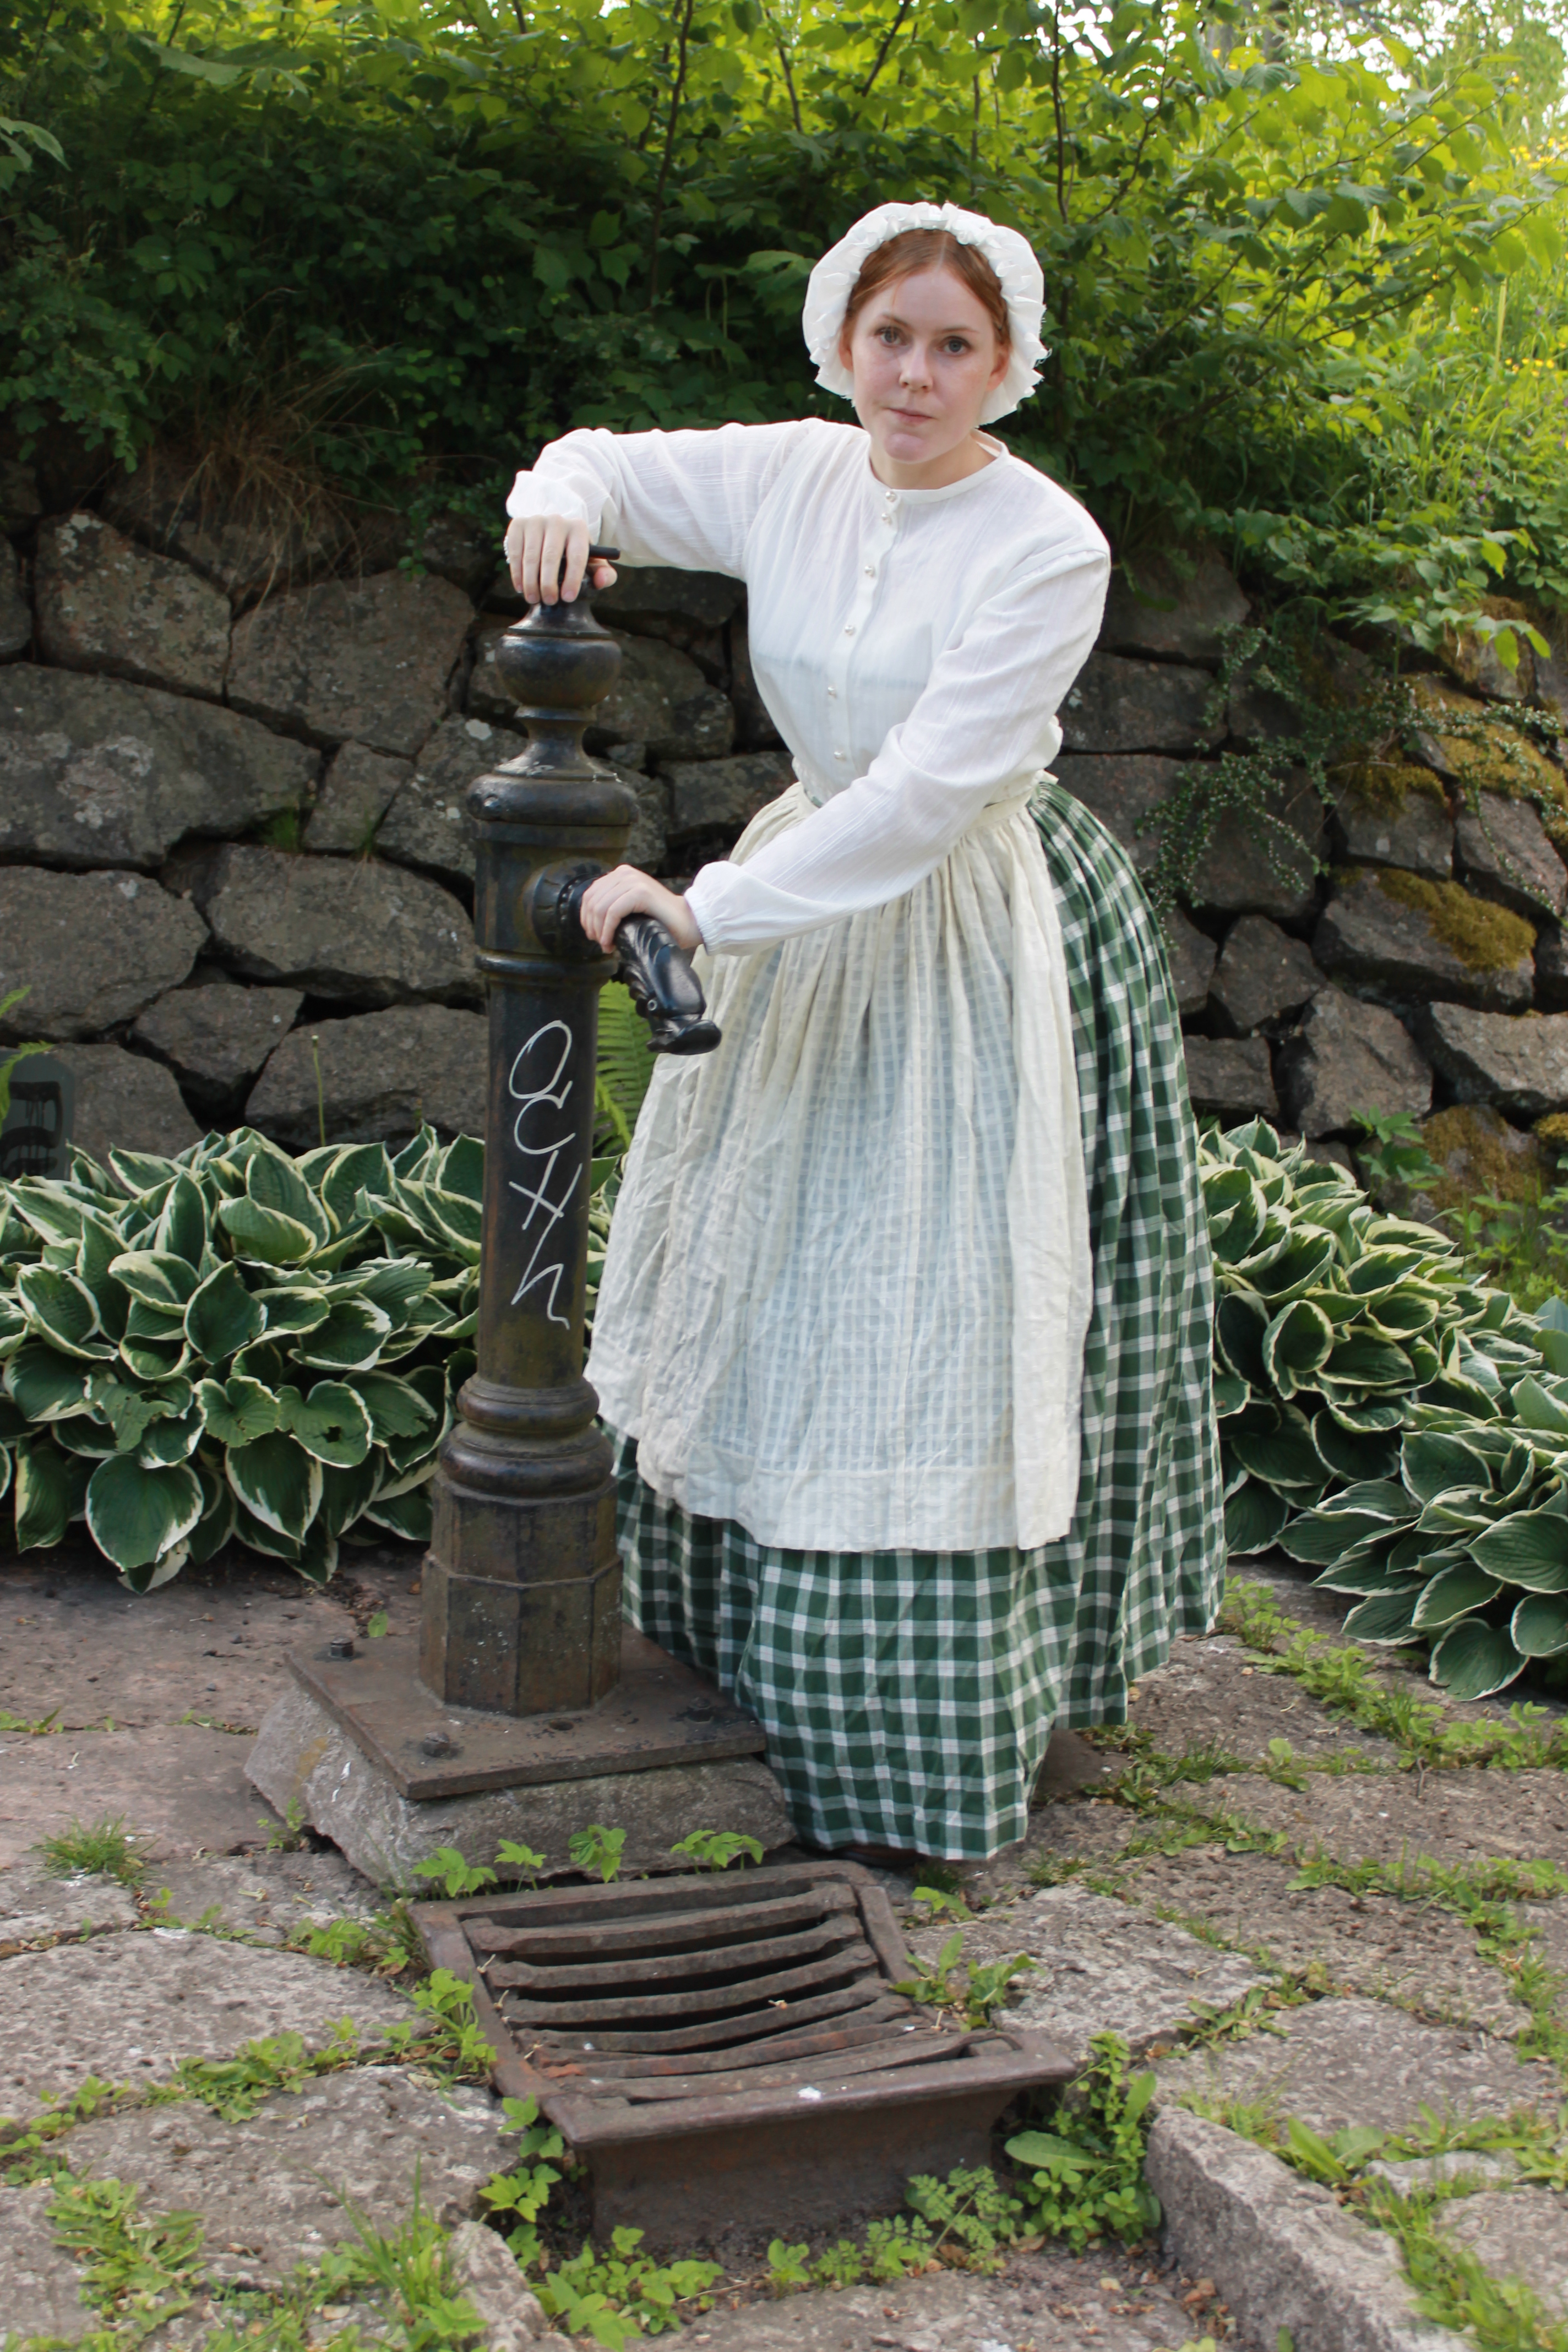
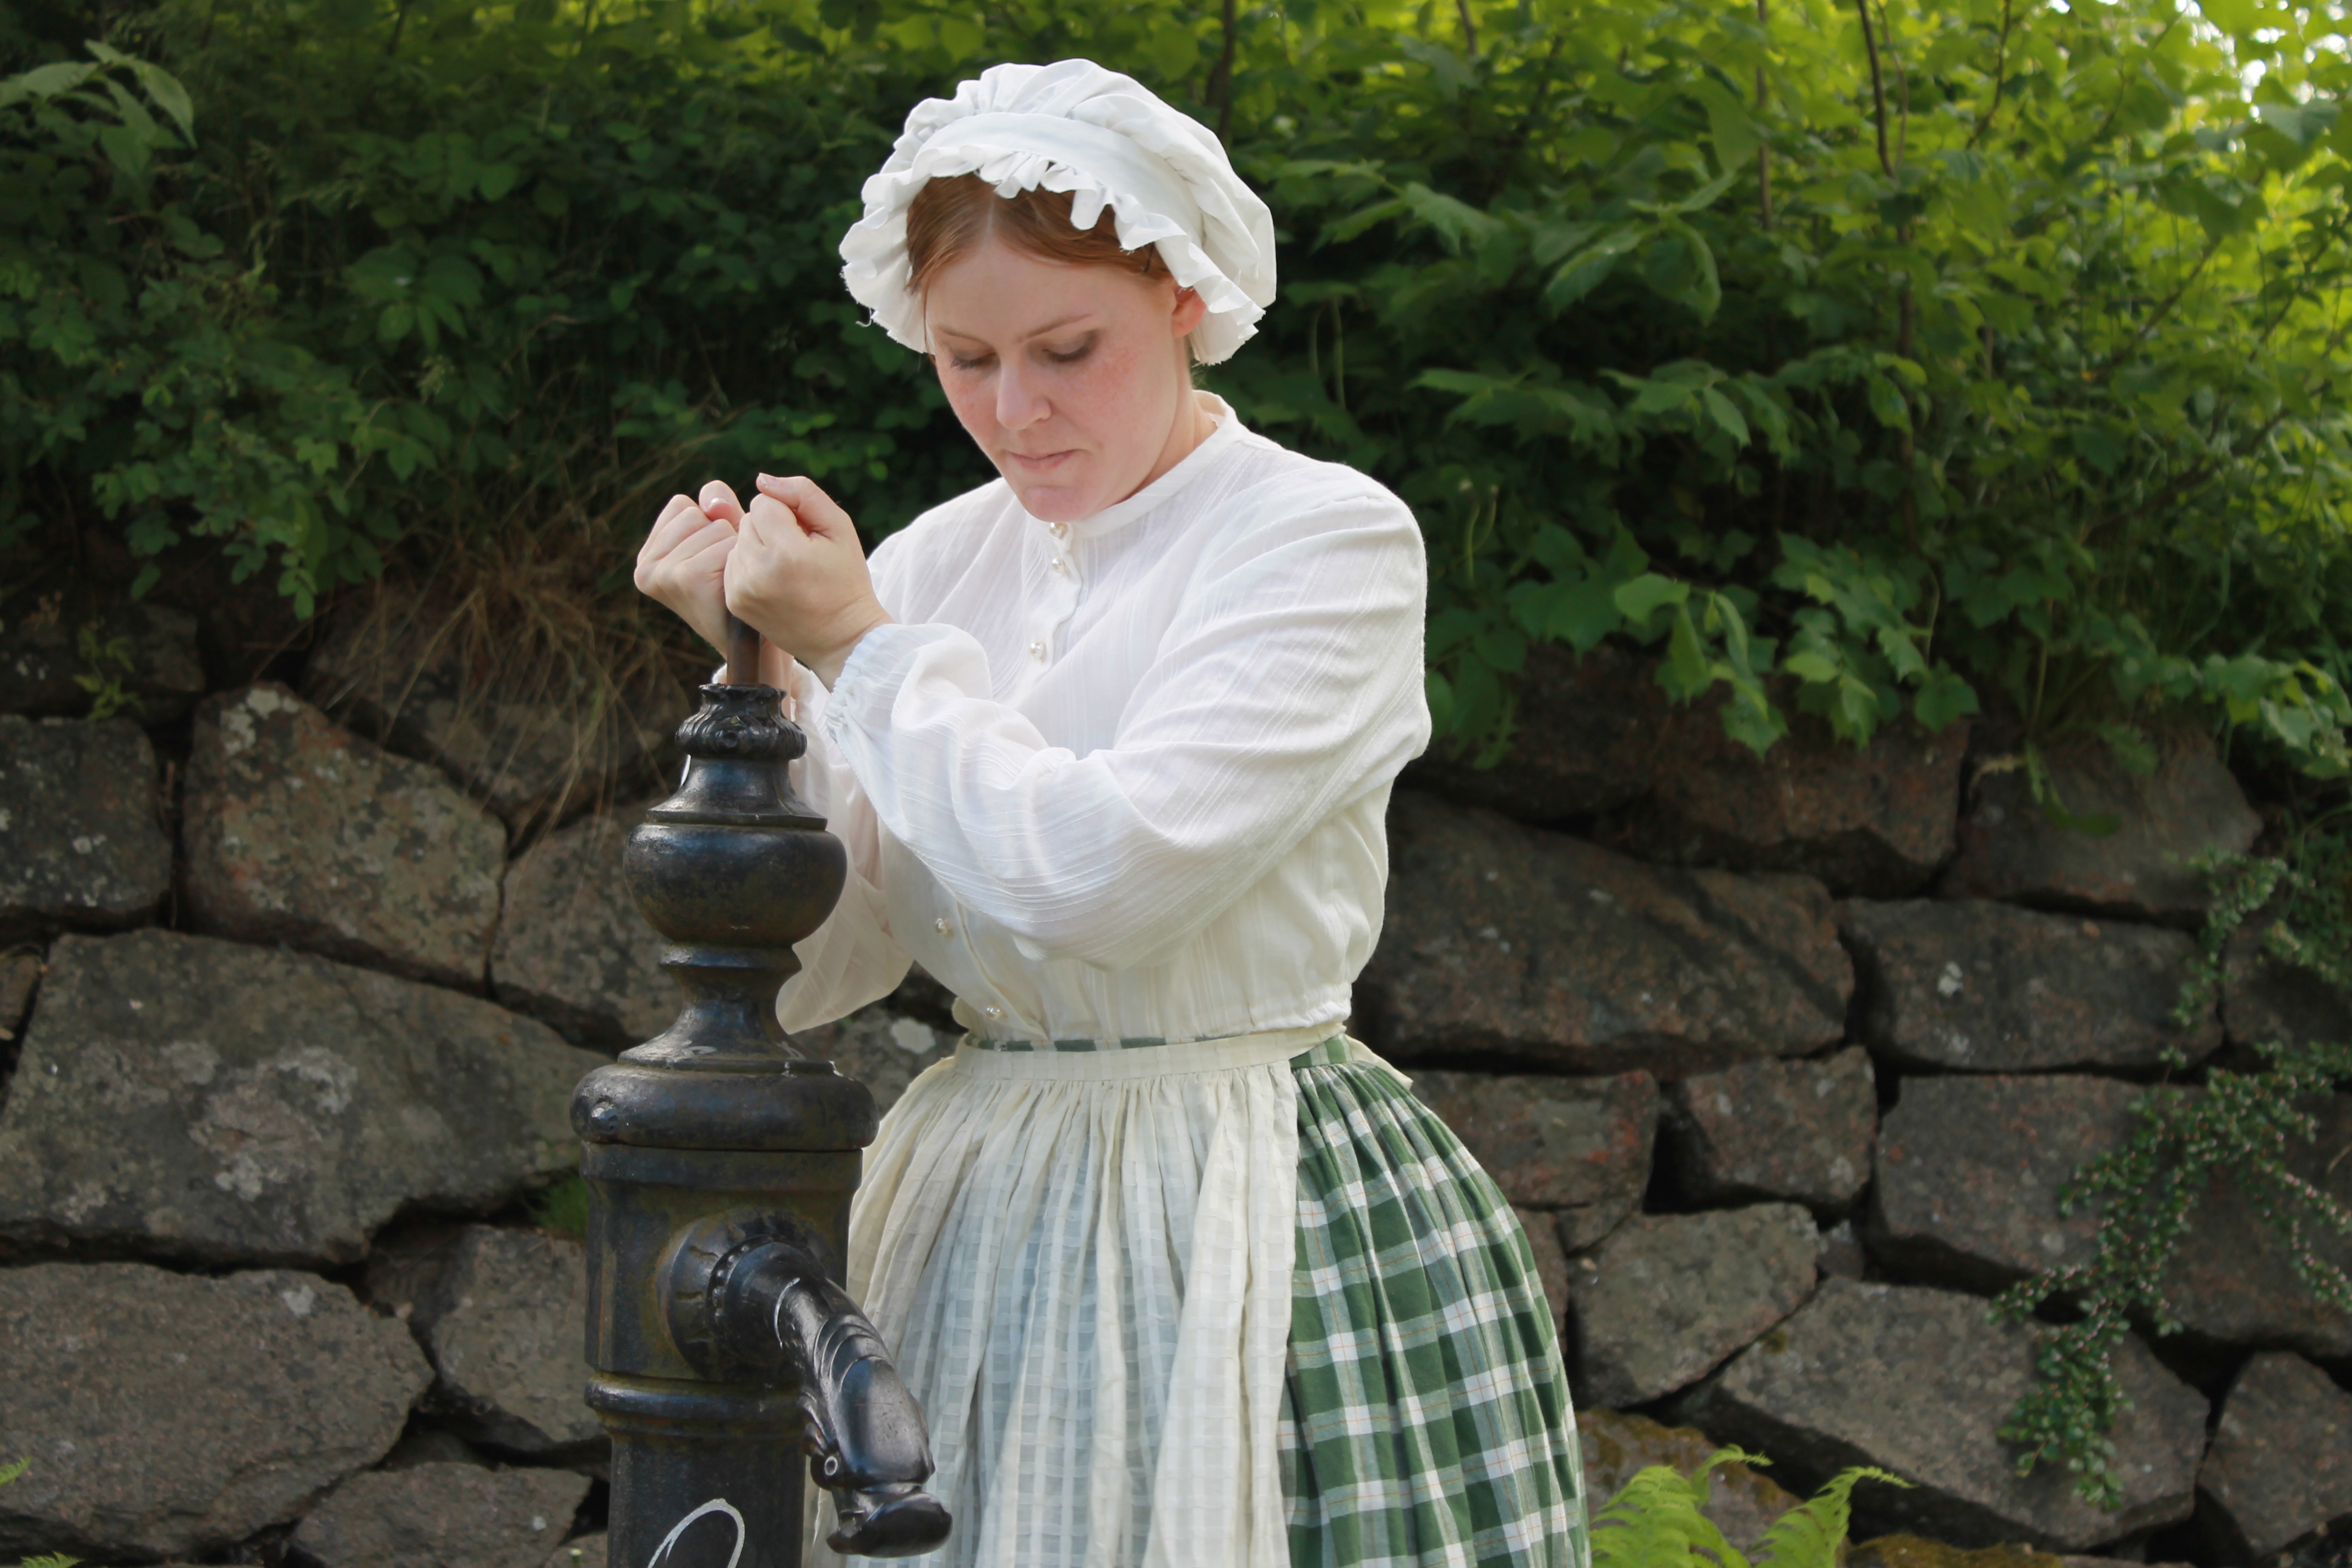
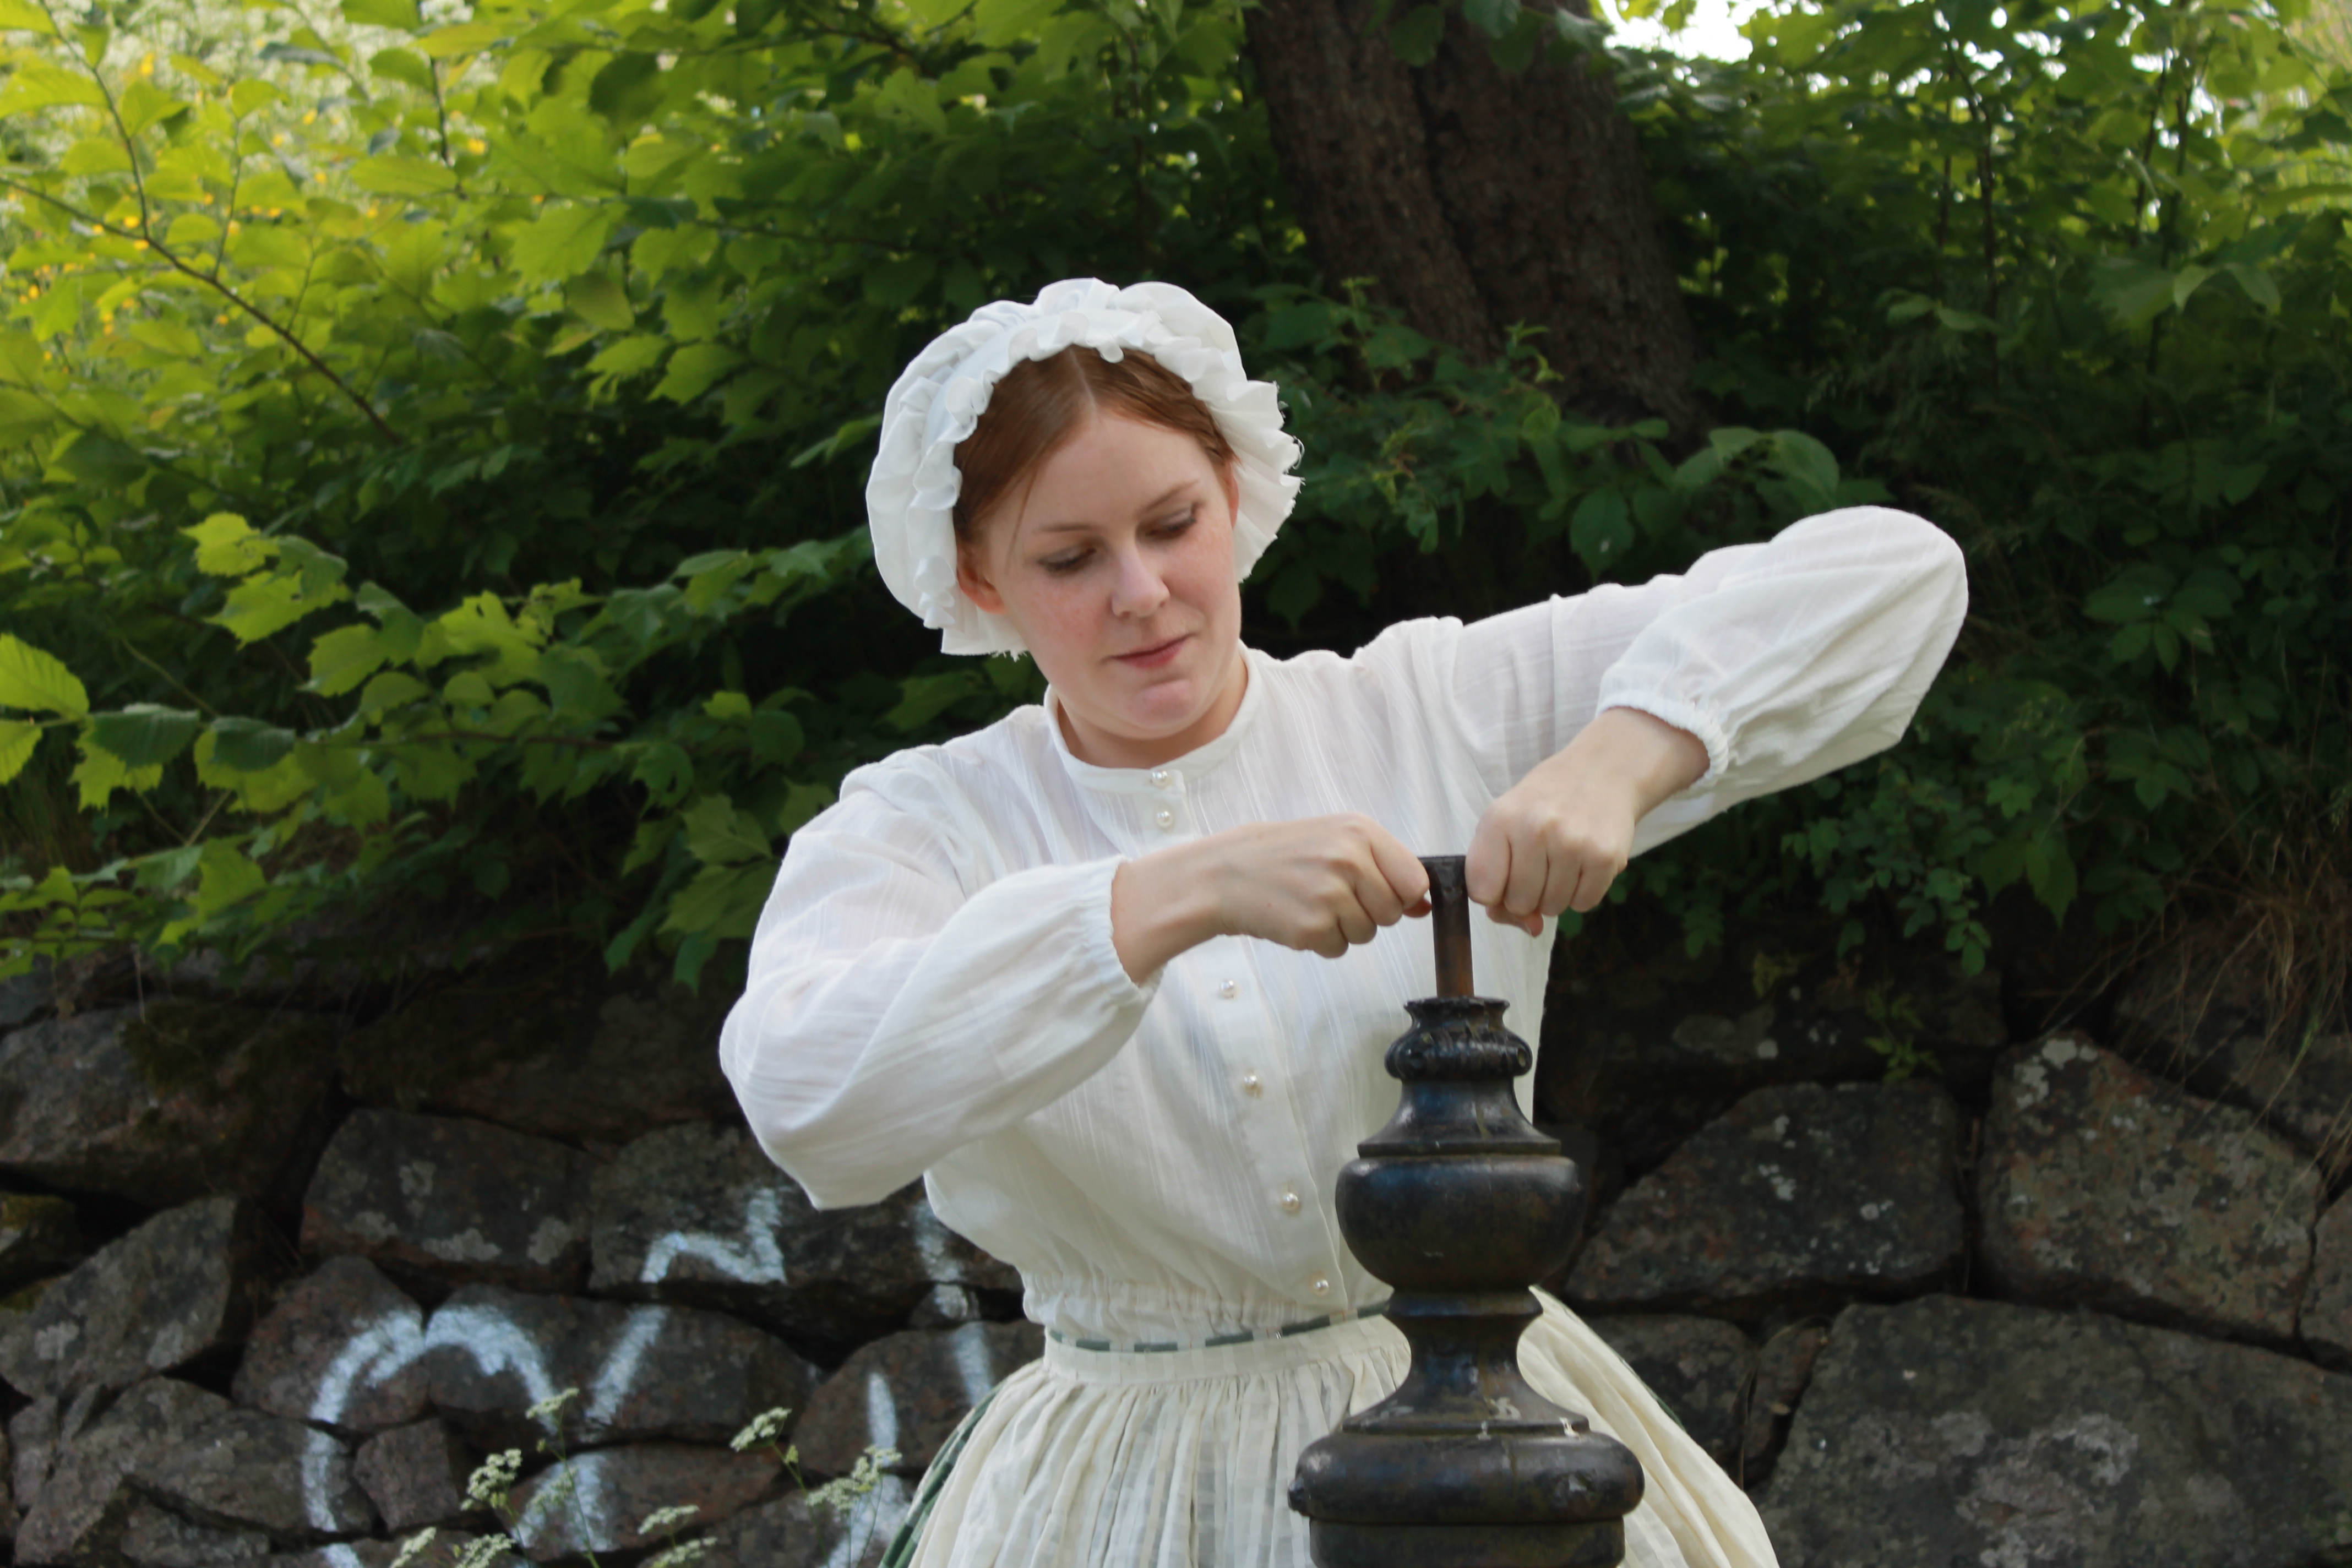
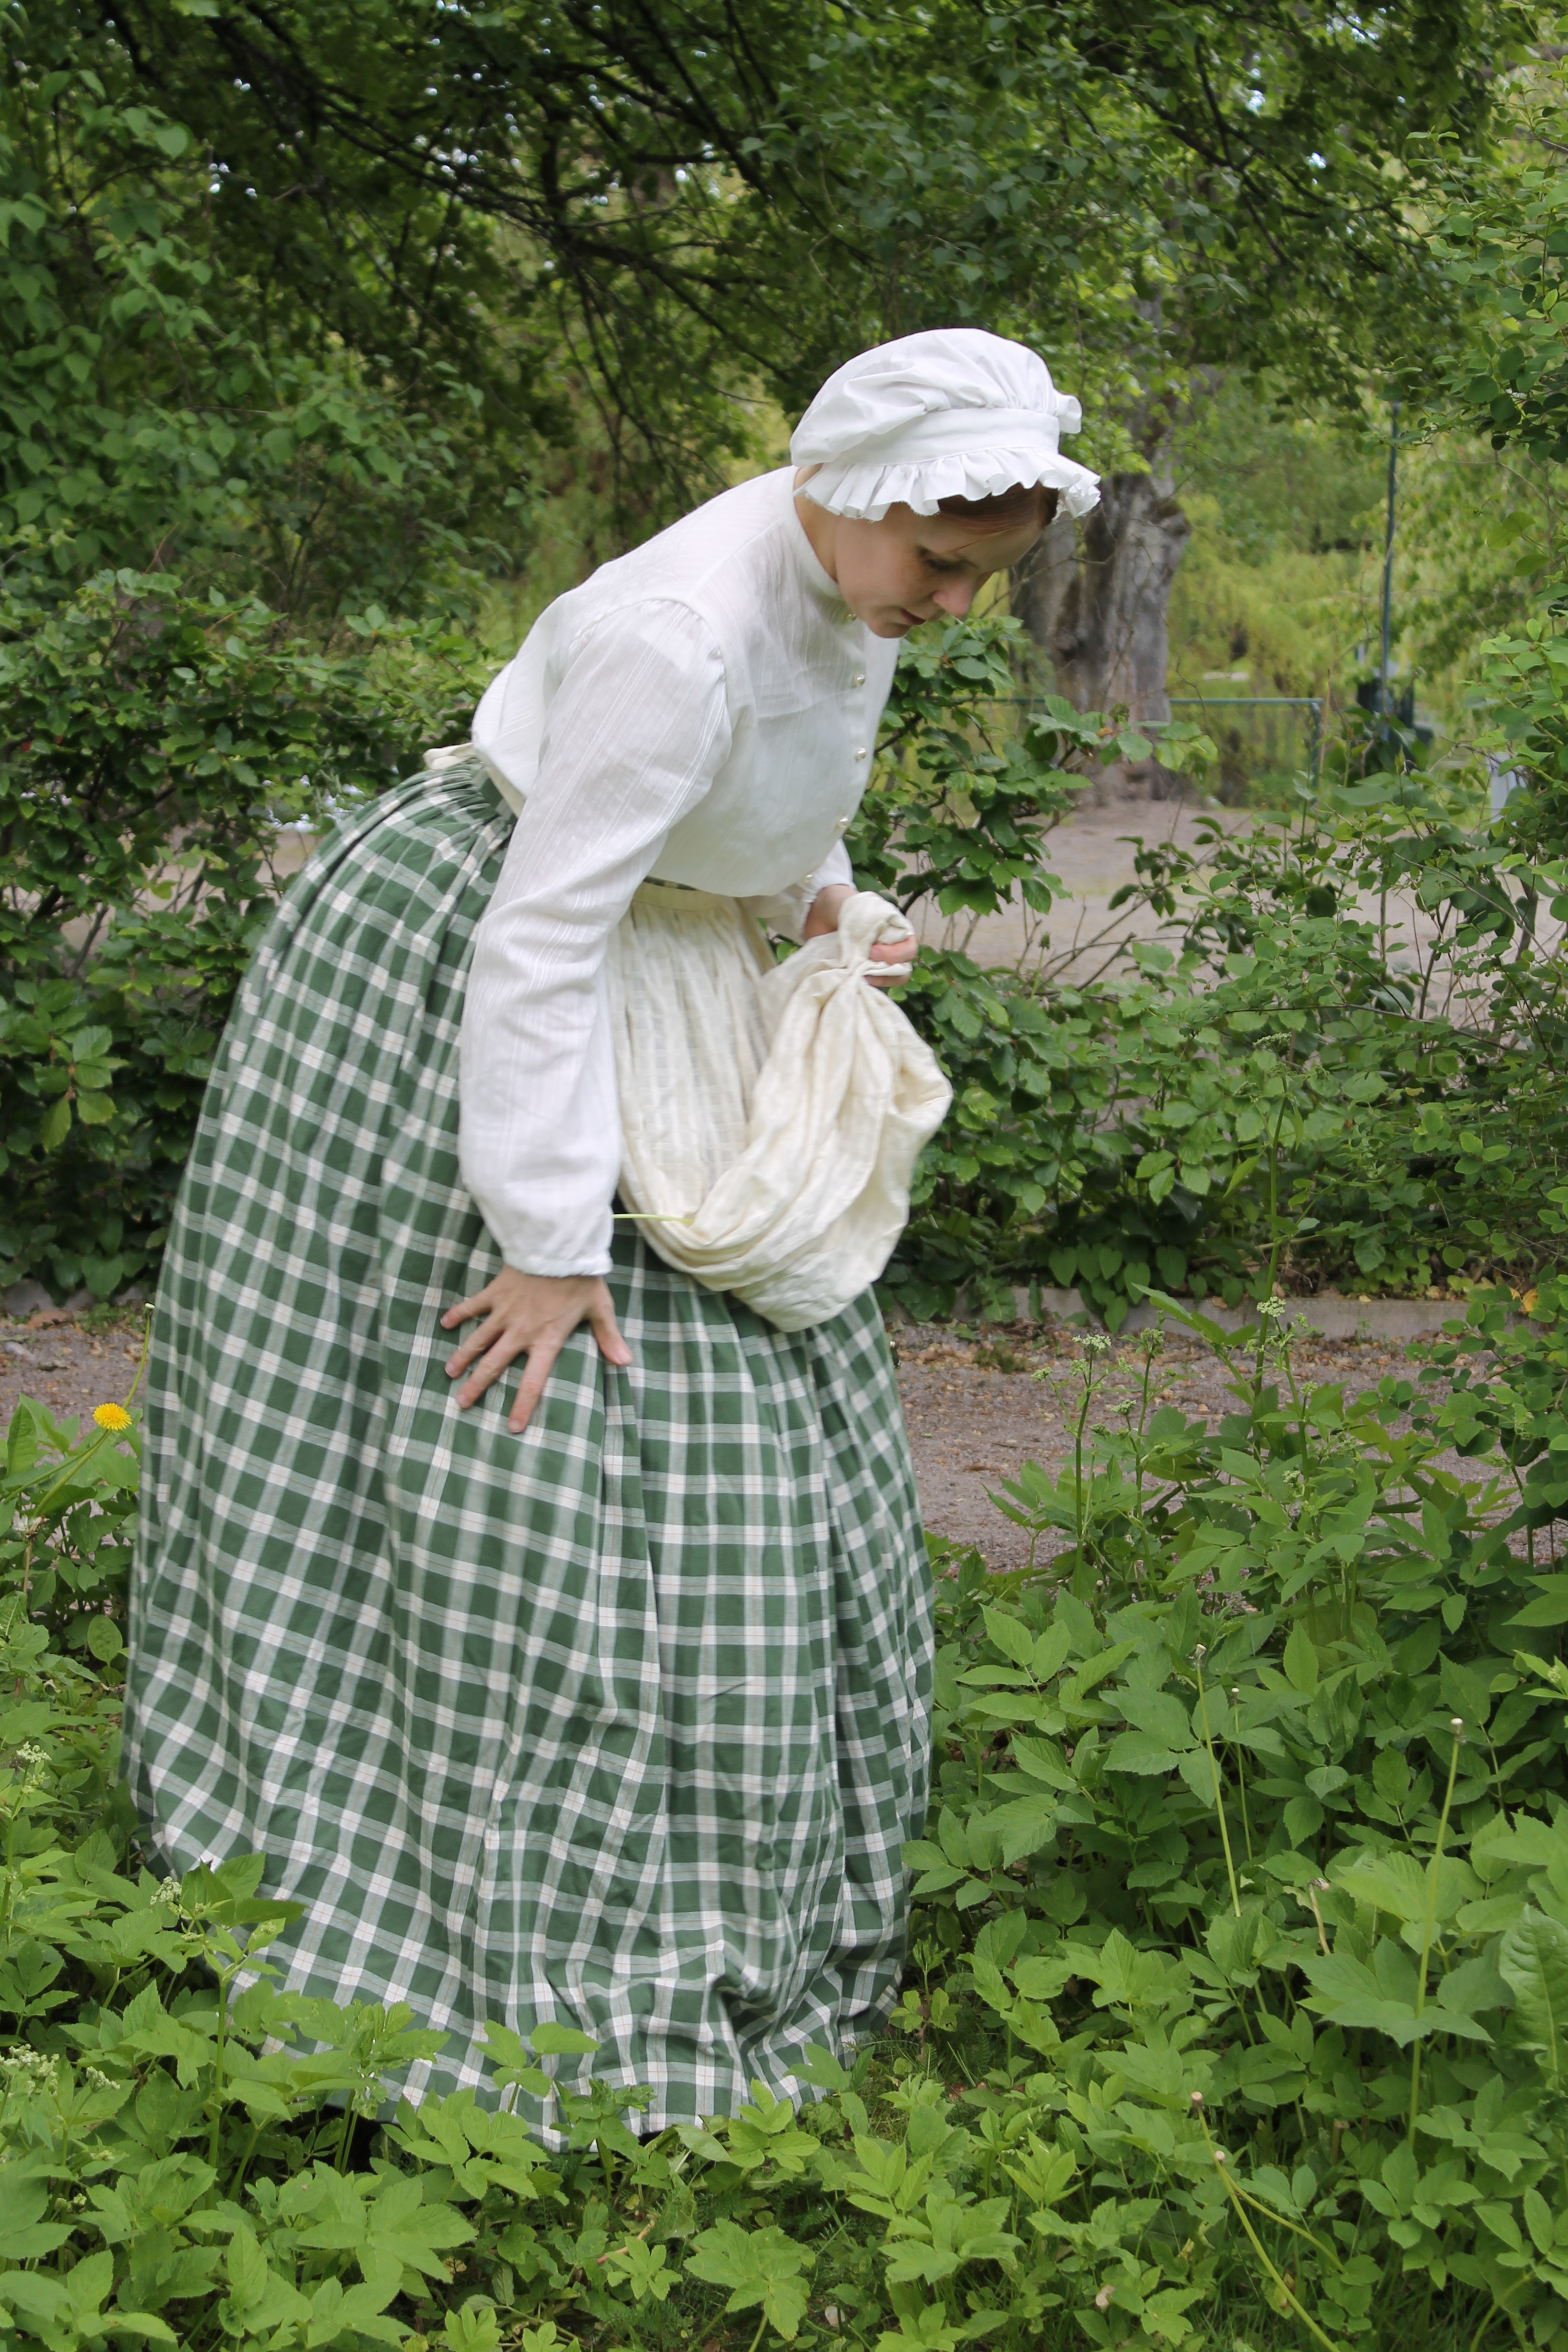
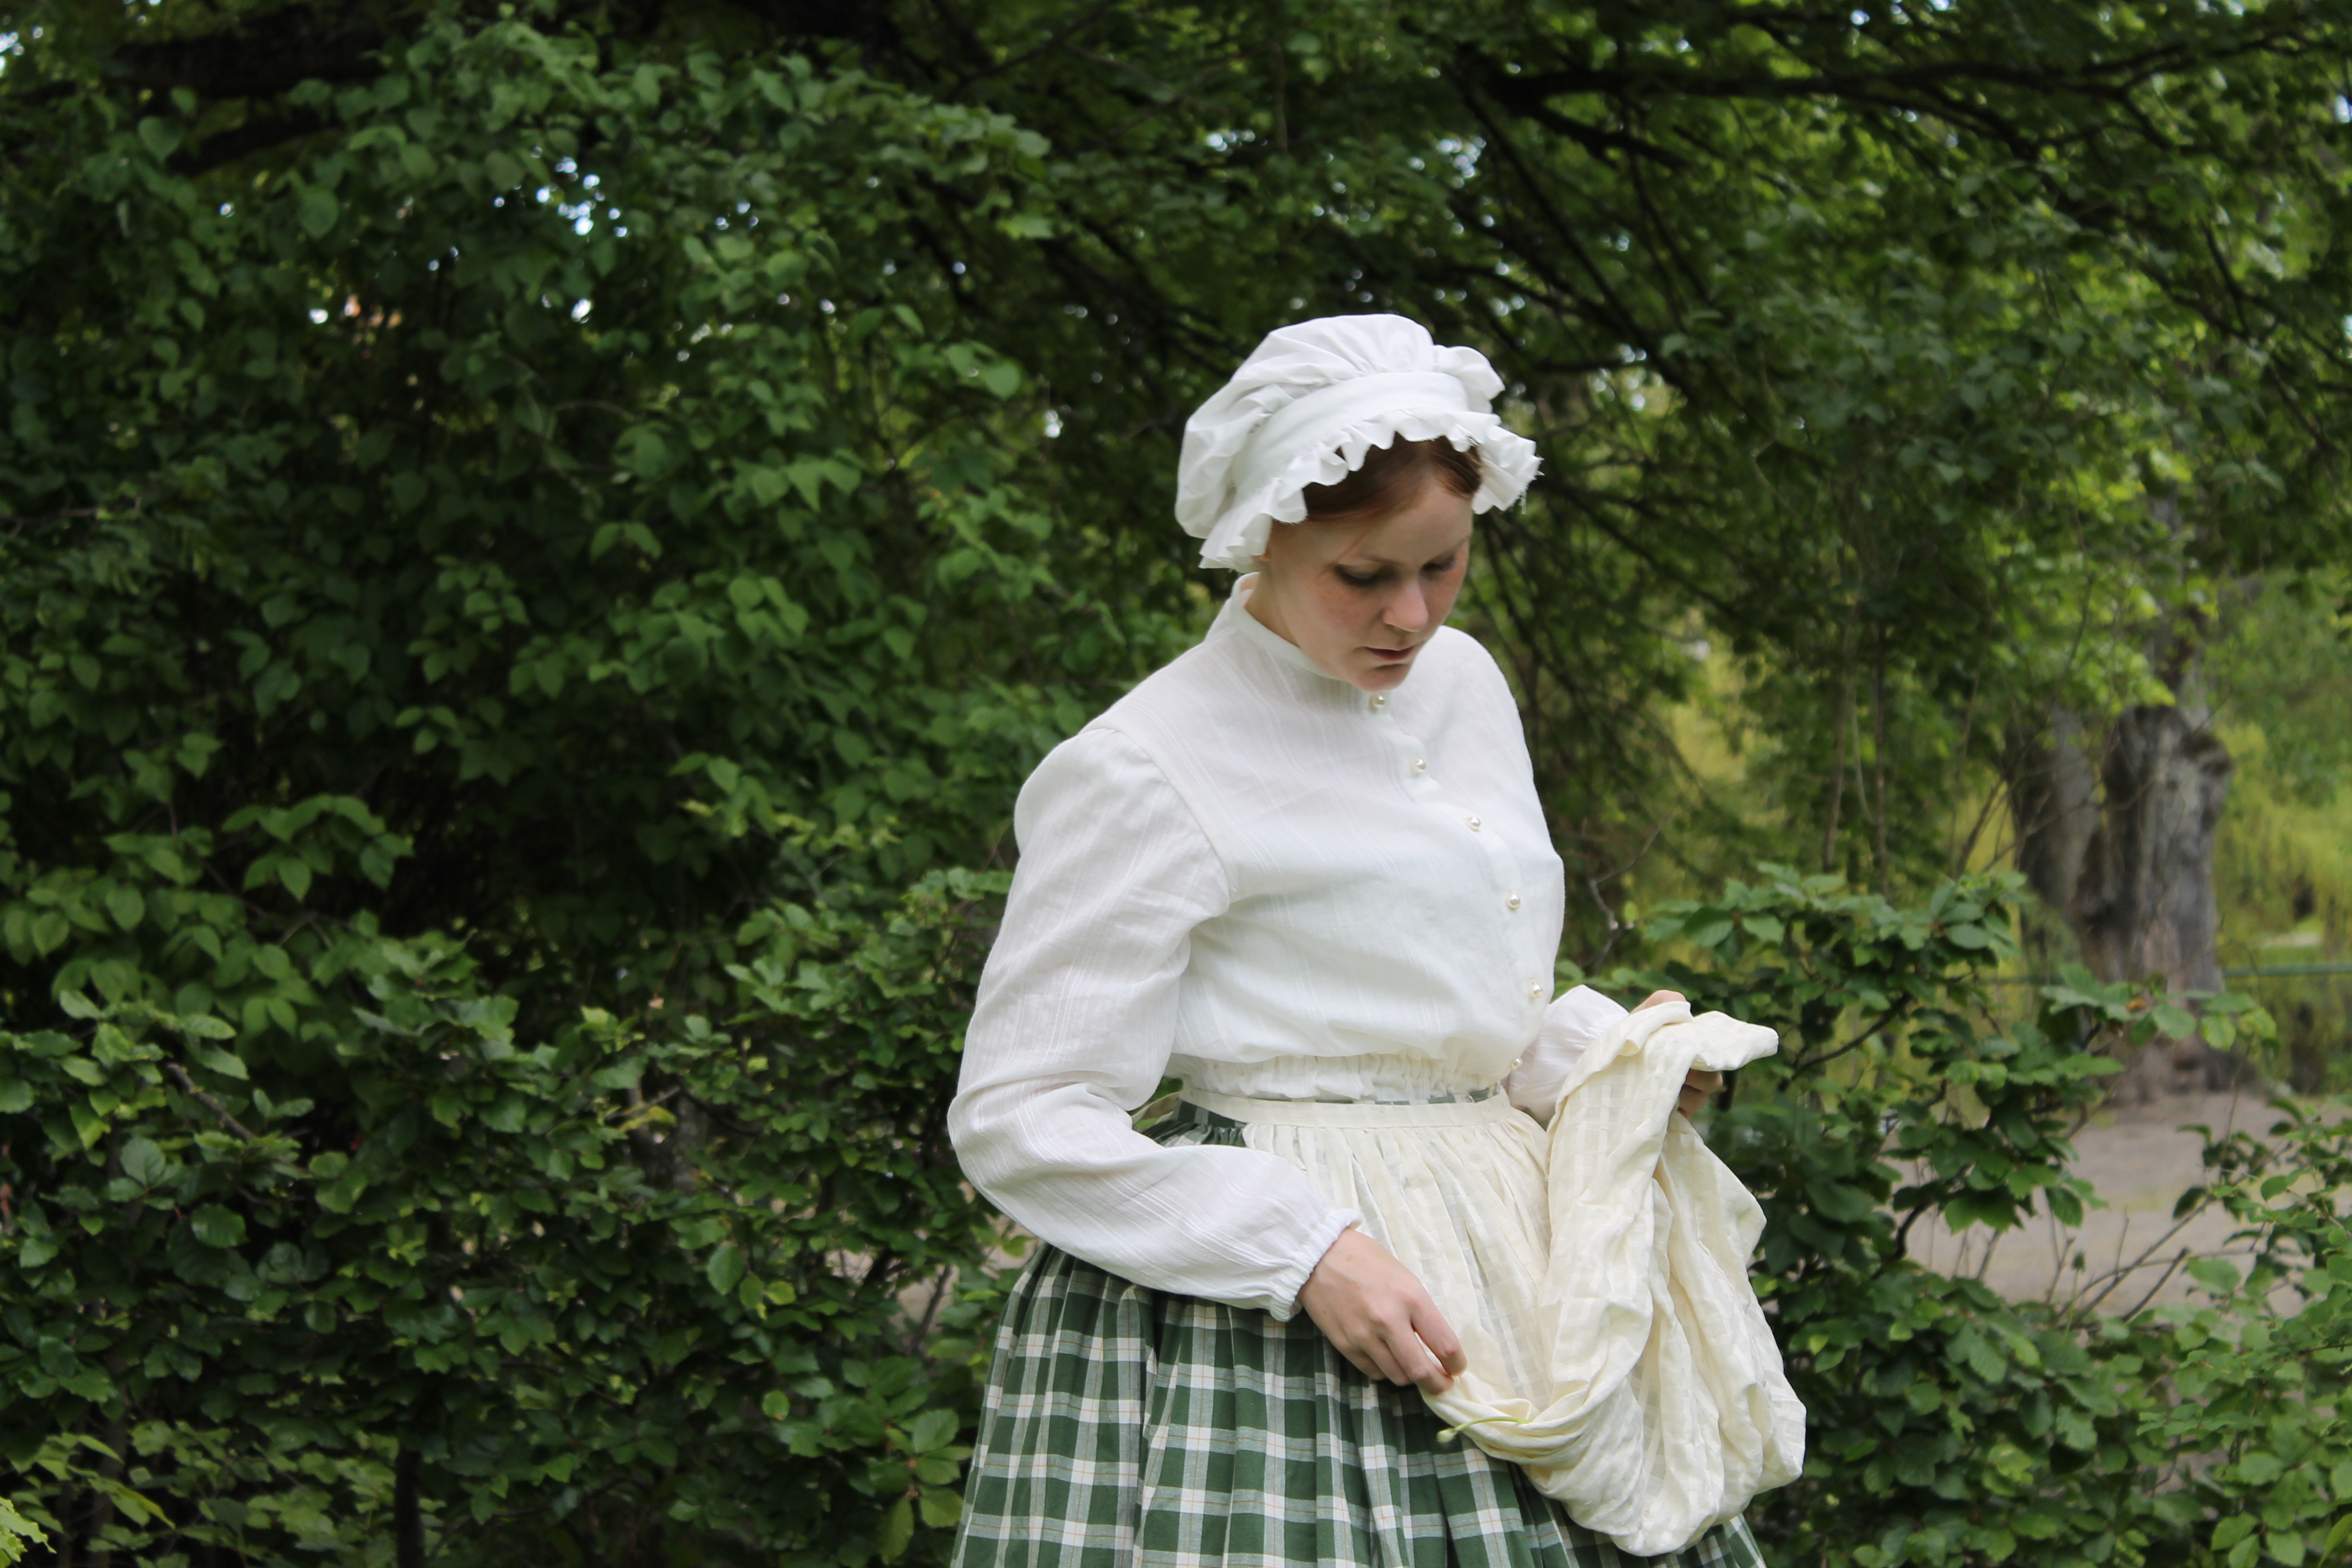
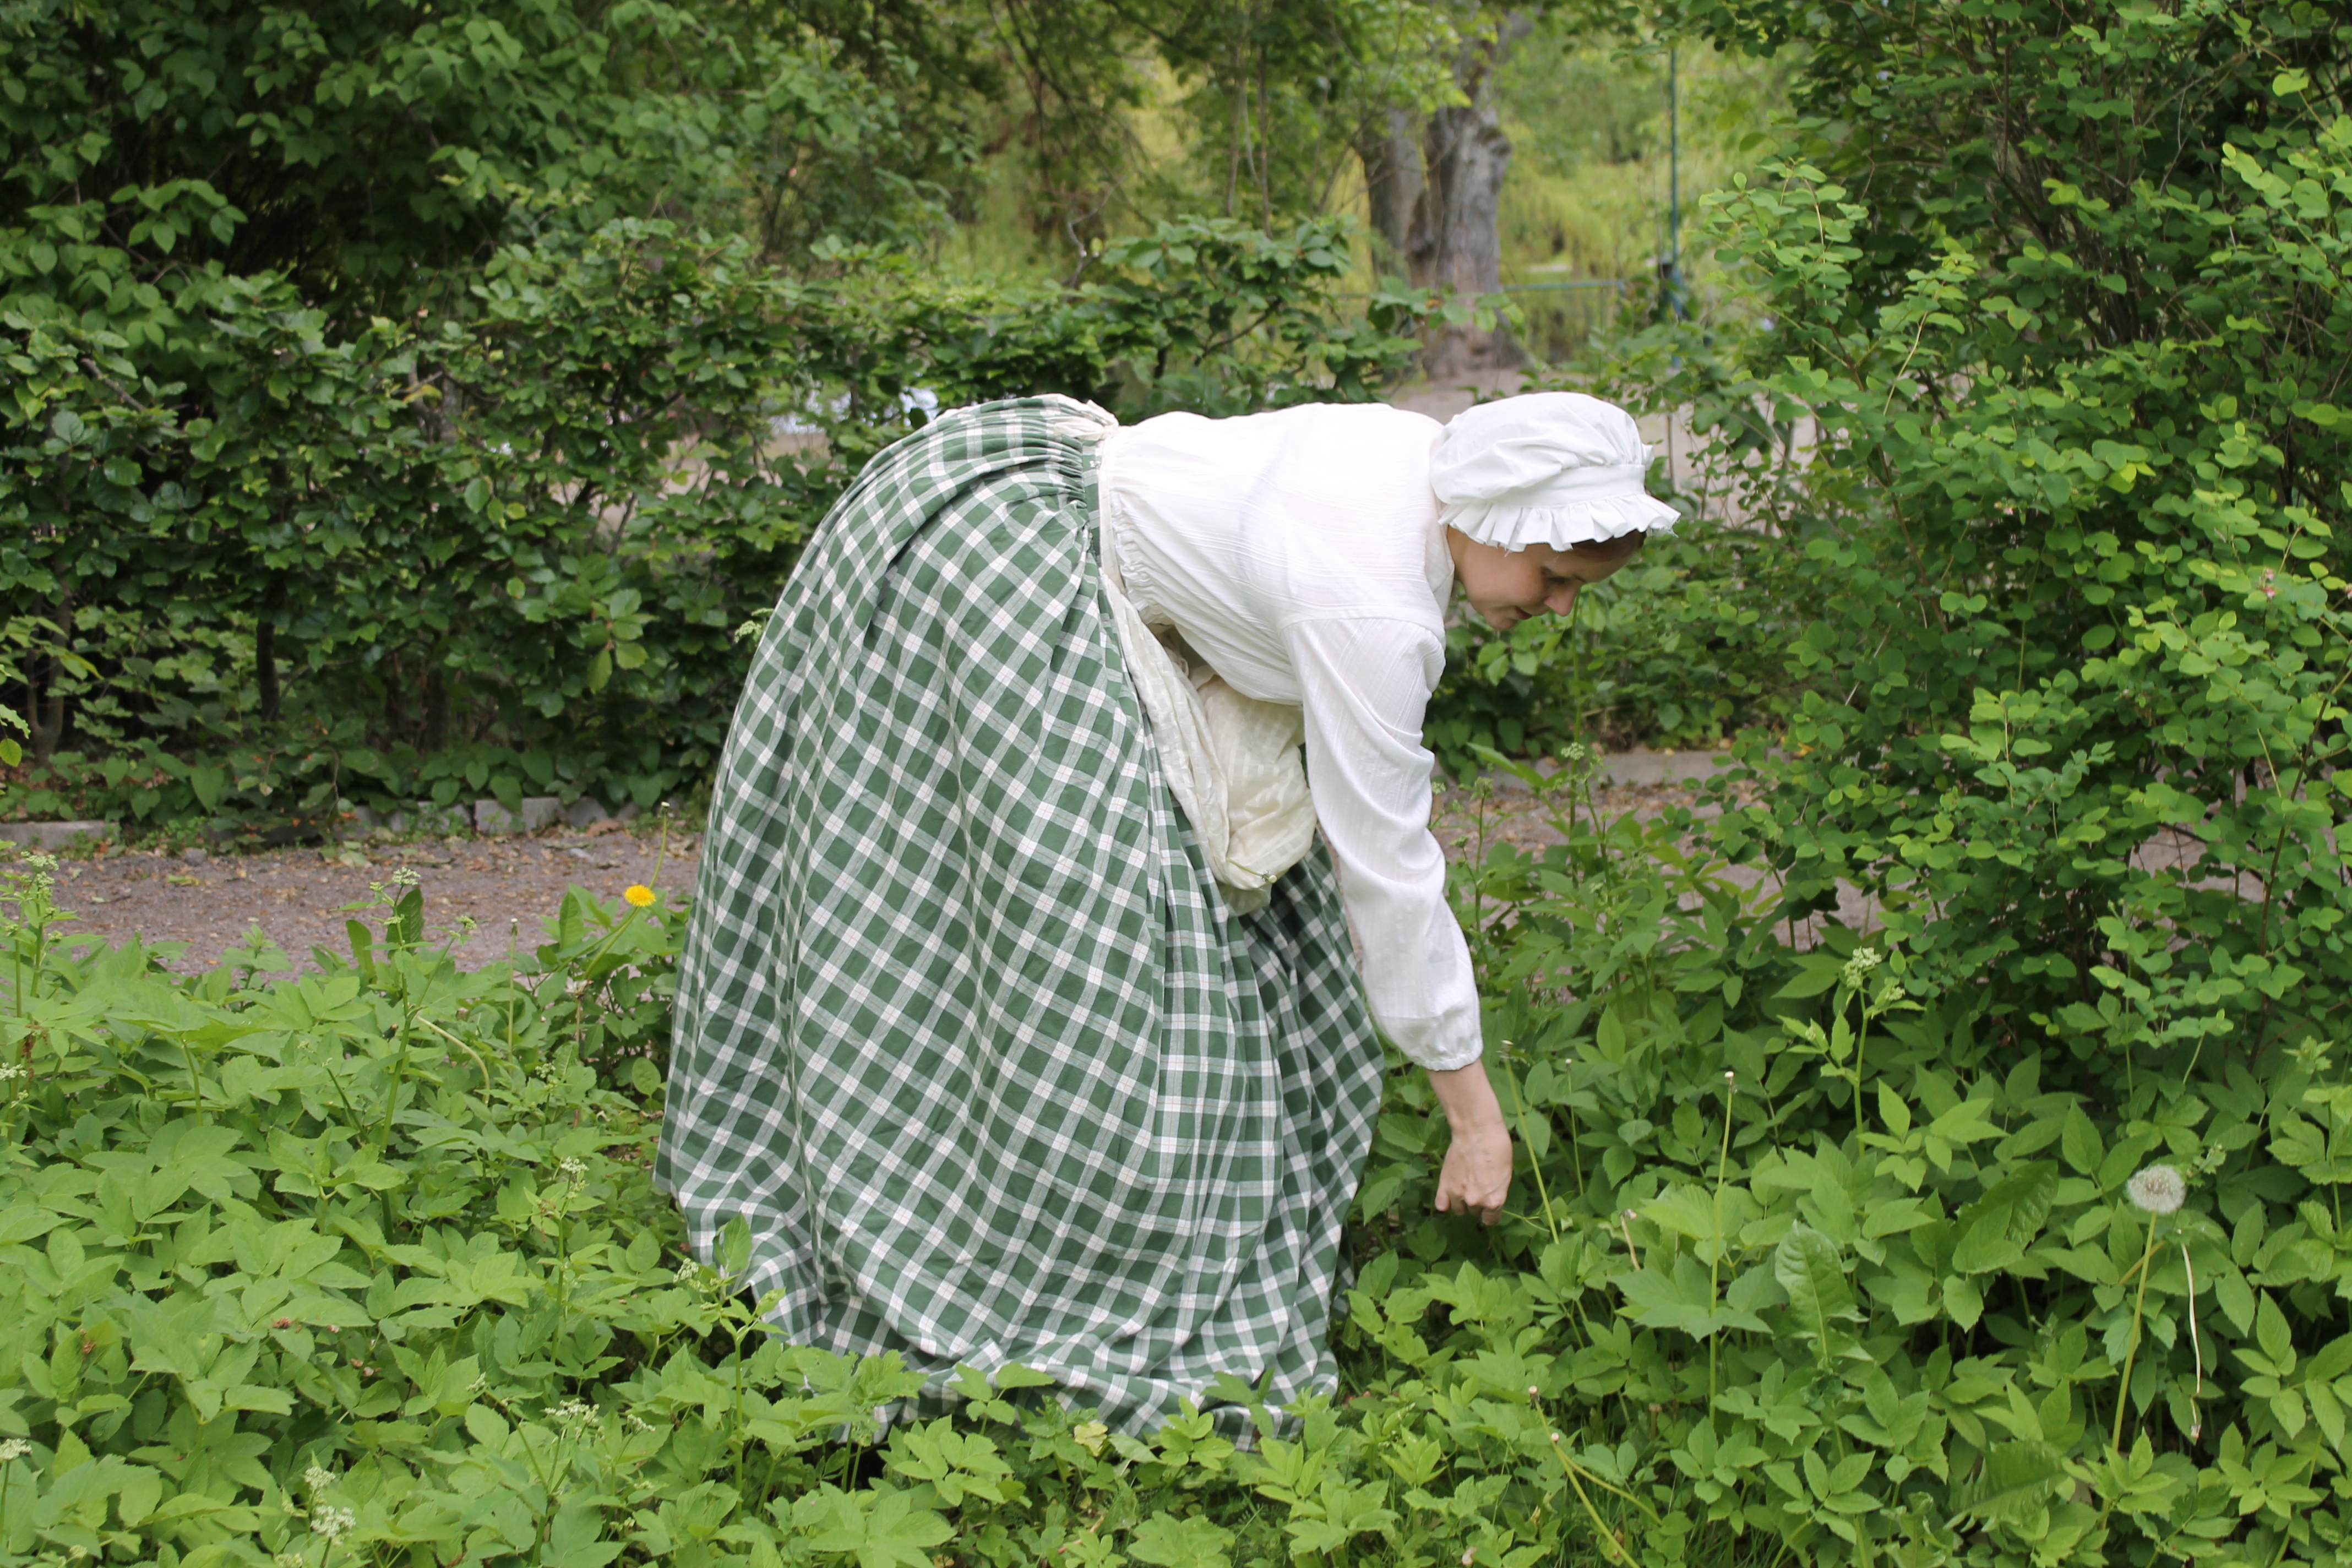
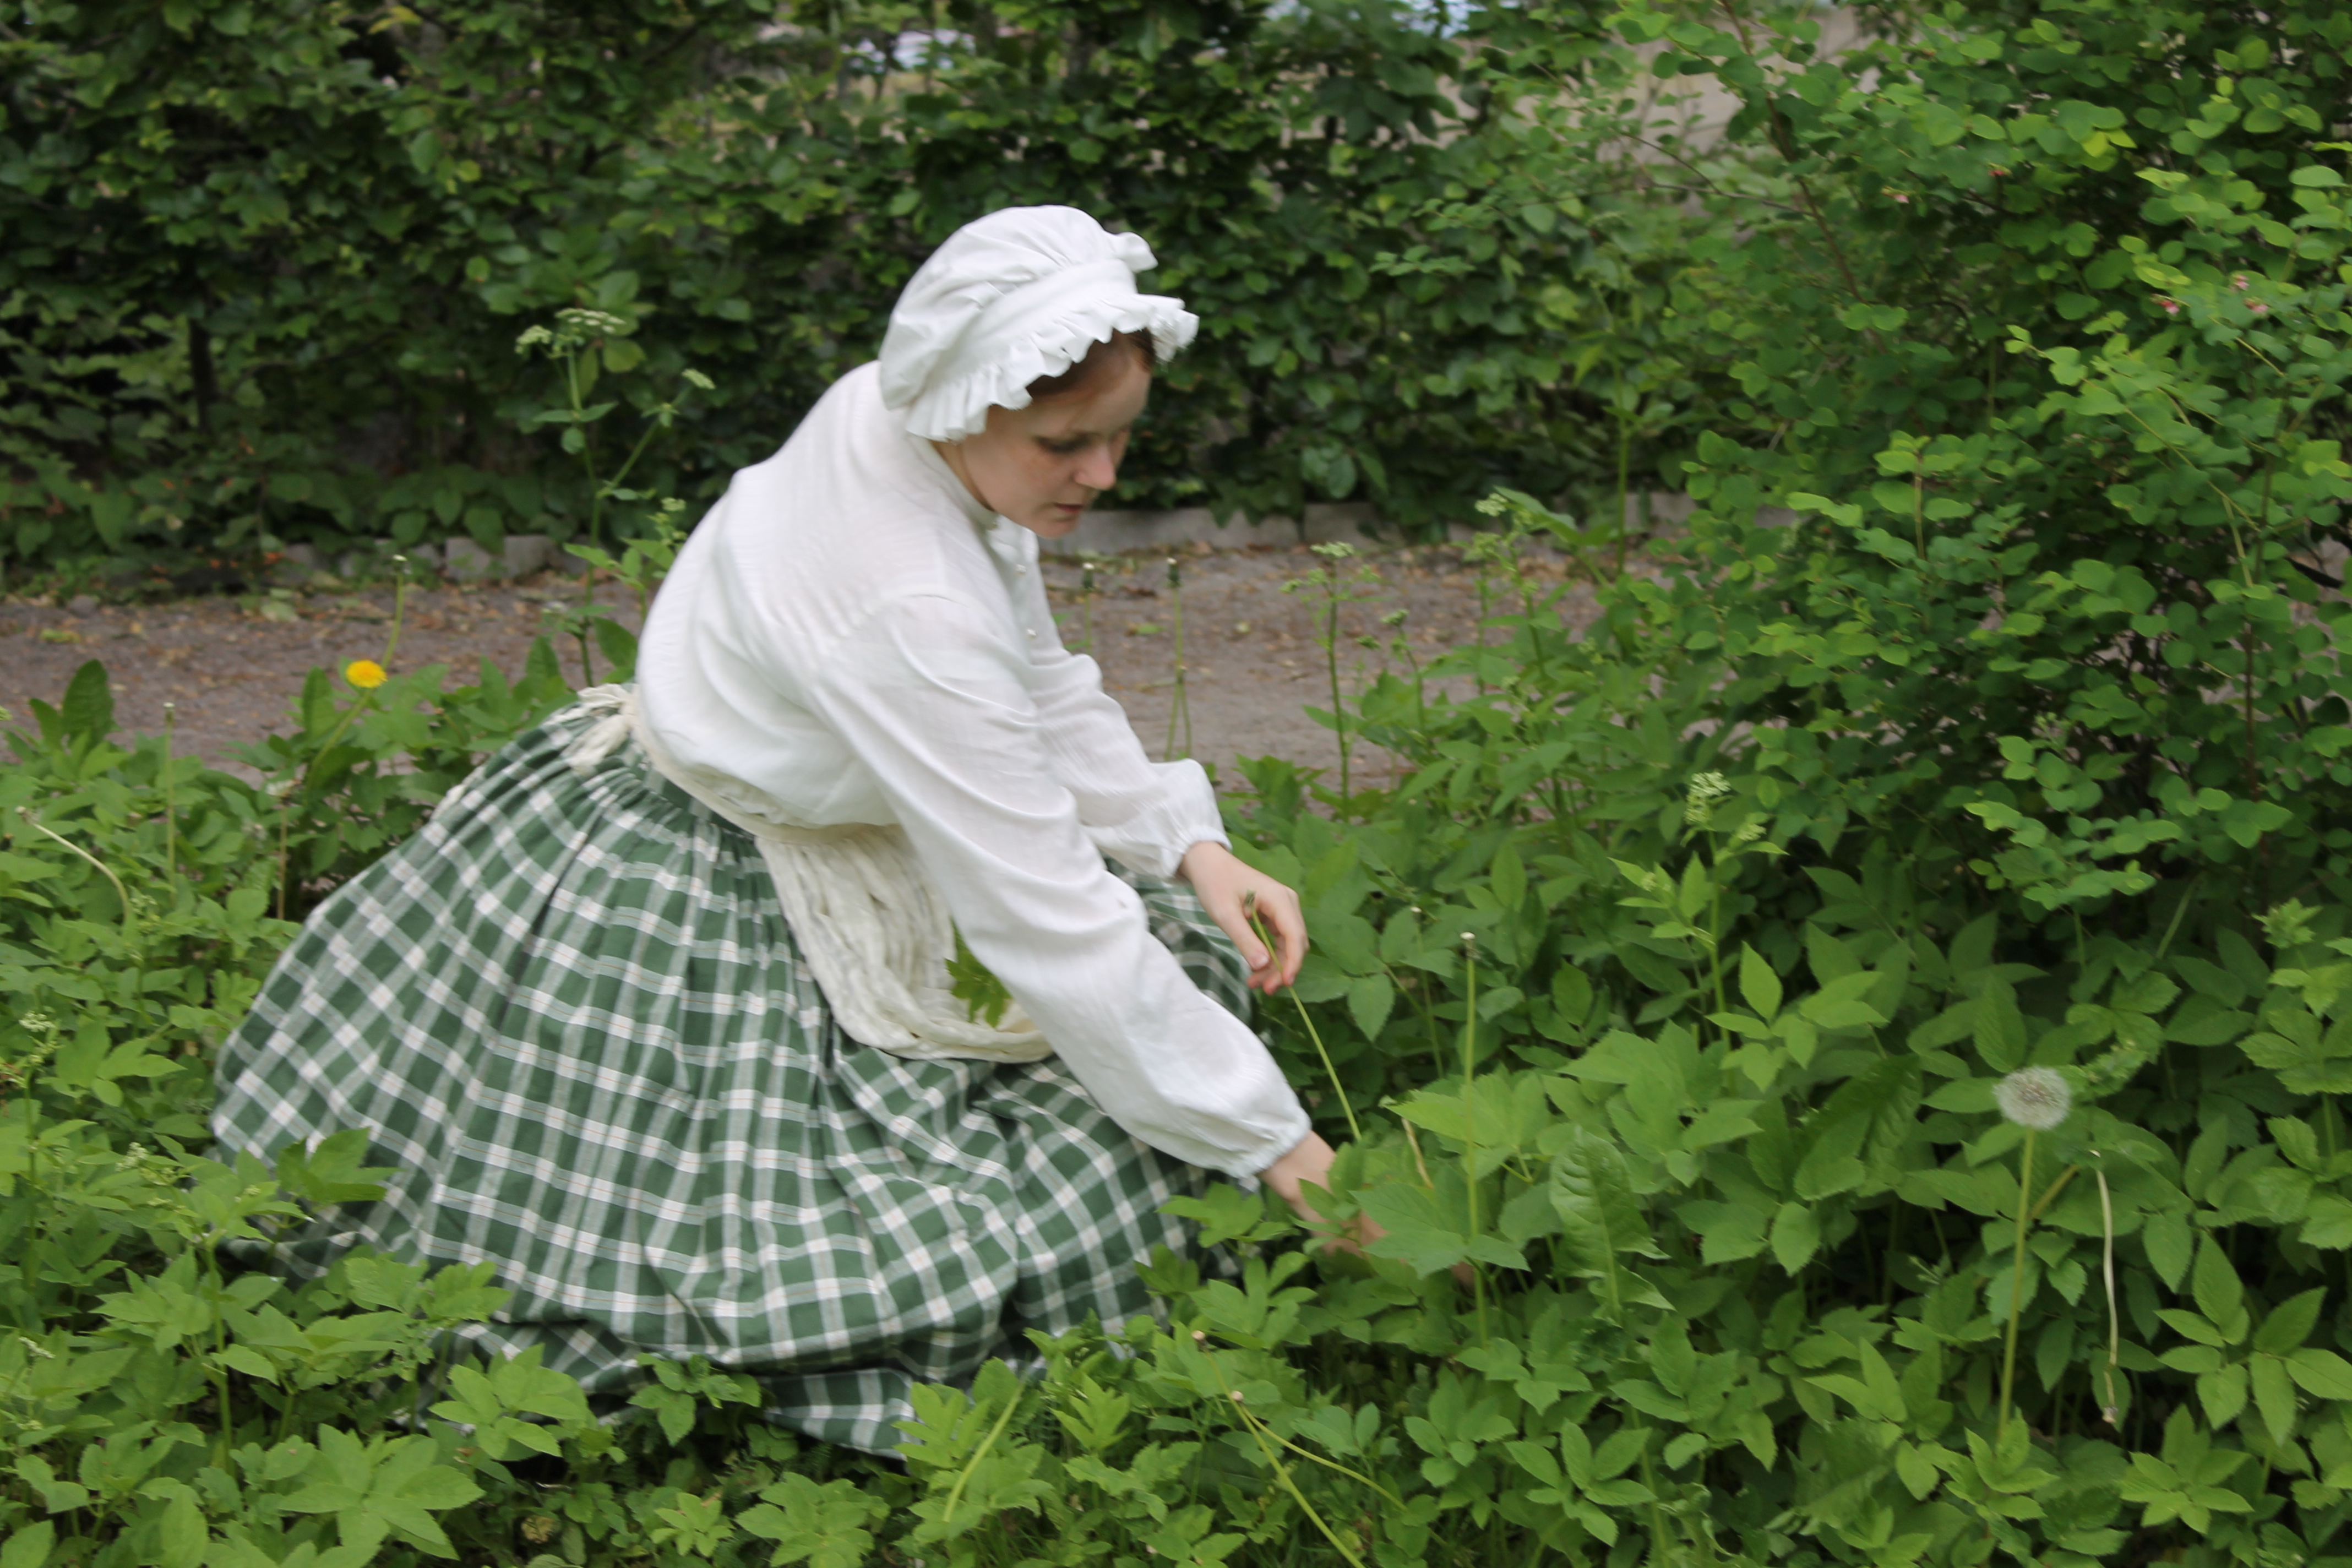
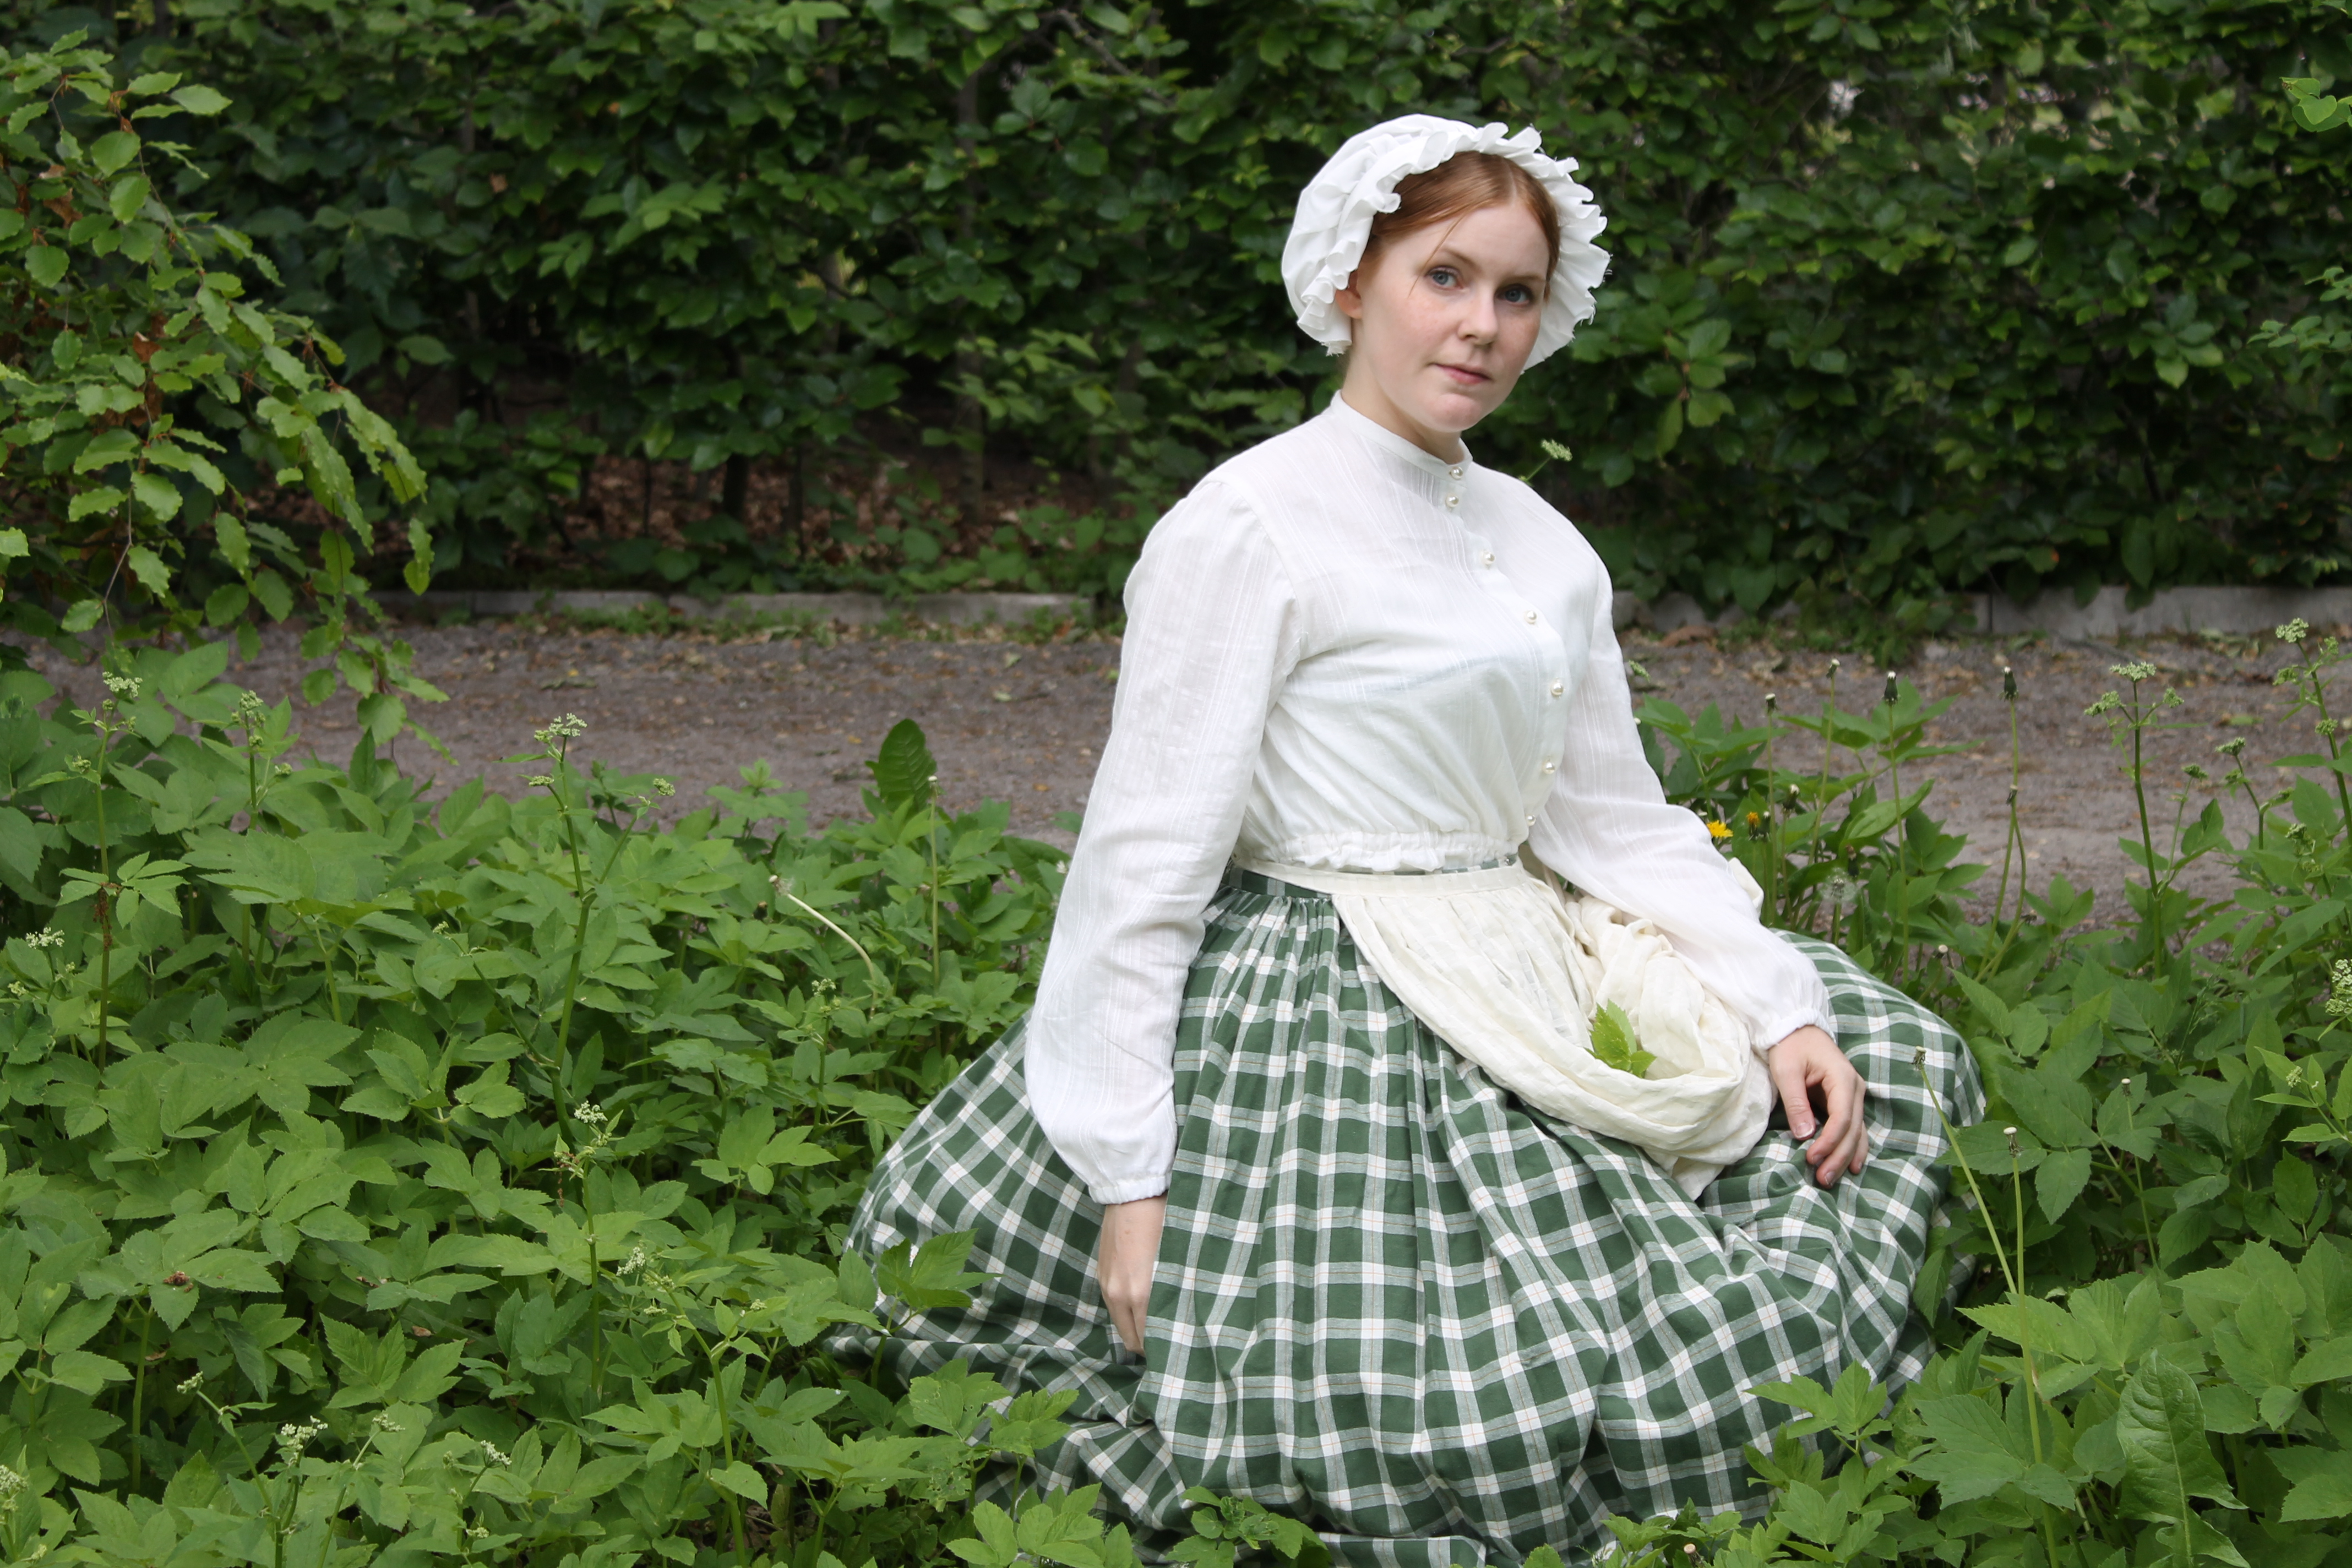


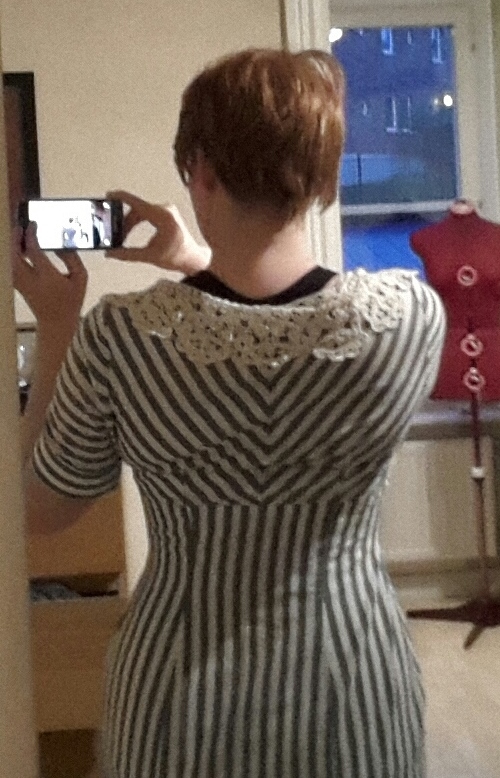


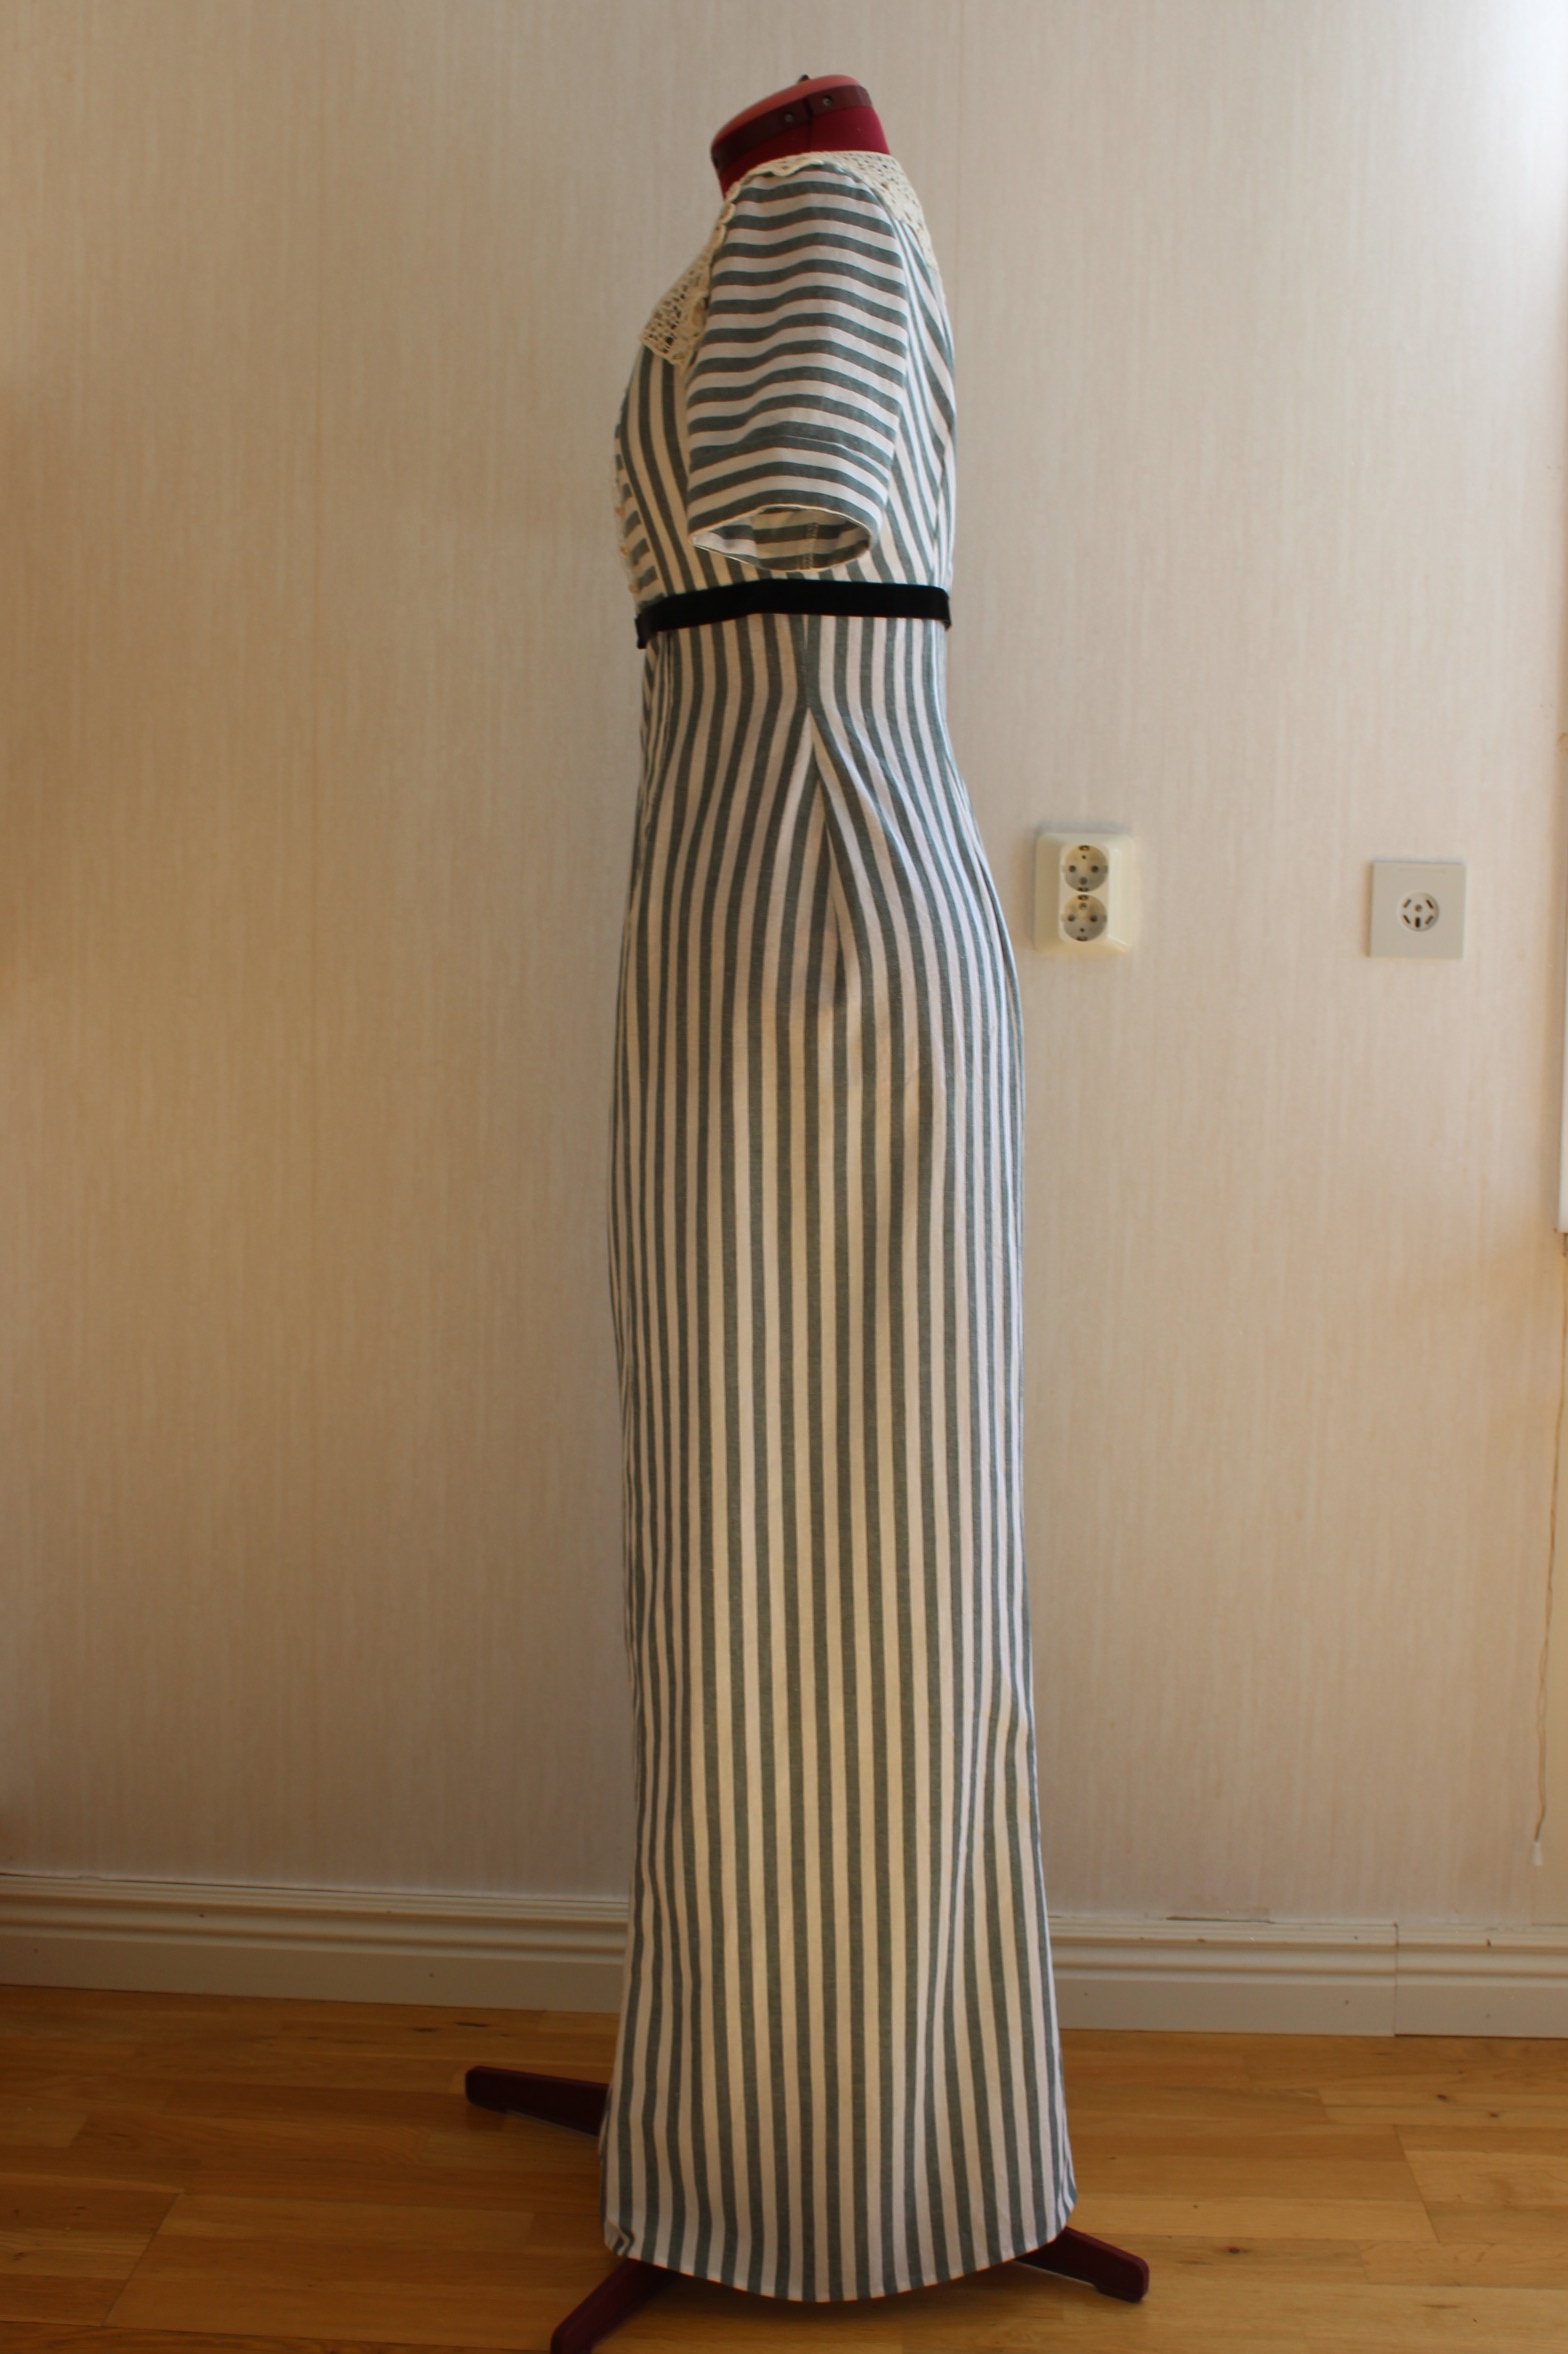
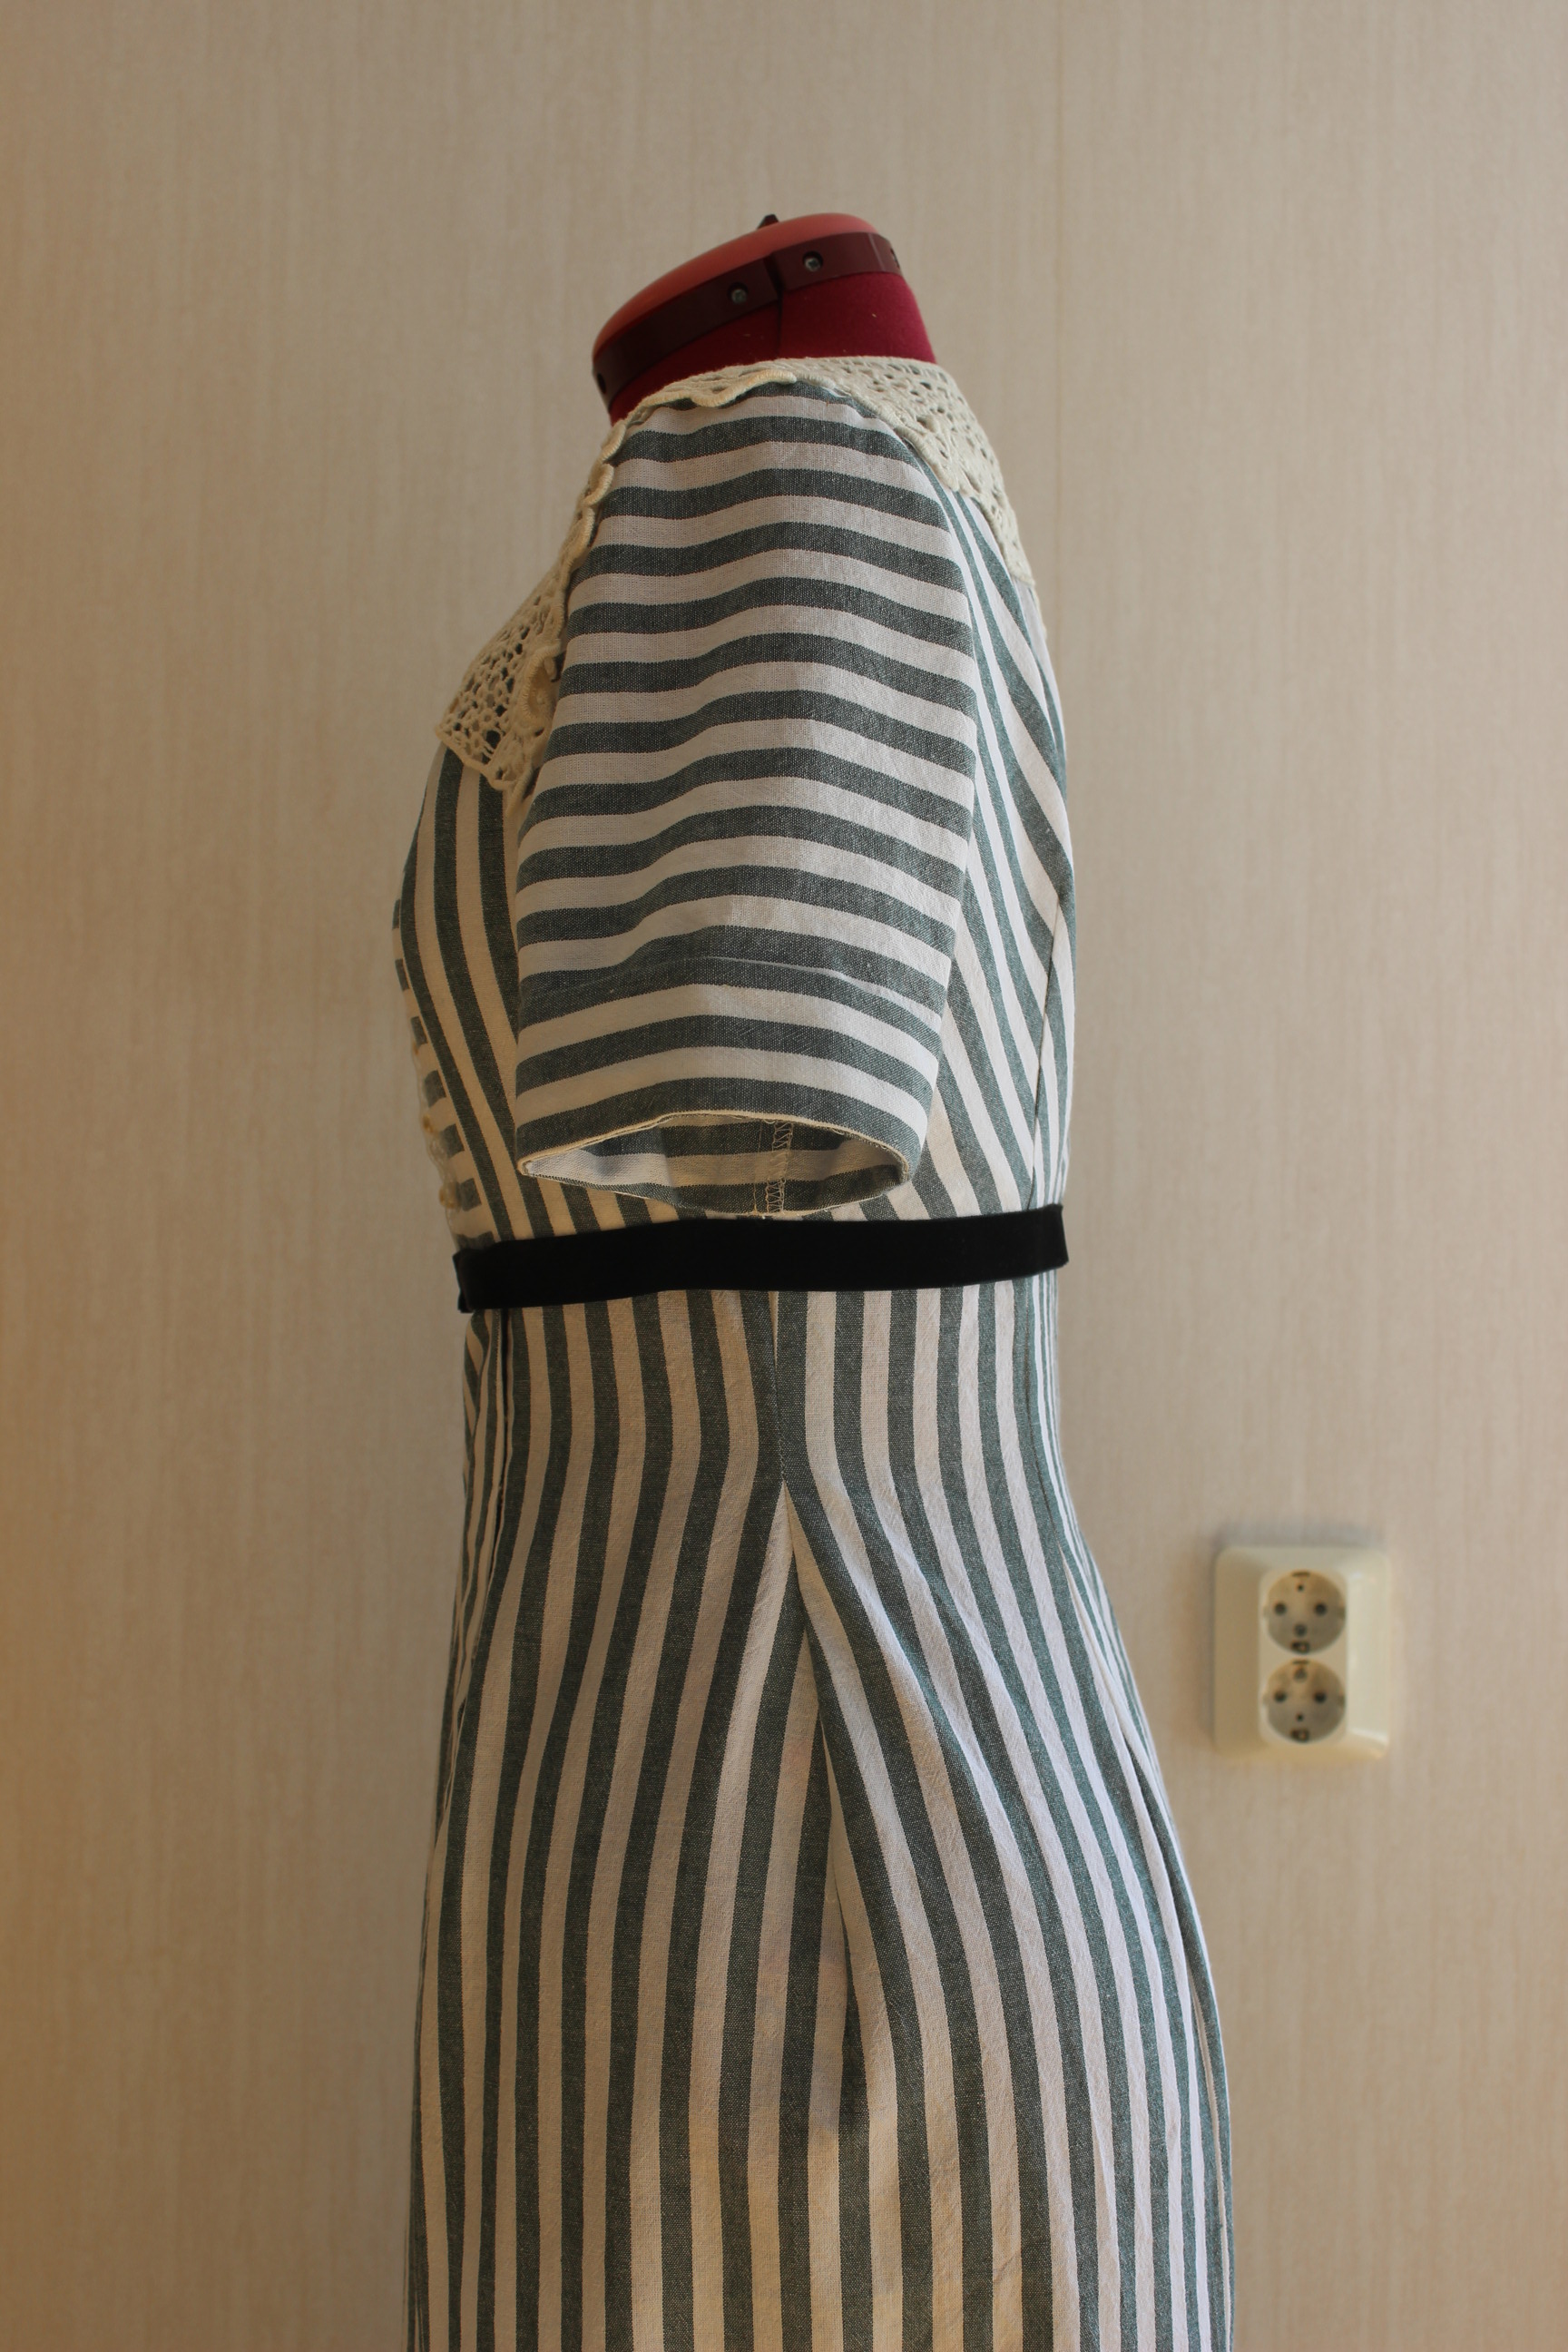


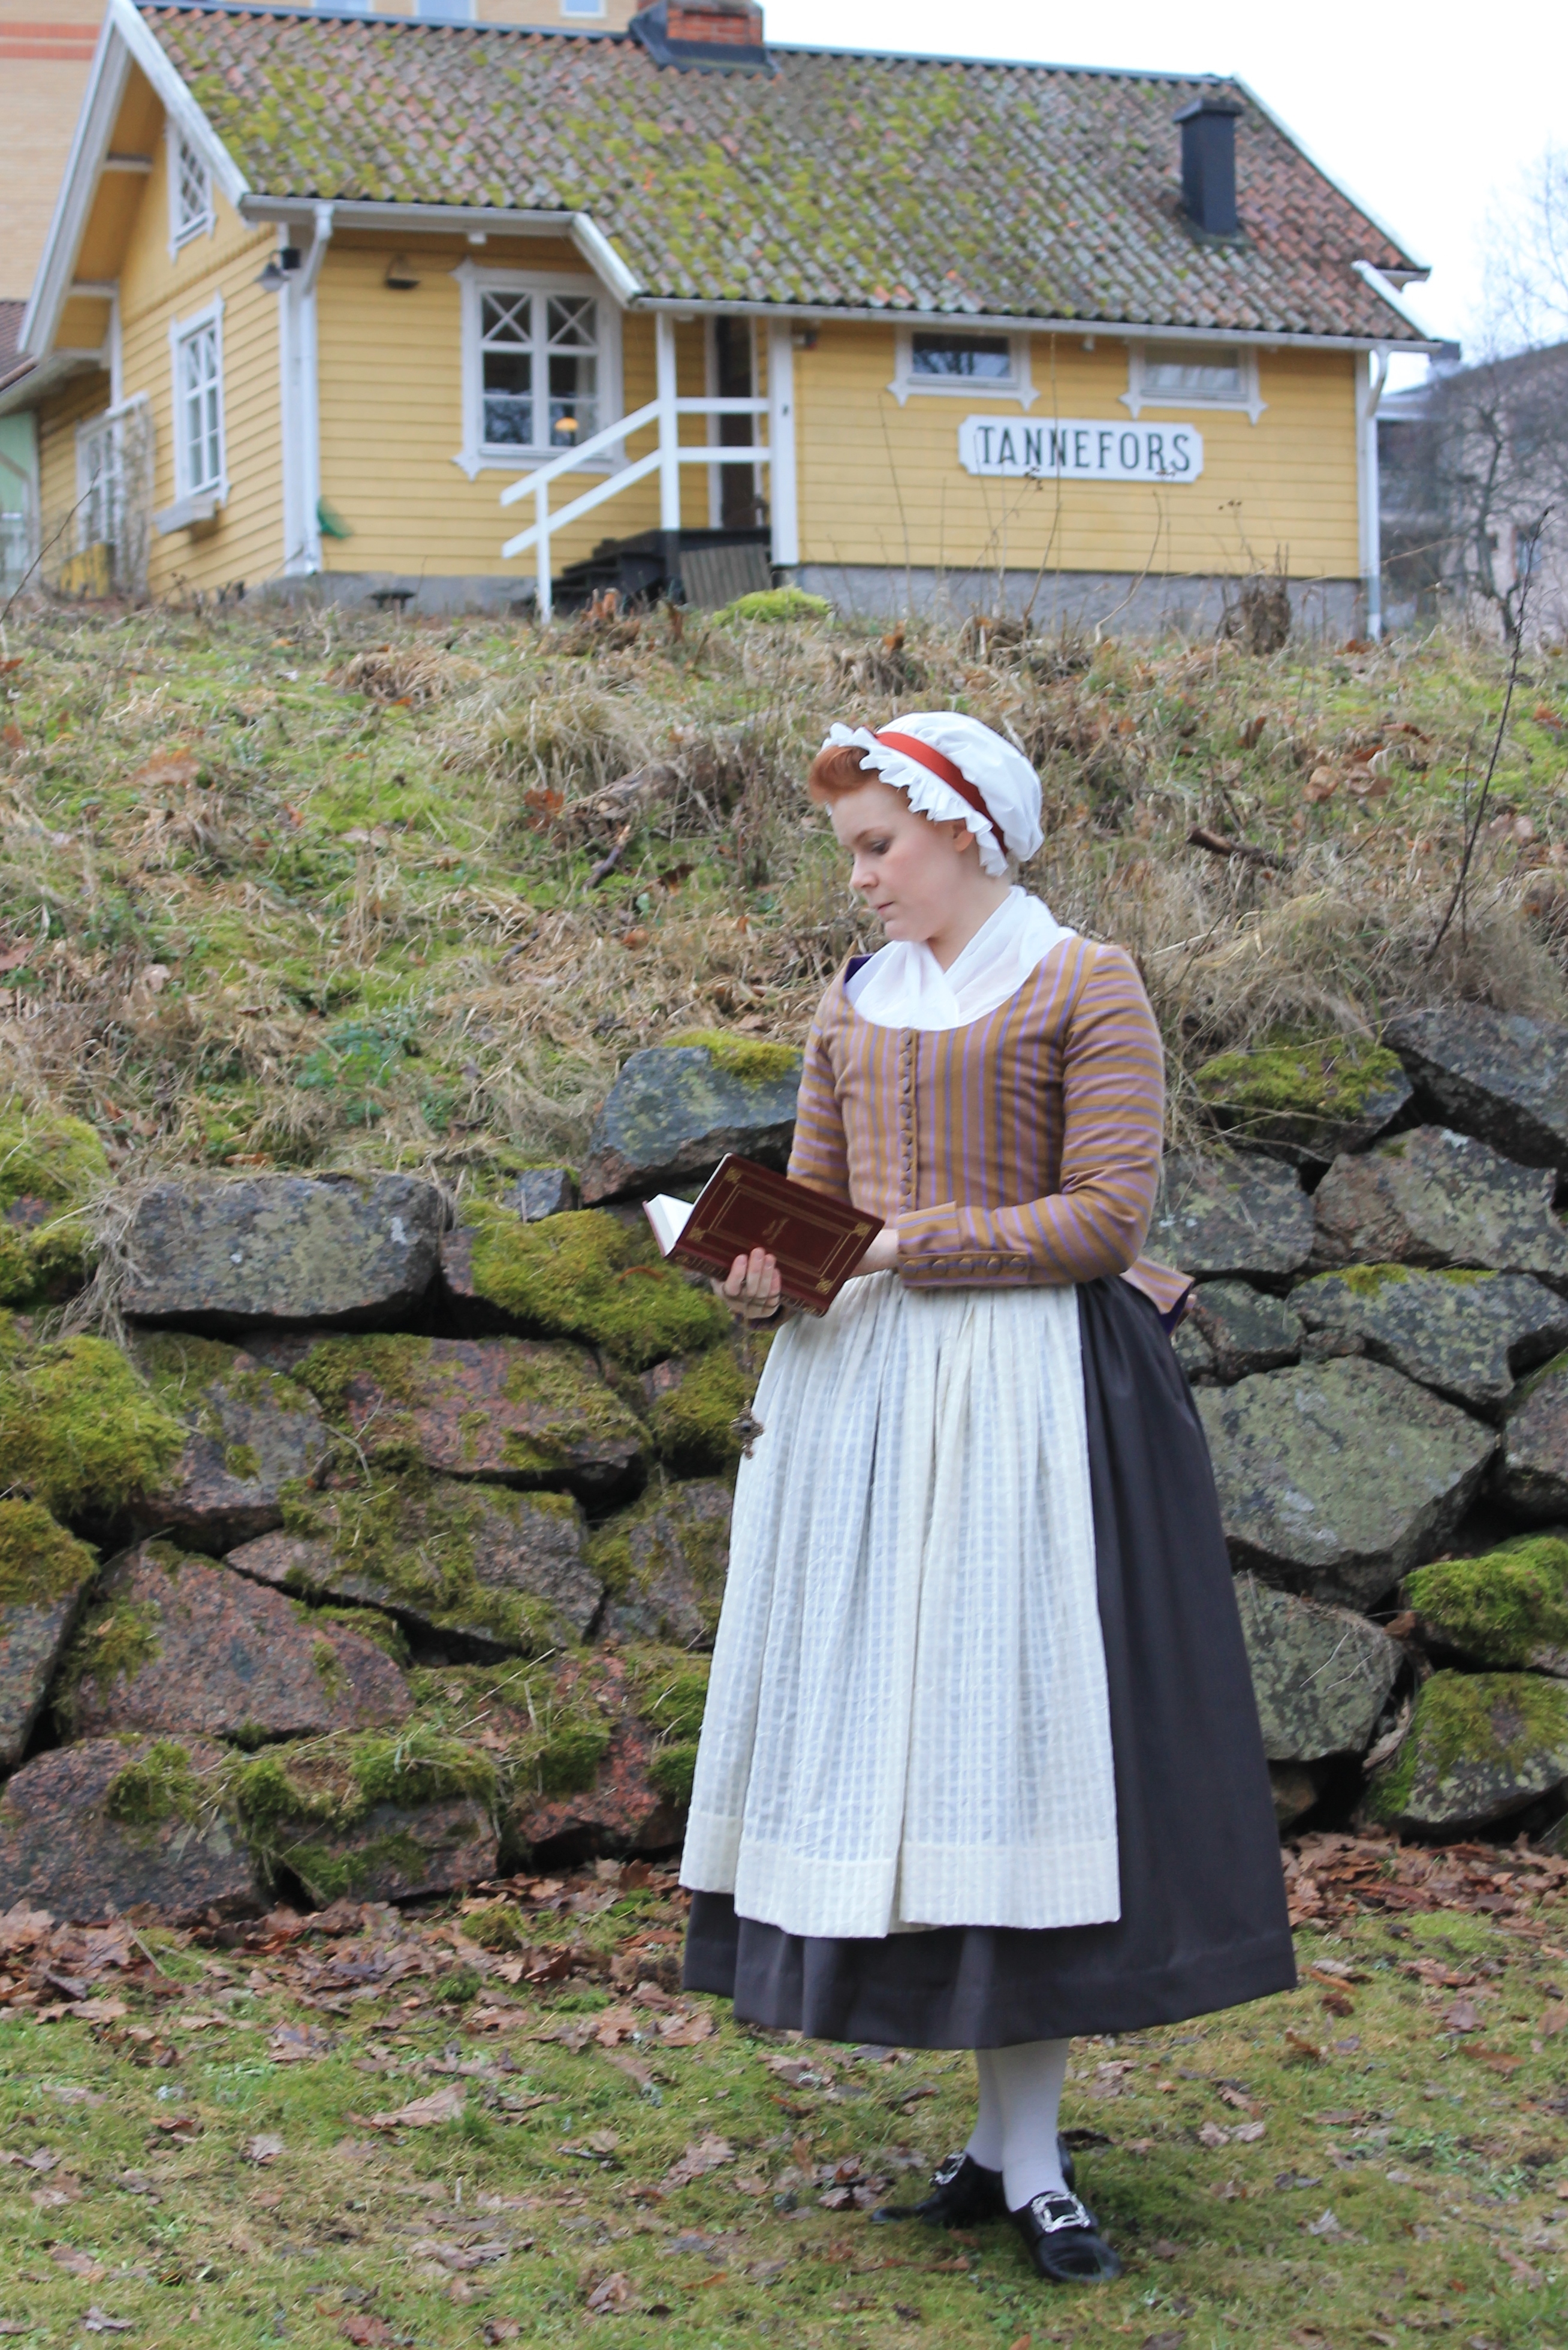
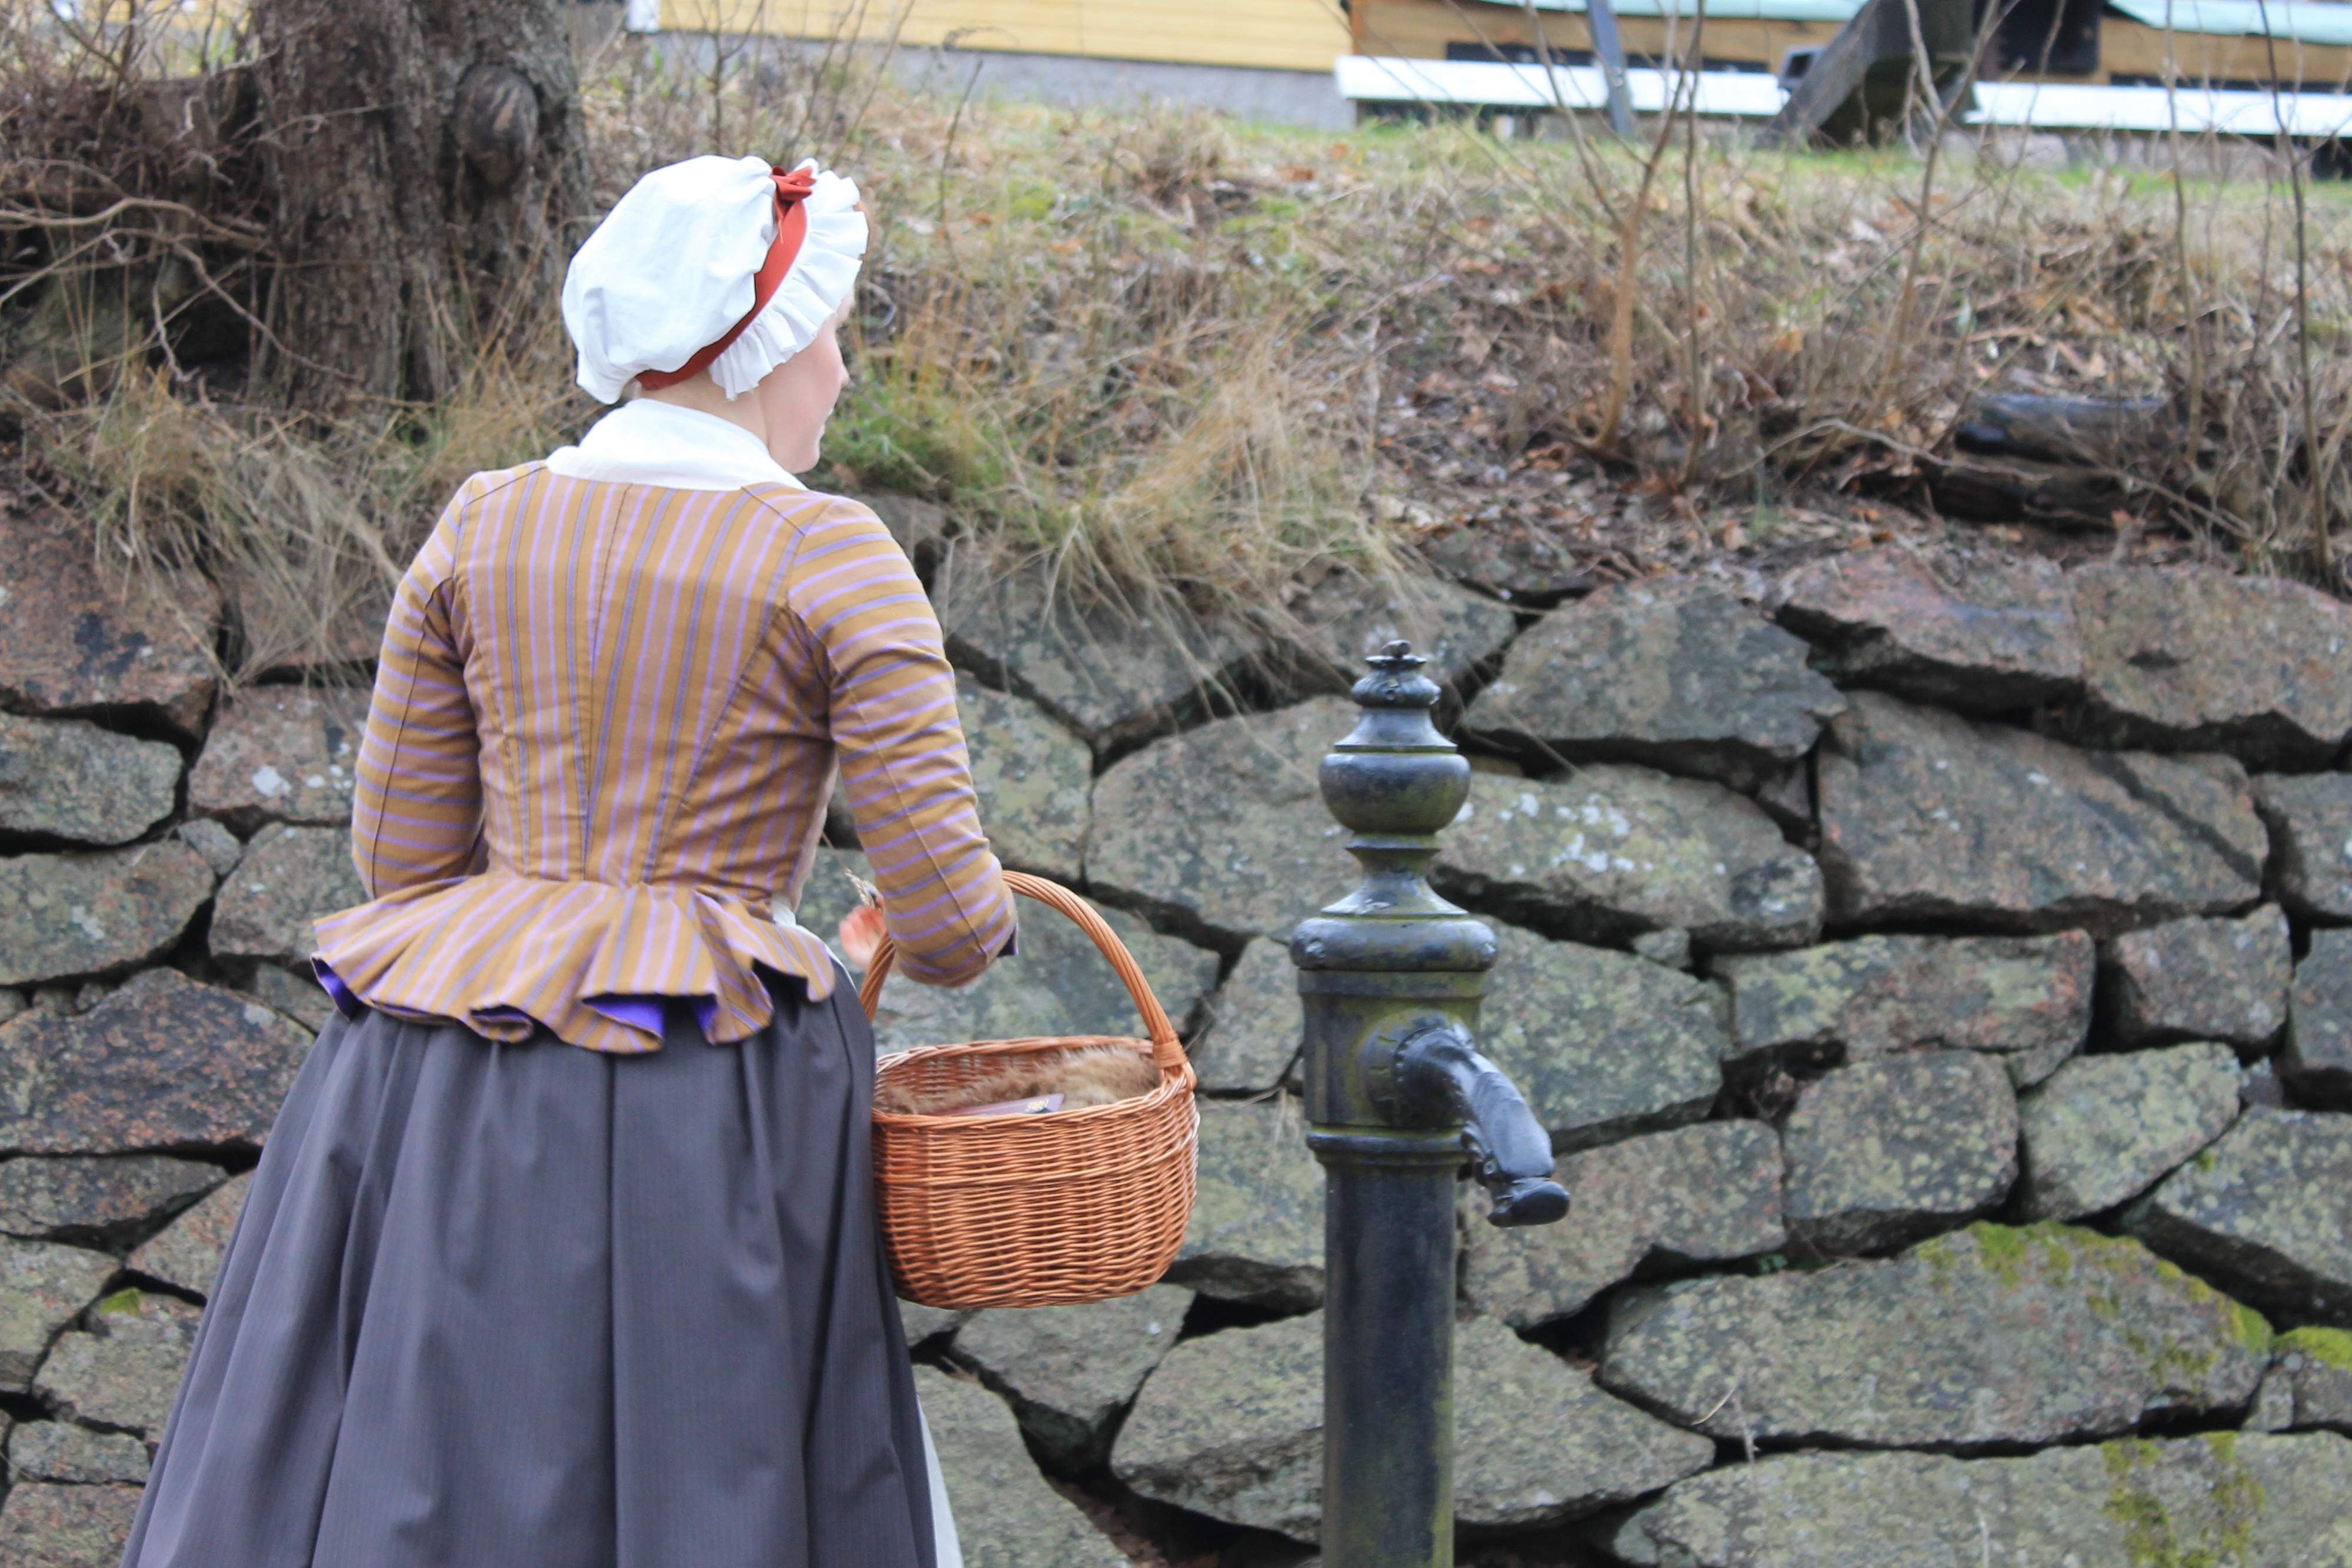
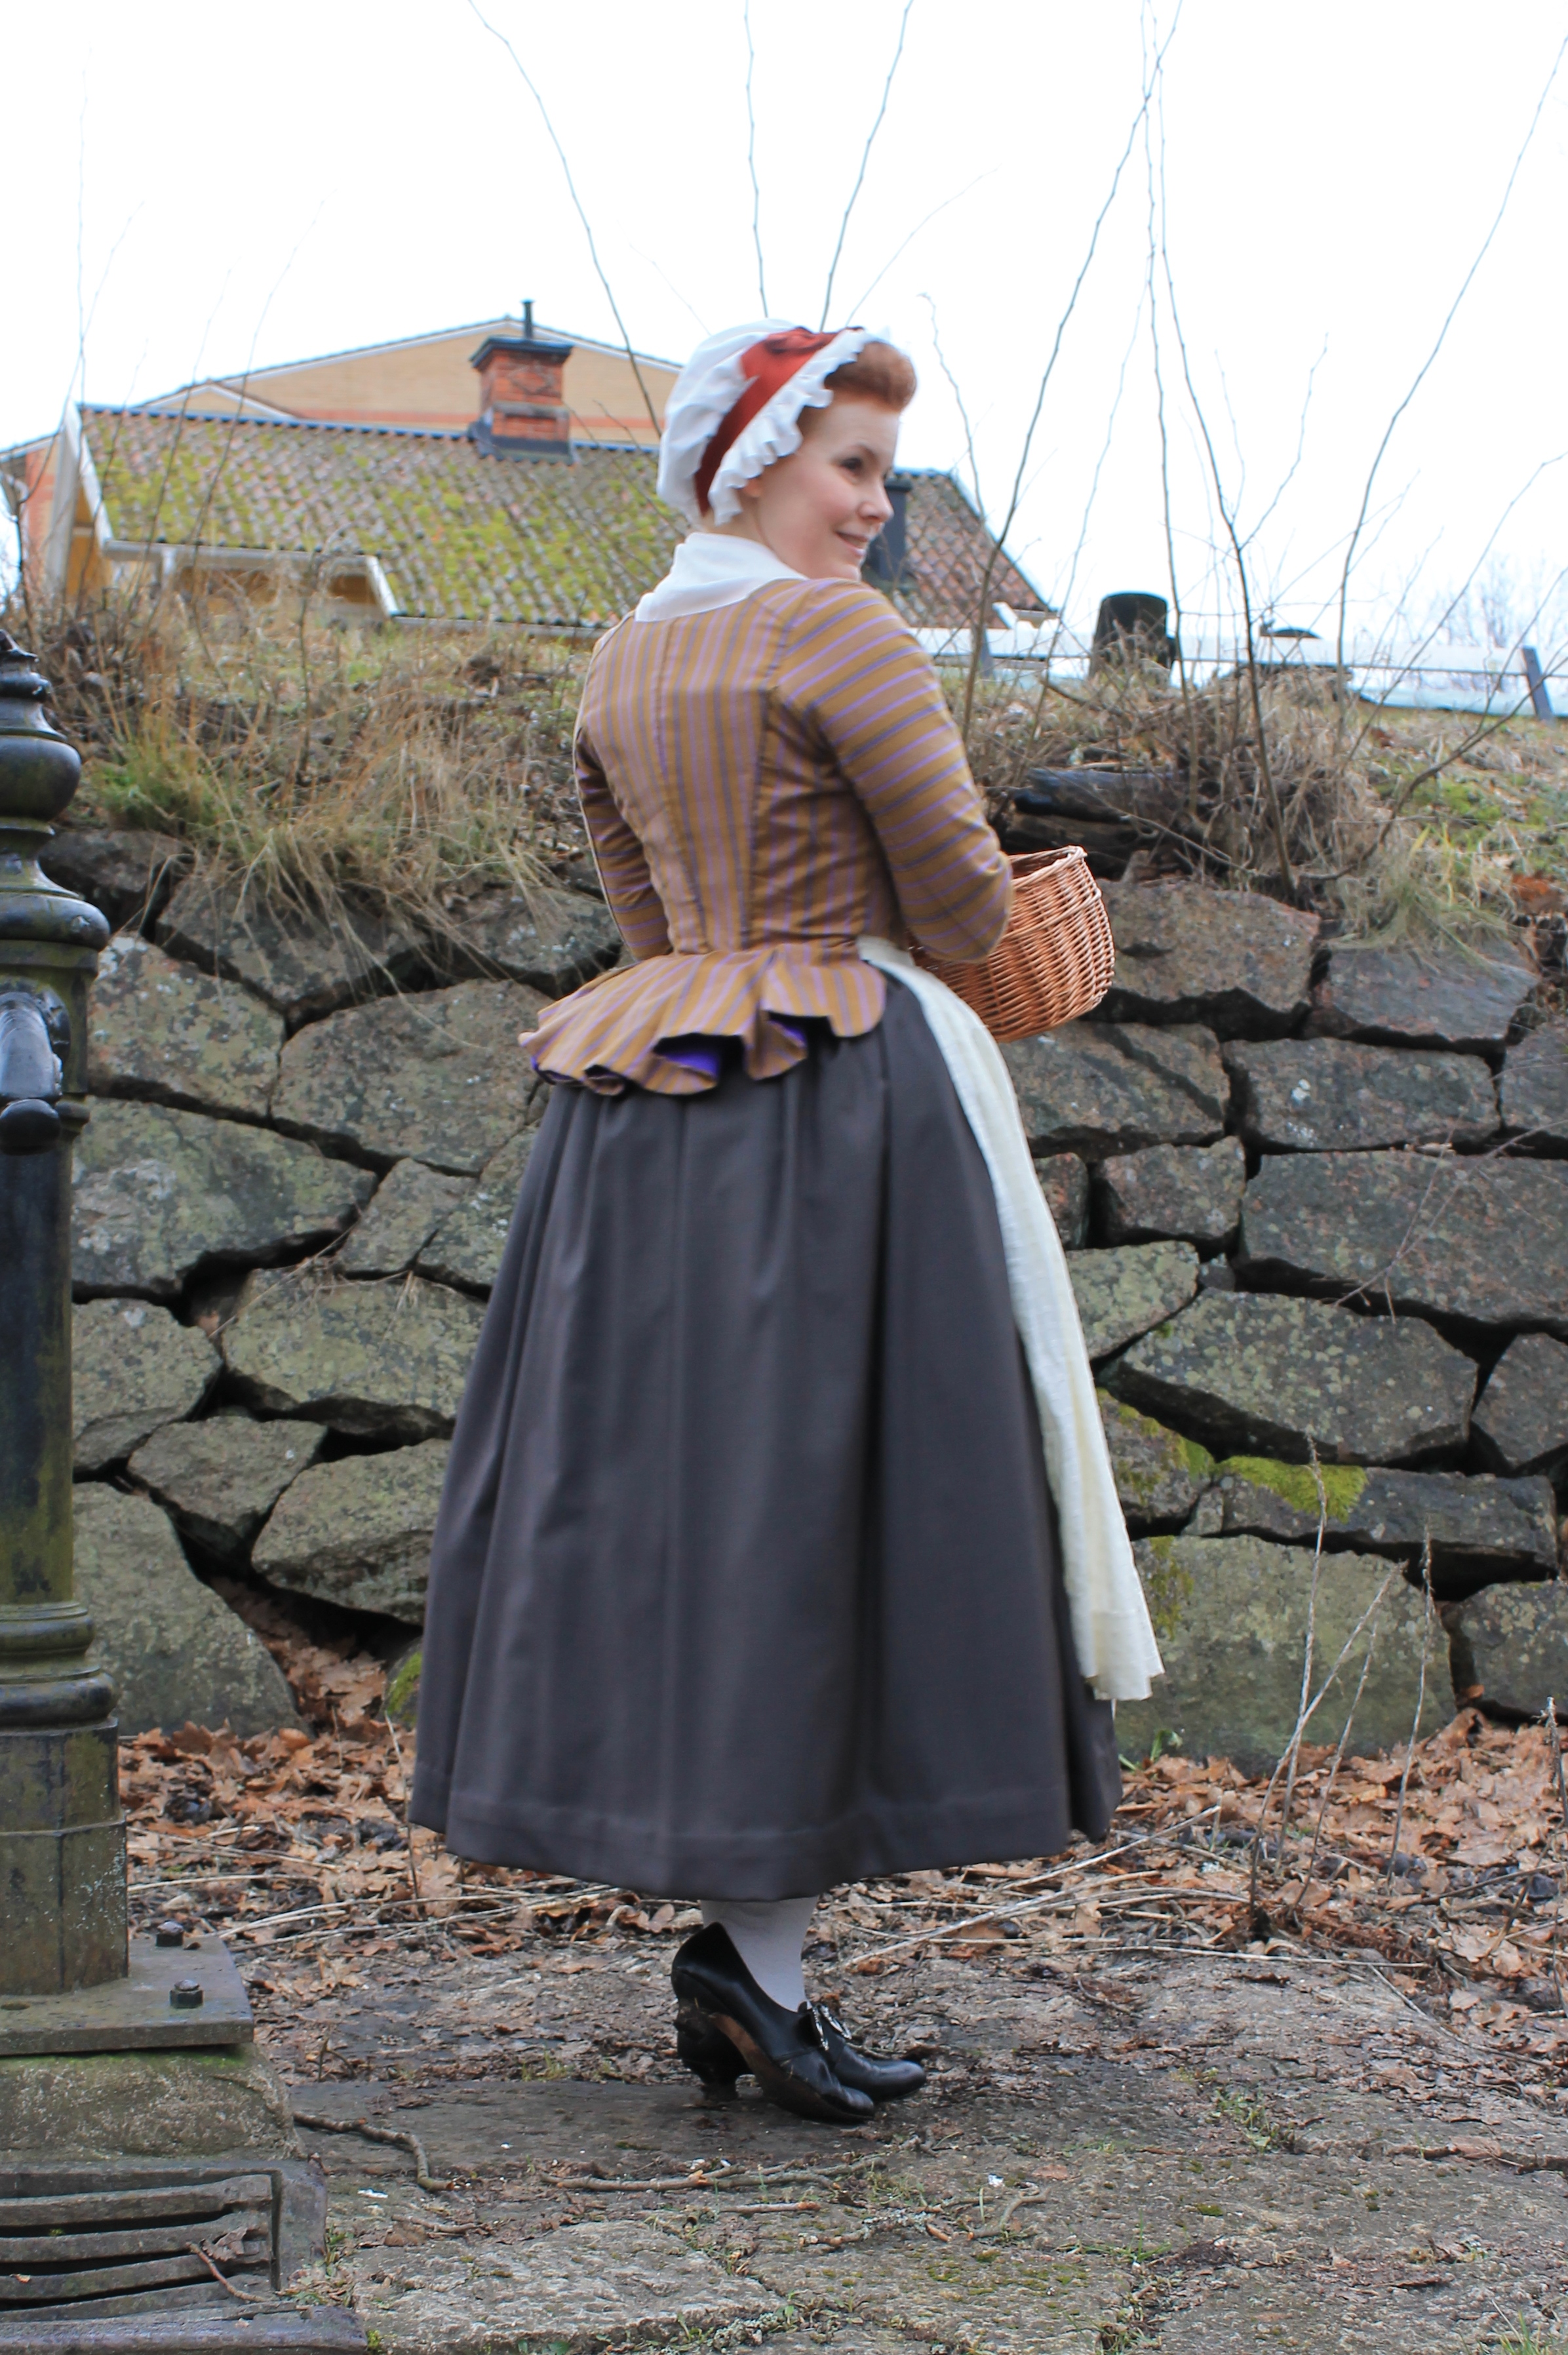
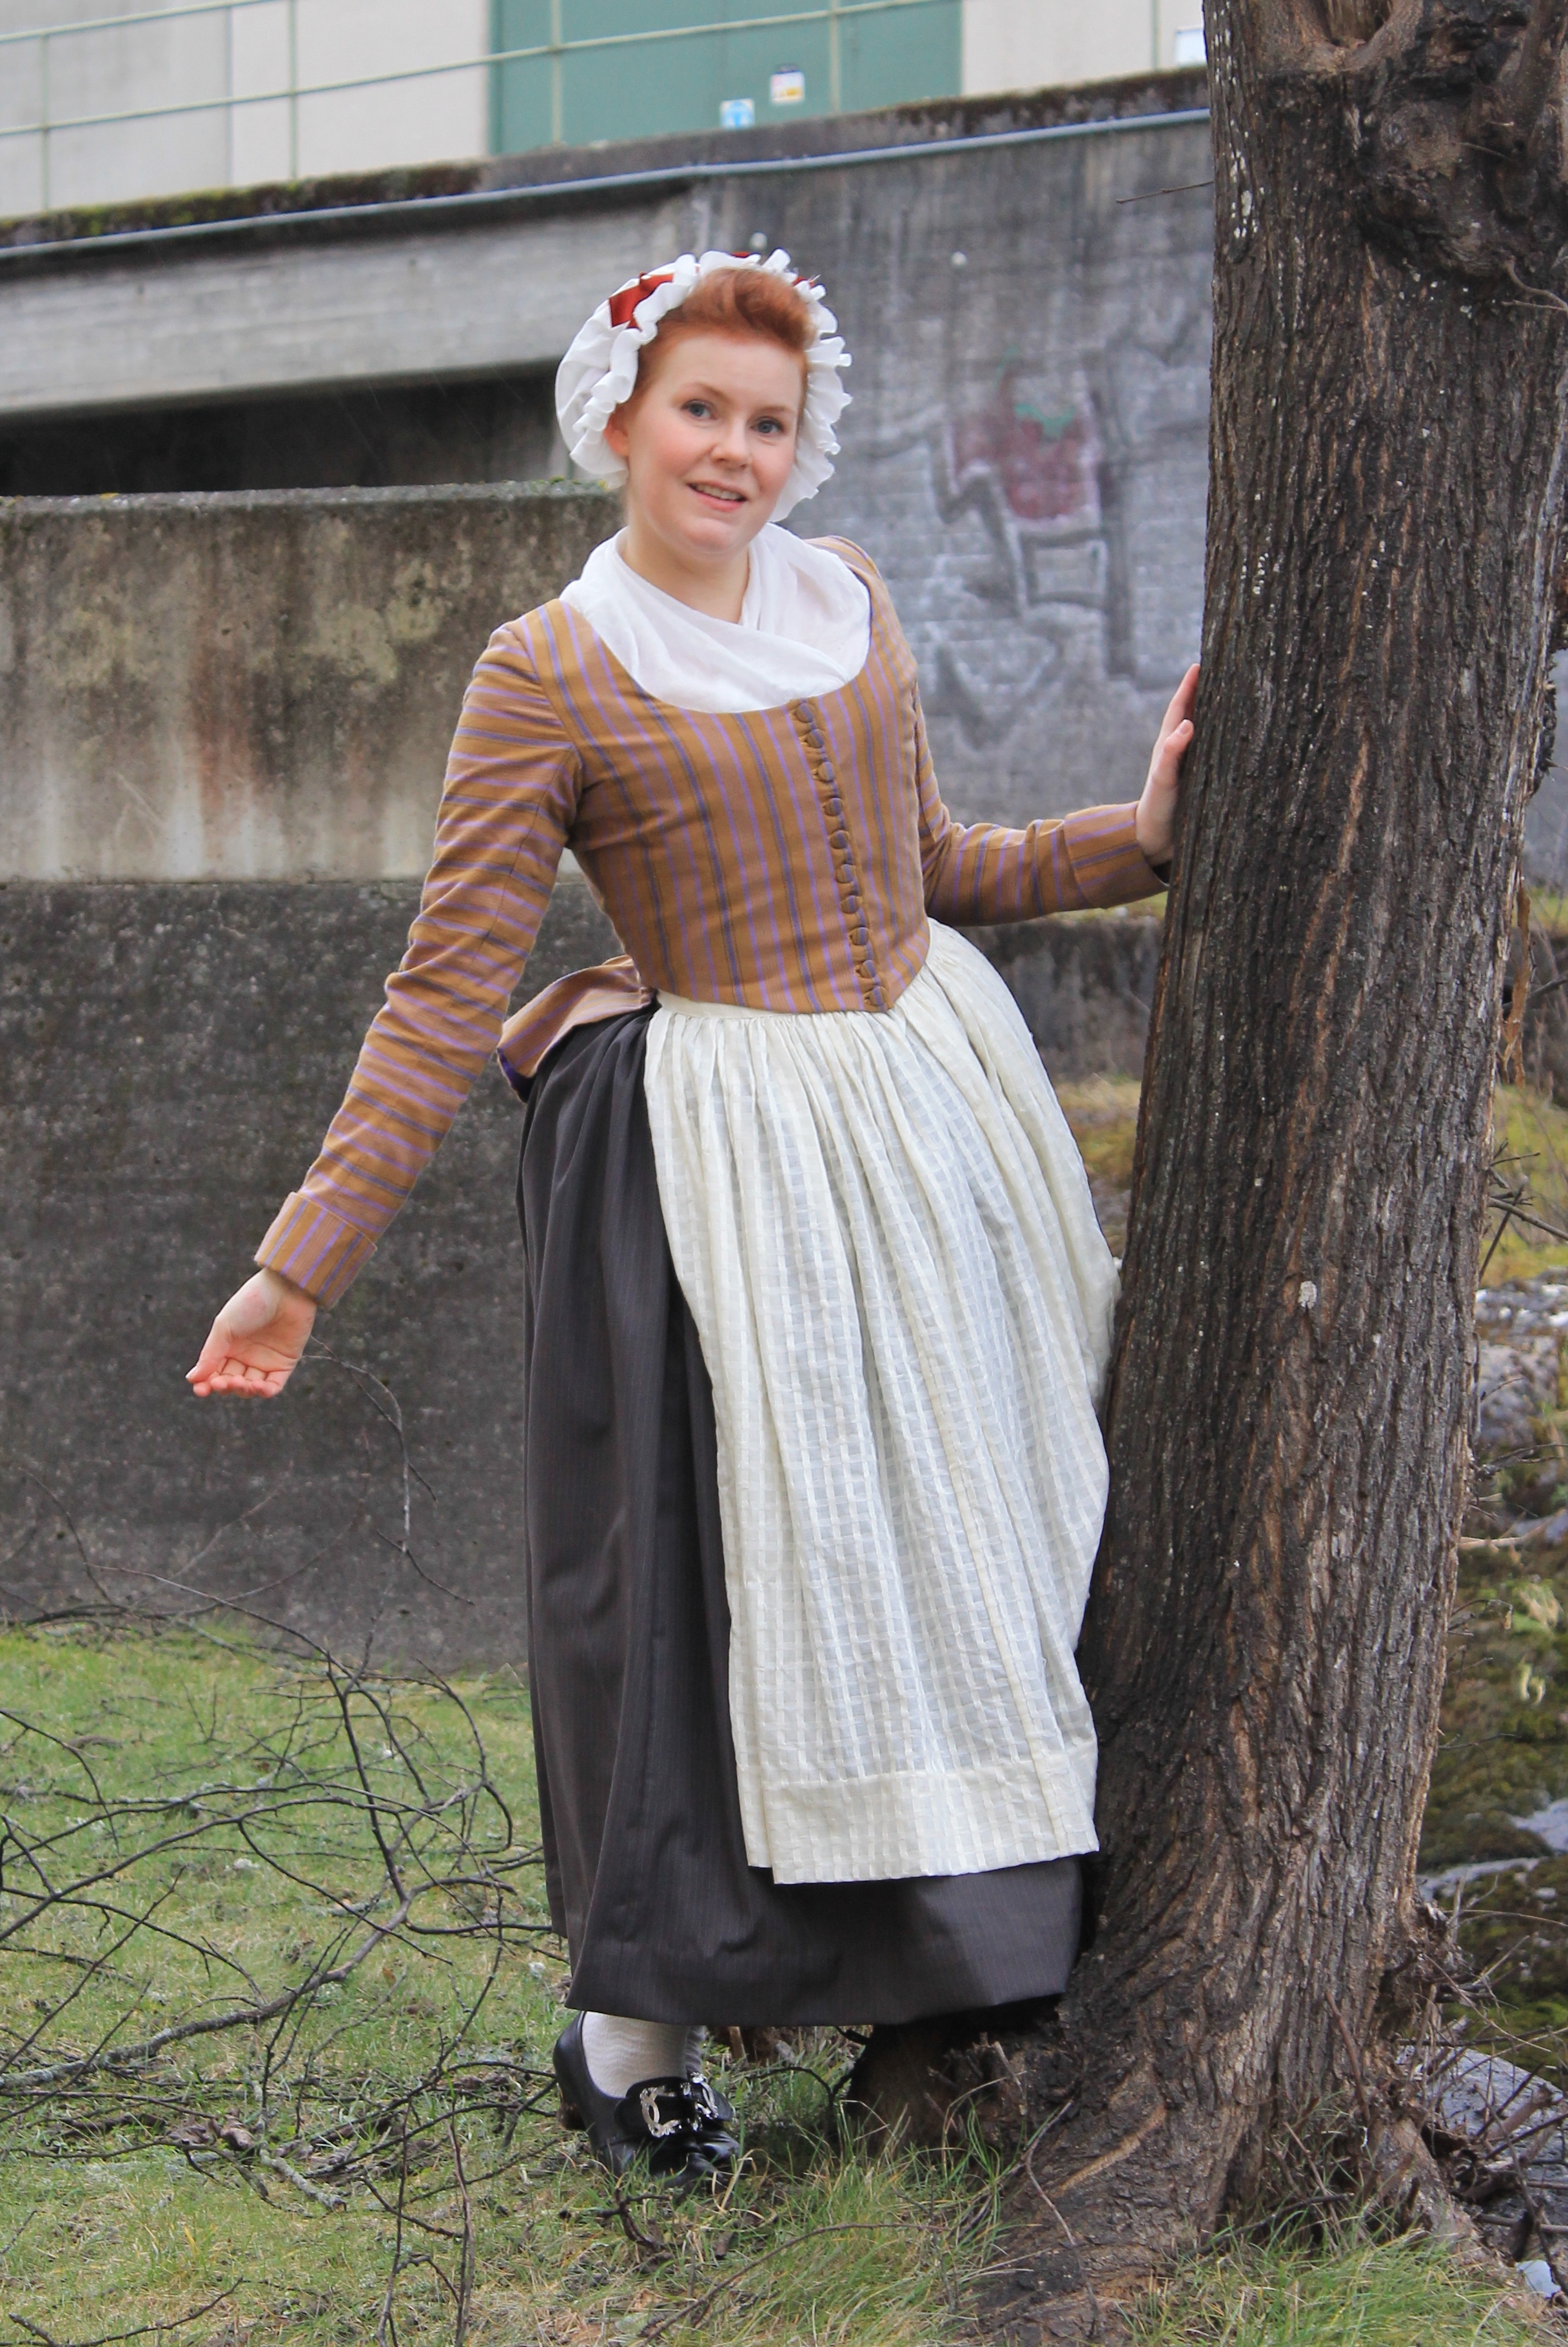
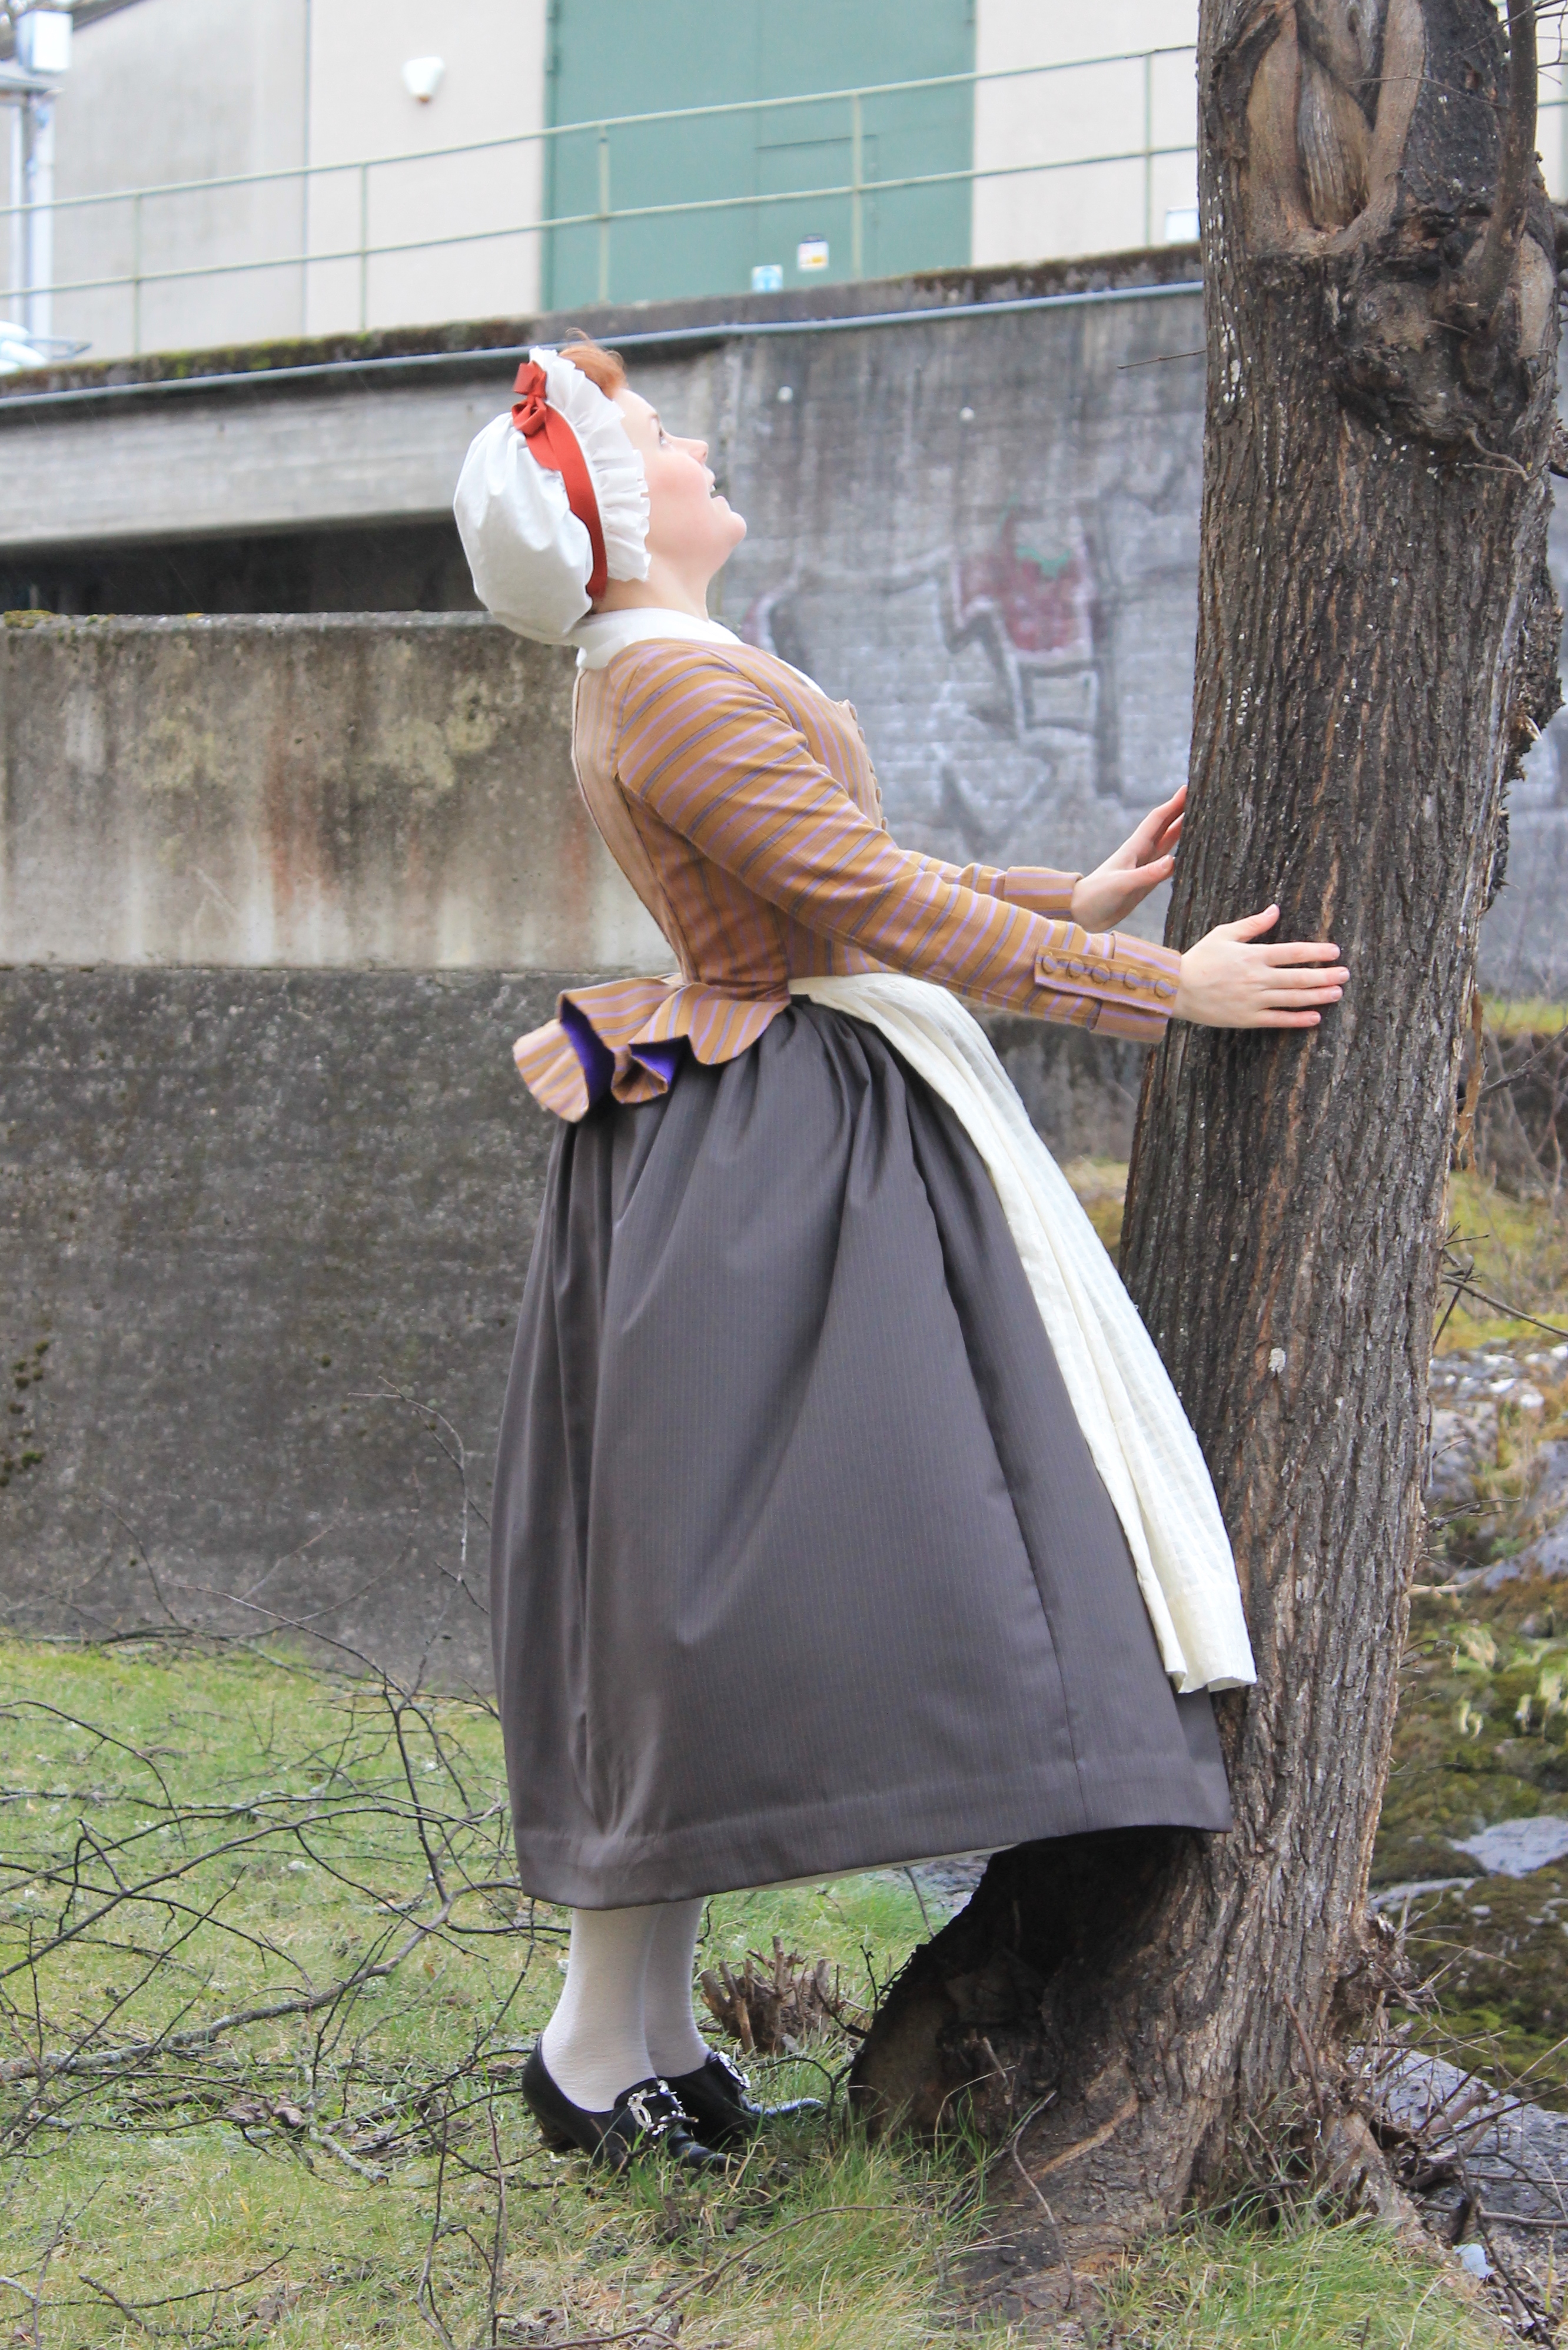
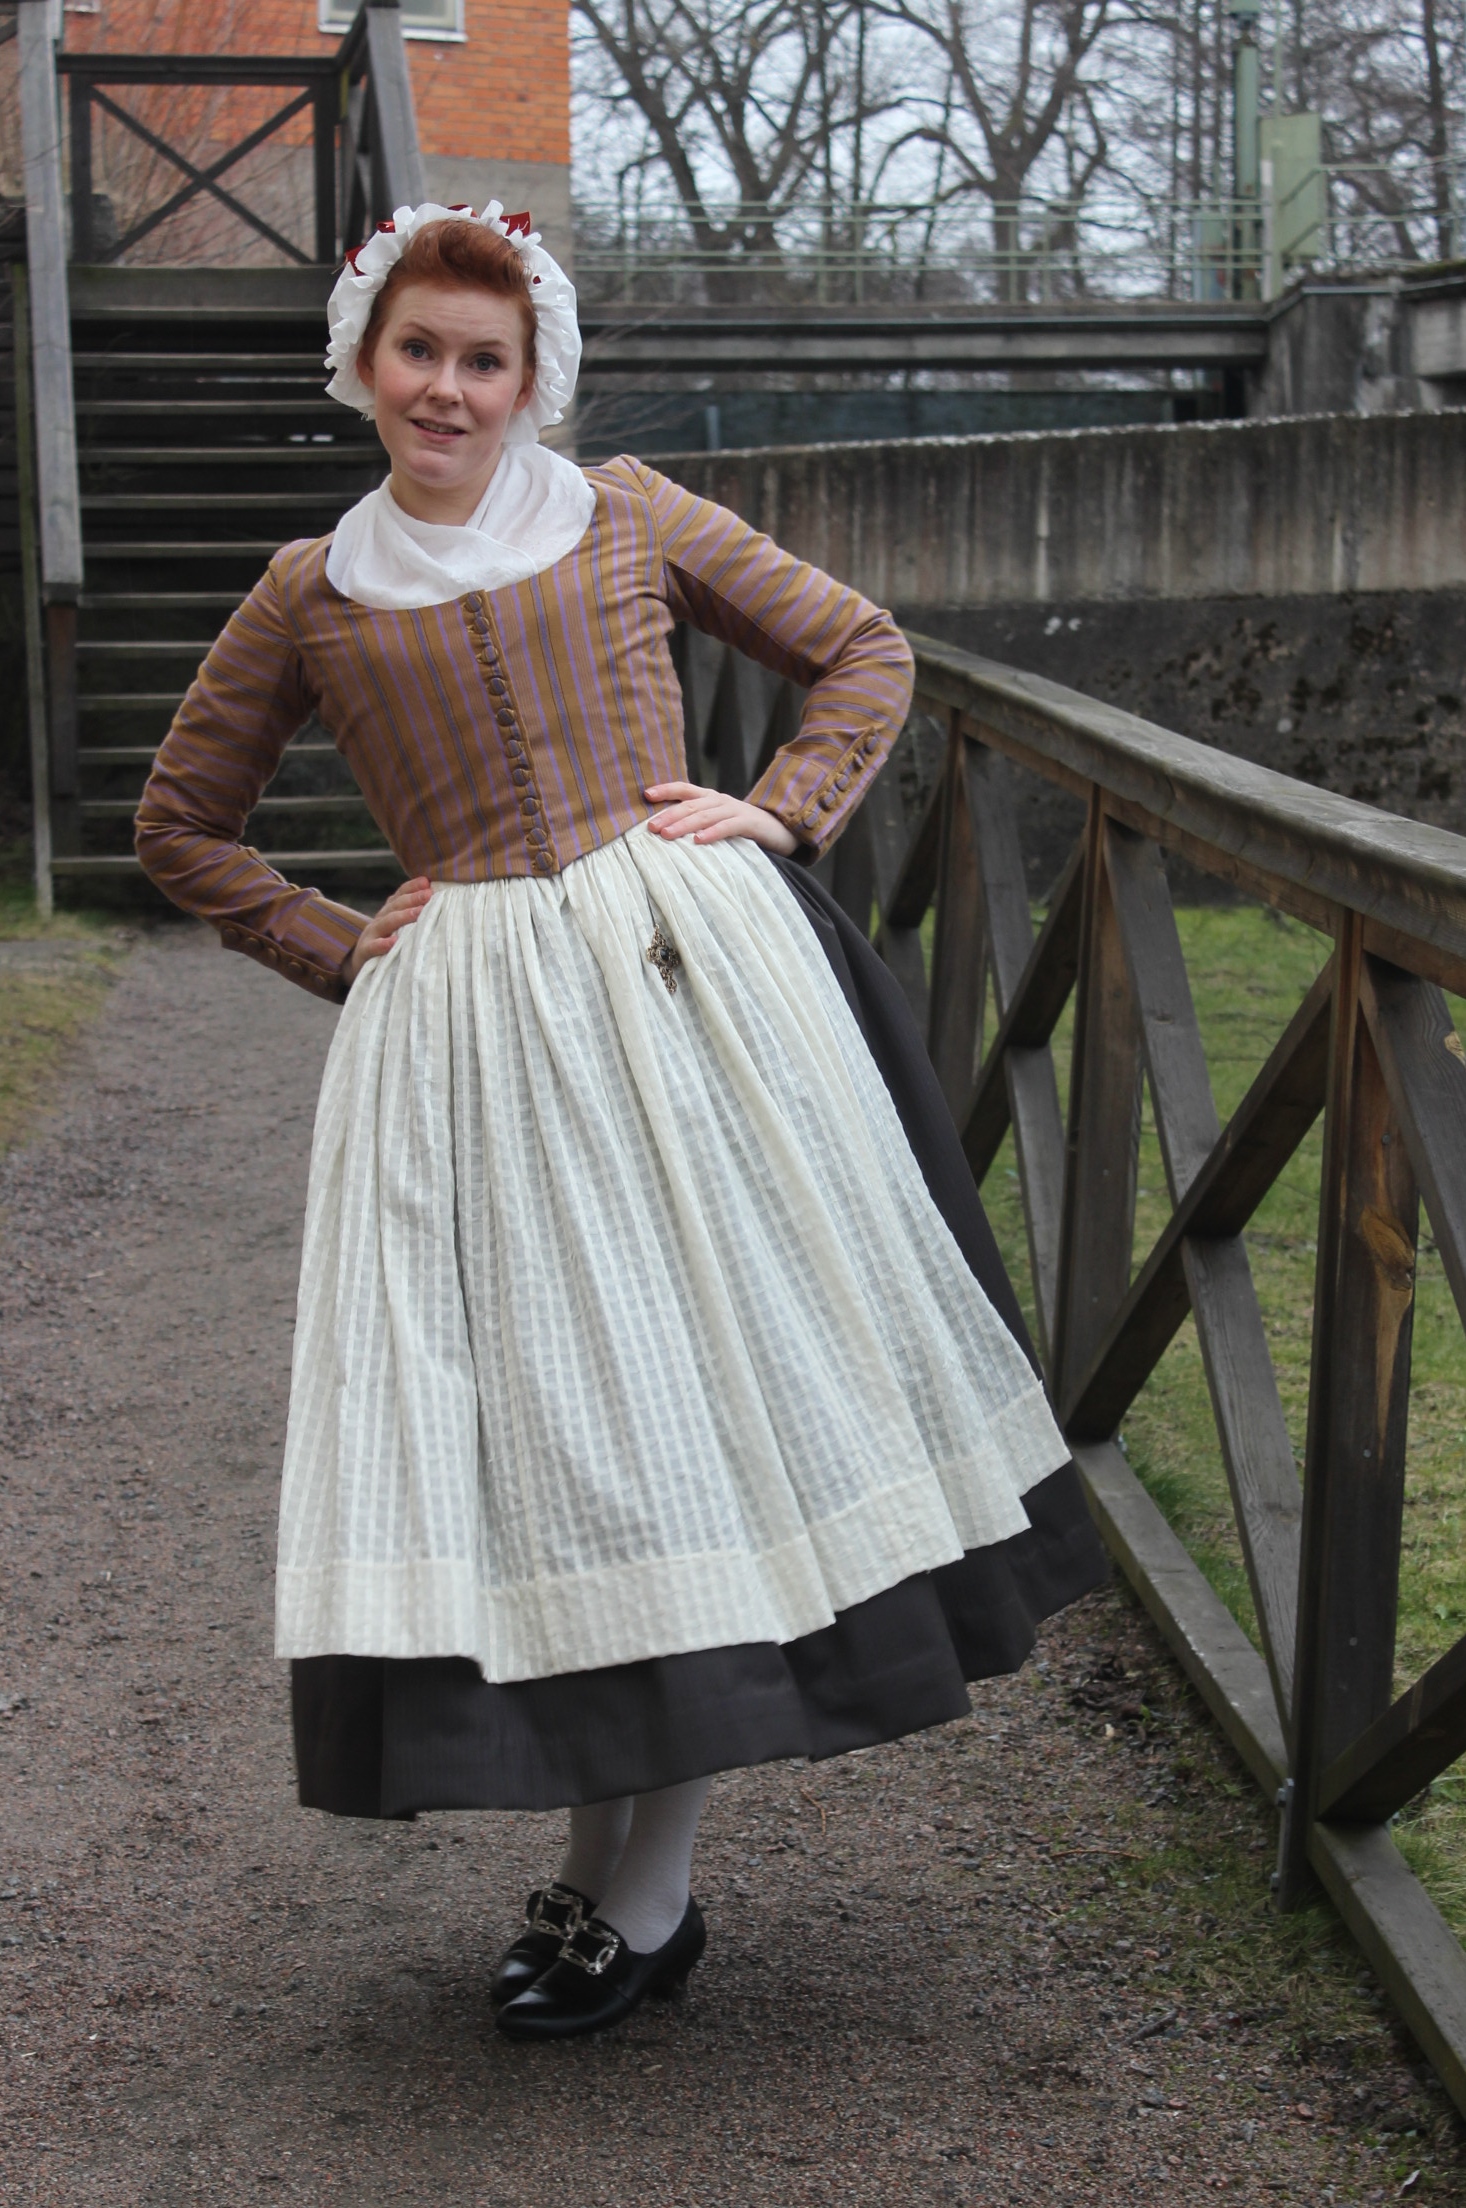
 Accessorized and ready for a photoshoot.
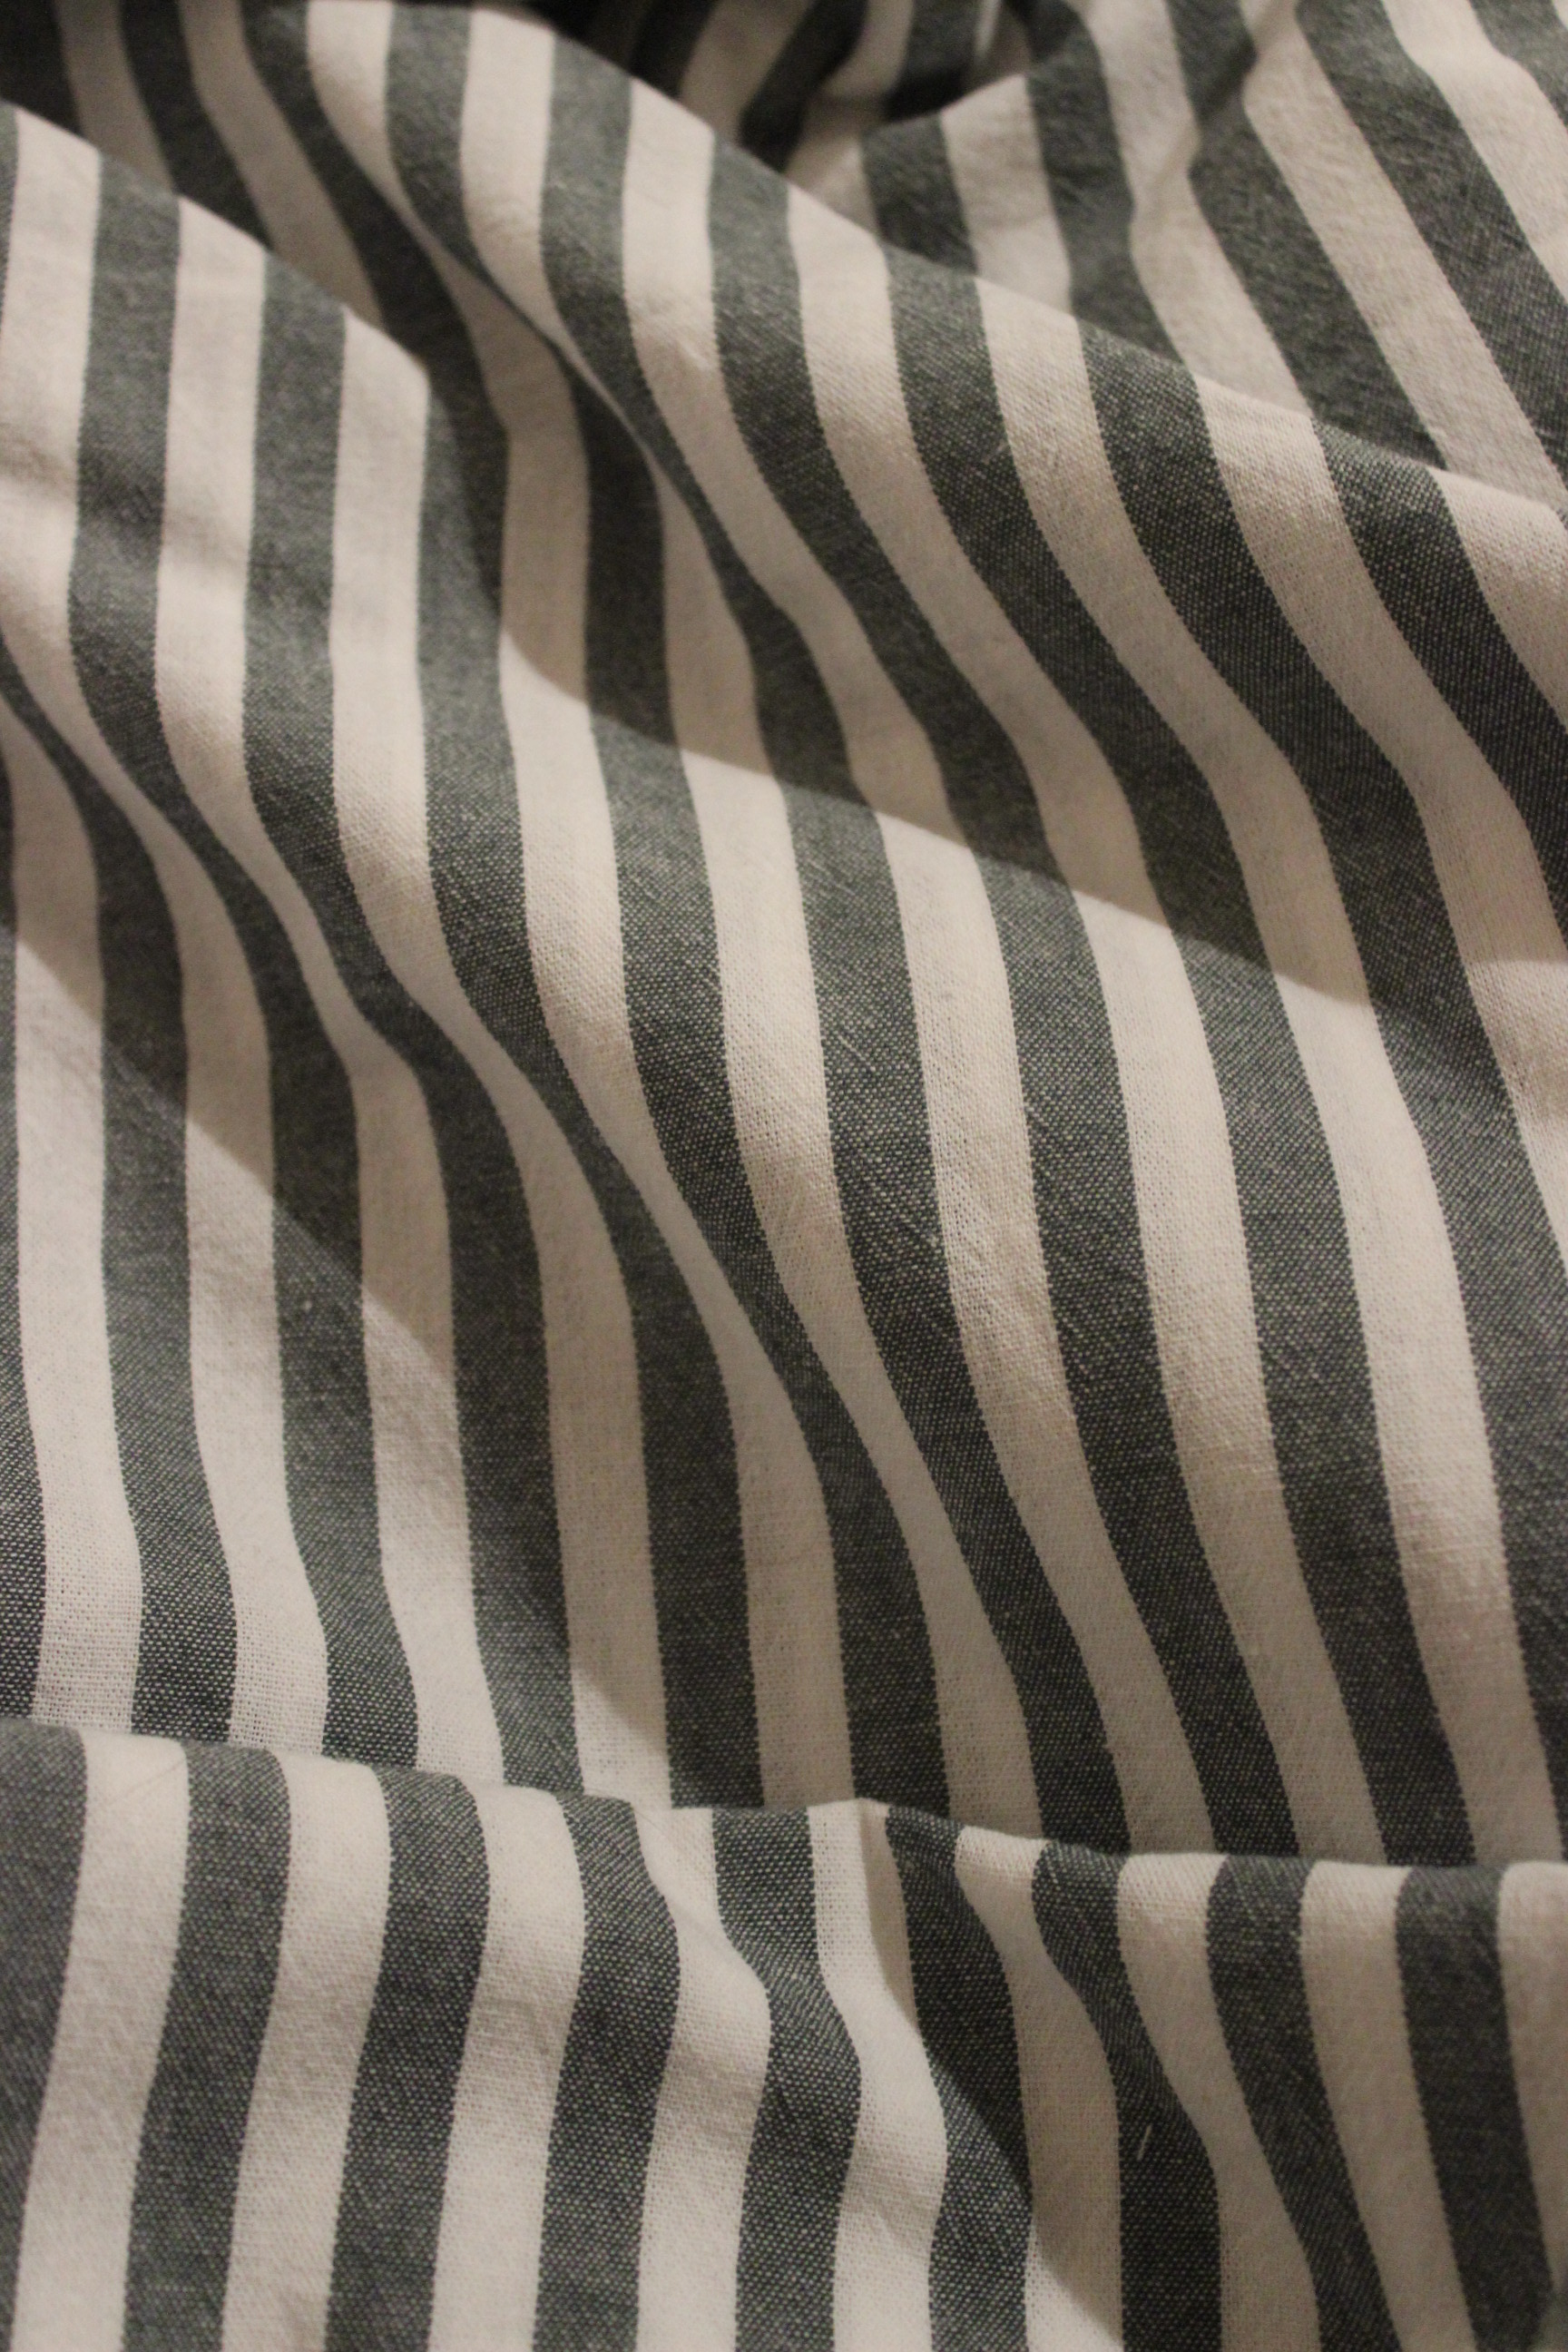

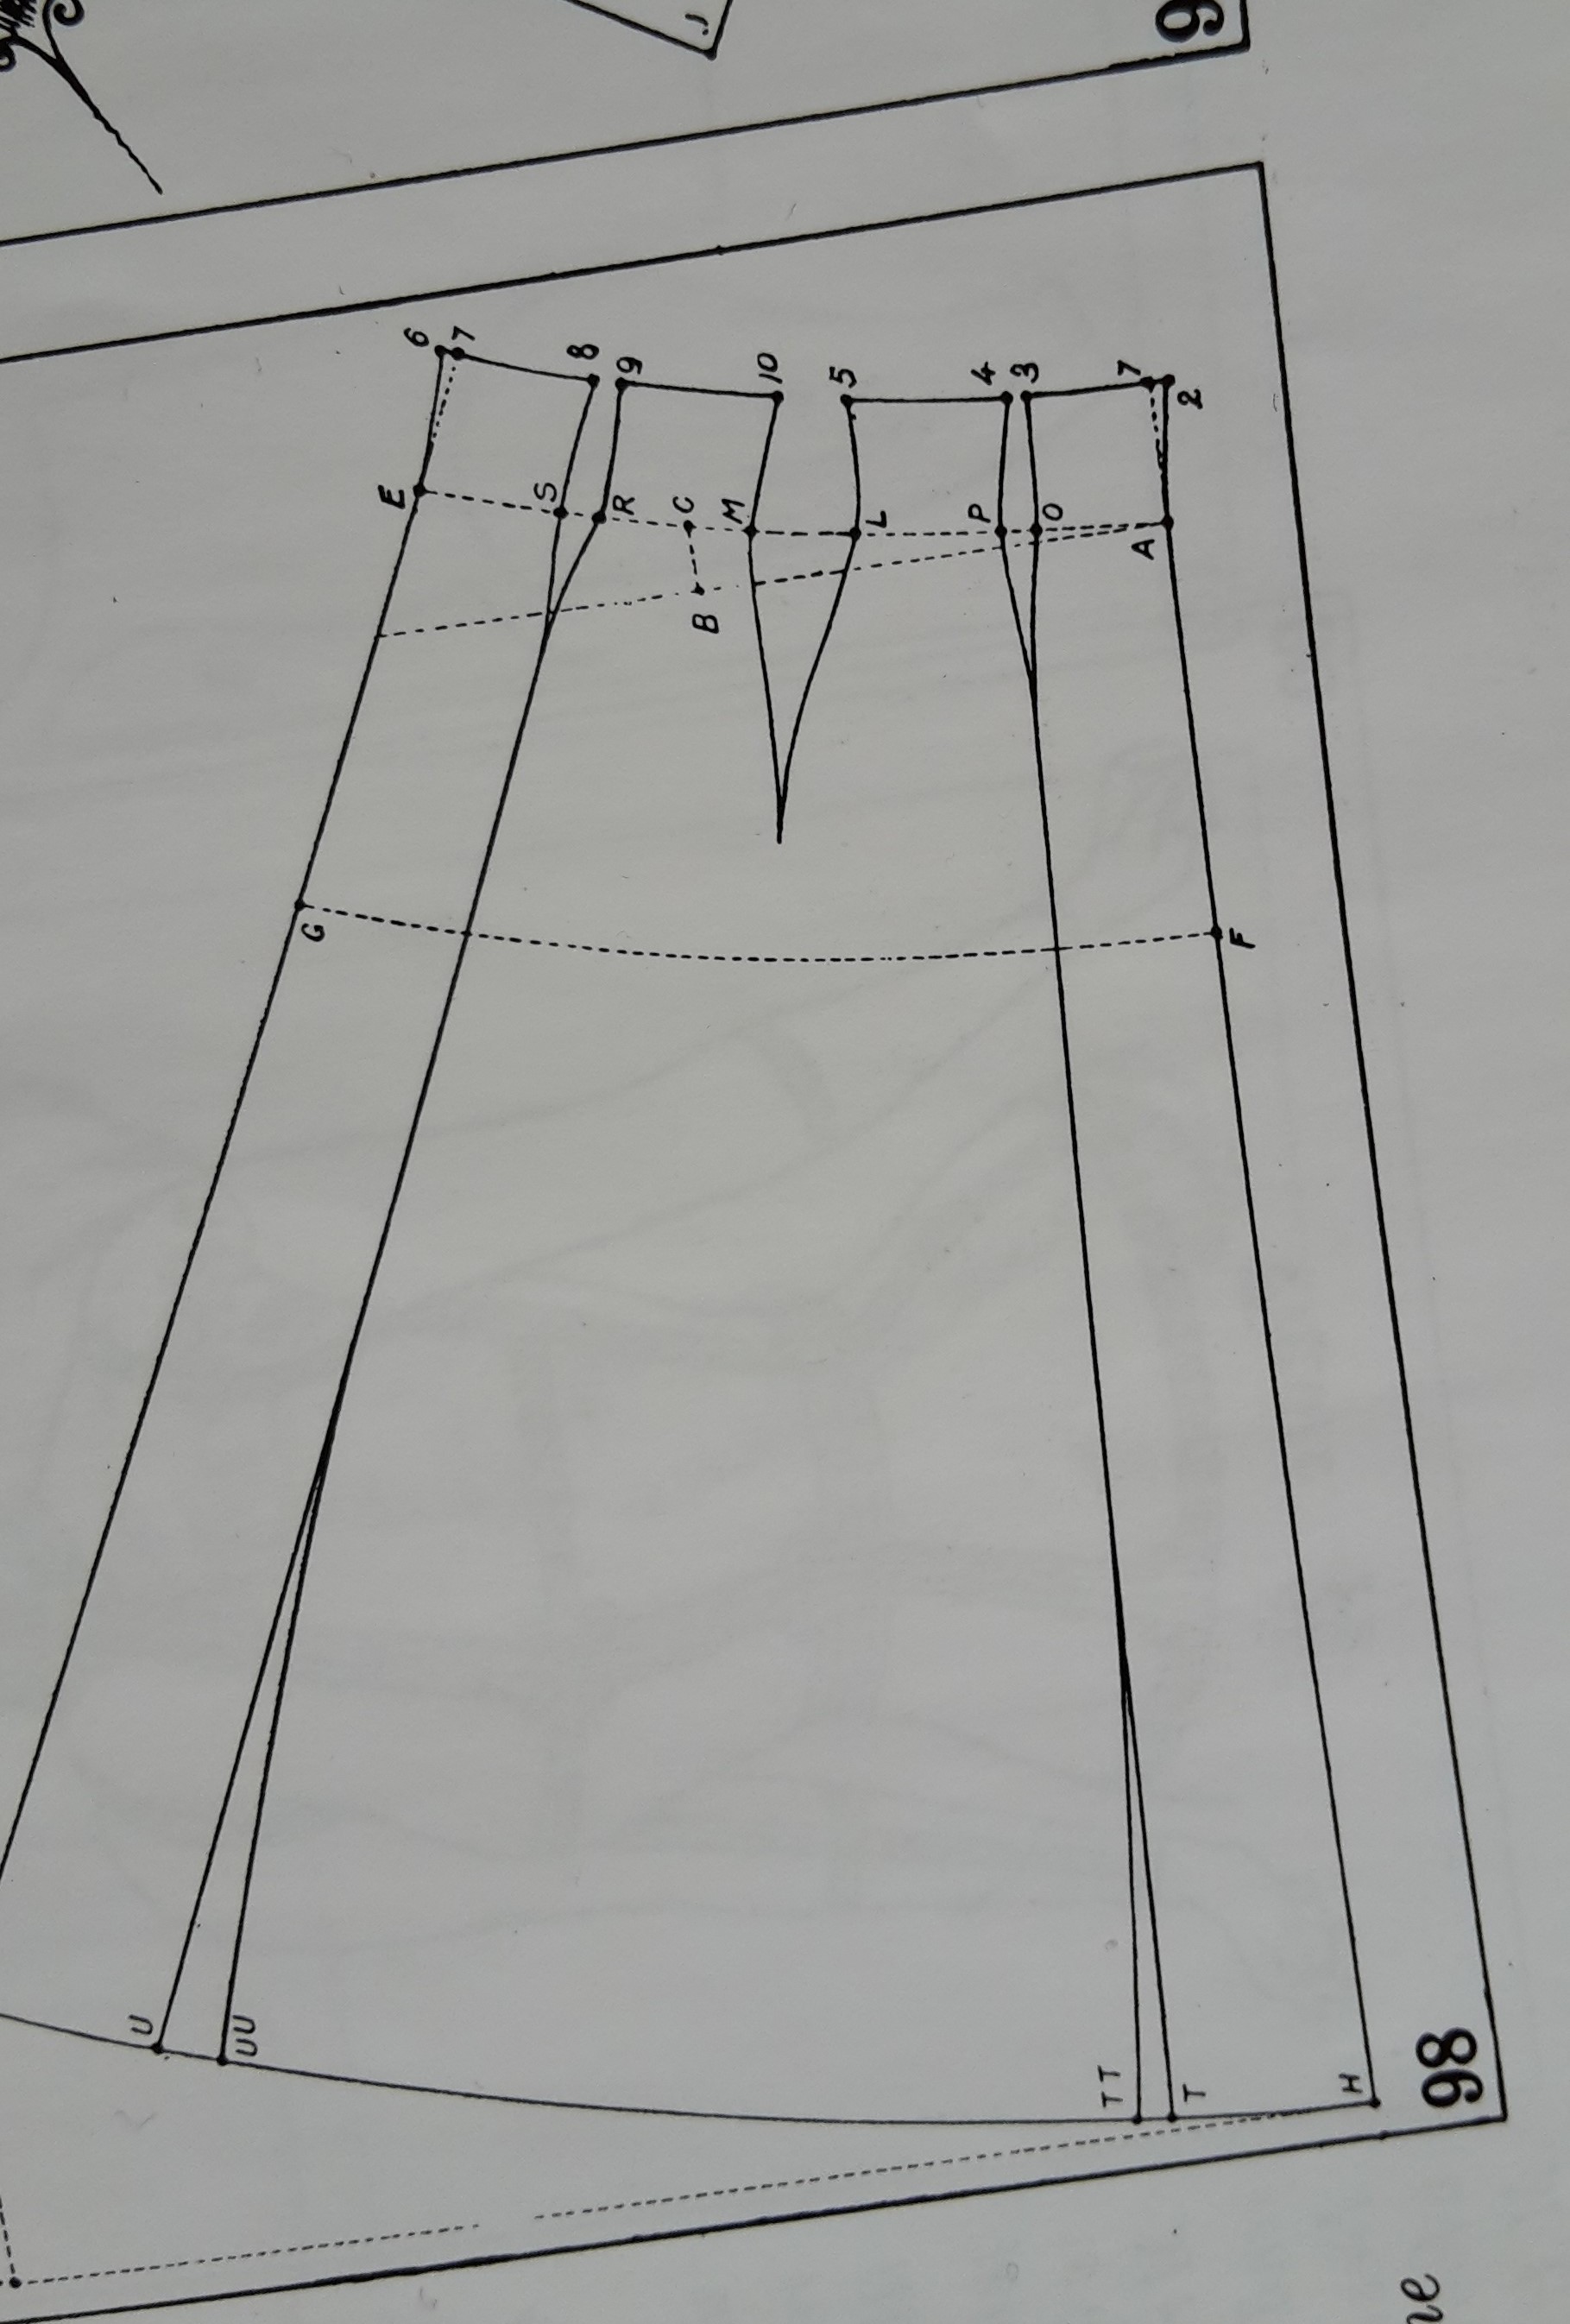


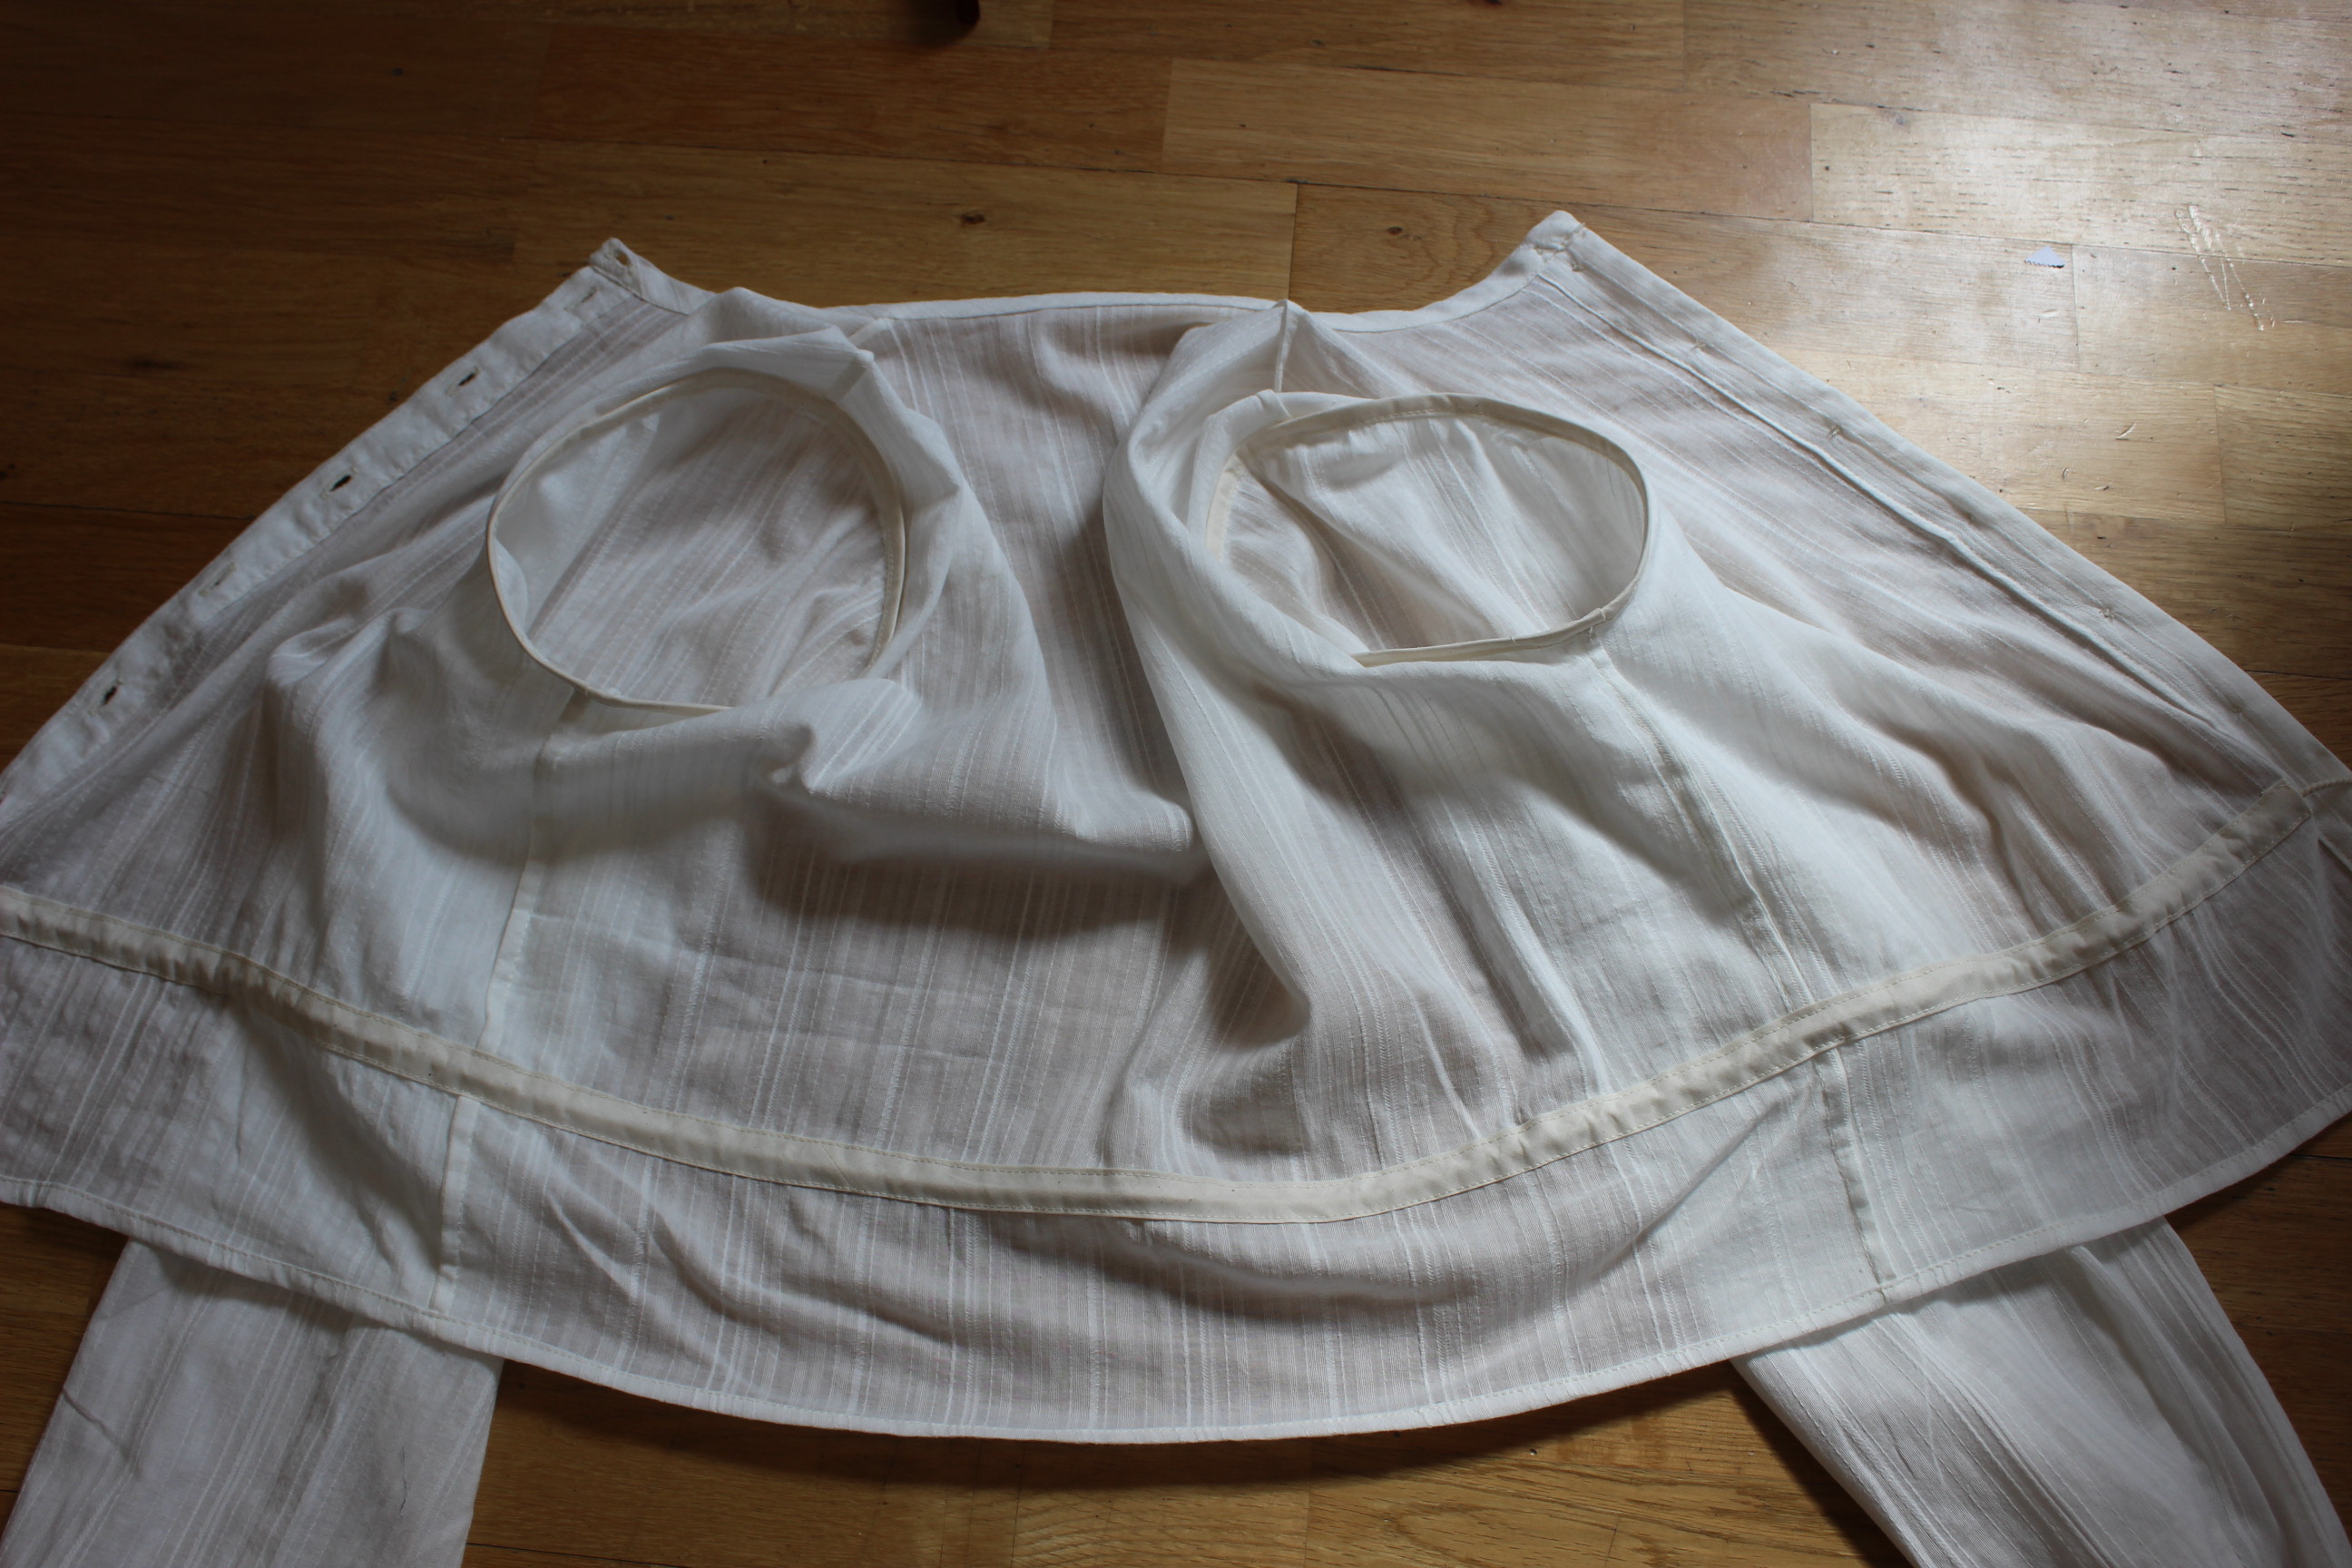
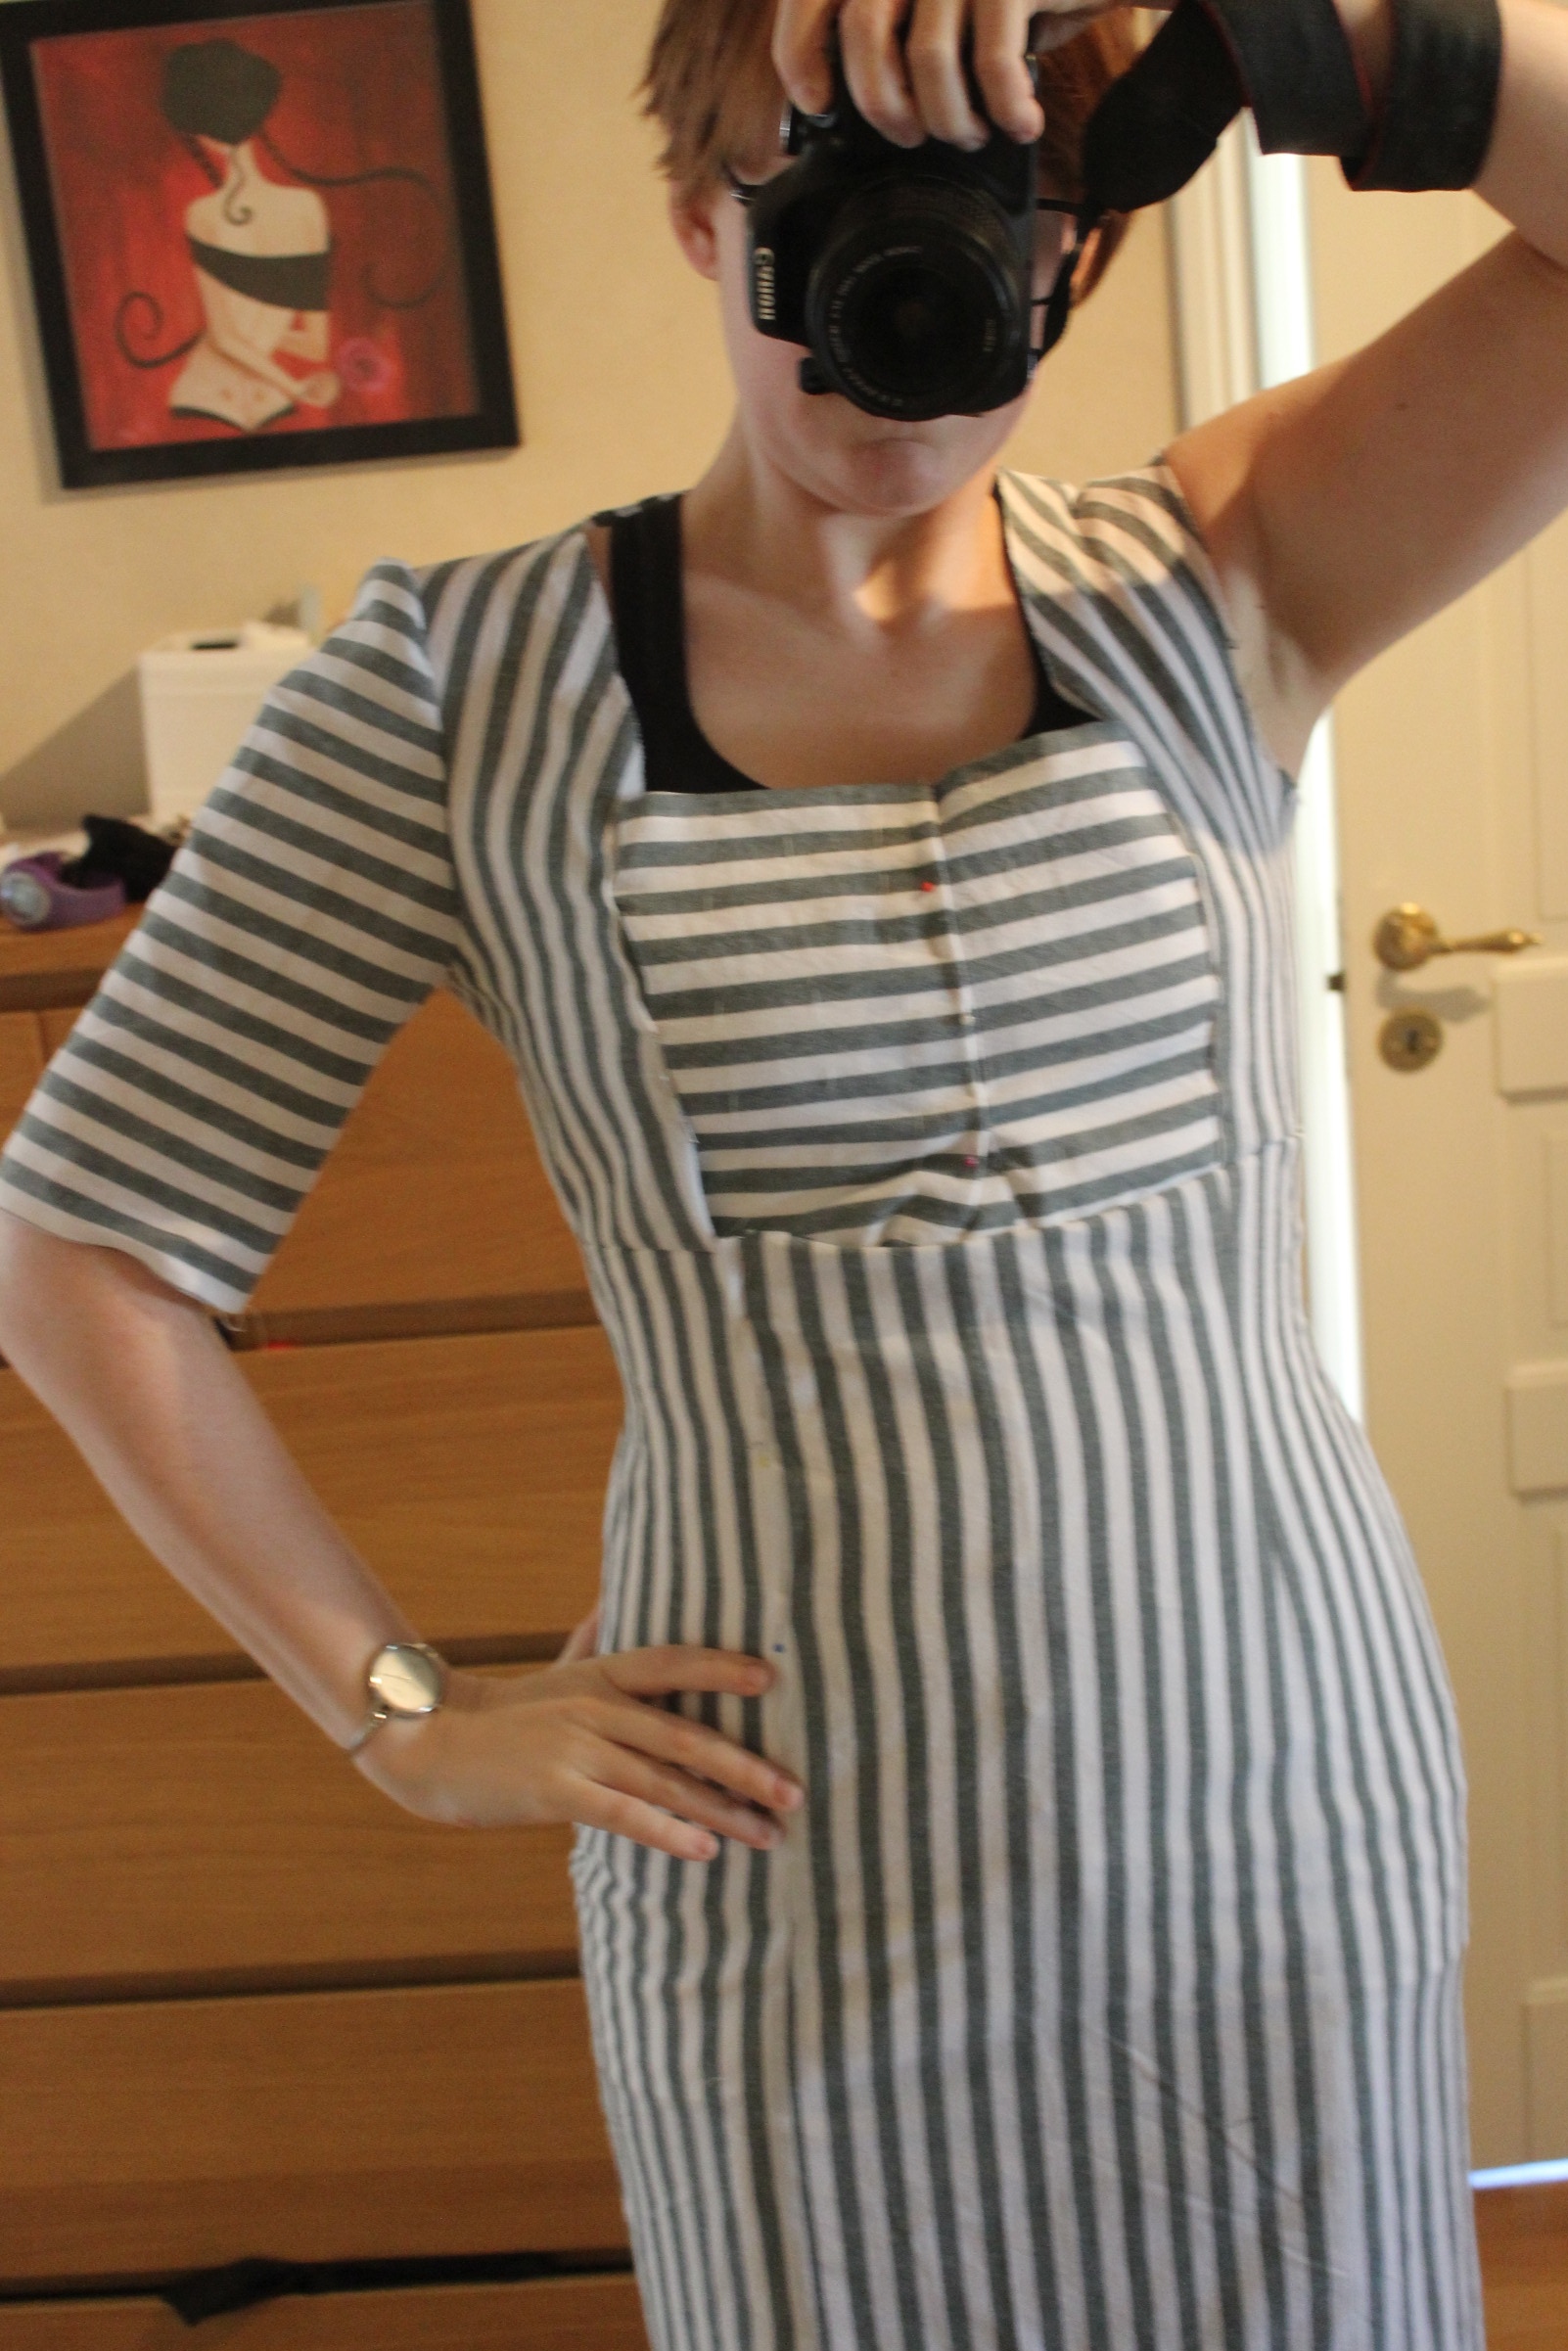
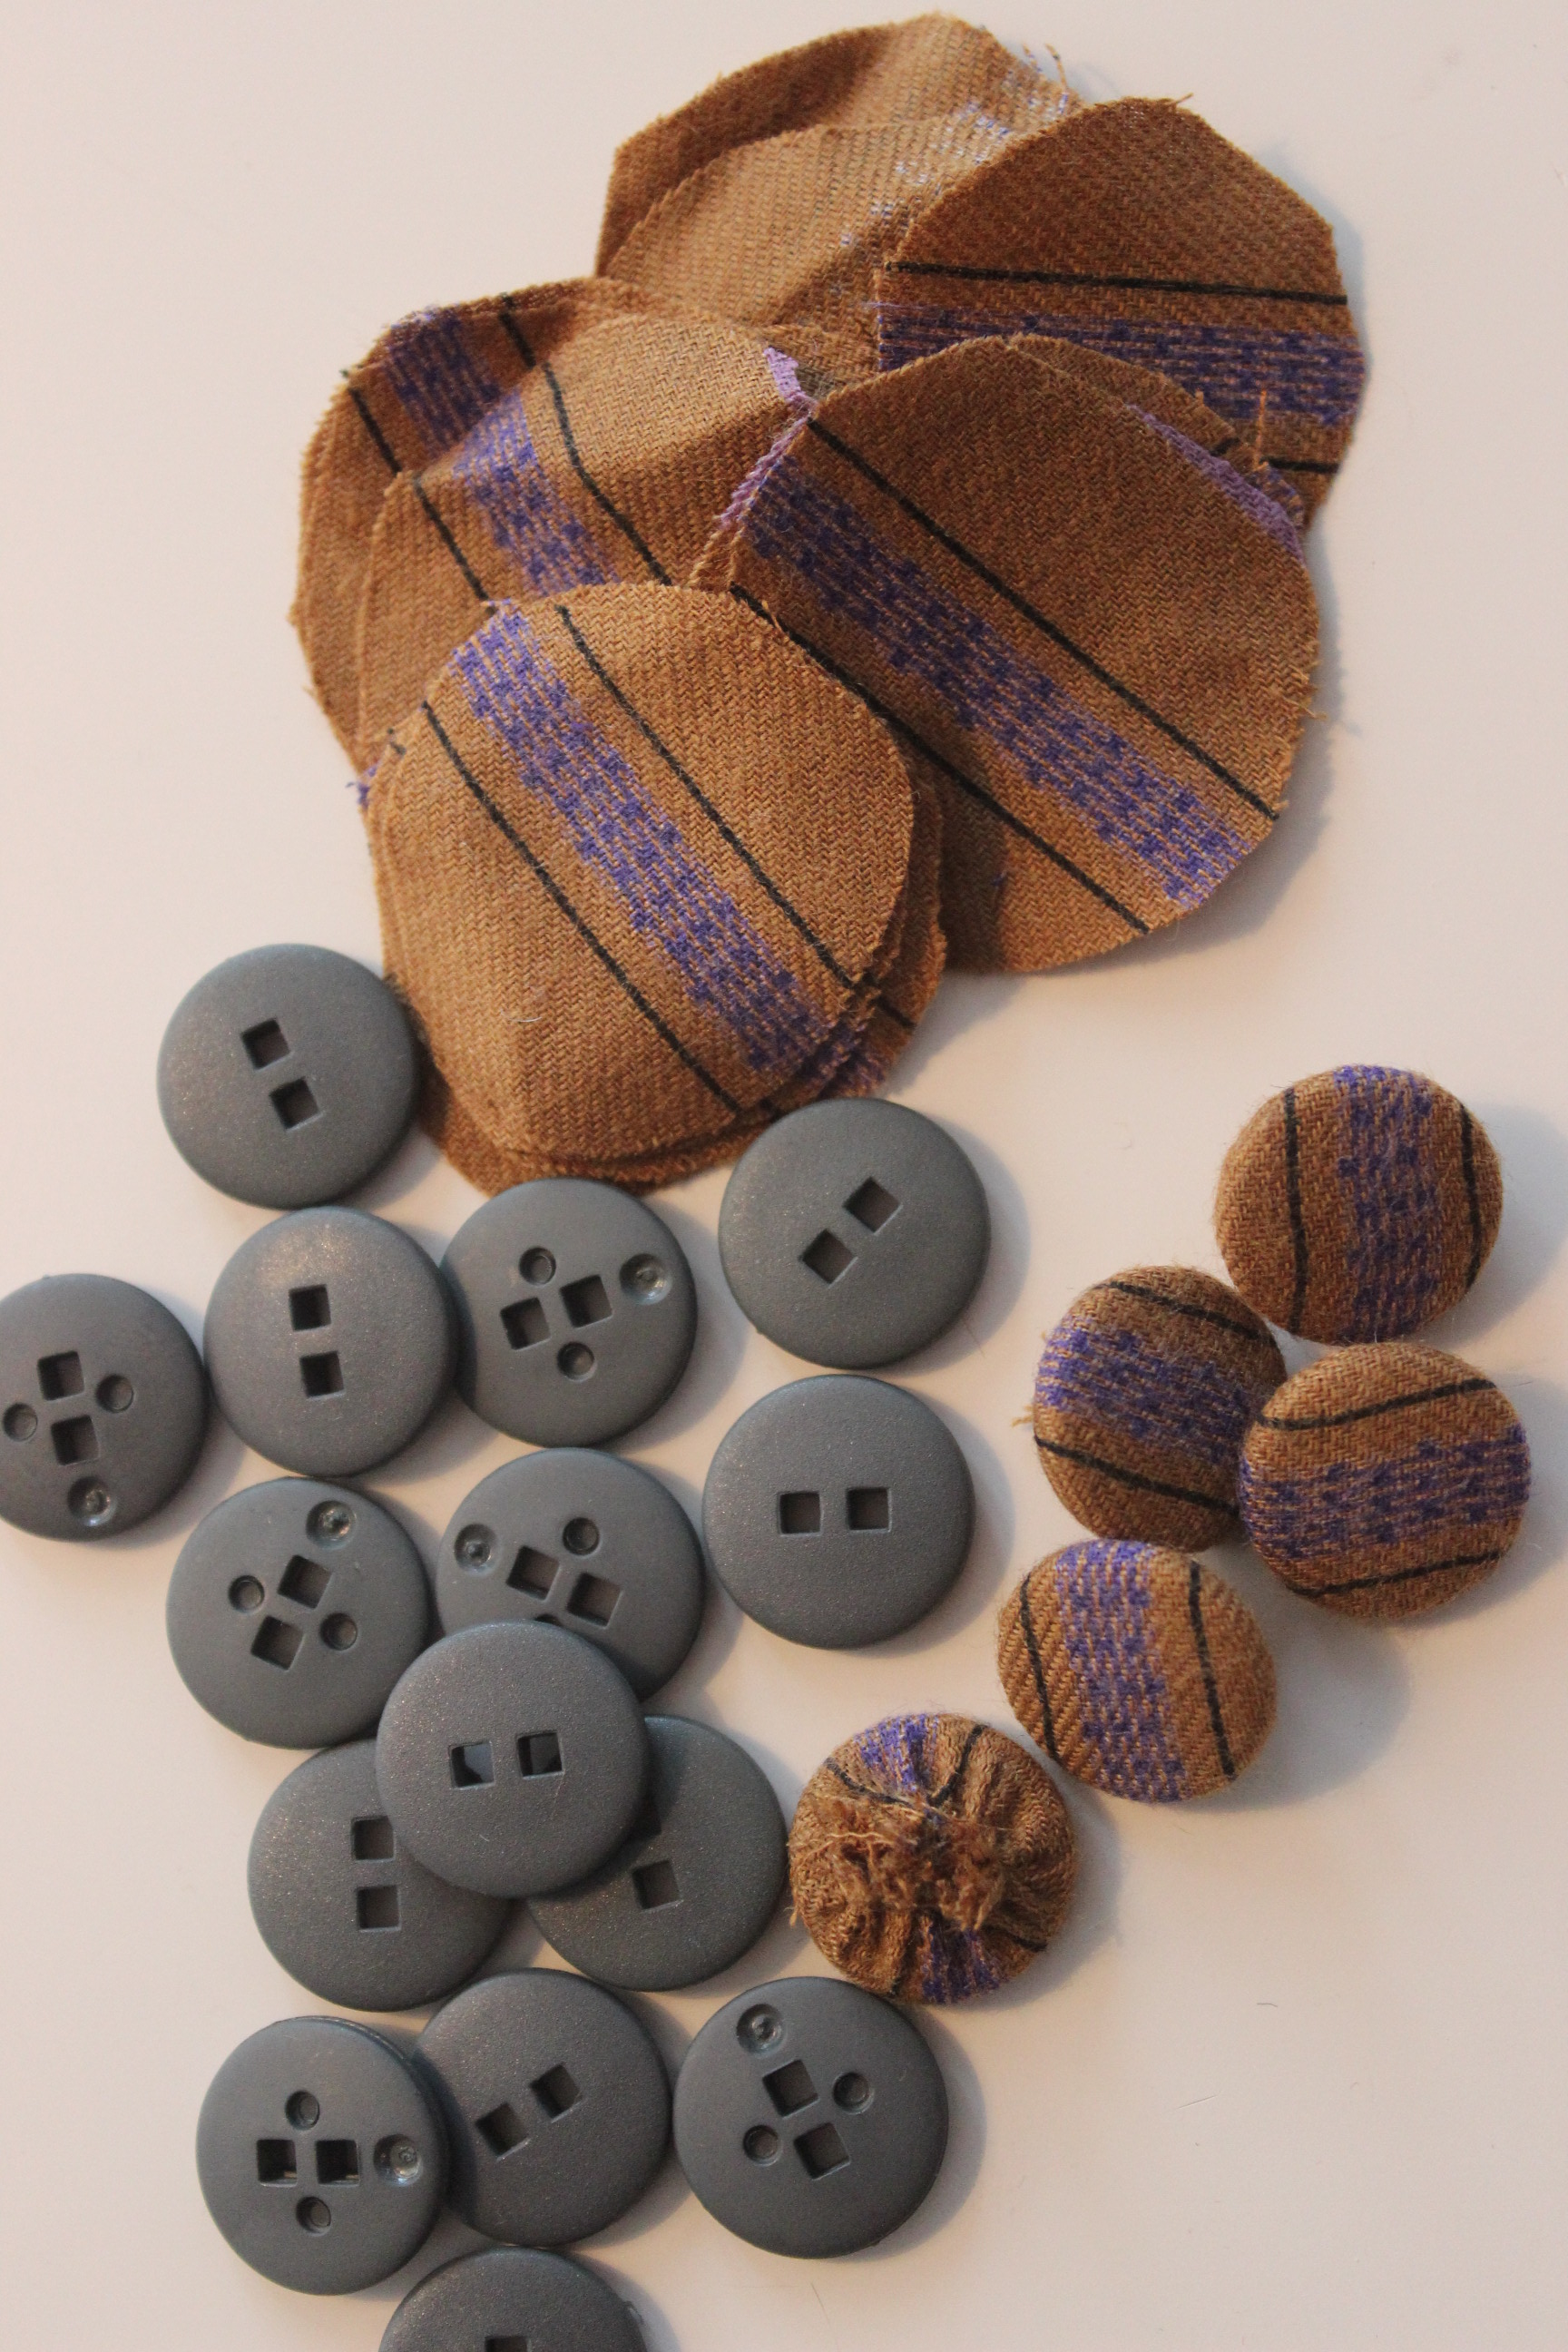
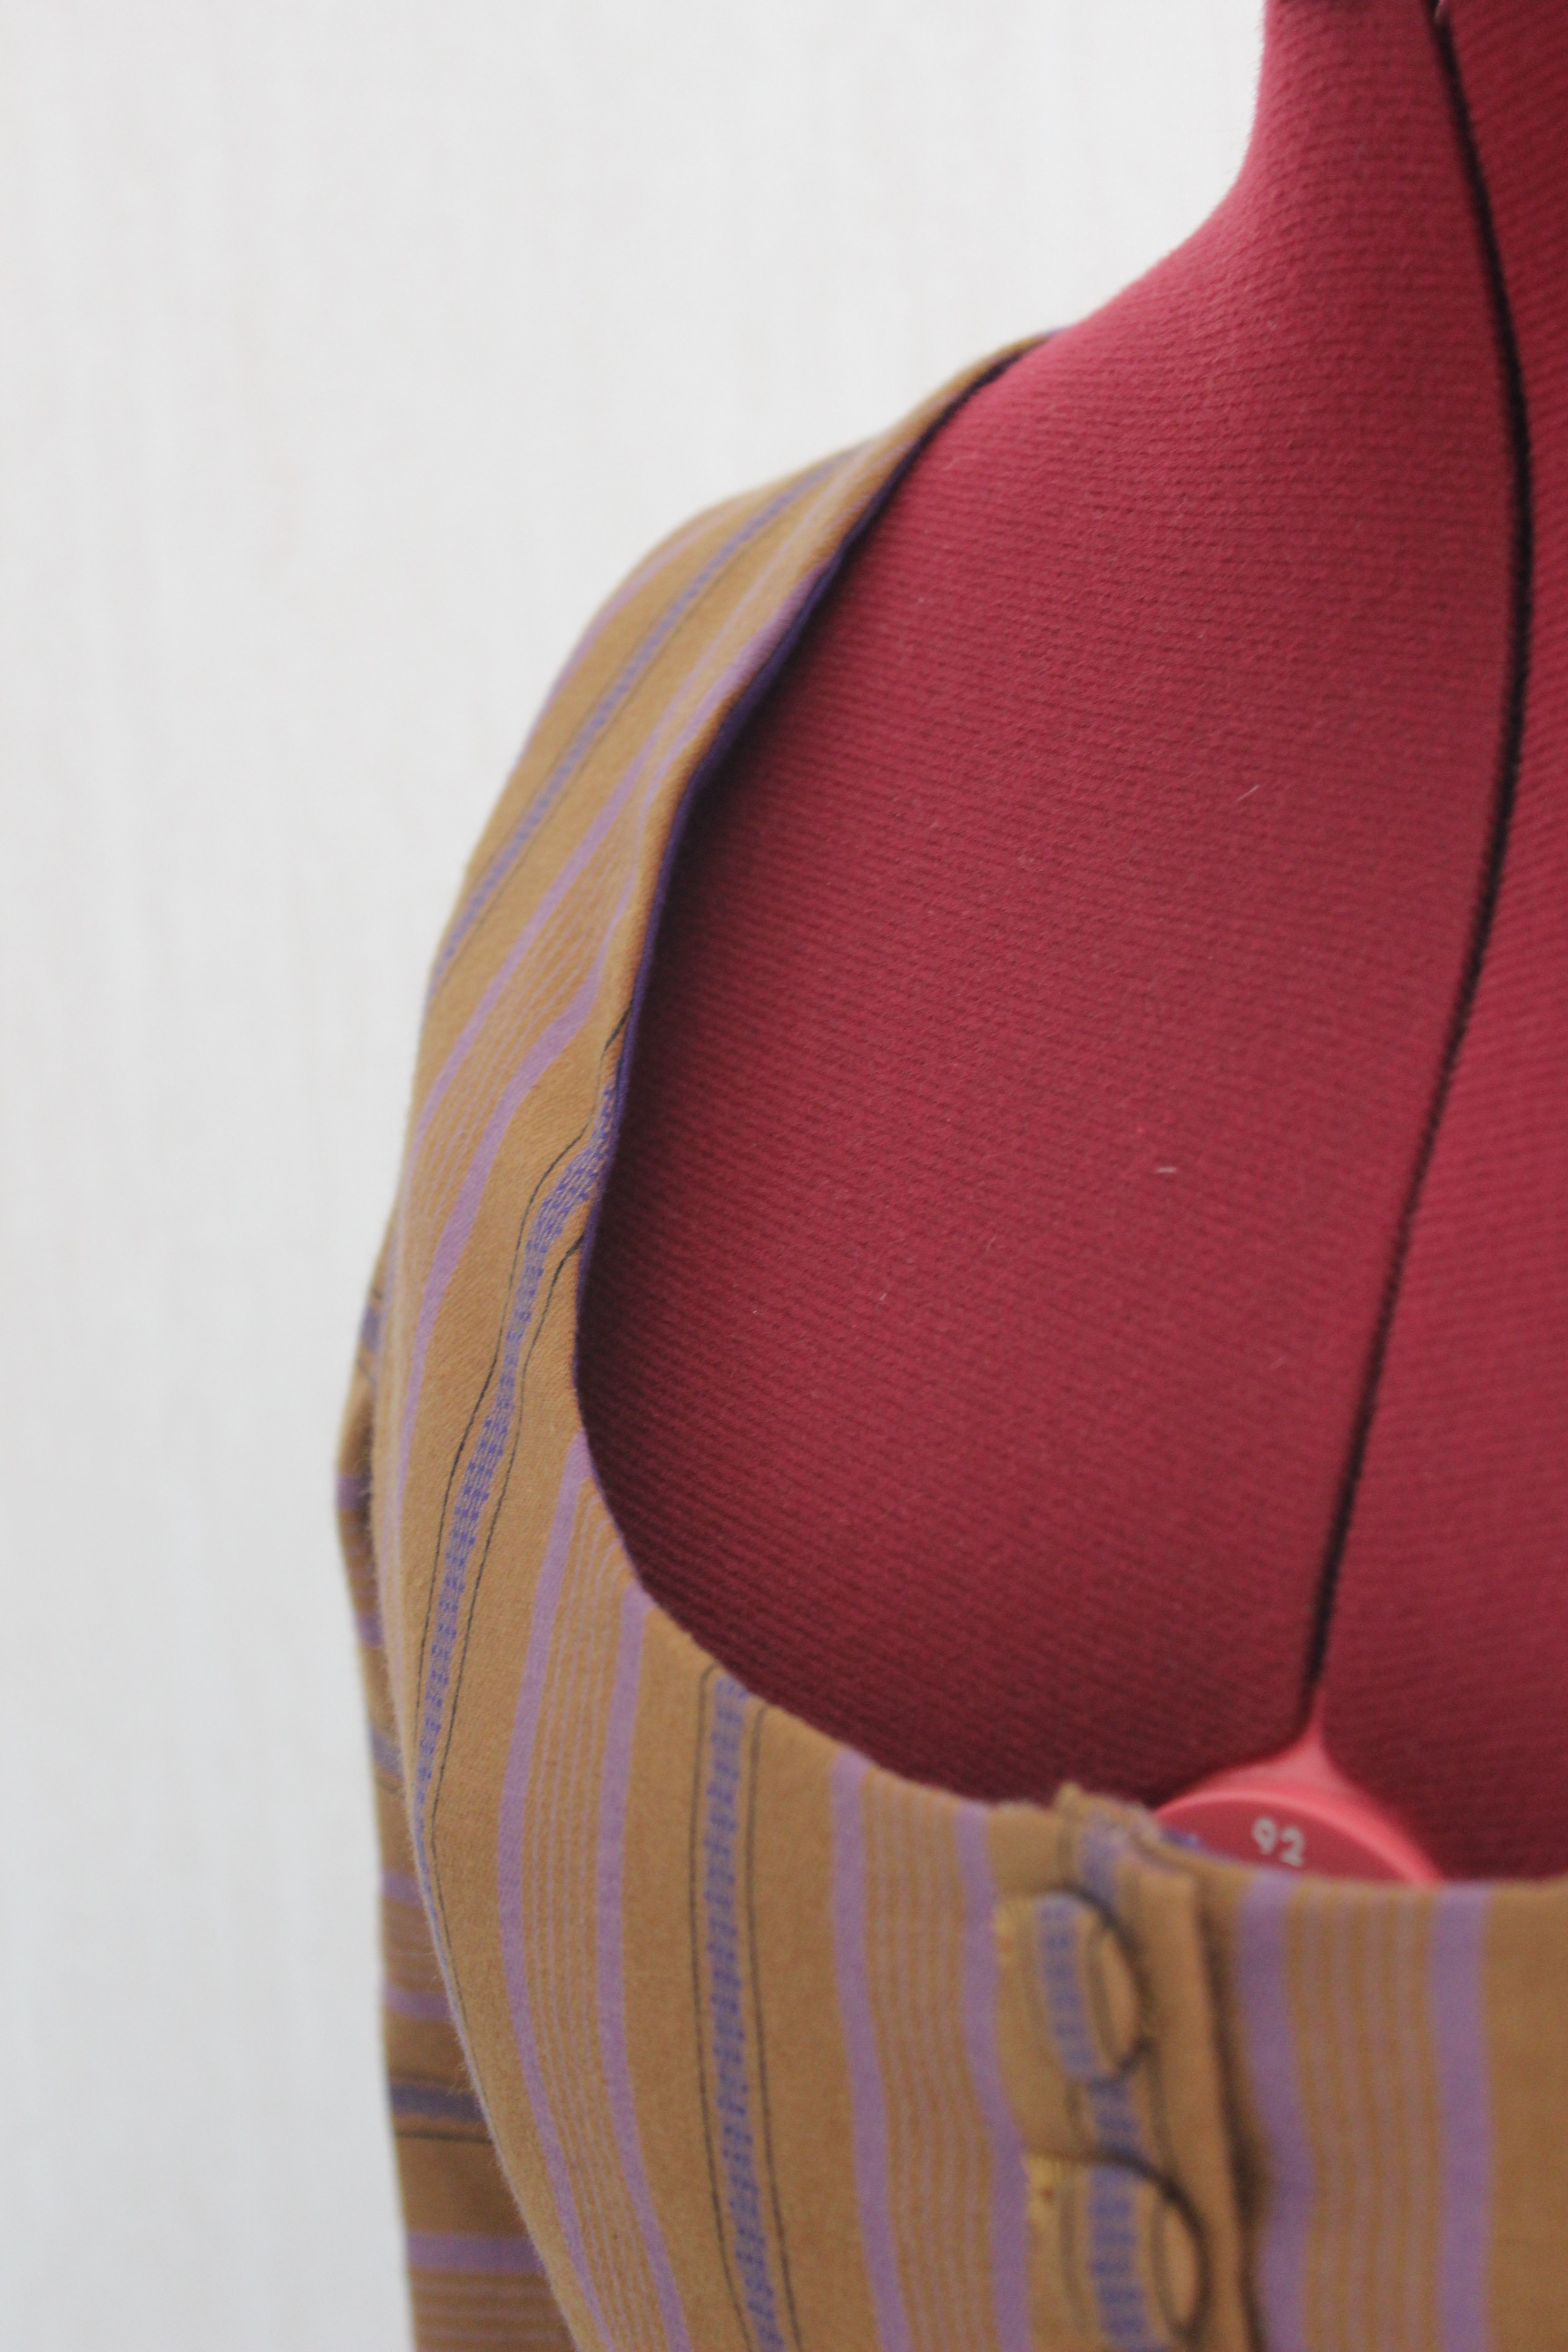
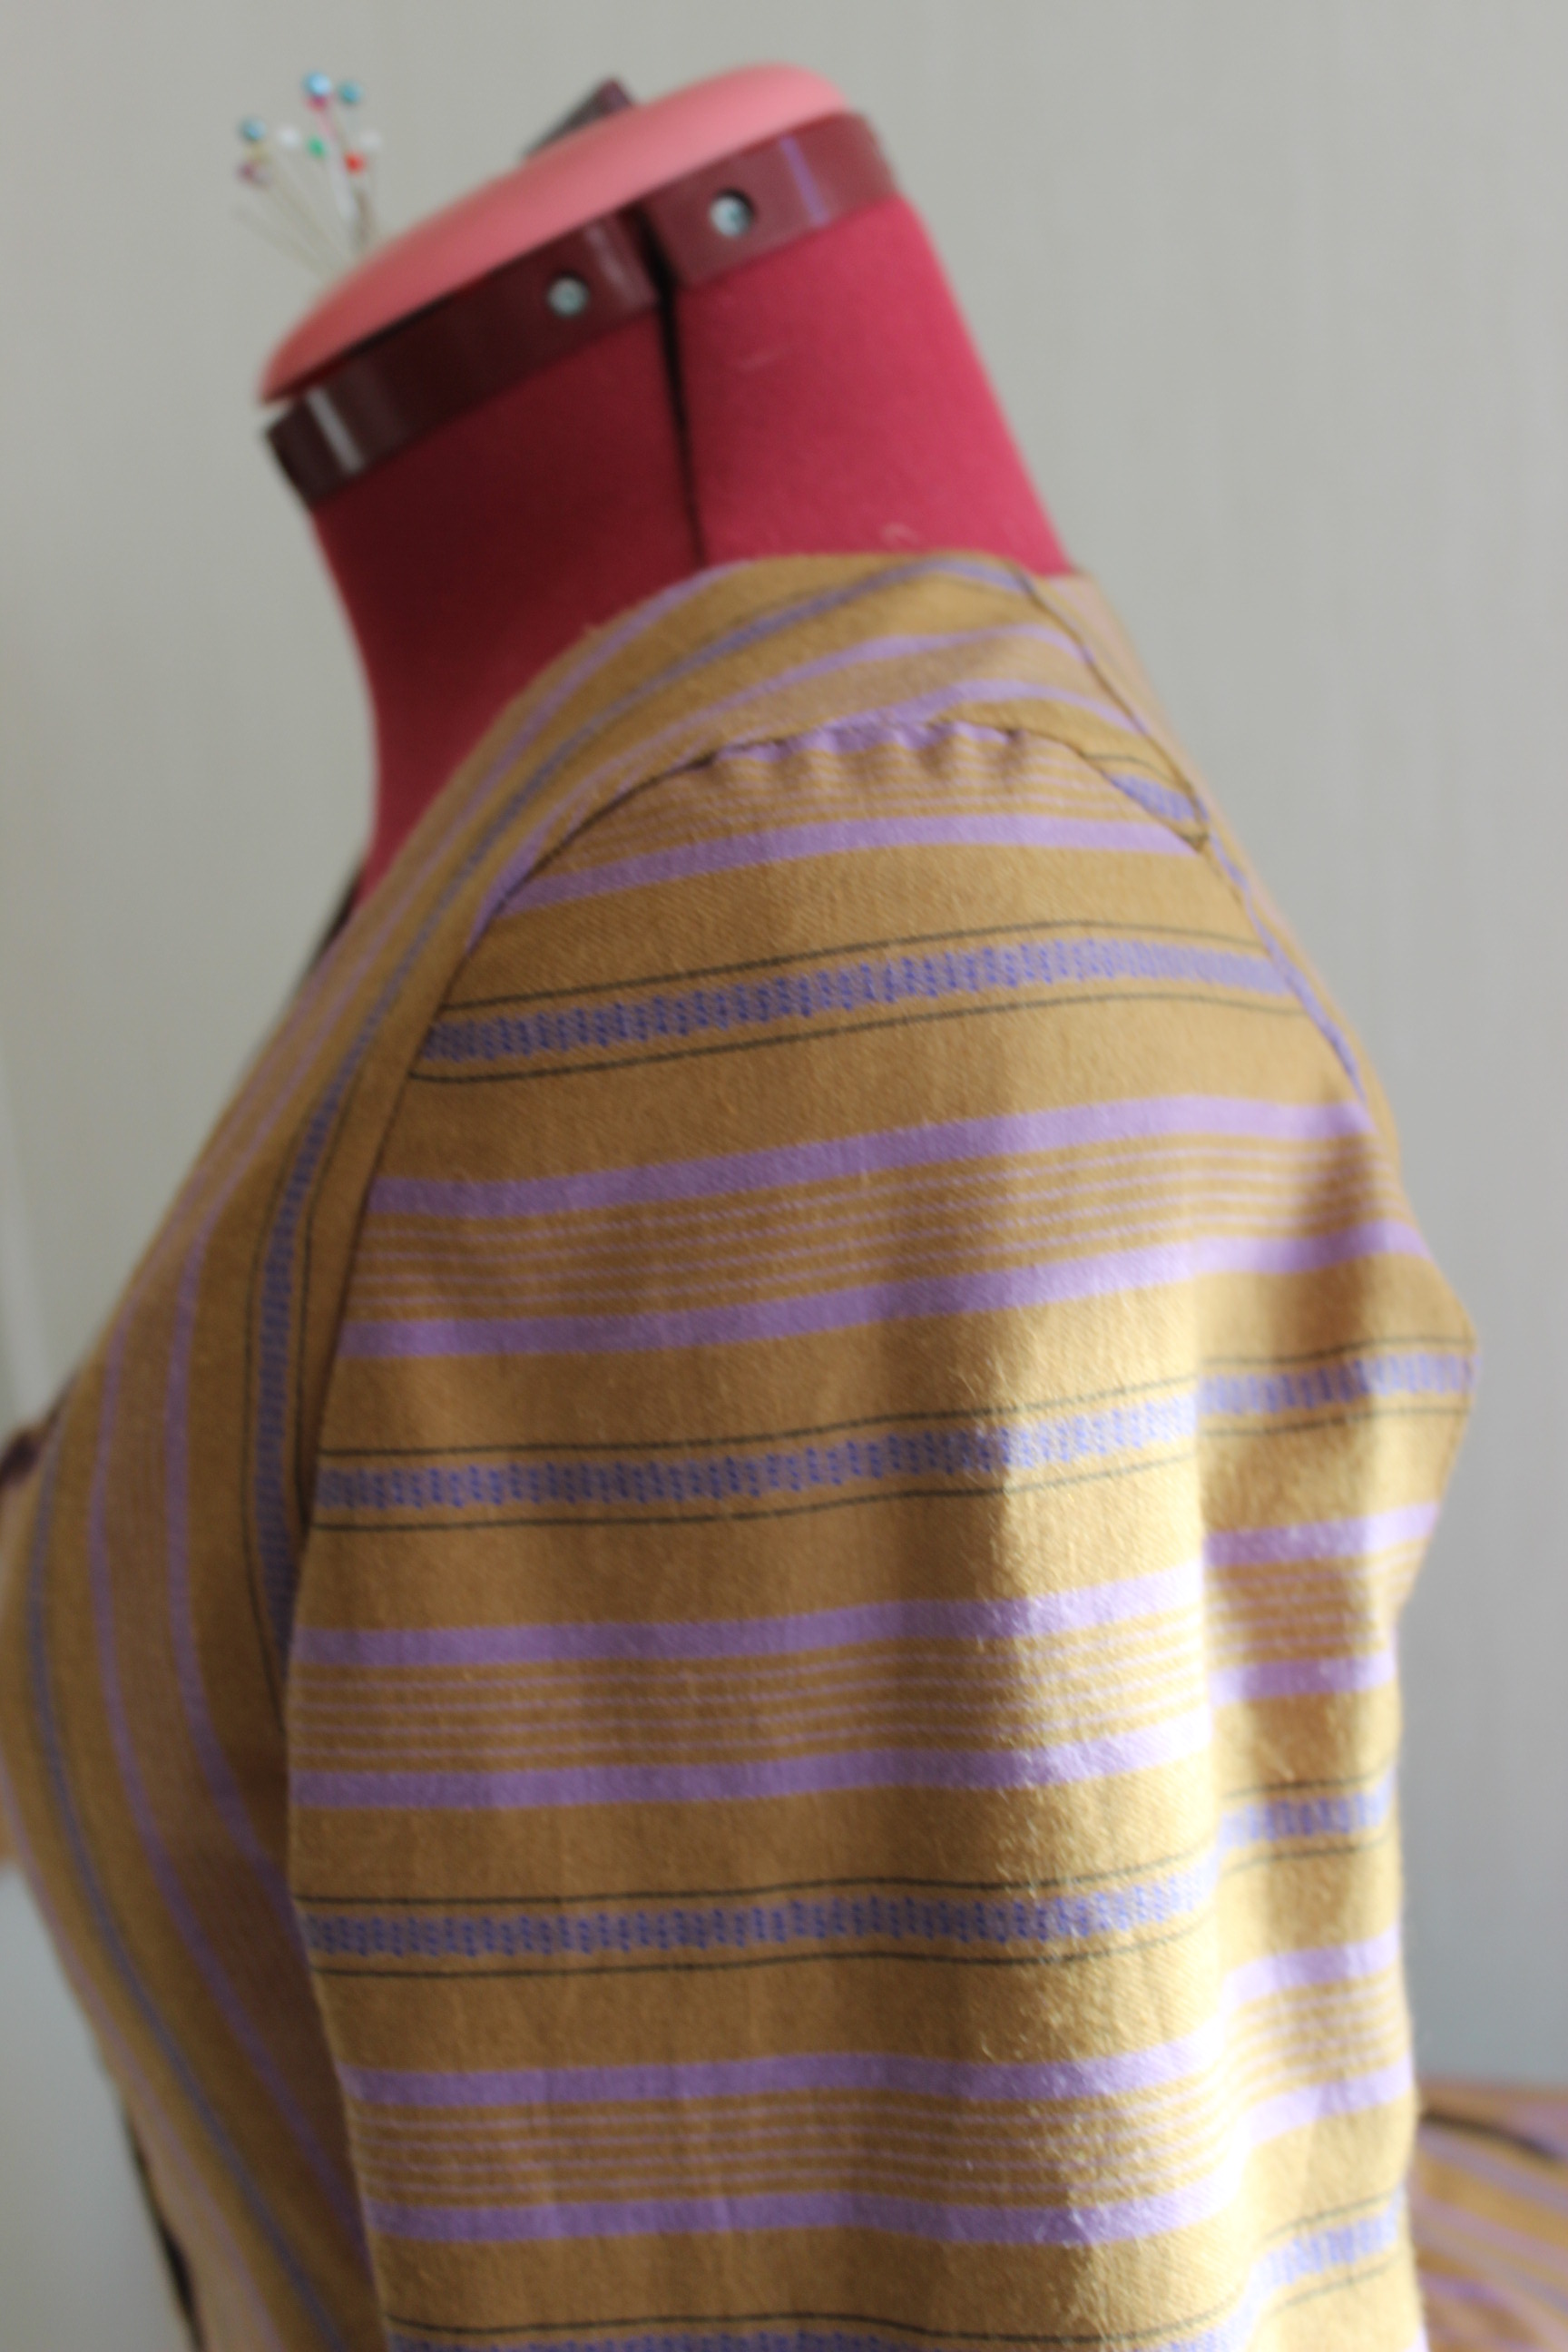
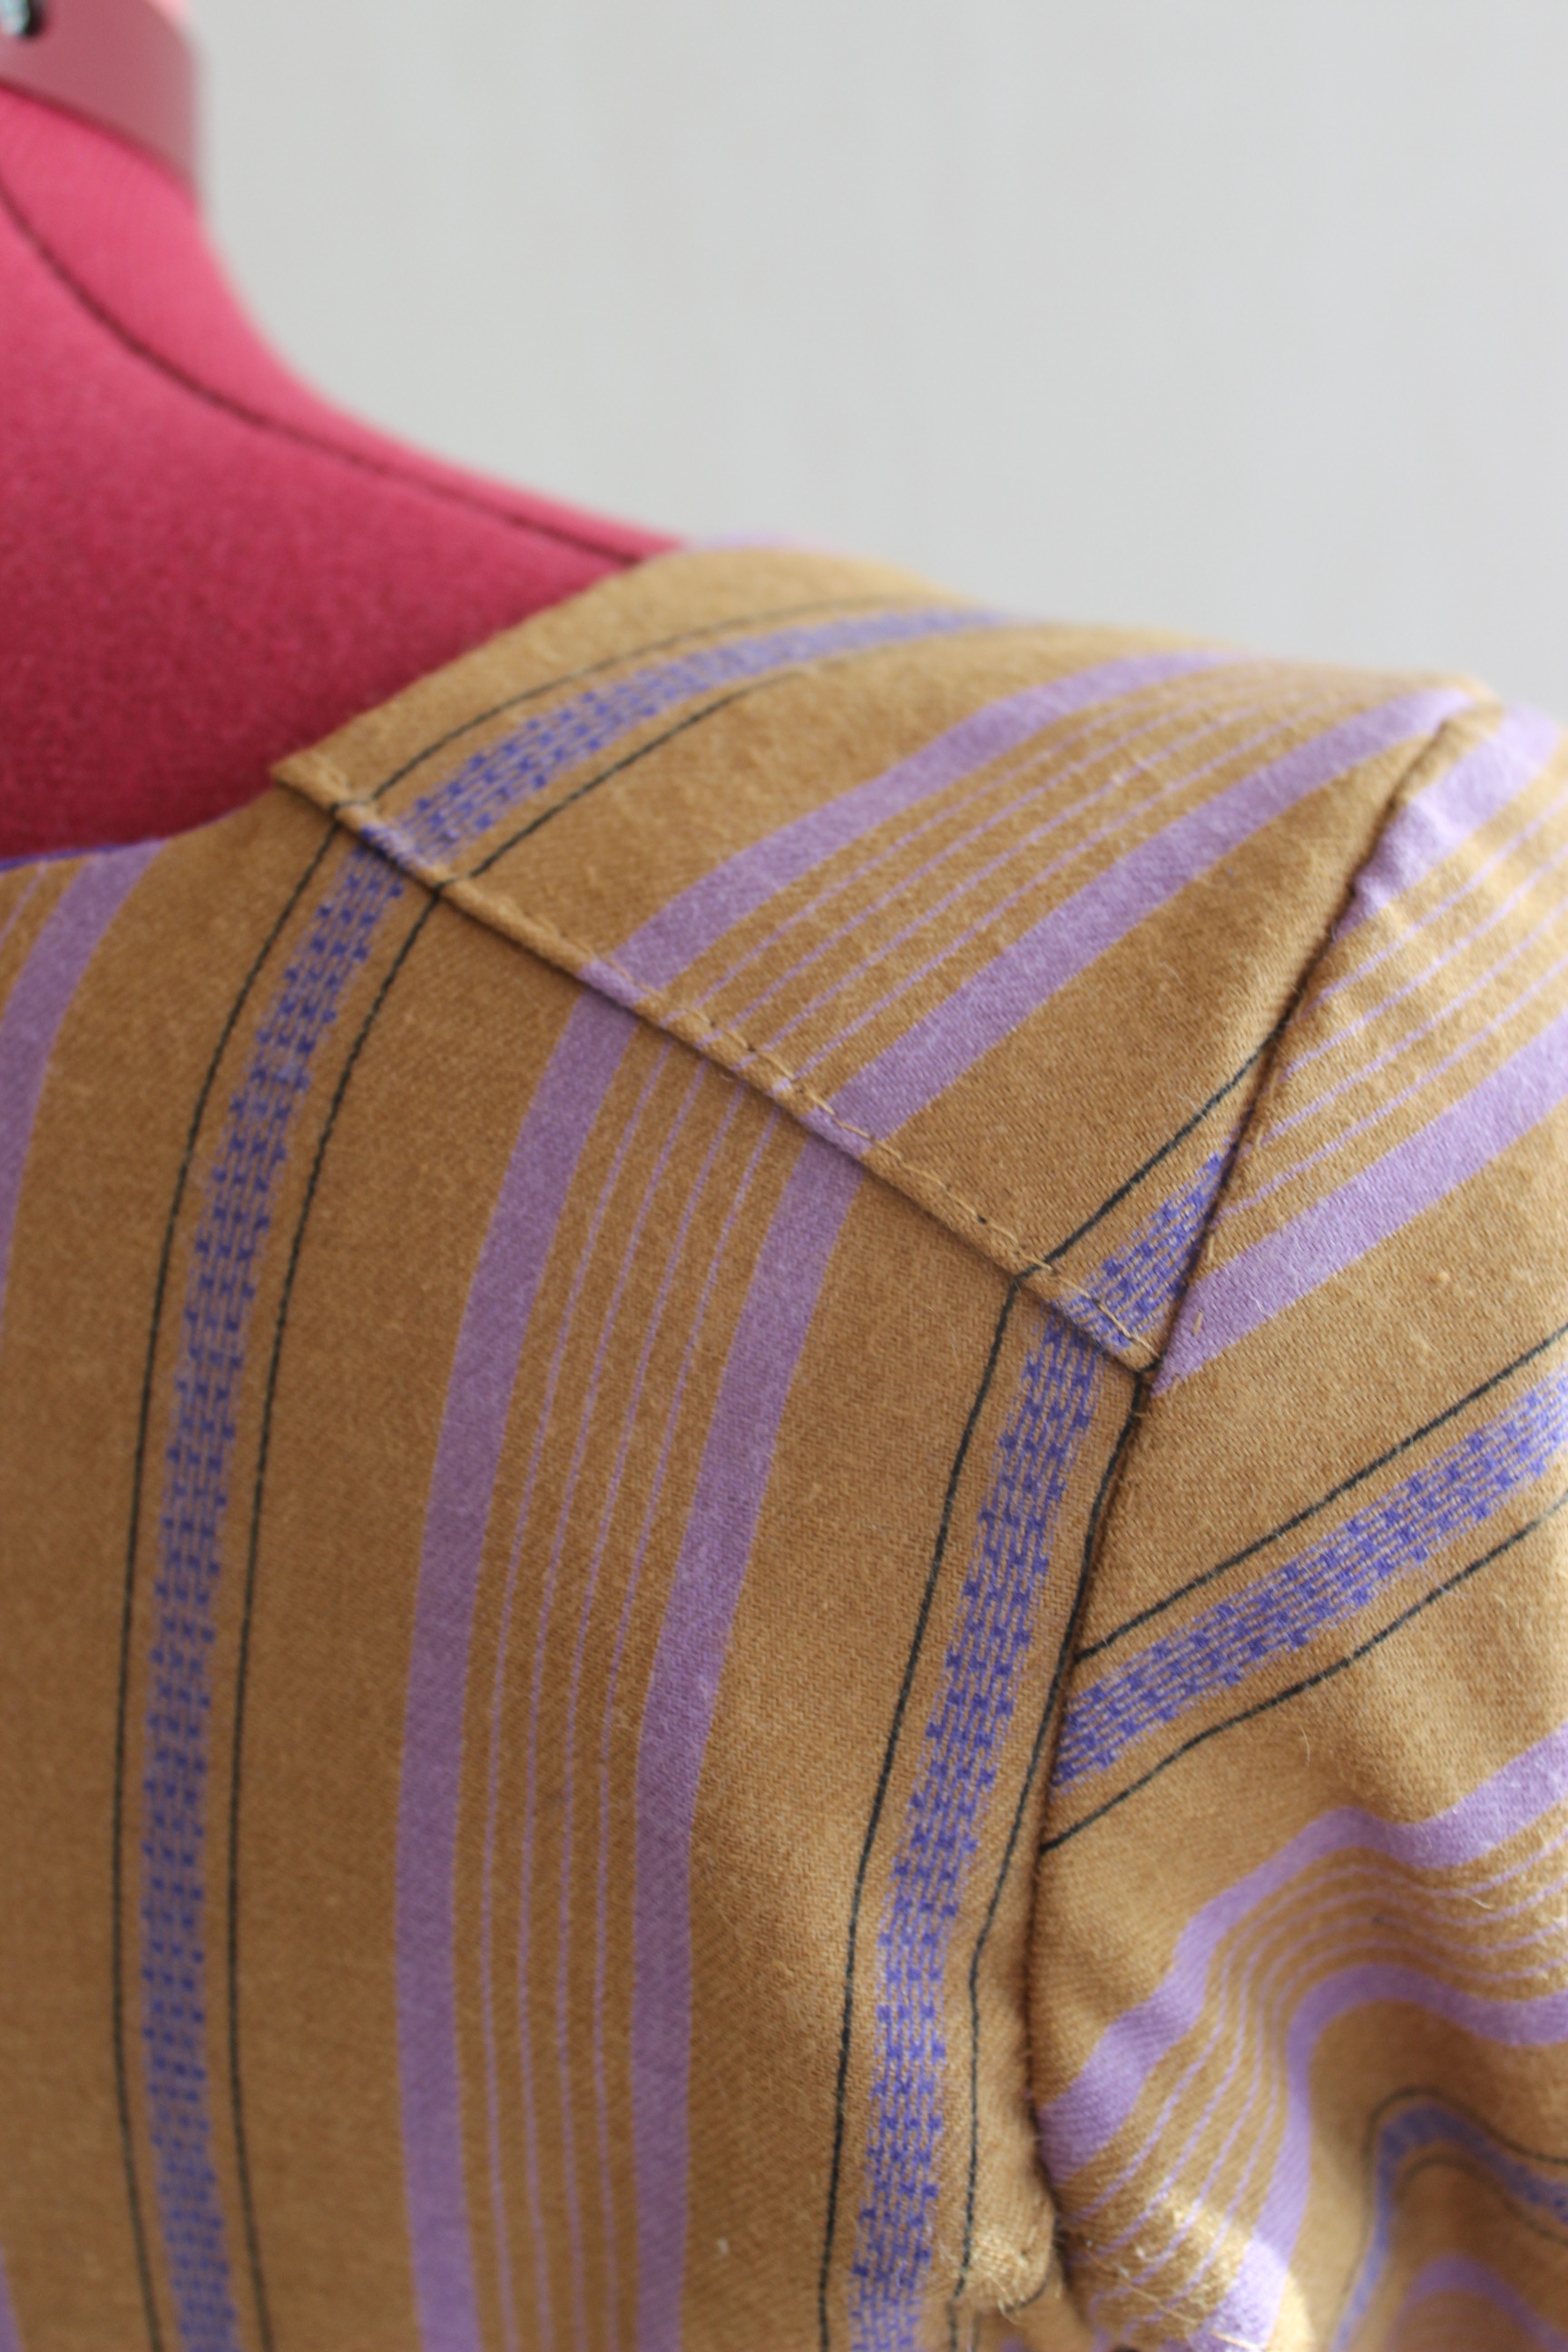
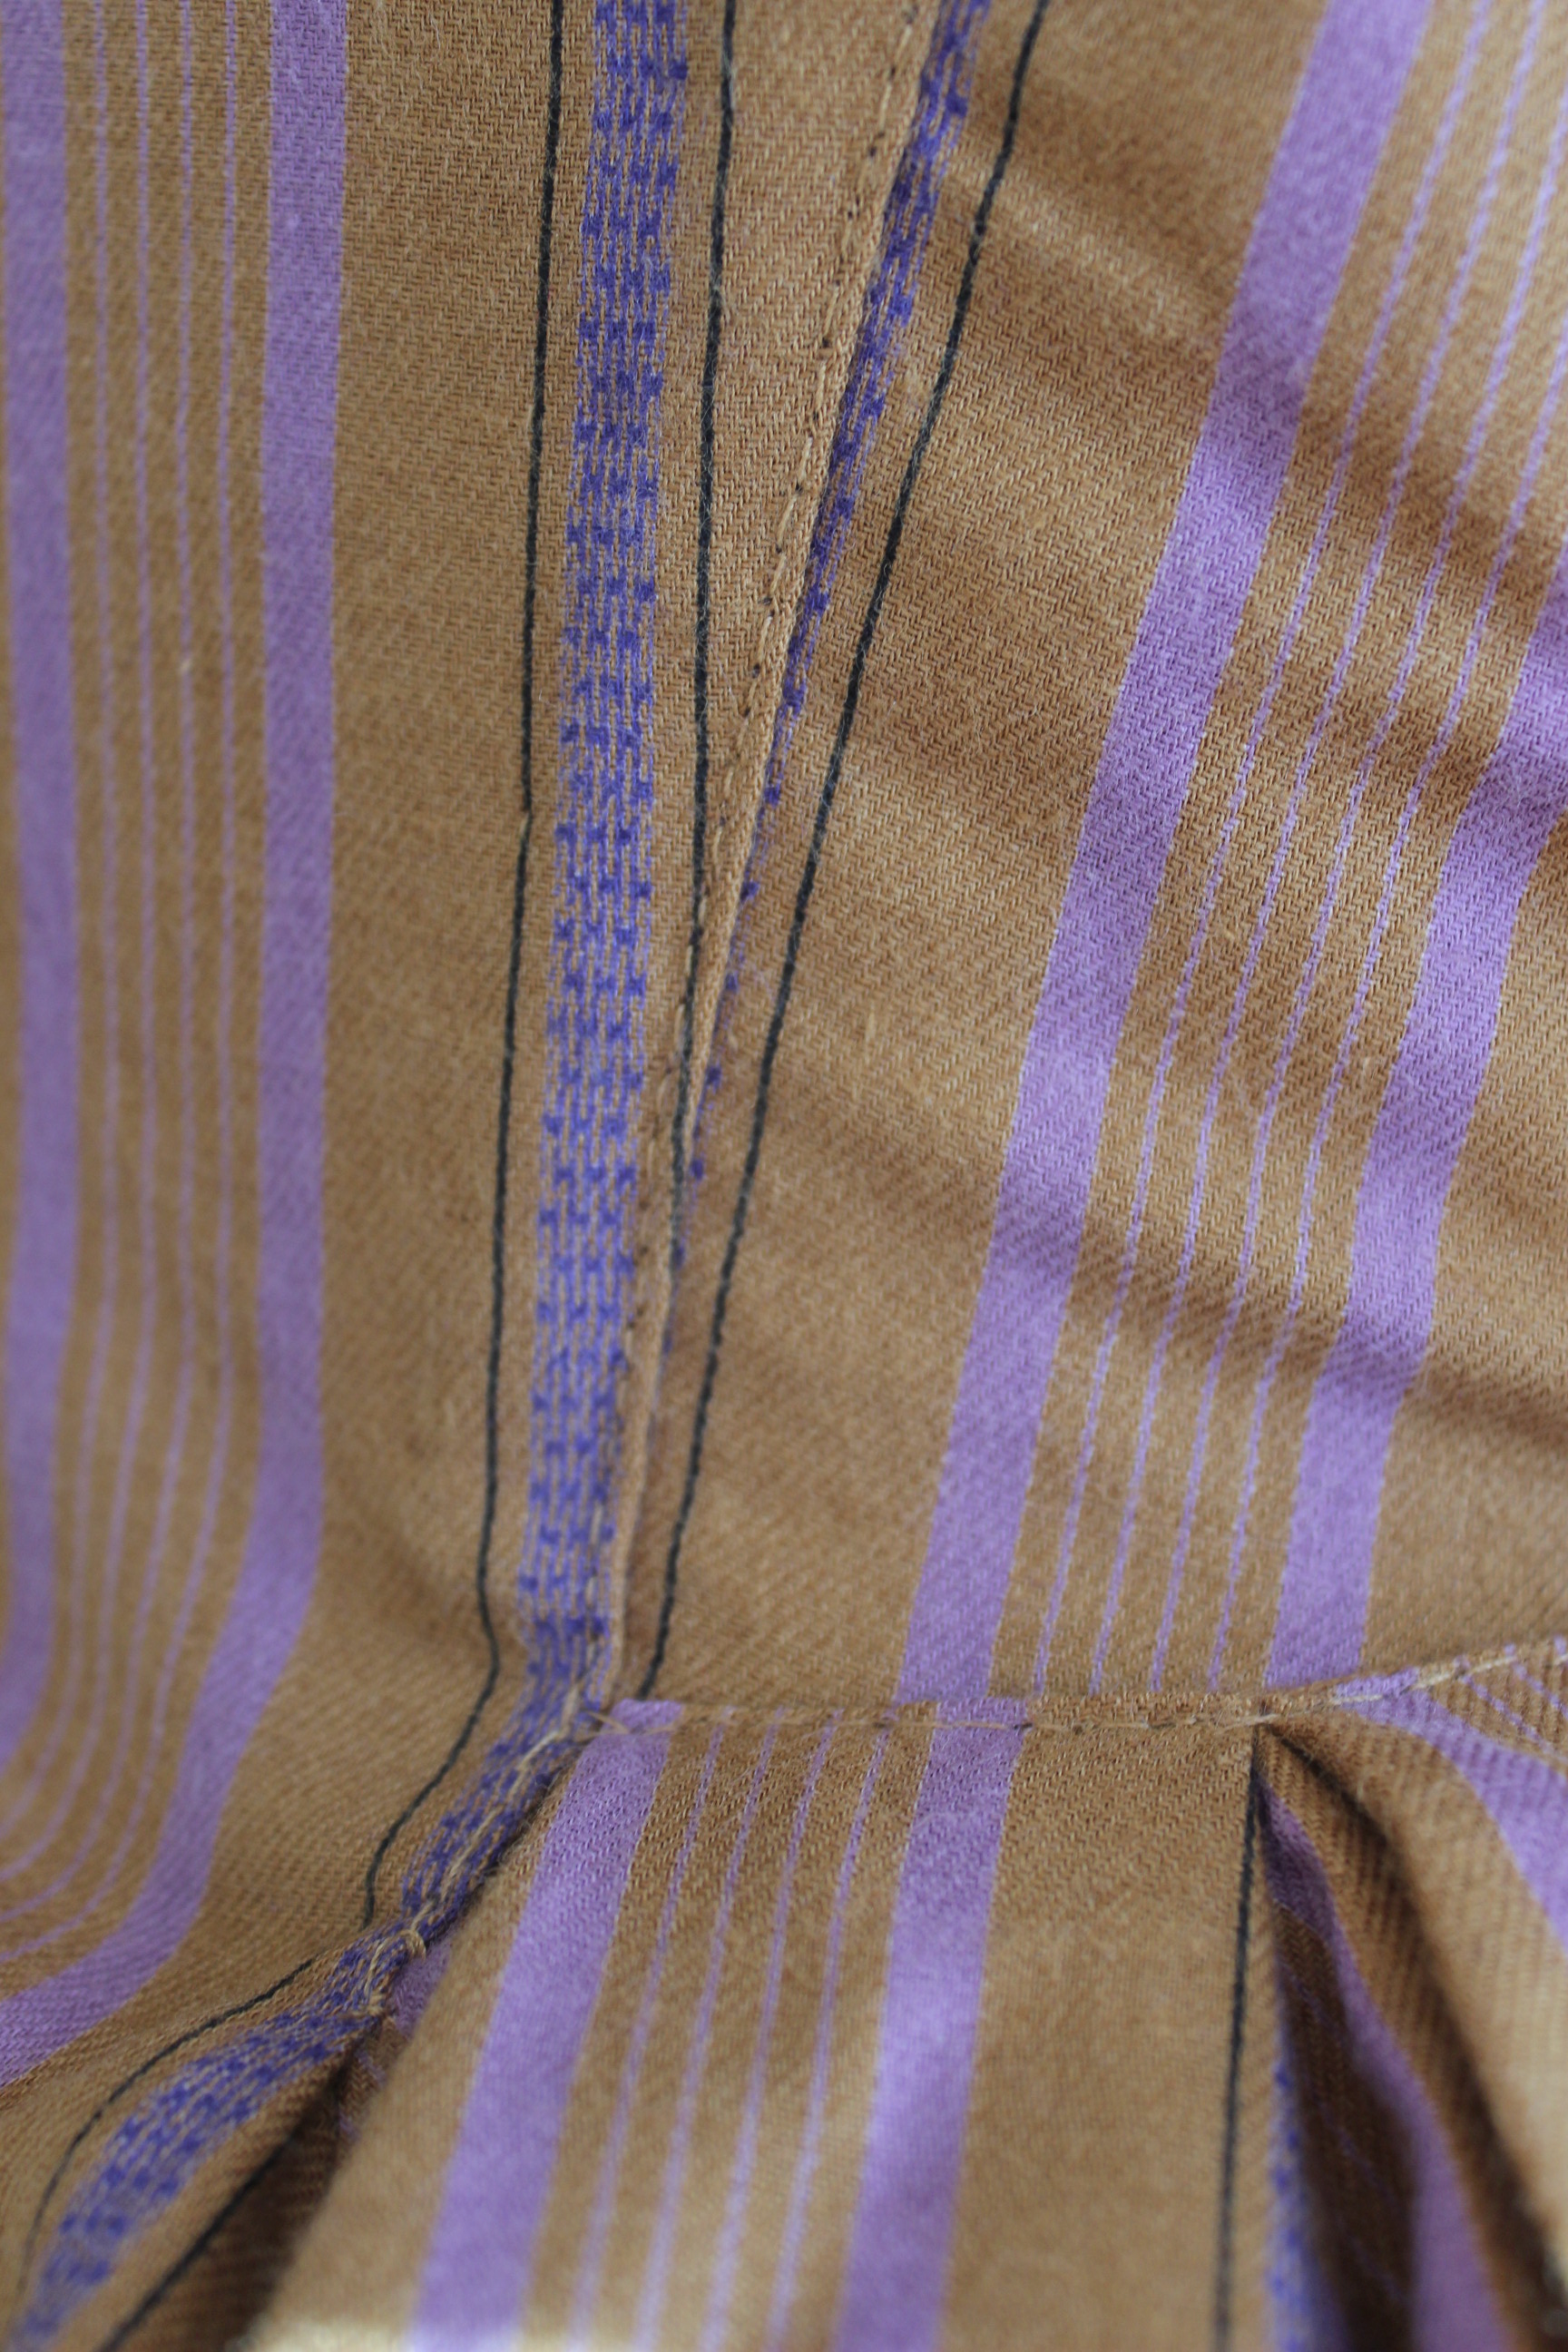
 Here you can see the way I took out the width at the seams and darts.


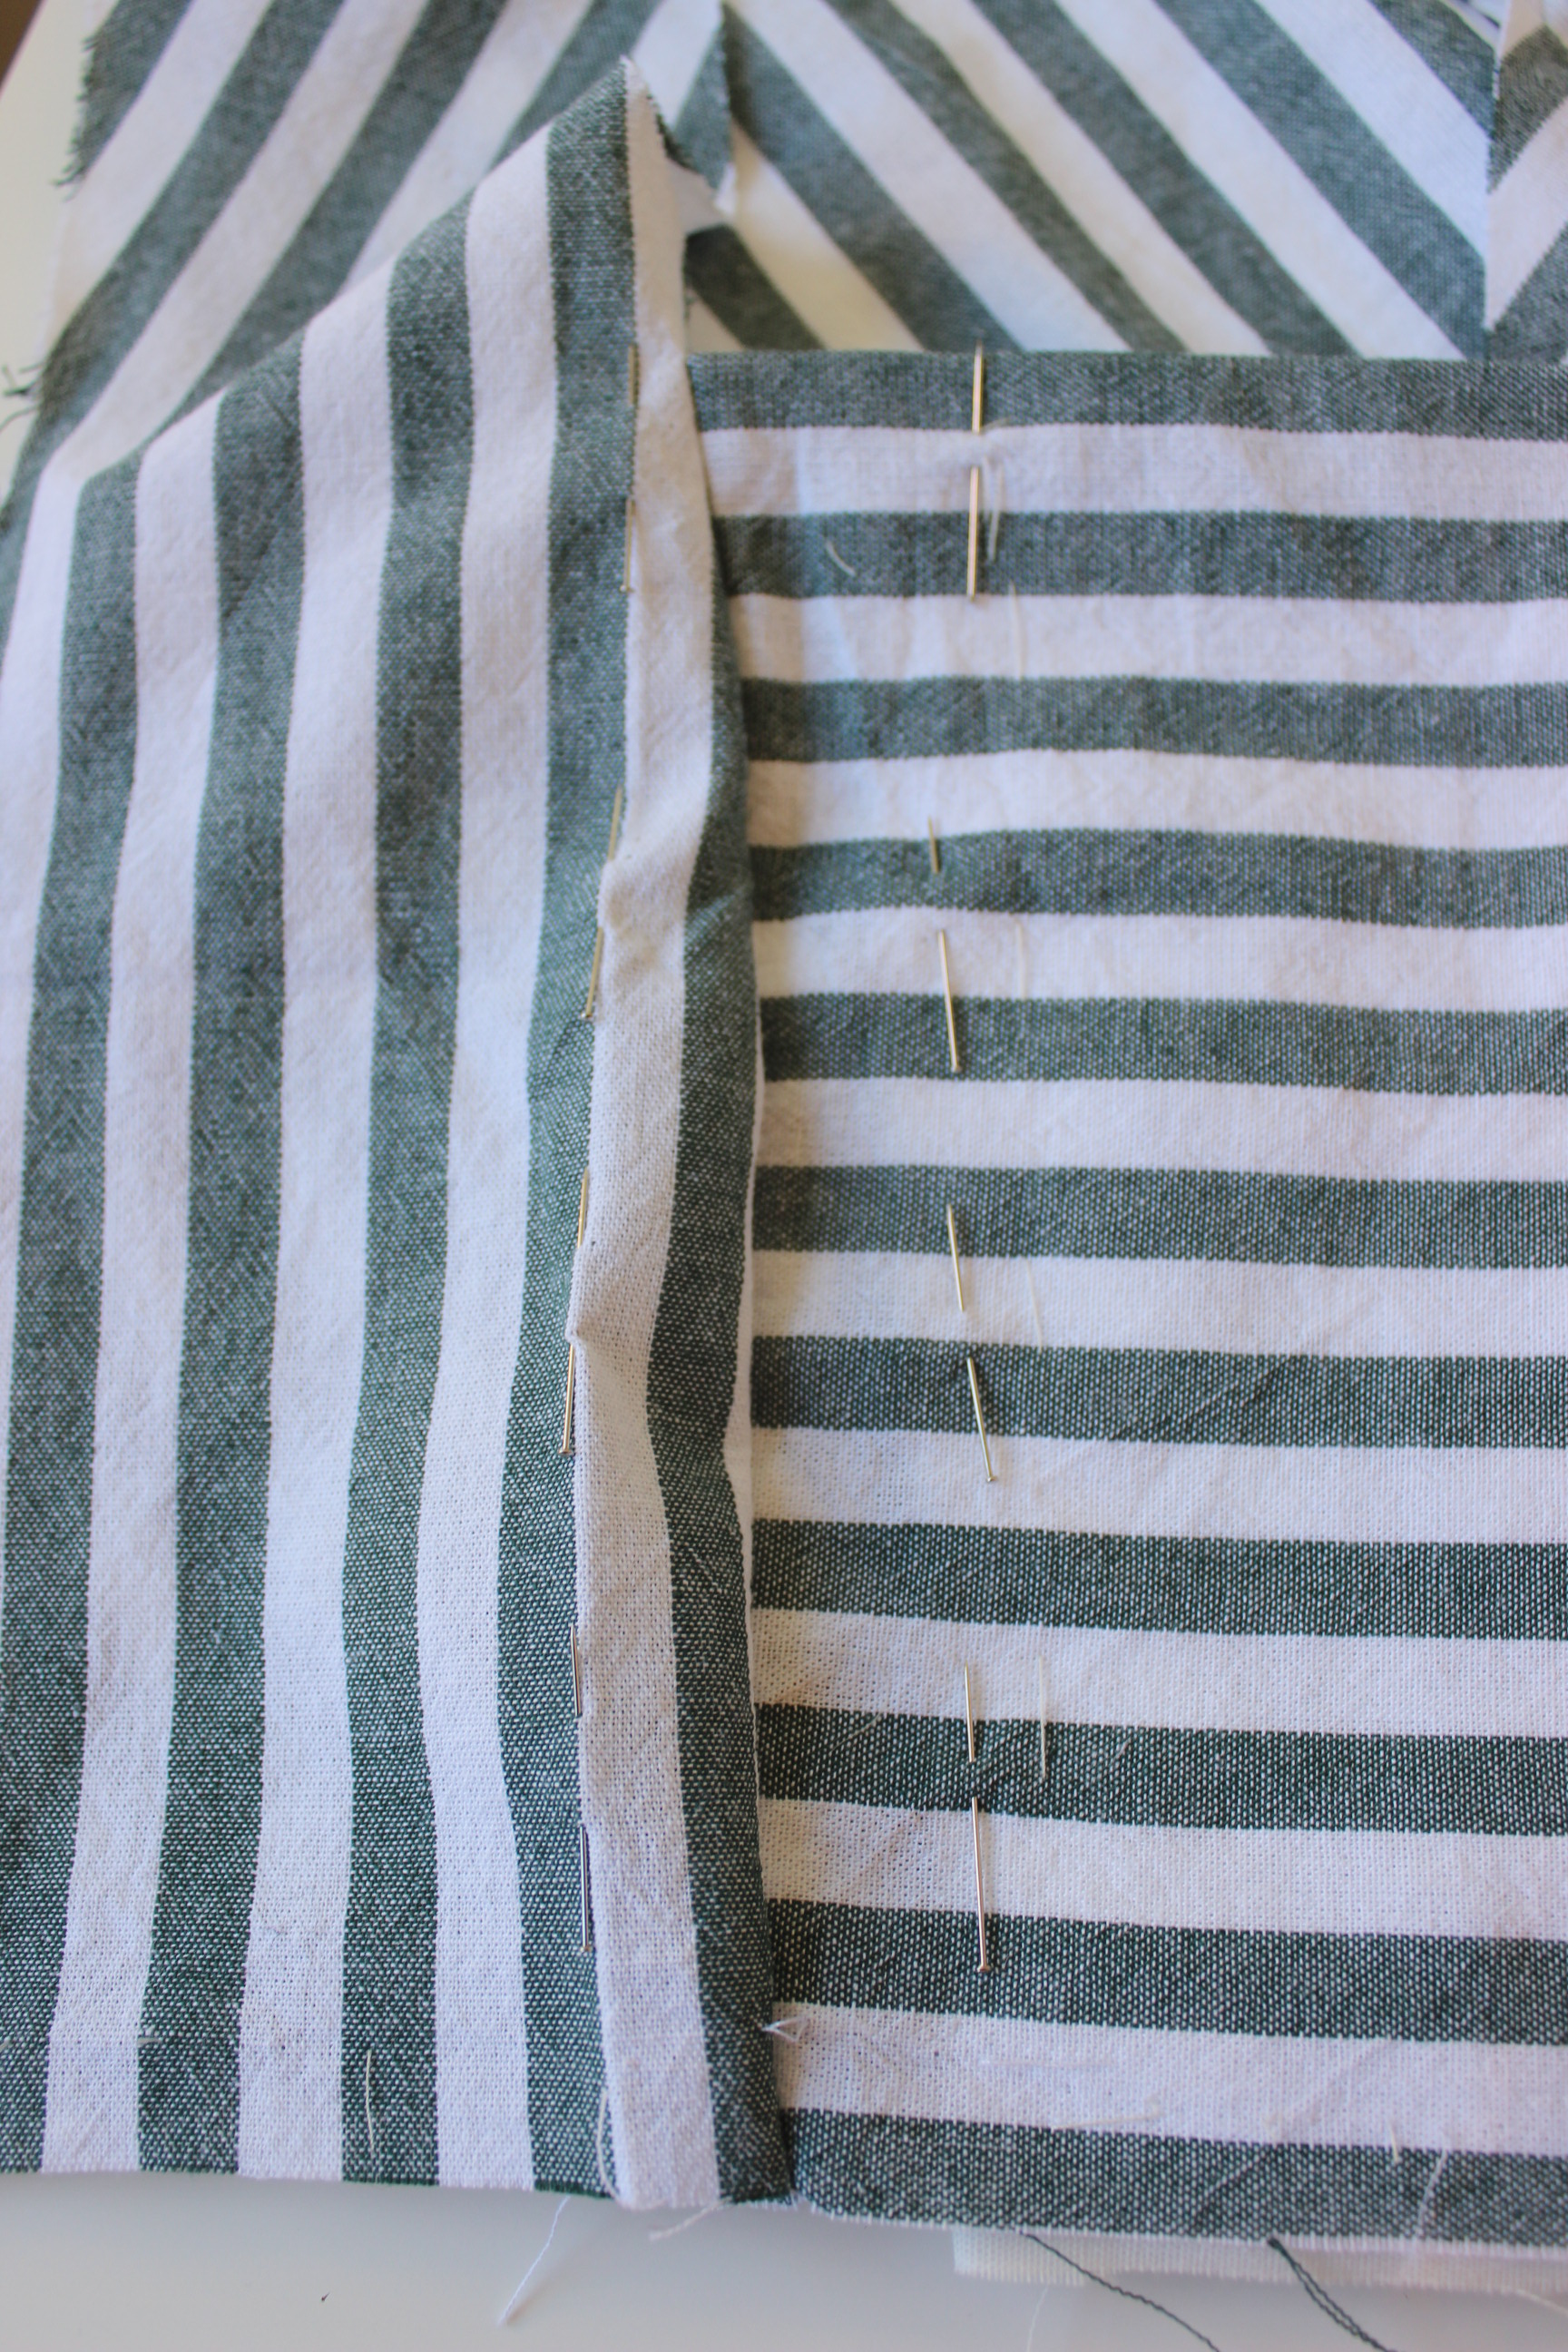


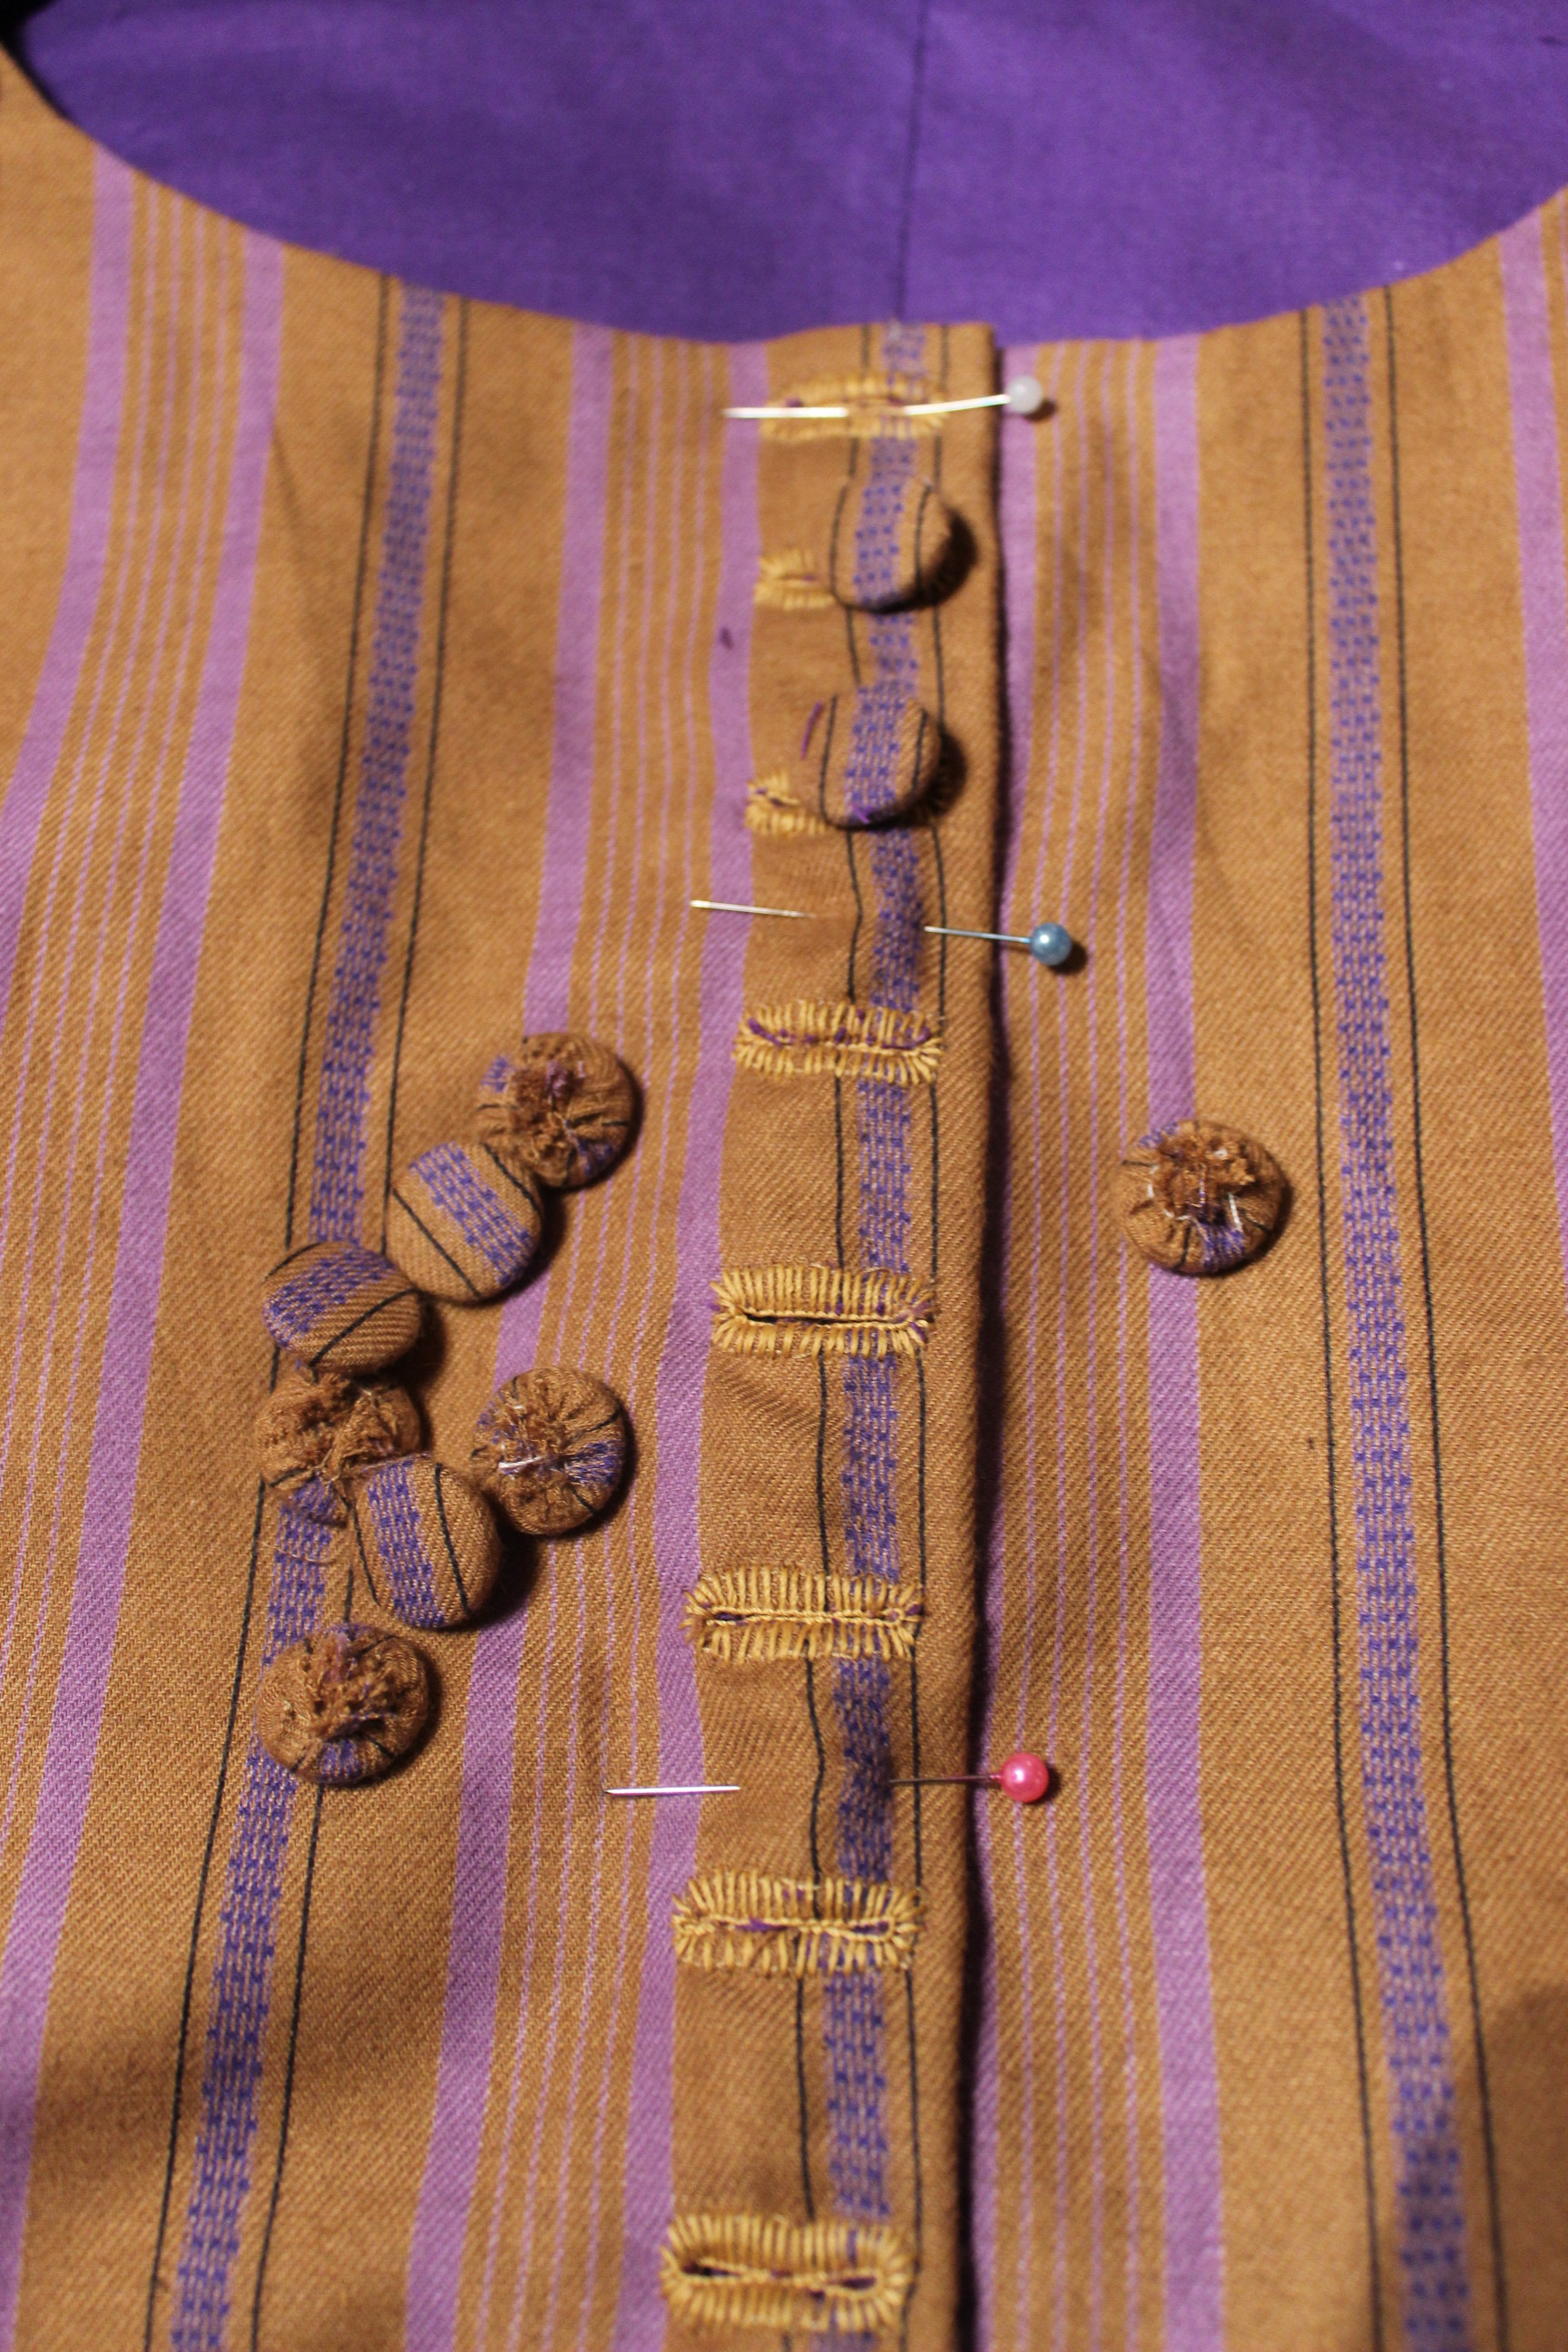
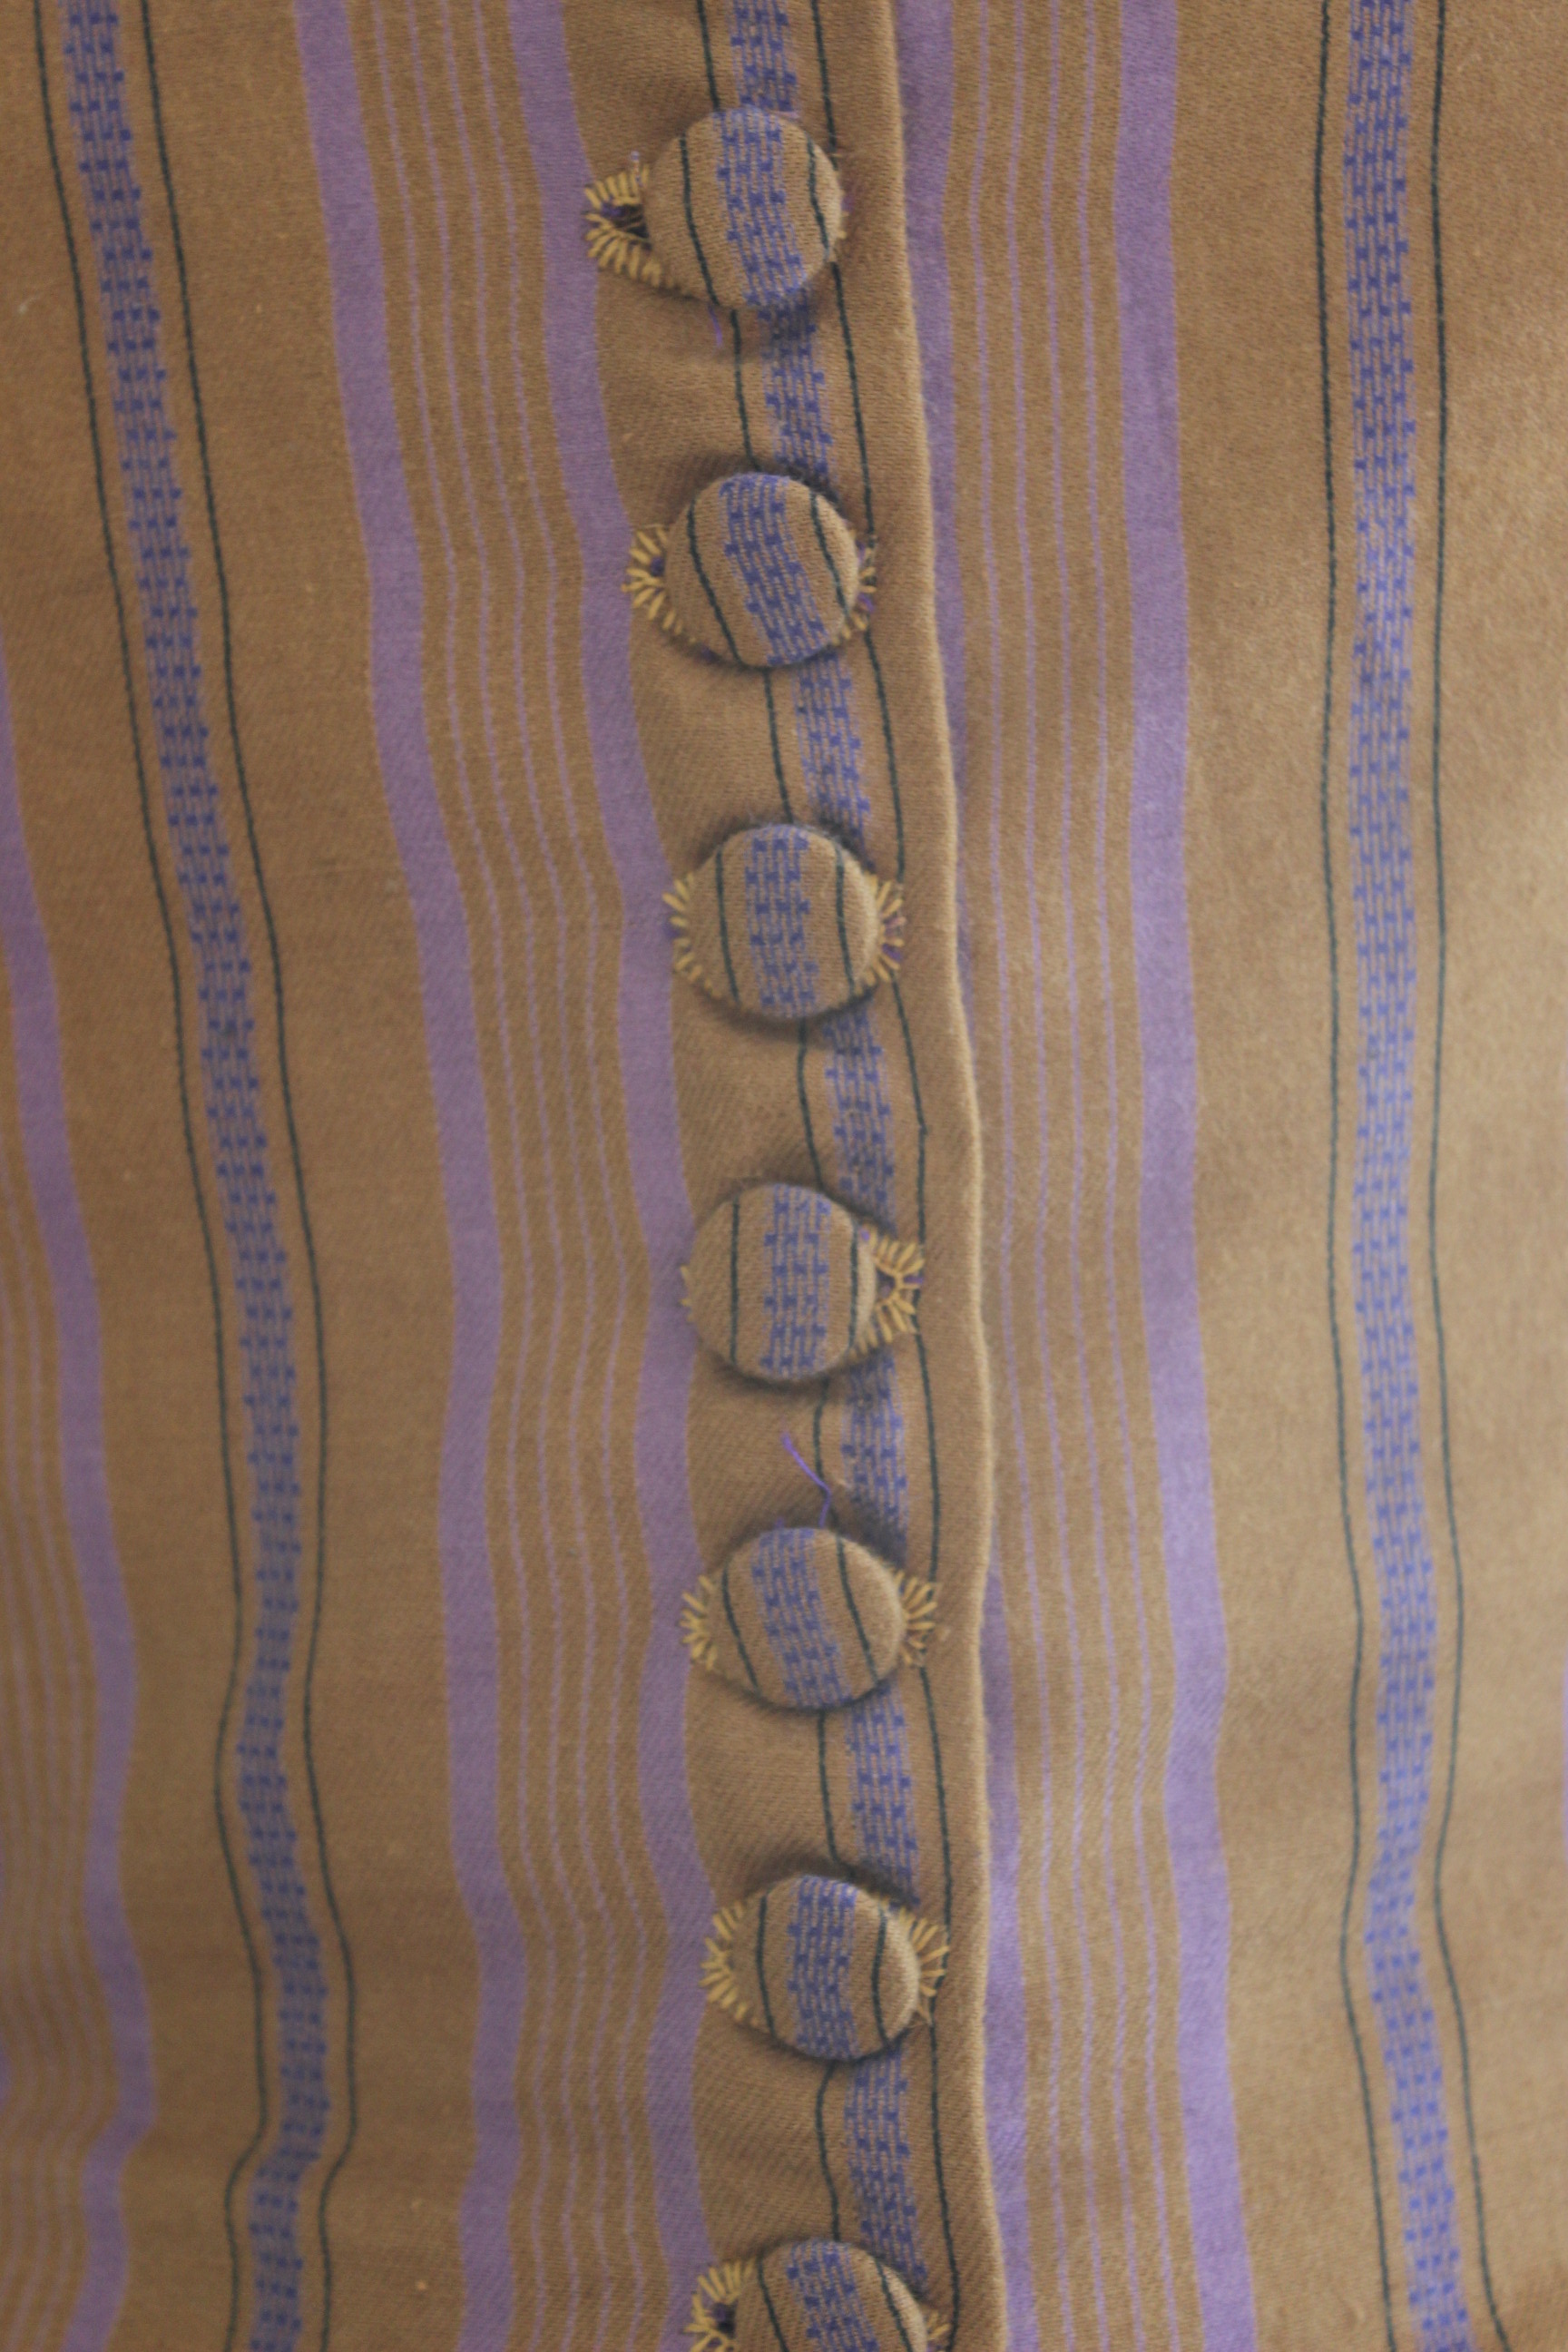
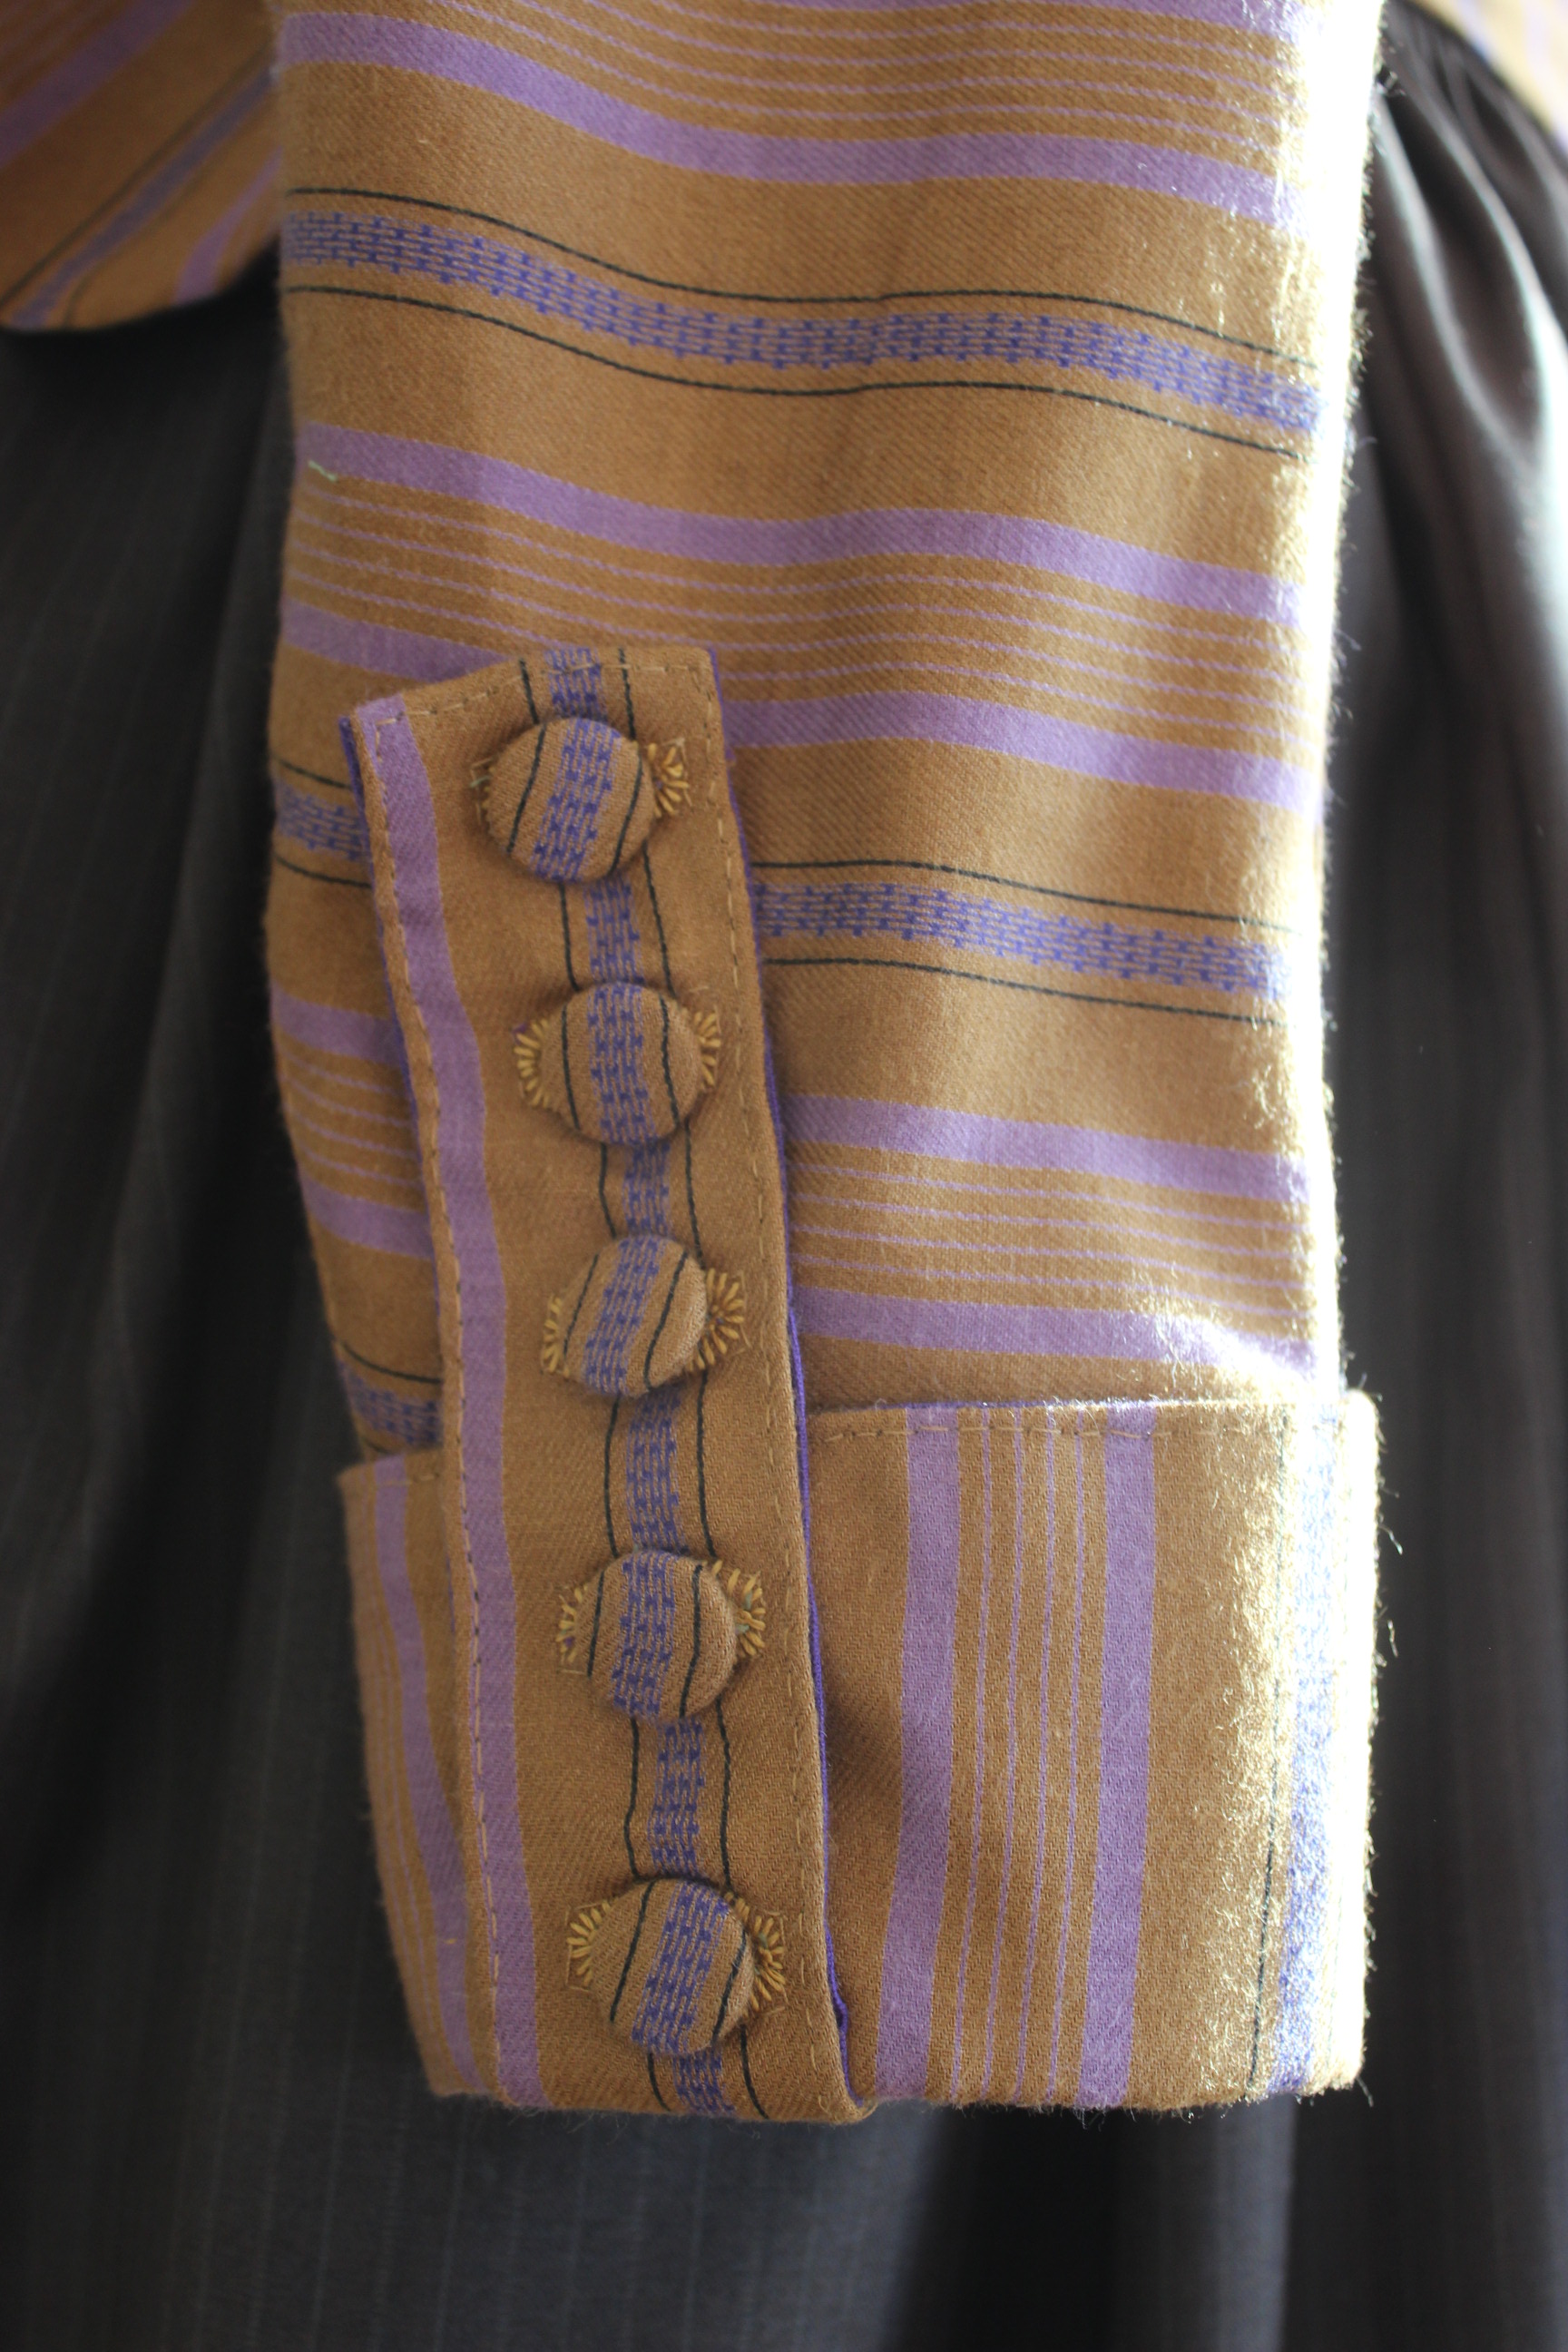
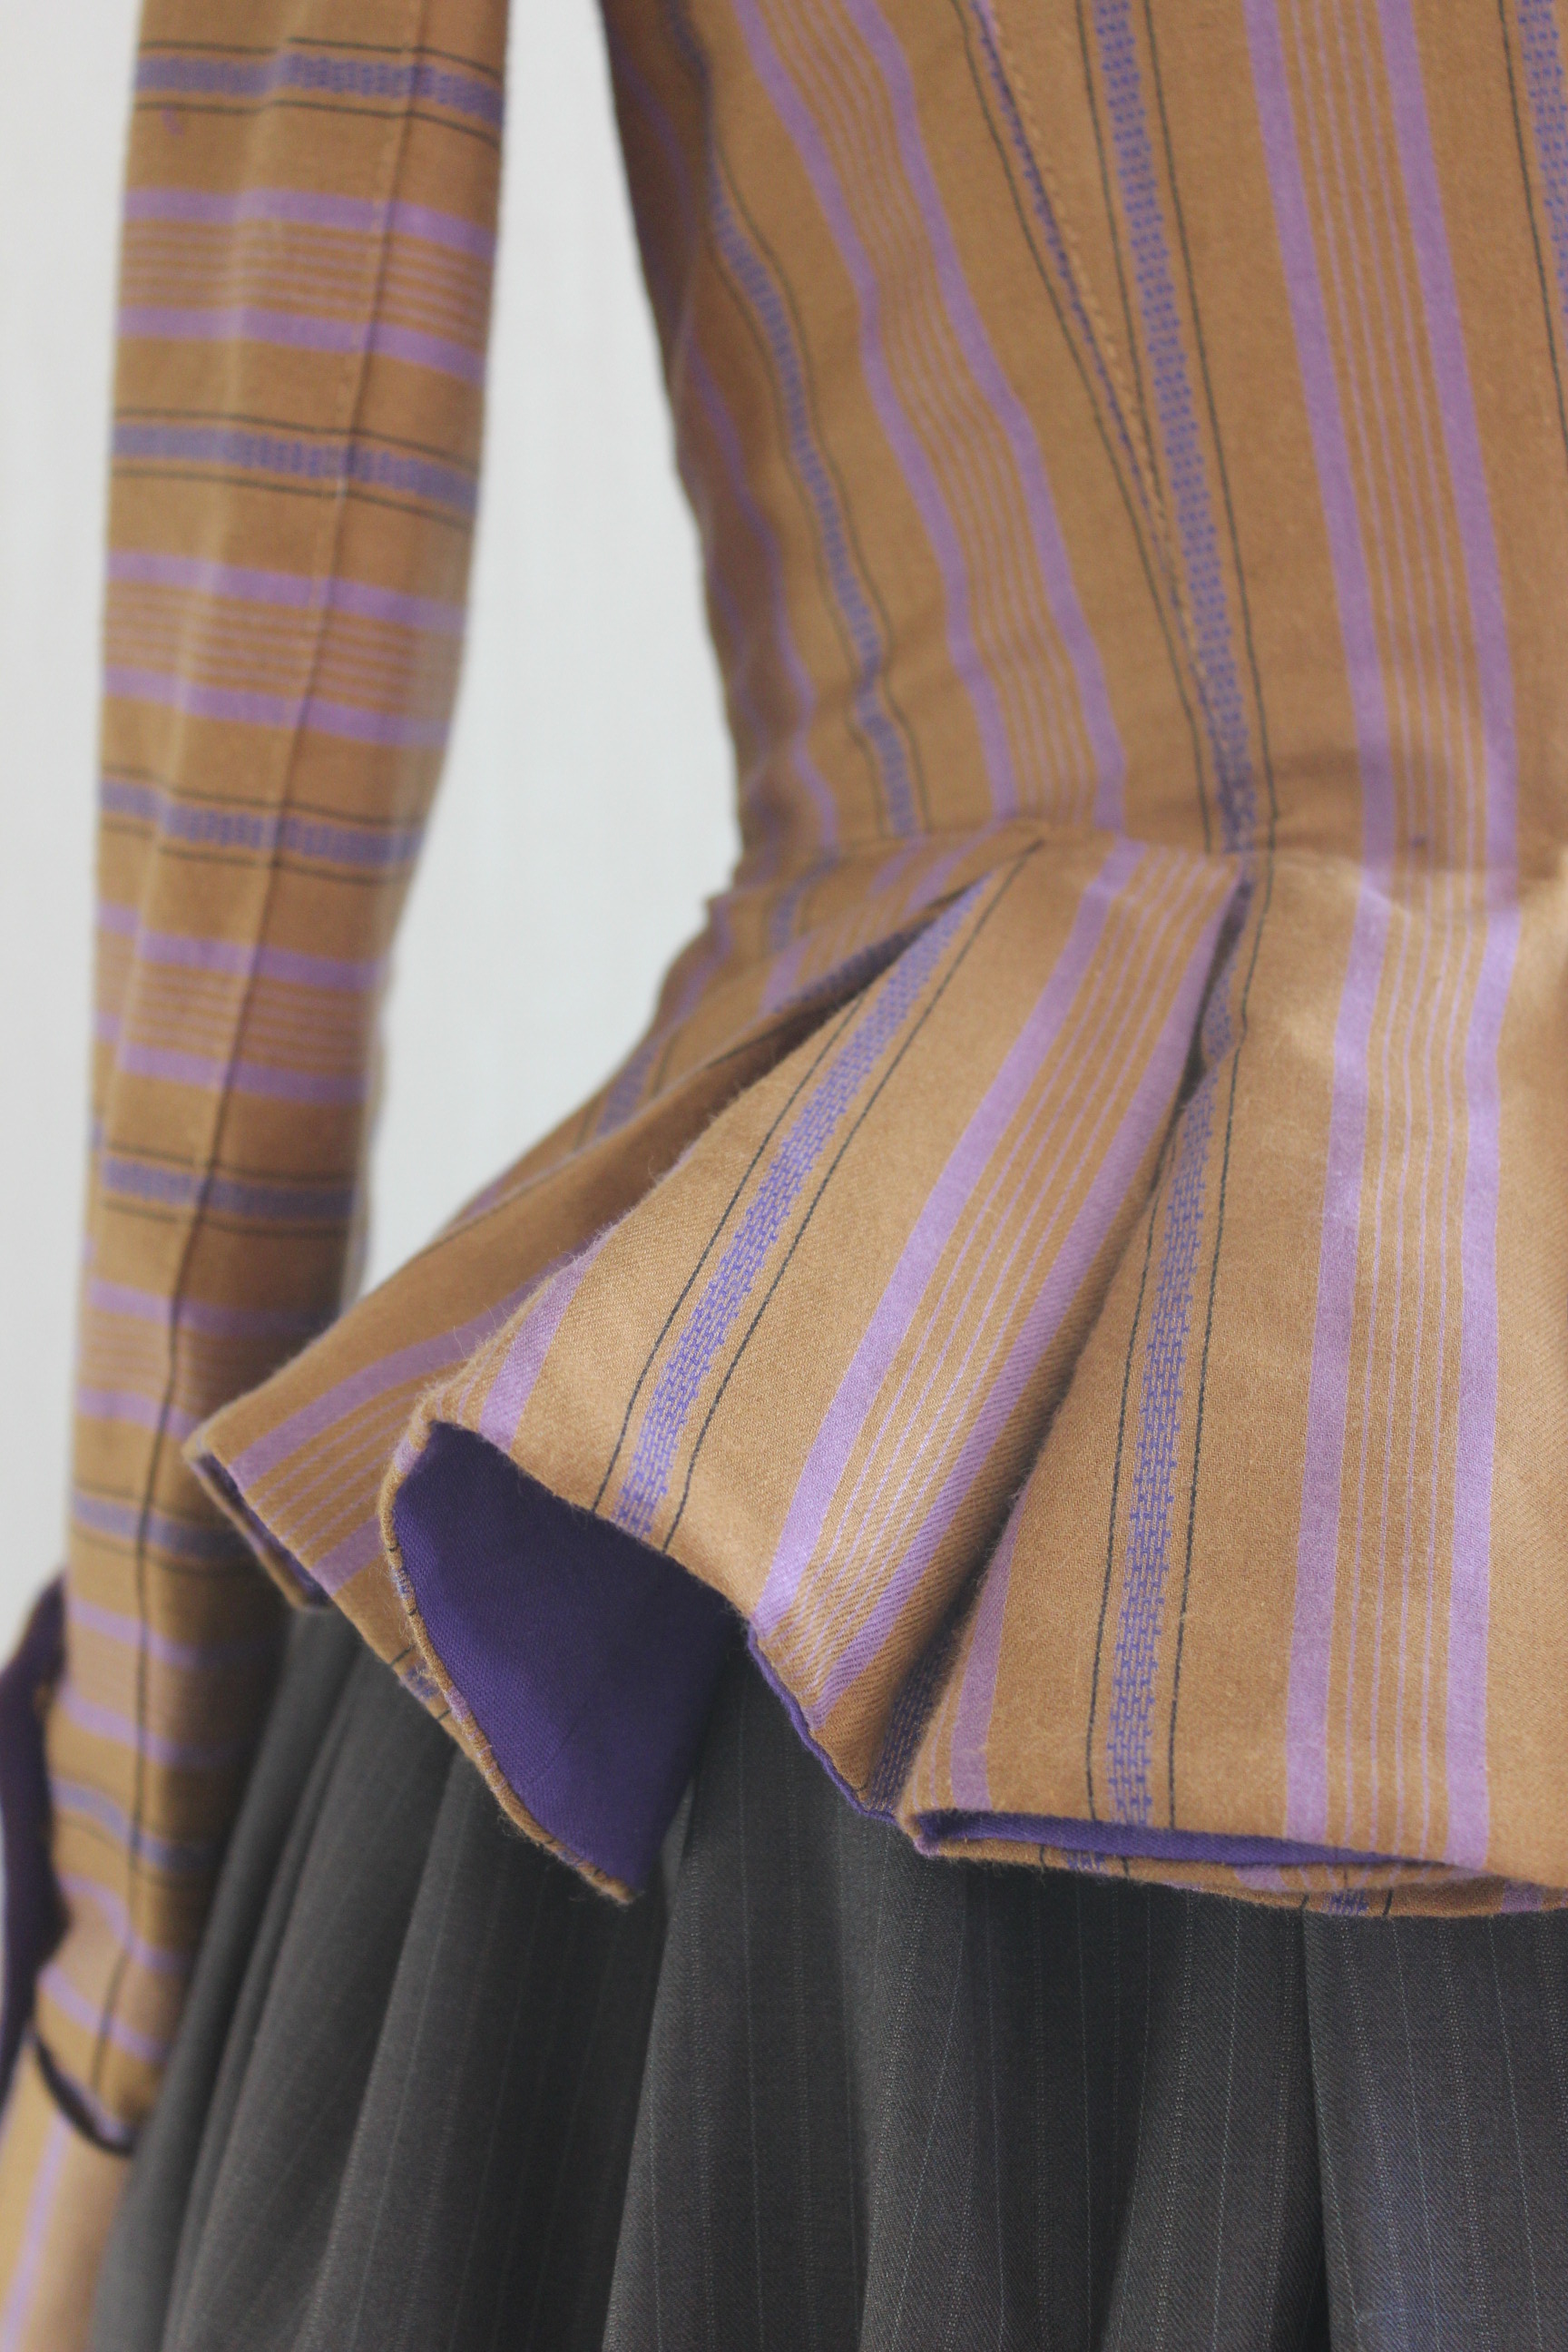
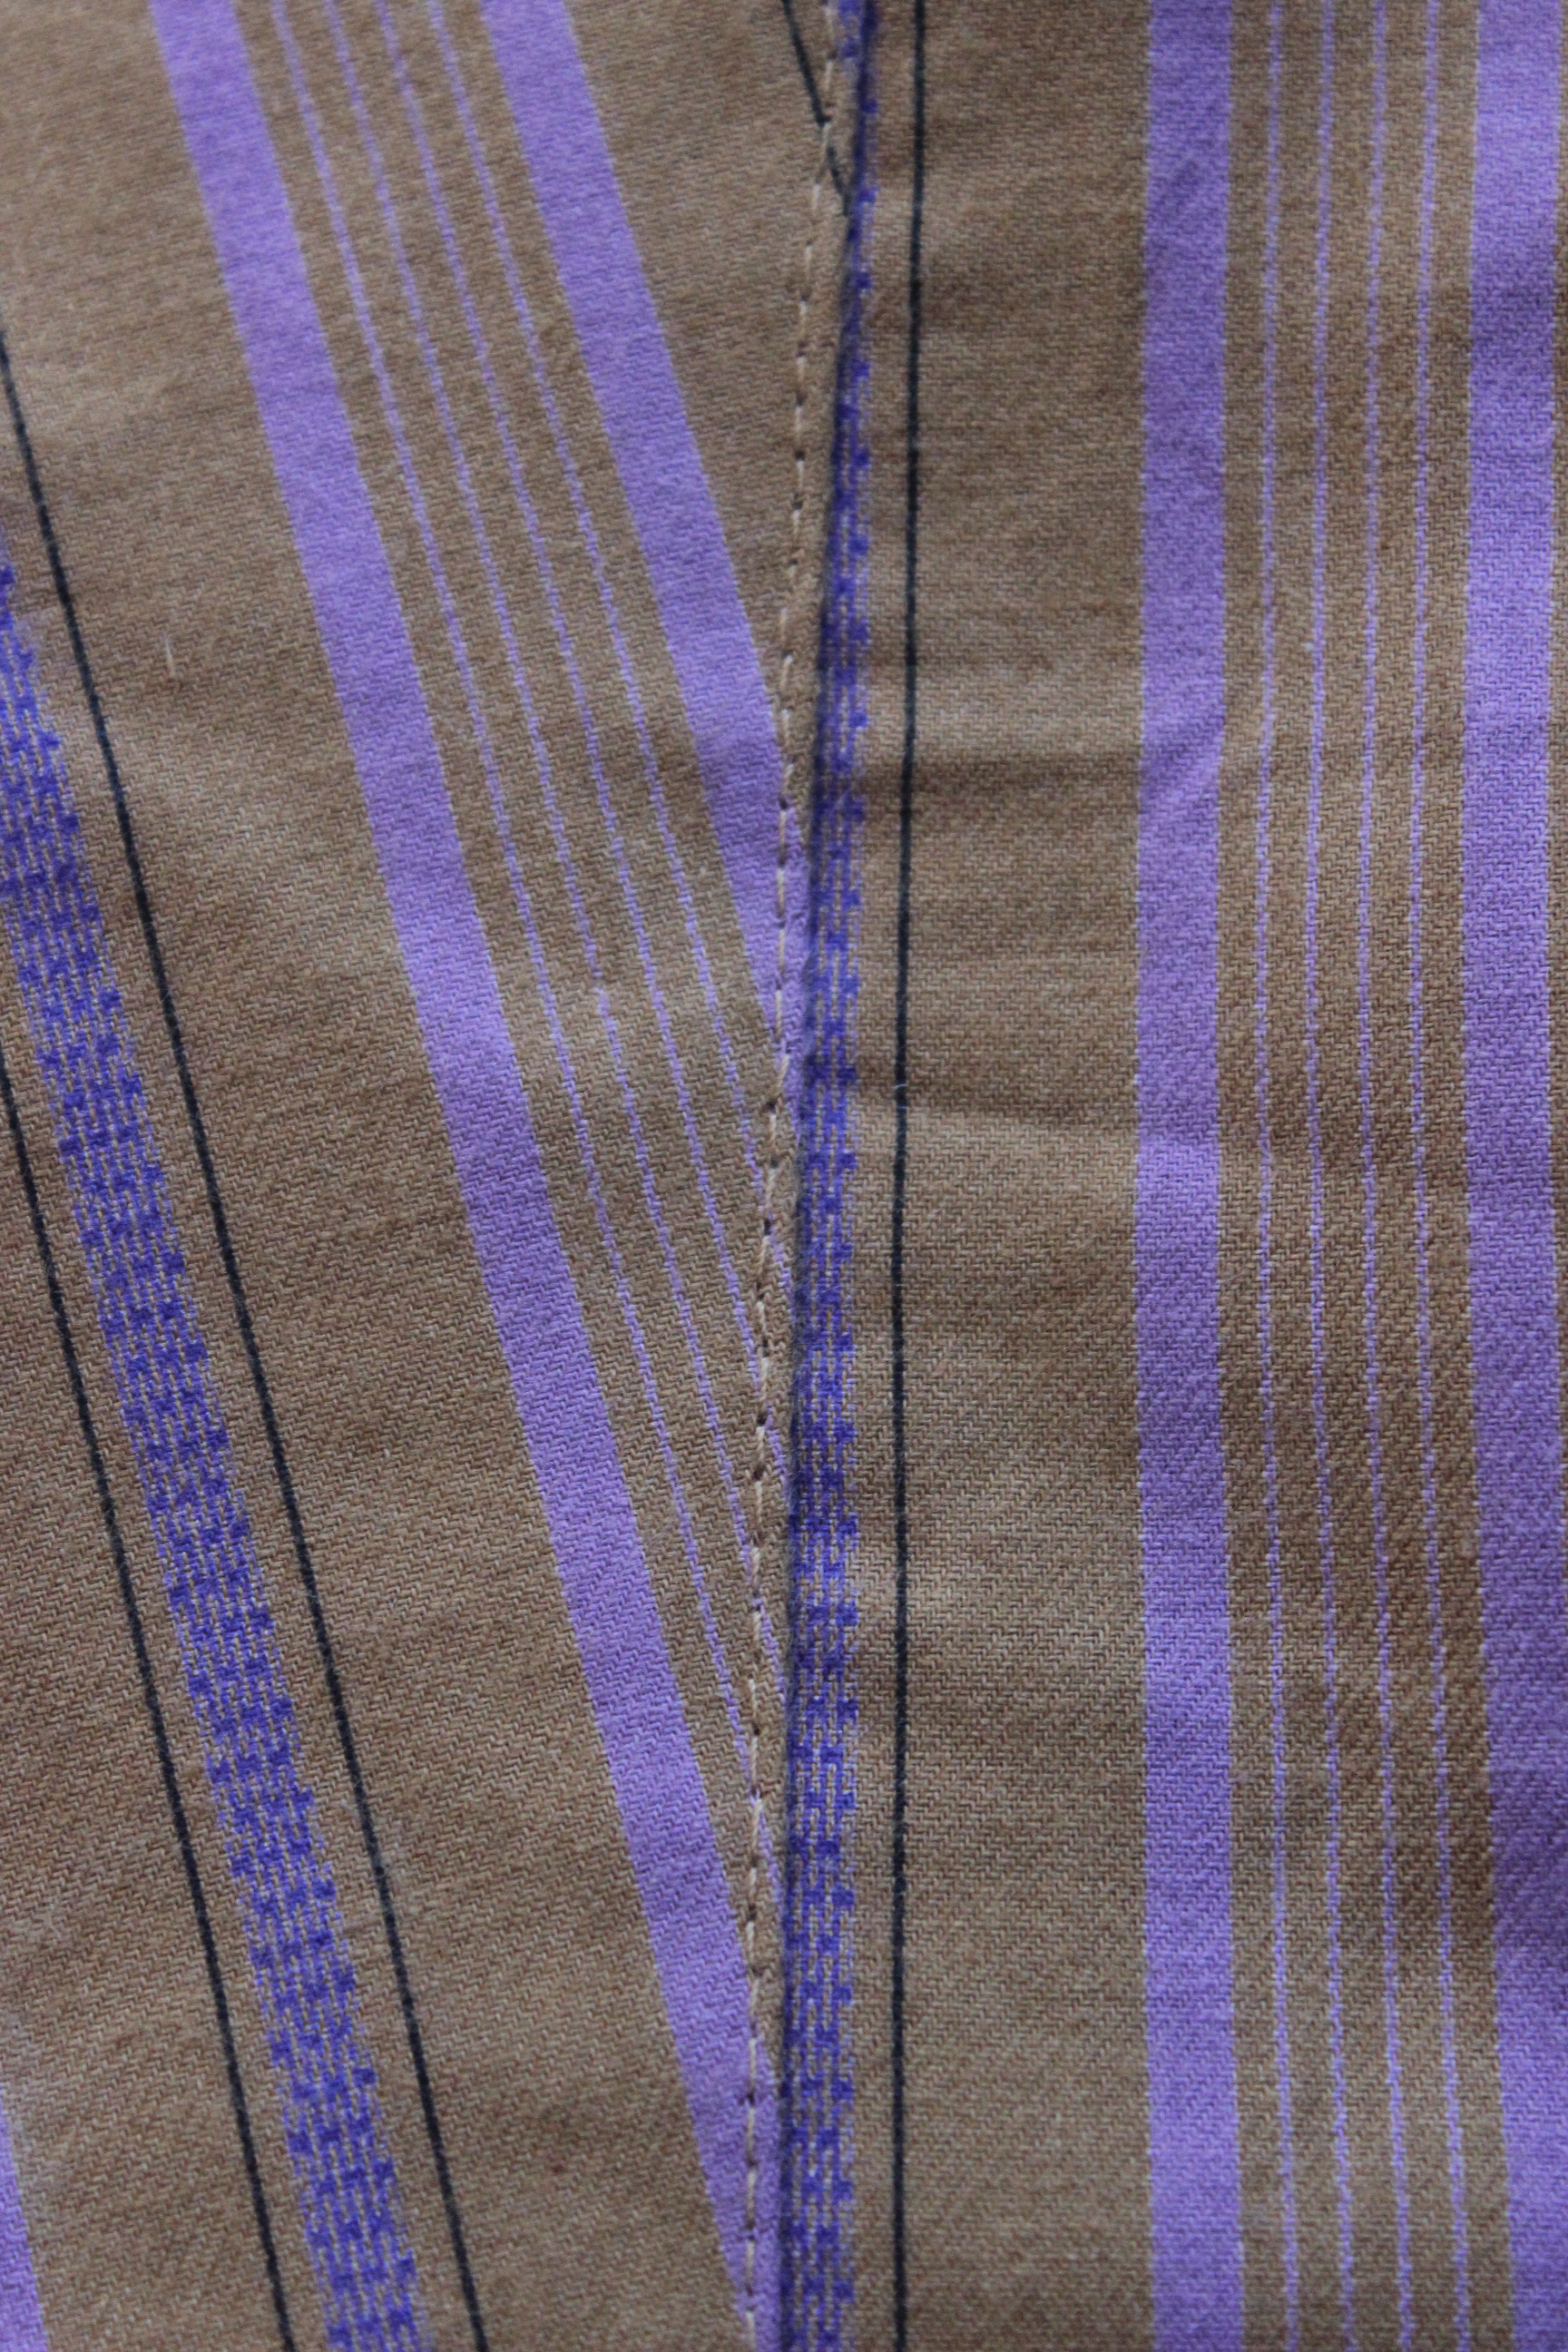
 cut he seam allowance, flipped it over and carefully pressed the edge.


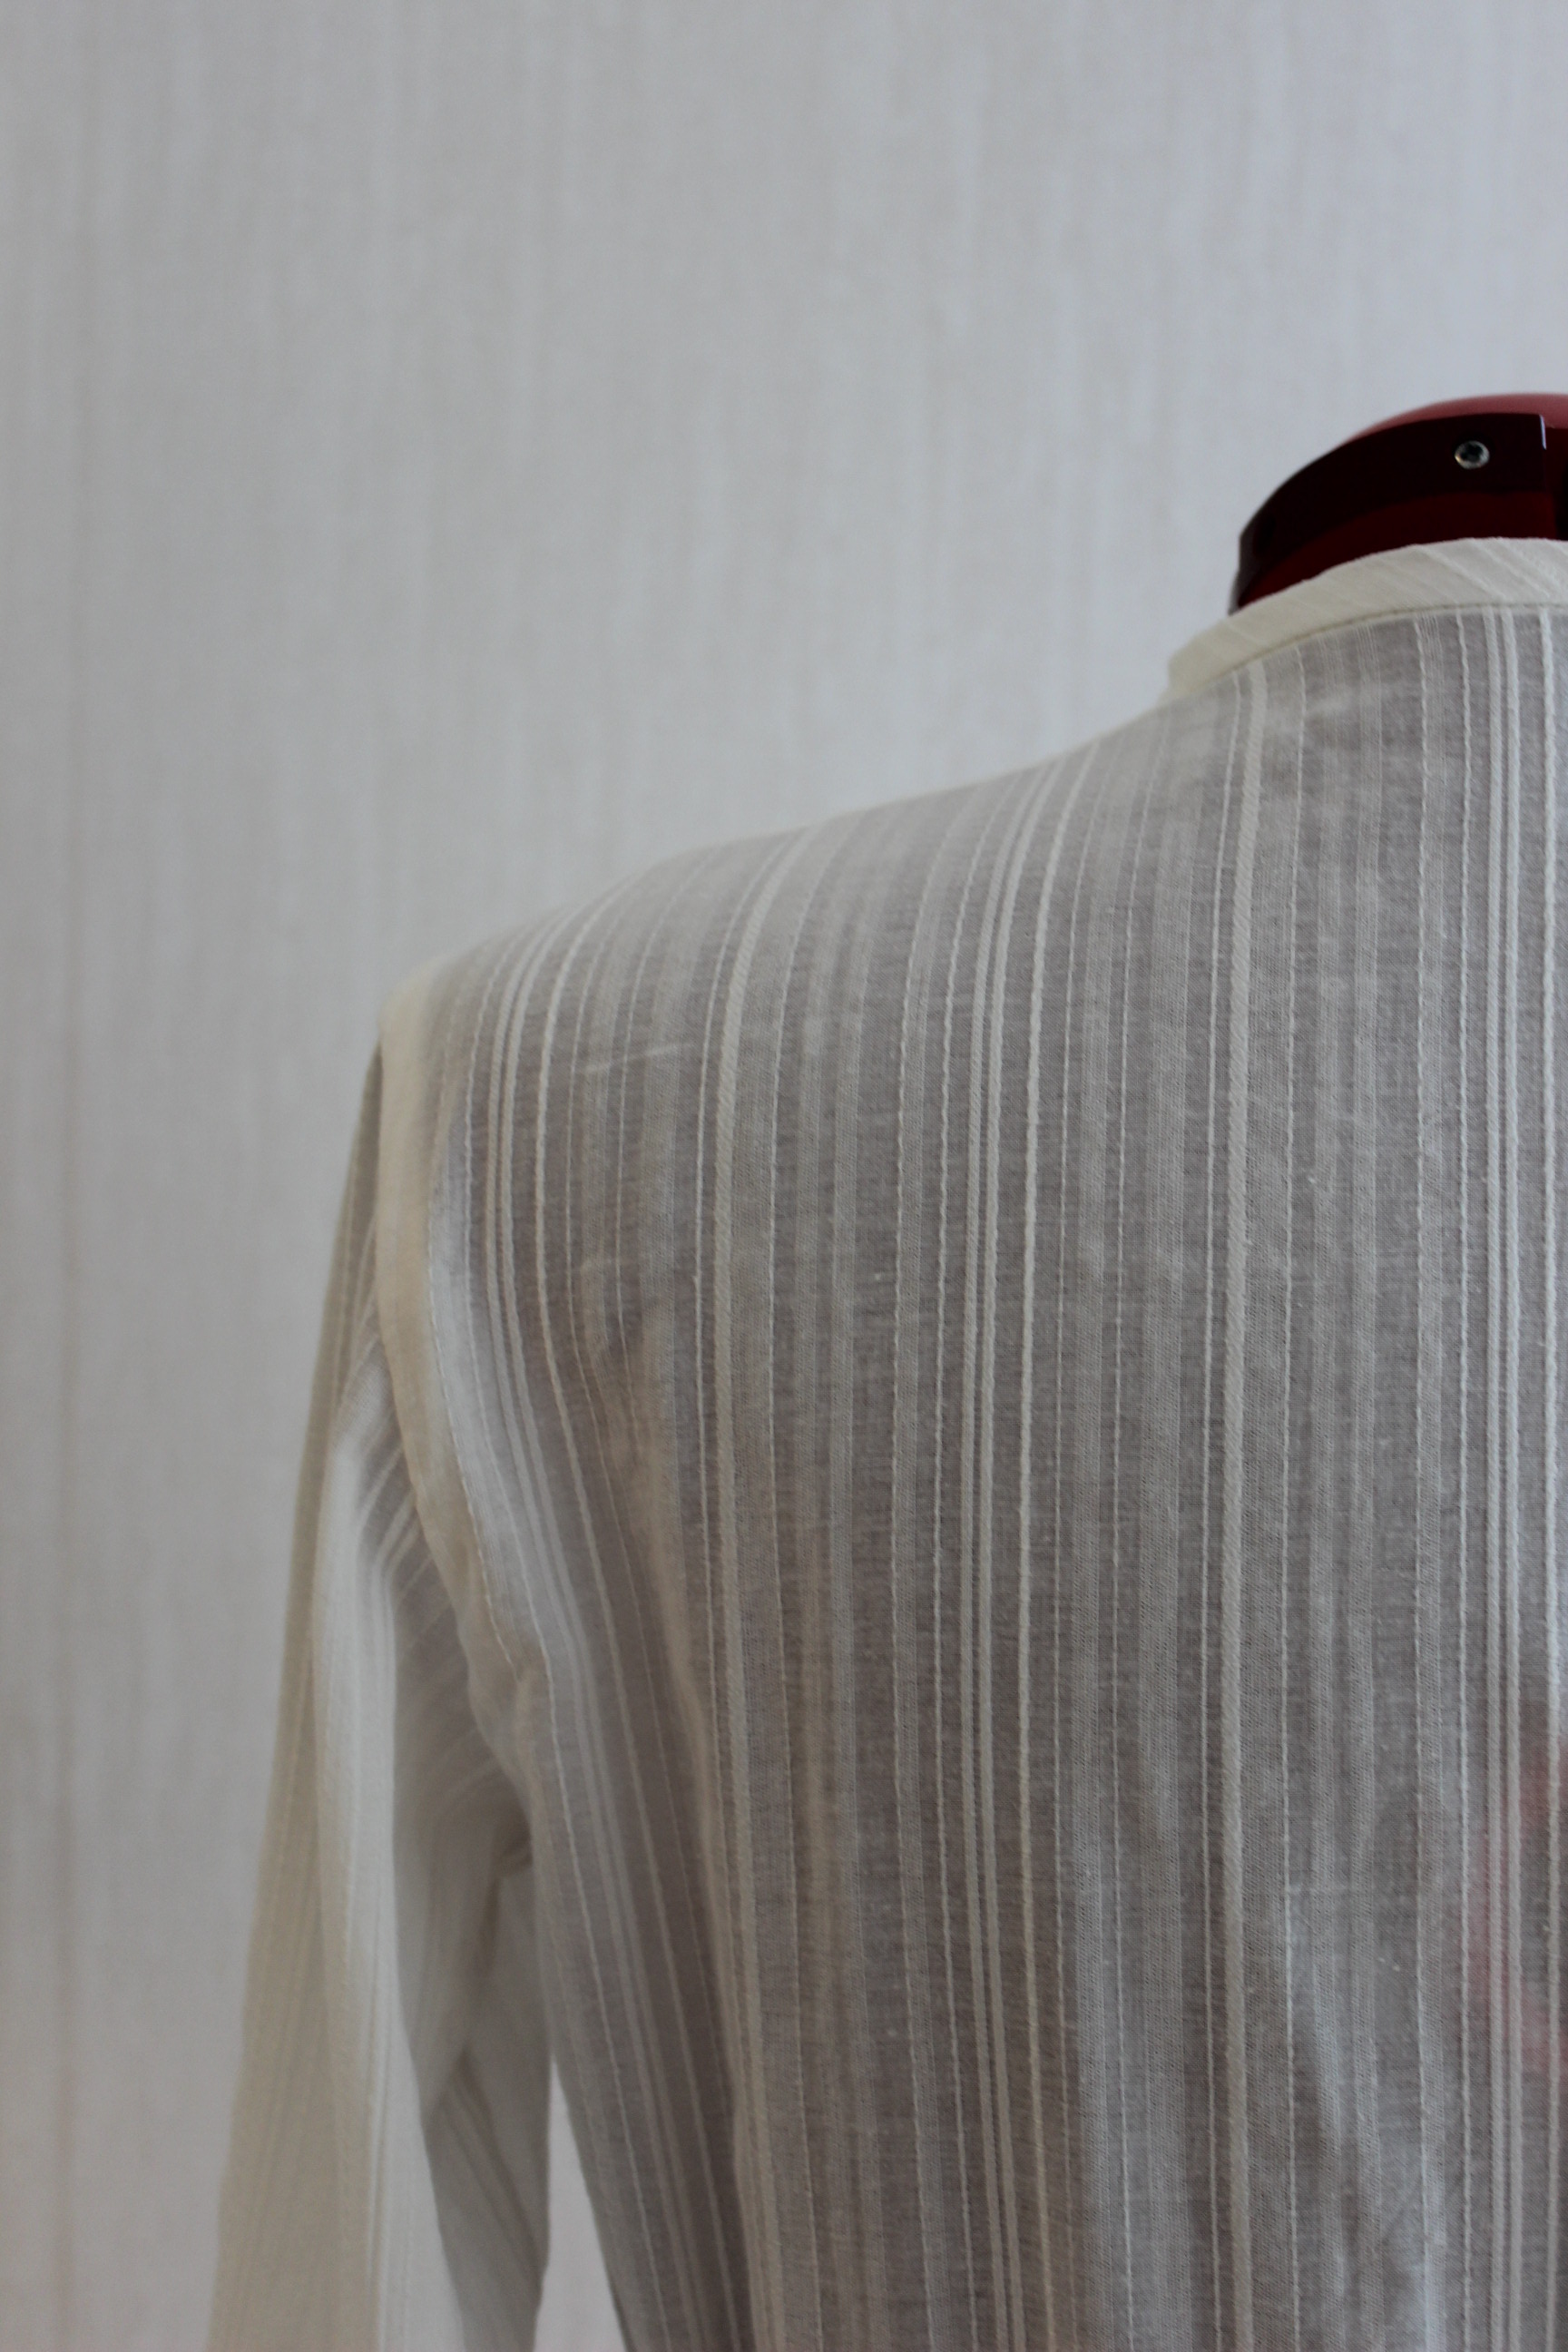
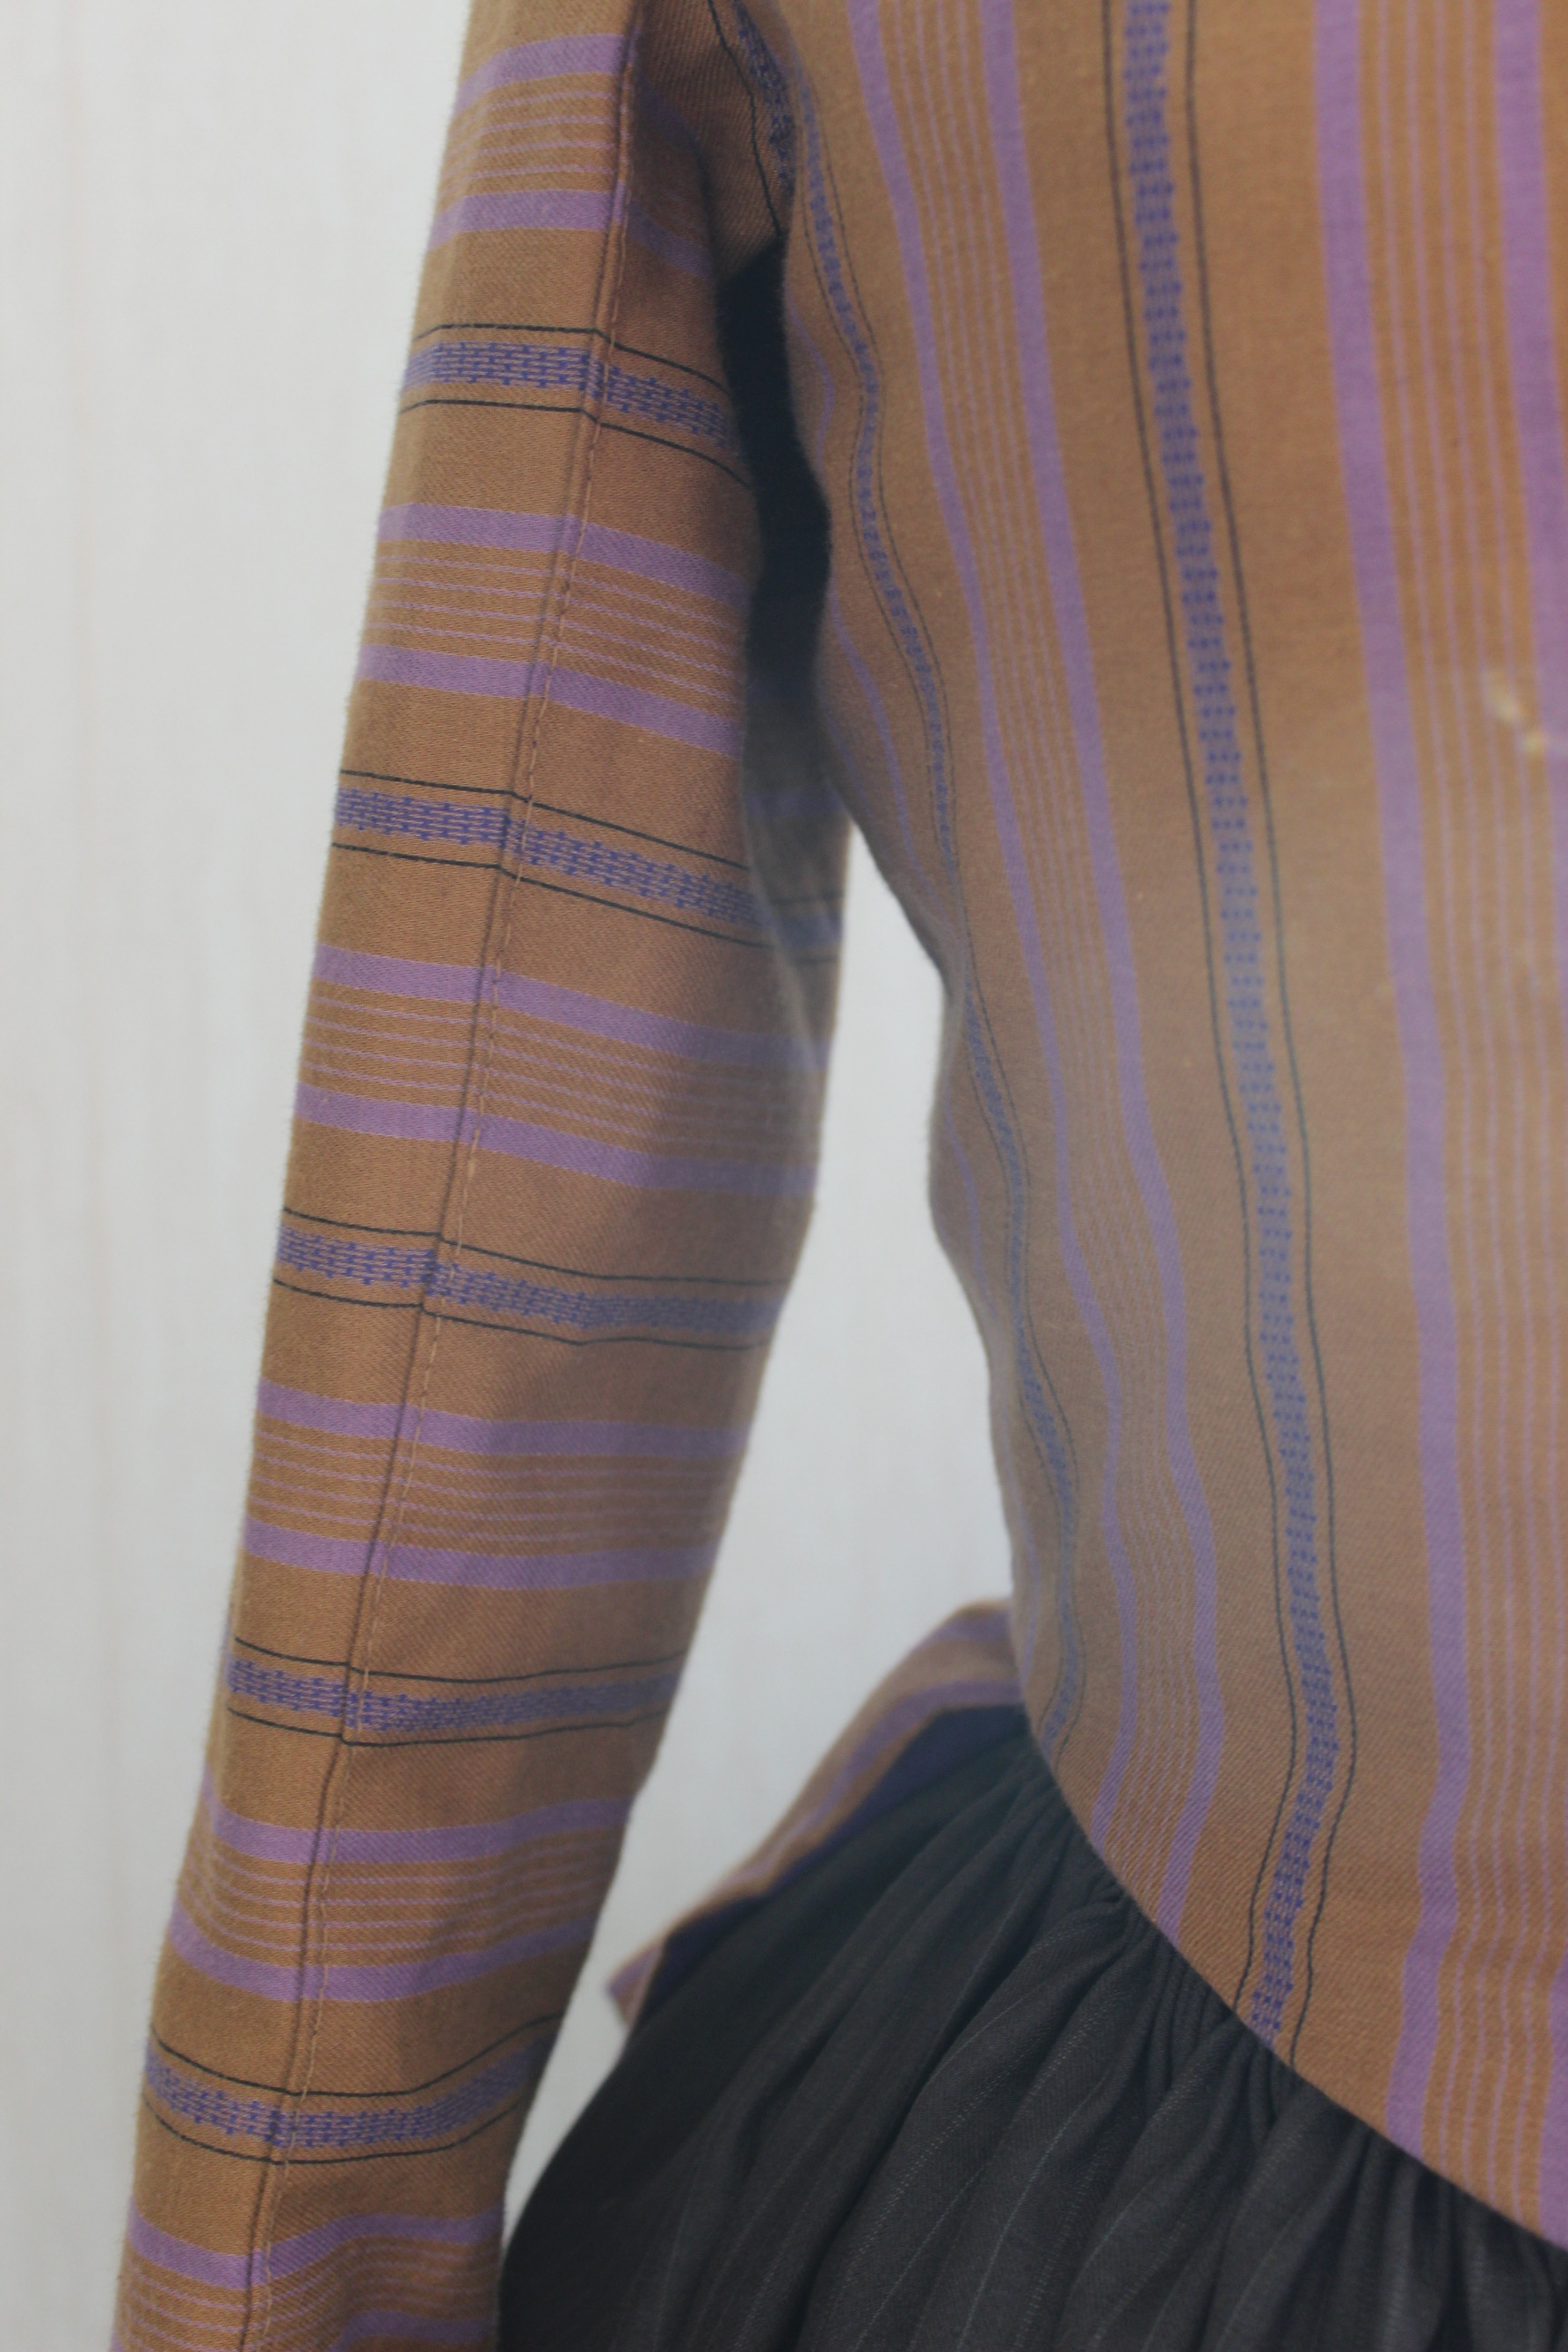
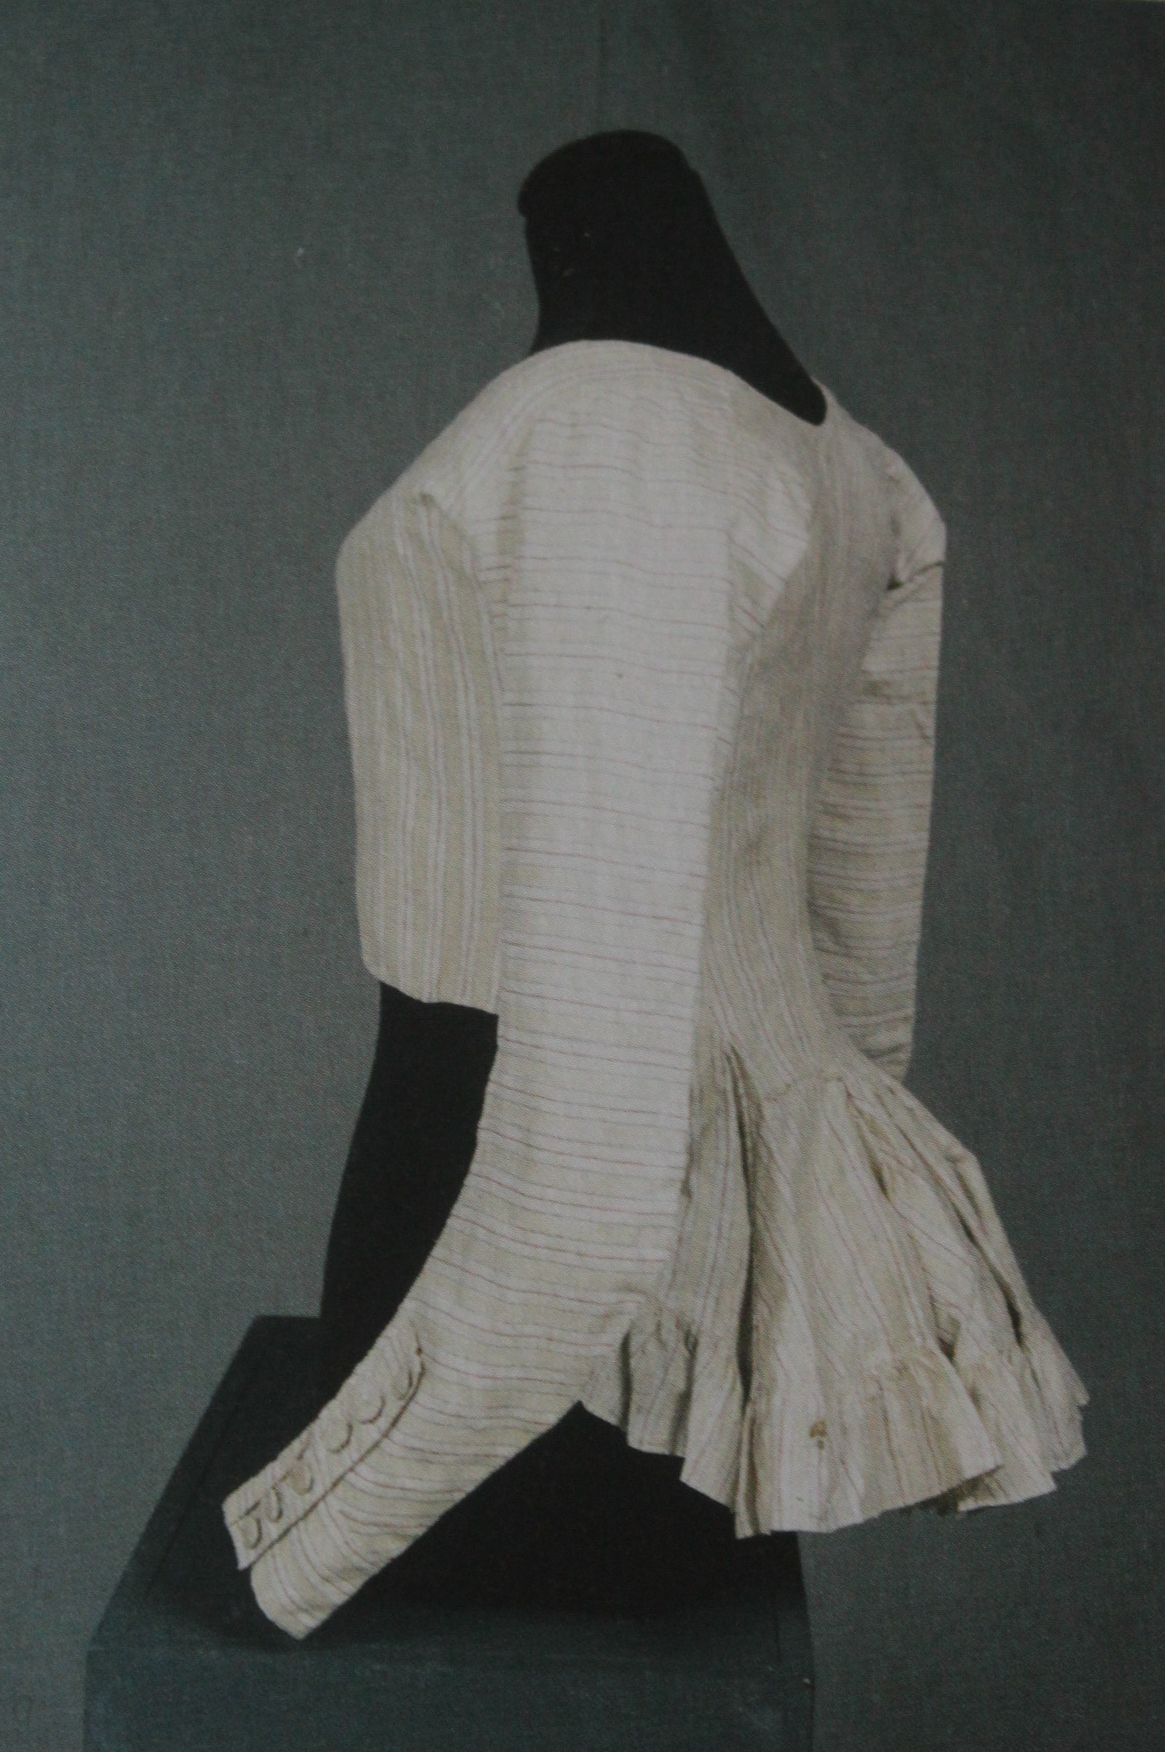
 The fabric are realy coarse and I never thougt I would ever be able to use it for anything, particularly not for a garment.


 Photos: Elin Evaldsdottra och Maria Petersson


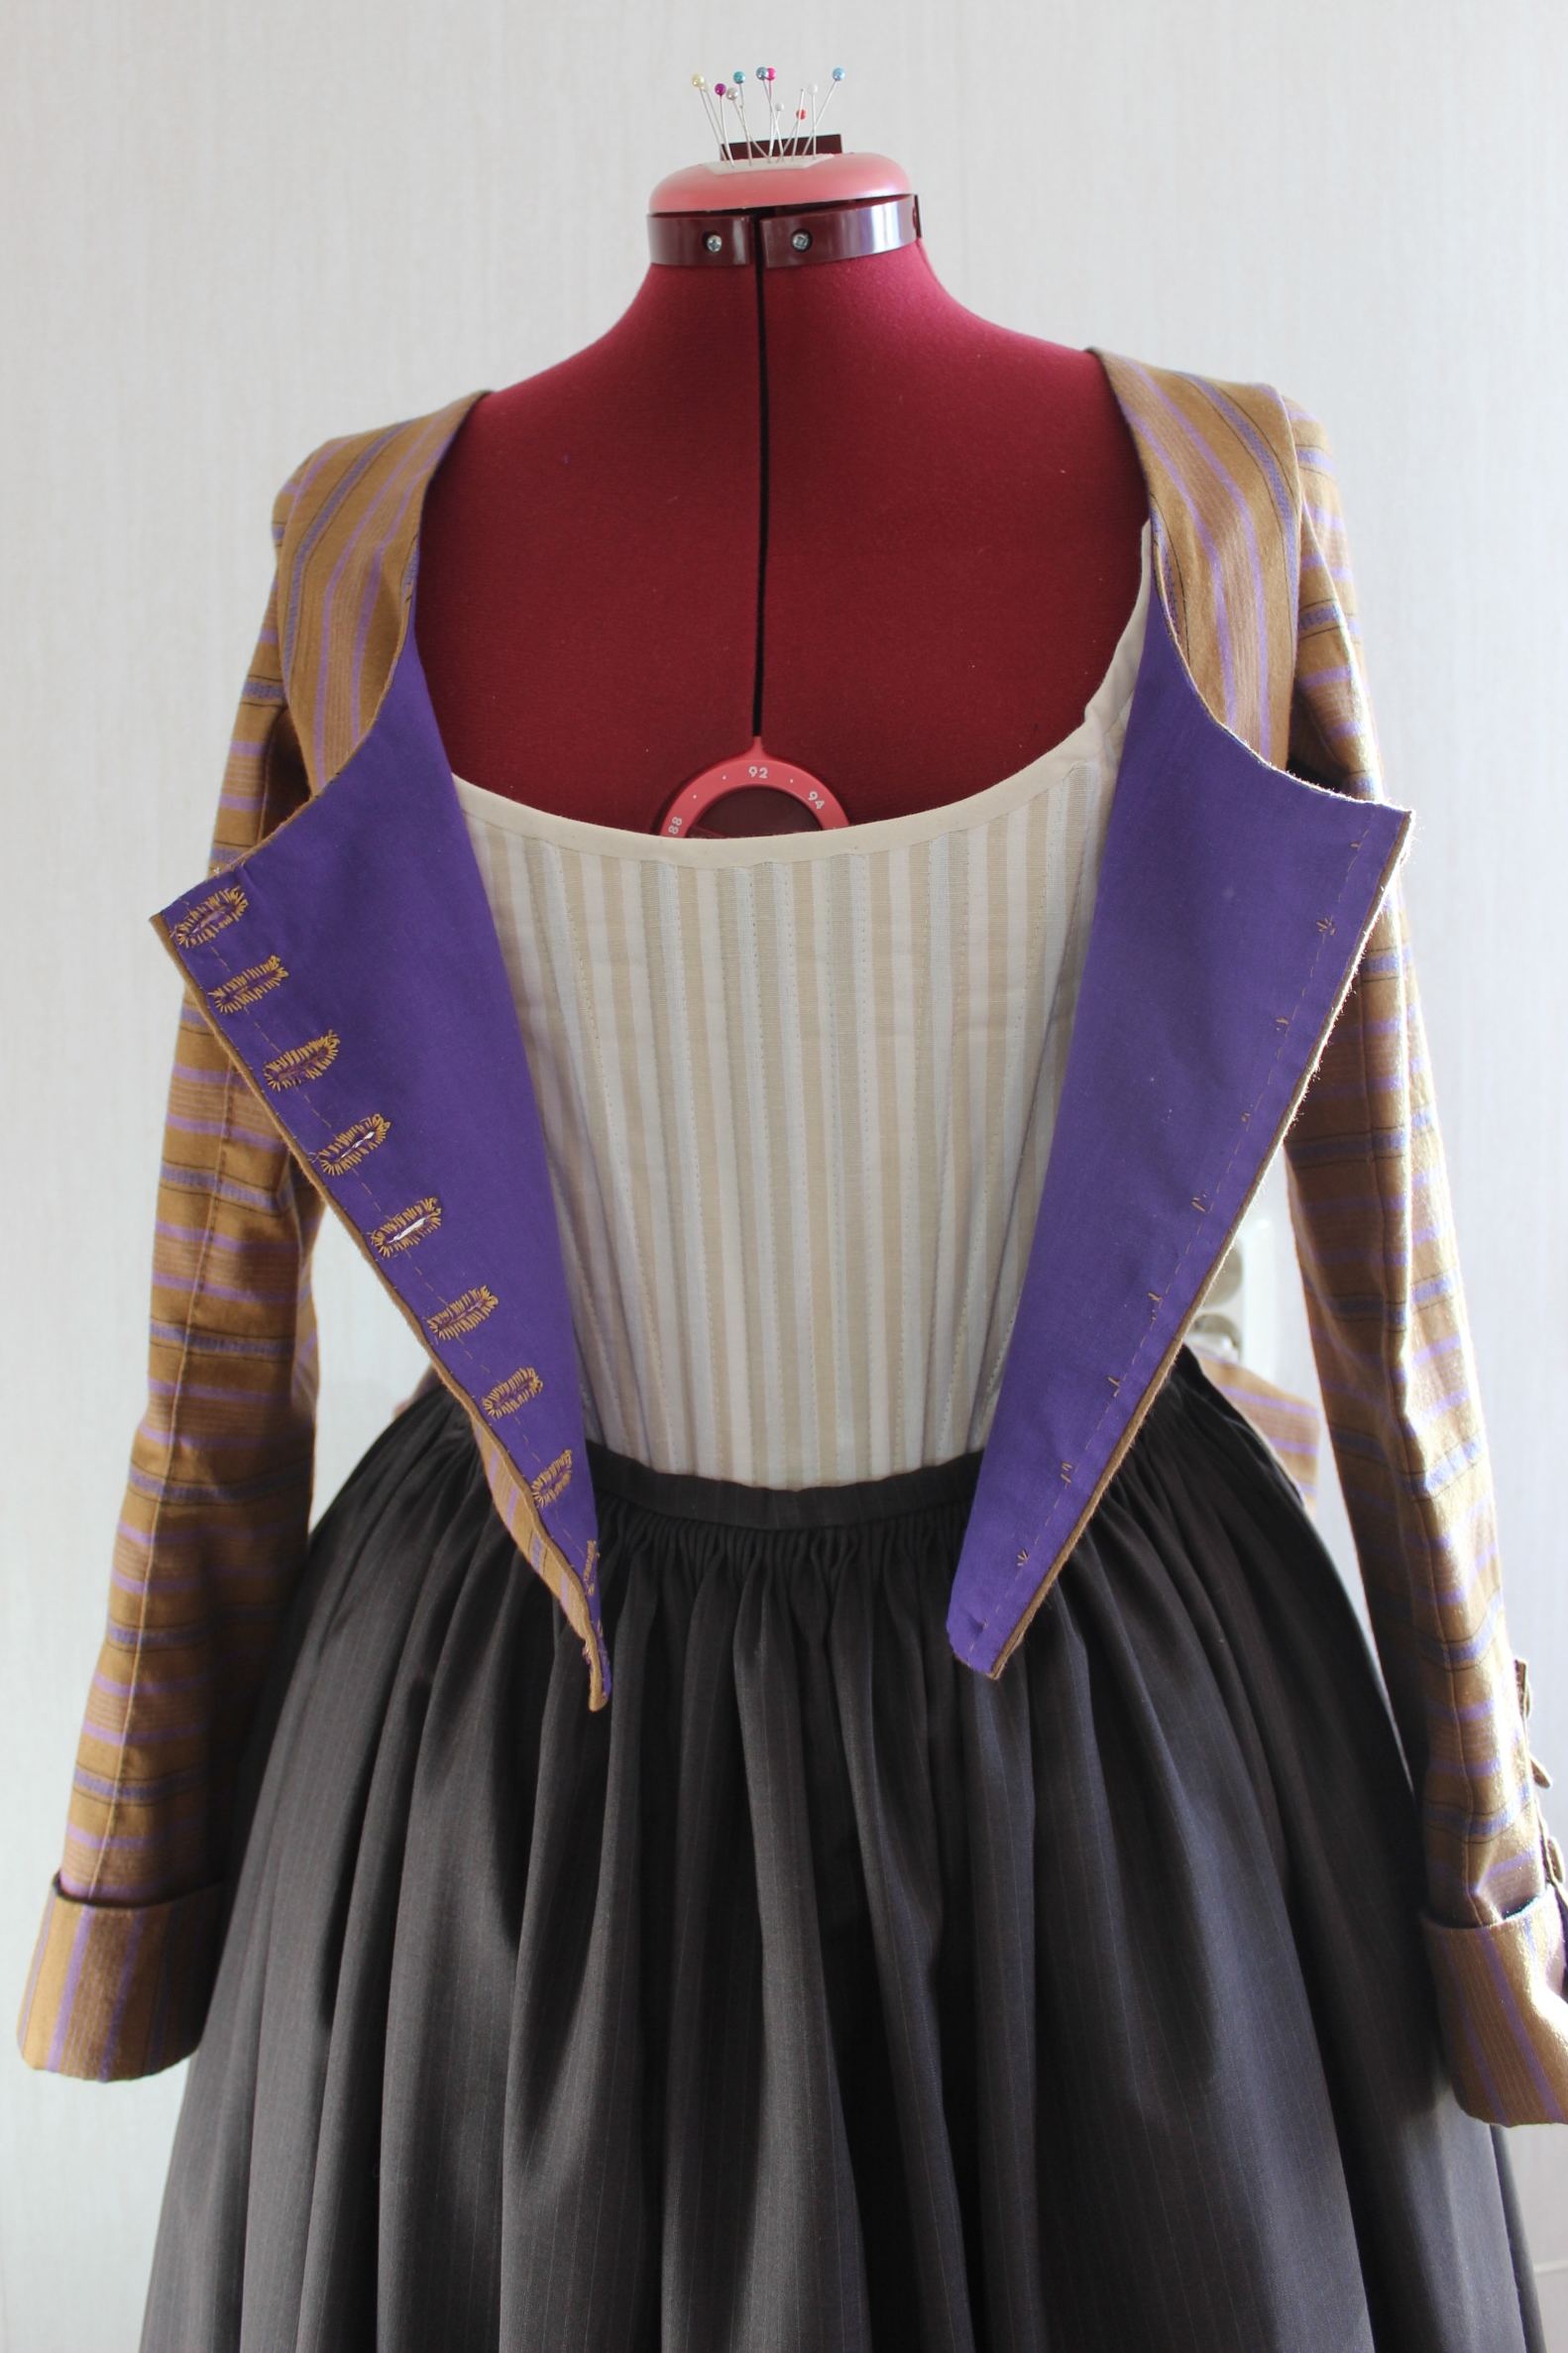
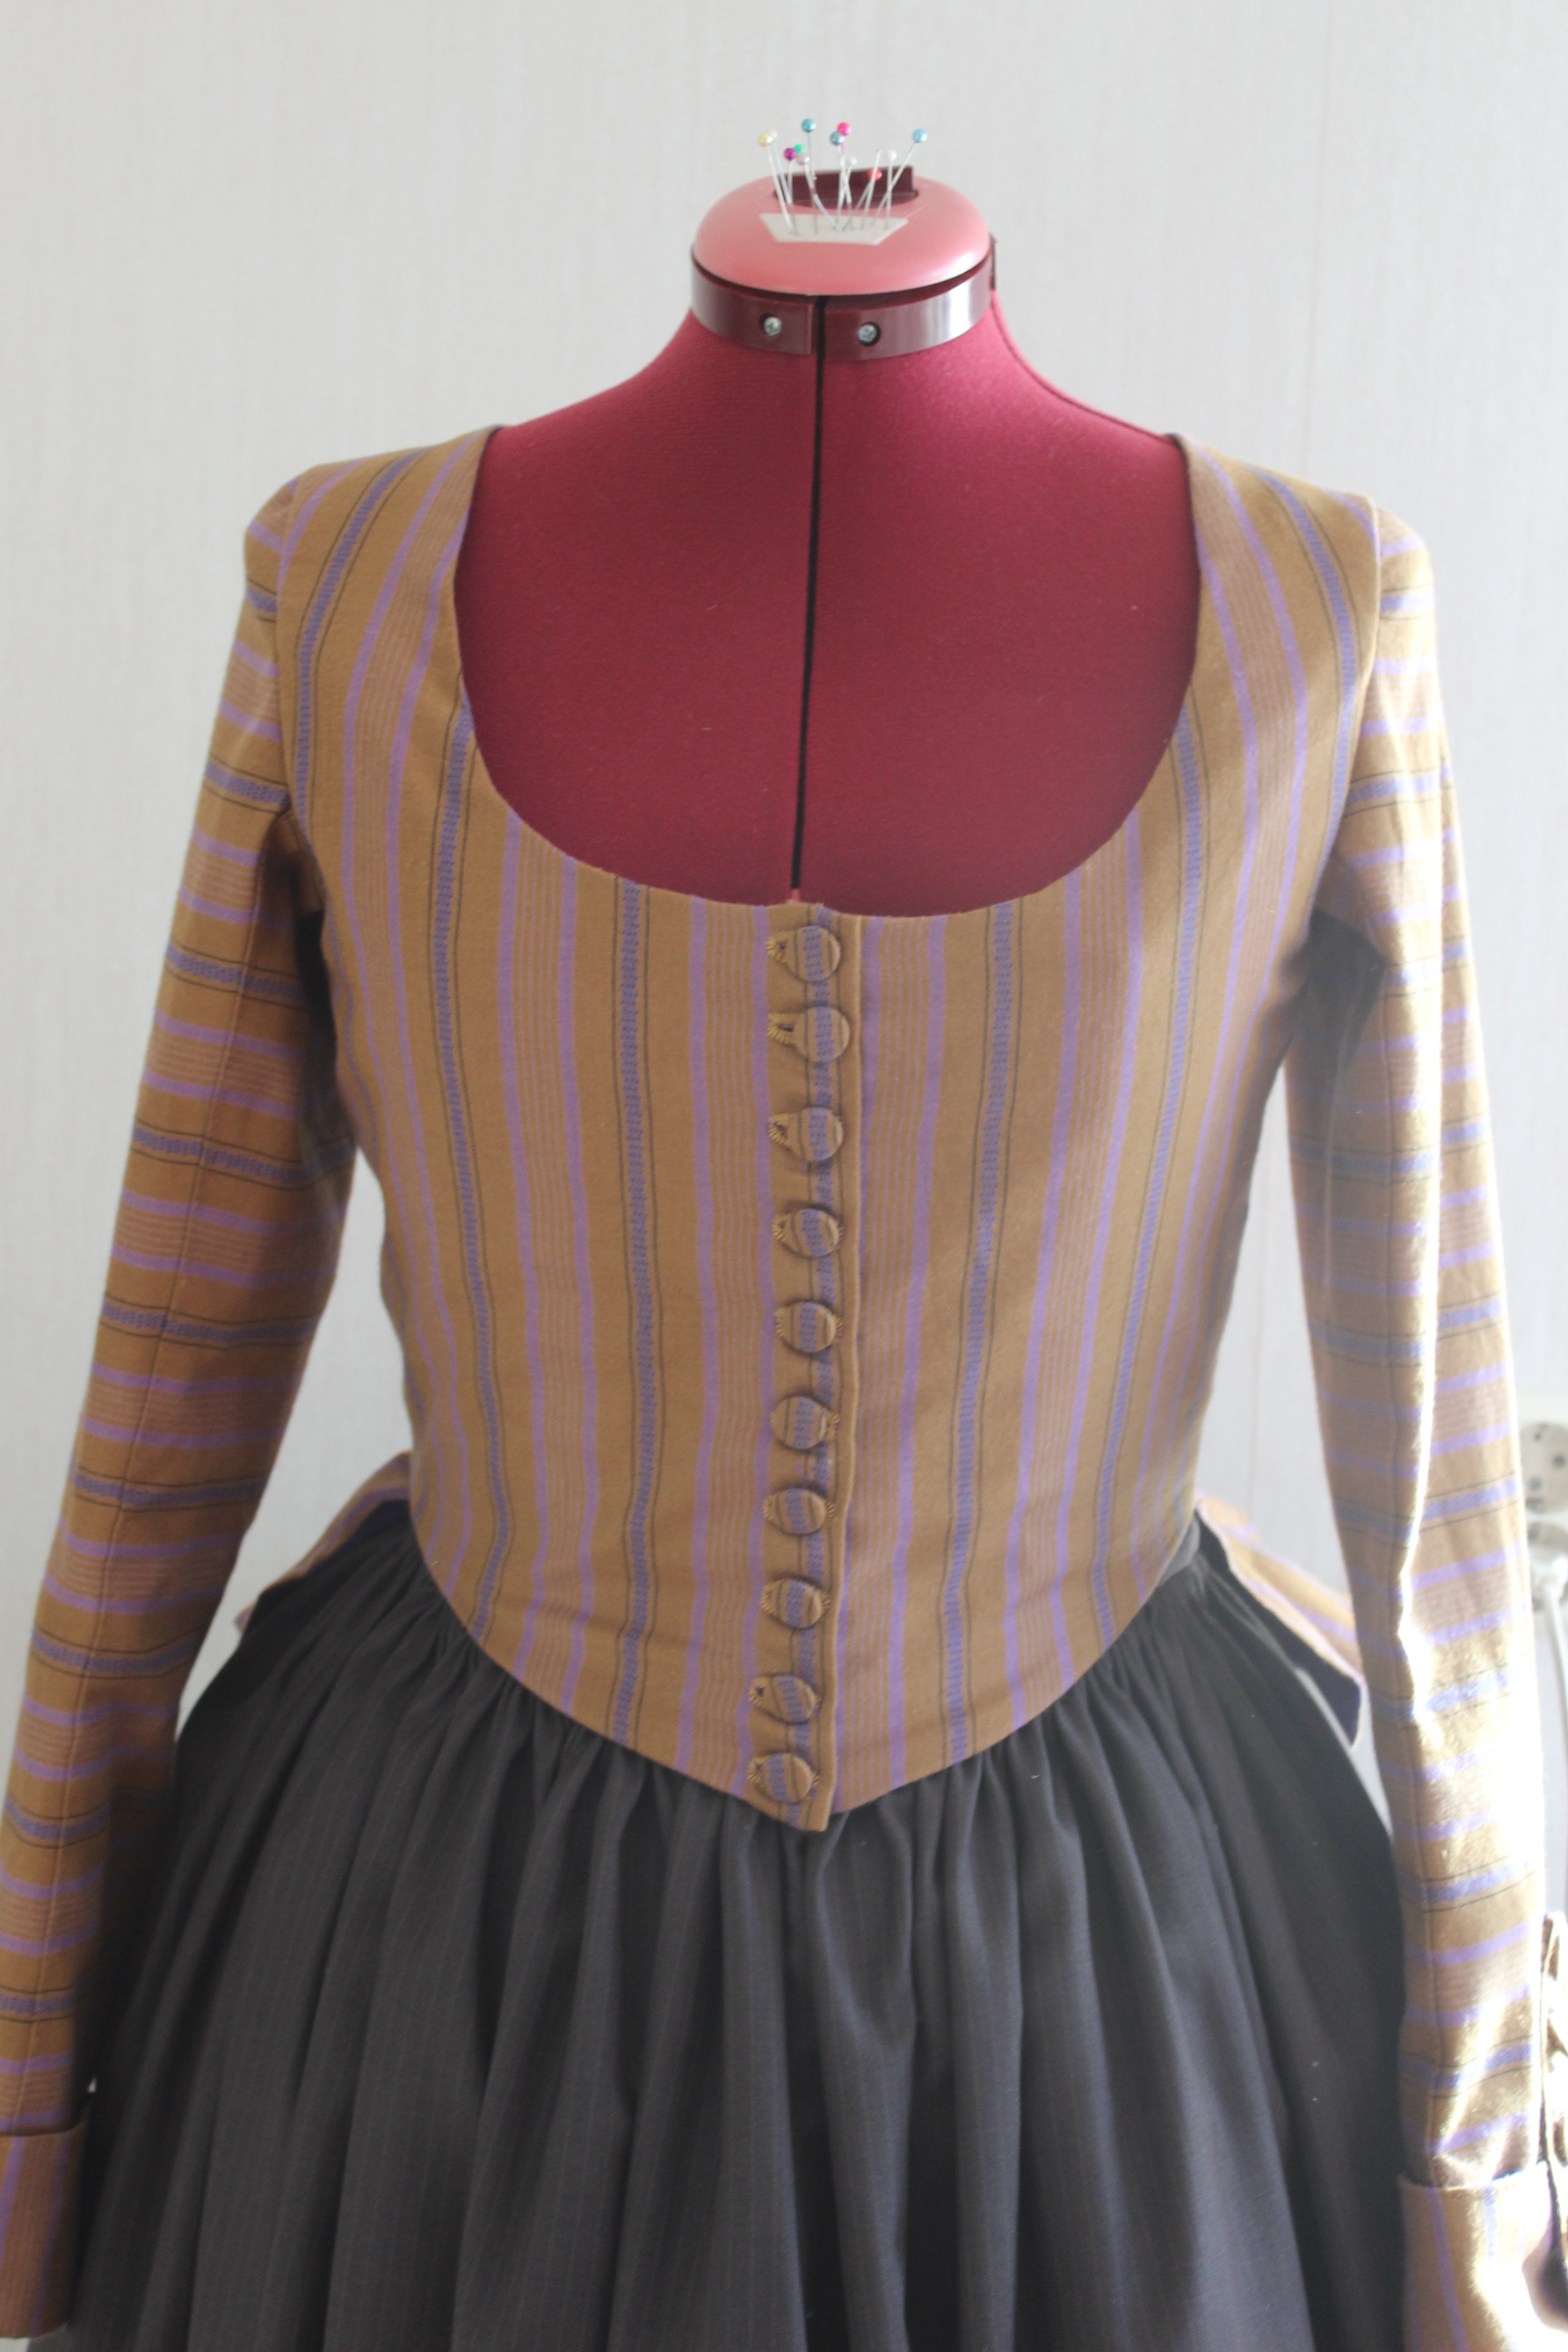
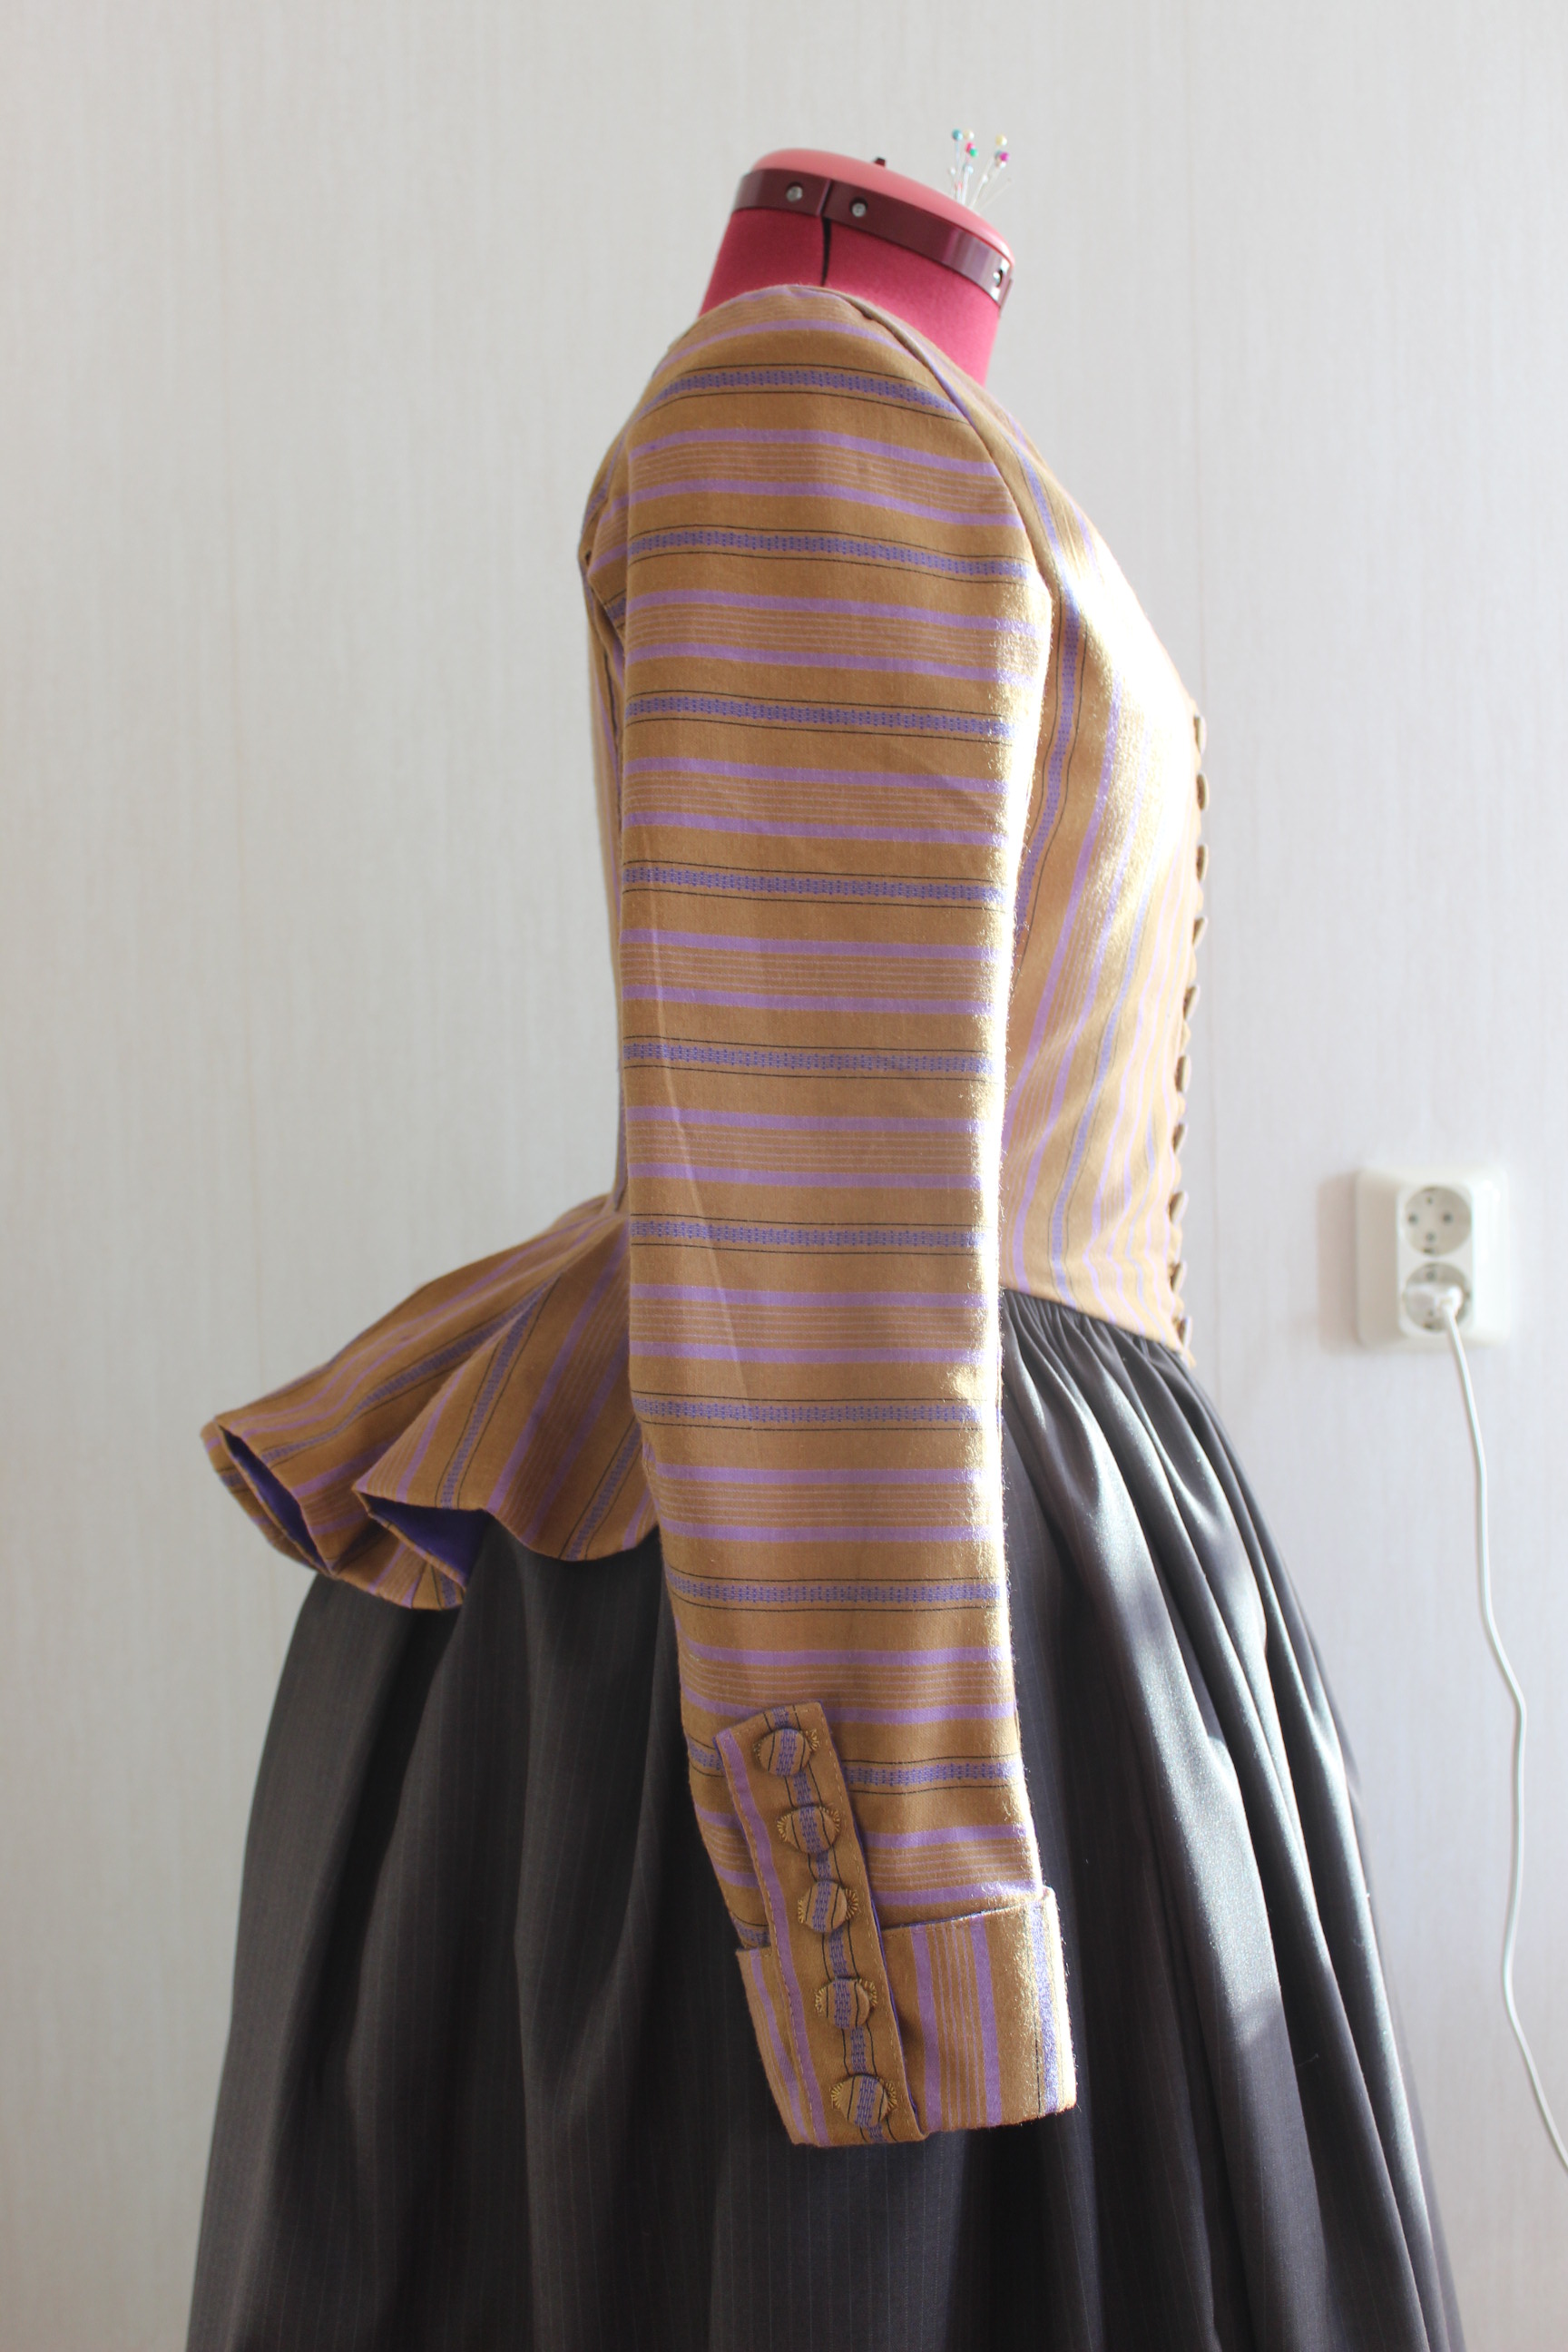
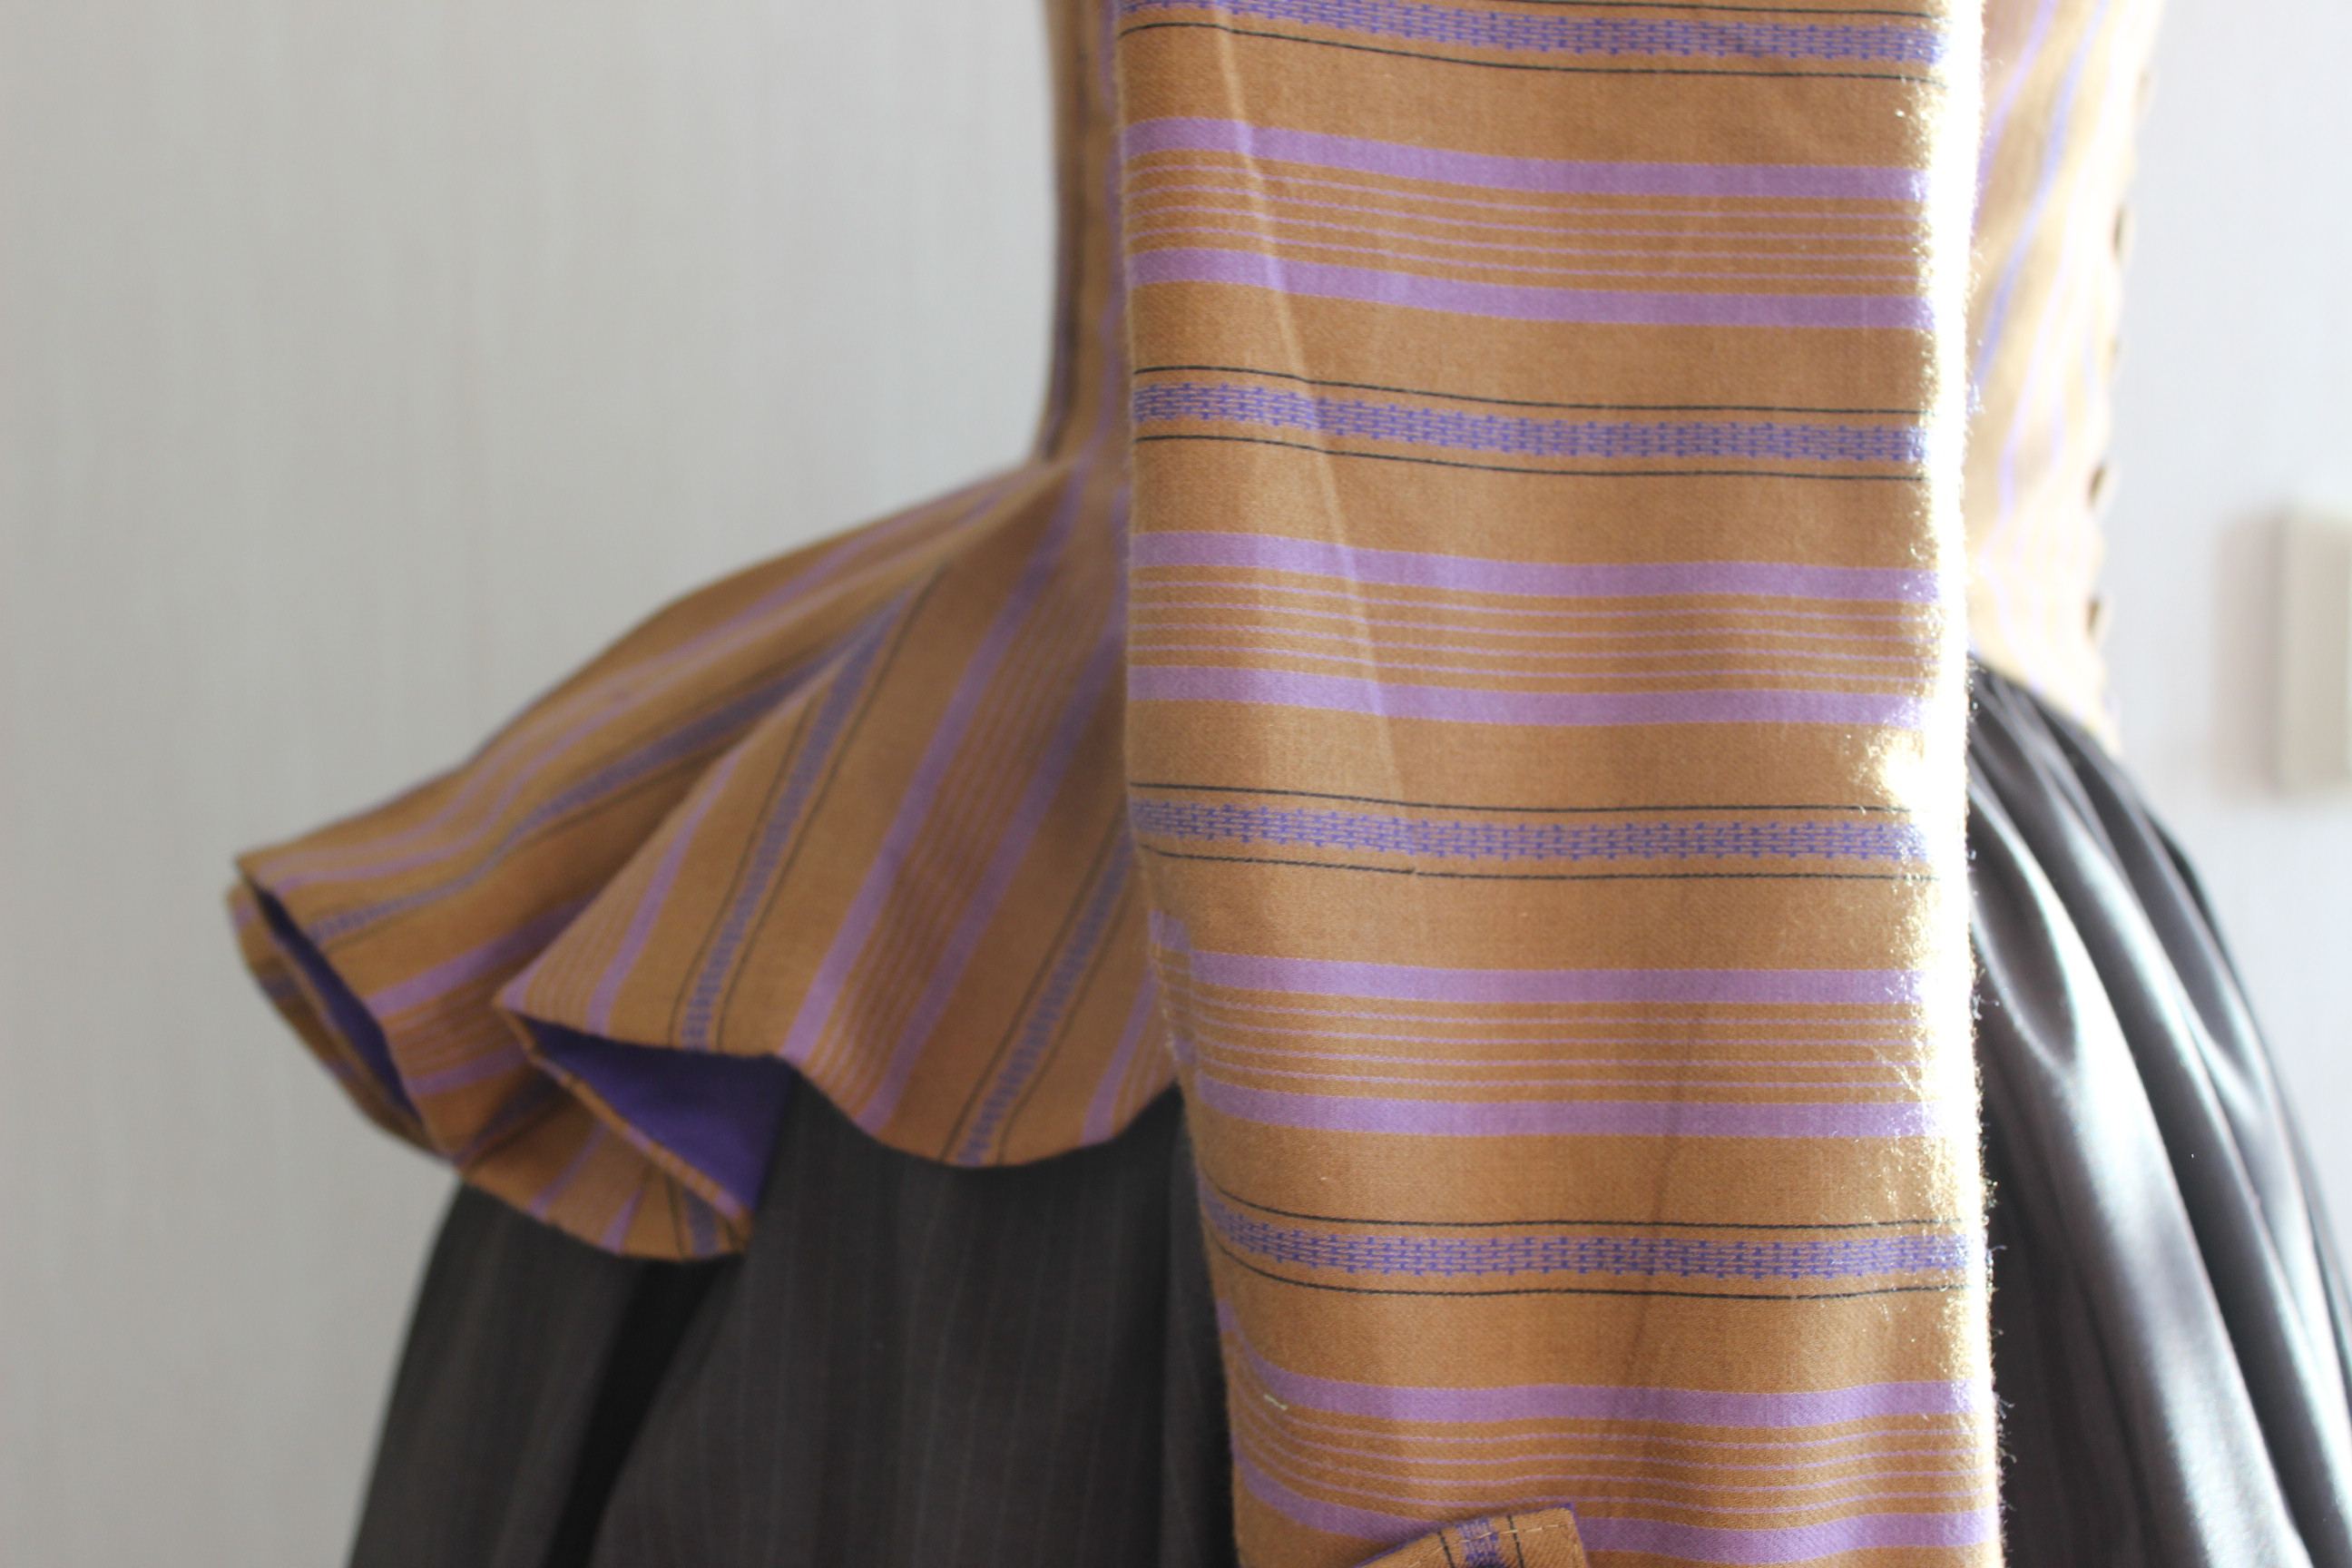

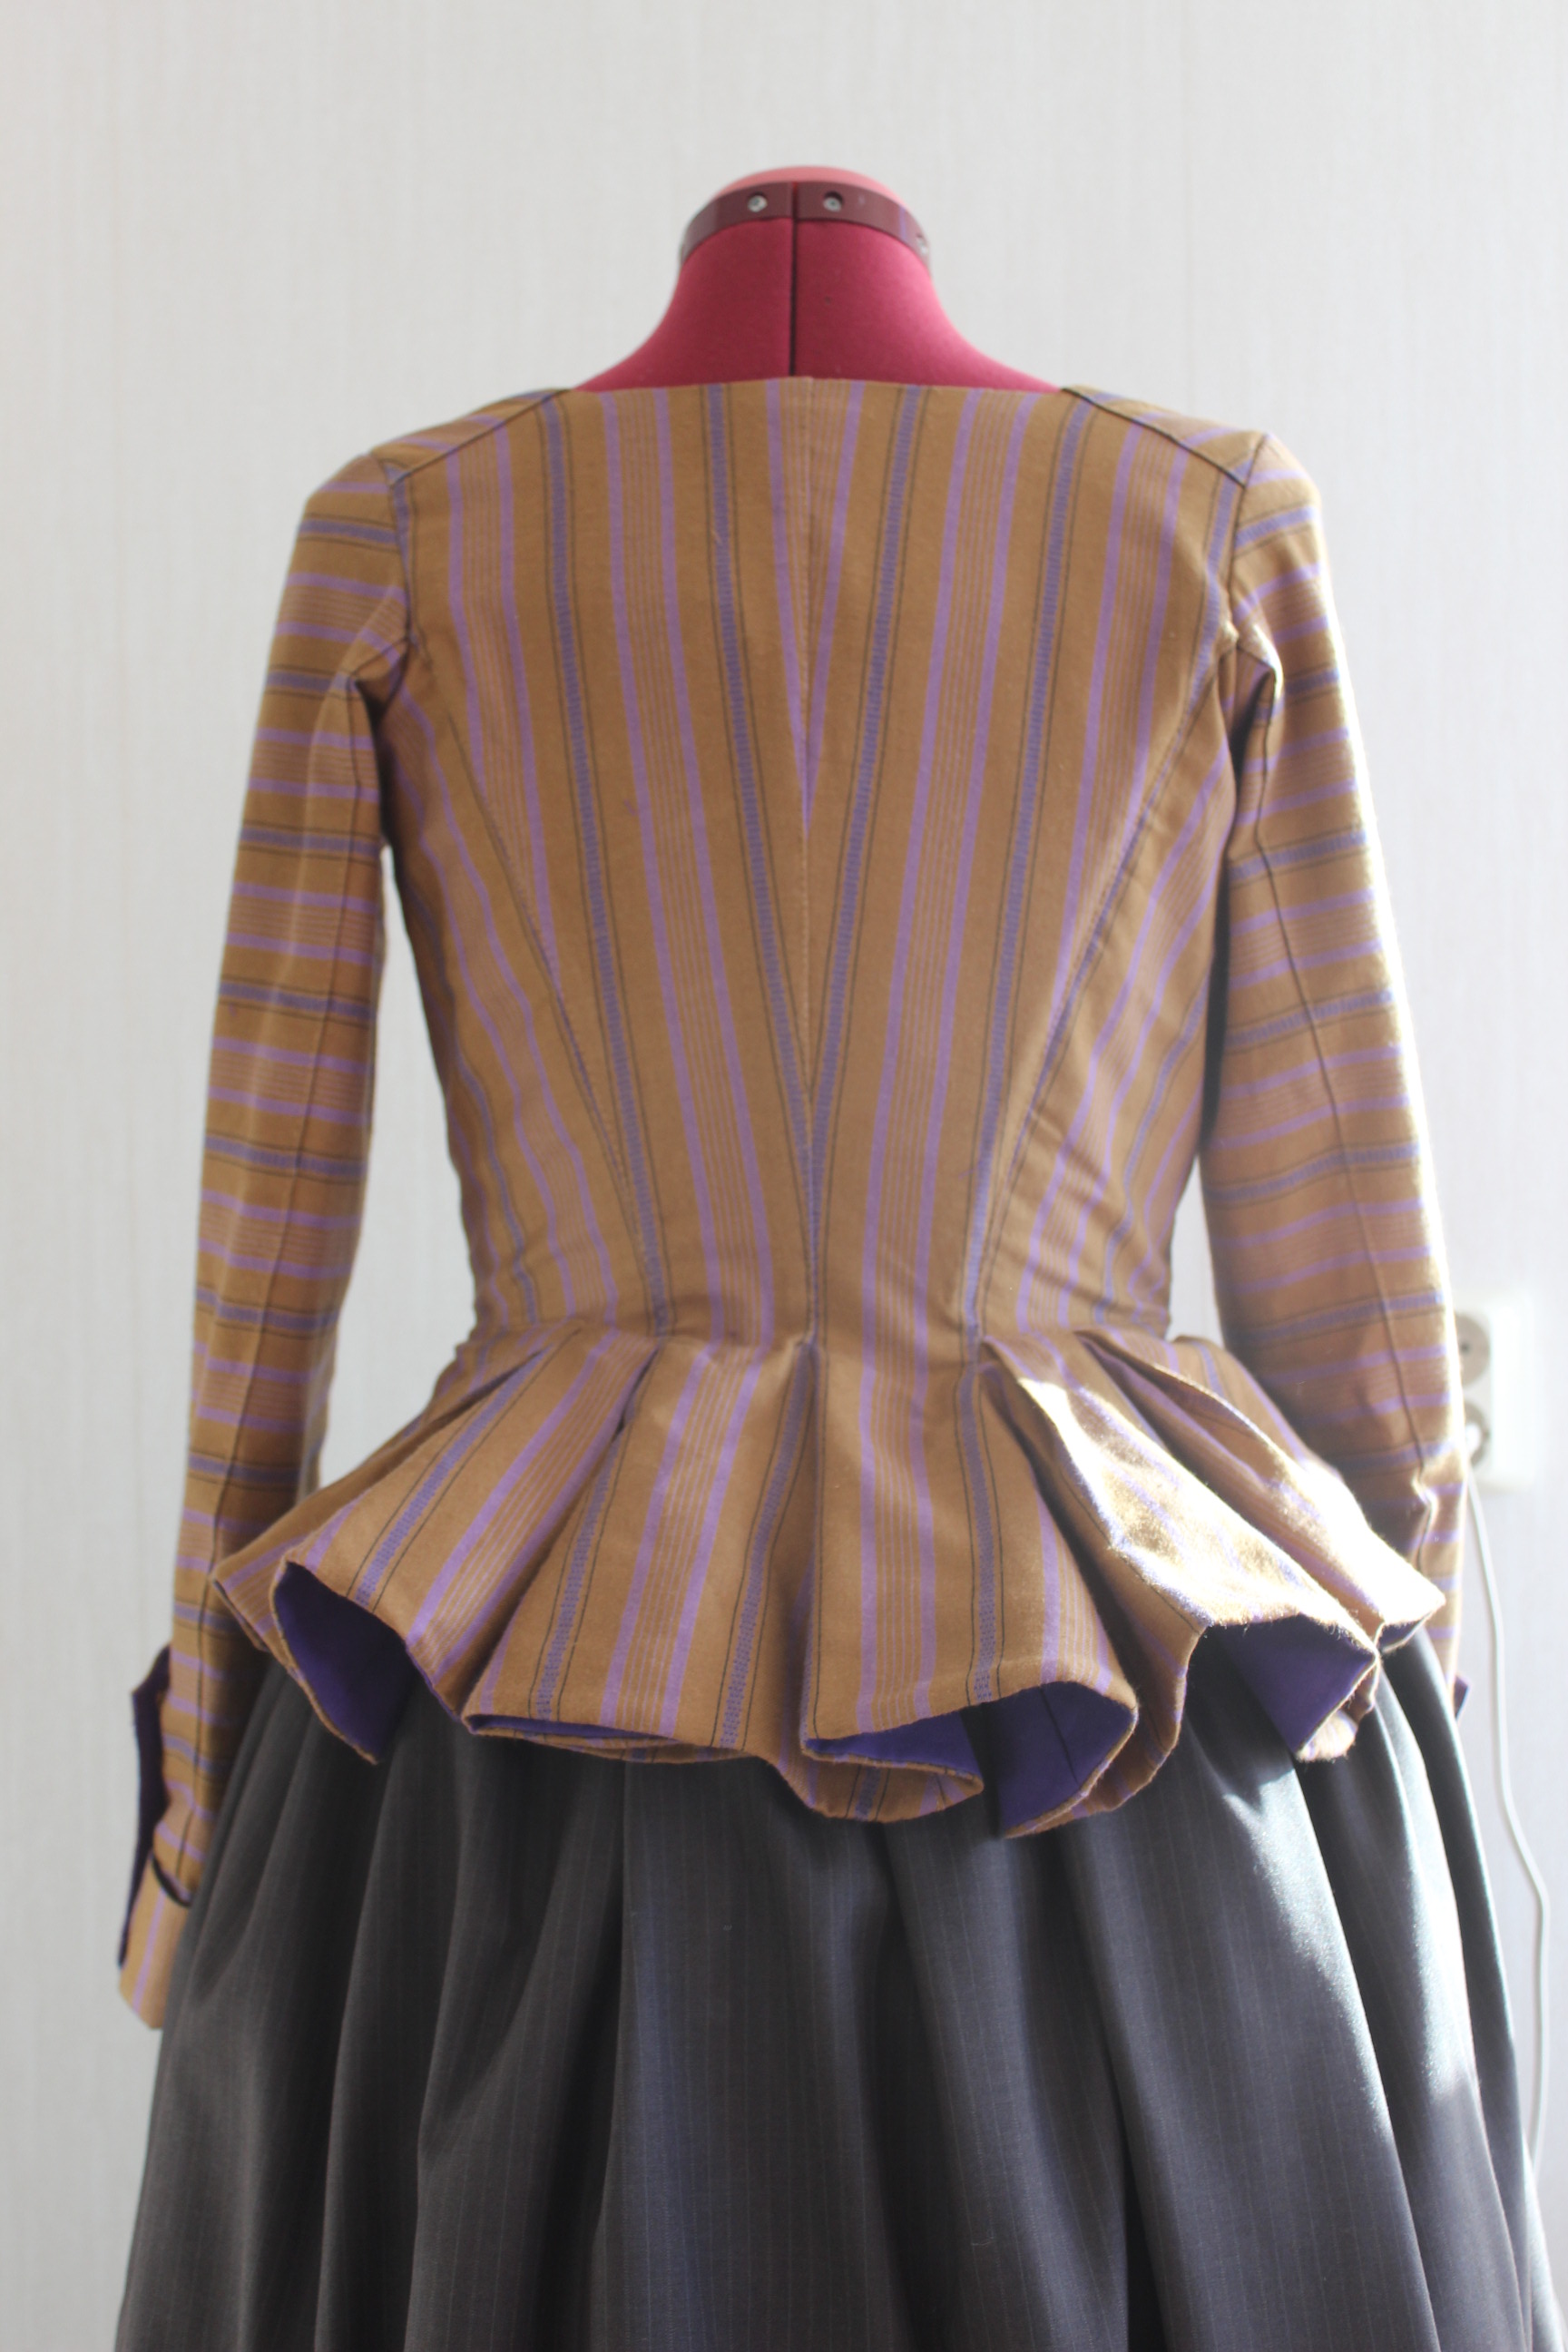
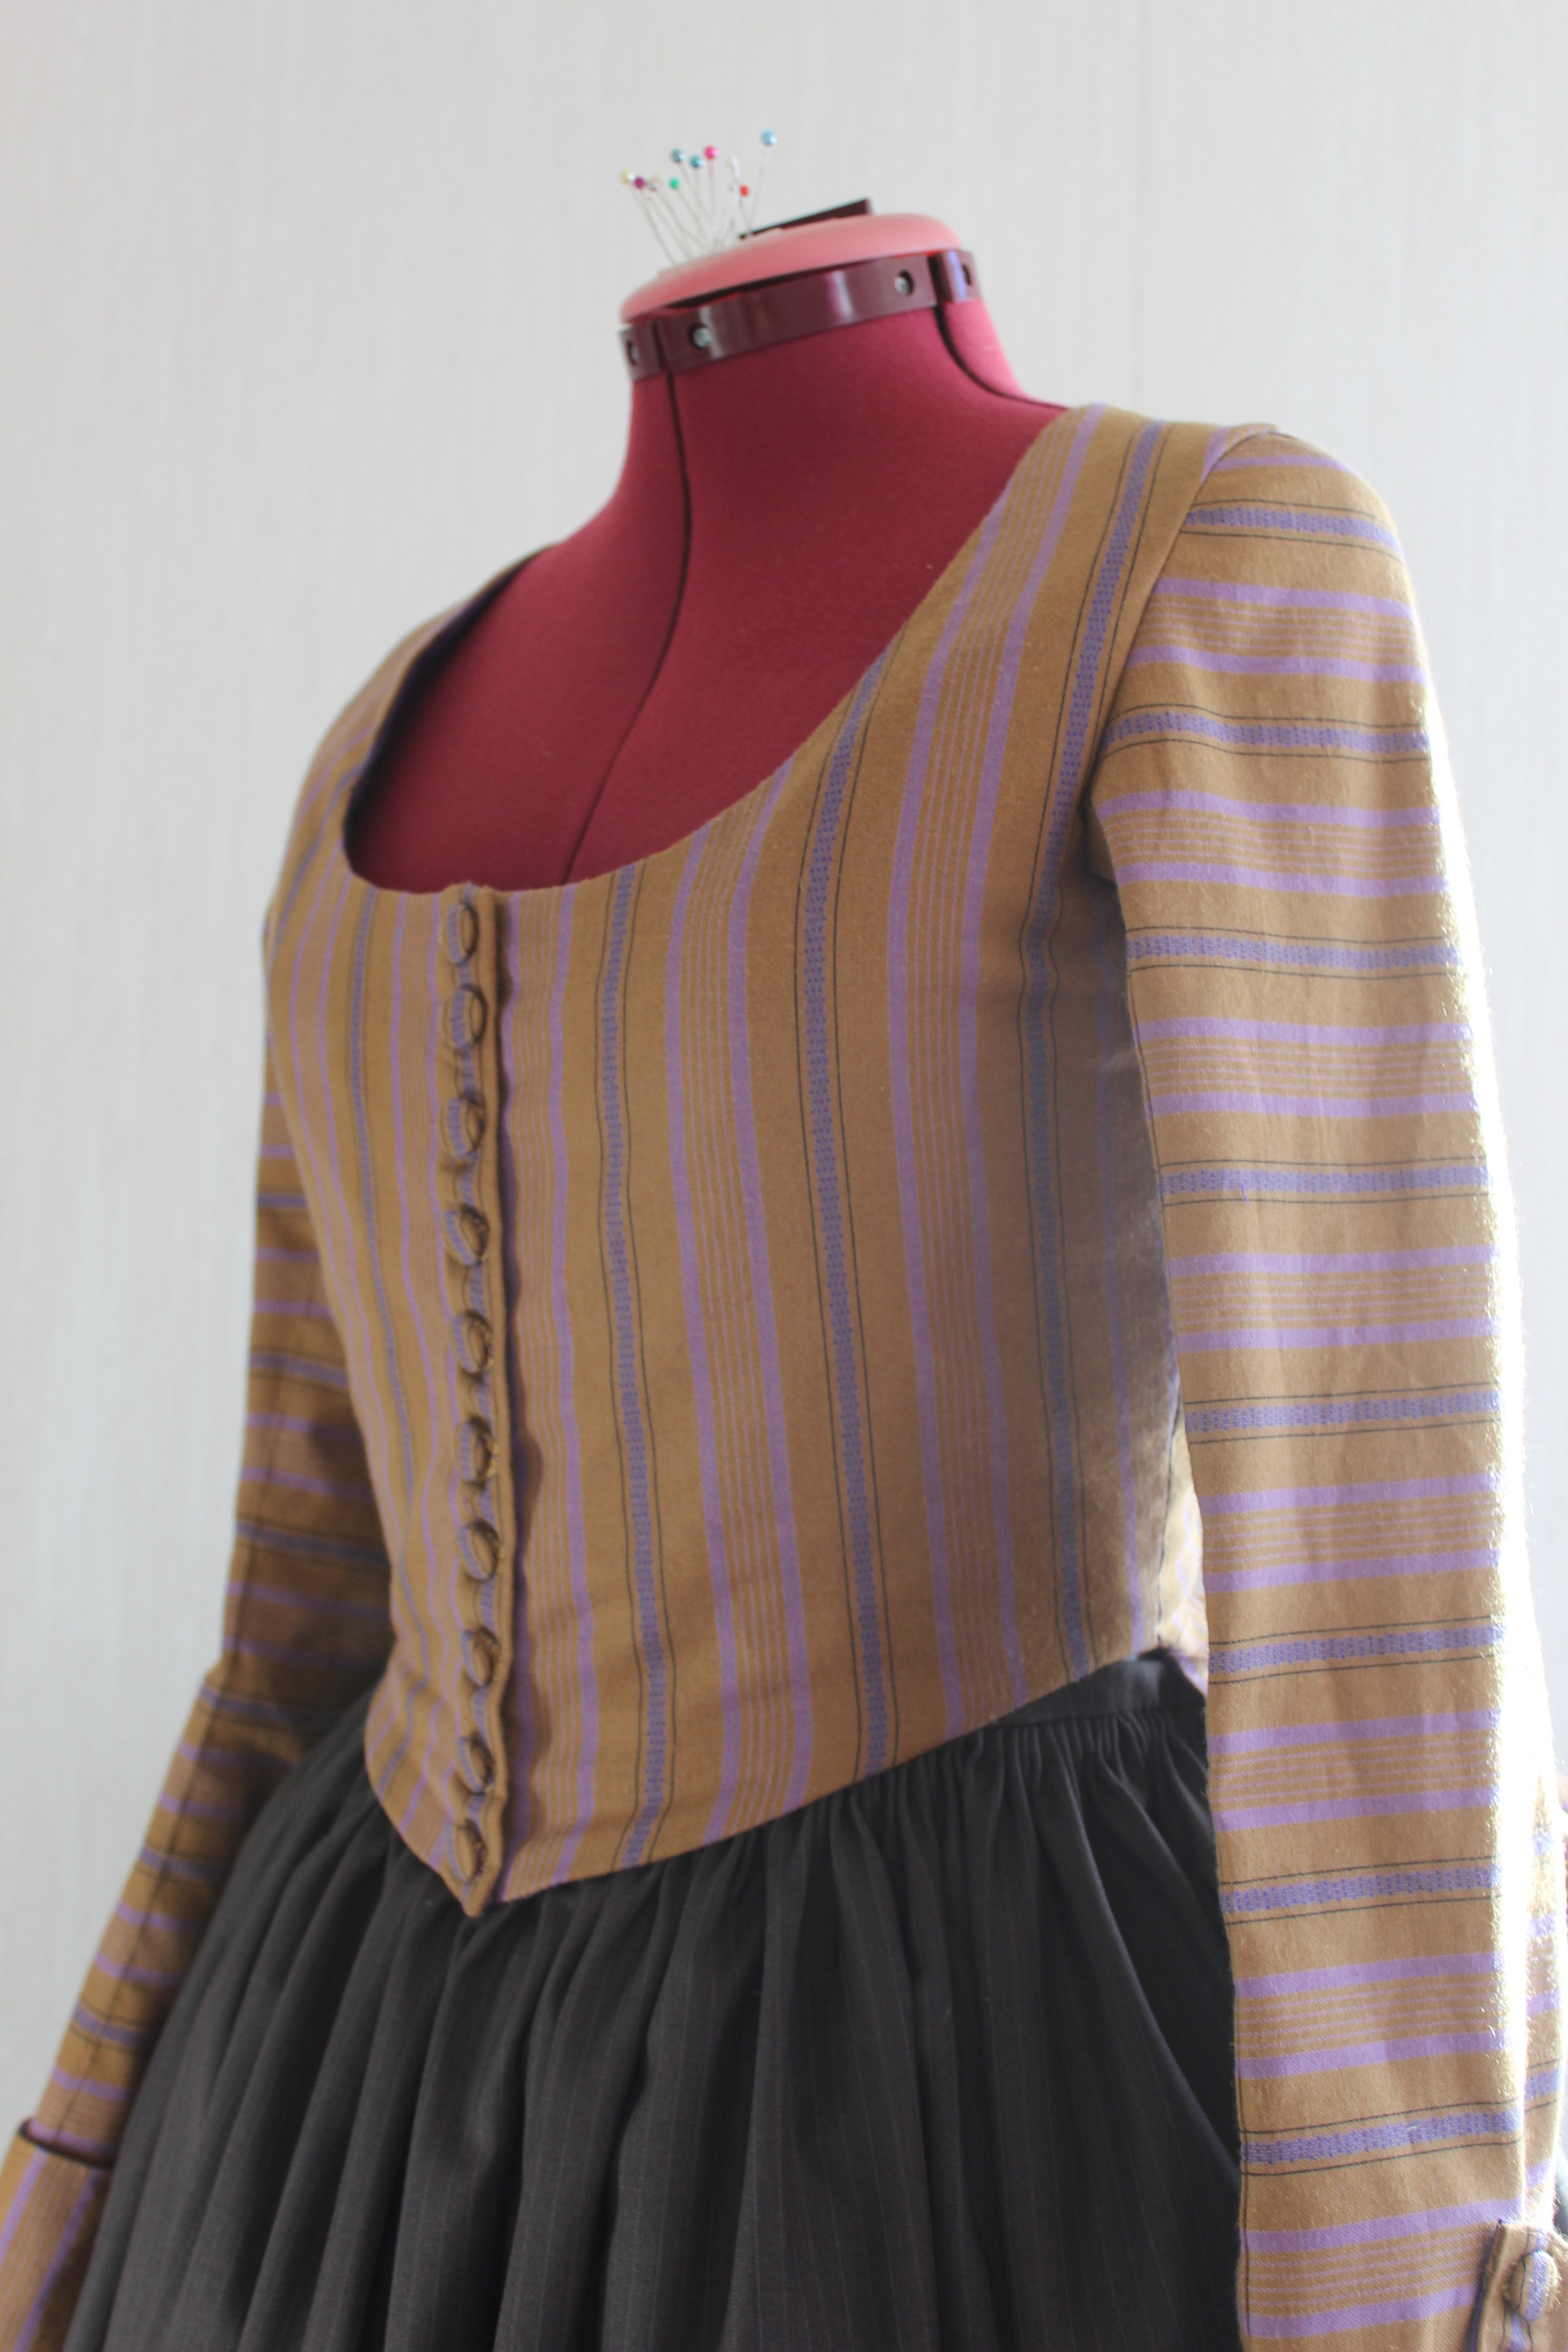


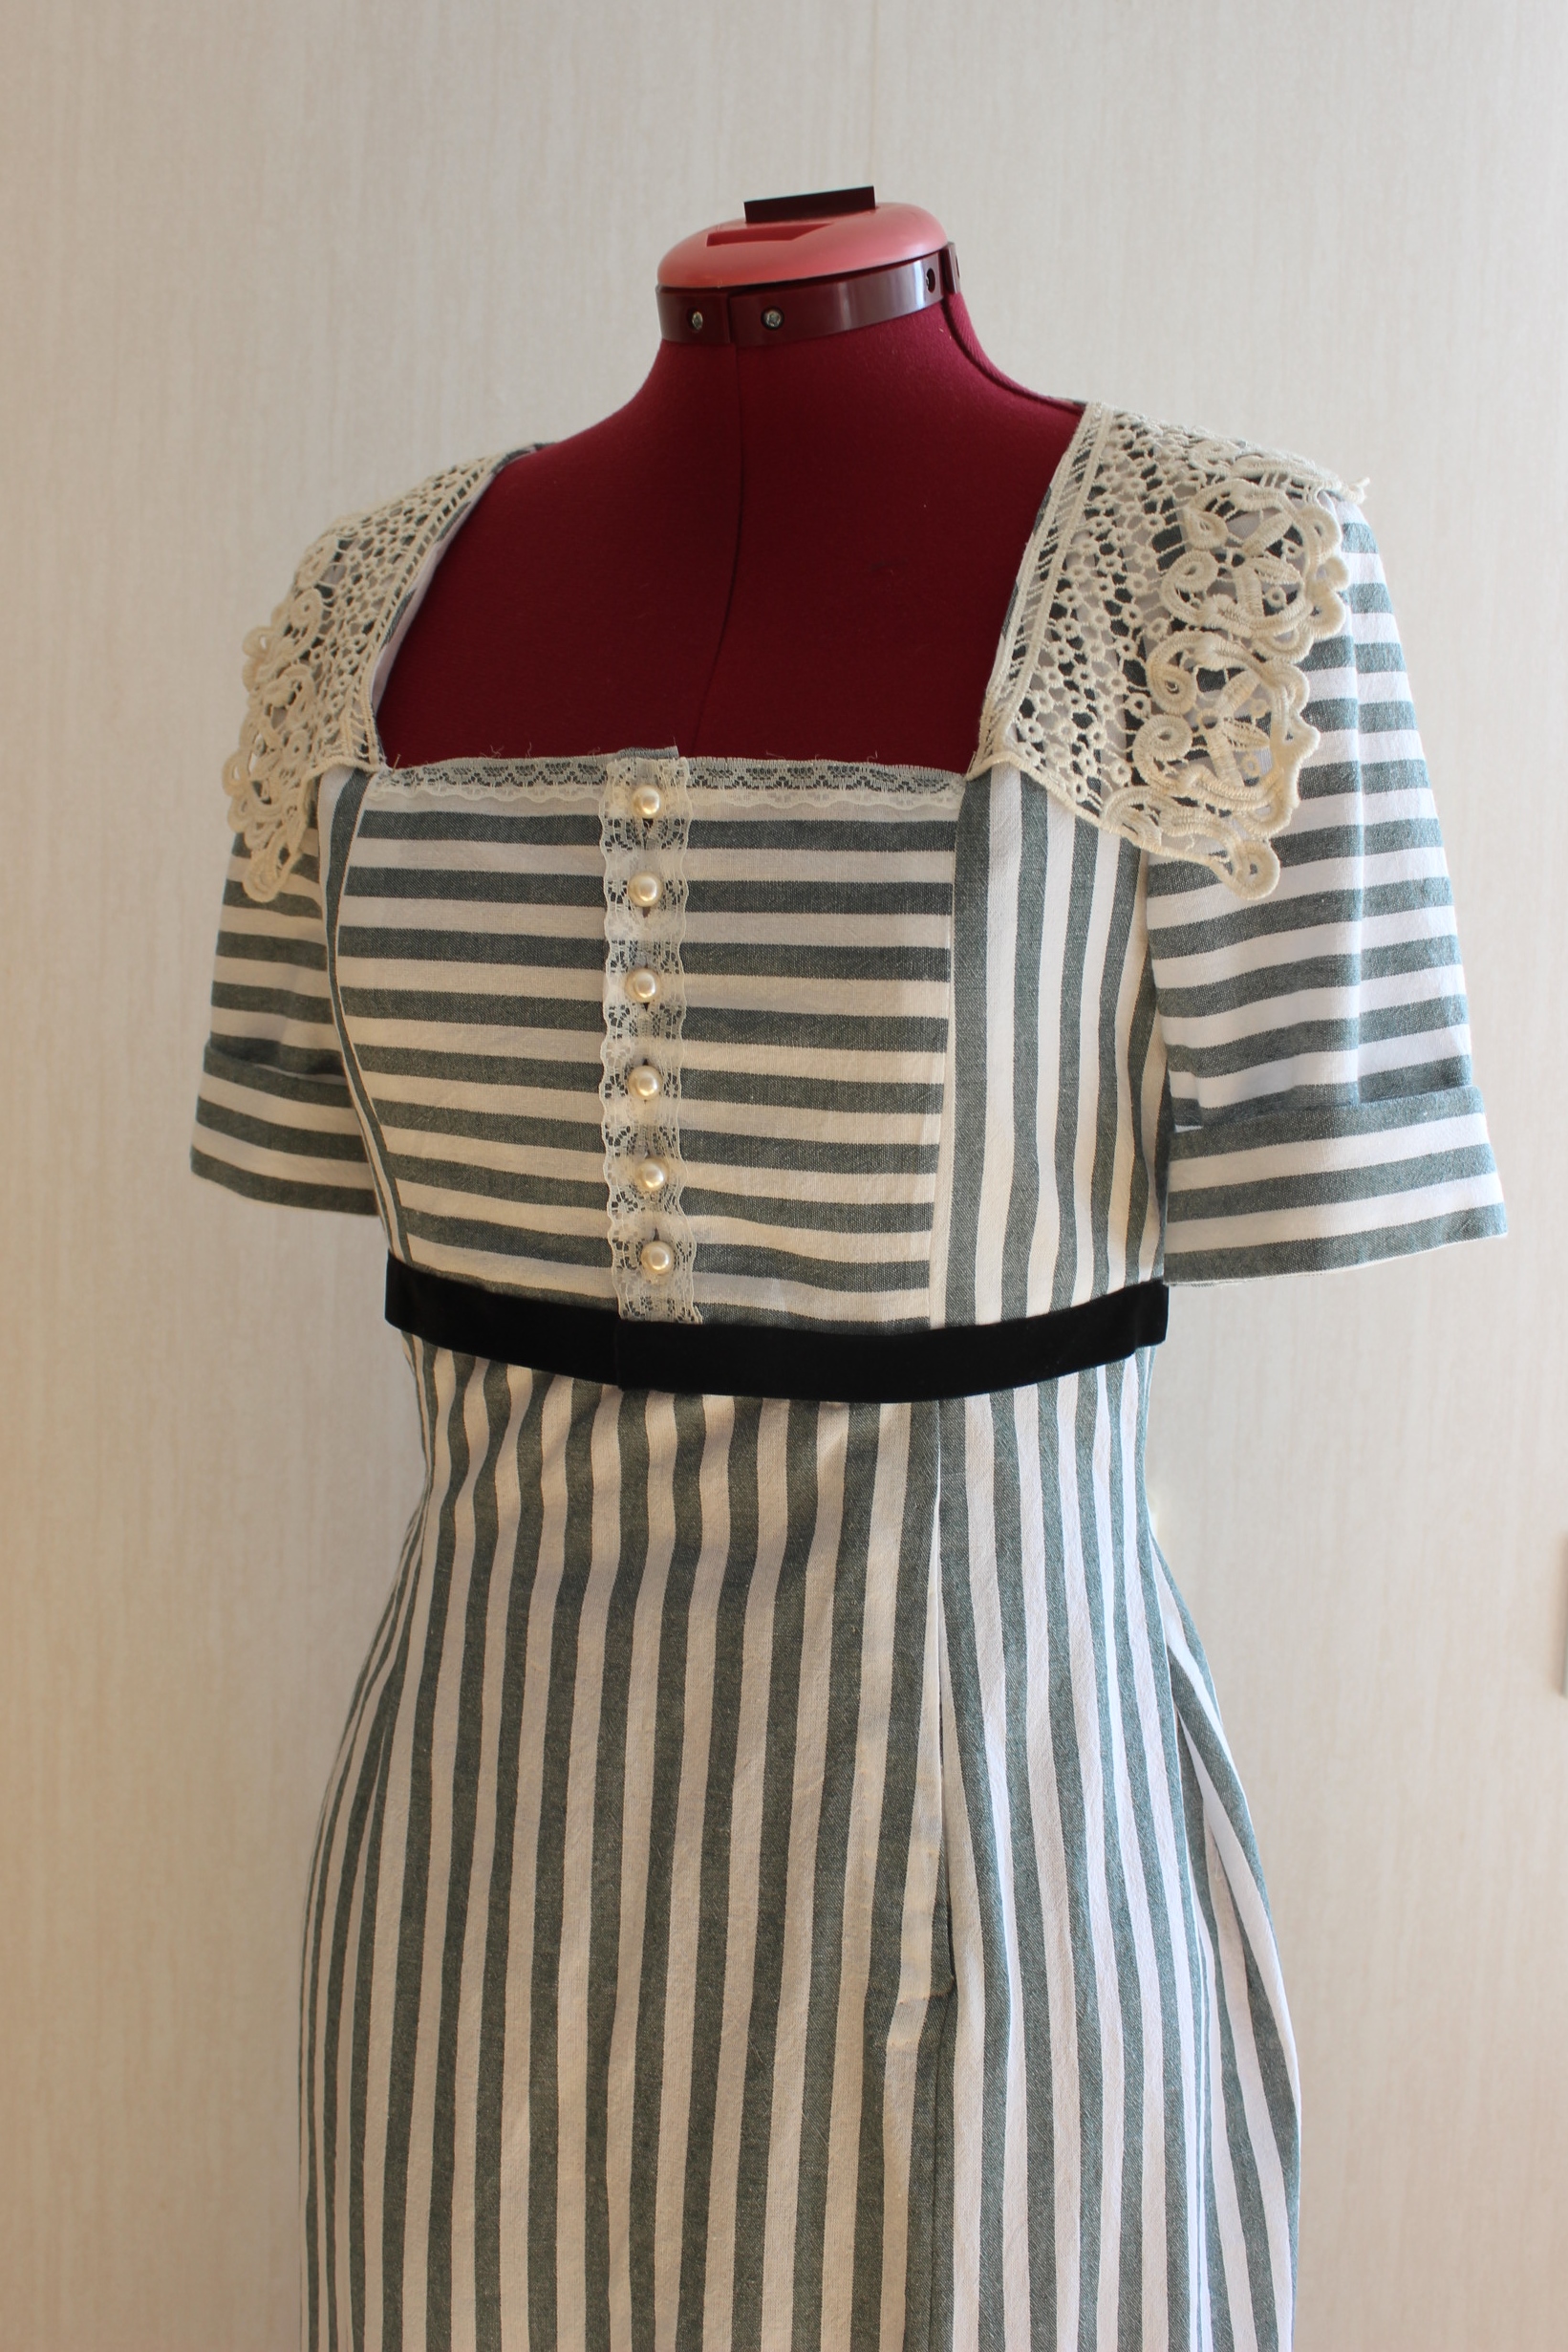
 I love the look of the bodice like this – perhaps I need to make a waistcoat from this pattern.