
When going over the many ways on which I could go for the HSM15 nr 4 – War & Peace, I remembered a project I’ve been dying to make for quite some time.
The striped dress The character Lady Mary wears in “Downton Abby”. 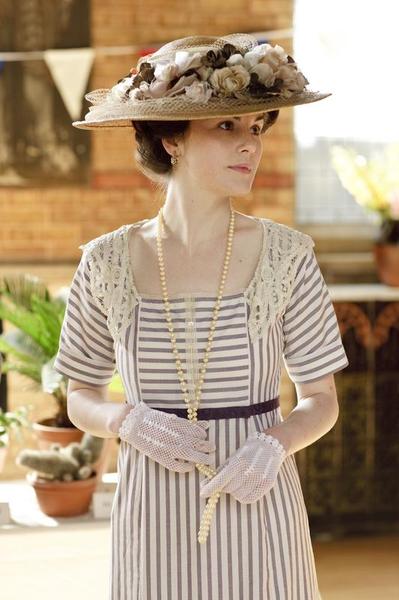 The time period (1914s) was perfect for this challenge, and when I remember the striped cotton in my stash the decision was made.
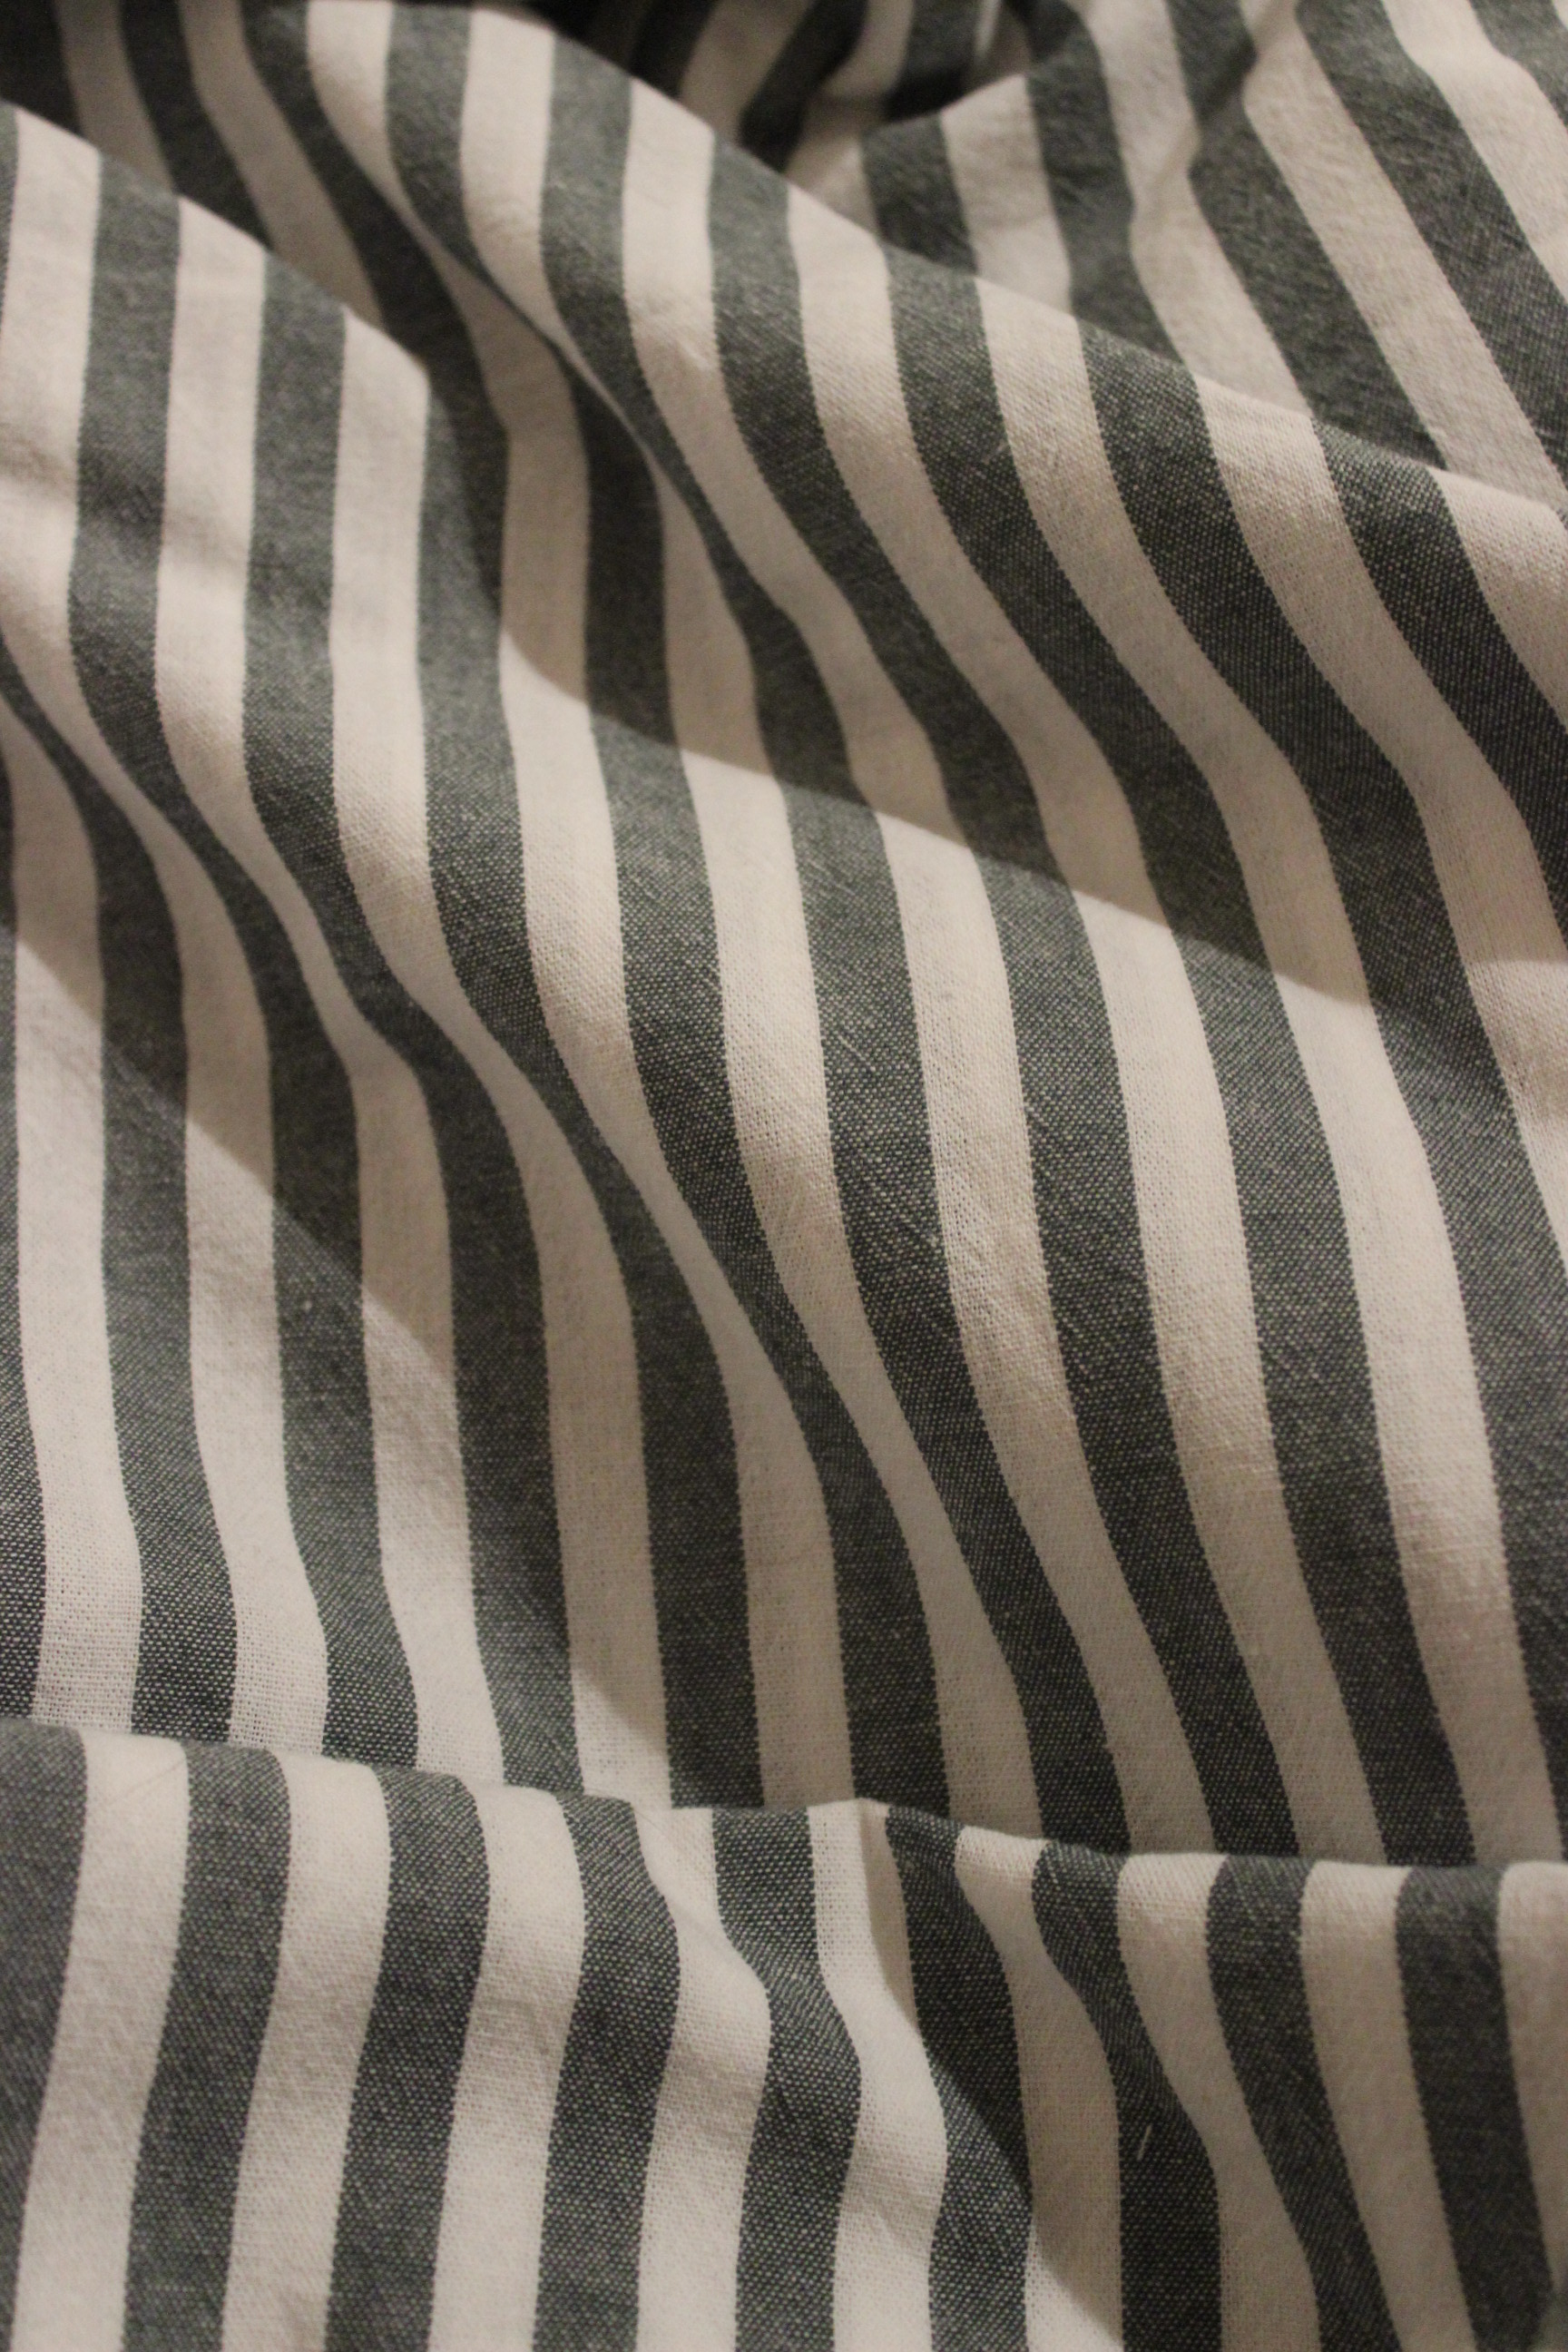 Thin, structured, white and green cotton fabric – leftovers from my 18th century “Artsy Robe a la Anglaise/Turque“.
I started by doing a dress studie – sketching down the basic look, special details for the pattern and all the materials. 
looking through my costuming book for a way to tackle the pattern drafting I found a sketch of a 1910s, high waisted slim skirt that would be perfect for this dress.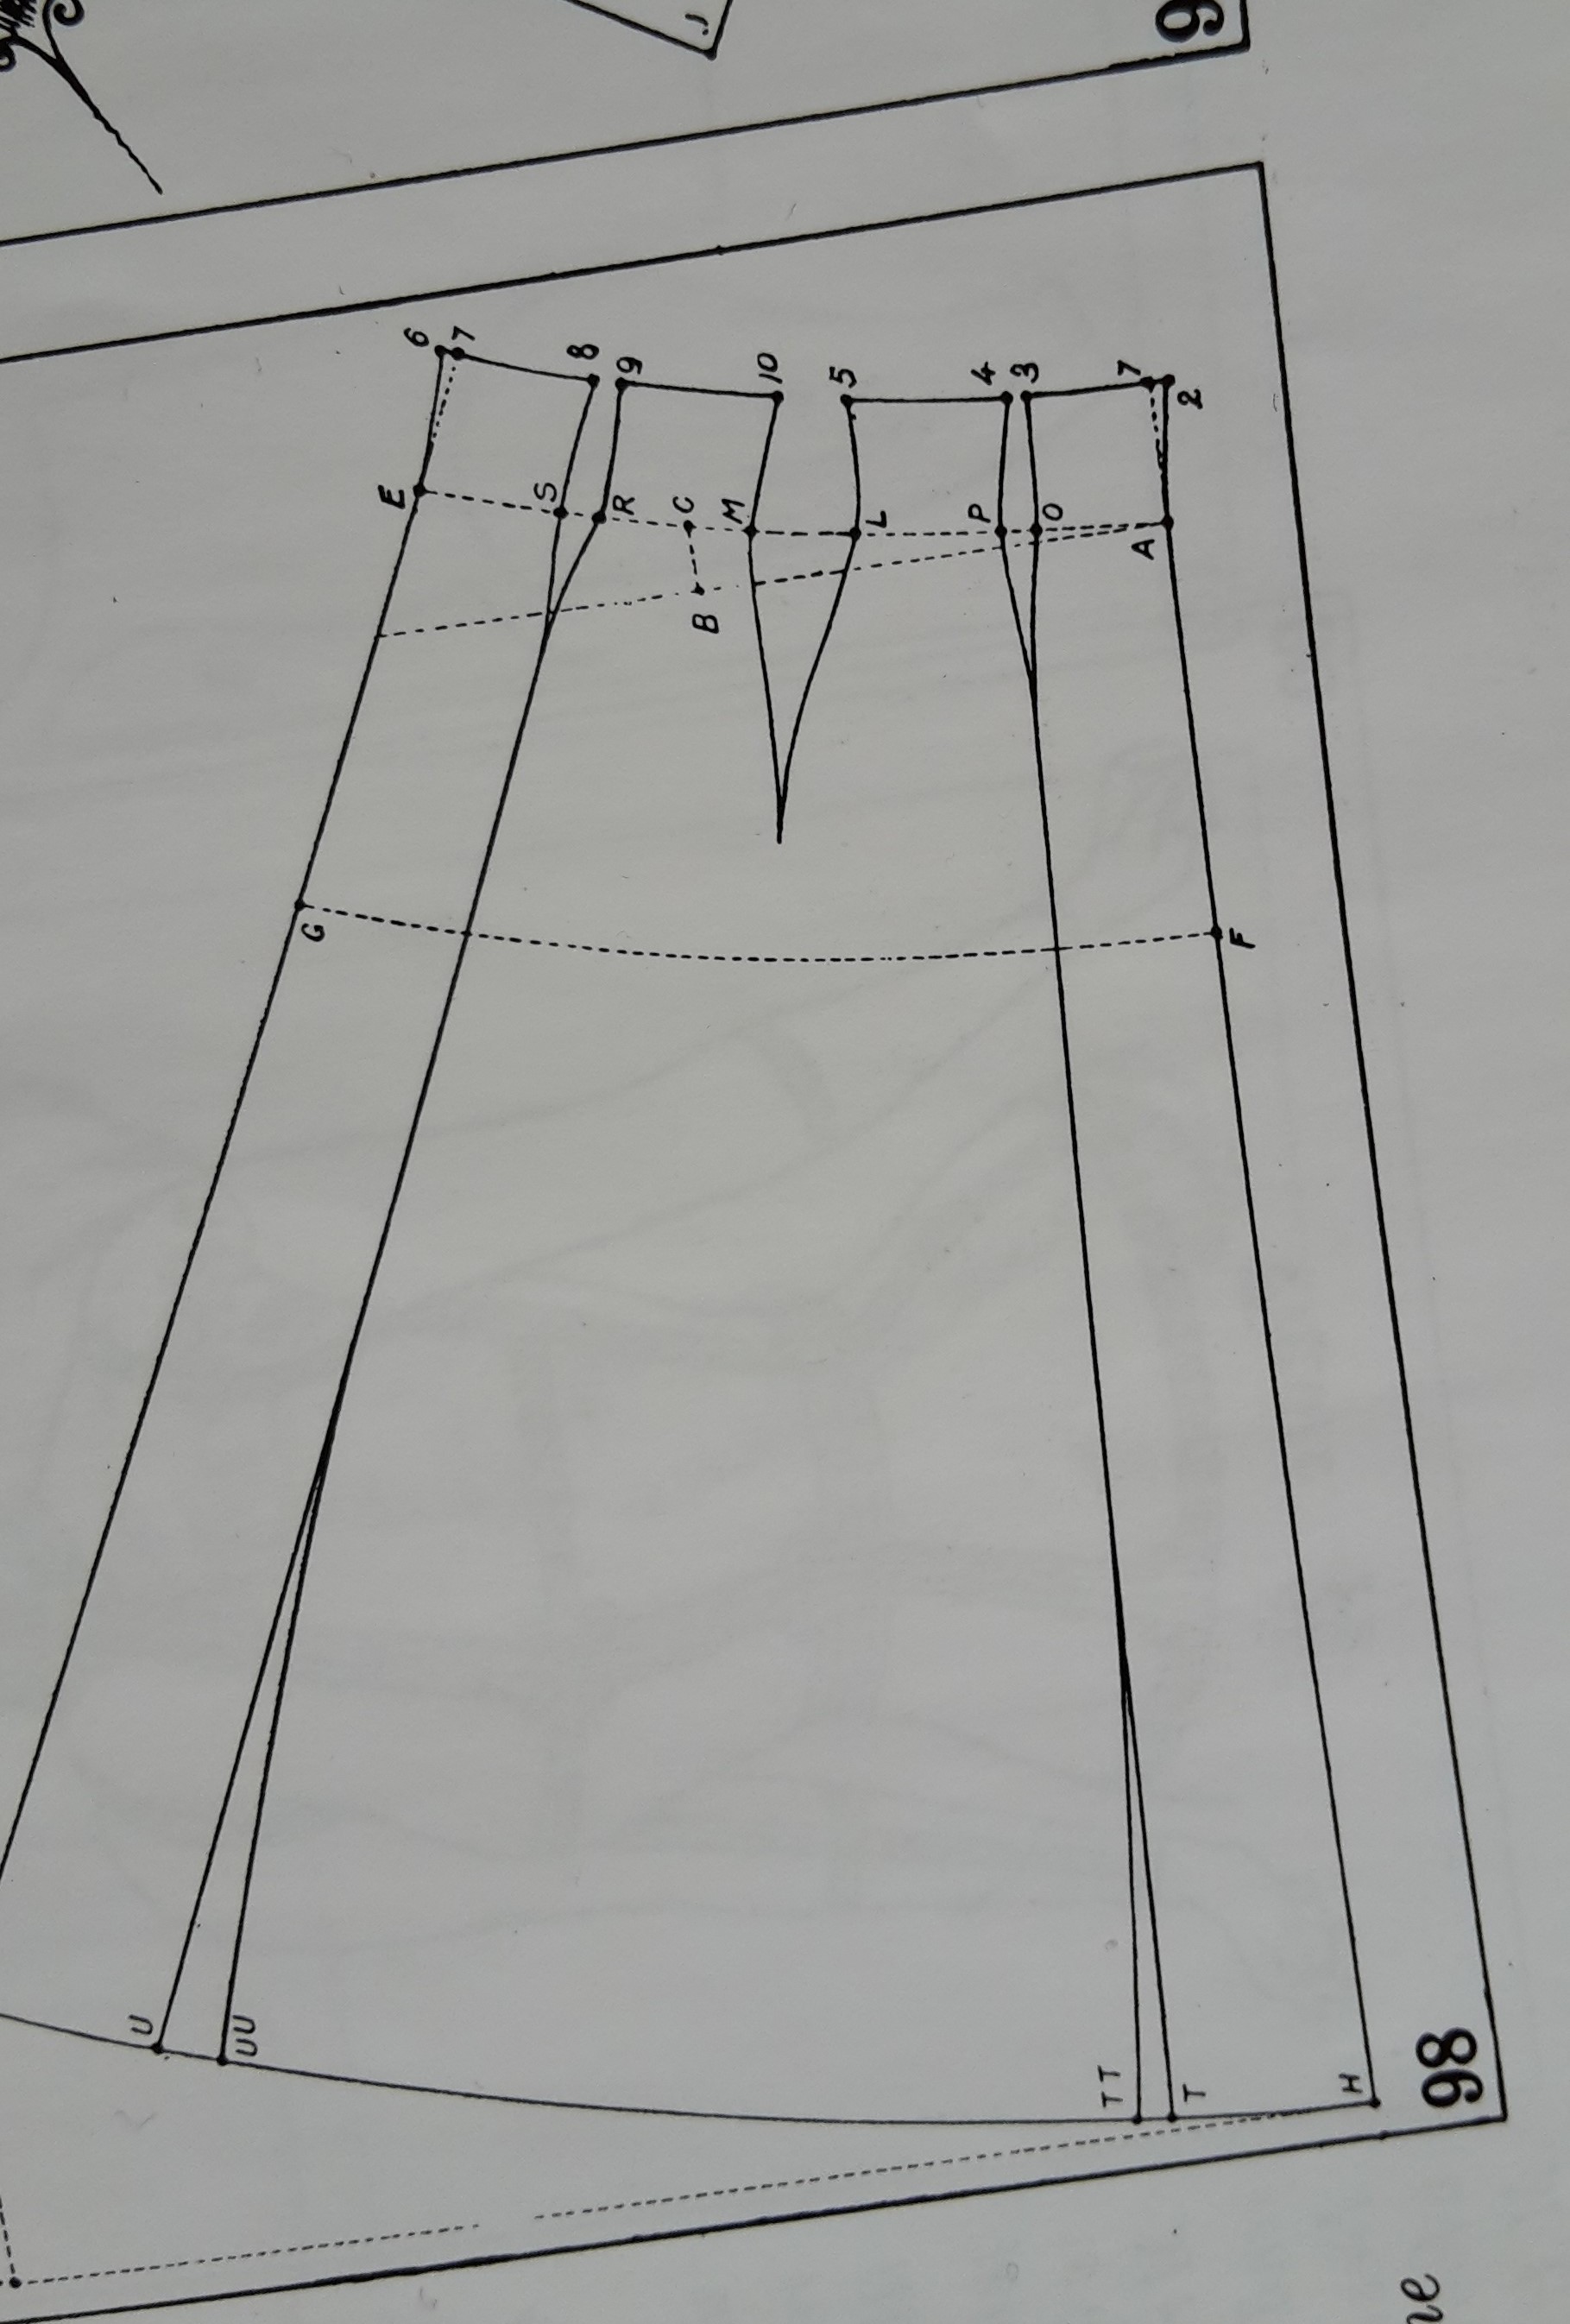 Sketch from Janet Arnolds “Pattern of Fashion nr 2”.
I used the basic principle from Arnolds book and drafted the pattern to fit my measurements.
Then I made a mock-up and tried it on over my long line corset.
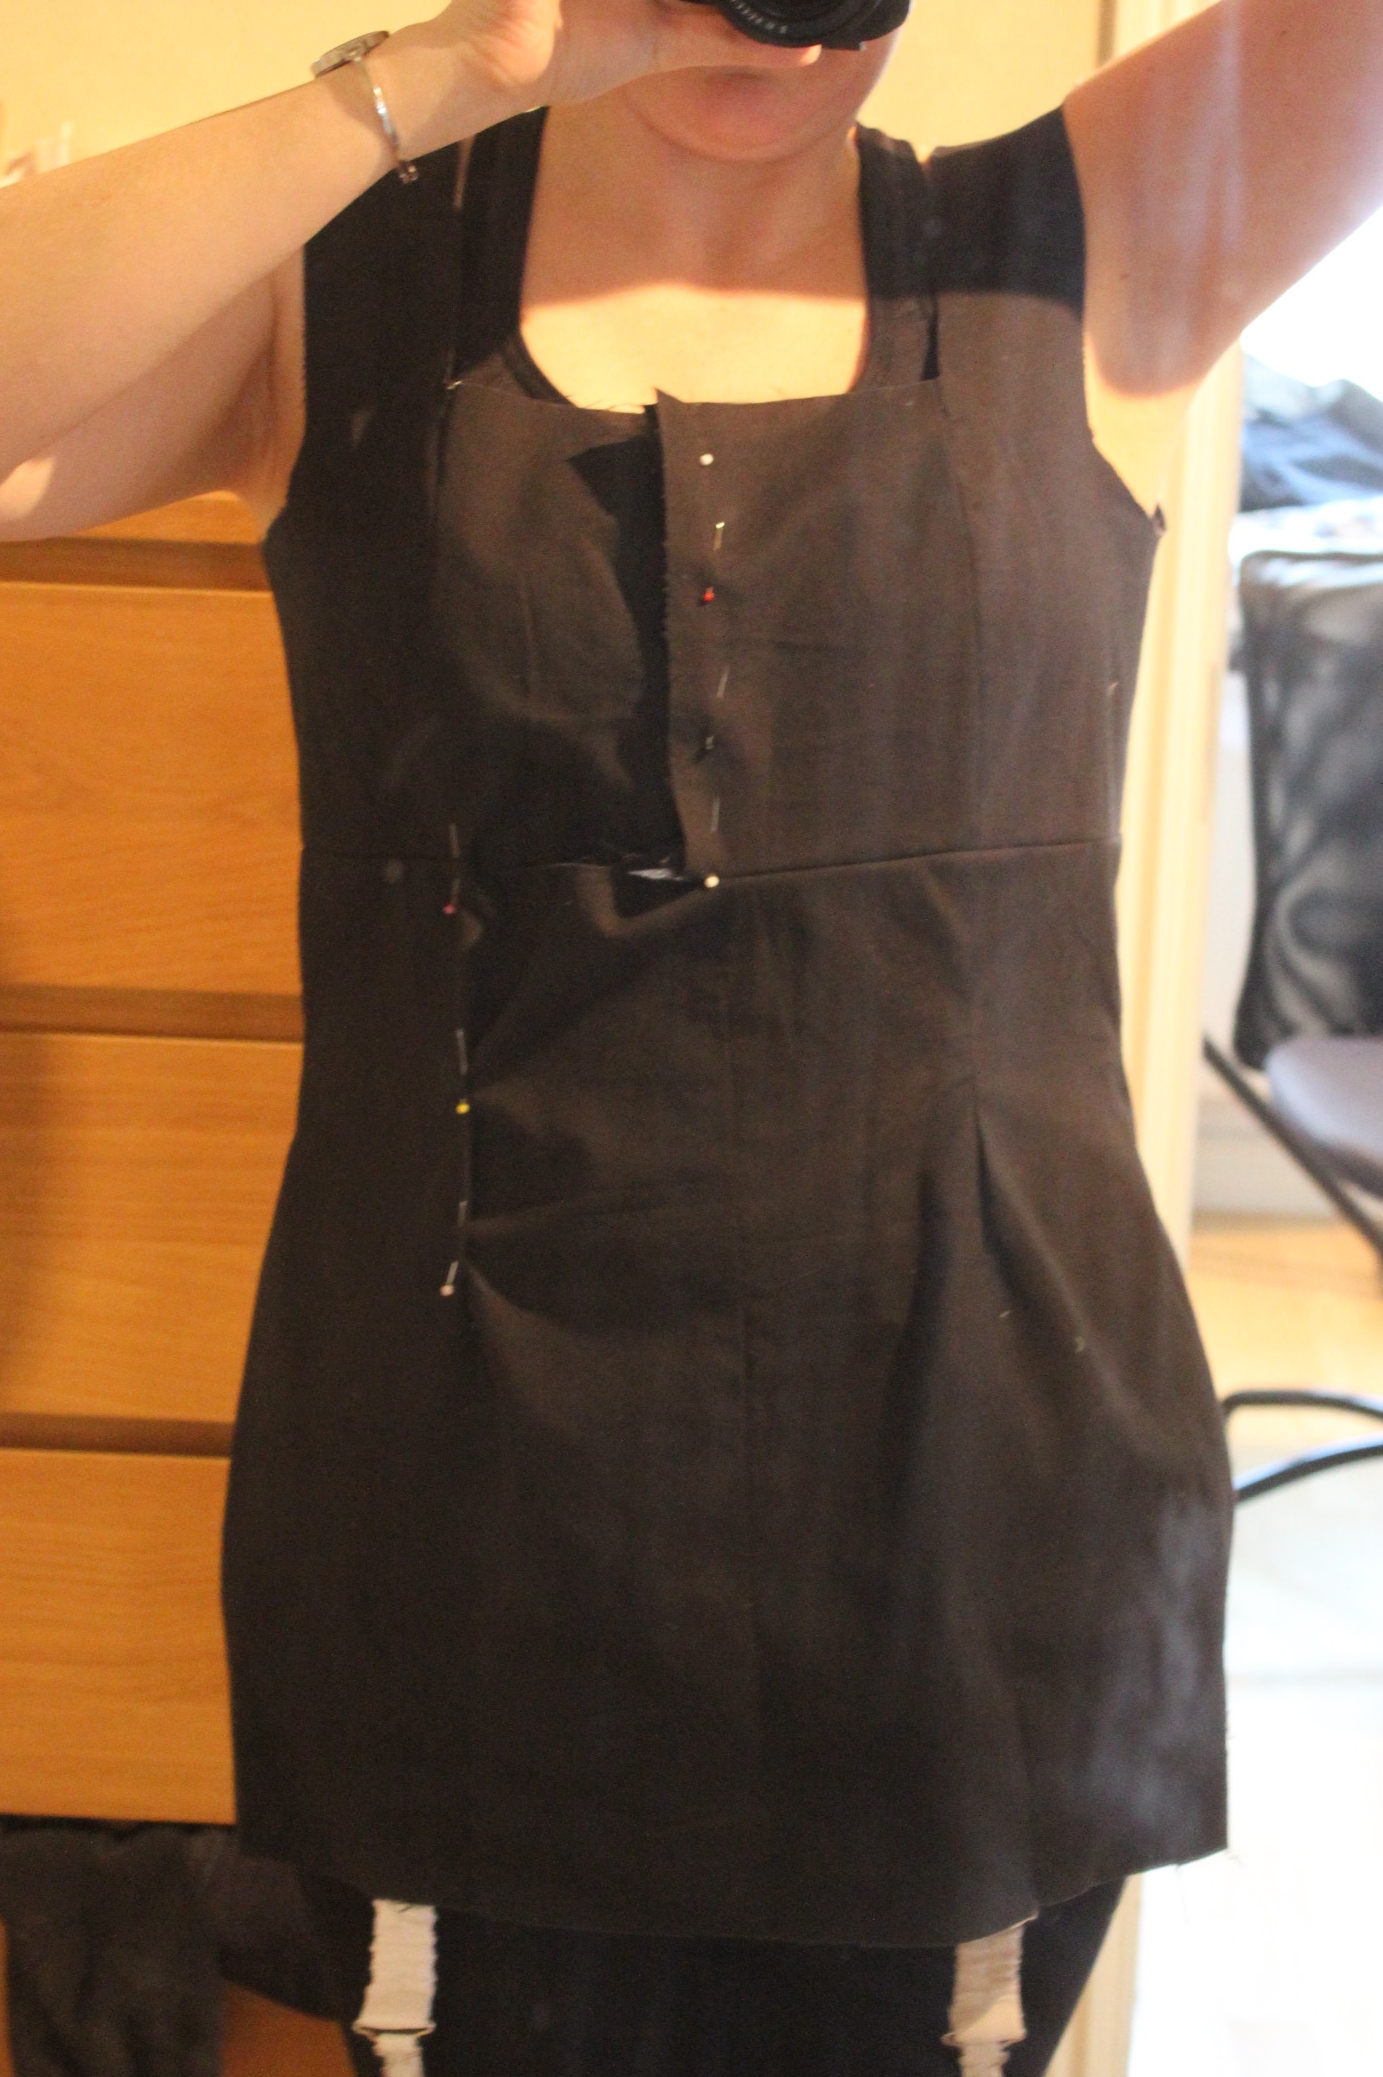

And it was huge.
I’m still amazed of how much ease it must be in my modern pattern temples since I almost always end up with mock-ups about 10 cm to big.
I took it in everywhere about that much.

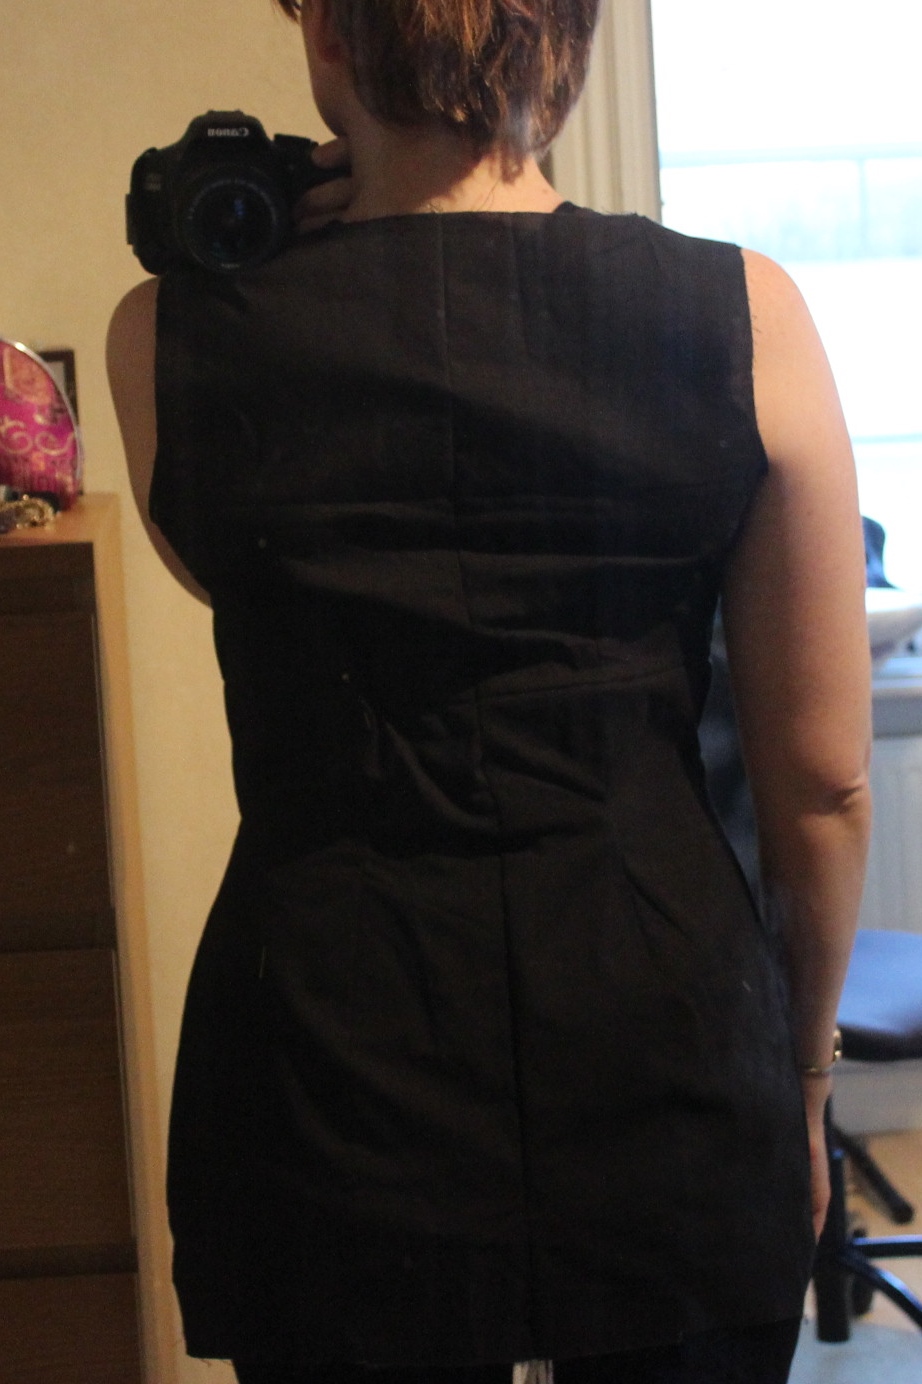
Much better.
But still in need for some extra alterations, like smoothing out the darts and taking out a few cm from the length at the bodice back. Here you can see the way I took out the width at the seams and darts.
Once the pattern was adjusted it was time to cut the fabric.


The back bodice being cut on bias and with the stripes carefully matched to he shoulders, sleeves and center back.
Before I started sewing I needed to be sure the collar was long enough to fit the neckline. Perfect match.
I sewed most of the dress on my sewing machine. 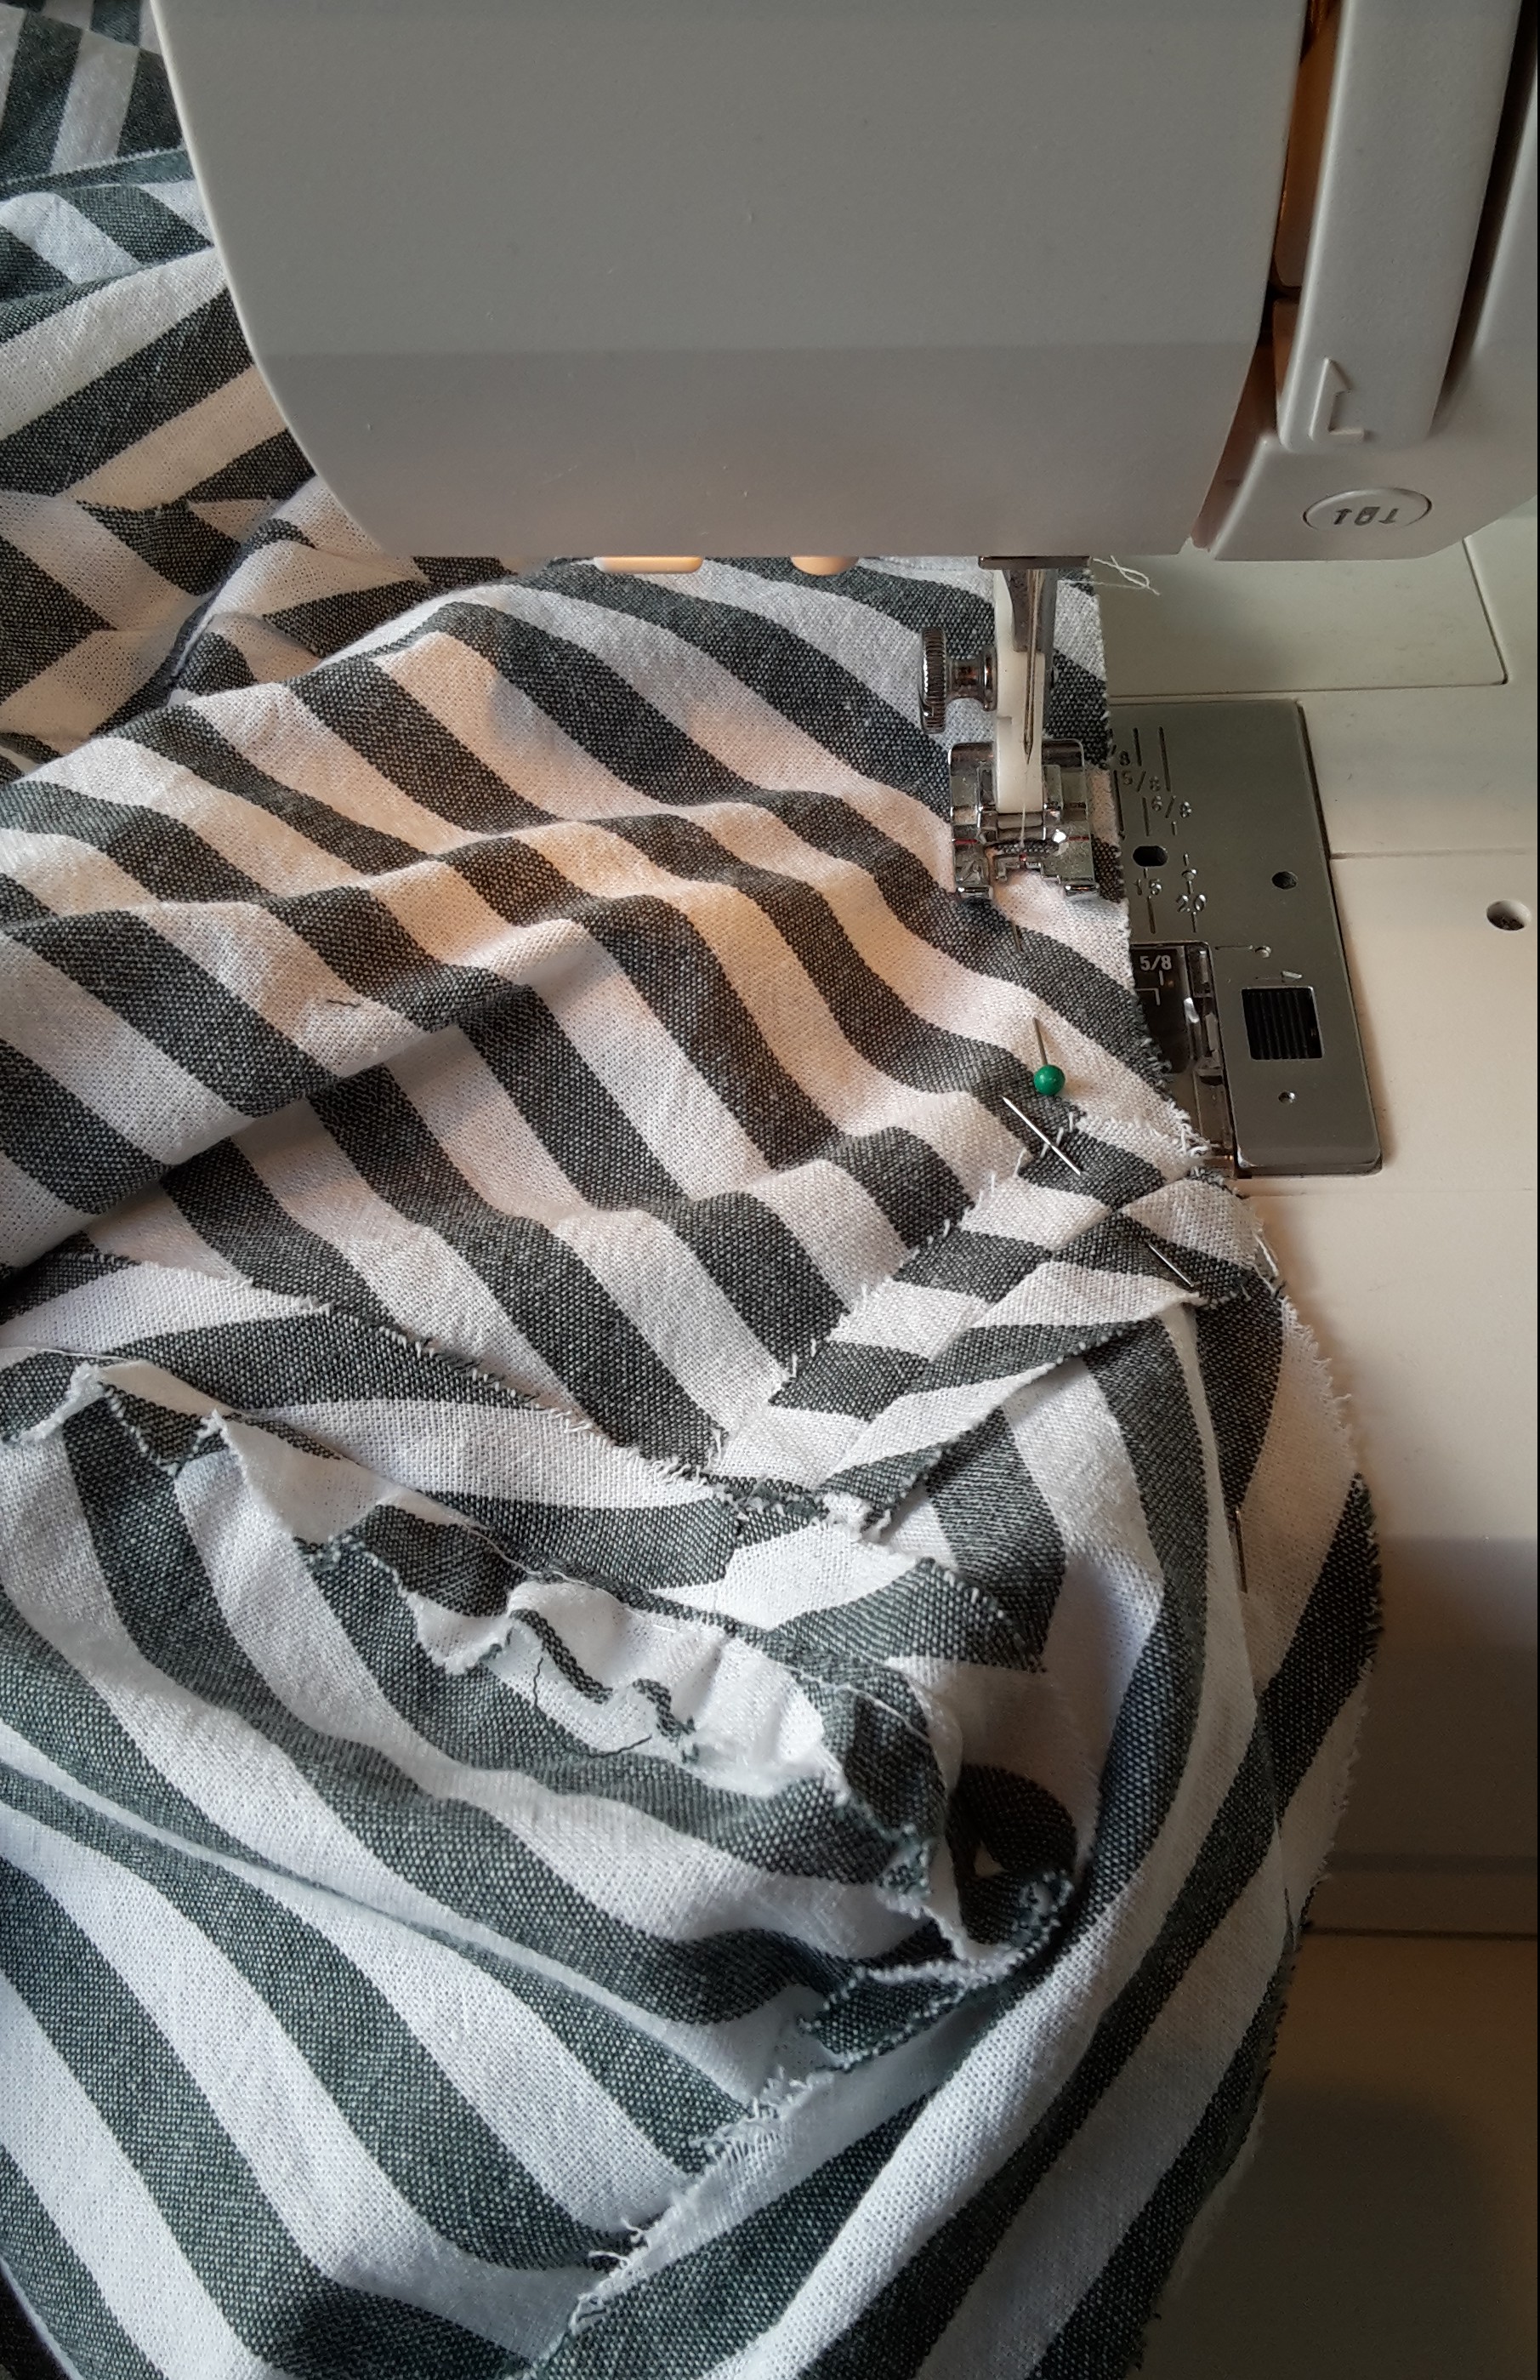 Sewing the bodice, skirt, sleeves and lining together but away from each other at this pont.
 Making the placket for the skirts closure.
Once all the separate pieces was ready, I basted the front bodice to the sides, the bodice to the skirt and one sleeve to the sleeve-cap. And then I tried it on.
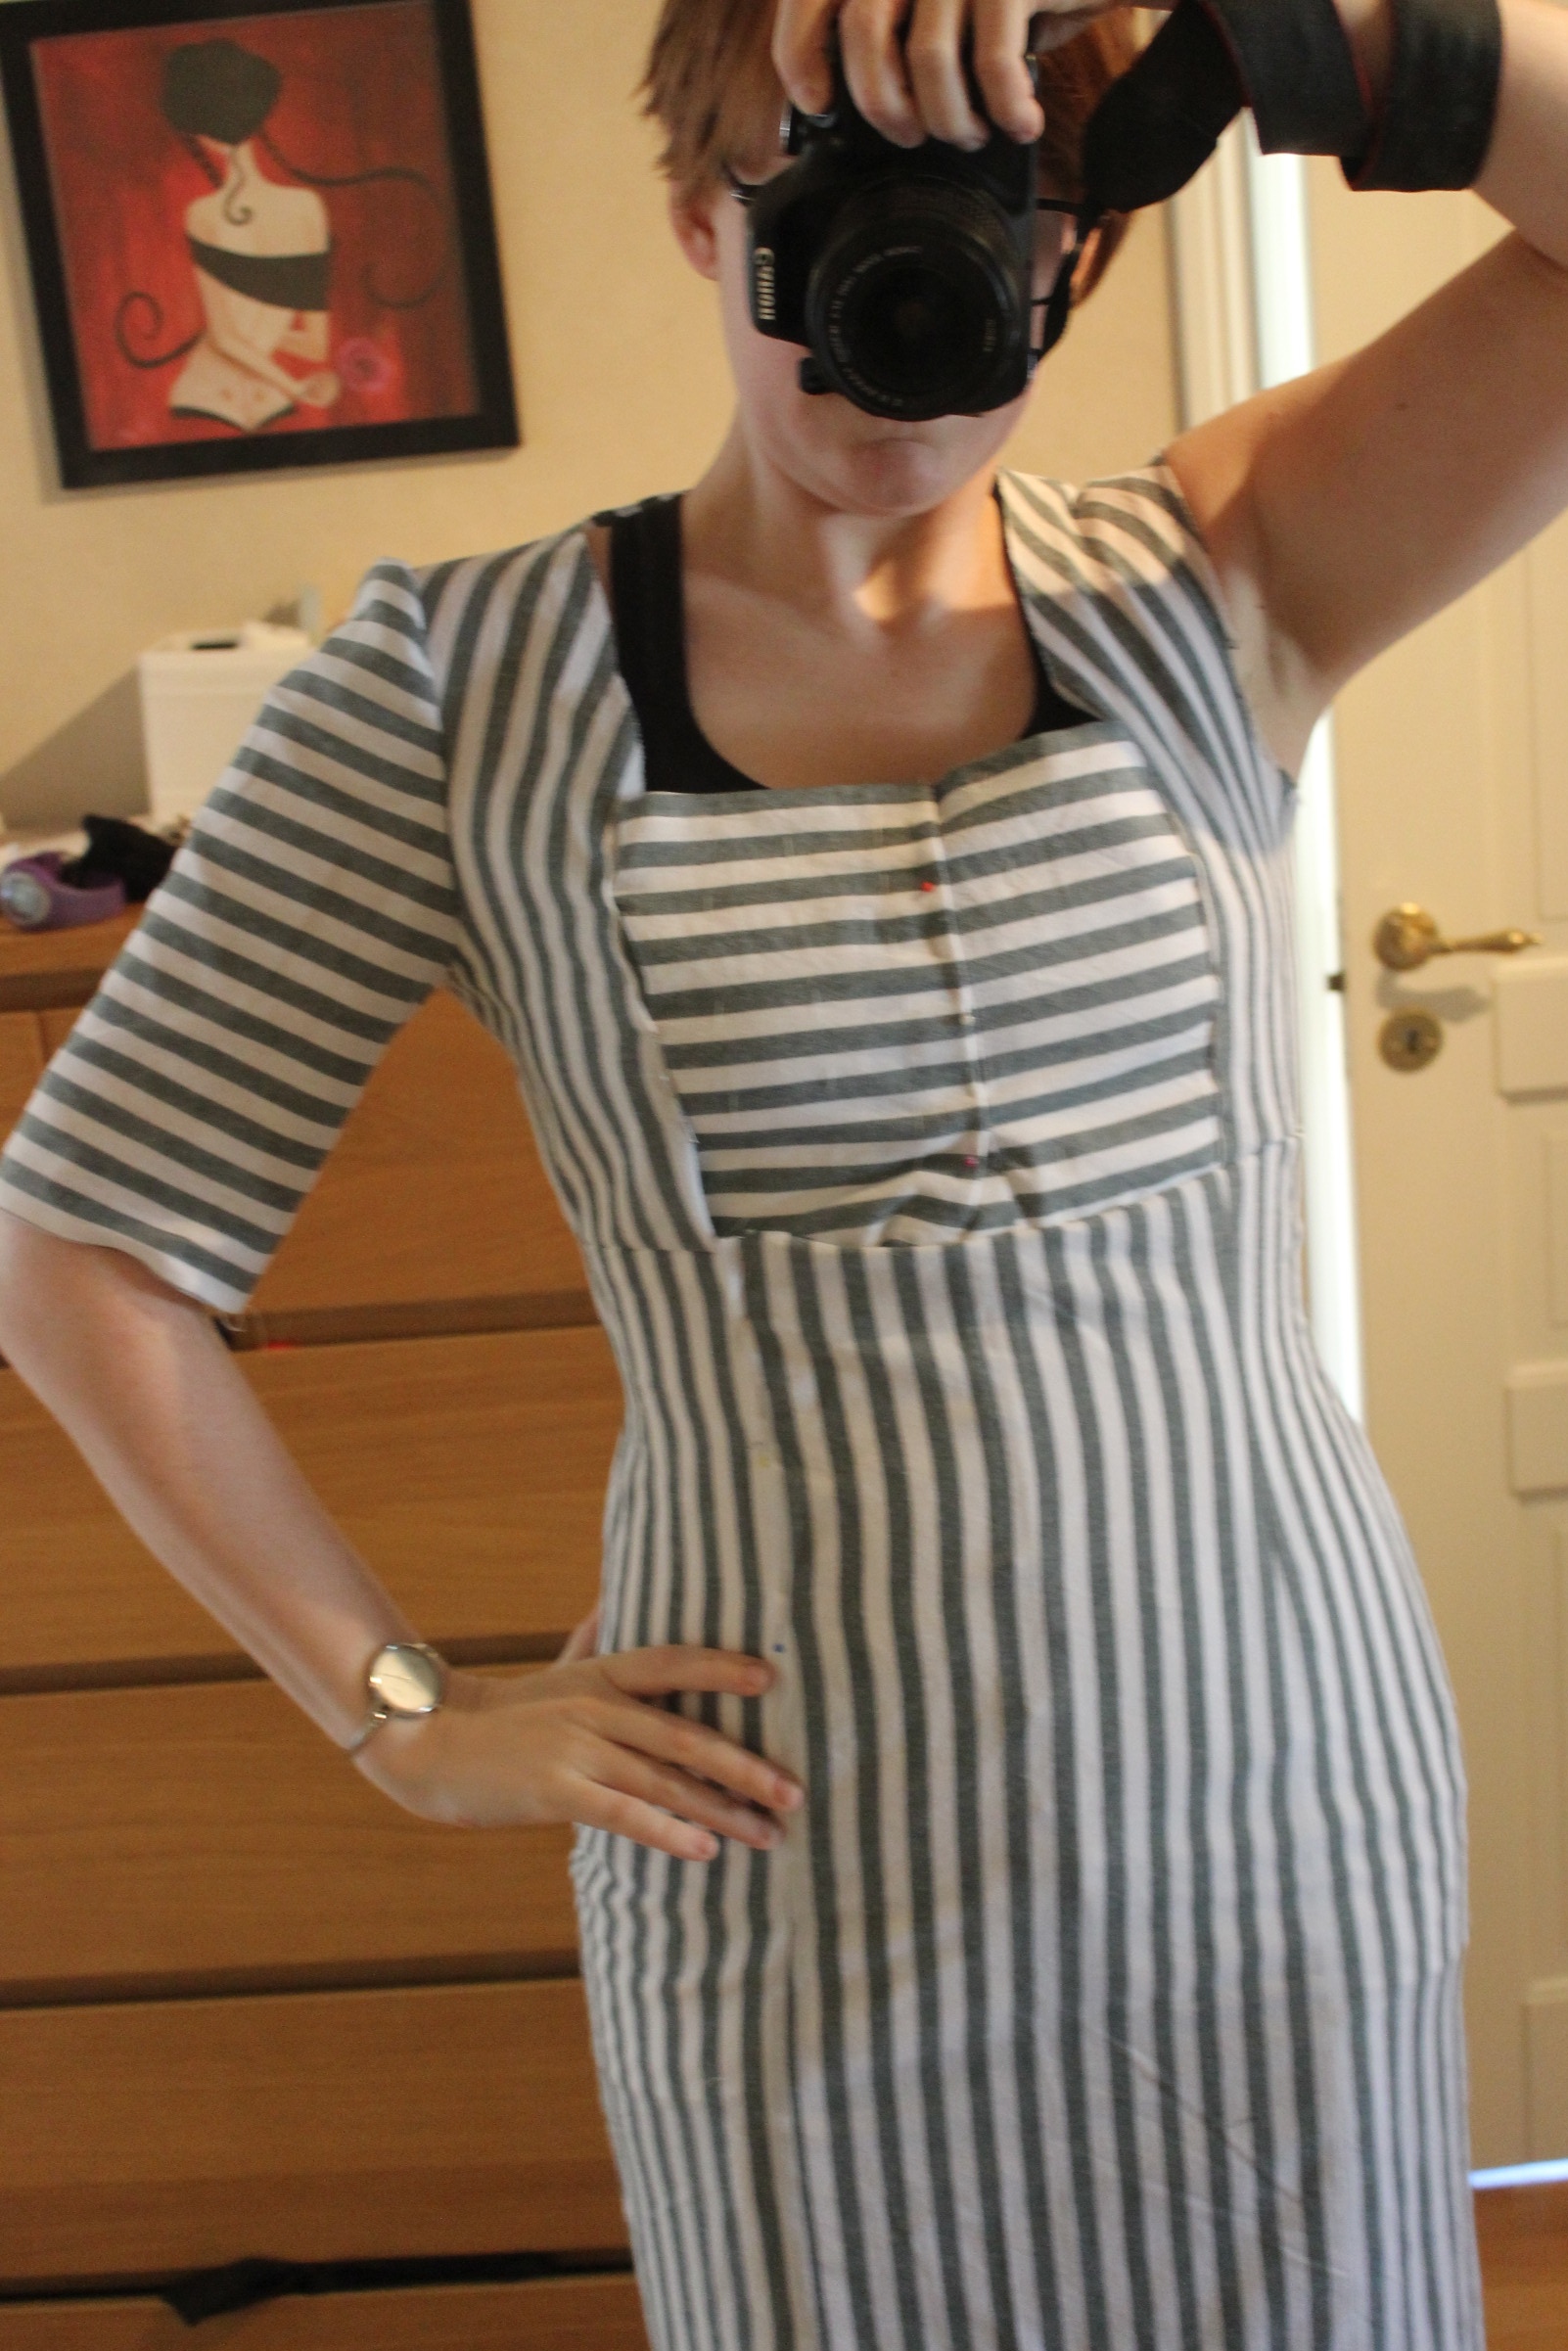

Pretty good fit. The back is still to long (just to take some more out), and the bodice front was a bit to big.
I decided to take the width out at the bust seam.
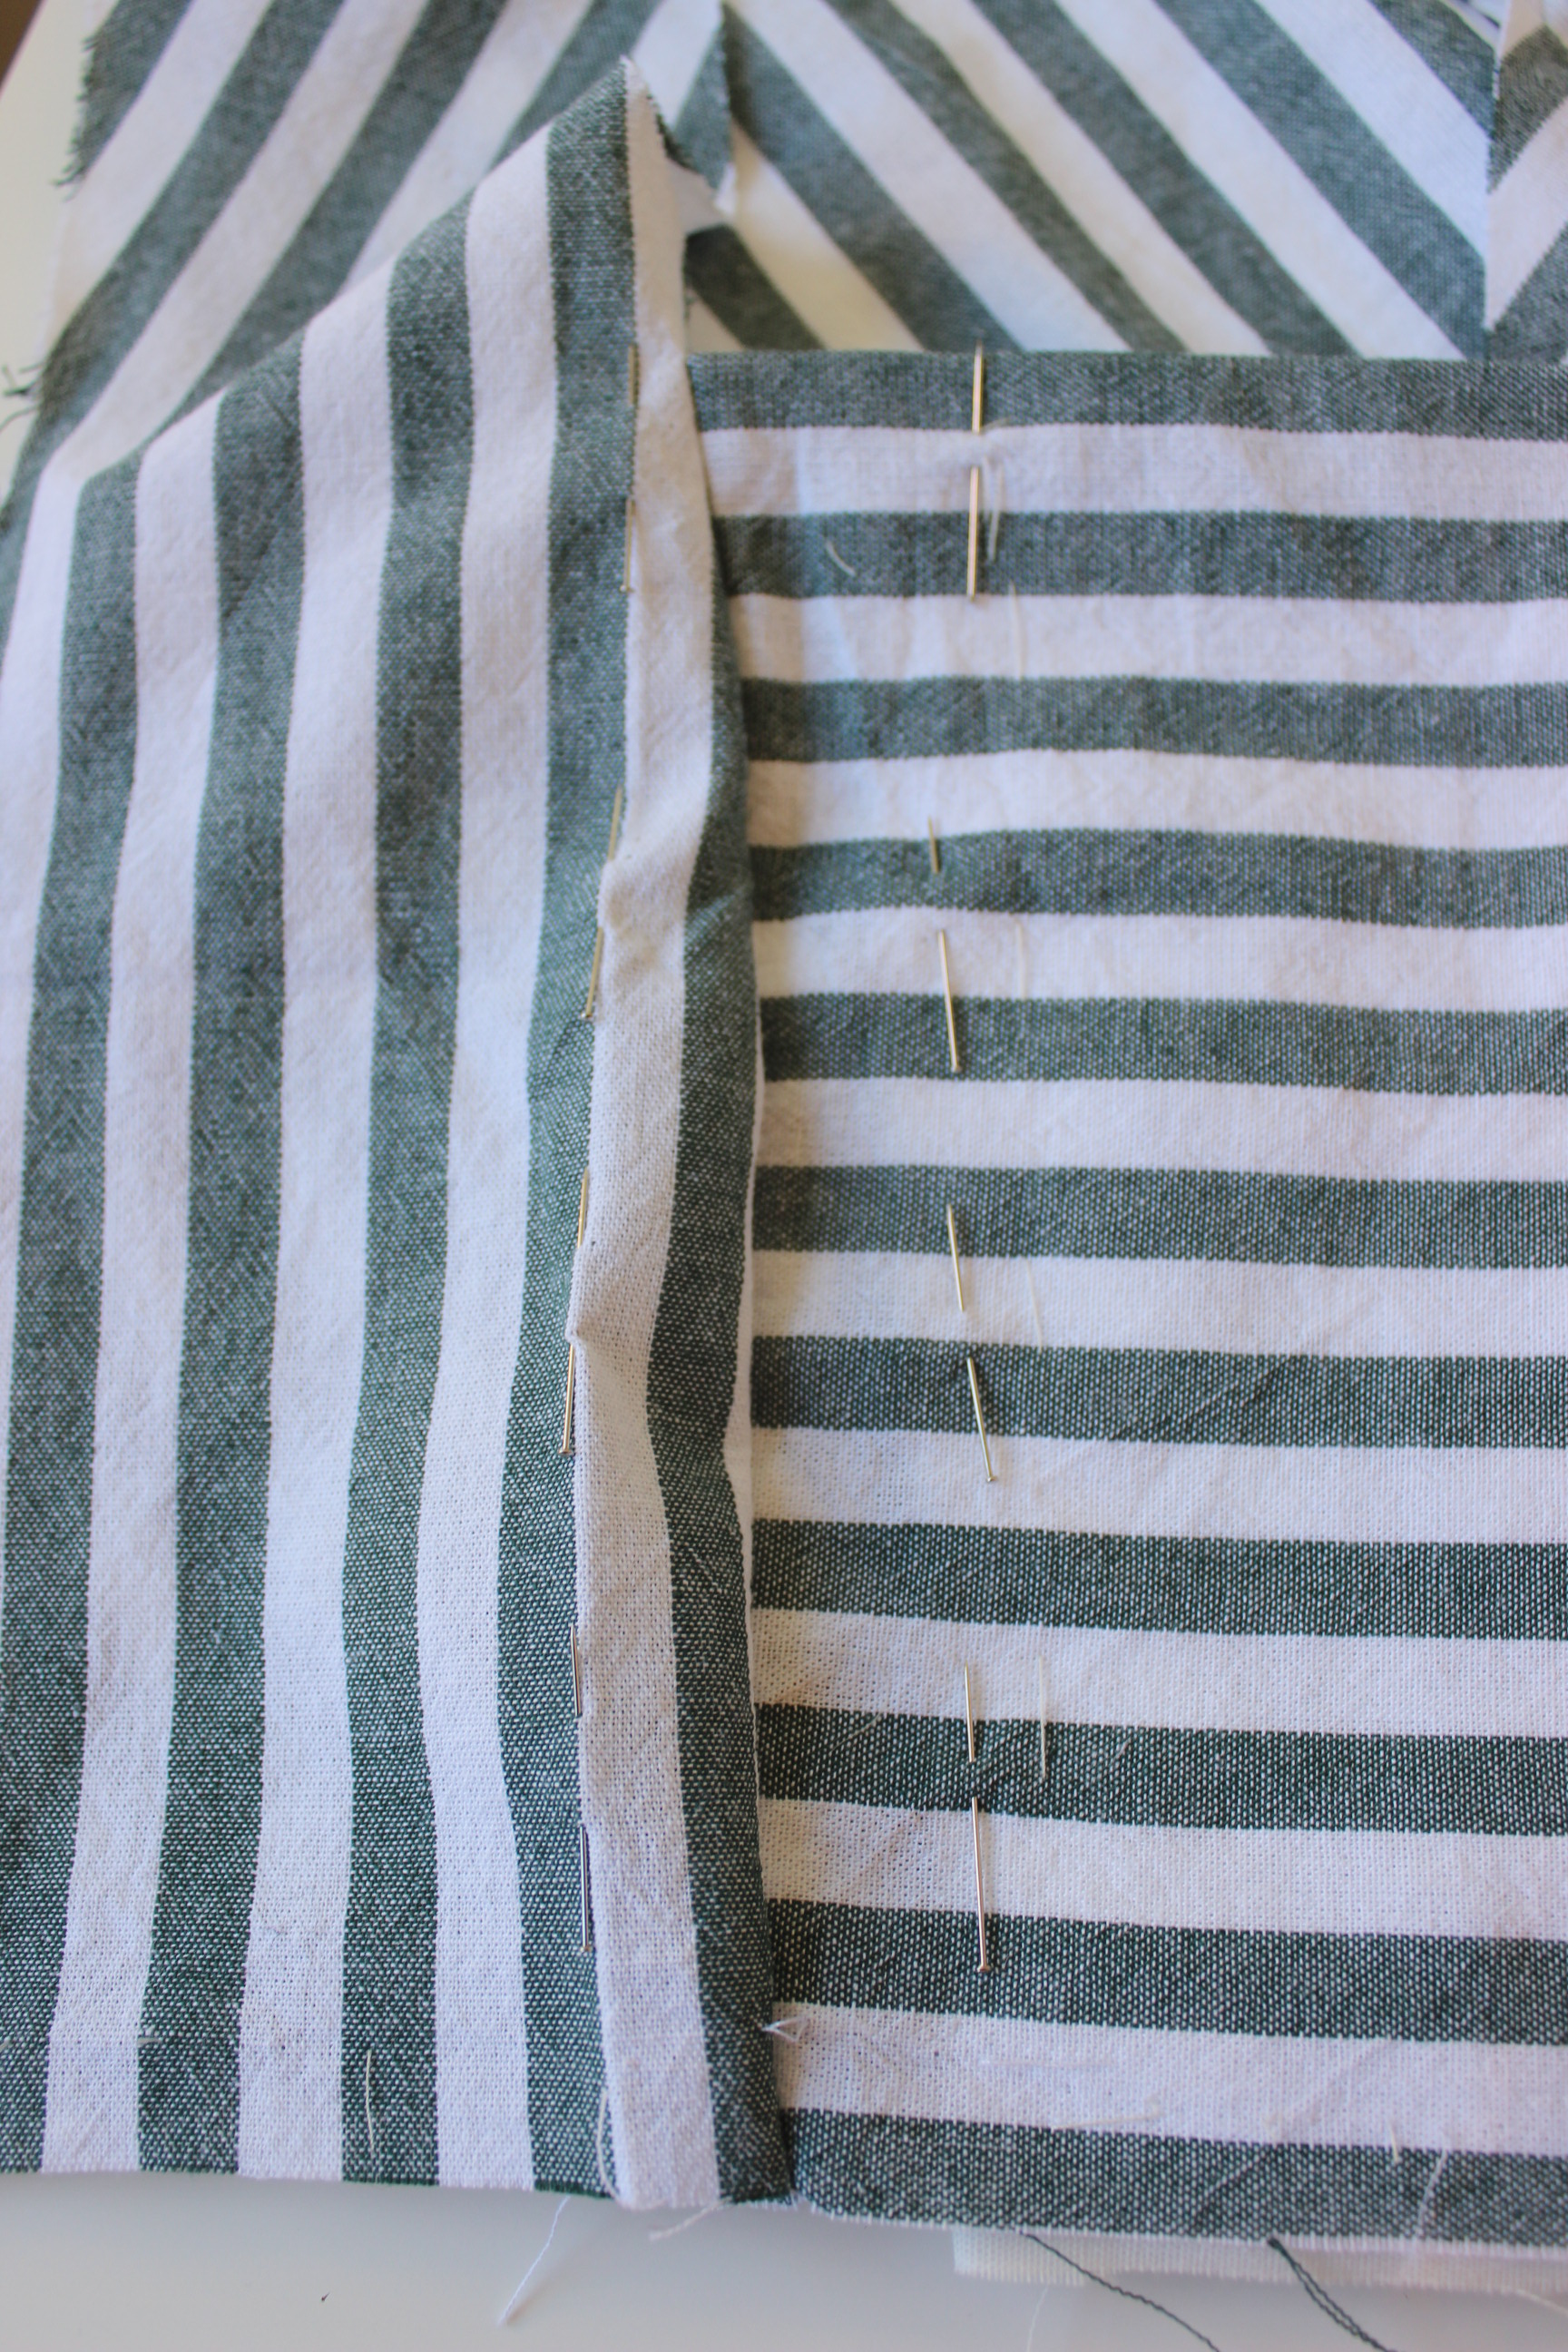
Pins to show where to make the new seam line.
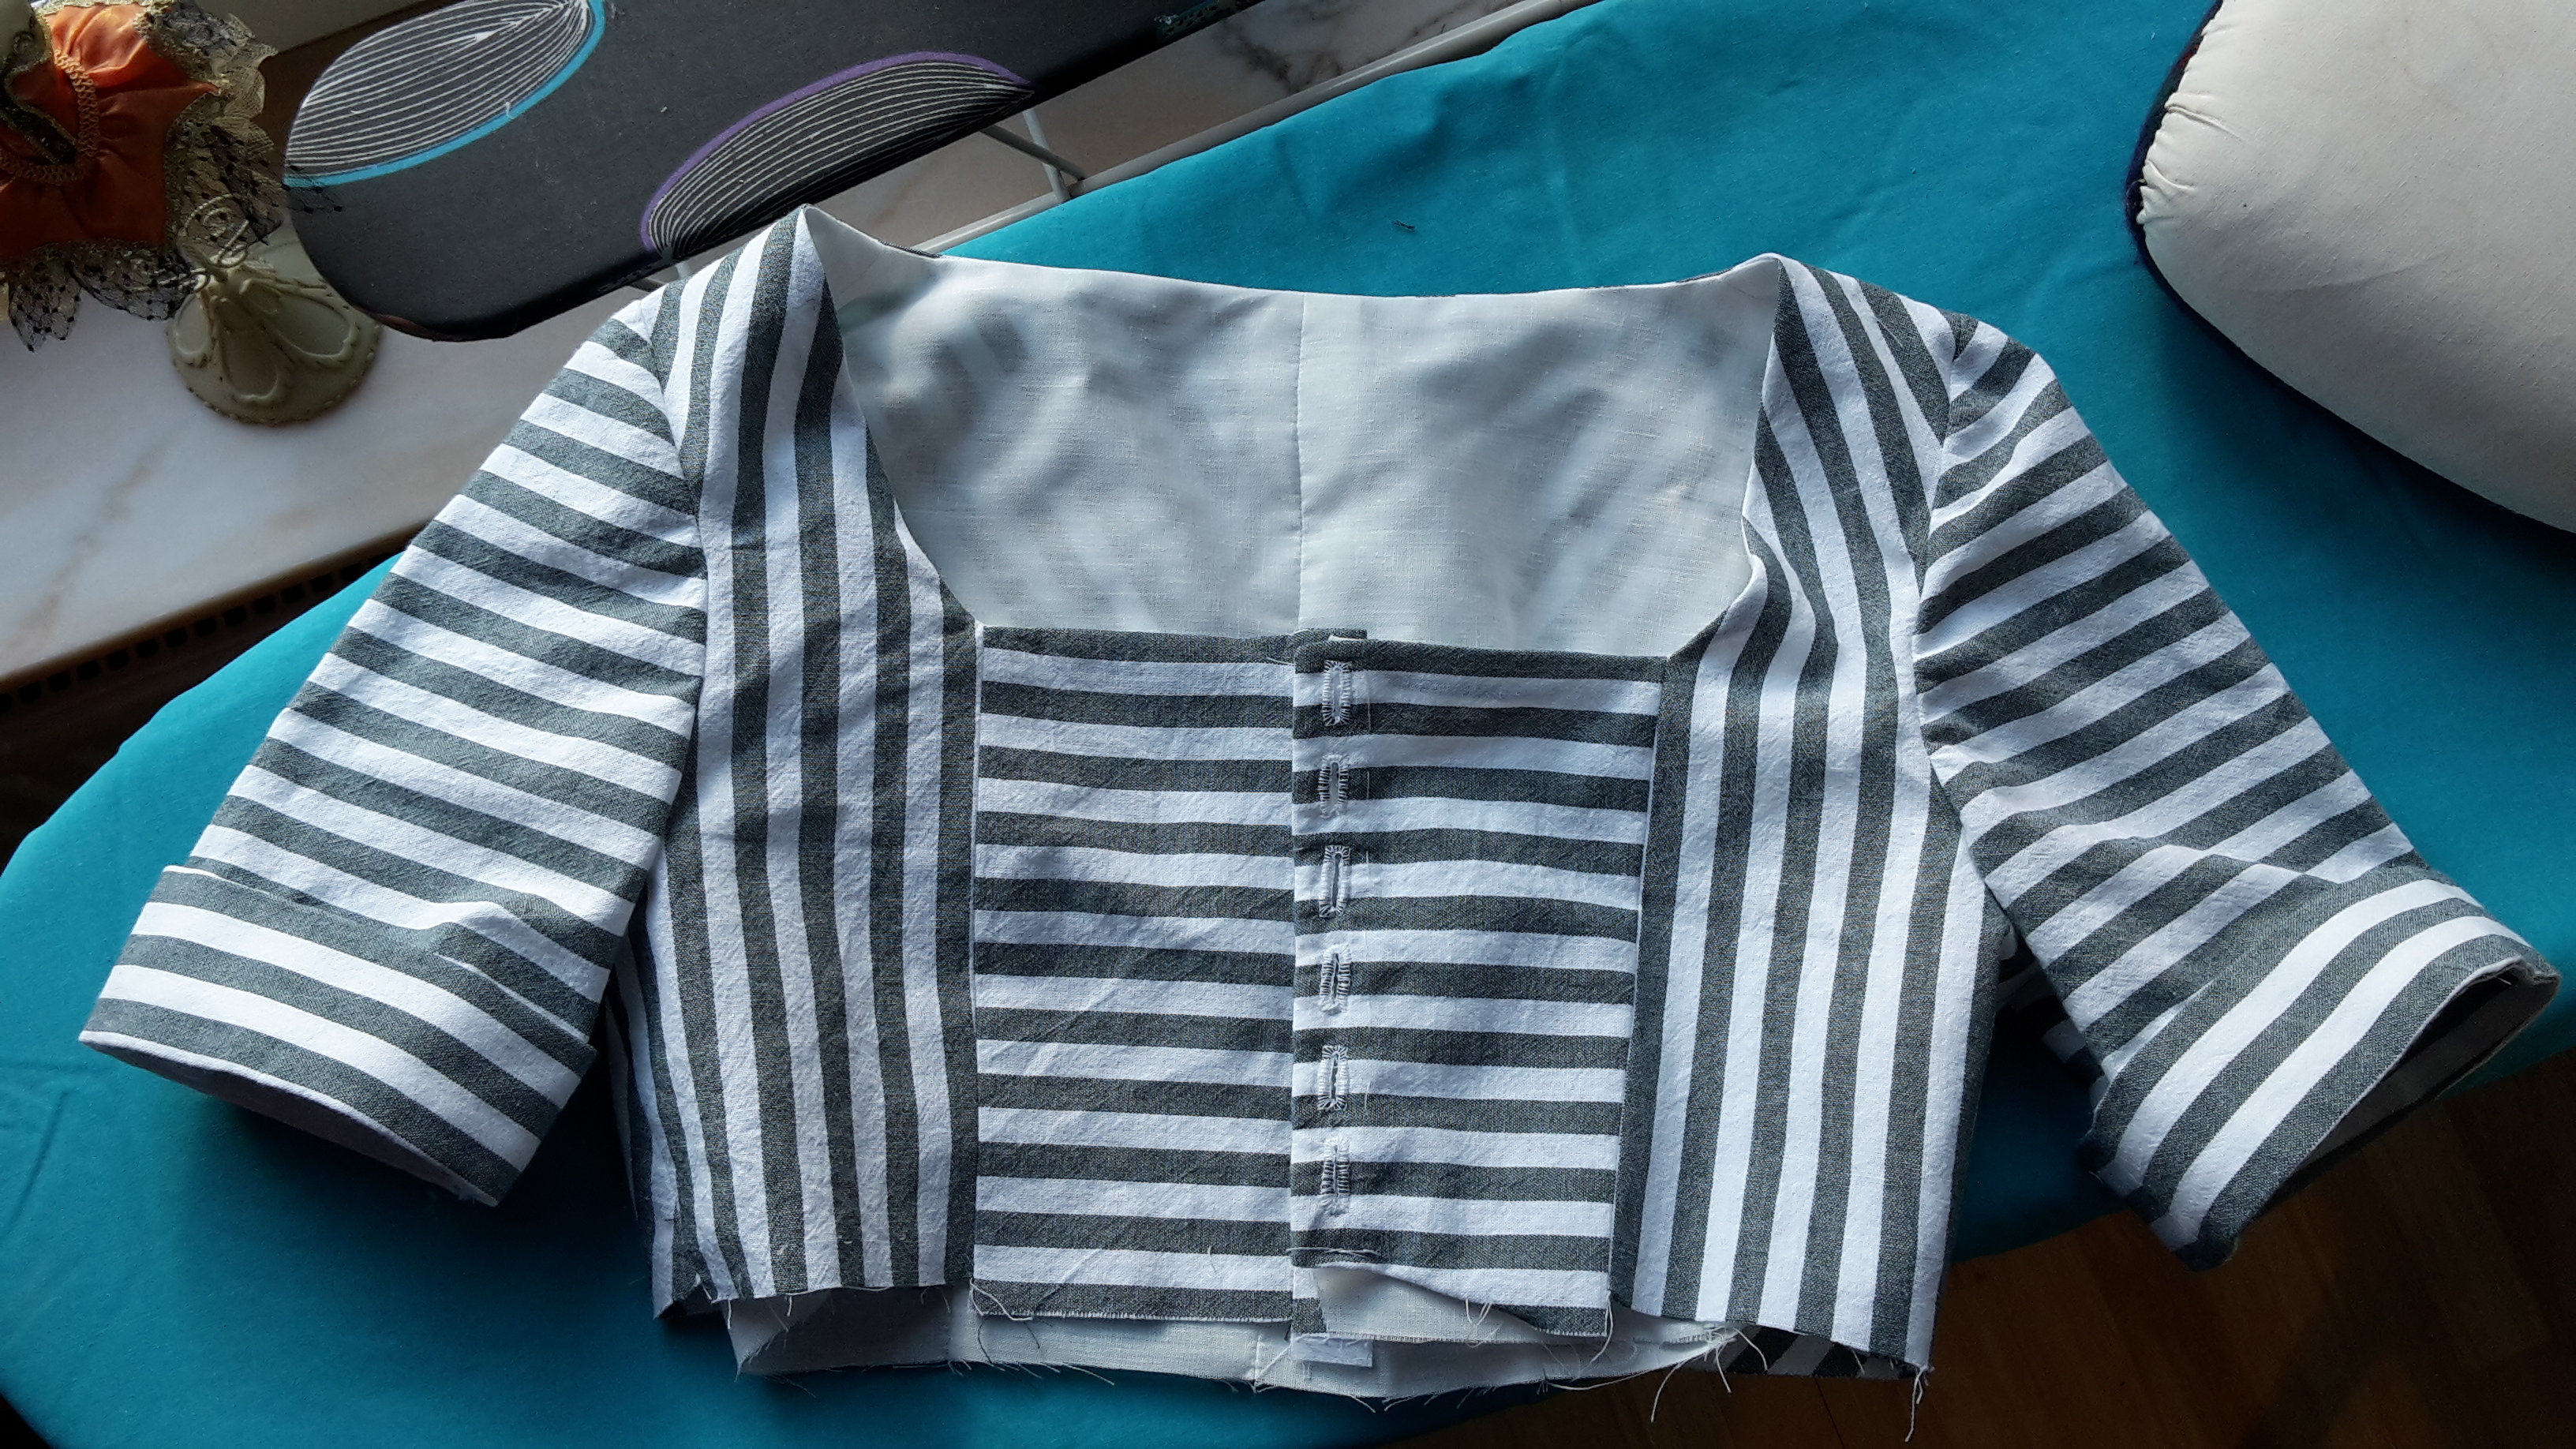
When the fit was once more good, I un-picked the basting and marked the button holes. 
Then I hand stitched the buttonholes, and sewed the front pieces to the rest of the bodice (using the new seam-lines).
Once I had the bodice ready, I attached the lining to the neckline, cut he seam allowance, flipped it over and carefully pressed the edge.
Then I made the cuffs for the sleeves, and attached them to the bodice.
 Now it is starting to look like something
To be continued…
(Because otherwise this would be an extremely long post)
