A Pink Caraco Gift

When the HSF challenge 3- Pink, was announced in december I was more then sceptical. I am certainly not a fan of pink, I wouldn’t even think of wearing it.

But a challenge is a challenge…

And I decided to face my fears (not a fear really, more of a huge distaste) and do the challenge – and do it all the way.

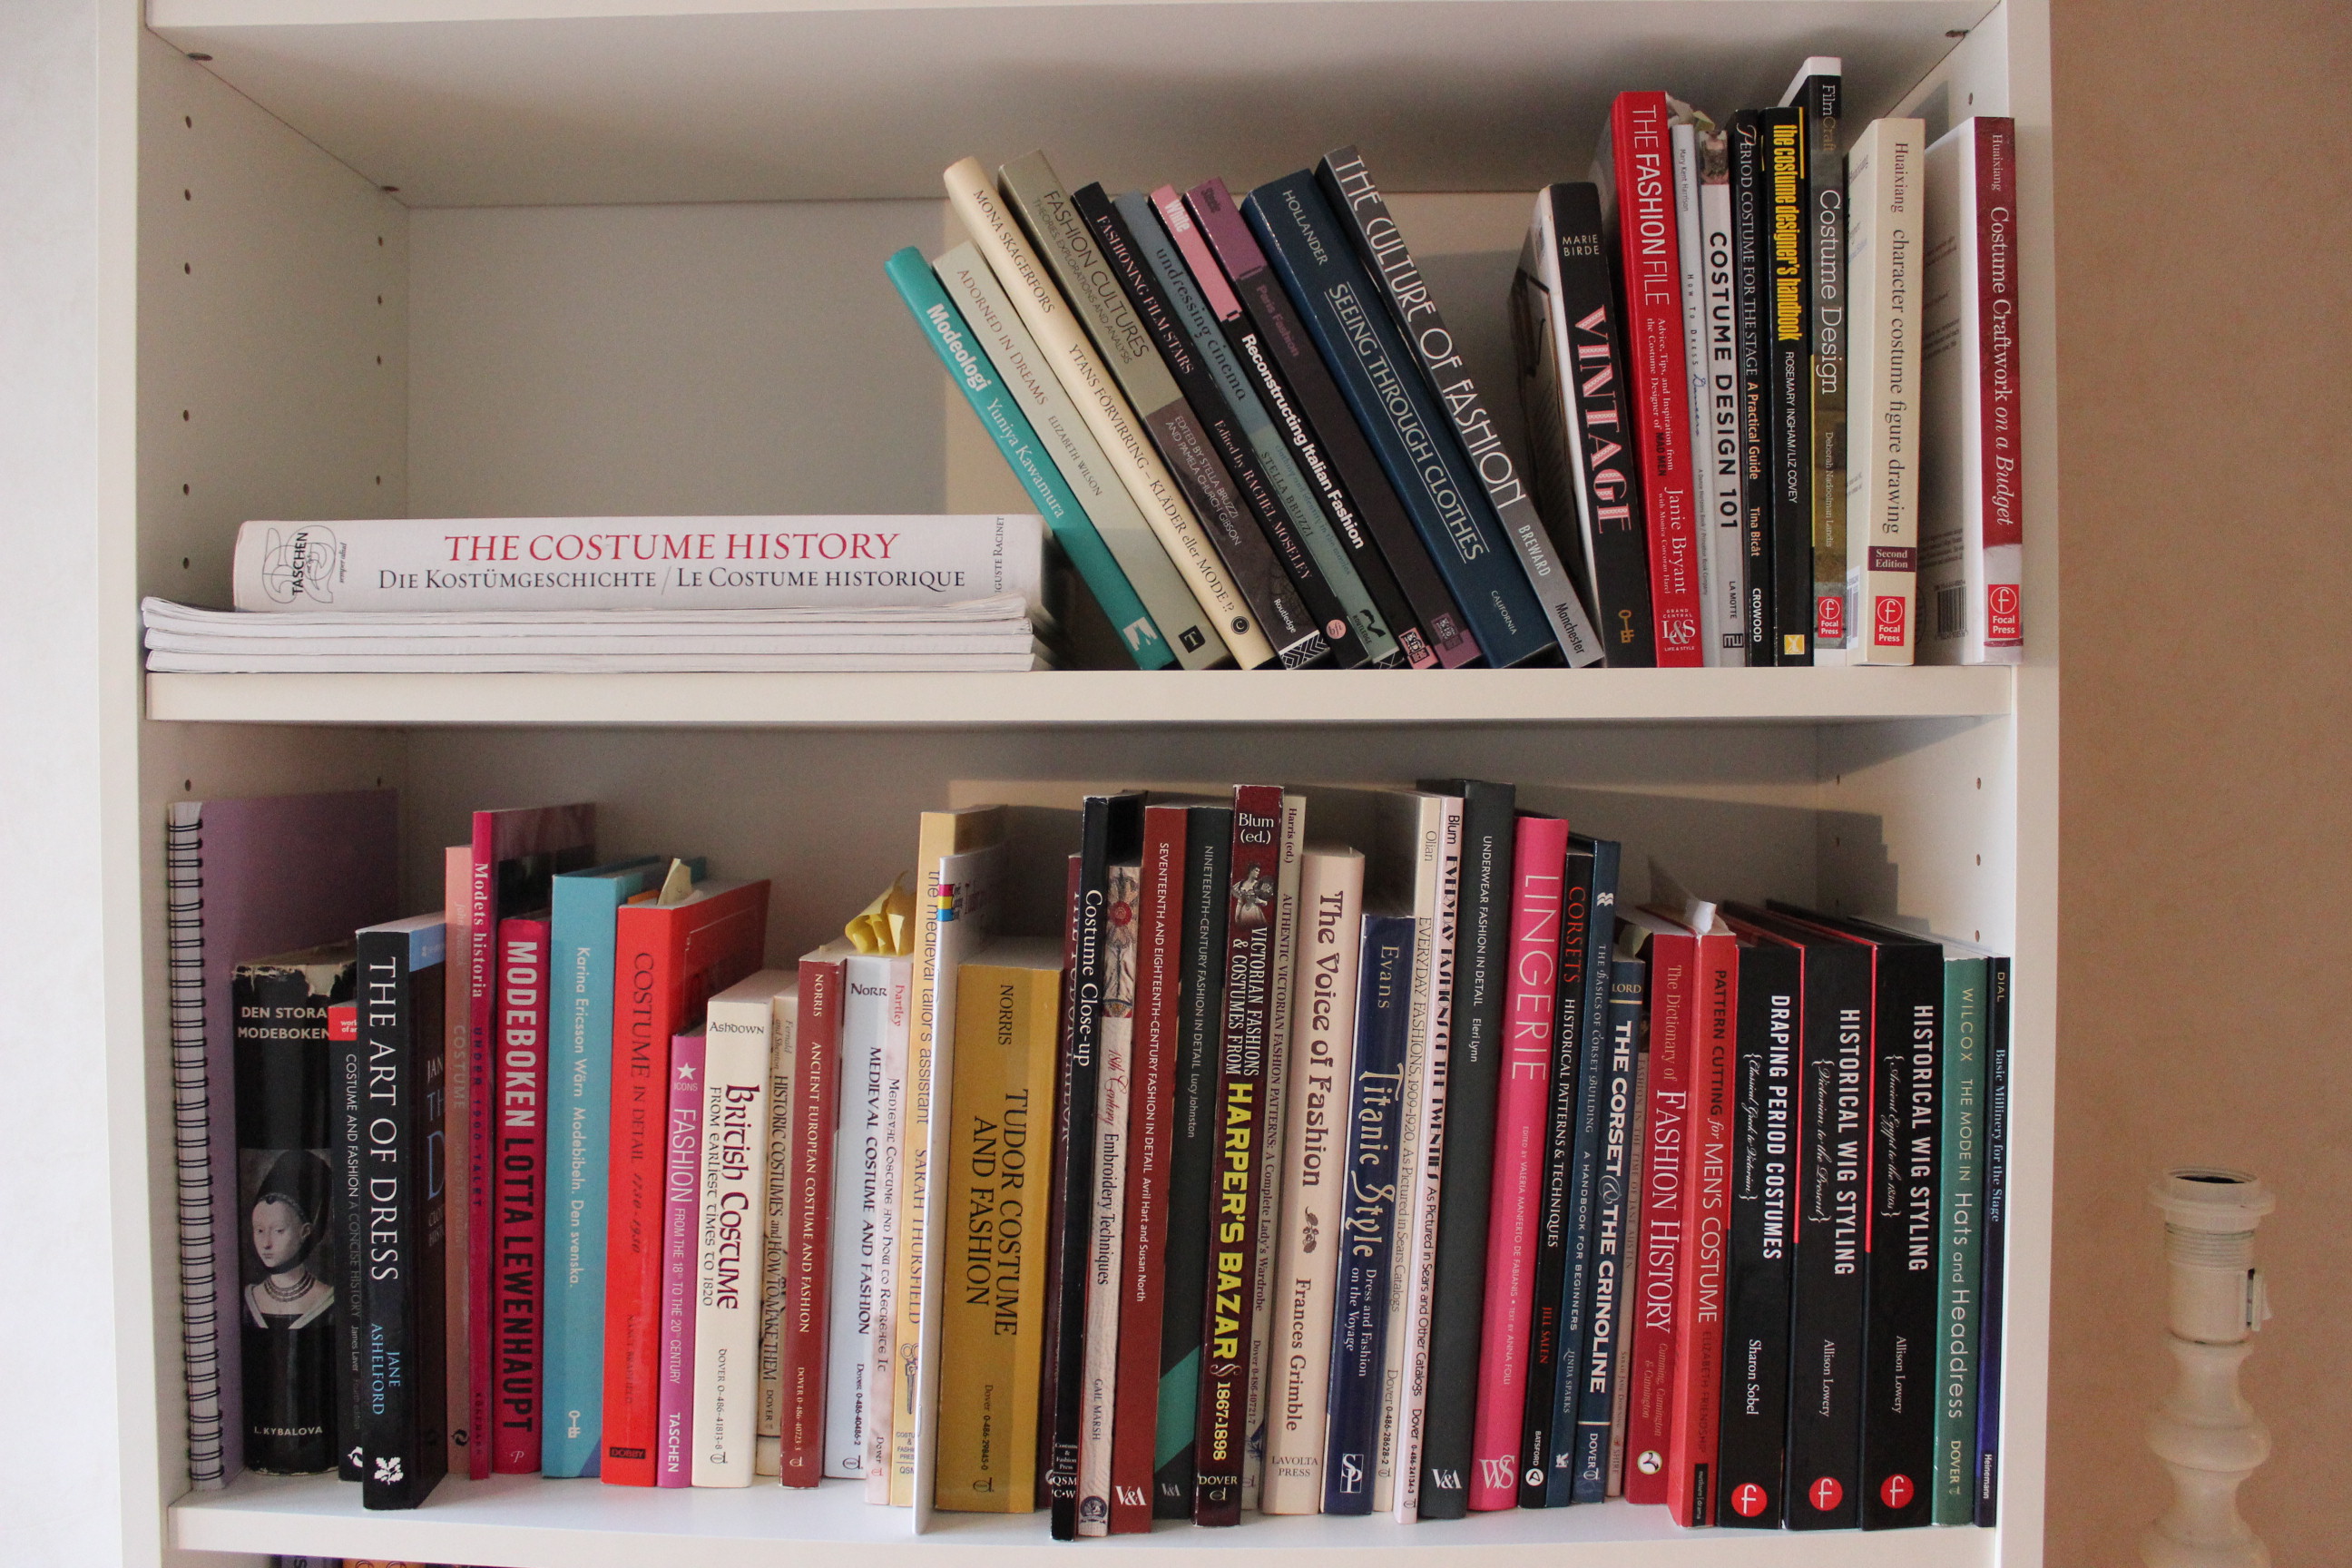
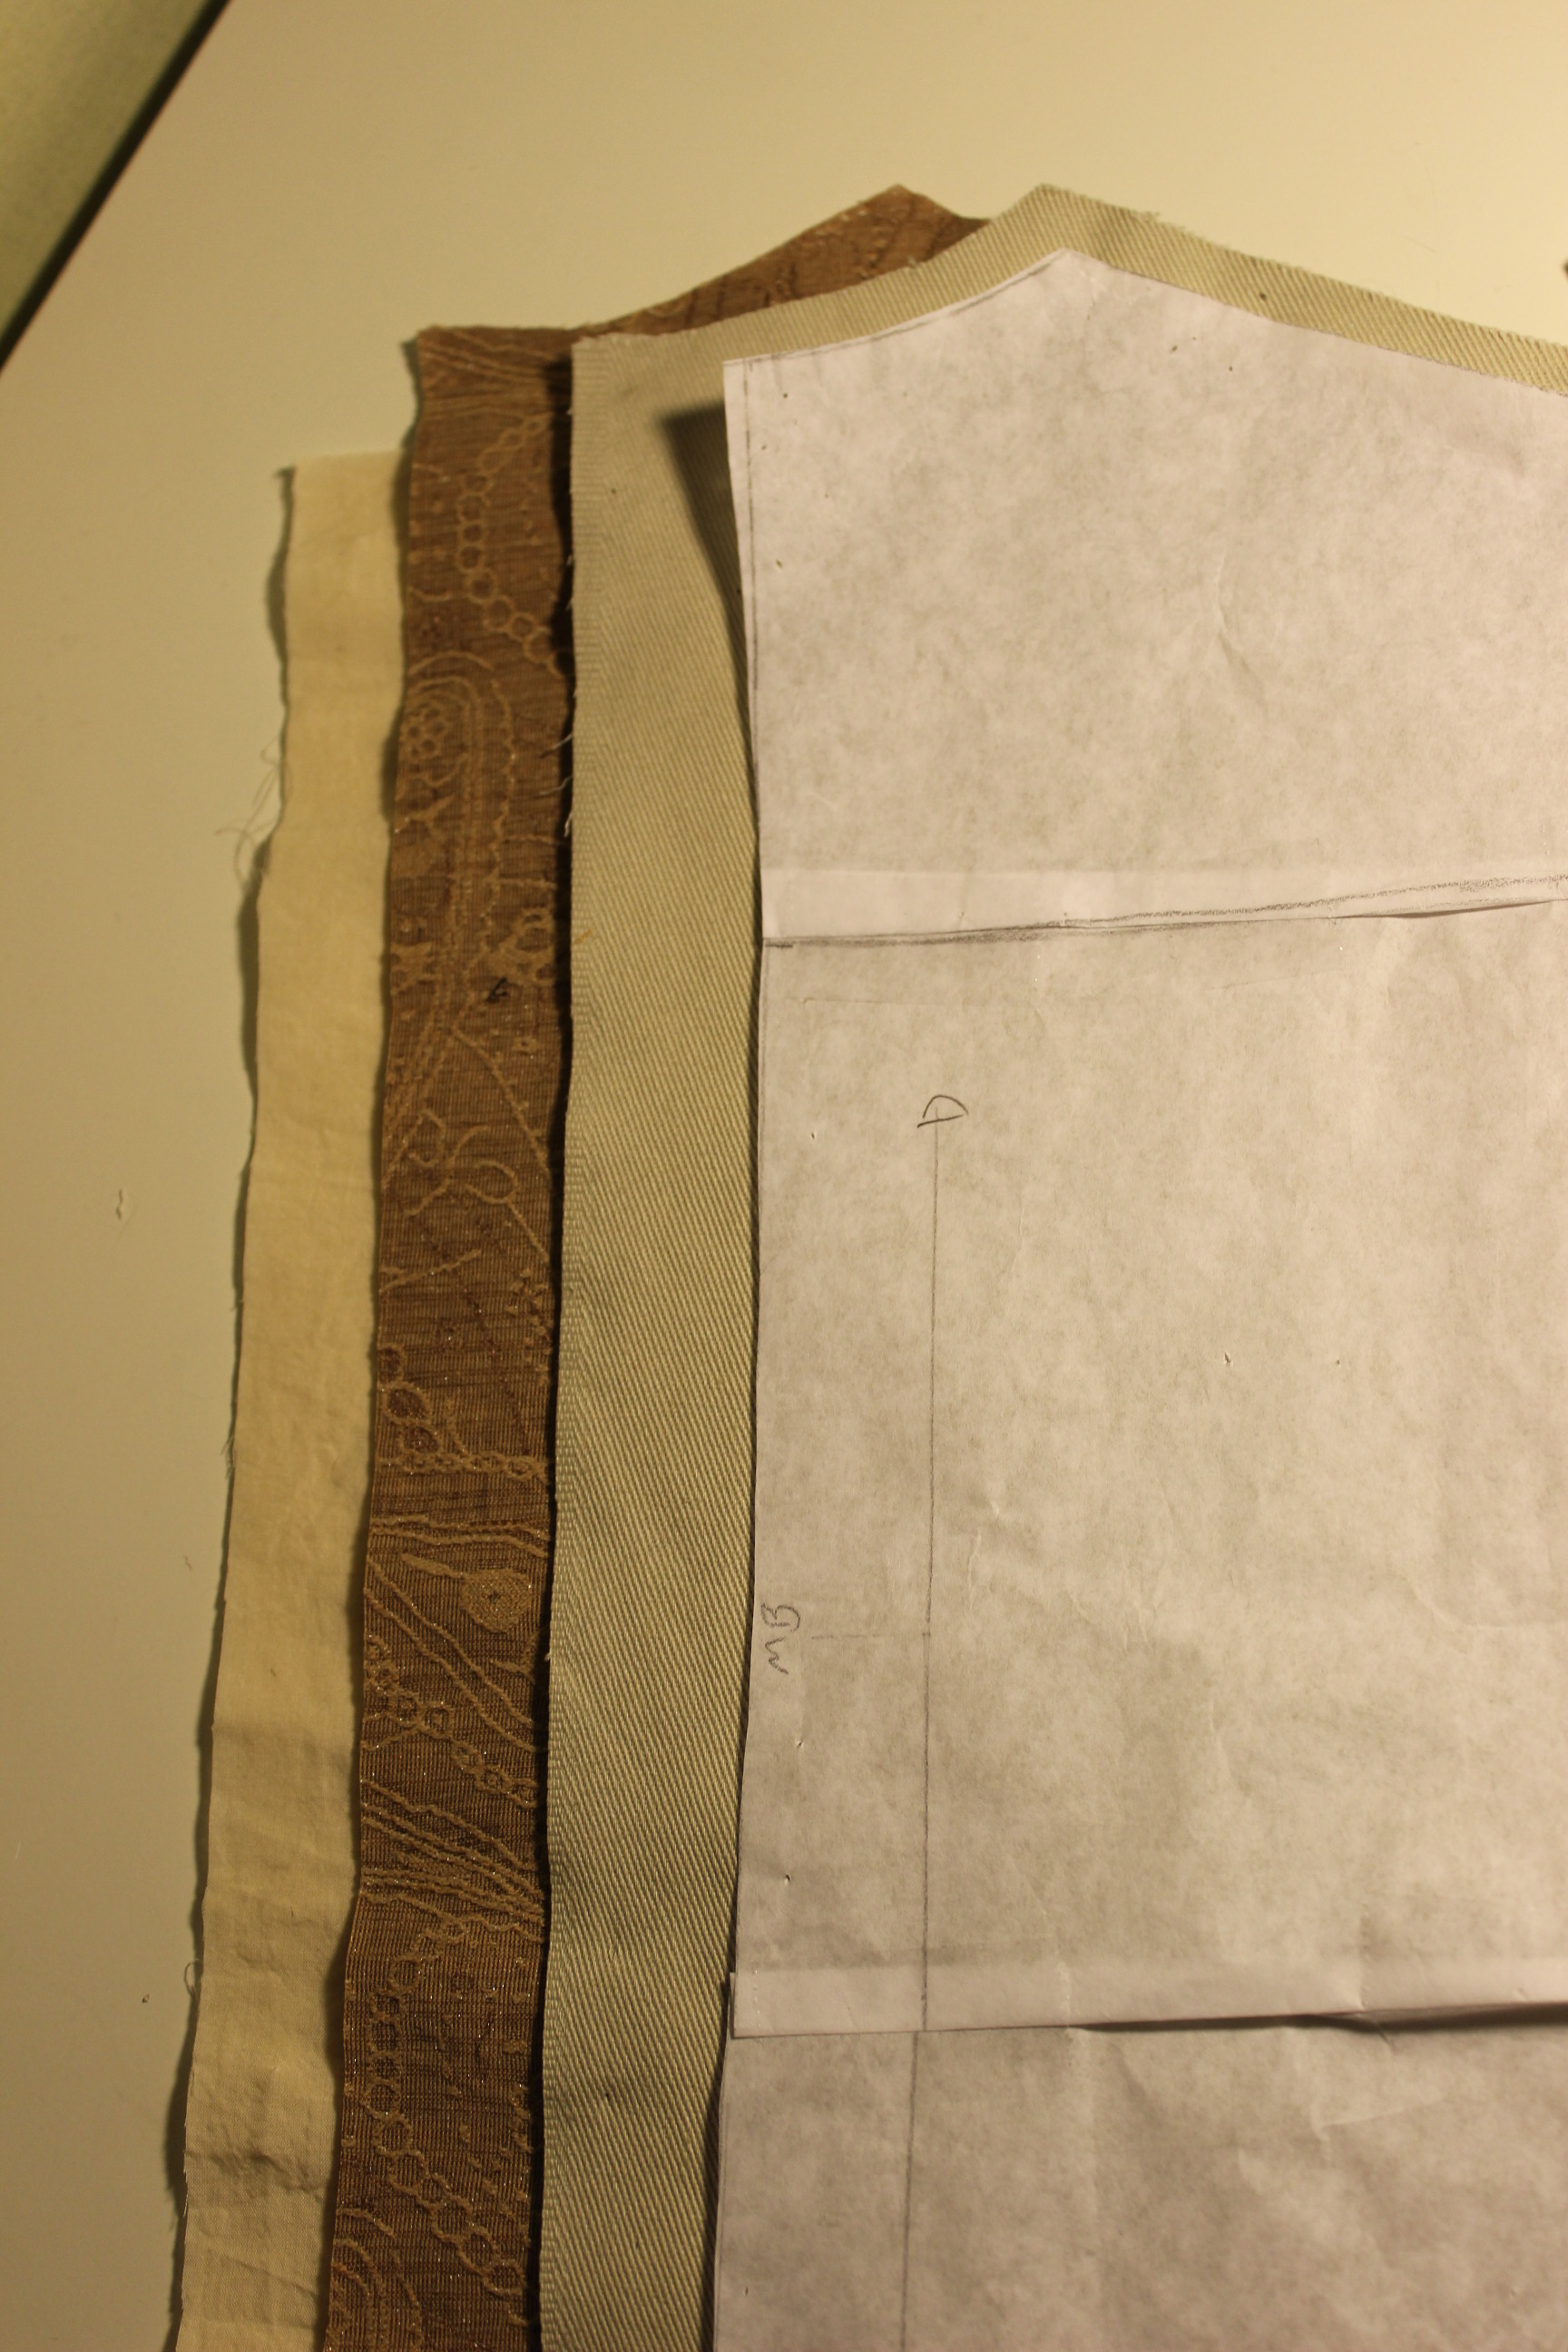
So searcing my stash for something pinkish (yeah right, good luck) I actually came up with two workable fabric options. One pale pink cotton sheet, and a couple of metres of pink/white checkered linnen curtains – both fabric’s been given to me at some point.

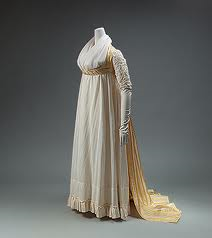
Still not sure of what to make, thinking about something regency, 18th century or early 20th century, I decided to wait until the big opera gown was finished, in late januray, to decide.

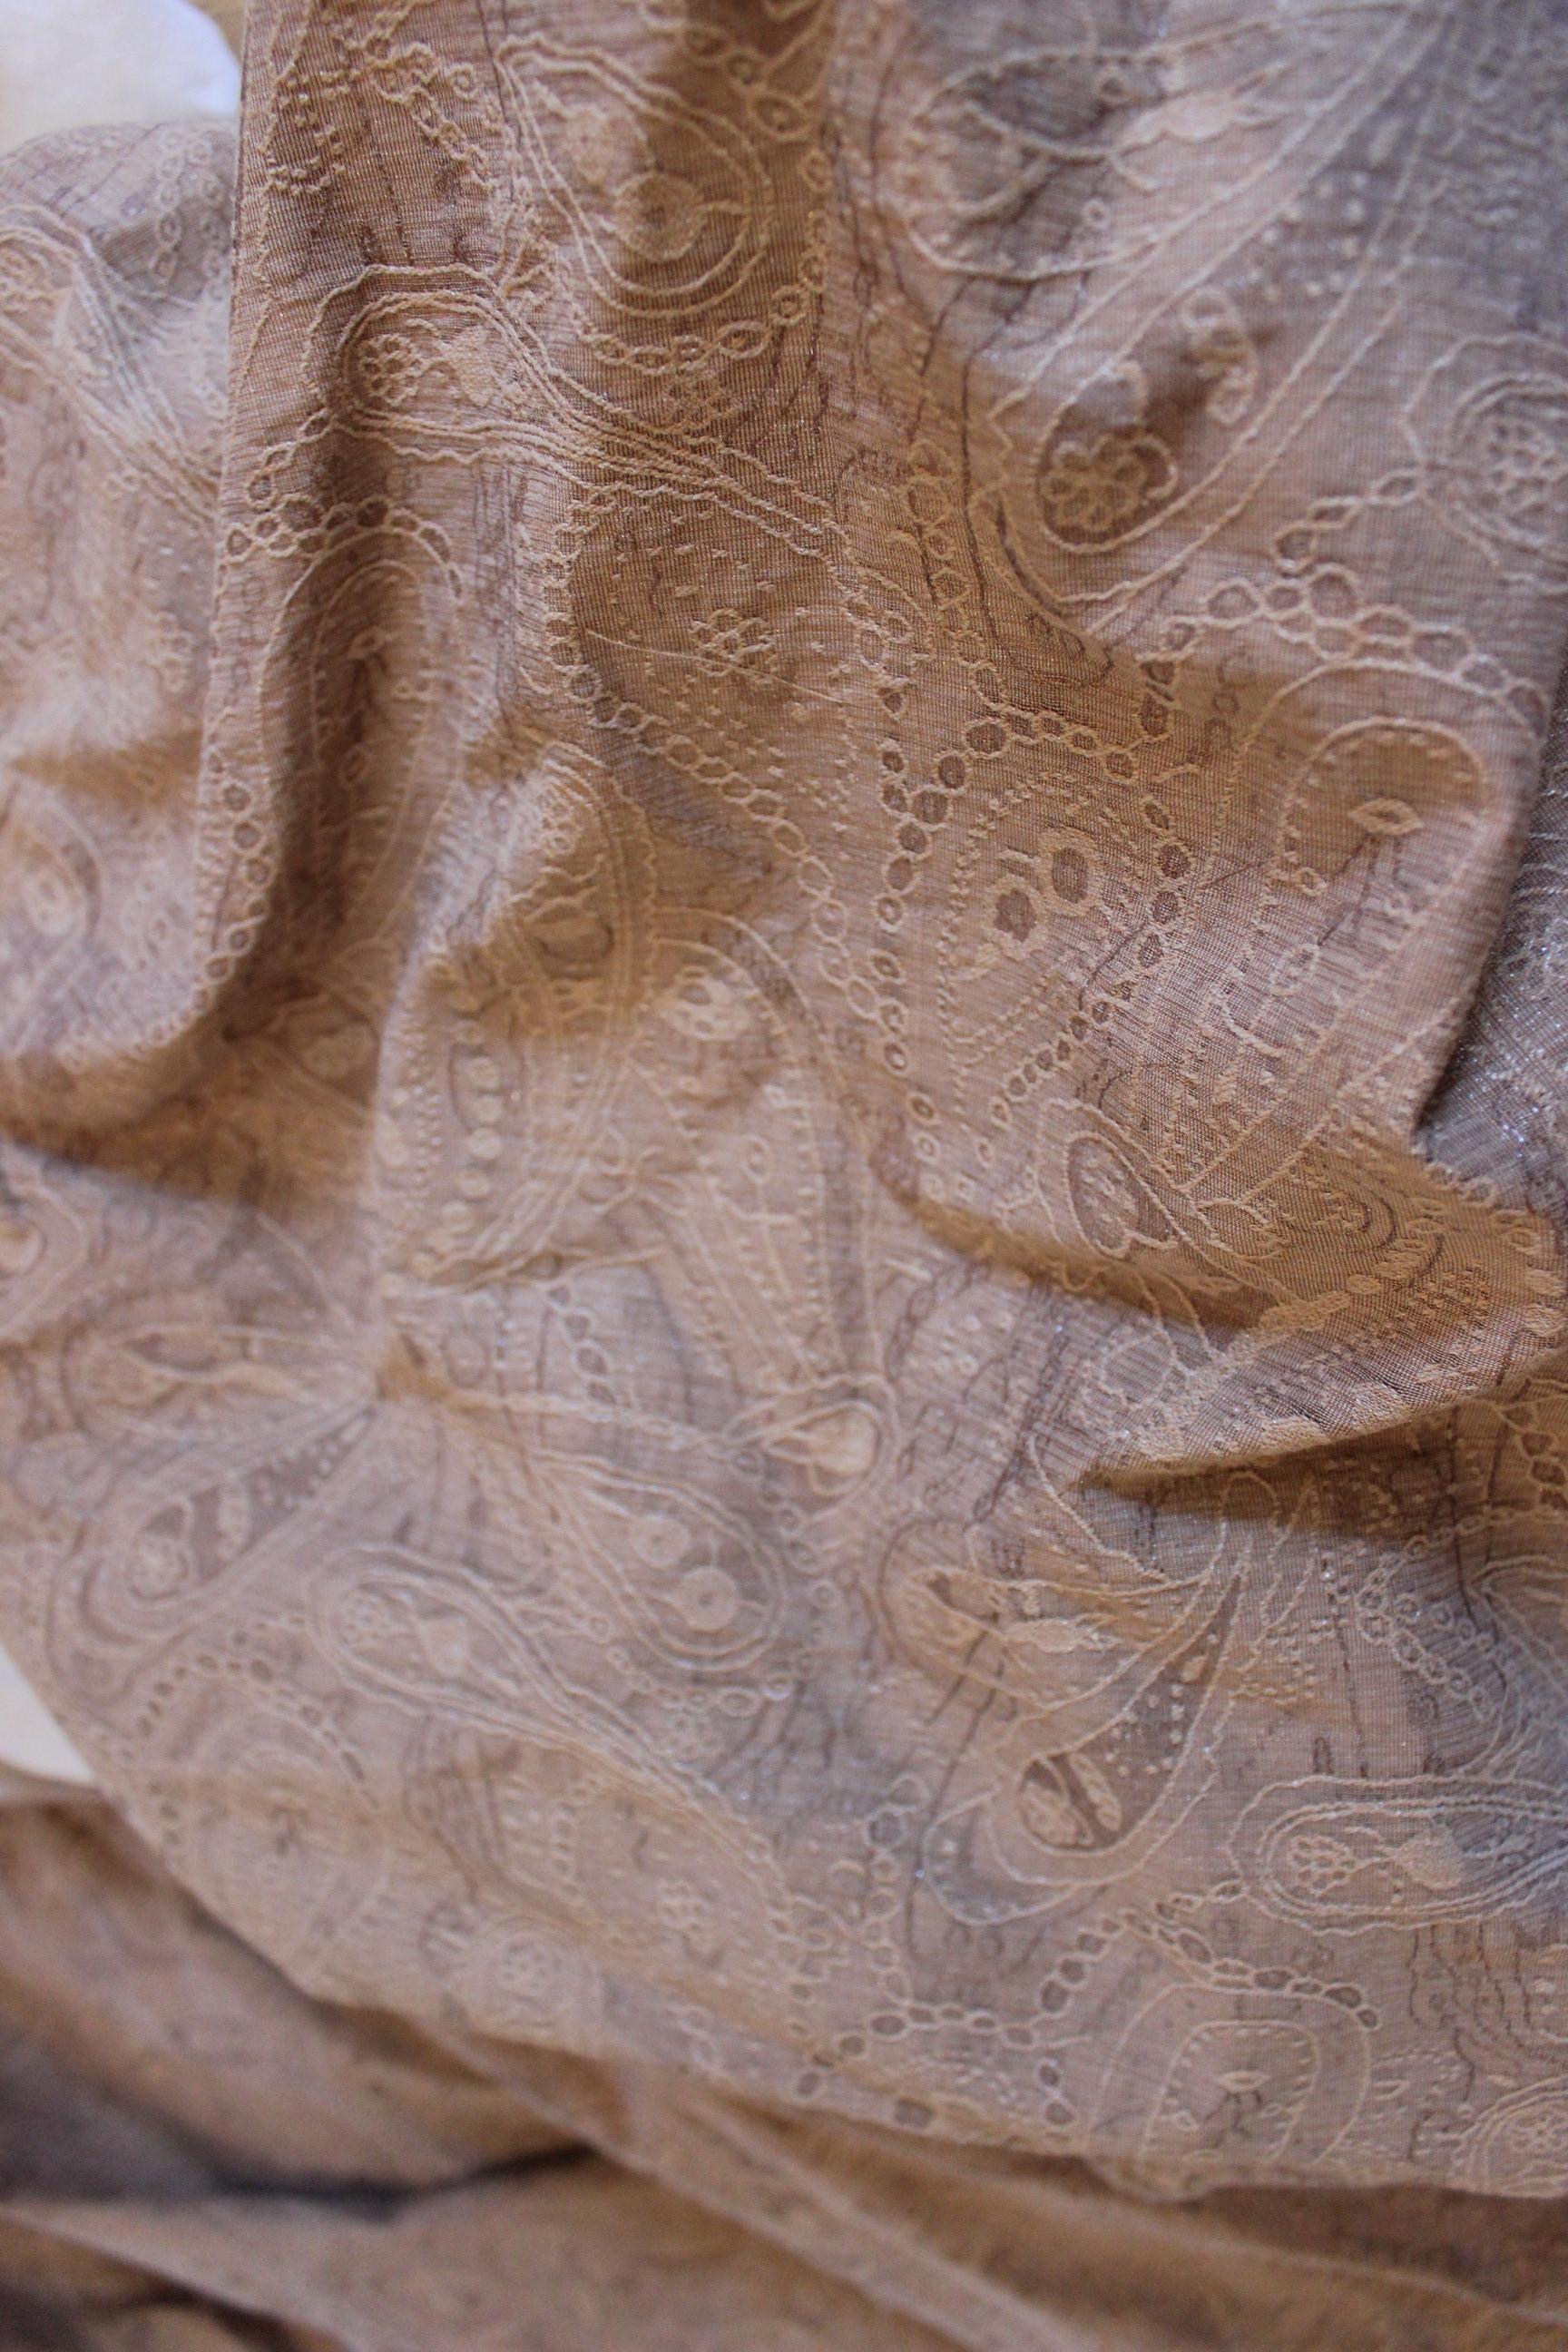
Perhaps it was faith, since I found the most wounderful fabric at an internet auction 2 weeks ago.180551824_21ee55d7-97ff-4039-a871-e3a62da1ef96 I emedetly know I needed that fabric. So I bidded on it and won. And a week ago it arrived.

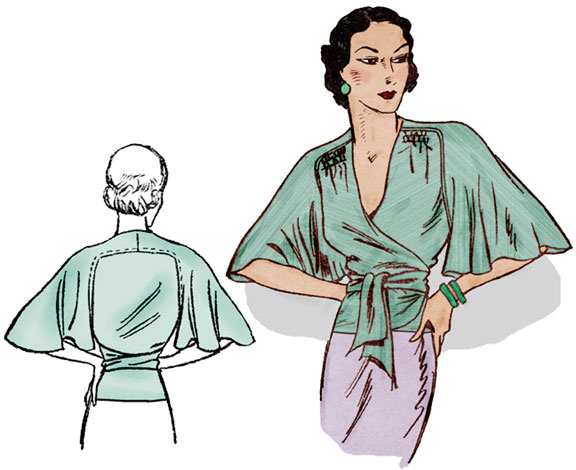
Despite the fact the amount of fabic was really limited (only 1m), I decided to try to get a 18th century Caraco jacket out of it.

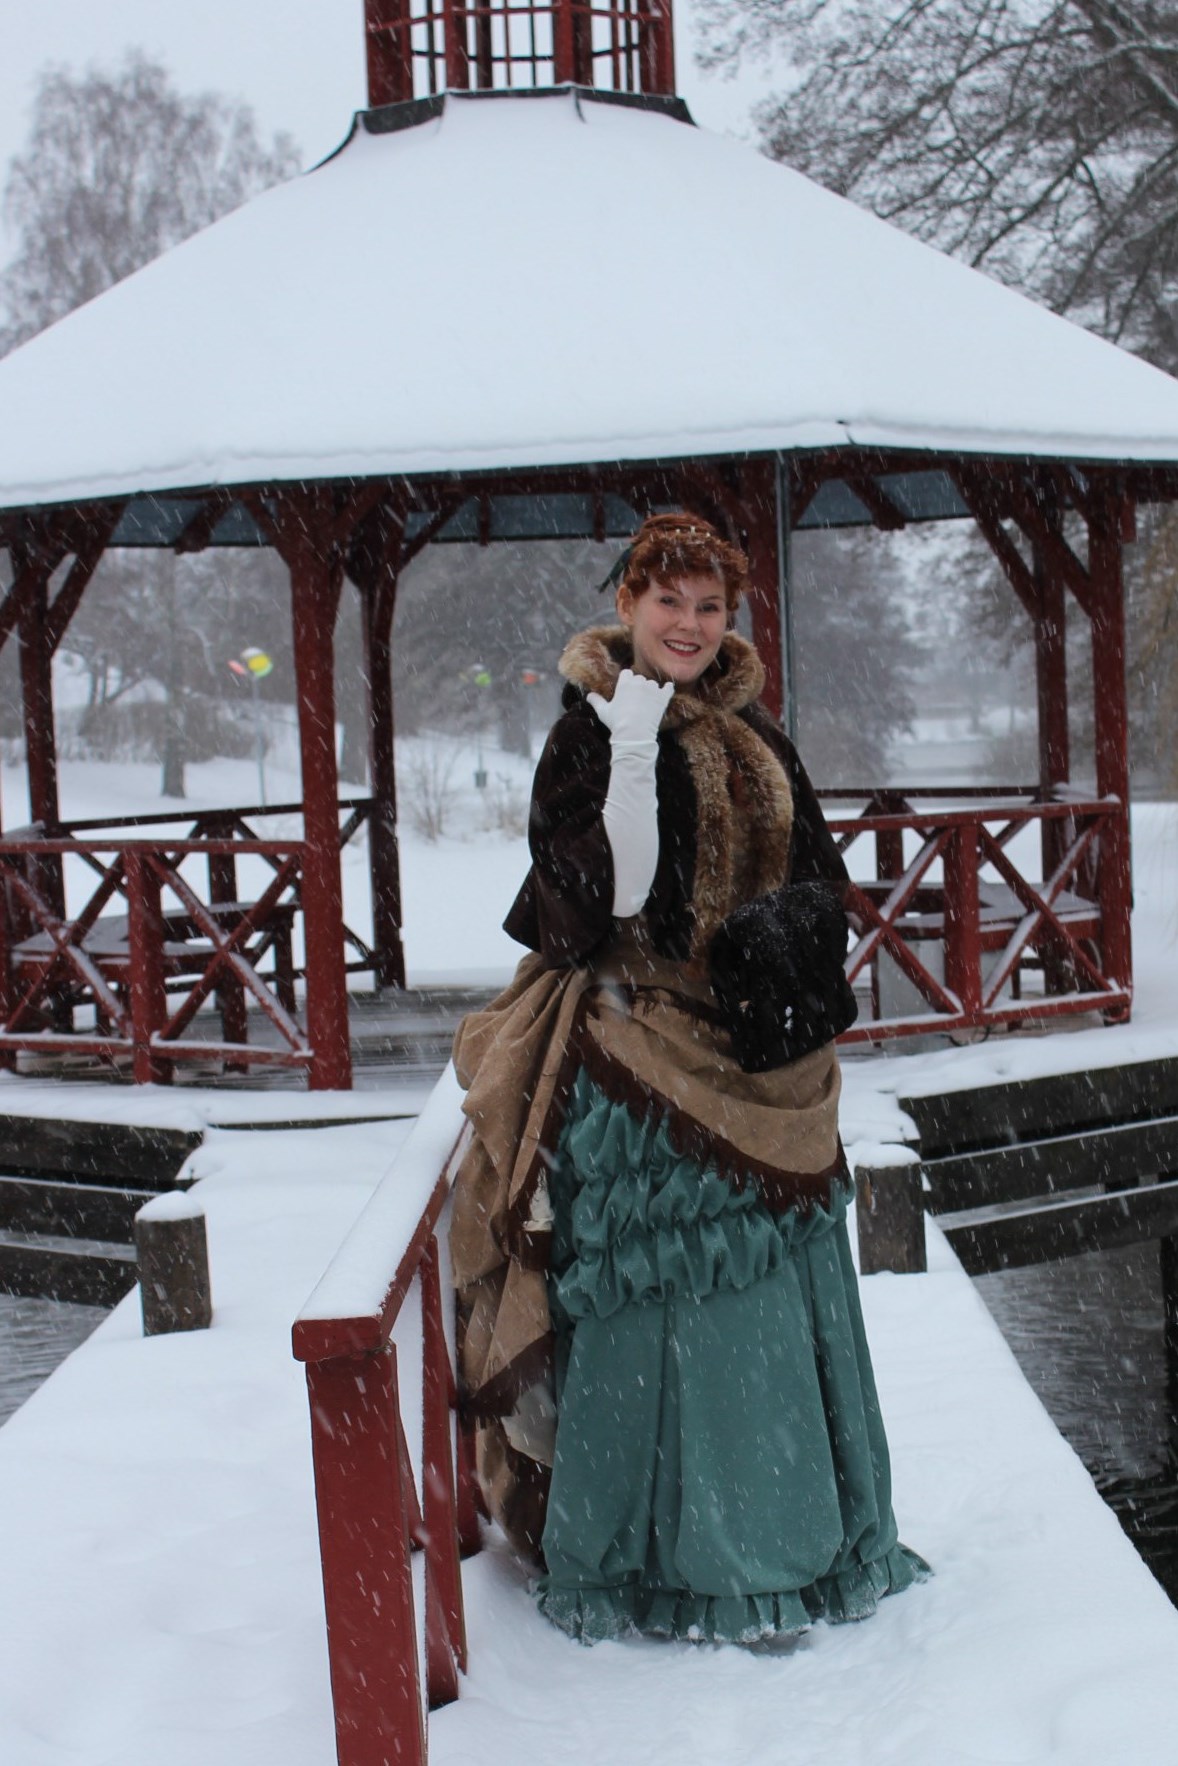
But since I’t will need to be a fairly smal jacket, I decided to make the jacket as a “thank you” gift to sister M. She is always so nice and wounderful and helps me with my projects, and without complaining photographs my costumes out in the freezing snow. Thank you so much for everything!

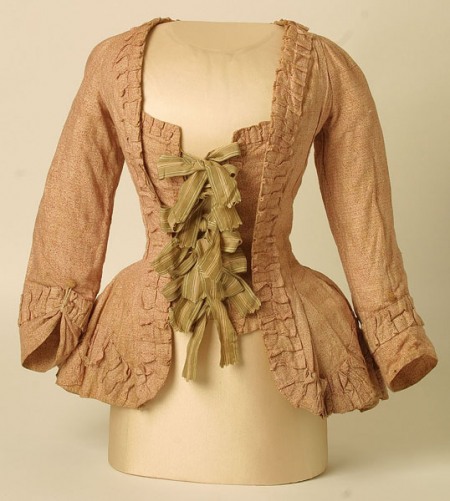
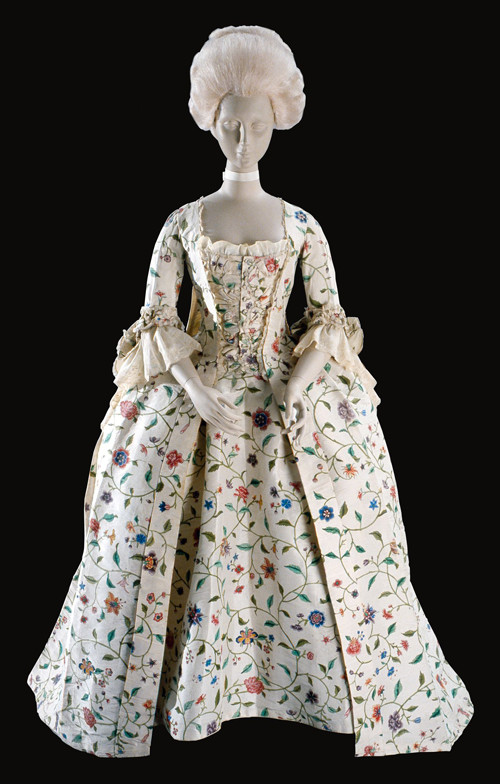
I’m thinking something like this.274015958547564766_VevBYigl_f

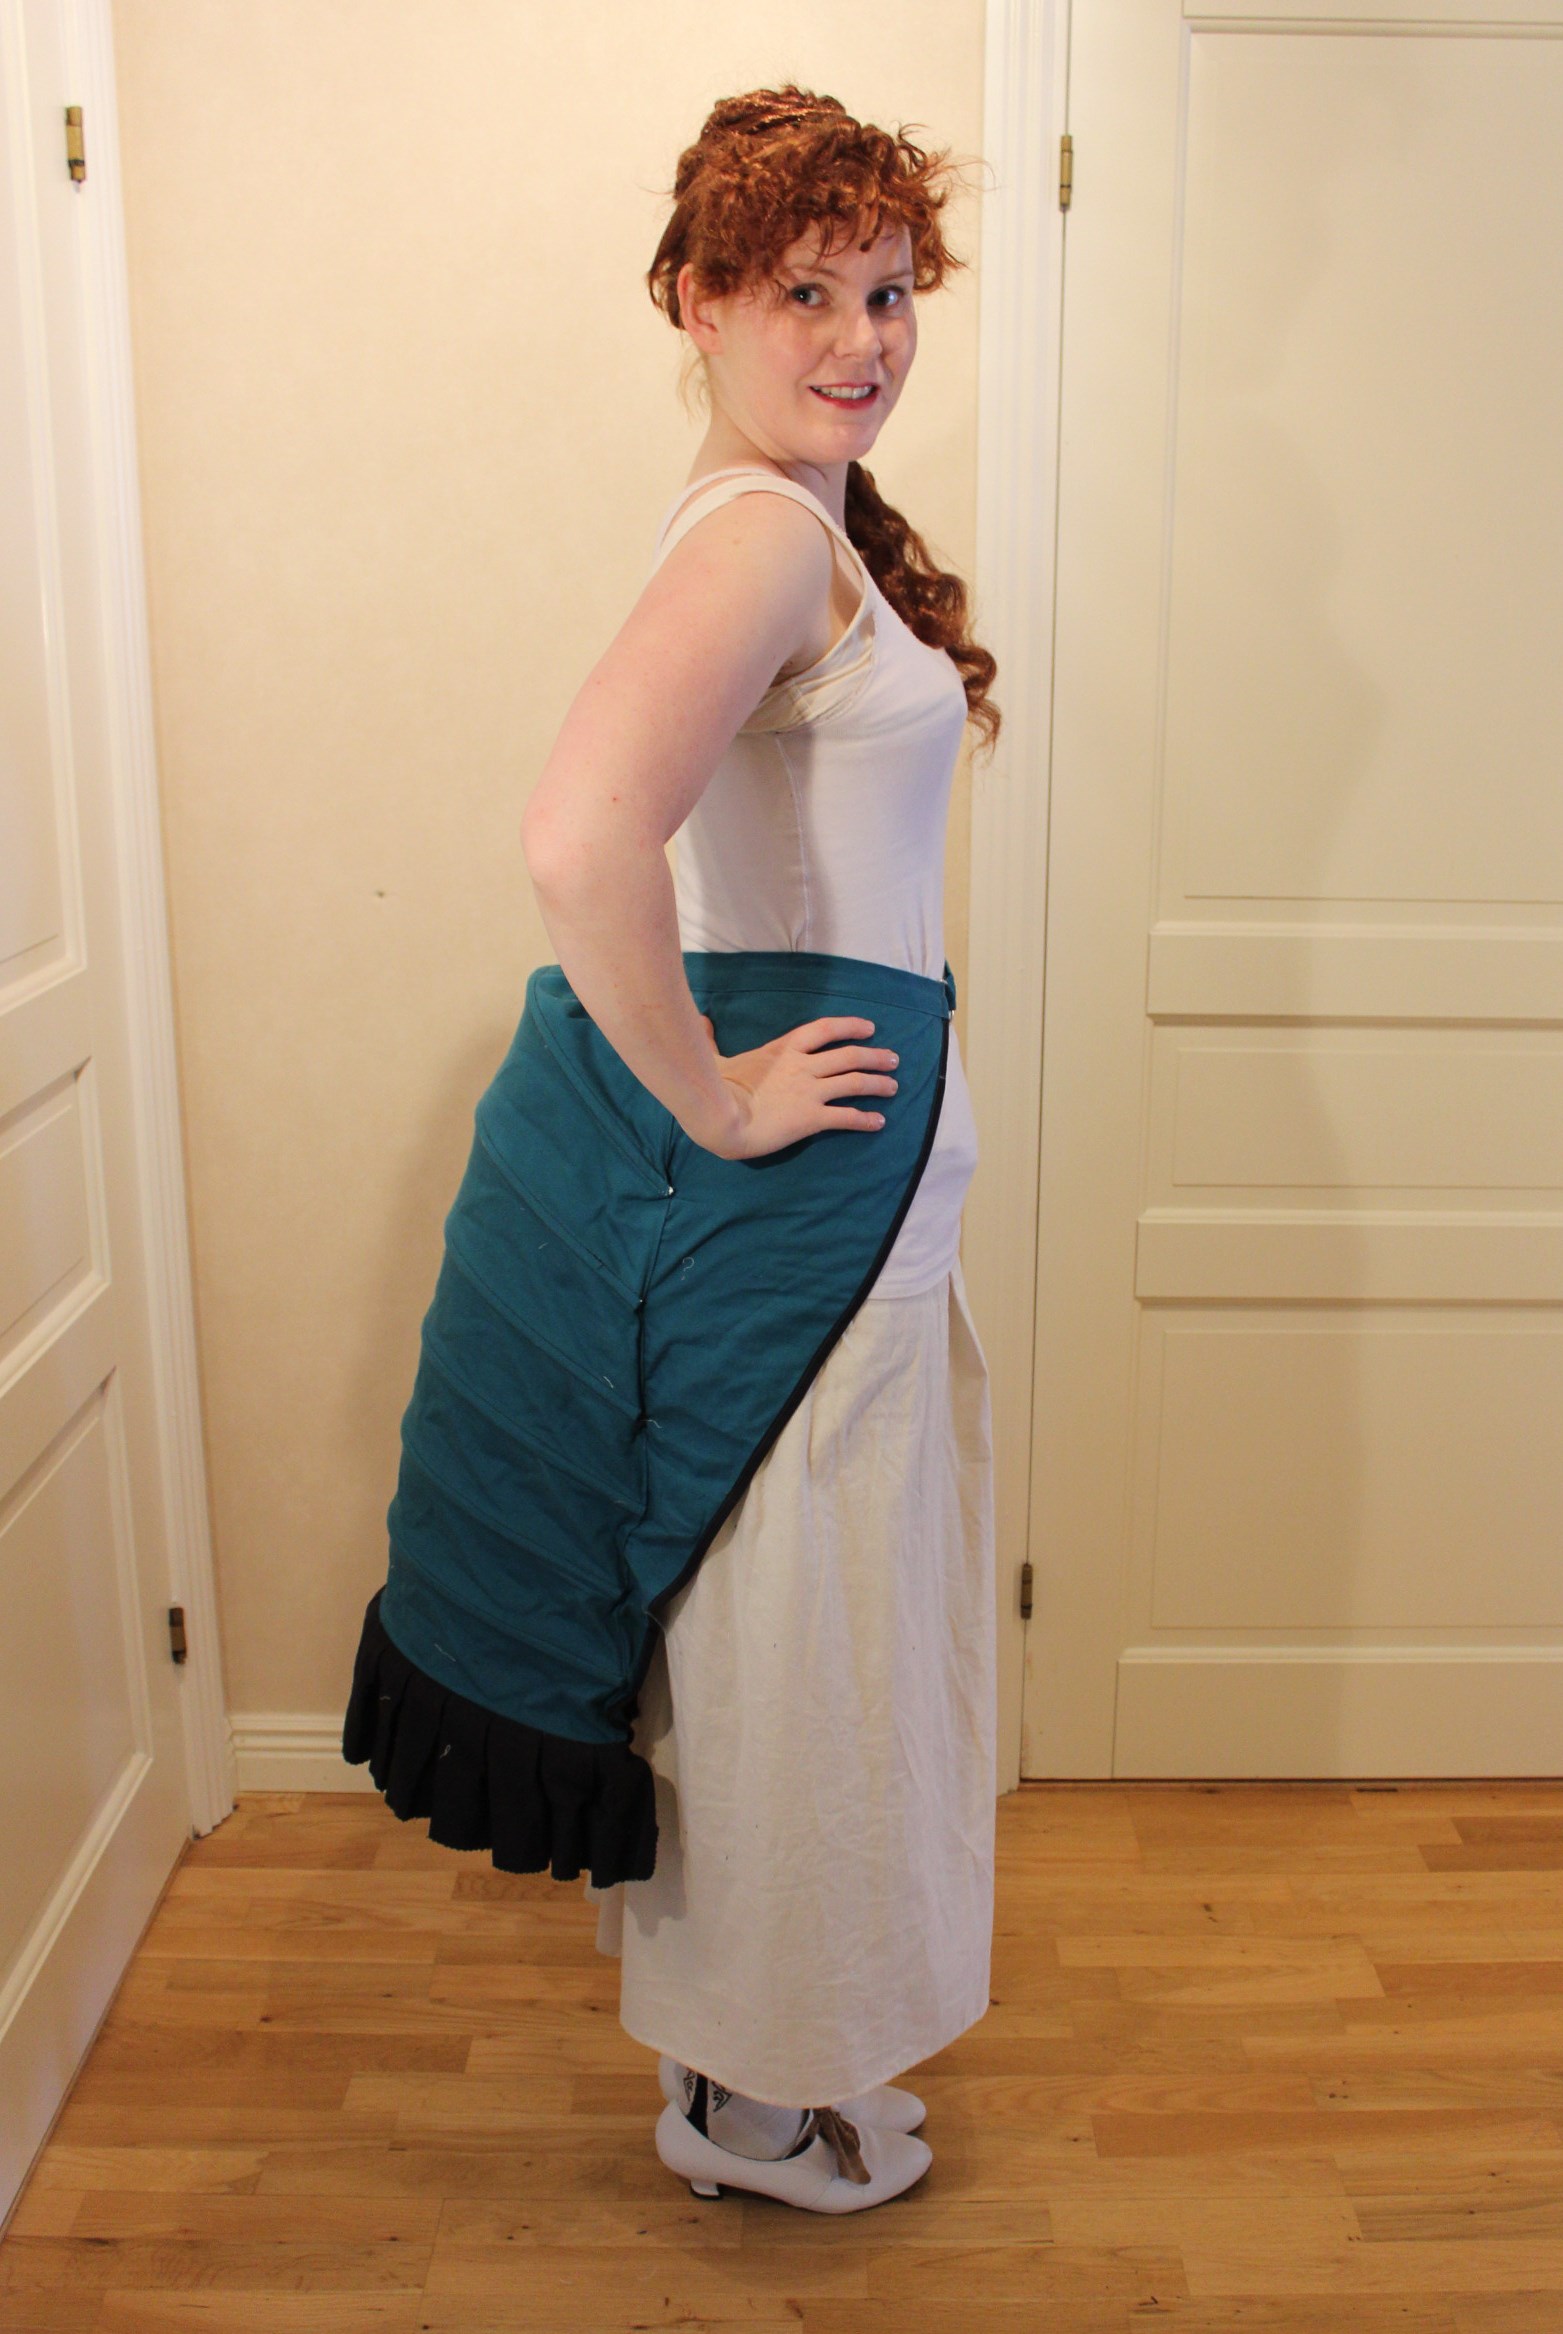
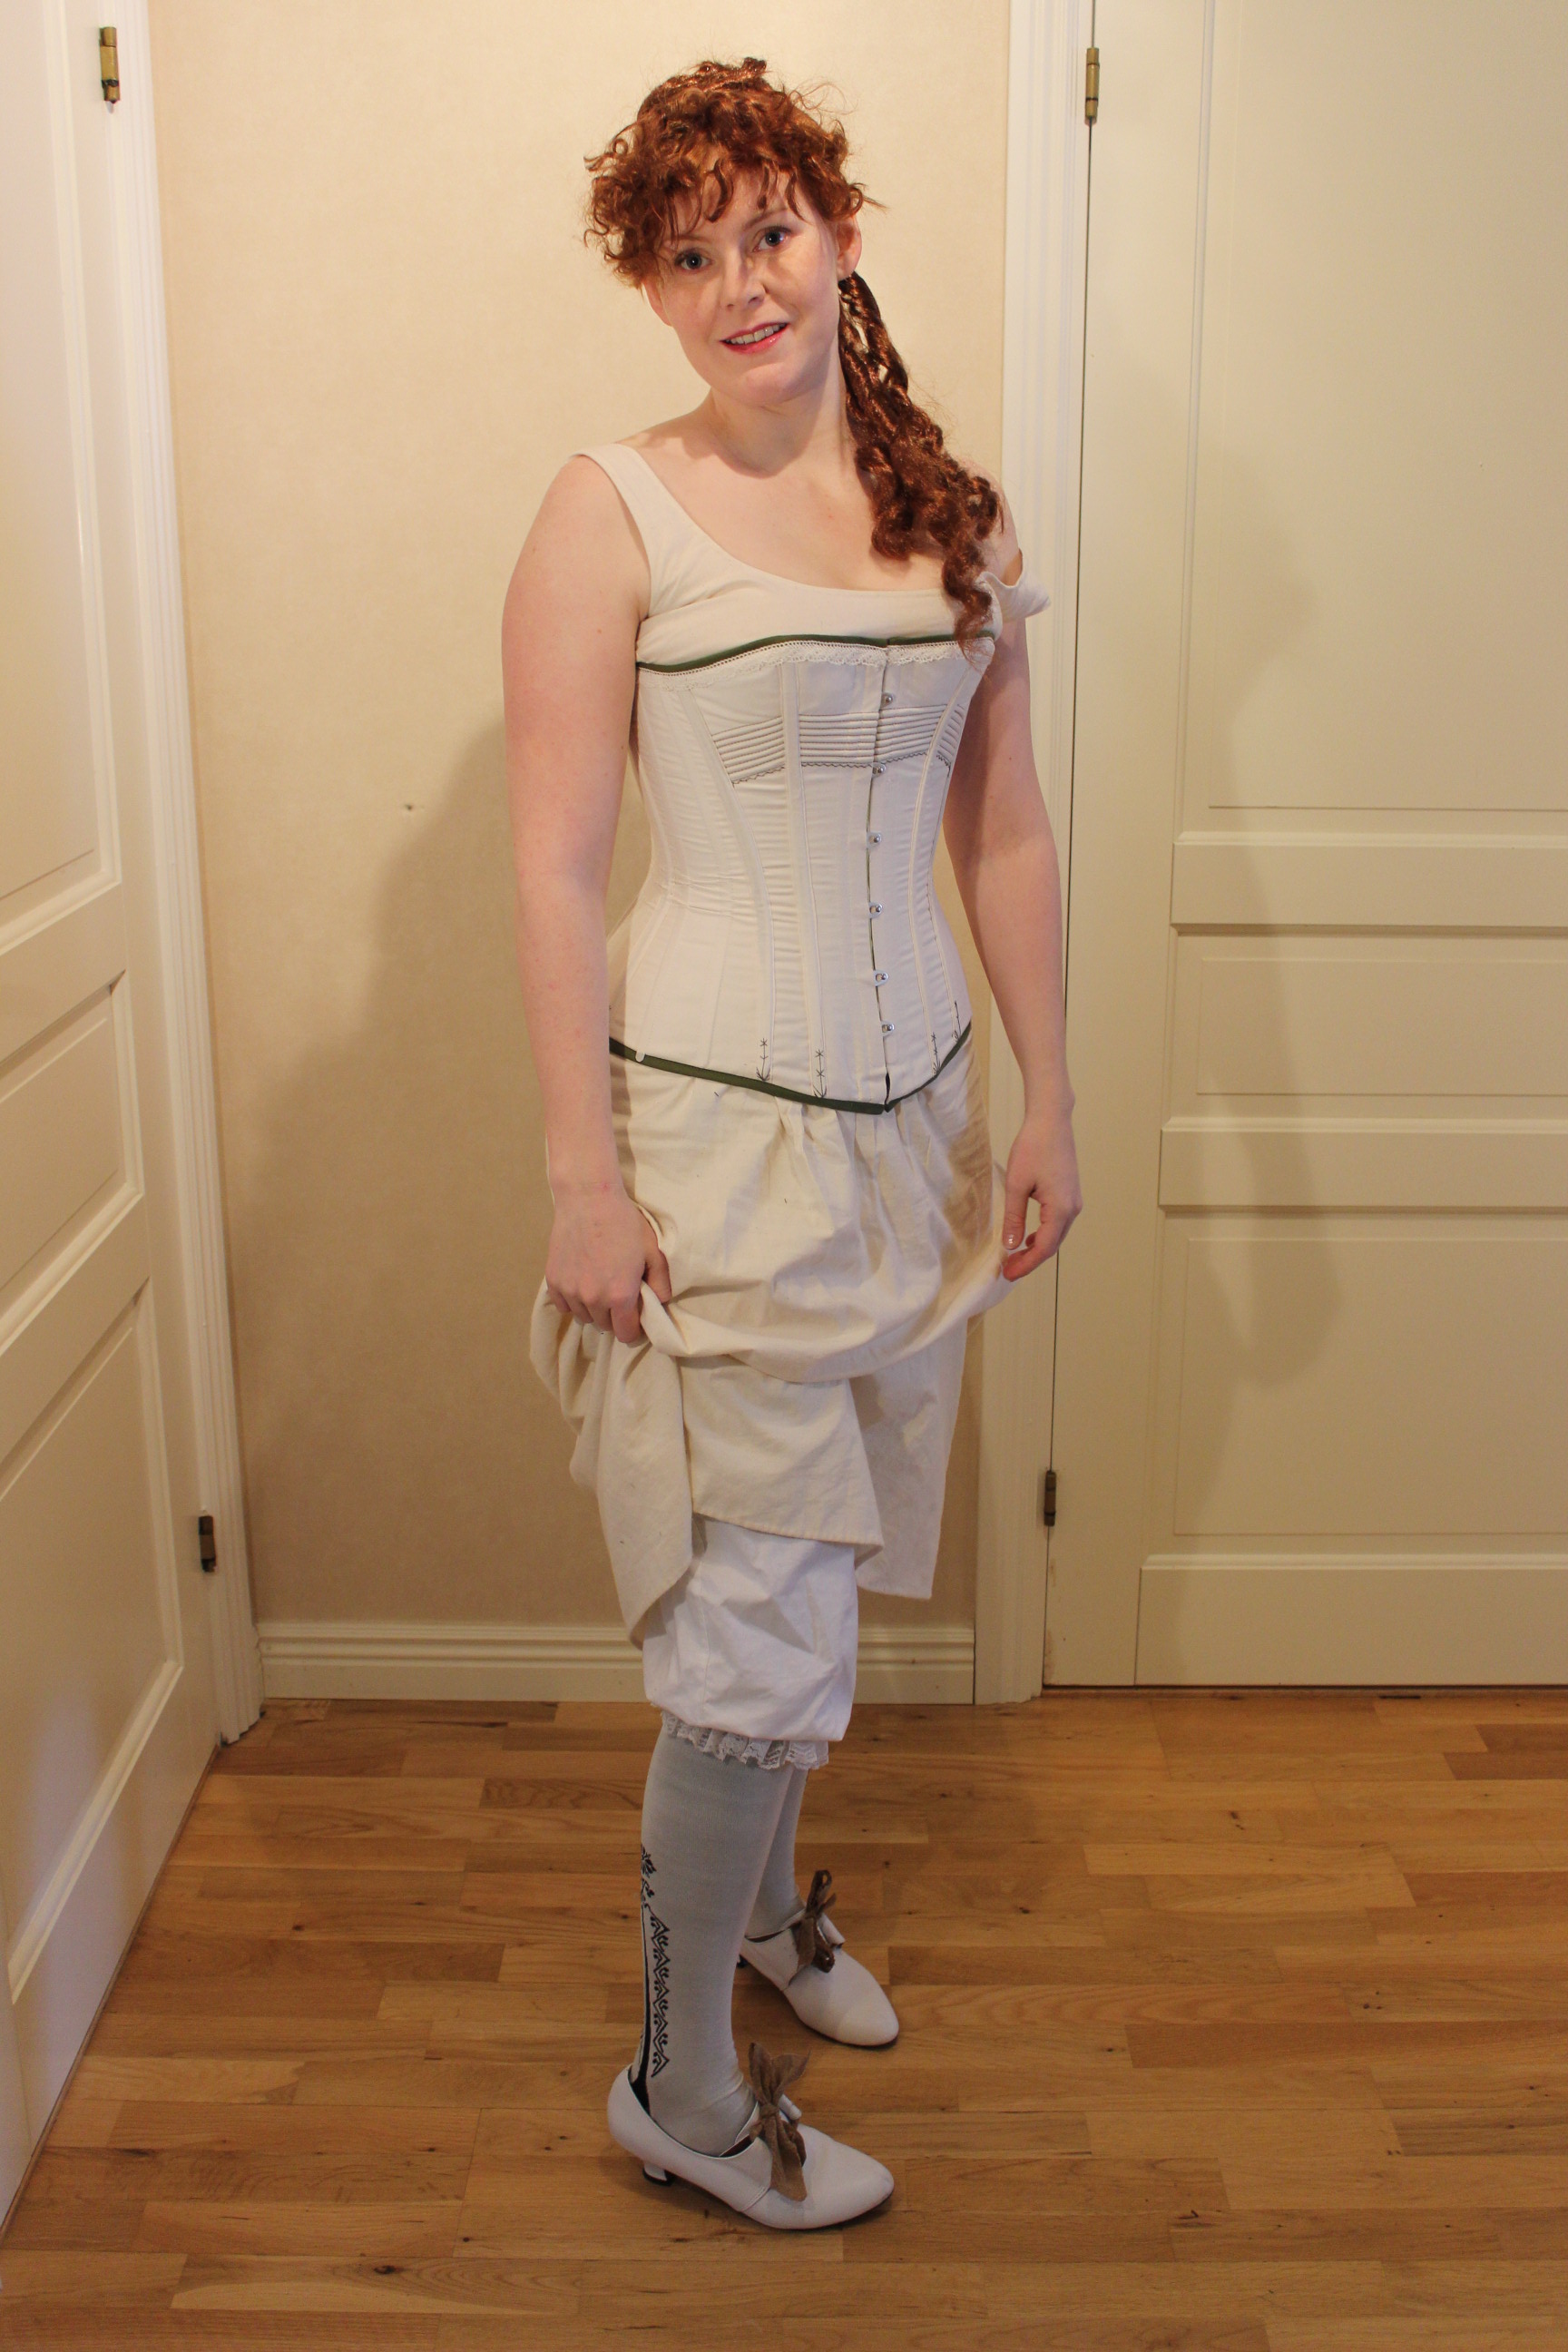
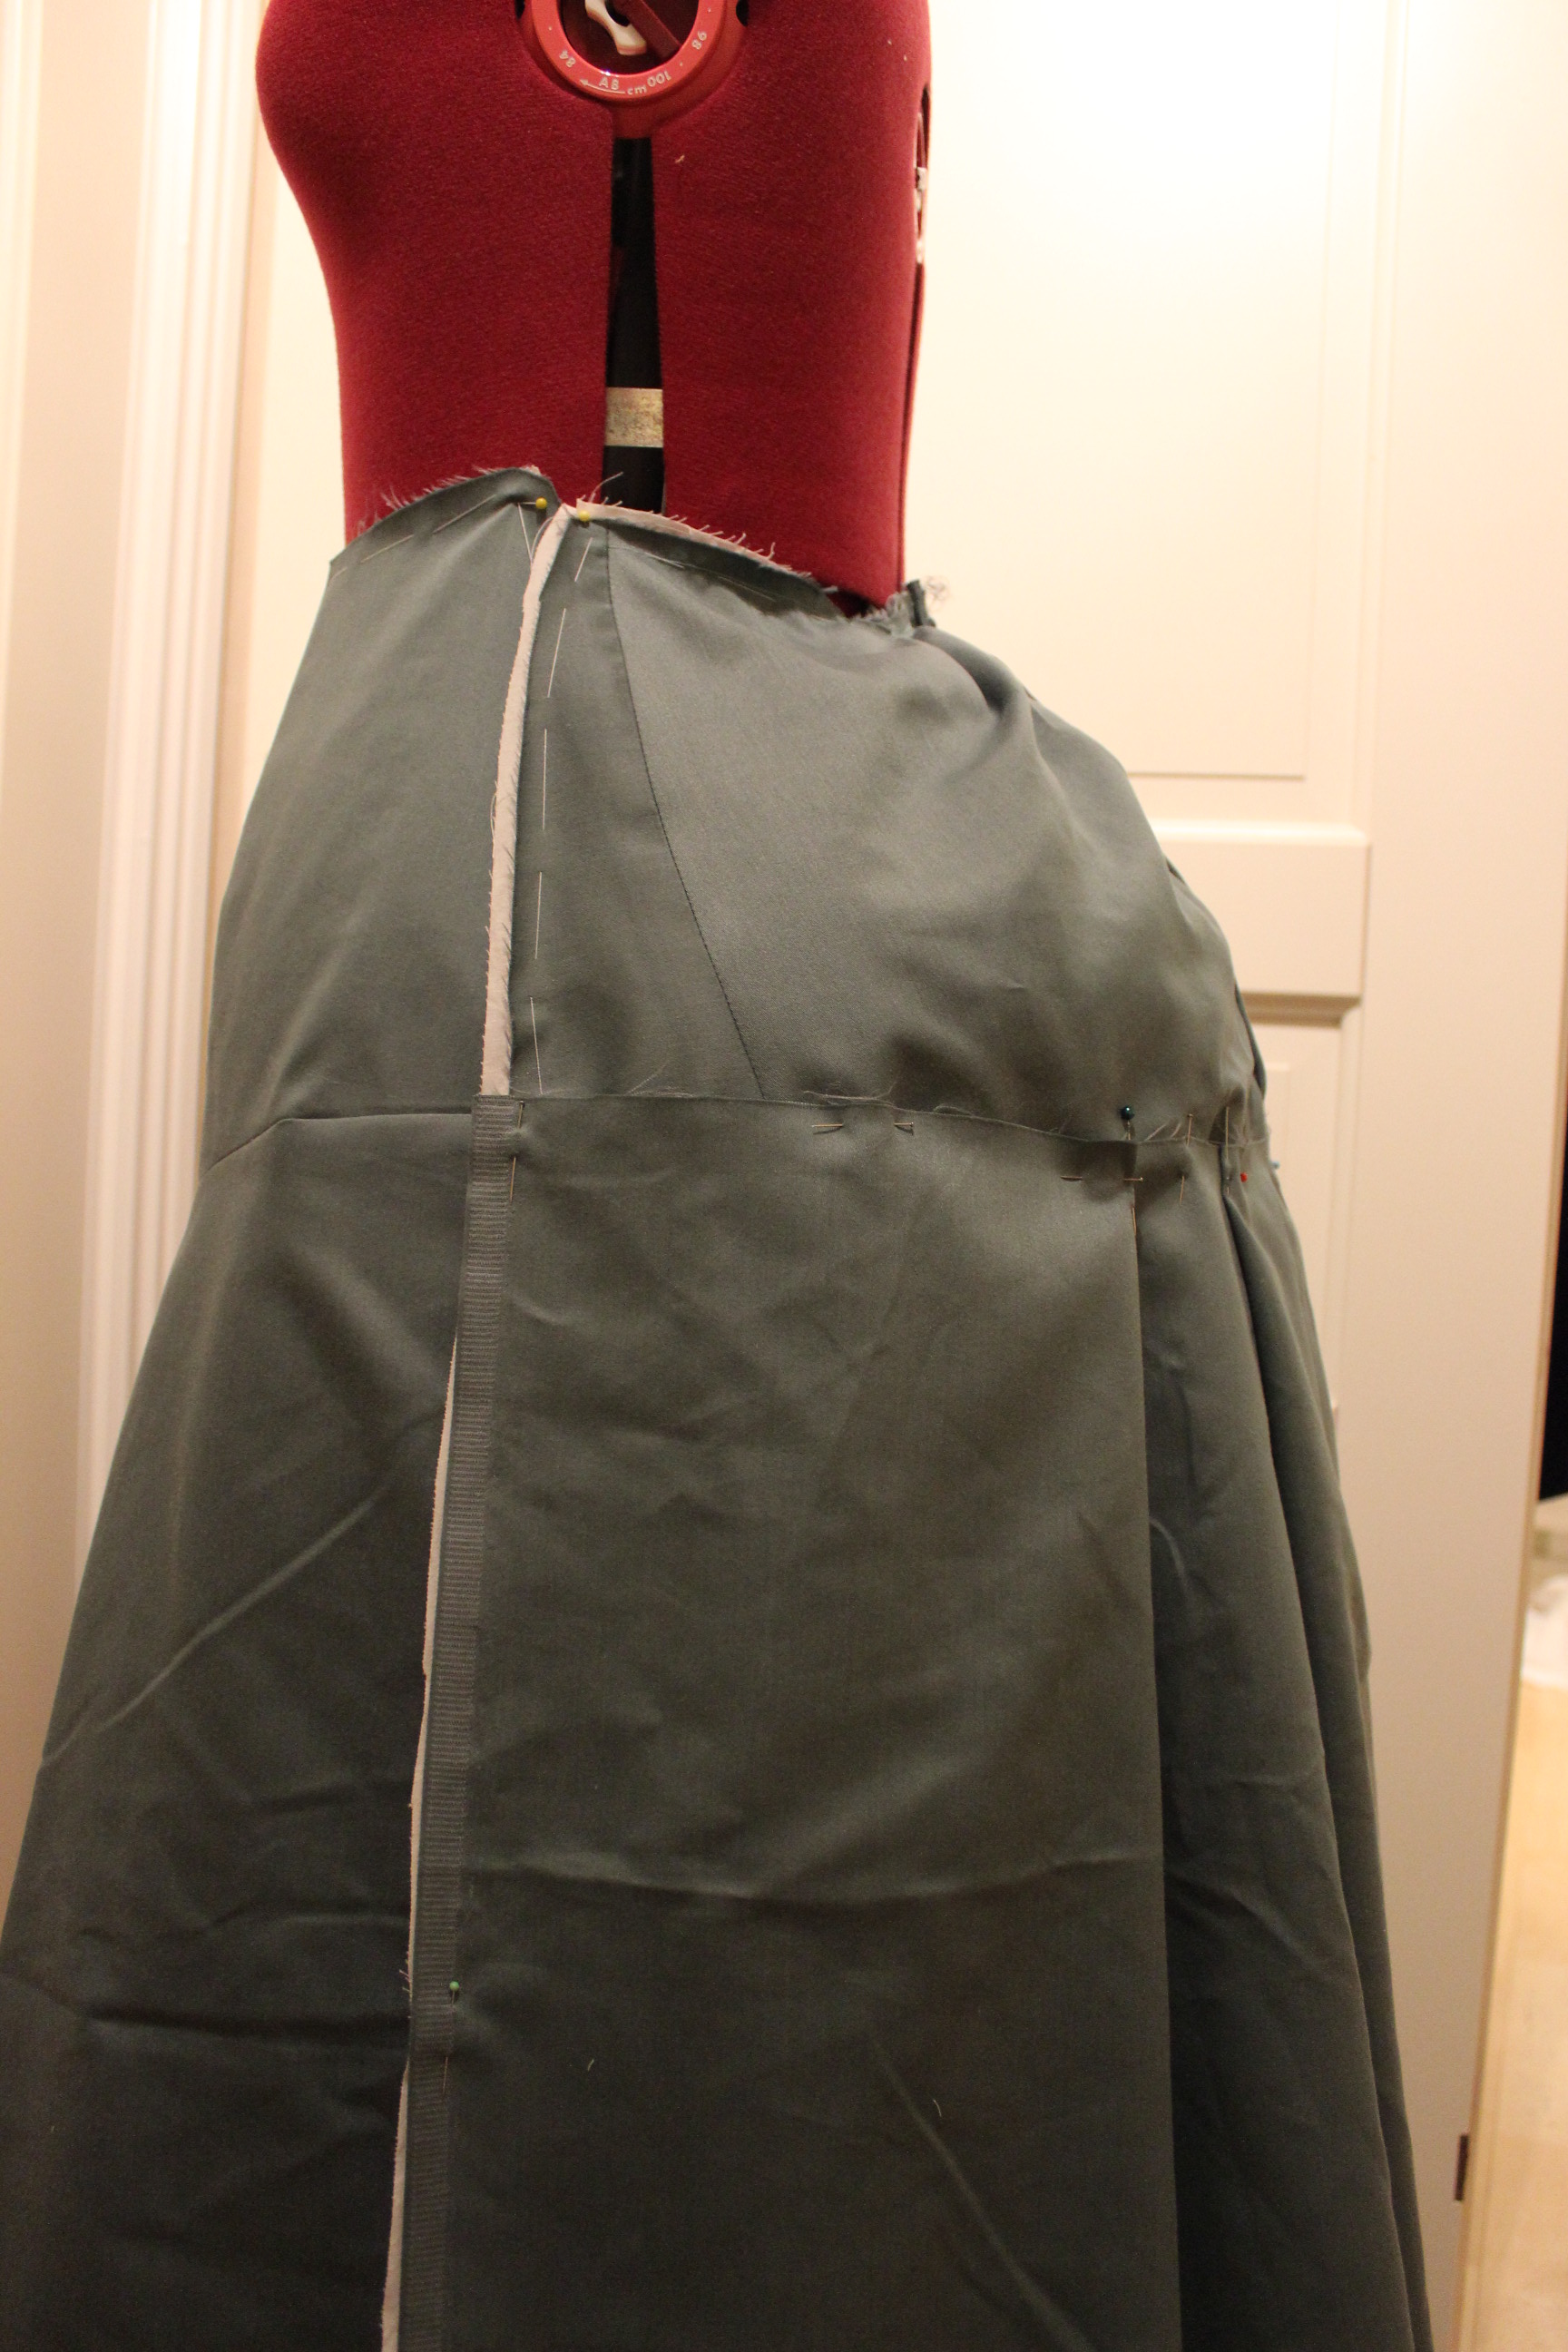
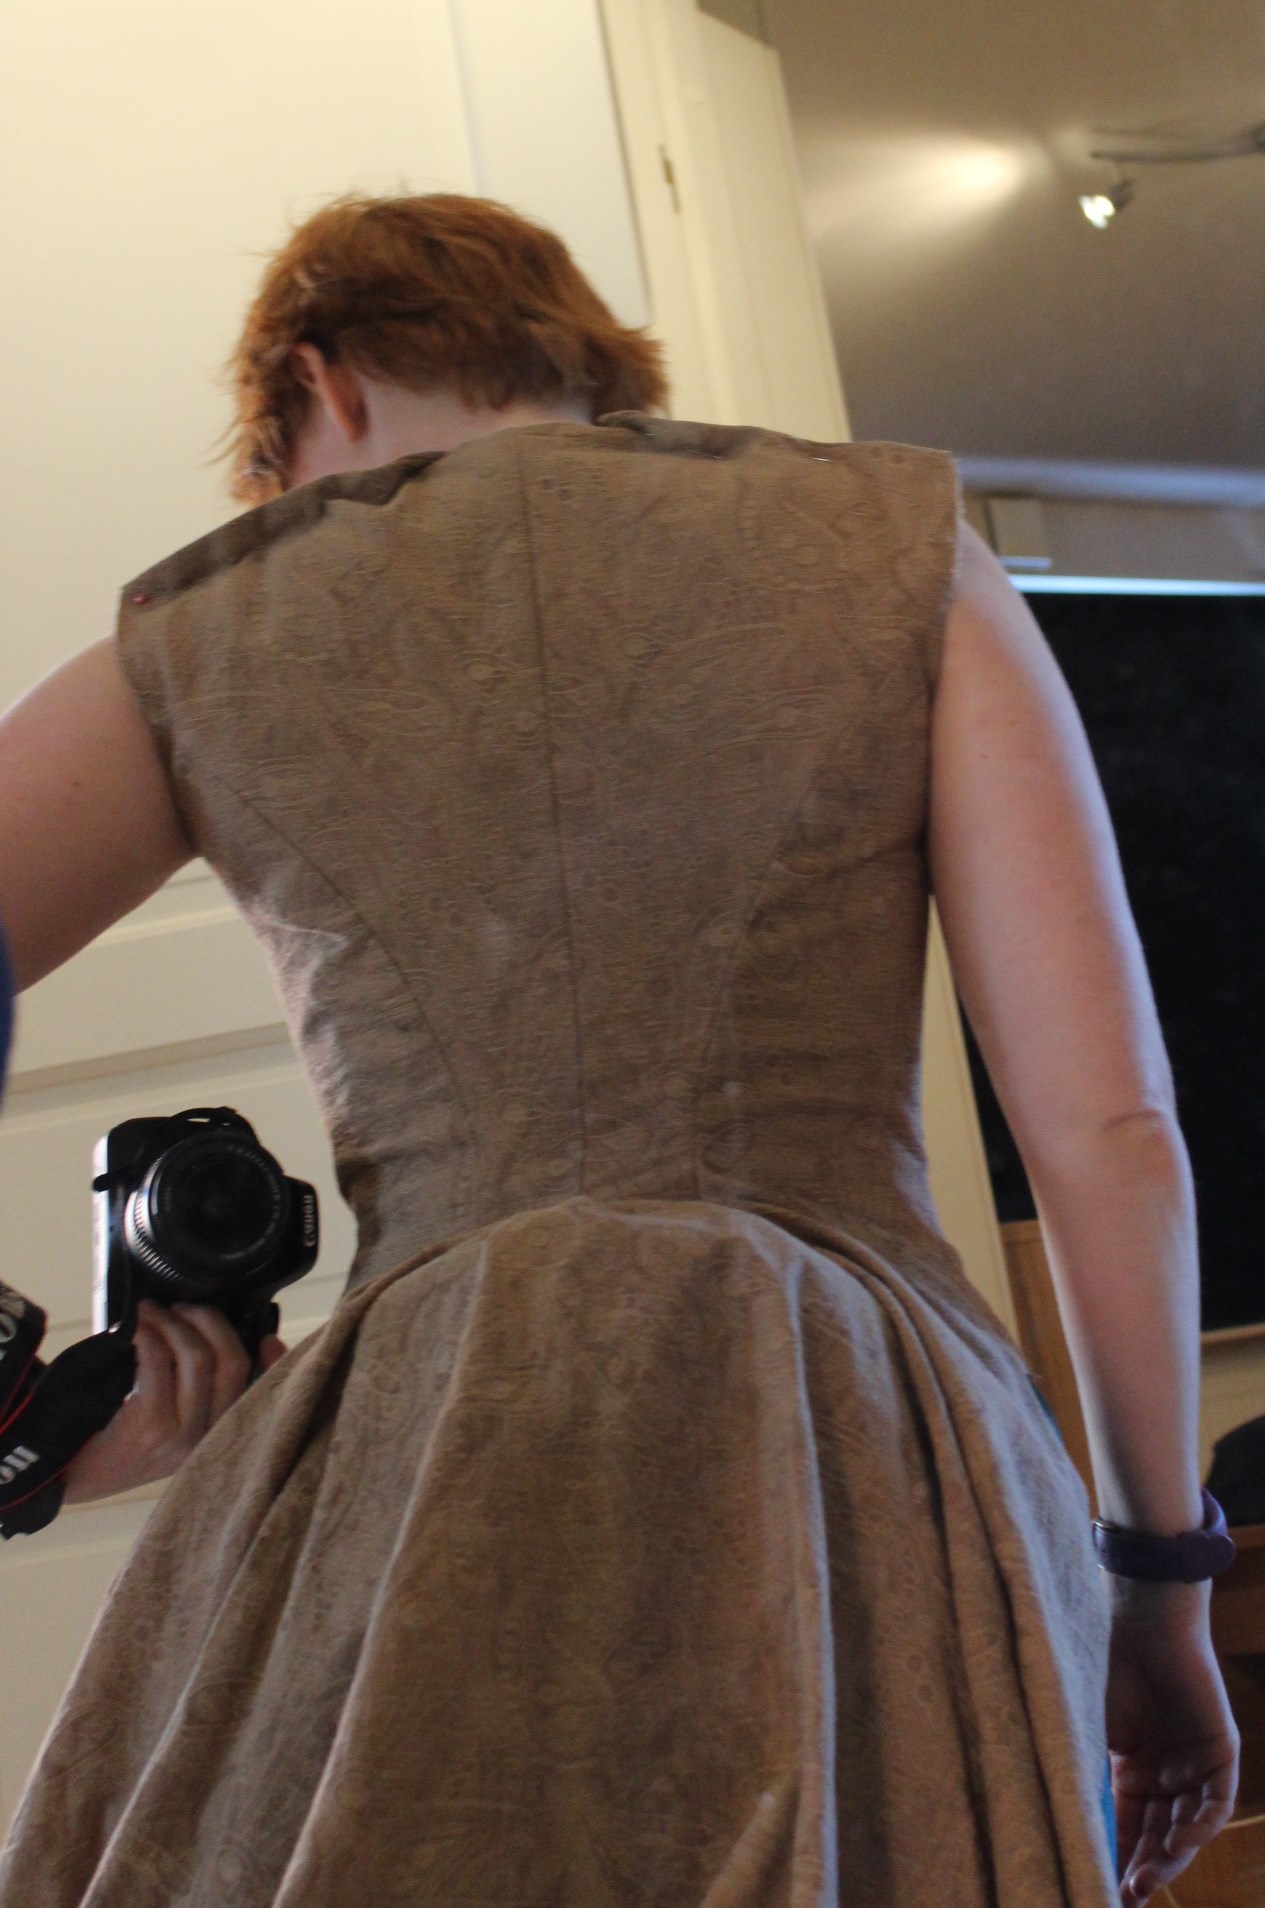
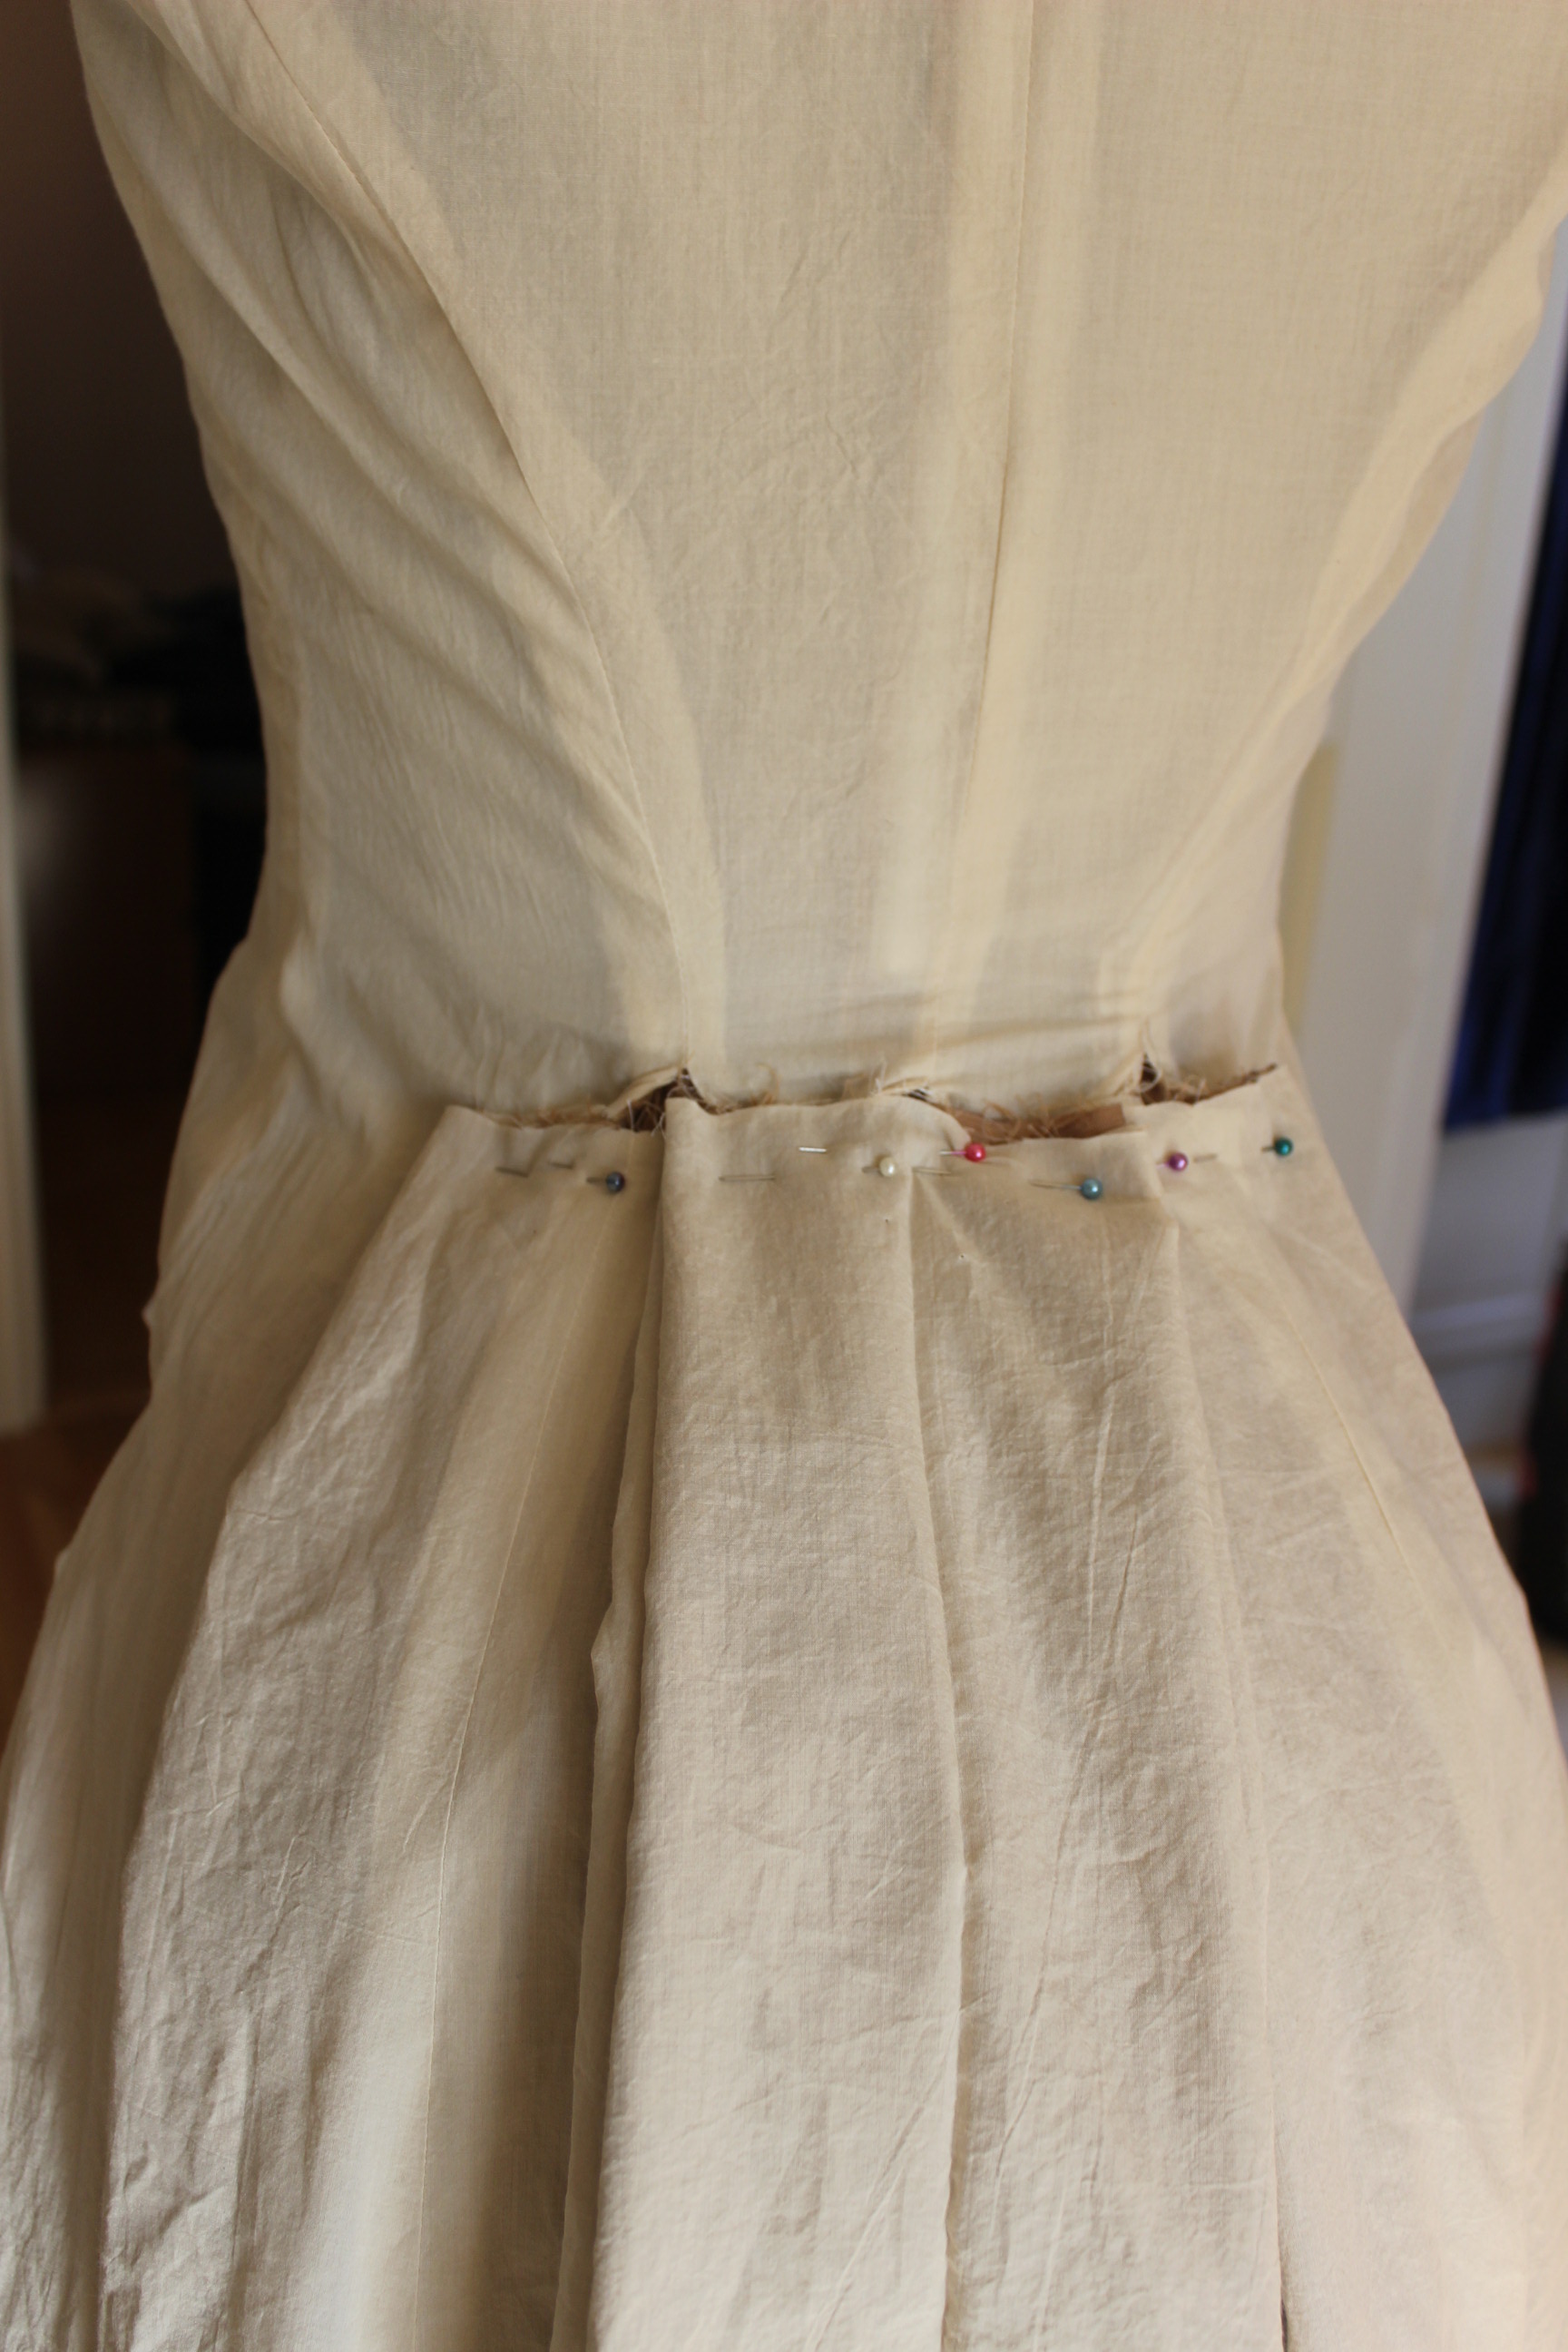
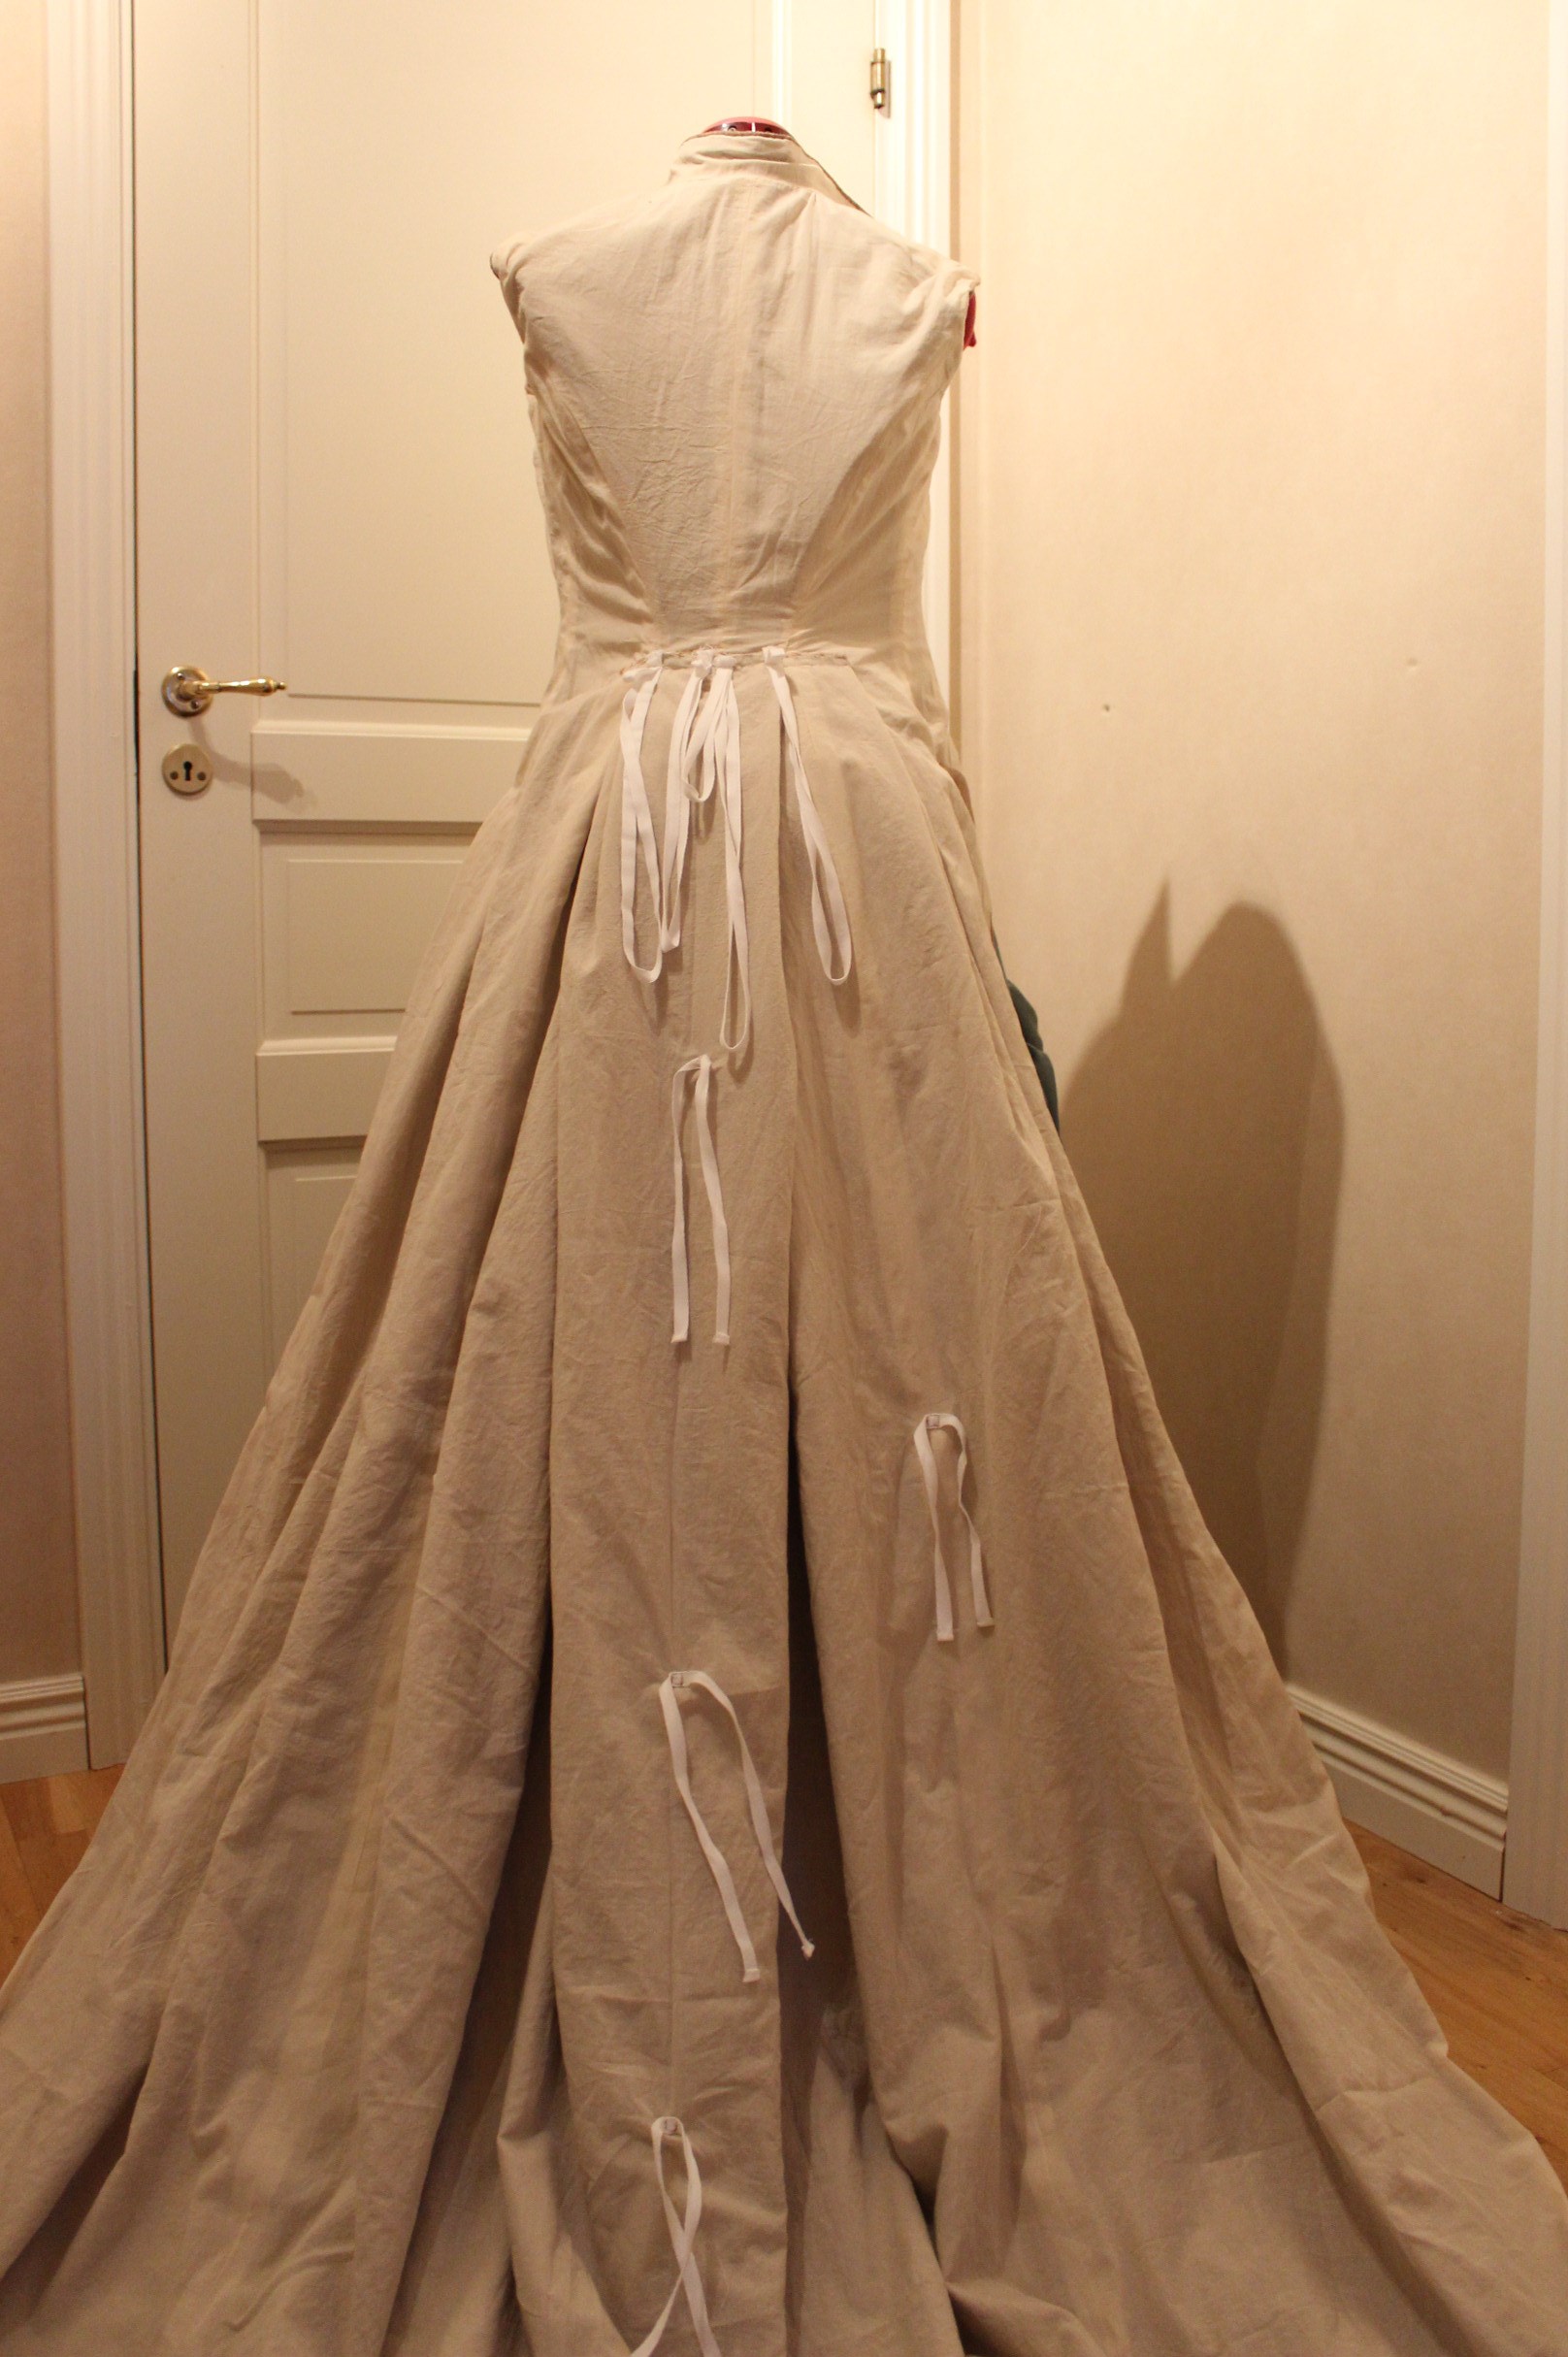
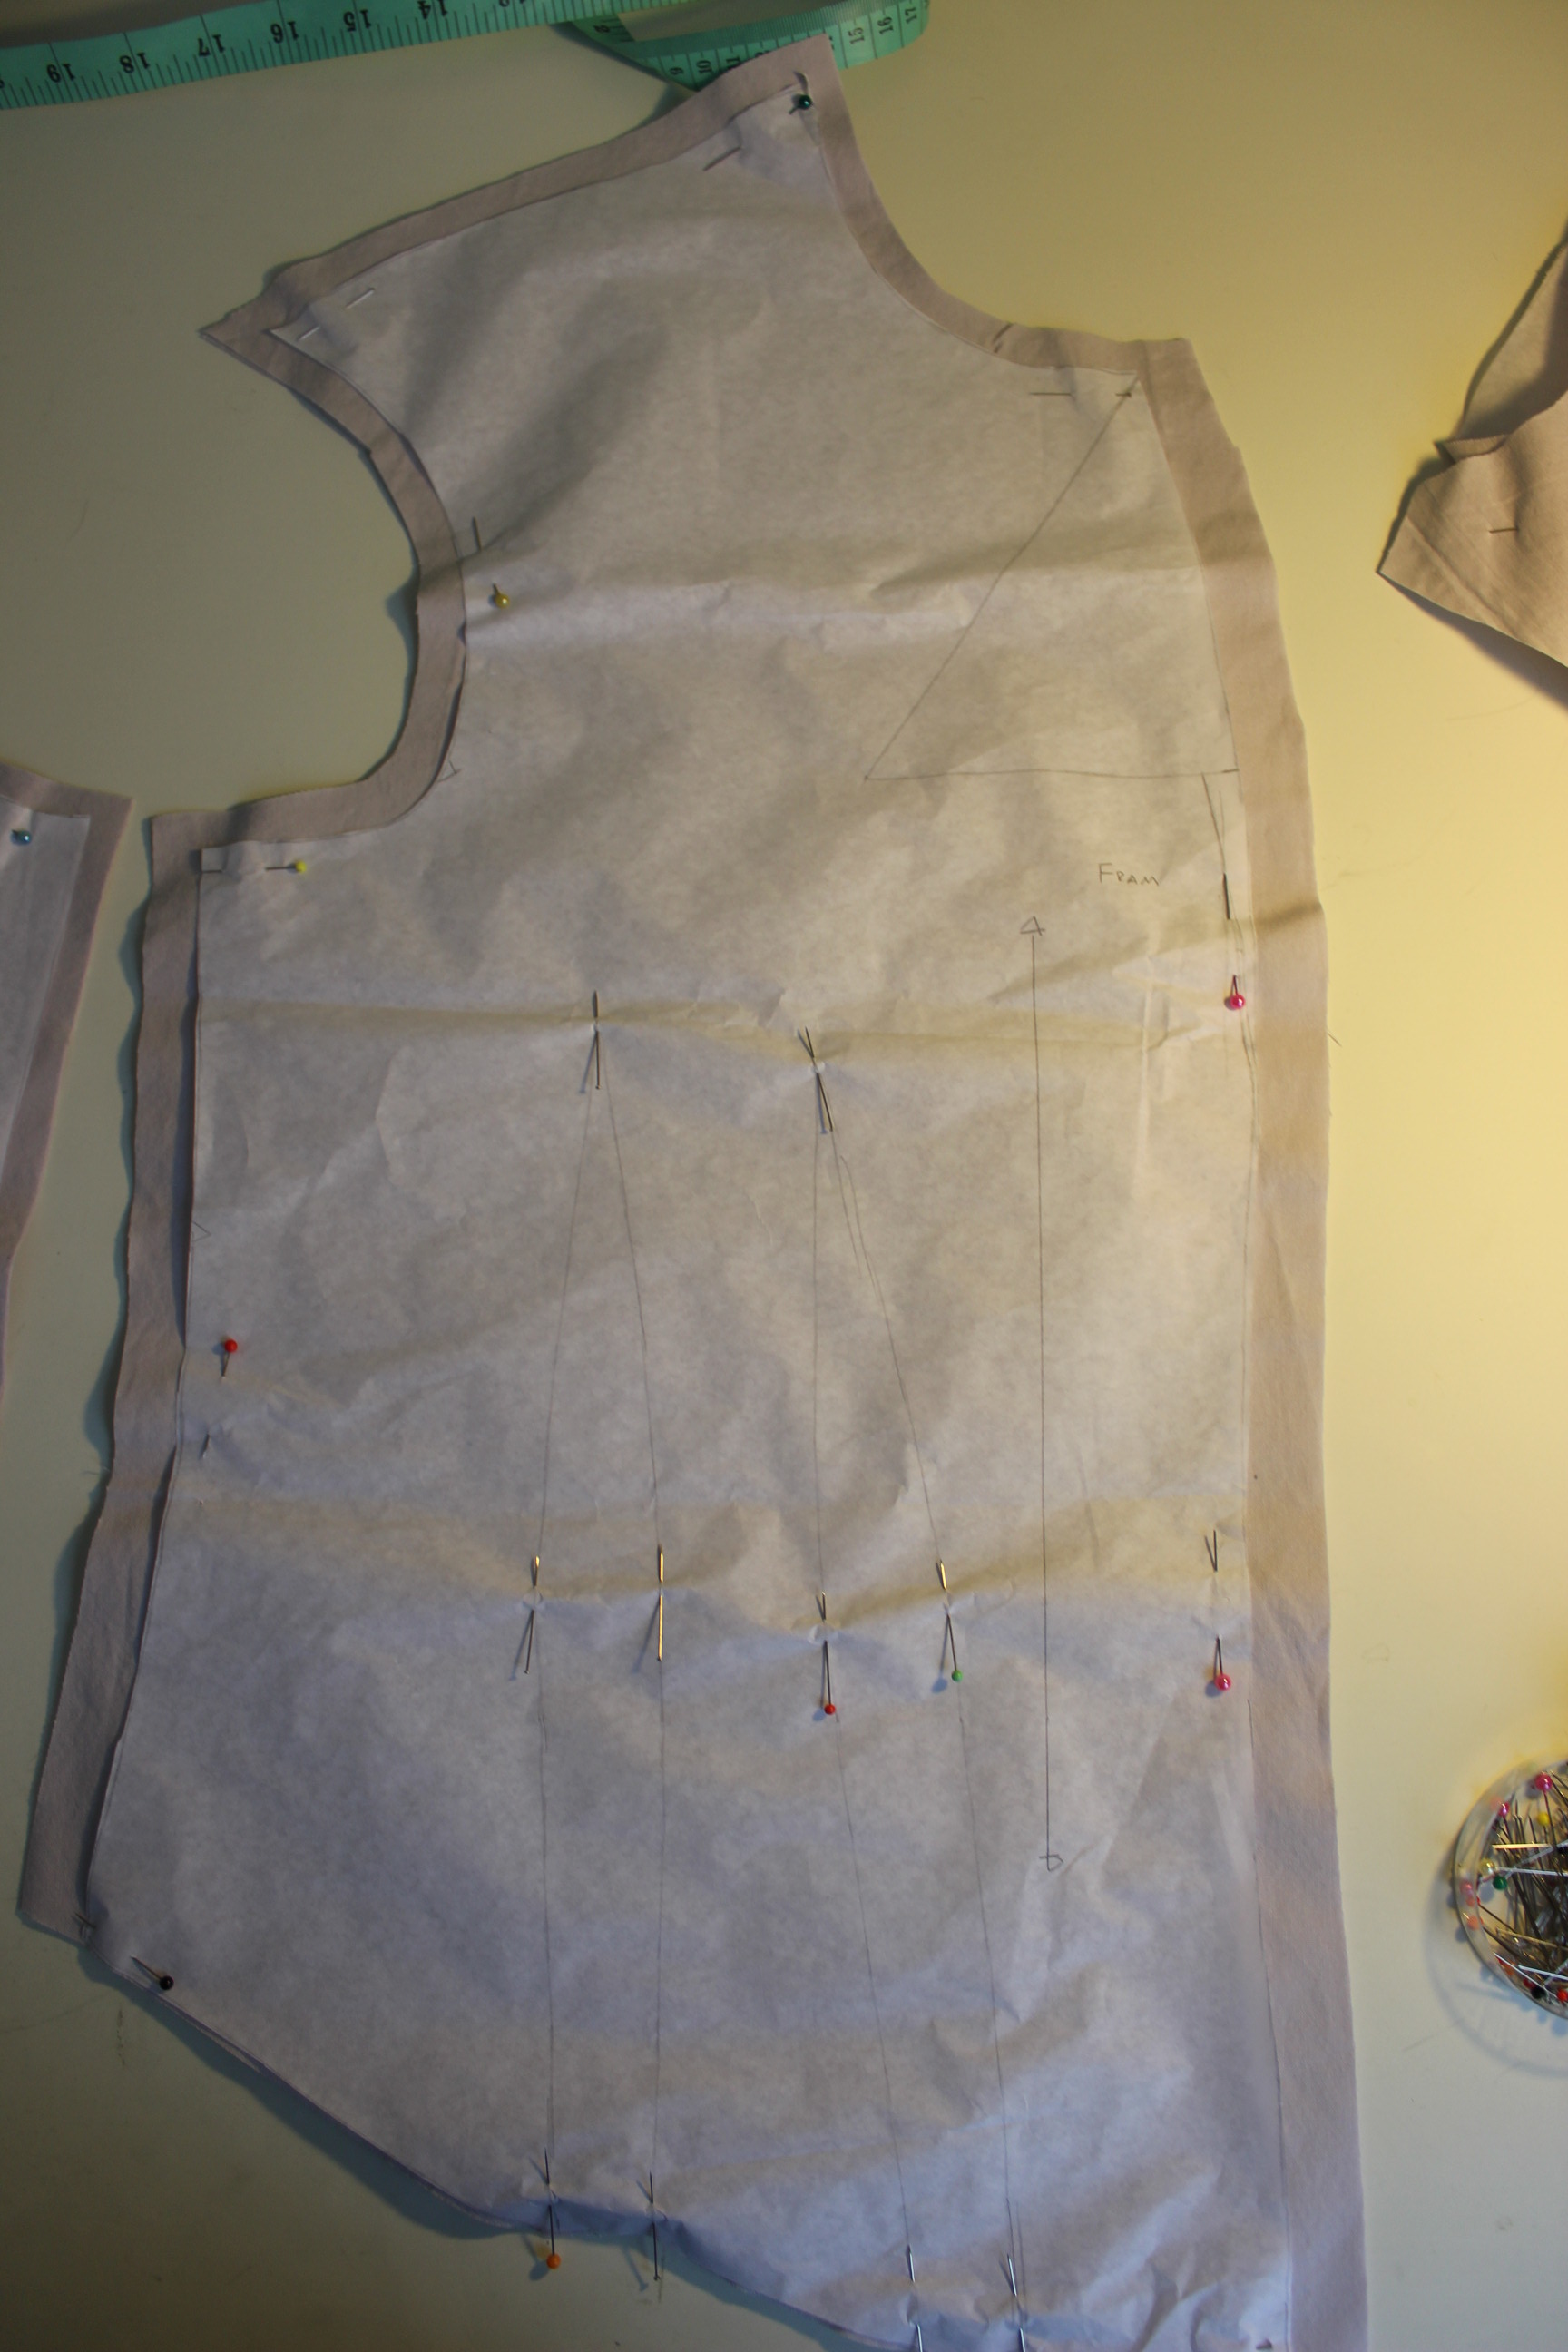
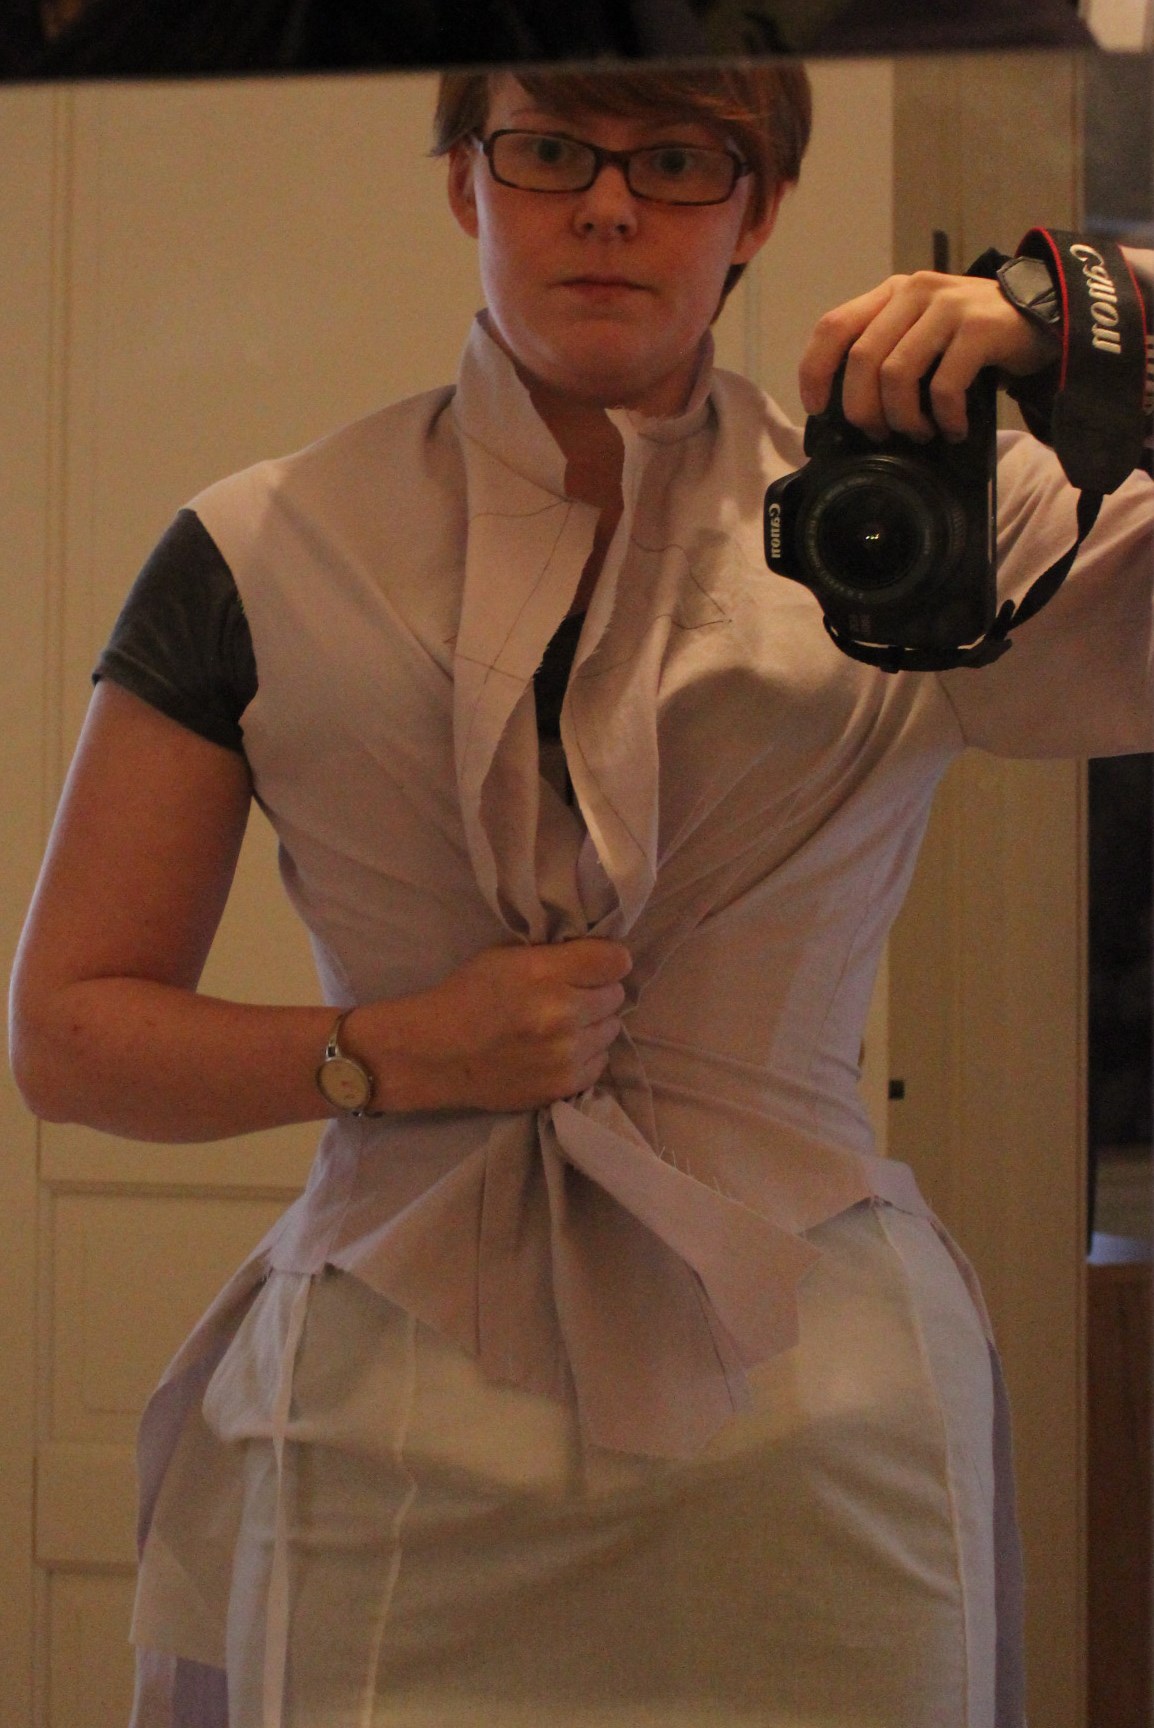
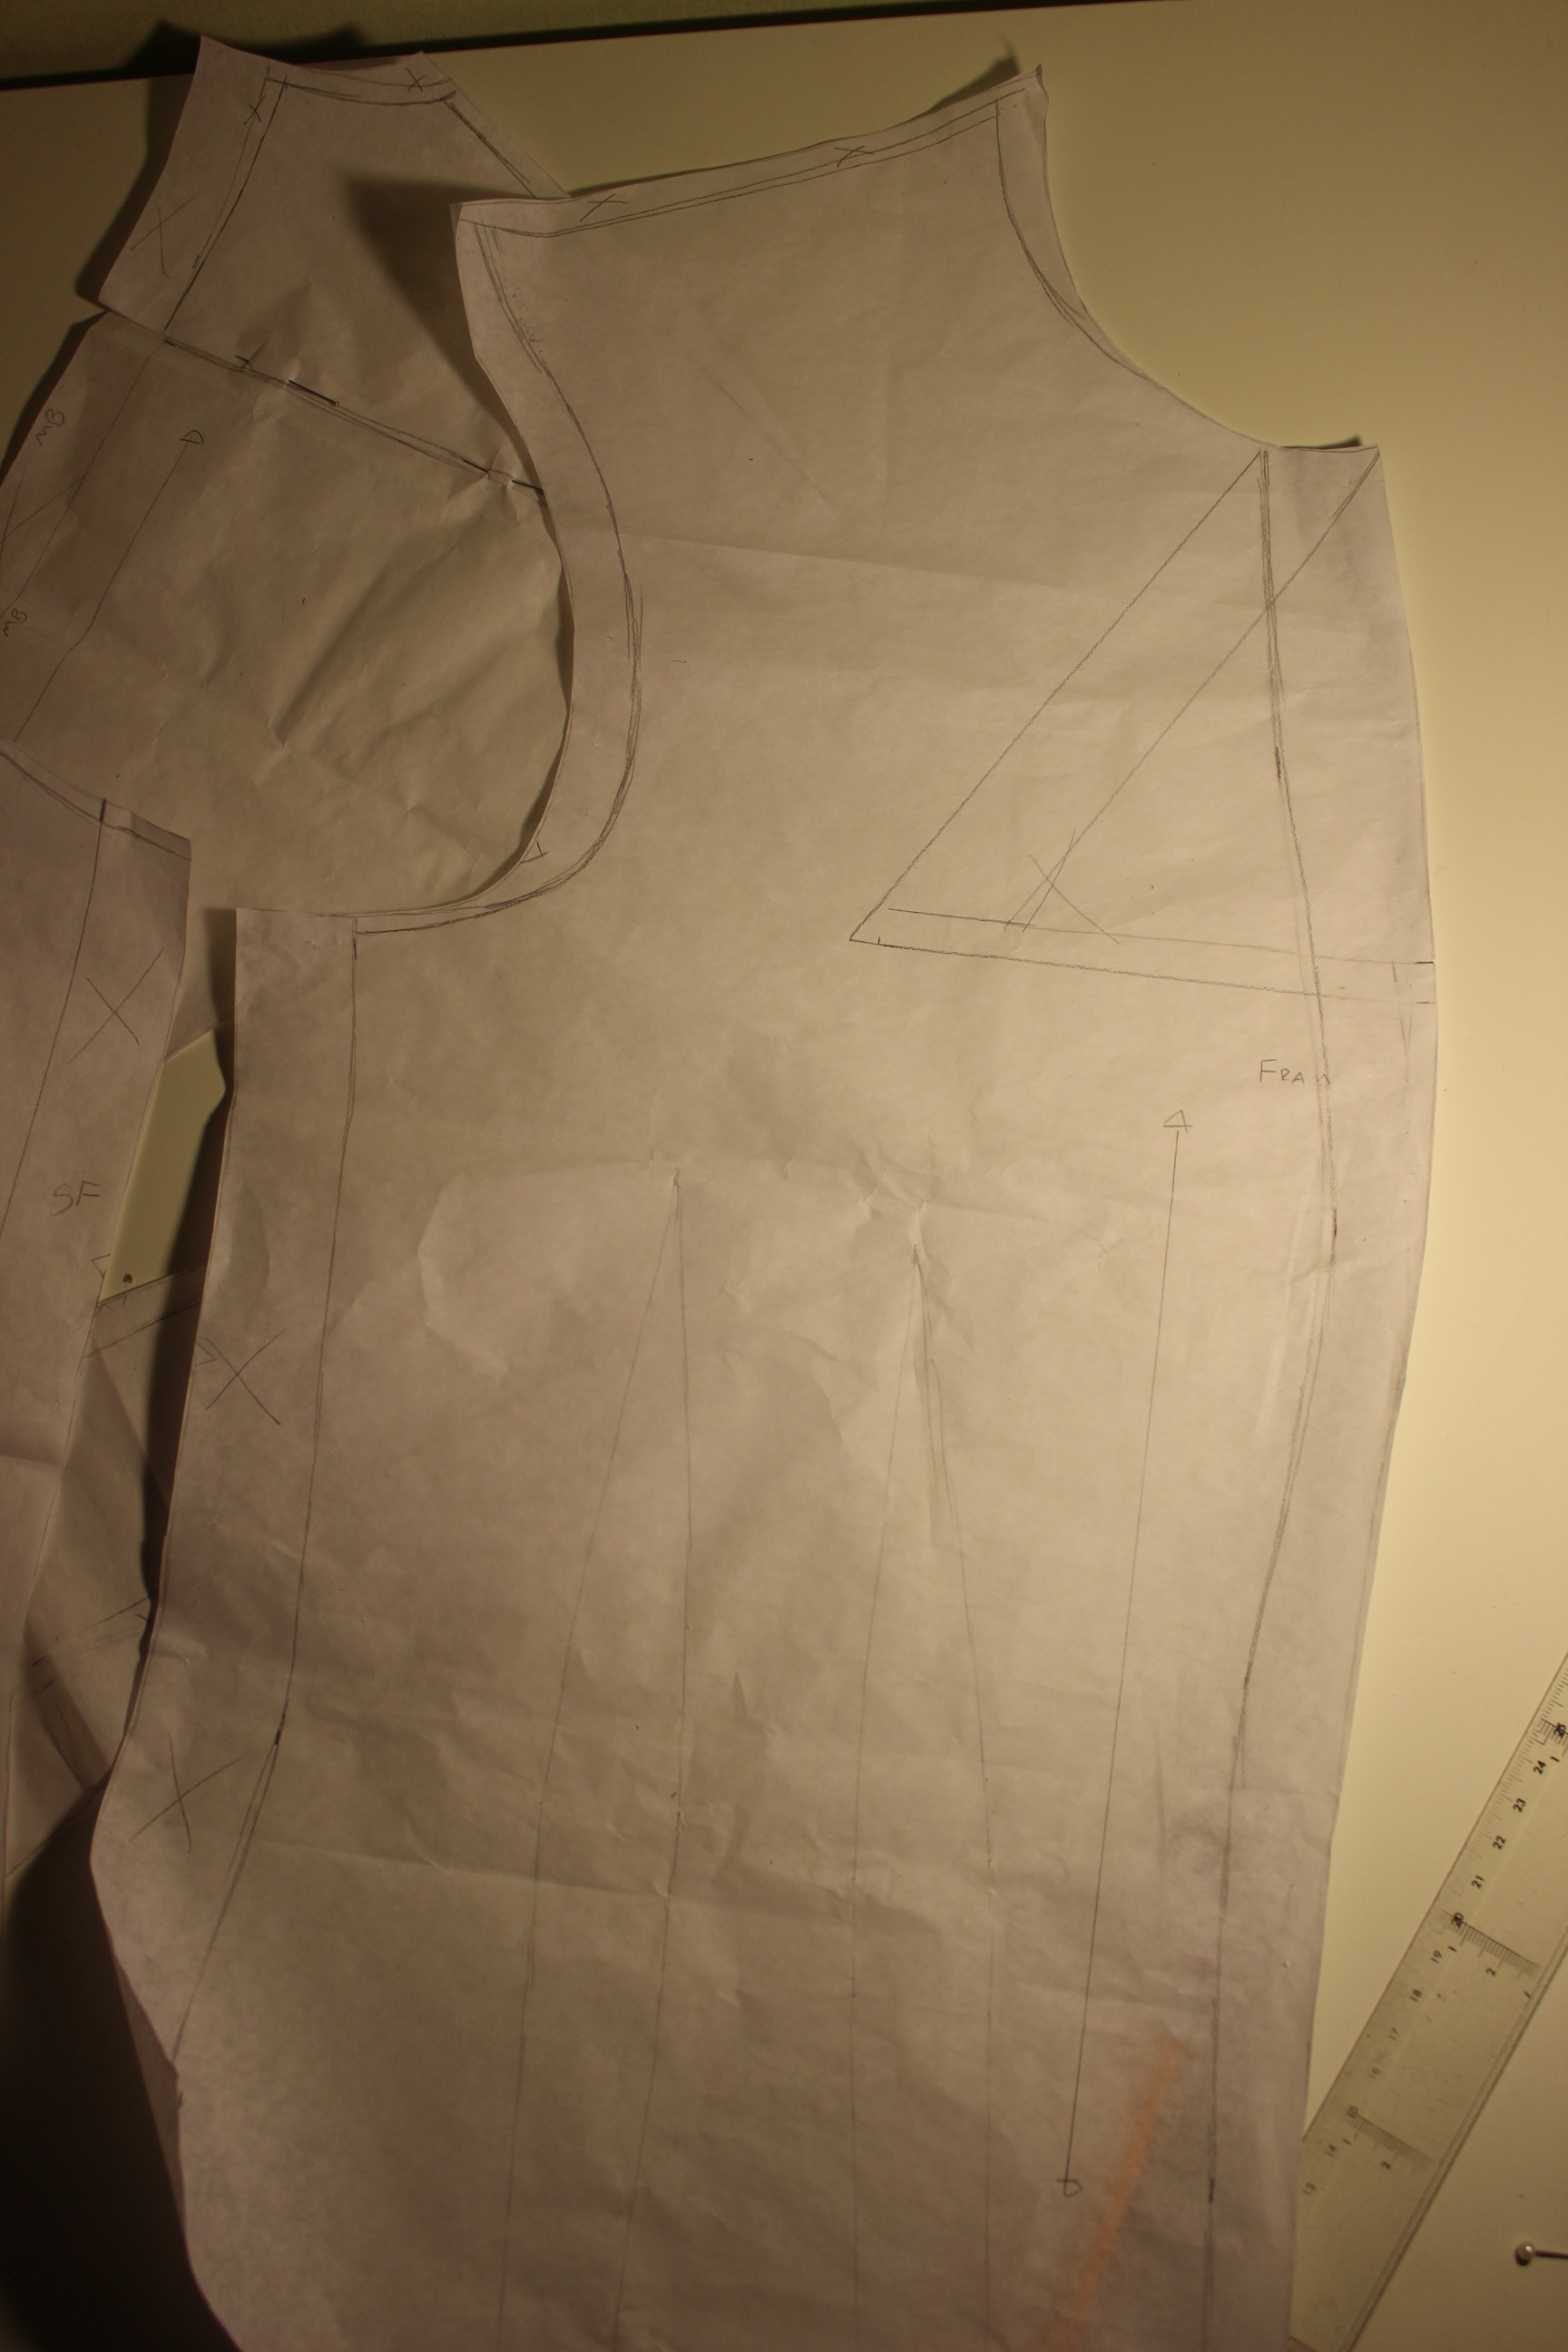
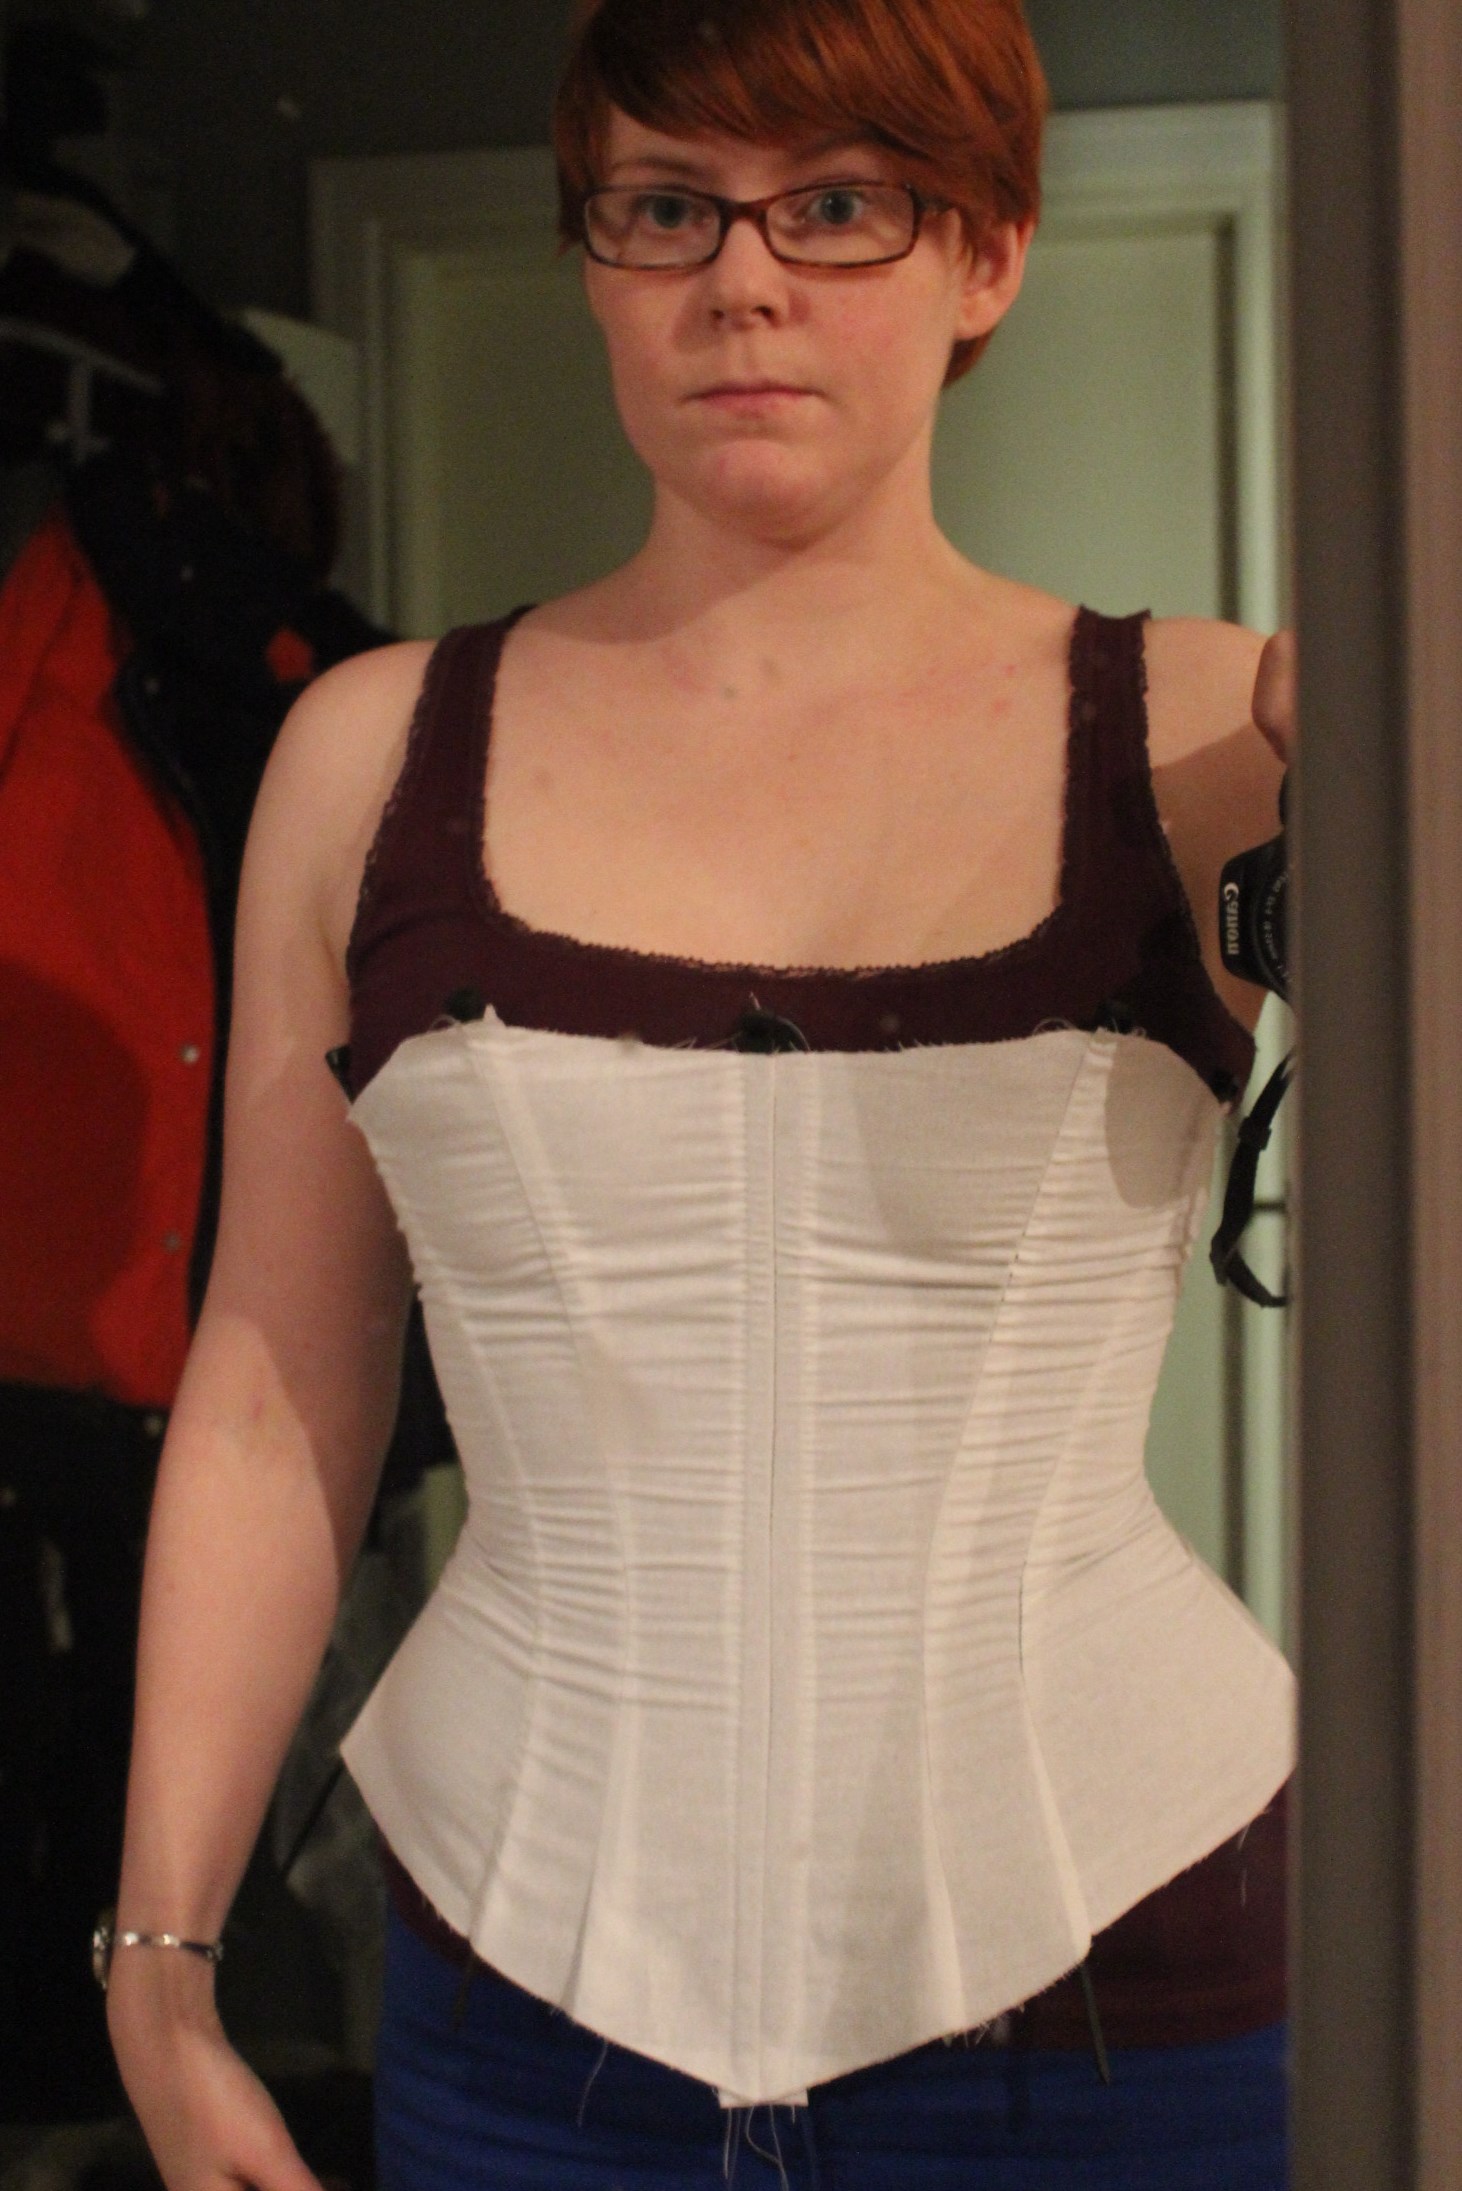
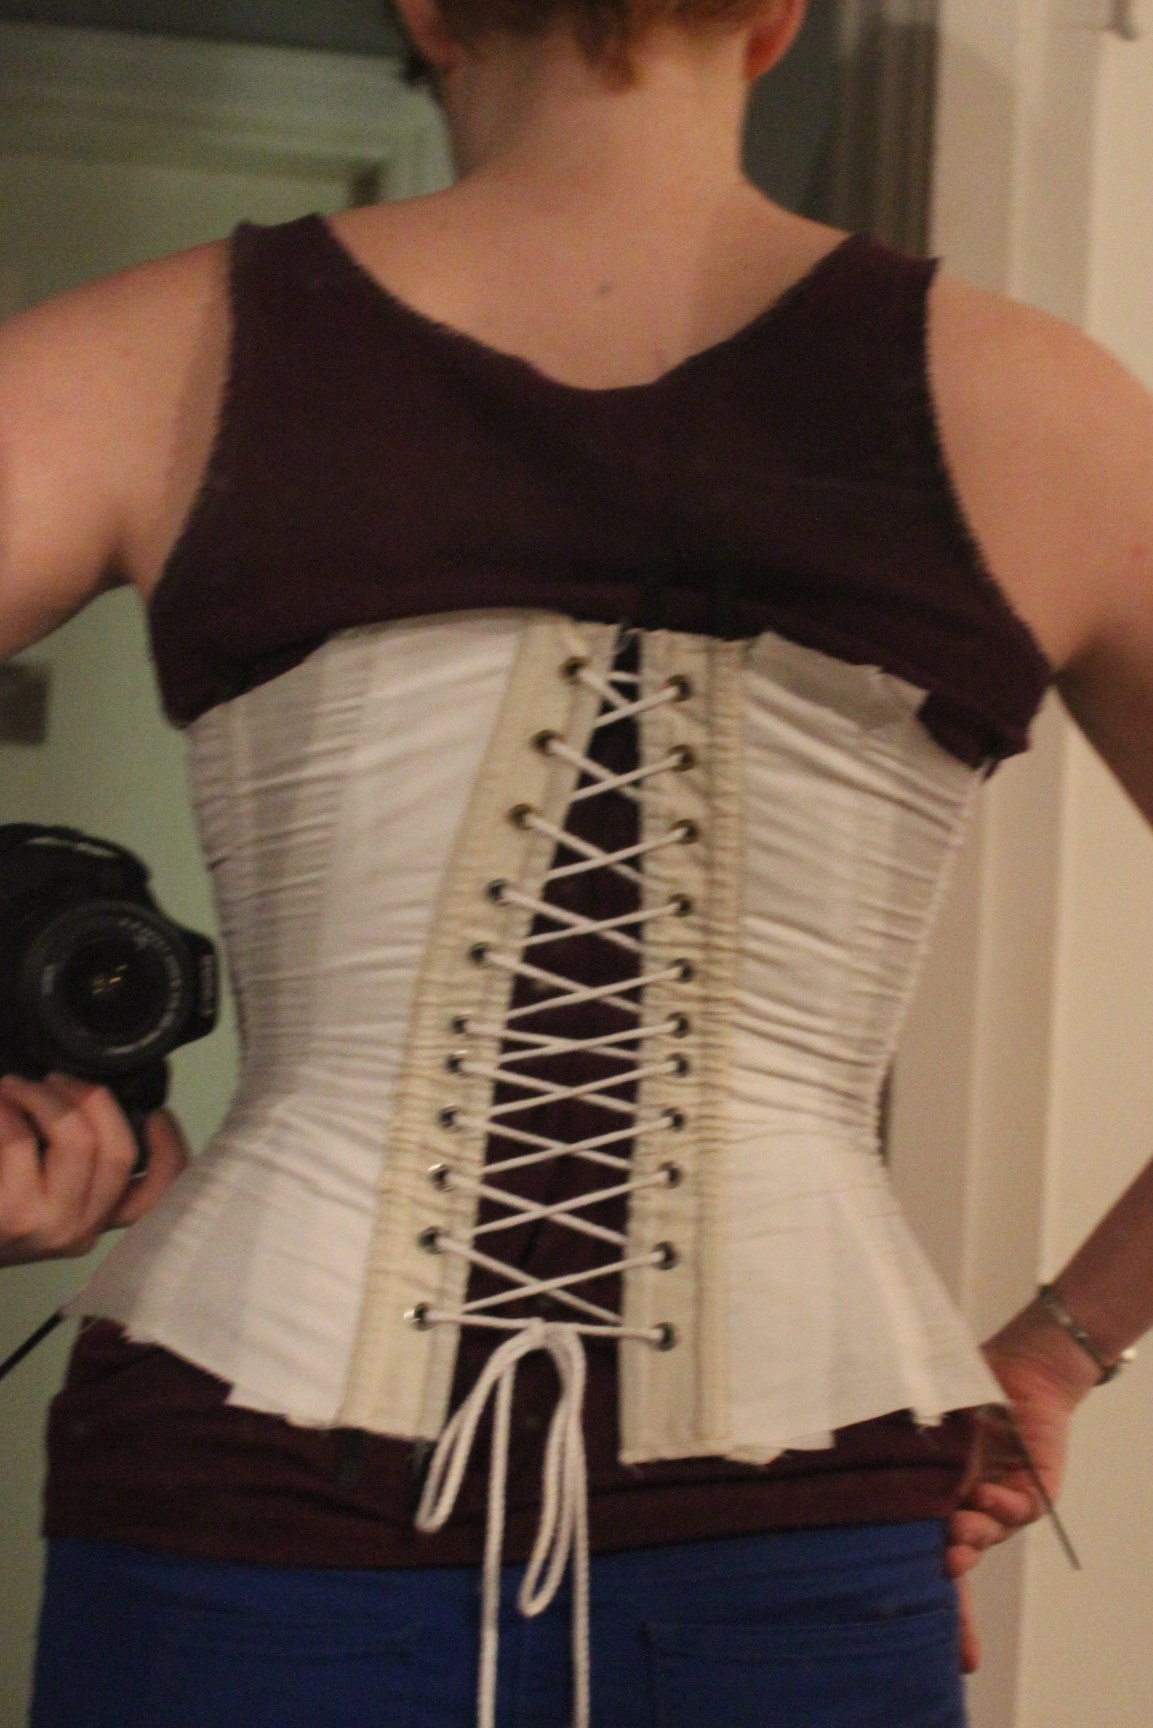
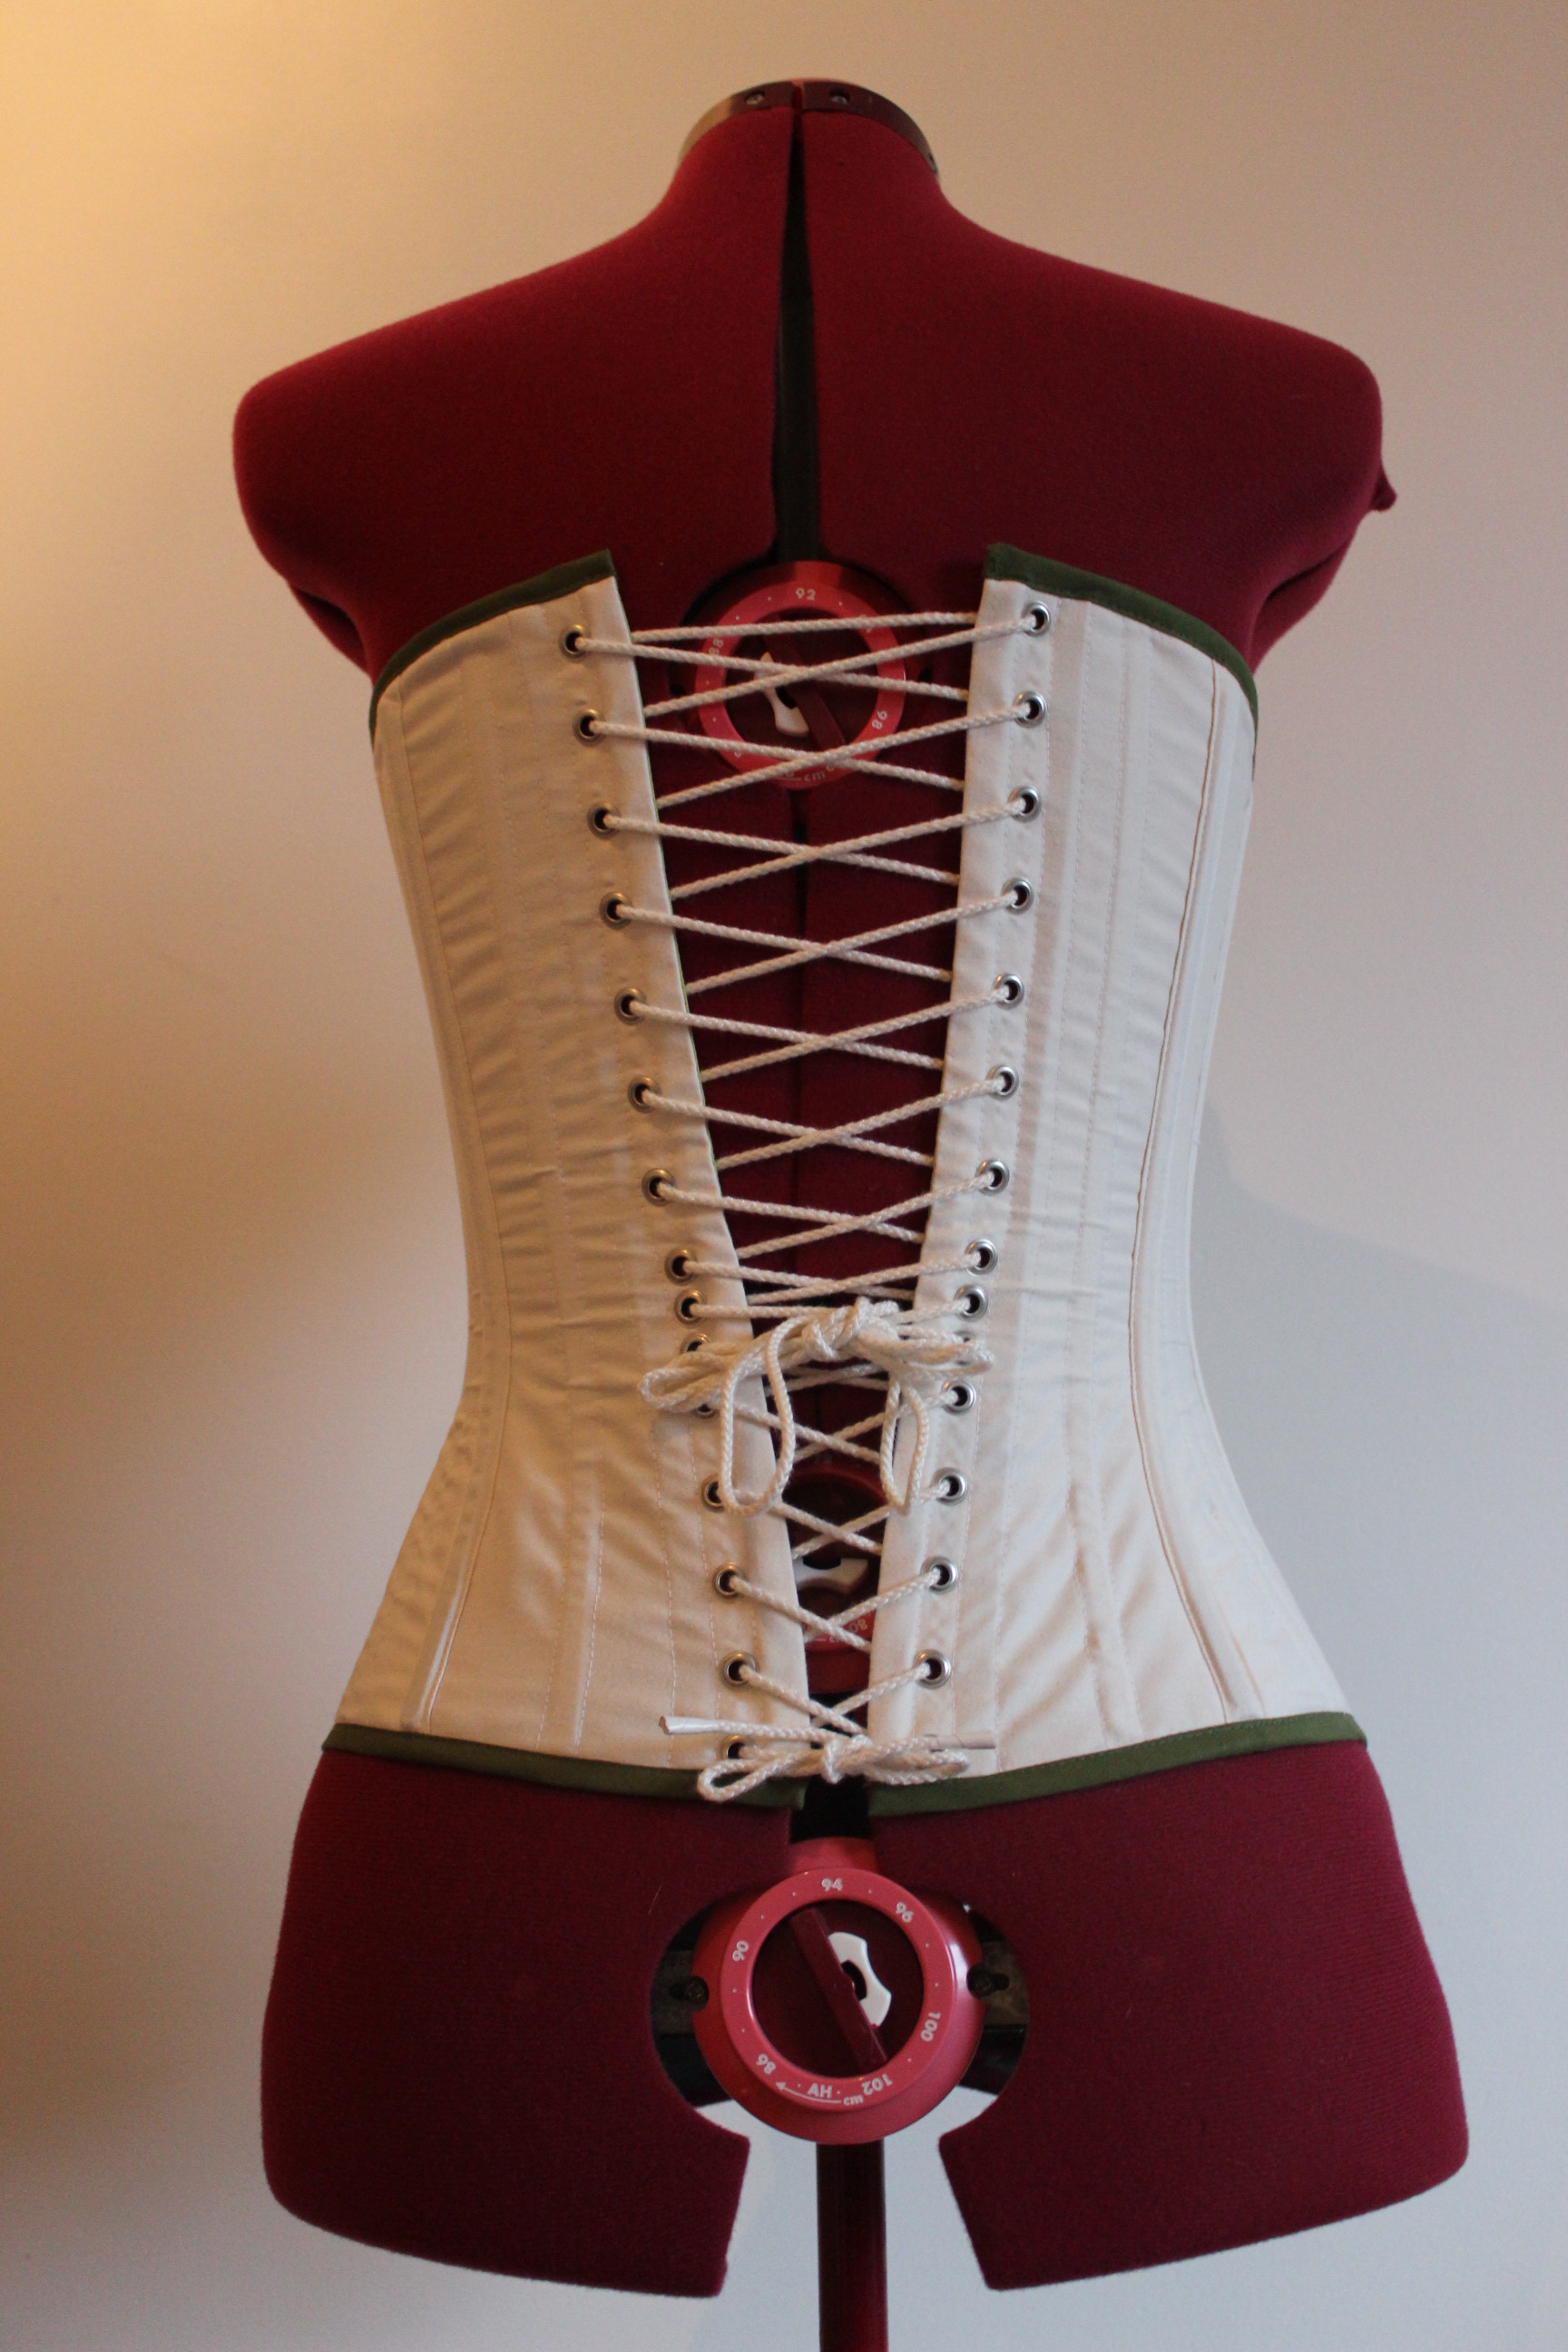
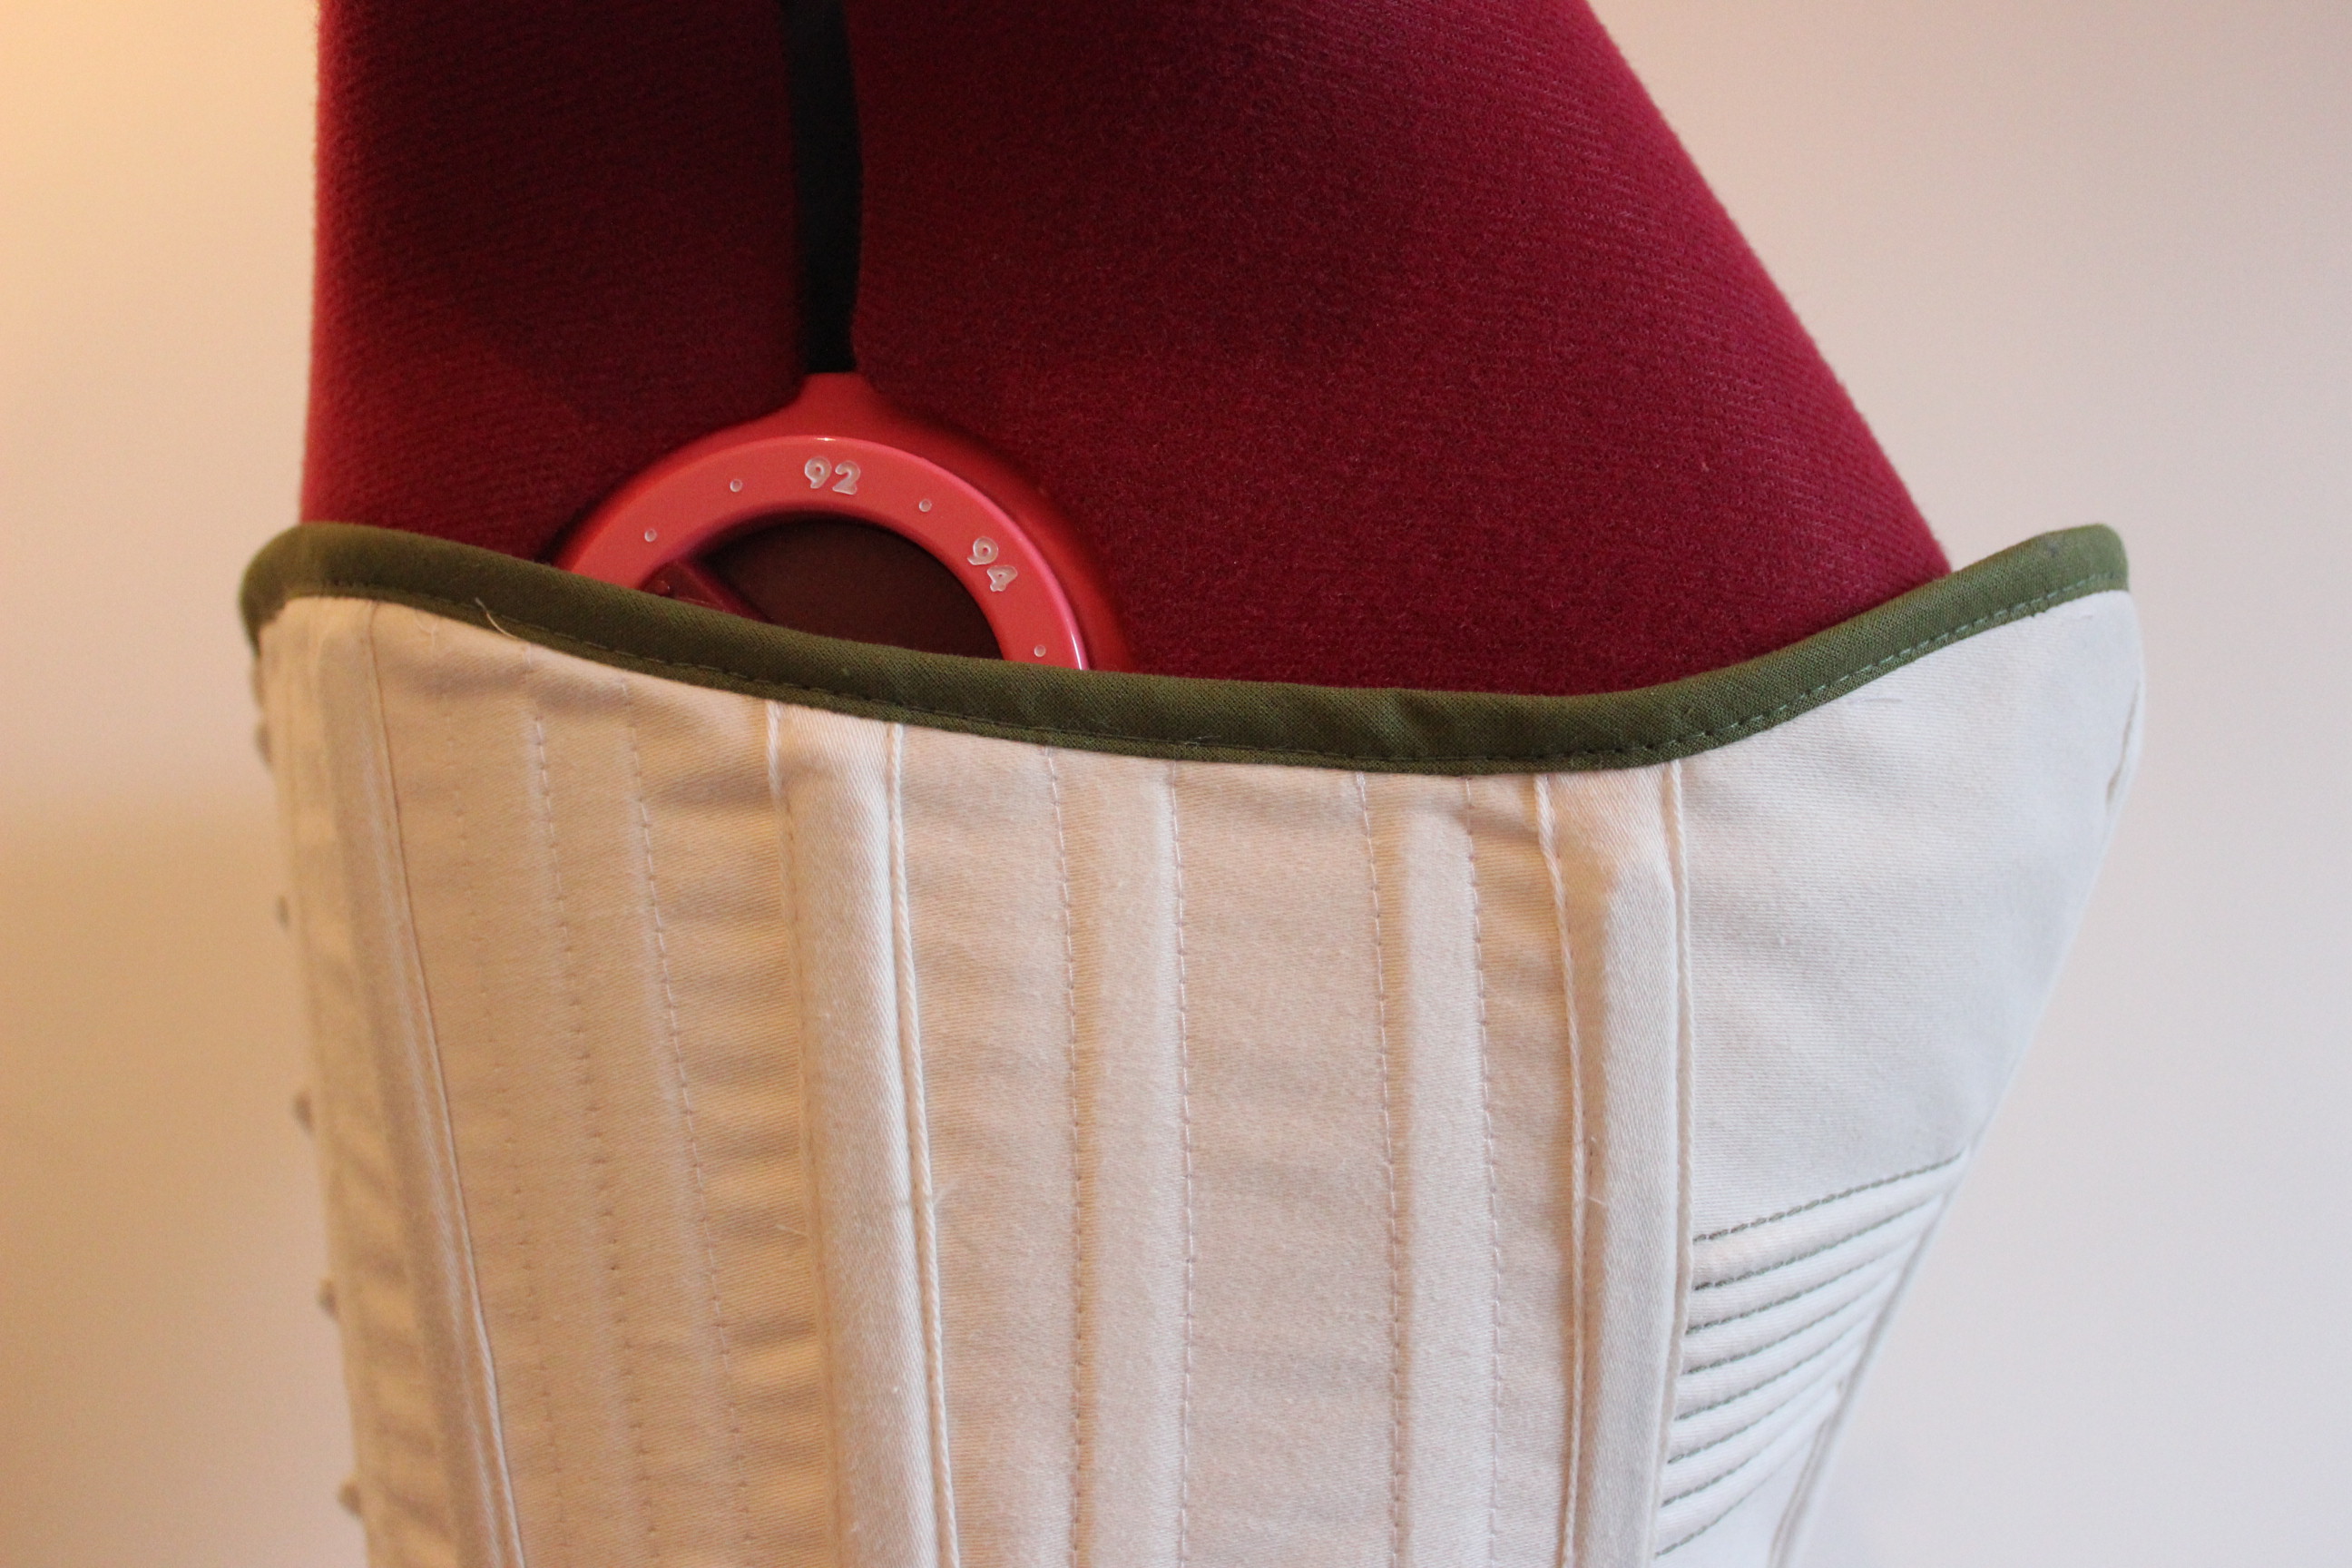
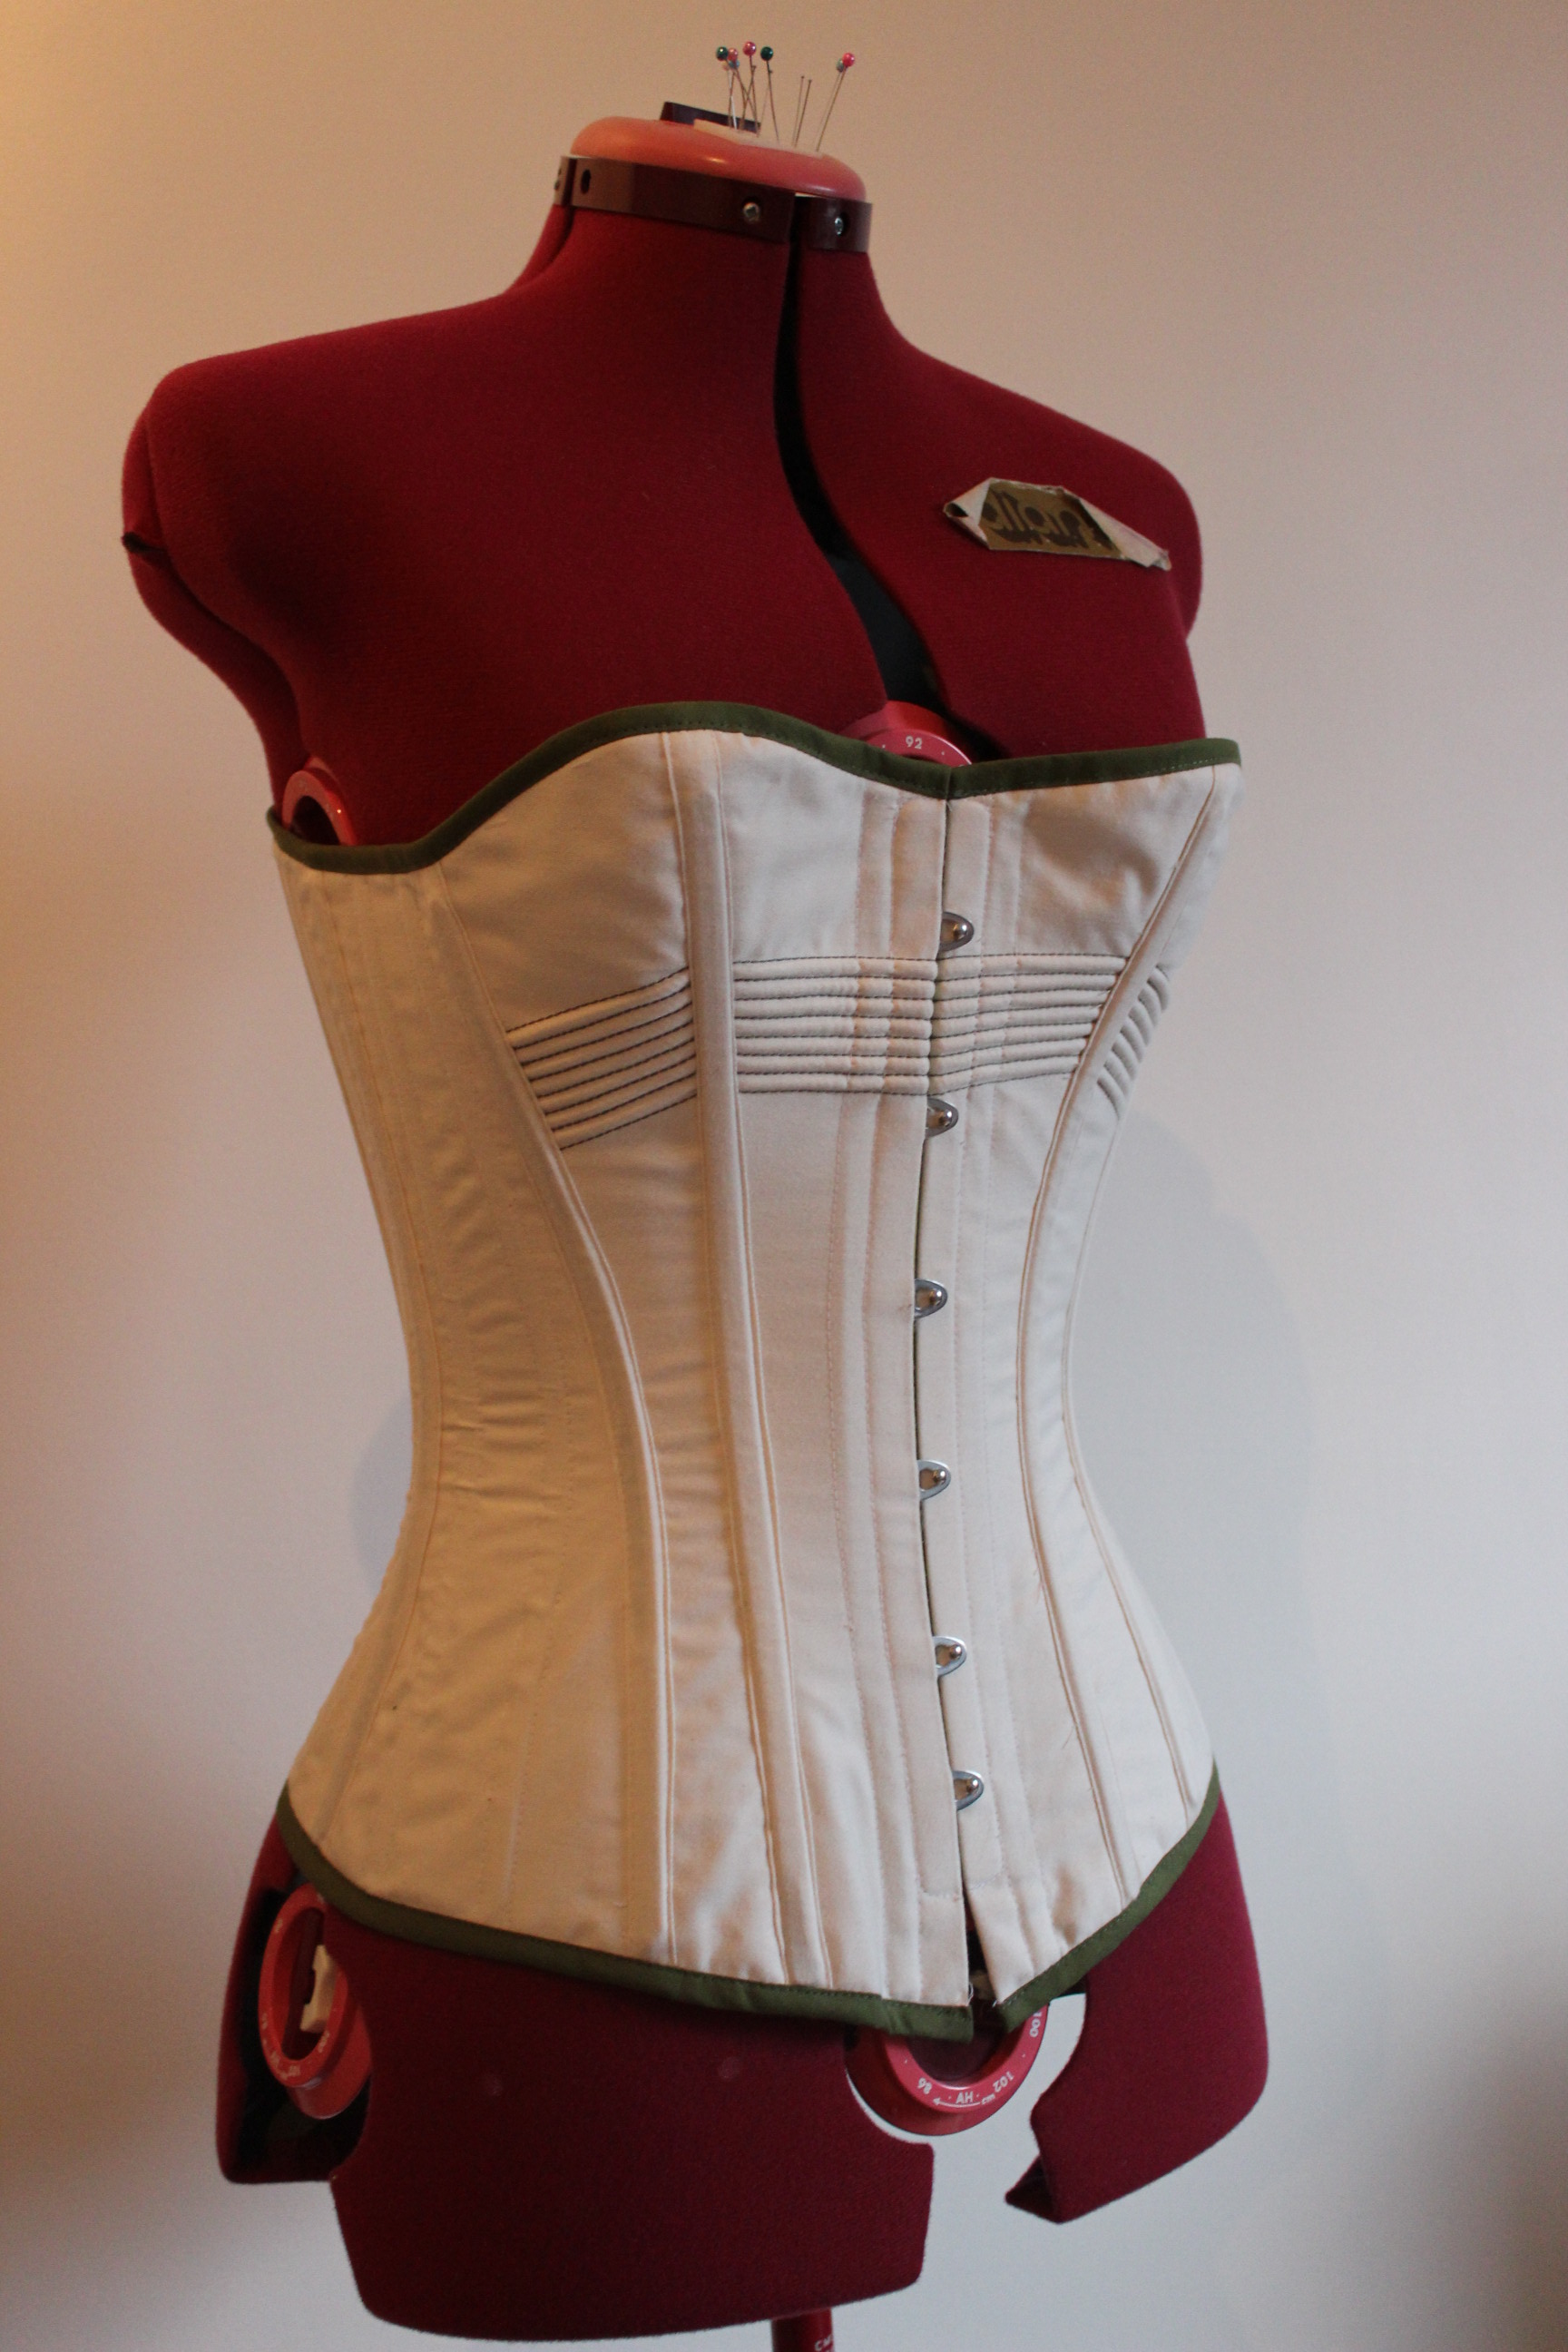
So I put my sisters corset on my dressform and started to drape the pattern.

IMG_6070 IMG_6067

IMG_6068

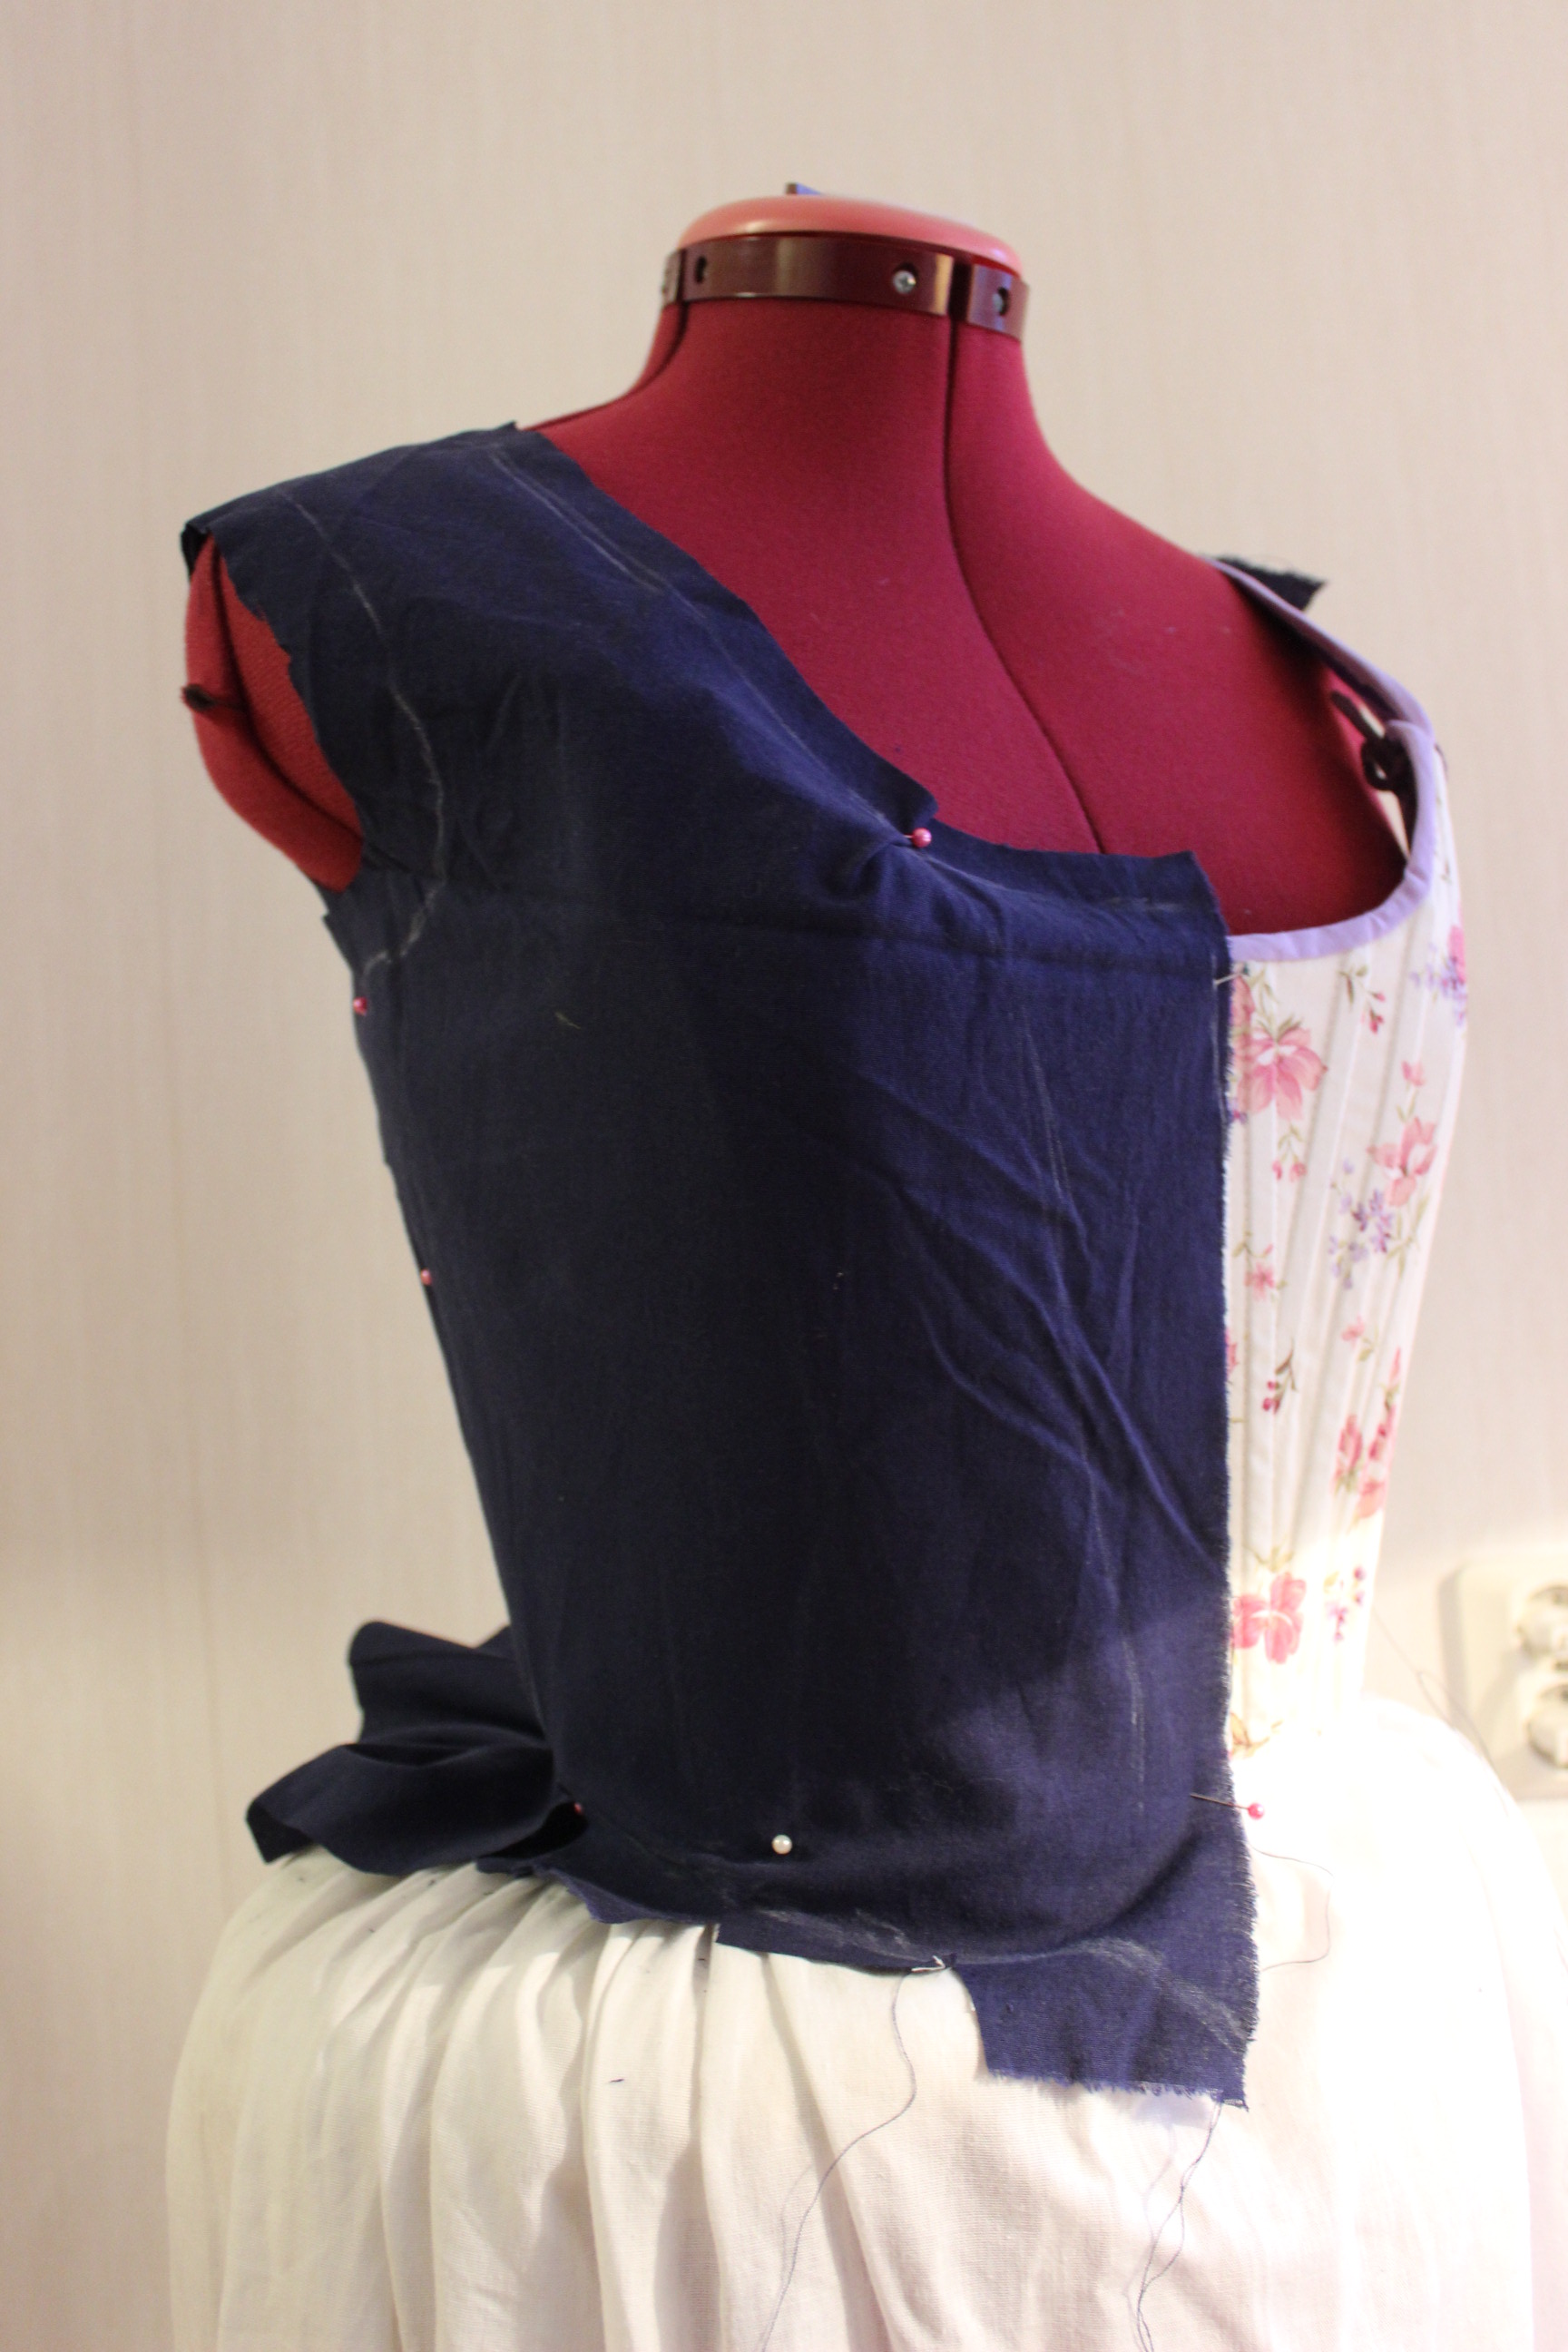
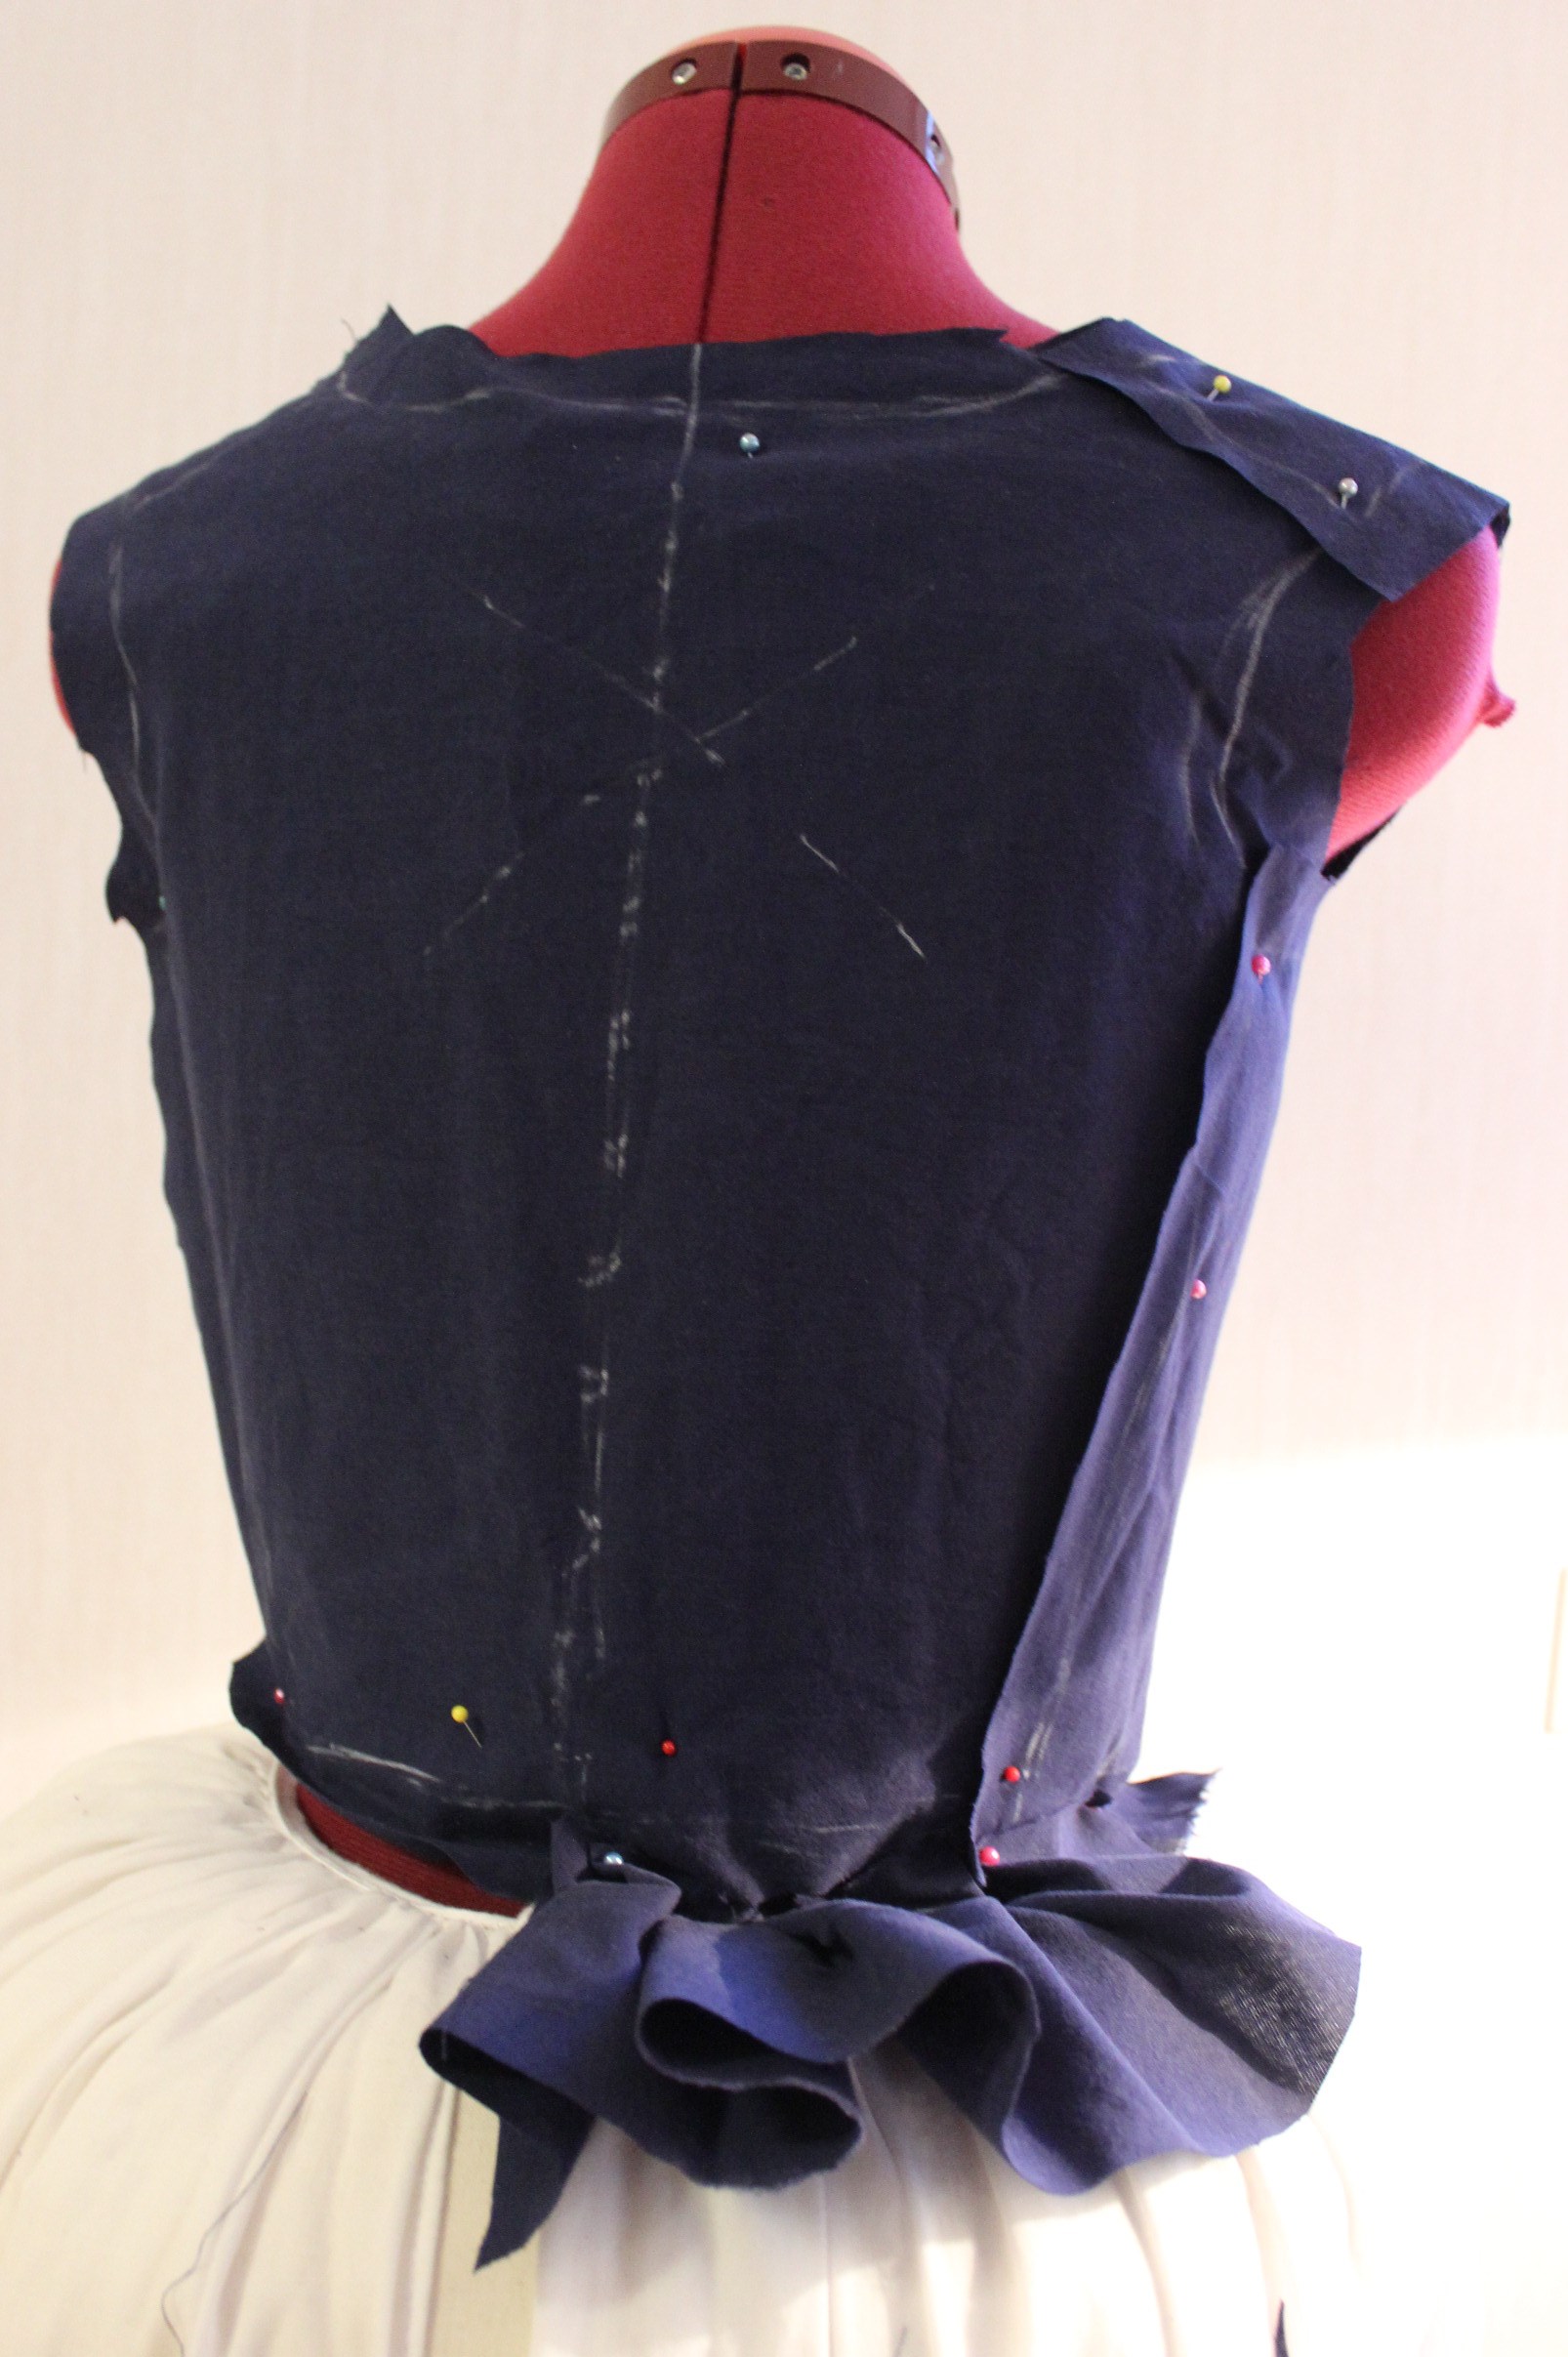
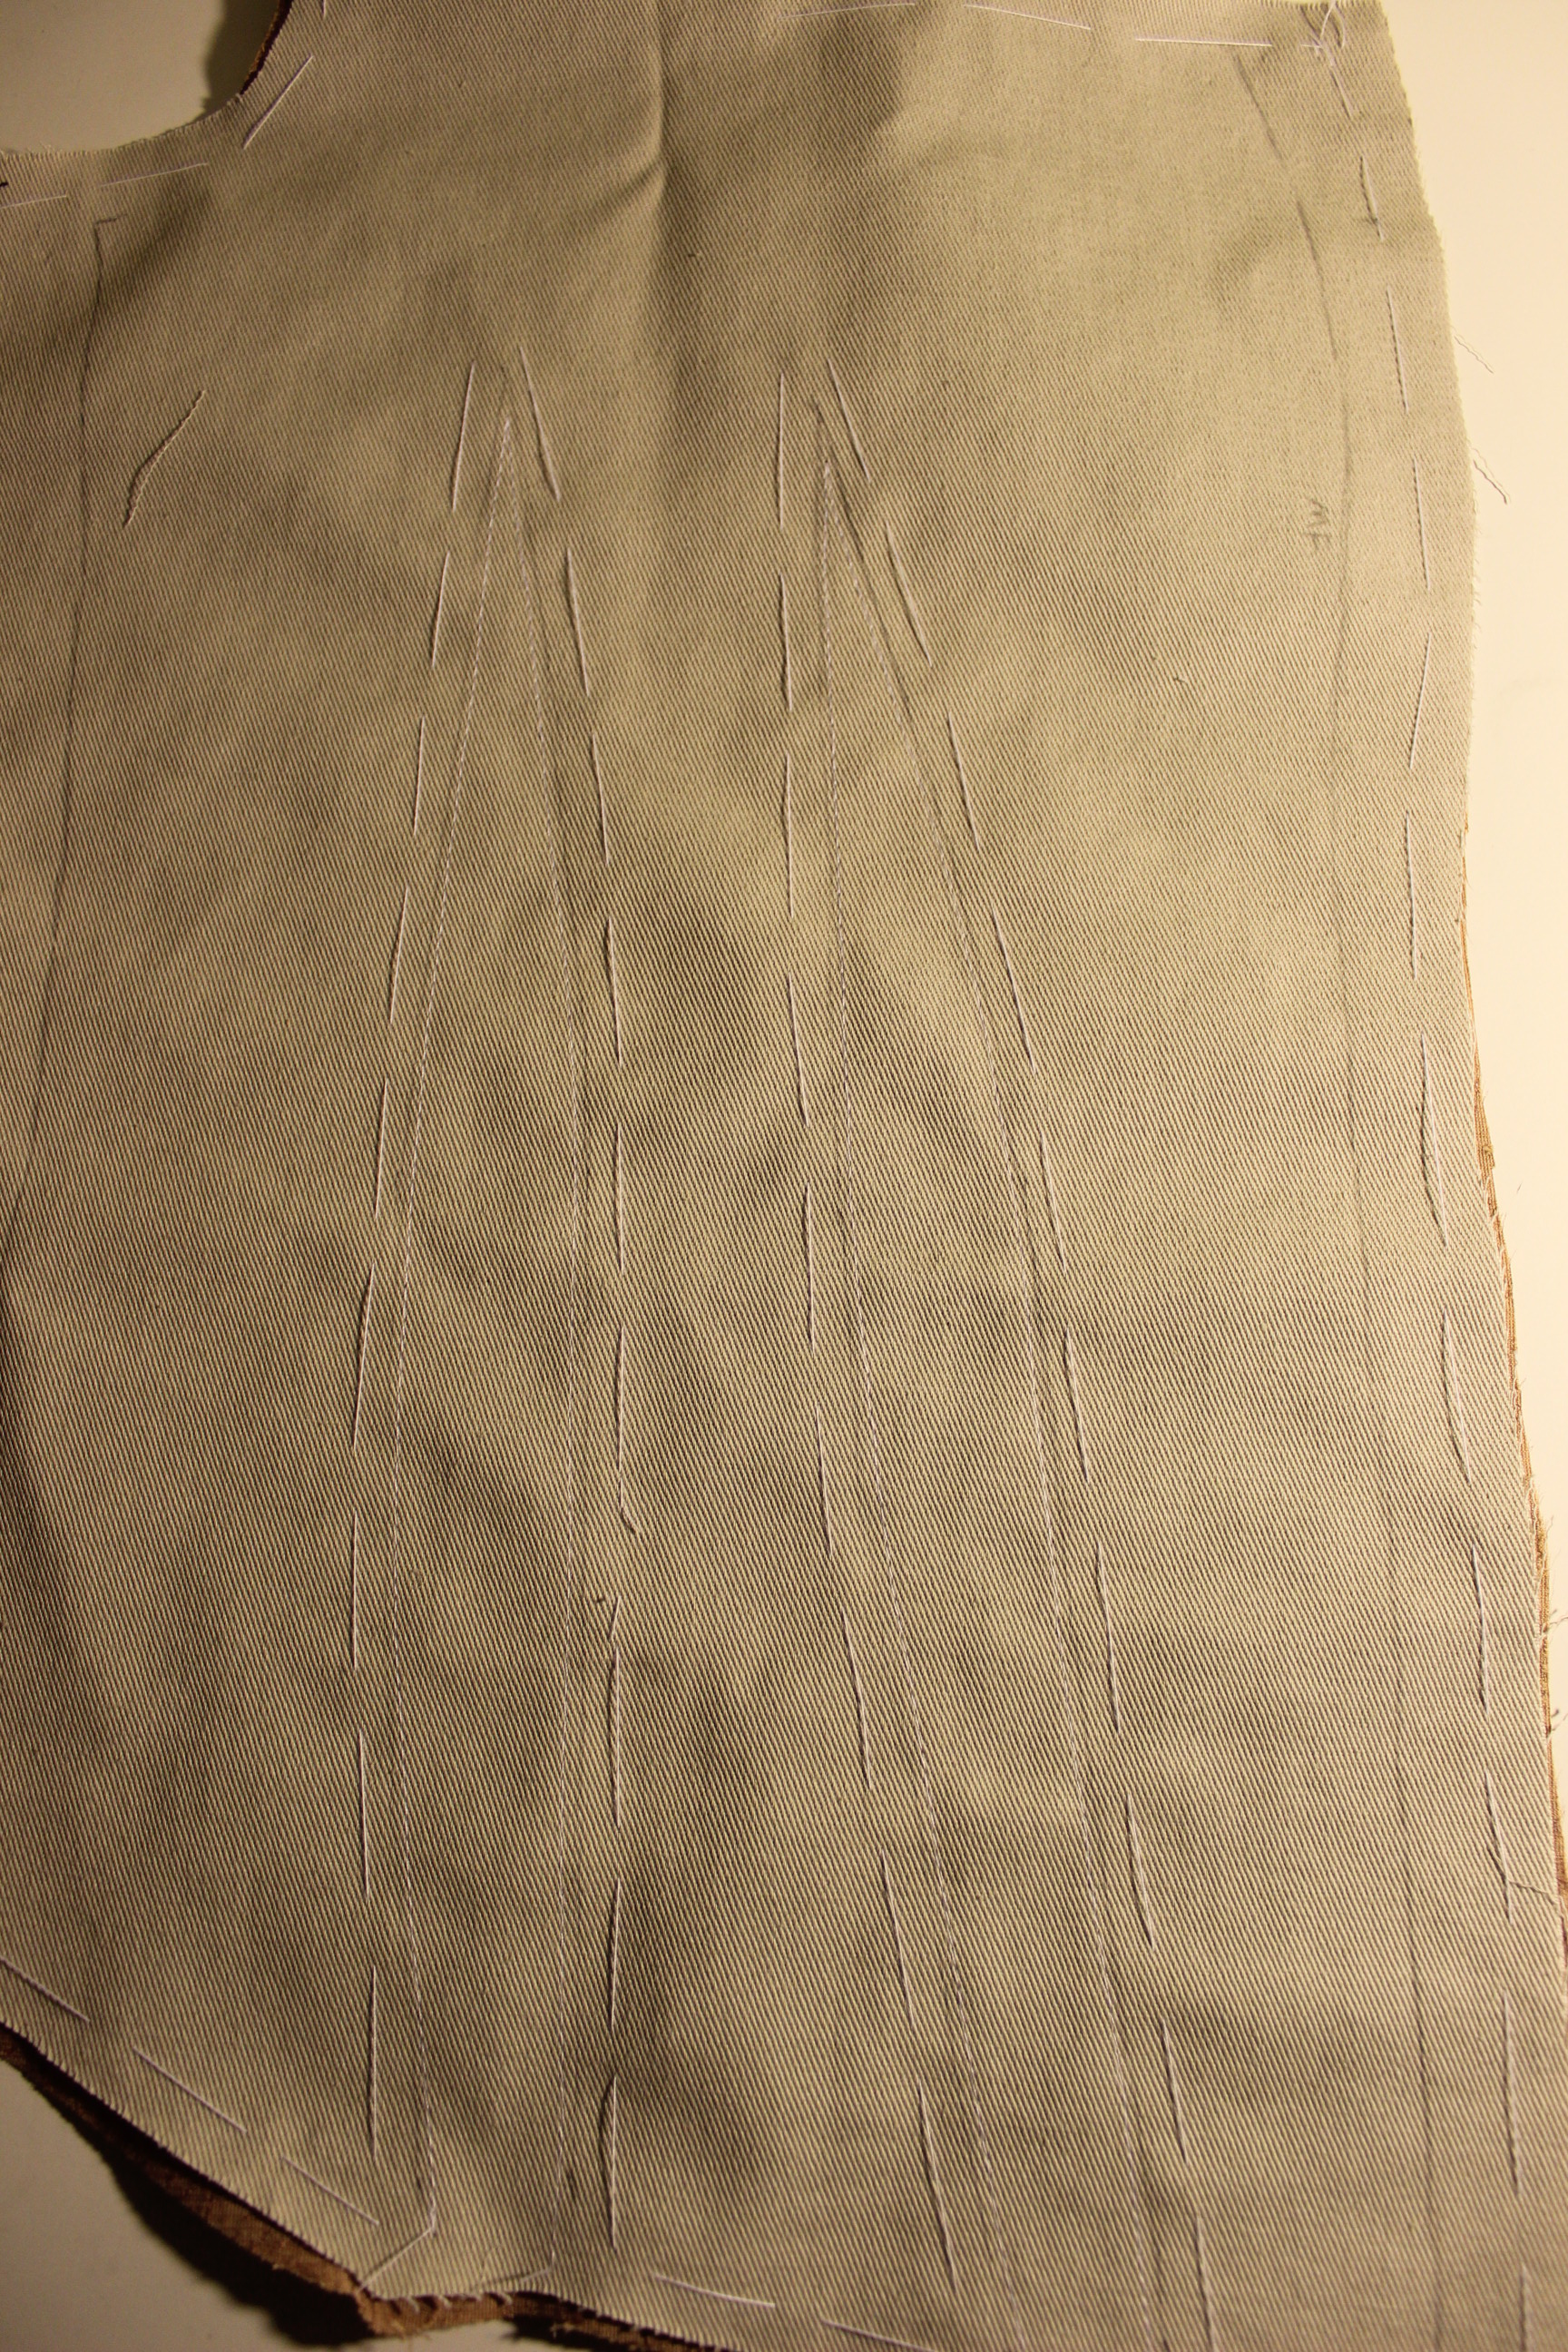
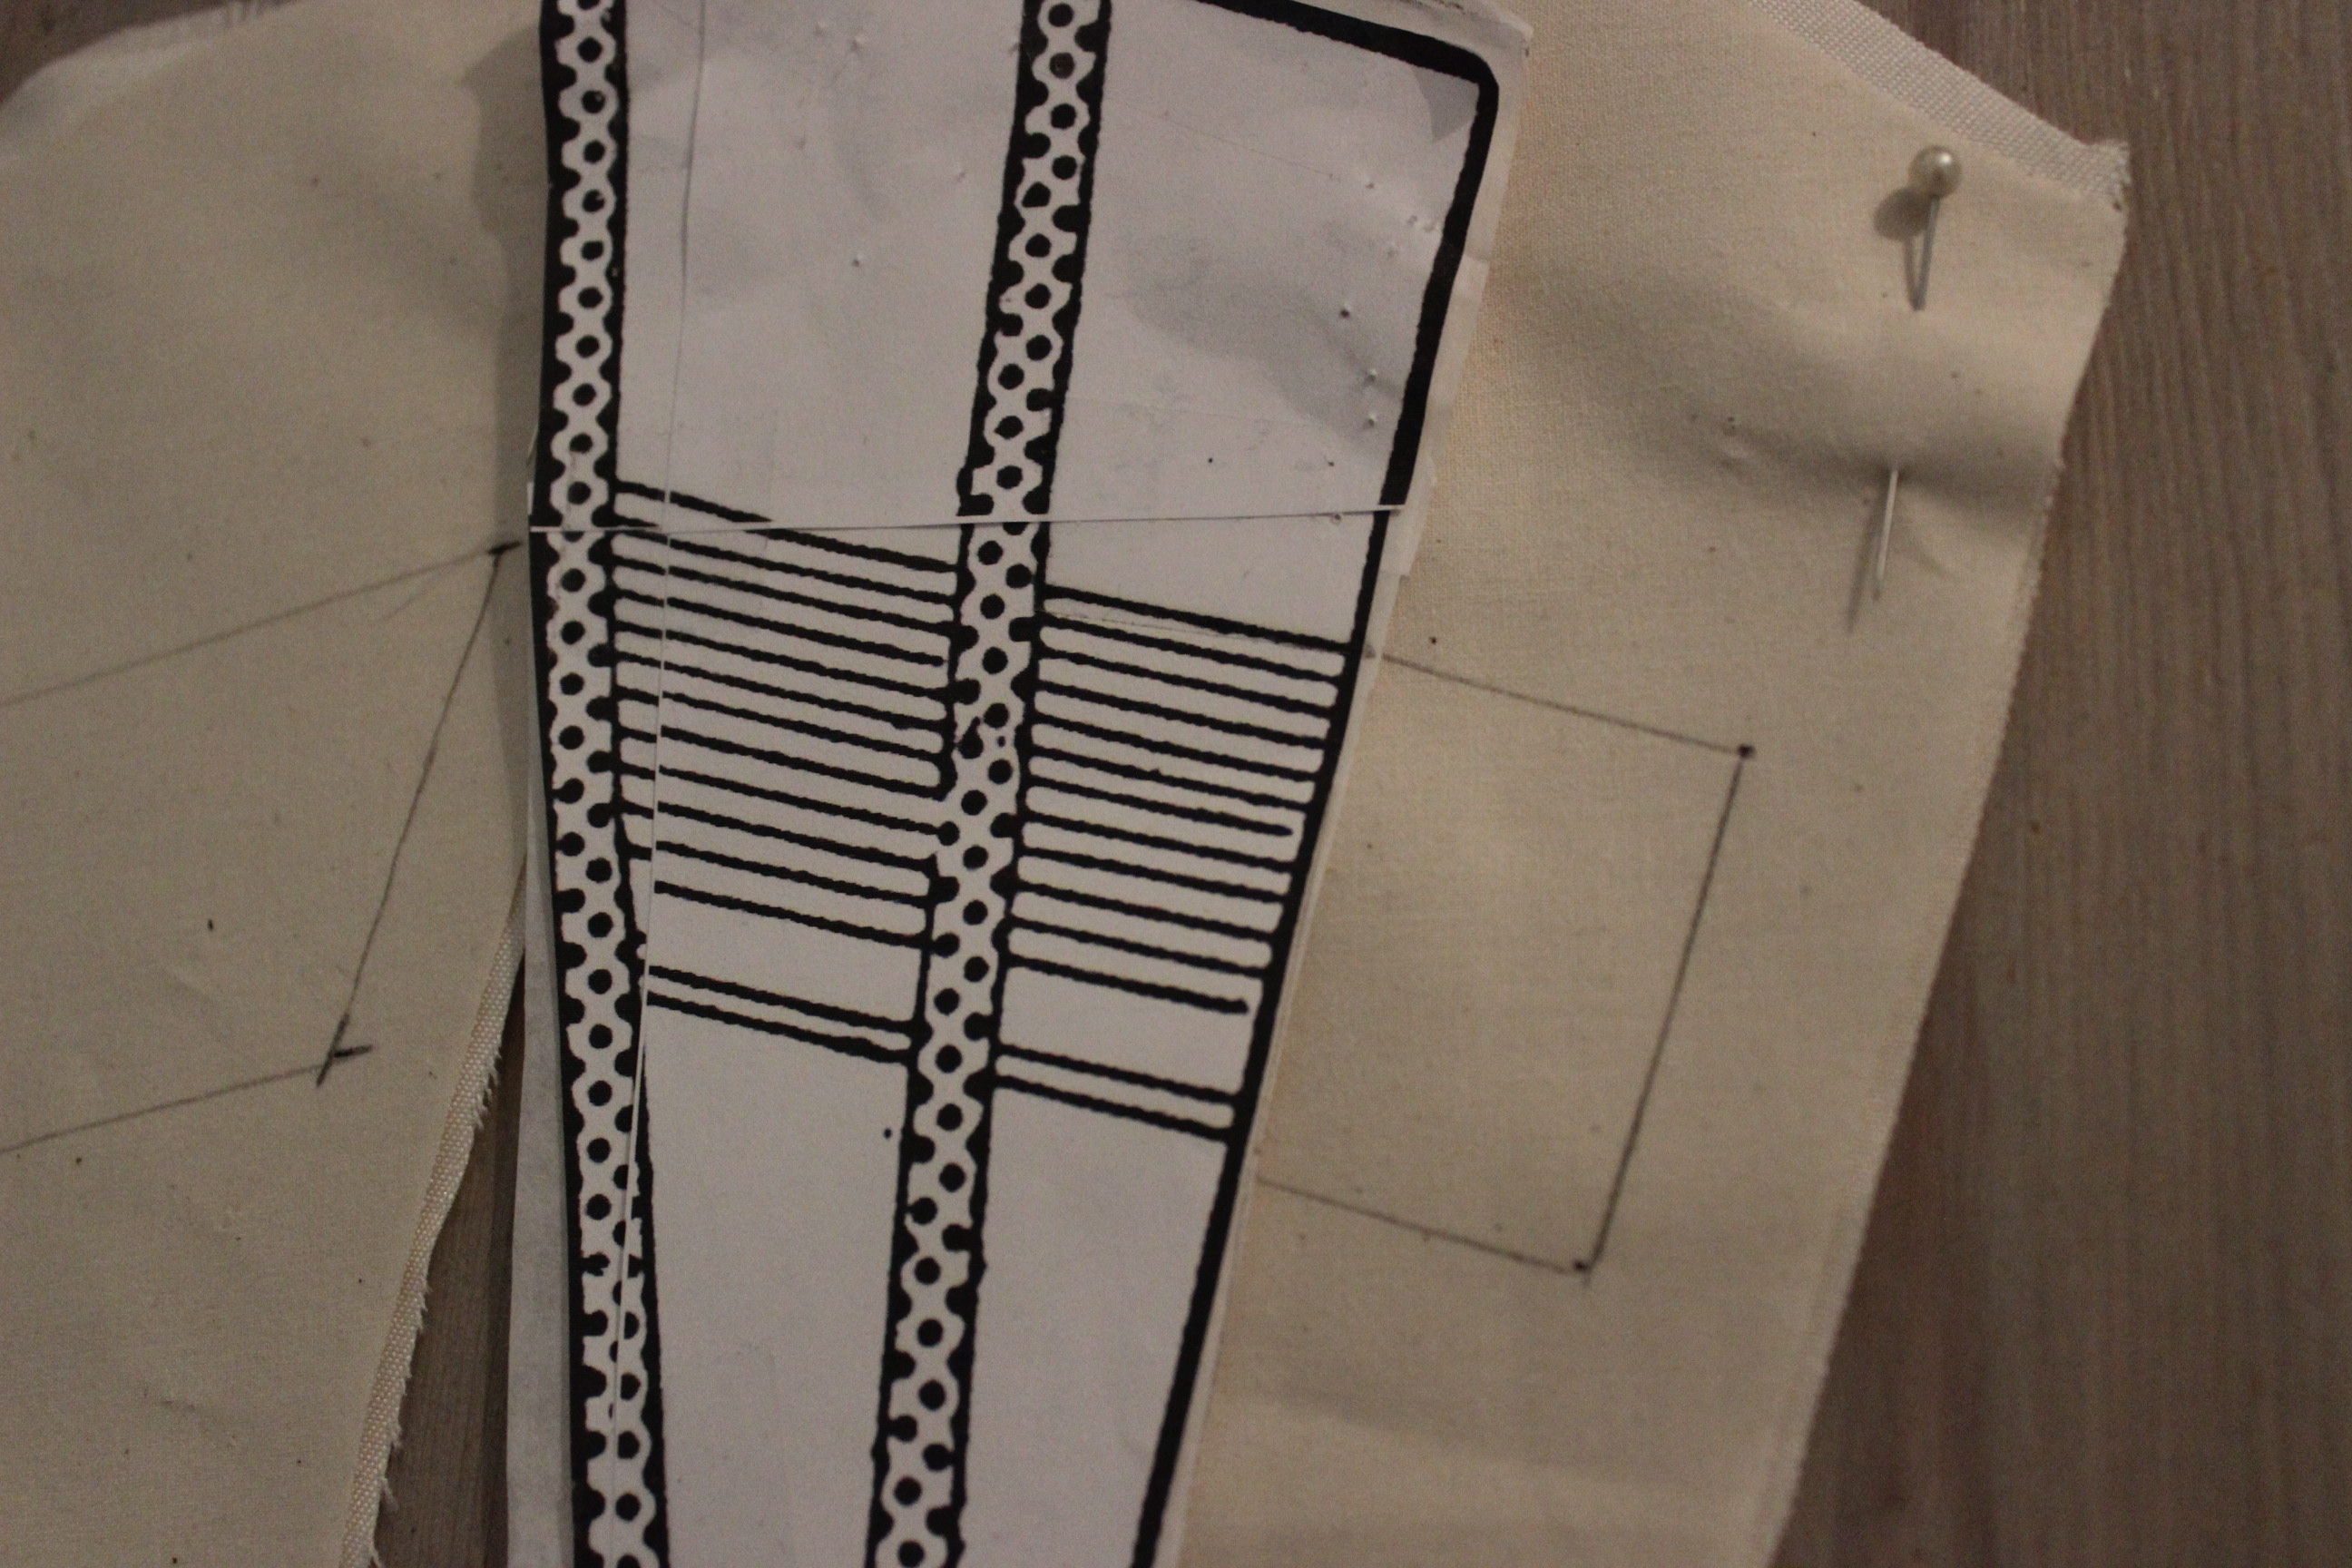
Then I used a good hour trying to get the pieces out, getting the print in the exact way I wanted.IMG_6077

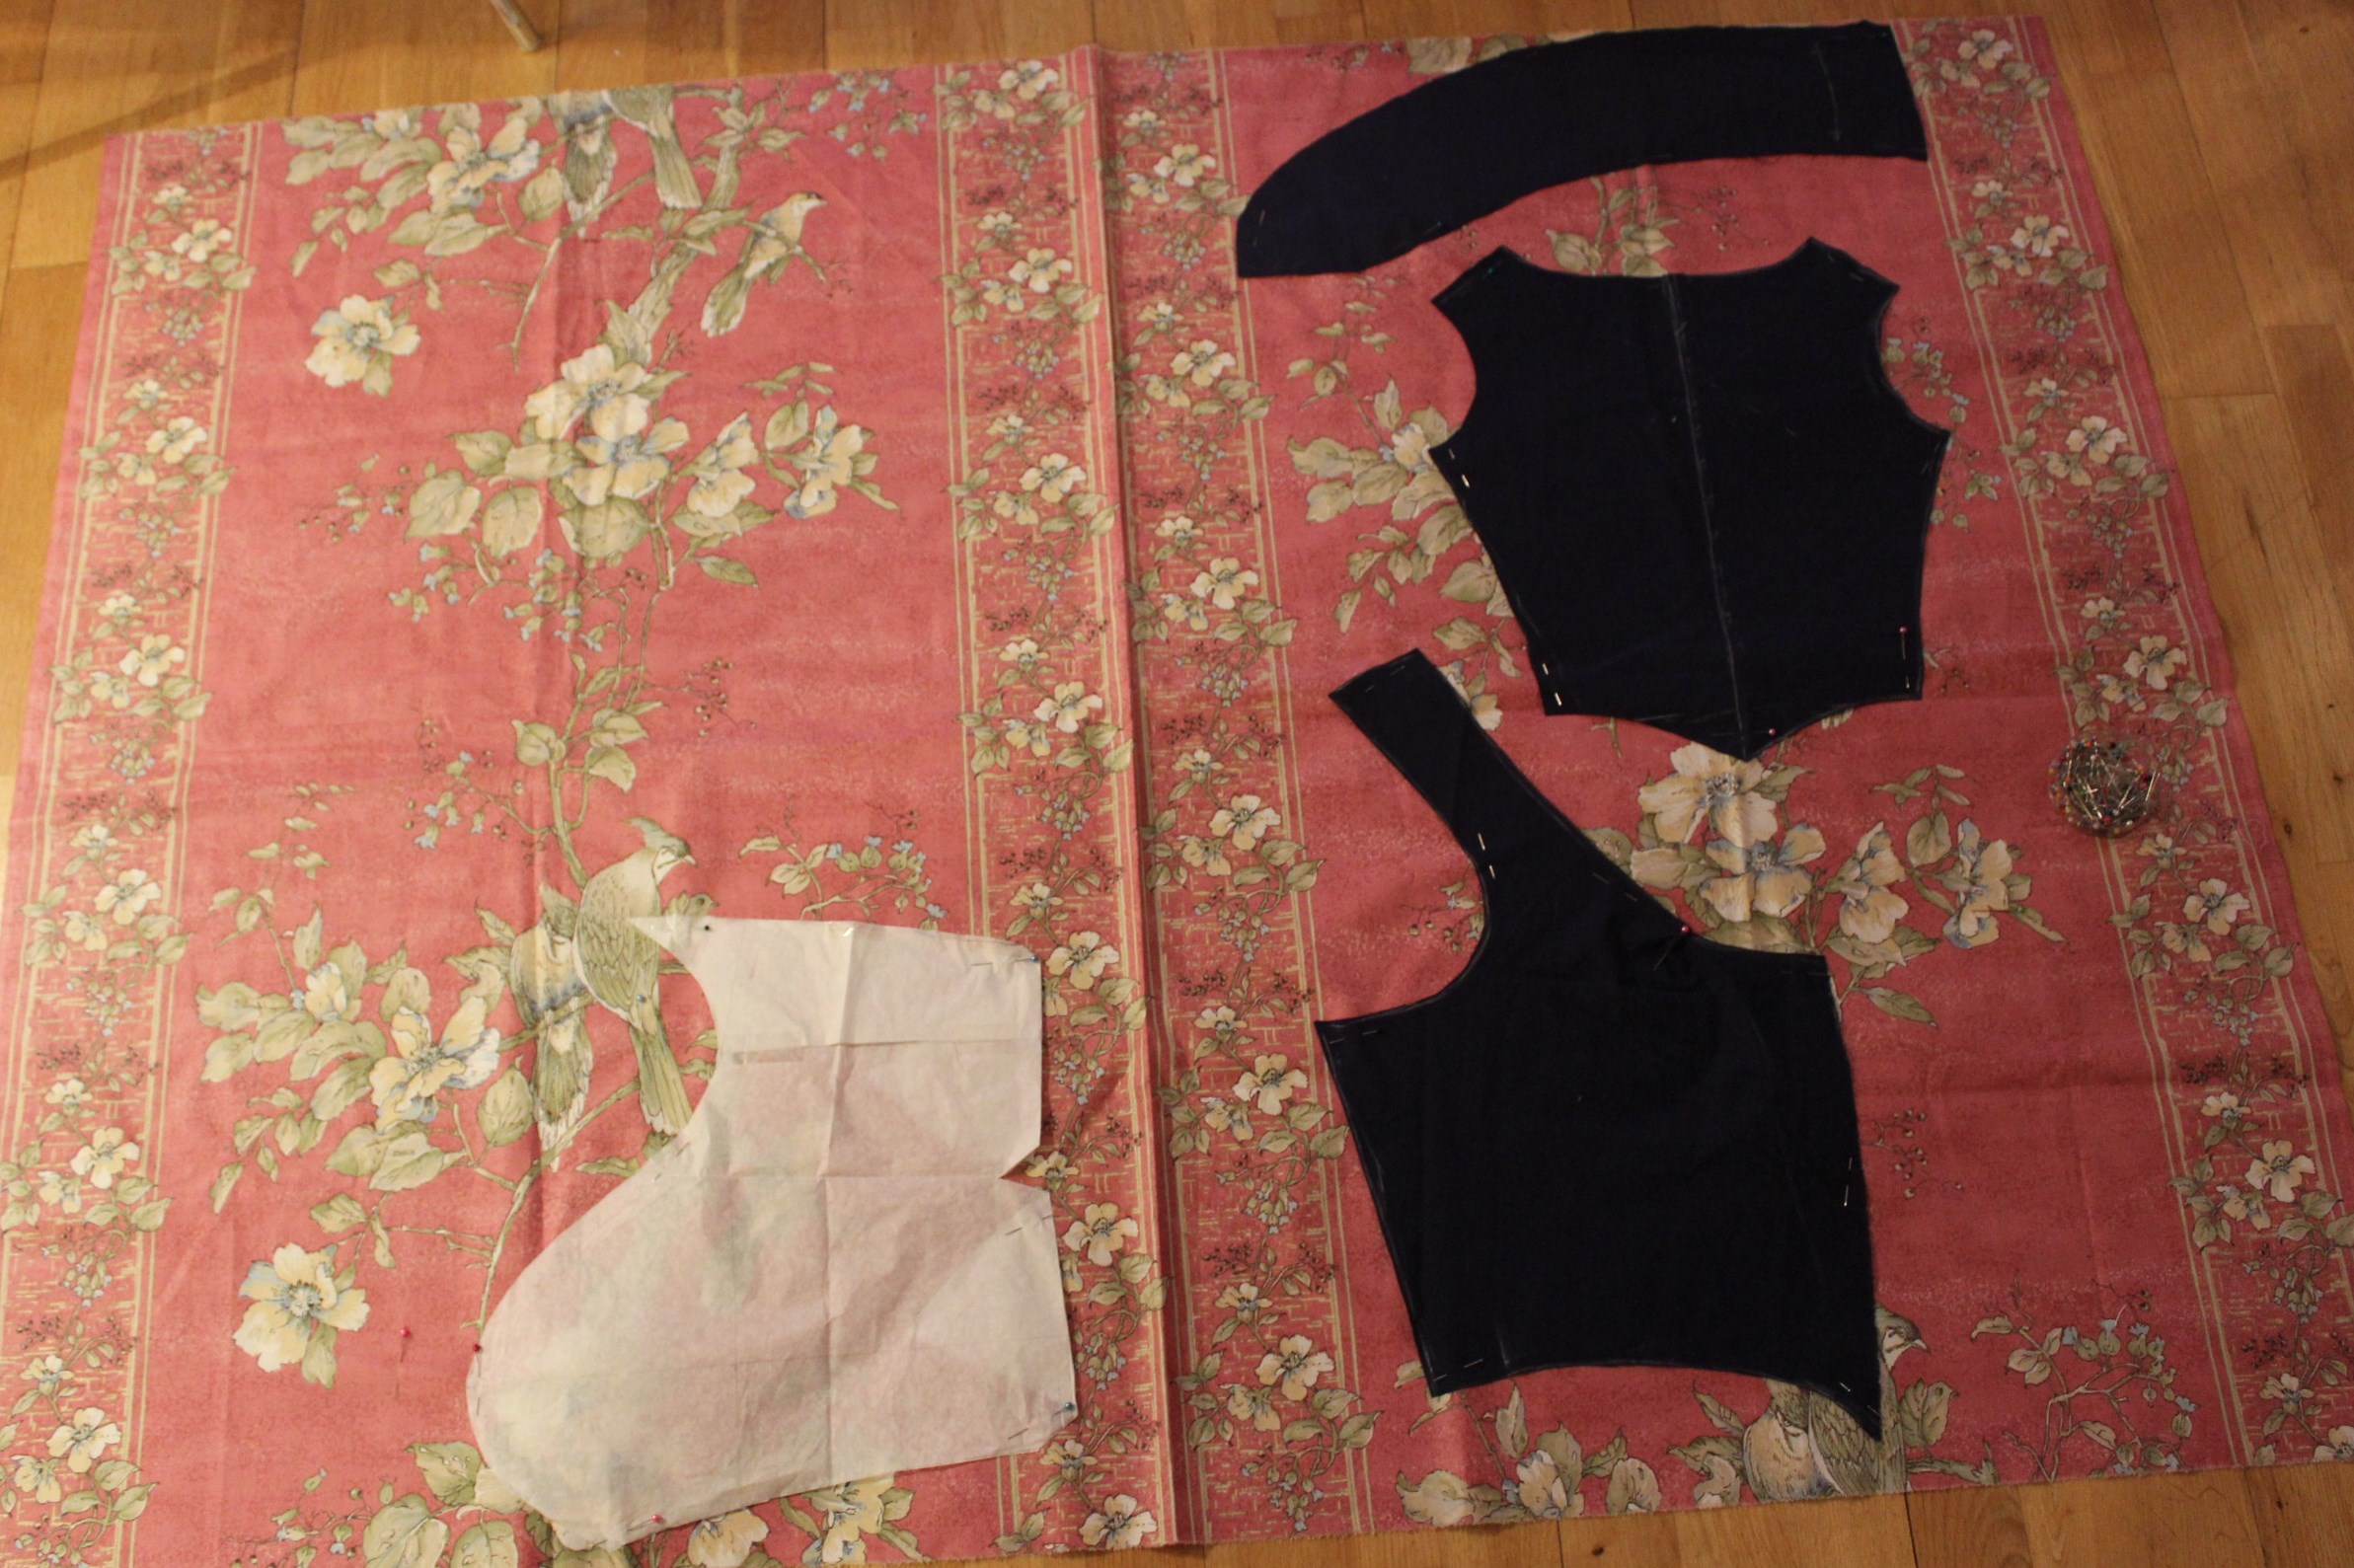
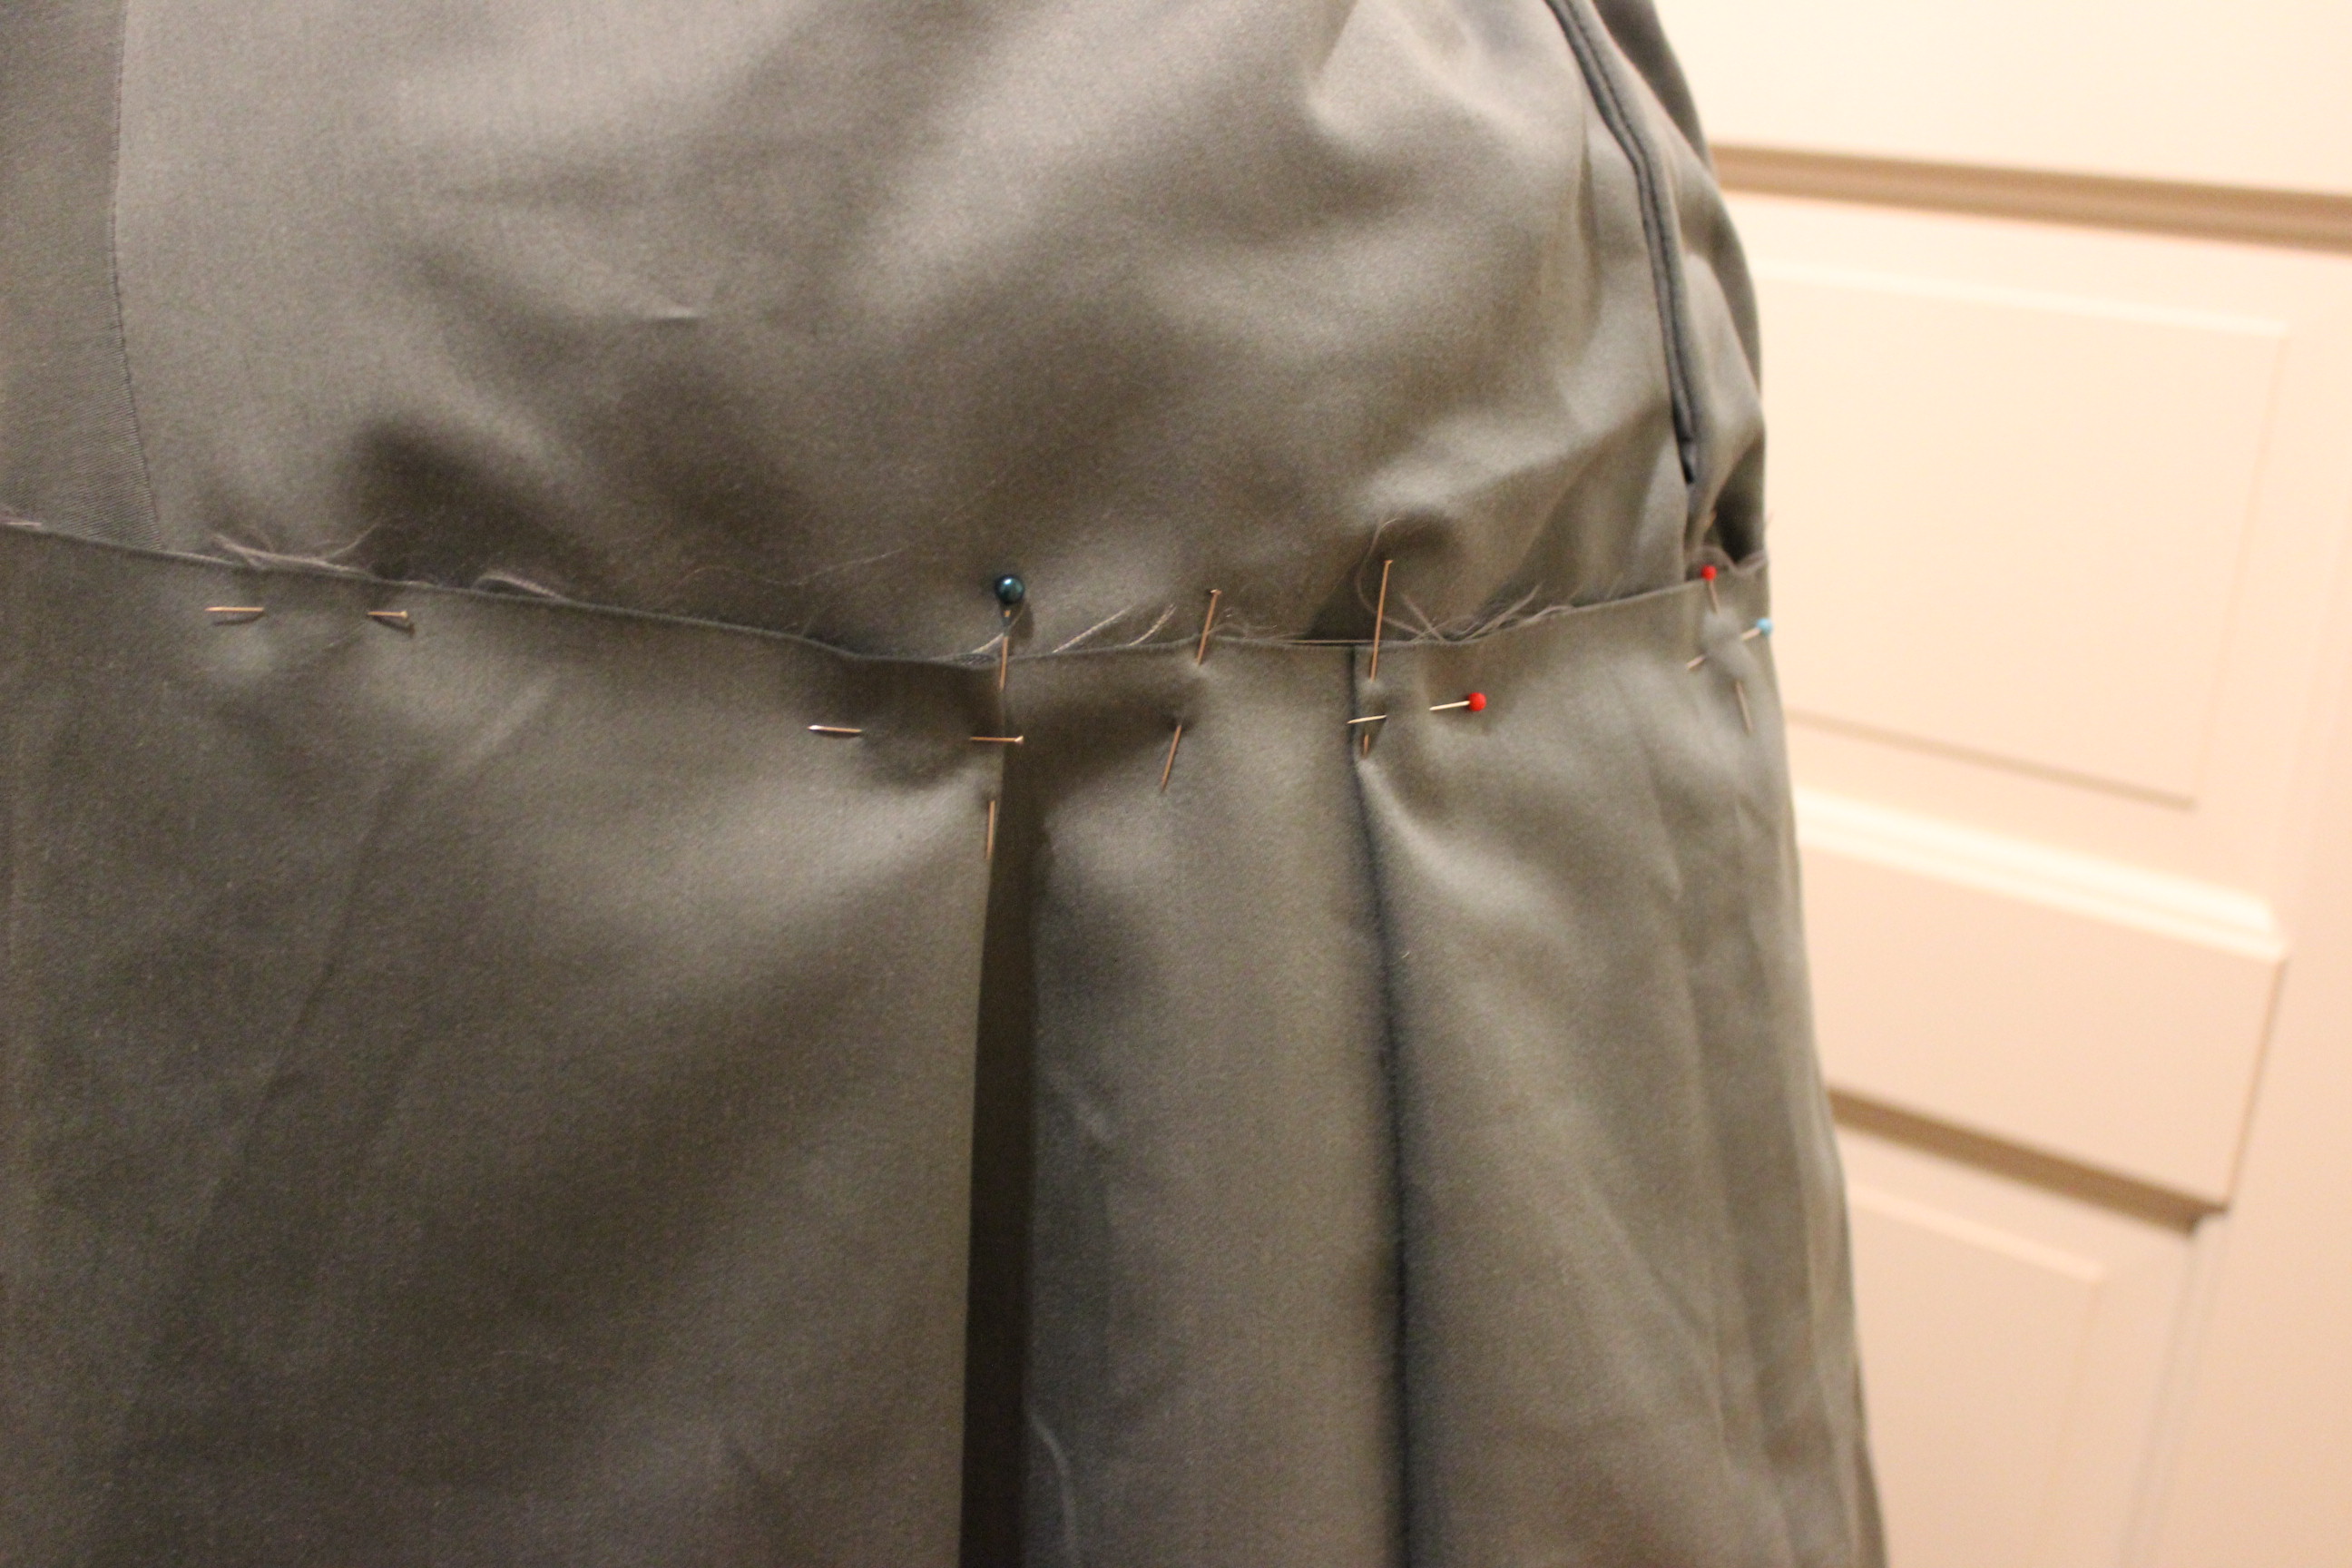
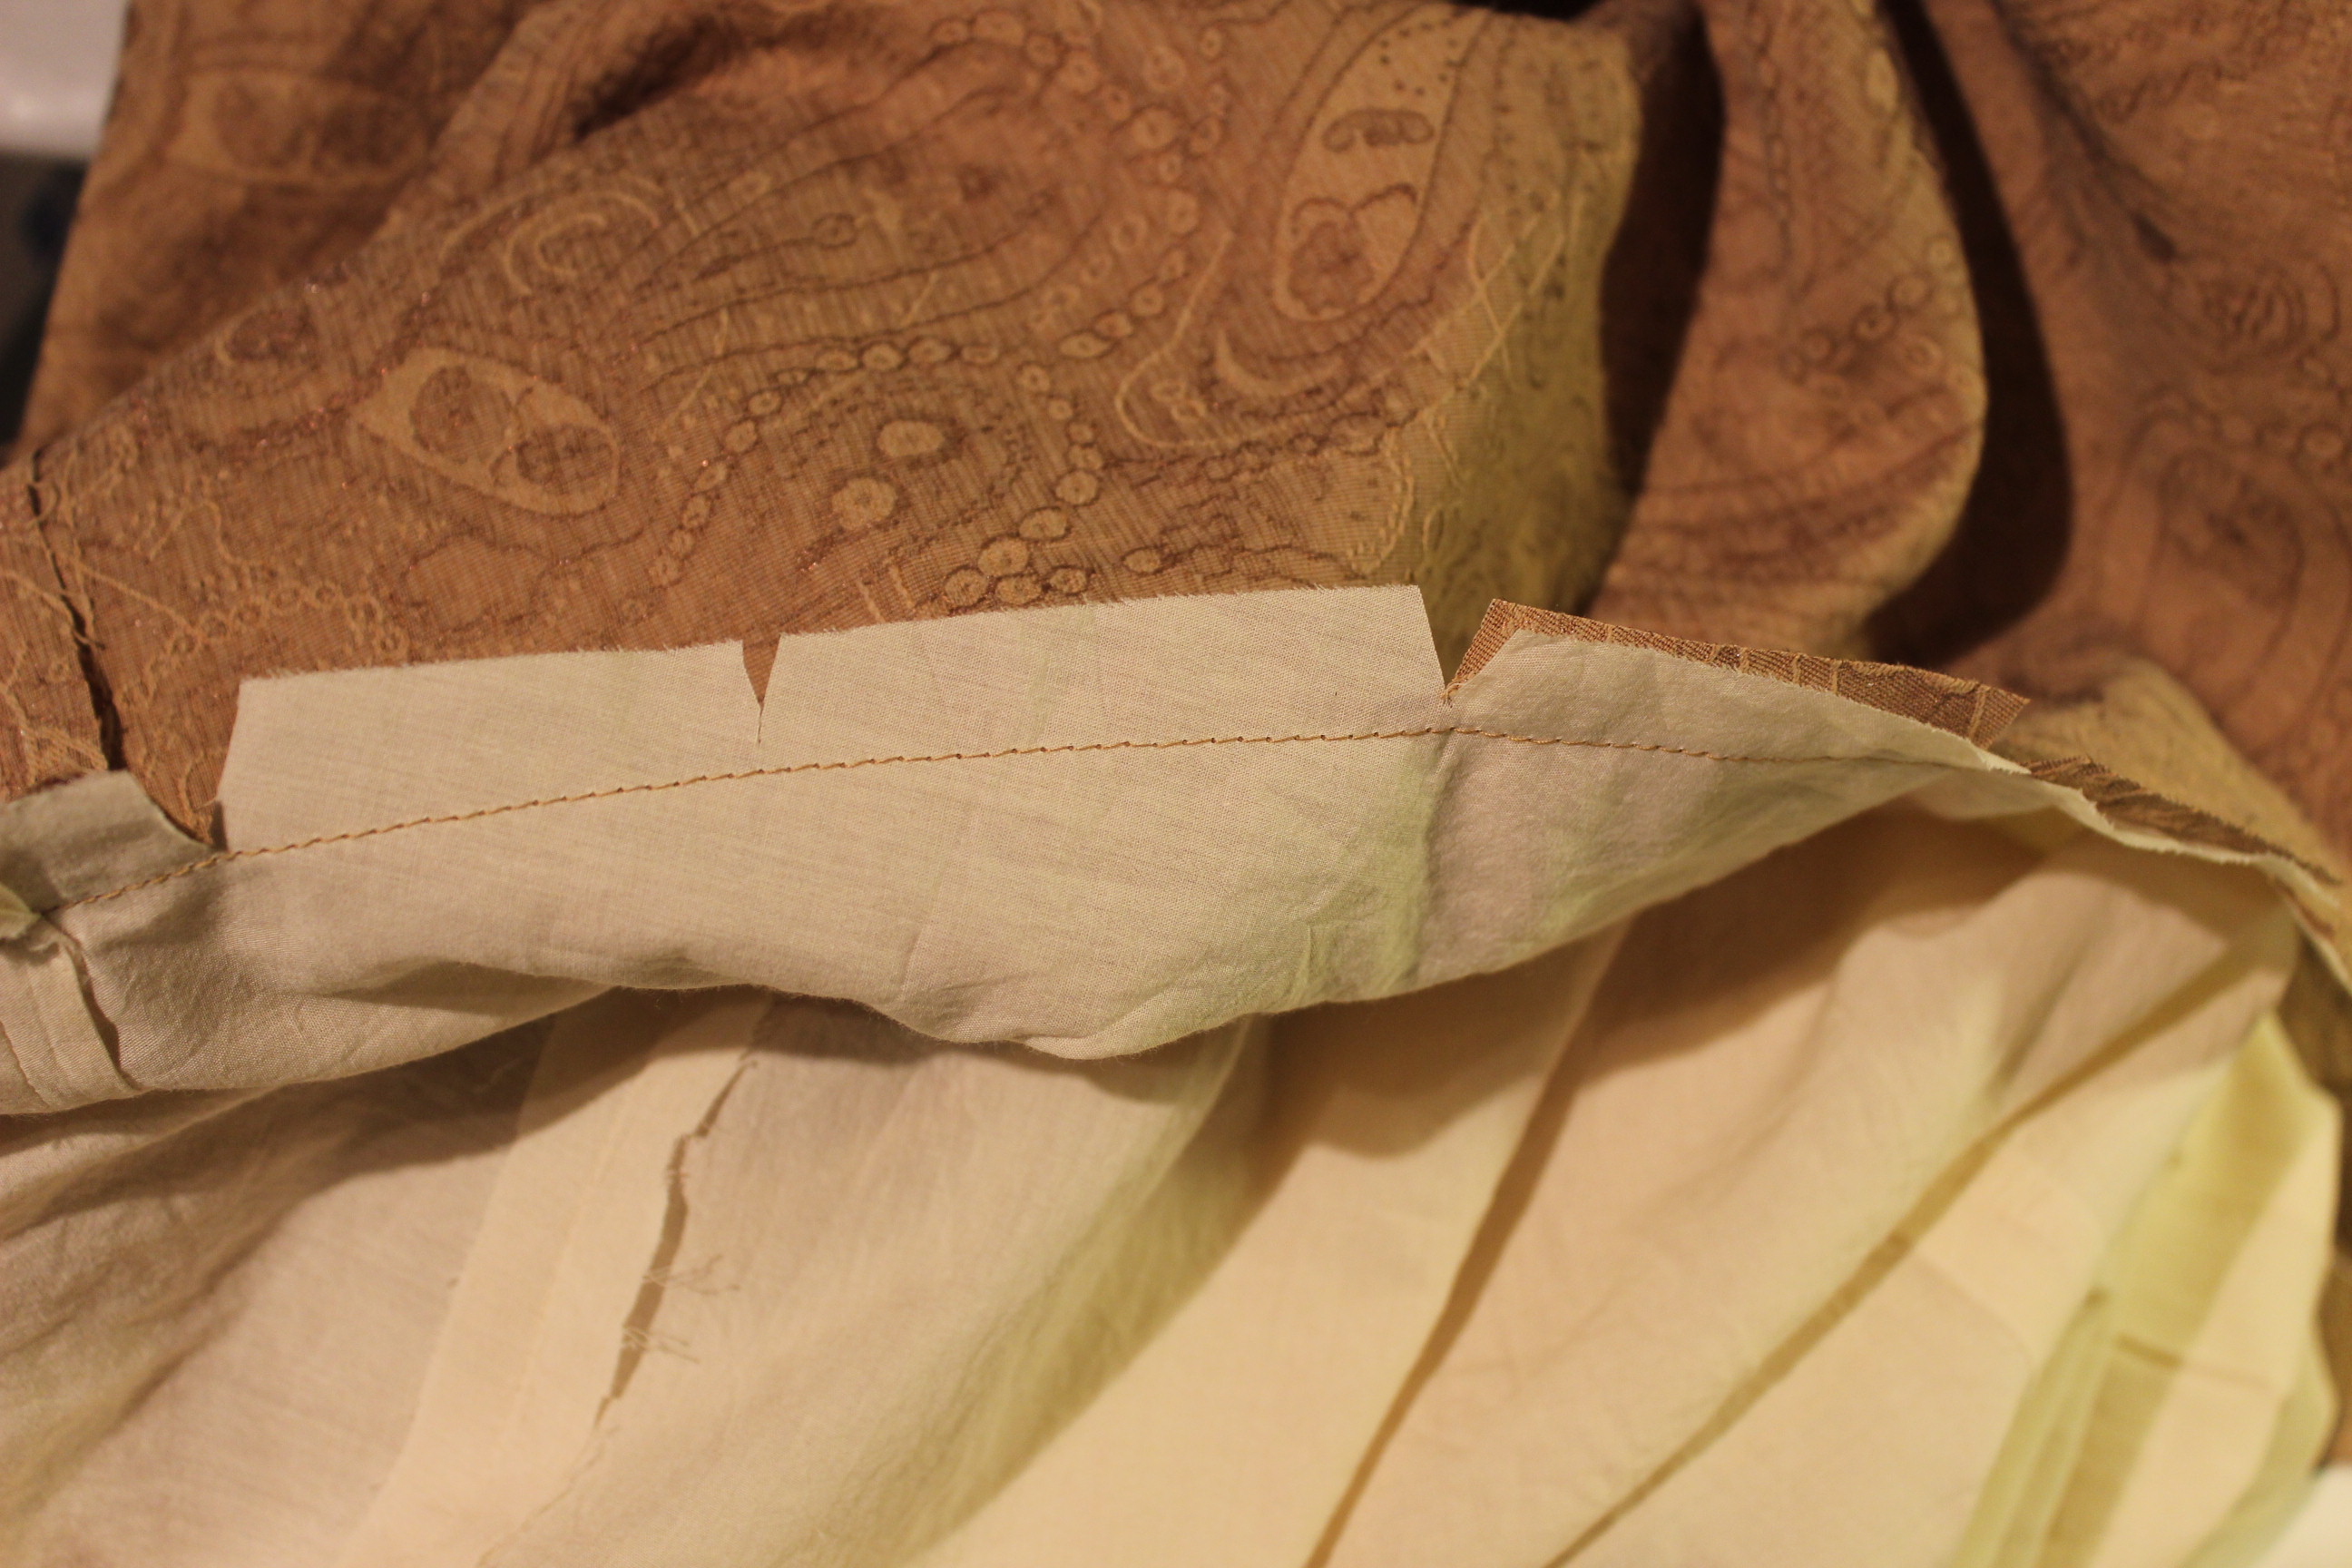
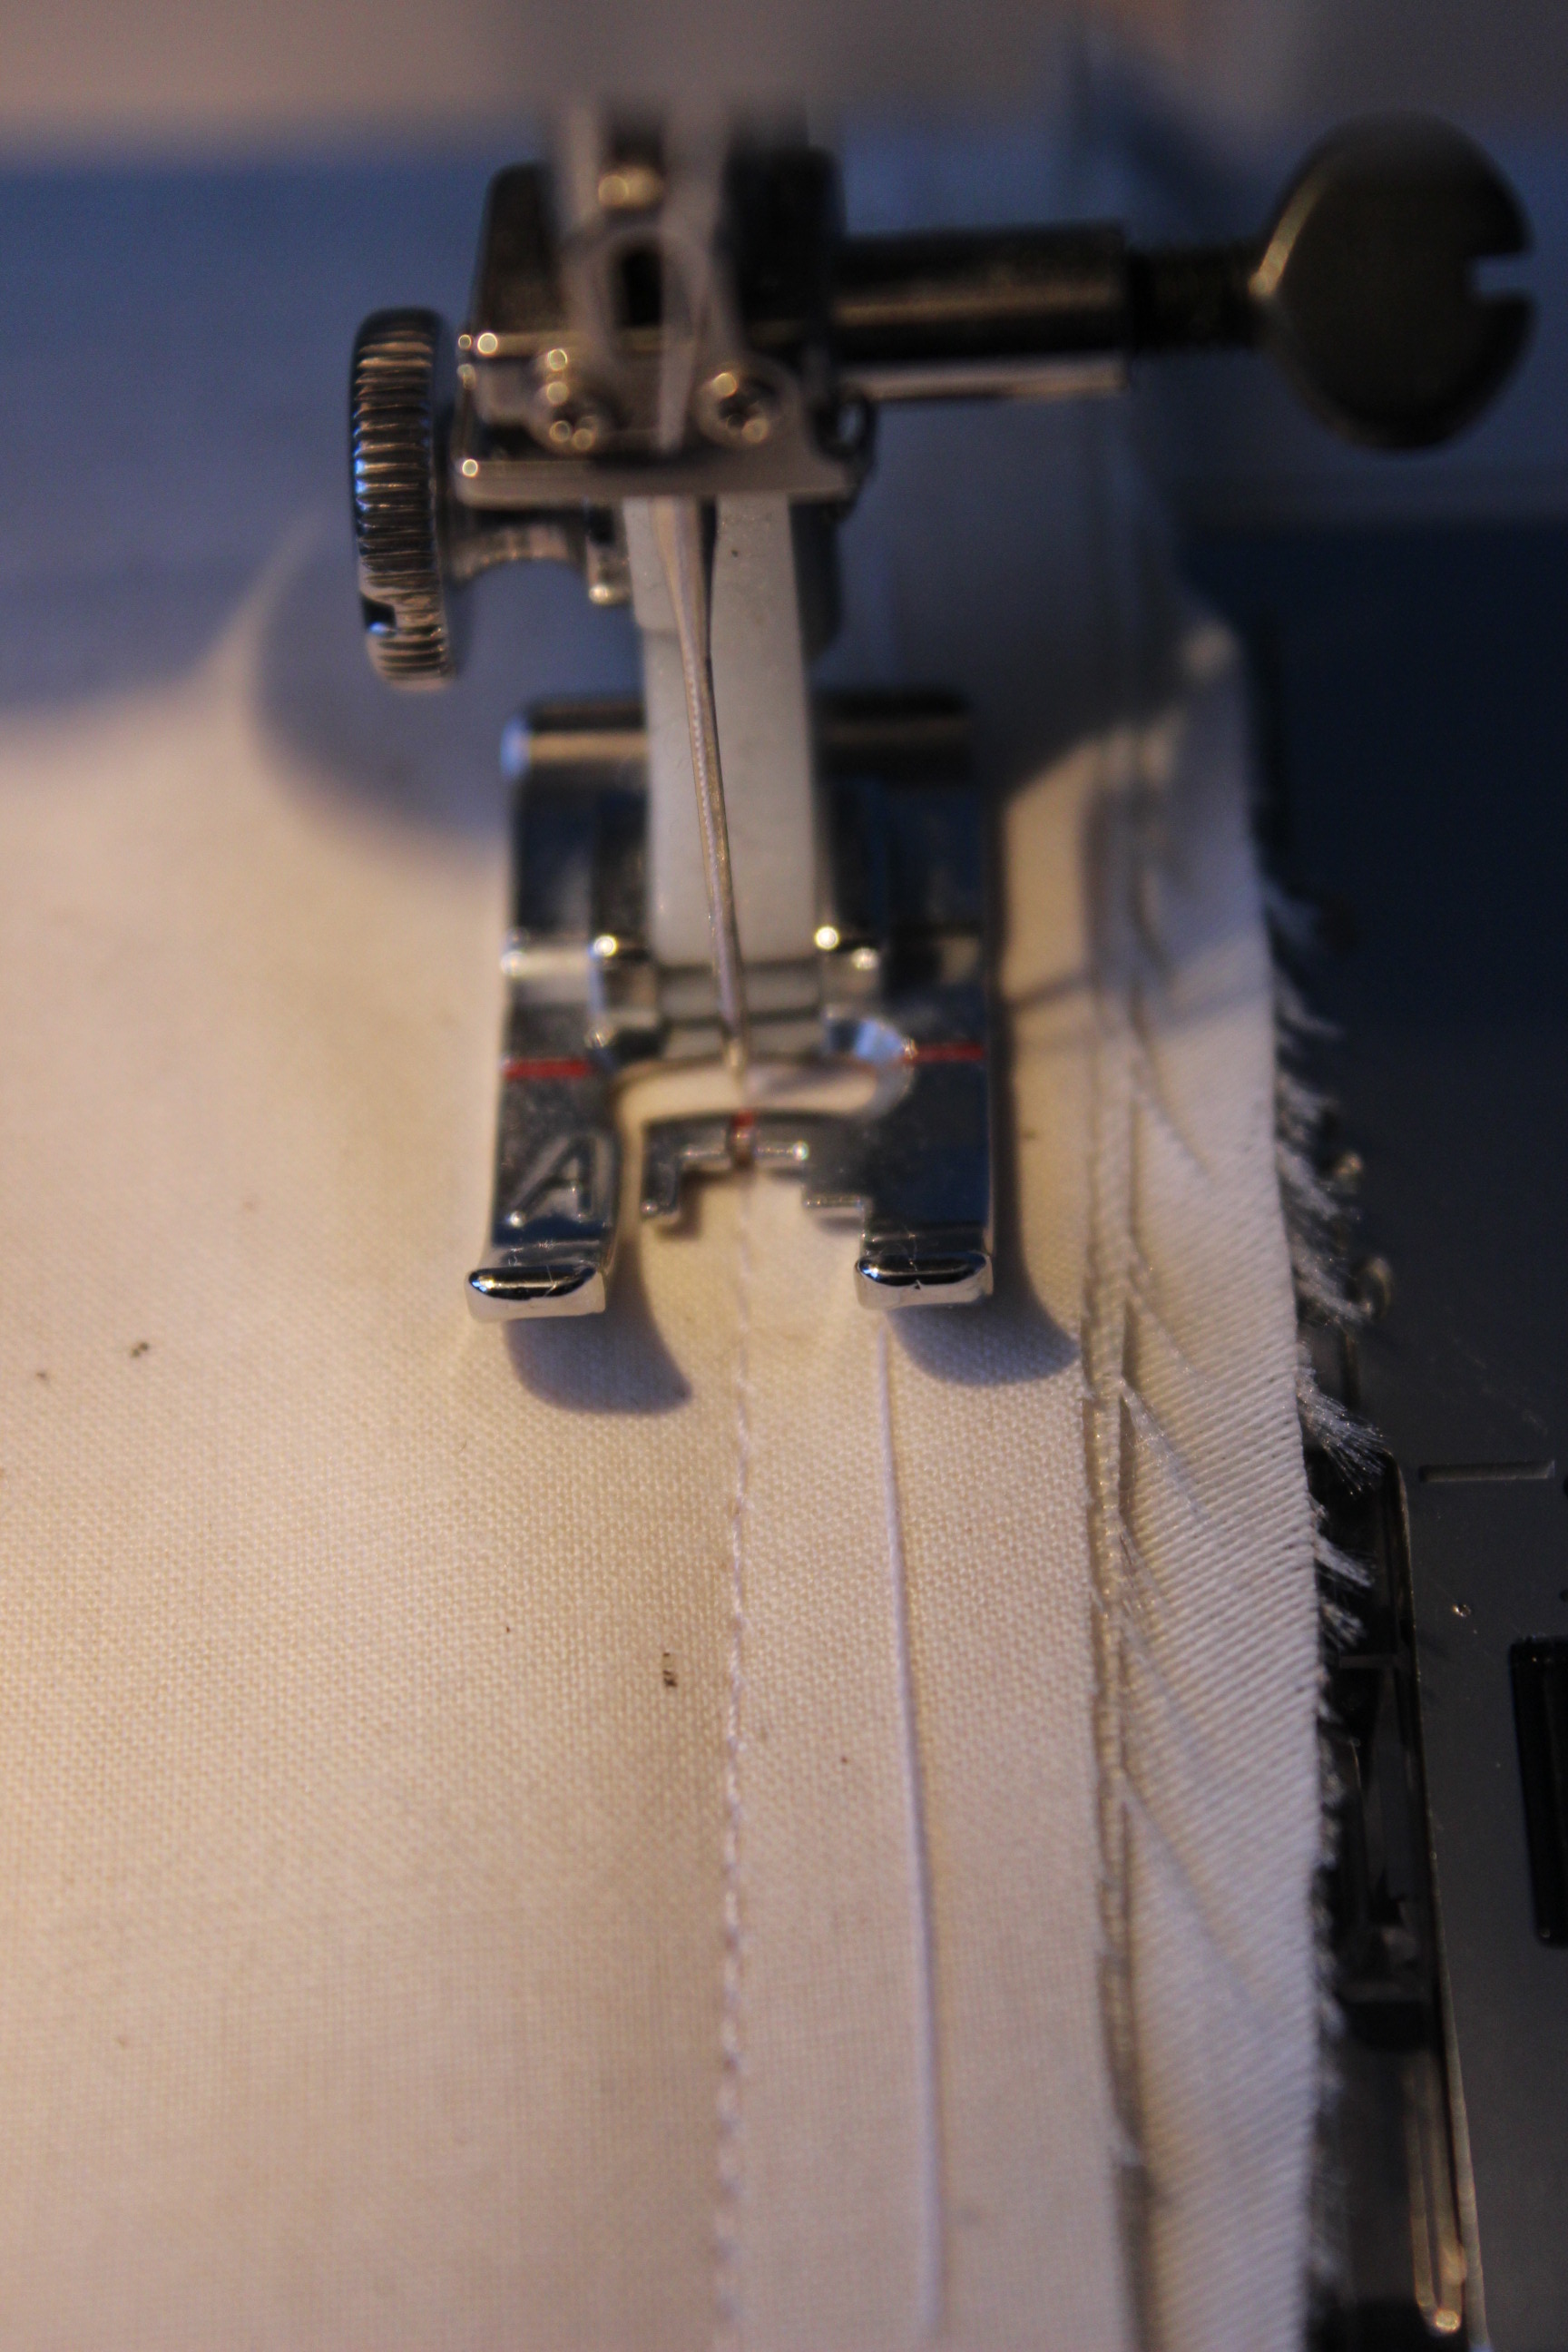
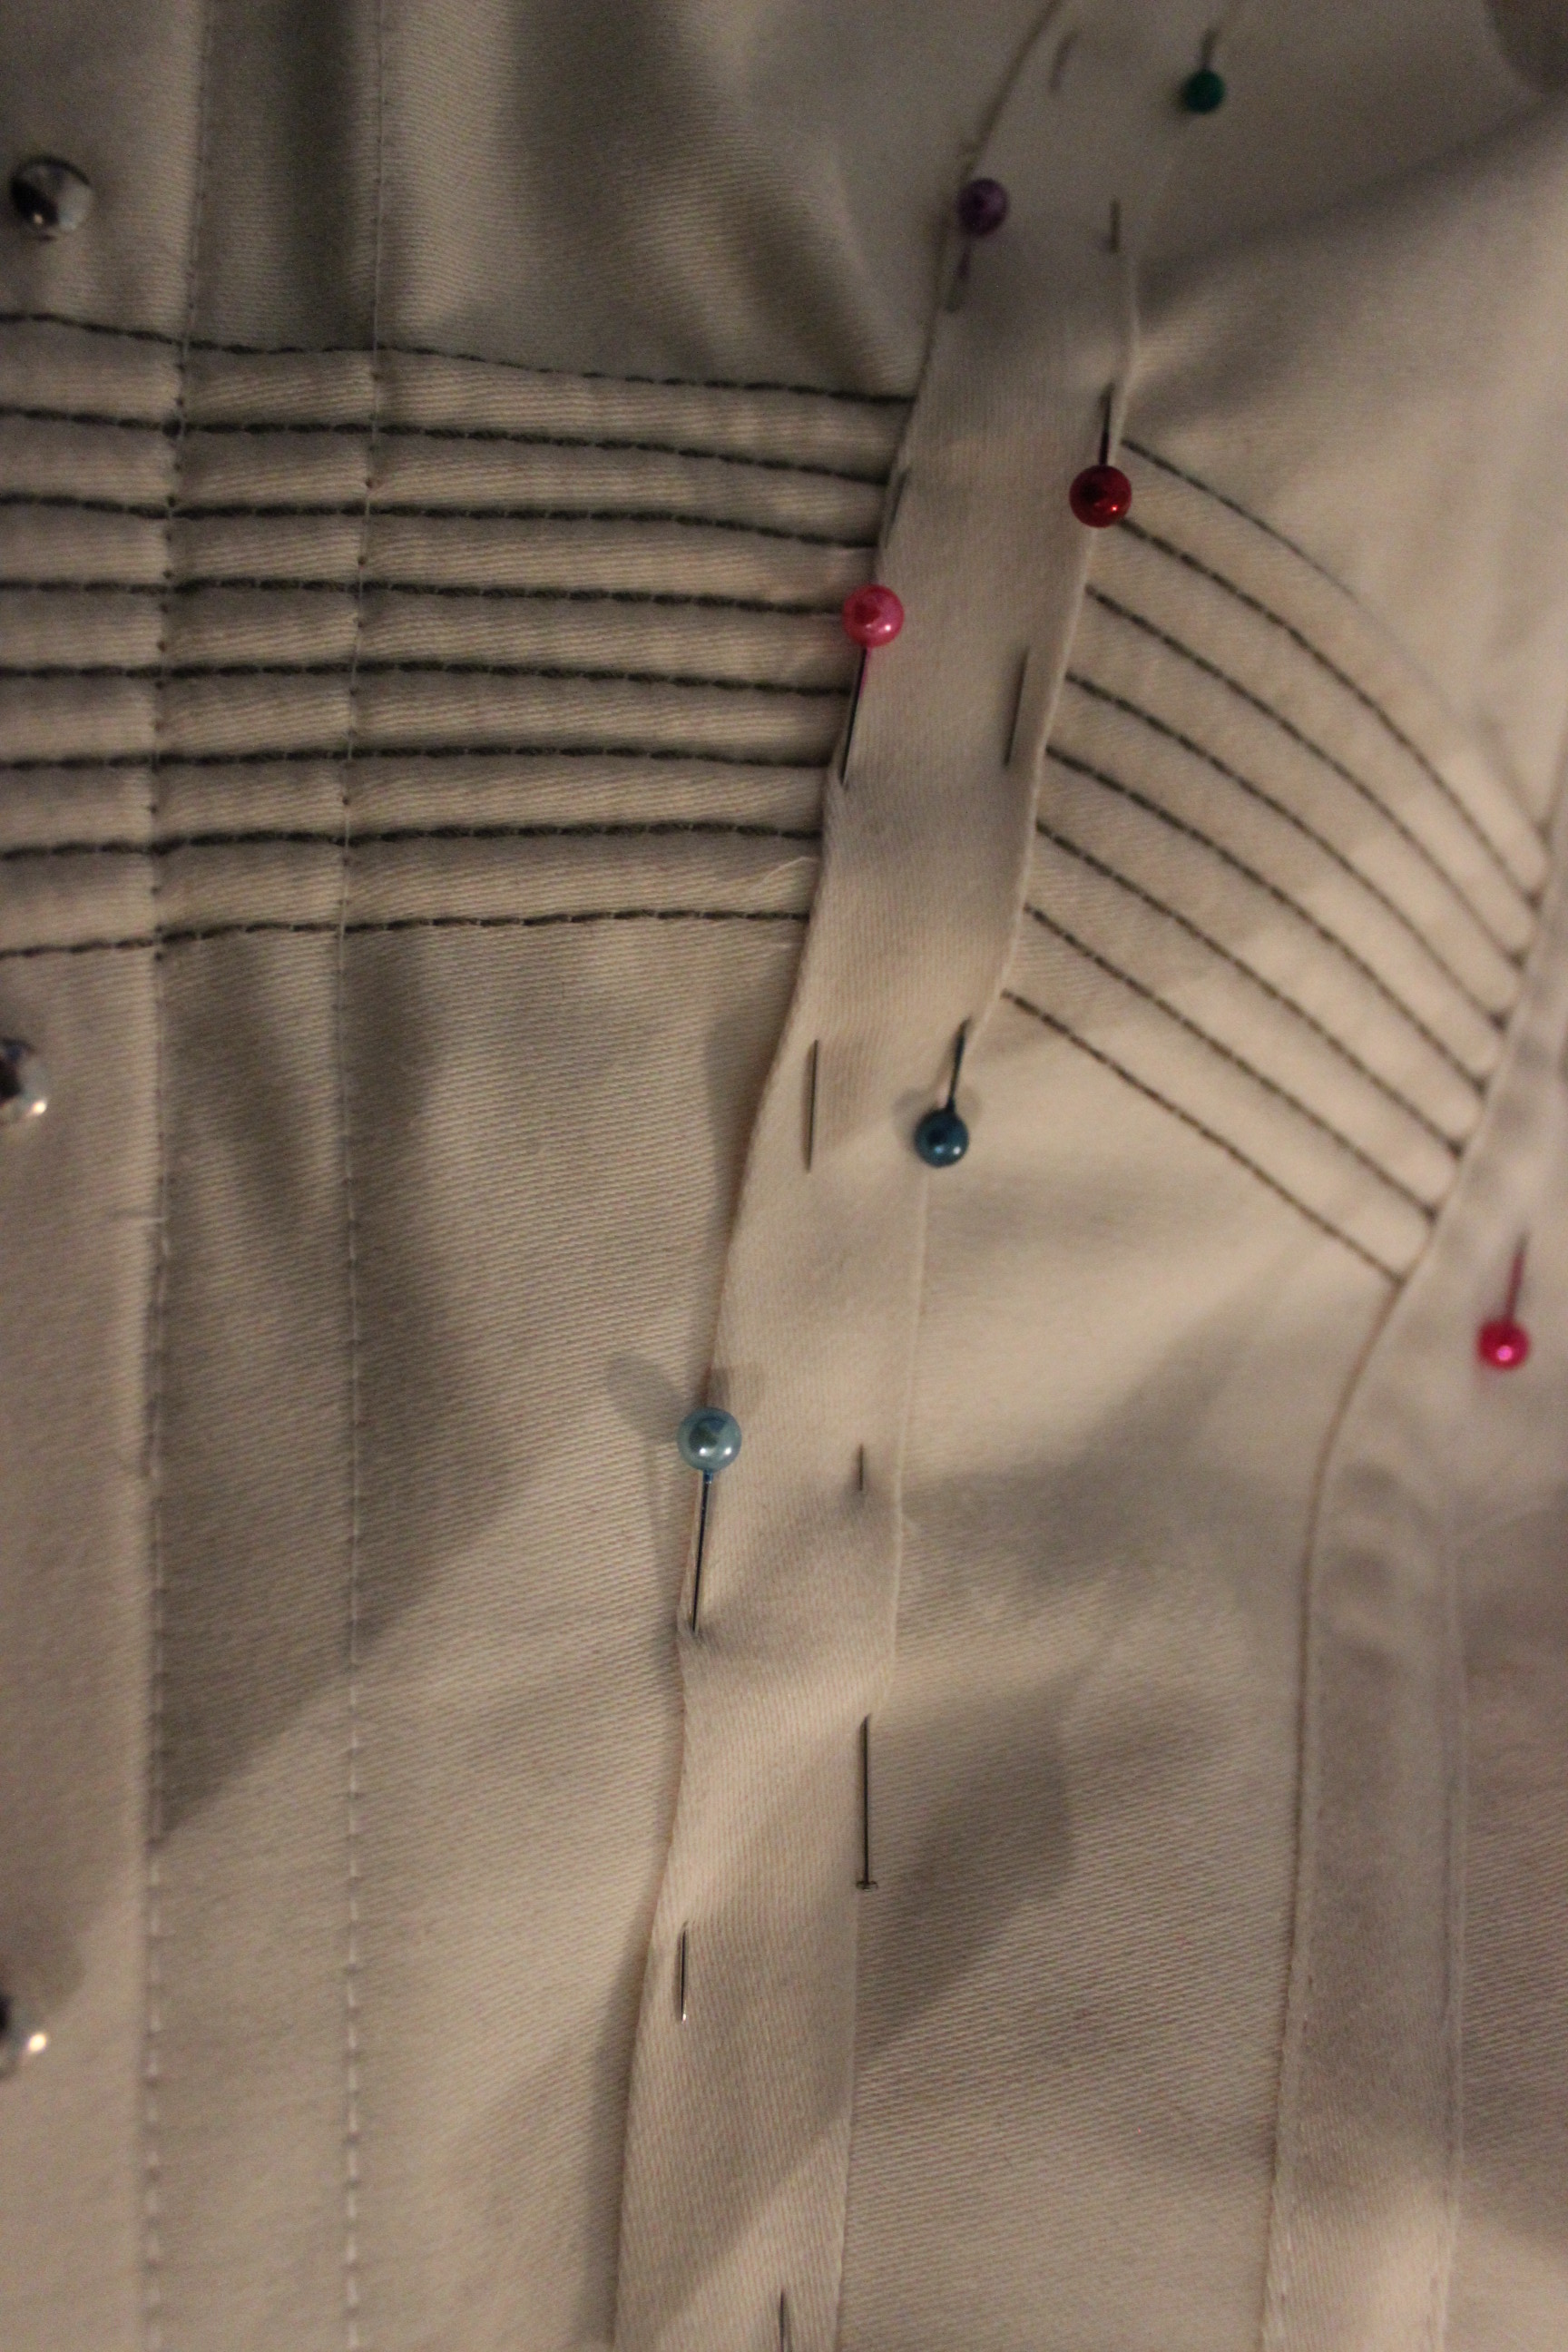
I sewed it togehter using modern sewing methods.IMG_6118

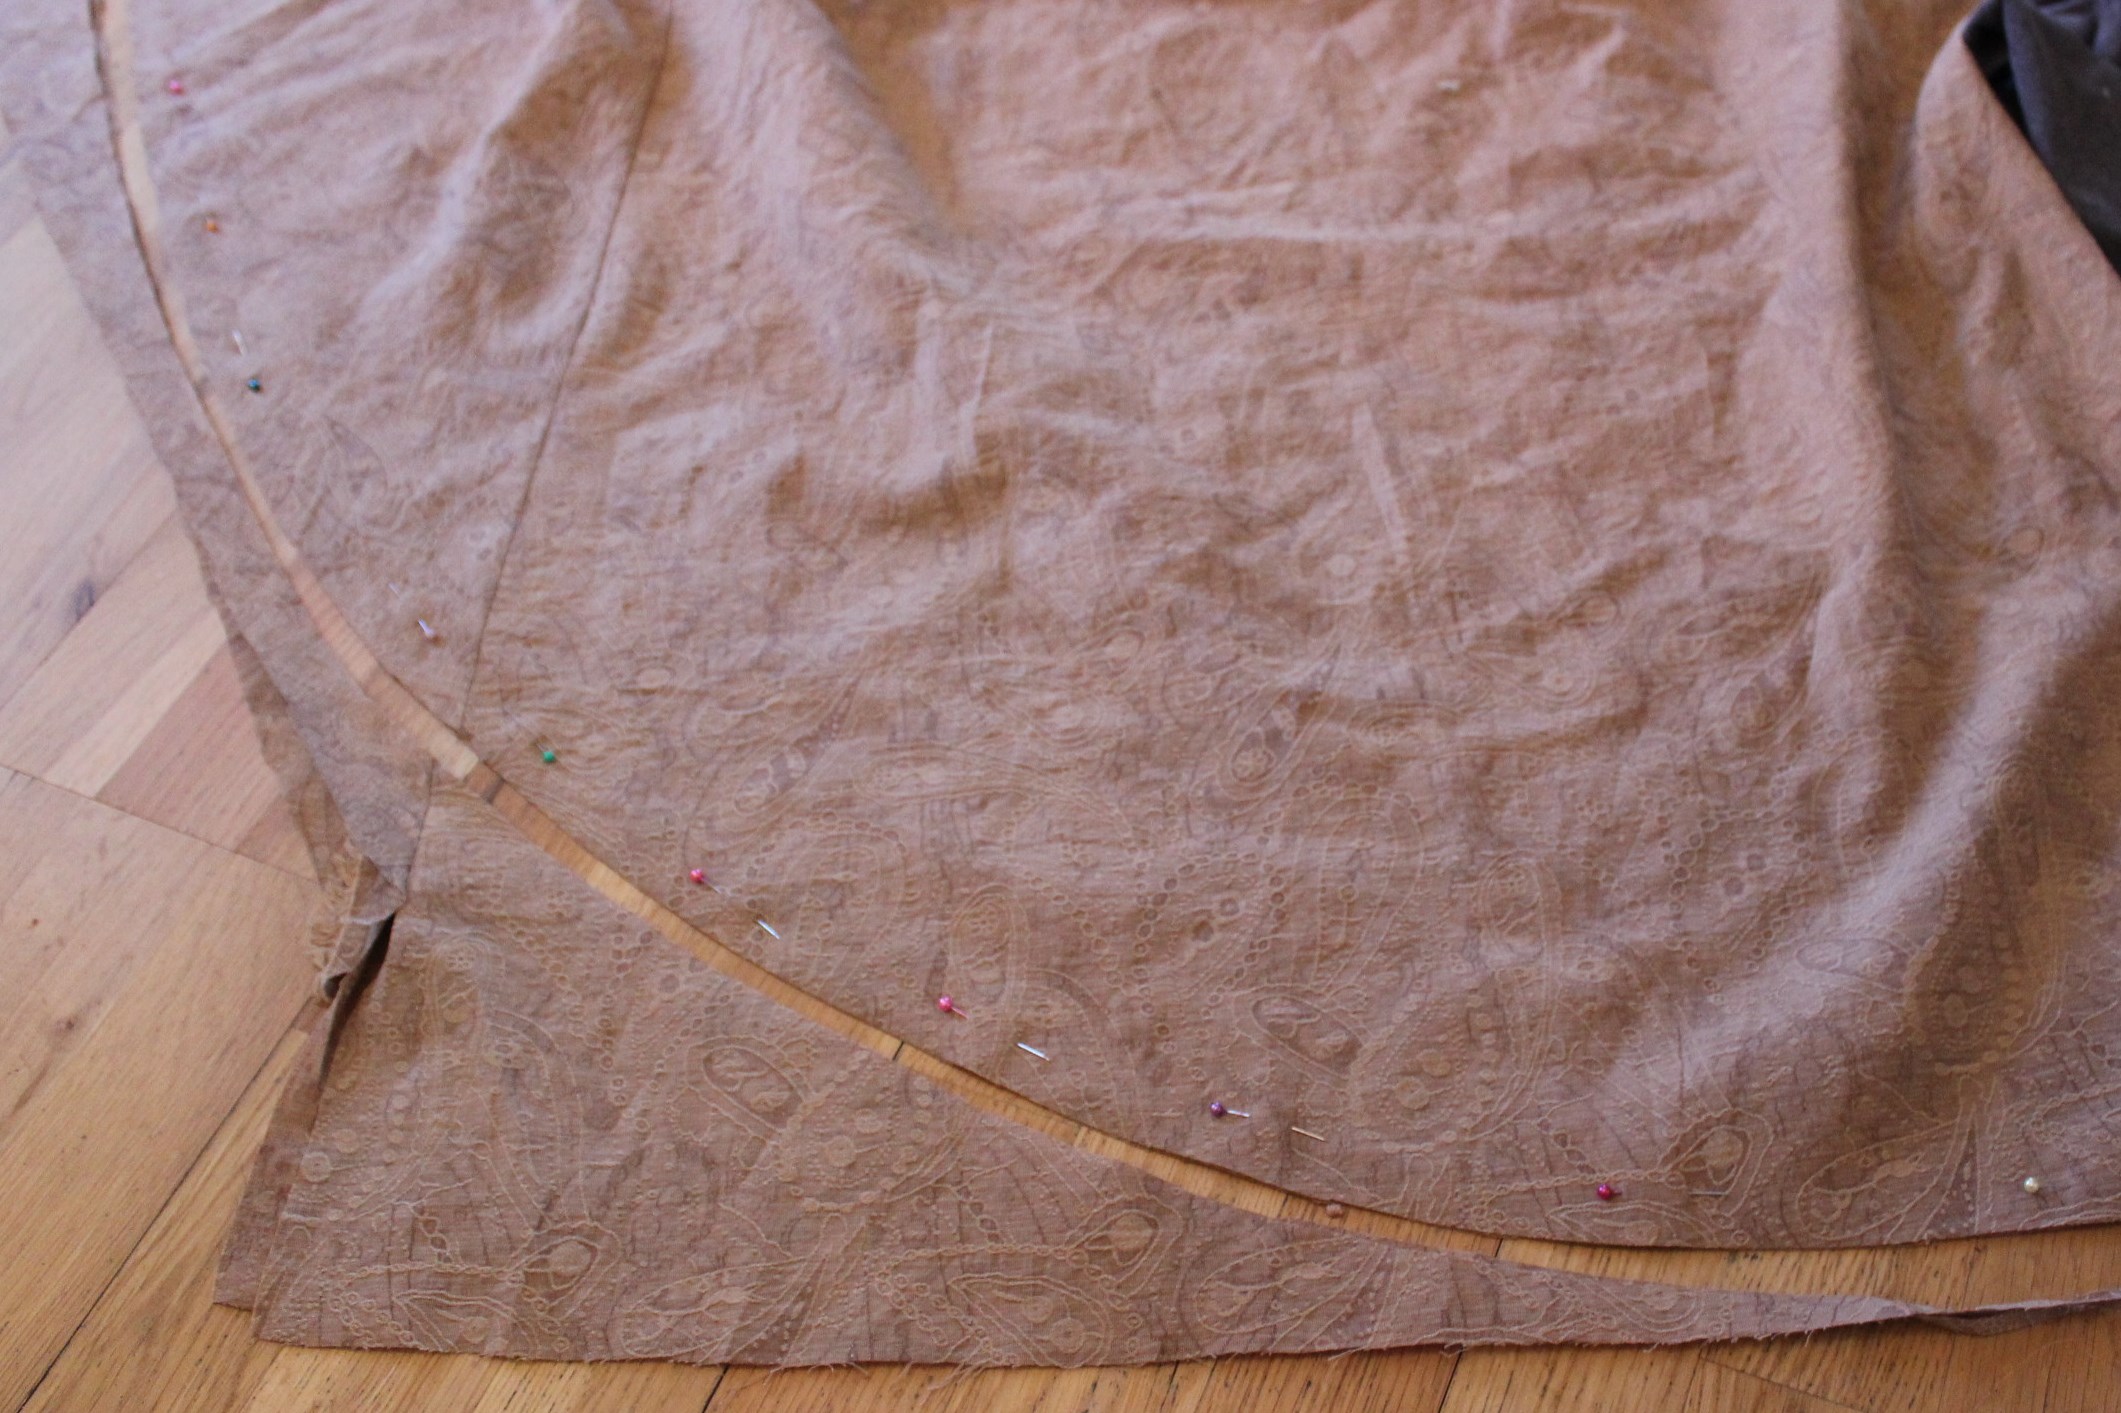
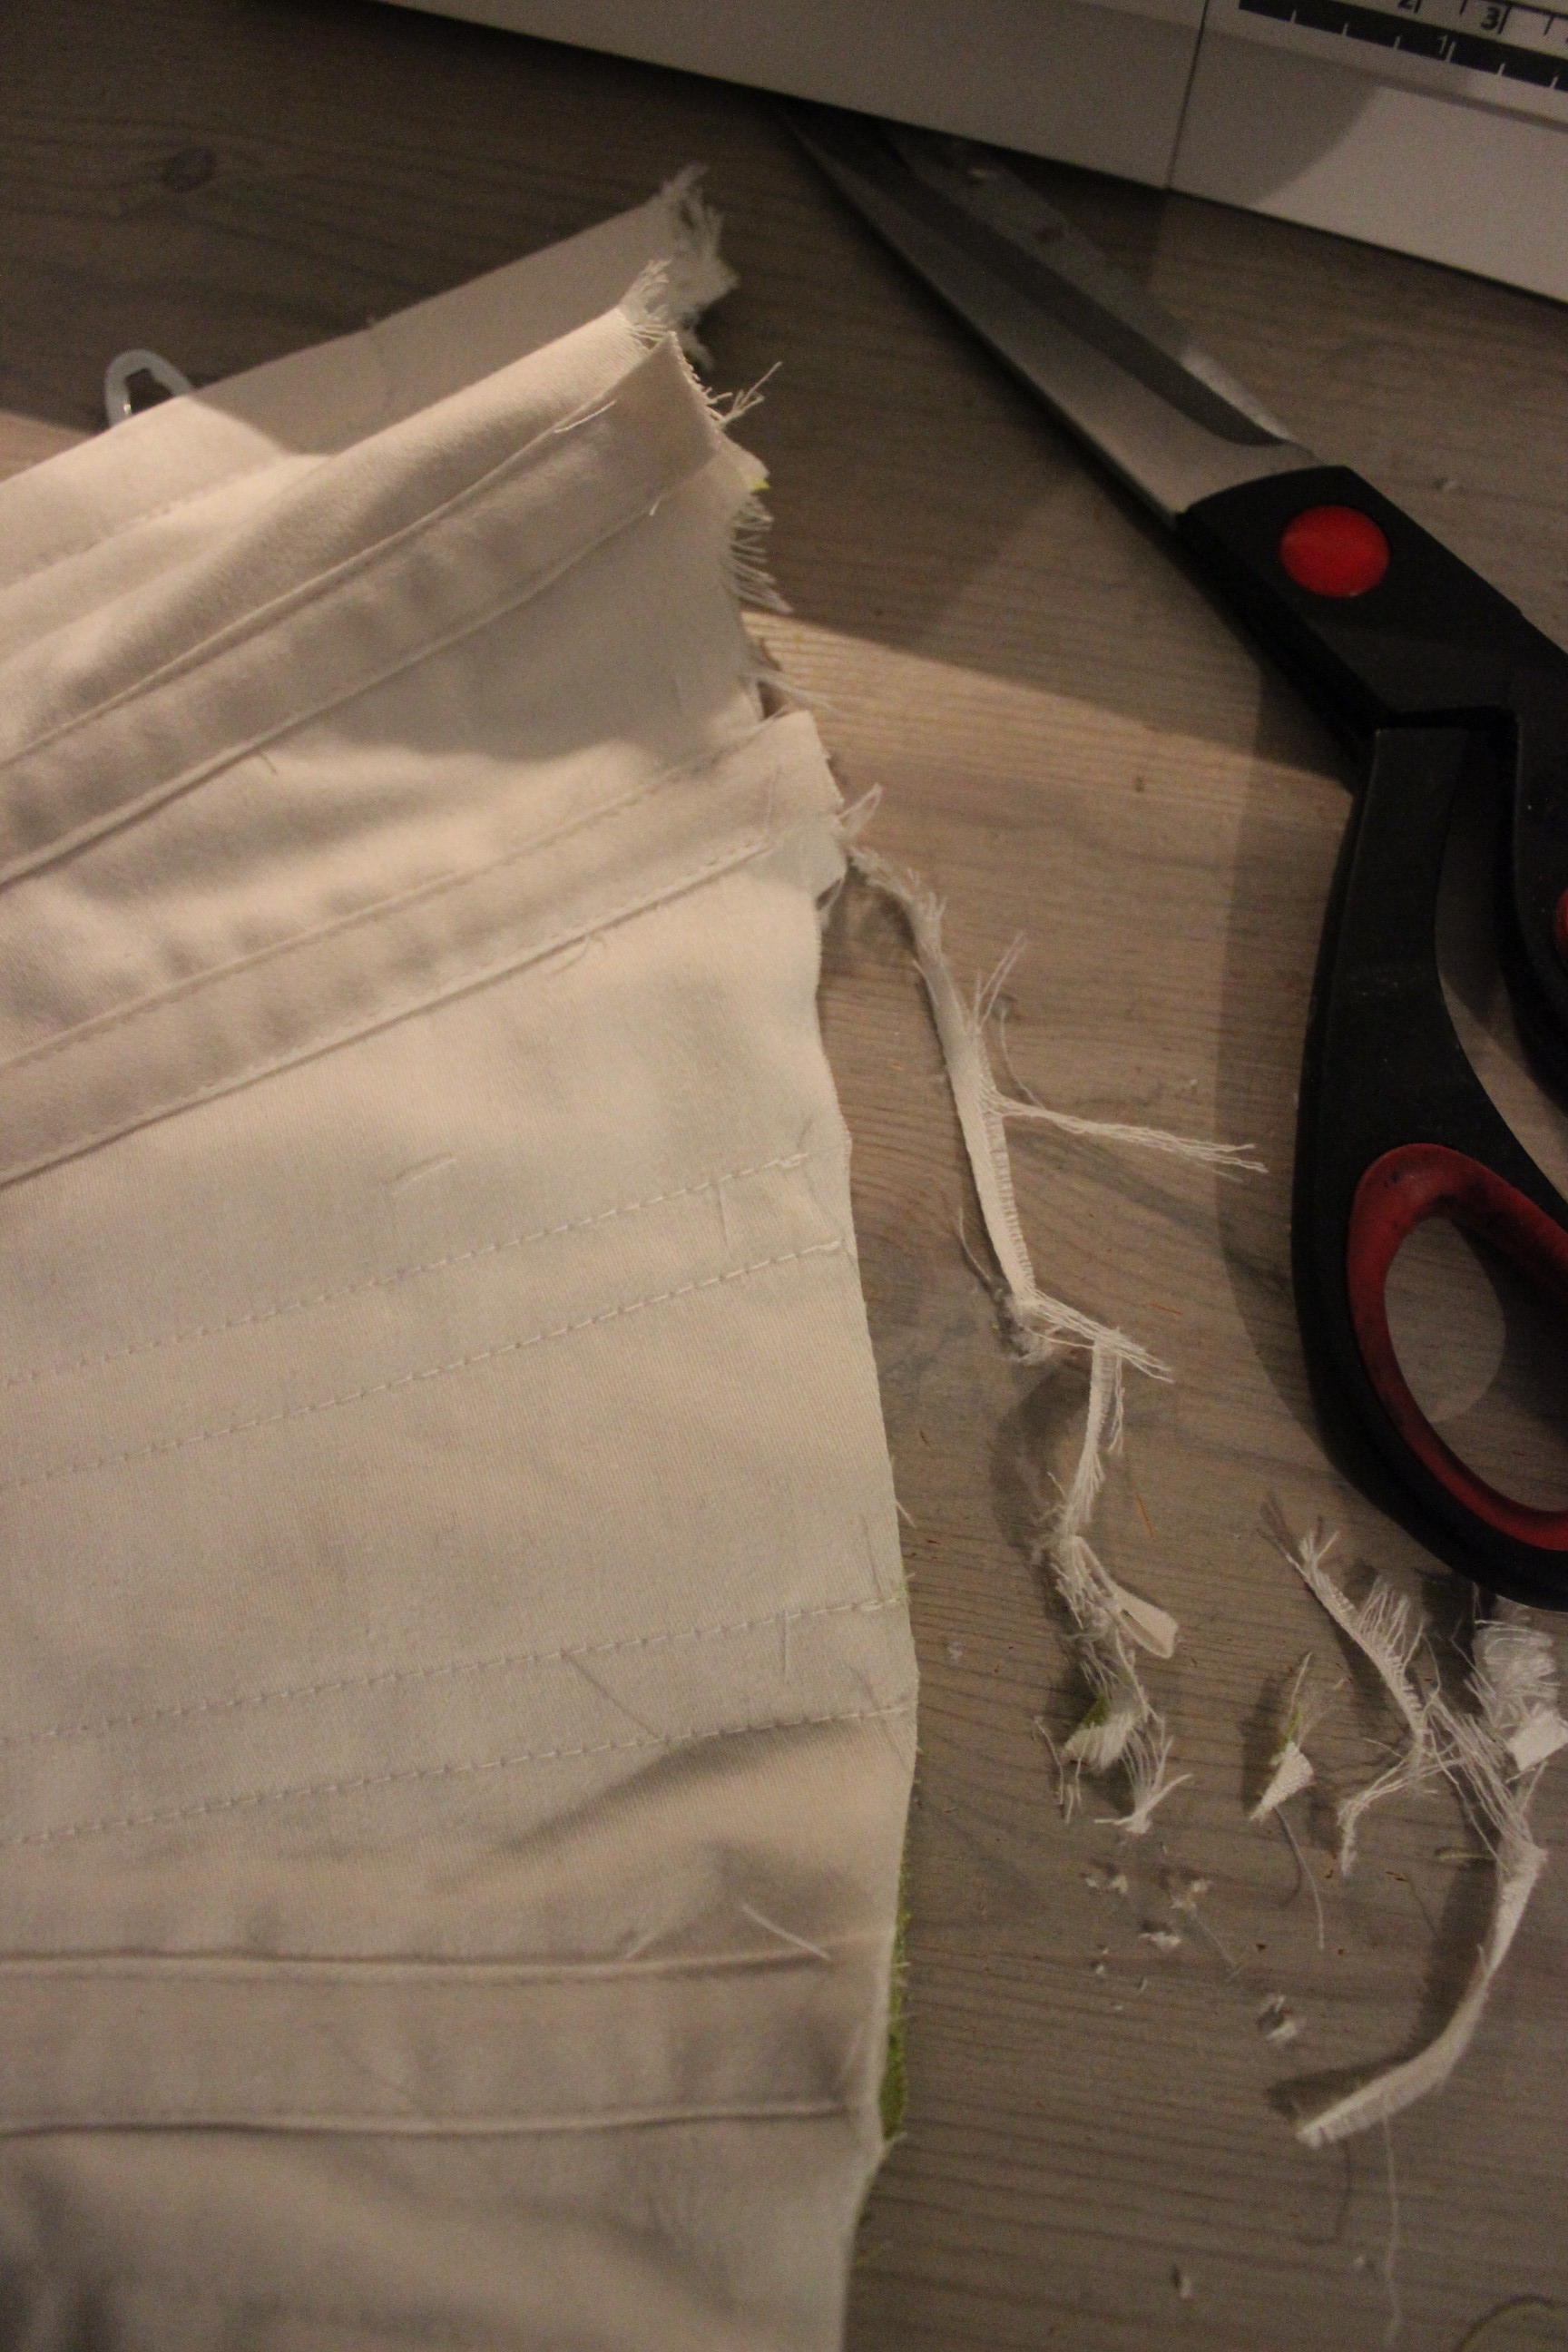
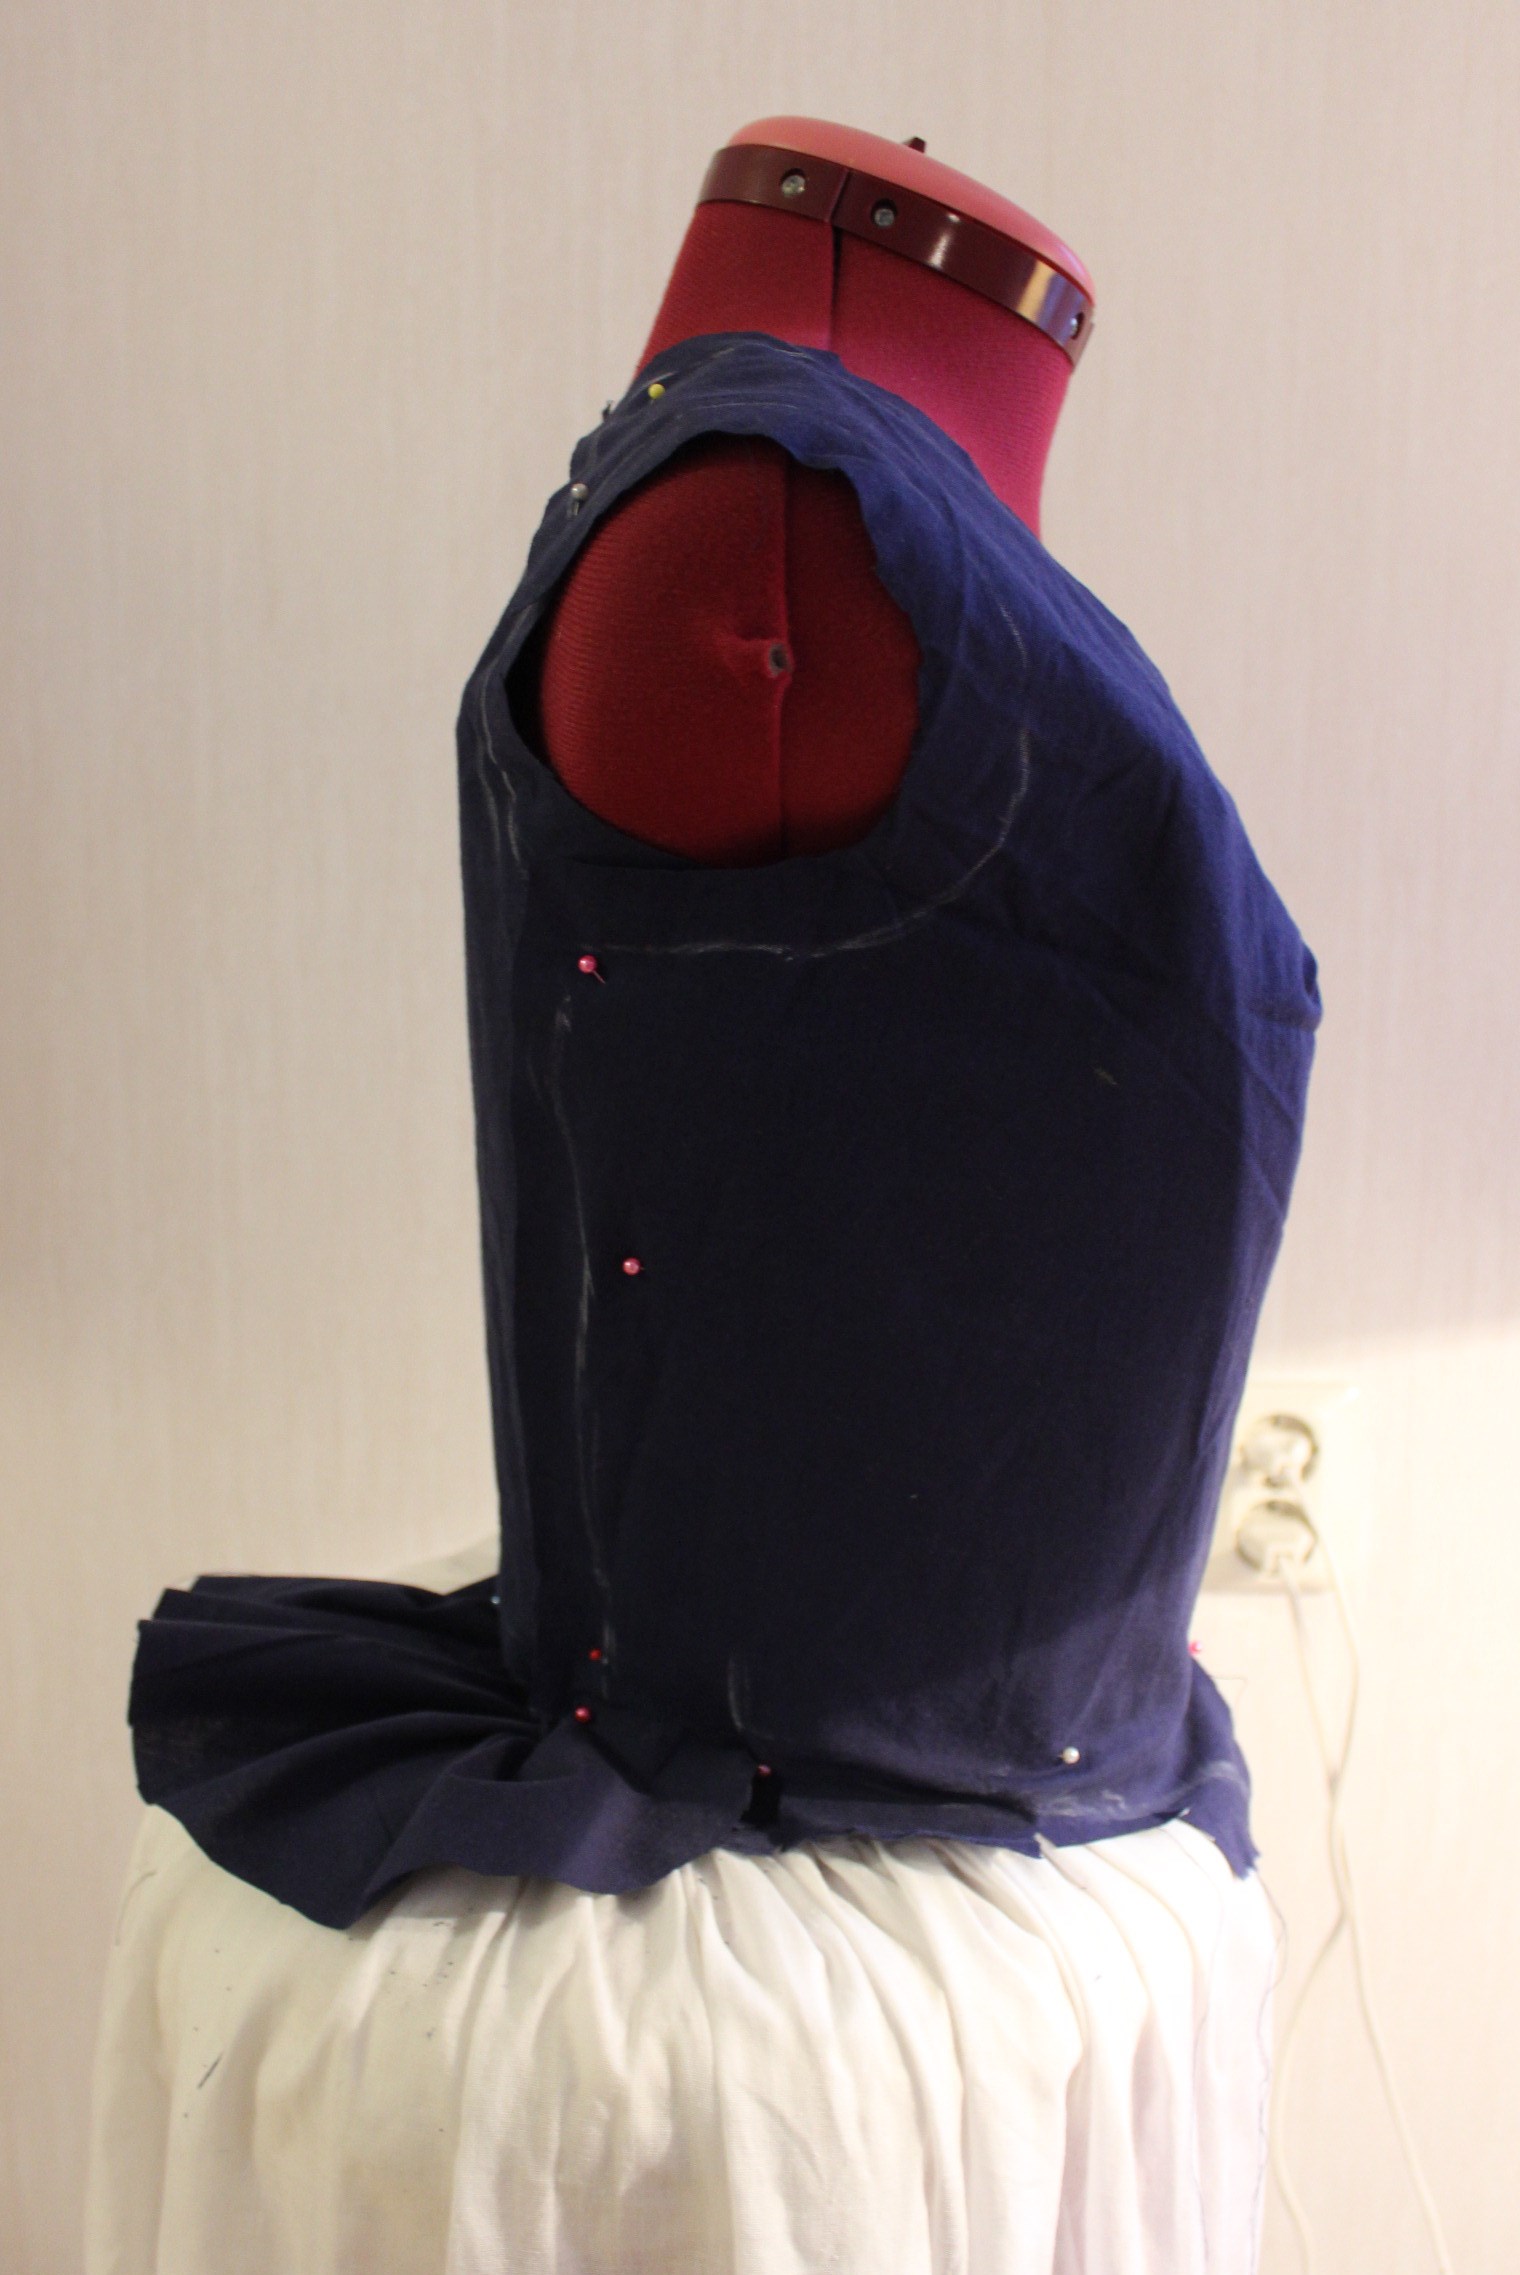
Snipping the allowence to keep the curved edges nice and smooth.IMG_6120

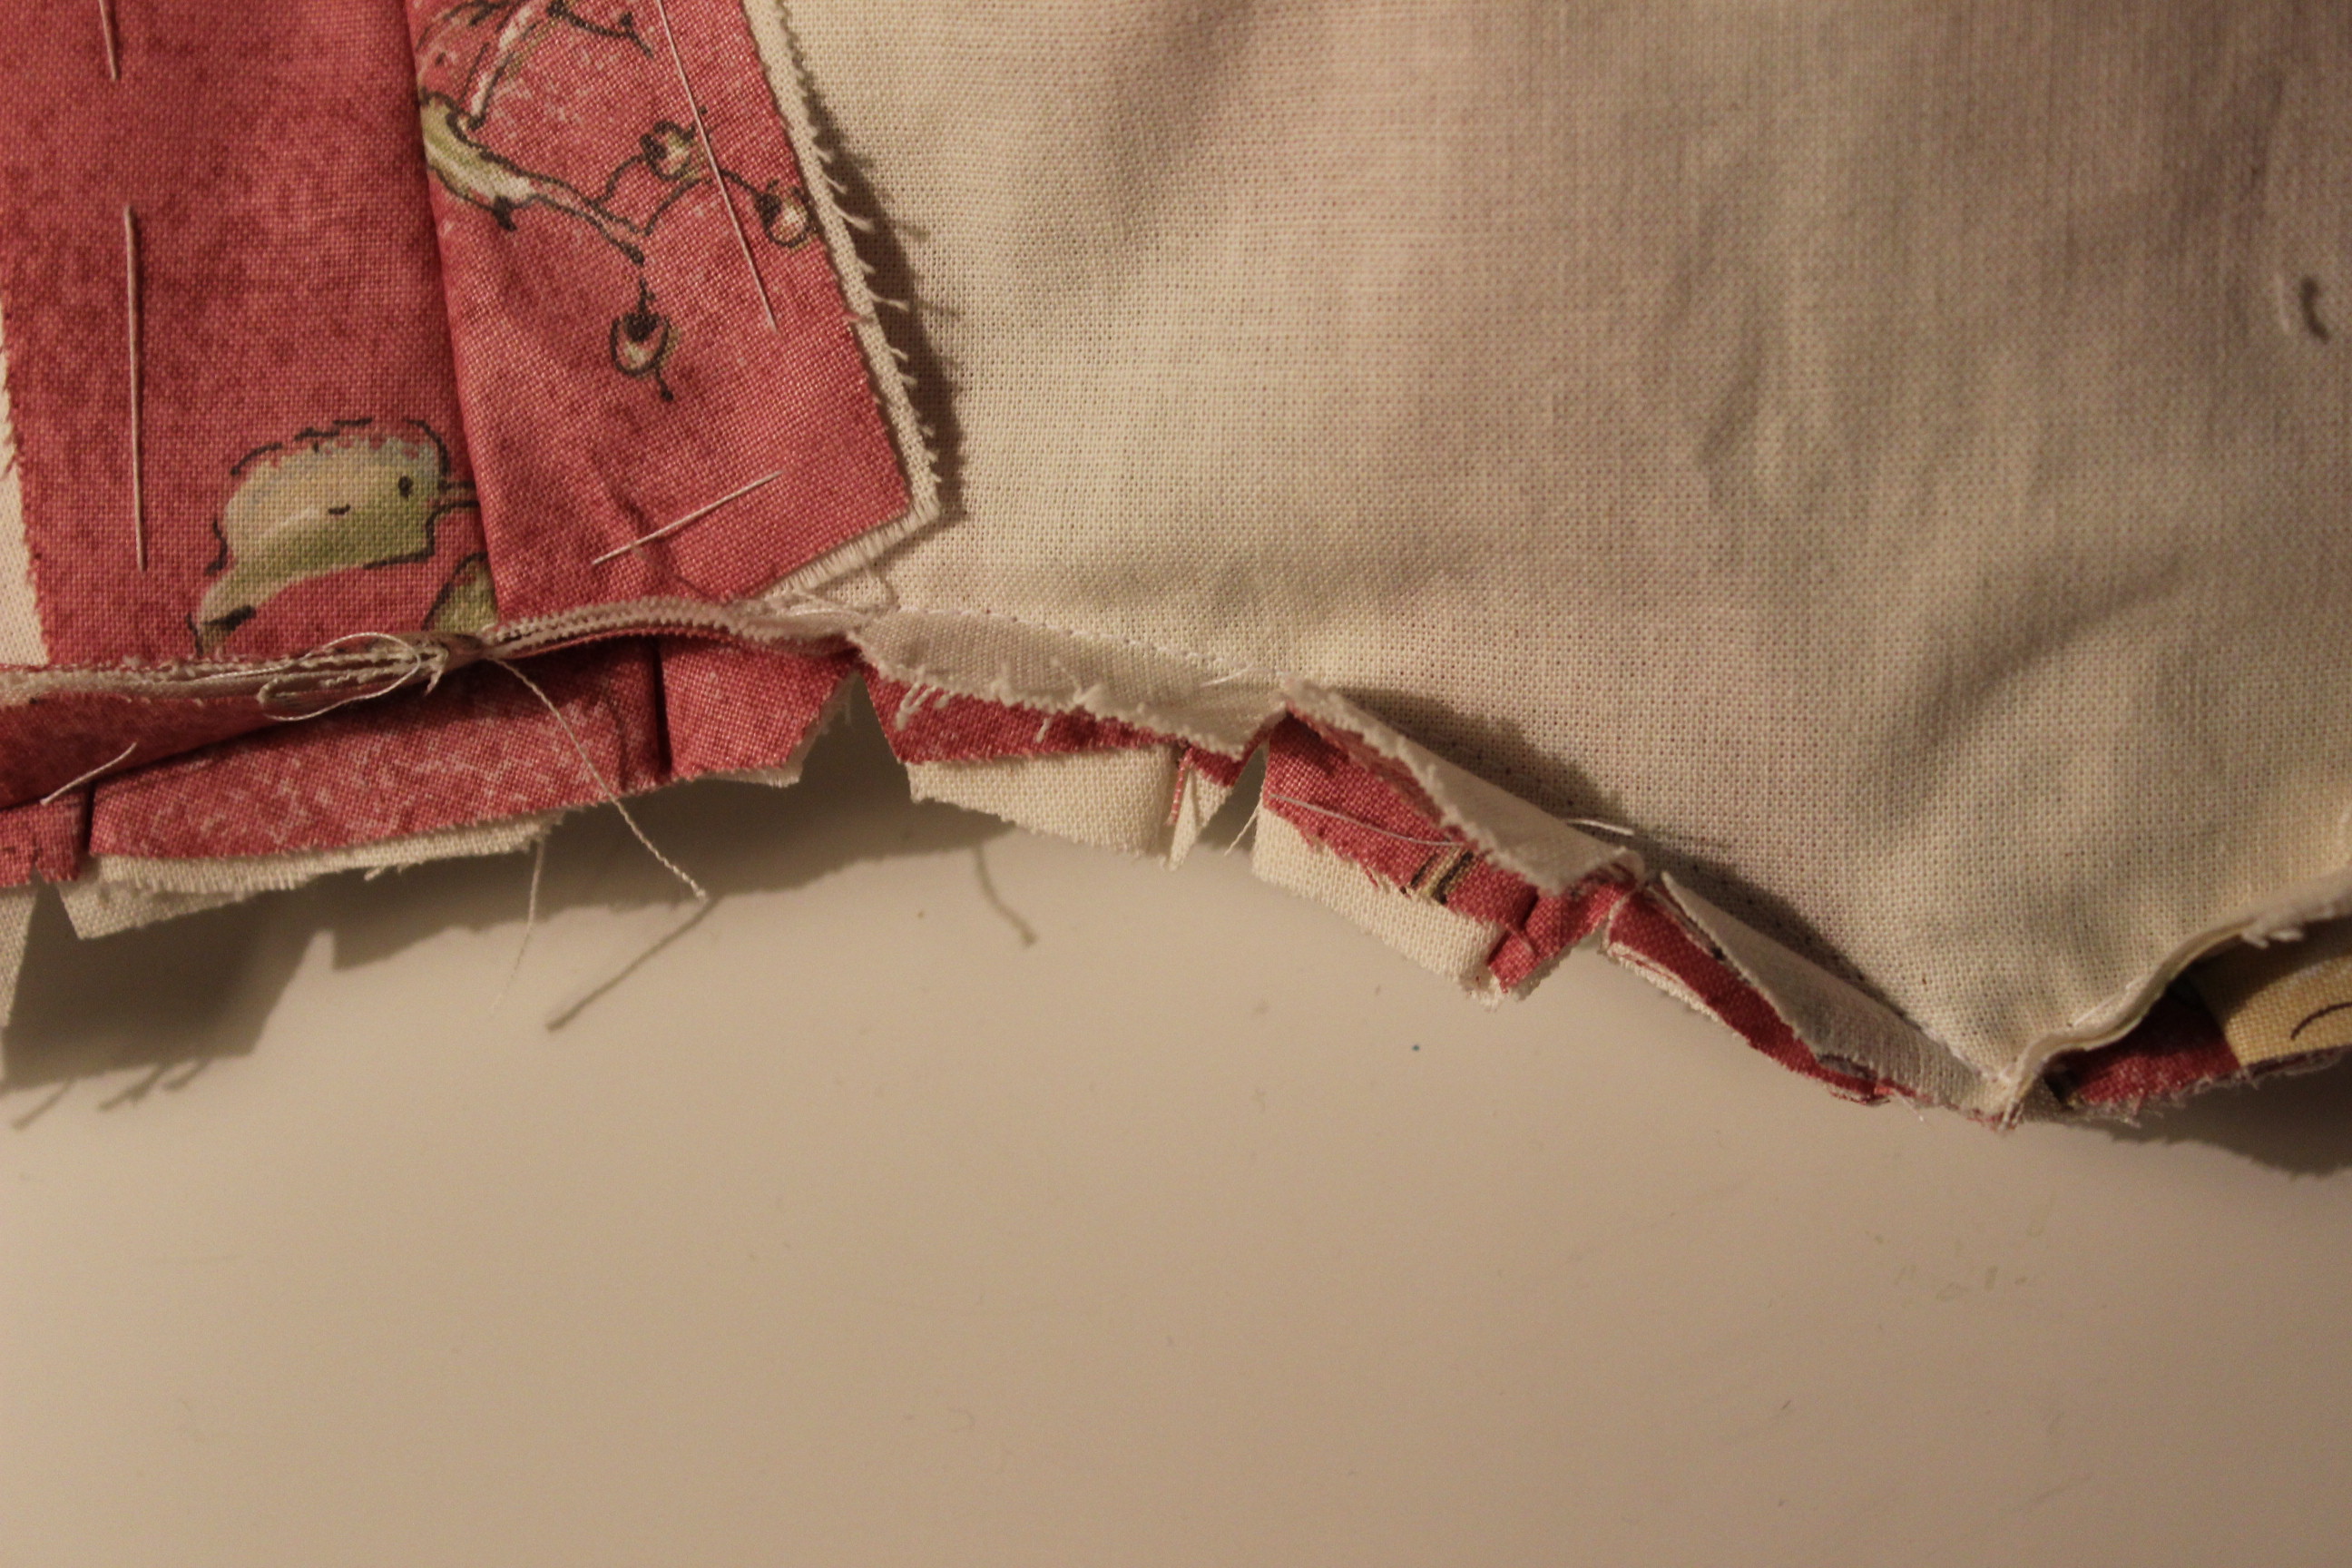
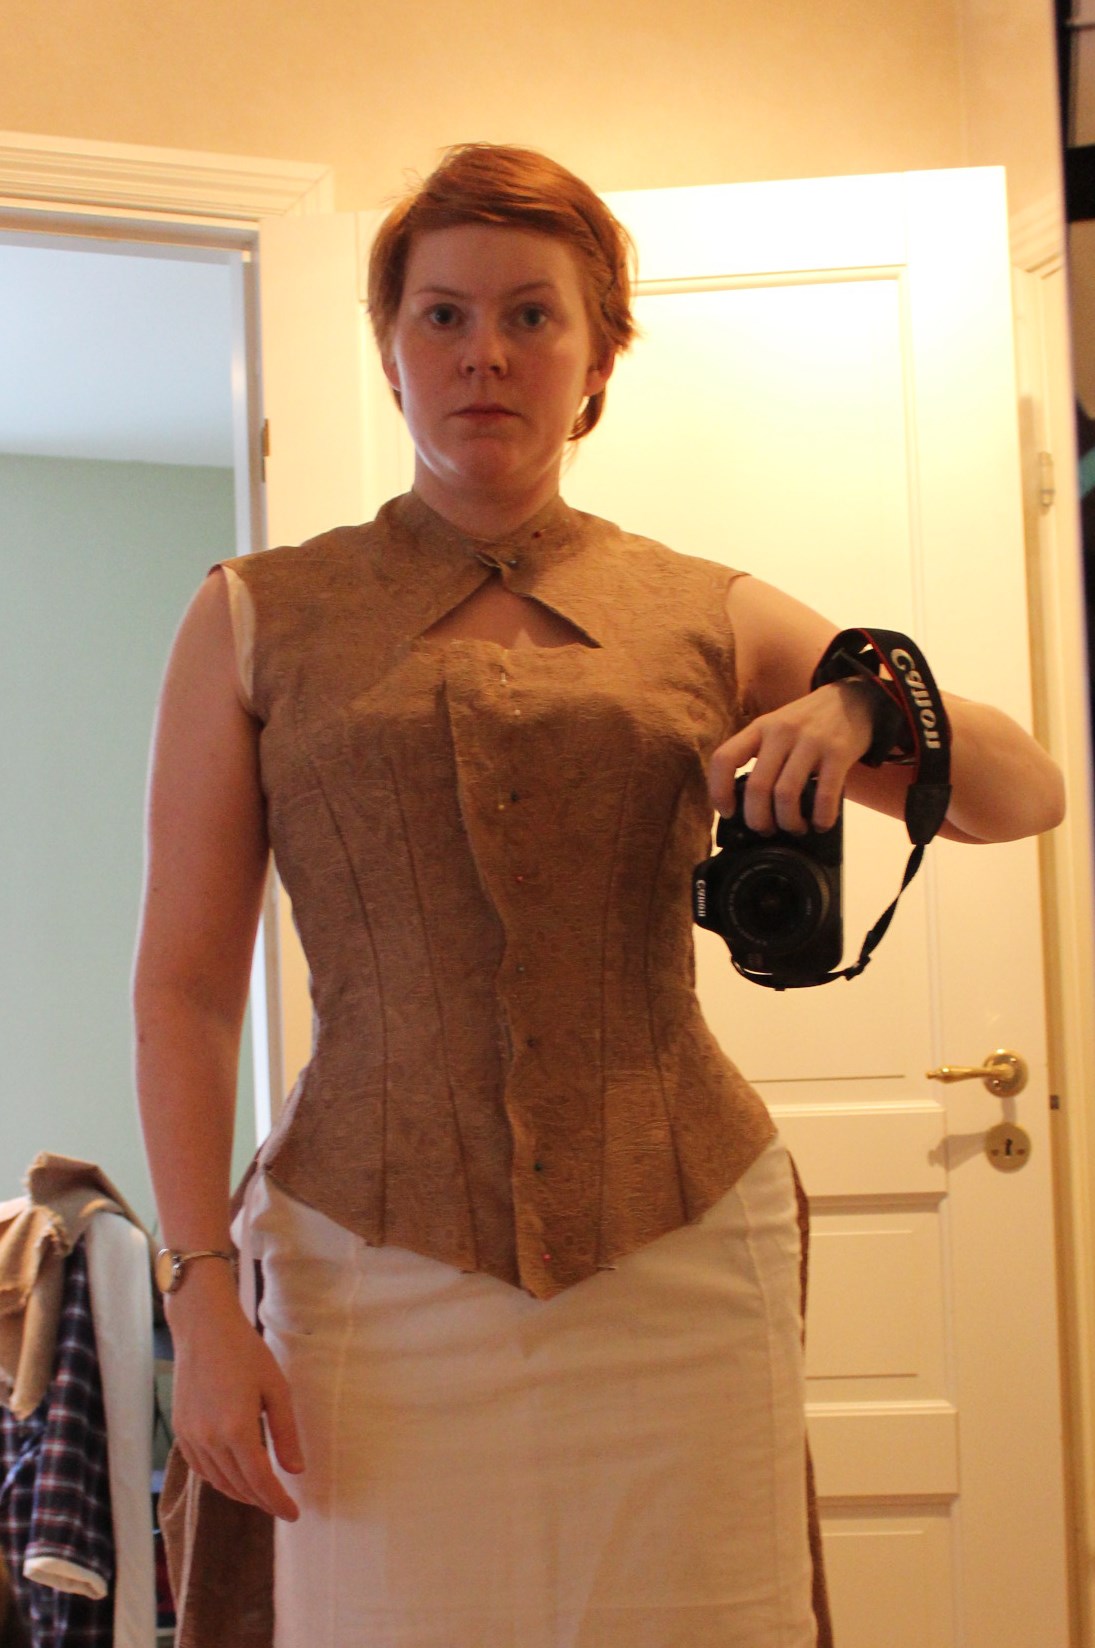
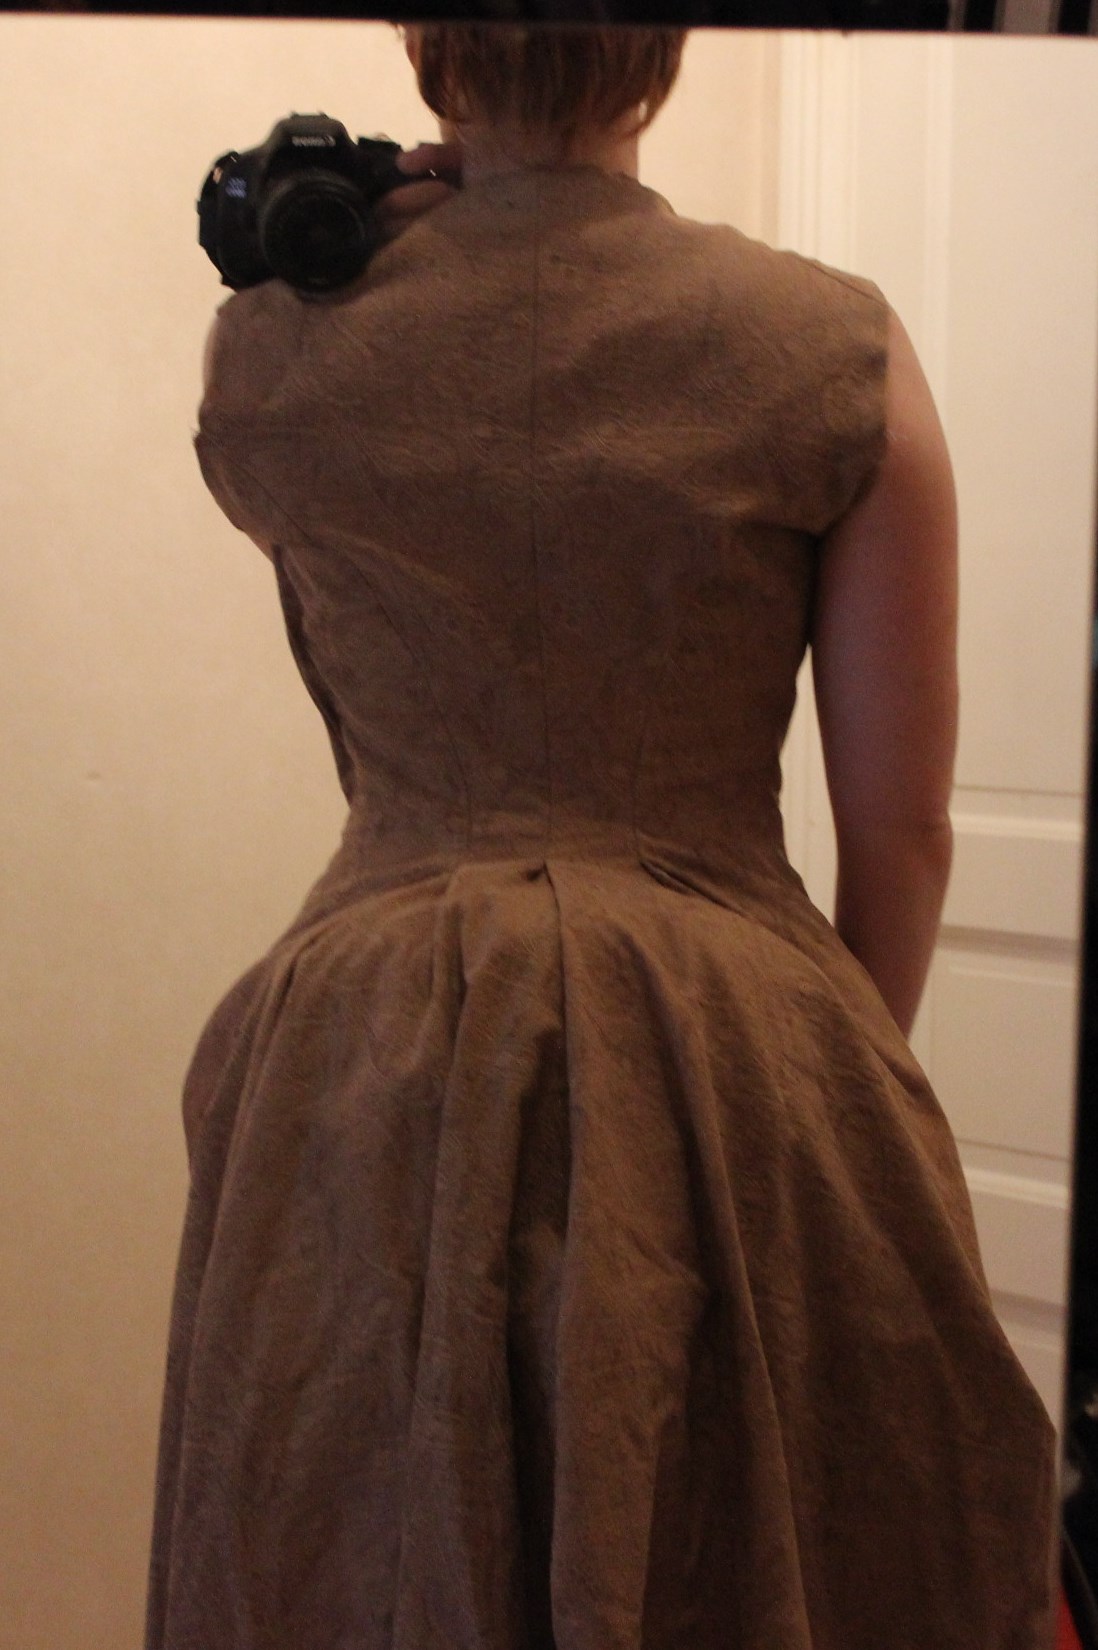
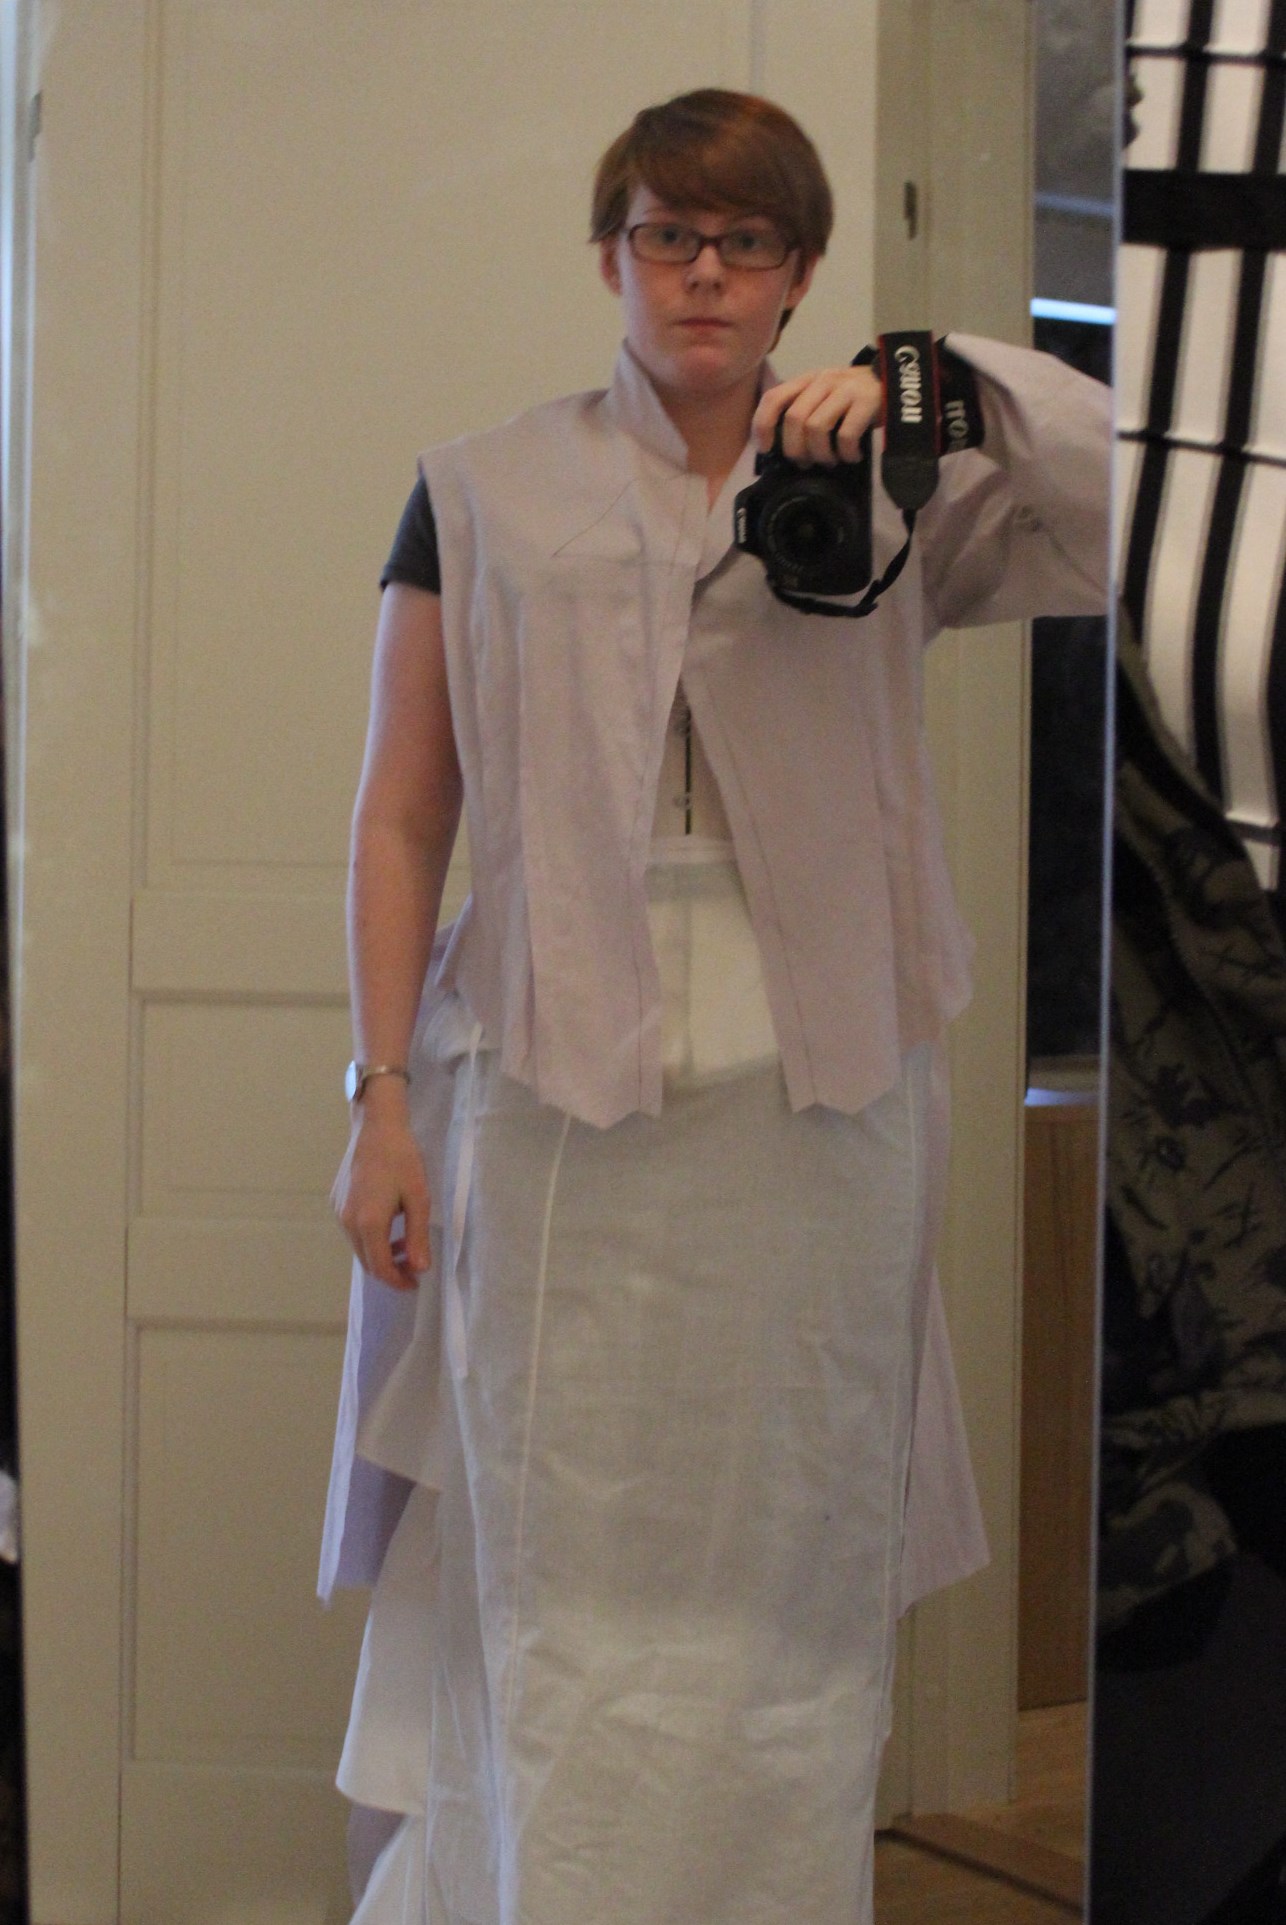
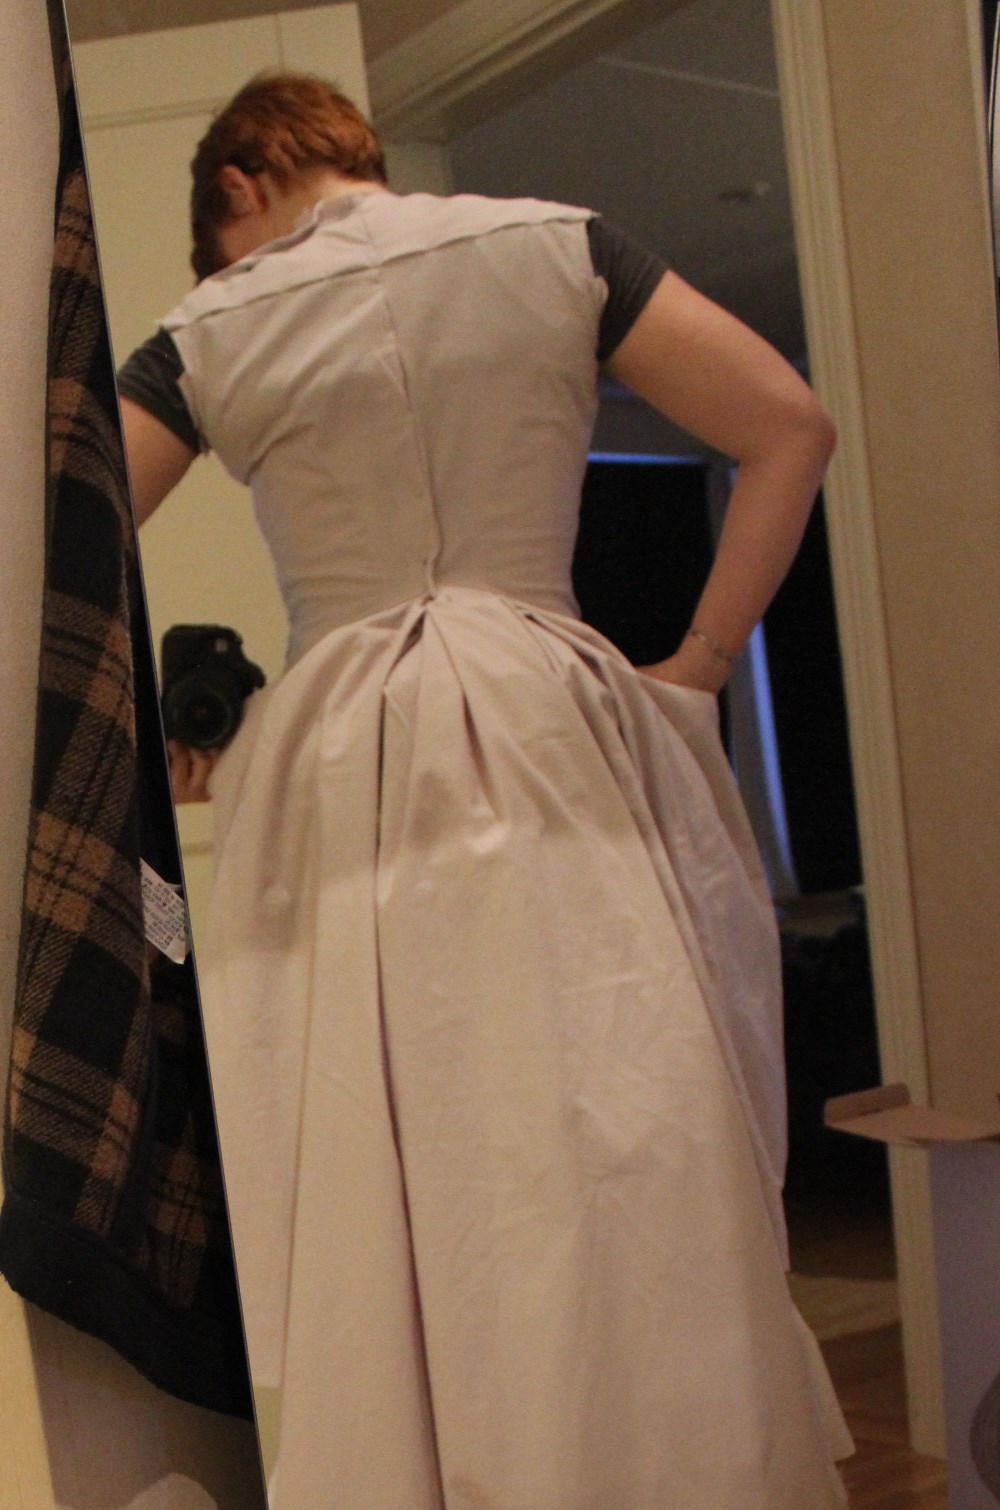
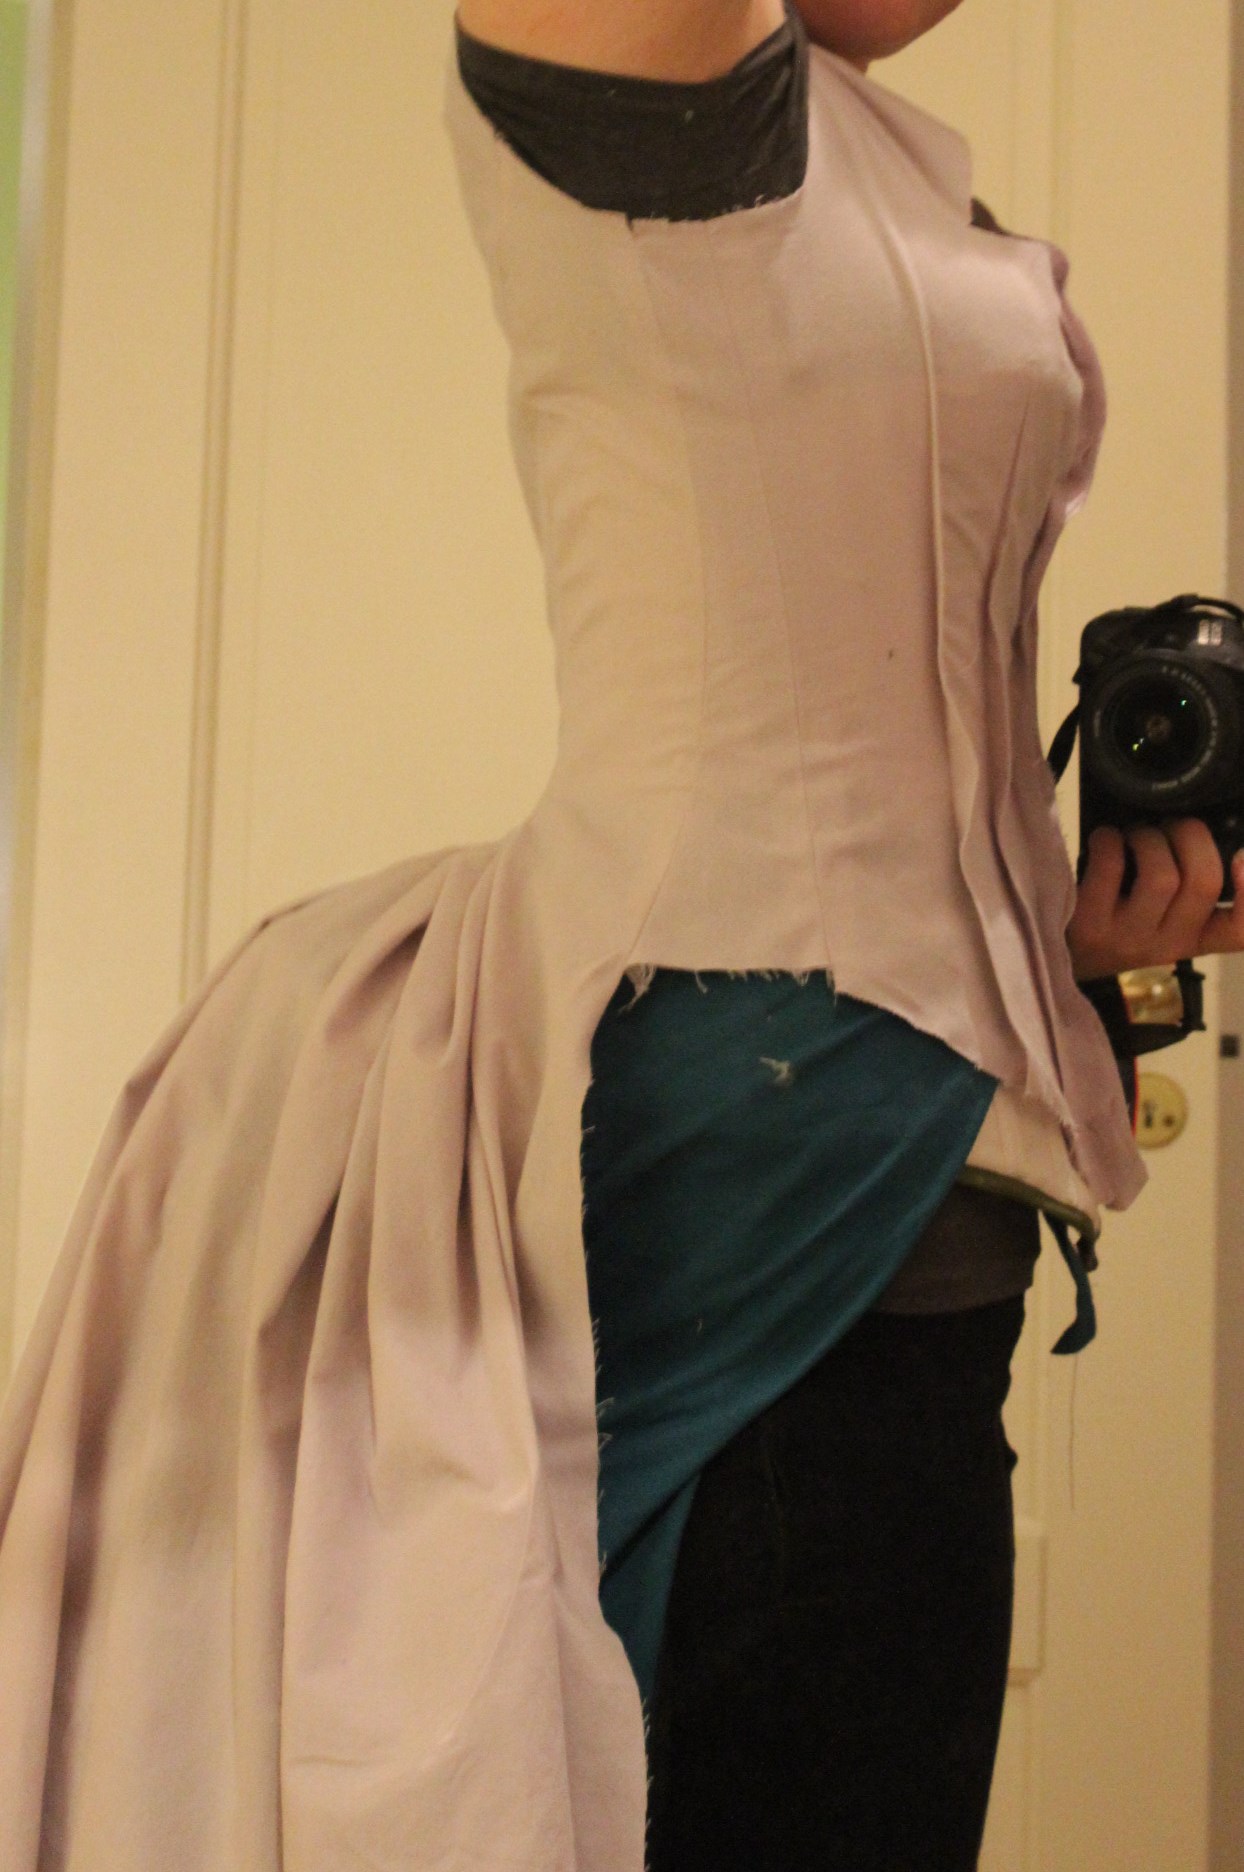
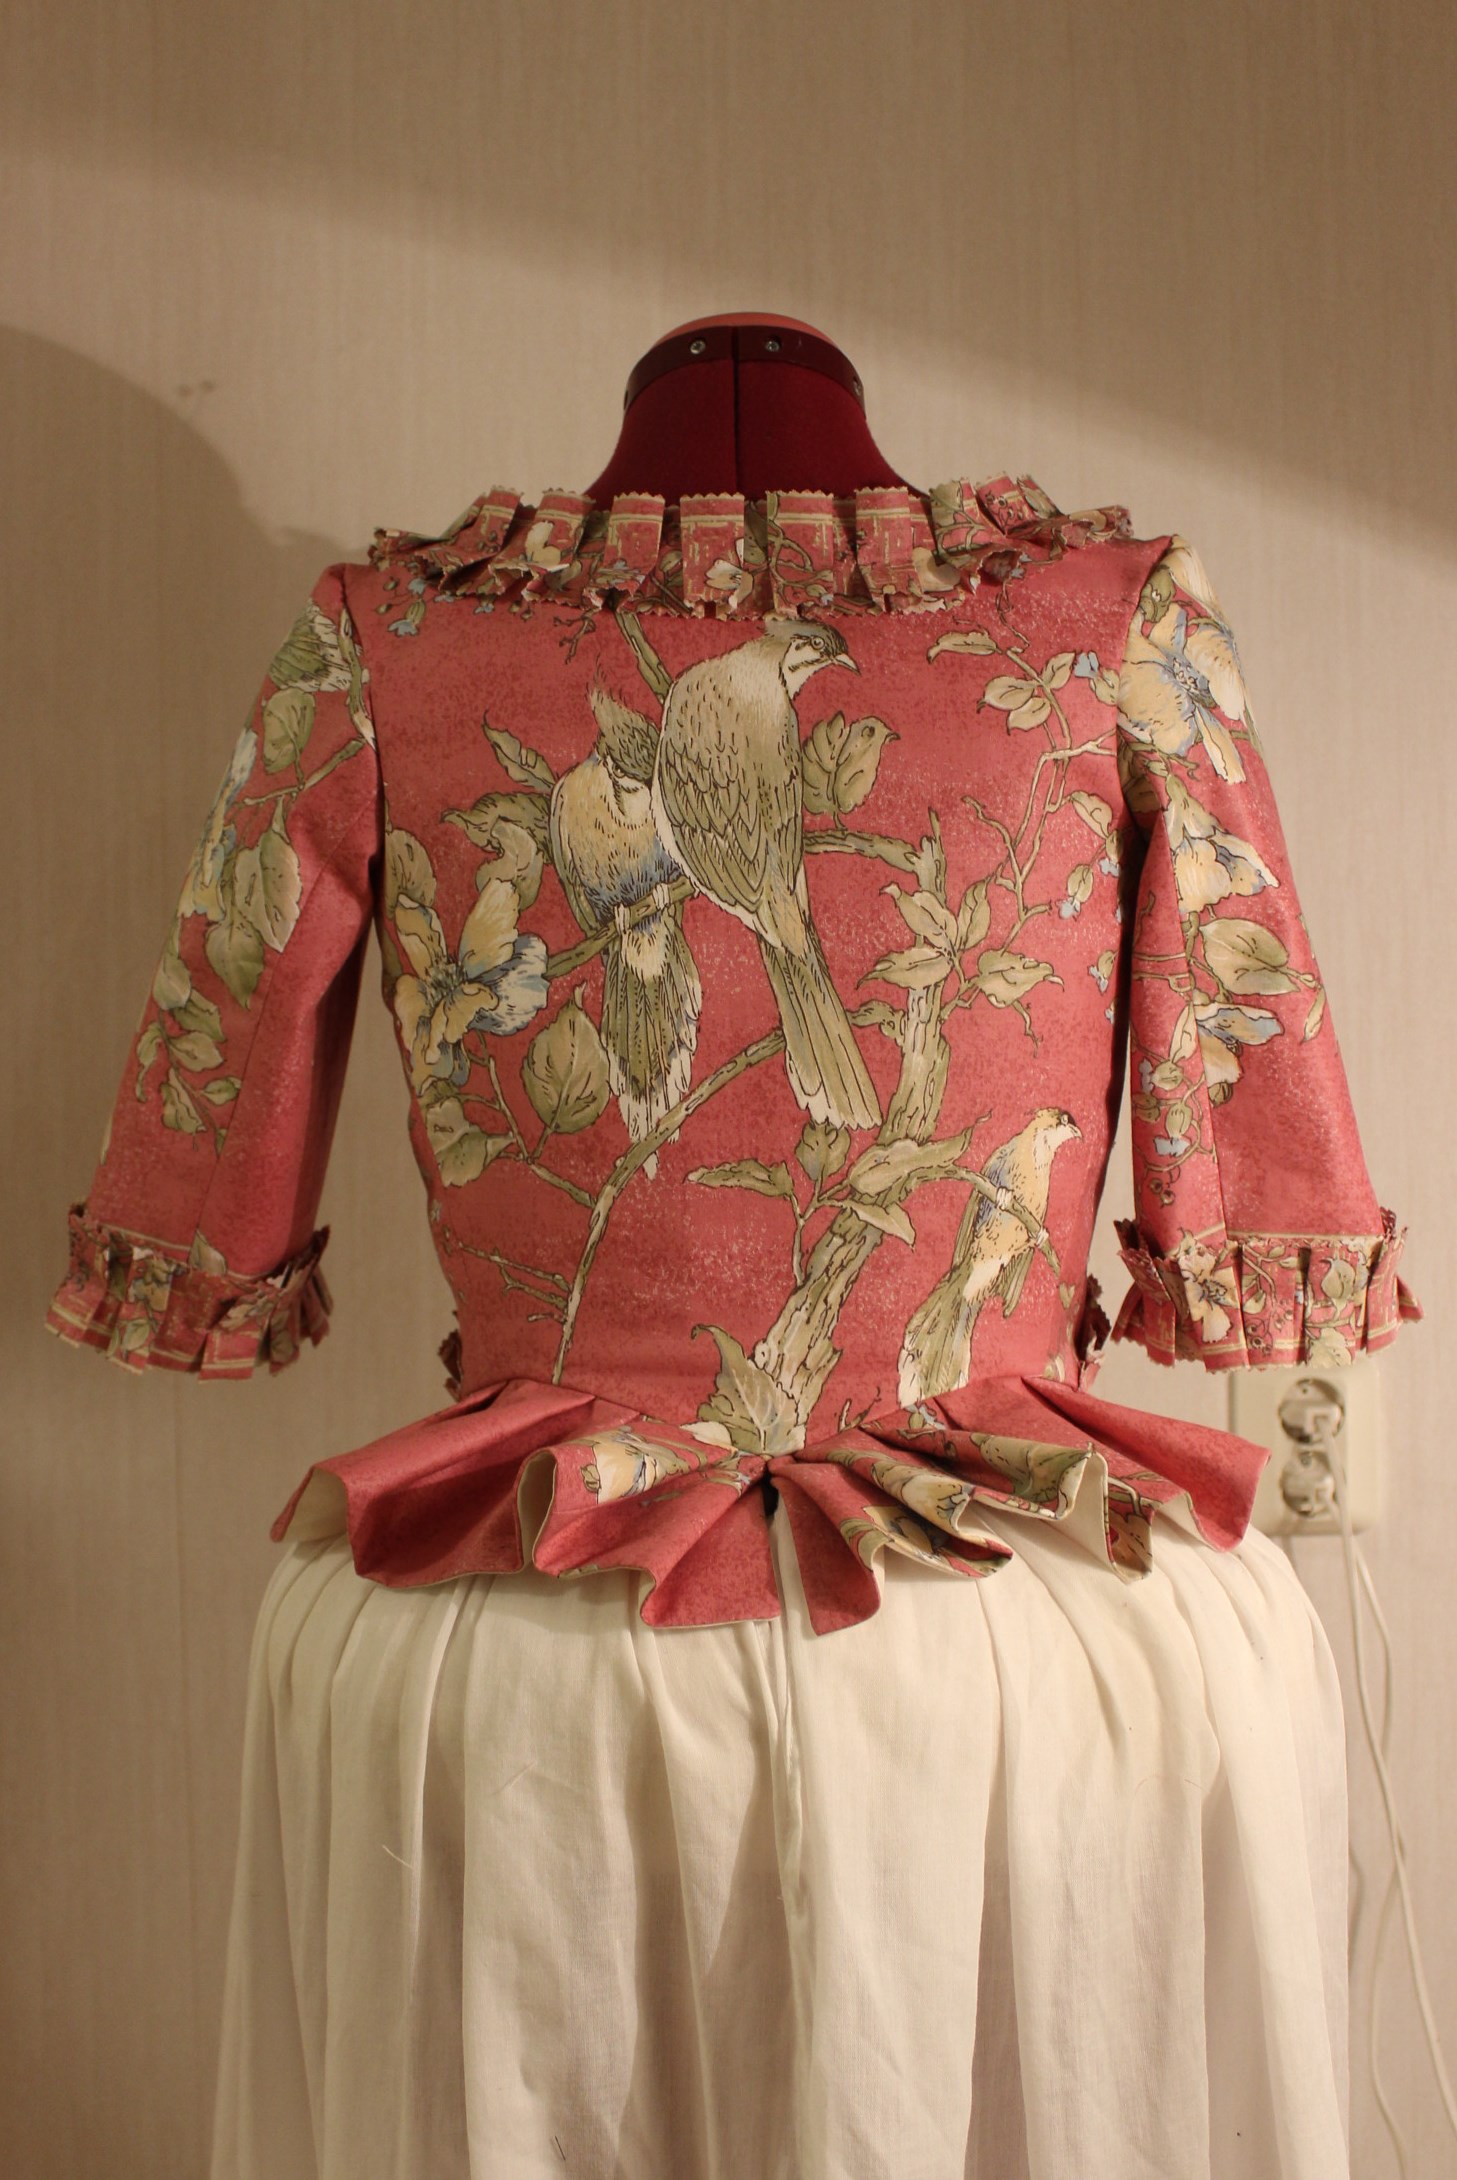
I put the bodice back on the dressform to get a feeling for how it would look.

IMG_6122 IMG_6123

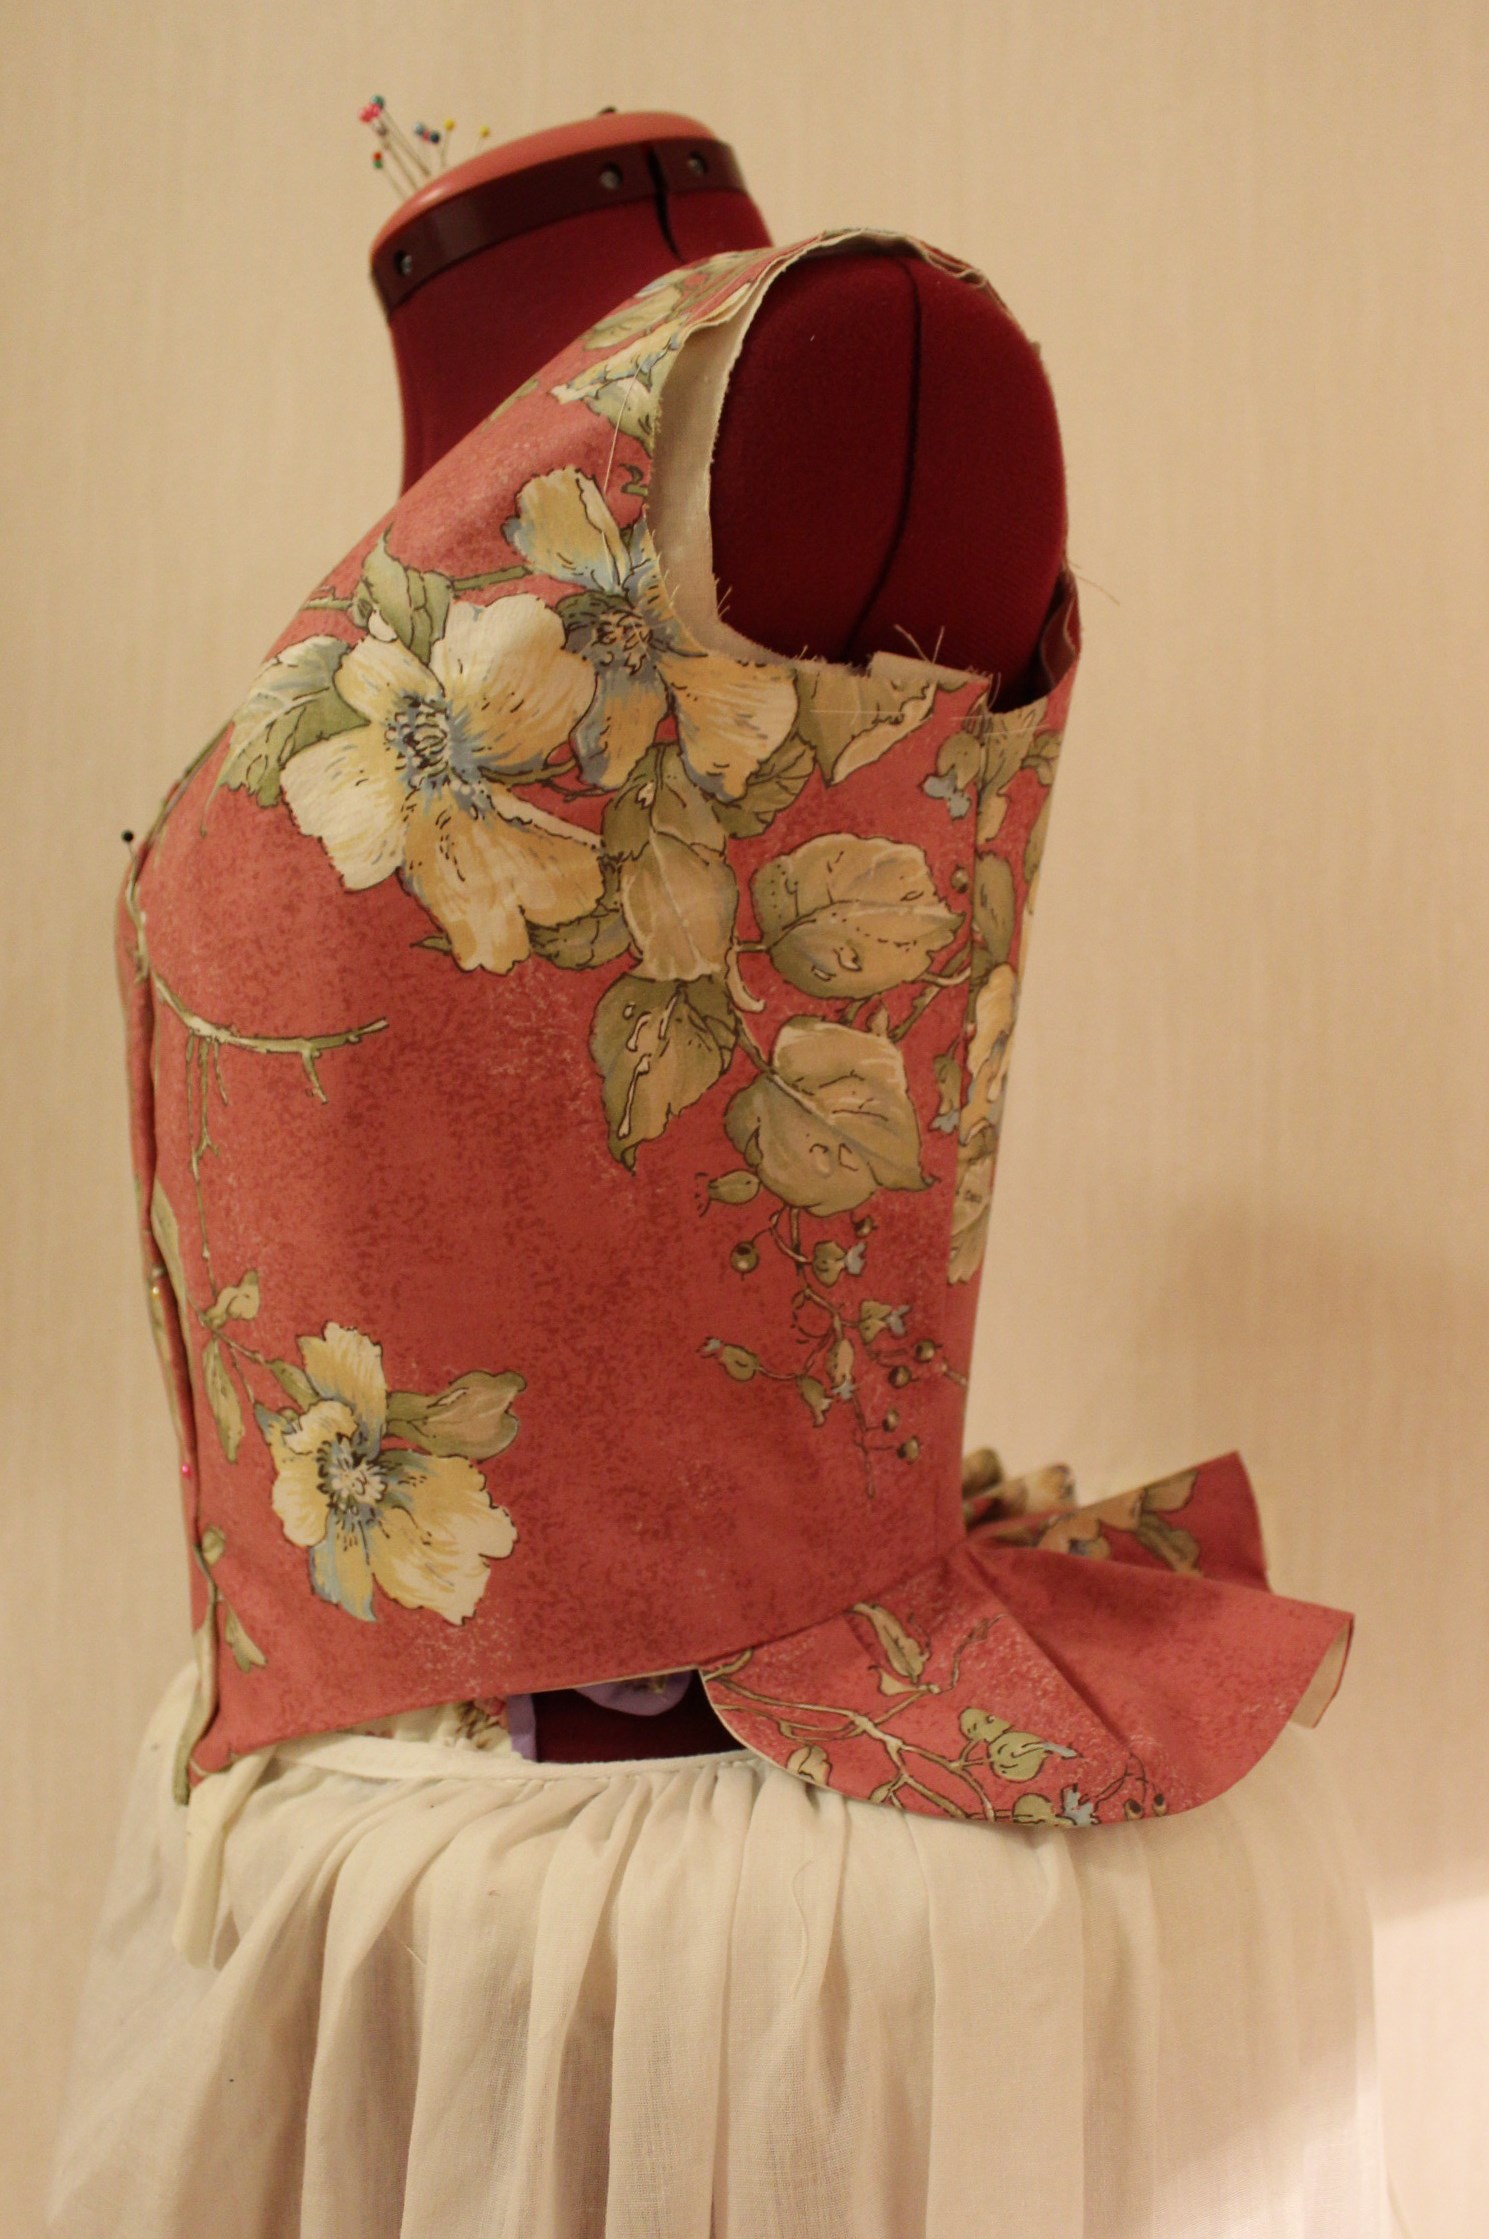
Pretty nice, and I particulary like the birds placements on the back.IMG_6125

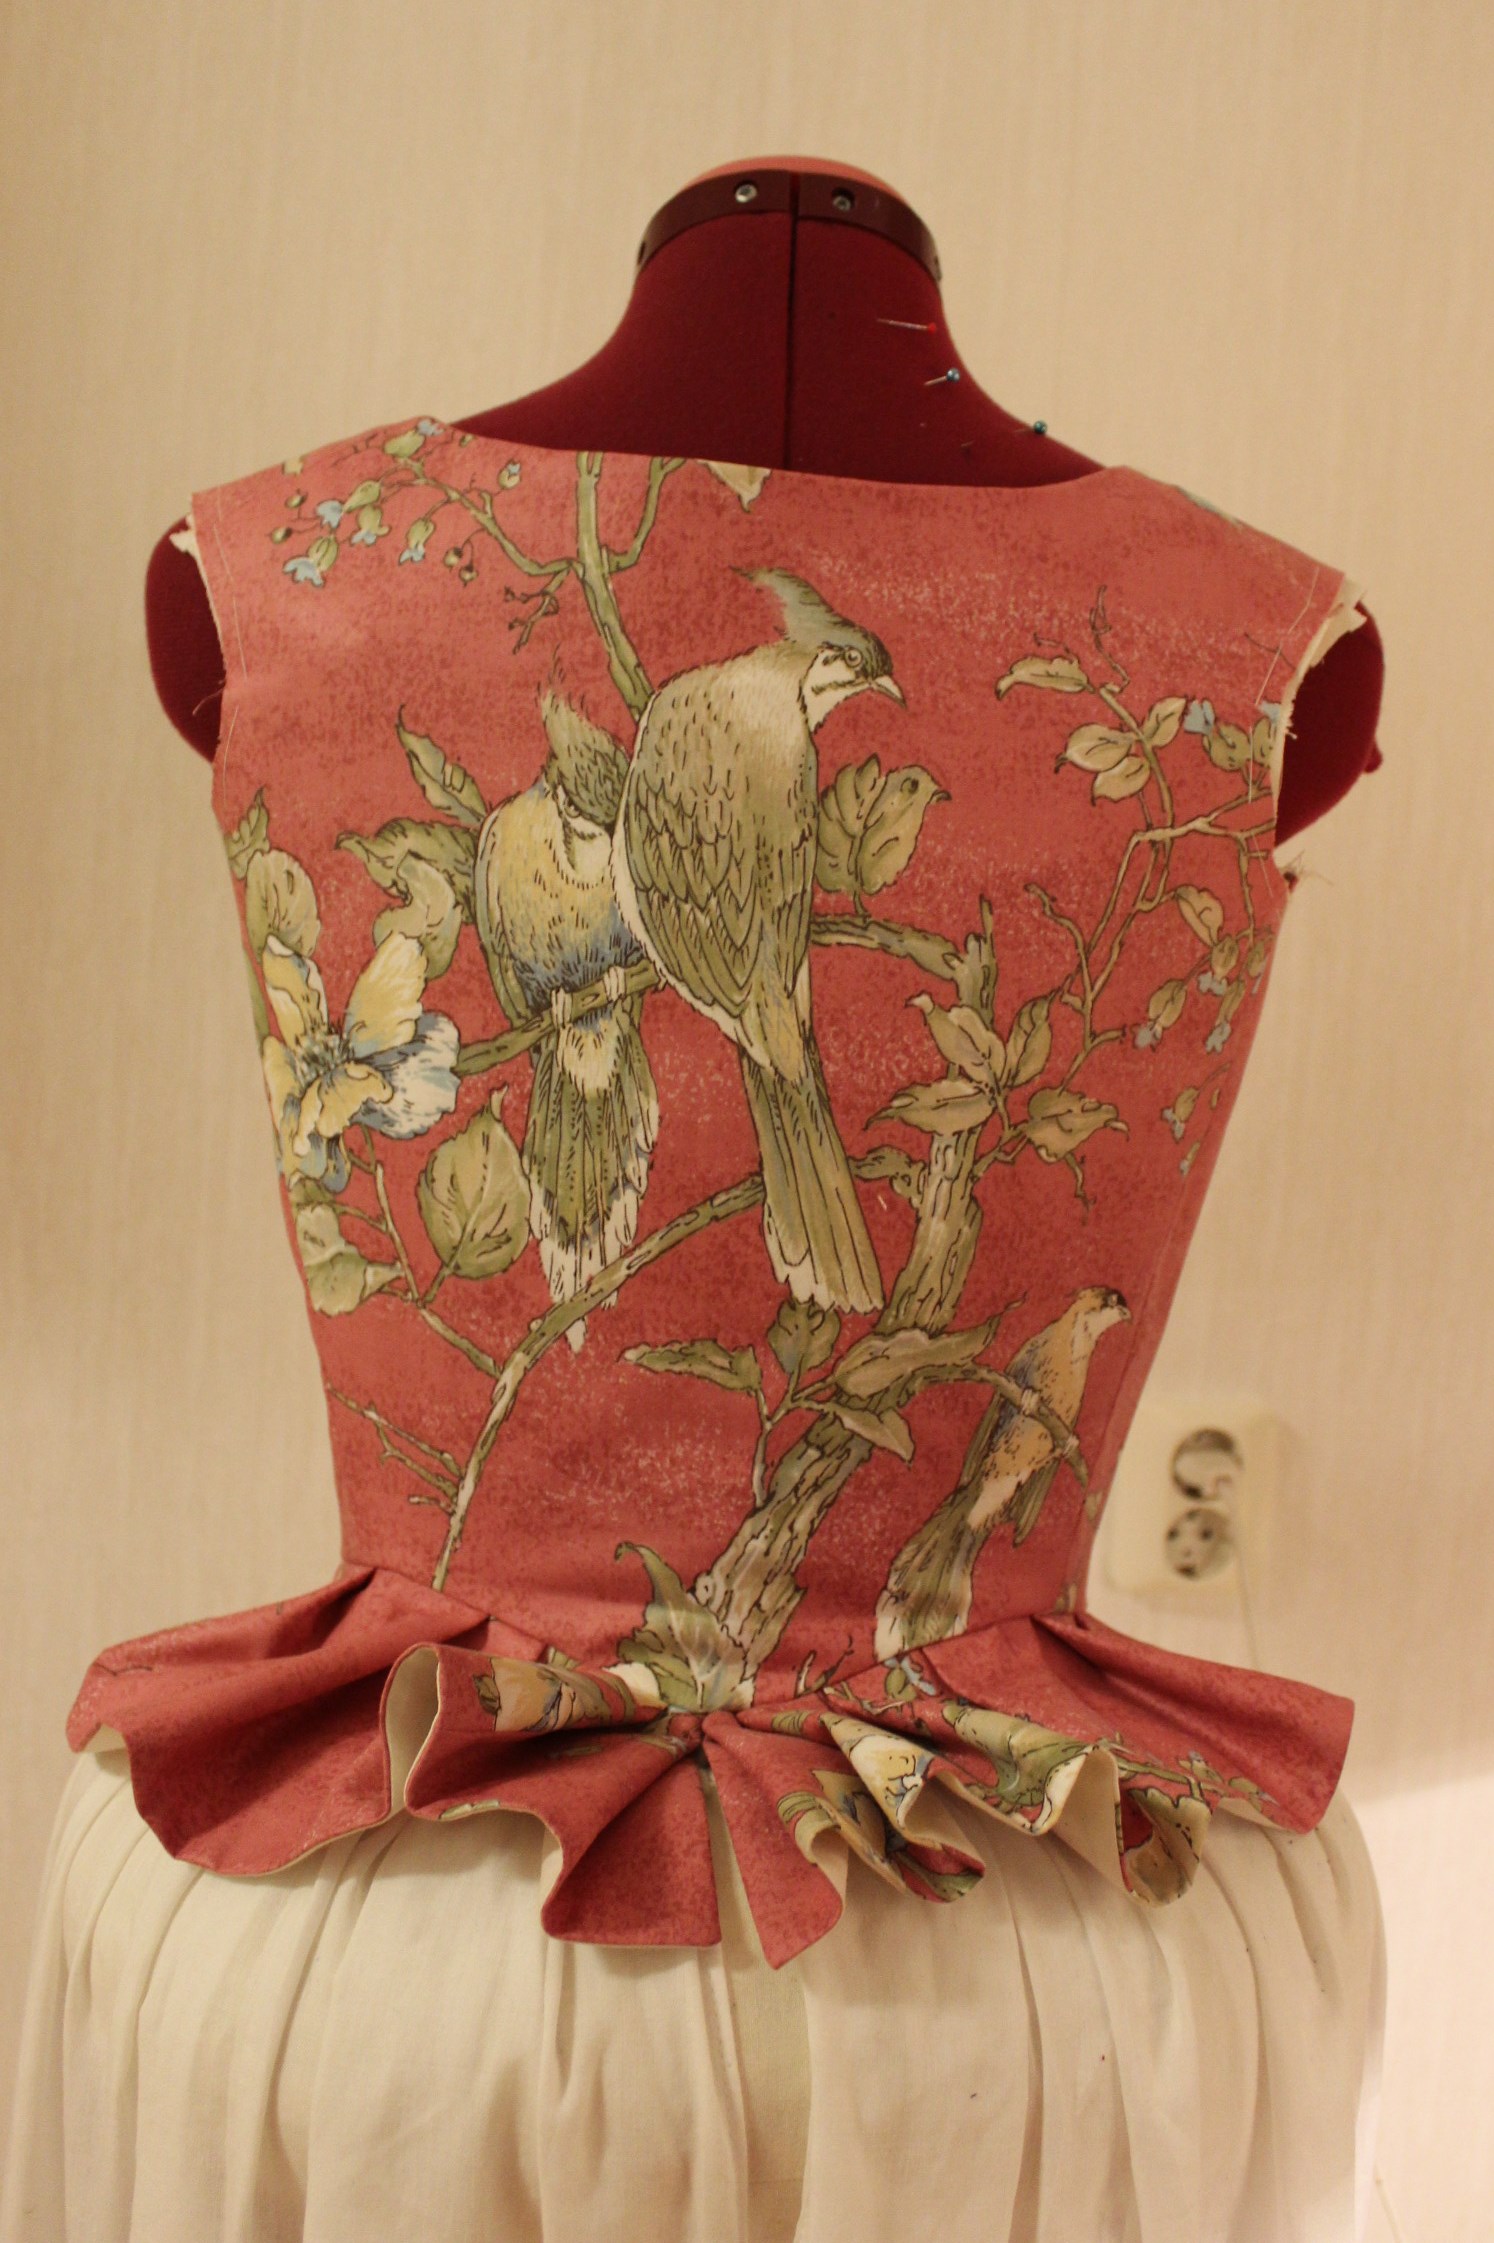
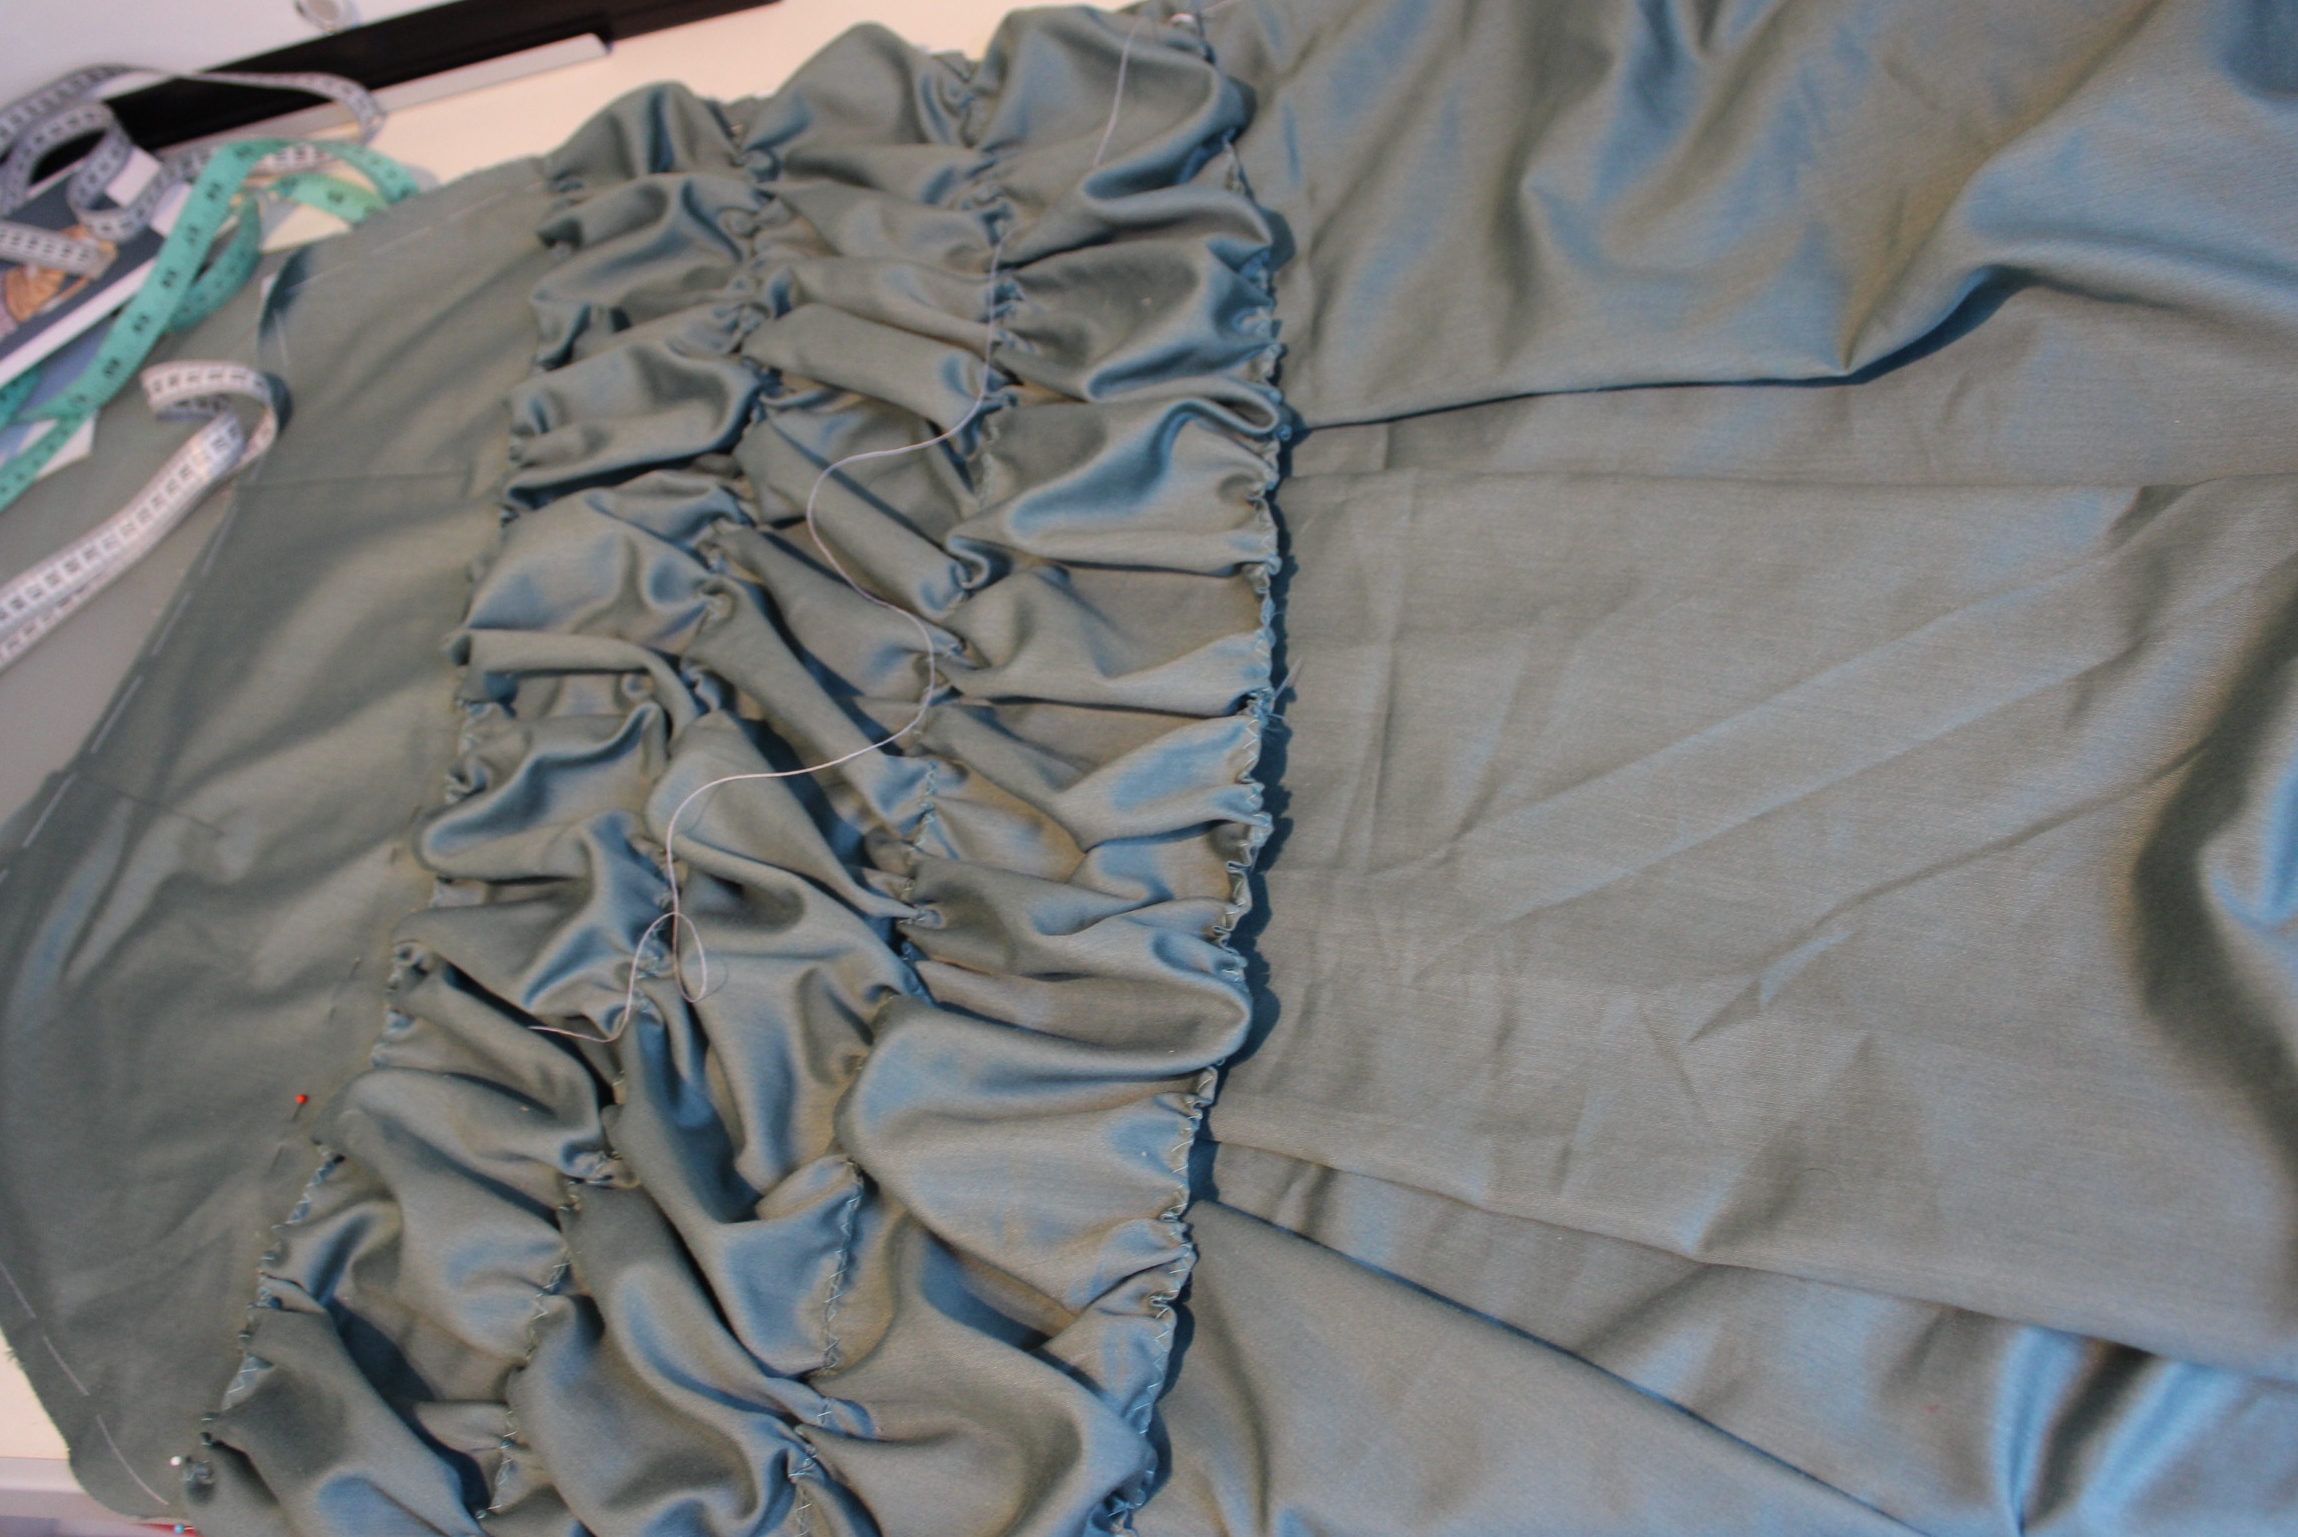
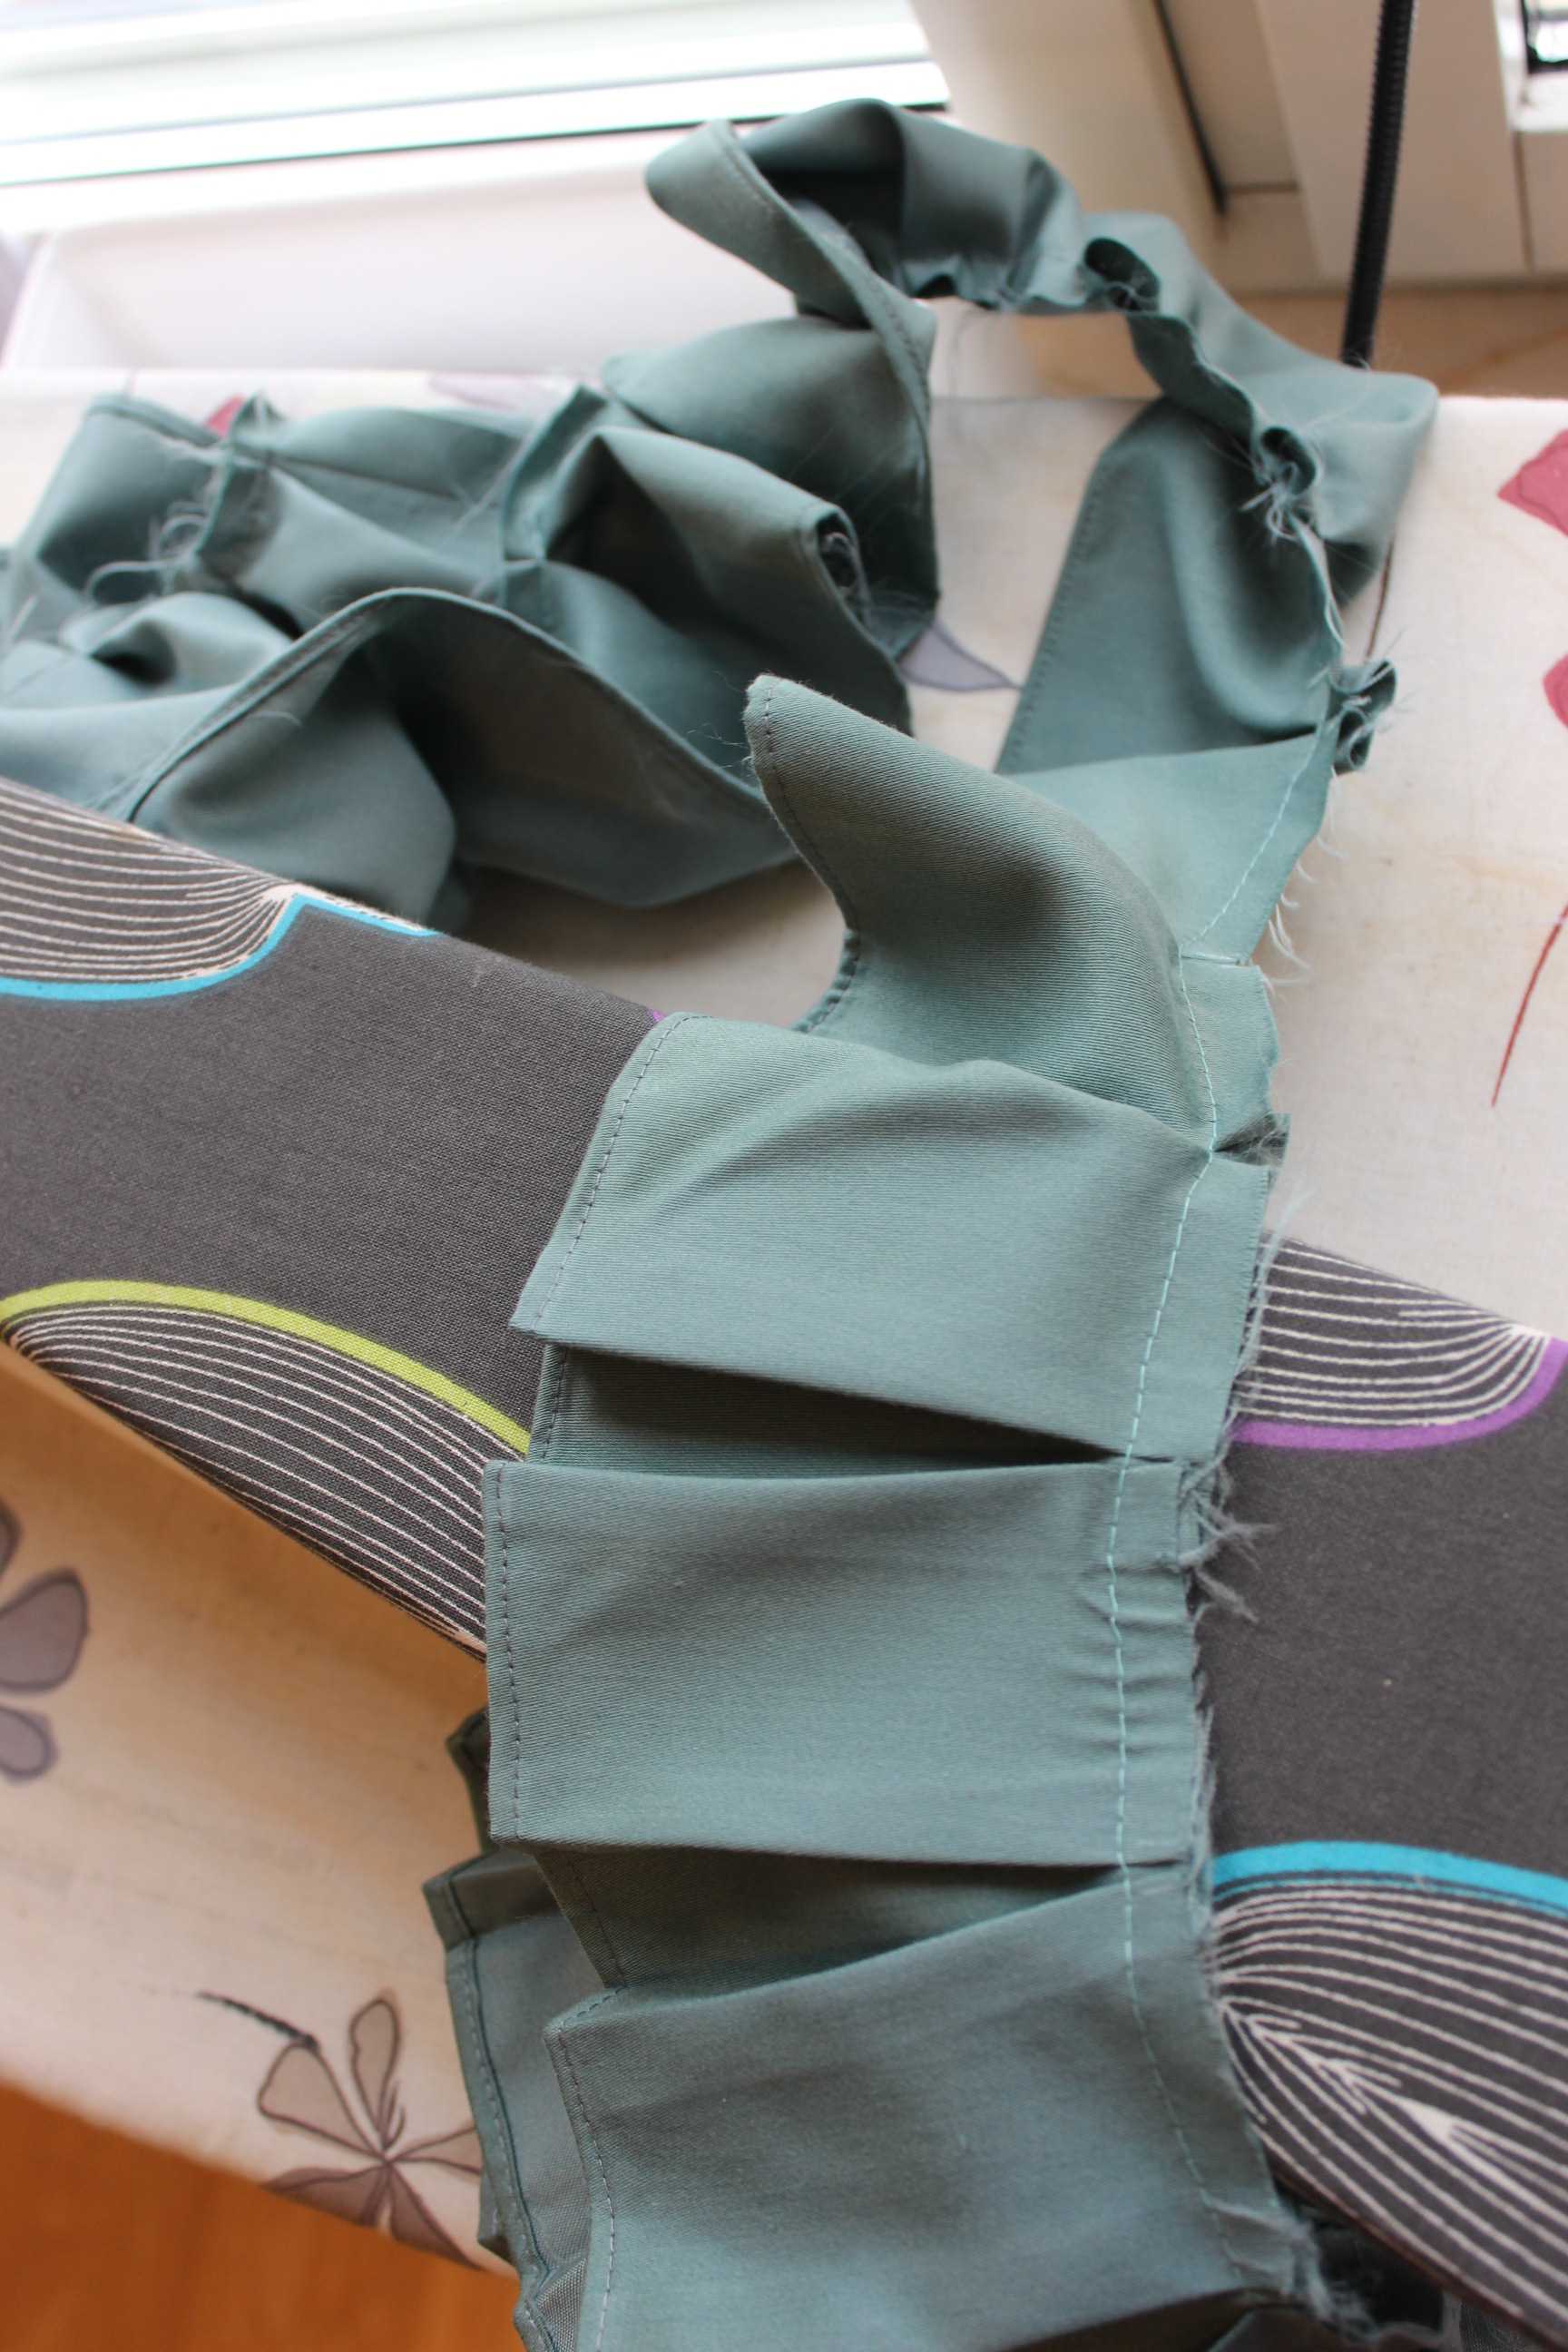
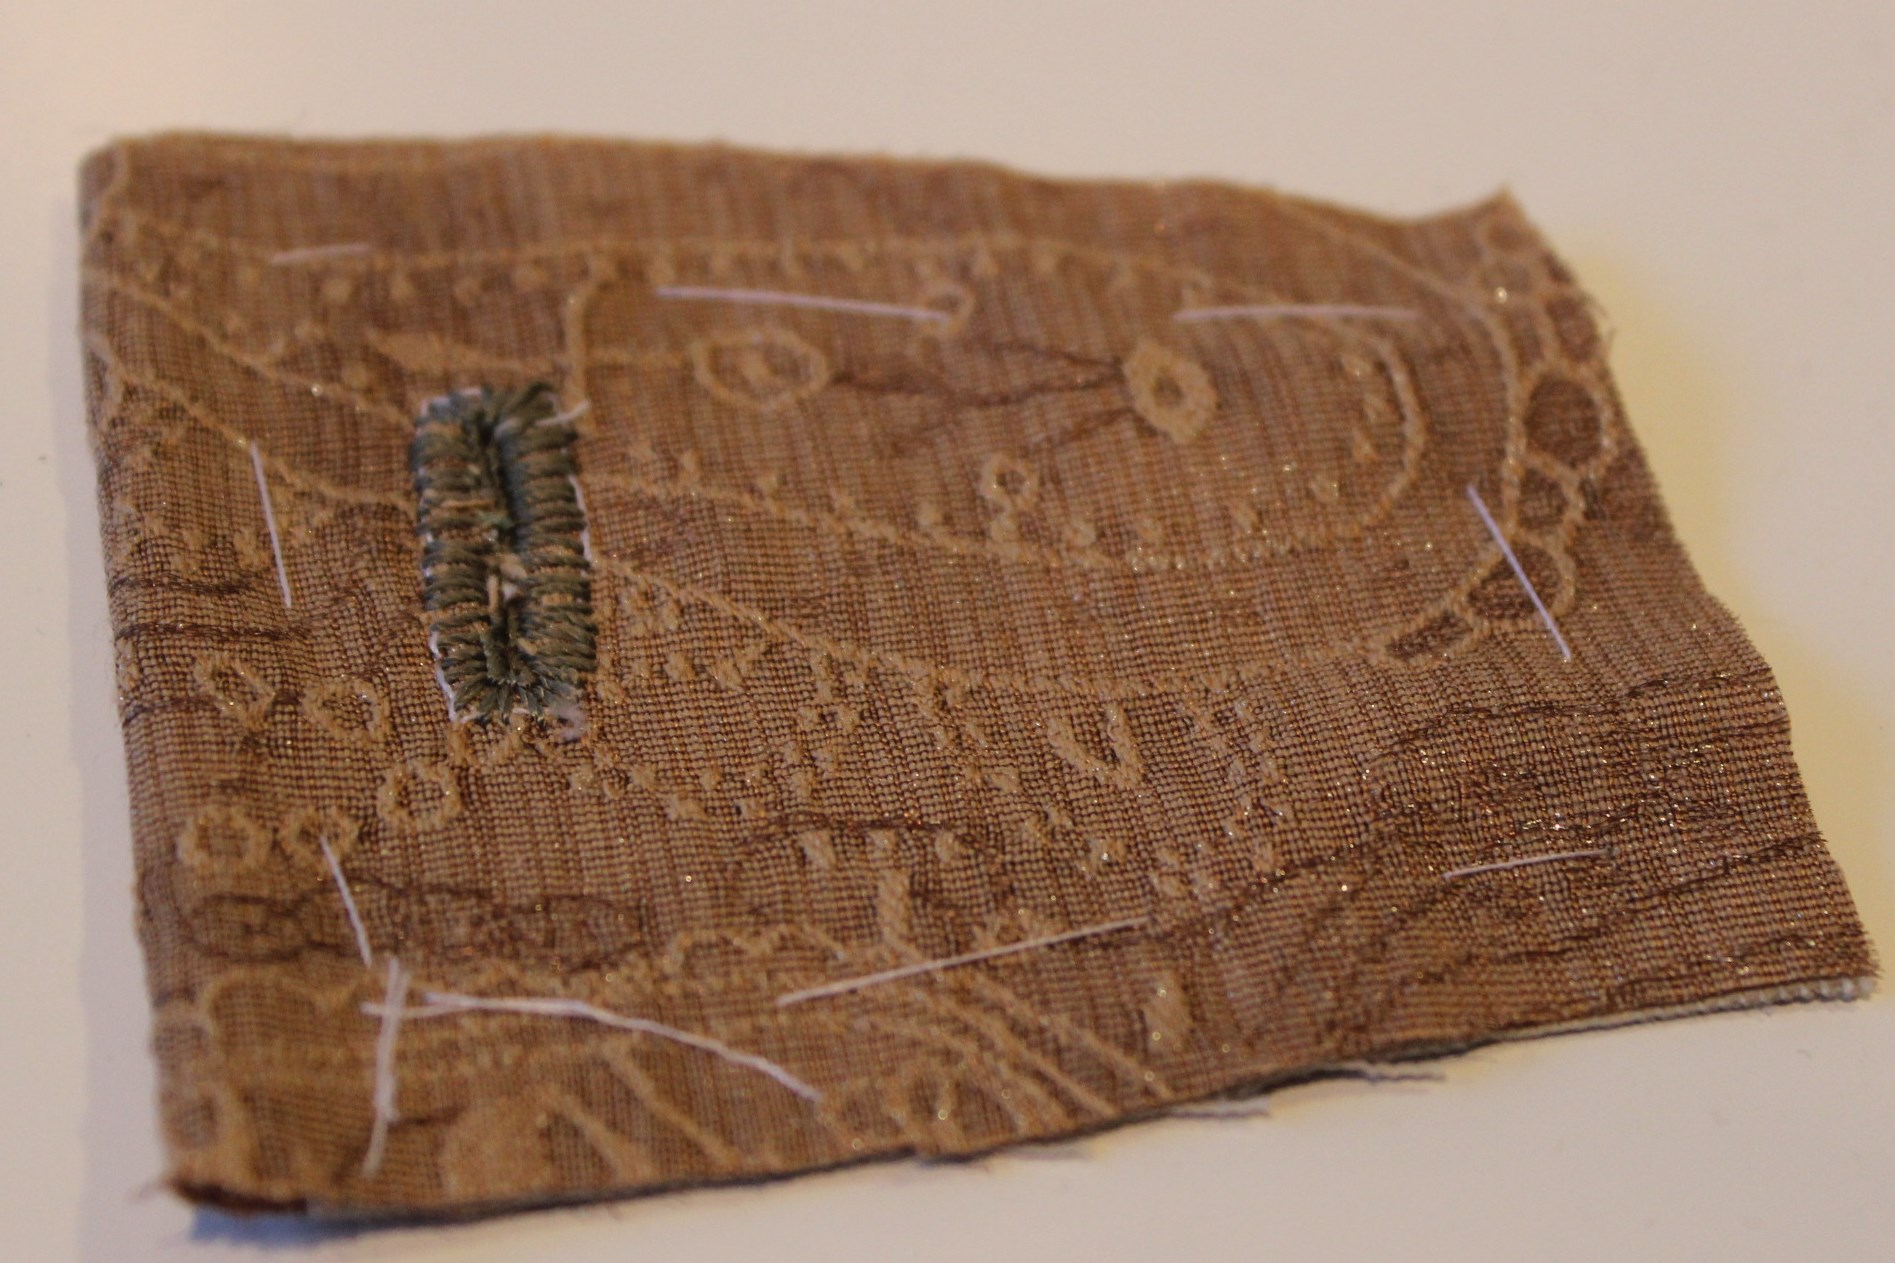
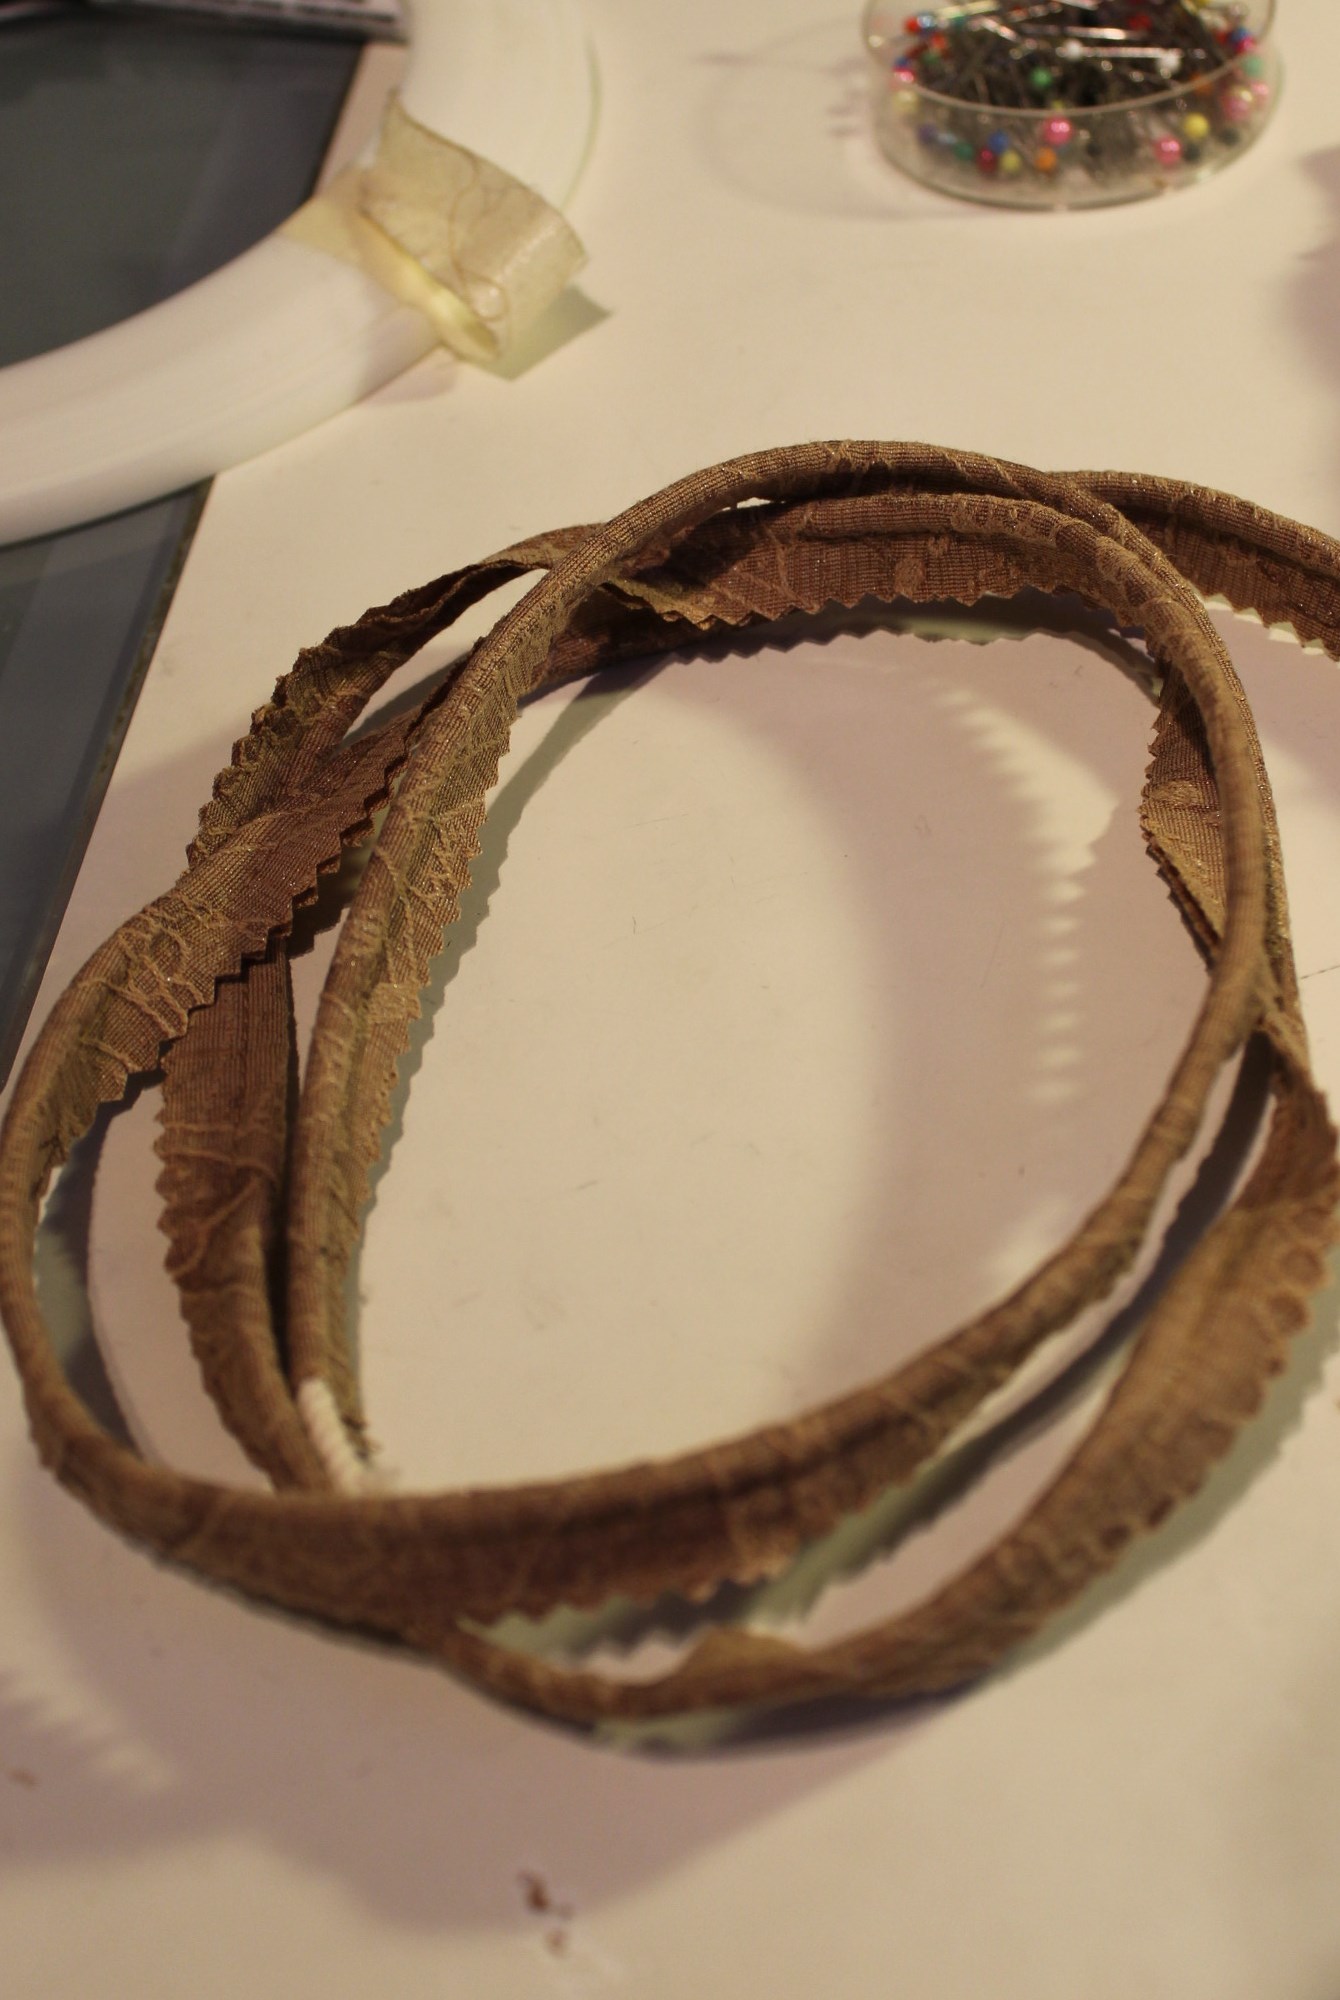
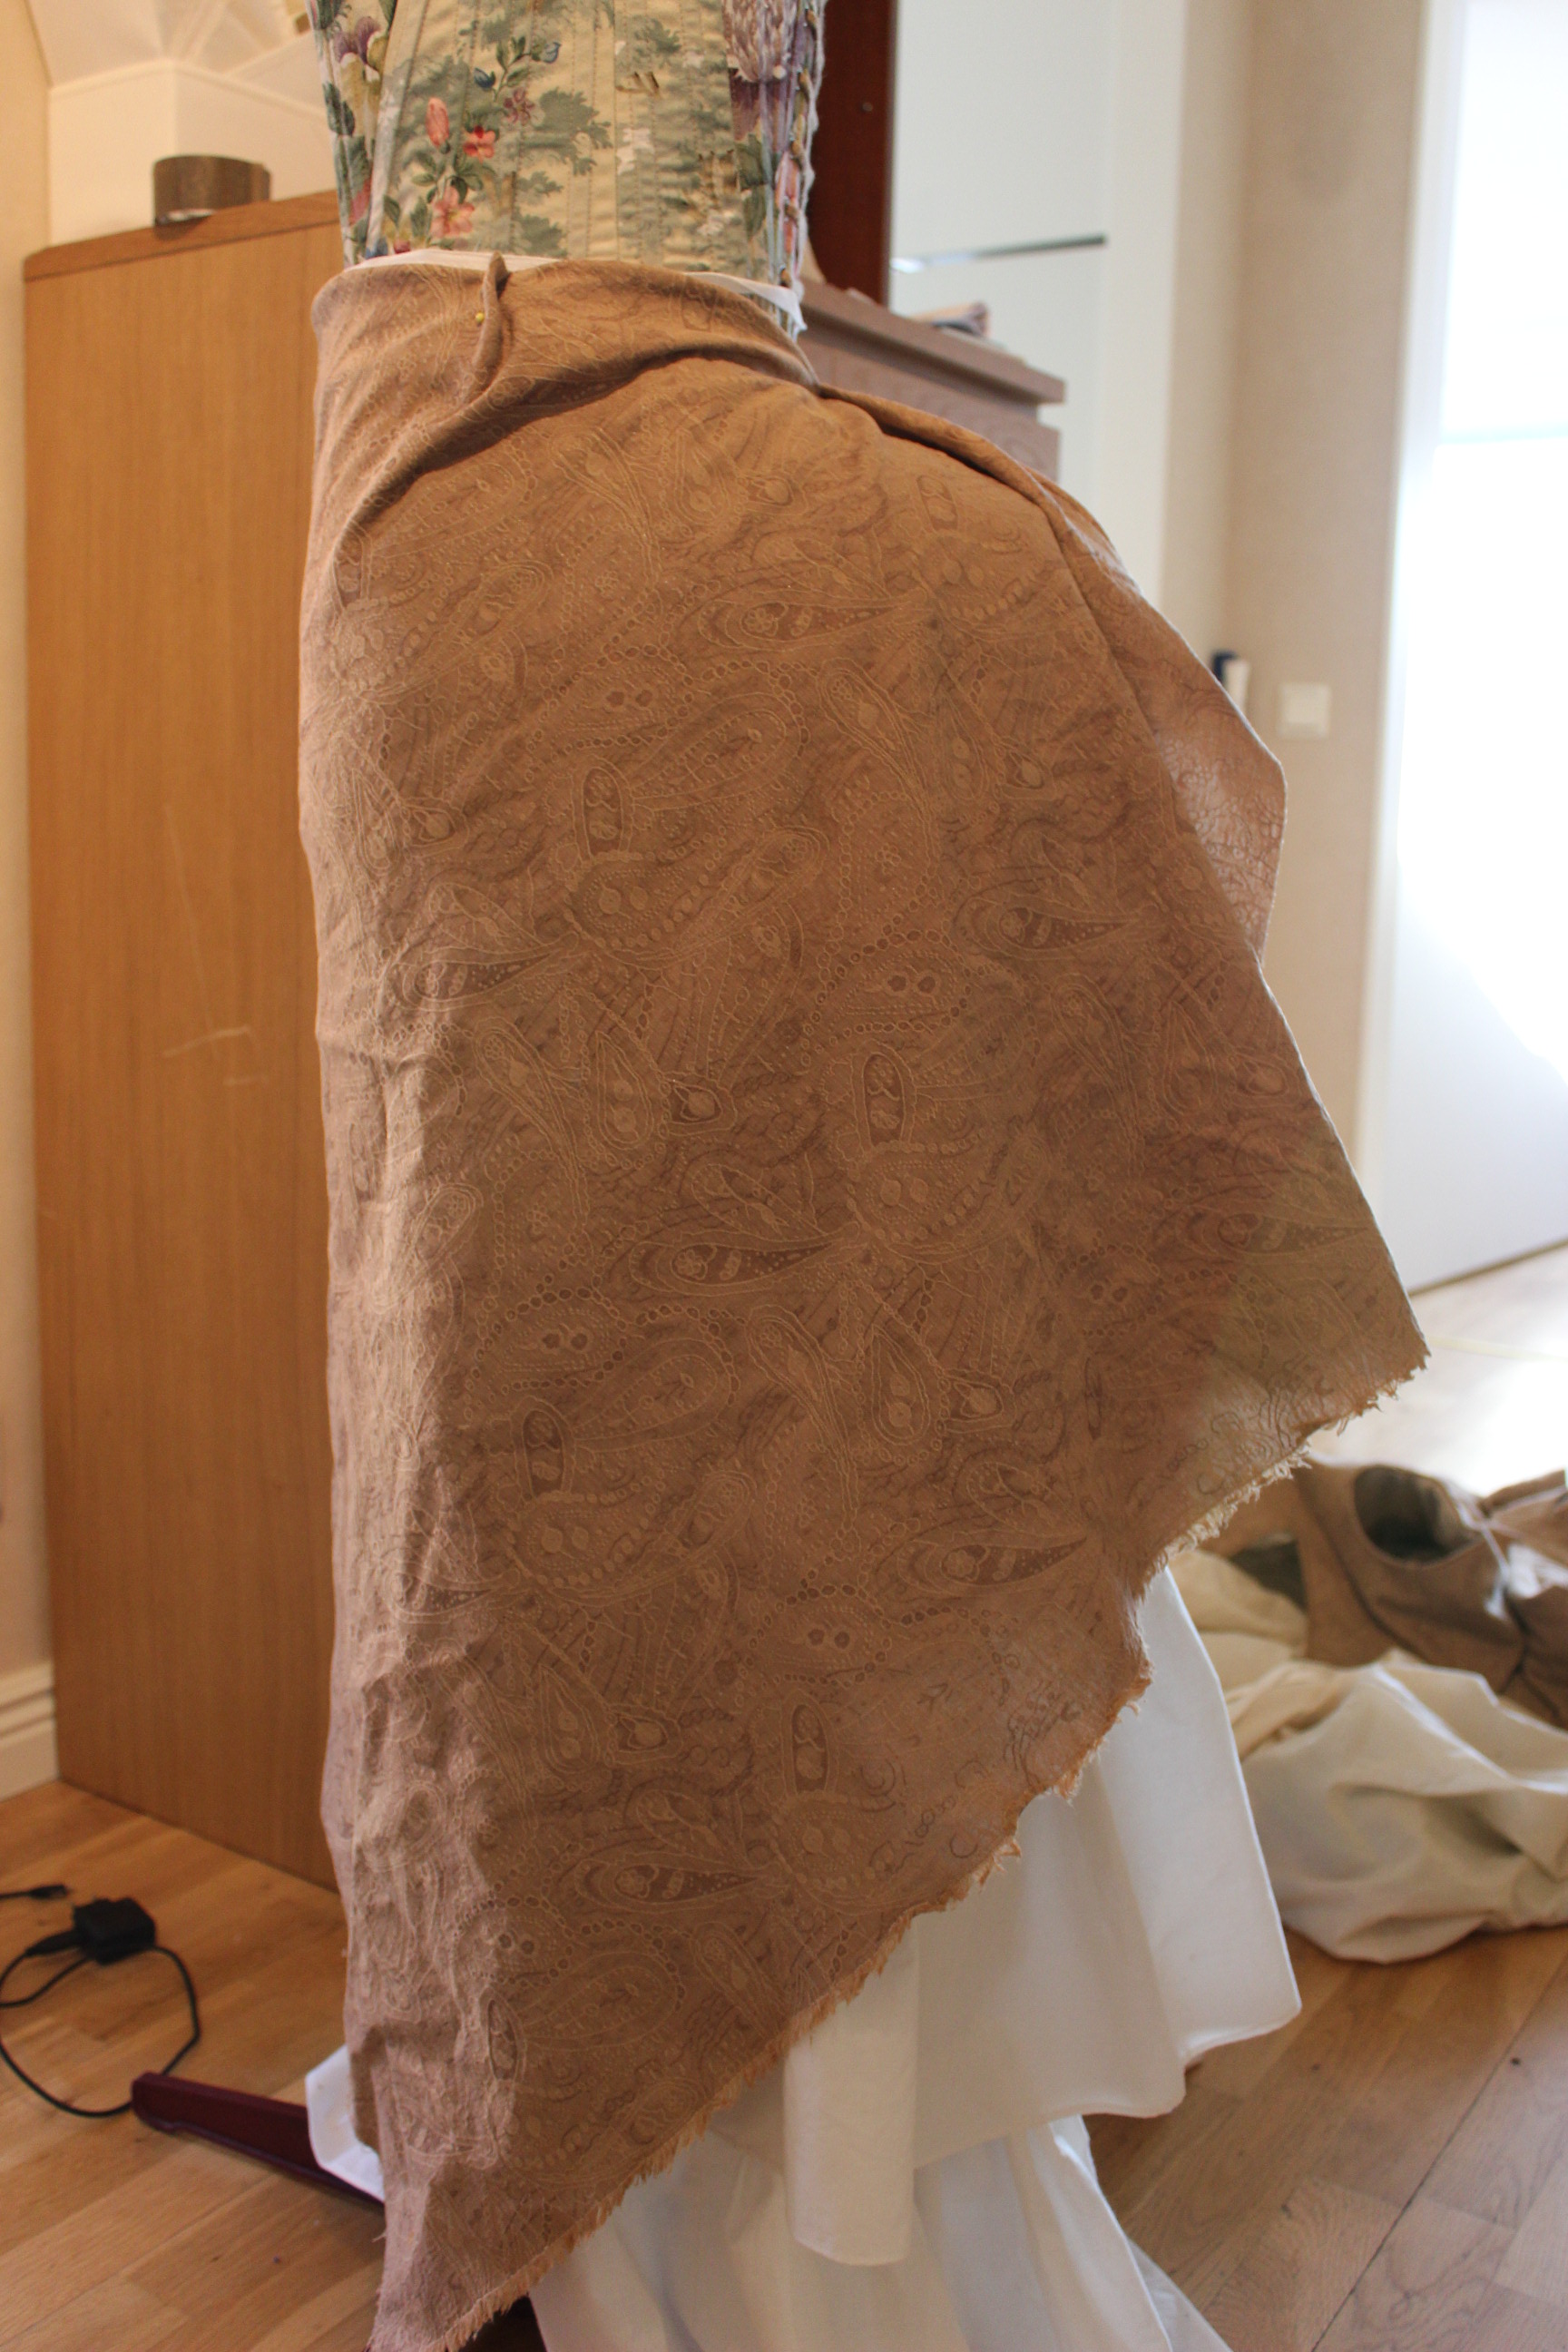
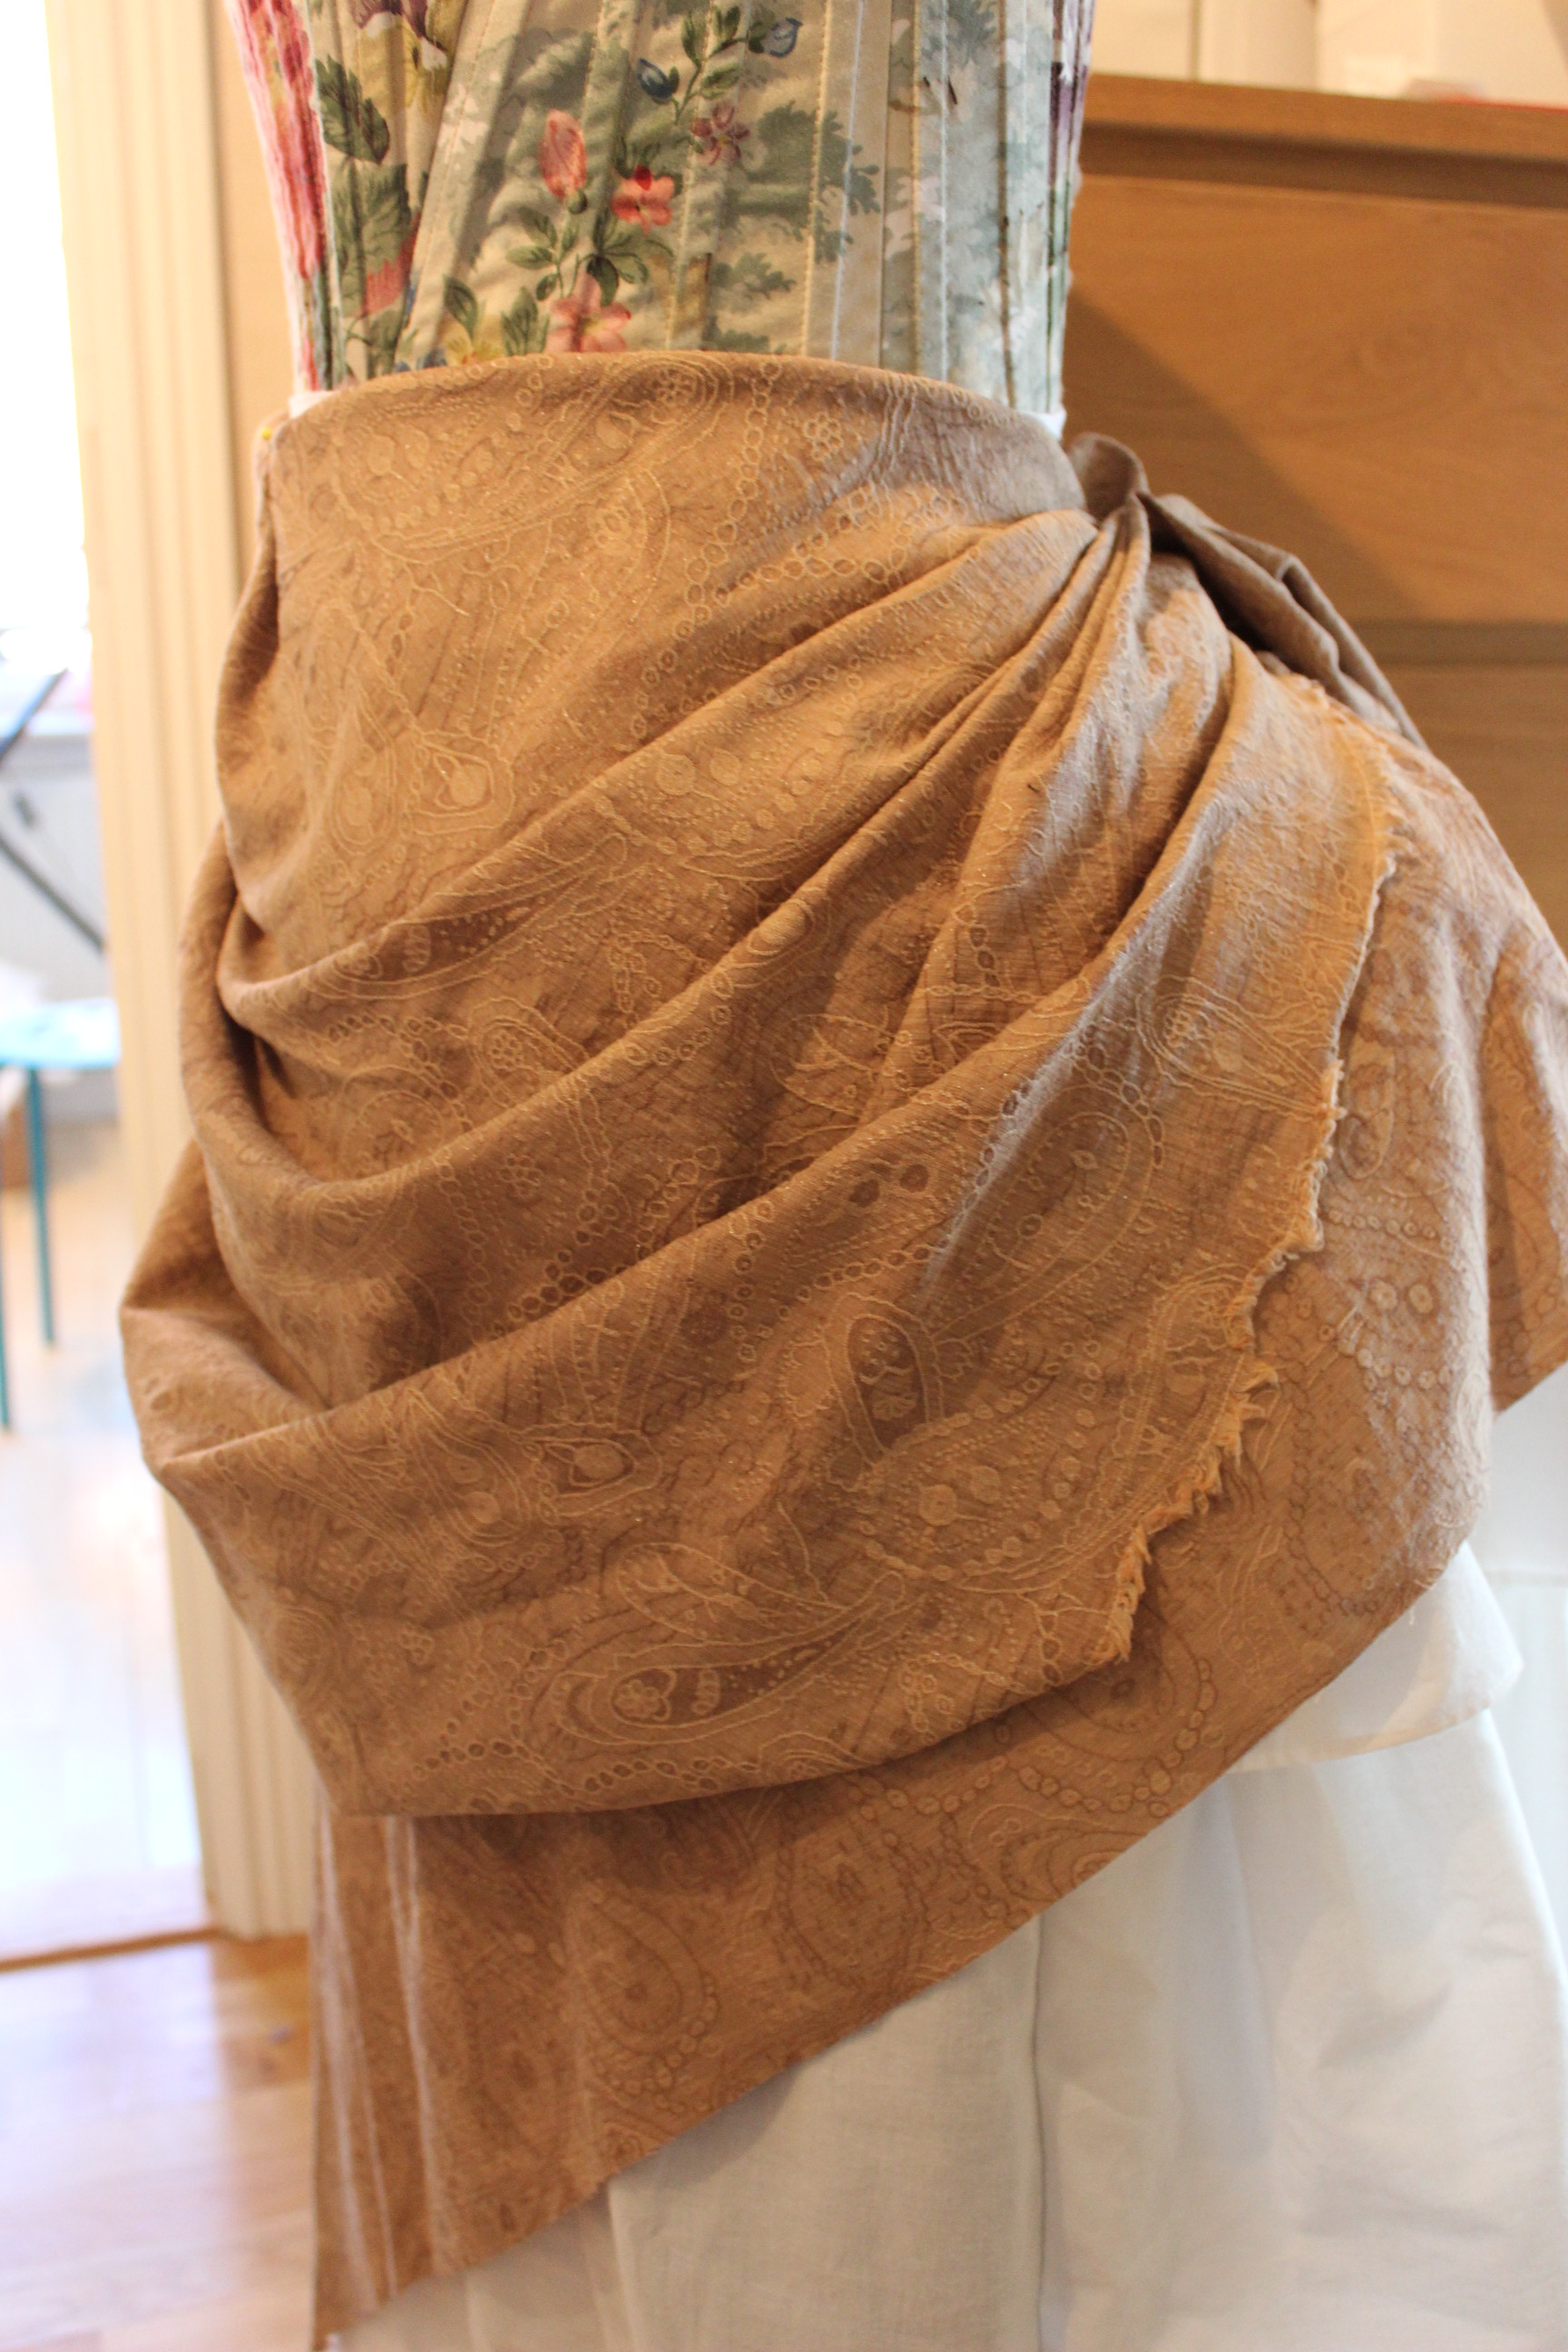
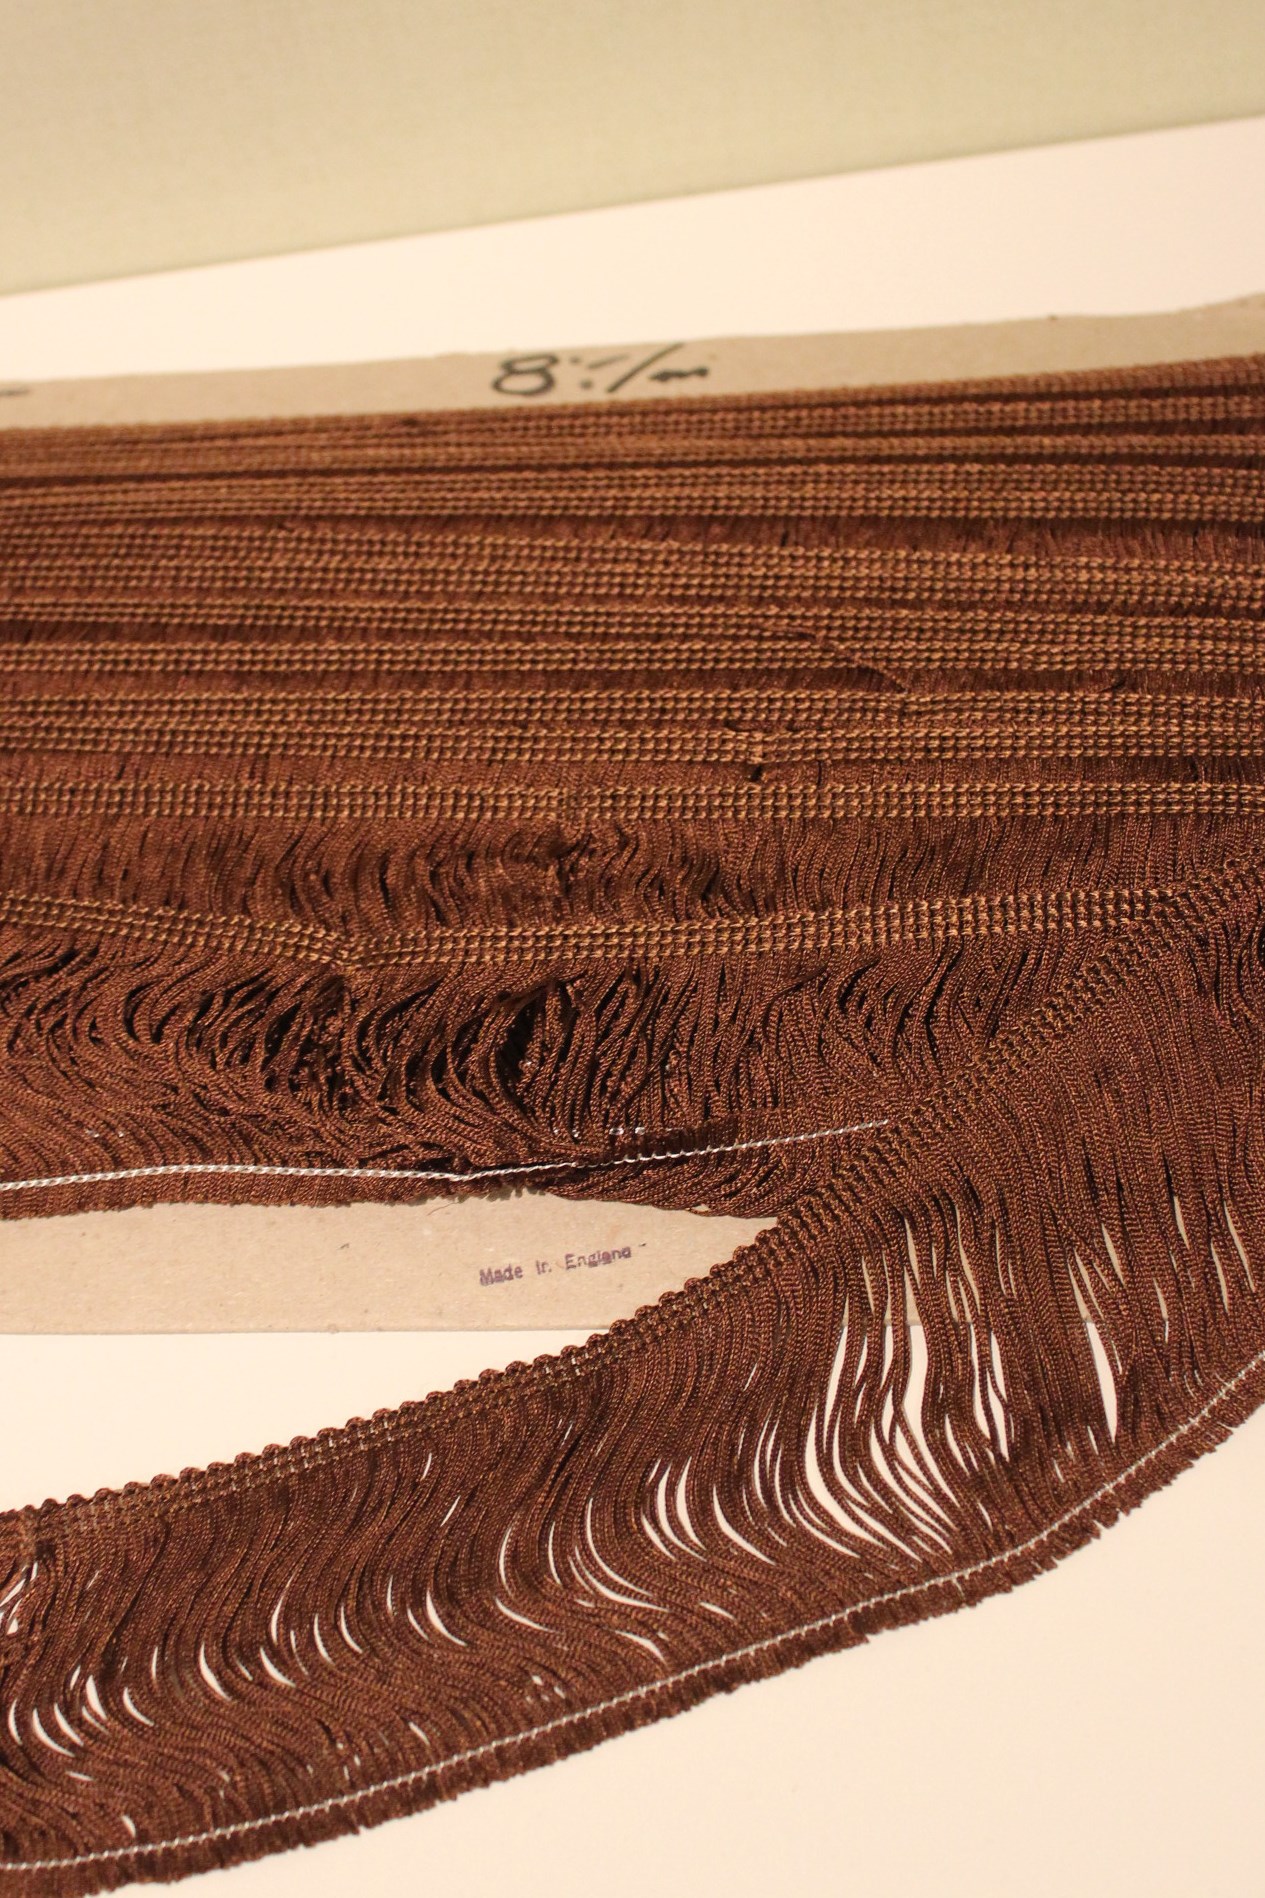
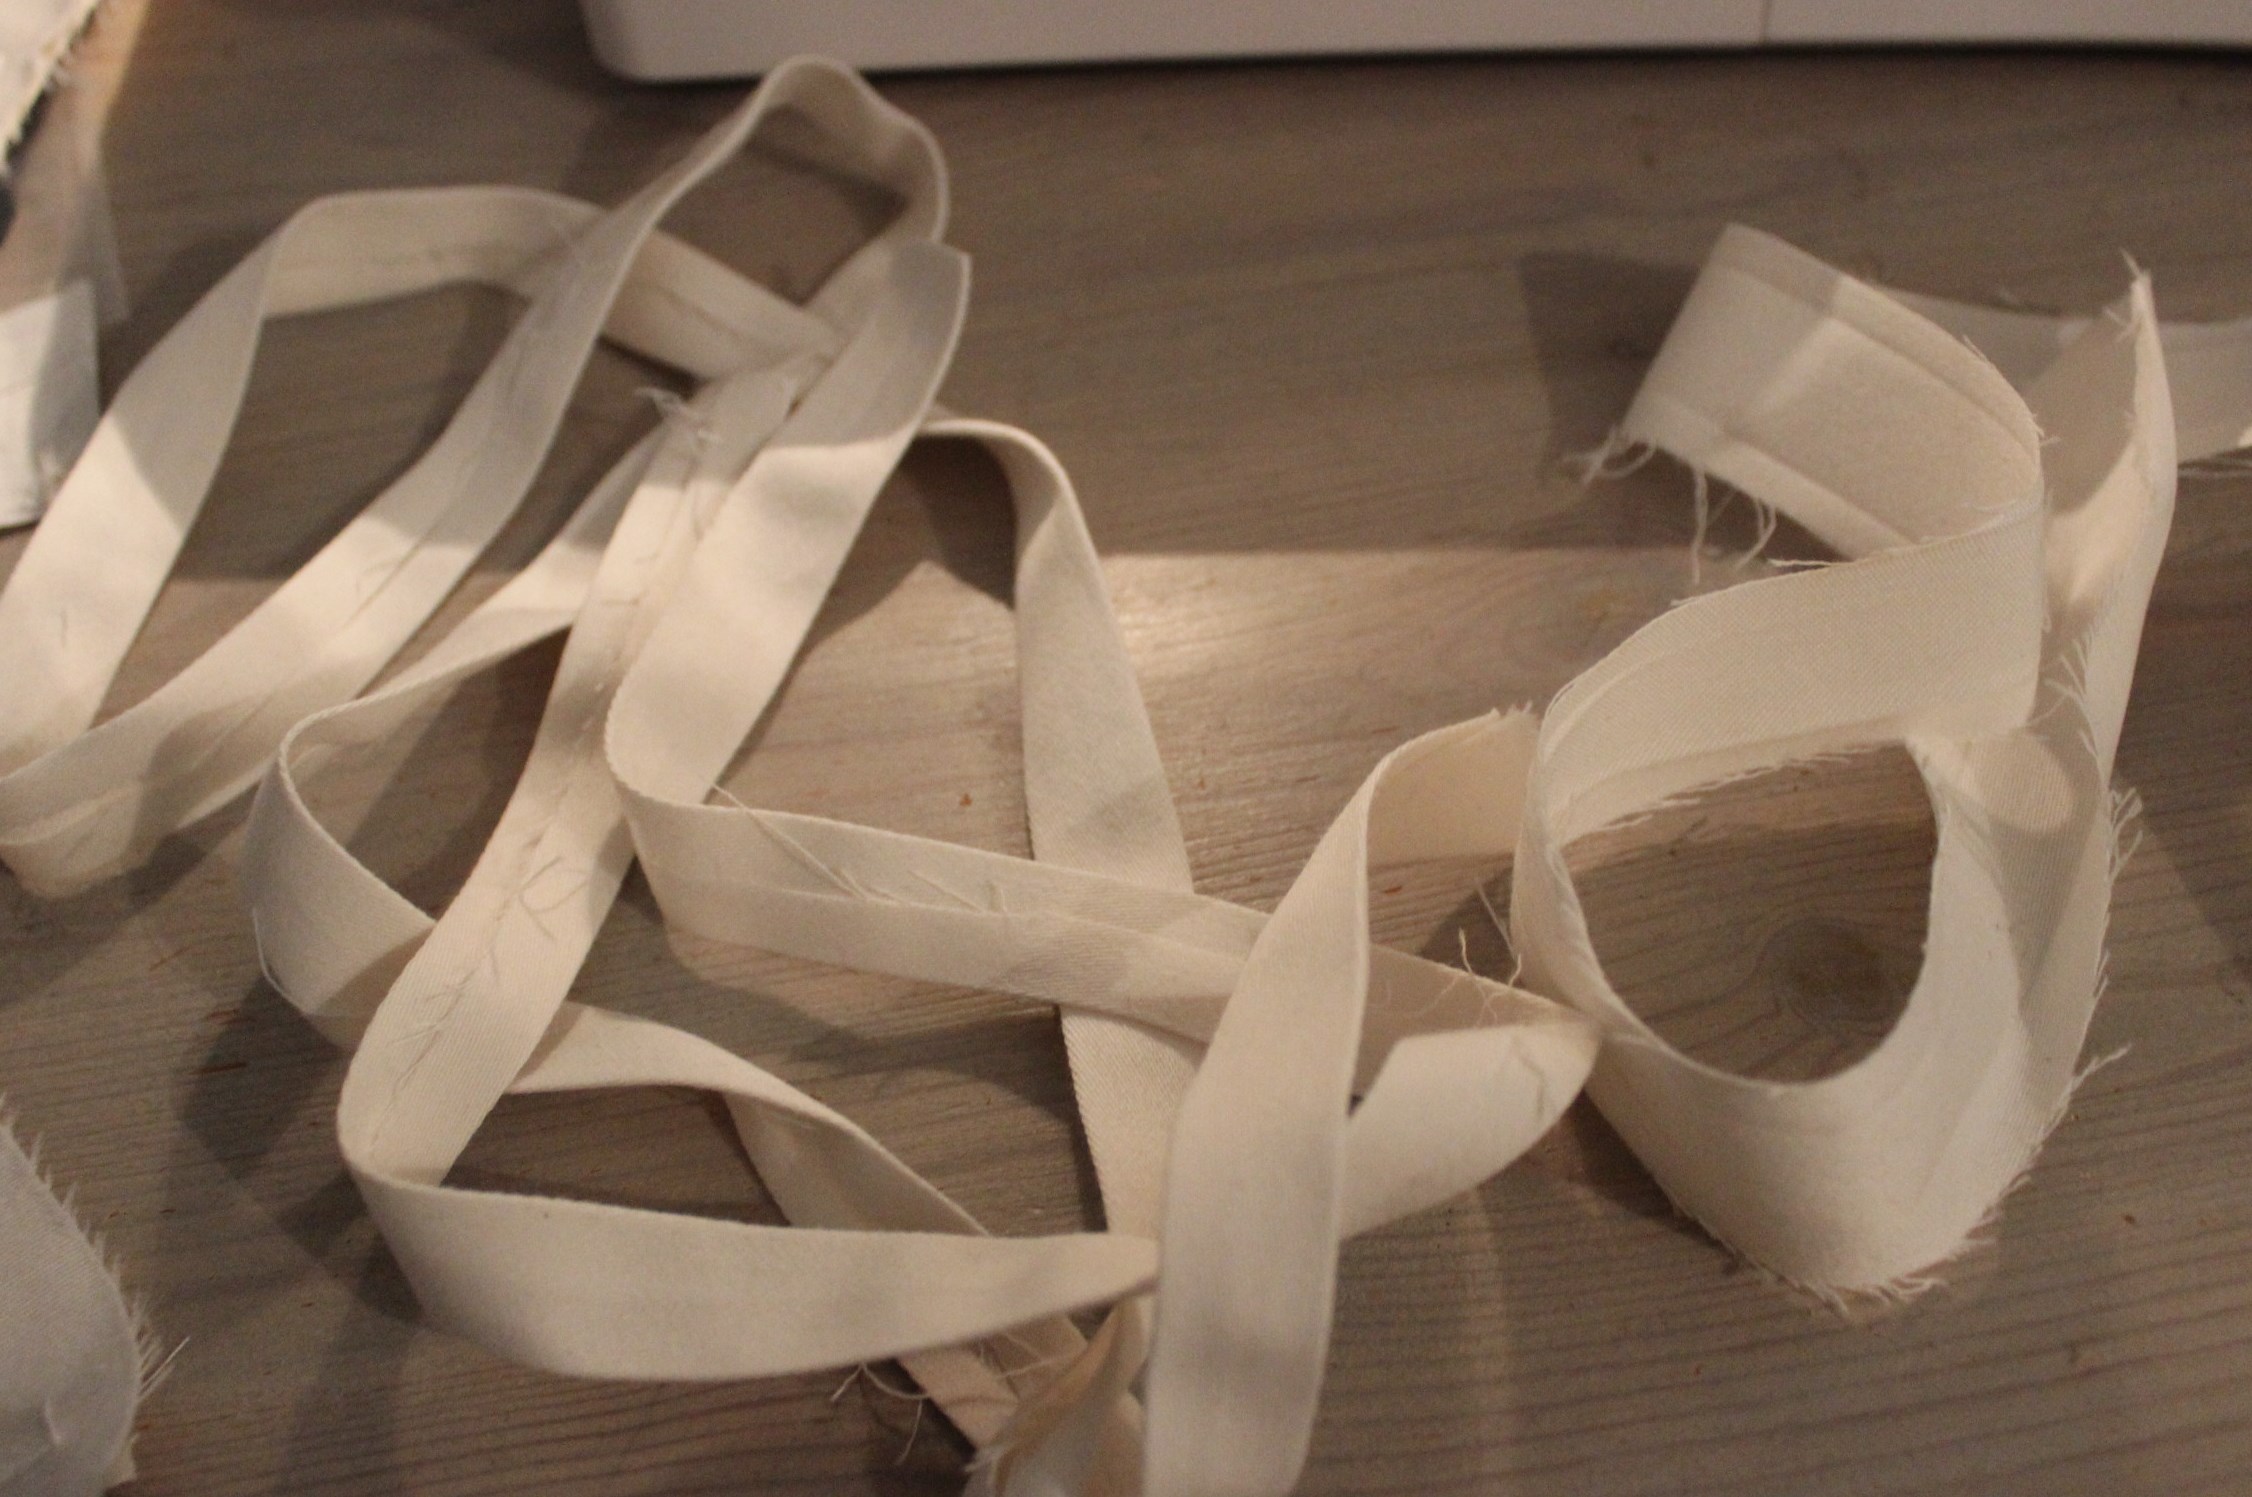
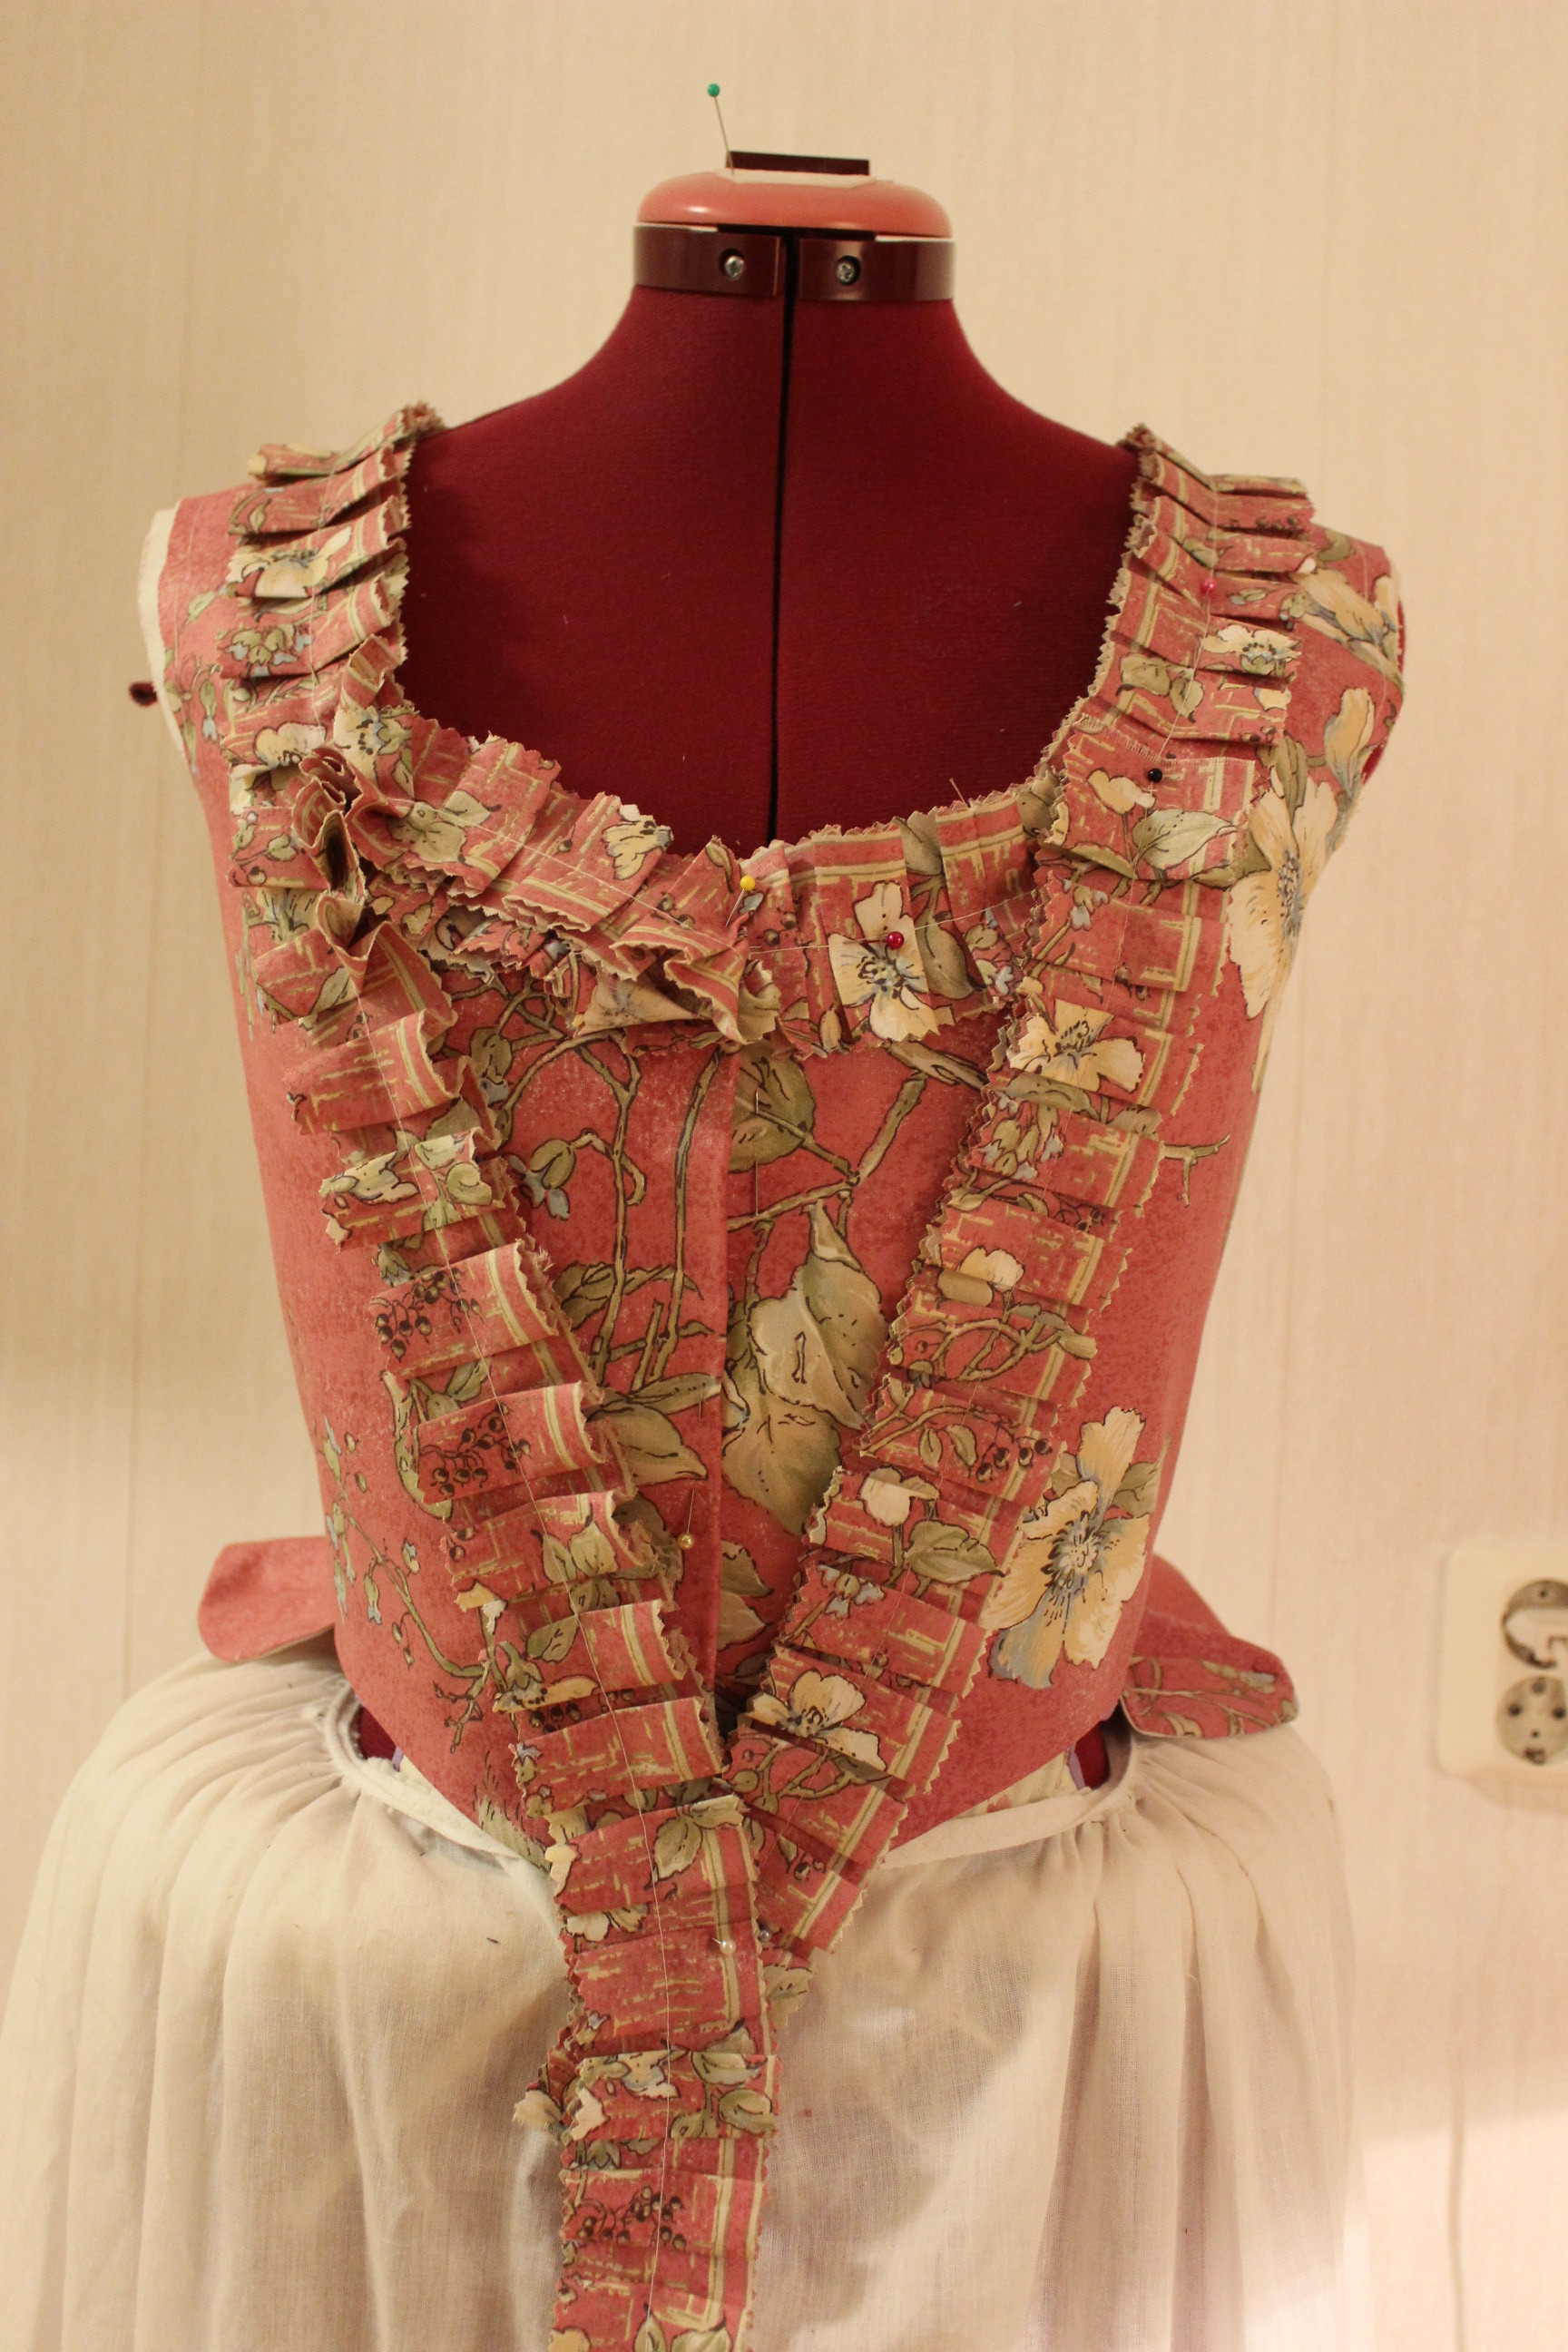
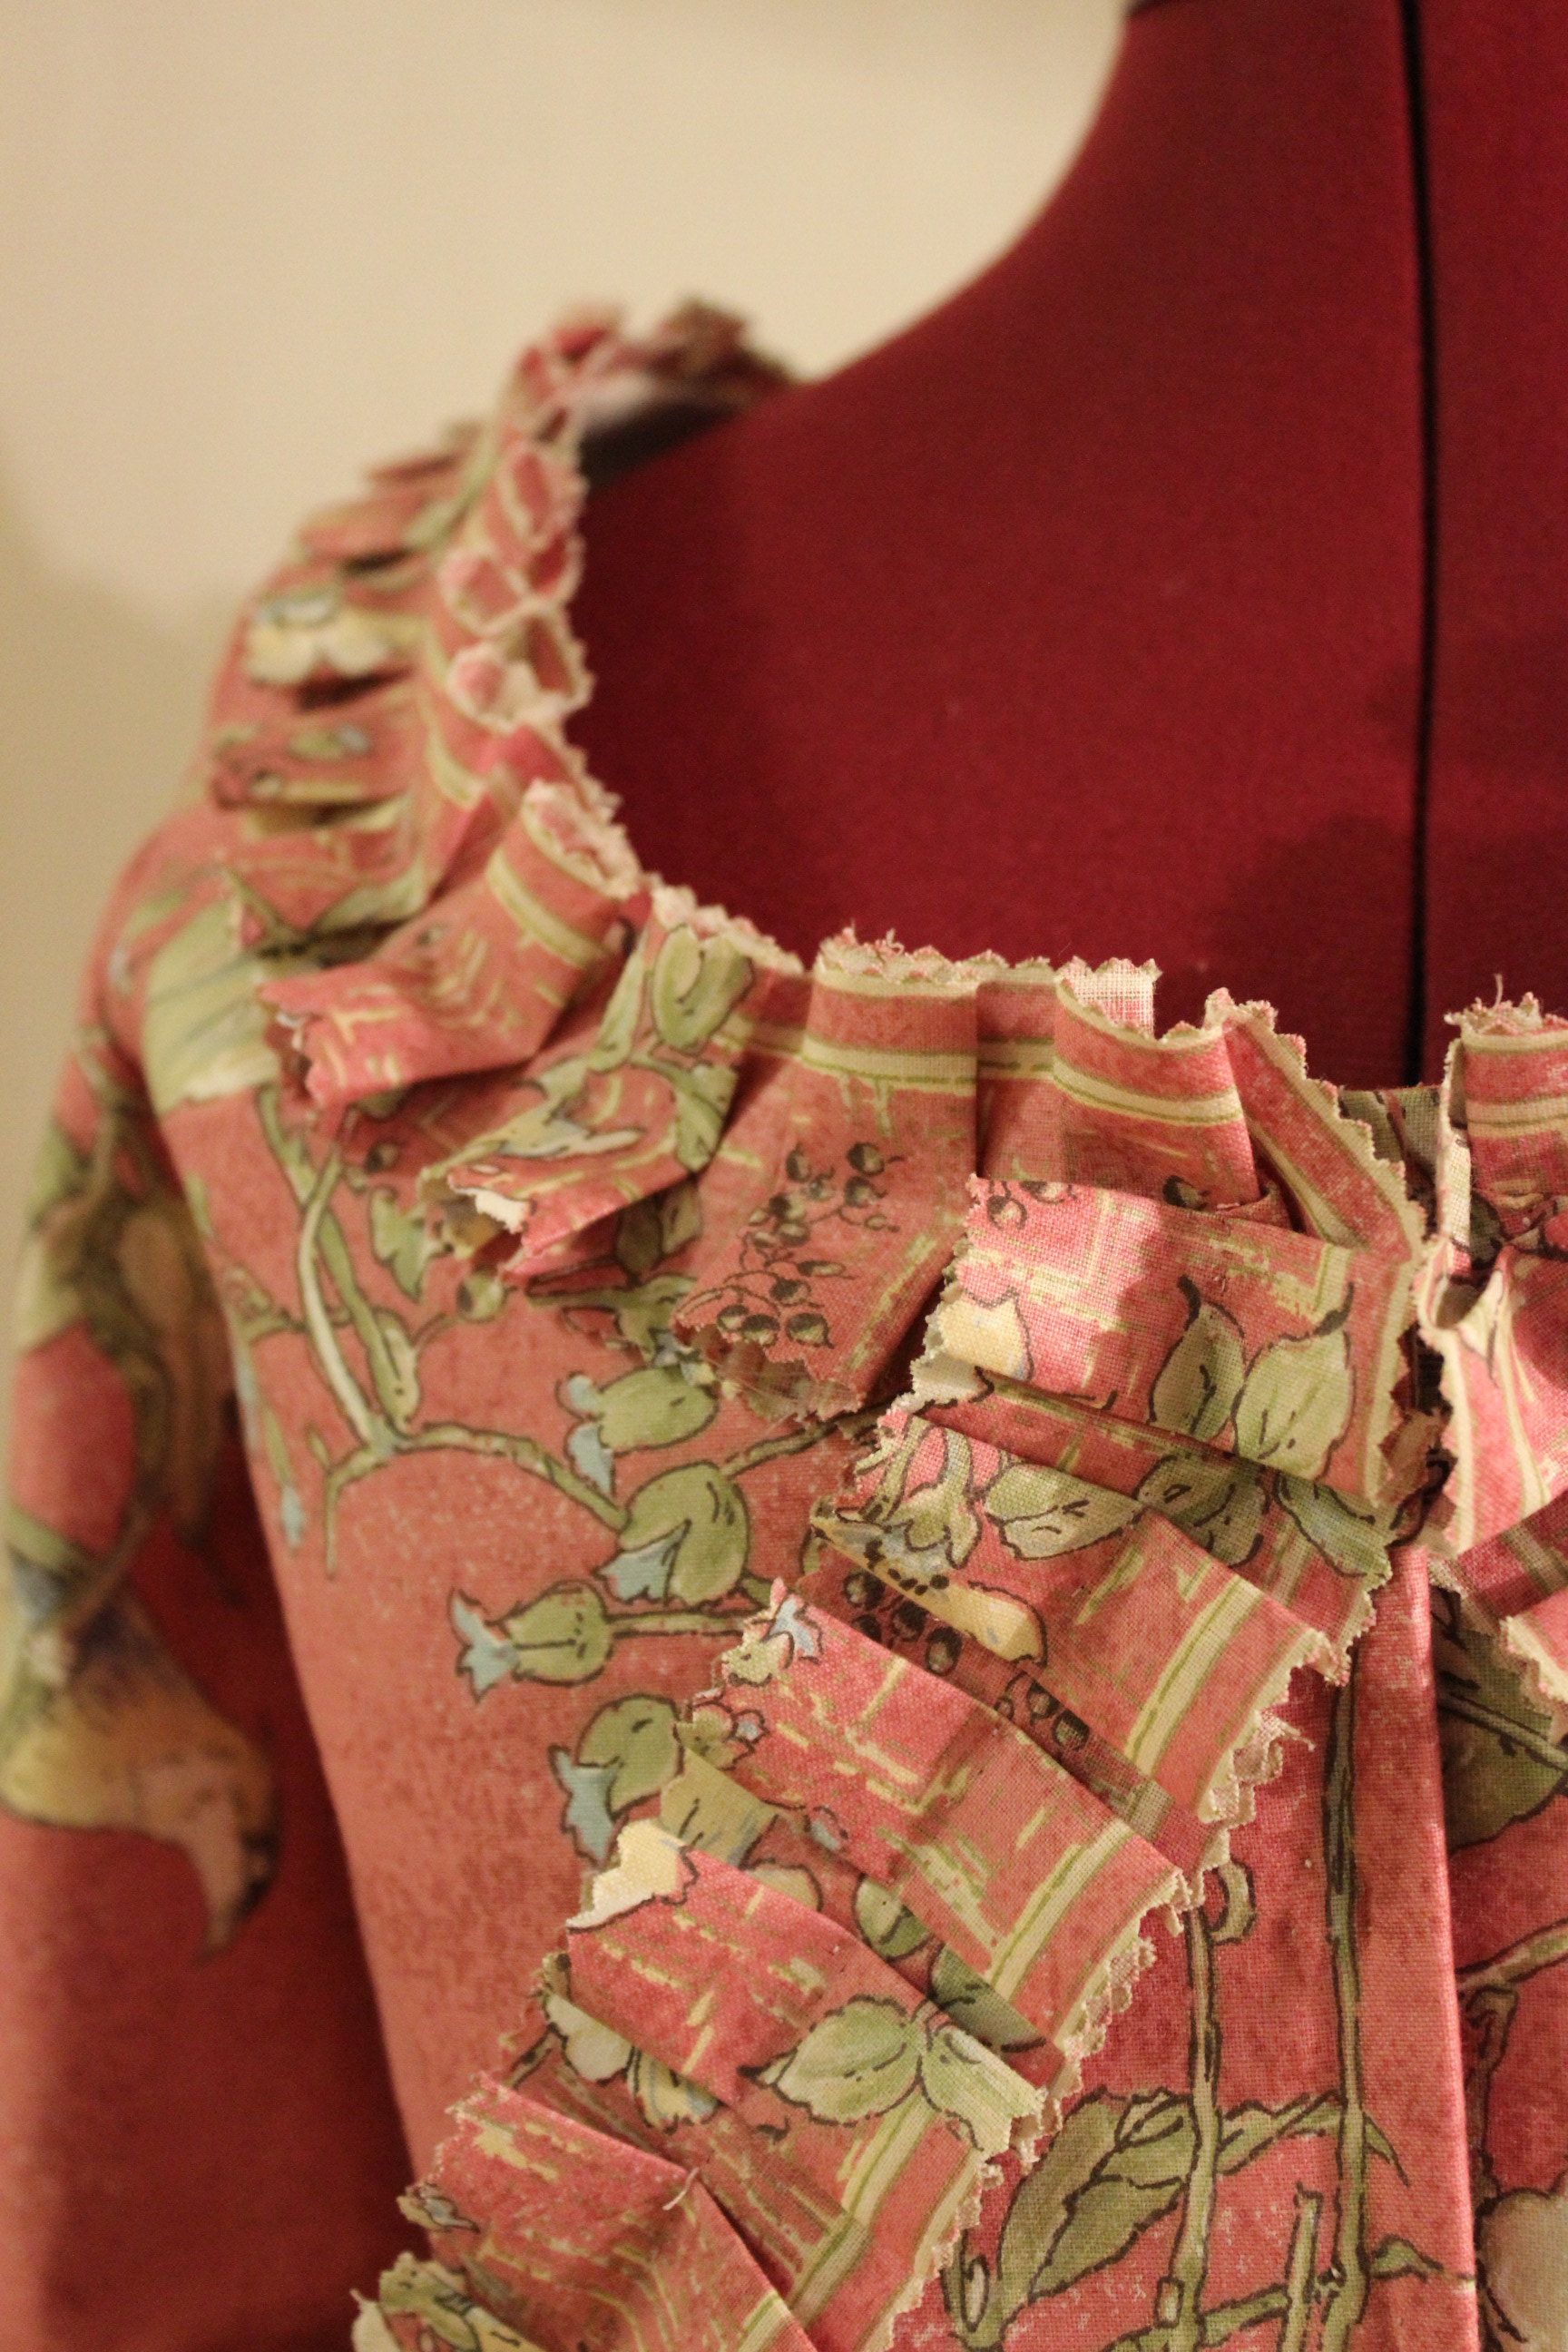
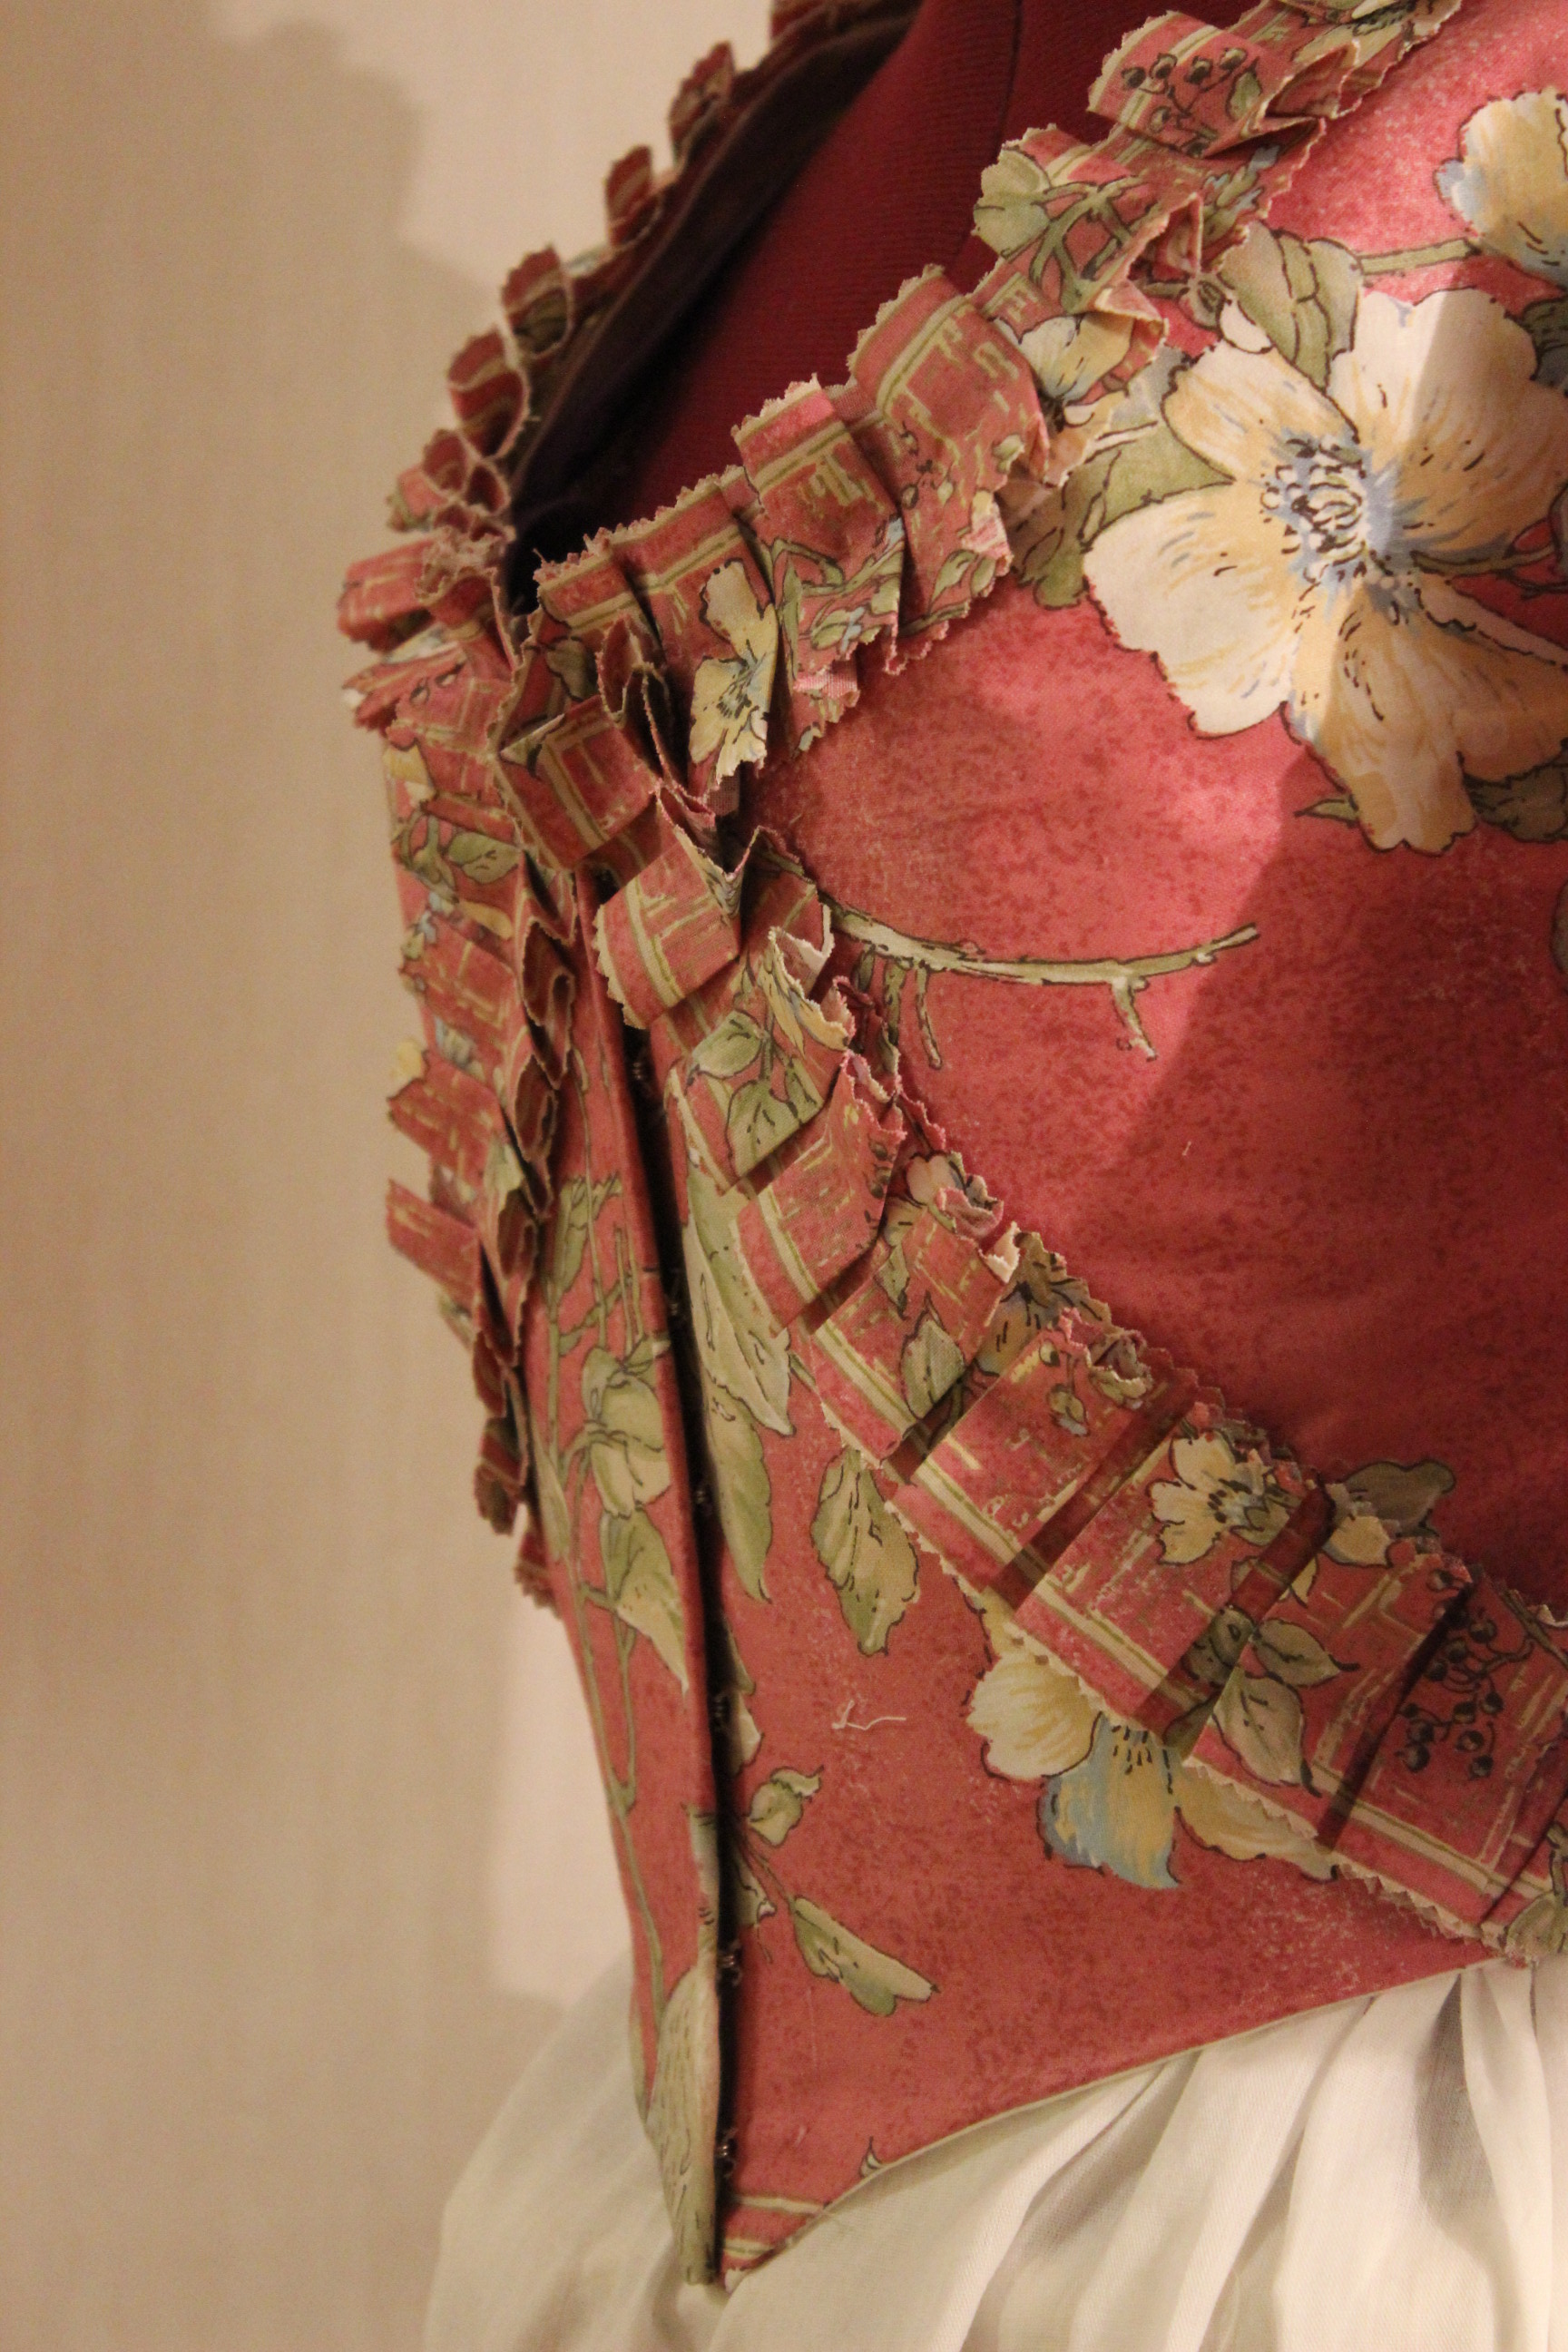
I pleated the trim which I cut from the fabric edges.IMG_6082

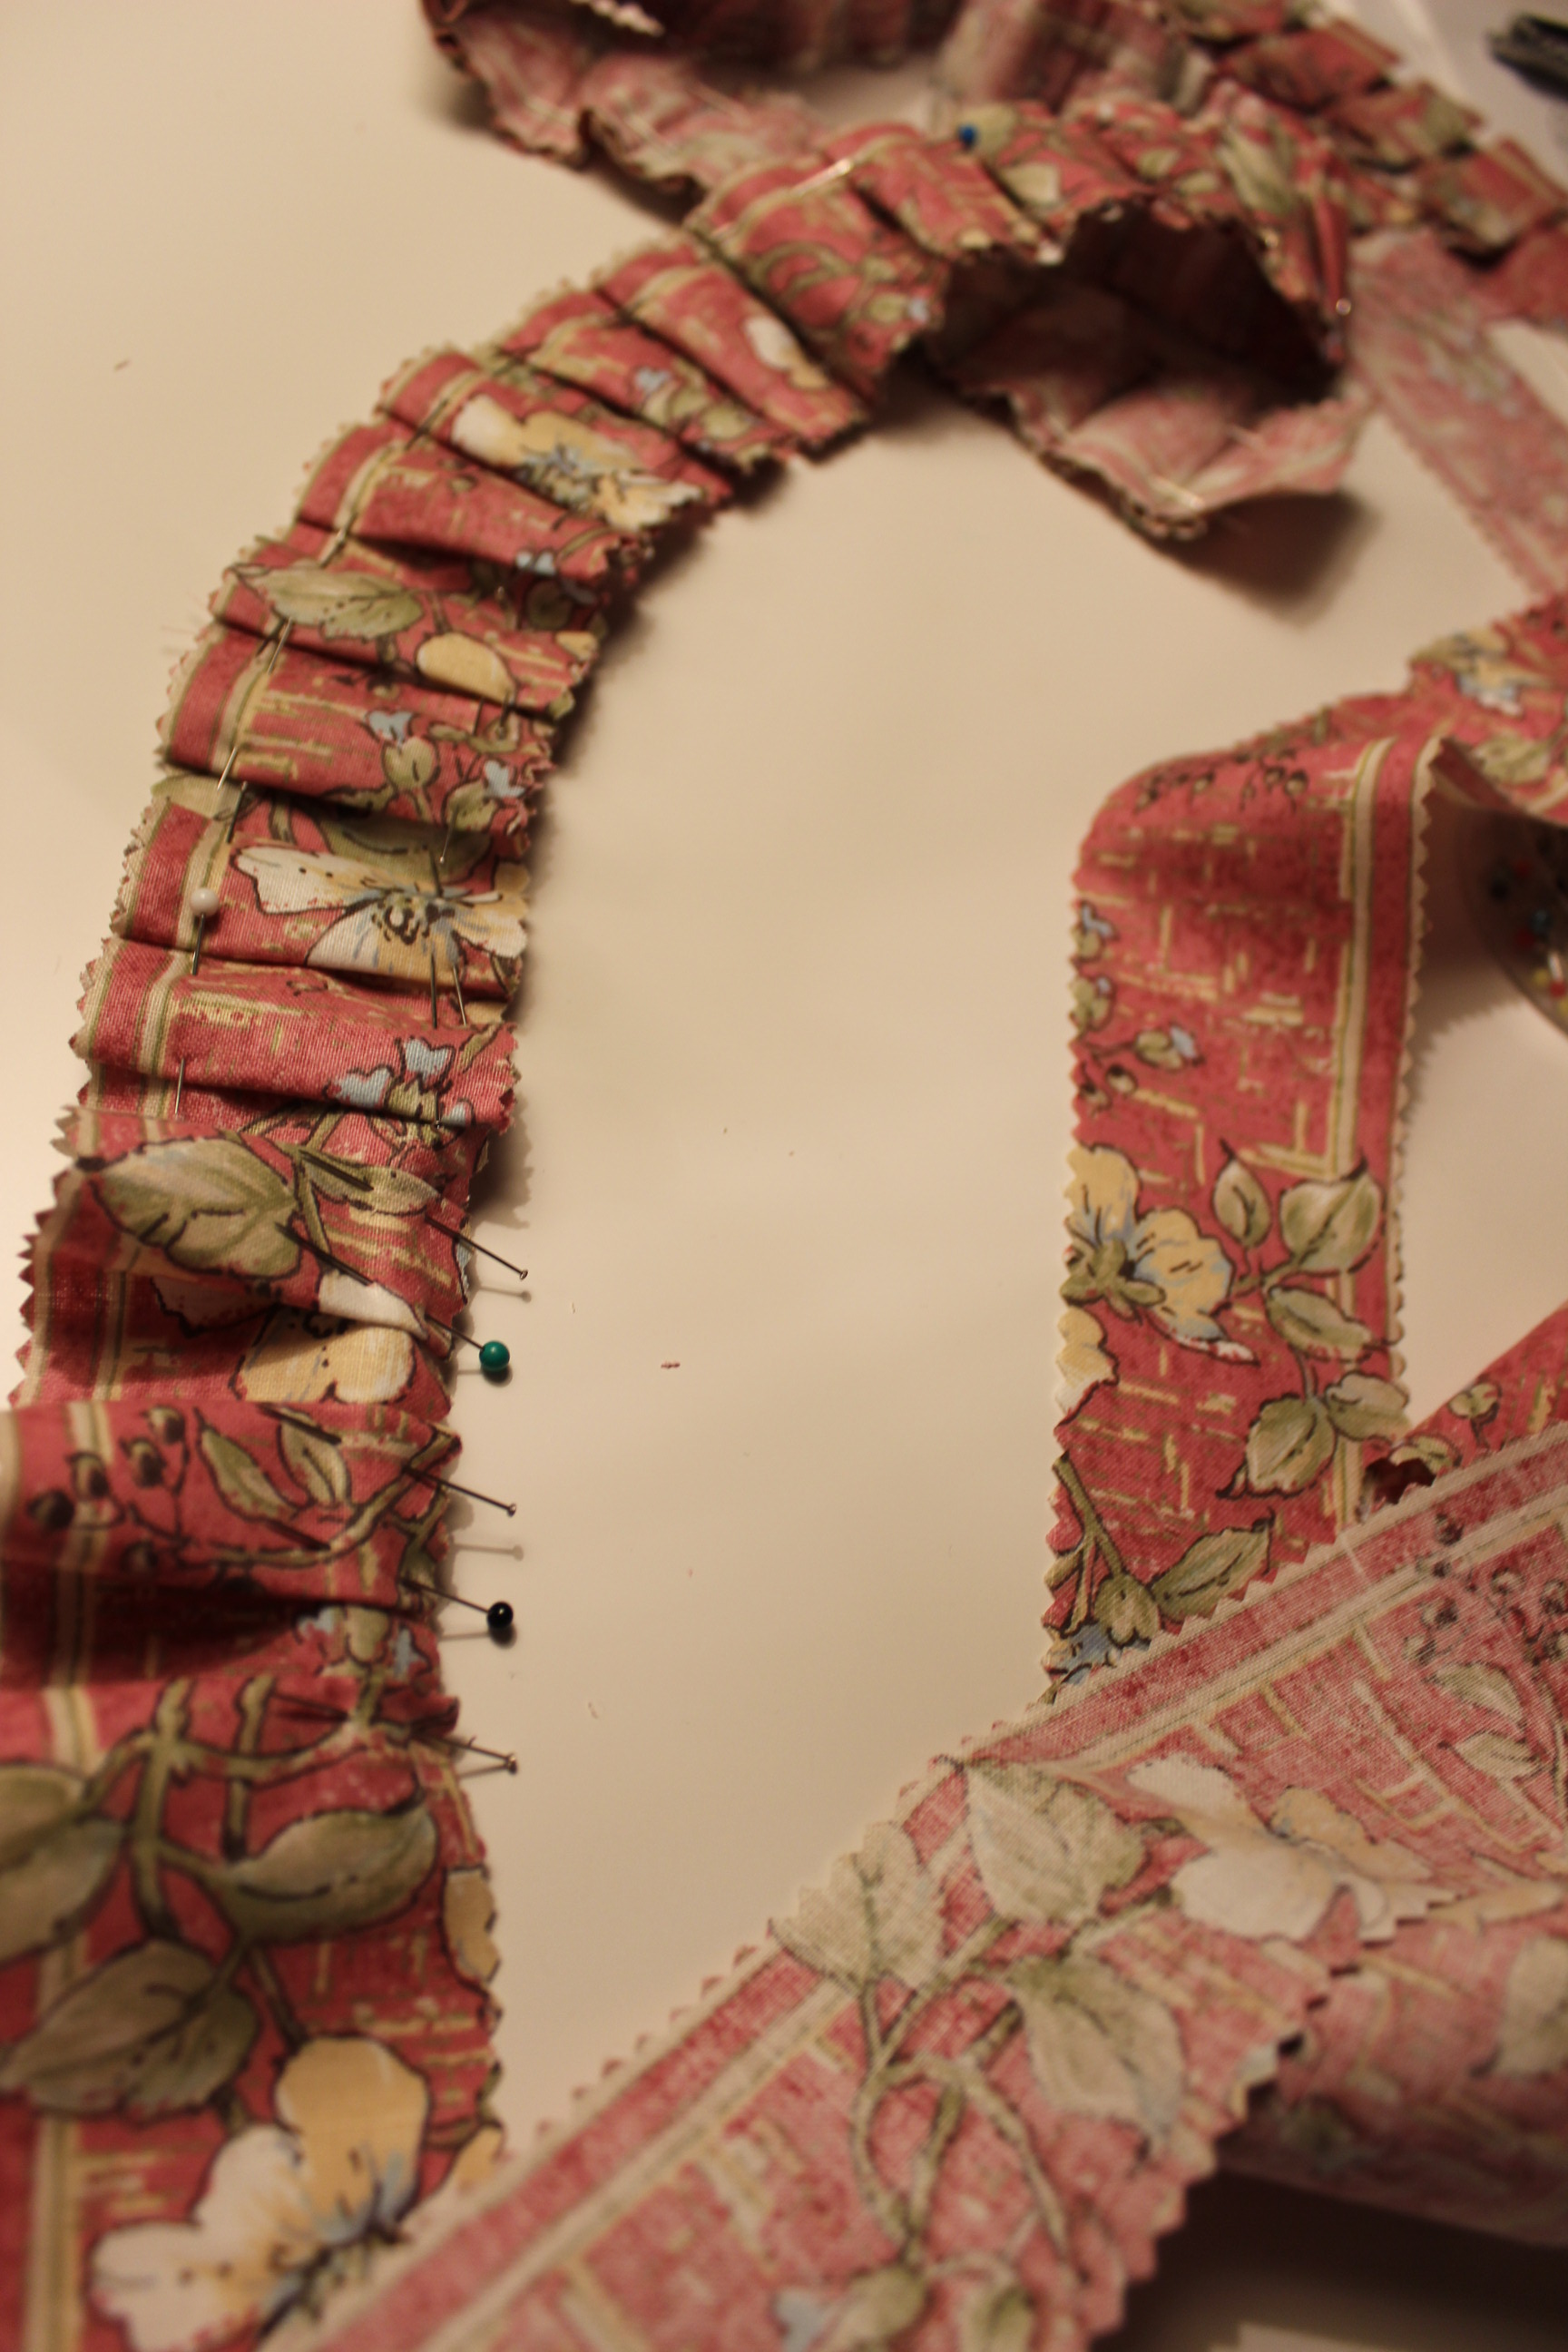
Then I needed to decide on how to place it. Playing around with it, I came up with 5 alternatives.

IMG_6134IMG_6136

IMG_6142 IMG_6139

IMG_6137
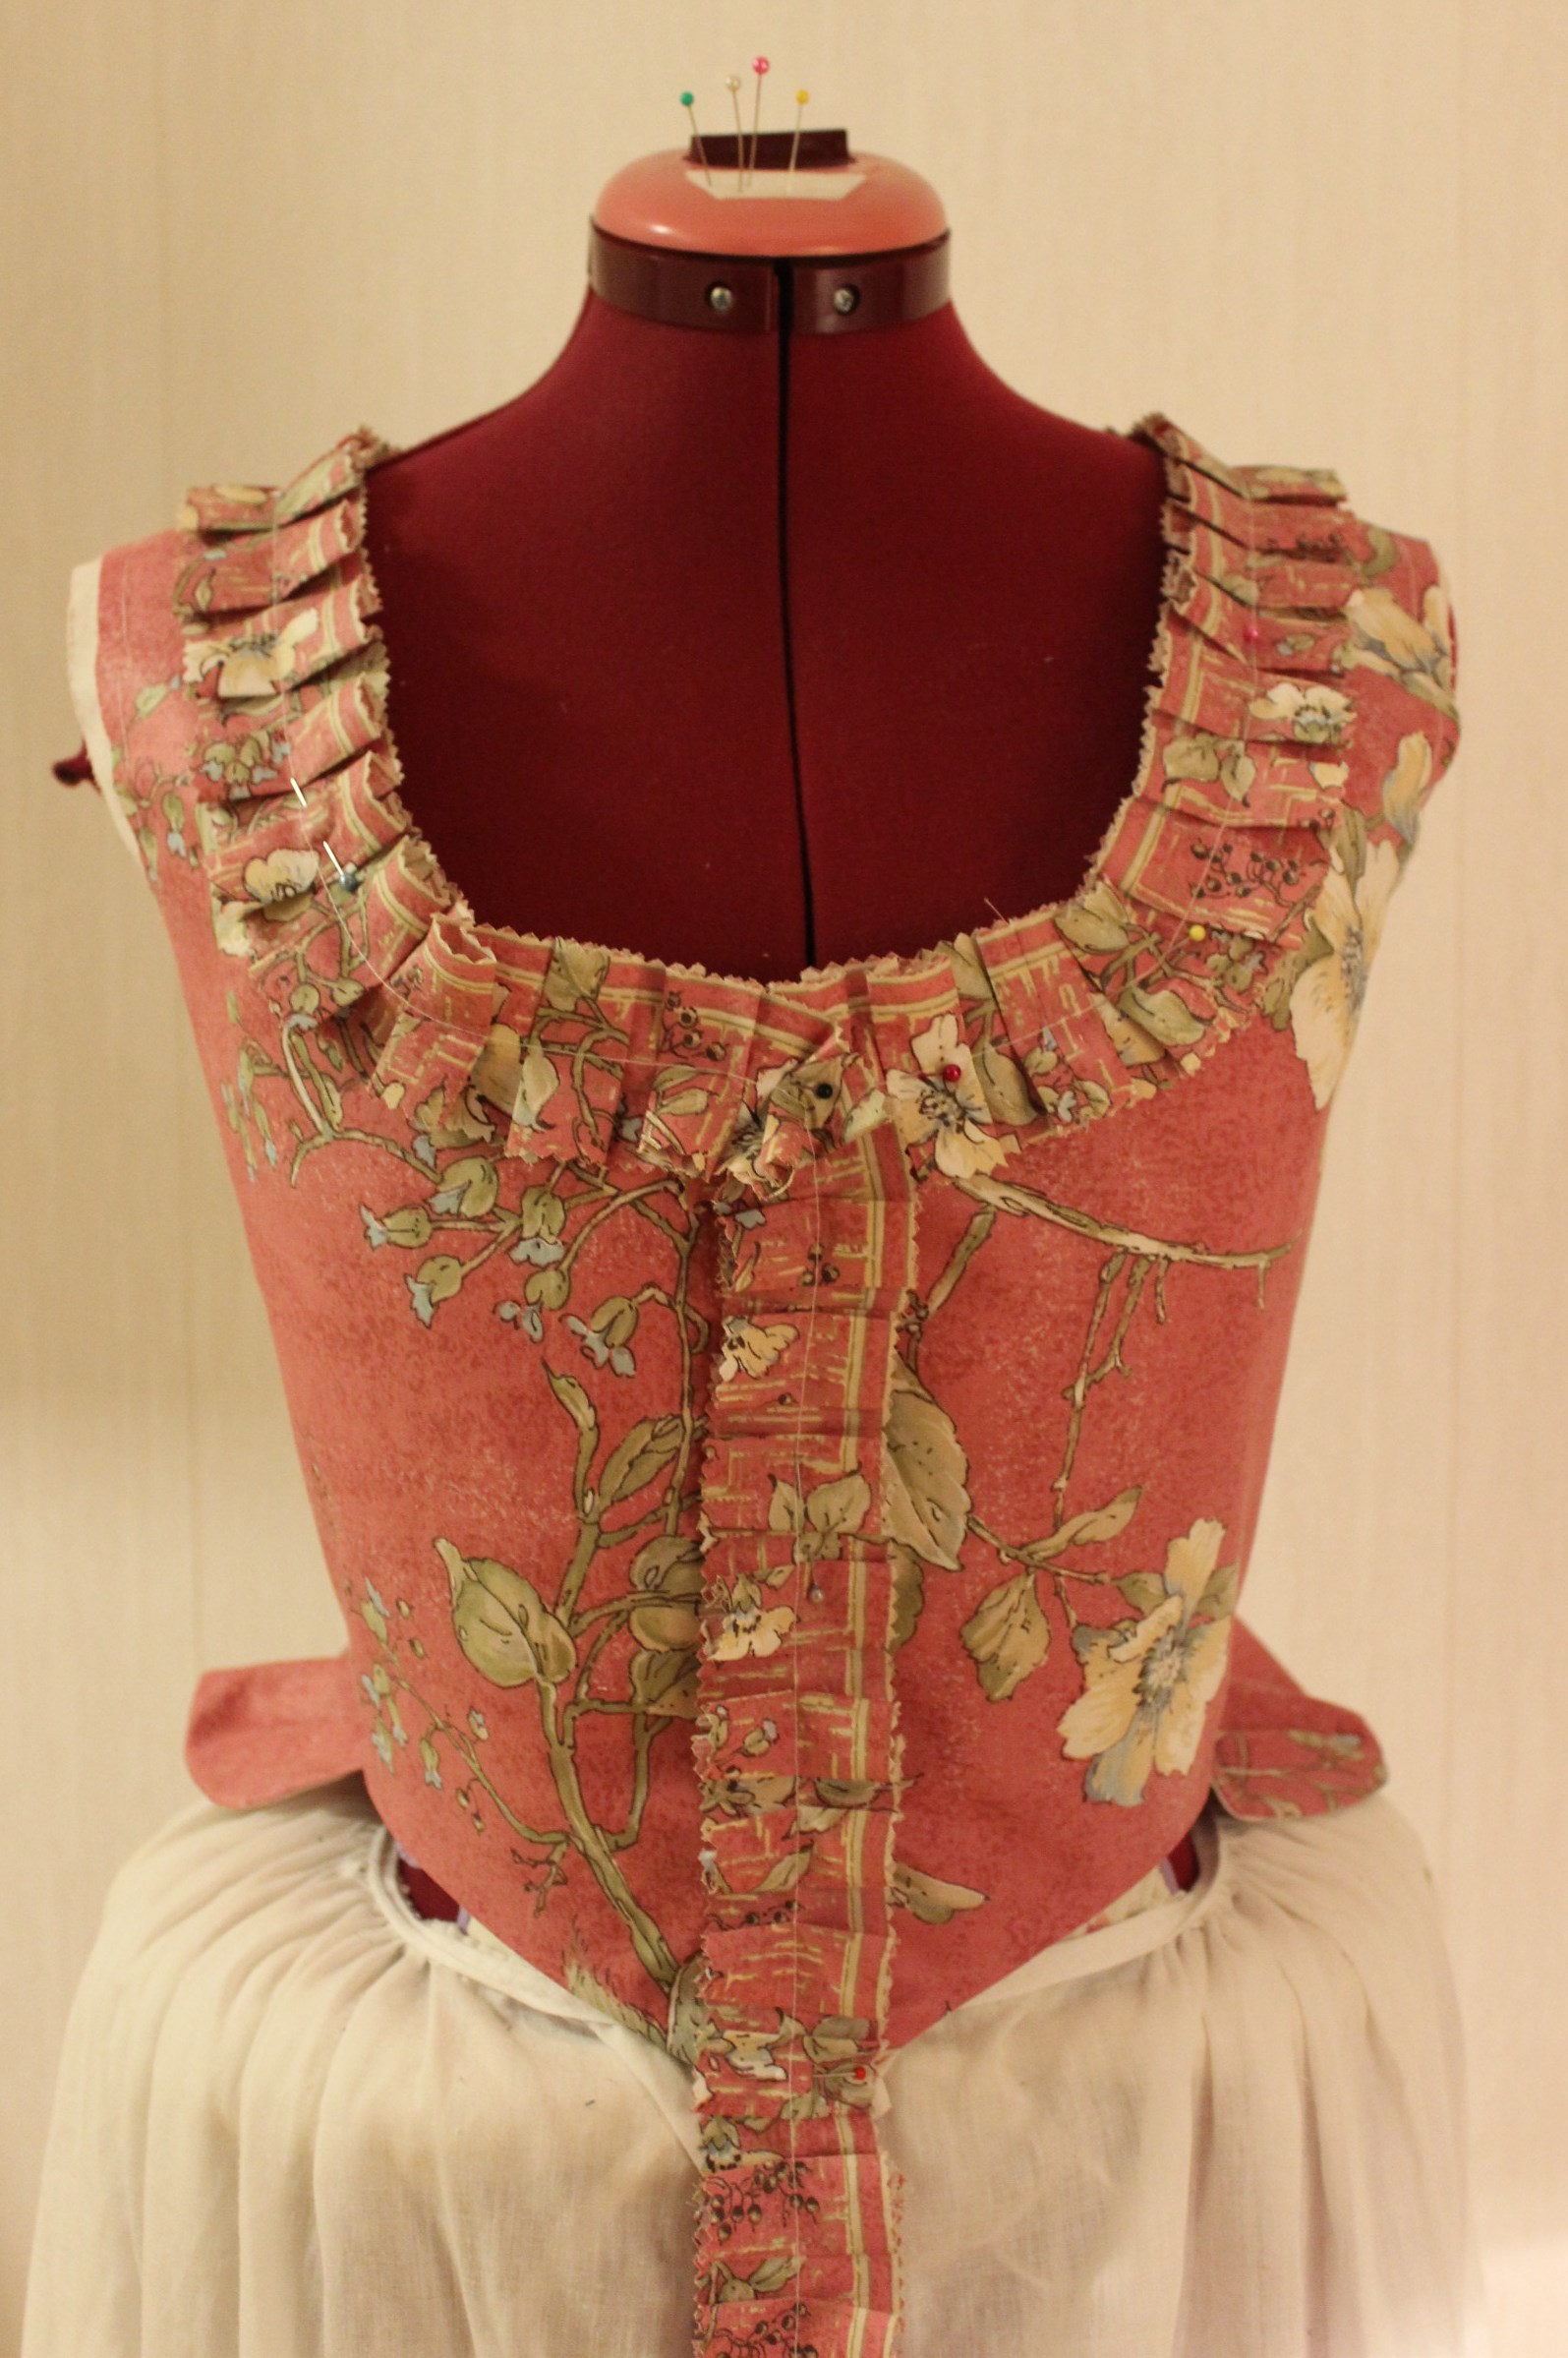
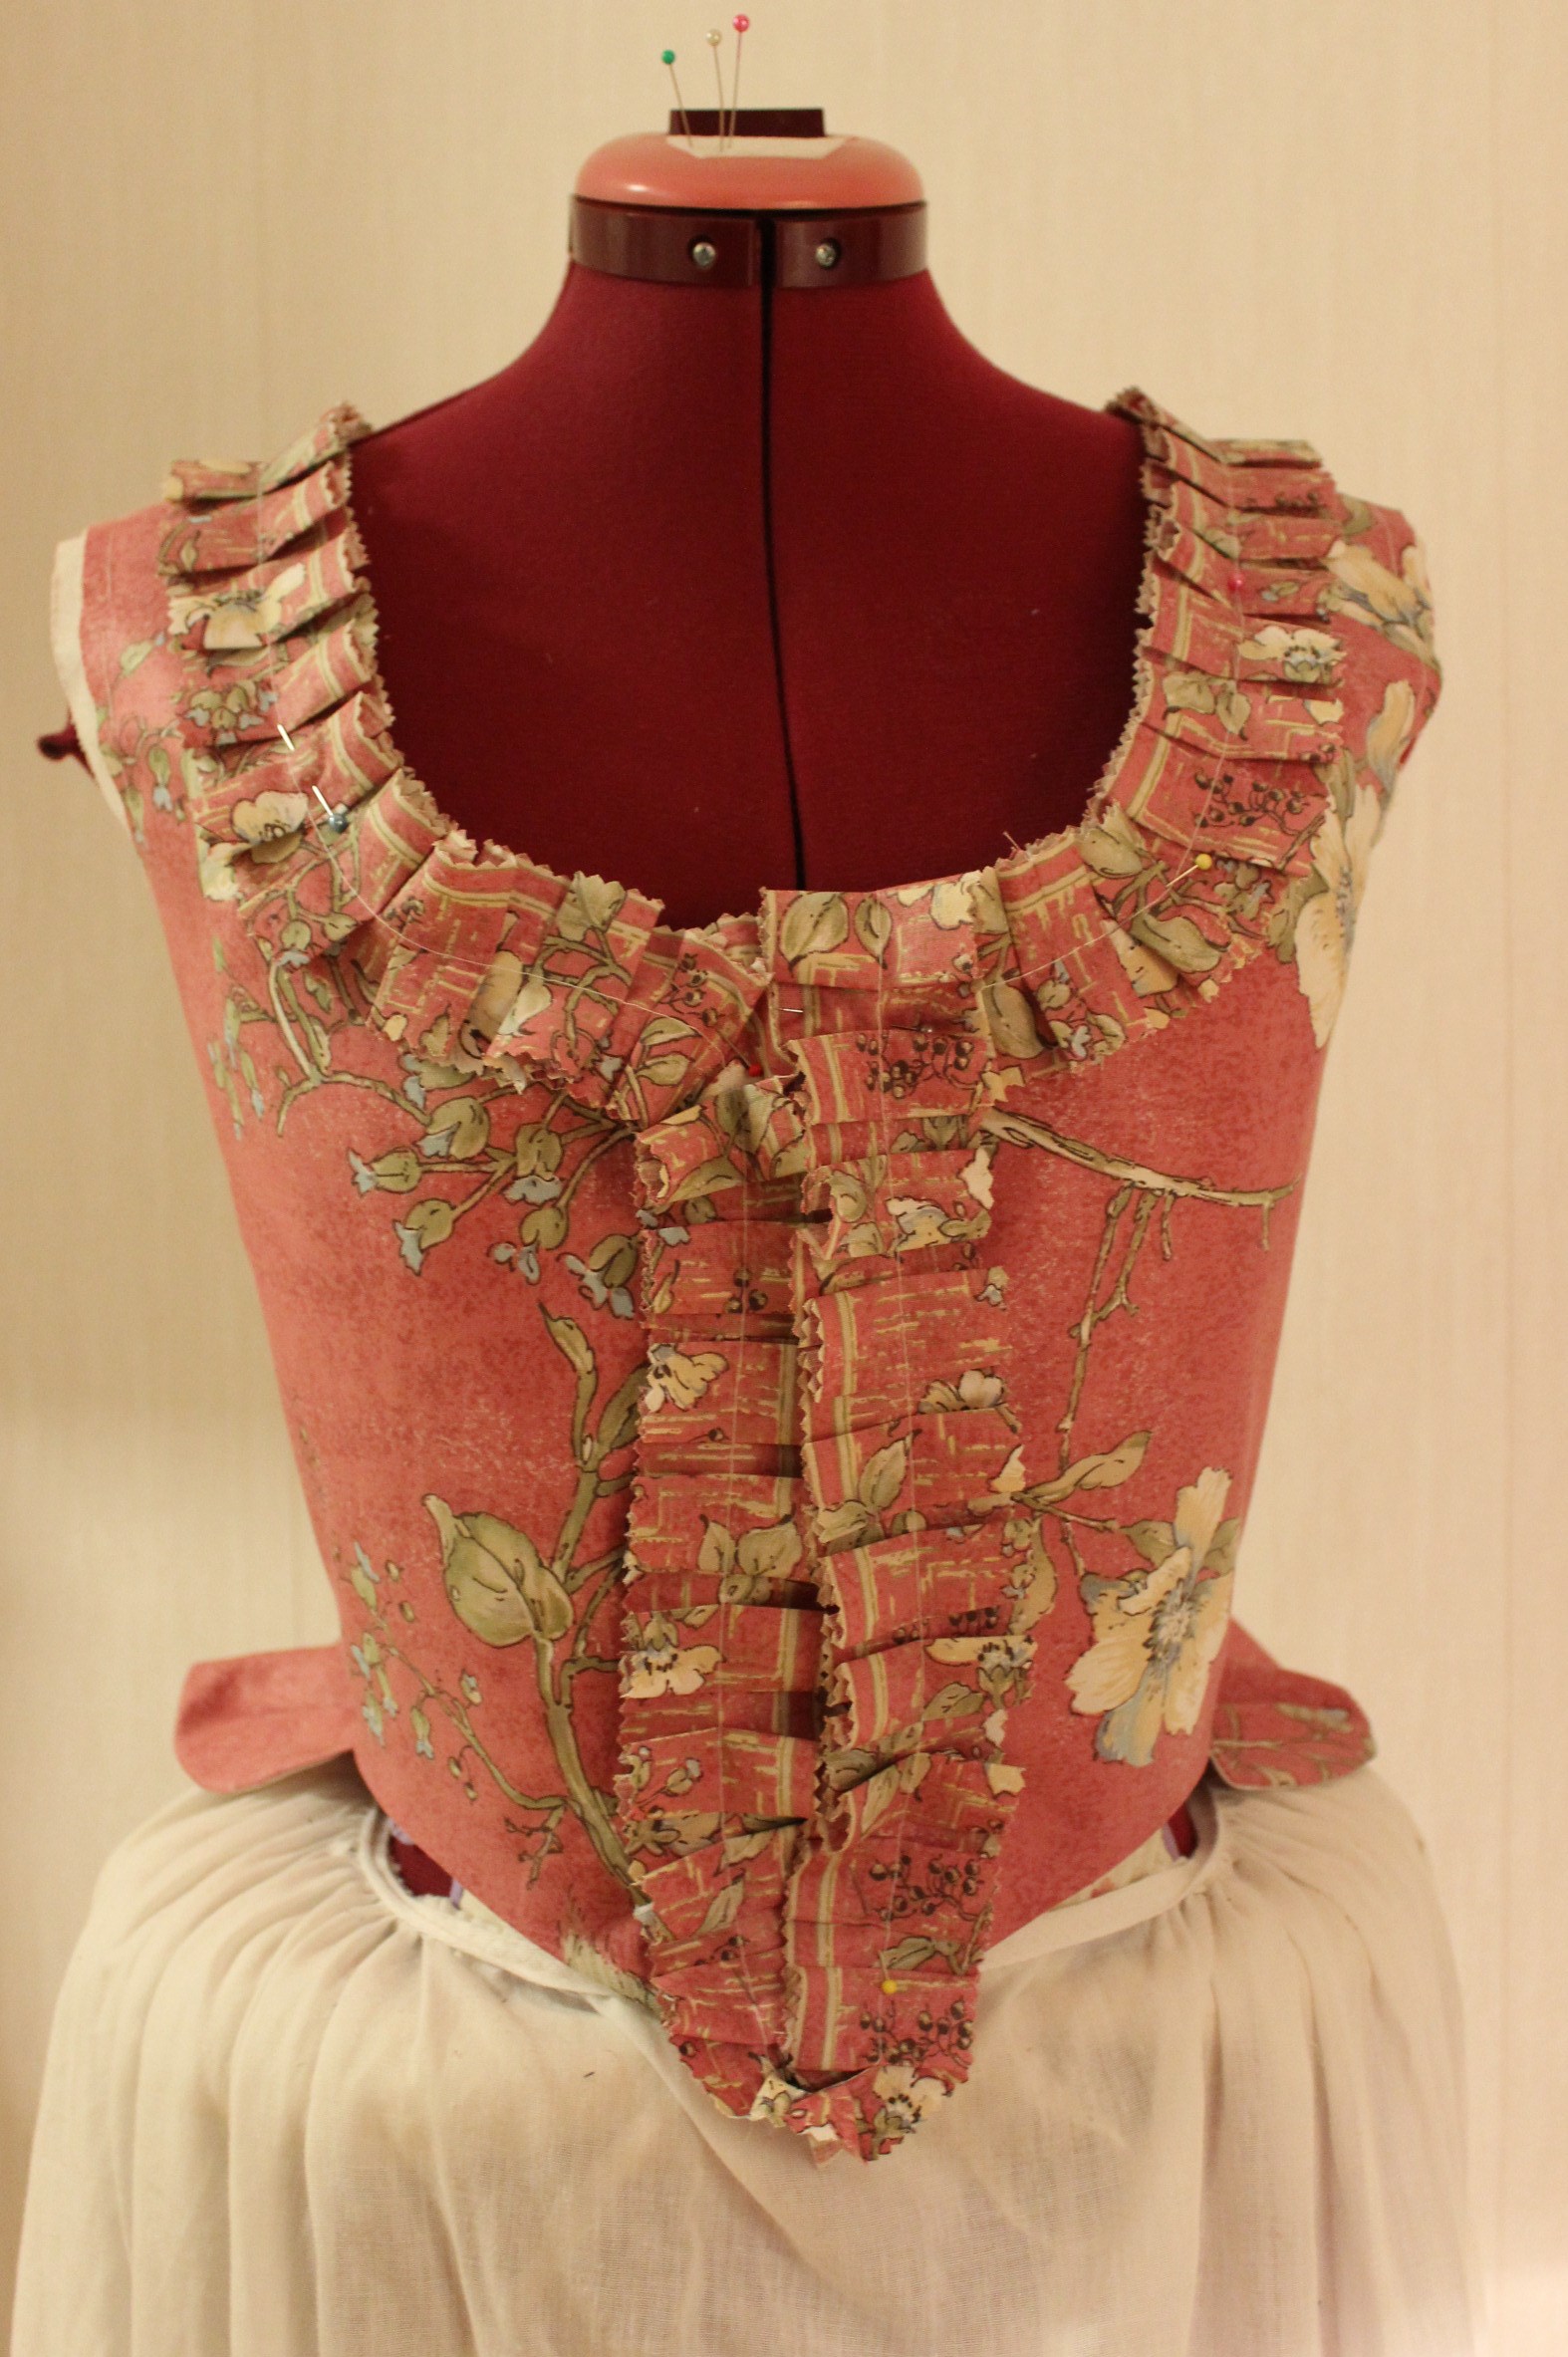
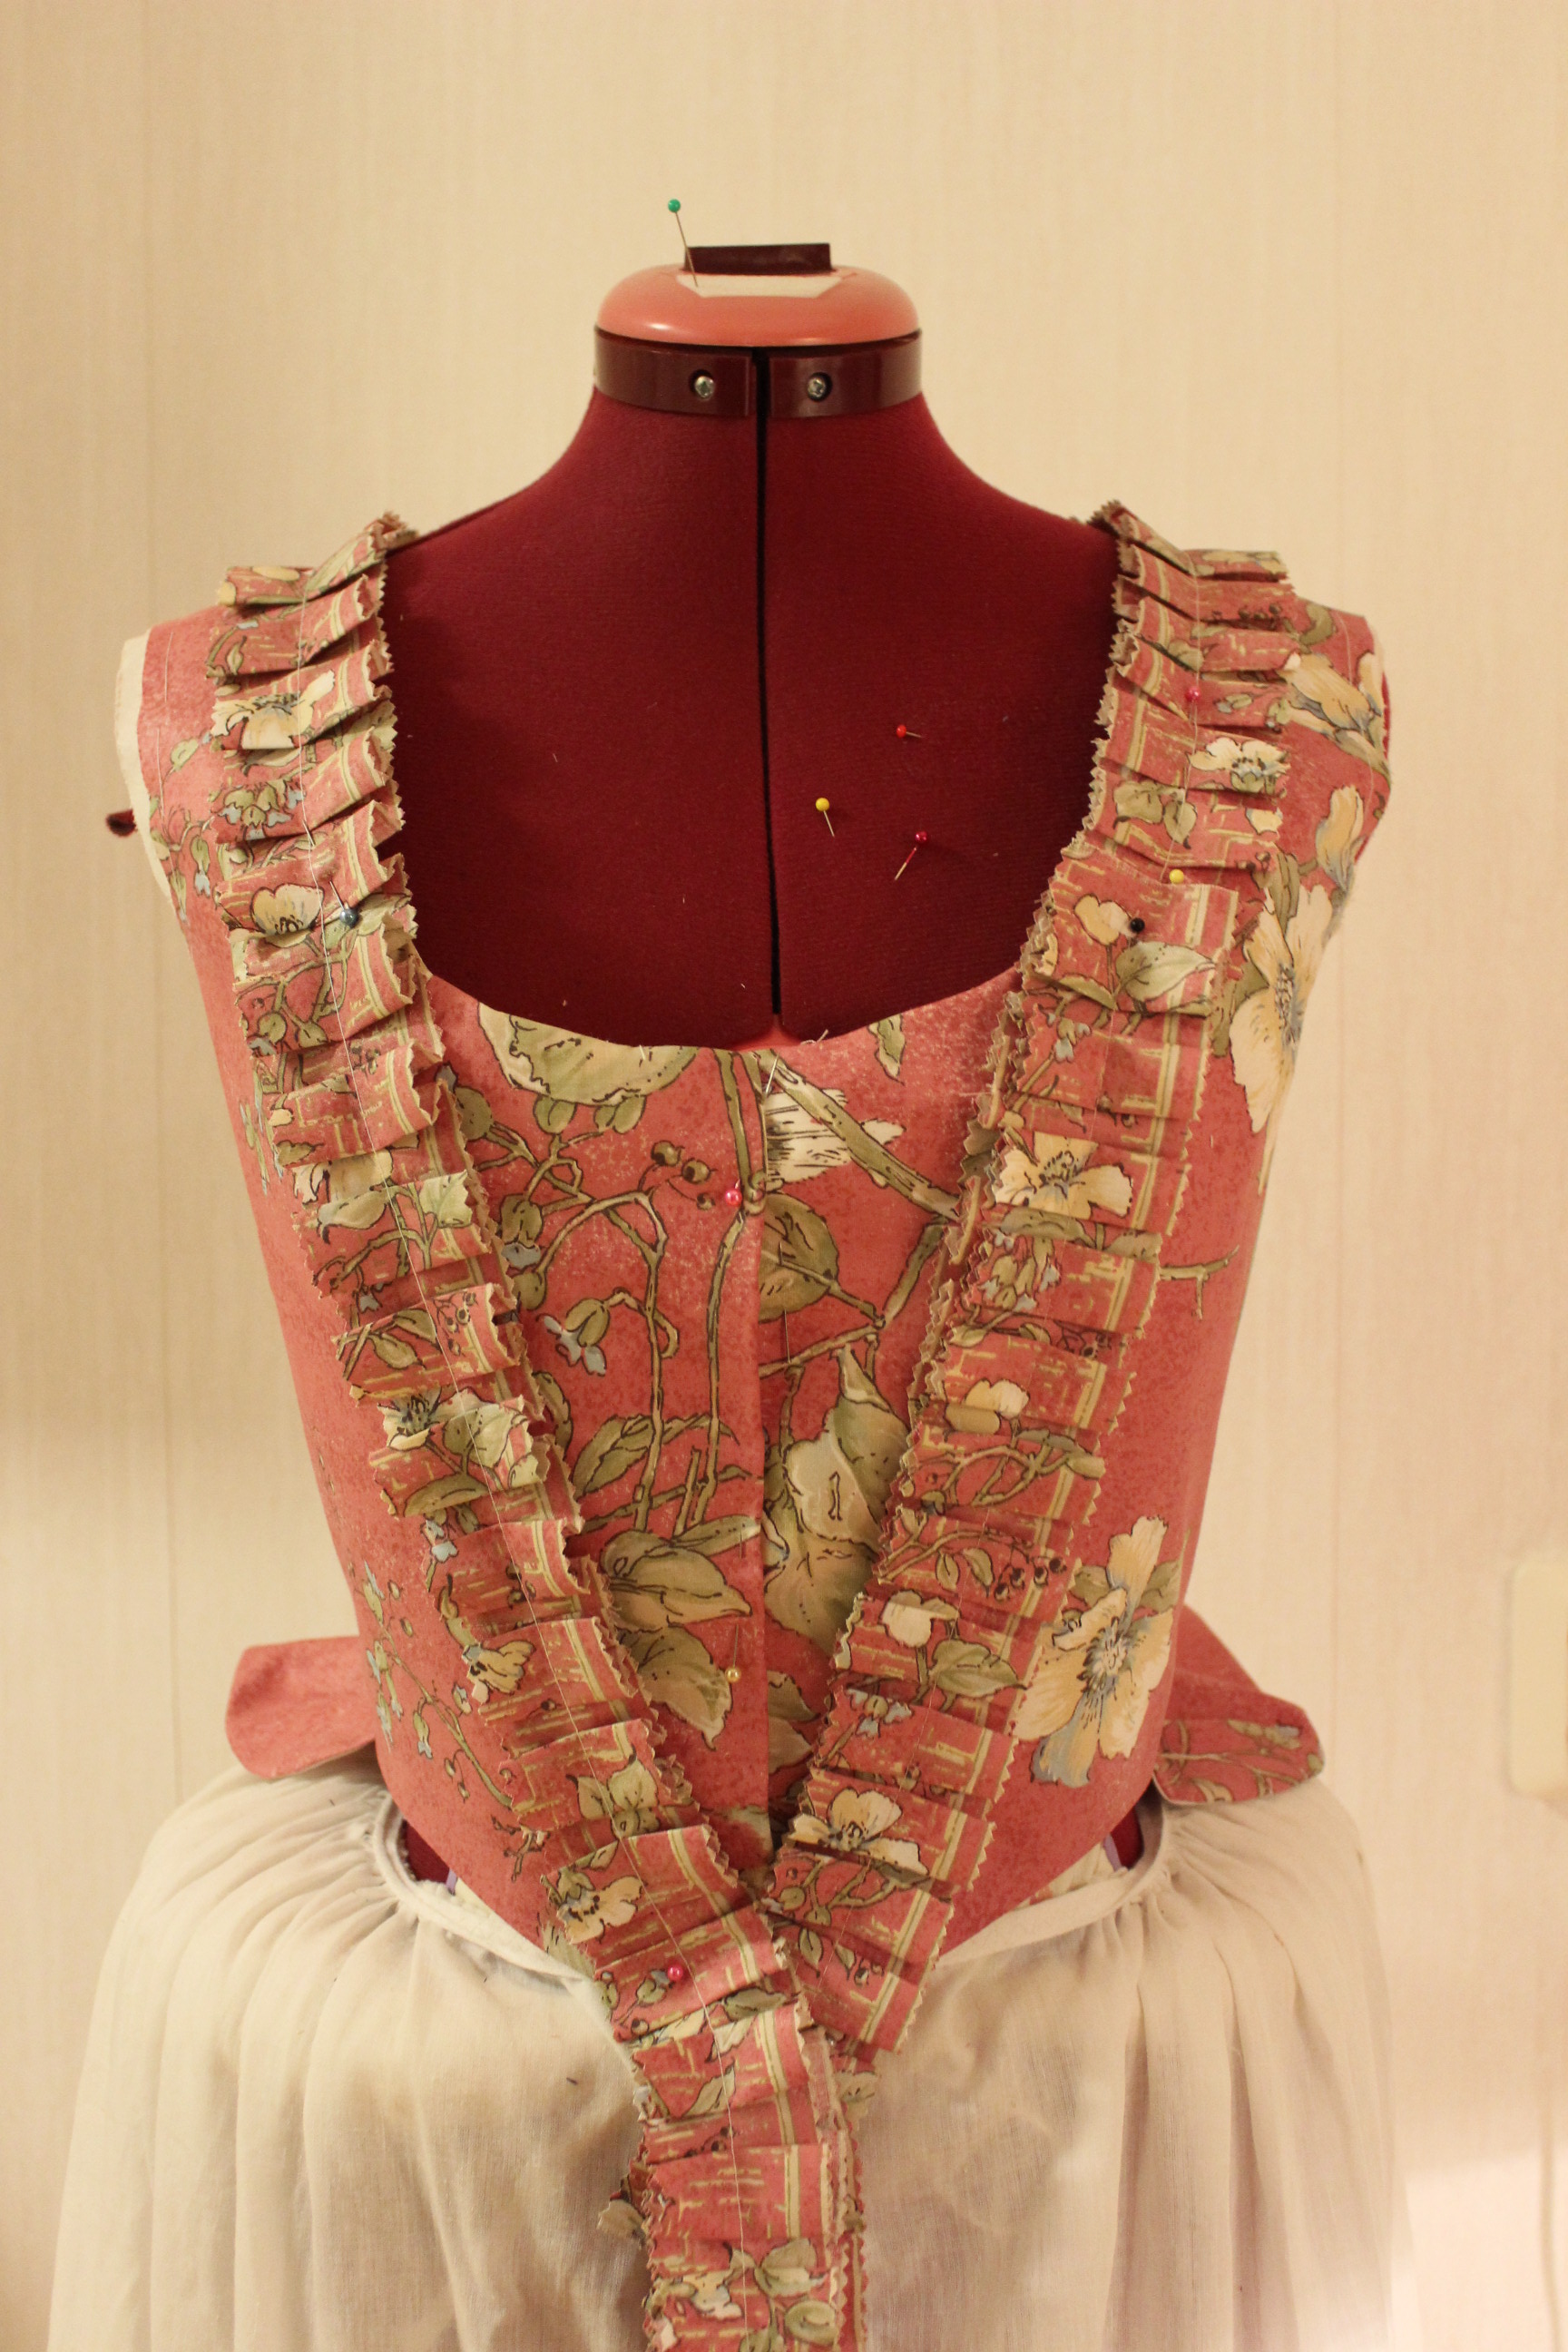
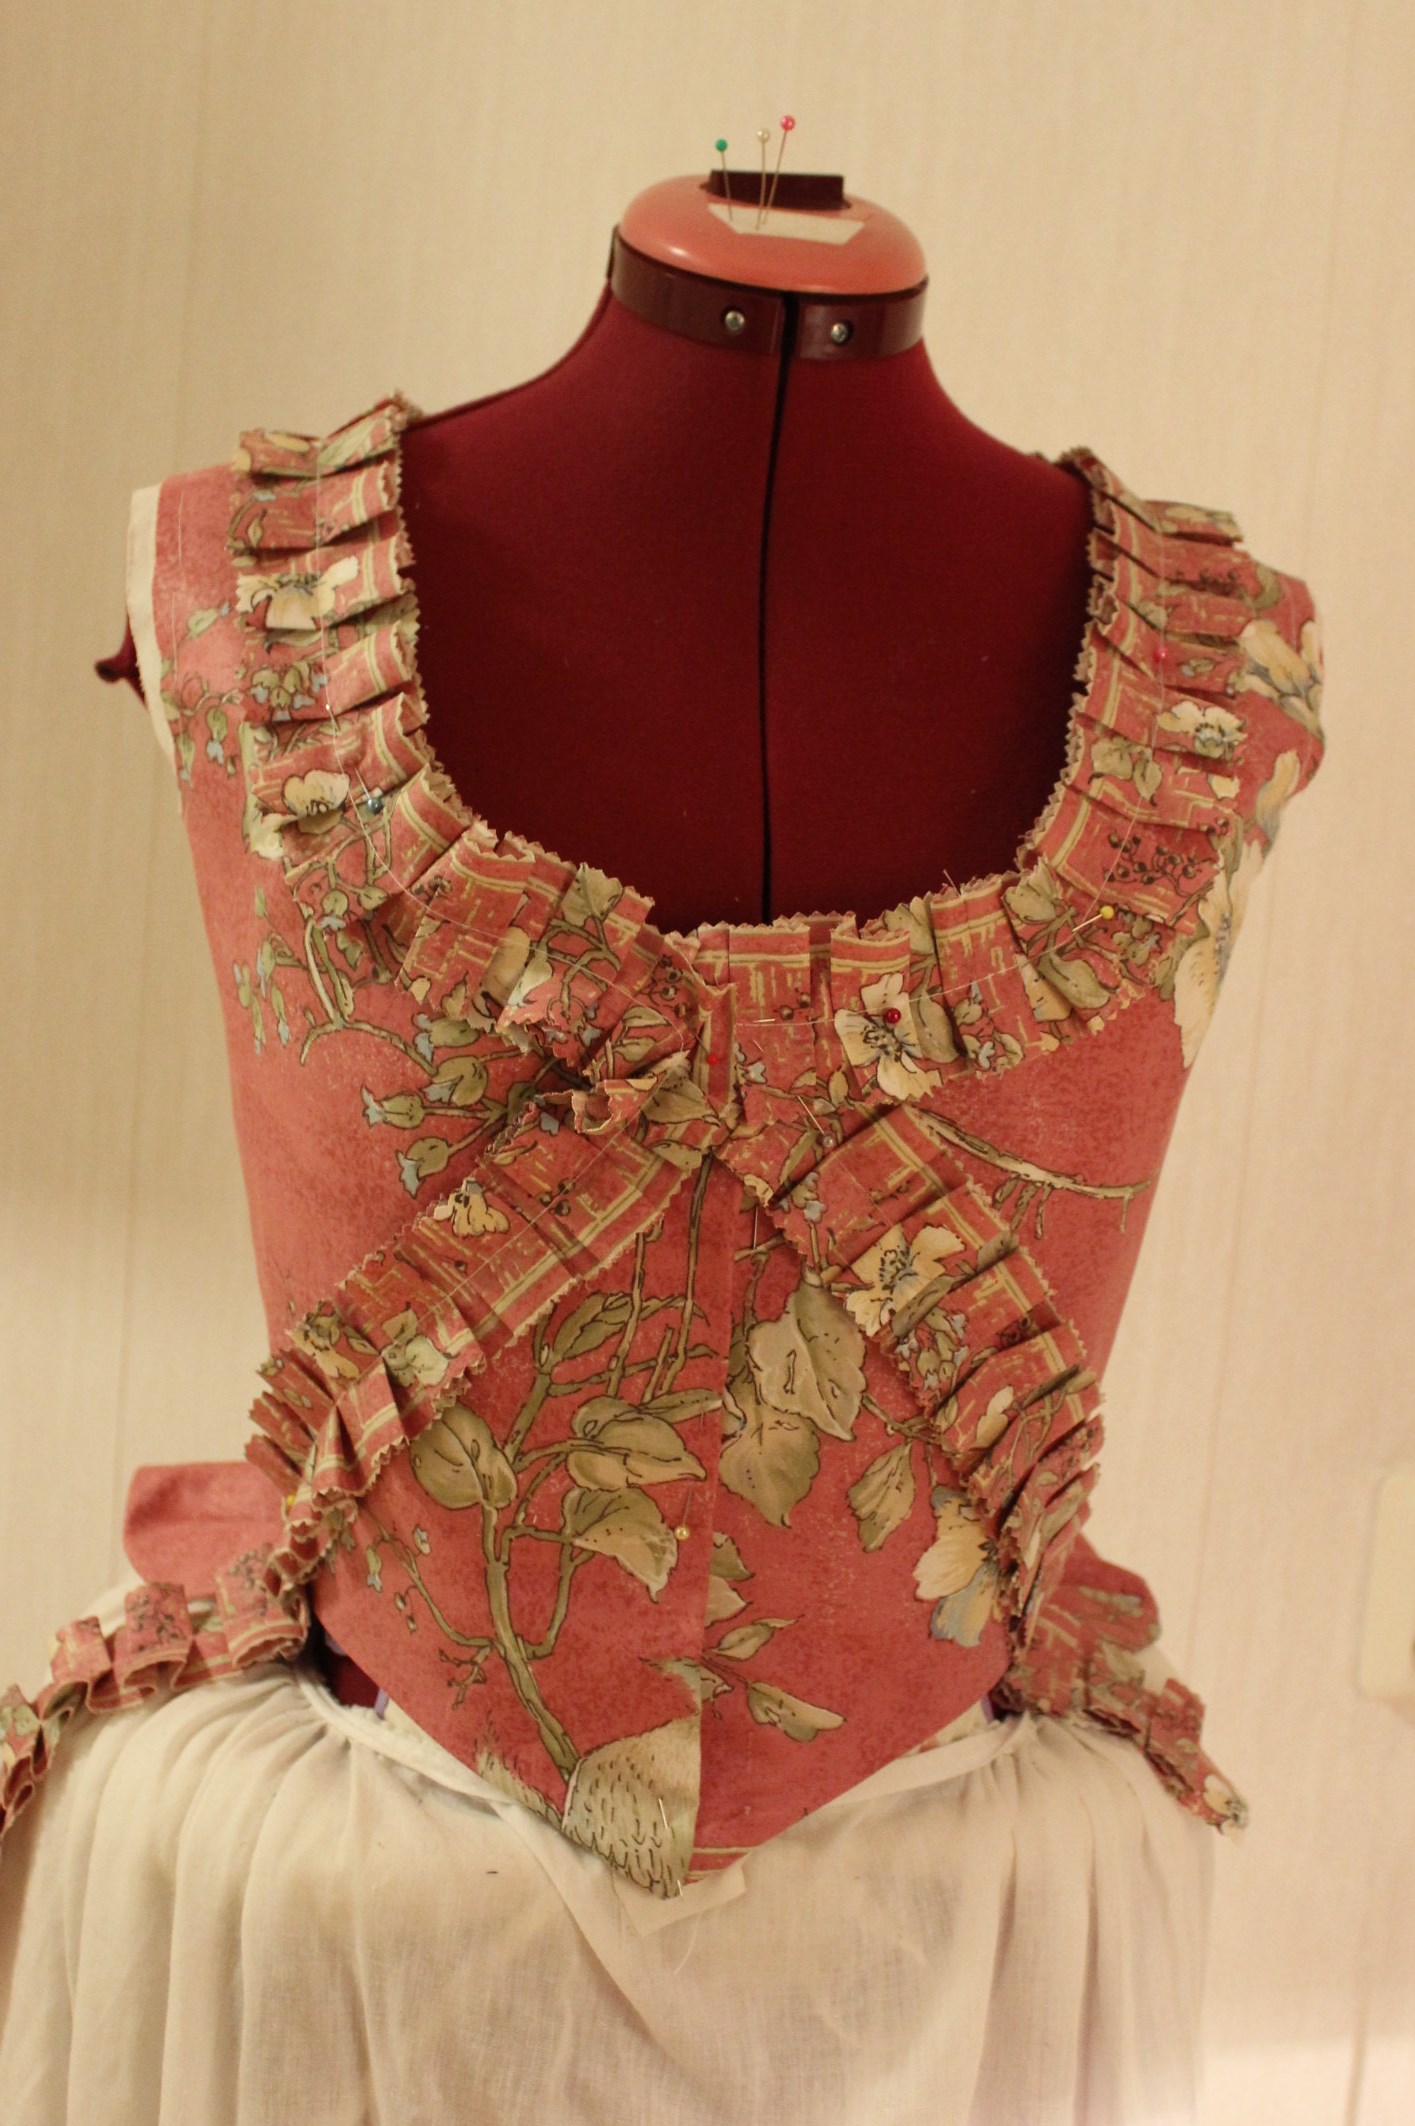
I think I like this one the best (let’s just hope my sister like it aswell).

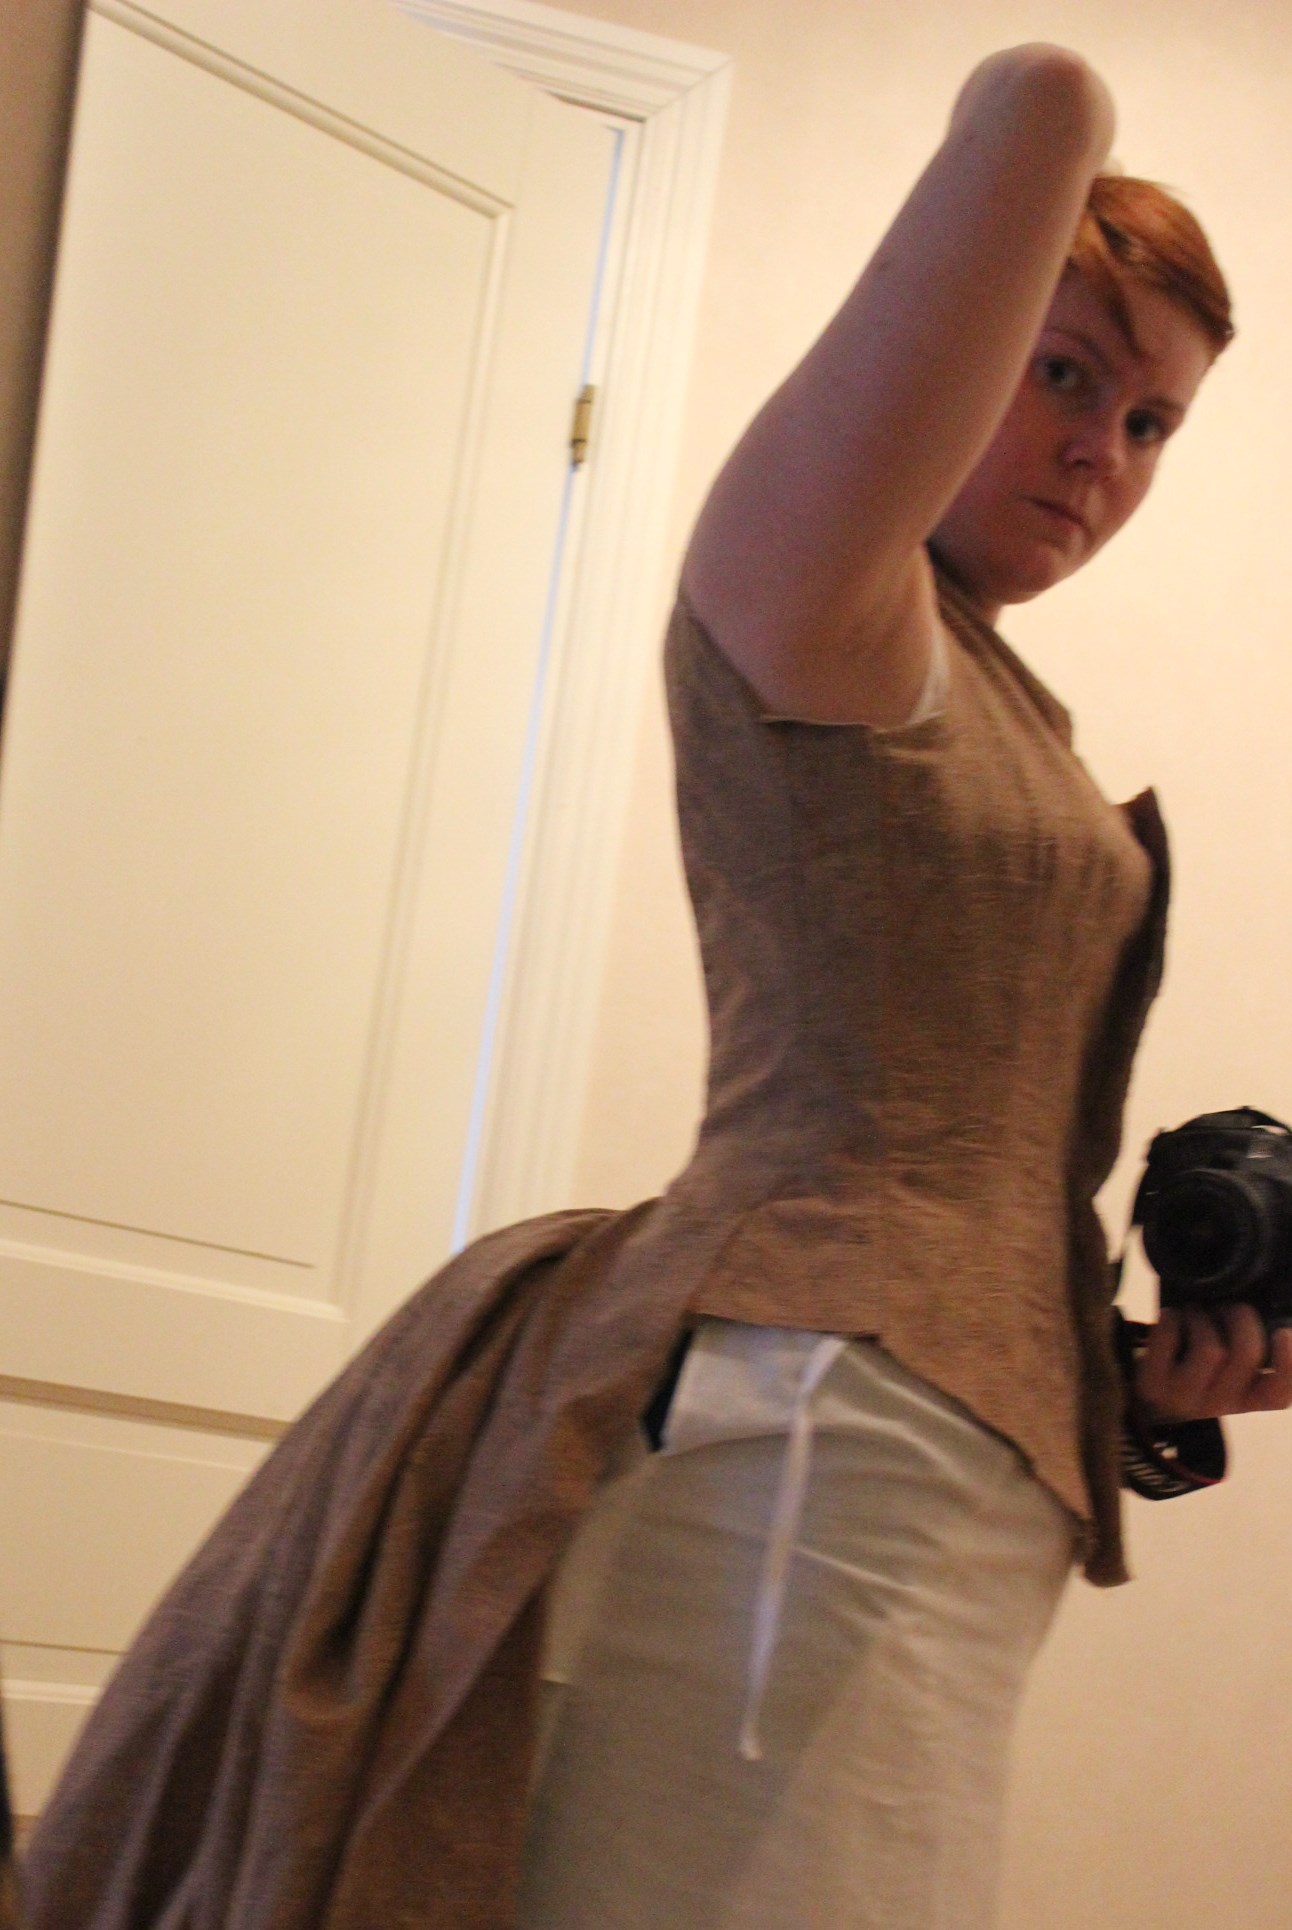
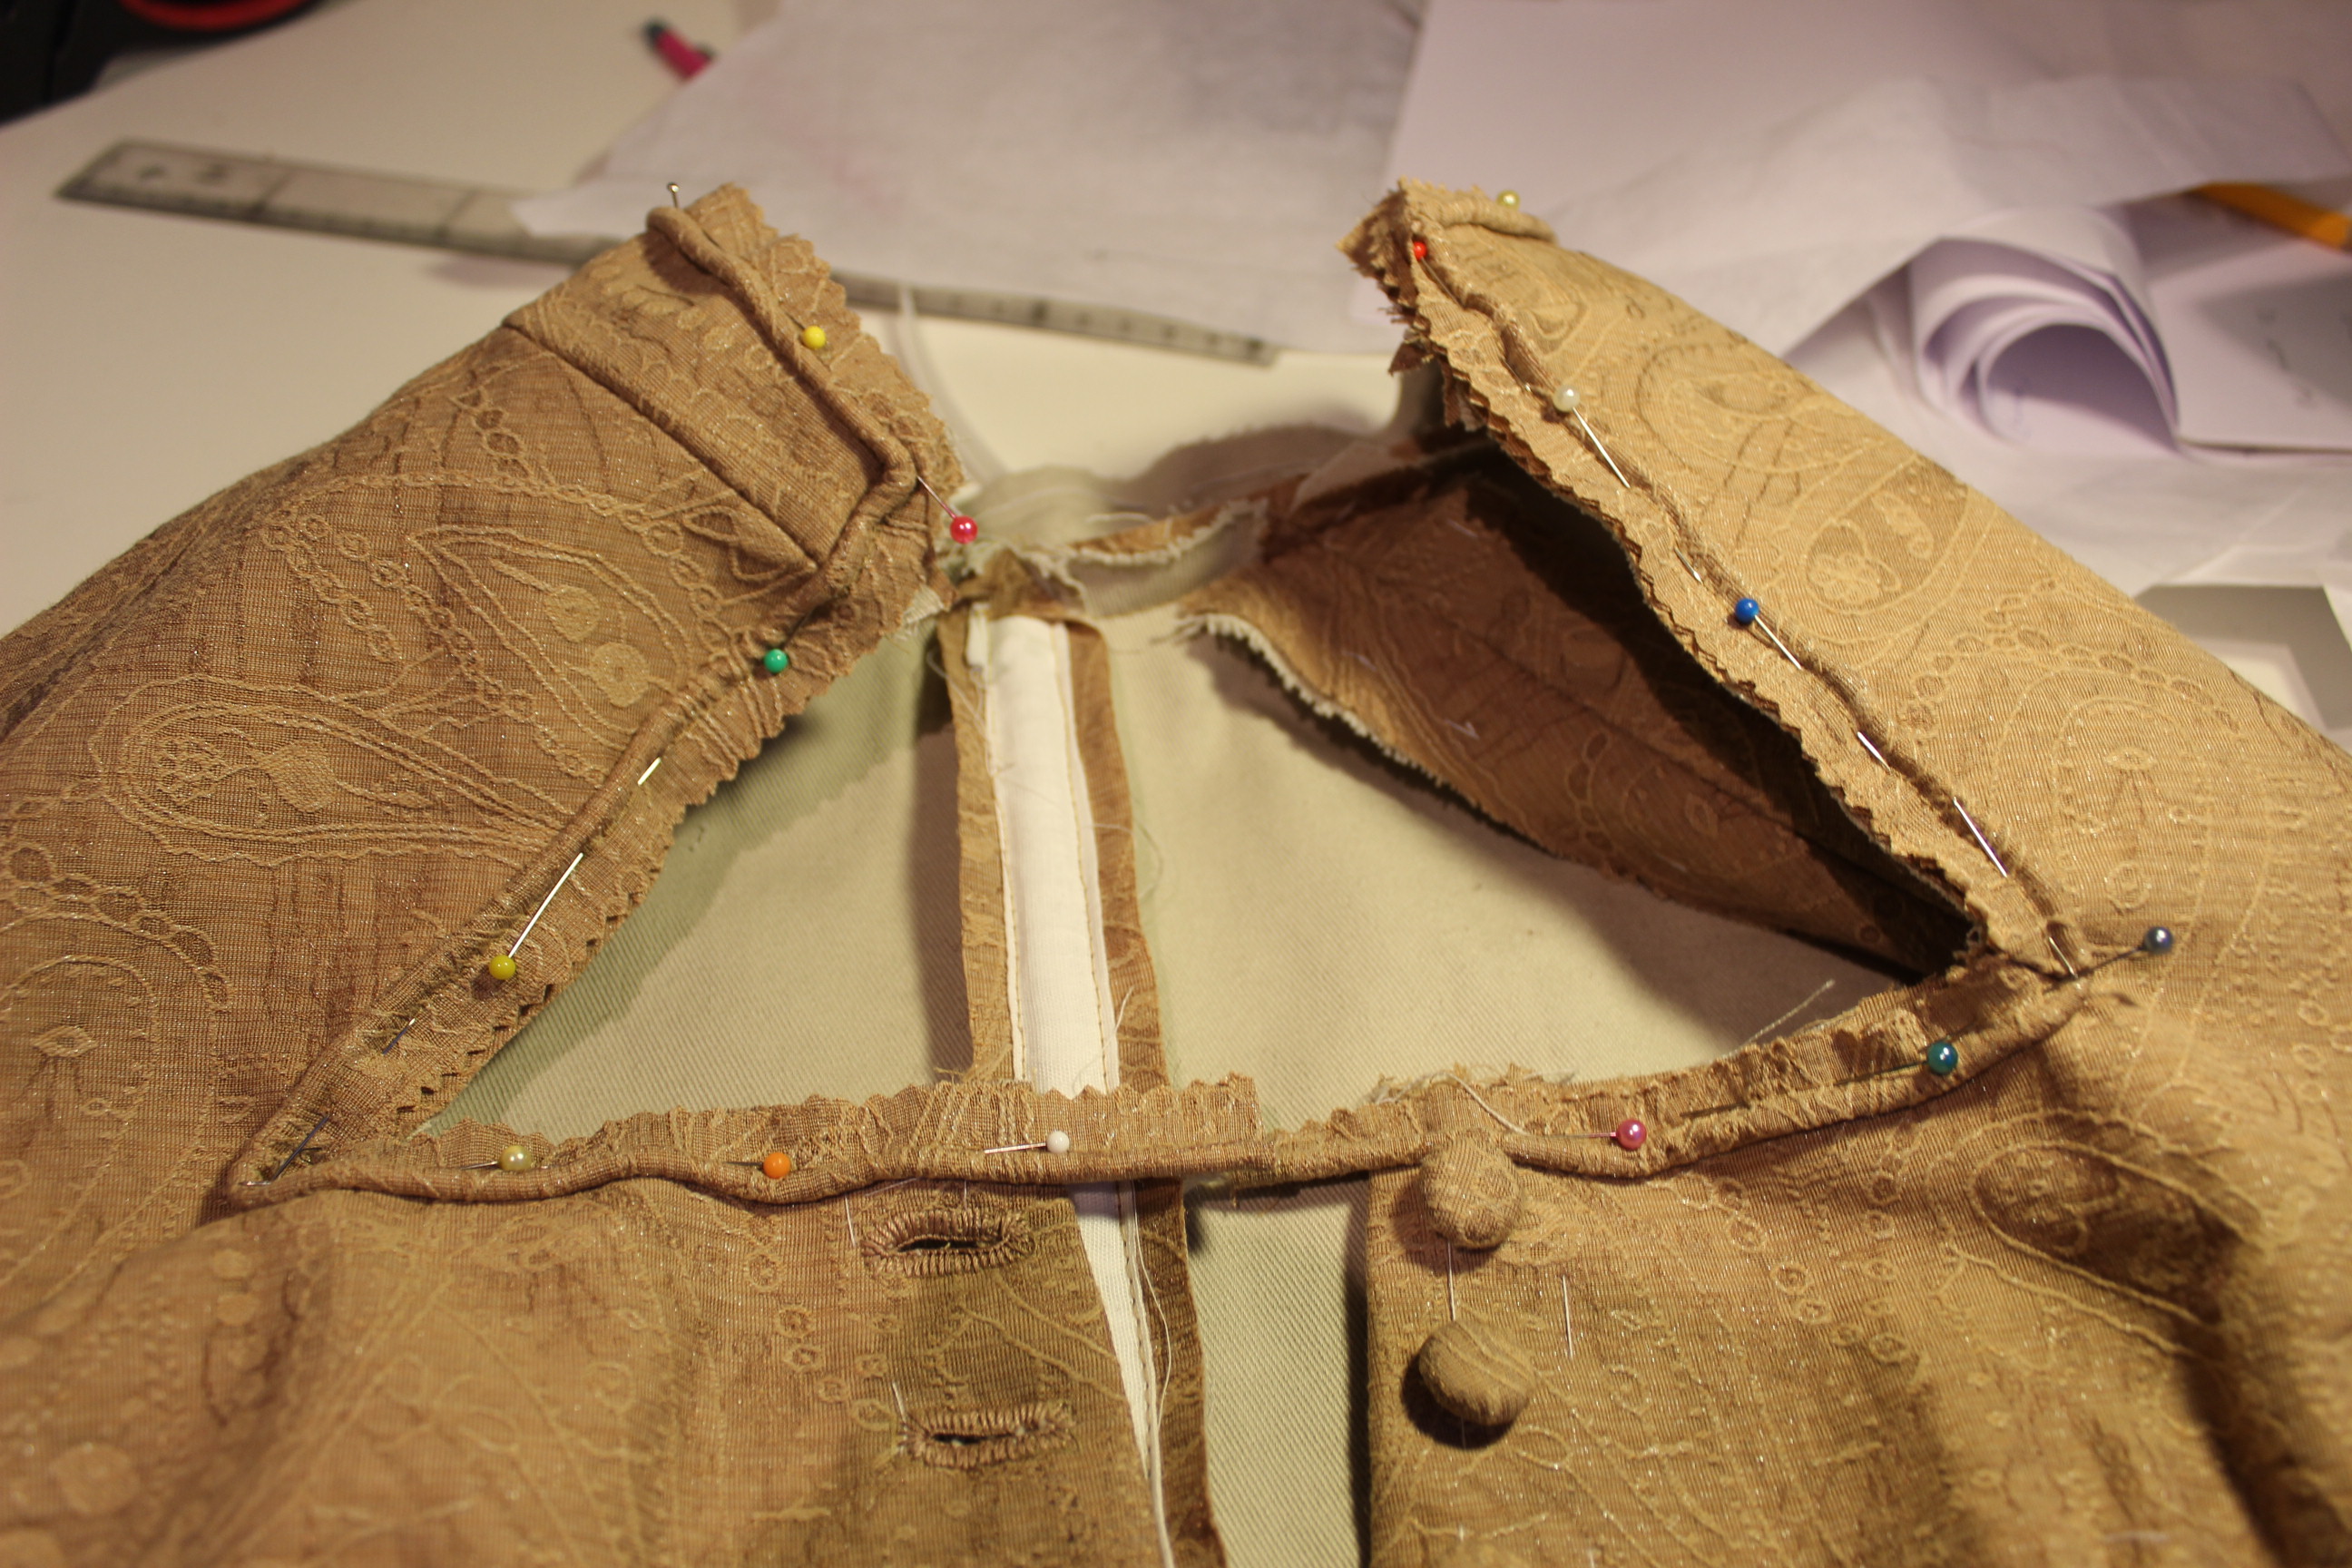
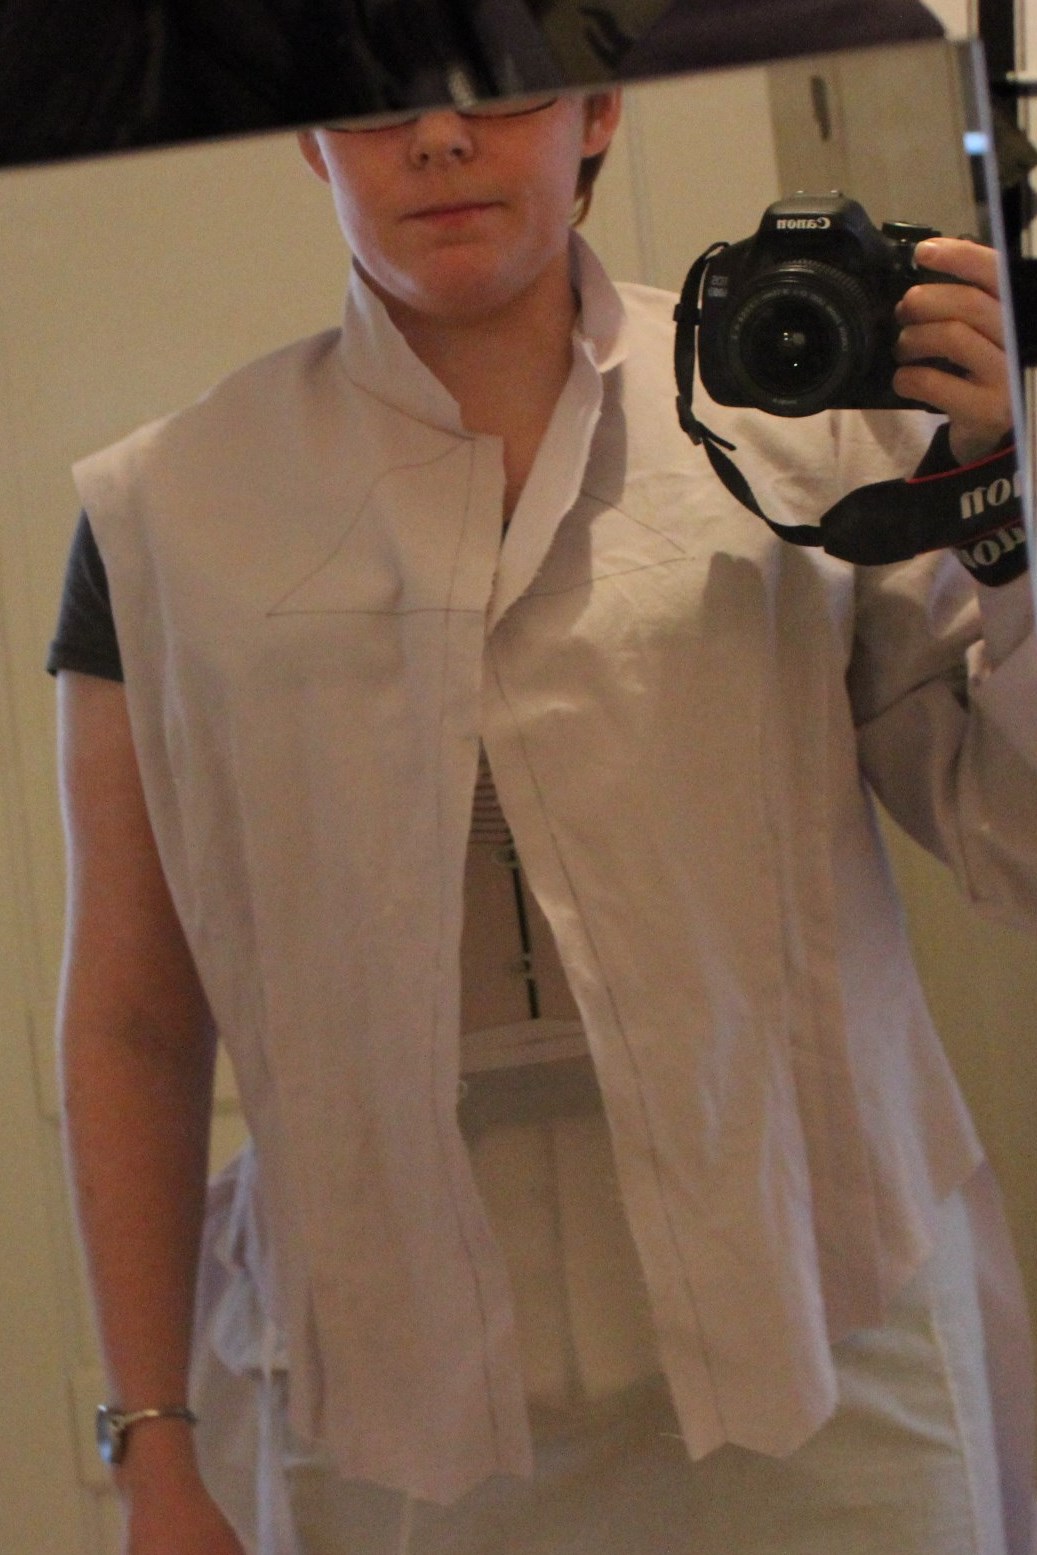
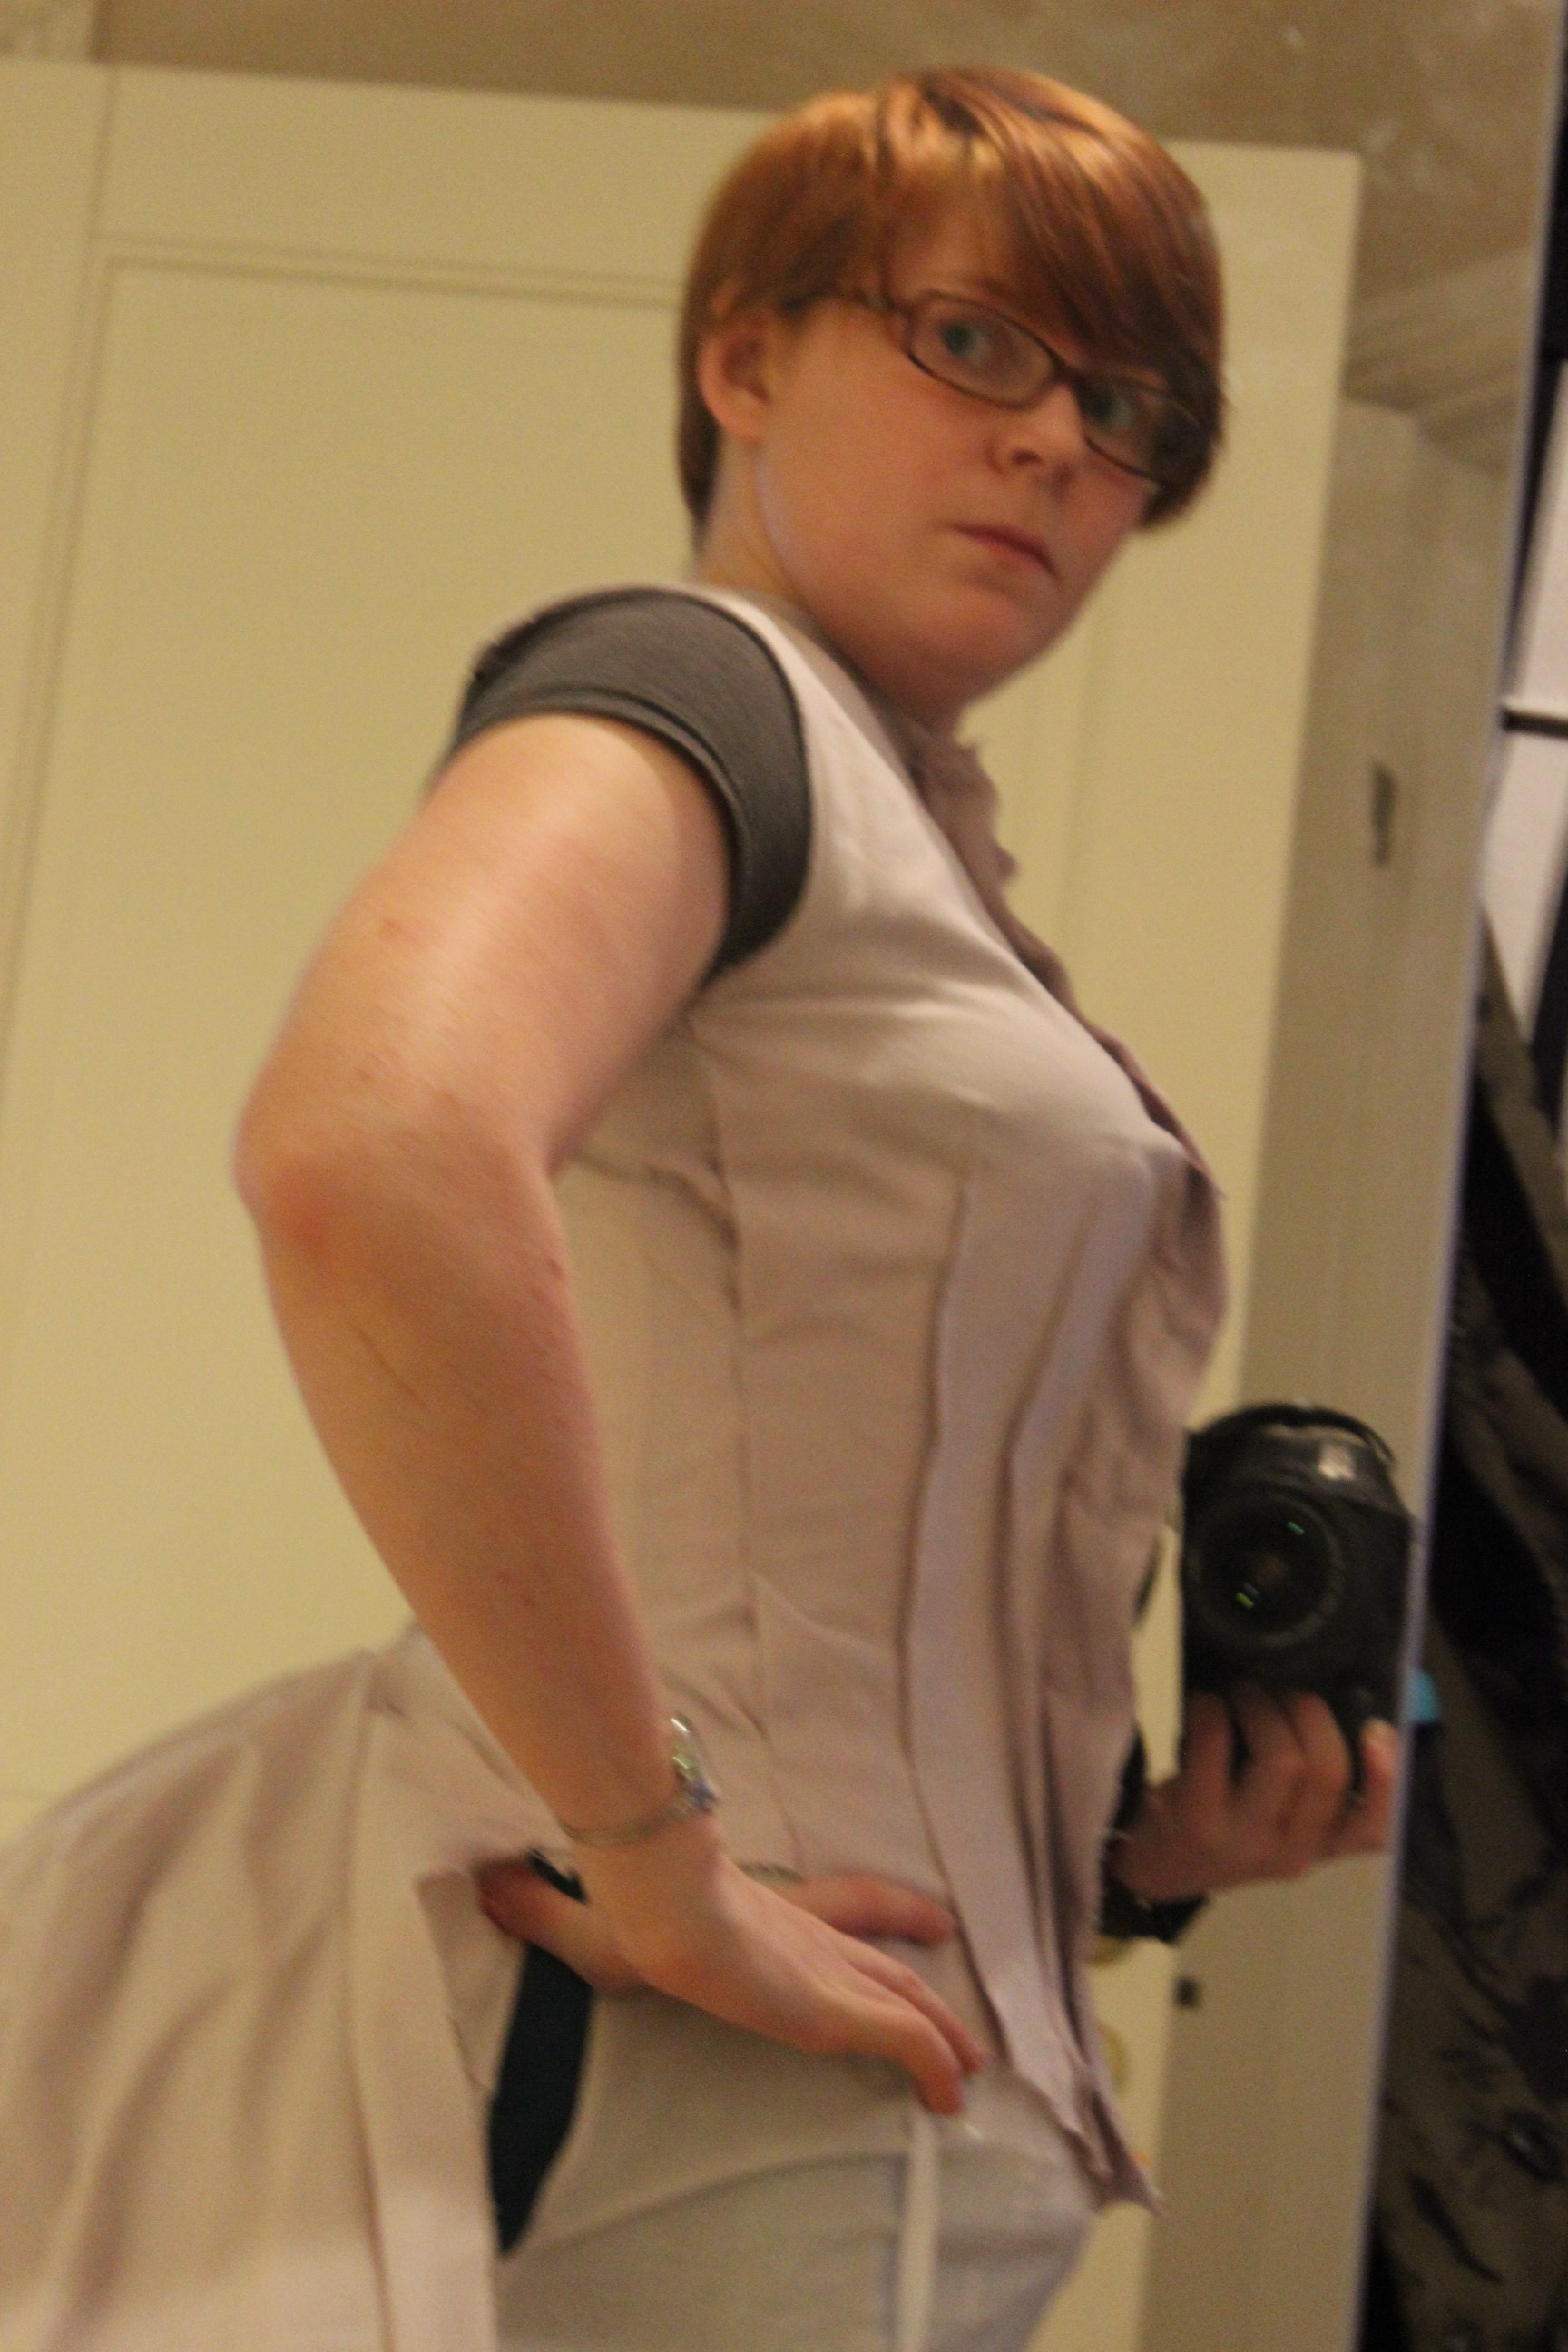
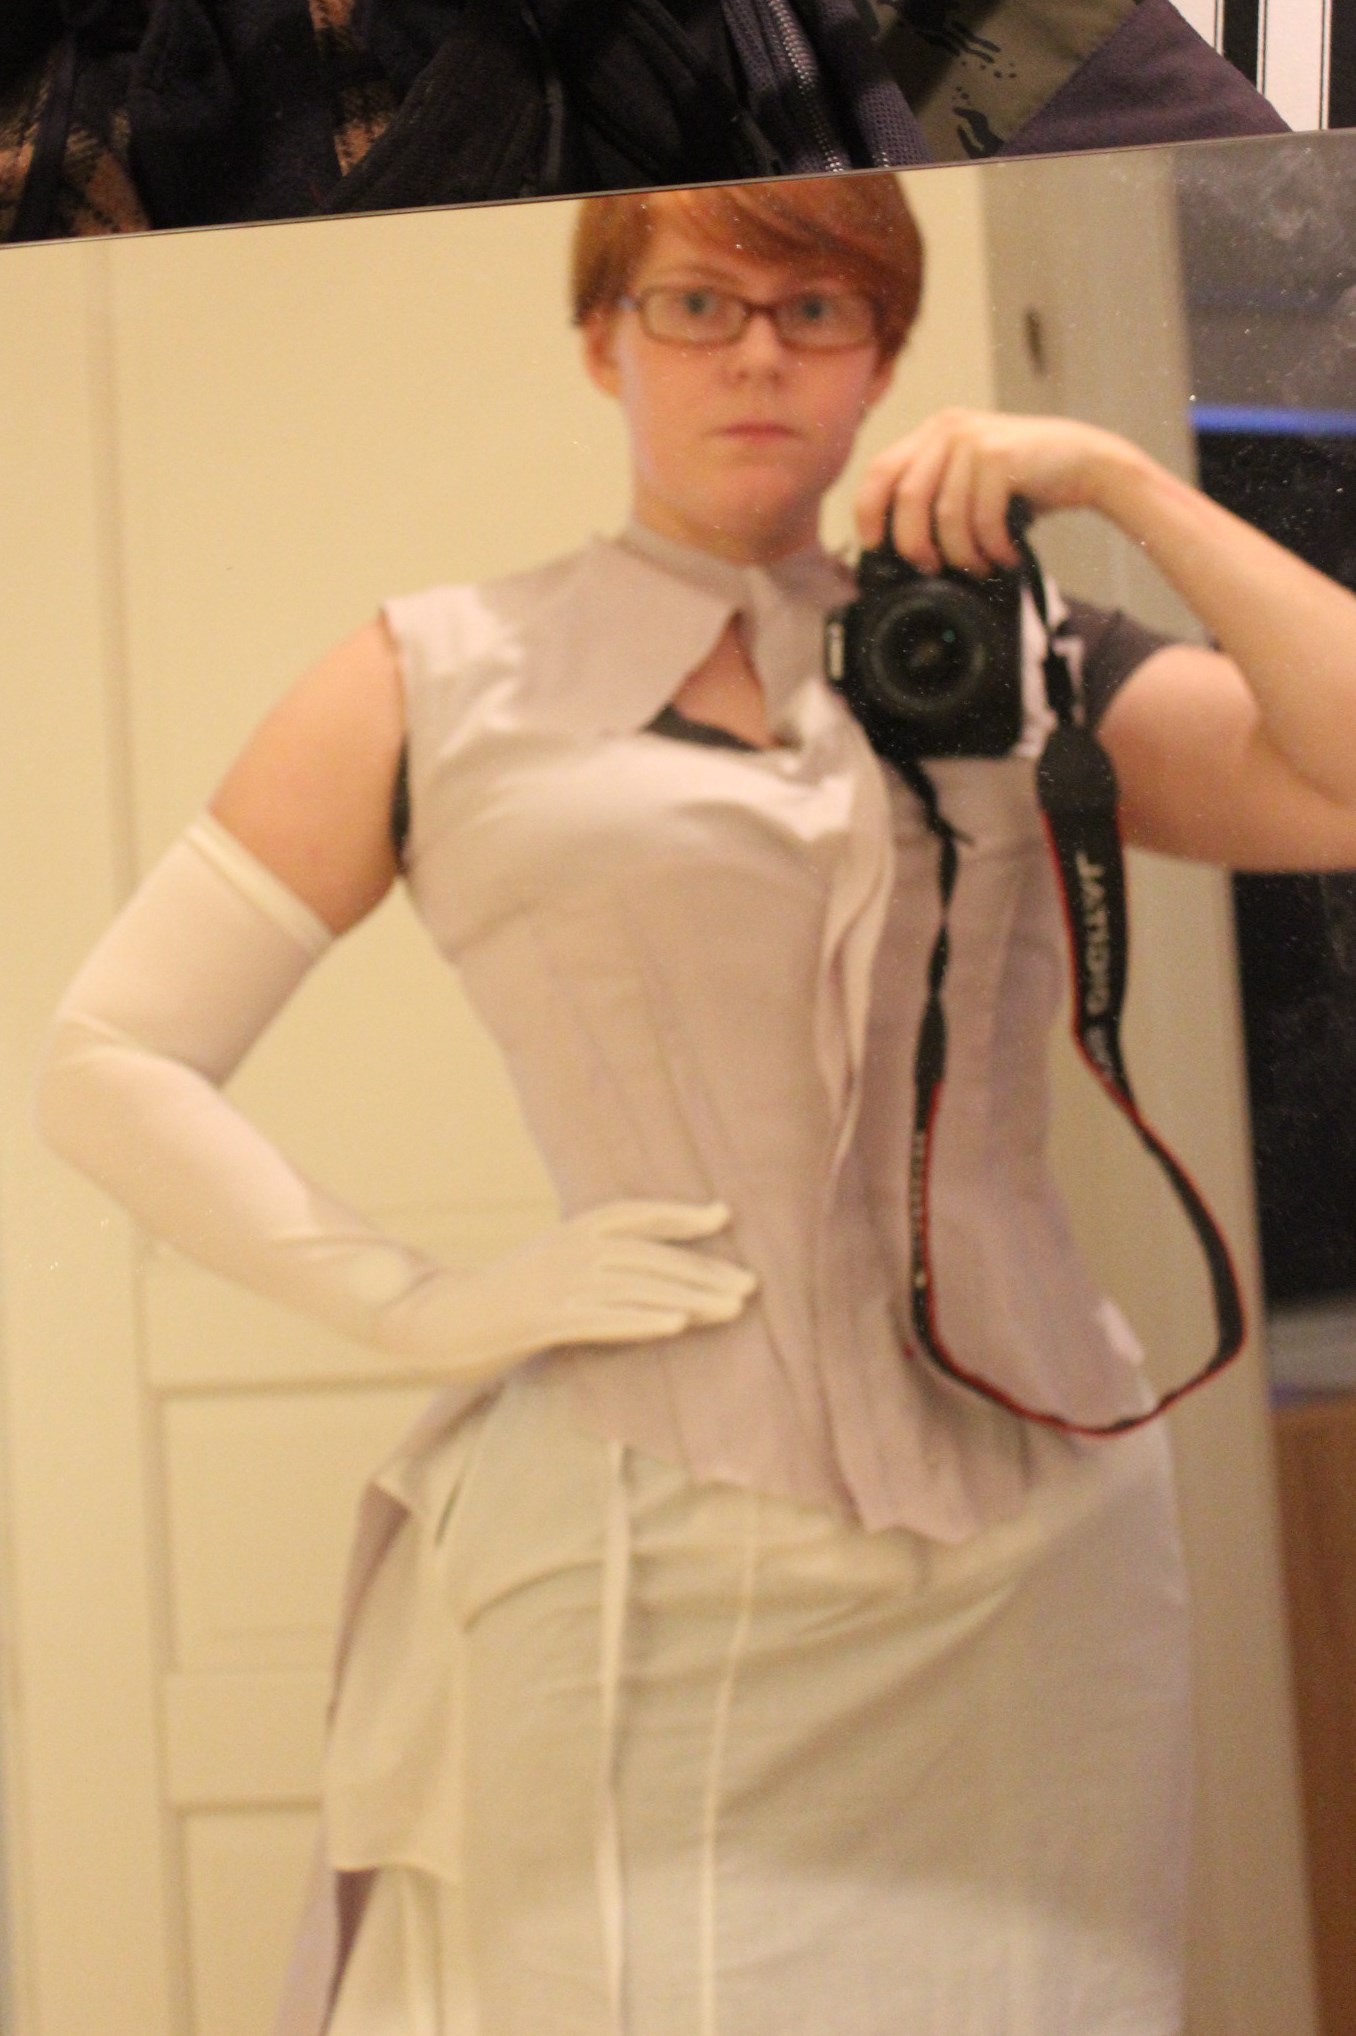
Then I put in the sleevesIMG_6144

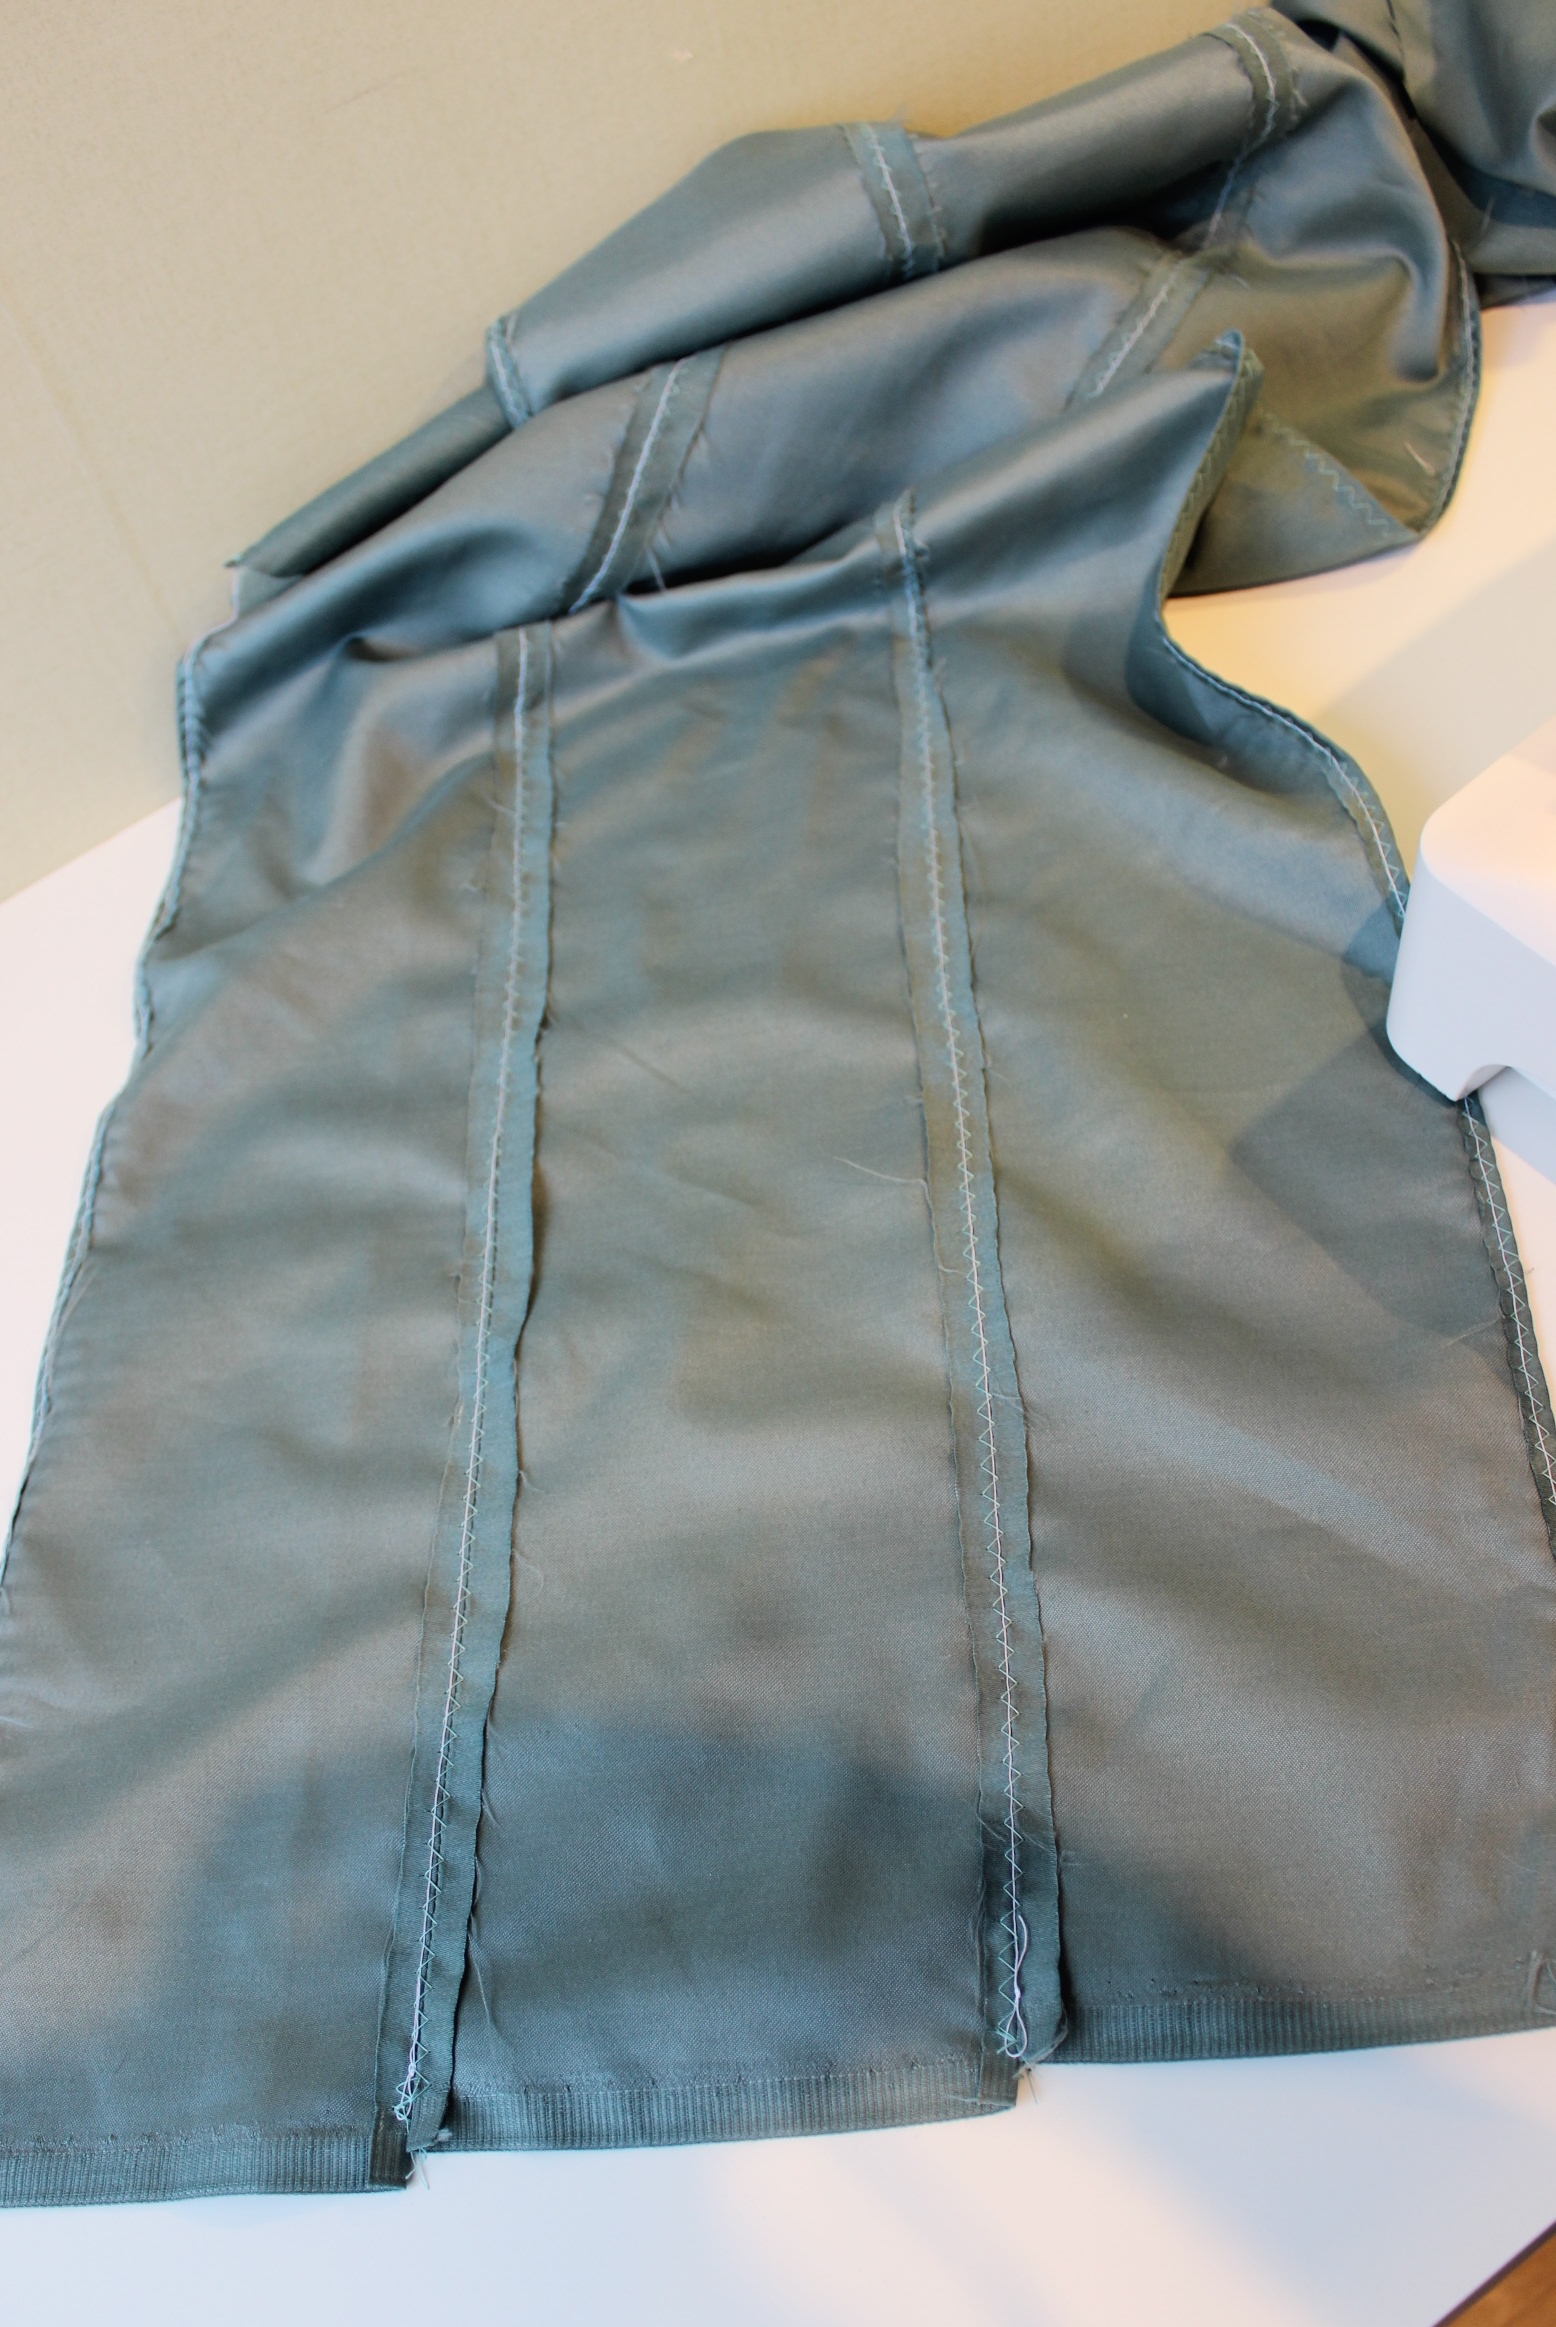
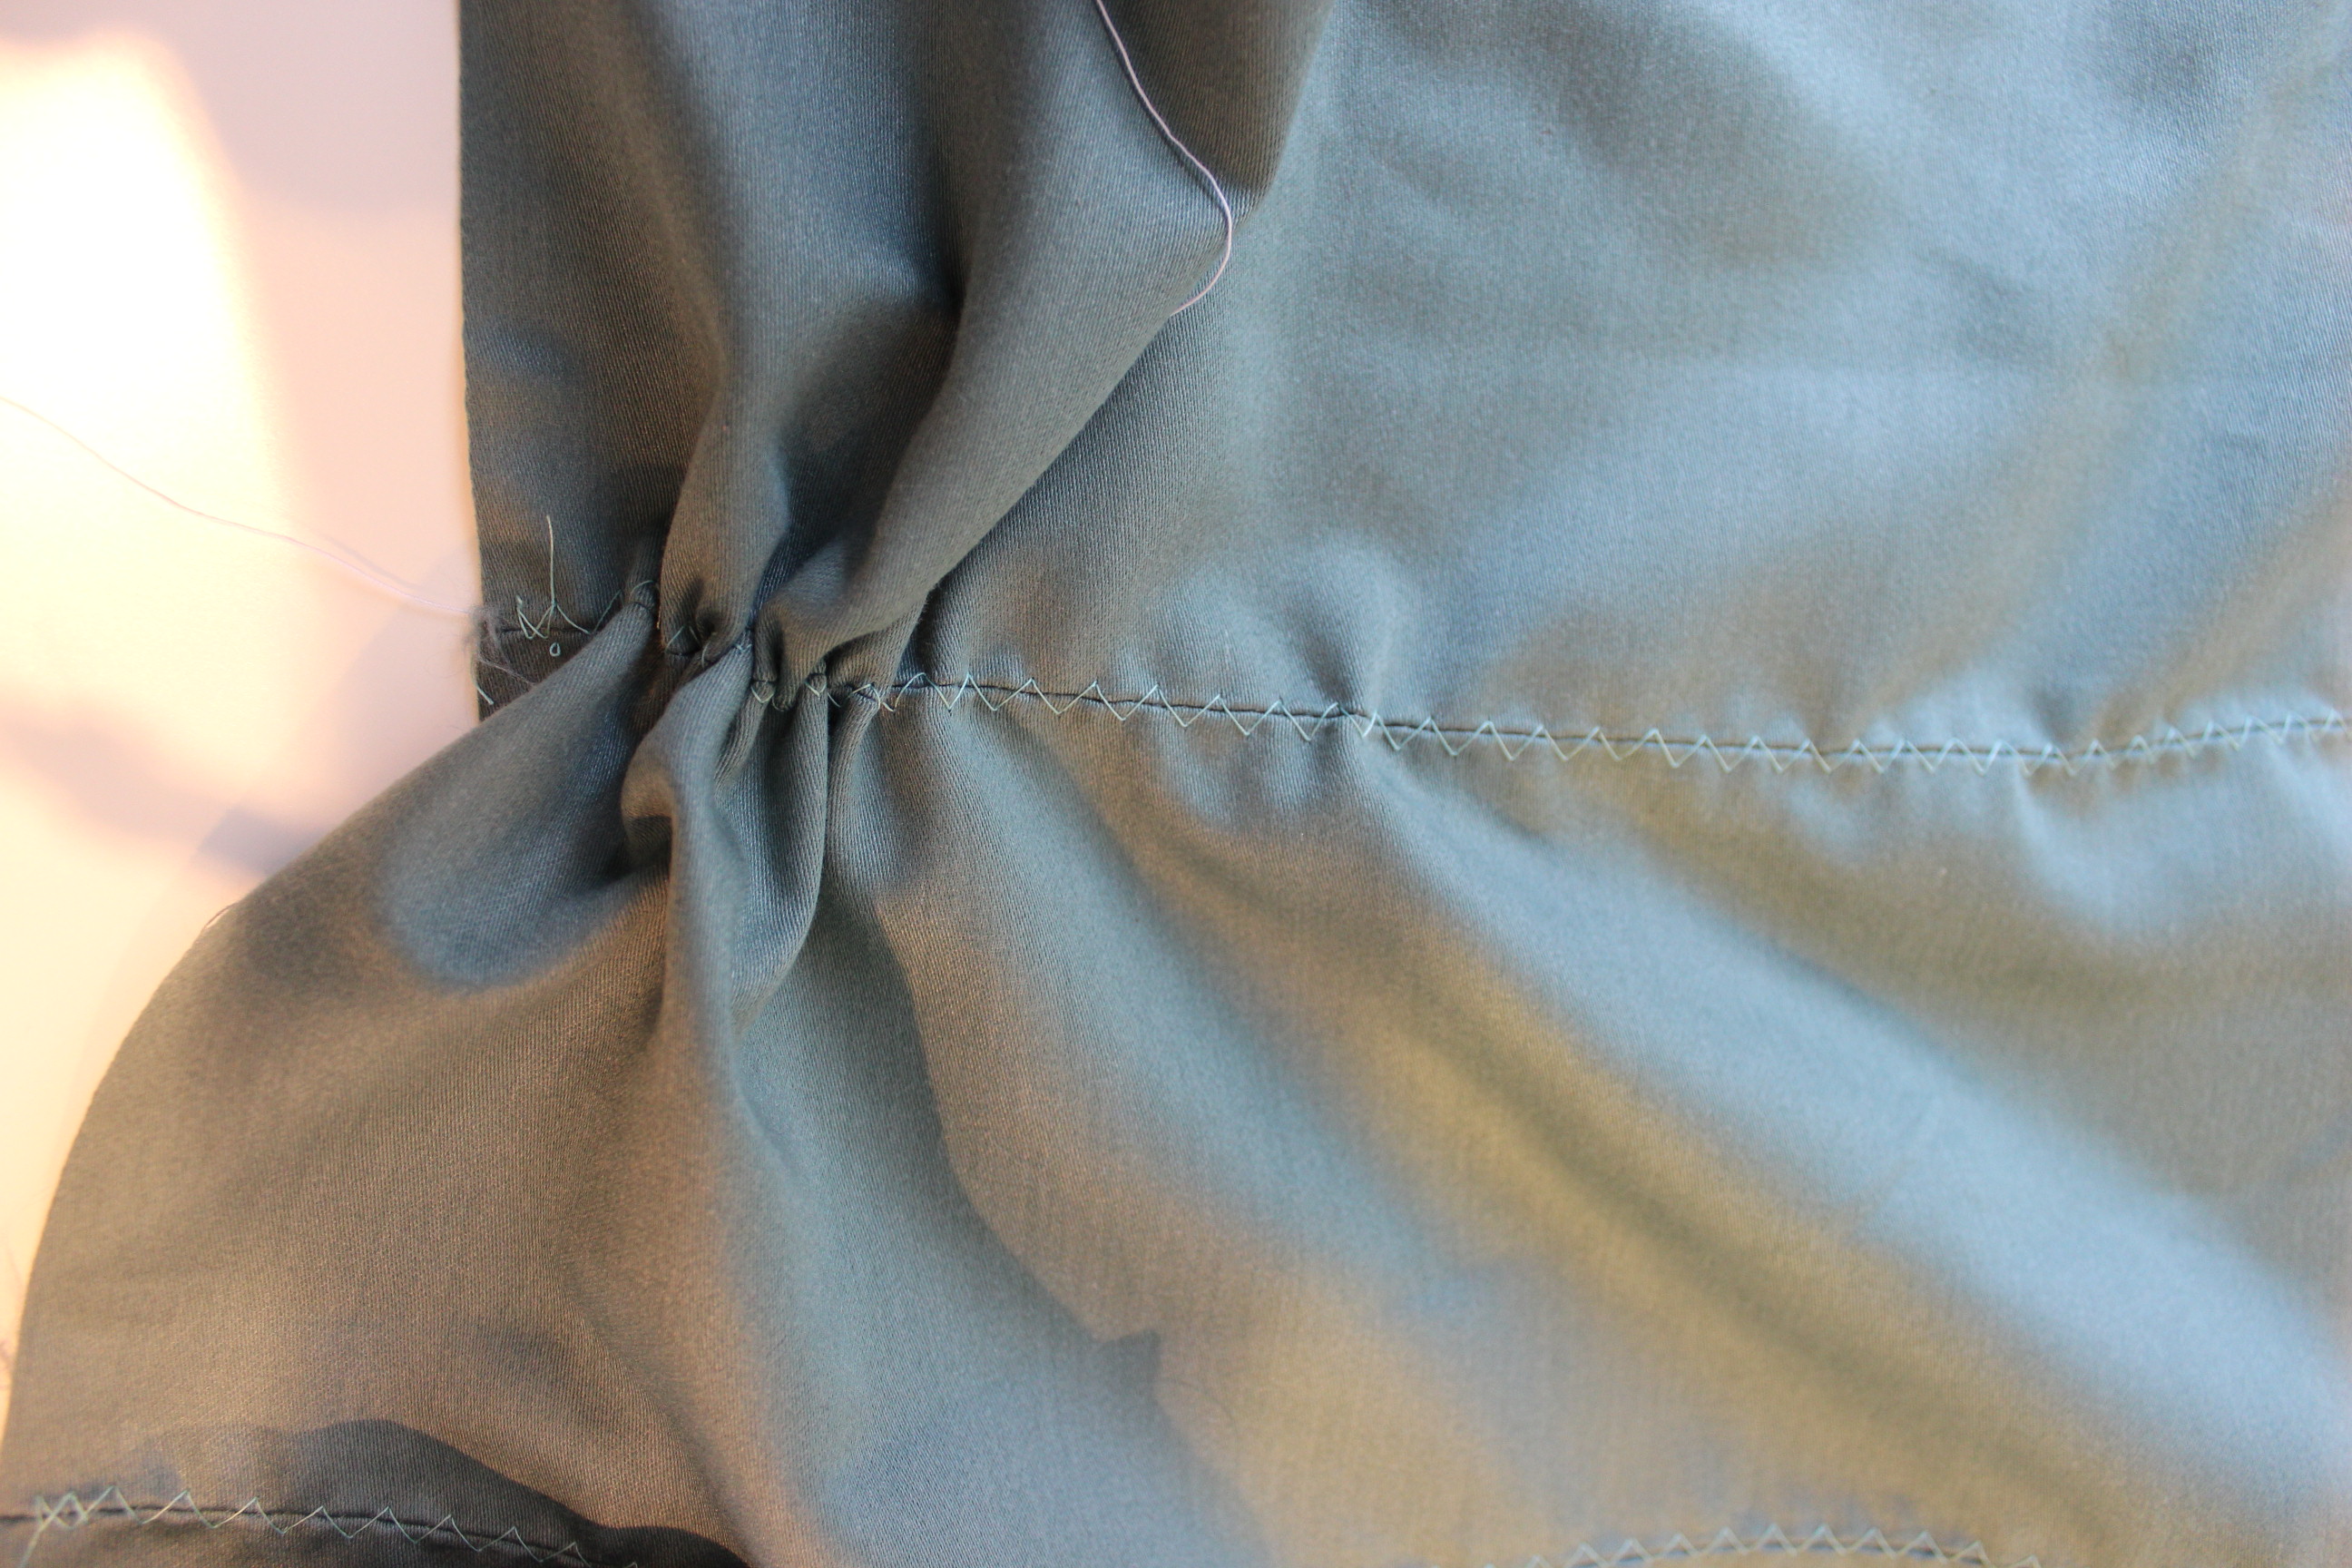
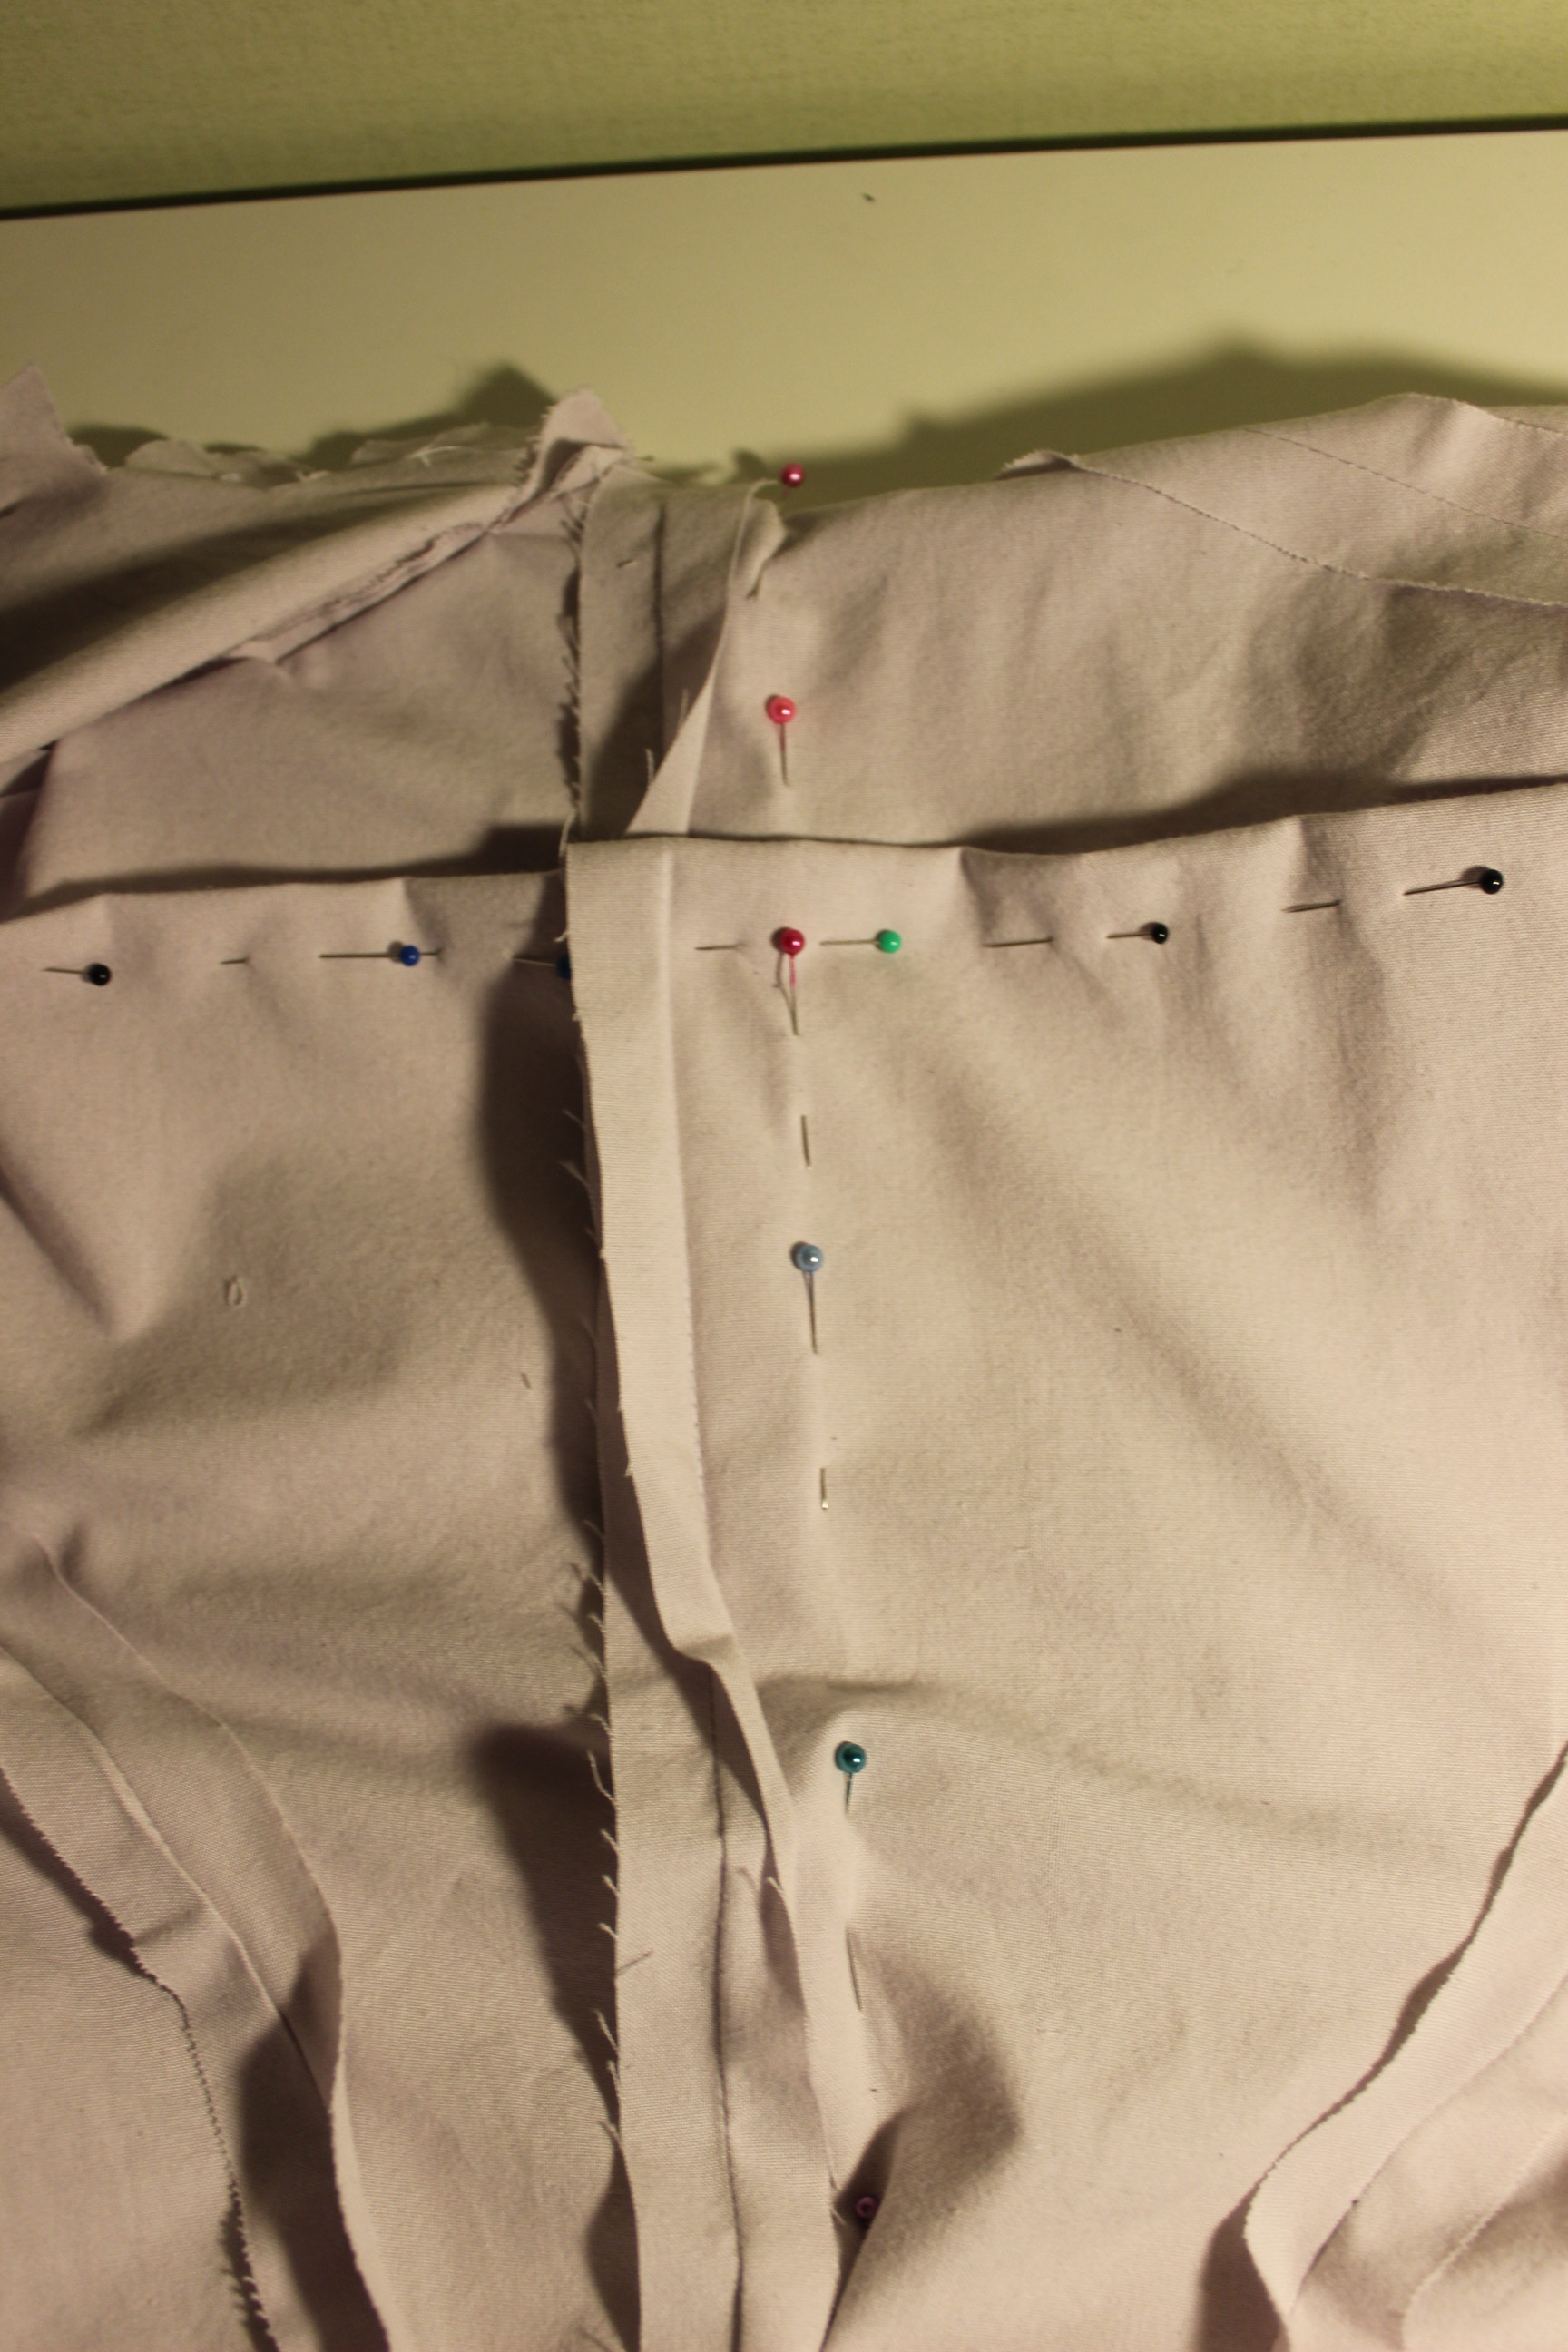
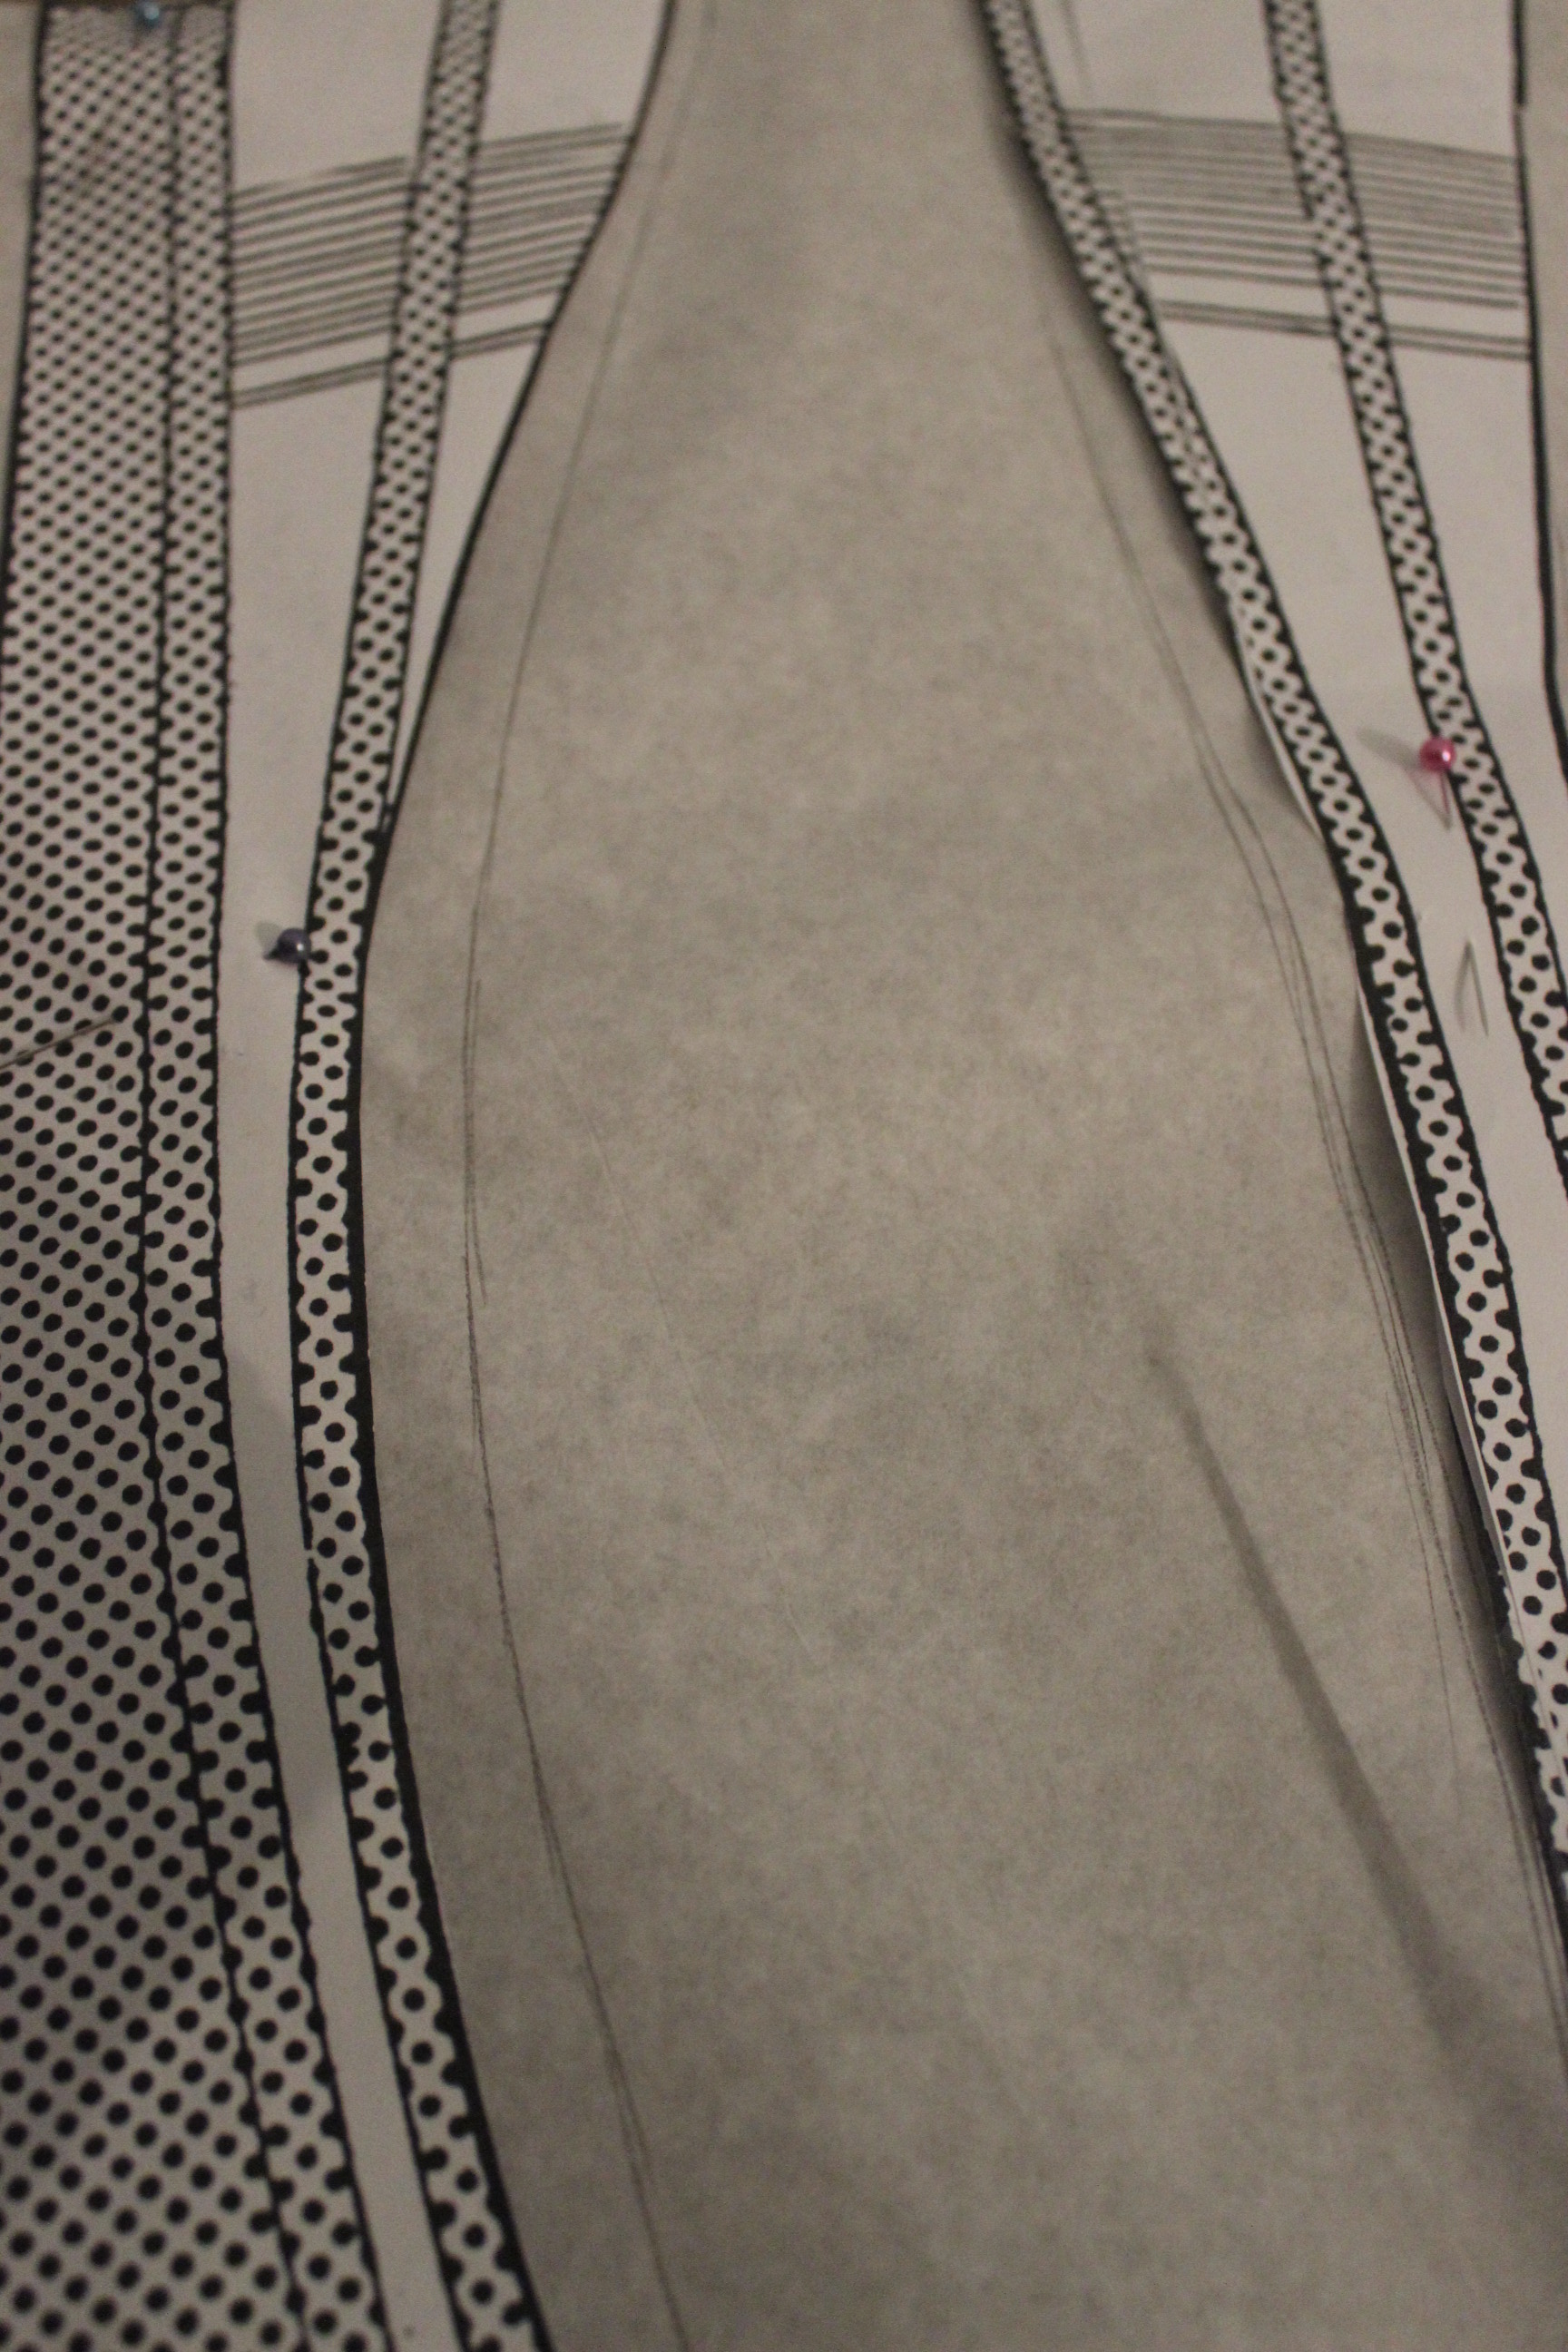
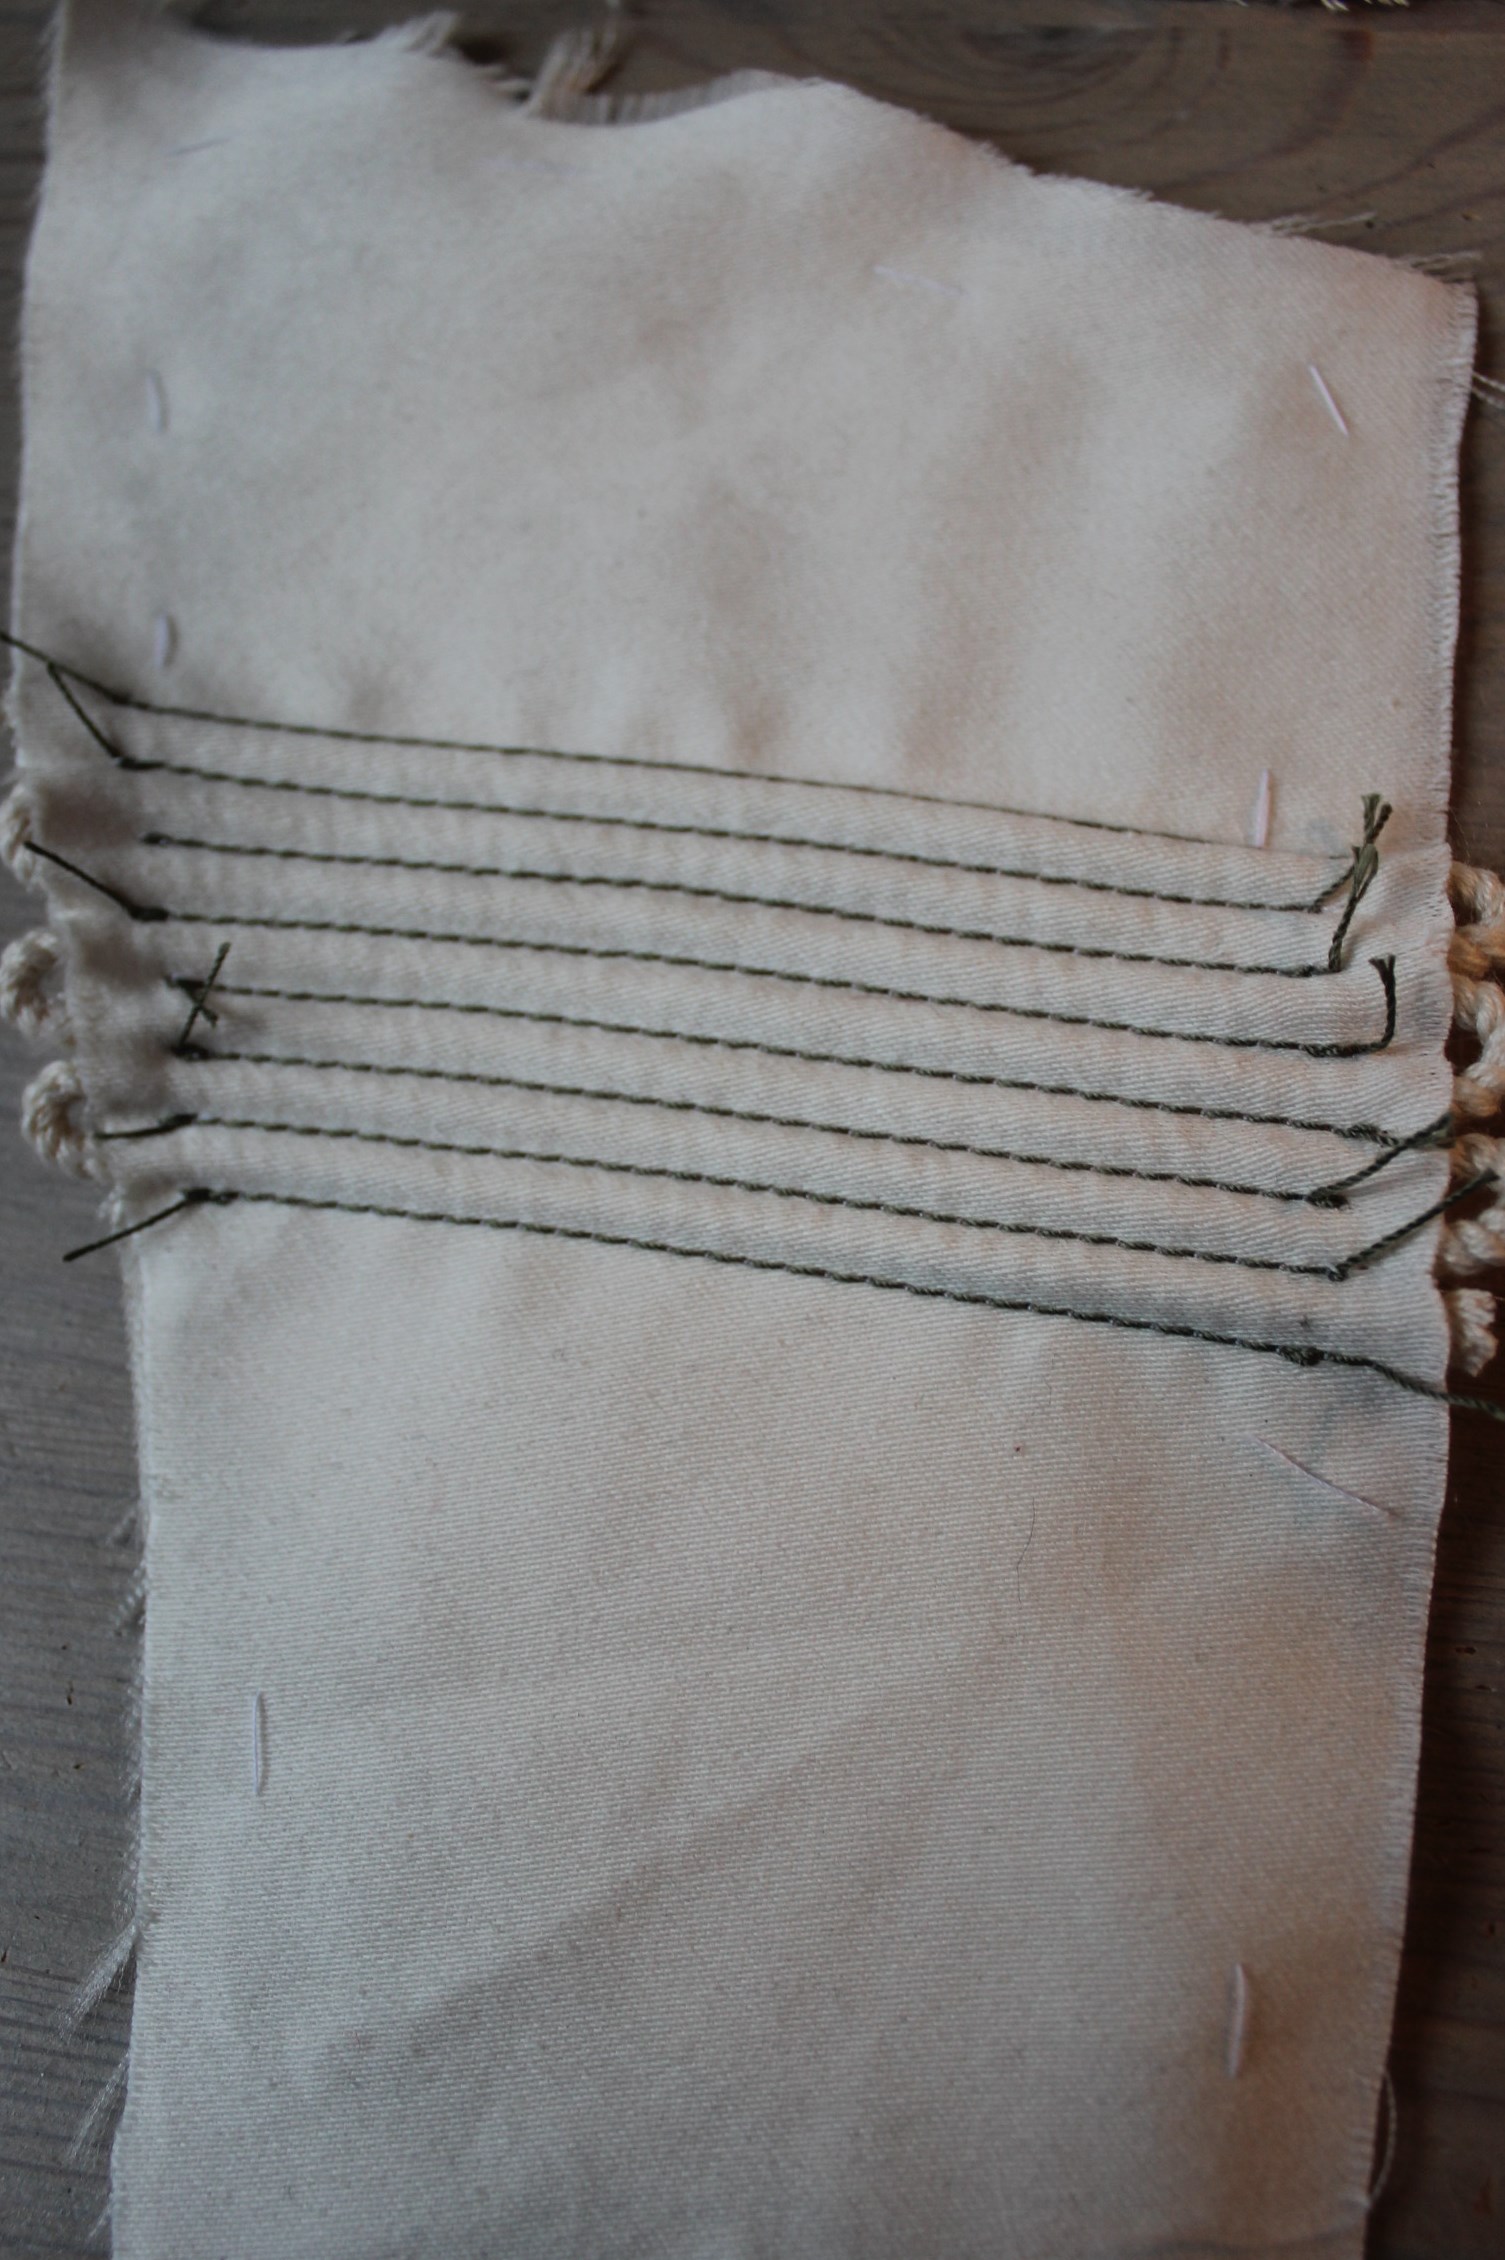
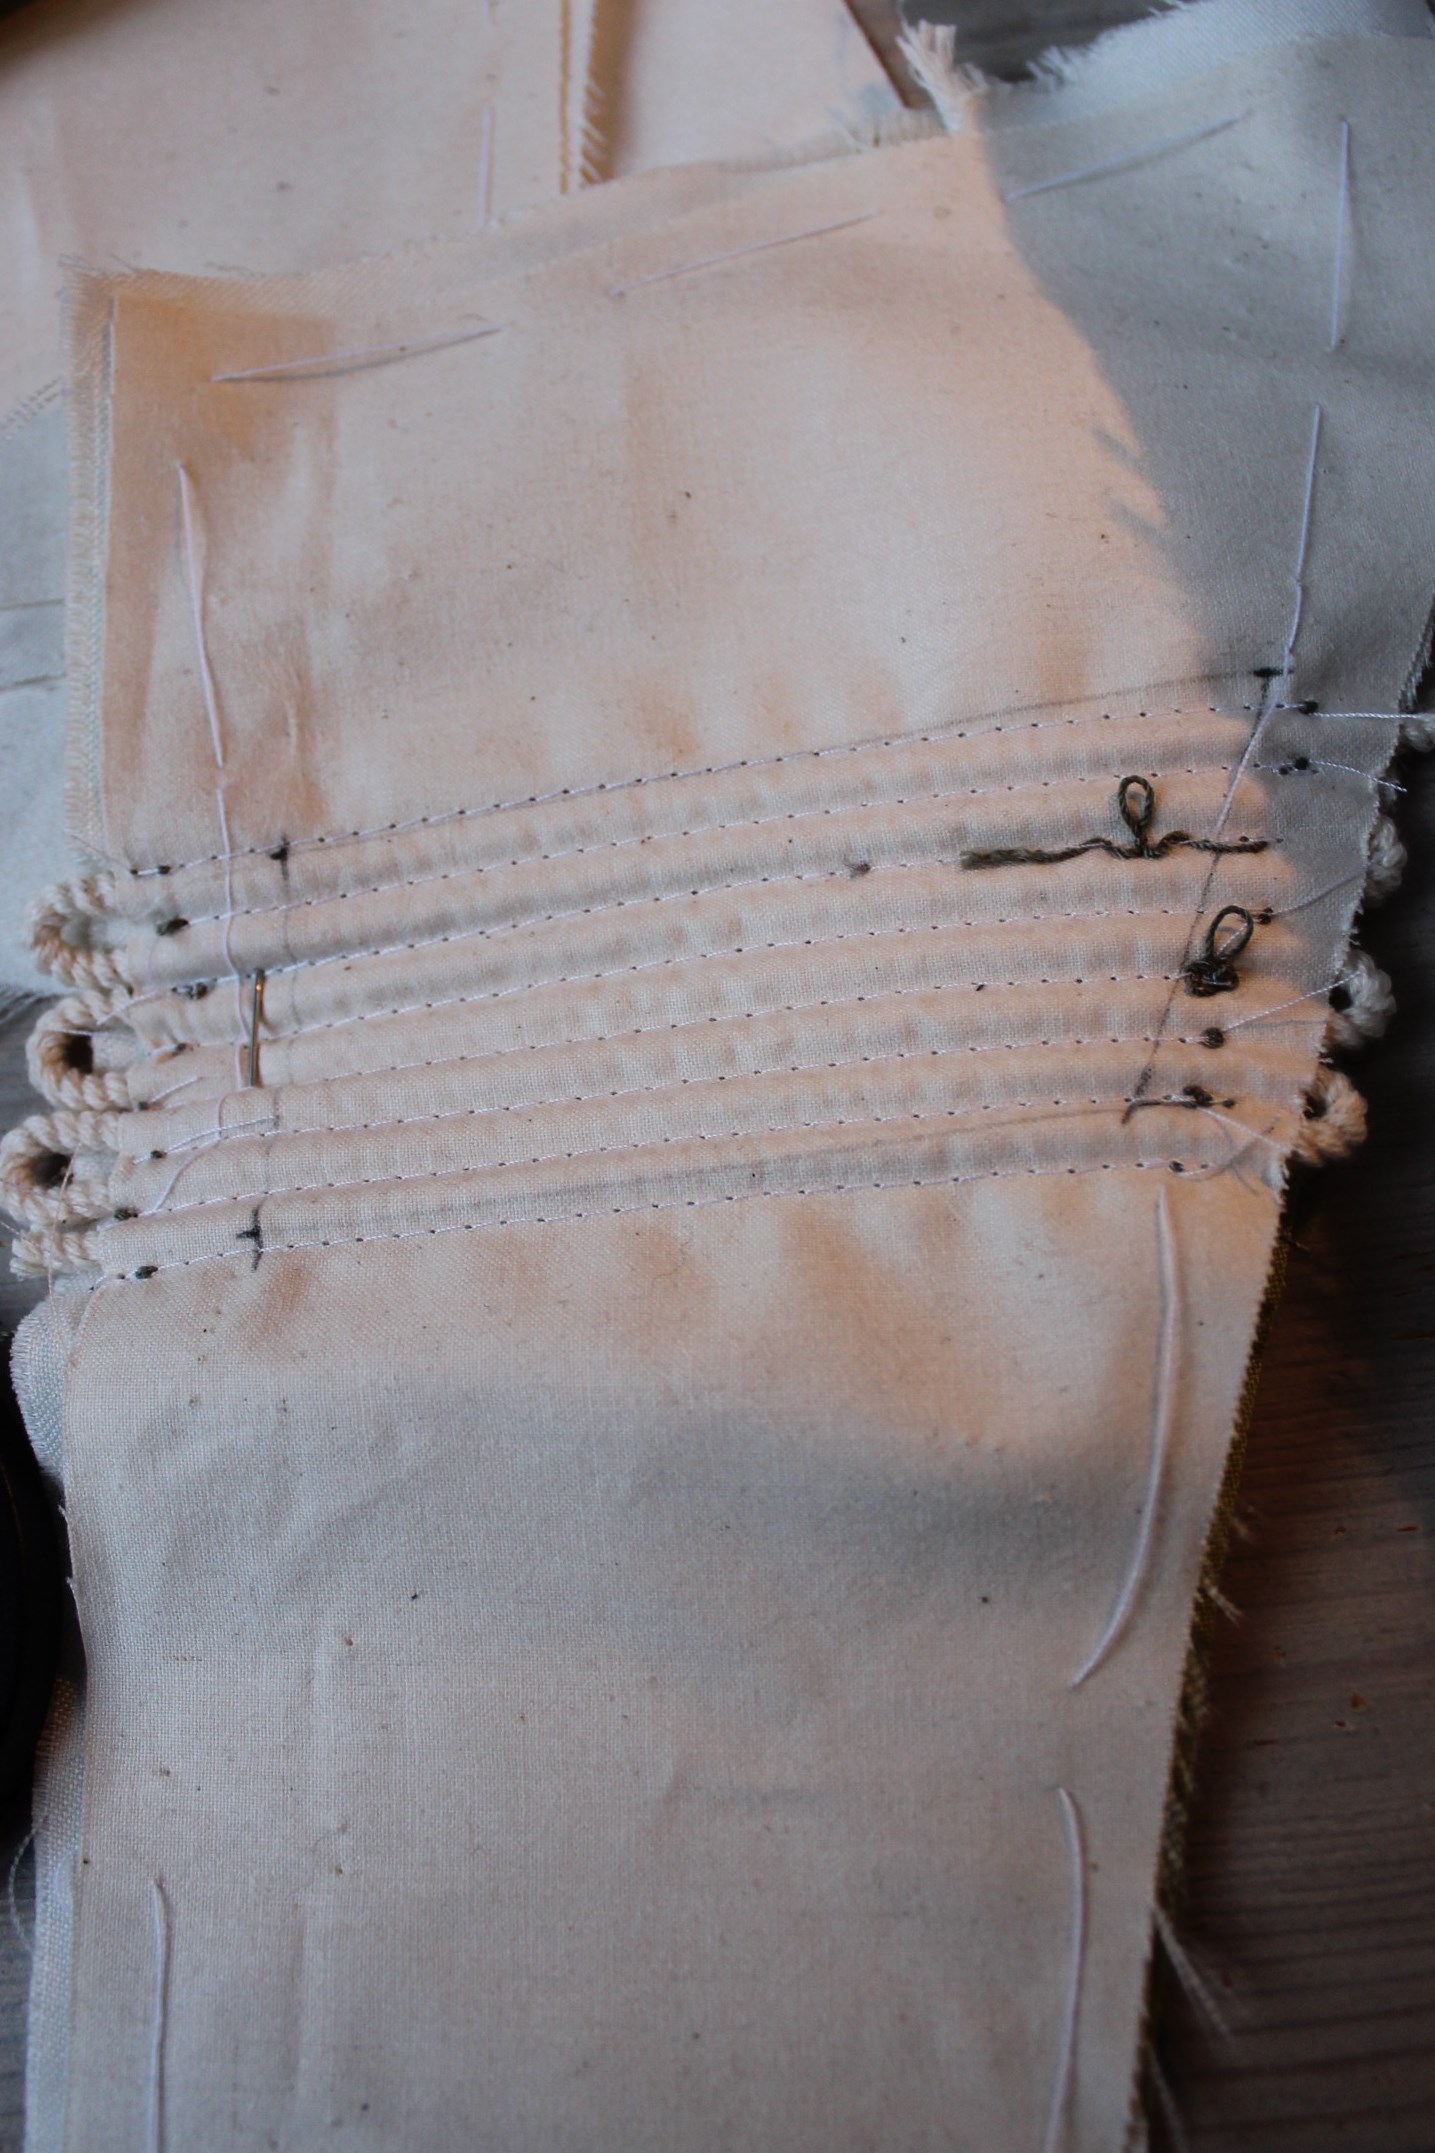
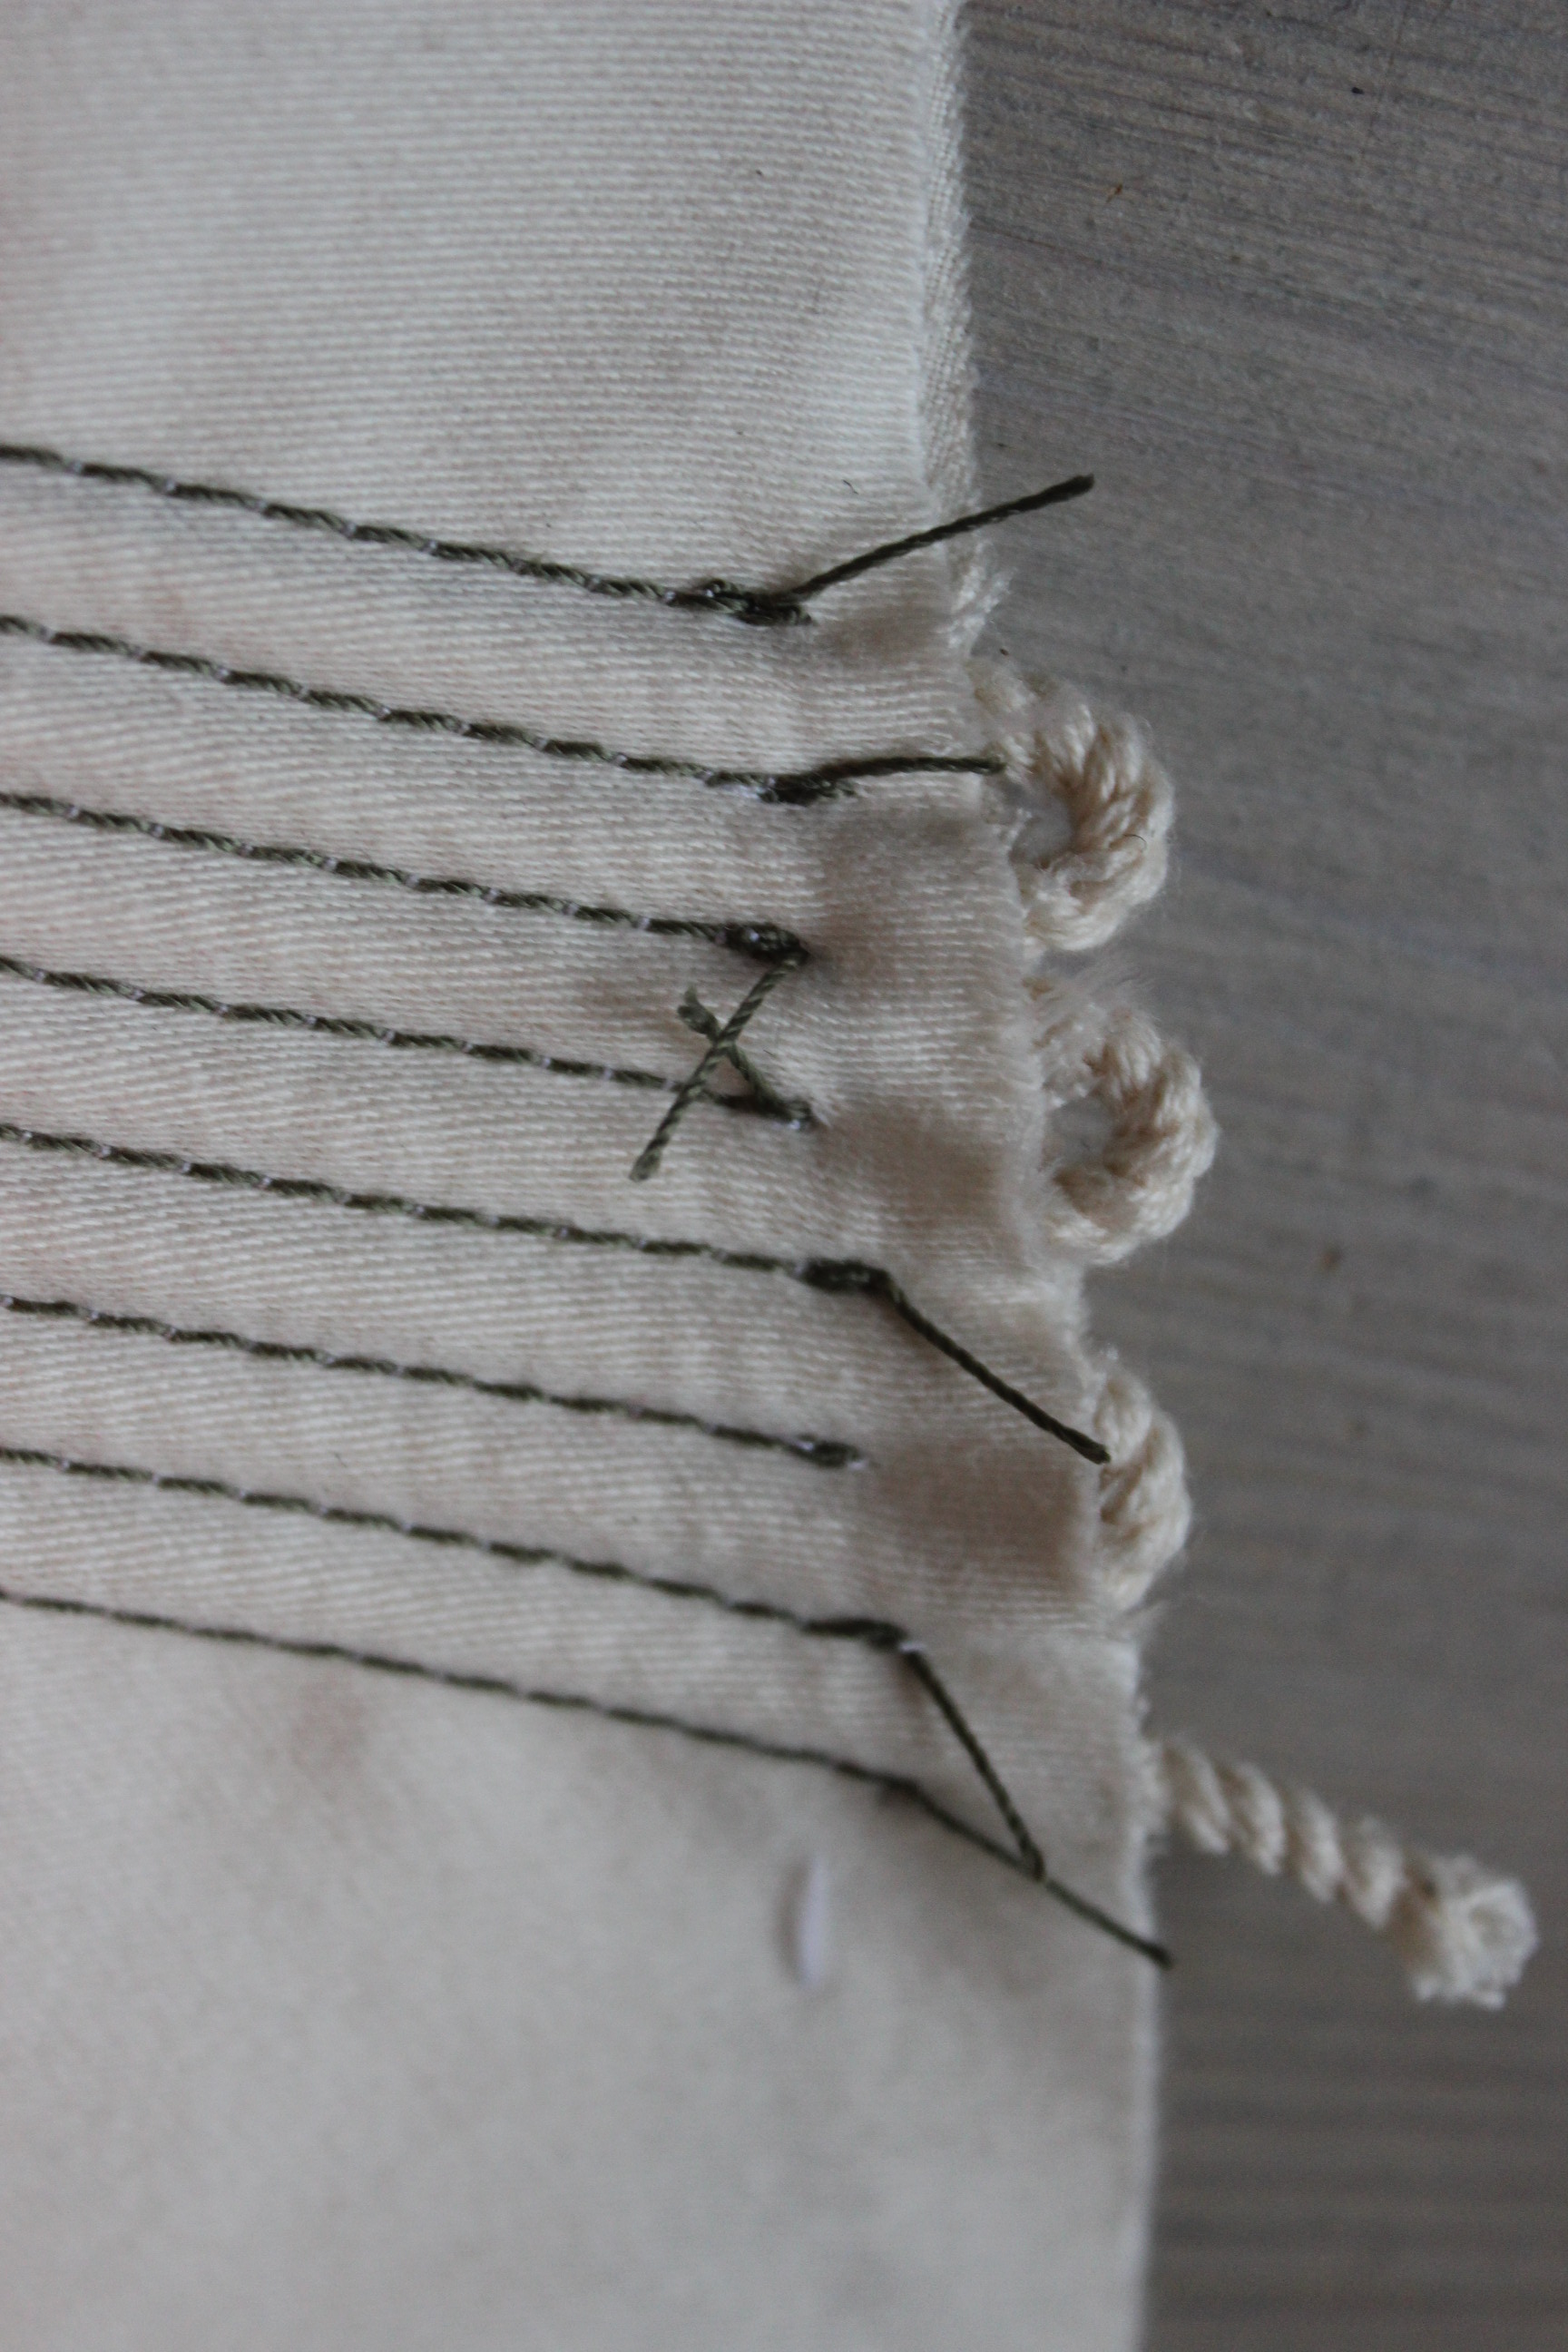
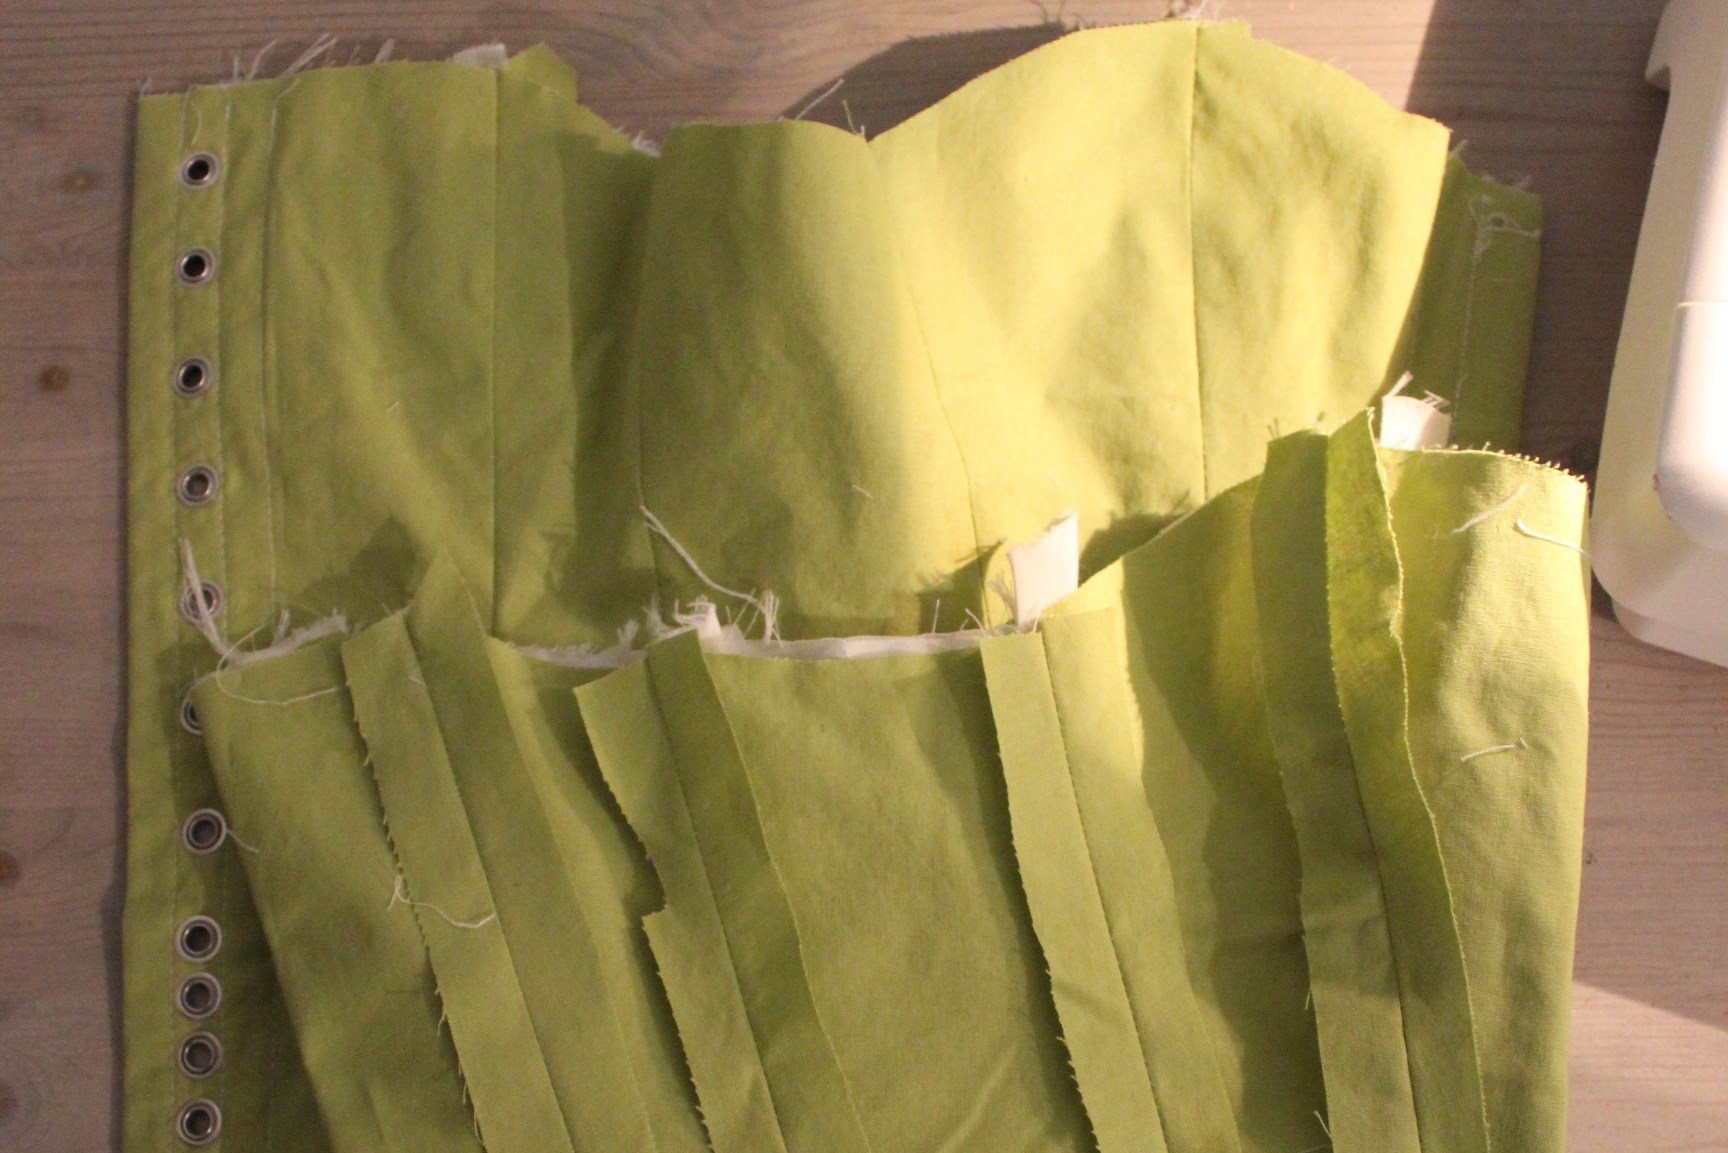
Getting all the seam-allownces between the layers.IMG_6145

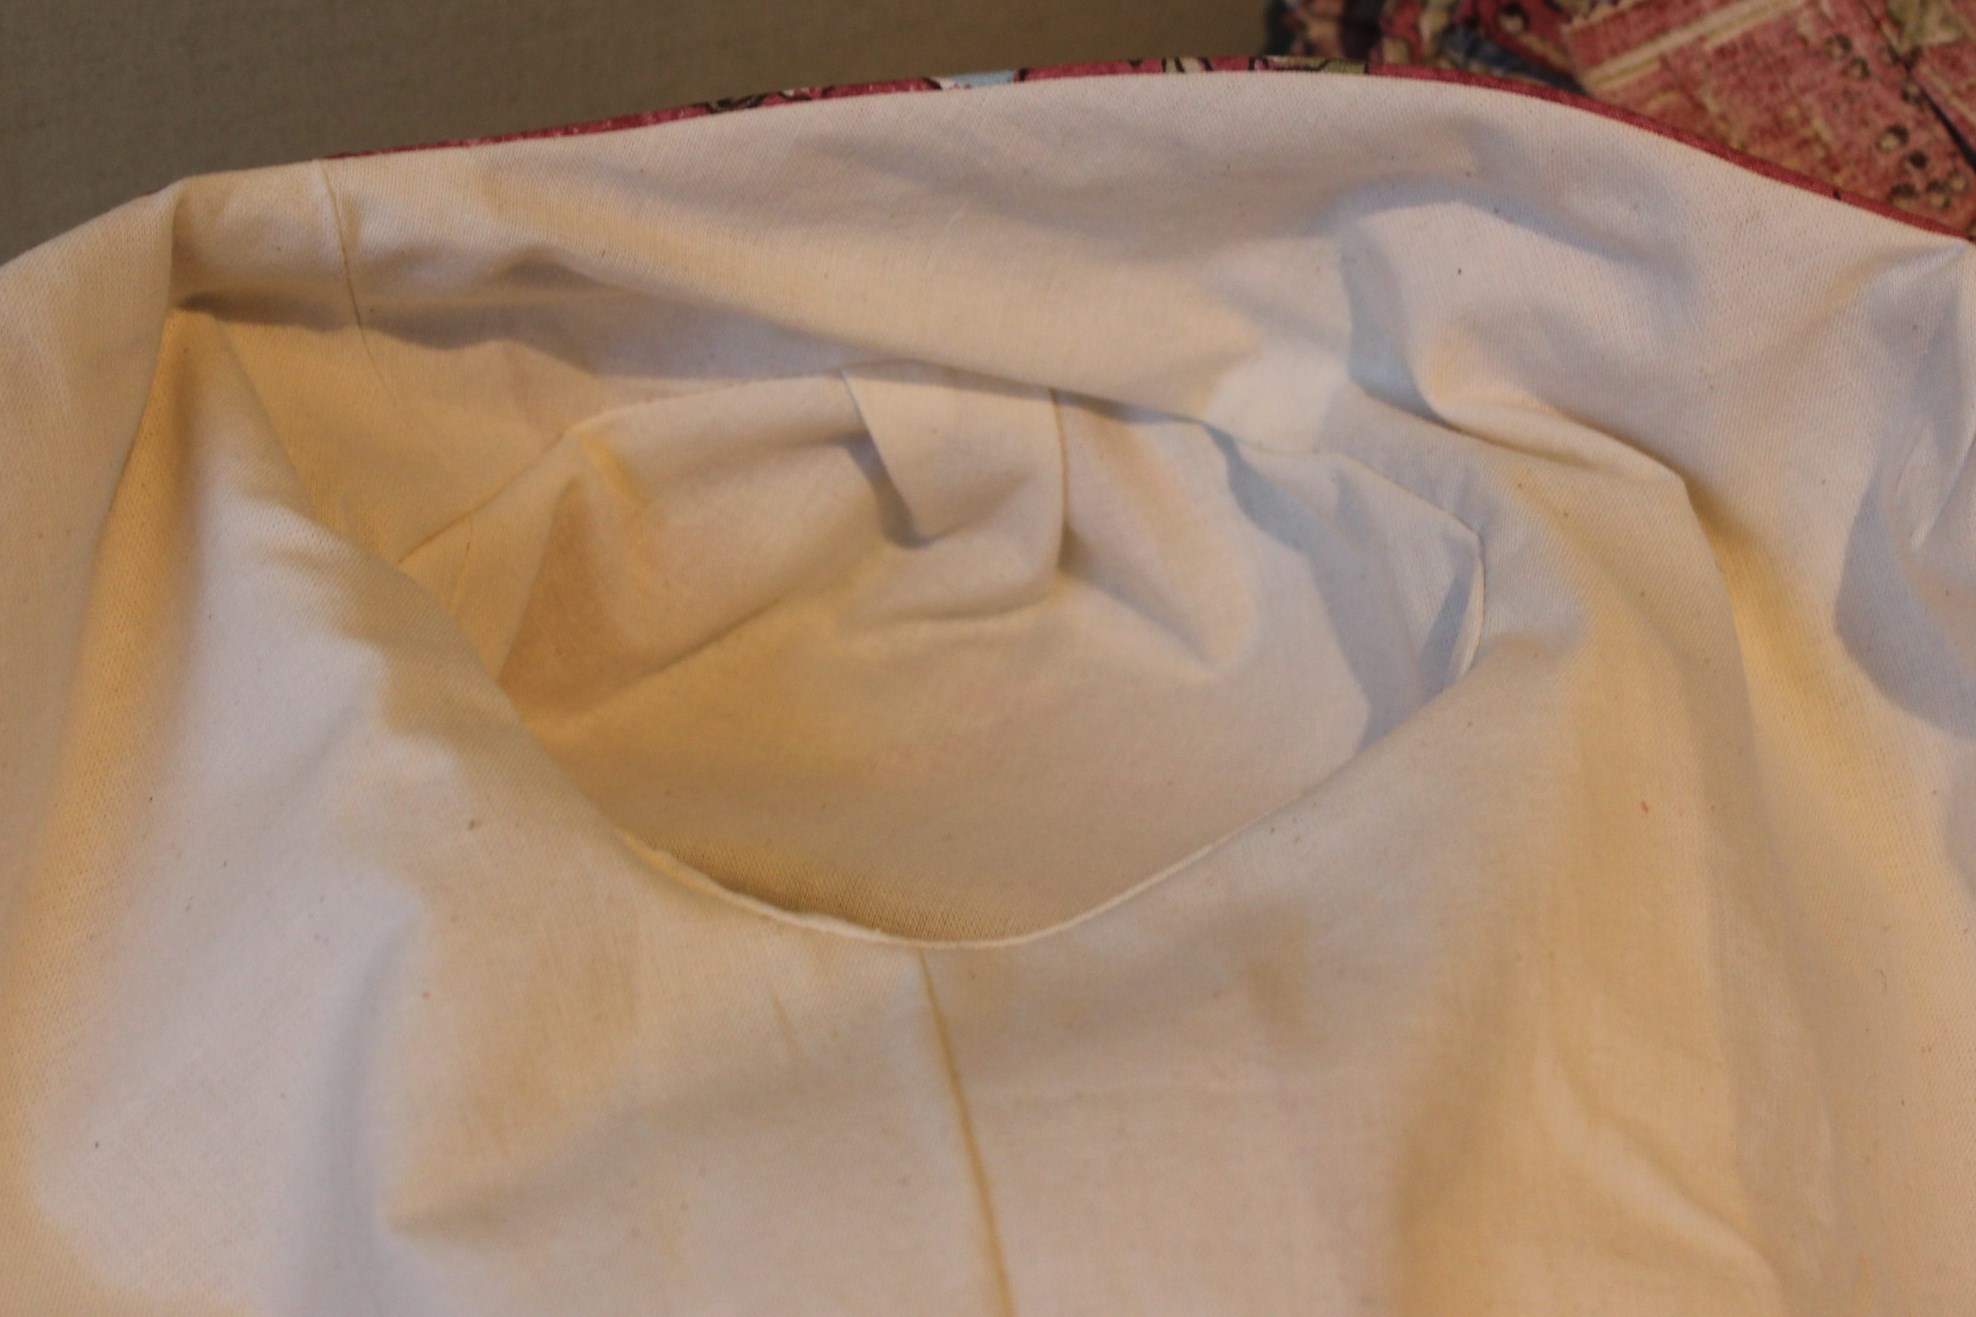
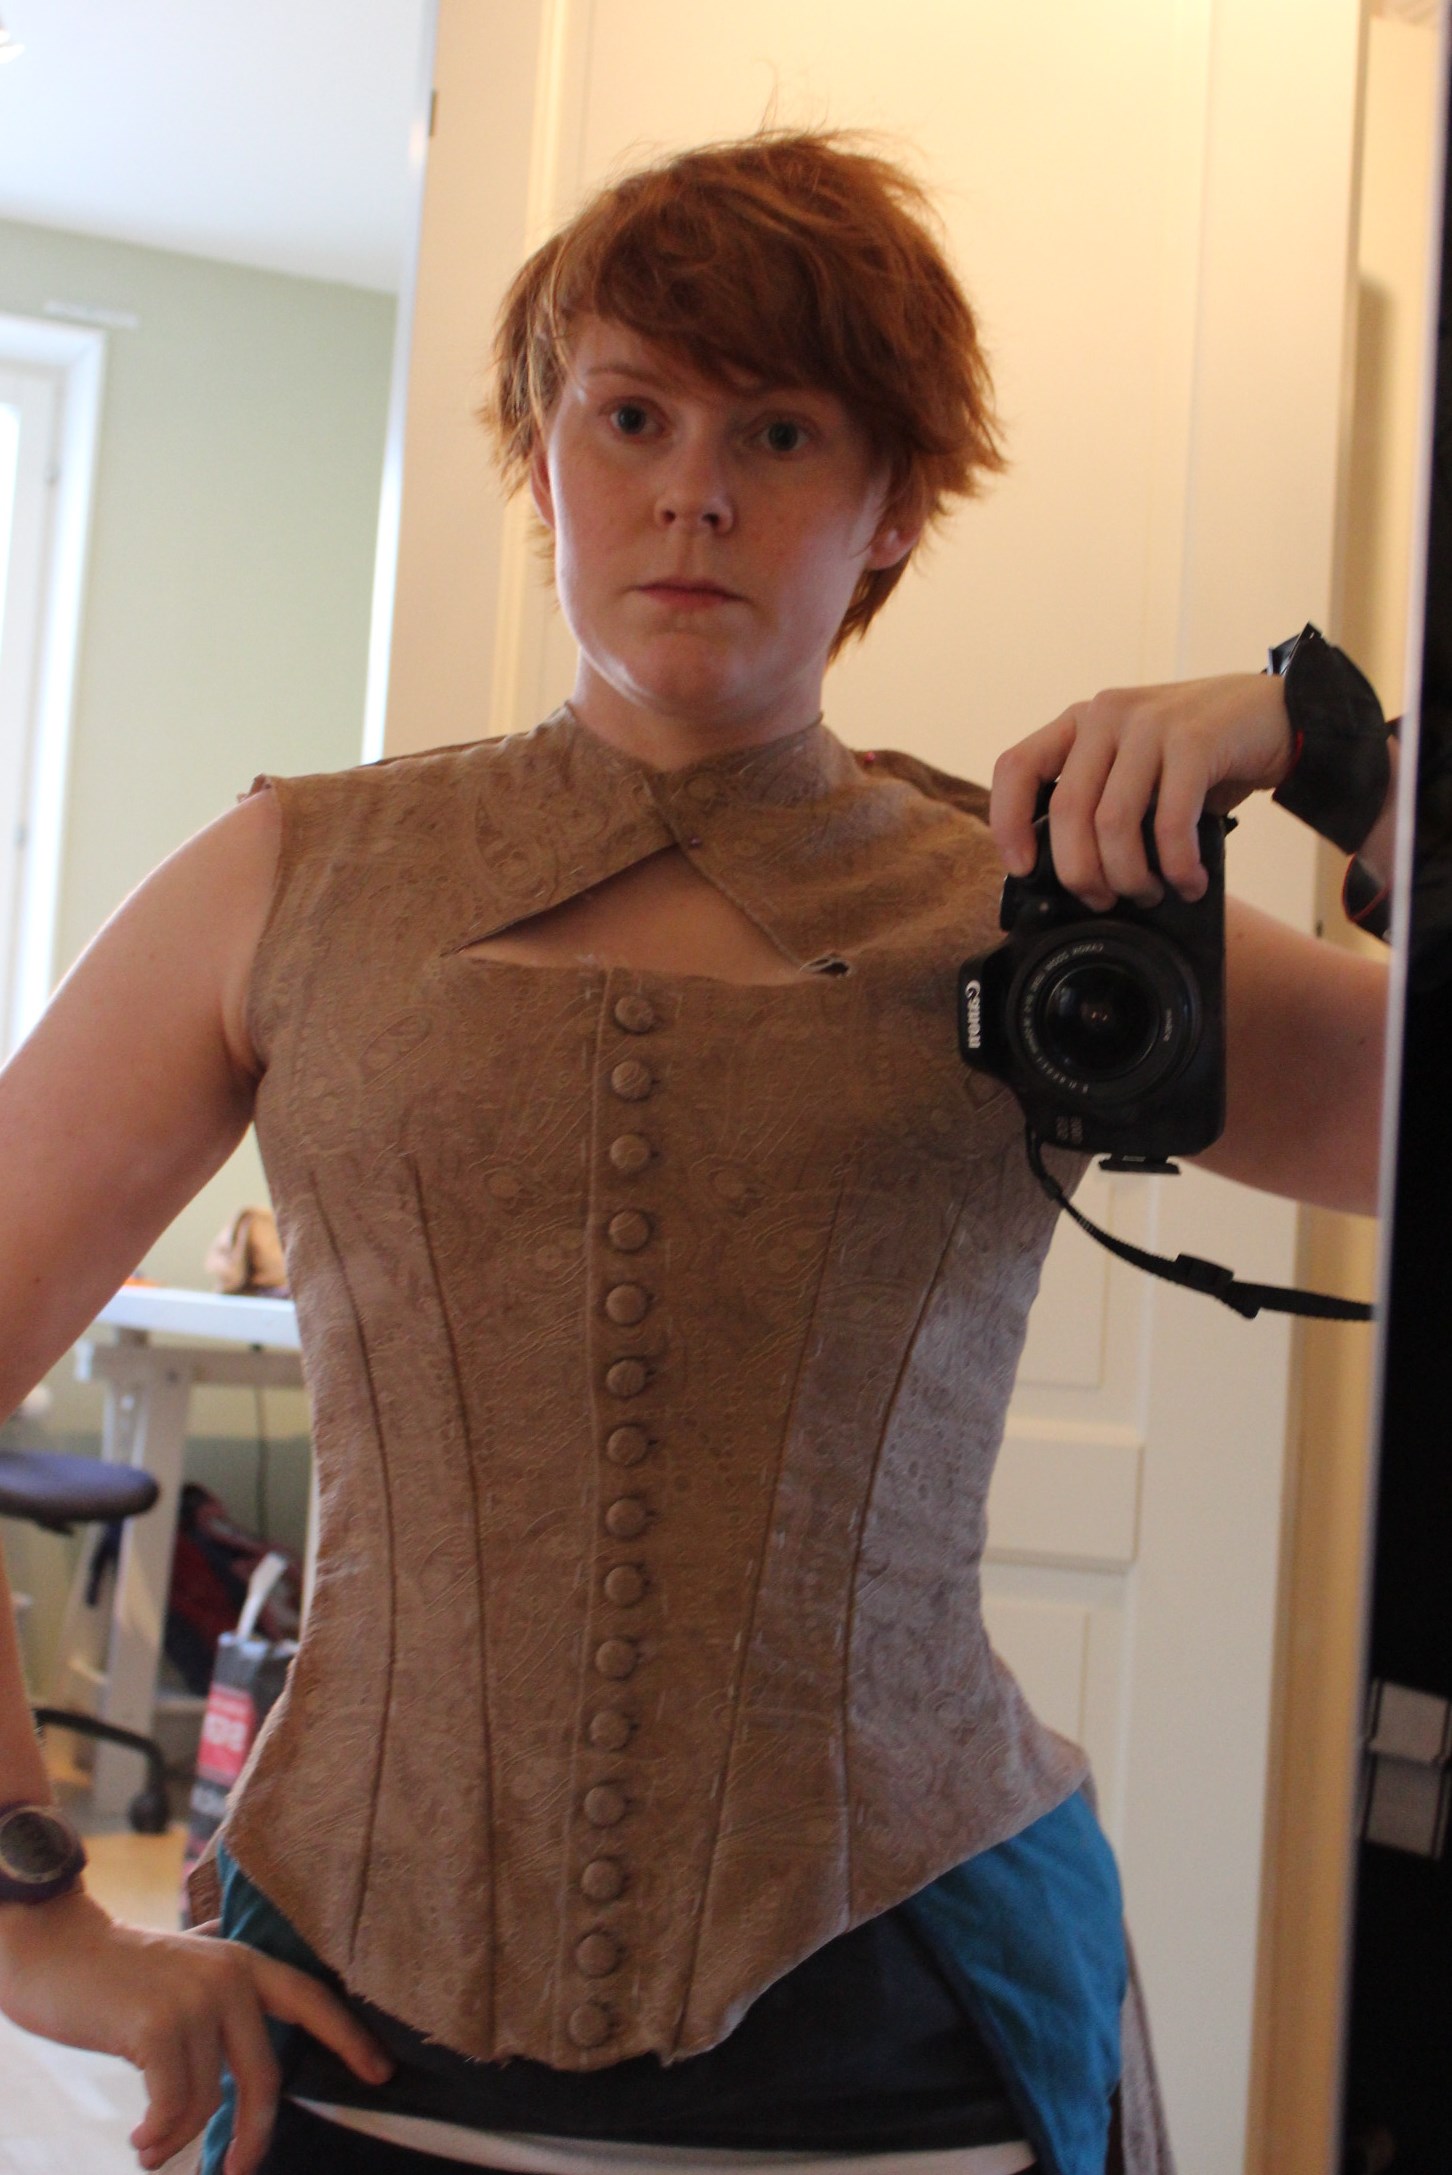
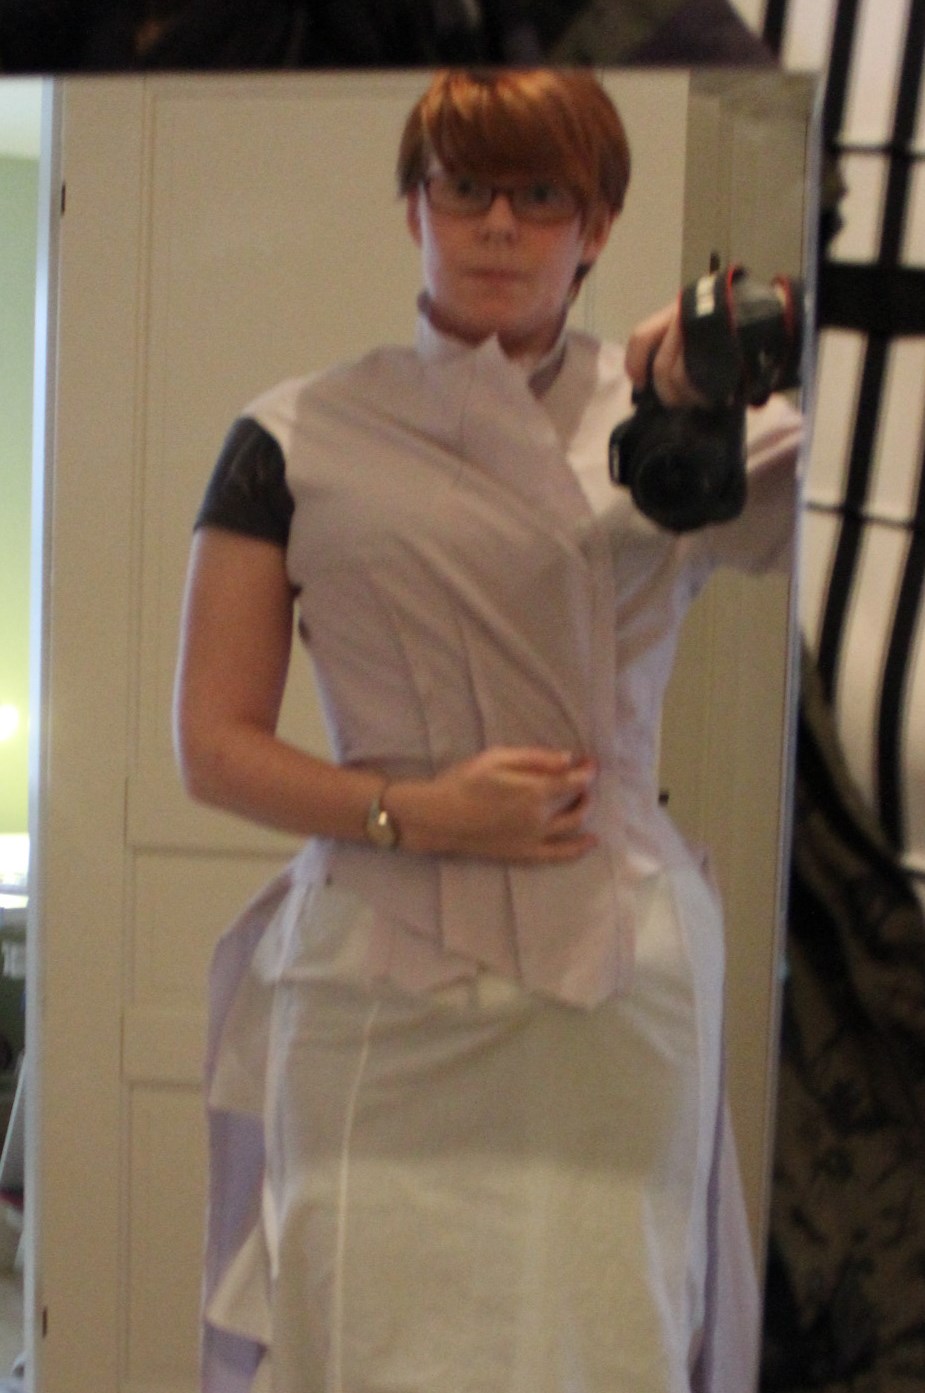
When I started to pin on the trim, I discovered something strange…IMG_6150
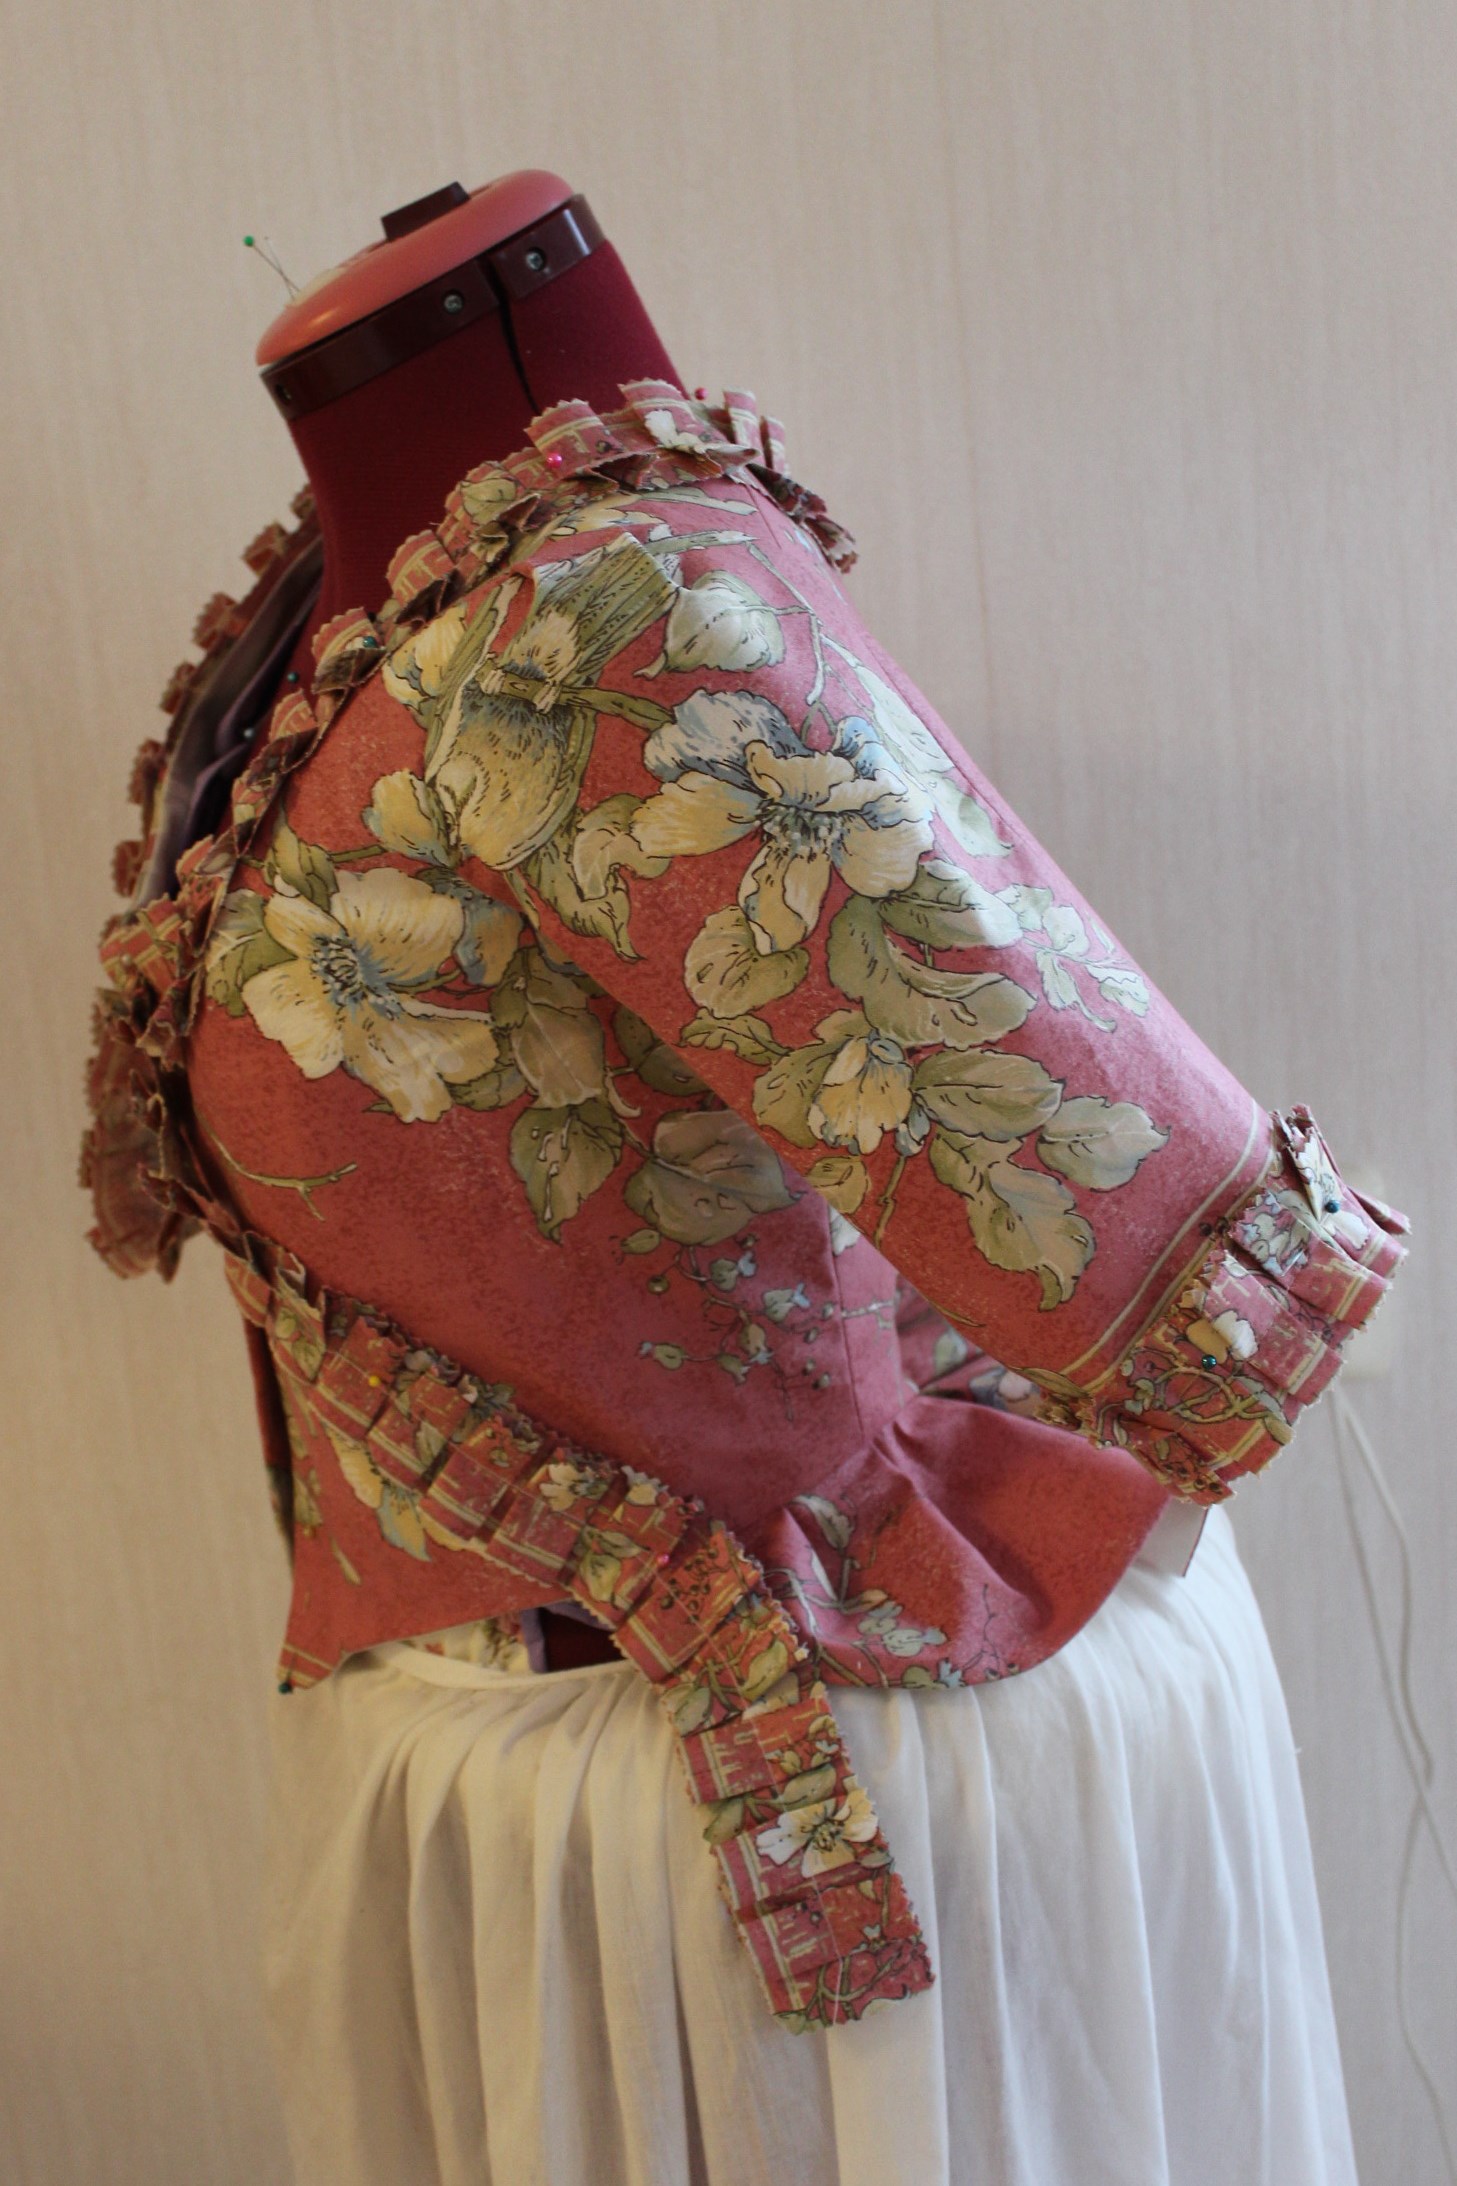
…A hint: You will have to keep your hands behind your back…

So I ripped the sleeves out (all four of them) and switched the sides. But the result was the same, only worse. So for the second time in on hour, I ripped the sleeves out. Grrr. IMG_6152I gave up the idea of a nice finished inside, and basted the lining and the outer fabric together. And stiched the sleeves in one last time (after pinning it in on the dressform).

IMG_6178

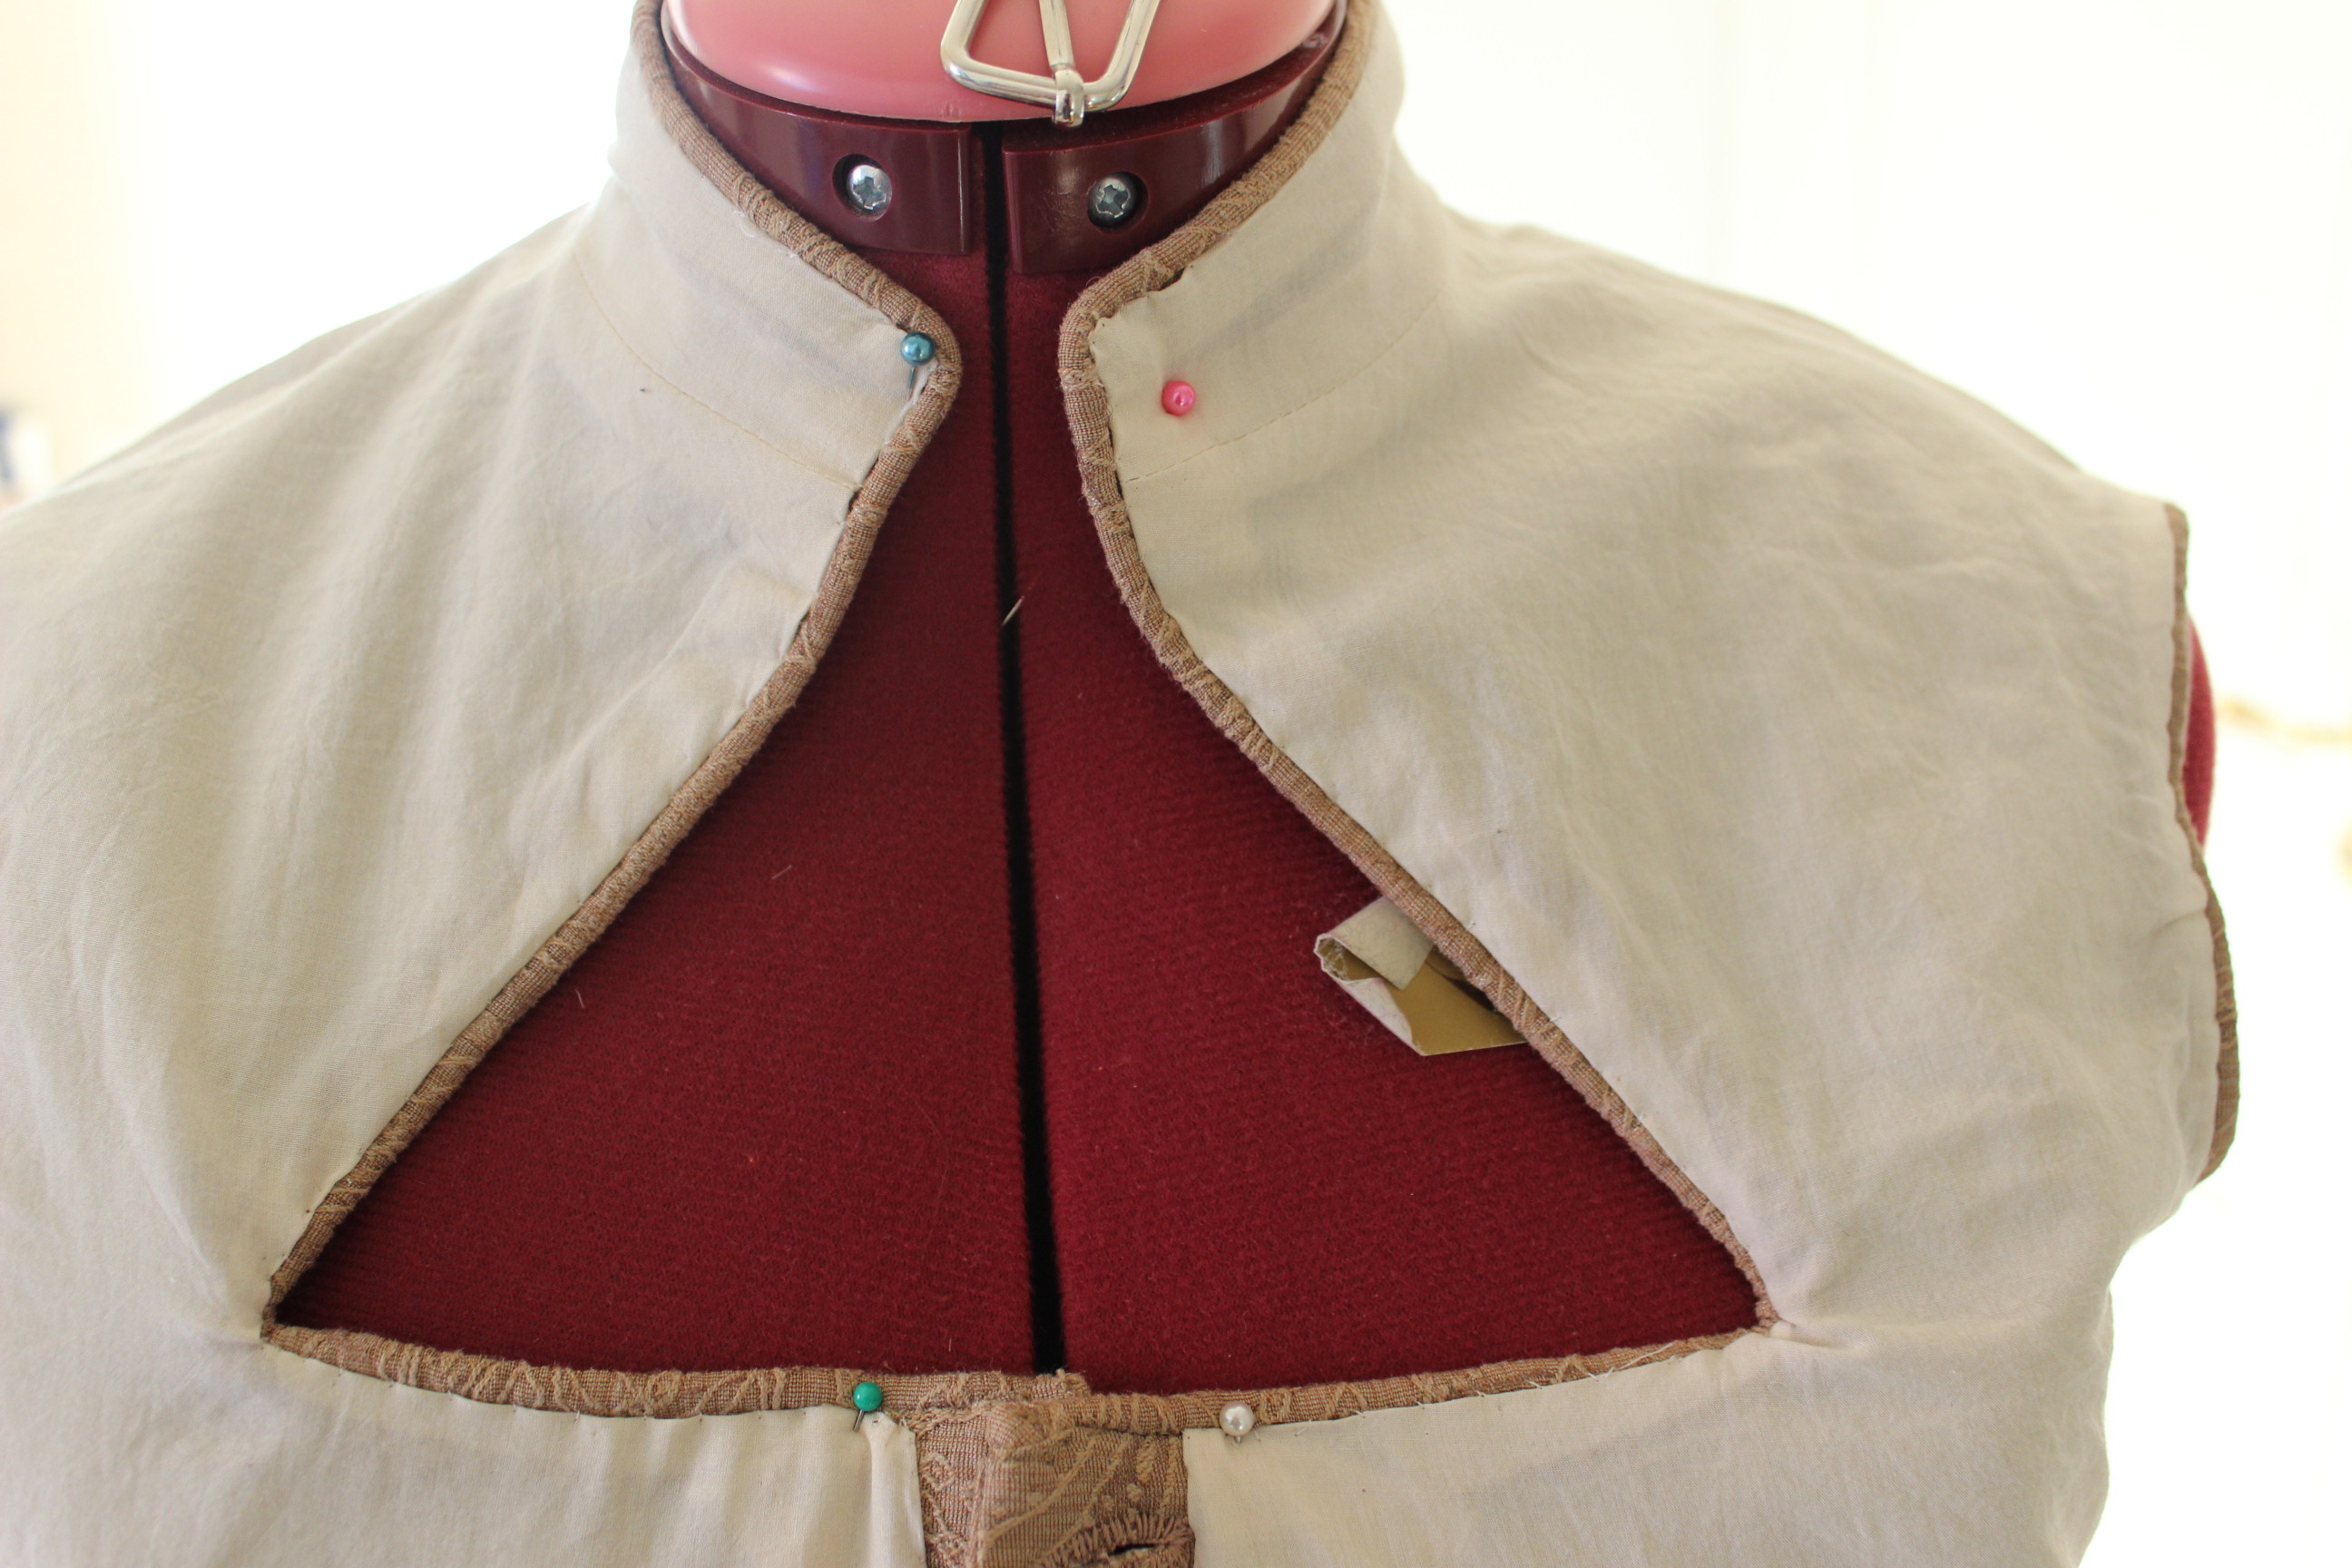
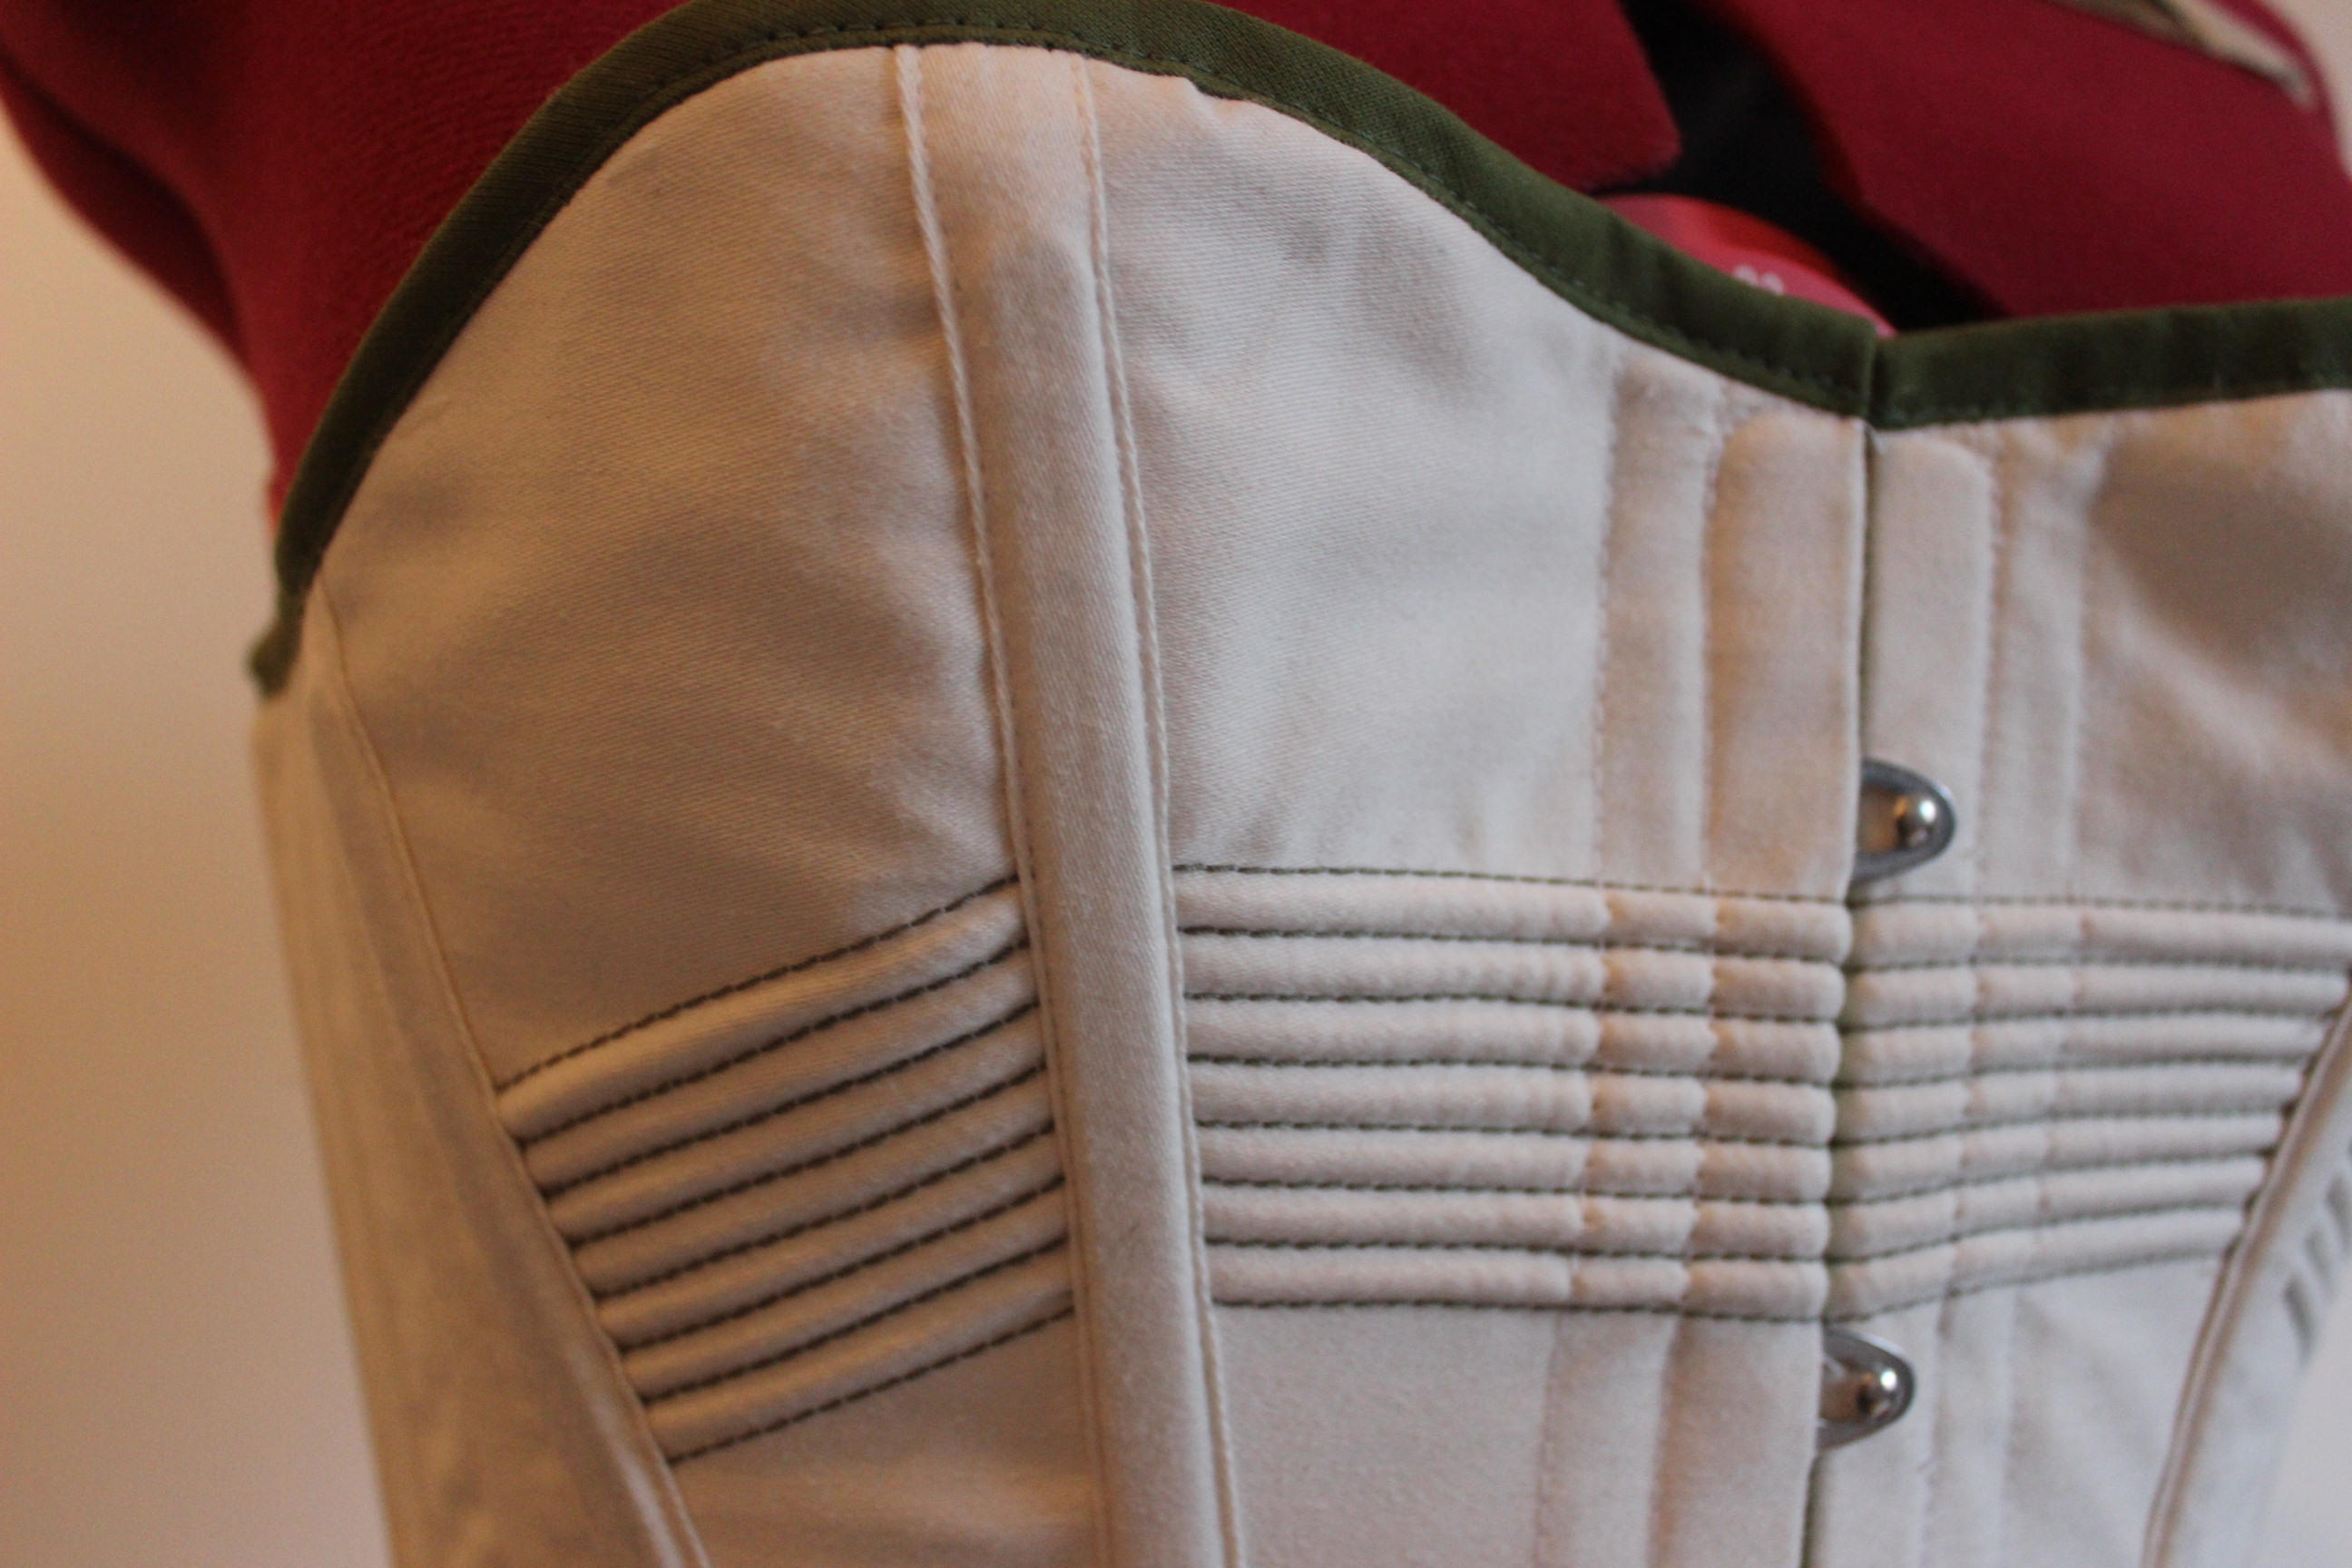
Then I pinned and hand-stiched on the trim. I used the hooks and thread eyes to lock the light bones on the outer edge of the front.
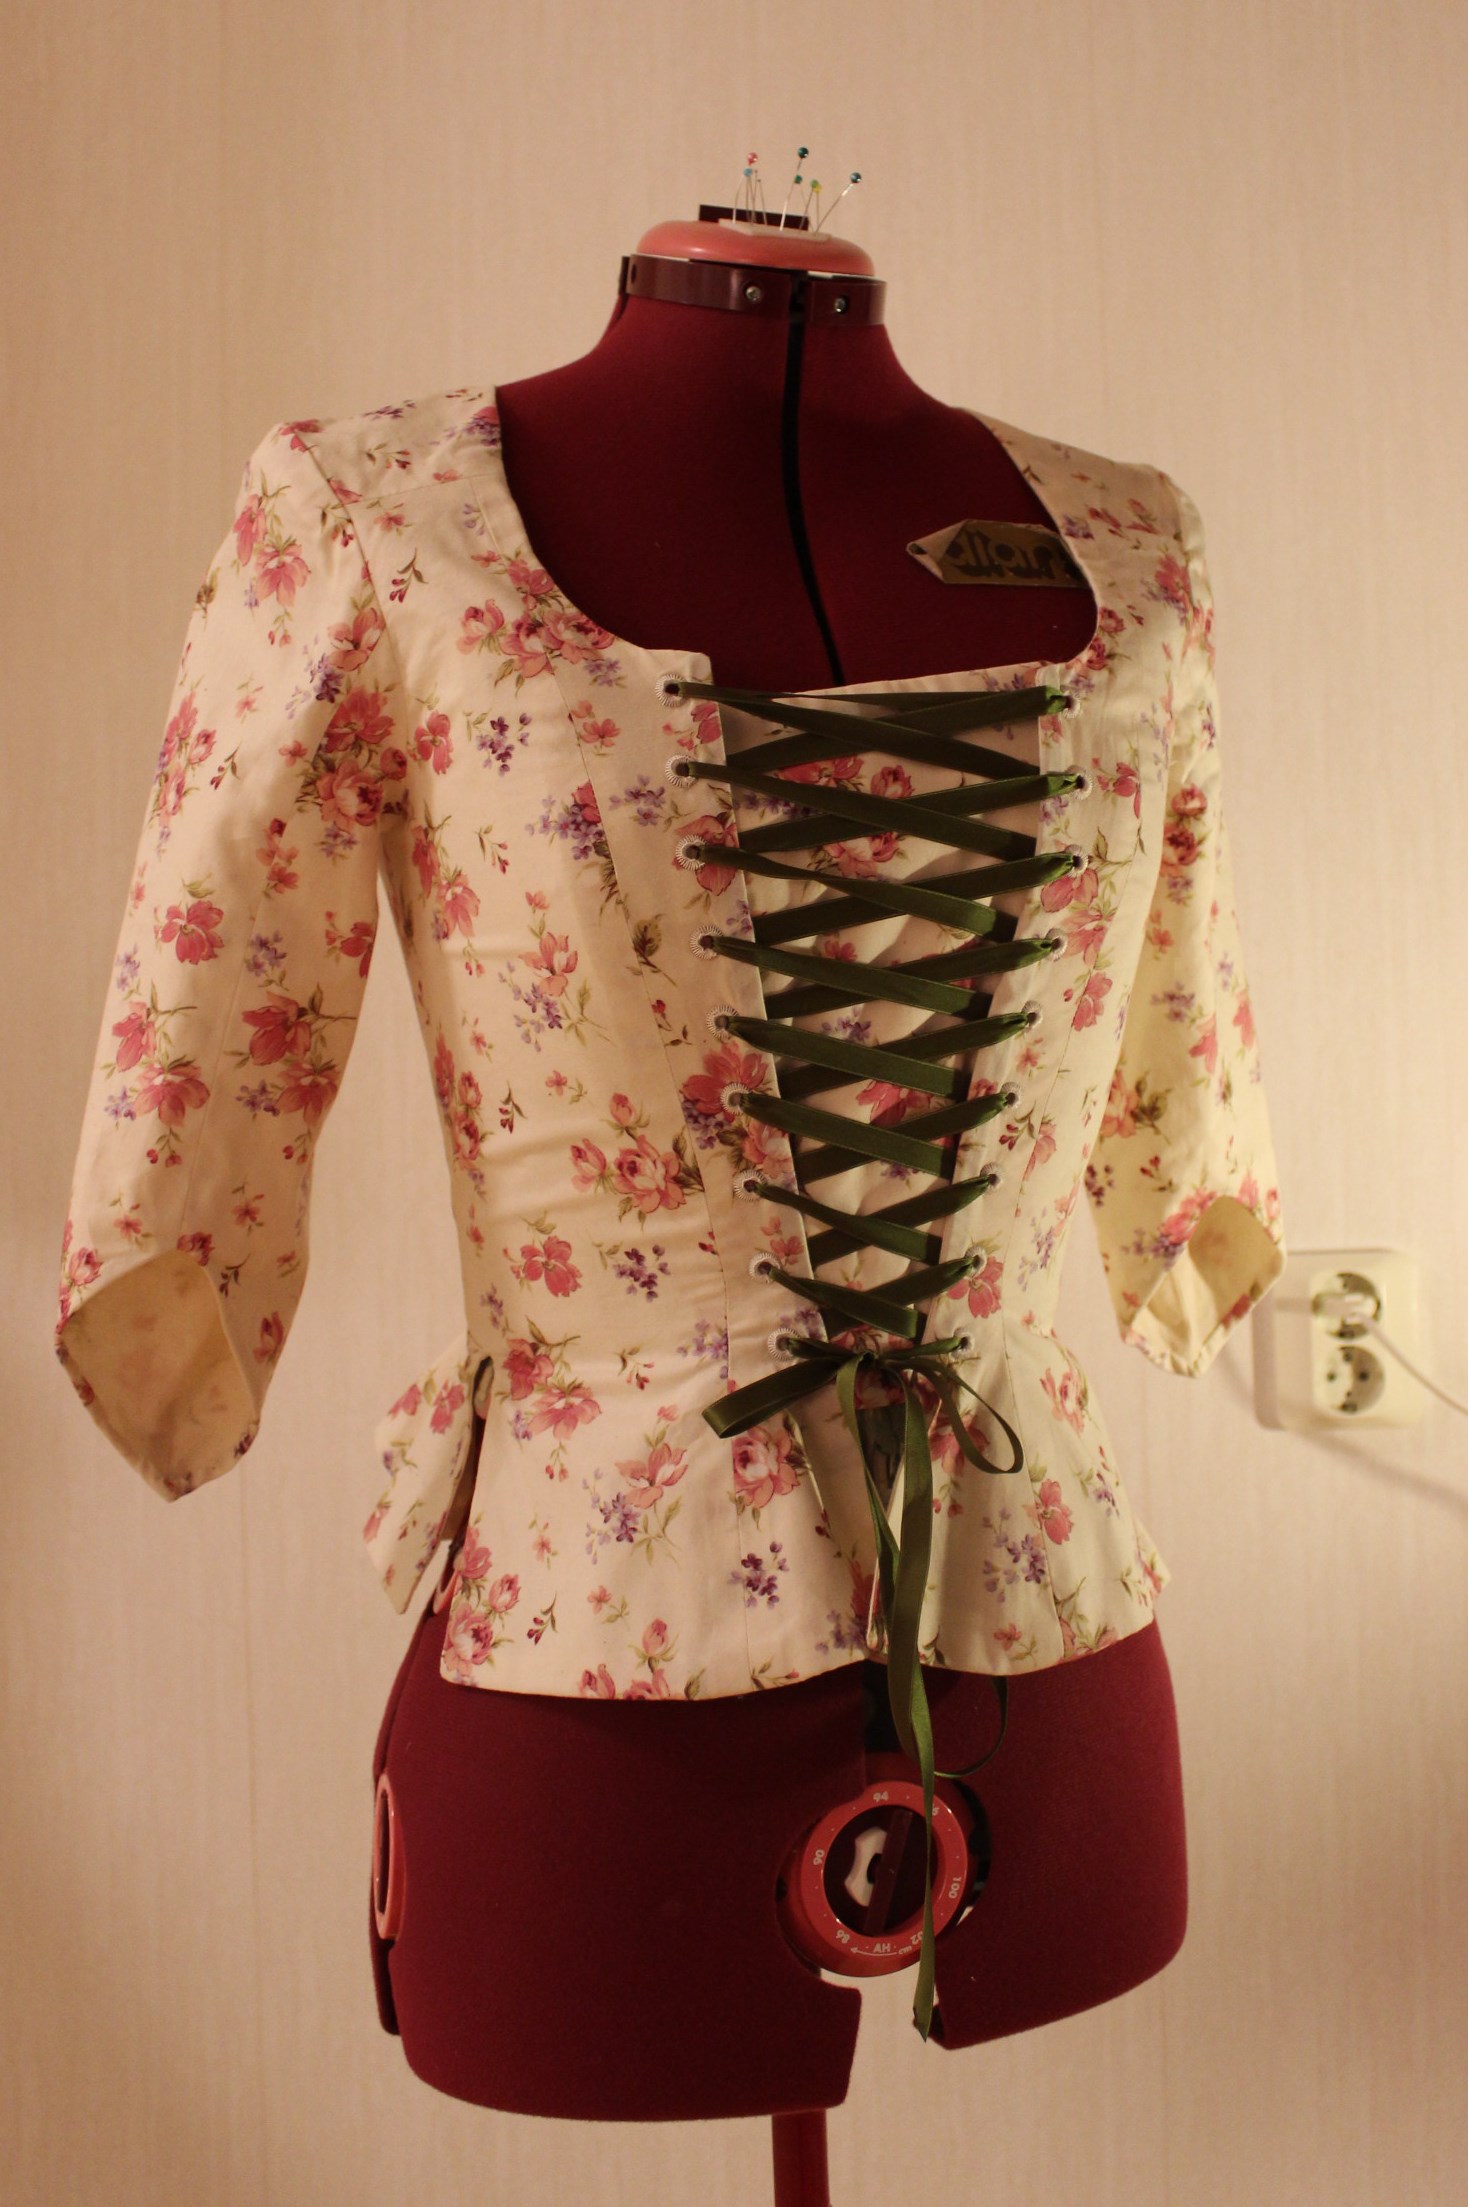
Finished:IMG_6154

IMG_6168

IMG_6163

IMG_6156

IMG_6159

IMG_6160

IMG_6161

Just the Facts:

Challenge: Nr 3 – Pink.

What: A 1770s caraco jacket.

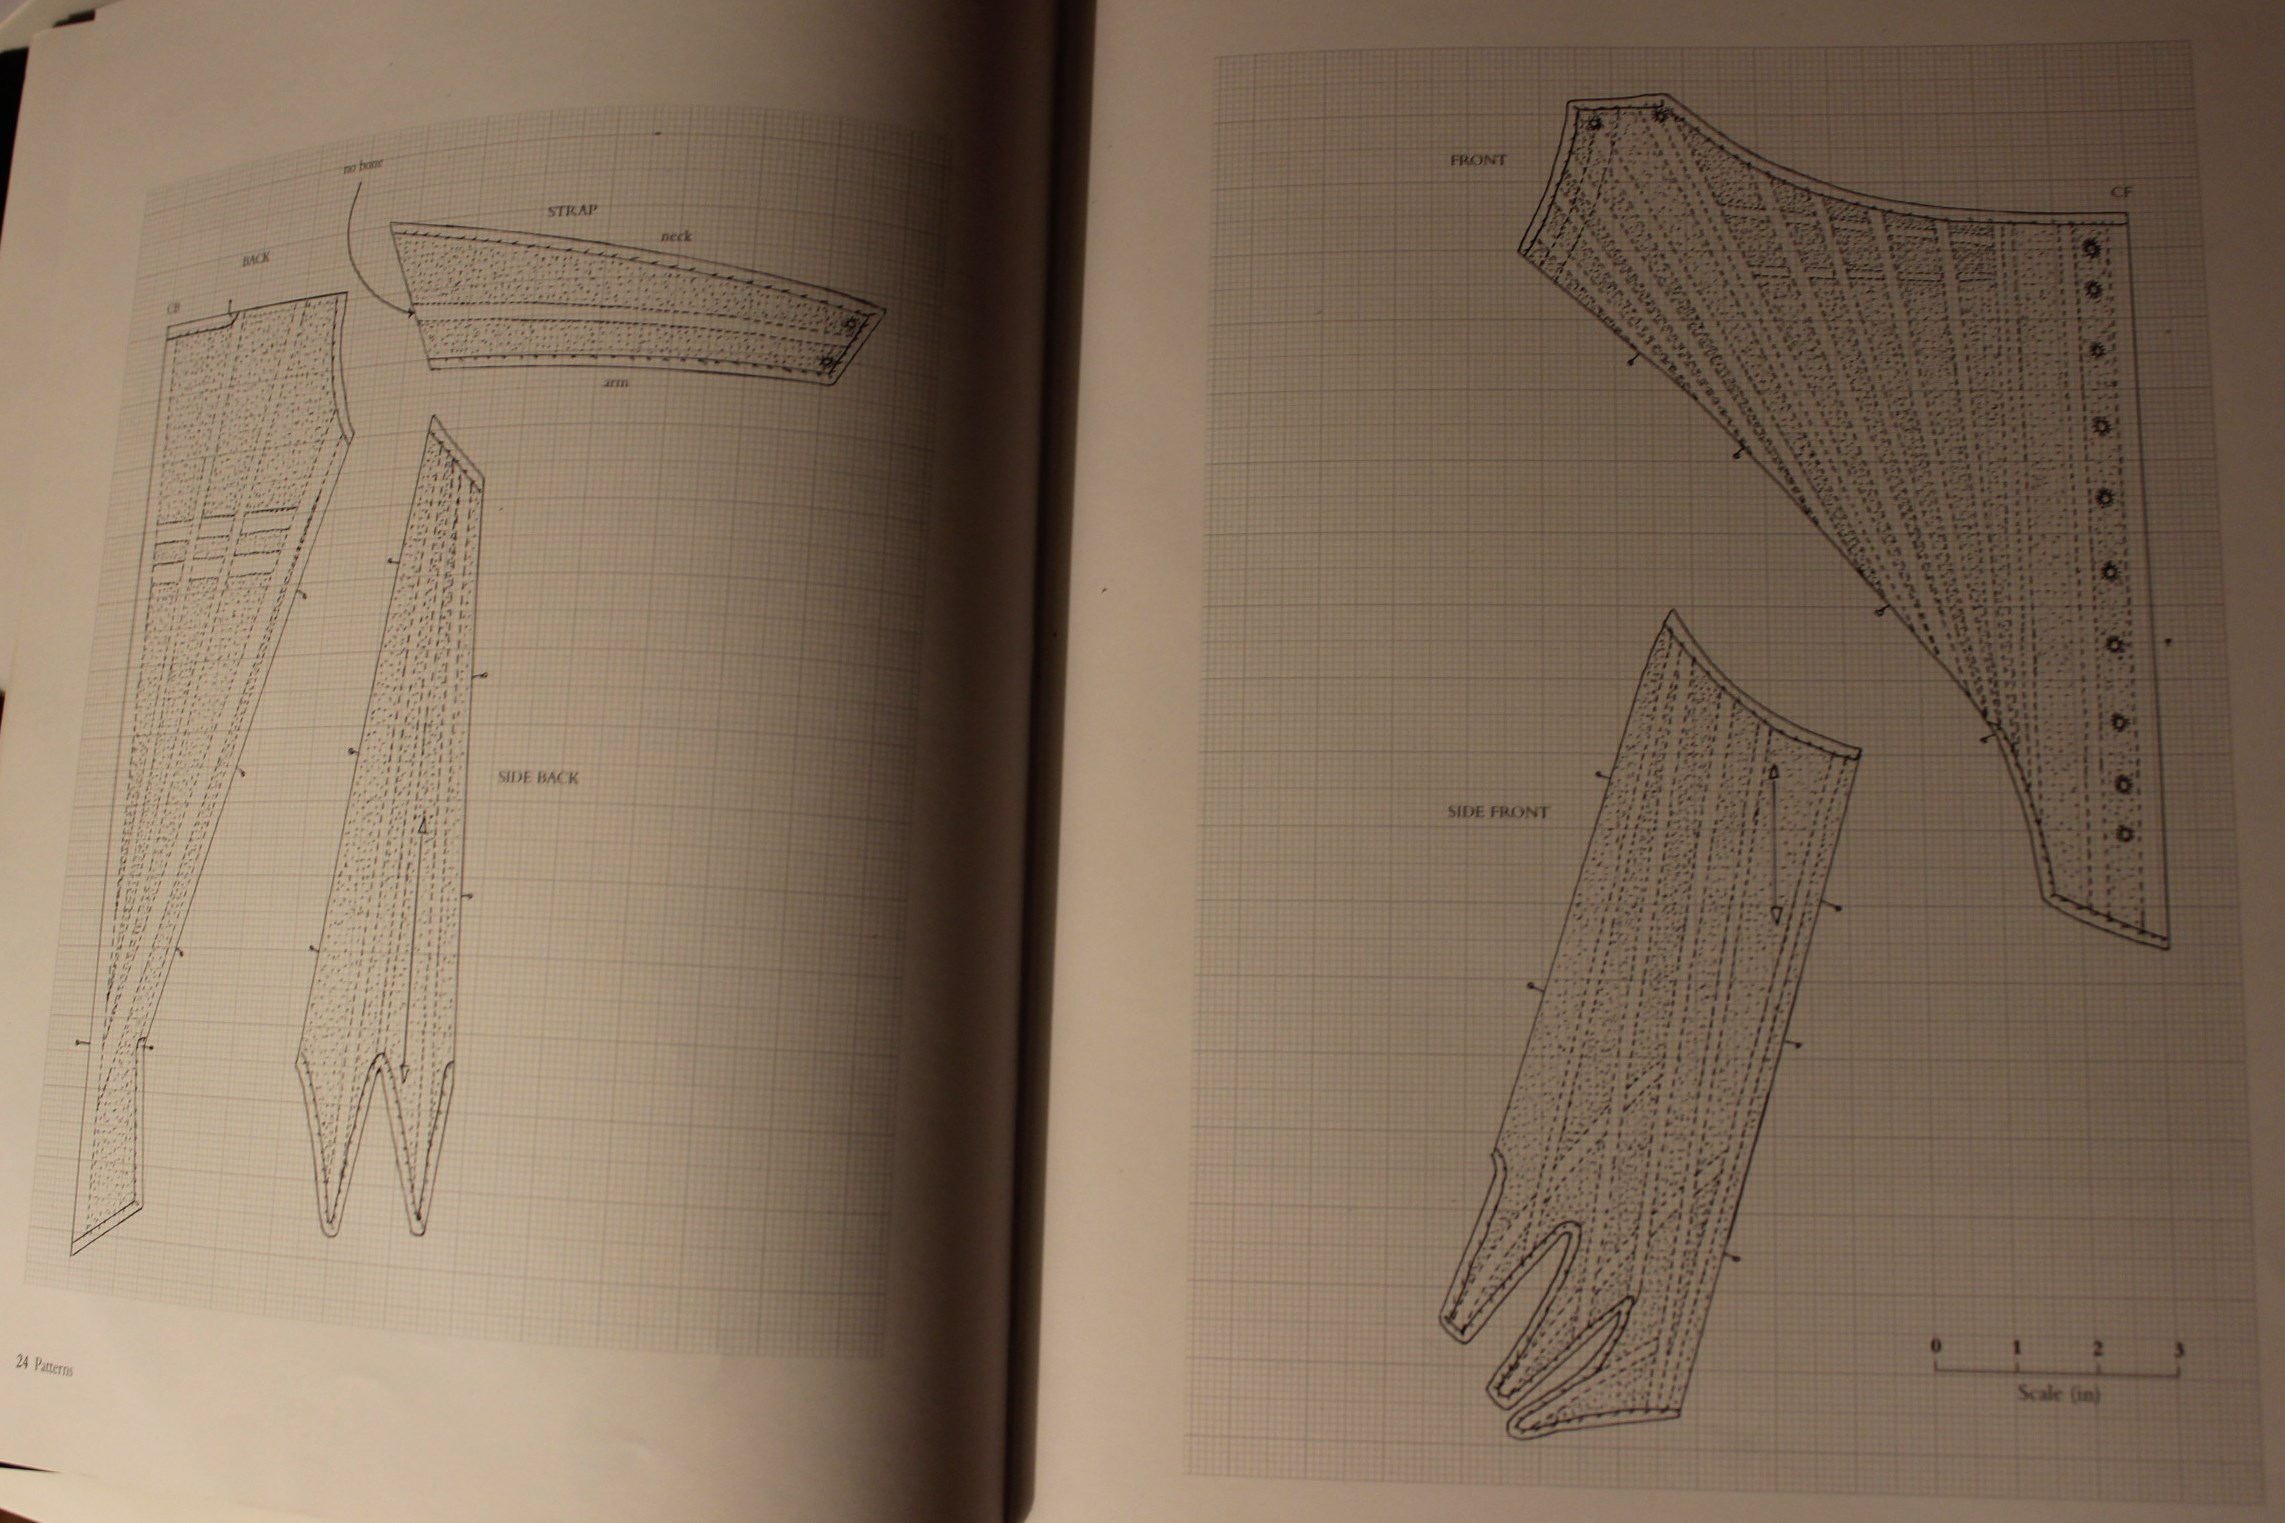
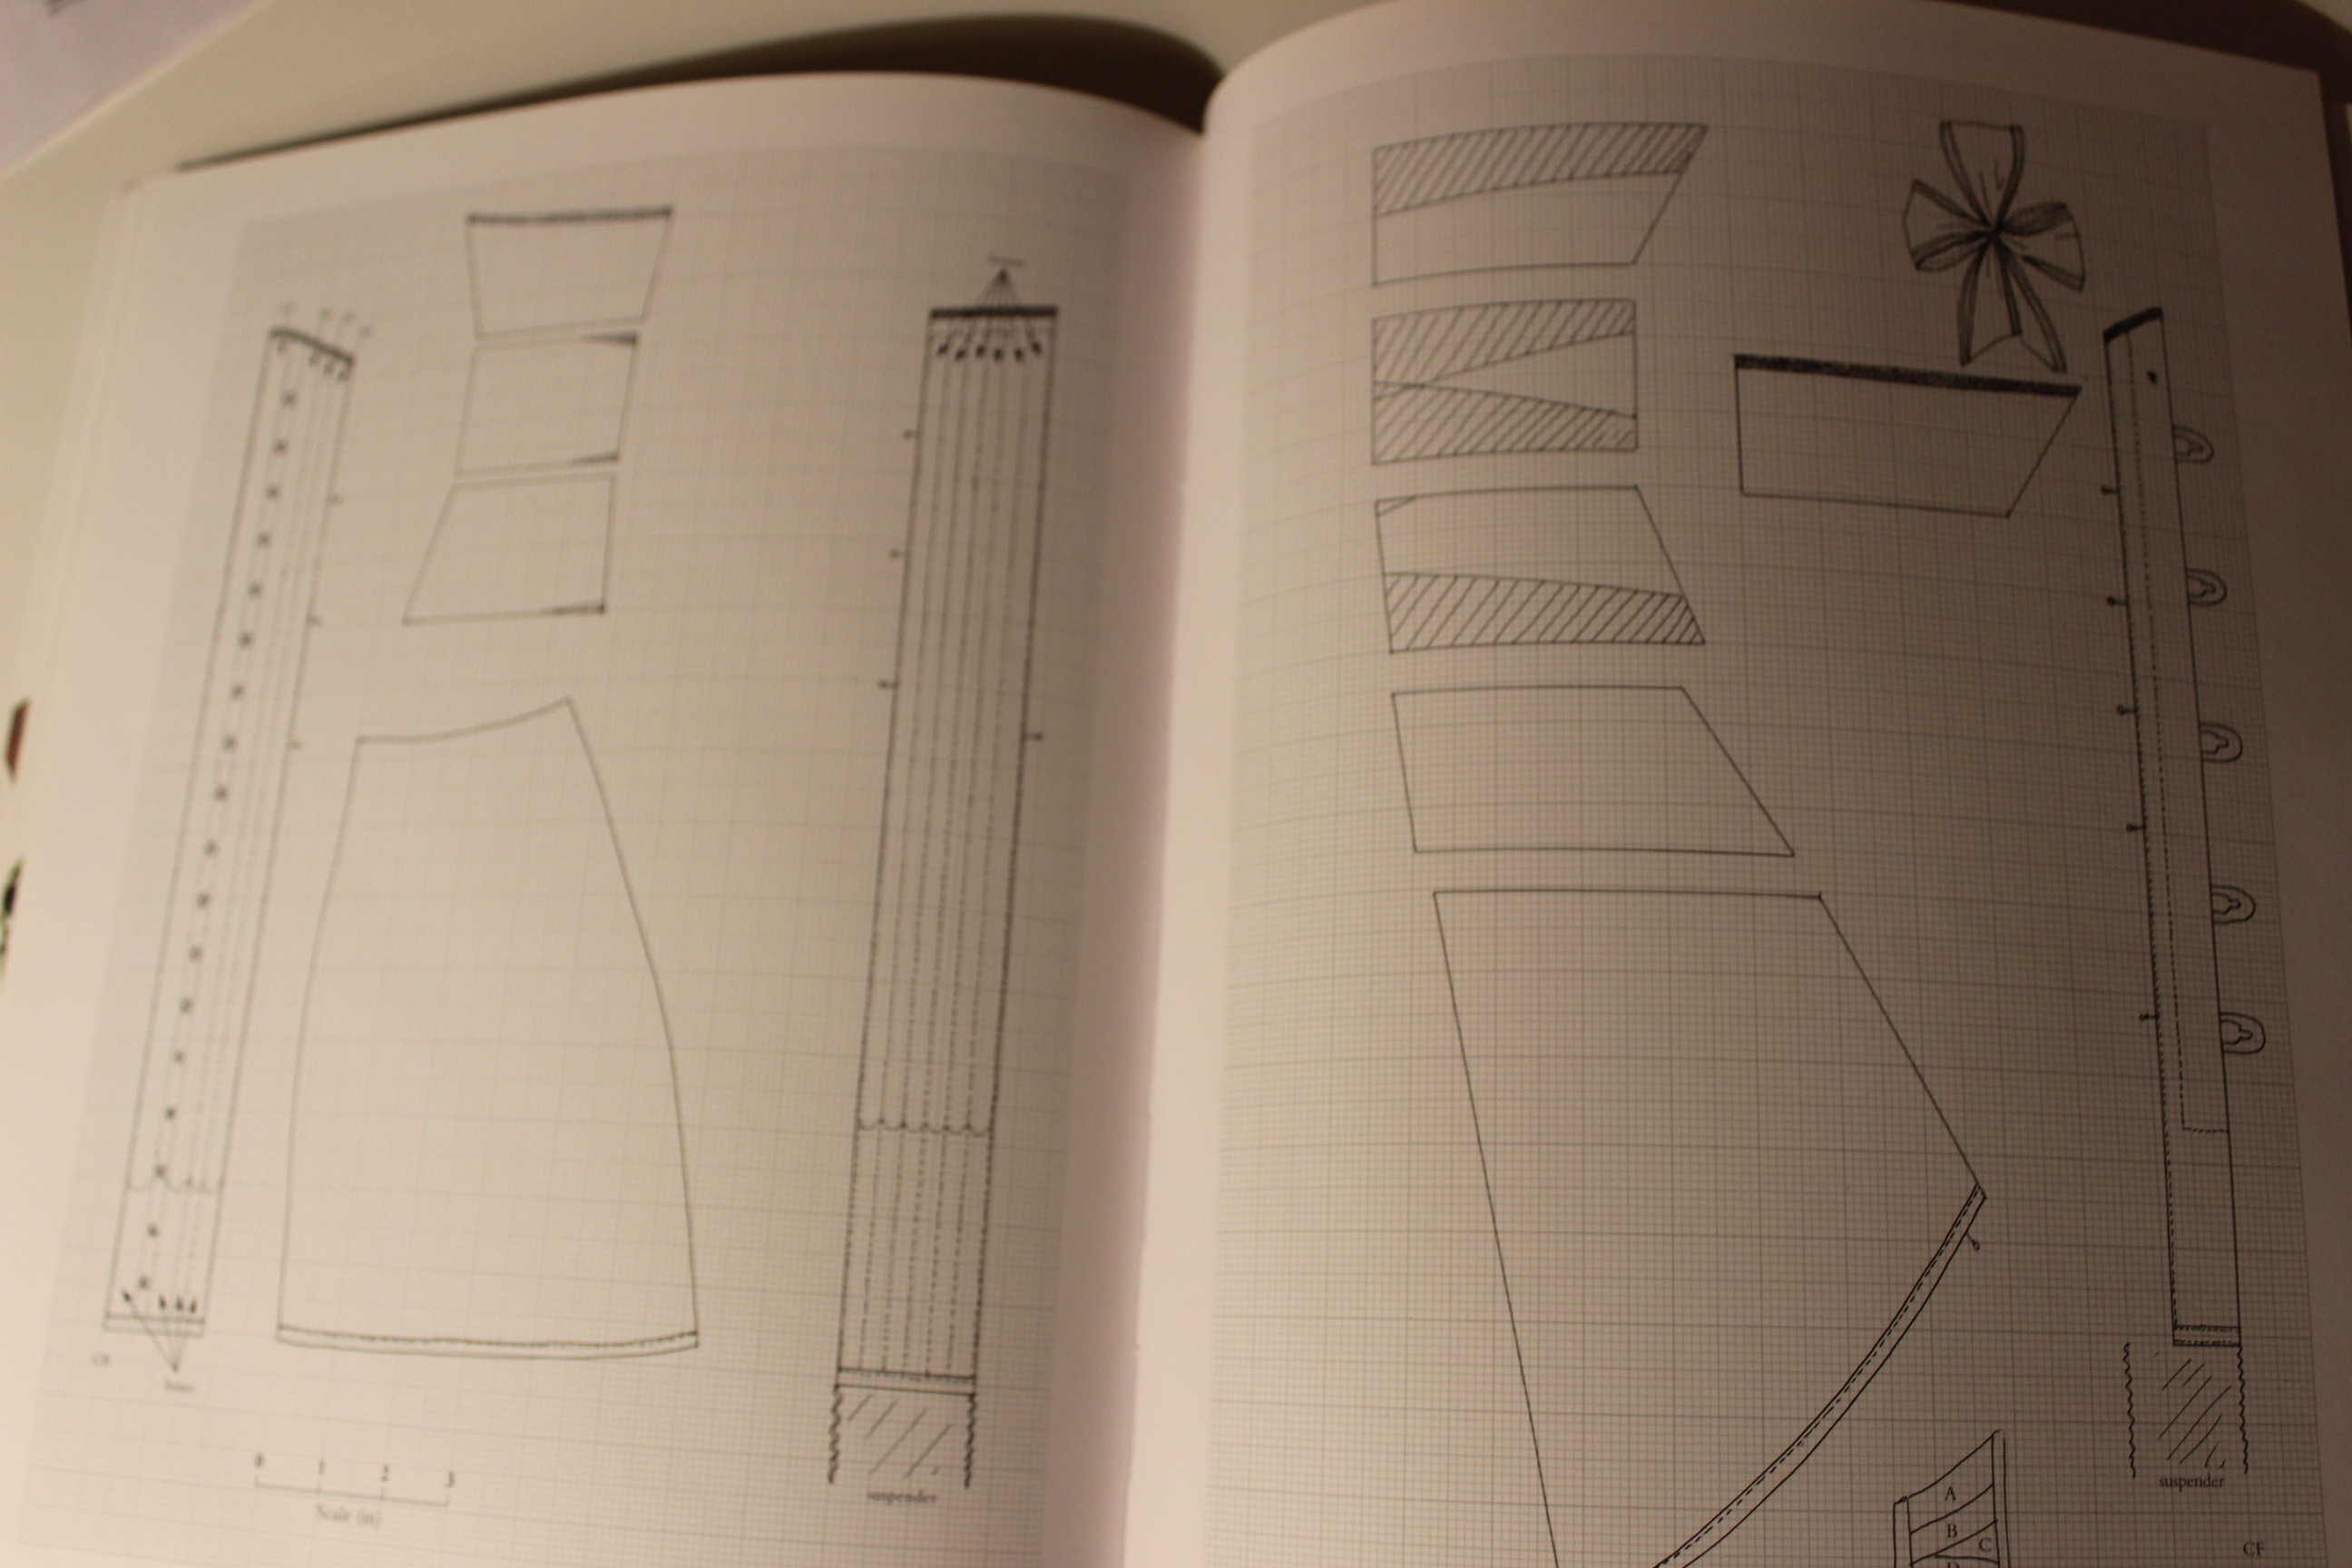
Pattern: Draped my own using Janet Arnolds “Patterns of Fashion”.

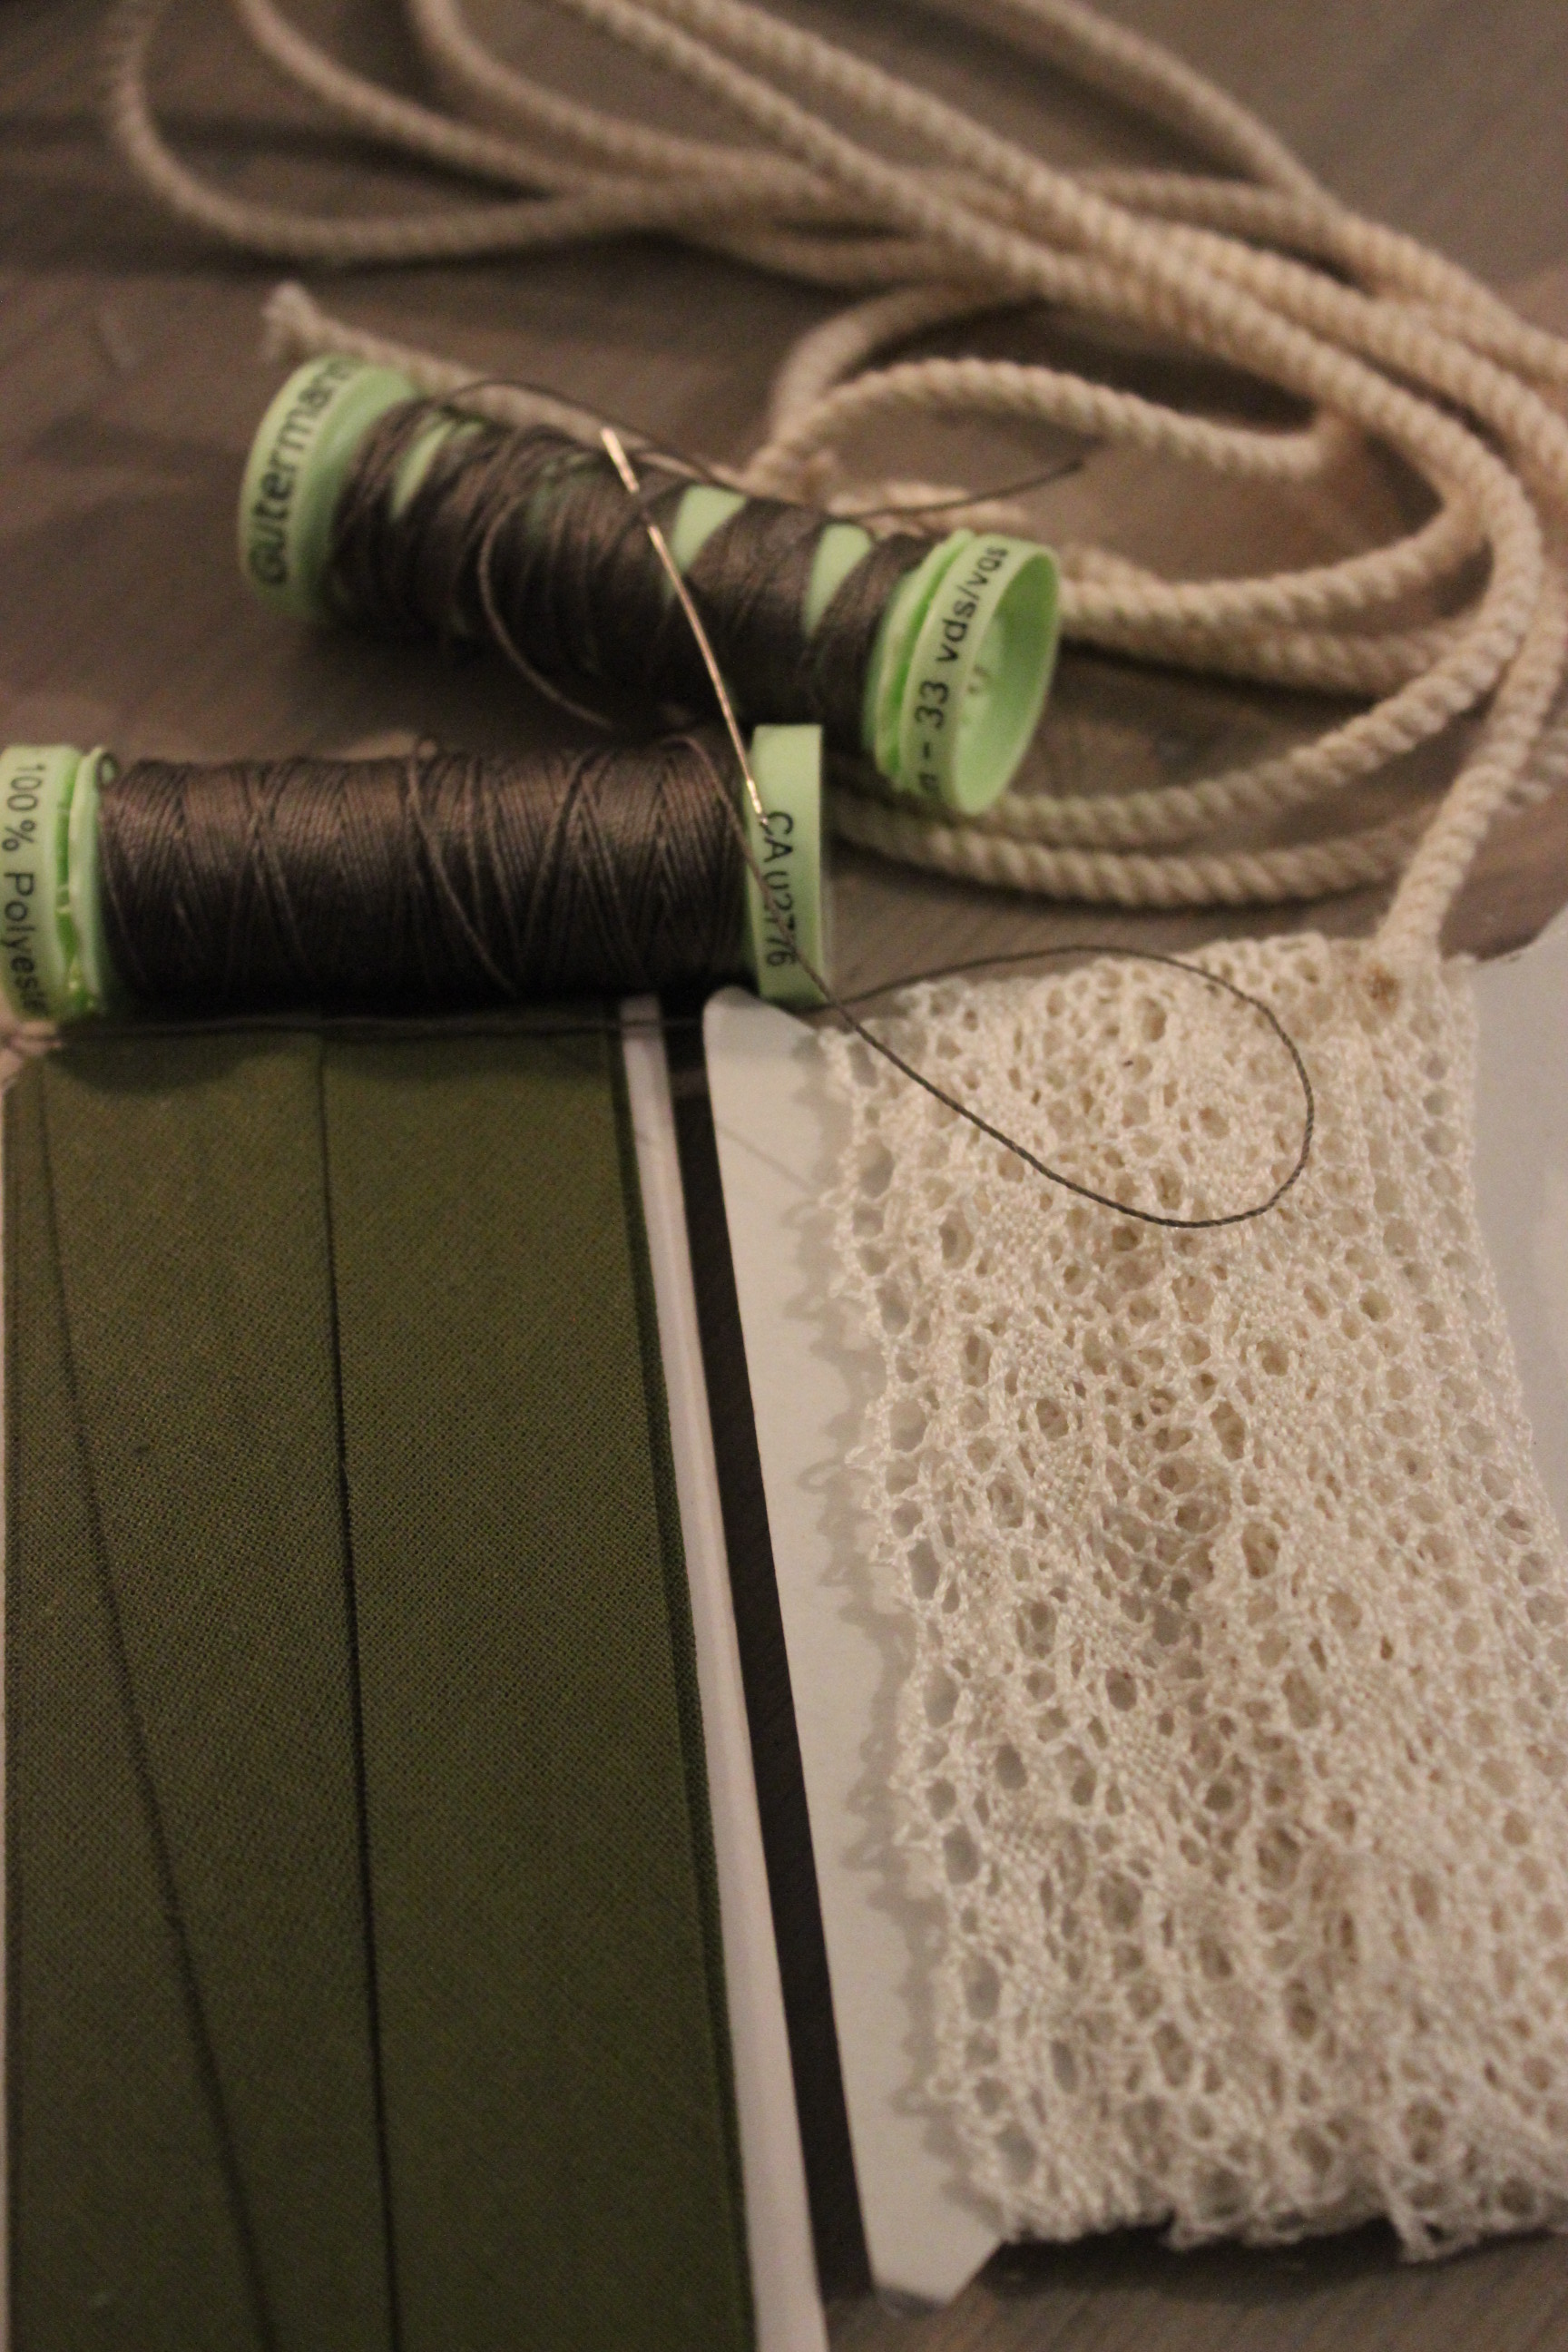
Fabric: 1 m of printed pink qvilting cotton, 1 m of white cotton sheet.

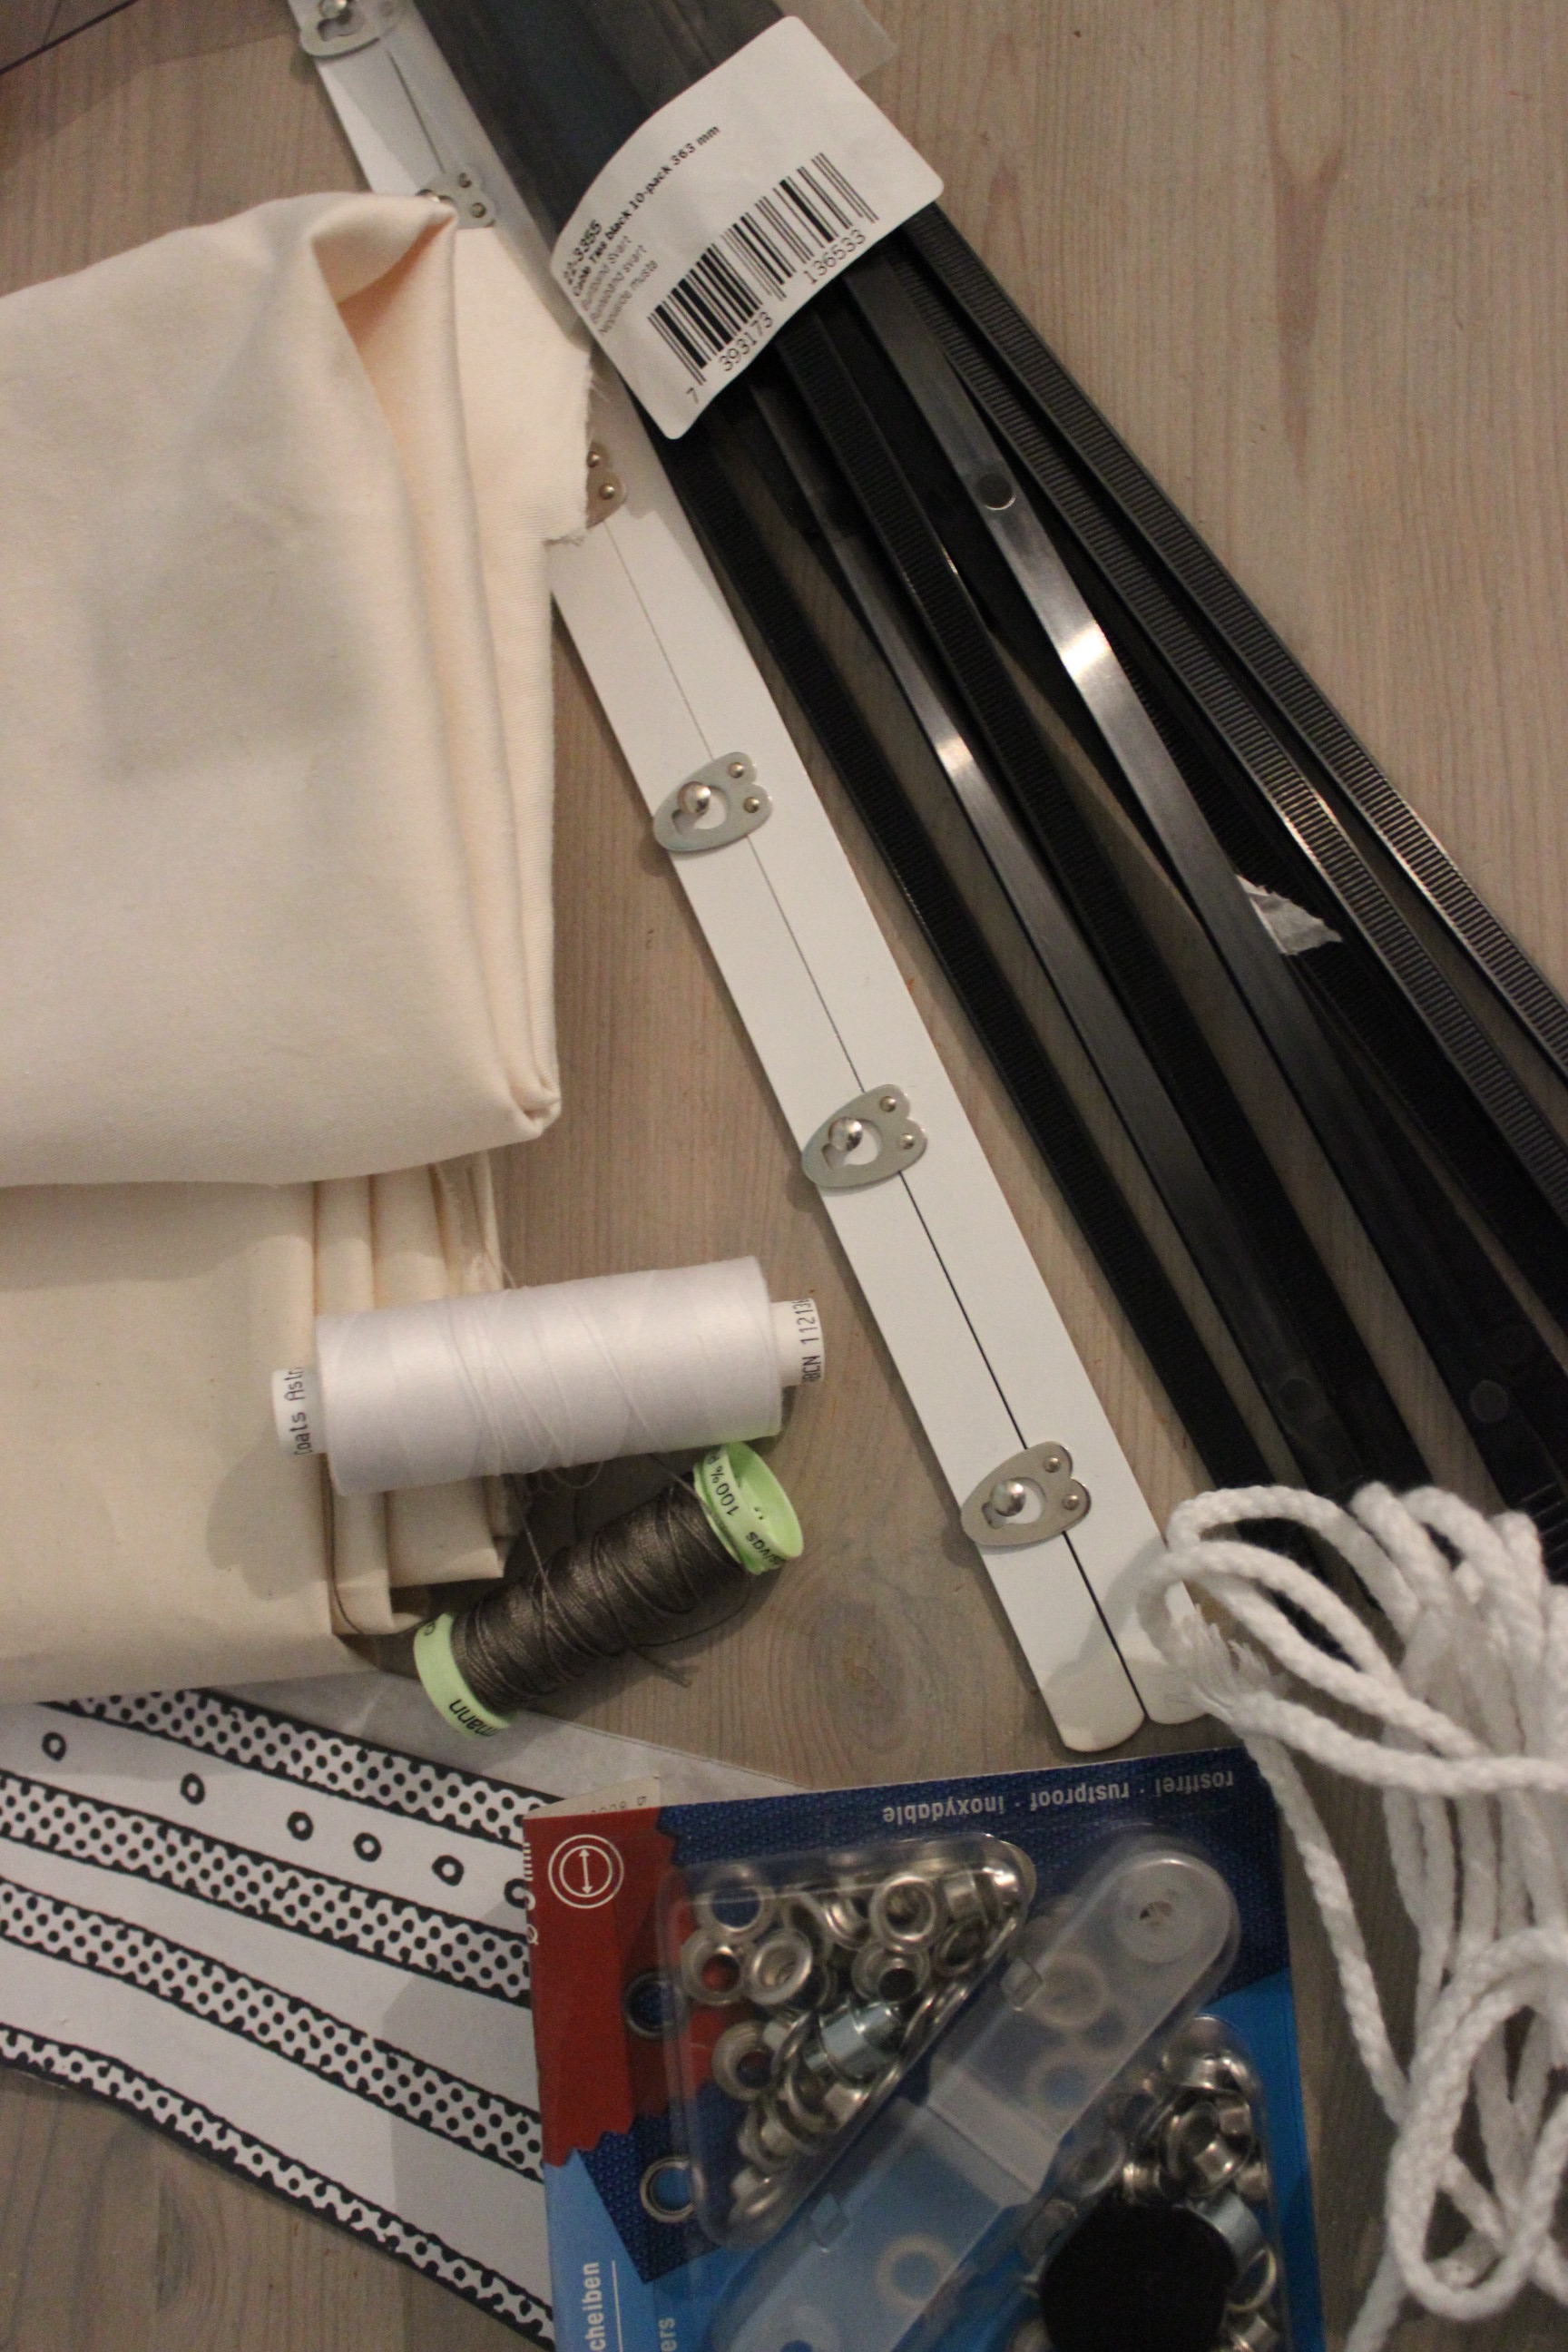
Notion: Thread, 8 hooks and 0,6m of syntetic whale bone.

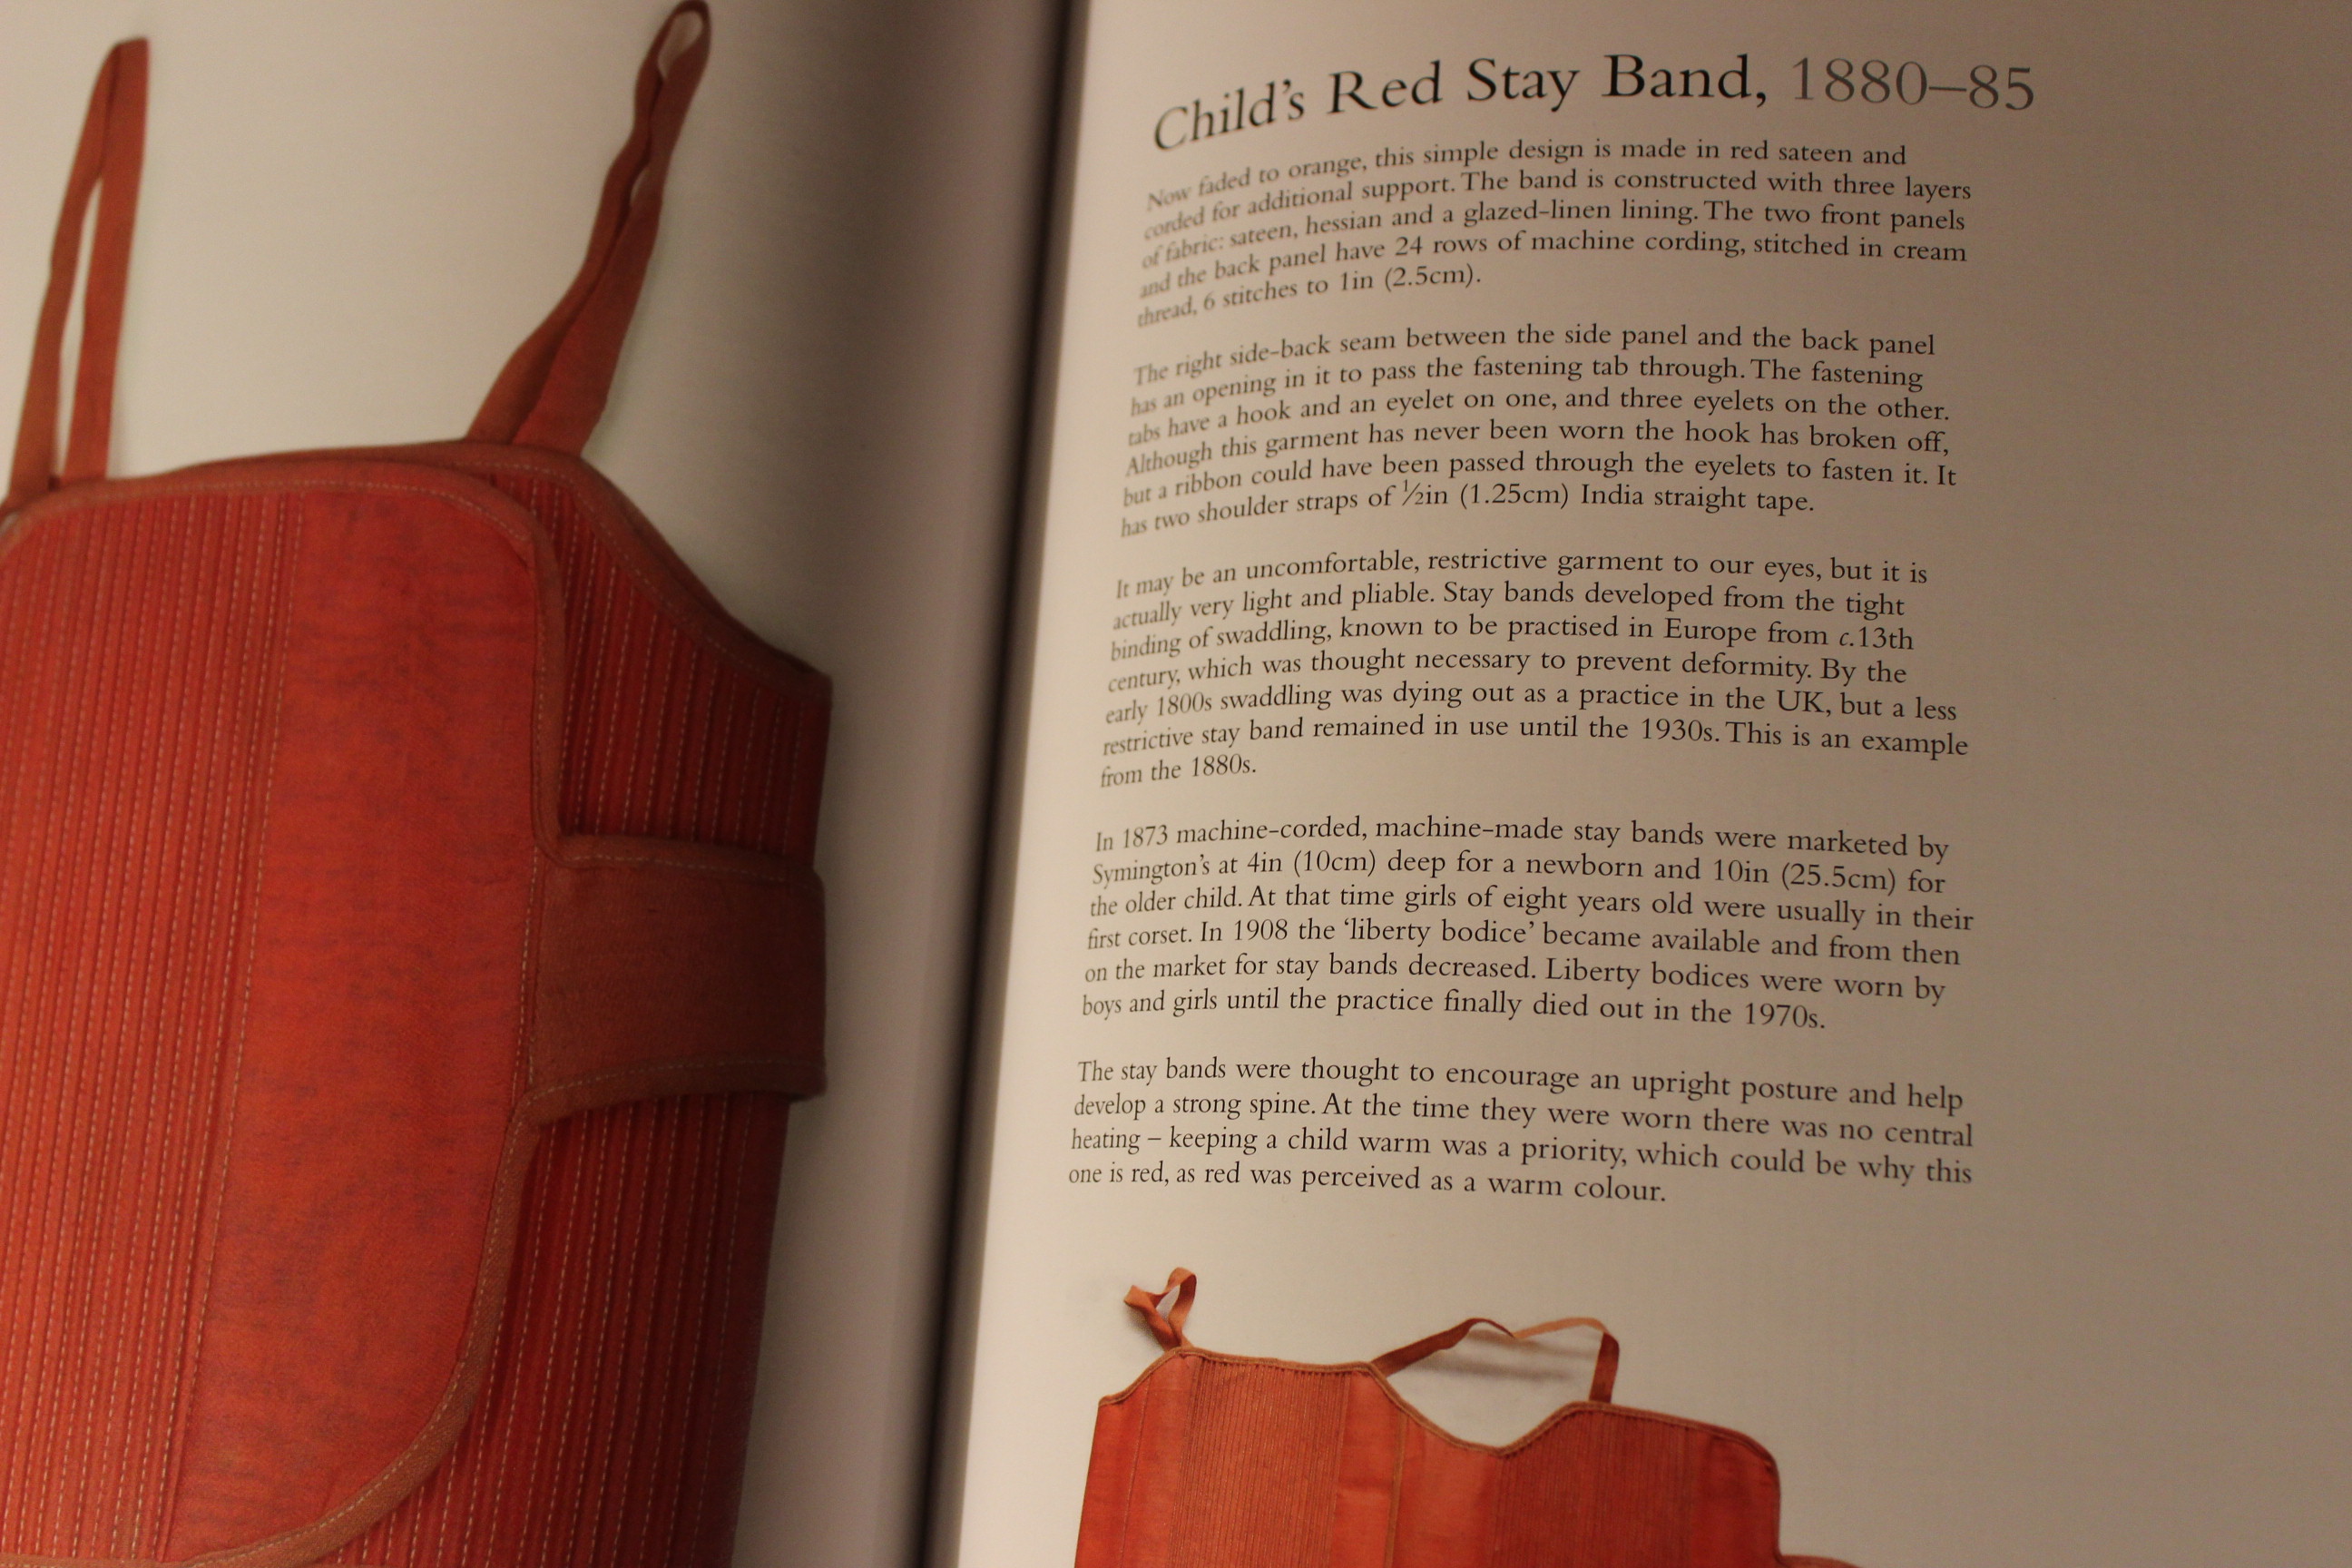
How Historical Accurate: Not at all. The general look of it is plausable, but the fabric, the print and the construction methods are all wrong and modern. But to be fair – this project was never meant to be accurate.

Time: 12 hours.

Cost: 100 Sek (16 Usd).

First Worn: Not yet (I’m not even sure it will fit her).

Final Thoughts: I like the jacket and would gladly wear it if it would have fit me. Hopefully my sister will like it as much as I do…

Book Review: Corsets – Historical Patterns & Techniques

As the classic book nerd I am, I constantly hunt for new (or old) titels to add to my “libary”. I love the feeling of flipping through a well reserched costume book, just as much as I love droling over the beautiful ones made for the coffee tables.

IMG_4705

And as such a sucker for book-candy I also love to read about and find new wounderful titles.

In my town (and probably in the rest of Sweden) it is really had to find good costuming books at the store/libary. So often you need to buy the book on-line, and don’t get the chans to flipp through it before deciding. Most often I just read the reviews on Amazon before I buy a new book on-line, but since I love when fellow costumers recomend a title I decided to try to give some back.

So this post will be the first in a series of reviews.

And the first book will be a “old goodie” that I’ve had lots of use of.

Corsets – Historical Patterns and Techniques by Jill Salen

IMG_6087

Facts:

128 pages.

IMG_6098

23 patterns (including 1 pregnancy stays, 1 child and 1 dolls corset).

Construction instruction for 2 different corsets.

Prize: About 200 sek (45Usd).

Pros:

The book is very beautiful and contain lots of great patterns. The layout have a nice and clear way of showing both the real corsets, the descriptive texts and the patterns.

IMG_6107

The pattern are pretty easy to scale to full size using the chekered background as a guide. I scanned the pattern to my computor and then printed it to the right size. So simple.

IMG_6116

I’ve used two or three of the patterns in the book and found them to work very well (but you might have to do some heavy scaling to take in account our larger modern body size).

DSC_0777 DSC_0362Both of these corsets are made with the “Brown Jean Corset 1790” pattern. The one to the left is in original size (really, really smal), and on the right one I have moved the lacing to the back and adjusted the fitt a bit more to my sisters body. (If you look at the different shoulder positions of her body you can really tell the different between the “original” pattern and the adjusted one).

IMG_6102 IMG_6104

I think the information about each corset are nice and informative and give a good feel for what kind of person would wear the particular item. Like in what way was it worn, and what did the wearer do while wearing it (work, stay at home, dance ect.).

1This corset is one of my first ones, and are made using “Pretty Housemaid corset 1890s”. The fitt is good but the sewing and assembly of it was really tricky to figure out.

IMG_6105 IMG_6090

I learnt a lot of new things about corsets and the way people of the past lived from this book. (Did you know that smal children made their first practice corset to fitt their dolls, then later moving on to the “real stuff”).

IMG_6094

Cons:

I really do love the book but do think it have some flaws.

I for one think the choise to include the patterns for 3 ribbon corsets, 2 childs and 1 dolls corset is a bit strange. Even though I understand the desire to include lesser known pieces, most of the costumers would want a good variety of patterns and to make them fit a real body.

IMG_6100IMG_6101

I also think the basic sewing and assembly techniques could use a bit more elaboration. The author do state in the preface that the book is mainly for the “experienced” costumer/semstress, and is not ment to be a sewing book. But it still could have used some more tips and tricks in assembeling the different styles.

IMG_6099I really like the flossing diagram though.

I also would have liked to have the mesurments of the real corset (and patterns) writen out. Of course, you can measure the pieces and scale them up to the right size, but it would have been nice to be able to know the aproximate size of the corset at a glance.

Would I recomend it?

The book is a lovely addition to any costumers libary.

It is a perfect compliment to the famous “Corsets and Crinolines”, but also do very well on its own.

IMG_6114

I do think the book is a bit complicated if your not very familiar with corset construction.

But if you want a pretty, cheap, book about historical corsets – you have found the one.

IMG_6111

1880s Evening Layering

If you been reading my blog you would know about the 1880s evening gown I made for the bal at the opera late january. You might also know all about the underwear, corset and petticoat I struggeled to get finished in time for the event.

But I thougt I would show them again in a more structured way.

So today on the “Layering series” (I already done: 1750s, 1810s and 1840s) I will show you all the clothing of a Victorian ladys evening attyre.

So here we go.

IMG_5795 As always we begin fully dressed in gown, cape/cloak and muff.

IMG_5801 Then we remove the outerwear, to find the evening outfit compleat with glowes, juwelery and fan. You might also be carrying an evening bag or some other accessories.

IMG_5813 Removing the accessories we are still fully dressed in our tight fitting gown. The train is almost mandetory for  evening gowns, but not worn on everyday dresses.

IMG_5819 Then we take of the gowns bodice (in this case the bodice are attached to the train, in other gowns the train might be separate and are removed after the bodice), and reveal the compleat apron and some of the corset-cover. The apron was a nice fashion detail used during the late part of the 19th century. Women wore the apron style both to evening, day and sport dresses.

IMG_5827Then we unfasten the apron and get a good wiew of the highly decorated skirt.

IMG_5831 And removing the skirt we find the petticoat with it’s ruffeled backpanel, and the corset-cover – being just a regular tank top at this point (since I haven’t gotten around to make a real one yet). The purpse of both the petticoat and the corset-cover is to smoothen and hide the sharp edges from the foundation wear, and to help give the desired silouett.

IMG_5843Yet another layer is removed and we find the bustle. There are several variations of bustles out there. I wear a relativly smal “Lobster” bustle, but you can just as easerly go bigger or smaler using different styles. (I even know about ladys who use one of there 18th century pocket hoops tied to the back.)

IMG_5851 And finaly, after removing the bustle and the corset-cover we find the un-mentionables – the corset, chemise, bloomers, stockings and shoes. The purpose for the undewear are (of course) to keep the finer clothes free from dirt. The corset was used to both mold the body to fashionable shape and to give the gown a nice ad smoth base on which to be worn.

Many people can get quite upset when it comes to discussing corsets, and admittedly some ladys of the victorian age did tight lace, but they where rare exeptions, and most women wore their corsets as bust and back support, and as mentioned, to get a smooth look on their clothes.

So that was that.

And as you can se it still comes back to the same basic clothing items (underwear, shapewear, gown and accessories) during so manny of the different periods.

A Night at the Opera 1880s style

I’ve  purposely been waiting a bit to tell you about the grand bal at the opera out of  two reasons: one – I first wanted to tell you properly about my dress, and secondly I wanted to gather as many pictures as possible from other guests.

But now it is time.

As you might know by now, I attended the yearly 1880s bal at the opera in late january.

And it was wonderful.1723789_607606335955867_1883239920_nA group picture by the photograp couple caled Haapala. (I’m in the far back).

After arriving in the capital, I emedetly started to get ready. Laying all costume pieces out on the hostel bed, and then starting on the hair. IMG_5495Then I began dressing. This step turned out to be pretty interesting, using the hostels smal bathroom, trying to lace myself in looking over my shoulder in the smal bathroom mirror. A bit tricky…

IMG_5340IMG_5371

Then I finished the hair with a tiara, put on some lipstick and donned the velvet cape – ready to go.IMG_5486

When arriving at the opera, I emedetly feelt welcomed by both the atmosphere and the faubolusly dresses guests.

I was strucken by the amount of effort most participants (men and women) had putt into dressing according to the code, and the fashion of the 1880s. There were so many beautiful dresses and hairdos, I’m just sorry not to be able to photograph everything.

But I did get some pics – enjoy.IMG_5502The dancing was so much fun, but it was also werry beautiful to watch. *1618491_10151833413956736_1660265903_n* 1503391_10151833416281736_792841747_n* 993805_10151833413806736_1796644335_n

About the only mingel picture I’m in (at the far right with my back to the camera). *1545620_10151833399416736_655984548_n

Some lovely ladies.*1555269_10151833397136736_106995179_nThe theme of the bal was “Russian”. * 1653574_10151833397411736_1819508935_nAnd one couple dressed to the teeth as the russian tsar Nikolaj II and wife (the costumes are made by the very talented Caroline (in the picture)).IMG_5512 IMG_5503

IMG_5520

I love that striped fabric.

IMG_5529

IMG_5533

Some lovely bustles.

IMG_5536

And more…IMG_5527

…and more. (a lovely original 19th century dress).IMG_5516

IMG_5541

Merja from “Before the Automobil” in lovely pink, and two finish ladies.IMG_5564

We also had some 18th century guests, part of the dancing paus entertainment.IMG_5511

And some mandetory selfies… digging the bustle.**1608907_10151909878018027_236049251_n

And that lovely lace.** 1616522_10151909870498027_1598367868_n

And of course some pics of me.IMG_5522

I loved wearing my gown, and felt both pretty and comfortable (except when sitting down). Just before it was time to leave I manadged to get a lovely lady to take some photos of me. (Thanks again).IMG_5547

IMG_5561 nära* = Photos by: Caroline Eklund, ** = Photos by: Johanna and Aggi, Un-maked photos by me.

And to conclude the post, I must say it was faboulus.

I loved it all, the atmosphere, the costumes, the dancing, the people, and I particularly enjoied the gathering of the guest at a pub after the opera closed. Staying out for severa hours. Everything was so nice.

I’m will defenetly try to attend next year, and maybe I even will get one of my sisters to go with me.

1880s Green Bustle Skirt

I’ve been working non stop on my opera gown for the 1880s bal (I know I said this many times before), and once the trained bodice was finished I could finaly start on the skirt.

39.384 0002After some thinking I decided I would need a good and strong foundation to hold all the fabric madnes on this skirt. So I decided to make a straight skirt out of a cotton sheet, which would serve as both lining and interlining for the tucks and pleats.

The next thing was to separate the different elements of the skirt into smaler sections.

39.384 0002The part in the middle seams like it have been boxpleated at the top and bottom and then left lose, giving it a bit of a over-hang. And since I would avoid any extra bulk at the waist, I decided to start the pleating a bit farther down the skirt.

39.384 0002This part looks like gatered stripes attached to a foundation. And this part would also have to start a bit from the waist, and be attached at a diagonal angel.

39.384_side_CP4The boxpleated hem are a no brainer. A decorative hem stiched on beneath the poufines of the middle section.

So I started by making the cotton foundation, using a cheap bed-sheet. Then I brought out my fabric – a dark pistage green cotton sateen with a beautiful sheen to it.IMG_5173

I draped the top of the skirt and basted it to the white cotton, using it as interlining.IMG_5179

Then I cut the skirt lenghts and used the whole widh of the fabric to get some nice looking pleats. I sewed it on to the white cotton in a straight line, and then cut it down to the diagonal drape.IMG_5185

I pinned it to the dressform to get a feel of how it would look.IMG_5186The pleats at the bottom, and the slightly to long fabric makes the skirt drape nicely over the hem.

Then I did the same with the back pieceIMG_5189

Pinning the upper pleats straight on the dressform.IMG_5190

Now it was time for the diagonal ruching. Cutting 15 cm whide stripes.IMG_5170

Then sewing them togheter and attaching a gathering thread at the seam.IMG_5298

IMG_5299

Then I pinned and gathered the ruched fabric to the skirt base.IMG_5303

And hand stiched them in place.IMG_5305

Then I sewed the front and back piece togheter and put it on for the first time.IMG_5309

It looks pretty decent.IMG_5315

I really like the look of the front ruching, but I think I should have used a bit more fabric on the back. IMG_5326

Then the last step was to finished the waist and to boxpleat the strip of fabric for the decoration on the hem.IMG_5328

And finished:IMG_5387

IMG_5394

IMG_5395

IMG_5397

IMG_5389

IMG_5391

IMG_5393

The Facts:

What: A 1880s bustle skirt (to be worn with the 1880s evening bodice).

Pattern: None – draped my own.

Fabric: 4m of dark pistage green cotton sateen, and 2m cotton bedsheet for interlining.

Notions: Thread, strong thread for gathering, hook and eye.

Time: 10 hours (the pleating and gathering took forever).

Cost: 300 Sek (45Usd).

Things I would Change: I would have liked the diagonal draping to have started a bit higher and been a bit wider, also for the back draping to be a bit fuller. This was not an option though, since I used up every sckrap of fabric as it was. Perhaps I also should have made the entire skirt a bit slimmer.

Final thoughts: I’m happy with it, but feel it would be difficult to wear combined with a train-les bodice, since the back of the skirt is a bit of a rushjob. But overall the skirt looks nice.

(And finaly (you have all been so patient): I will show you pics from the bal in my next post)

1880s Evening Gown – Sewing & Construction

In my last post I told you about my trouble with the pattern for my opera gown. Now I will tell you about the sewing and construction of it, and also show you the finished gown (bodice and train only).IMG_5007

So after I got the mock-up to fit properly I brought out my fashion fabric. The dress is made in a polyester golden brocade, which both feels and behaves a lot like silk. IMG_5304

I bought 6 m of it on sale before christmas, and now it was time to lay it out on the floor. IMG_4980

I also cut the lining, adjusting the lenght of the train to the 4 m long ivory cotton. IMG_4987

The different layers (lining, fashion fabric, interlining (cotton twill) and paper pattern piece).IMG_4988

Then I marked all the darts (as usual being very bad at marking the notches), and basted al the layers together. IMG_4989

I recently learnt a new trick, on how to sew darts on fabric and interlinning which I wanted to try. You simply baste the layers close to the darts, then sew inside the dart, very close to the original sewing-line.

IMG_5000 IMG_5001

This way you can easy get a nice looking dart without any bulk, and the stiching won’t show once the dart is sewn.

I then sewed the whole bodice together, and dressed in corset and bustle for a try on. IMG_5021

IMG_5032 IMG_5044

Hm, not great. Some changes are needed. Like taking the armhole and shoulder seams in a bit. I also need to re-shape the front a bit, and make the neck opening a bit lower and bigger.

Once all the changes was made, it was time for the buttonholes. I started by practice on a piece of scrap fabric, and it looks pretty decent (if you ignore the green thread).IMG_5070

So, on to the real deal. Marking the spaces and finish covering the buttons.IMG_5076

The buttonholes took about 3 hours (guess I’ve becoming faster), and when finished I sewed on the buttons. I’m really pleased with the way the front bodice looks, and are happy I took the time and money to buy 5 extra buttons. IMG_5079

Then I pinned and sewed on some boning chanels (made from leftover cotton stripes) and put the cable ties in.IMG_5086

Then I once again got dressed to try it on.

IMG_5090 IMG_5106

And even though it fit much better now, it still needed to be reduced a bit at the shoulders.

But the waist and the front clouser looked fantastic (if I may say so myself).IMG_5122

Now it was time to make the piping for the neckline. I used a cotton cord and some leftover fashion fabric (cut on the straight grain).IMG_5125

Pinning those pesky corners, making sure they look neat, and cuting the seam allowence to get the piping laying smoothly.IMG_5124

Then I sewed on the lining. I folded the allowence and sewed it on by hand at the neckline/collar and buttonhole stand.IMG_5127

Then I started on the back pleats. Using the pattern as a guide and treating the two layers (fabric and lining) as one, box-pleating the three back seams.IMG_5128I then attached the pleats to the bodice sewing into the interling by hand.

Next up was the lenght – cuting and heming the train.IMG_5145

After sewing the lining to the train from the inside, I snipped the seam-allowence, IMG_5148

and pressed them flat, making sure the lining was a couple of mm smaler, les it would peek out.IMG_5149

Heming the train would have been an easy step, if I’ve cut the lining long enough. But no, I had to skrimp on the fabric, leaving me no other choise but to piece the train (using scraps) to the desired lengt.IMG_5457

Then I mesured/draped the train to get the right placement on the laces for the “poufines” in the bustle back.IMG_5451

When wearing the dress you simply tie the stings together to get the right lenght on the train. IMG_5454

When the bodice was finished I brought out the fabric I saved for the apron, and got to work draping it on the dressform.

IMG_5138 IMG_5136

I also decided the dress needed some more decoration. And finding this fringe trim the day before the bal caused me to re-visit the sewing machine, and using 8 m of it on the hem of the bodice, train and apron. IMG_5247(And since this was a last minute change, I haven’t got any picture of the trimmed dressed).

Even with the dress finished I’m not totaly happy with the neckline – the fabric is being pulled in some ugly directions at the neck, caused by some fiting trouble.IMG_5363But It is to late to do anything about it now, and the bal room will be faily dark…

So here it is, the finished dress/bodice.IMG_5412

IMG_5414

IMG_5427

IMG_5152Train un-draped

IMG_5426

IMG_5156 IMG_5160

Train draped leaving the sides straight/down, and then with sides tied up.

IMG_5166Train totaly draped (walking lenght).

IMG_5165

Facts:

What: A 1880s trained evening bodice.

Pattern: Truly Victorian 462 (totaly re-modeled)

Fabric: 6 m golden polyester brocade, 4 m ivory cotton lining, 0,5 m ivory cotton twill for interlining.

Notions: Thread, buttonhole thread, 15 buttons (which I covered in fabric), 2 m string for piping, 3 m string for busteling/draping the train, 8 plastic cable ties for boning, 2 m self made cotton bias tape for boning chanels, 8 m brown fringe trim.

Time: 25 hours

Cost: About 800 Sek (120 Usd)

Things I would do Different: I would definitely have draped my own pattern, and taken the time to do multiple mock-ups to get the fit over the shoulders and neck just right. I will also have changed the lines of the side/back piece which curved shape now causes it to pull a bit. And re-placed the straight boning with spiral boning in the curved side/back seam, for the same puporse.

Final Thoughts: I love the dress. I think it is cool yet elegant and I did get lots of compliments on it at the bal. The unusal neckline makes it so interesting and viasualy pleasing.

I would love to wear it again – perhaps at a steampunk convention, paired with brown throusers and some cool accessories.

1880s Evening Gown – Pattern Trouble

I’ve been so busy finishing my opera gown, that there’s been no time to blog about the process – and really, I didn’t want to spoil it and show it of here (in the unlikely case someone at the bal, read this before the big night).

But now the night has past and I can tell you all about my trials and errors in the making of the gown.

As some of you might know I decided to make myself a gow similar to this one, to wear at the “Oskarsbal” late januay.39.384 000239.384_side_CP4

I almost jumped up and down finding the perfect pattern online and decided to buy it, instead of draping/drafting my own, thinking I would save some time and effort.

IMG_4854Truly Victorian 462 had the perfect neck opening, and the train extended from the bodice back piece without a seam. Exactly like my inspiration gown.

So I took my mesurments, and drafted the pattern from the pattern sheets, without any alterantion.

IMG_4851 IMG_4857

I cut and sewed a mock-up, and then I laced myself into the corset, doned the bustle and petticoat and tried it on.

IMG_4859And it was huge!

IMG_4861 IMG_4875

I mean look at that – so increadable large, not even the shoulders fitted, and that sleeve – I could get two arms down that sleeve.

IMG_4862 IMG_4866

What the heck went wrong?

I went back to the pattern, and quickly discovered that I’ve drafted the wrong size (no brainer), following the lines on the wrong side of the intended letter, thous drafting one size to big. And since I’ve wanted to stay true to the pattern, I didn’t think of controling the mesurments before cuting the mock-up (stupid).

But it seems to me there is way to much widht to acomodate only one size. I doubt there is about 30cm in differens between sizes. Ok, I don’t know, but somewhere it went wrong, and the only thing to do is to try to fix it.

Being in a bit of a rush, and not trusting the pattern anymore, I decided not to draft another pattern in the correct size, but to try to adjust the current mock-up to fitt.

I started by pining away 6cm in each side seam, and 4 at center back. I also pinned a 3 cm vertical tuck on the backpiece to acomodate my erect posture.

IMG_4925IMG_4923

Then I put it back on. (I’ve been doing all this thinking and pinning still wearing my undergarments).

IMG_4909 IMG_4890

IMG_4899

So much better. But still some thing needed to be altered. So I made the front 4cm smaler, took out a bit on the shoulders, and made the neck opening a bit bigger.

I then transfered the alterations to the pattern, moving the mesurments around a bit to get a good spread at the different seams. IMG_4929(Everything outside the lines are to be cut of)

Then I re-cut the mock-up and sewed it up again.

IMG_4935

IMG_4937 IMG_4943

Now we talking.

And before I took it of I cut some of the neckline and put on my long opera glowes, just to get a feel for how it would look.IMG_4921

I even tryed to drape the bustle, but I guess it’s easier to do when you’r not wearing it…IMG_4913

All this fiddeling and messing around with the pattern set me back almost a whole day. So with now only 6 days left to the bal it was time to move on to the sewing.

An Innovative Corset

For the HSF nr 3 this year: Innovation, I knew I needed to make something usable for the up-coming bal. And since you can’t make a balgown without the right foundation wear, I decided to use this challenge to make a 1880s corset.

I re-used the 1880s corset pattern from Nora Waughs Corset and Crinolines. (I prevously made a black corset from this pattern for my sister). 1880 waugh

I started by adding some extra widht to the pattern to bring it closer to my measurments.IMG_4330

Then I cut it out in a sturdy cotton bedsheet,IMG_4335

sewed it together and tried it on.

IMG_4338 IMG_4344

It fits suprisengly well. The only thing that needs to be changed is to take out a bit on the top back, to get a more even lacing, and to re-shape the bottom front to make the curve over the stomach nice and smoot.IMG_4359

Then it was time to bring out all the fabric and notions. (here I got: a cream cotton sateen, a cream cotton interlining, a busk, lots of plastic bonning, thread, the pattern, grommets and lacing cord).IMG_4368

Then I cut the fabric, basted on the interlining and marked the space for the piping, and sewed them in.IMG_4364

IMG_4375 IMG_4373

Close-up of the piping, sewn in green button-hole thread.IMG_4377

Then I sewed the pieces together twice – for strengt.IMG_4370

Setting the busk using awls to get the studds through the fabric without ripping it. IMG_4387

And leaving holes while sewing to get the eyes through.IMG_4381

I made lots of self fabric bias trim to use as boning chanels.IMG_4397

Sewing them on from the outside.IMG_4400

And snipping the seam-allowence on the inside.IMG_4403

When the gromets, the busk and the boning chanels (no bonning yet) are done, its time for the lining. I choose a light green cotton lining from my stash.IMG_4411

Corset with lining sewn on – before turning.IMG_4416

The lining sewn in. (One side turned and pressed, and the other one still in-side-out).IMG_4422

Now it’s time for the boning. If you put them in to early you will have big trouble with lining and sewing.

This is what I used for boning. (Left to right: Heavy pliers, methal pipe cleaners, electrical tape (to cower the sharp edges on the metal), plastic cable ties, siccor and plastic whale bone).IMG_4438

As you can se I used all of my three boning options on different parts of the corset. Using the strongest (metal) ones close to the lacing, and the regular cable ties in the boning chanels, and then using the softer syntetic whalebone in between.IMG_4444

Then I grabbed my finishing/decoration kit (green cotton bias tape, white cotton lace, green button hole thread and cord for  piping (which I did in my first few steps).IMG_4436

Cutting the un-even top and bottoms of the corset, IMG_4426

and then attaching the bias tape.IMG_4431

At this point it was time for me to stop working on the corset, and leave it for a couple of weeks.

You see, I started this project begining of december, since I needed to have the corset to be able to start on my opera gown. And since the HSFs rules says that no item should be finished more then 6 weeks before the challenge du date, I needed to paus sewing for a while. And since it was only the decorations left, the corset was fully functional and could still be used to build my gown upon.

IMG_4517IMG_4520

IMG_4519

IMG_4522

IMG_4526

IMG_4524

IMG_4518

IMG_4655 IMG_4667

IMG_4658

***

So, last week (3 days before the grand bal) I finaly had the time to finish it.

By now I had tried it on several times, and had realised the bust needed to be re-shaped to get a smoother look. So I ripped some of the bias tape of, re-cut the top and stiched the bias tape back on.IMG_4716

Then I decorated it with the white lace and some green flossing.

And finaly Finished:IMG_5281

IMG_5293

IMG_5287

IMG_5289

IMG_5284

IMG_5285

IMG_4760

IMG_5296

Just the Facts:

Challenge: nr 2 – Innovations

What: A 1880s Corset

Innovation: The 1880s was known for it’s innventions (actually the whole 19th century was). My item can both represent the whole era, or the new style of hourglas figure and bustled skirts made fashionable and  avalaible thue to both the steel manufacturer, and the comercial sewing factories. Some relativly new innventions in the 1880s corset was: The split busk, the metal gromets and the steel boning – all innvented during the 19th century.

Pattern: Nora Waugh “1880s corset” from Corset and Crinolines.

Fabric: 0,5 m ivory cotton sateen, 0,5 m ivory cotton lawn and 0,5 m light green cotton.

Notions: A 33 cm planchett, ivory thread, green buttonhole thread, 30 silver gromets, 4m cotton string for piping, 4 m ivory cotton laces, ca 10 m of boning (2,5 m steel, 8 heavy duty cable ties and 3 m syntetic whalebone), 2 m green biastape and 1 m ivory lace.

How Historical Accurate: Pretty good. The pattern’s correct and the sewing machine was widly used by this time, even though I’m not sure of the right assebly tecniques. The material used are accurate, part from the plastic bonning. So maybe 7/10.

Time: About 10 hours

Cost: 400kr (44Usd) (all those notions make it so expensive).

First worn: On January 25 for a grand bal (Oskarsbalen), and then a few days later for a photoshoot.

Final Thoughts: It tured out great. It’s quite comfortable (even after a couple of dancing hours) and stil gives me the desired hourglas figure. I think this will be my “go to” corset for many costumes.

HSF14 – sewing planes

For the HSF 2014 “The Dreamstress” have decided to anounce all of the up-coming challenges at once. This will make it easyer to plan your sewing year, and hopfully to keep the planes.

So last night I sat down and compared my whislist to the challenges and the up-coming historical events (that I know of) this year. Making something like a sewing plan for 2014. This feels verry strange, since I usaly decides at the last minute, and the chance is that I change my mind and want to make something else.

But I will try to stick to the plan as long as I can.

So here it is – The HSF Challenges 2014, and my intended garmnent.

1. Make do/mend:

IMG_4829A 1880s petticoat (Done)

IMG_4781And a re-make of my old 1750s flowery jacket (Done).

2. Innovations

IMG_4524a 1880s corset (Done, will post in a few days).

3. Pink

tumblr_m46pbhovqY1qadfhsA  18th century calico jacket (this one depends on how I feel when I get the fabric (which is still in my inlaws basement)).

4. Under it all

edwardiana  1900s S-shape corset.

5. Bodice

I’m not sure about this one, will have to wait and see.

6. Fairytale & 7. Tops/Toes

Historical-Ariel995254_791052380911322_1484548453_n

A 1900s white gown, inspired from the “Ariel” design together with some real pictures, and a big lovely hat to match. I think I got the right fabric for this gown, and now that I got lots of lace aswell, I should just go for it.

8. Ufo/Pdf

I’m not sure about this one, will have to wait and see. Hopfully I can use some of my stash, and perhaps do something for one of my sisters.

9. Black/White & 10. Art

imagesA 1780s white sateen skirt and the green striped gown in the painting. I already own the striped fabric, just need to find a nice white one for the skirt.

11. Politic

untitledA regency roundgown. It don’t get more political then that…

12. Shape/Support & 14. Paisley/Plaids.

2922460163_61fd26c808A 1850s cage crinoline to be worn under the 1850s paisley gown. I have  two bedsheets in brown/paisley which I bought with a dress like this in mind.

13. under 10 Usd

I think this challenge can be lot of things, like a chemise, a fichu, a hat or some other accessorie. I will wait and se what I will need at the time. But I think it will have to be pretty quick and simple, since the next one will take some extra time.

15. Outdoors

8312358697_ce6e37752bA light blue 18th century redingoat. Love this one from “Festive Attyre“, and I do have  a pale blue, soft wool that would be perfect.

16. Termologi

This one can also be a lot of things, but I think I will do something easy since the “Outerwear” one will be big.

17. Yellow

Maybe a regency open robe like the one worn on the round gown for challenge 11. This depends on what kind of fabric I find.

18. Poetry

1423_mediumNot sure yet, but thinkig of making a 18th century robe out of some flowery fabric I got. There will always be poems about flowers, right.

19. HSF inspiration

I’m sure there will be lots of inspiration in the “HSF” folders by then, but right now I have no ideé.

20. Alternative Universe

tumblr_m9ebbiQMJ11qa0f2qo1_500 bw21Maybe some steampunk or halloween dress. I like them both, but are not sure I will get any use out of them…

21. Re-do

A easy one to do since you can make almost anything, but I will decide later on.

22. Fortnightliers Choise

This depends on what the challenge will be.

23. Modern History

DOS3005Lorena4

This one is difficult, since I usaly don’t wear “strange” clothing. But maybe I can try some 1930s blouse or pant patterns. Or perhaps the lovely black dress from “True Blood”.

24. Glitter

1920s-fashion-lbI’m thinking of making a 1920s party gown, maybe something I can wear on new years eve.

And thats was that.

I’m guessing I’ve been a bit to entusiastic (and optimistic) on this plan.

But I really like that I manadged to fit most of my wishlist into the challenges for this year. And that the big costume pieces are to be made in fabric I already own. That way I will try to keep the sewing budget smaler then last year.

I will do a recap in about 11 months and we will se if I manadged to stick to the plan.