Wow!
What can I say – Two award in one week!
Last week the wonderful Crystal from “Adventures in Biastape” nominated me to “Sisterhood of the World Blogger Award!”, and this week lovely Catherine from “Catherine the Teacher” does the same.
I’m just so happy and humbled by these ladies kindness and support of my work/blog.
Thank you so much!
I really appreciate it (and I love reading your nice comments to my post and projects every week:-))
To claim the award/awards I need to follow the rules and:
1. Thank the blogger who nominated you, linking back to their site
2. Put the Award logo on your blog.
3. Answer the 10 questions sent to you.
4. Make up 10 new questions for your nominees to answer
5. Nominate 10 blogs.
And since I got two awards I should probably double it…Right?
I normally don’t pas on chain-letters and similar stuff, but I’m willing to compromise a bit on this one.
So, I will nominate a total of 10 blogs, and come up with 10 new questions.
And since answering these kind of questions are pretty fun, I will try to do both Crystals and Catherines questions here below. So prepare for a long post..
That seams quite fair I think.
But first, here are my nominees:
1. Sarah – A Most Peculiar Mademoisell
2. Caroline – Anno 1776
3. Isabella – All the Pretty Dresses
4. Merja – The Aristocat
5. Caroline – Dressed in Time
6. Cathrin – Katafalk
7. Elisa – Isis Wardrobe
8. Nora – The Shadow of My Hand
9. Liz – The Pragmatic Costumer
10. Vienna – The Austrian Woman
Lots of Swedes in there, but these are the blogs/and people I feel all do some tremendous work in both blogging and costuming.
And my questions:
1. How did you start sewing Historical/or other costumes?
2. What other tings do you do then sewing/creating?
3. What item/project that you made are you the most proud of? (may we see pictures?)
4. Do you have a secret shame item/project that you will share? (Pictures?)
5. Do you prefer Books, You-Tube videos or other, for sewing reference? And which are your favorite one/s?
6. Whats your best sewing tip/trick?
7. What’s your biggest sewing cheat that you do but you know that you shouldn’t?
8. What’s you biggest inspiration in deciding on up-coming projects?
9. Do you have a favorite era/style that you do?
10. What is your dream project? (Picture/s please)
Ok, time for some answers:
Crystals Questions:
1. Why is your blog named what it is?
Everything else I tried was occupied. No, but really, I had lots of ideas, but non was vacant, or they would convey the wrong message. And being un-patient as I am, I just ran with the first thing that worked.
2. What made you decide to start blogging?
“The Historical Sew Forthnightly” 2013 – I read everyone else’s blogs and loved it.
Then, when Leimomi (the hostess of “The HSF”) picked one of my project as her favorite and linked to my (only) picture, I knew I needed a blog.
 And now it has it’s own post! Yay!
3. What do you enjoy most about blogging?
I love how you have all your knowledge in one place. You can go back and take a look at previous projects and learn from past mistakes. I usually look through my “Portfolio” when deciding what to wear to an event – so much faster then going down to the basement.
I also love sharing my pictures of both costumes and events, and of course all the nice/smart/funny comments I get from my readers.
4. On average, how much time do you spend sewing?
Having a full time job, I don’t have the time (or energy) to sew as much as I like, but I usually spent an average of 10 hours a week sewing – ca 1-2 hour/s in front of the TV each night, and at least a couple of hours at the weekend.

5. Of your favorite eras, do you prefer having patterns pre-made or making your own?
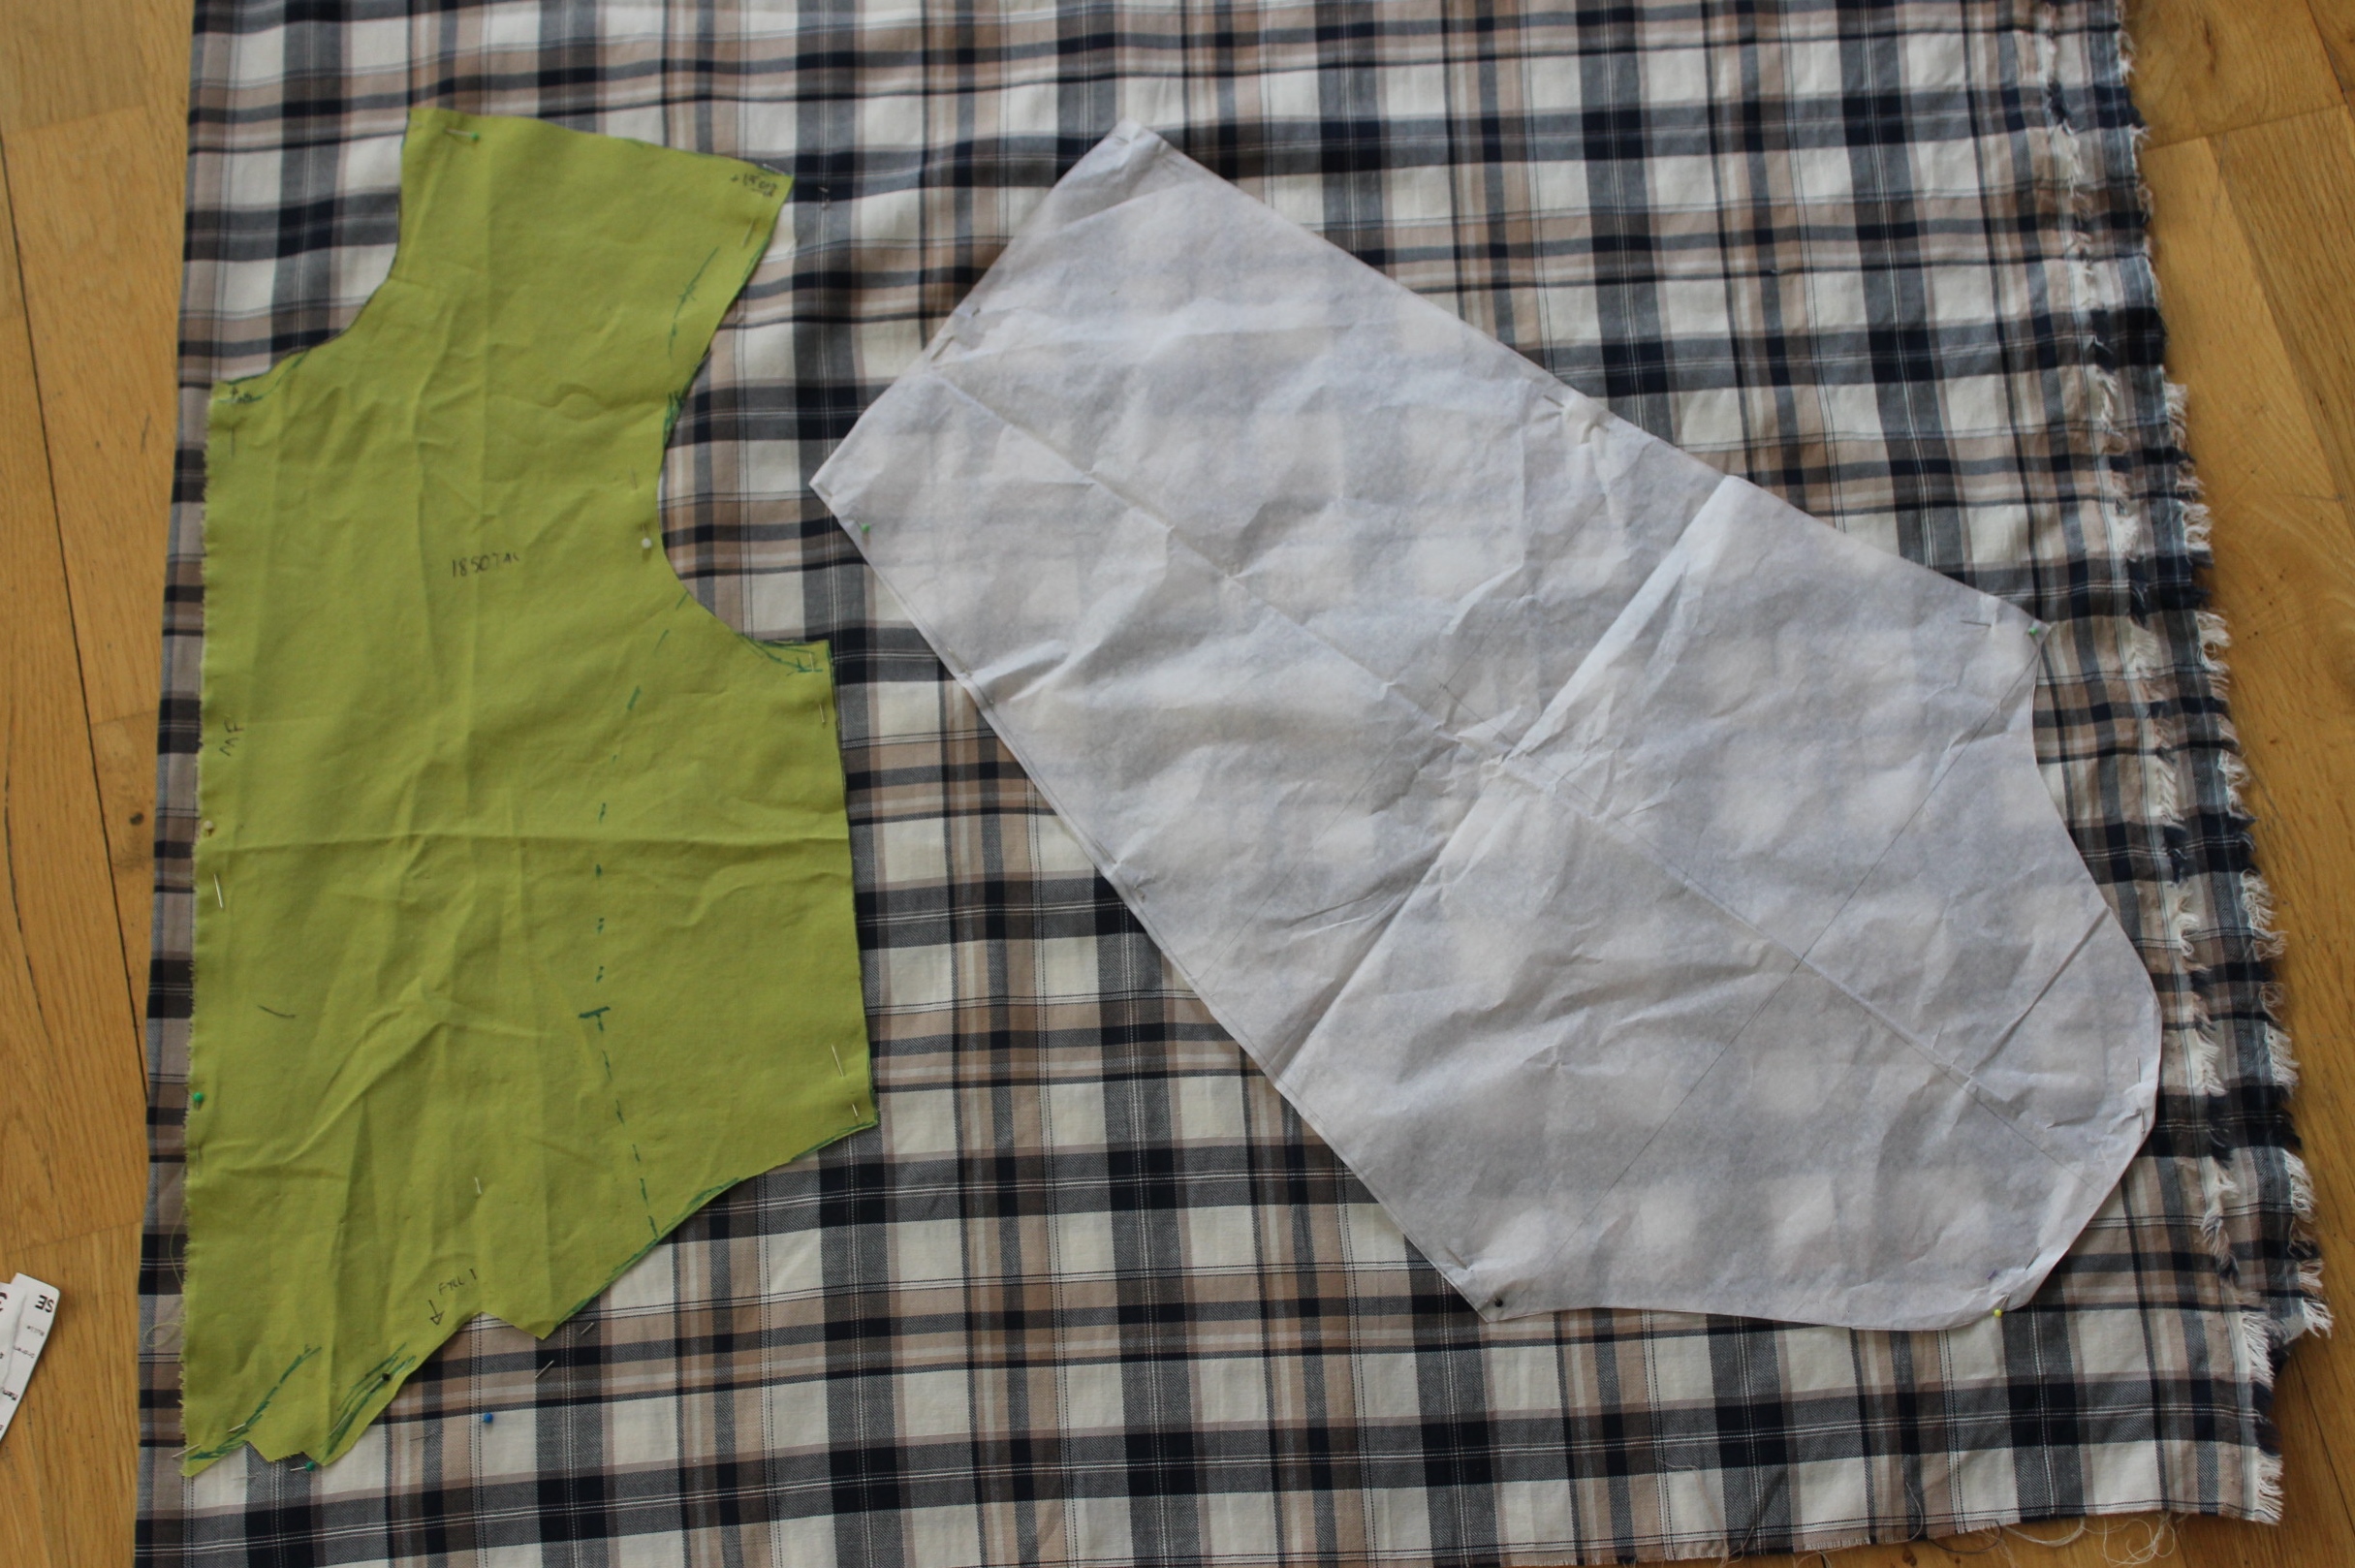
I usually make my own pattern (from any era), I either drape or draft the patterns using pattern templates and my dressmaking books as guides.
I used to think it was hard using bought patterns – not knowing the makers thoughts when drafting.
But lately I’ve been trying out some ready-made pattern which all worked great.
6. Speaking of favorite eras, which one is yours and why?
Oh, this one is always the hardest question to answer, since I love them all so much, and it wary from day to day.
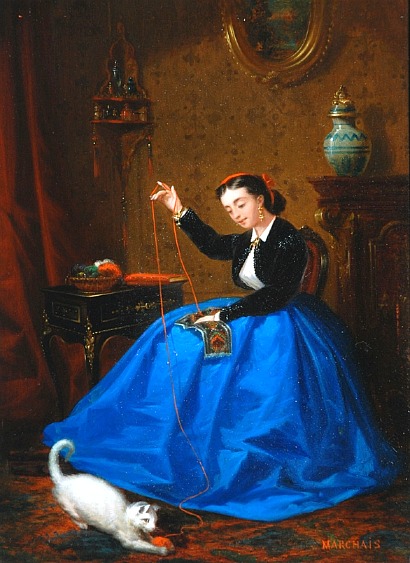
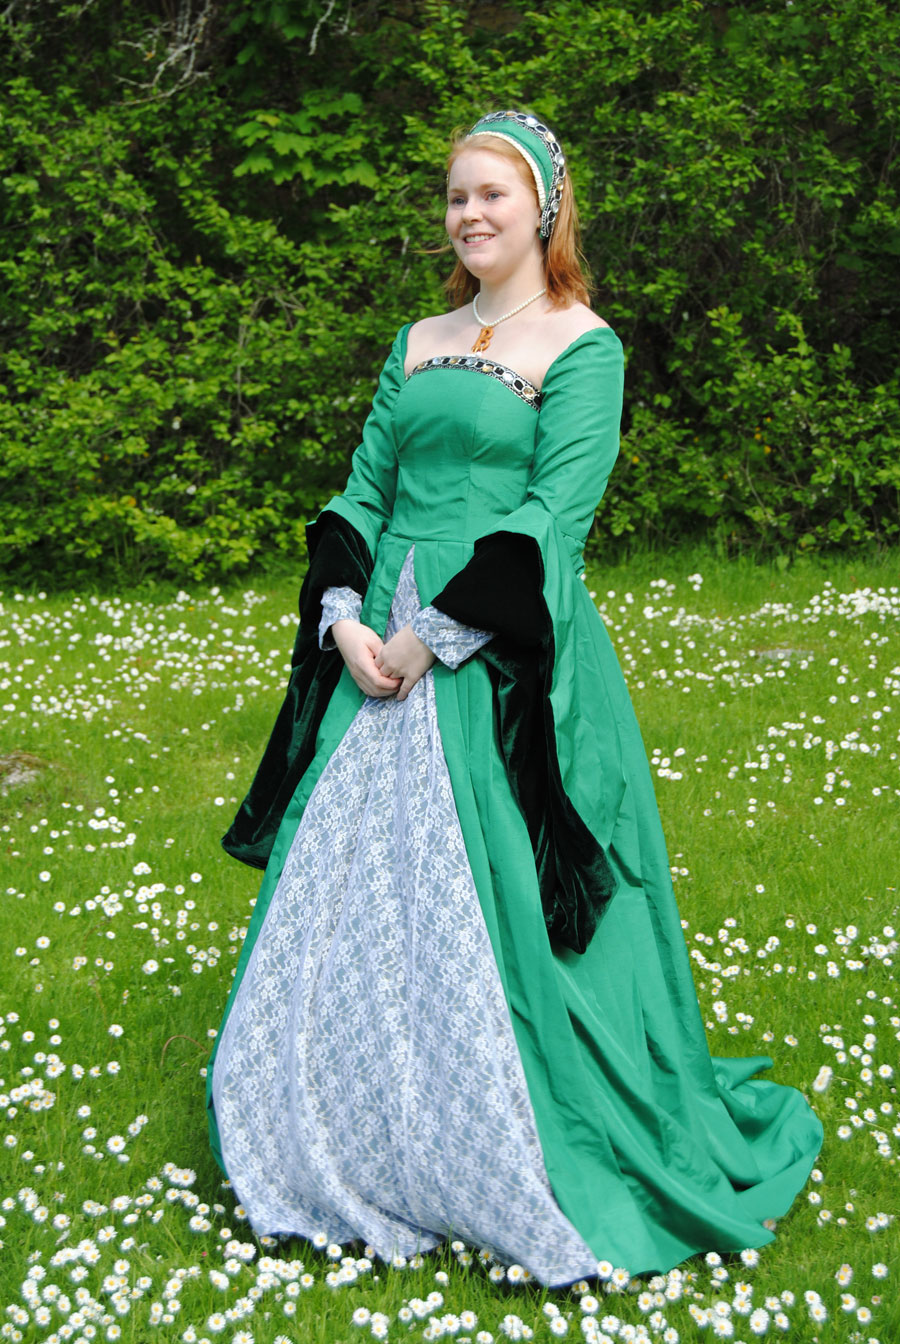
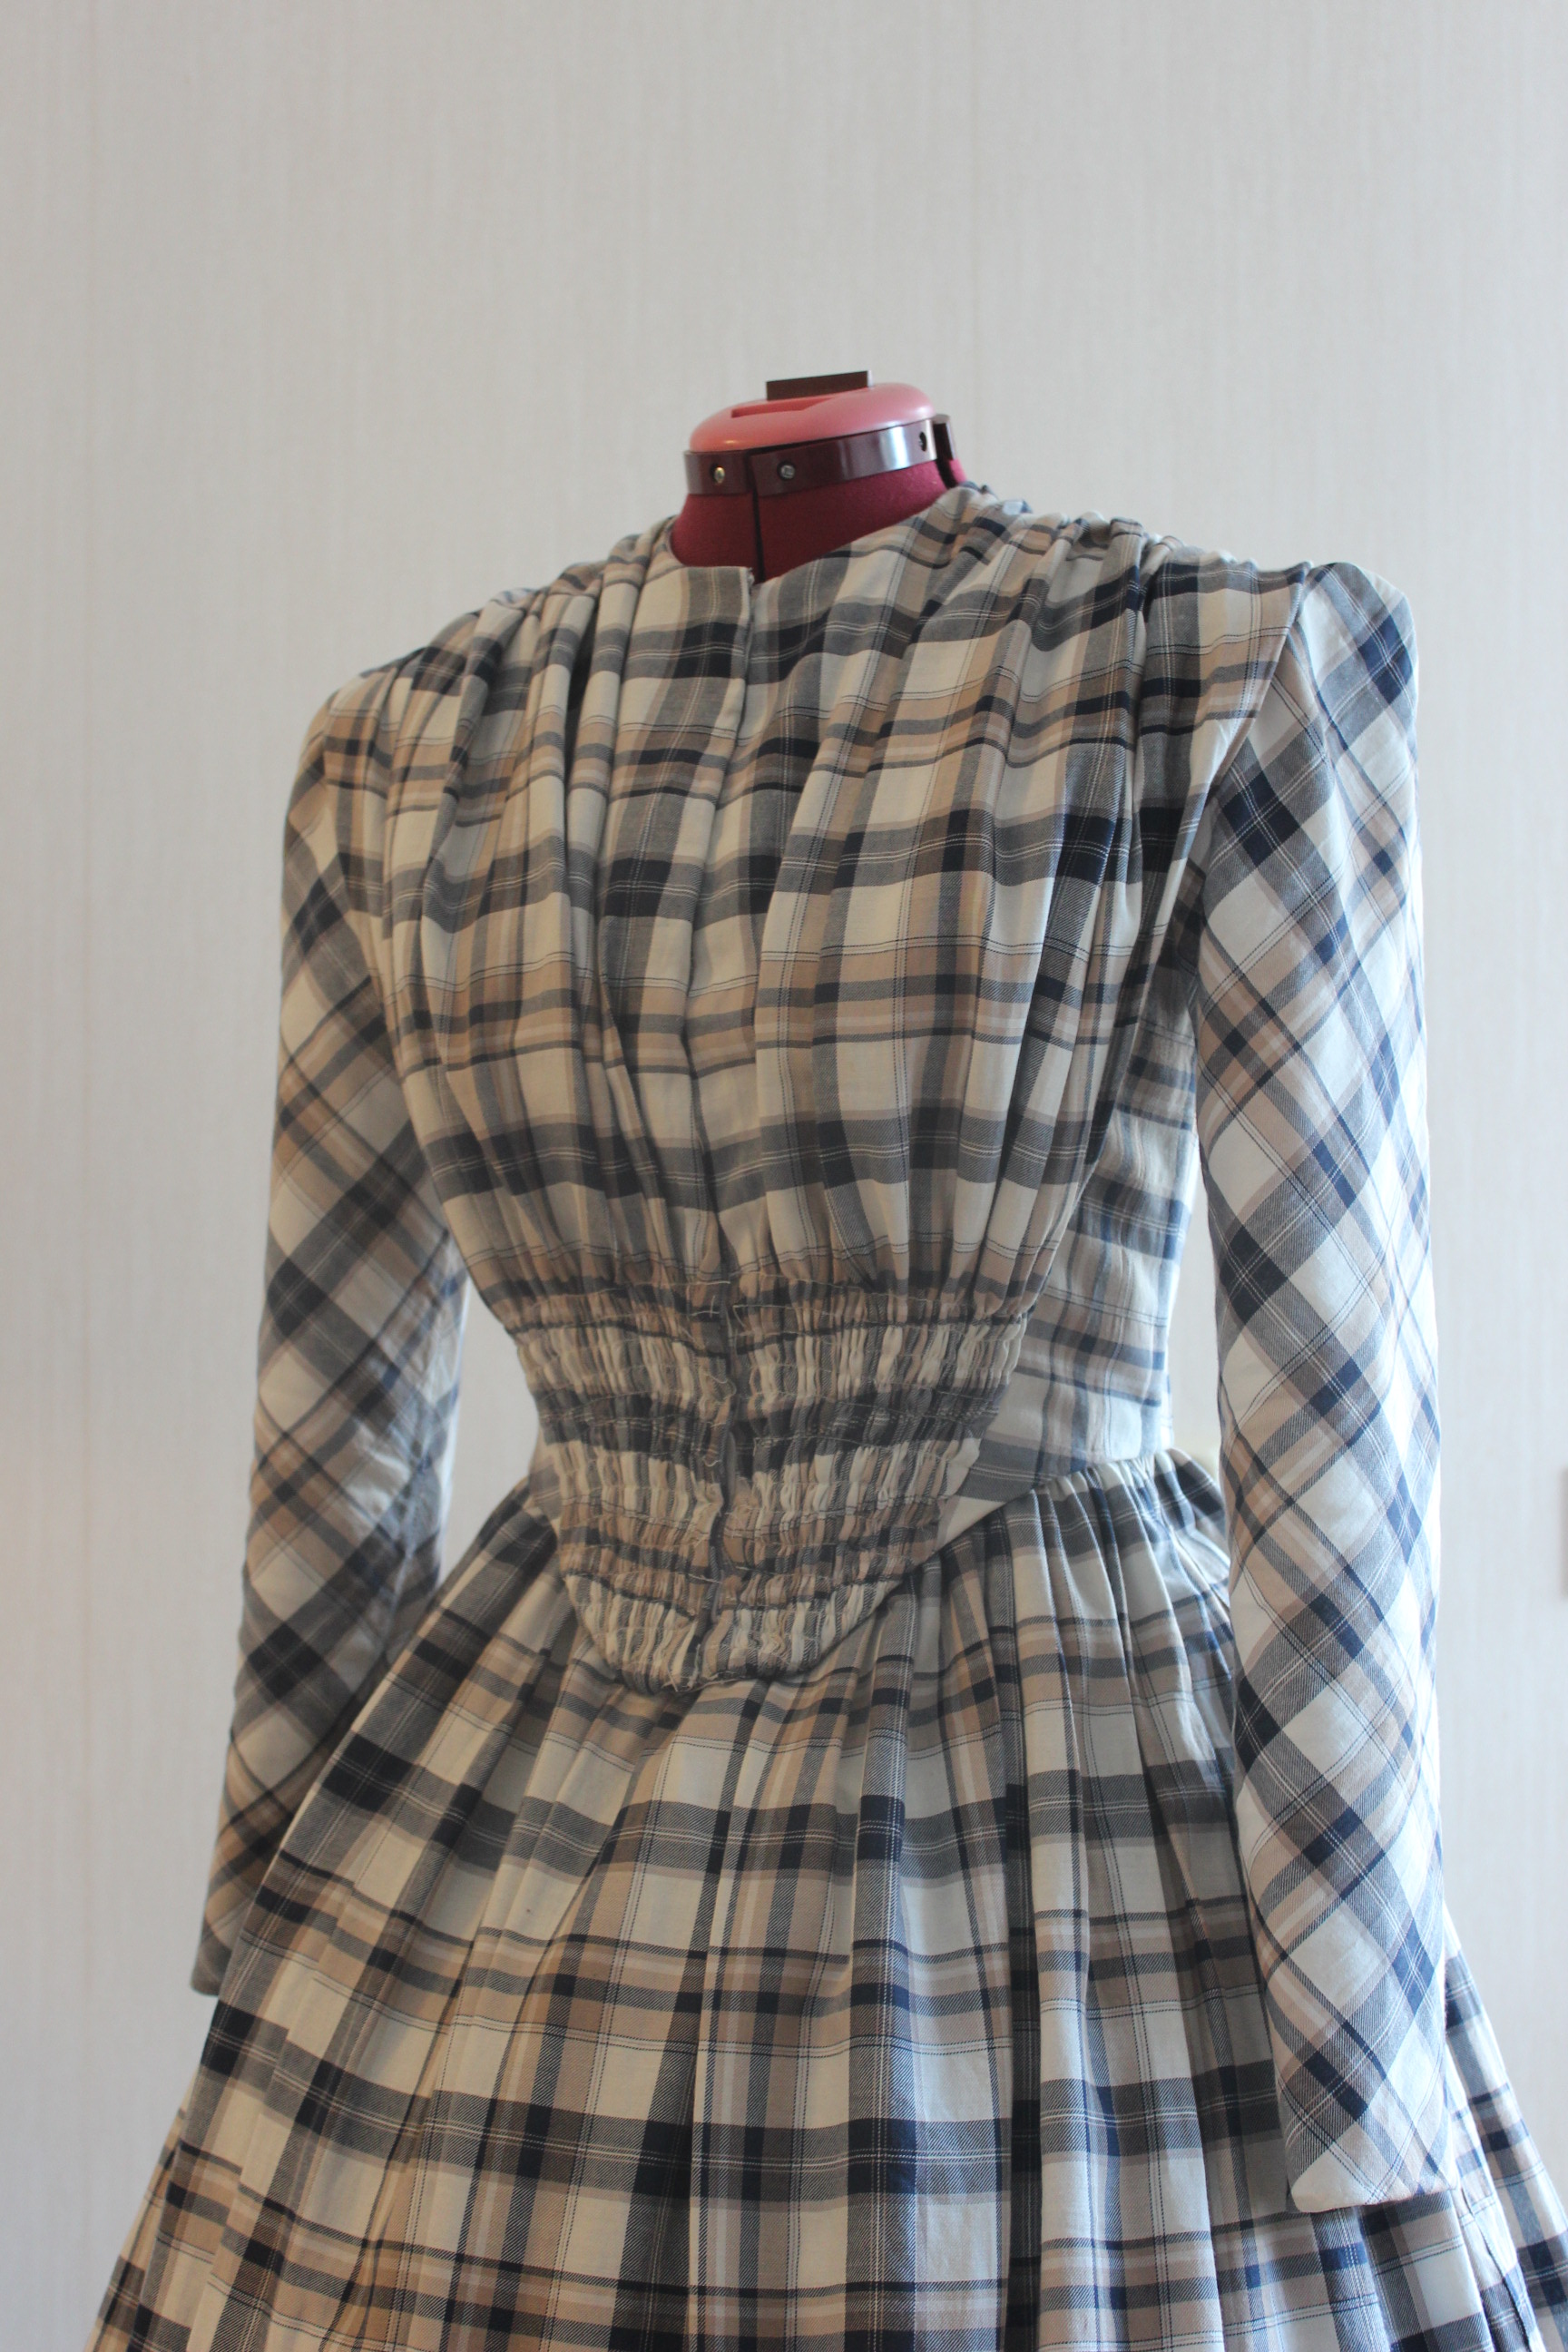
But I must say mid 16th century will always be in my heart – Since that what’s got me into costuming. I love the structured aesthetics of female fashion with its abundance of decoration but without flimsiness – I guess it speaks to my modern sensibility. Catherine Parr (6th wife of Henry VIII)
7. What is the most unconventional object used in a previous project? (Either in the making of, or actually in the item)
Hm, I’ve used Duck-tape, hot glue gun and plastic zip-ties.
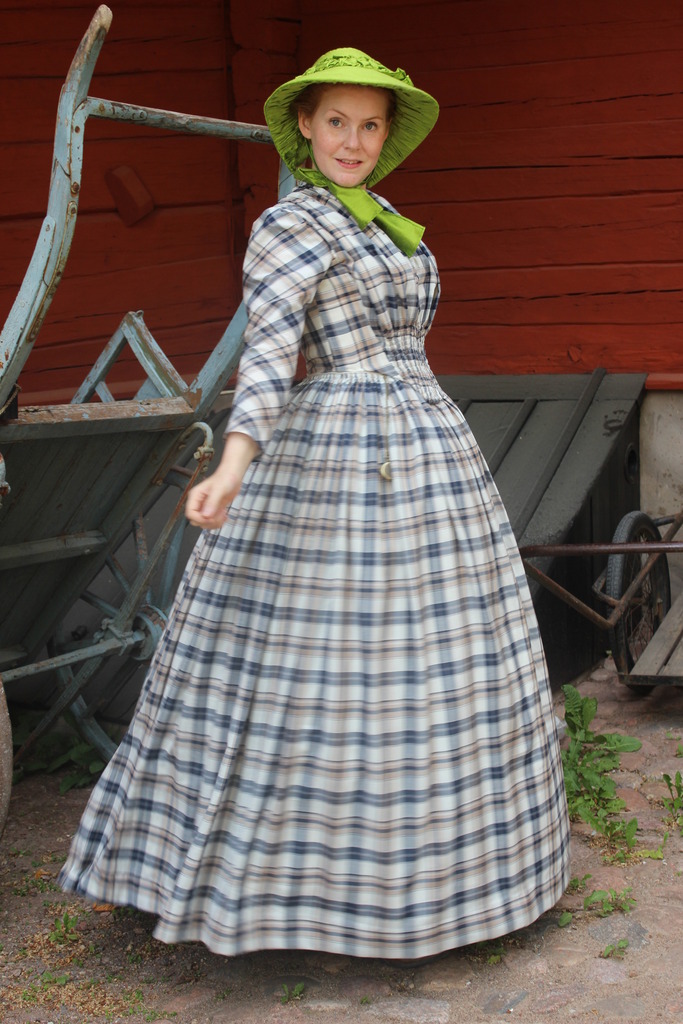
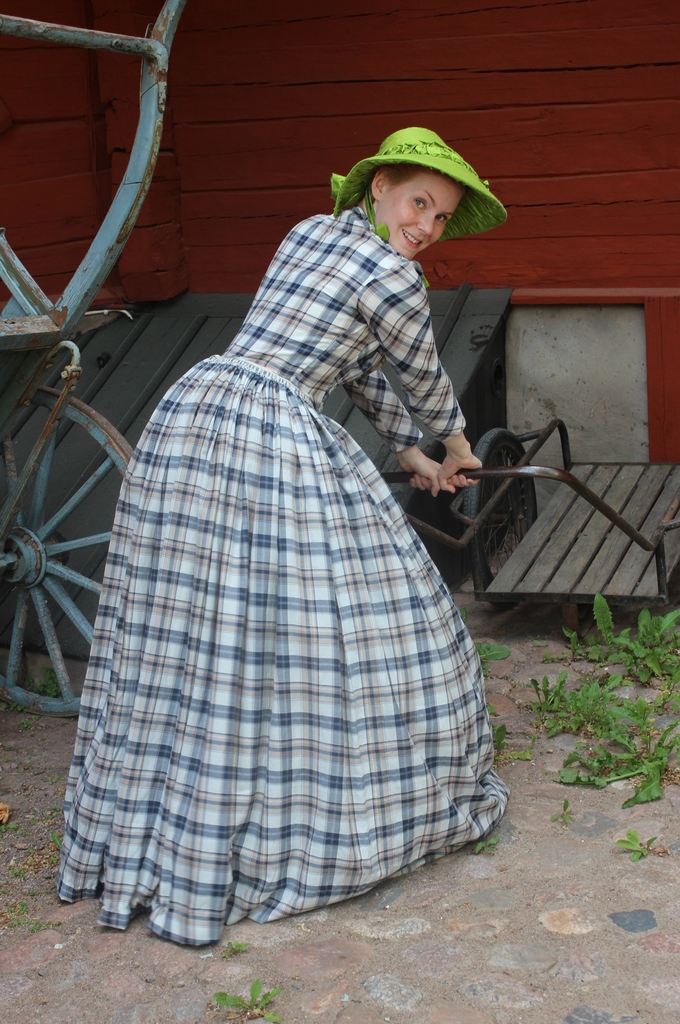
But I think they looked at me the strangest at the hardware store when I bought metal pipe-cleaners (and heavy duty pliers to cut said metal) to use in my 1850s Crinoline.


I also must confess: My tool box (which I keep in my sewing room) is bigger then my boyfriends.
8. Describe your ideal sewing area.
Big! Preferably the whole house…
No I’m kidding, even though I tend to use about every room in our (big) apartment for sewing – You know, pattern drafting at the kitchen table, fabric cutting on the living room floor, hand-stitching in the sofa before the TV and trying out mock-ups by the hallway mirror.
Whats the fun in being caught up in your sewing room…?
 Using the whole living room and hallway floor for fabric cutting. (1880s Evening Gown)
9. Care to share your favorite sewing tip/trick?
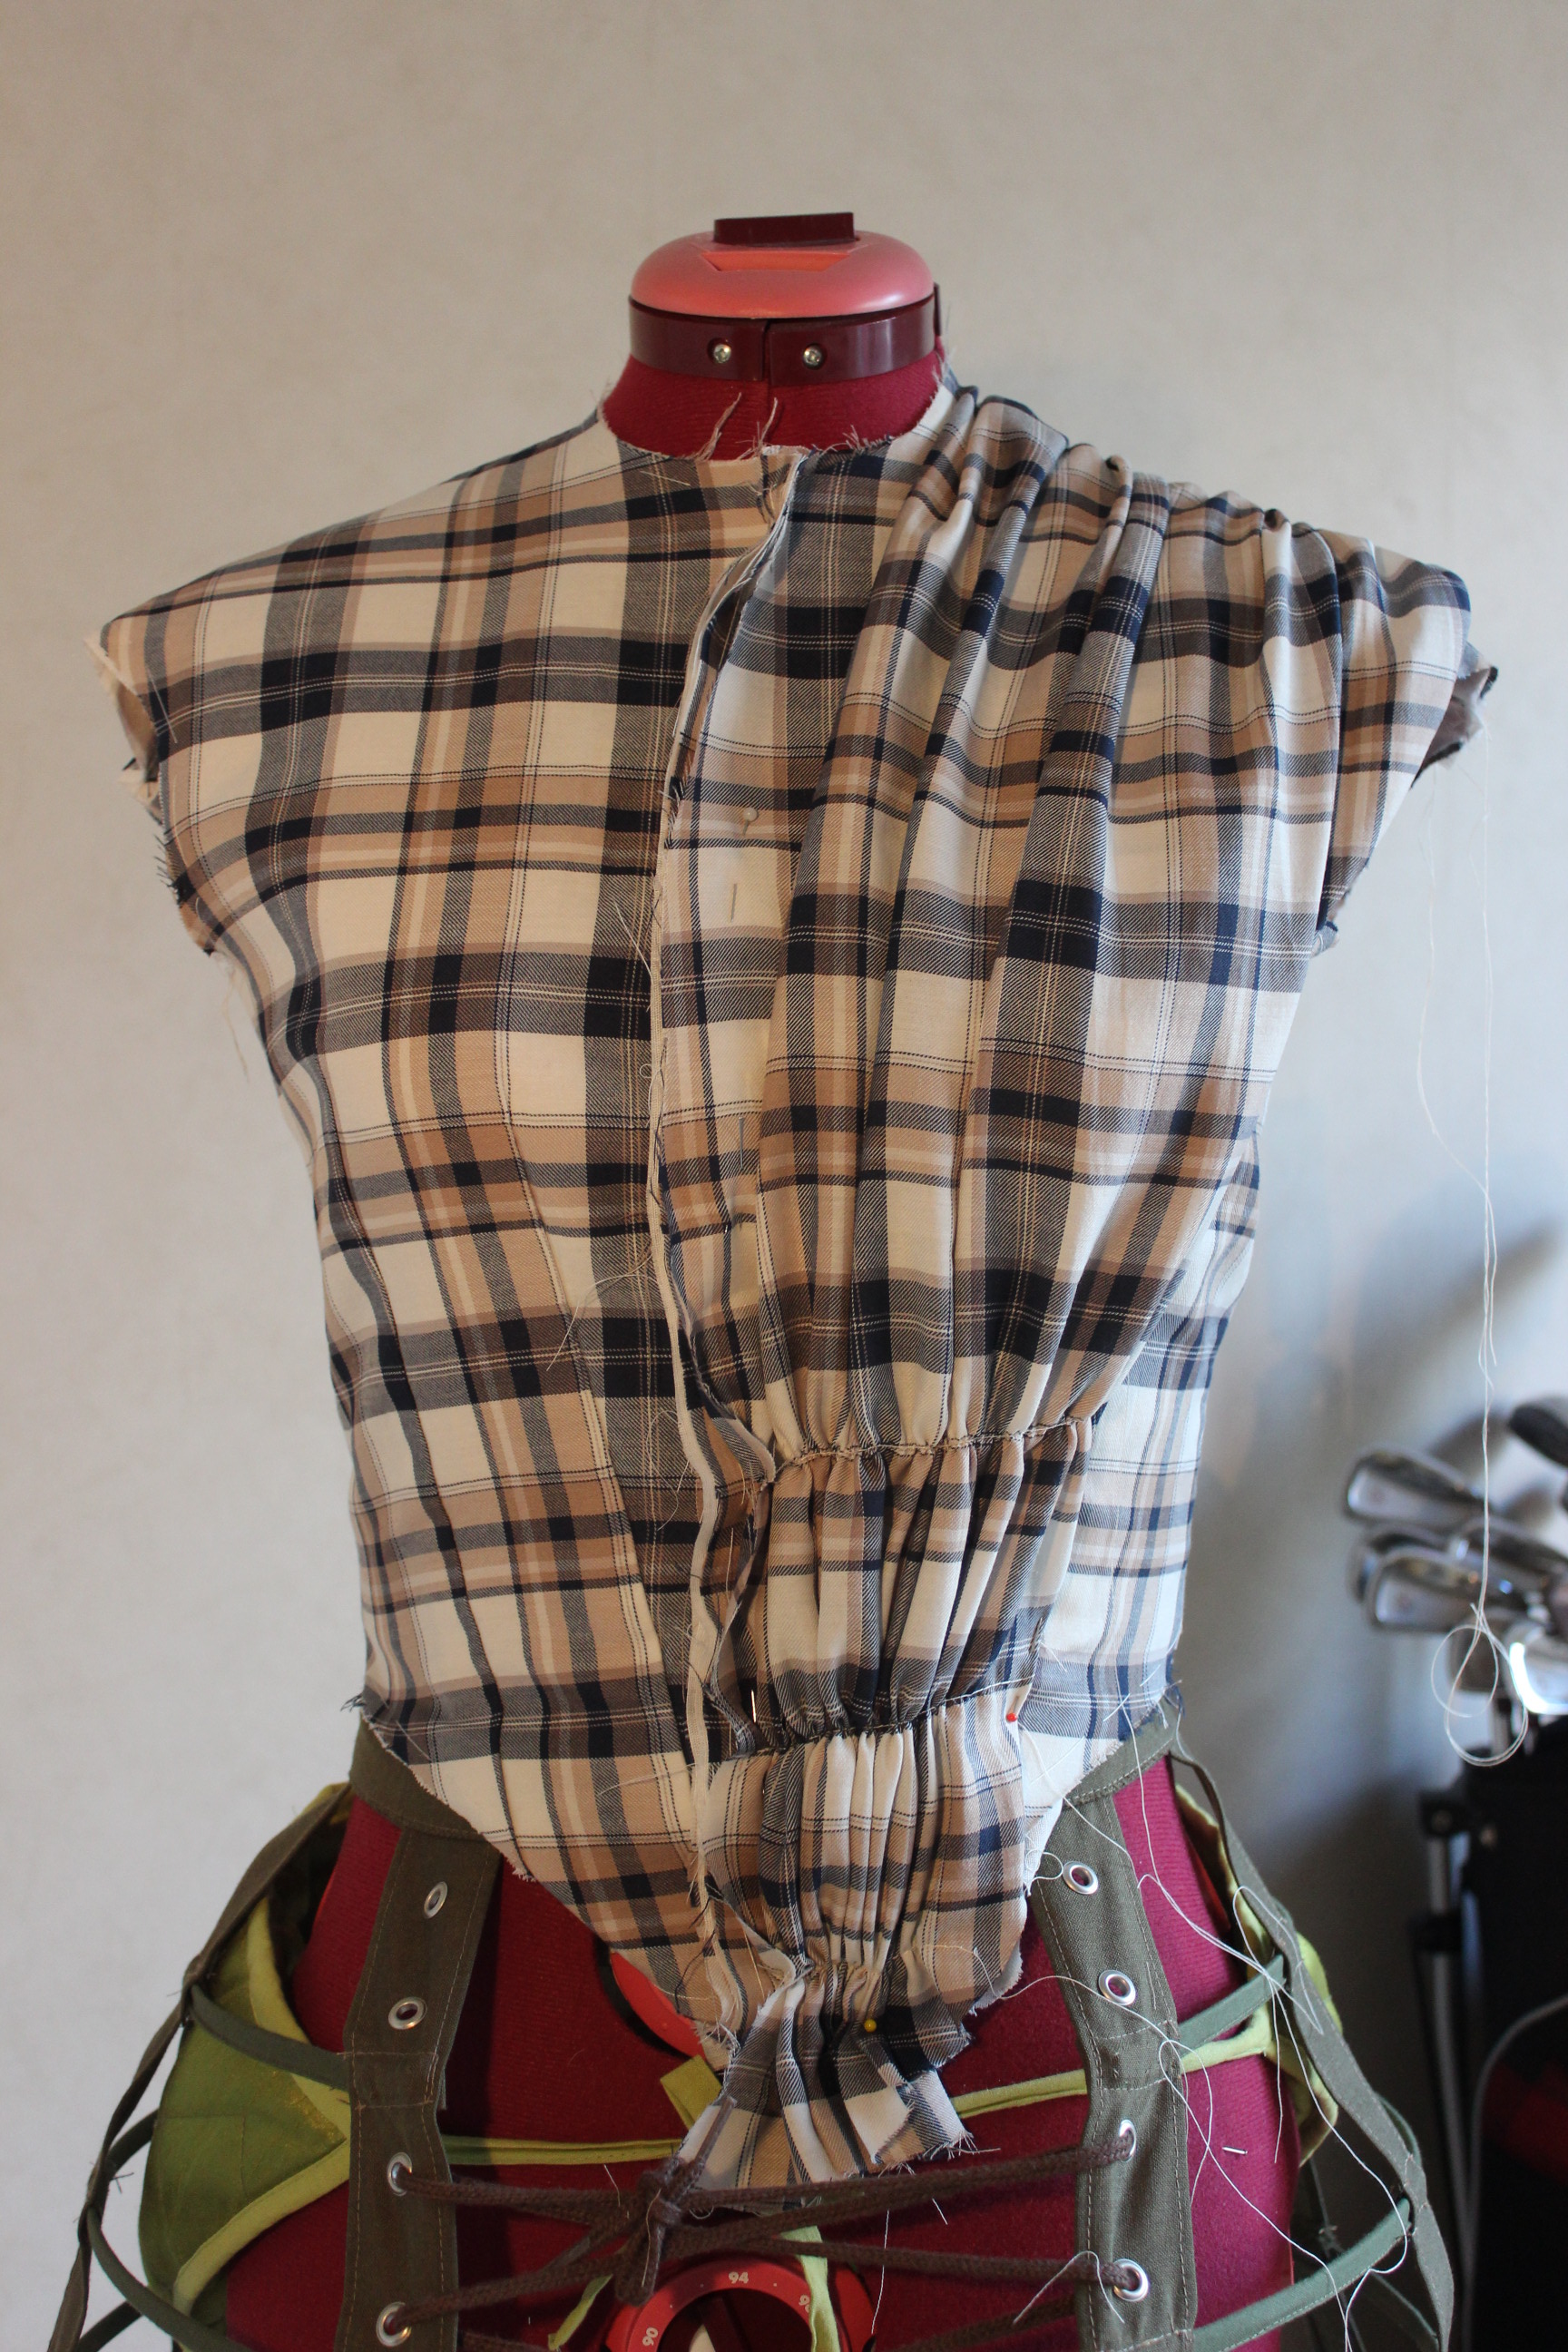
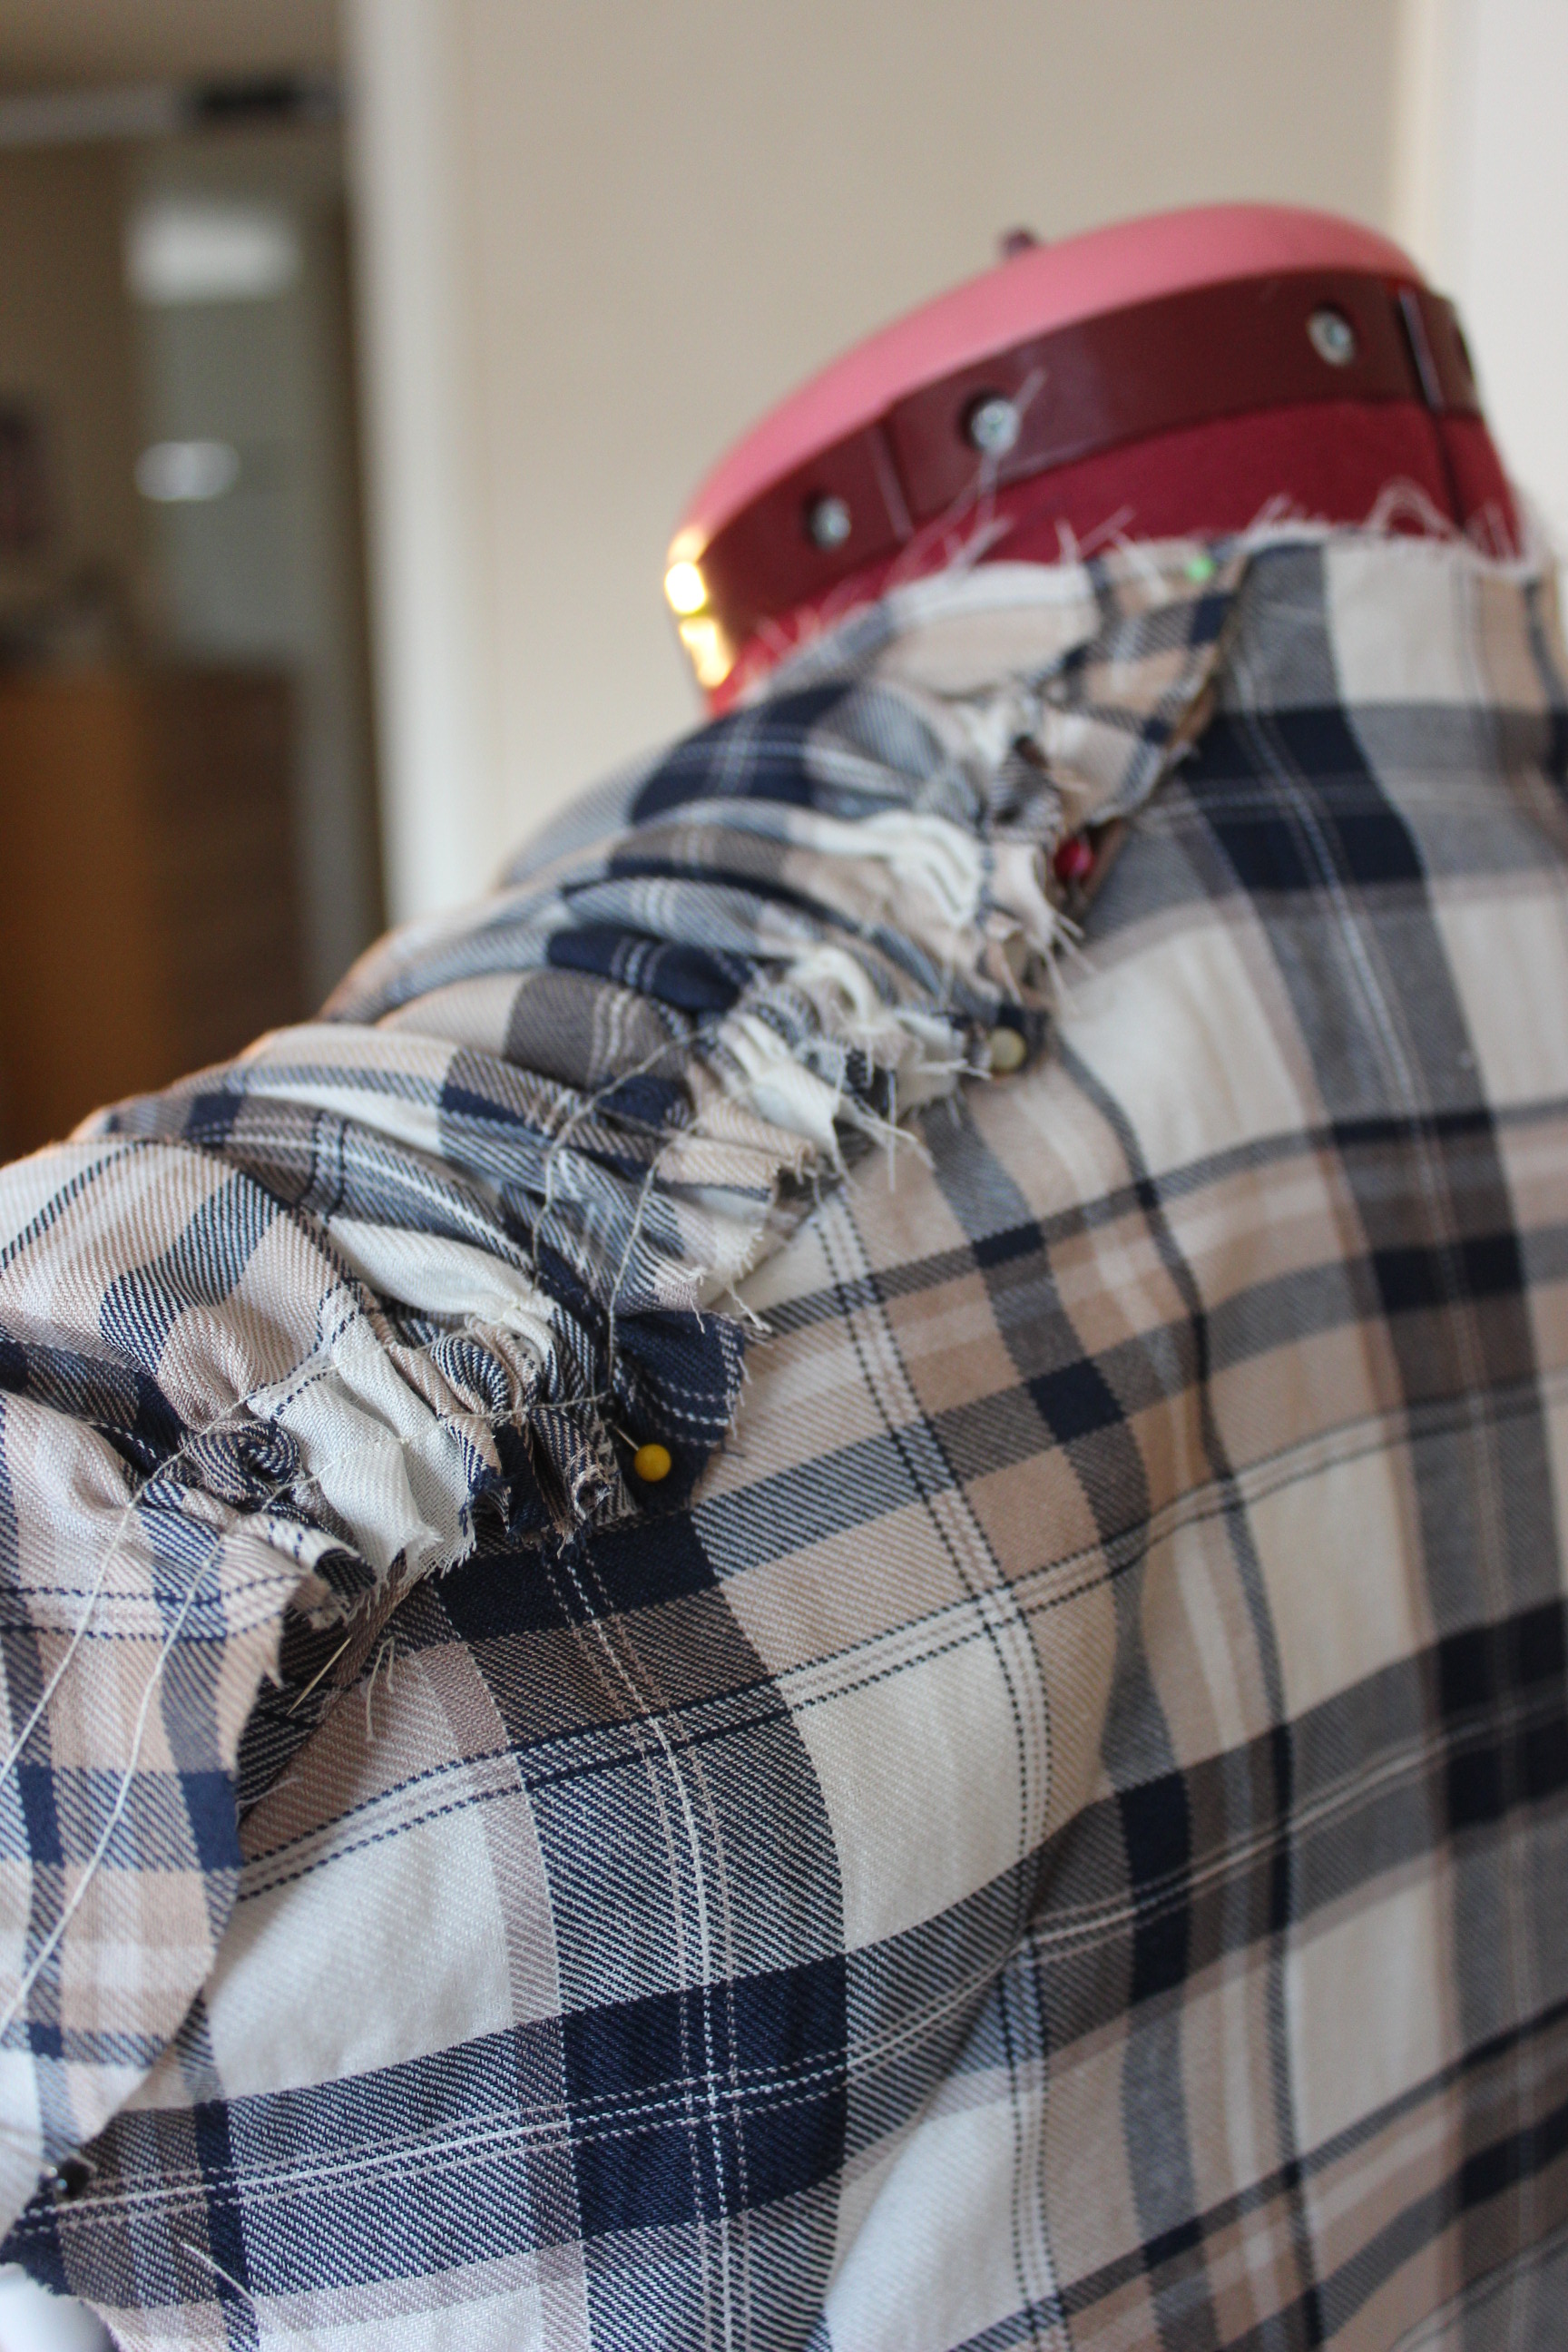
I always work on all the pieces of a garment at the same time:
Pinning everything, then stitching and finally pressing everything in one bunch, then back to pinning once again. And on and on it goes until I finish the garment with hand-sewing.
Working like this makes it go so much faster then working one seam/piece at the time. I do however need to know where I’m going with everything right from the start, as I often finish the sleeves before the bodice, and the lining is ready and waiting even before the final fitting.
 The sleeves, “skirt” and buttons were all ready and waiting to be attached at this stage. (1770s Caraco Jacket)
10. Coffee or tea? Plain or doctored?
Neither.
Here in Sweden it’s considered strange (and a bit childish) not to drink Coffee, but I can’t stand the taste. When it comes to tea it’s basically the same – I do however drink it “when etiquette calls for it”, but I just rather have a glass of water.
Catherine’s Questions:
1. What type of music and/or movies do you like to have on while you work (work = sewing/creating art)
I usually watch TV-series on my computer when doing my hand sewing, preferably historic dramas.
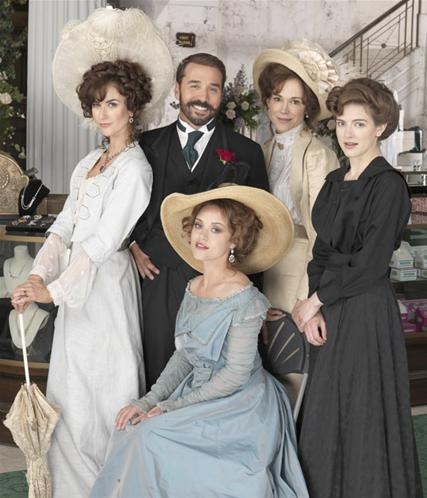
This year I’ve gone through all seasons of: Game of Thrones, Downton Abby, The Tudors (I know, I know, sorry), The Borgias, Mr Selfridges, Outlanders and Marco Polo, among others… “Mr Selfridges”
The trick is to re-watch.
Then you already now what’s happening, and can focus on your work while listening and only catching a gimps now and then.
2. What gives you the most satisfaction while working on a new project?
Progress!
I’m what they call a “project starter”, and sometimes have a hard time finishing one thing before moving on to the next. This makes my head over run with ideas, and my cutting table full off fabric and pattern piles for upcoming projects.
So fast, and easy to spot progress, makes me really happy, and make it feels like I’m really getting somewhere (See question 9 above). I love putting my projects on my dressform to see how they’r coming along. (1550s Doublet)
3. What inspires you the most when you are mulling over what to create next?
Pinterest!
And my own fabric stash (and sometimes the fabric stores stash).
It’s when those two comes together that magic happens, as they say.
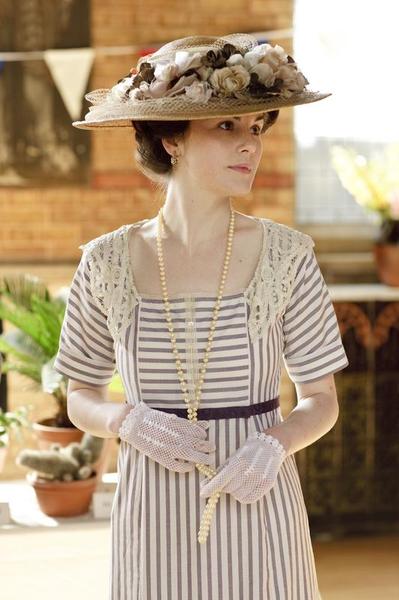
It’s like “Hey! I have that fabric!” and then I’m of…


(1914s Summmer dress)
4. Does it bother you if your pet lays on your fabric, paper etc while you are trying to work? And what are your pet(s) names?
Well, since I don’t have a pet (only a boyfriend), It does sometimes bother me when he lays on my work for attention, especially if I’m on a tight deadline.
But other times, not so much…
 And his name is Johan 🙂
5. How long ago did you get involved in your hobby?
As a kid I was a really creative drawer/painter, and flooded my room (and my parents) with paintings. I can sill draw, but now a days I don’t have time to work at it as much as I used to.
I started sewing in “Gymnasiet” (upper high school) about 14 years ago, where I attended “fashion & sewing school“.  Me, working on a costumers ball gown about 6 years ago.
I’ve always been interested in history, but Historic costuming is relatively new to me – I only started 4 years ago, after some sporadic previous try’s.
I think it was when I discovered “The Historical Sew Fortnightly” I really started to develop an interest in costuming and getting everything “Right”.
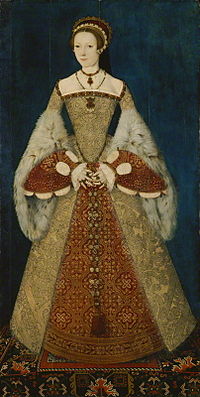
(Thanks Sarah of “A Most Peculiar Mademoiselle”, for introducing me to this obsession ;-)) My very first 16th century gown, which I loved back in 2008. (1530s Tudor Gown)
6. What is the ultimate garment that you yearn to create?
A perfectly flawless 1550s Gown including accessories – Something I will never afford, or manage to do, but a girl’s got to dream…
 I just adore Izabela of “A Damsel in This Dress” Tudor gown.
7. What has been the mistake that taught you the most?
I make so many mistakes all the time (and always learns a lot), I’ts hard to choose just one.
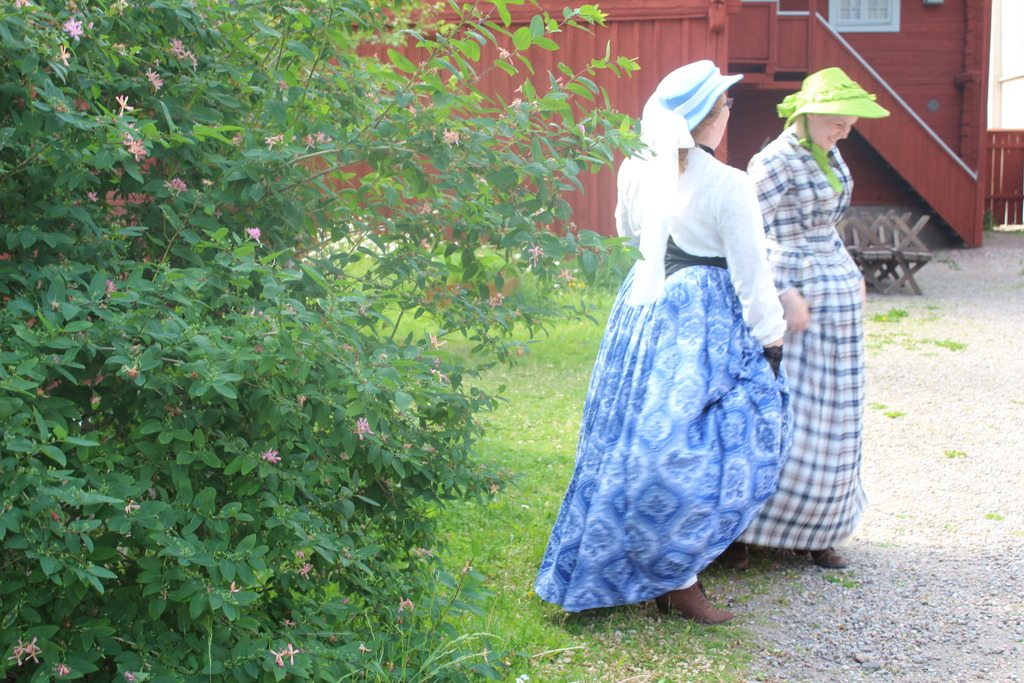
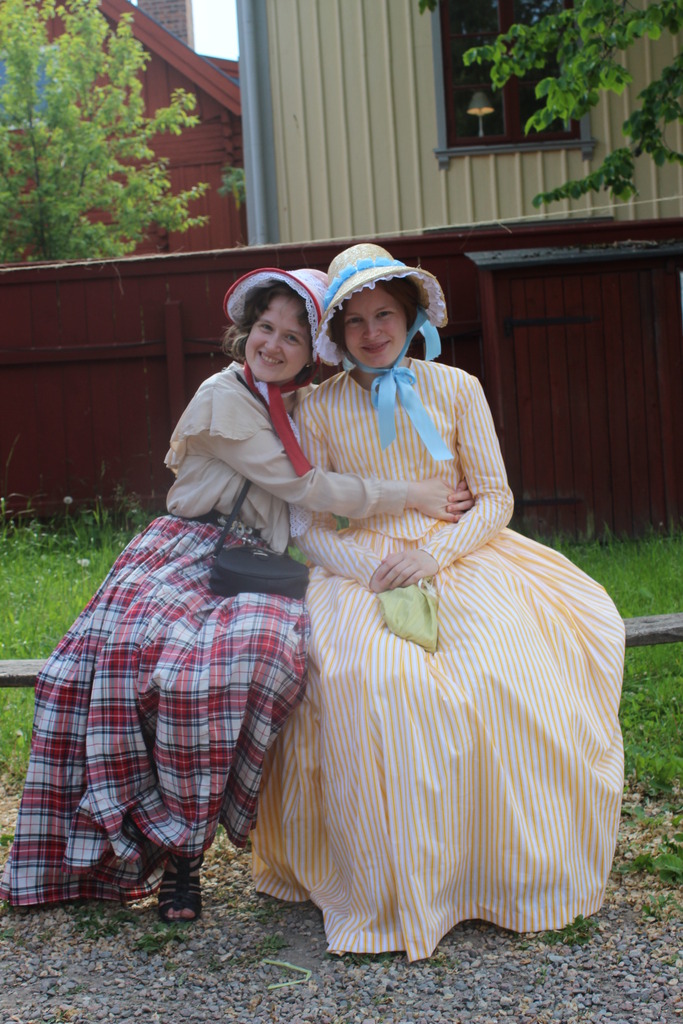
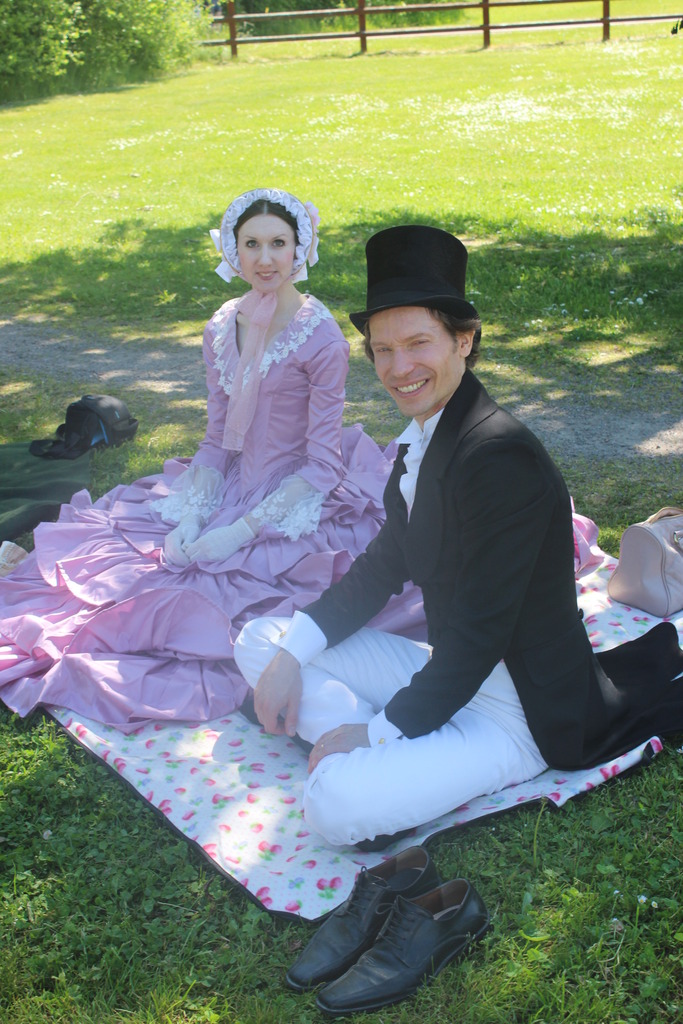
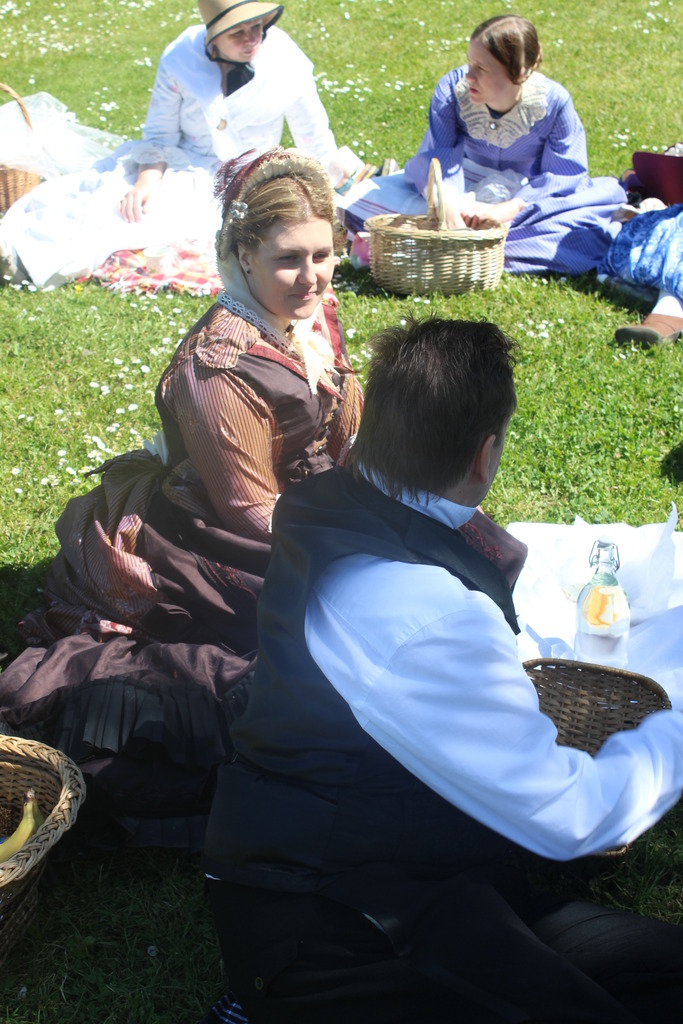
Perhaps it’s one of the events I went to last year – The Historic Multi Era Picnic, were I put so much effort into everything being perfect for me and my sister, that I ended up totally exhausted and really cranky instead of just relaxing and having a good time.
So now I try to put some of the pressure aside and not fretting over every detail ( I said try.)

8. If you have any advice for someone just starting out in the hobby, what would it be?
Oh gosh there are so many – You know, always press, baste, measure and take your time etc.
But I would say – learn to make it right, so that you then can learn how to cheat.
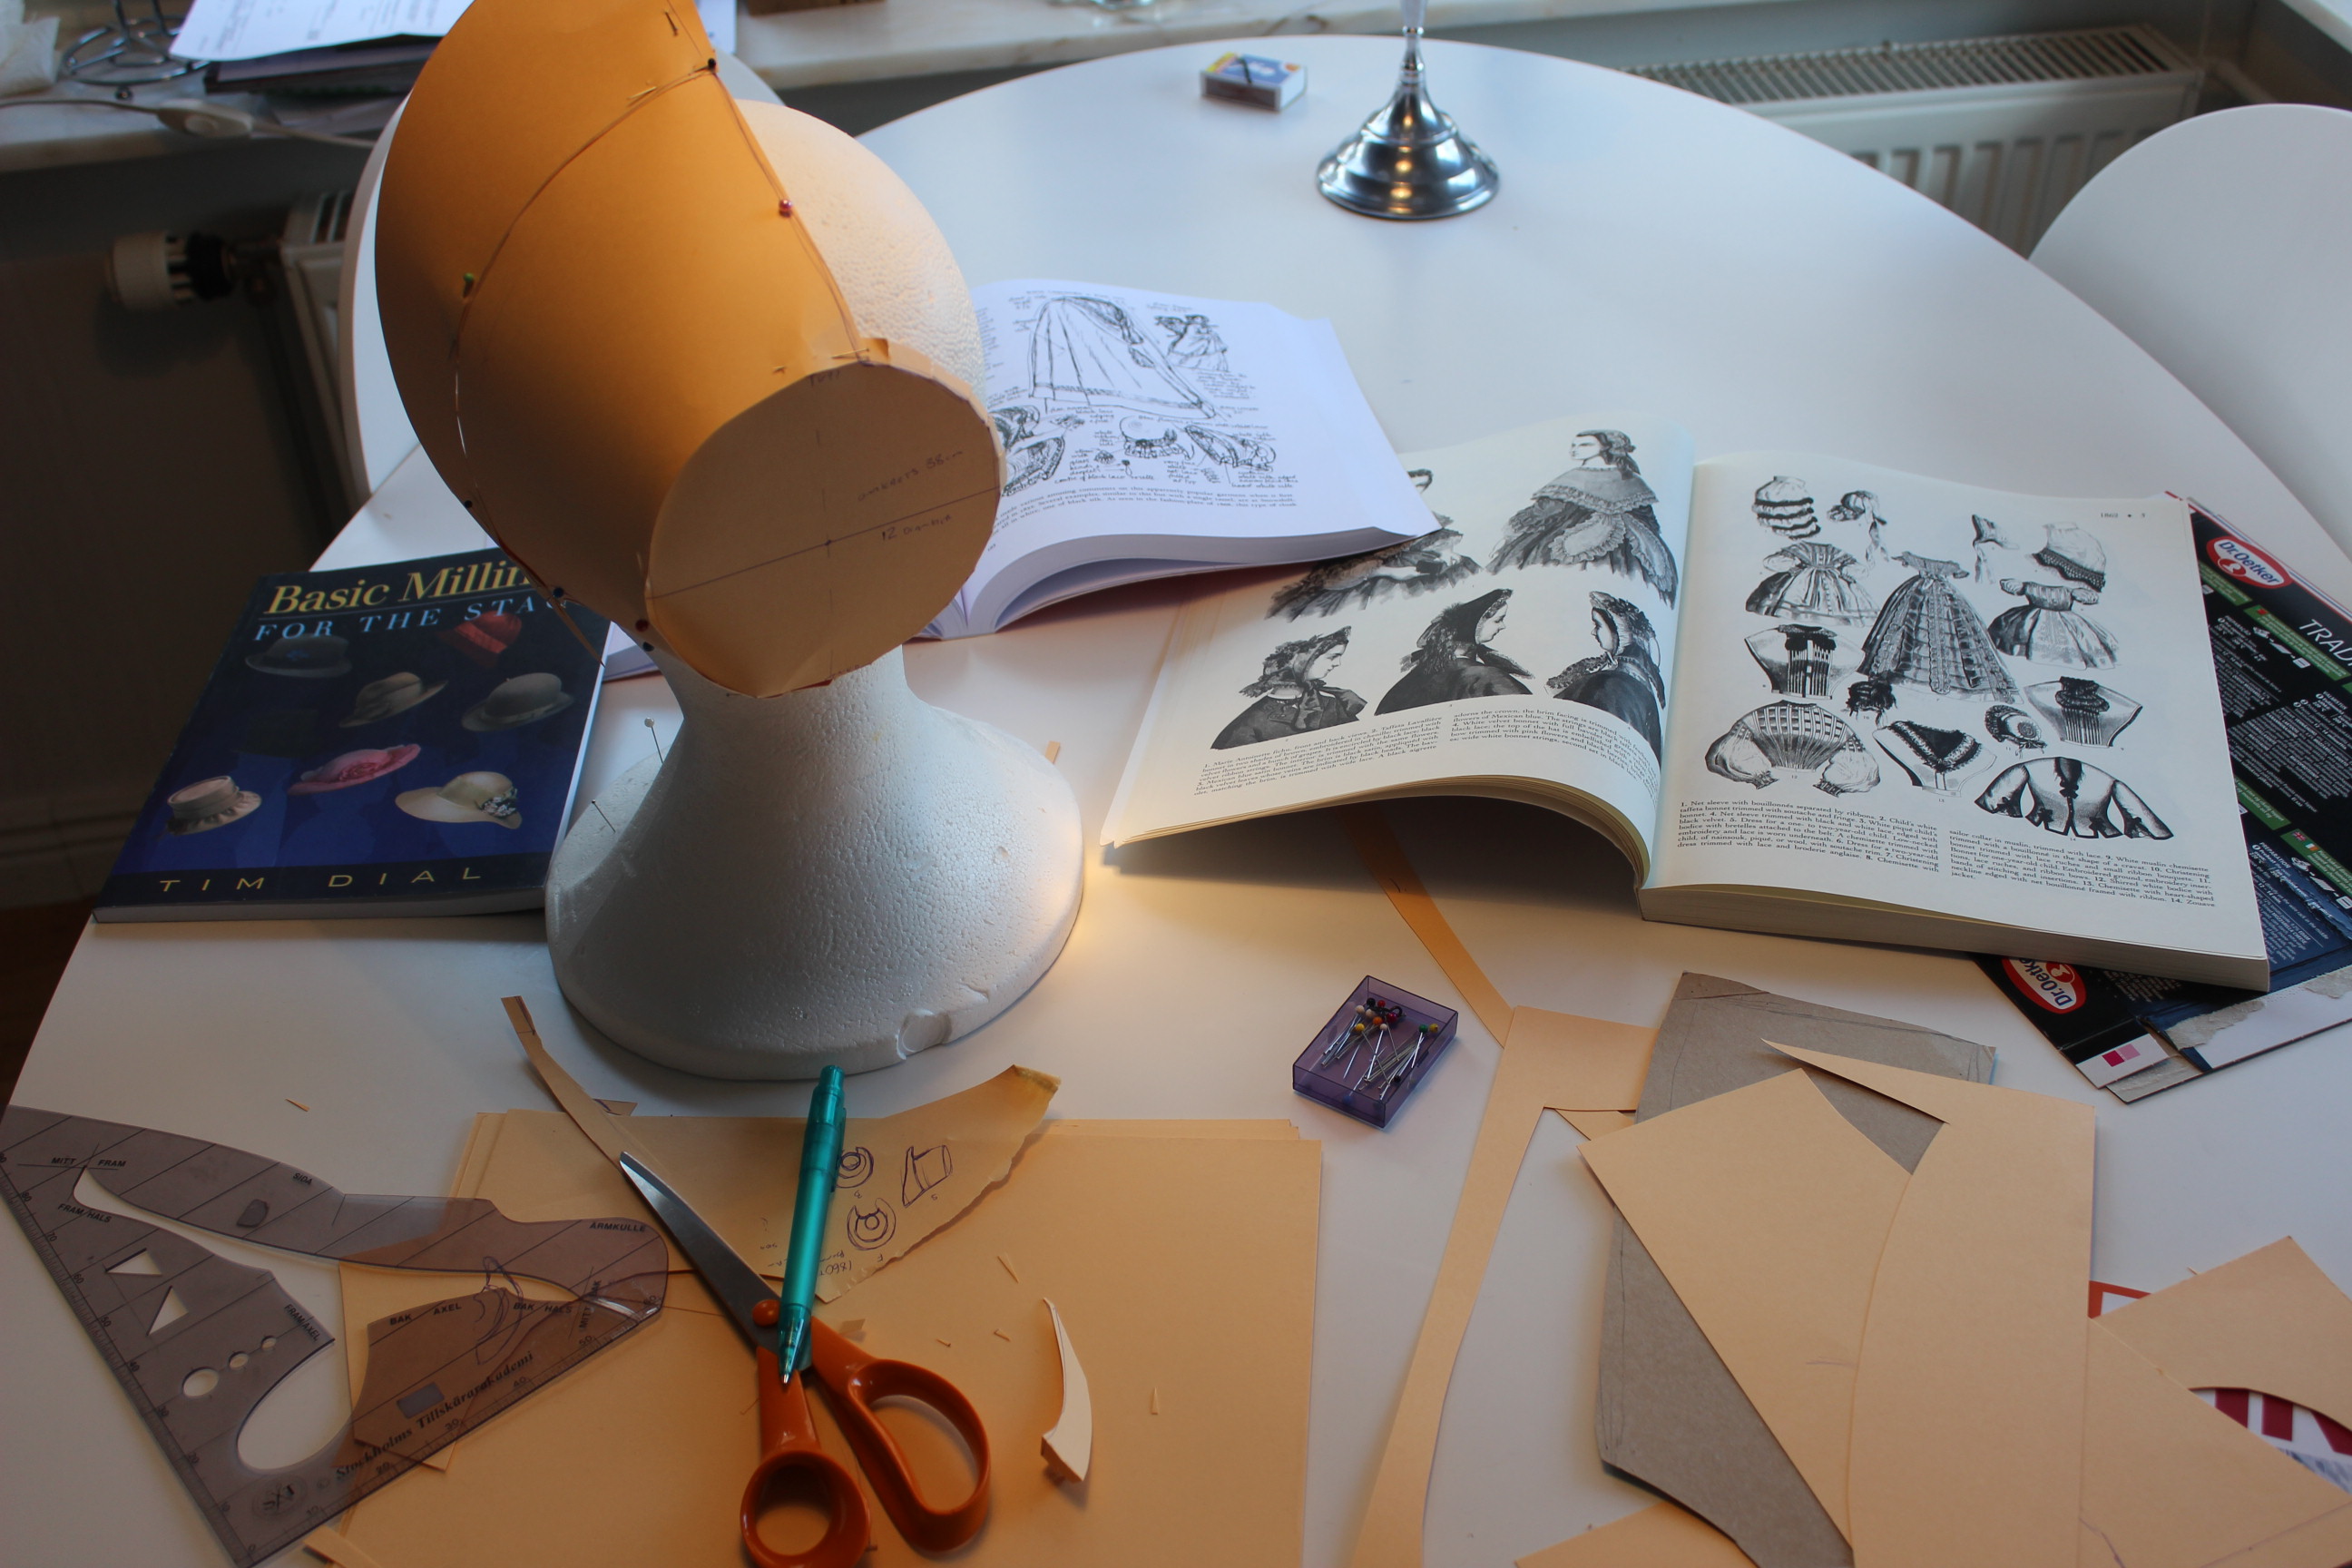
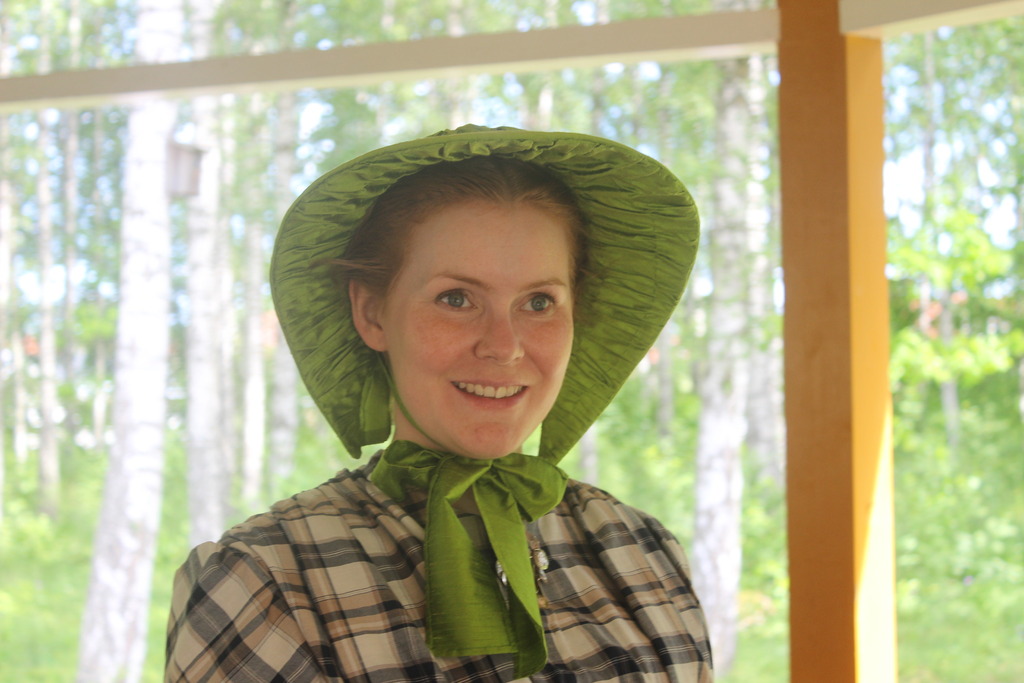
And also – Don’t be afraid of starting over or doing it wrong – just use cheap fabrics in the beginning.  I spent half a day trying to pattern a 1860s bonnet before I realized it just wouldn’t work. (1860s Bonnet)
9. Who has been the biggest inspiration and/or mentor when working on projects and/or keeping you motivated?
Everyone on the historic blogosphere.
But most of all I’ts been Leimomi of “The Dreamstress” for bringing everyone together in “The Historical Sew Fortnightly“, where I love to show of my creations.
I also owe a great debt to Sarah of “A most Peculiar Mademoiselle” for getting me into historical sewing.
And I love to read and marvel over Izabela of “A damsel in This Dress” and Lauren of “American Duchess” for their never ending inspiration and impeccable sewing skills. I soo need a red Robe Anglaise now… (Picture from American Duchess)
10. If you could attend any event (historical or otherwise) what would it be and why?
Such a hard one, but I would love to go to Costume College one day, to see all the fabulous people/dresses and attend all the classes I’ve can only dream of here in Sweden.
 Poster for CoCo 2015

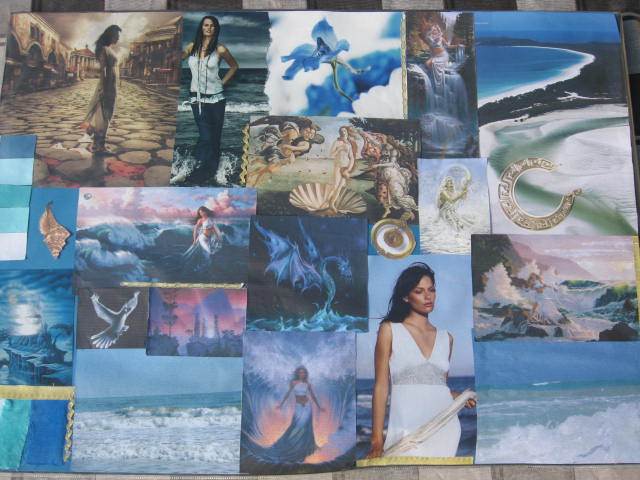 My Inspiration collage
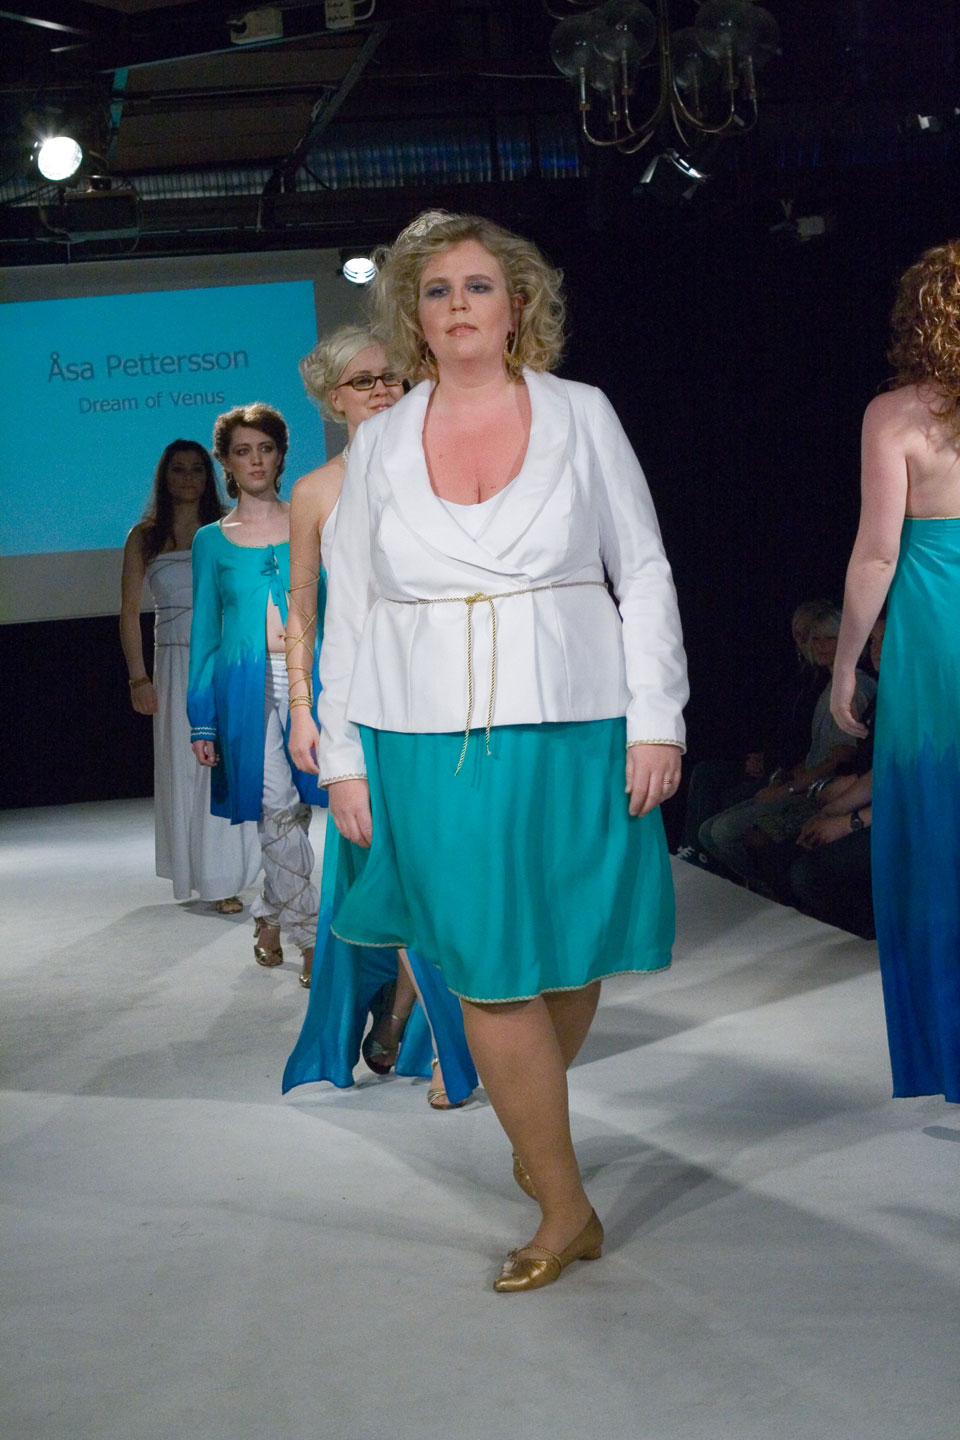
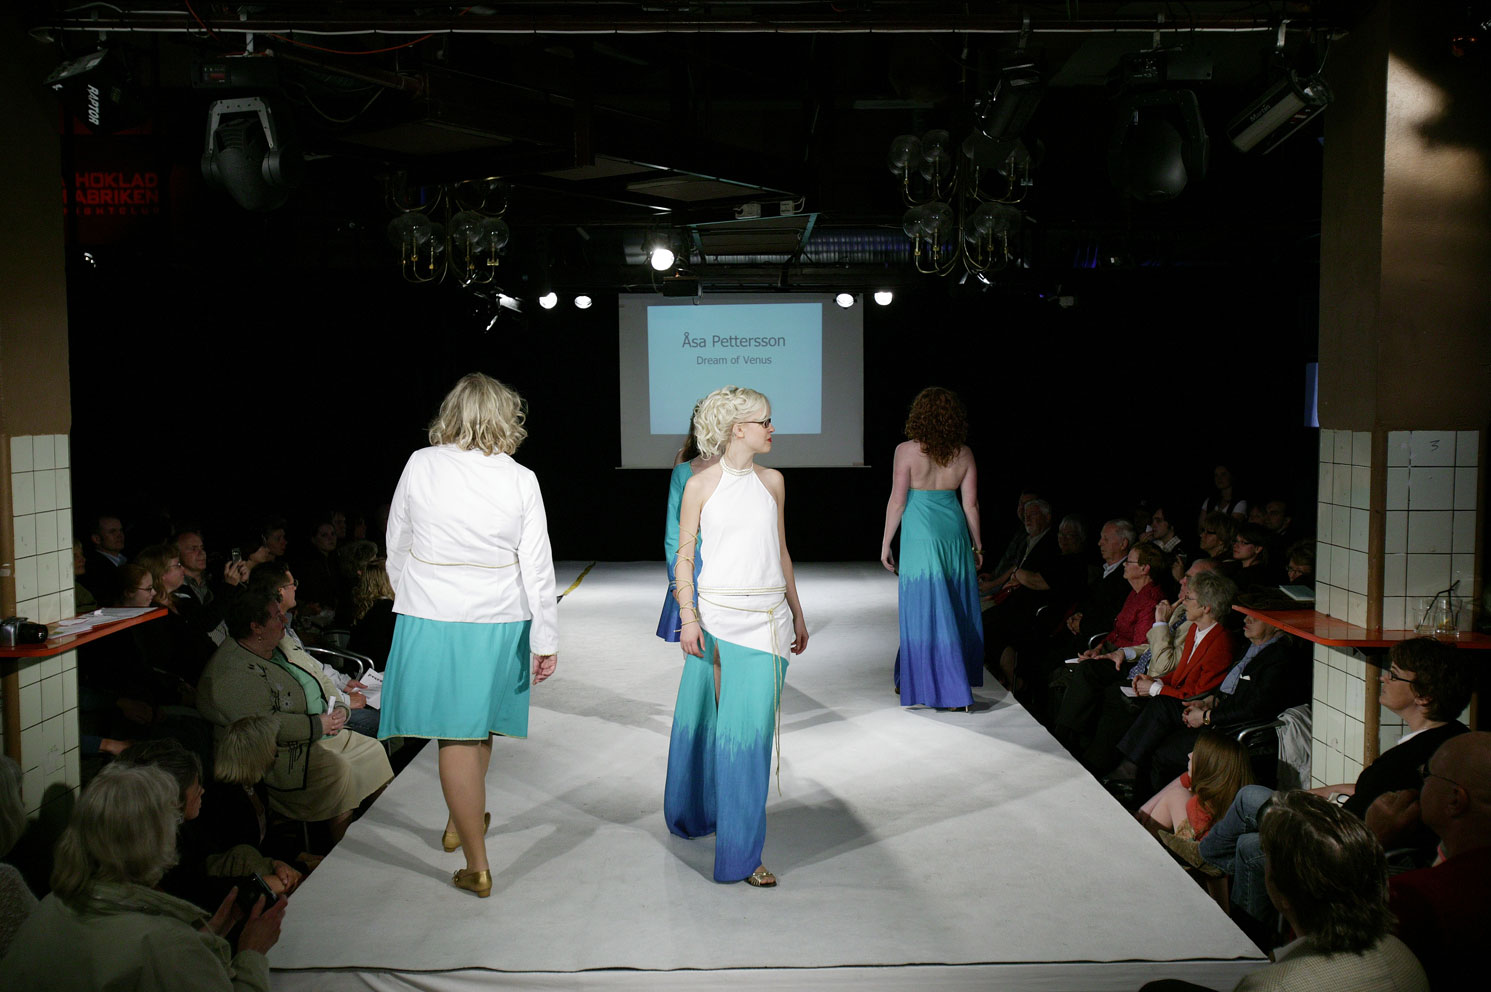
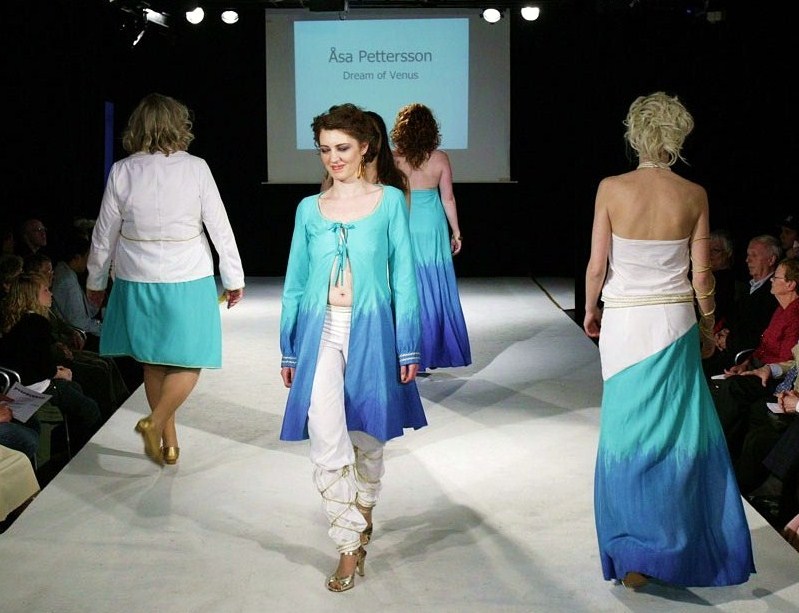
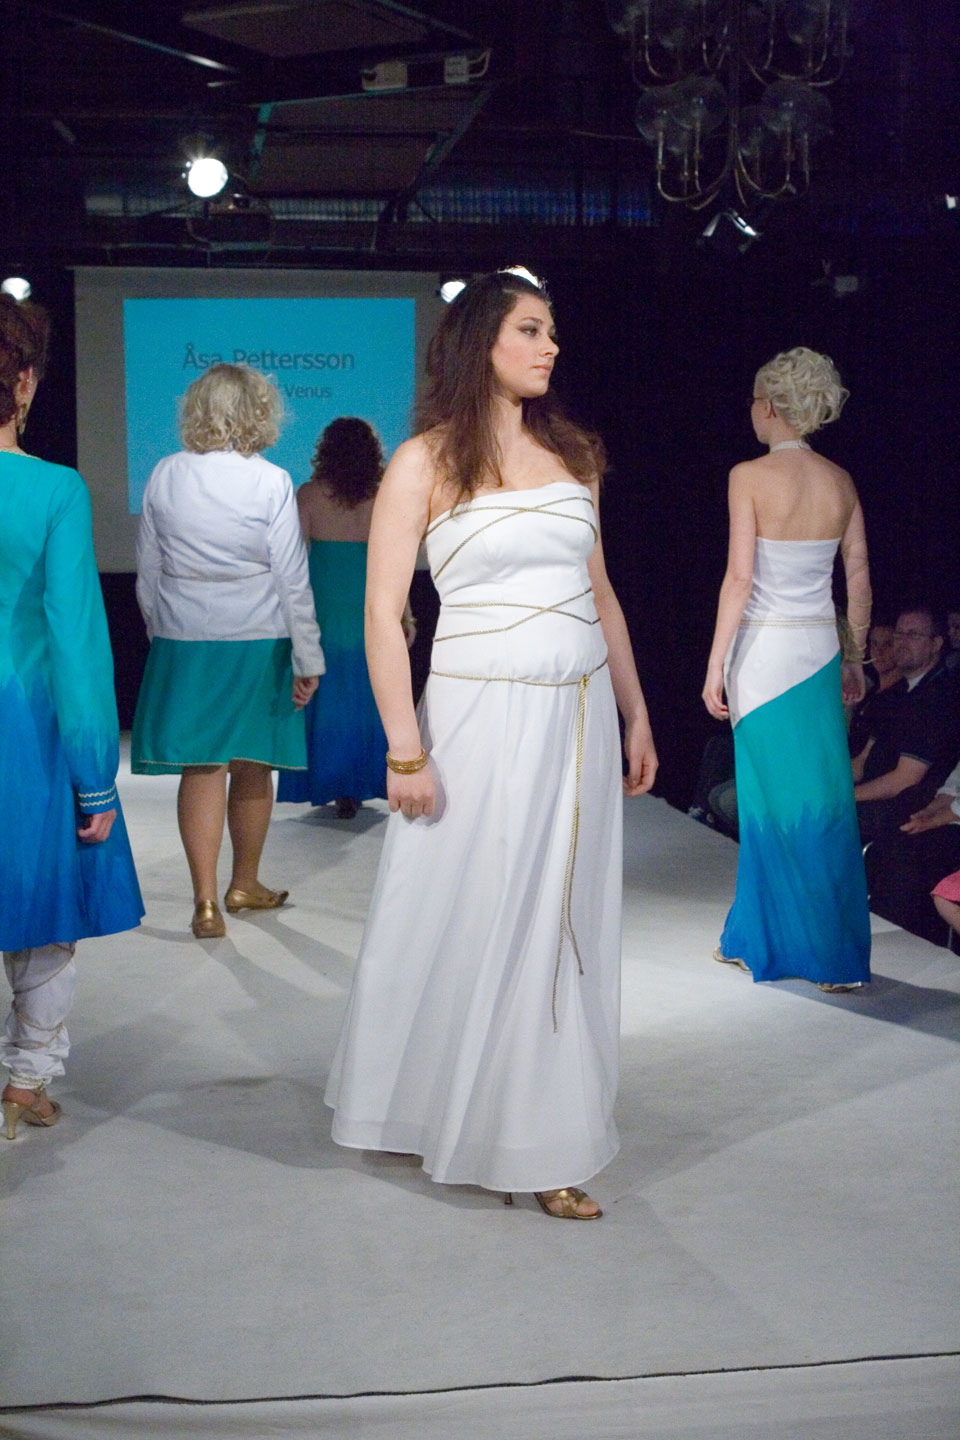
 The colors I choose was blue, turquoise, white and gold.
 Halterneck dress
 Jacket and skirt
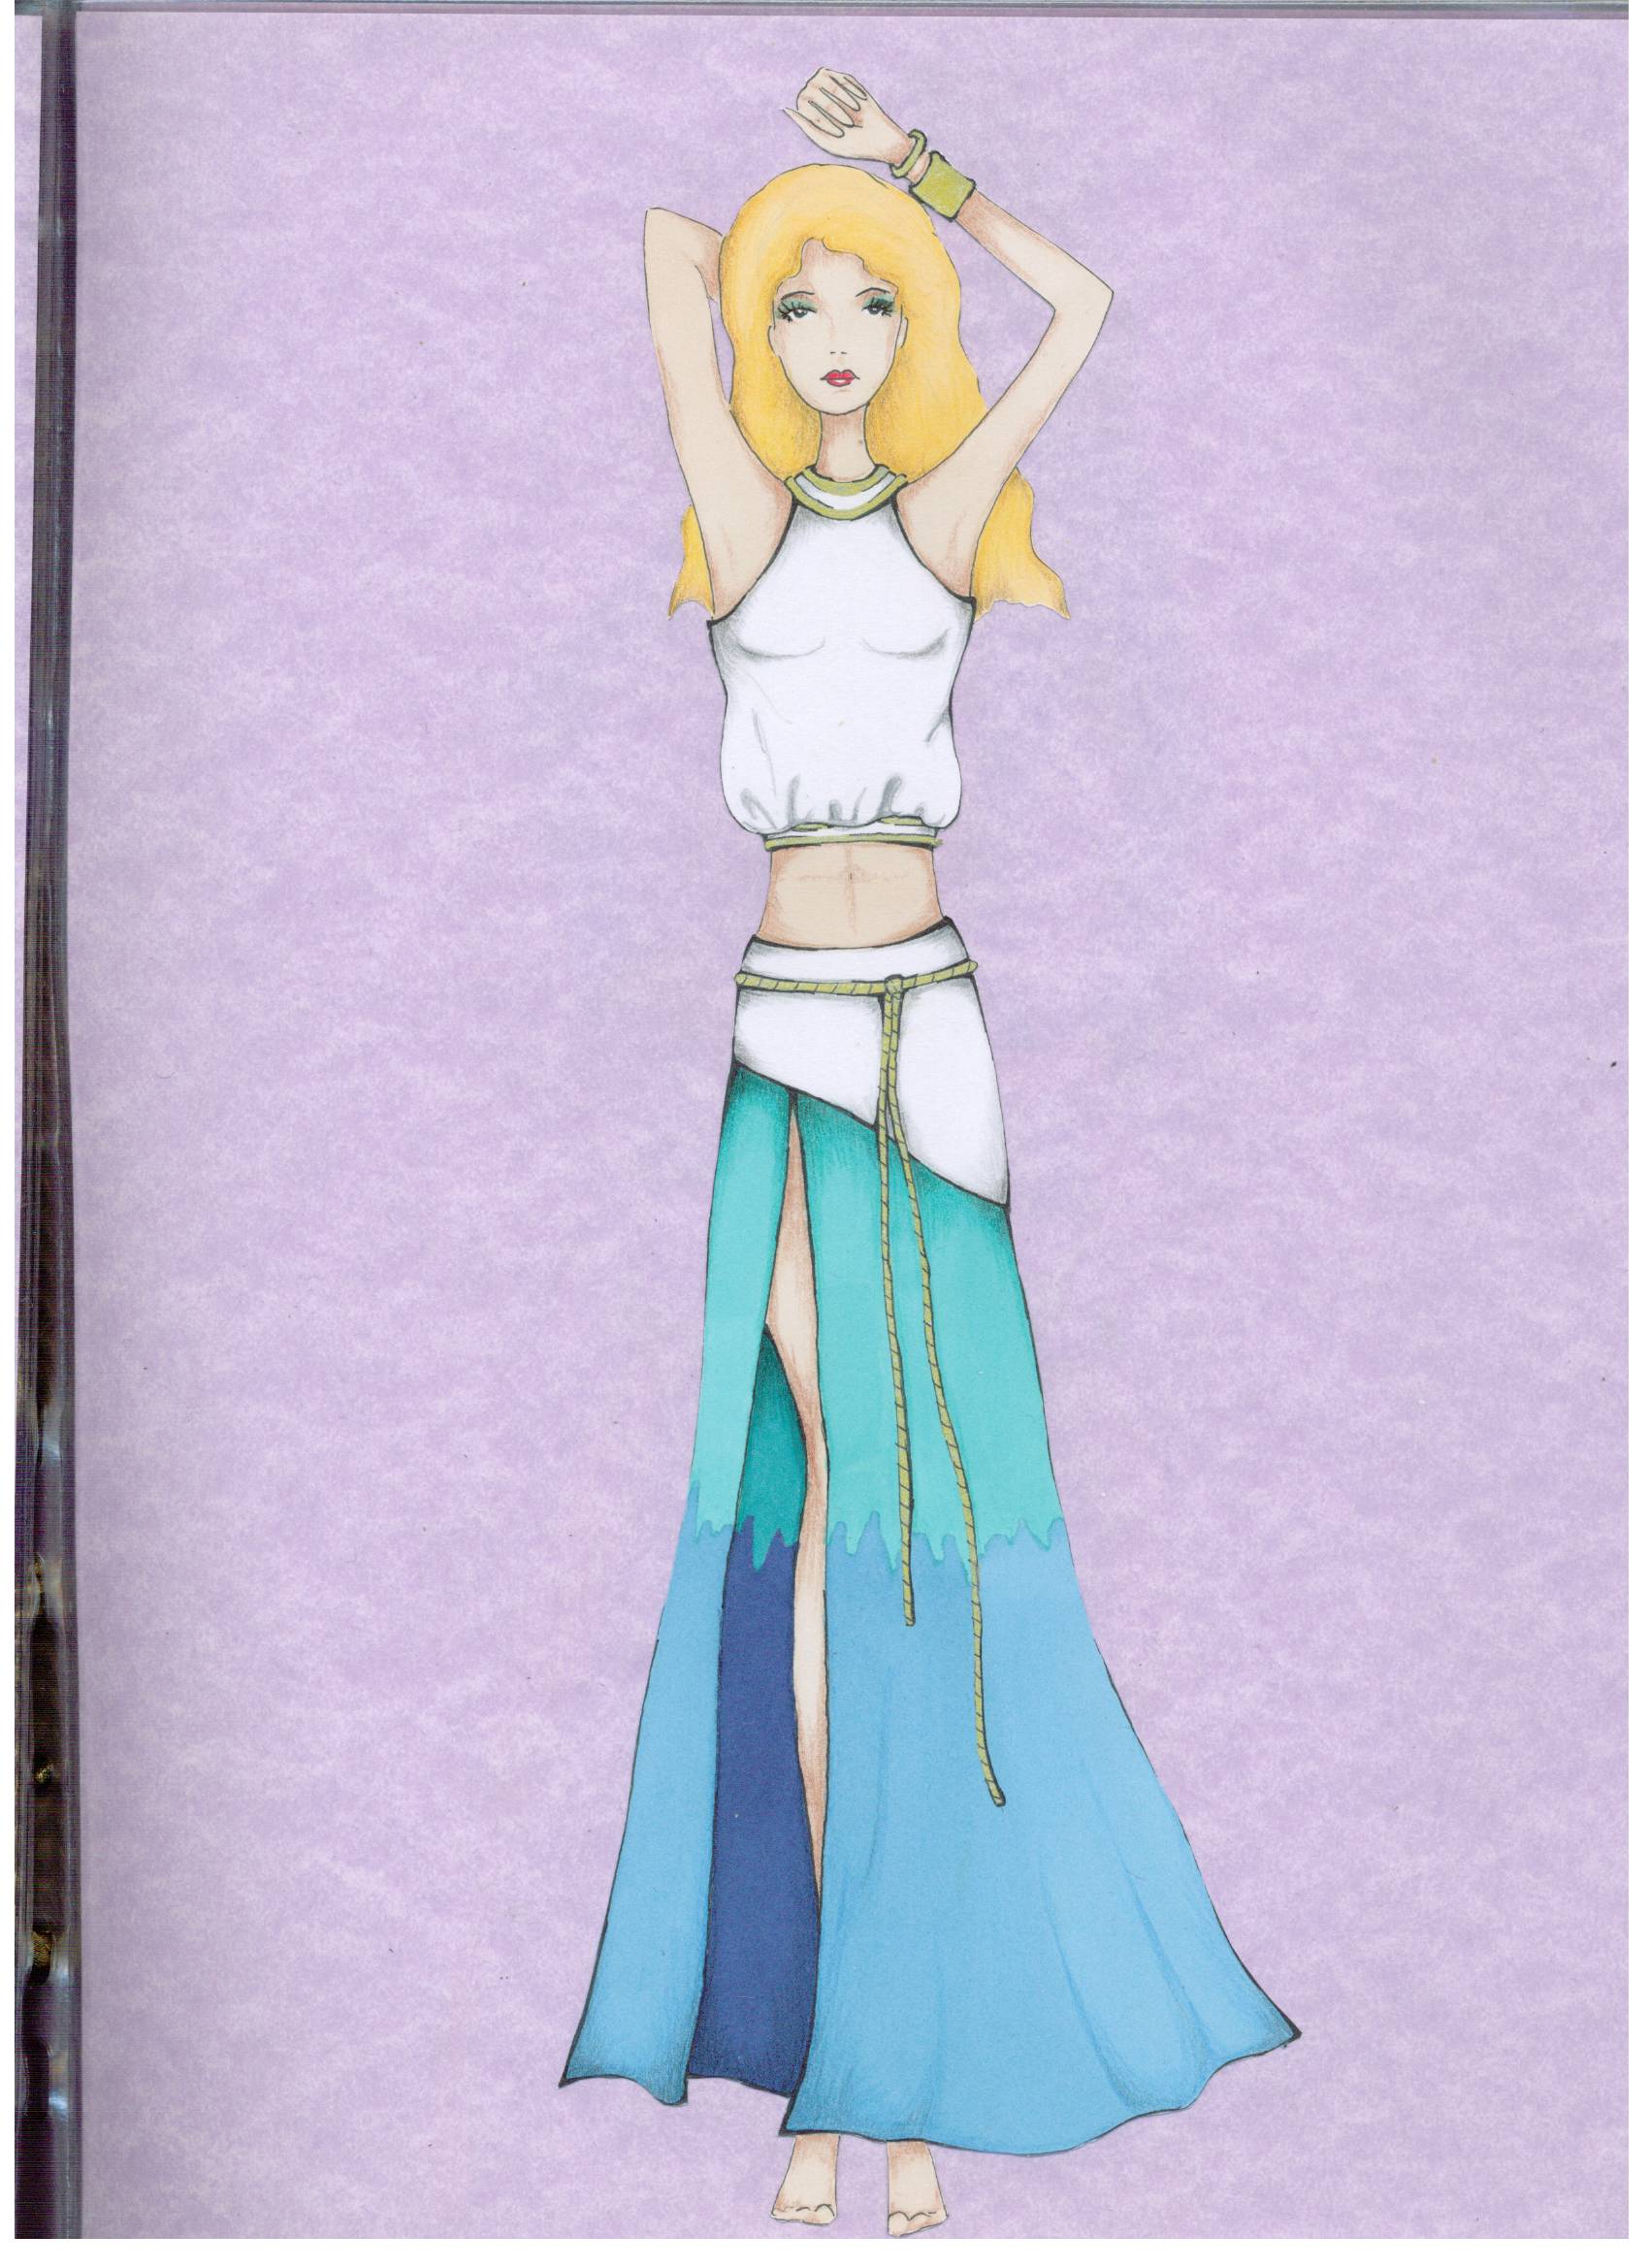 Halter top and floor length skirt
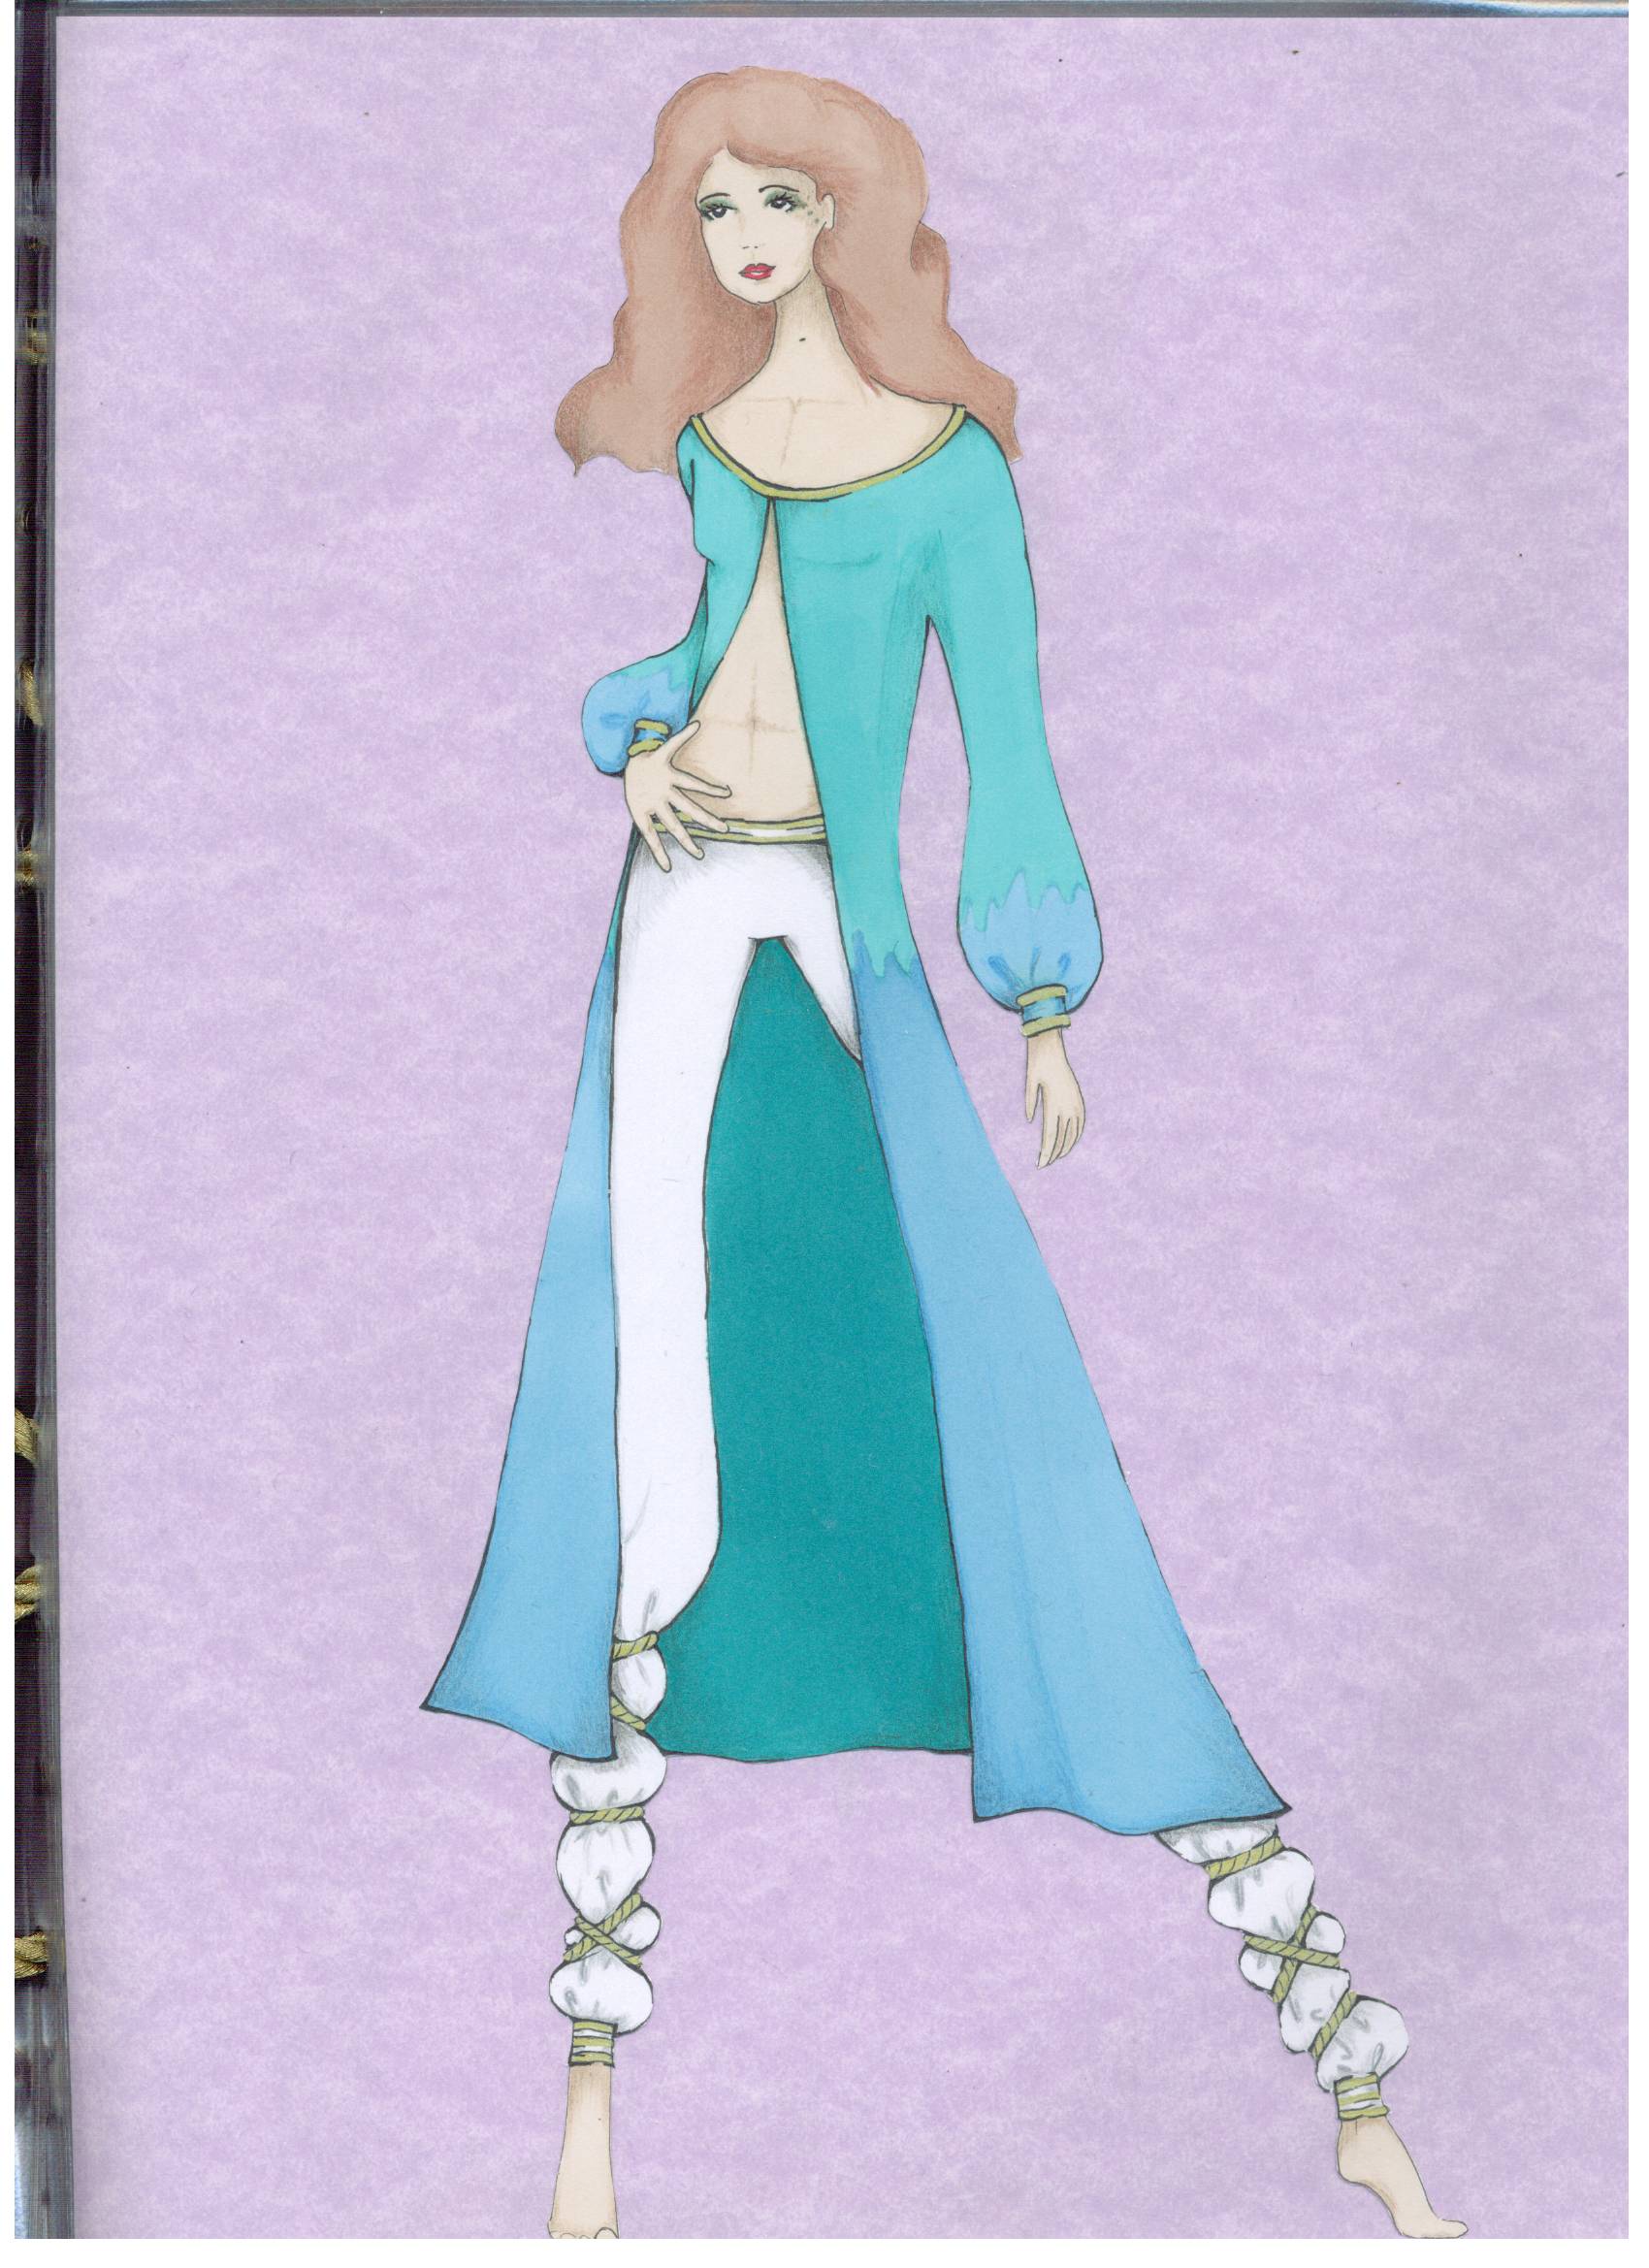 Jacket/cape and pants
 Strap-less dress
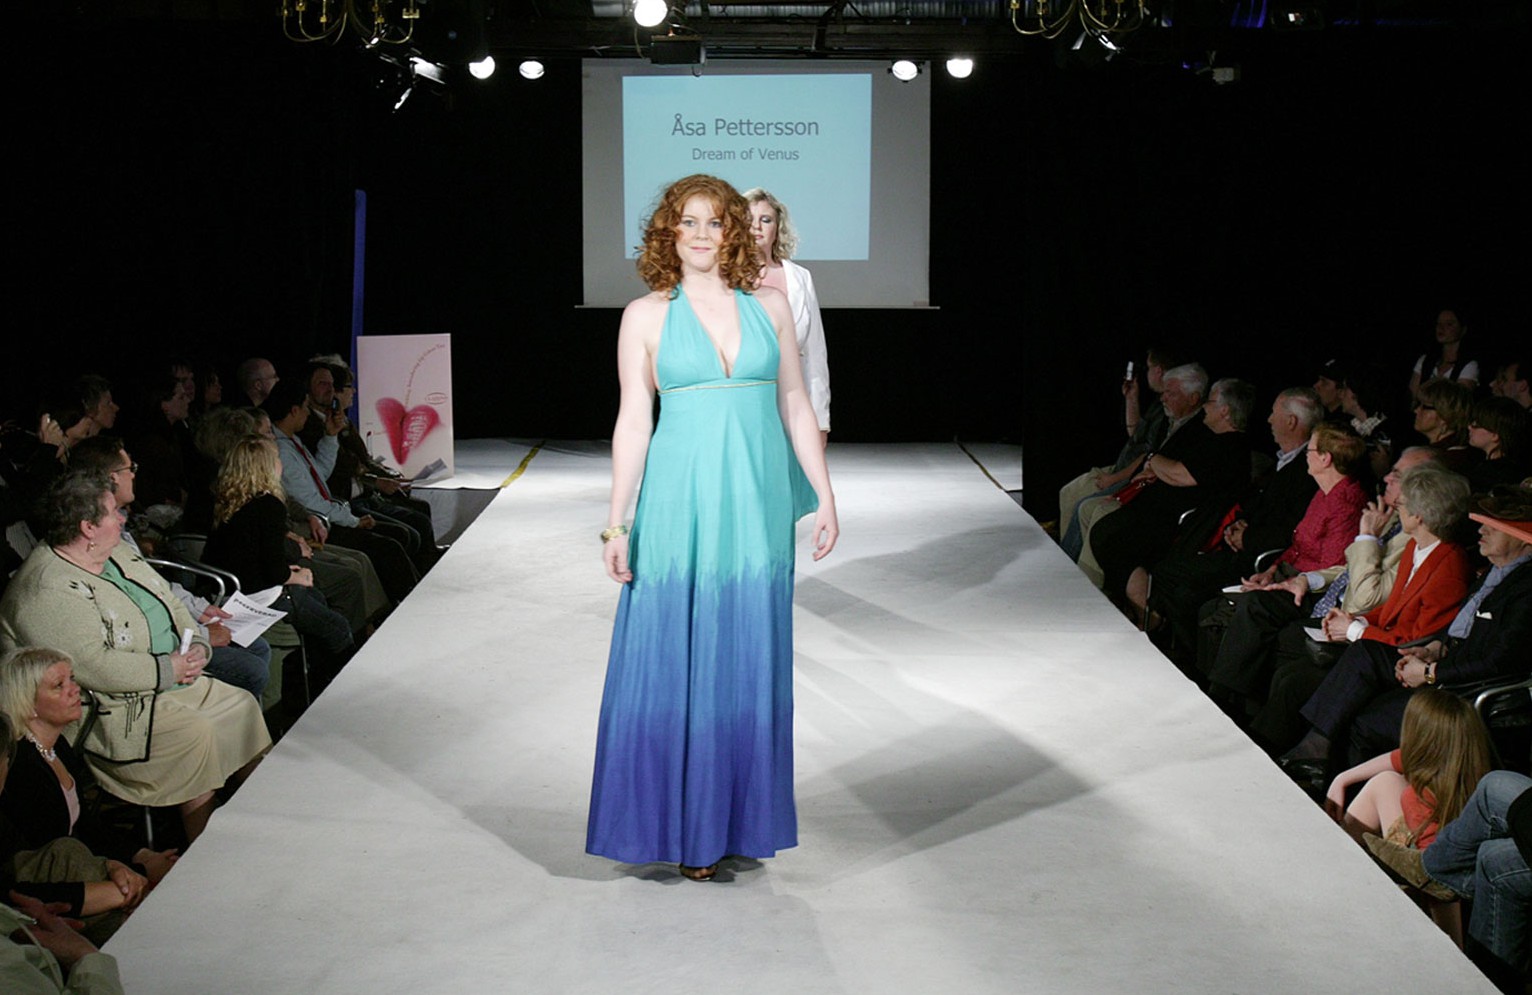


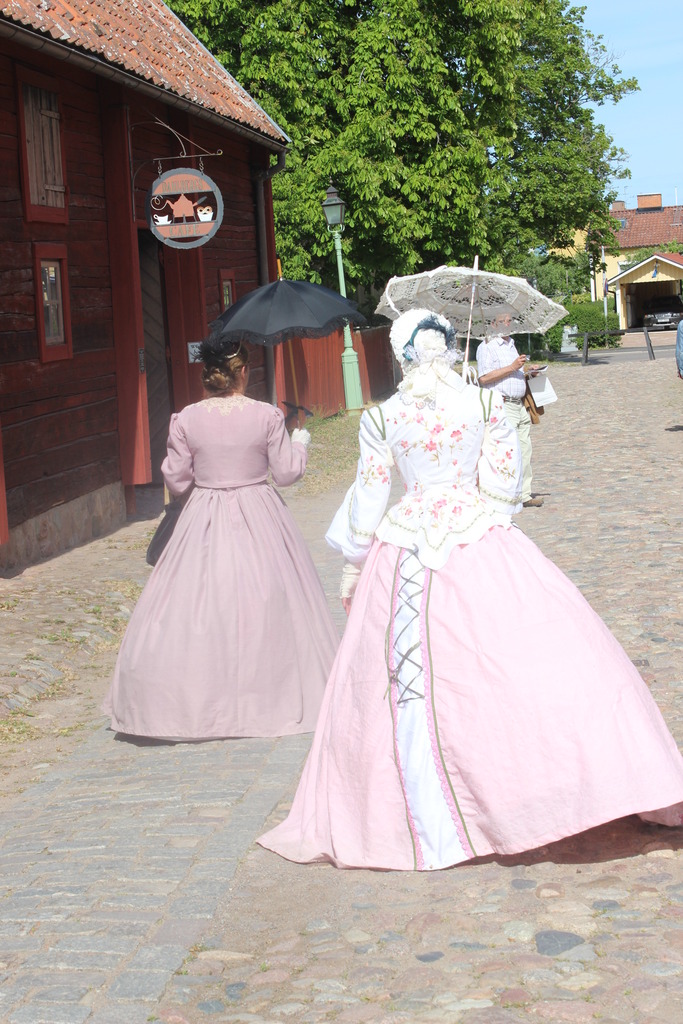
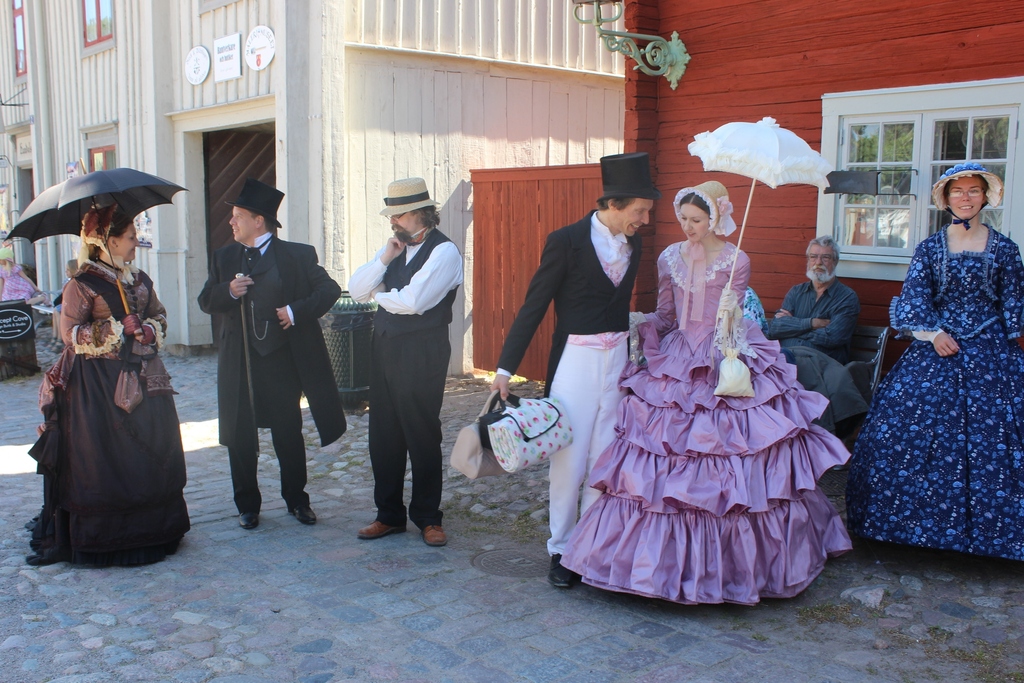
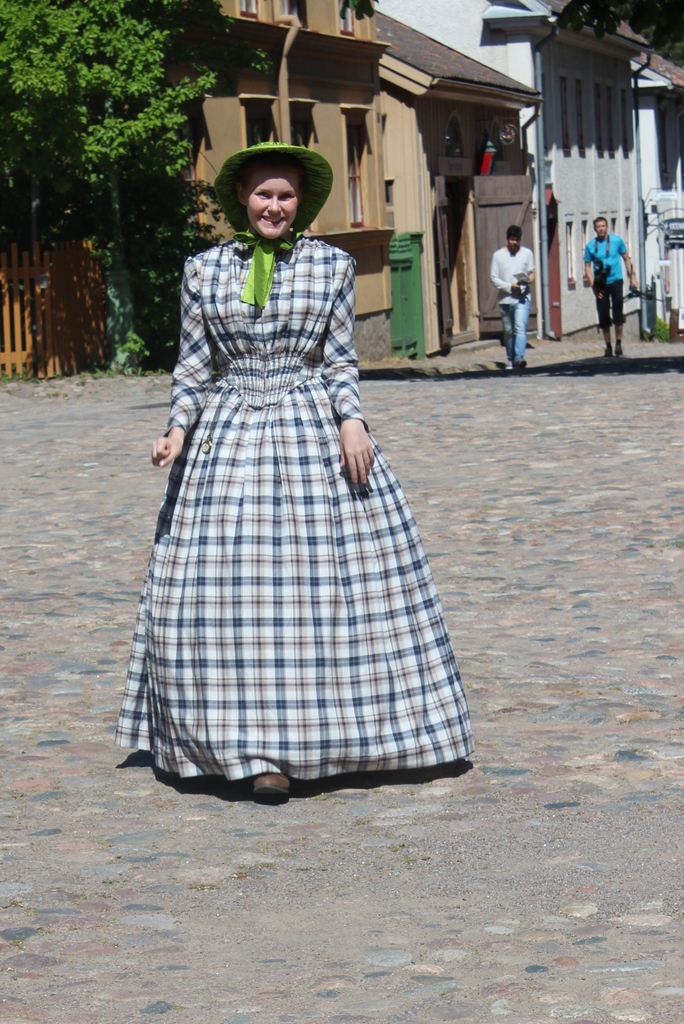
 Maud, in the sun with her new umbrella/parasol.

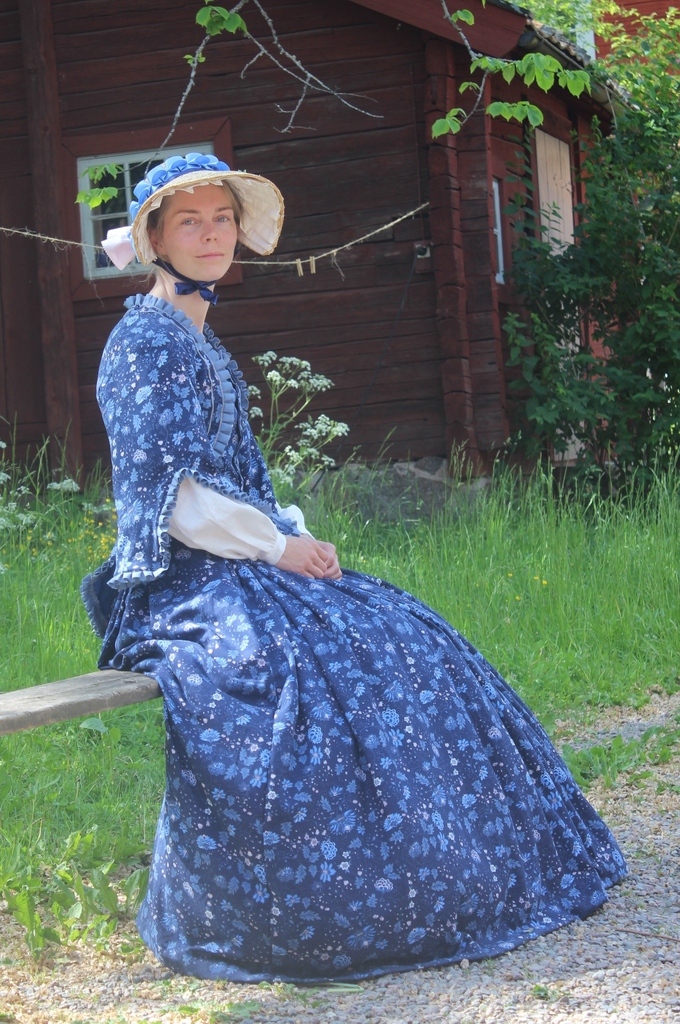


 One giant skirt on the bench…


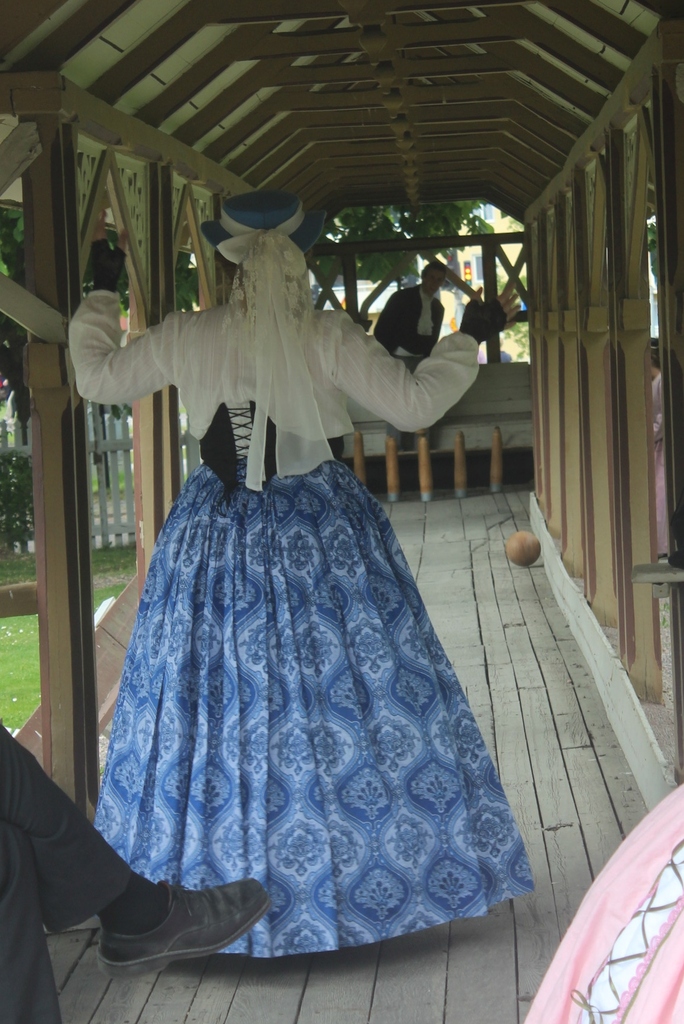
 “Hm, you are very strange madam…”
 Barbaras jacket are made out of a tablecloth, can you believe it.
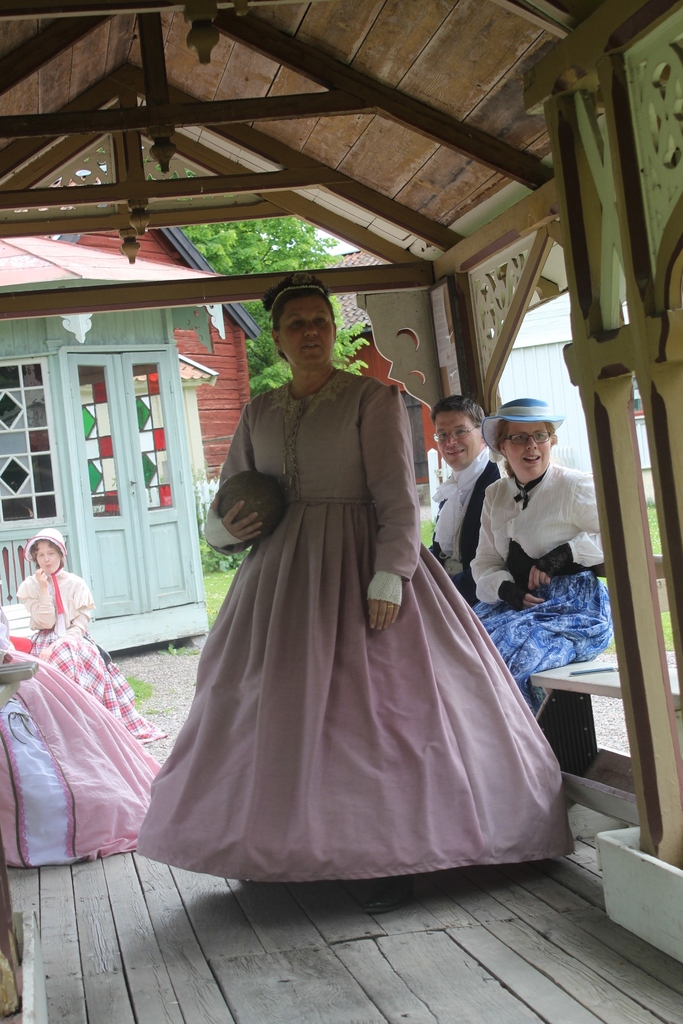
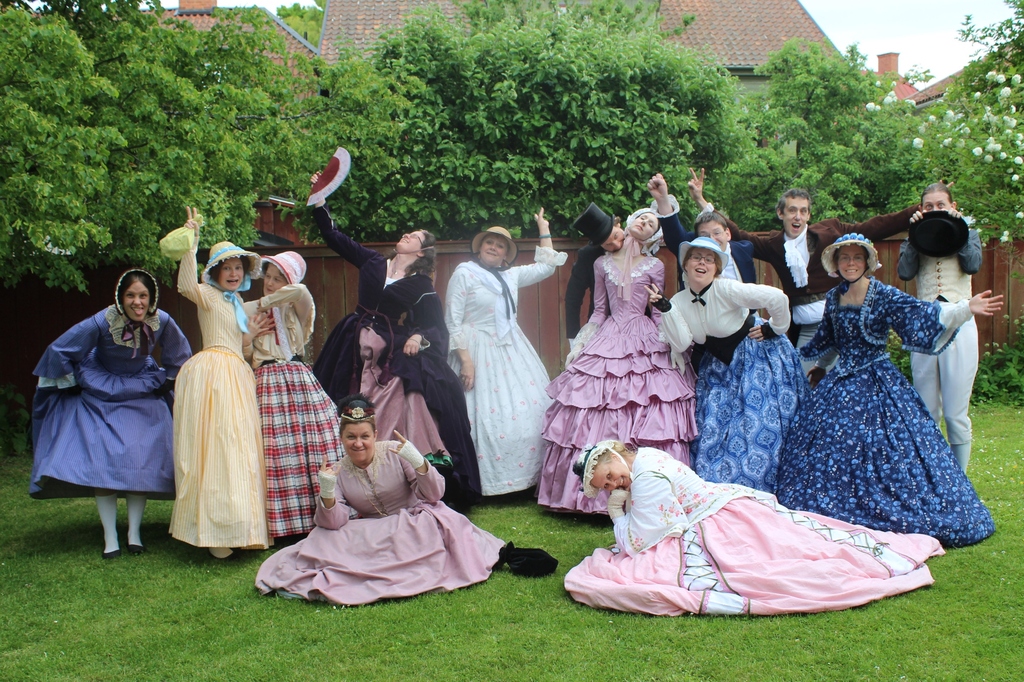
 Just general fooling around.
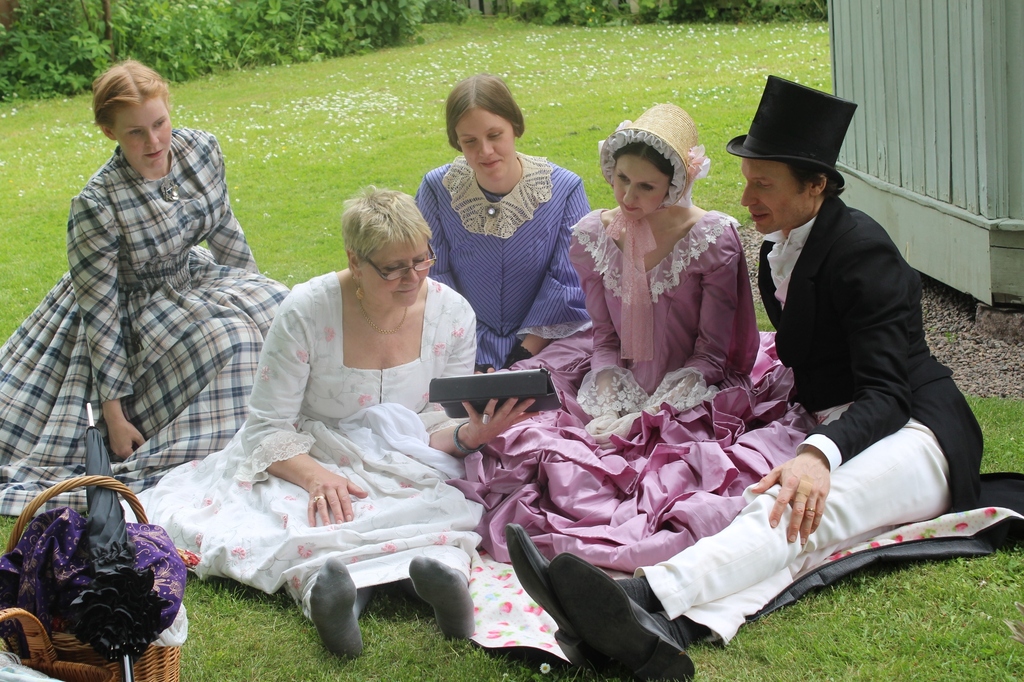


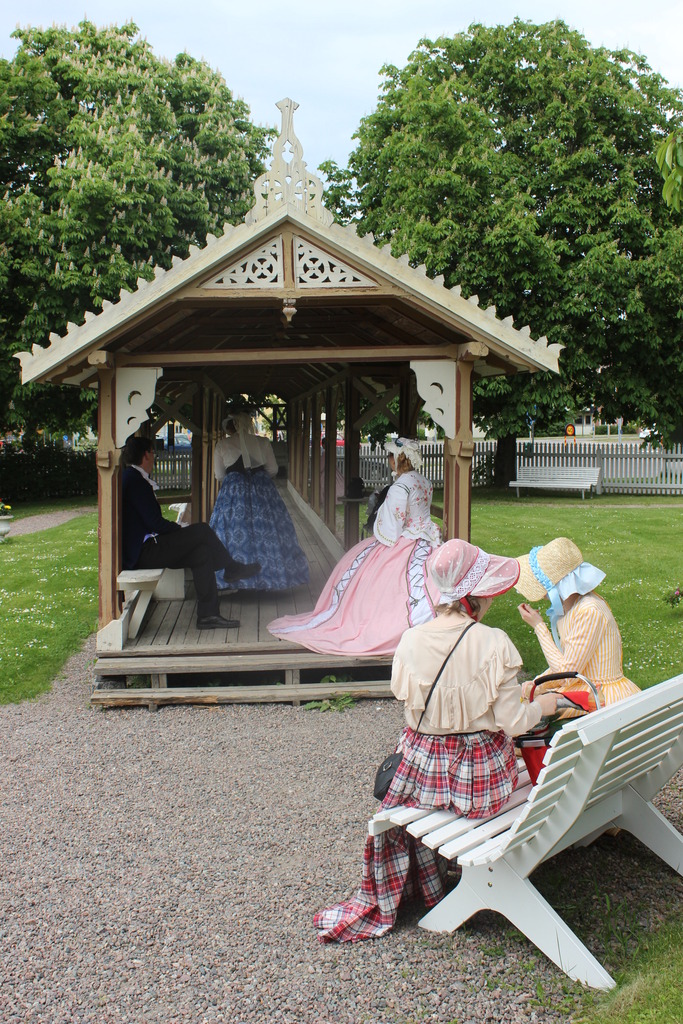
 After a long day of costuming in the sun…
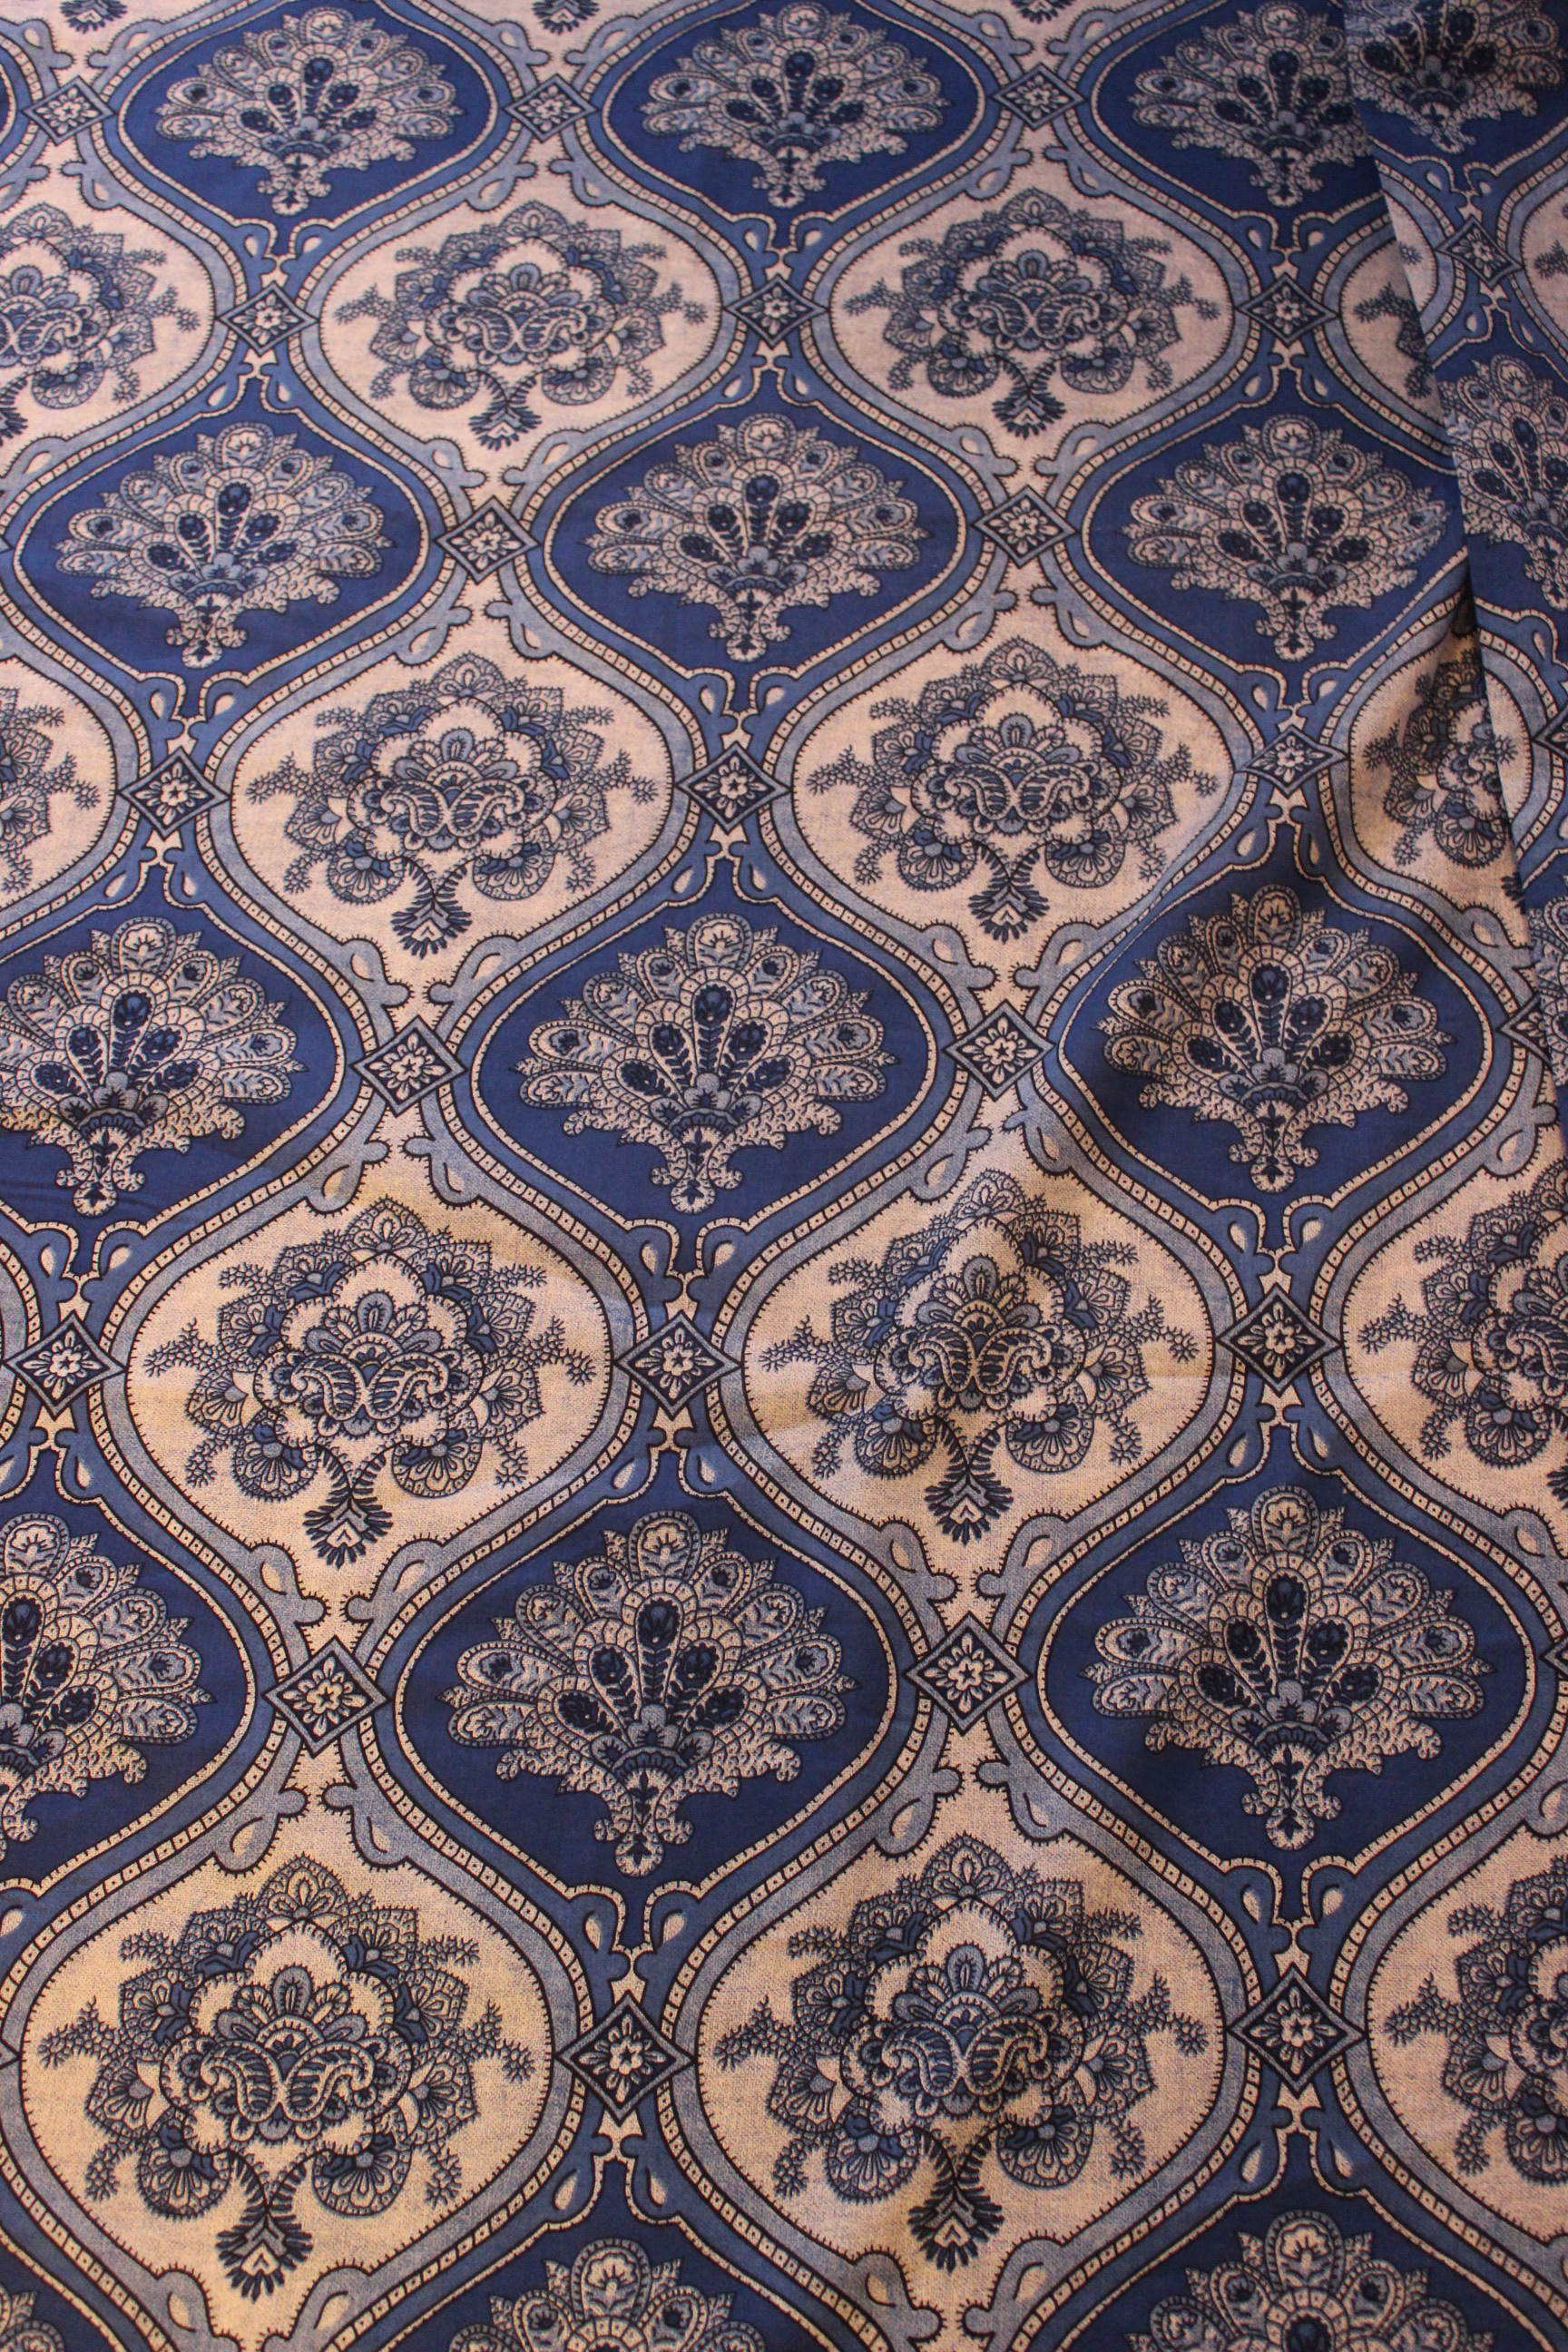
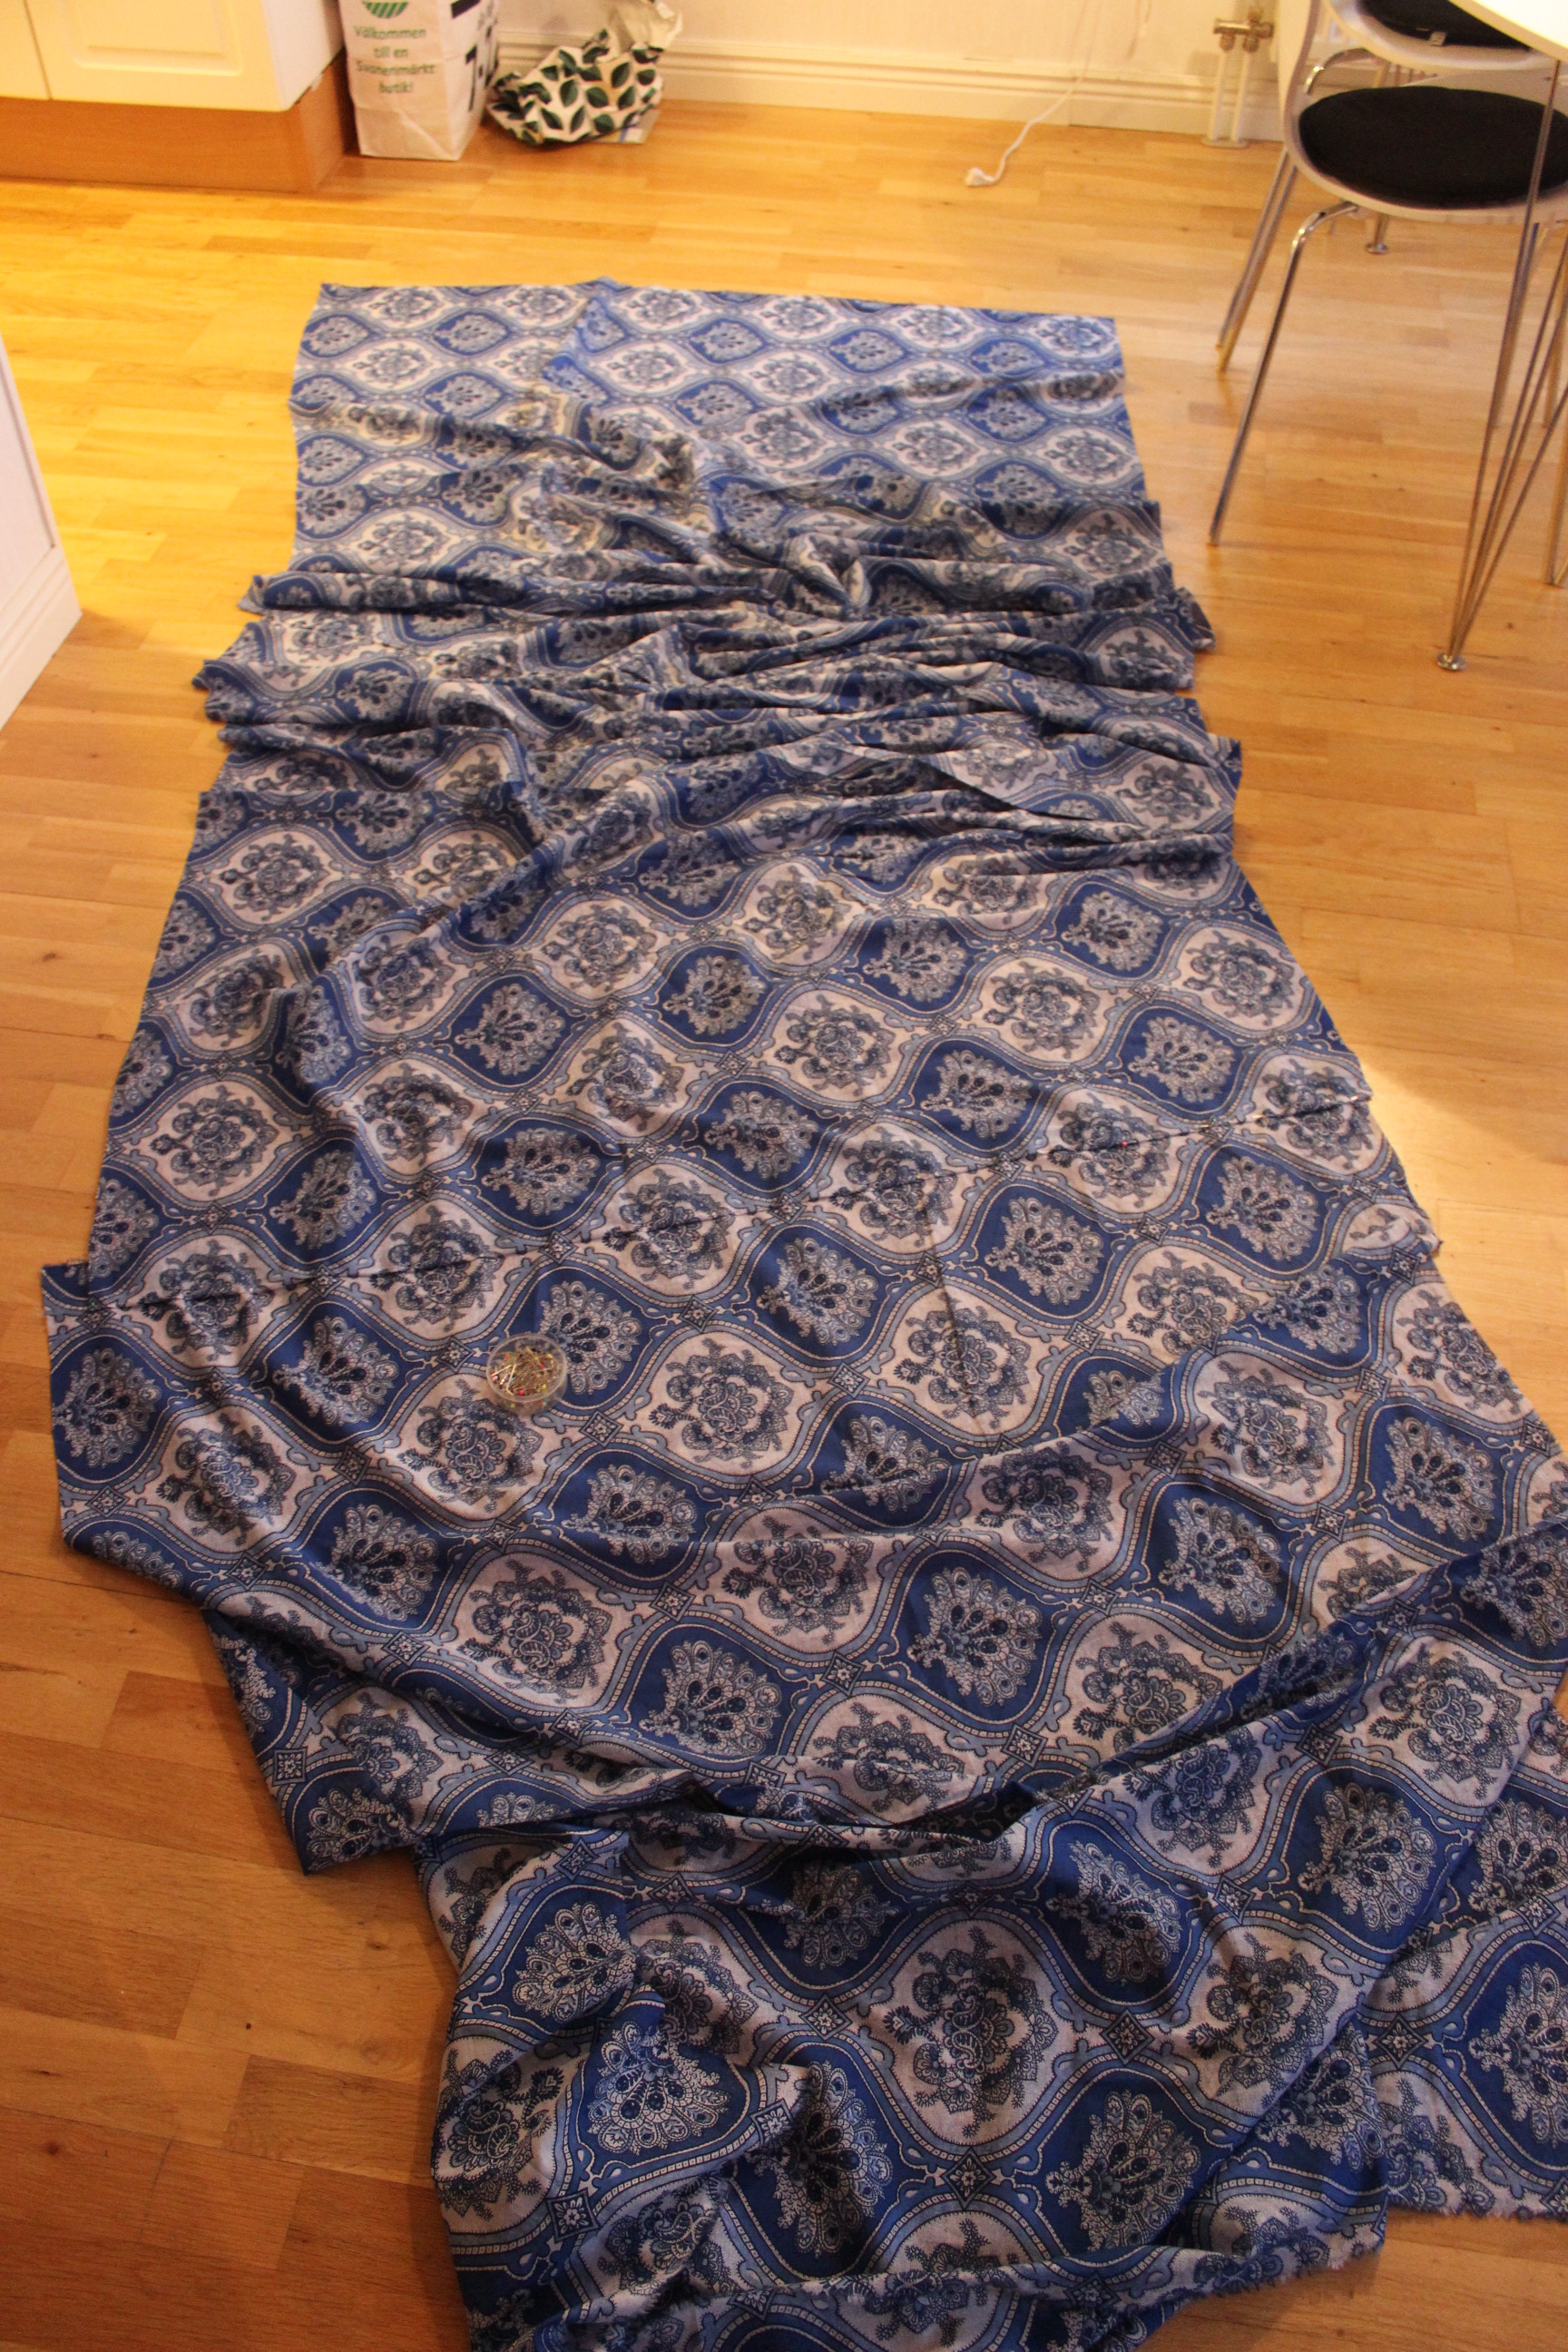
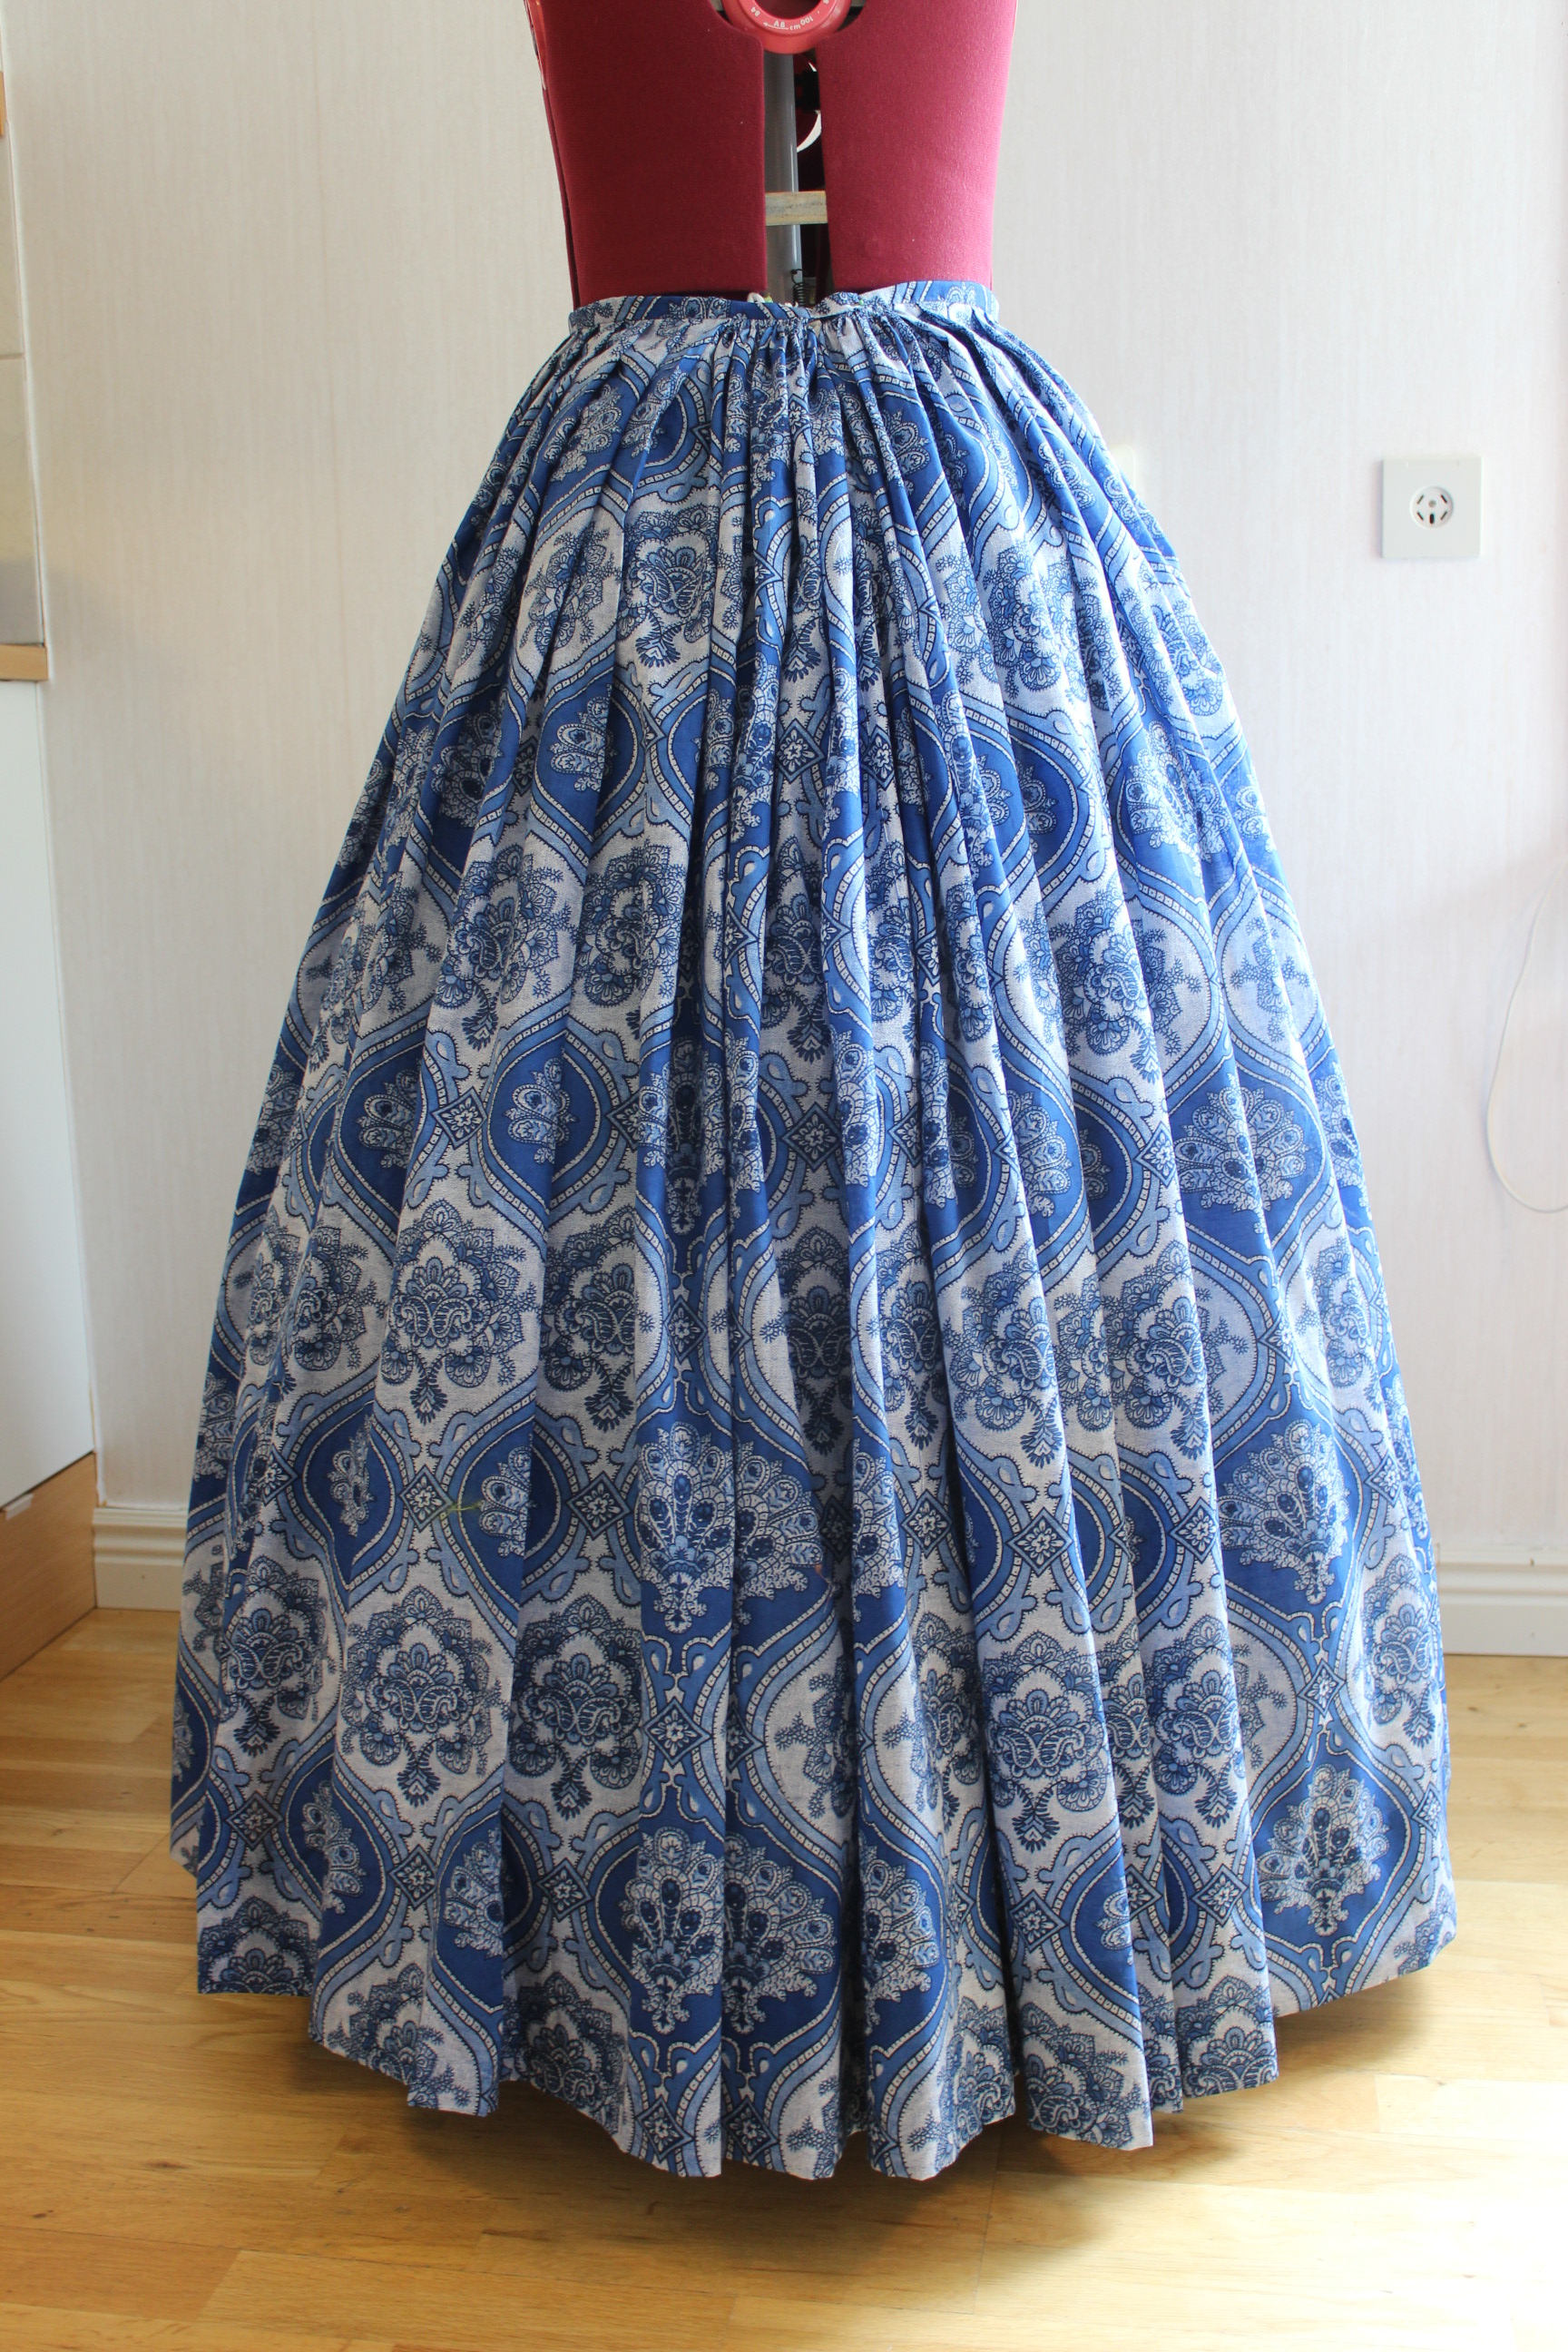
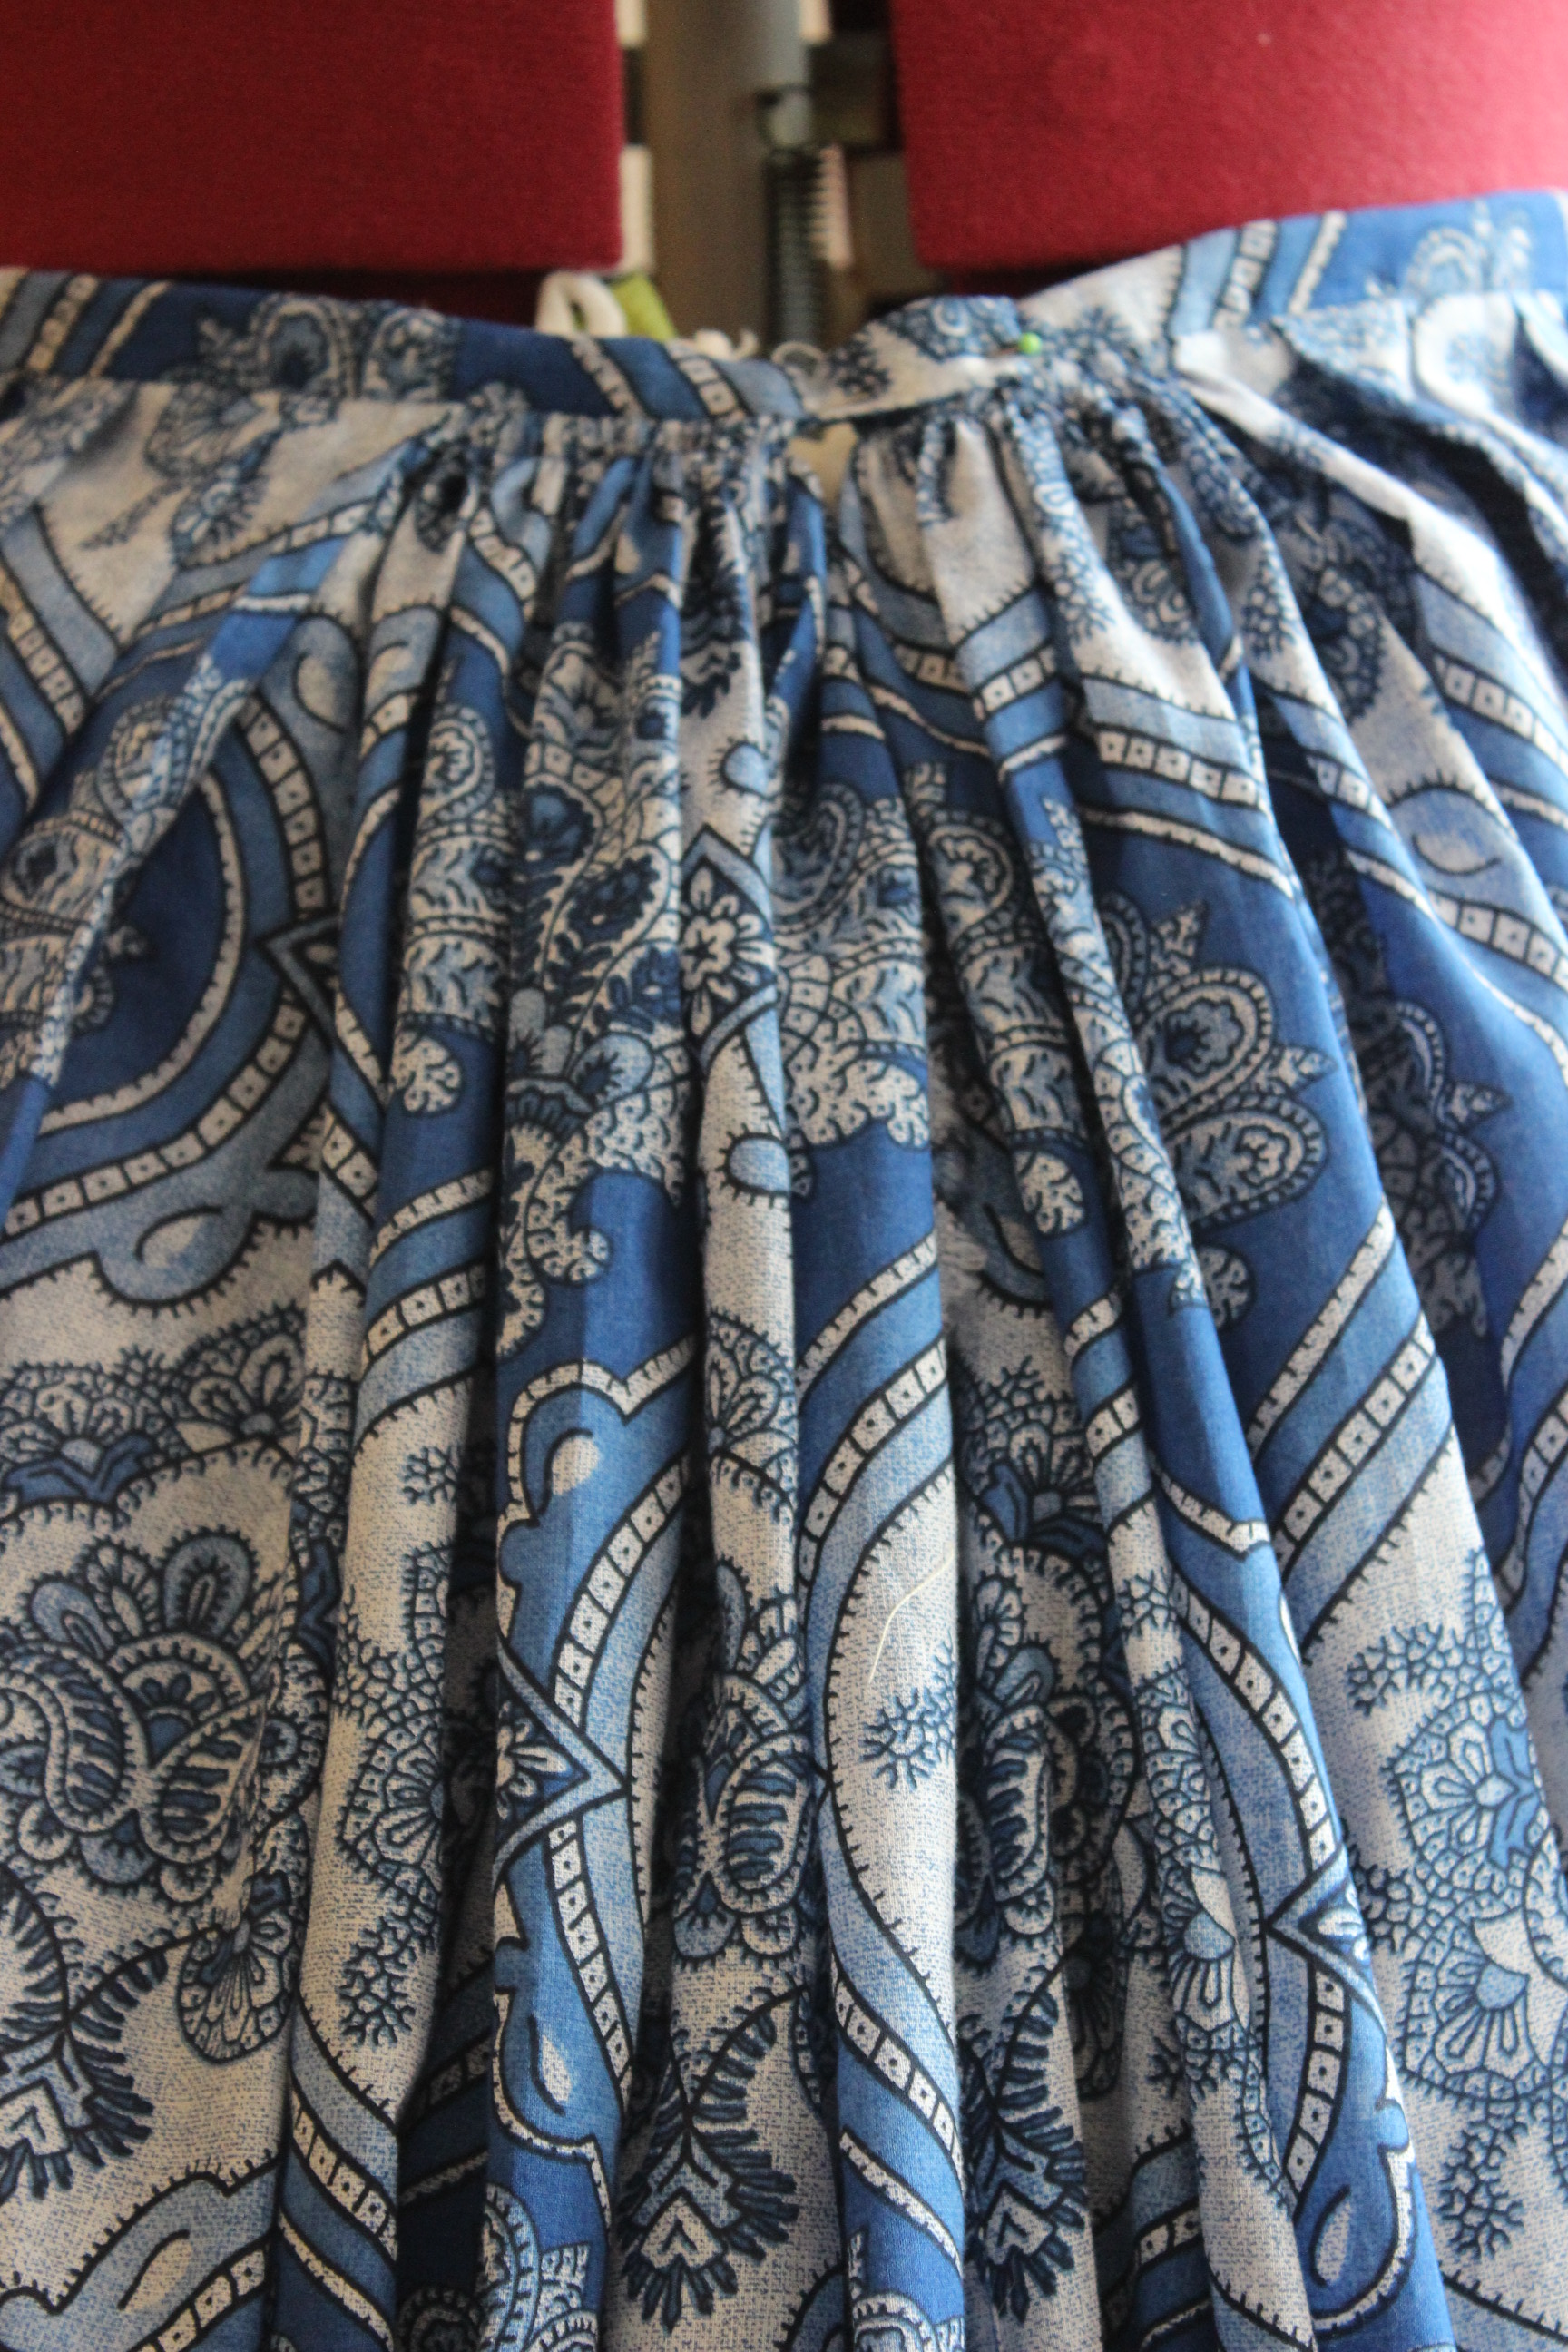
 The Event poster made by Helena, using one of the pictures of my paisley gown.
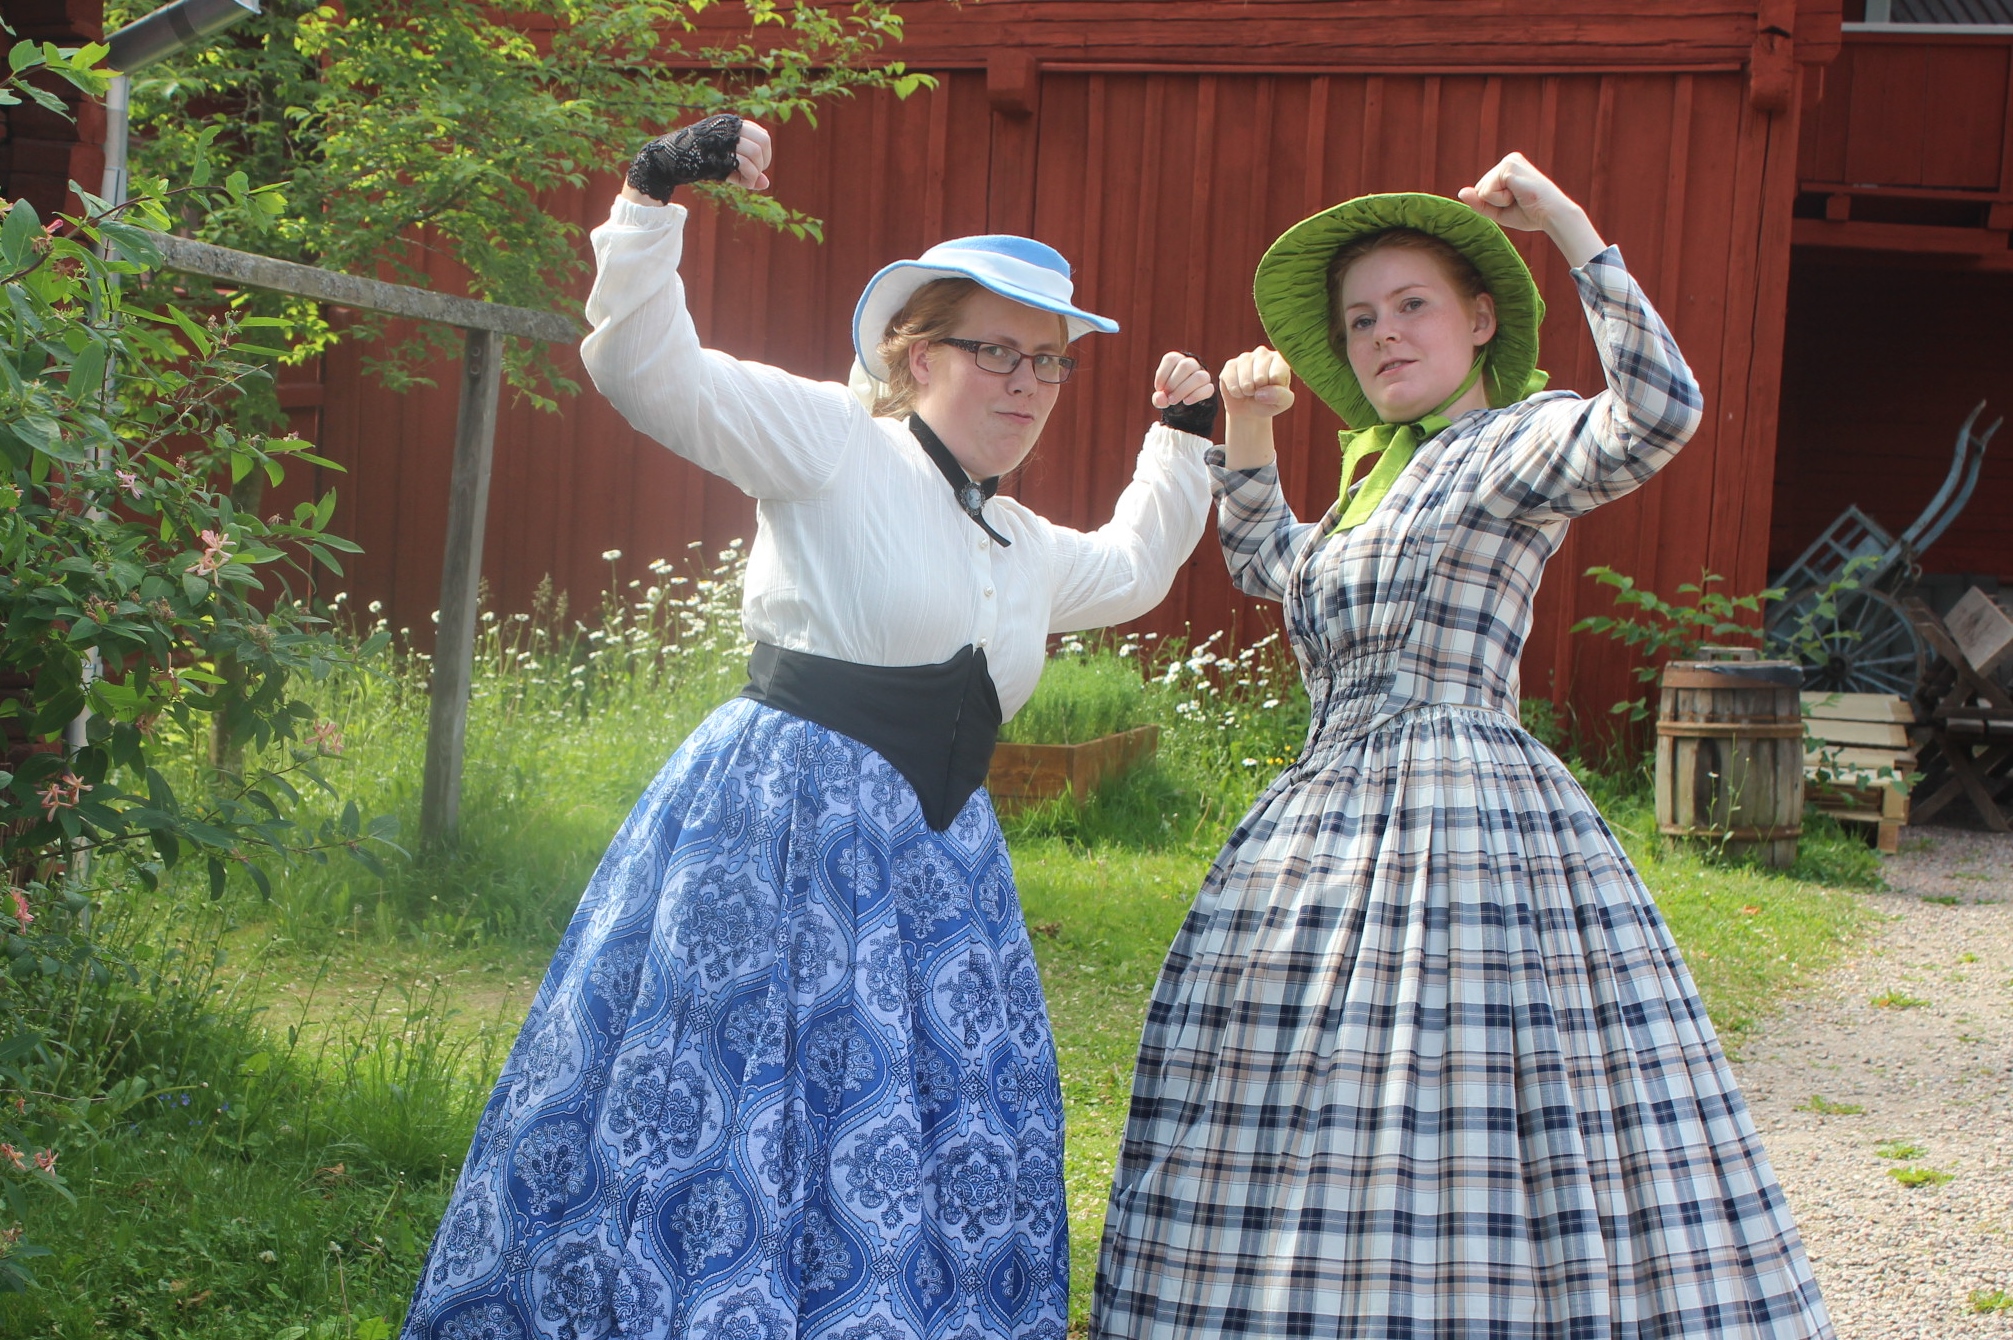

 Staying cool in the sun
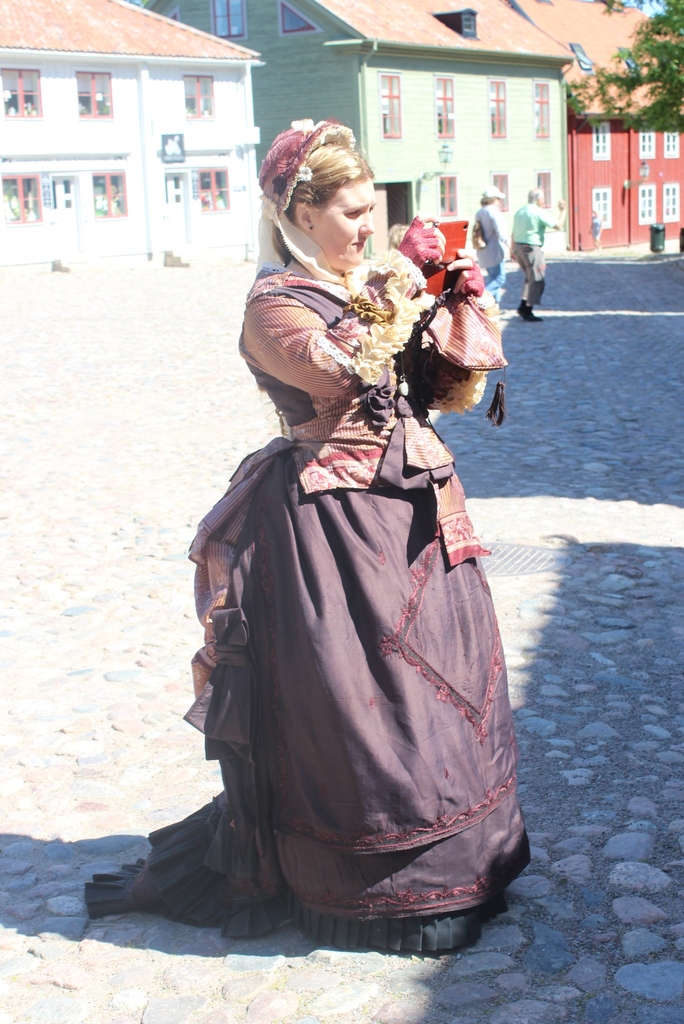
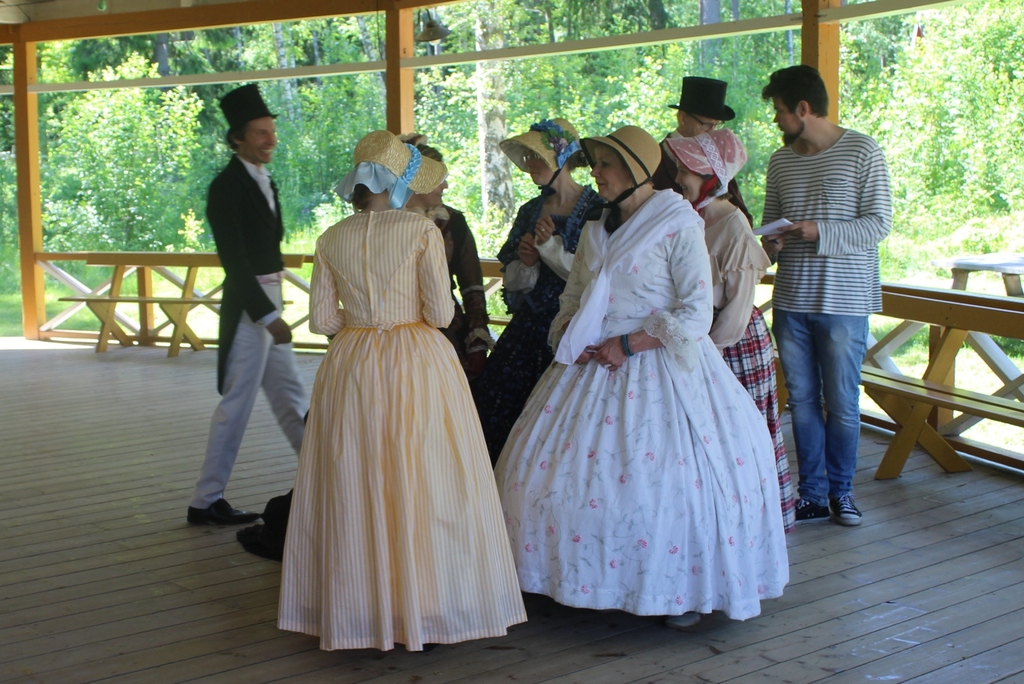
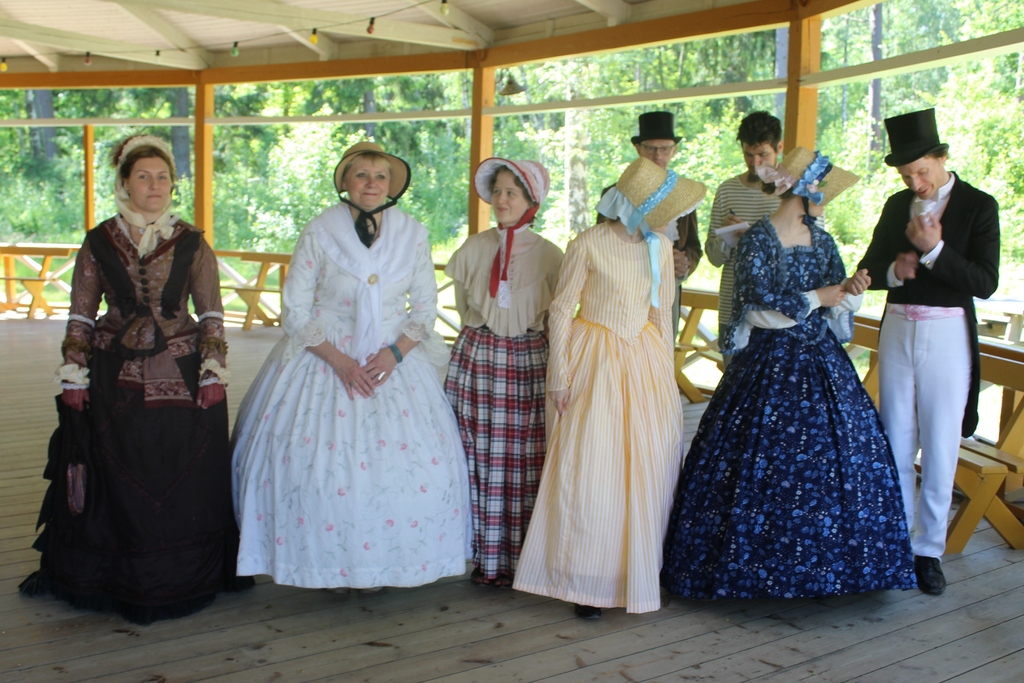
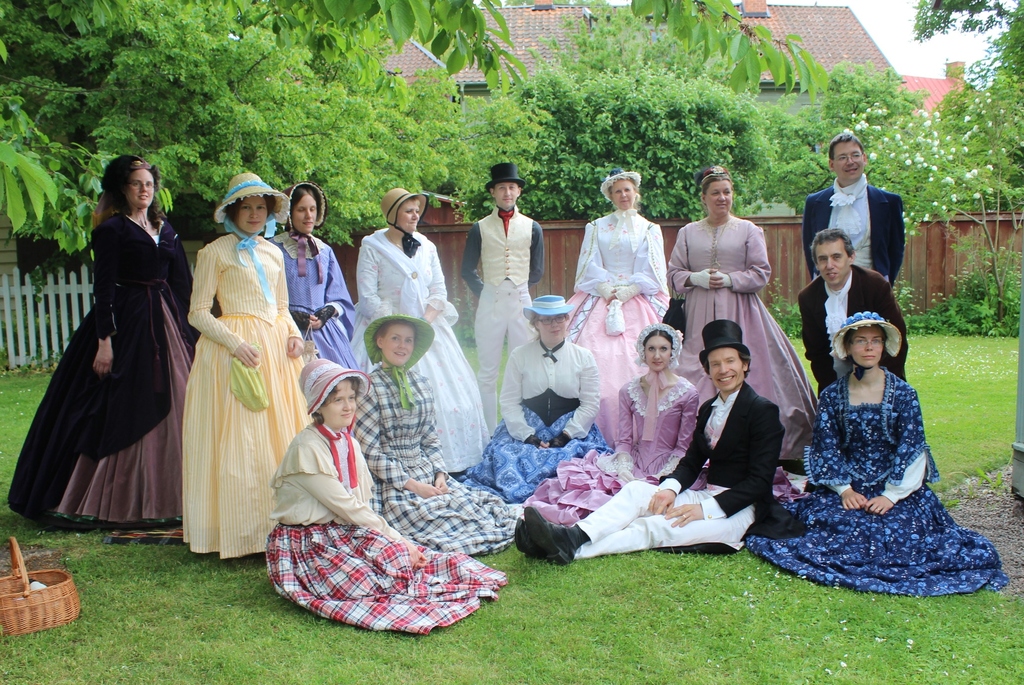
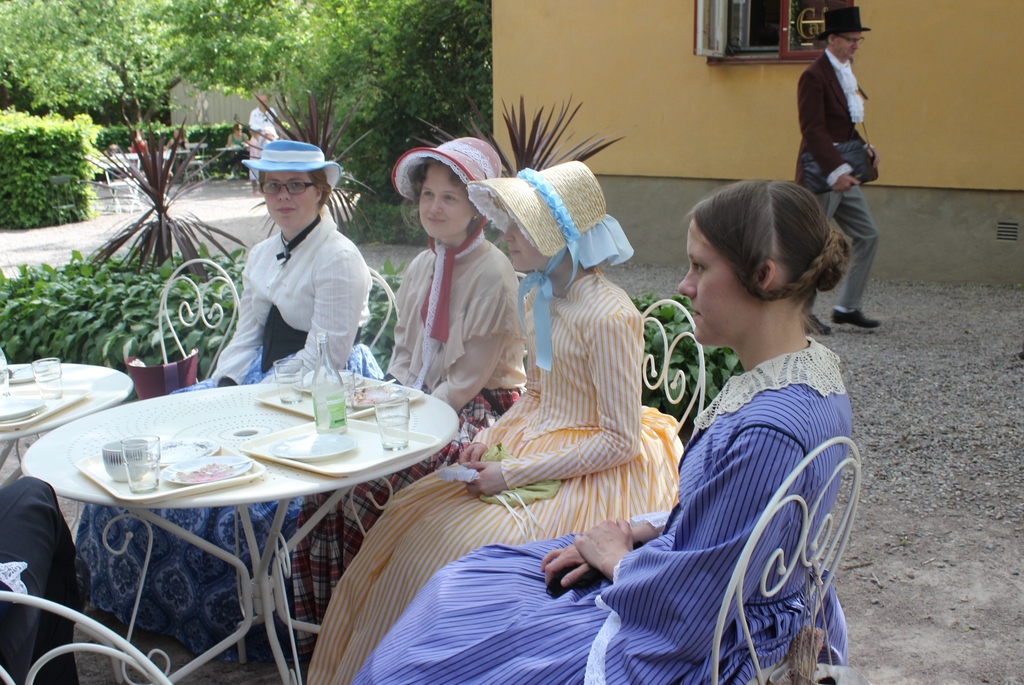
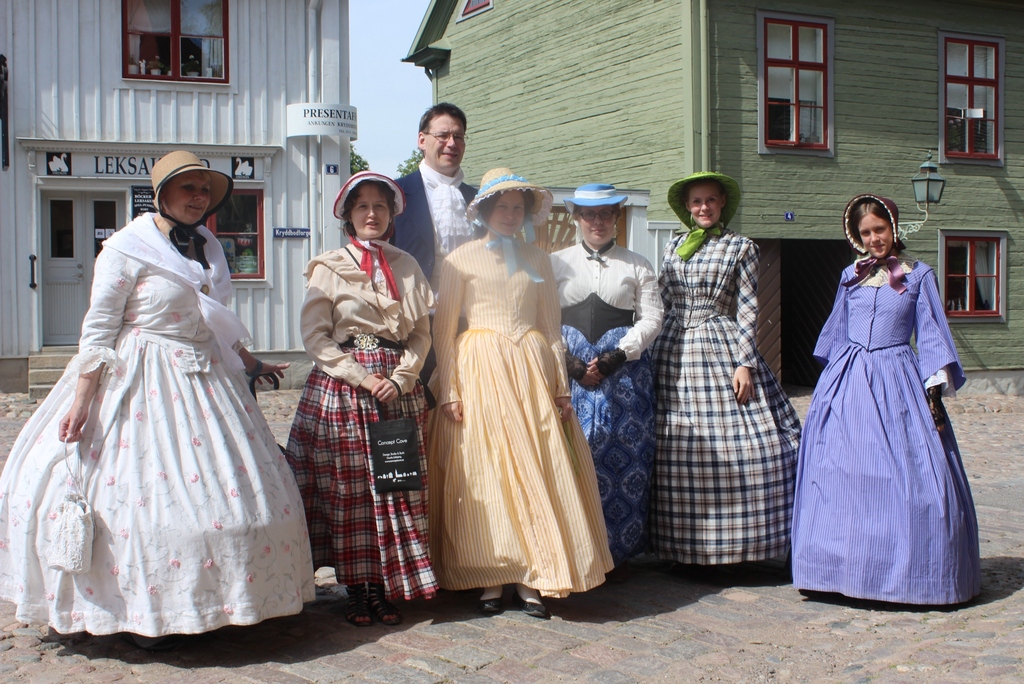
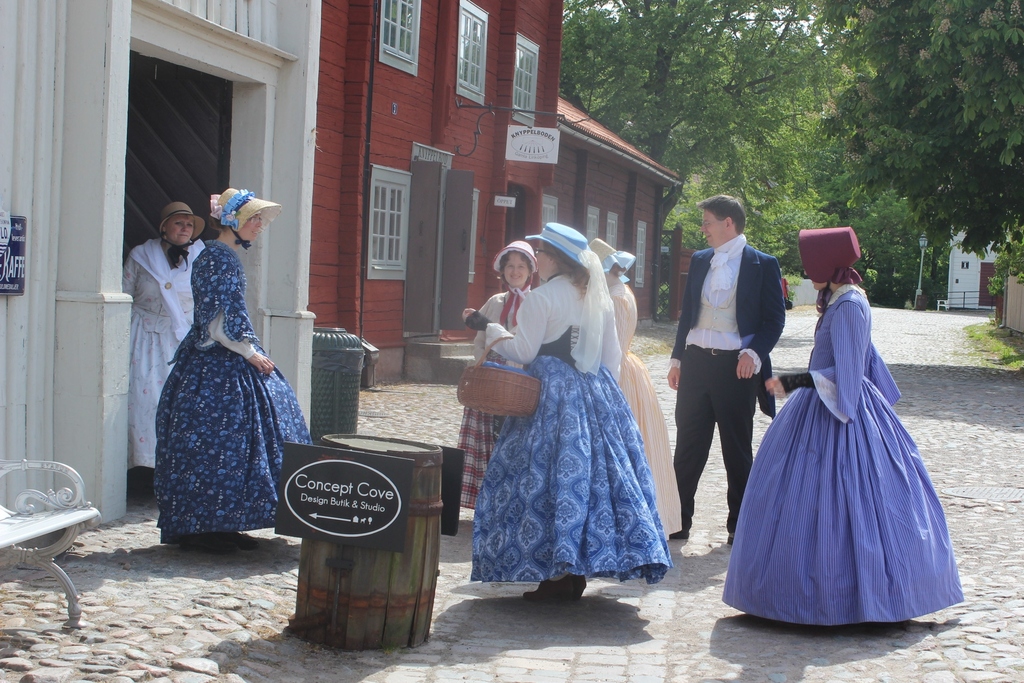
 Clara, Maria and Engla in three quite different styles of 1850-1860s dresses.


 Bustle glory.


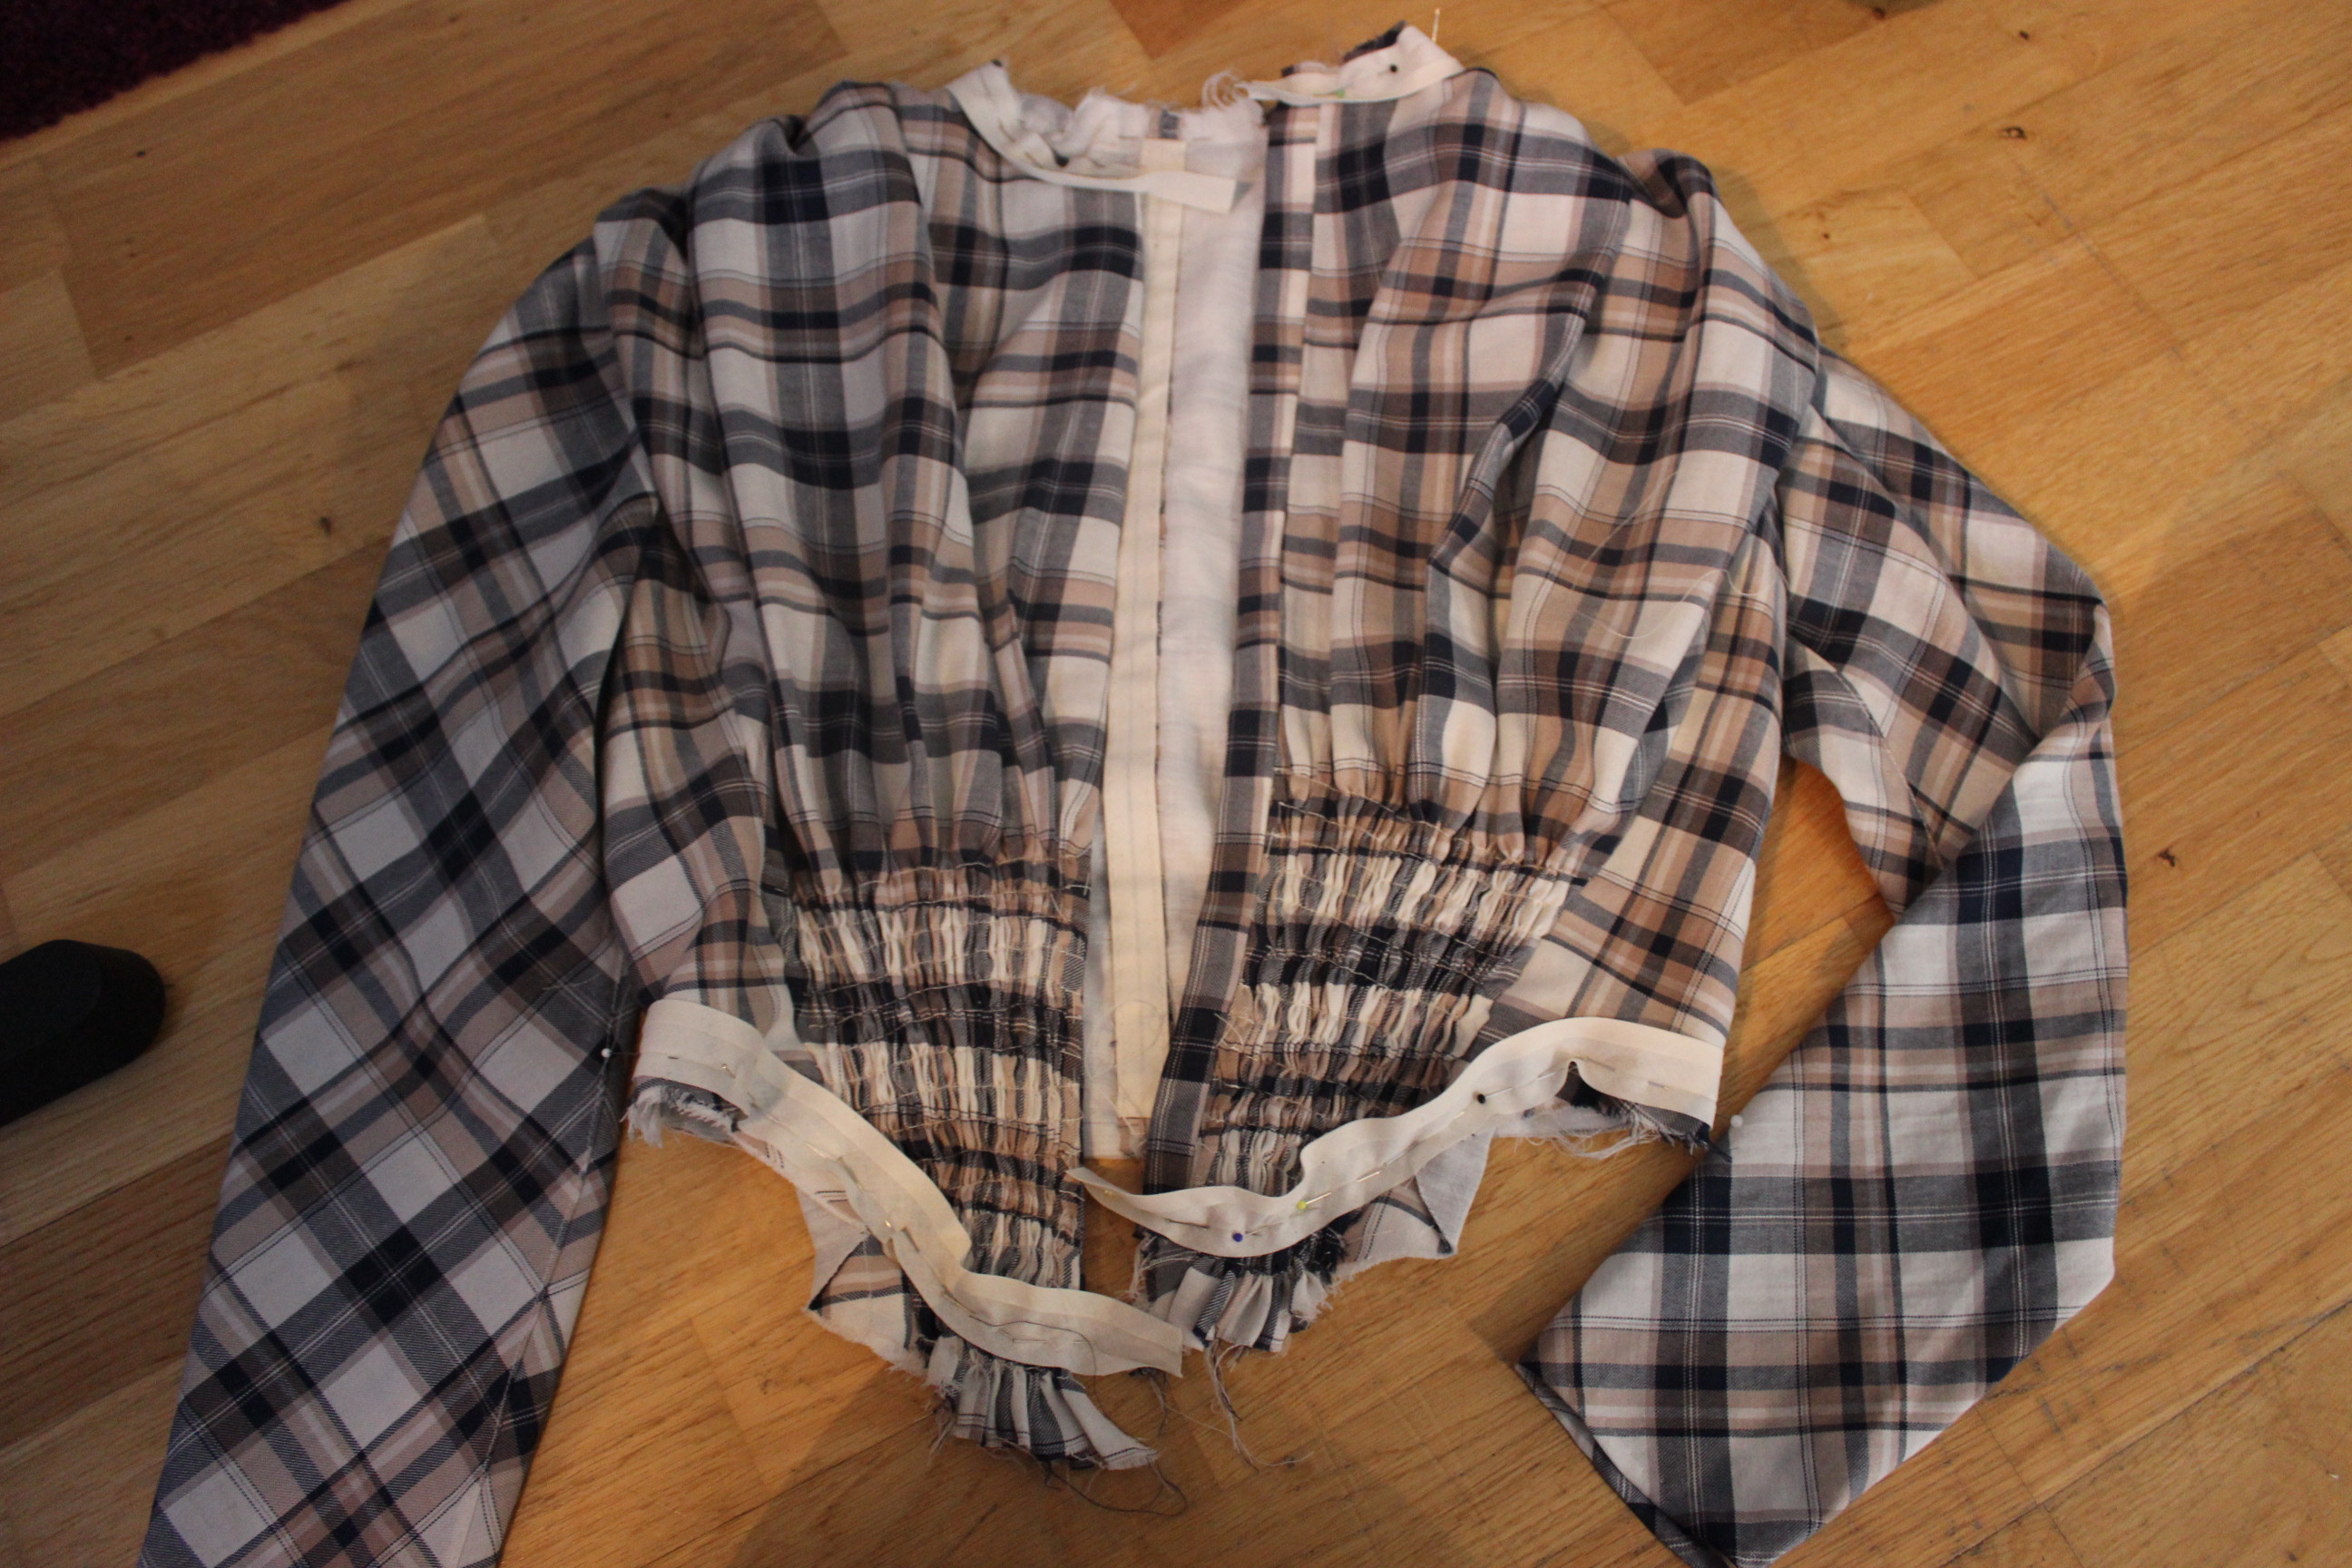

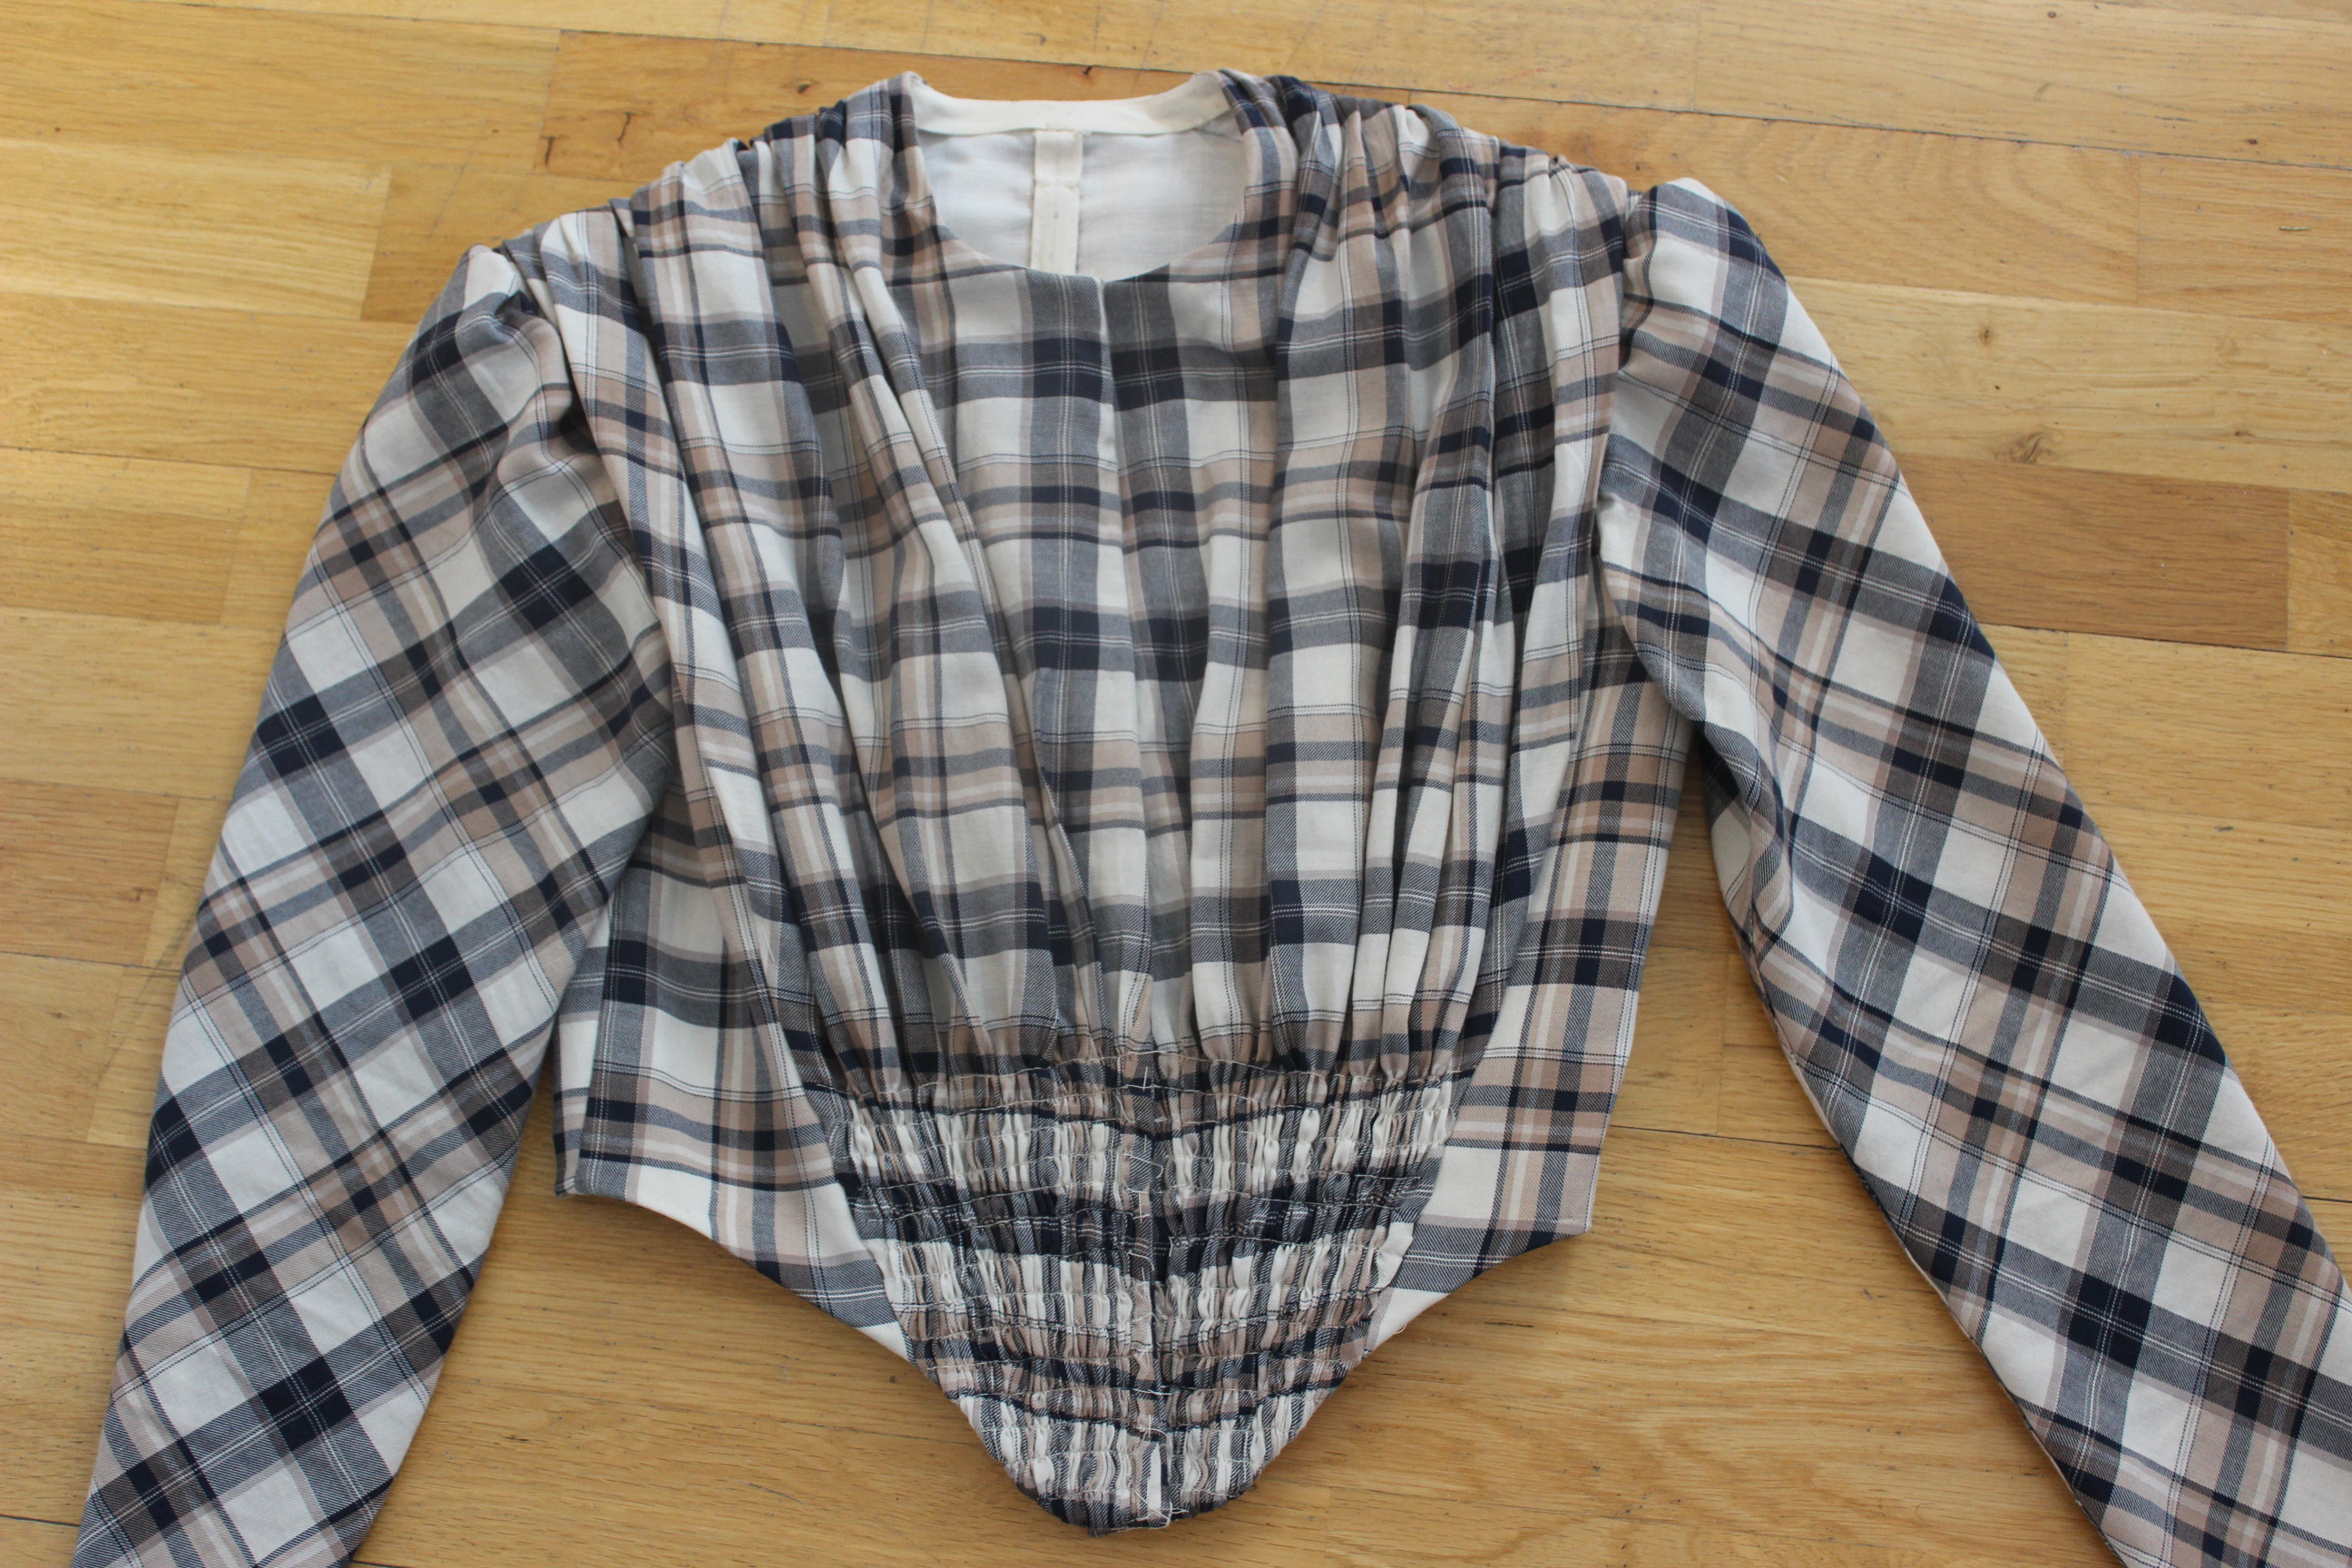

 I didn’t had time to ad the clouser to the front (Edit: Now it’s done).
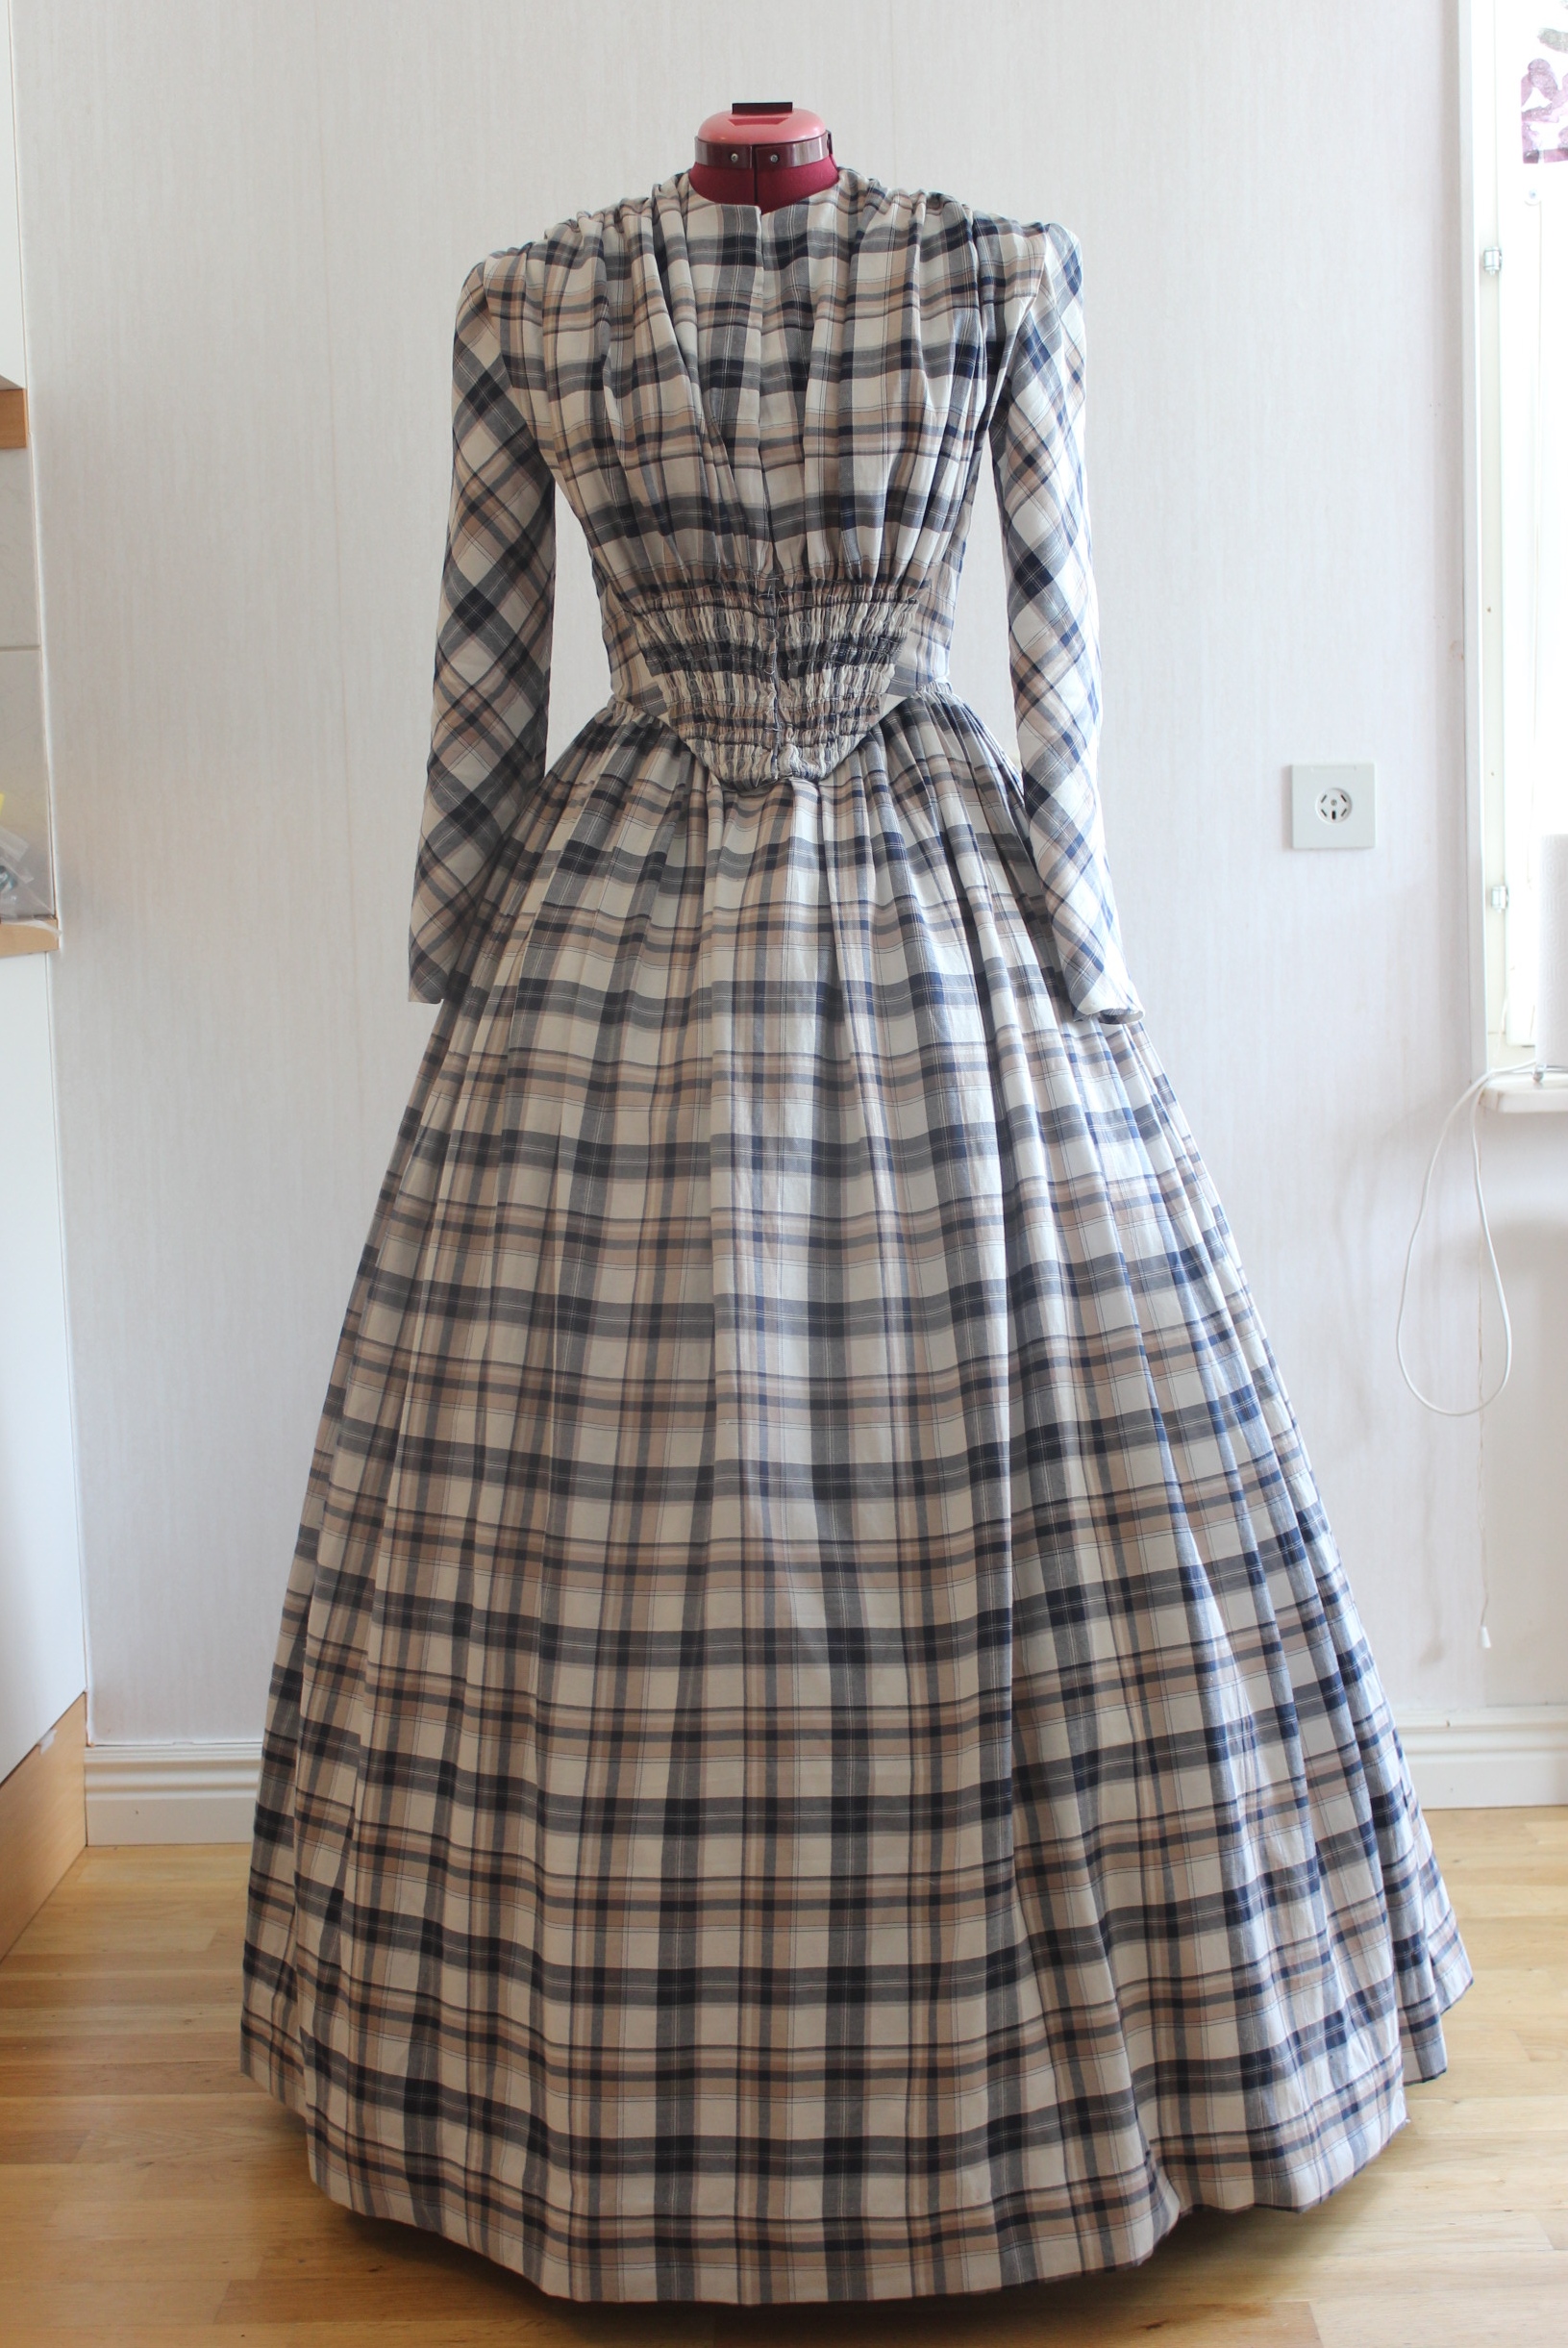


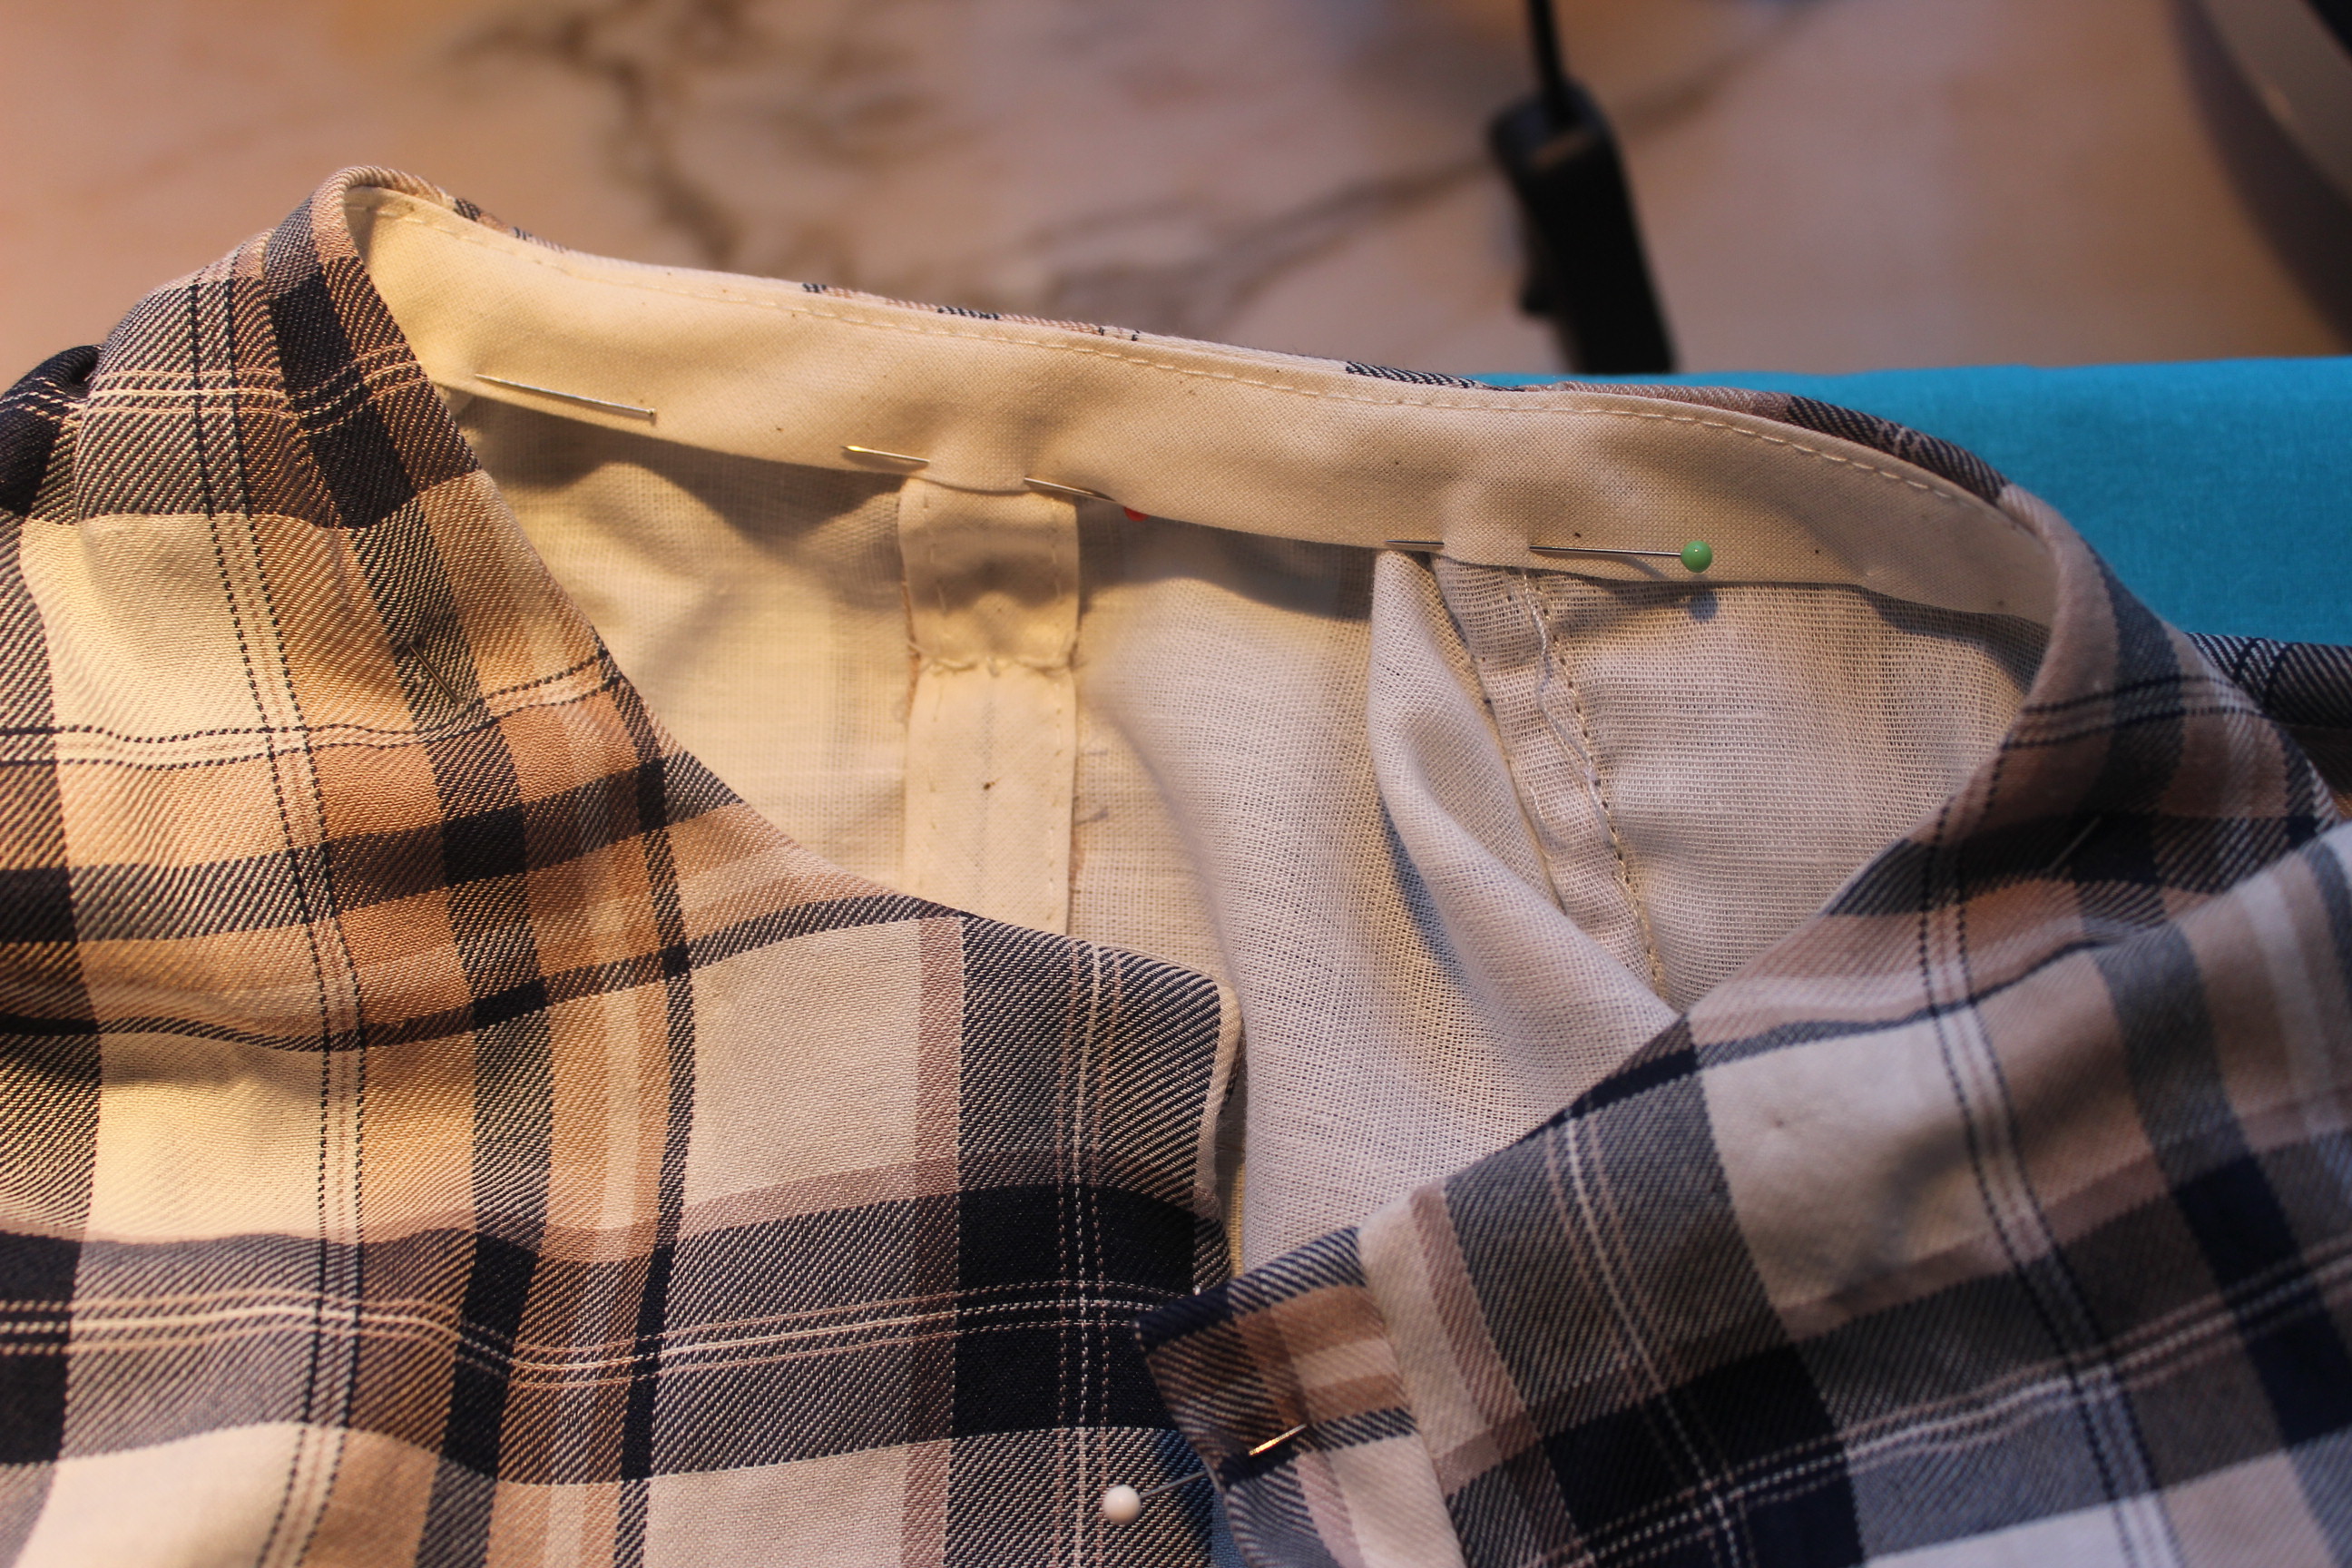
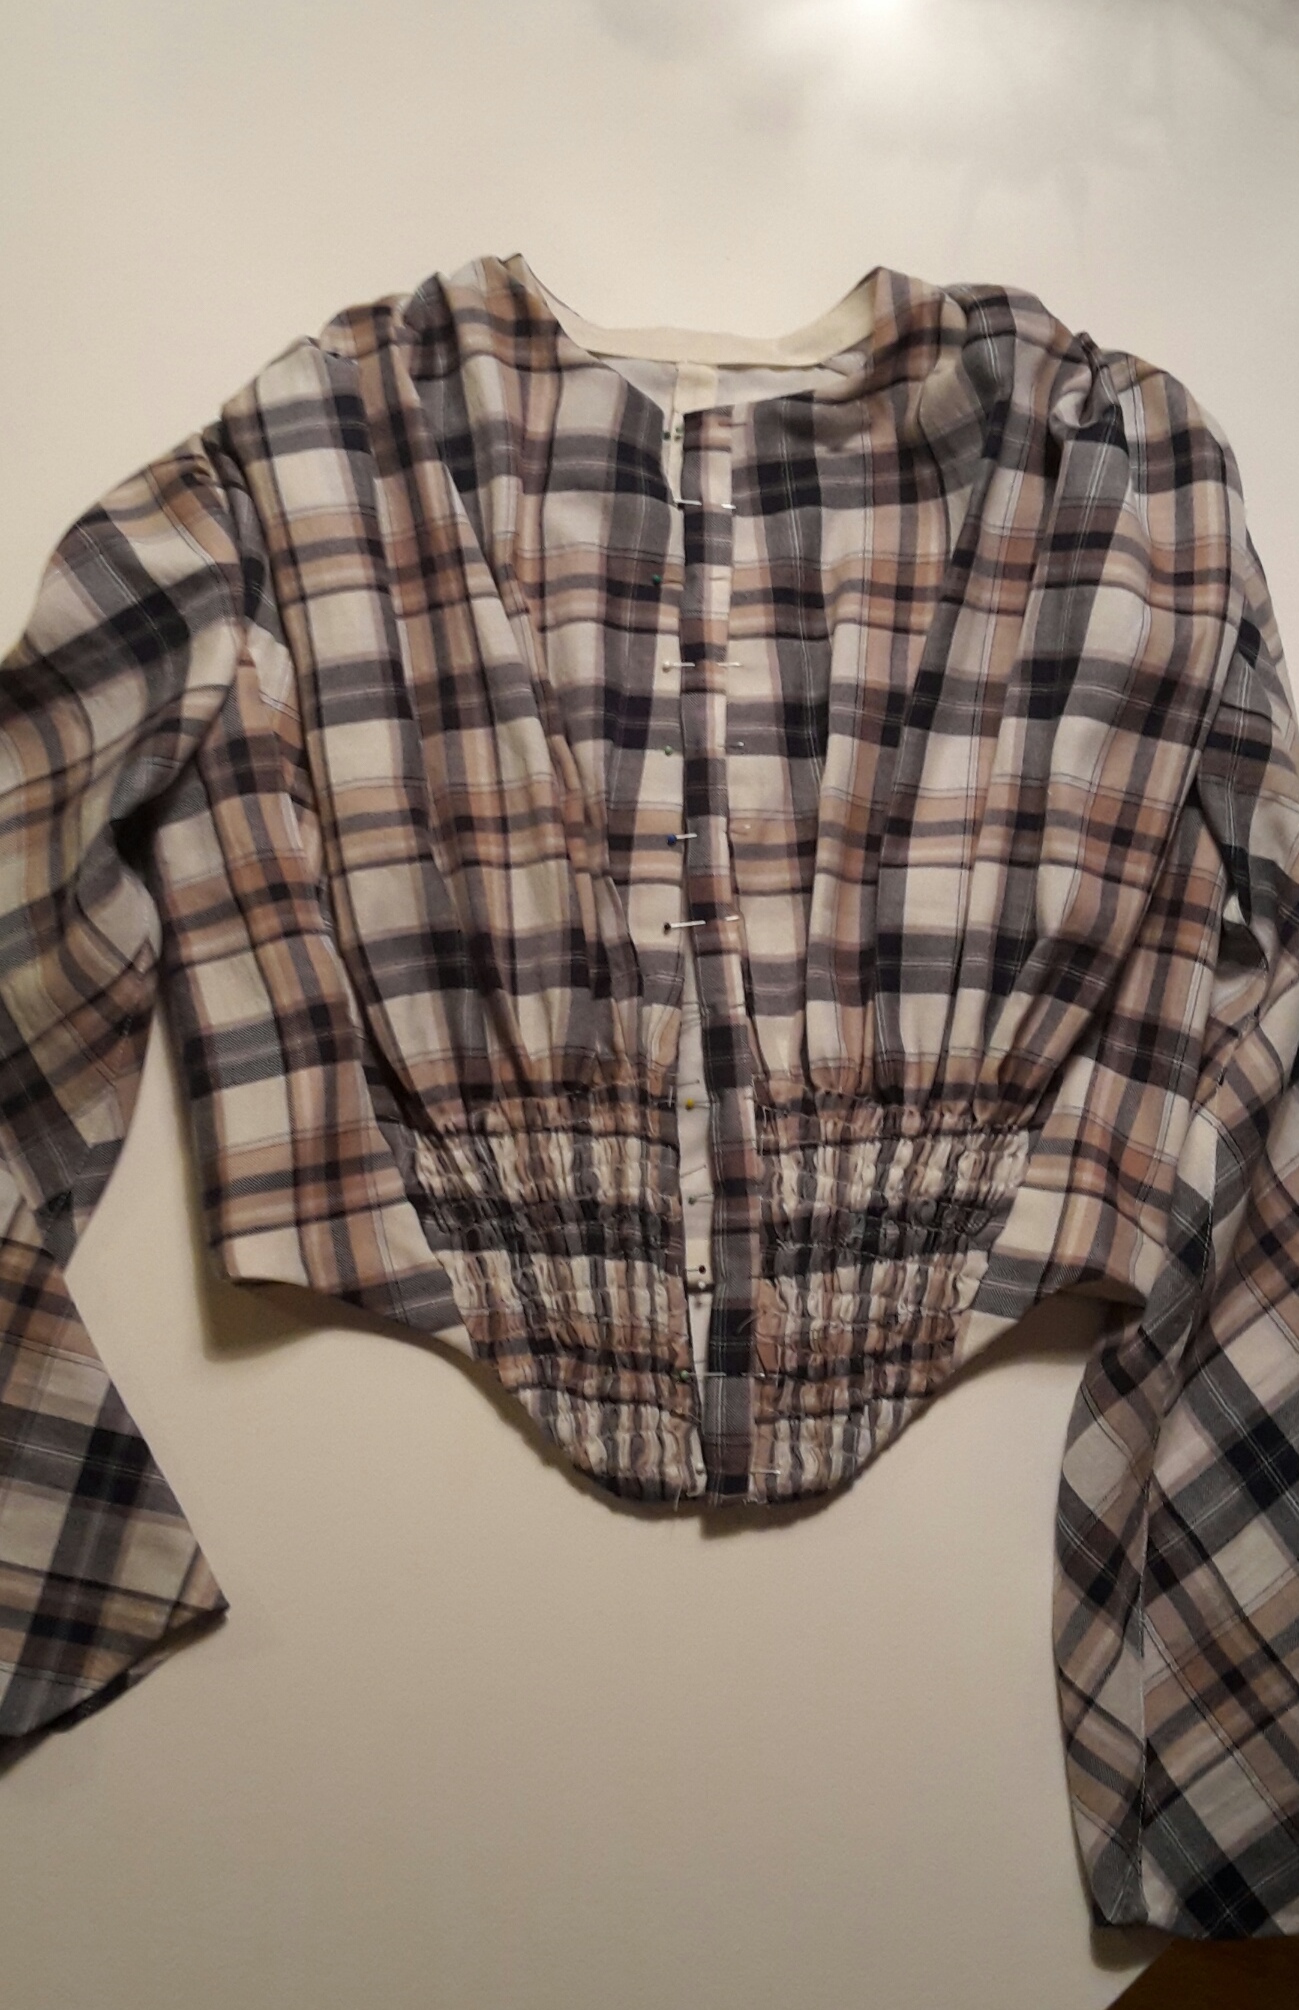
 Looks pretty good I think.


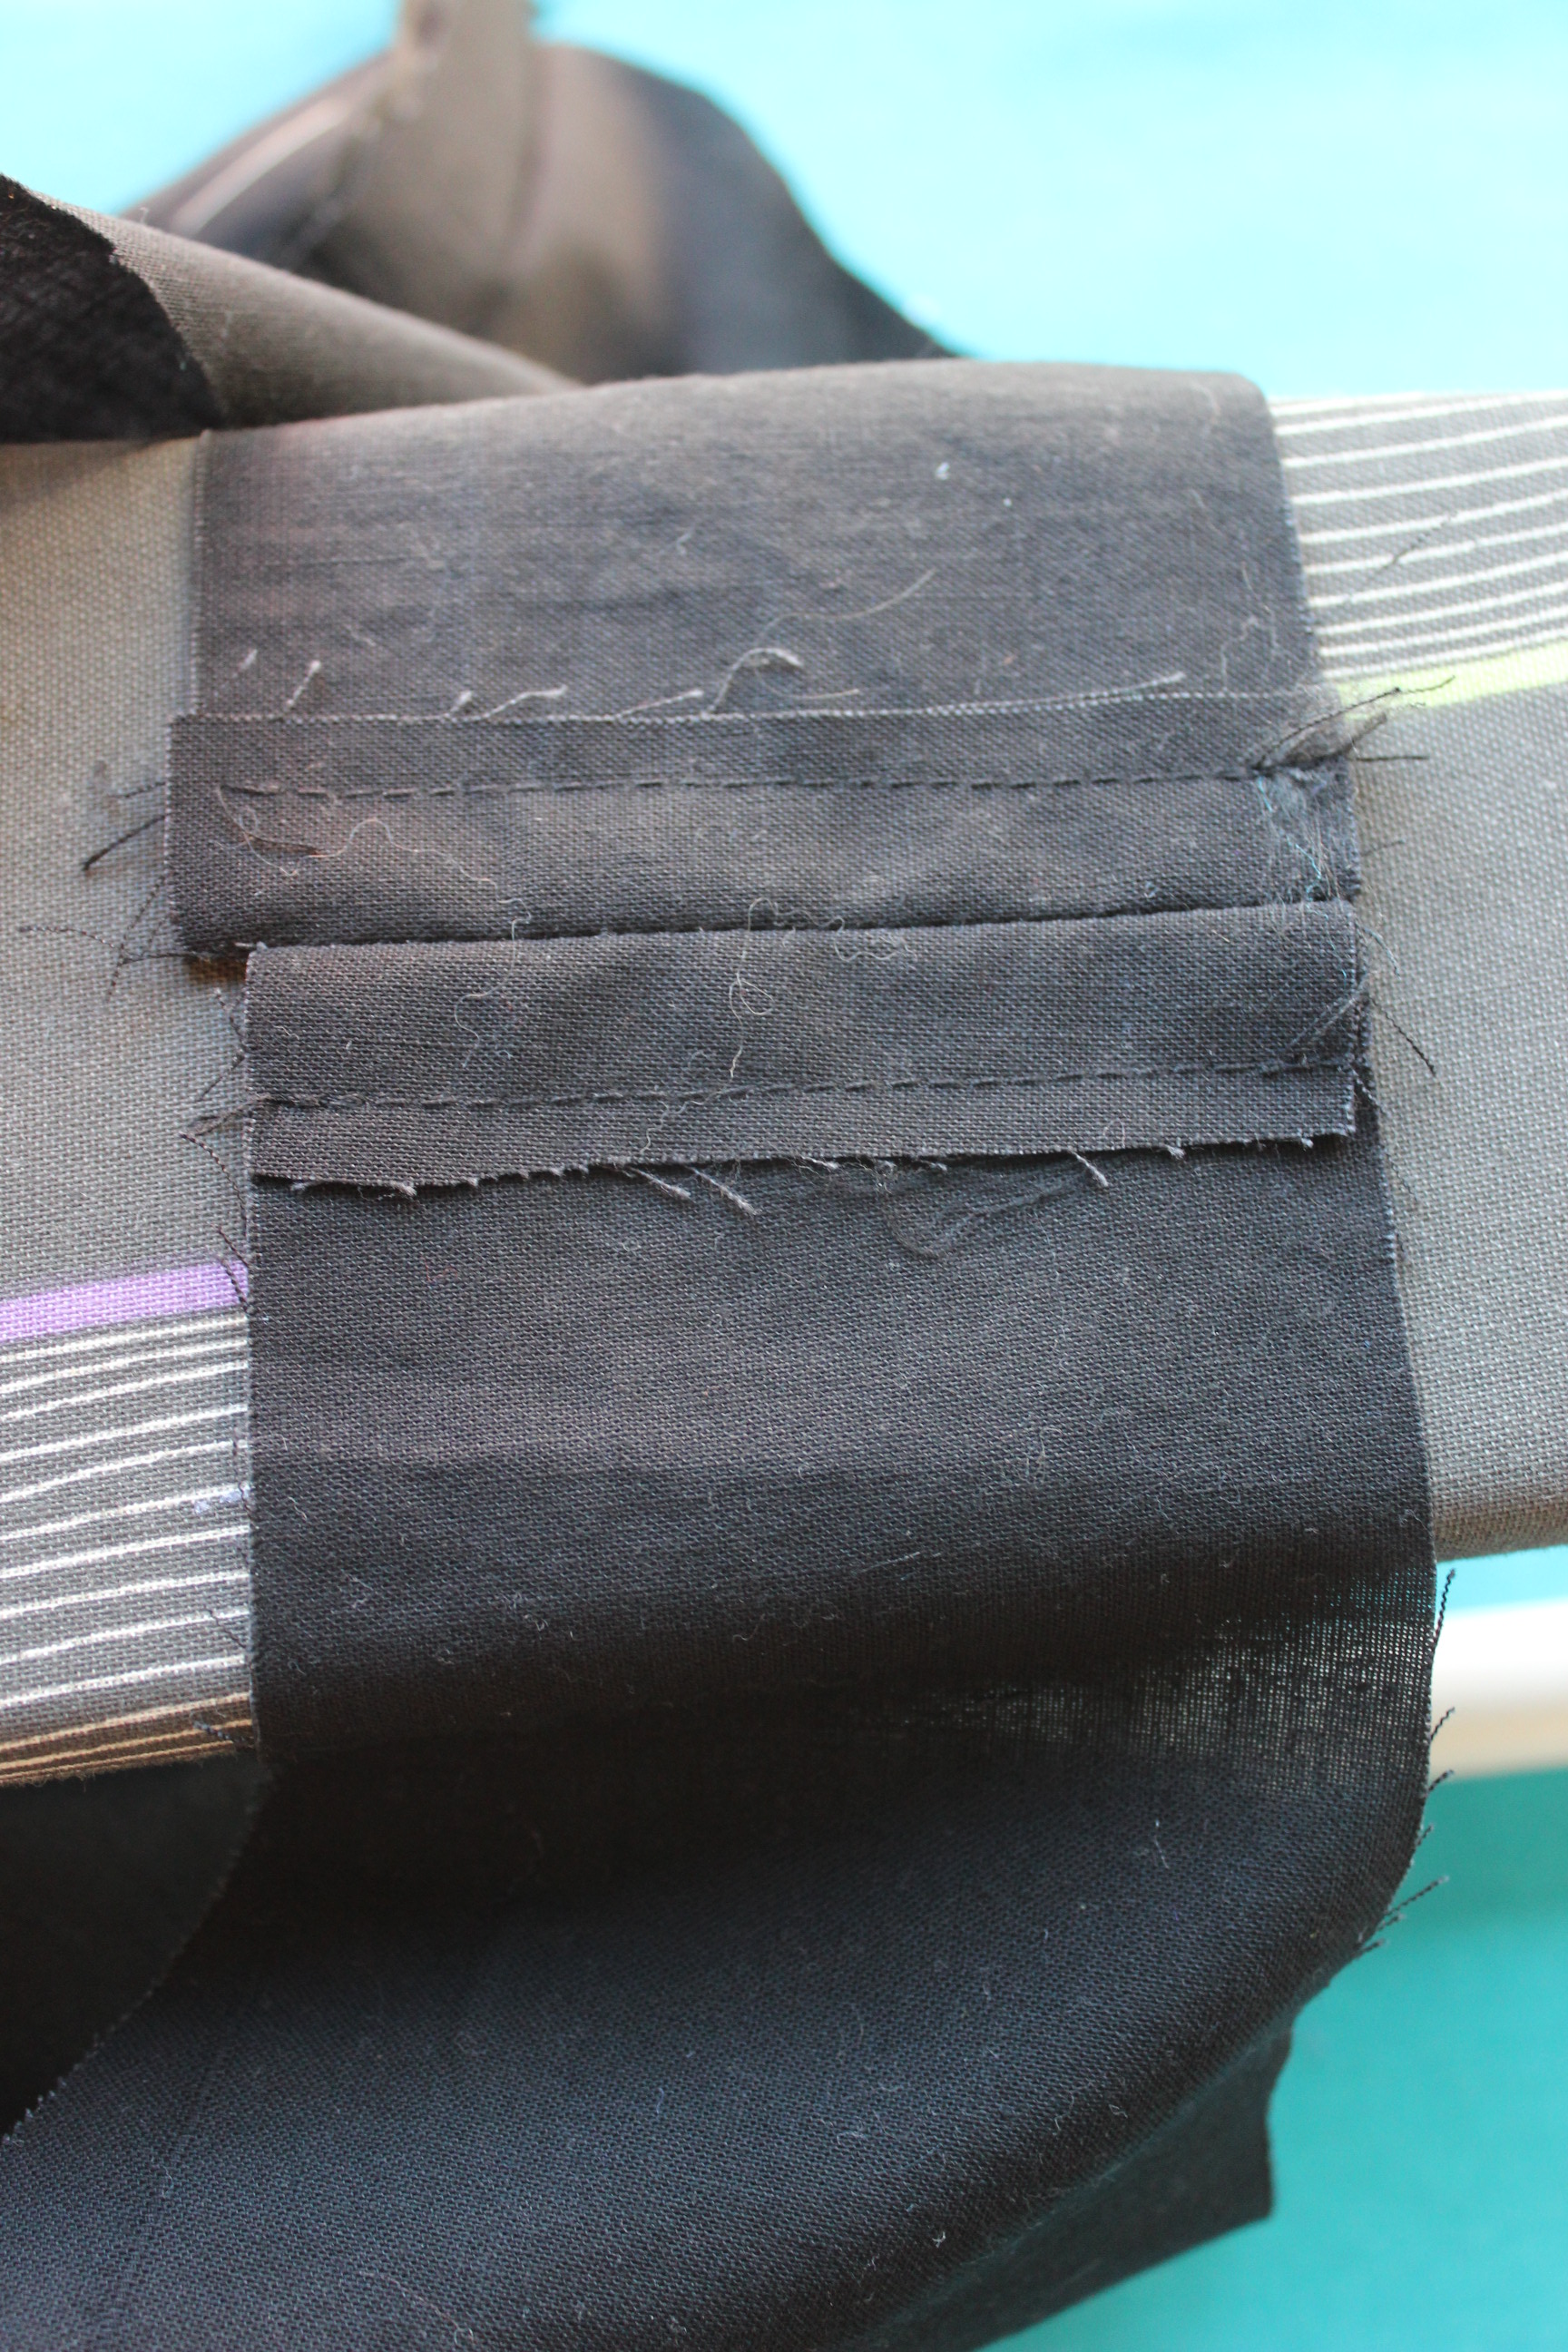
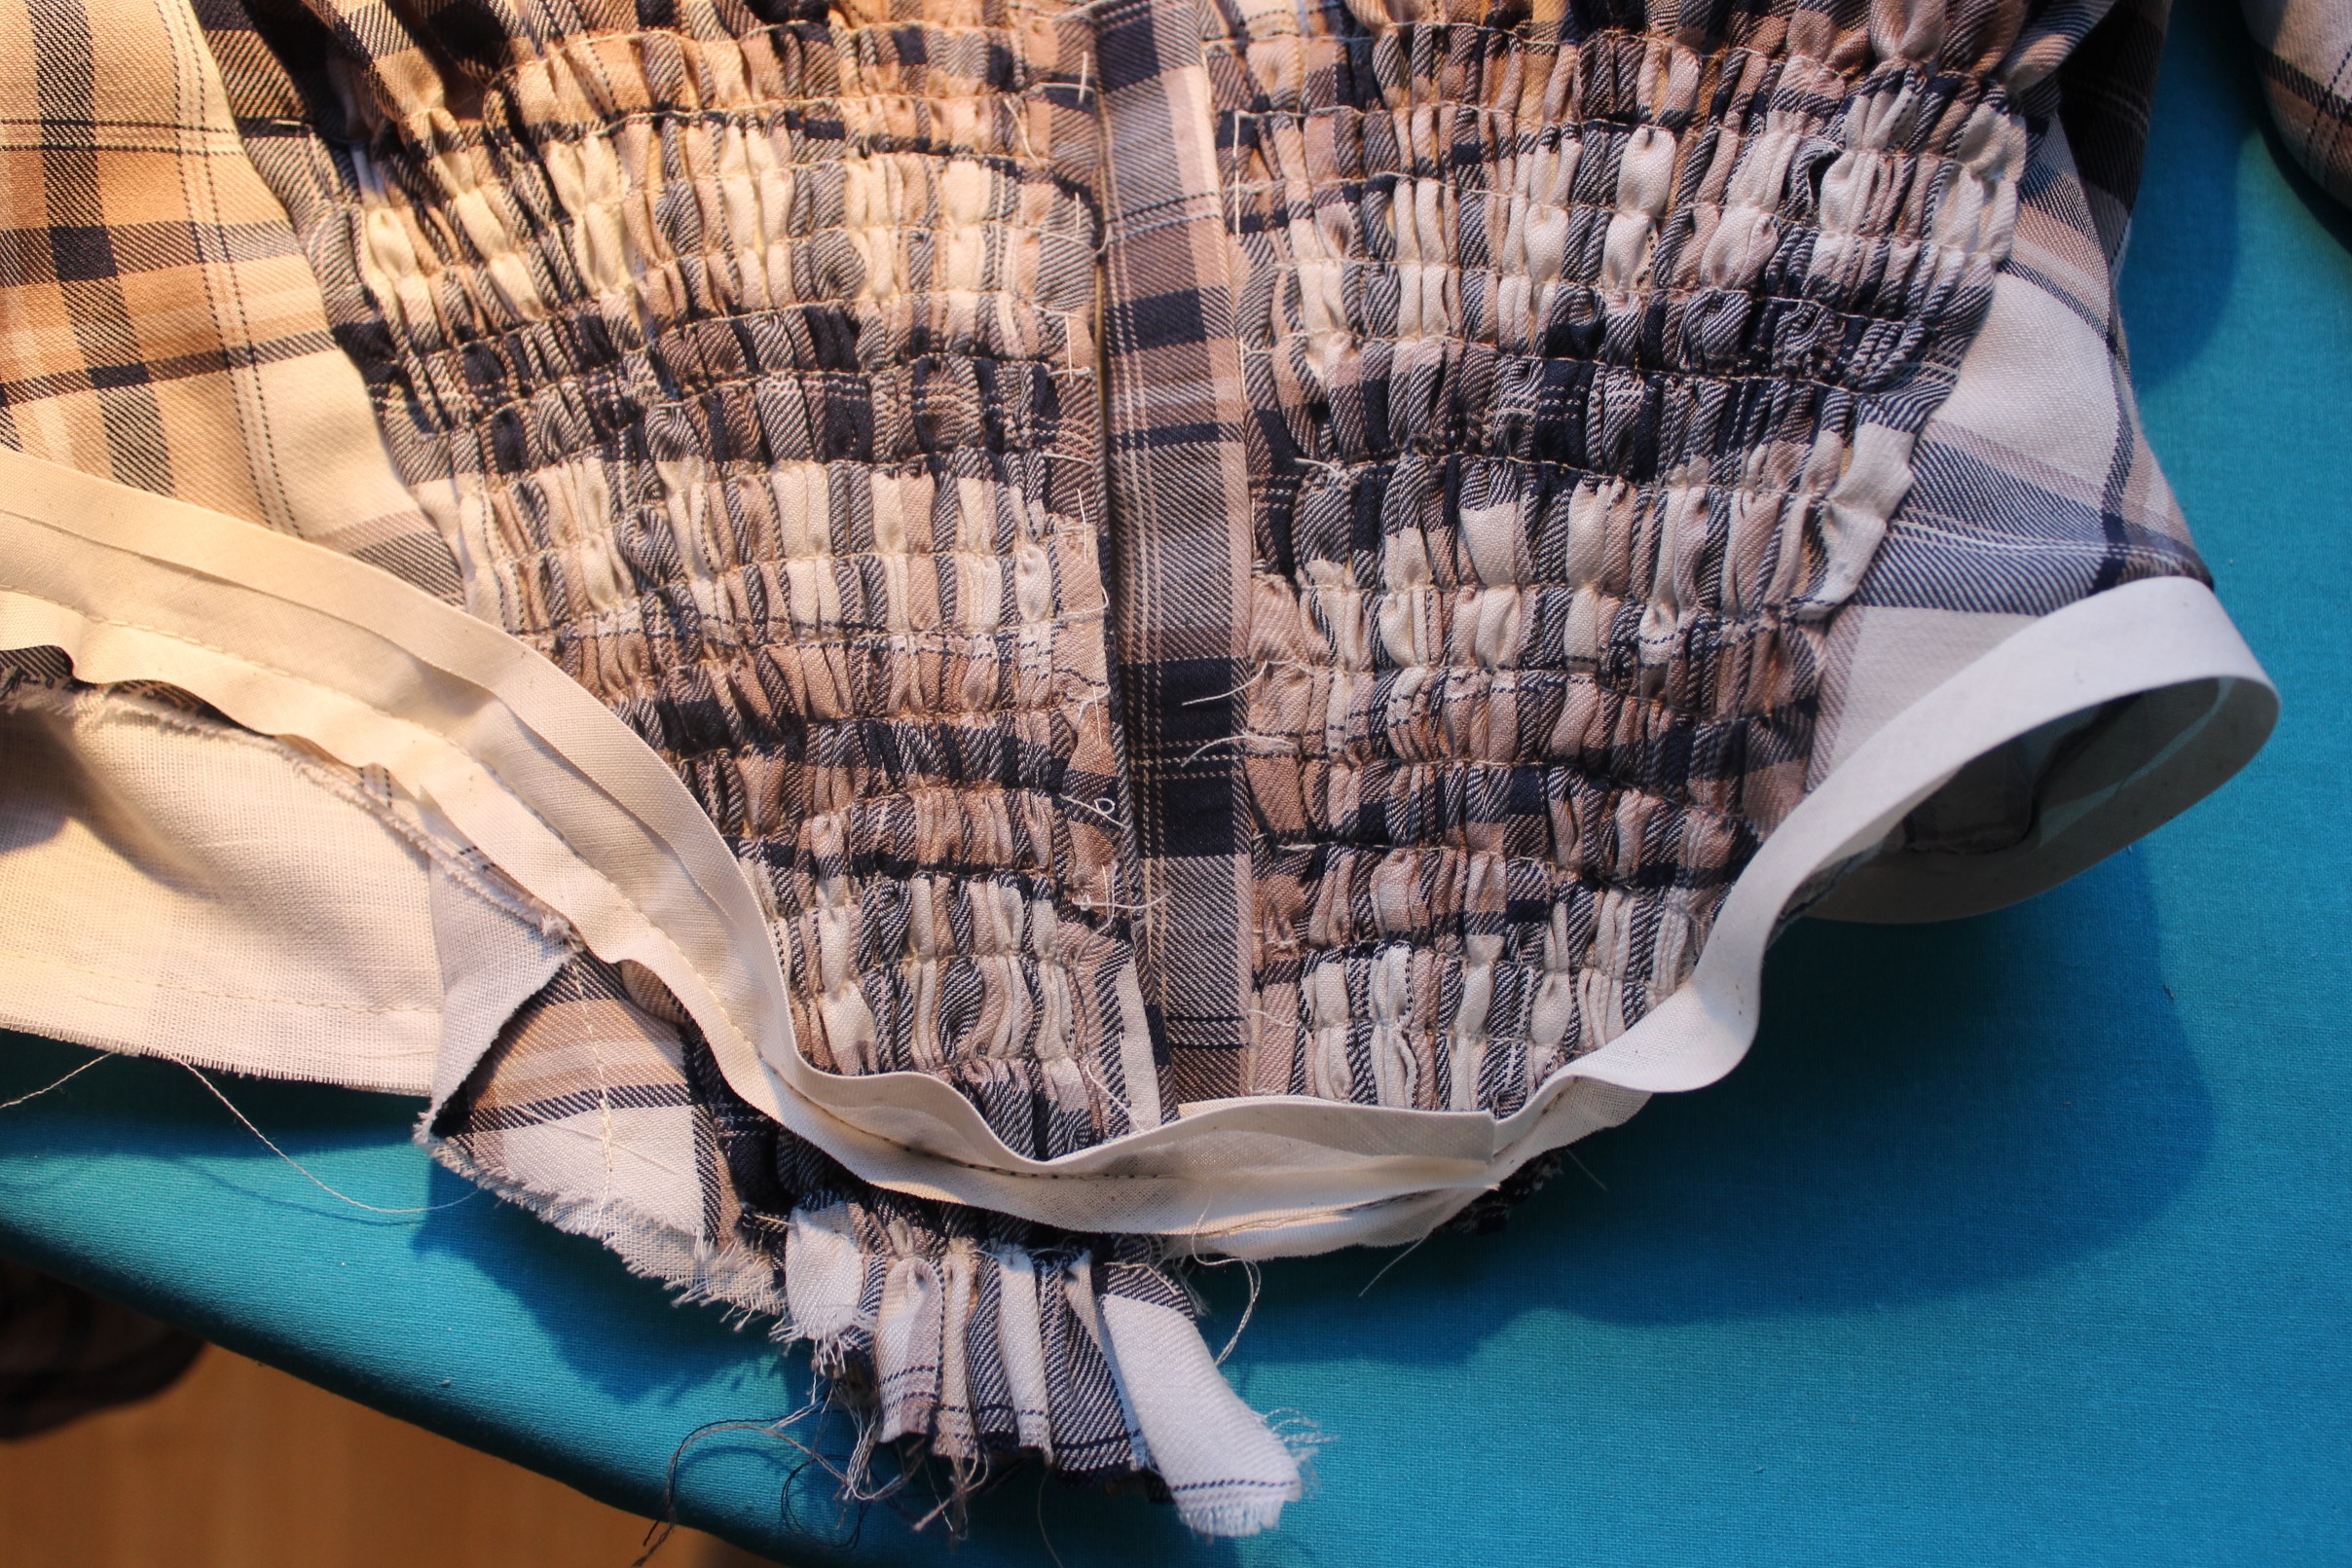
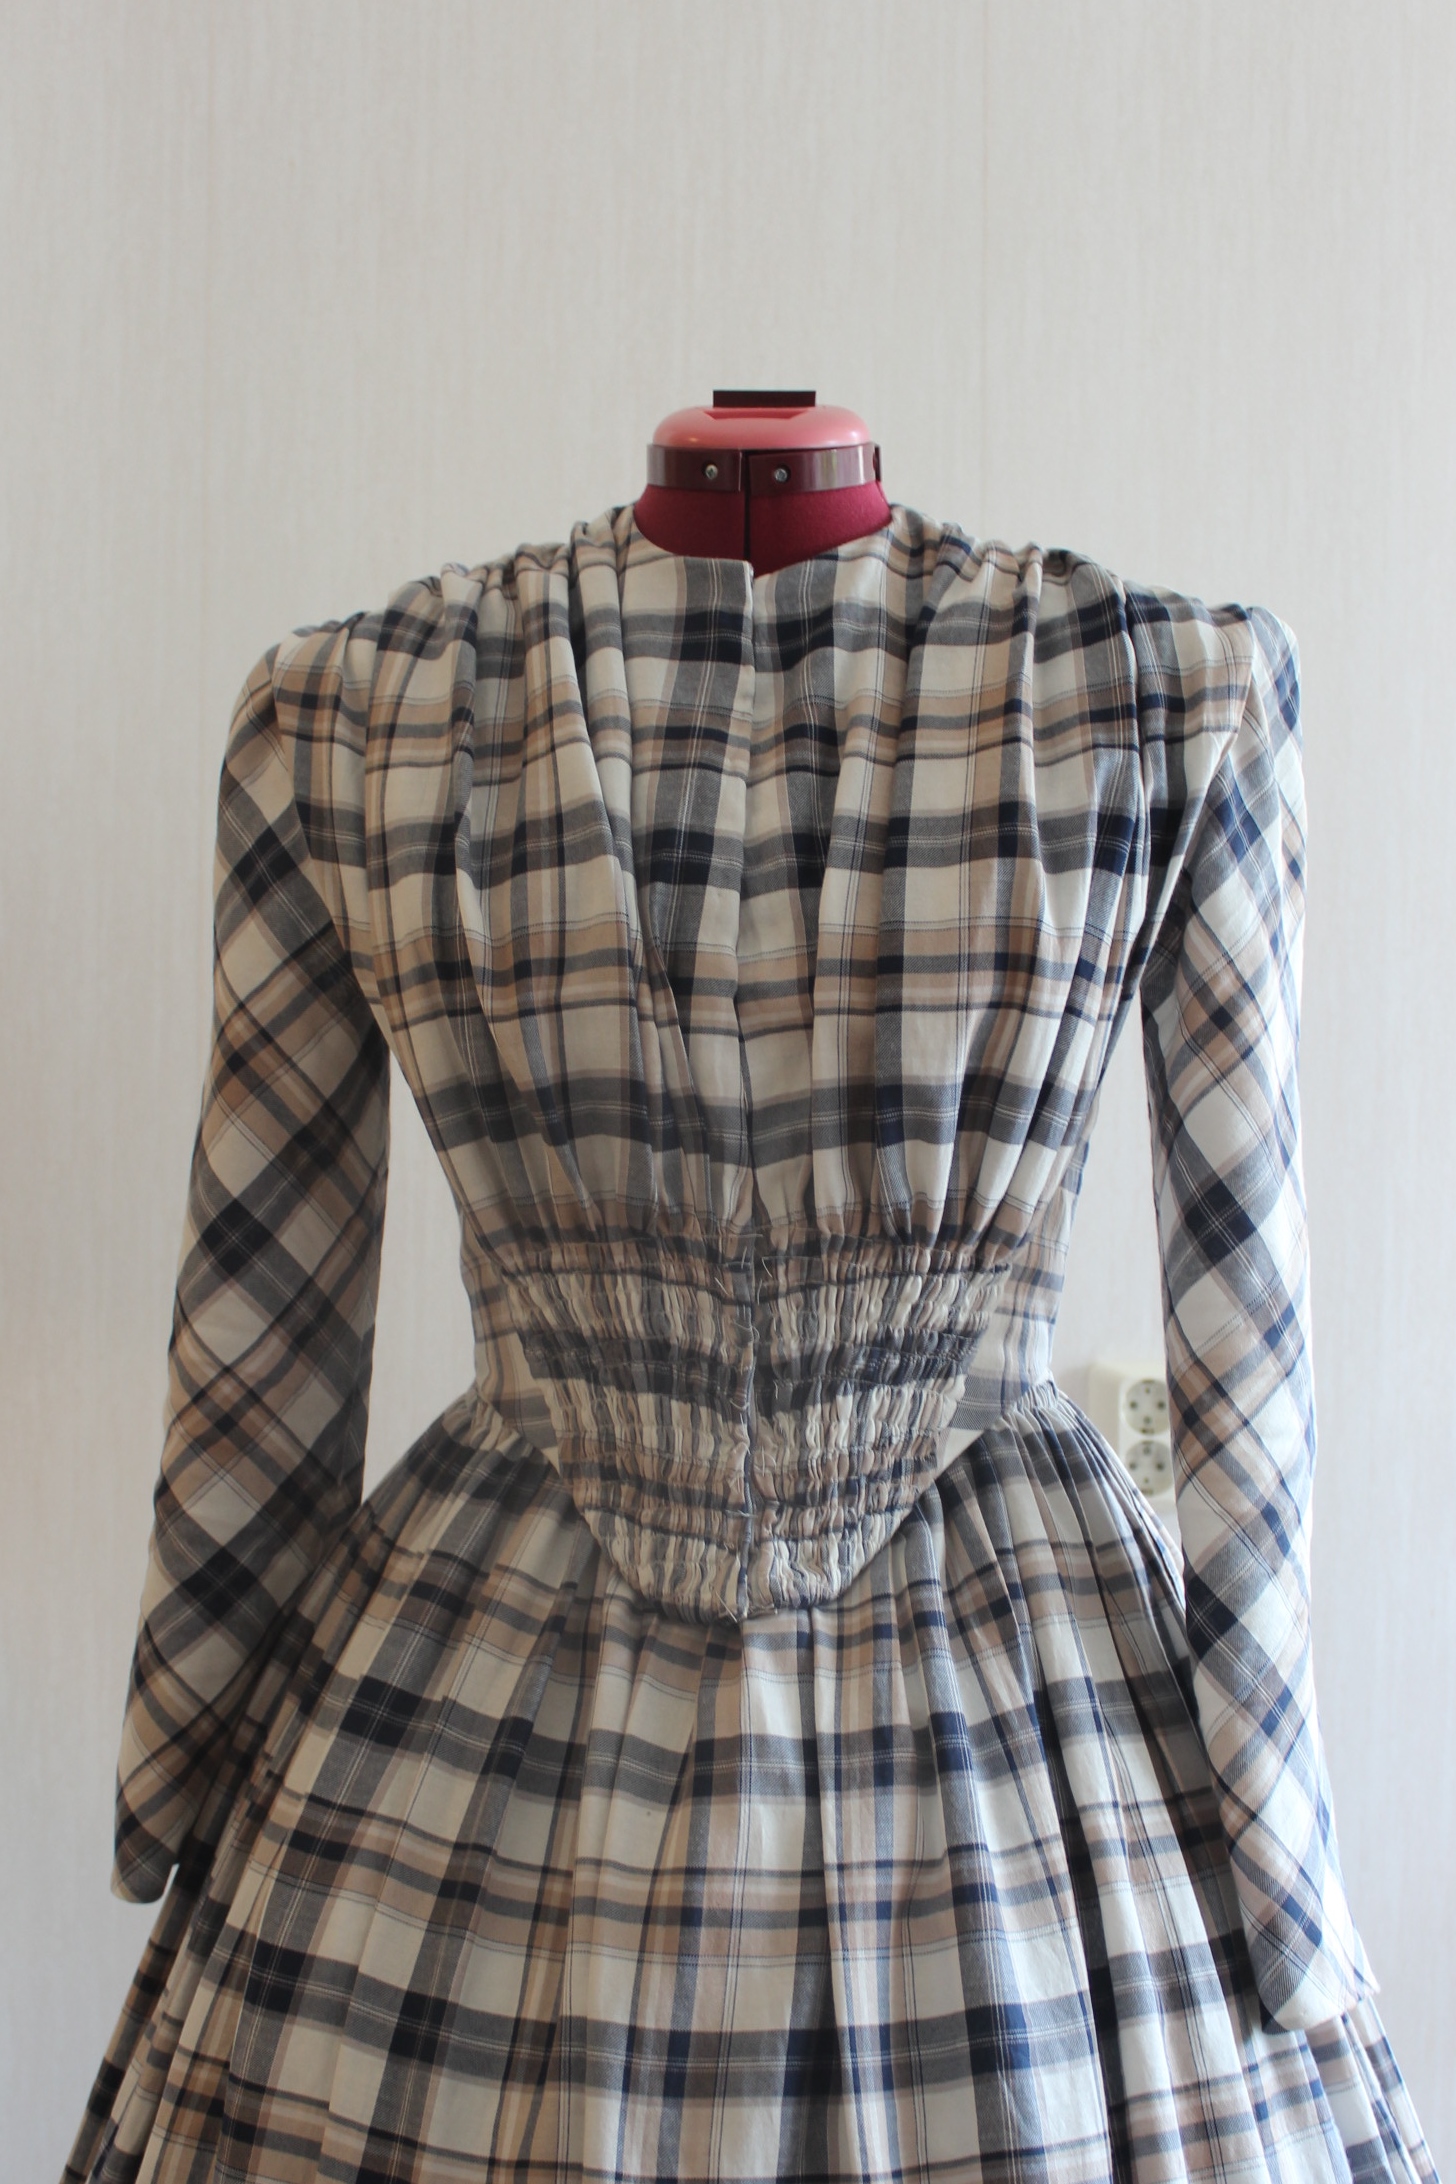
 So I ended up ripping the seam out, turning the edges in from the outside and securing them with a wisible seam. (Totaly on purpose…)