Celebrational 1900s Skirt

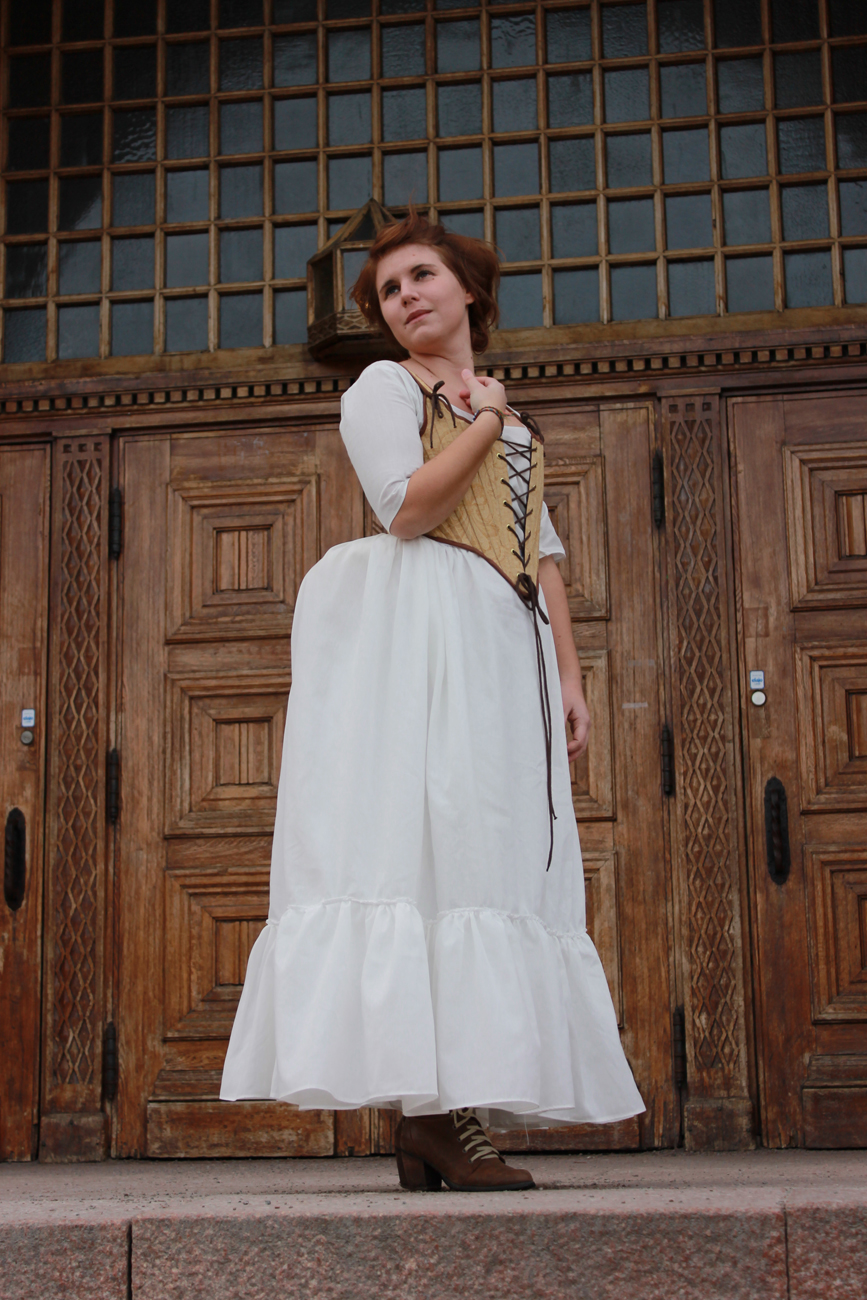
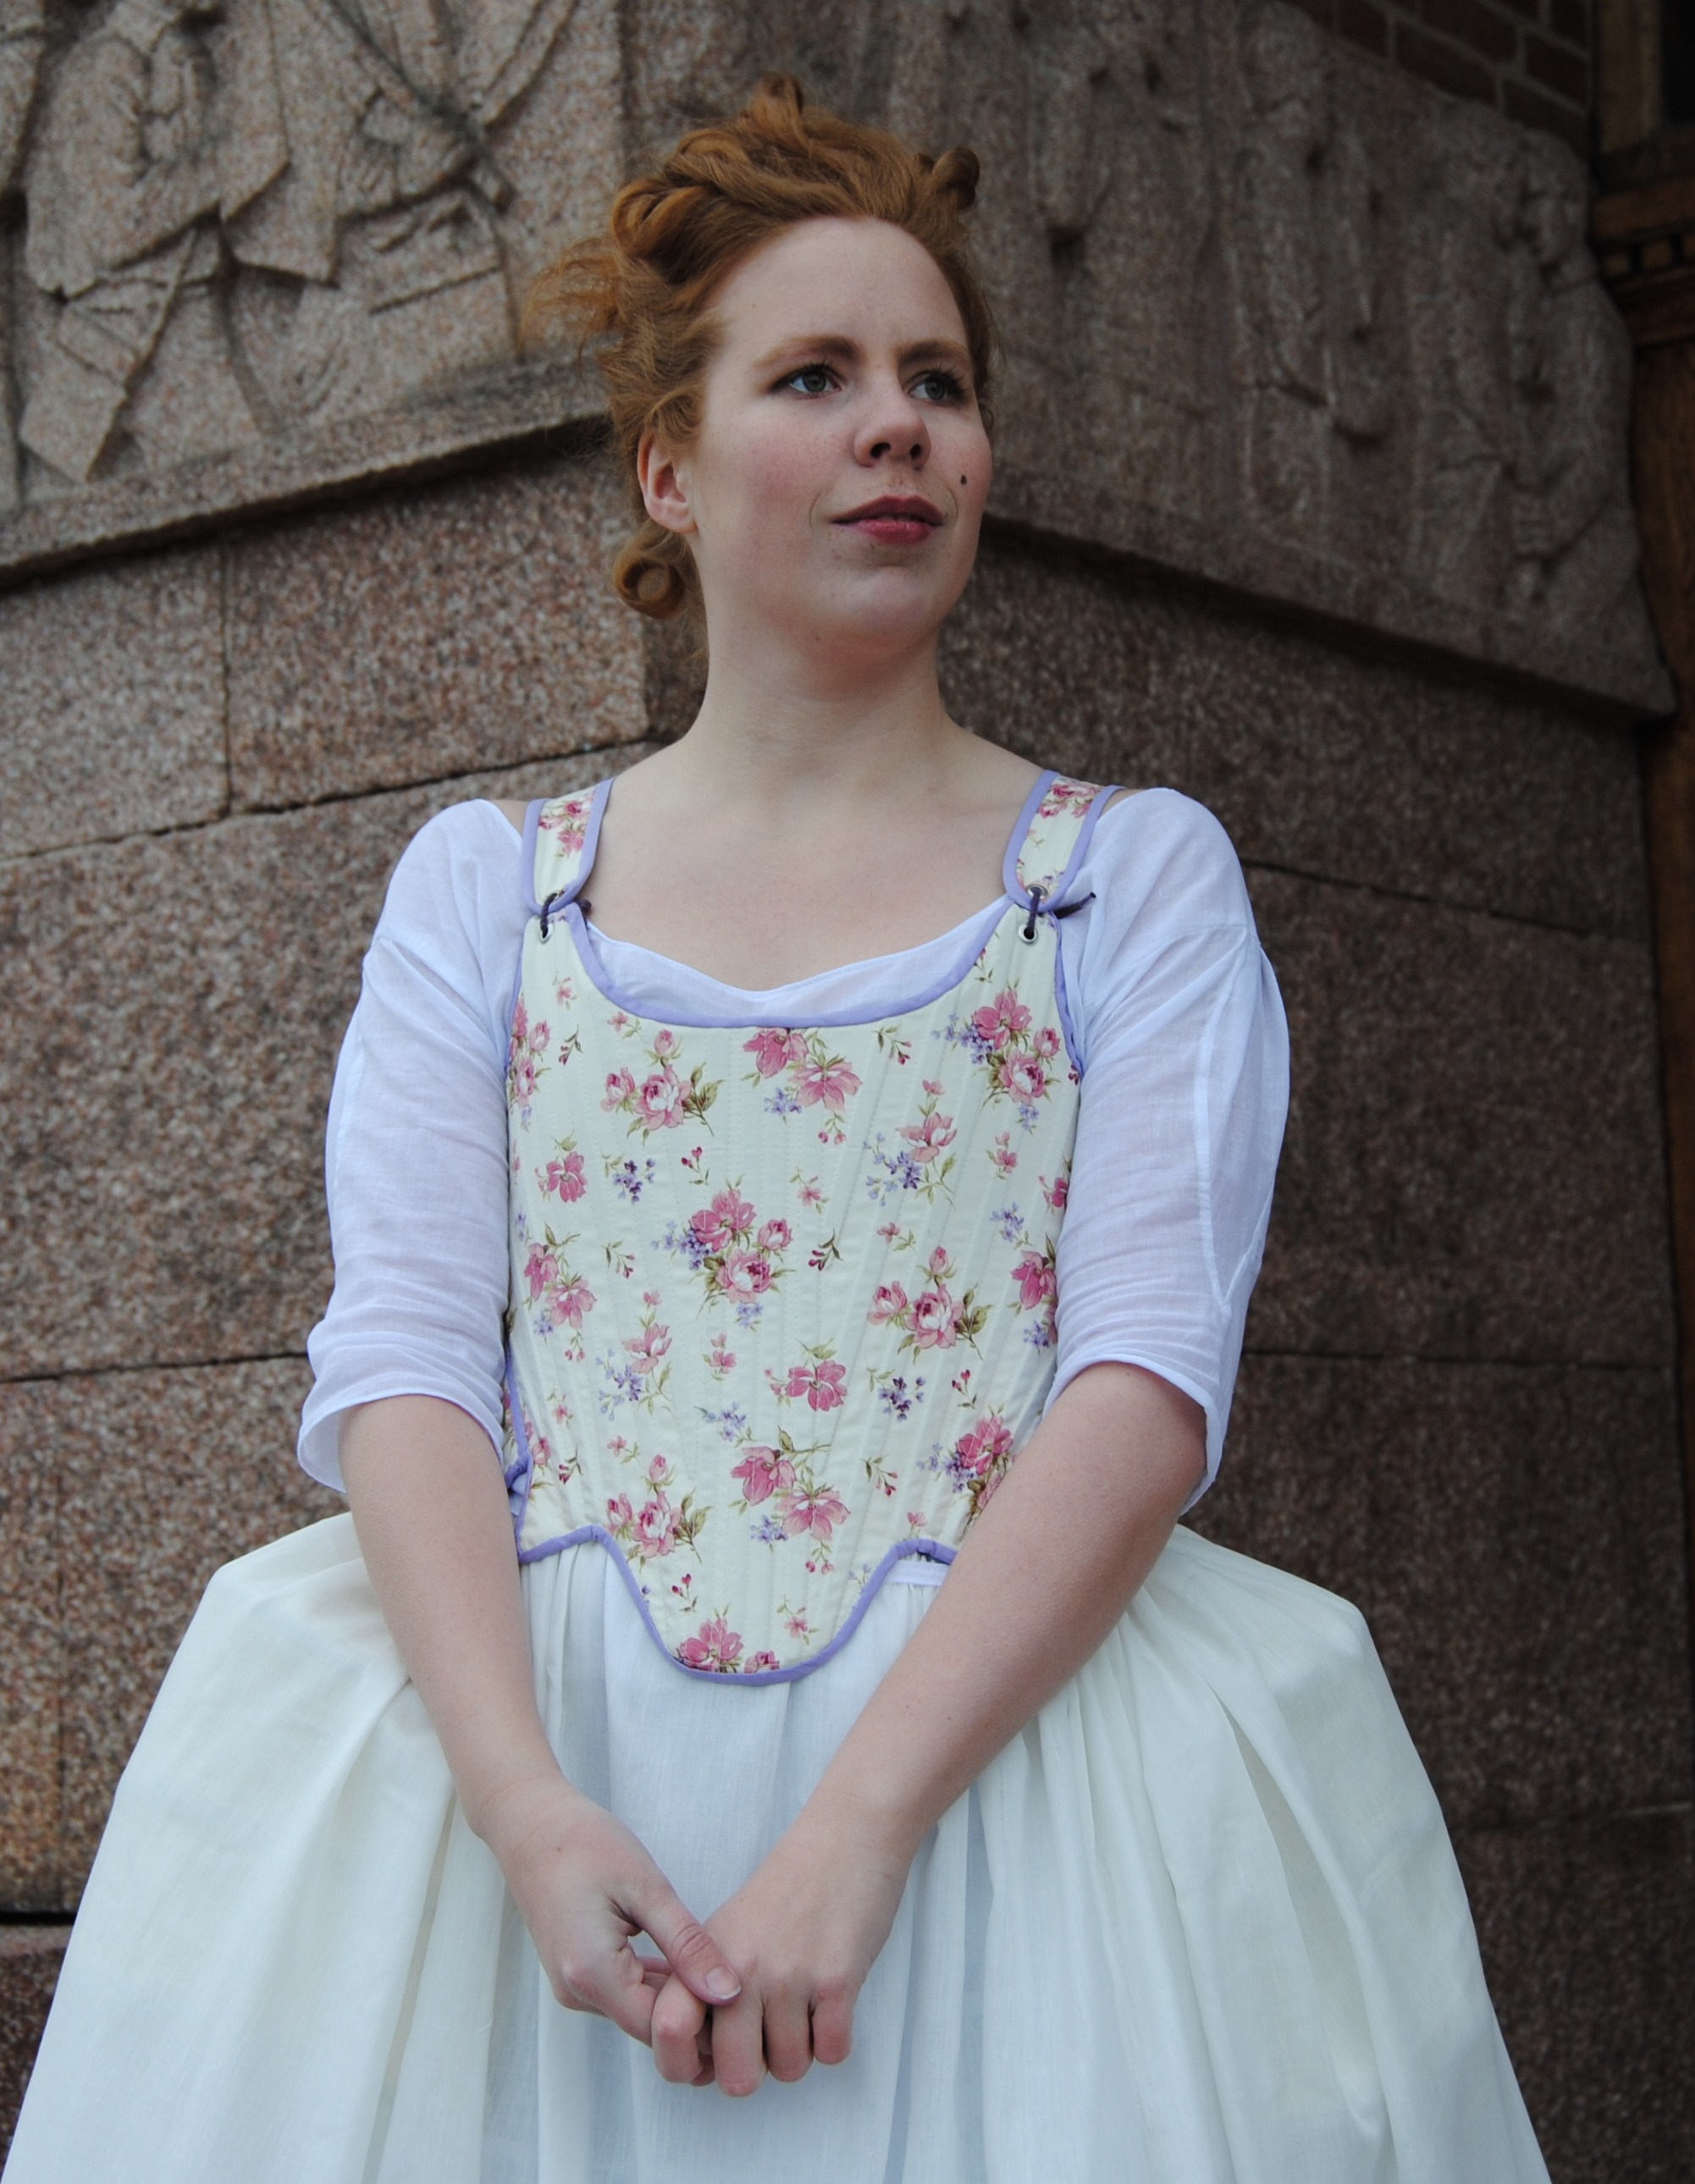
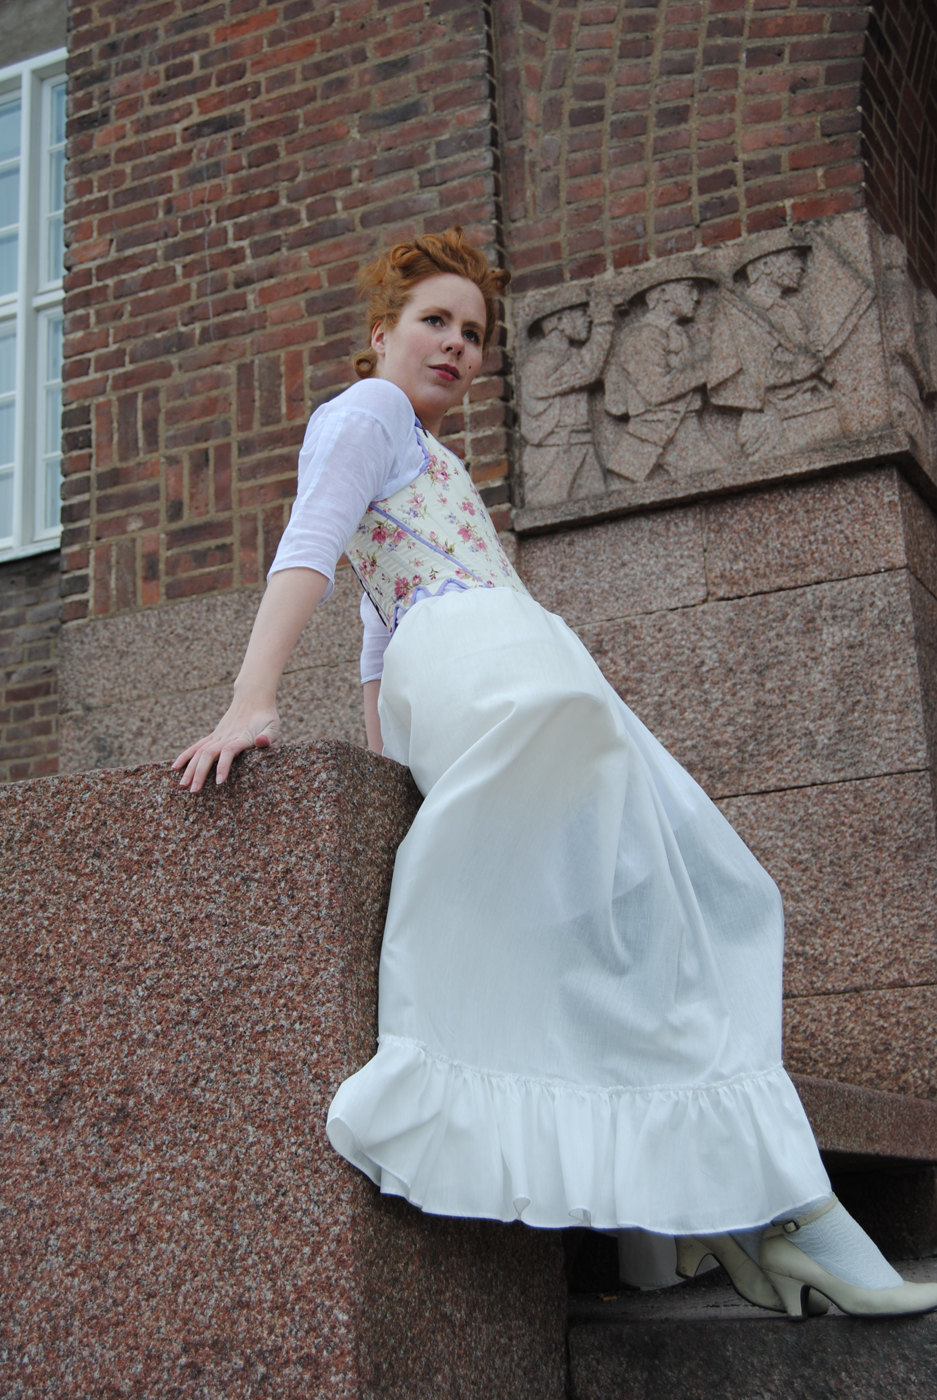
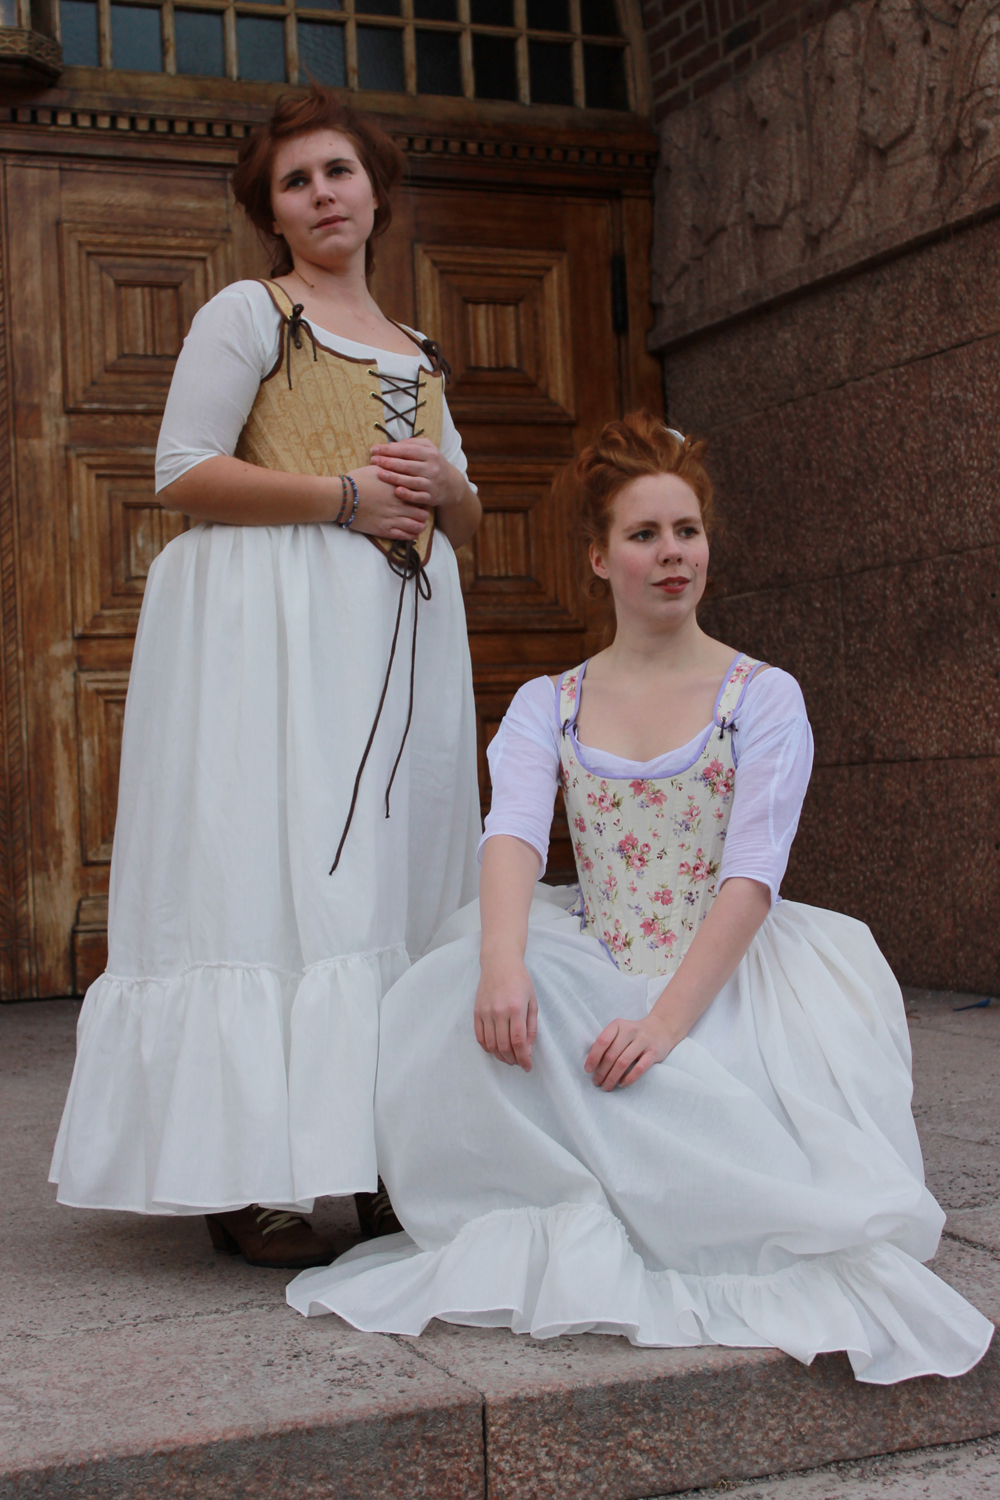
As the time ran away into the days between christmas and the new year, I needed to whip something up for the final HSF challenge this year, nr 26: Celebrate.

Between the christmas and a up-coming move there was really not much time, so I looked at a few of the others HSF participants prevous projects and decided to make a skirt maching the newly modeled 1900s shirtwaist.

It would be a fairly simple project and it would be celebrating my surviving of the entire HSF13.

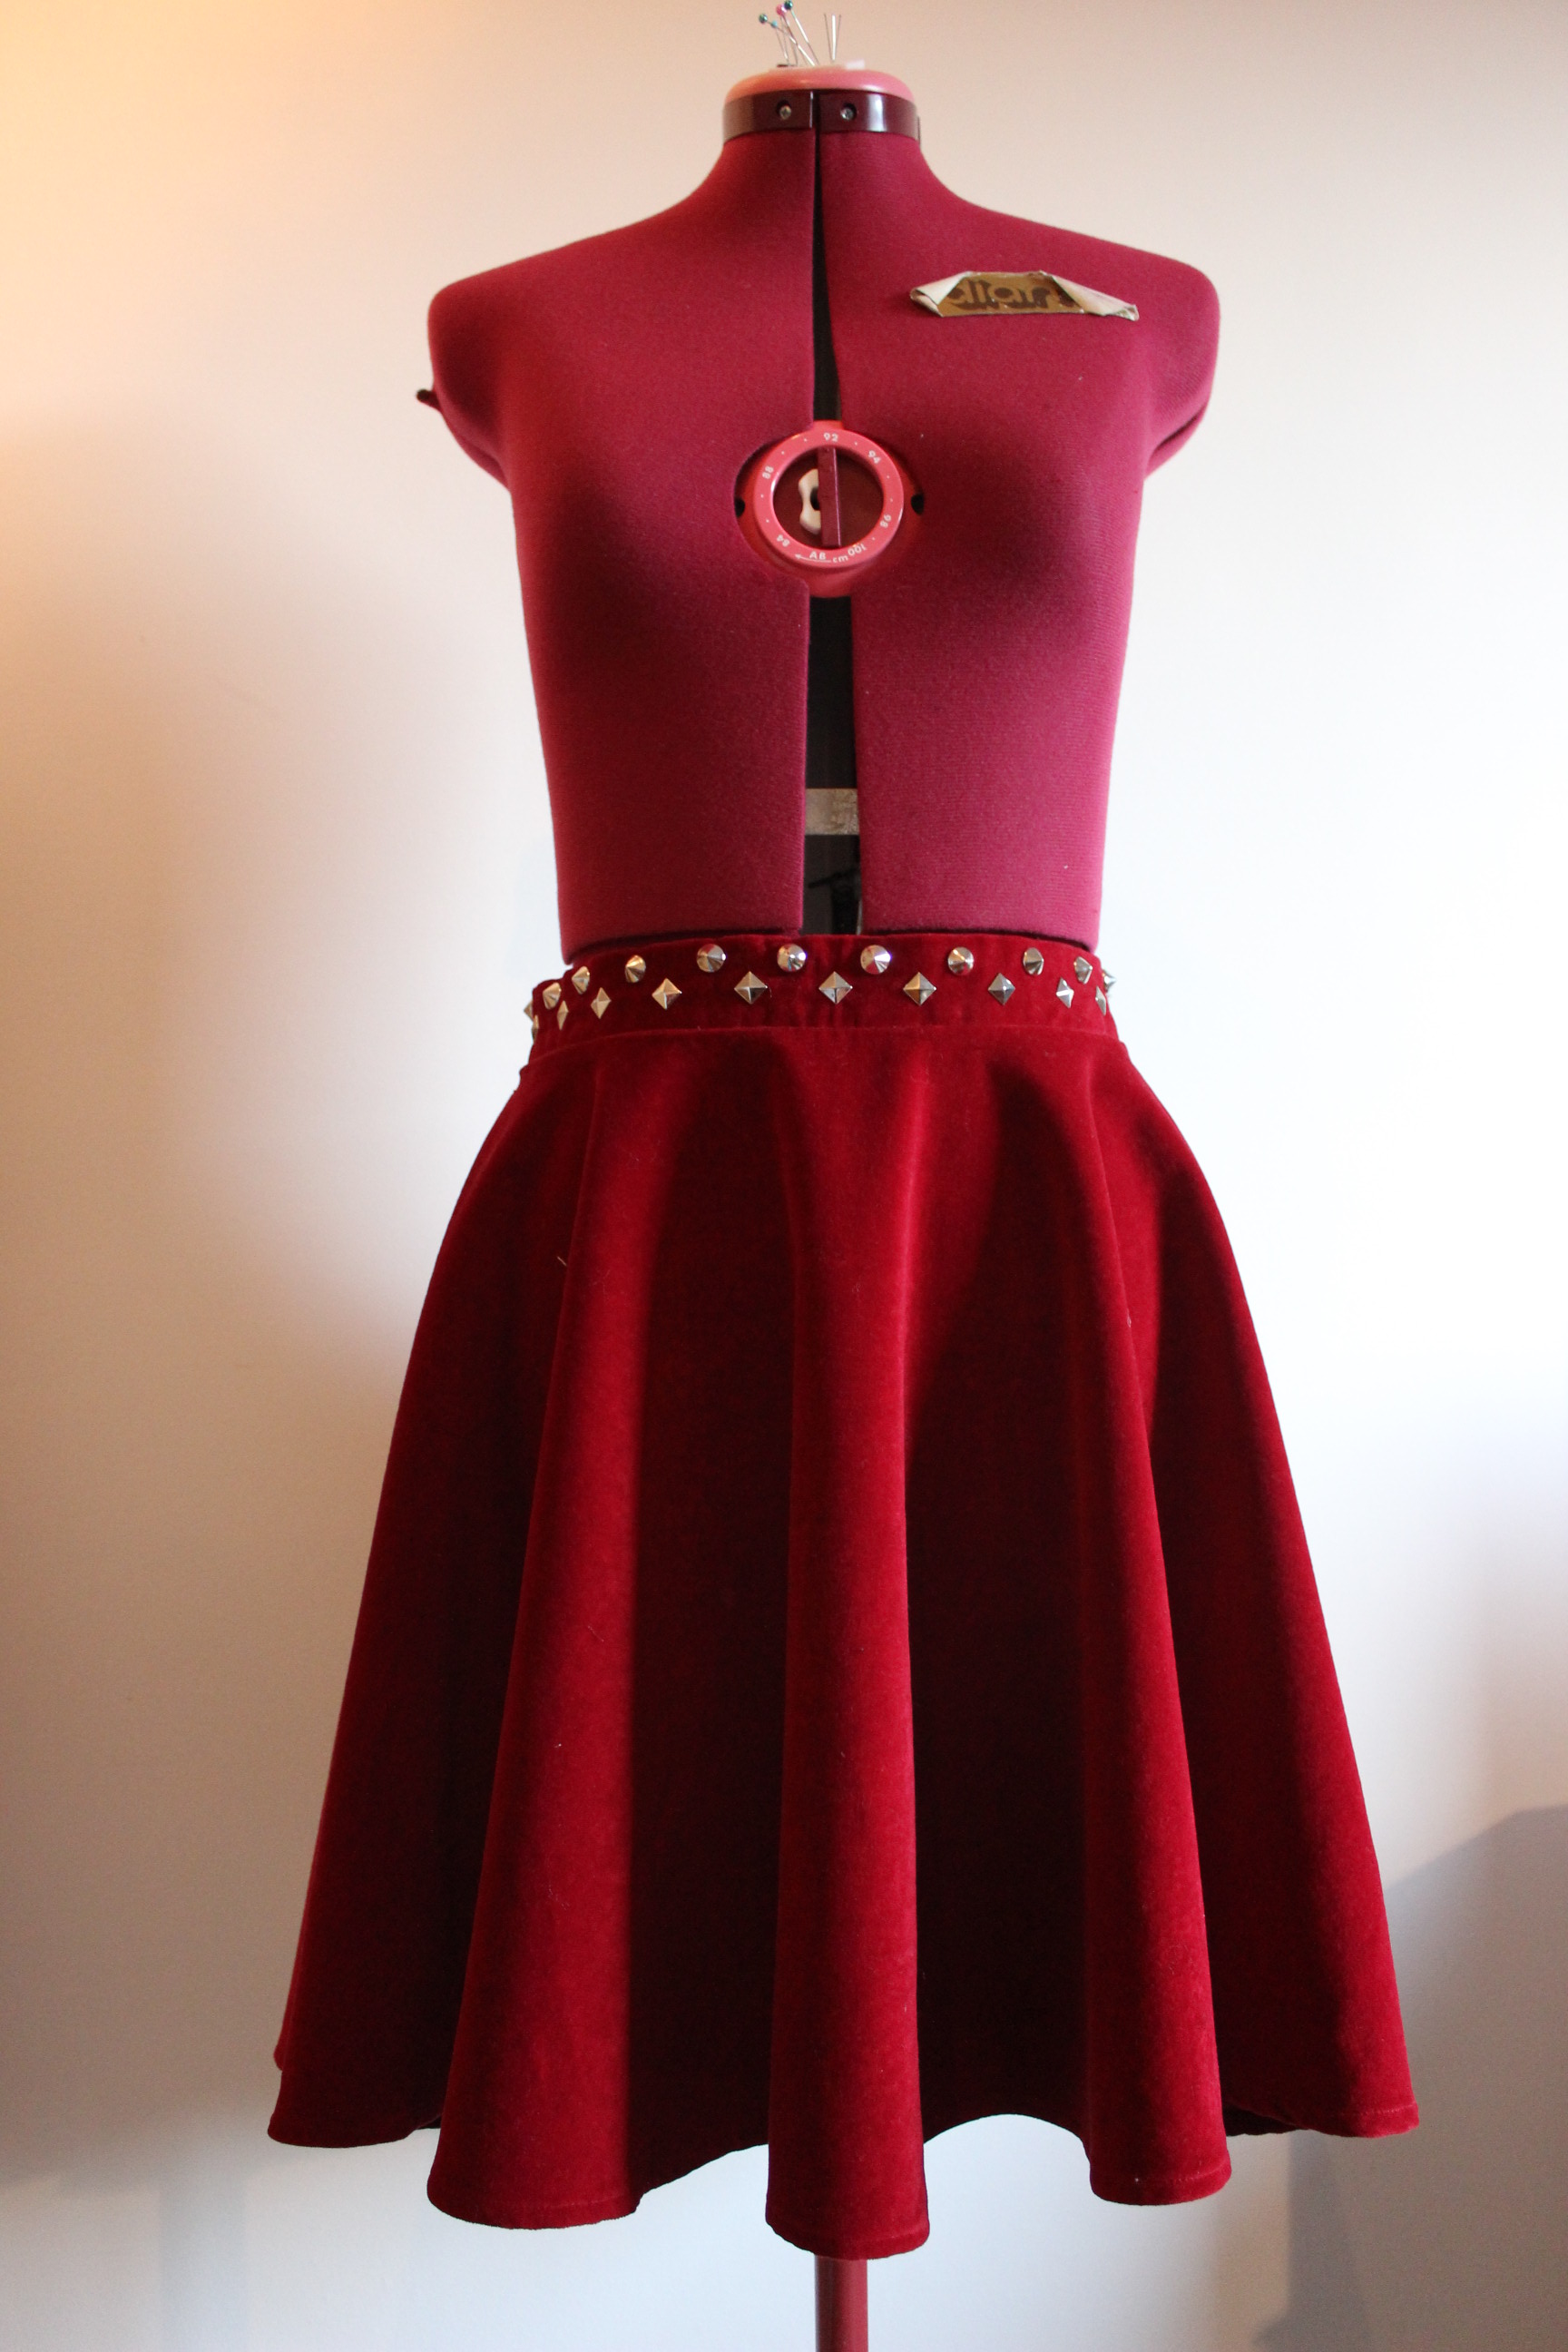
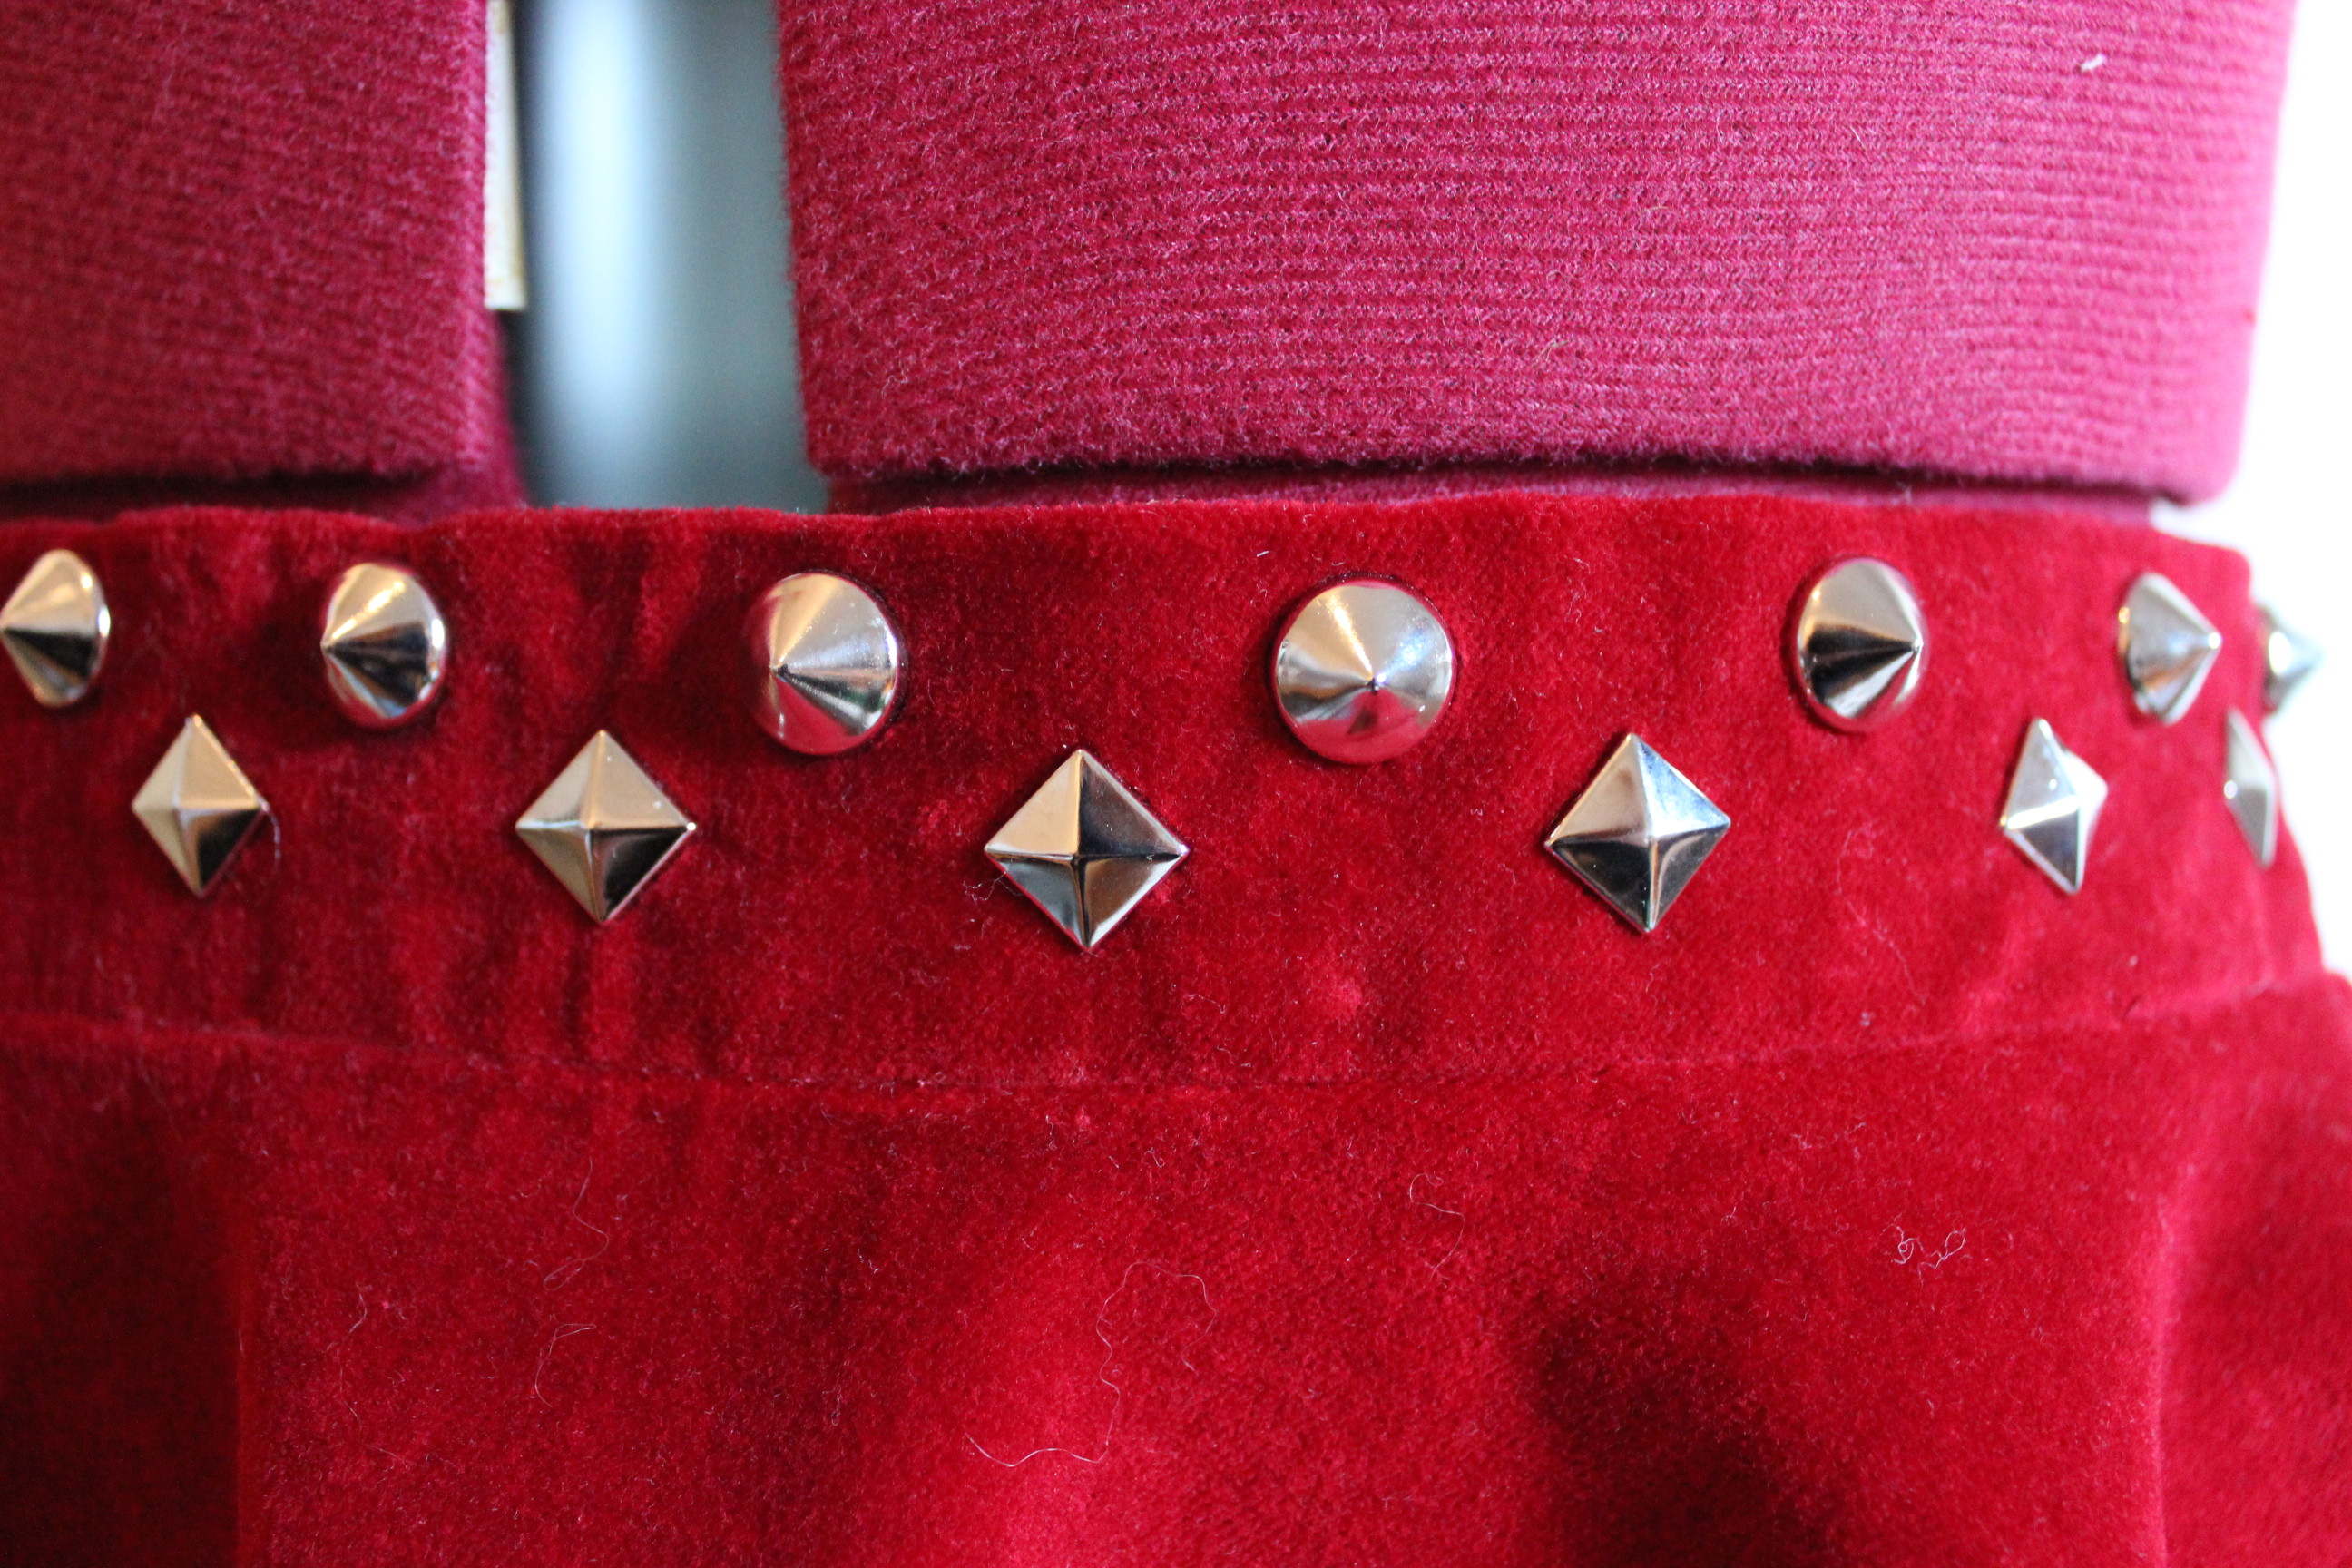
I searched my stash for apropate fabric and found a burgundy cotton twill that I bought on sale a couple of years ago.

IMG_4545

It is not the ideal fabric for this type of garmnent, but both time and money was lacking at the moment so it would have to do.

I drafted a pattern using some diagrams from Waughs “Cut of Womens Clothes”.

IMG_4550

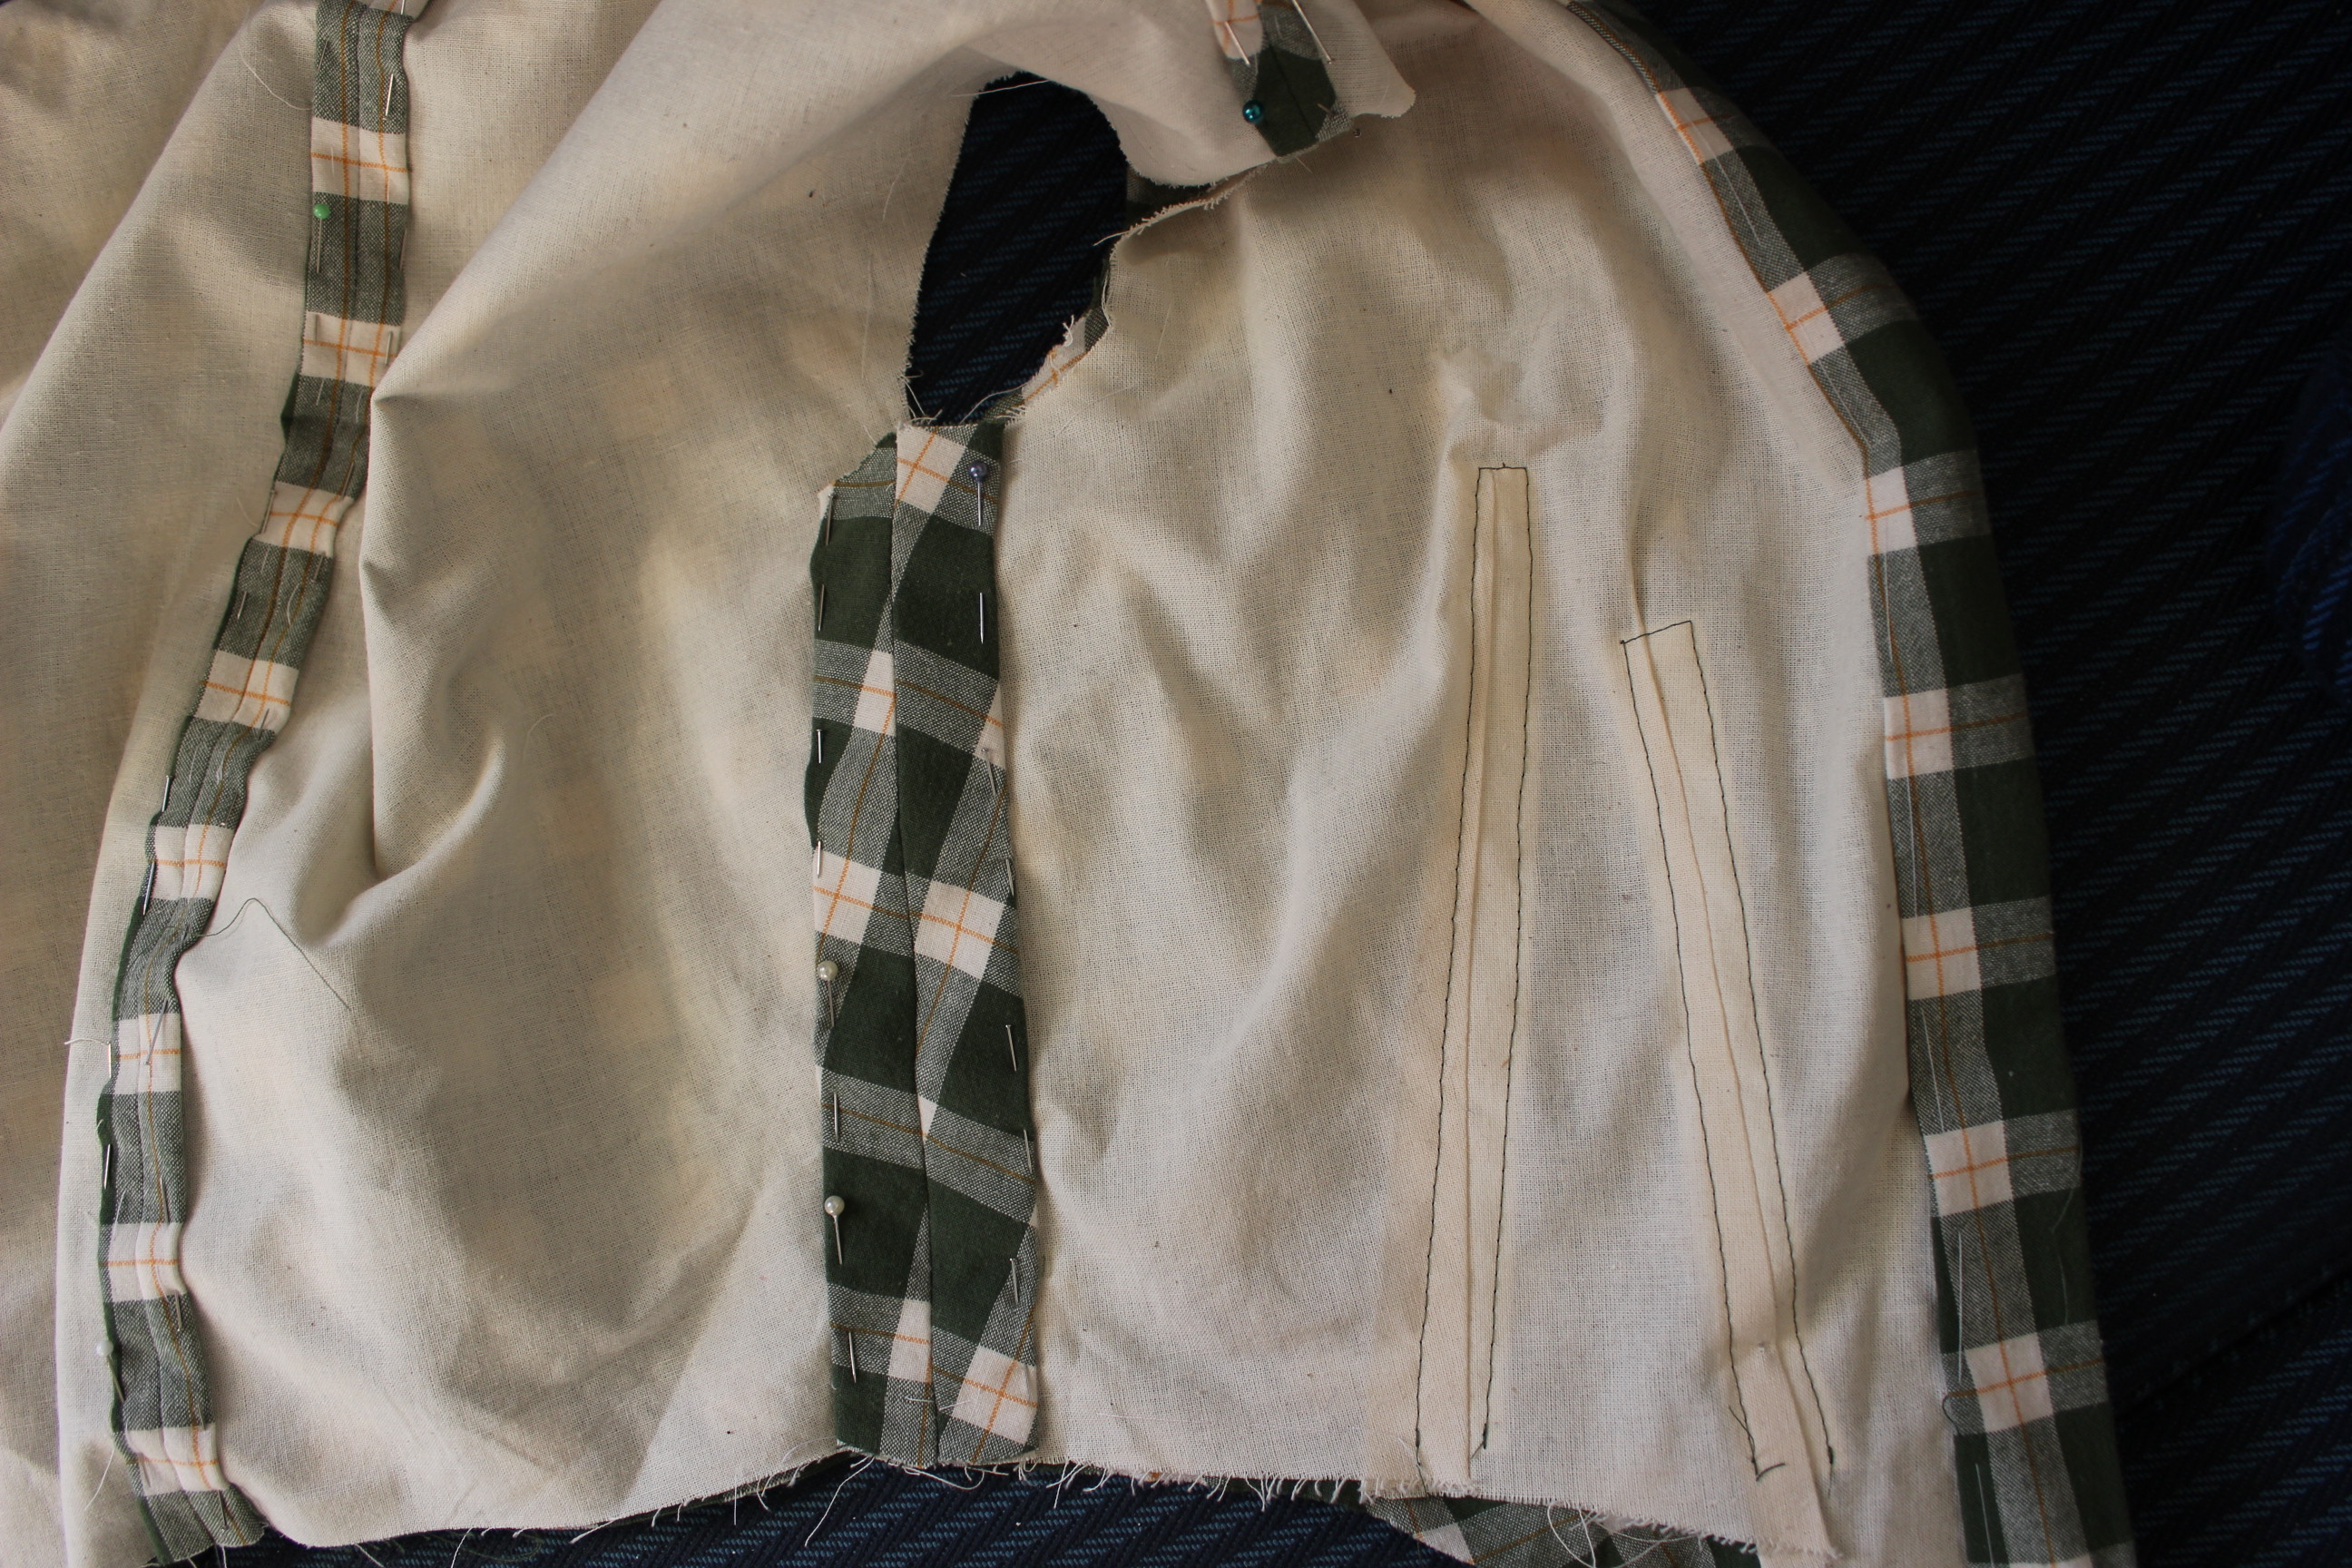
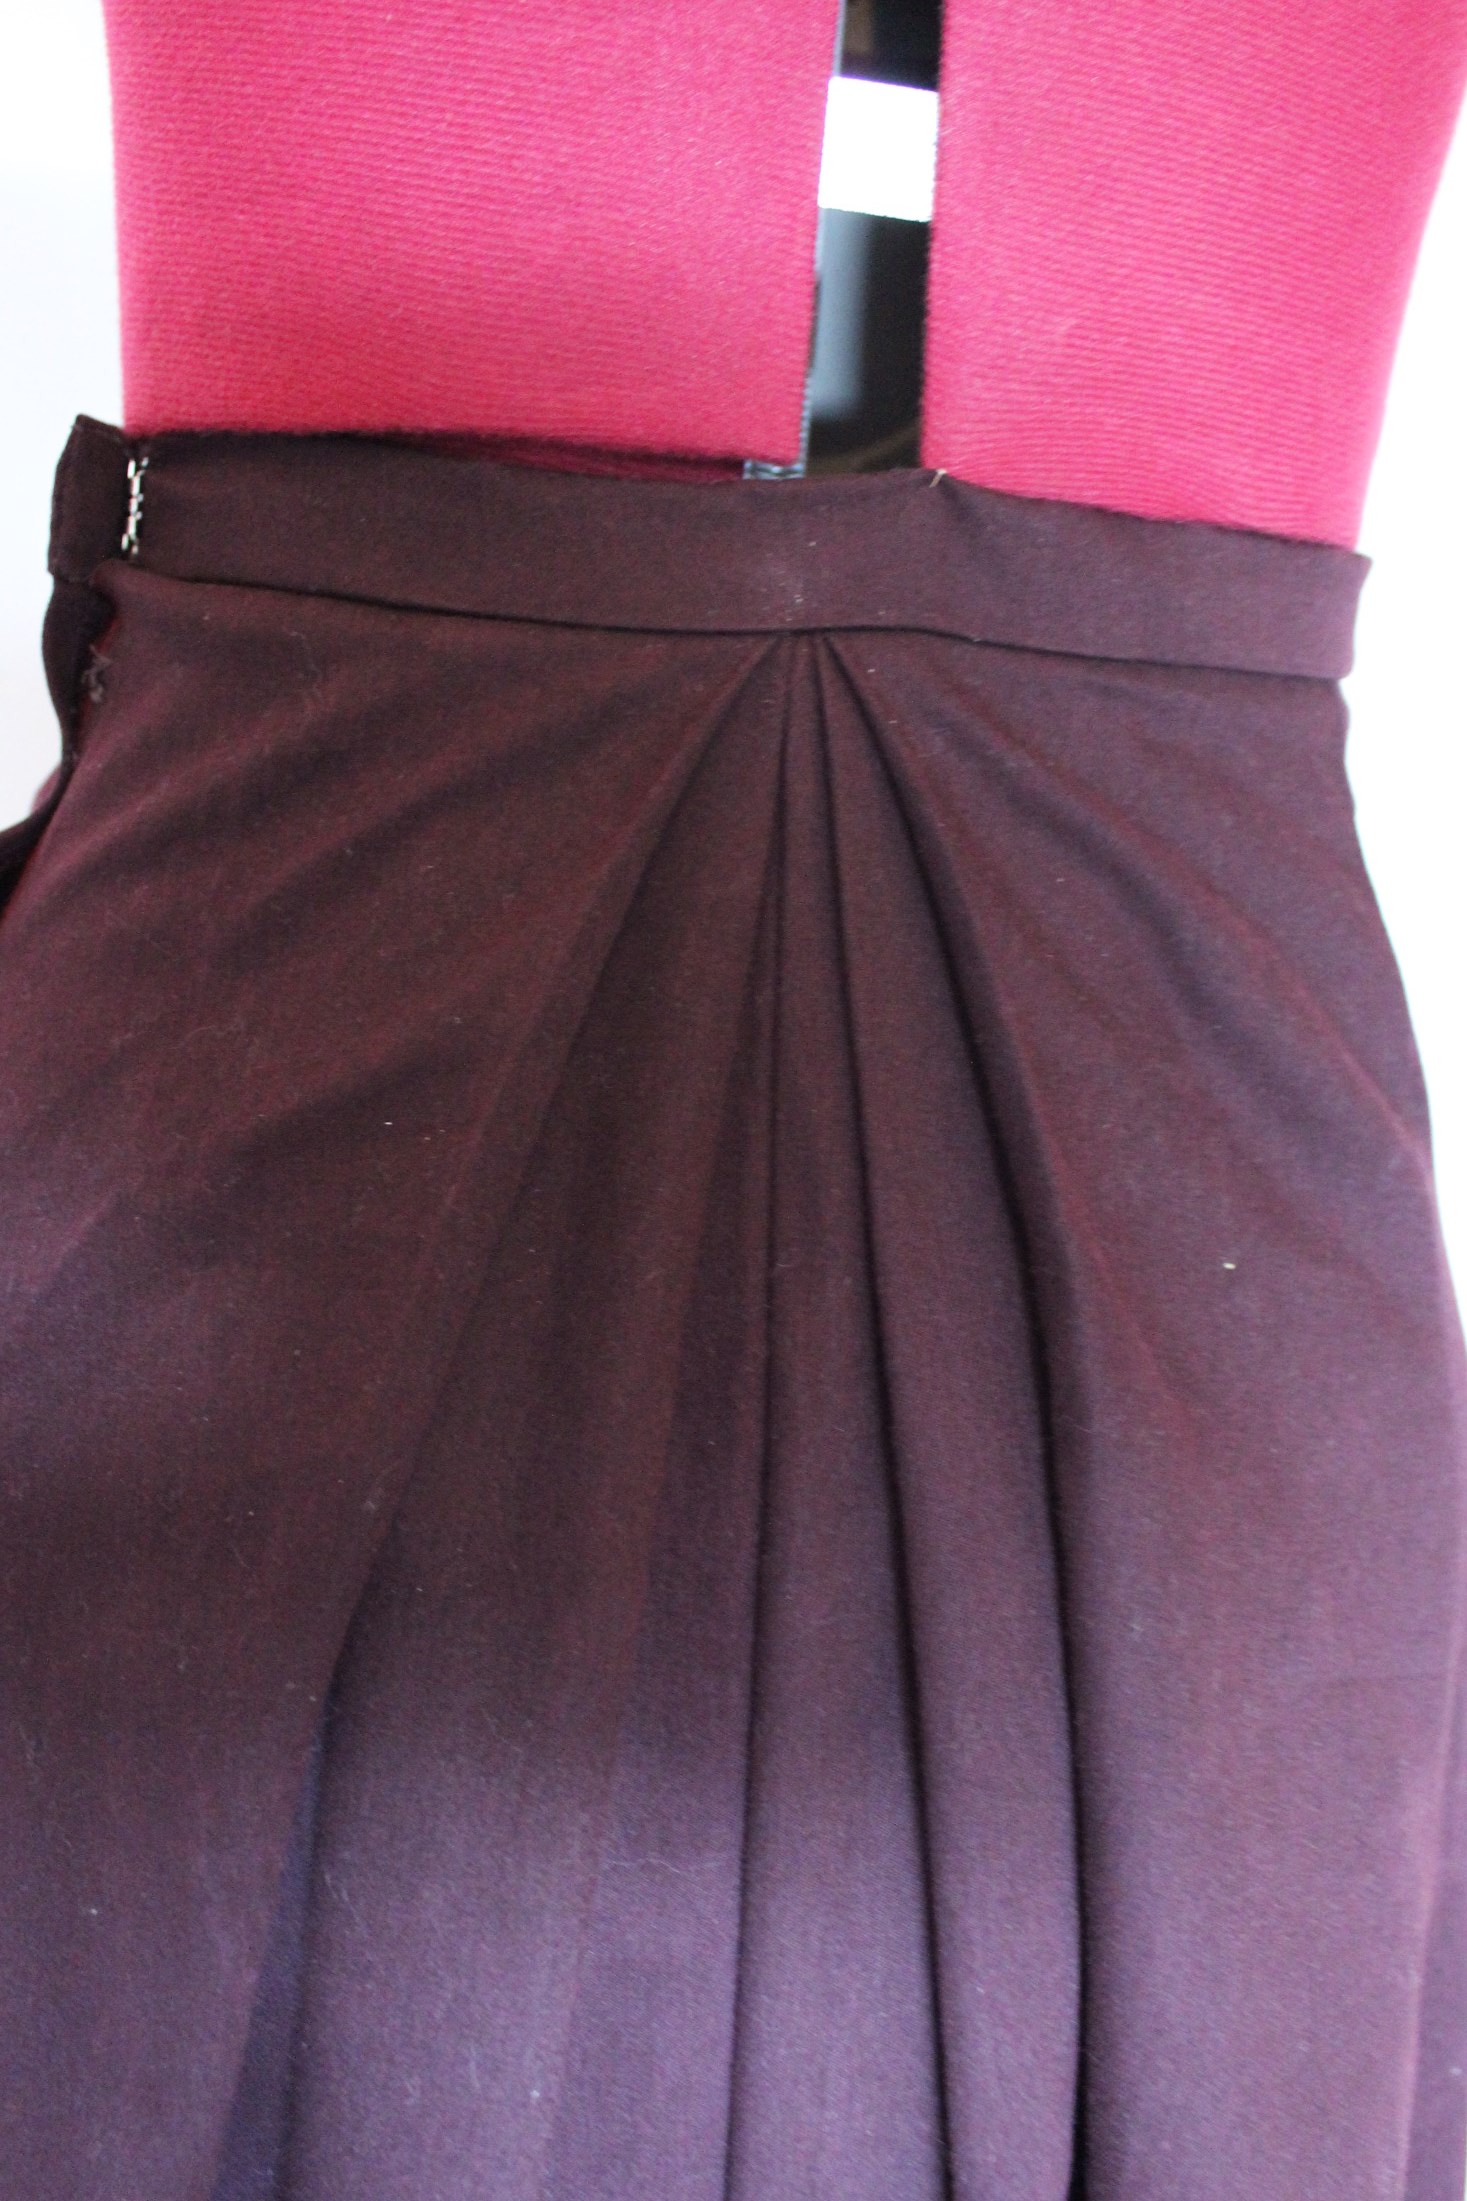
I cut and basted the skirt togheter. Then I tried it on and discoverewd the skirt was a bit on the short side, but since it meant to be a walking skirt it will do.

IMG_4546 IMG_4548

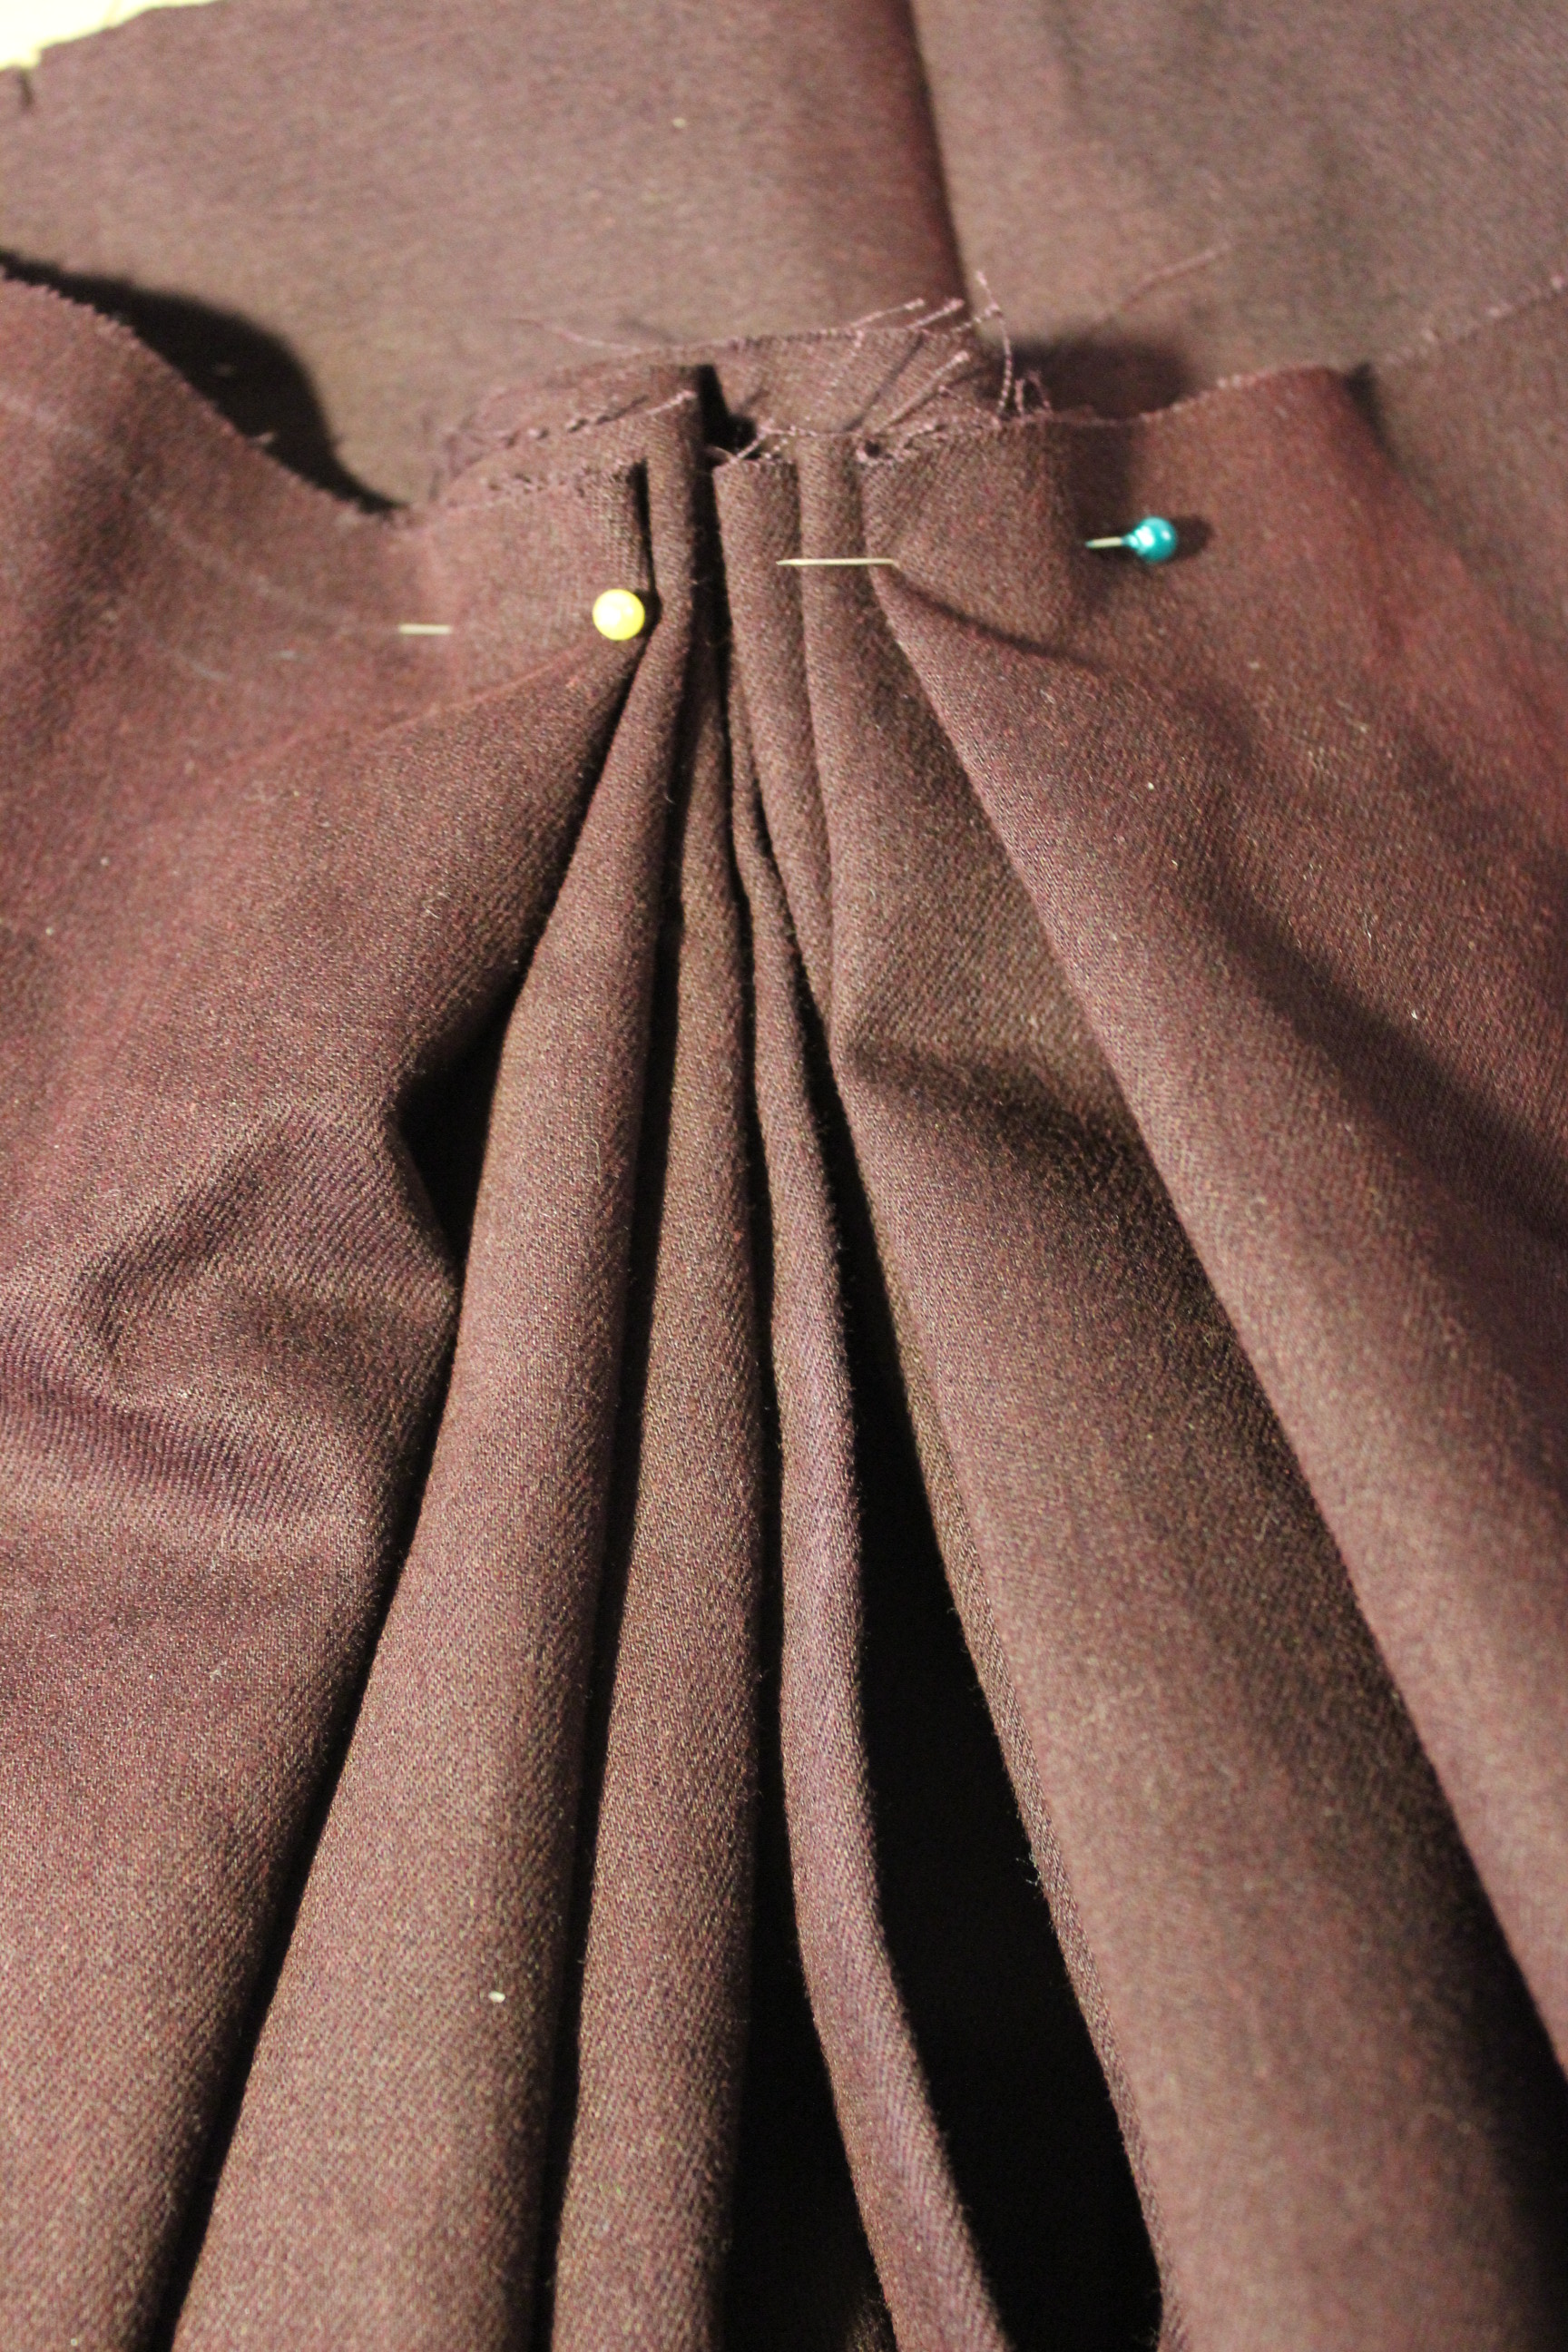
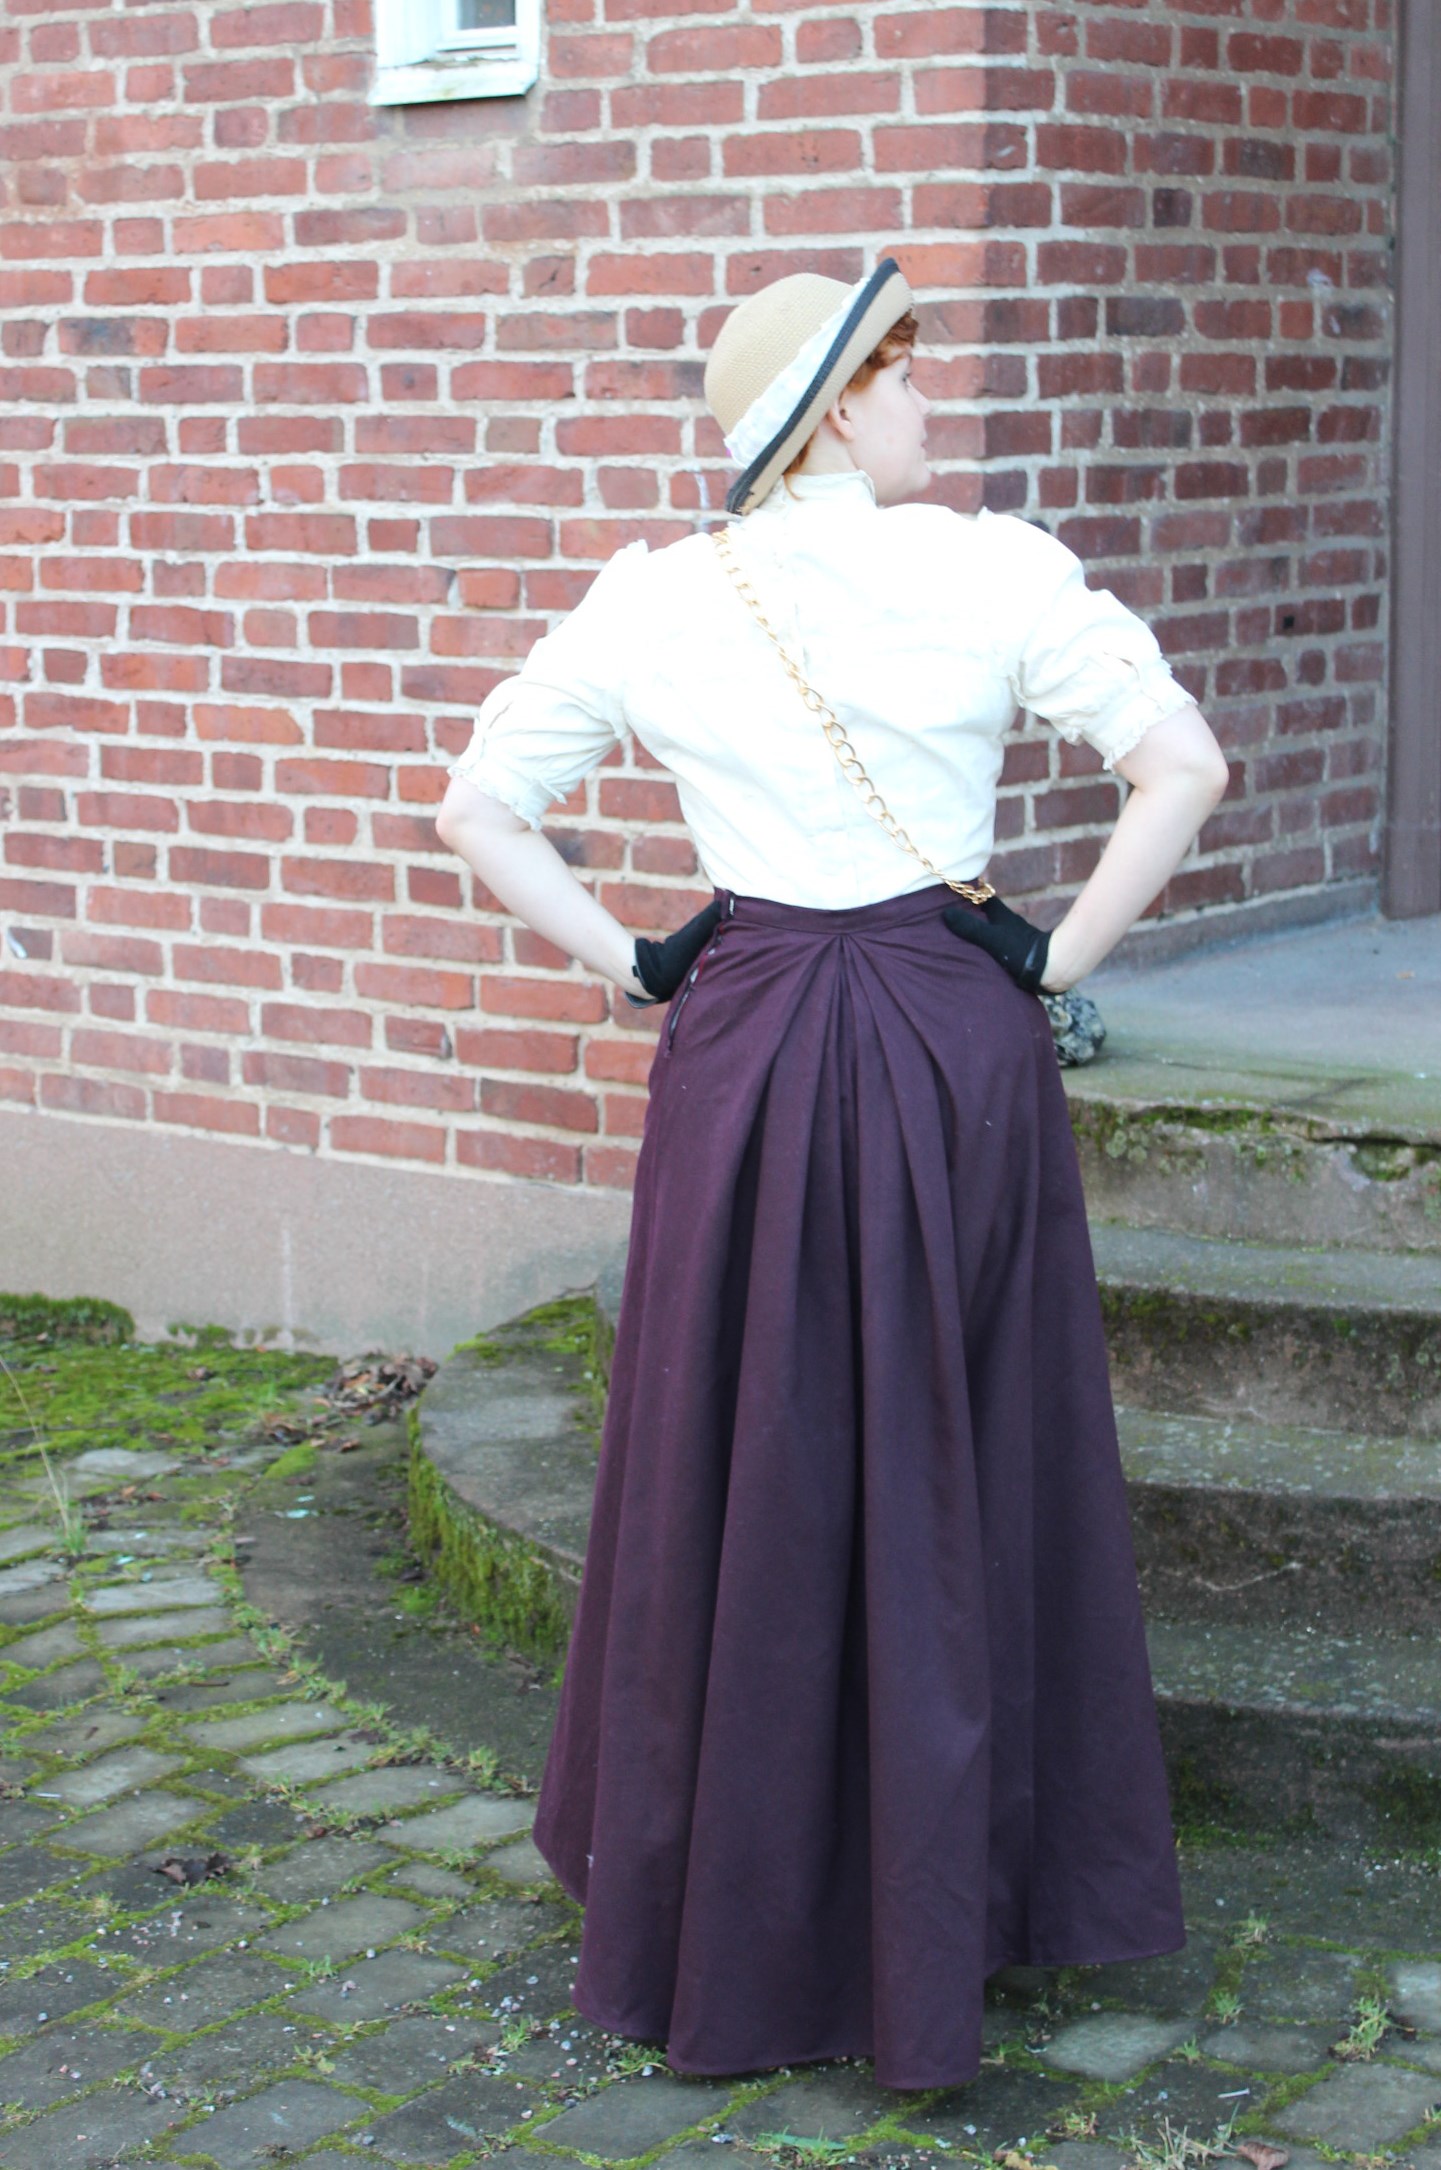
The sewed it togehter and made the tucks in the back and side fastening.
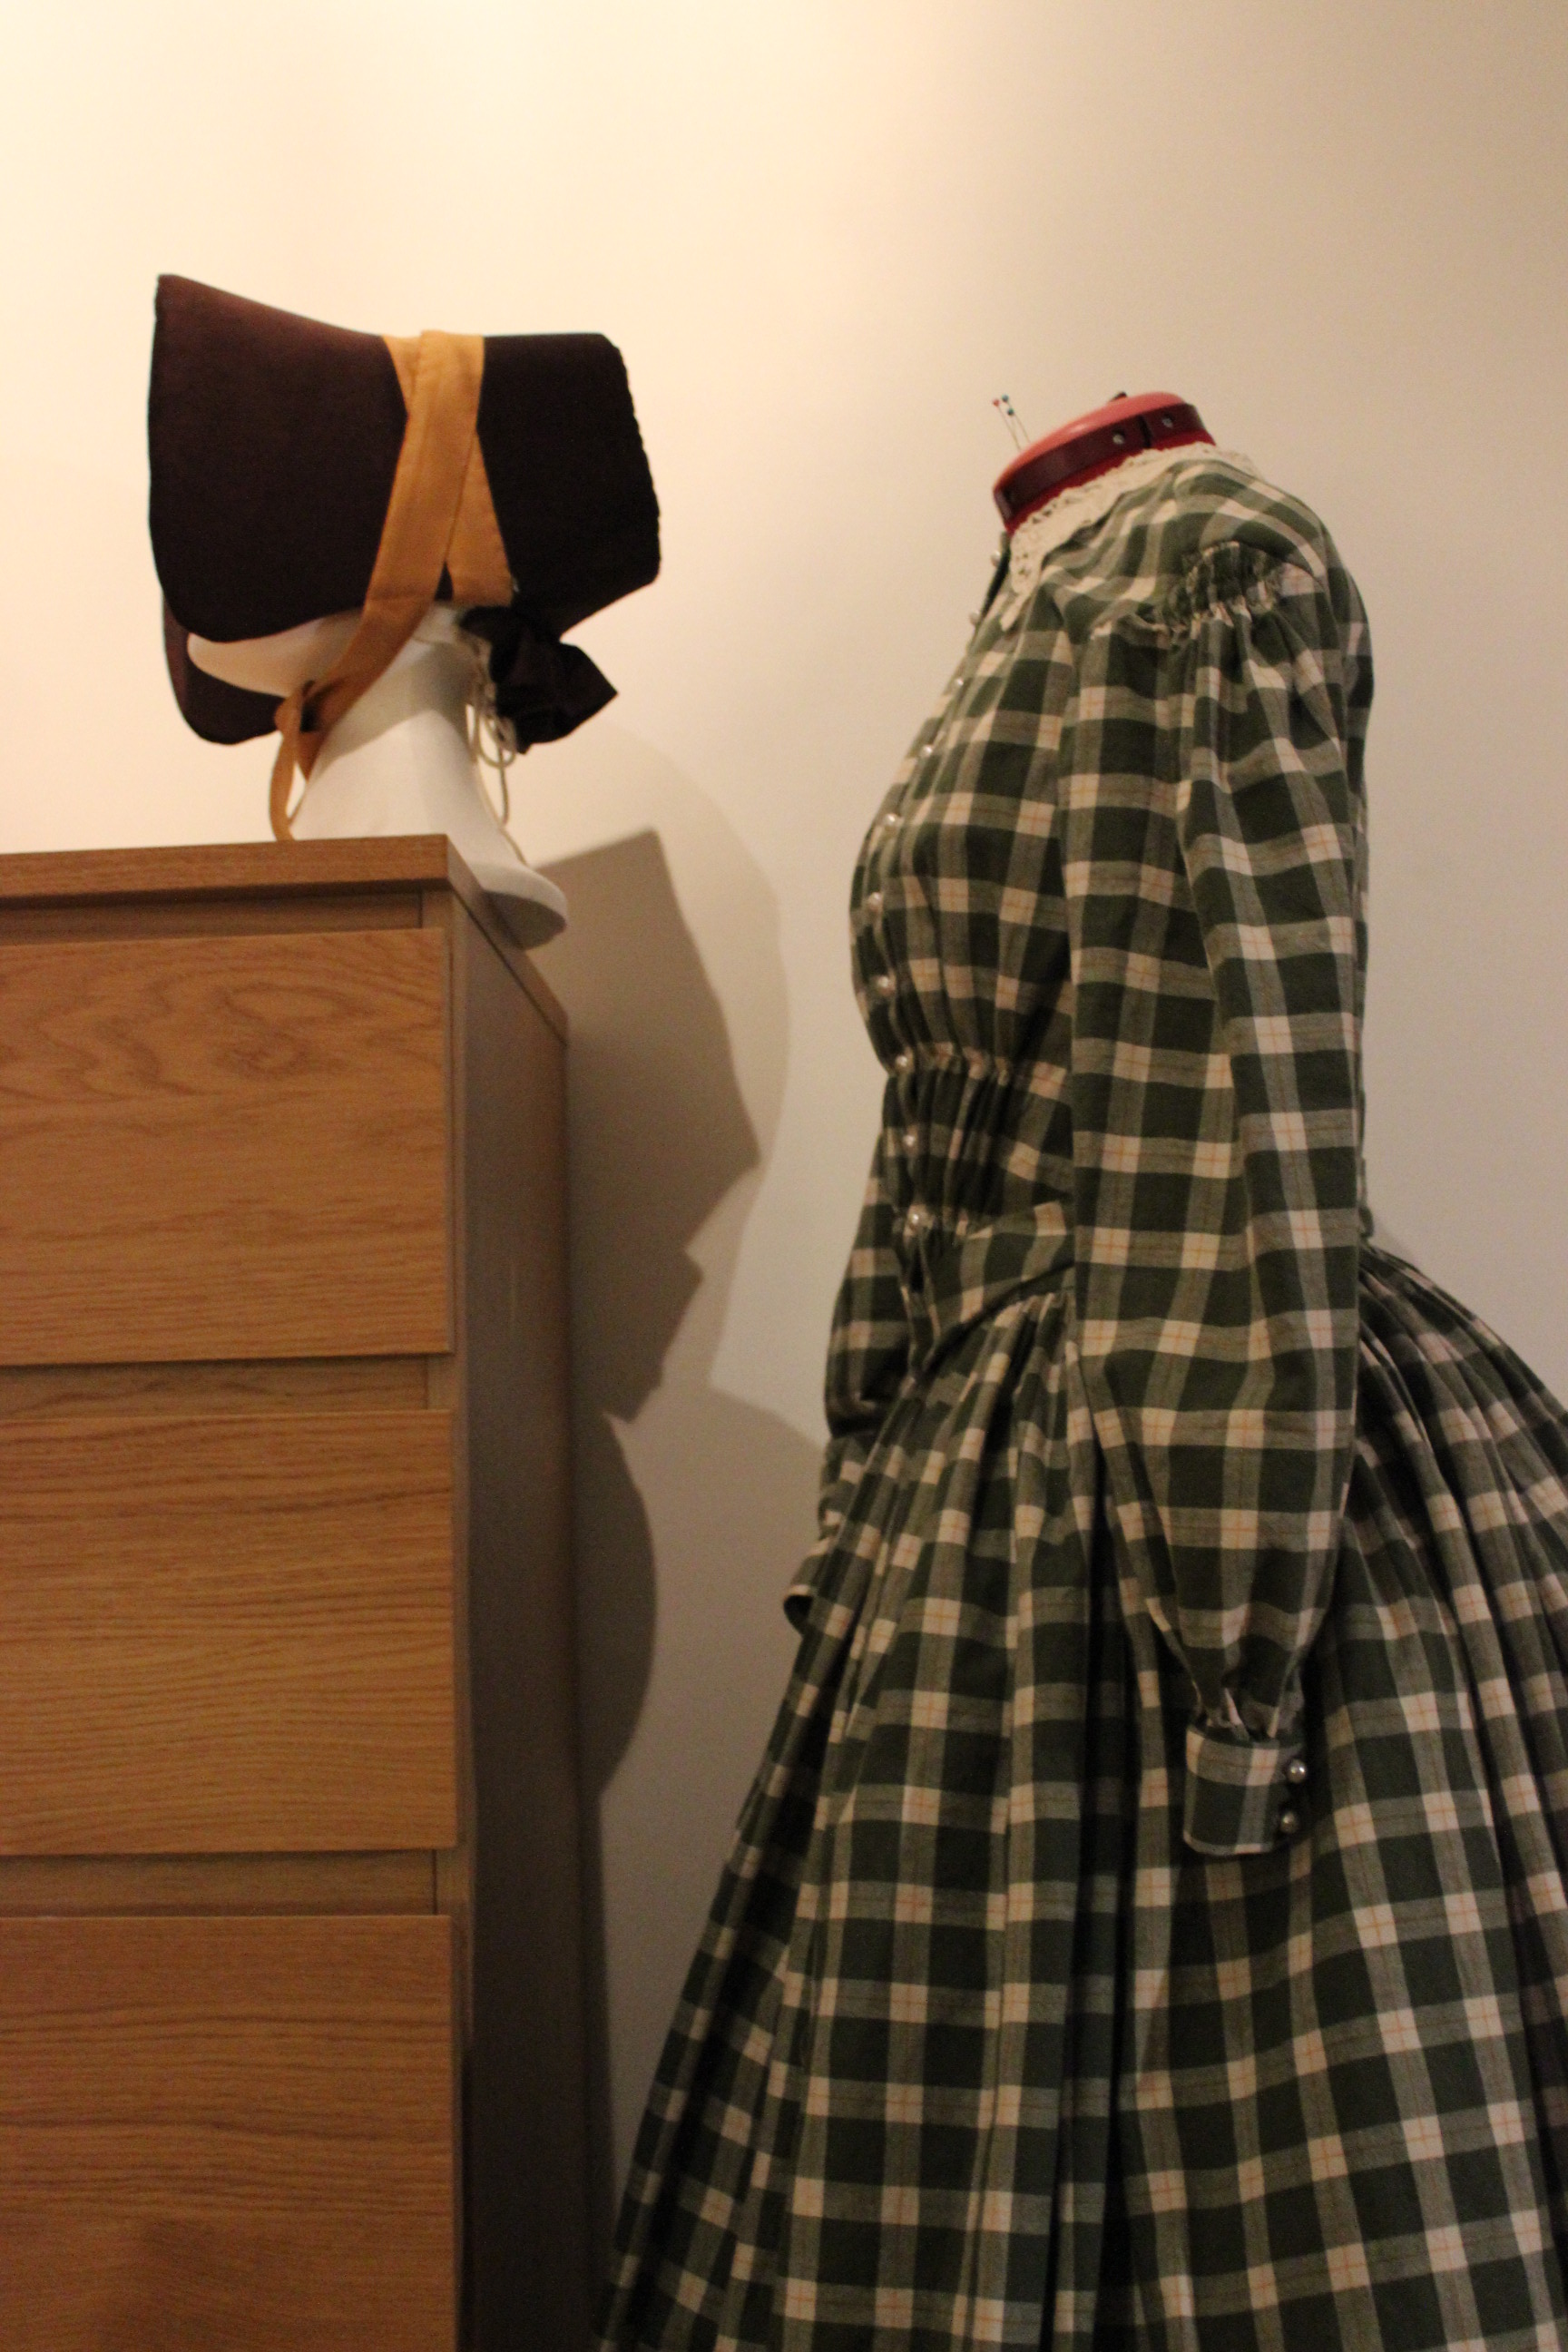
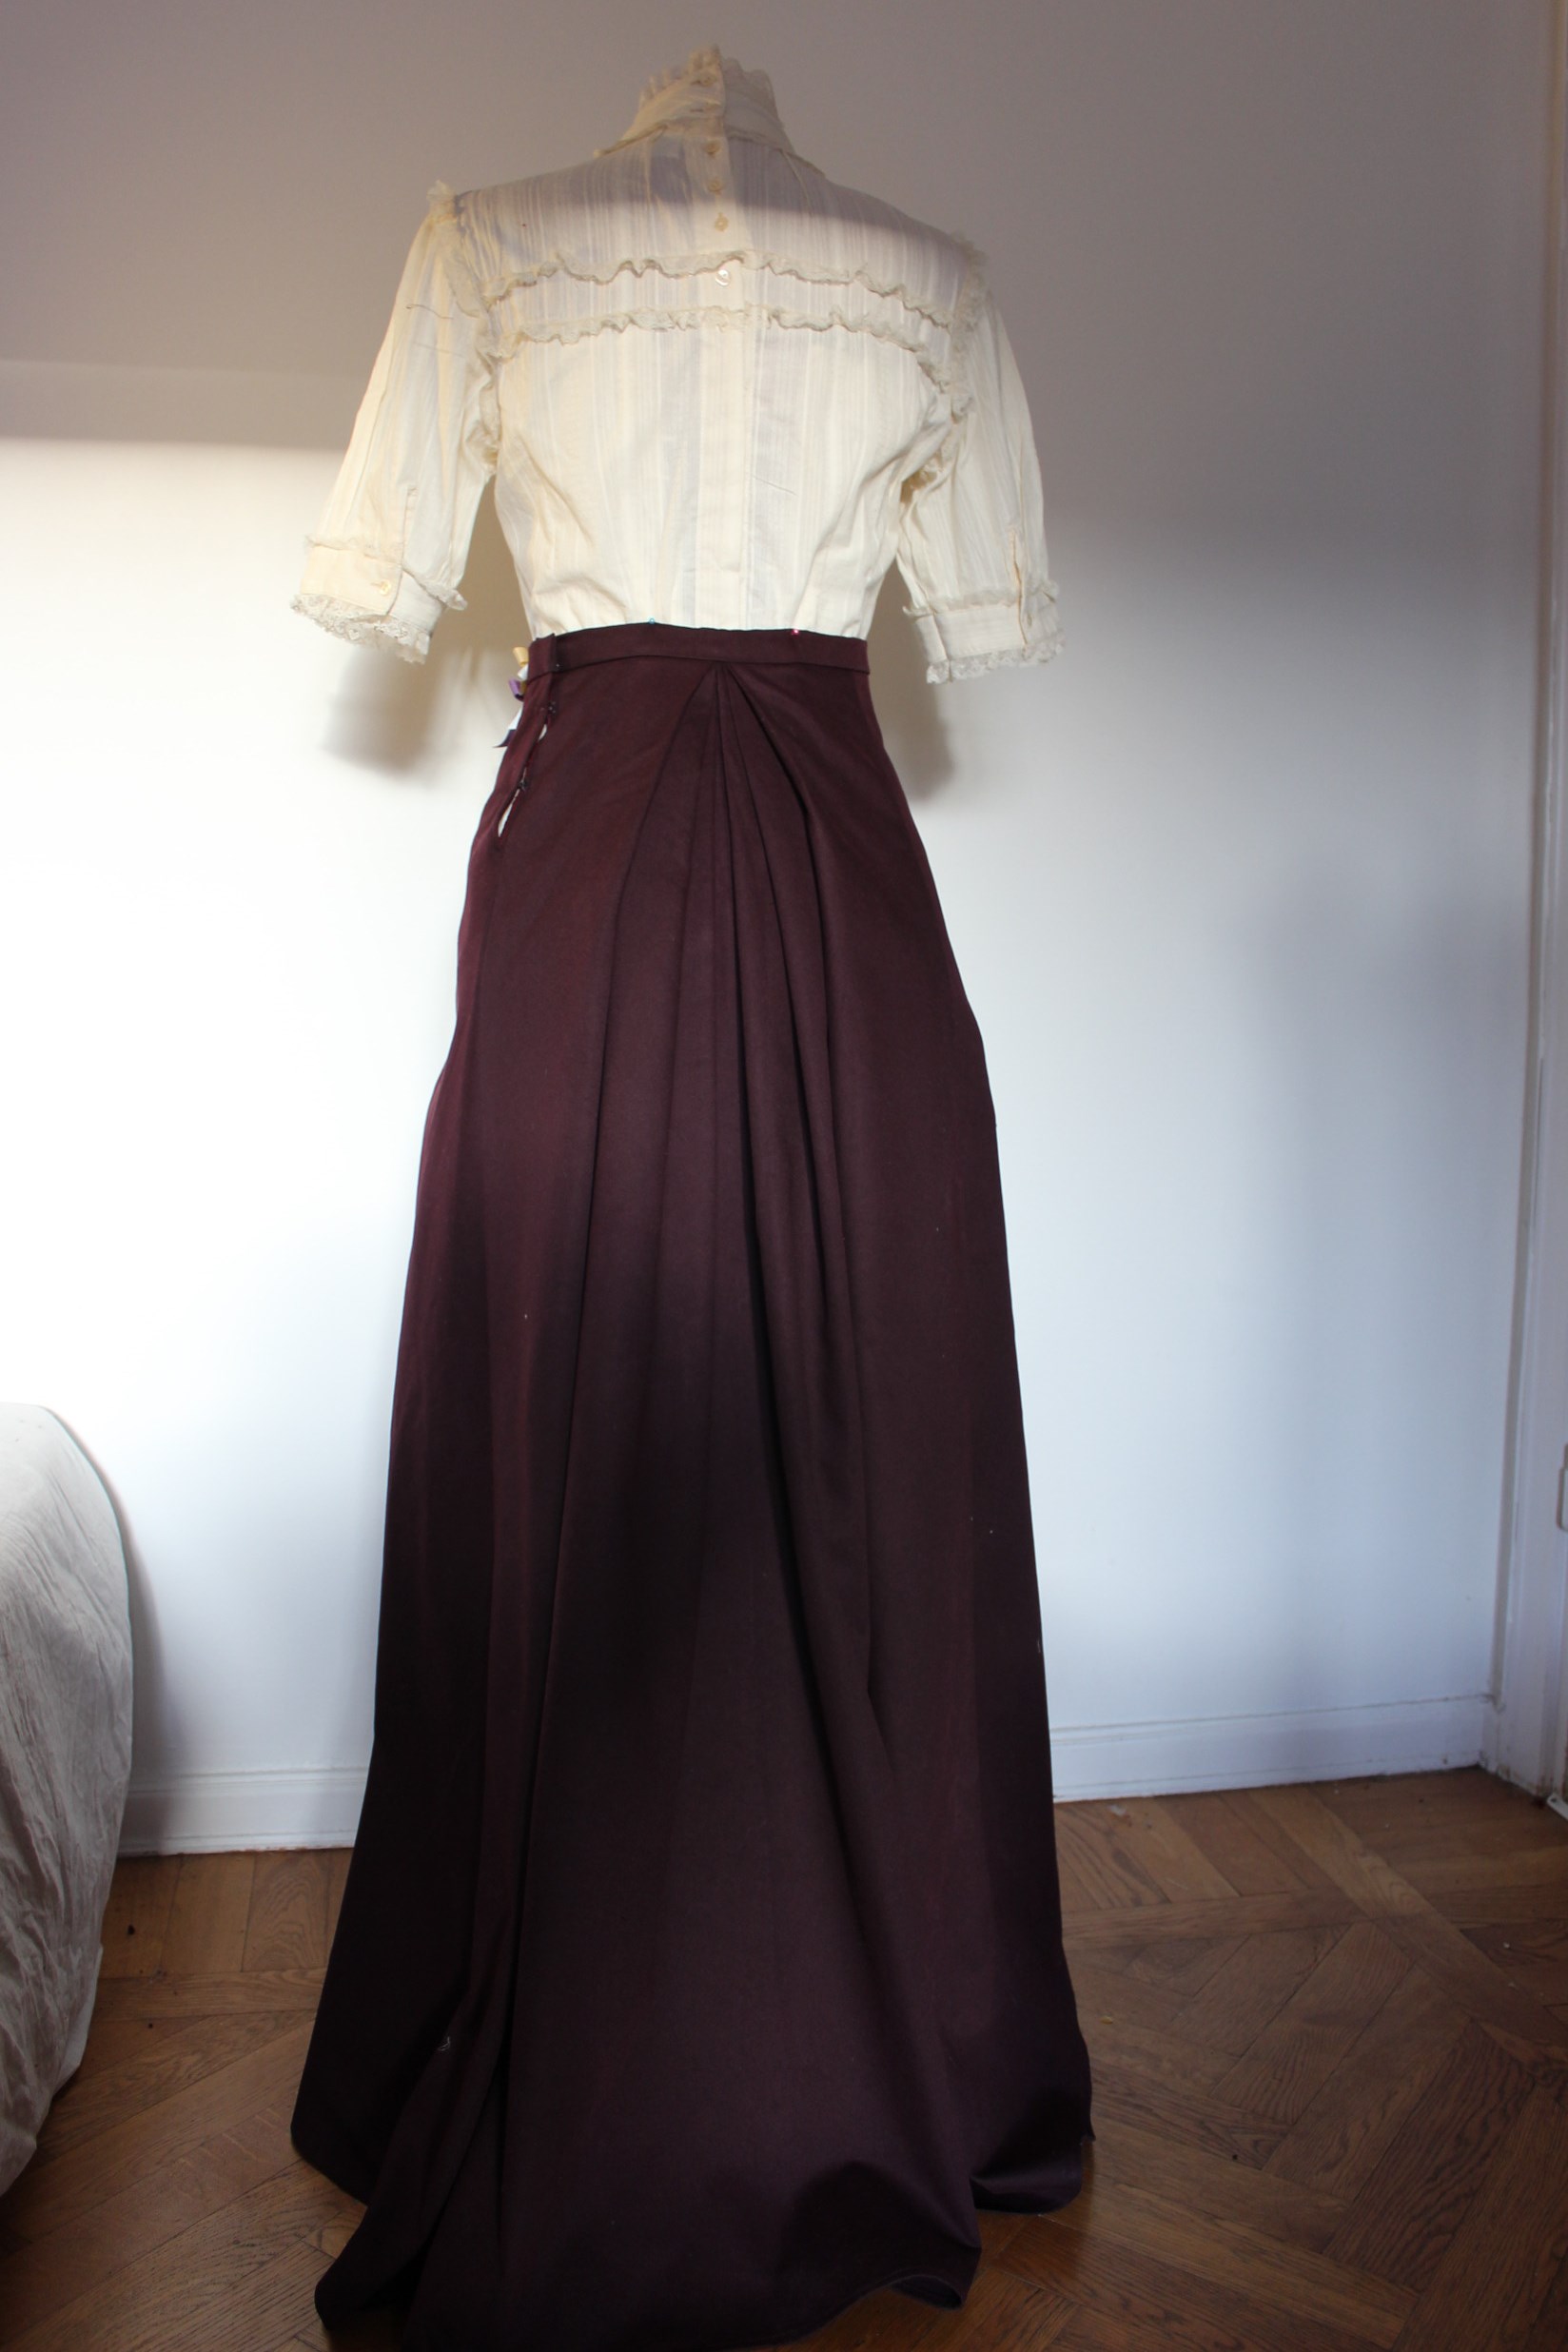
The finished skirt.

IMG_4687 IMG_4690

IMG_4693

IMG_4695

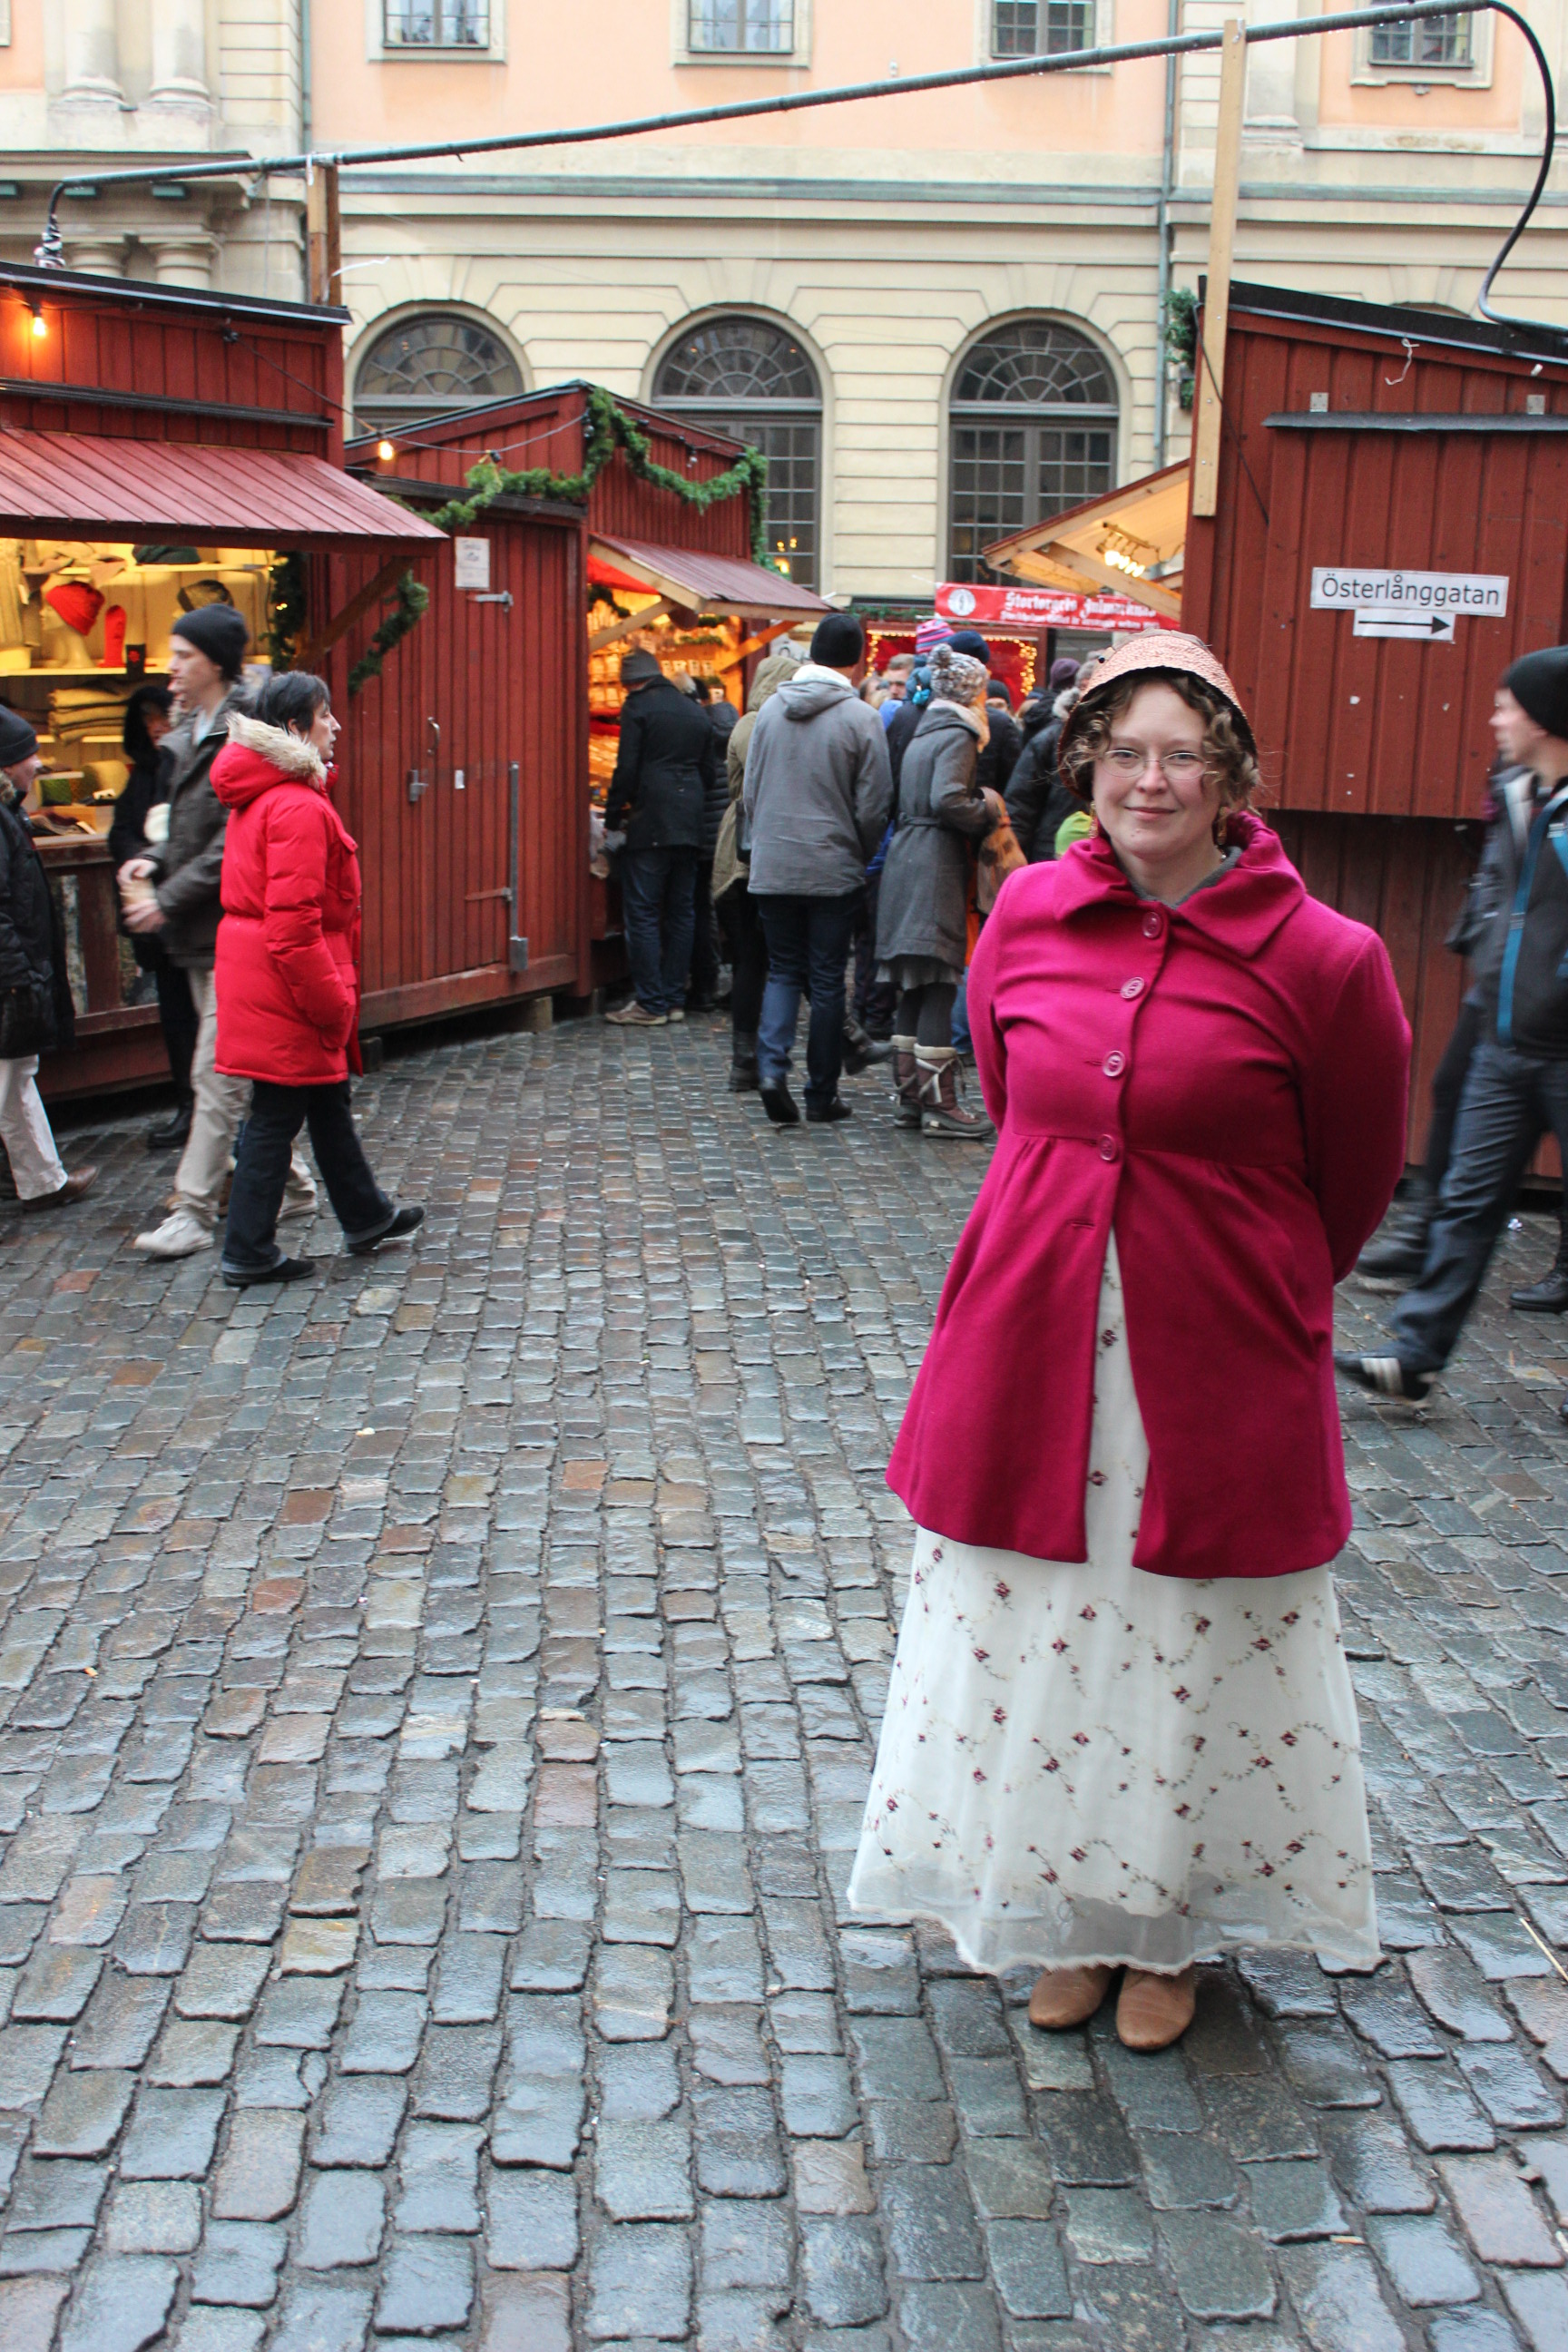
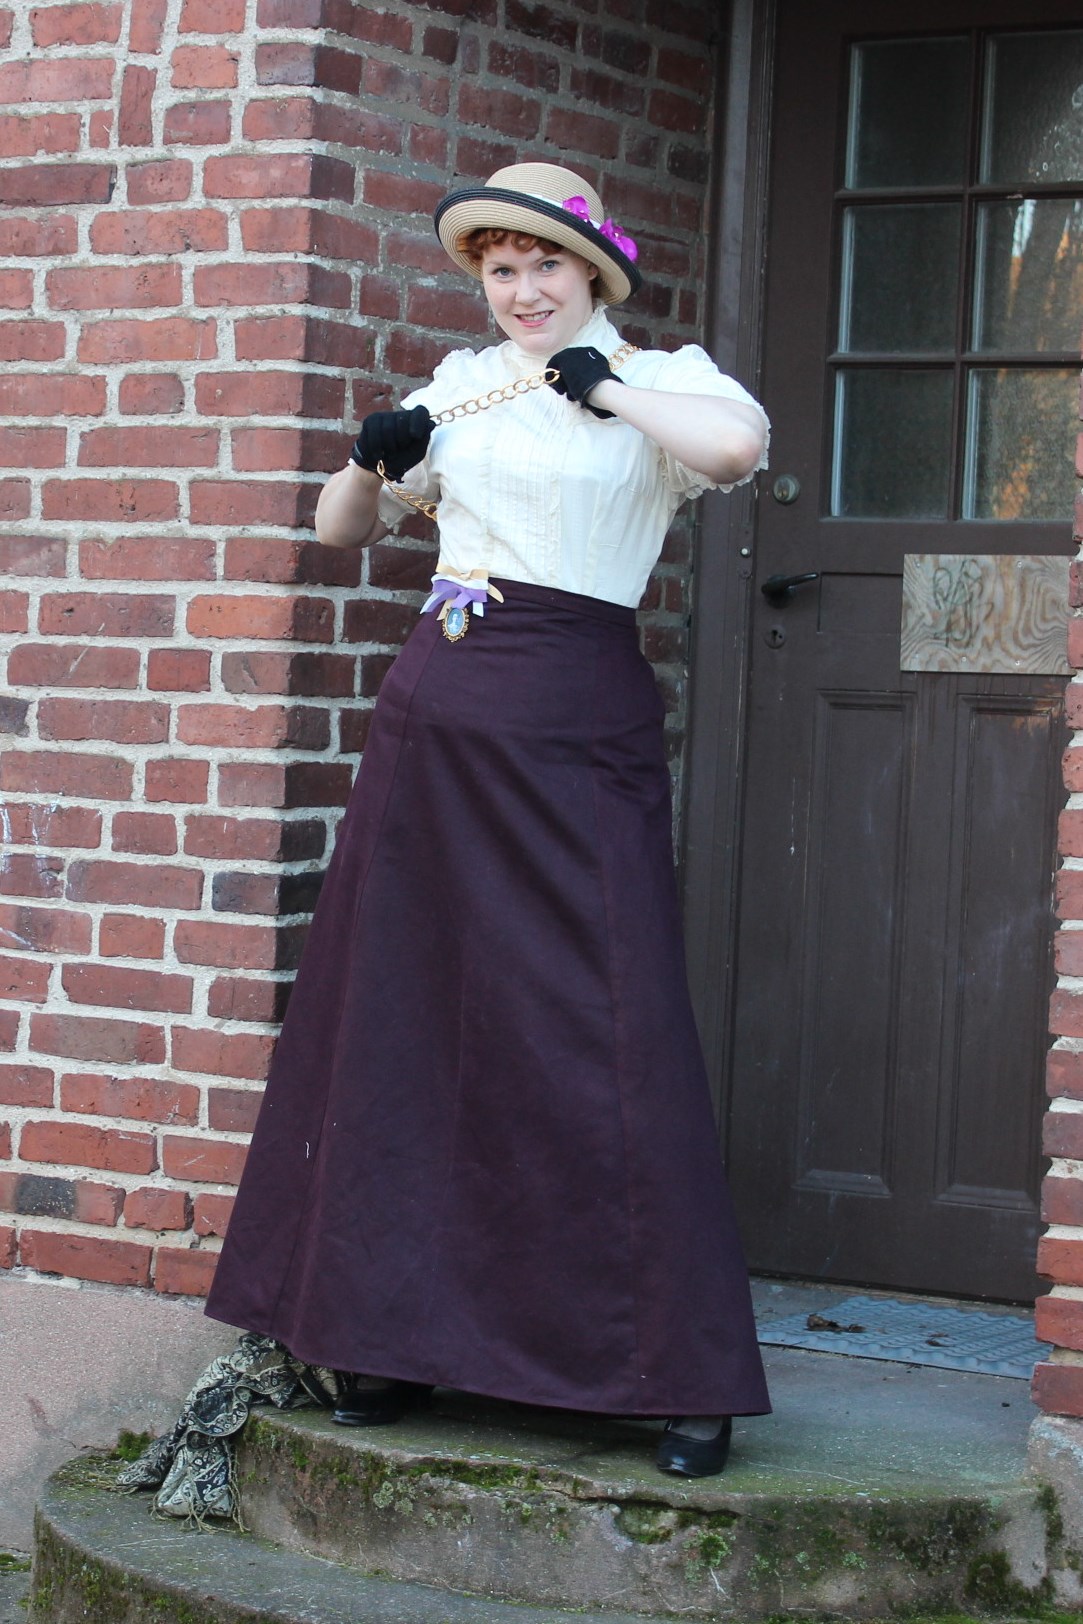
While dressing the form and thinking about the perfect way to style the skirt I realised the real celebration it symbilsed: The Suffragets struggel for womens rights.

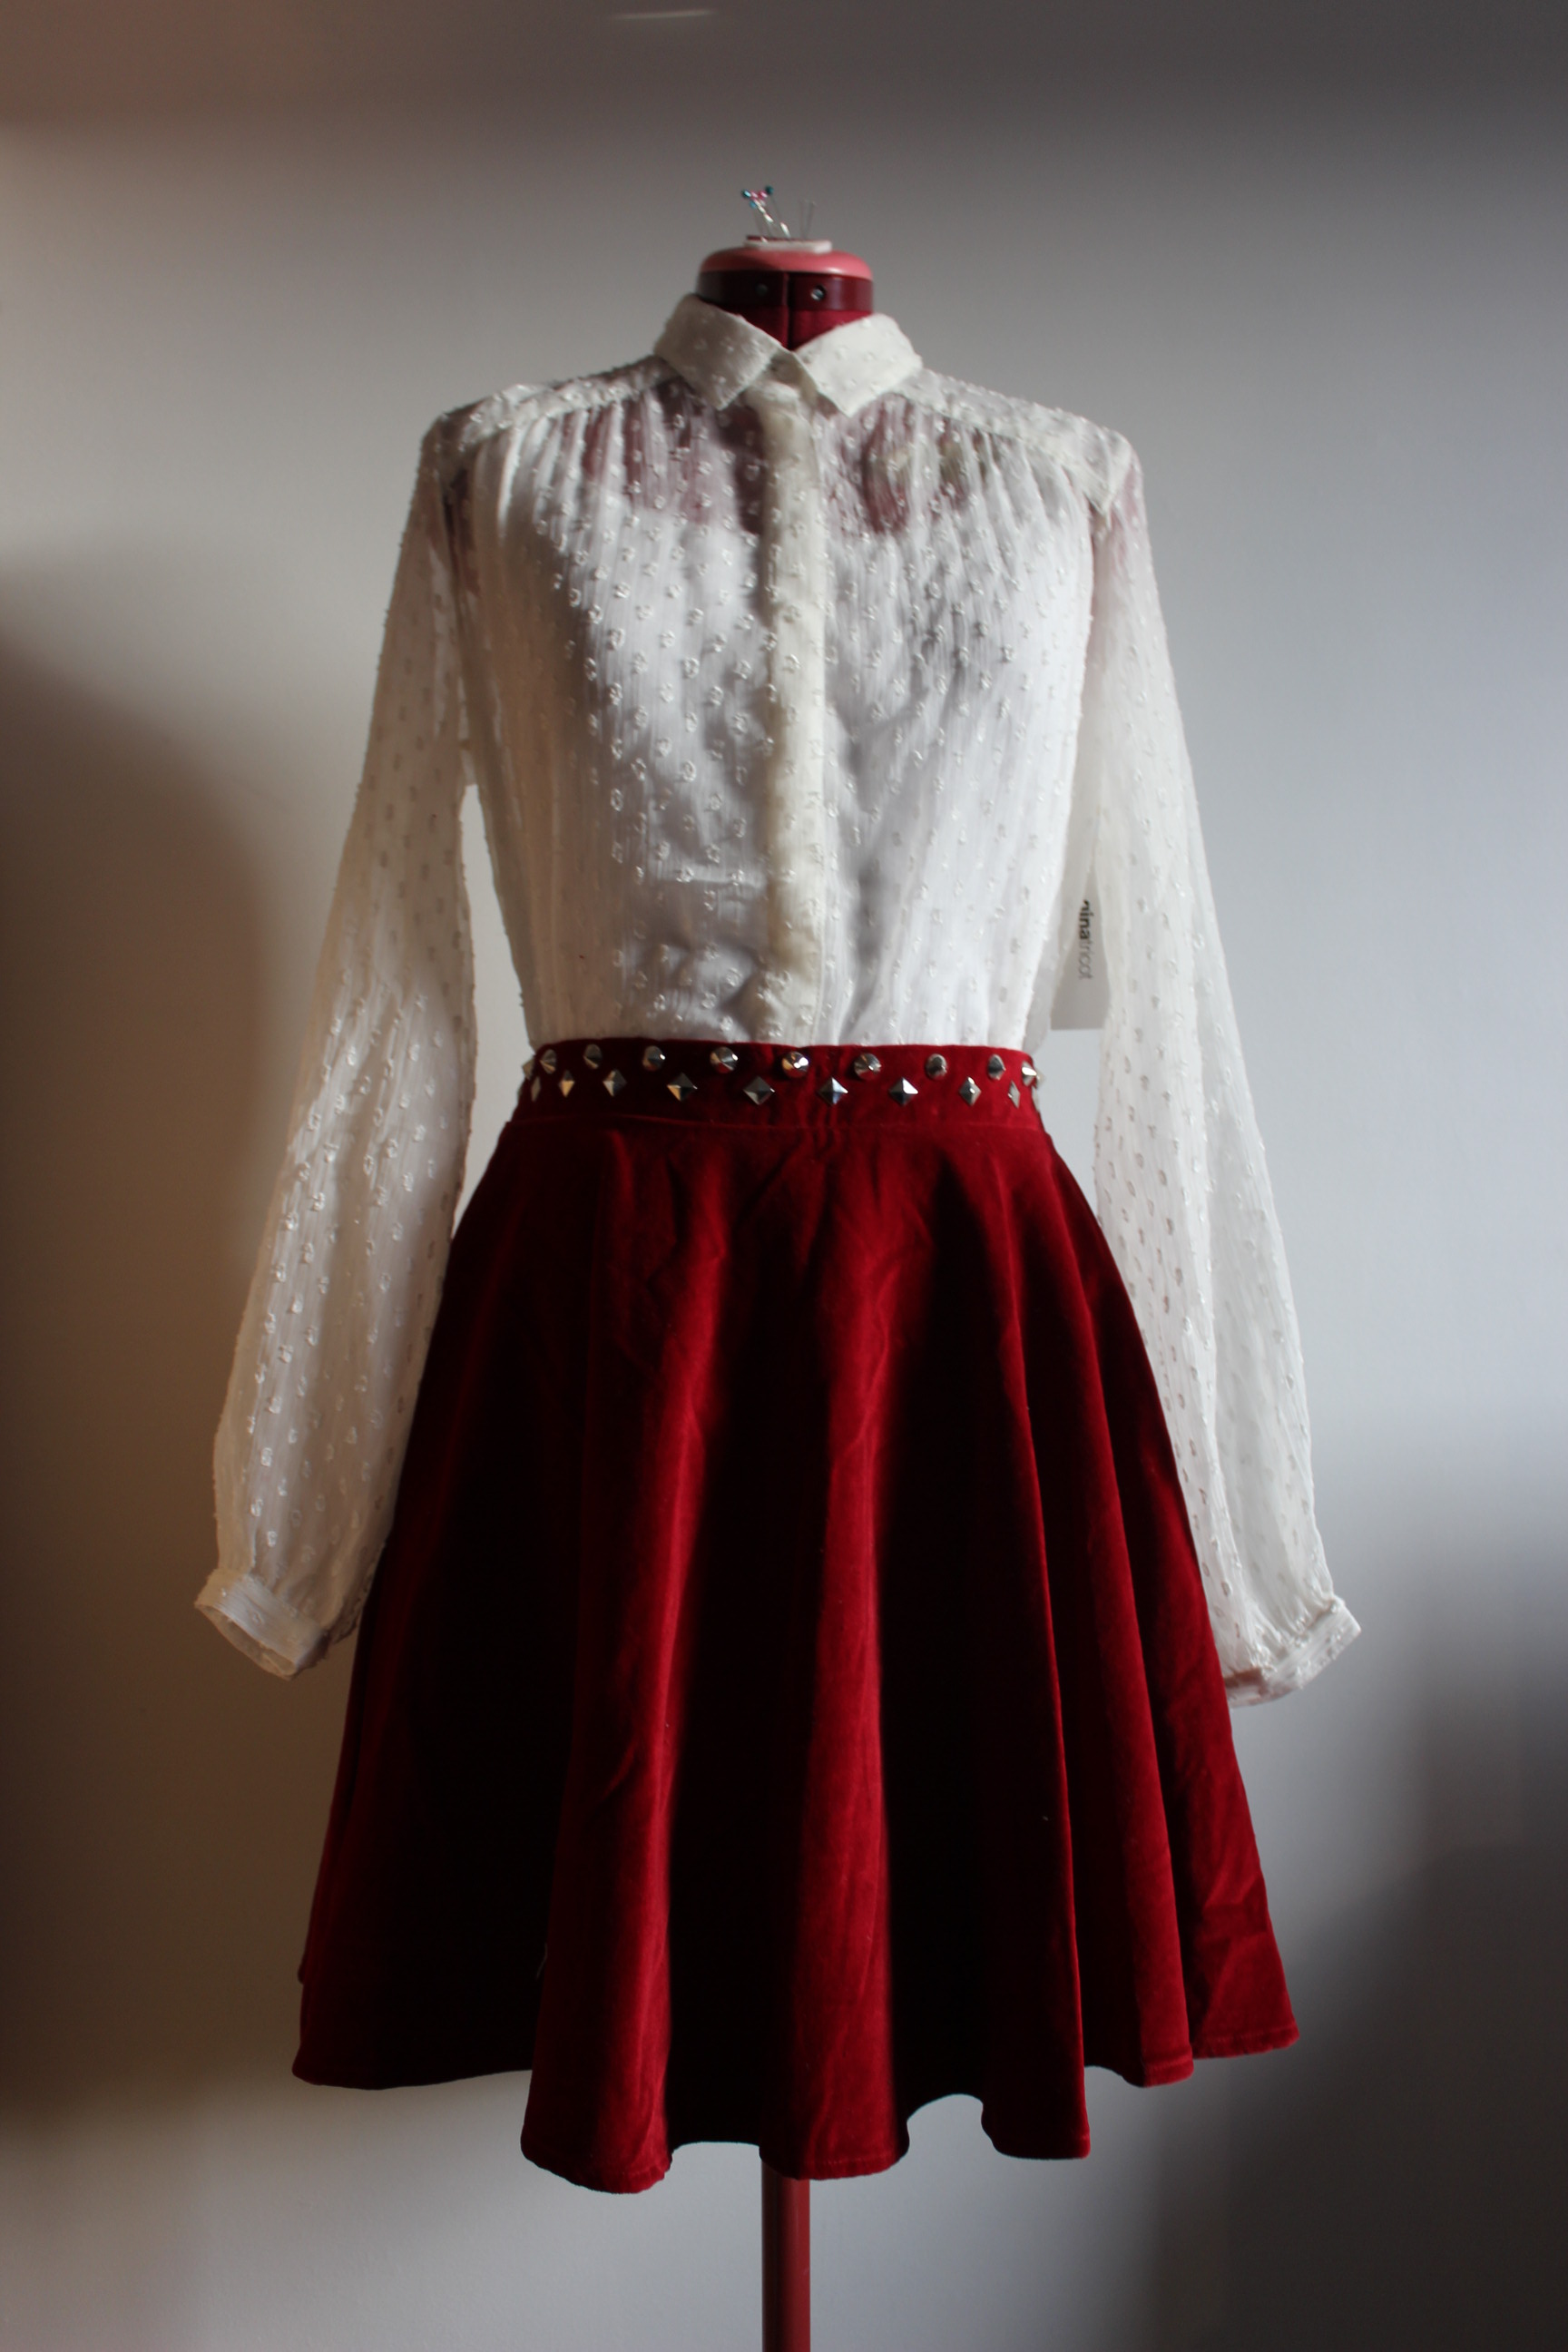
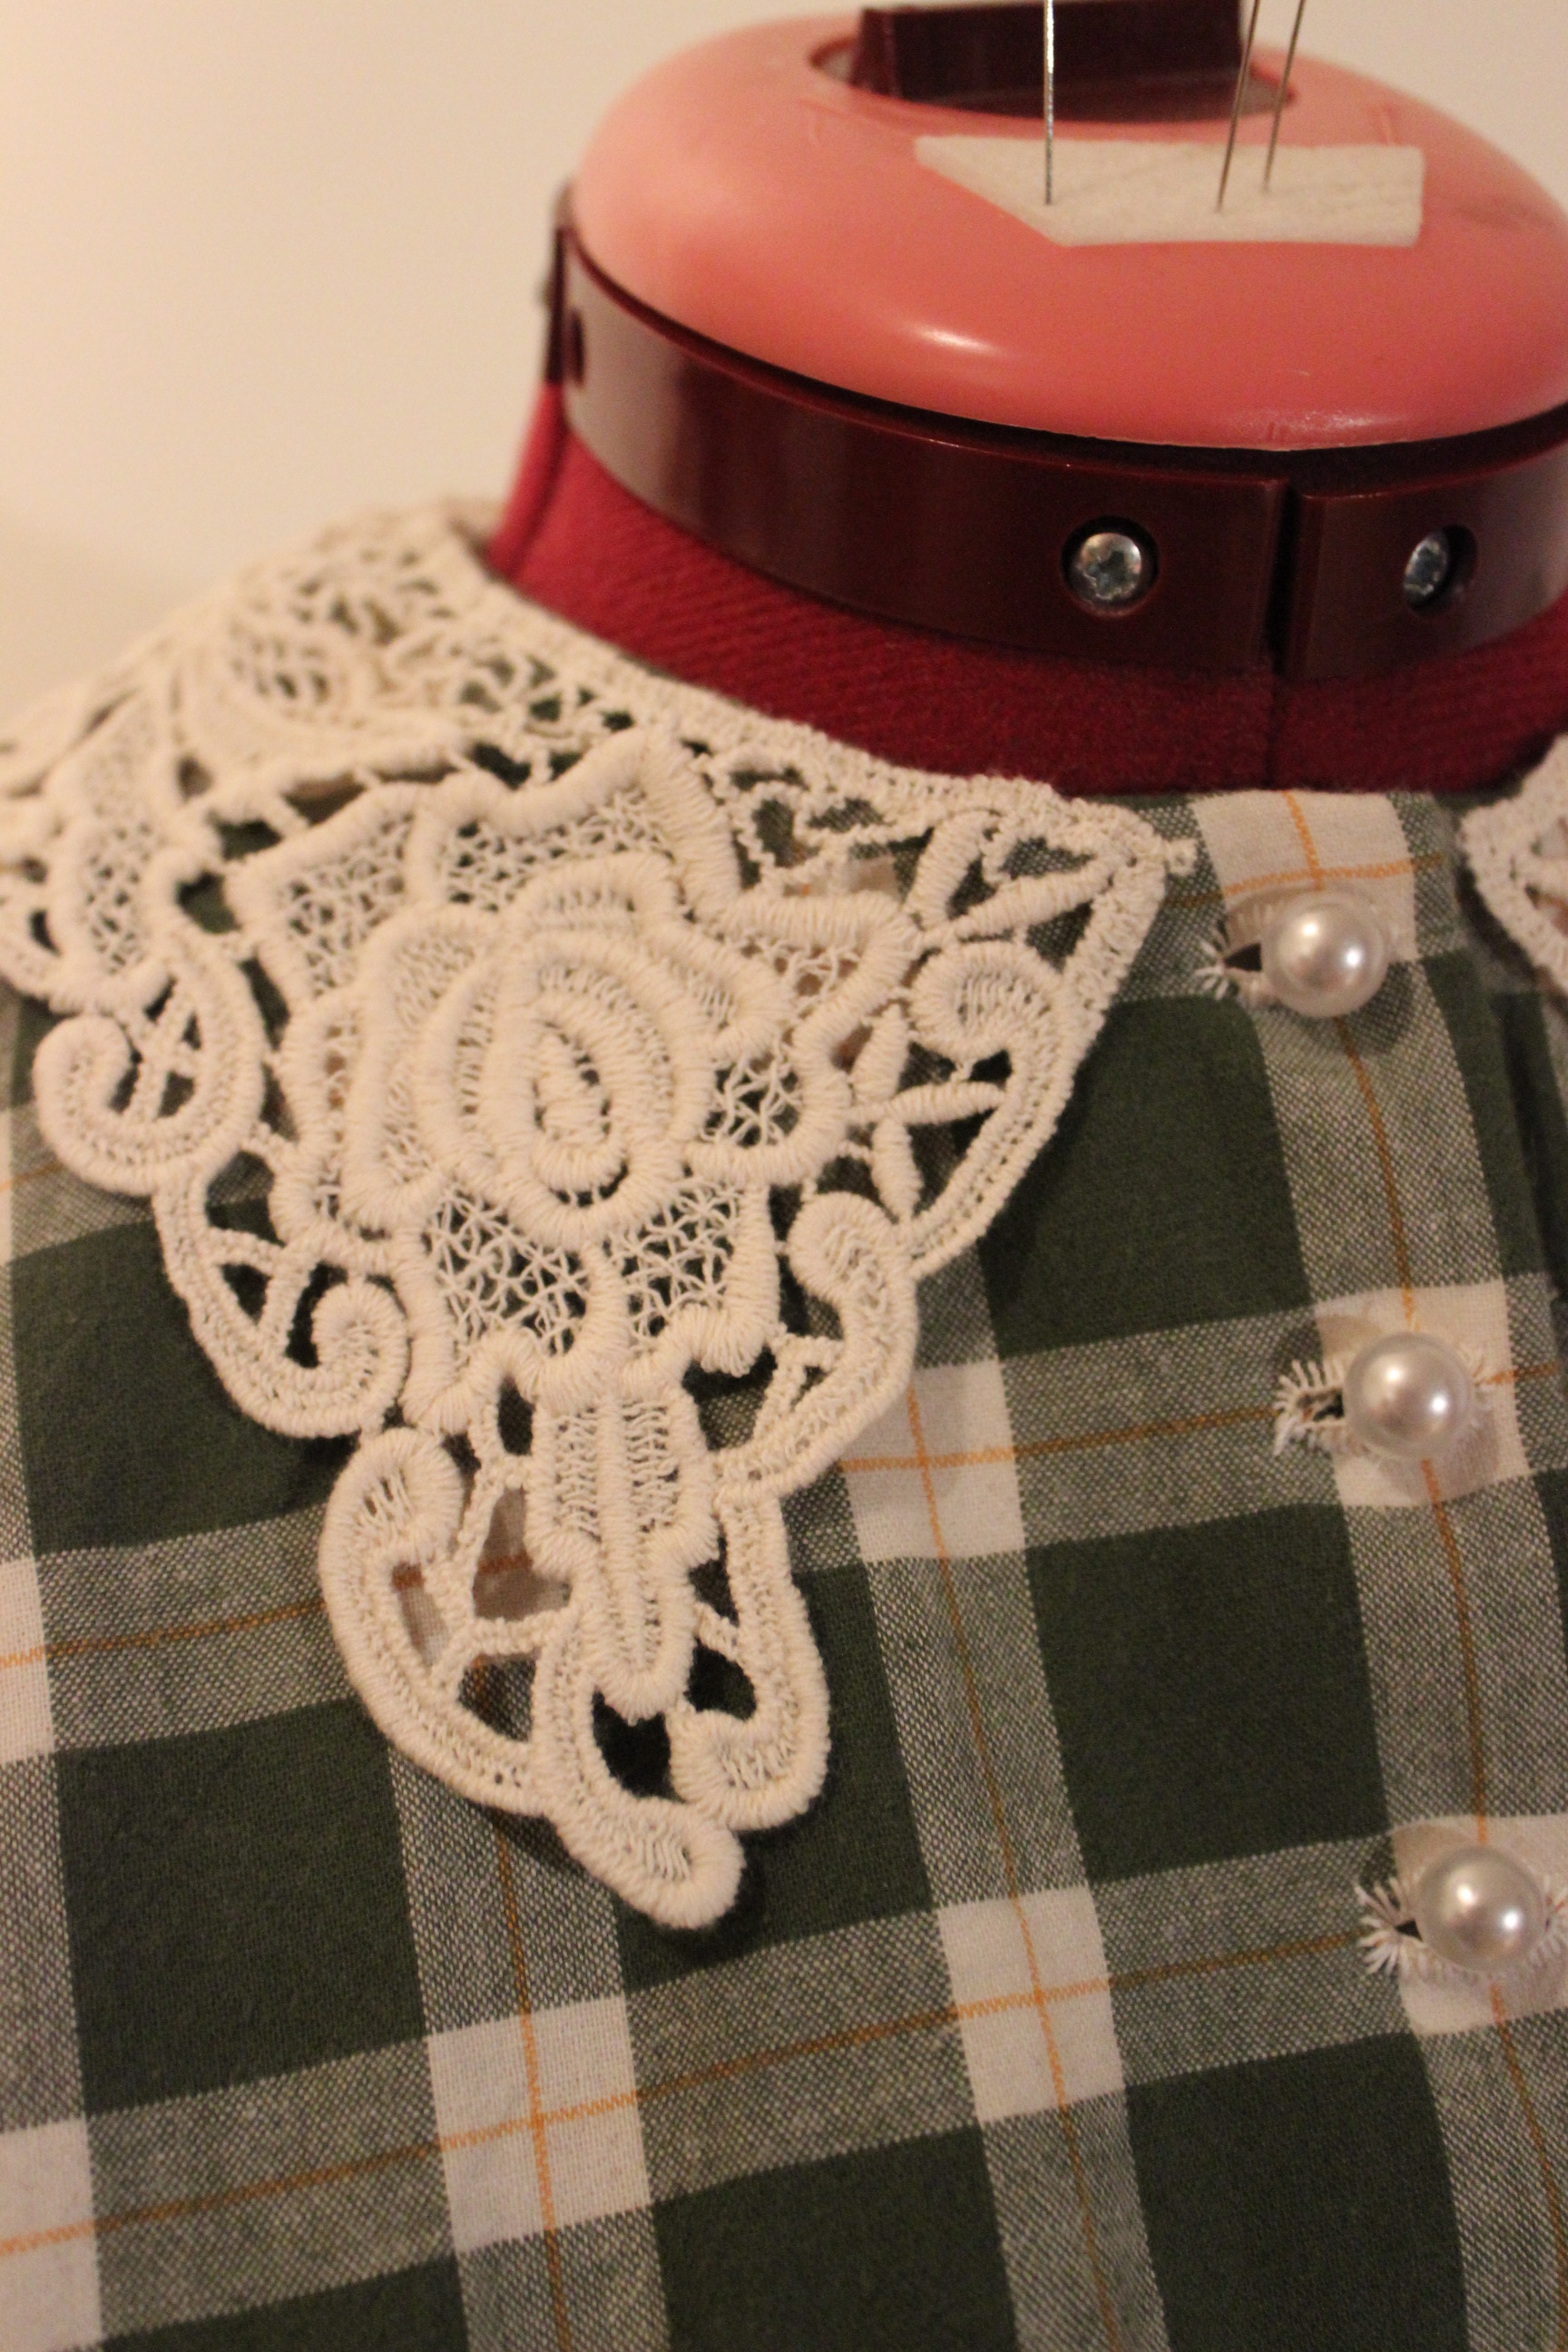
The skirt togheter with the 1900s Shirtwaist and Suffragete brosh.

IMG_4556 IMG_4559

IMG_4558

And then I dressed up and took a couple of shots in the mirror.IMG_4634

Adding the golden chain to symbolise both the acctual chain the suffragets used during their struggle, and the figuraly chains who even today keeps women from real ecuallity to men.IMG_4641

I’m in love with the symbolism and style of this picture.IMG_4654

Then I manadged to talk my boyfriend into taking some better photos of me in the outfit.IMG_4567

IMG_4581

IMG_4586

IMG_4589

IMG_4600

IMG_4593

IMG_4632

IMG_4611

IMG_4618
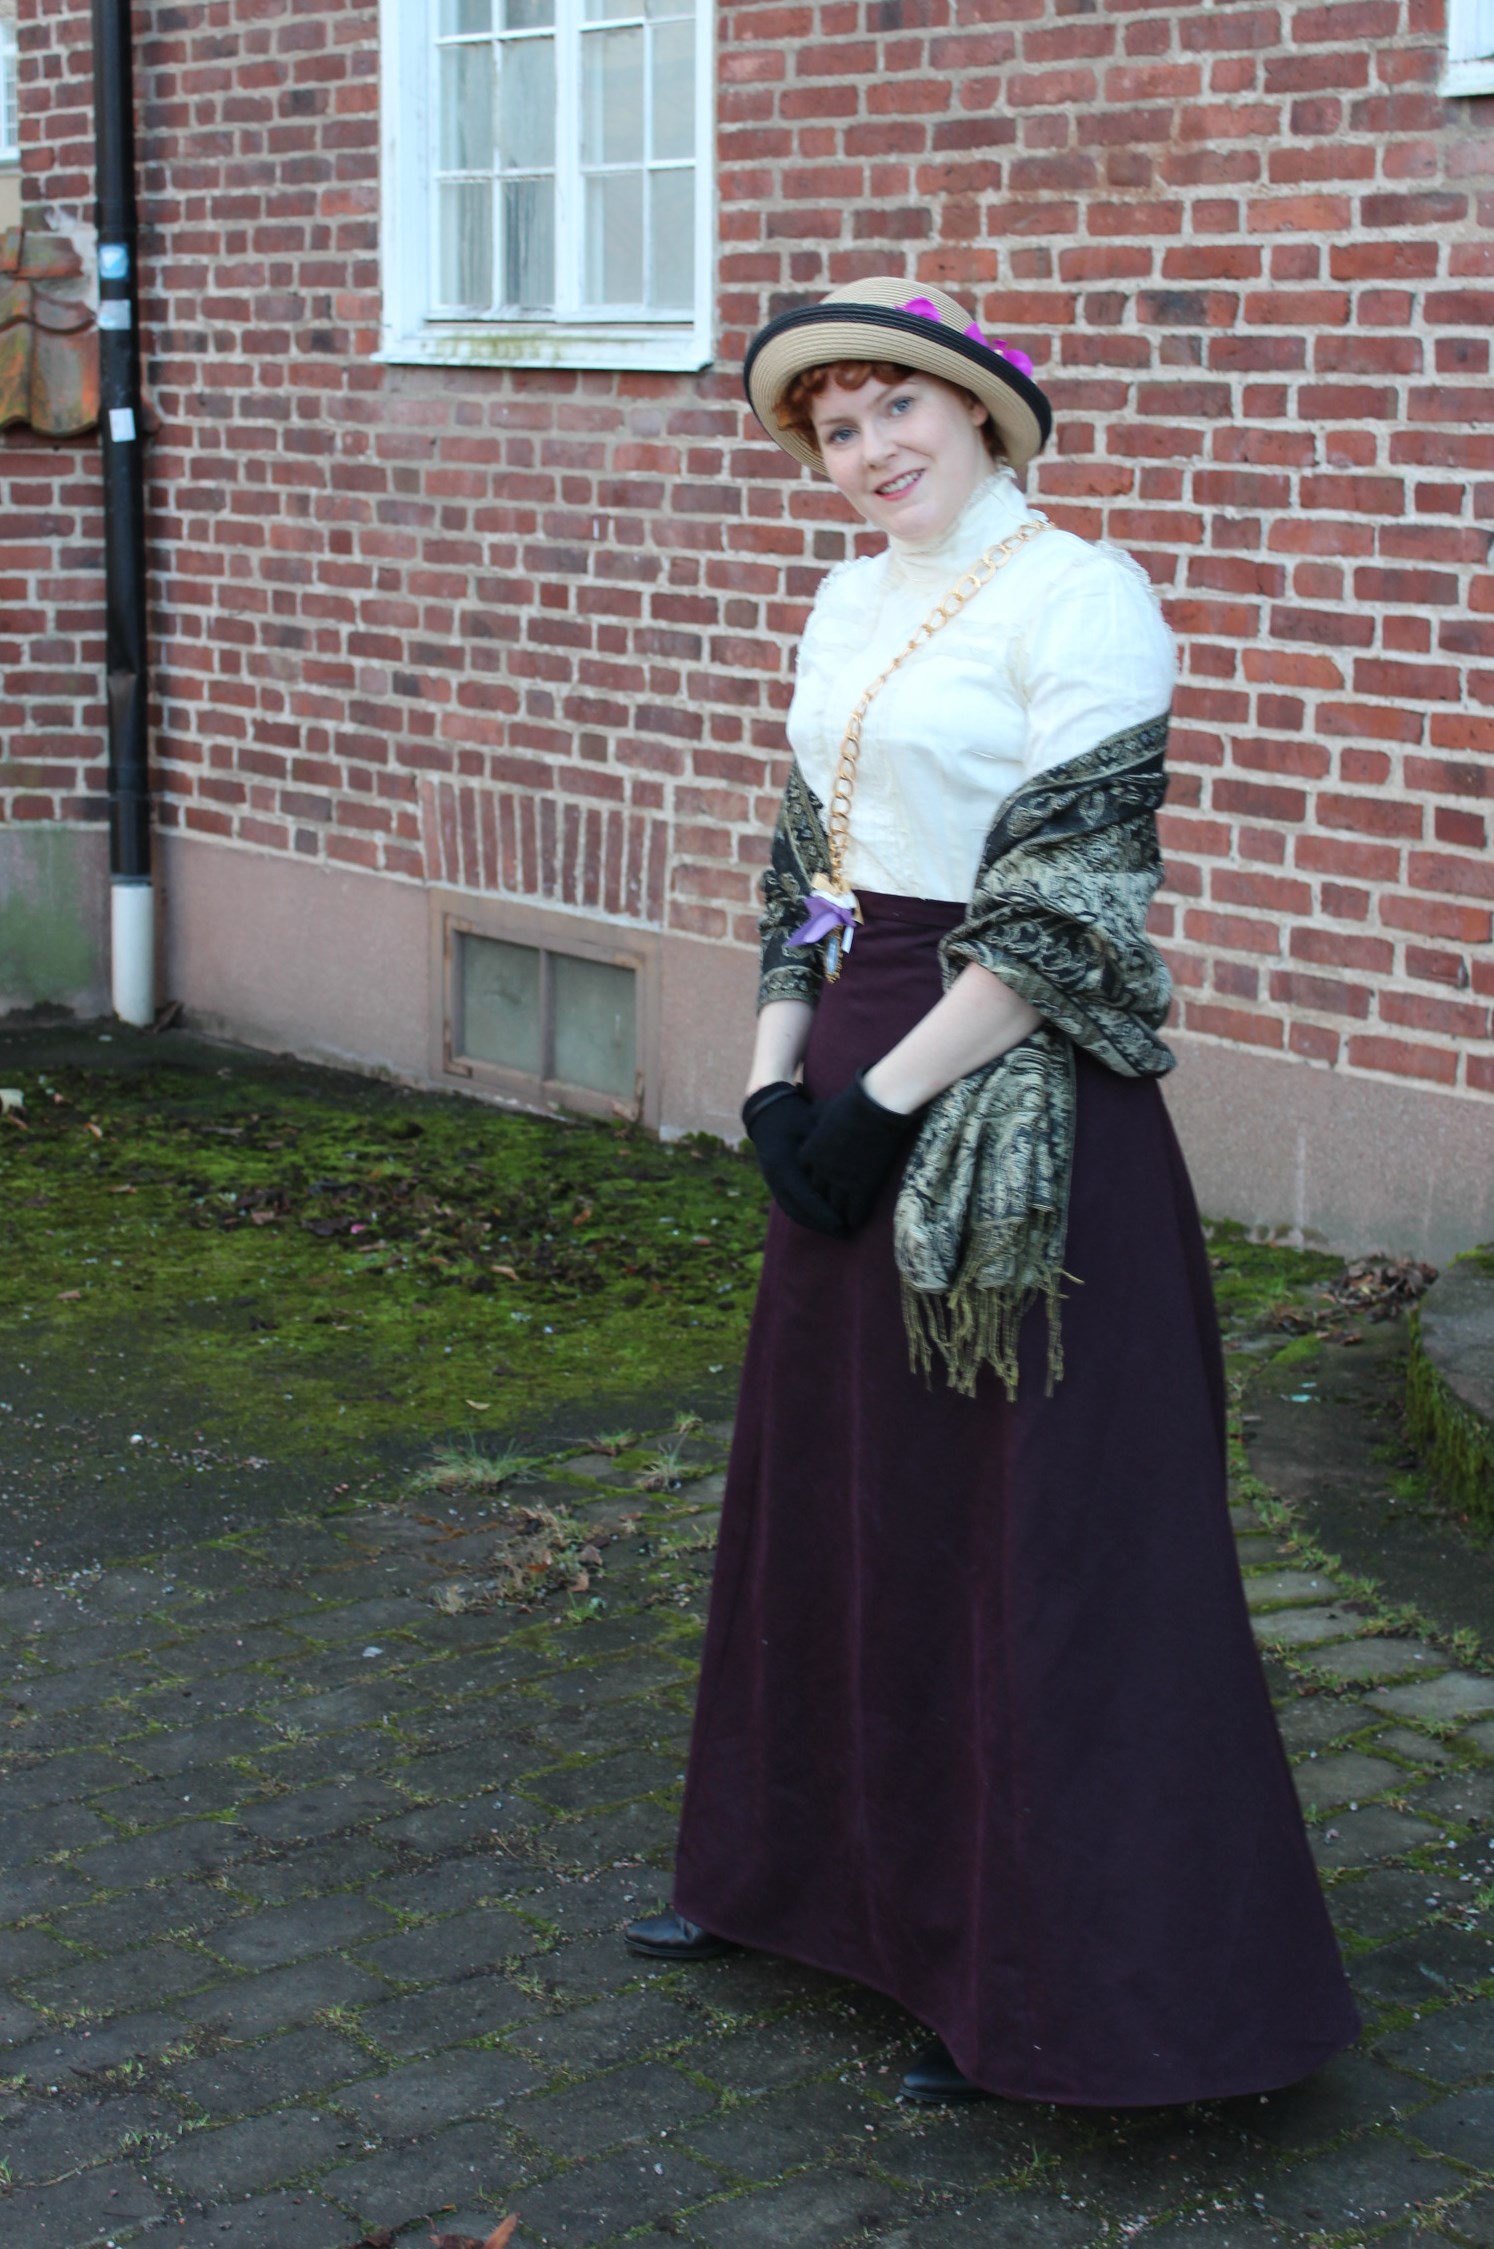
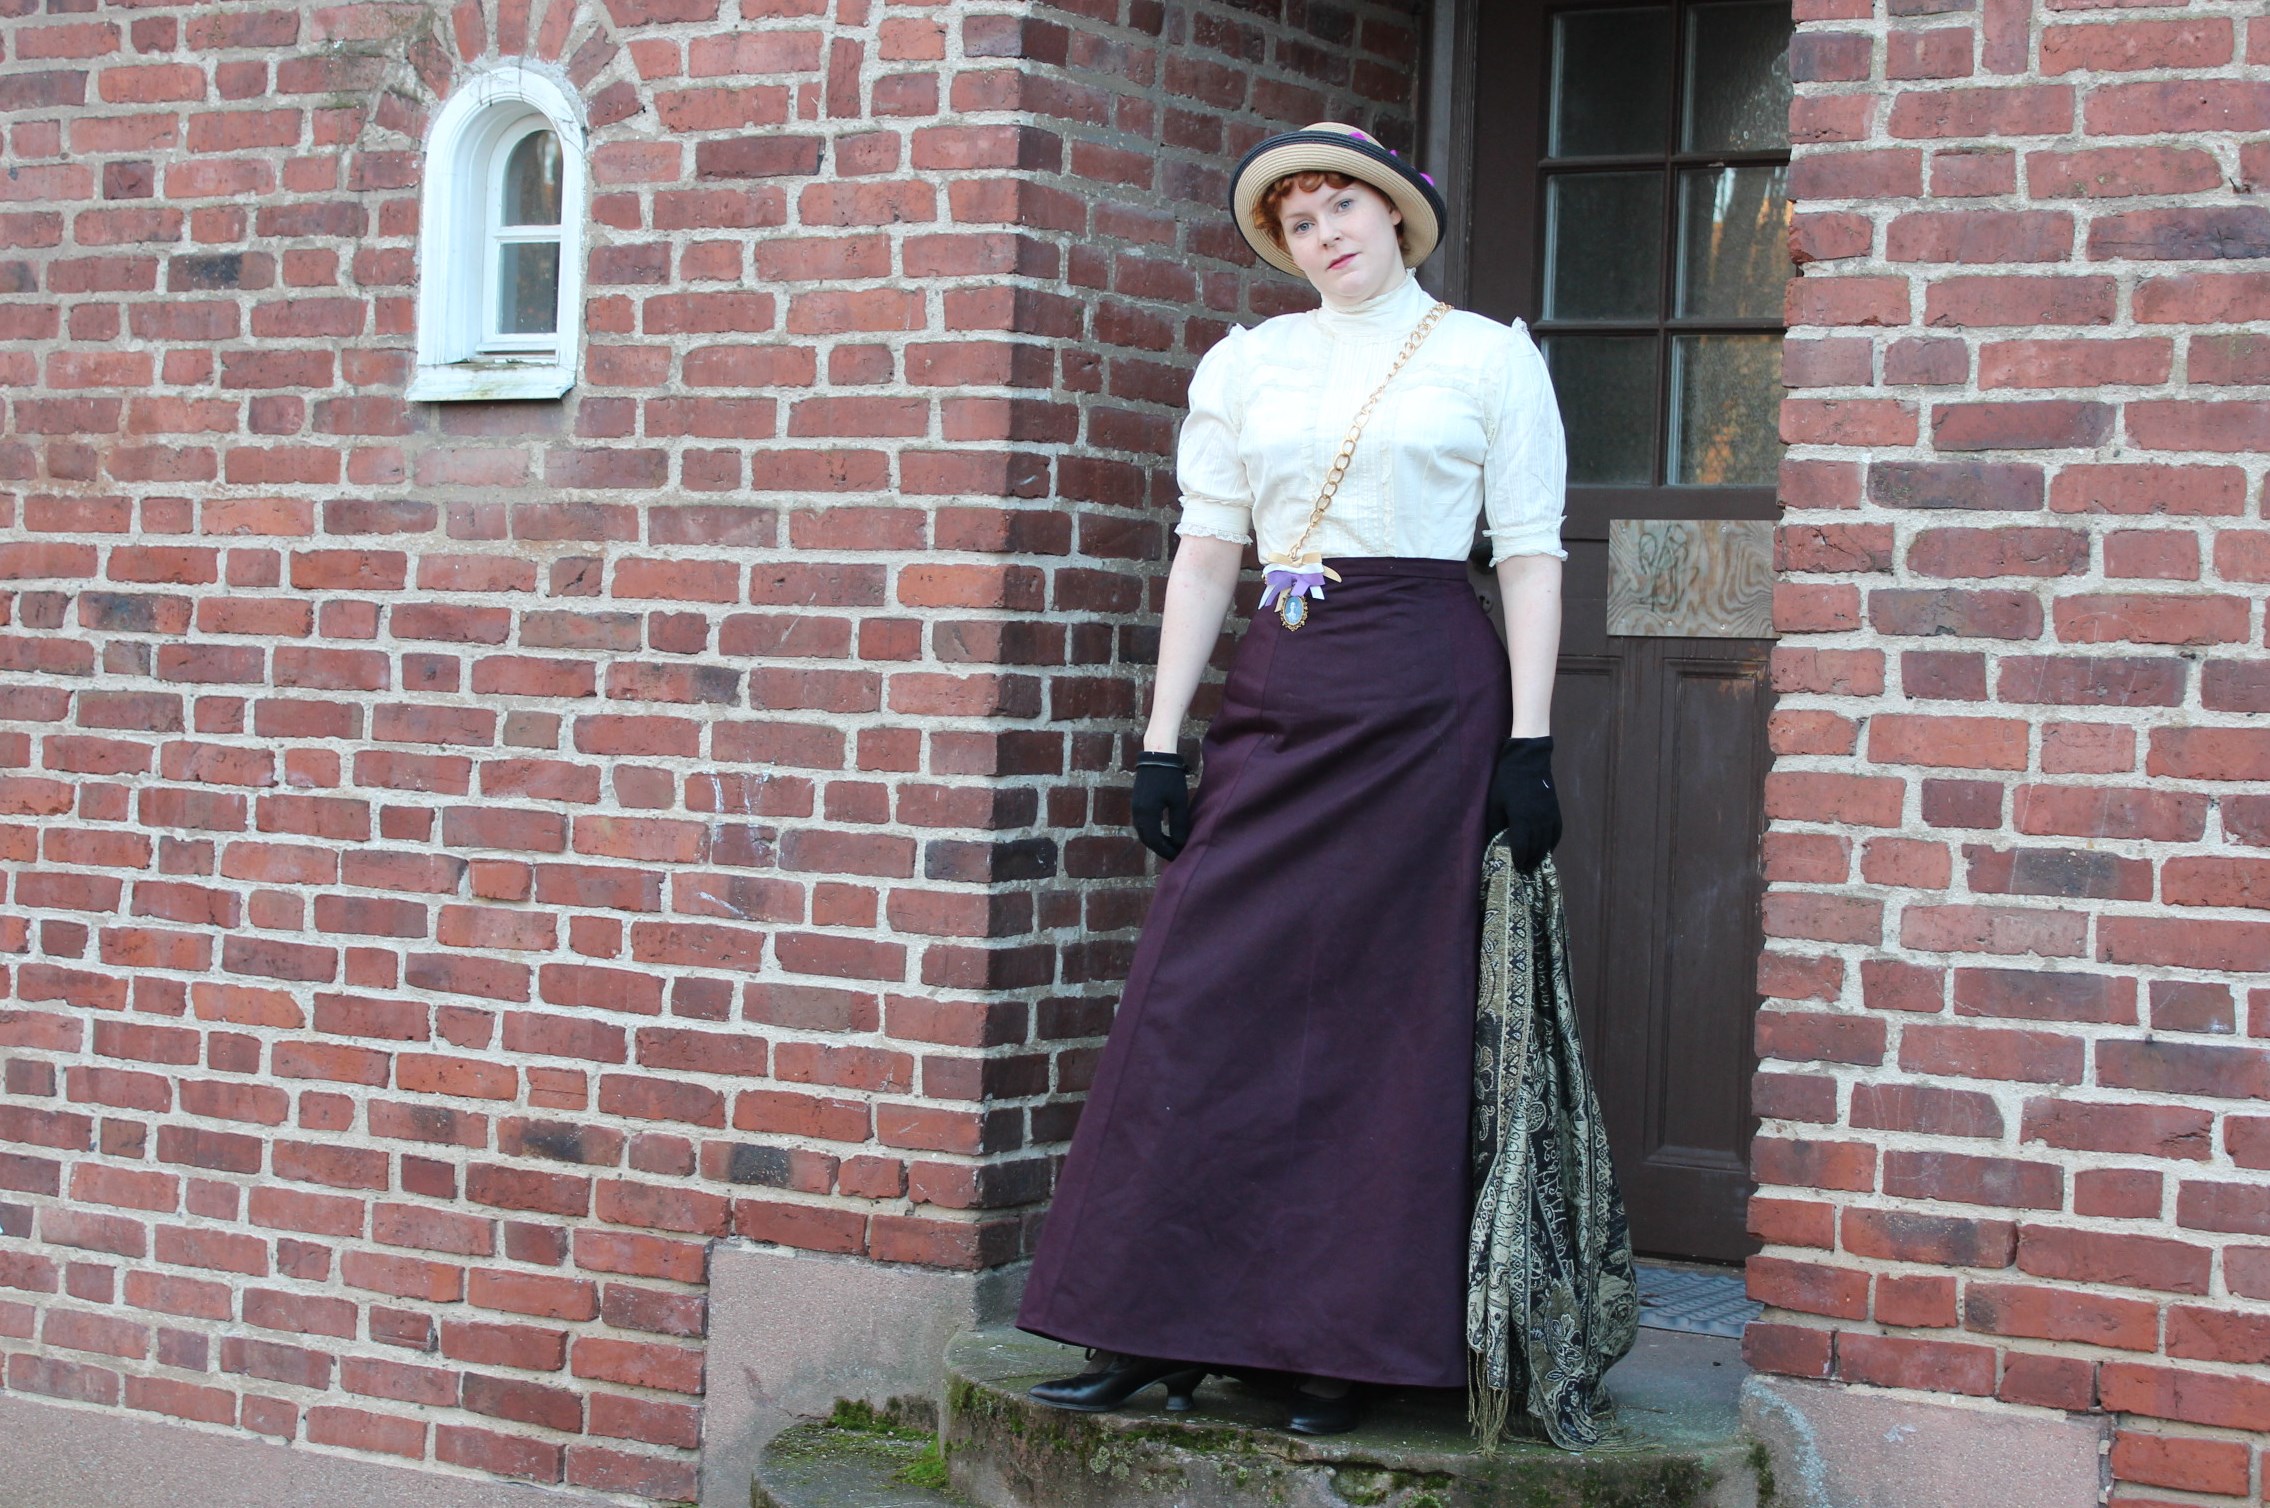
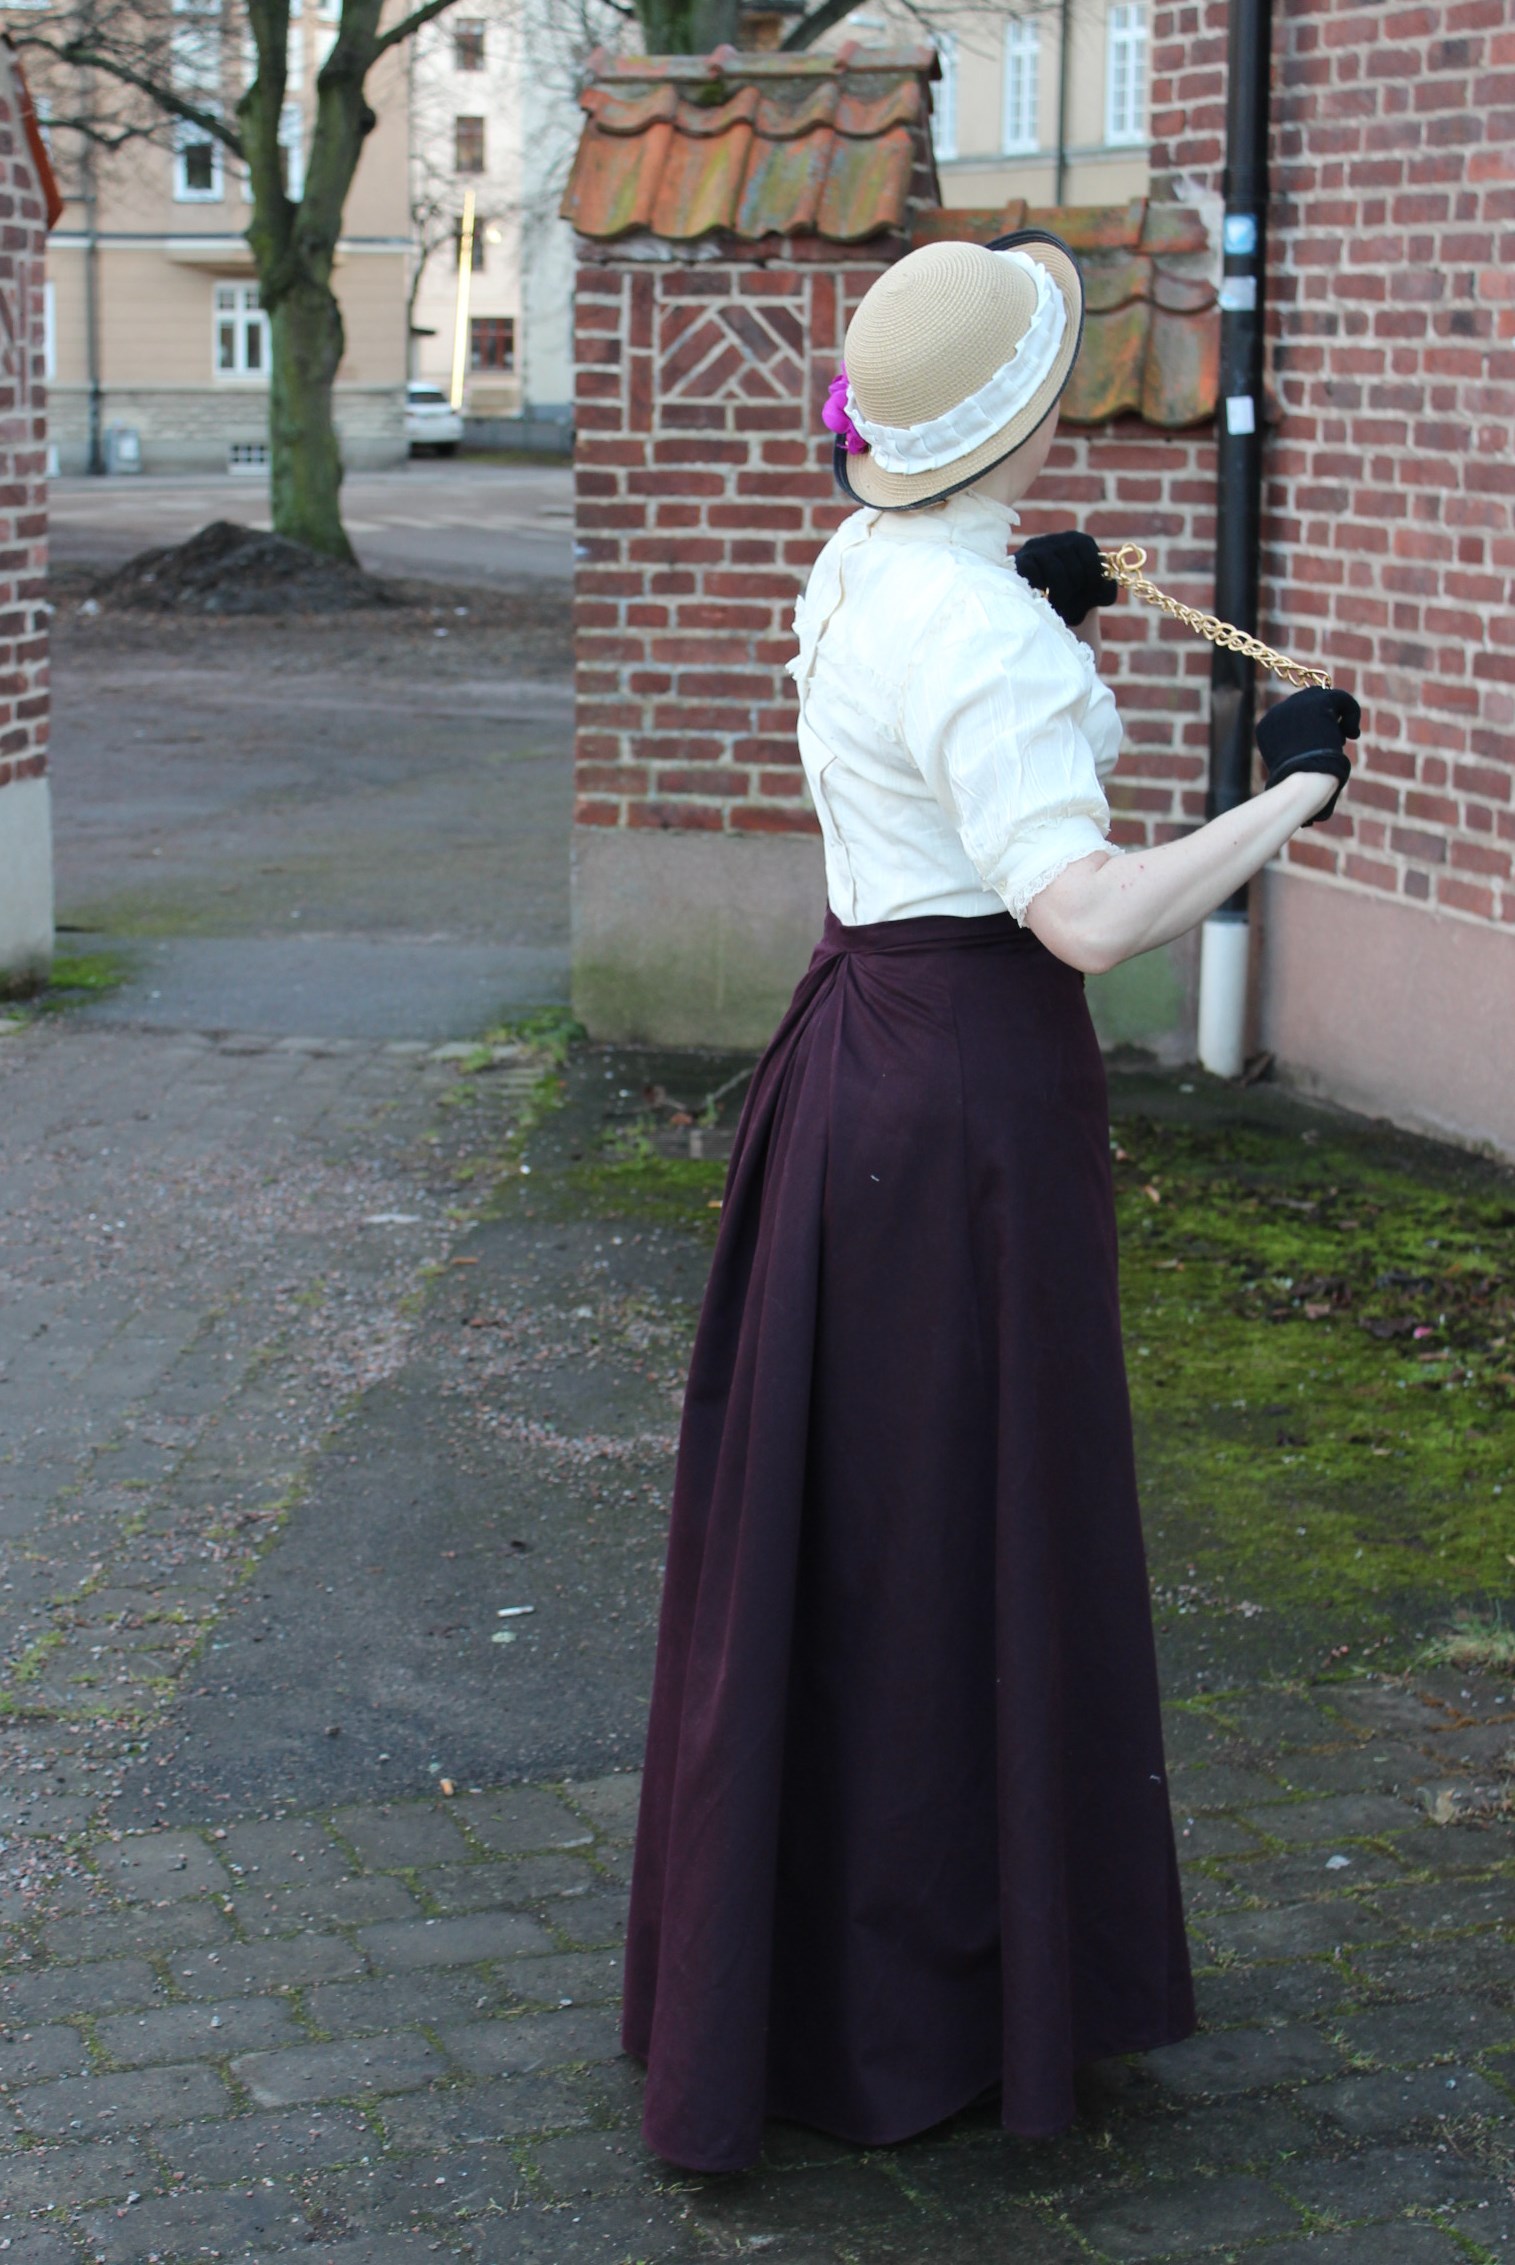
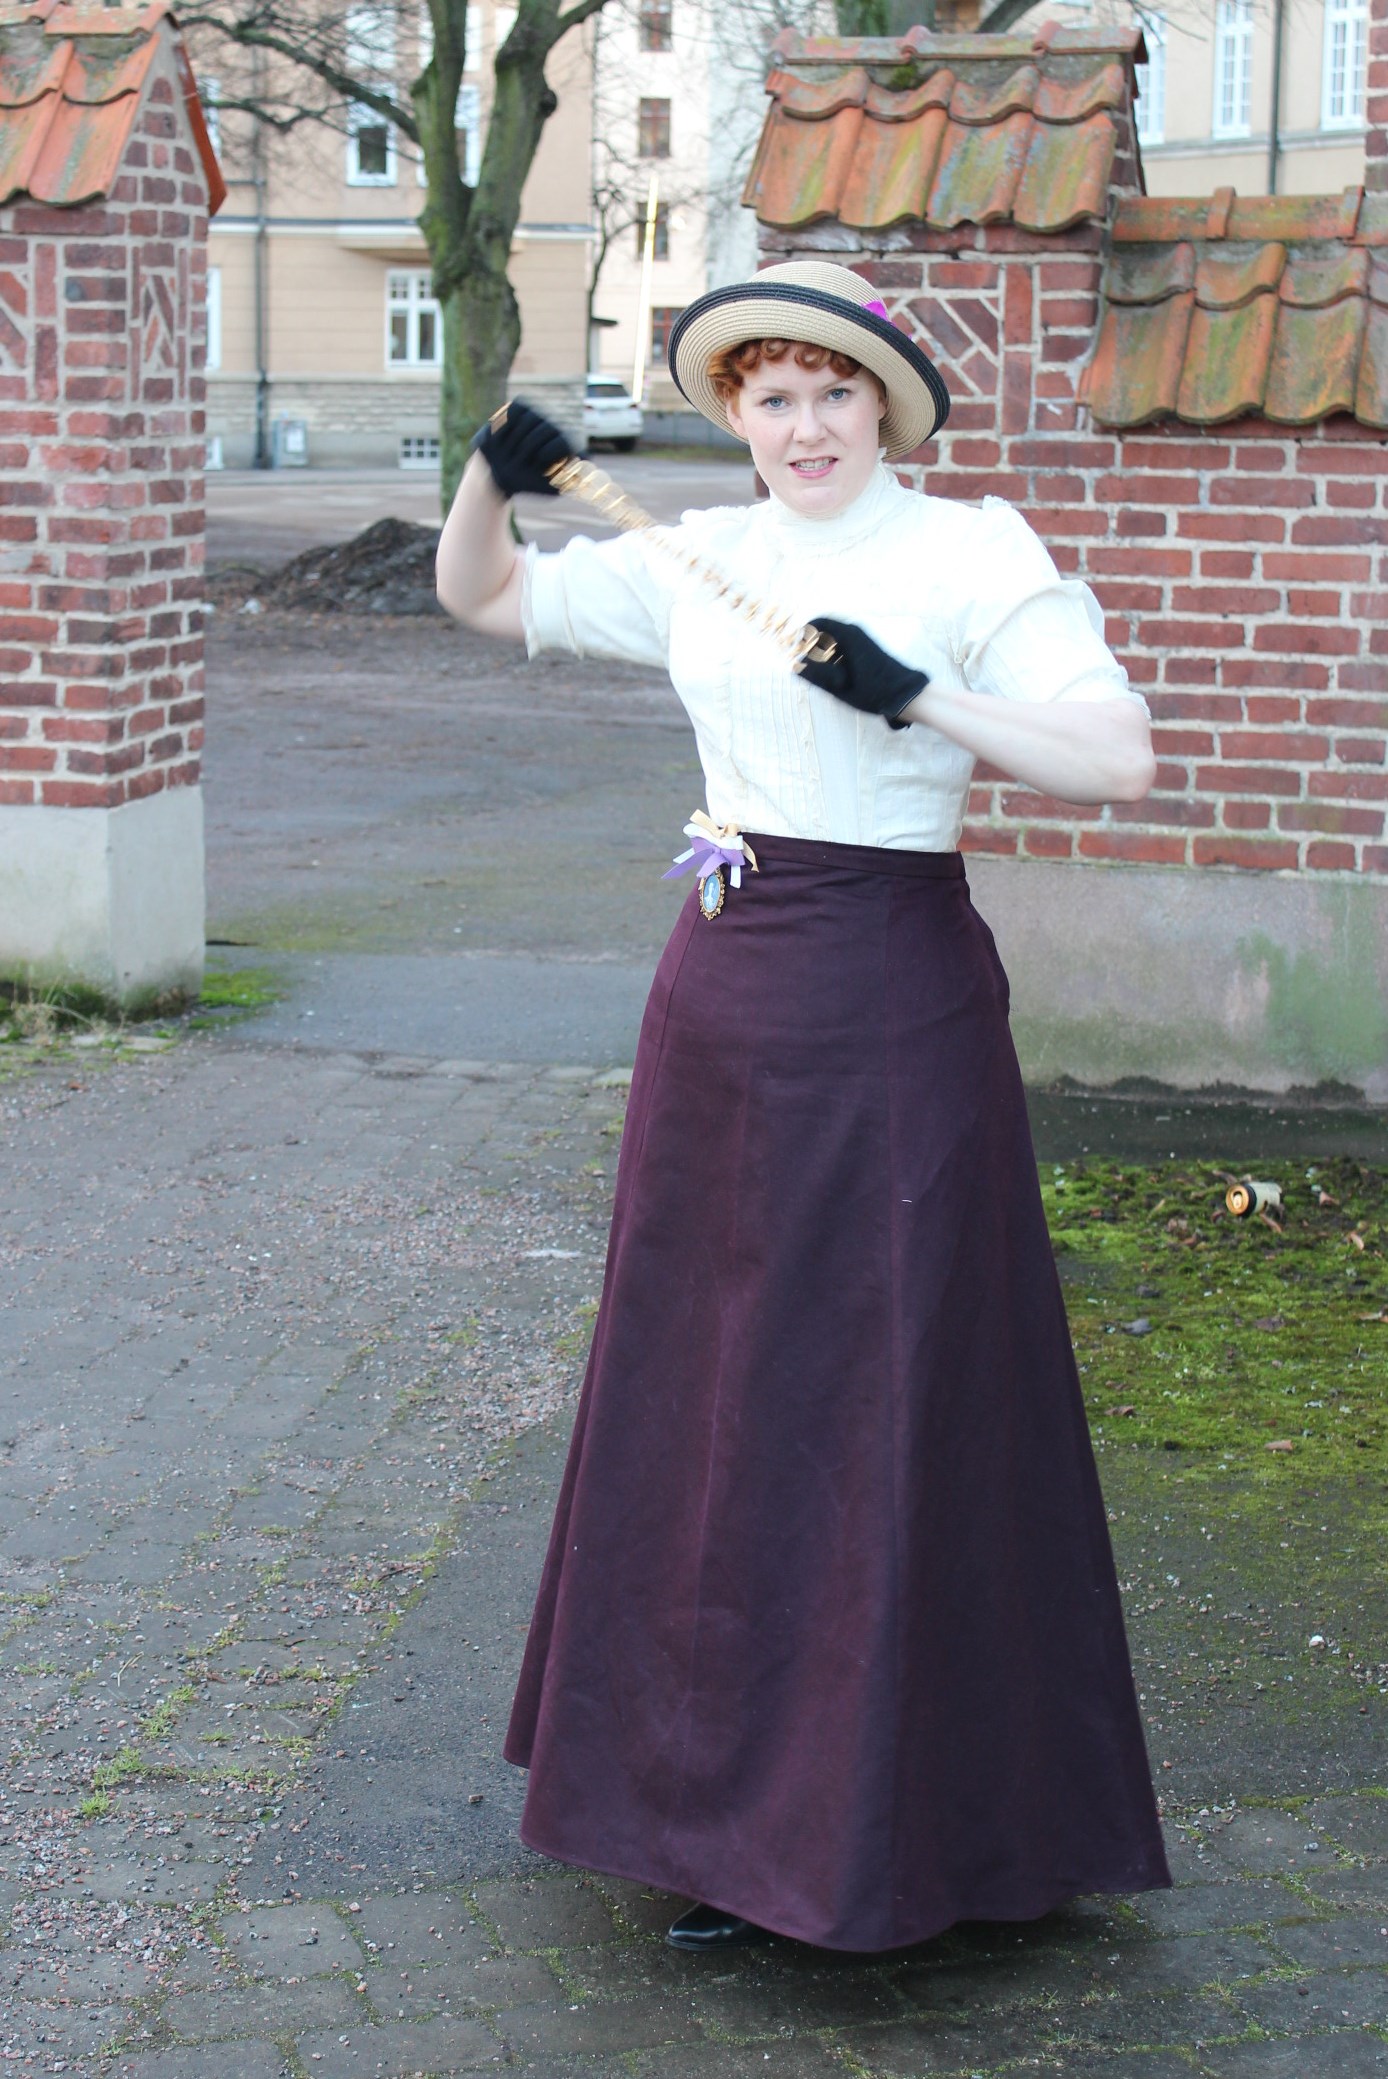
Lets break those chains!

Just the Facts:

Challenge: nr 26 – Celebrate.

What: A 1900s walking skirt.

Celebrate What: The womens rights movement.

Pattern: None, but I studied some pattern diagram from Whaugs “Cut of Womens Clothes”.

Fabric: 2,5 m of burgundy cotton twill

Notions: Thread, hook and eyes.

How Historical Accurate: So so, the shape and fabric of the skirt are acceptable, but the contruction are modern. So about 5/10

Time: 3 hours.

Cost: 100 Sek (11Usd) fabric from stash, but I did buy it one time.

First Worn: On photoshoot on new year.

Final Thougts: I loved wearing this outfit, and already plan on using it for a up-coming suffraget luncheon.

Re-make a 1900s shirtwaist

A very late entry to the HSF challenge 18: Re-make.

I’ve been so busy with work, moving and life it-self that I totaly forgot I didn’t do the 18th challenge back in aug/sep. But now finaly I’ve manadged to make it.

I found this blouse on a sale two days ago and emedetly feelt it would be perfect as a late 19th century/early 20th century shirtwaist. The model is completly straight (no darts or shaping what so ever), but do have some lovely detalied tucks and lace work.

IMG_4512 IMG_4511

IMG_4516

IMG_4513

IMG_4514

To make it look a bit more historical I needed to make a few changes.

Firstly I needed to give it some shape in the waist era. Sewing the sides and creating a few darts to give it that desired hourglas shape.

Then I needed to lenghten the button clouser n the back – now when the blouse is much tighter you can’t put it on over your head as you could before. Ripping the back seam open and creating a longer buttonhole stand, then sewing the buttonholes and attaching the buttons.

IMG_4531

And as this was a stash project I could only use buttons I already owned, resulting in lots of different buttons.IMG_4529

And lastly I needed to strenghten the neck collor a bit, to keep it standing straght.

As it was a bit to big I started by taking it in. Then I was thinking about putting smal plastic bonning into the created chanels, but with the extra bulk, the collar now manadged to hold itself up. So no bones where needed.

IMG_4530

And that was that, quick and simple. And now it fitt perfectly over a corset.

IMG_4536


IMG_4538


IMG_4540


IMG_4543


IMG_4542


IMG_4534

Just the Facts:

Challenge: nr 18 – Re-Fashion.

What: a 1900s Shirtwaist out of a modern blouse.

Pattern: None

Fabric; A smal stripe of ream coloured cotton for the buttonhole stand.

Notions: Thread and 8 asorted buttons.

How Historical Accurate: Not at all. The look is accepteble and so is the fabric, but the blouse is factory made and reshaped using modern tecniqukes. So about 2/10.

Time: 2 hours.

Cost: 150 Sek (16 Usd) for the blouse, none for notions who have been in my stash for ages.

First worn: Not yet, but hopefully will be when its gets a litle bit warmer.

Final Thoughts: The re-fashioning was quite easy to make, and I guess you can do this to a lots of garmnents.

The blouse does look a bit odd on the dressform though, but it fits me perfectly, and worn with a high waisted skirt I’m sure it will look faboulus.

Christmas dress 2012+2013

For Christmas last year I wanted a new dress.

I searched for some inspiration and found this one.

TF121C00D-909@1_1

I really liked the idea of the studds, but the rest of the dress needed some changes. I drafted a pattern close to the original and sett out to by fabric.

I decided on red velvet and studds in different shapes and sizes.

IMG_4396 IMG_4450

Then I sewed it up.

The only problem I ran into was geting the damn studds to grip into the thick fabric at the belt. But with some force and determanation I manadged to get them all in place.

IMG_4388

IMG_4391

IMG_4390

IMG_4393

Then I convinced my sister to take some photos of me out in the snow.

blä 188

blä 200

blä 228

blä 256

blä 257

blä 264

***

But this christmas I don’t have the time nor the energy to try to make another dress, so instead I decided to remodel the one from last year.

I didn’t really like it anyway.

The bodice was to short for my torso, putting the belt to high on my ribbcage. And the open back and sleeveless design made me feel naked and to concius of my broad shoulders.

The only thing I did like about the dress was the nice flaring and lenght of the skirt.

So the bodice needed to go.

I tryed it on once more before deciding, and then grabbed my siccors (or ripping knife), and started cutting the skirt form the bodice.

IMG_4454

I then re-made the waistband and the zipper in the back.

And voila a nice chrismasy looking skirt.

IMG_4464

IMG_4465

I found a pretty white blouse on sale, and thougt of making some 50s style of hairdo. Paired with some heels and lipstick I think I have a chrismas Winner, which I will both fell pretty and comfortable in.

IMG_4459

IMG_4476

A Merry Christmas to you all.

19th Century Christmas Party

On the 14th of december I went to a chrismas party in Stockholm.

The dresscode was – whatever you like from the 19th century.

And as you might know Iv’e been working on my 1840s dress to wear to the event. And it was acctualy done in time, even though I needed to both let it out some and shorten it a bit after wearing it outside for a photoshoot, (good thing I did the shoot before the party). I also had the underwear, bonnet and outerwear finished and waiting.

I’ve been so looking forward to this.

But before the party me and Johanna took a tour to the christmas market.

IMG_4295

But there was not much to se and it was raining a bit to much so we decided to go early to the party instead.

A sneak a peak.1472110_10151826920548027_1688710678_n

The party started of with some smal talk while drinking “glögg” (hot wine(?)), and admiring all the lovely clothes.IMG_4310

IMG_4300

Empire style meets late 19th century.IMG_4304

Some gentlemen in there finery.IMG_4305

IMG_4309

IMG_4311

Elin in 1930s dress.1471260_791044537578773_1704836460_n

1477728_10151826919138027_1540641172_n

Johanna in a lovely empire gown and hairdo.IMG_4316

Chrismas candy and cockies.IMG_4326

The line to the coffee table ran long (especialy since many of us women where a bit wide on the backside).IMG_4318

1504062_791044534245440_68987502_n

We also got to listen to some lovely singing from Hilewi as “Lucia”.IMG_4321

The evening was very nice and the house really helped setting the “old times” mood. IMG_4323

And then the old fashioned “Julbock” came to give us gifts. Sadly I had to leave before, and didn’t get the chanse to meet him. 13579_791044504245443_701170361_n

A glimps of me in my 1940s dress, which I really enjoyed wearing.

IMG_4320(Most of the pictures in this post are my own, but some are borrowed from other members of the 19th century group.)

A 1700s Corset UFO

And so it’s time to present the last (of my old, prevously compleated) HSF entrys. The Challenge nr 2: UFO – Un Finished Object.

As a novice in costuming I didn’t had many UFOs laying around. But I did however have a costuming piece, not yet started but, promised to my sister.

A 1700s corset.

I’ve already made her one in the previuos year, but it was noting but a mess. Lets take a look at my very first atempt at historic corset making.

I used a pattern from Jill Salens book “Corsets”.

1970 halvbenad1790 halvbenad 2

The fabric is a lovely cotton print (which I still love, by the way).IMG_4055

I even made her a design sketch.img235

Then I started to sew.

And this is what I came up with.CIMG5938

Ok, its not that bad for a first try- if you ignore the gromets.CIMG5951

CIMG5948

It acctualy look pretty decent…IMG_4044

IMG_4049IMG_4046

Until you realises how extremly smal it is.IMG_4053It wouldn’t even fit my size 36 dressform.

My sister is not particular big, and even after some serious skwezing the darn thing still didn’t fit her.

We did get some pretty picture though.ghf

DSC_0777 And the minute we where done photograping, the whole thing whent straight into a box in the basement.

The pocket hoops are made from Waughs pattern and still works perfectly.1760 pocket hoop waugh

***

Now back to the UFO.

After I’ve promised my sister to make her an other corset, that would actualy fit her.

We trashed the old pattern, starting from skratch, and drew her a new one using Waugs “Corset and Crinolines” – 1790s corset pattern, and modified to fit my sister. I also took away the front lacing, and added tabs at the waist.

So I made a toile, fitted it and started on the corset itself. Since me and my sister lives in oposite sides of the country I didn’t have the chans to try it on her until it was finished.

Looking much better.halloj-116

But it is still to smal!halloj-119

This time I fixed it by ripping it open and inserting some godgets at the back seams.

CIMG6587

The finished corset.IMG_1827

DSC_0362

DSC_0374

DSC_0379

IMG_1854

DSC_0382

Just the facts:

Challenge: nr 2 – UFO

What: A 1740-1780s corset

Pattern: Jill Salen “Corsets – 1780s corset” re-worked.

Fabric: 0,5 m of cotton print and 1m of white cotton lawn.

Notions: gromets, thread, lacing cord, cable ties and purple bias tape.

How Historical Accurate: Not really. The decorative printed corsets didn’t exist until 200 years later, and the sewing and construction are all modern. It does however give her the desired body shape. So maybe 2/10.

Time: 25 hours.

Cost: 200 Sek

First worn: At the photoshoot in february 2013.

To Re-do a Green 1840s dress

This december I will attend a 19th century christmas party and since I don’t own anything remotley chrismasy I needed to make myself something to wear. After thinking long and hard, I decided to try my hands at mid century 1840-1860s dressmaking.

I found this image and imediatly fell in love with the simplicity and elegance of the dress. I also liked the fact that is wasn’t a “Pretty Princes dress” but something a lady of my age and income wold have worn back in the days.

107101297358915514_aCE87gwt_c

I already had the perfect fabric for it.

IMG_2832

It is a bedsheet I bougt for 50 Sek (5 Usd) at goodwill a while ago. I’ve picked it up thinking it would be perfect for some les fancy dress. And since the bedsheet was so big, when I ripped the seams open and ironed it out, I got 1,5 x 4m of soft cotton fabric. That means I pay about 12 Sek per metre. Yay!

Then I remembered the 24th HSF Challenge: Re-do. You should Re-do any of the prevous challenge from the HSF 2013. So wich one would suit my dress the best – Green of course!

Then I got to work.

Draping the bodice lining on the dressform. Pinning and cuting away the excess fabric.

2013-10-13 15.08.502013-10-13 15.16.49

2013-10-13 15.17.052013-10-13 15.16.56

Then I draped the outer fabric of the bodice.

2013-10-13 15.40.30

I cut and made a mock-up, which I then tried on.

IMG_3915

It did need some alterations like moving the shoulder seam, and spreeding the front piece to get some more drape.

IMG_3921IMG_3923

Then I cut the fashion fabric and got to work interlining and sewing boning chanels to the bodice, basting it togeter to get a idea of how the draping would look.

IMG_3964IMG_3972Draping left side, using 4 rows of gathered thread.

IMG_3977IMG_3978And both sides gathered.

Then I did a second fitting.

IMG_4013IMG_4011

The bodice needed some changing in the neck and shoulders. I also needed to shorten the waist a bit in the back.

After making the adjustments I continued the asembeling of the sleeves and bodice. Tucking all the raw edges and sewing on some boning channels.

IMG_4043

IMG_4100

IMG_4108

I decided to make the skirt seperate to make the fitting and closing of the dress esier.

The skirt is made out of two widhts of fabric sewn together and gattered at the waist, closed by a hook and eye at the left side.

IMG_4094

IMG_4095

I gattered the sleeves into the sleevecap and made 3 decorative rows of gattering on each sleeve.

Then I bought some pearl butttons and worked the button holes by hand, placing them (as on the inspirational dress) only on the white parts of the center front.

IMG_4104

I also decided to put on a crocketed lace collar I’ve had in my stash for ages.

IMG_4116

I’m so happy with how it turned out, and think I manadged to use the inspiration to its fullest yet put my own touch to it.

Can’t wait until I got to wear it…

The finished dress:

IMG_4109

IMG_4118

IMG_4132

IMG_4125

IMG_4117

IMG_4131

IMG_4112

IMG_4121

Just the facts:

Challenge: nr 24 Re-do – Challenge 21 Green

What: A green/white checkerd dress

Year: 1840-1850s

Pattern: I draped my own.

Fabric: 1 checkered bed-sheet (1,5 x 4 m) and 0,5 m cotton for interlining.

Notions: Thread, 14 buttons, hooks and eyes and a lace collar.

How Historical Accurate: The dress is mostly done by machine and with modern techniques, but the fabric and the look of it is about right. Maybe 6/10

Time: About 15 hours.

Cost: 200 Sek (22 Usd) (150 for the buttons, ouch!).

First worn: Will be on dec 14th at a 19th century christmas party.

***

And as it will be worn on the event, with apron, bonnet and shawl.

IMG_4115

IMG_4133