White Regency Evening Gown

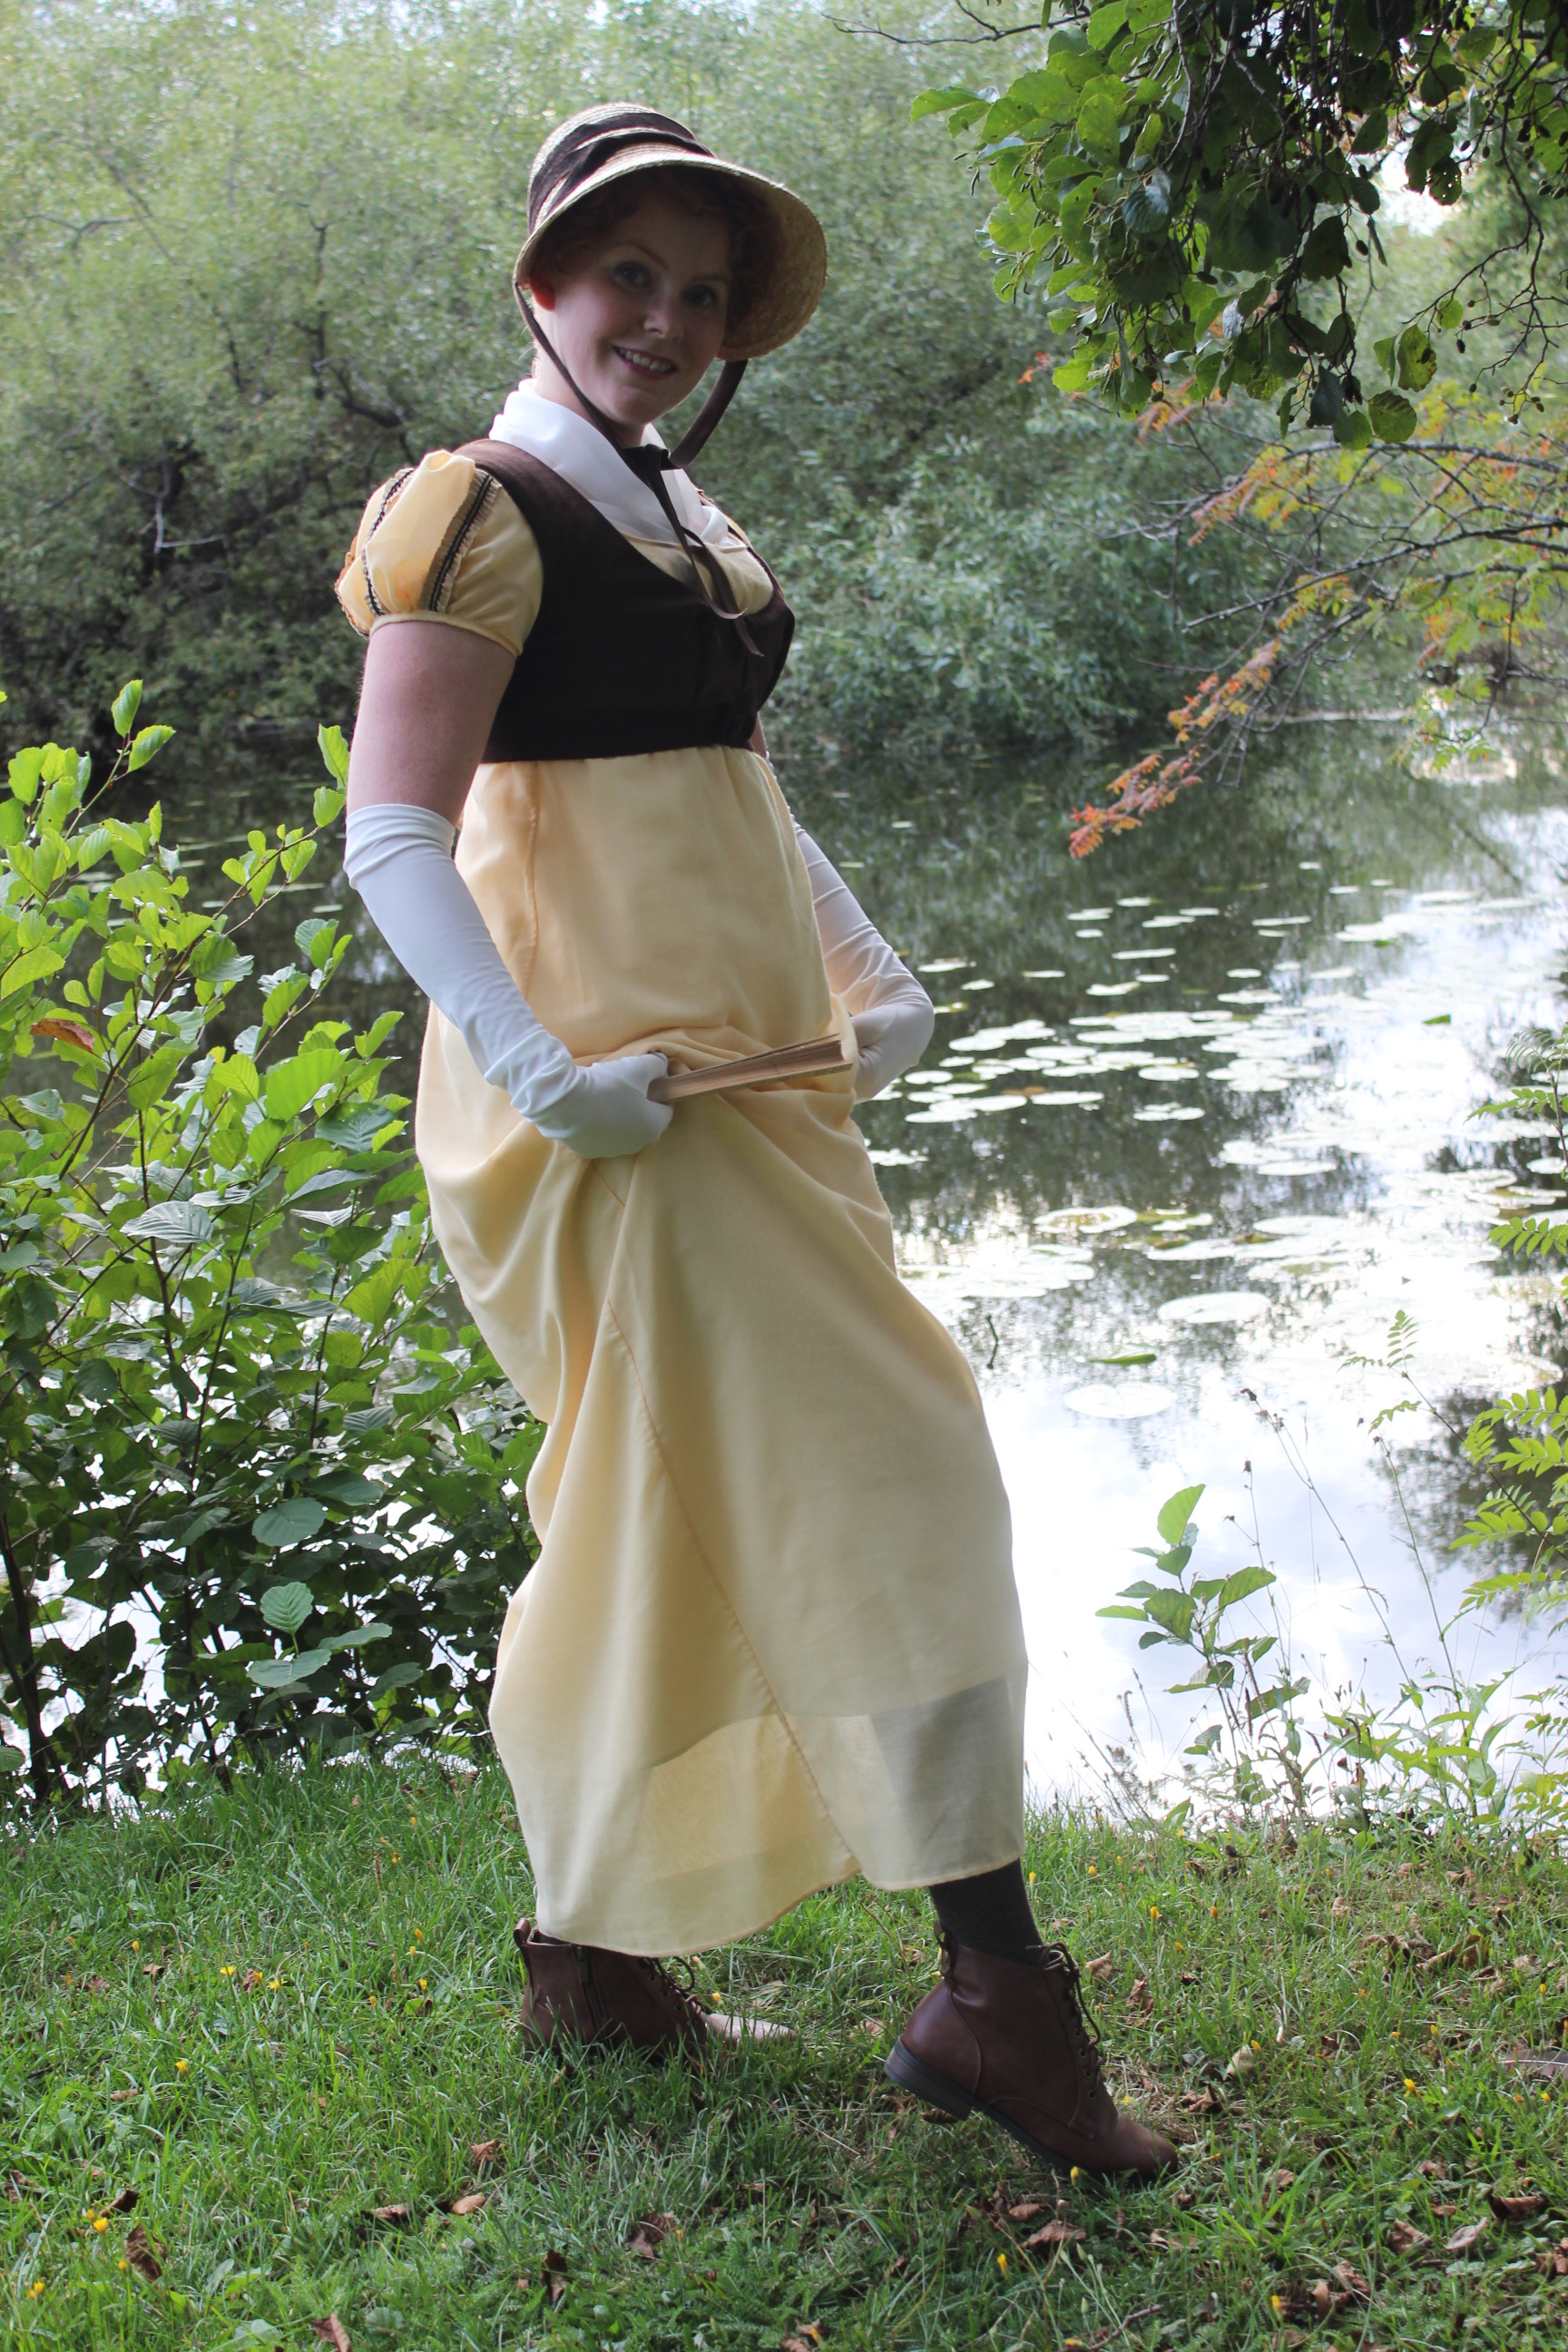
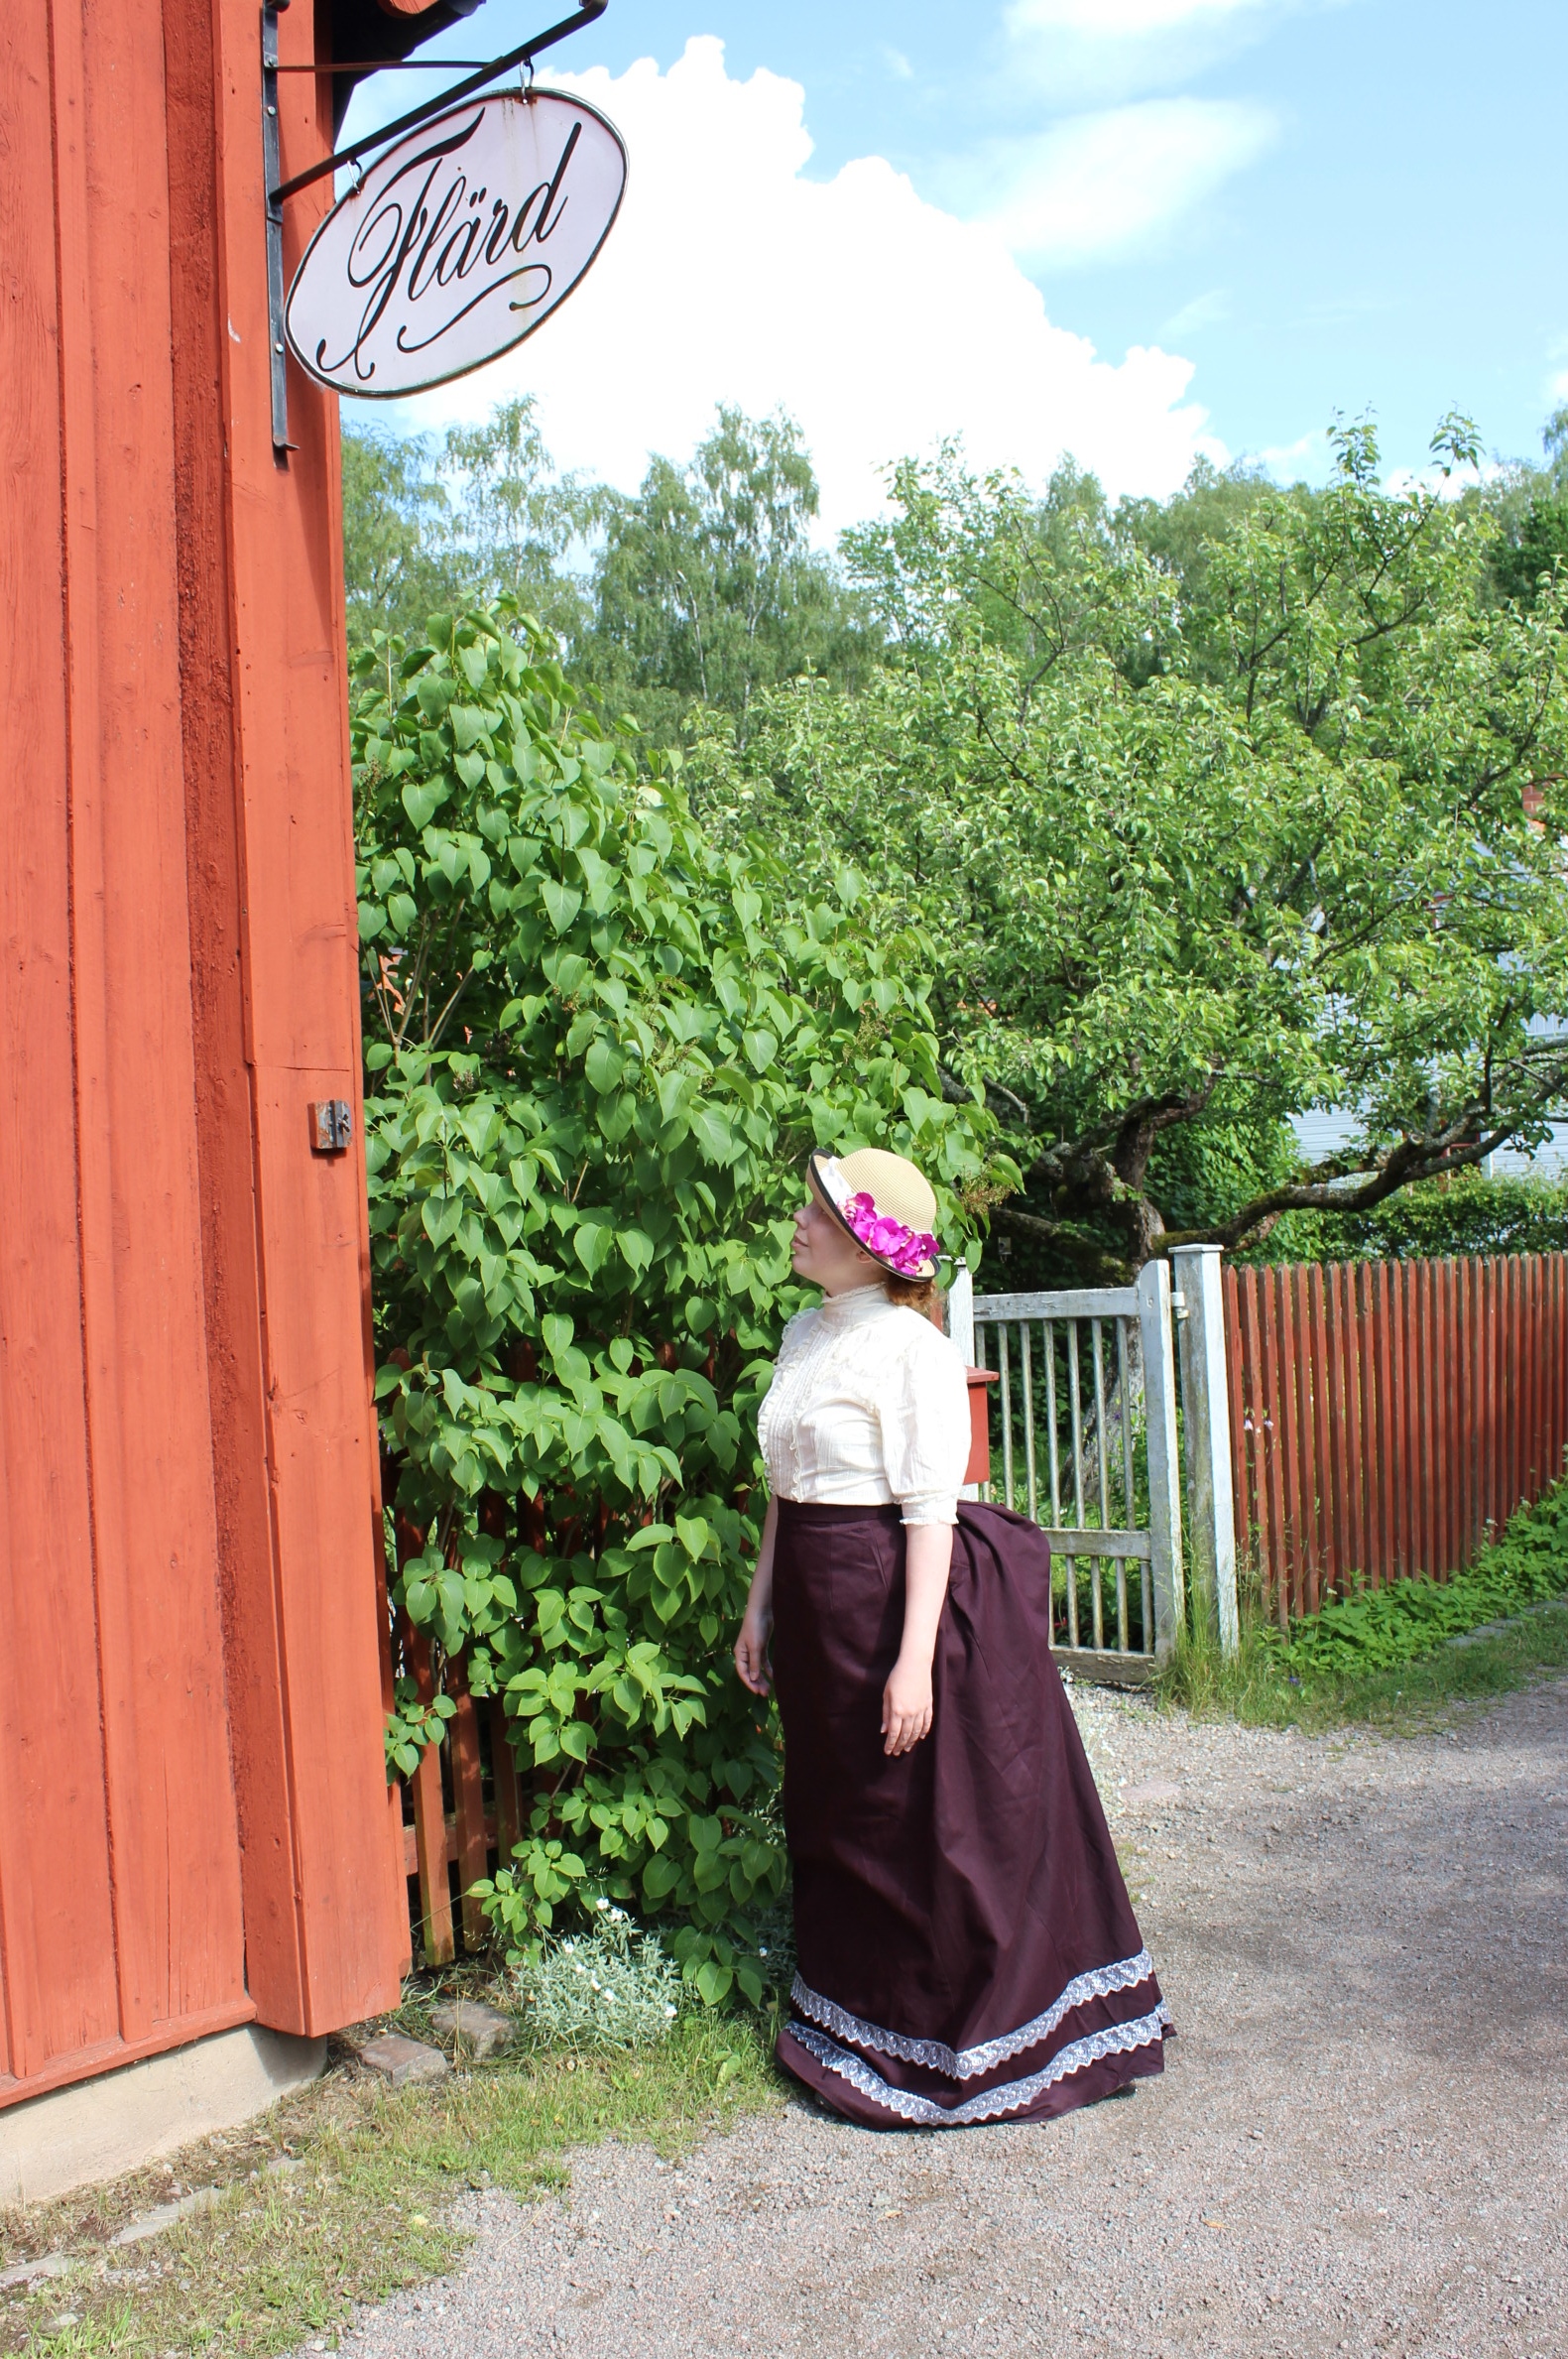
For the upcoming ball, hosted by my dancing company, I knew I wanted a new gown.
After several hours on Pinterest, looking through dossins of beautiful fashion plates, I finally decided on a style.

1799-1800-dressesI used the left dress in this fashion plate as my inspiration.

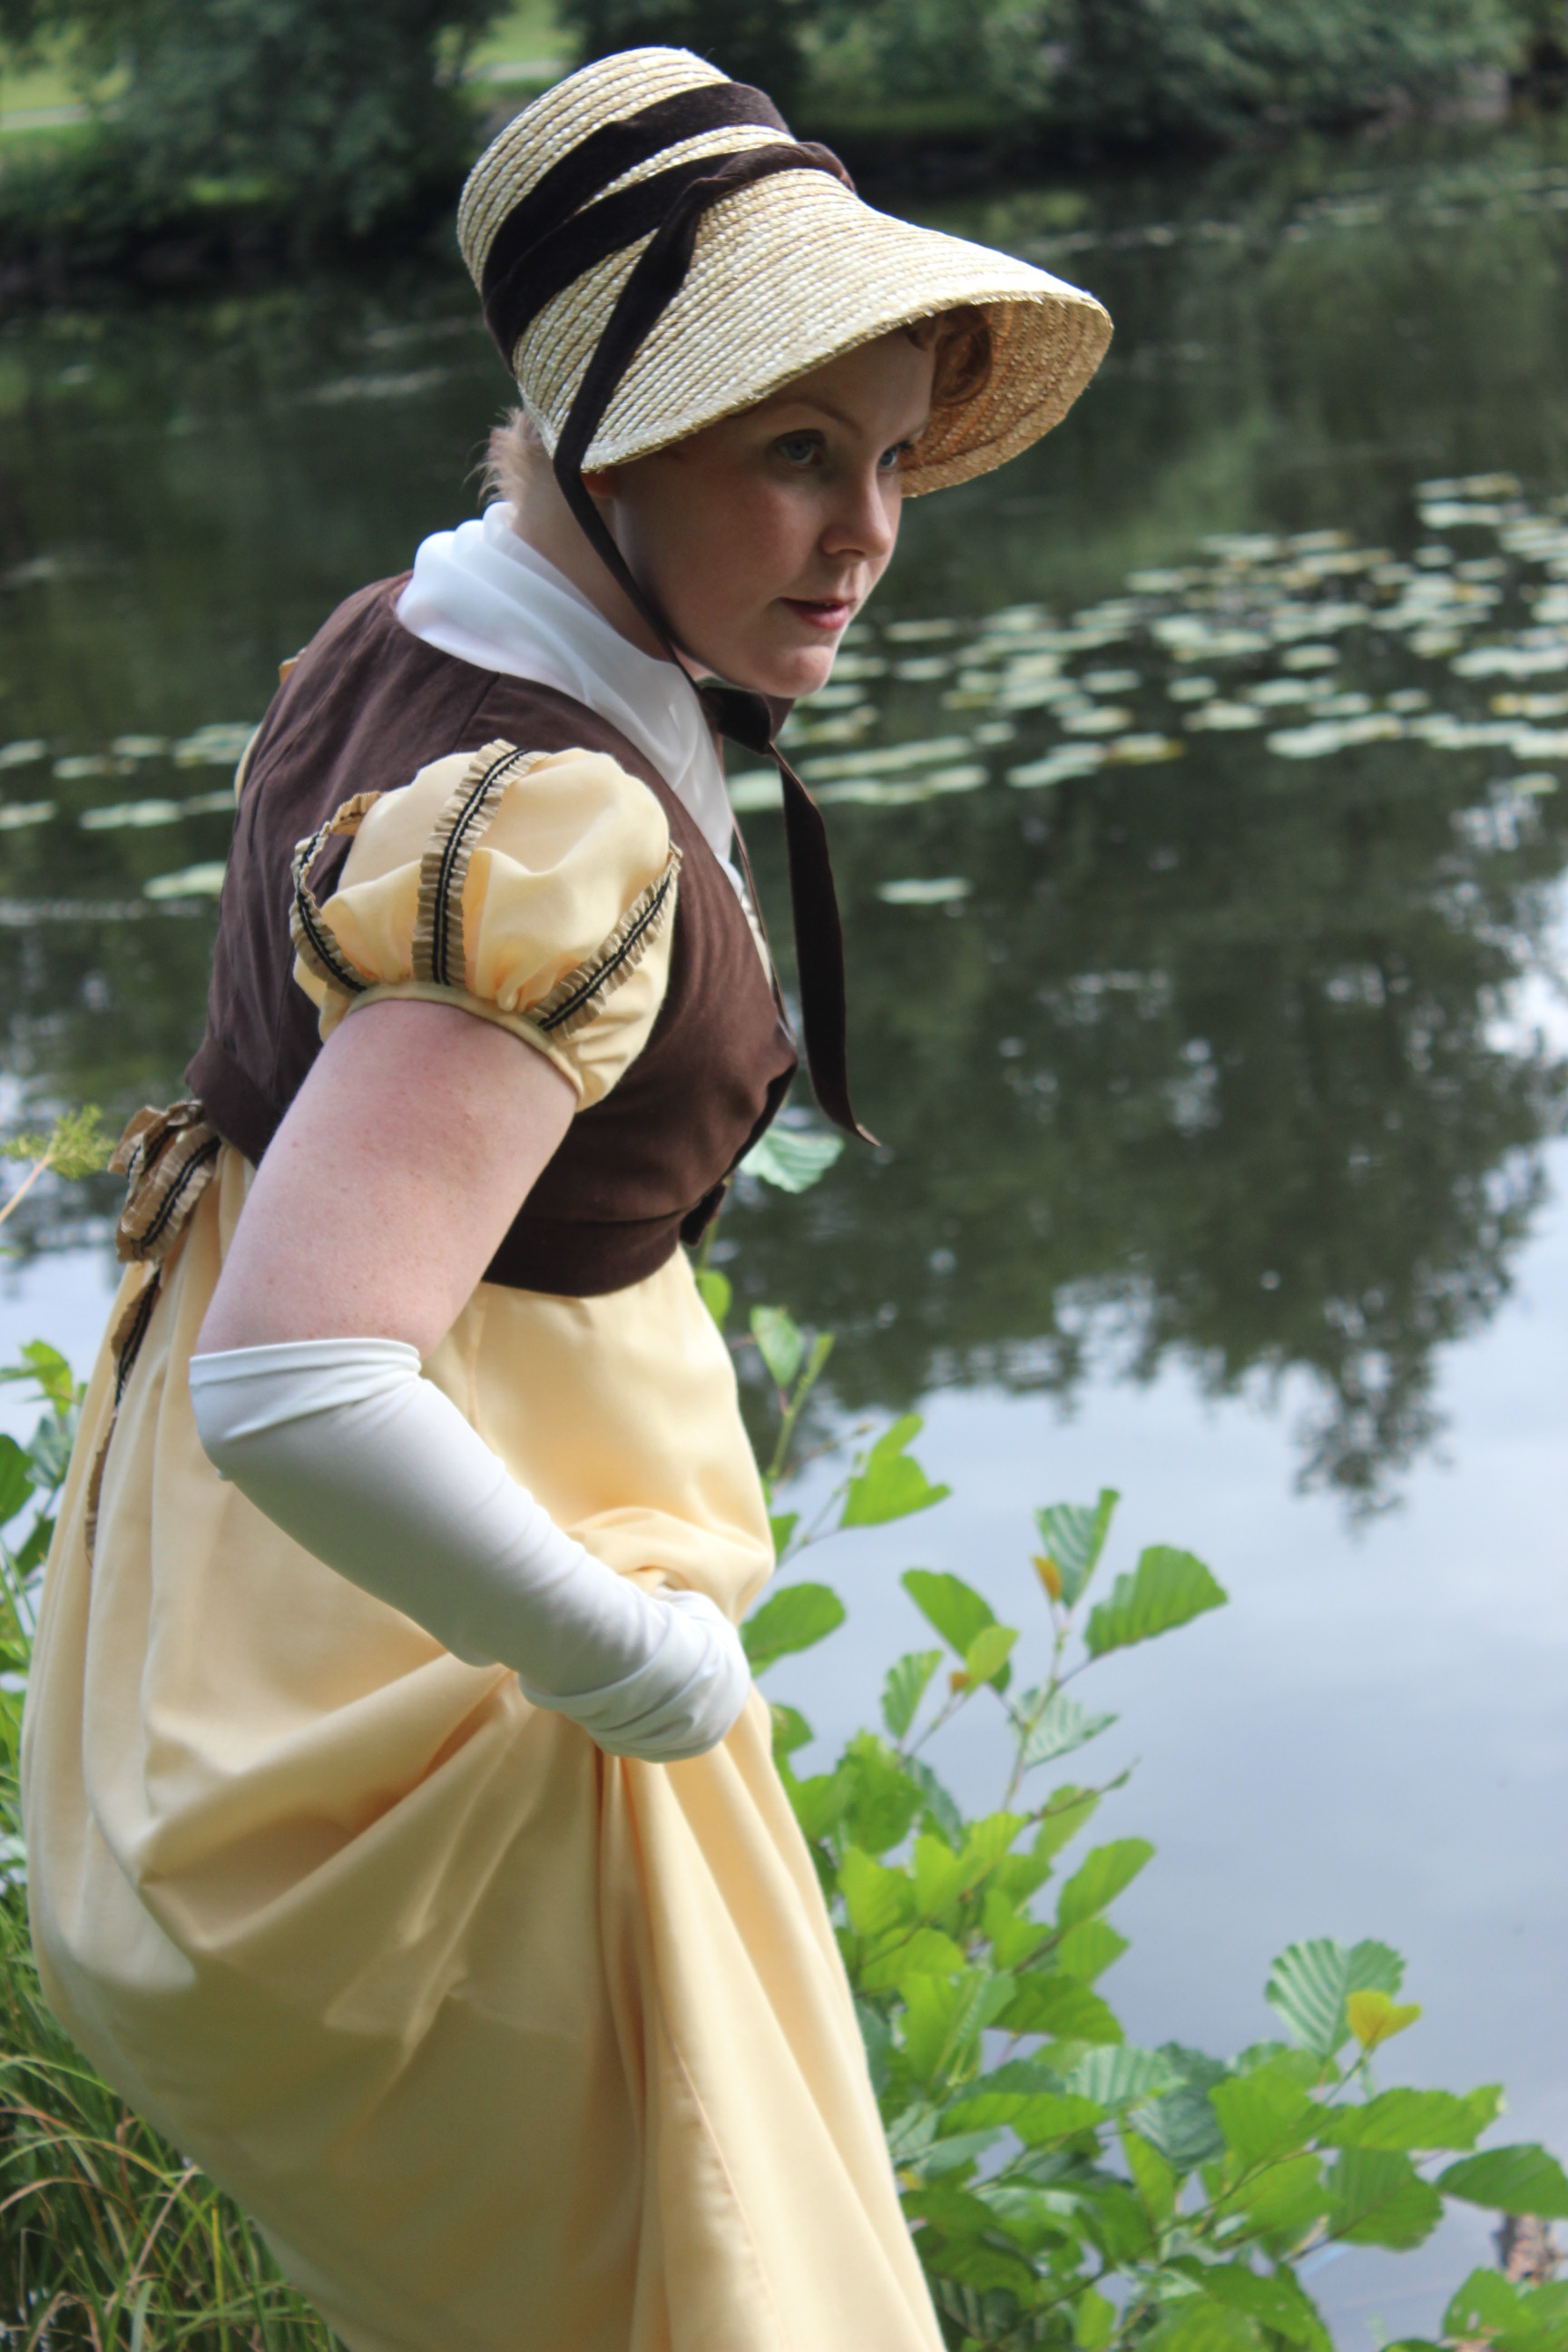
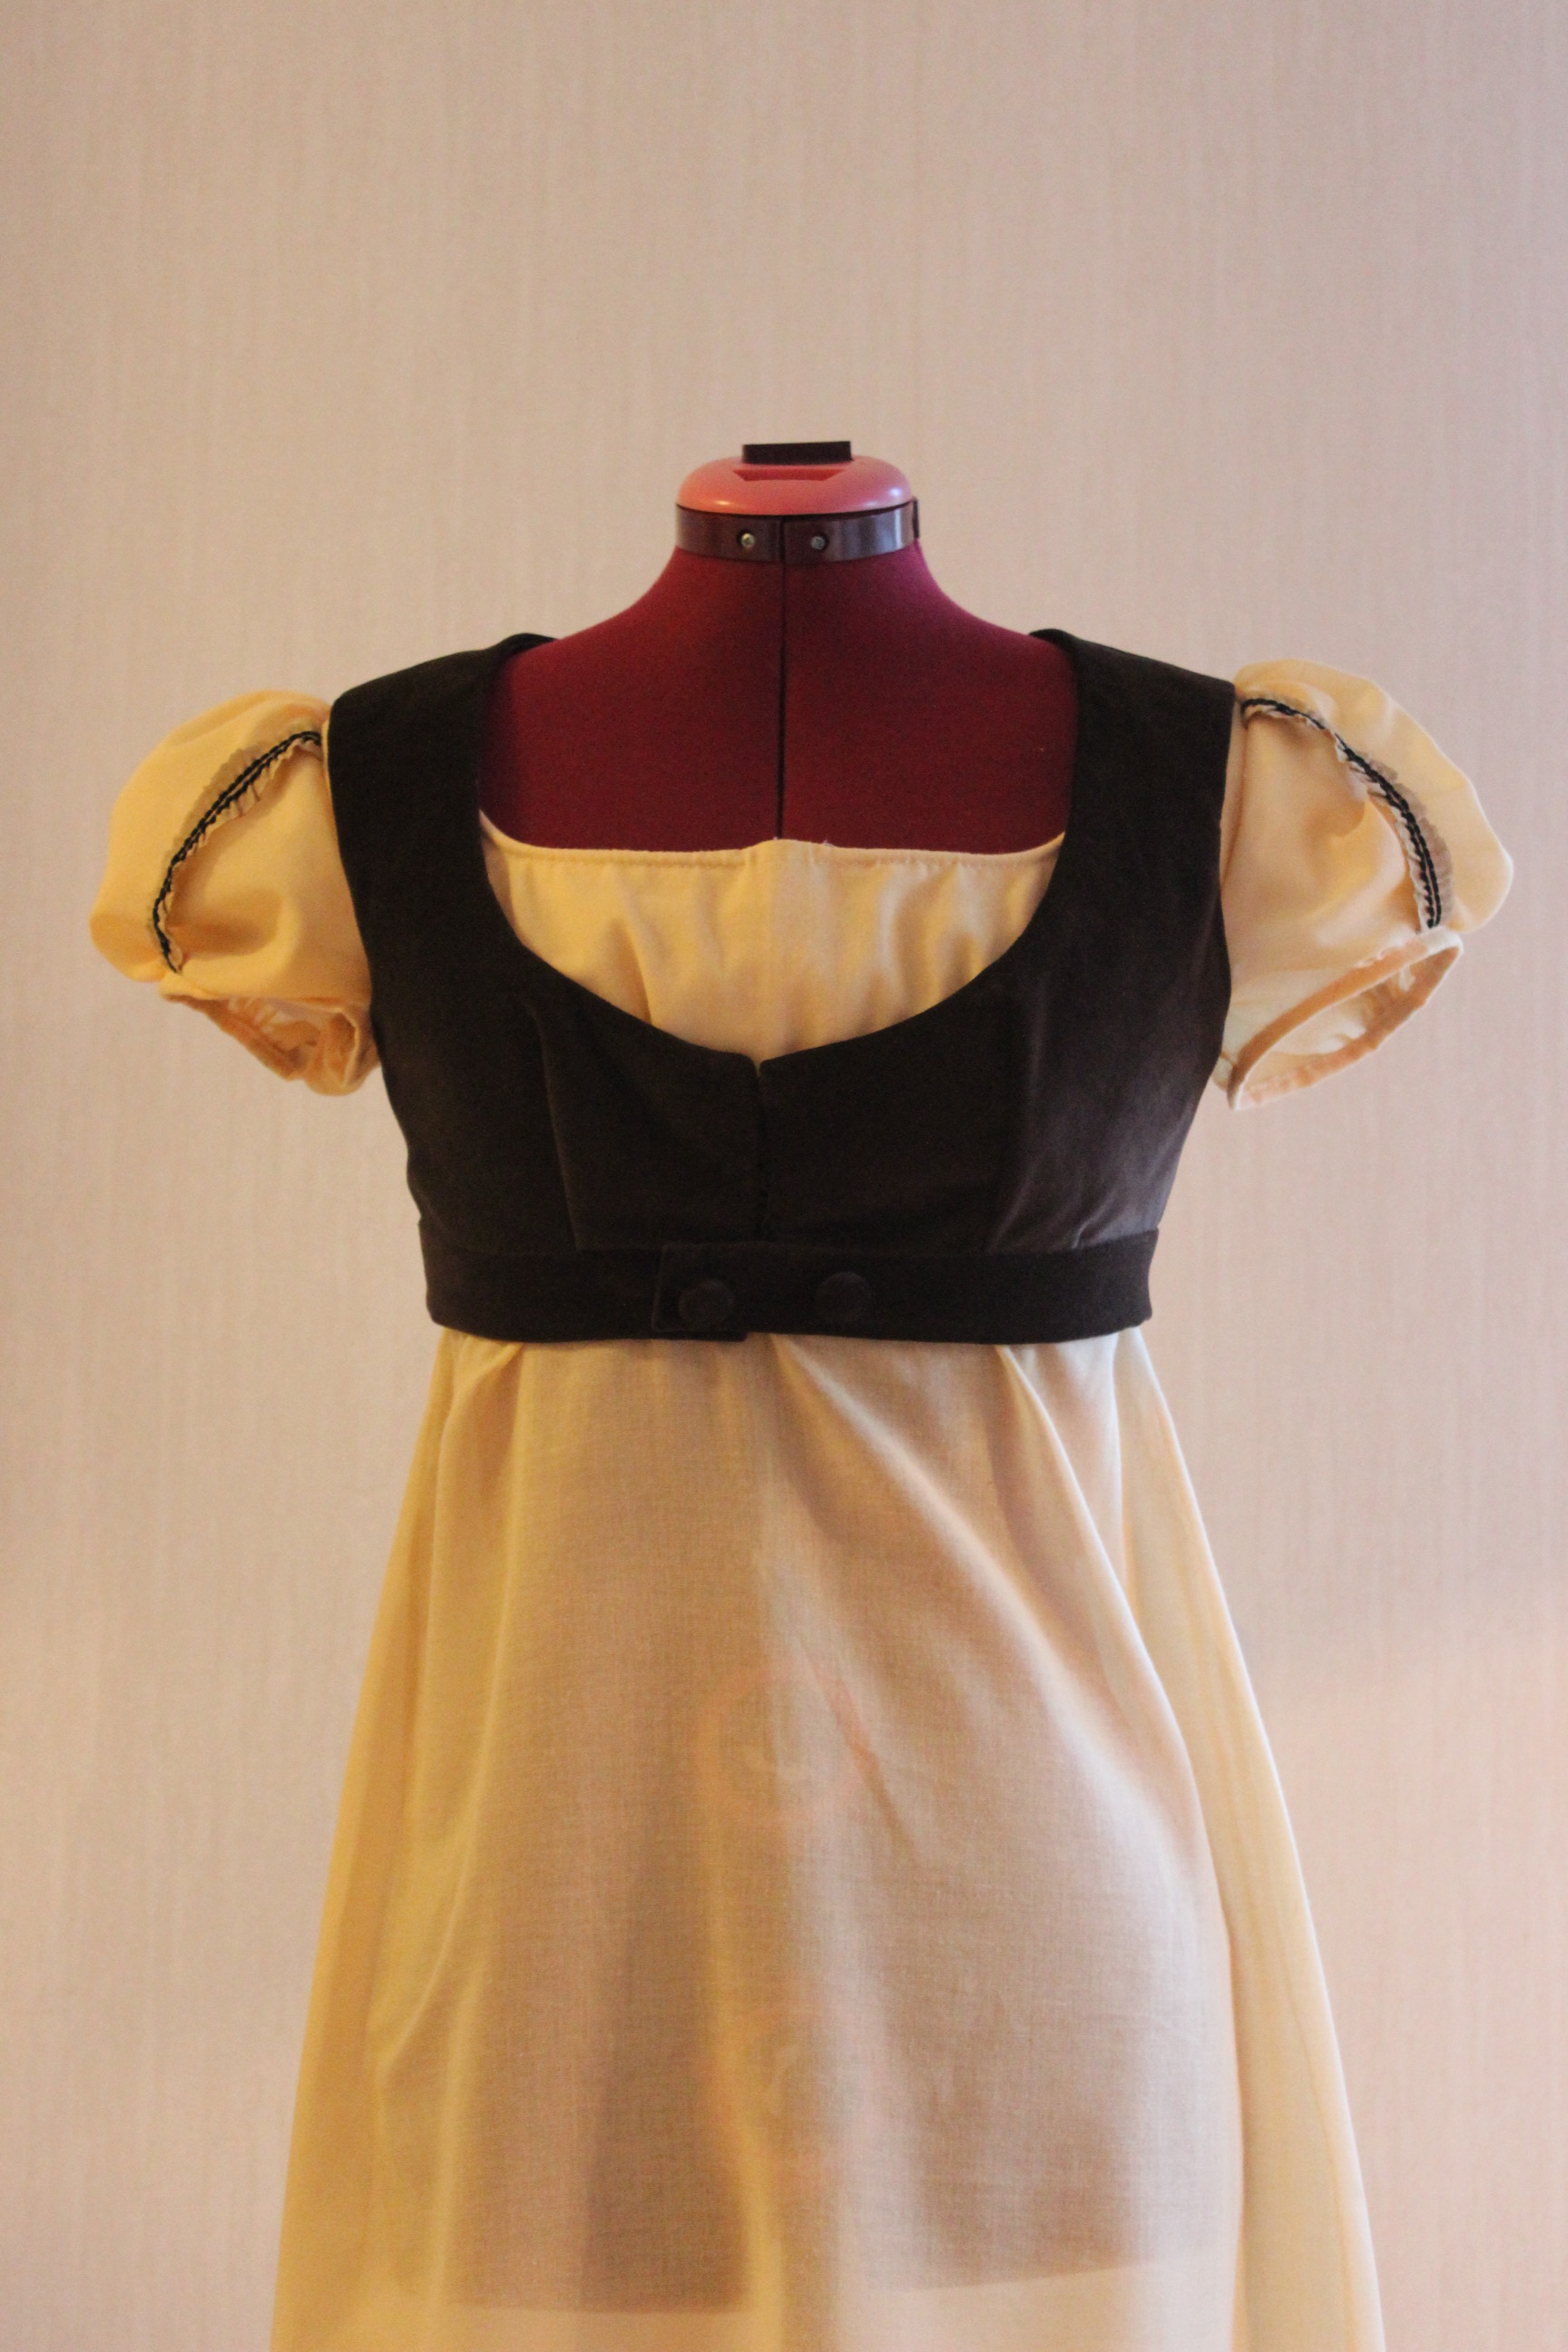
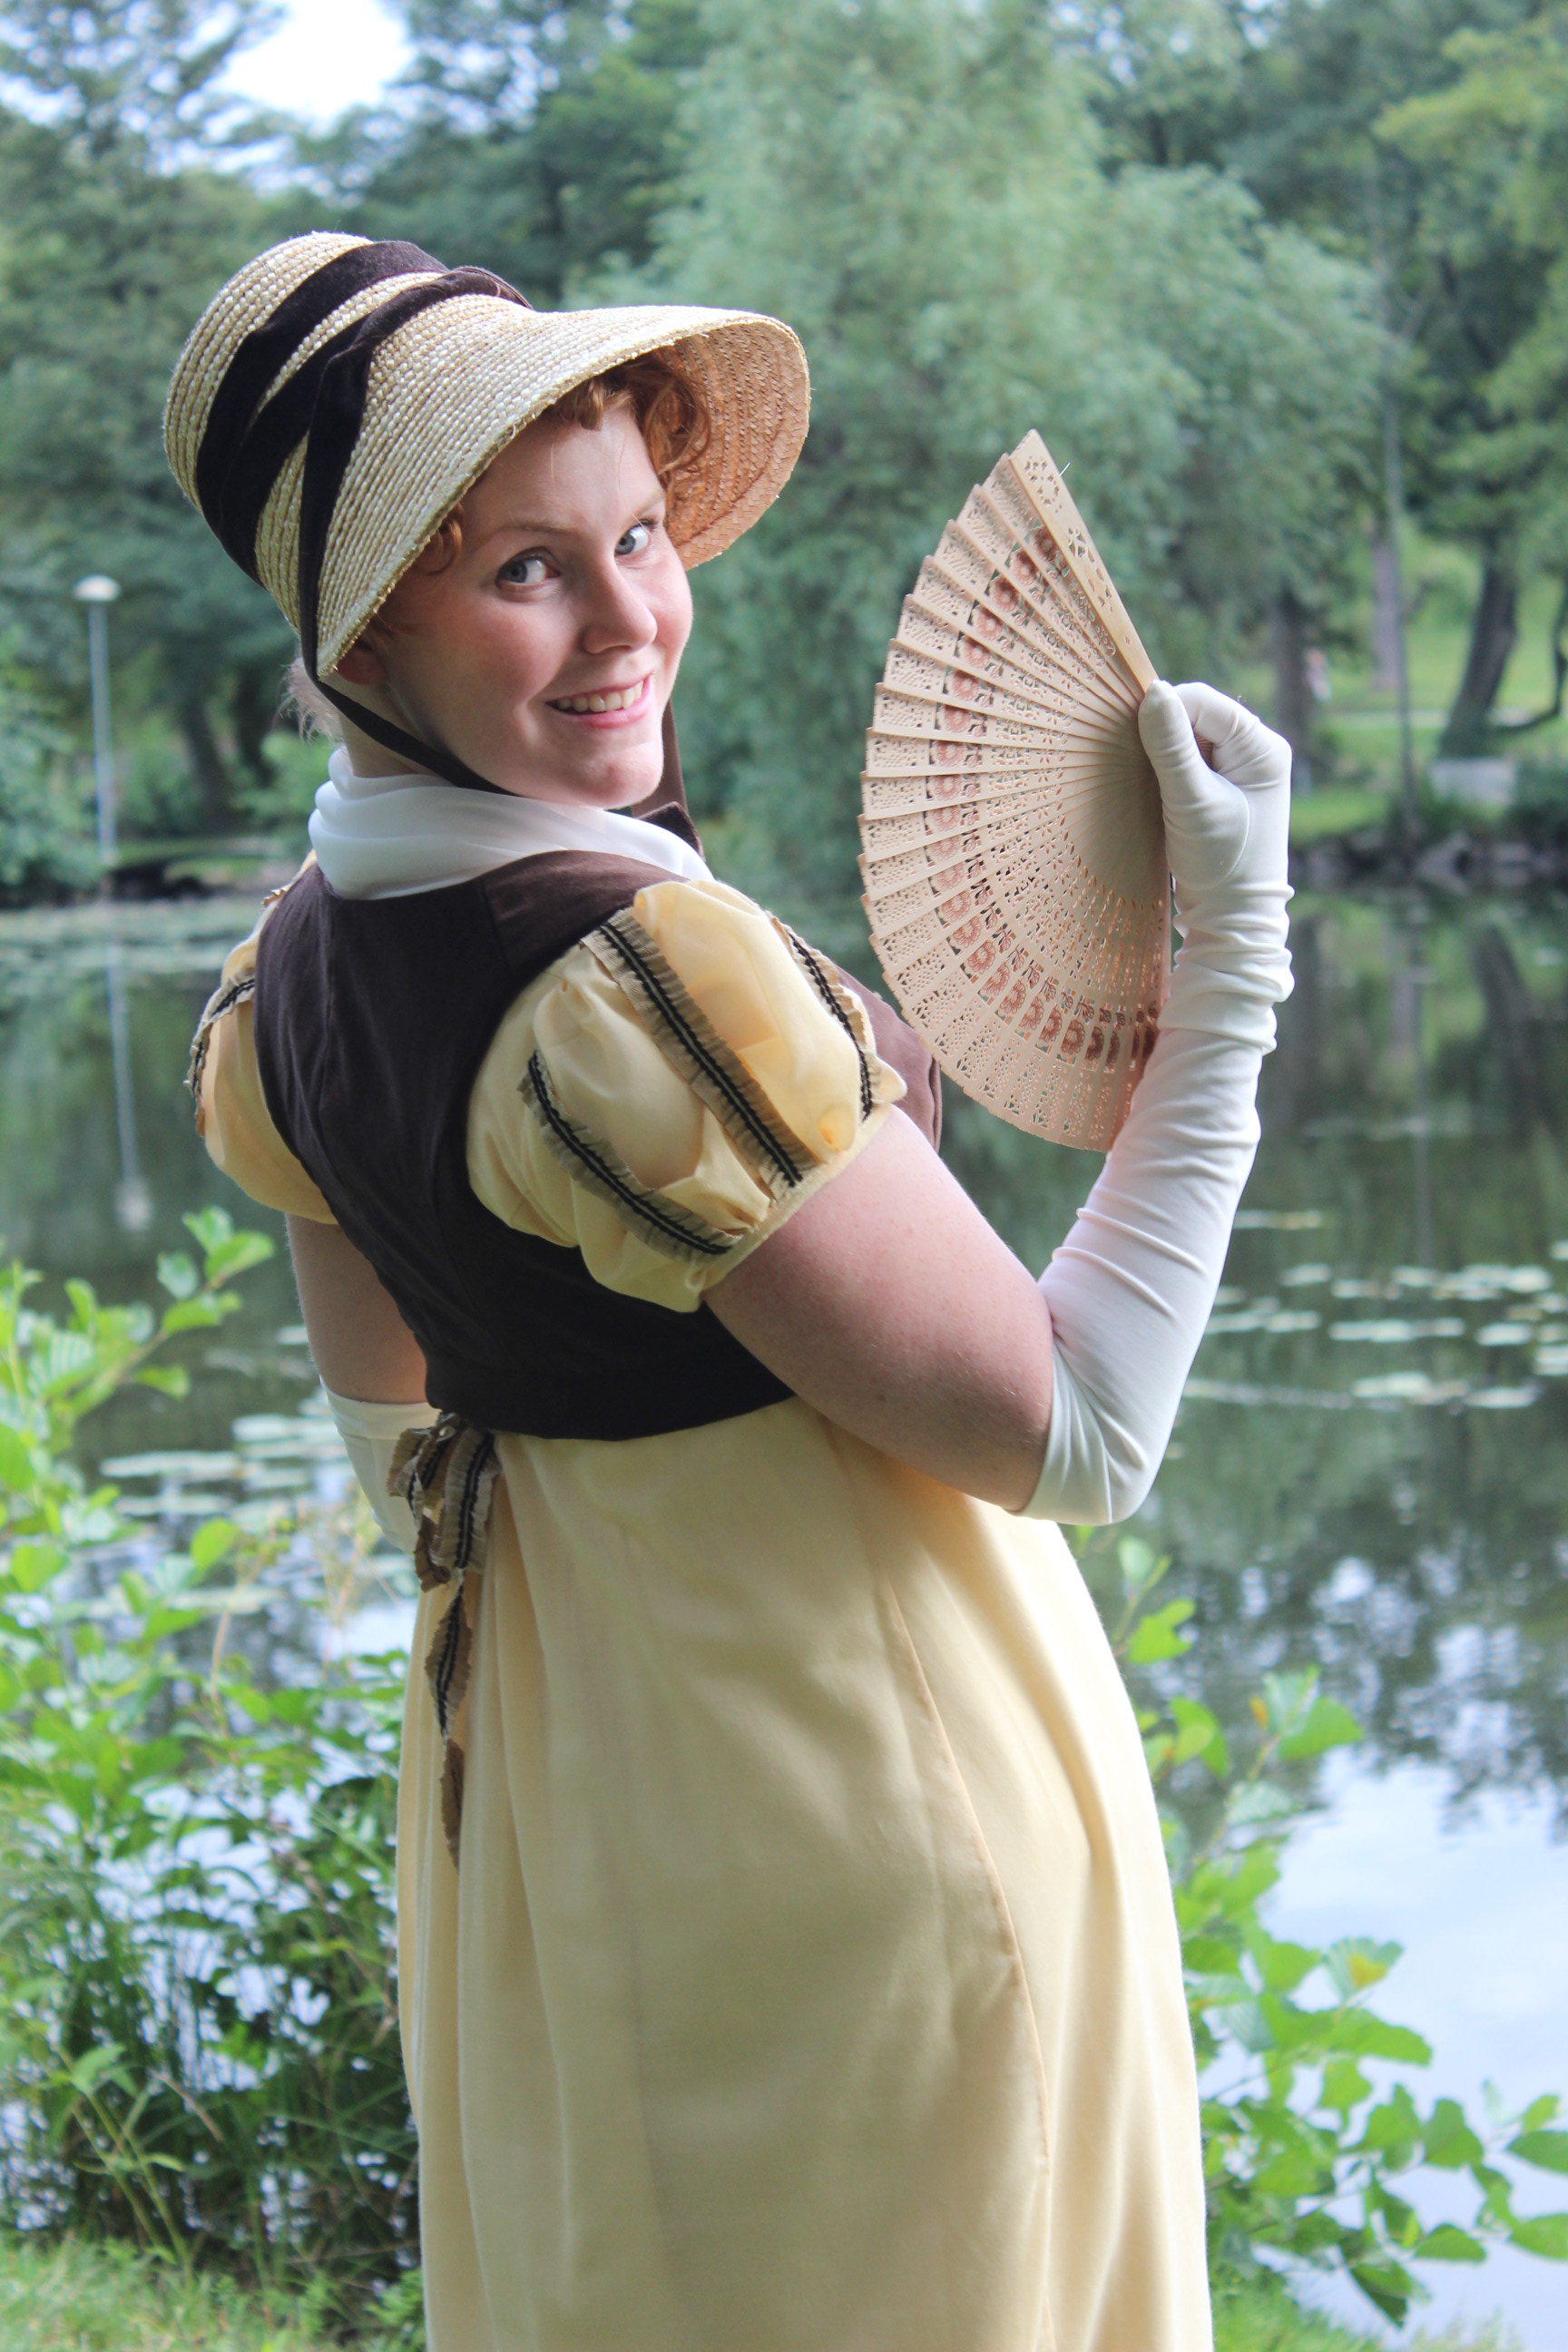
Since time was sparce, I decided to use Simplicity 4055 instead of draping my own pattern.simplicity4055
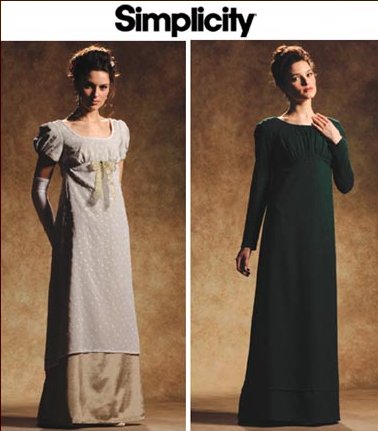
This may now be the pattern I made most garments from (my yellow regency gown, brown spencer/west, my sisters greecian goodes dress, and now this white evening gown).

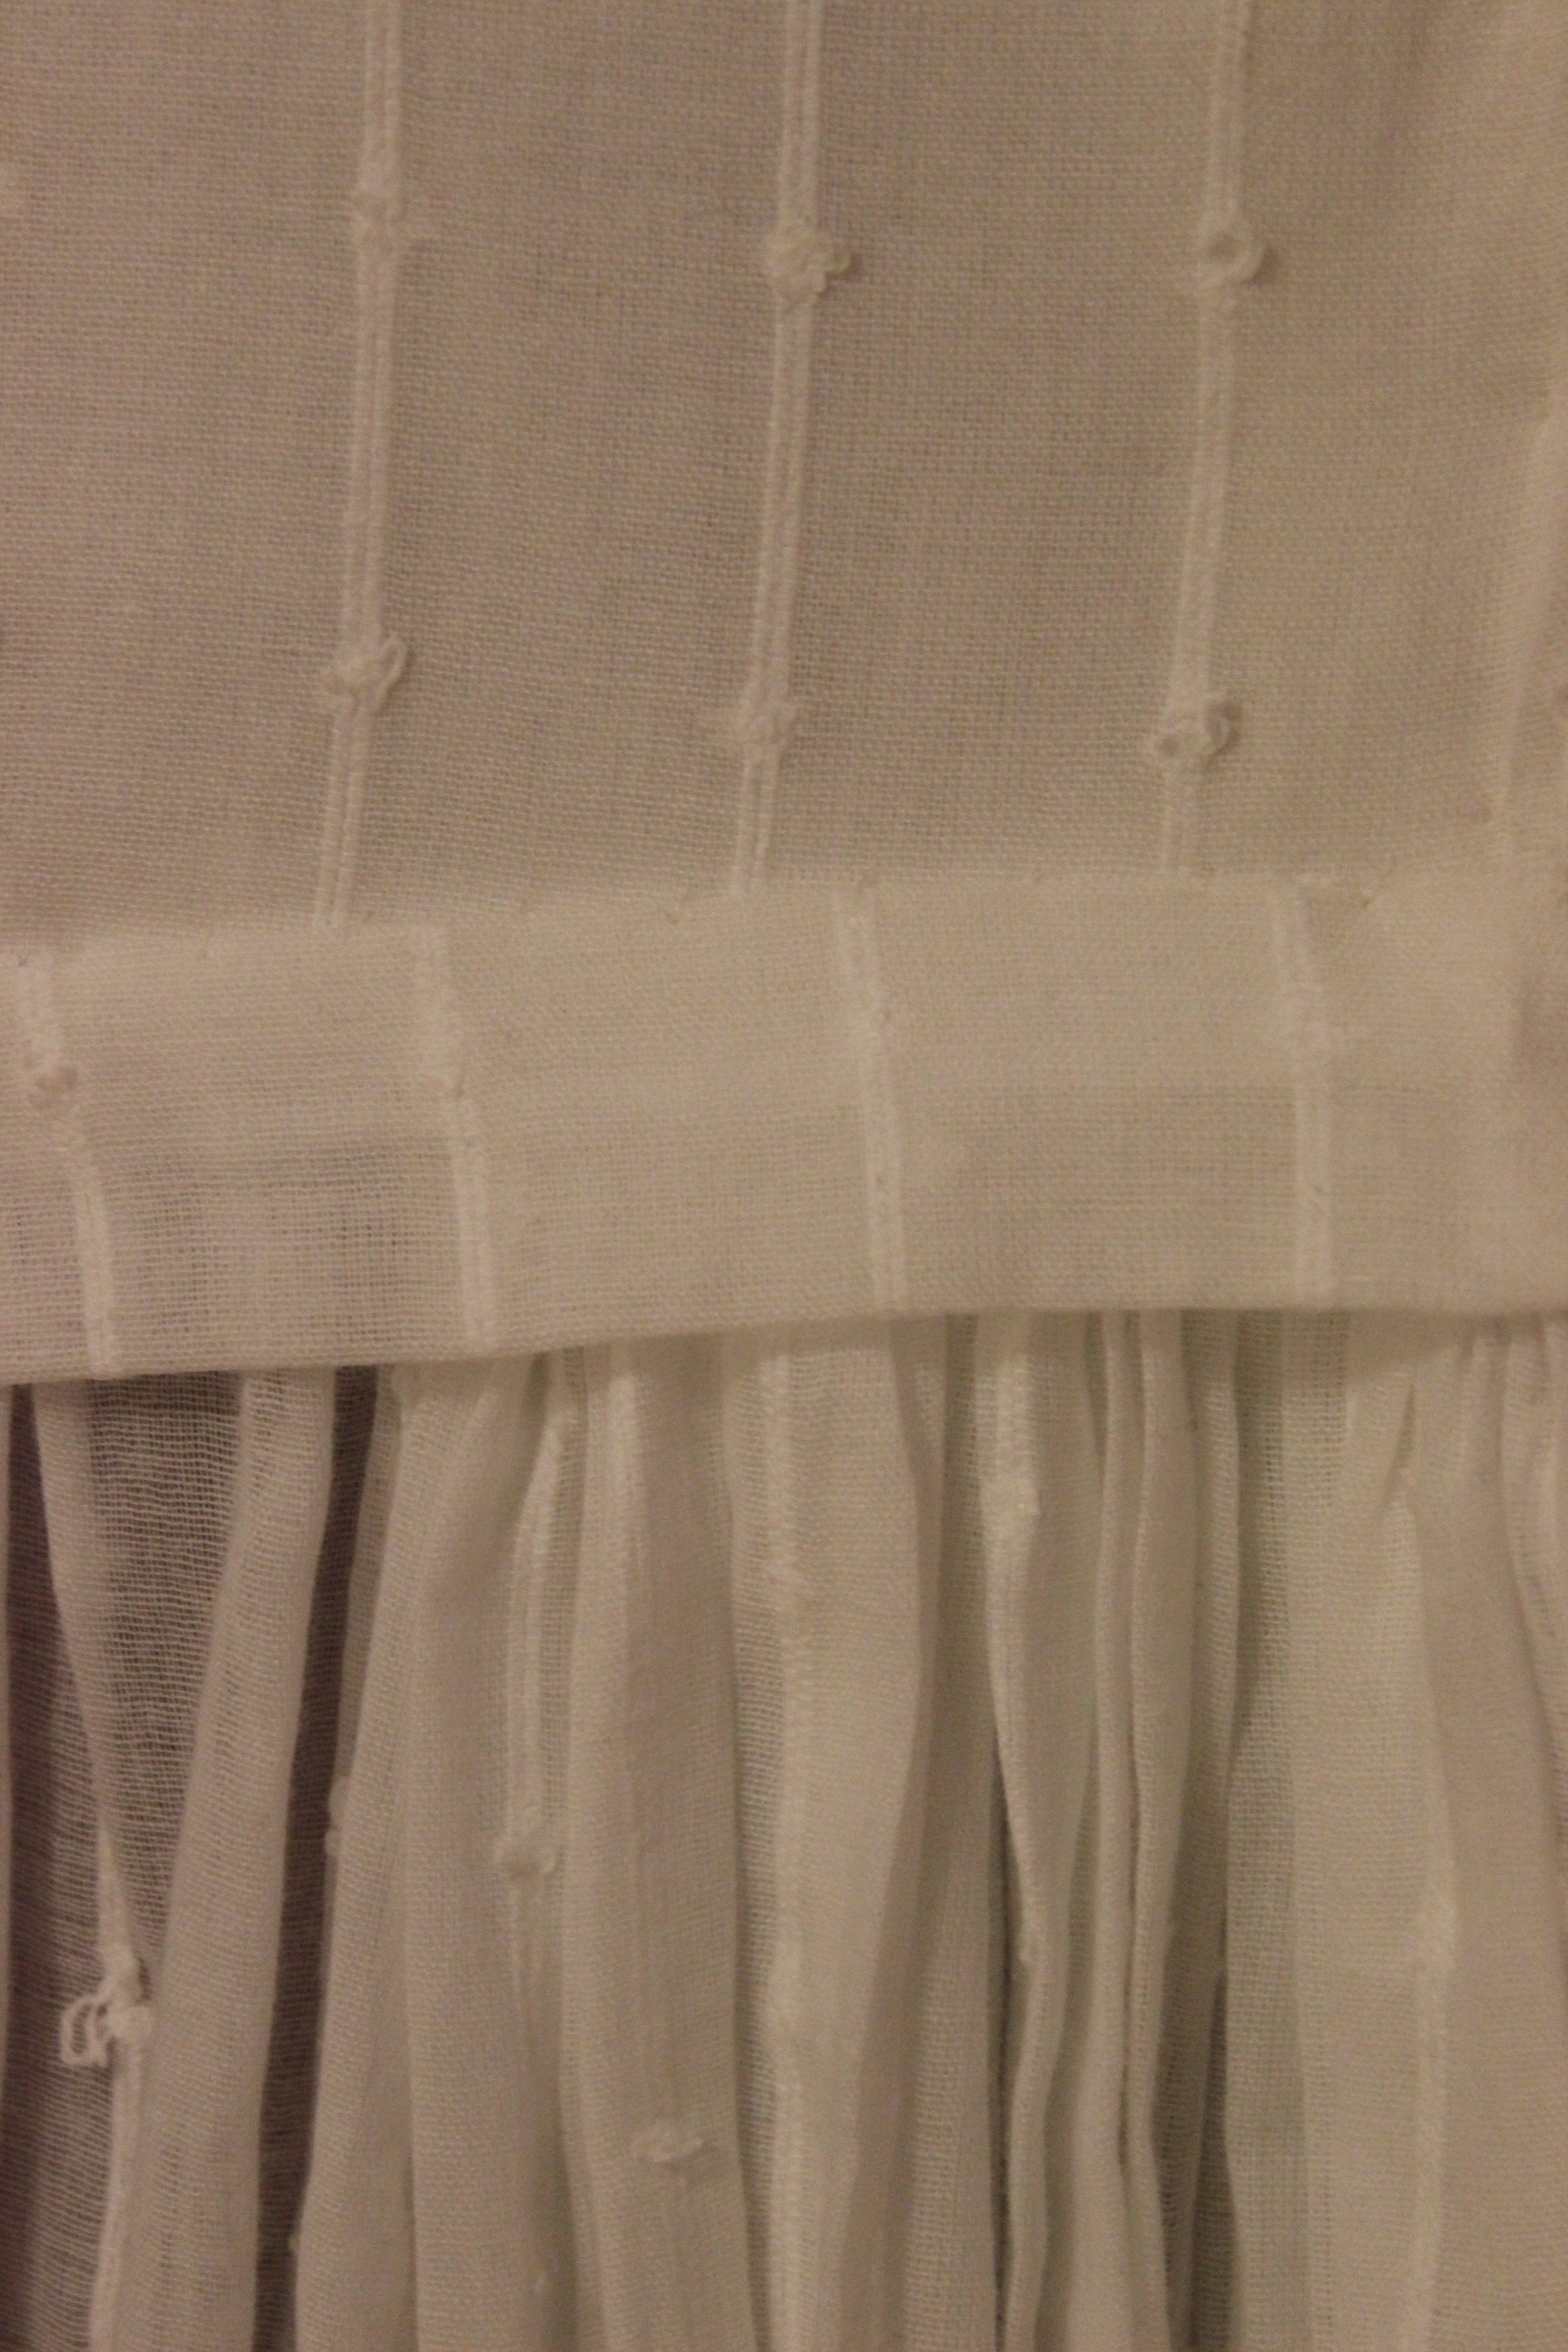
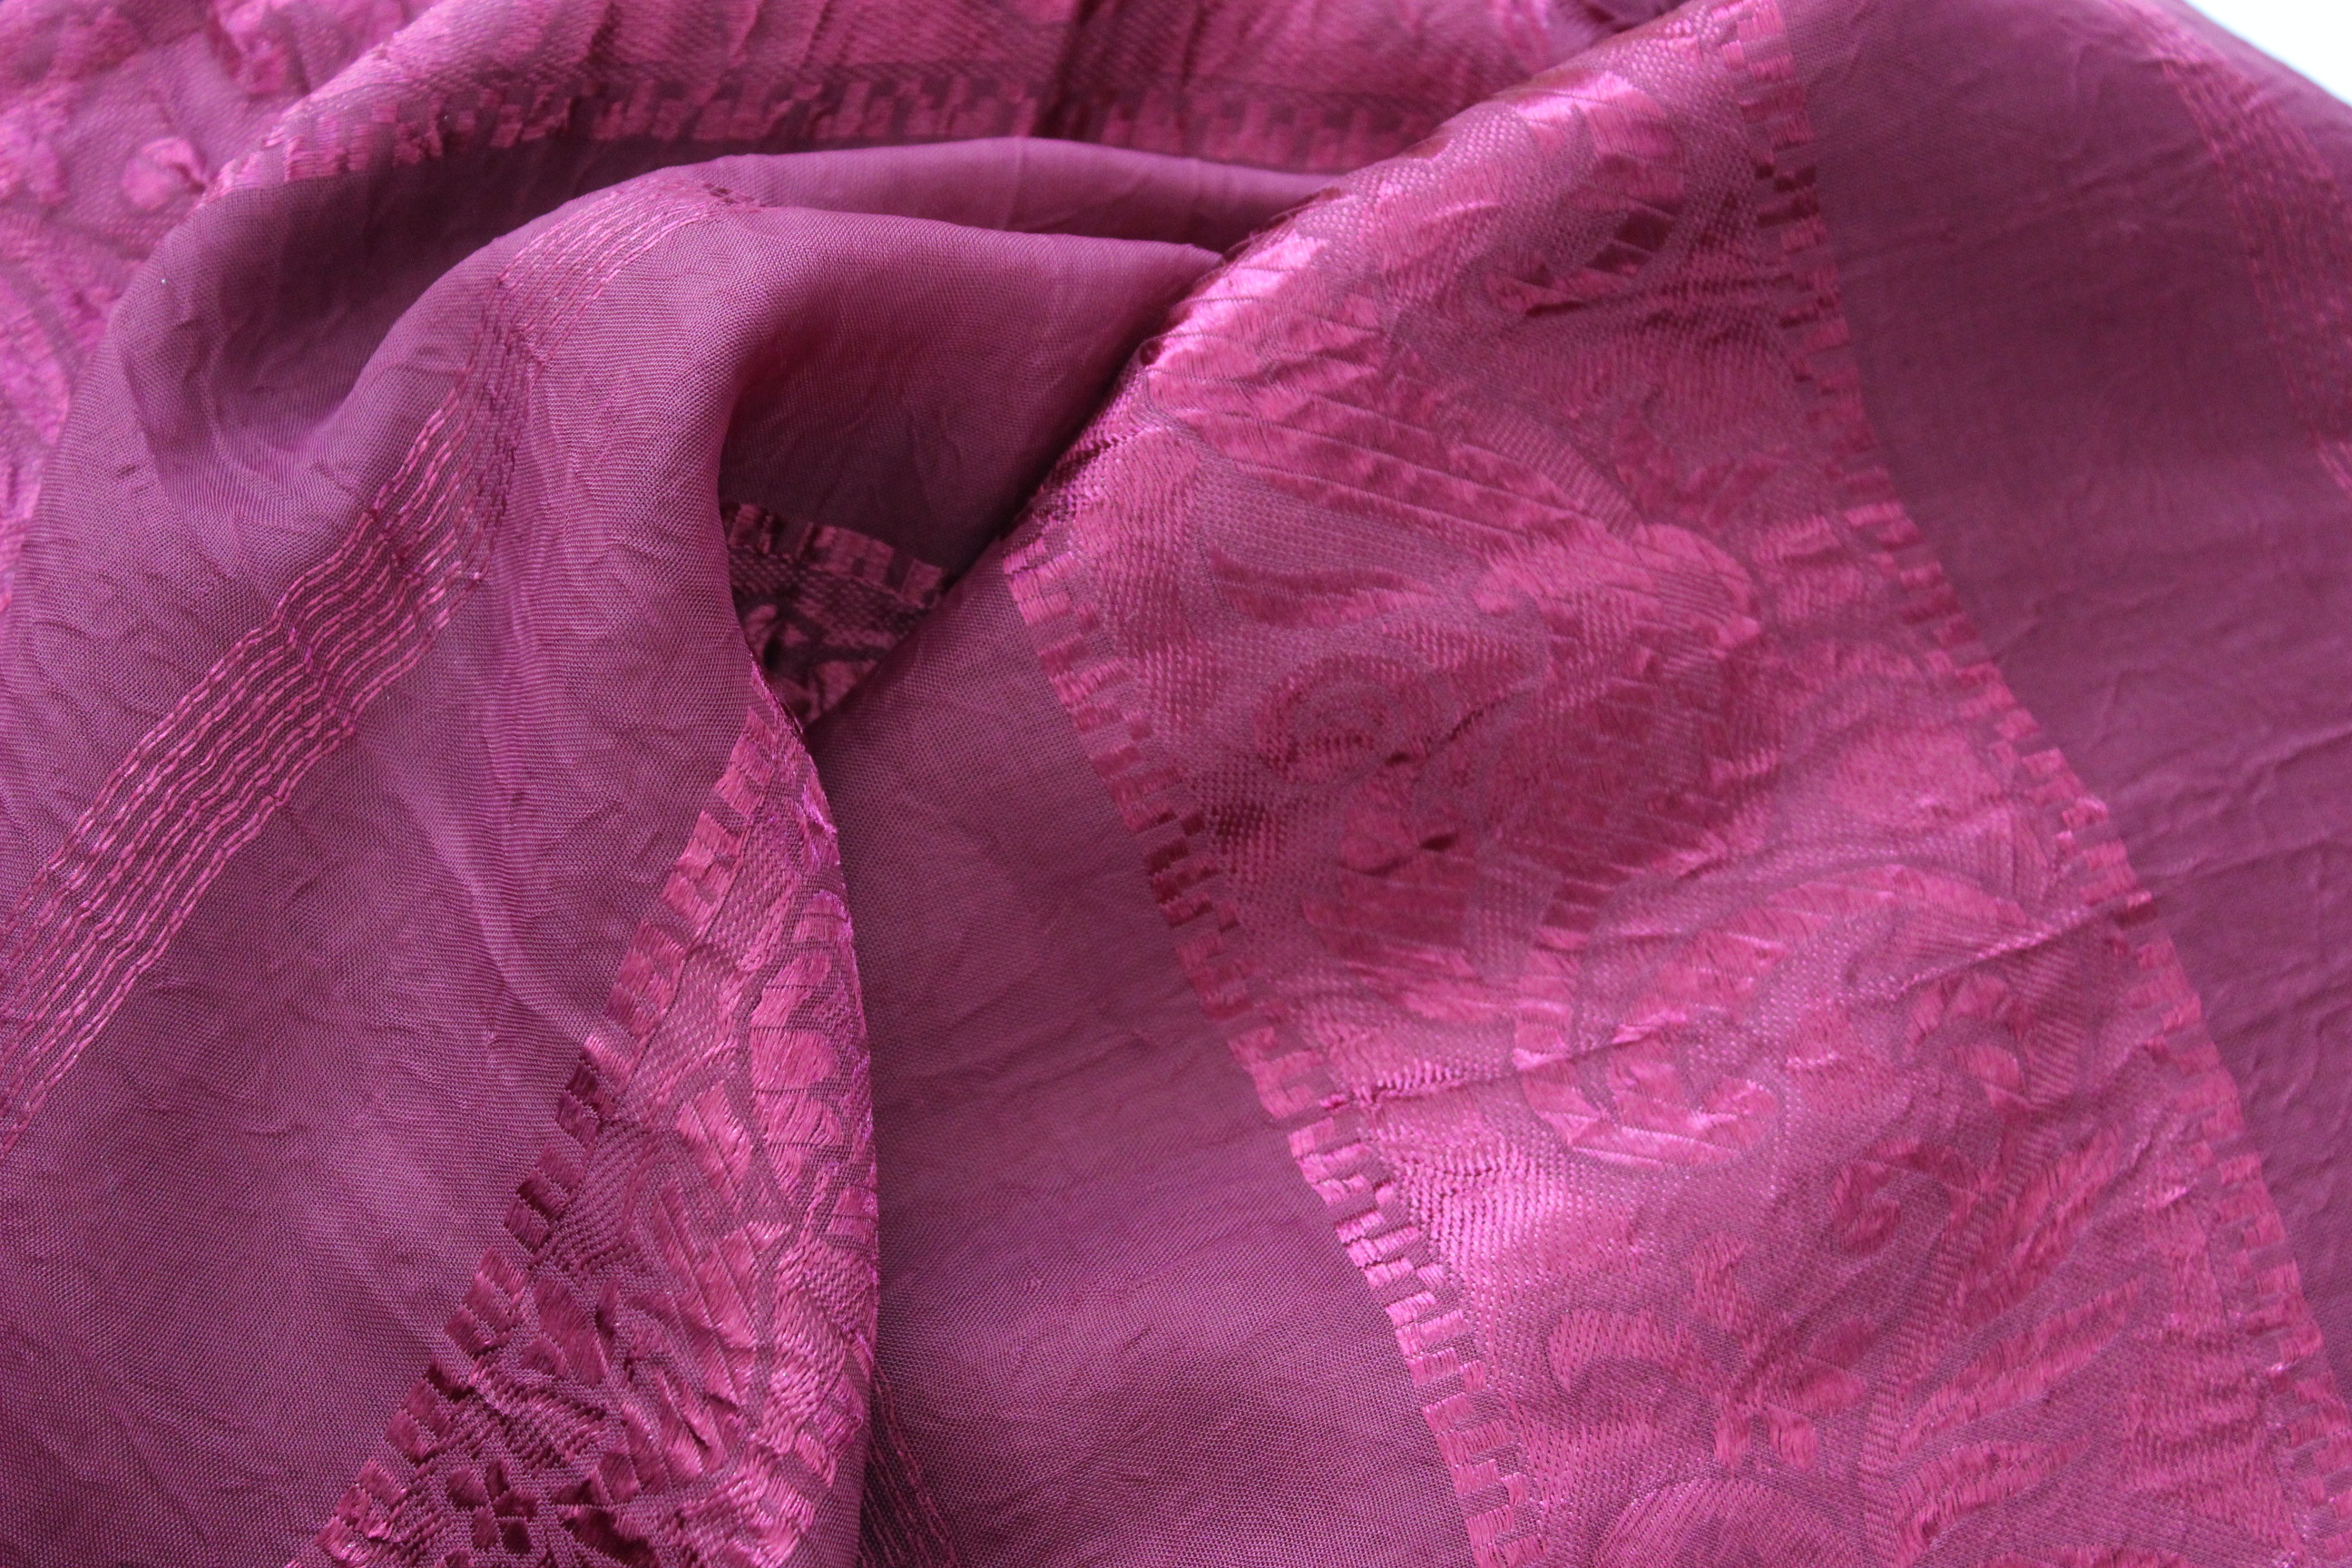
I also had the perfect fabric in my stash. IMG_7086
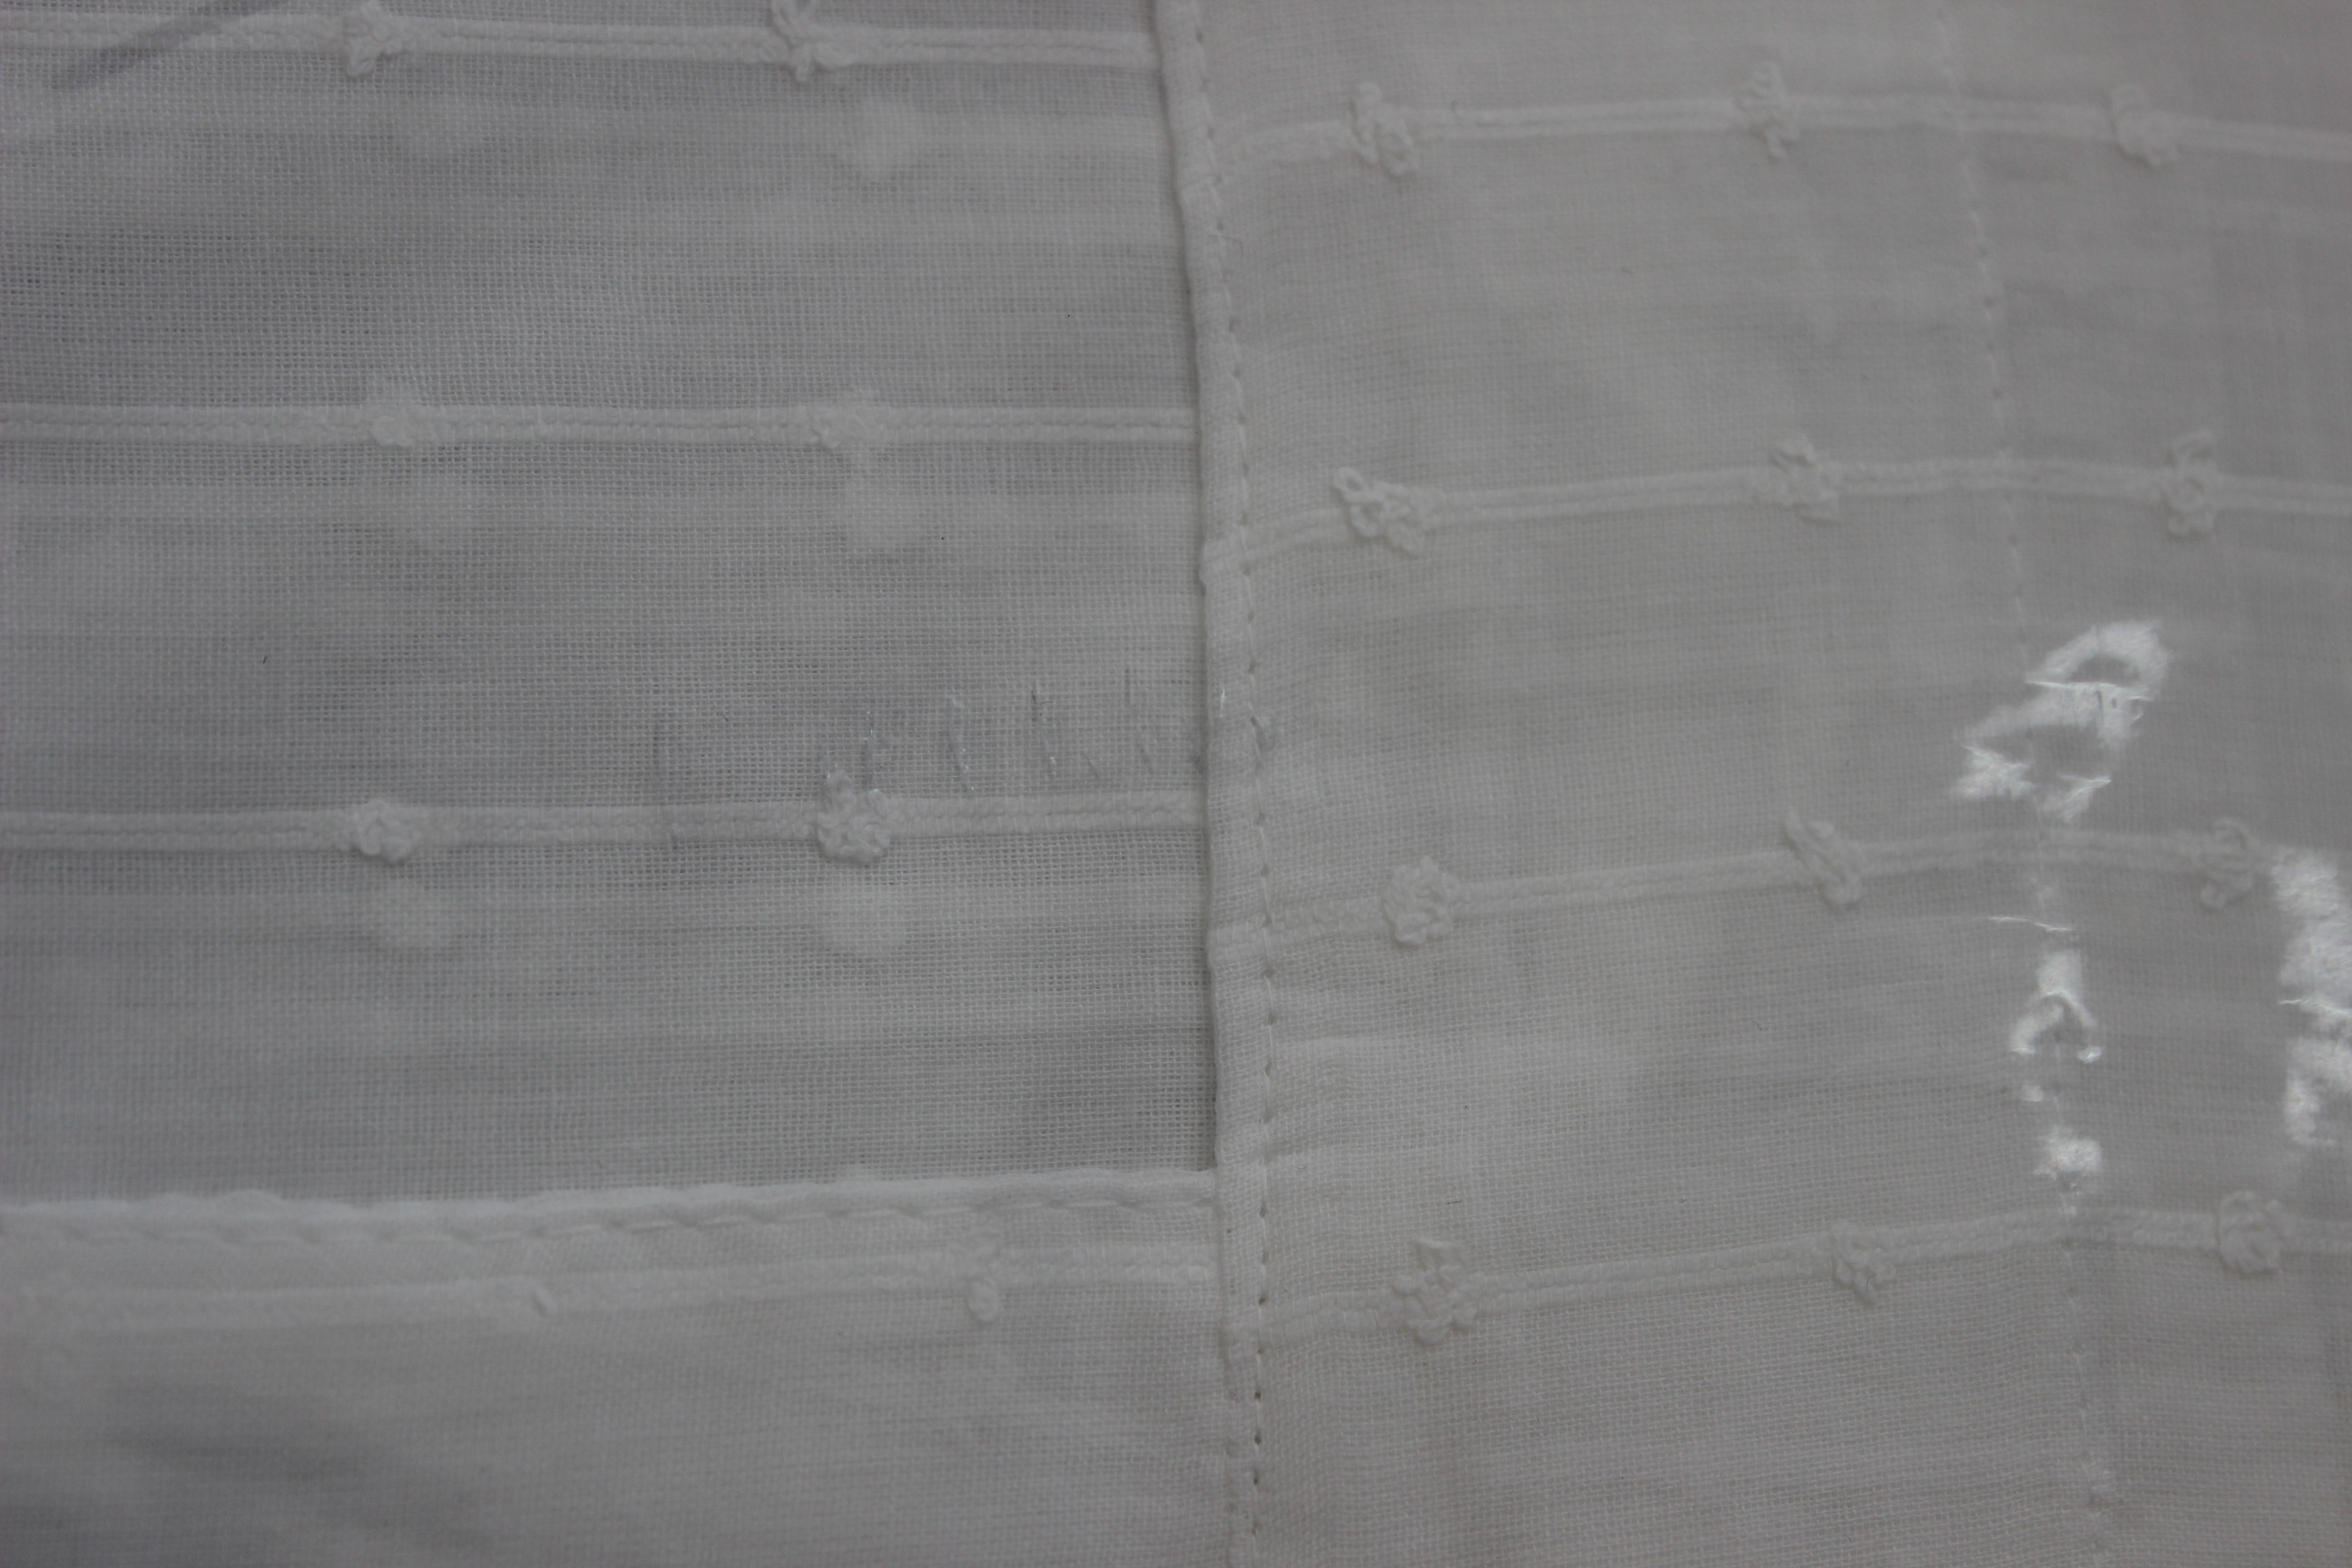
A white striped cotton voile, that started life as a pair of IKEA curtains.

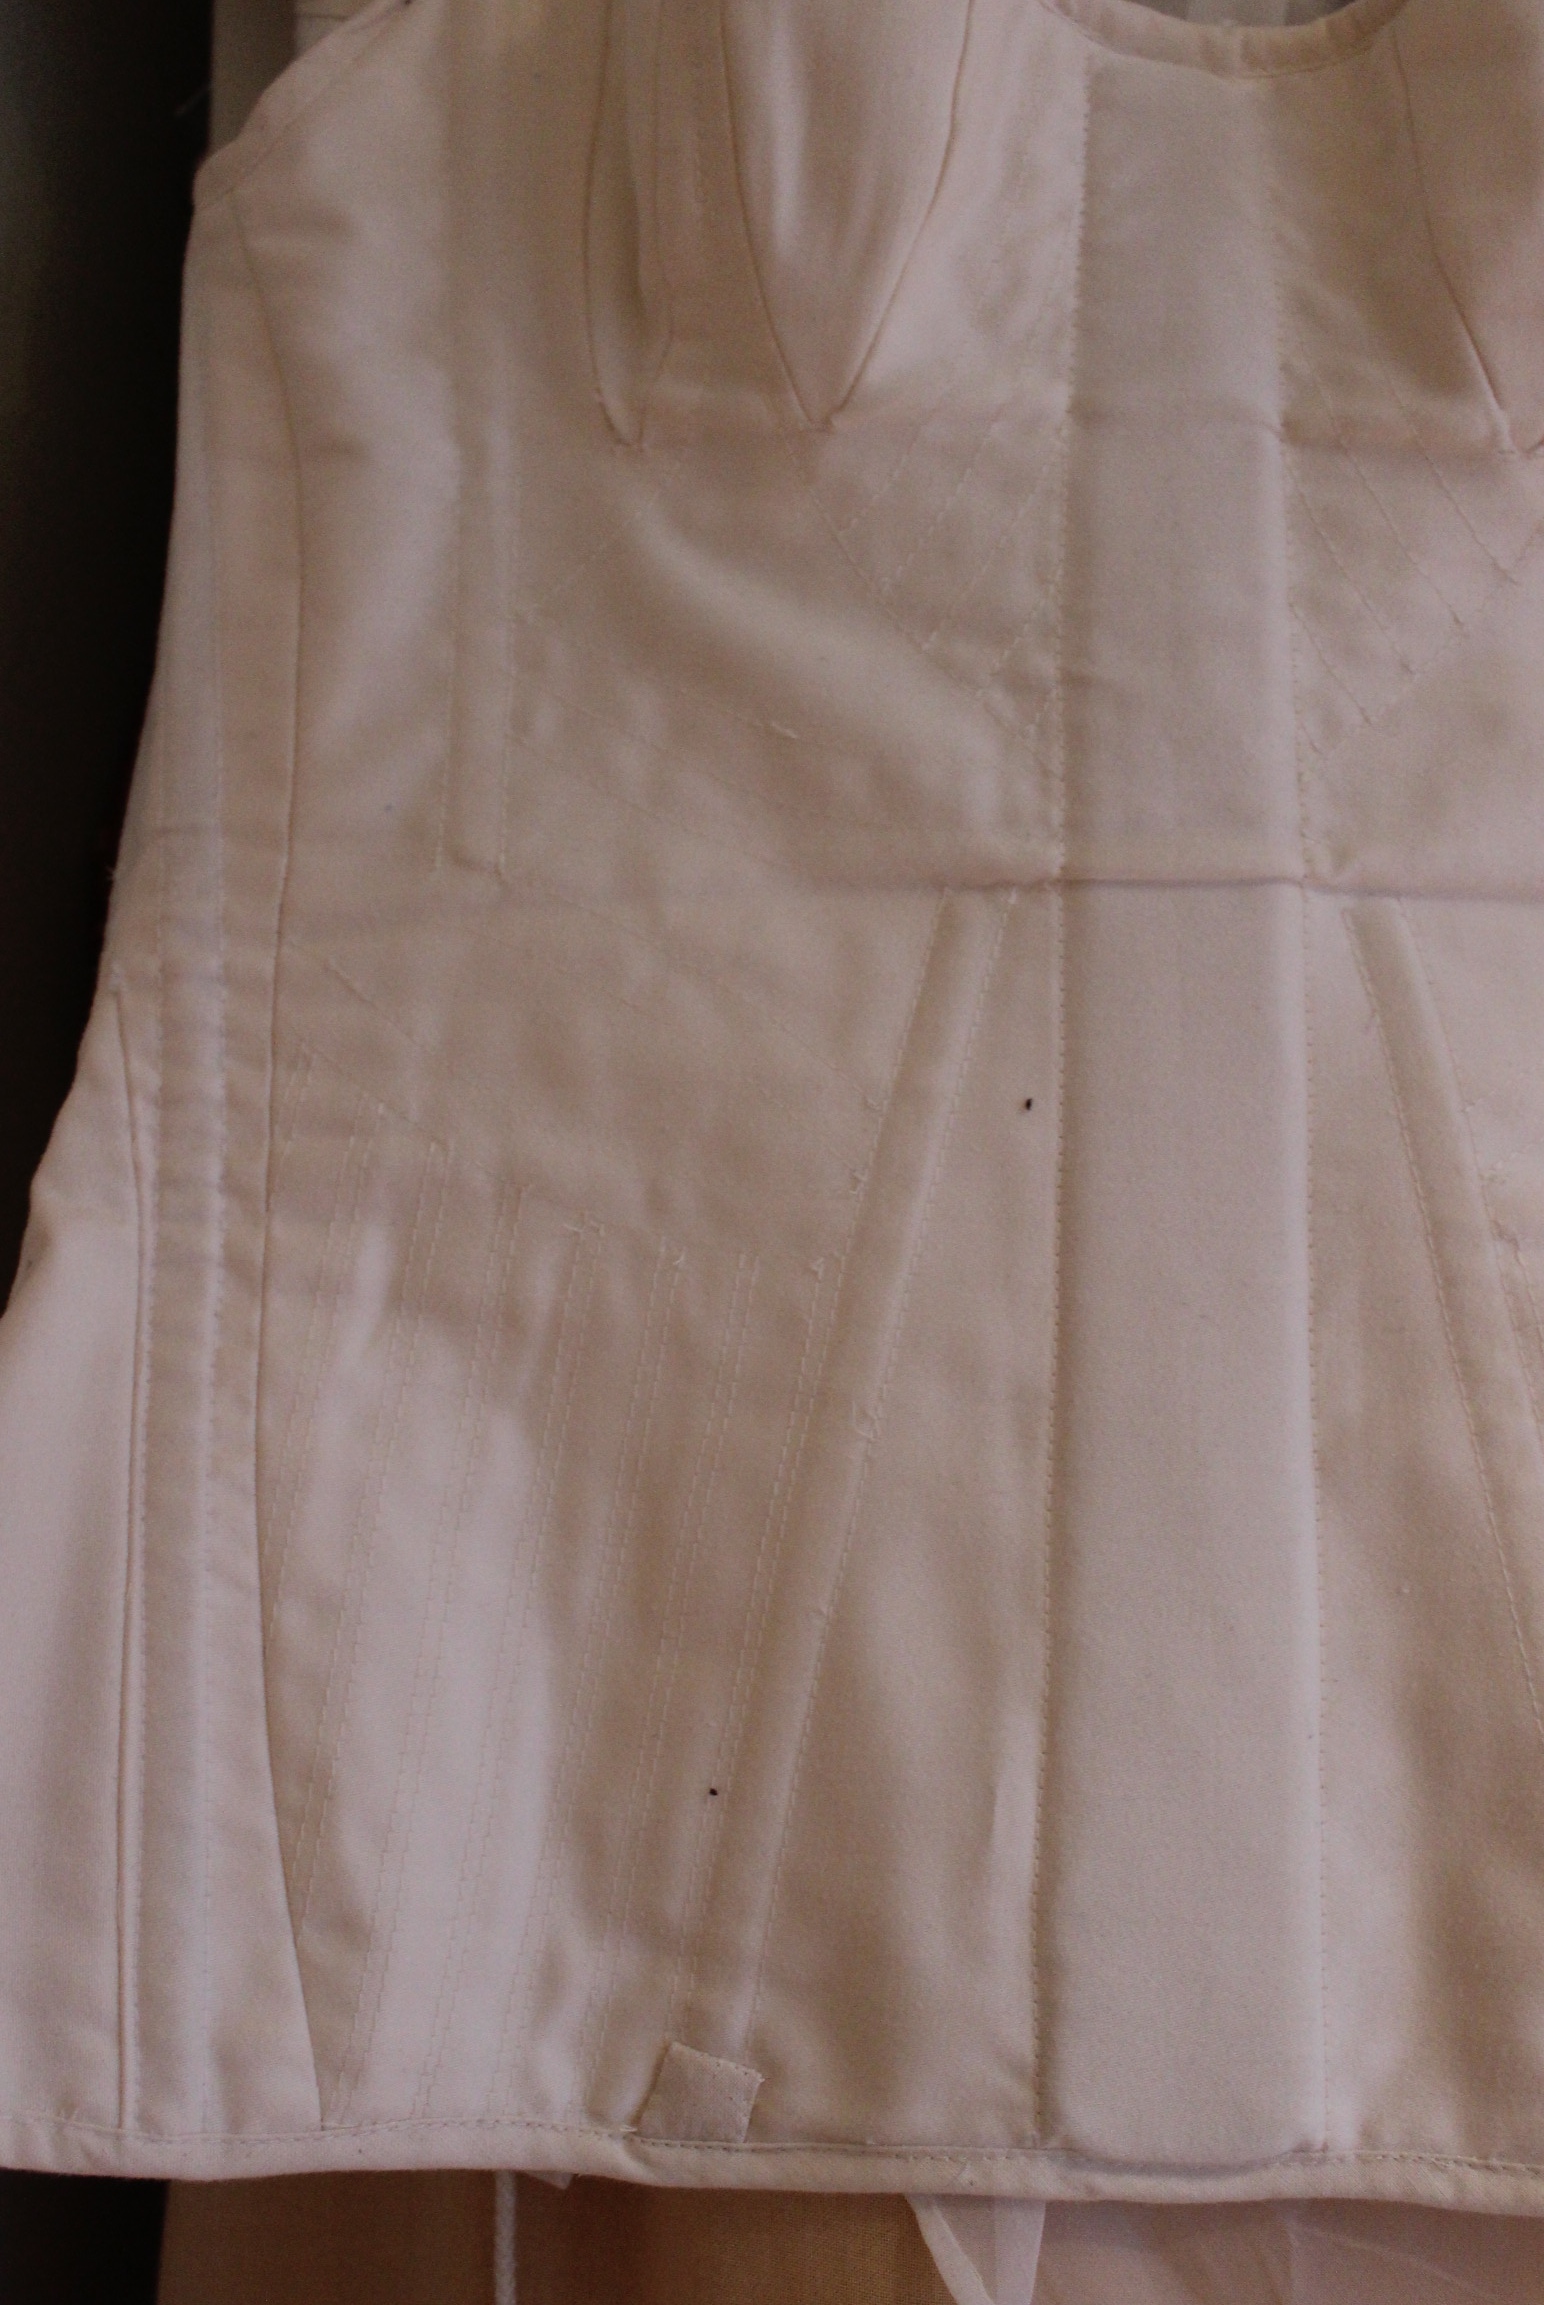
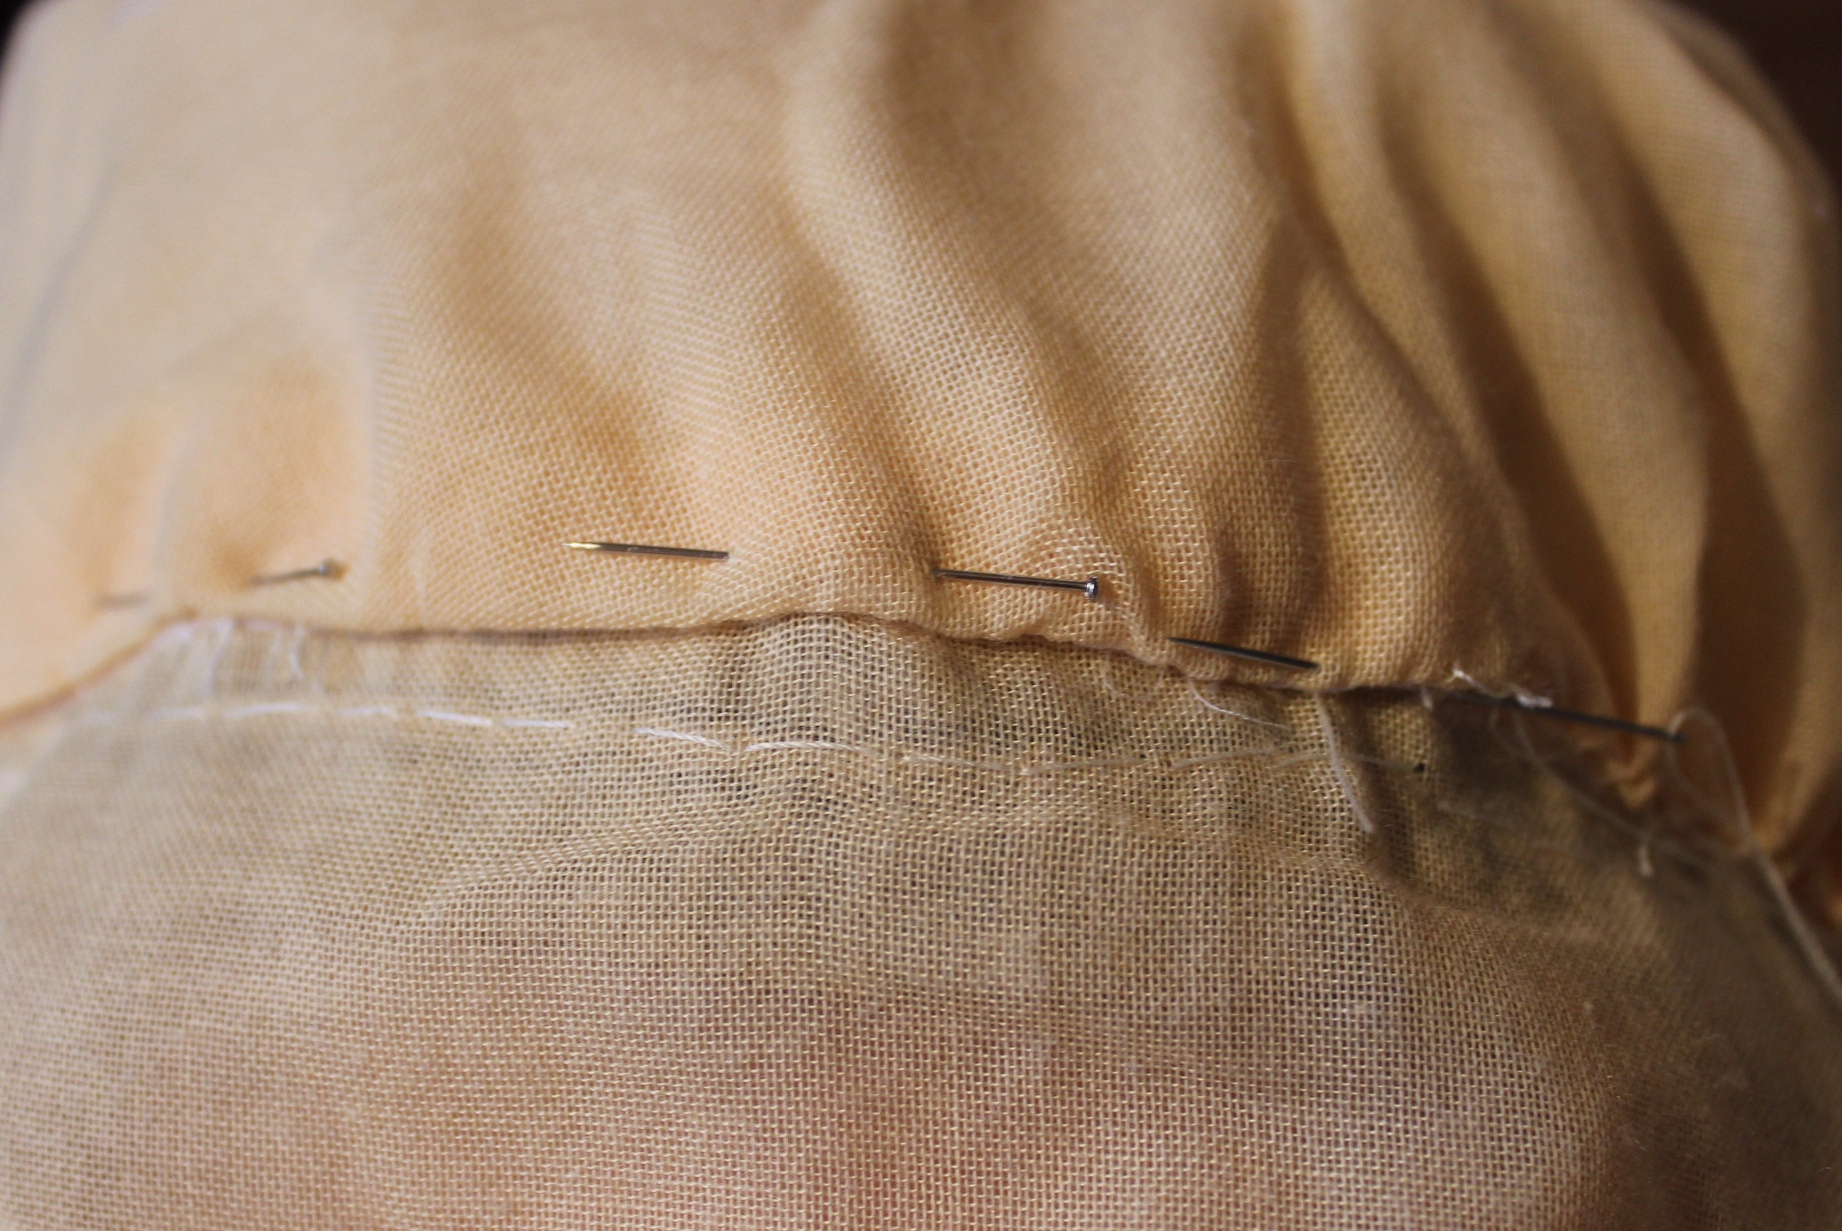
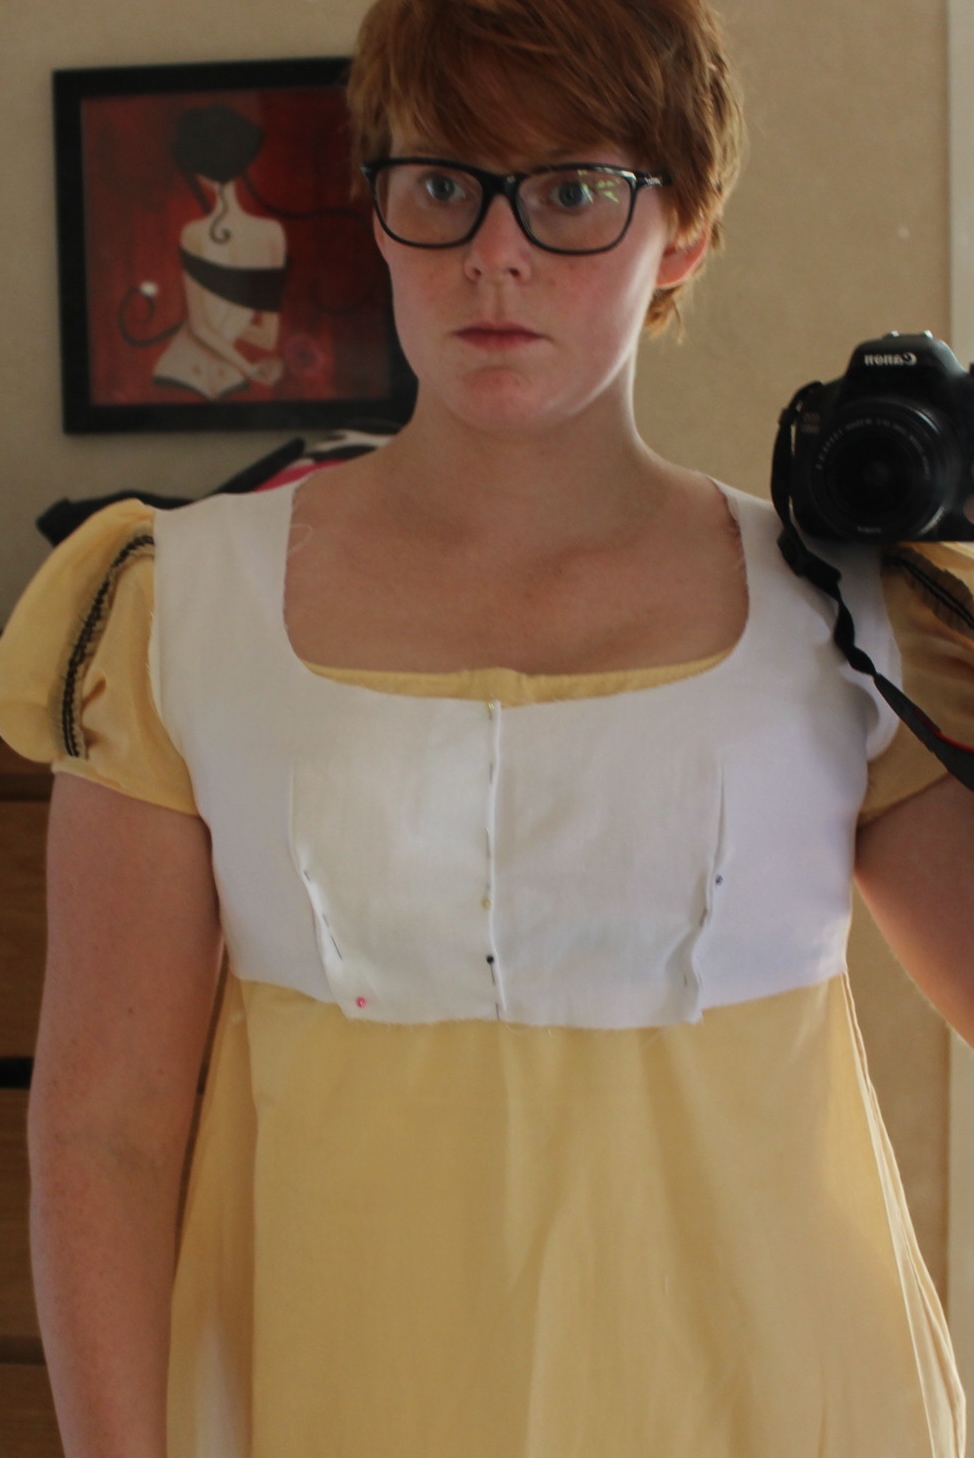
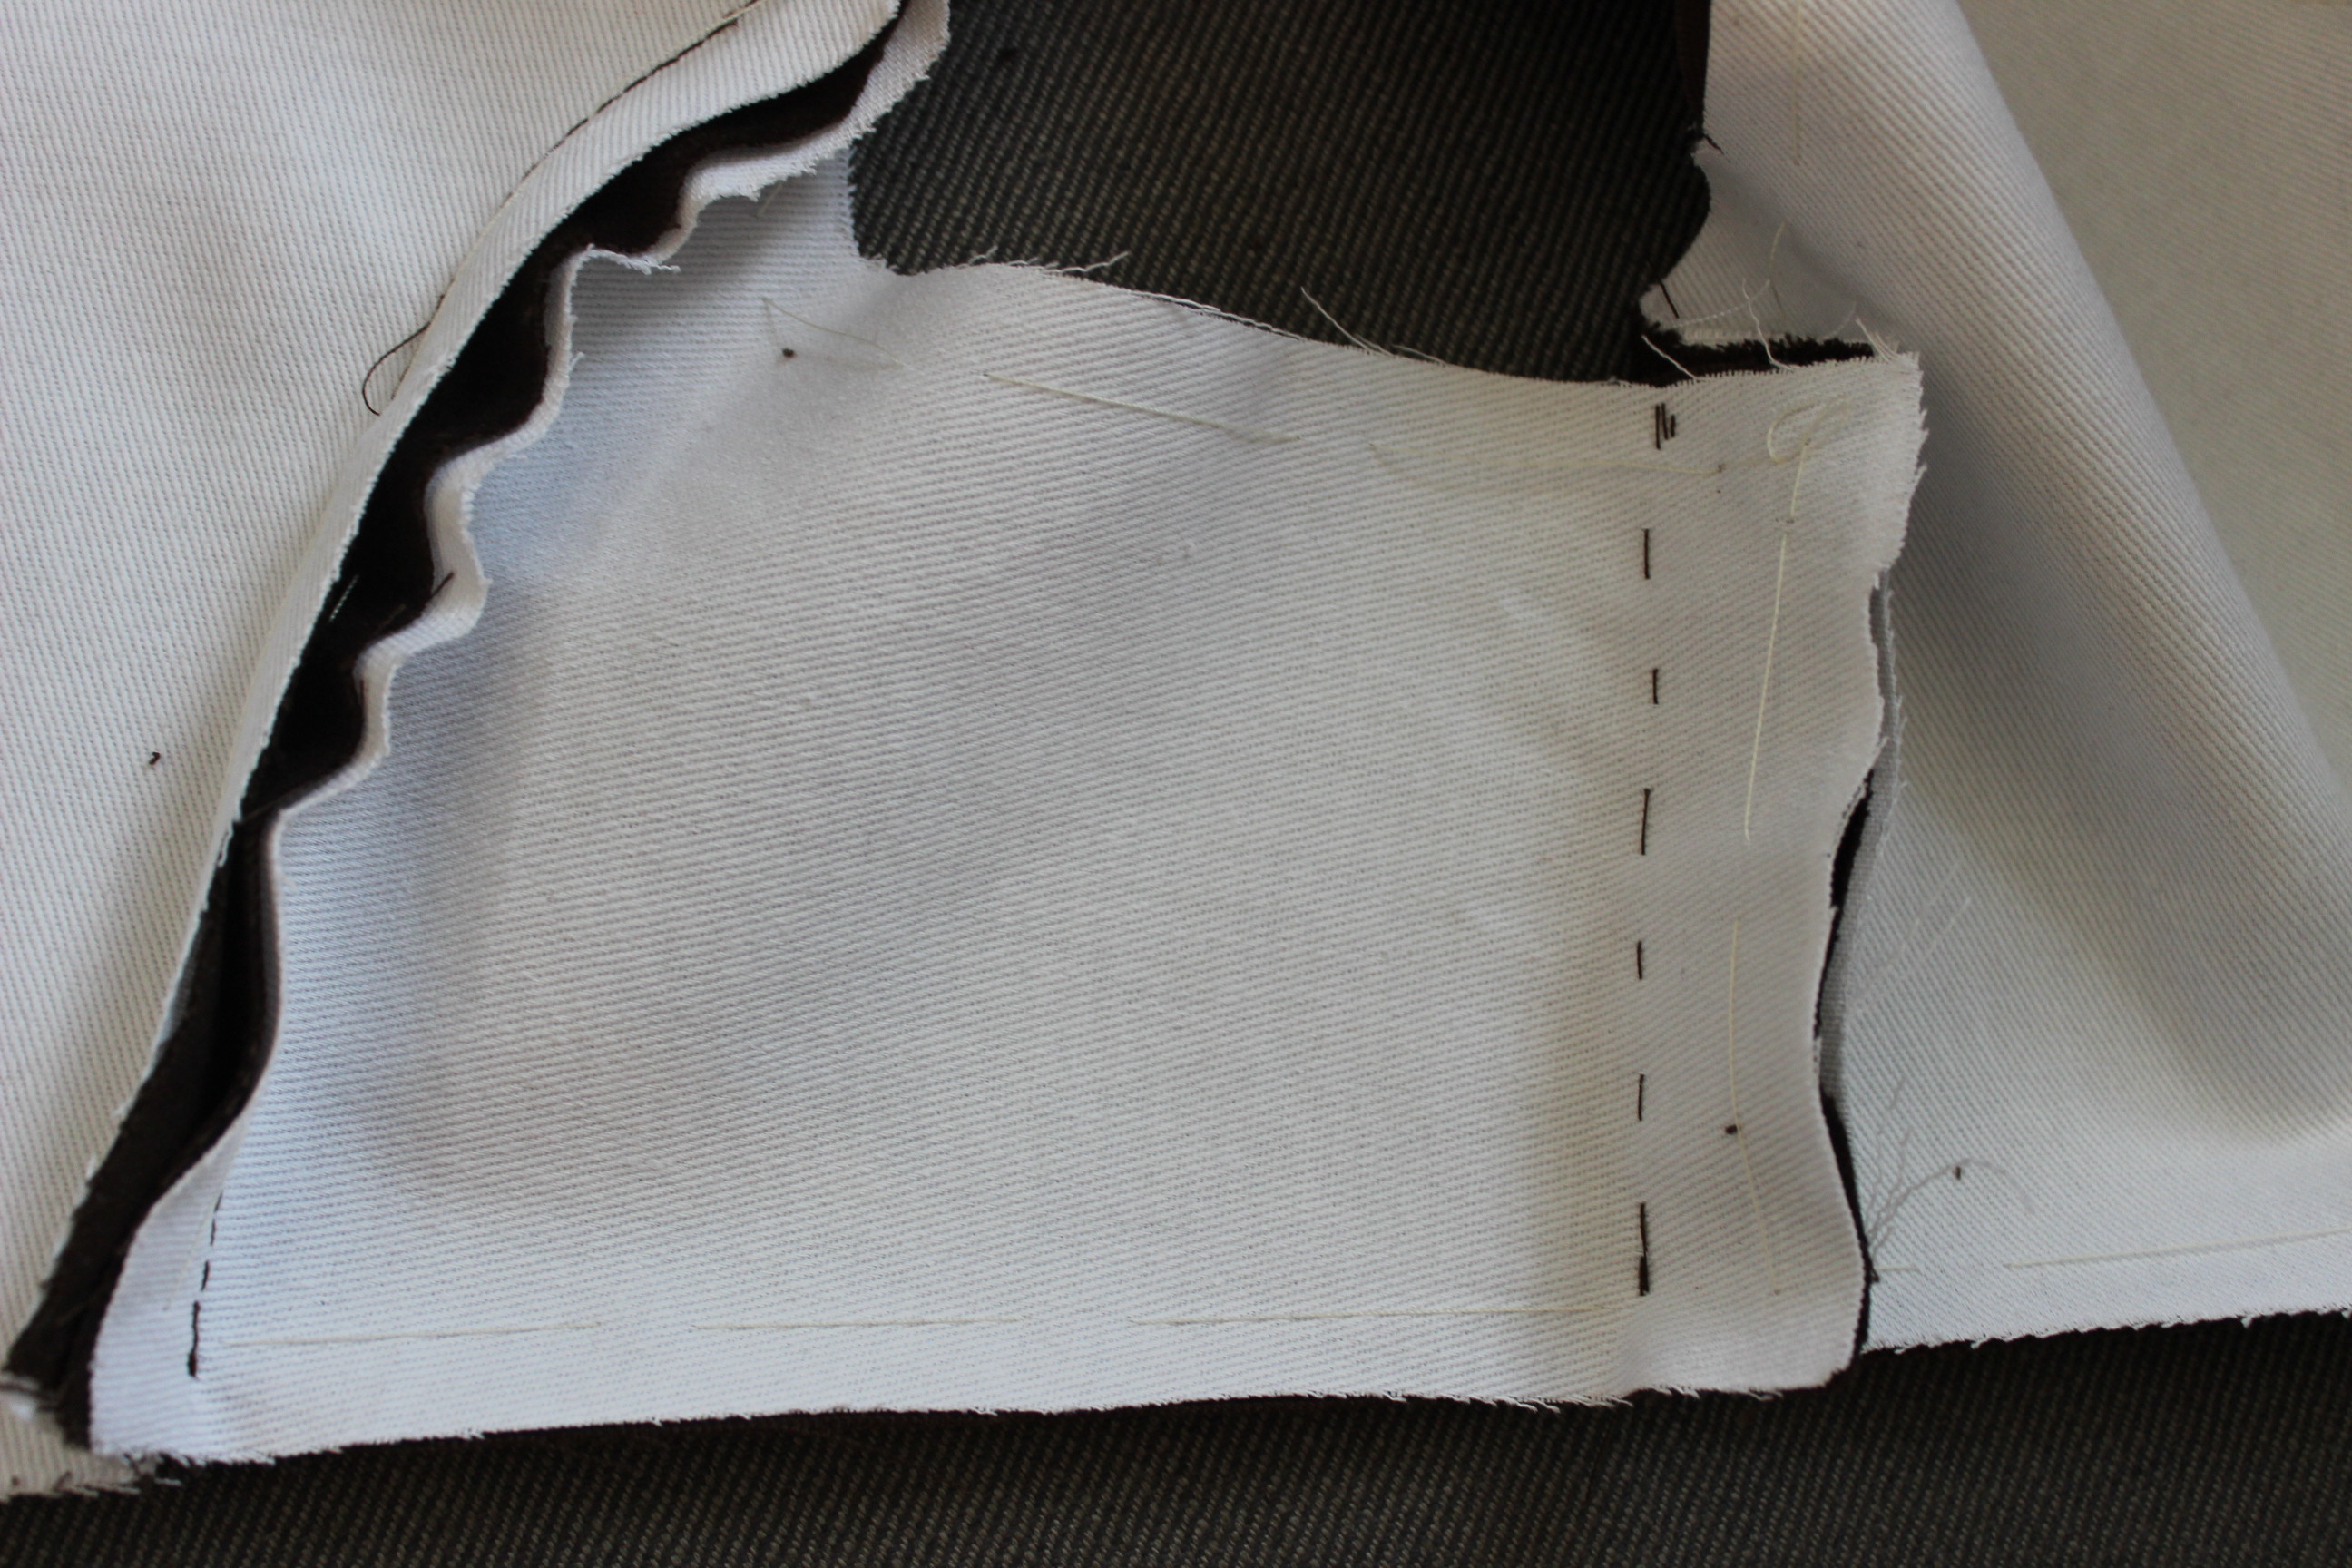
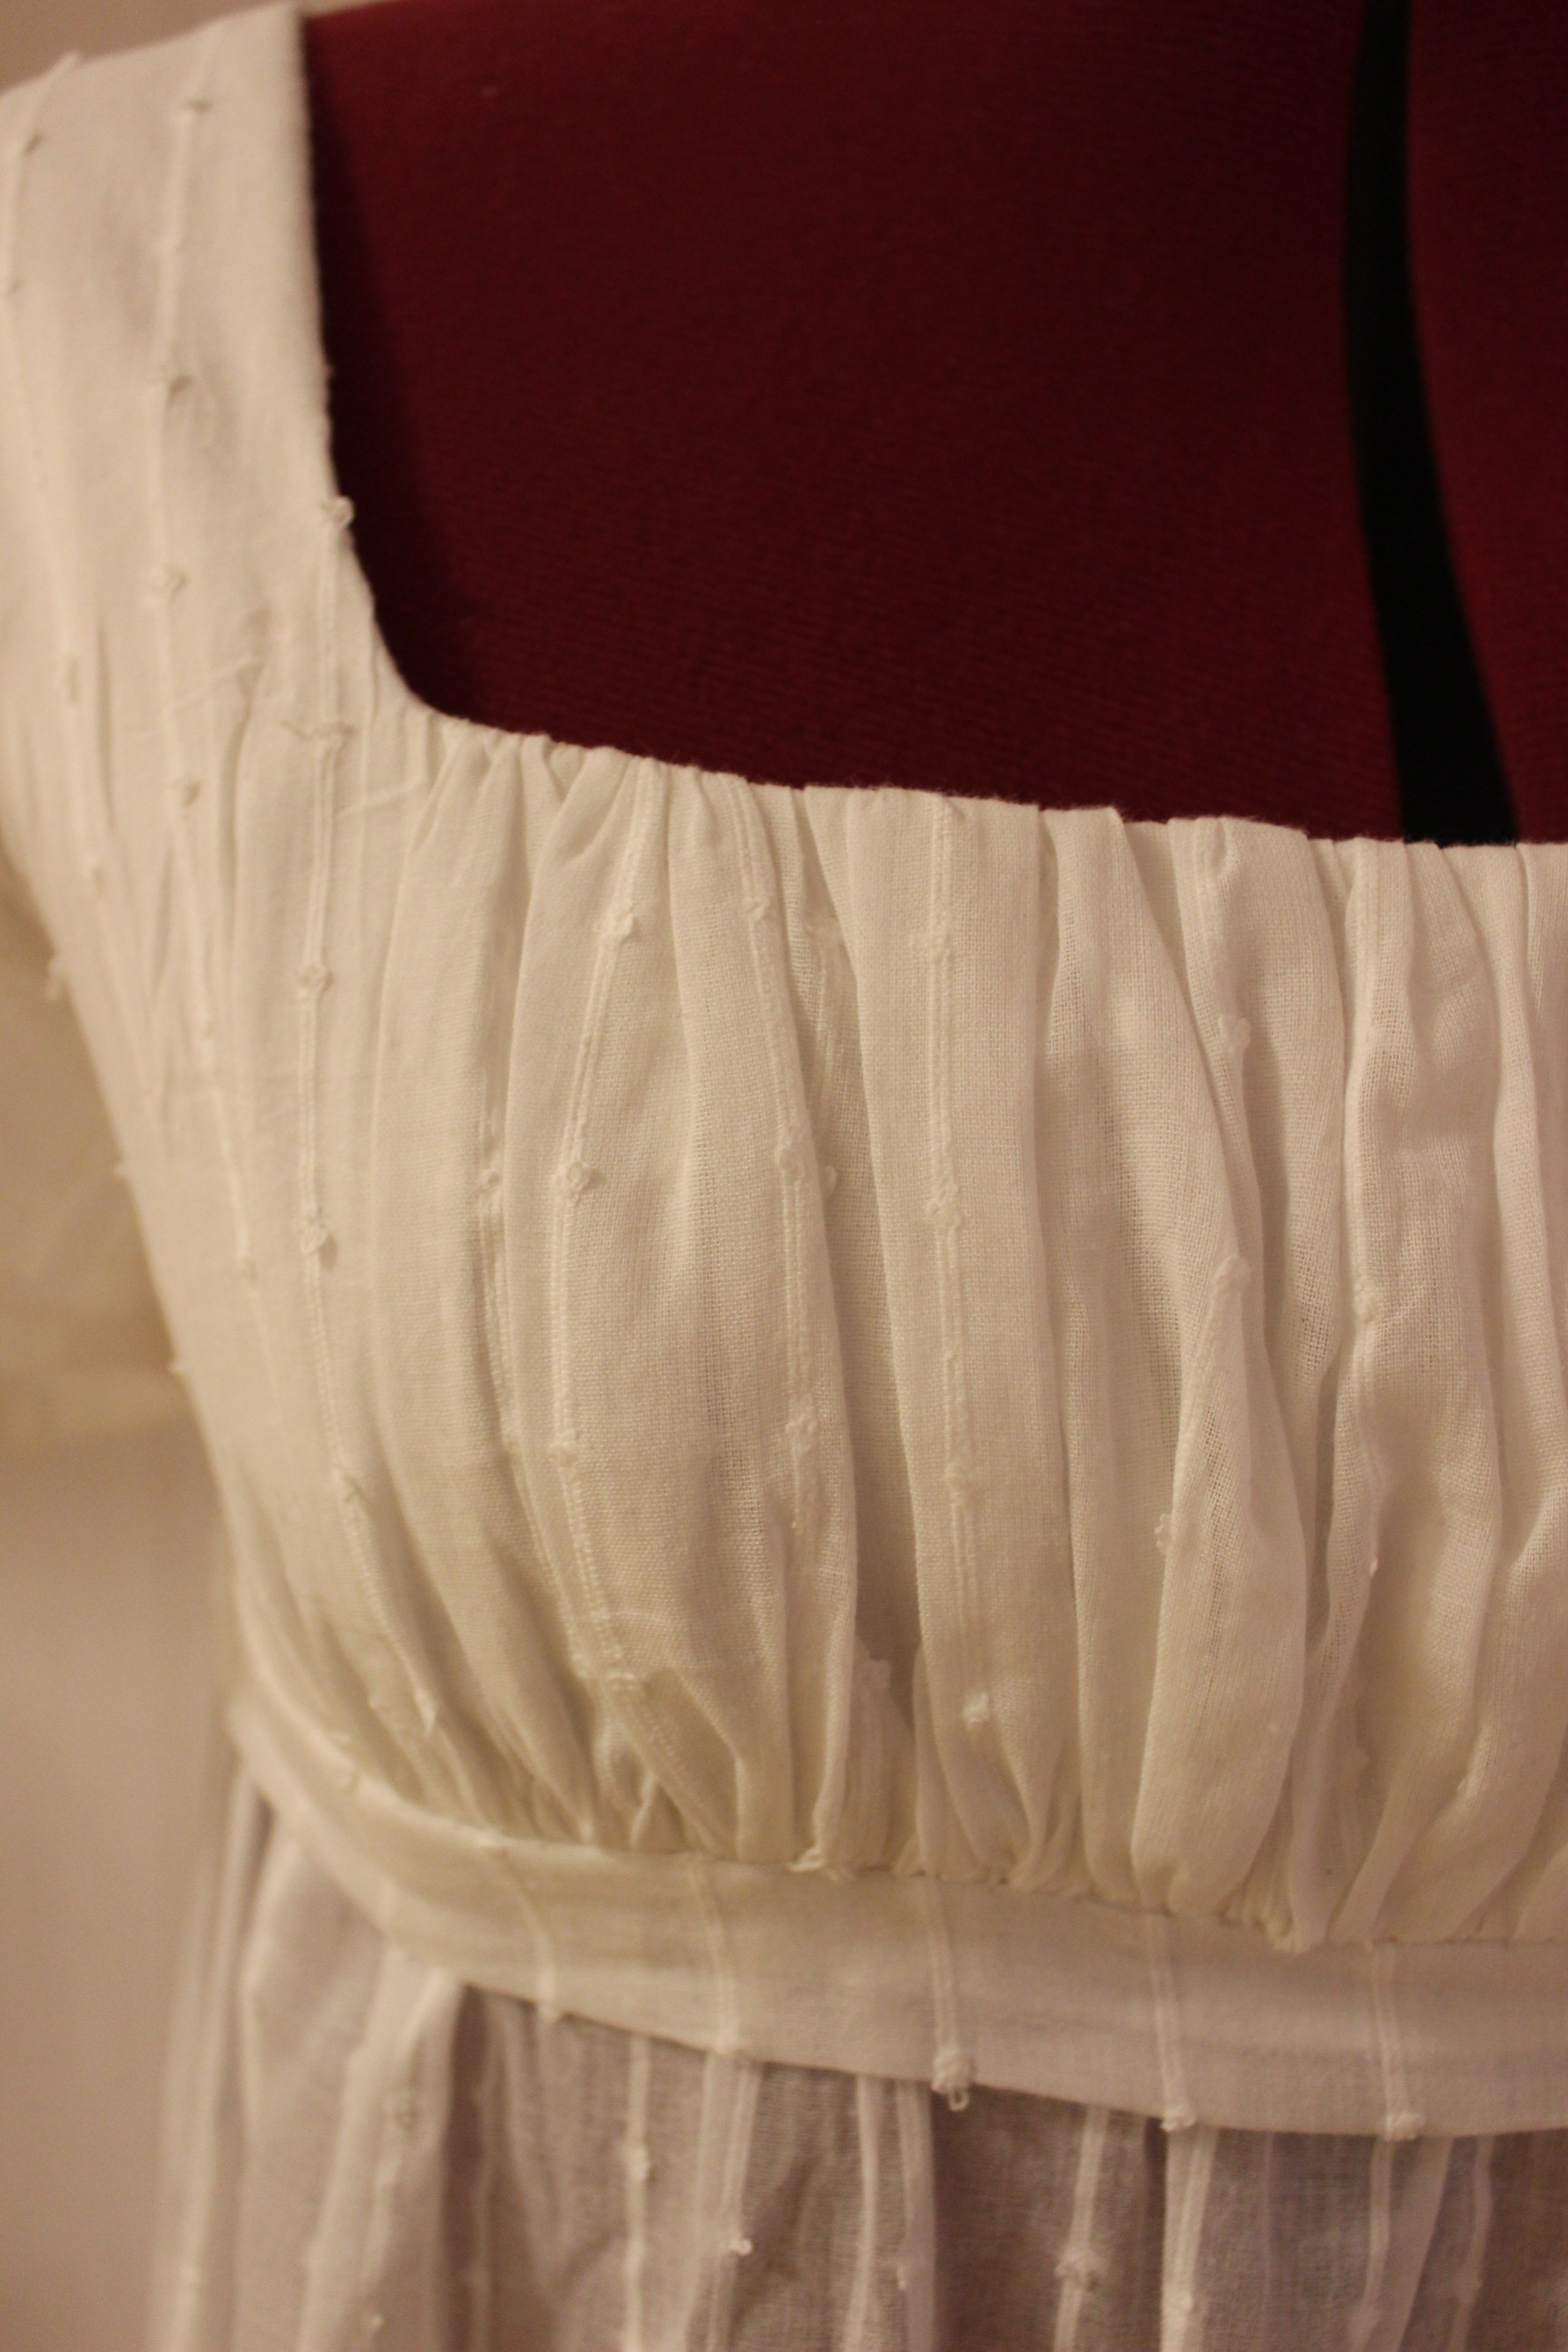
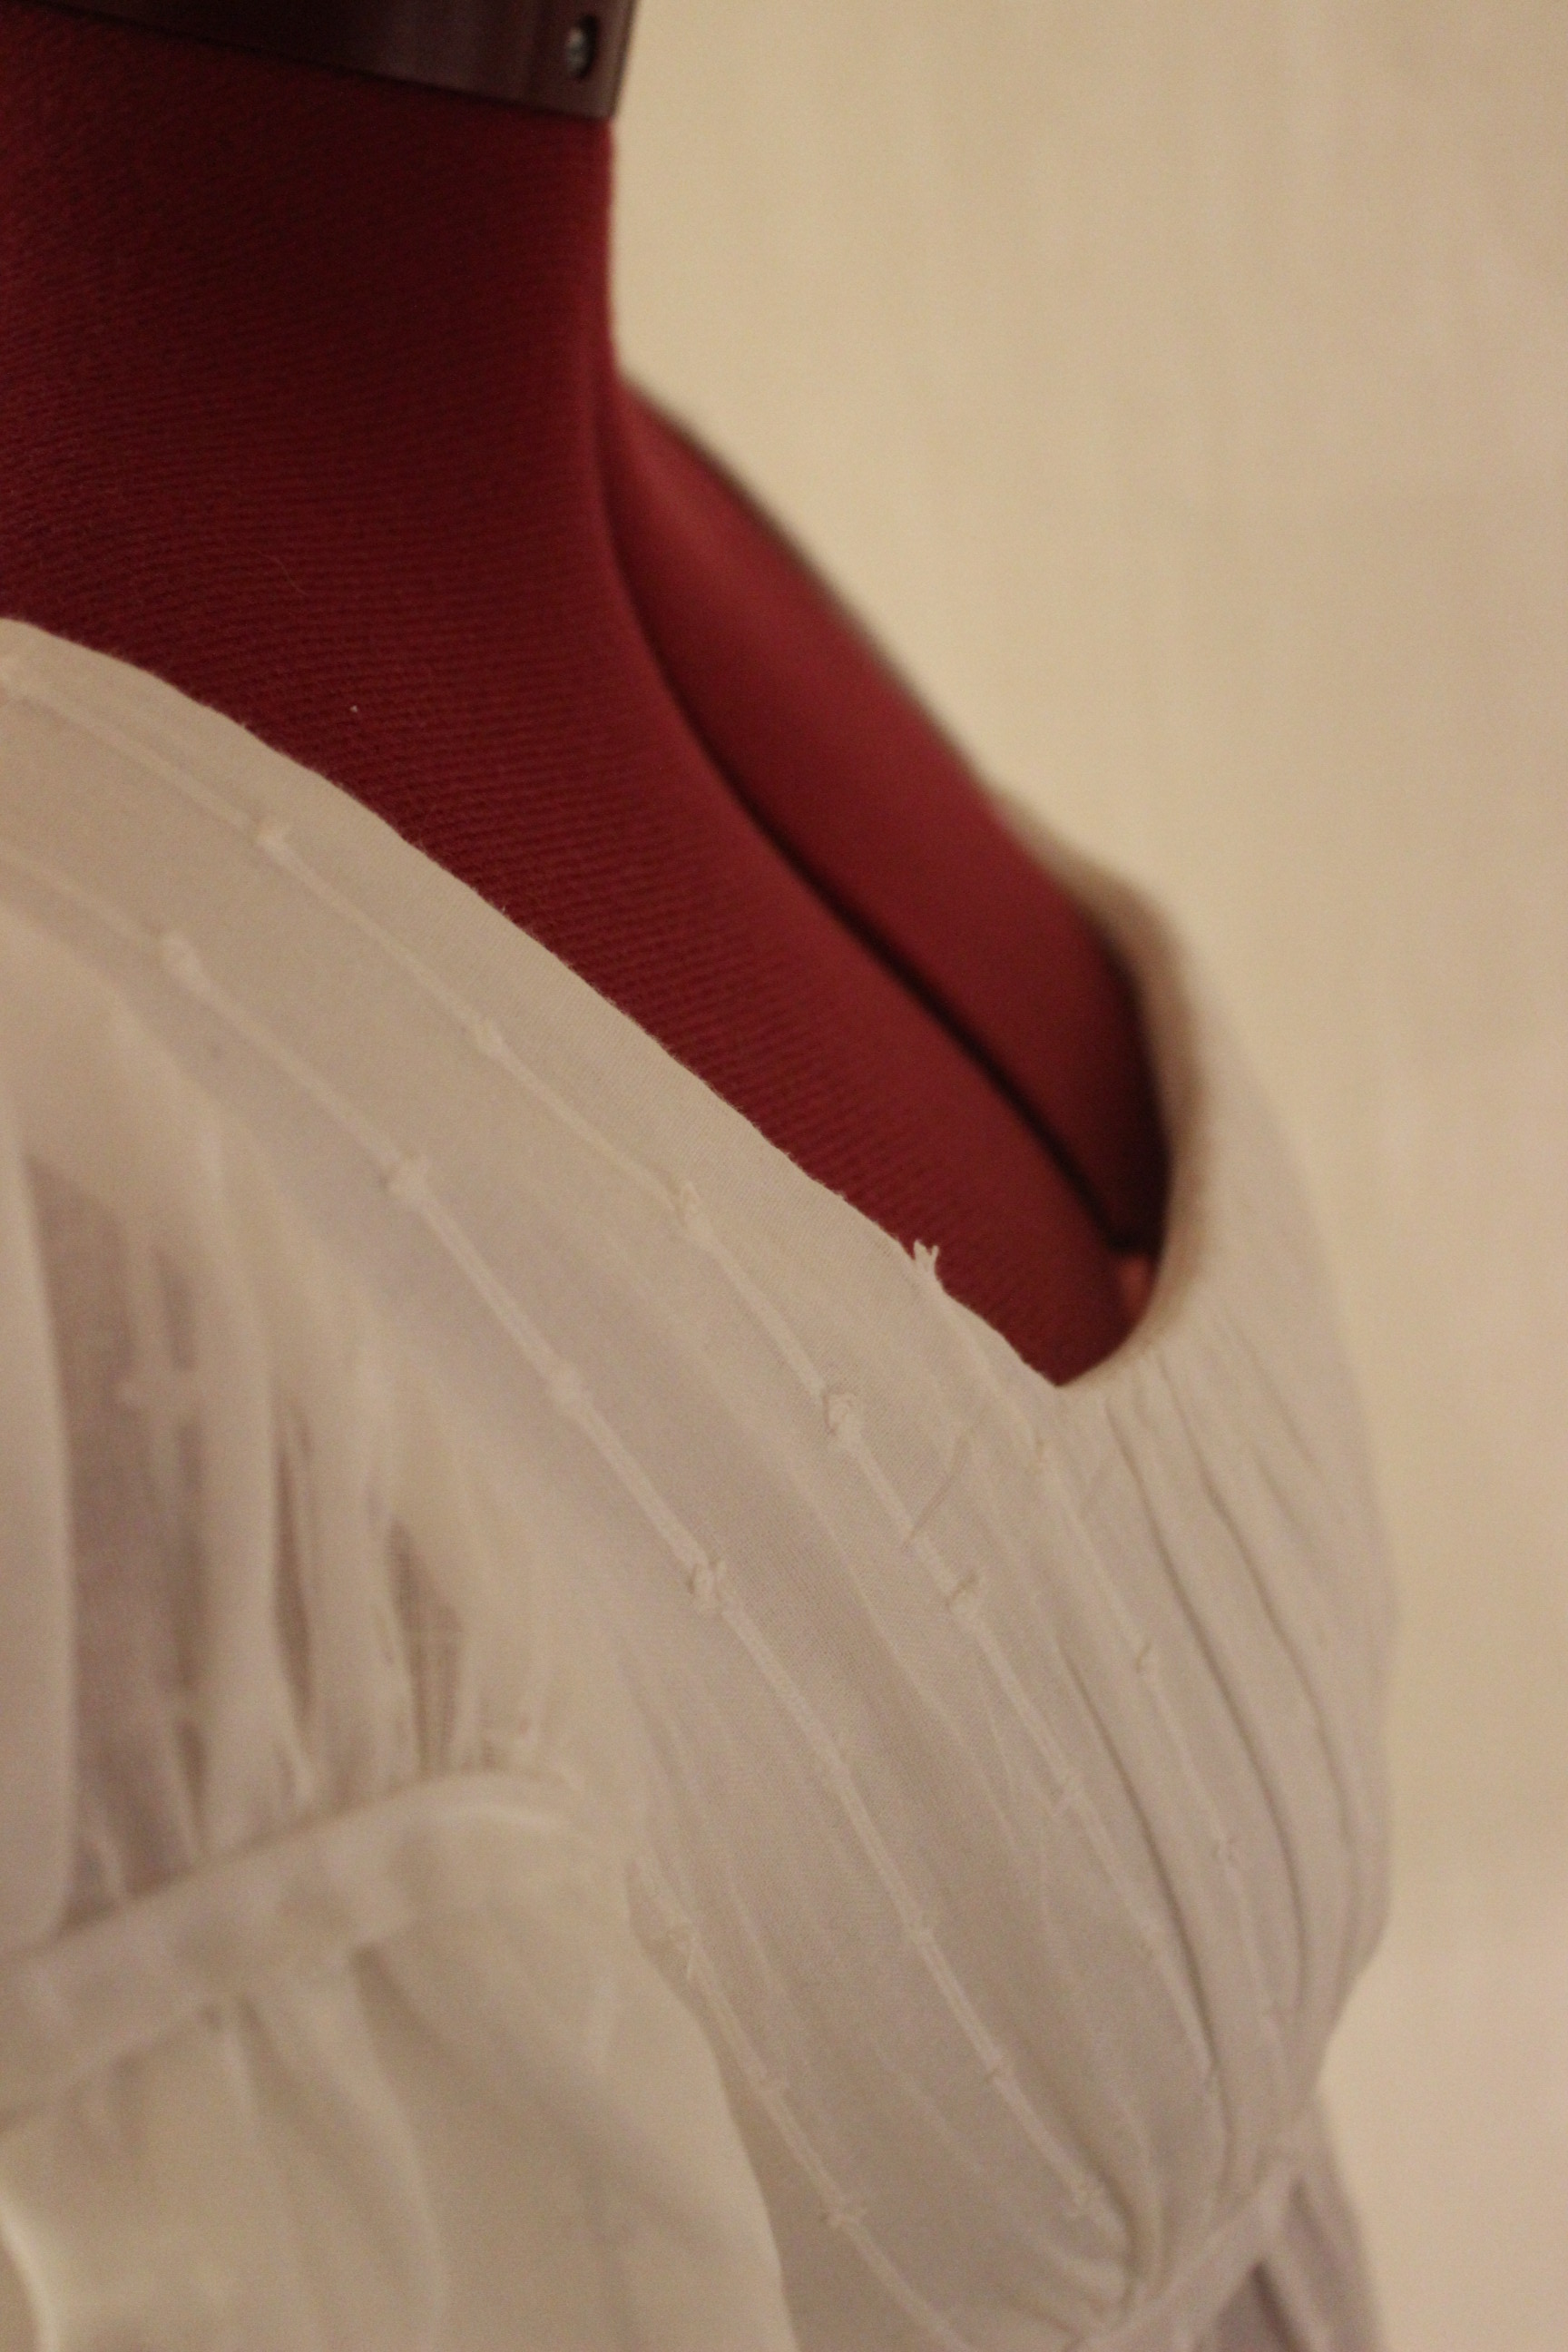
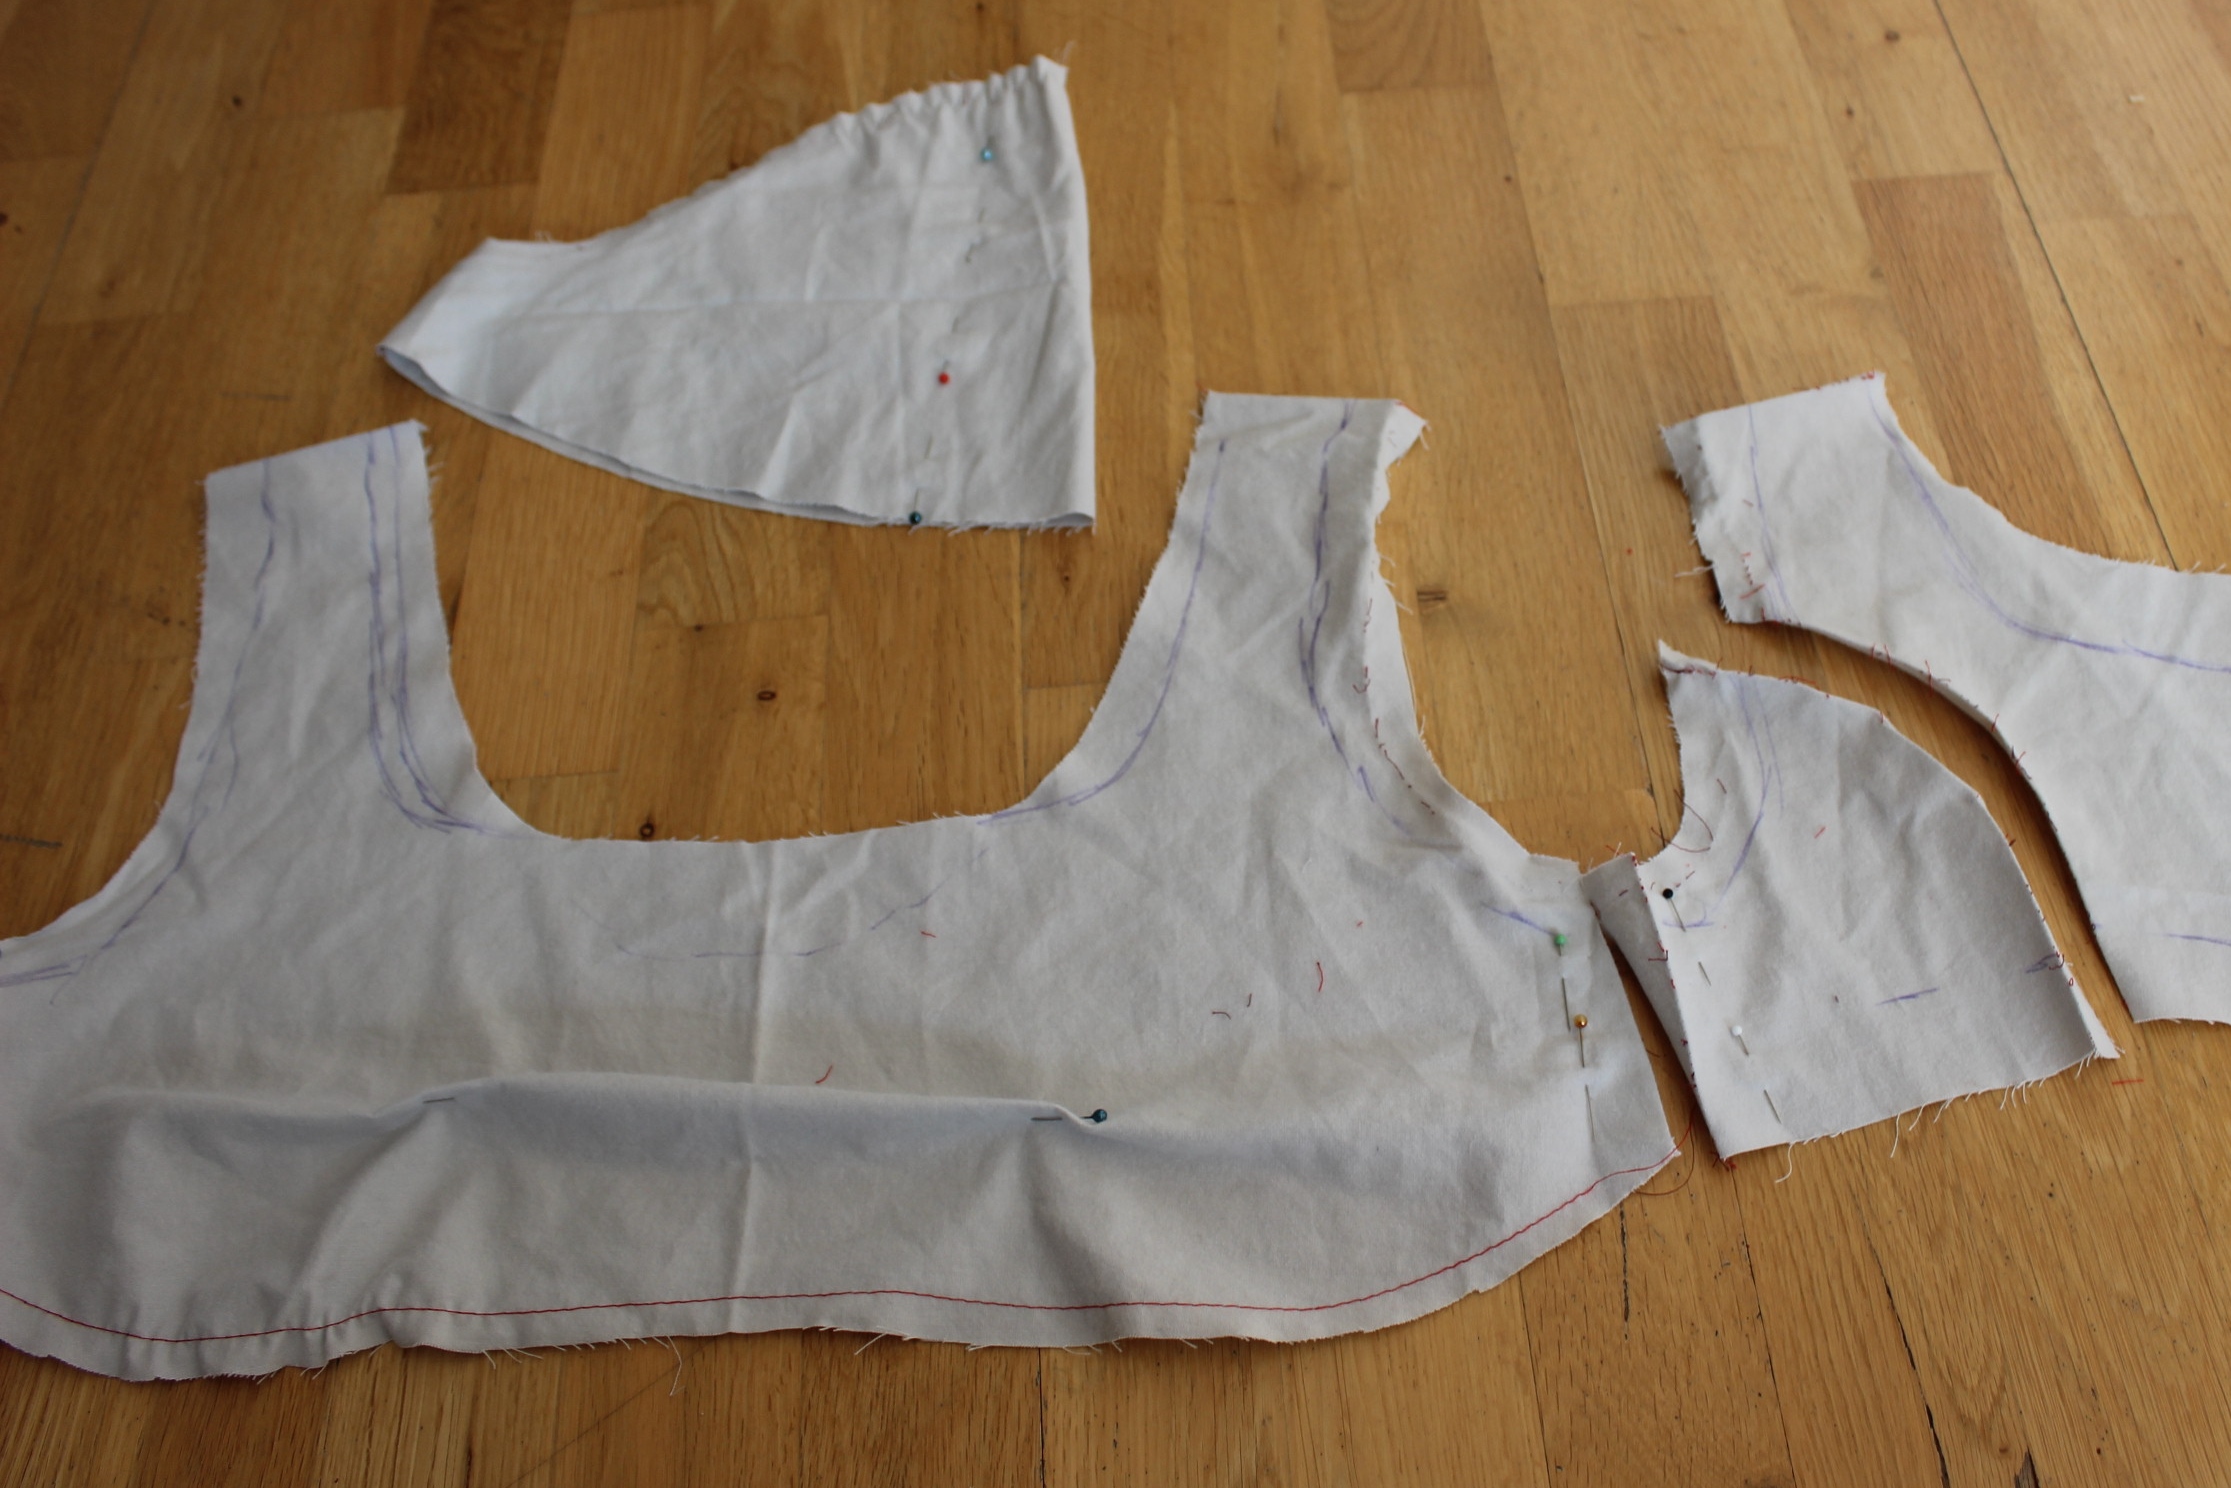
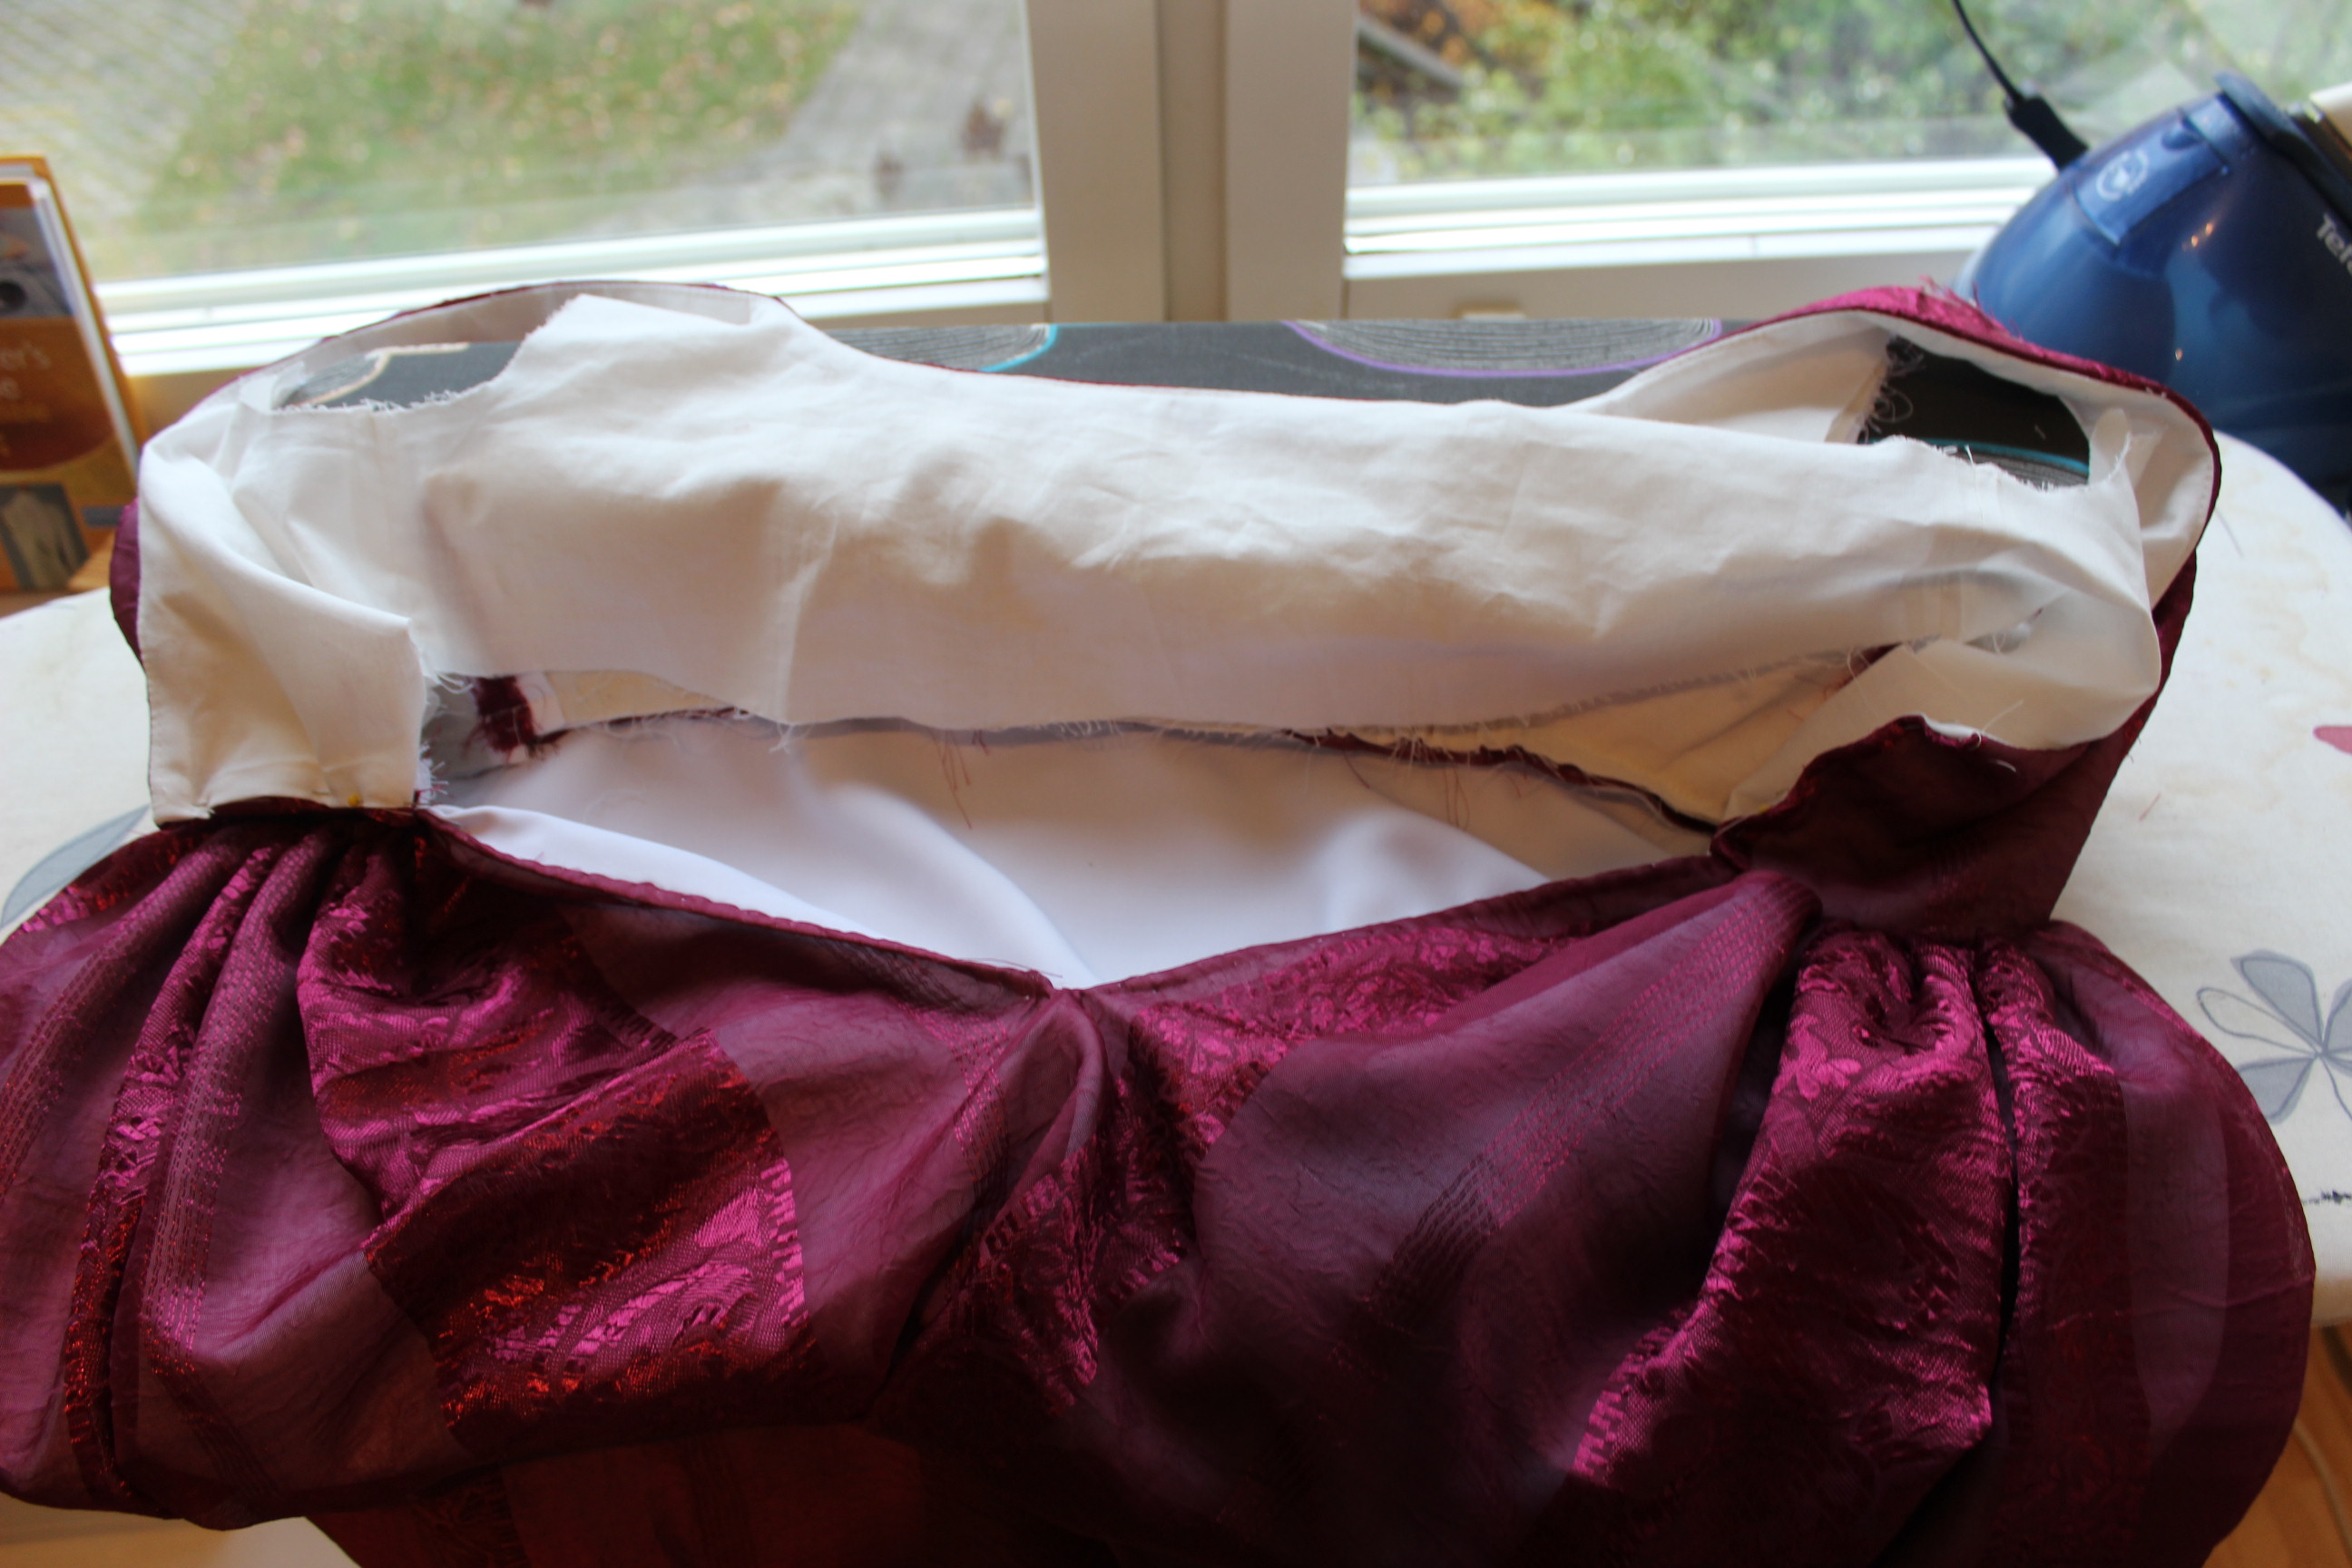
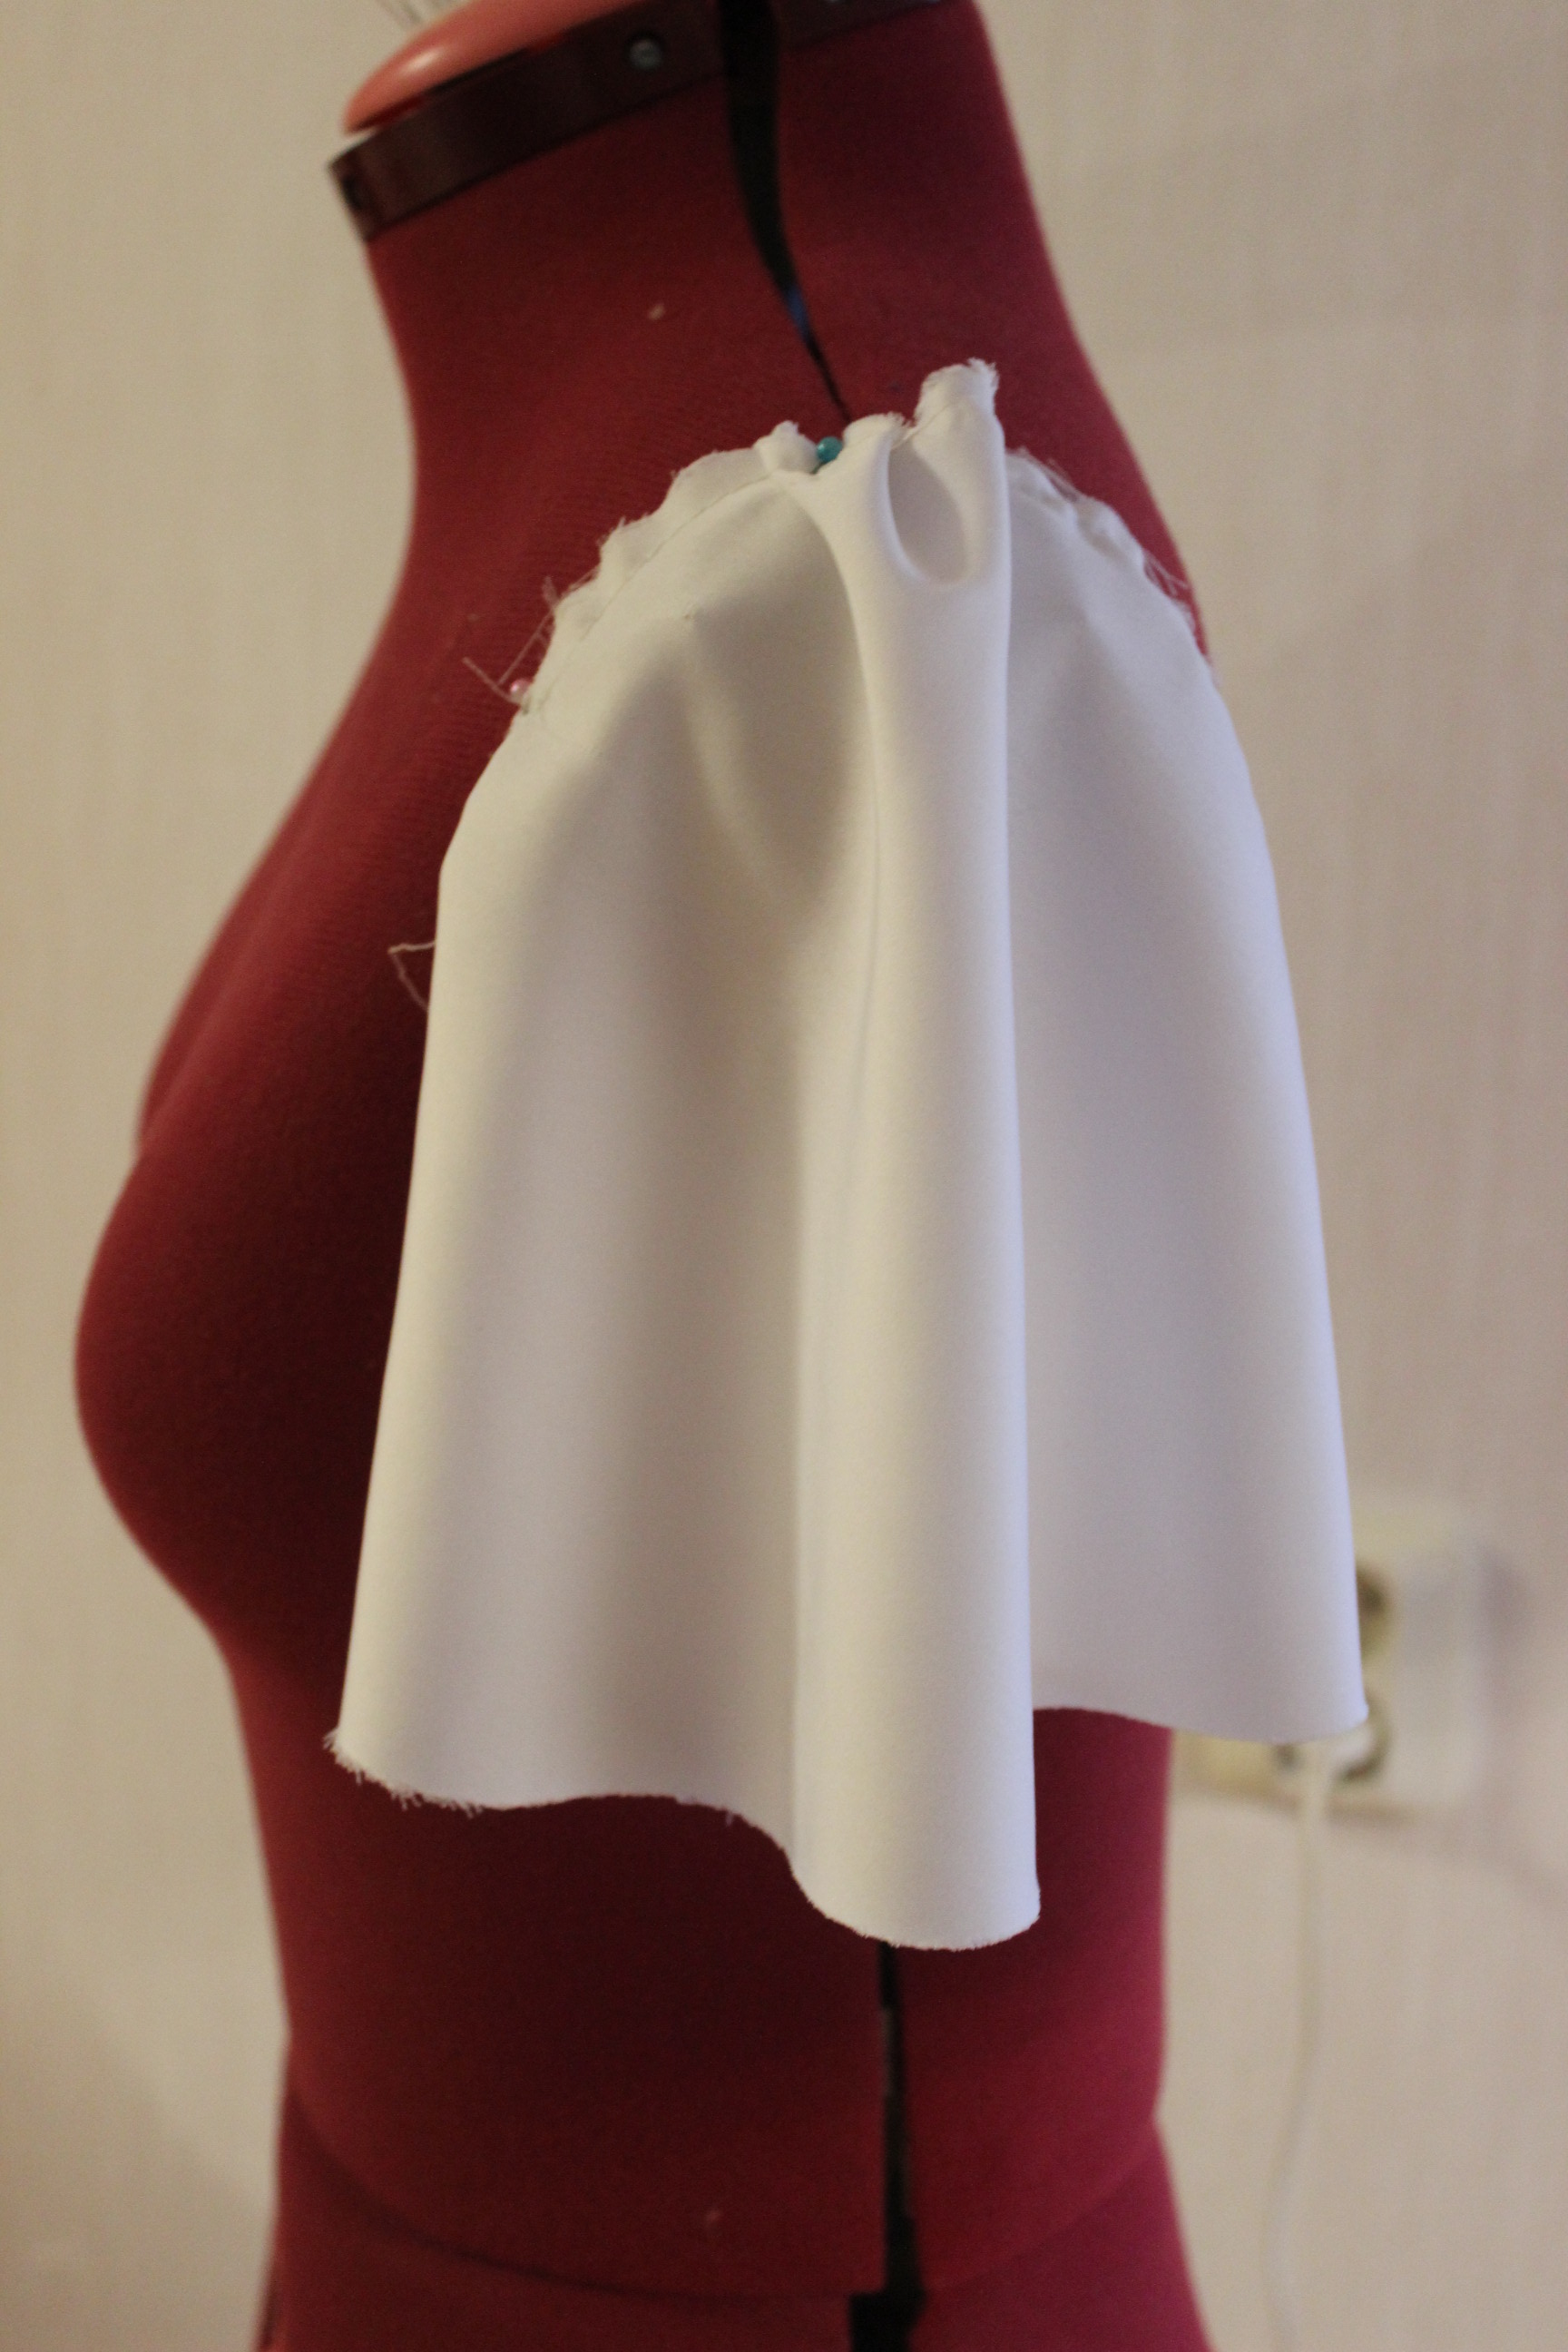
I started by mocking-up the lining to get a foundation to build the rest of the dress.IMG_3675The neckline needed to be lowered a bit. It is after all a ball, and if there is ever a time to show some cleavage a ball must most definitely be it. IMG_3683

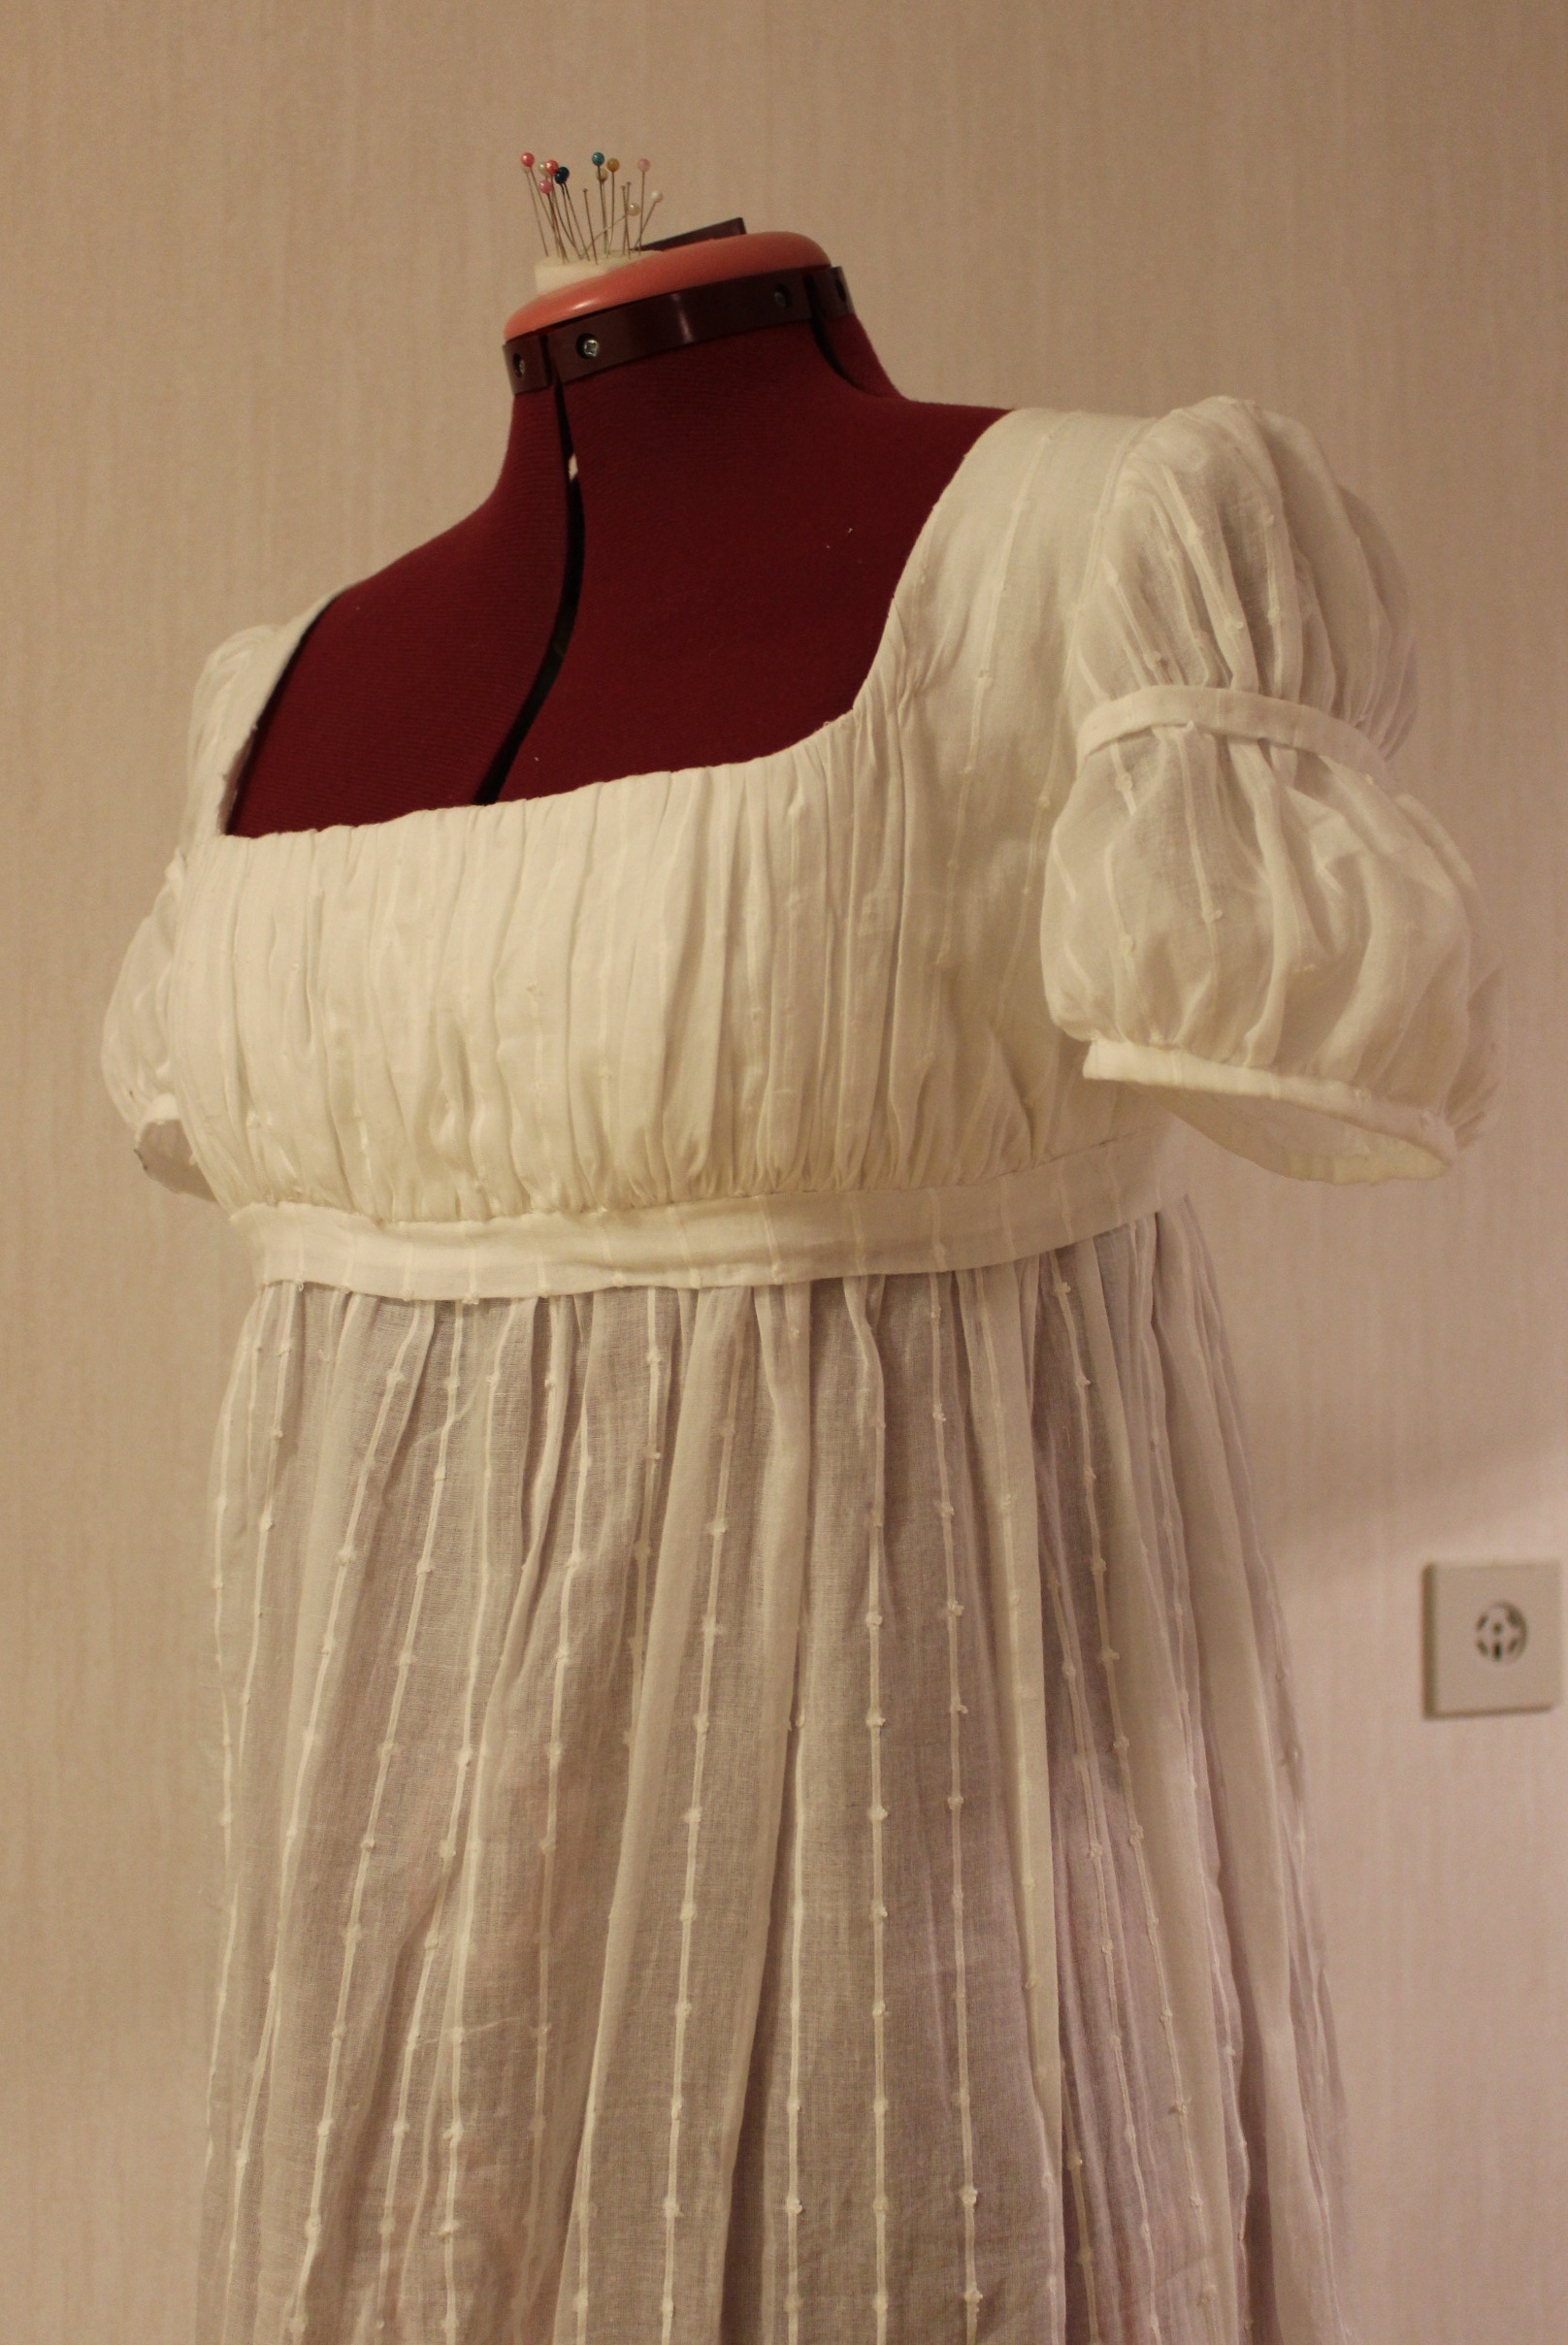
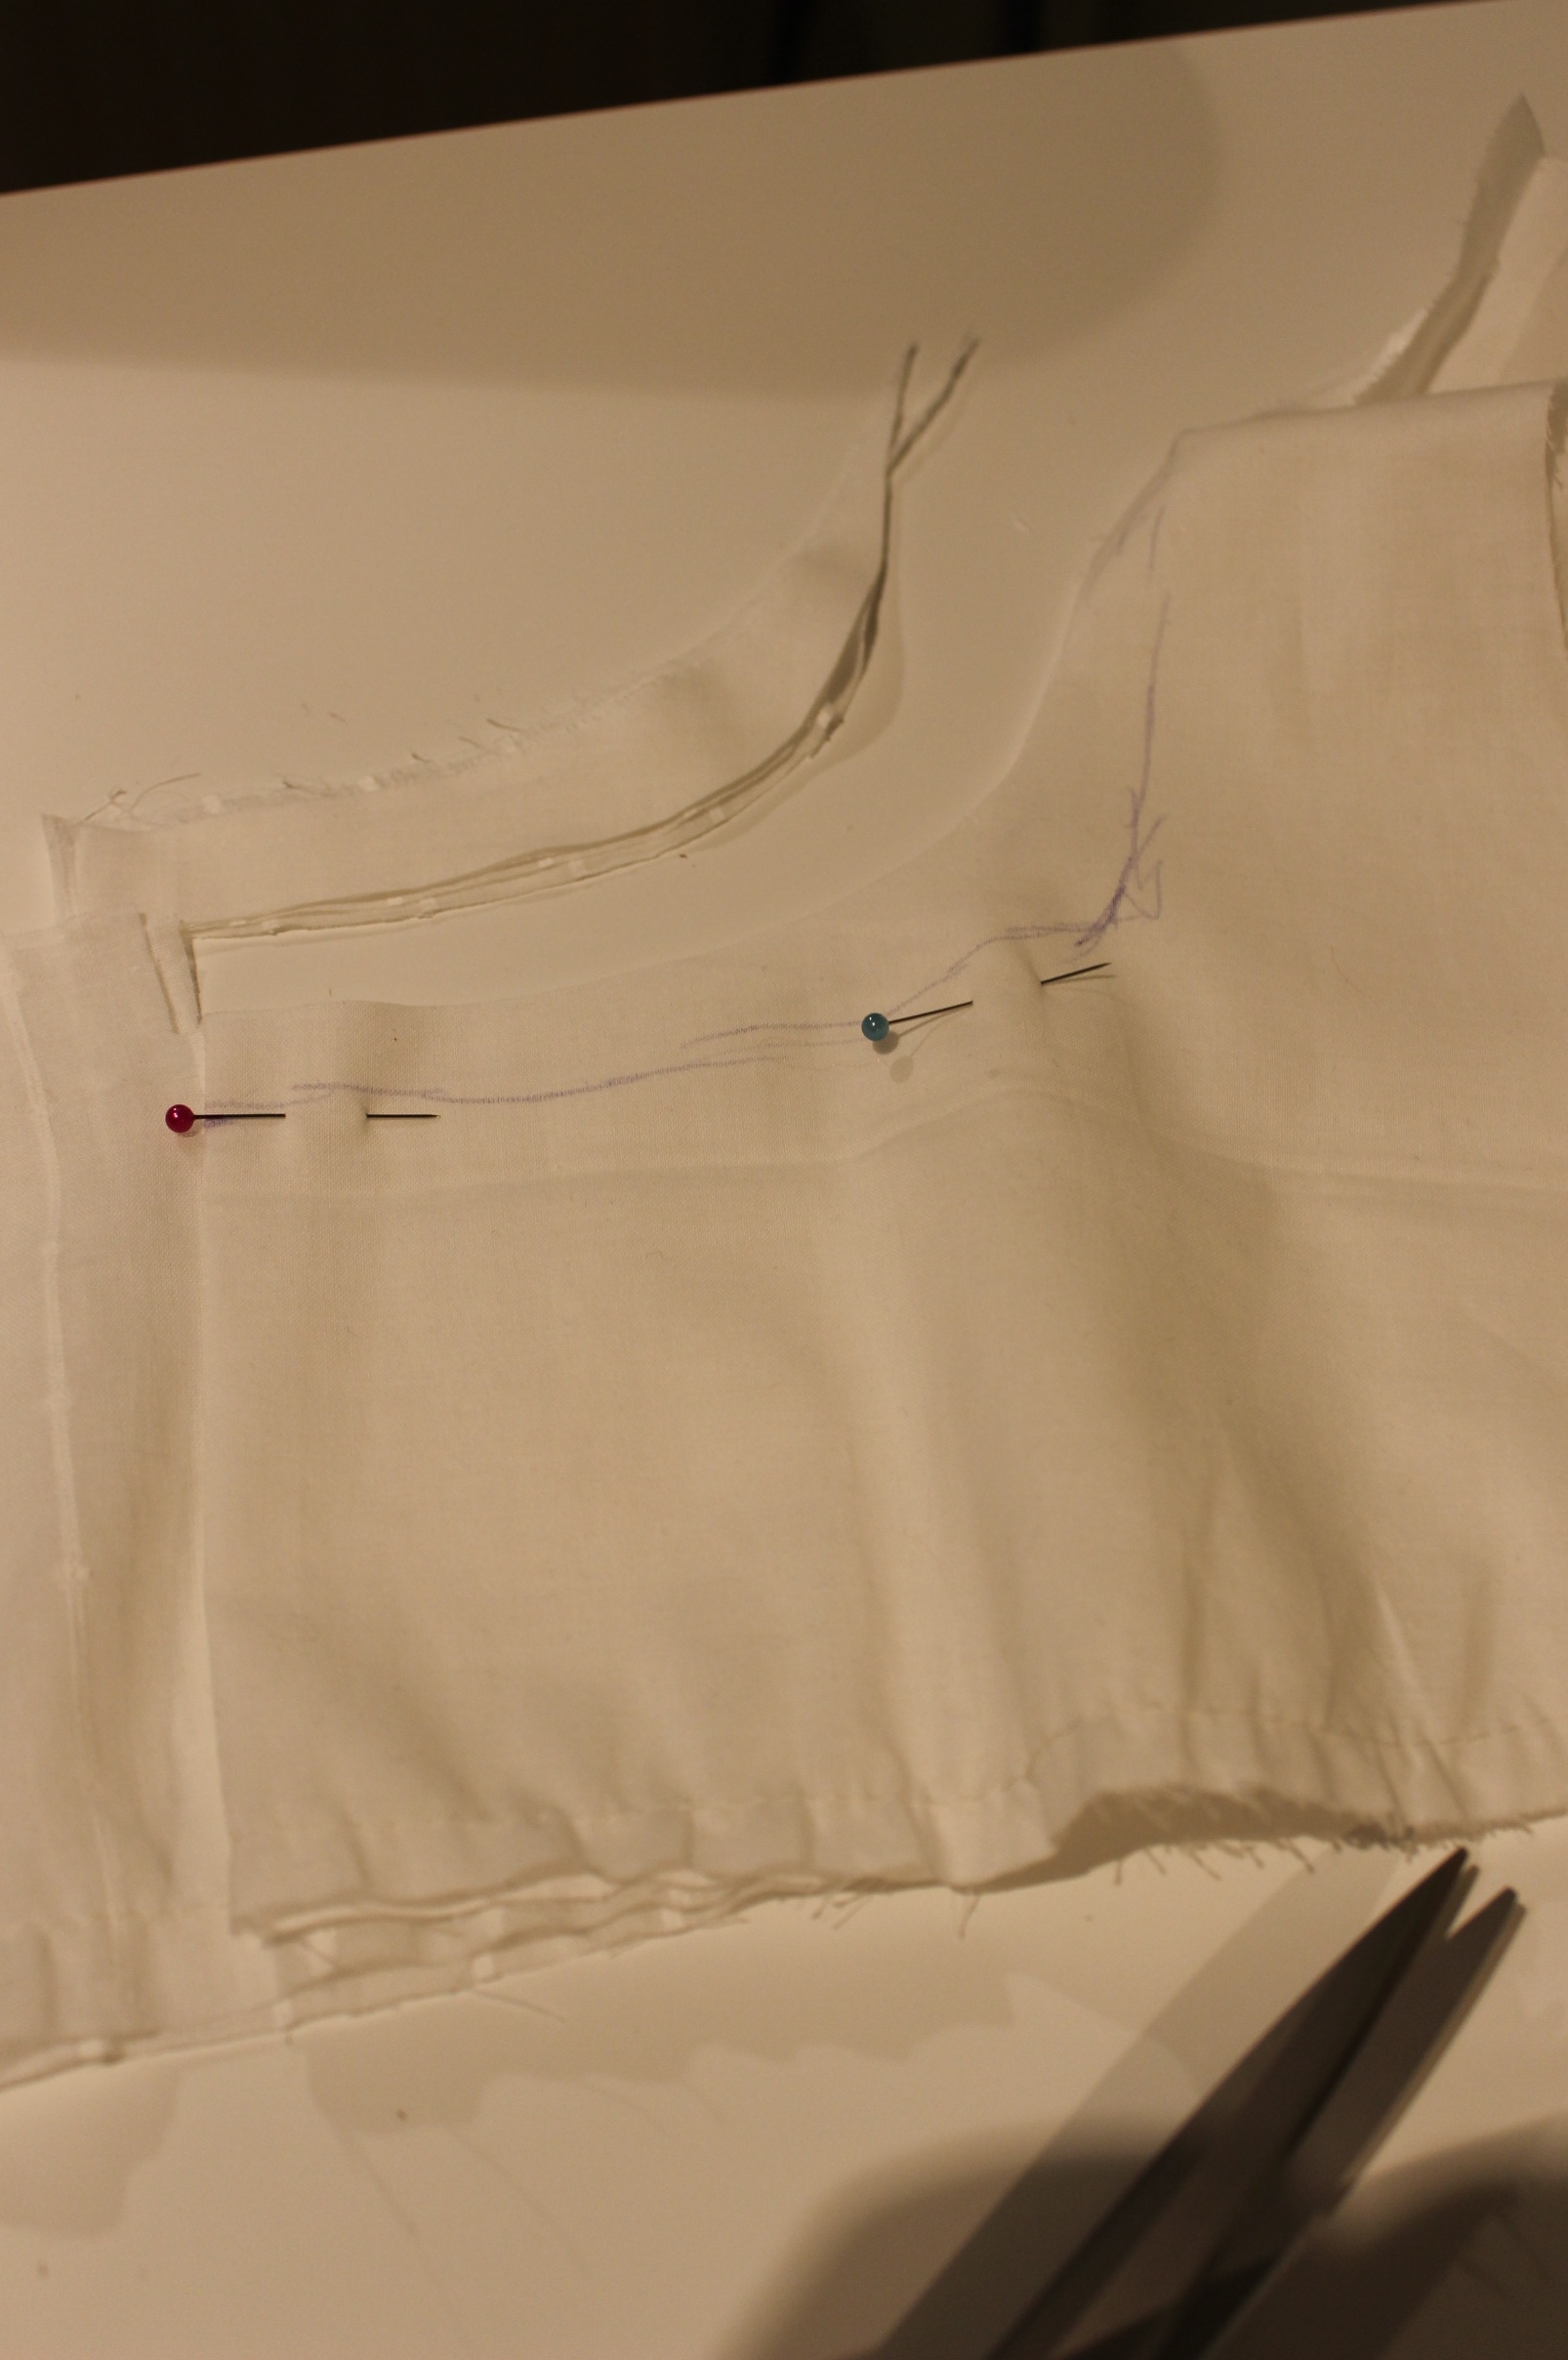
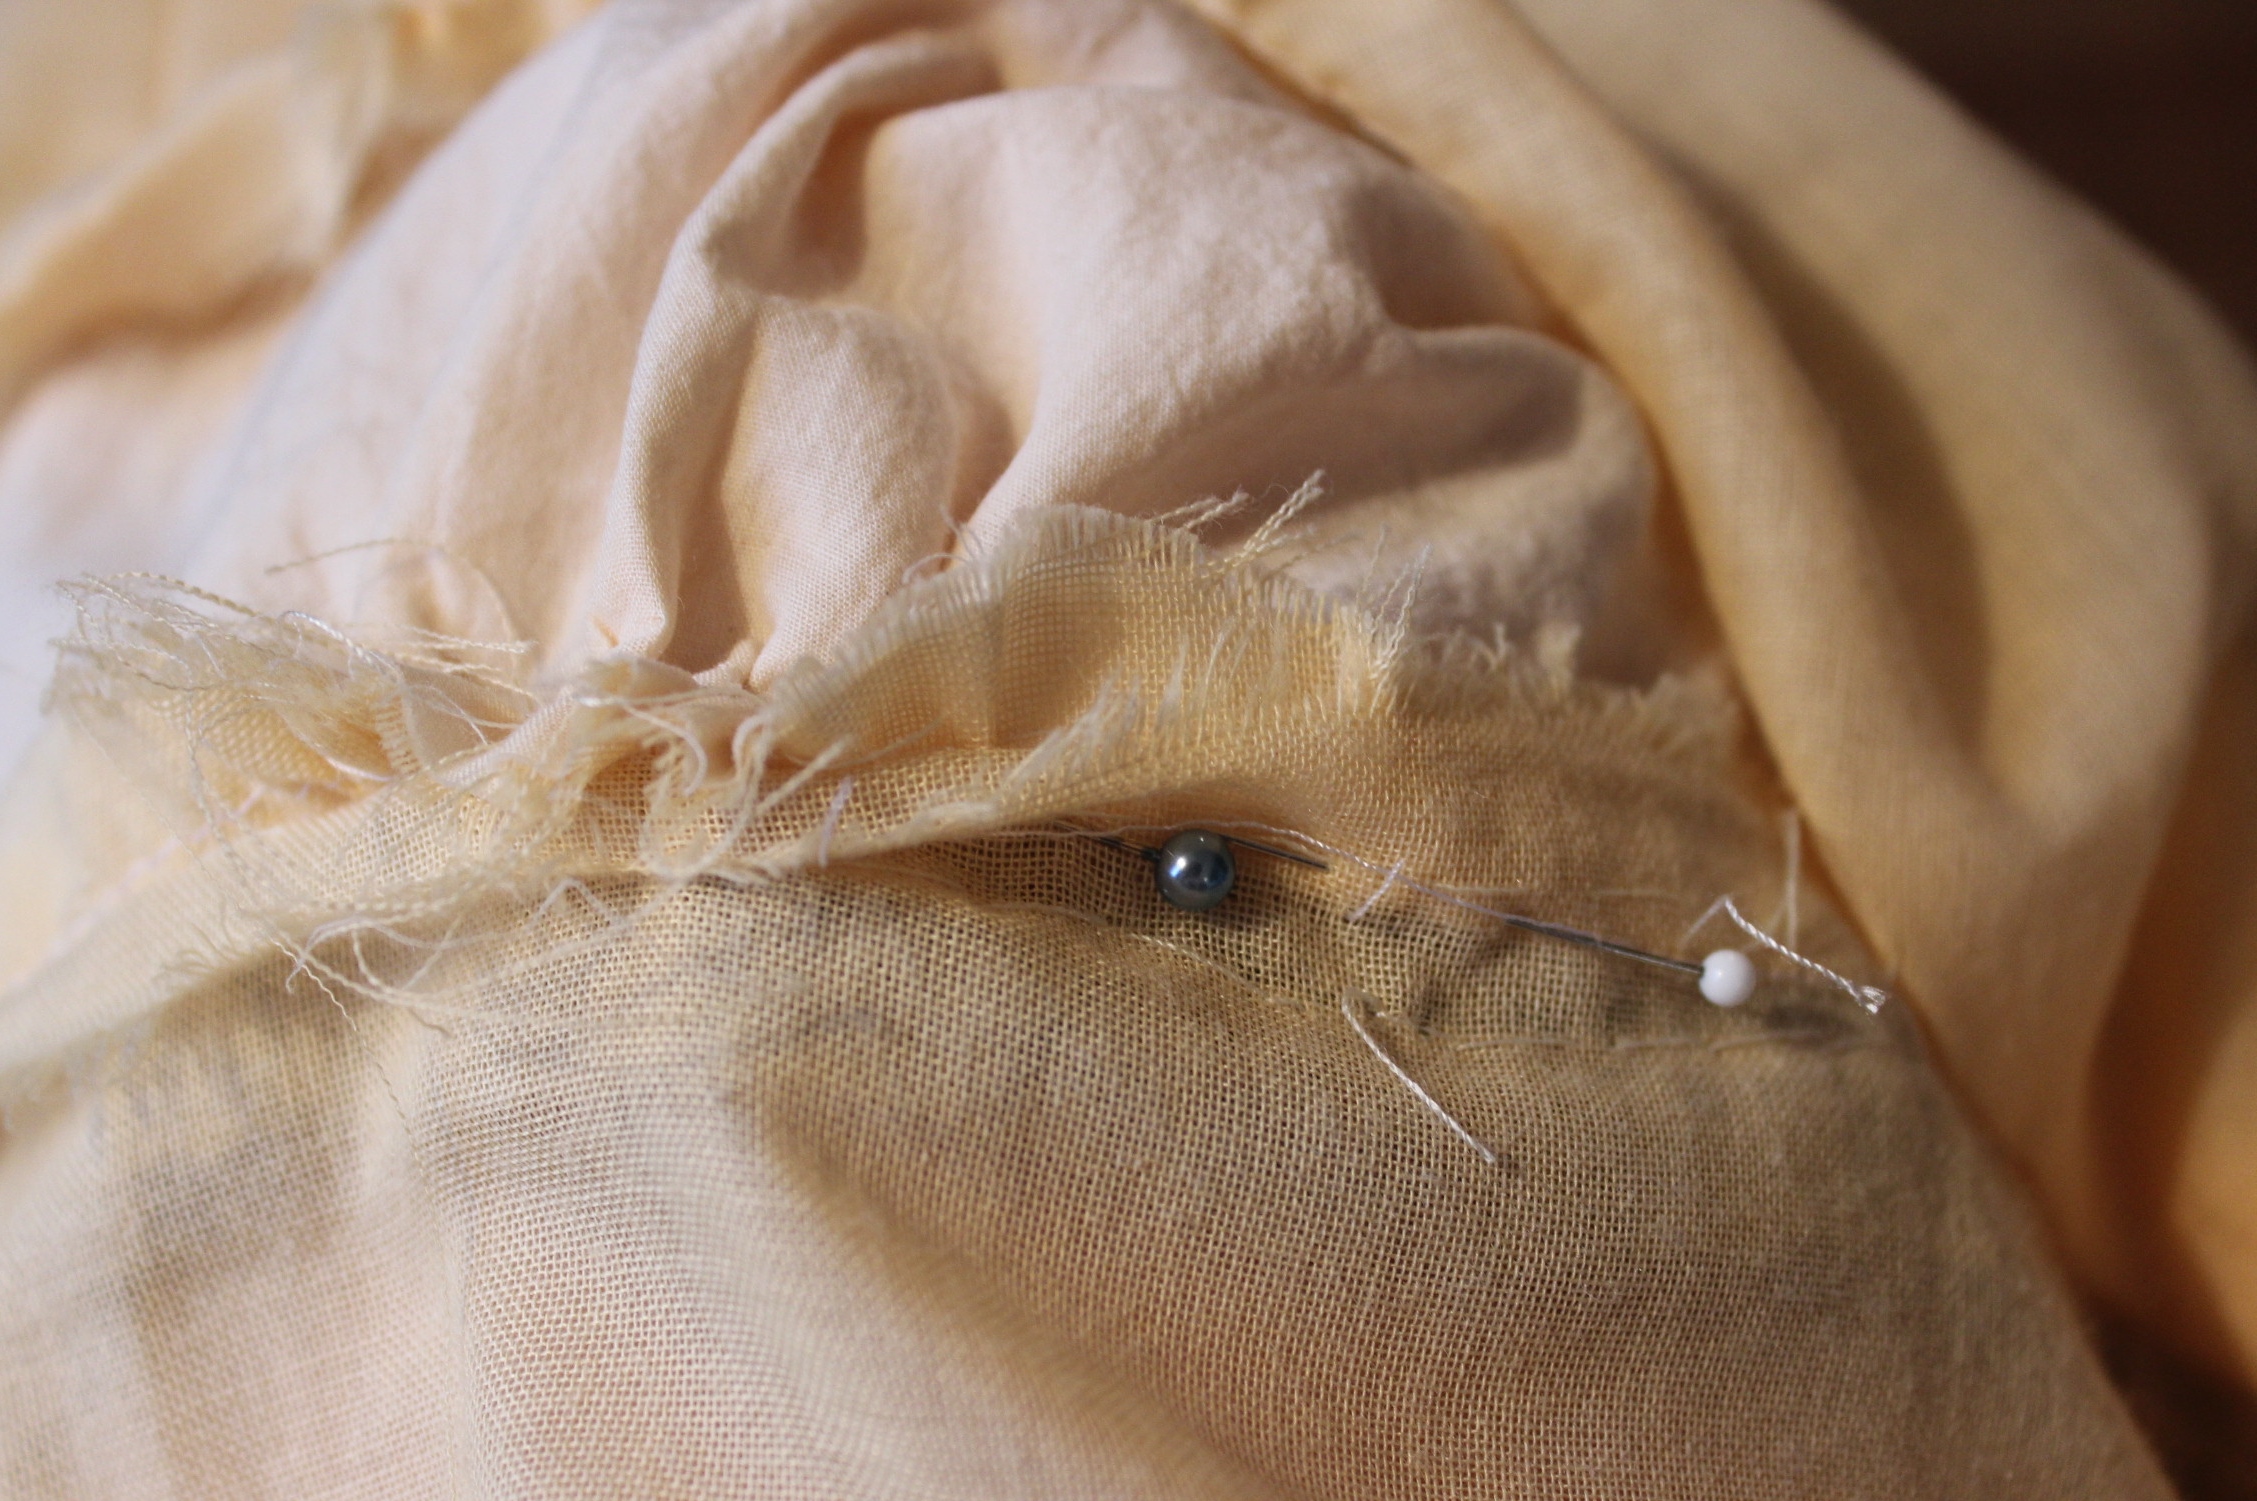
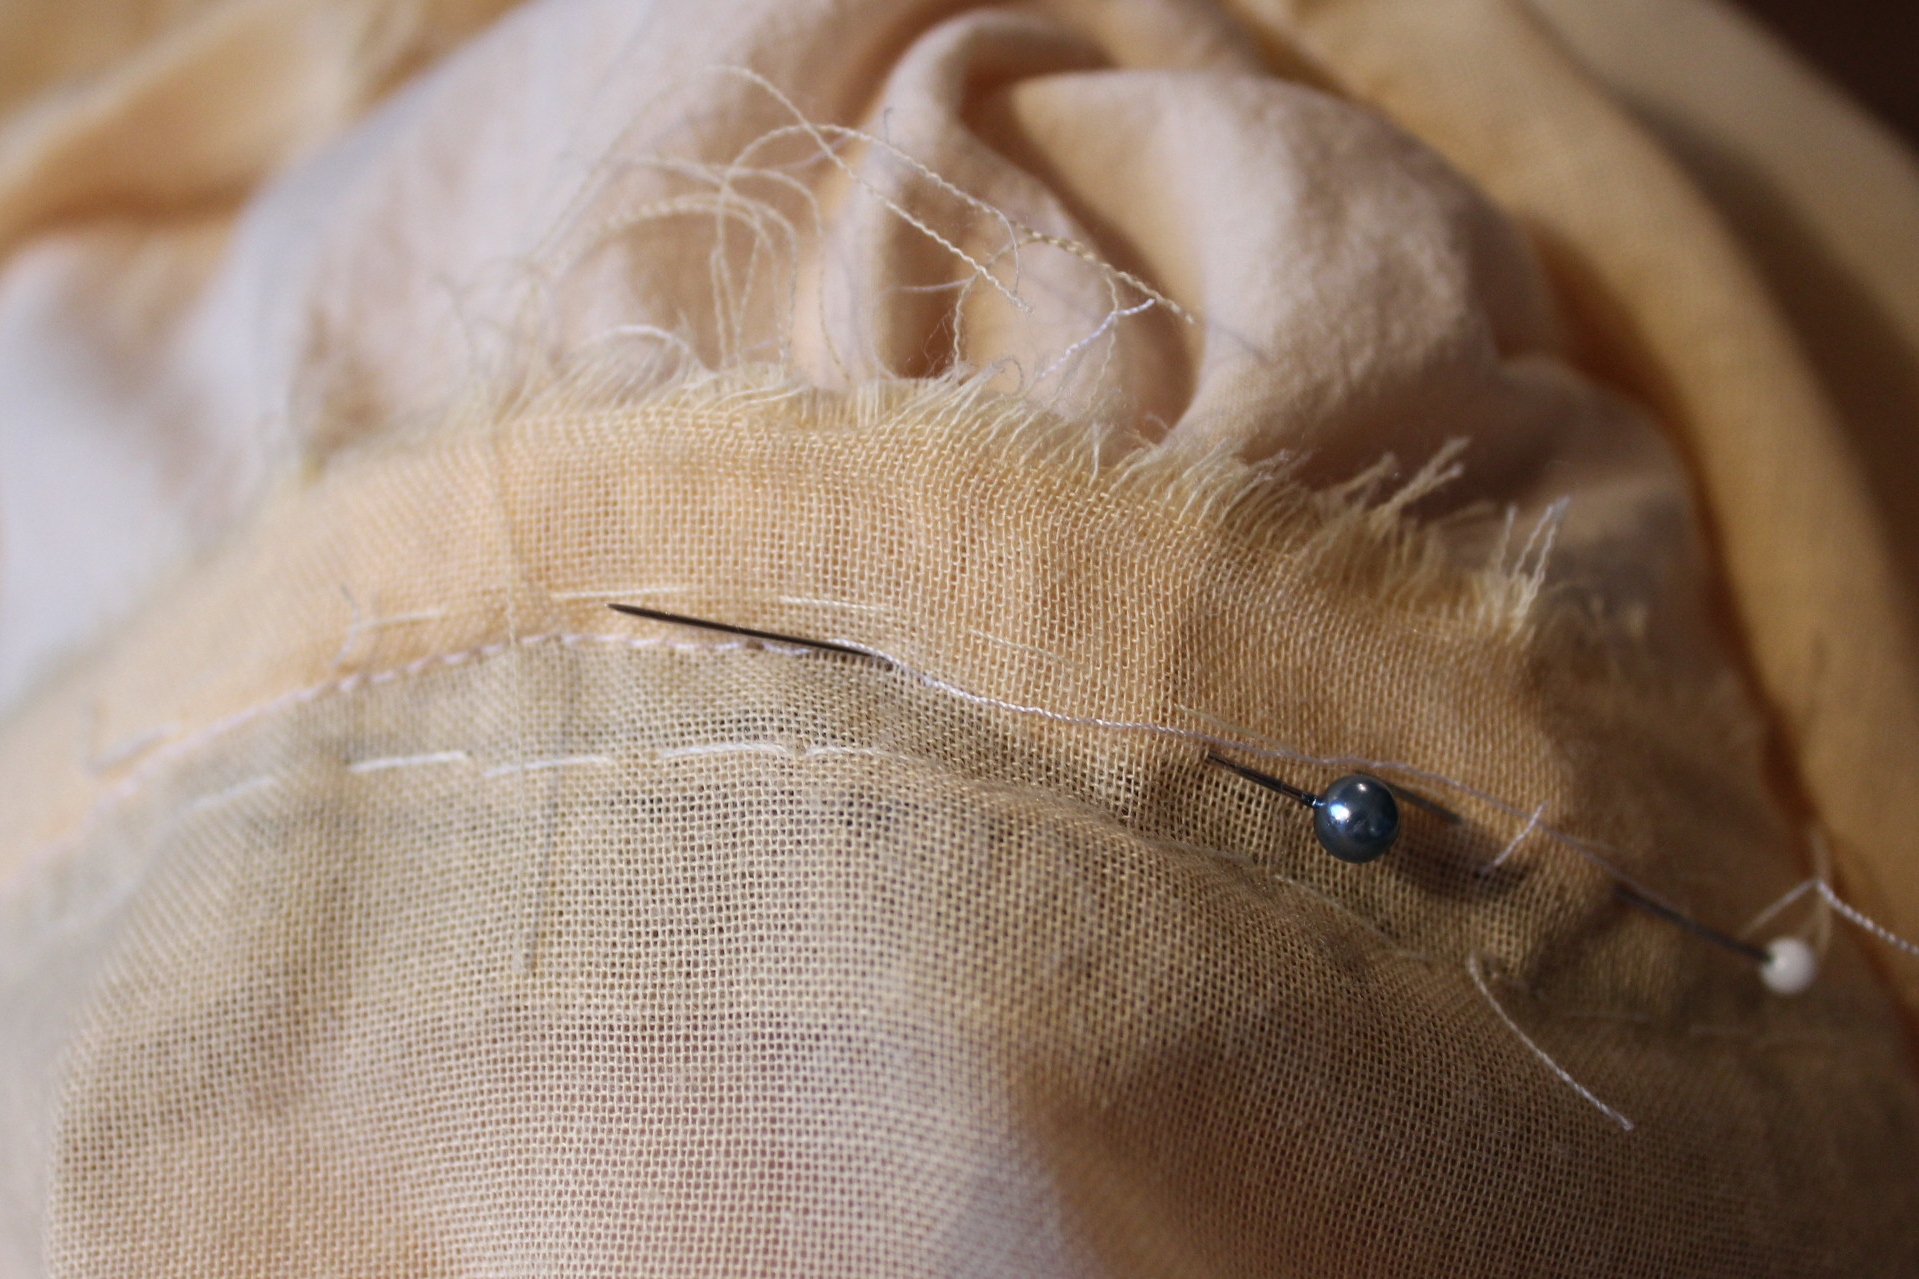
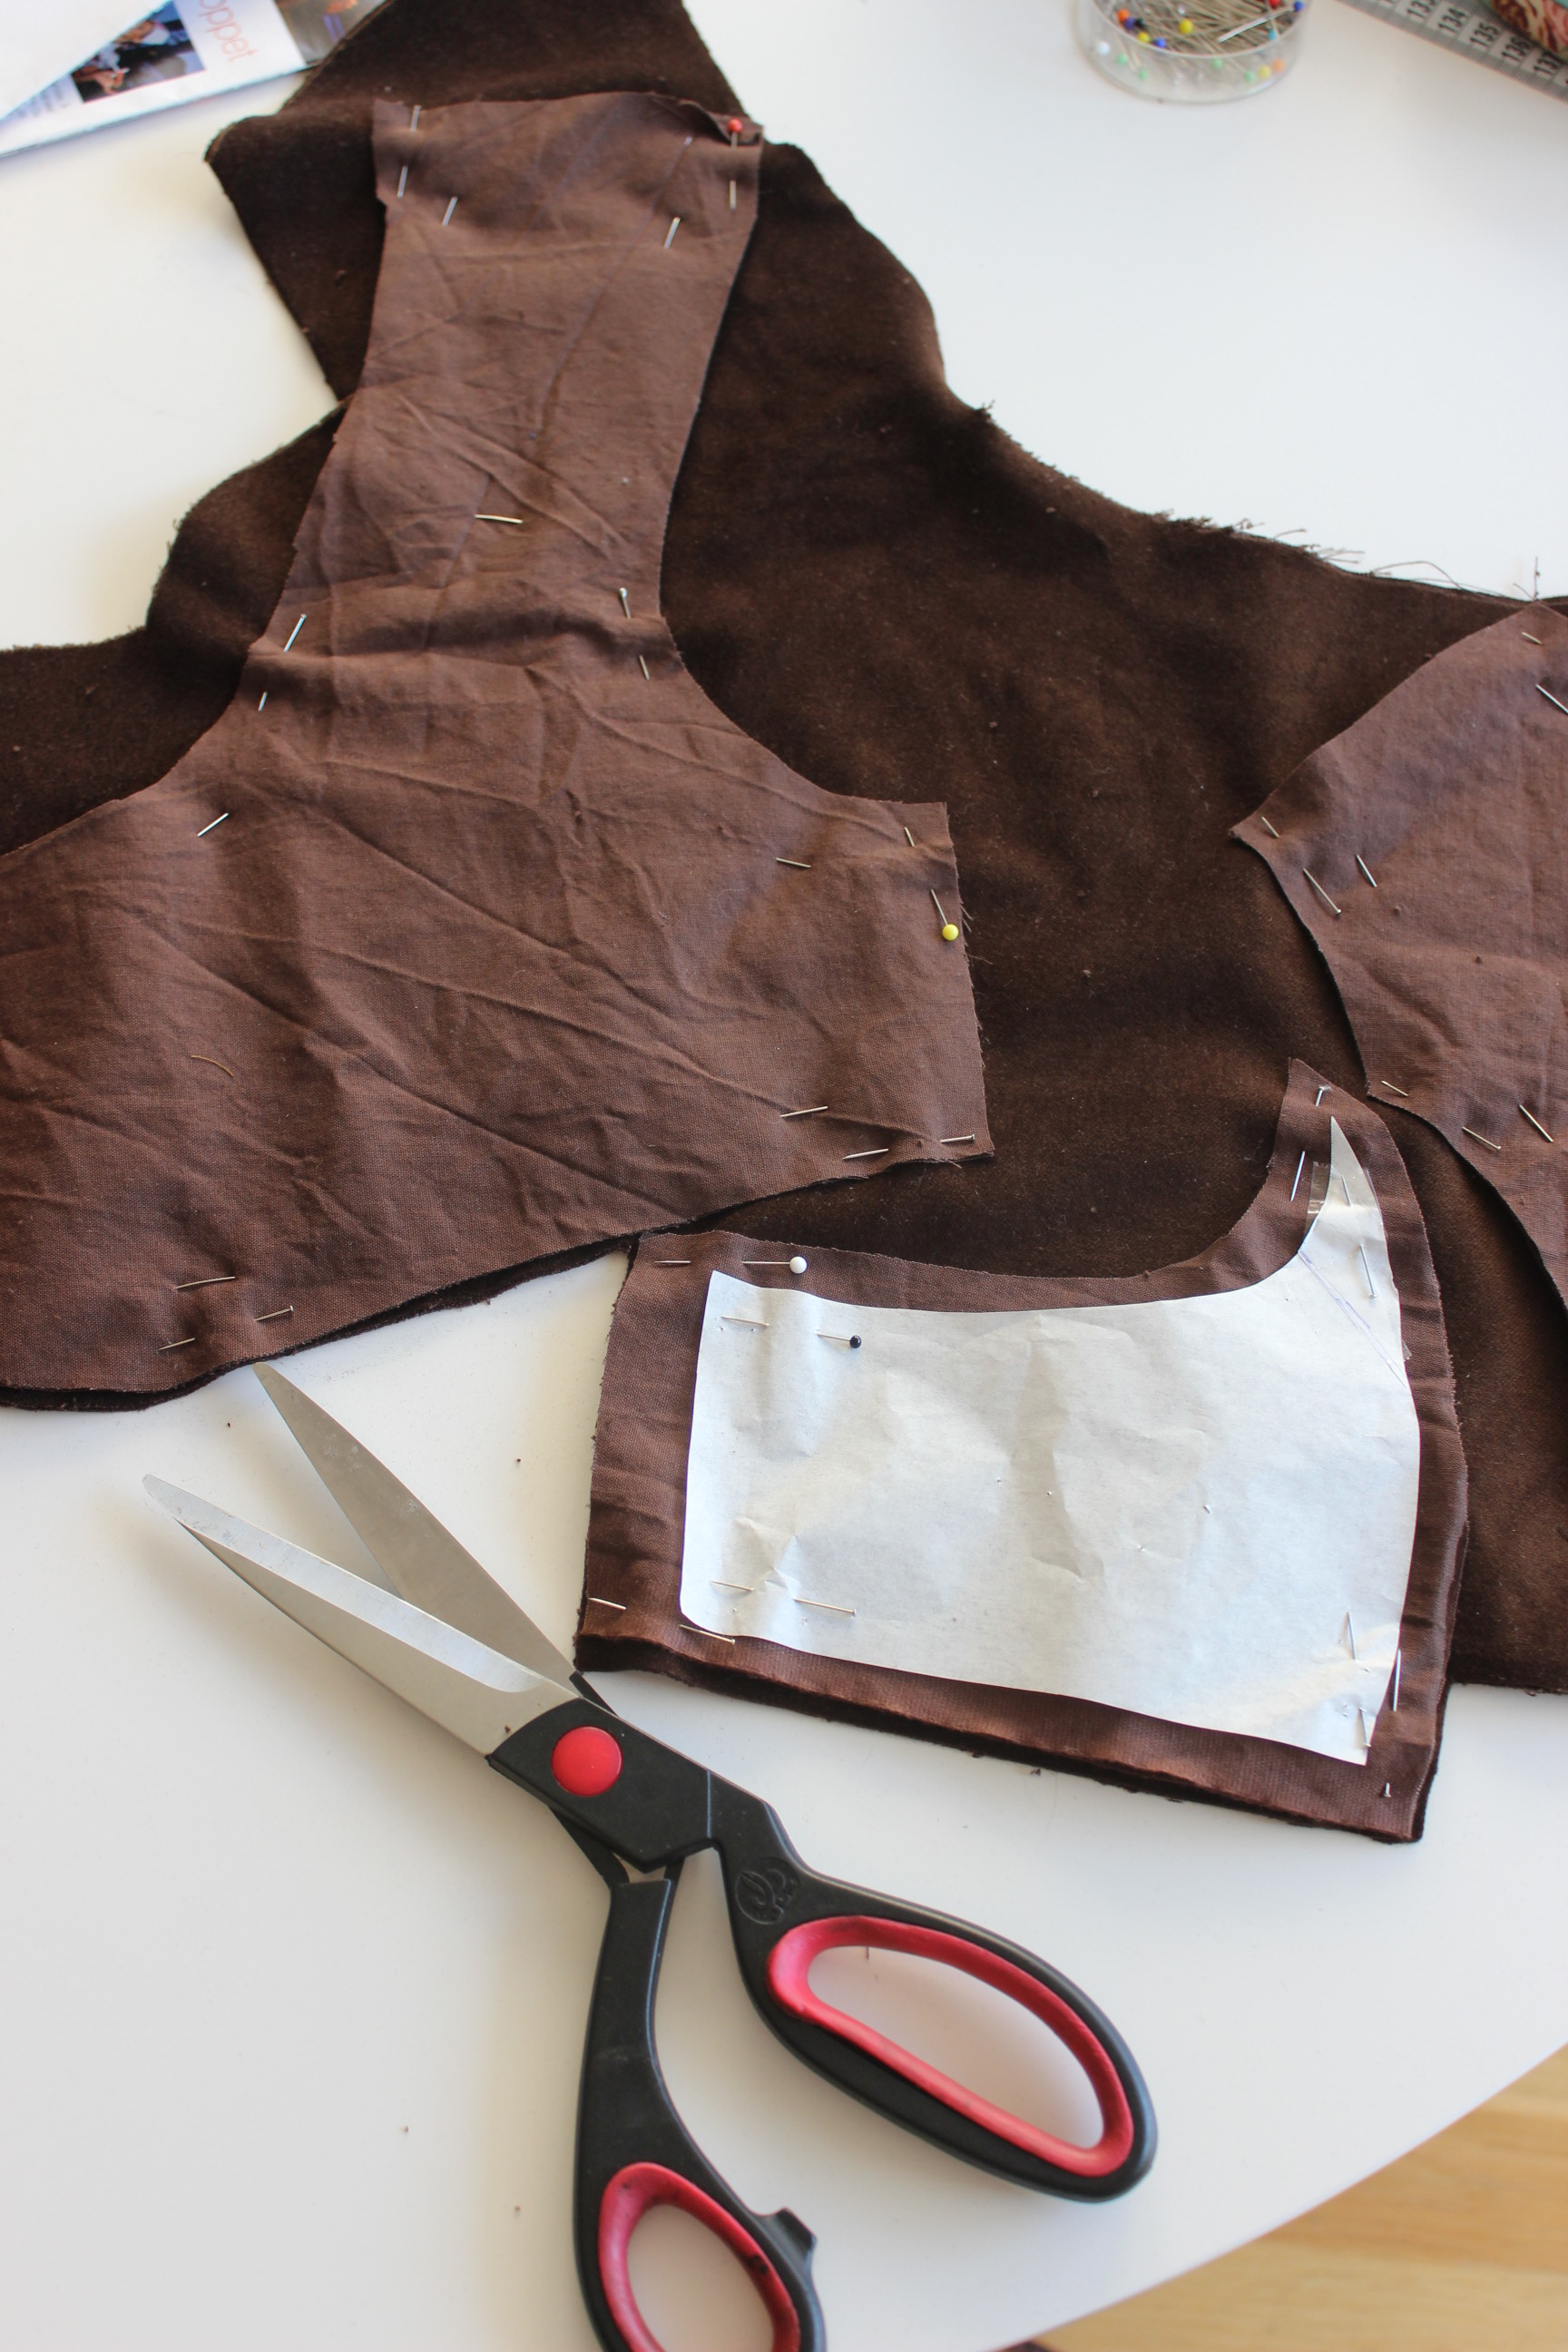
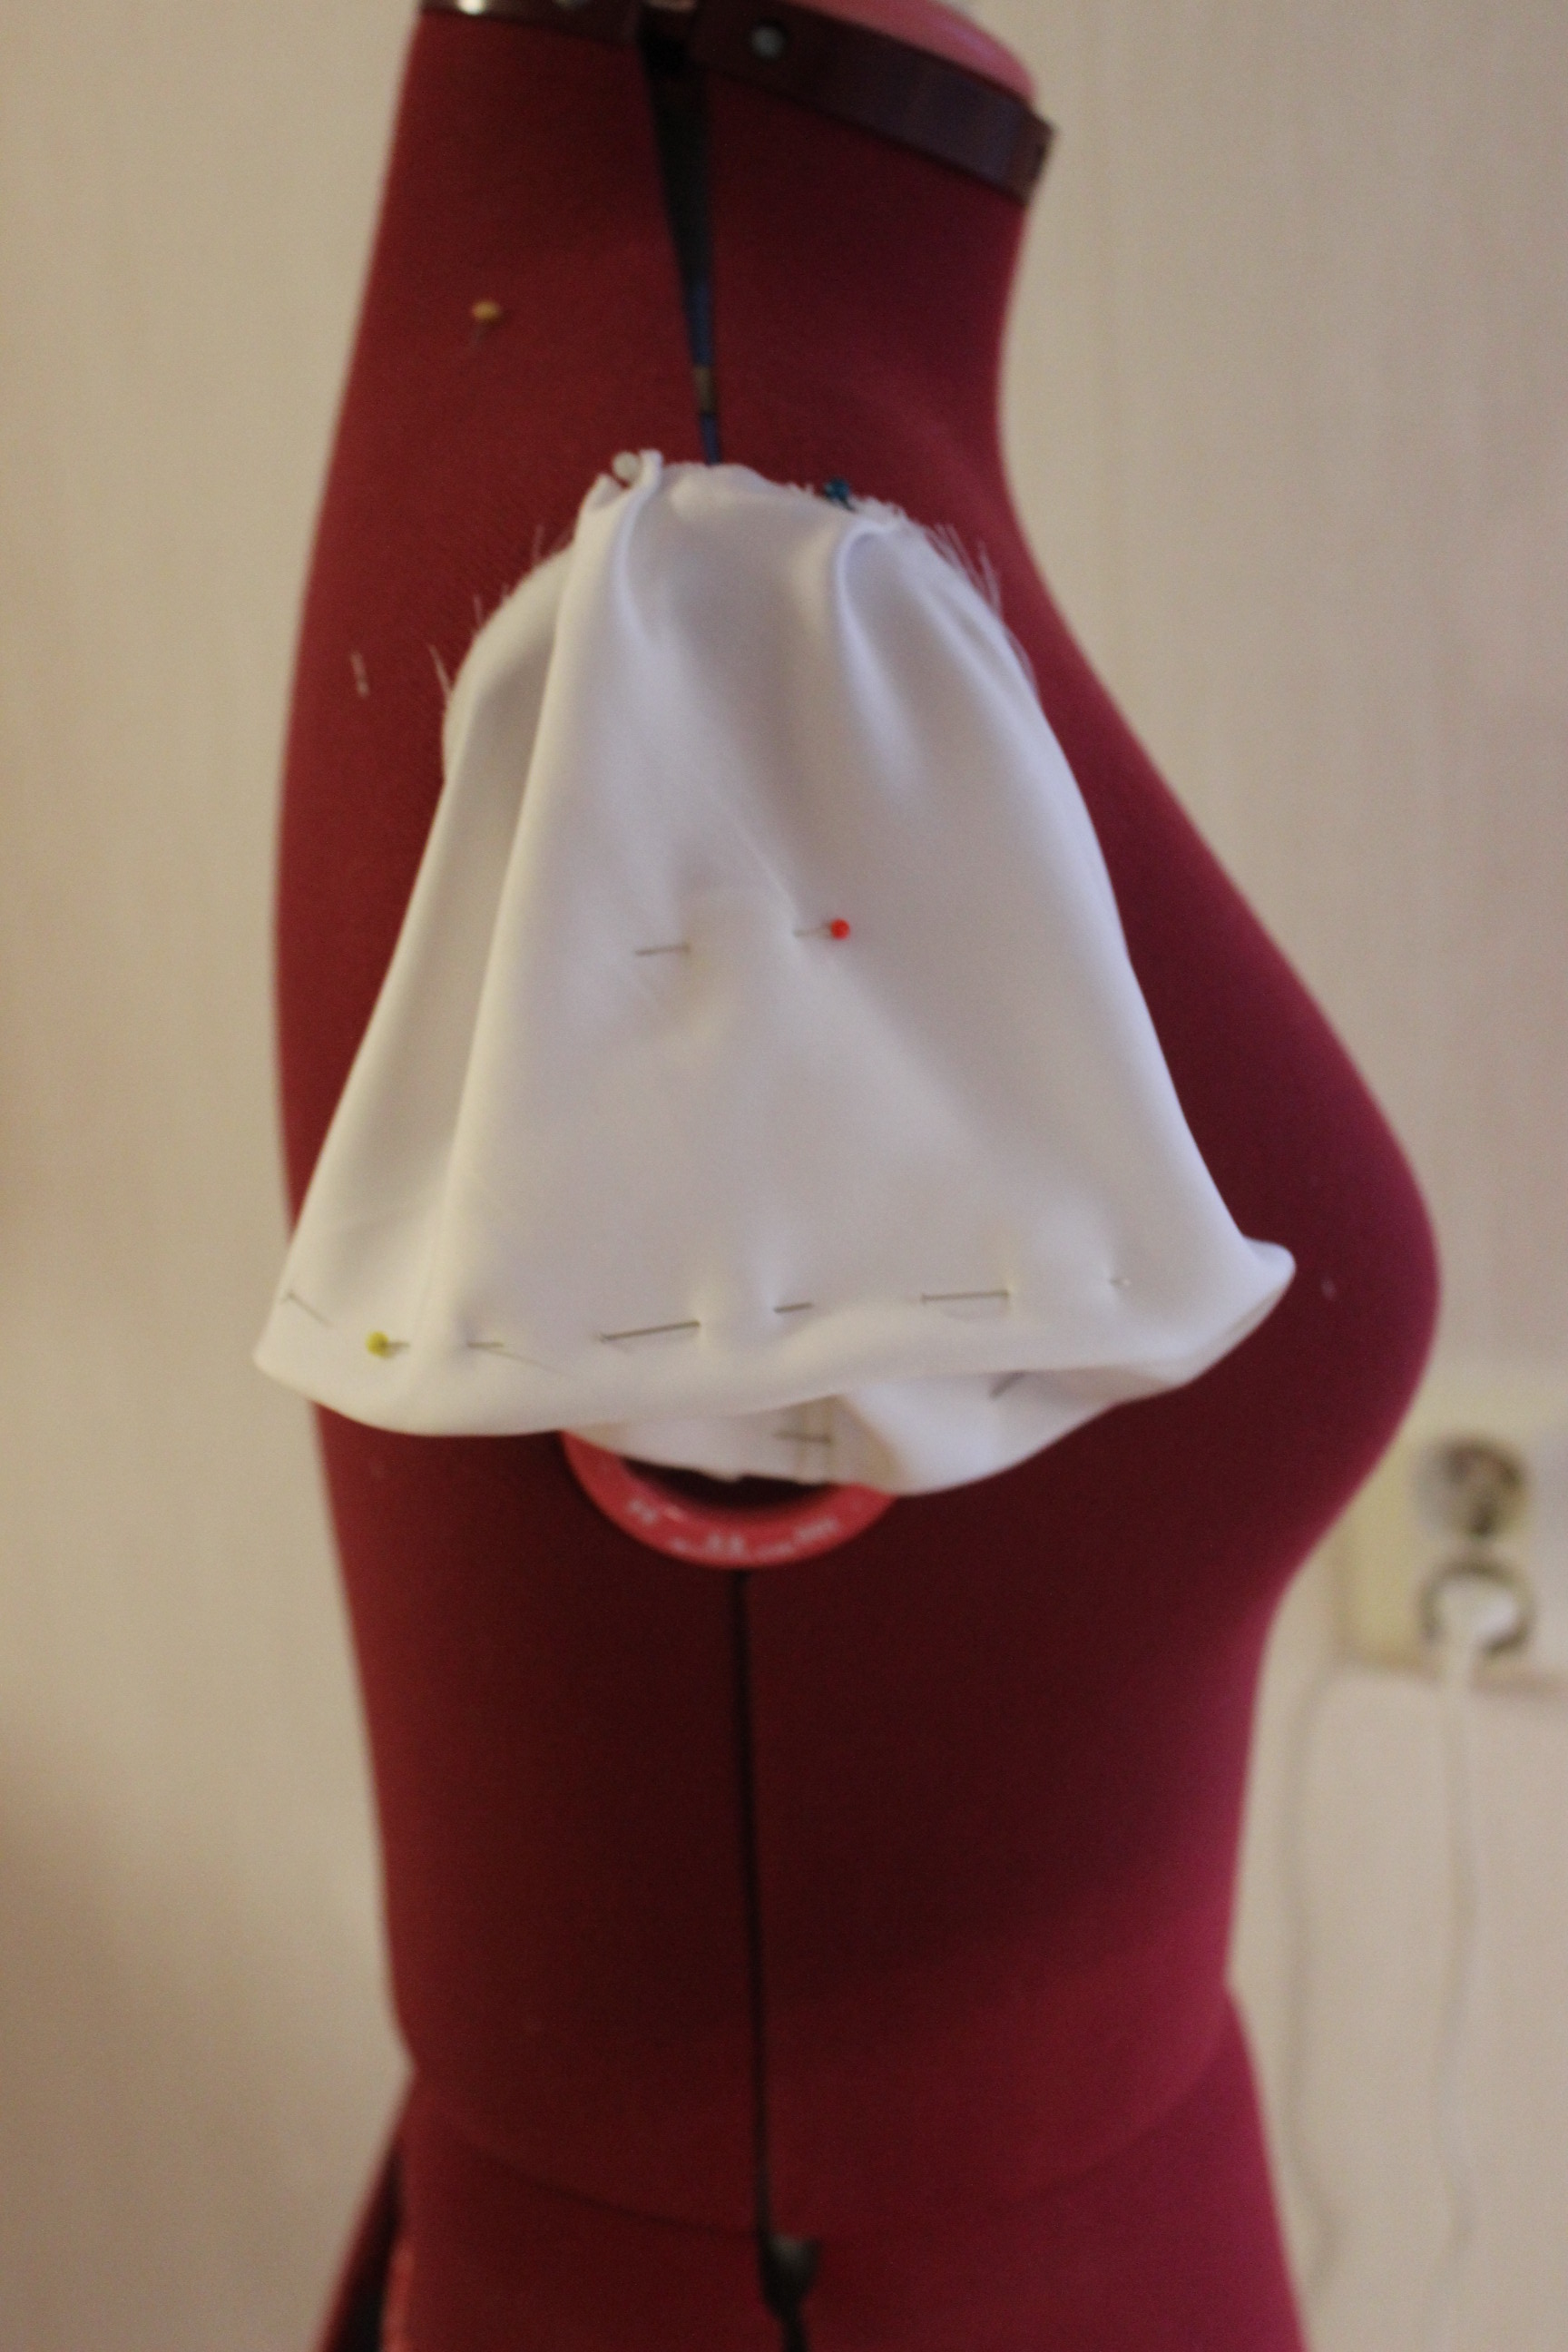
Then I cut the fashion fabric, making sure to get enough fabric into the front piece to get some nice gathering. IMG_3684
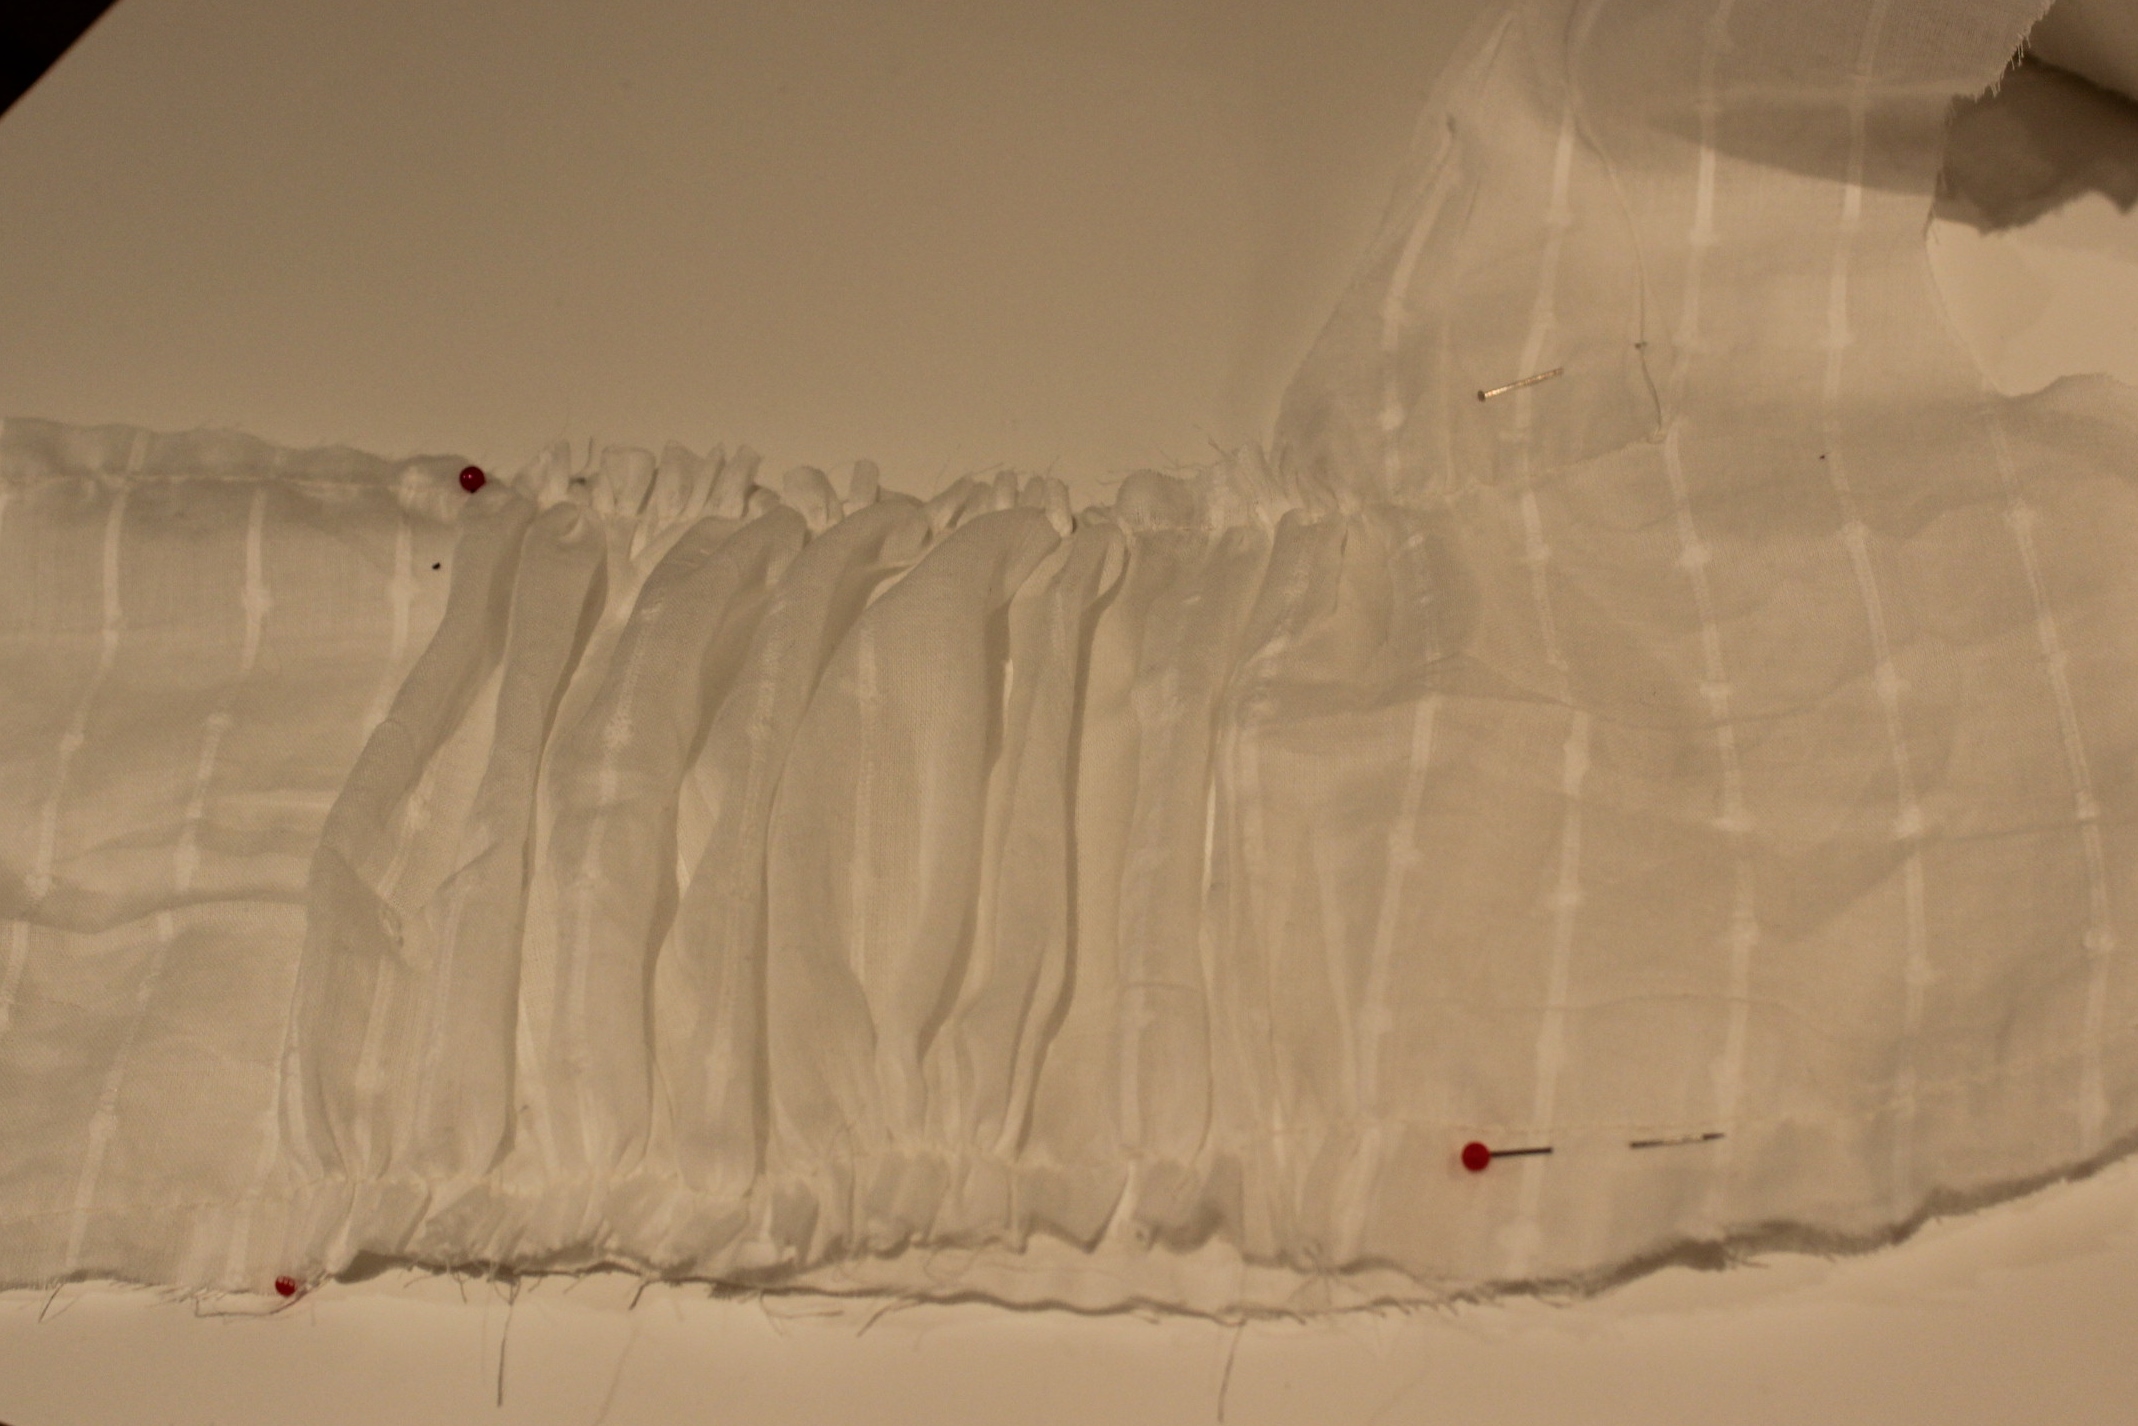
I stitched the bodice together and basted it into the interlining before I gathered the front.

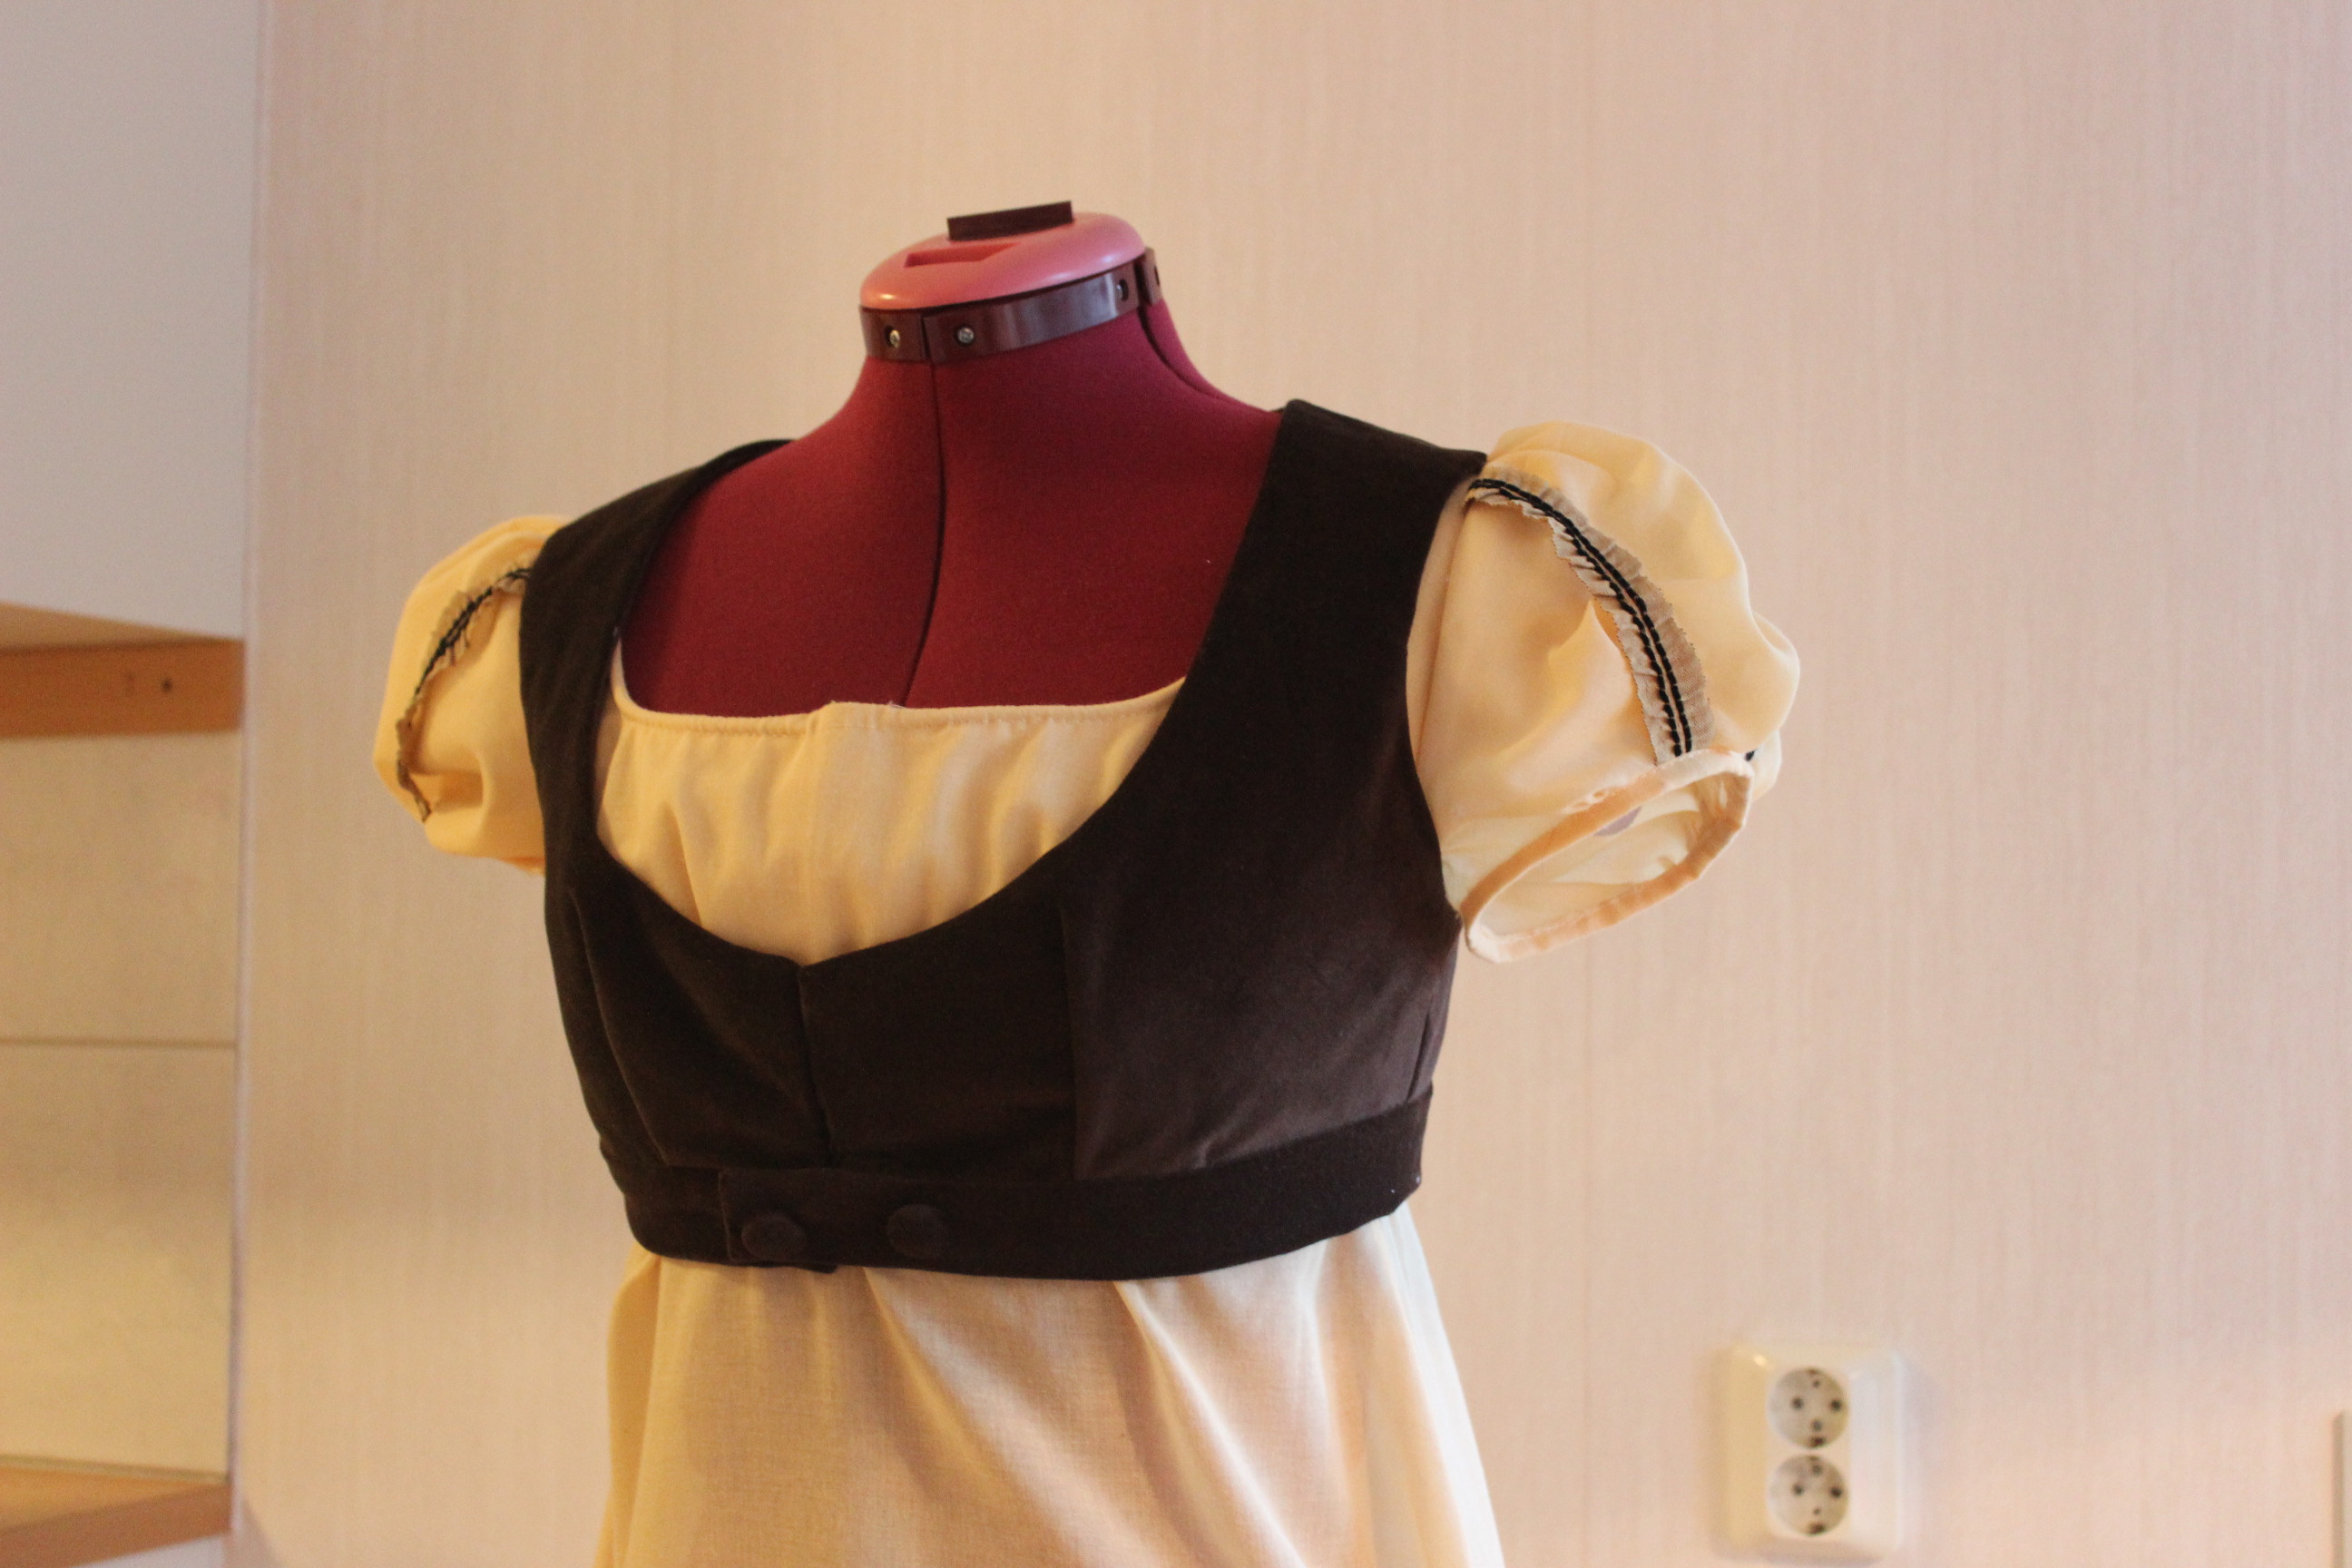
Then it was time for the next try on.
IMG_3699 IMG_3694
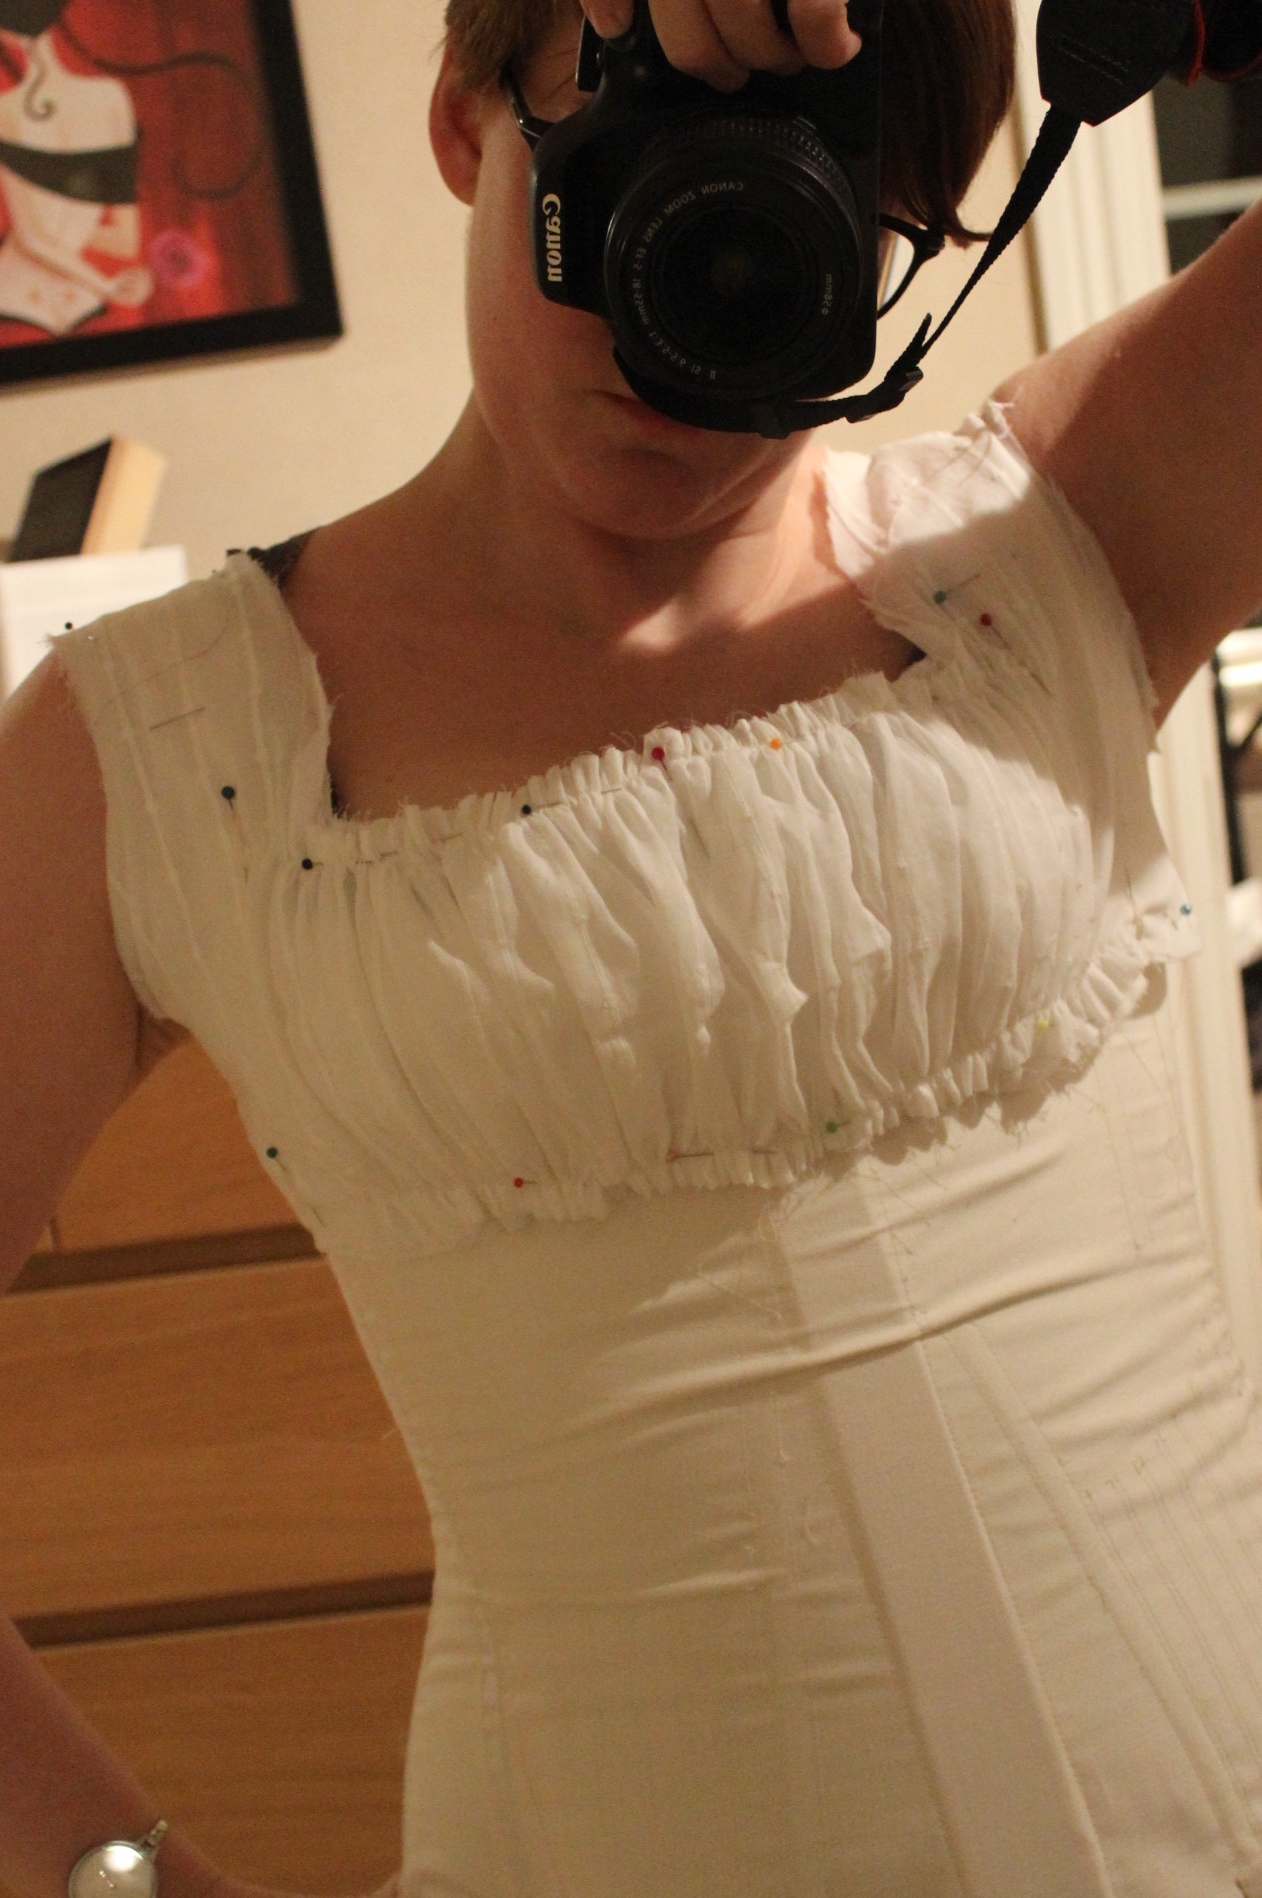
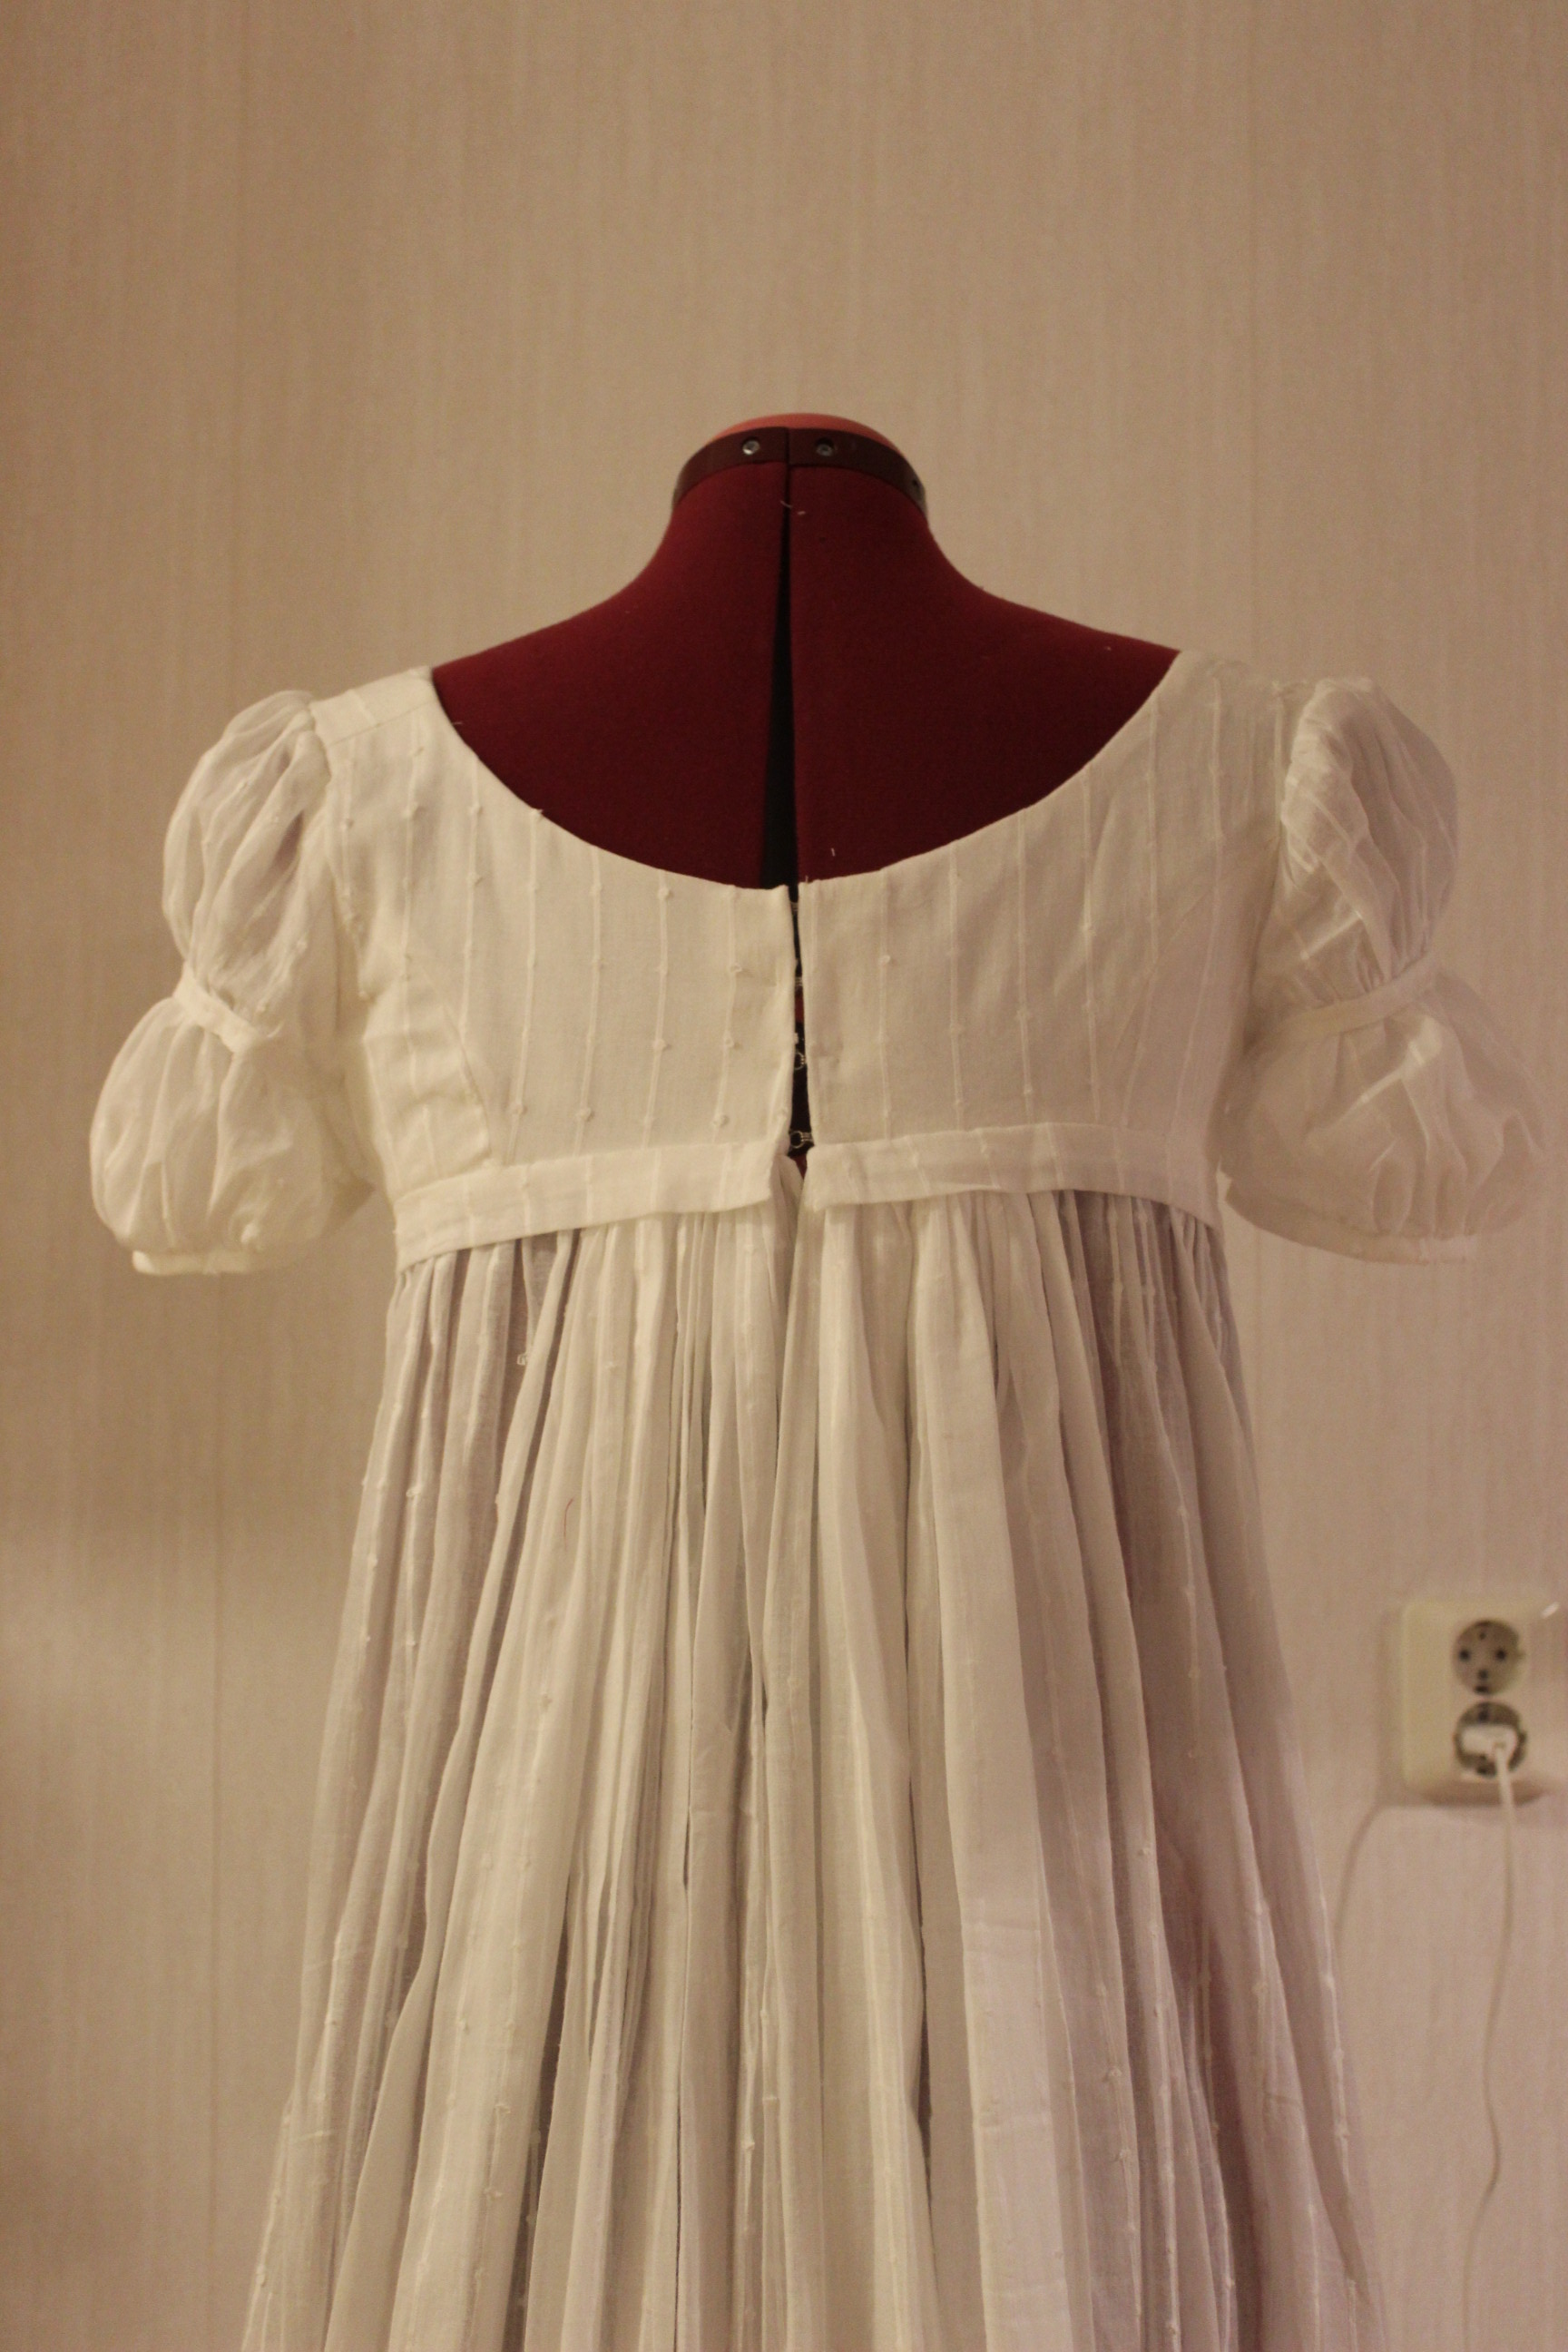
The bodice fitted pretty good, and the wrinkles at the back comes from my boyfriends pinning me into it (sch, don’t tell him), and not from the back being to small as you would think.

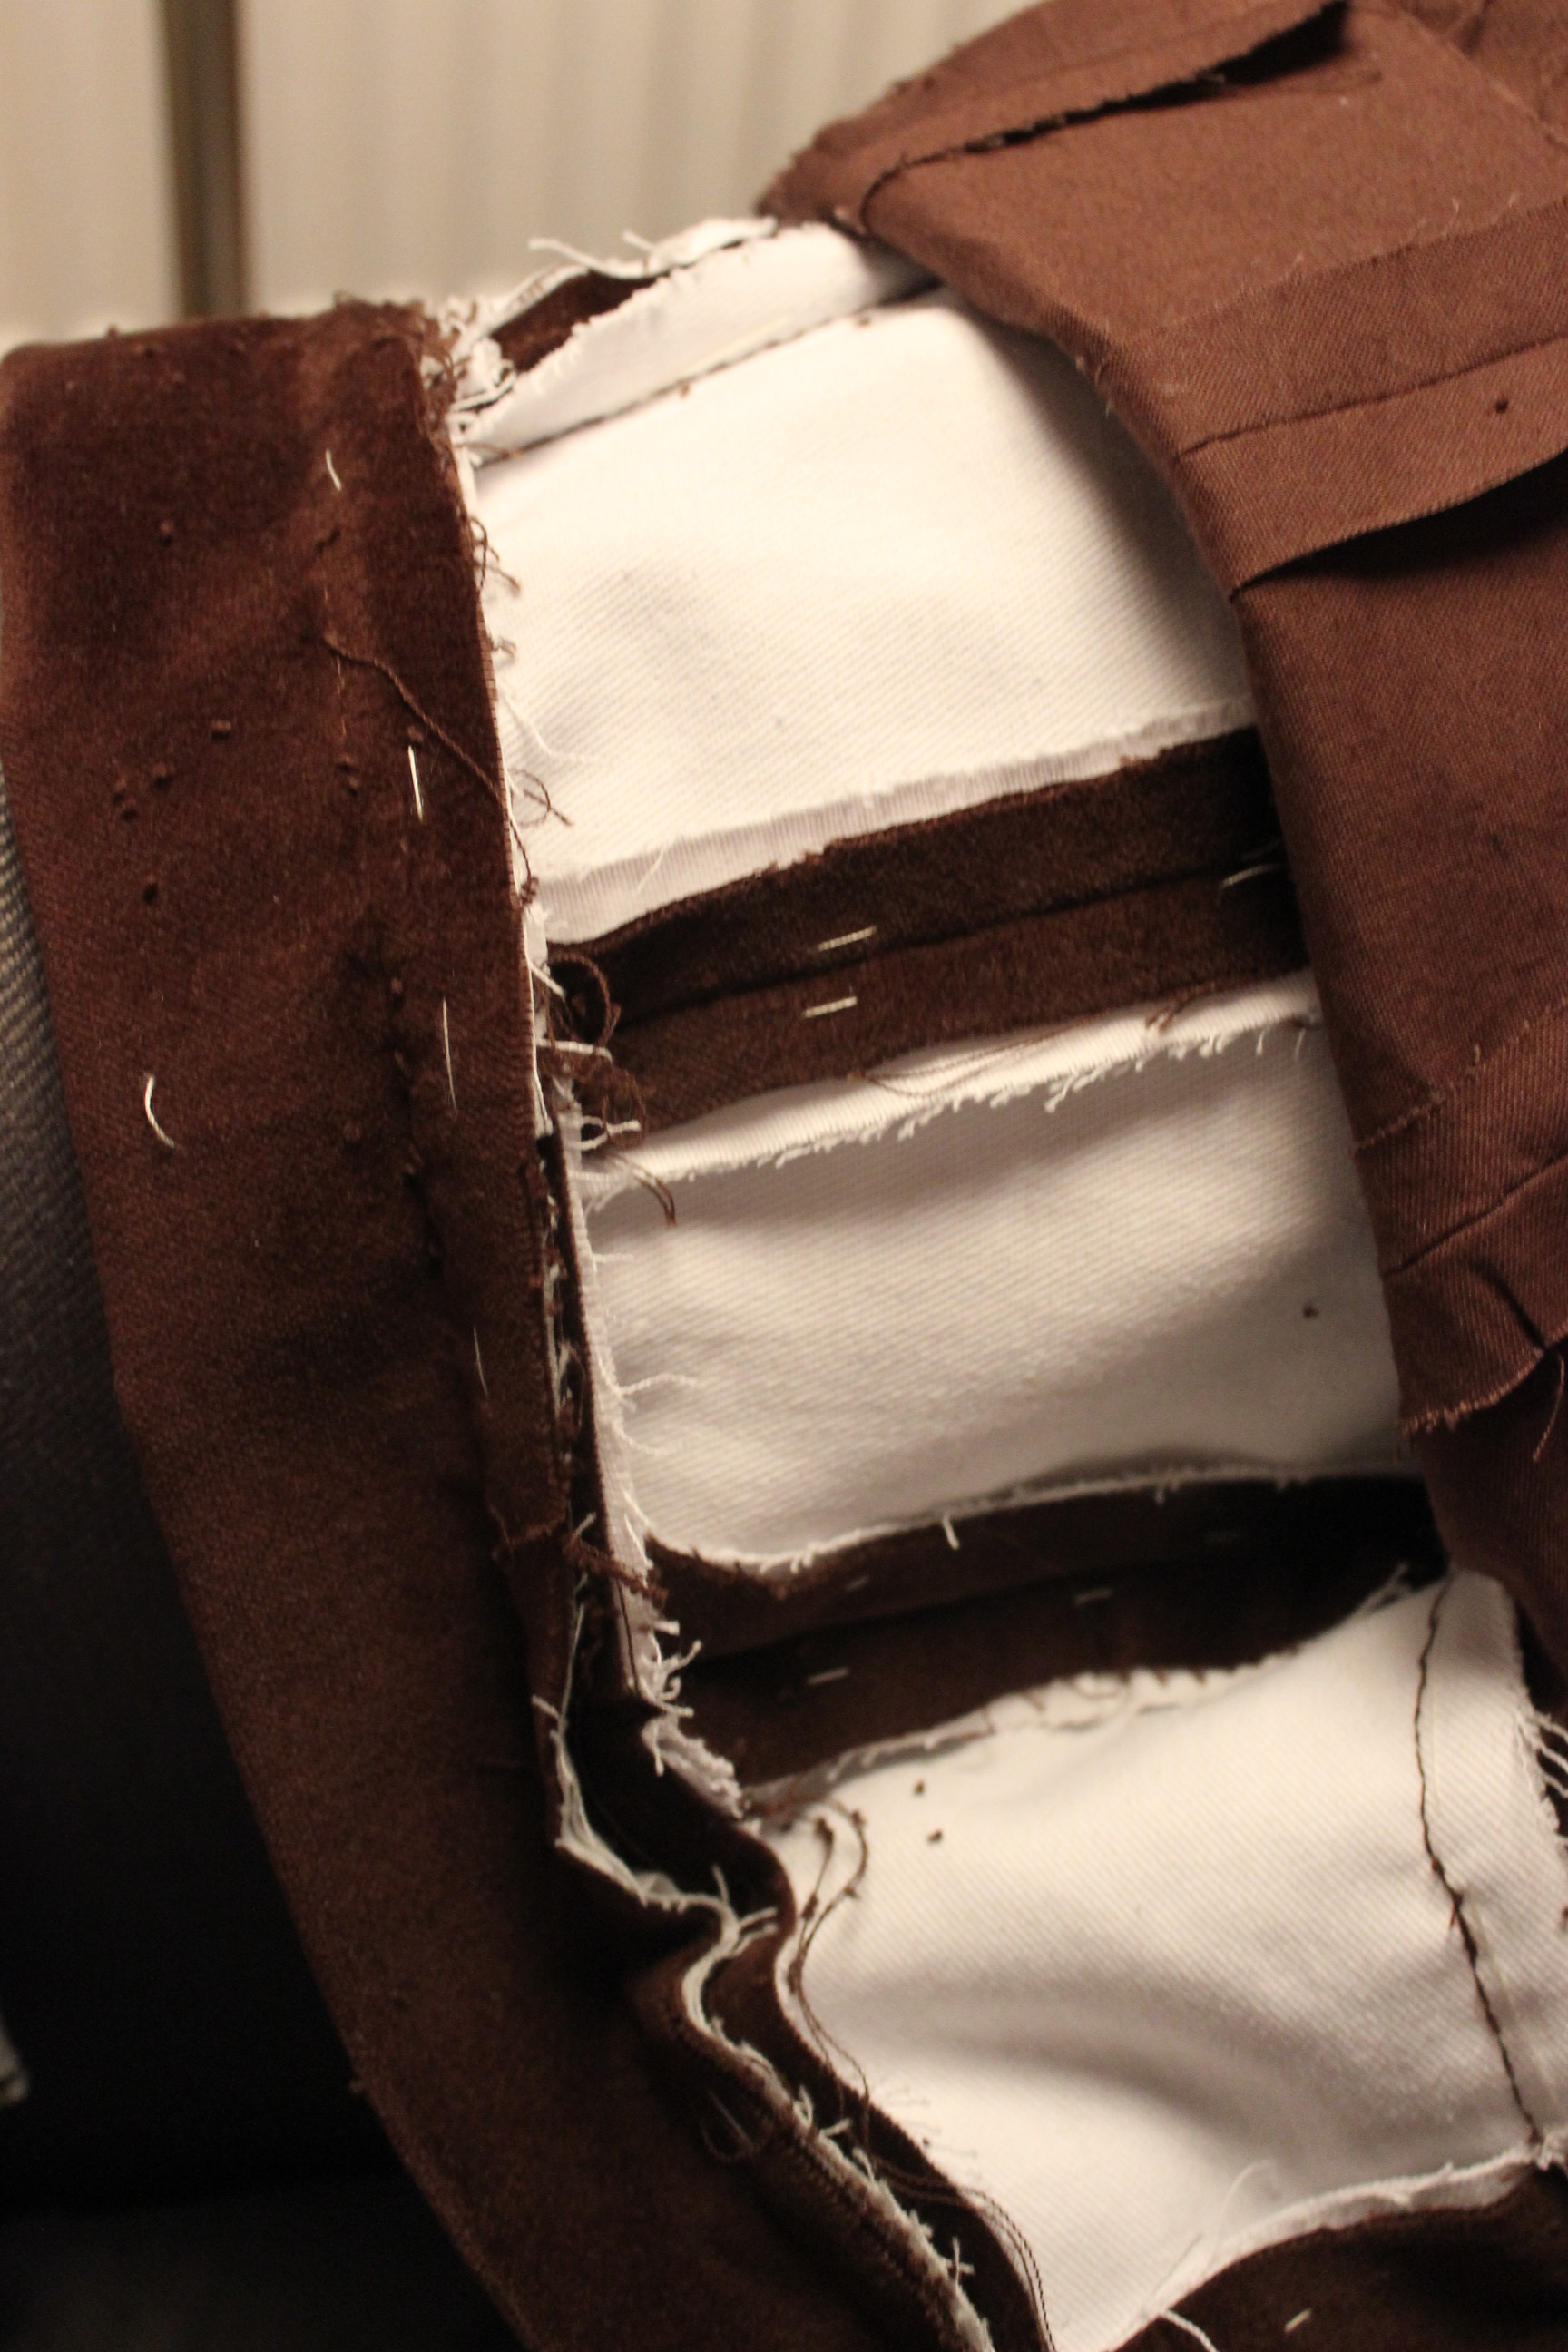
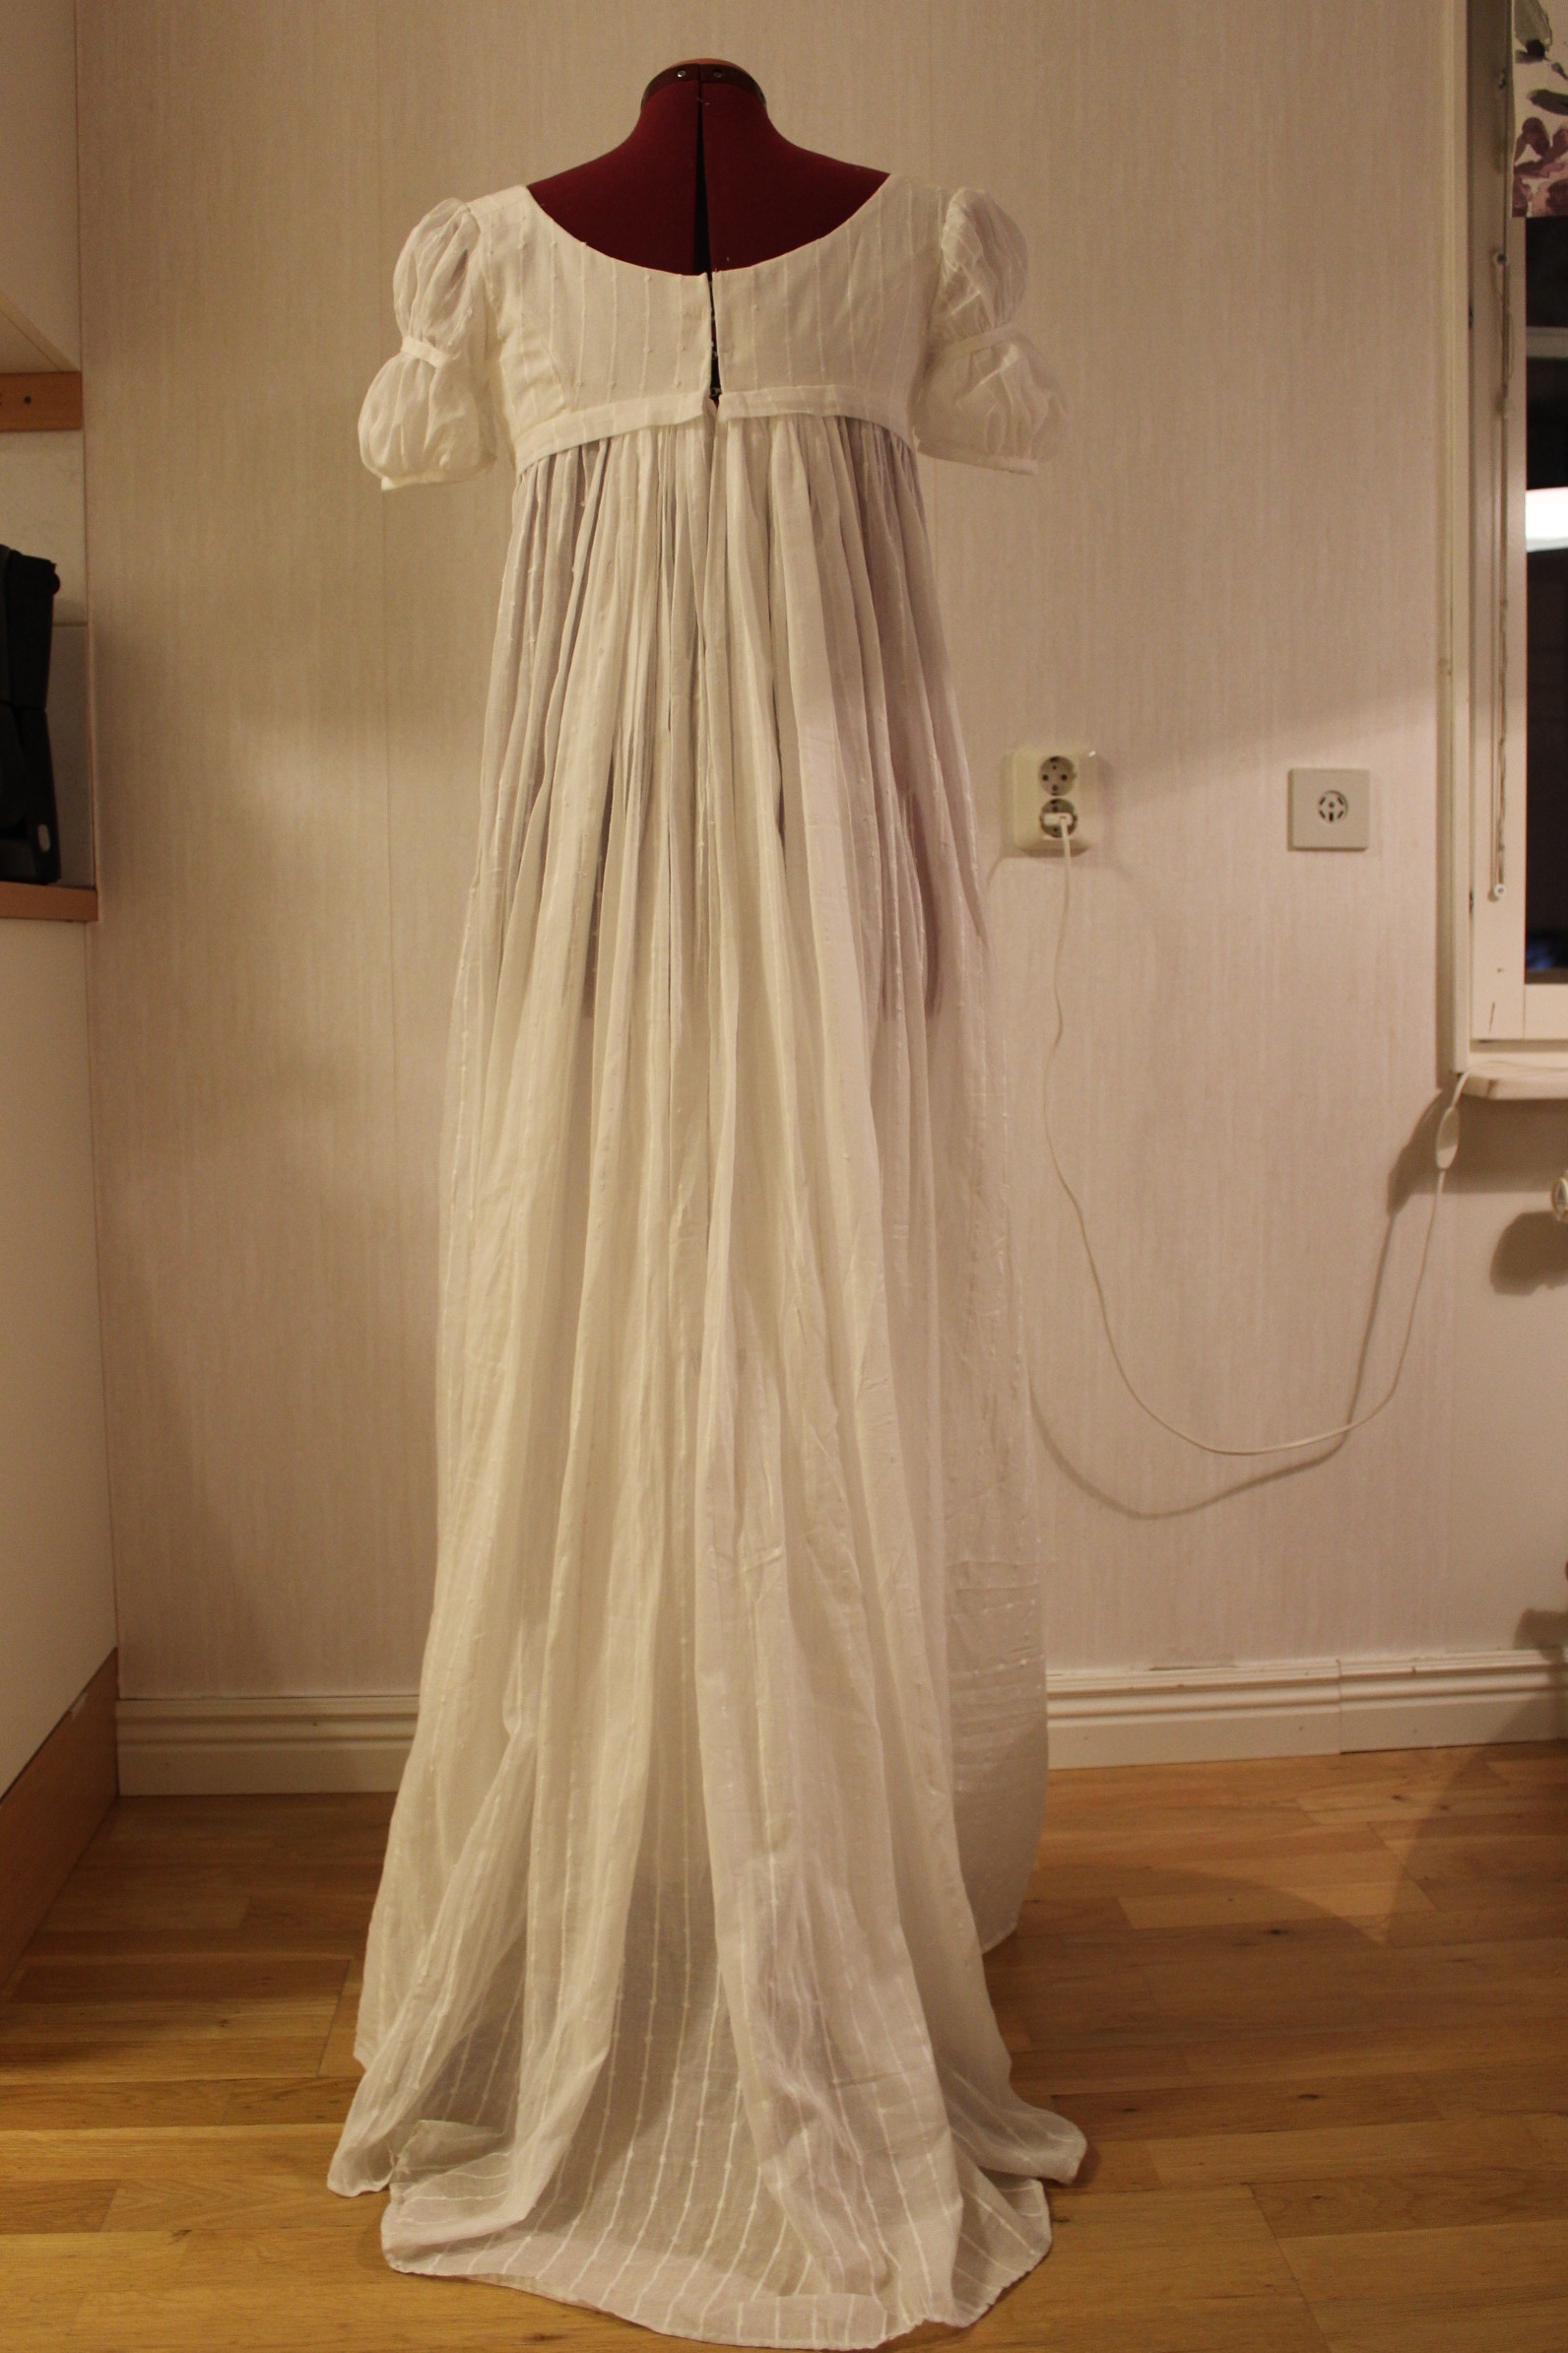
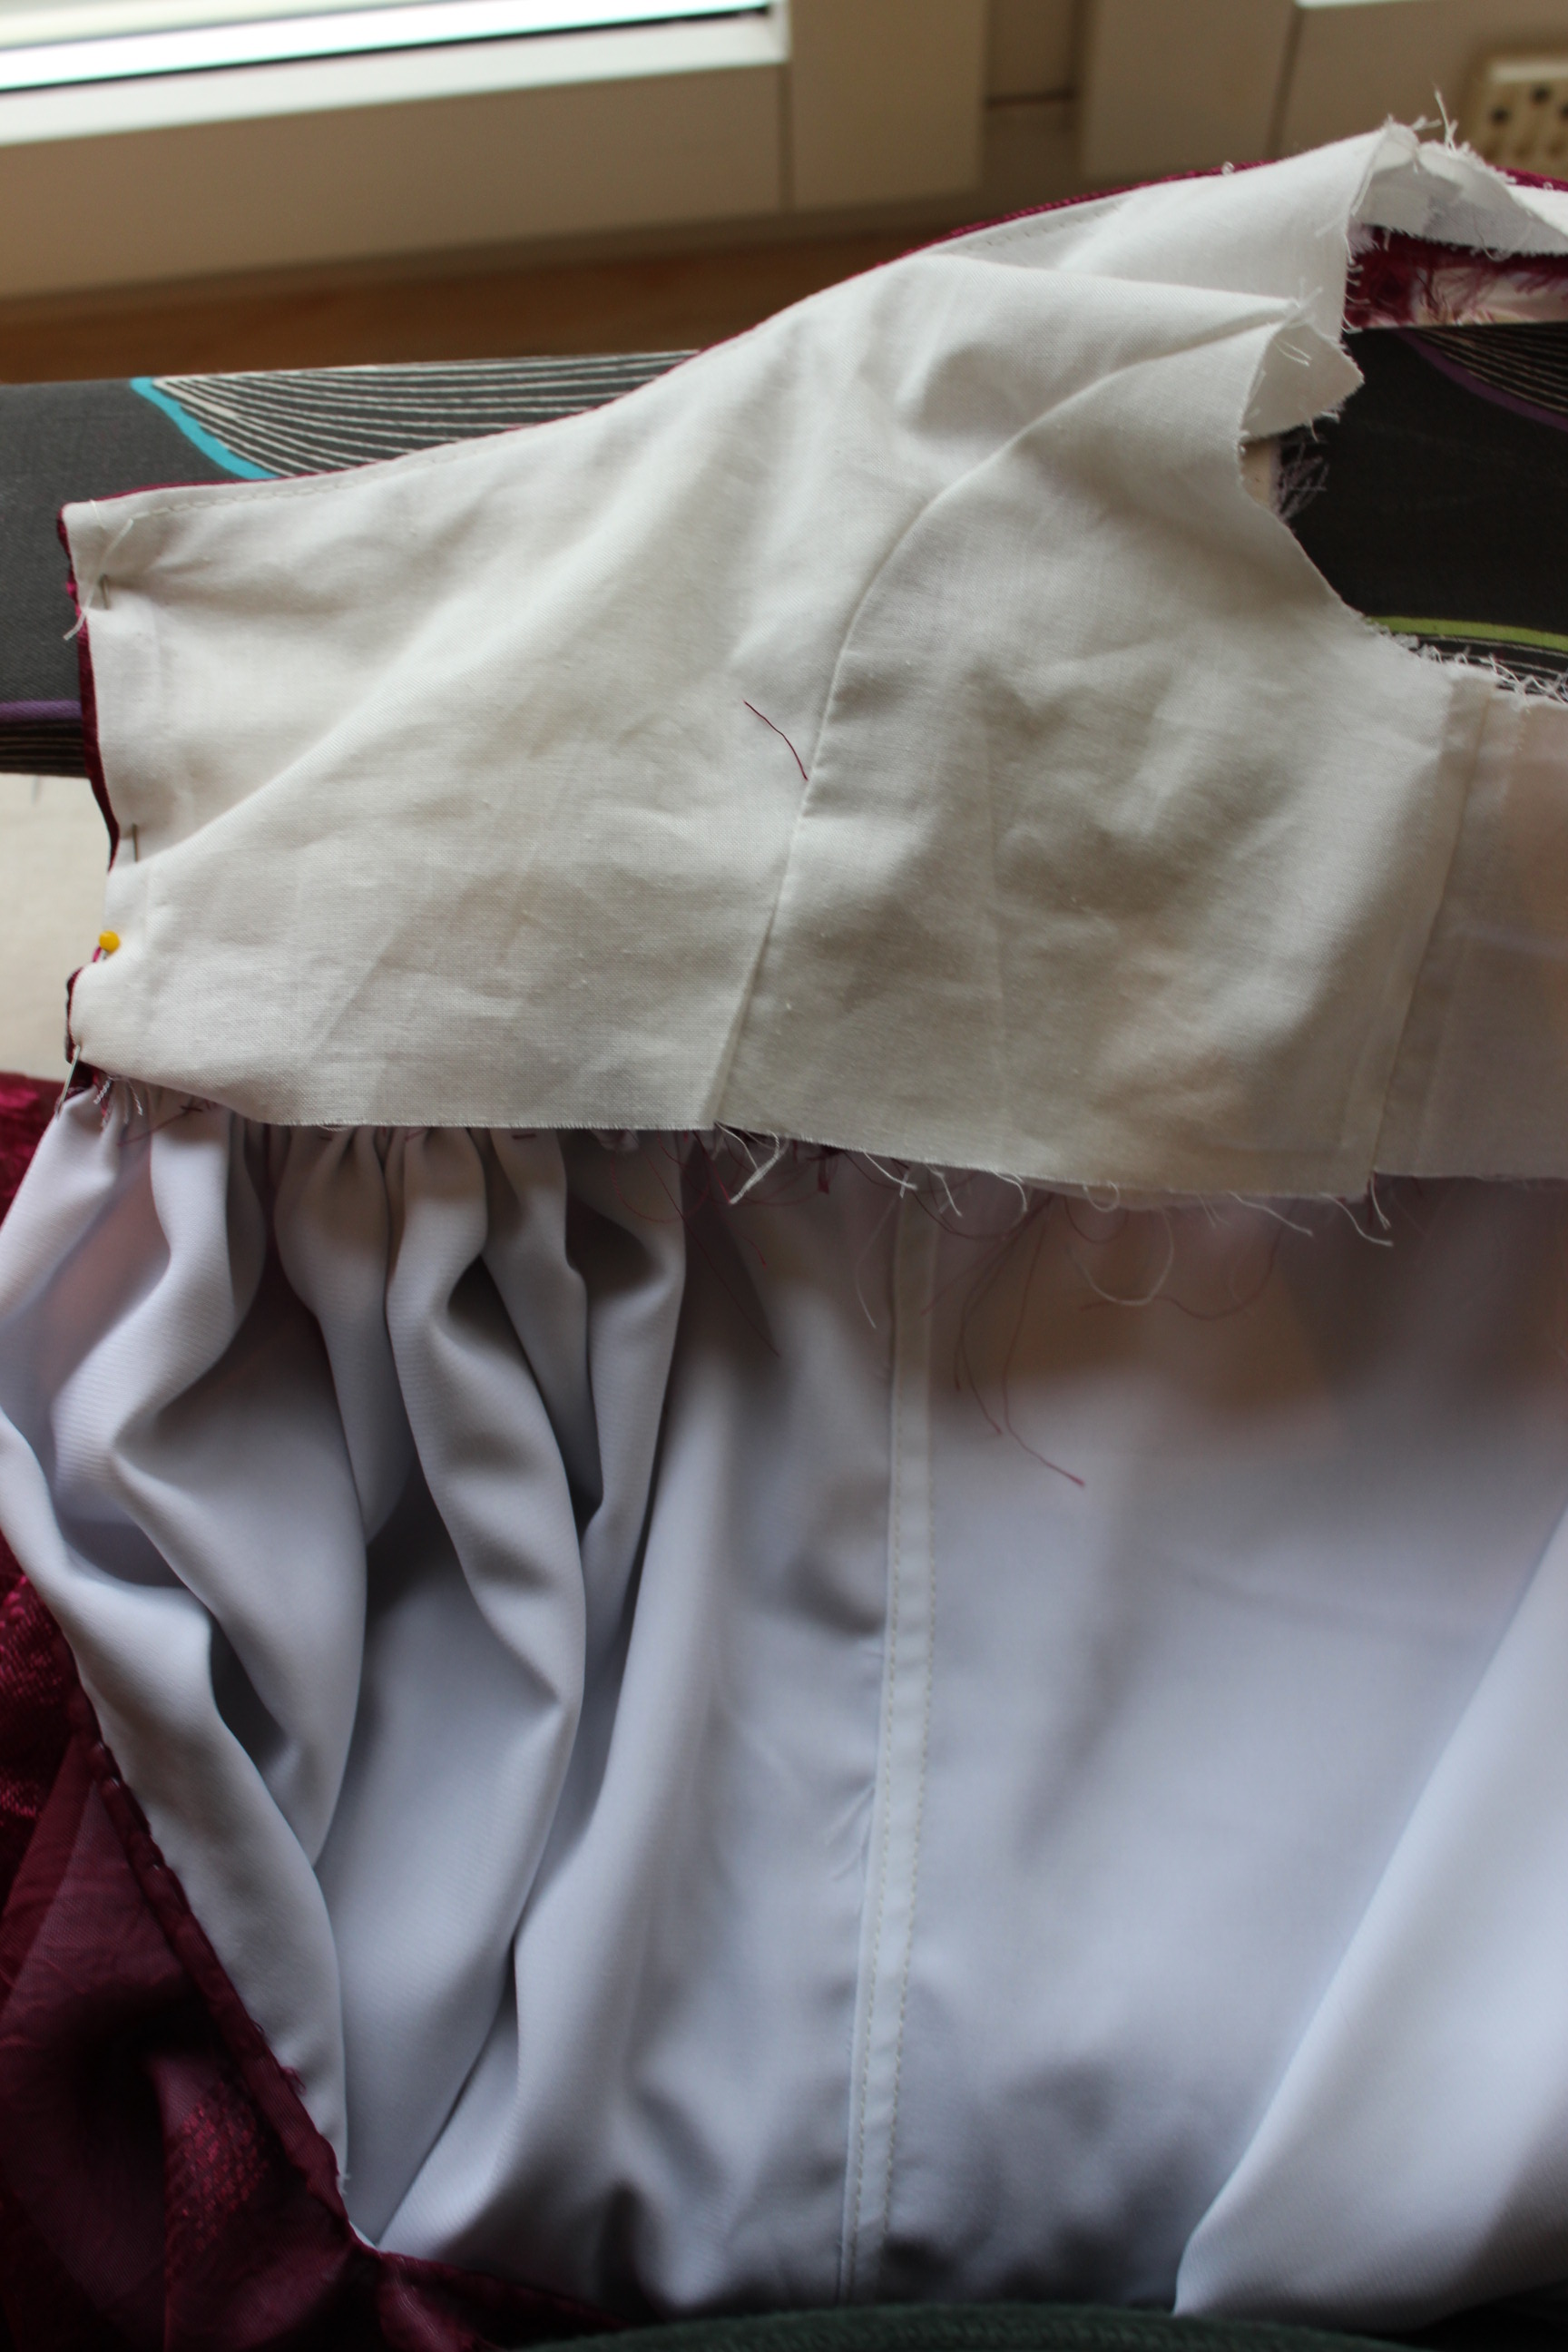
After finishing up the bodice, I attached the skirt making sure to put most of the gathers at the center back.IMG_3702

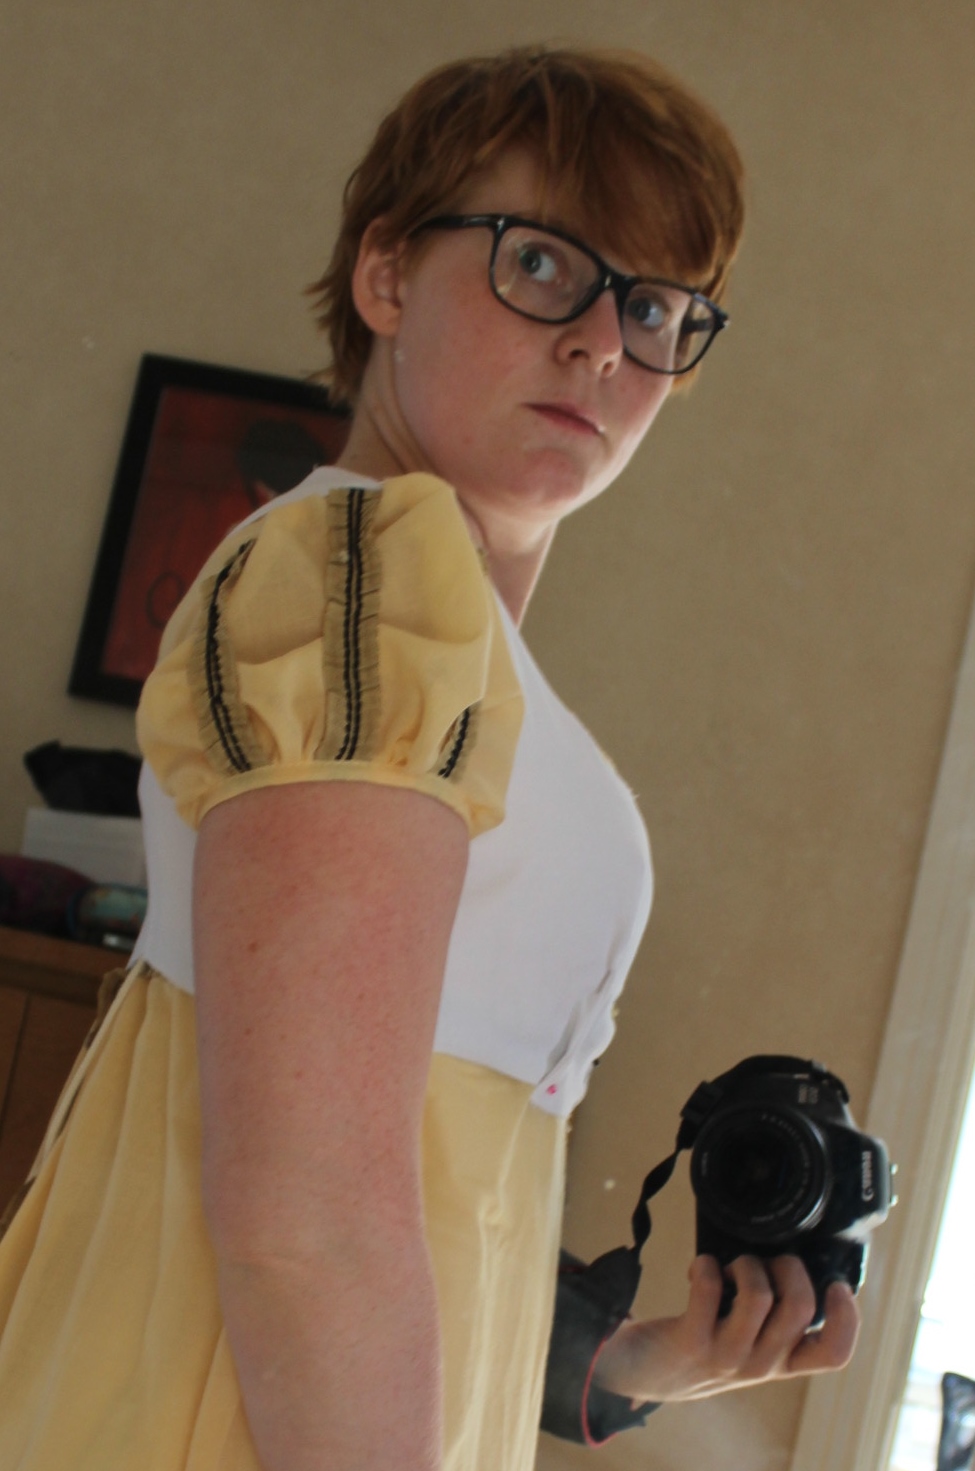
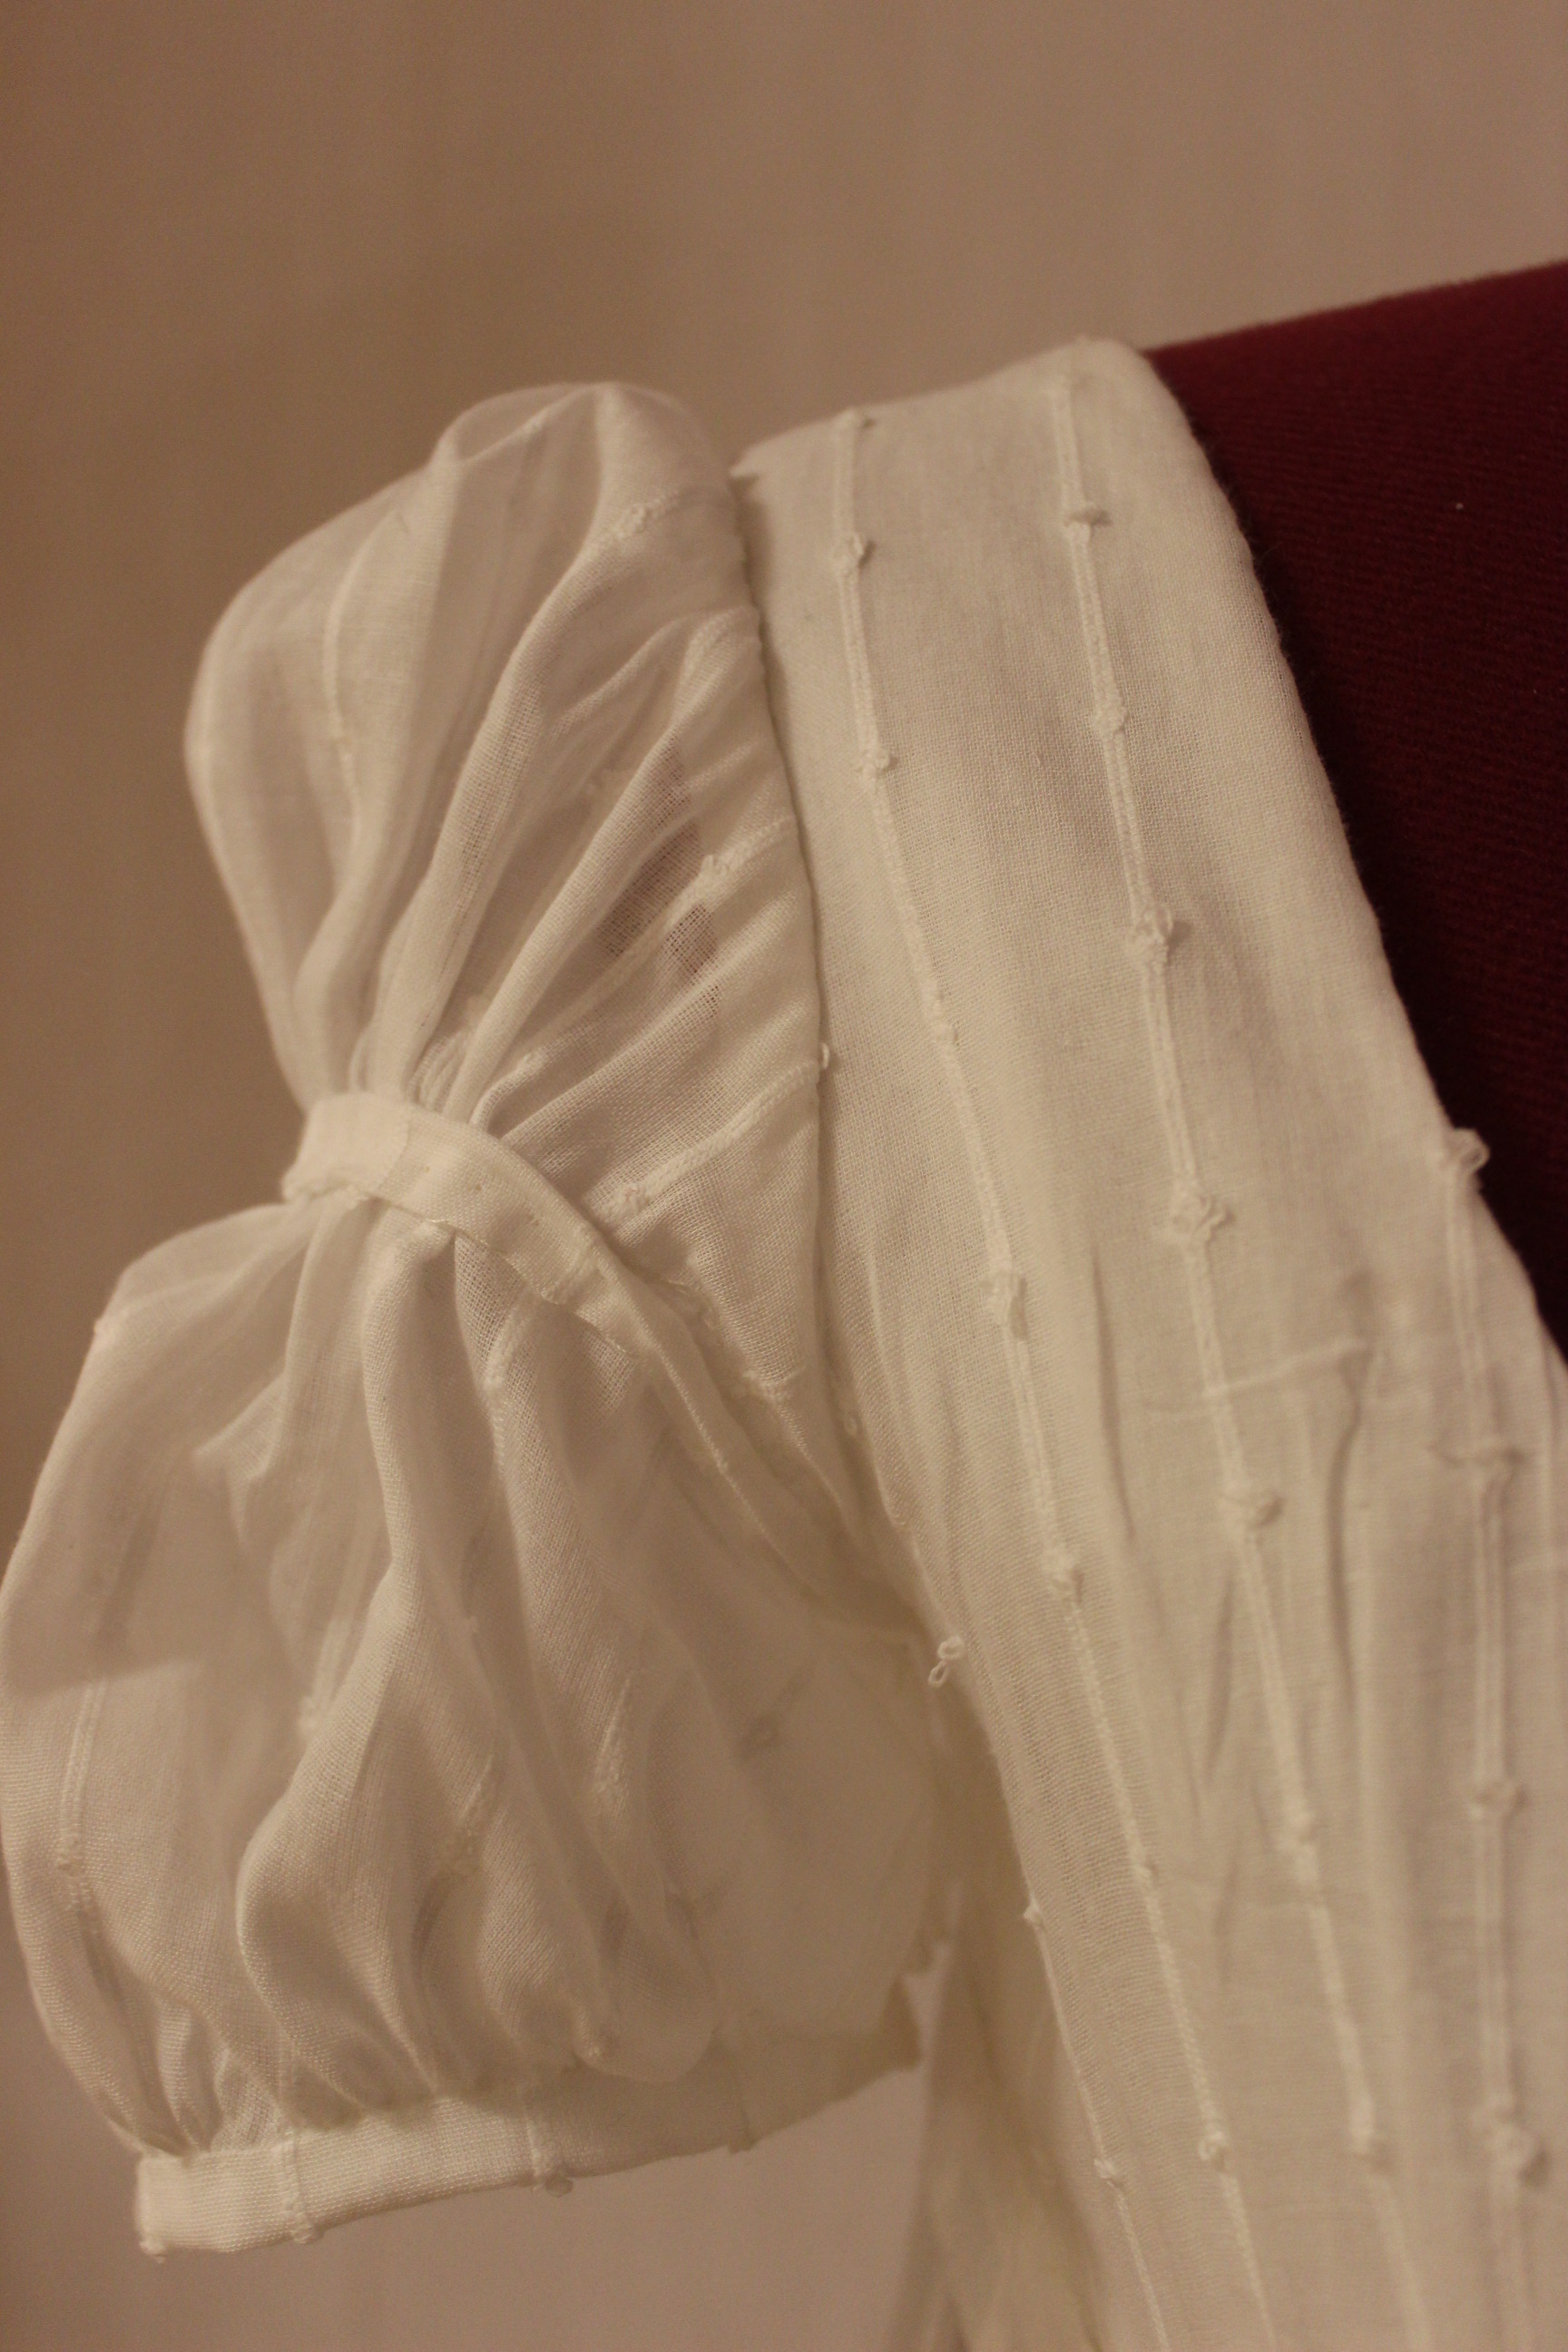
The sleeves are regular pouf sleeves with a row of gathering stitches in the middle to create a double pouf.IMG_3703

And once again I needed to get help being pinned into the dress (see why I will never say anything about less then perfect pinning…)

IMG_3721 IMG_3713

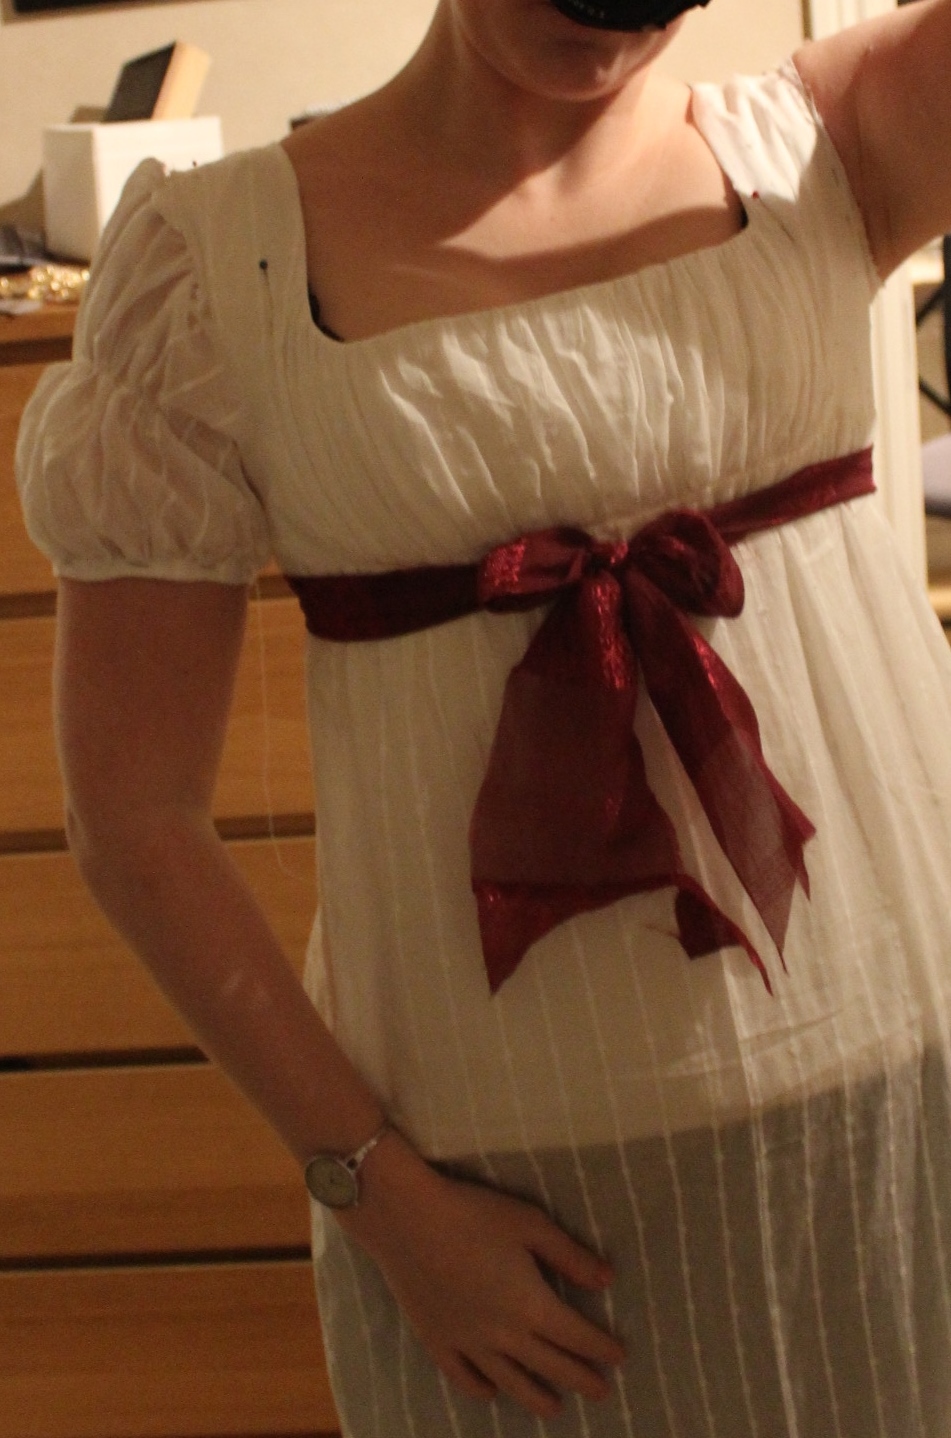
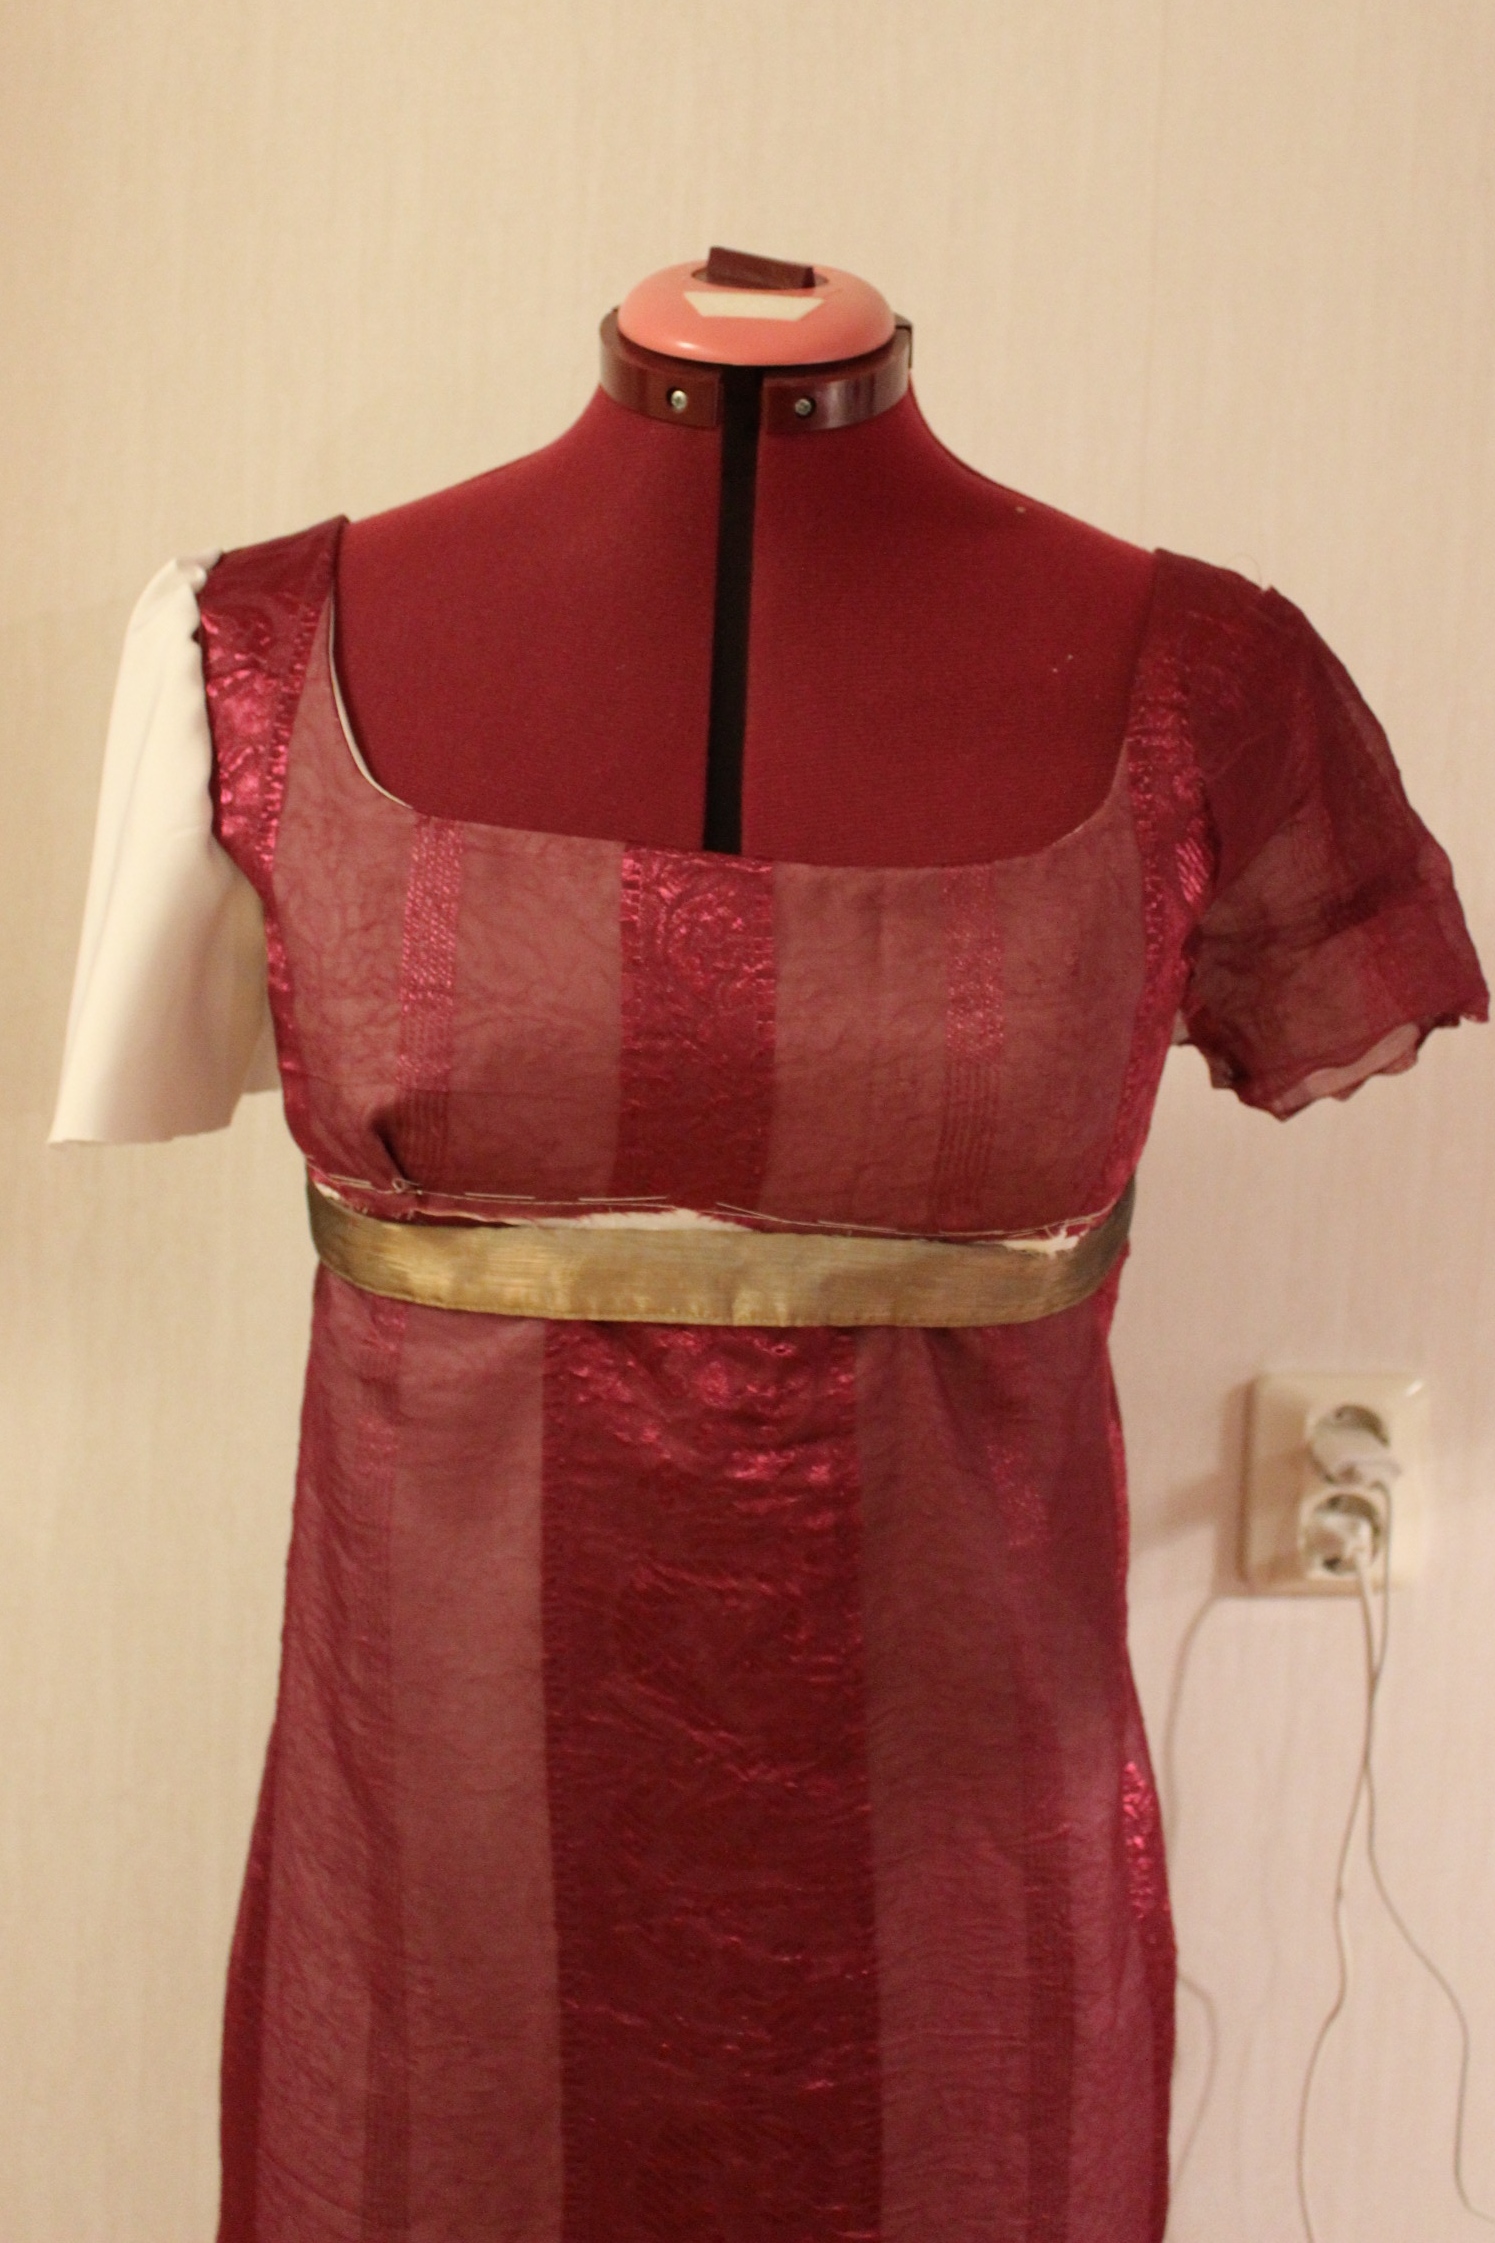
Since I didn’t had time to get hold of a long enough red ribbon to tie around the neck, crossed in back and under bust as in the fashion plate, I experimented wit a shorter red ribbon tied under bust.

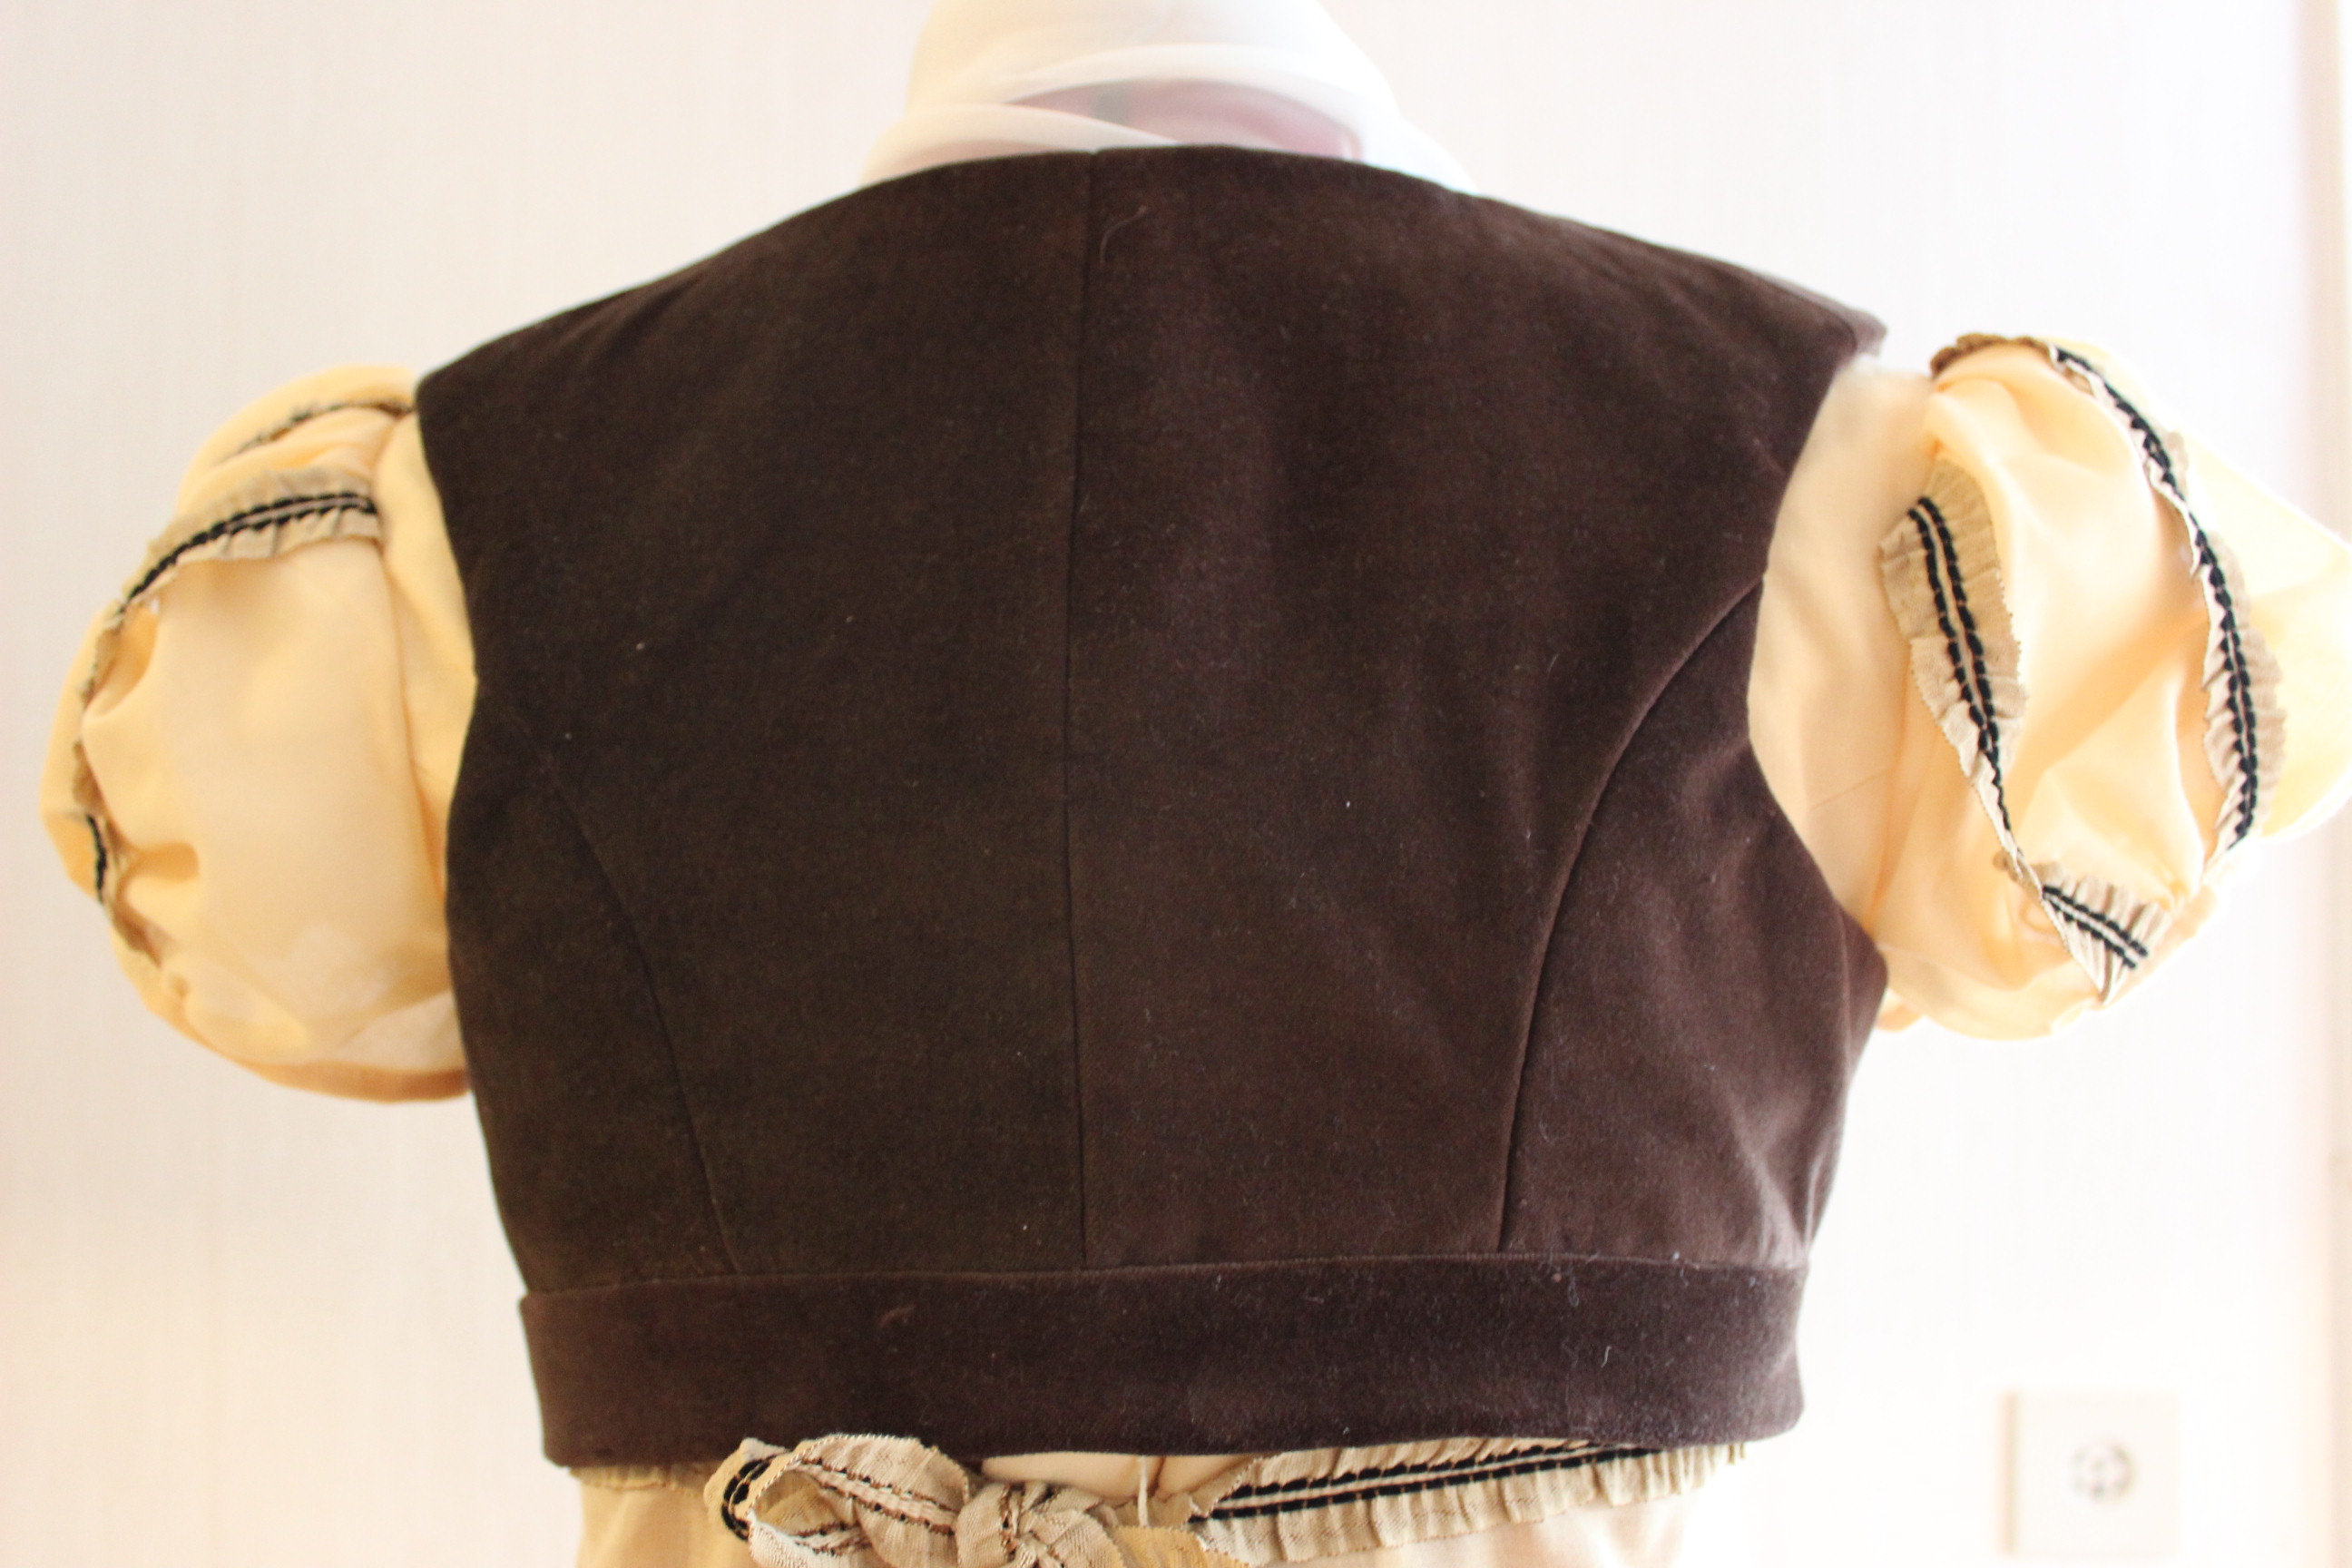
I finished by attaching the sleeves, hemming the skirt and attaching the hook and eyes at center back.
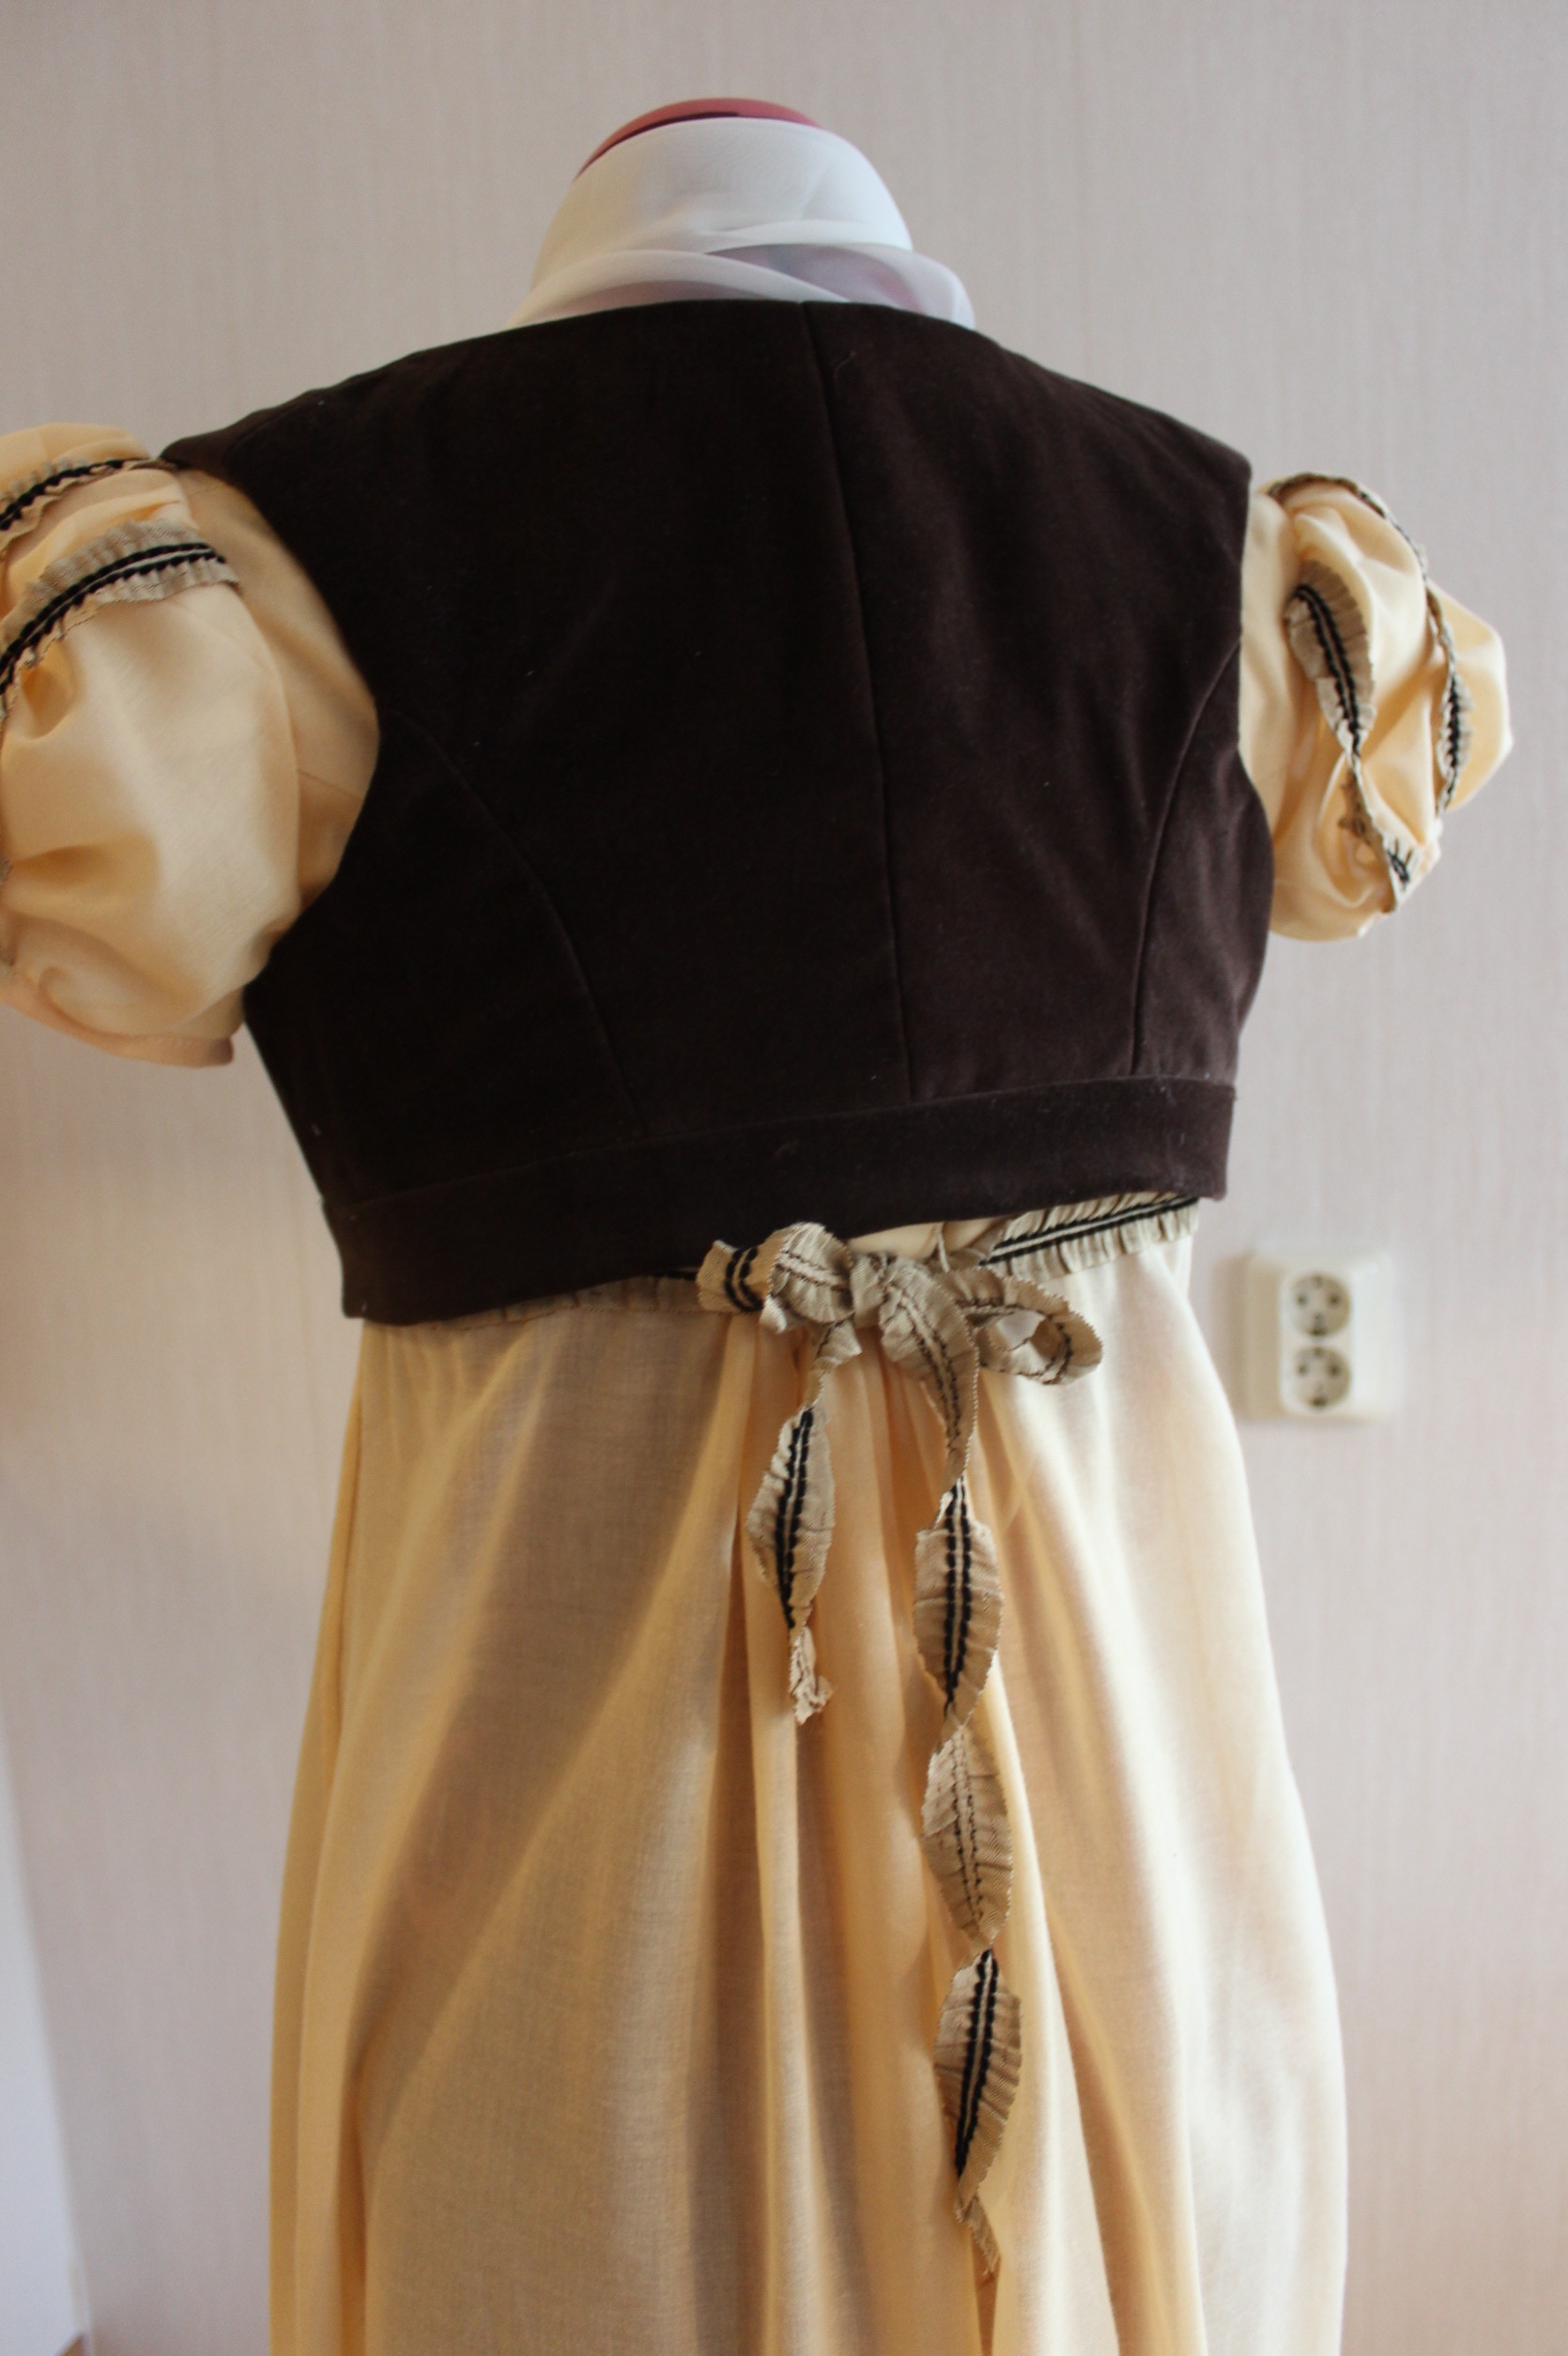
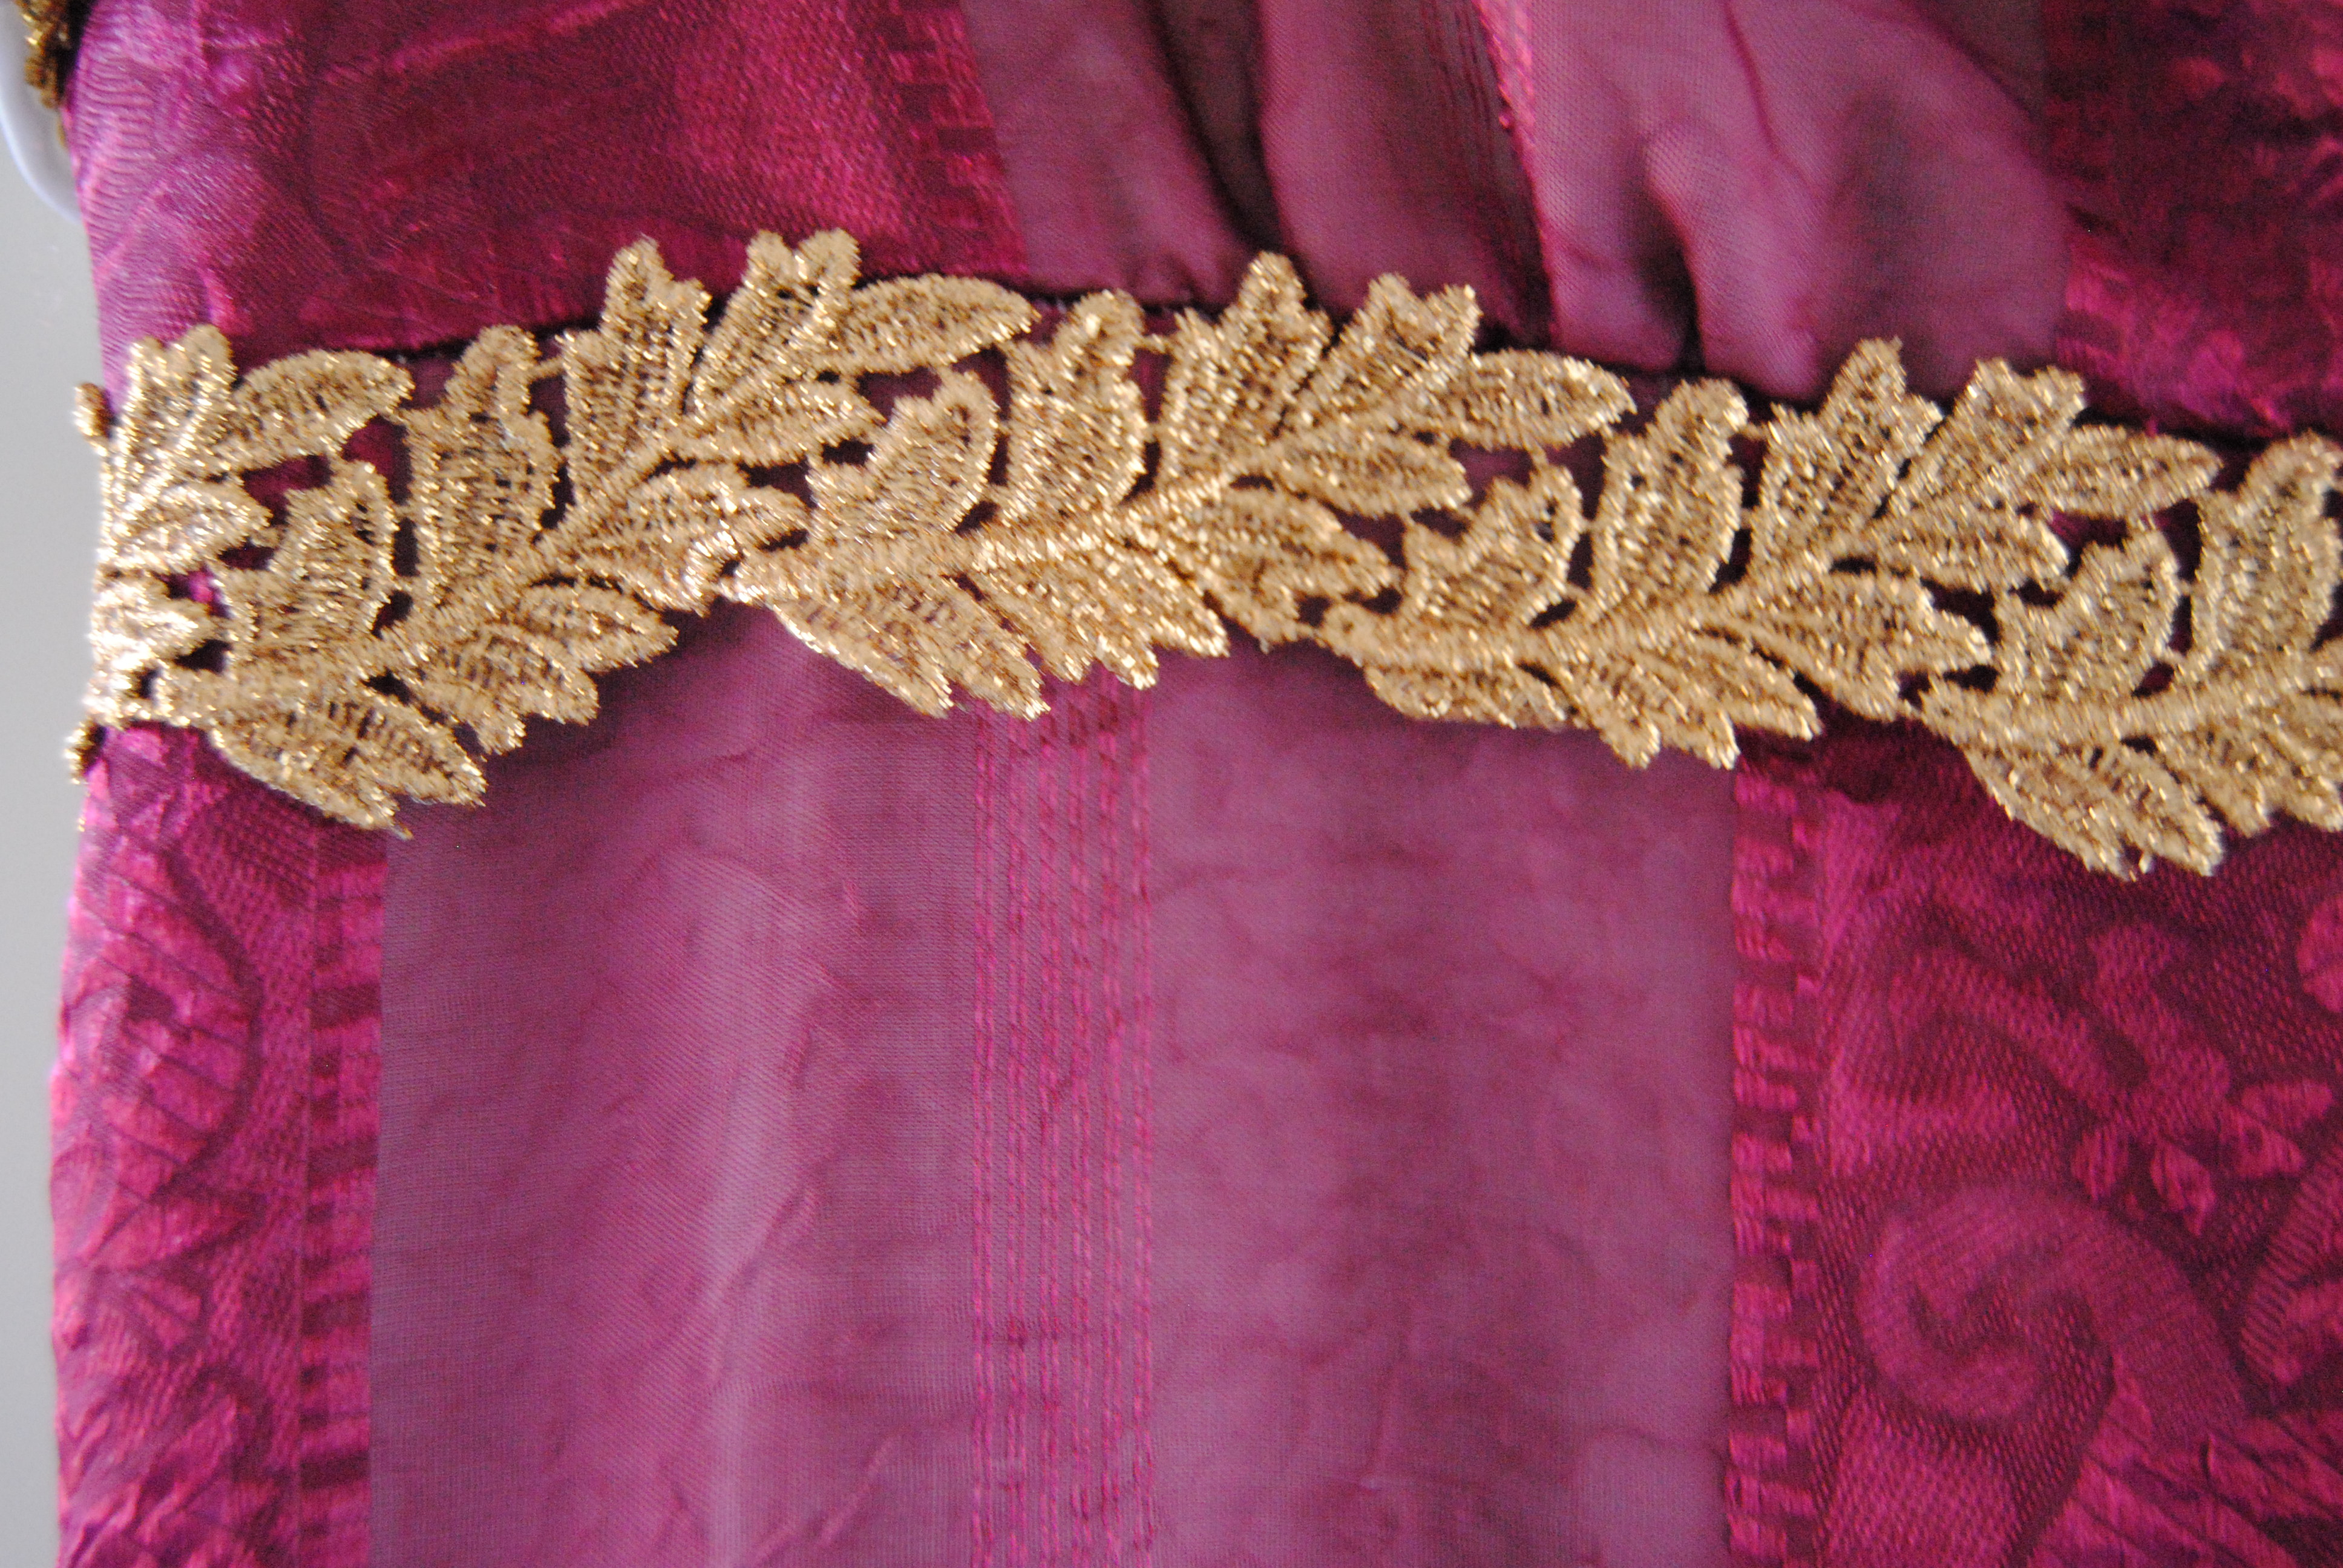
I also decided to stitch on a ribbon under bust made from the same fabric – something I did at the location of the ball, just before getting dressed.
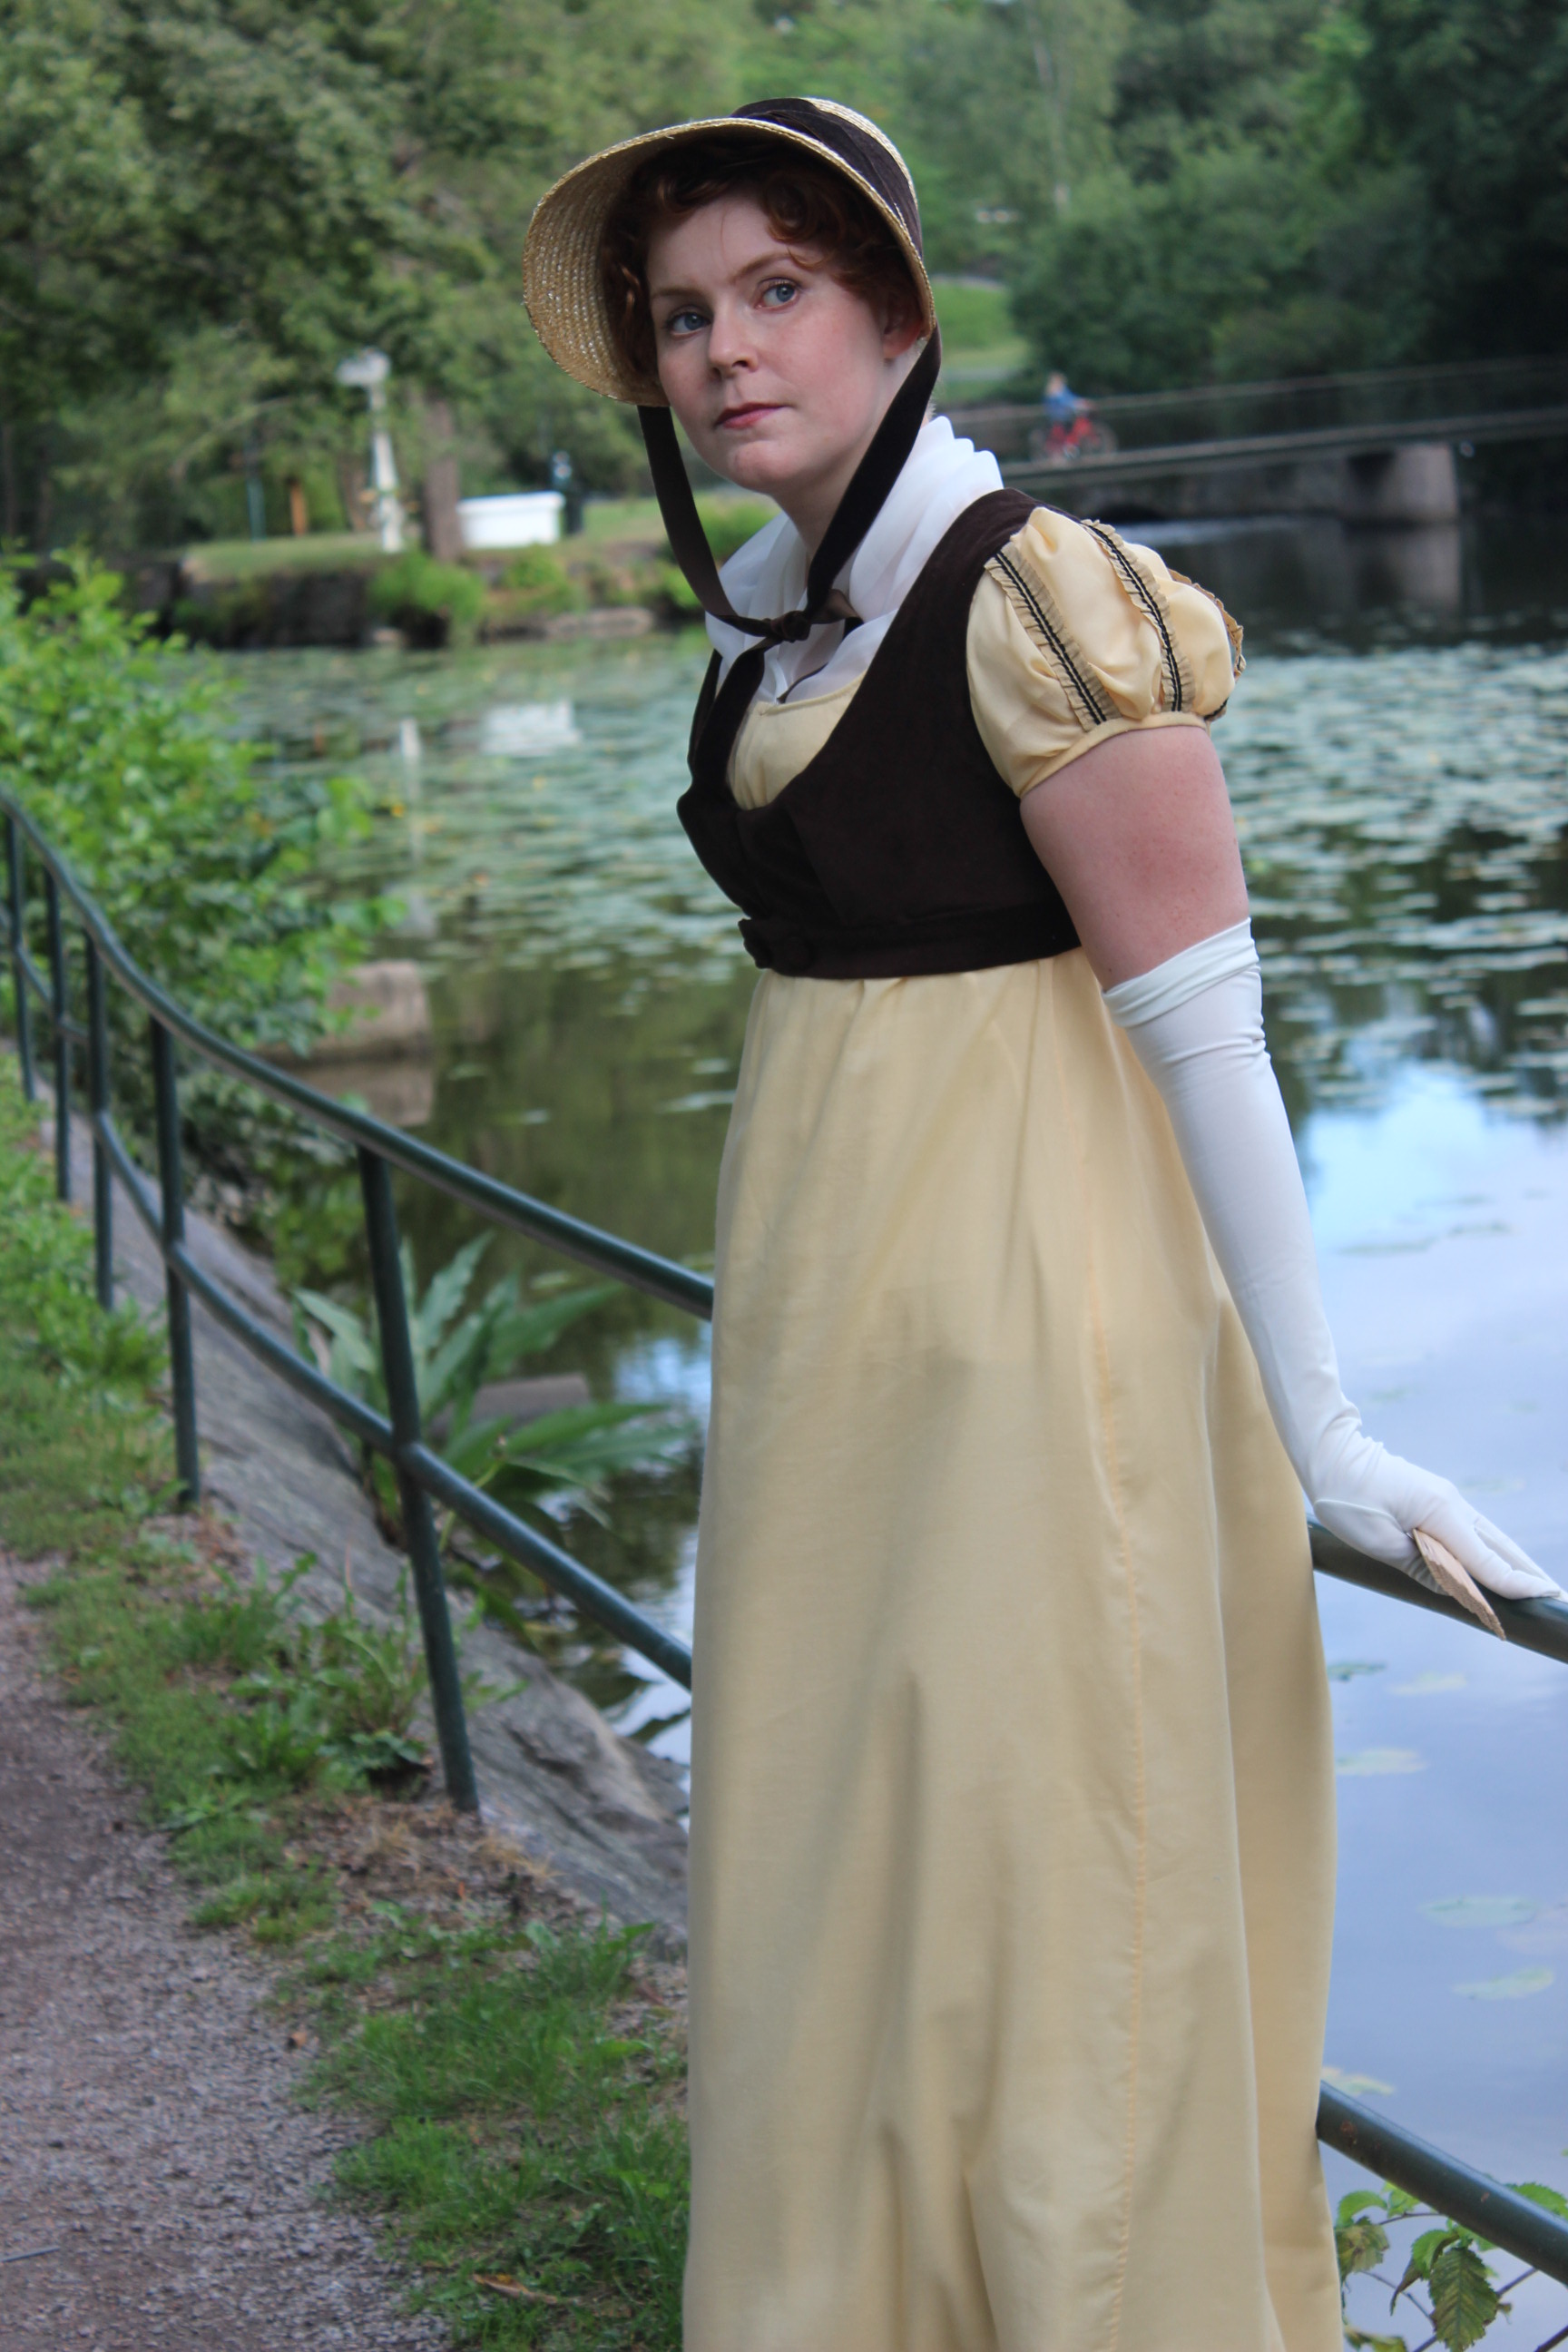
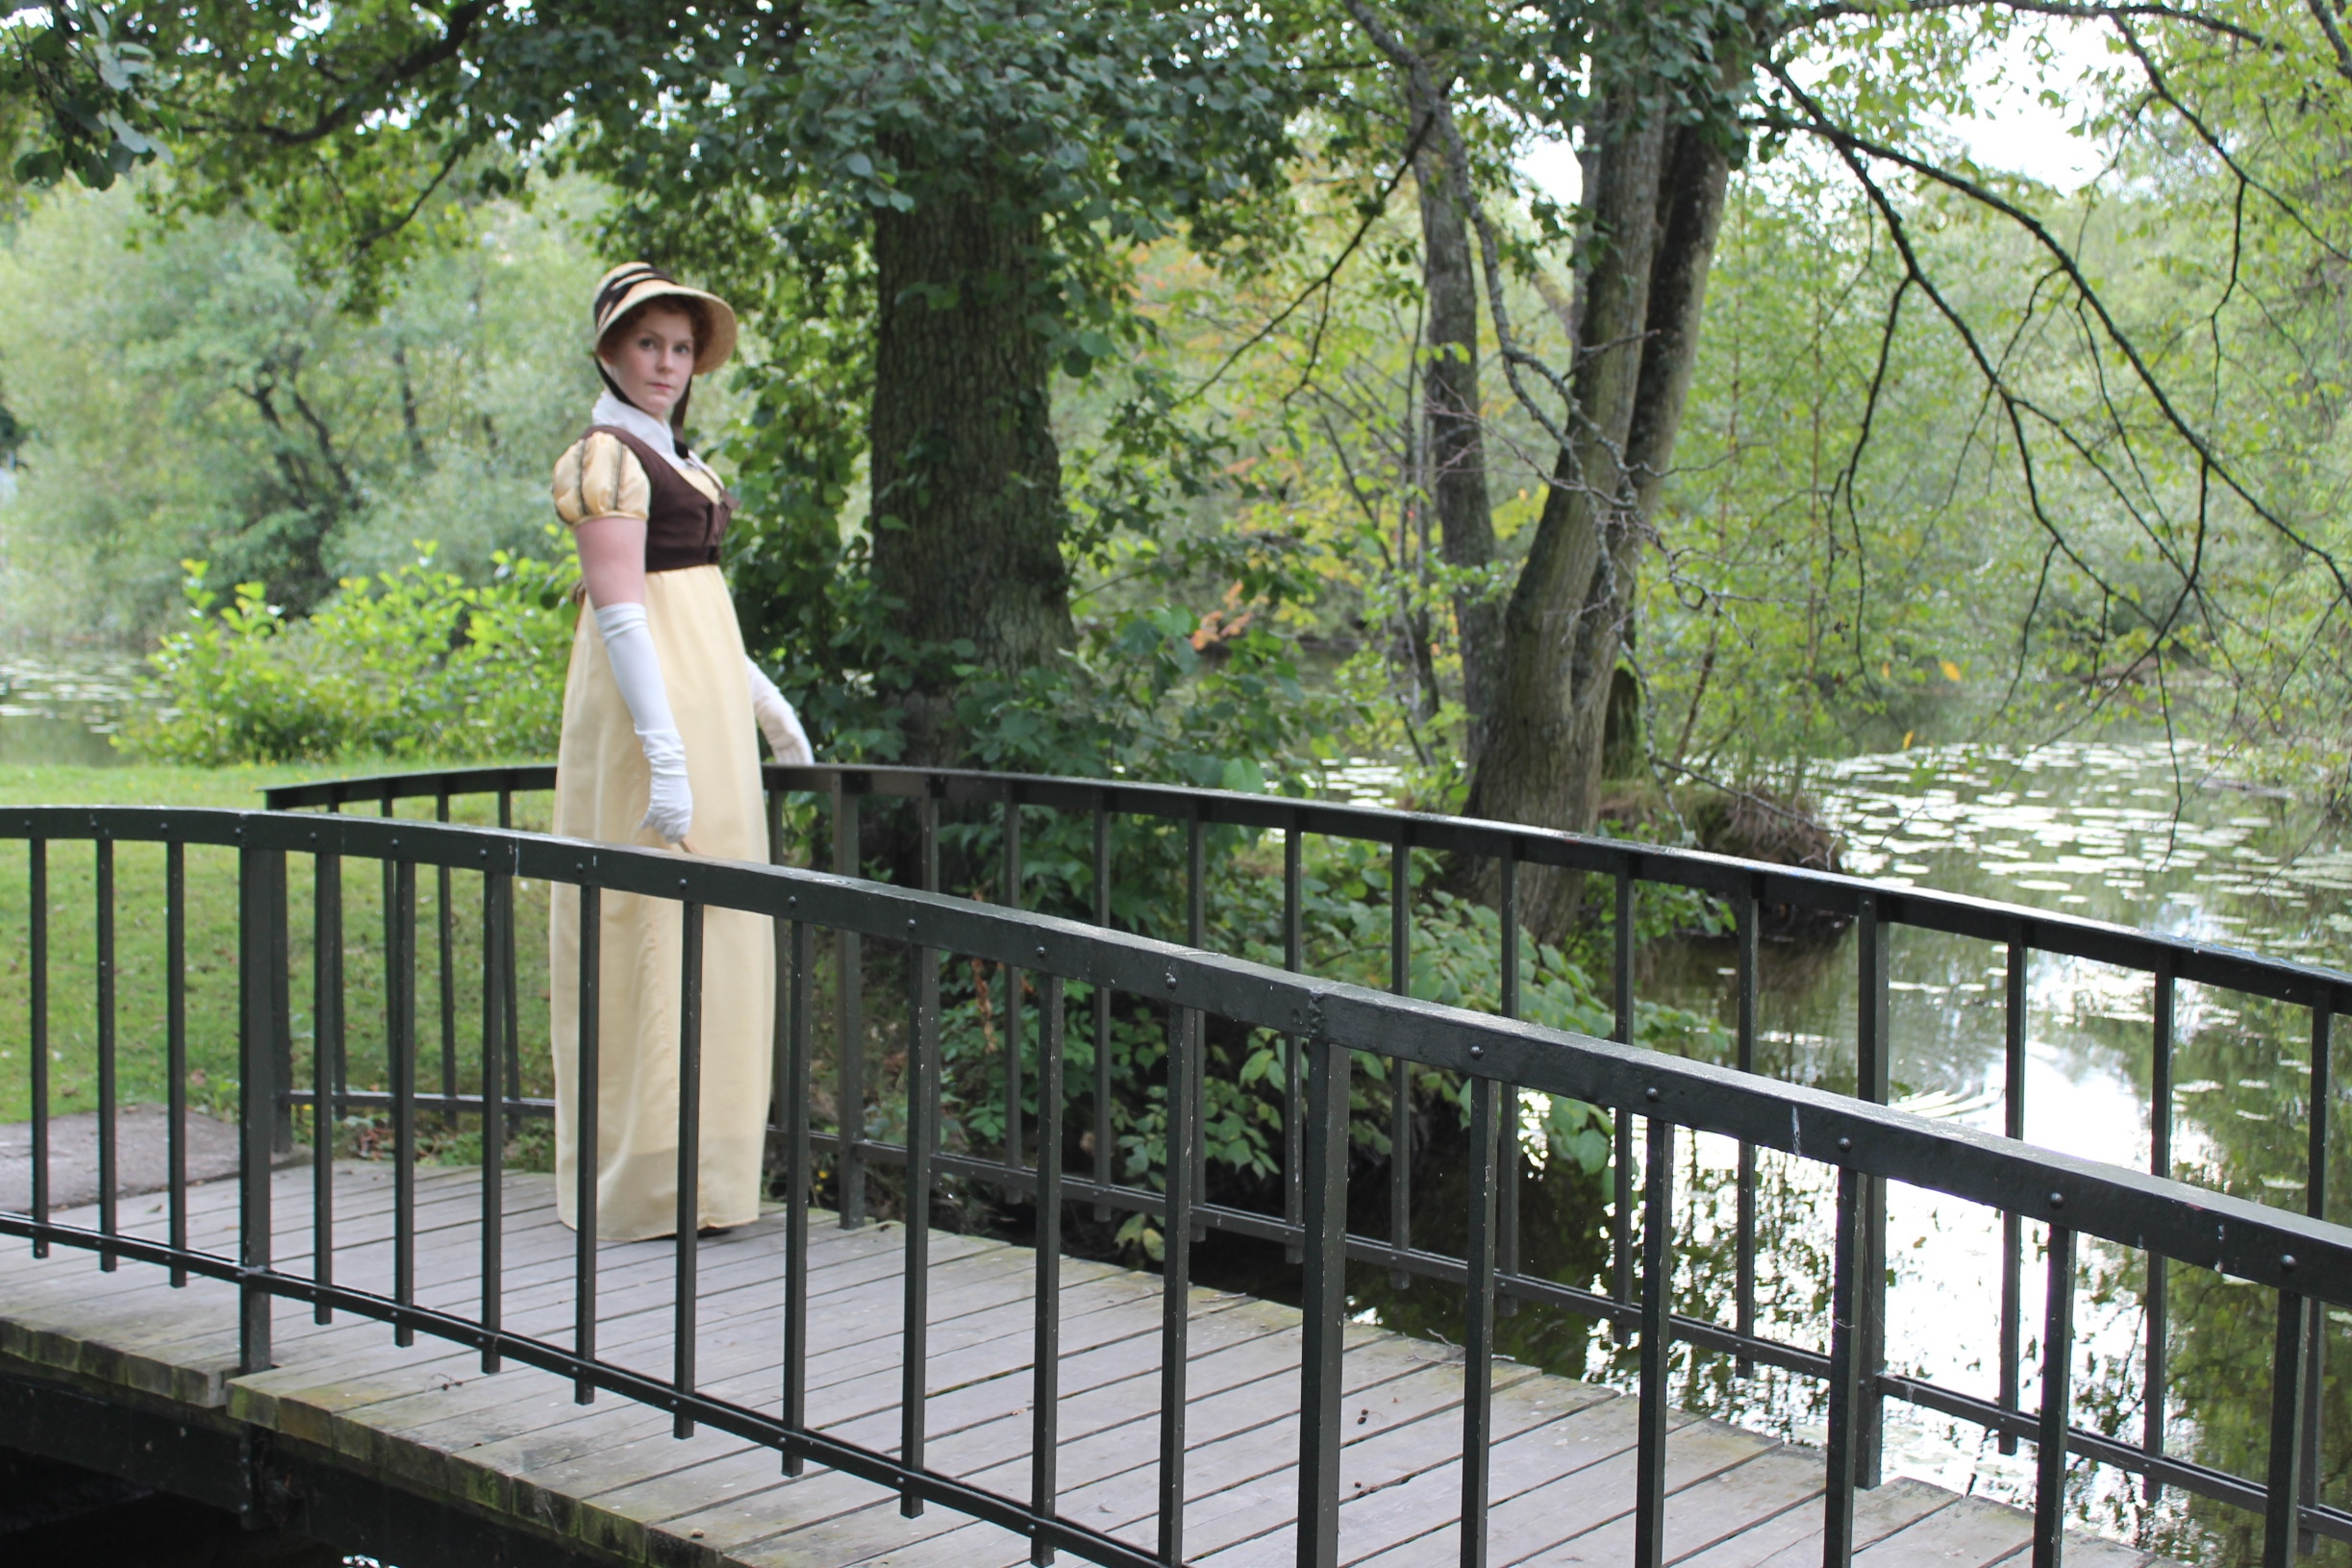
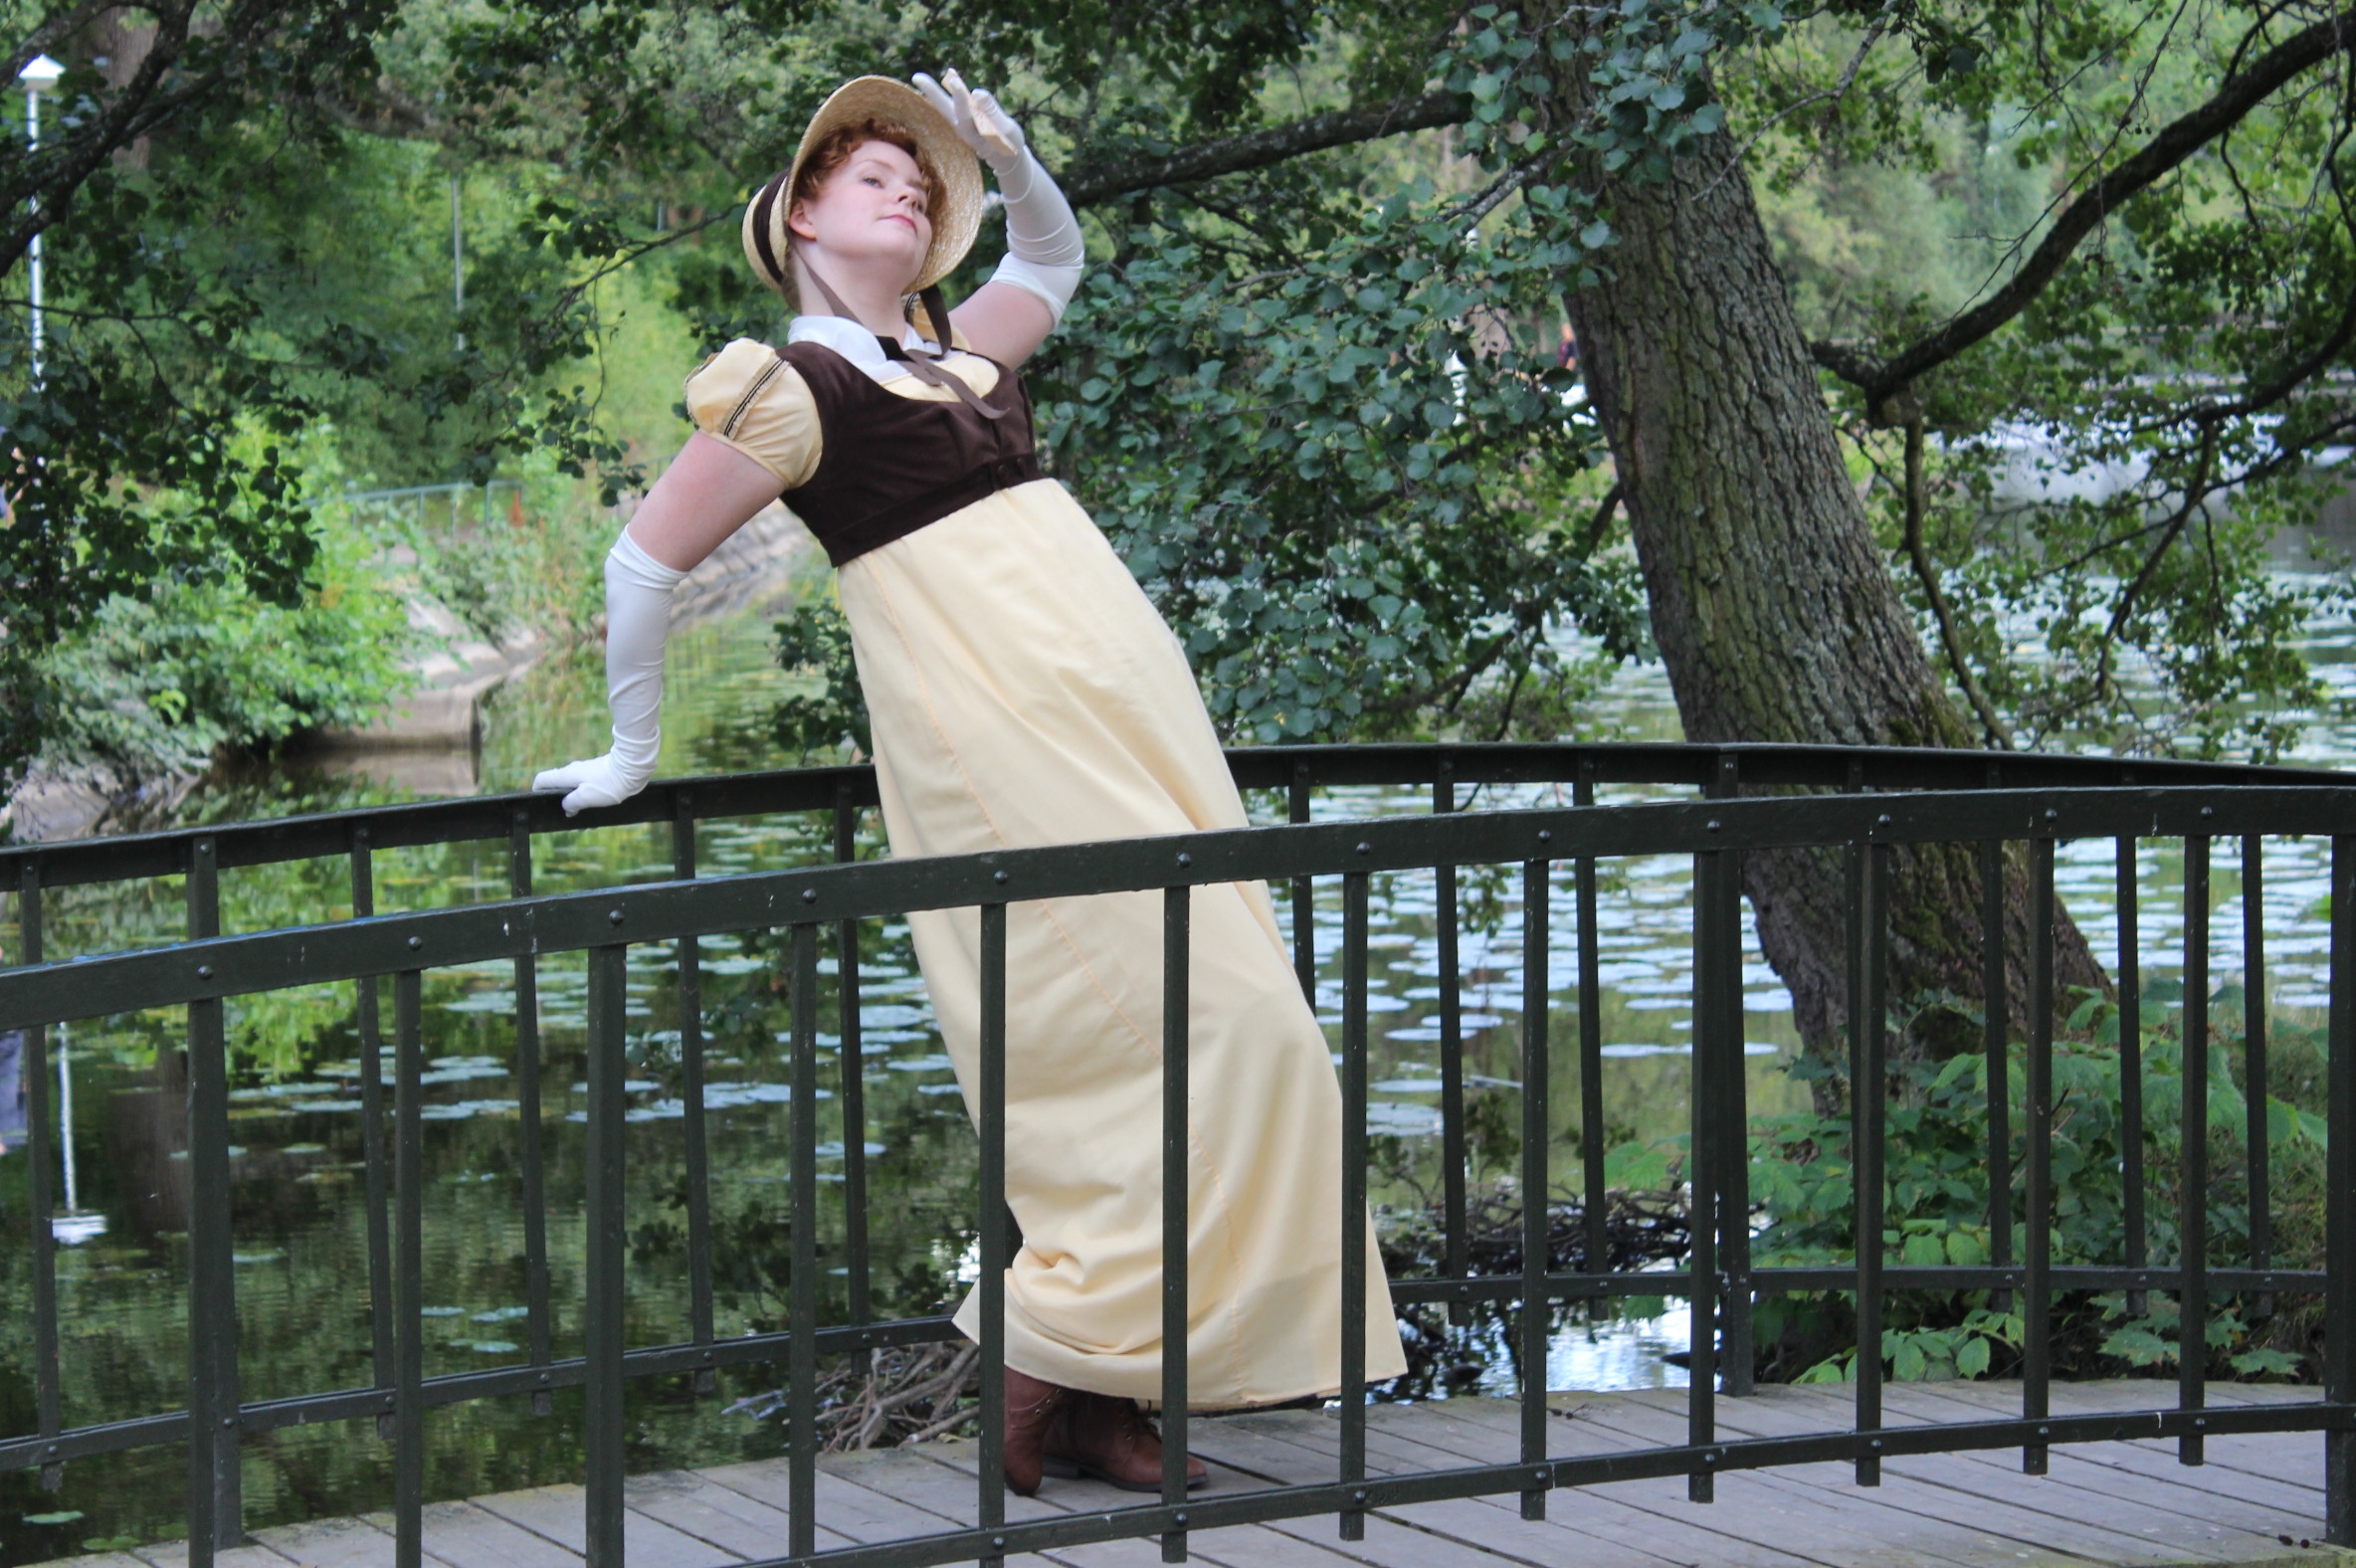
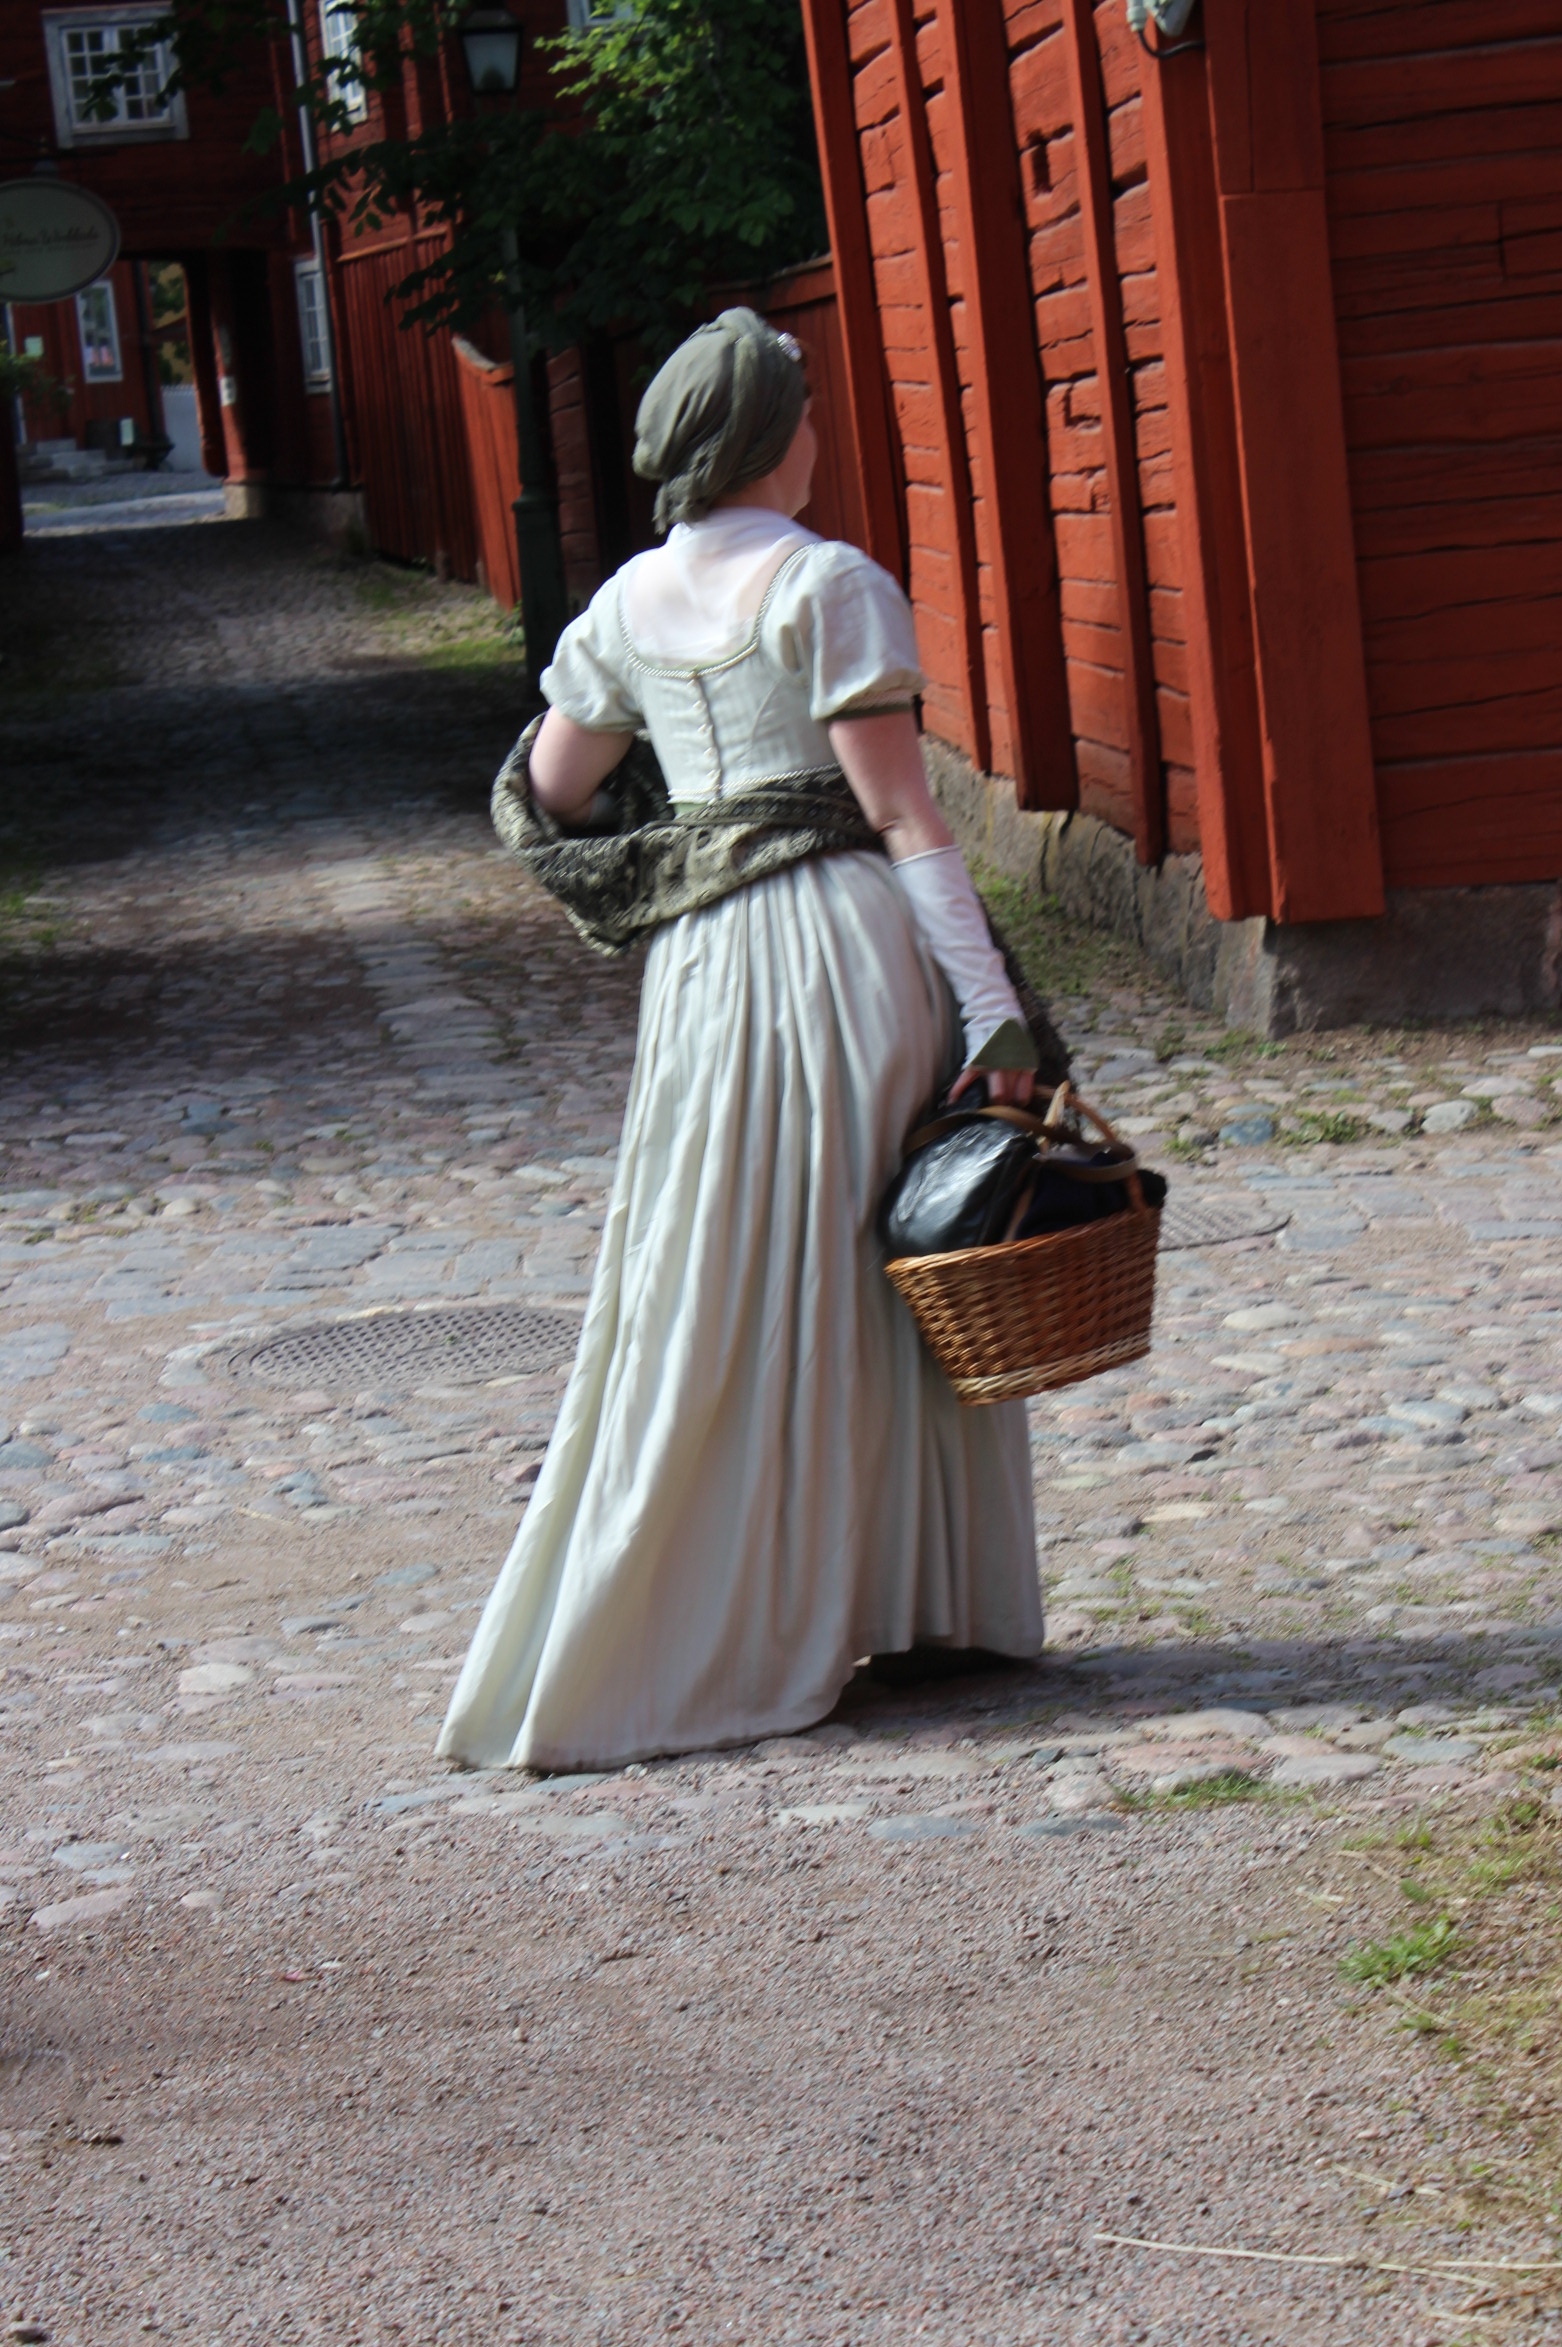
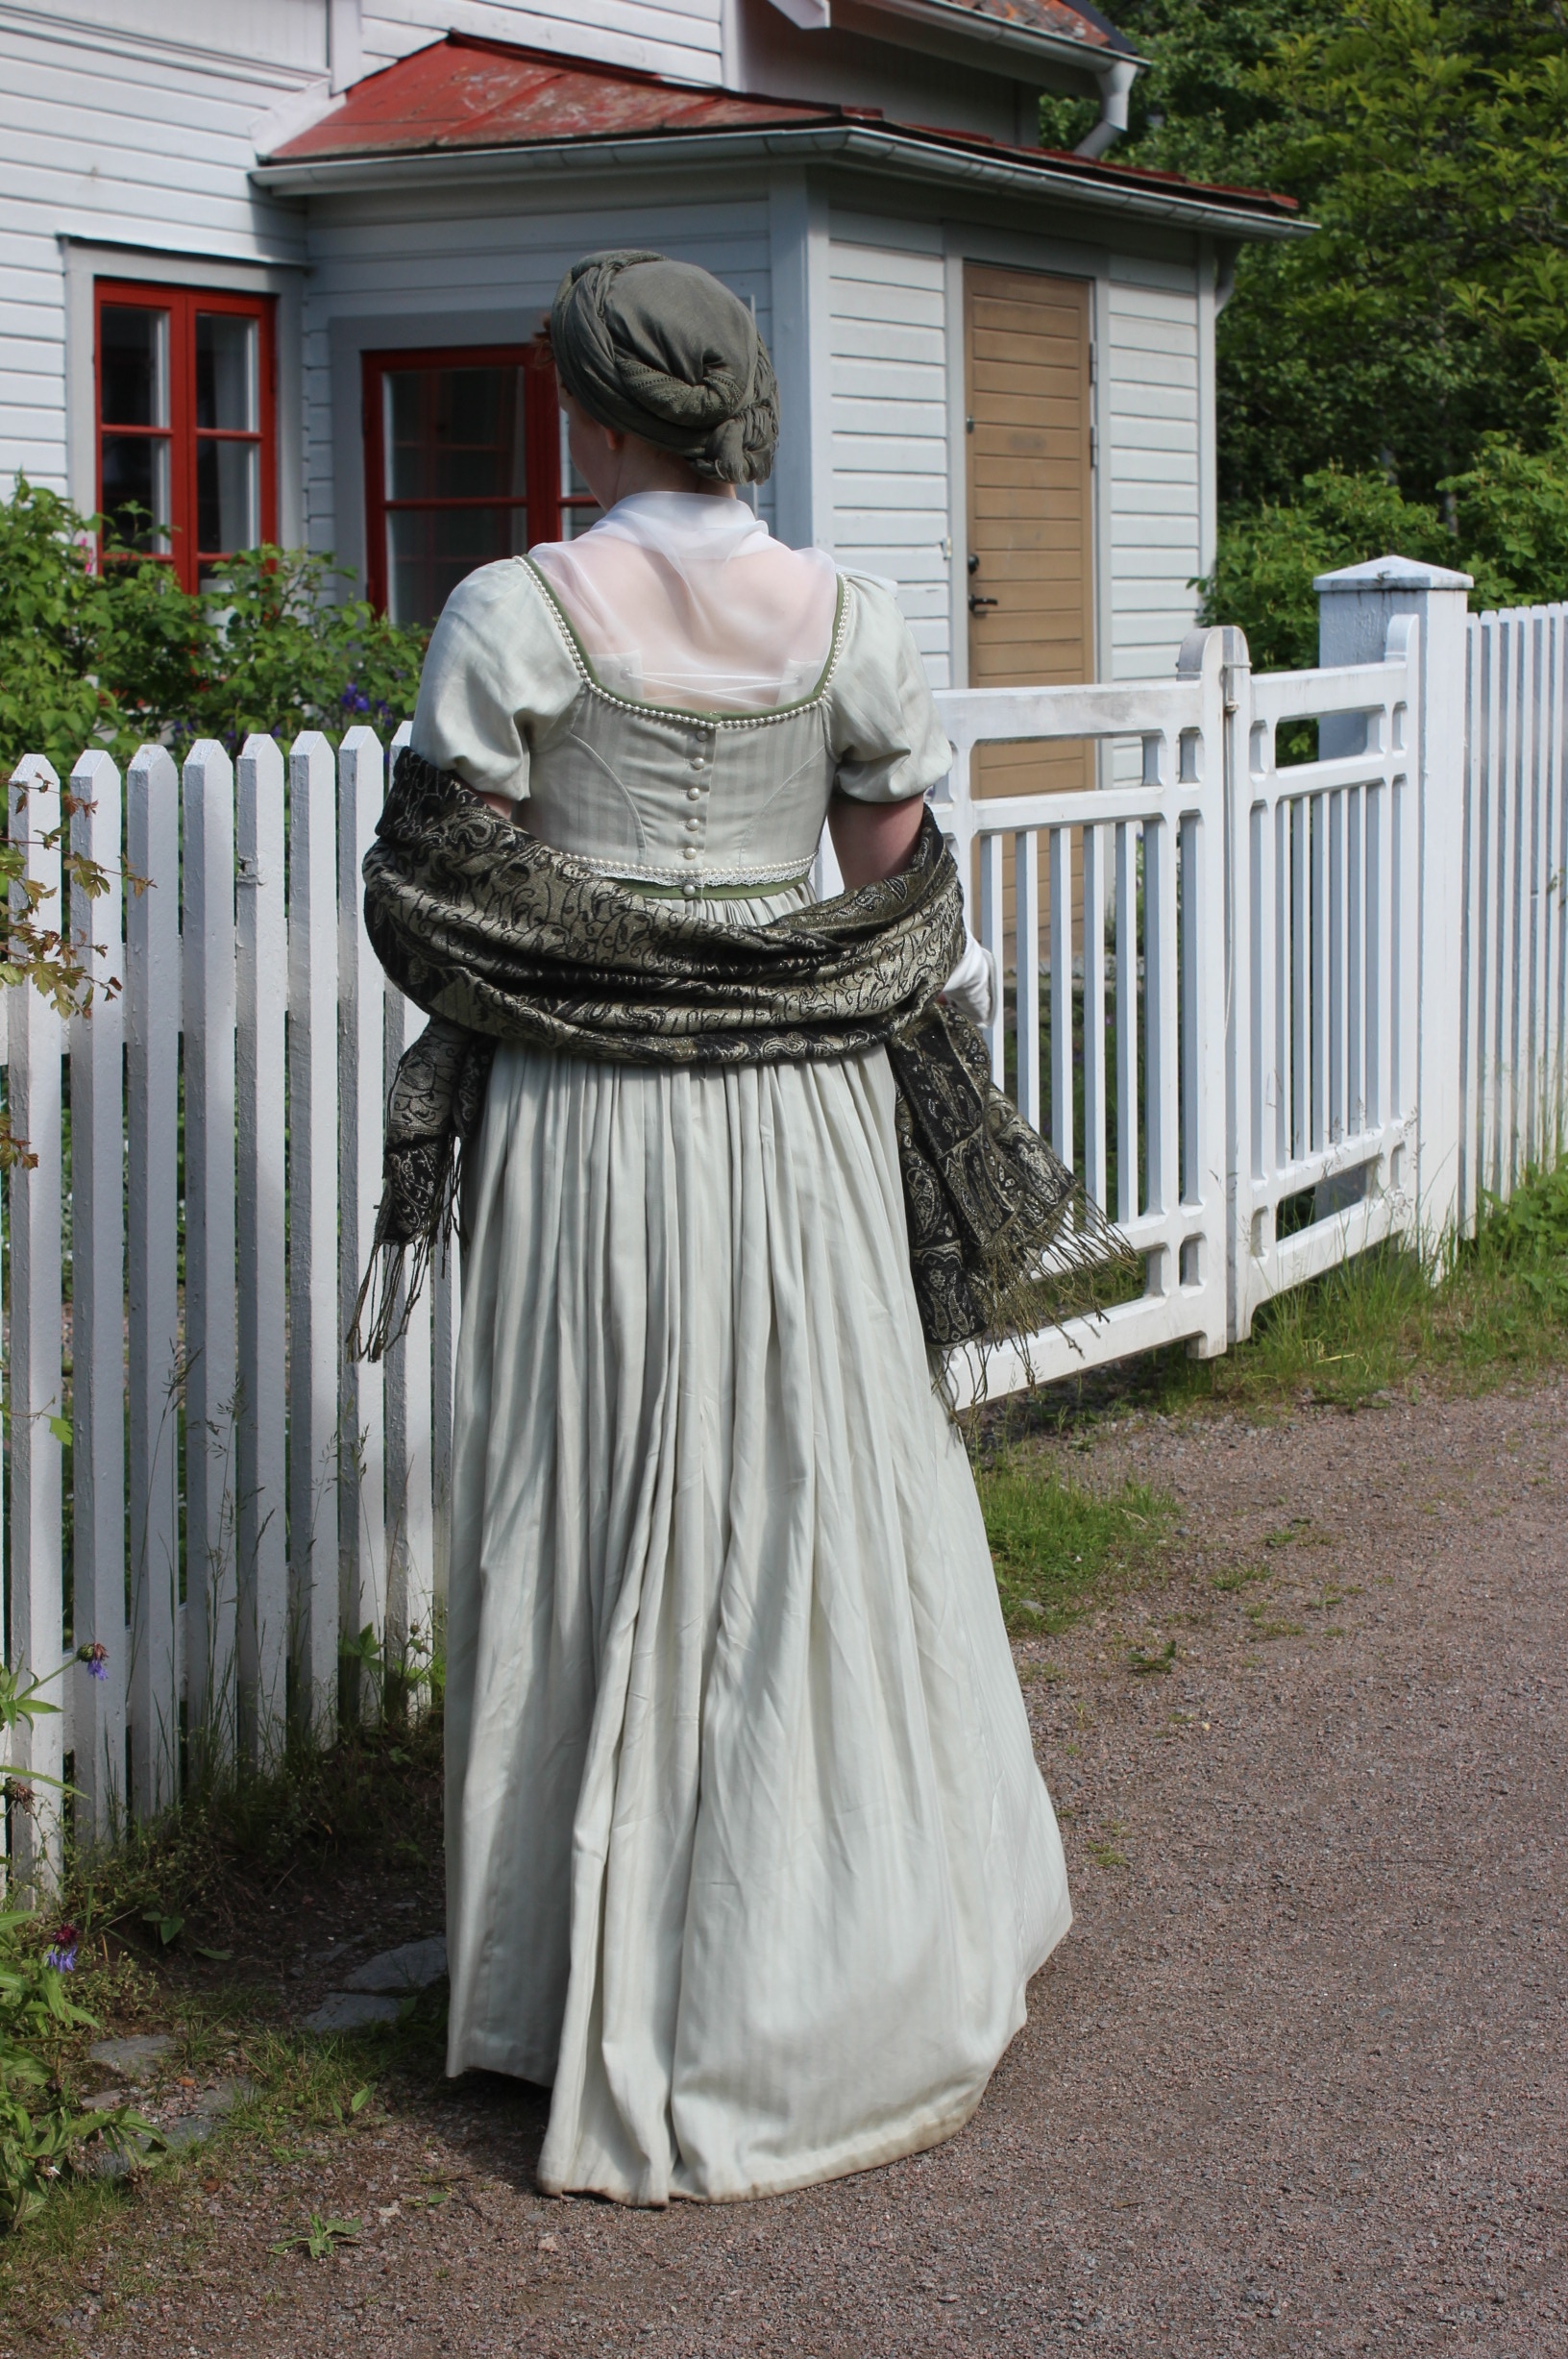
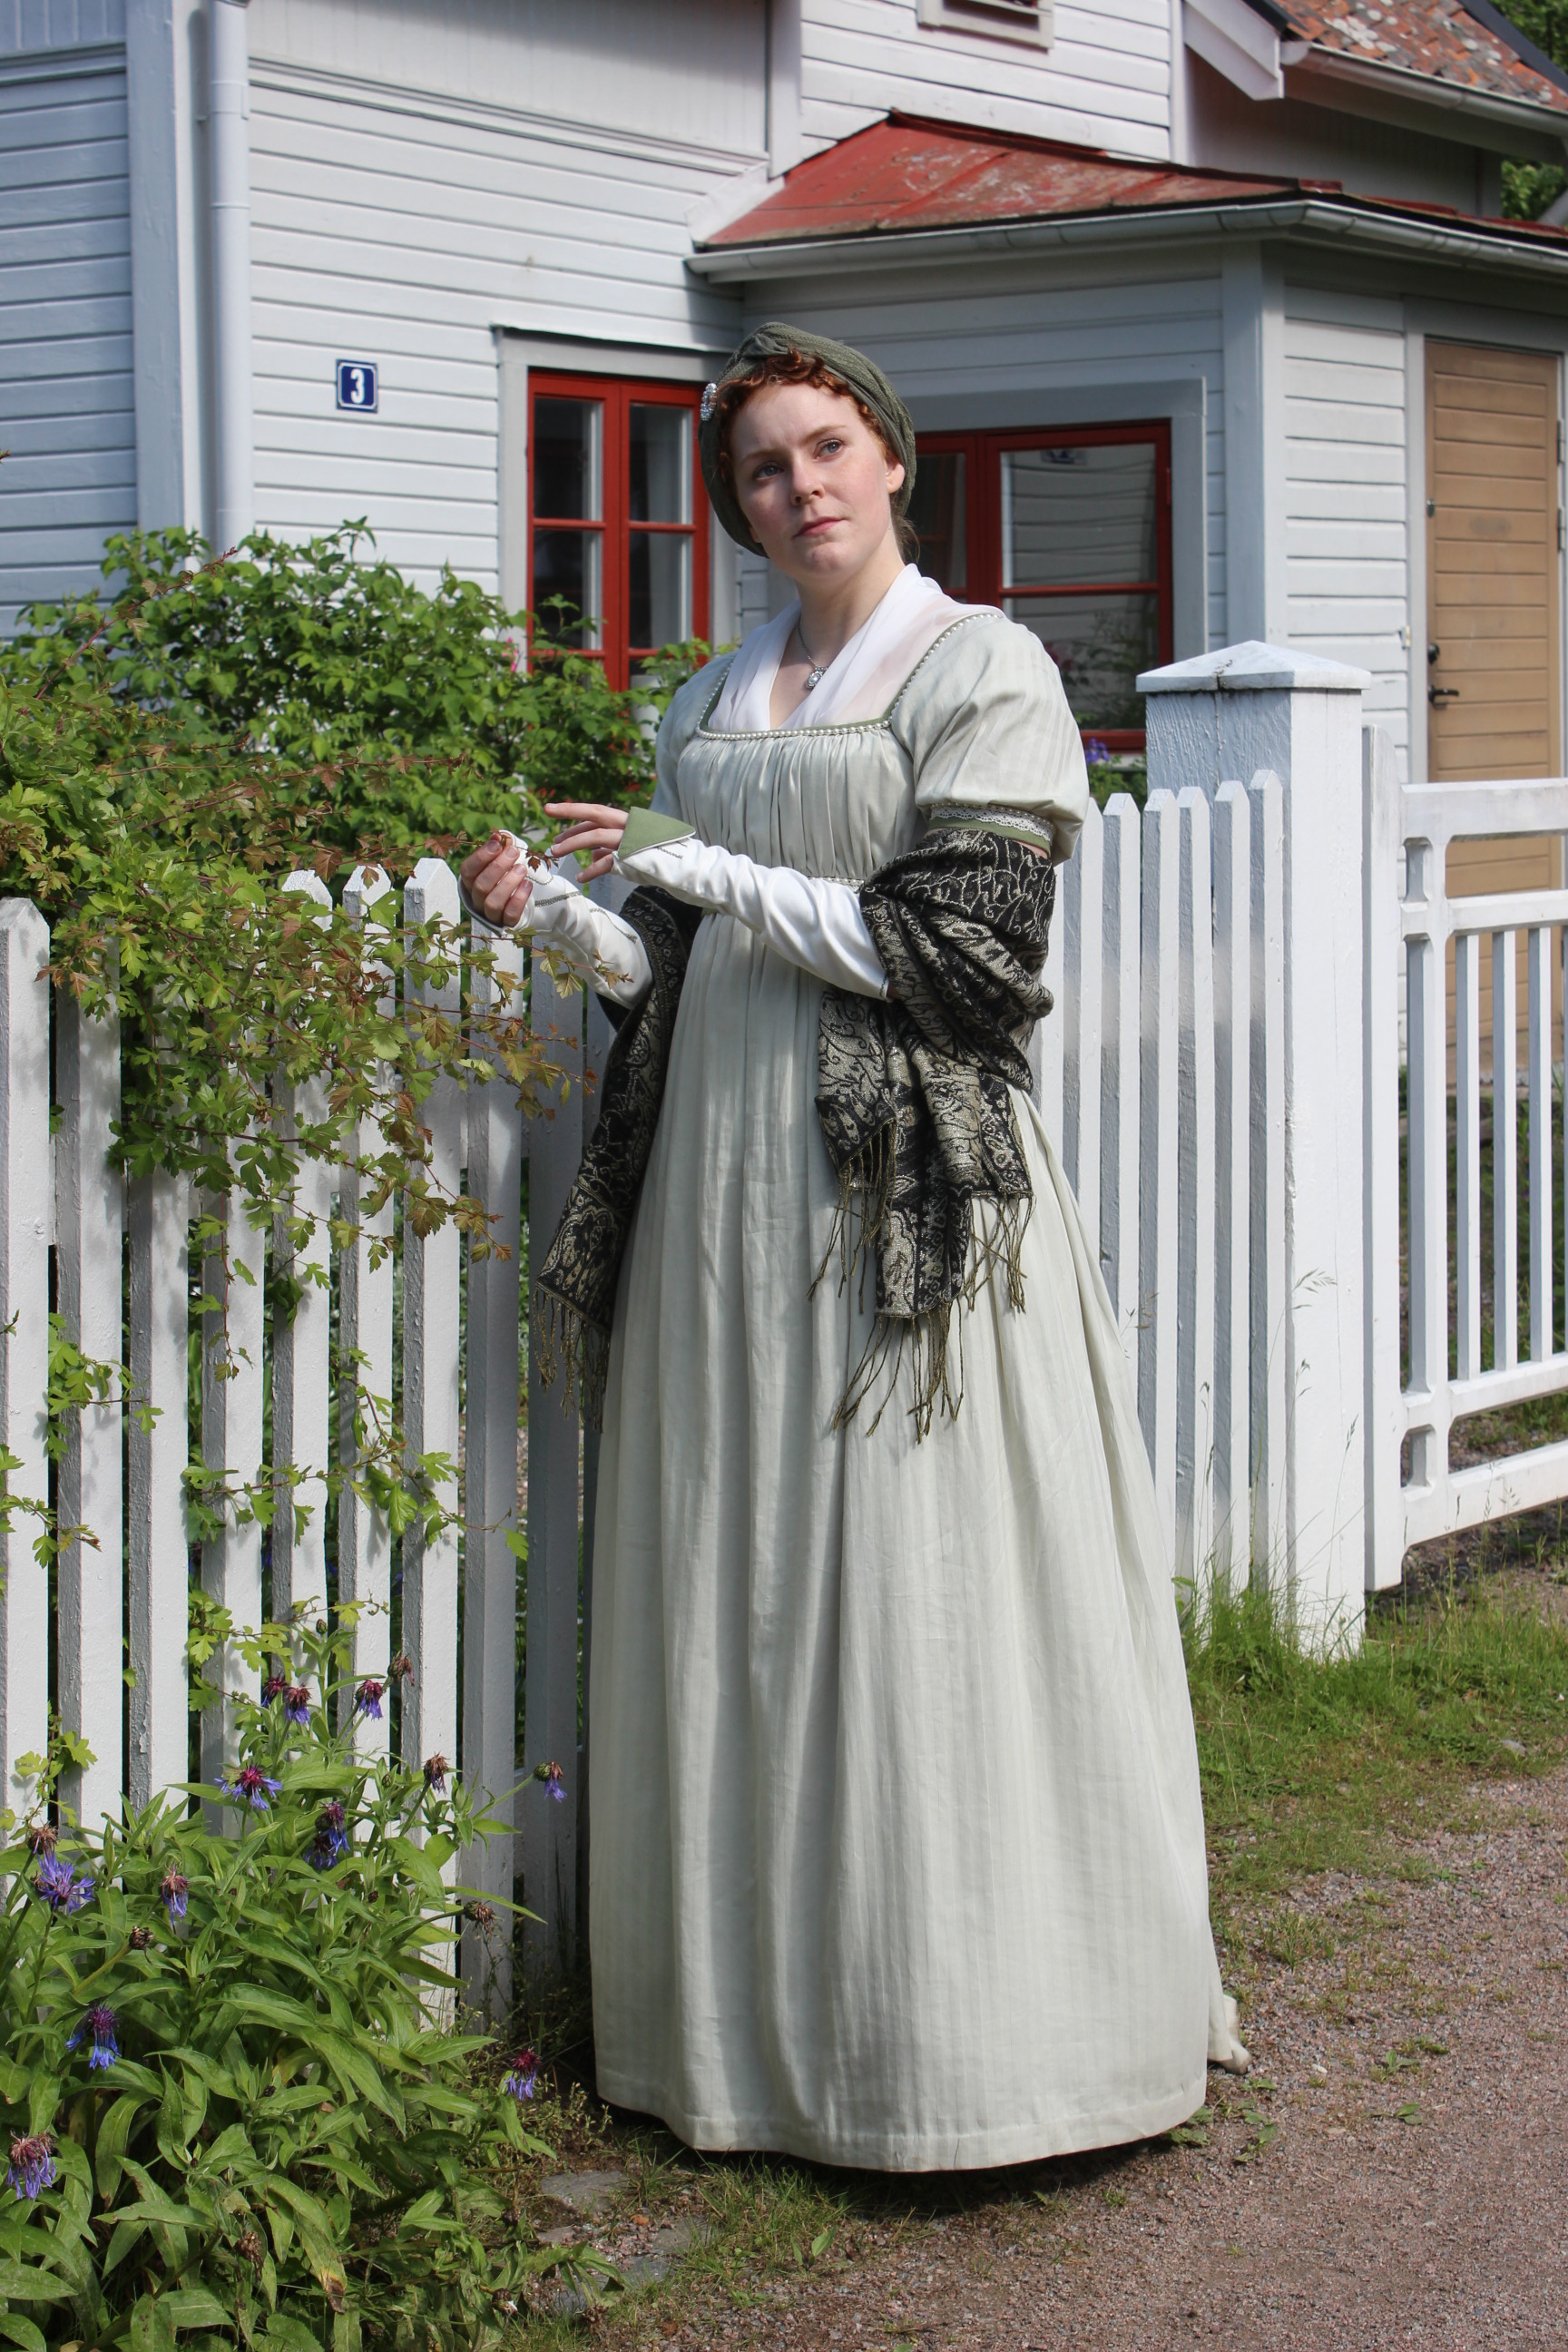
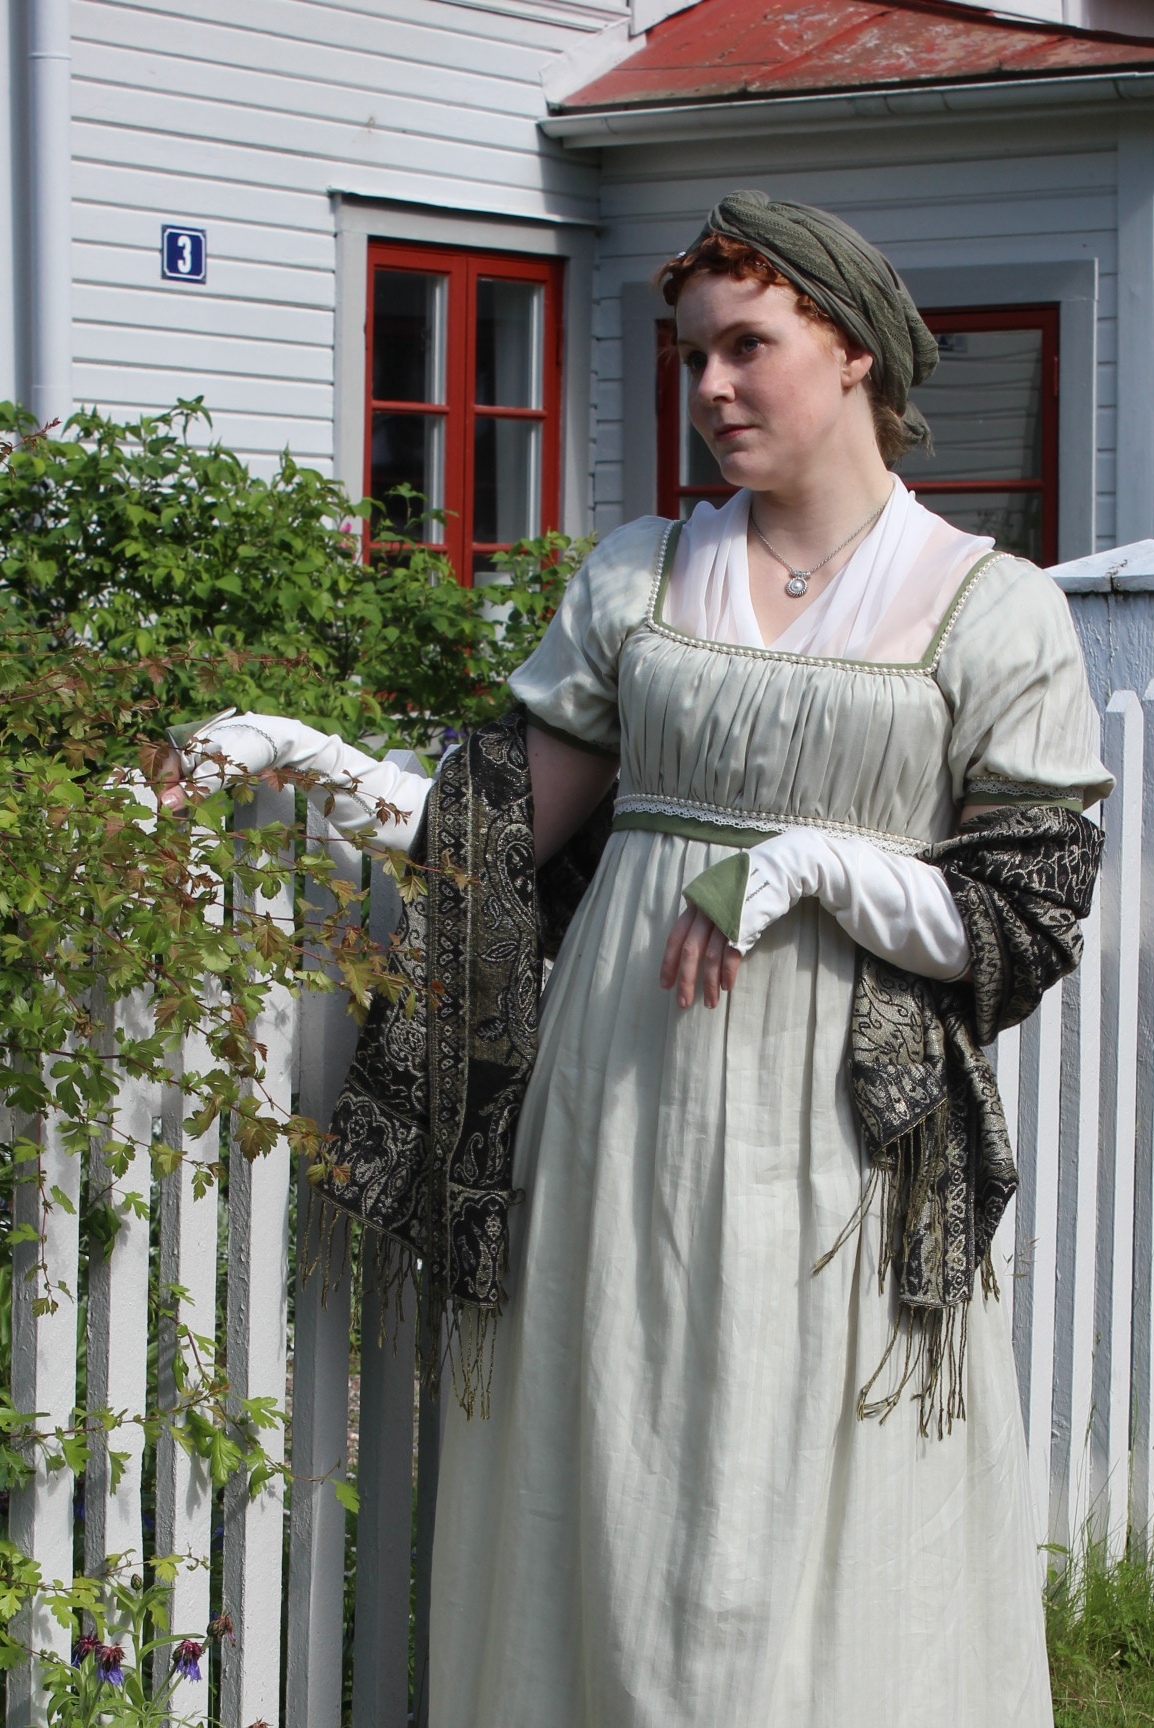
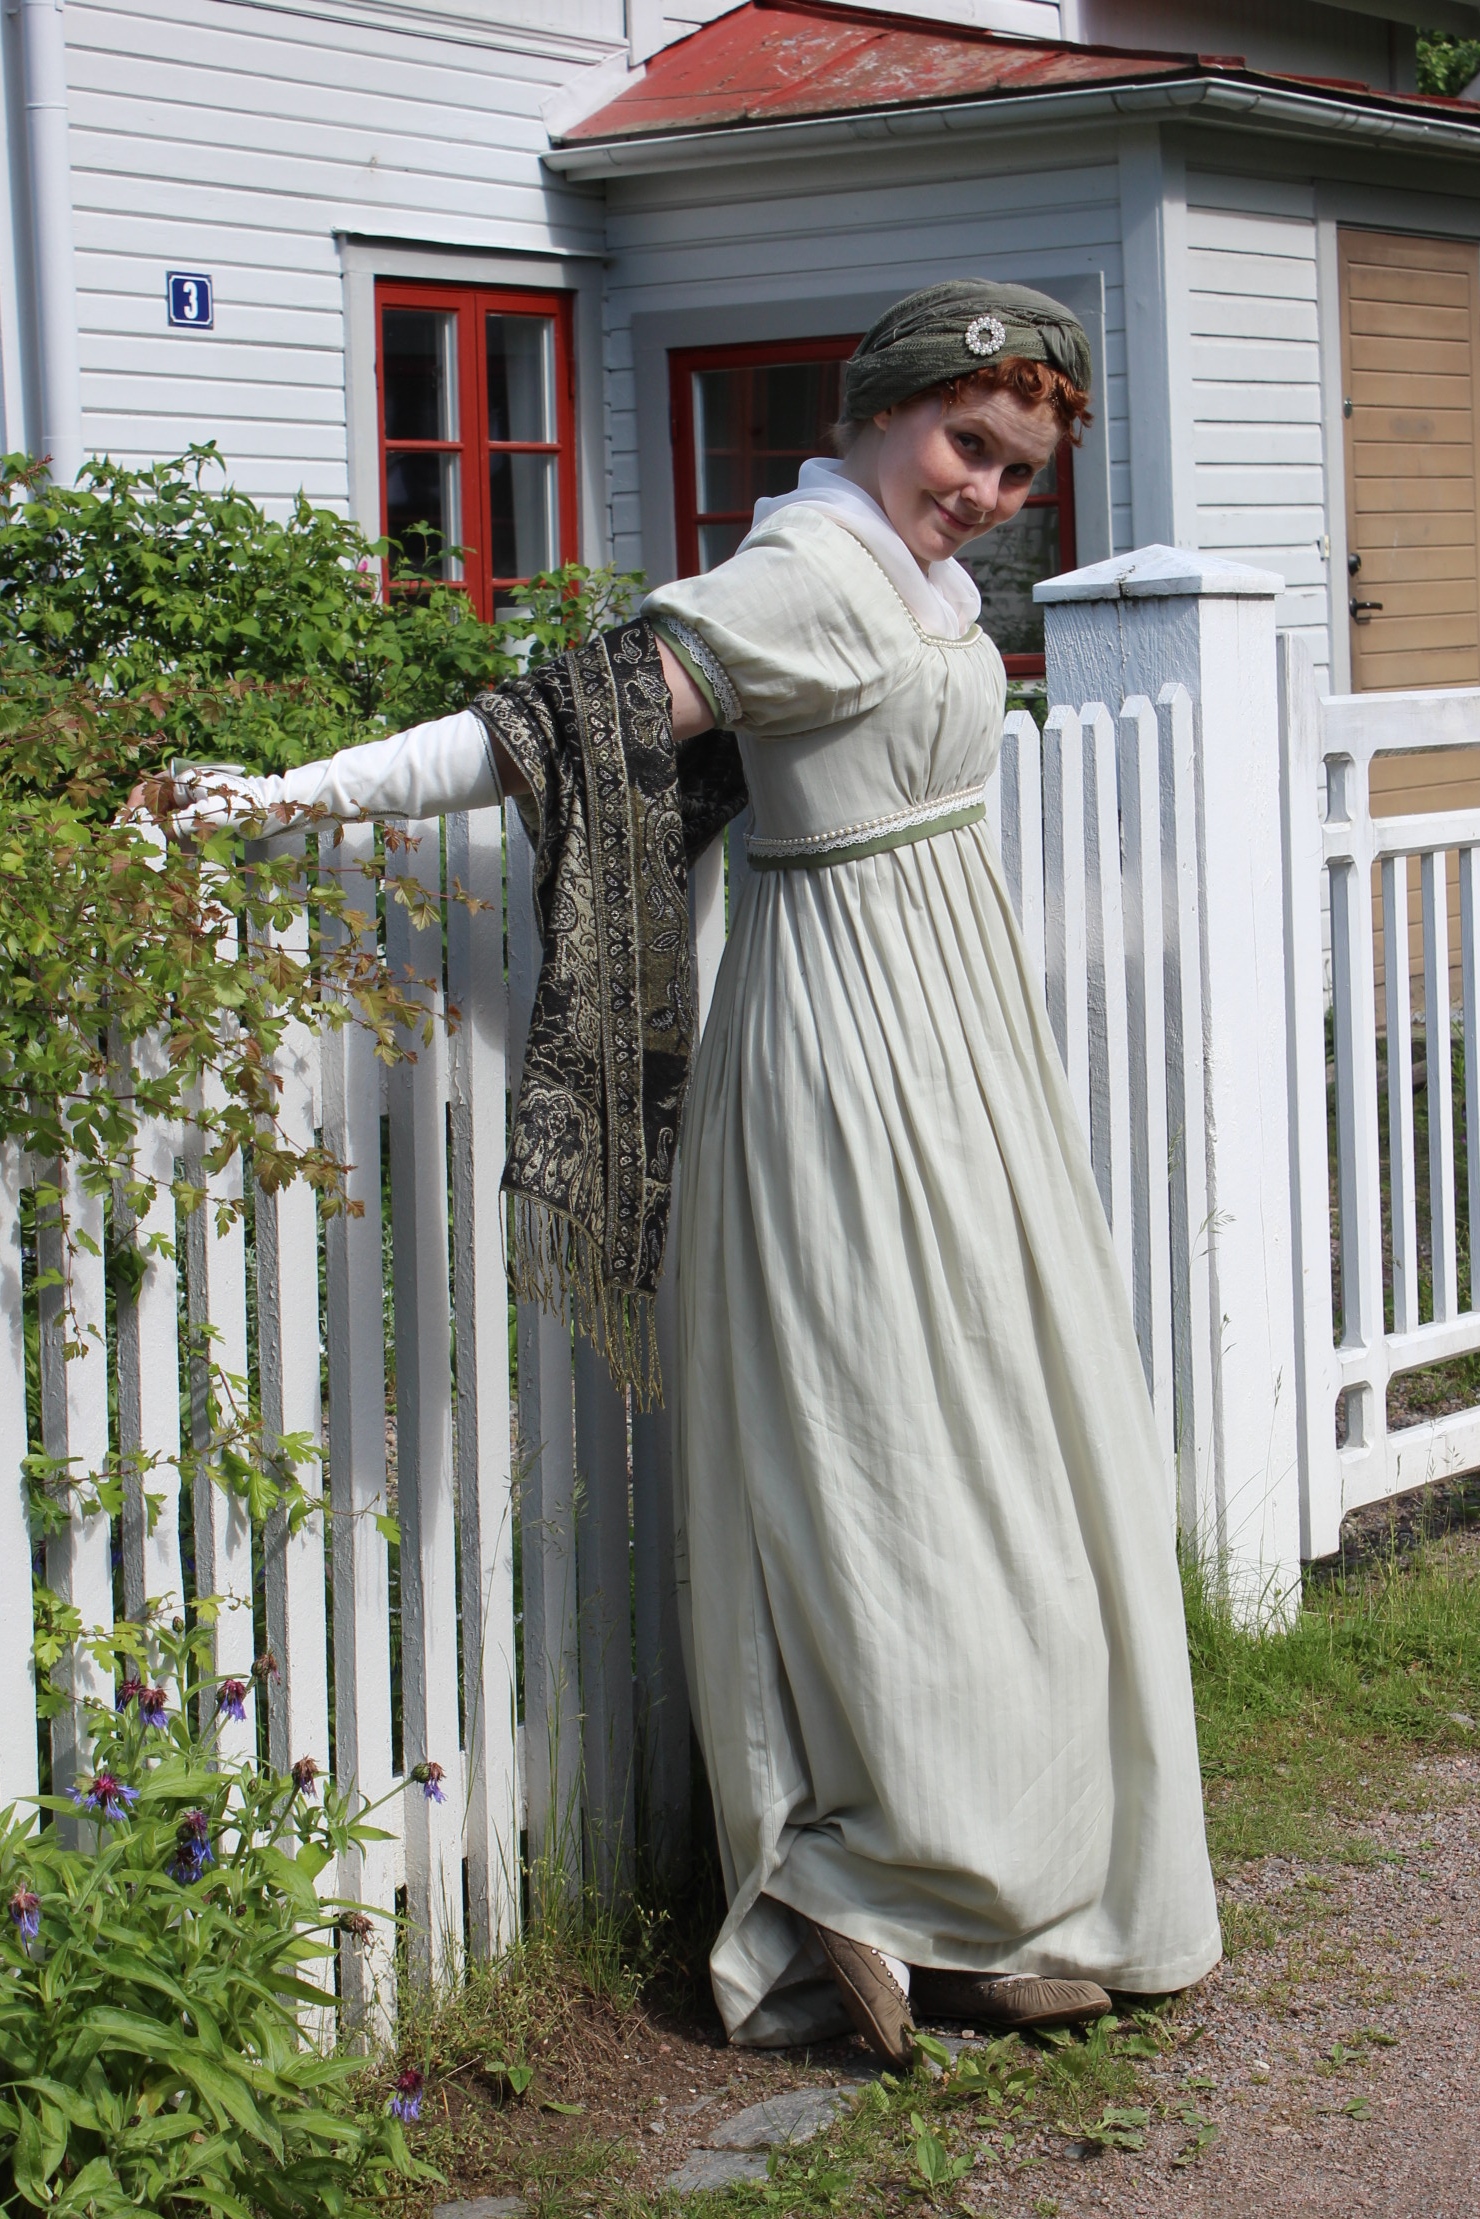
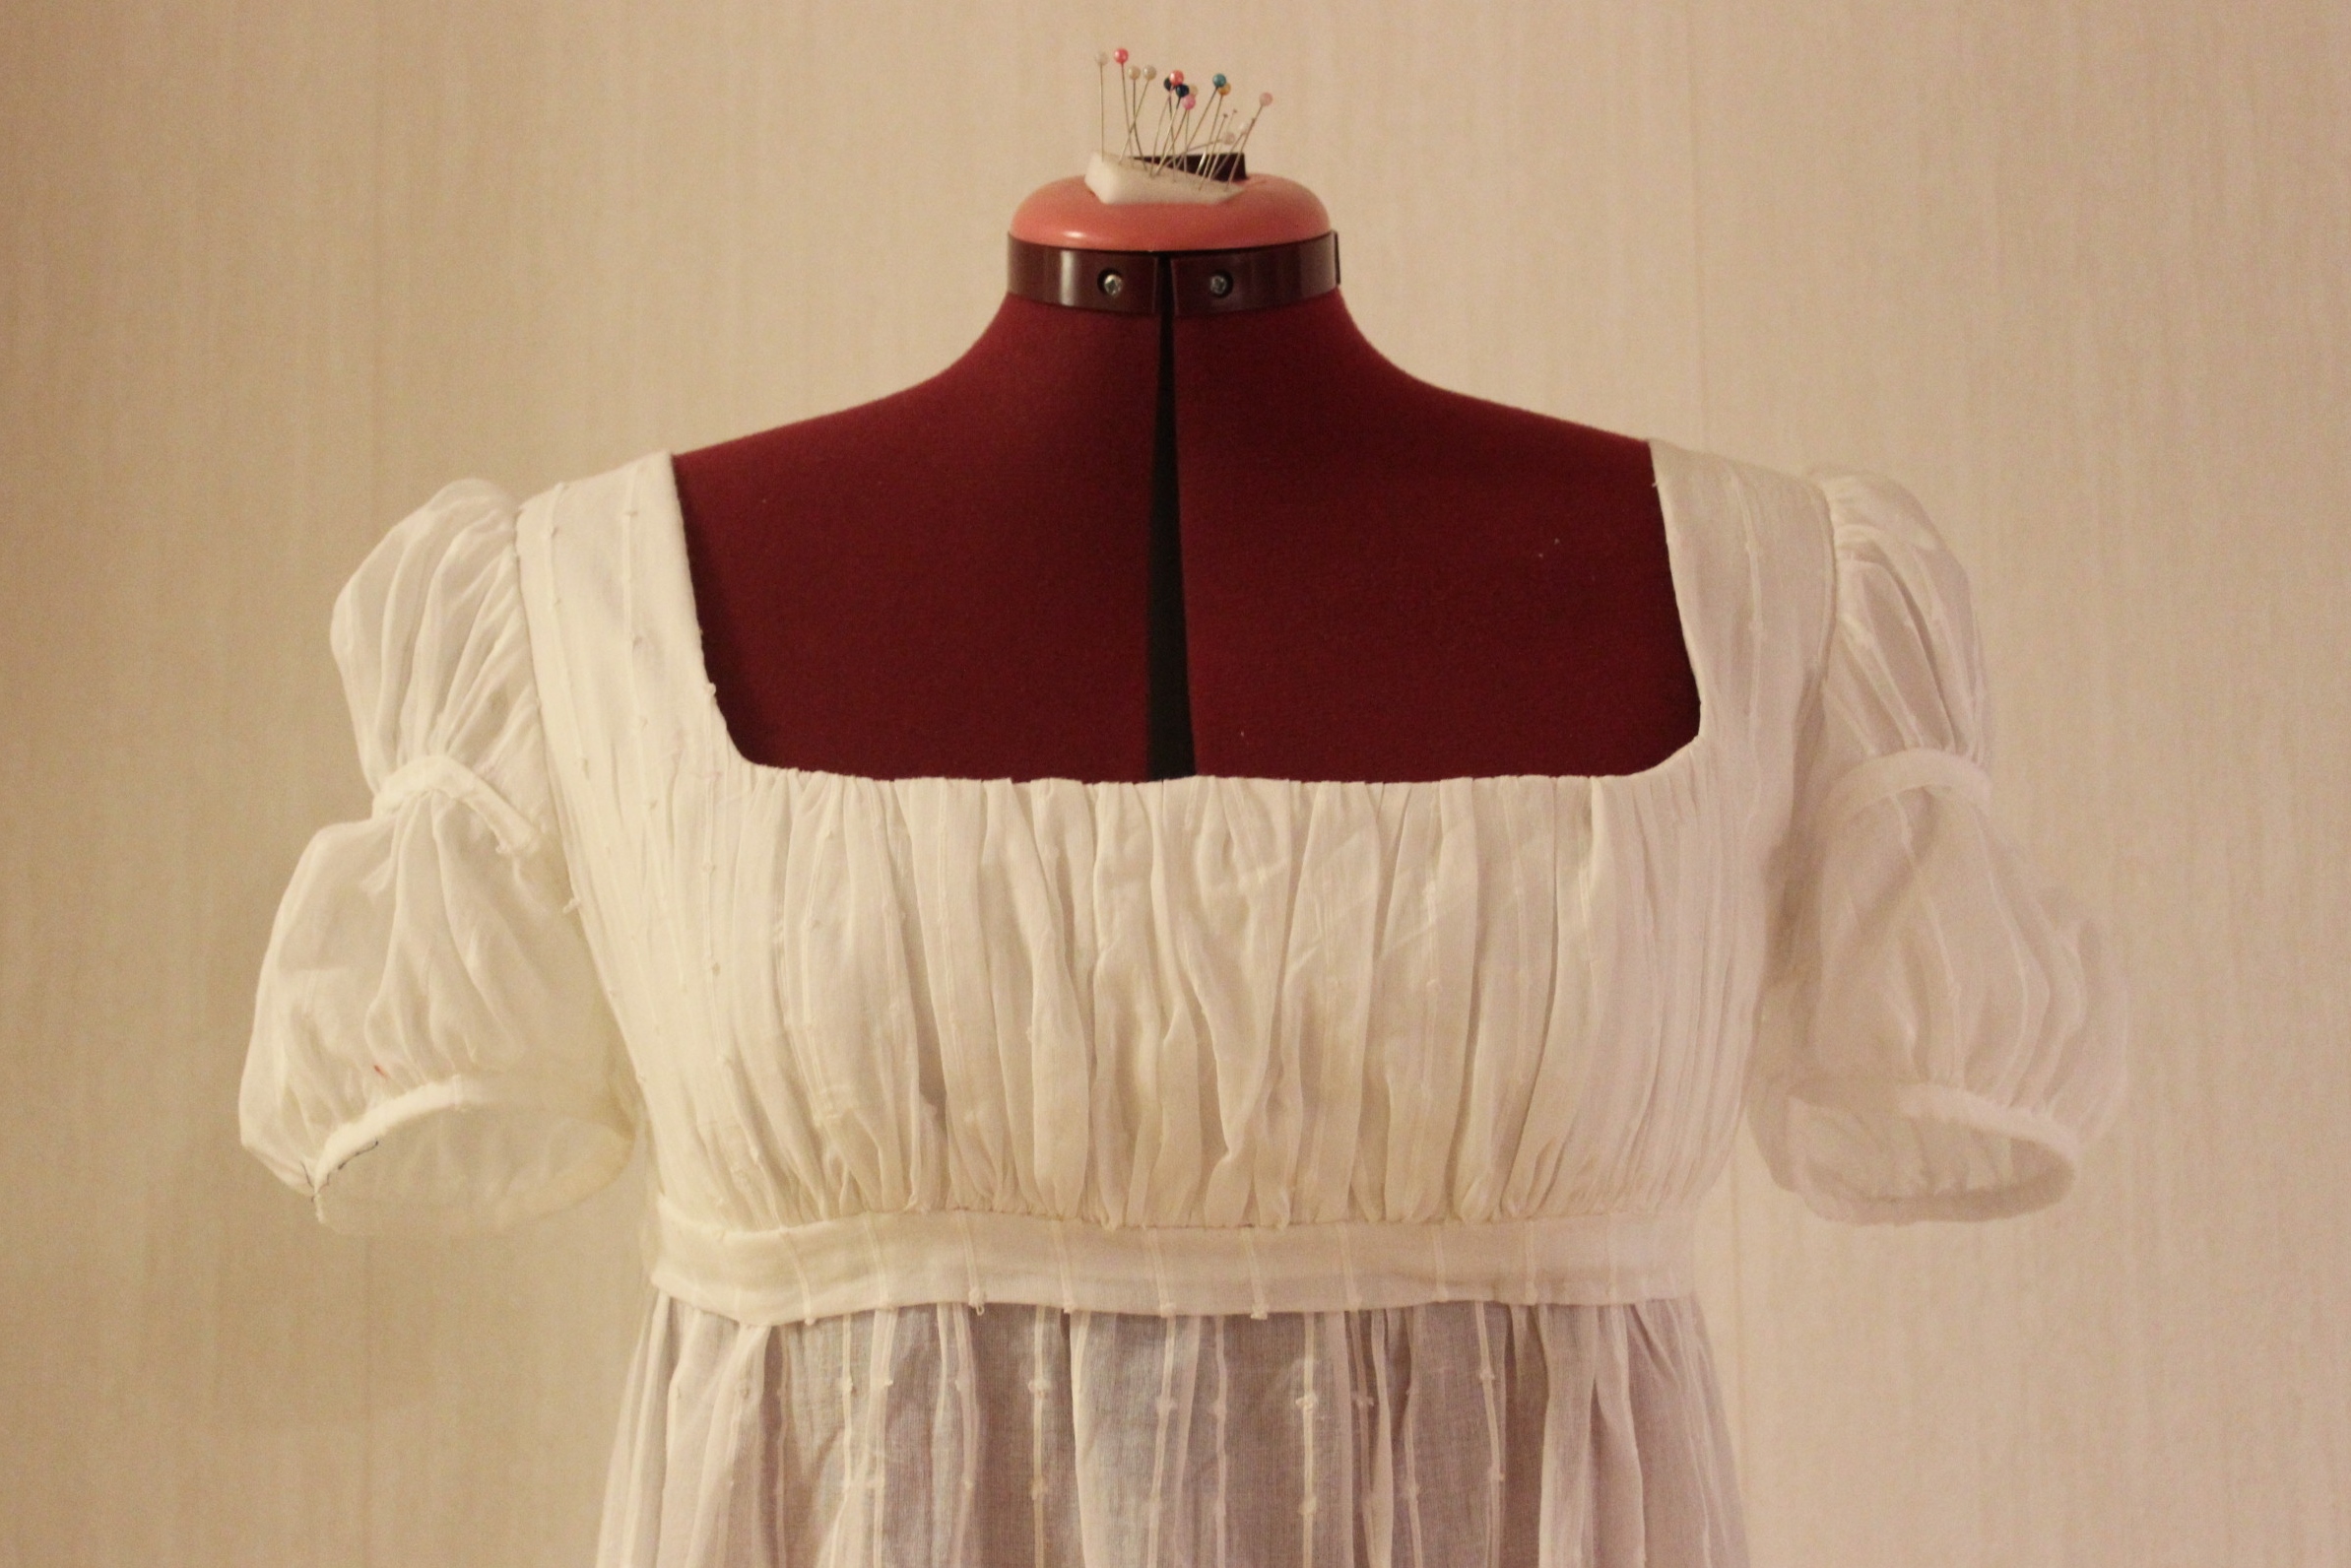
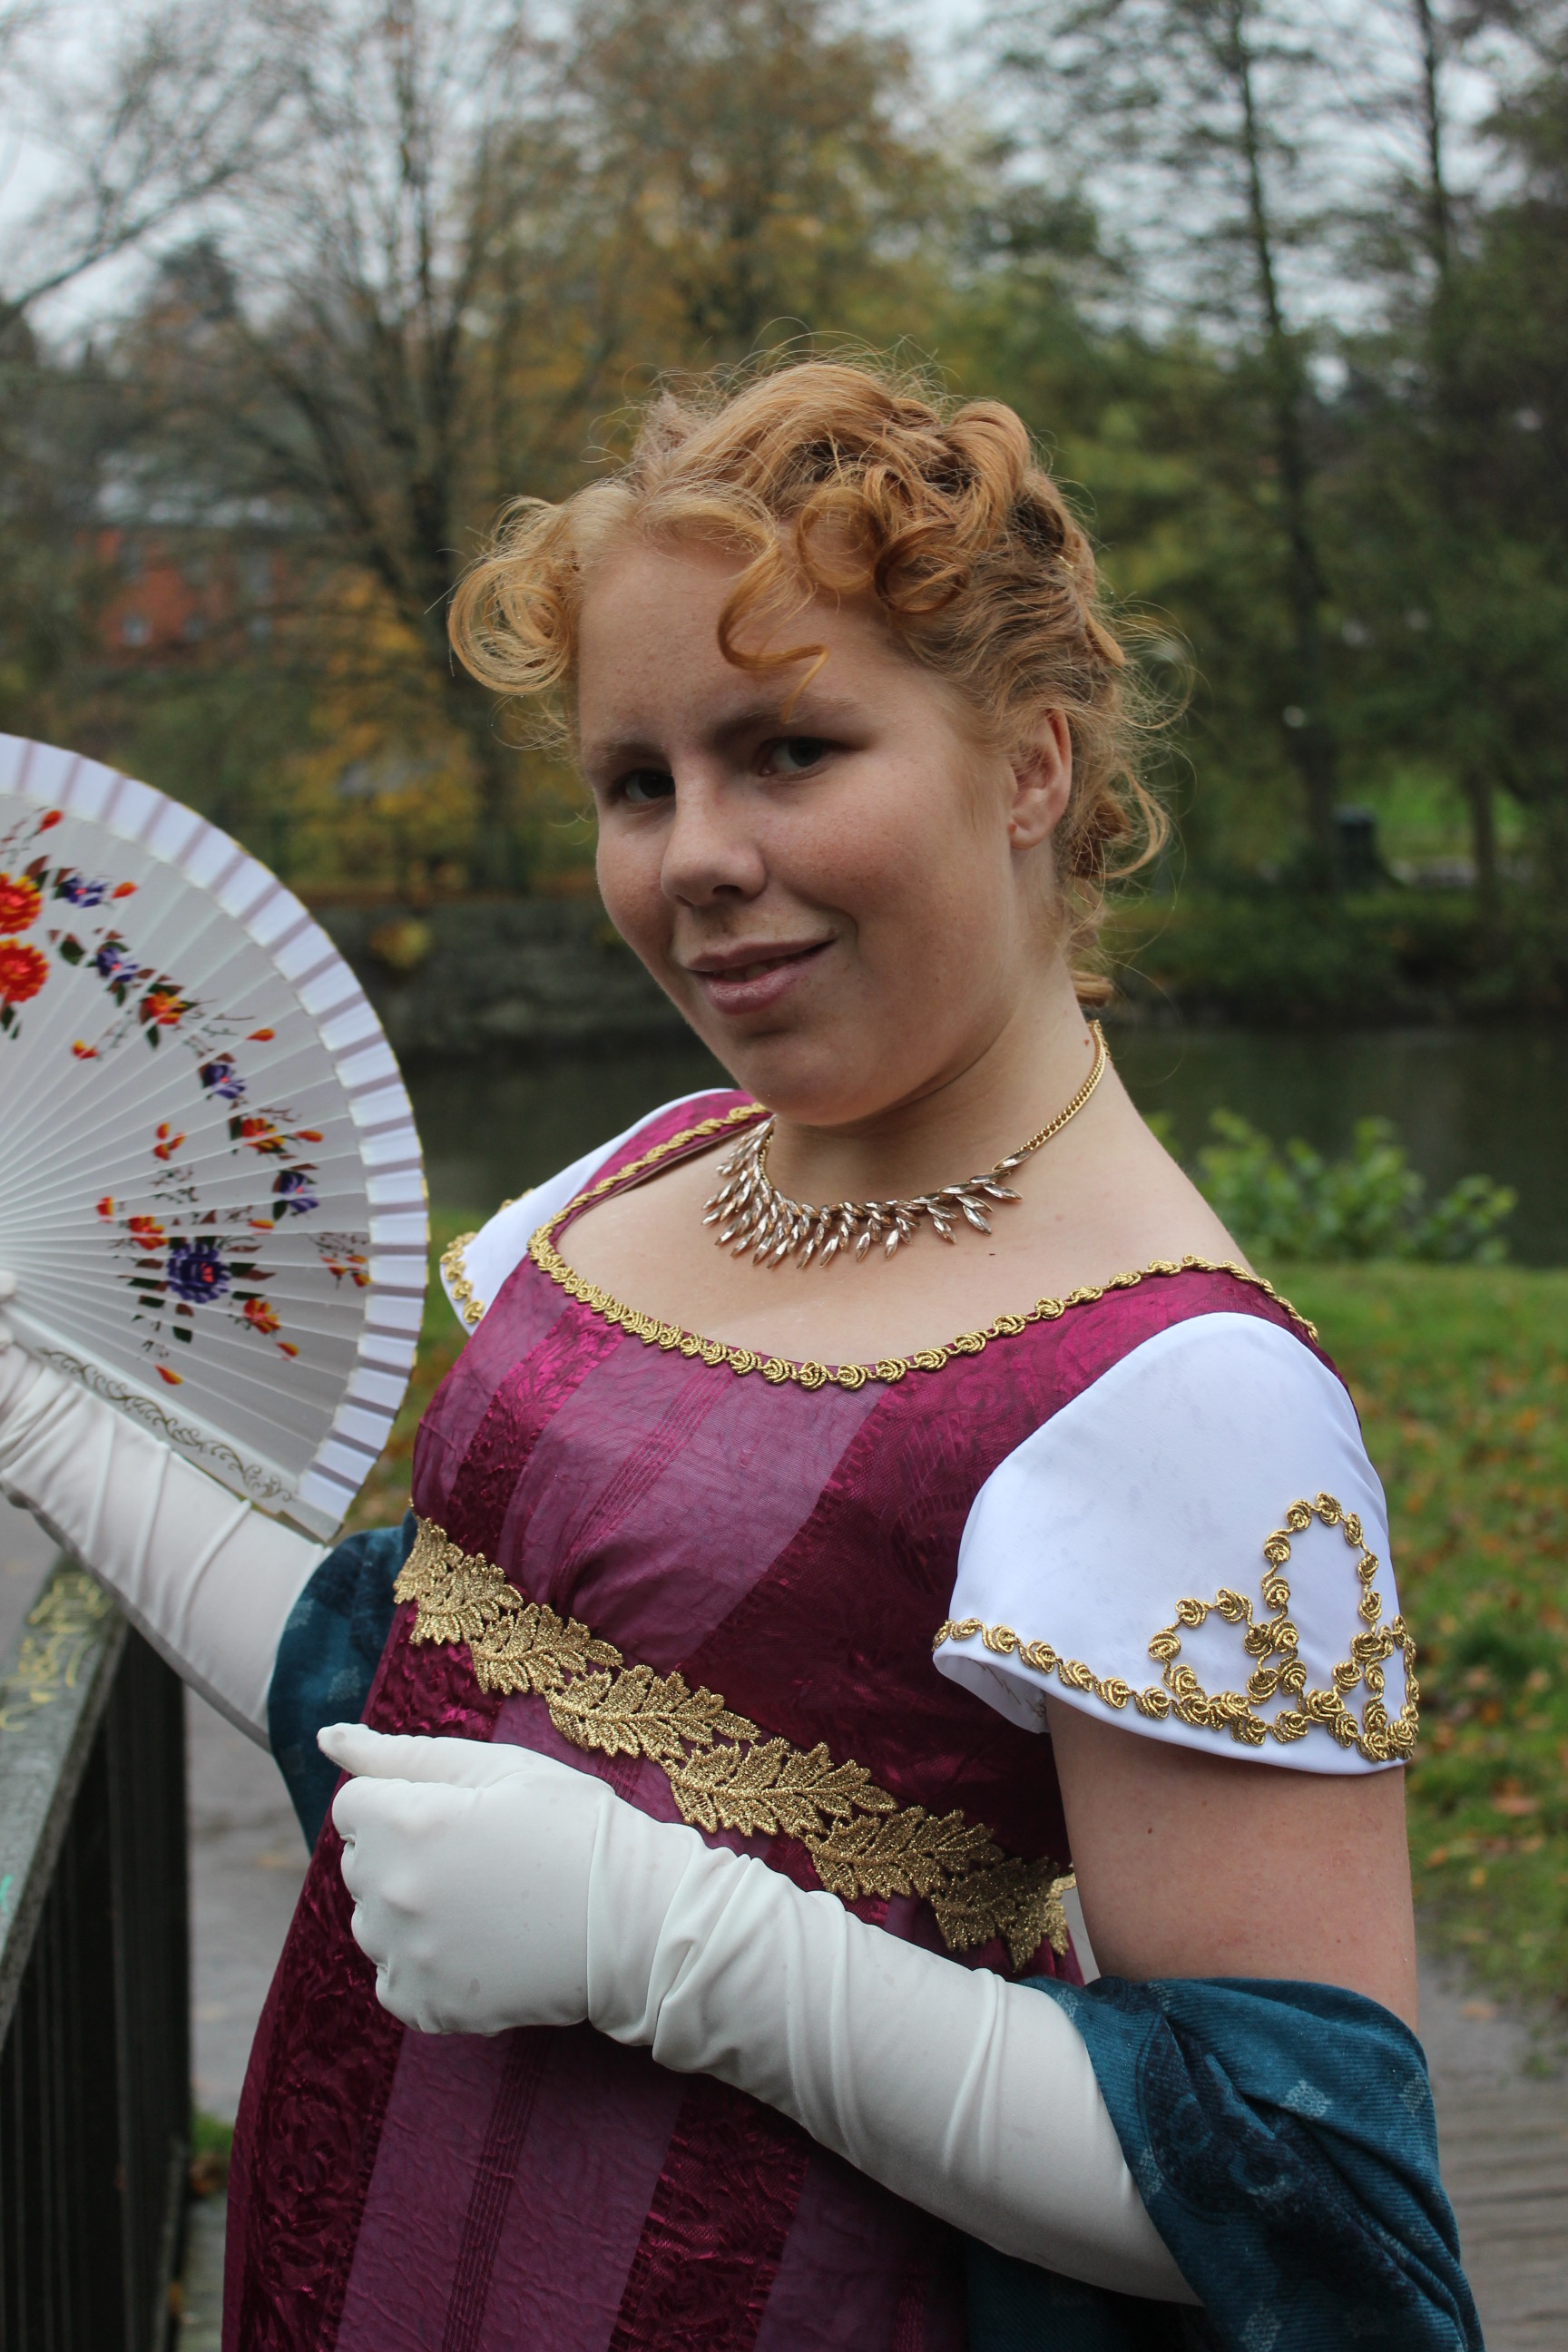
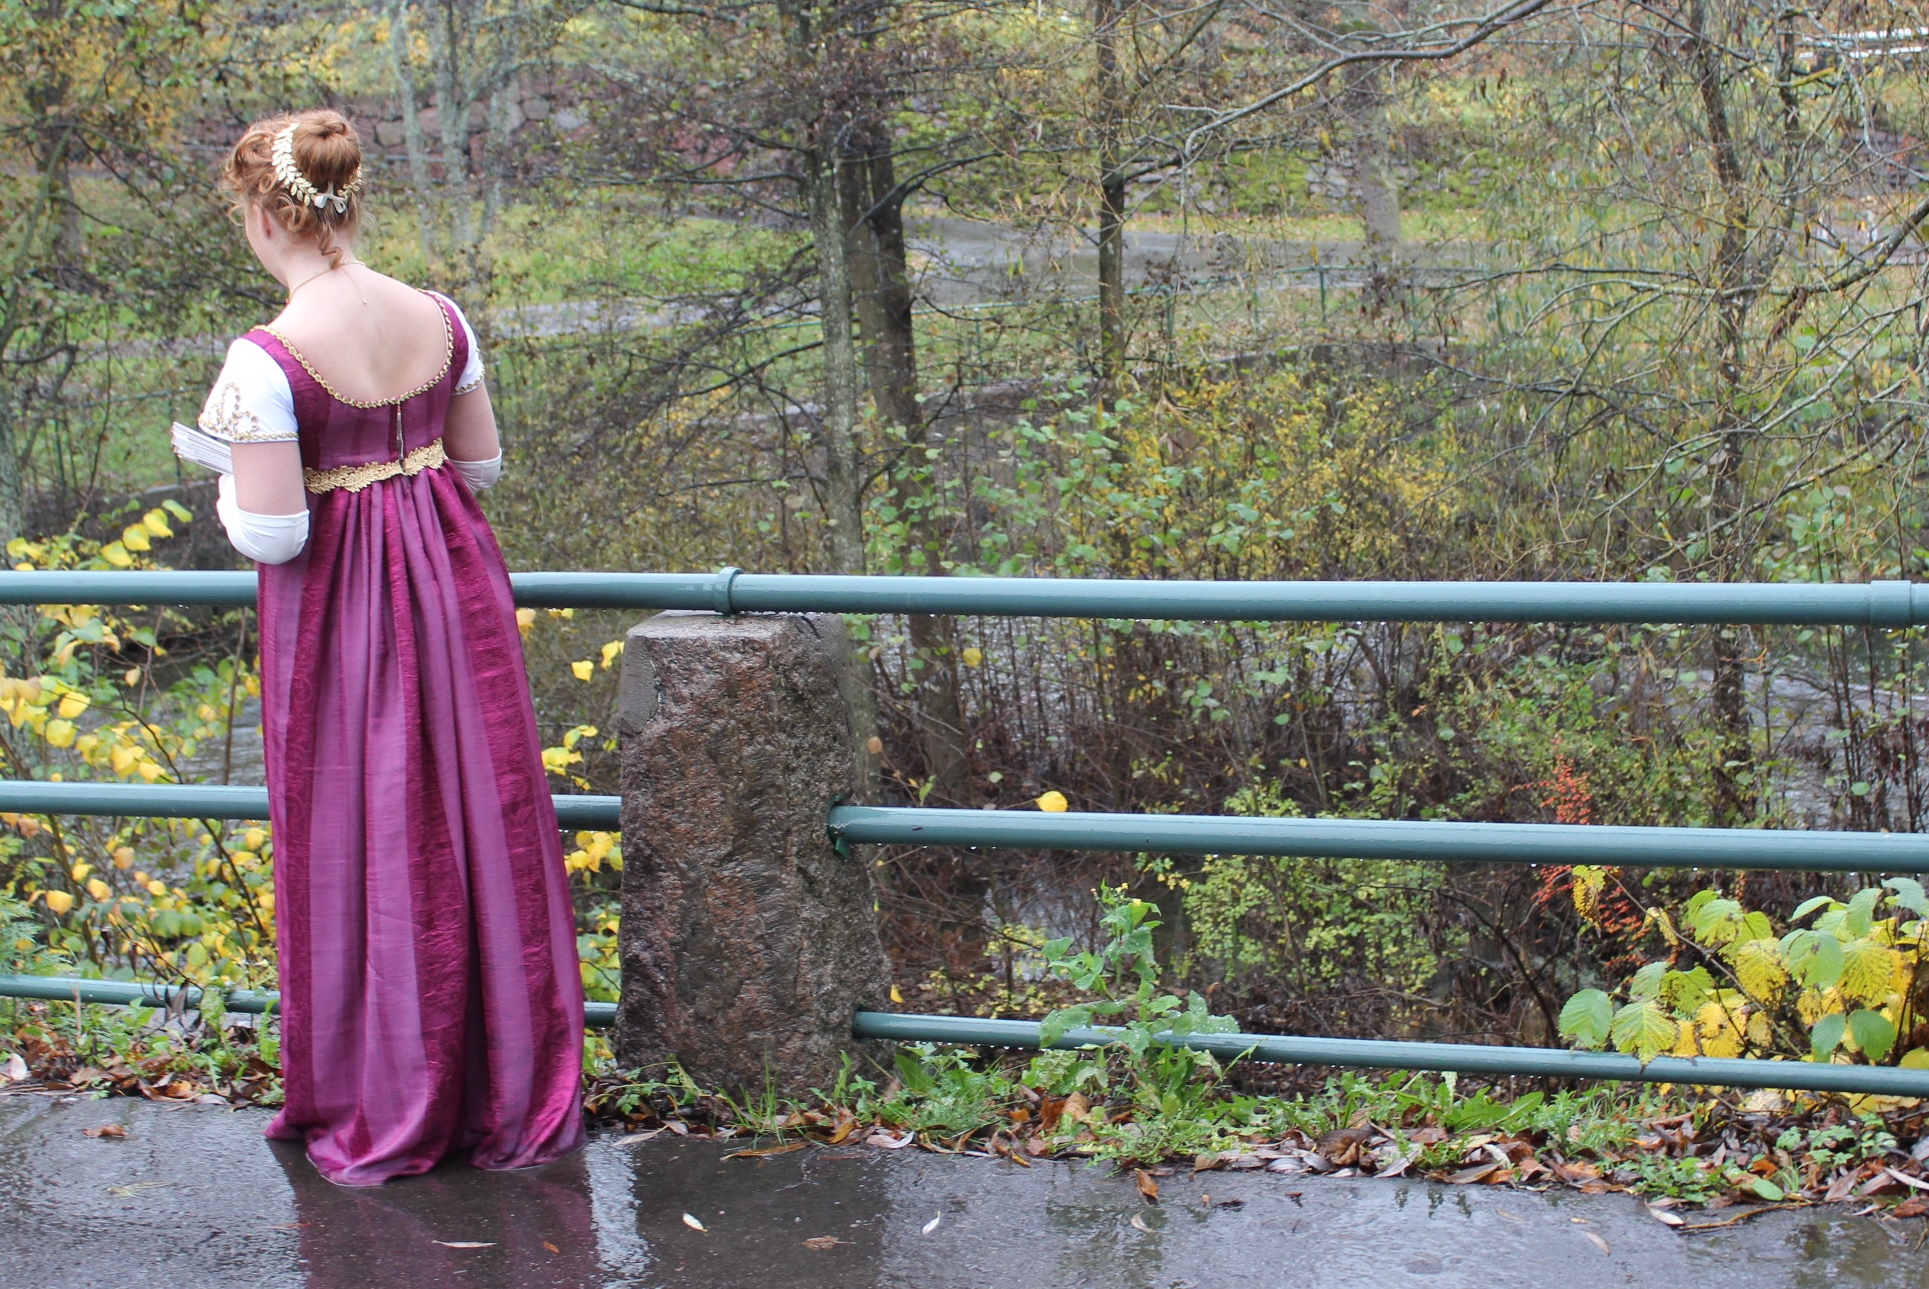
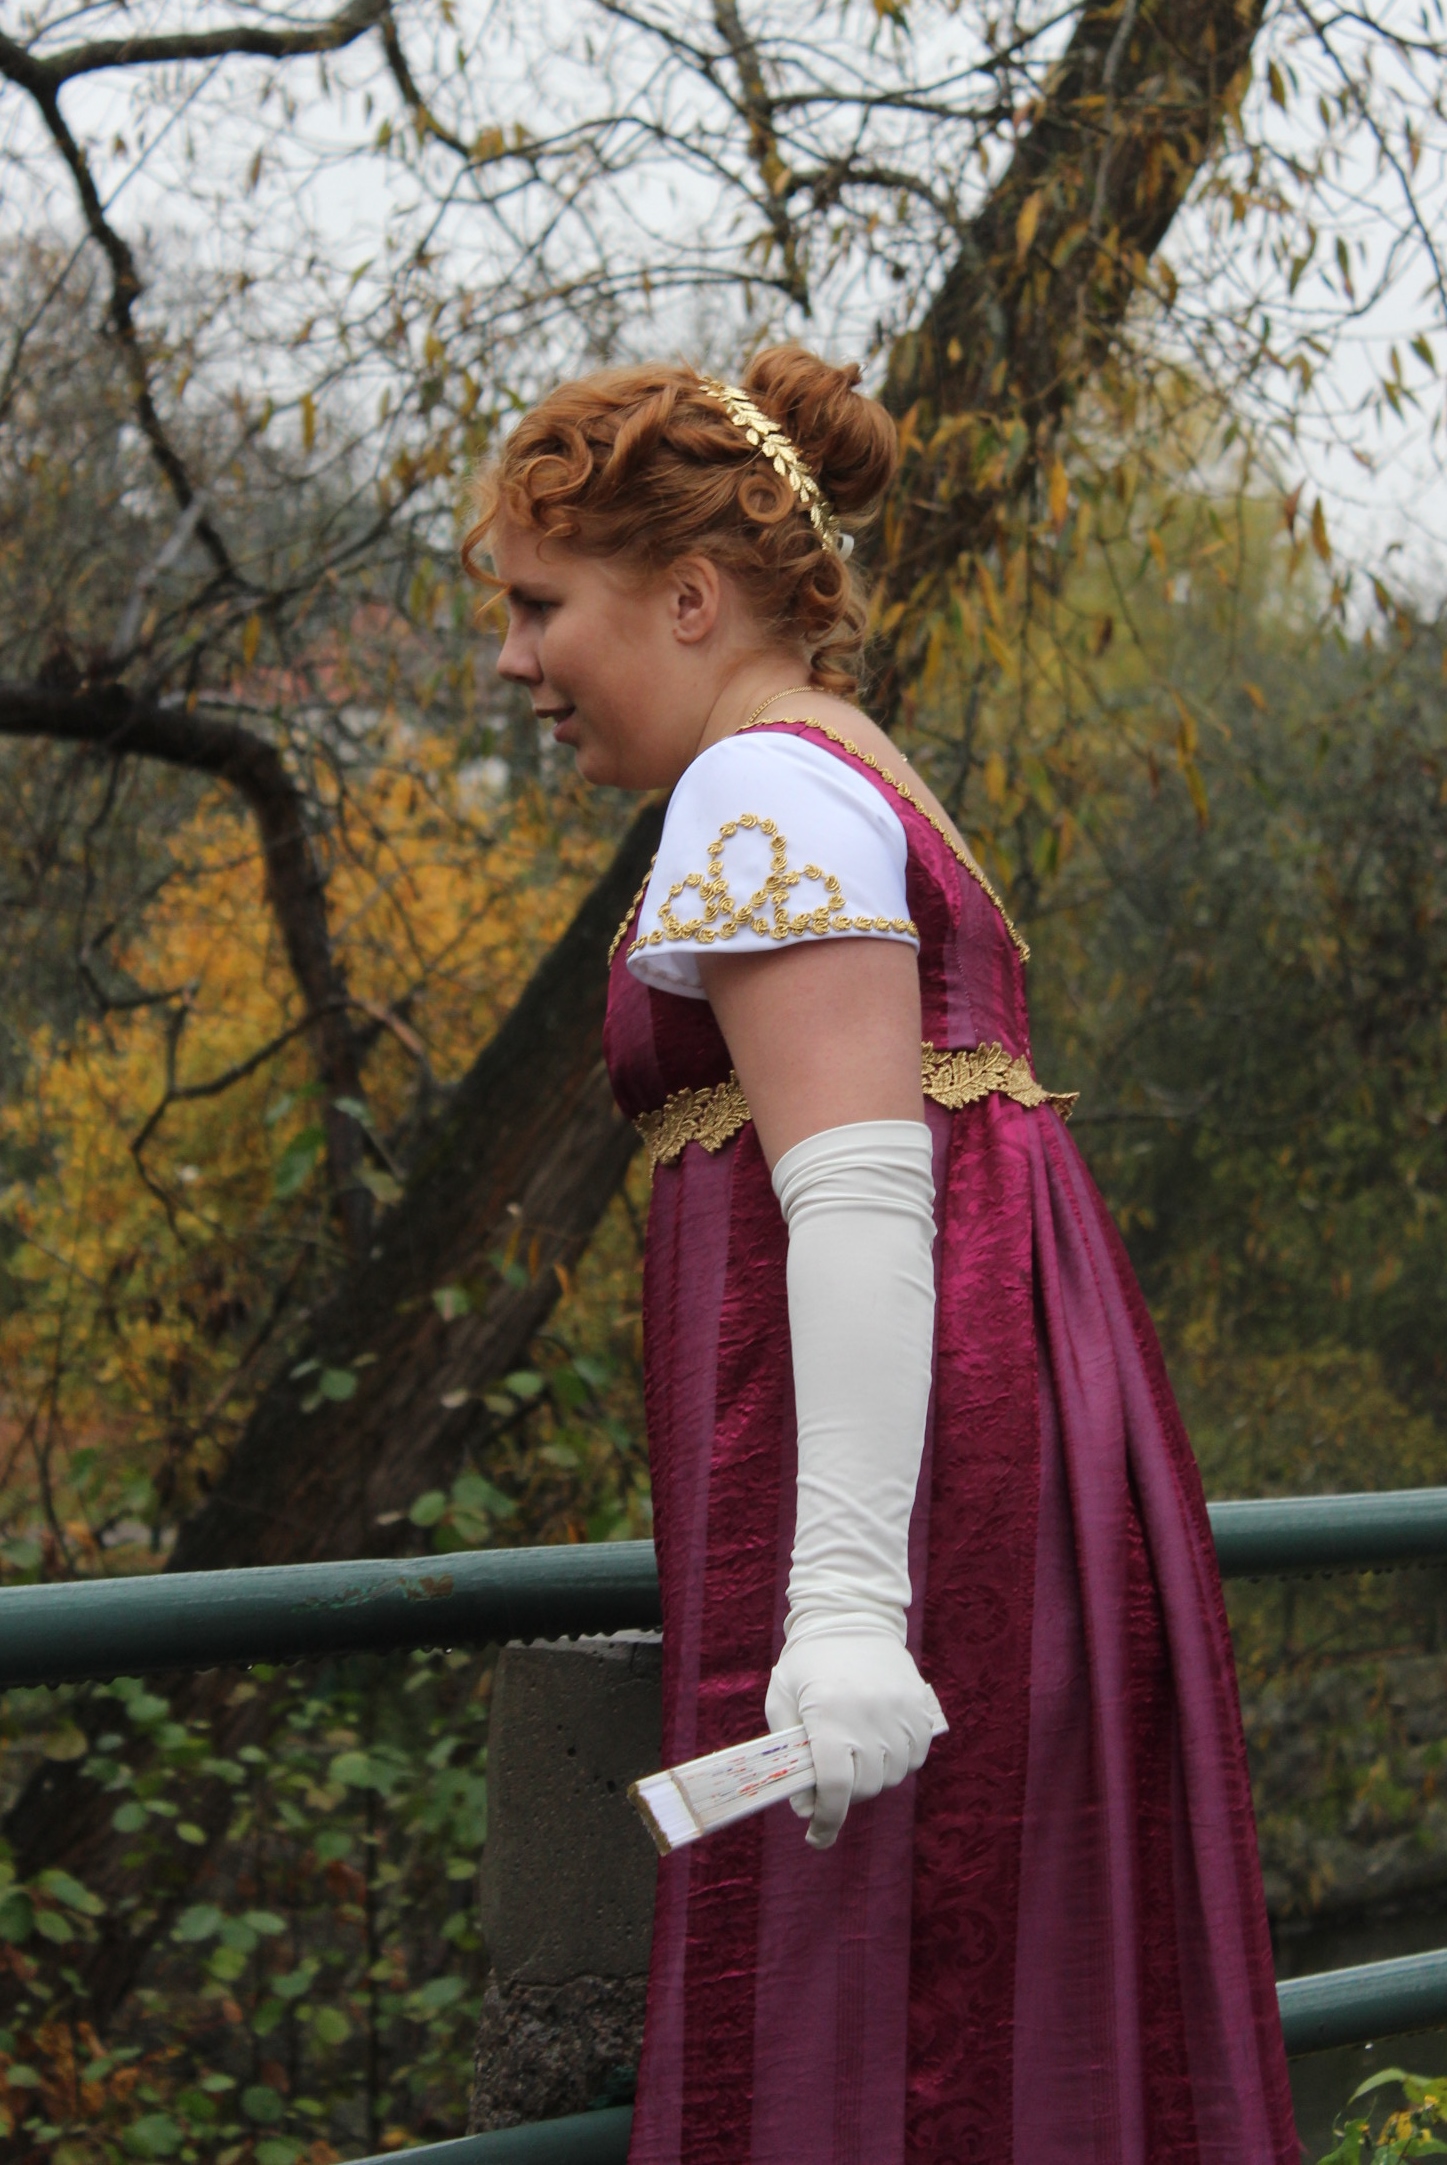
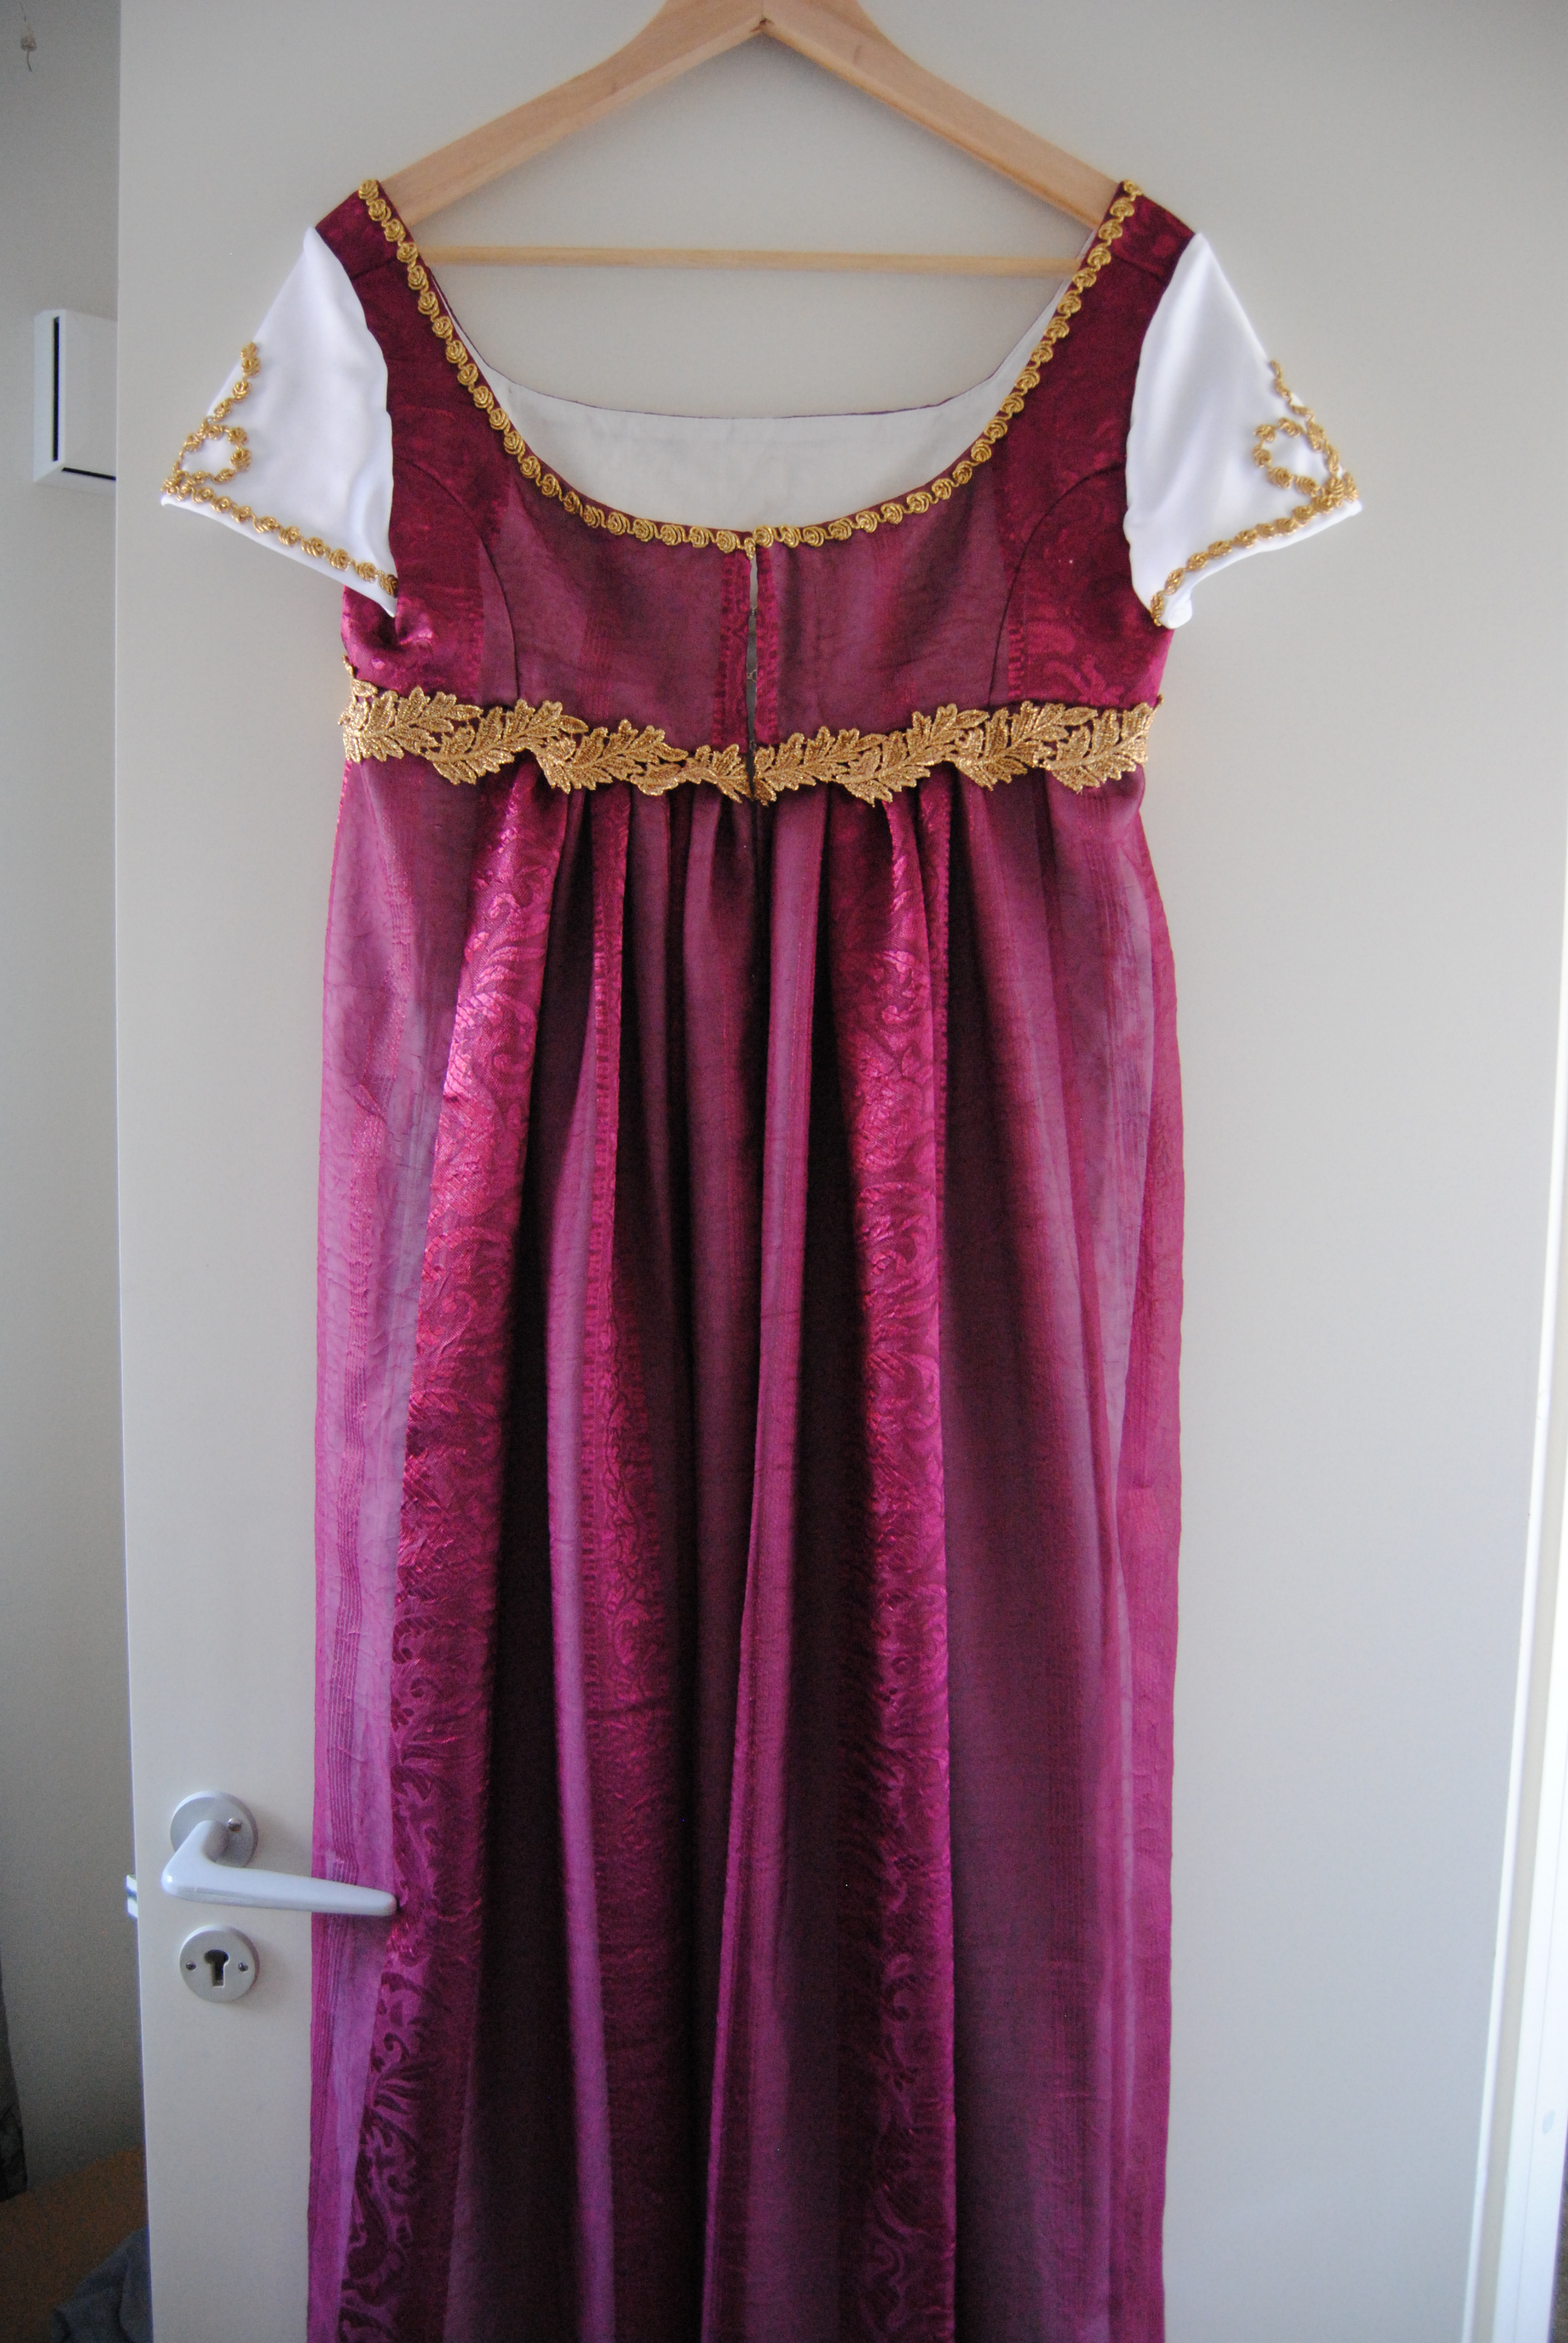
The finished dress:IMG_3871

IMG_3872

IMG_3882

IMG_3881

IMG_3883

IMG_3893

IMG_3889

IMG_3876

IMG_3879

IMG_3878

IMG_3884

IMG_3888

IMG_3874

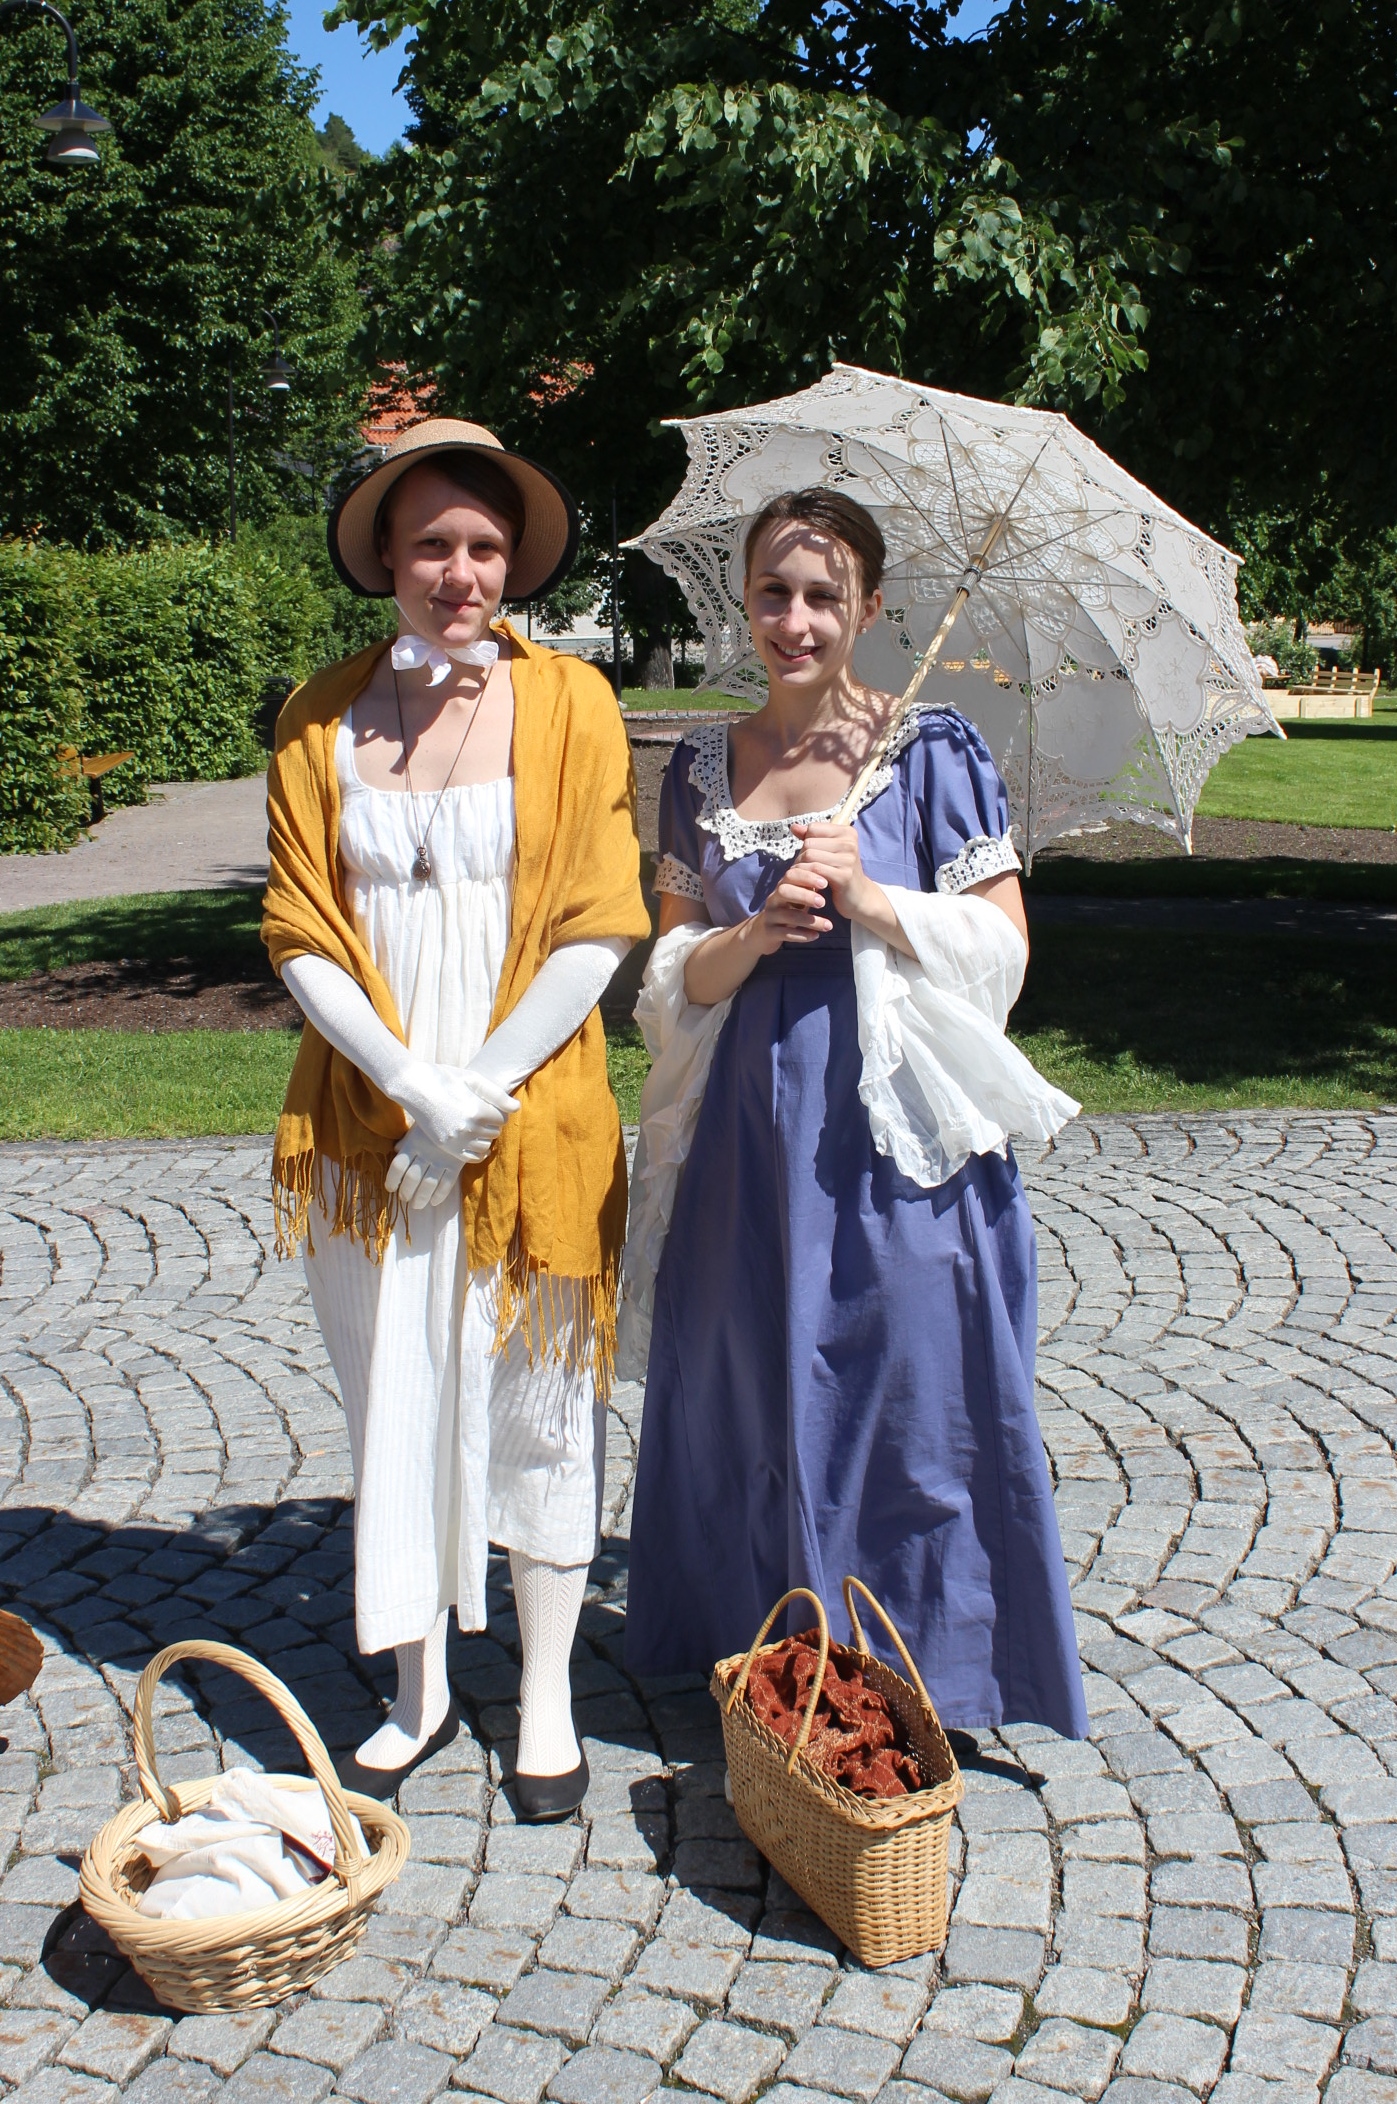
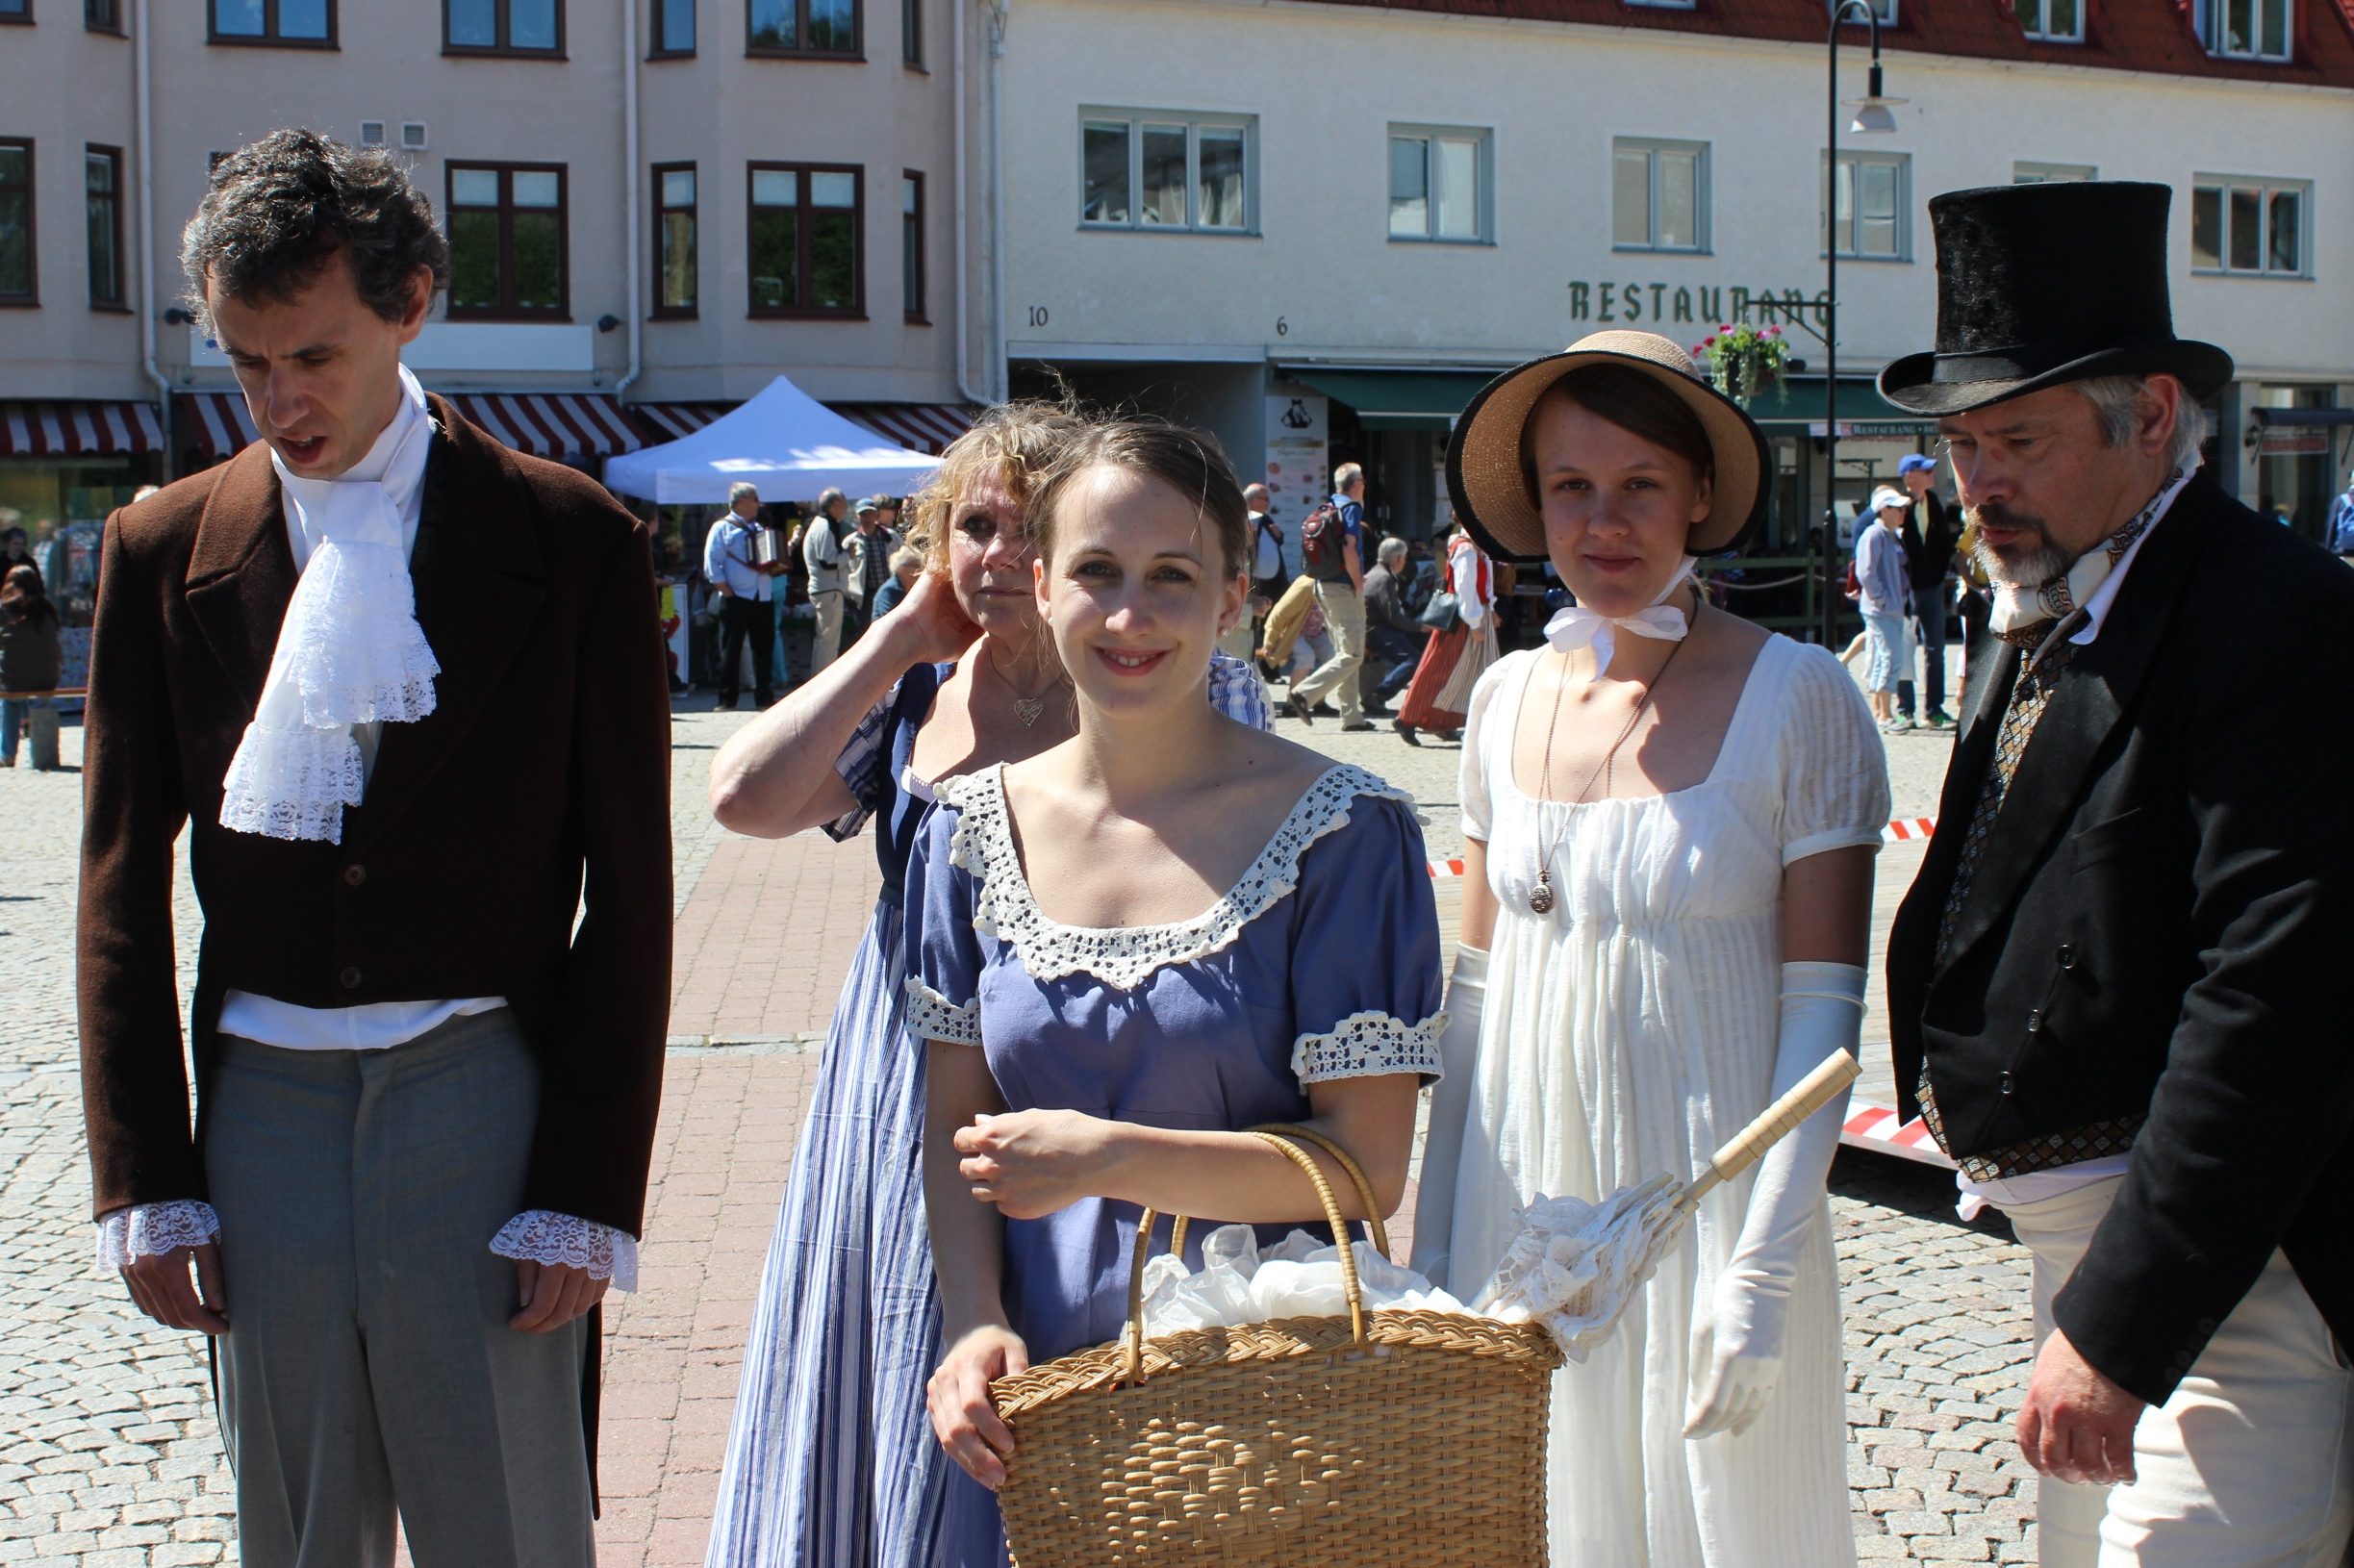
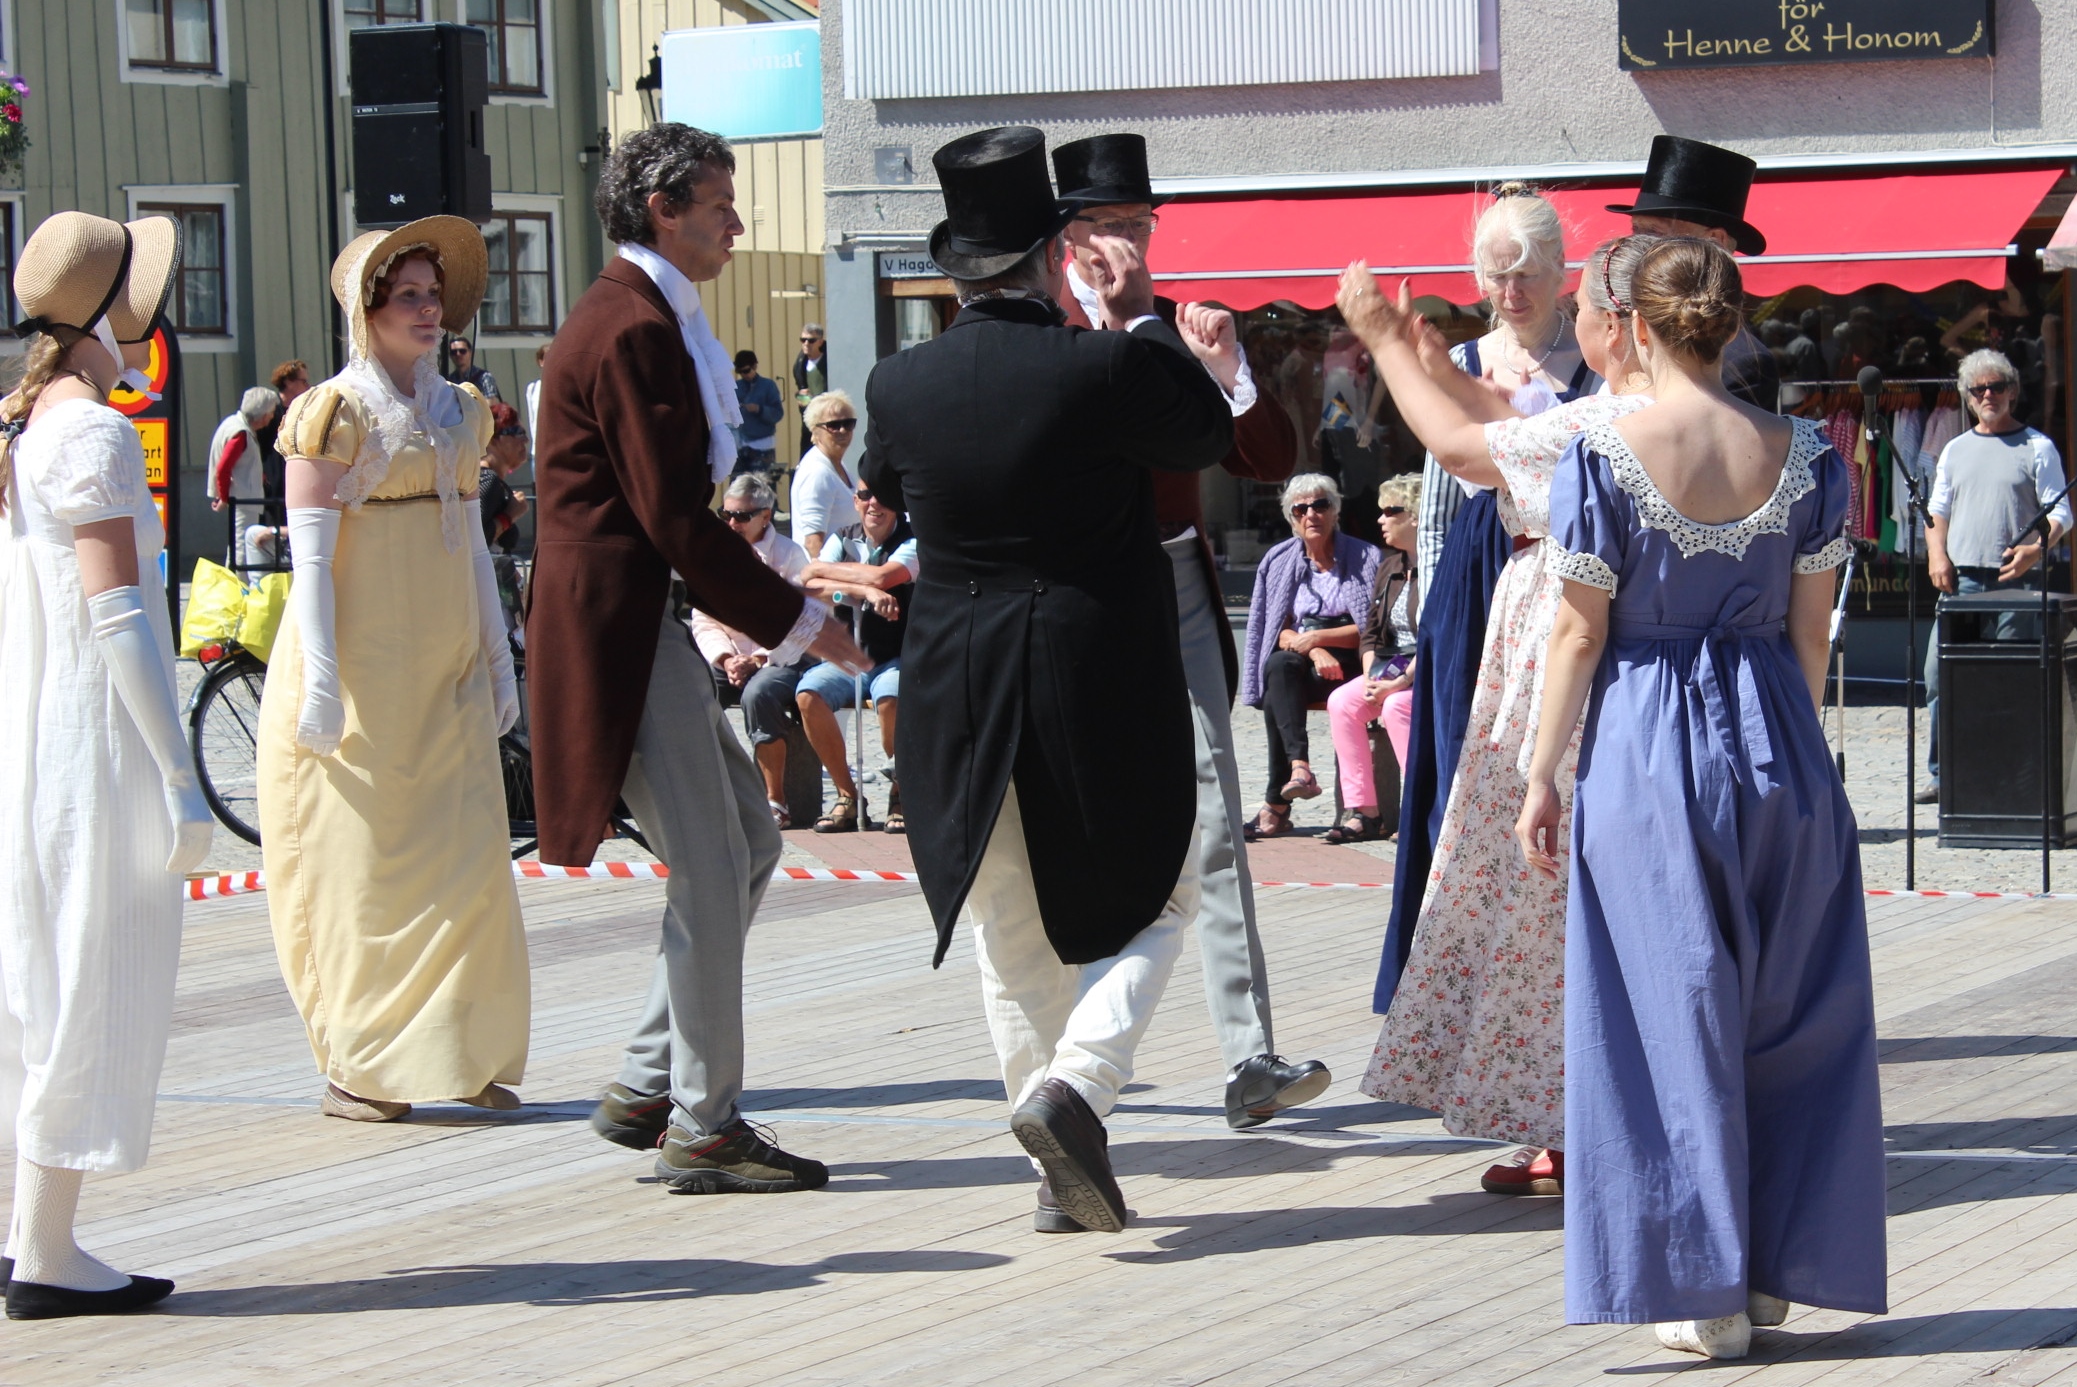
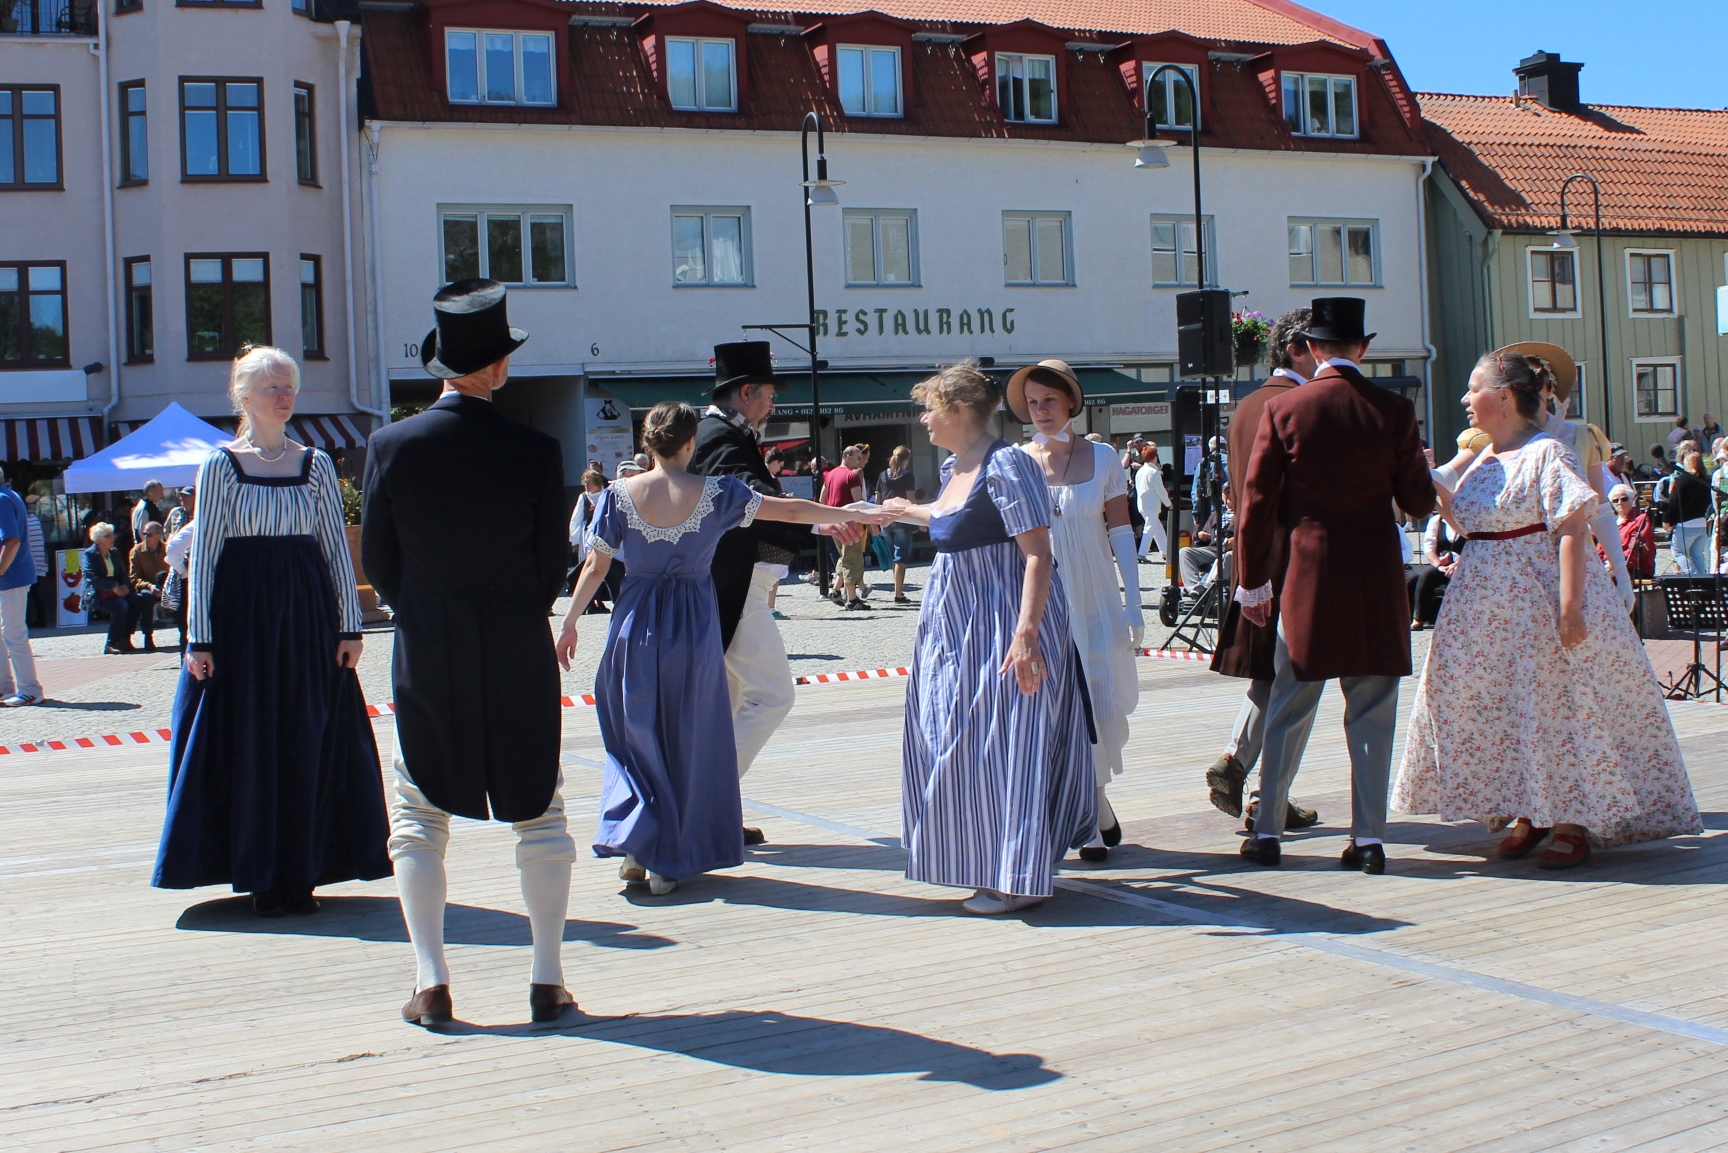
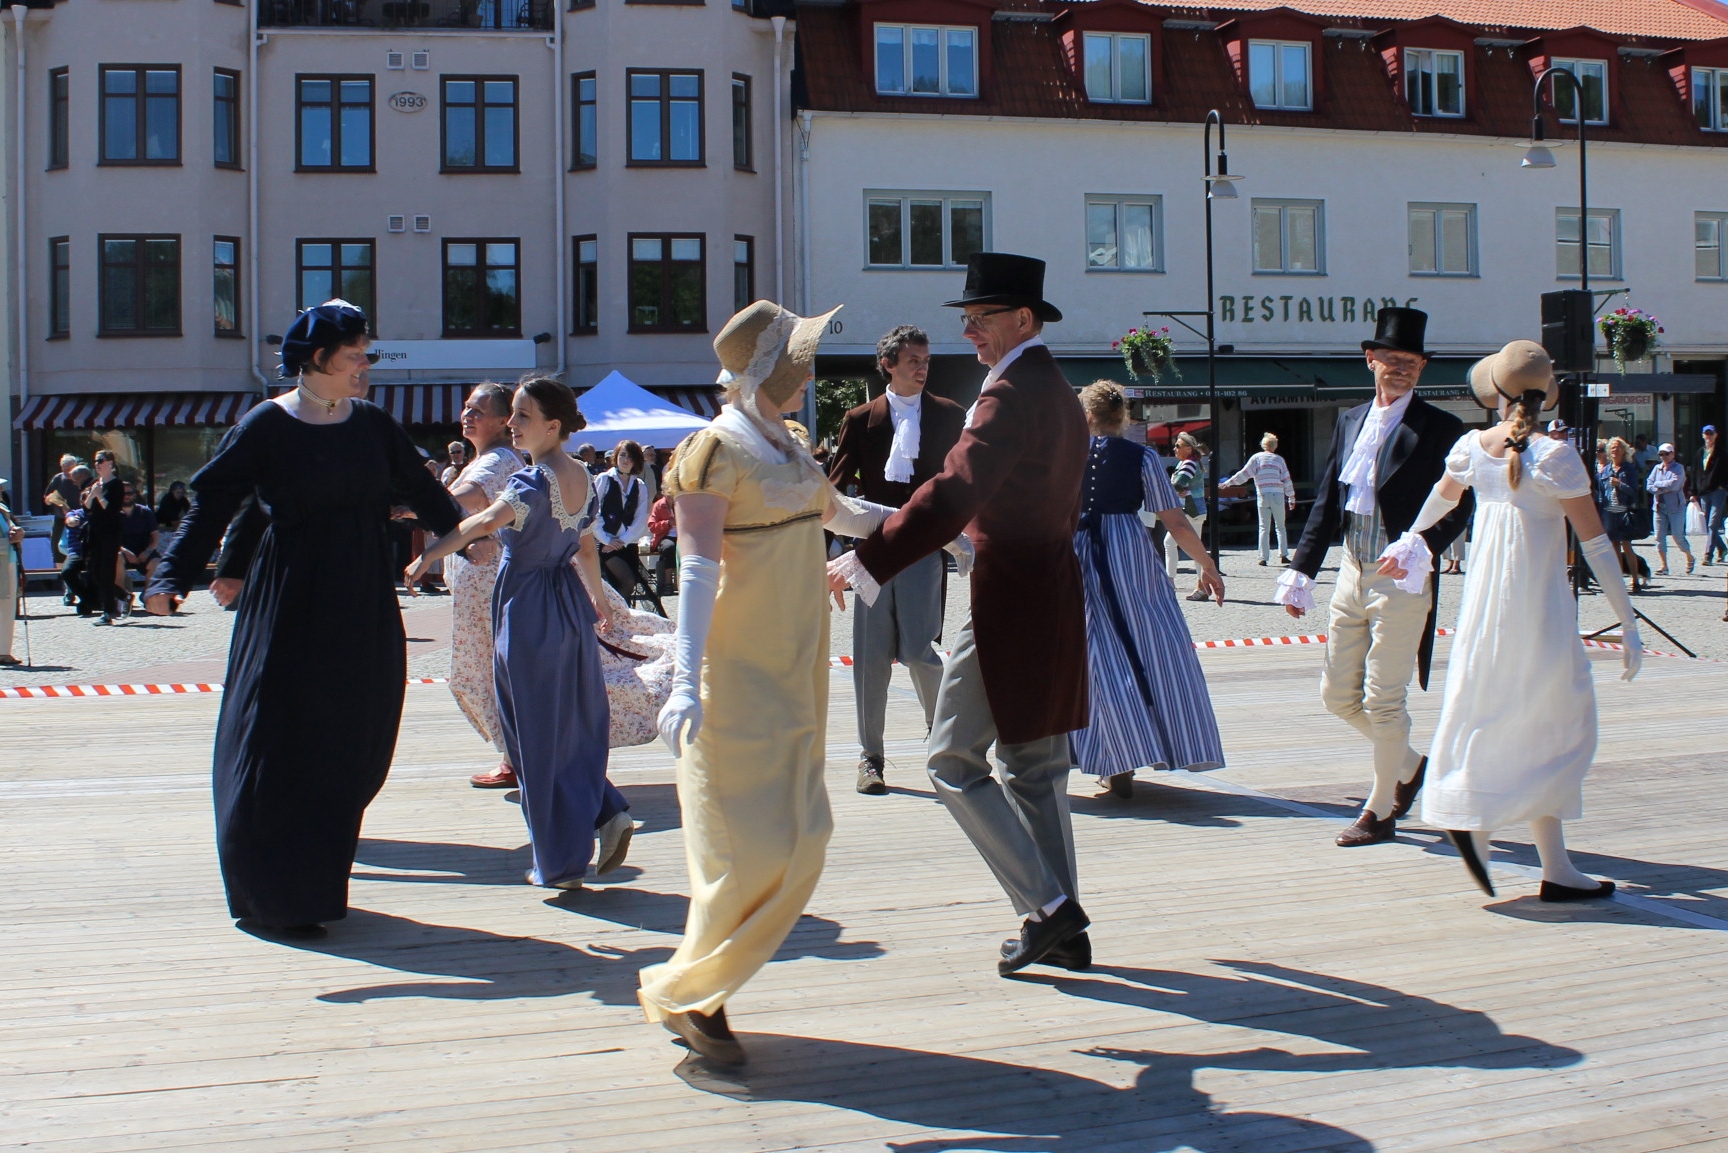
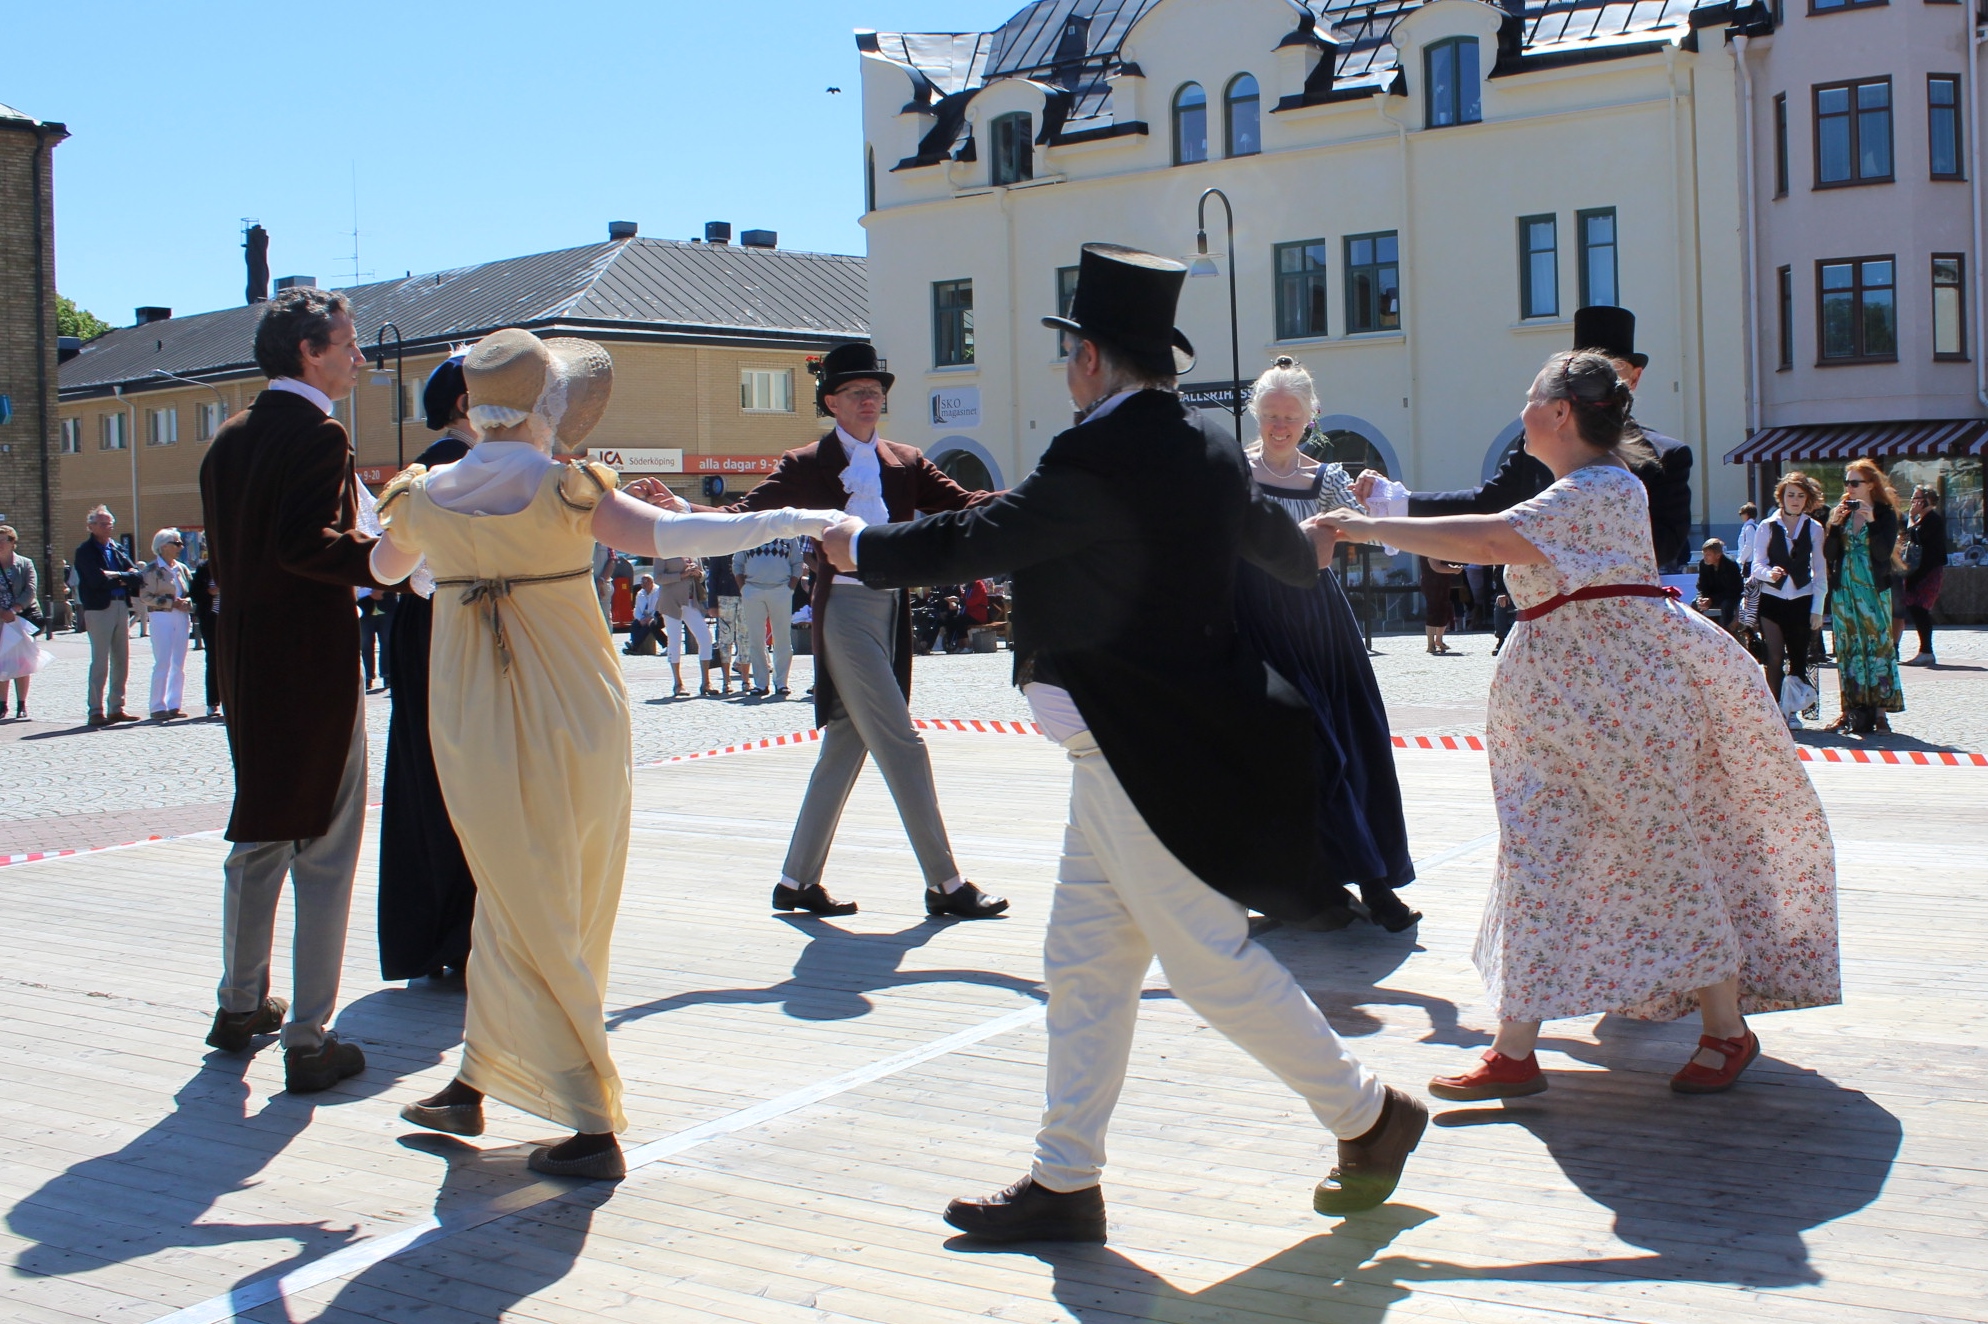
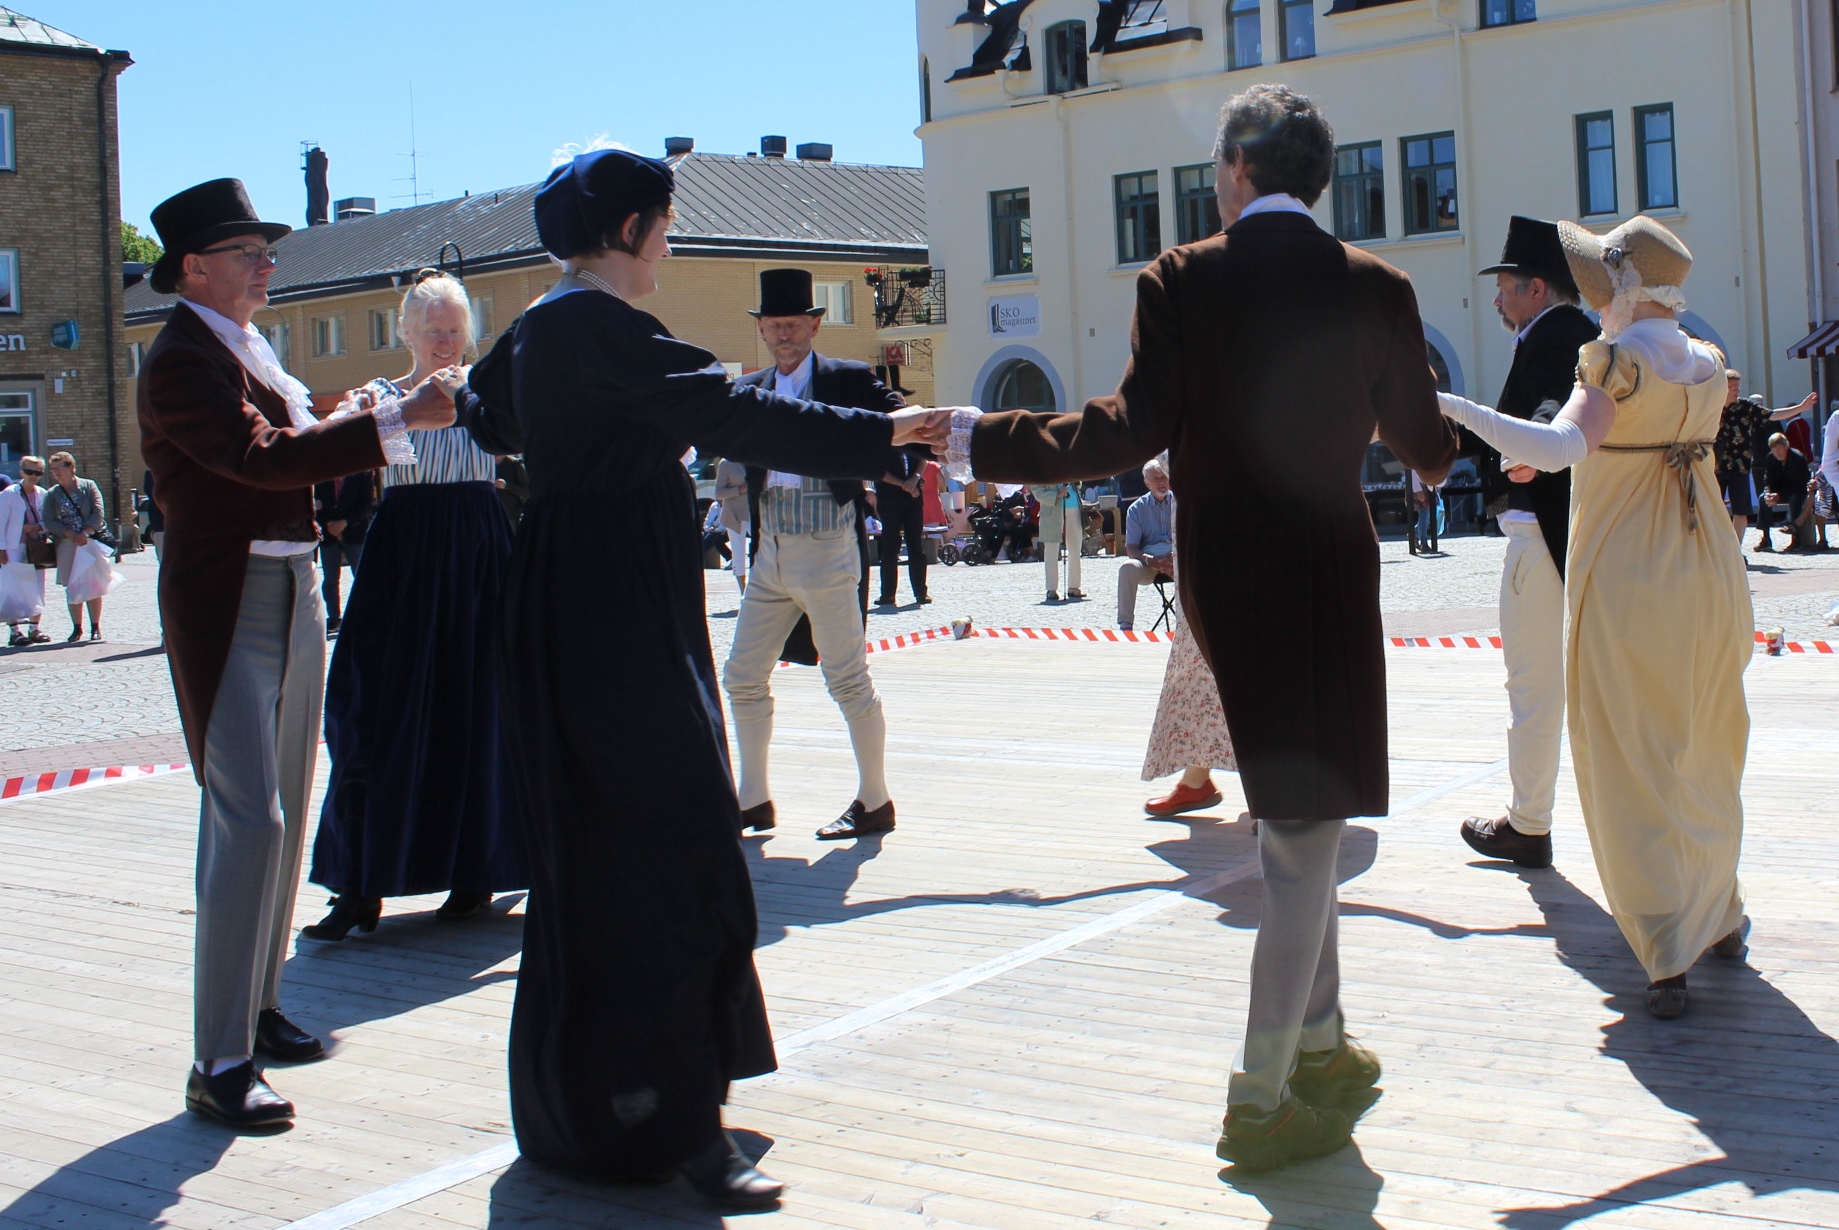
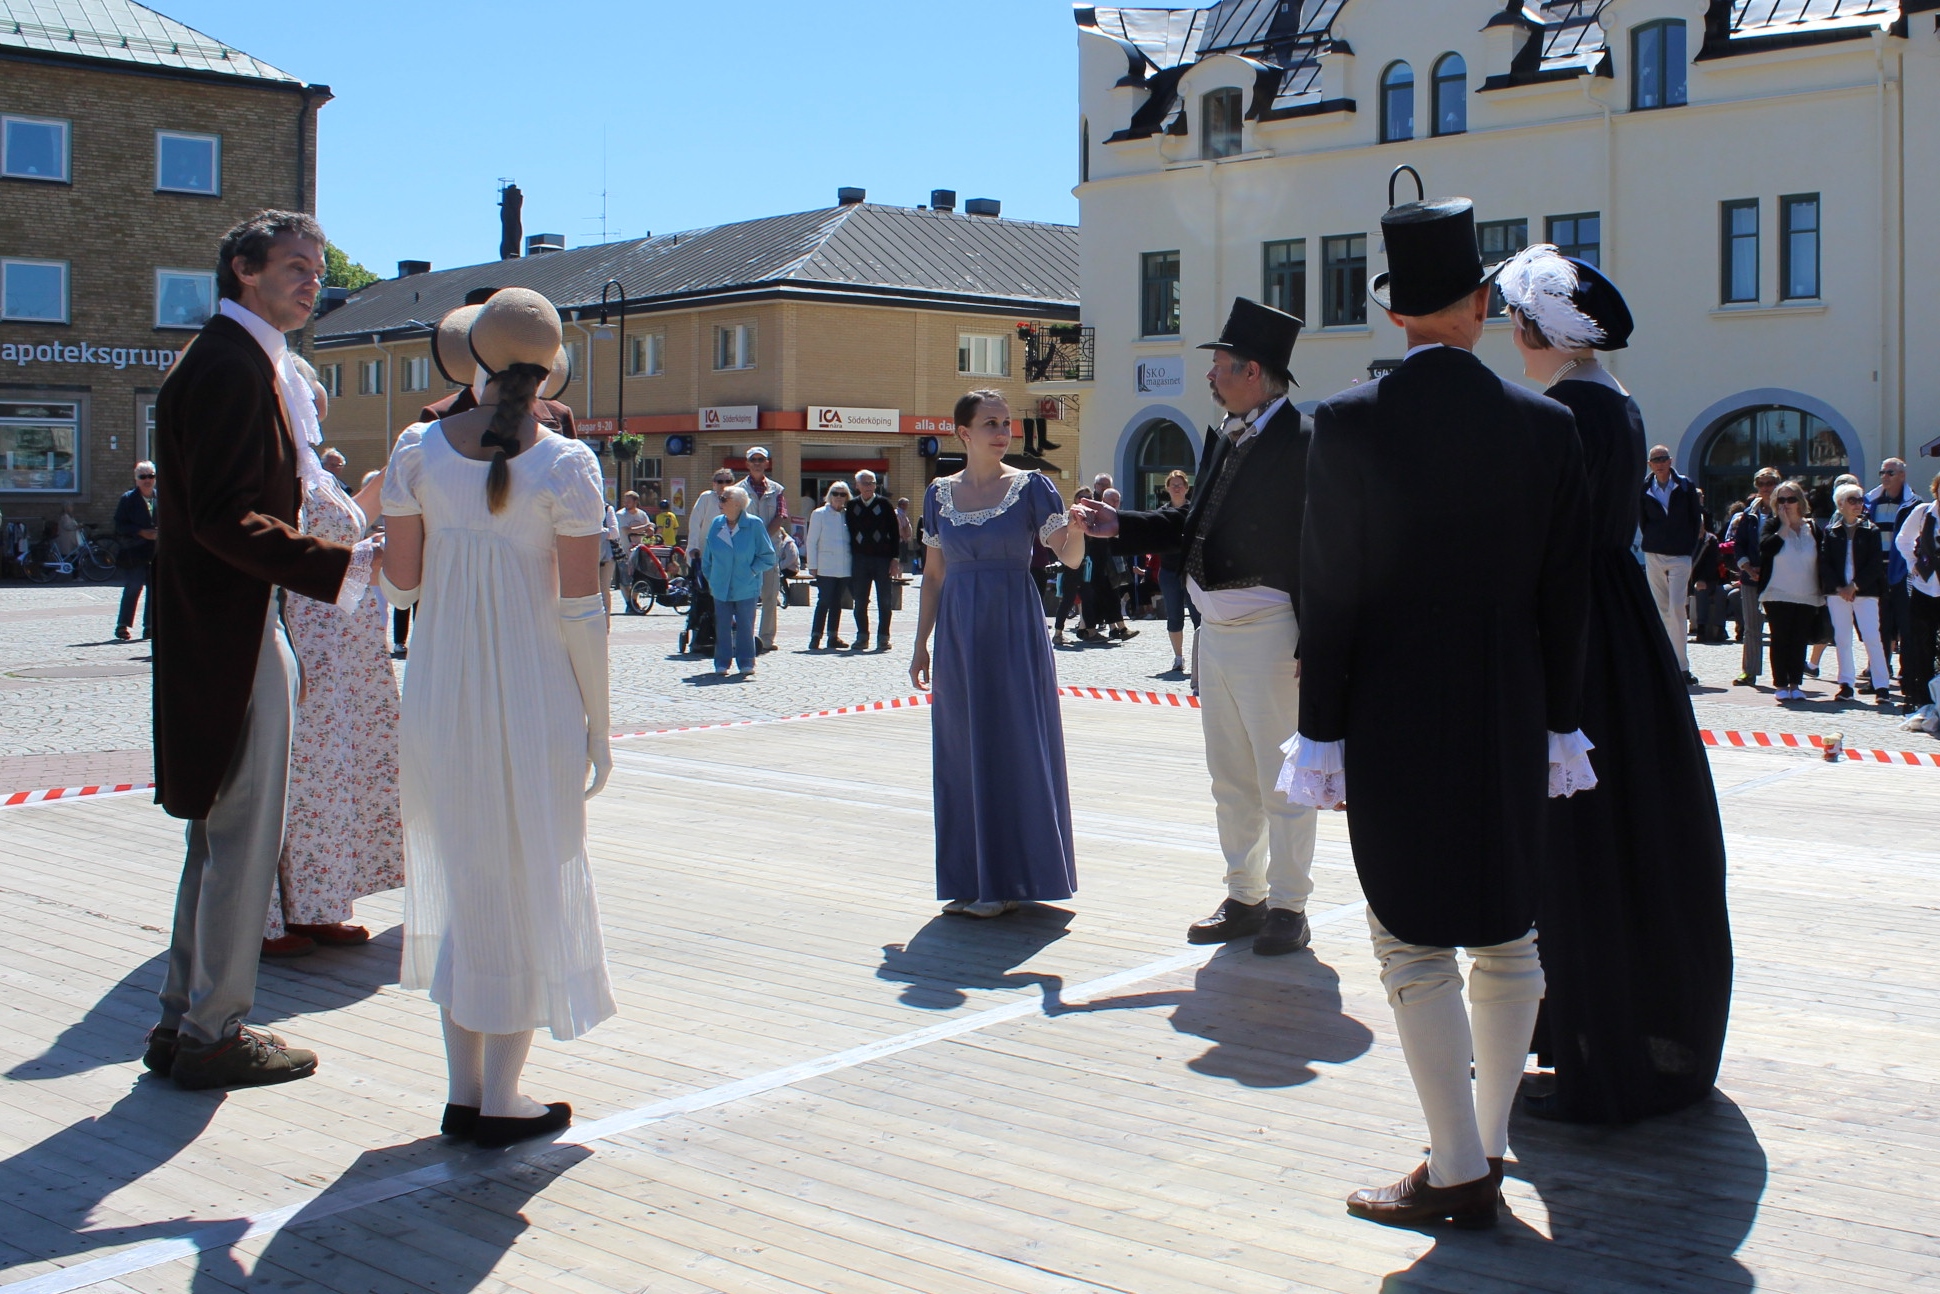
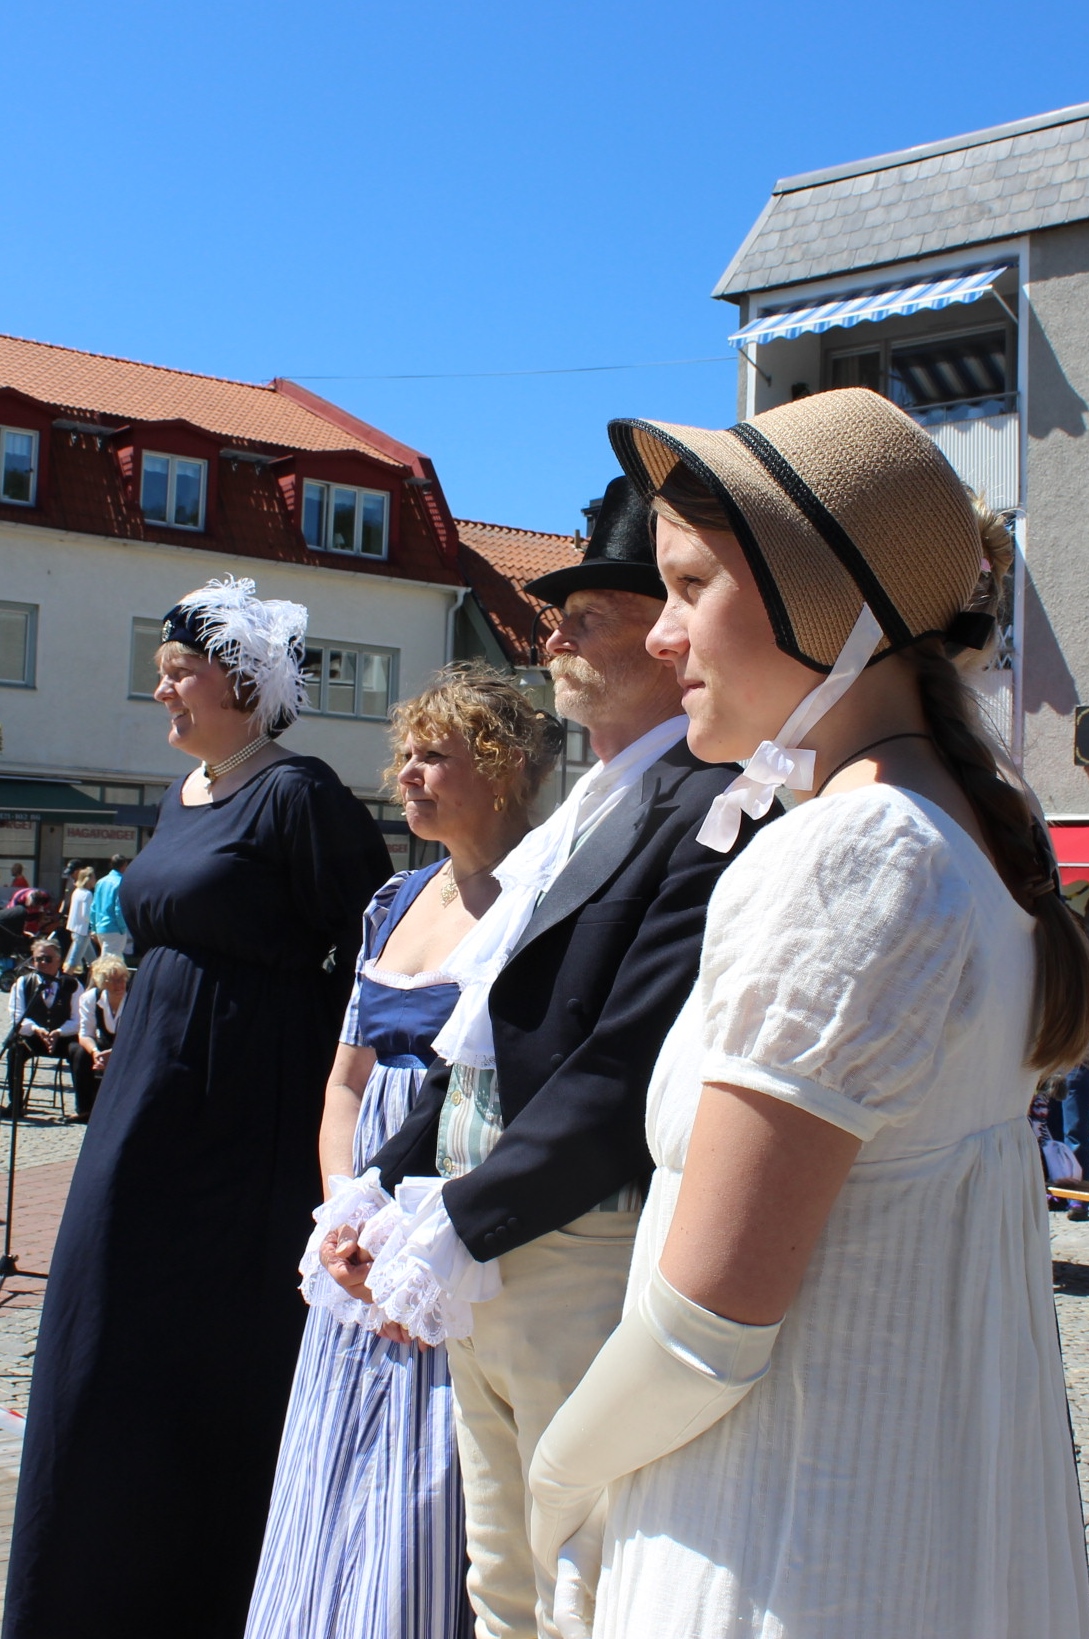
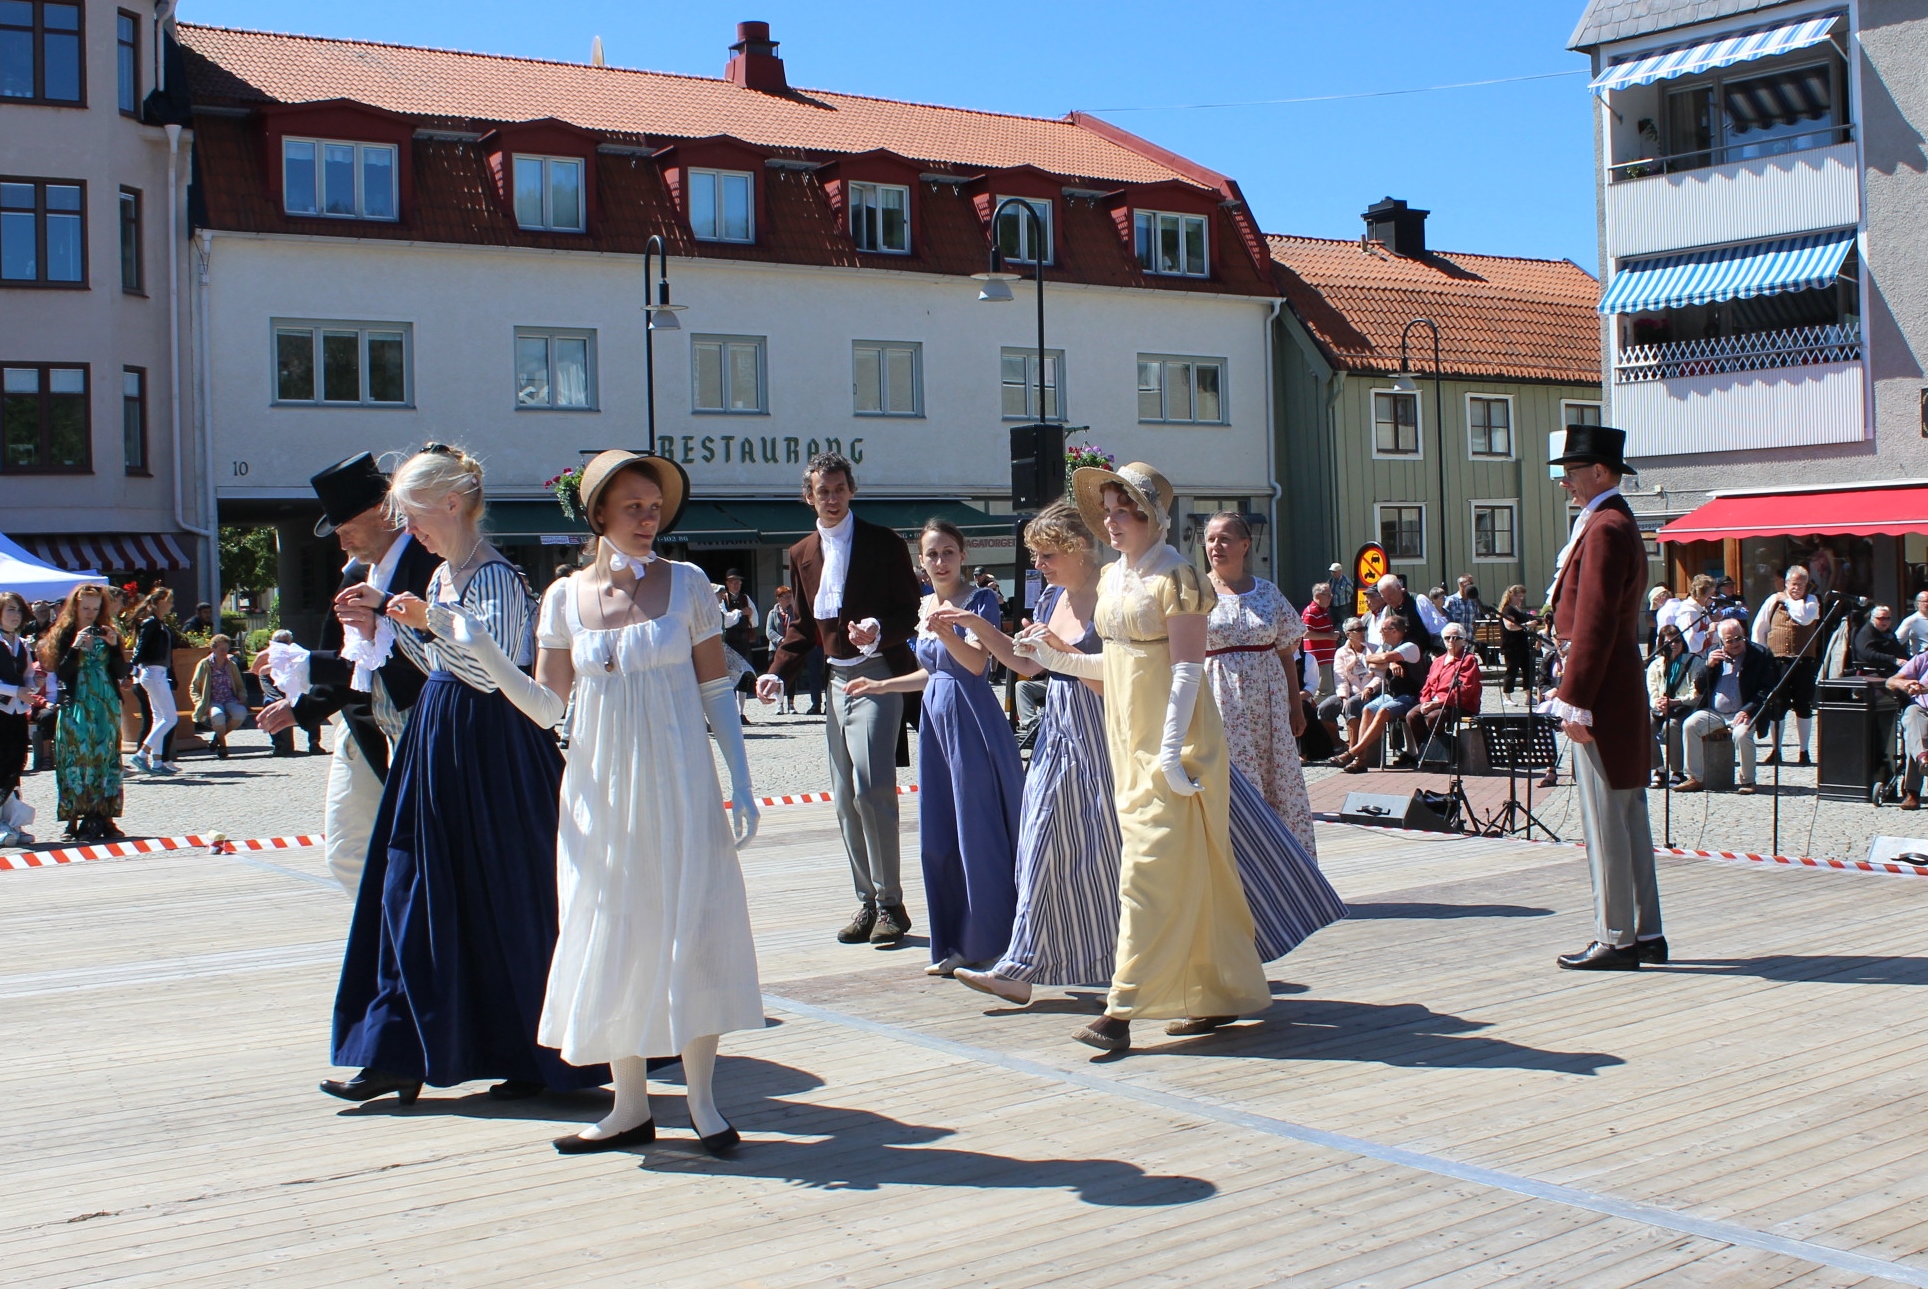
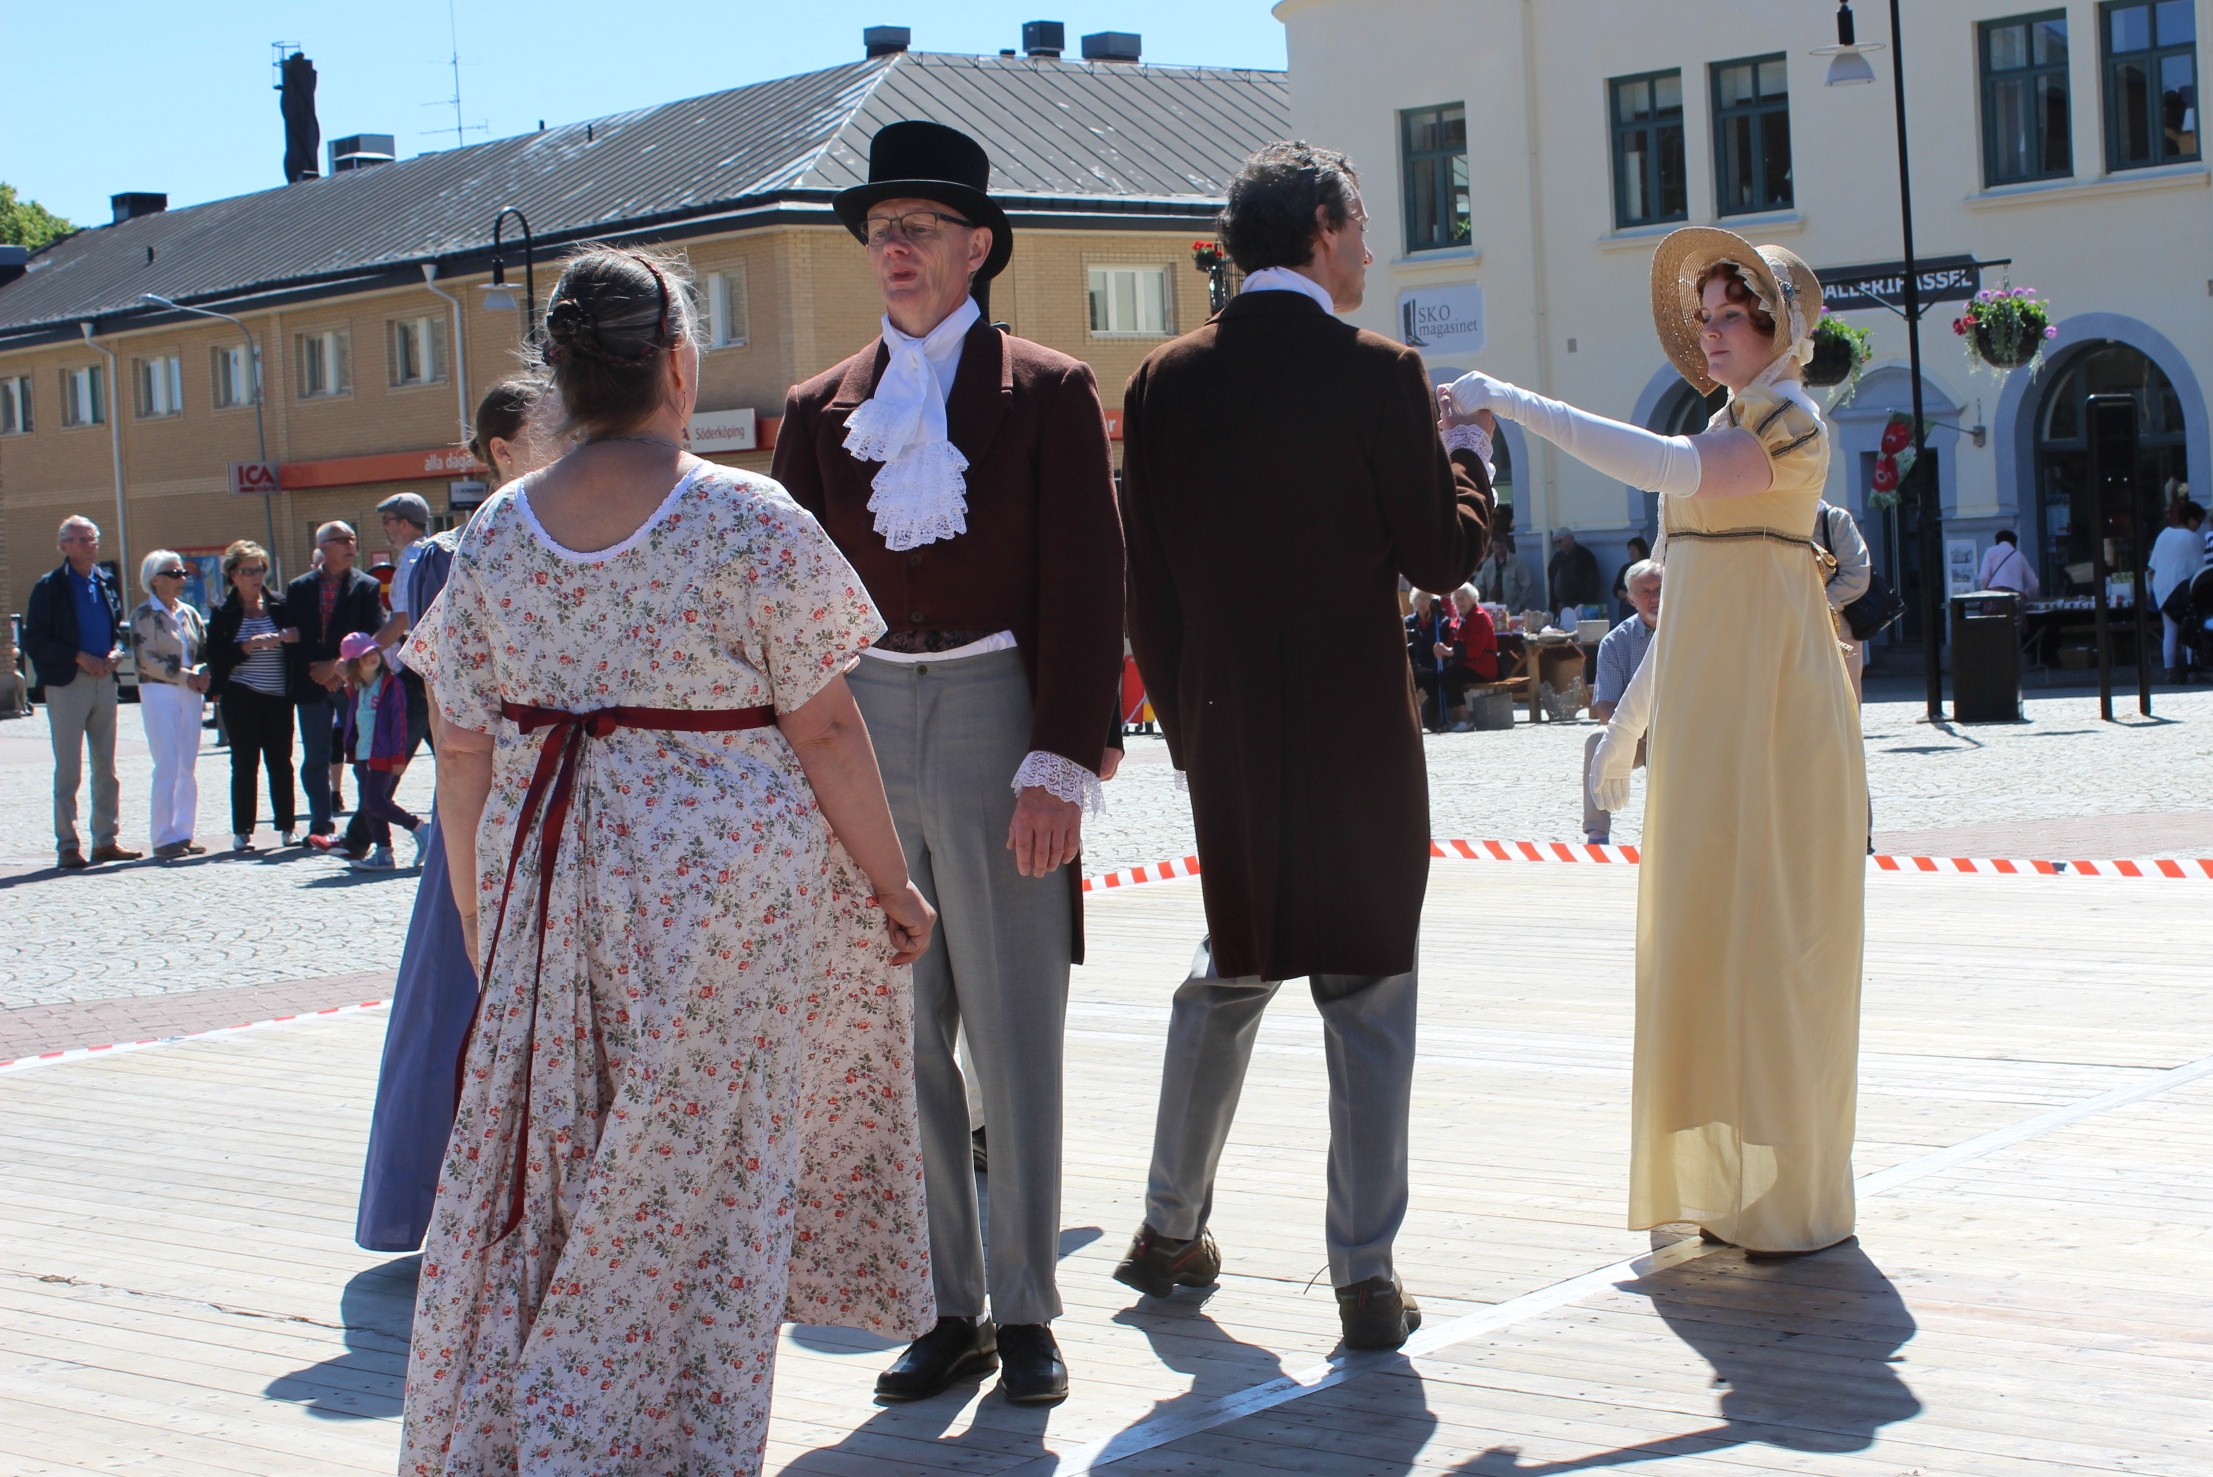
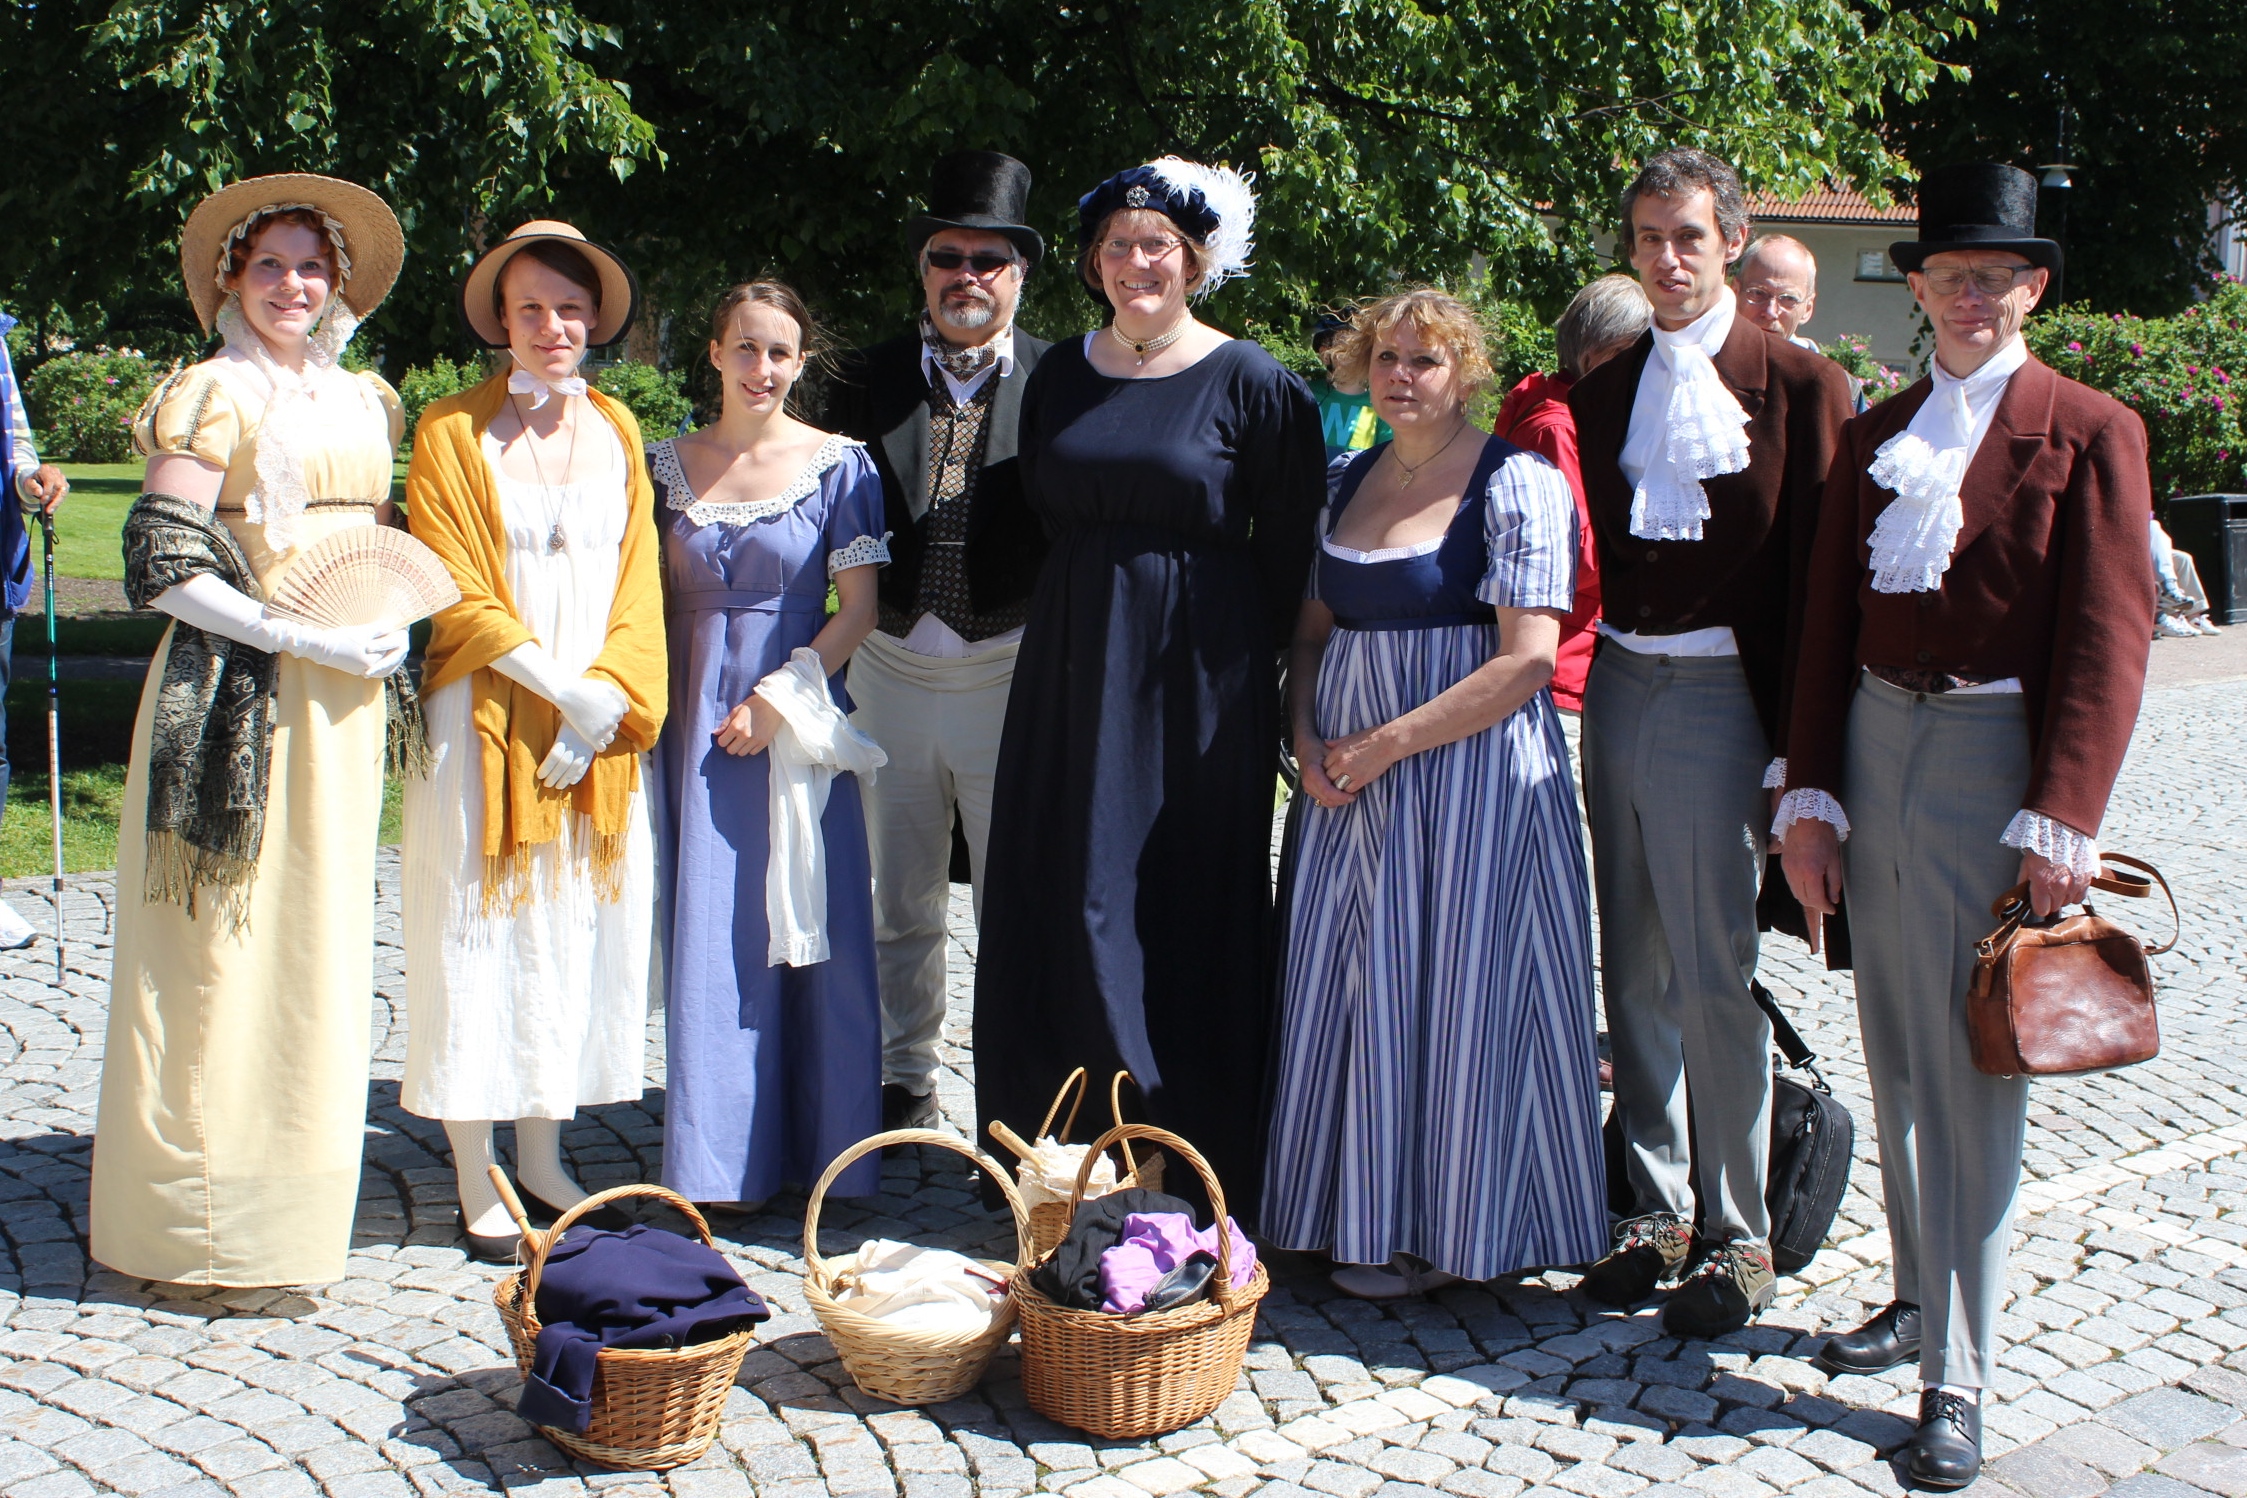
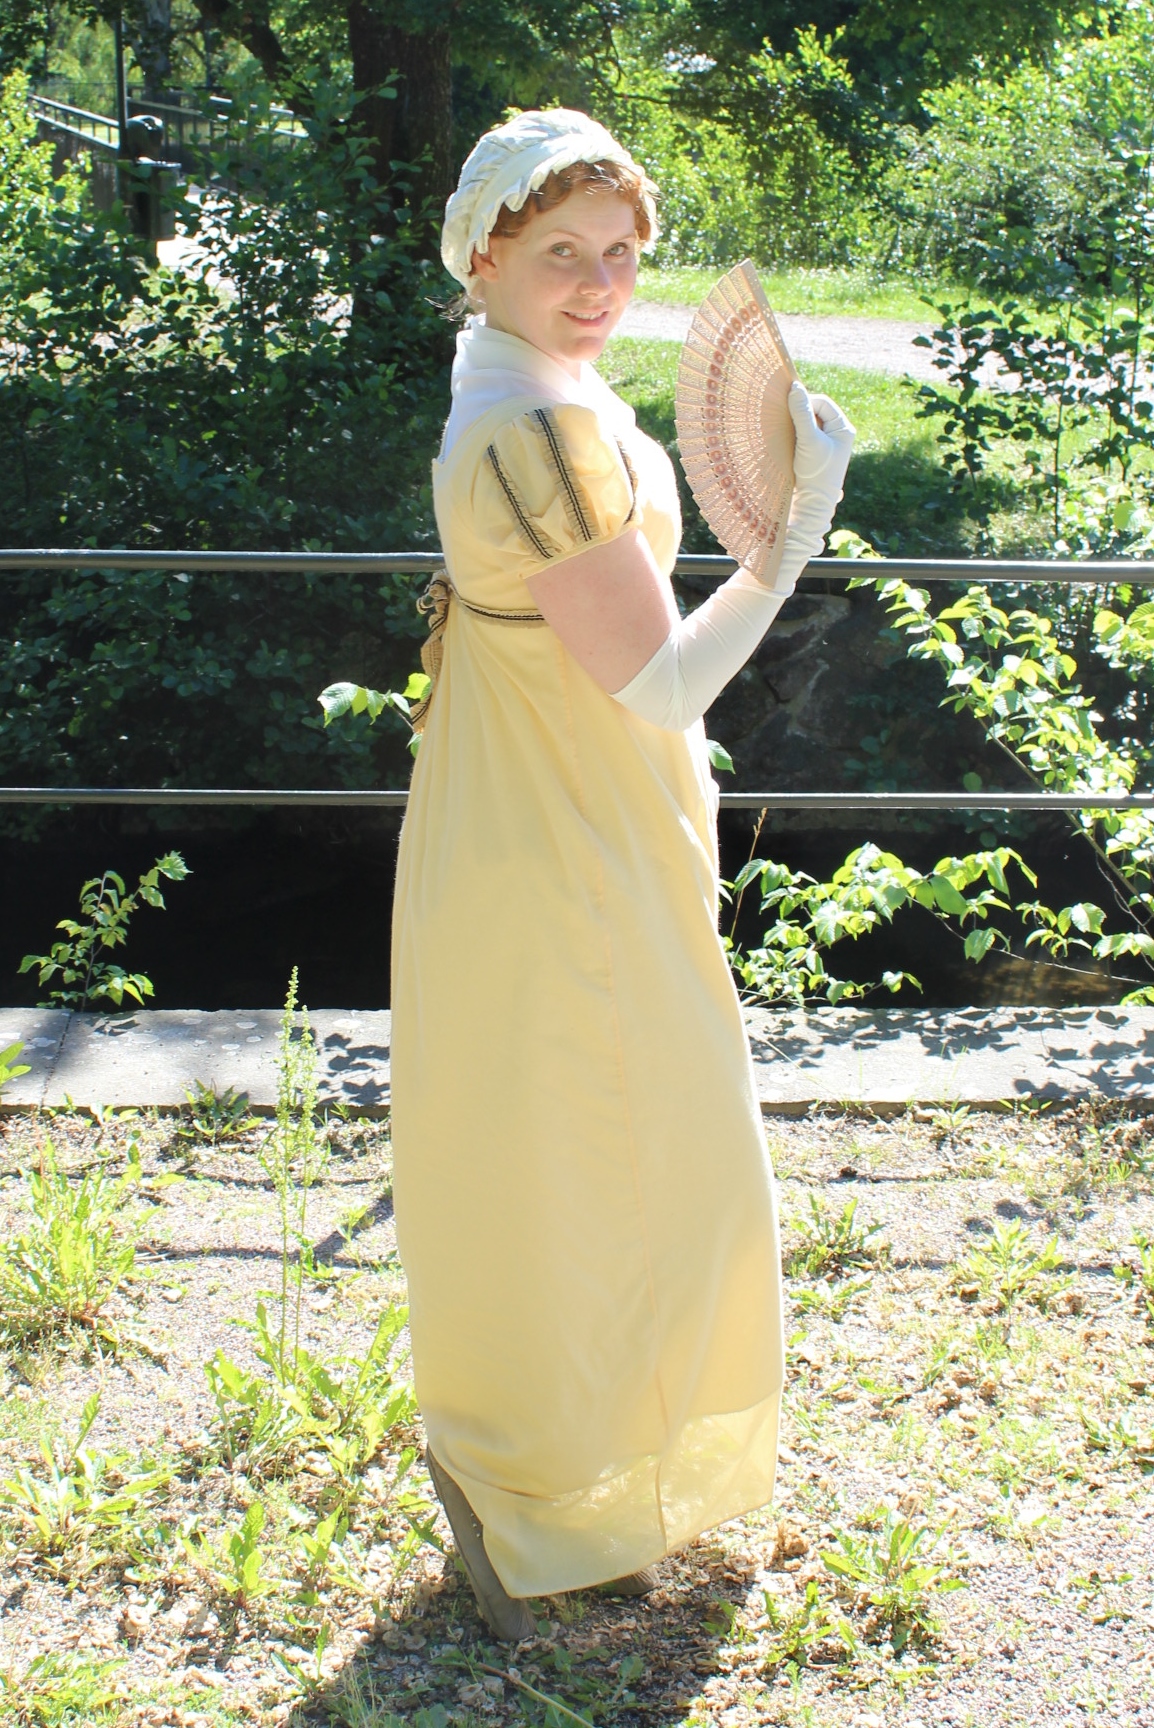
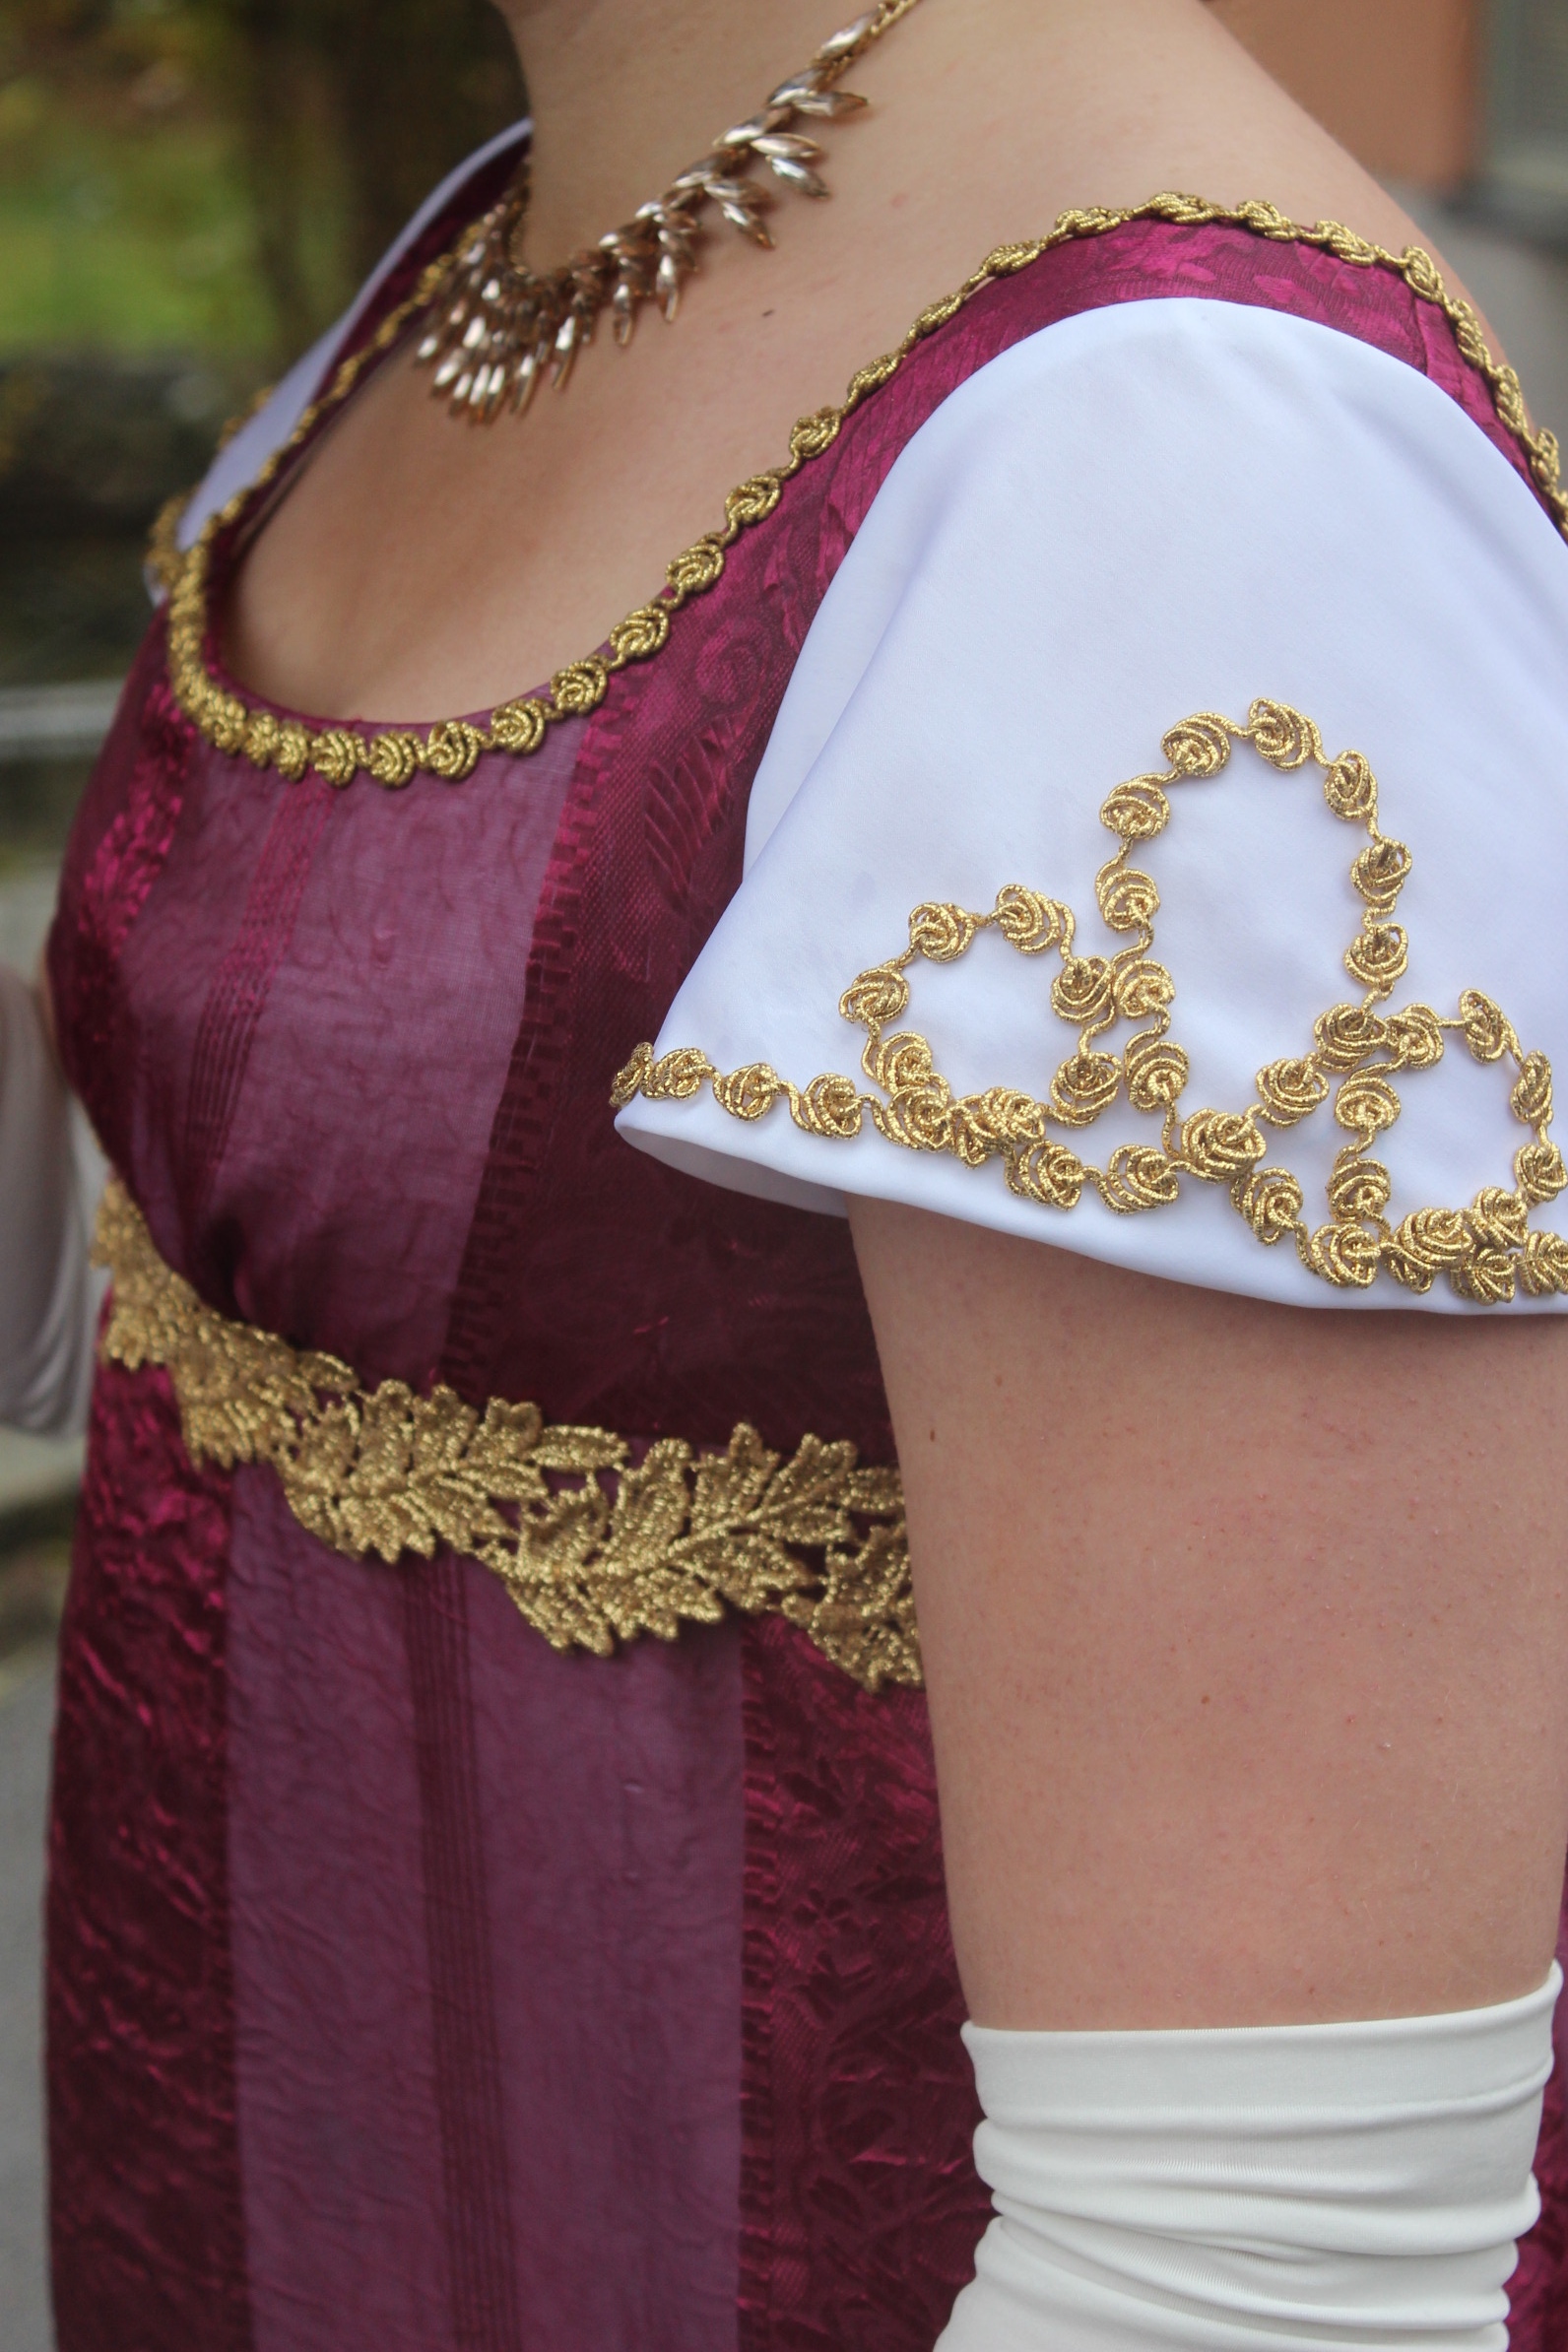
A pic from the ball of me wearing the dress, stylishly accessorized in burgundy and beads:
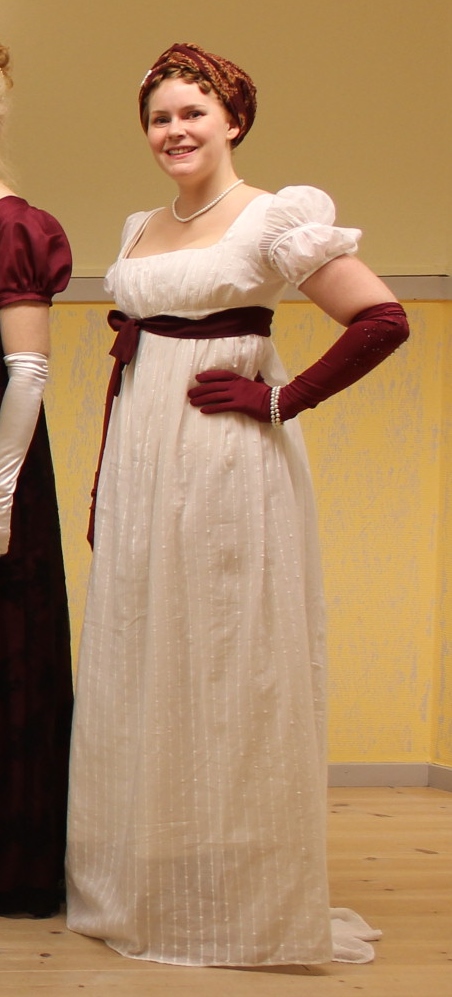
IMG_3797

Just the Facts:

Challenge: nr 21 – Re-do. I choose to re-do challenge nr 9 – Black and White.

What: A white regency (year 1805) evening gown.

Pattern: I started with Simplicity 4055, but made quite a few changes to it.

Fabric: 3 m of white striped cotton voile from IKEA curtains. 0,5 m of white cotton for lining and interning.

Notions: Thread and 4 pair of hook and eyes.

How historical accurate: So so. The dress looks pretty good and the pattern are pretty authentic, but the construction are all modern with seing machine and bag lining. I would say about 6/10.

Time: I rushed the entire dress (starting only two nights before the ball) working the evenings after work, so I would say about 8 hours.

Cost: About 150 Sek (22 Usd)

First Worn: nov 8, to a Regency ball.

Final Thoughts: I really like it. The fit is good, and the dress looks both delicate and cool at the same time.
My only regret was not to have the time to make/buy the burgundy fabric/shawl that was to be draped across the shoulders and tied below the bust, as in the fashion plate.


Greek goodes Regency Dress

For the HSF challenge nr 20 – Parallel universe,  I decided to enter my sisters regency evening dress.
I’ve been planing her dress for quite some time, ever since I talked her into attending the autumn regency bal, but only started working on it just this other week.
 We looked at some inspiration together and decided to make something similar on this lovely paining.
3122050c59e3247b30c45c6b382ea50d
The pattern I used was the regular Simplicity regency pattern (which I used for my yellow regency gown).
IMG_3145
I needed to make it quite a lot smaller to fit my petite sister.
IMG_3150
IMG_7083The fabric is a curtain I bought on sale last spring, which my sister called dibs on the moment she found it in my stash.
The sewing was pretty easy. I made the bodice and and stitched on the skirt.IMG_3284
Then I inserted the lining and hand tacked it down.
IMG_3285
Then I put it on my dress form to make some sleeve-design decisions.
IMG_3275 IMG_3272
Red or white?
When looking at the dress like this, at the dress form I really hated it.
The fabric looked cheap and washed out, and the sleeves just looked ridiculous. But I decided to keep working, since I hoped the right trimmings and underwear would save the dress and give it some more shape and color.
So on to some more decisions…
White, ok – but long or short?
IMG_3279IMG_3278
Short, ok, but should I decorate it? (and so on)
IMG_3280I cut some of the lenght of and started working on a trimming design for he sleeves.
IMG_3282Using some golden trim I dew a scalloped design which I transferred to the sleeves and stitched on.
IMG_3286
Then I stitched on the sleeves, and cut the length of the skirt.
IMG_3288I hemmed both layers of fabric, stitched on hooks and eyes and finished of by attaching the whide golden leaf-shaped trim under bust.
The finished dress (and I forgot to take pictures of it on my dress form before giving it to my sister):
empirklänning 001
empirklänning 017
empirklänning 003 (1)
empirklänning 011
And at the photoshoot:
IMG_3375
Just the Facts:
Challenge: 20 Paralell Universe
What: A Regency dress (approx year 1805). During the early 19th century ancient Greek aesthetics where all in vogue, and ladies wore sheer slim dresses to copie the gowns they saw in ancient pictures and statues.
Pattern: Simplicity 4055, with some alterations.
Fabric: 1 burgundy polyester curtain from Indiska (120 x 220 cm), 2 m of white polyester satin and 40 cm of white cotton.
Notions: Thread, 80 cm of wide gold trim, 2 m of narrow gold trim, 6 pair of hook and eyes, 30 cm of plastic boning.
How historical accurate: Not much. The pattern are pretty good, but the fabrics, trims and construction techniques are way to modern.
Time: About 10 hours
Cost: I would say about 350 Sek.
First Worn: This weekend for photos, but will be worn next weekend at a Regency Bal.
Final thoughts: I really like this dress (and think my sister feels the same), and the only thing I would change is to lengthen the front bodice a bit more to keep the under bust seam from riding up.

Cultural Festival and Regency Dance

Yesterday it was once again time for the annual cultural festival in our town, and I had agreed to join the historic dance team for their recital. Last time I’d performed on the festival was about 8 years ago, together with my friend of the young national dance team (and when I say young, I basically mean any dancer under the age of 40).

This time though, I would not wear my national costume, but my new regency gown compleat with velvet west and bonnet.

I started getting ready by curling my wet hair the evening before, and let it set over night.IMG_1682This is how I looked when I woke up (way to early on a Saturday), and started to get ready.

I did some light make-up and fuzzes around with the hair, to get something similar to curls in my short bangs.IMG_1688

All dressed up and wearing my new bonnet, I thought it looked pretty decent.IMG_1695Then it was time t take the bus downtown to the meet up point for the festival.

Sadly the weather was not at all co-operating.IMG_1706
And the dance area was cowered in water and extremely slippery.

IMG_1708
Two wet gents testing the floor.

The teams about to perform all gathered and made them self ready, while huddling beneath rain coats, umbrellas and shawls.IMG_1777
Clara and Maud, in matching self made bonnets and happy despite the weather.

Then the dance program started.
IMG_1712
Beginning with the classical dance team, in their lovely national costumes.

IMG_1716b
The two ladies in this pic are wearing identical jackets and two variations of the “Skedevi” costume. (left: the summer costume in white and pink cotton, and right: the sunday costume in red wool). I would love to make that jacket for myself – I do have the pattern…

Then it was time for the kids
.IMG_1719b
You need to be pretty devoted as a parent to agree to do this things.

The next team was the “polske – team”, with their beautiful and addictive dances in 3/4 beats. IMG_1725My friend Annica (whose wedding I attended in late may).

Then it was our turn.
IMG_1735We did a short variation of our usual routine, and were happy once we put our jackets back on.

The team I liked the most were the swing dancers.IMG_1743They looked to be having so much fun, and really rocked the style (some more then others).
IMG_1748

Then we got a short show from a bride to be on her bachelorett party. IMG_1756And yes, of course she could swing to.

Then it was time for another old school dance team, “the Morris team”.IMG_1758I guess it could have been pretty cool, if they had all been on beat and perfectly choreographed. But as it were, the noise those bells and sticks made was not exactly my cup of tea…

We also got to see a team from Denmark.IMG_1765Look at those embroidery. So nice to see some new to me national costumes.

And a team from Norwegian.IMG_1770Our neighbors to the east, are known for their lovely red and black national costumes covered with heavy jewelry.

As you can see from this photos there was not many on-lookers except the dancers waiting for their turn. this seams to be the routine on these cultural days. And as a friend said: I have no idea why we do this year after year, since it’s just society for mutual admiration.

And I guess that’s why it’s been 8 yeas since I last did this recital.

But I did get a photo of me and two old time friends.
IMG_1727Katarina (in the middle), was my dance teacher when I was a kid. And Annika (who also was in the kids dance group), are now a board-member in the dance organisation, and dances so often and long that her shoes are falling apart…

Once home again I marveled over my extremely stupid looking “mössfrilla” (hat hairdo).IMG_1790

I also discovered I managed to tear my dress.IMG_1791Well, thats just another one for the mending pile.

Now to get ready for next weekends event.

Regency re-working & fiddeling

There are some things that have been bugging me with my new regency ensemble lately. Some of them I’ve told you about, and some I kept for my self – until now.

IMG_1108
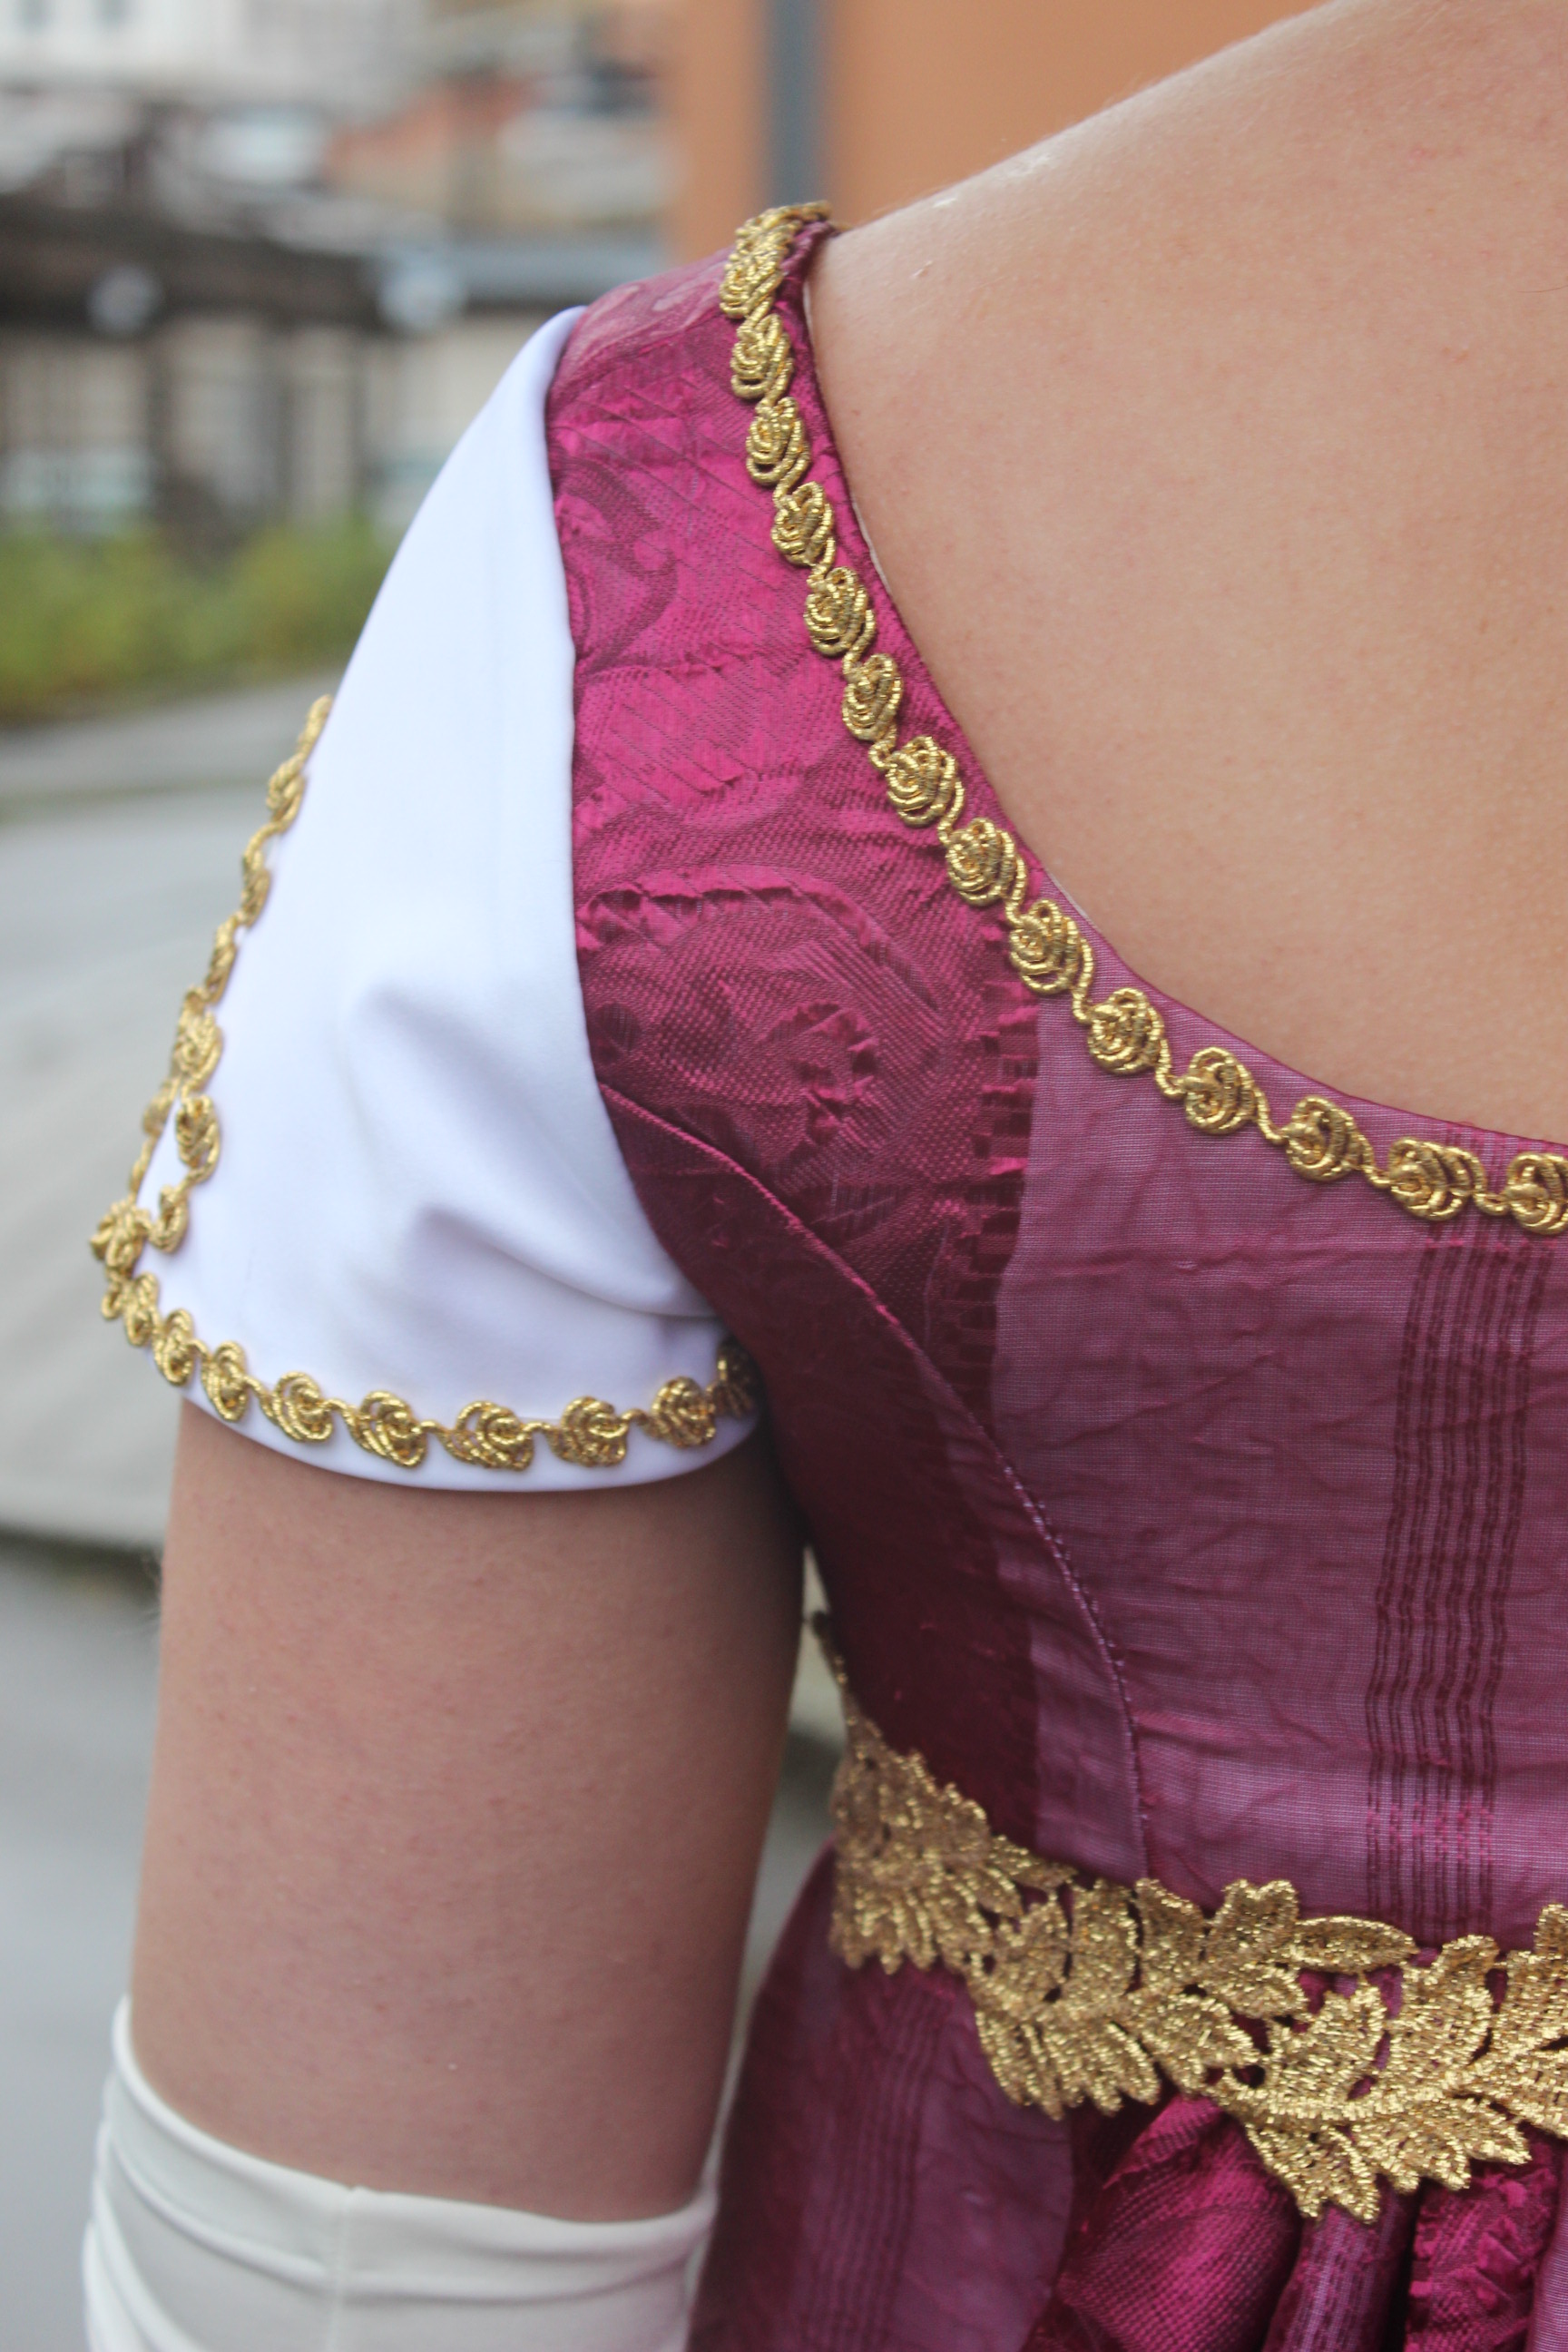
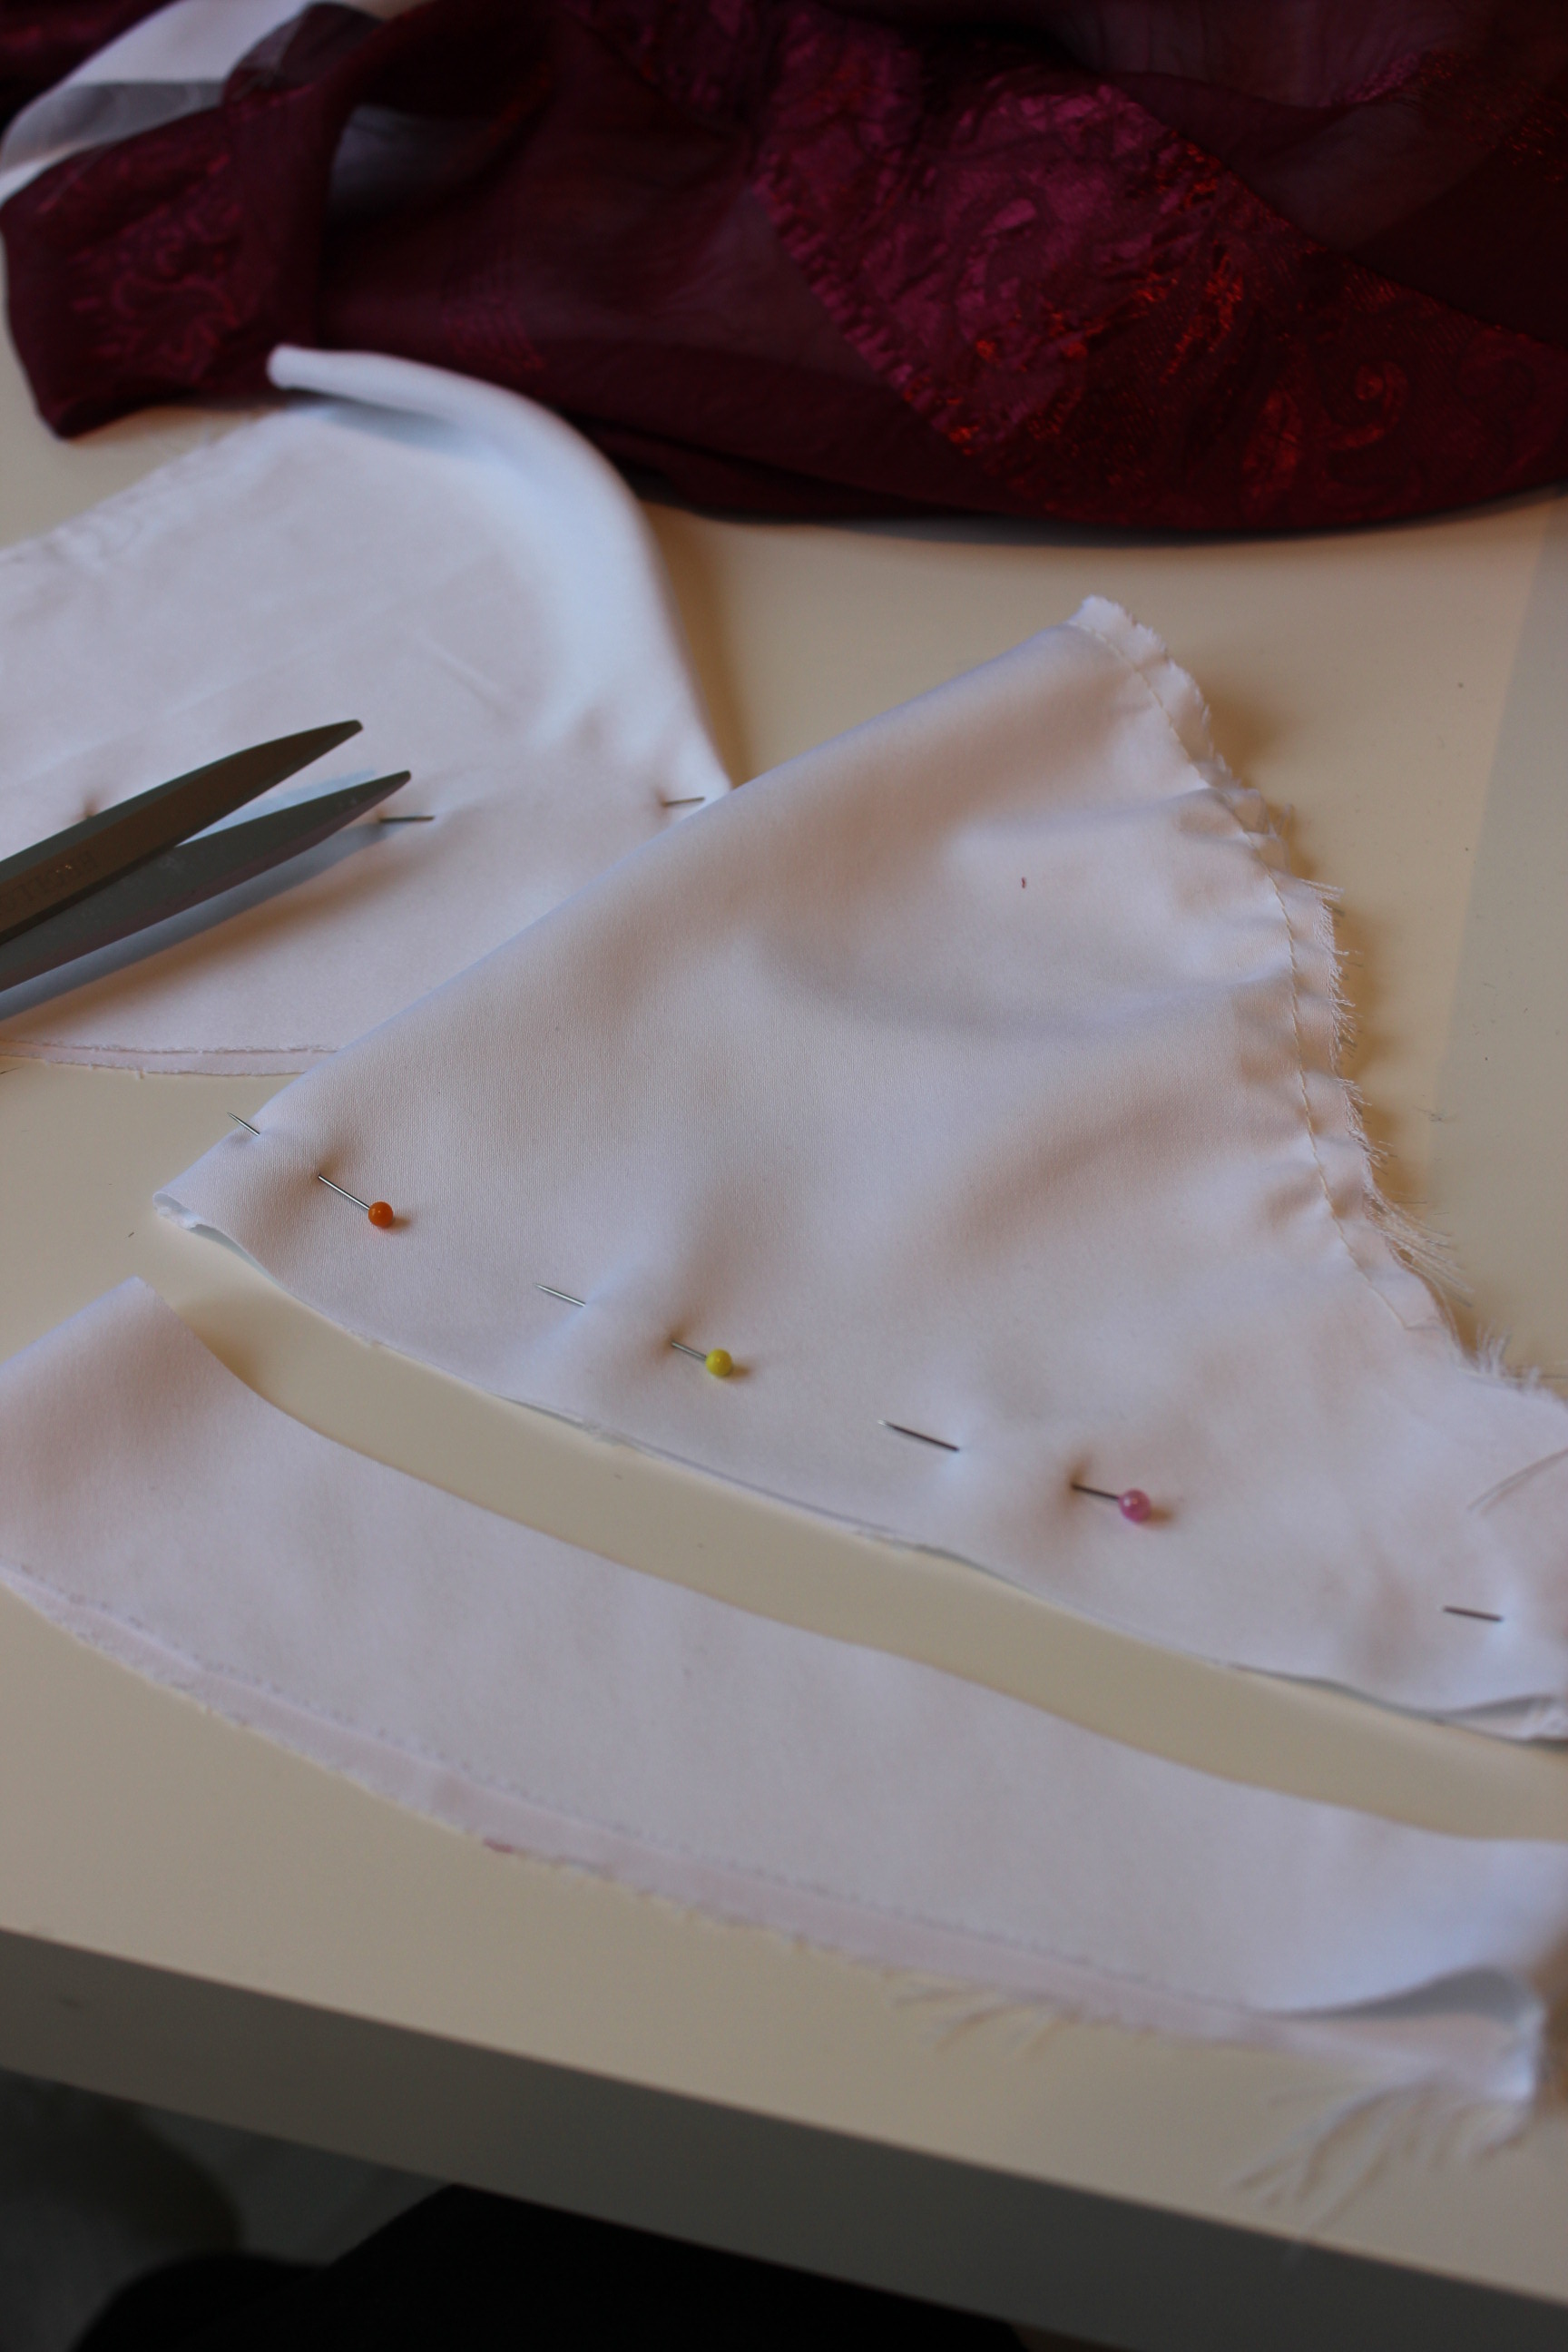
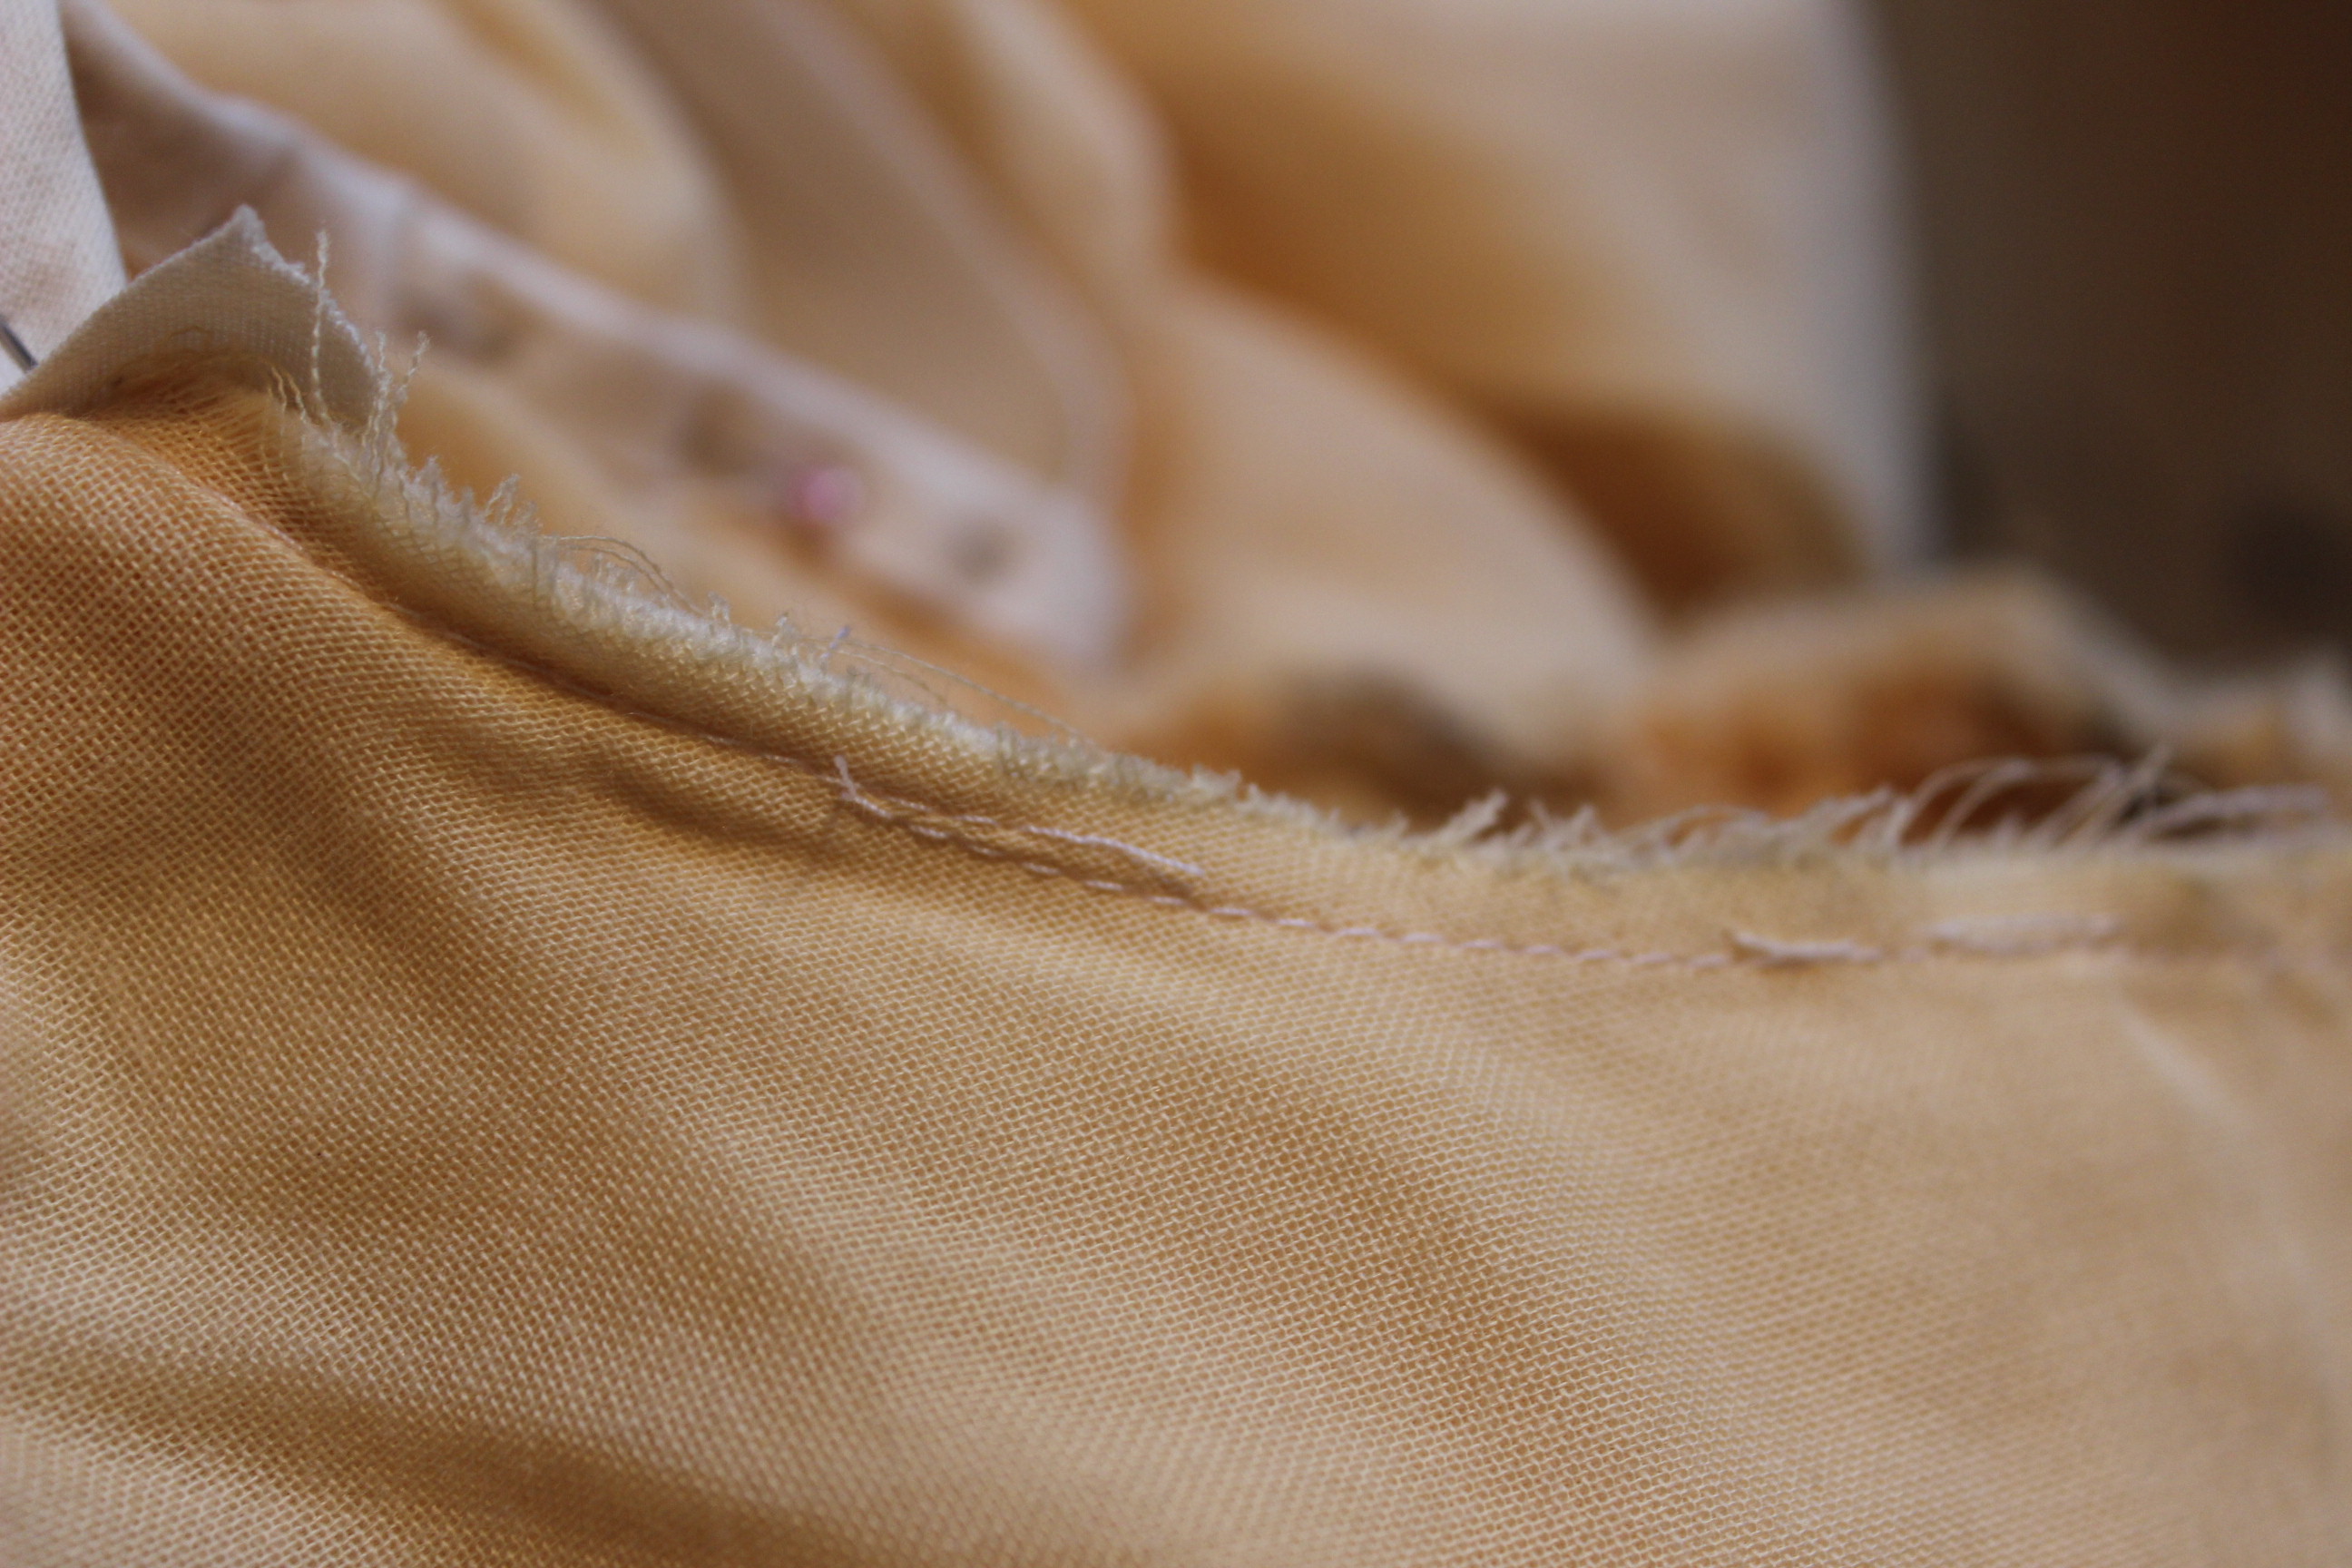
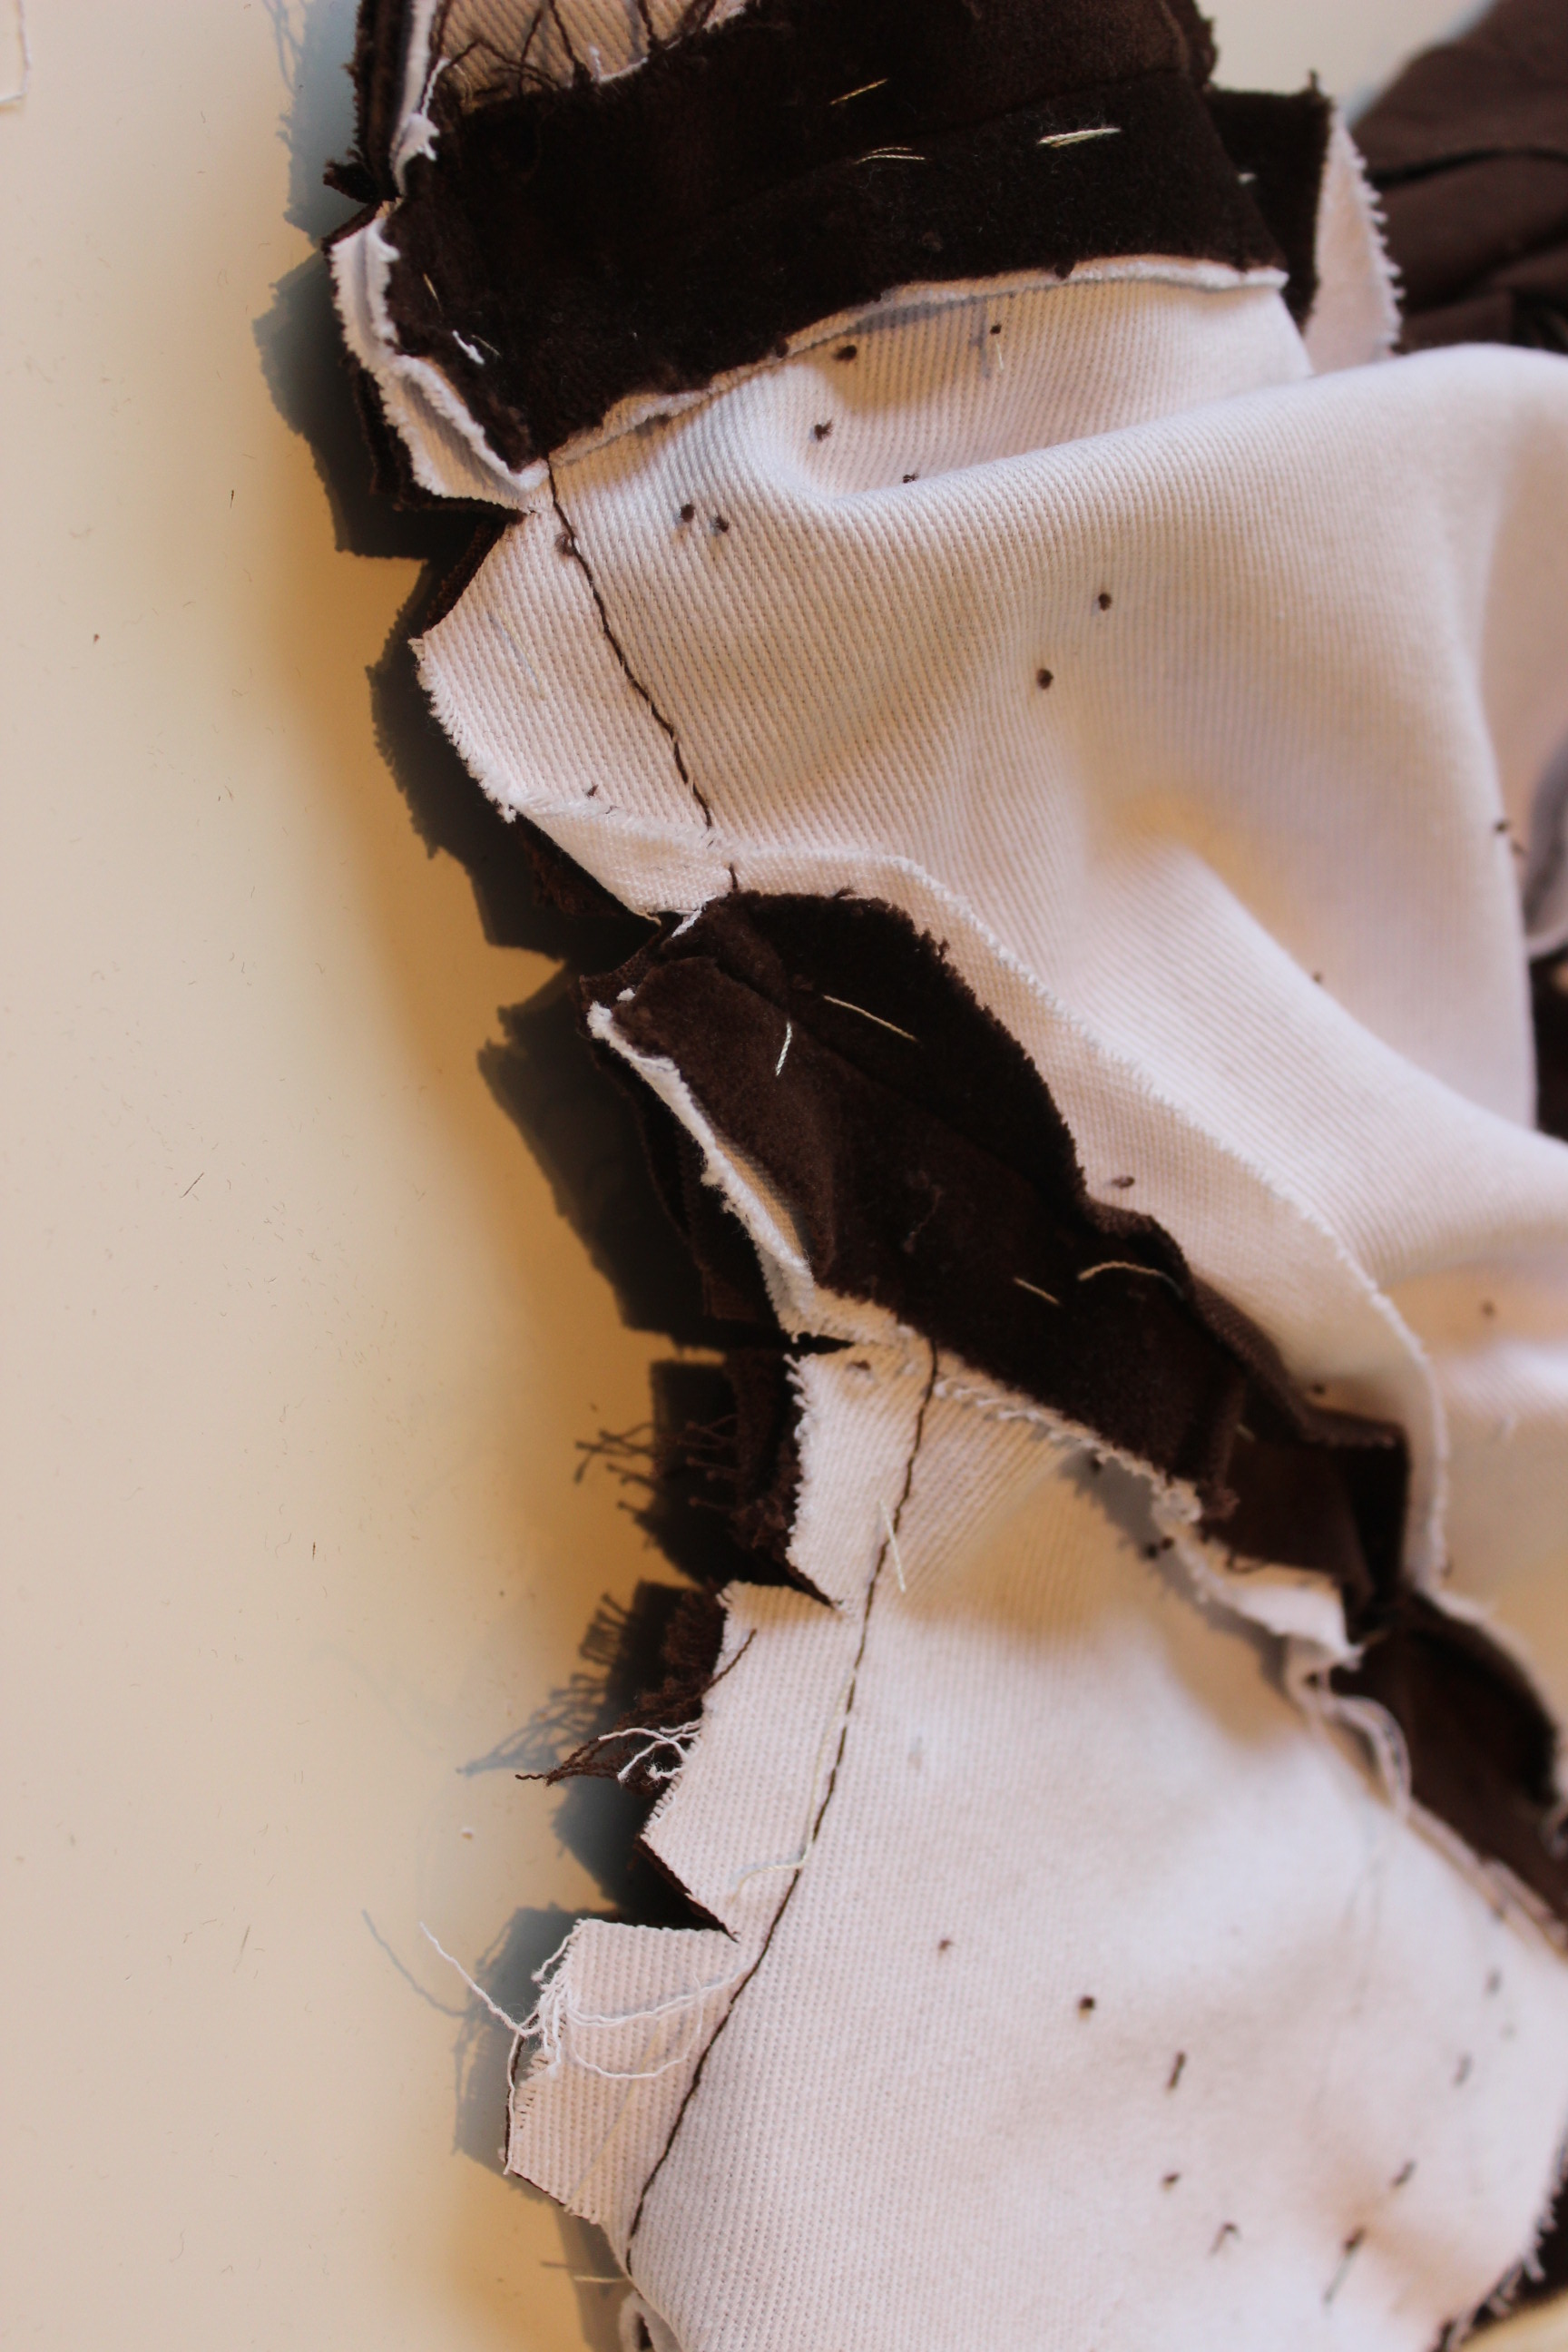
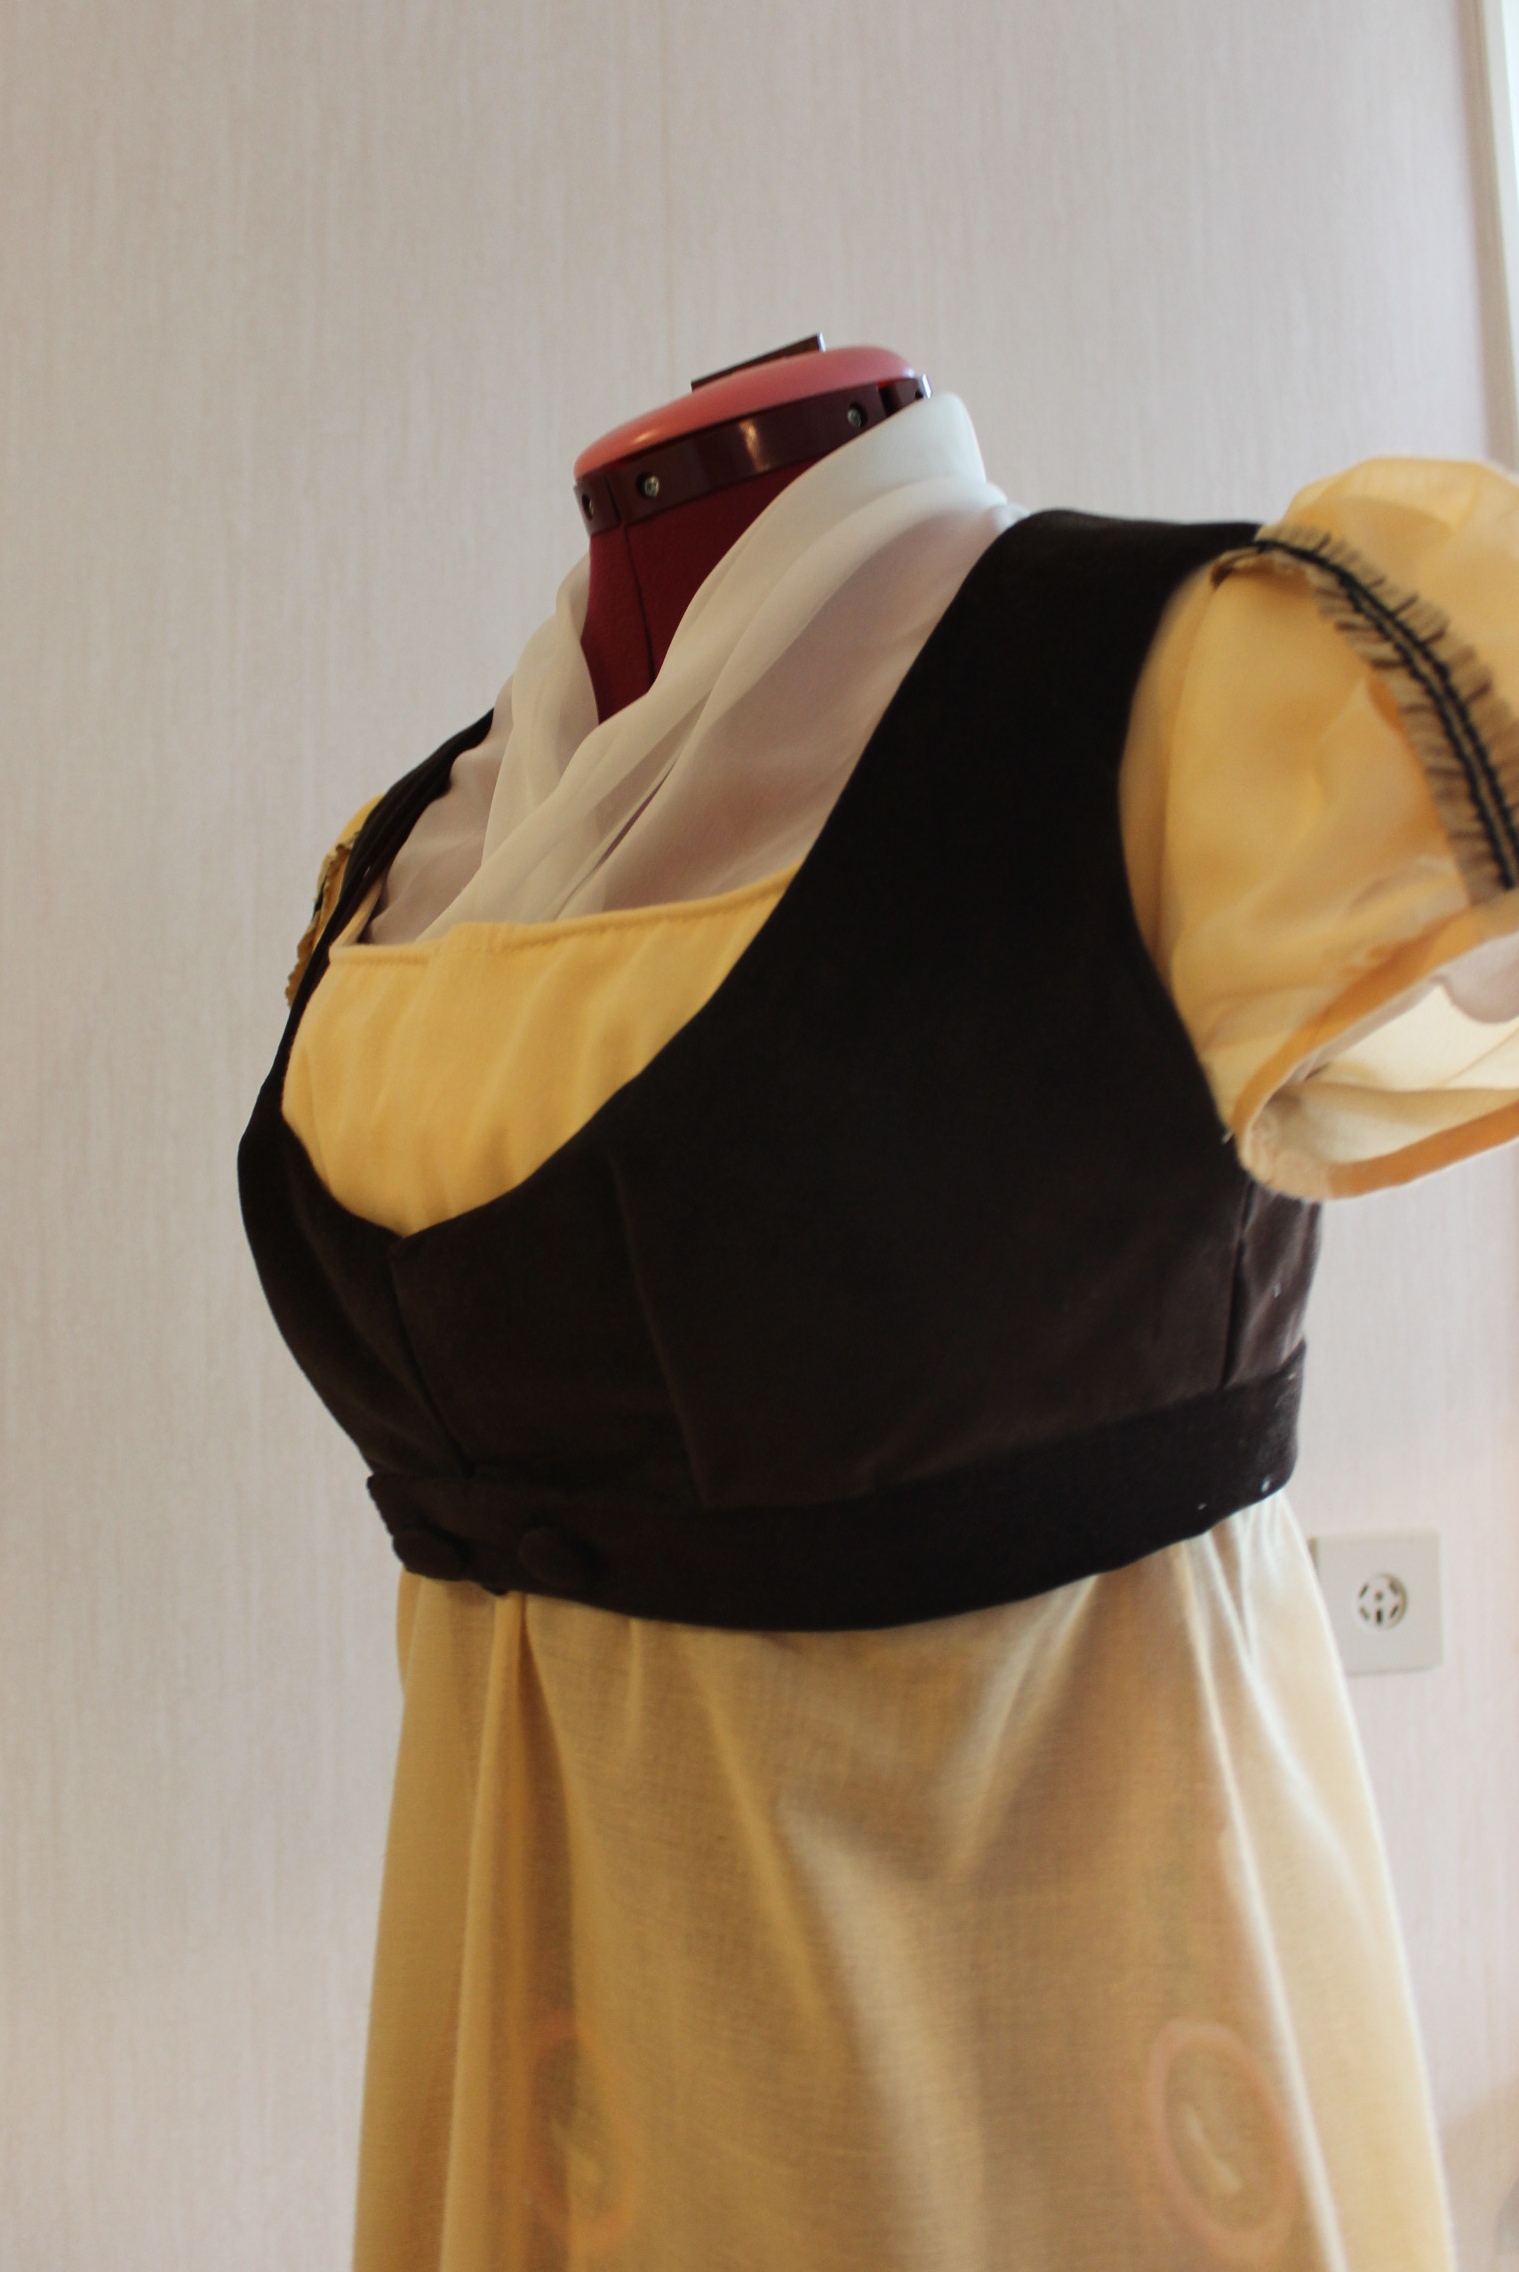
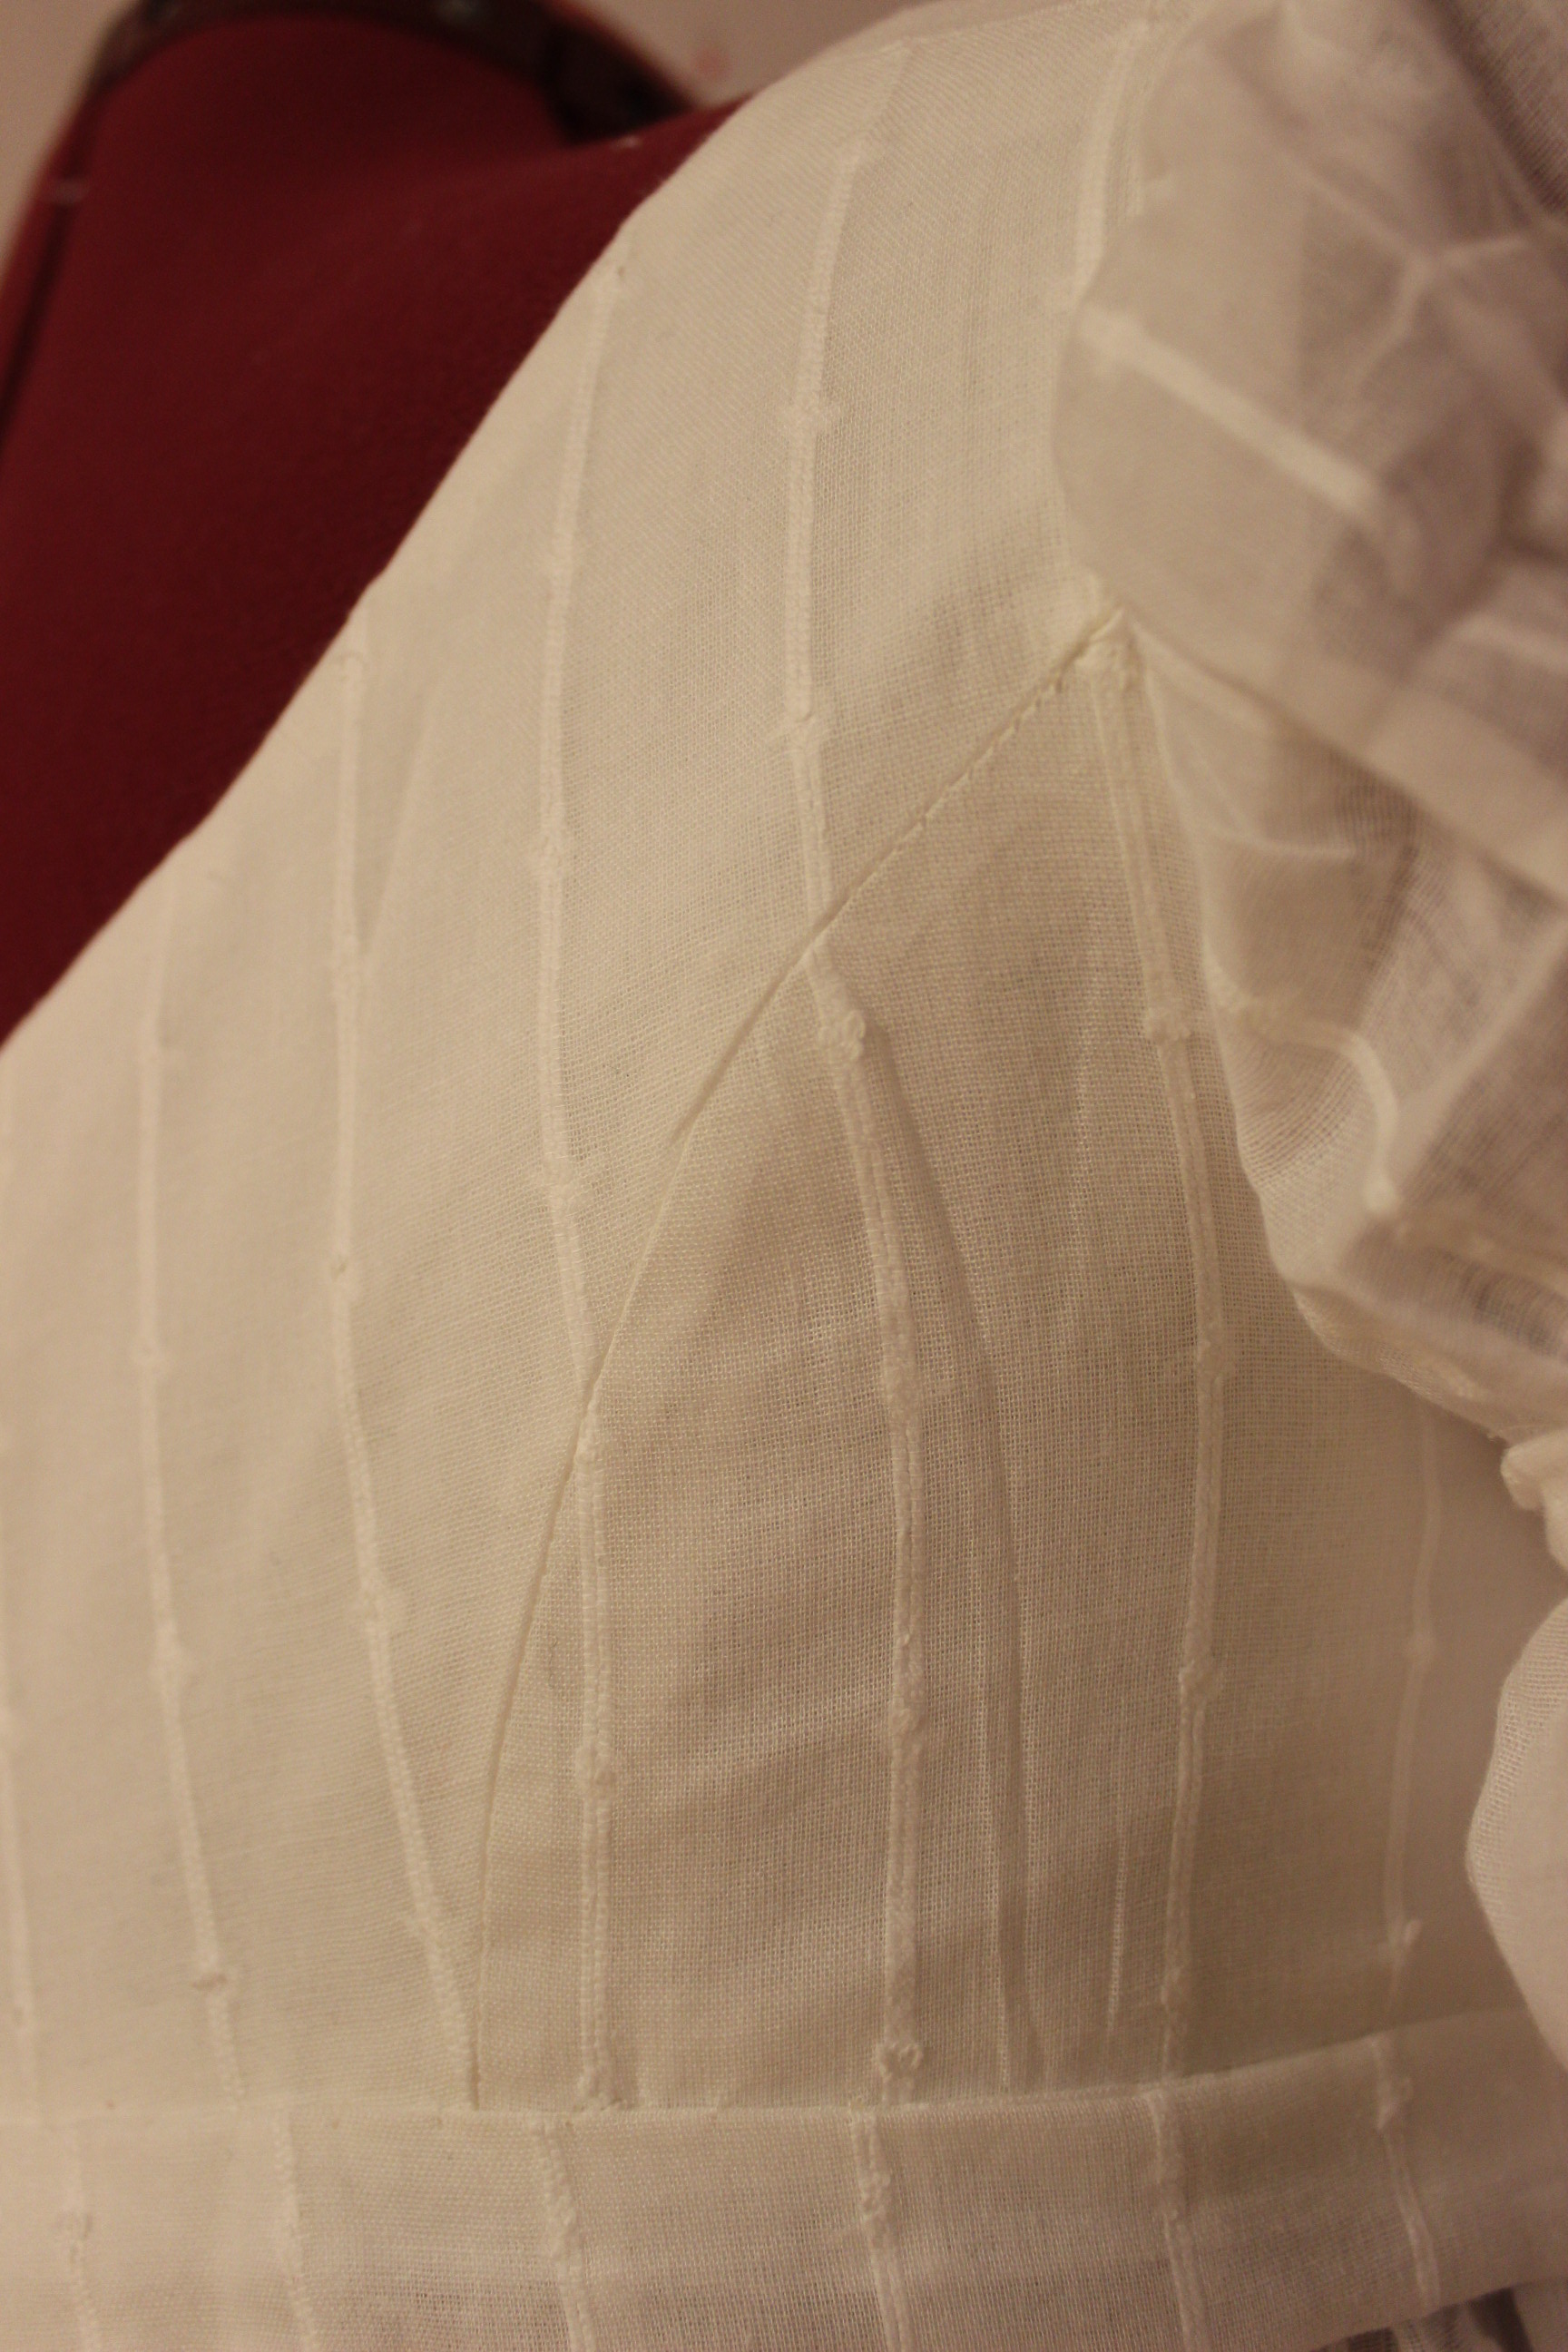
Look at that hideous bust dart.

This weekend I’m to once more do a dance recidal, and I wanted to wear the yellow gown again. So now was the perfect time to do something about the errors in the outfit.

So last night I finaly picked up the seam ripper and got to work.

I started with my regency corset from last autumn. The corset itself are great and I love the fit and the shape it gives me. But the combination of wear and way to weak fabric have left the boning poking through (and often as not stabbing my thighs.
IMG_0852IMG_0853

So I decided to mend it. Starting by un-picking some of the bias binding. IMG_1596

And stitched on a tiny rectangle of sturdy twill fabric. Then I re-stitched the bias-tape.IMG_1601

Even if it’s a bit bulky it wont show through the lose gowns which will be worn on top.IMG_1609

When finished I also discovered the eyelets where about to lose their grip of the fabric.IMG_1610Guess I will have to consider making a new one soon.

Then I moved on to re-working the bust of the yellow volie dress.
When I wore the dress for he first time I noticed The gathering at the bust was somewhat to far to the sides, so I un-picked the under bust seam and moved the gathers 1,5 cm to the middle.
IMG_1586IMG_1587Then I stiched the seam shut and pinned the lining back on.IMG_1588

Once the bust was done, I continued on to the sleeve – which I didn’t had had the time to finish, but left raw.IMG_1585

I used a ivory bias-tape to cover the seam allowence.IMG_1590

IMG_1591

And lastly I re-worked the bust on the regency west. I decided to scrap the darts and instead gather the fullnes to get a nice shape to the bust.IMG_1602I basacly did the exact same thing as with the yewllow dress, un-picking the under bust seam.

Gather the with to the waistband.IMG_1606

Then finish the wastband…IMG_1613

… and lining.IMG_1618

I’m not sure it will be that much better, but I hope it will turn out to be an improvement.IMG_1619

IMG_1632

(I also re-trimmed the bonnet, but you ill have to wait until my next post for pictures of that).

An Outdoorsy Regency Spencer (sort of)

By the time it came to start on the HSF challenge 15, The great Outdoors, I was pretty drain sewing wise. I knew that if I was going to compleat this year of cahllenges I needed to give myself a break and make something simple once in a while.

So I decided to make something I’ve been thinking about for a while – a regency spencer.
But then I realised that I only had scraps left of lovely brown coton vevet I’ve wanted to use. and I did like the idae of buying even more fabric.
So I re-calculated and decided to make a sleveless spencer instead. And while I was at it why not turn it in to a west compleatly.

I used the Simplicity 4055 as a guide to get the overal line right, since I wanted the west to go over the yellow dress I made from the same pattern.IMG_0724I made some changes, like added a dart and re-shaped the back.

Then I cut it, made a mock-up and tried it on.
IMG_0807IMG_0811

It fit pretty well, but I didn’t really like the high neckline.IMG_0808

So I marked the new neckline and cut.IMG_0835

Ok, so it looks pretty stupid in these pictures but I like the tought of the lower necline and the dress showing.IMG_0844IMG_0839

When the pattern was fitted properly, I started to cut the fabrics – velvet, cotton lining and cotton twill for interlining.IMG_0891

I stiched the back seams and basted the shoulder and side seams together.IMG_0908

IMG_0909A first version to try on.

IMG_0923IMG_0926
It fit perfectly, even though the new lower neckline didnt really show due to the seam allowence.

IMG_0931I didn’t like the bust darts though, so I marked hem for shortening.

IMG_0963I toyed with the idea of skipping the dart and gather the bust instead. But decided it looked to bulky on the velvet. So I restiched the darts instead.

Then I putt in the lining, fideling a bit on the arm holes.IMG_0968The last piece to attach was the waistband, which I stiched to the lower edge.

IMG_1019I made one edge of the wasiband longer to make a cross over clouser.

Before turning the west right side out, I made sure to notch all the curved seams to make everything lay nice and flat. IMG_1018

I used a regular bath towel when iron the velvet as to not crush the pile.IMG_1017

Lastly I attached some buttons and the hooks and eyes for the clouser.IMG_1029

The finished piece (paired with my yellow regency gown):IMG_1171

IMG_1432

IMG_1434

IMG_1429

IMG_1177

IMG_1178

IMG_1180

IMG_1094

Just the facts:

Challenge: 15, The great Outdoors.

What: a regency spencer/west

Pattern: I used Simplicity 4055 as a guide, but re-shaped it quite a bit..

Fabric: 0,4 m of brown cotton velvet and 0,4 m brown cotton for lining (both scraps left over from previous projects) and 0,4 m of cotton twill for interlining.

Notions: Thread, two buttons, 5 hooks and eyes.

How historical accurate: not much I fear – even though it is compleatly hand sewed. I havn’t found any sources on this kind of wests.

Time: about 8 hours.

Cost: Basicly free since everything was leftovers from previous projects but if I would have bought it now it would probably be about 150 Sek (22 Usd).

First worn: For photos in the middle of august.

Final thoughts: I’m not happy with the bust. It looks rediculus and I have no idea how to fix it. Perhaps gathering will be my only alternative after all.

Regency dancing recidal

This past weekend, I joined up with the local historic dance group for a regency dance recidal. The city celebrated “The day of Dance” and we were invited to perform some of our dances.

I wore my new yellow regency gown – which I just finished the same morning.And combined it with a new straw bonnet, fishu and white evening glowes.

The weater was sunny and everybody had dressed to the teeth in their finery.IMG_9083I love Annas parasol – one day I will own my own.

IMG_9081Clara and Anna posing prettily with shawls and staw baskets.

We spent some time walking around the city, awaiting our turn to enter the stage.IMG_9111

IMG_9109Jan and Soleveig.

IMG_9090Me and Calle awaitning our turn in the heat. I was glad I didn’t needed to wear one of those thick wollen frockoats.

Then it was our turn to enter the stage.IMG_9094And since I’m pretty new to regency dancing I can’t tell you the name of the dances (and seartanly not tell them apart in photos), so we will just have to pretend to know whats going on.

IMG_9093Gentlemen in the middle.

IMG_9104Premiere doing a center cross.

IMG_9107

IMG_9100

“Sellingers round”IMG_9101

IMG_9097

Since we were uneven, at least one lady had to rest, and sometimes more depending on the dance.IMG_9098

IMG_9103

IMG_9096

“Jenny pluck pears”IMG_9099love the elegance in my pose in this picture…

When the dancing was over we meet up for a quick summer goodbye, before we hurried of in different directions.

IMG_9087Some of the dancers from our group posing for the turists (and my camera).

My dress hold up suprisingly well, and I feelt rater good in it. I think it will have more outings in the future.

It was such a lovely event and perfect day, I didnt even thought about the sun baking my nose and upper arms all day – well, I did descovered it later that night though…
(I will never attend a costuming event without proper sunscreen again).