For the HSM challenge 1/2015 – Foundation, I knew I wanted to make 18th century panniers to go under my in progress robe a la Franchise (more on that on a later note).
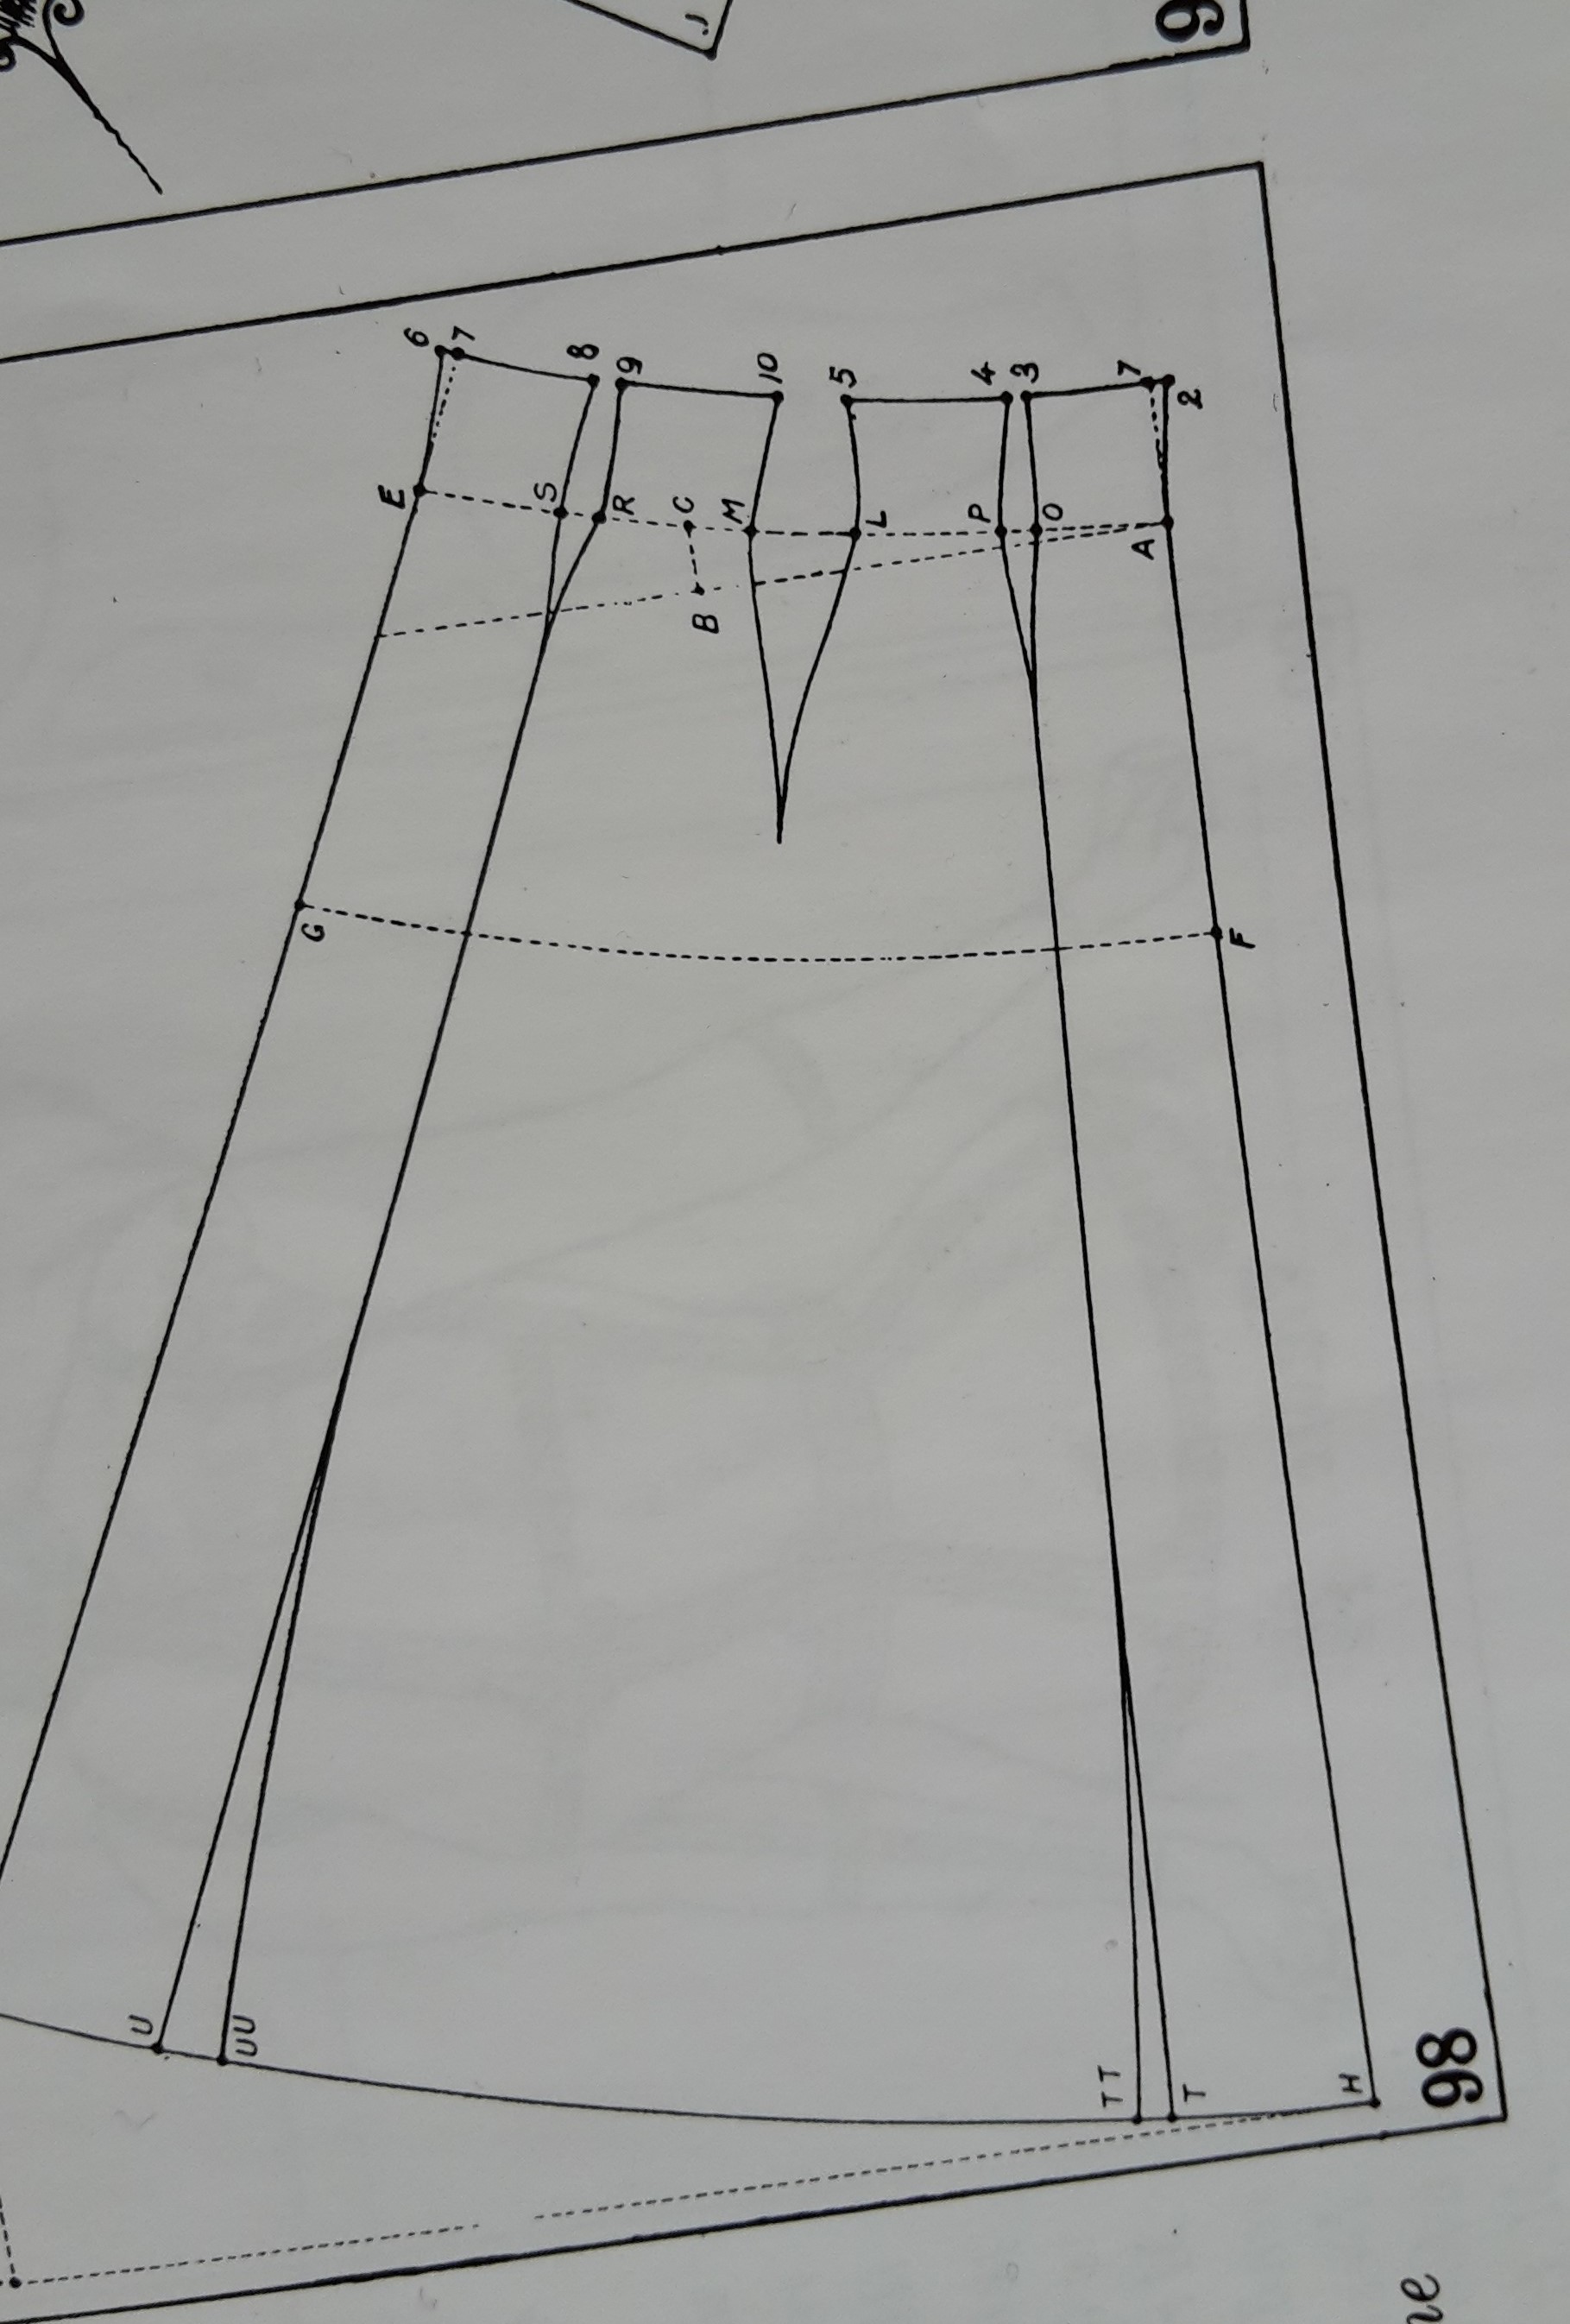
And since I already had all the material (fabric, metal boning and bias tape) in my stash I started by looking for patterns. This pattern from “Corsets and Crinolines” looked good but seemed to be much bigger then I needed.
And I’ve heard from others who made it that it is in fact huge!
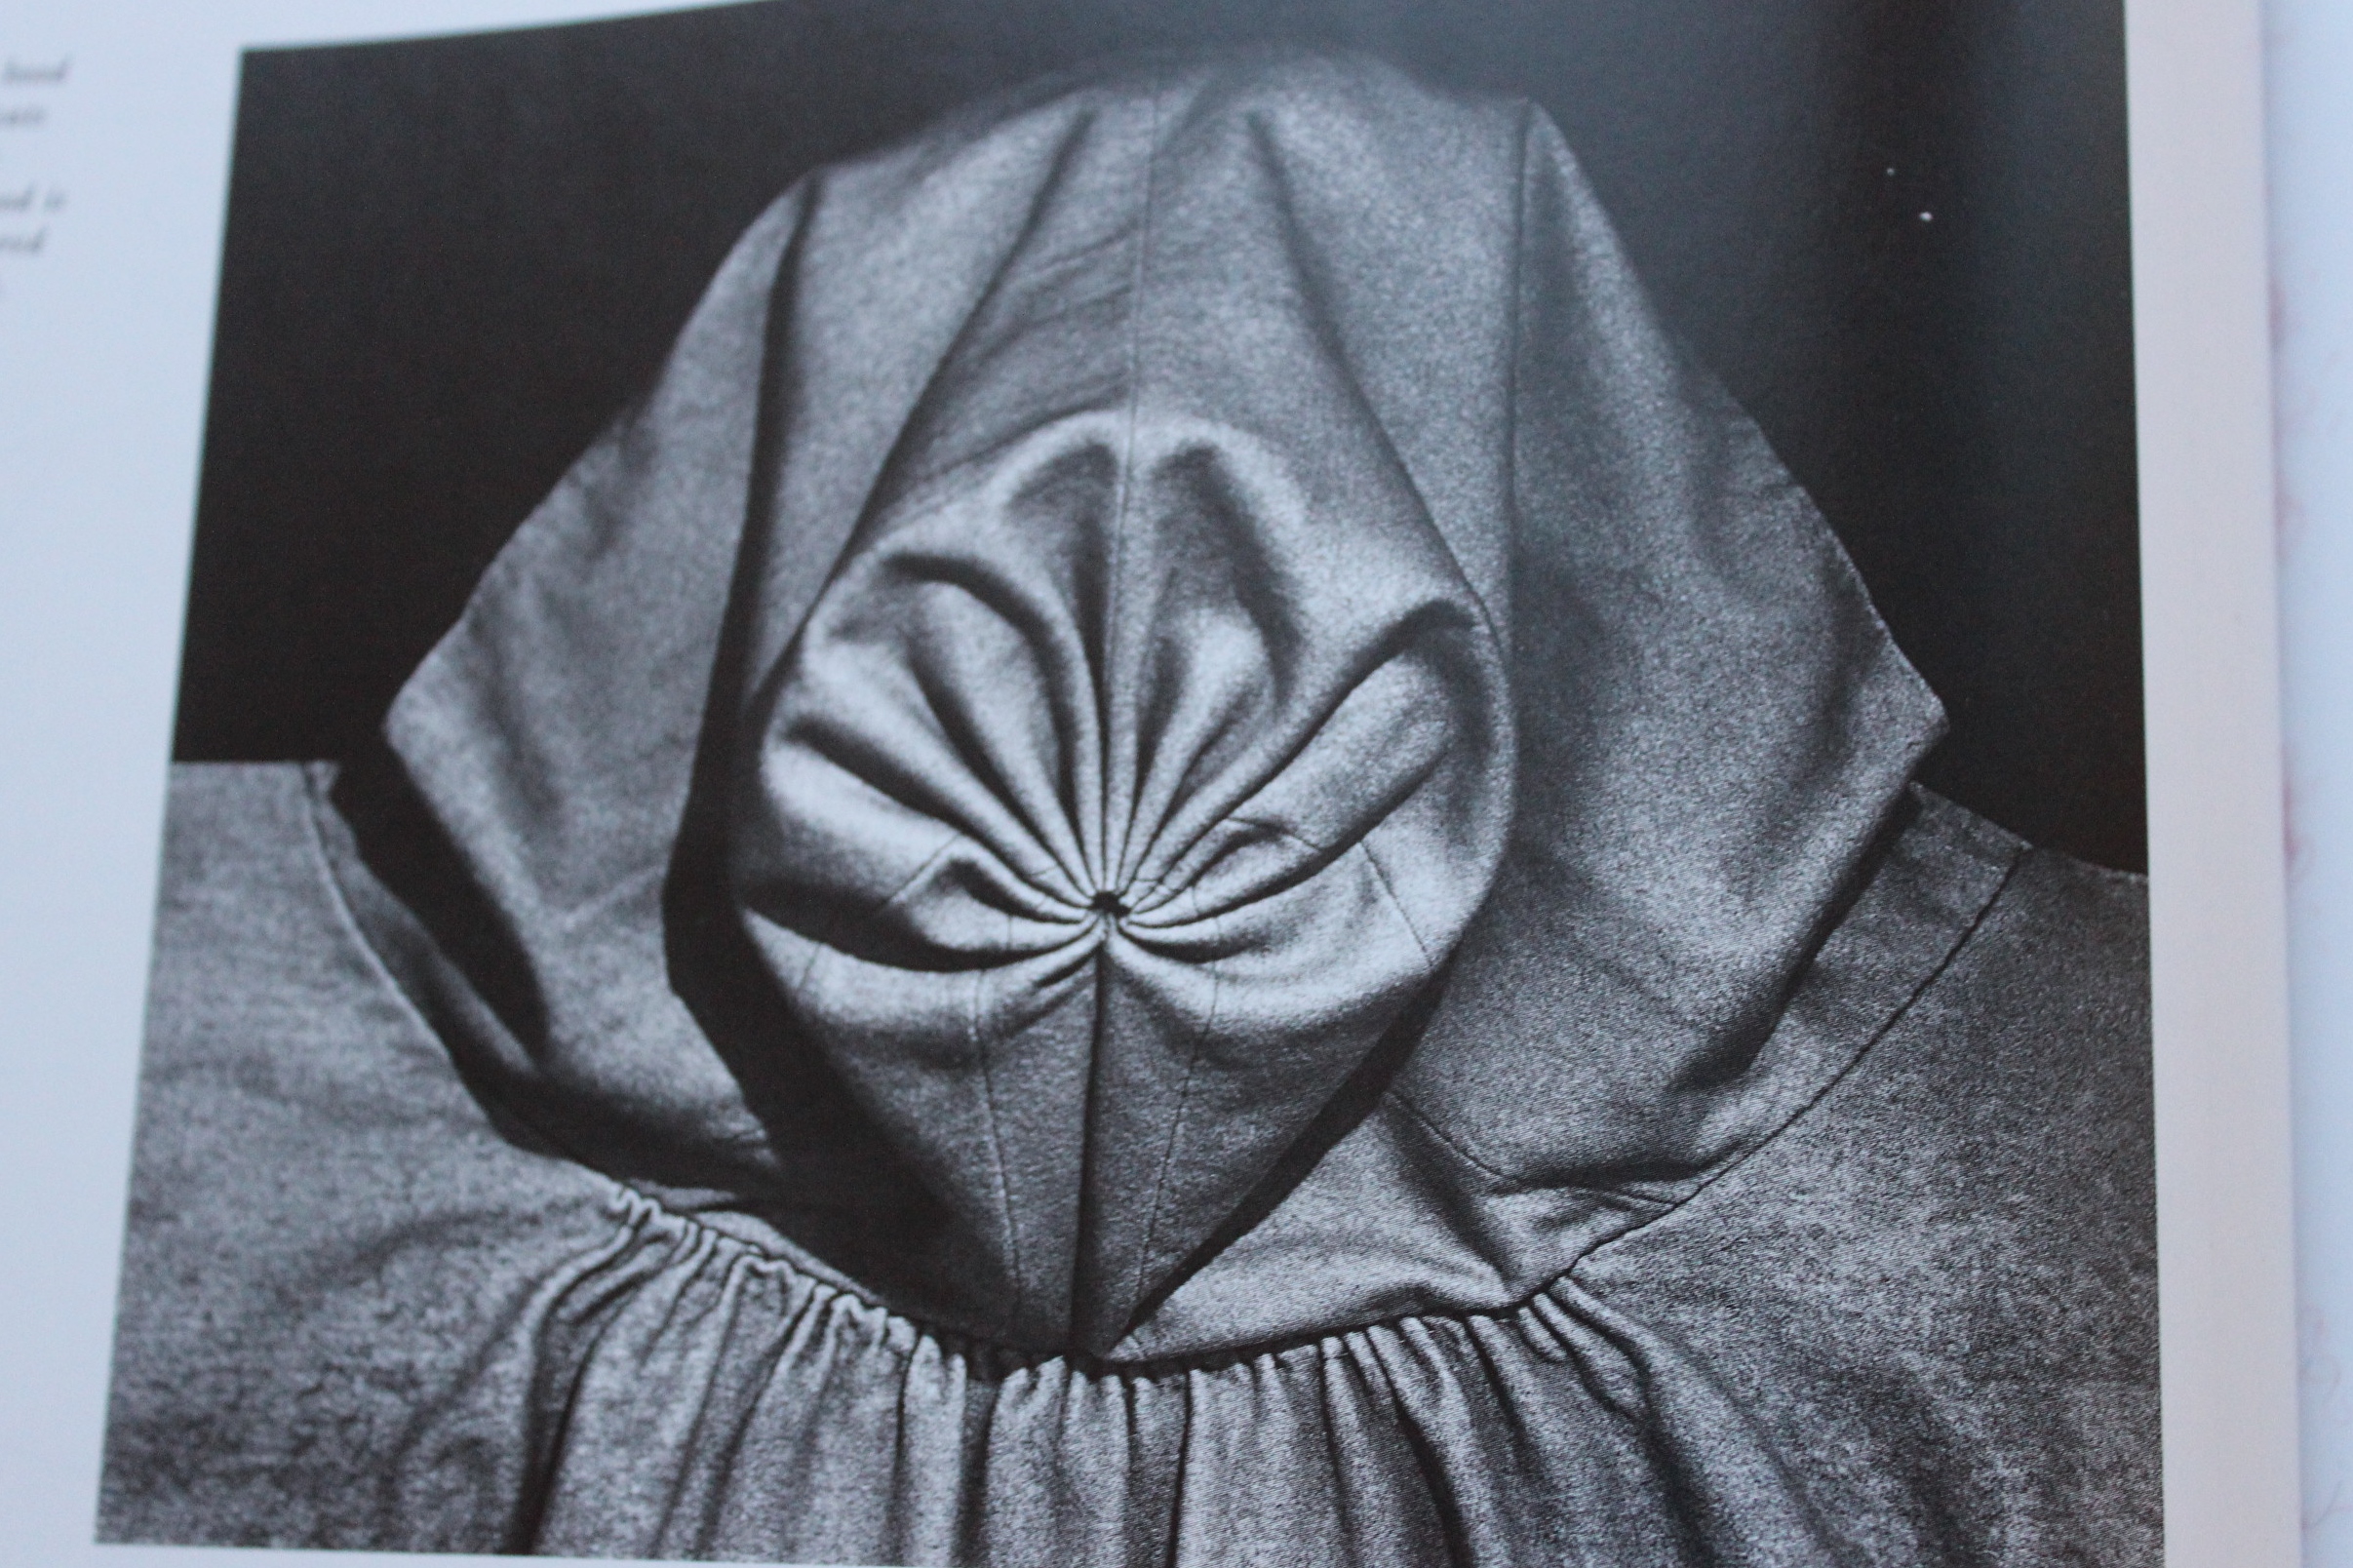
I was thinking something more along the lines of this picture. That seems easy enough. So I figured I didn’t need a pattern after all.
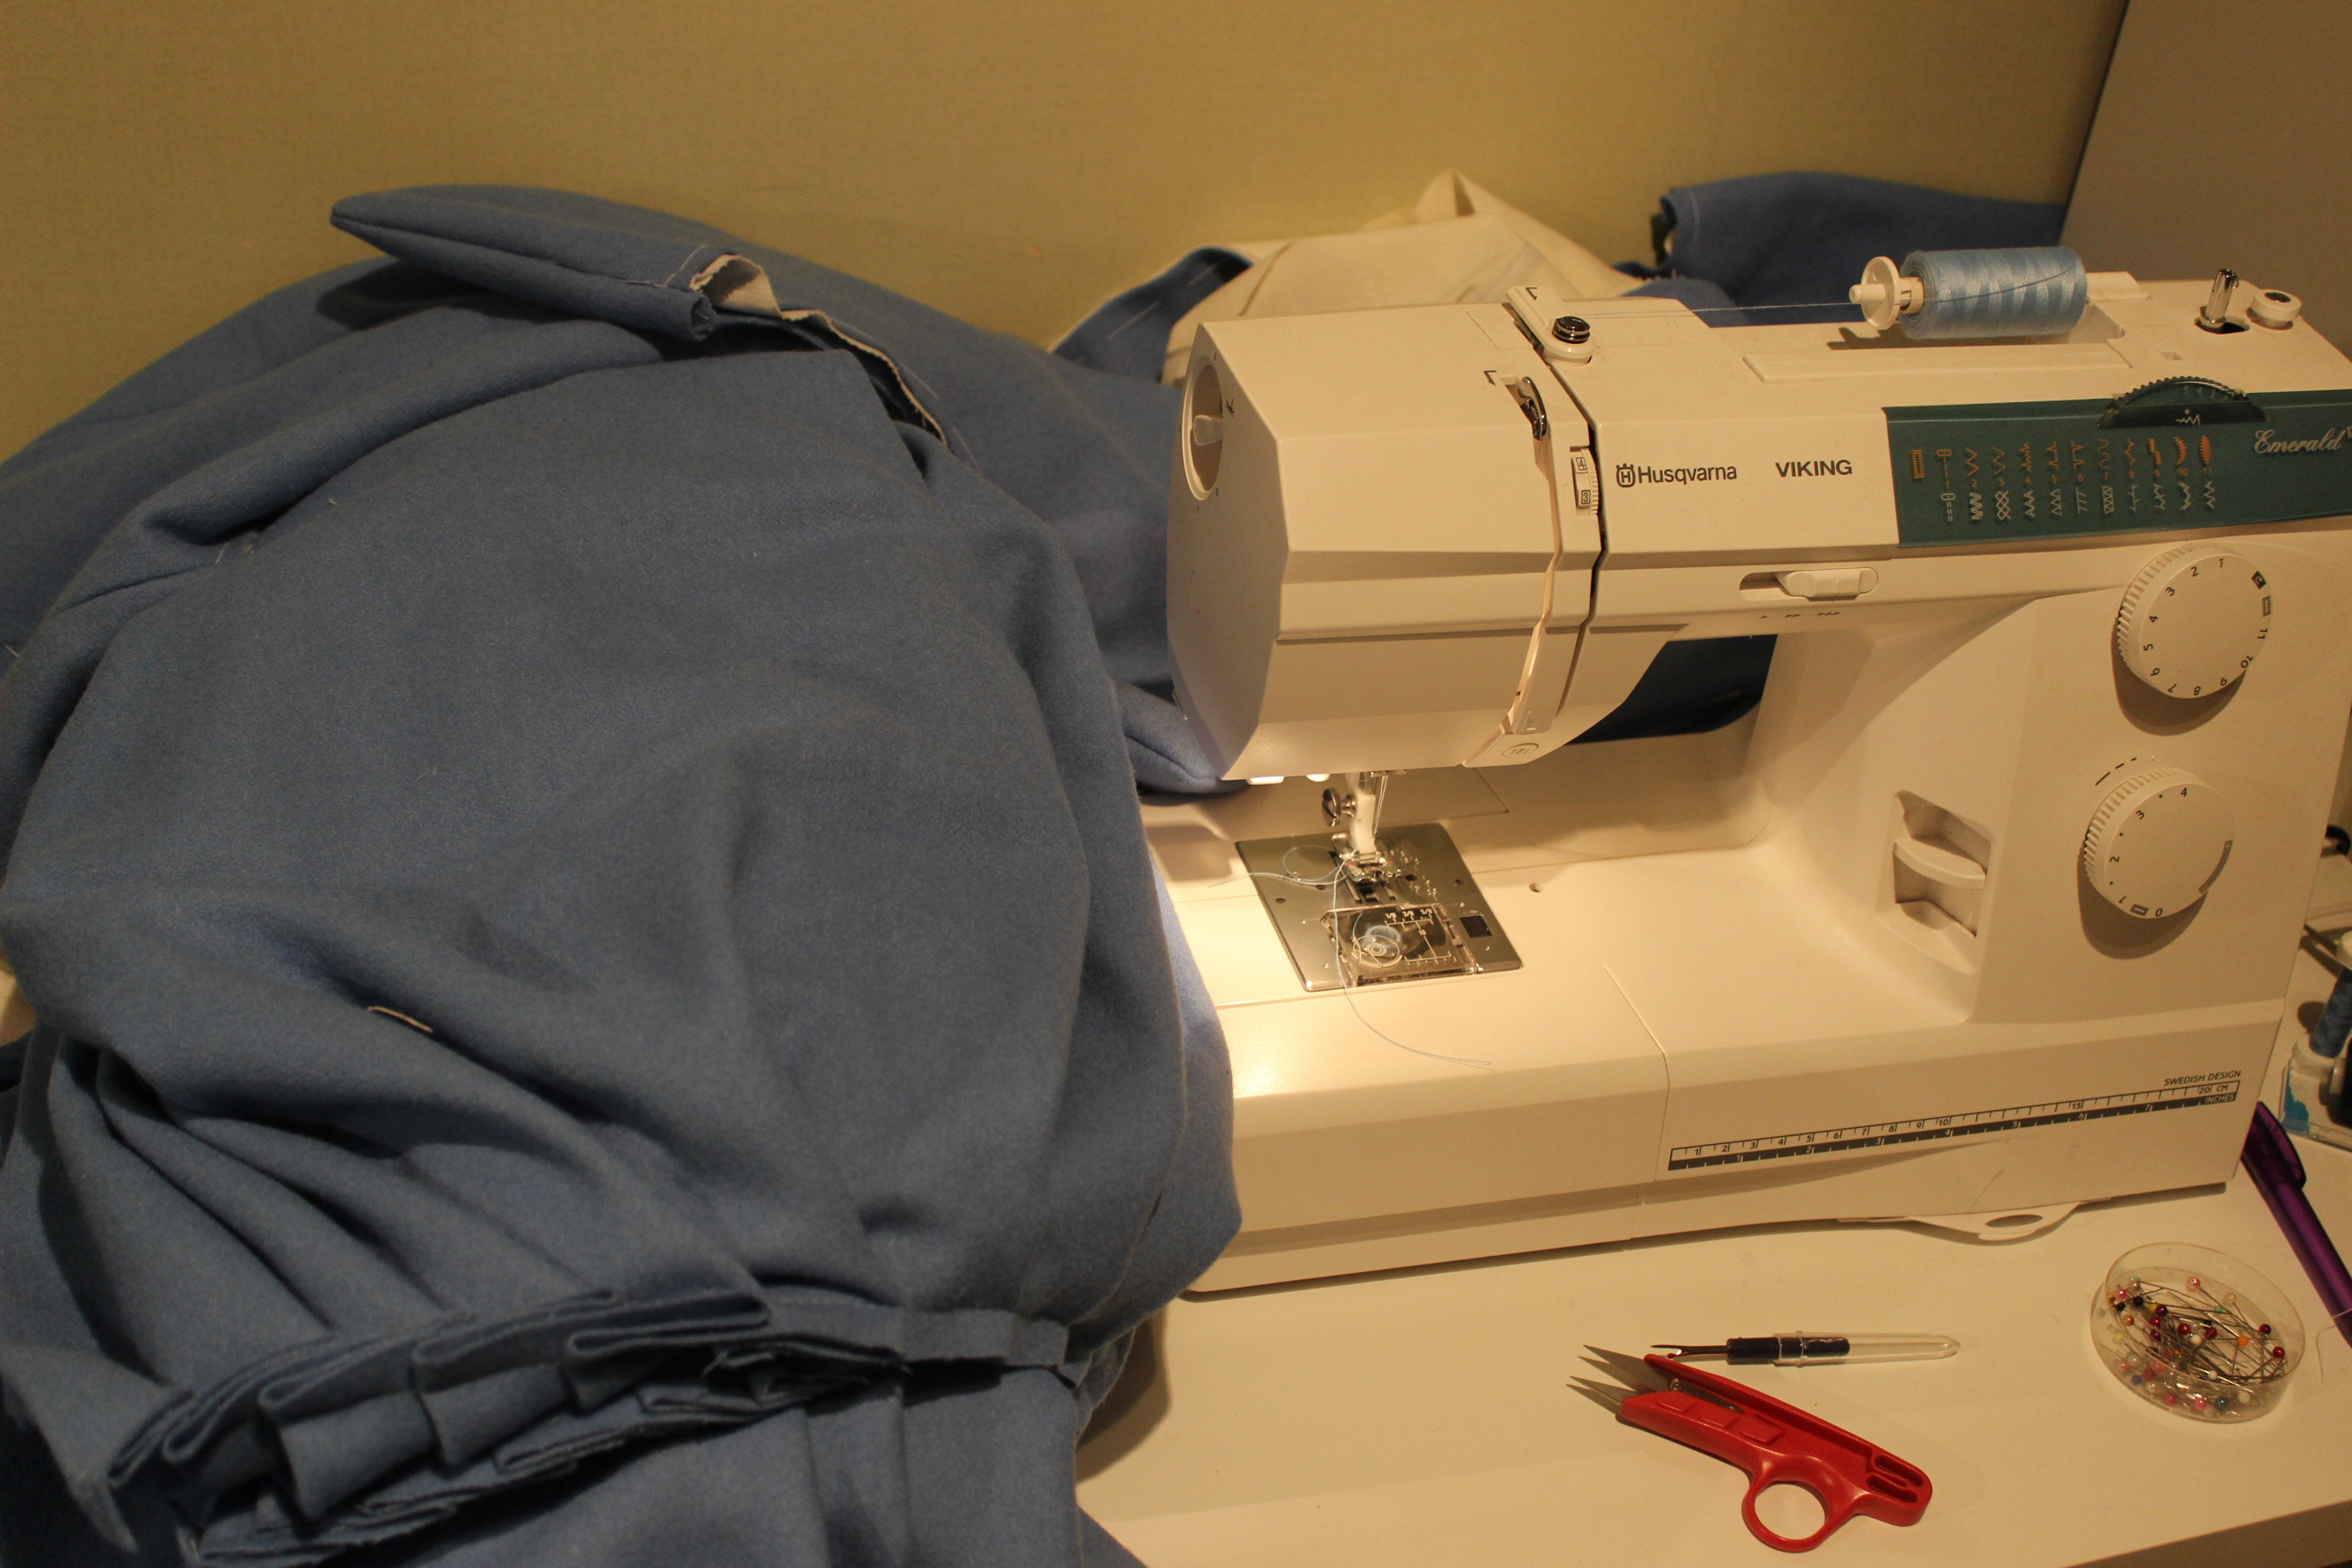
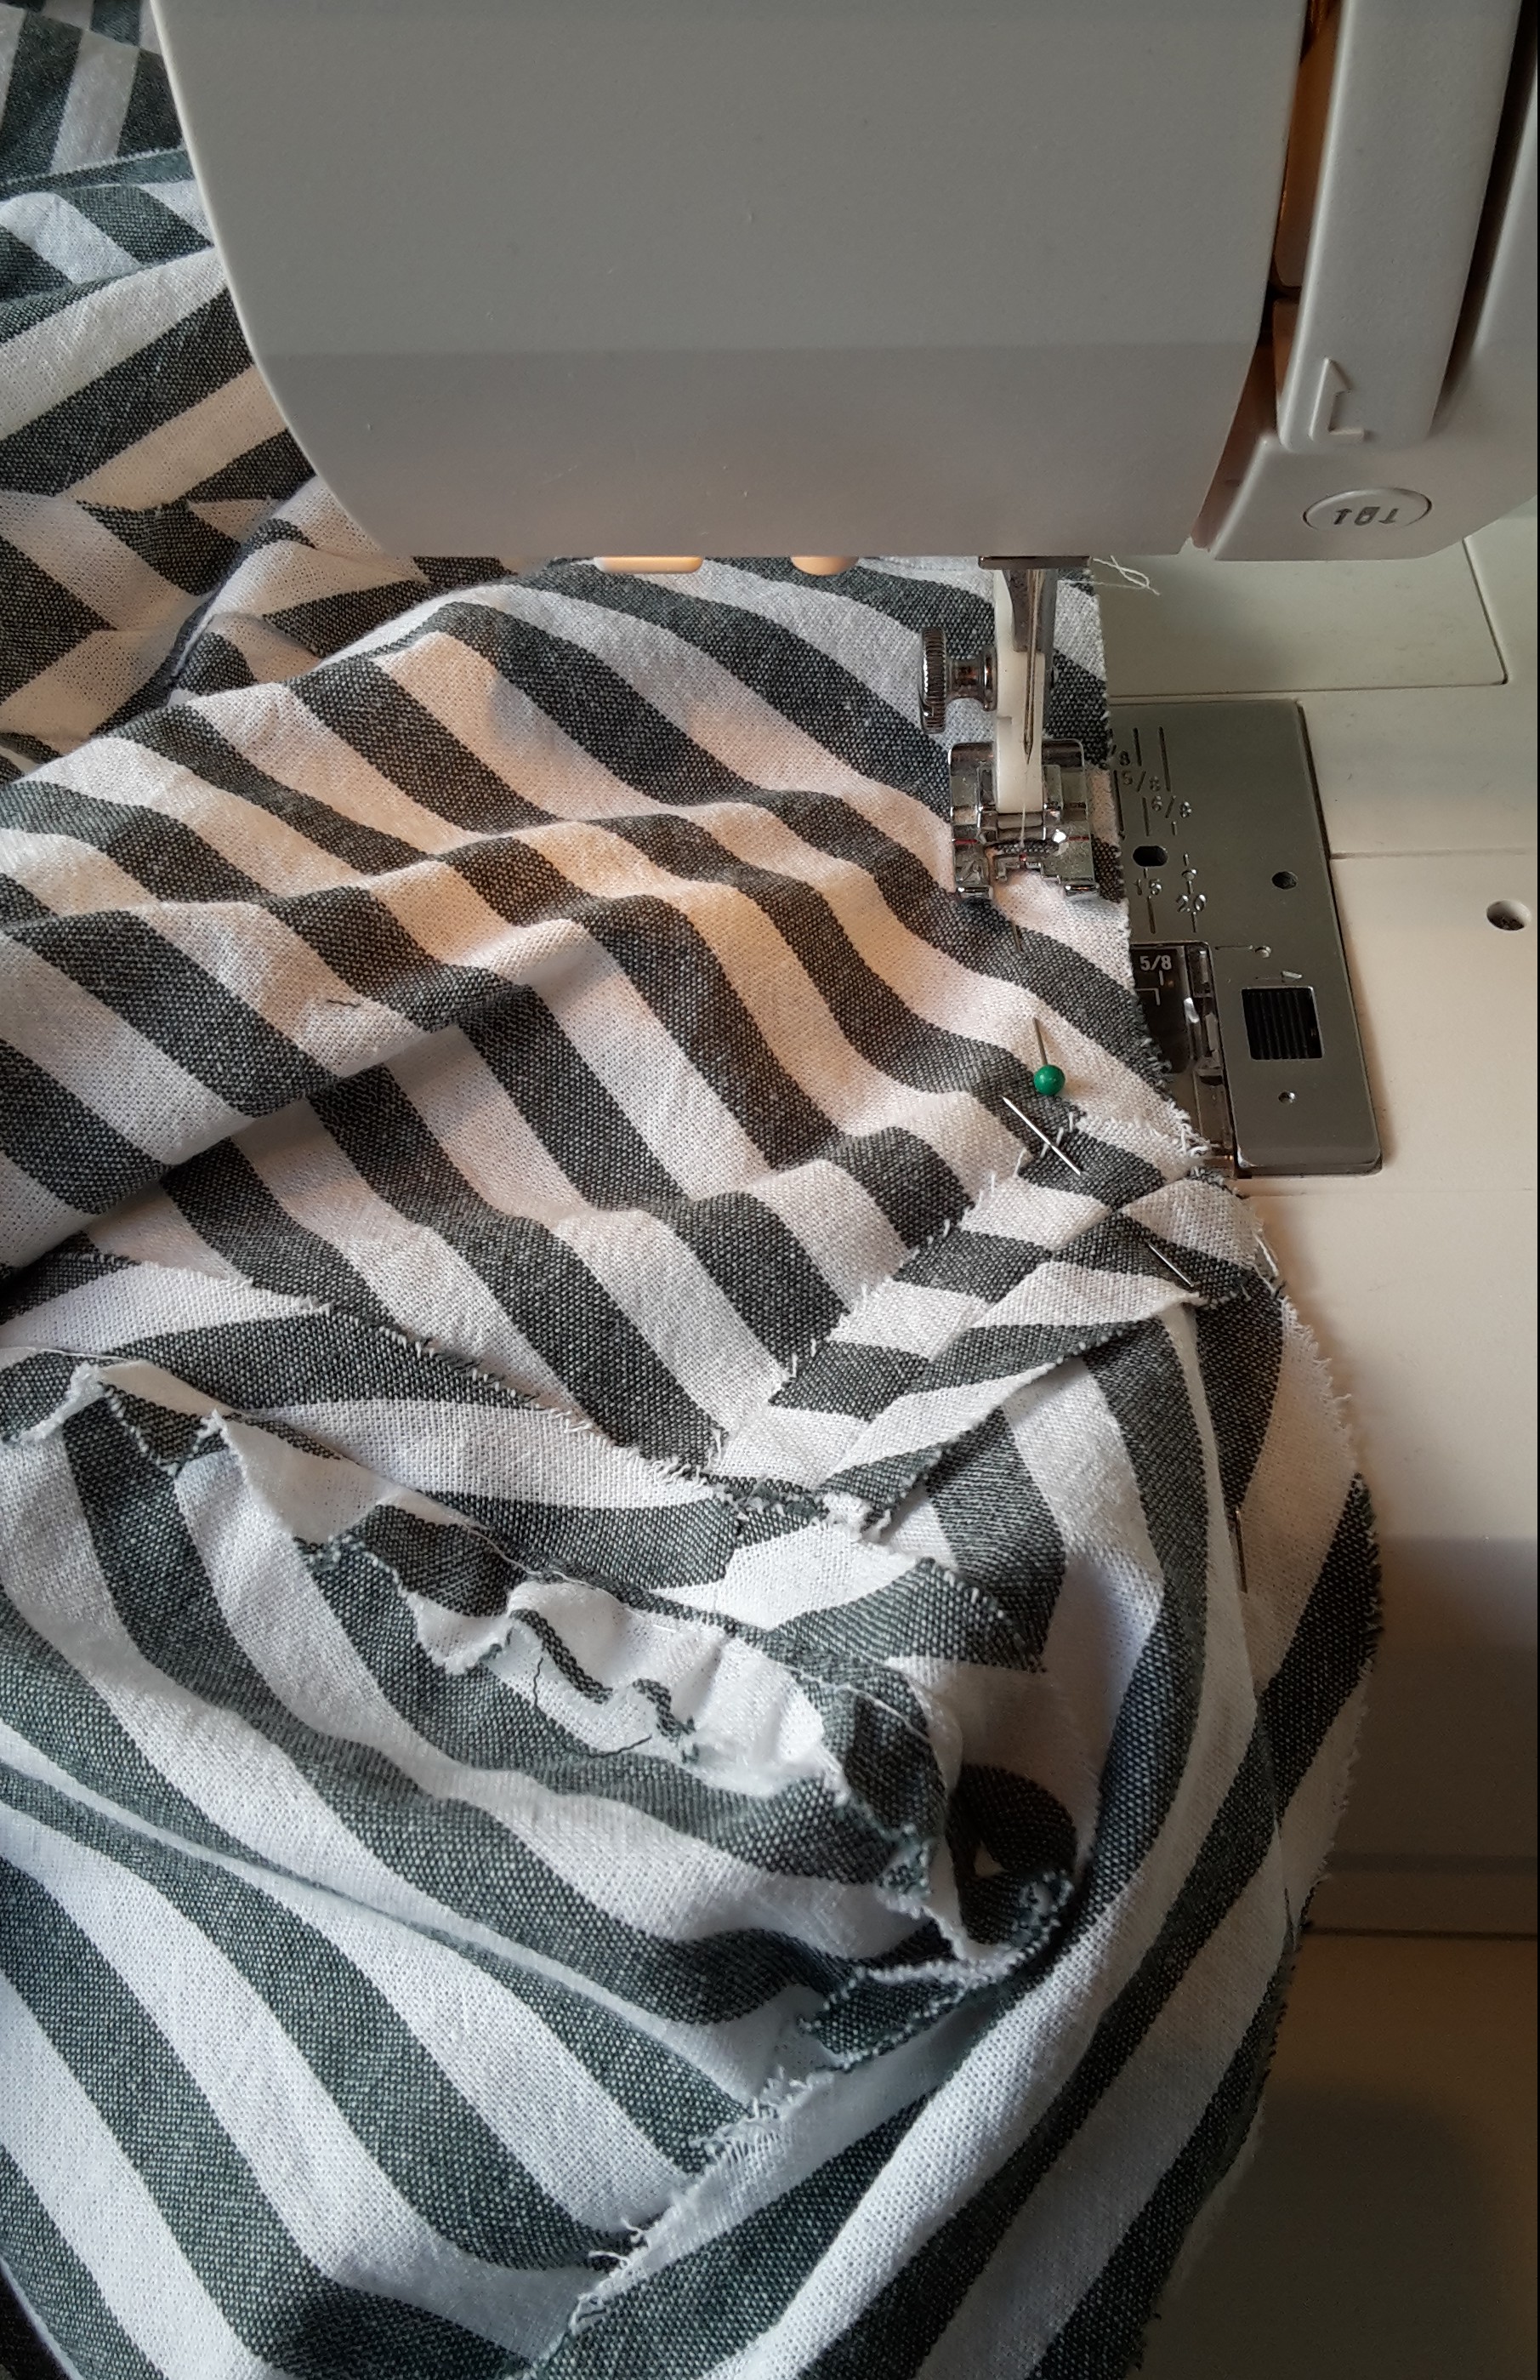
So on to the tapemeasure I whent, and started cutting the fabric. A green sort of linen/polyester kind of fabric, here cut in double pieces.
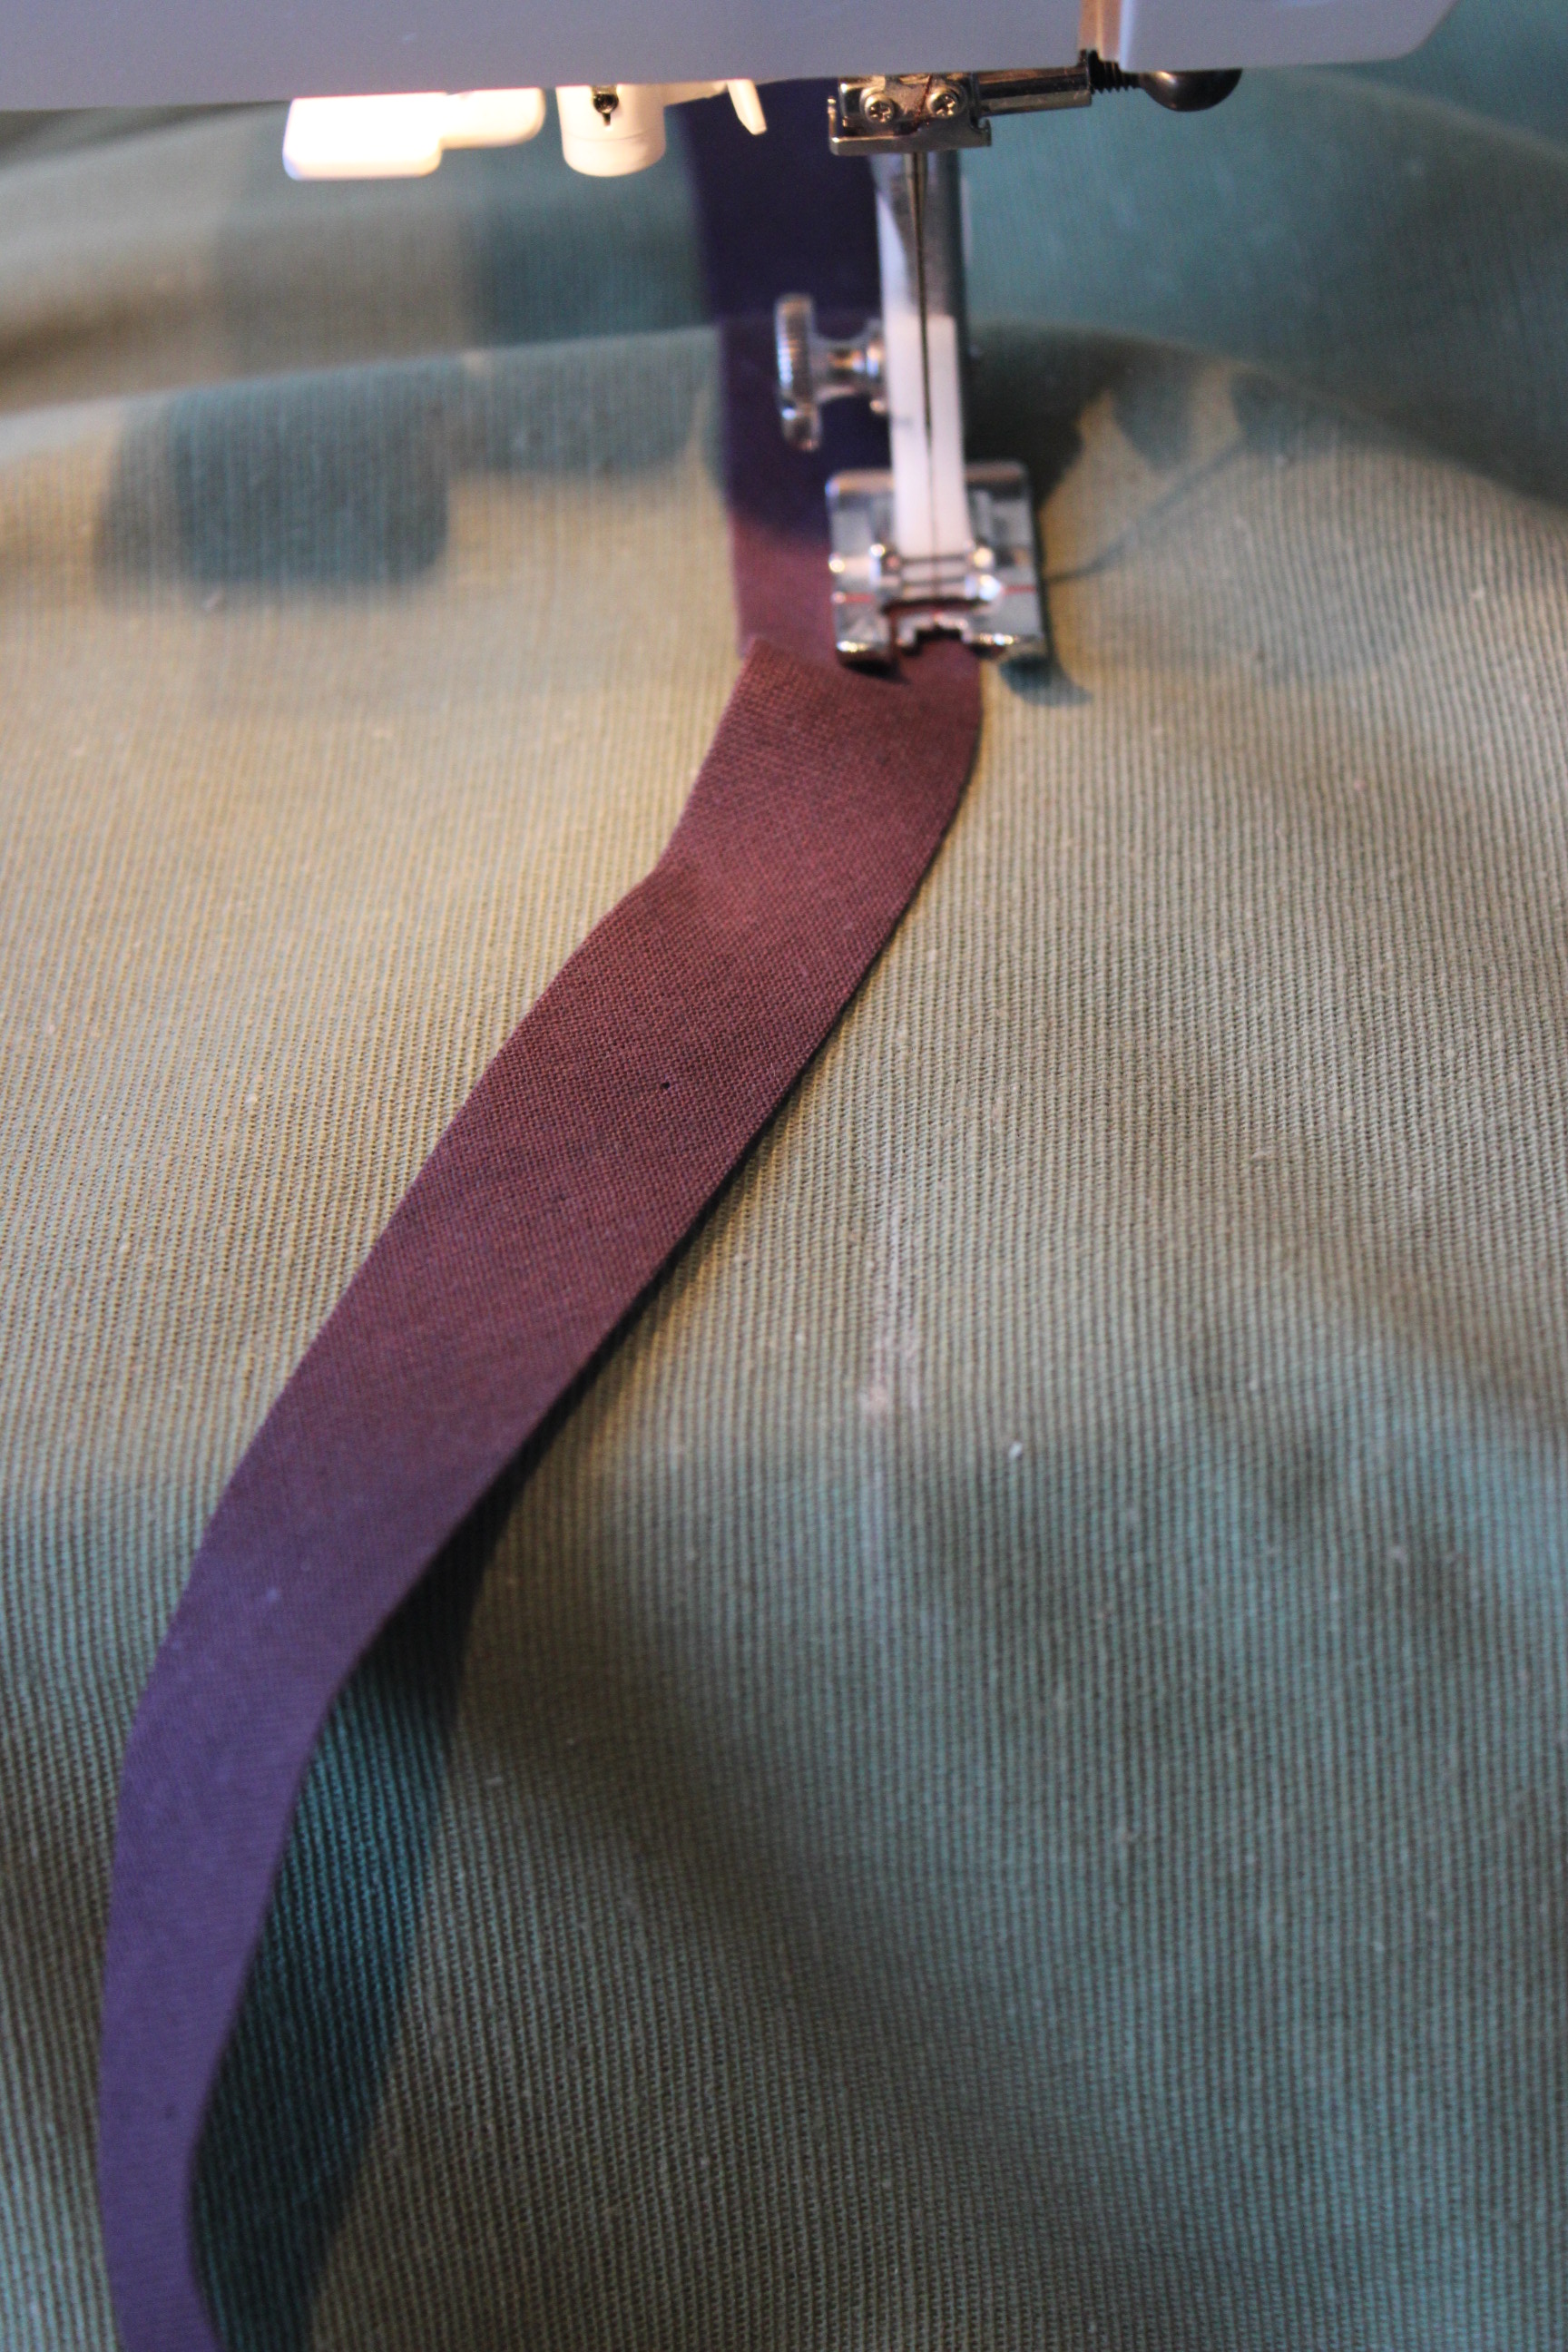
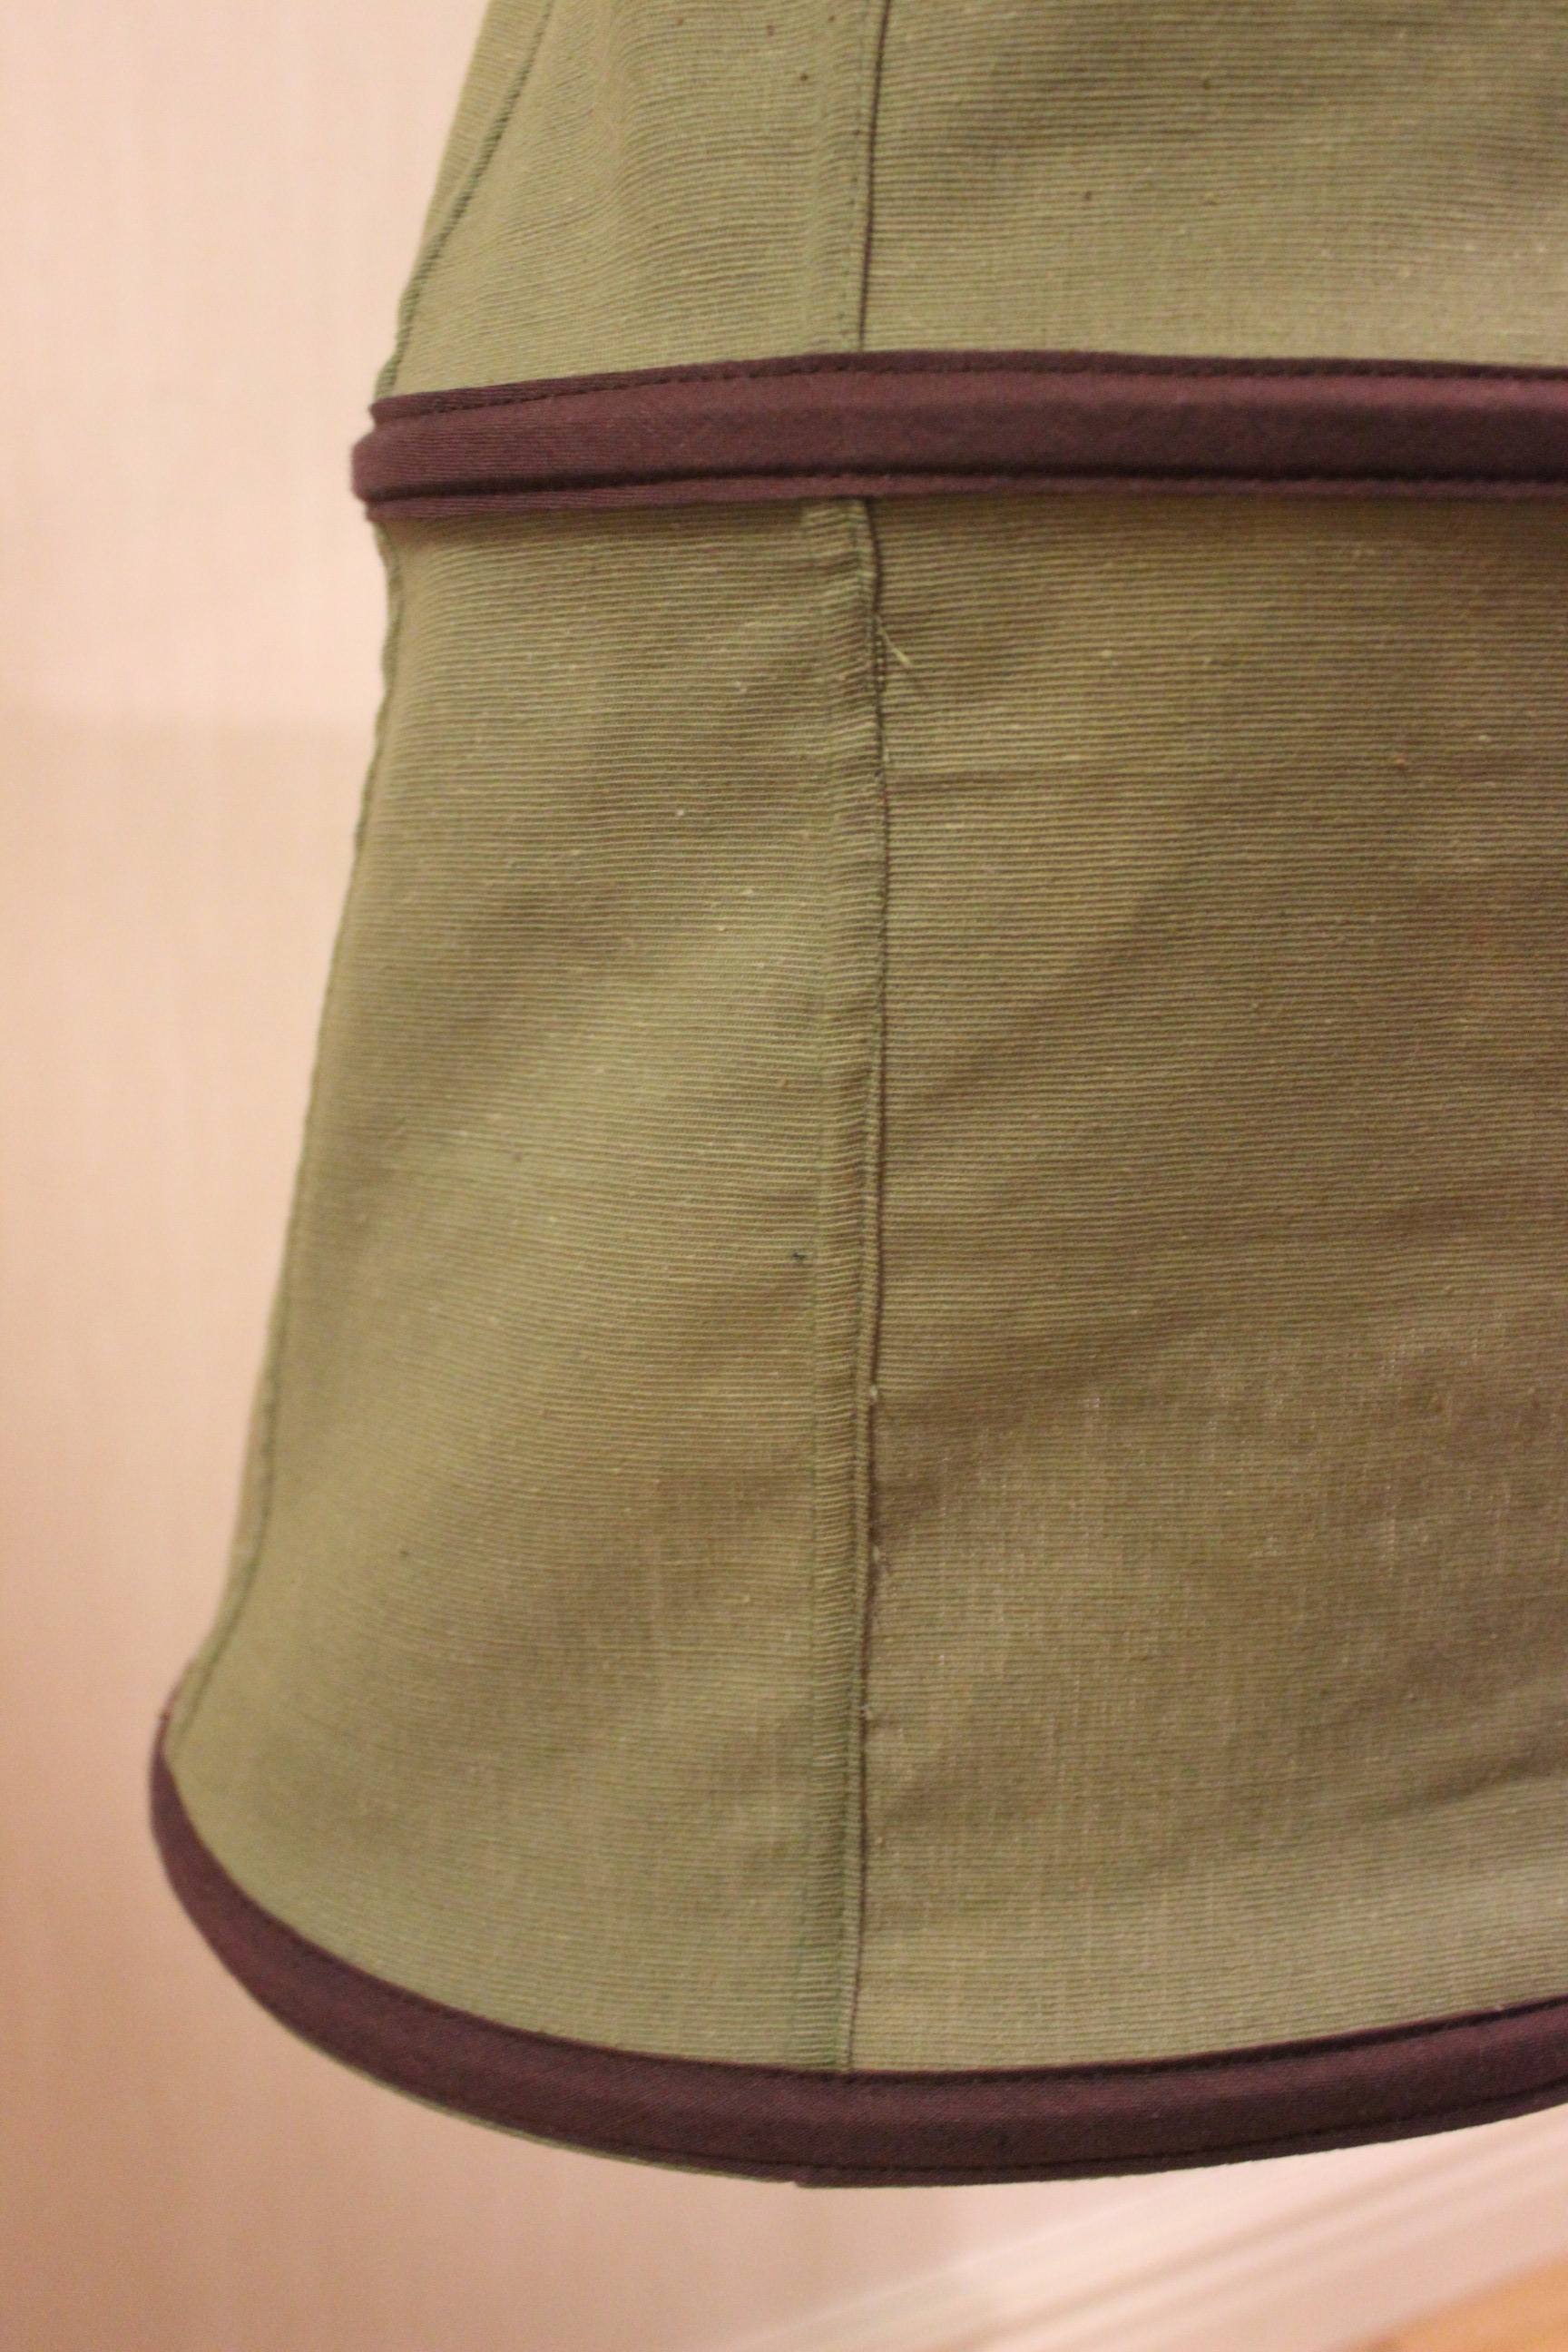
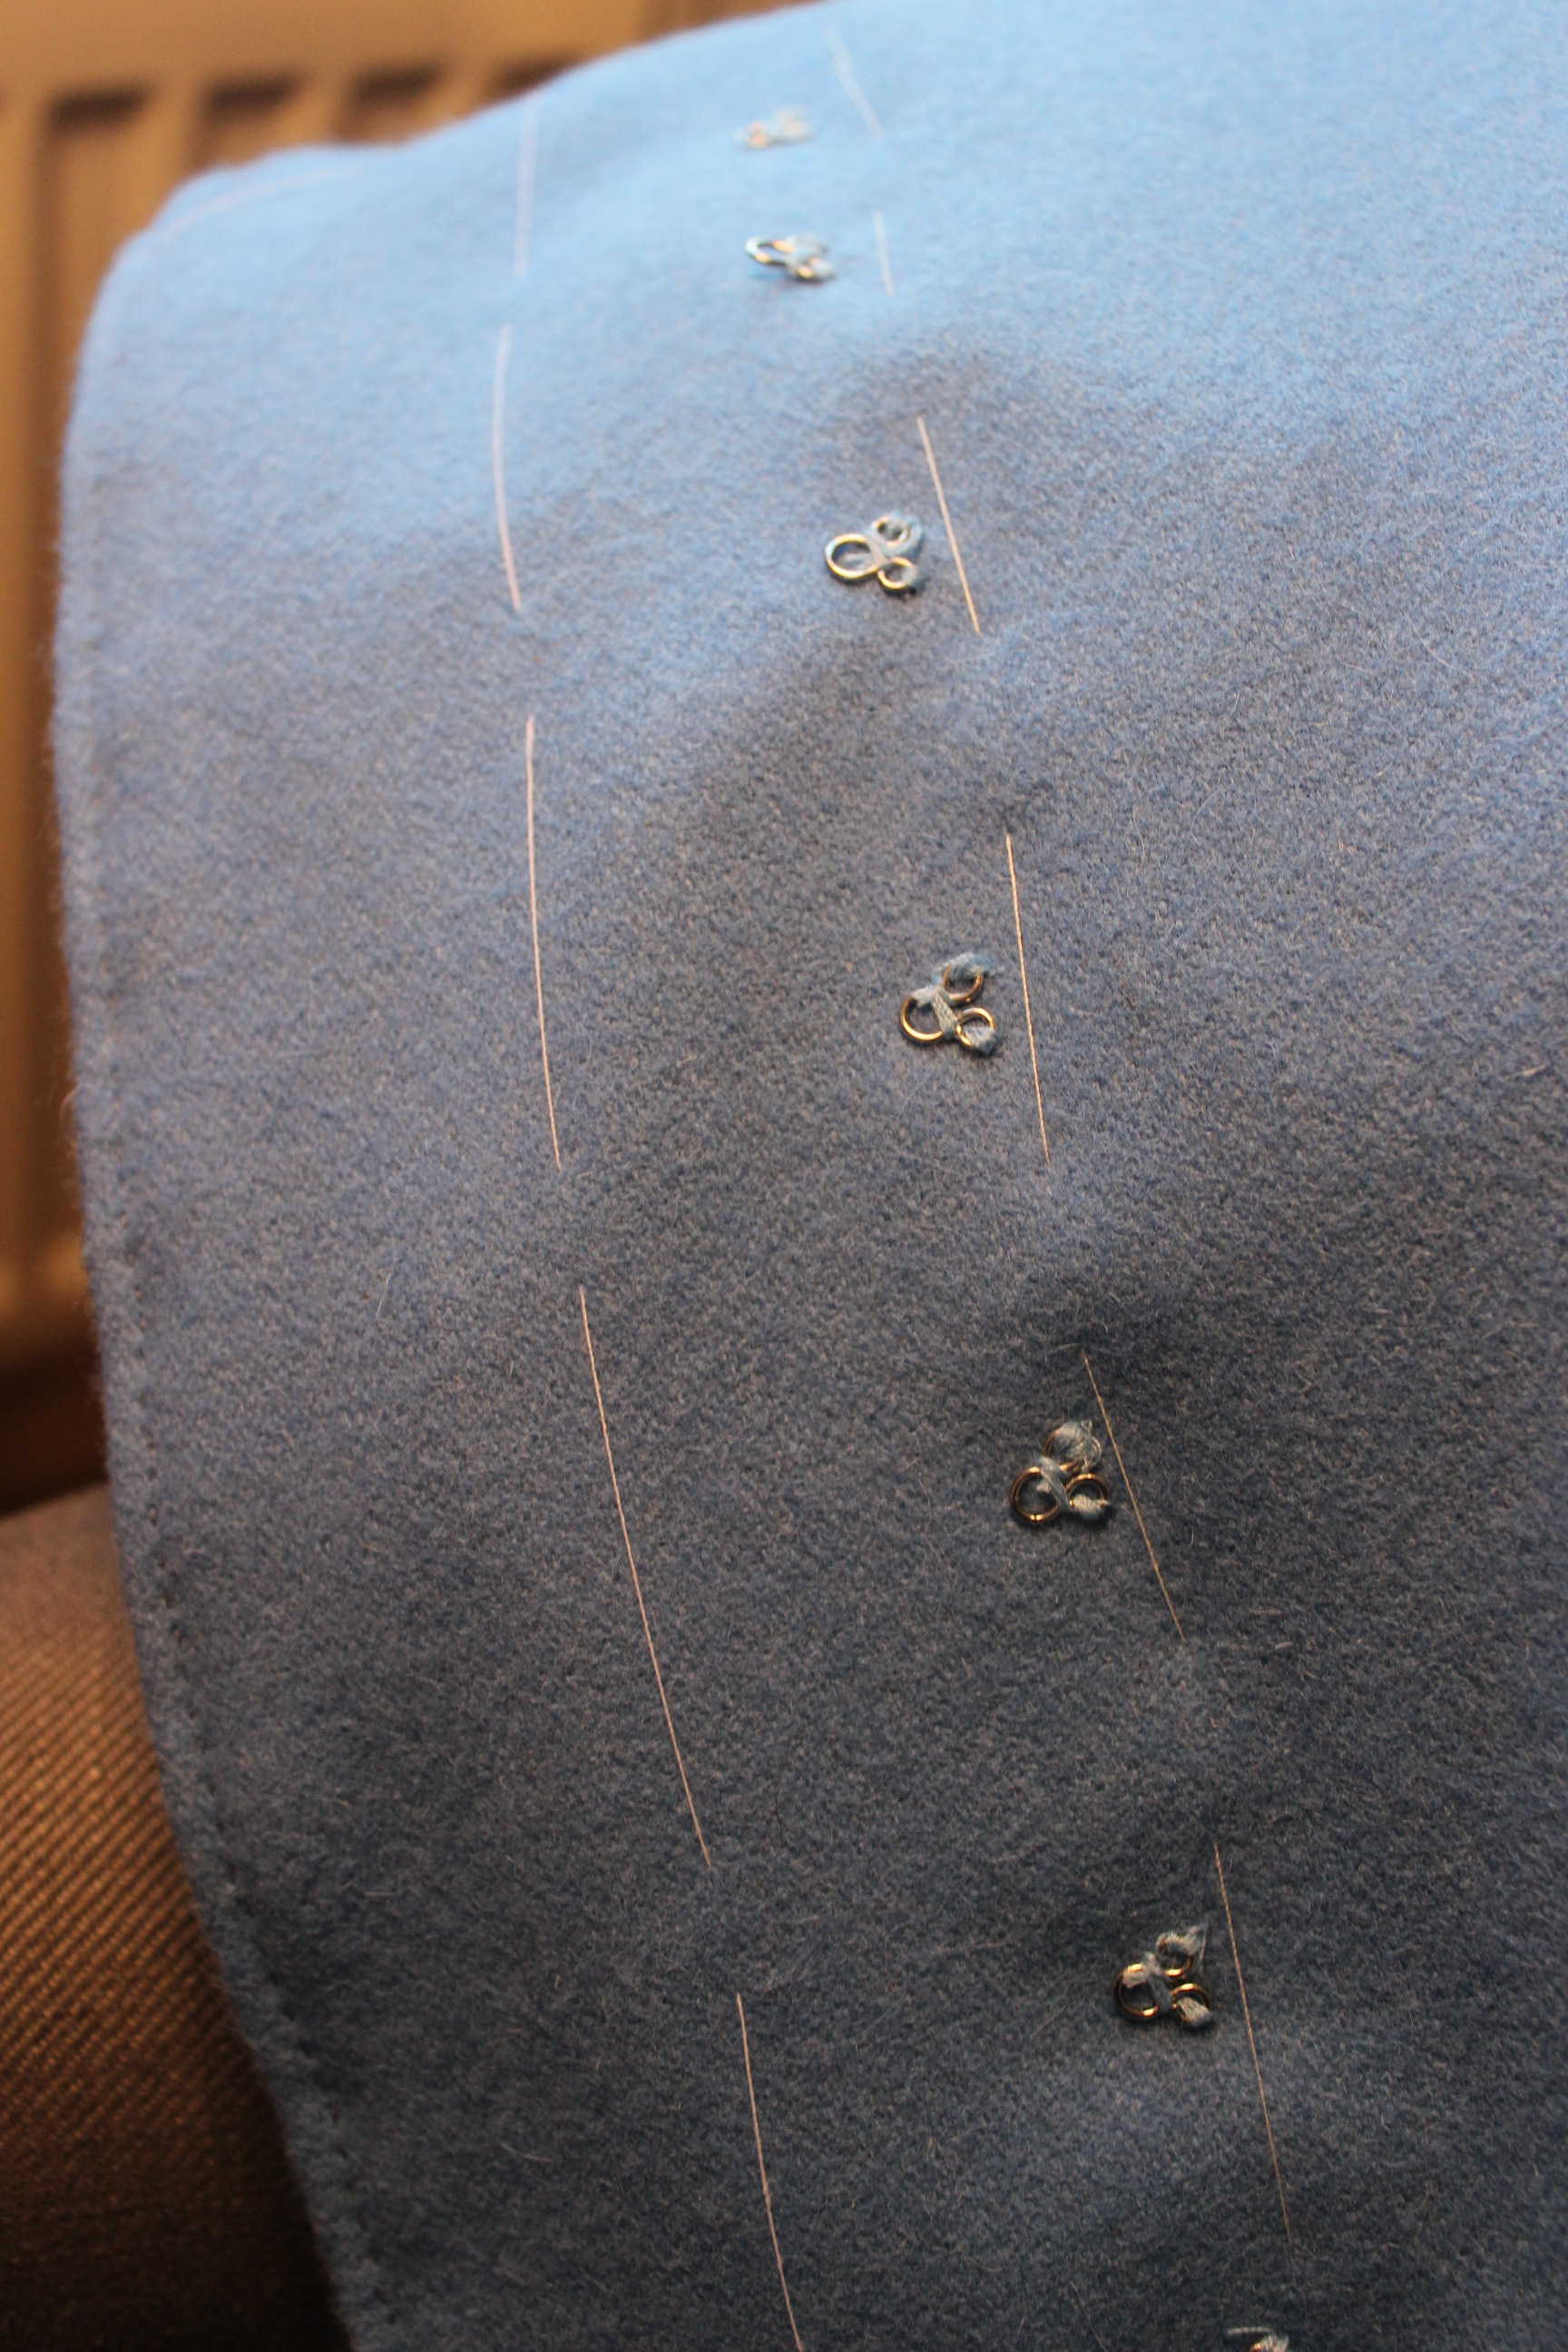
Once all seams was stitched together and felled, I started working on the boning bias tape for the channels I marked where I wanted the bones to be, and stitched the bias tape on top of the chalk lines.
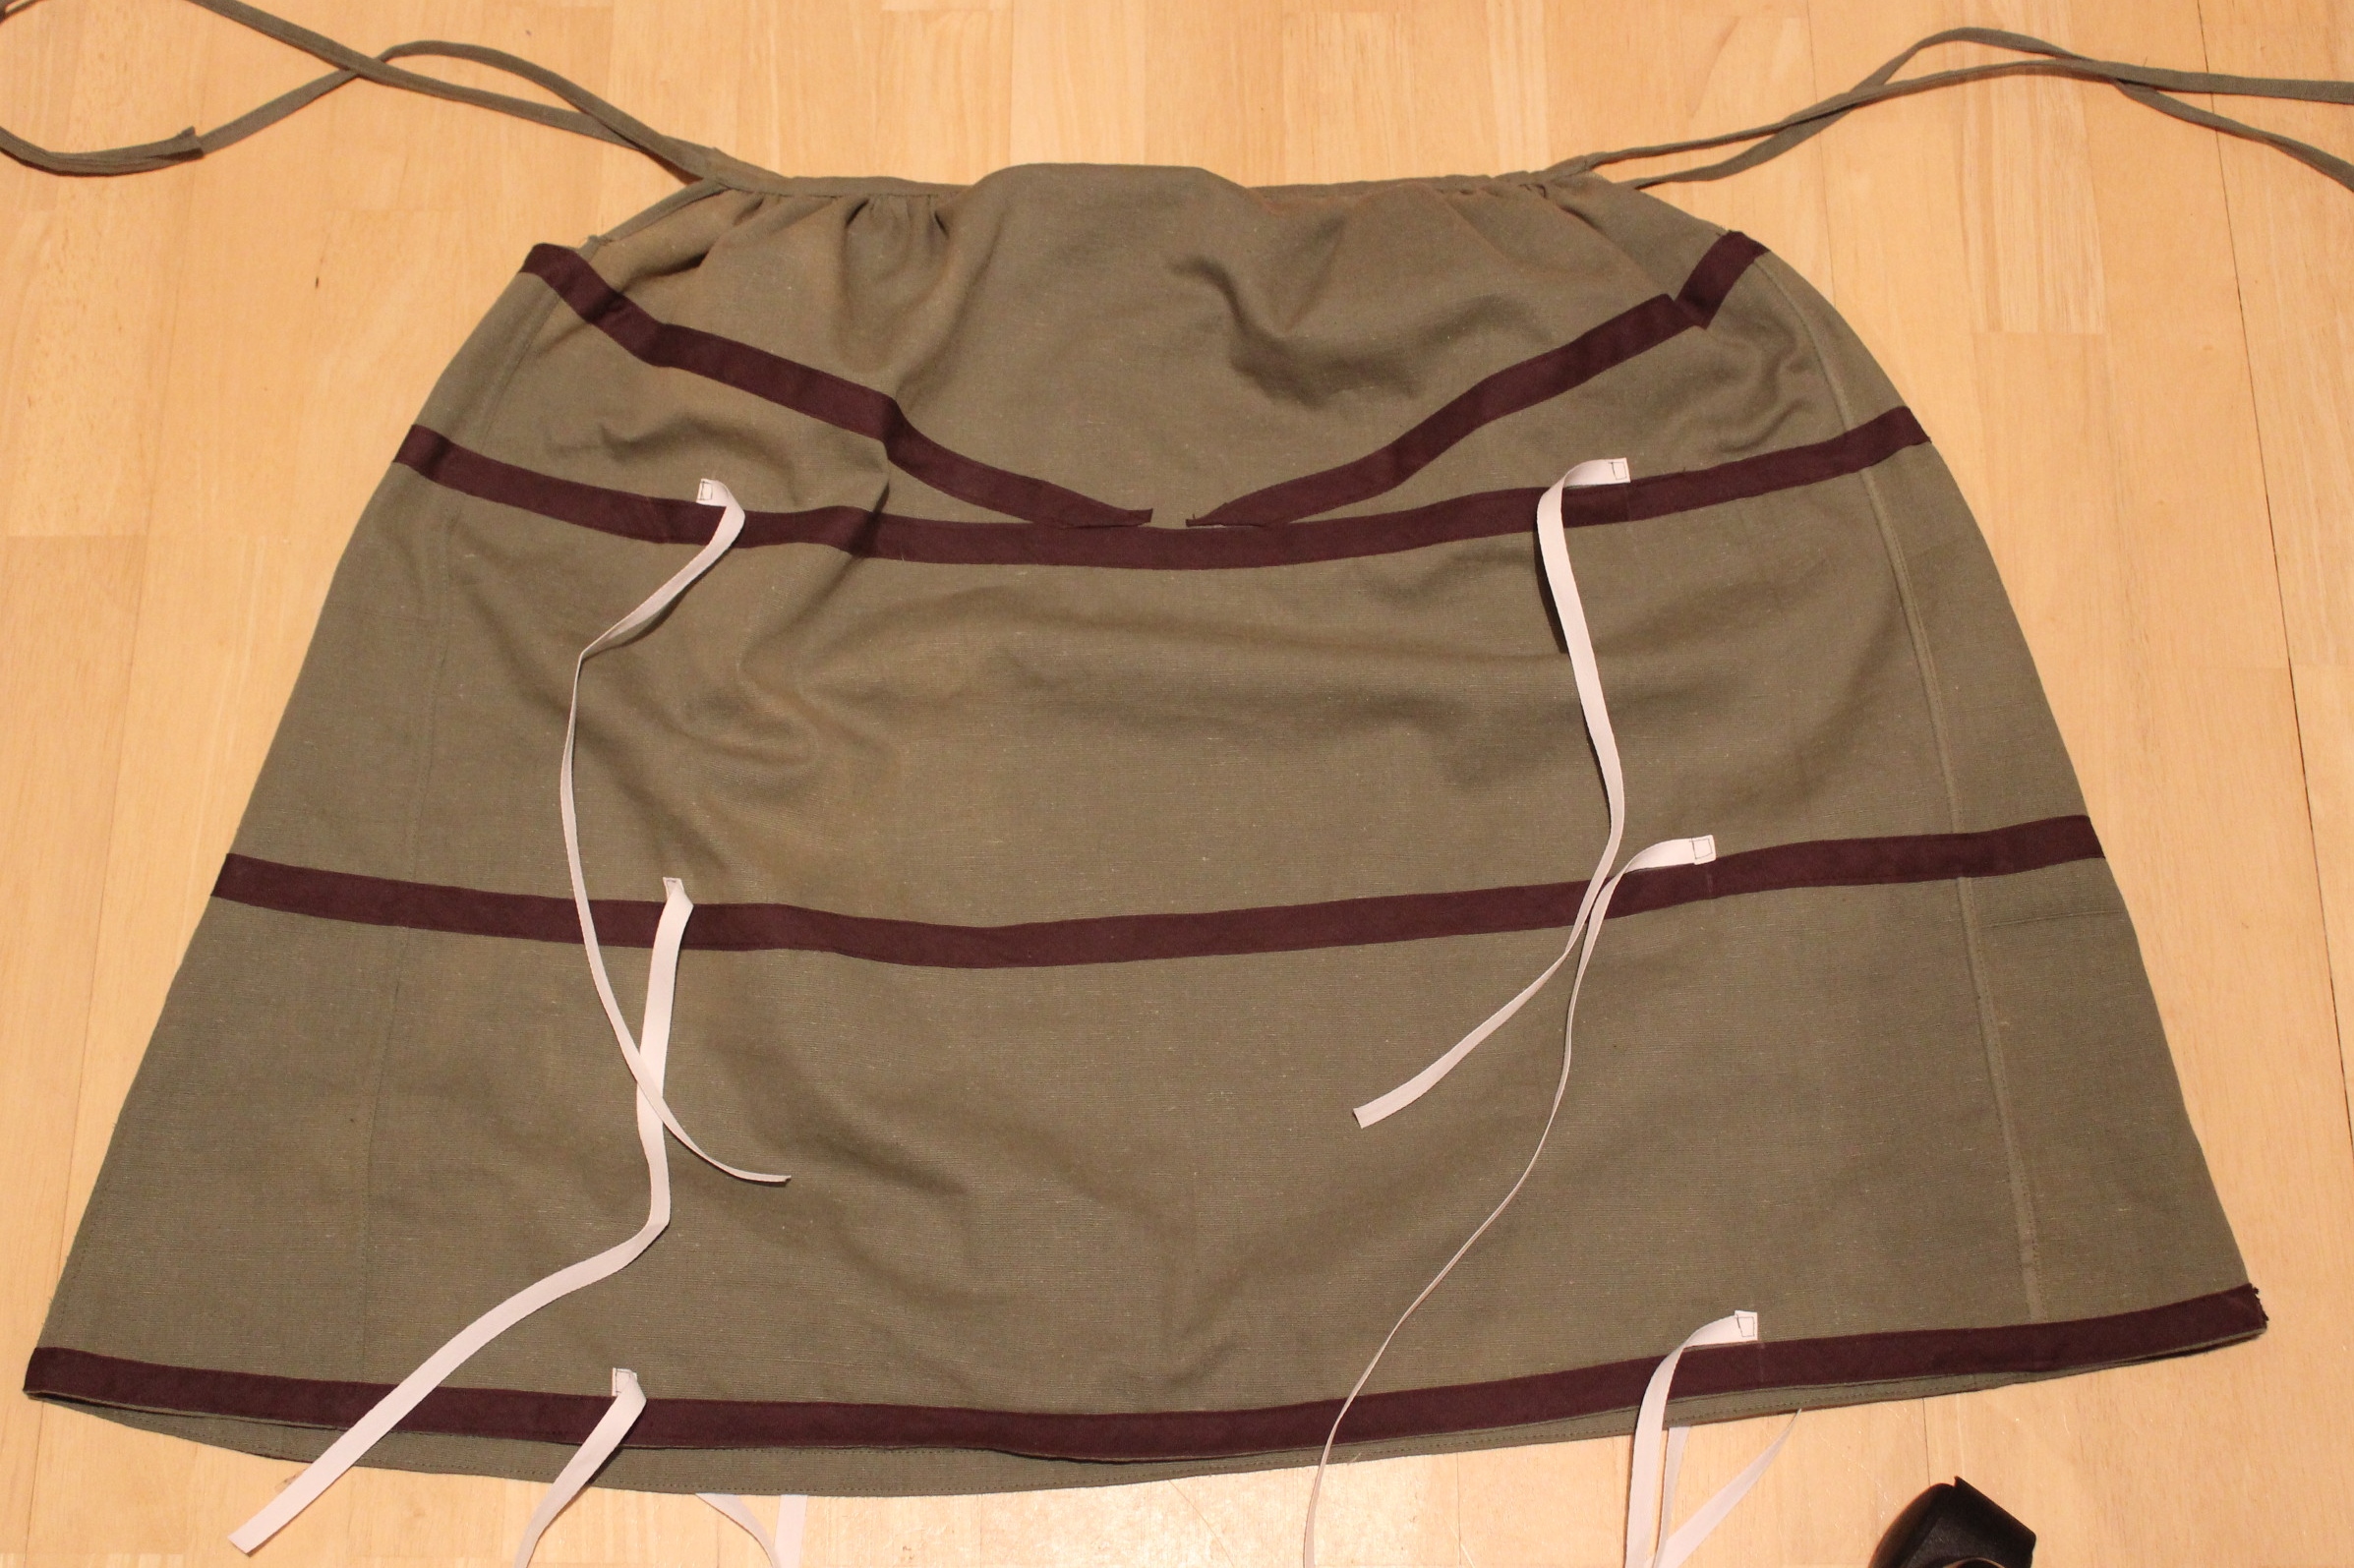
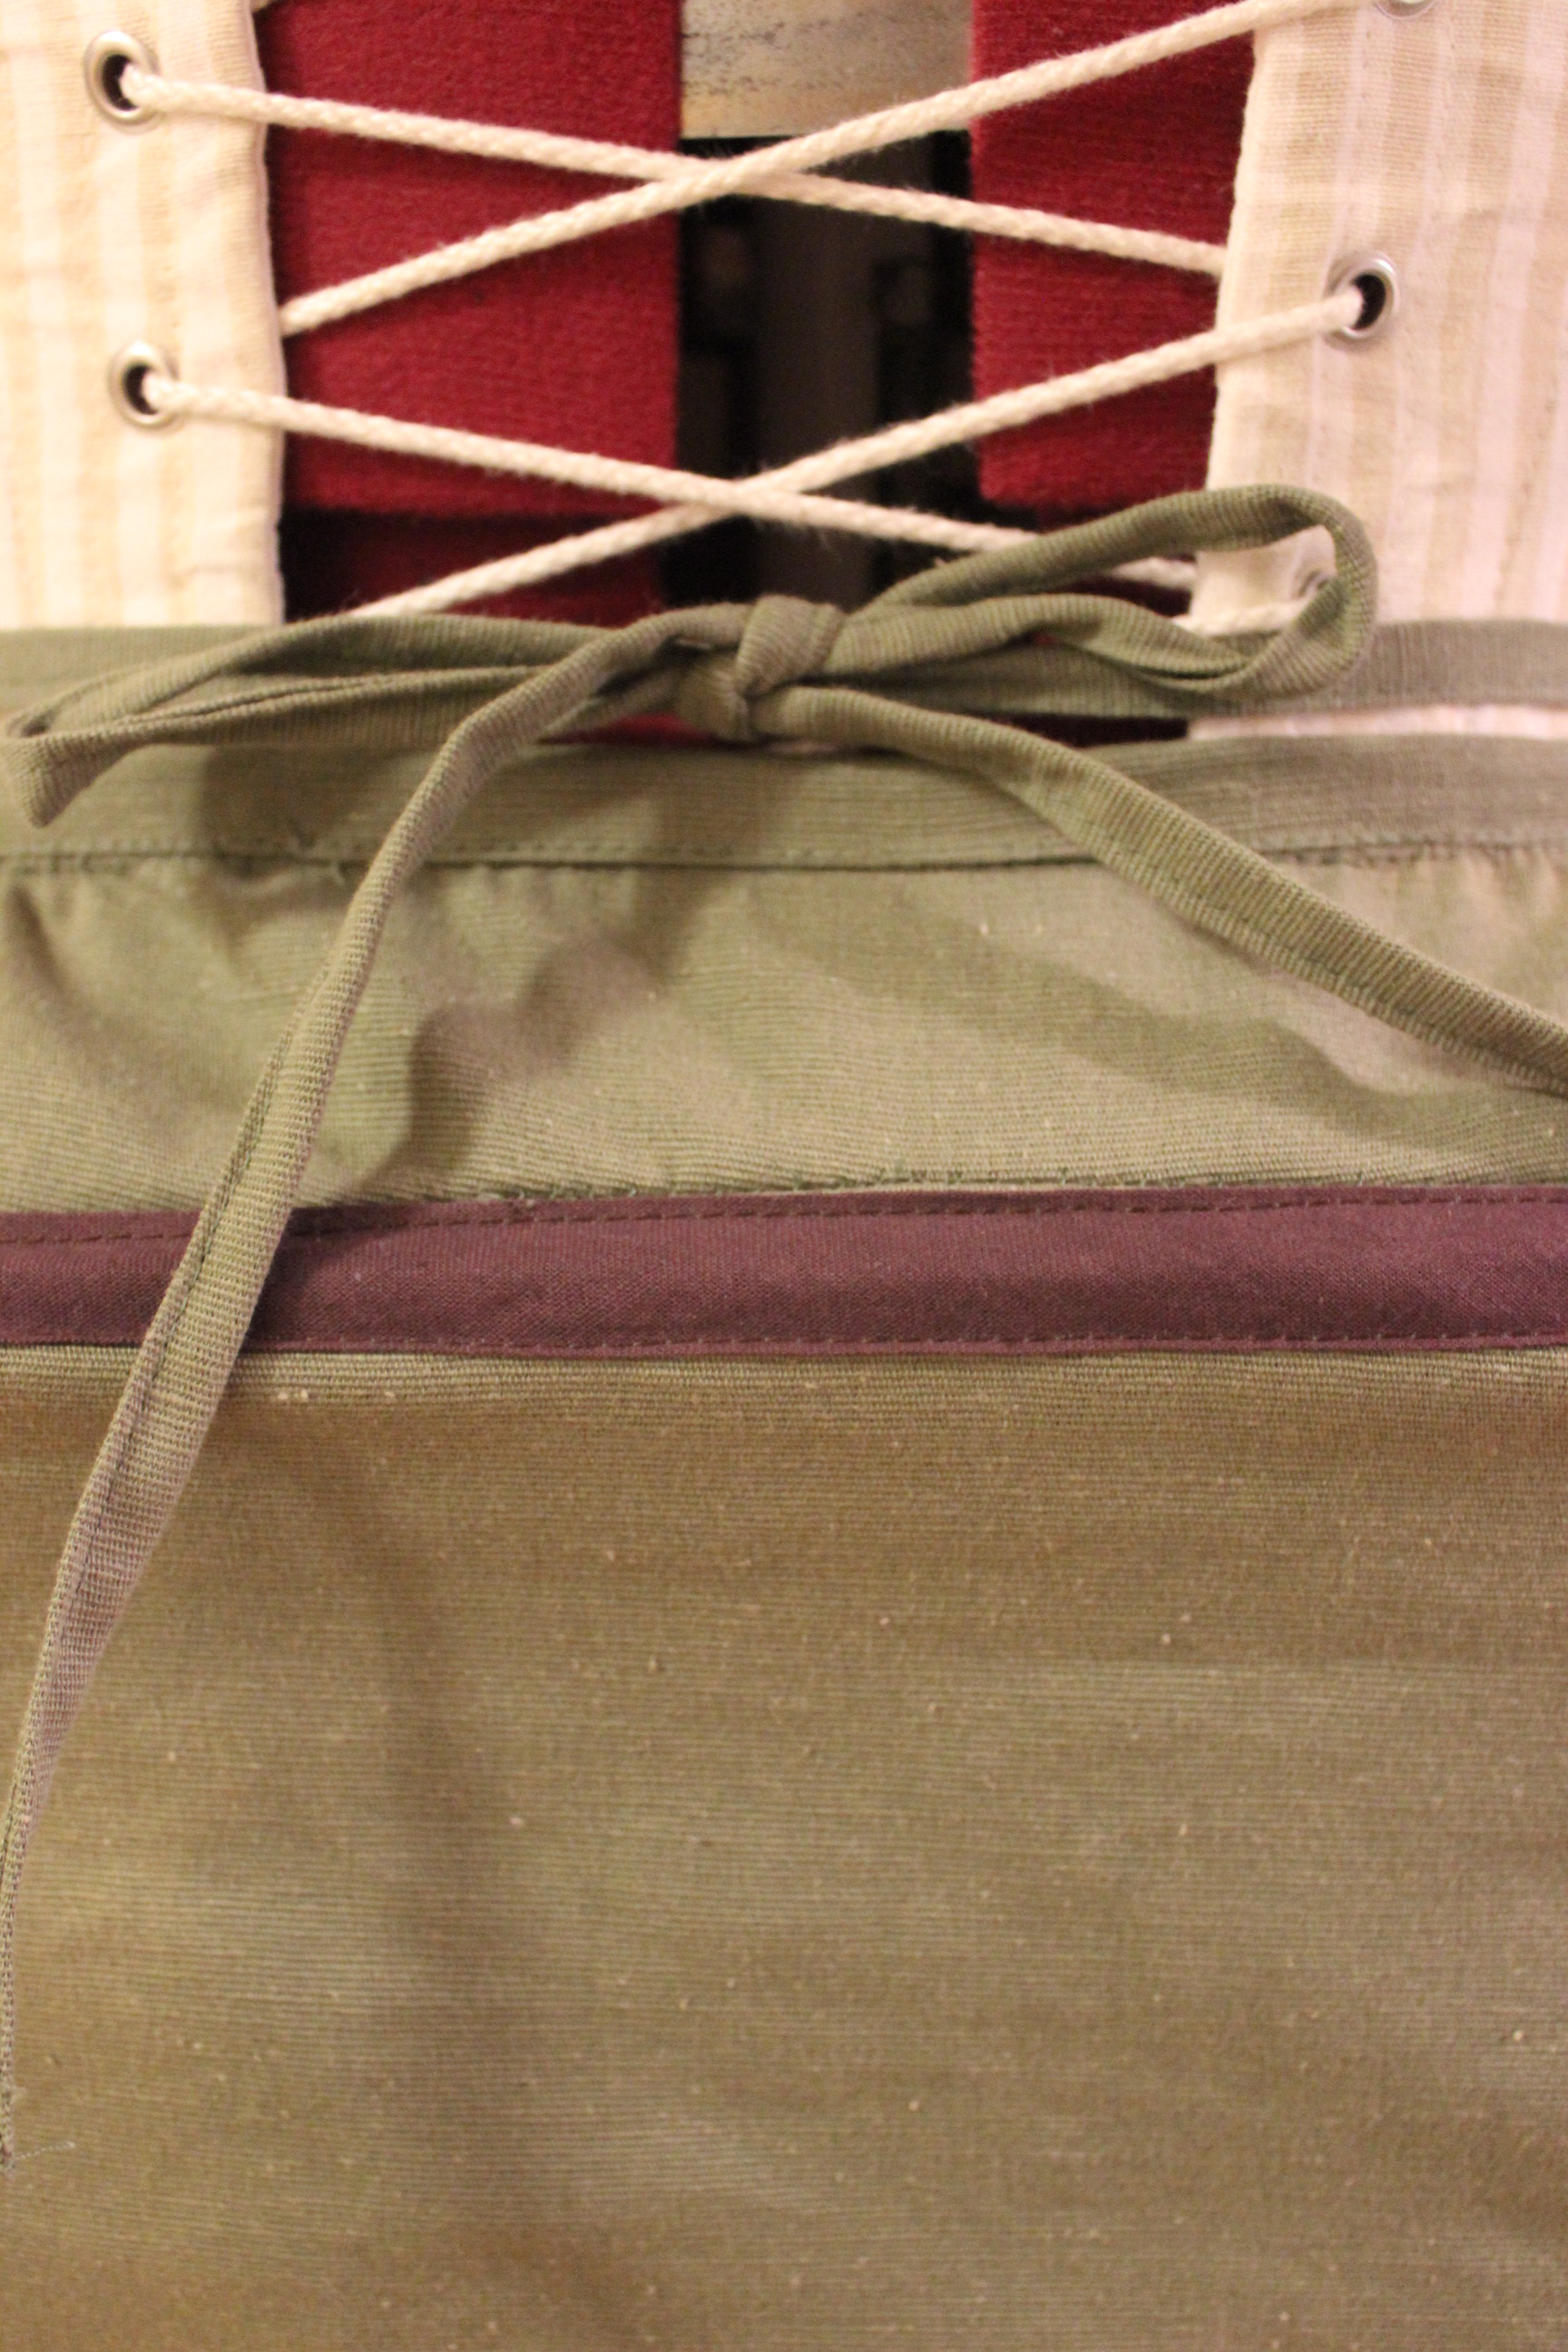
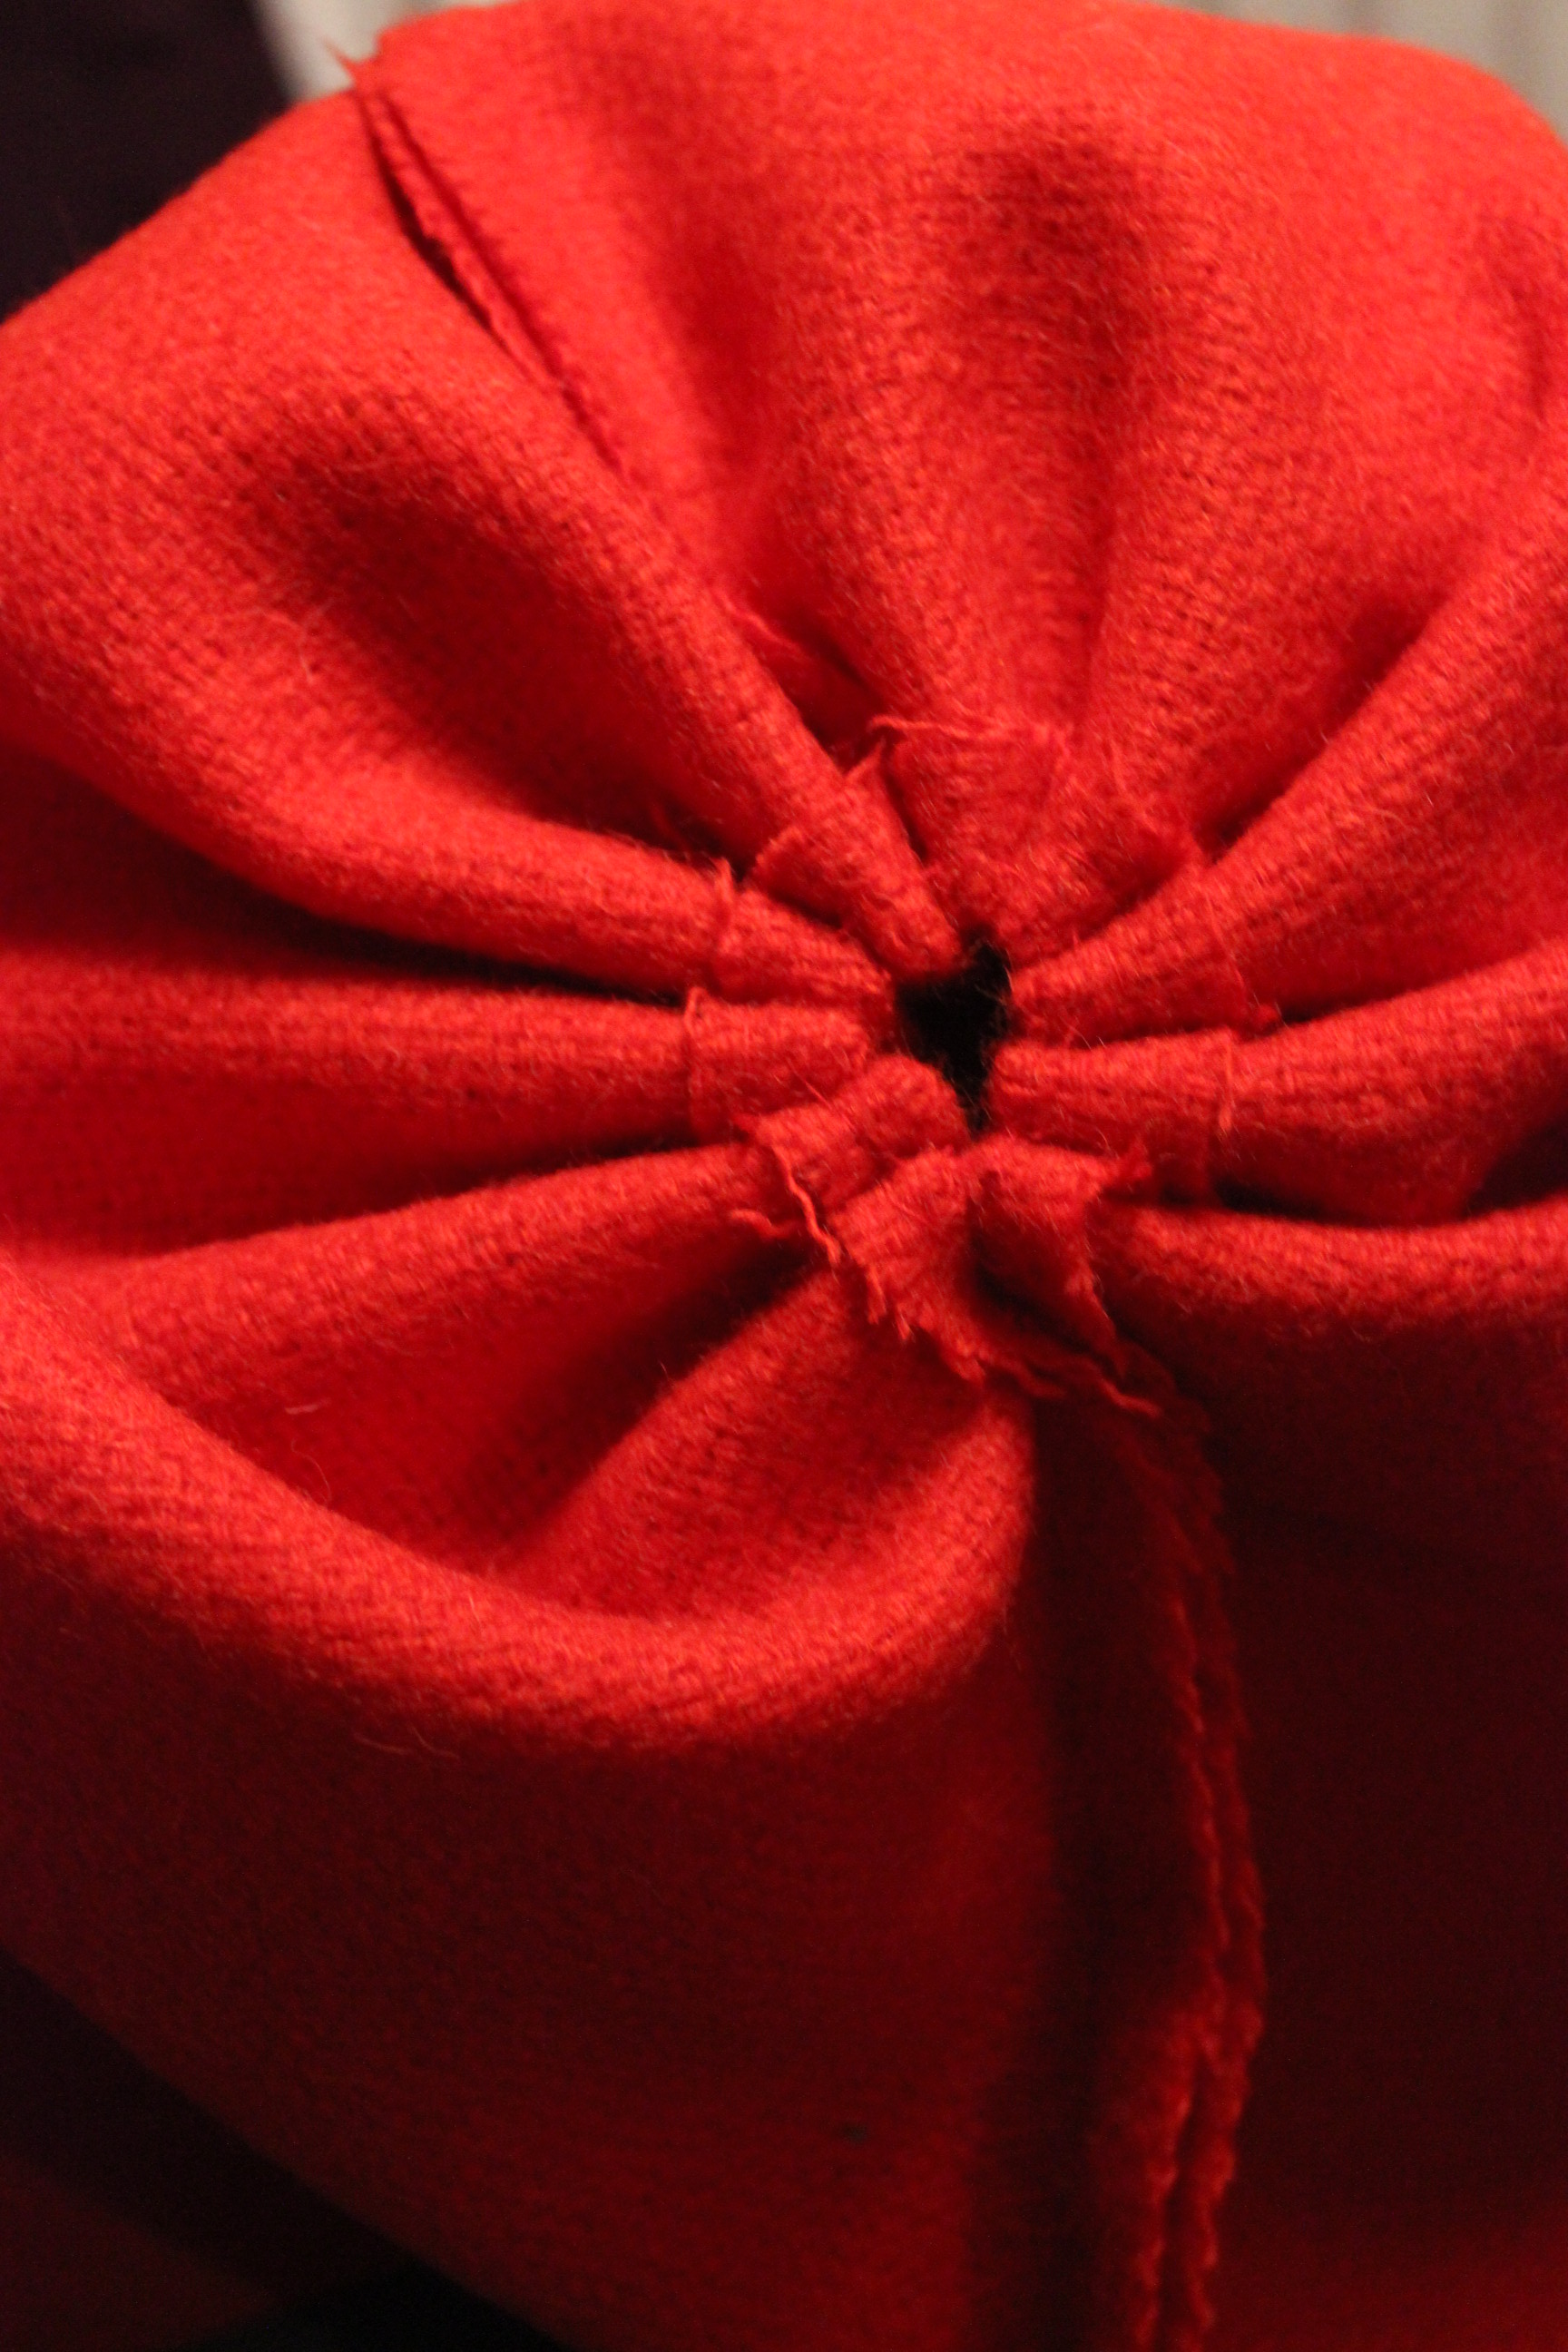
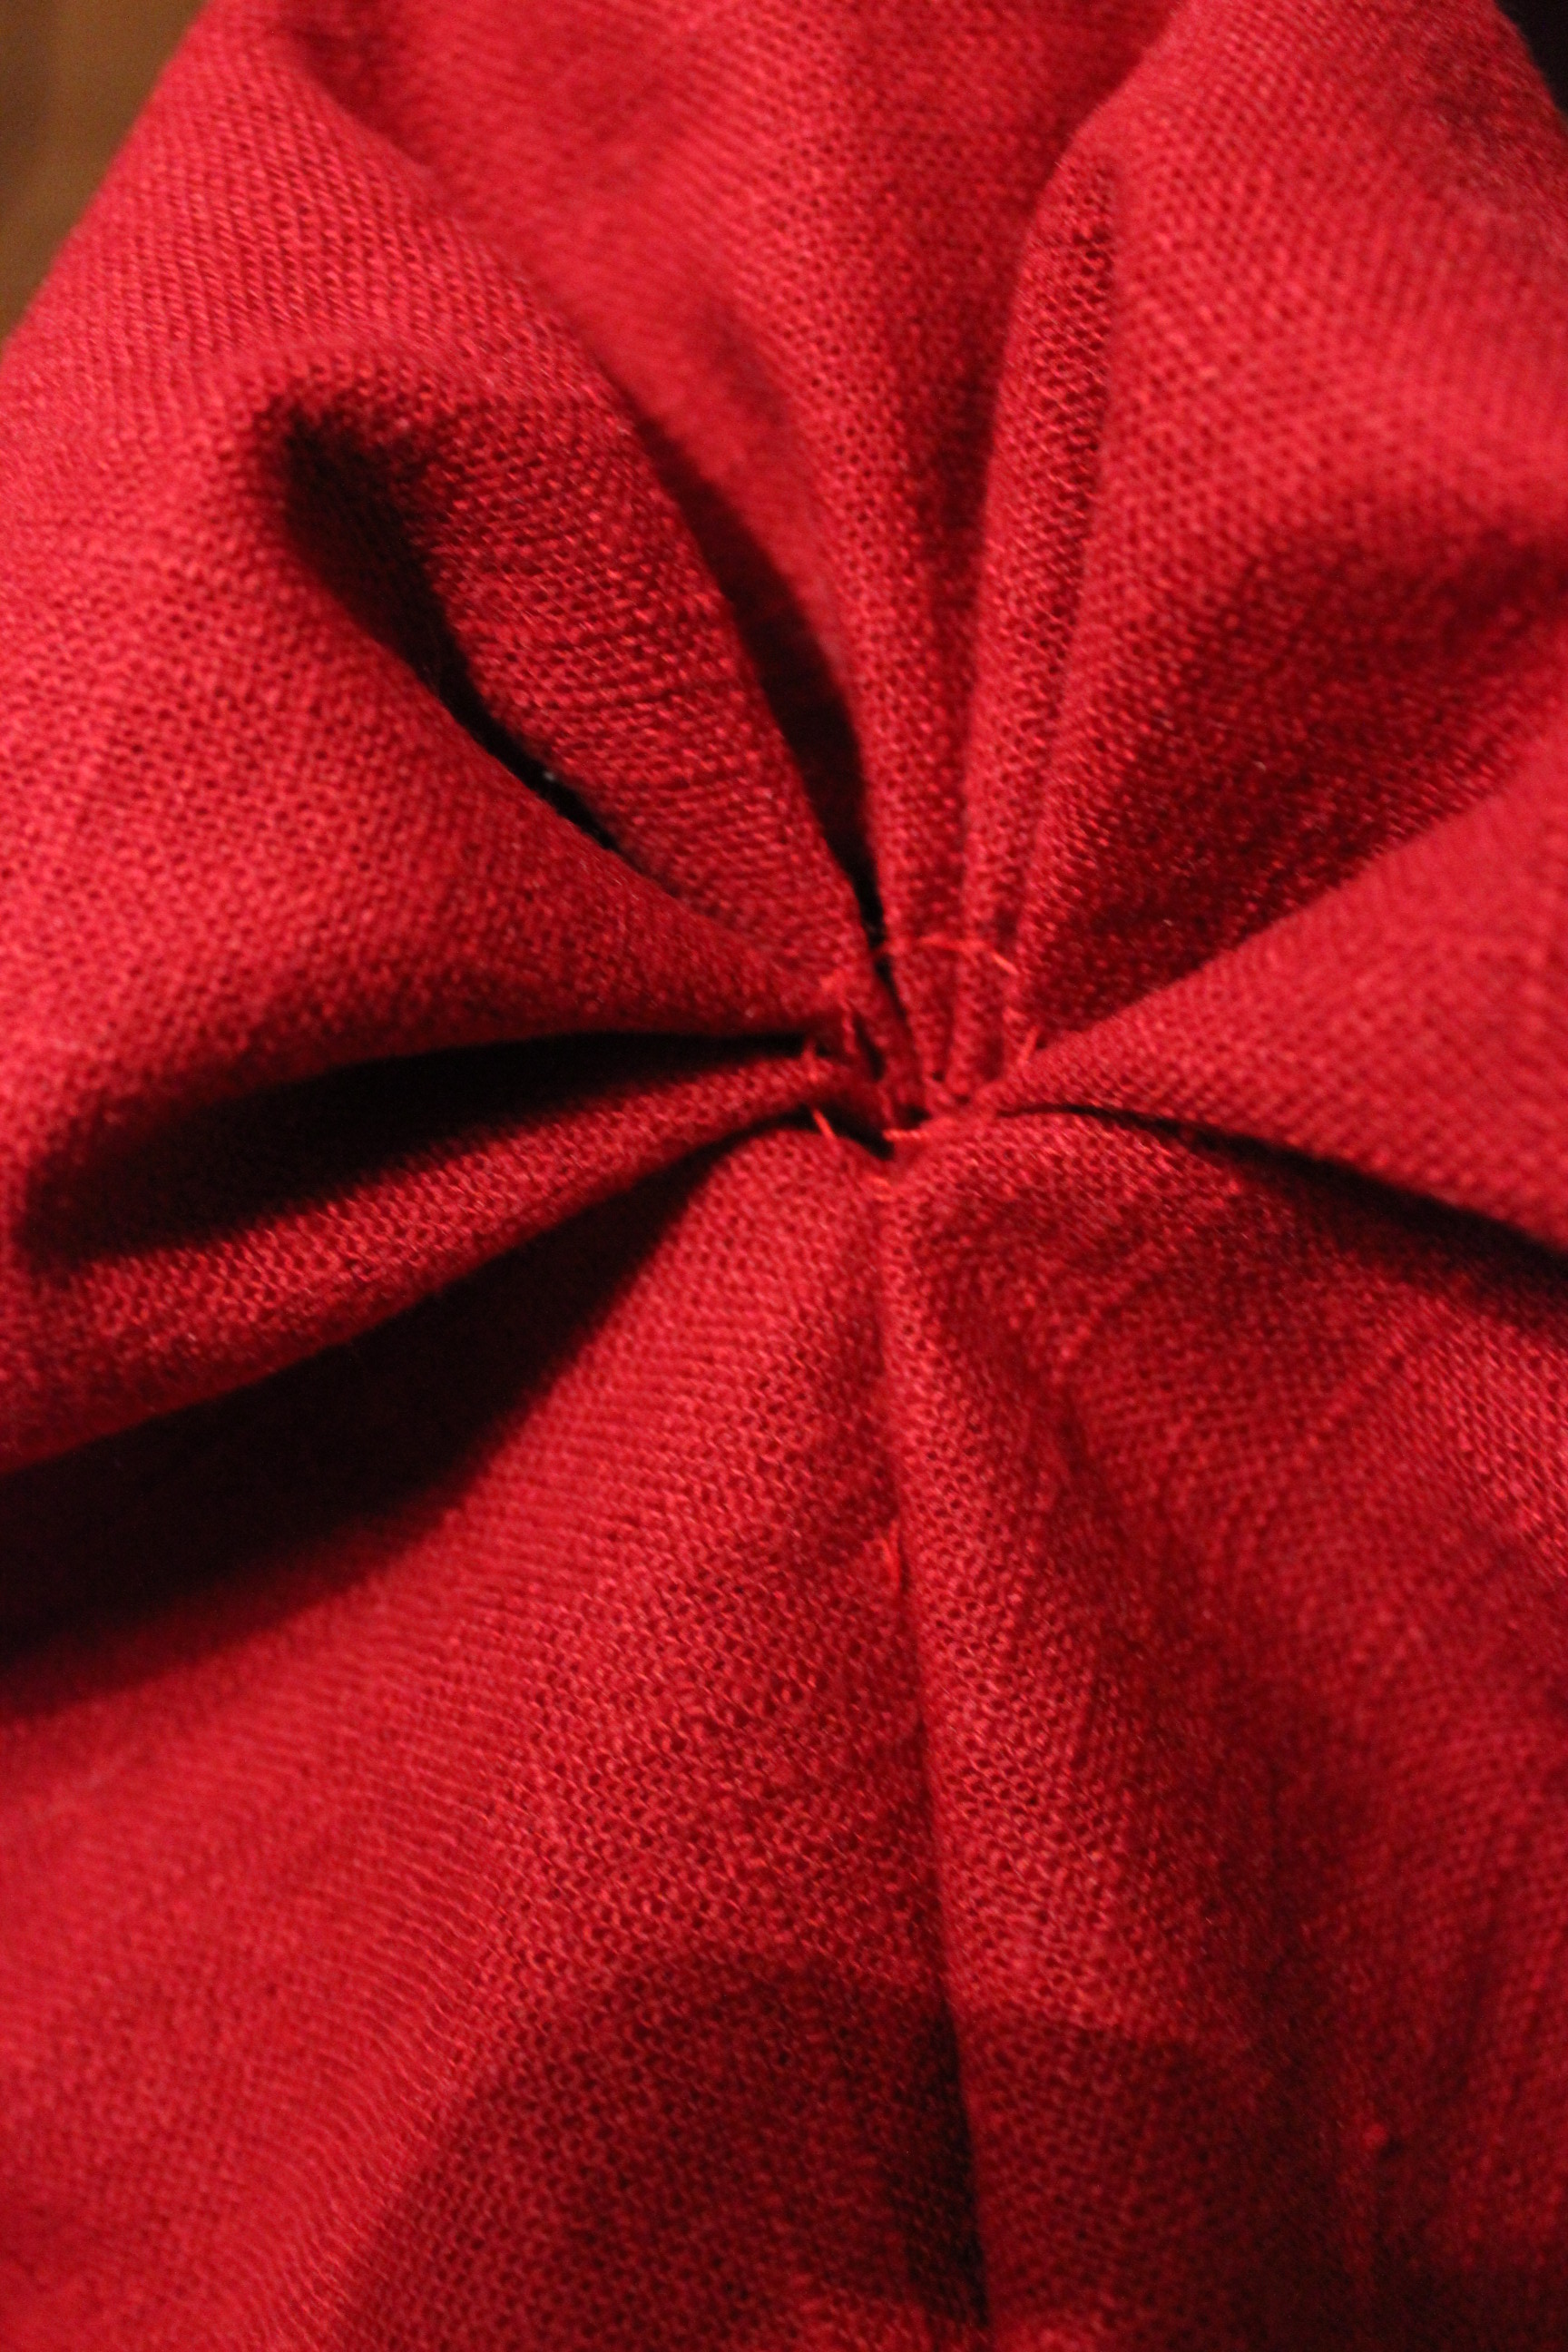
Then I made a running stitch and gathered the top to be set in the waistband.
To get the oval shape on the panniers I attached rows of ribbons to be tied horizontal across the hoops.
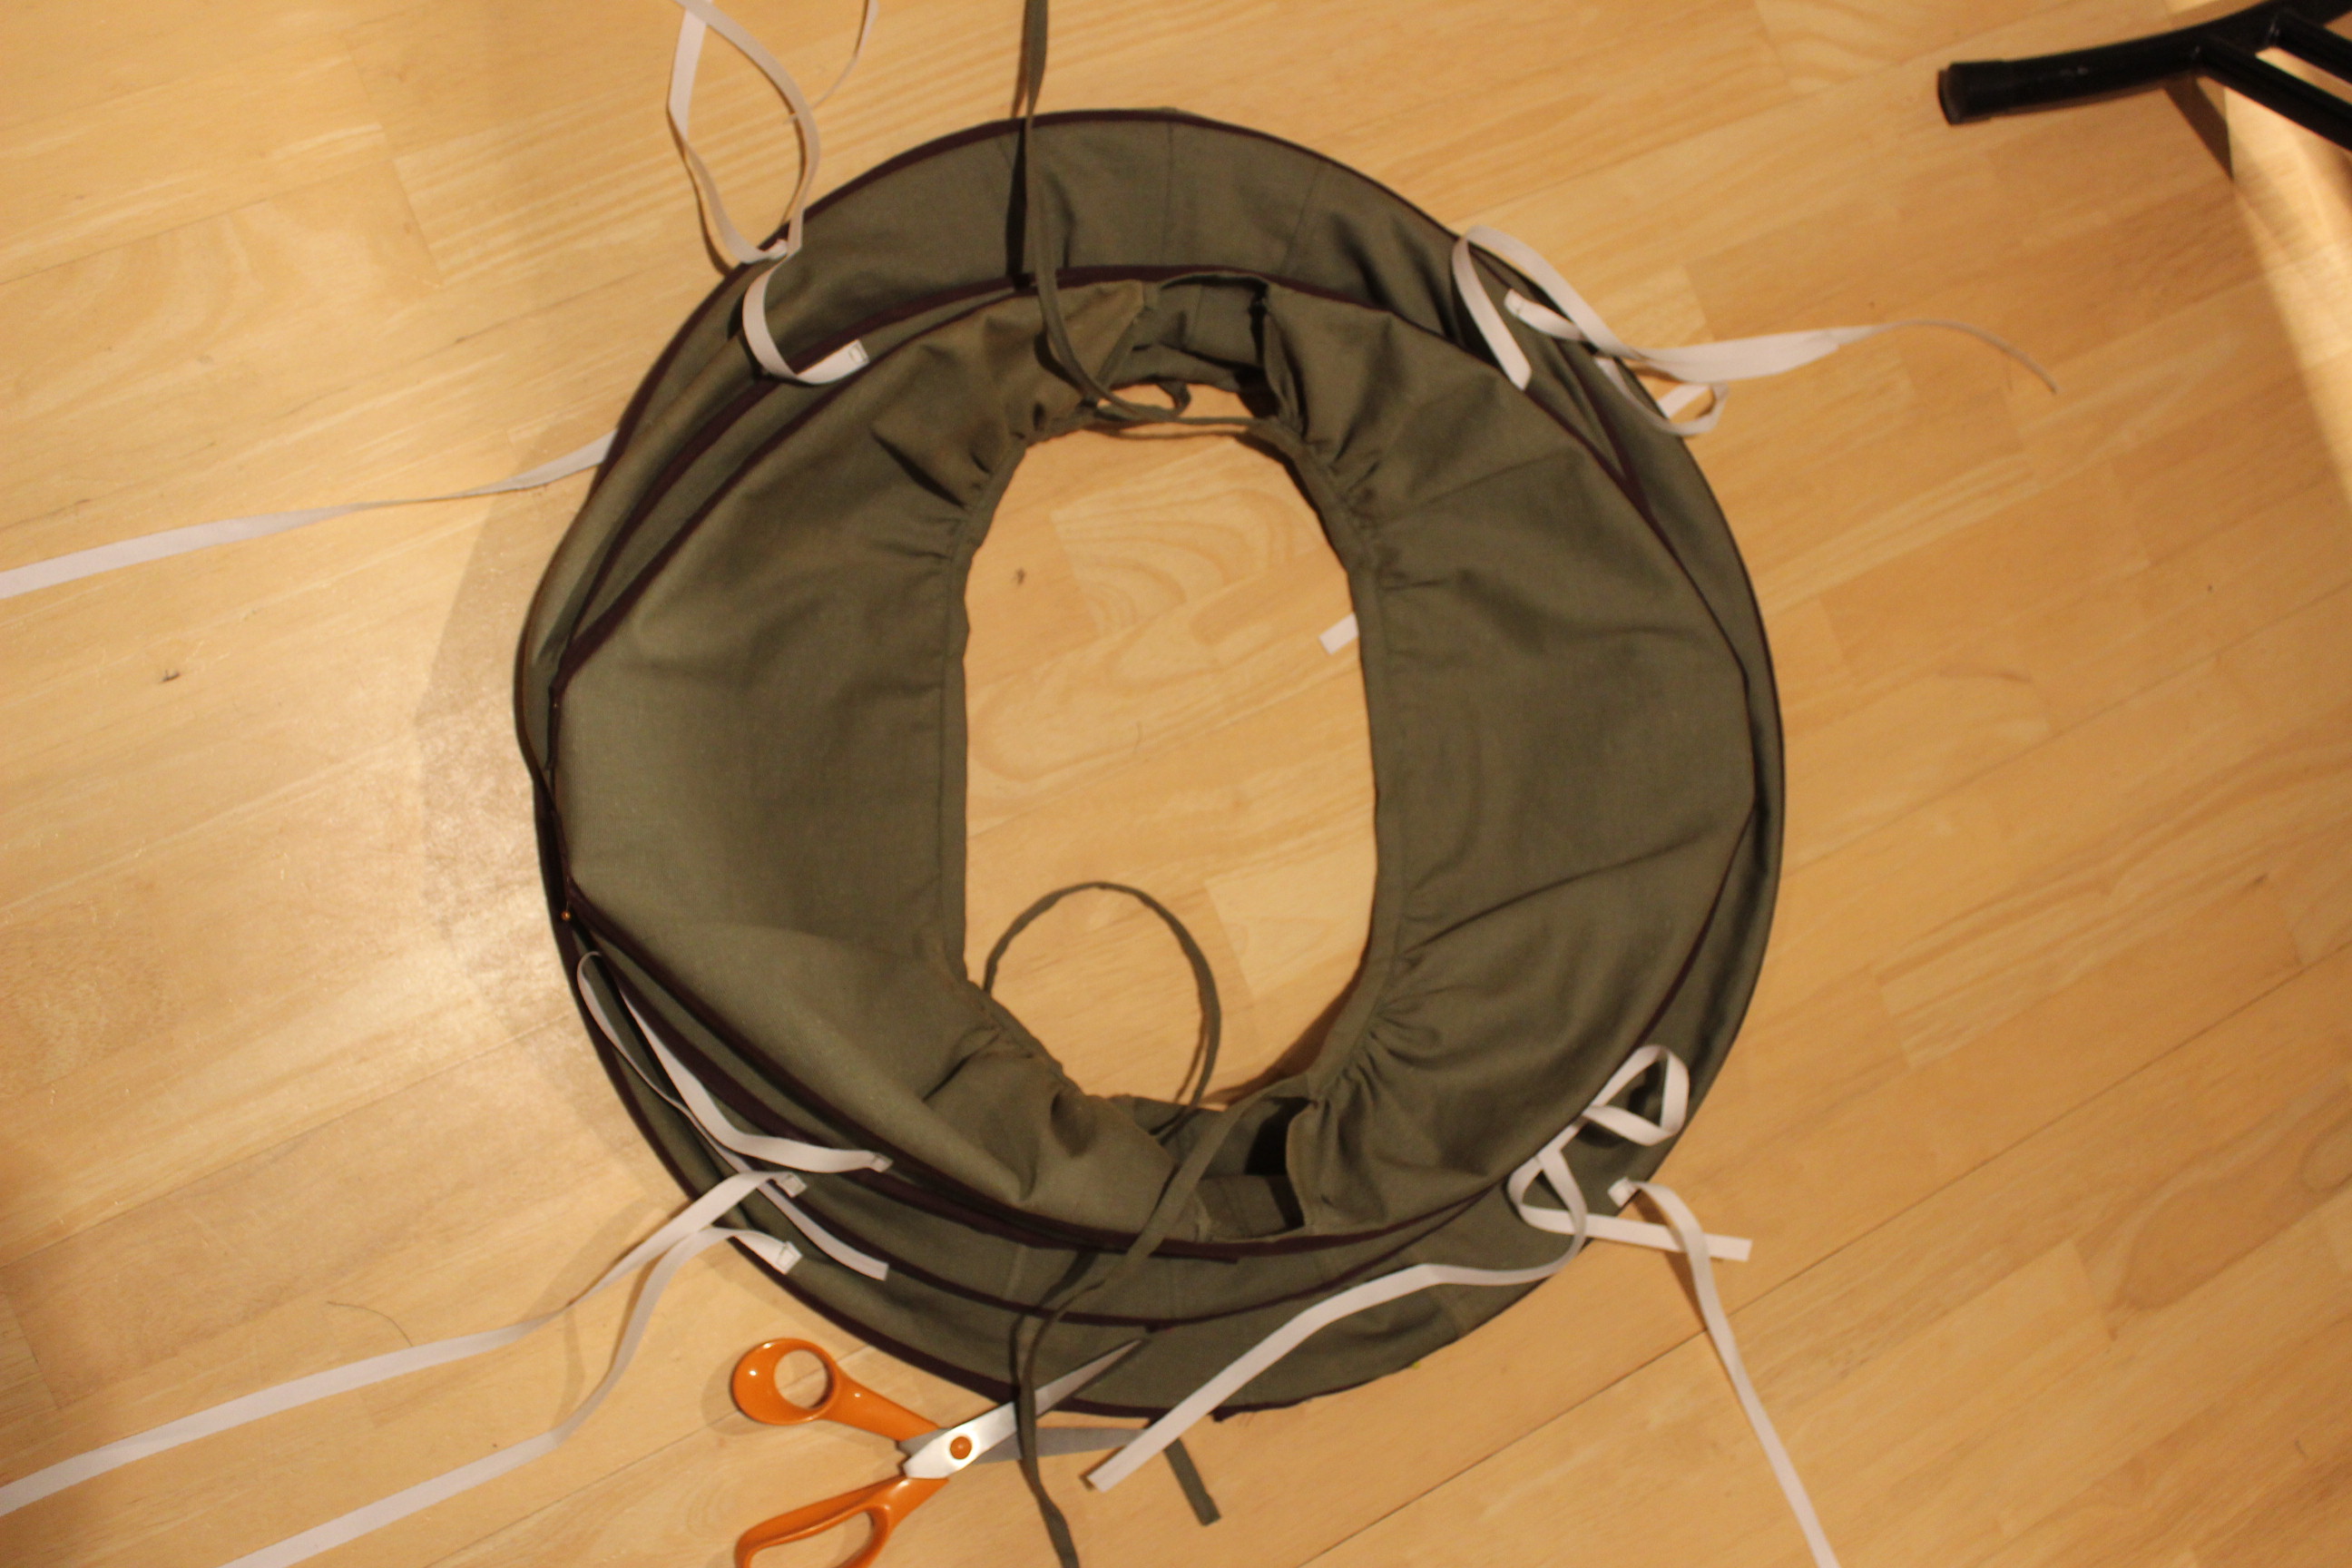
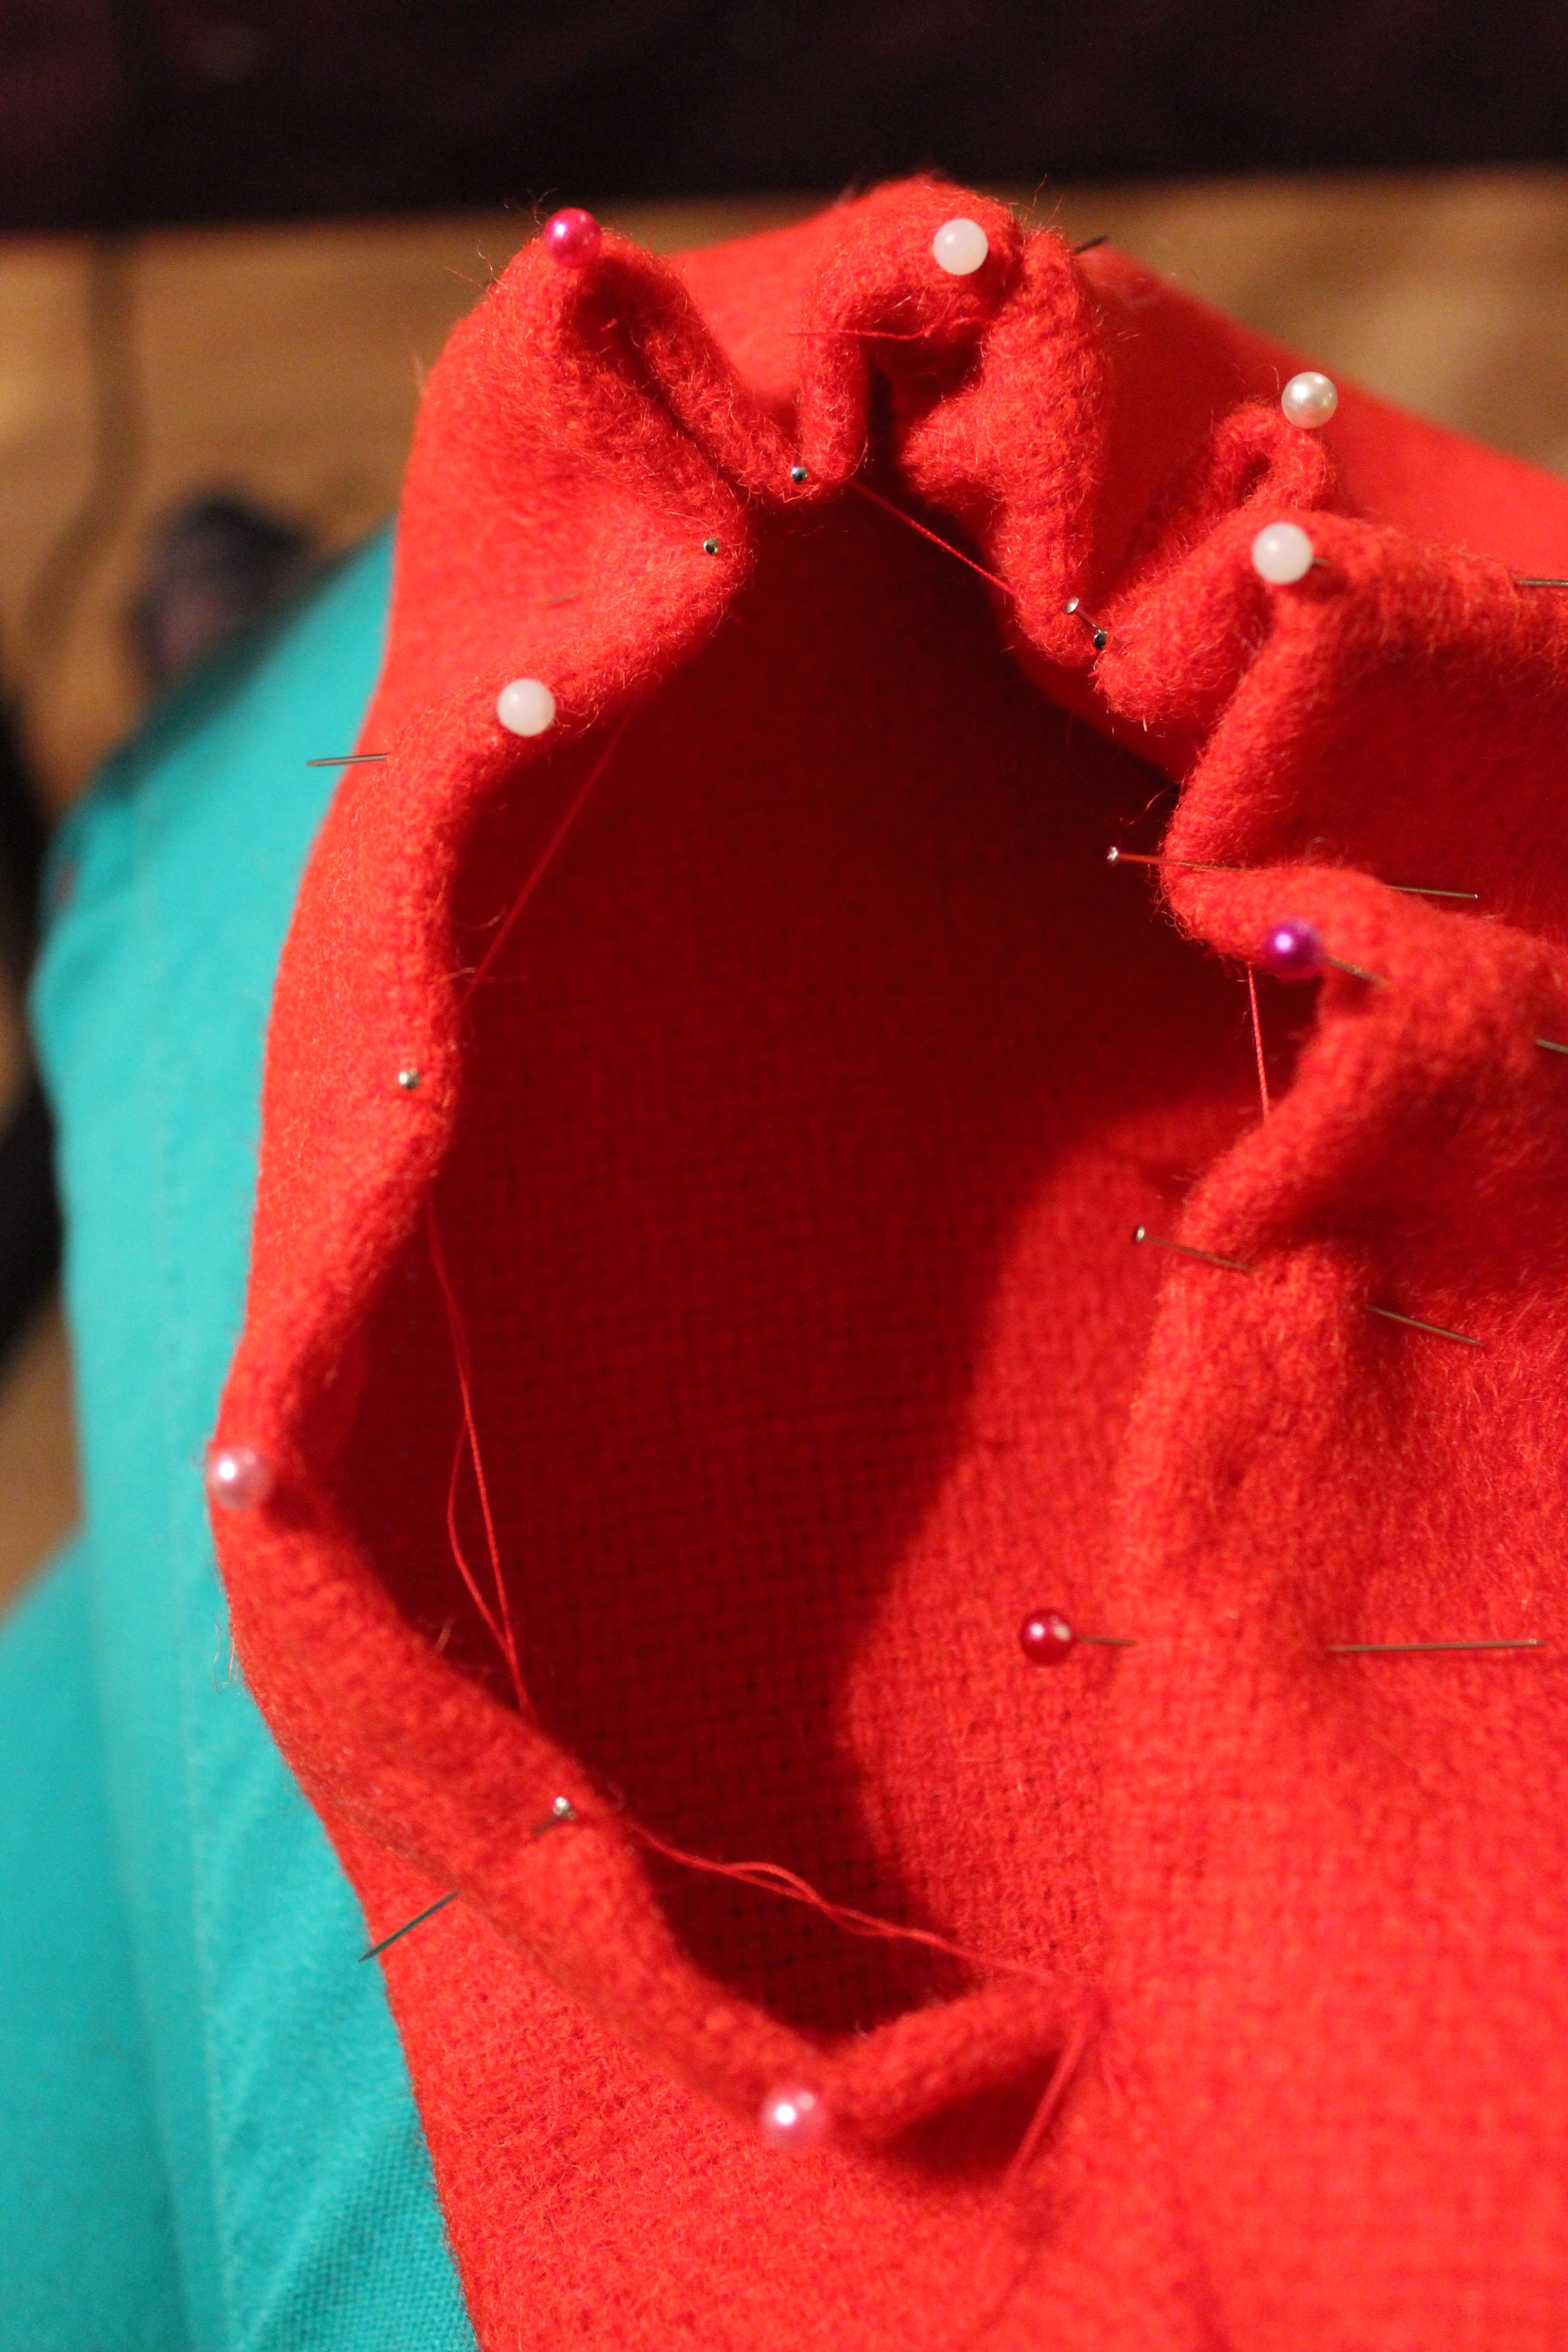
 Inside of the panniers before inserting the boning.
I used my regular go-to metal pipe cleaners for boning.  The shape of the panniers whit the bones are somewhat circular…
And the edges of the top most bones makes a slight worrisome edge.
Finished in one night, yay!
Eh, no….


Once tied together the top hoop made the worst shape ever.
Darn it.
How to solve this?
I posted a quick question on my facebook page and in the HSM facebook group, and over night got lots of great suggestions.
Then I started experimenting.
I removed the diagonal bones at the top.
 Better, but a long way from perfect.
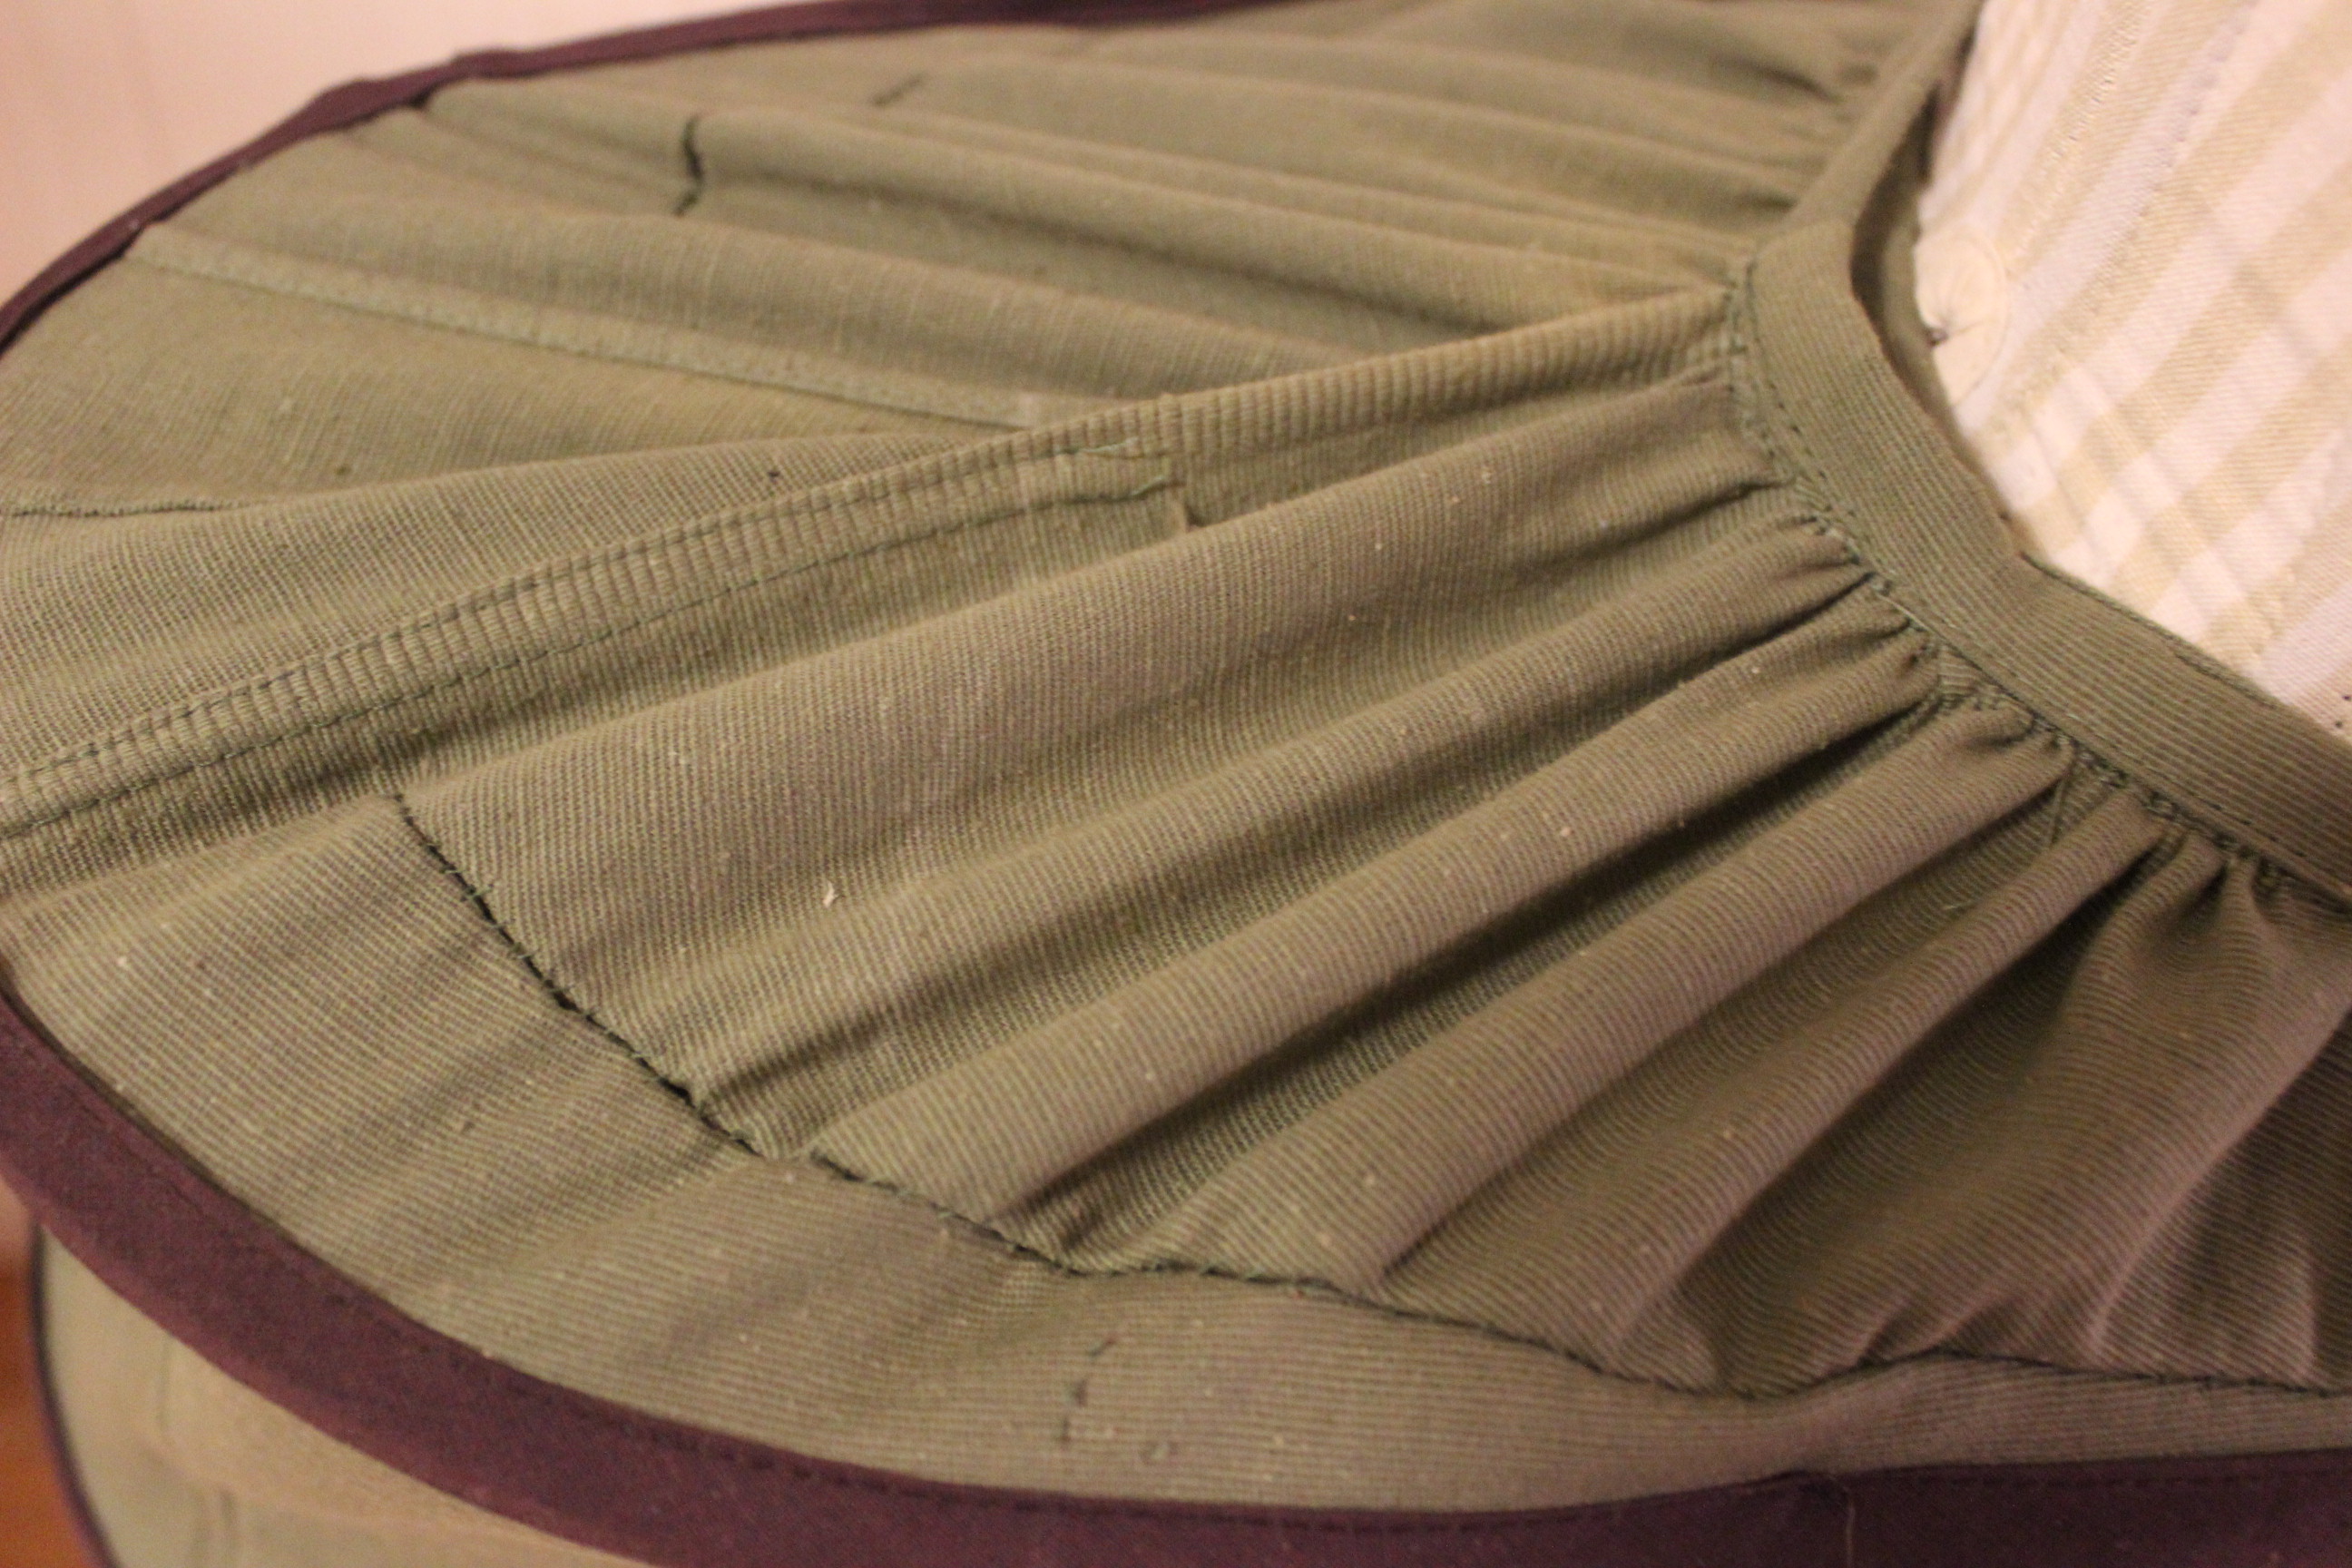
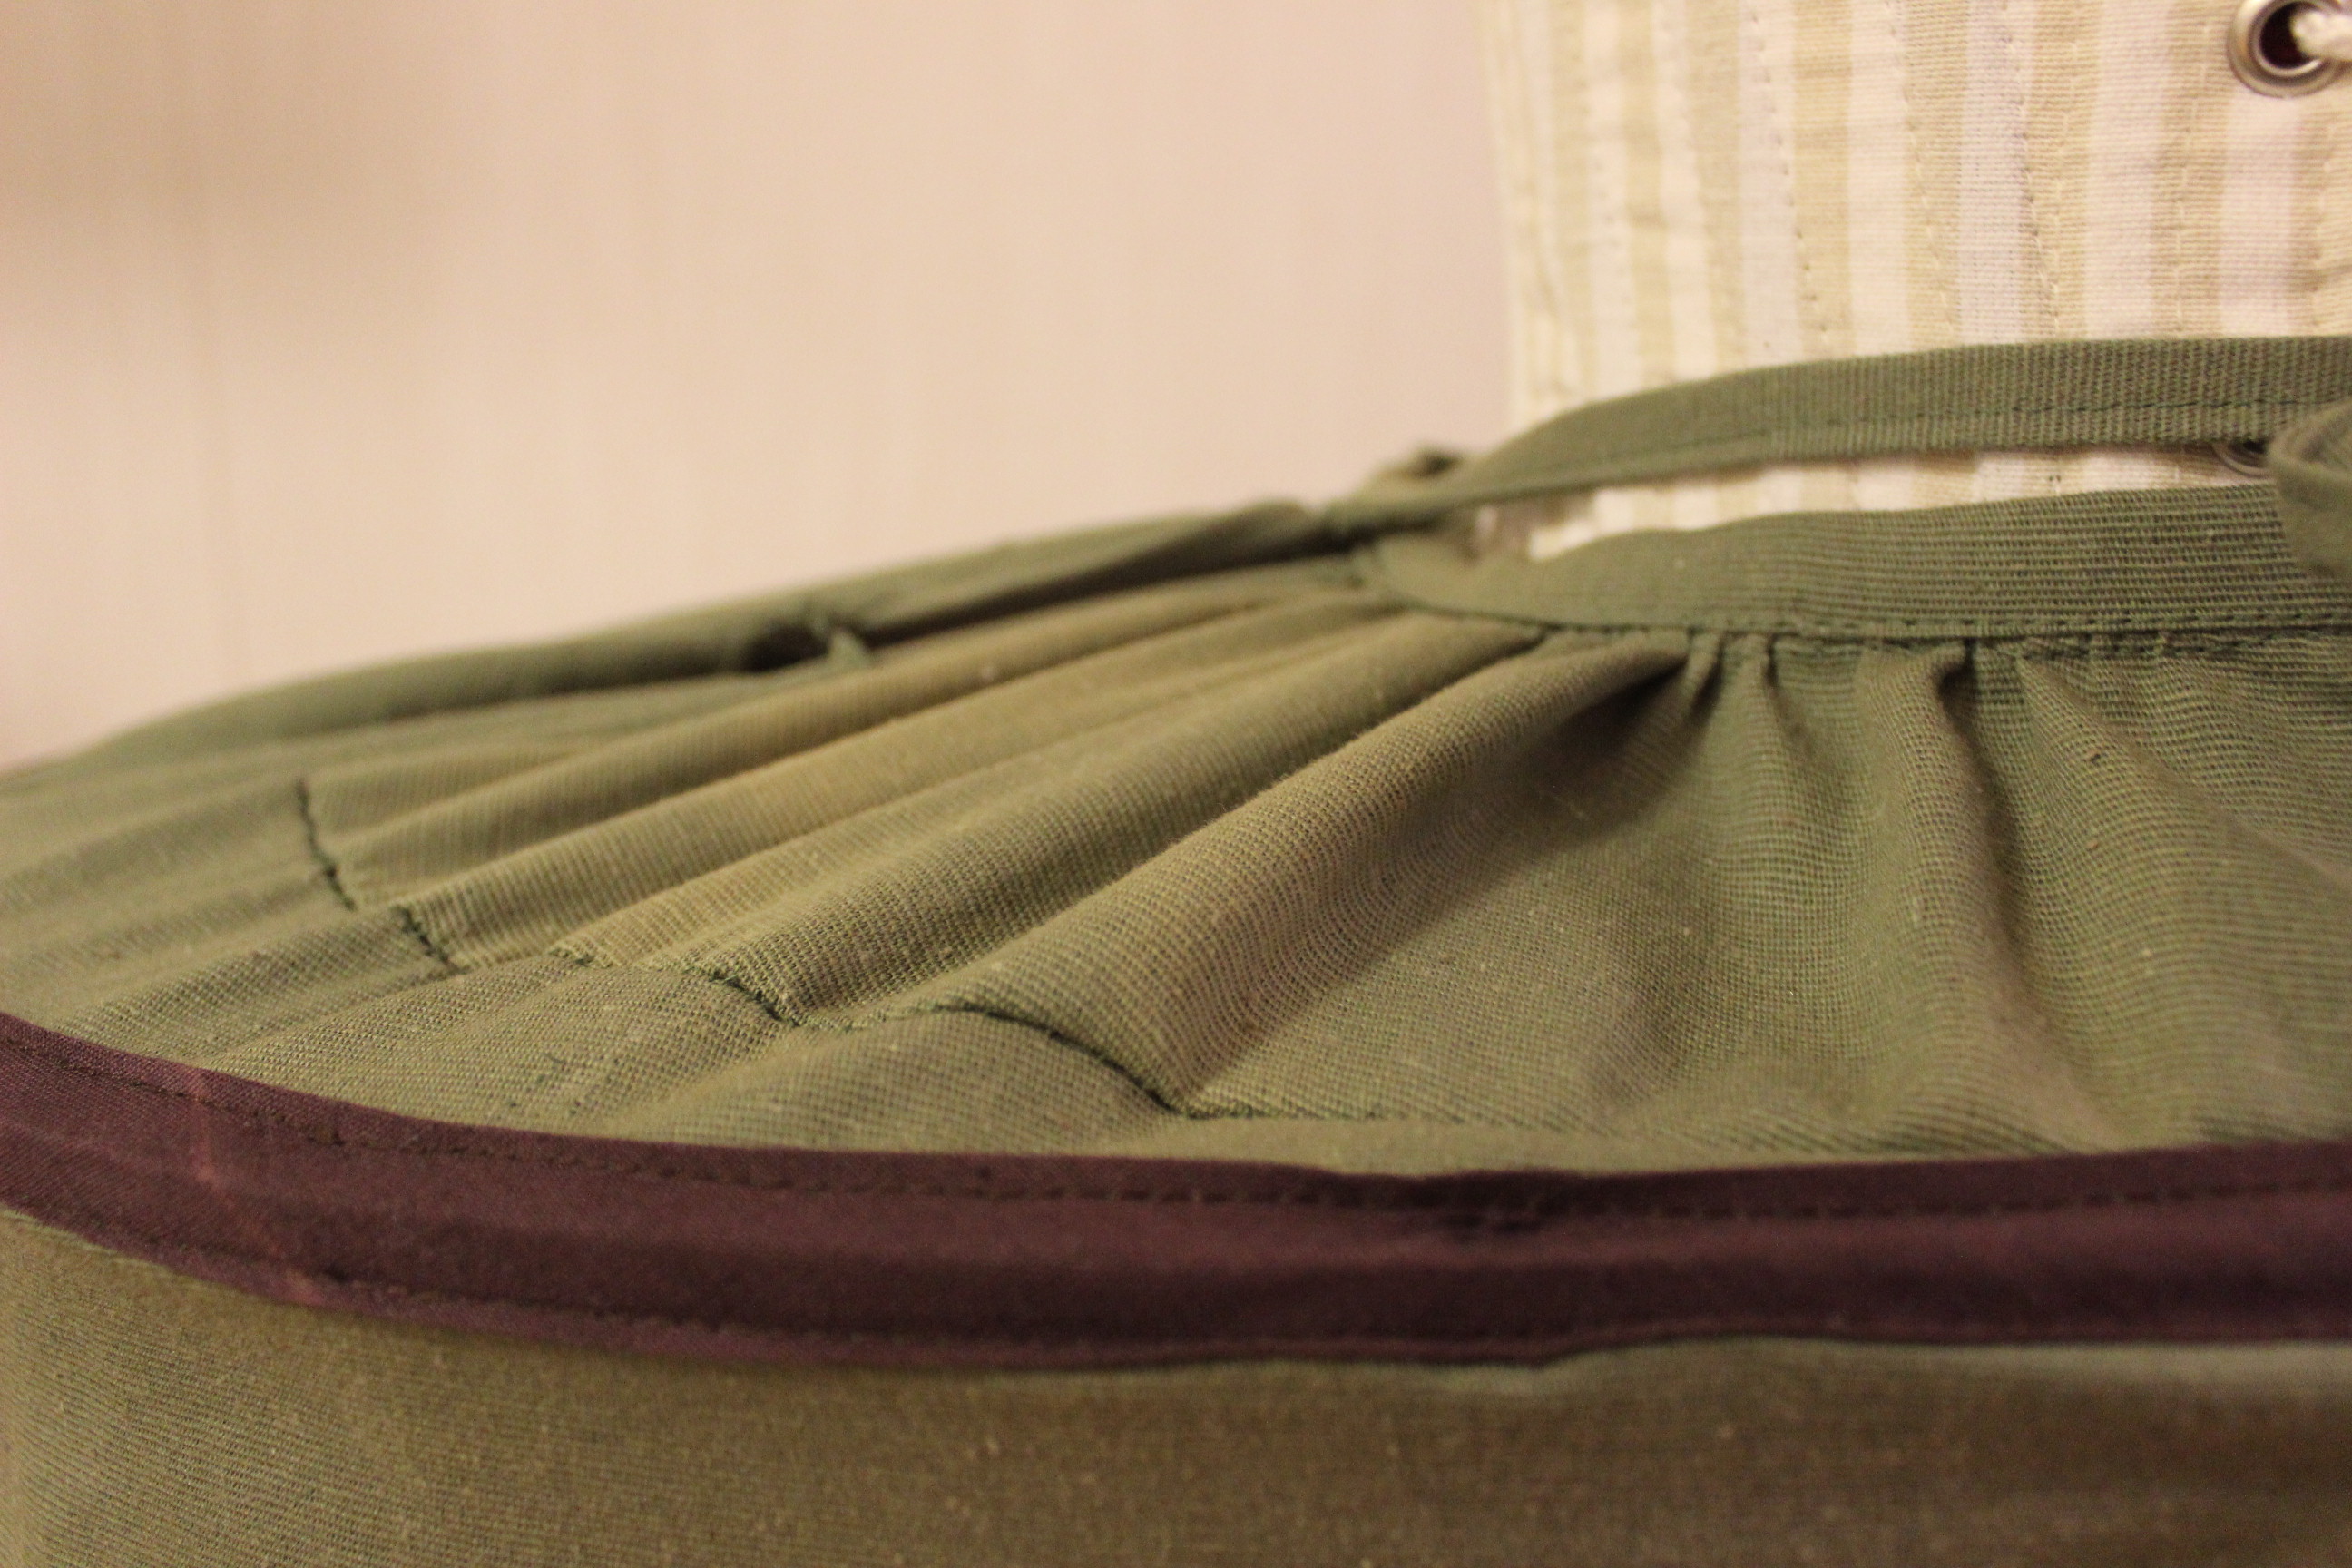
Once he bones was removed I noticed a excess of fabric at the top front and back. I played with pinning it into a giant dart thous removing the upper bones ability to push out.
 There was lots of width to take out.
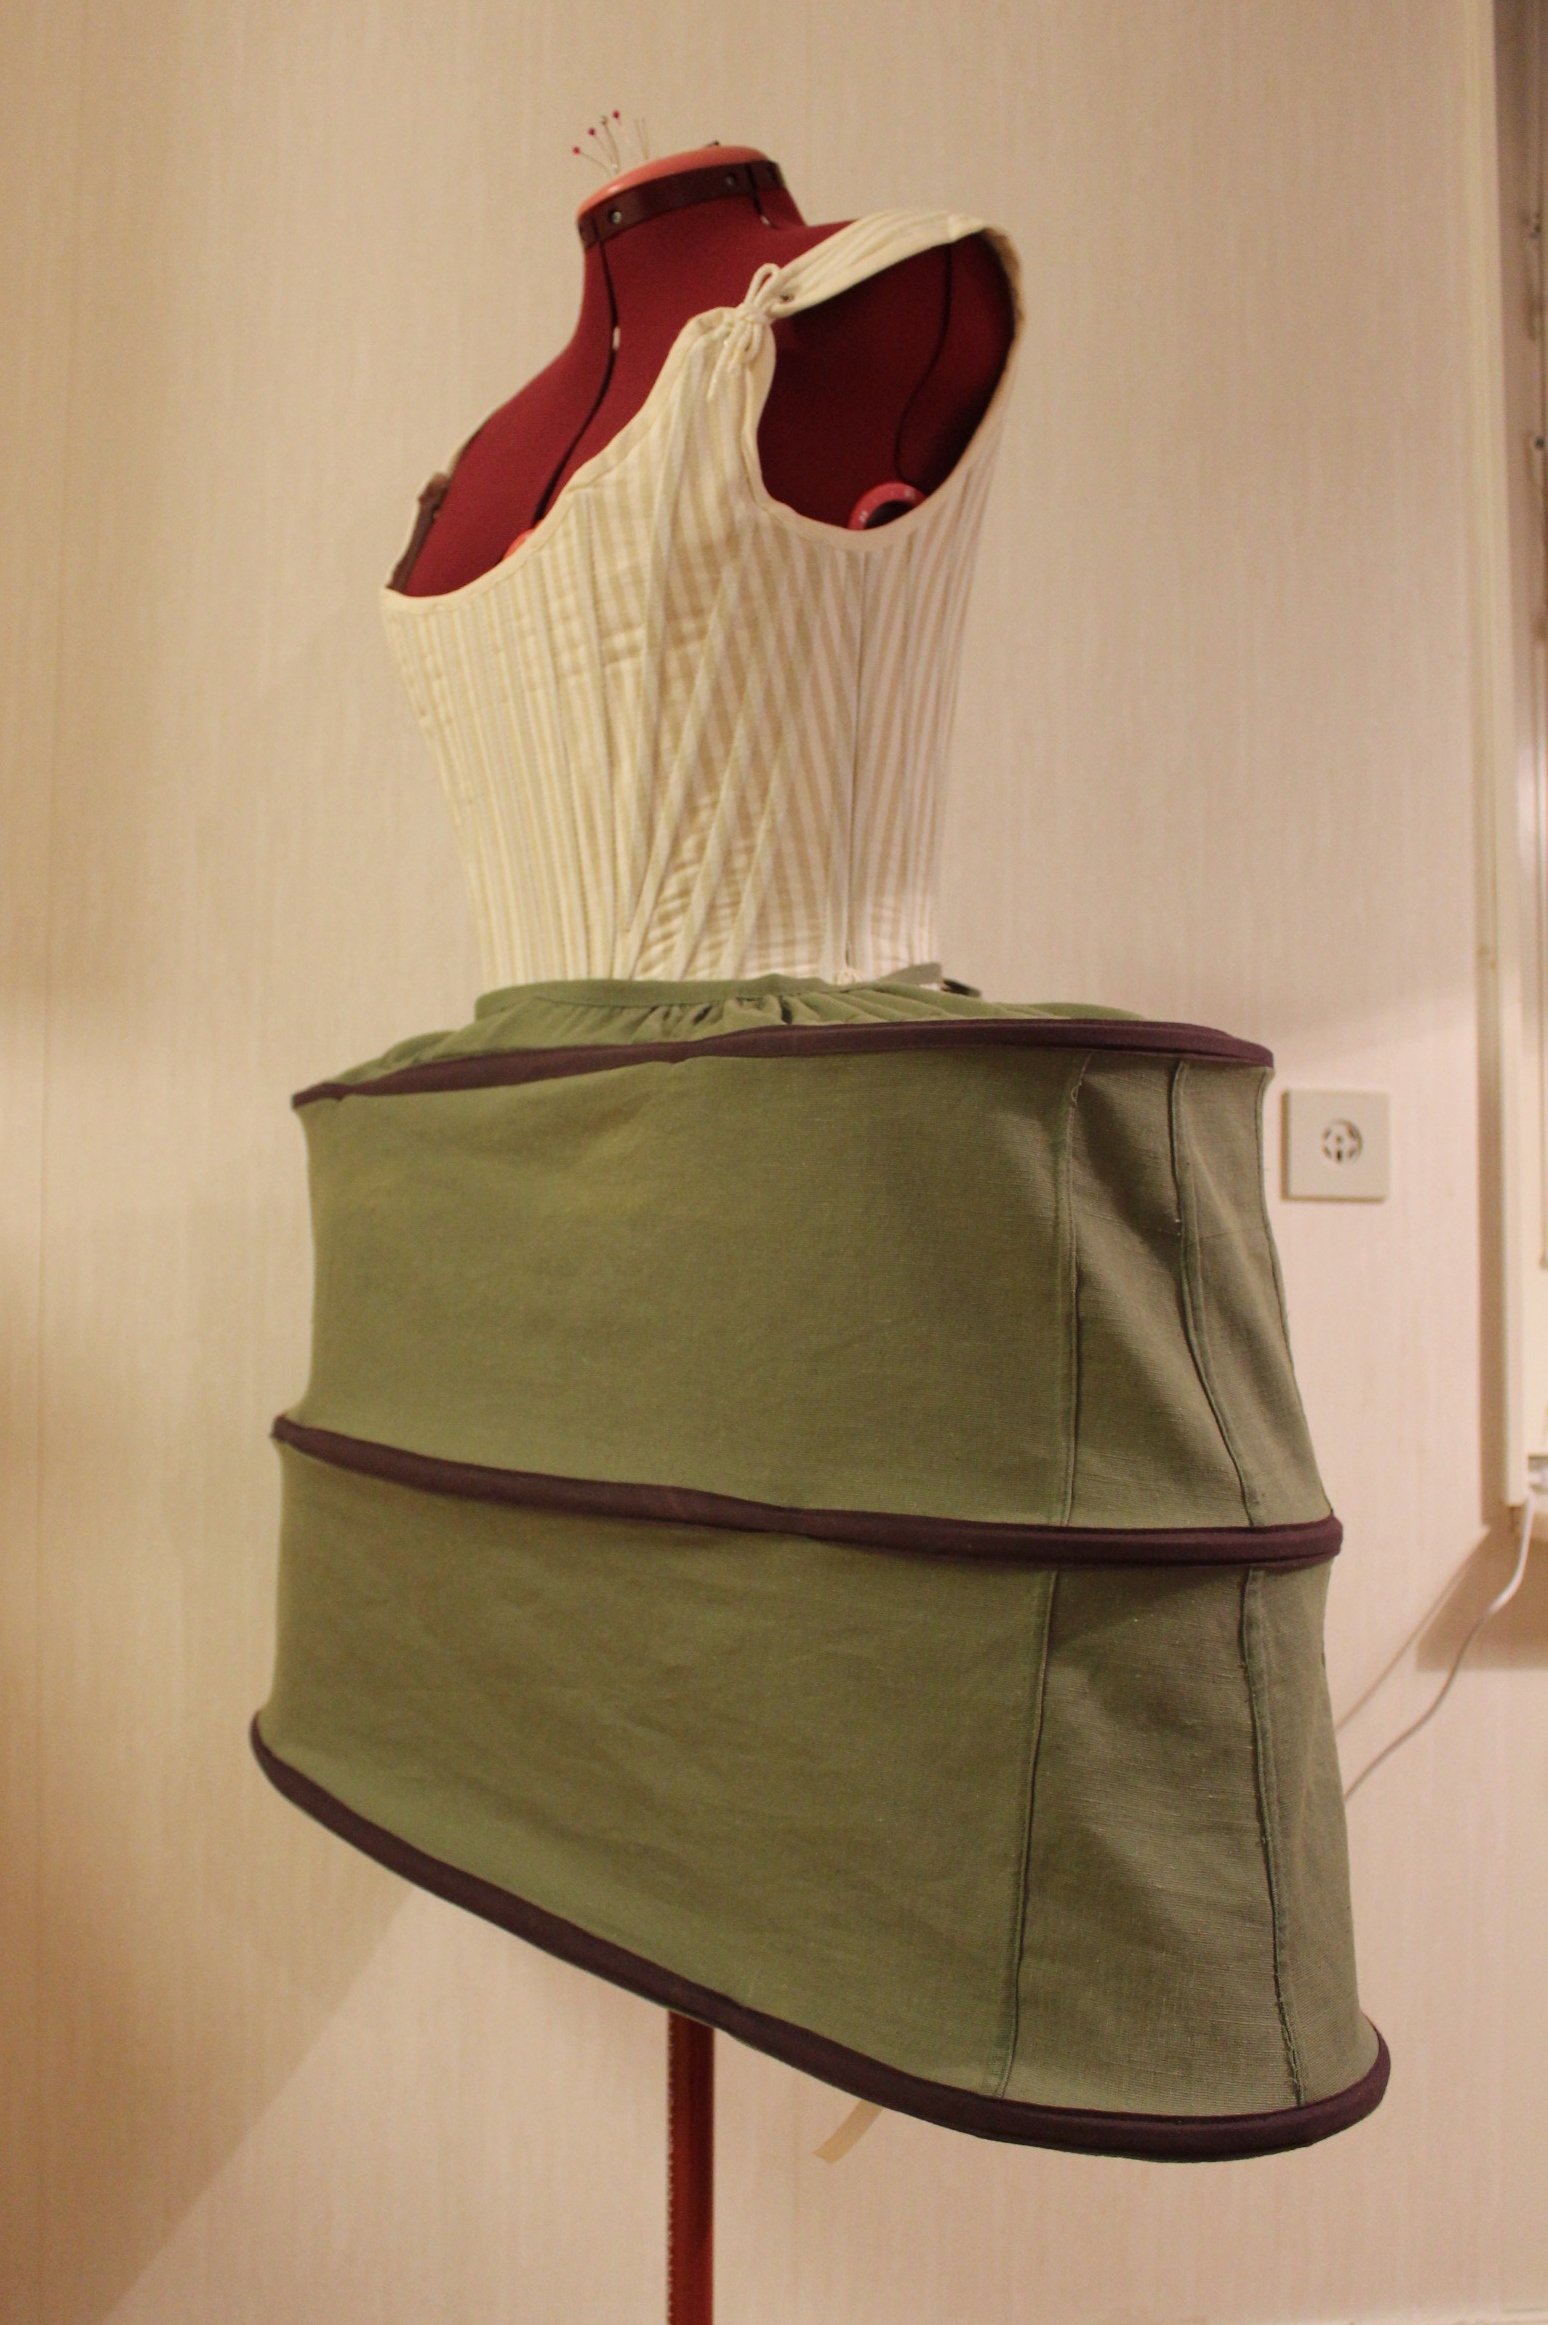
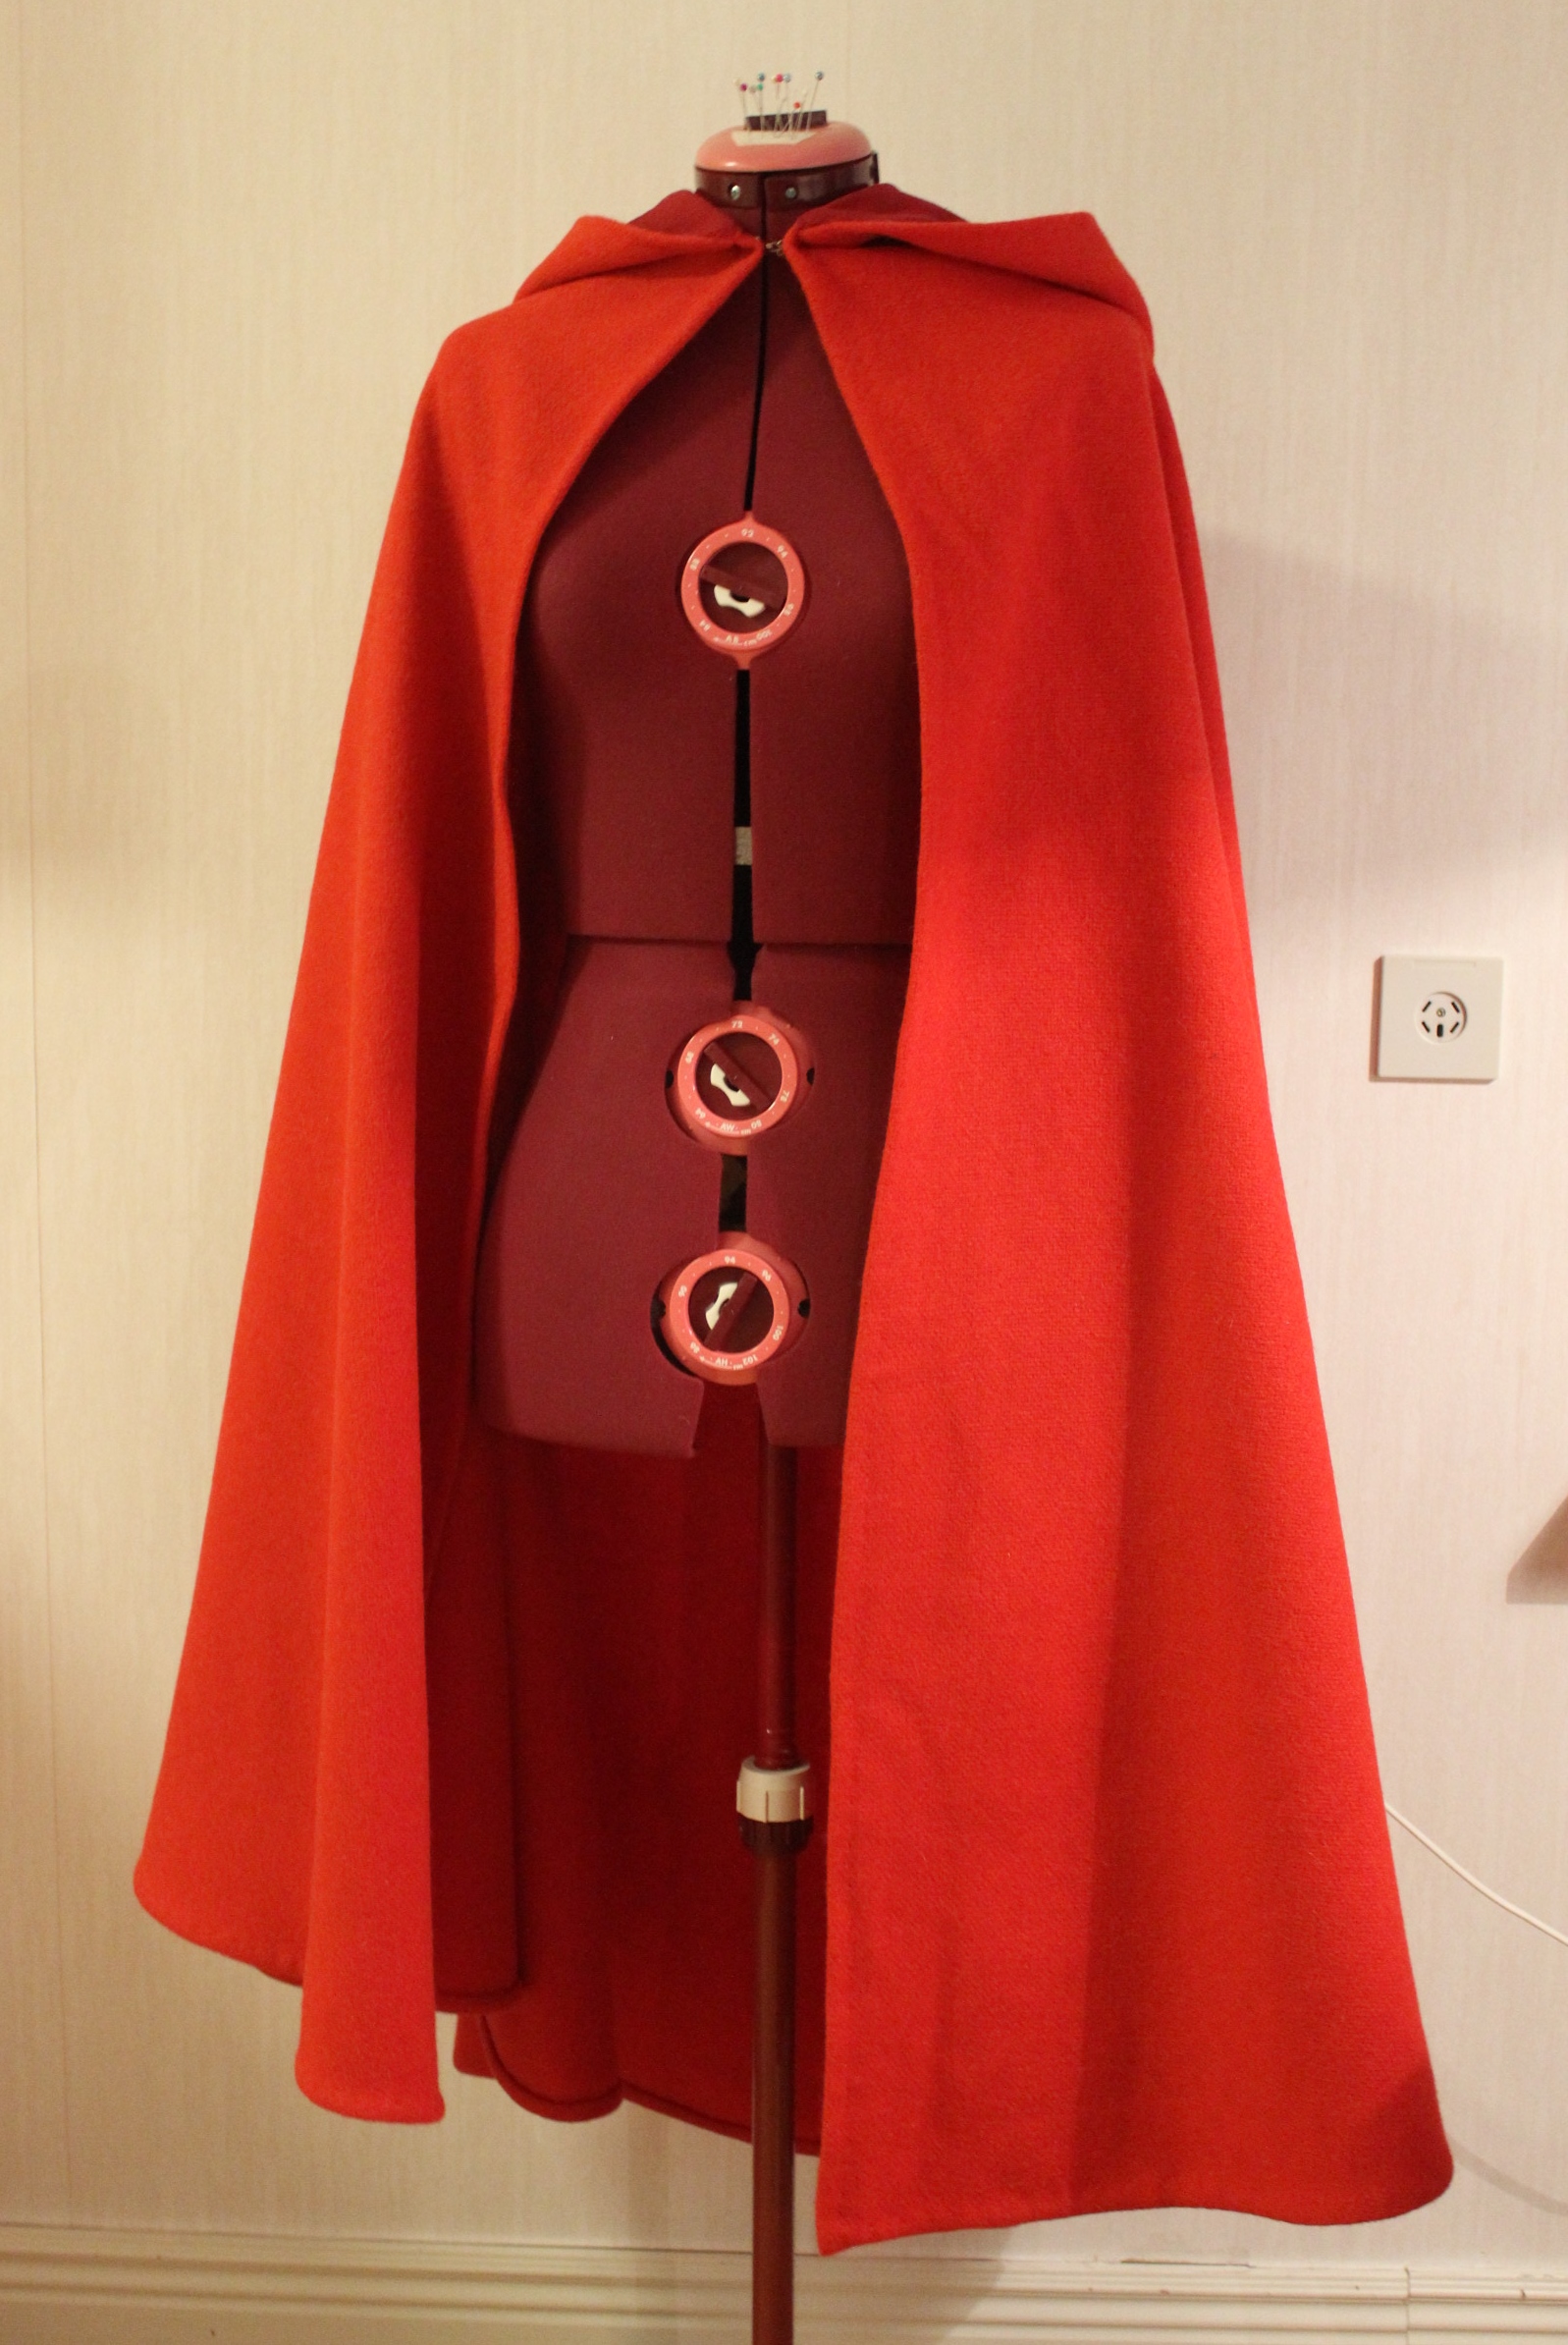
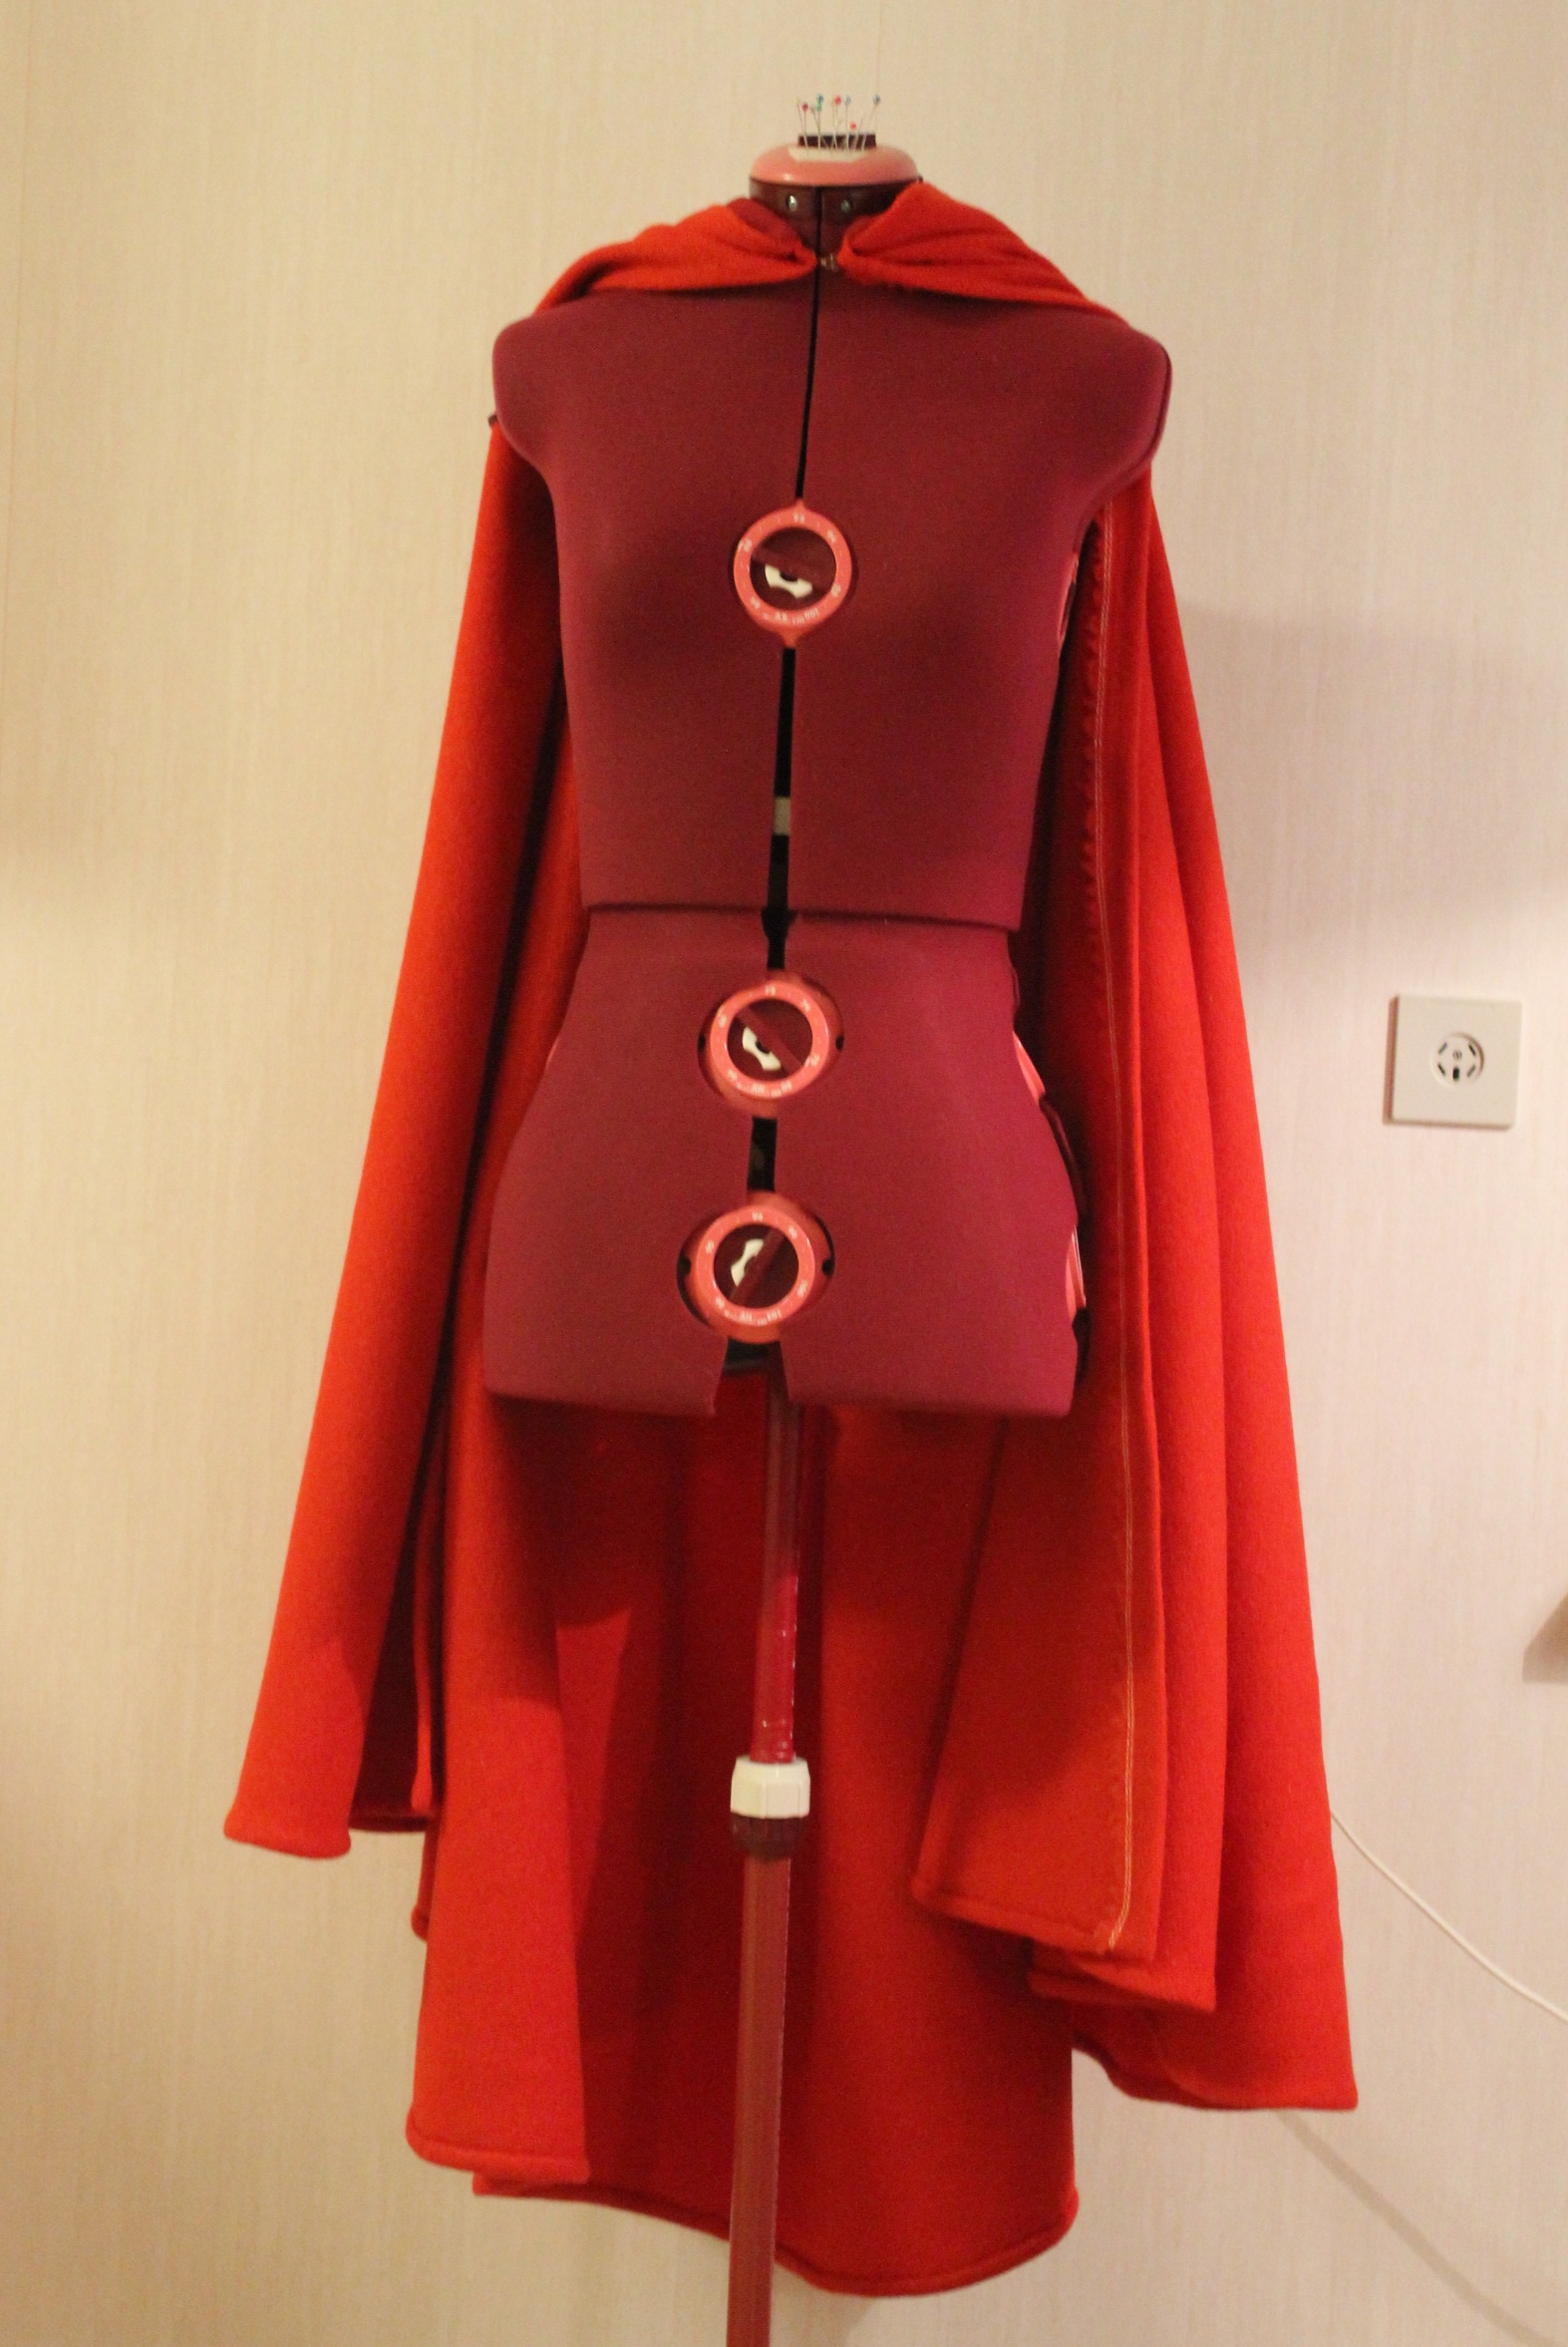
But once pinned in darts and tied into place the pannier keeps the desired shape.
The problem was I thought of the whole panniers like a big circle/crinoline tied into shape. But what I failed to grasp was that to keep the top hoop close to the body at front/back and wide at the sides I needed to shape the top of the fabric. – just like in Waughs pattern….
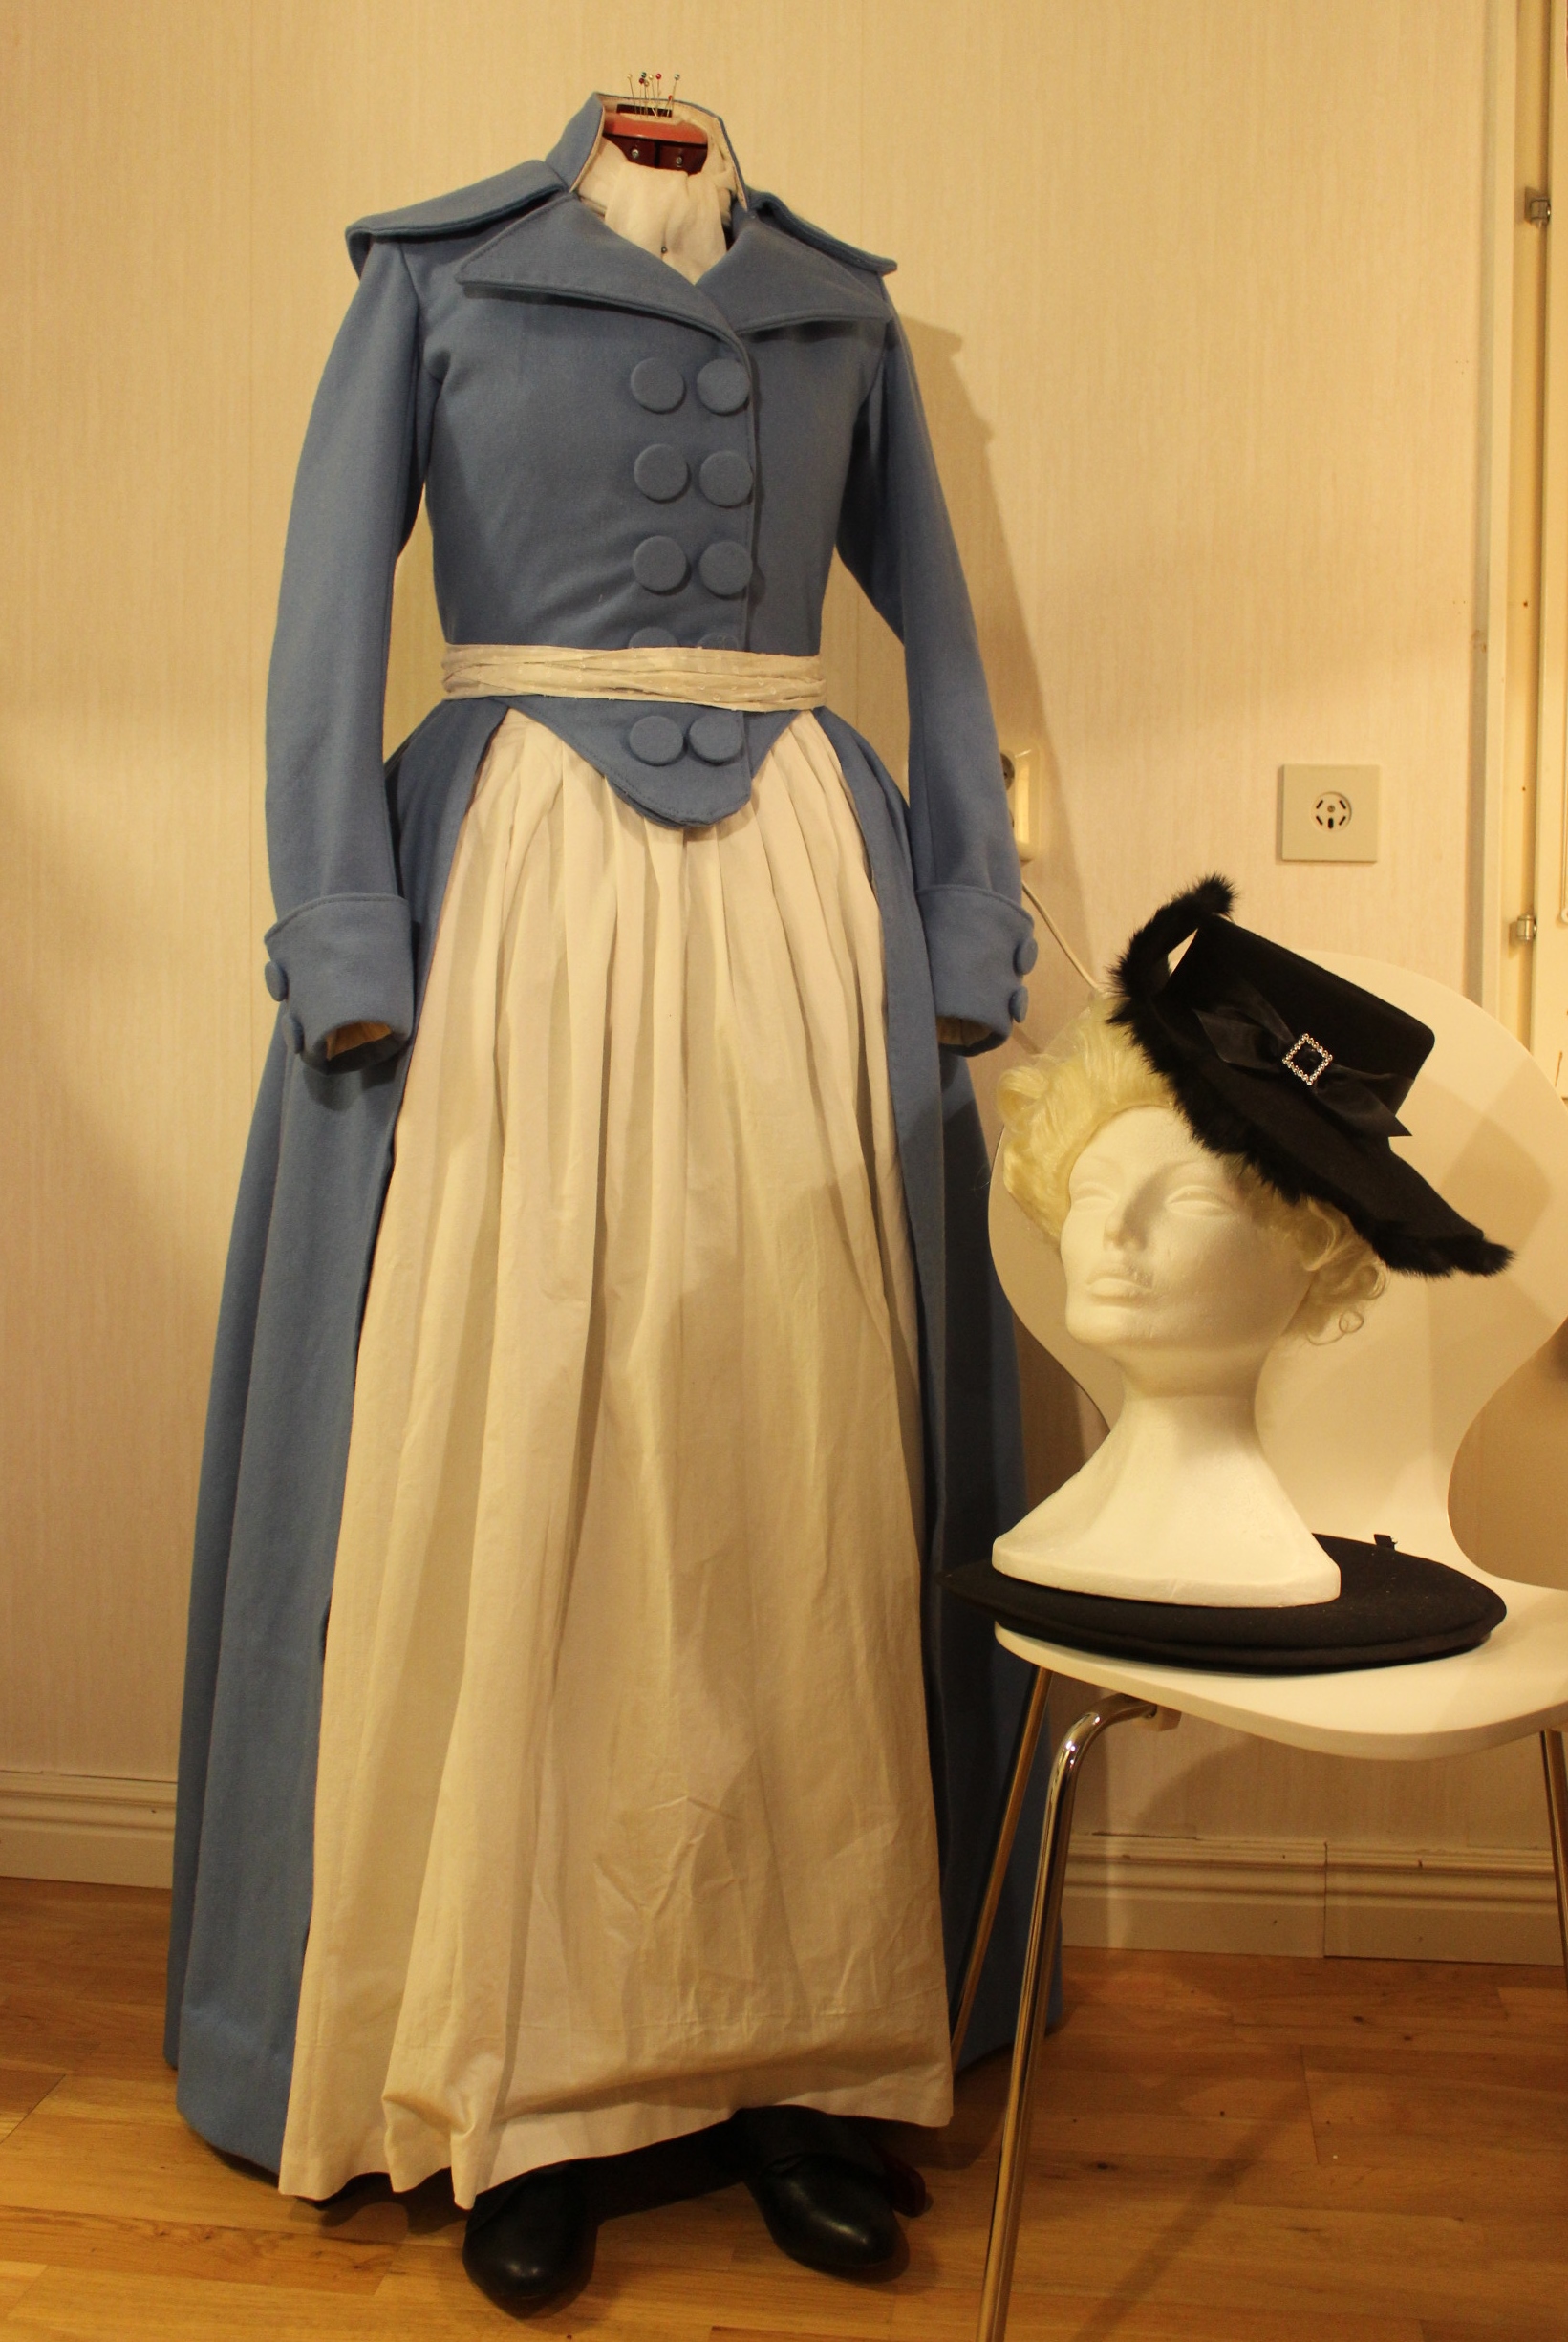
Once decisive on the actions on how to save and finish the panniers I also decided that the pale green color was a bot bland. So I turned it inside out and stitched the darts from the opposite side to give it a ore interesting look (including removing all the ties and re-attached them on the new inside). 
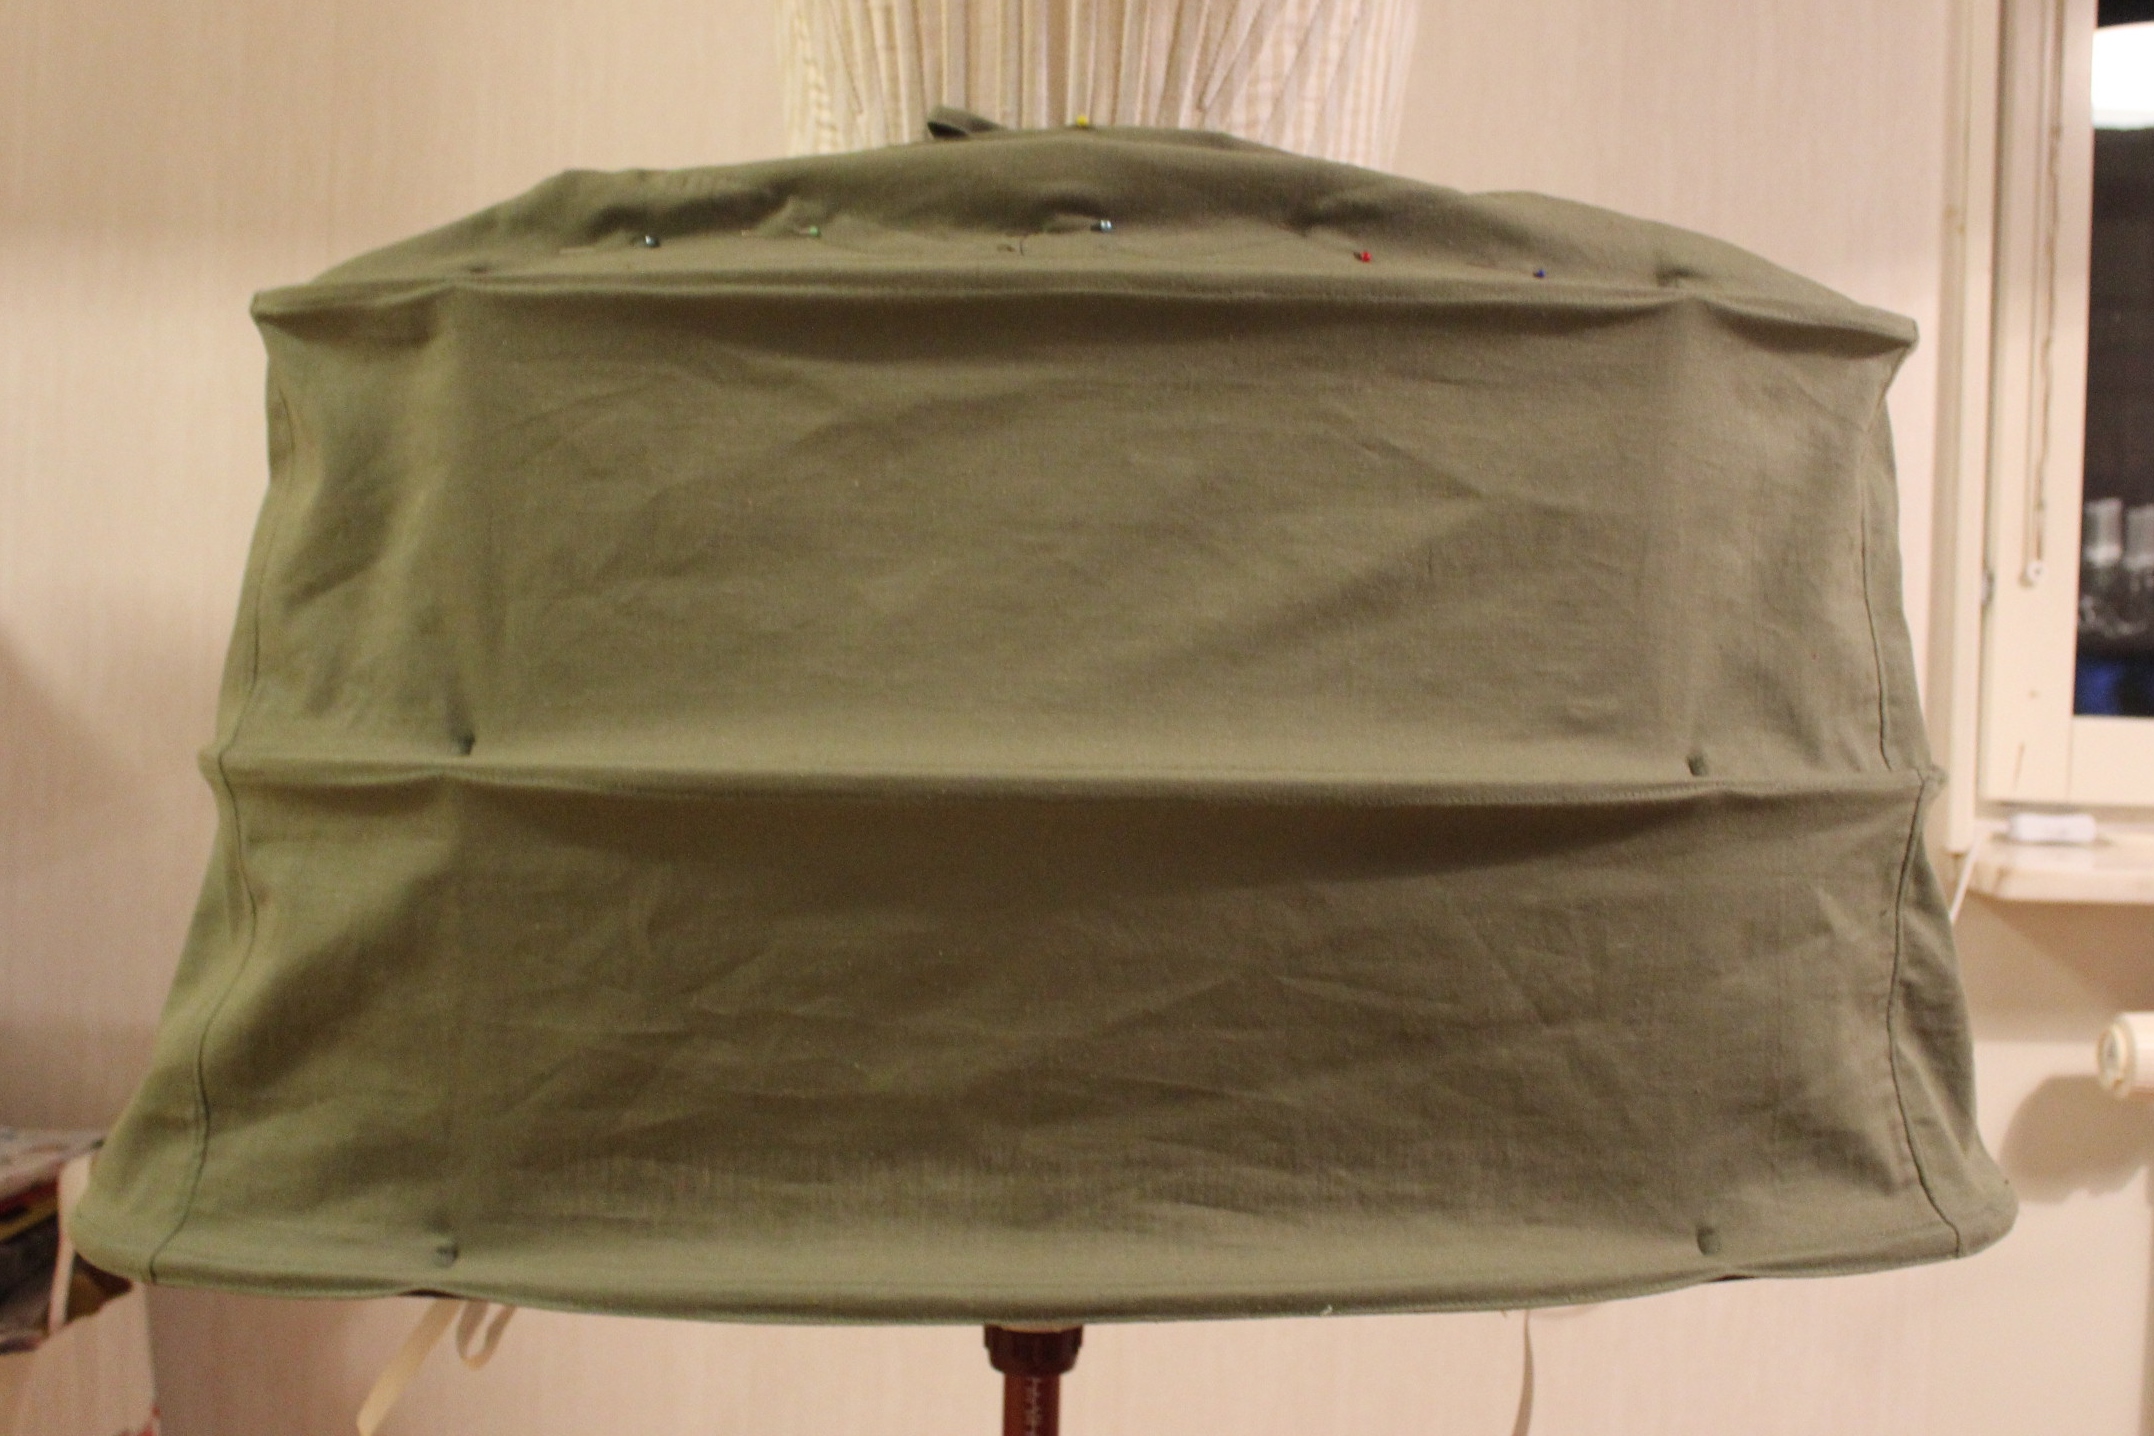
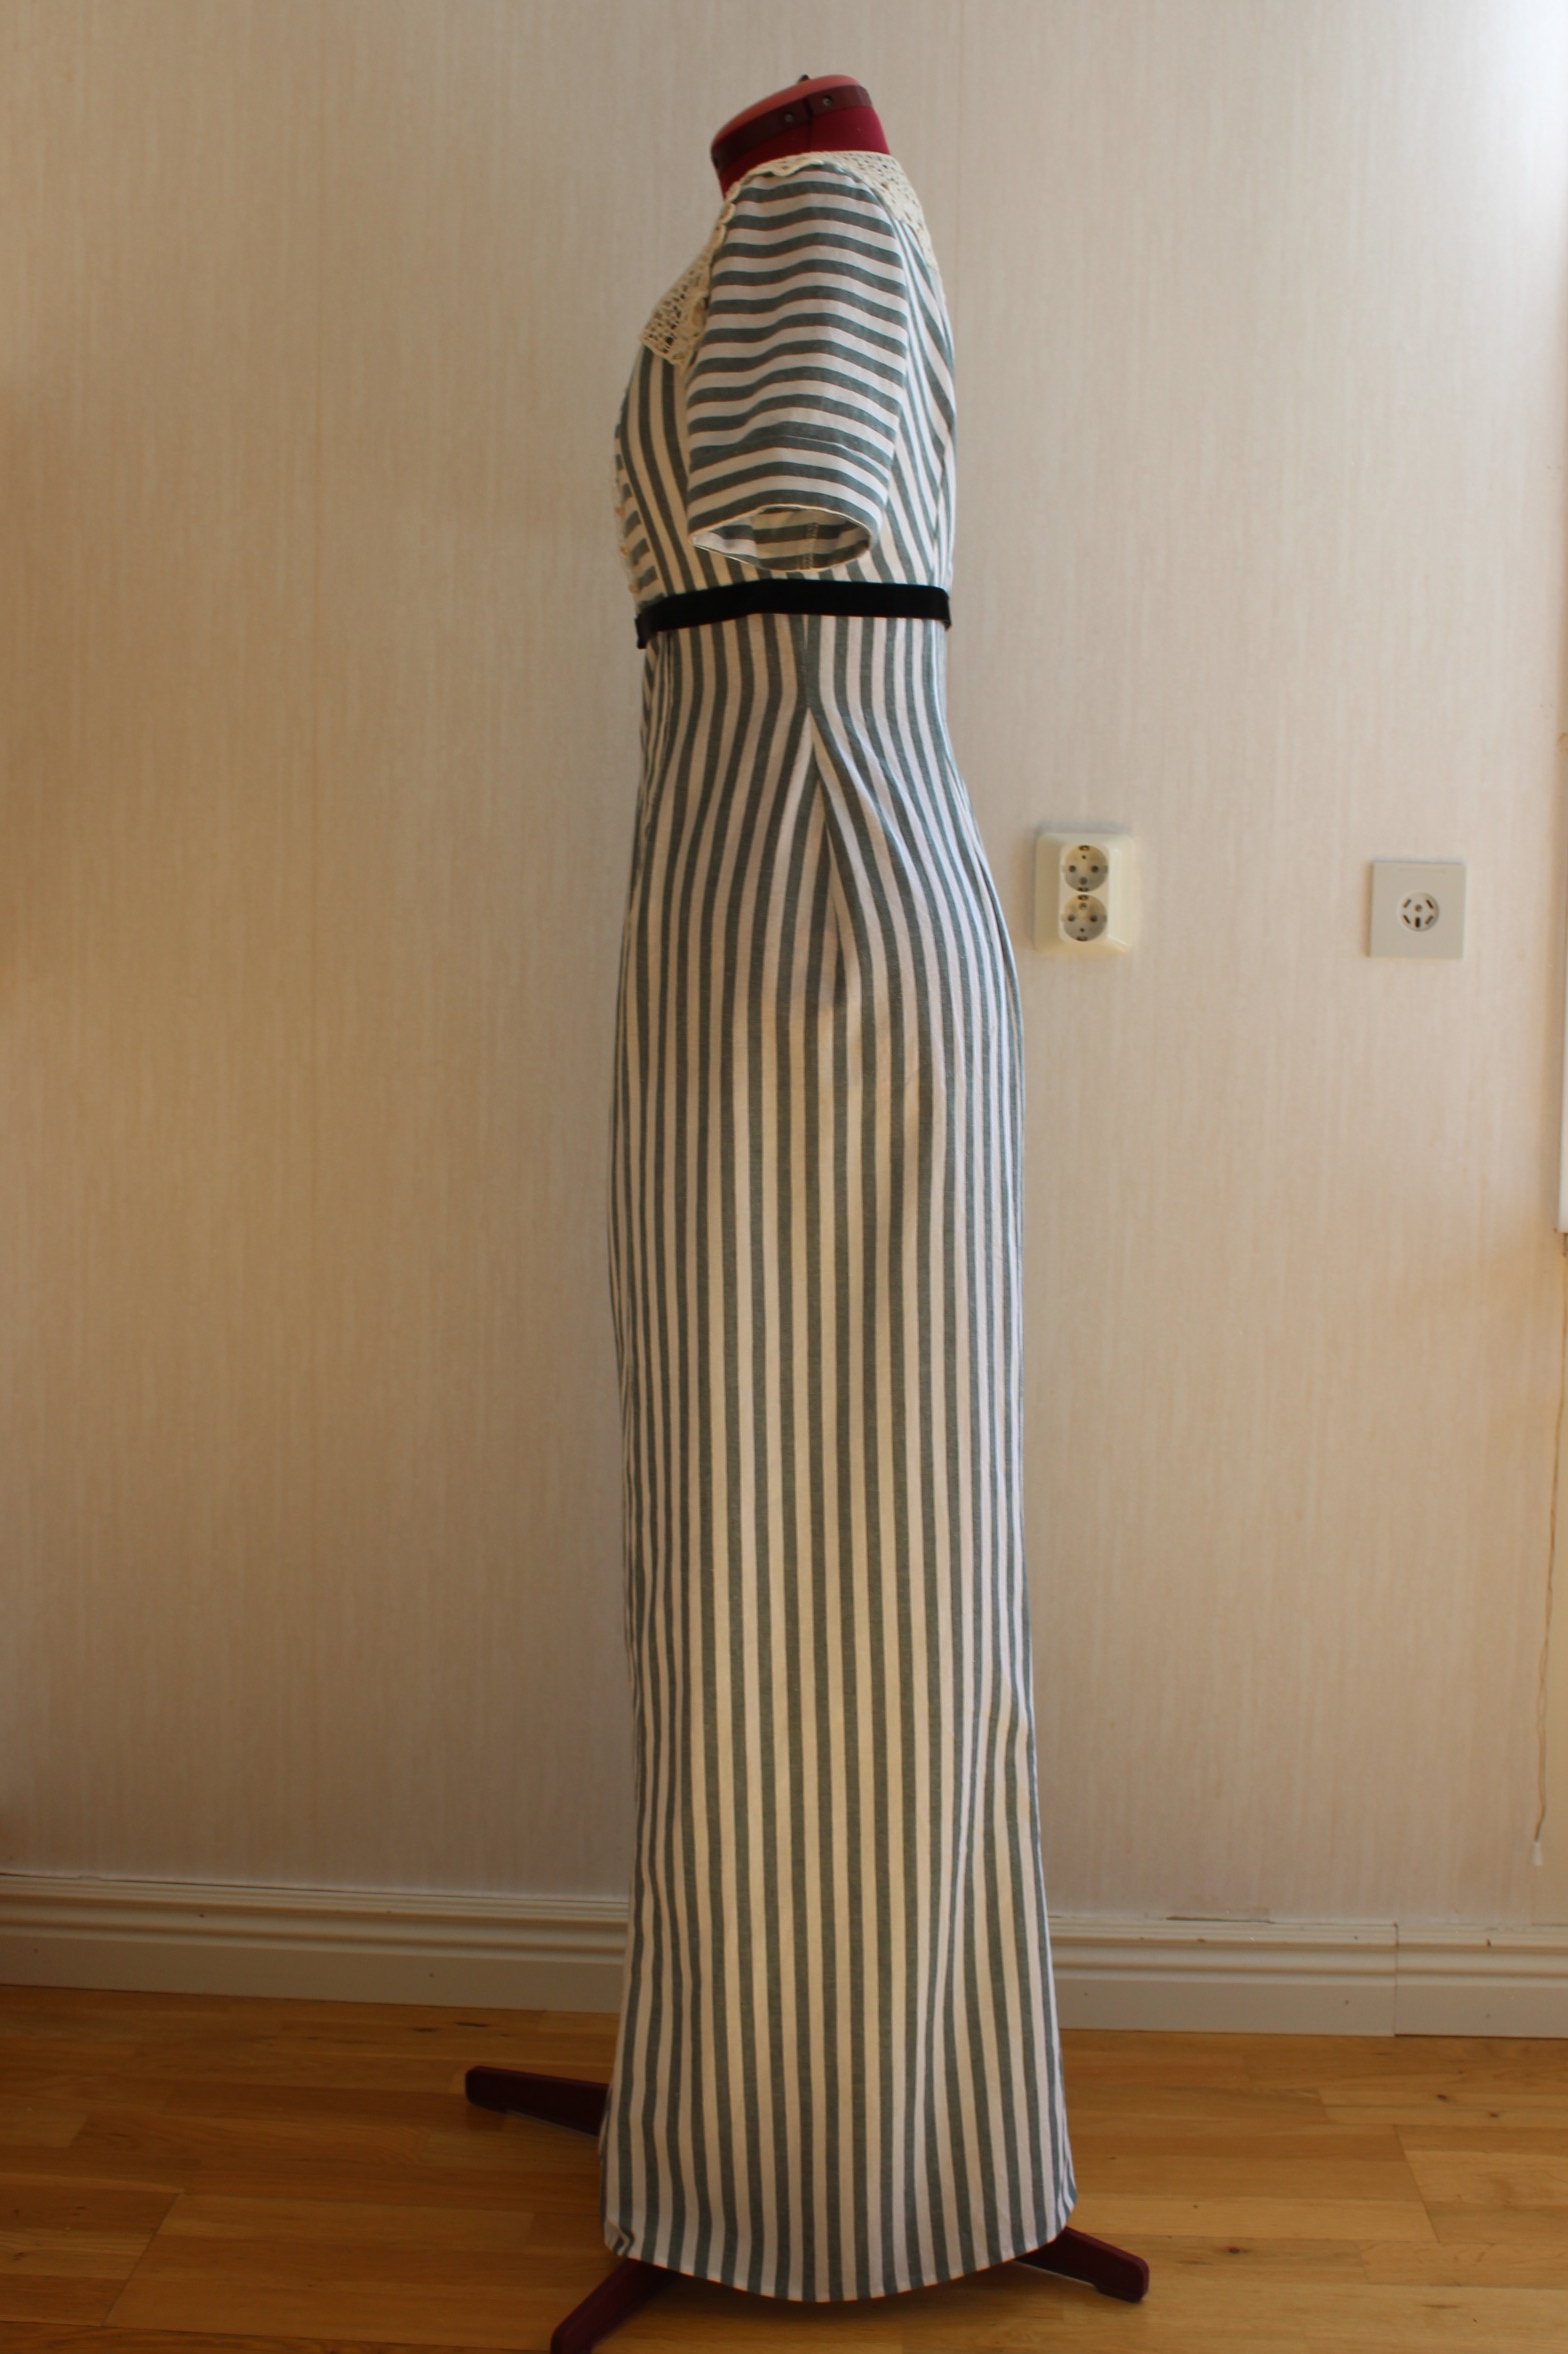
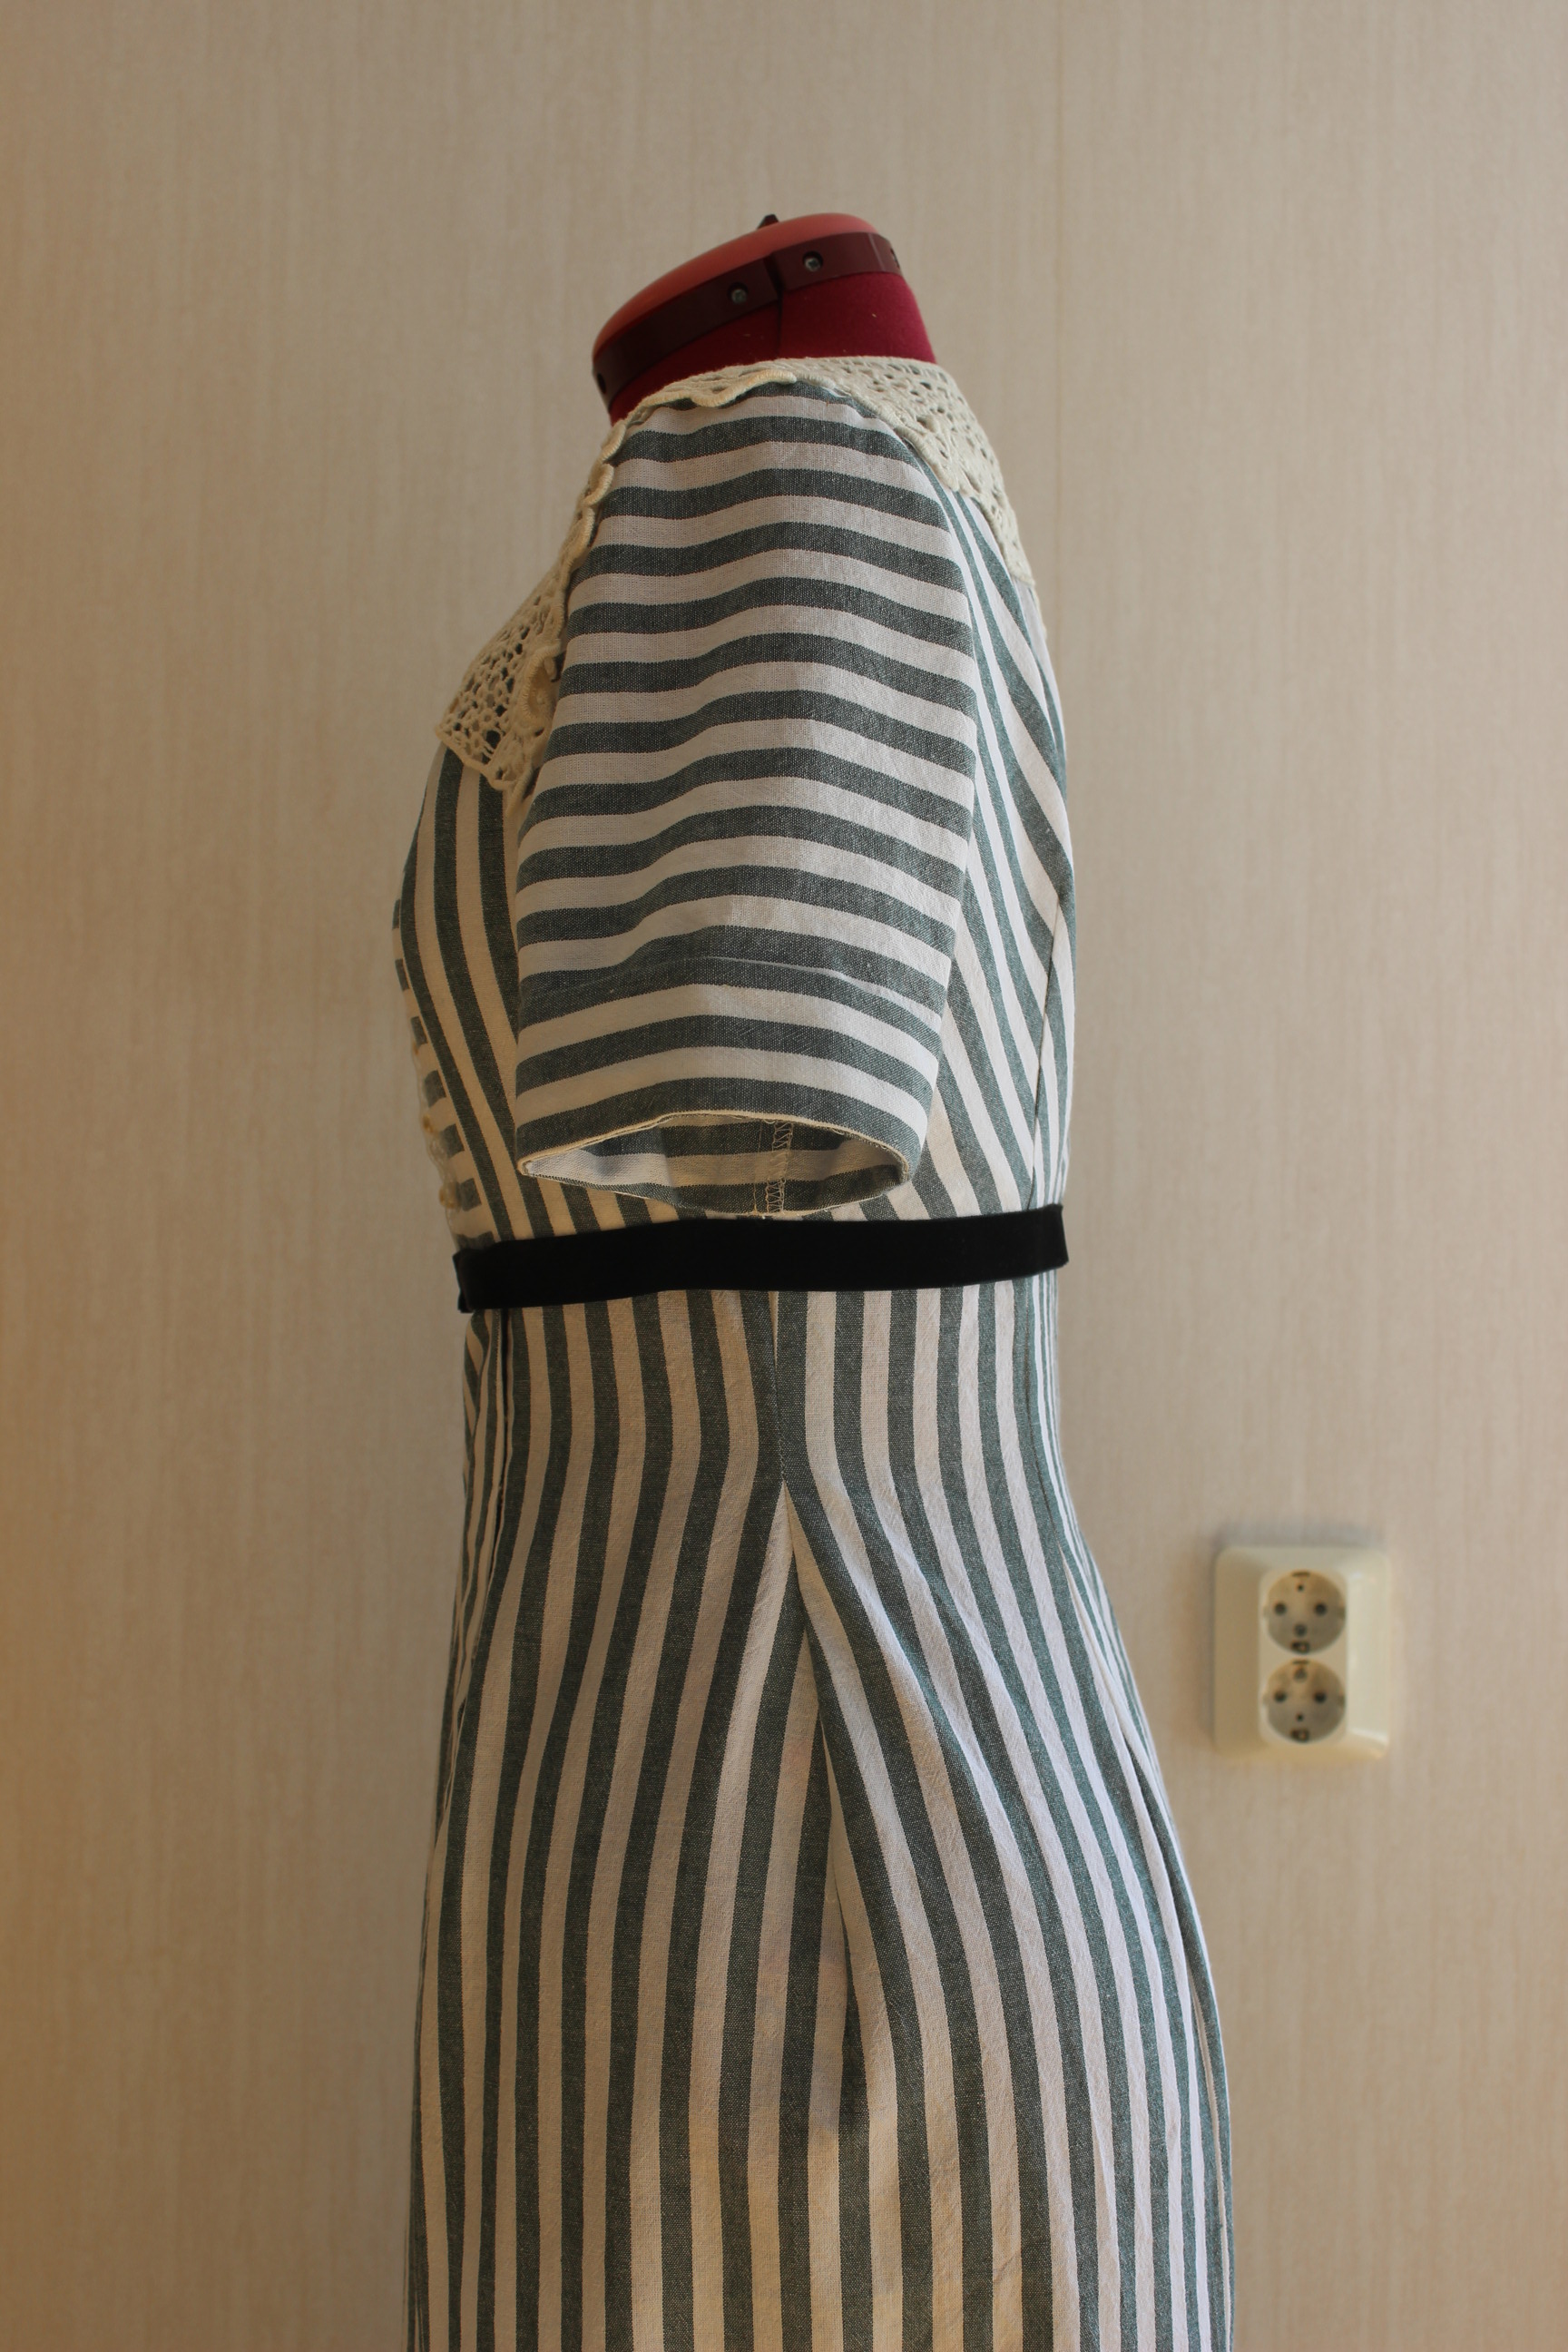
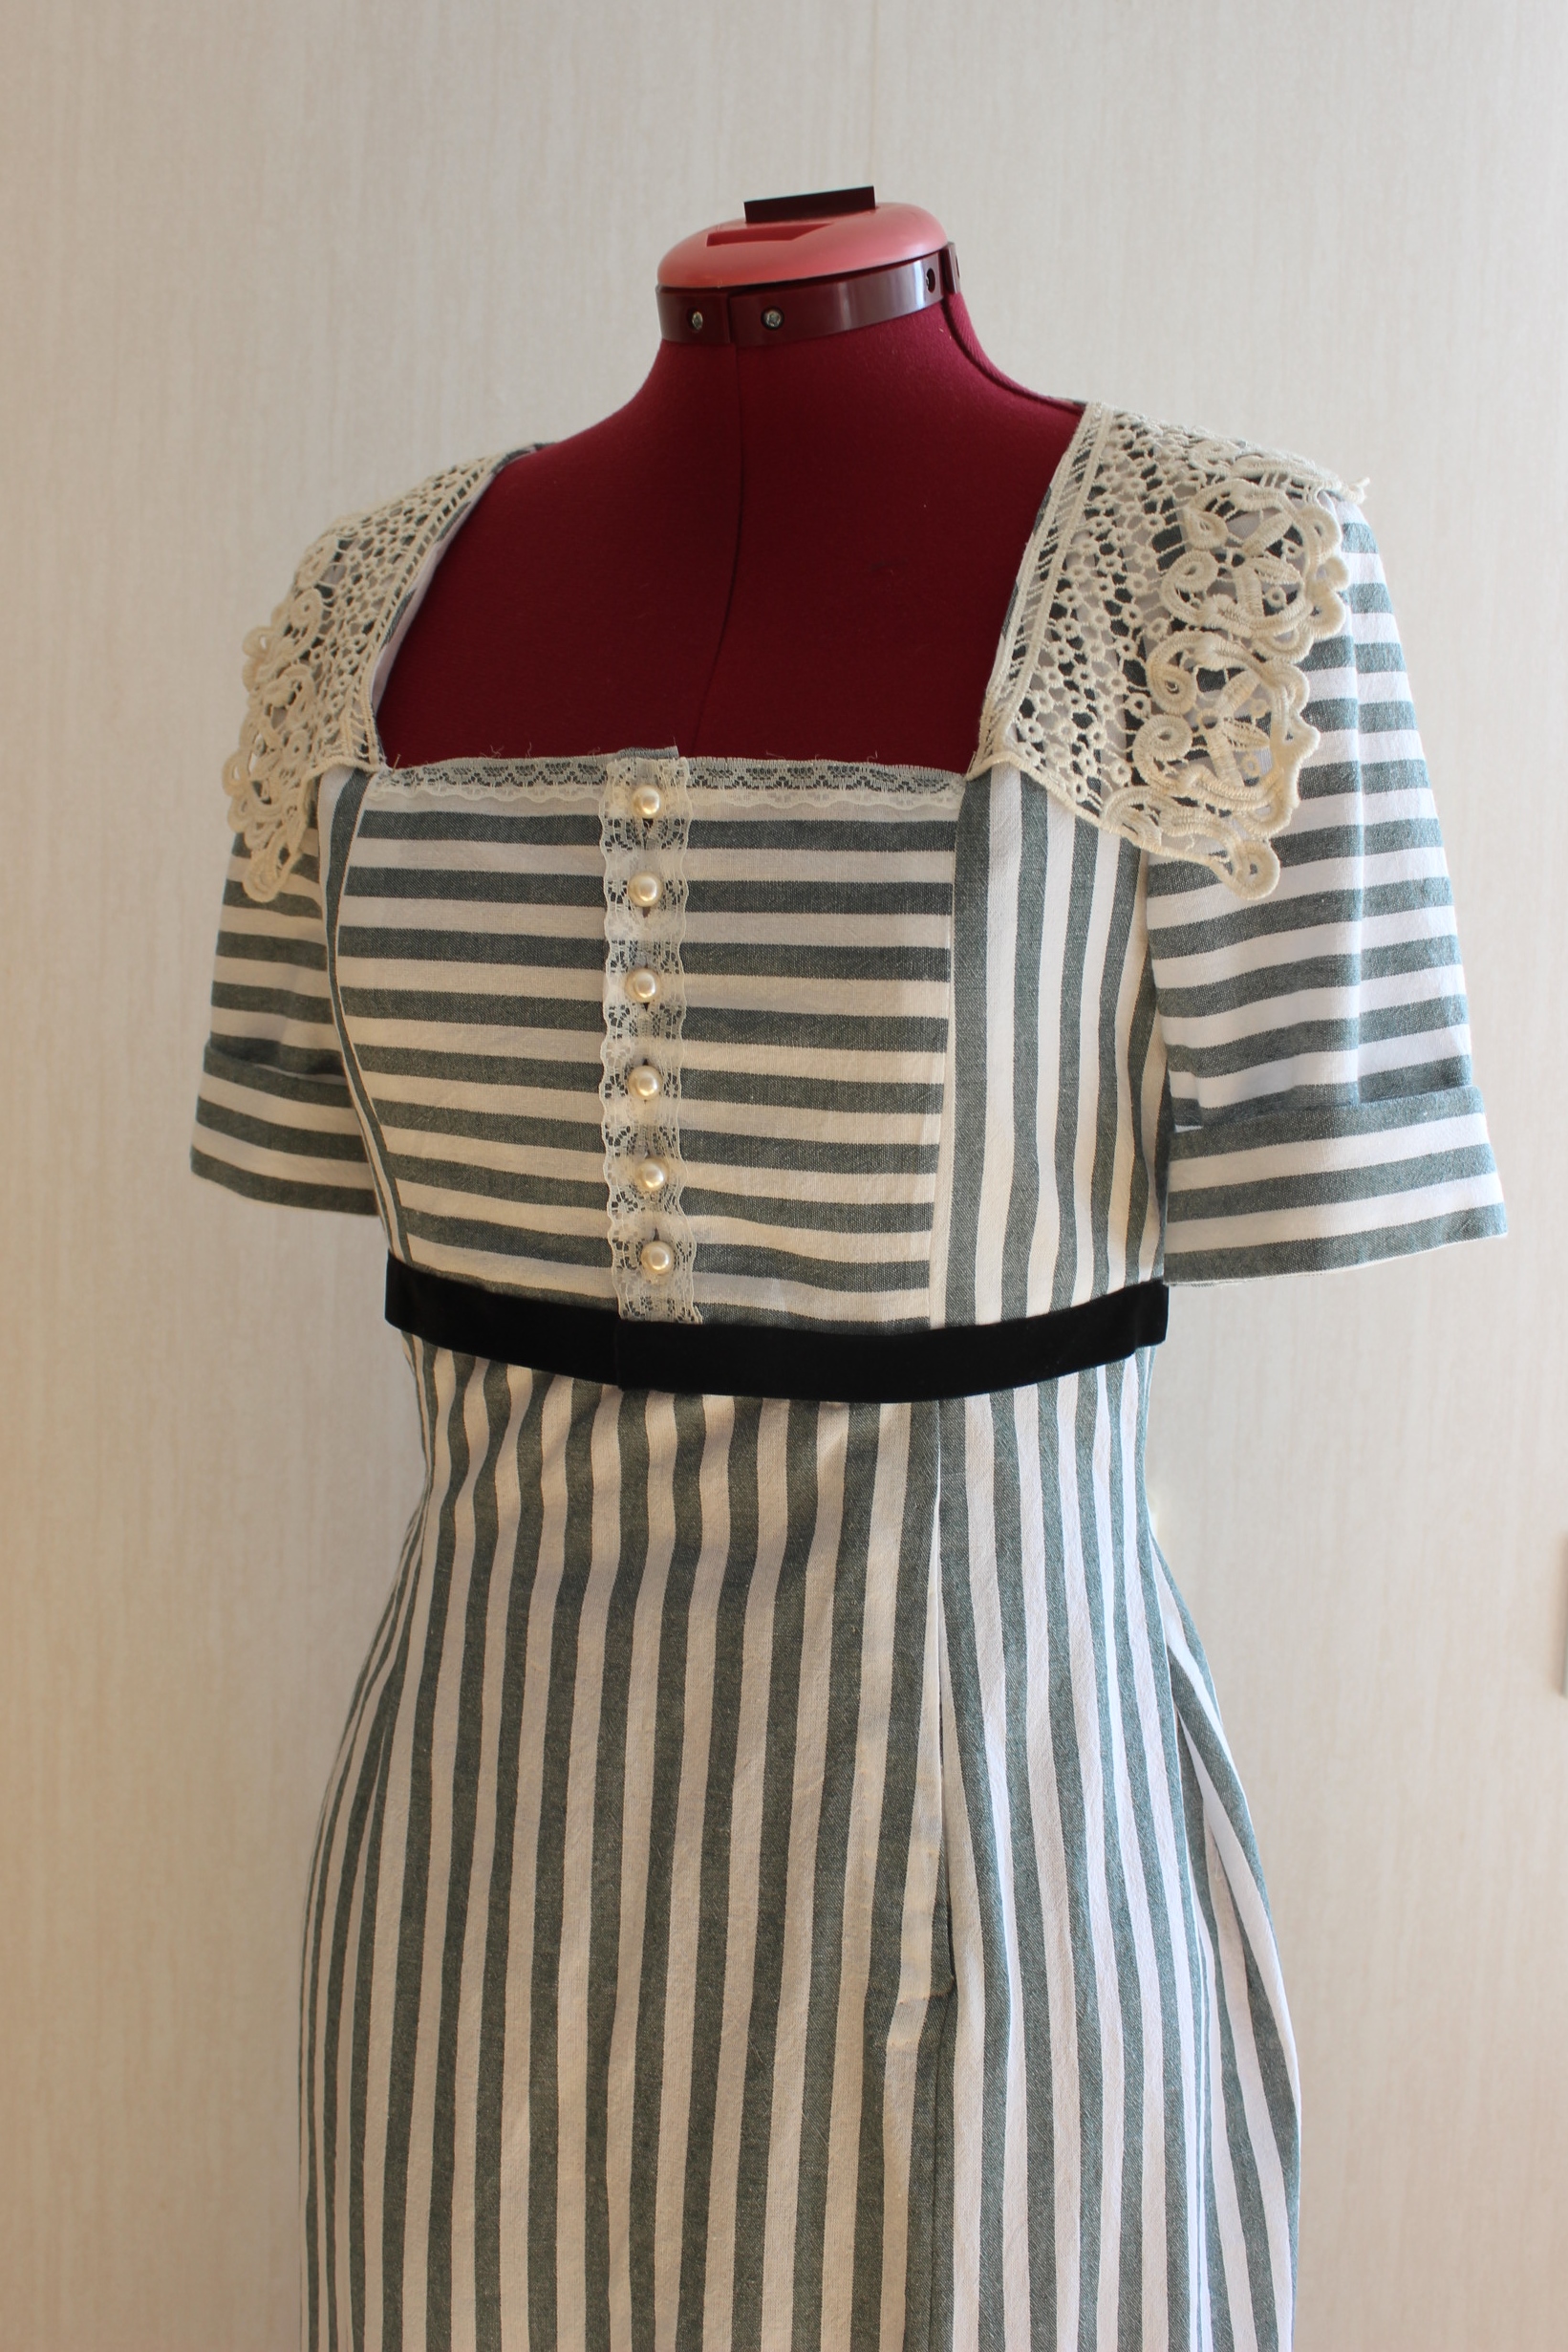
The finished panniers: (Yay)


Just the facts:
Challenge: nr 1/2015 – Foundation
What: A pair of 18th century panniers.
Pattern: None, I just measured and cut.
Fabric: 1,5 m of green linen from stash.
Notions: Thread, 7 m of metal boning, 7 m of brown bias-tape and 5 m of white cotton ribbon.
How historical accurate: Not much. The fabric is wrong, the boning is metal and I sewed most of it on my sewing machine. It looks pretty good though.
Time: About 8 hours – 2 of which I worked on correcting the upper hoop.
Cost: I would guess about 100 Sek (16 Usd) but everything came from stash so I’m not sure.
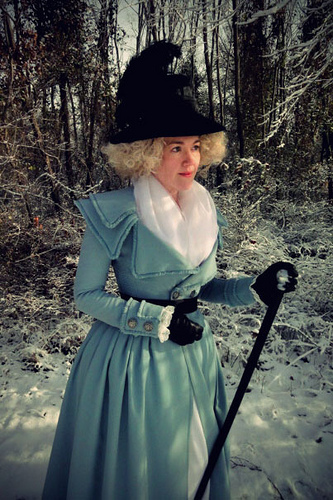
First worn: Only around the house for photos. But I intend to wear it with my up-coming Robe a la Franchise at the first chance I get.
Final thoughts: This was meant as a quick project, and as usual those are the ones which causes most trouble. But thanks to some minor experimenting and tips from the HSM hive mind I managed to complete them without to much bad words.


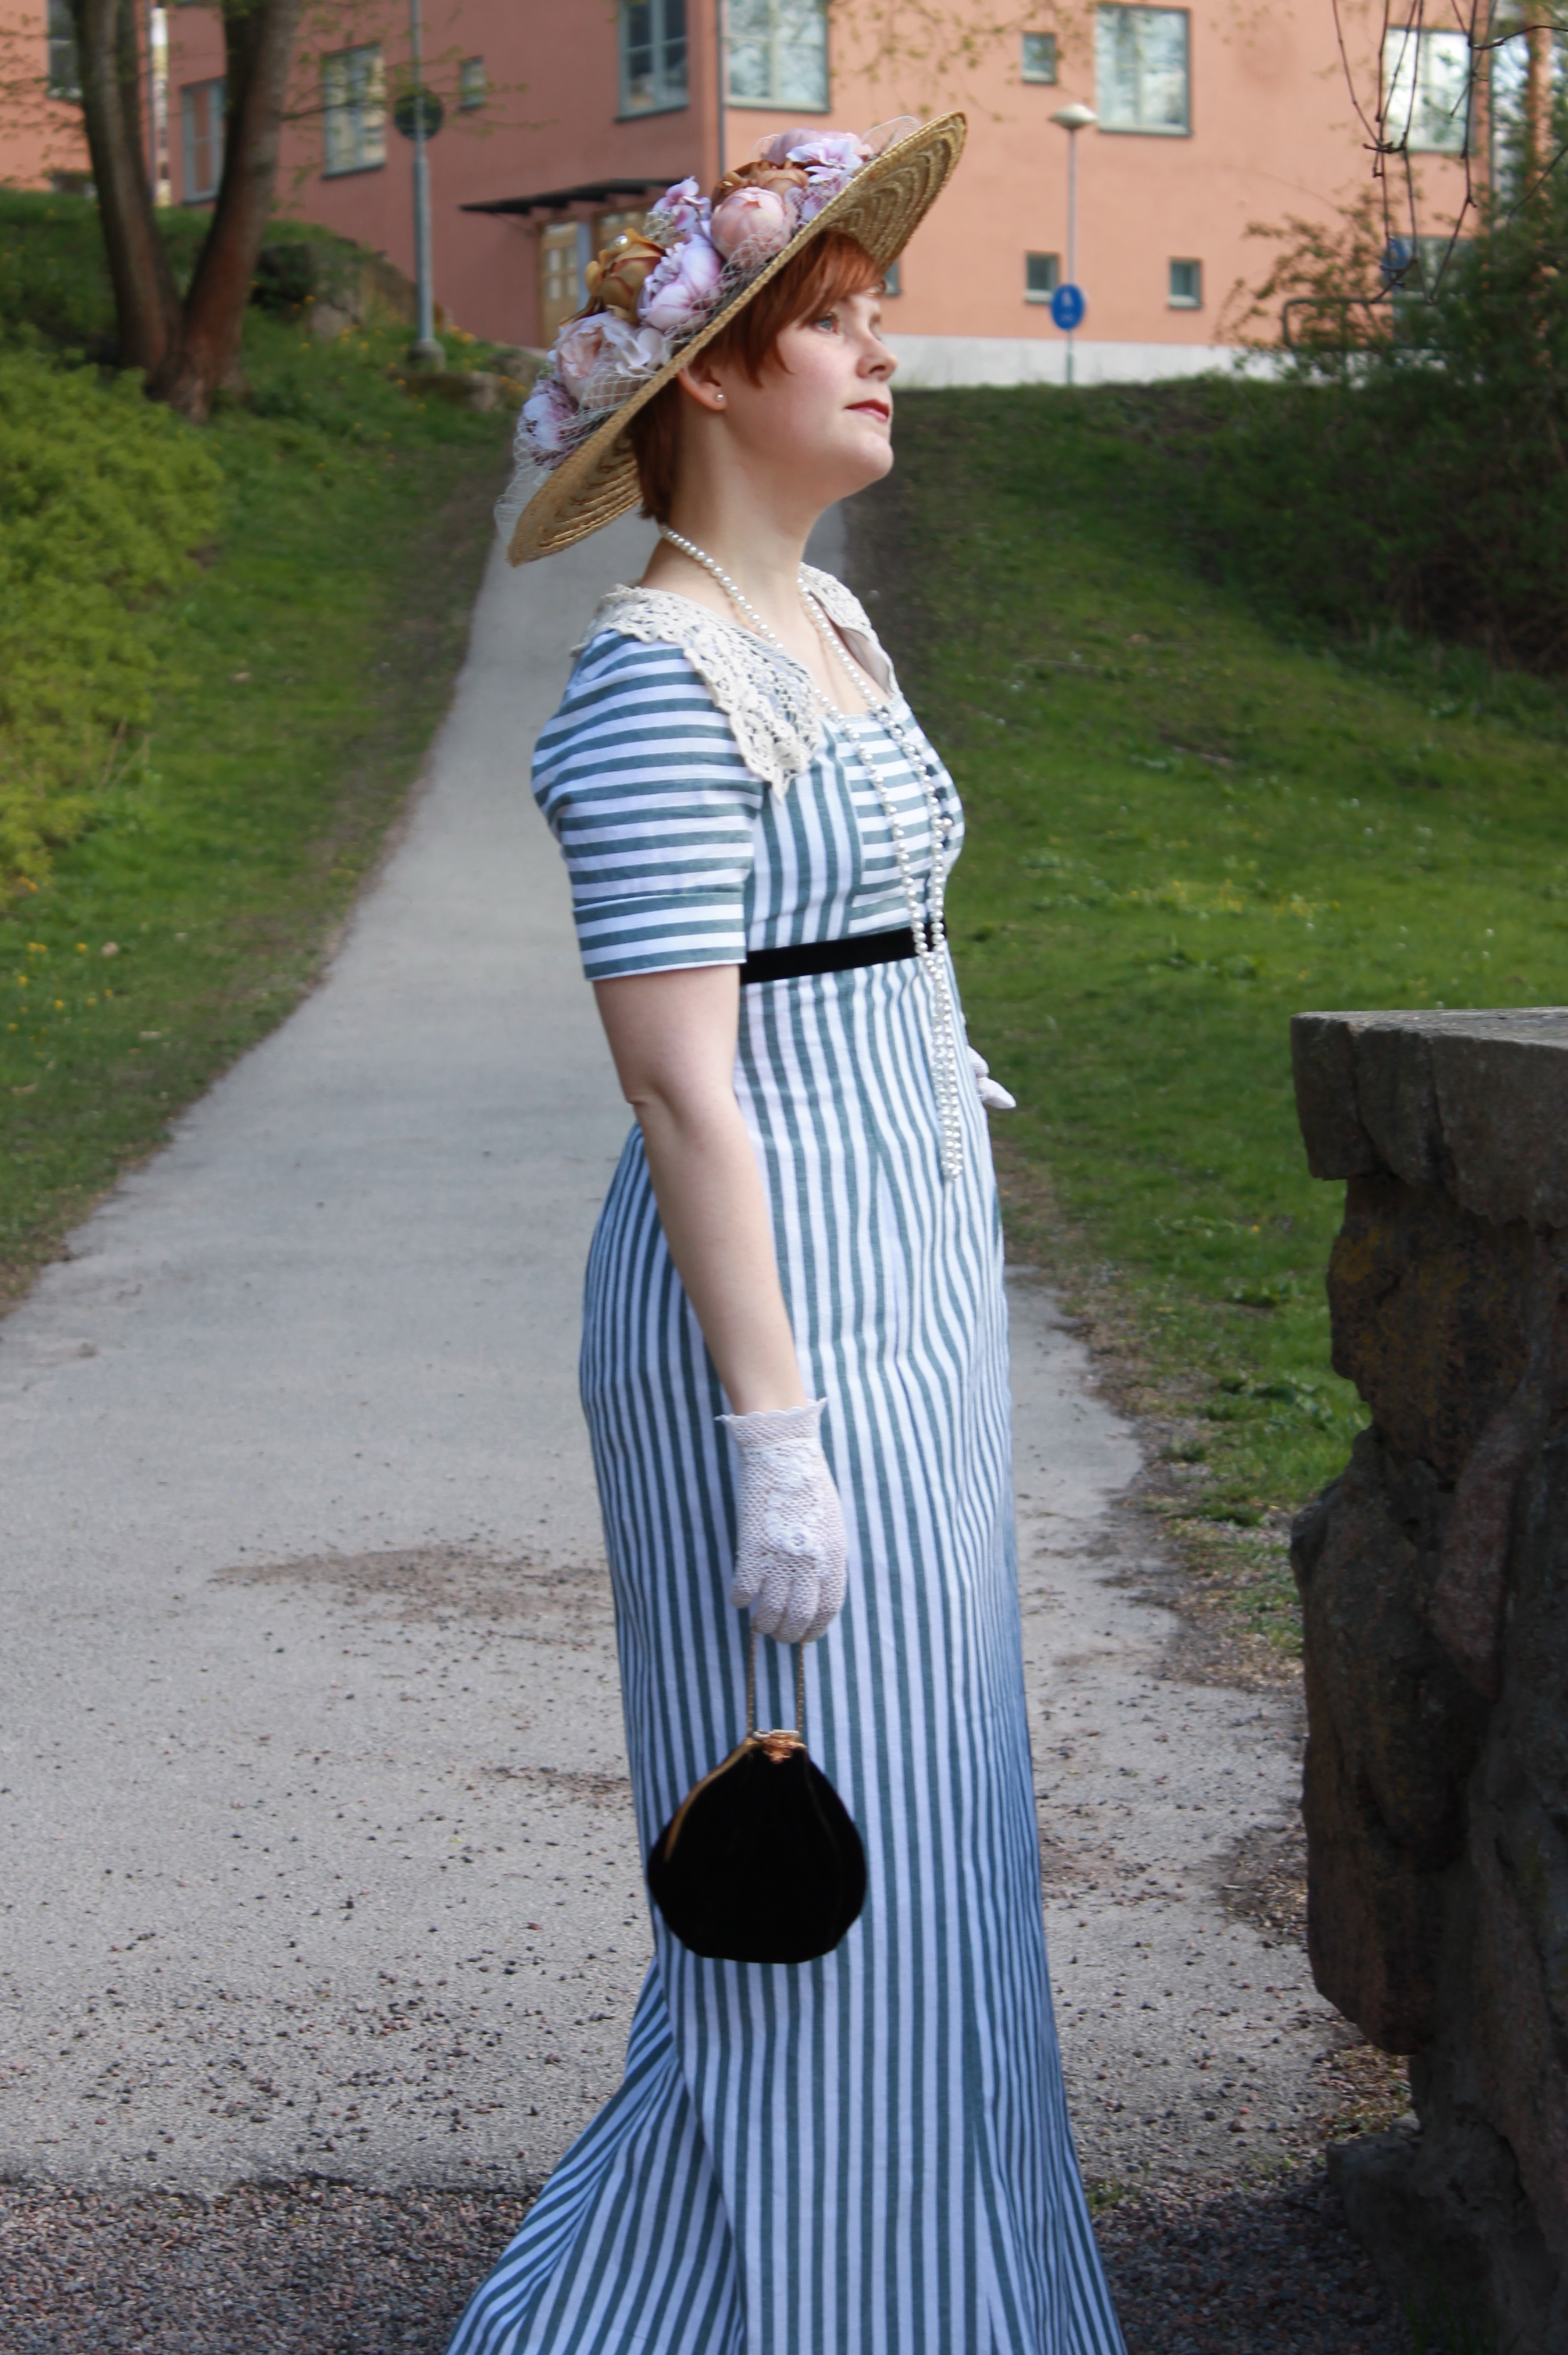
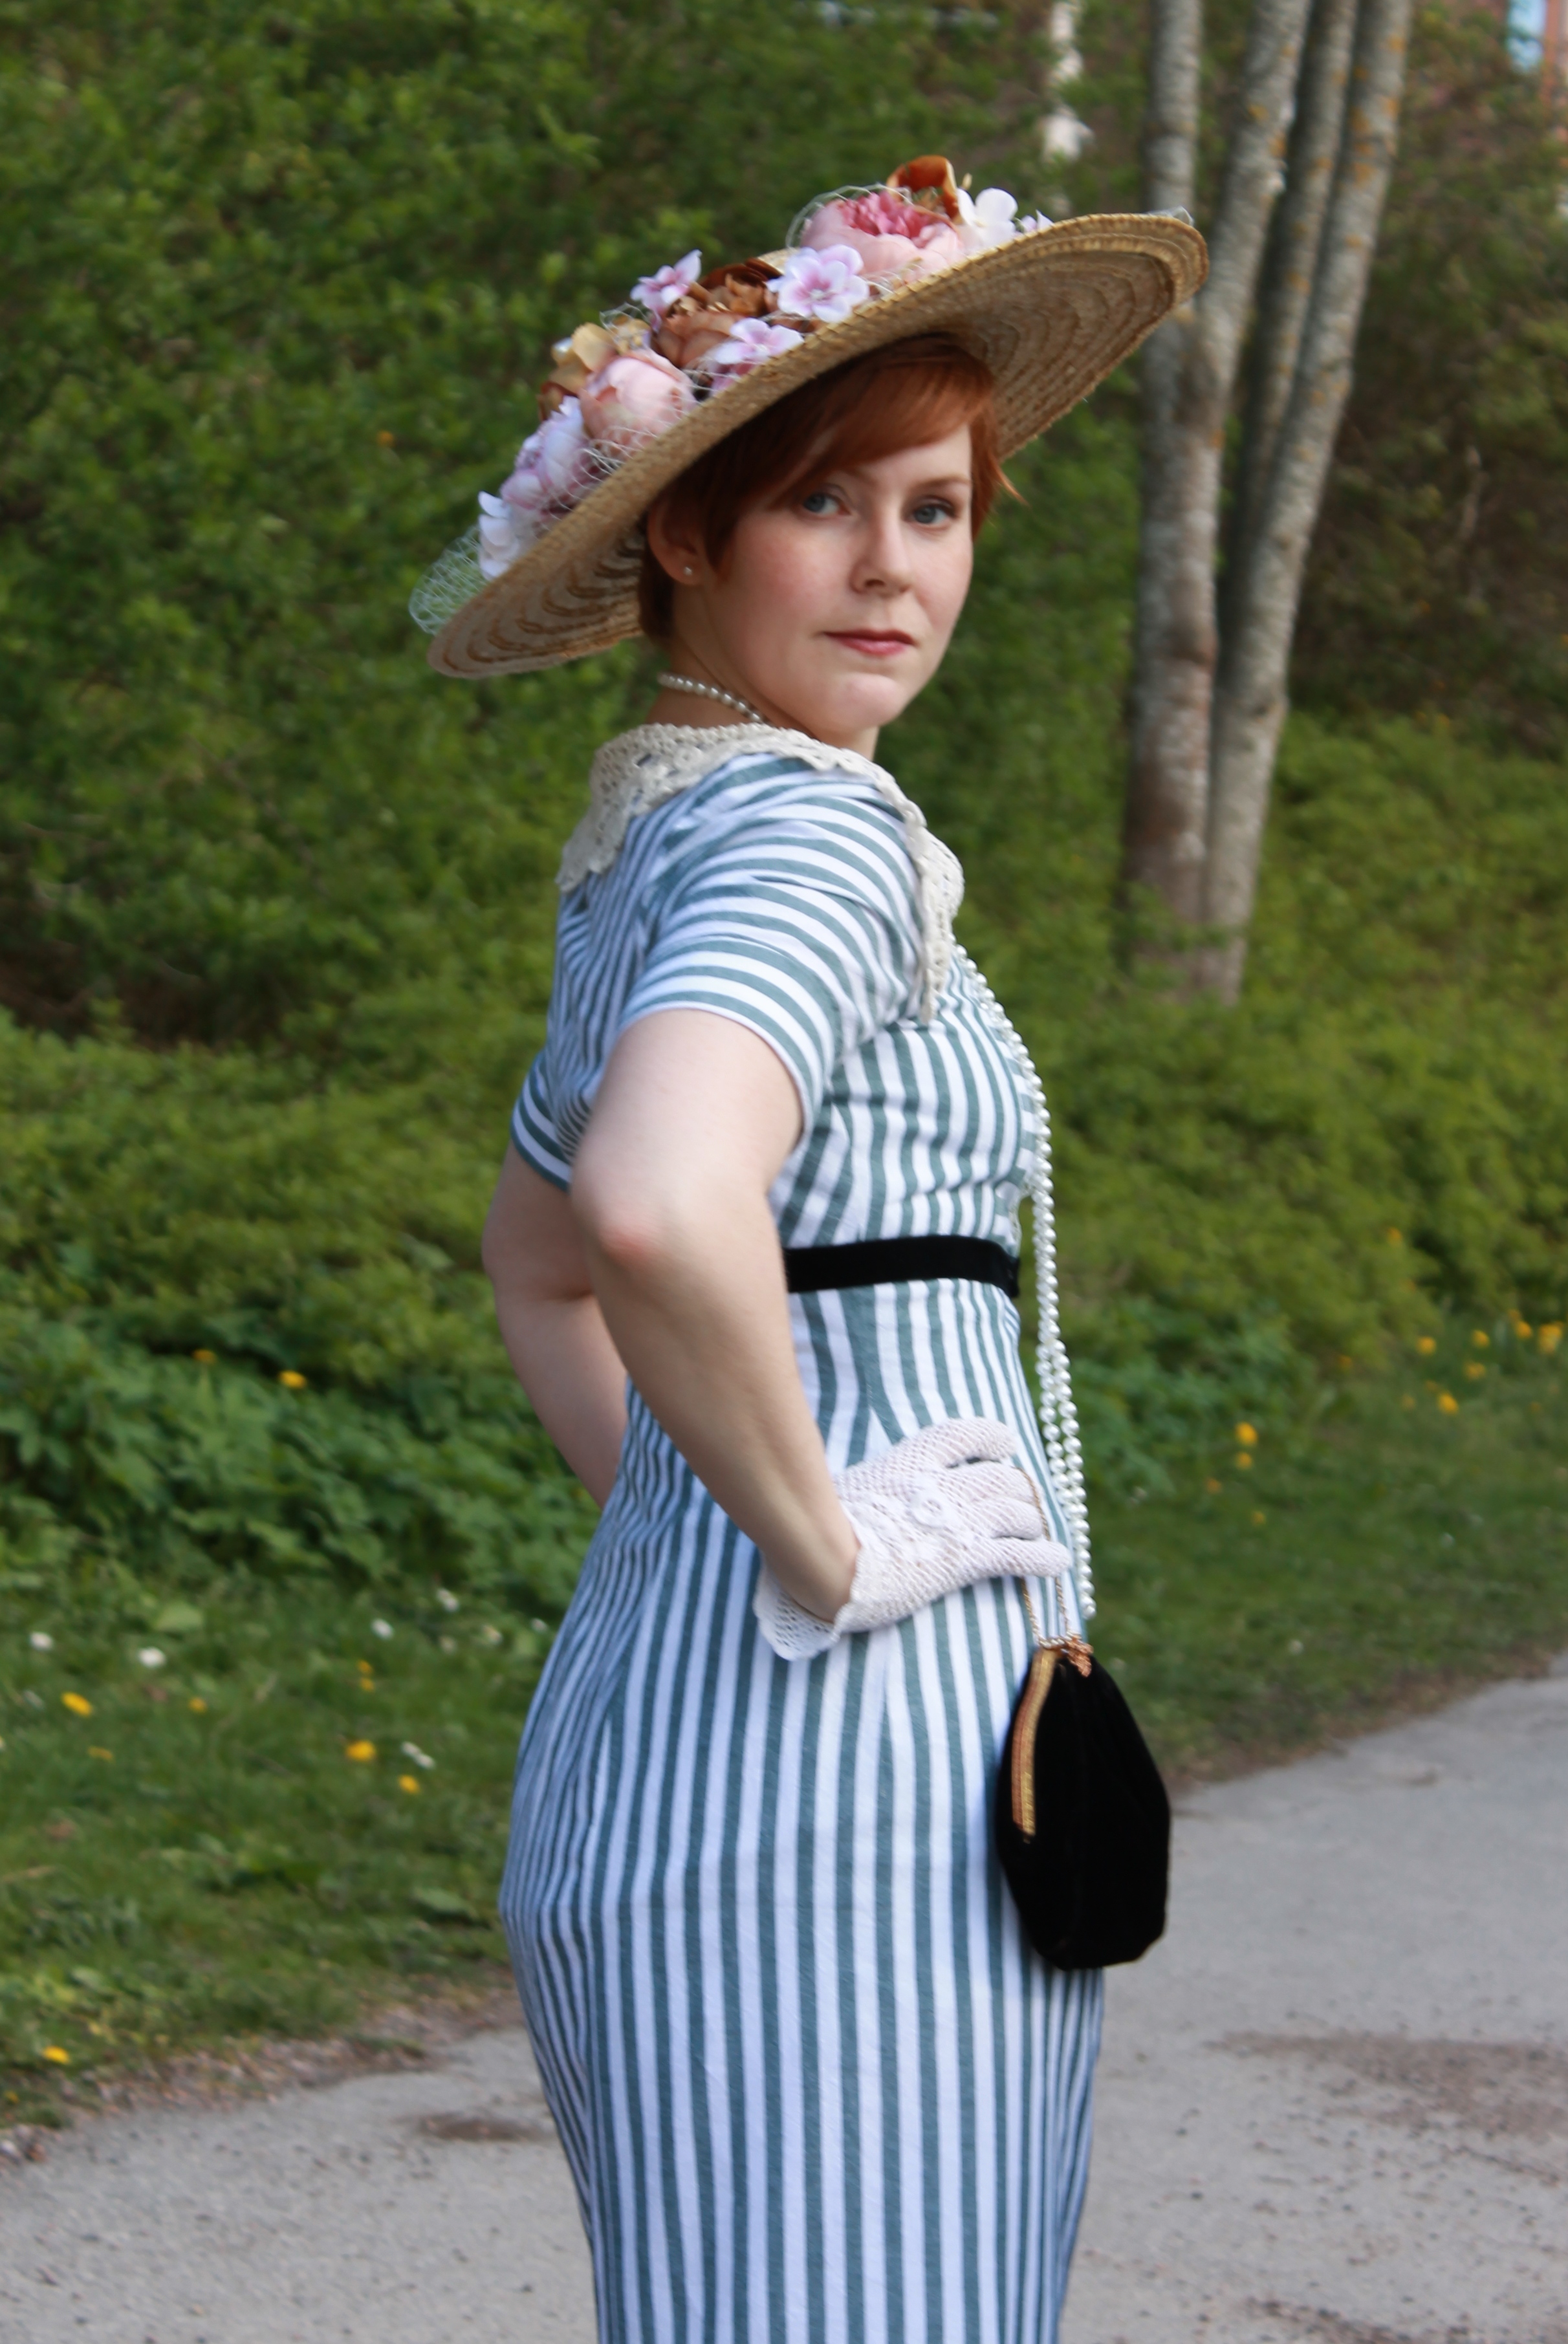
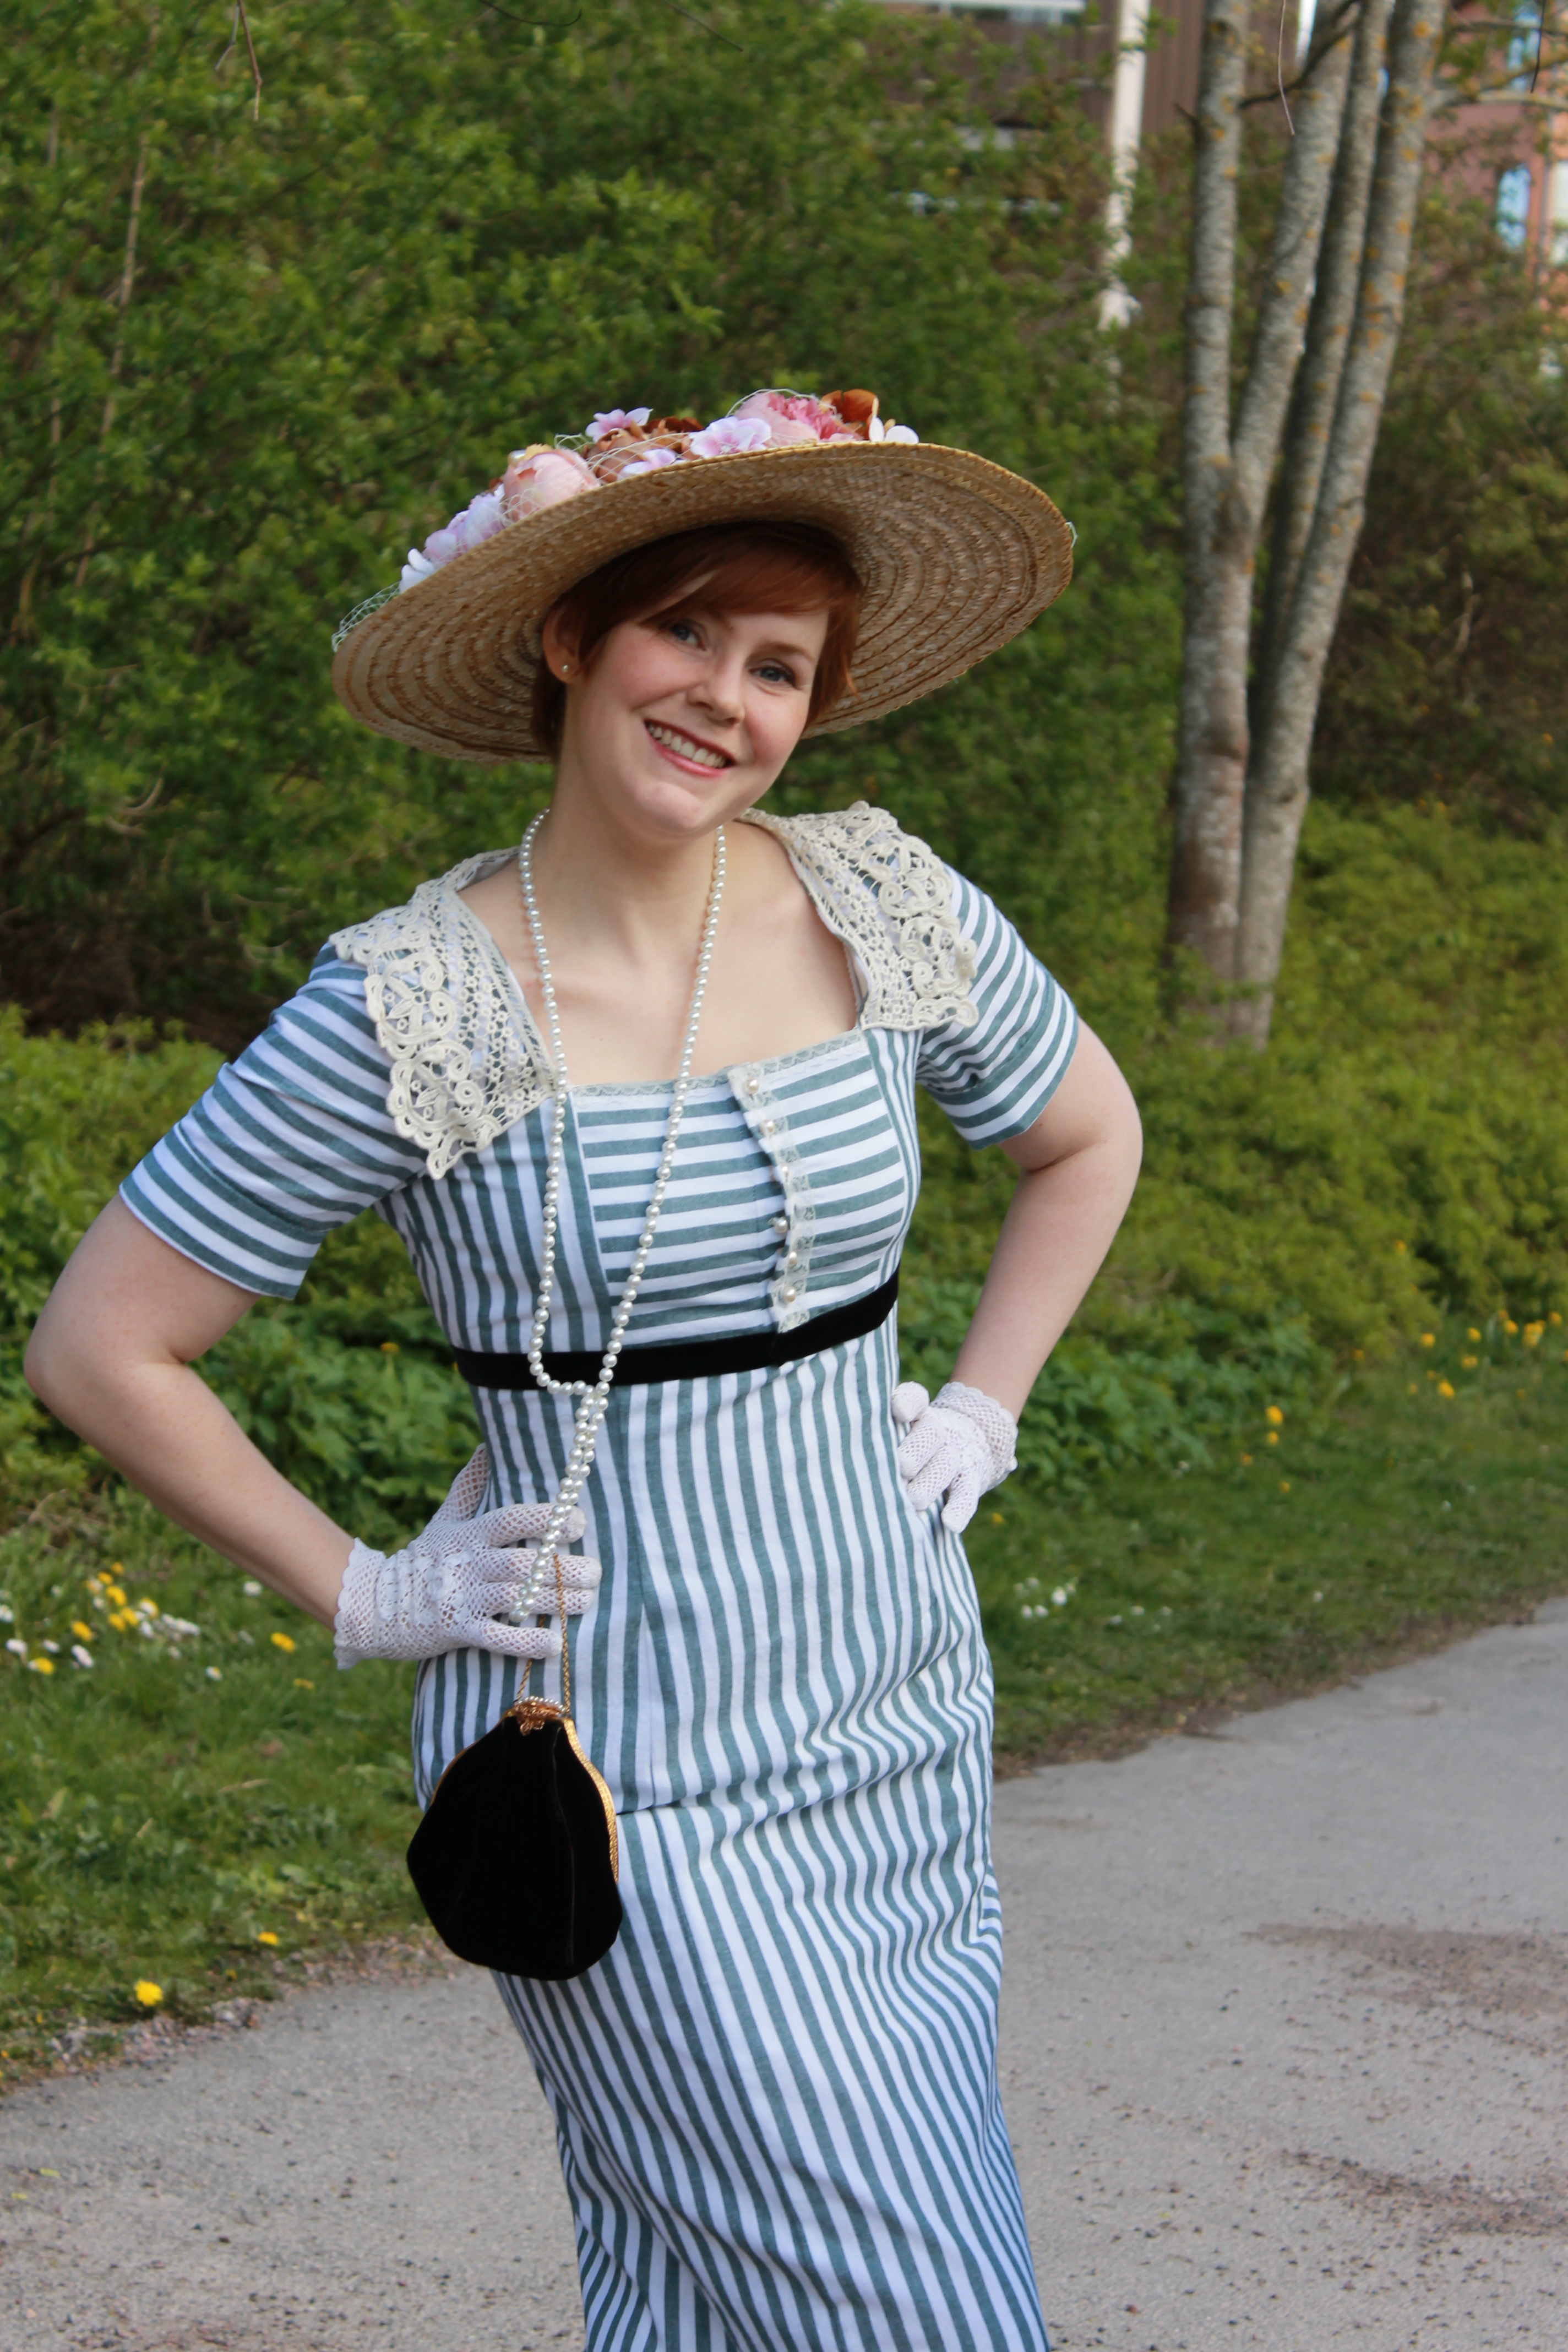
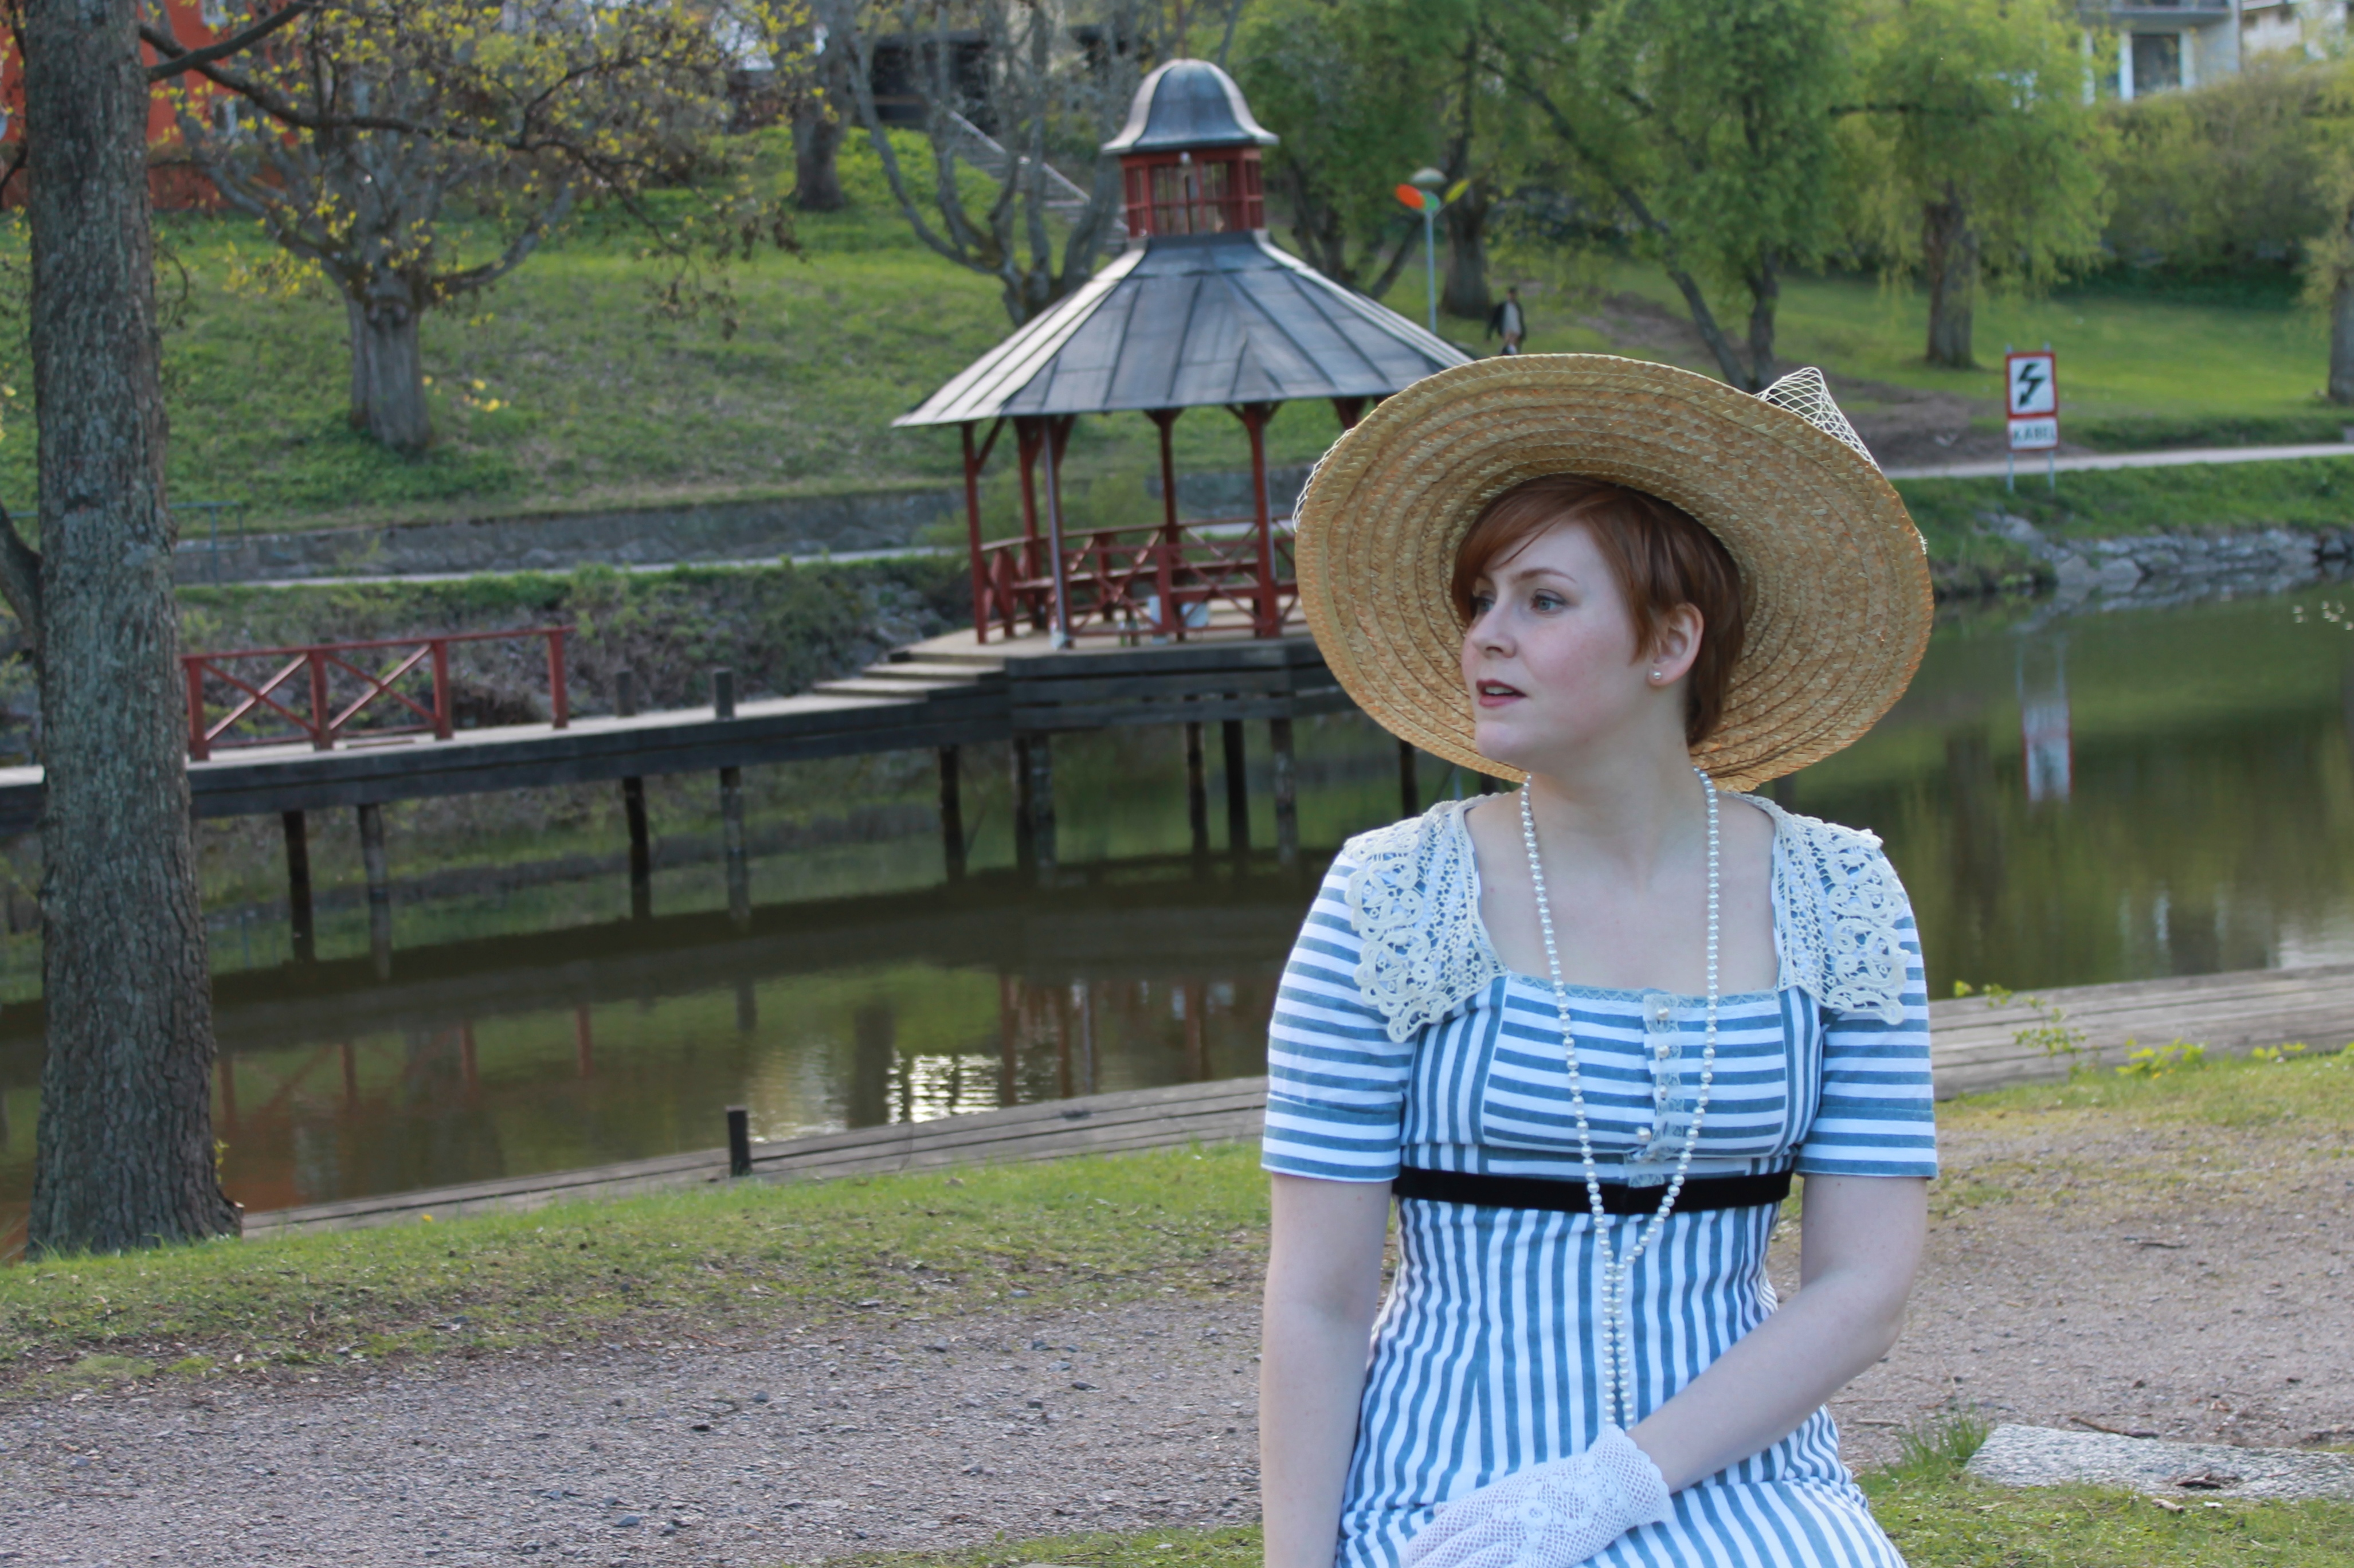


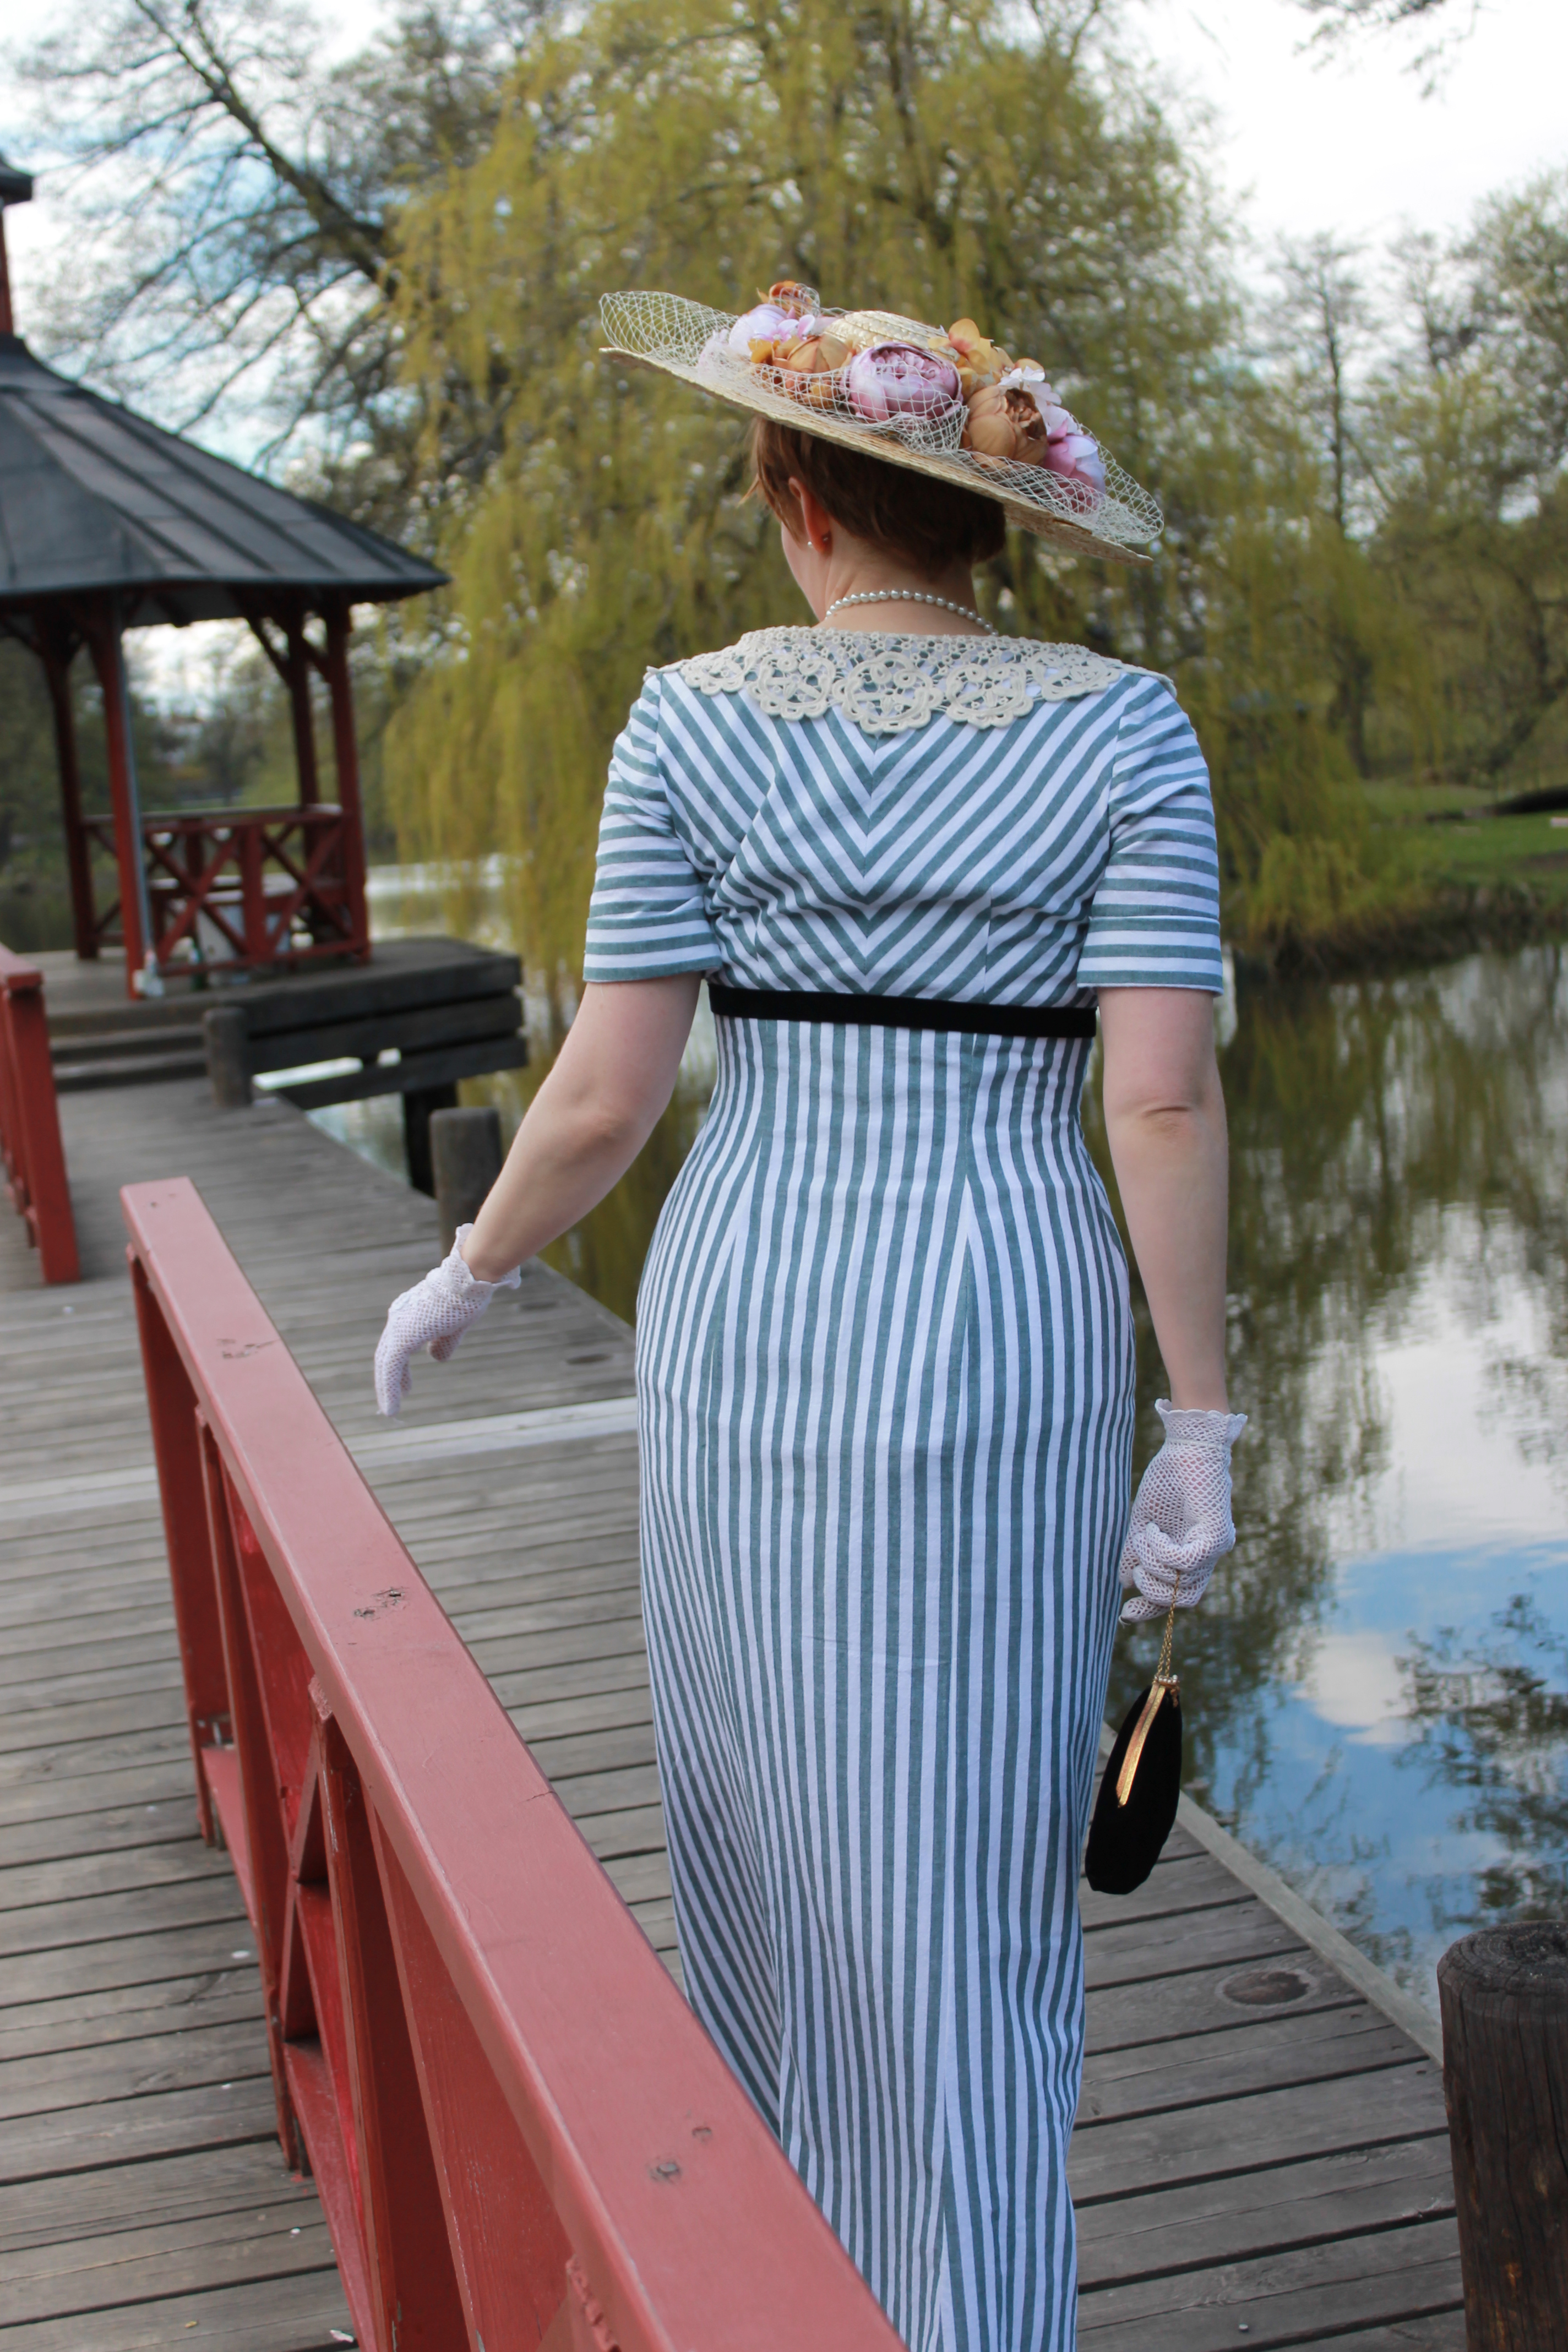
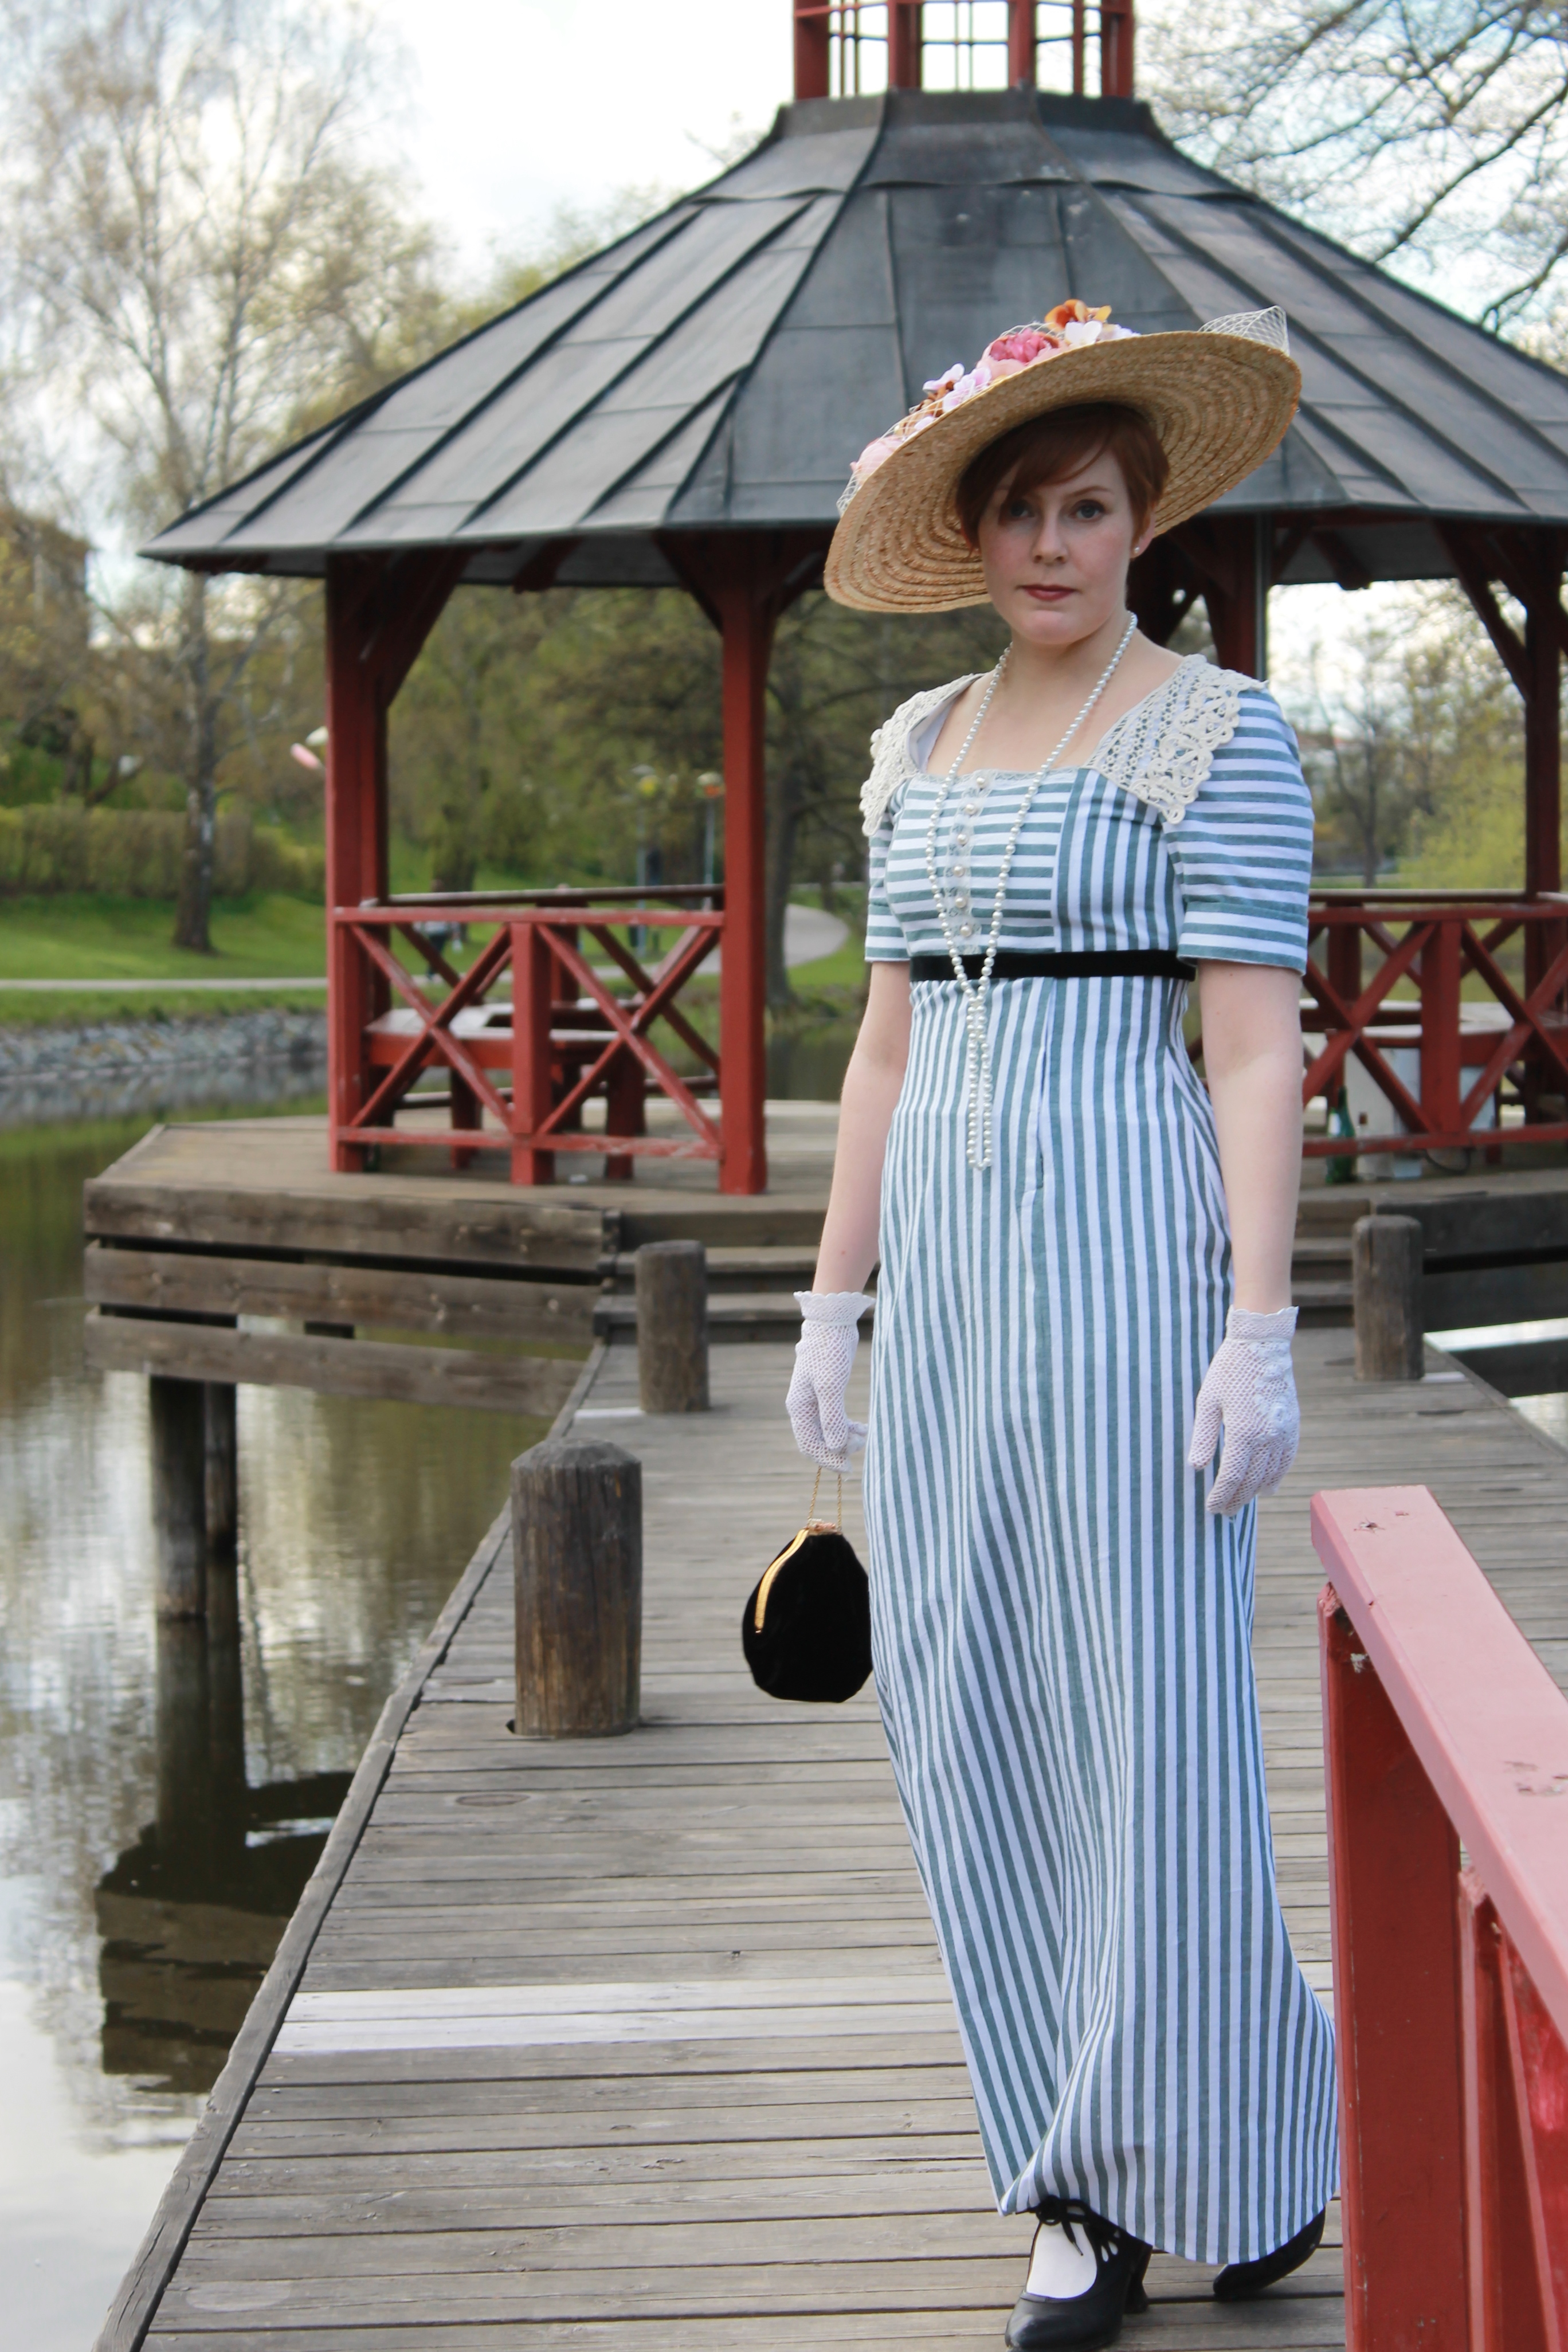
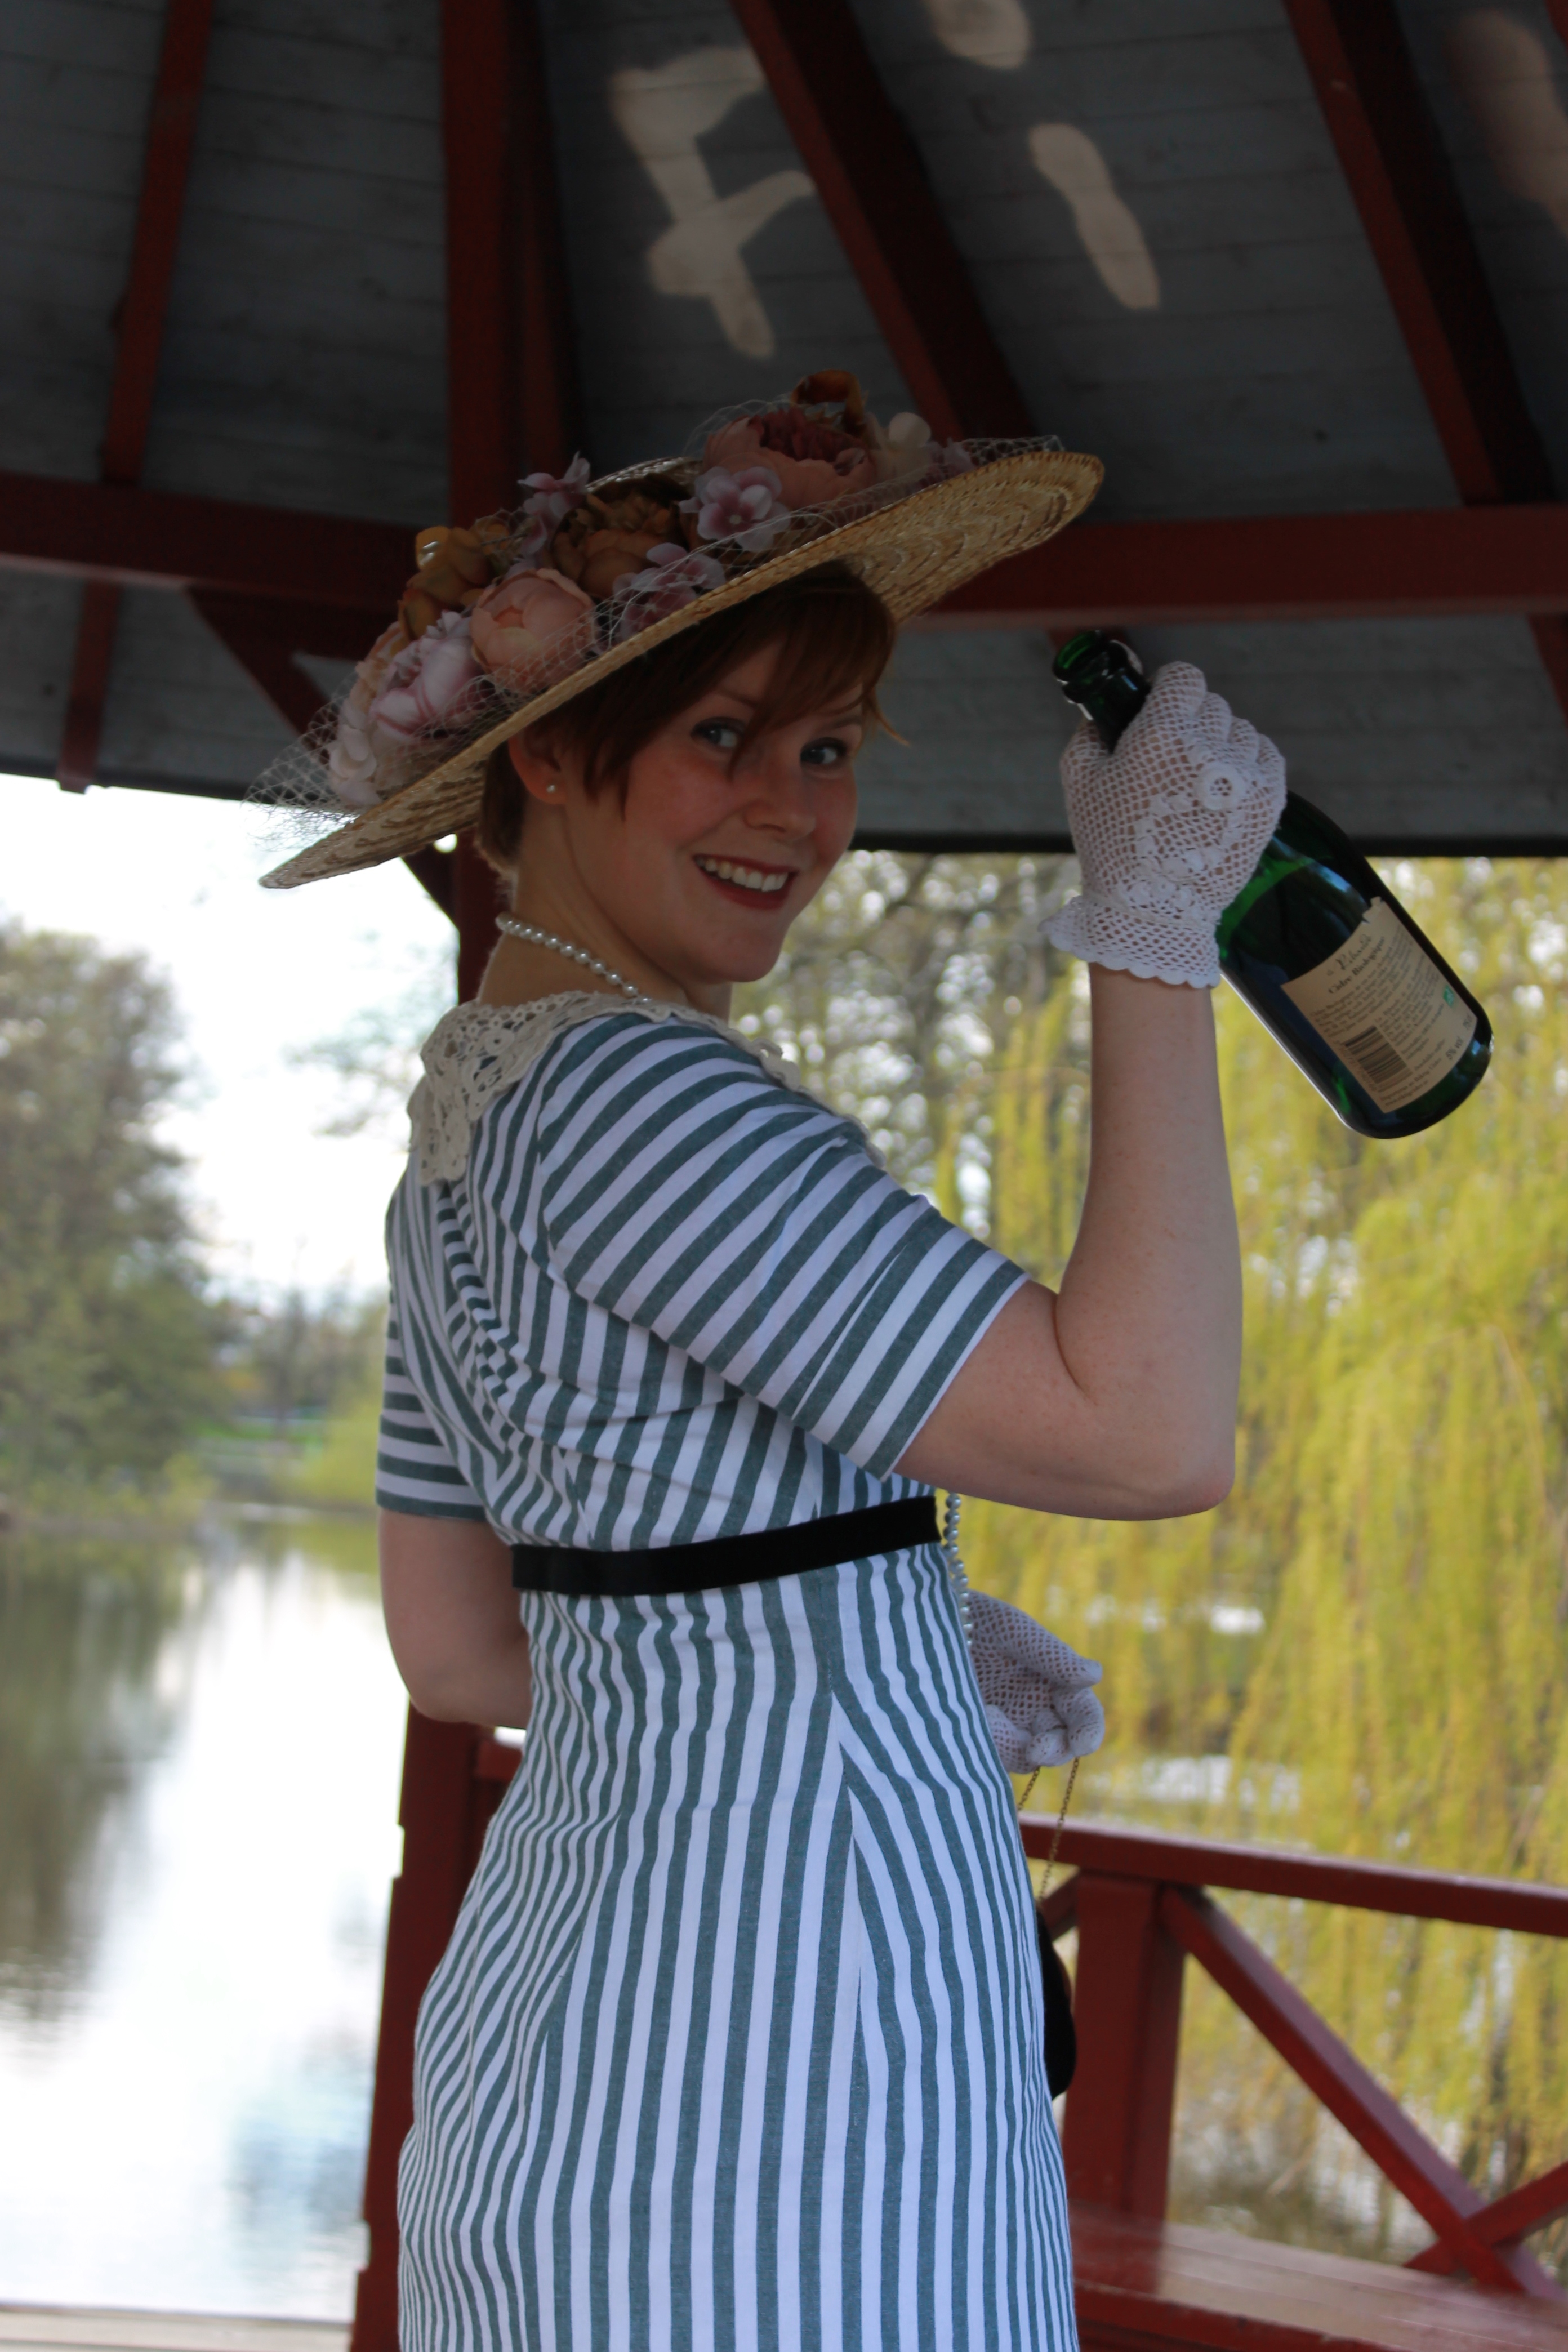 Photo: Elin Evaldsdottra
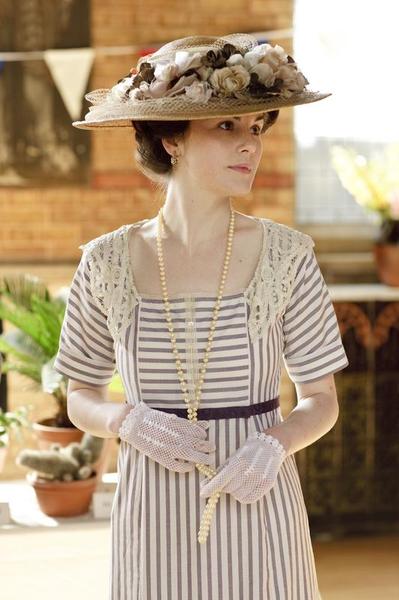


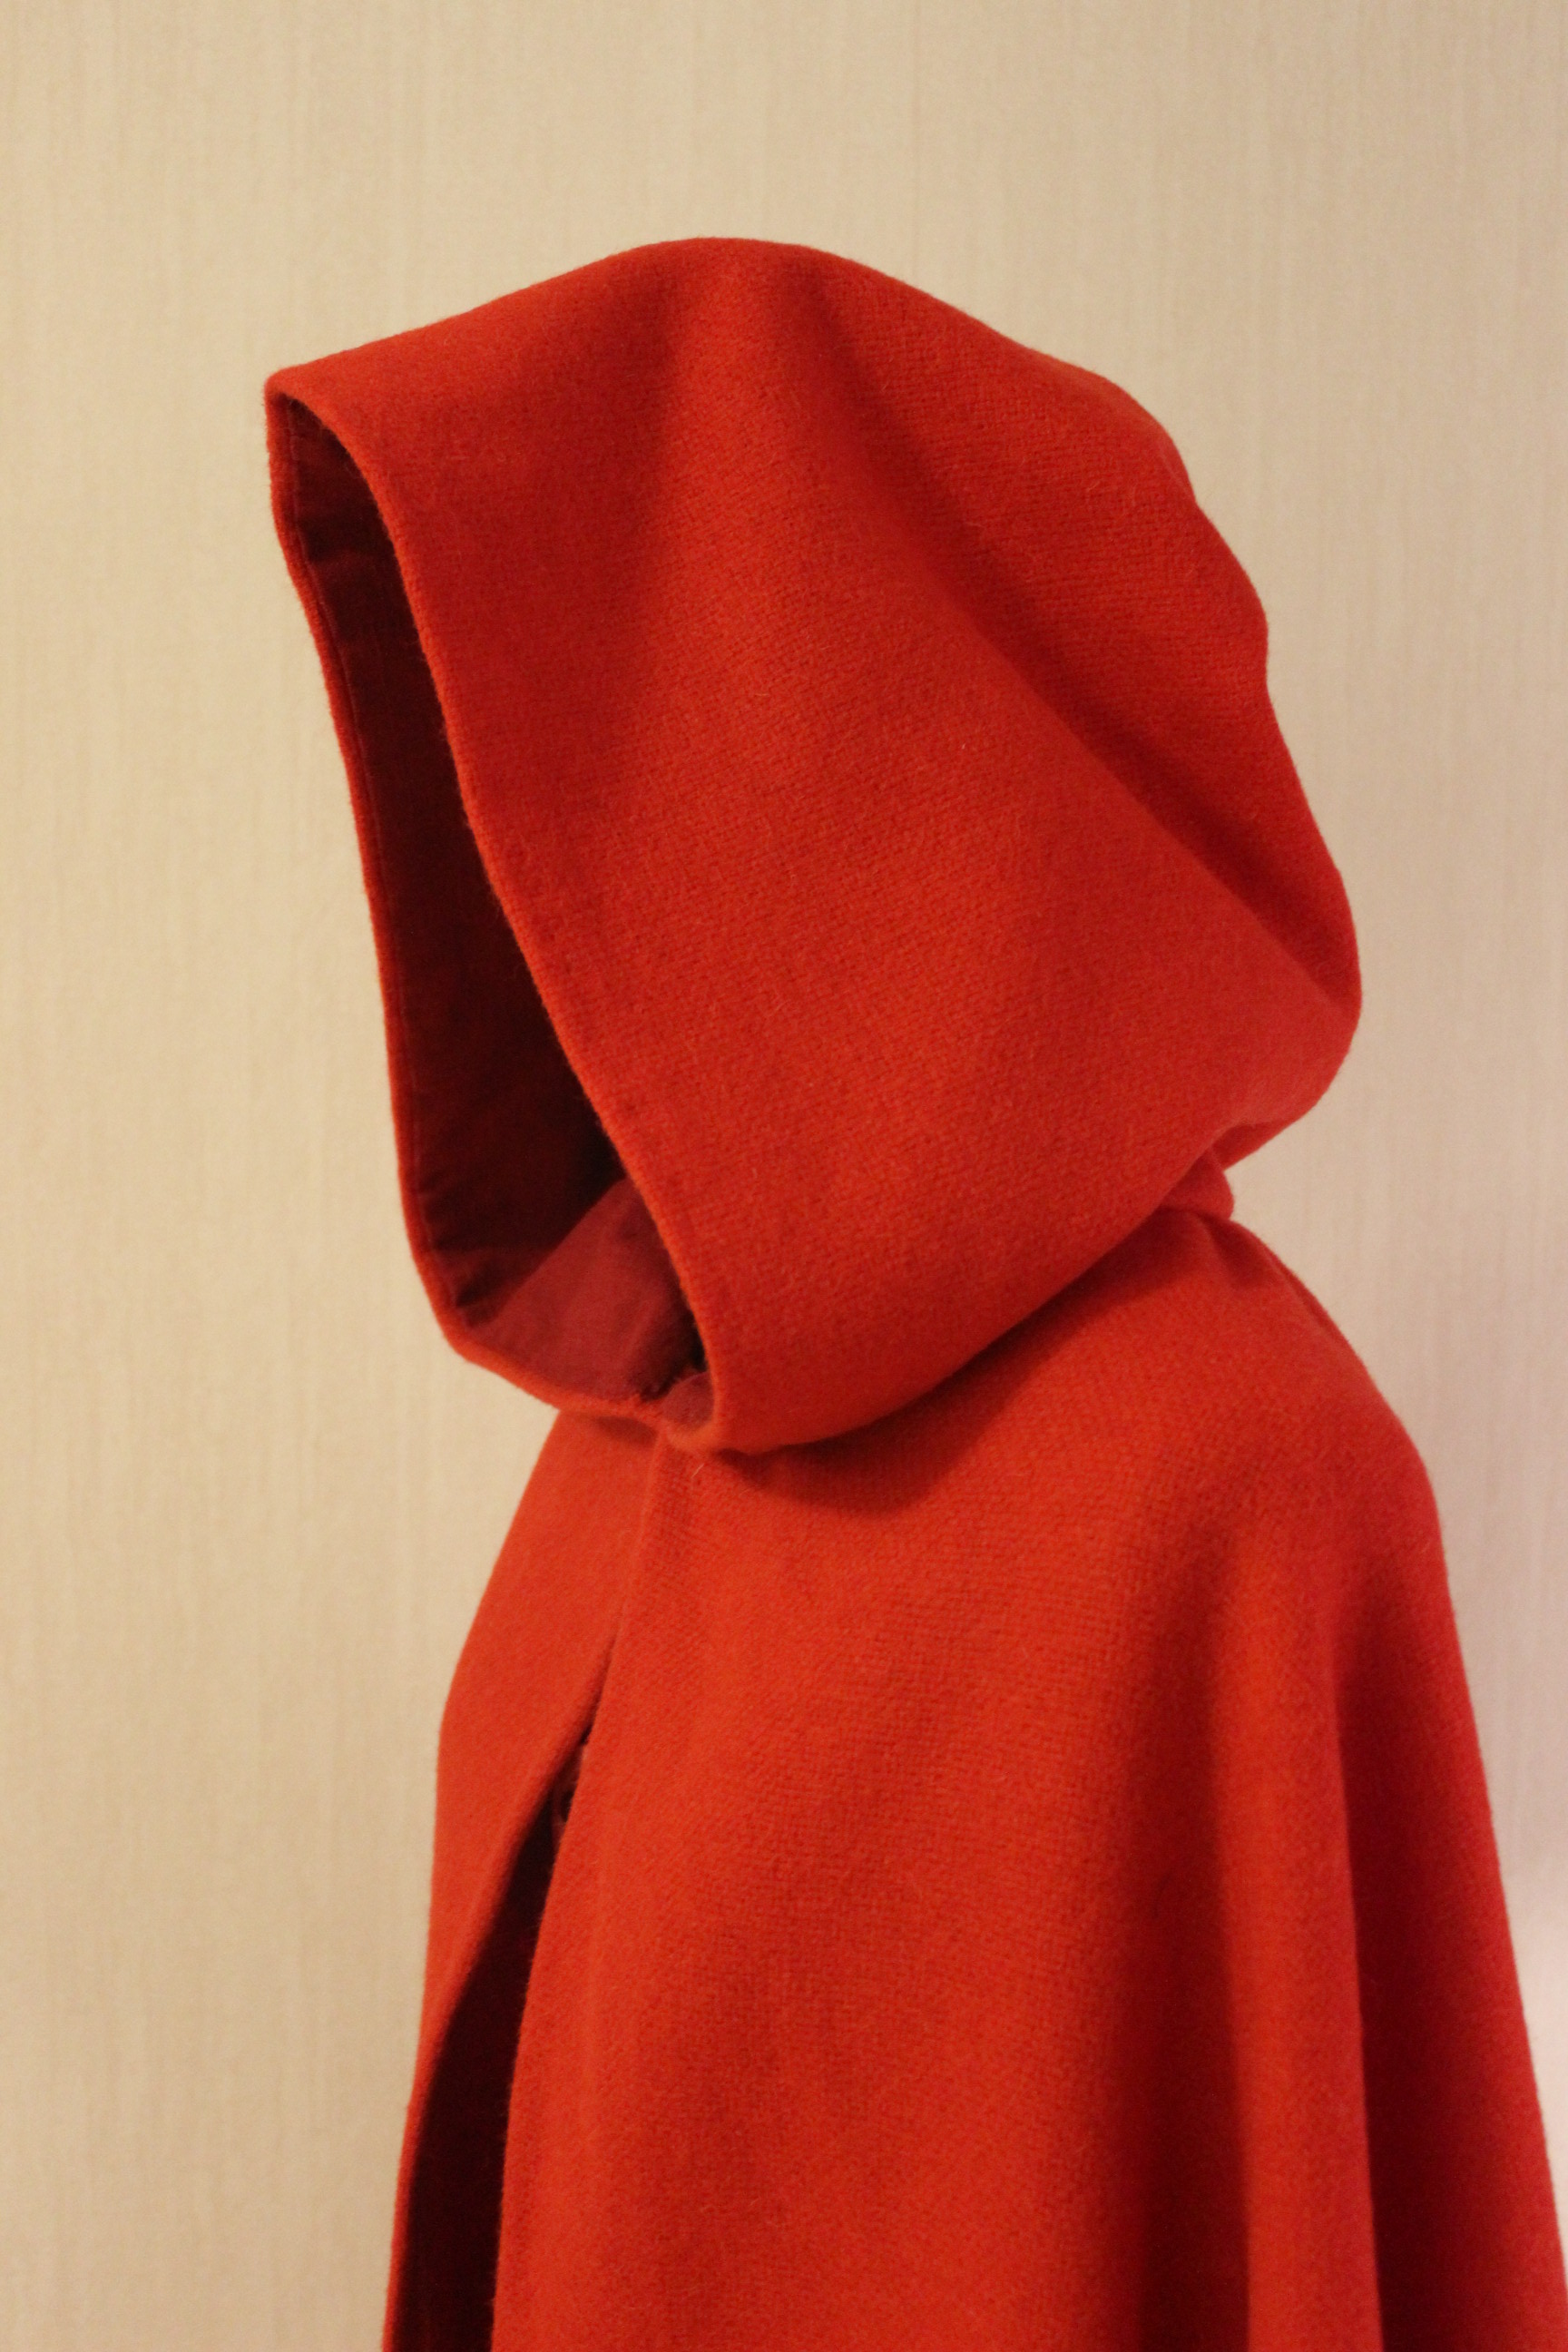
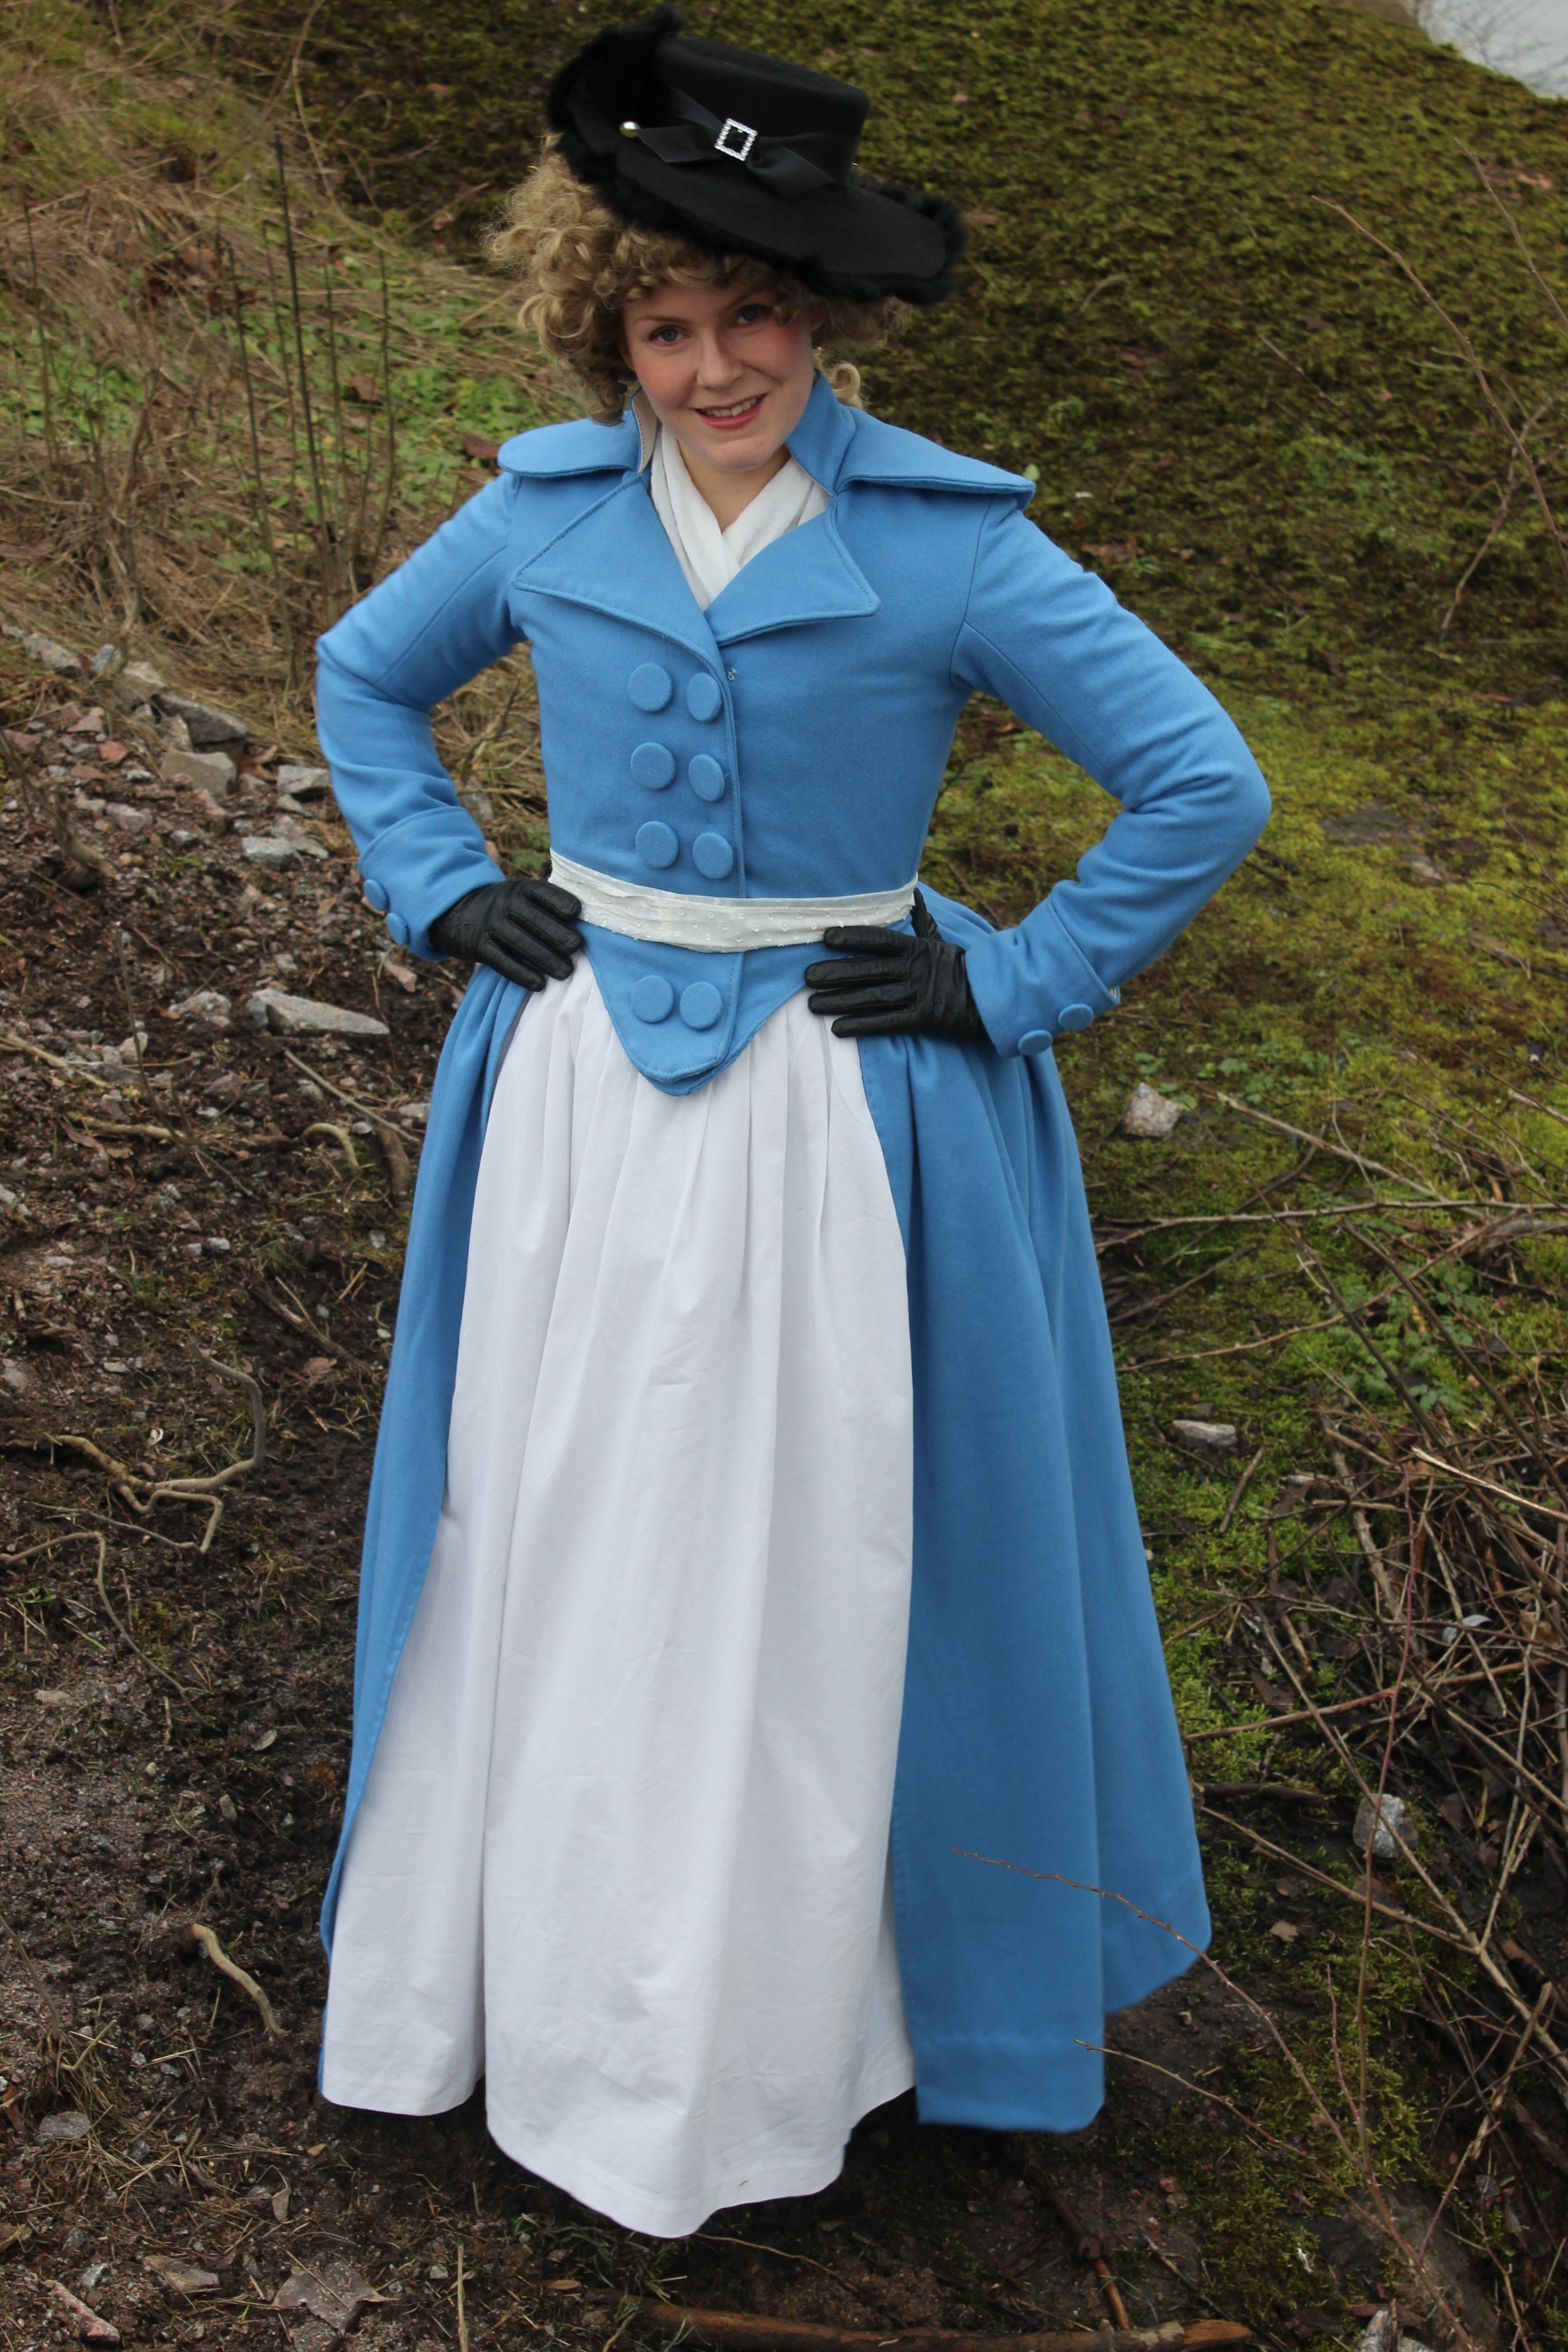
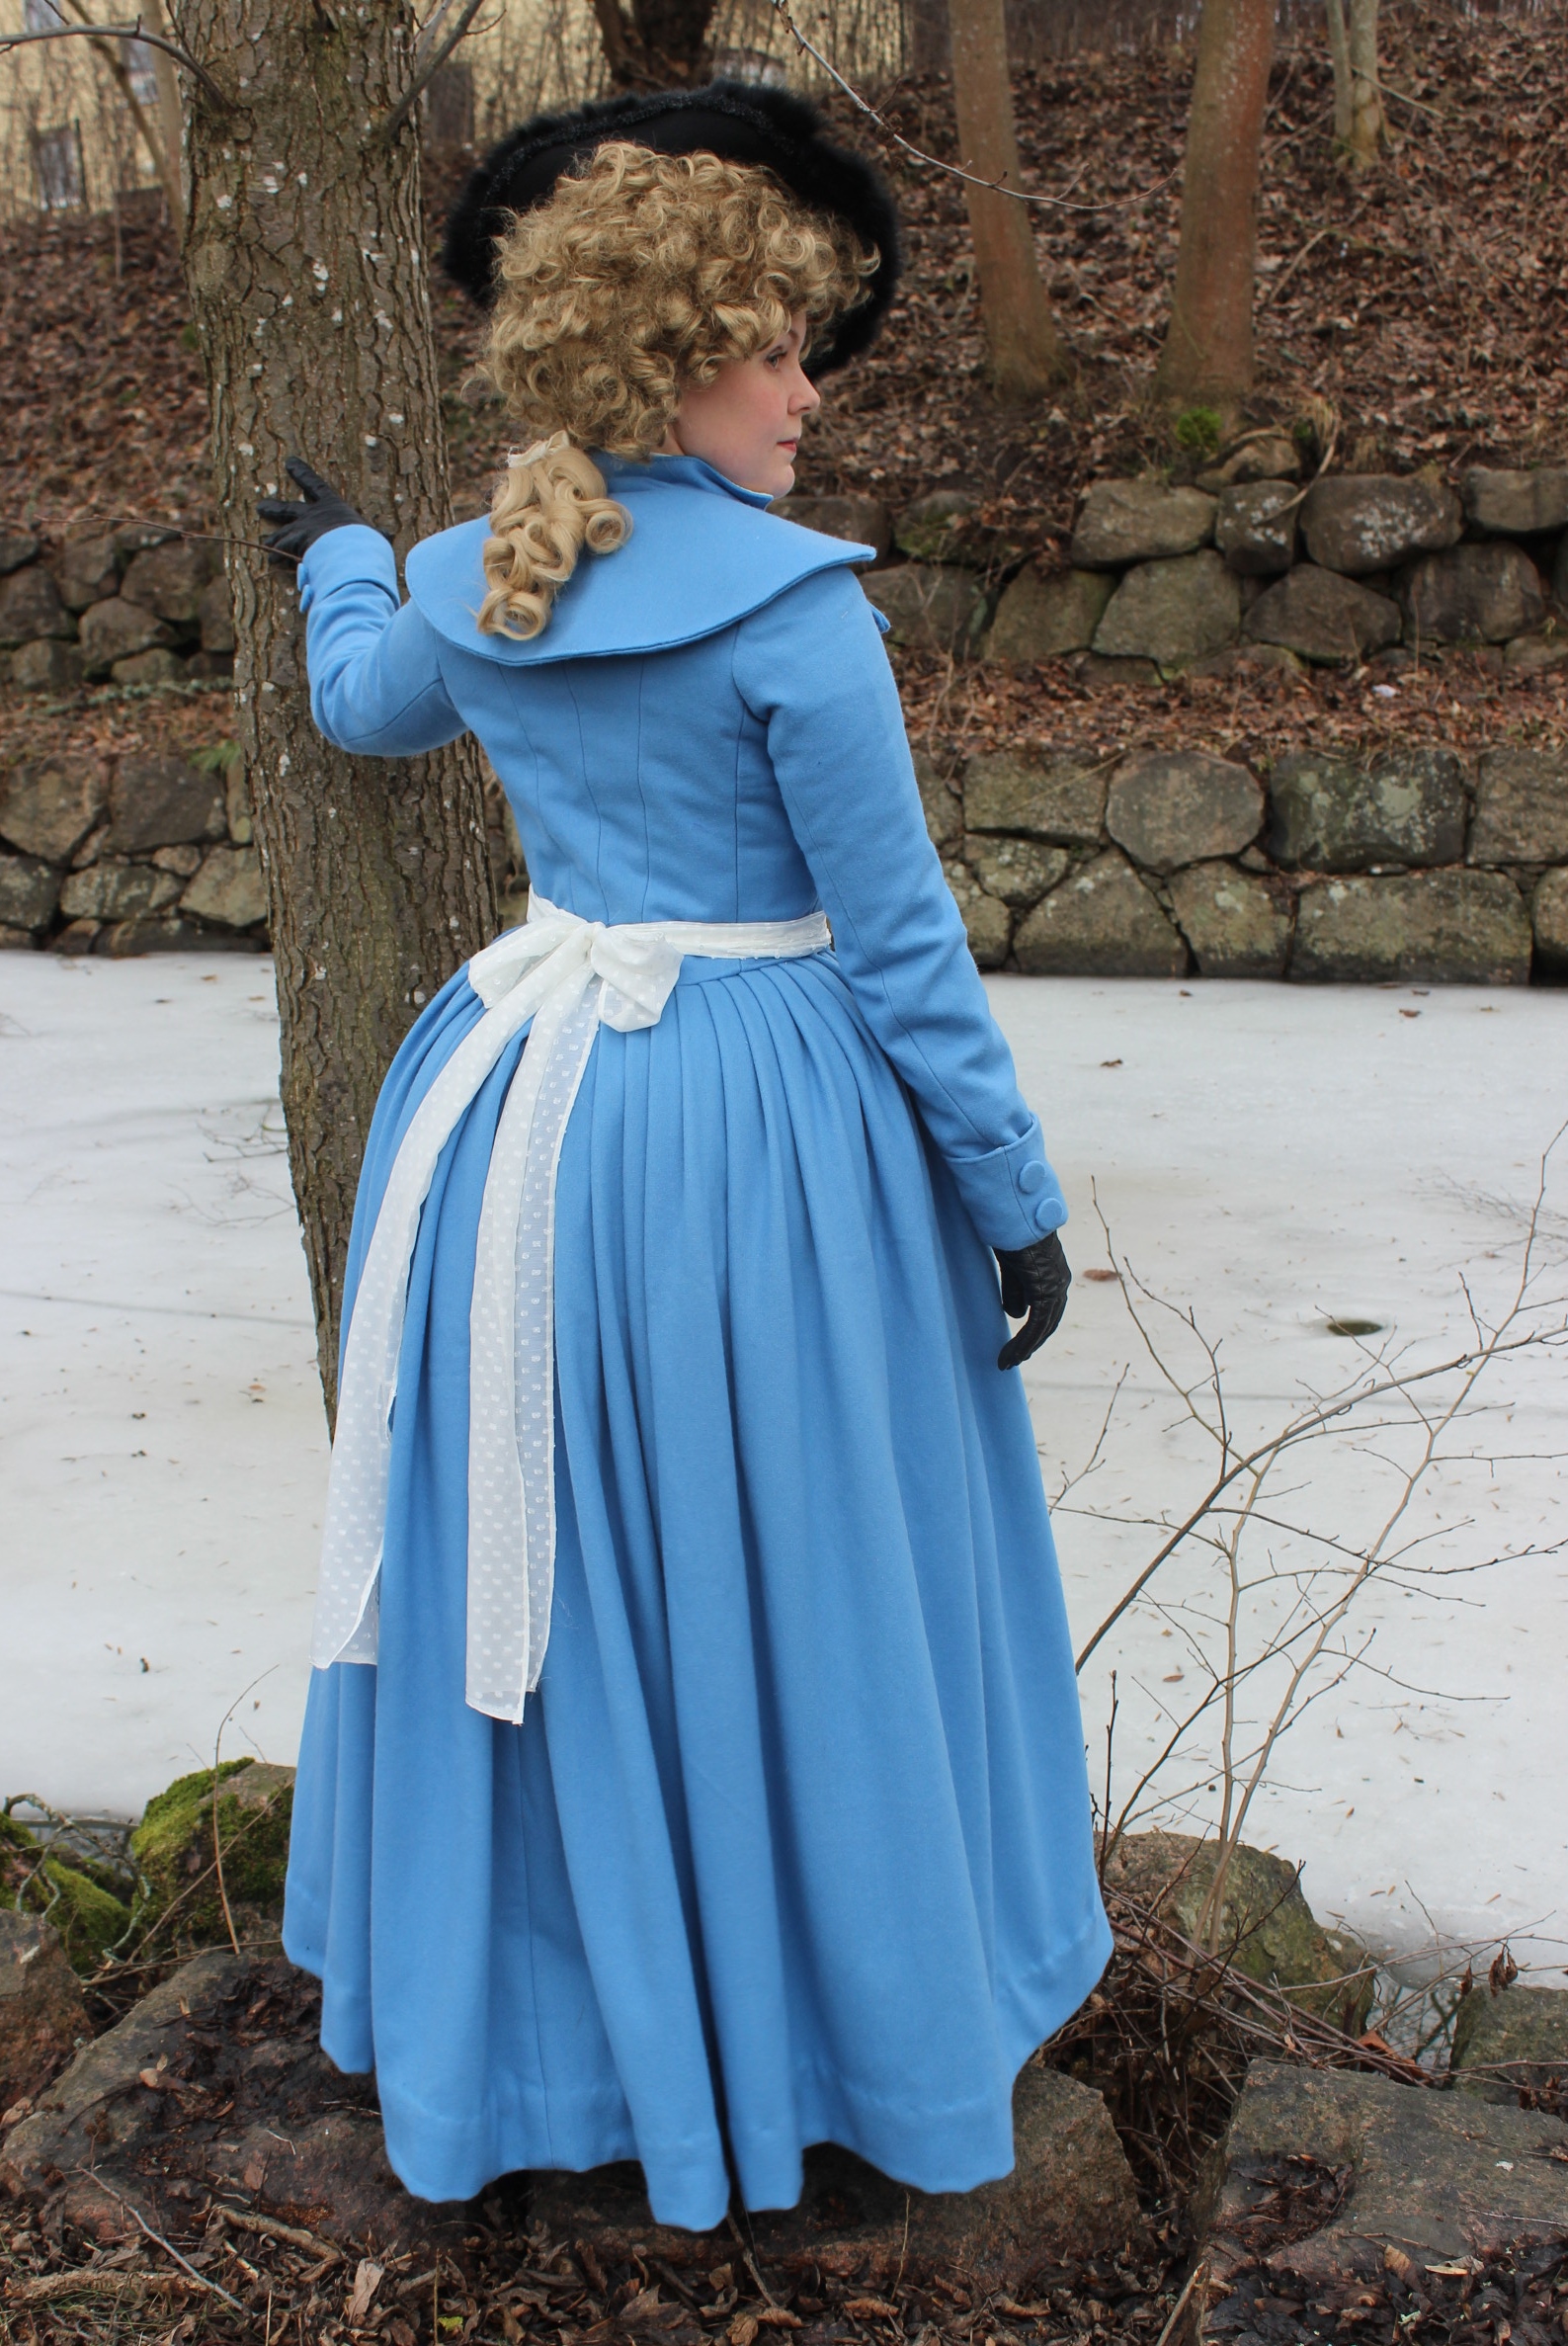
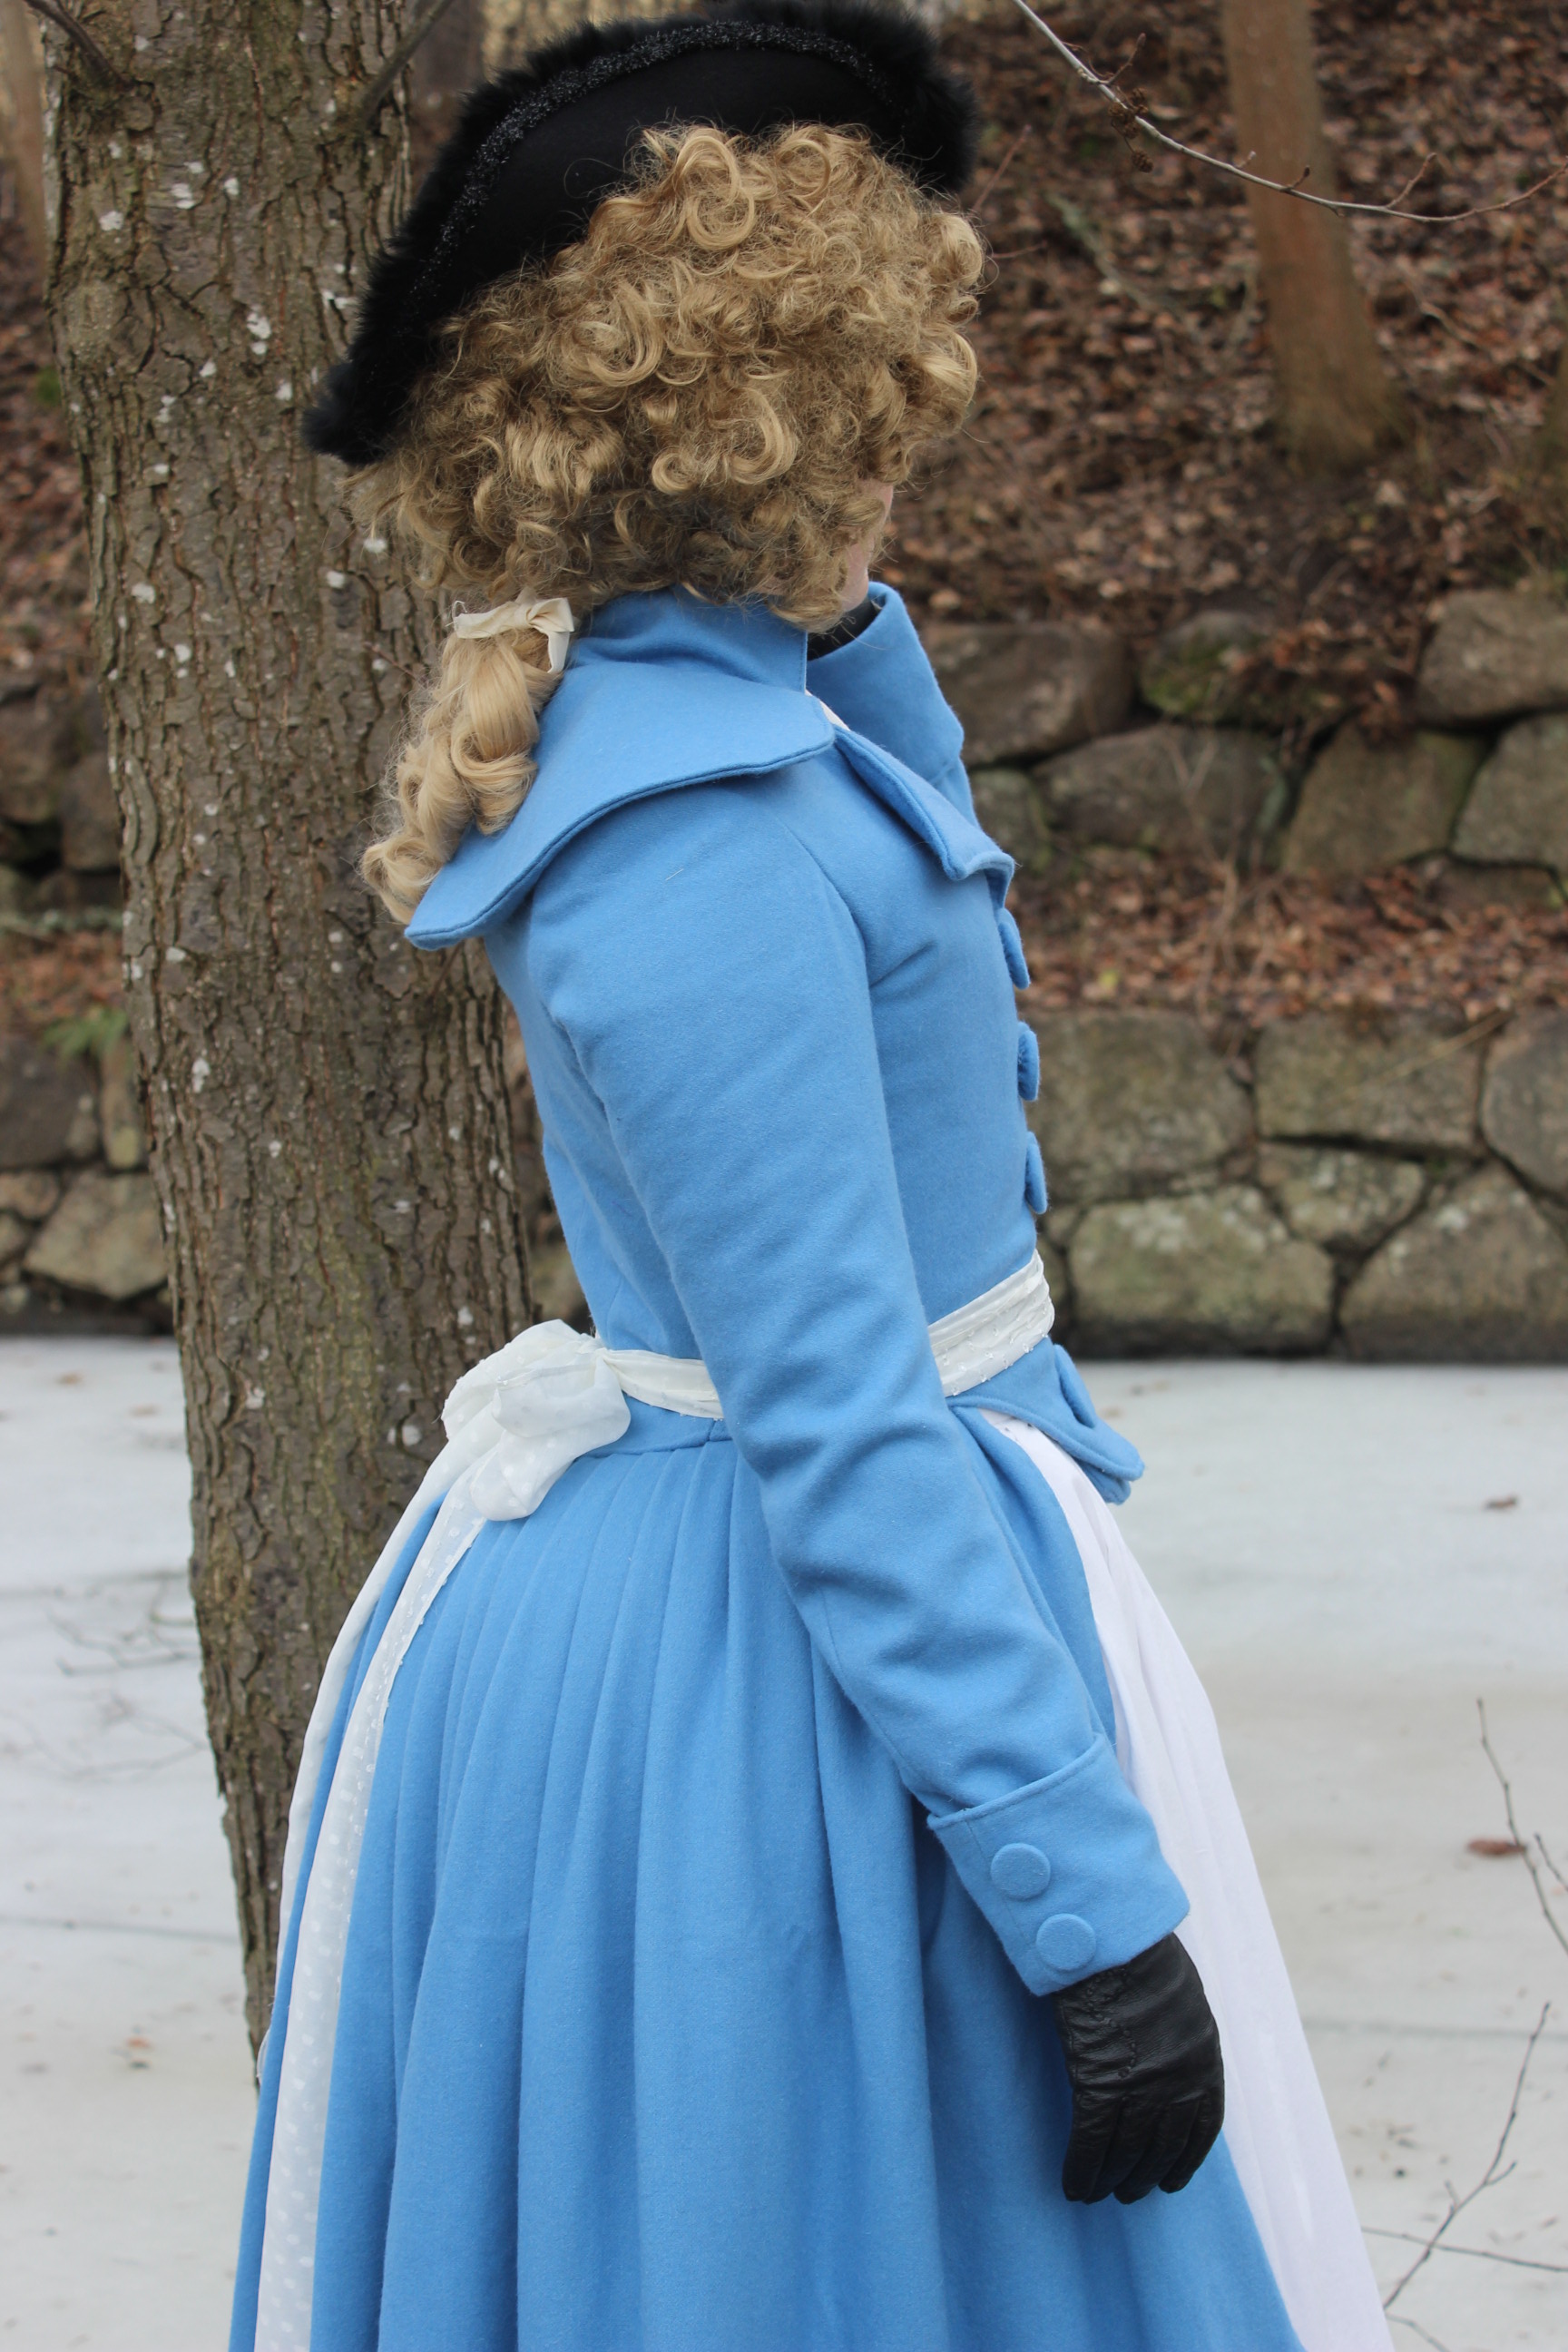
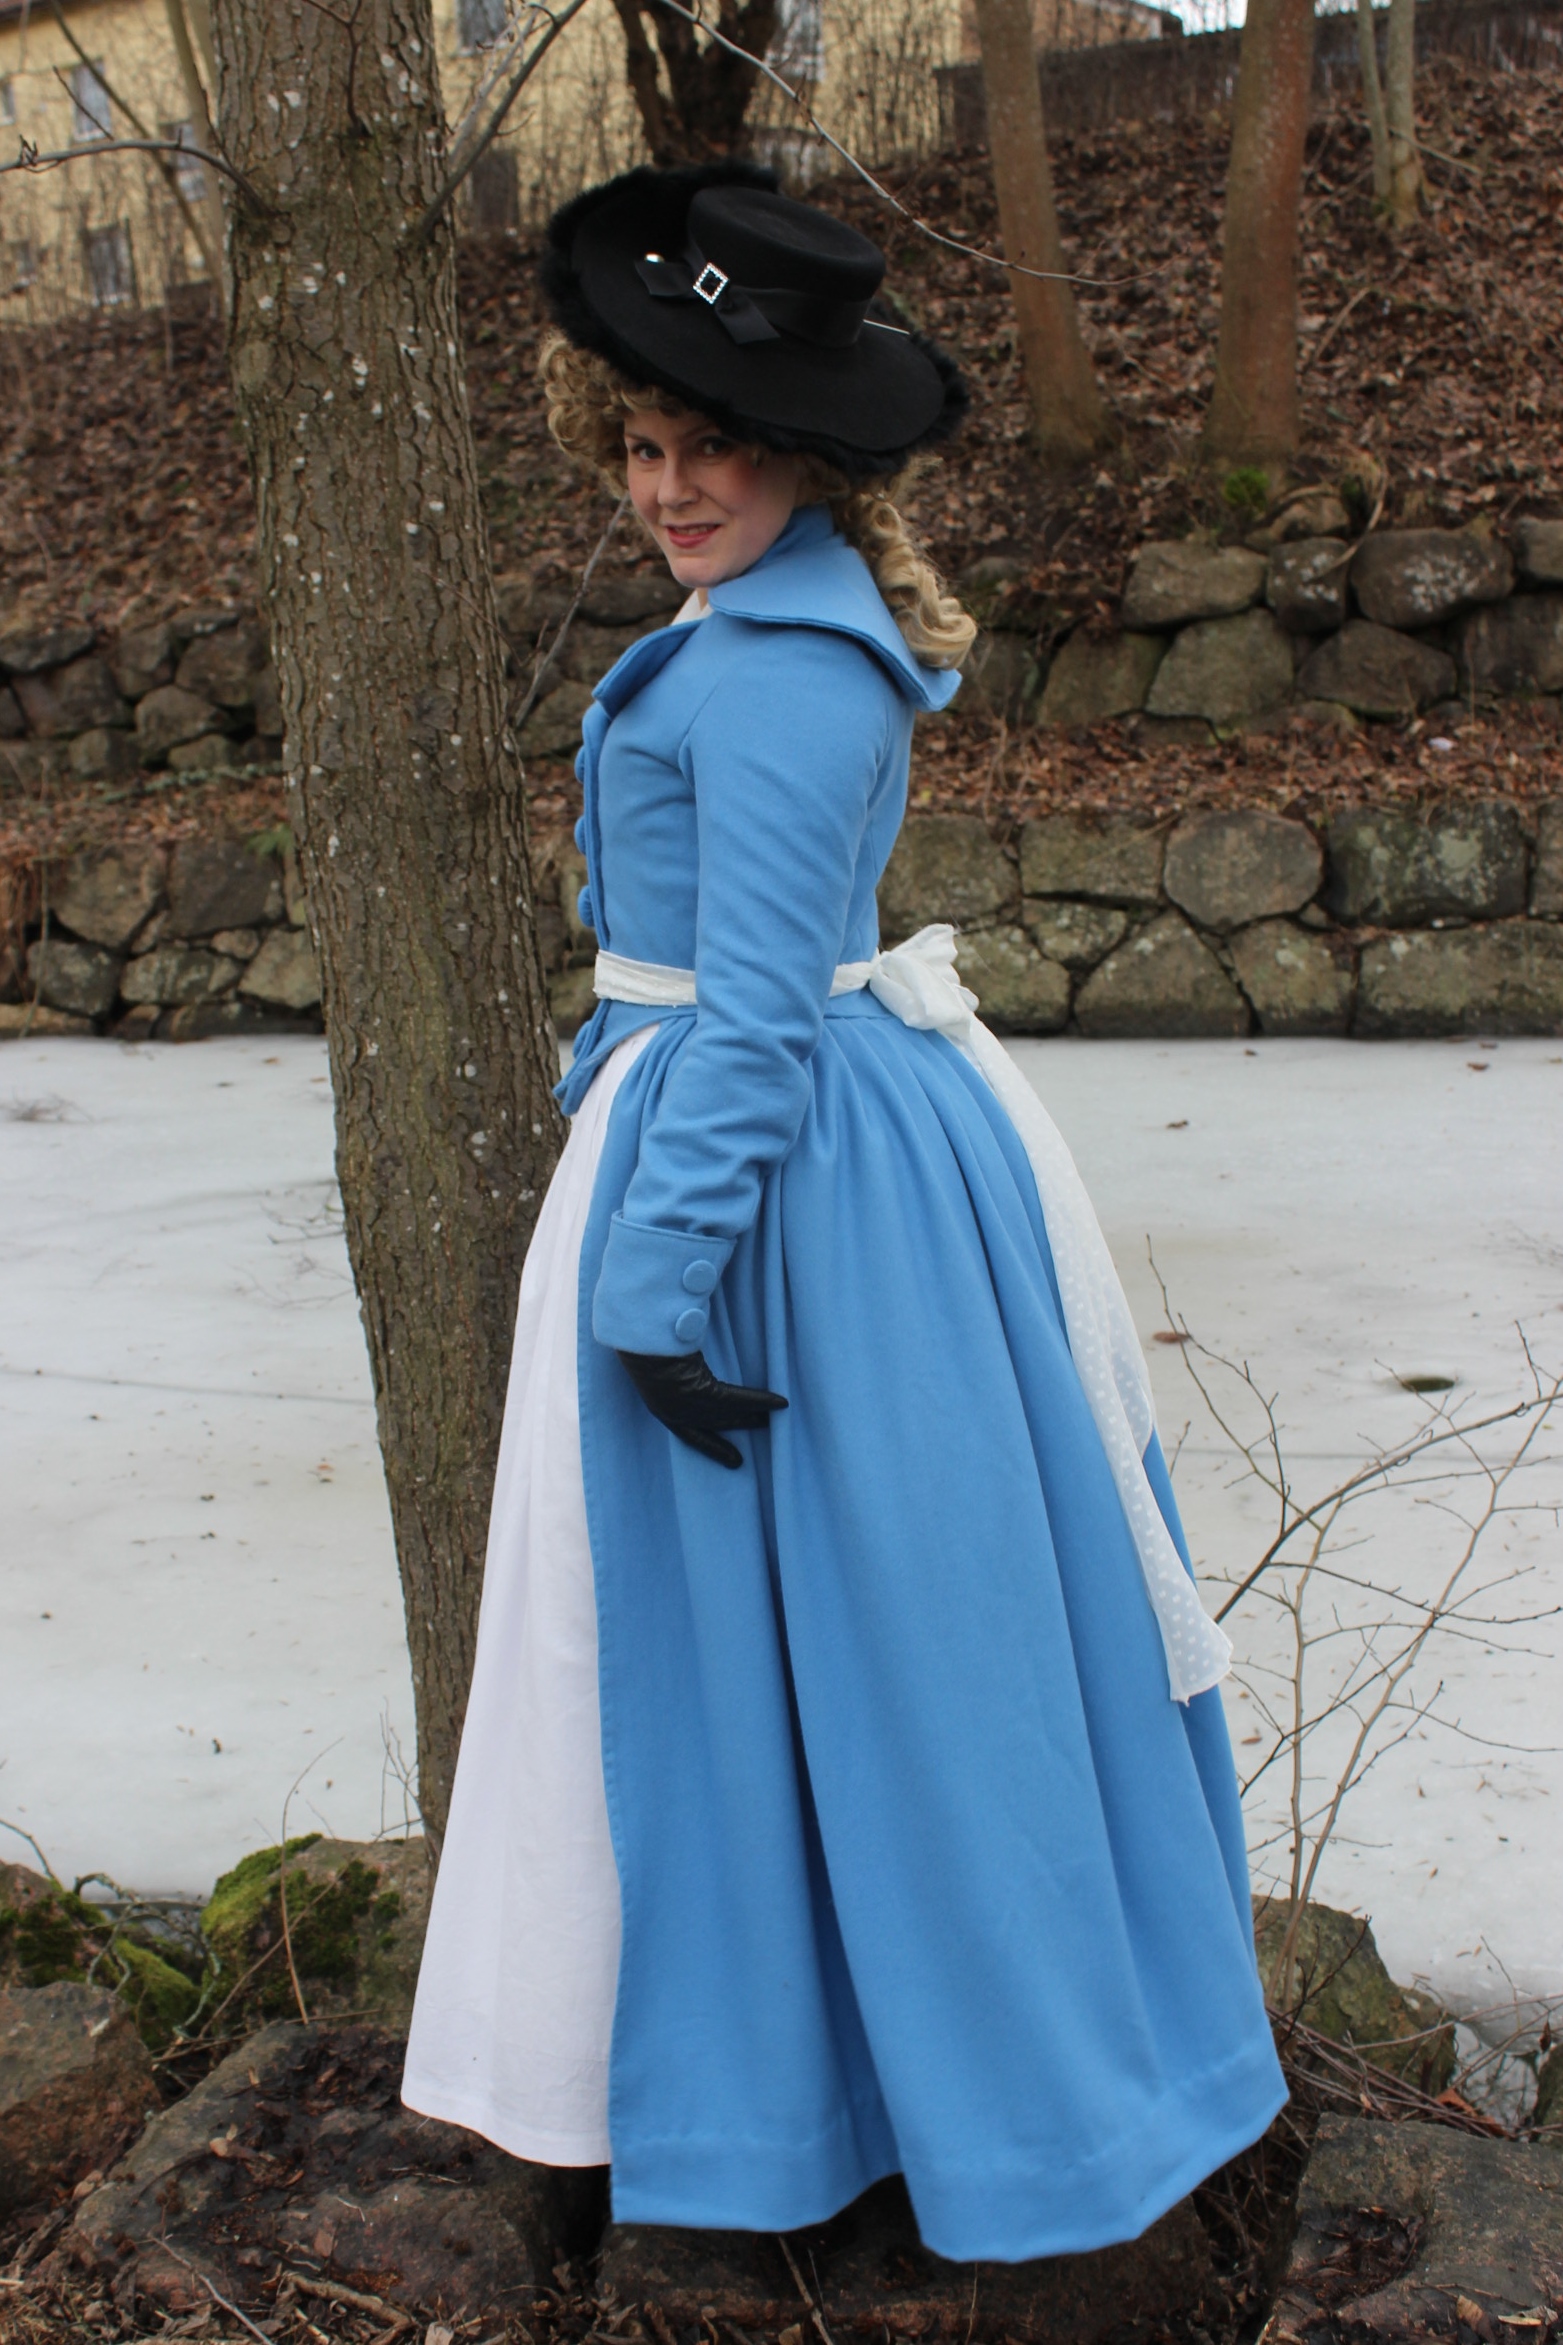
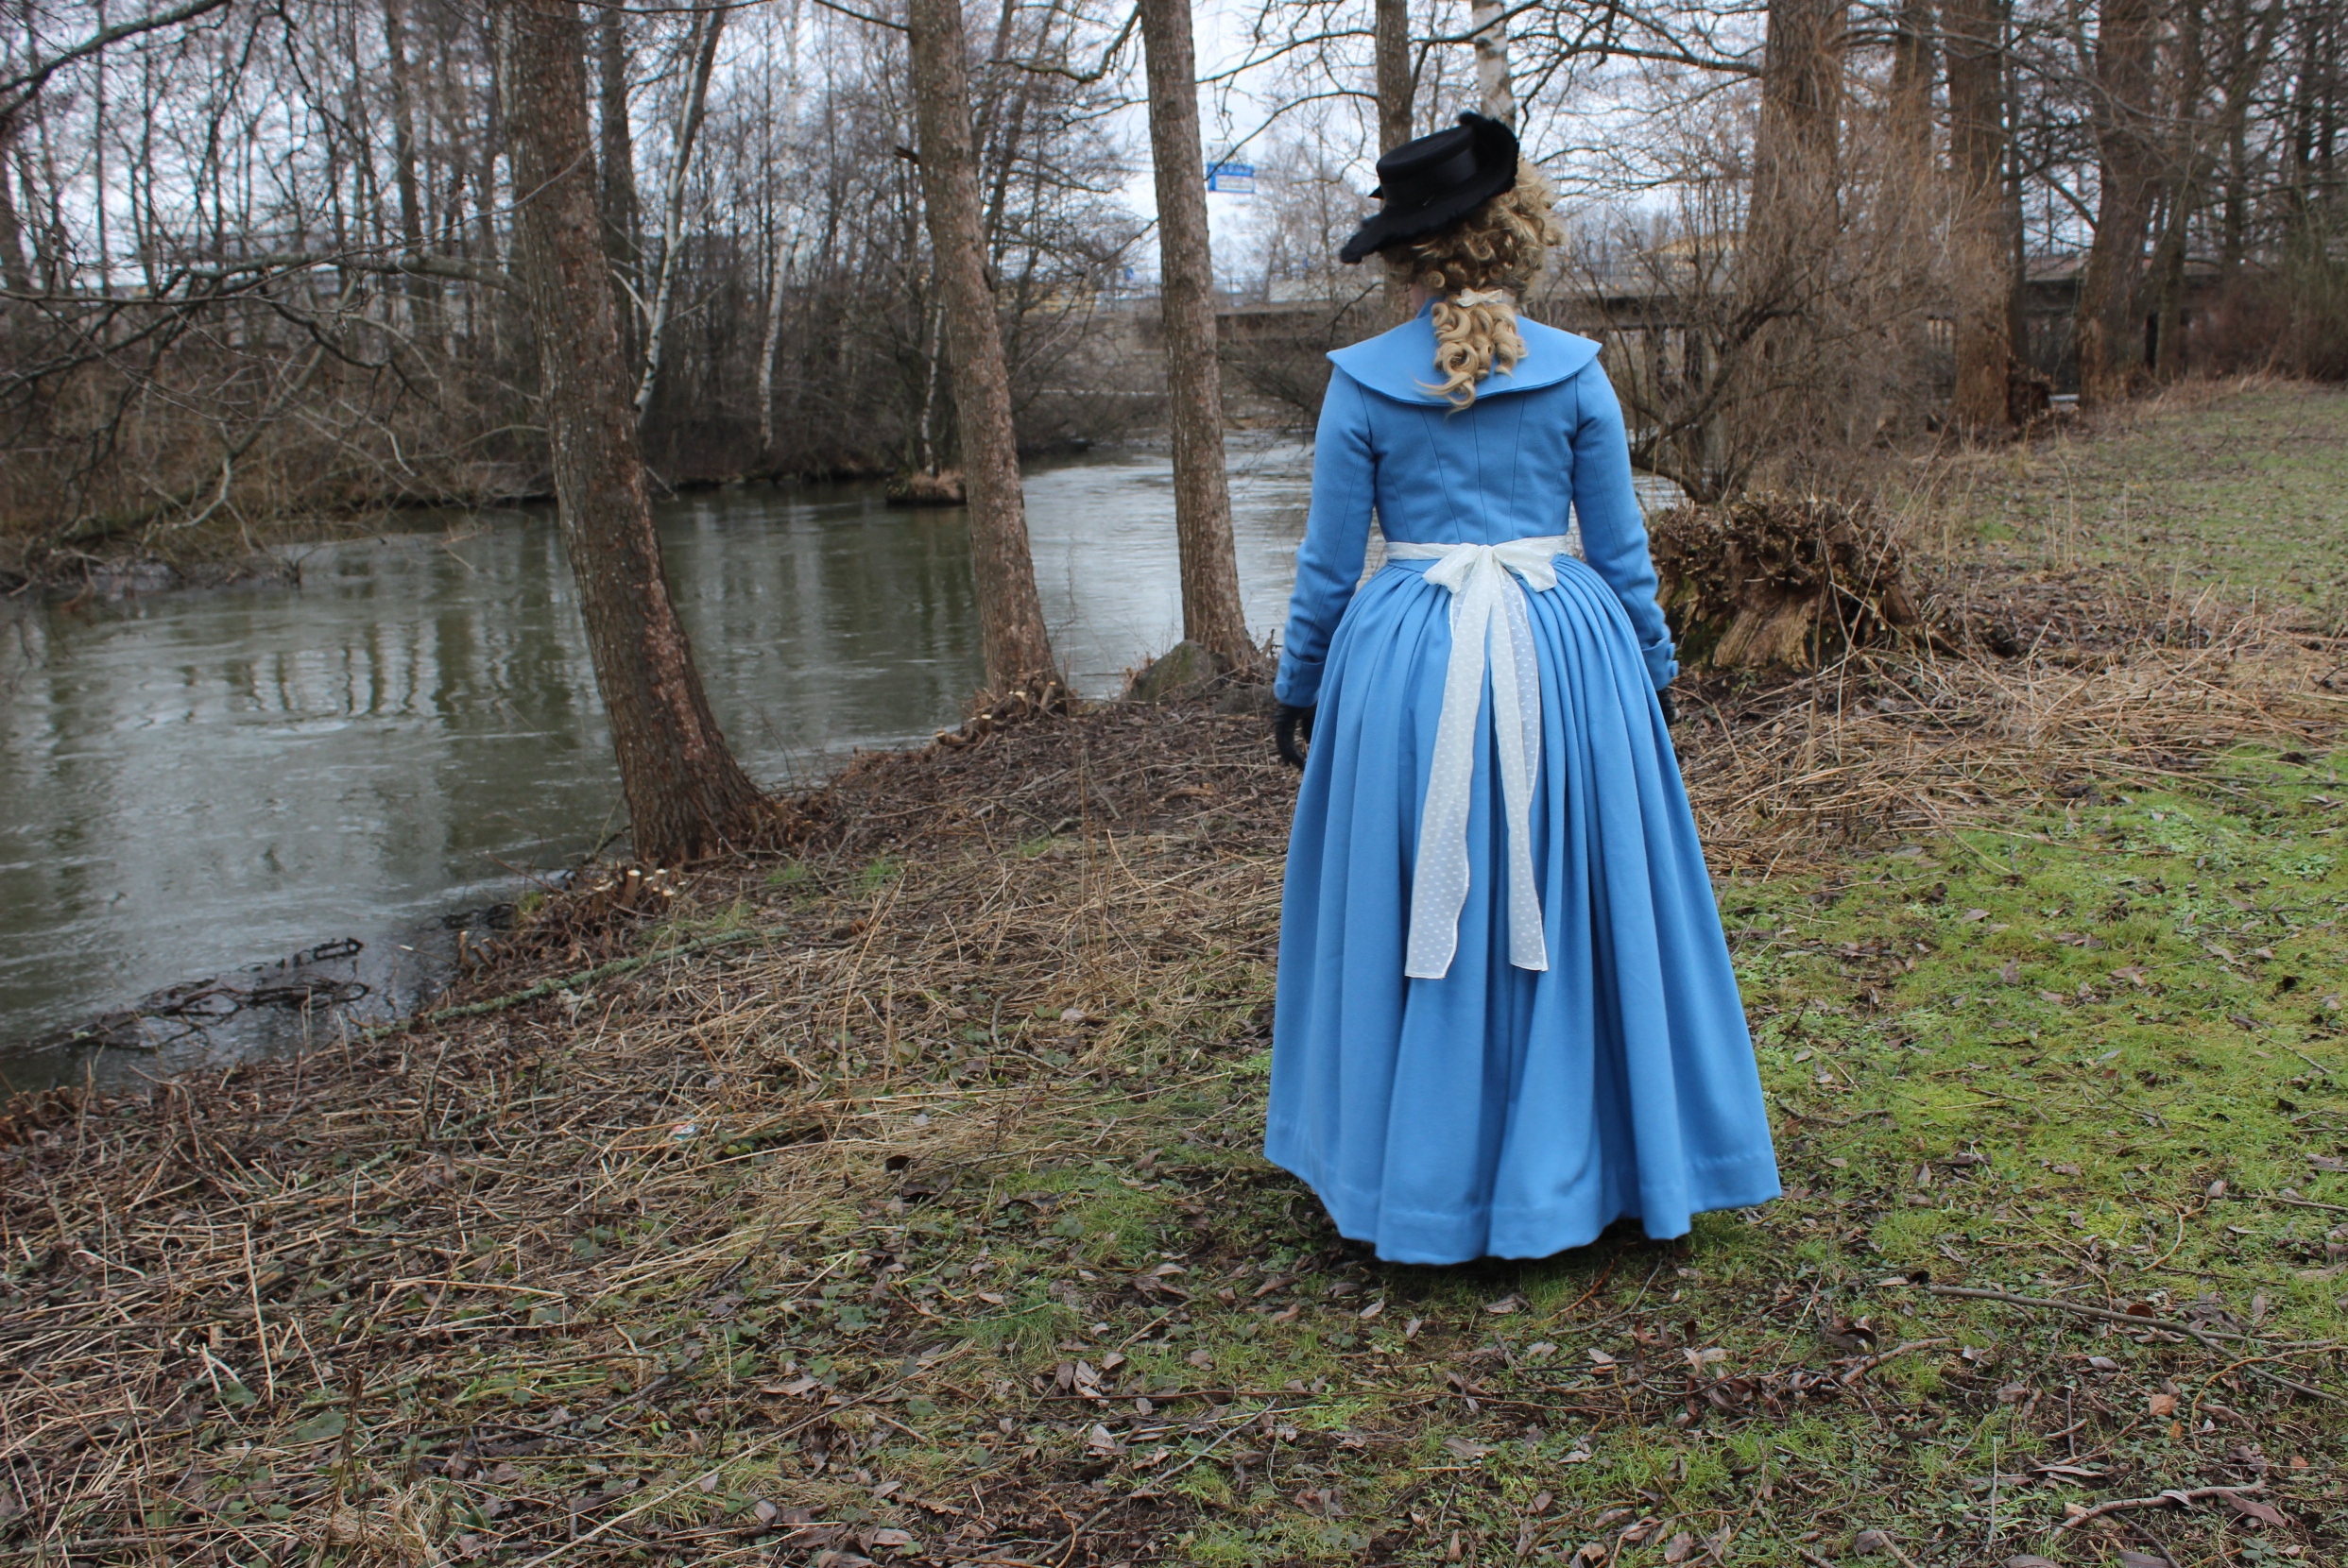
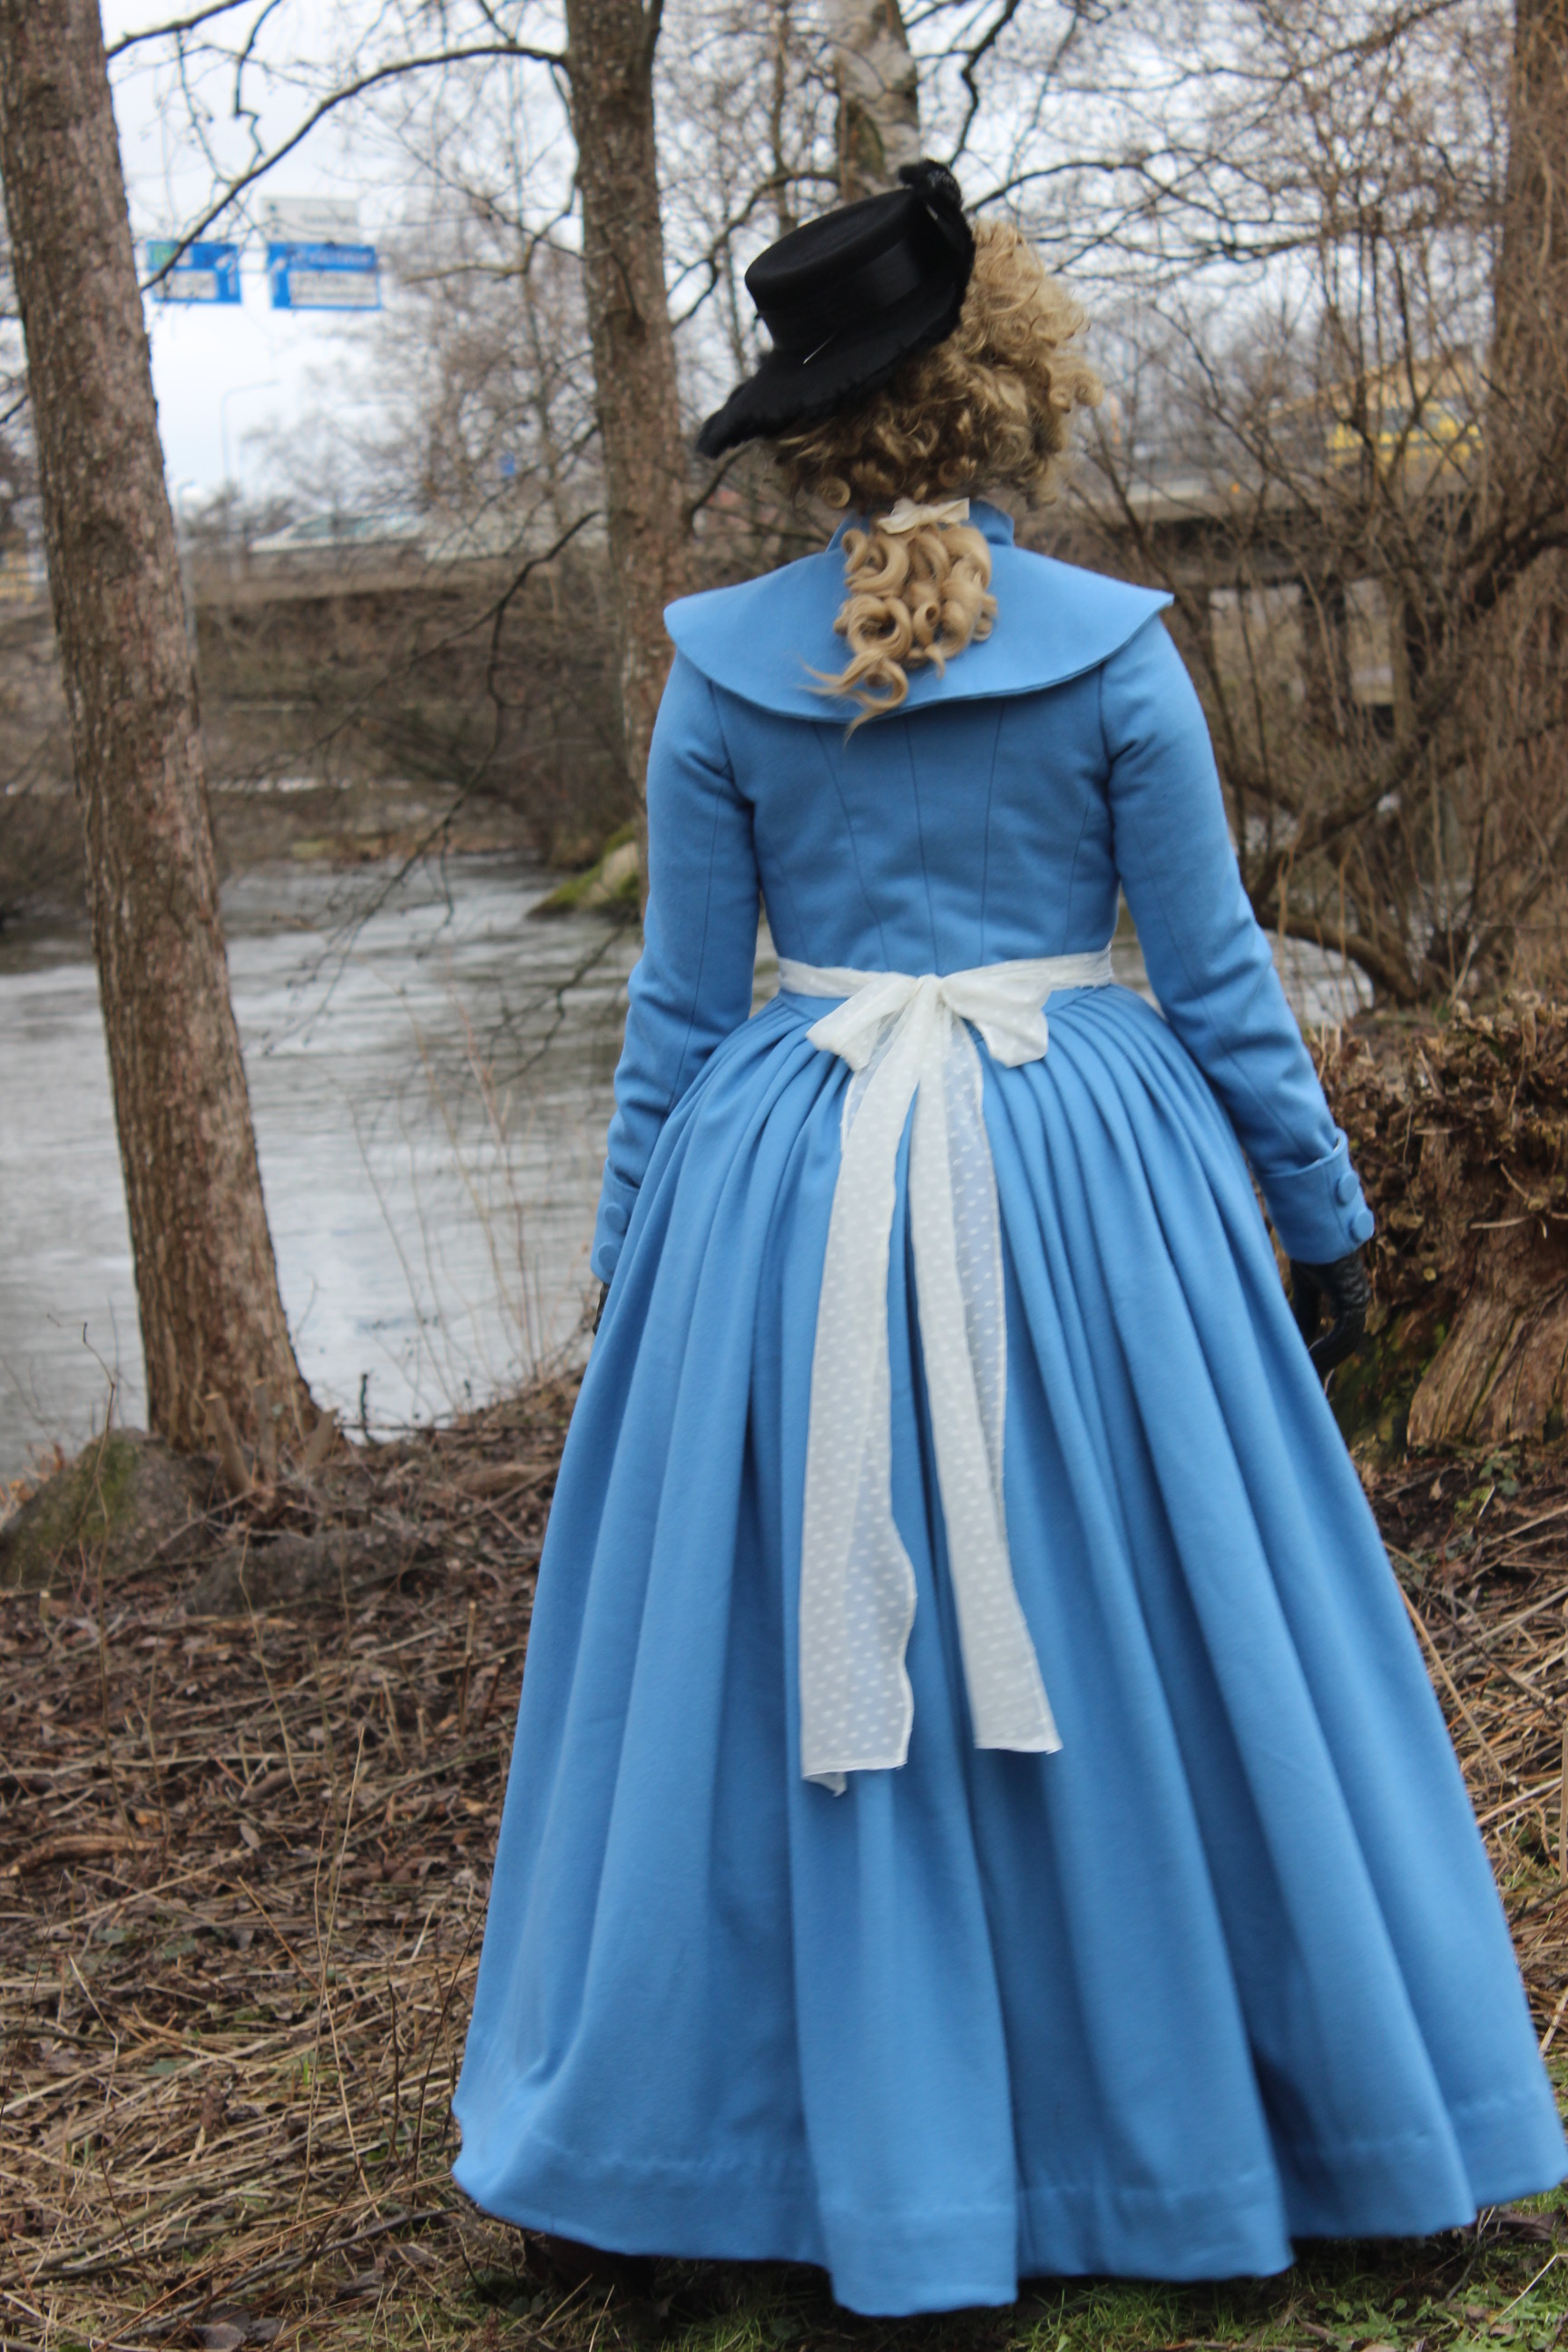
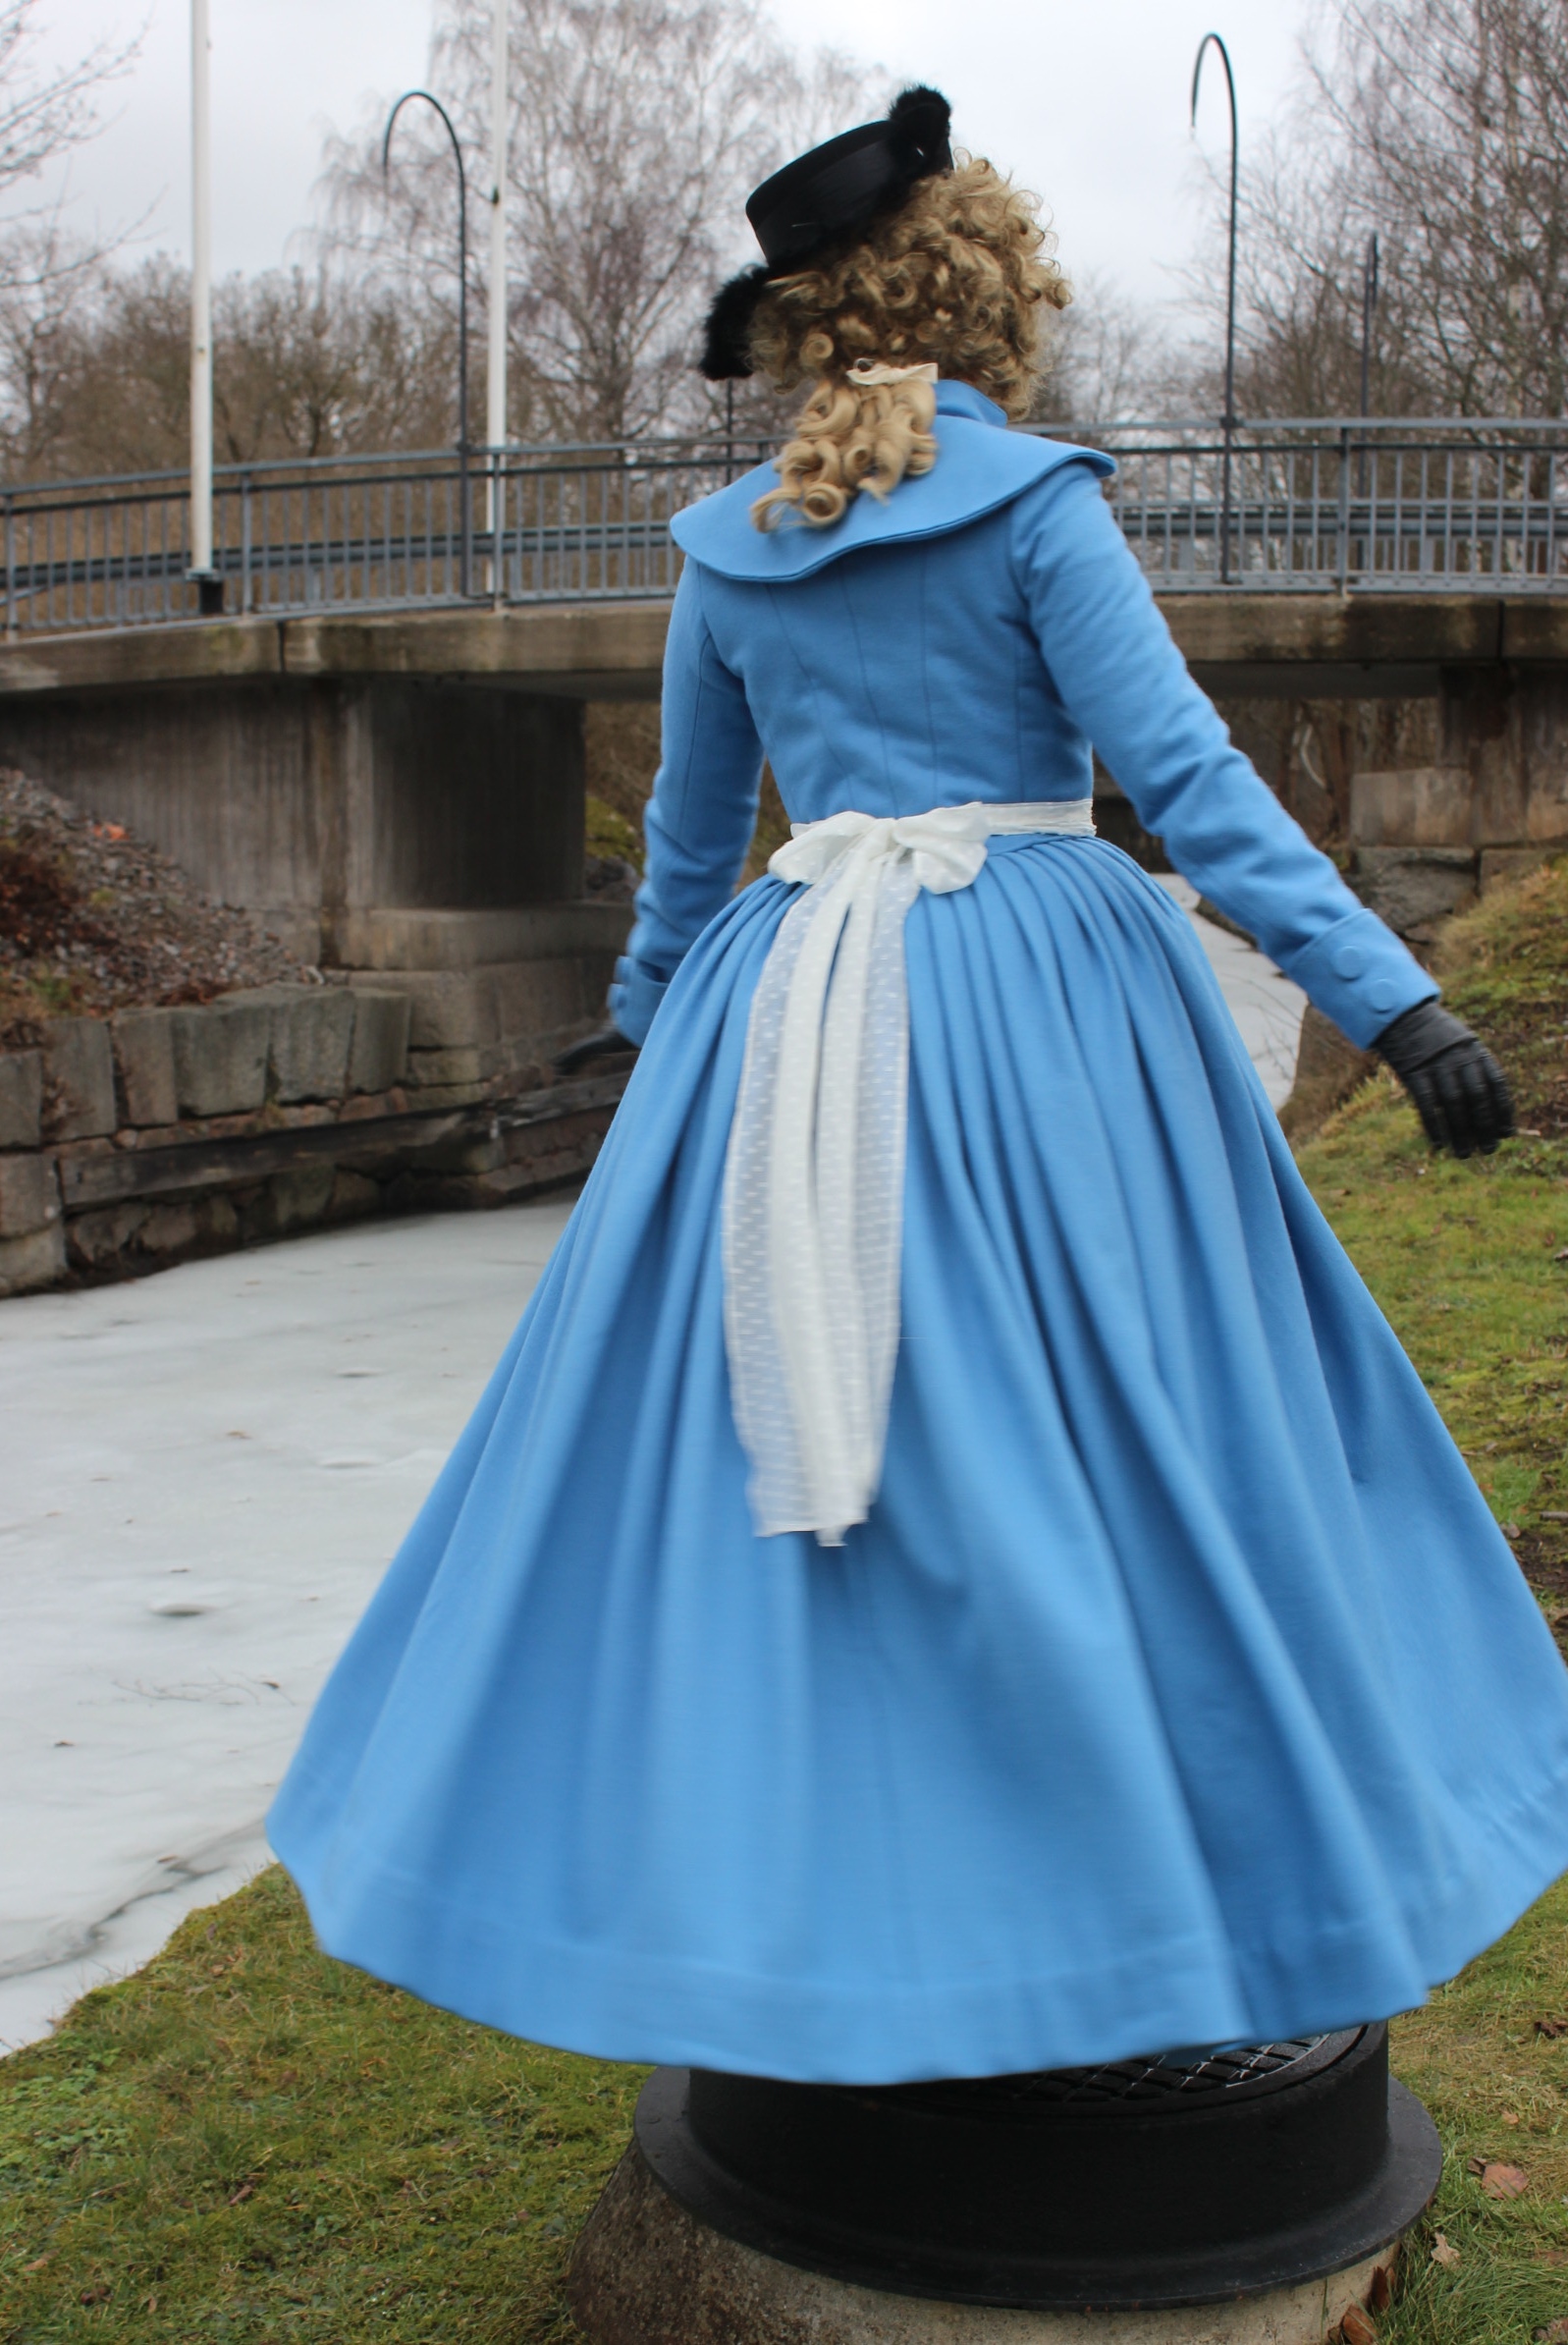
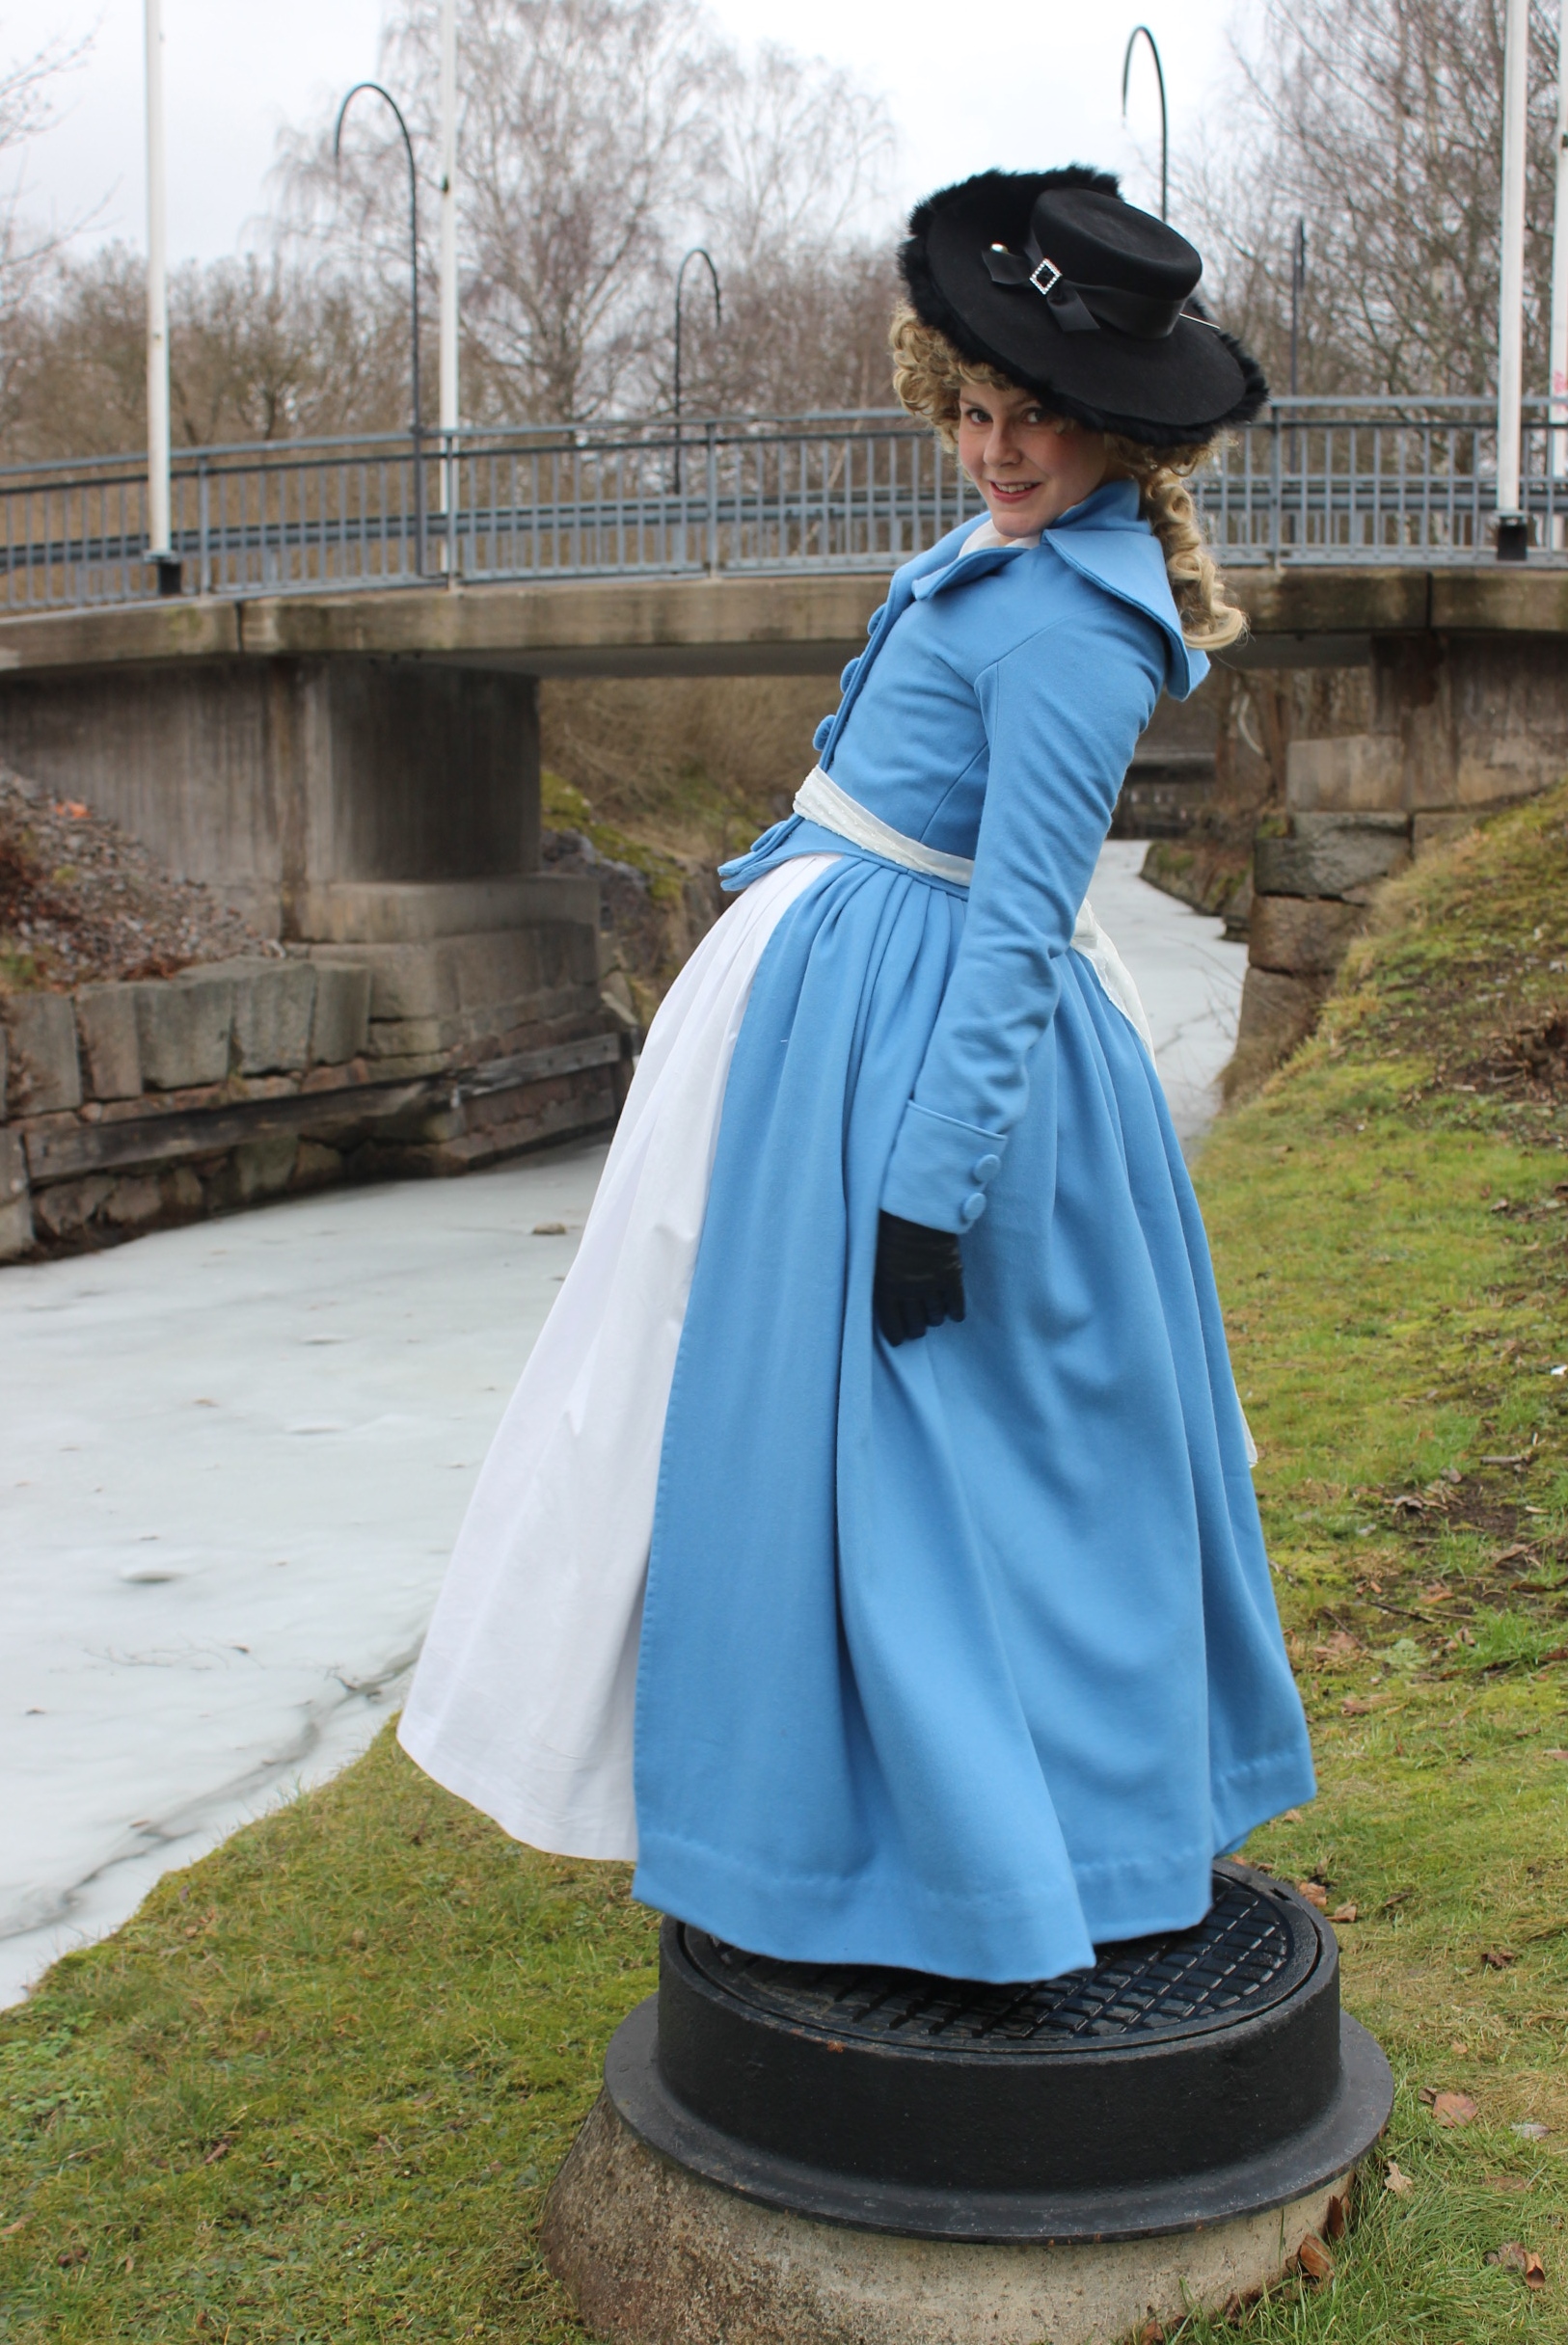
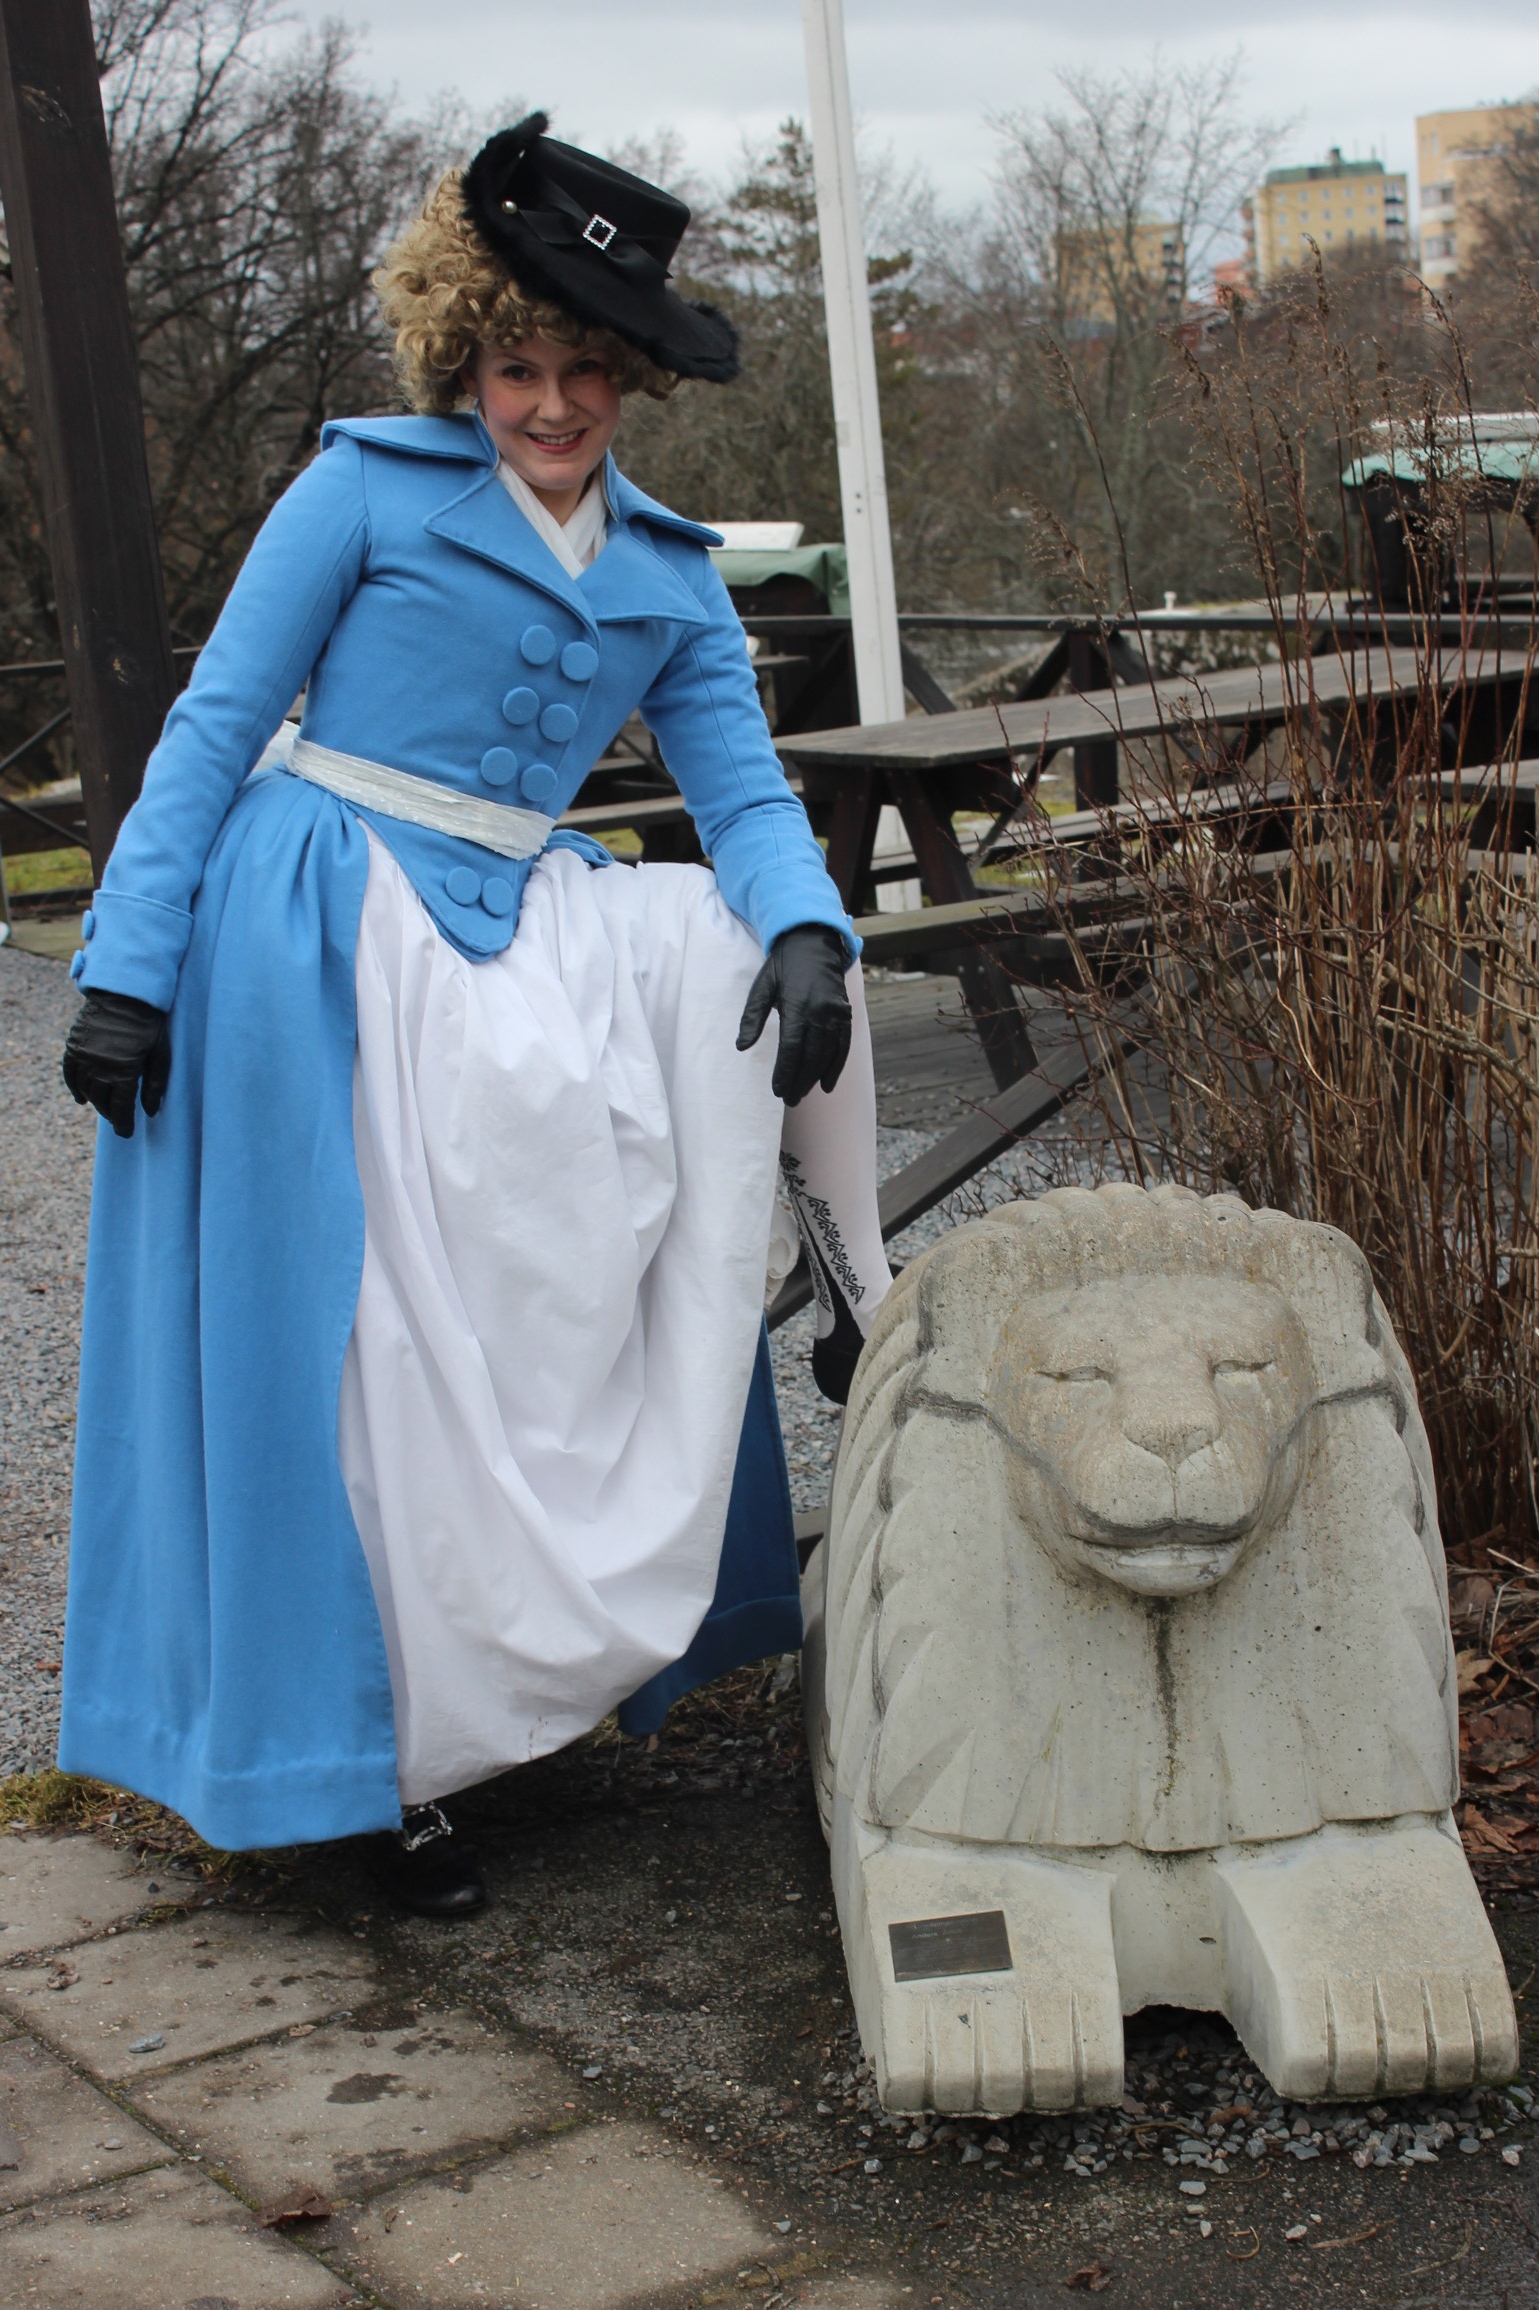
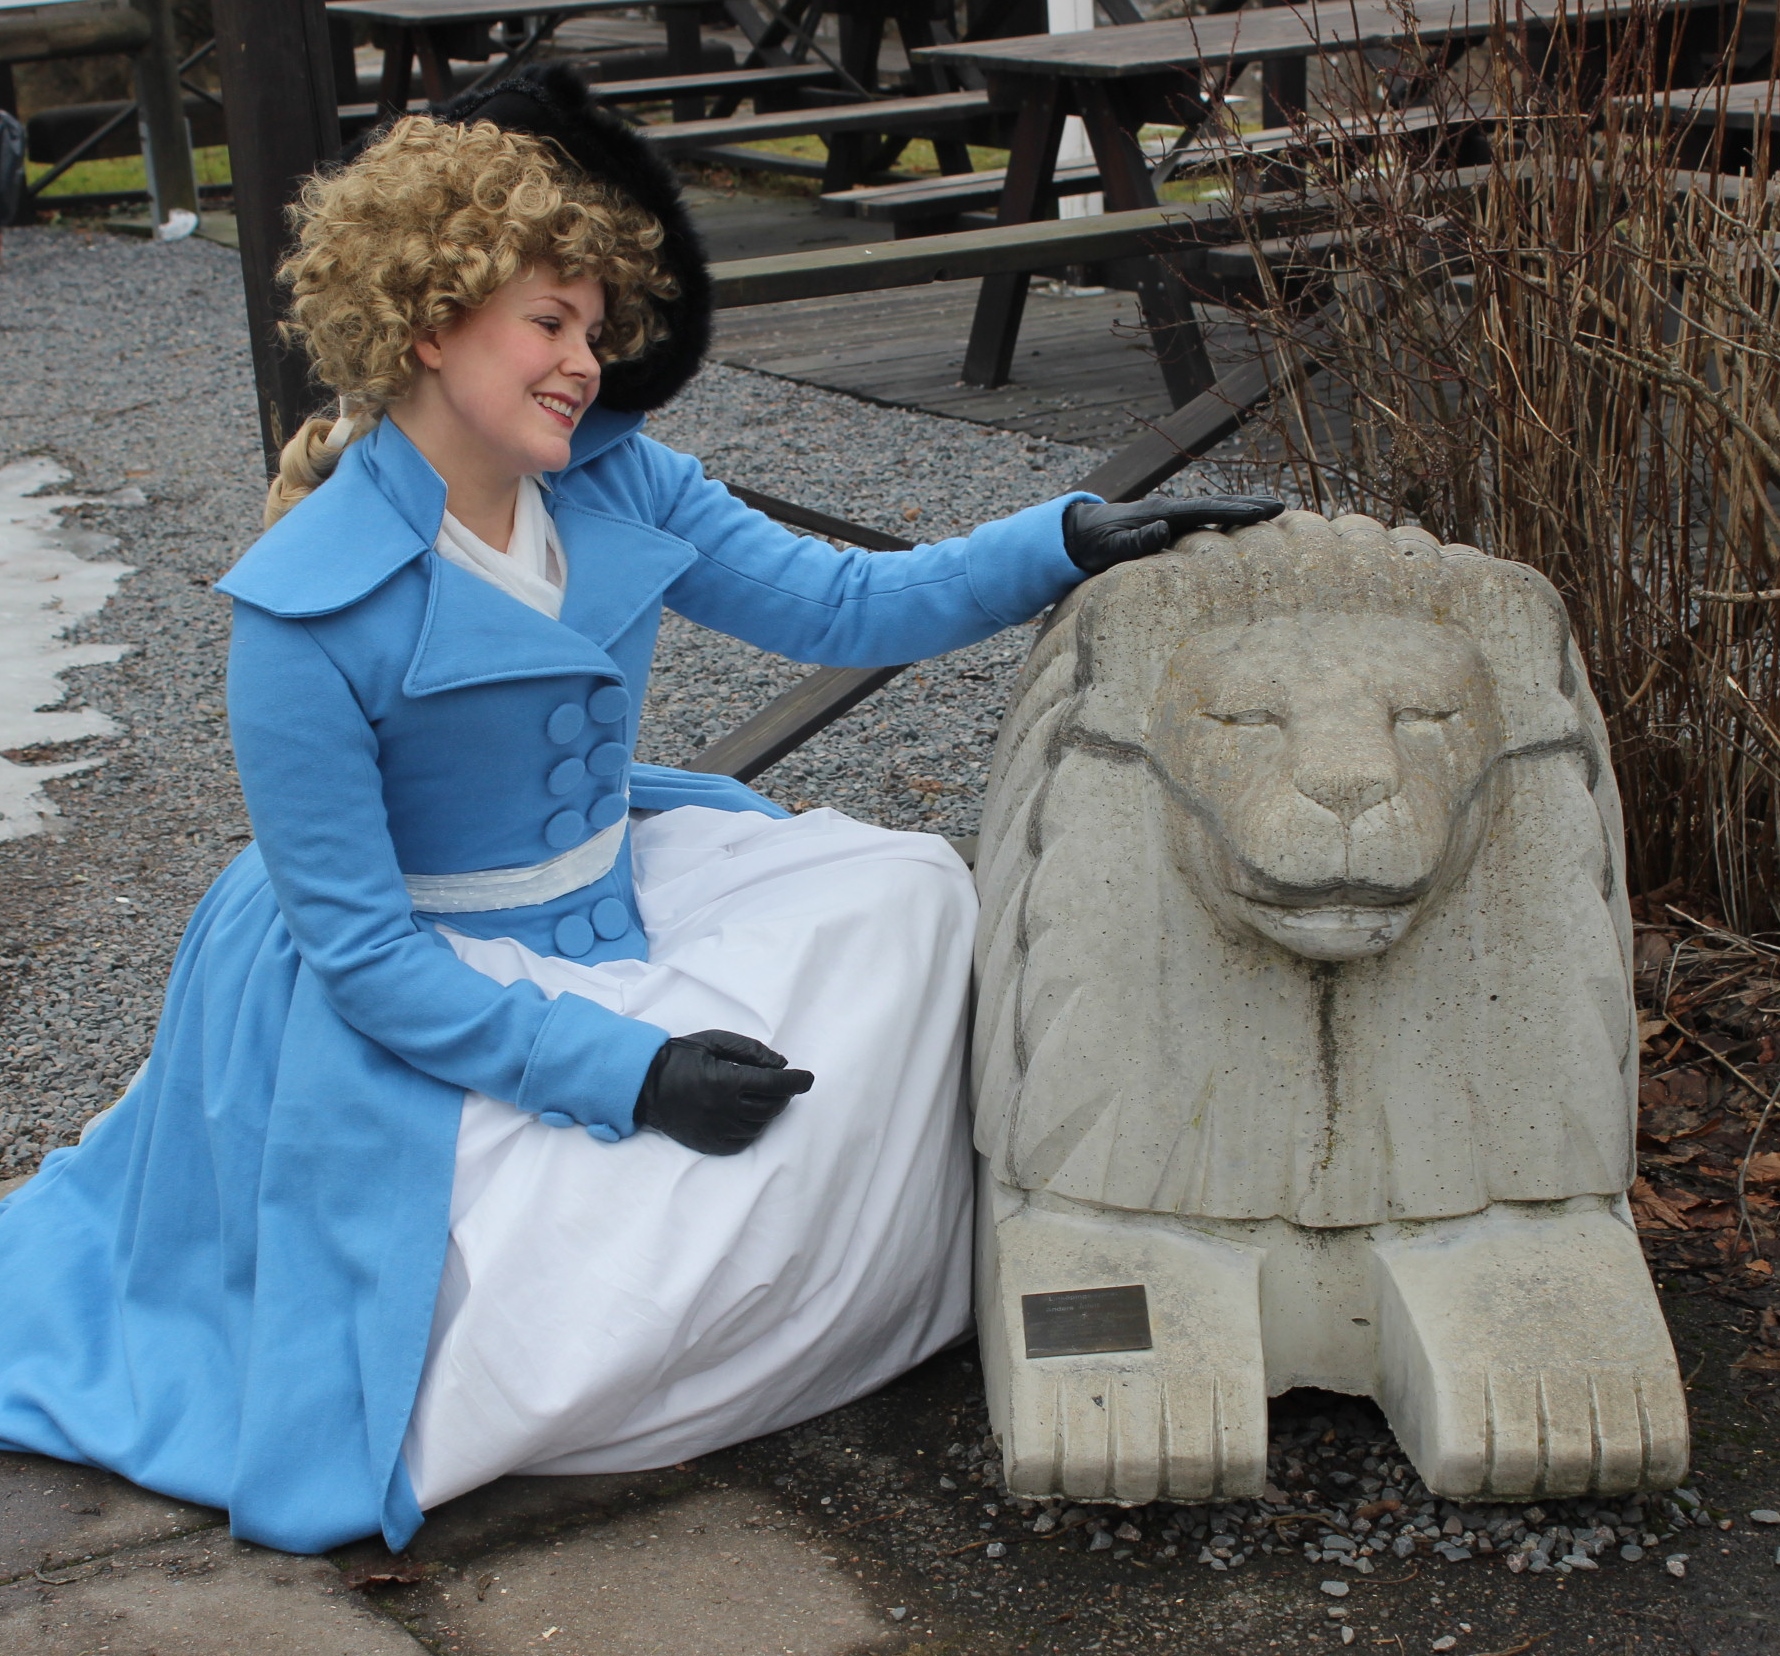
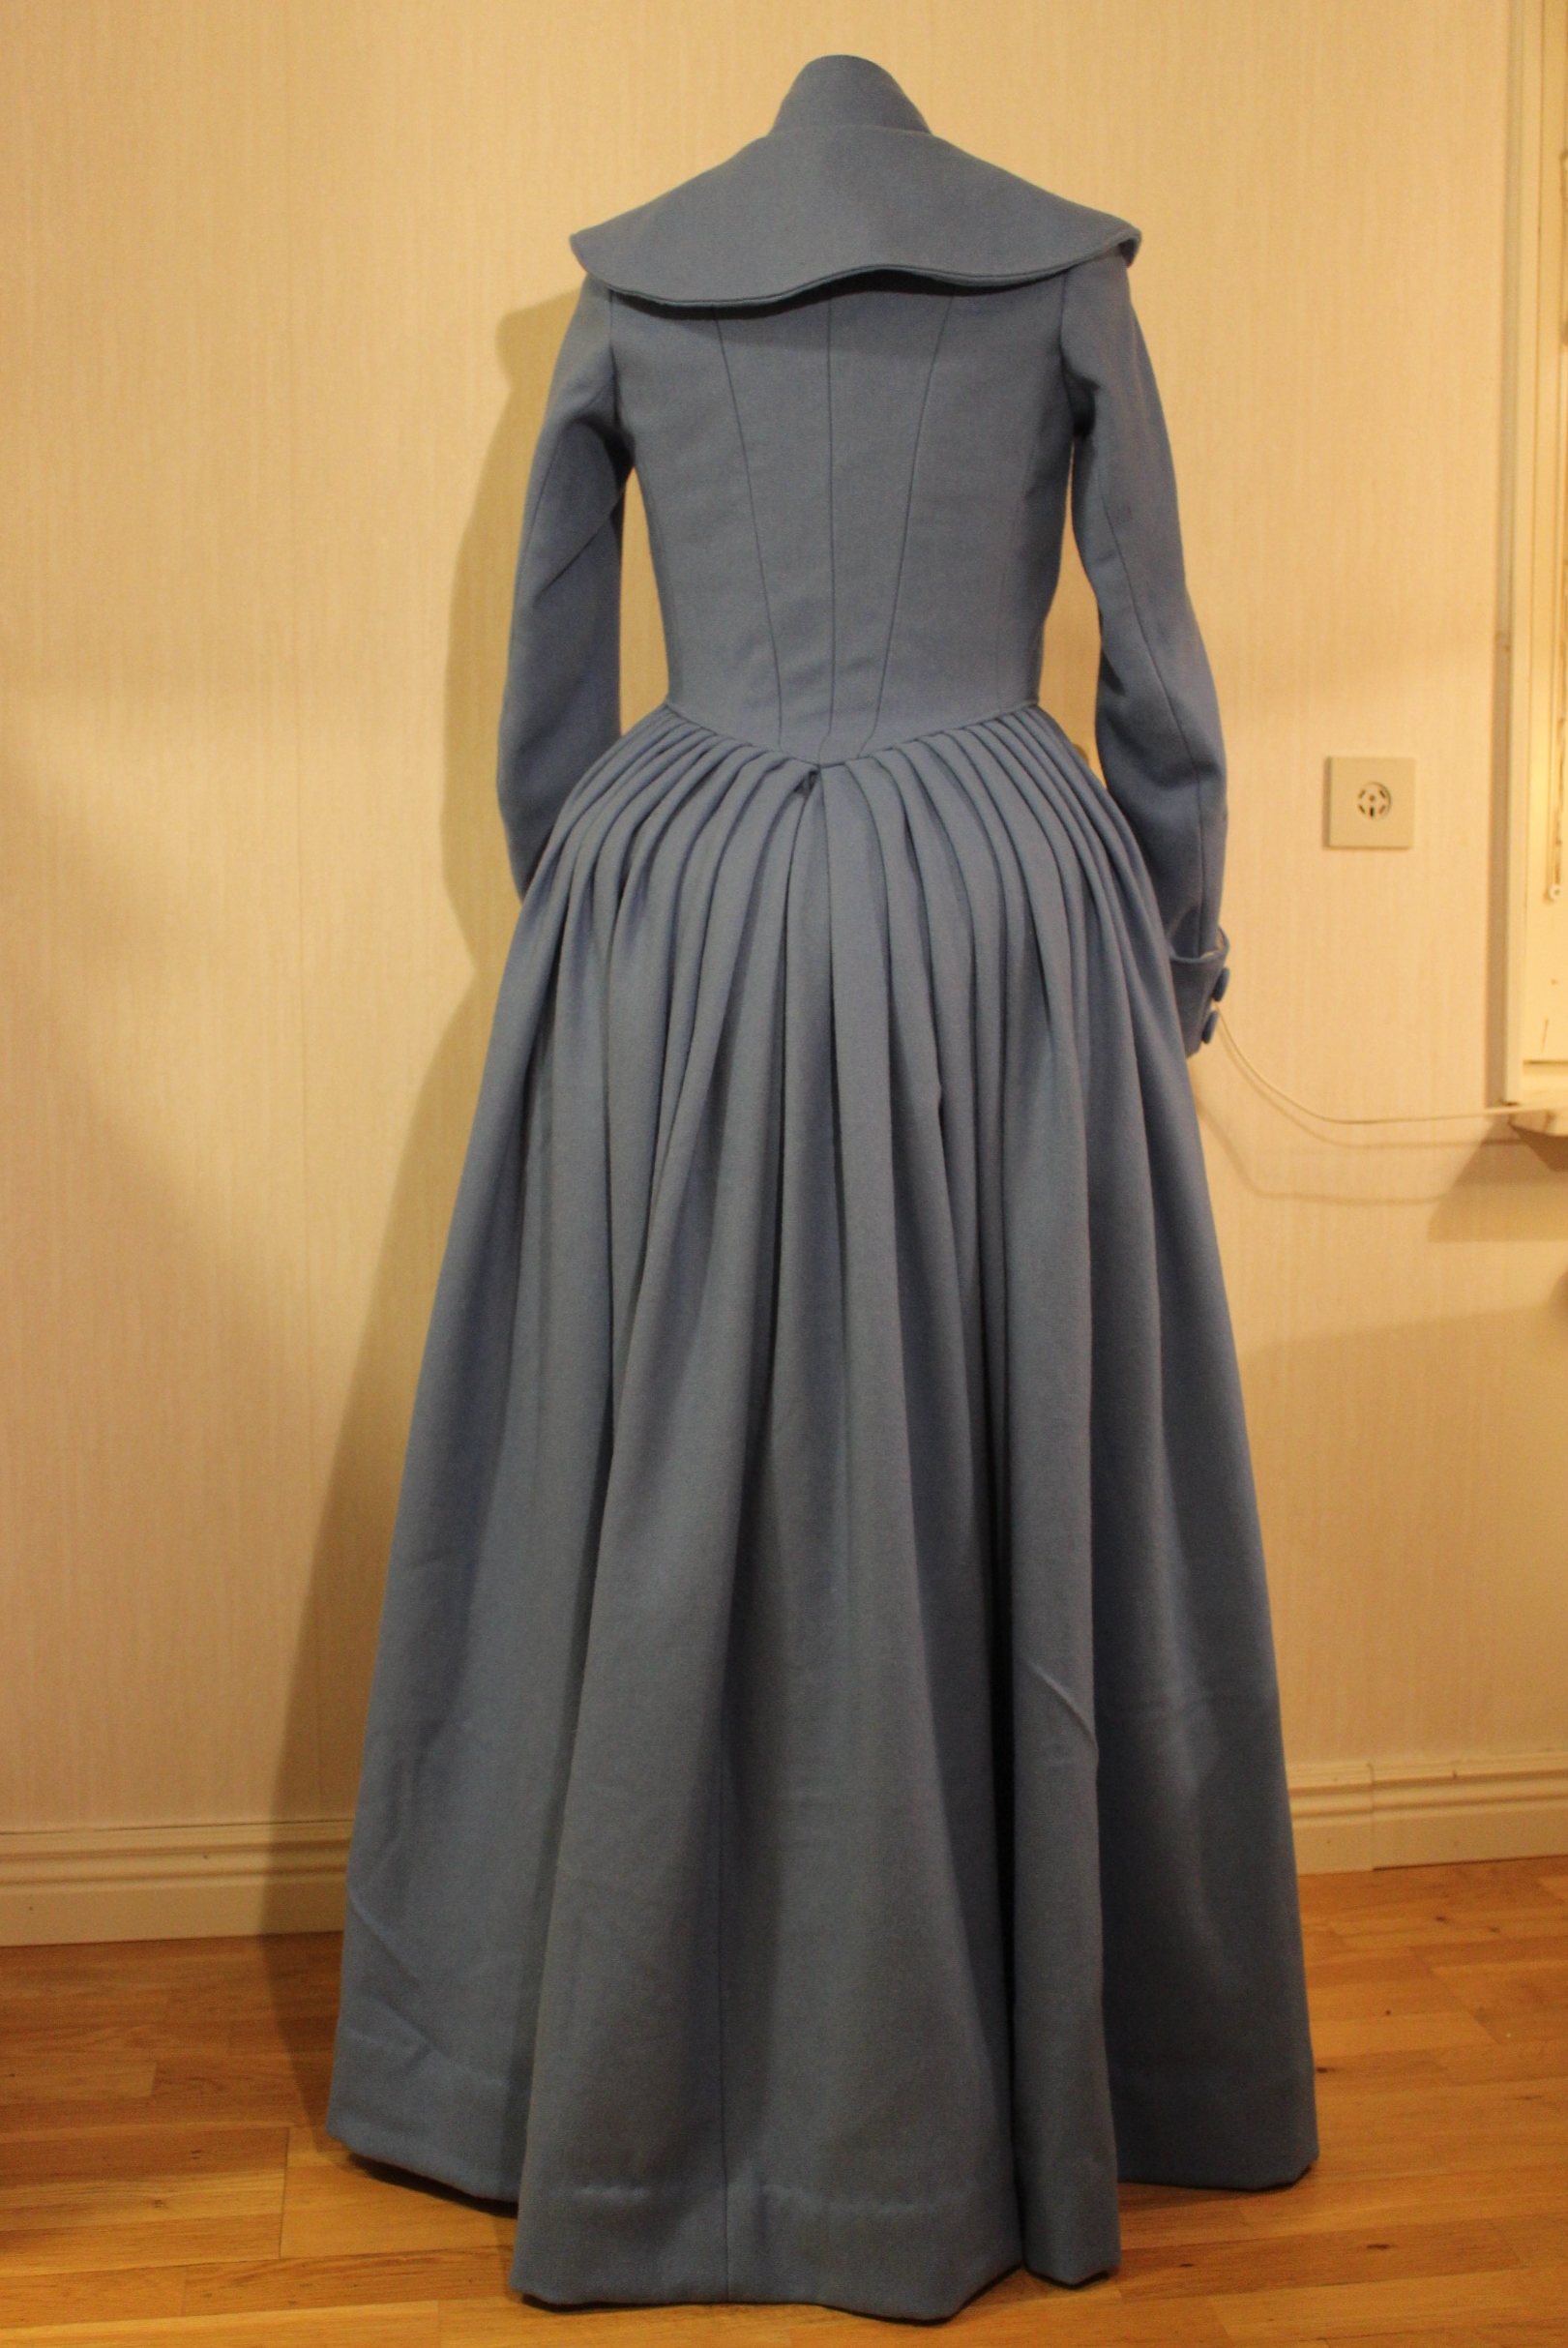
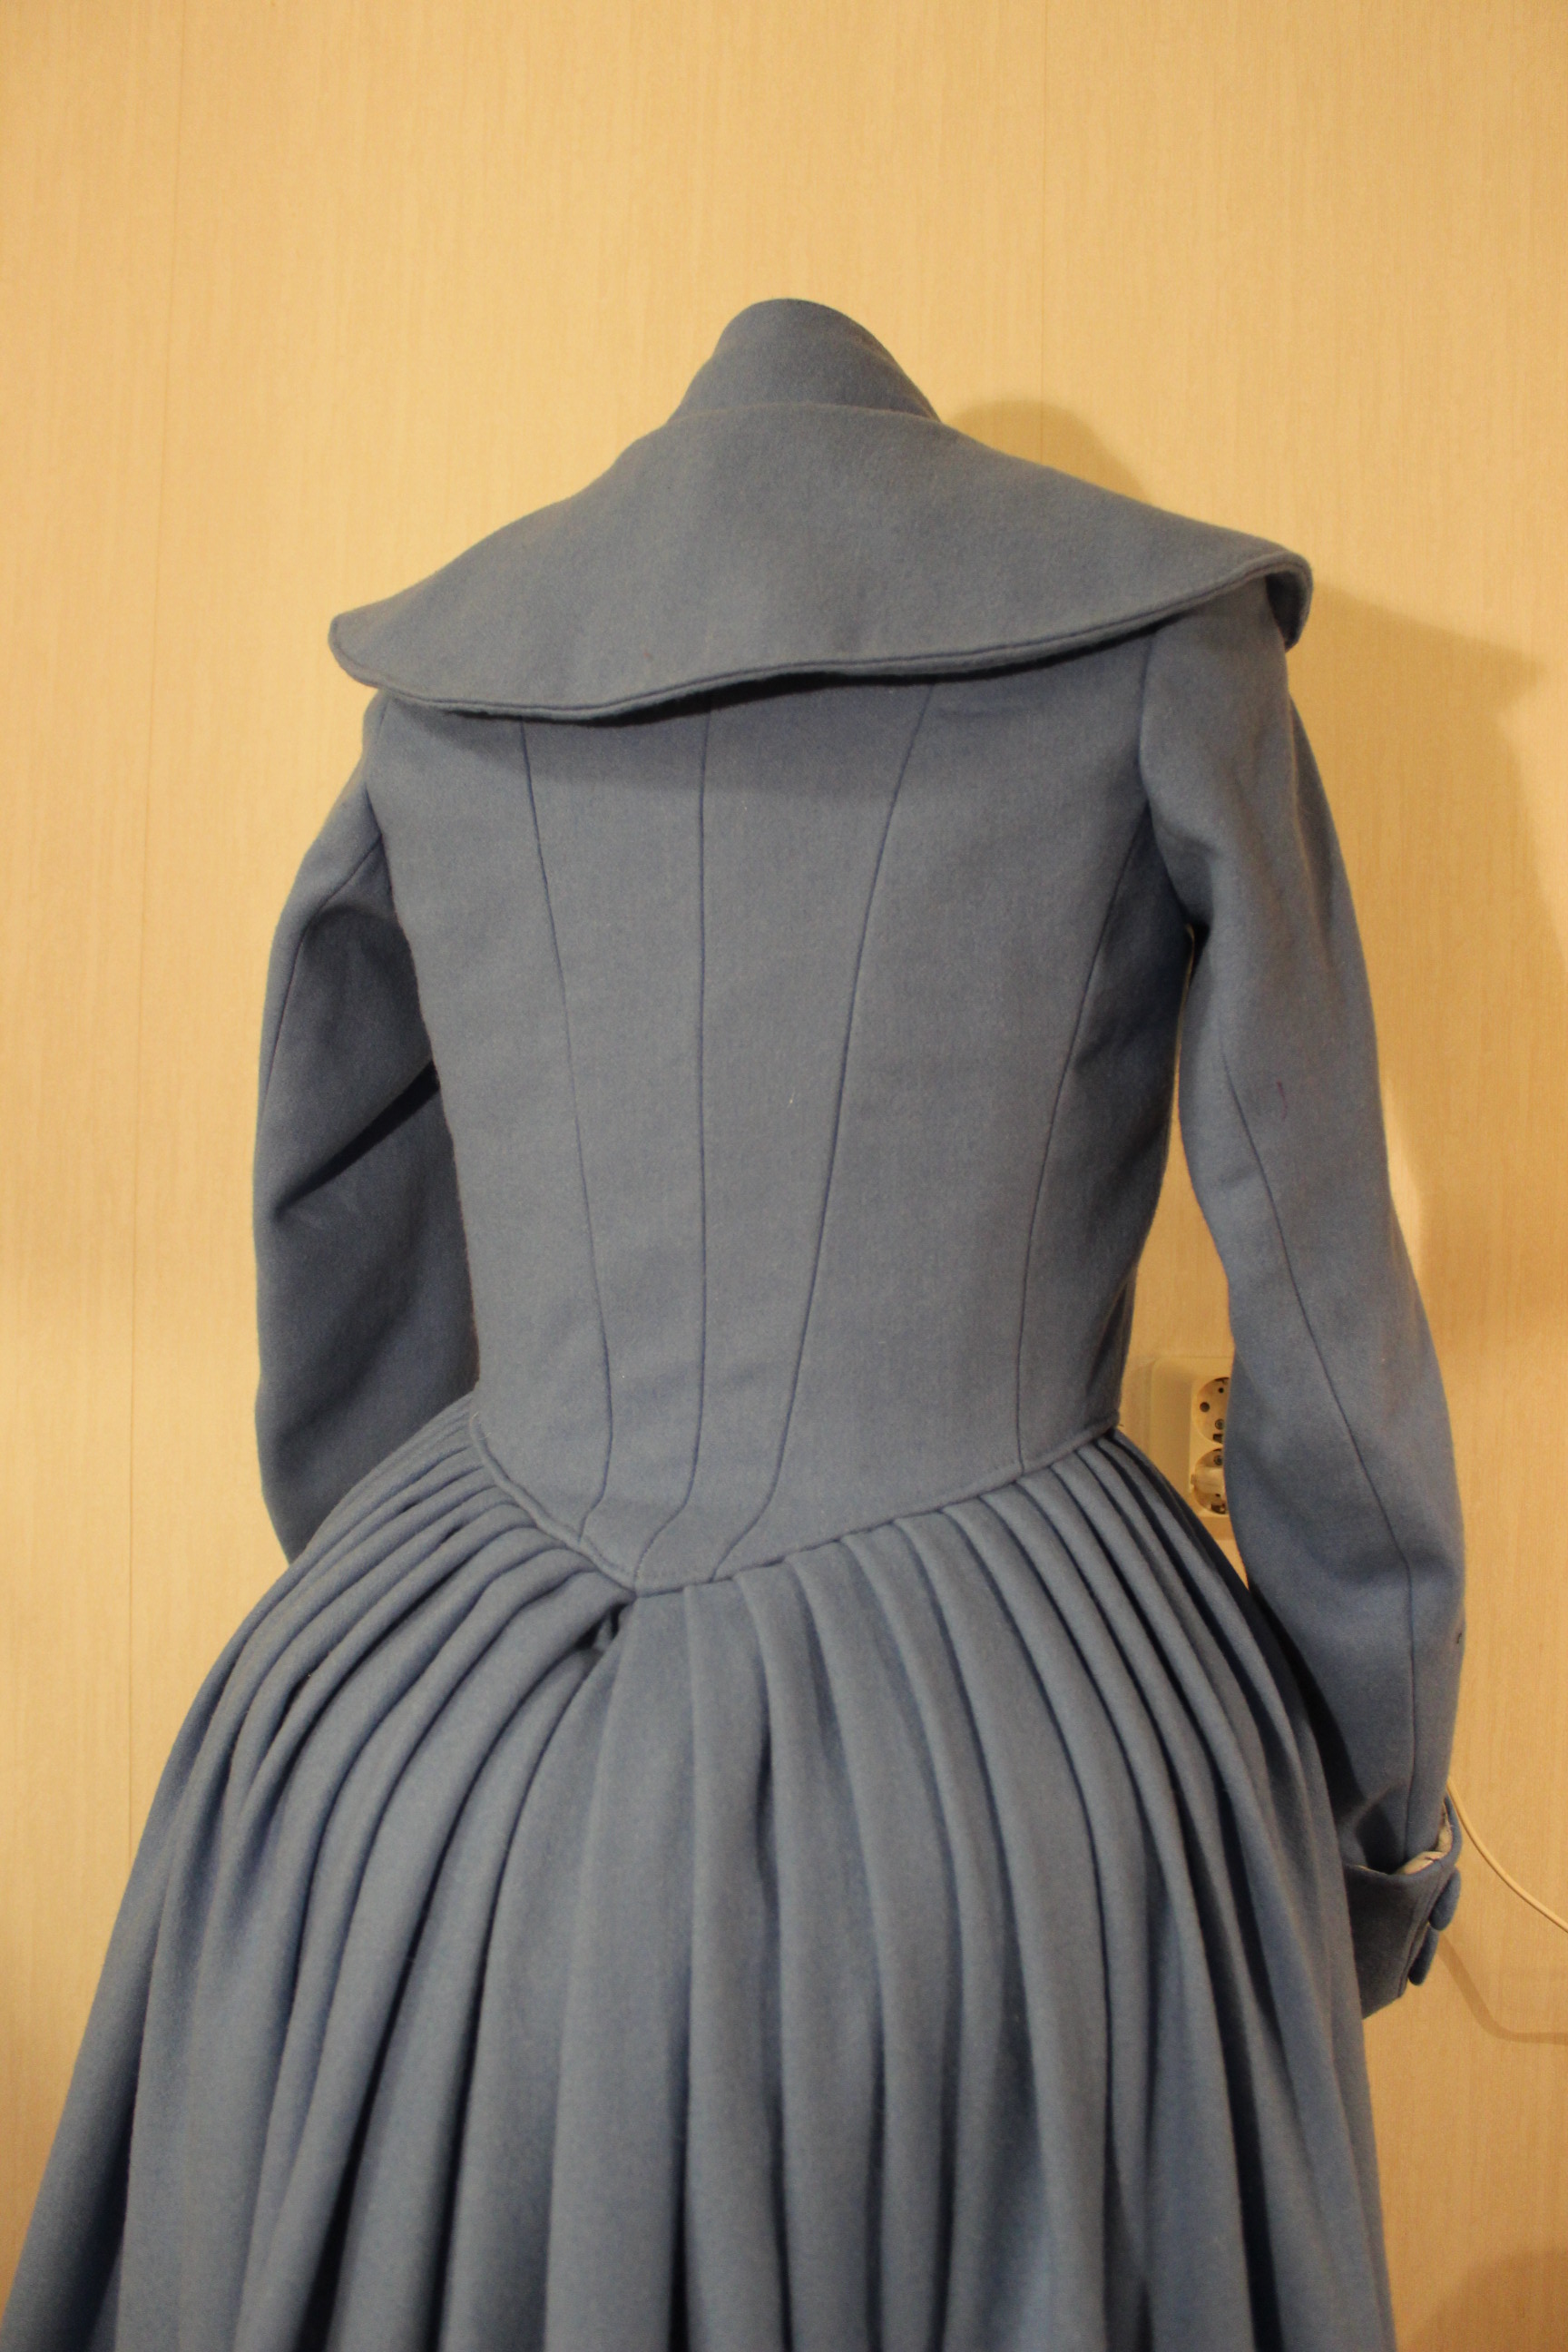
 Accessorized and ready for a photoshoot.
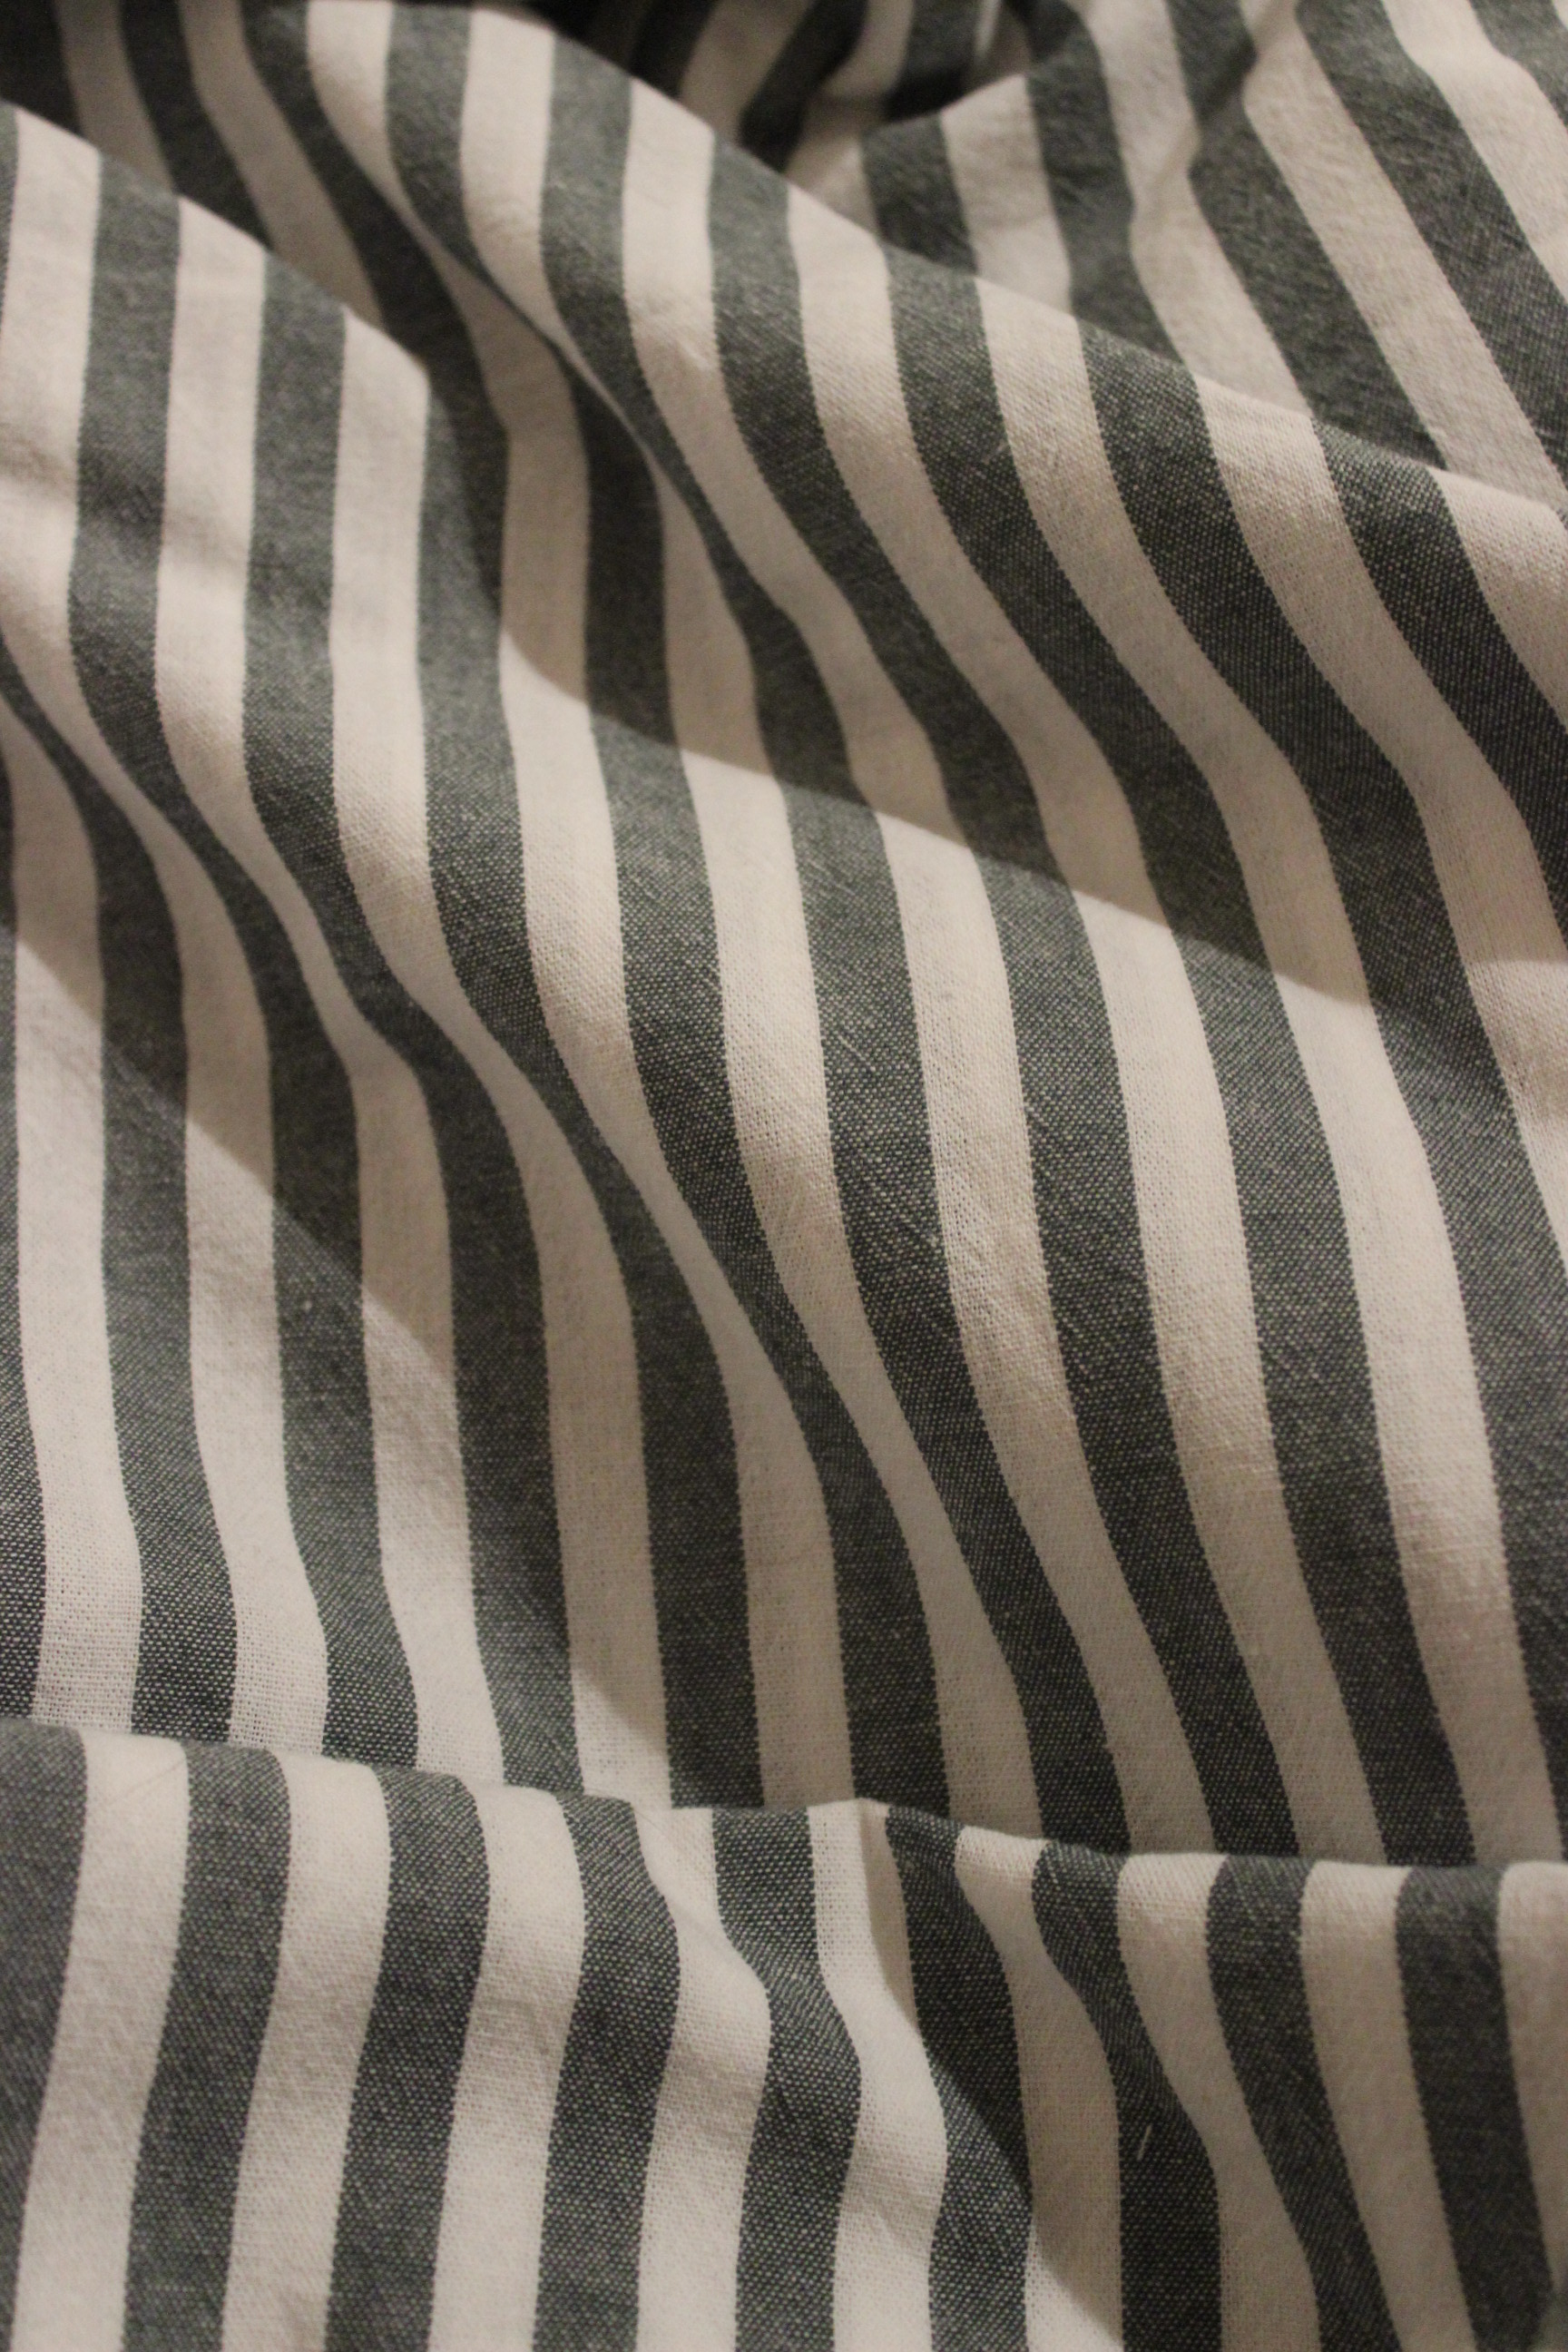


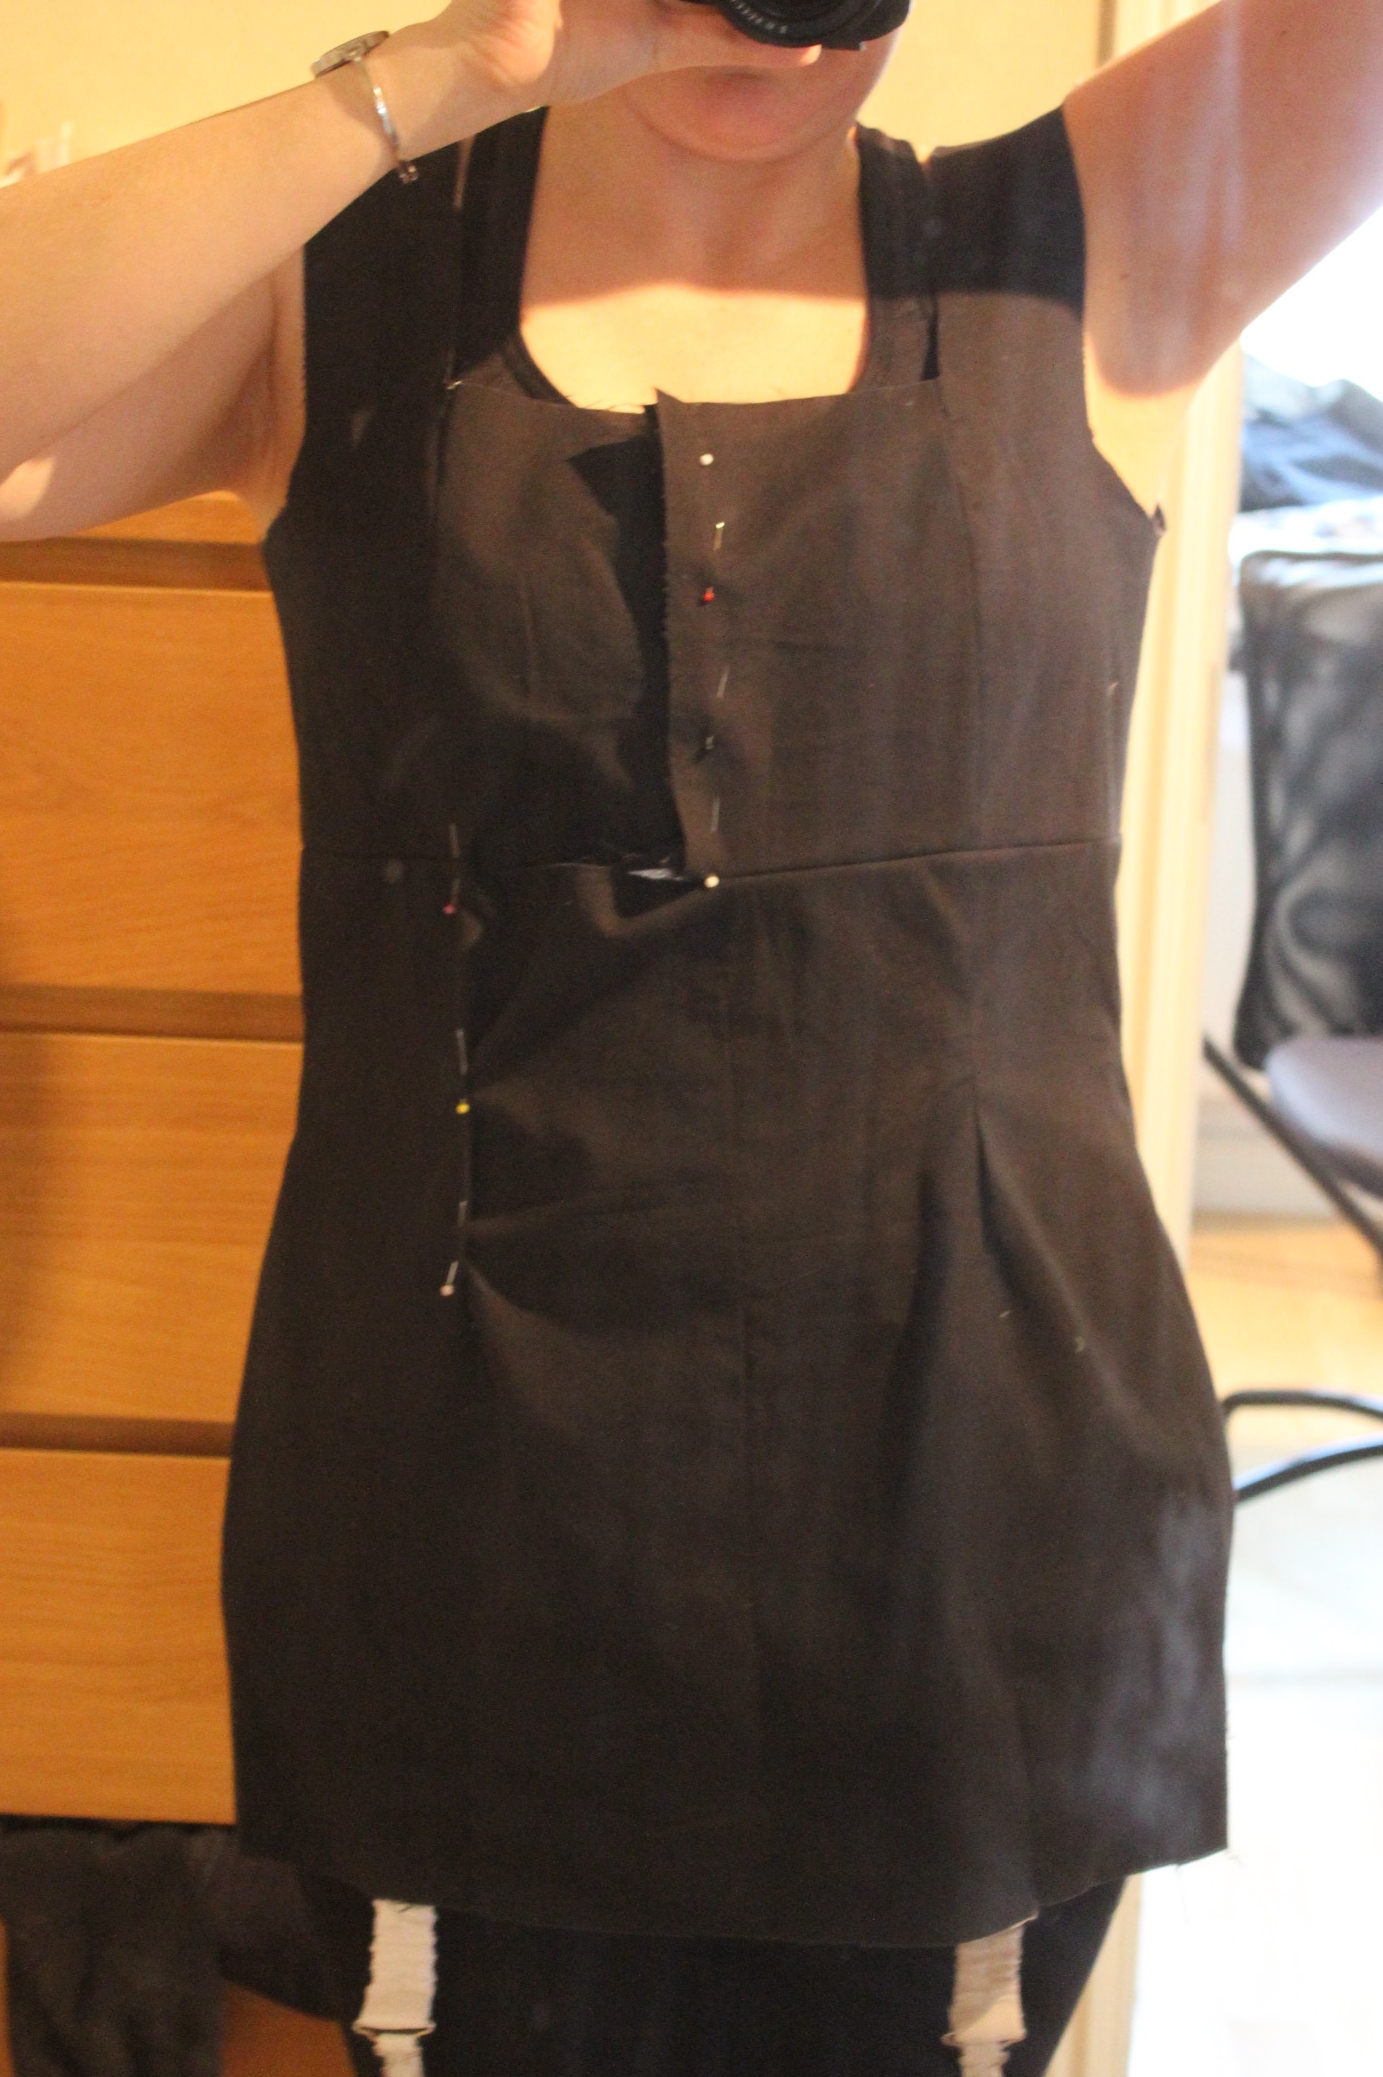


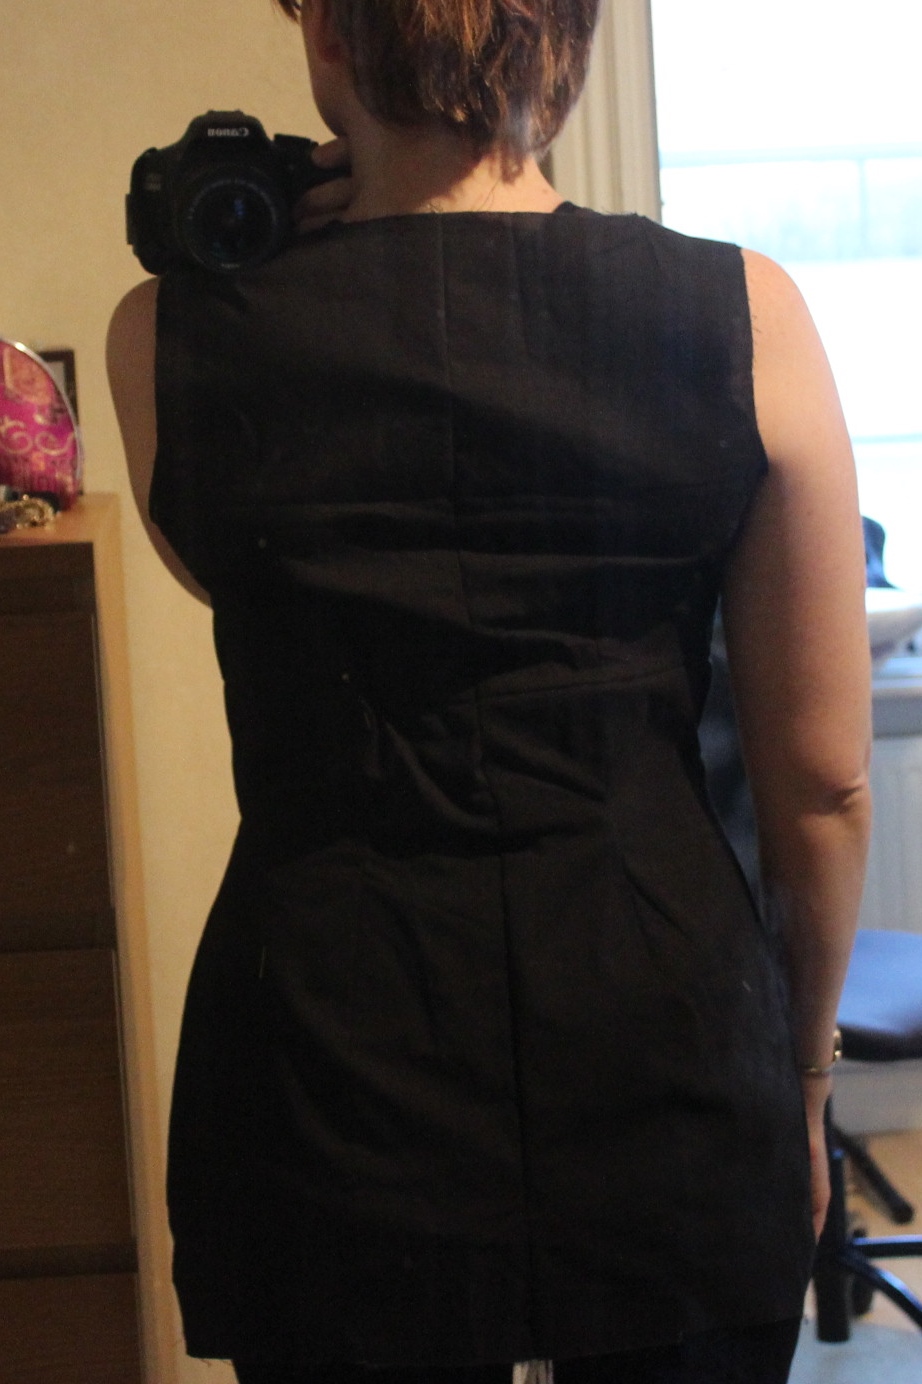
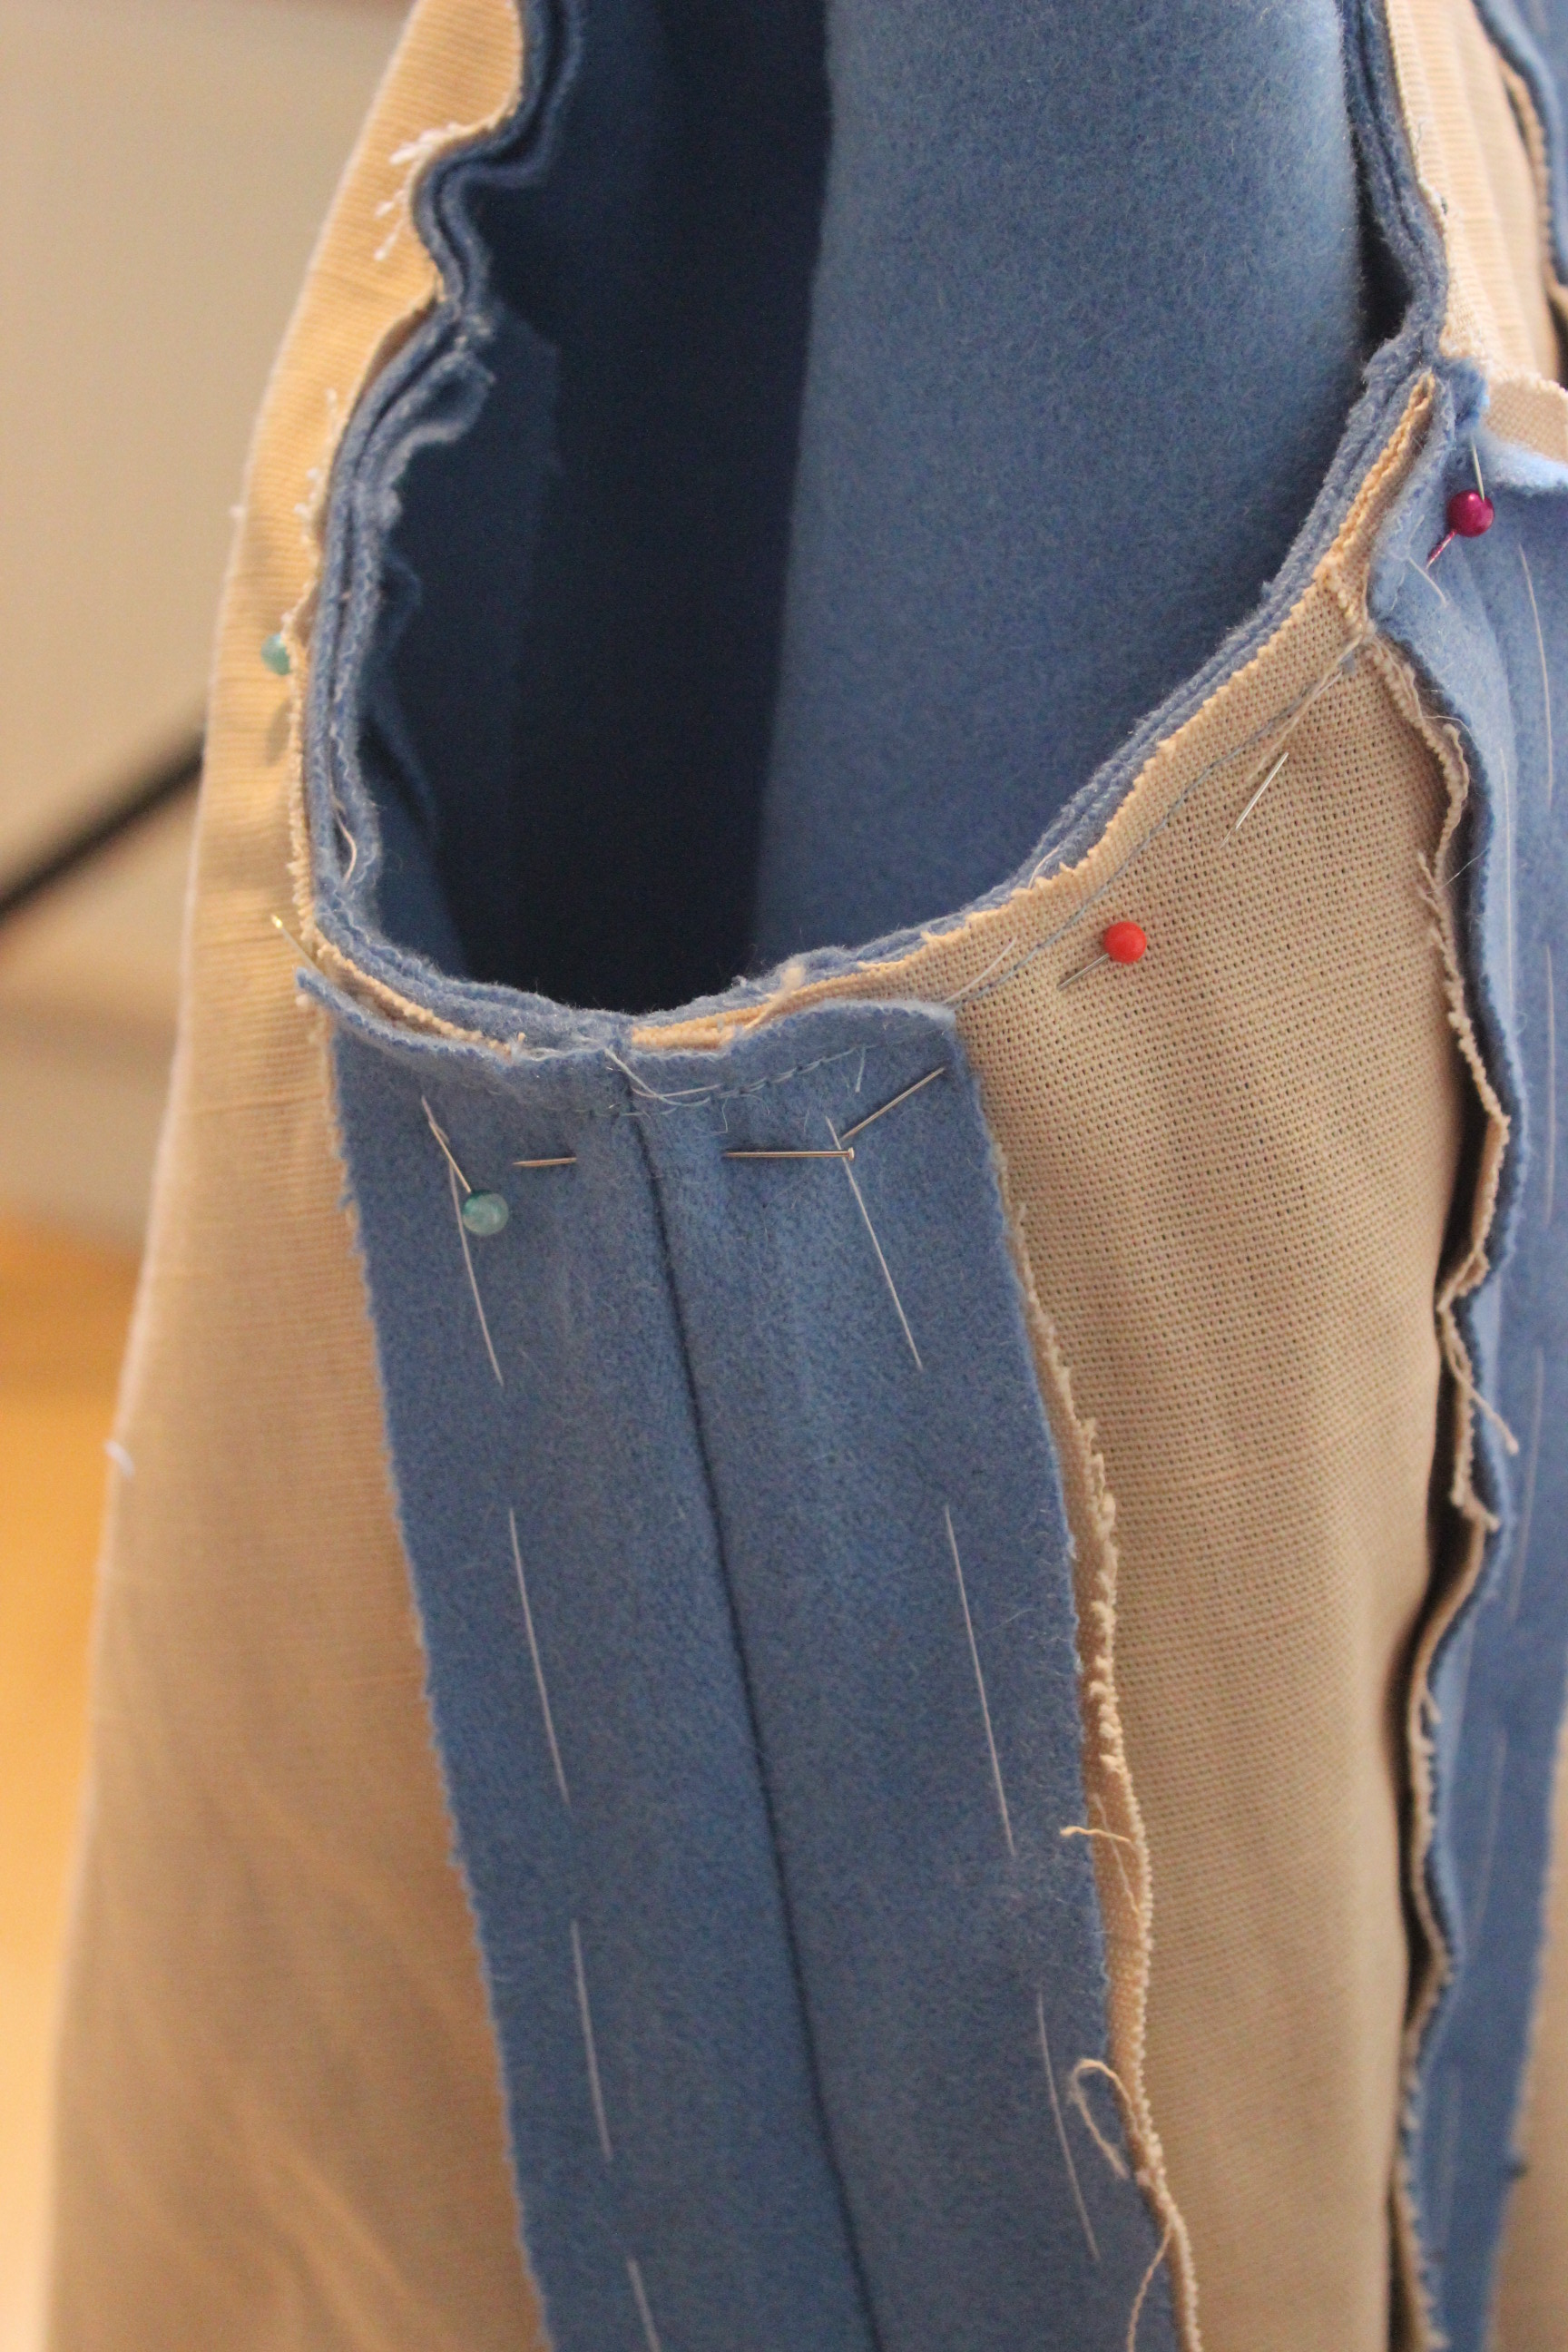
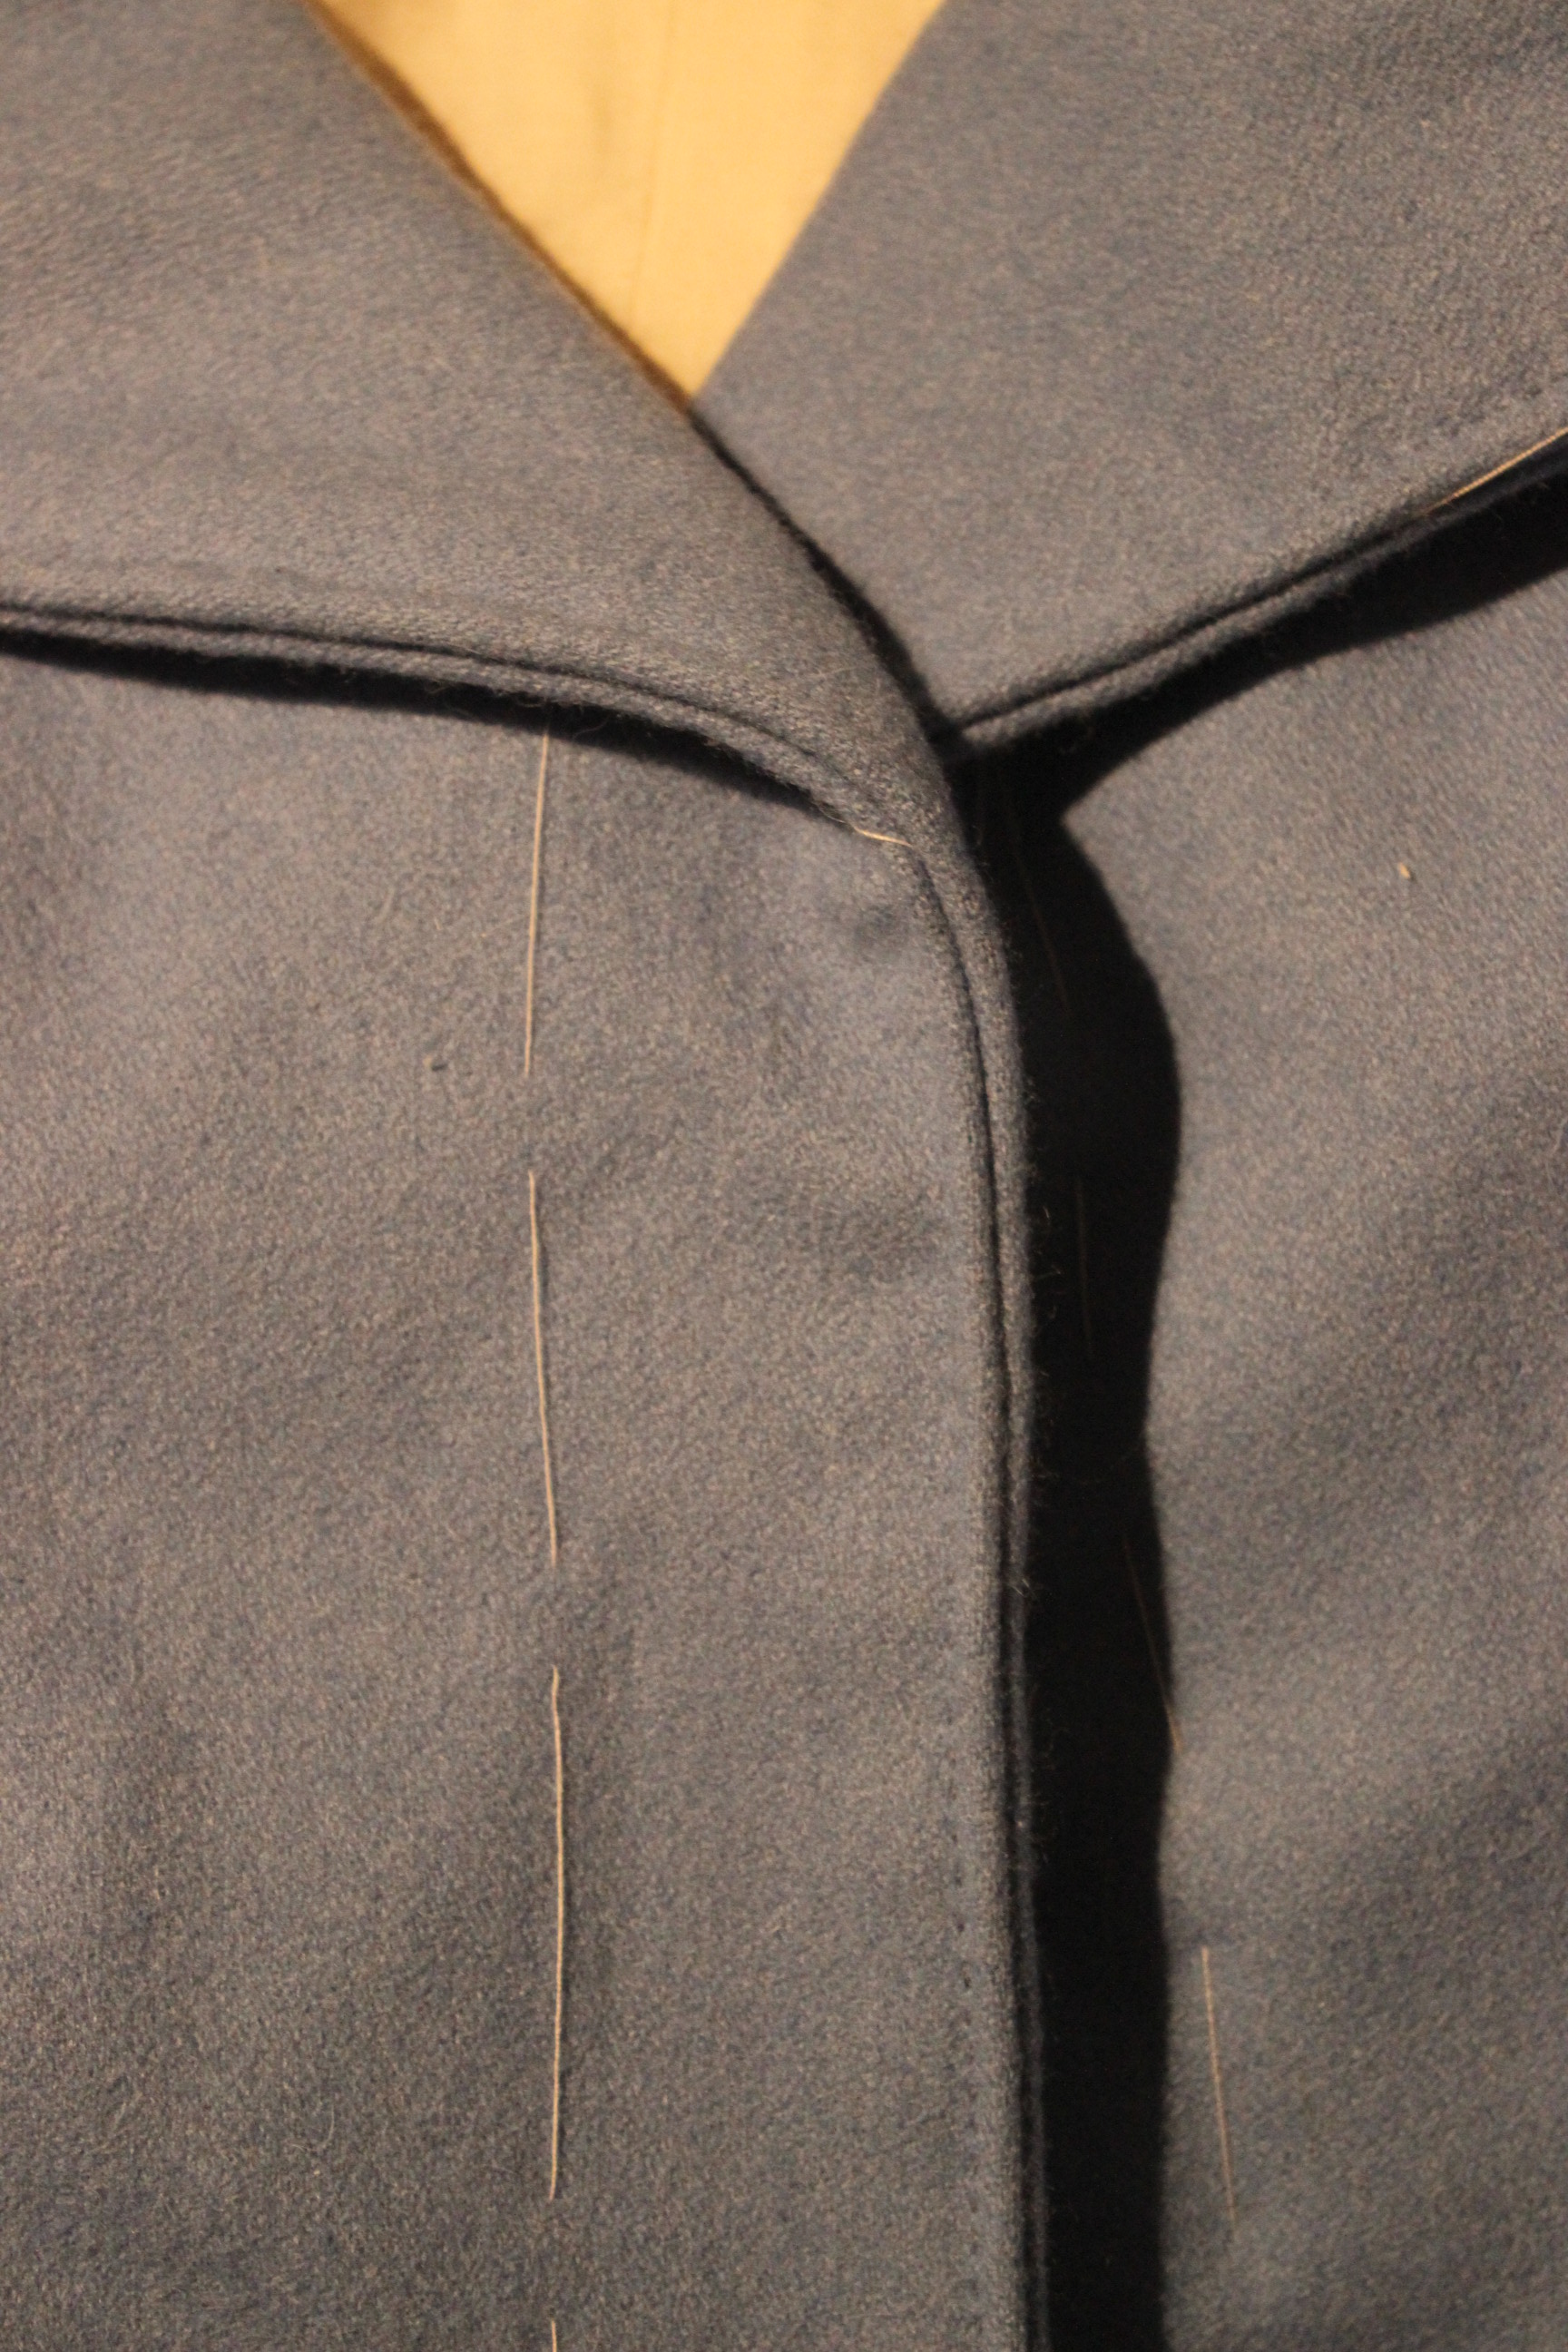
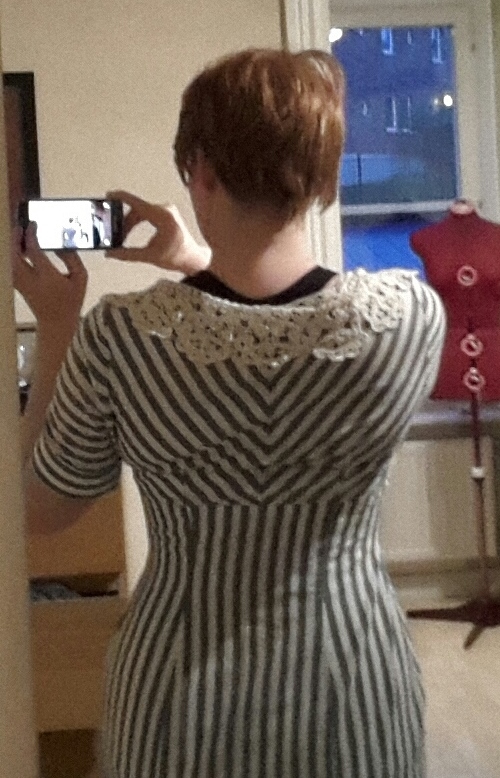
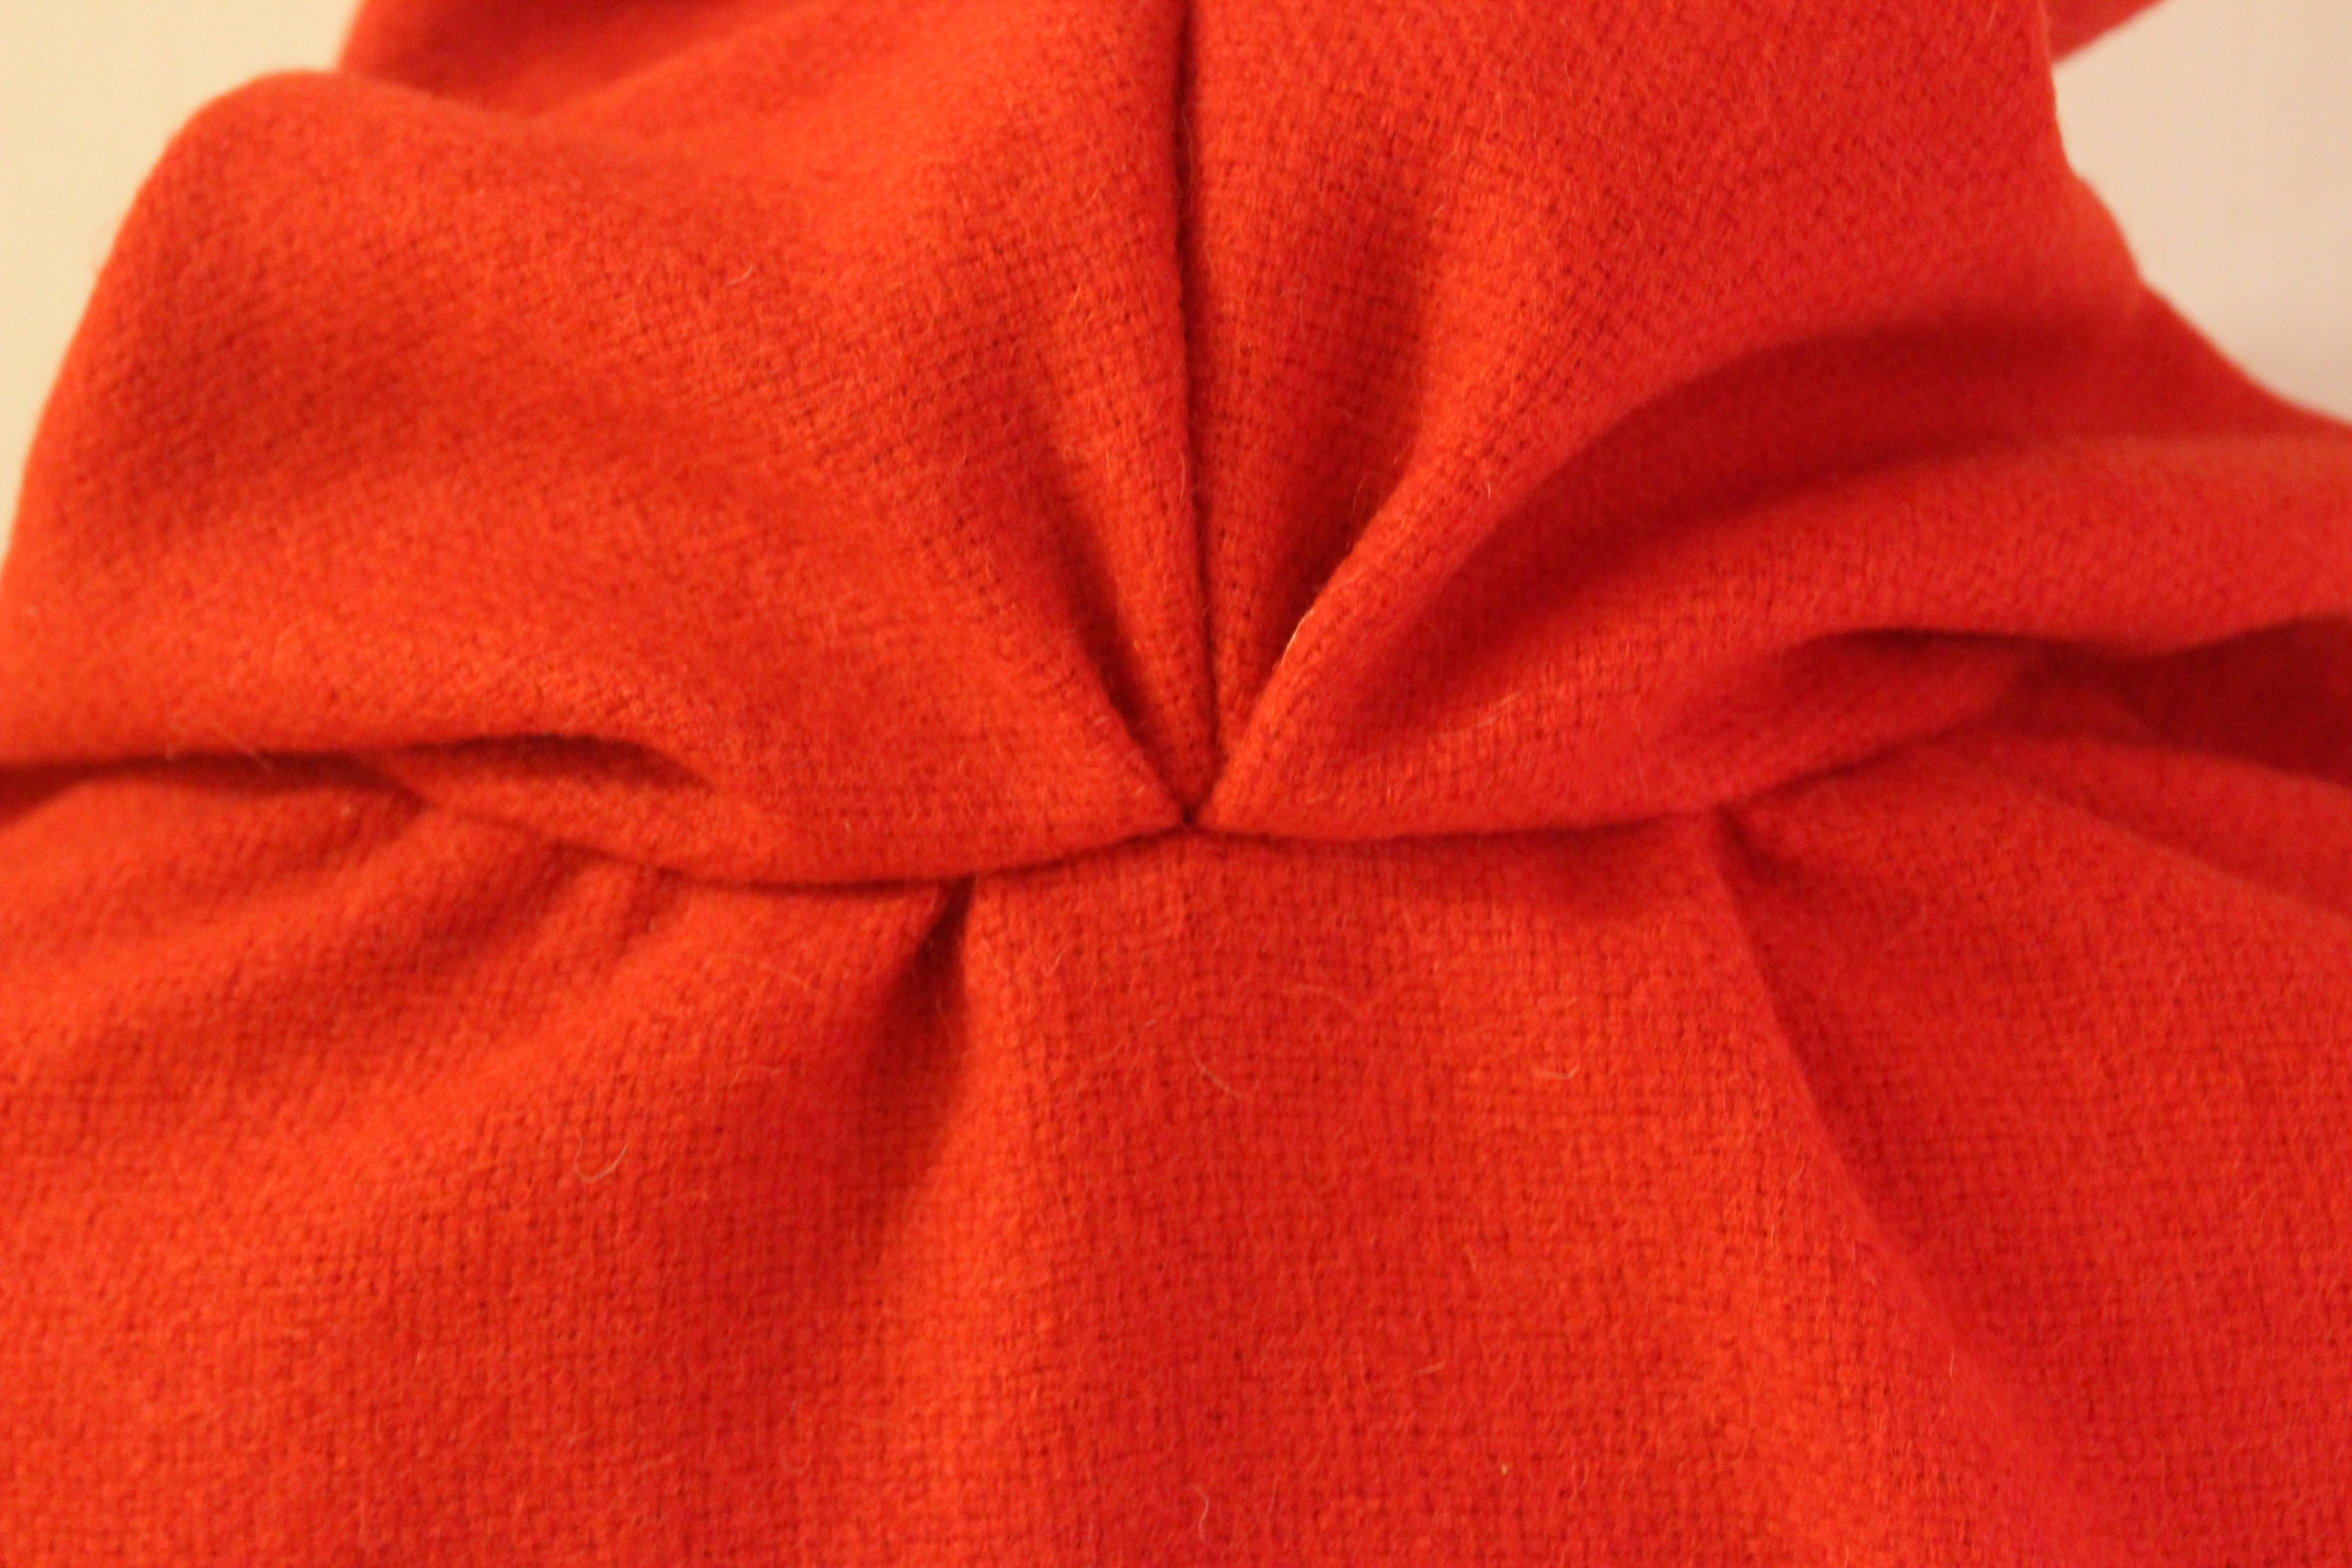
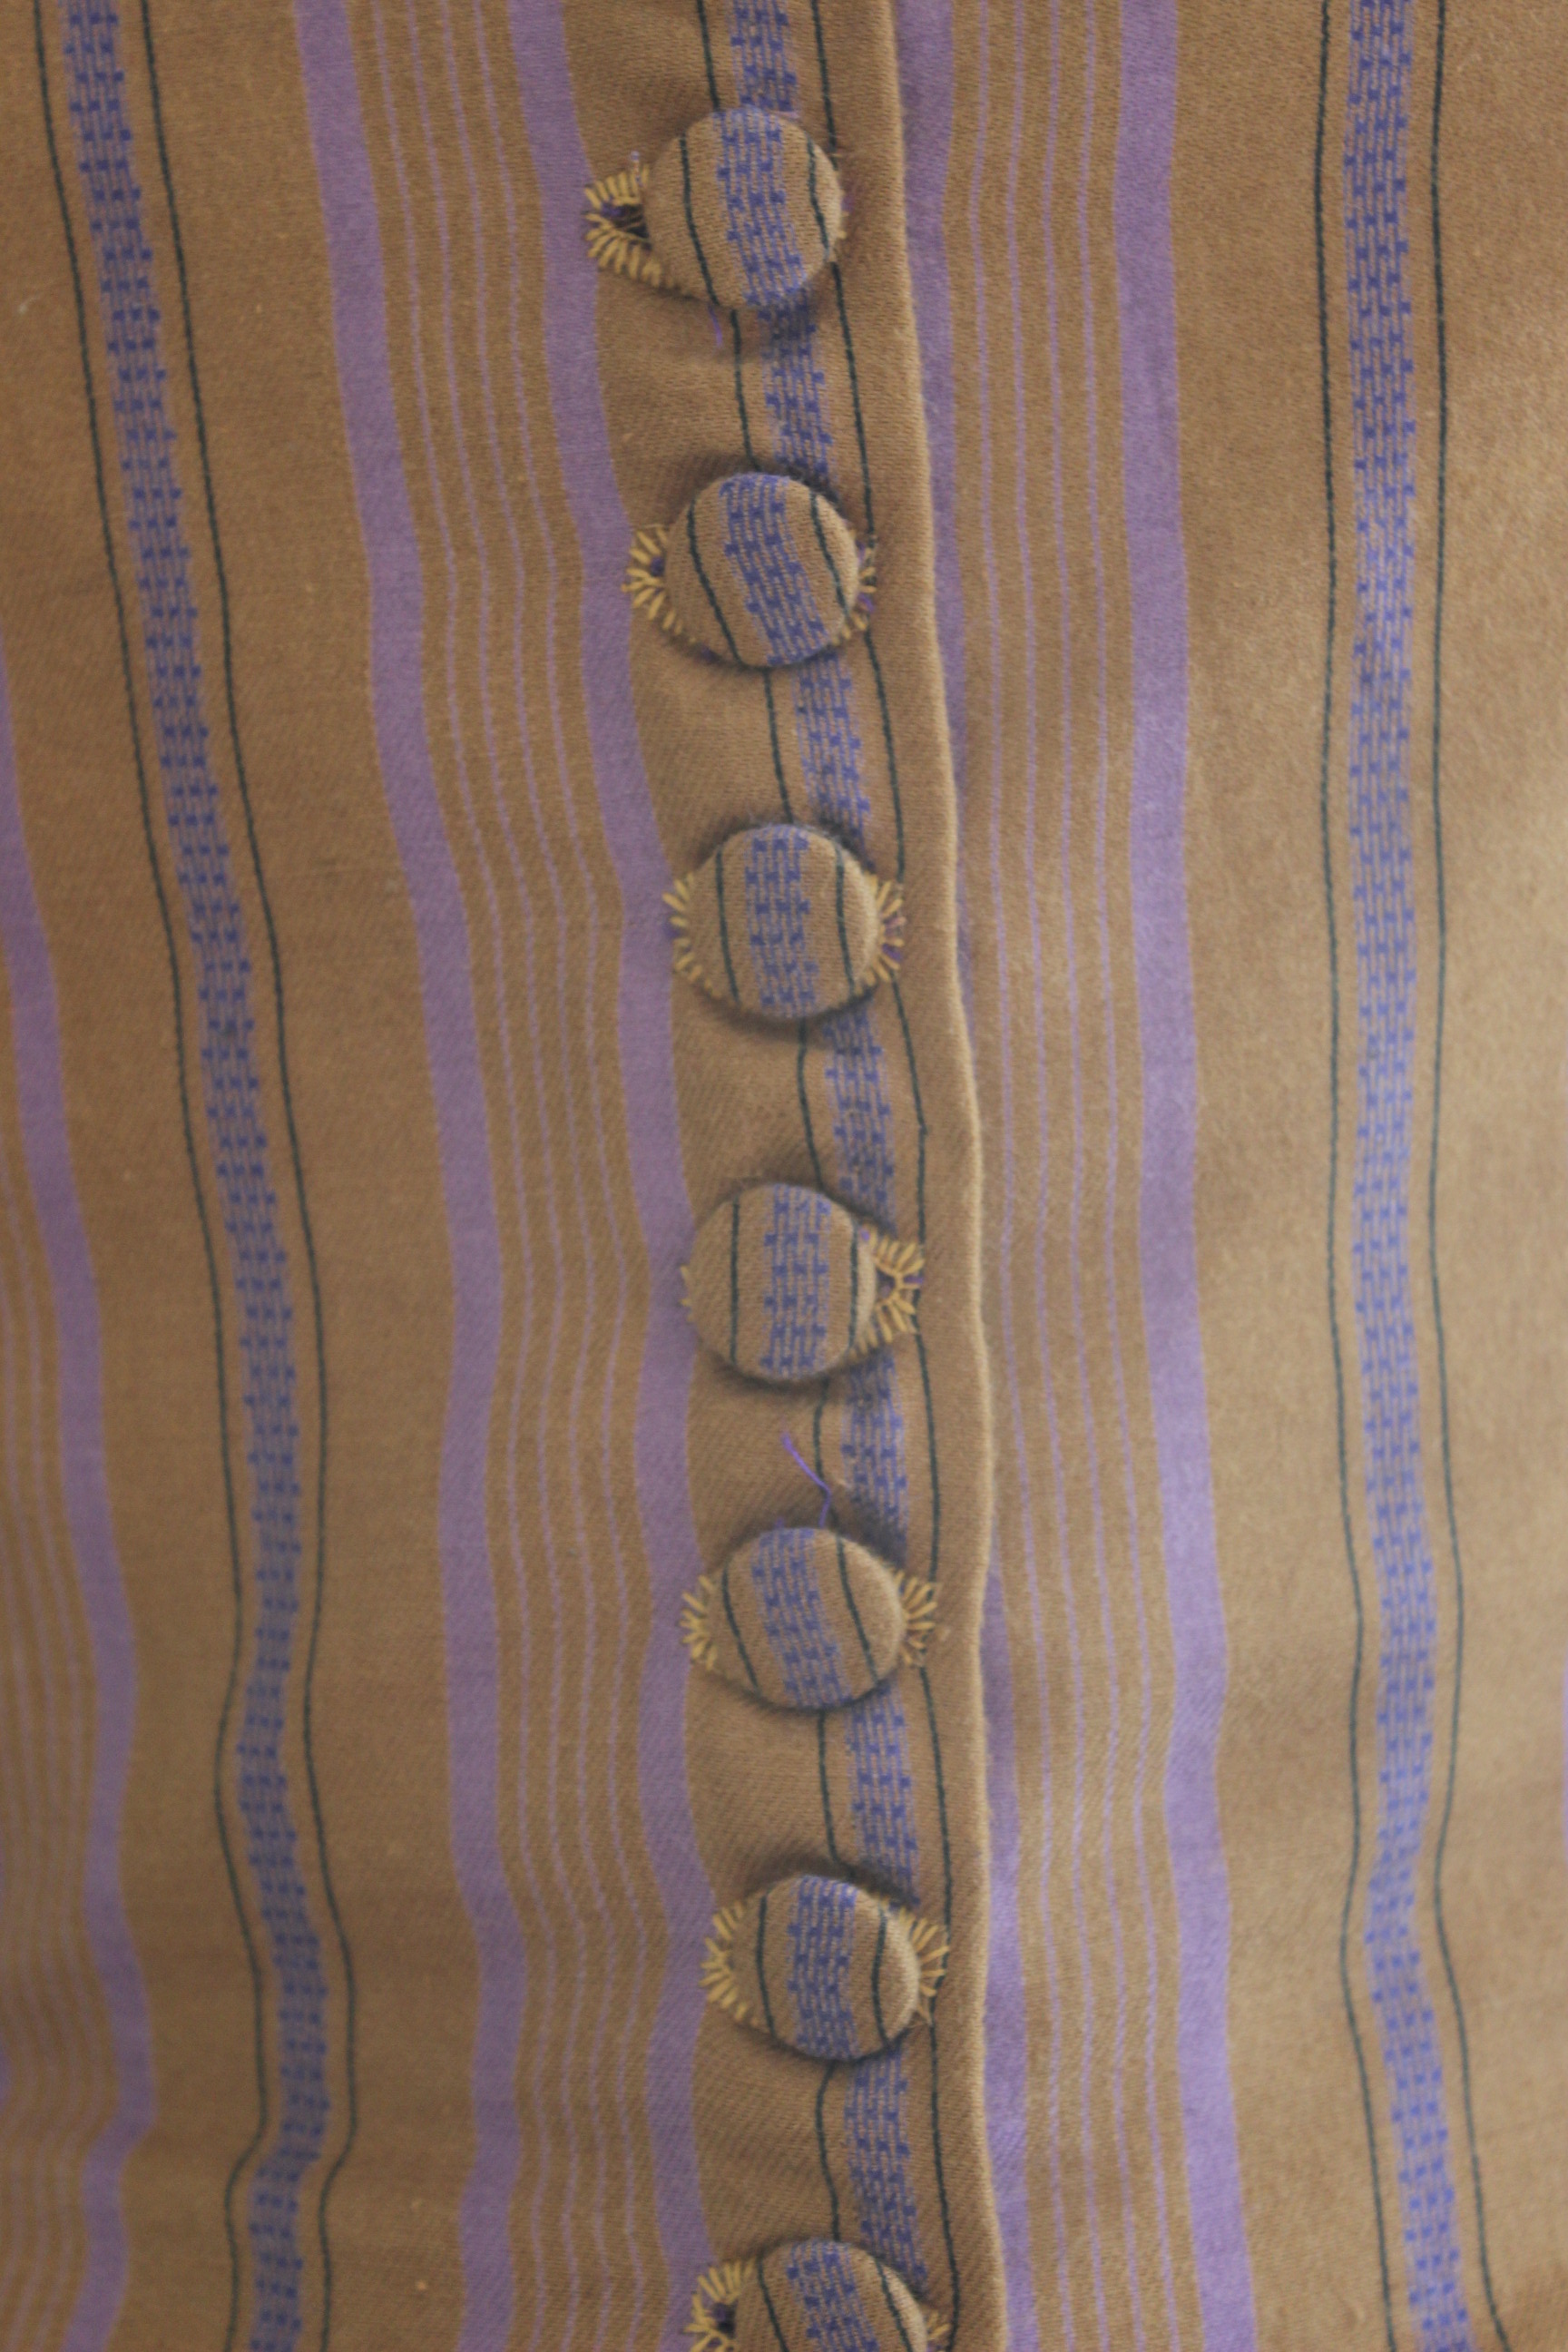
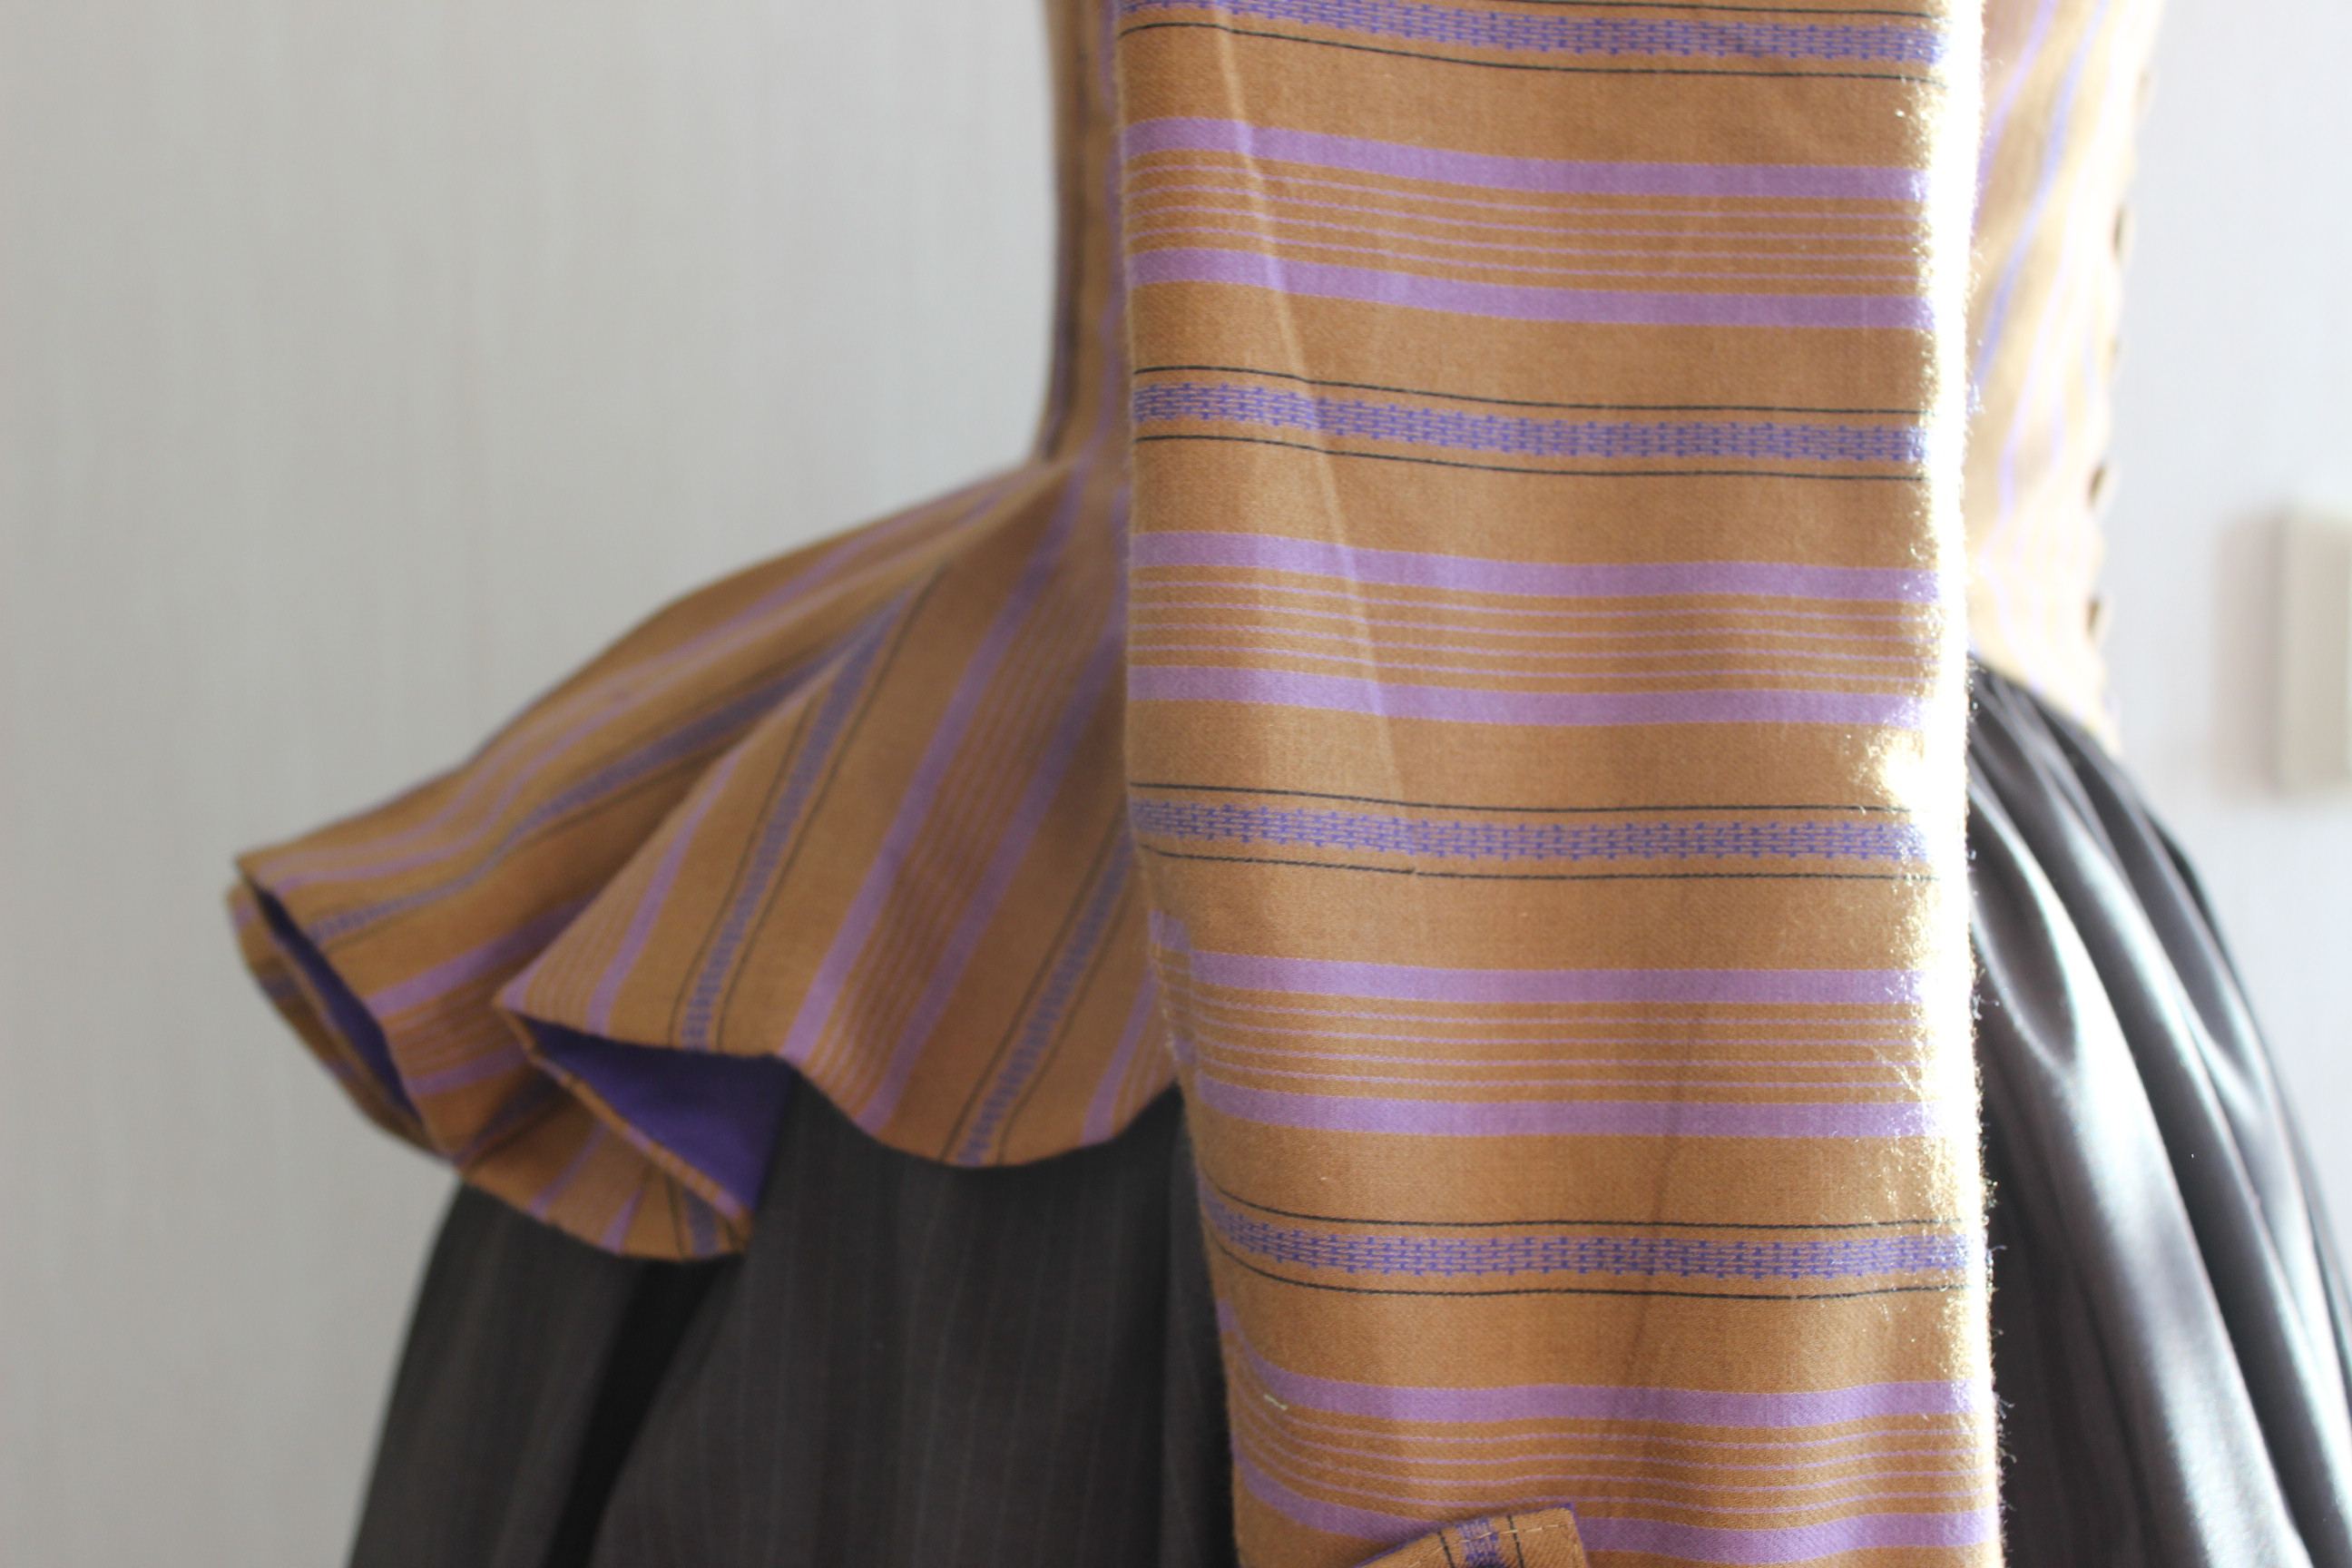
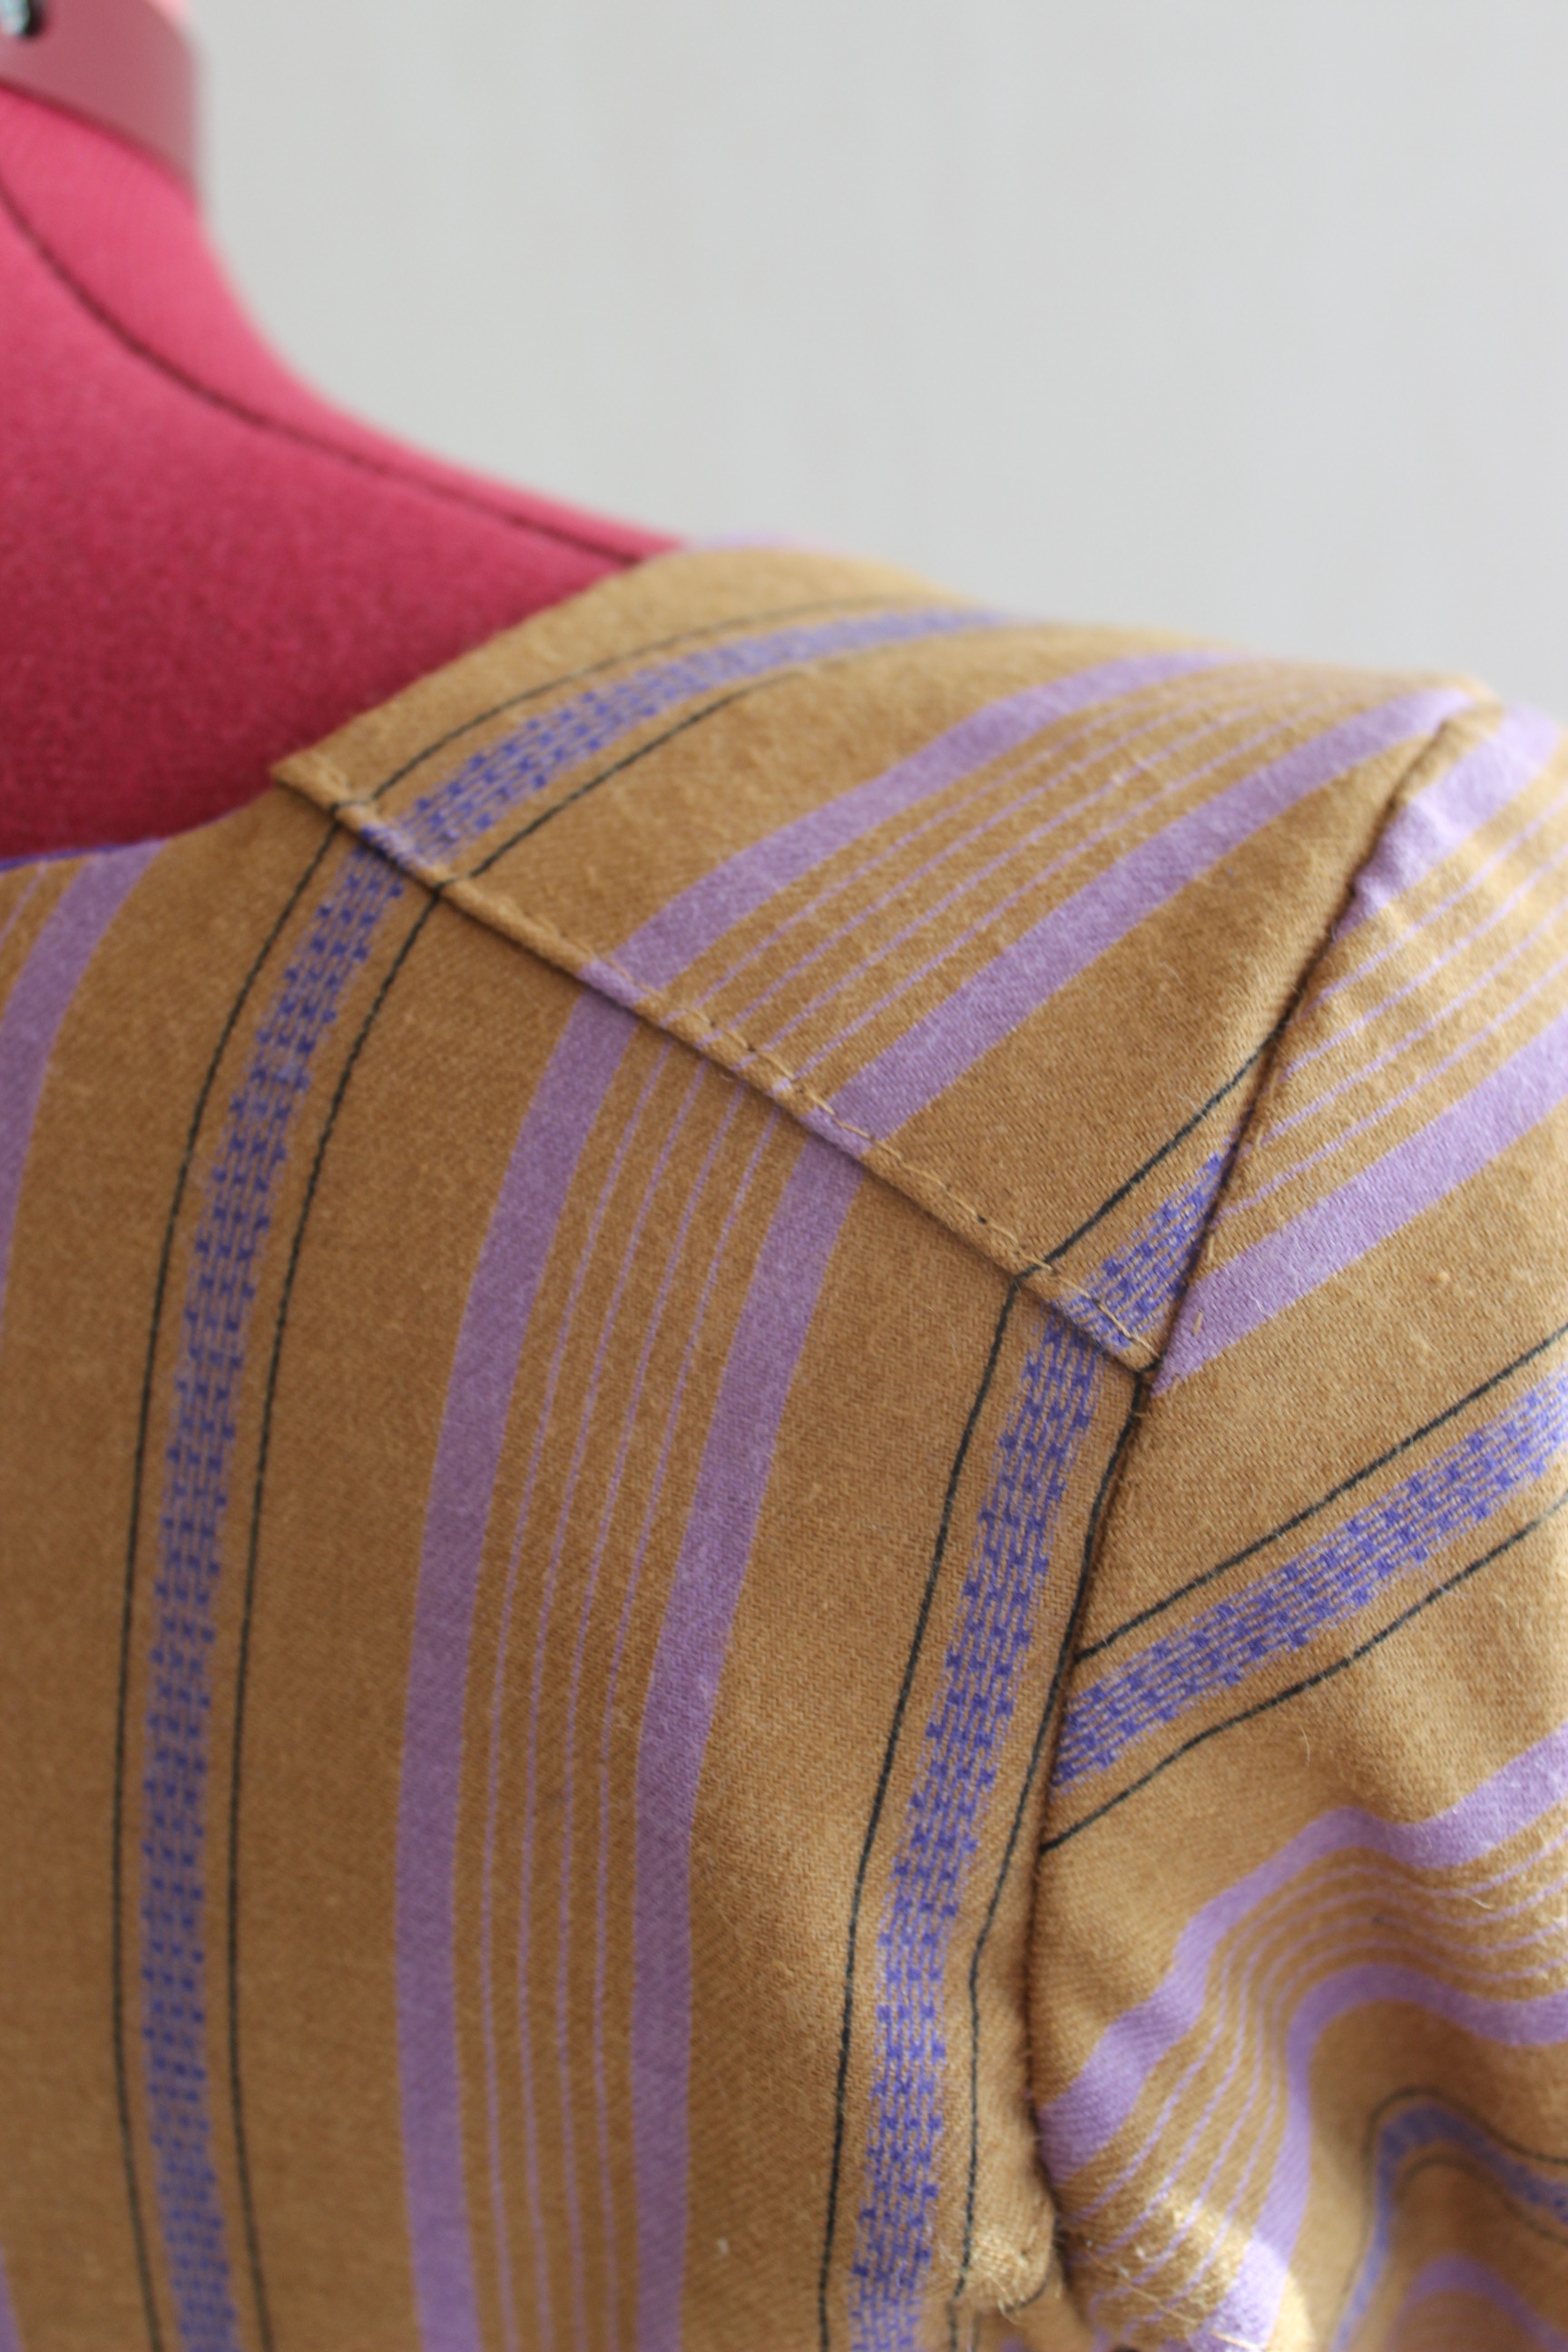
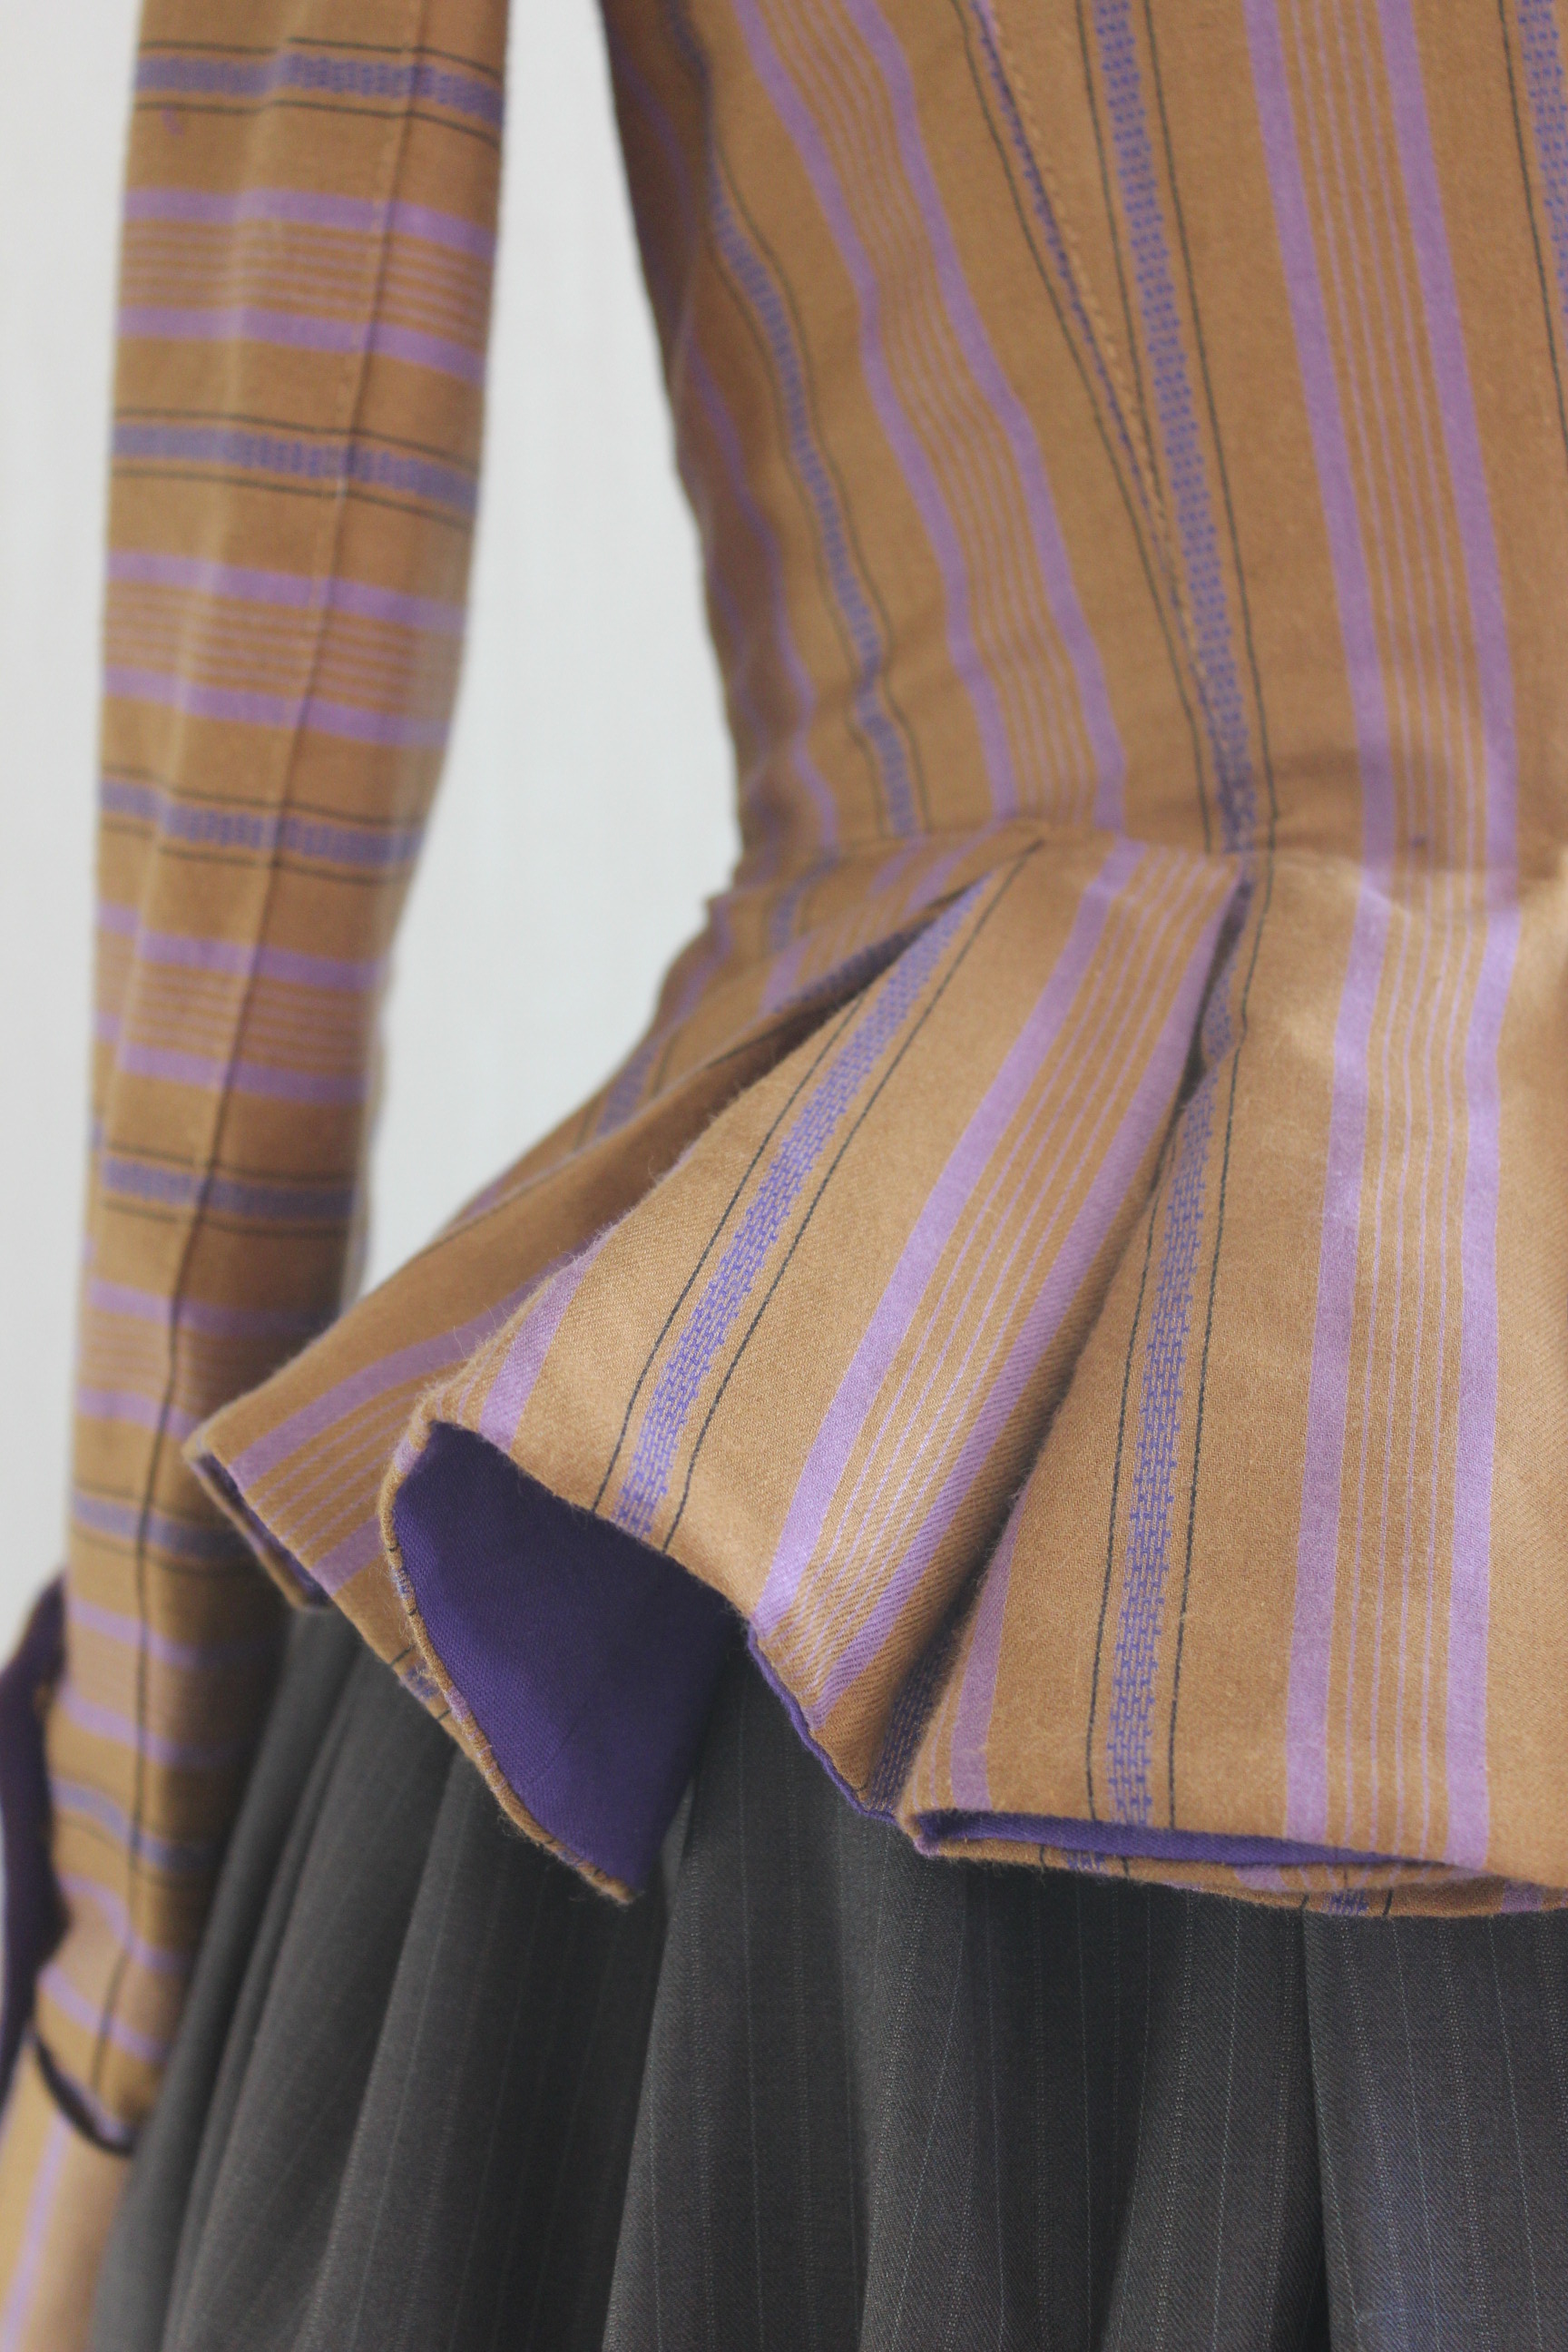
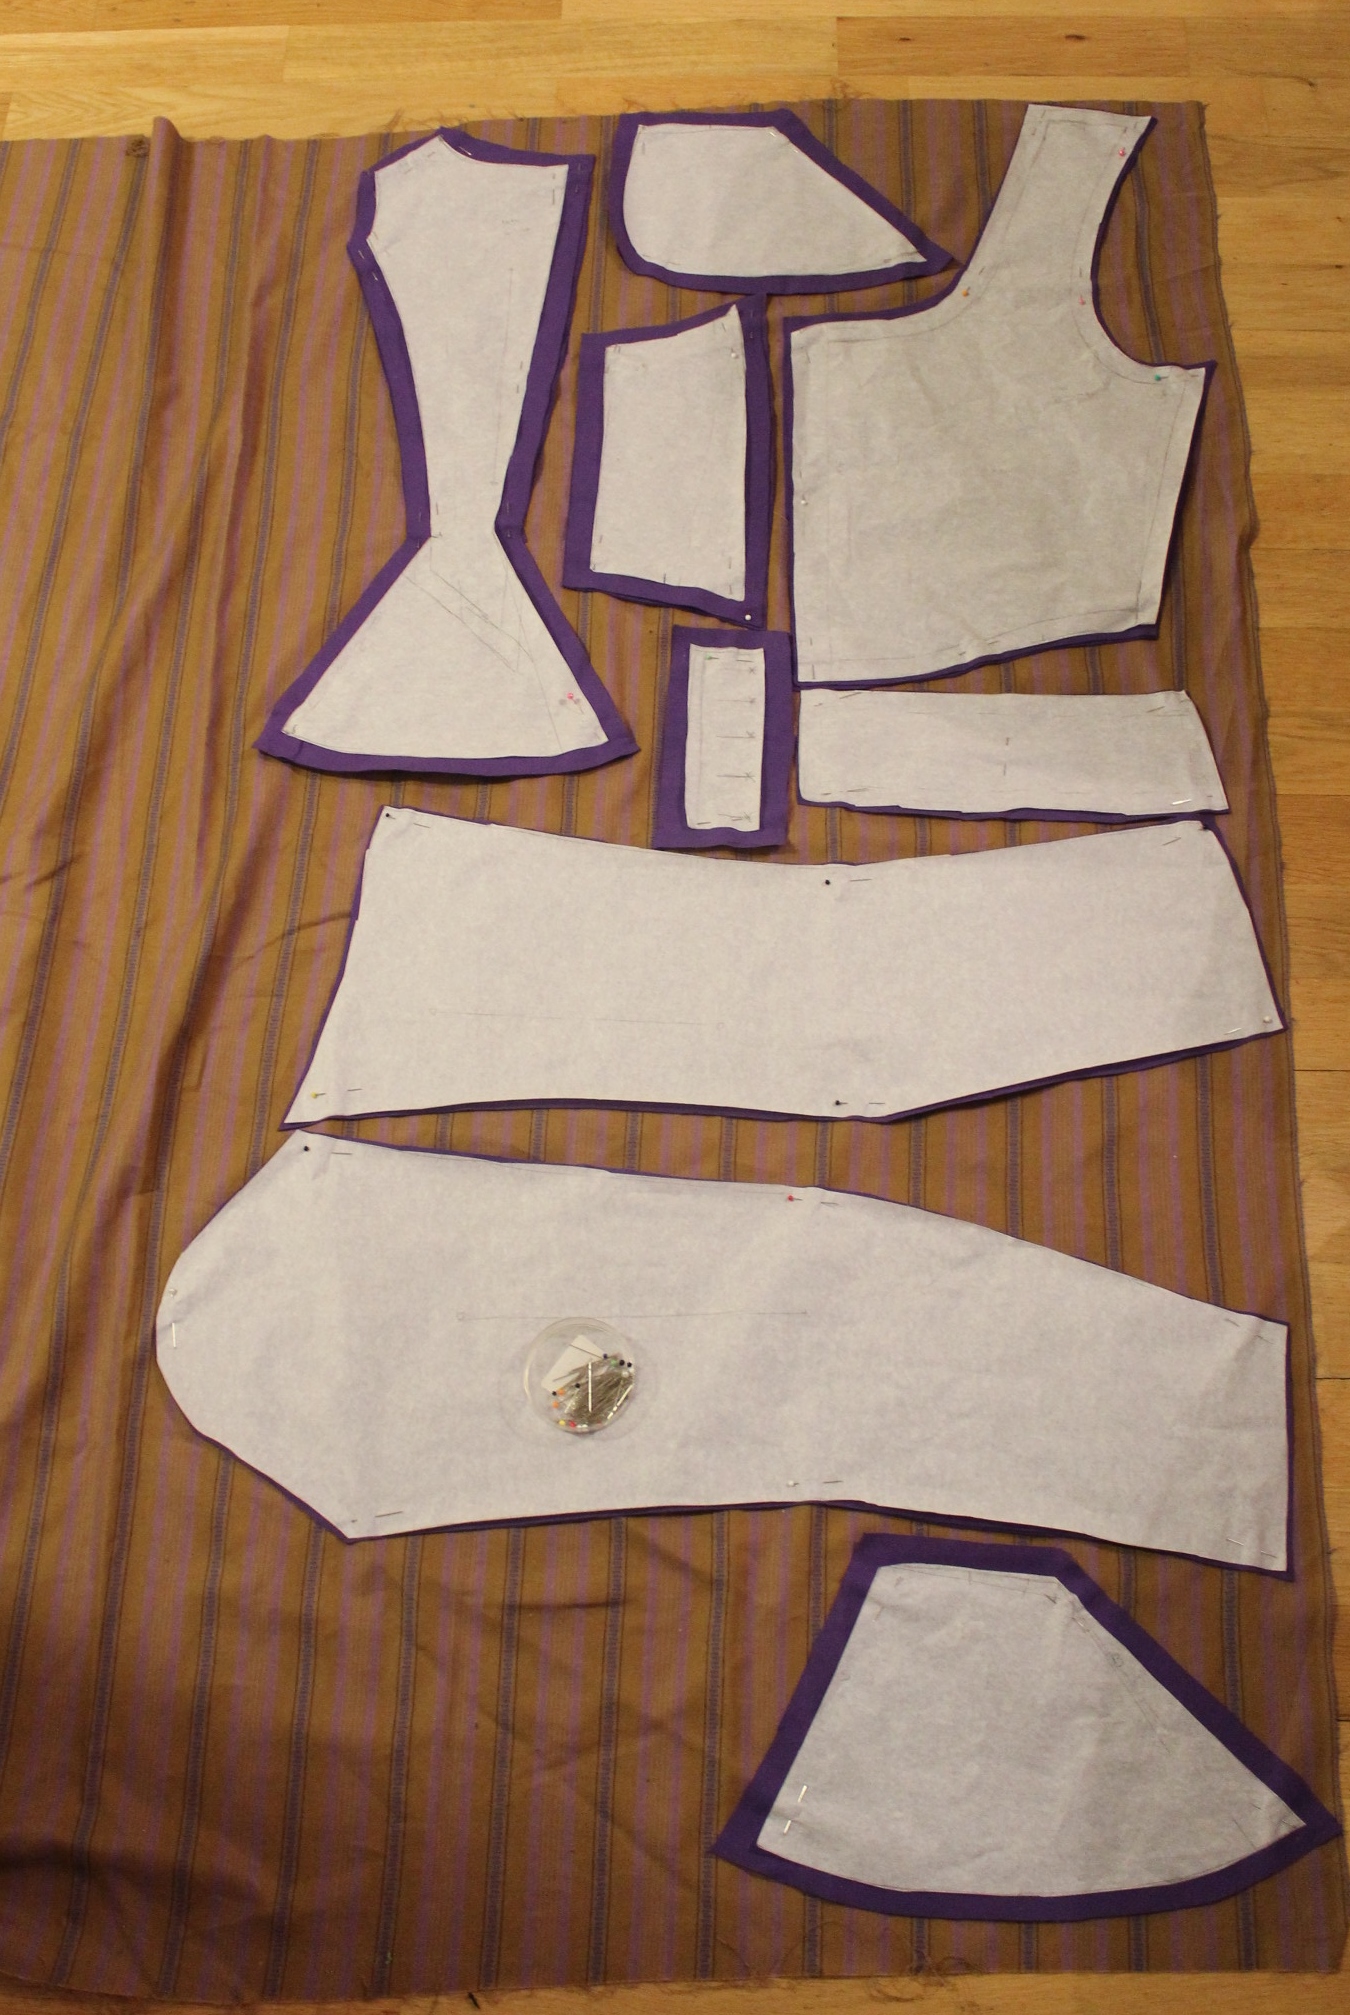
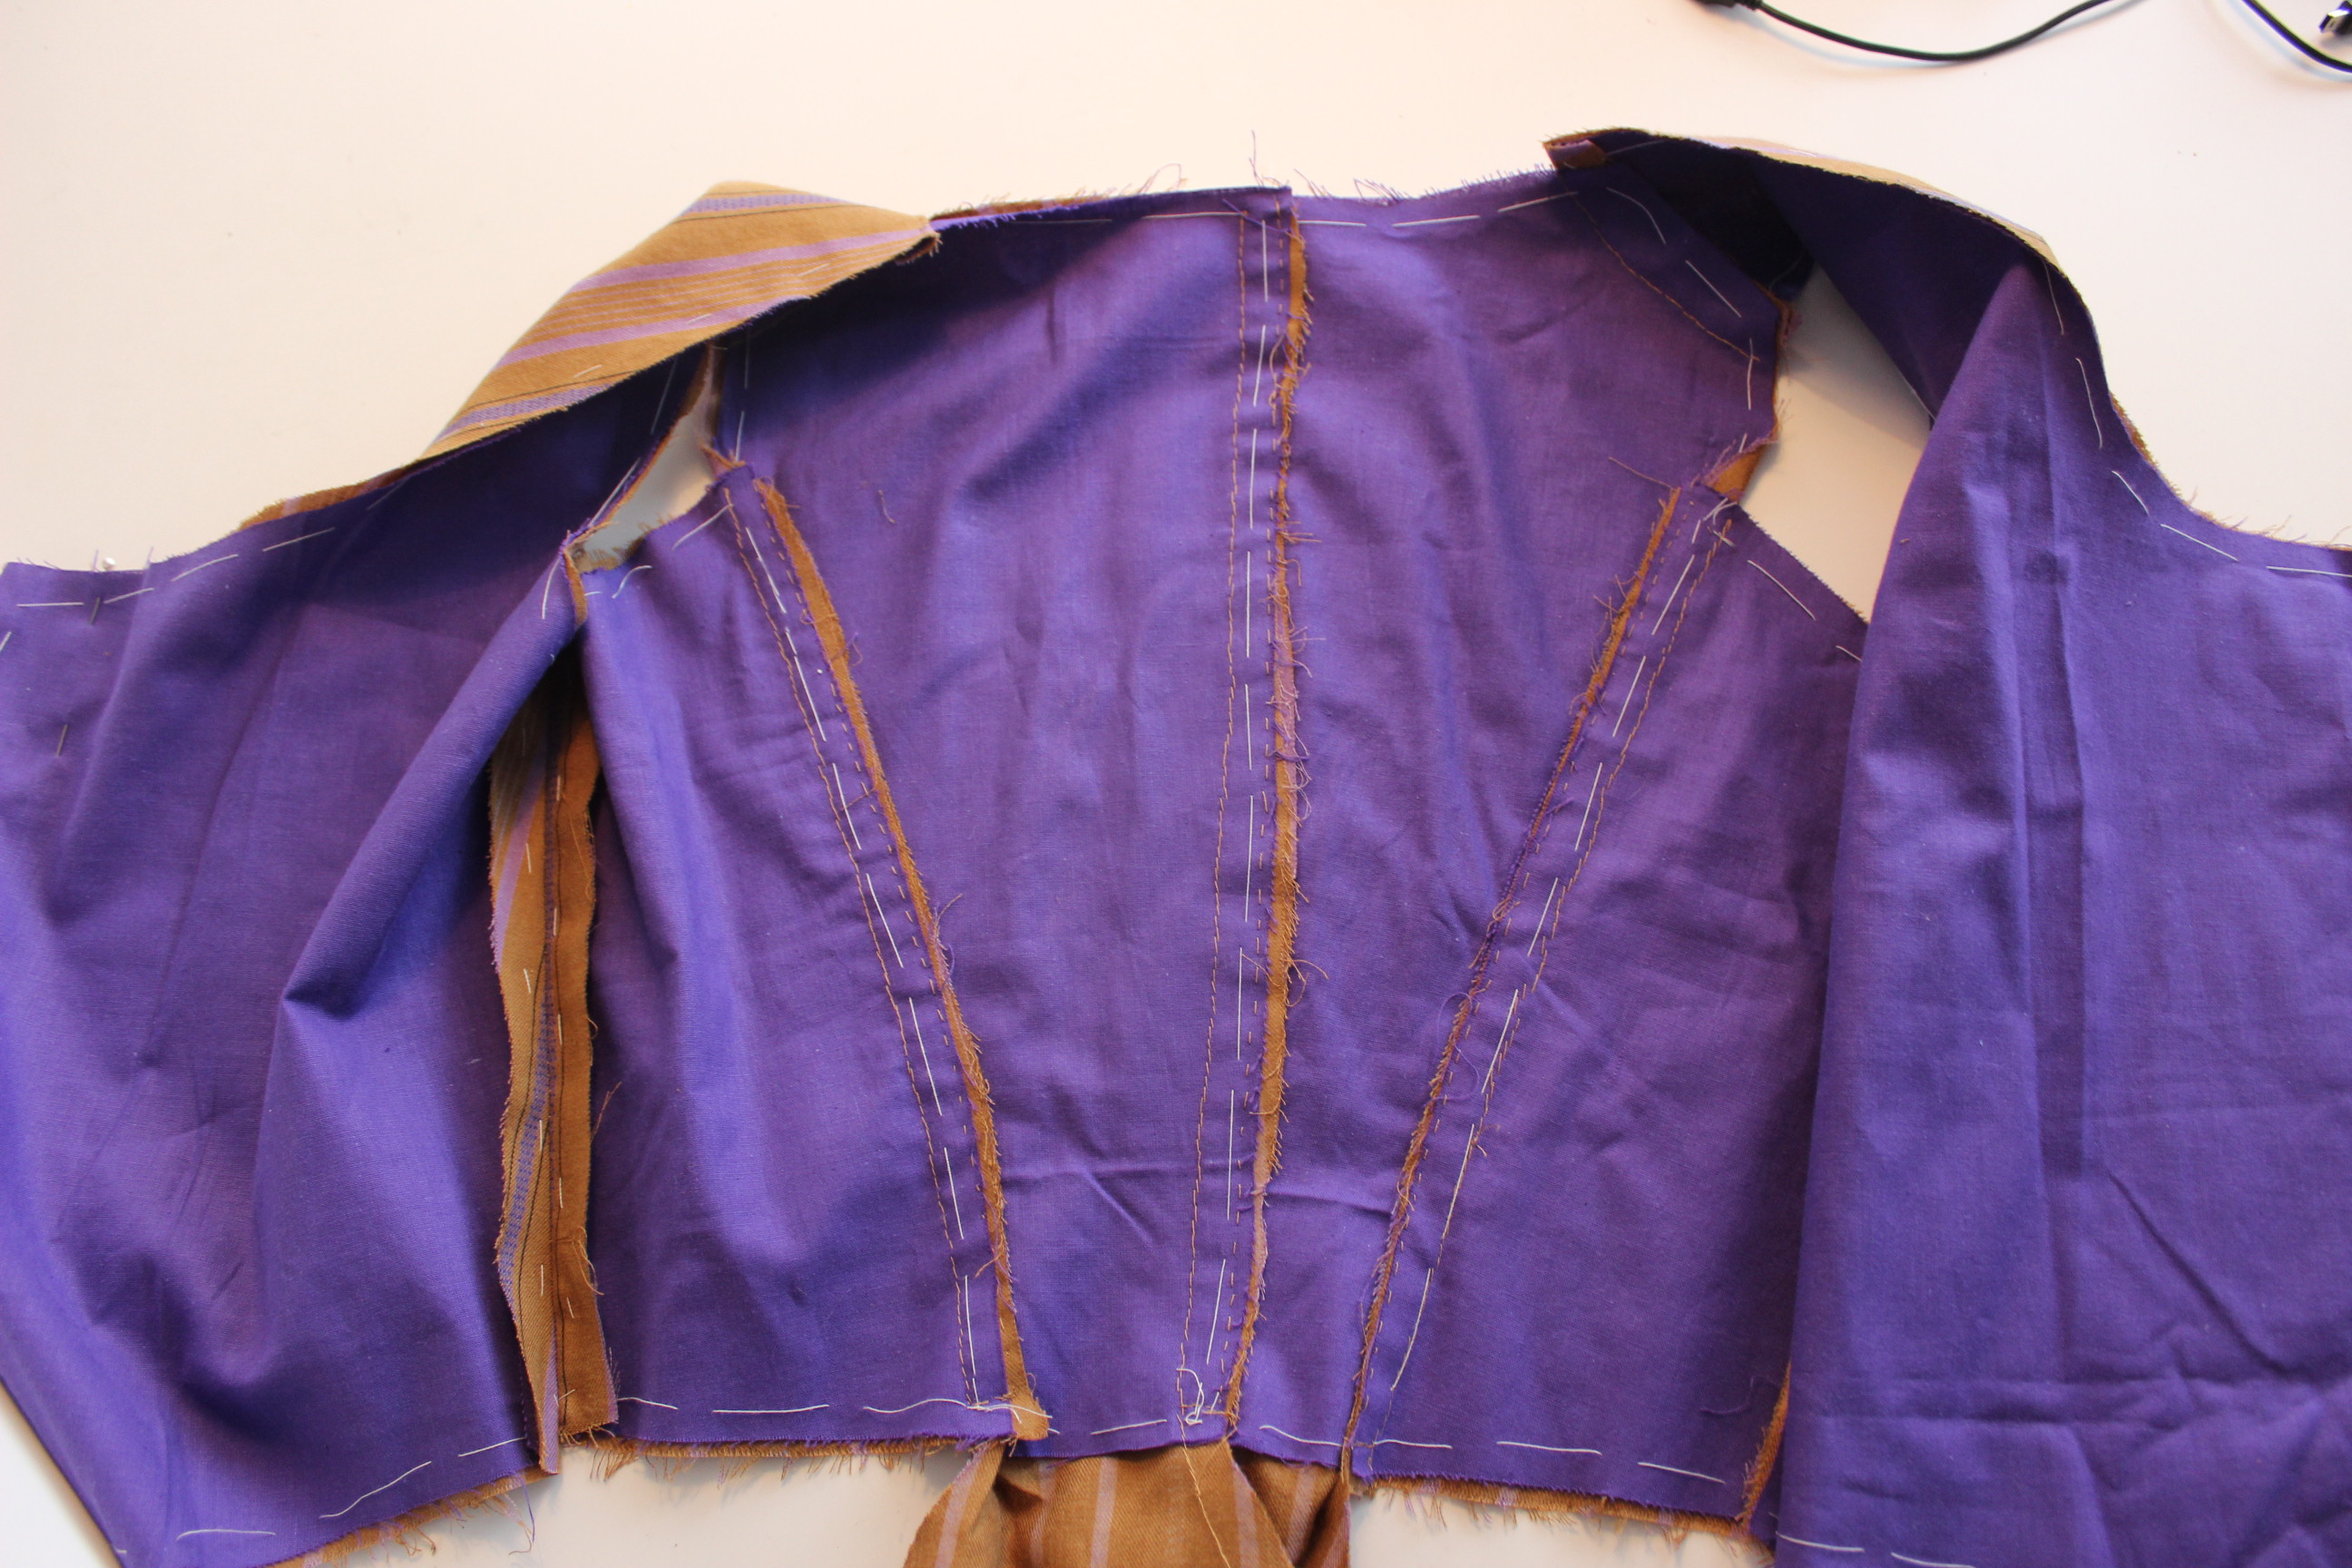
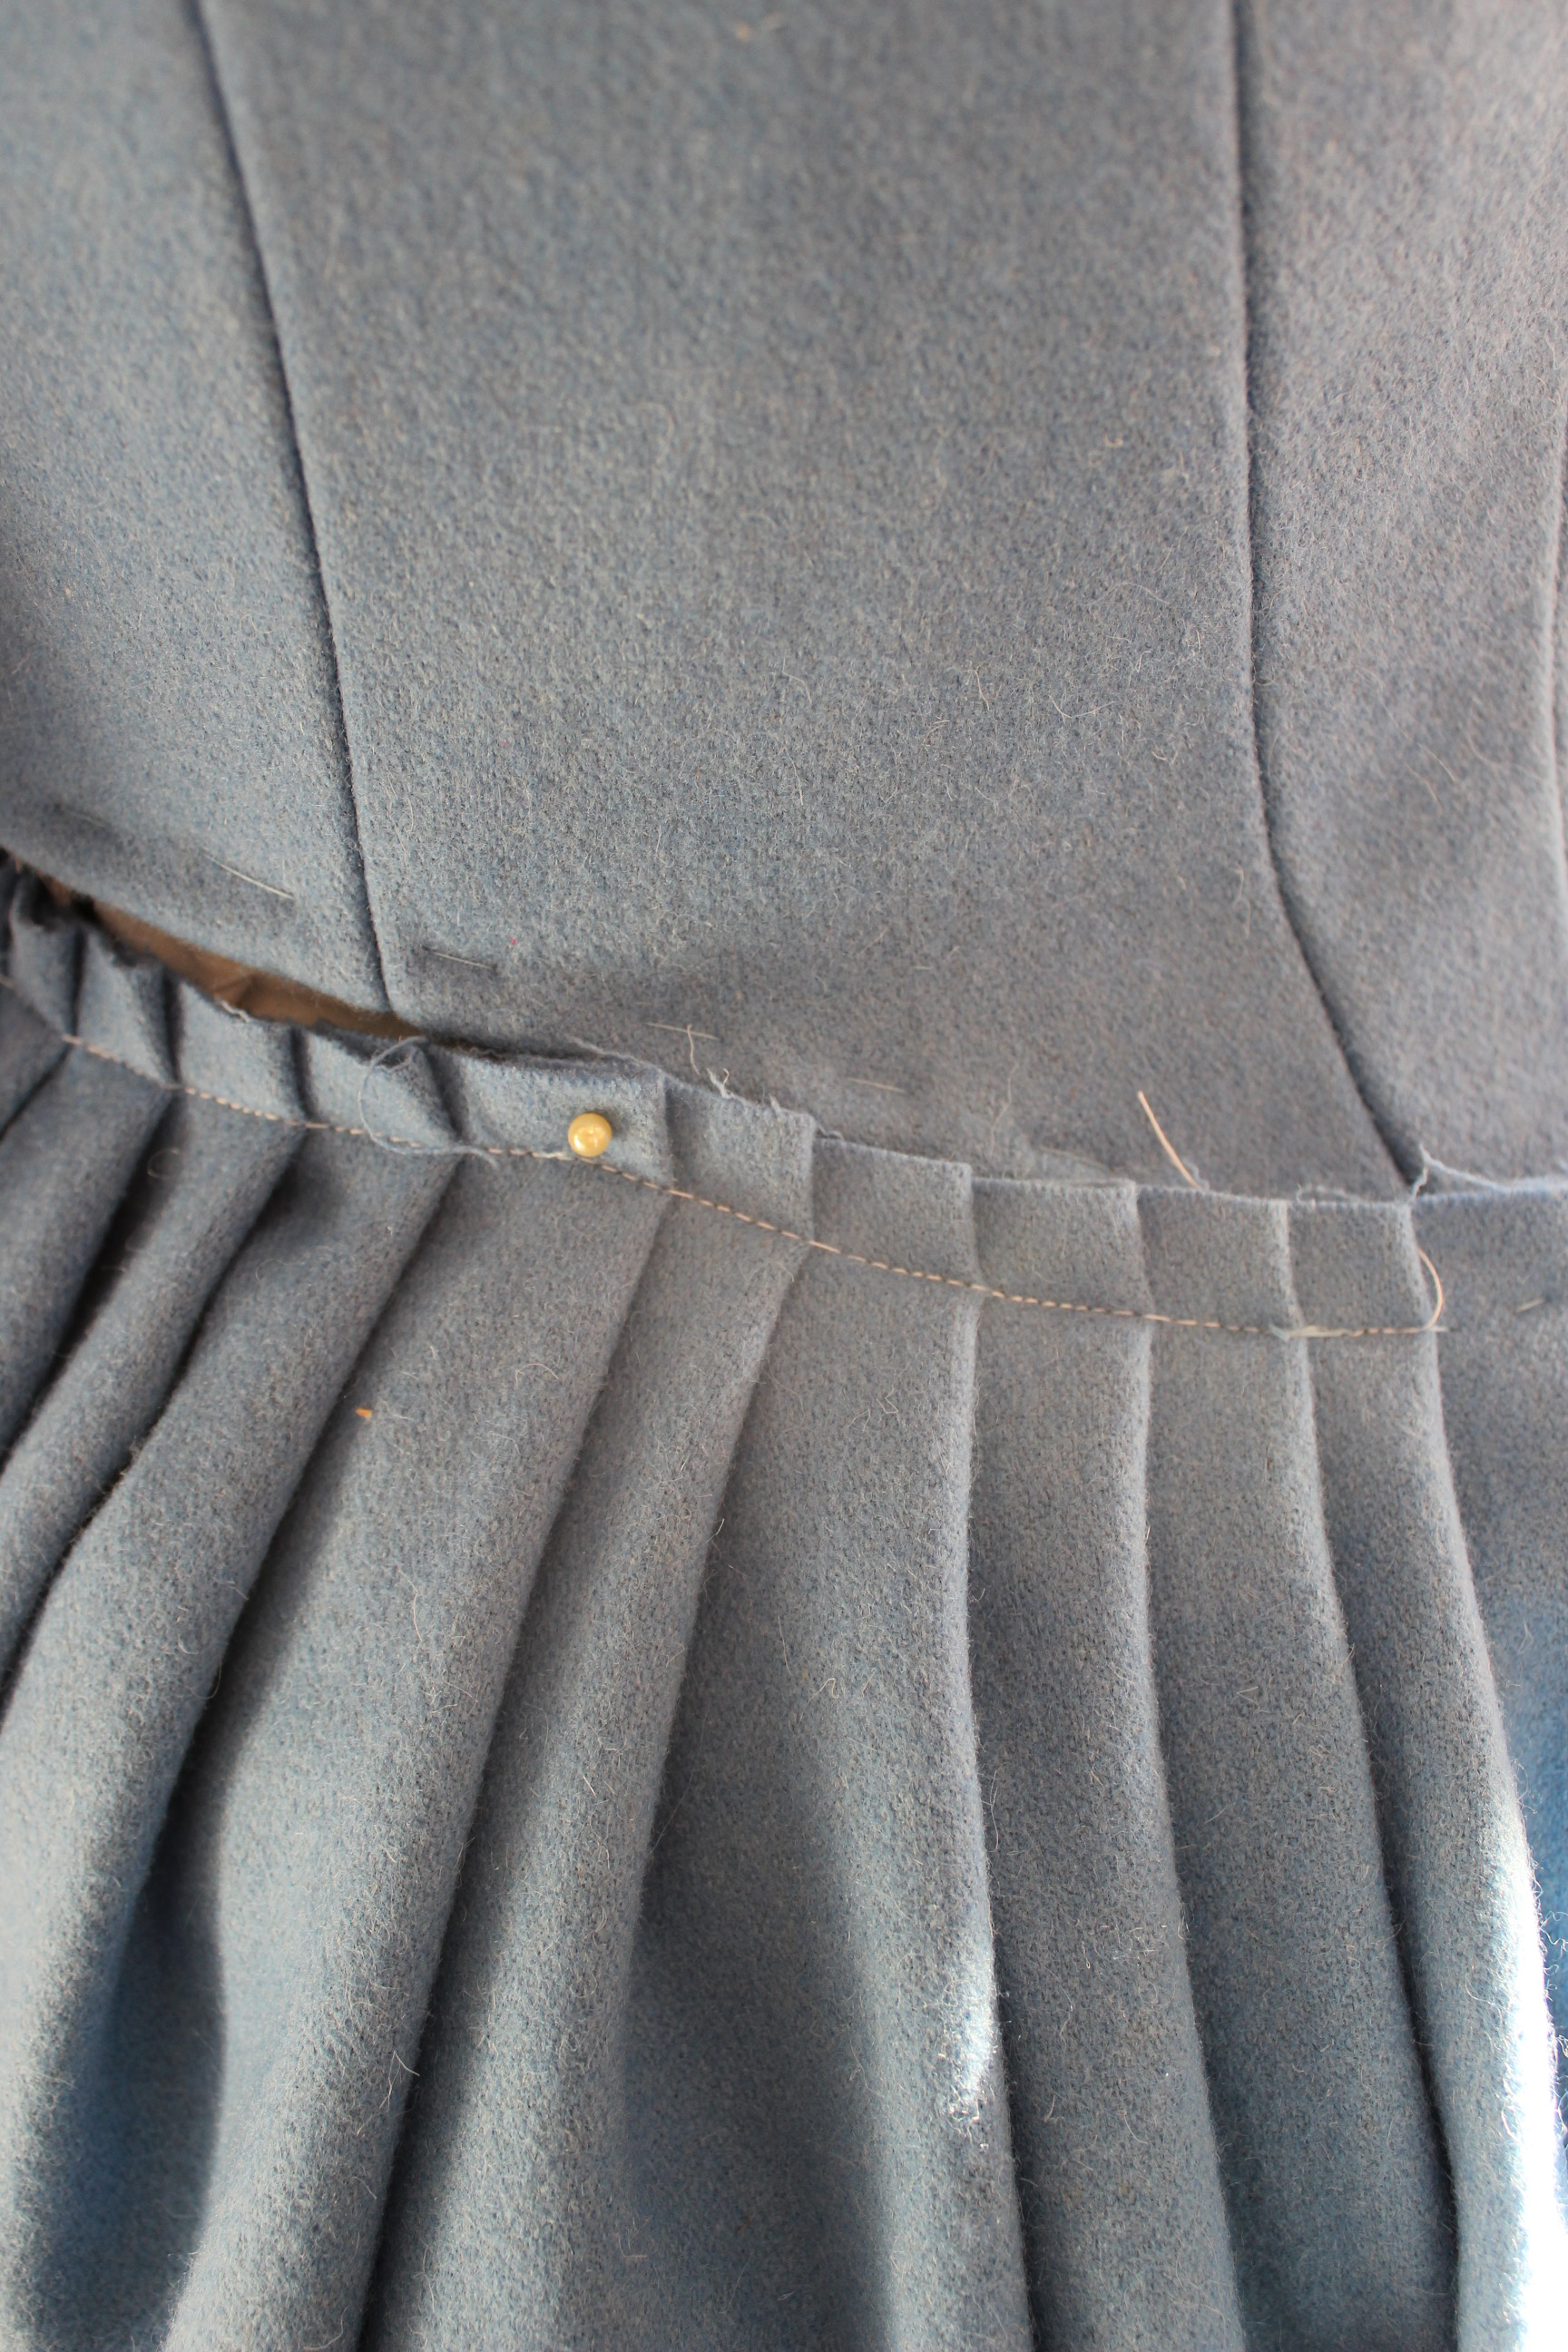
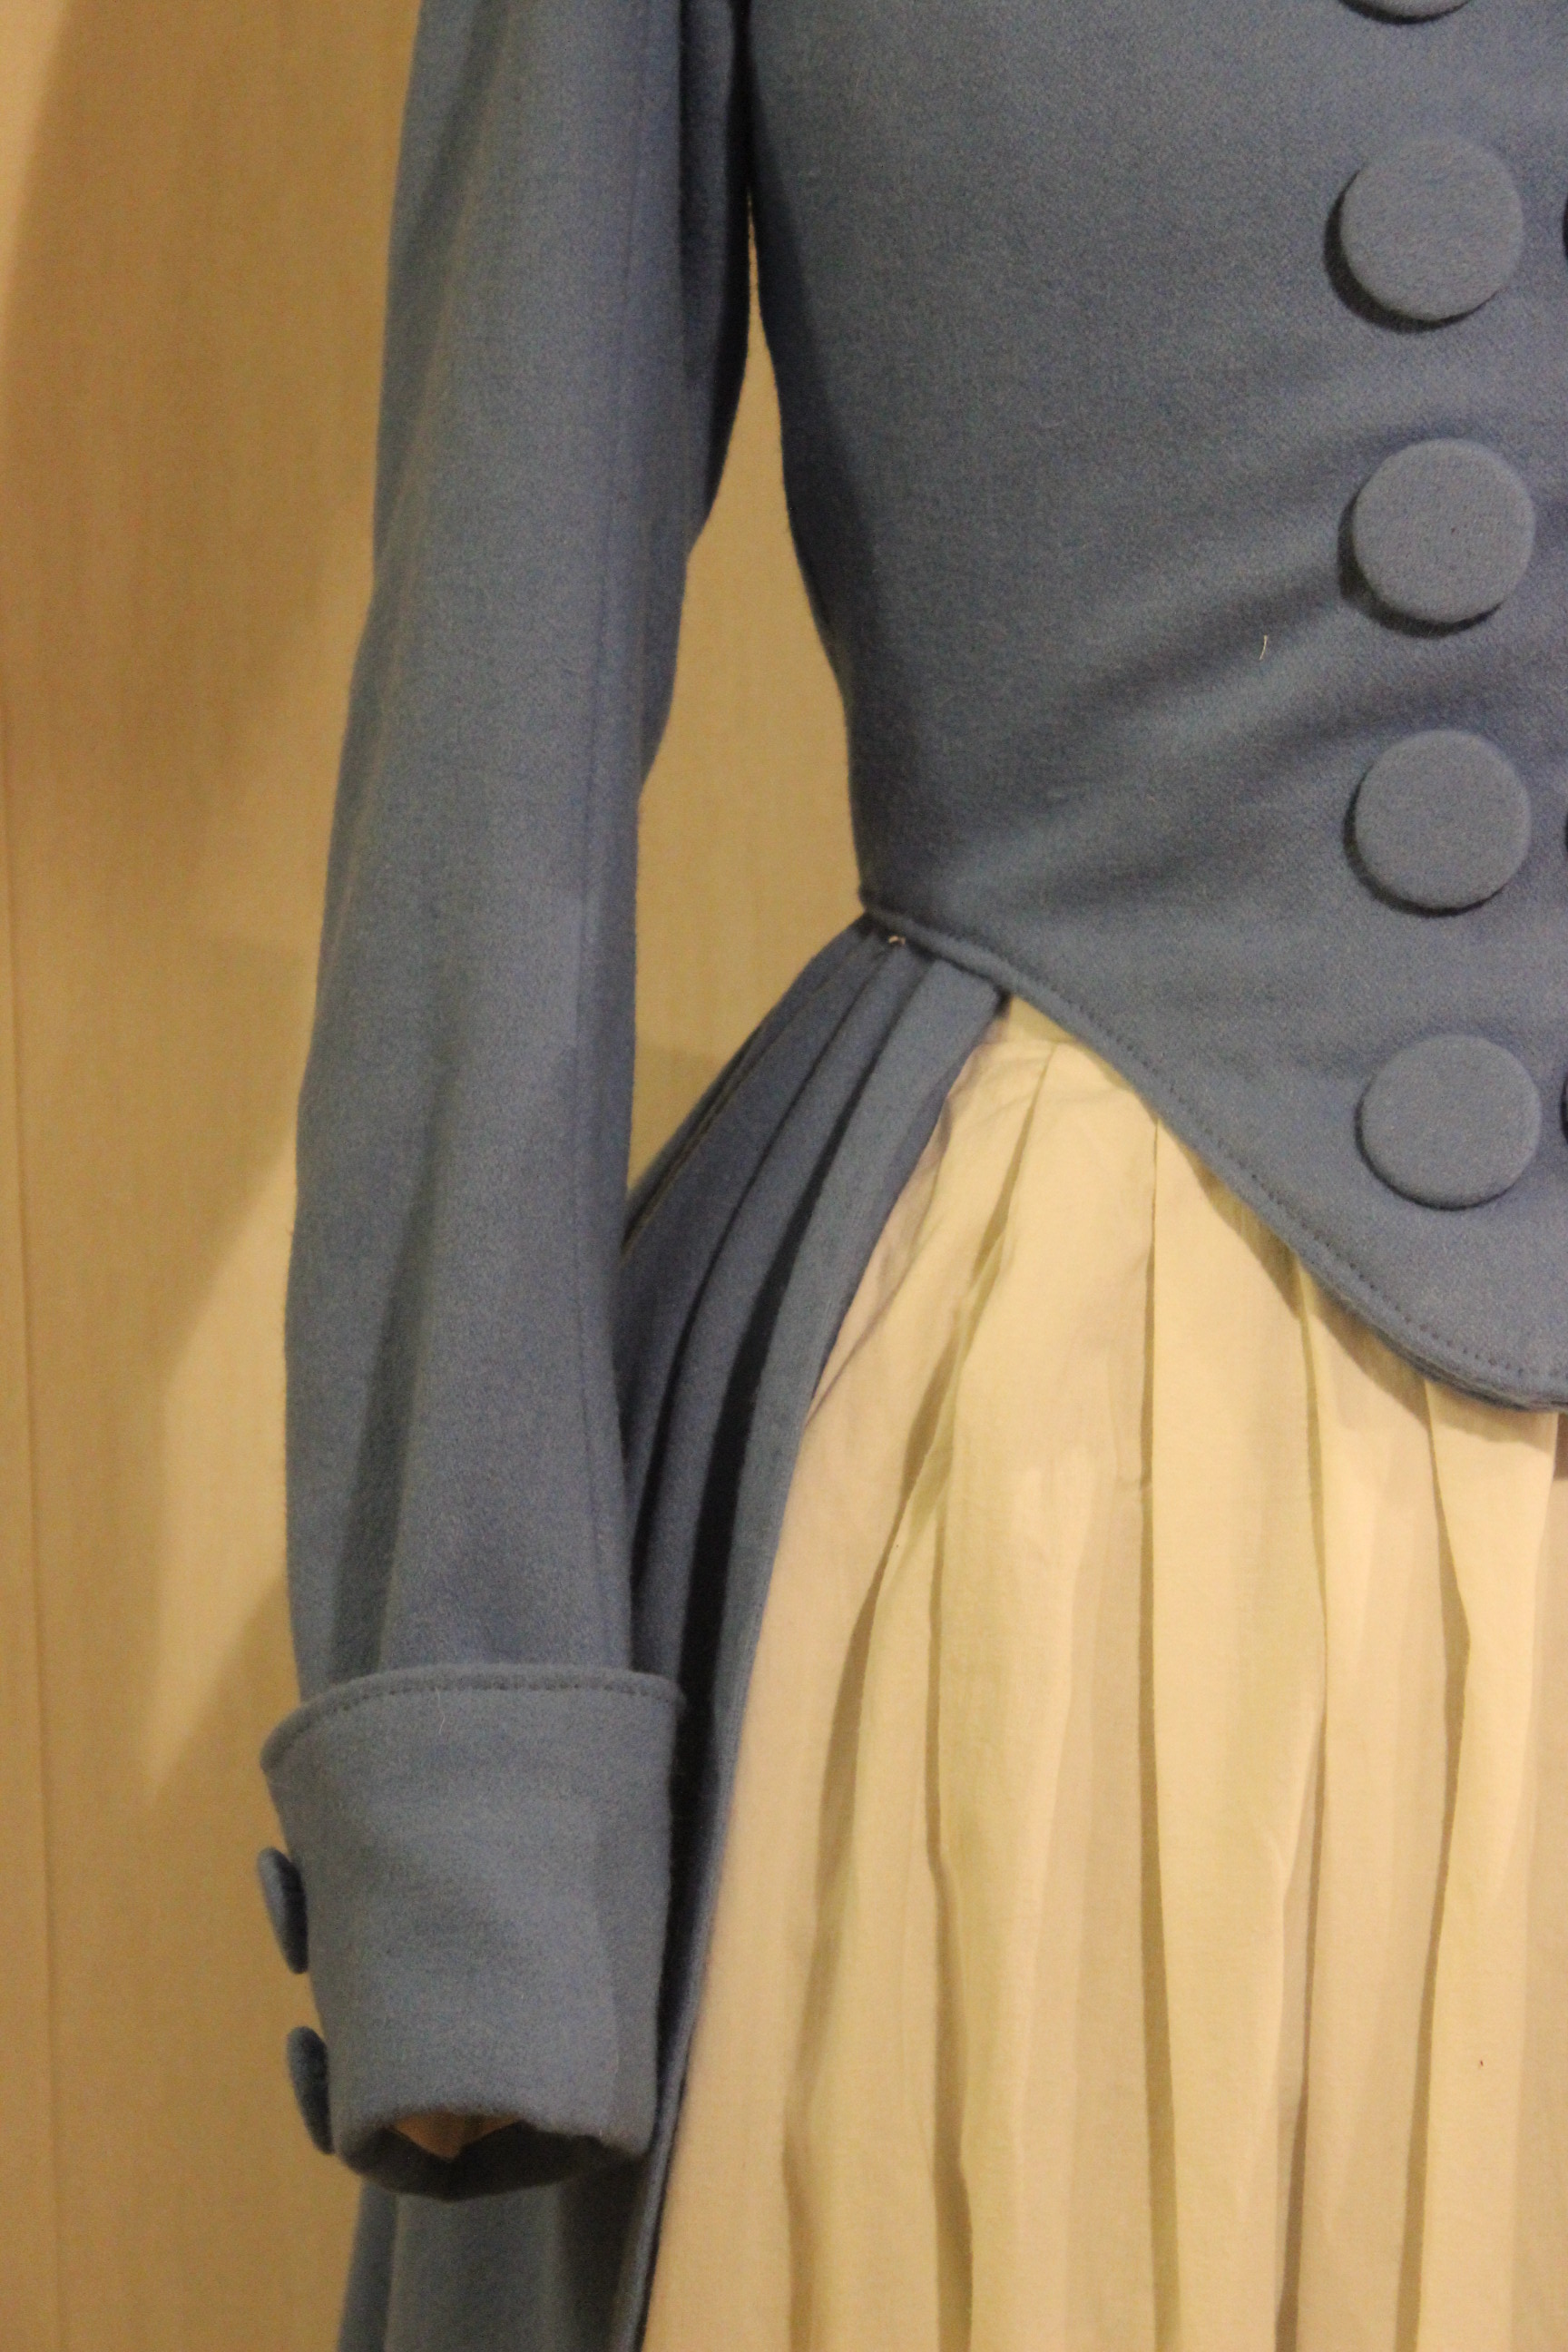
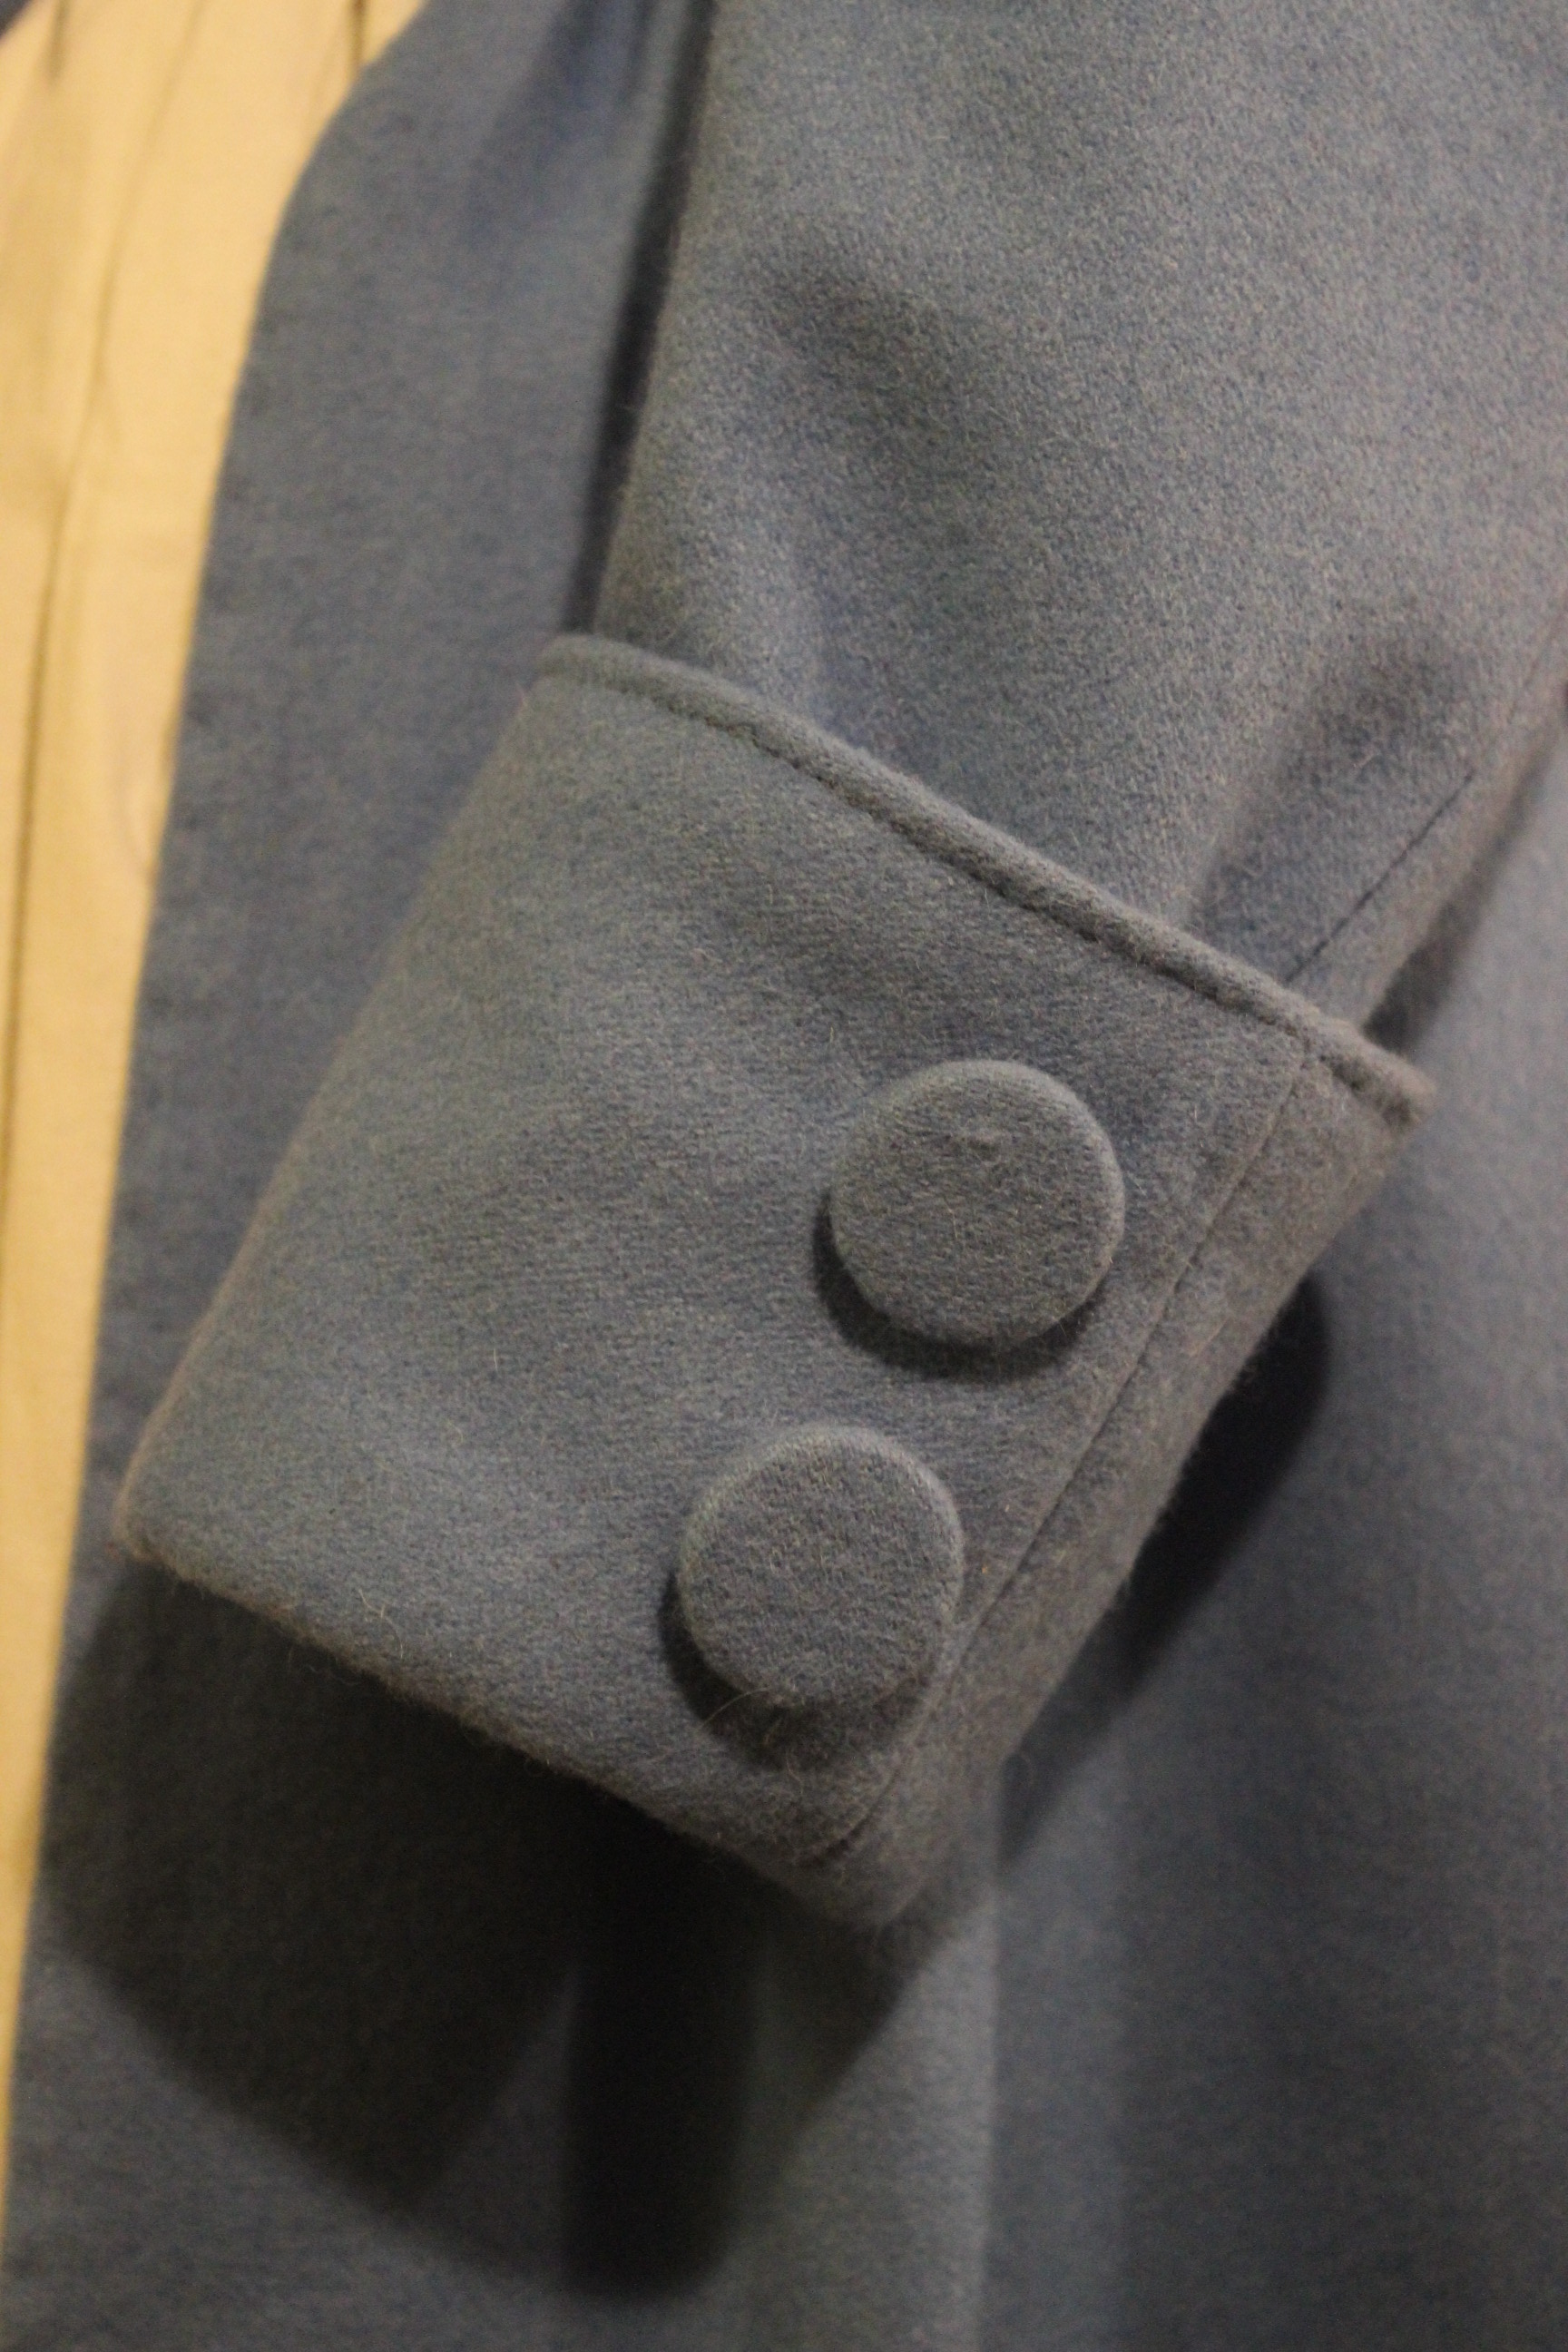
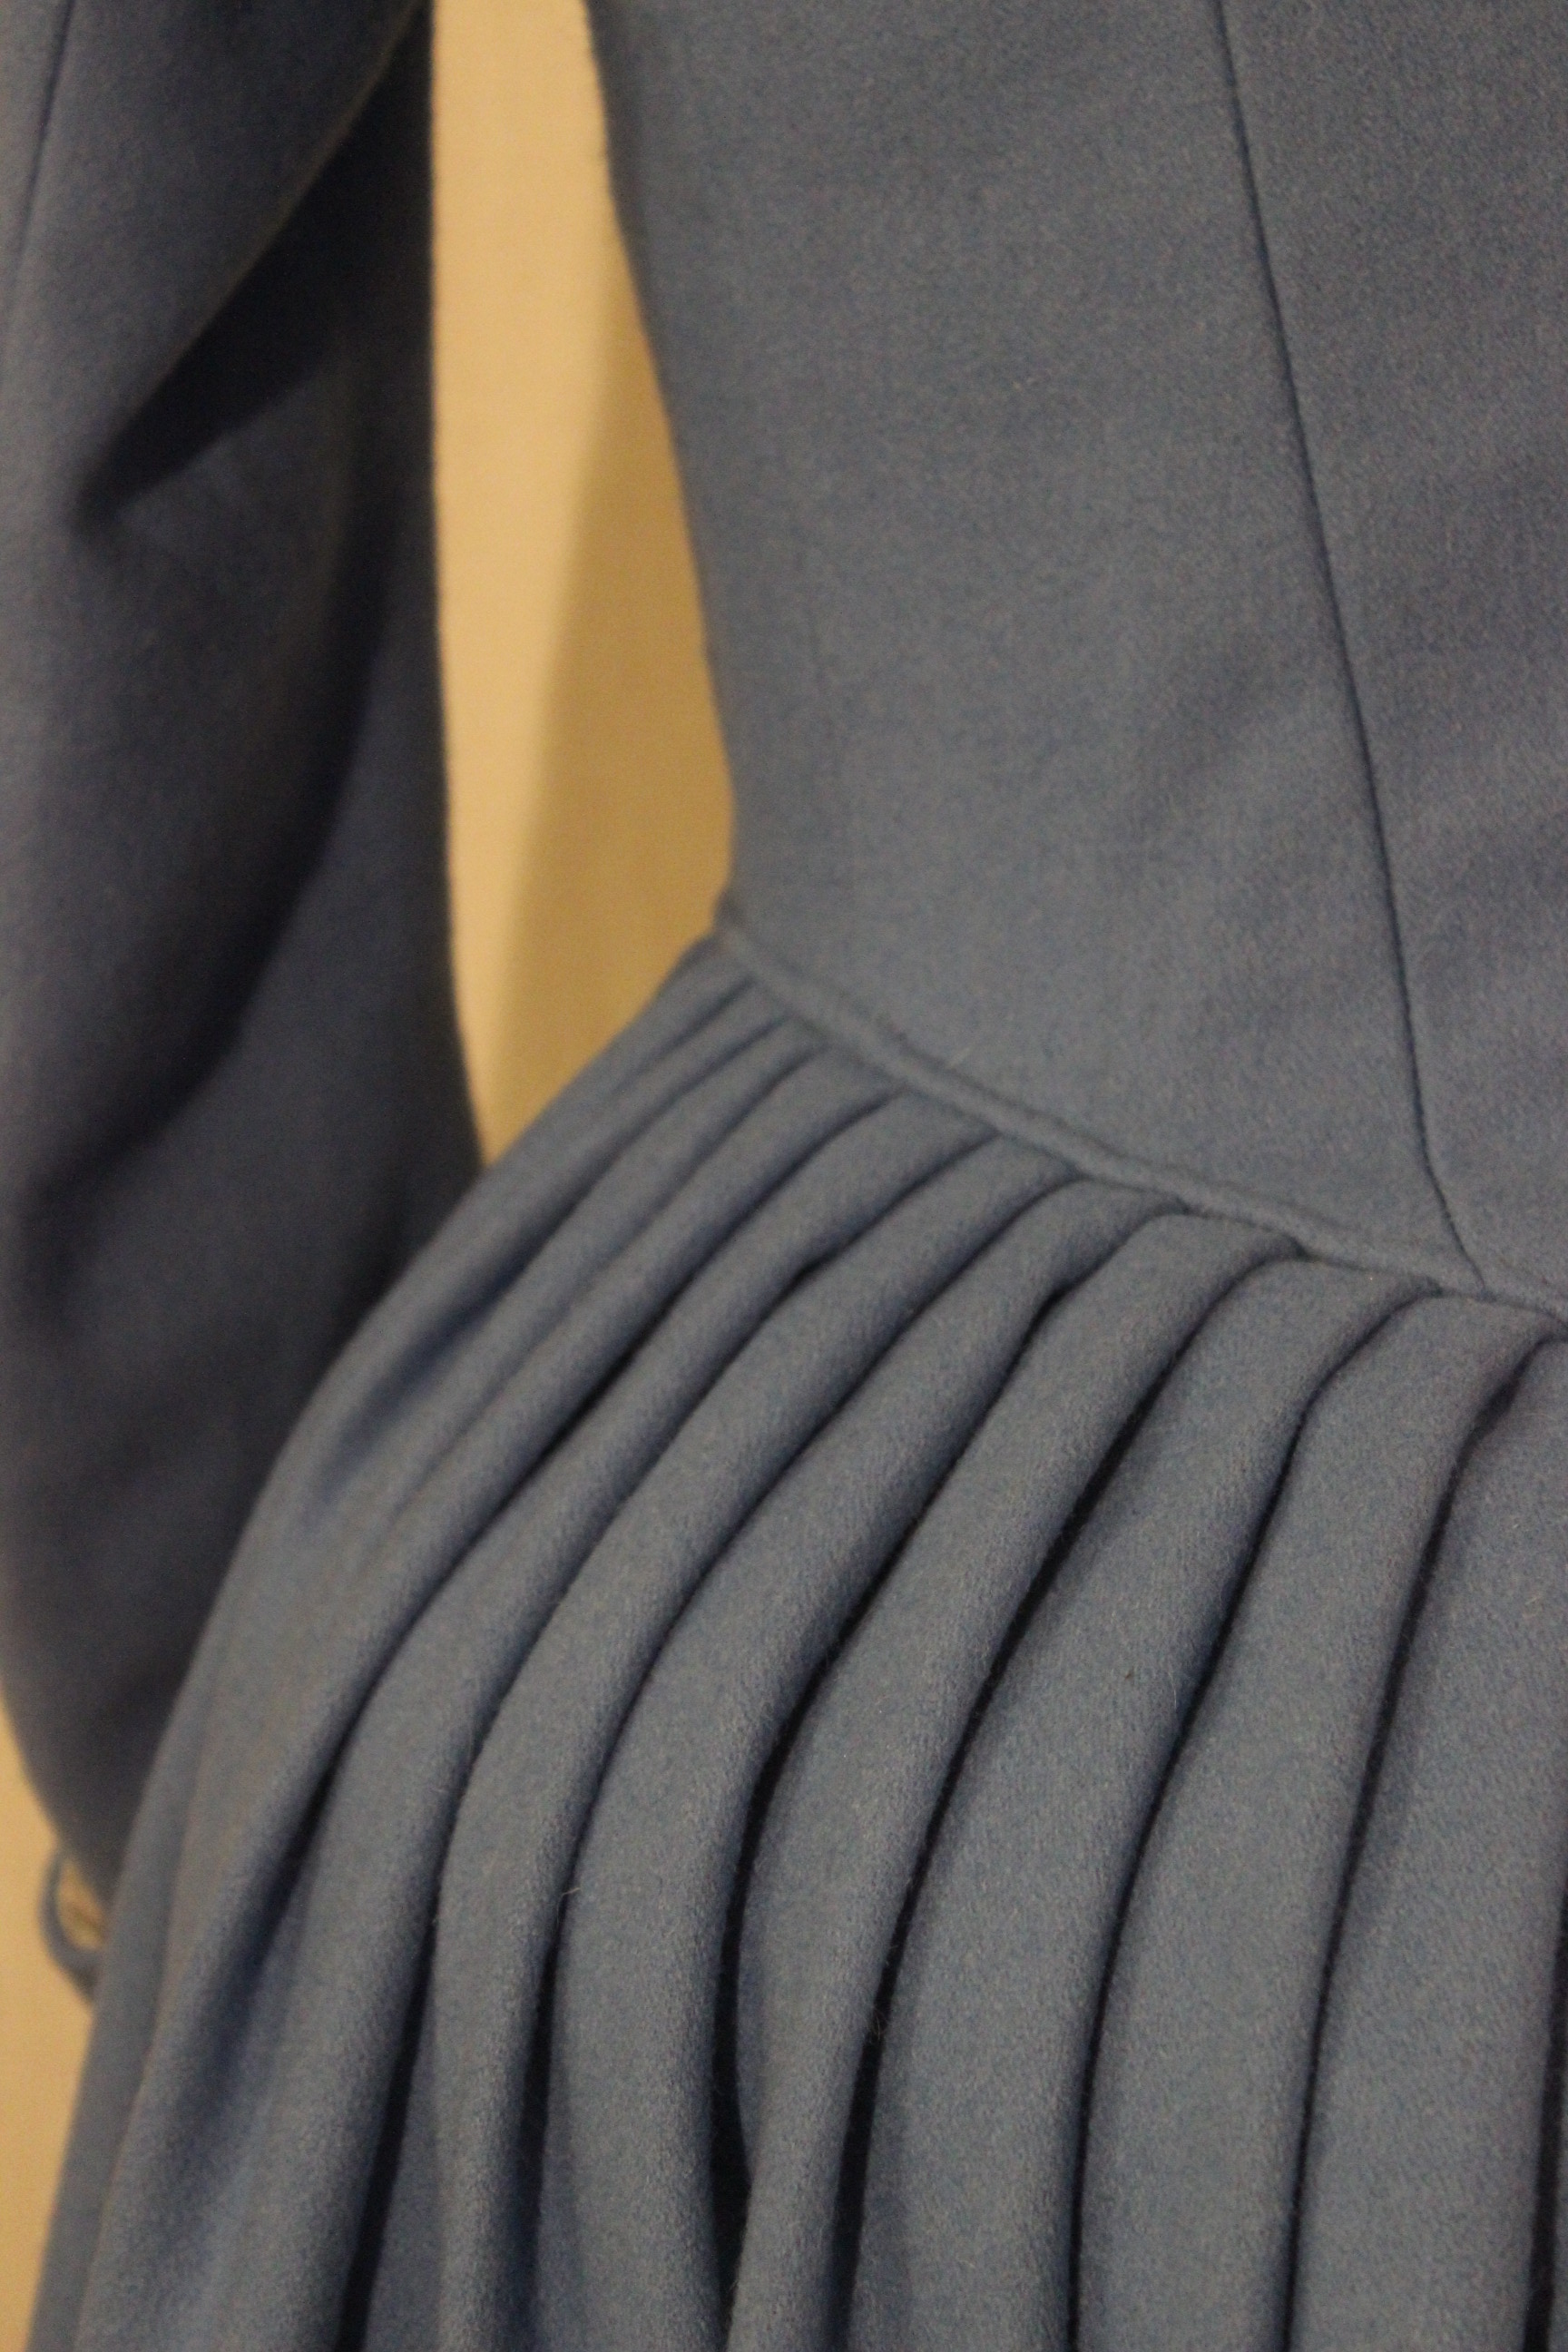
 Here you can see the way I took out the width at the seams and darts.


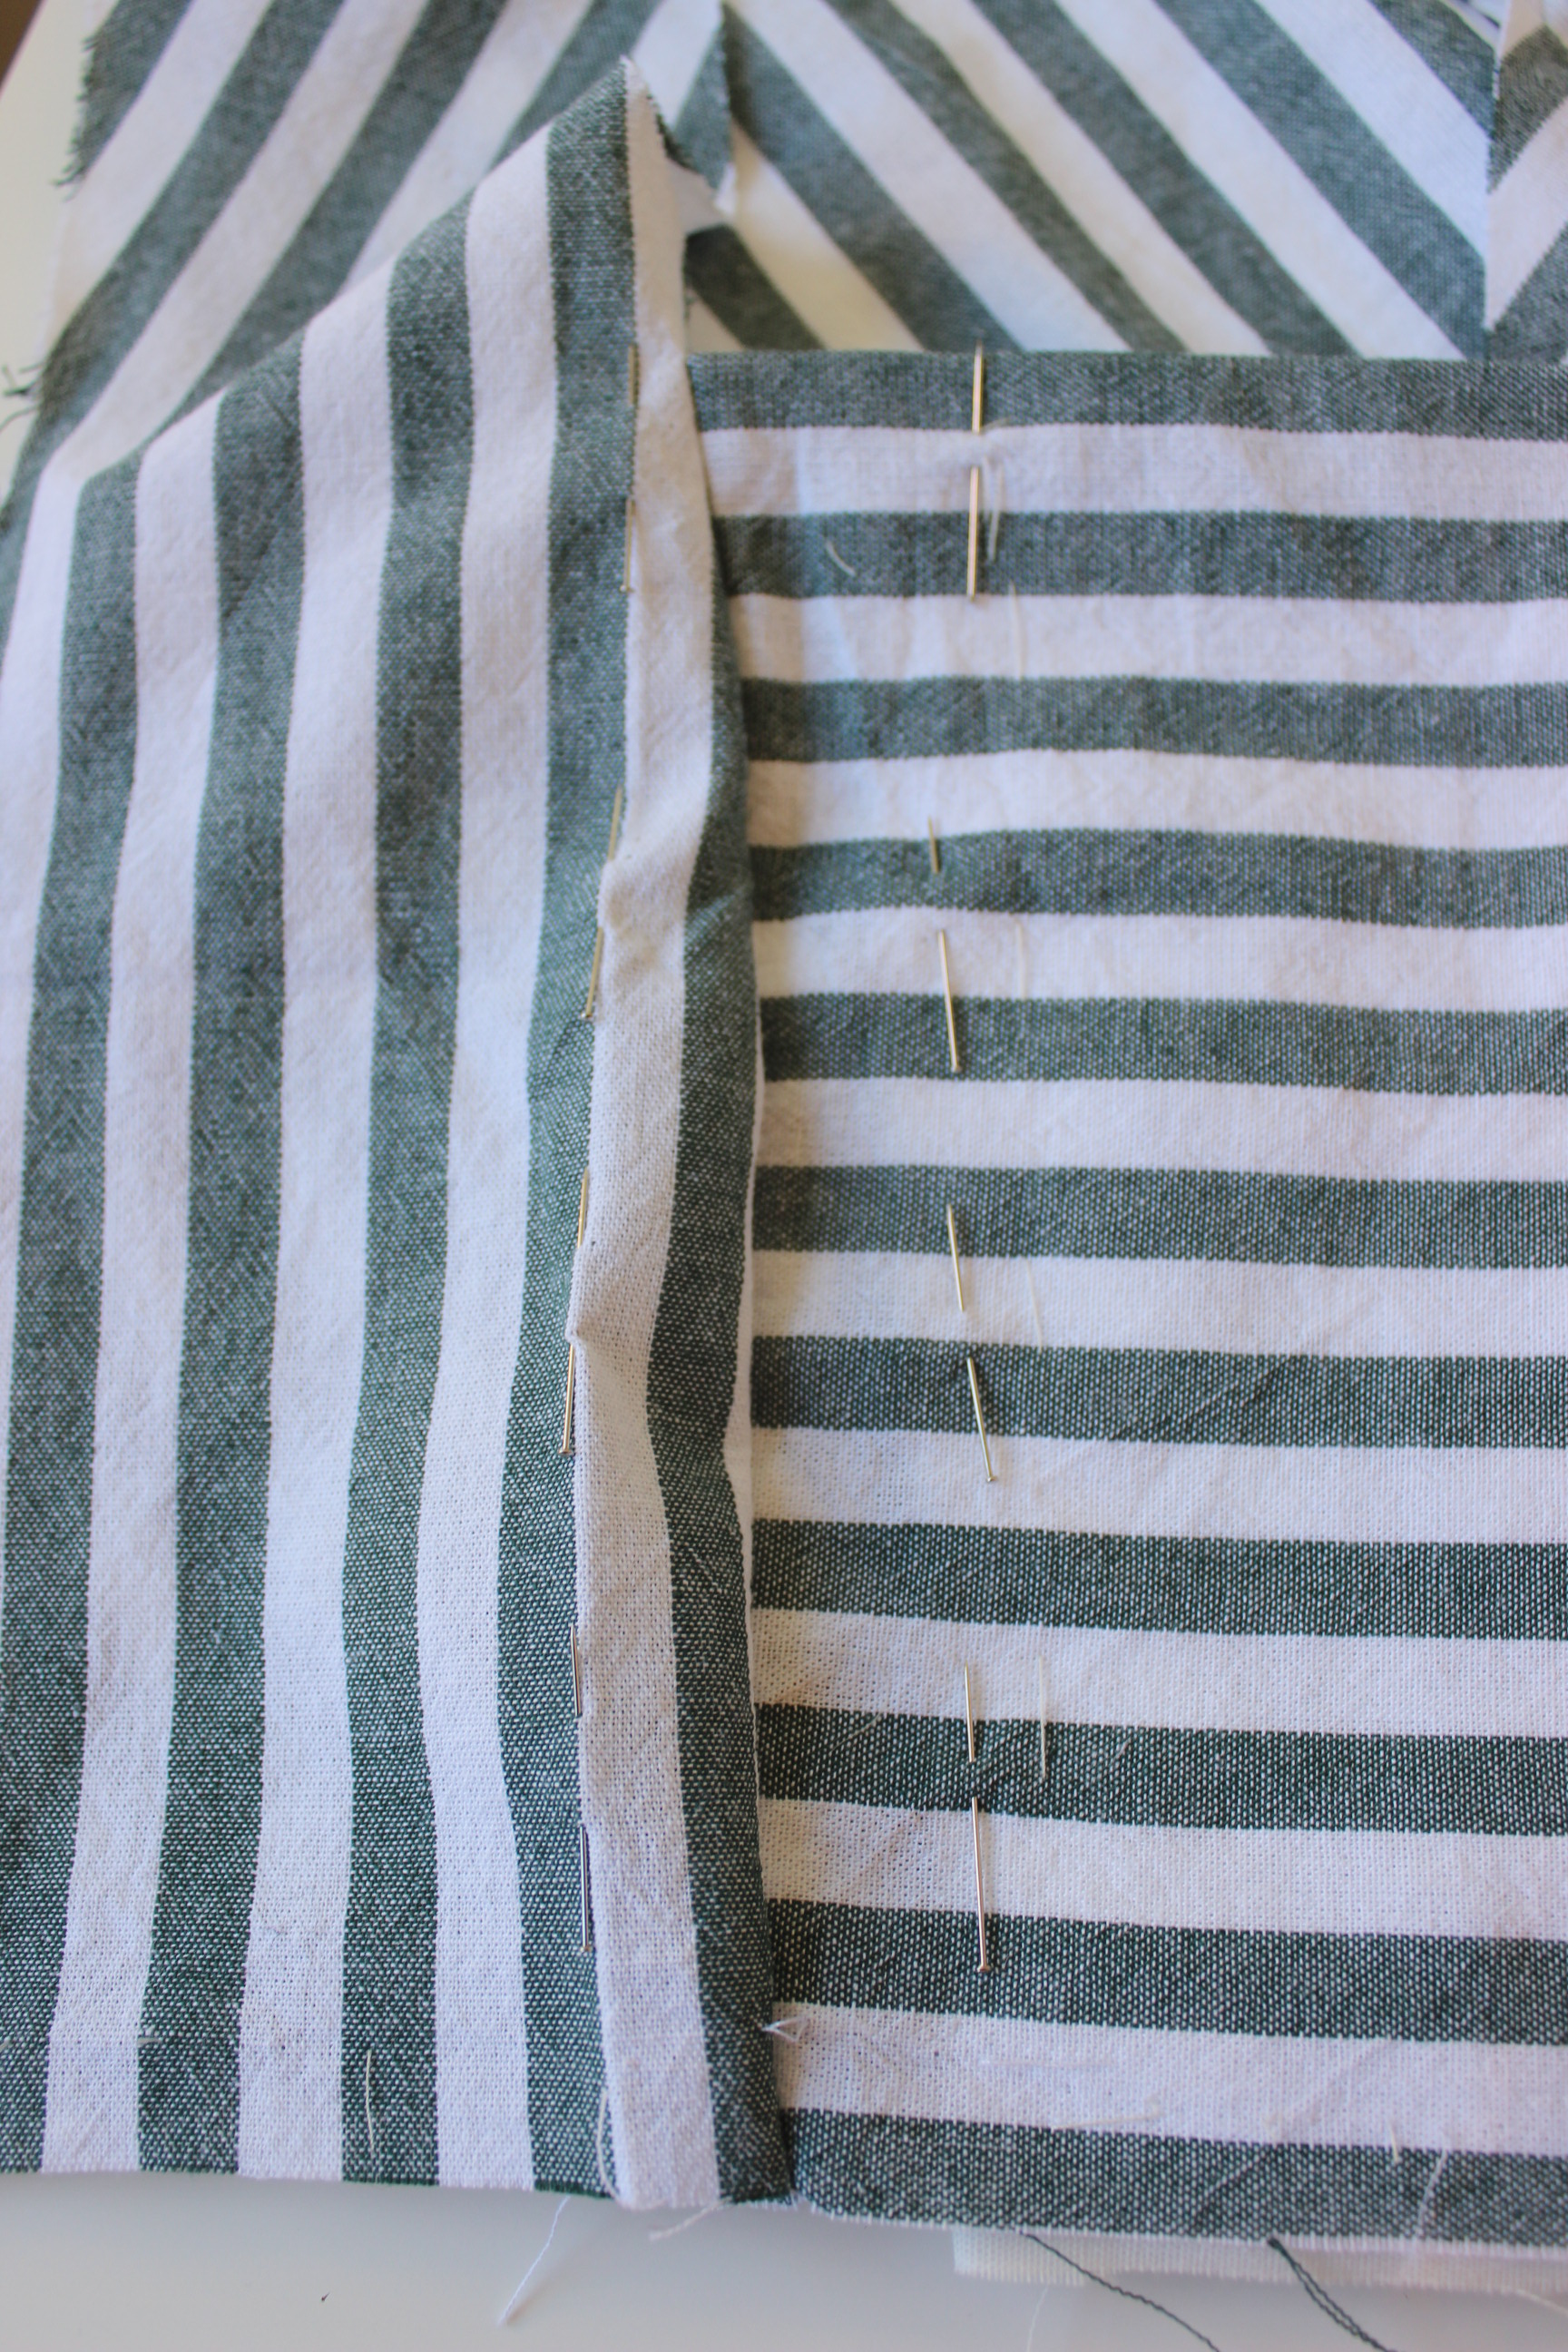


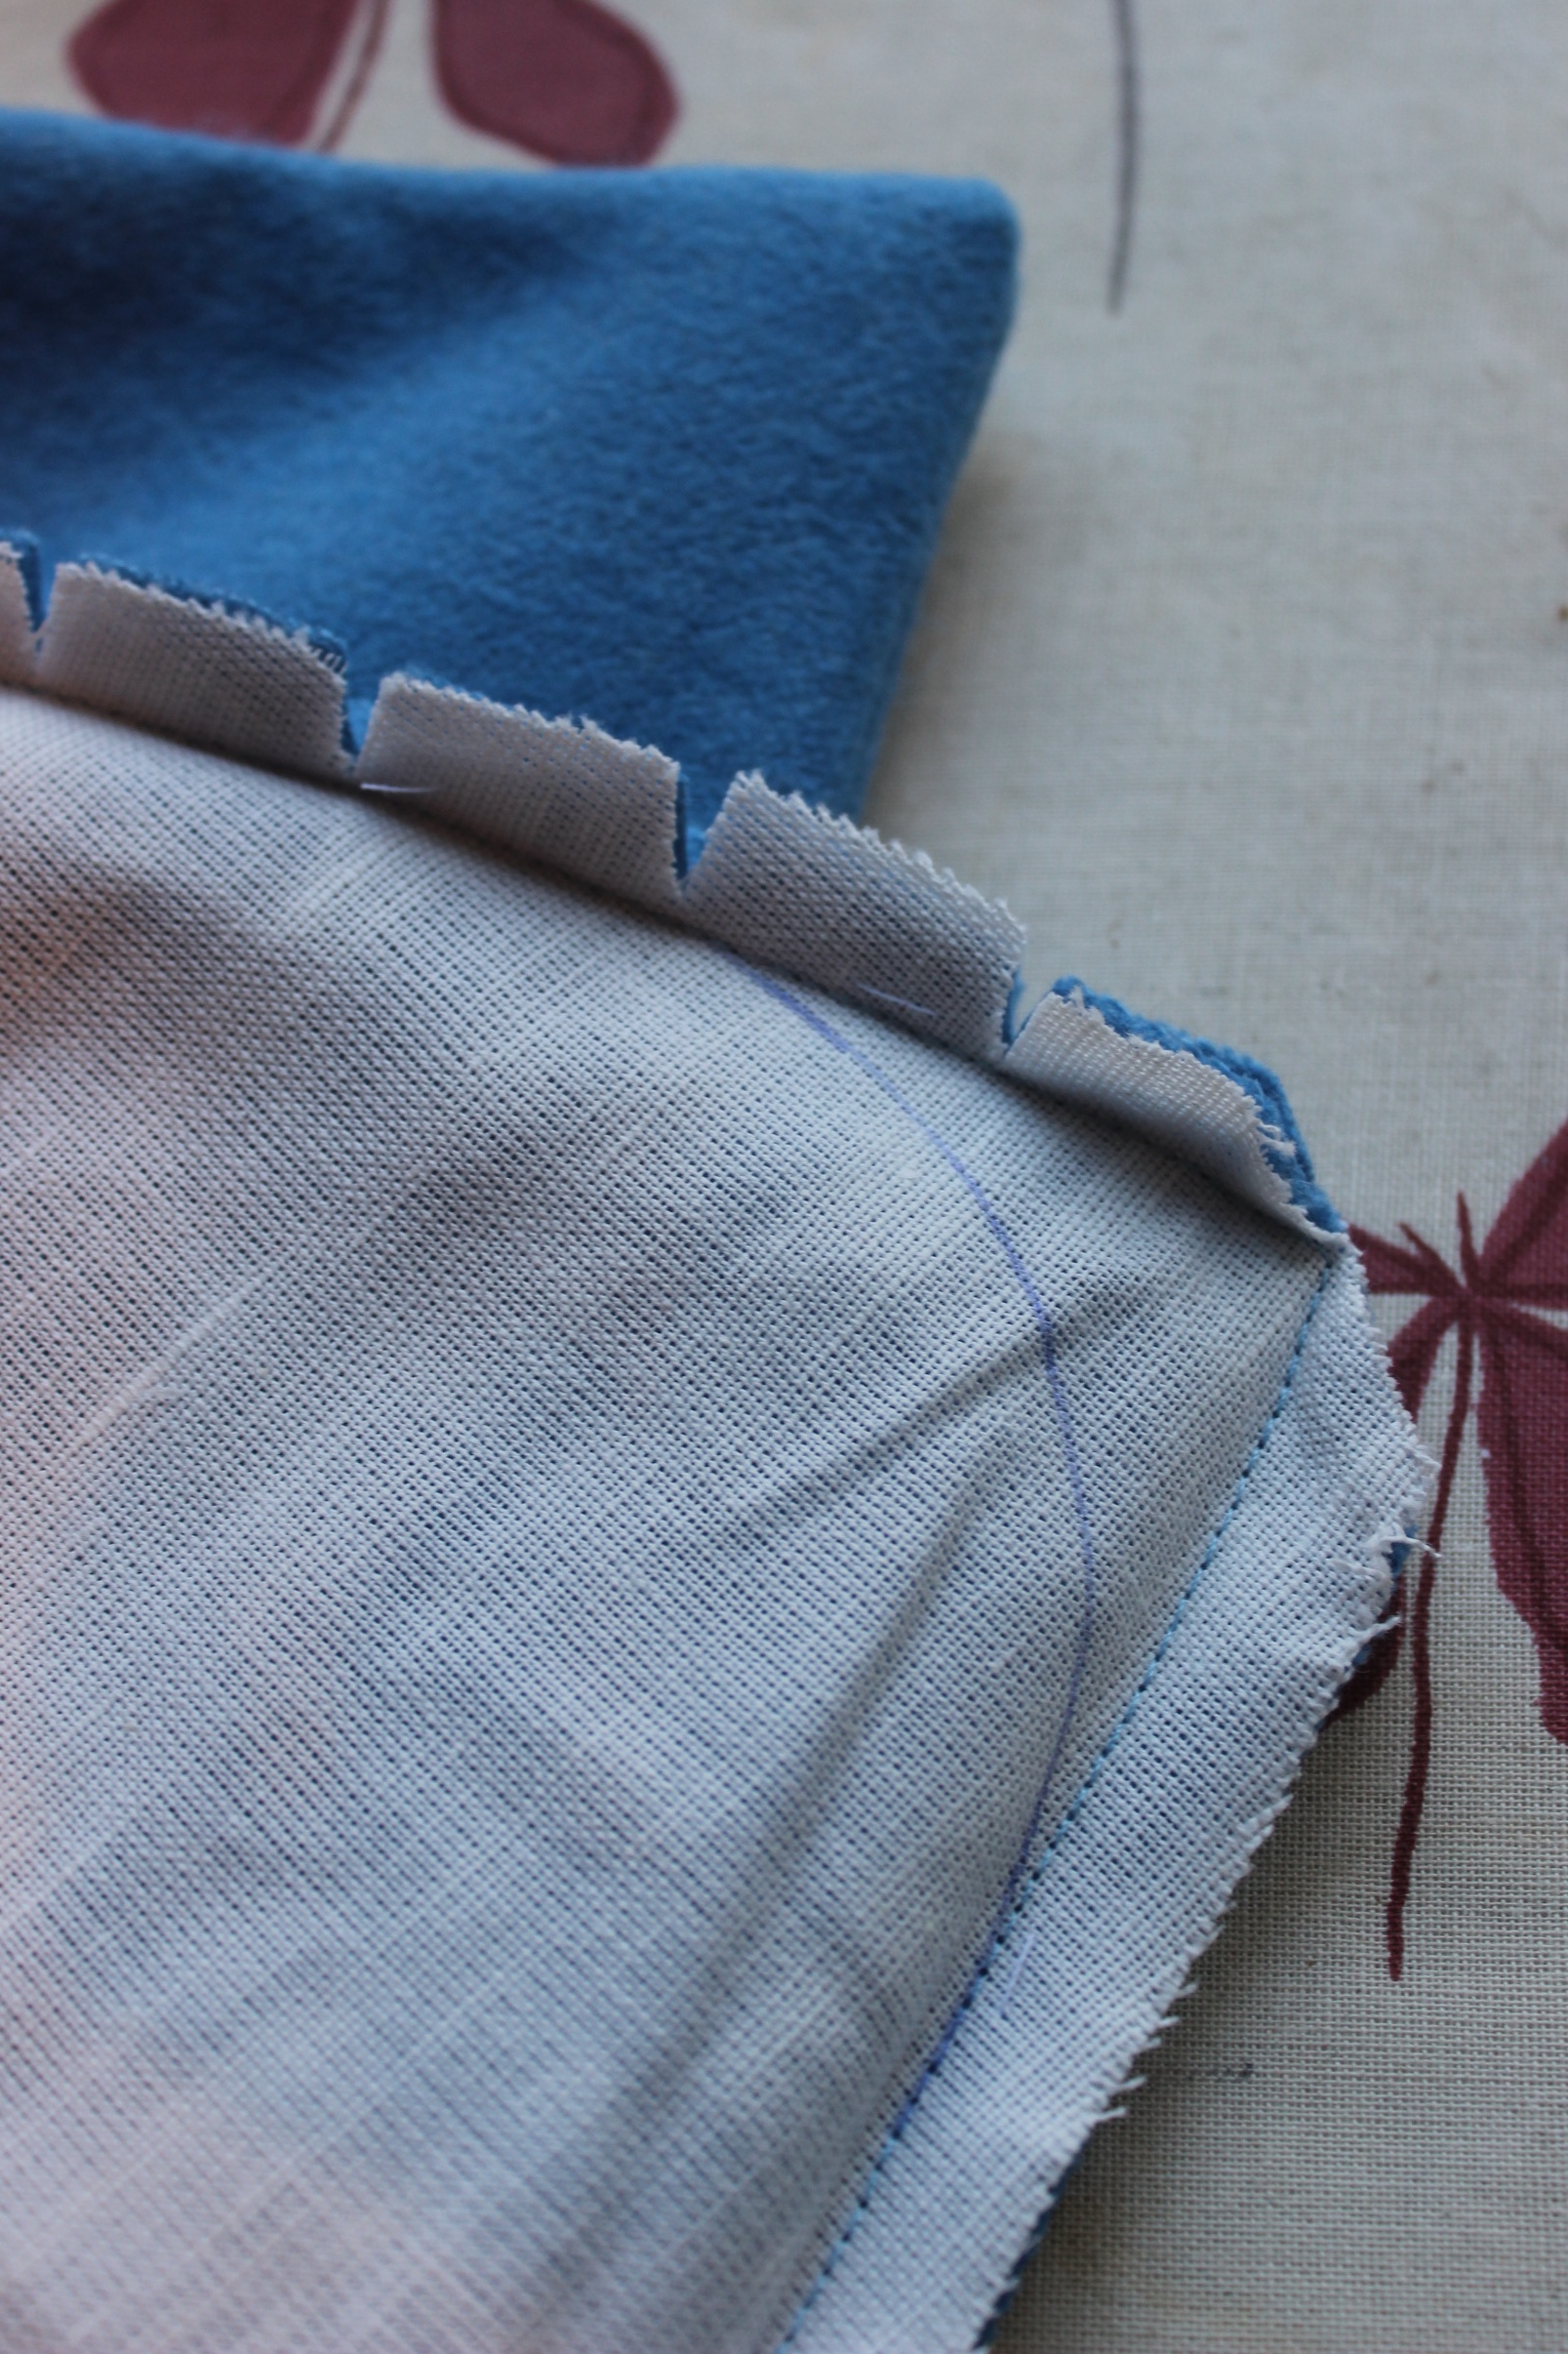
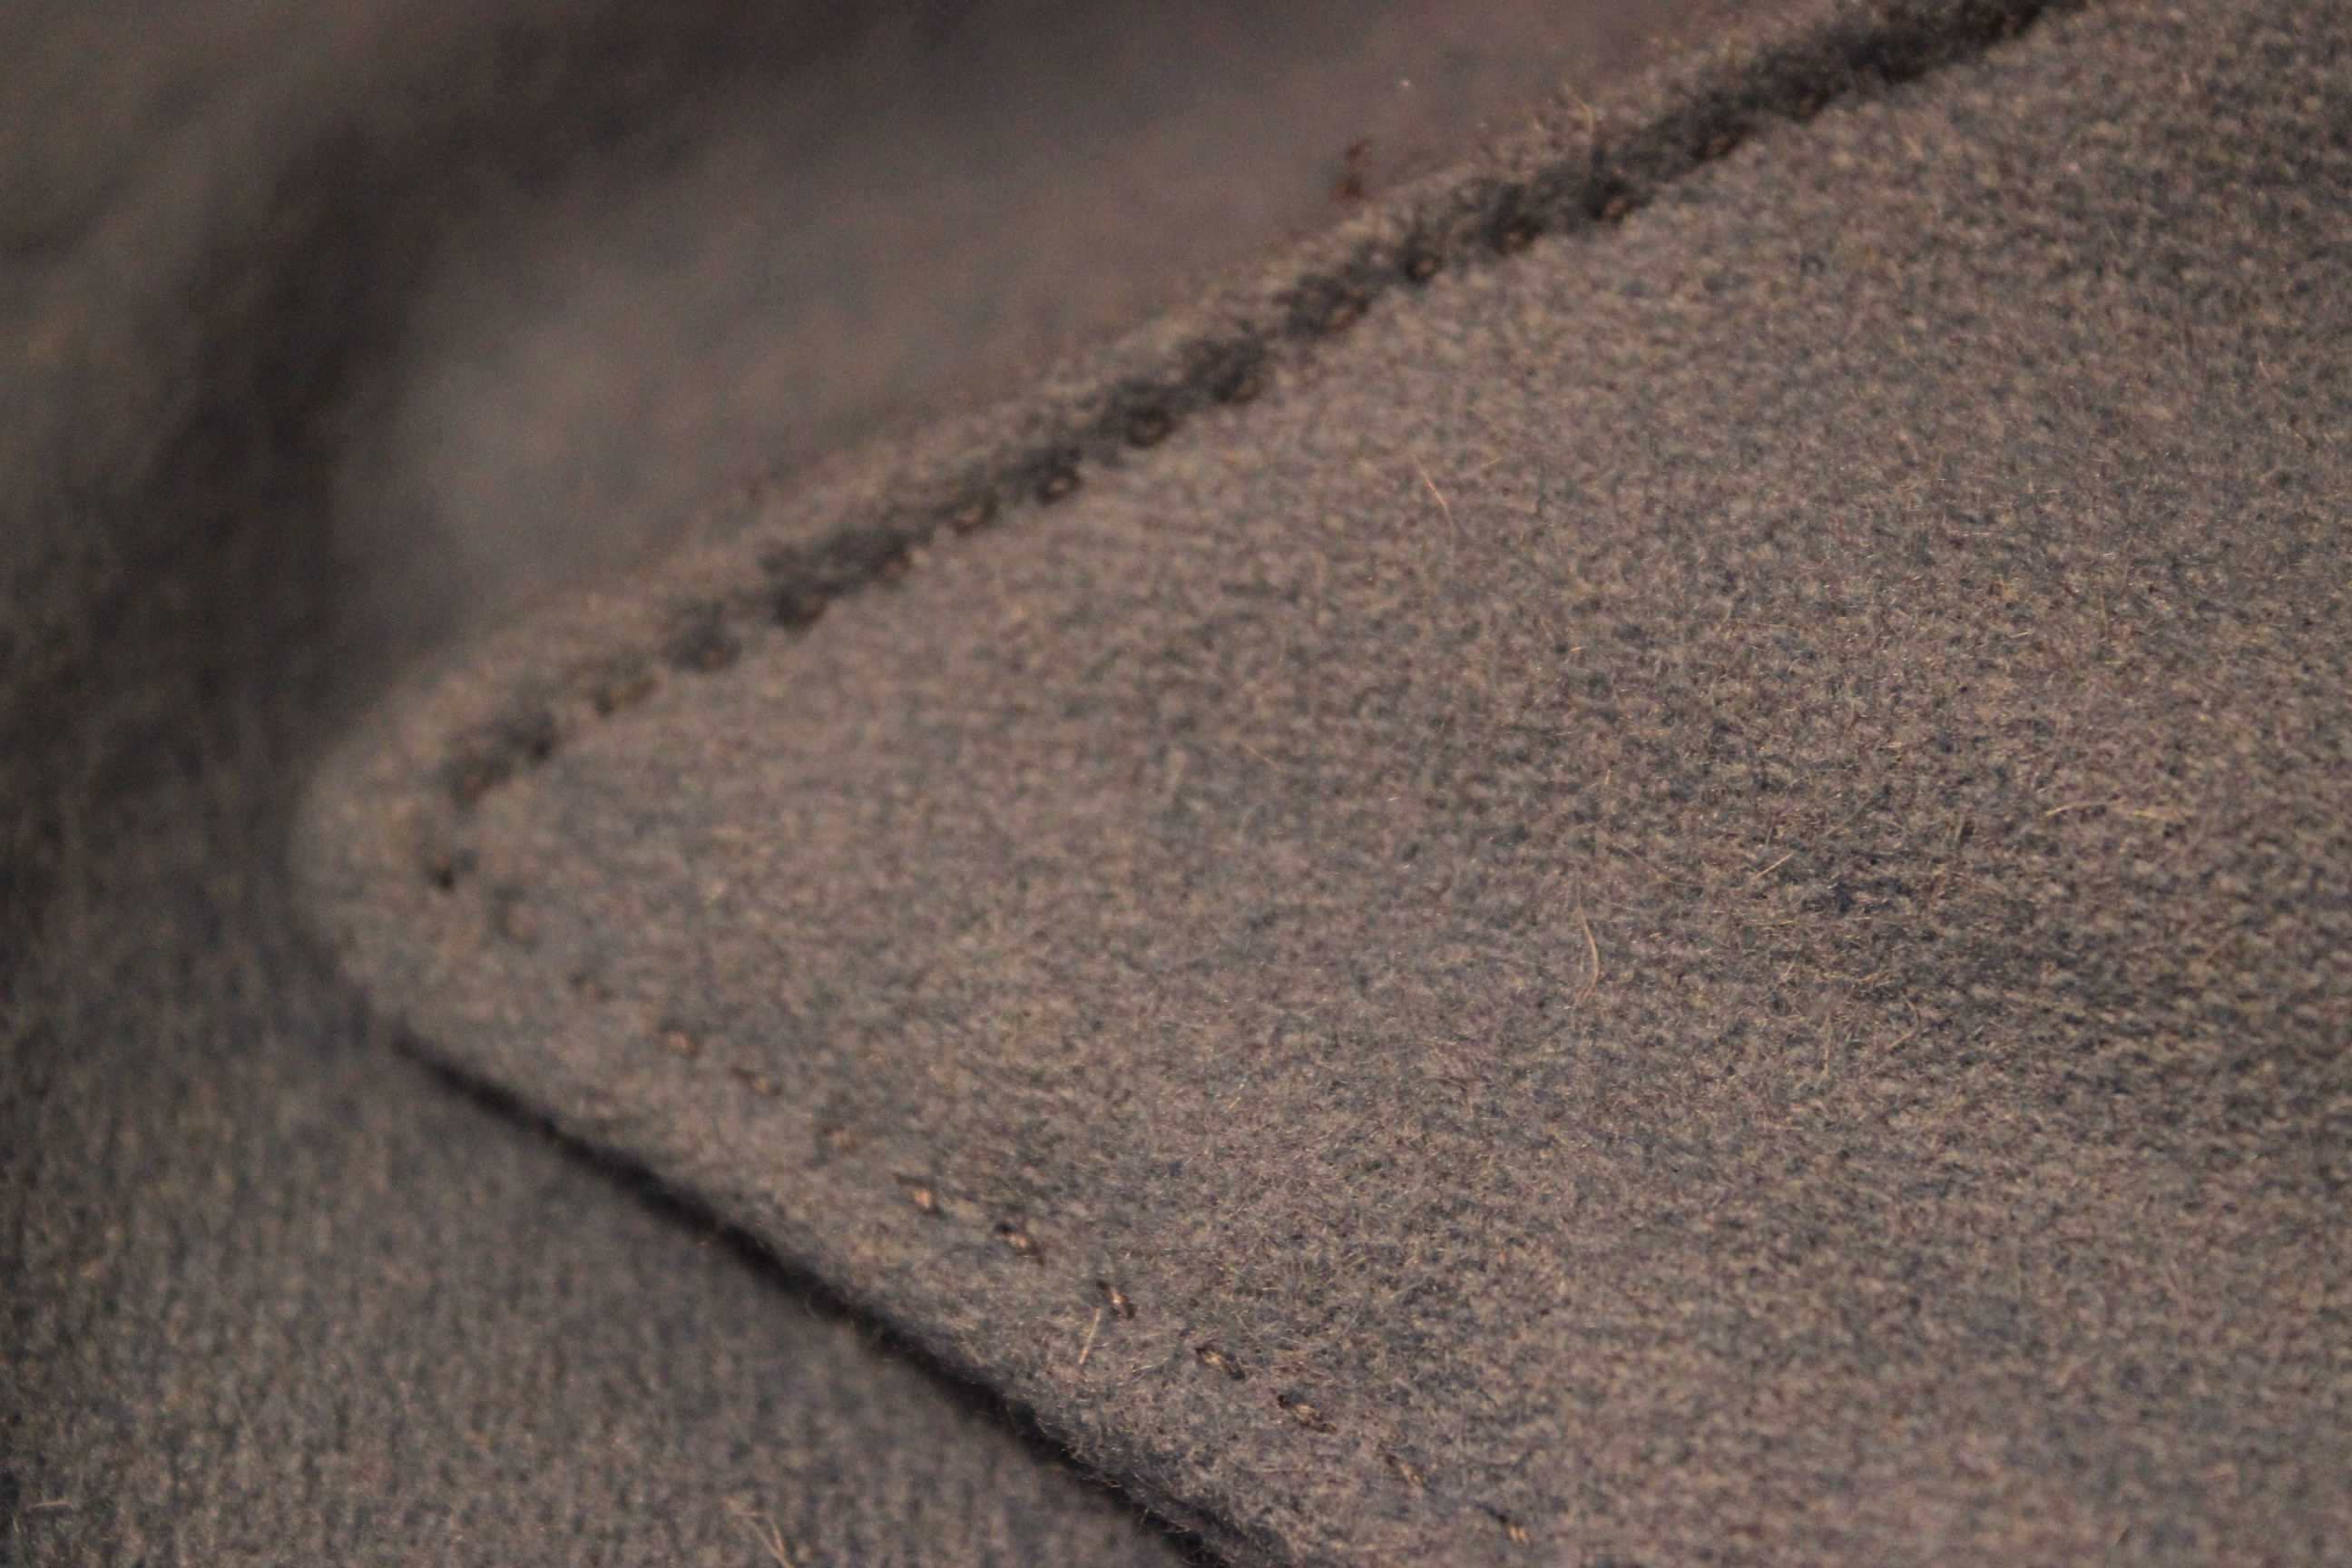
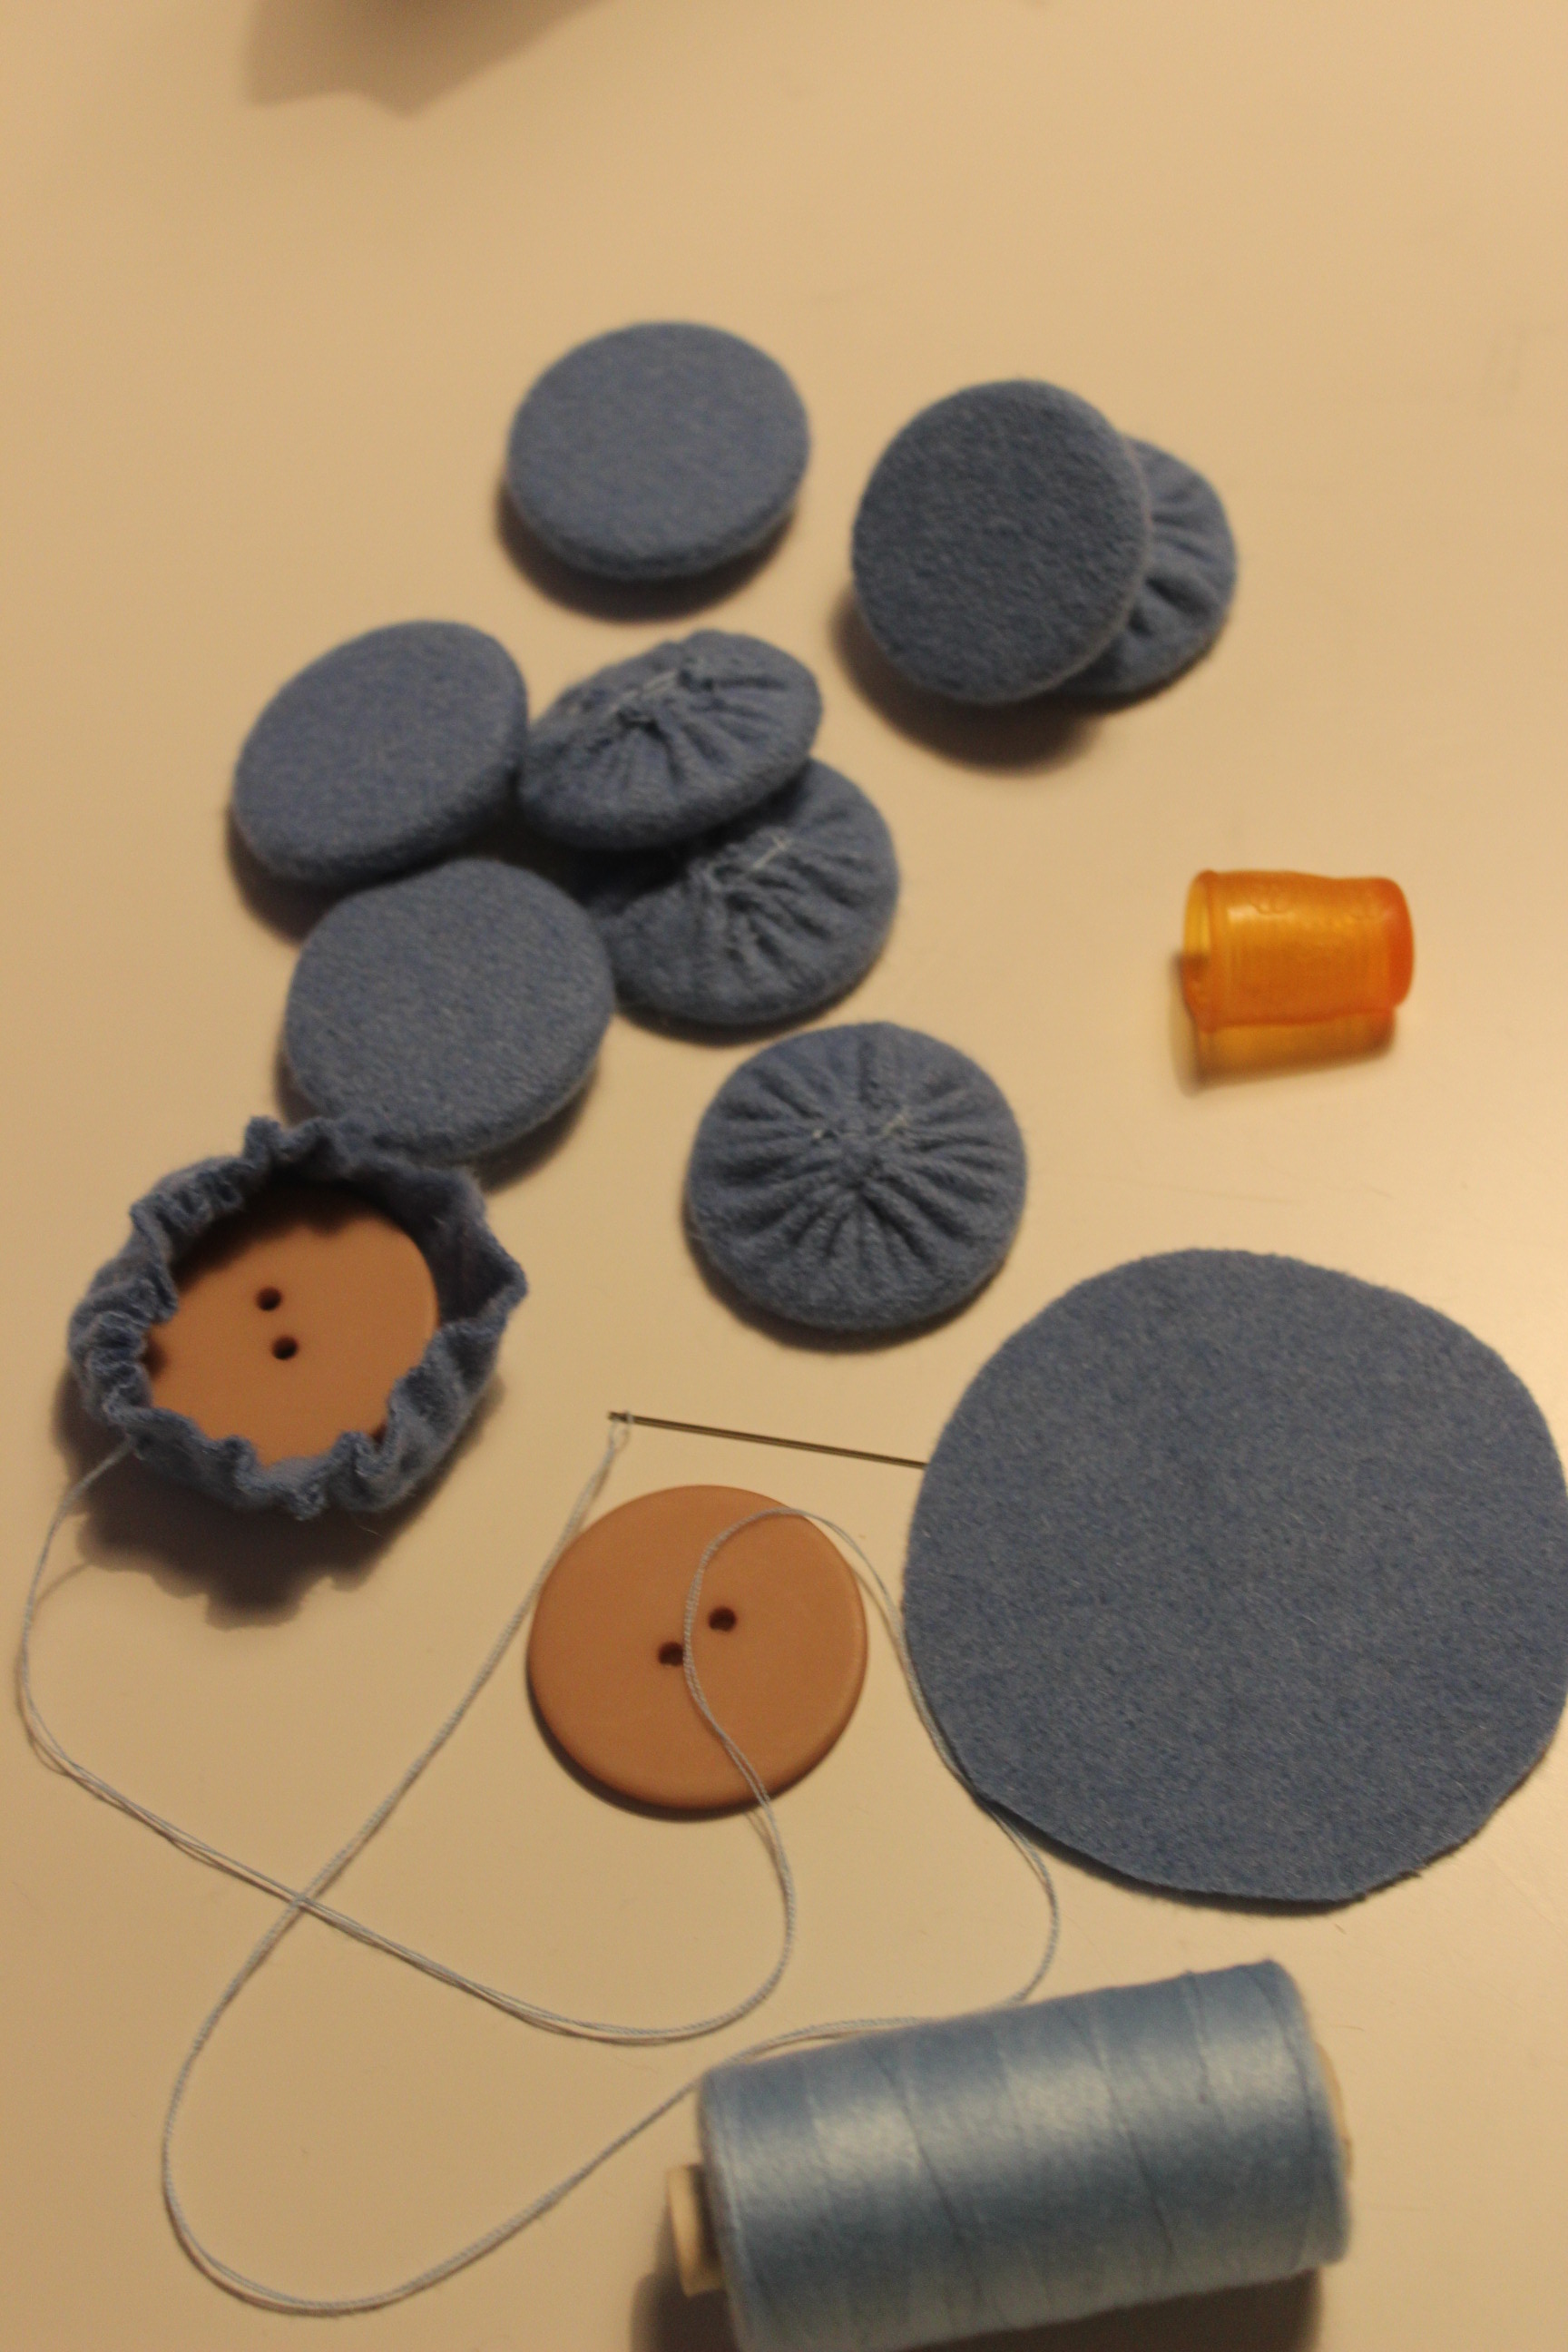
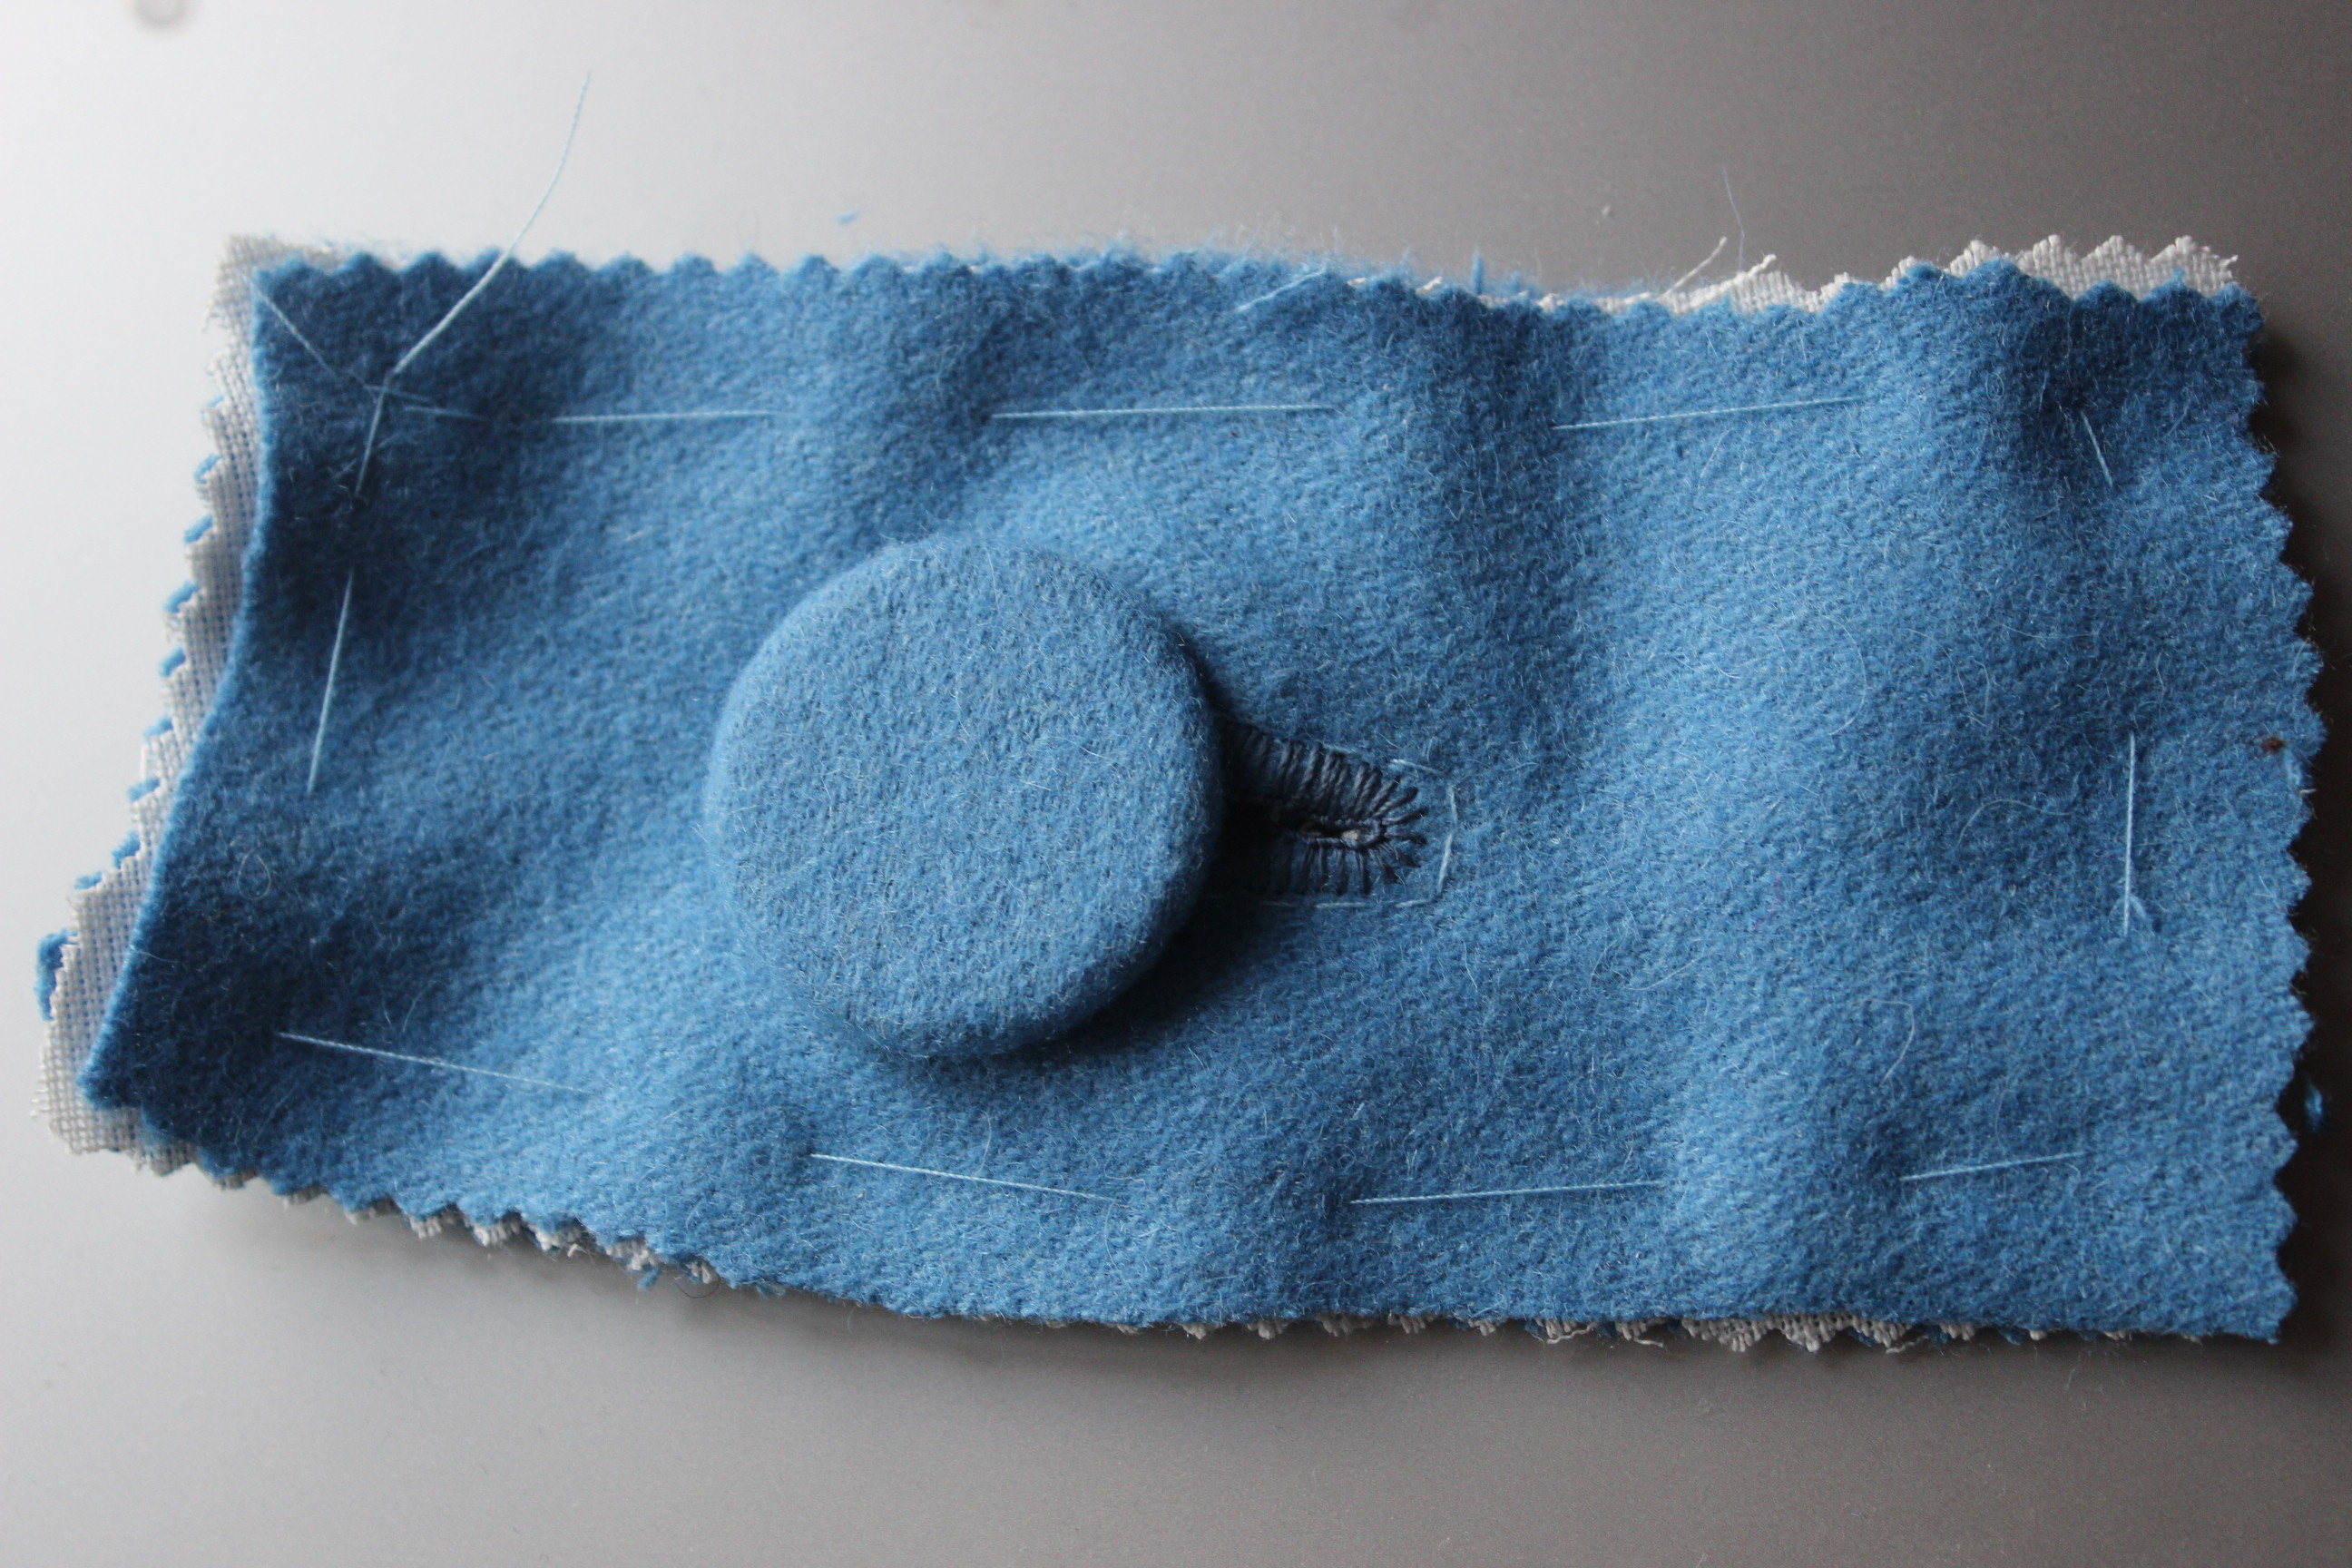
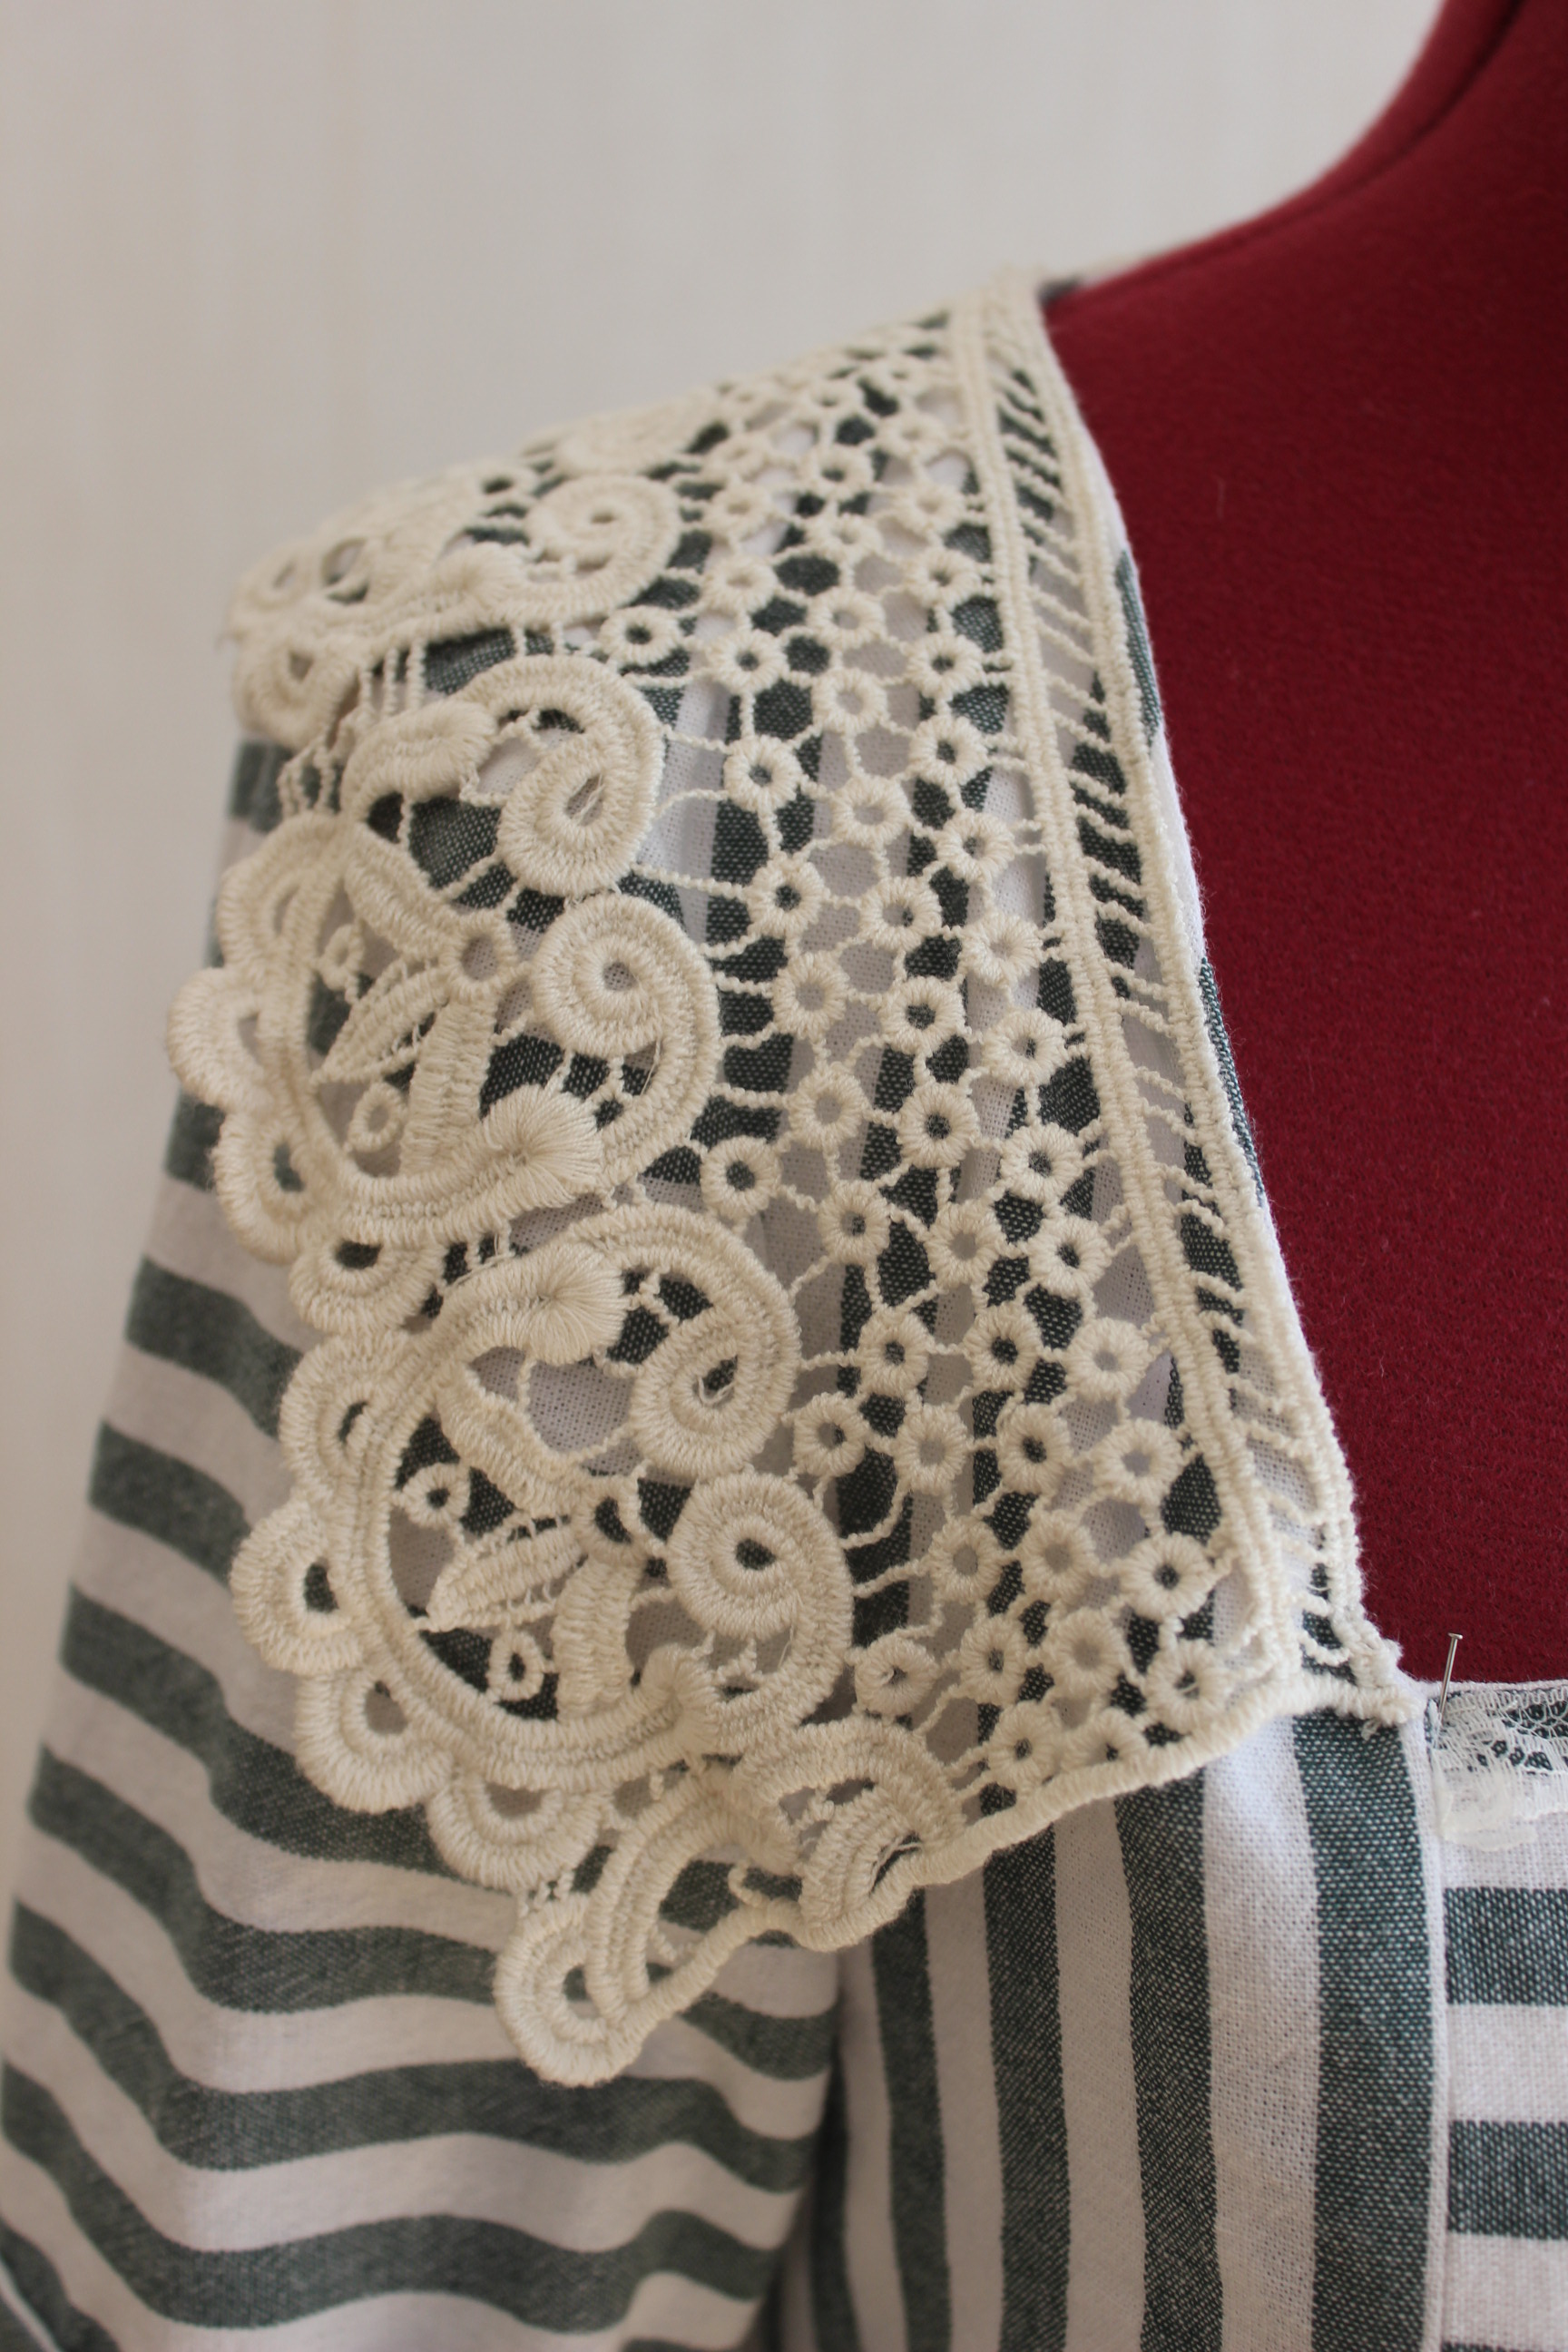
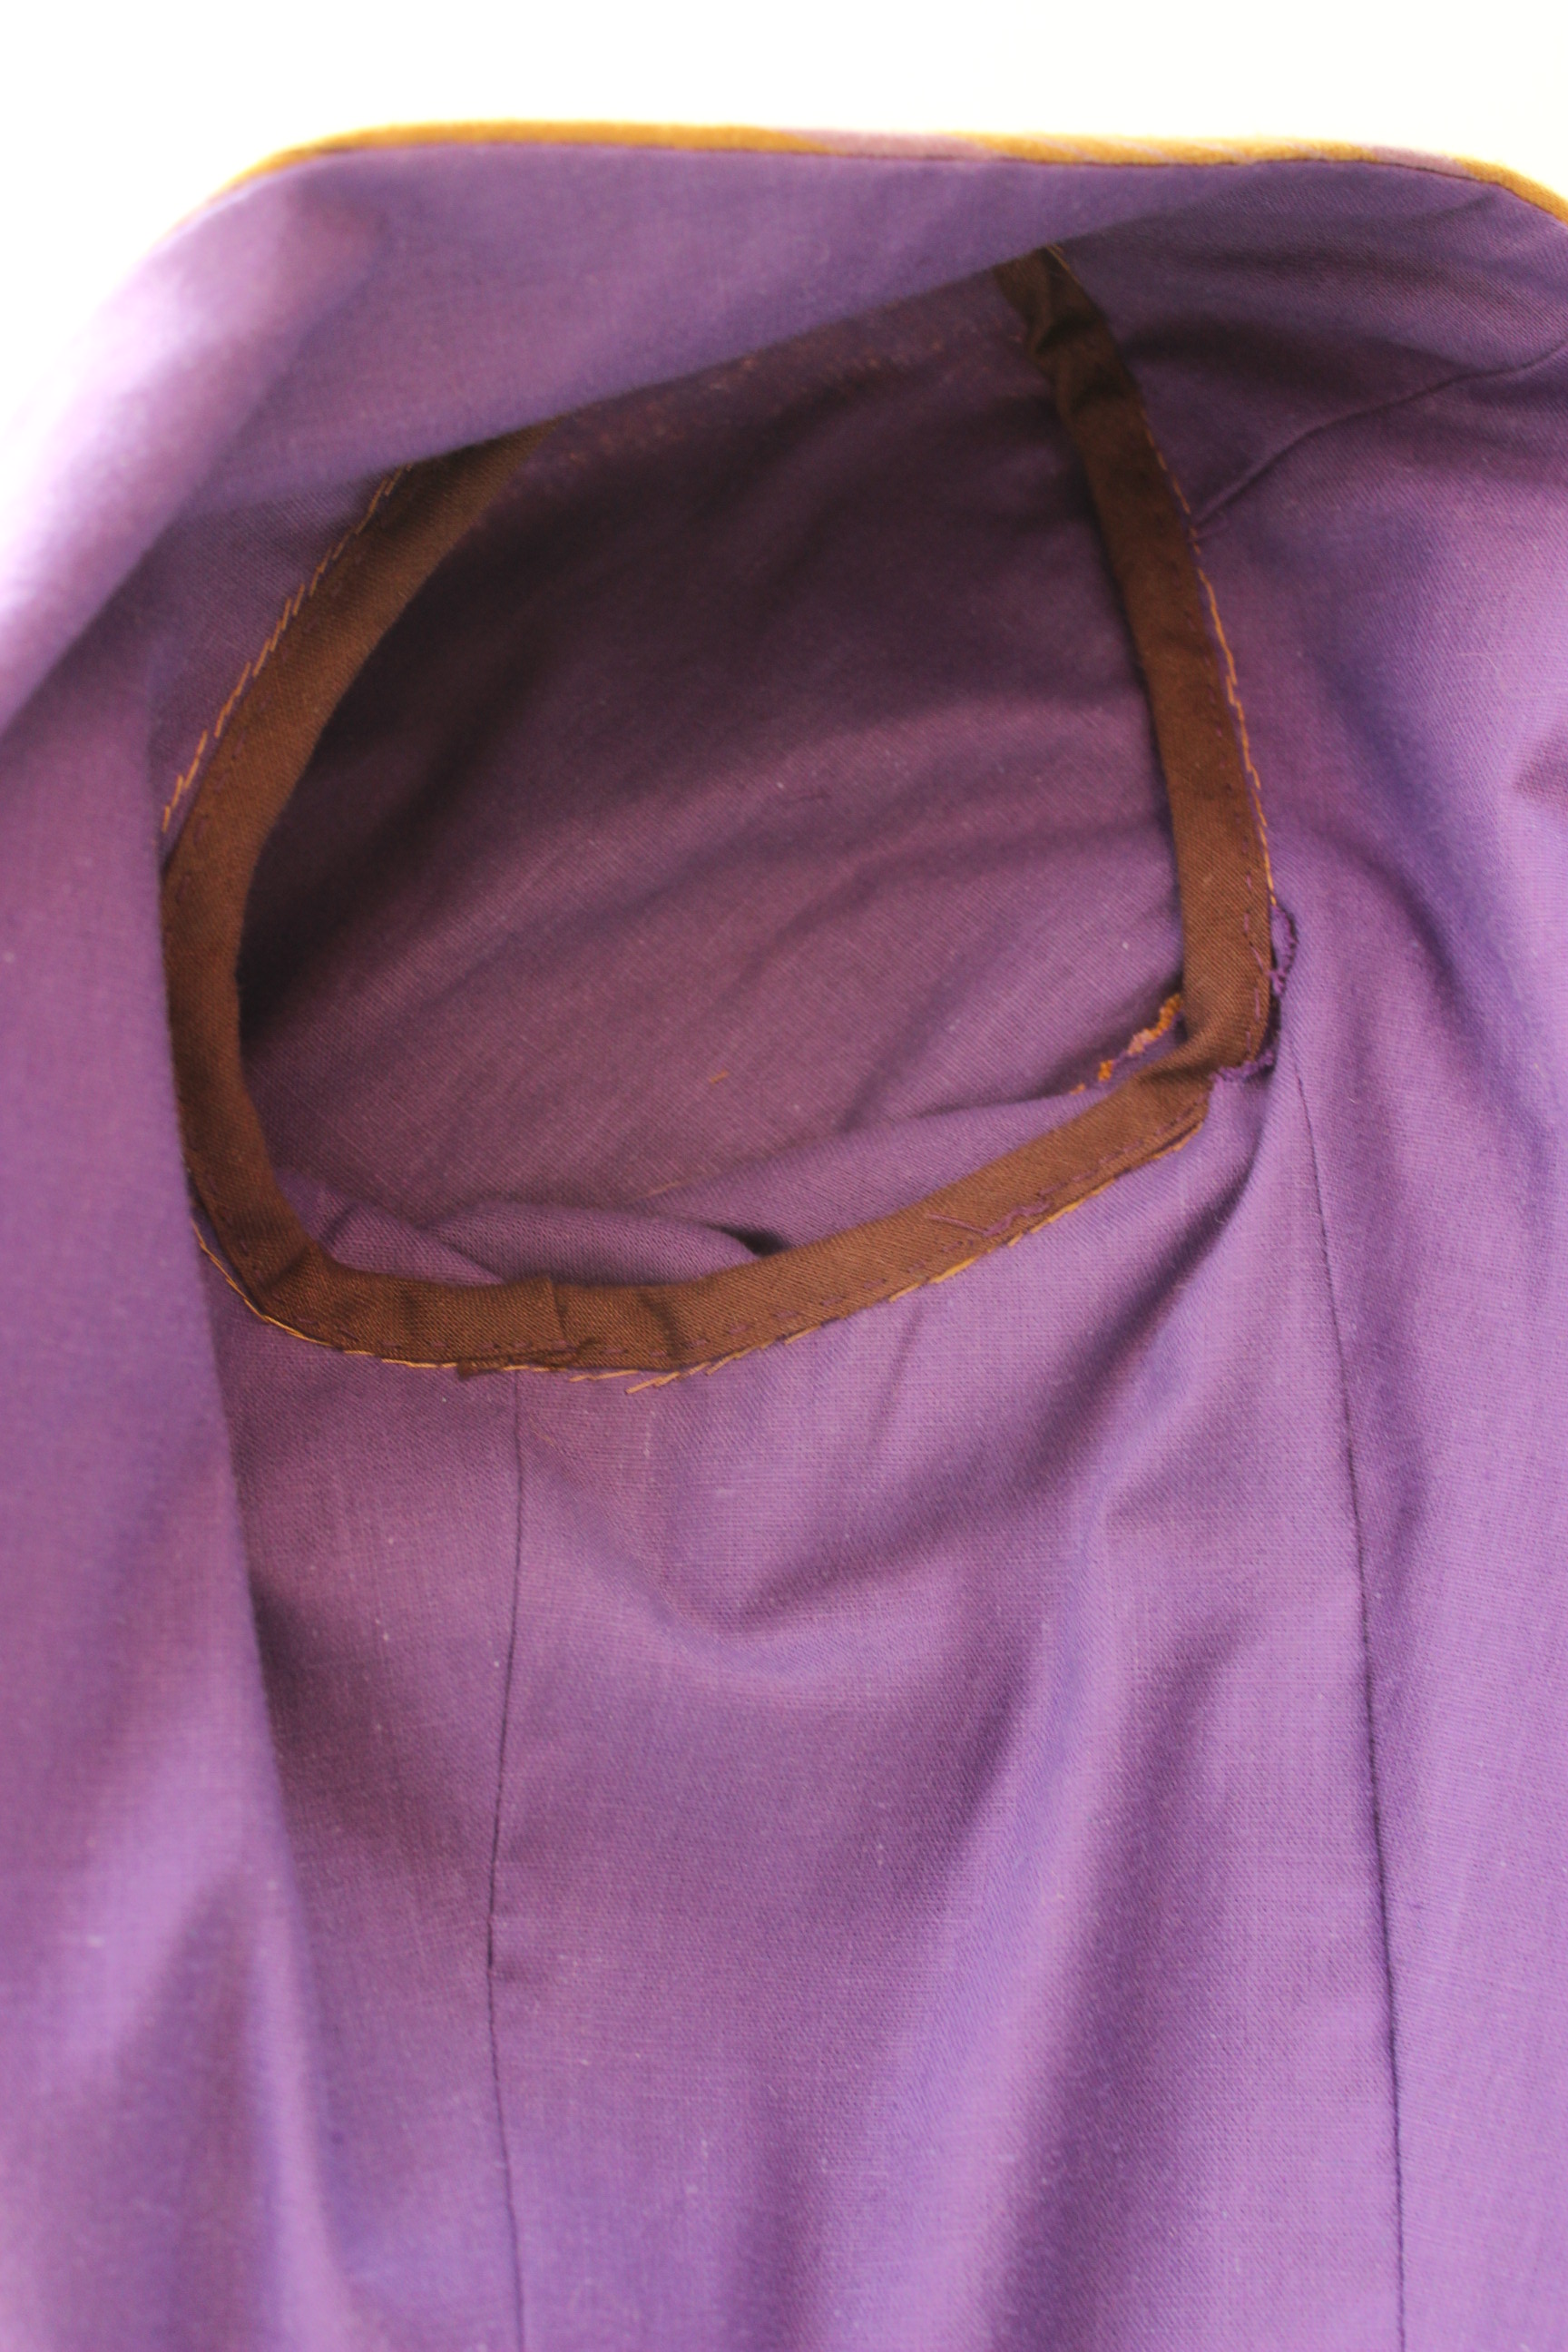
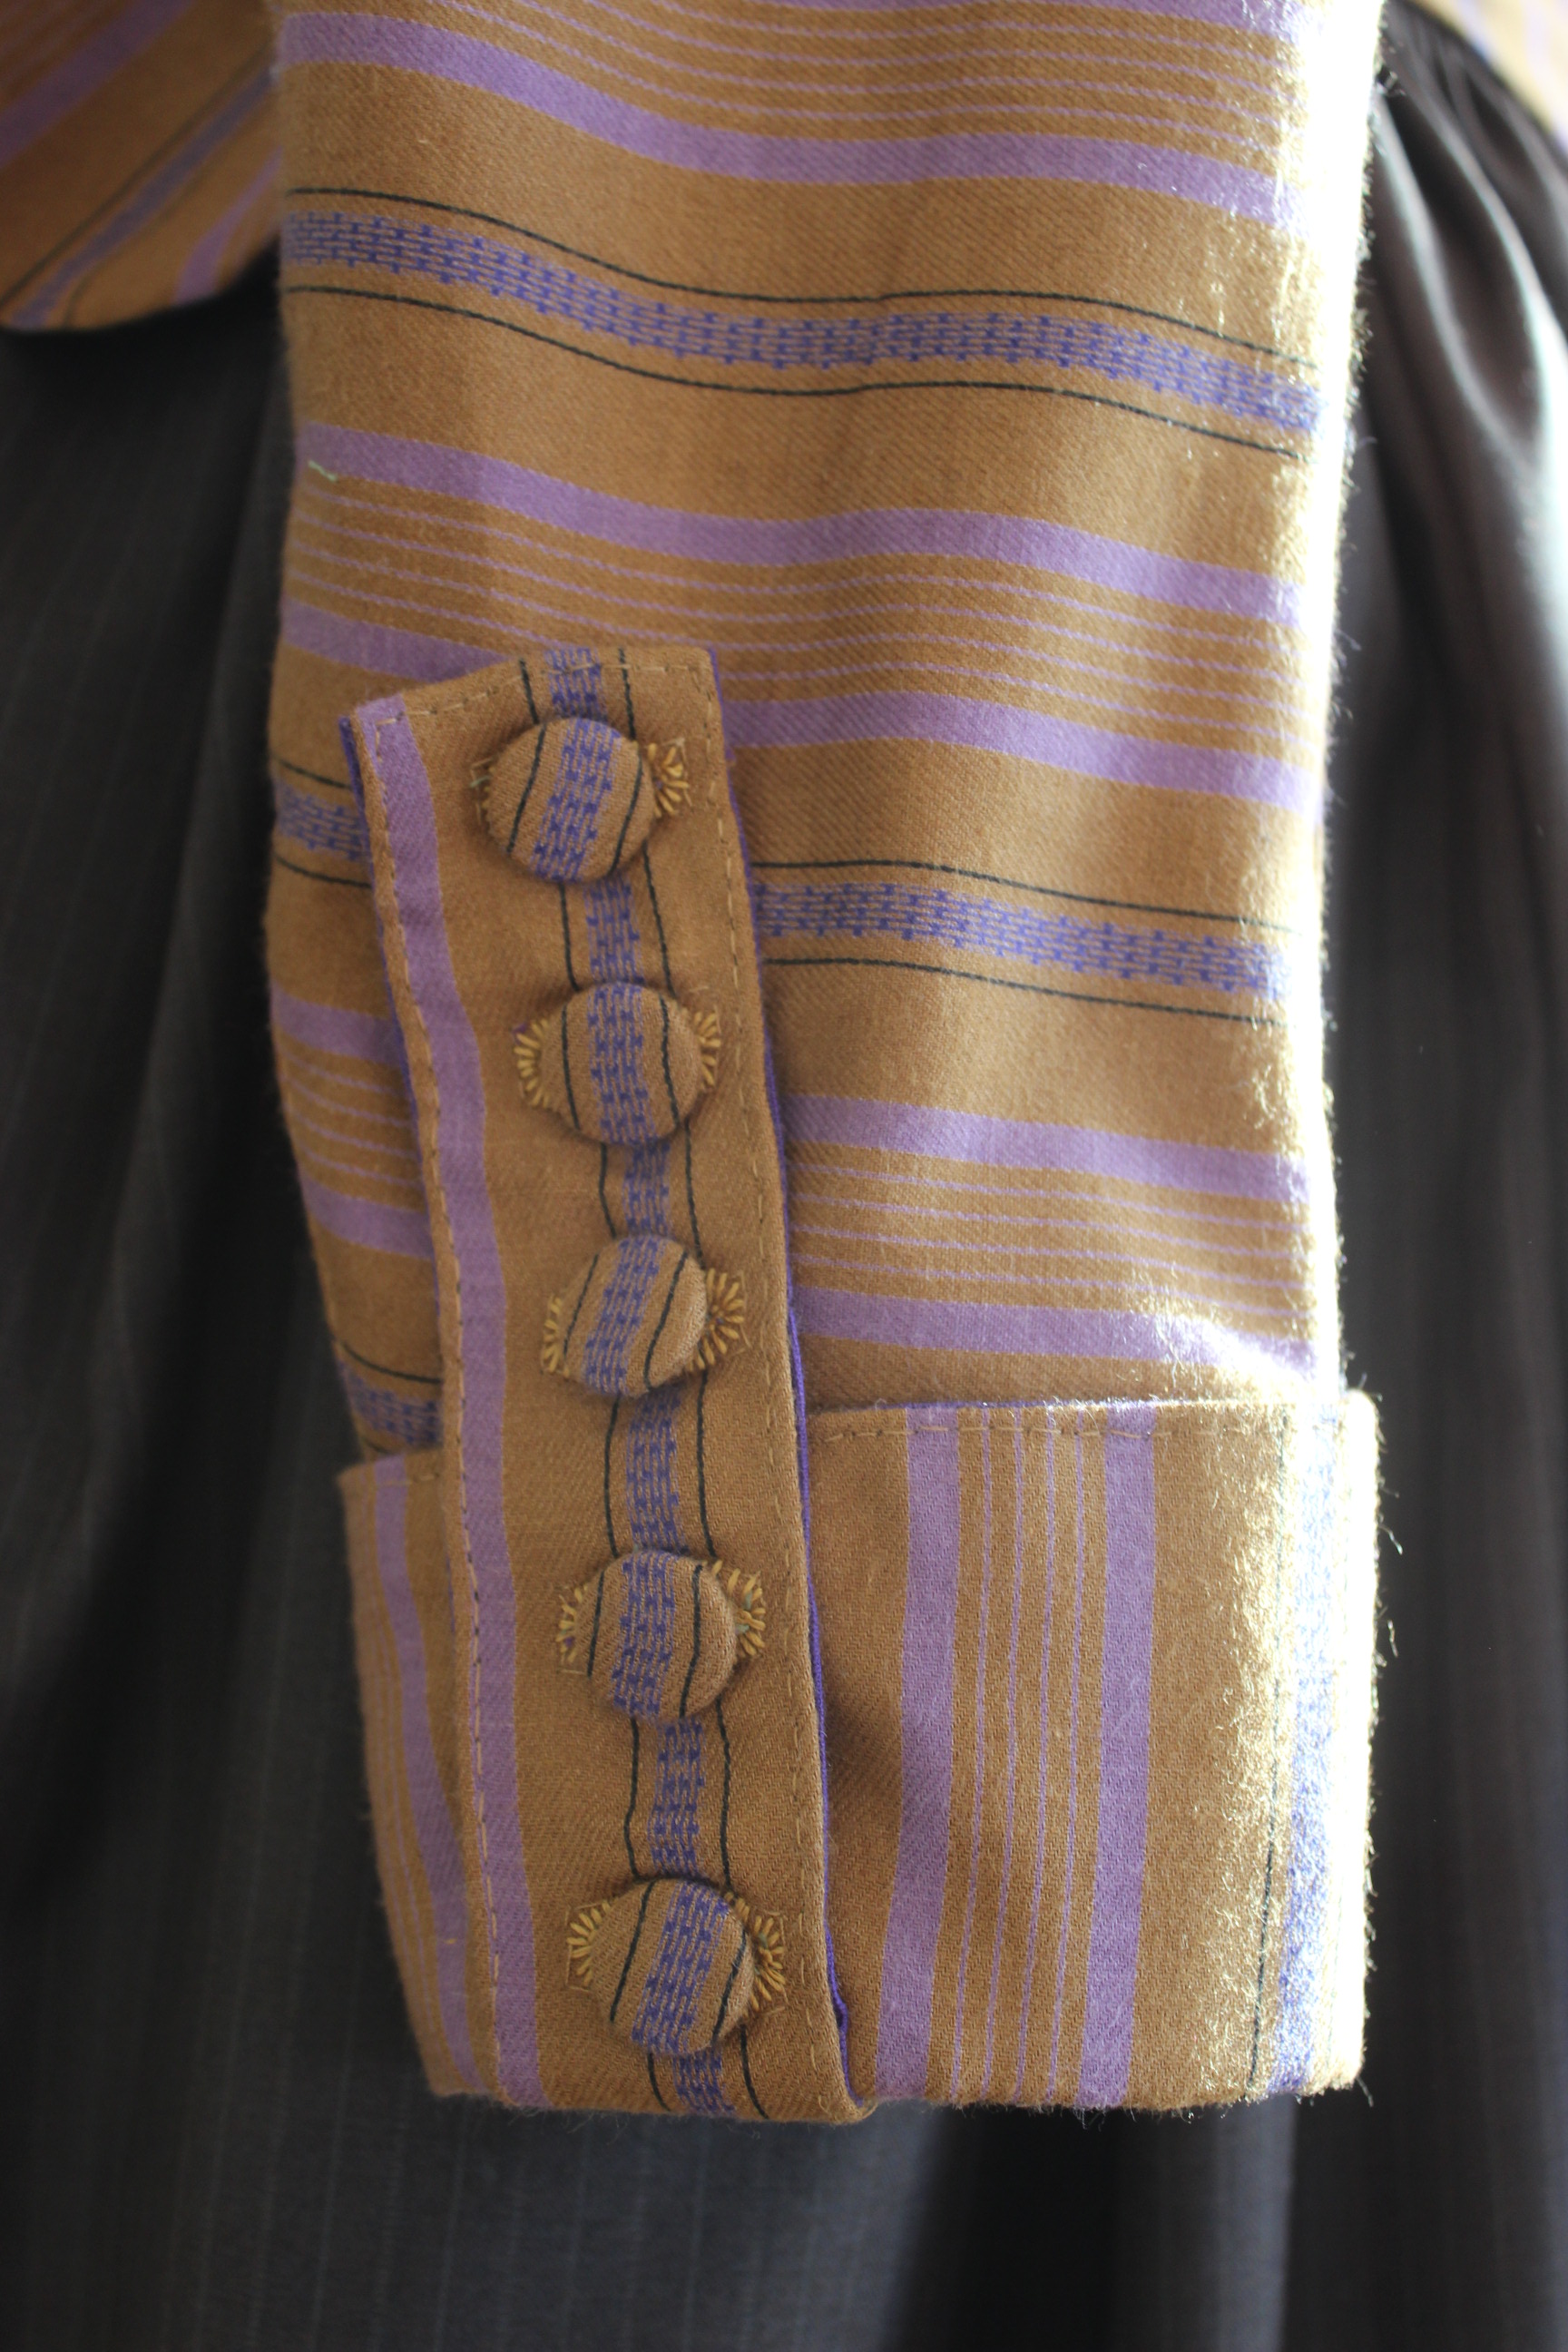
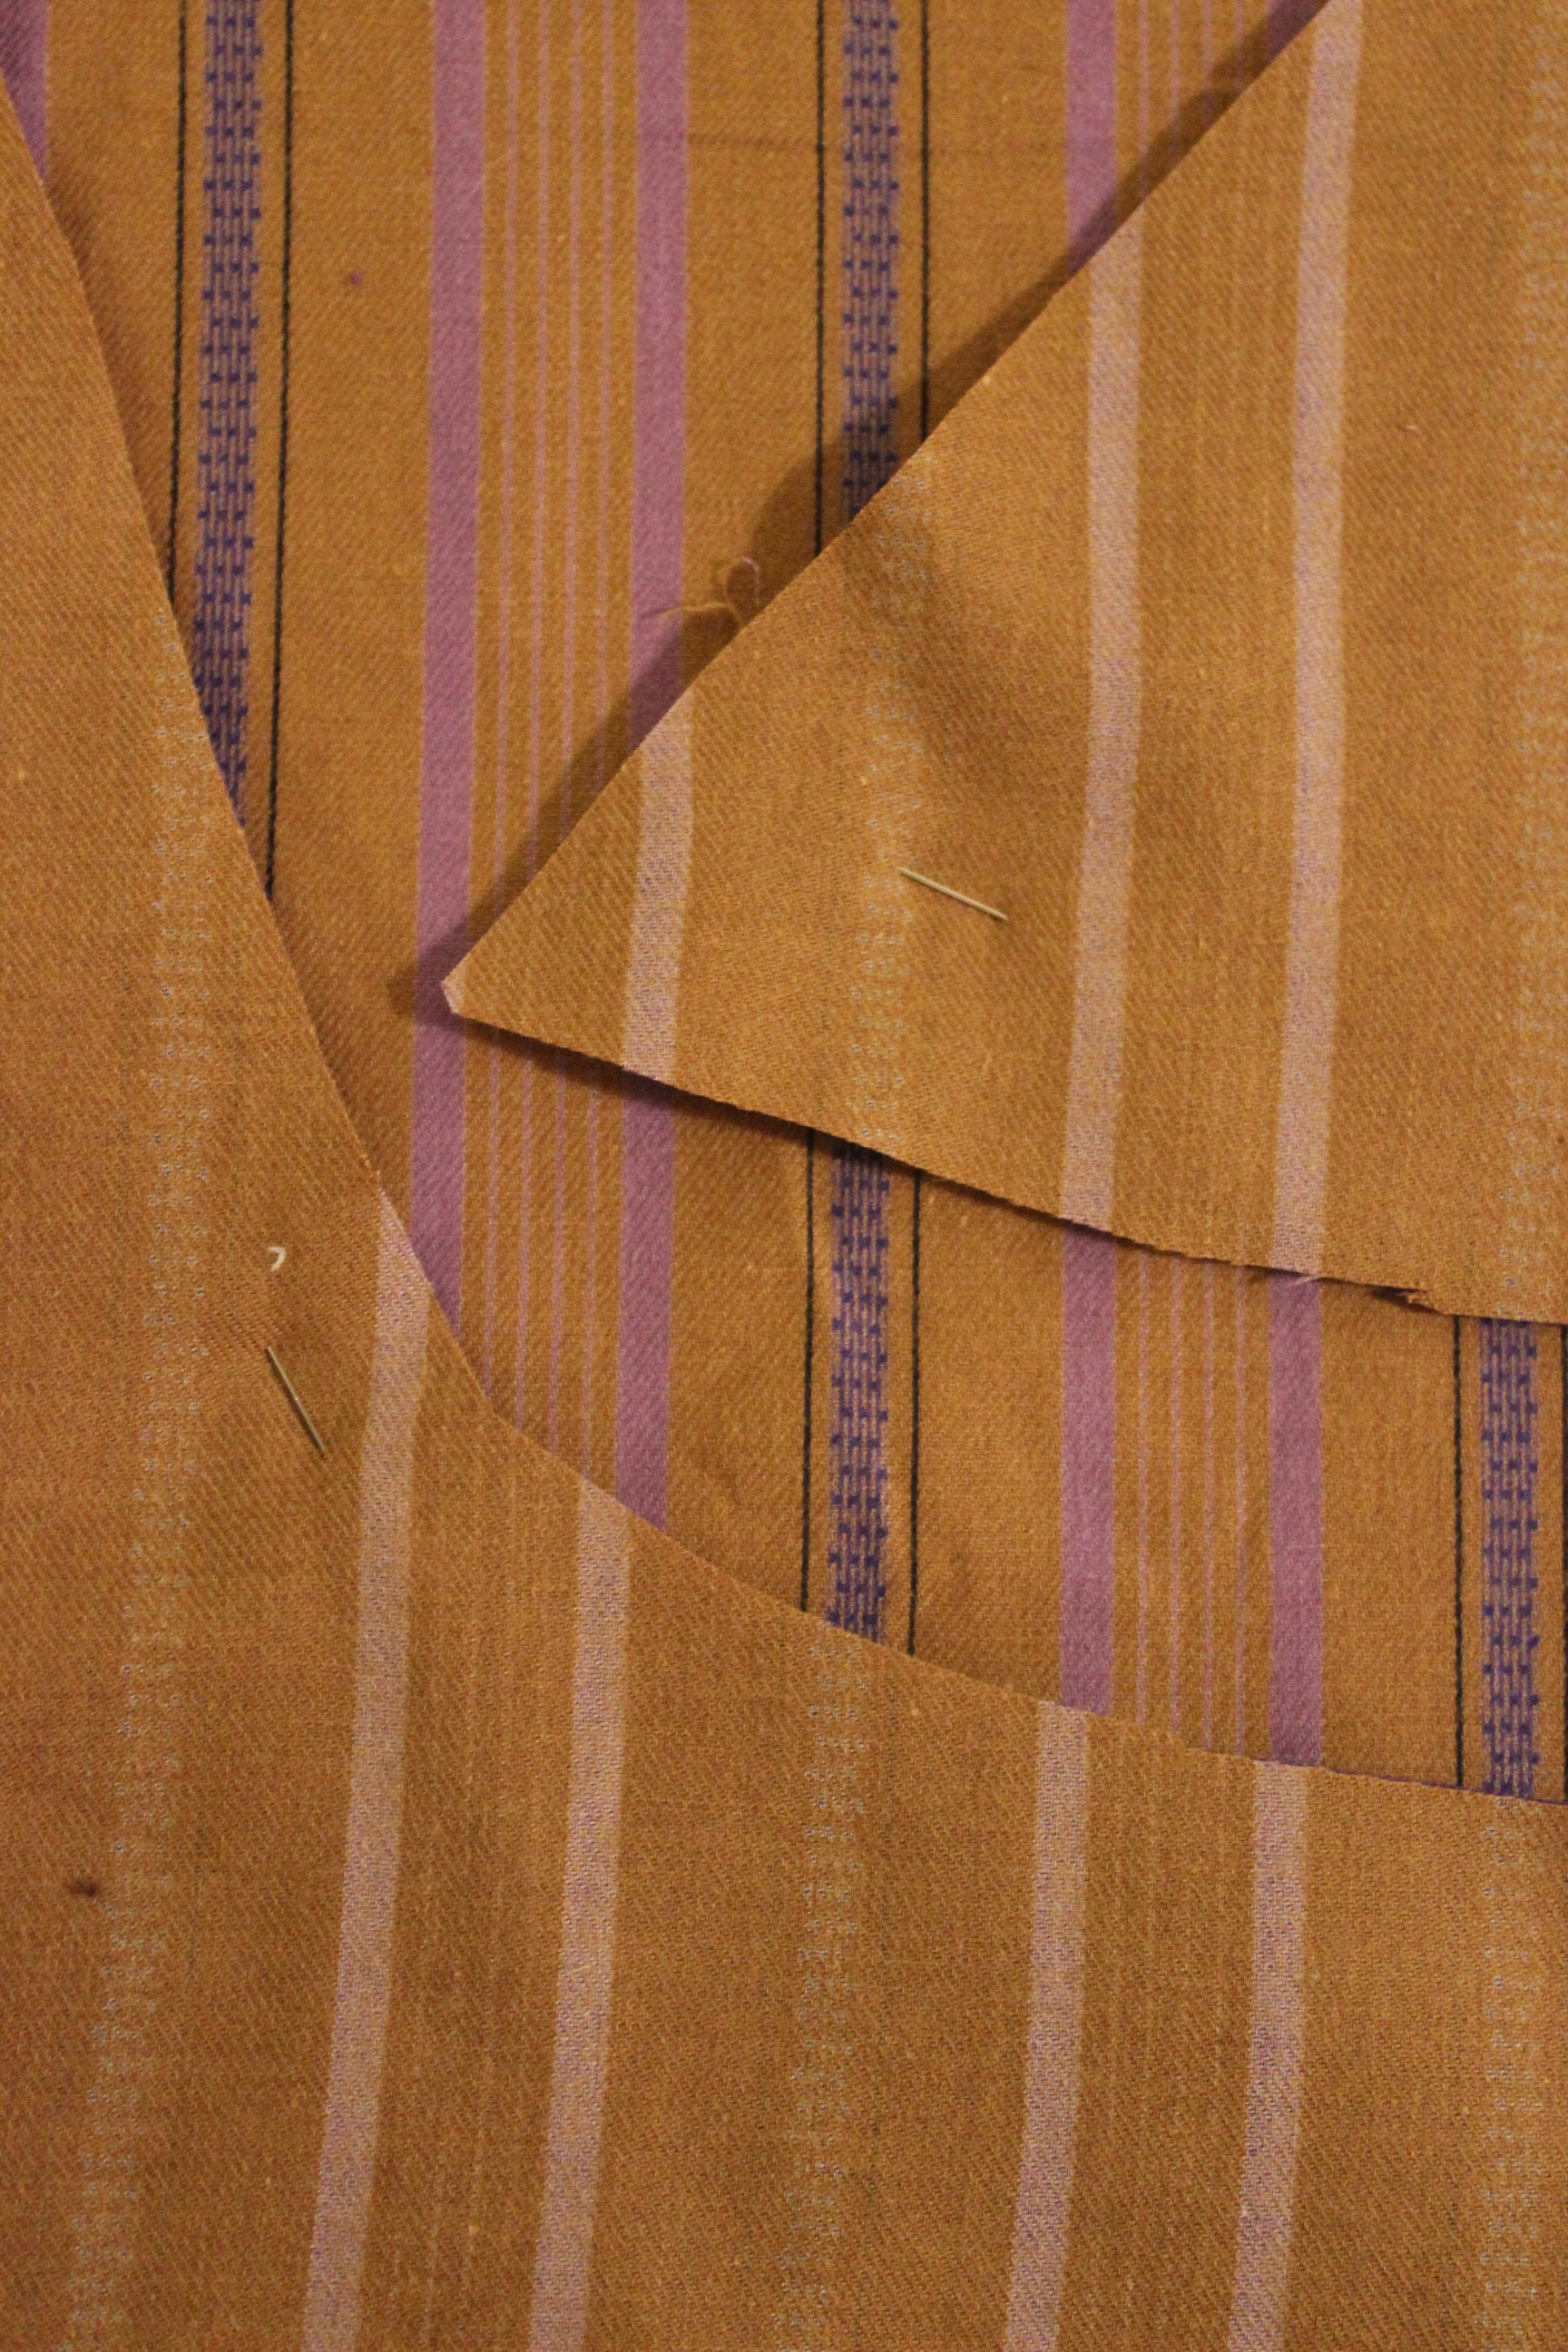
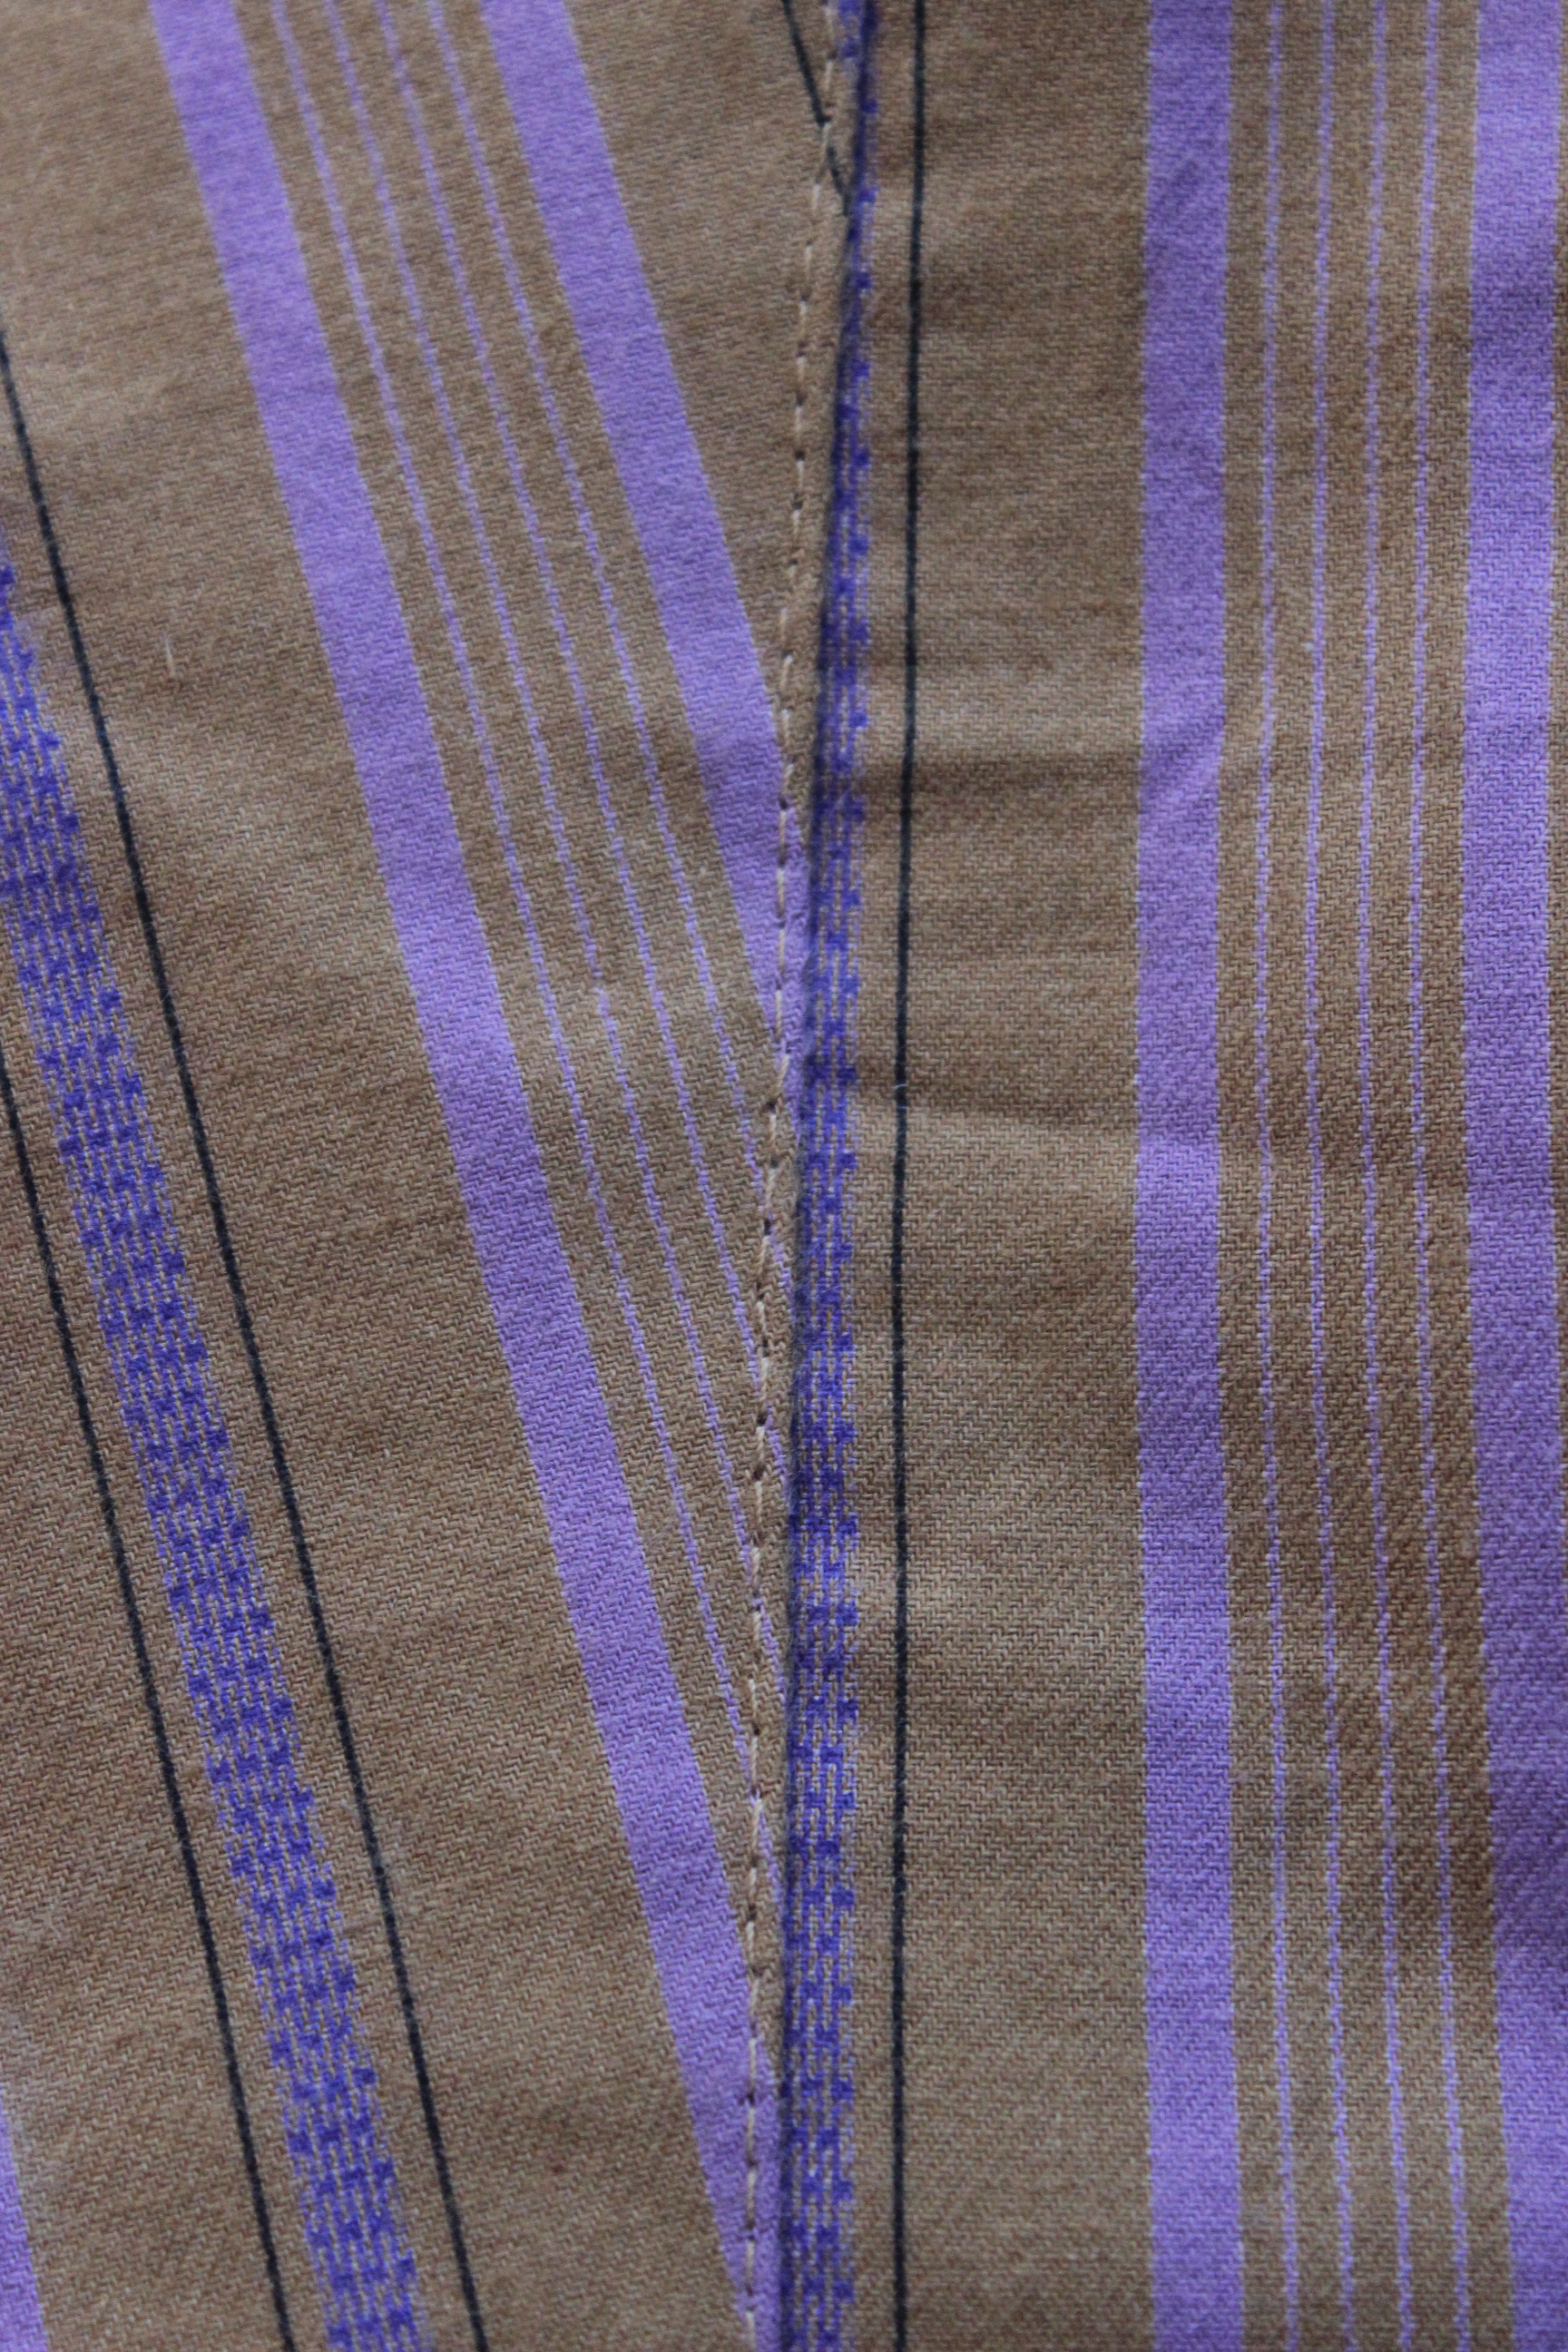
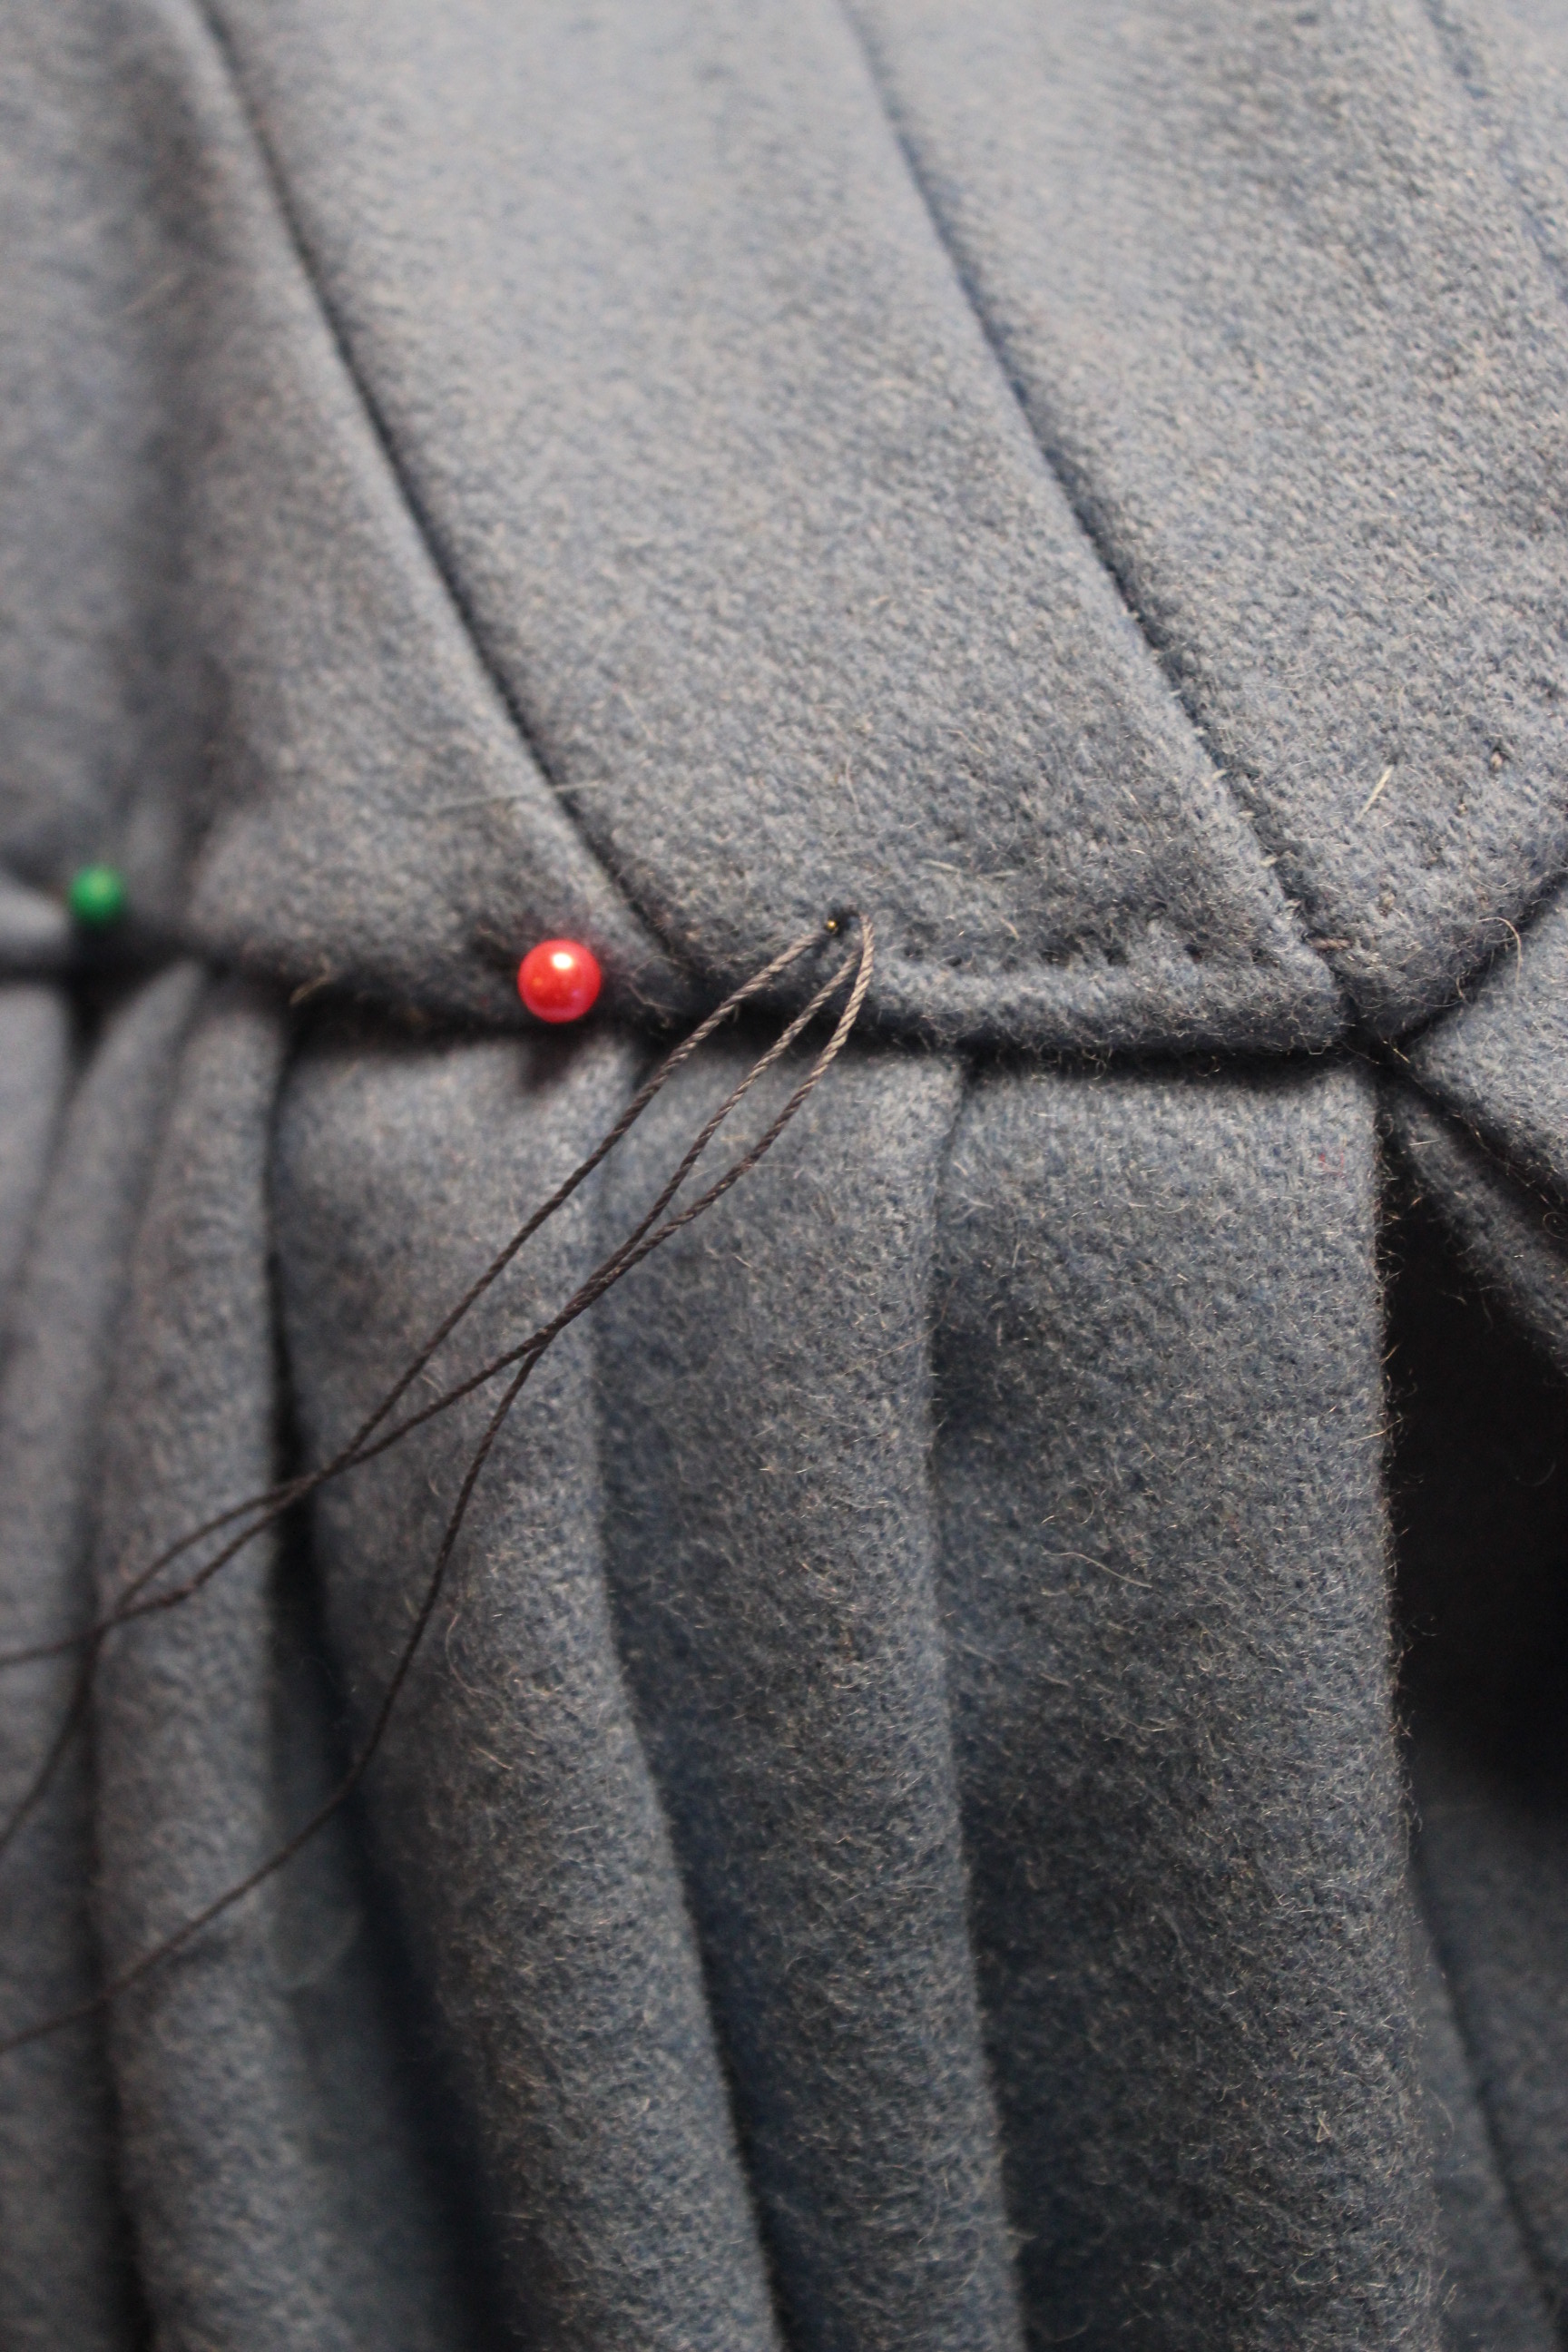
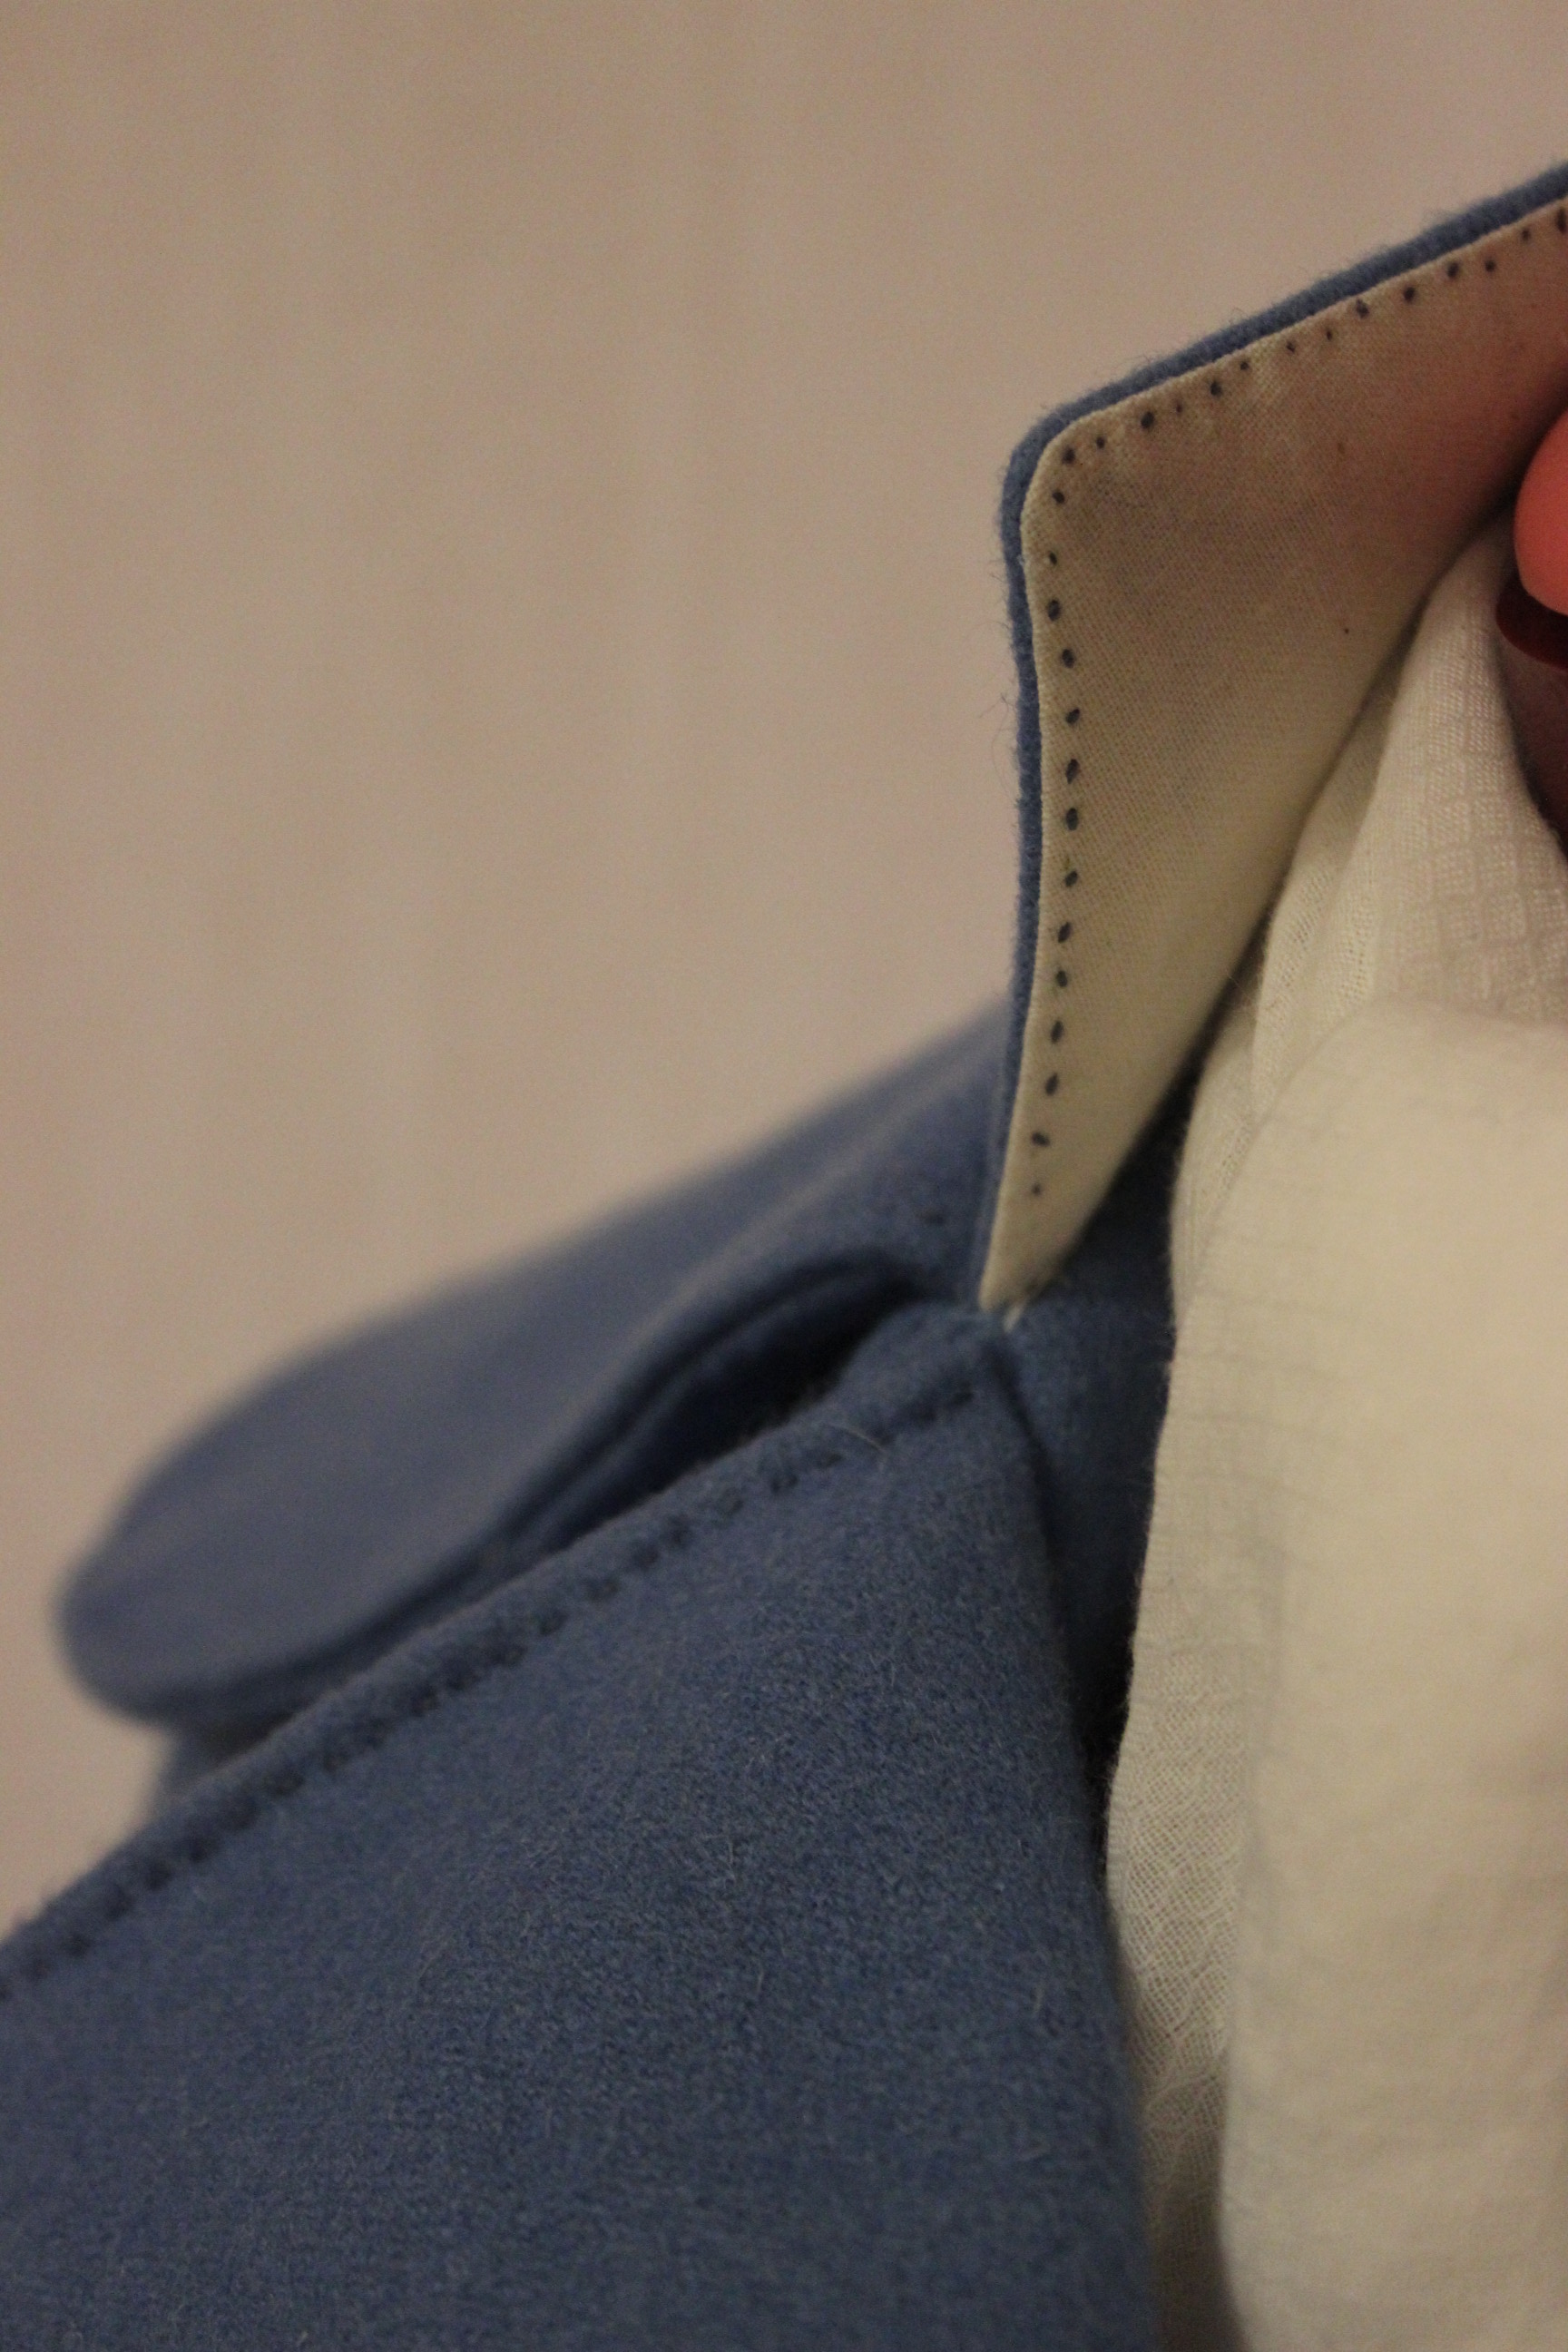
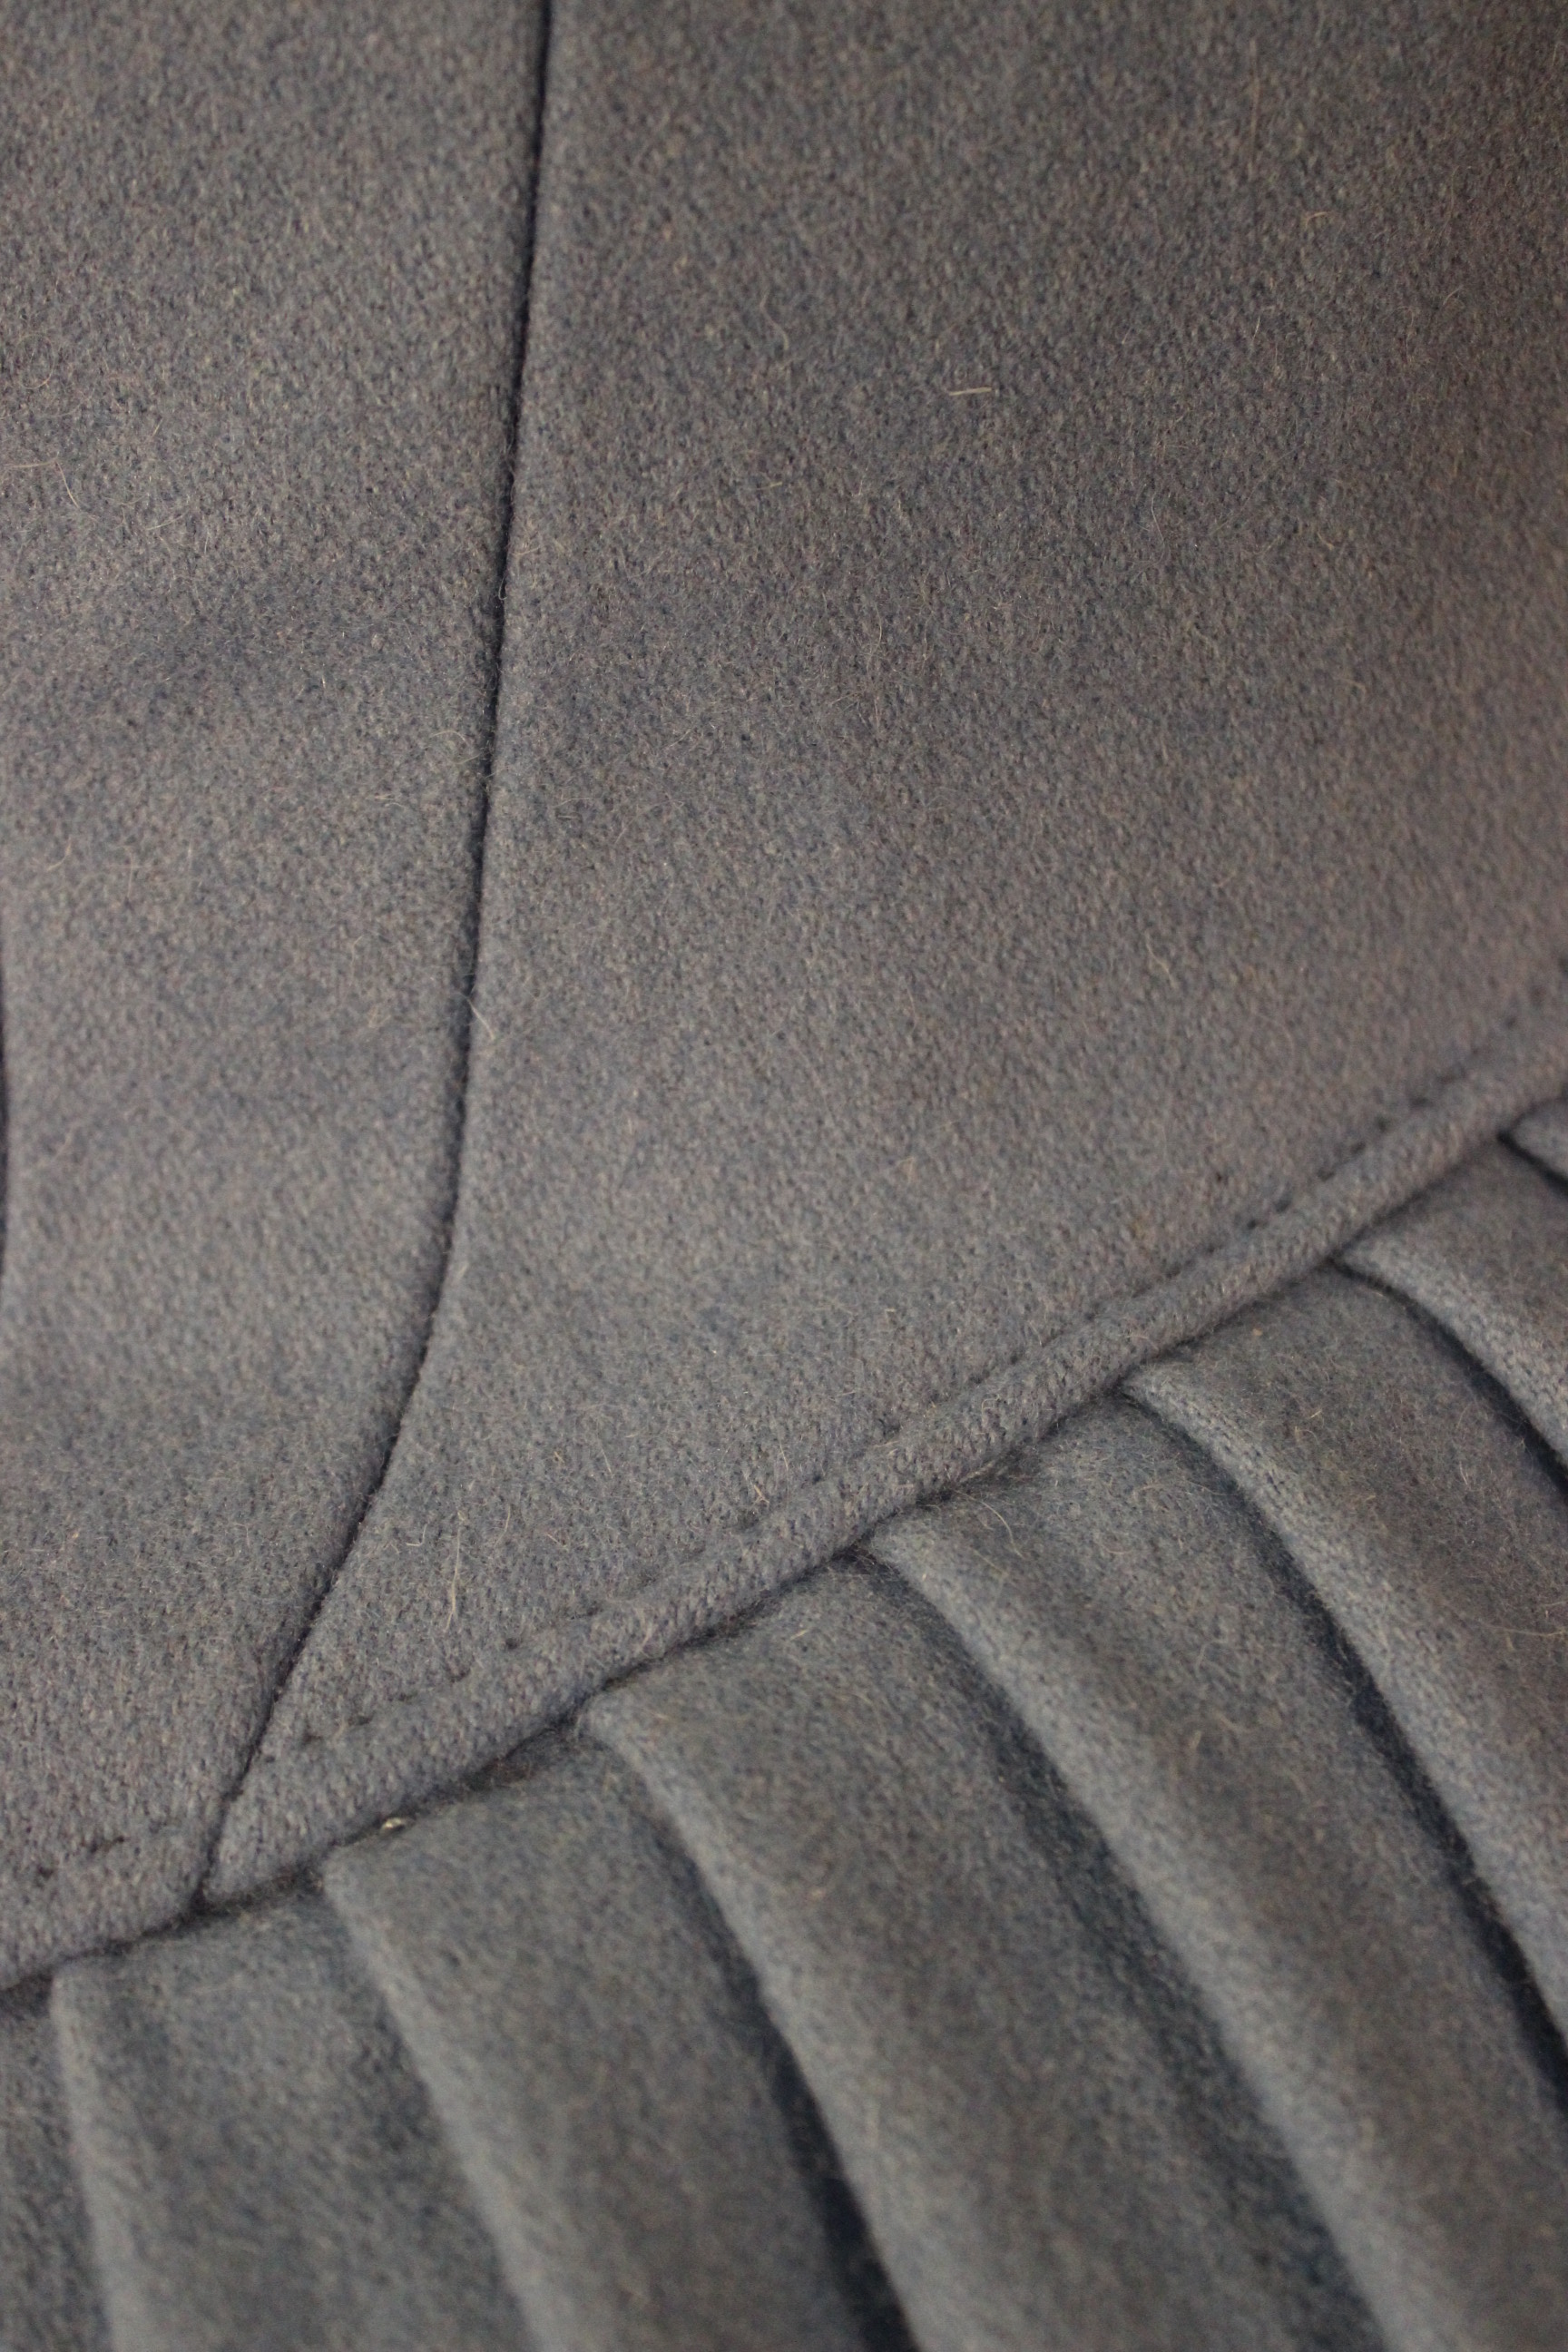
 cut he seam allowance, flipped it over and carefully pressed the edge.
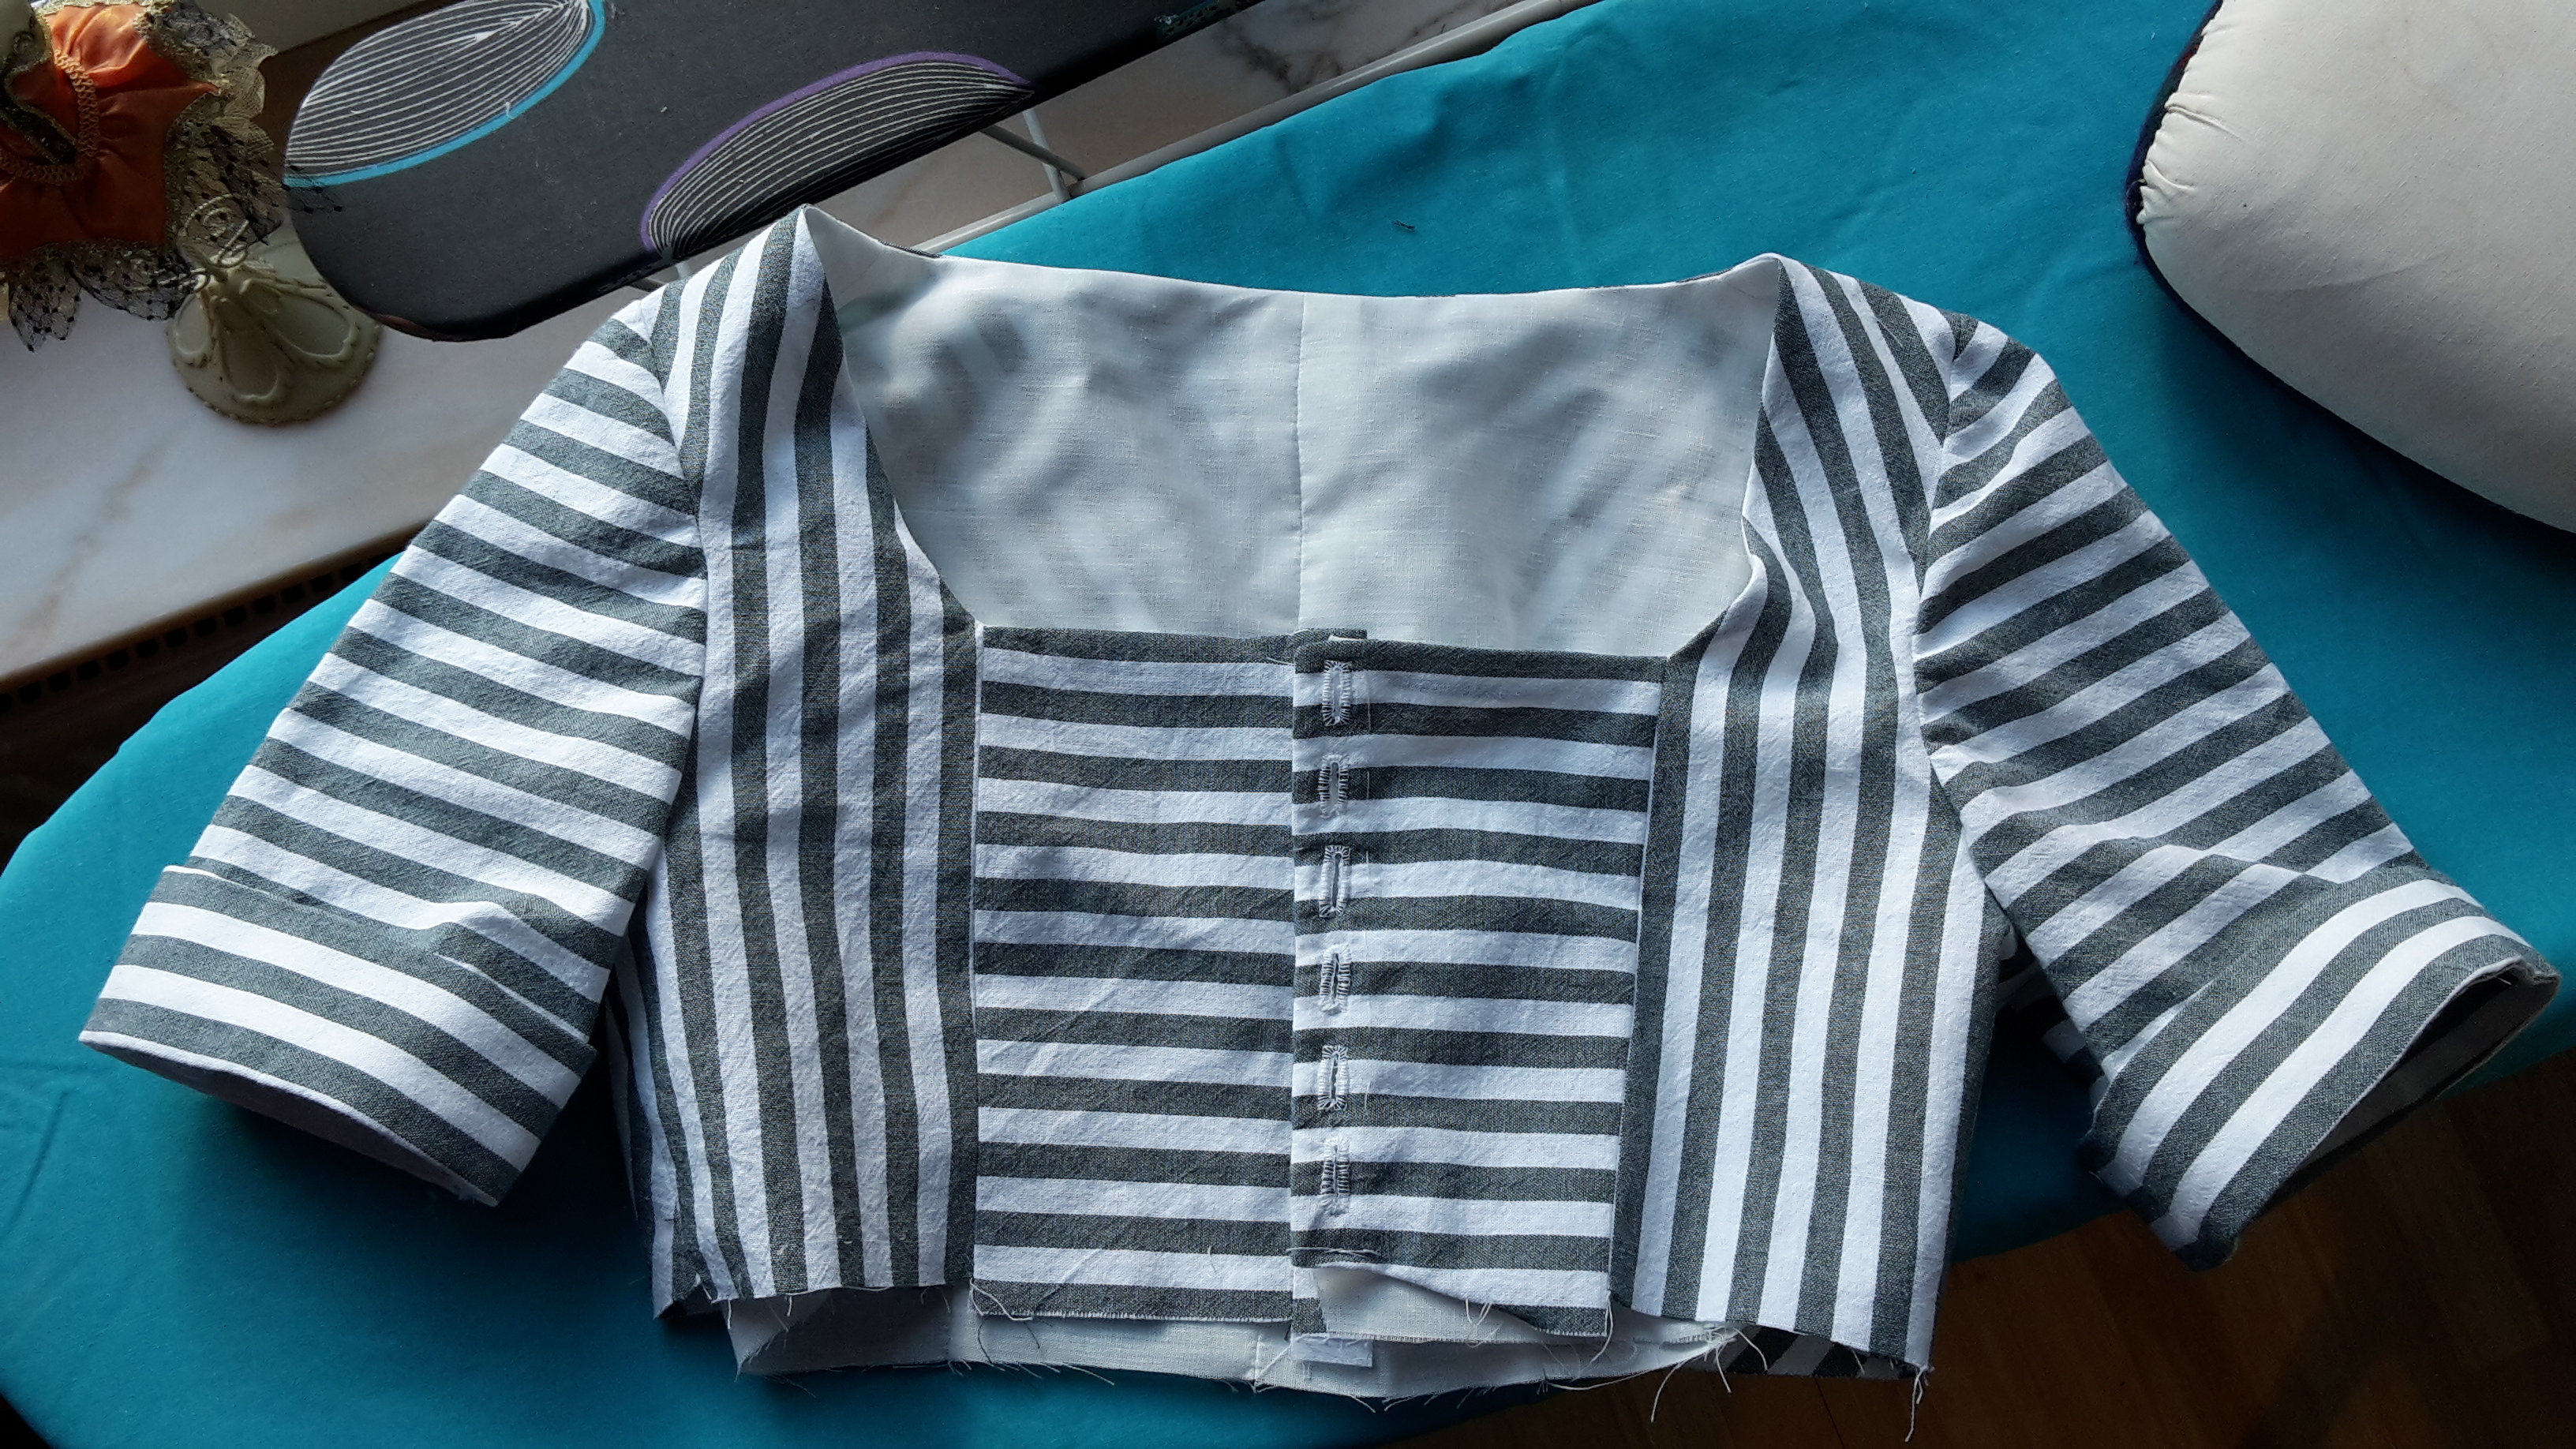


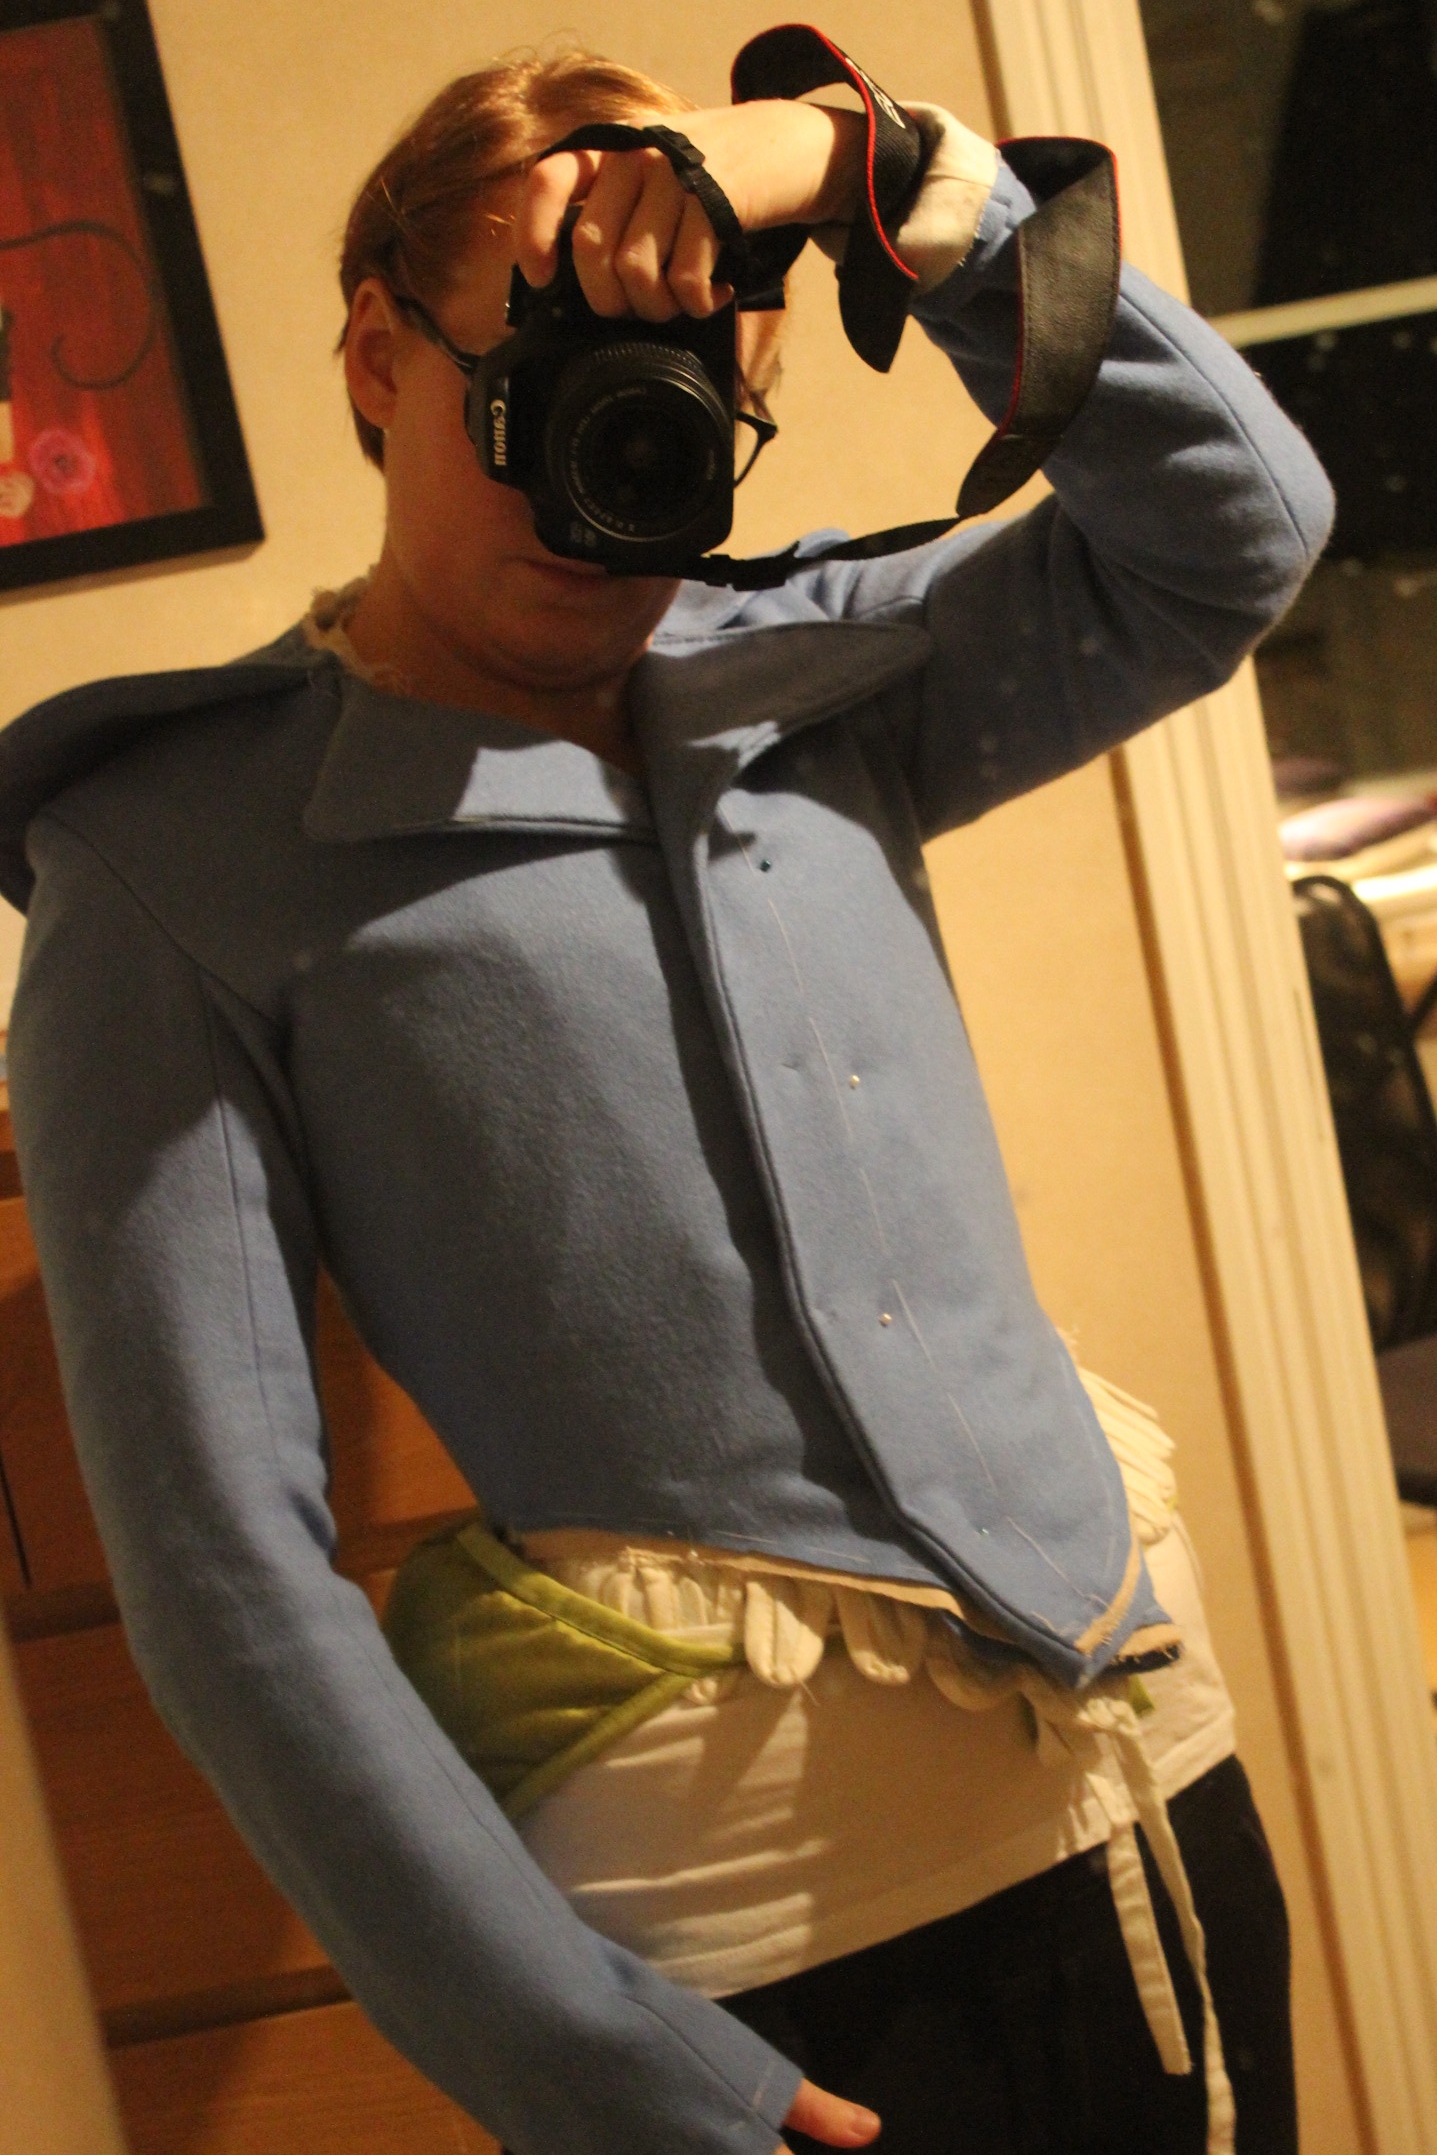
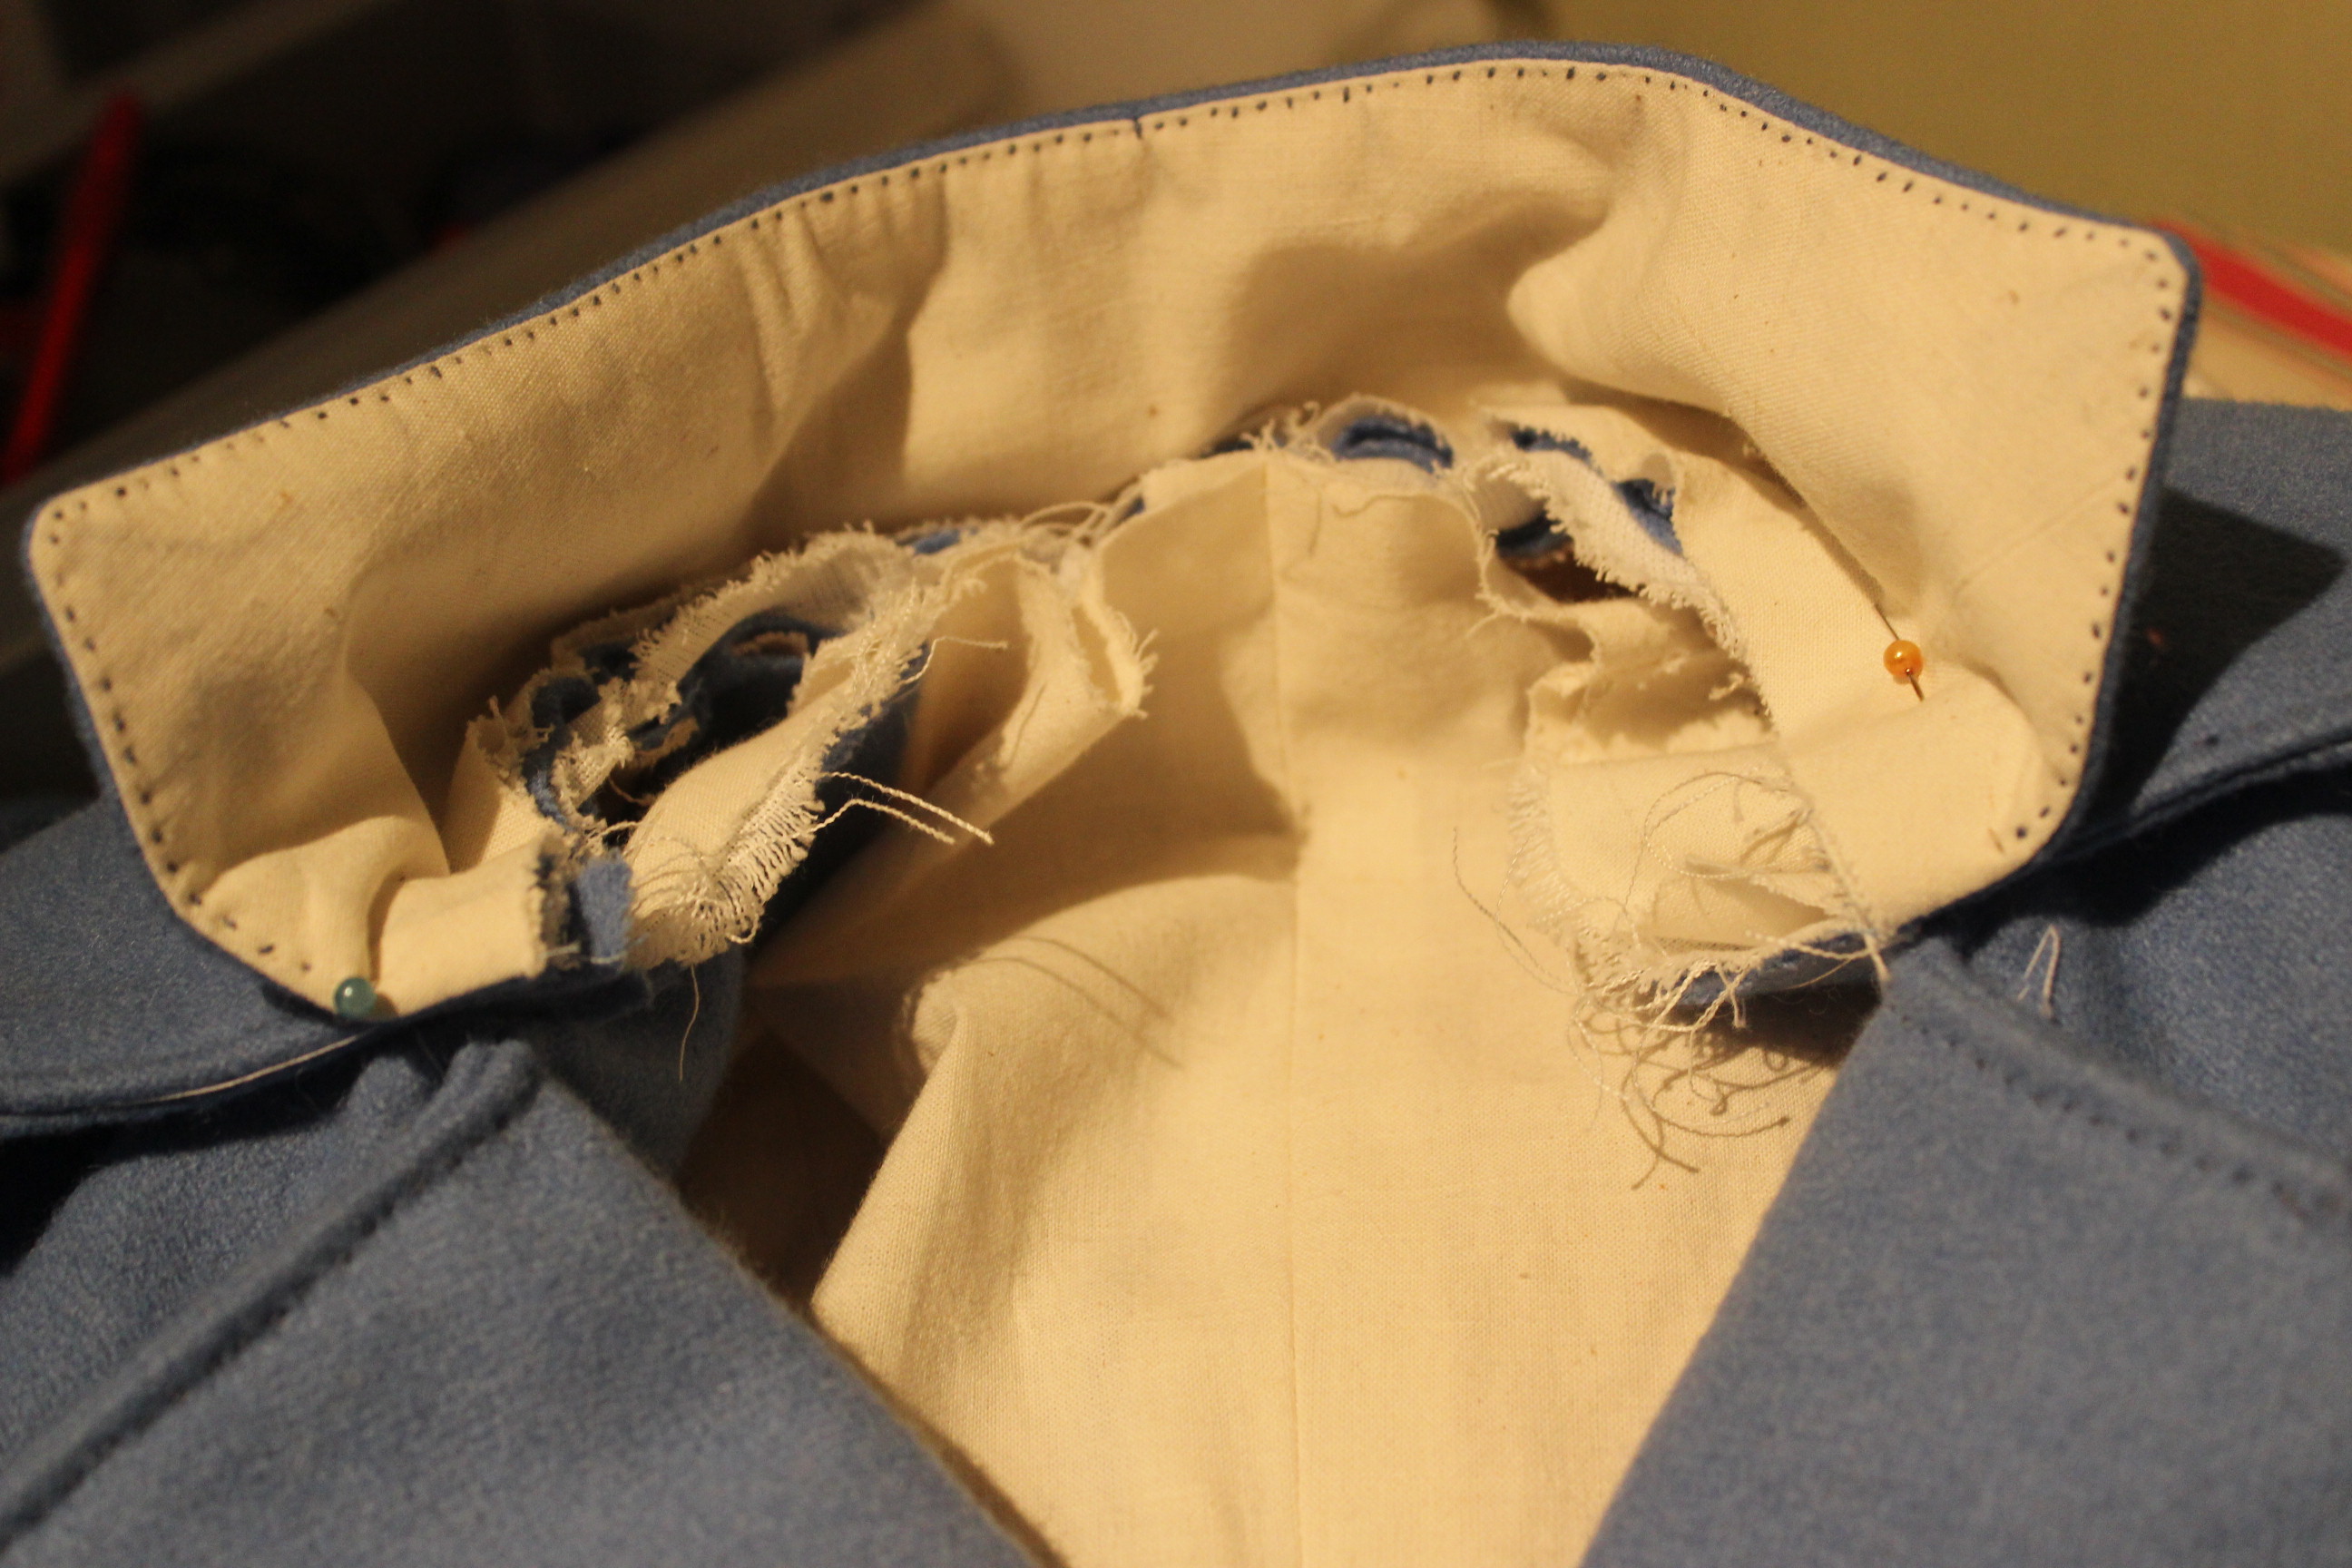
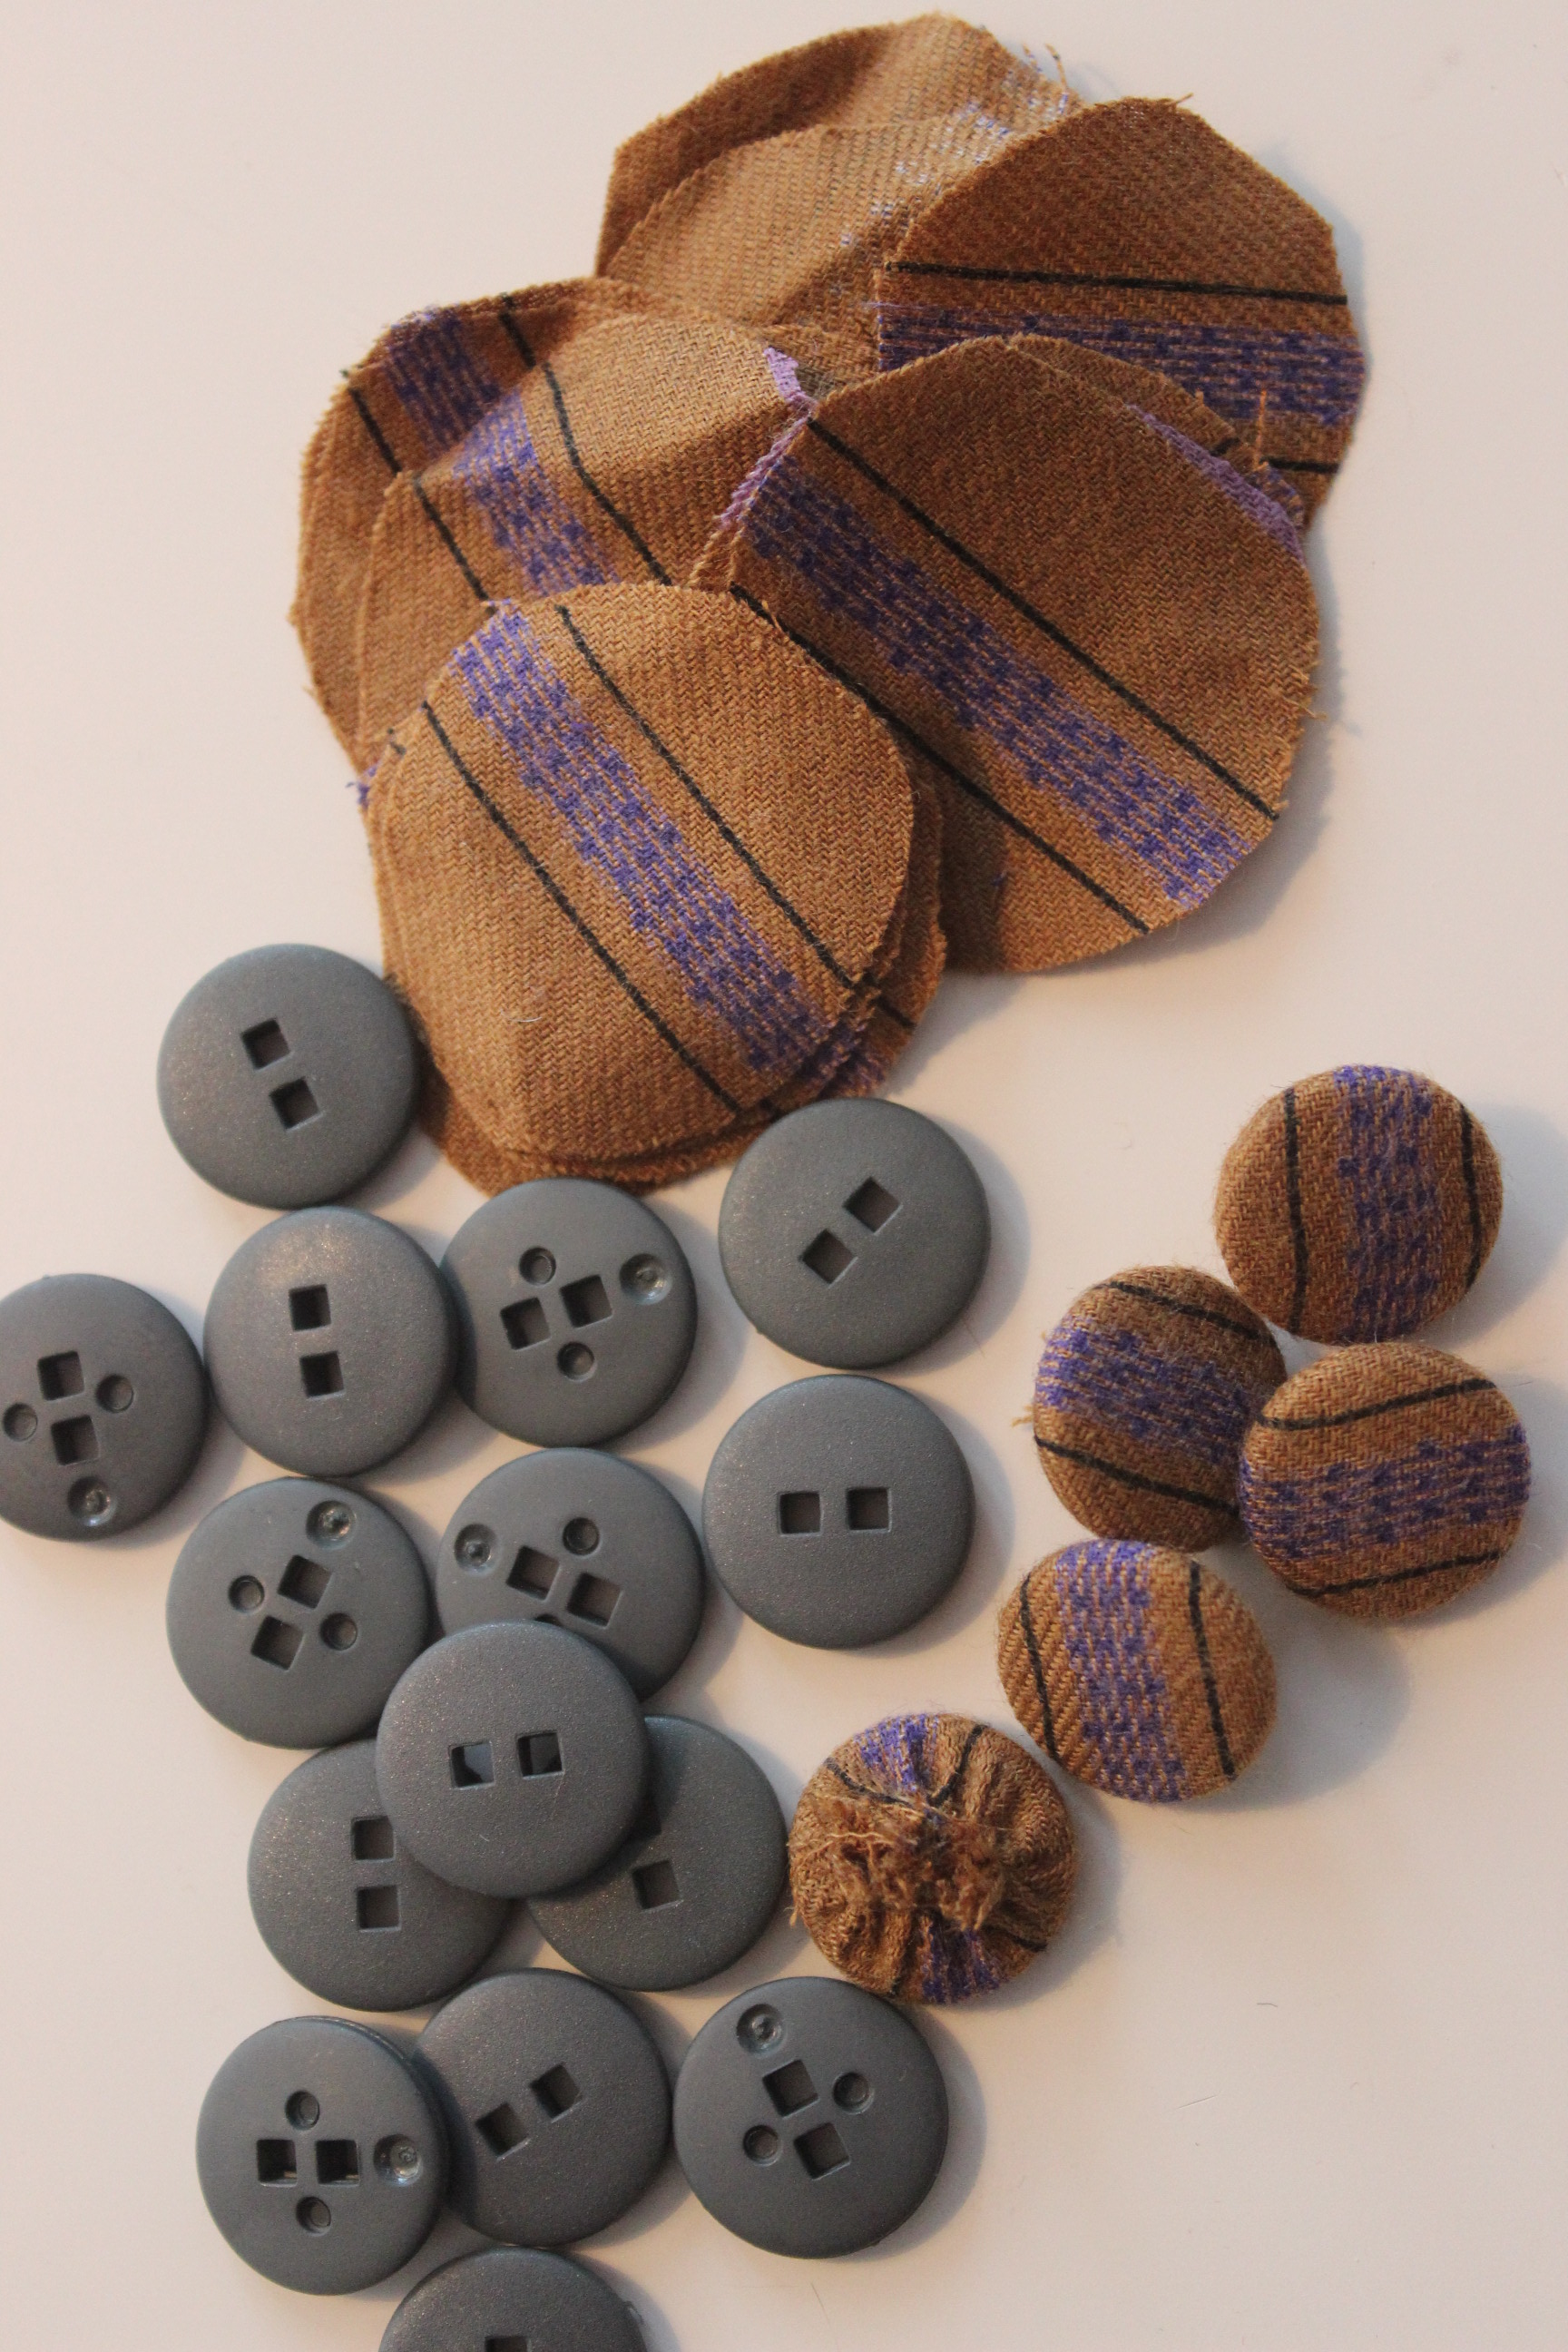
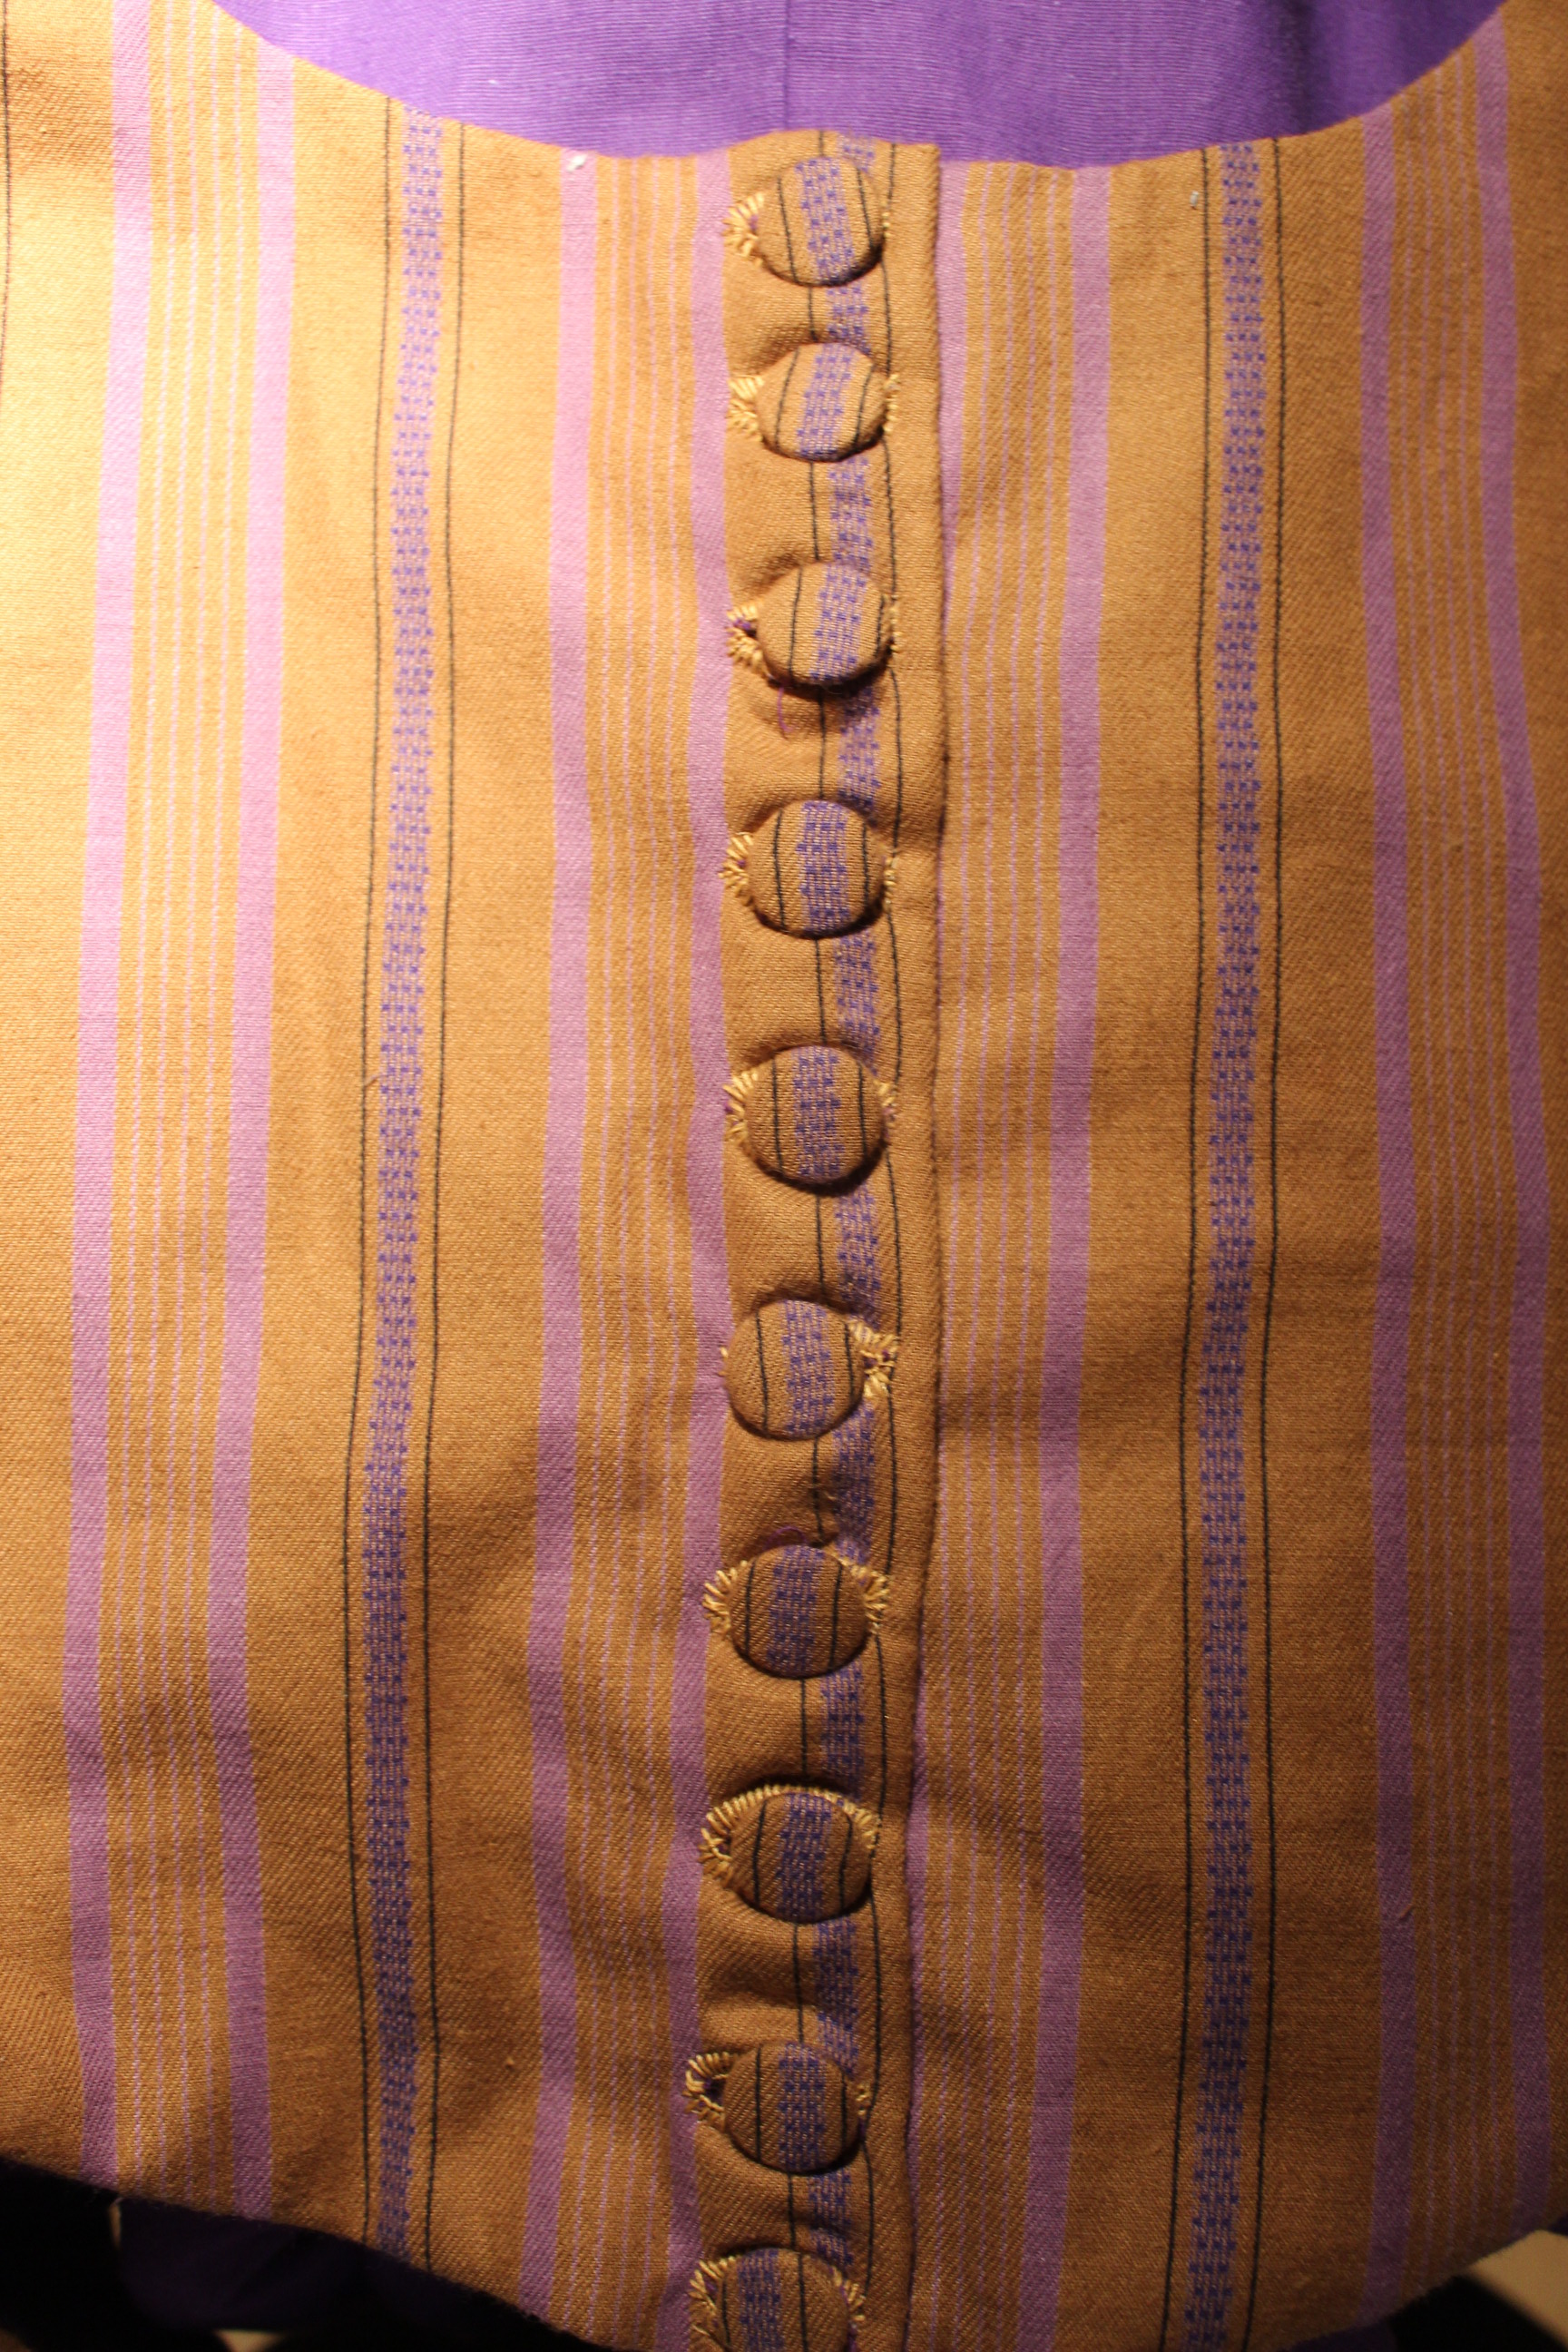
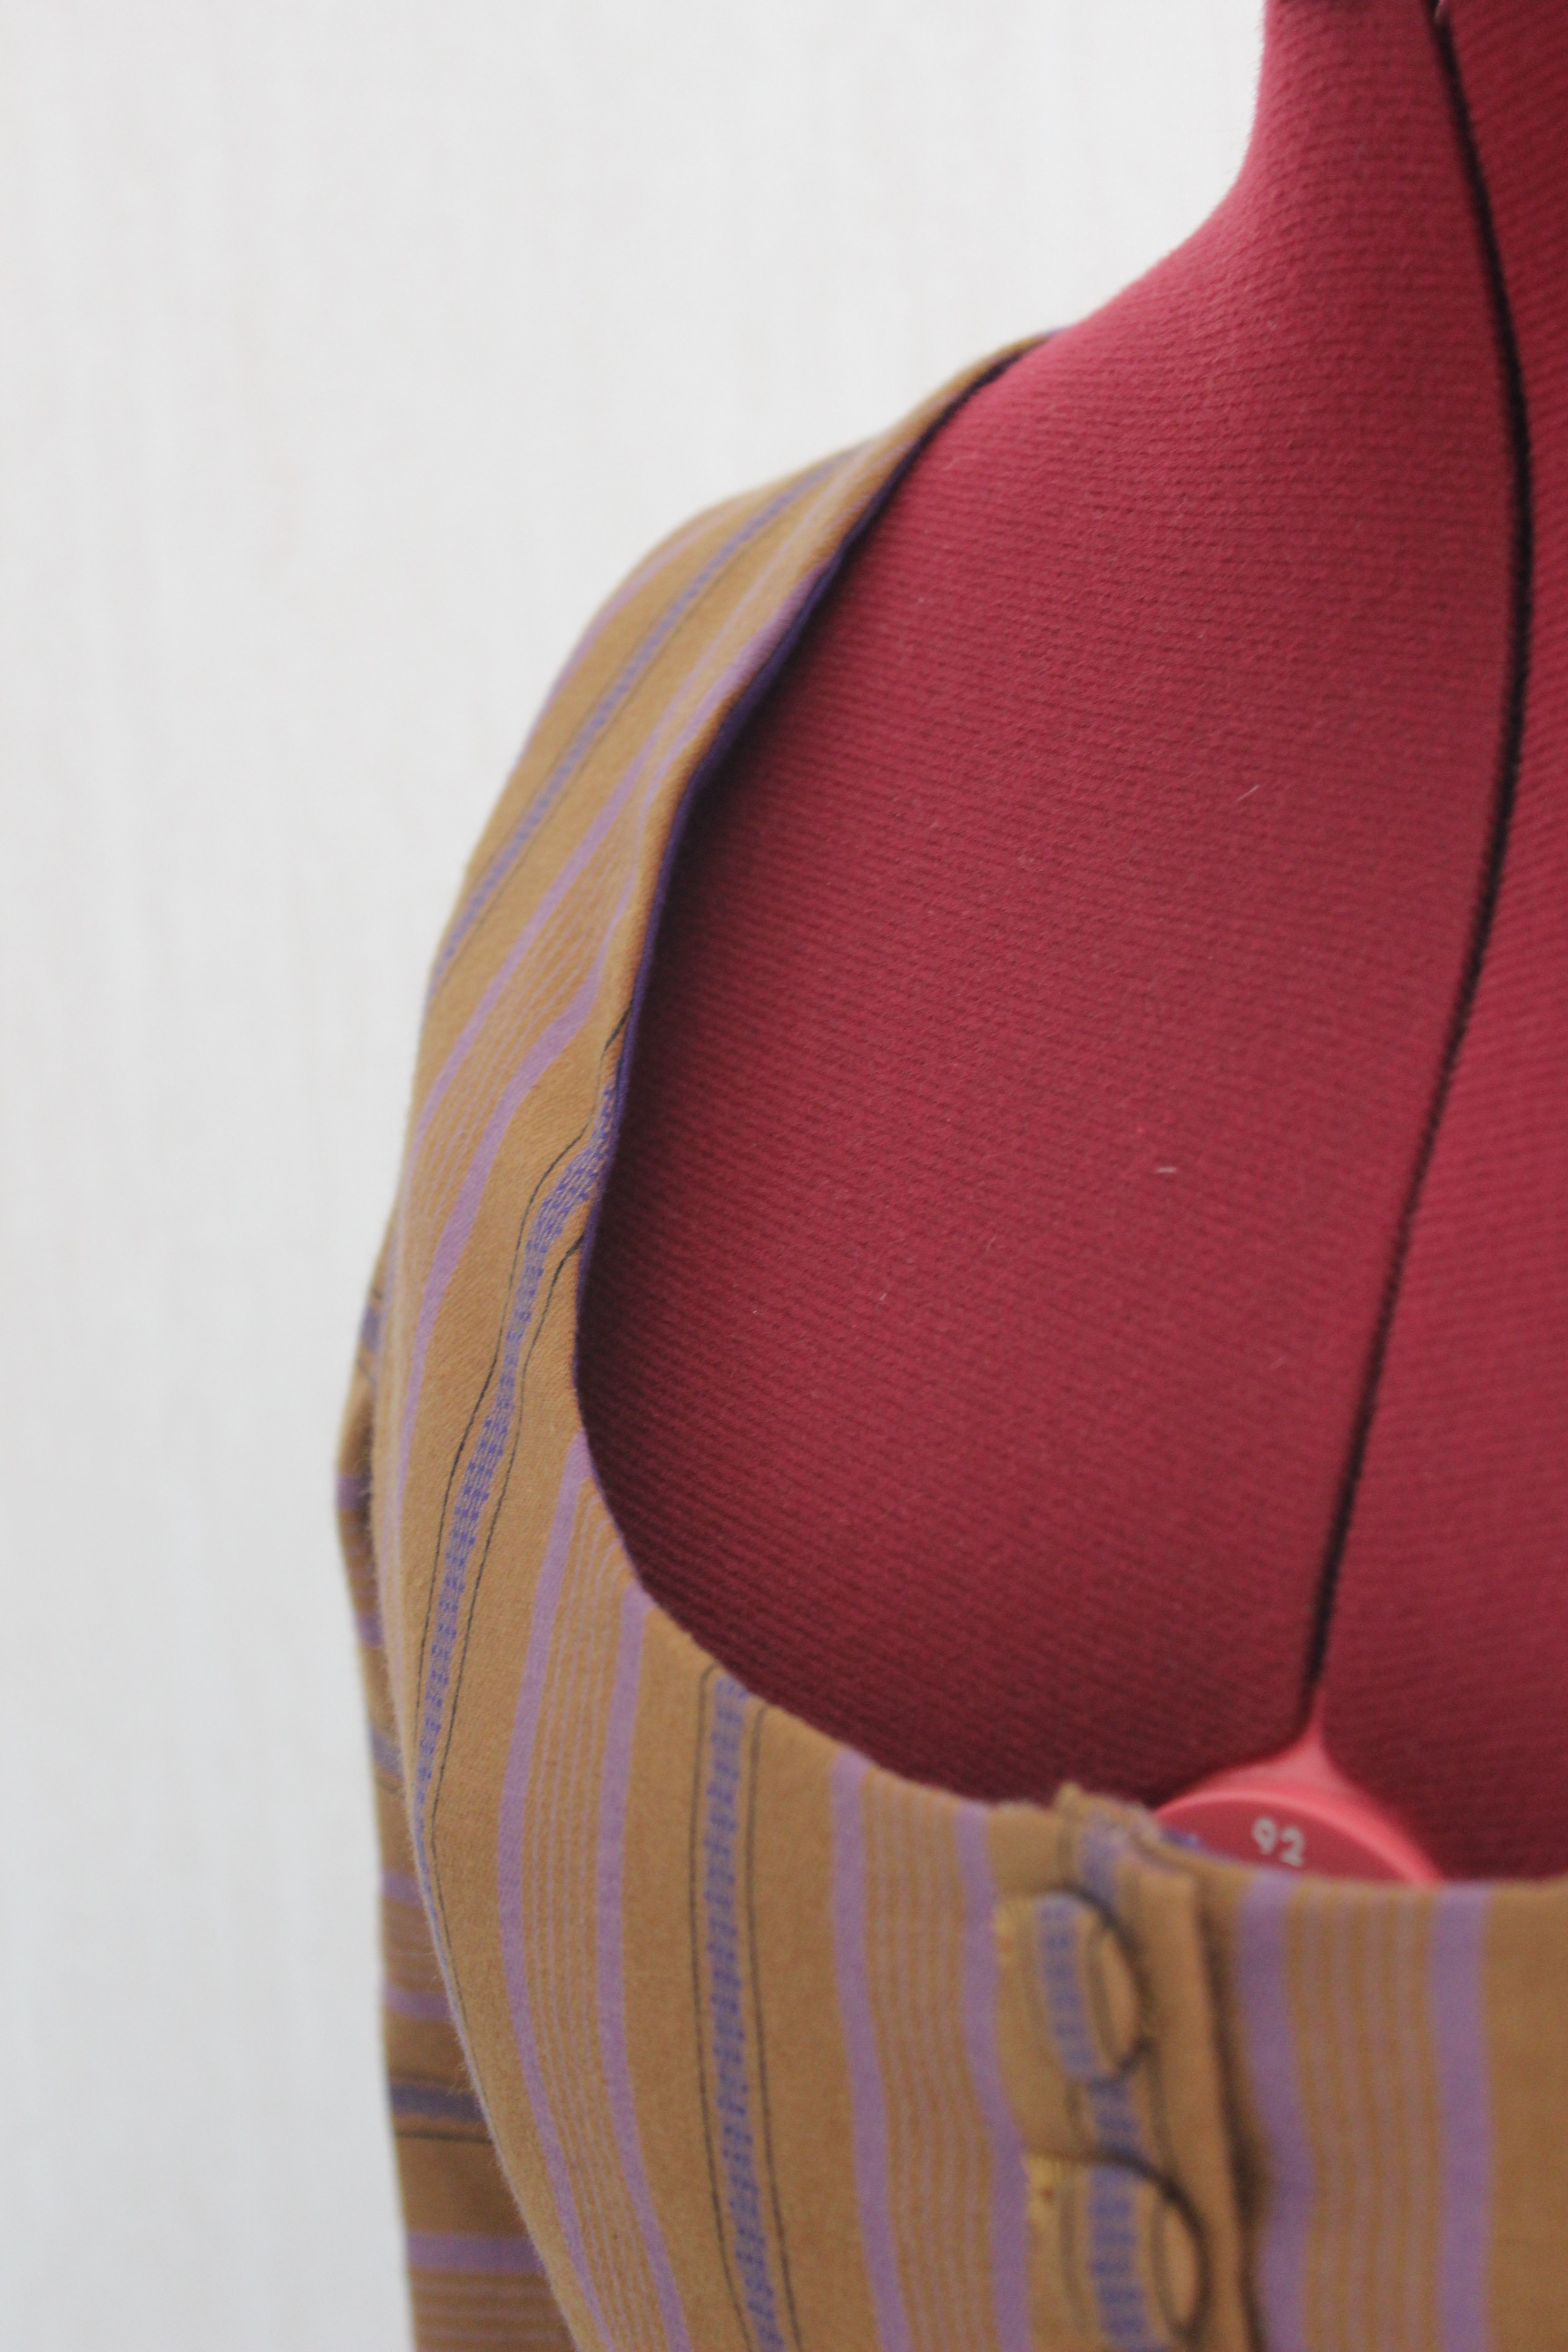
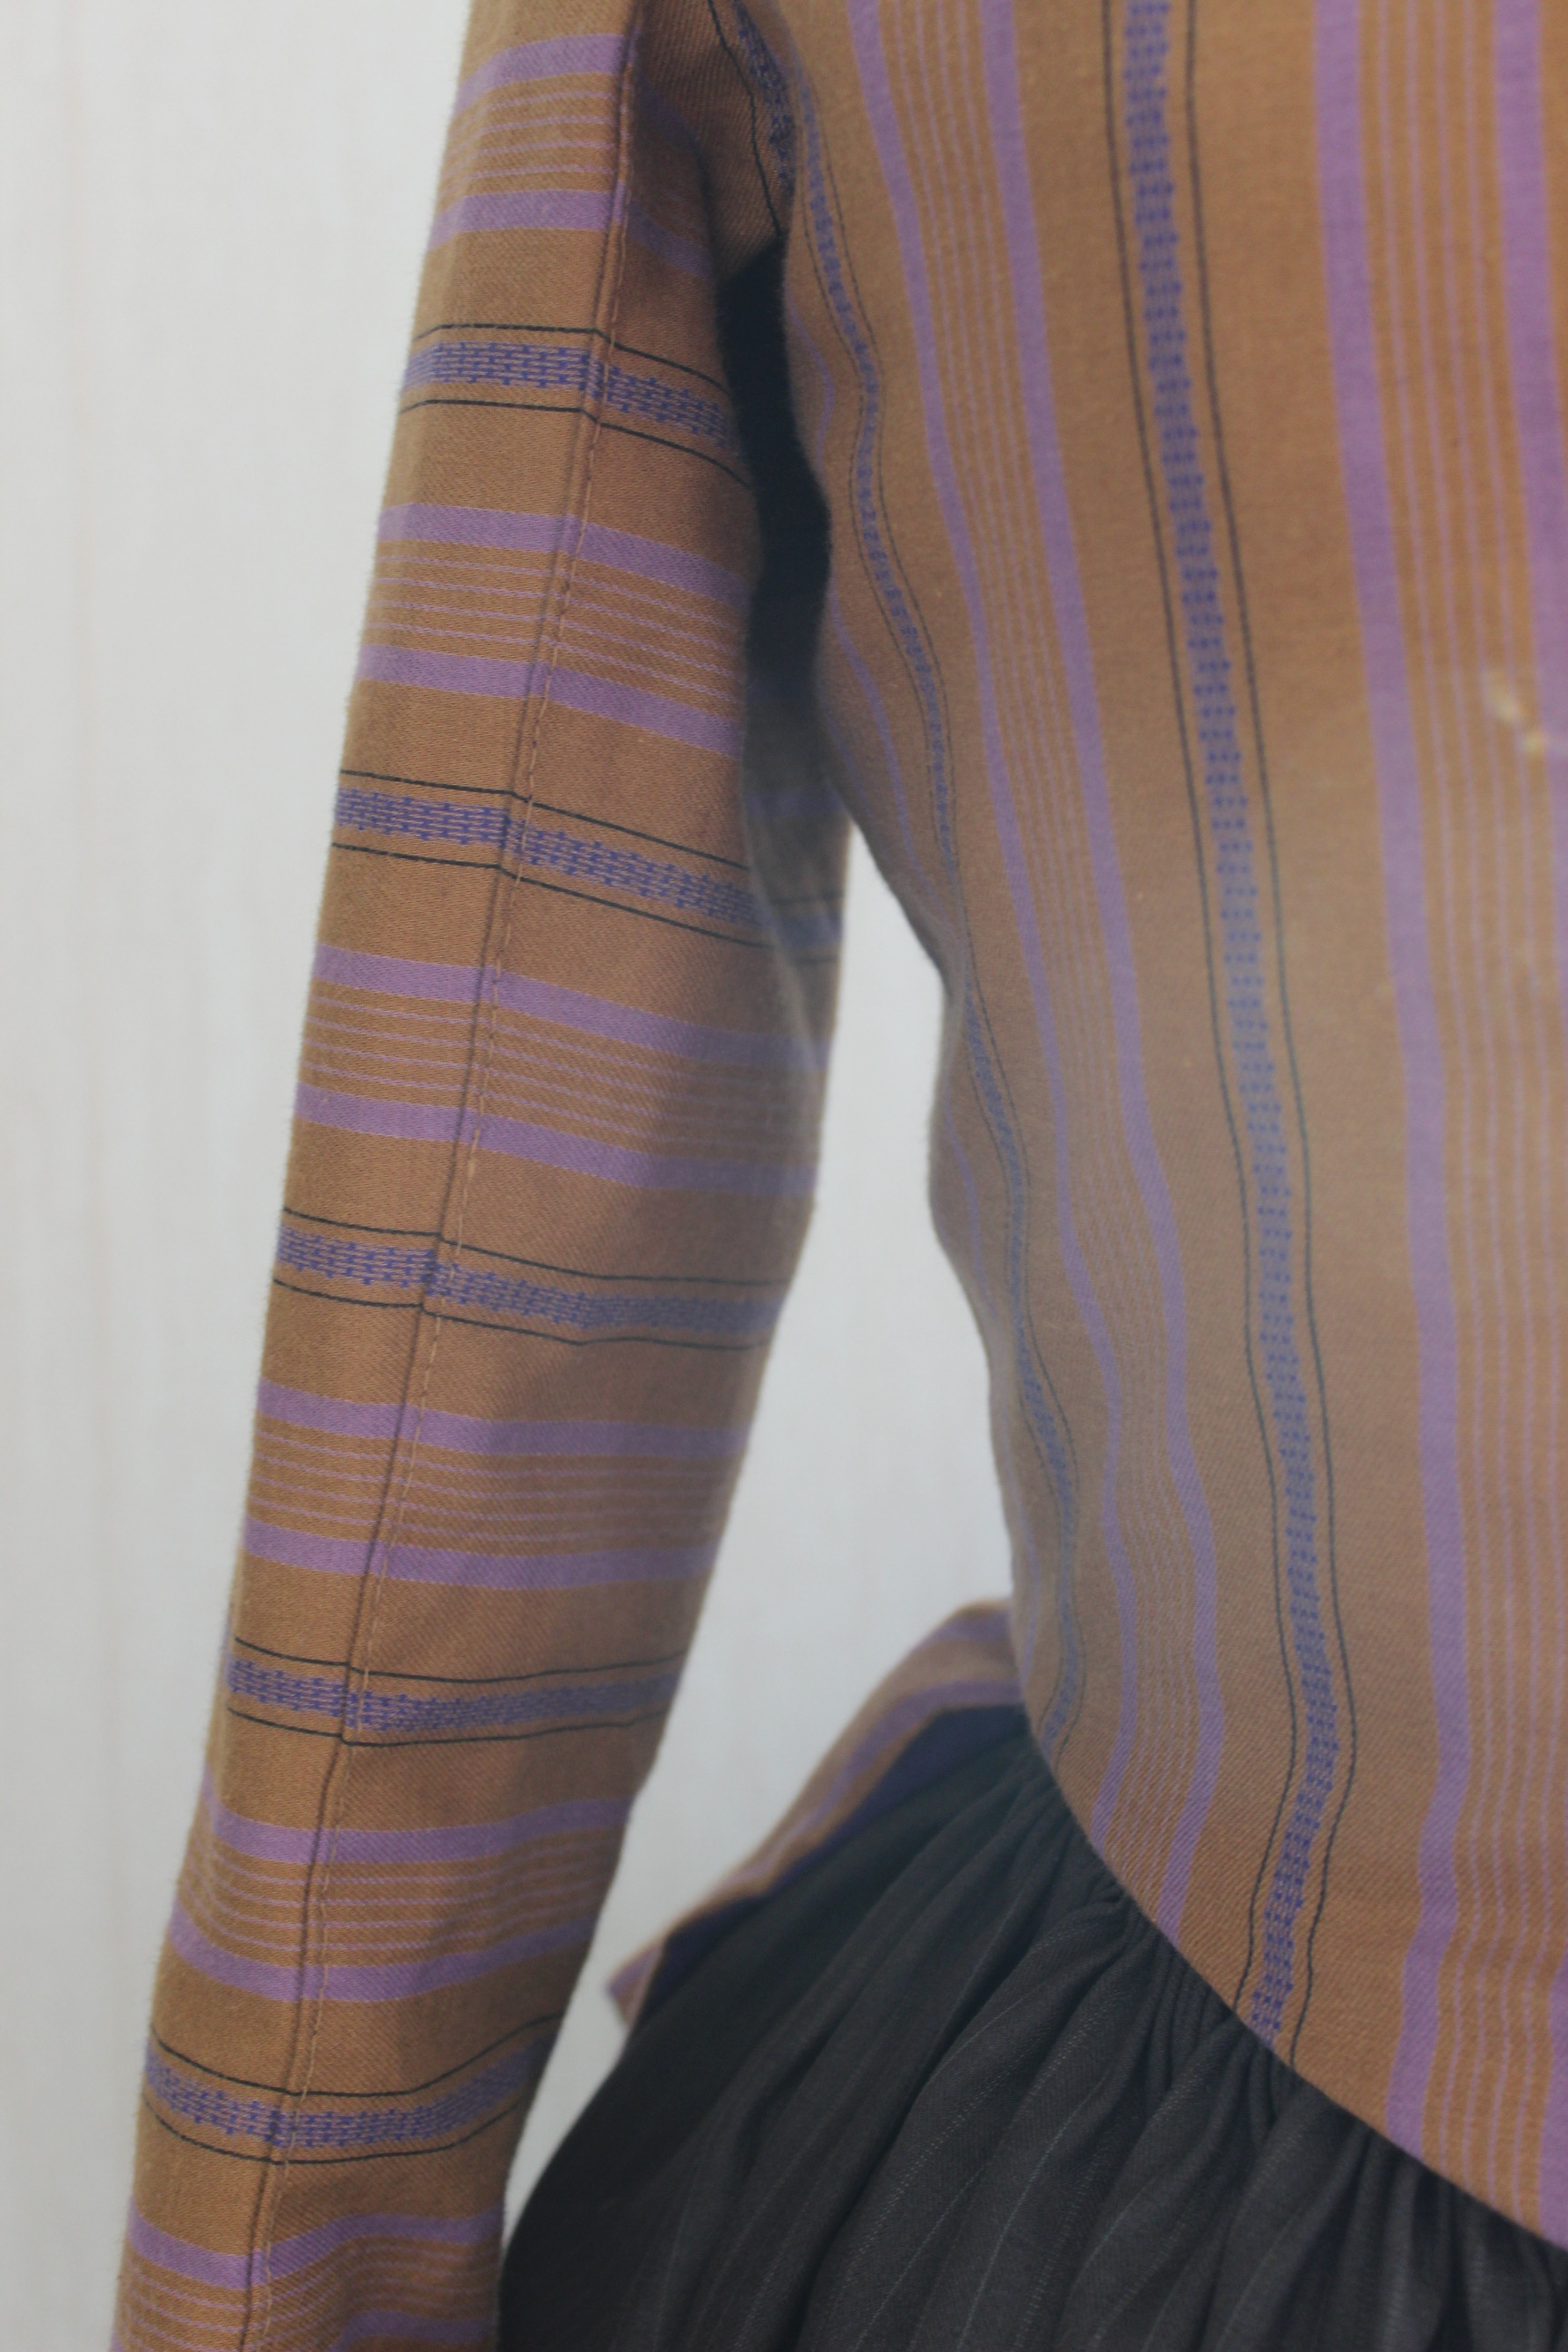
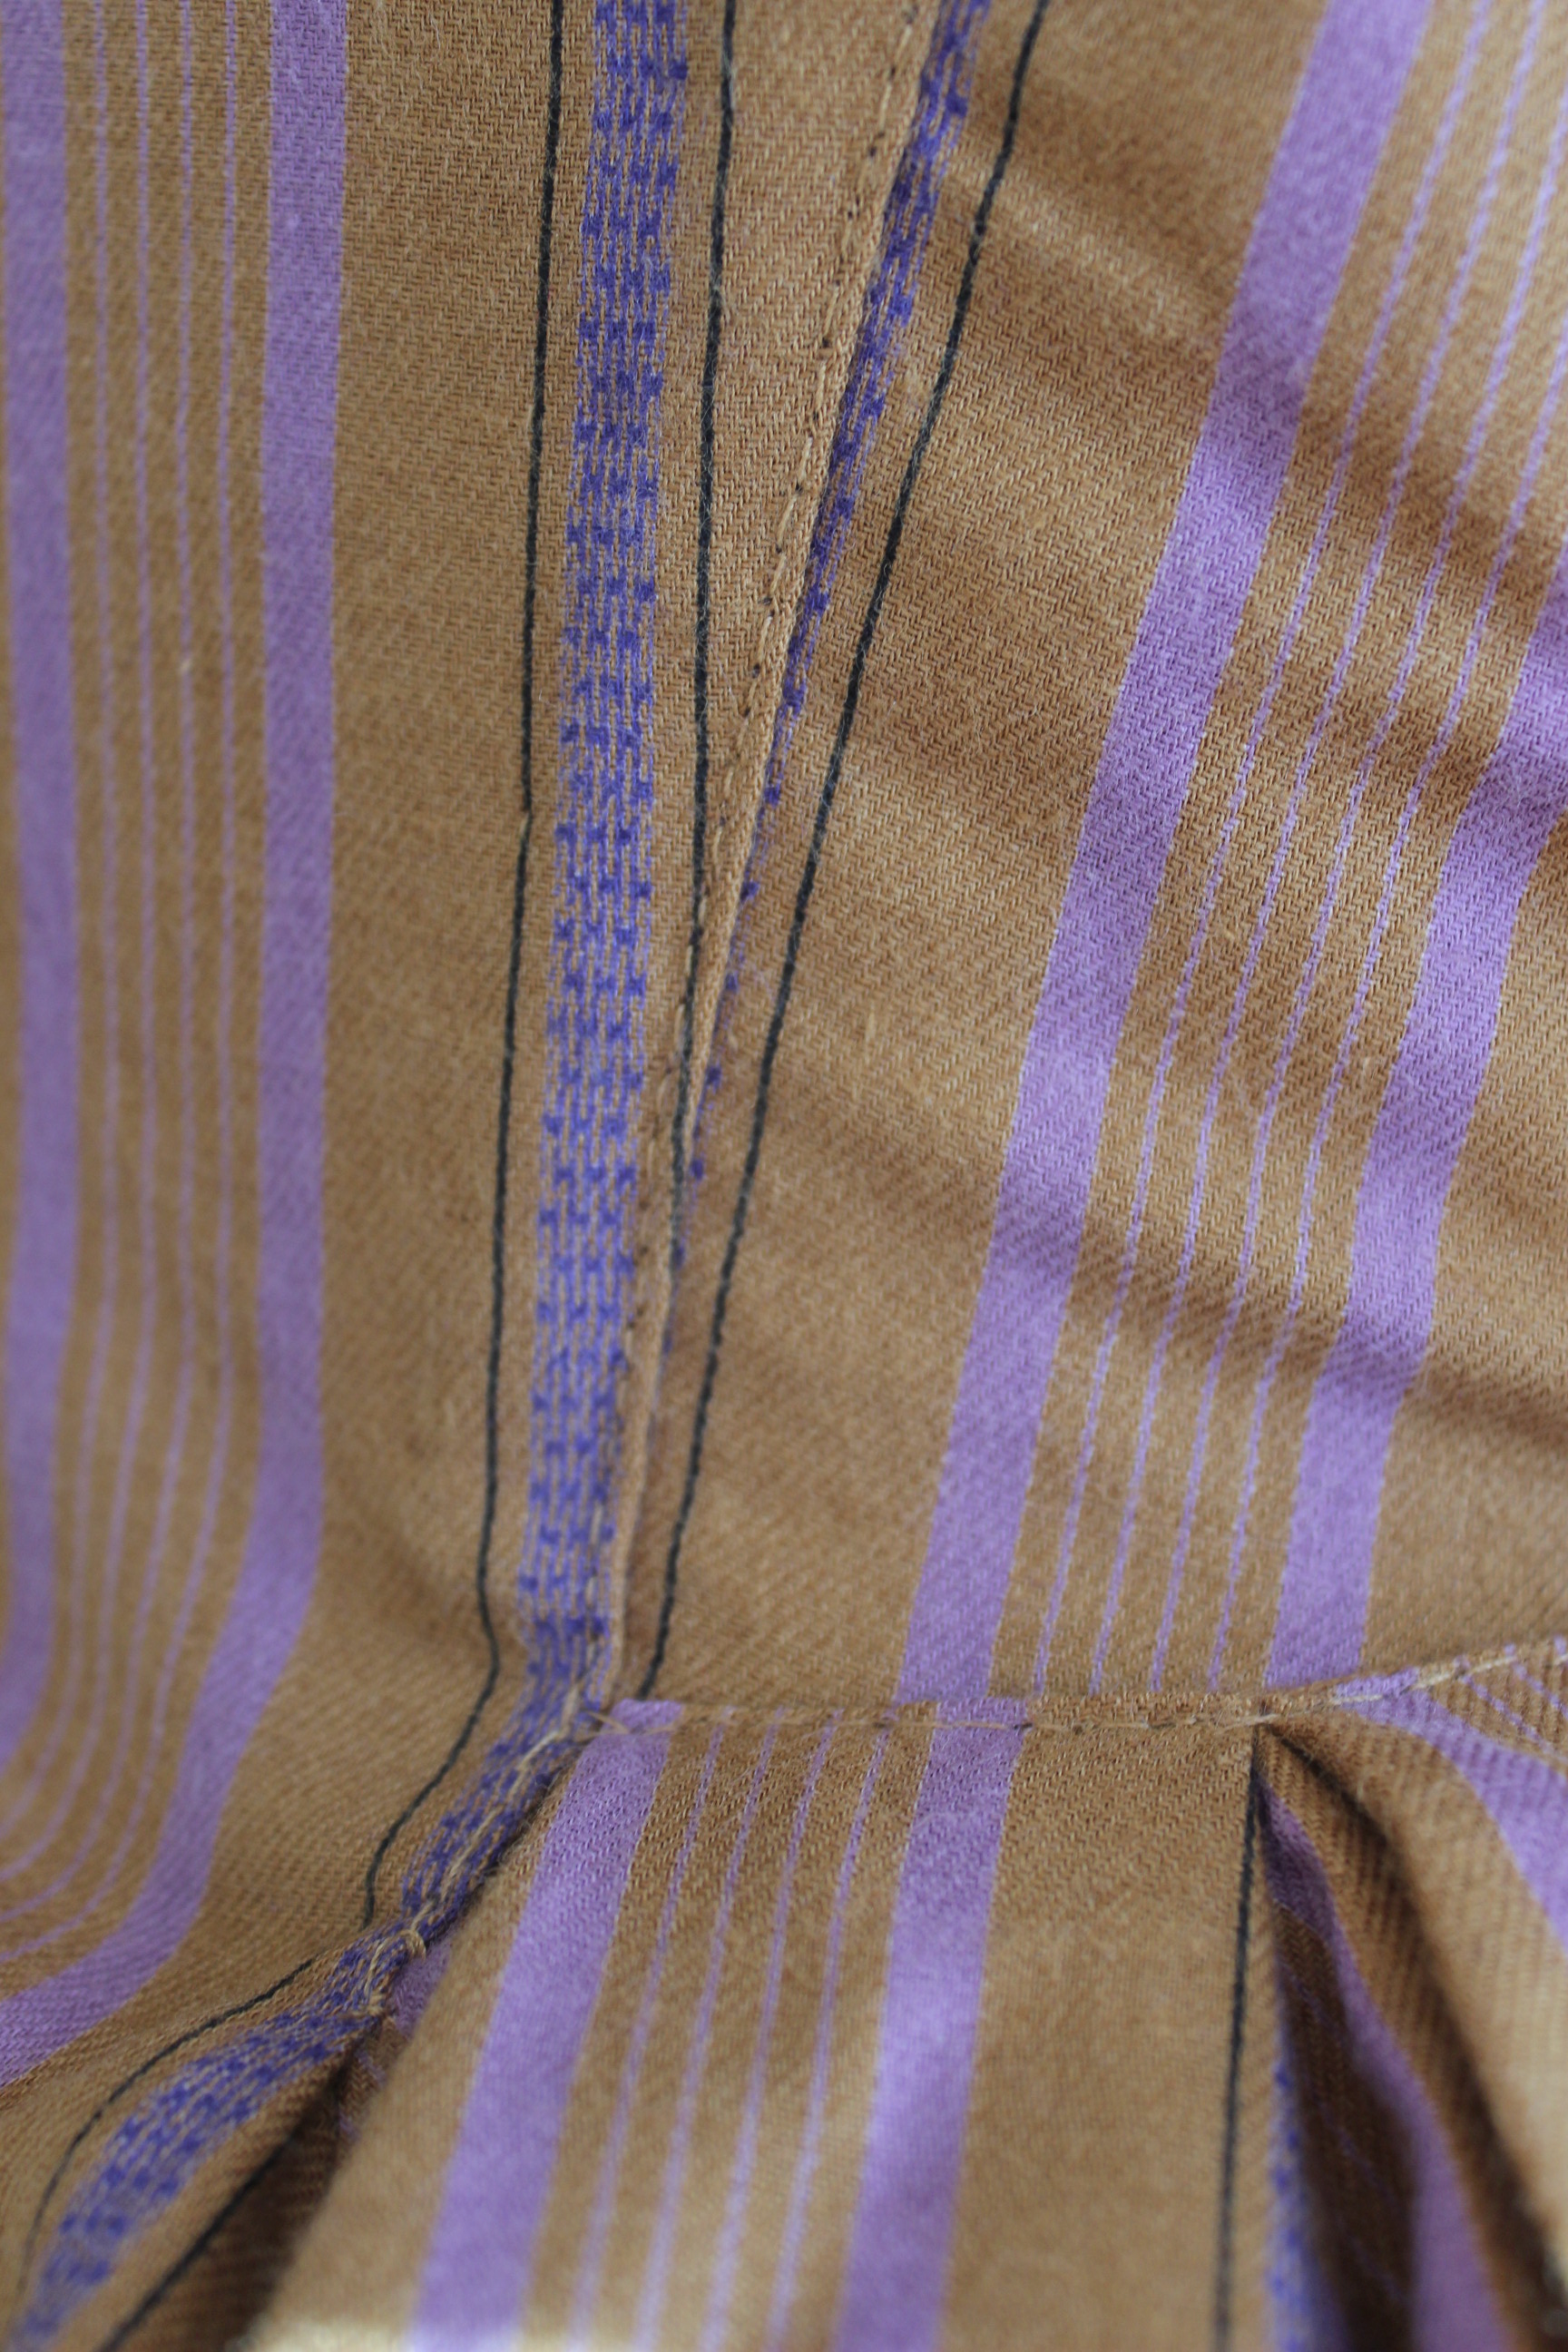
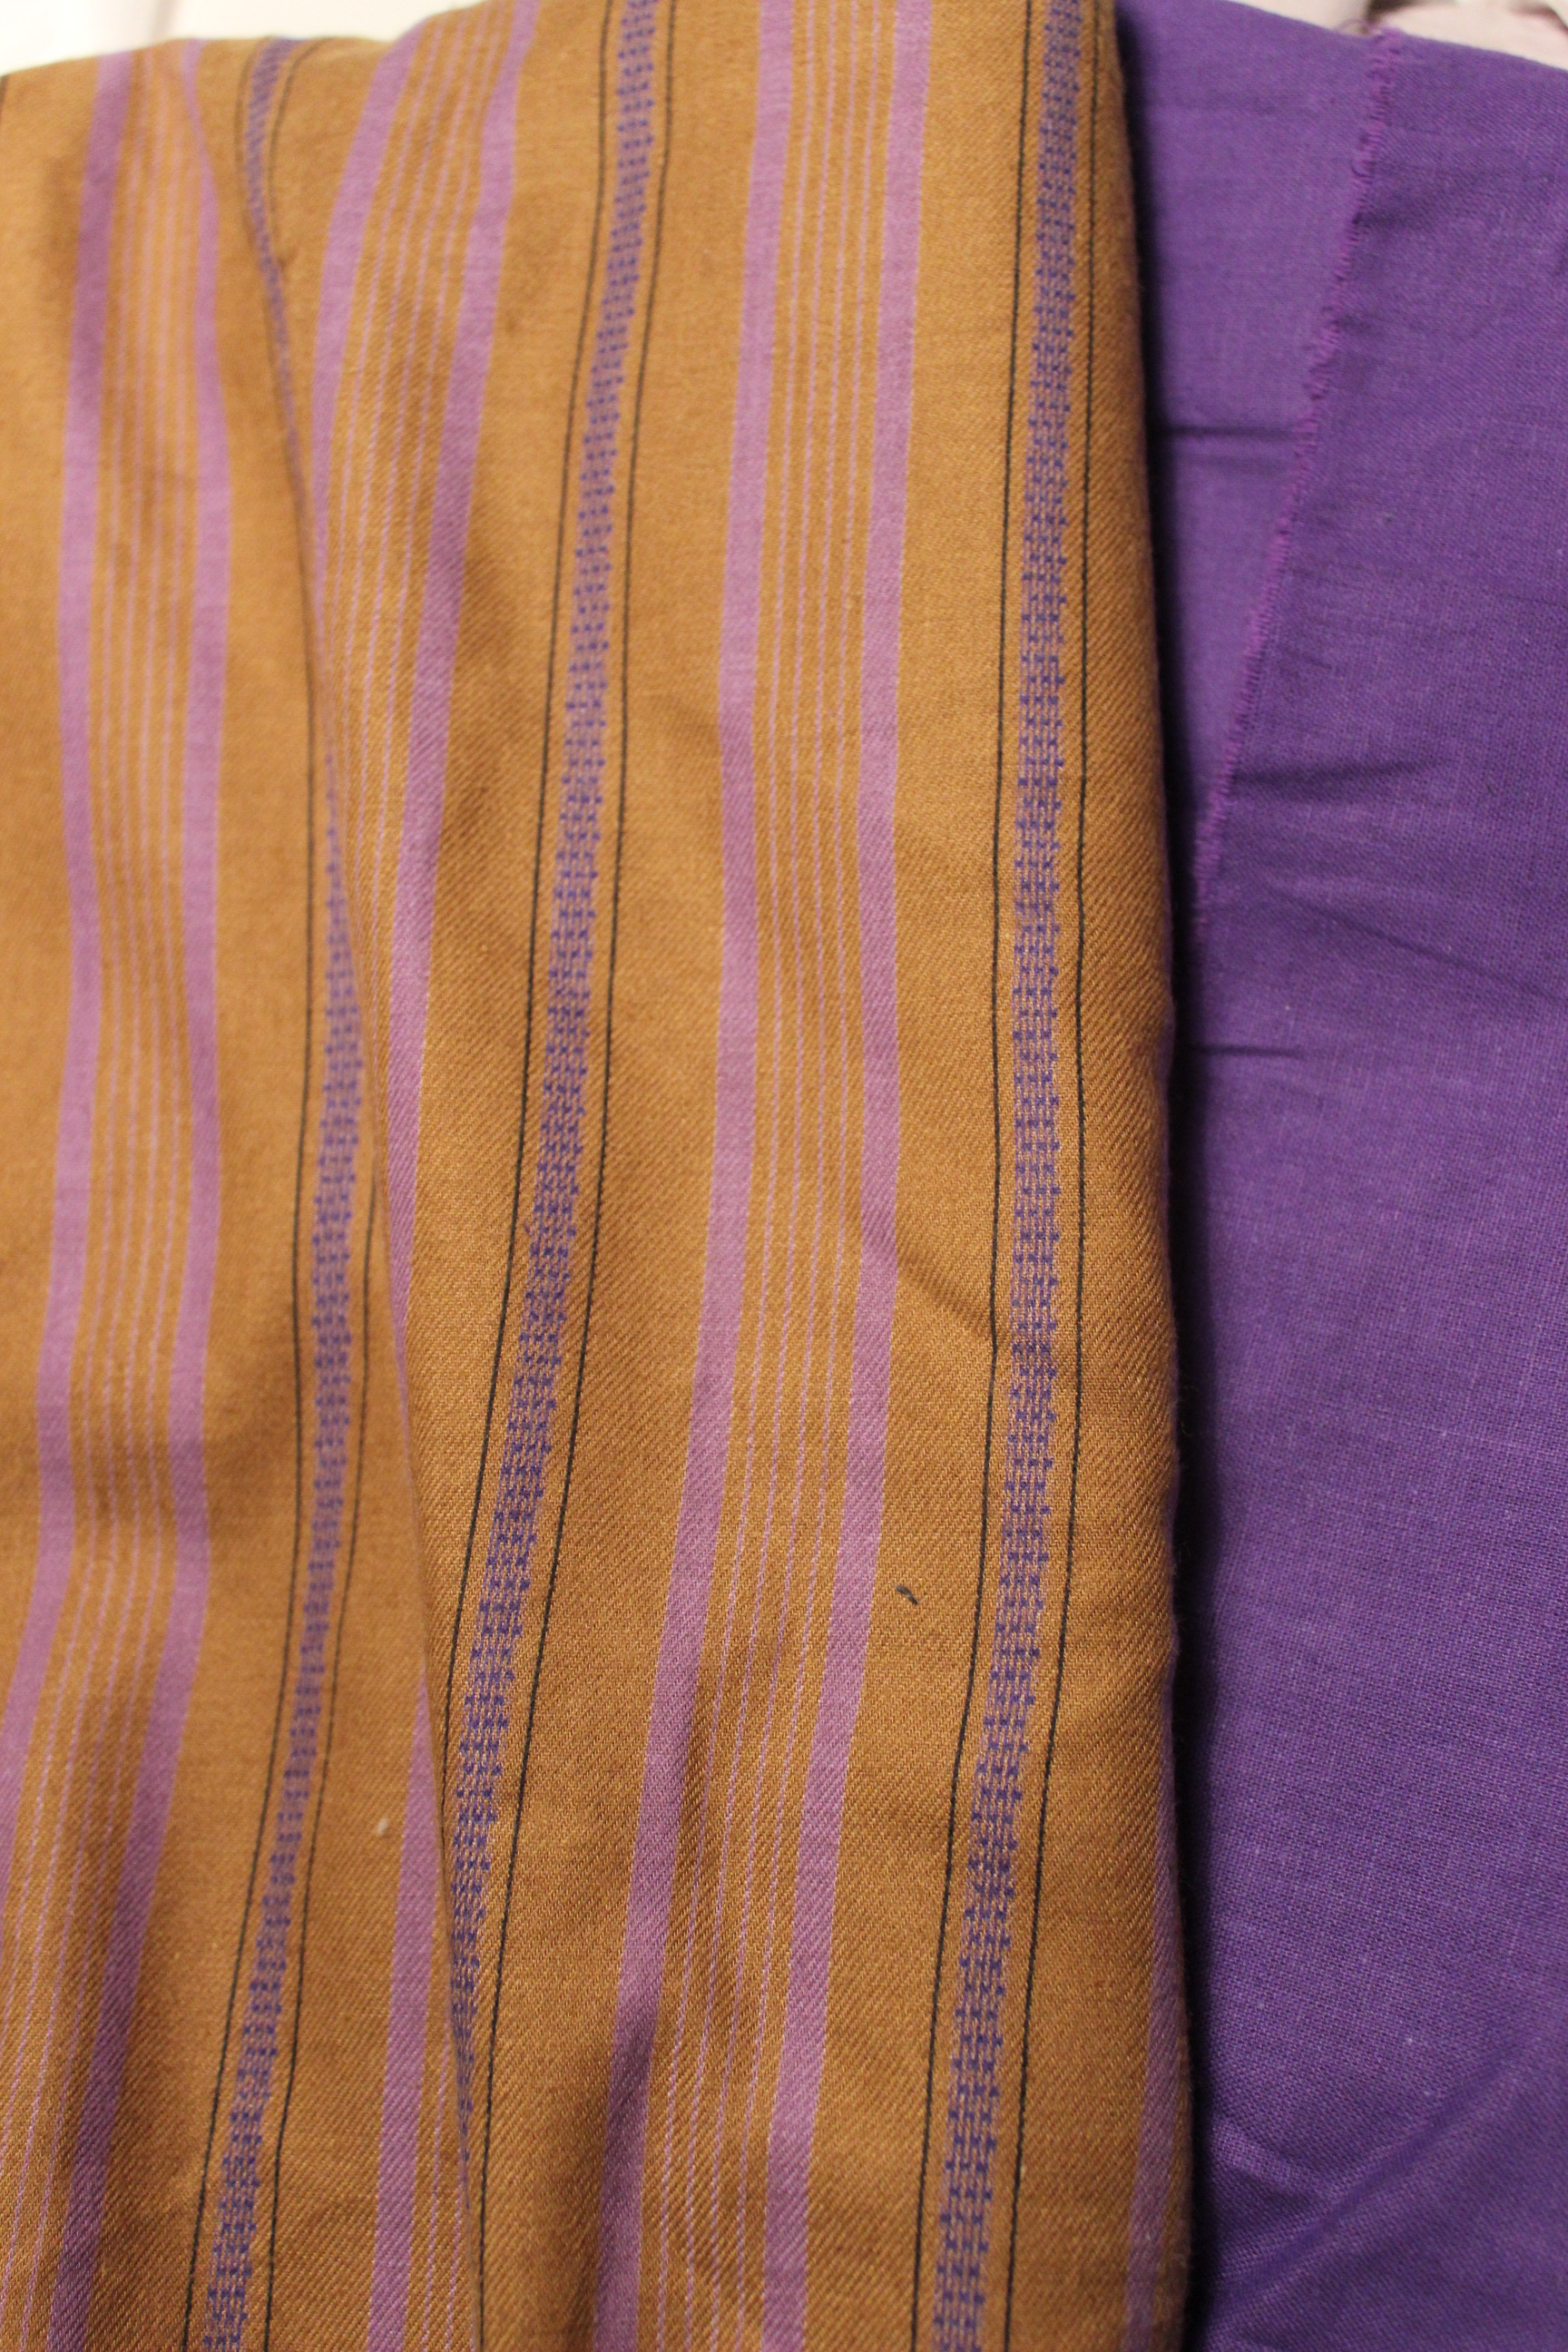
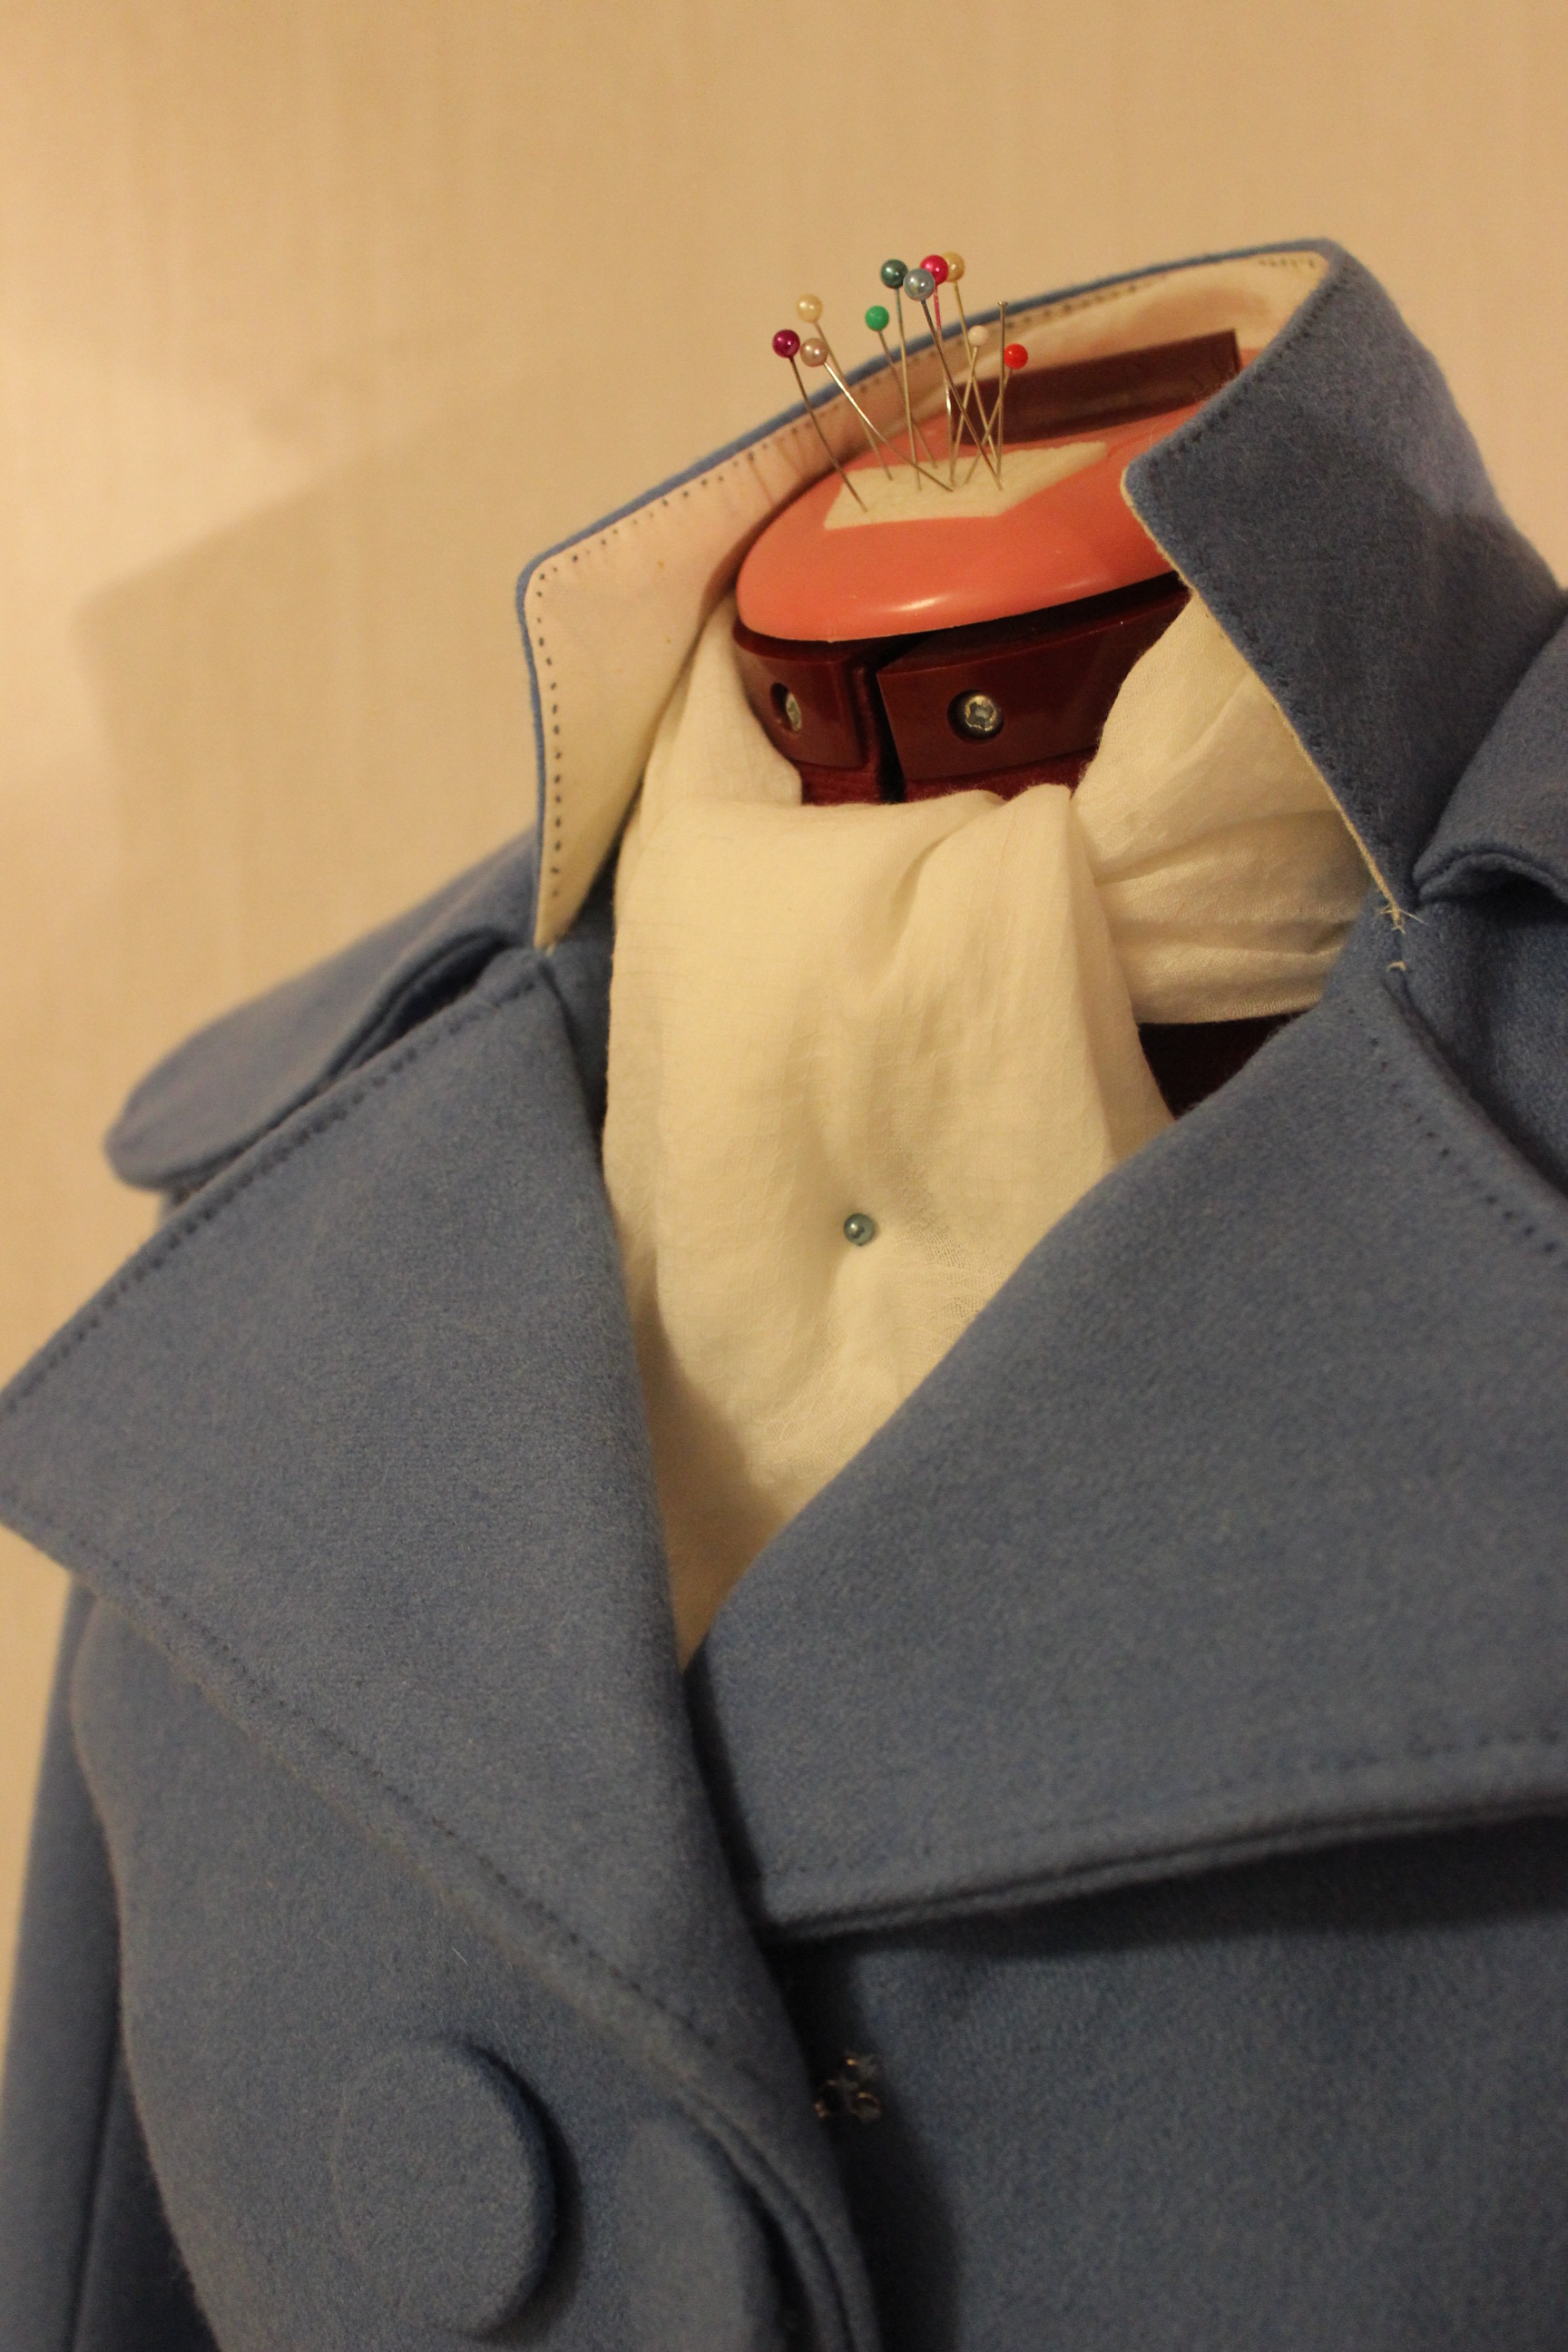
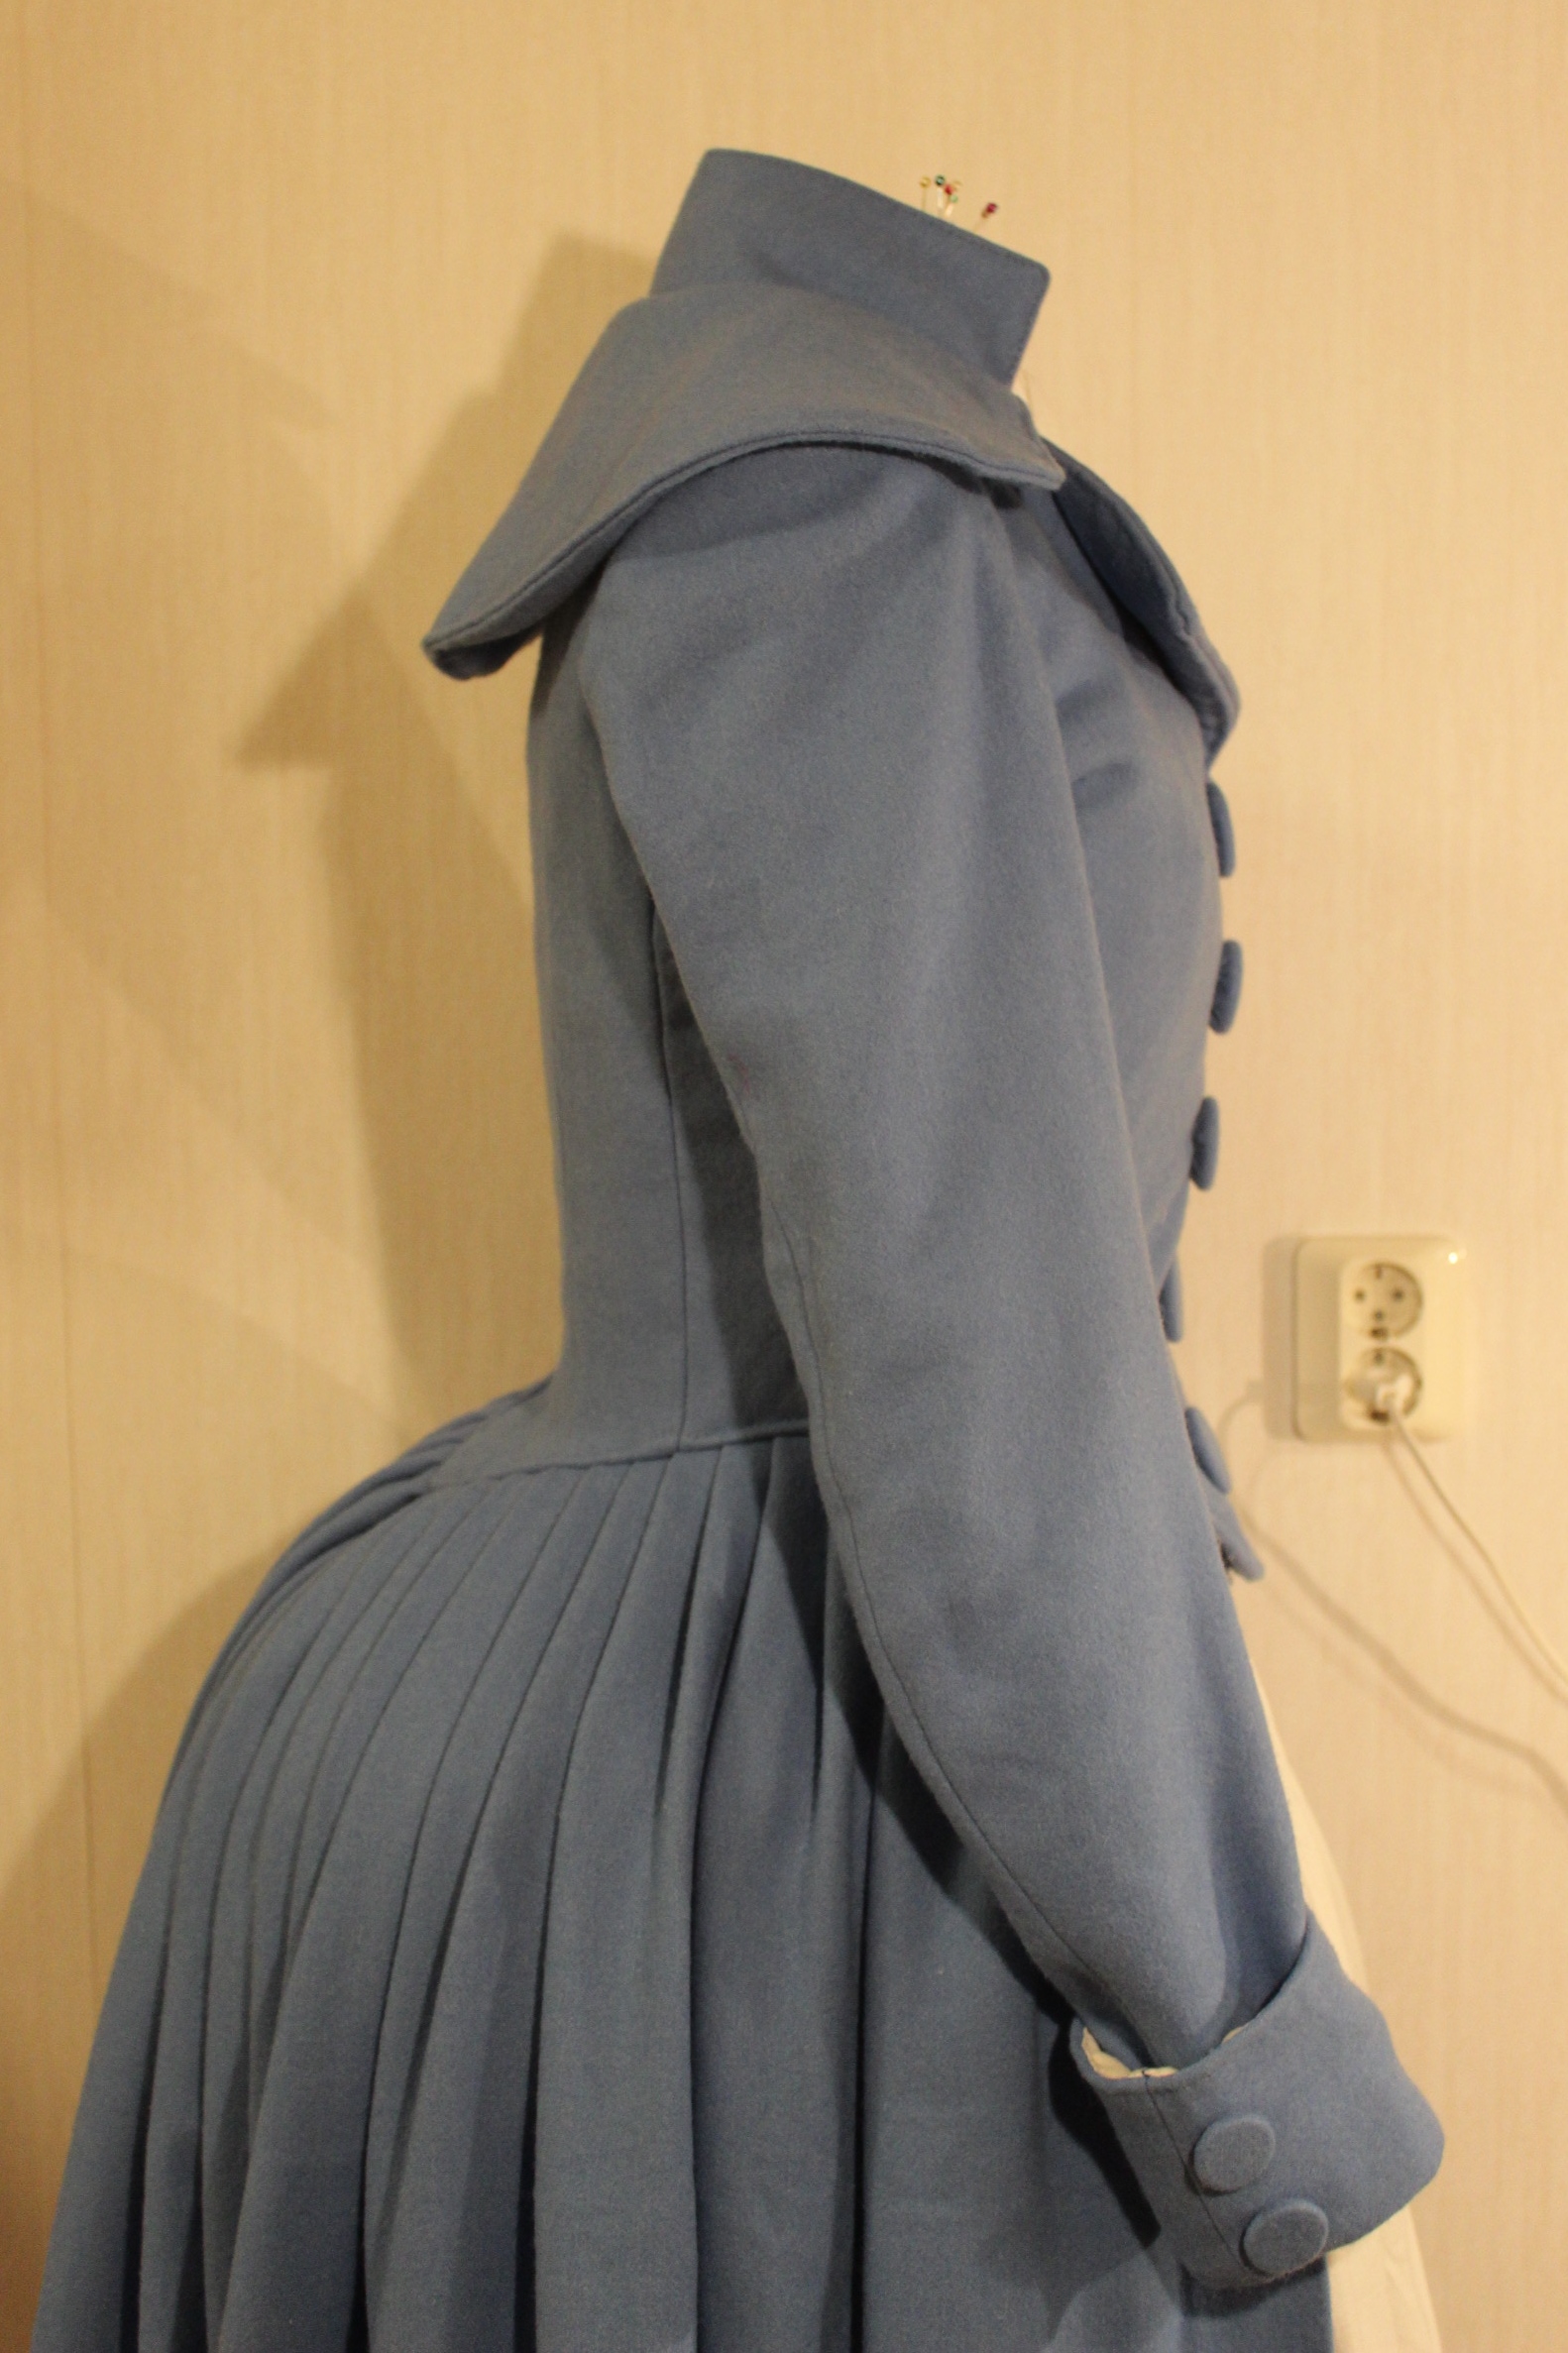
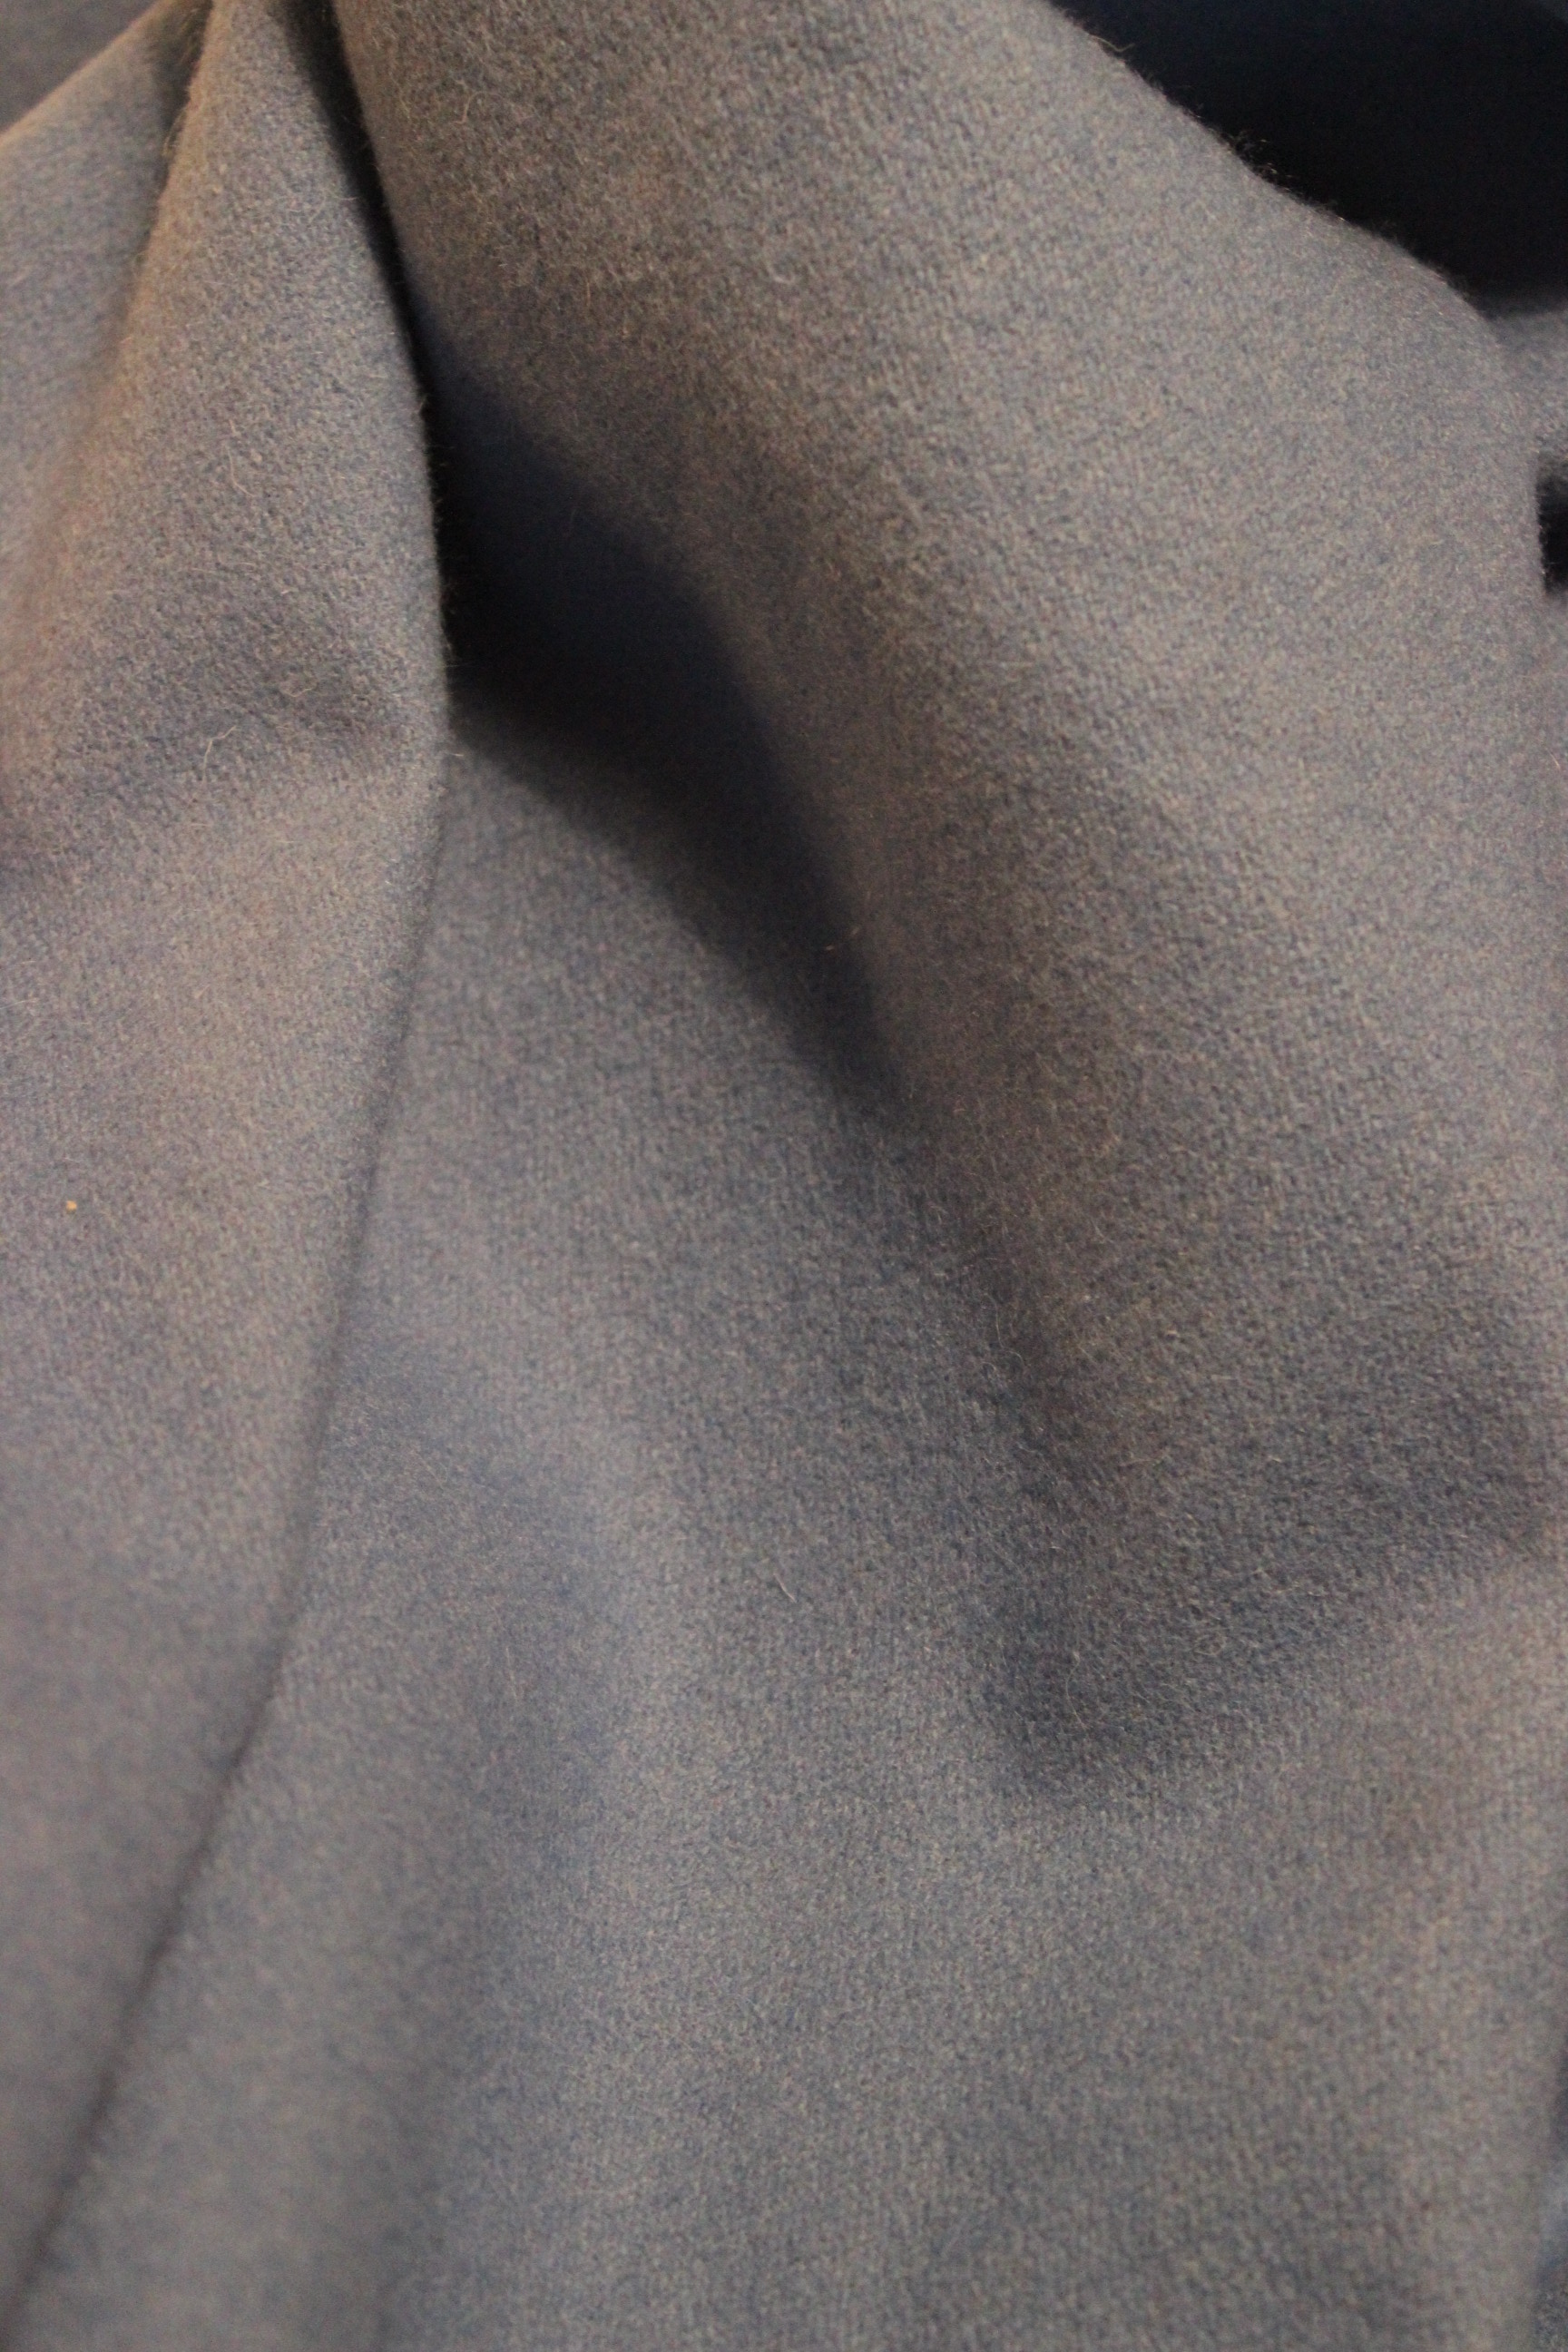
 The fabric are realy coarse and I never thougt I would ever be able to use it for anything, particularly not for a garment.
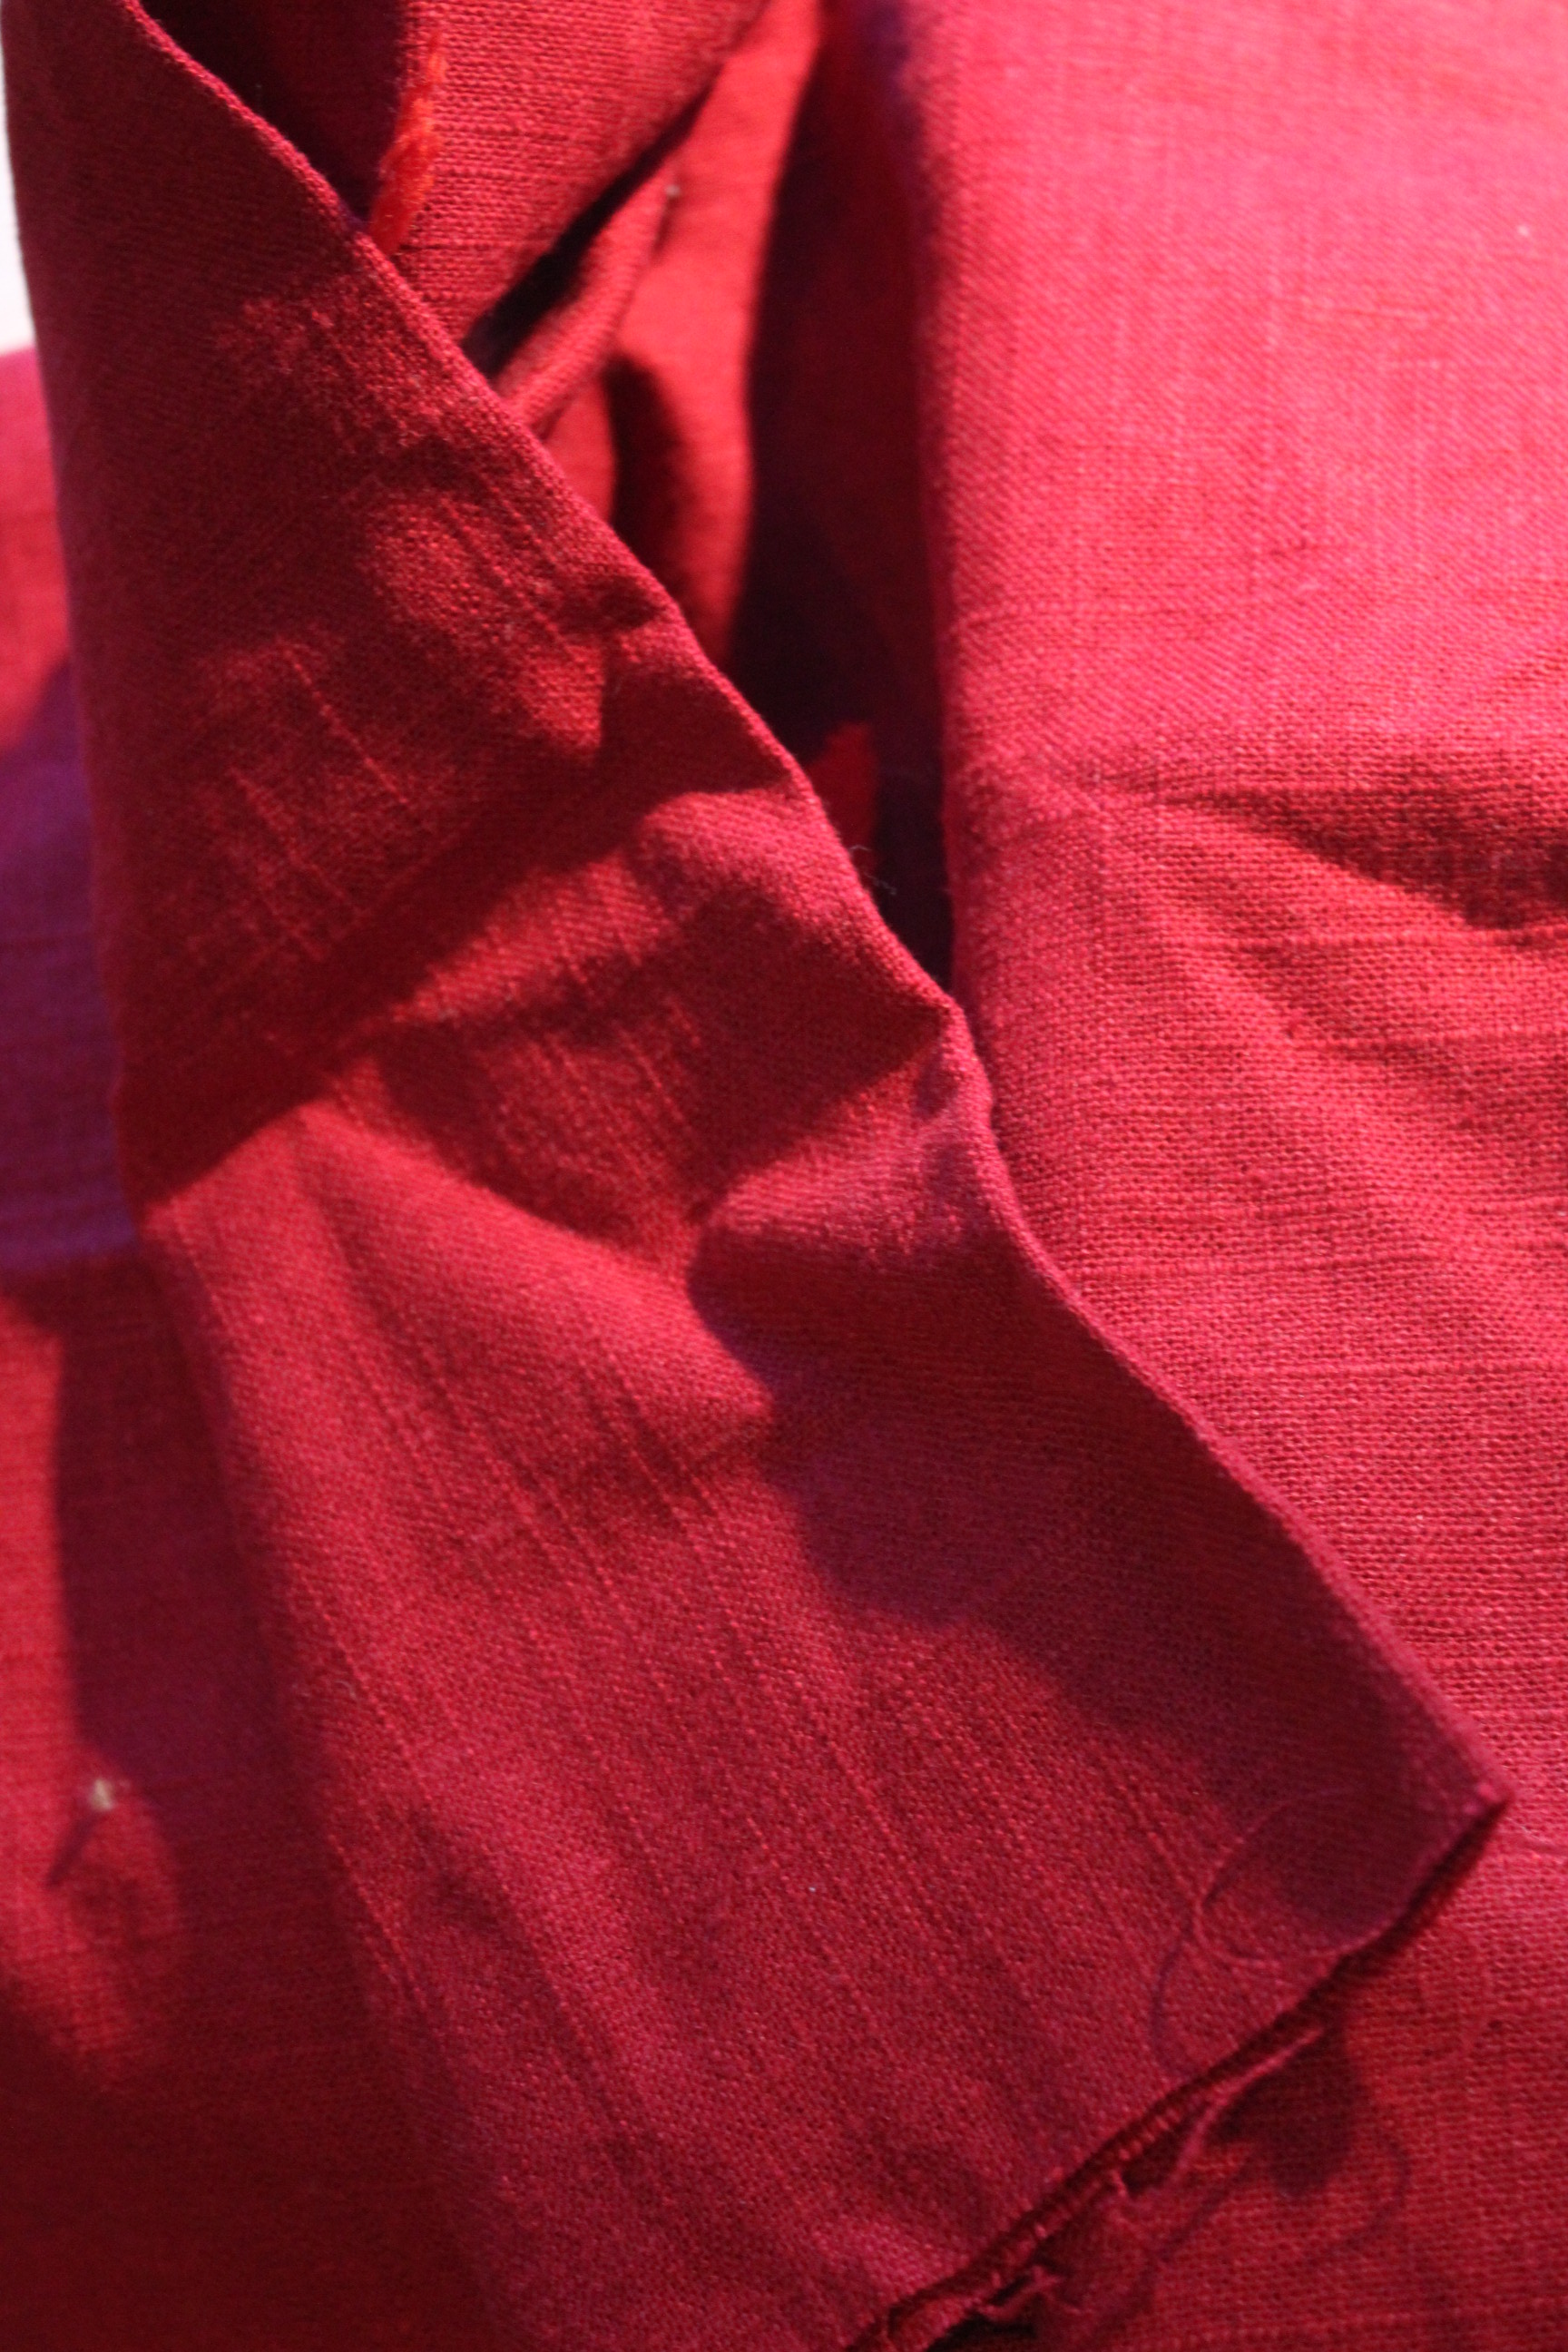


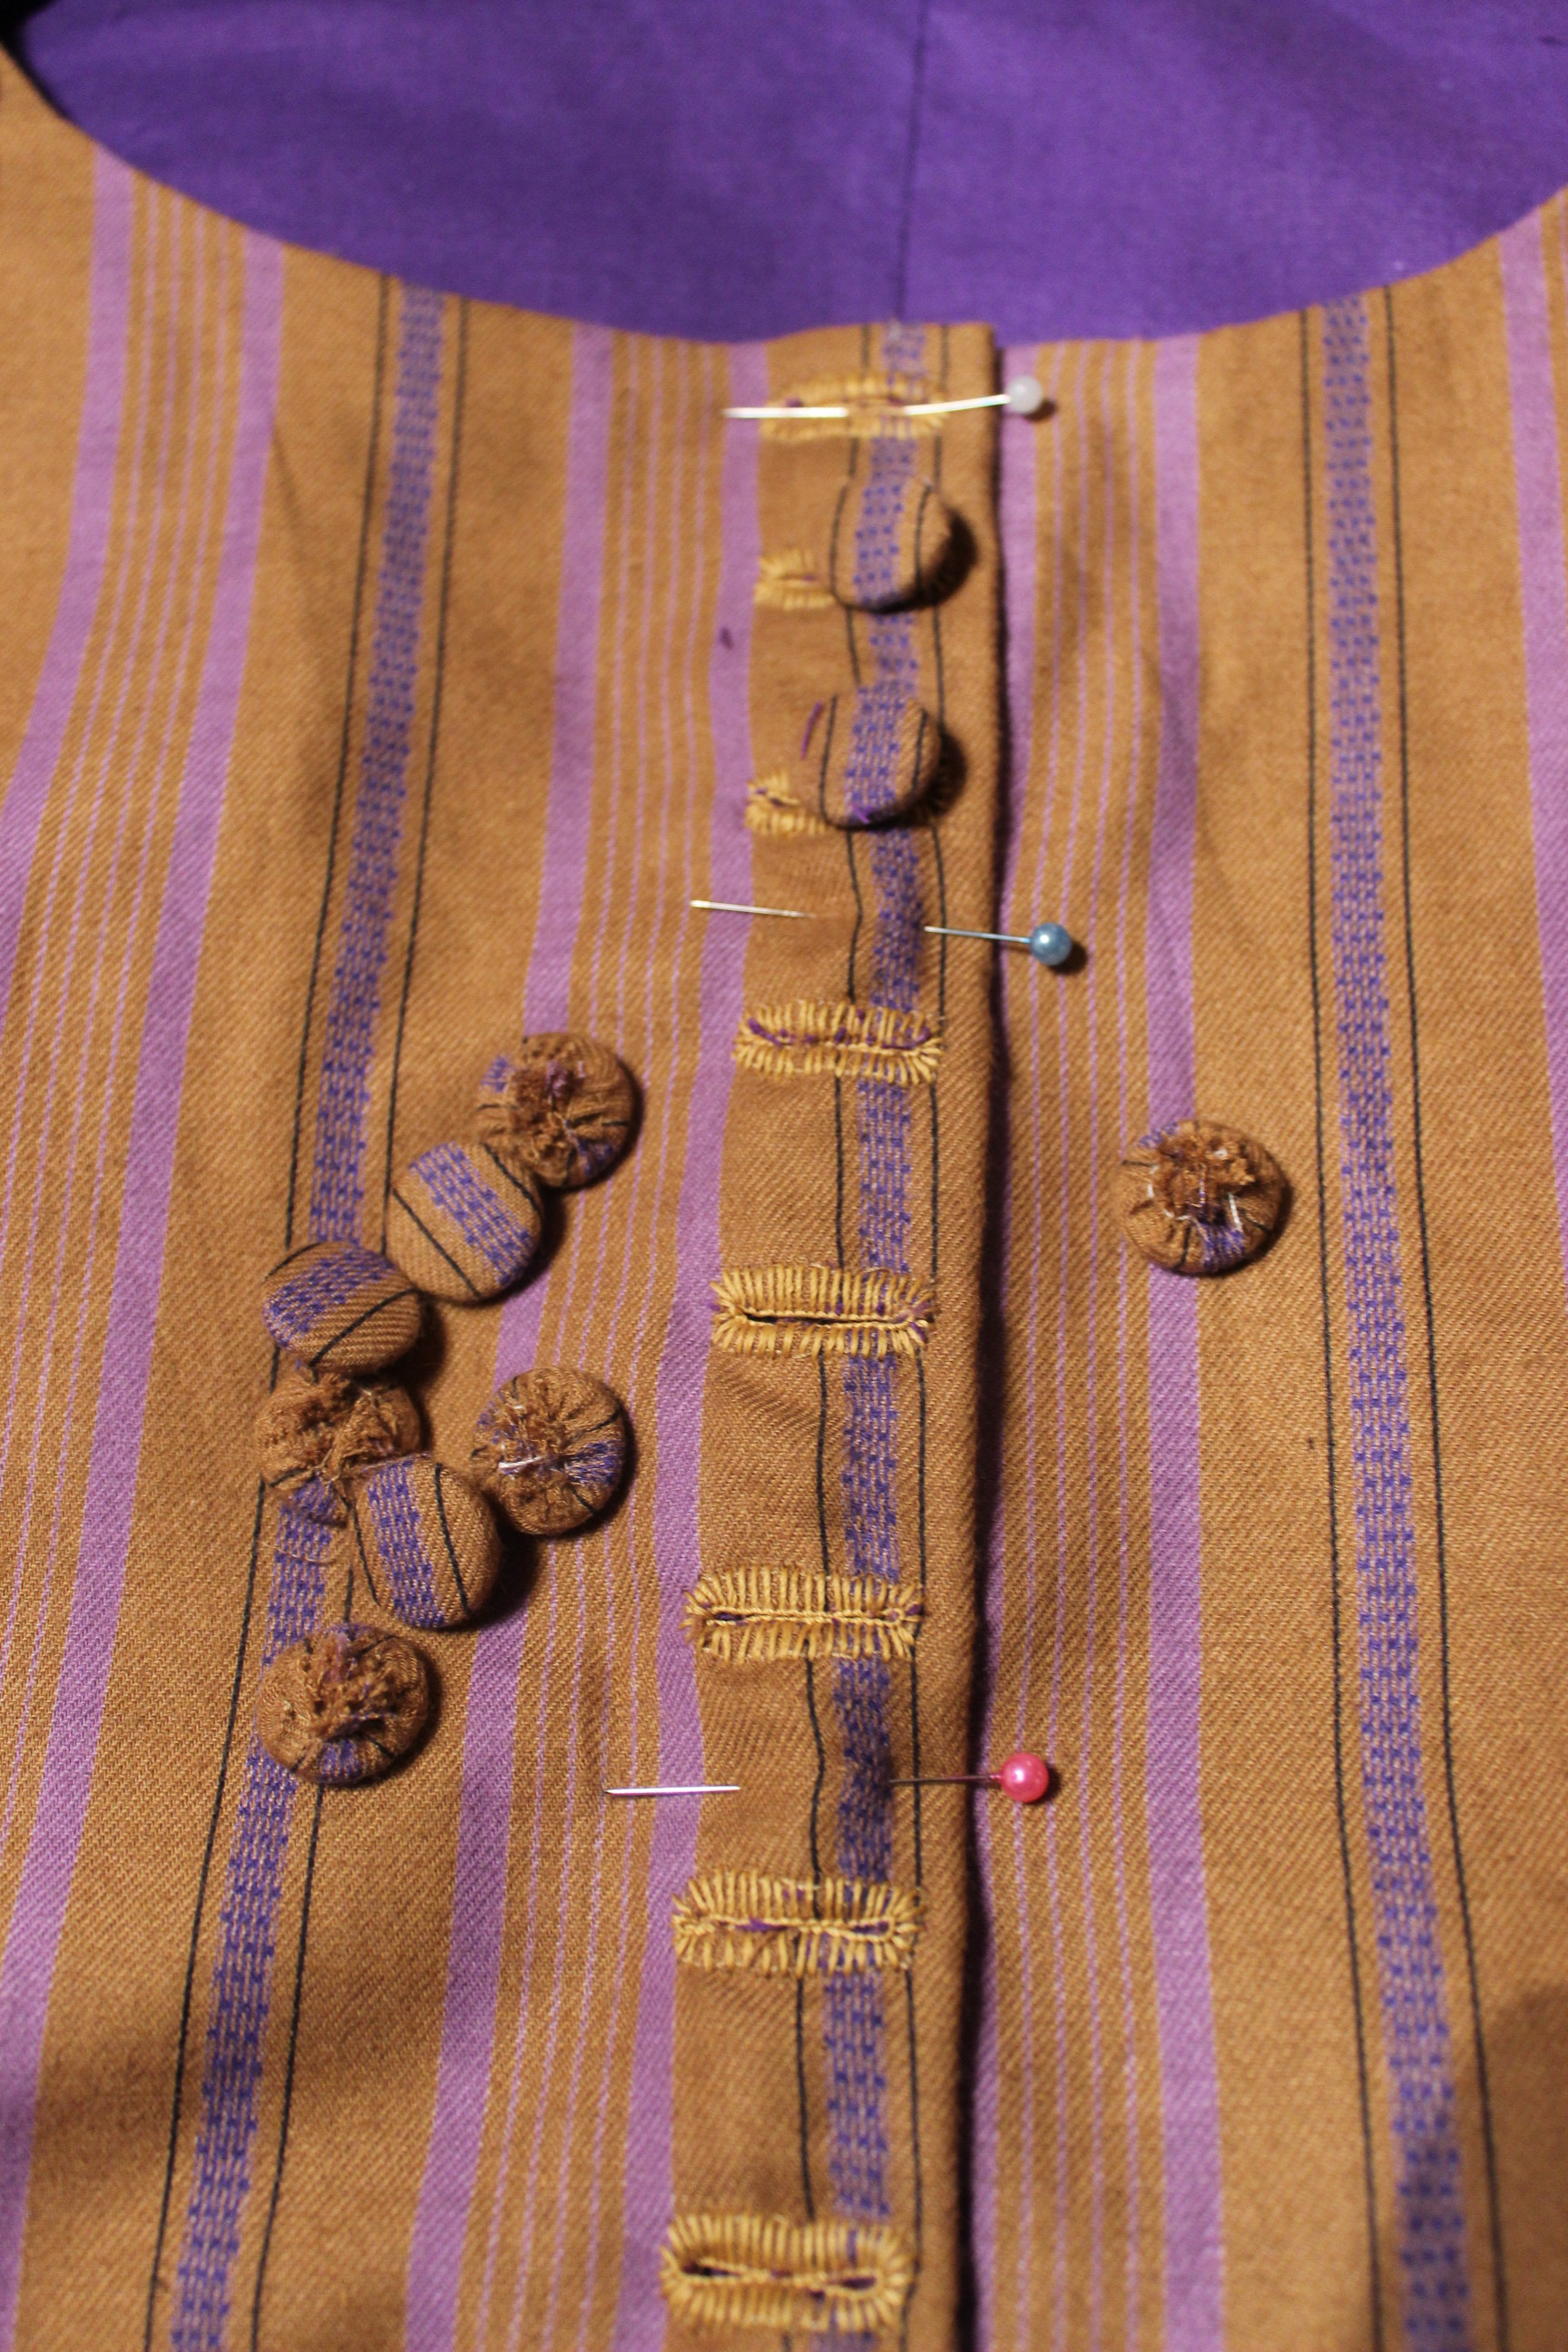

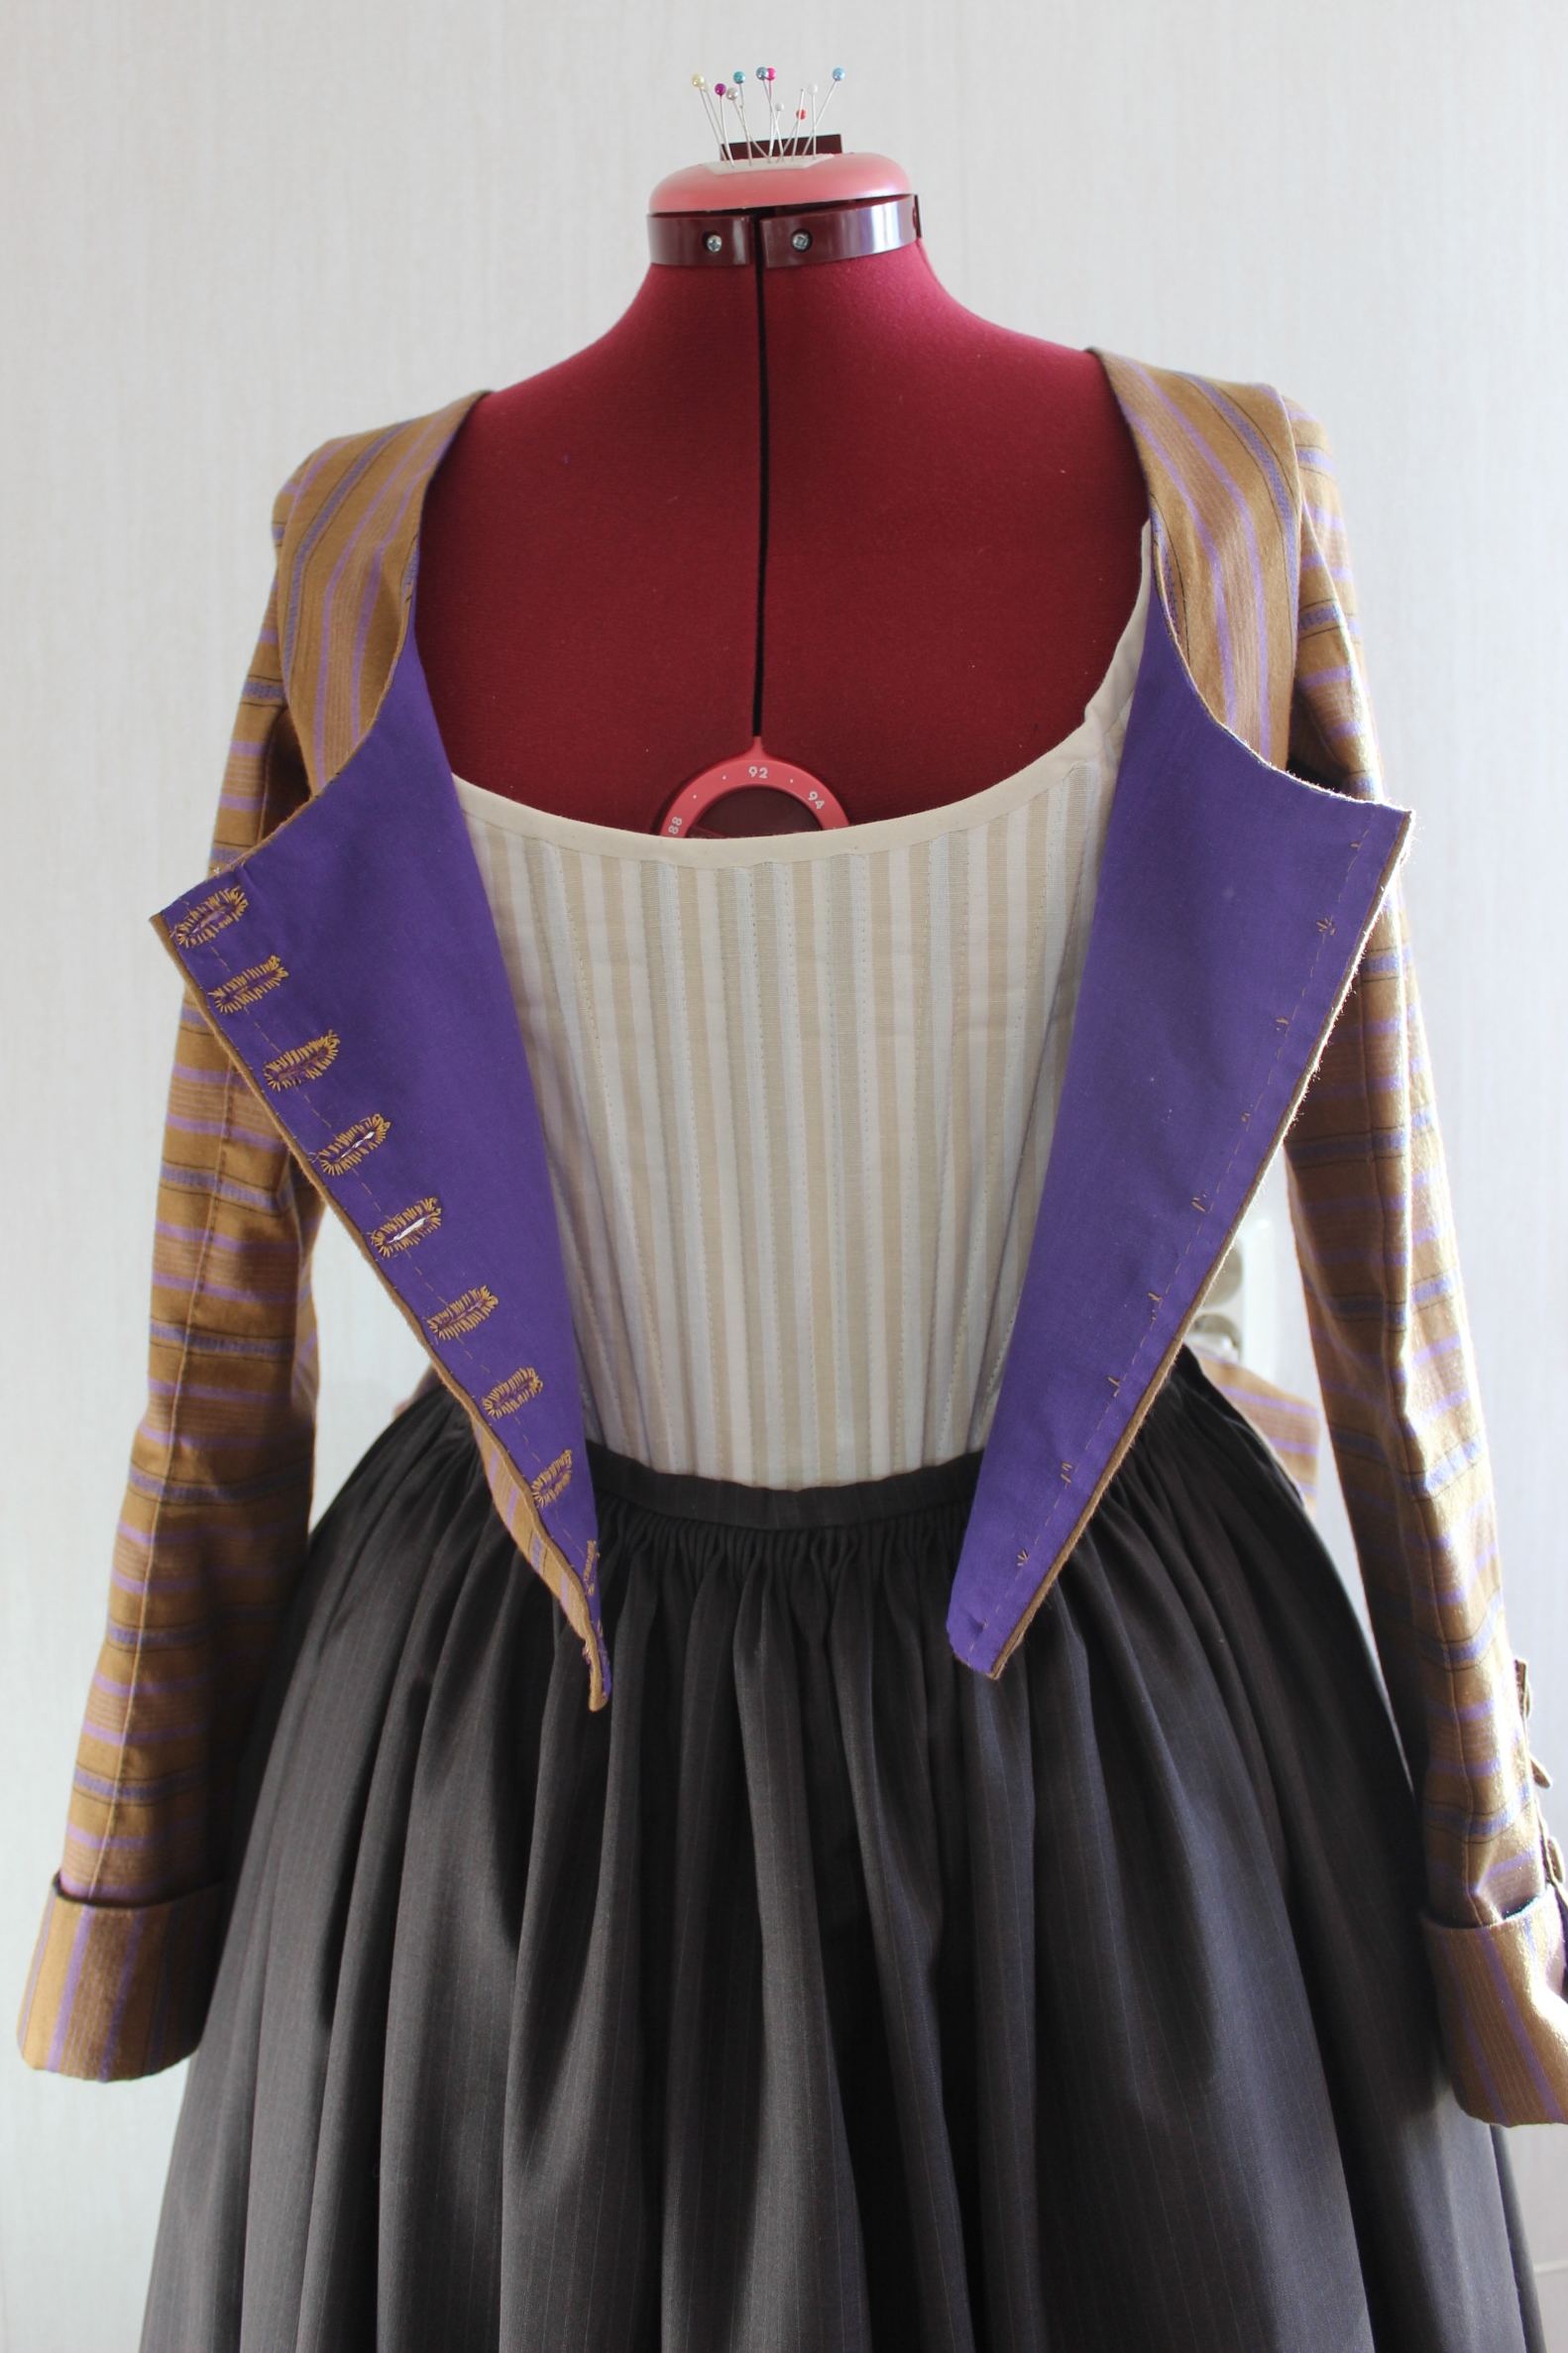
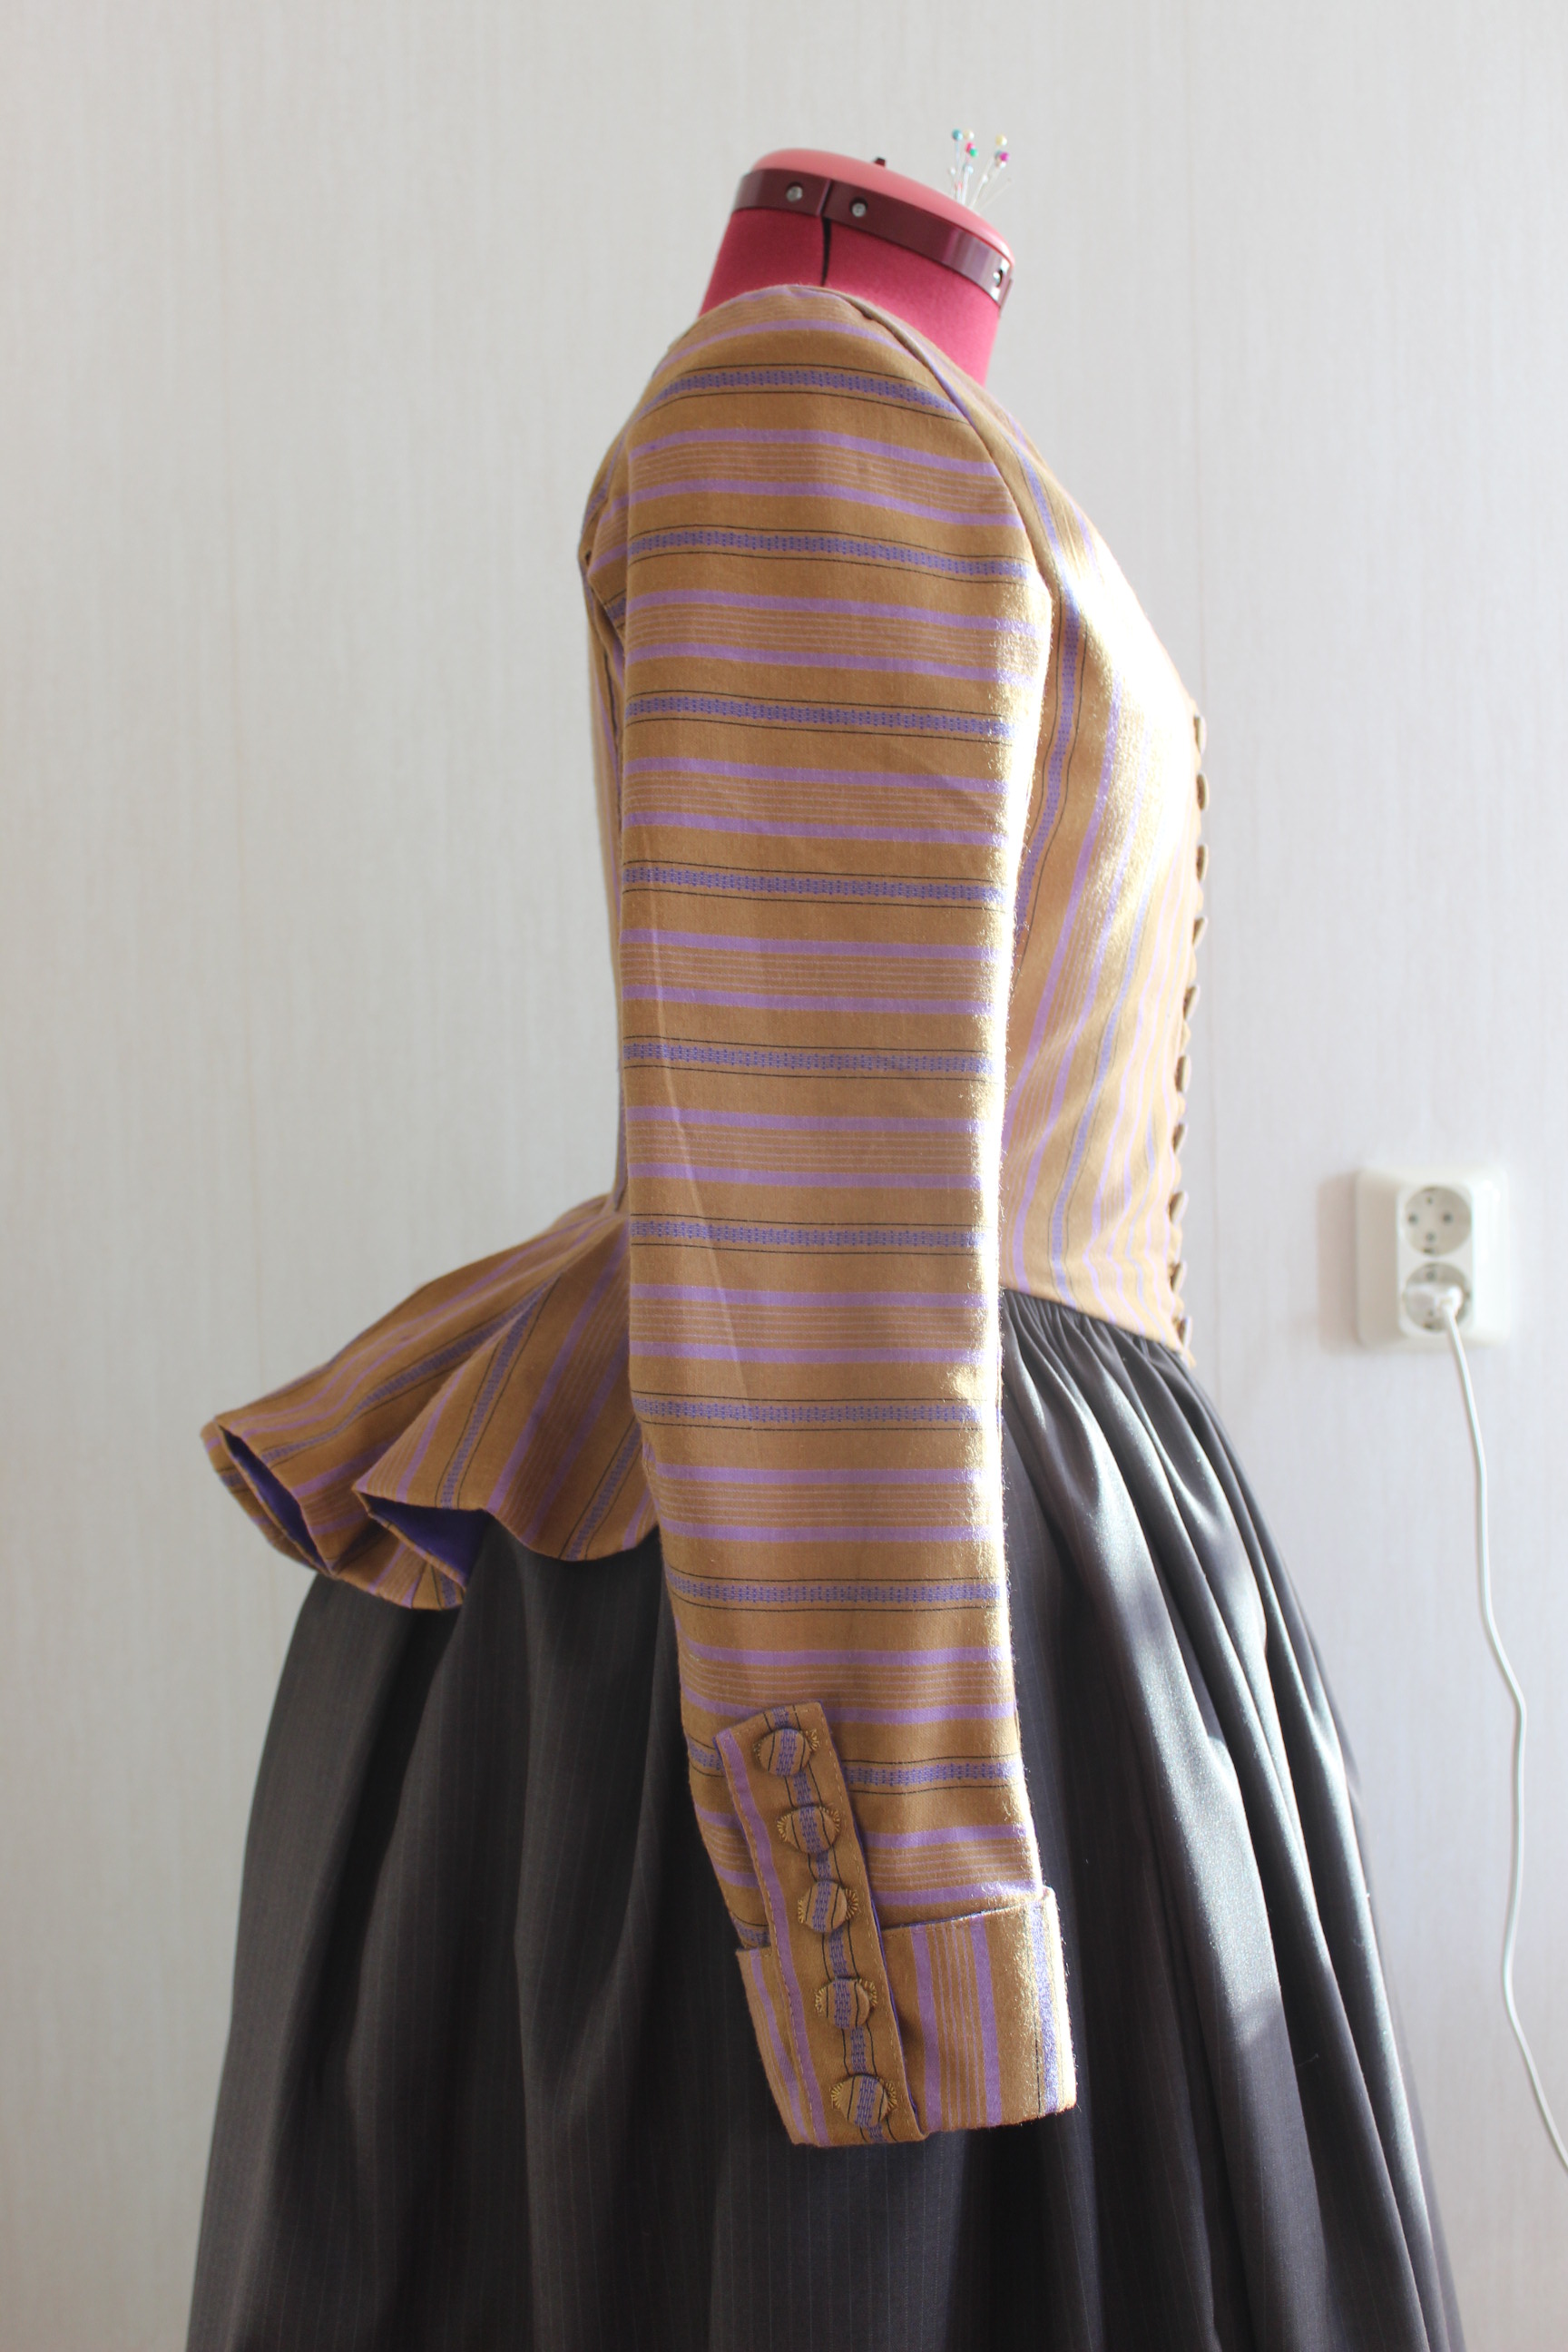
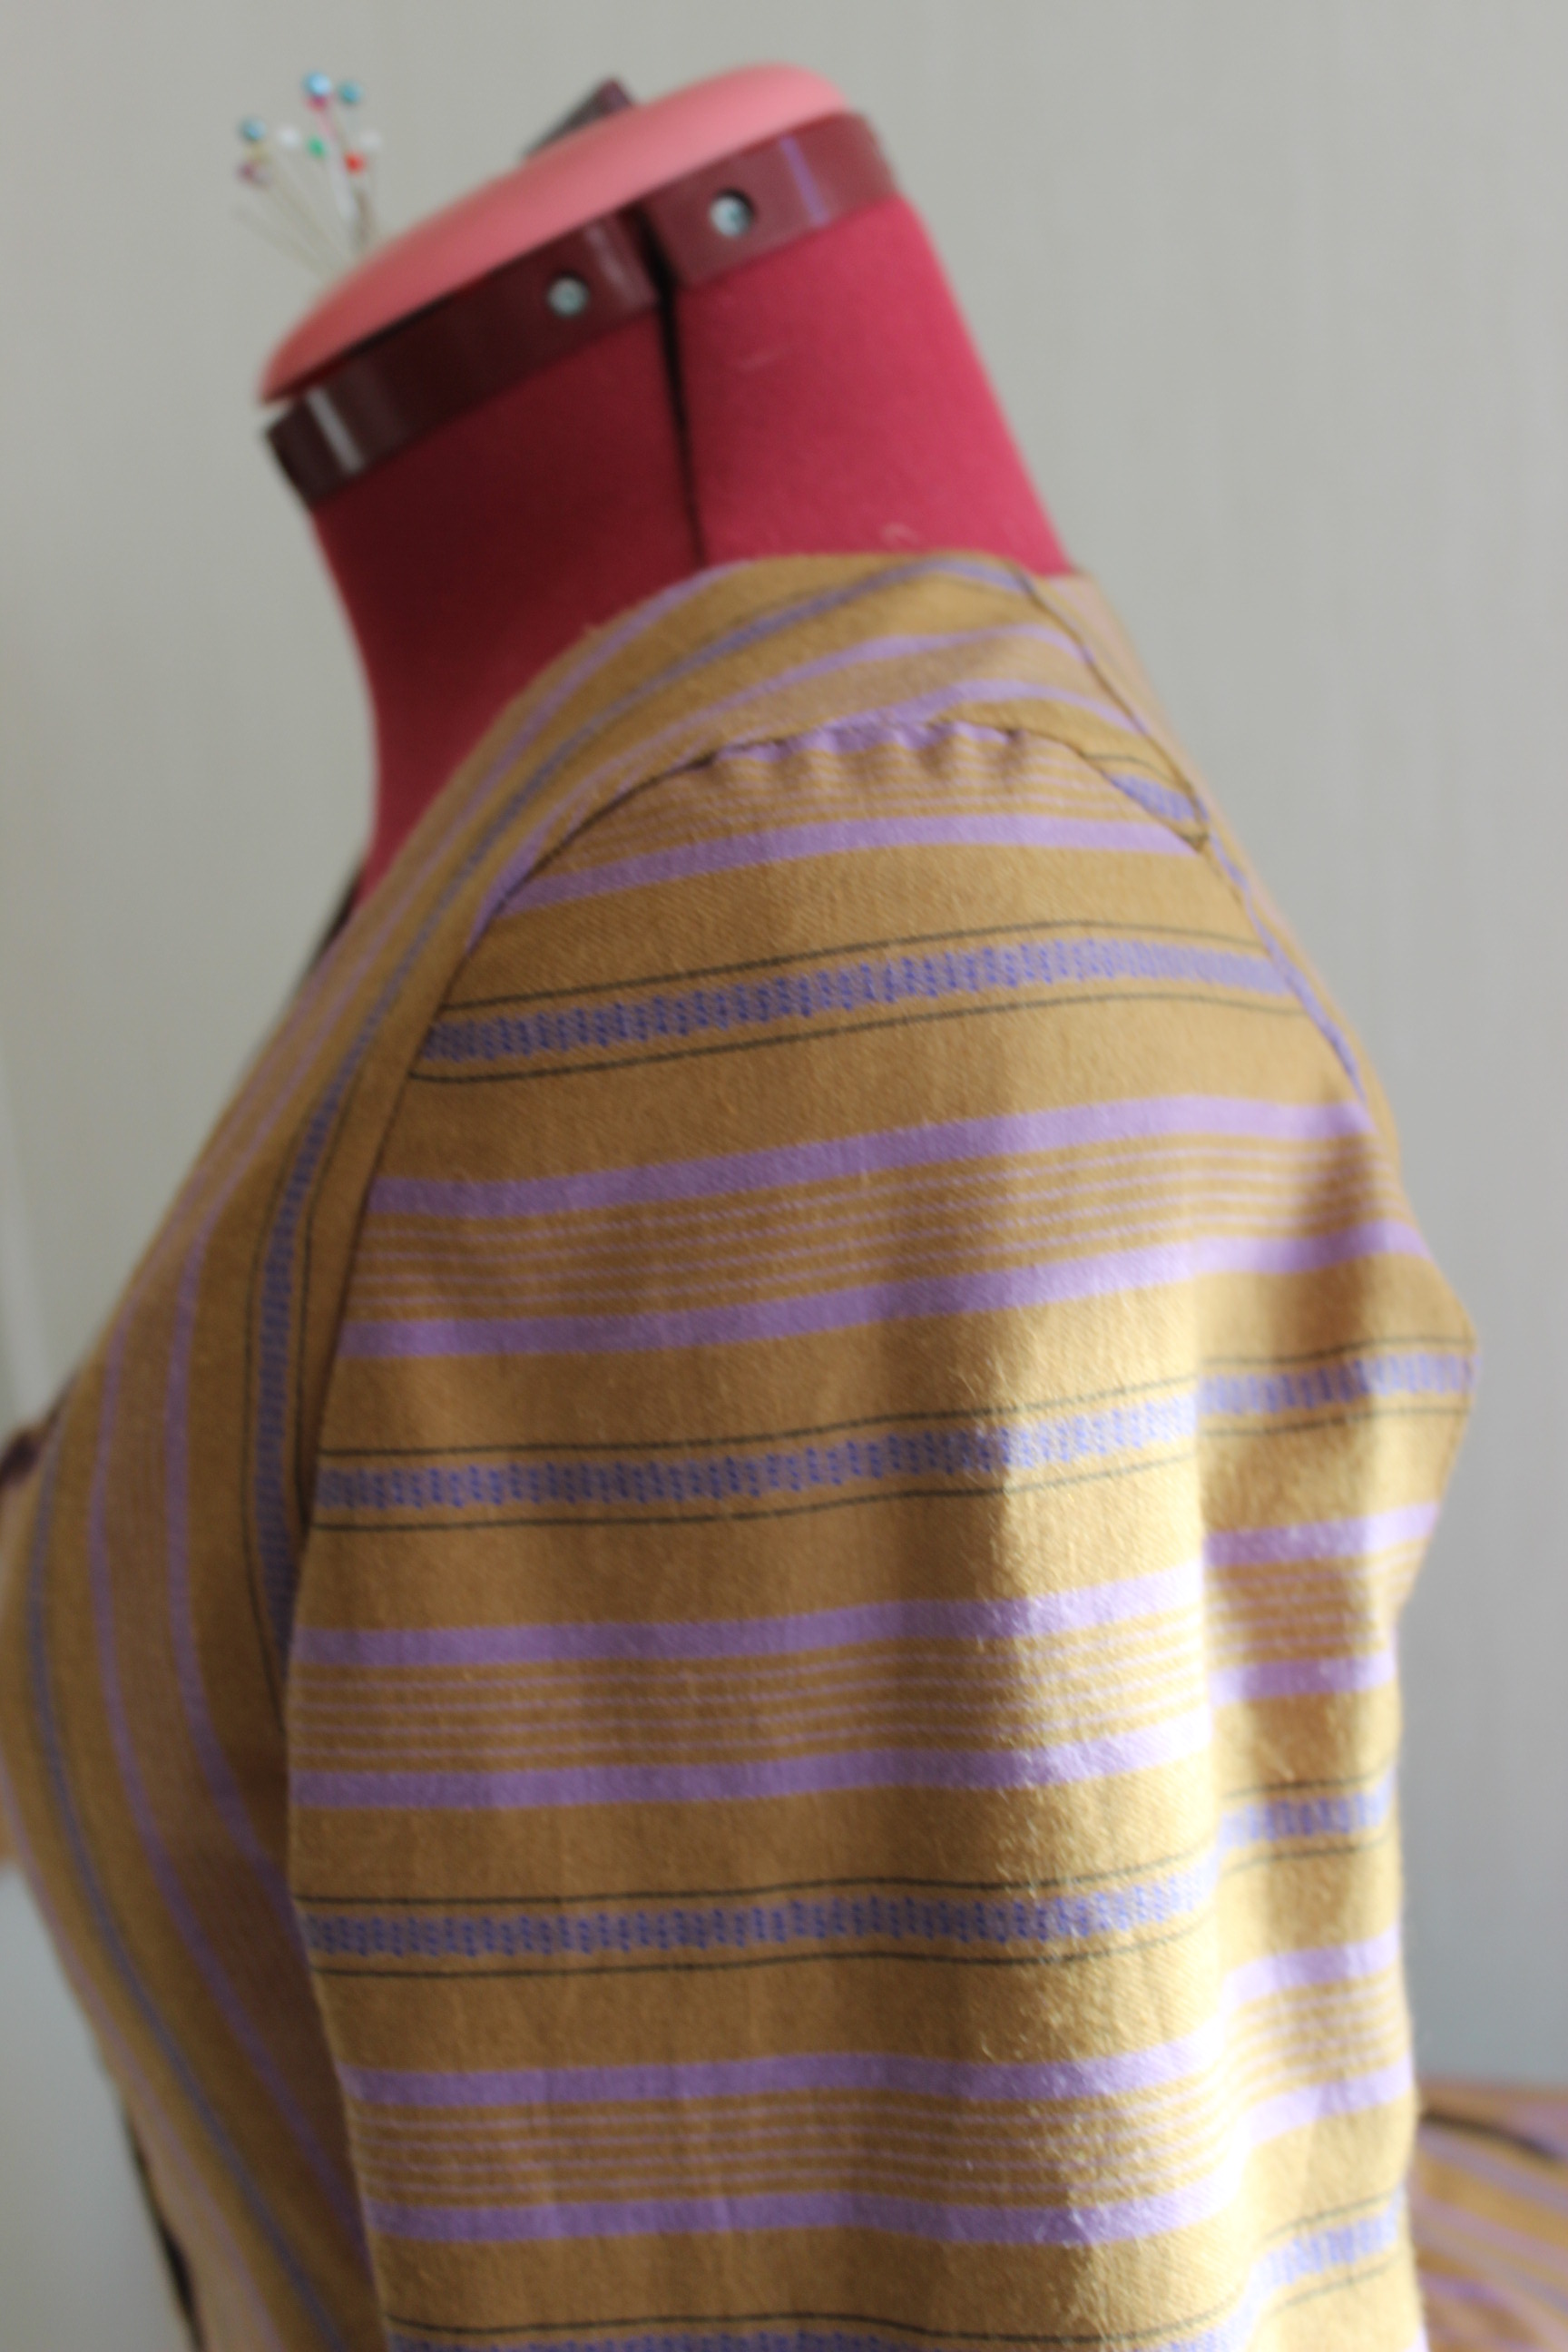

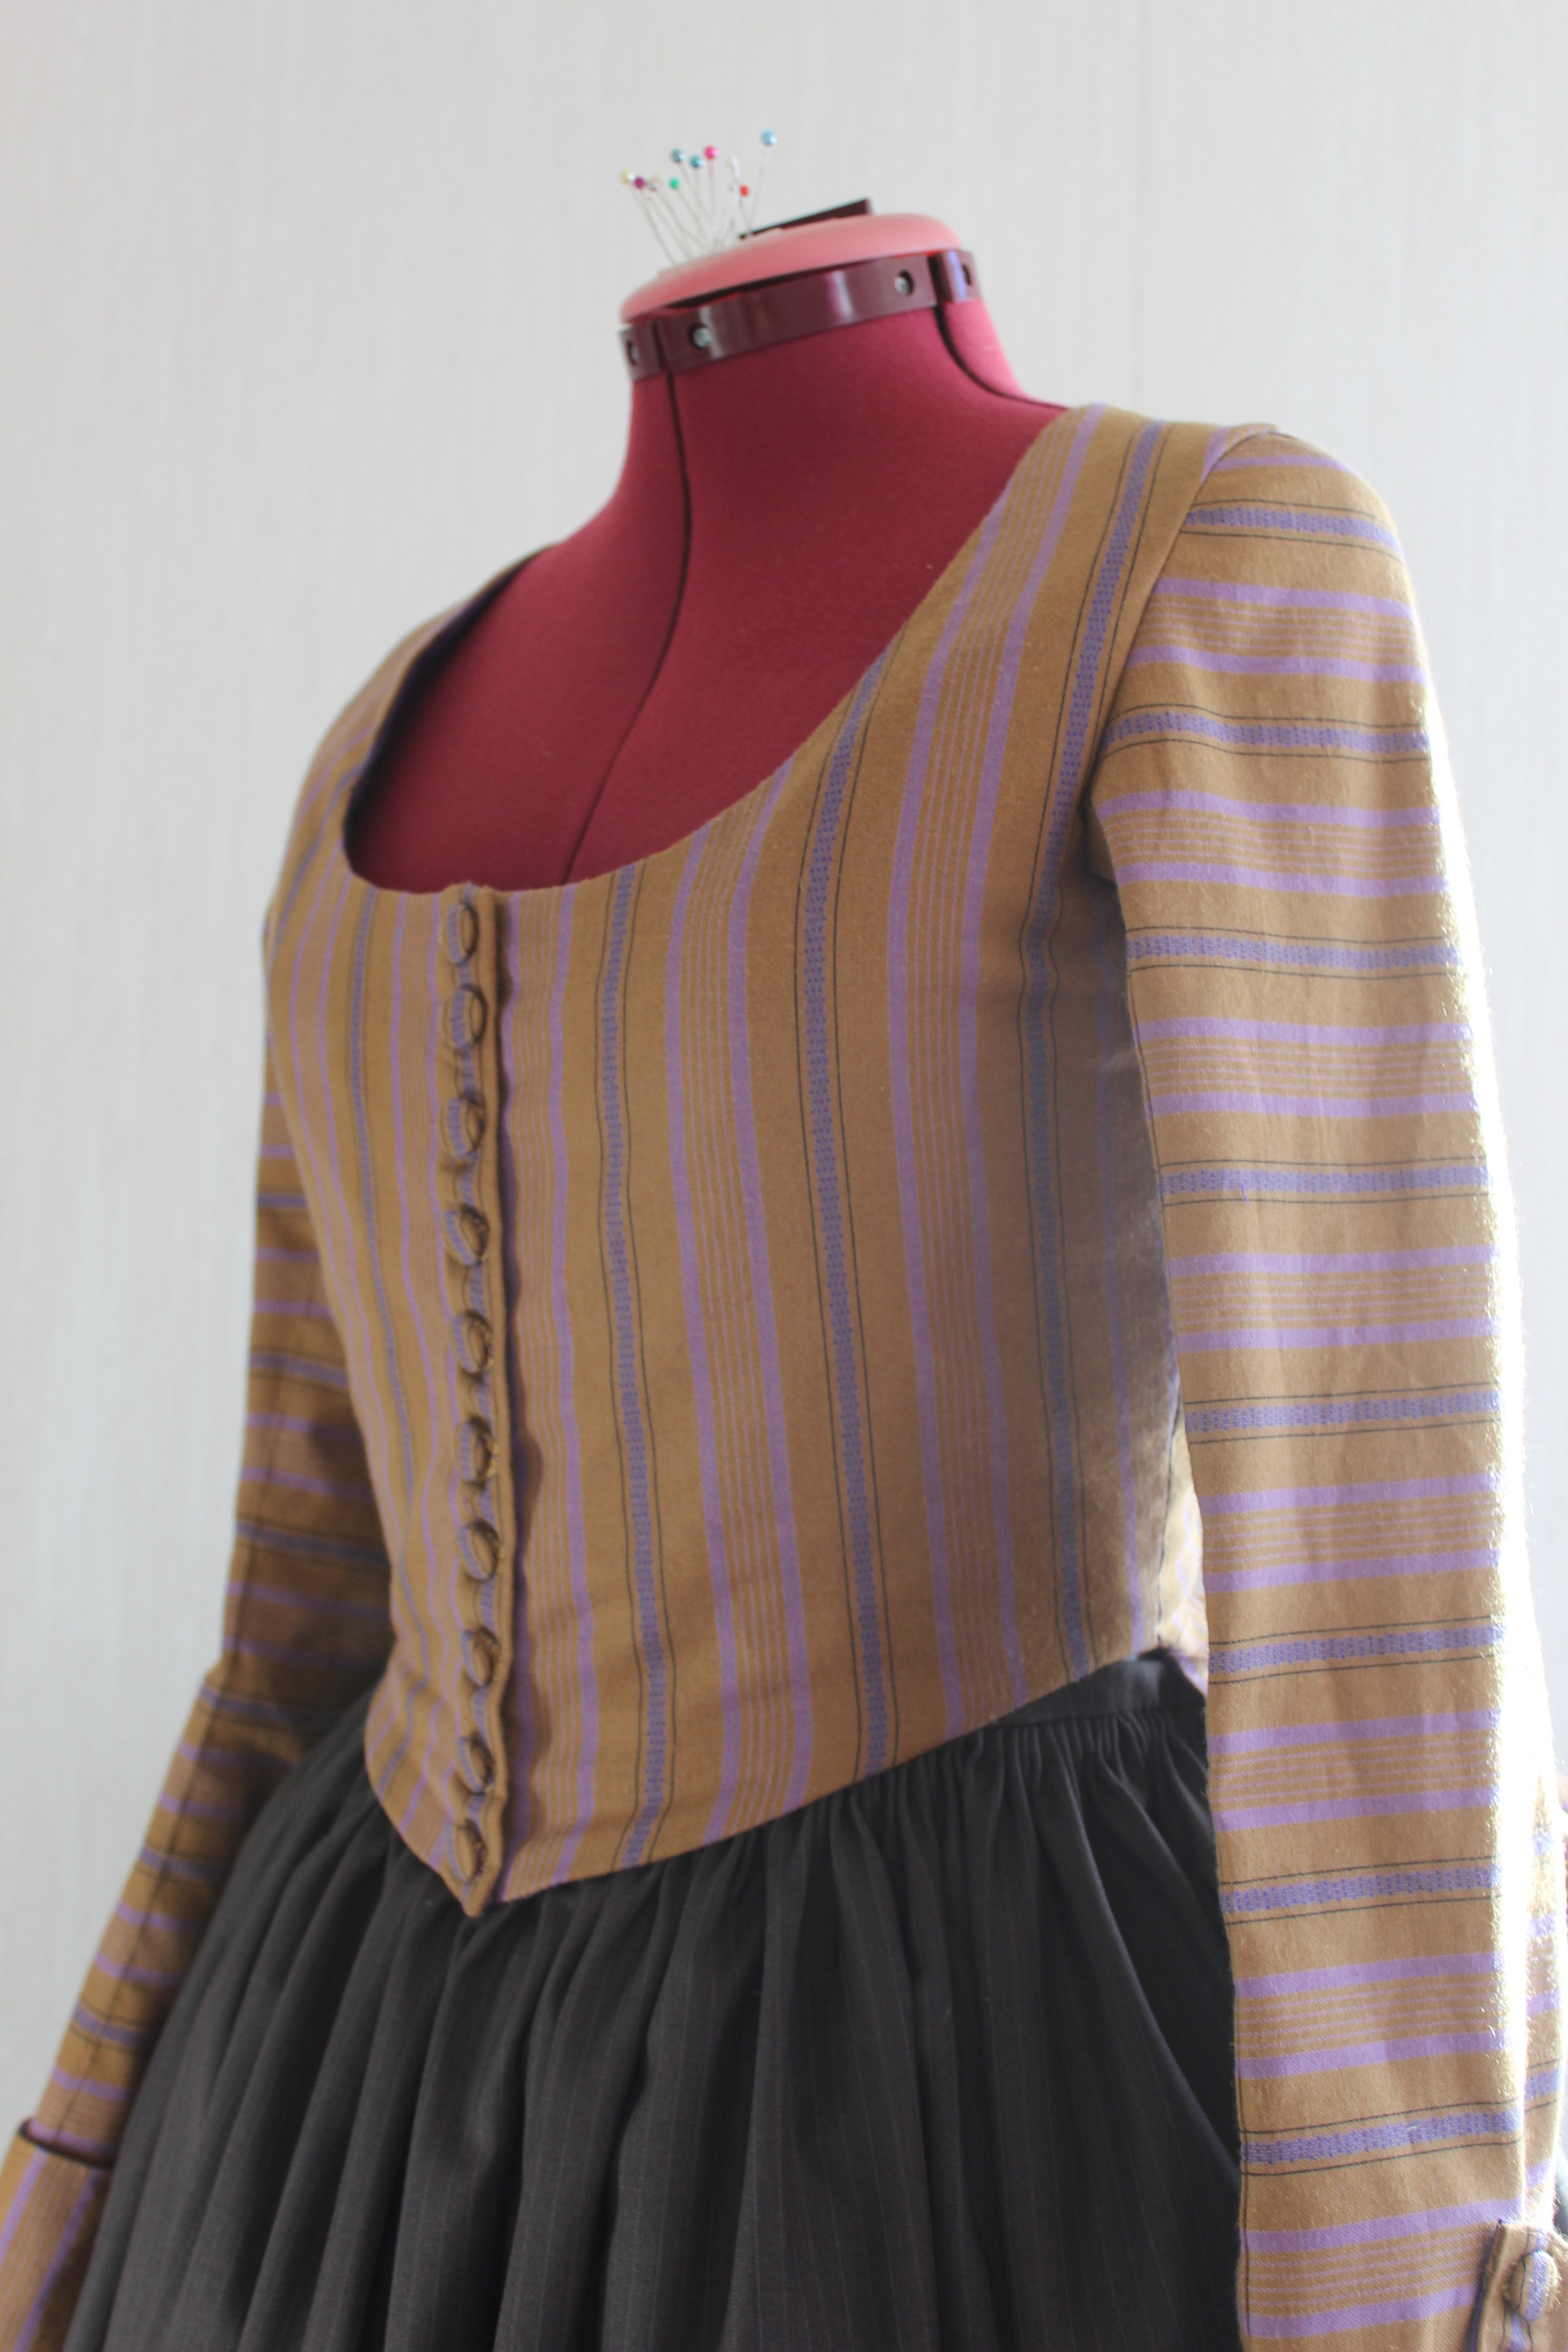


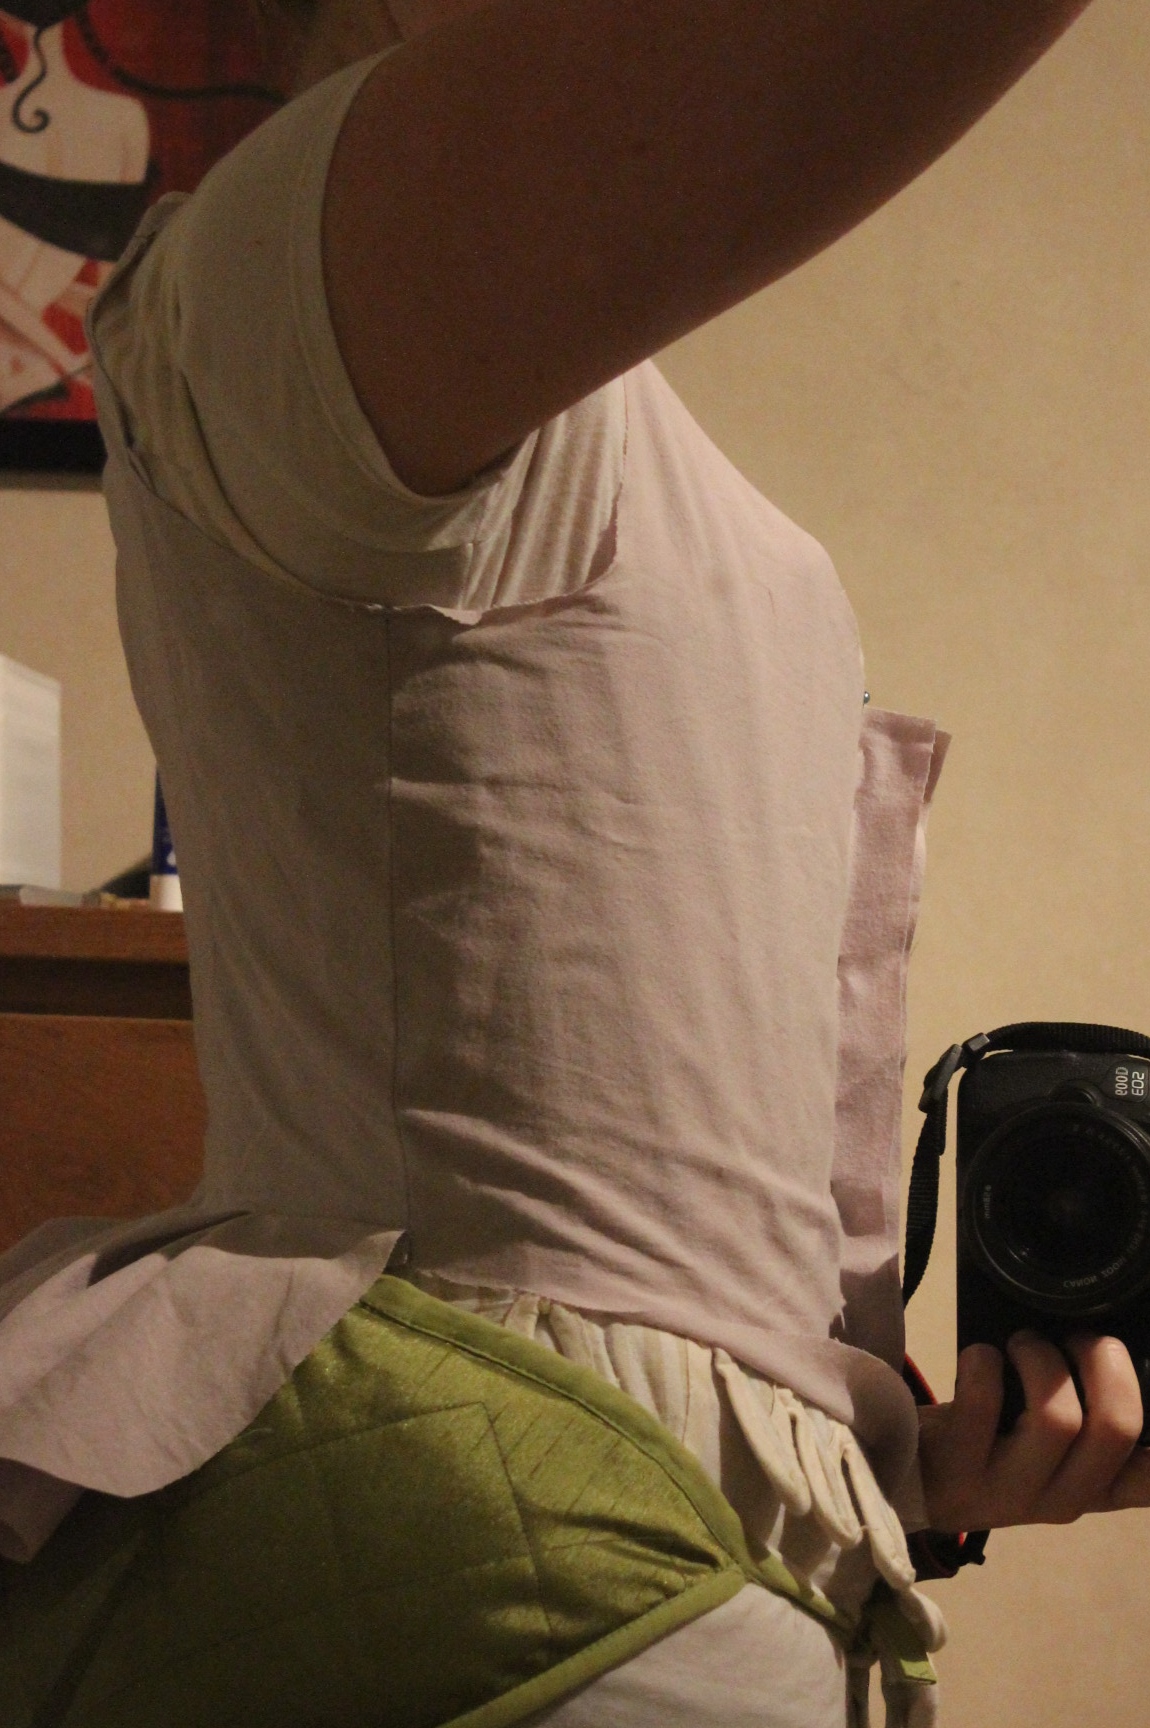
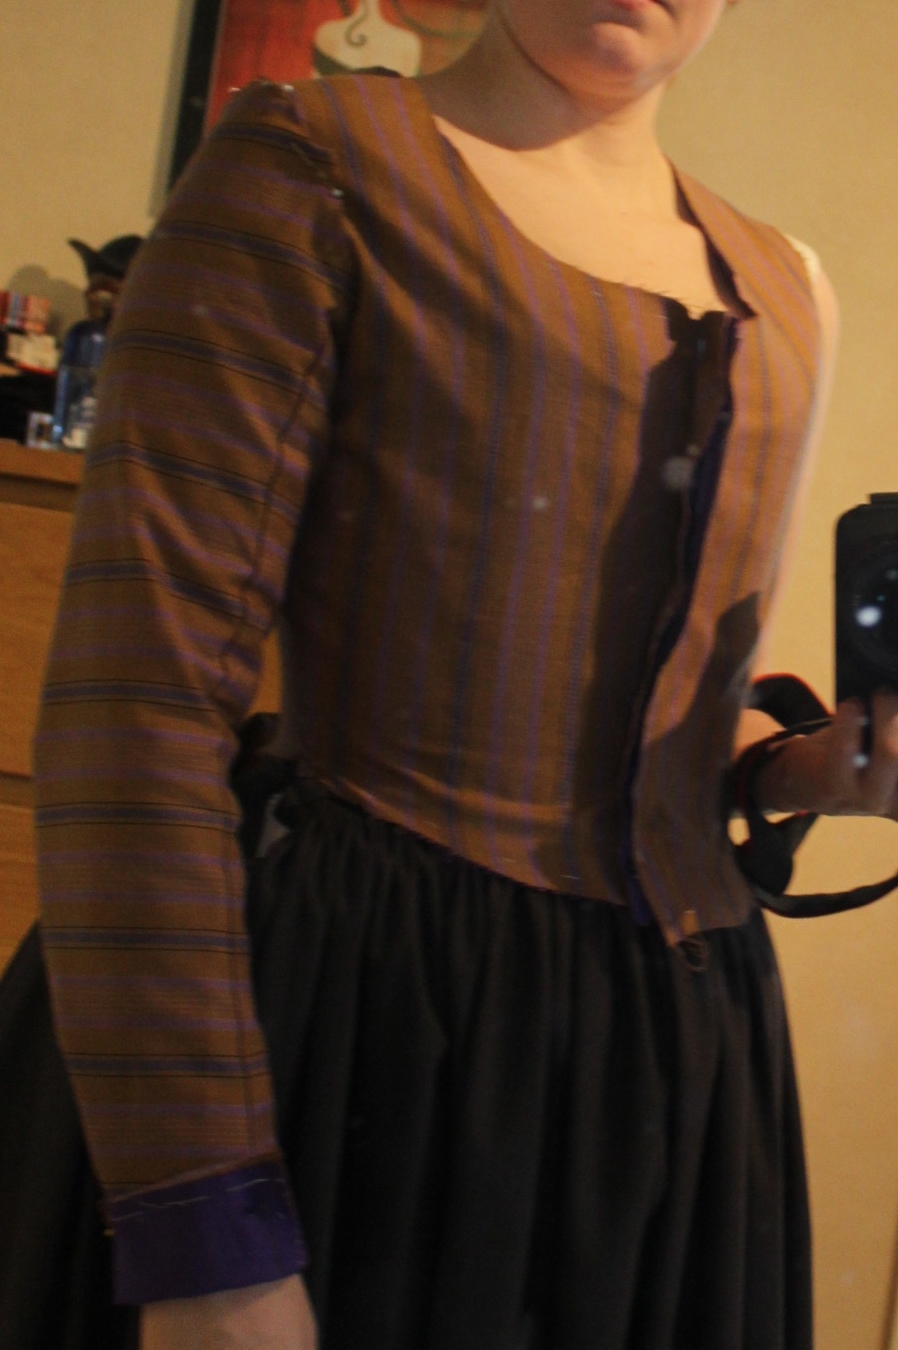

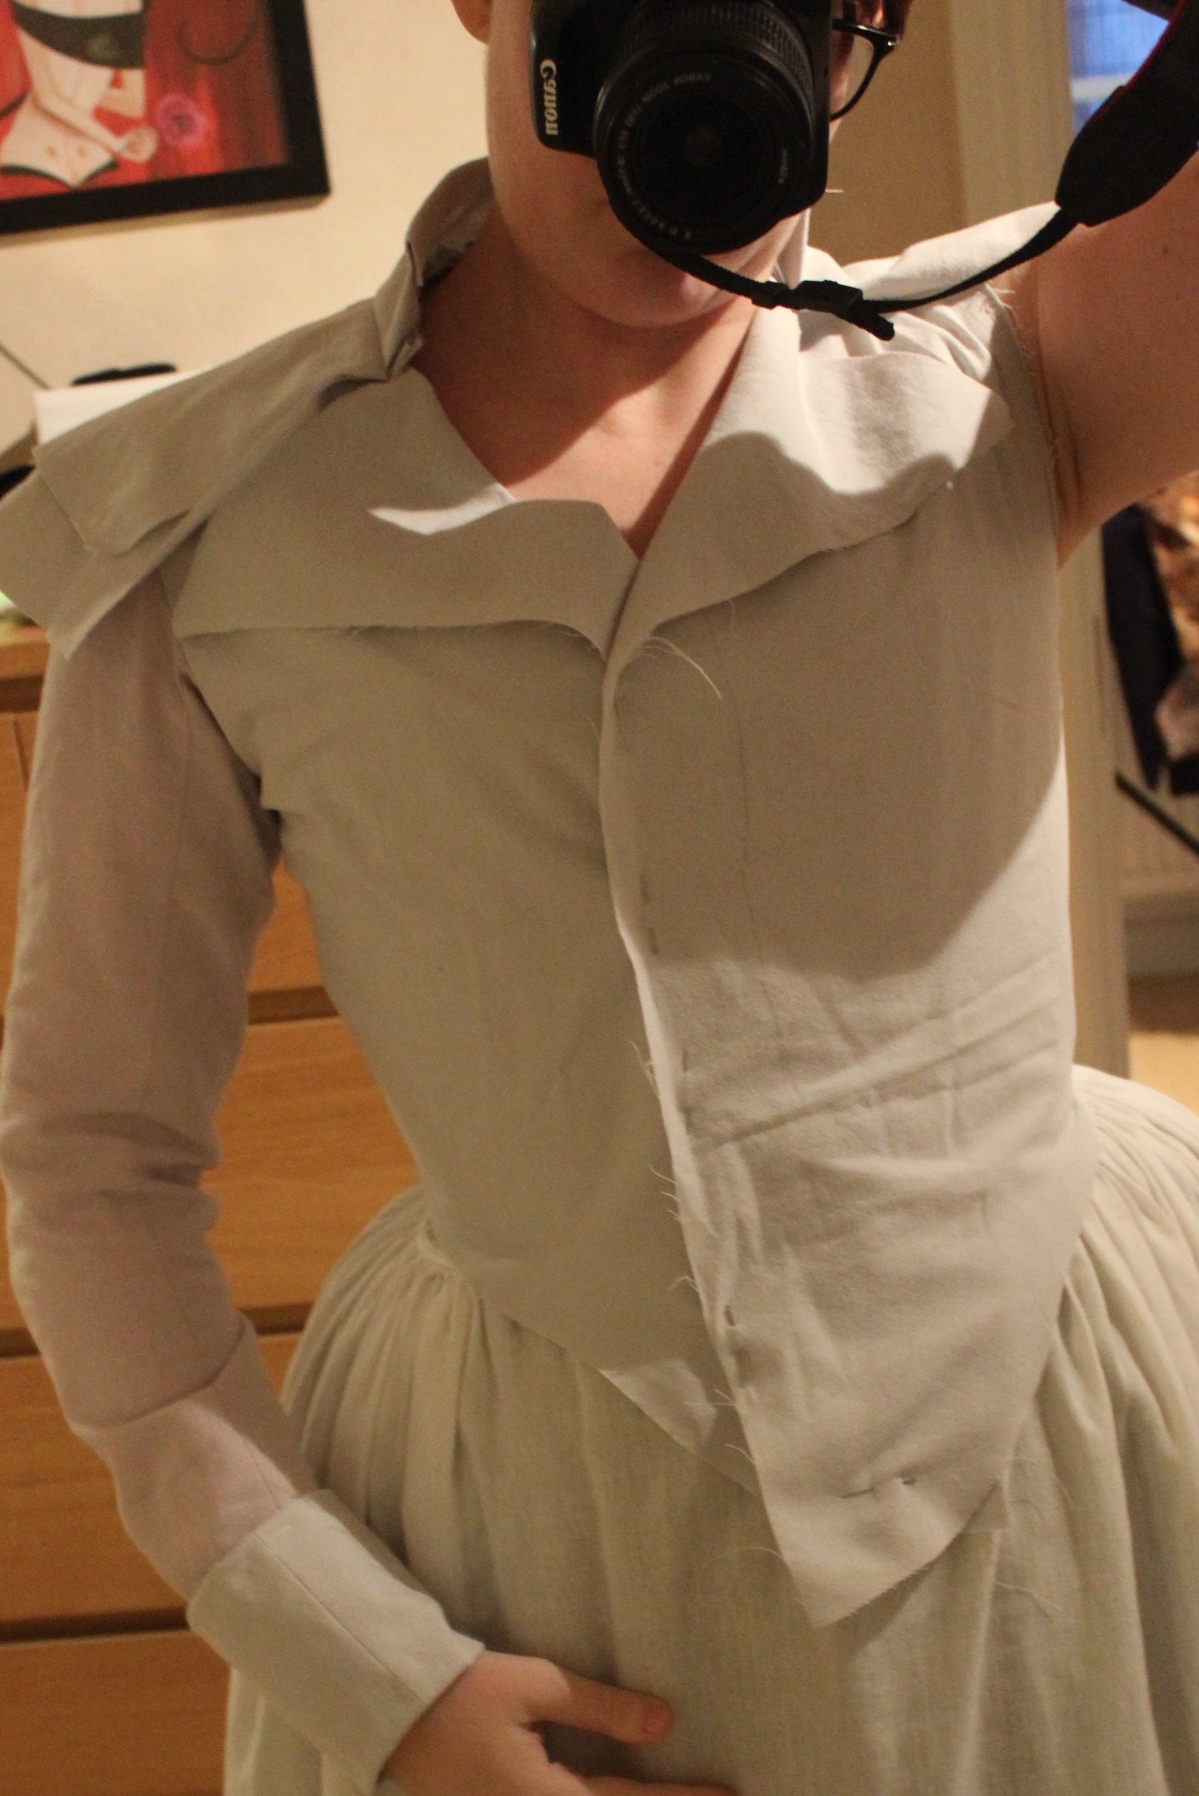
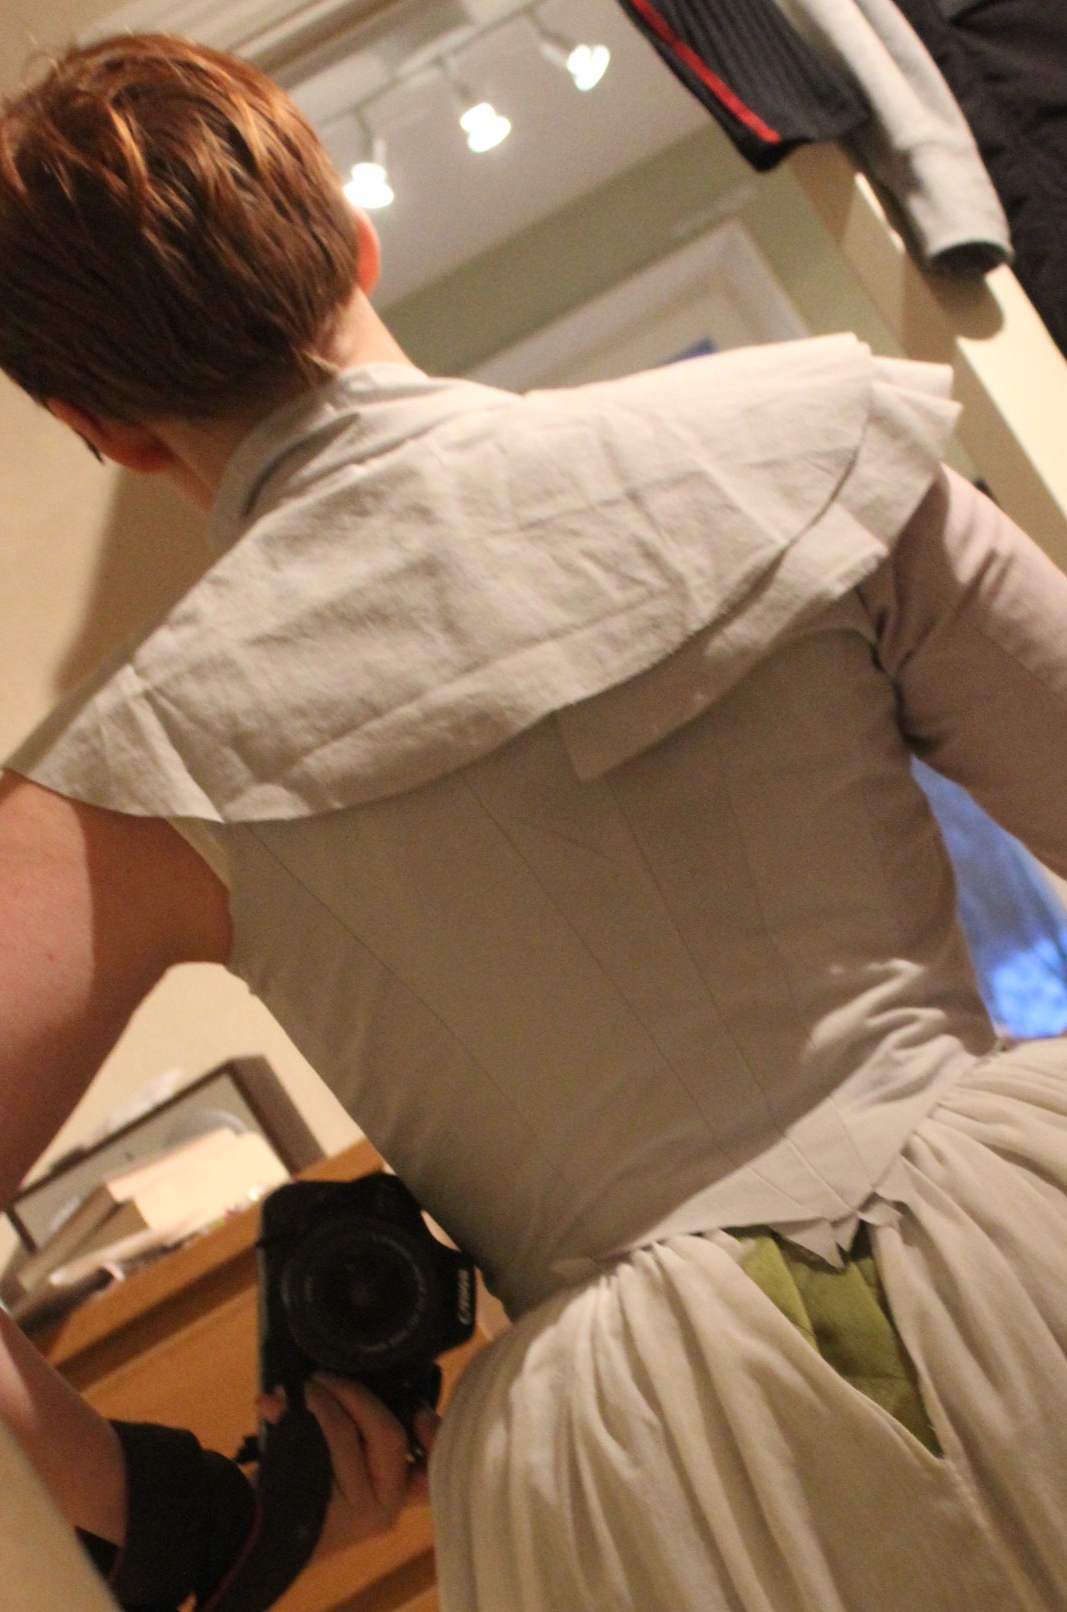
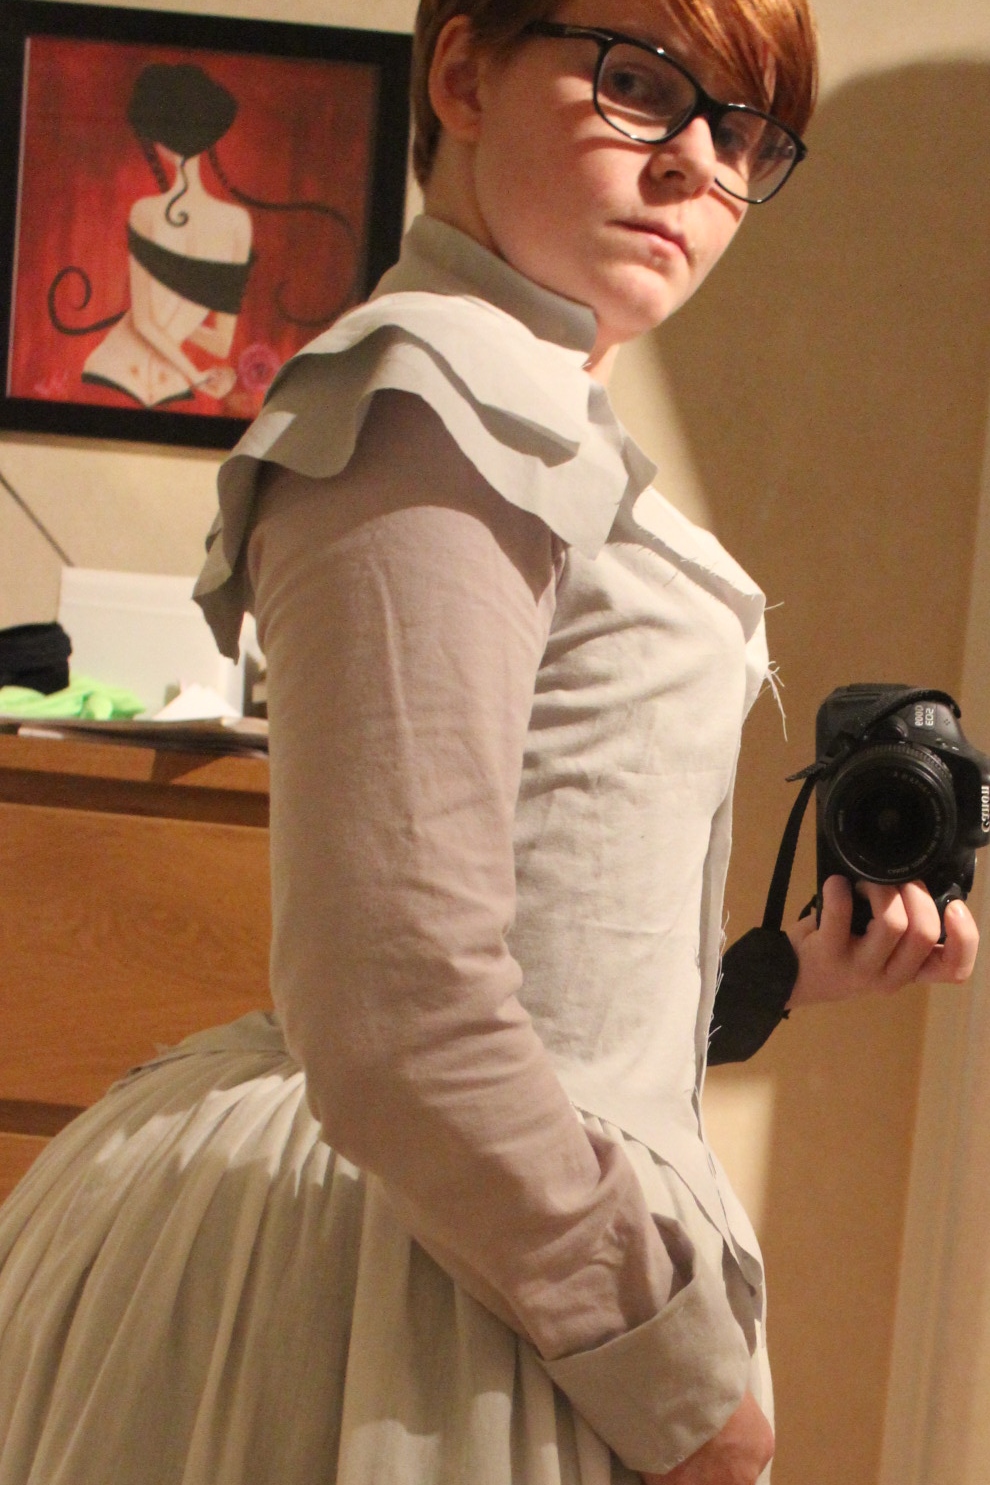
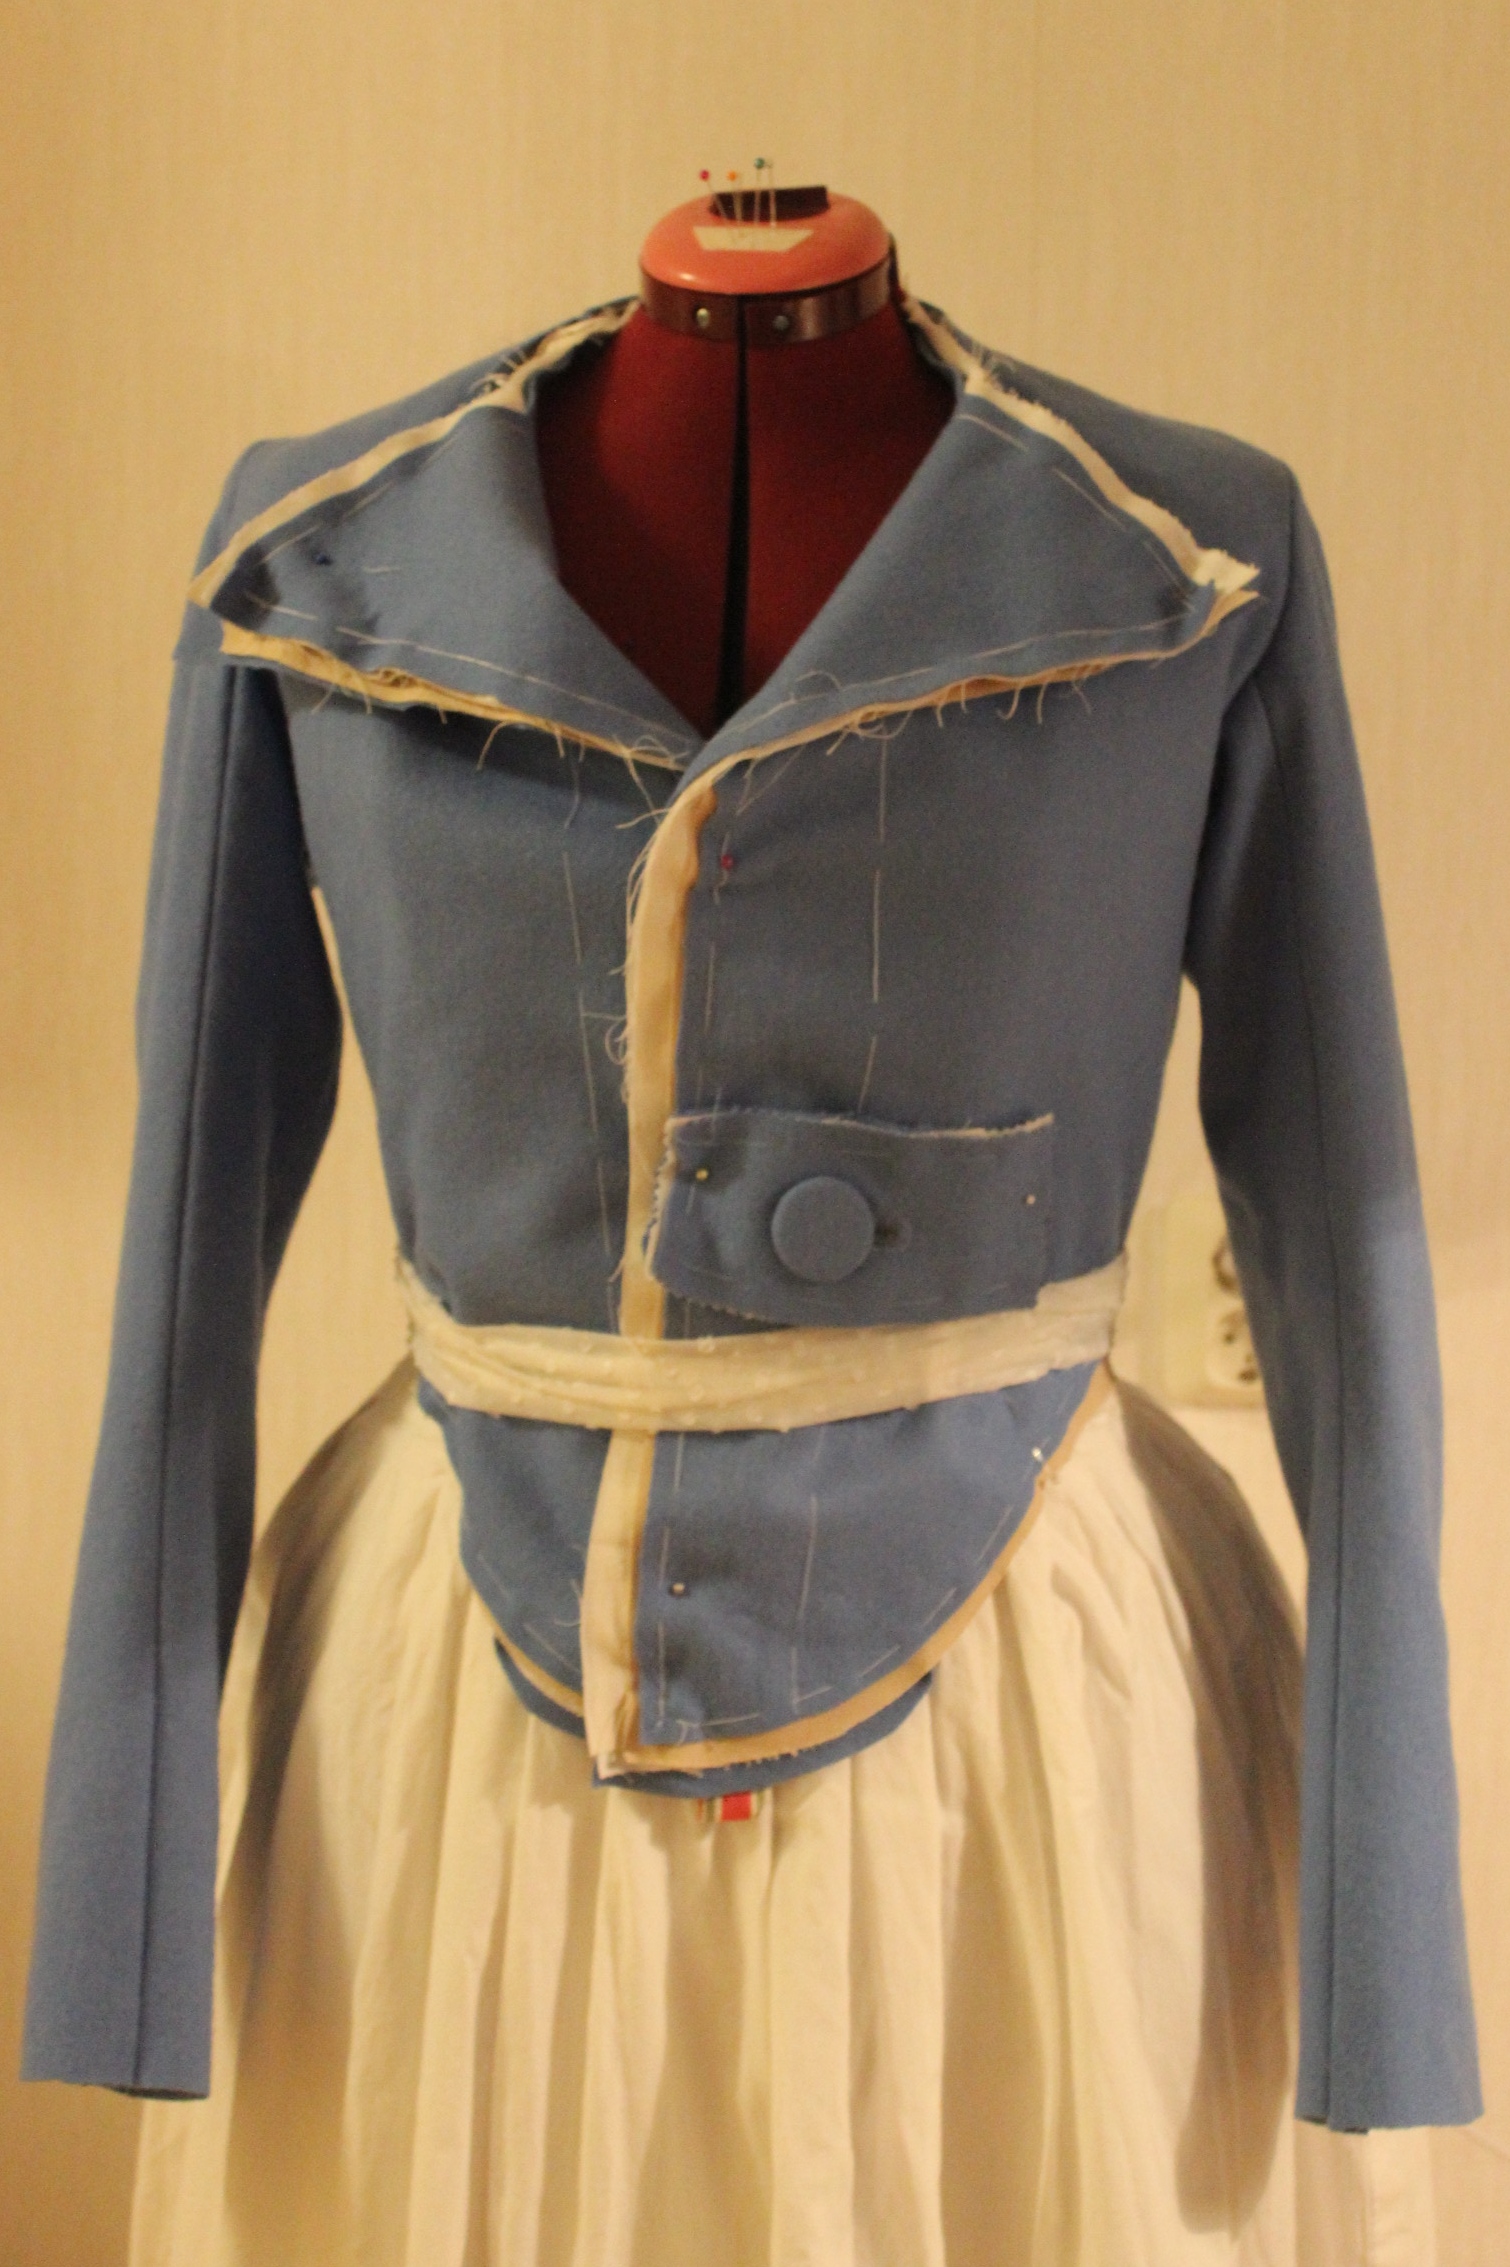
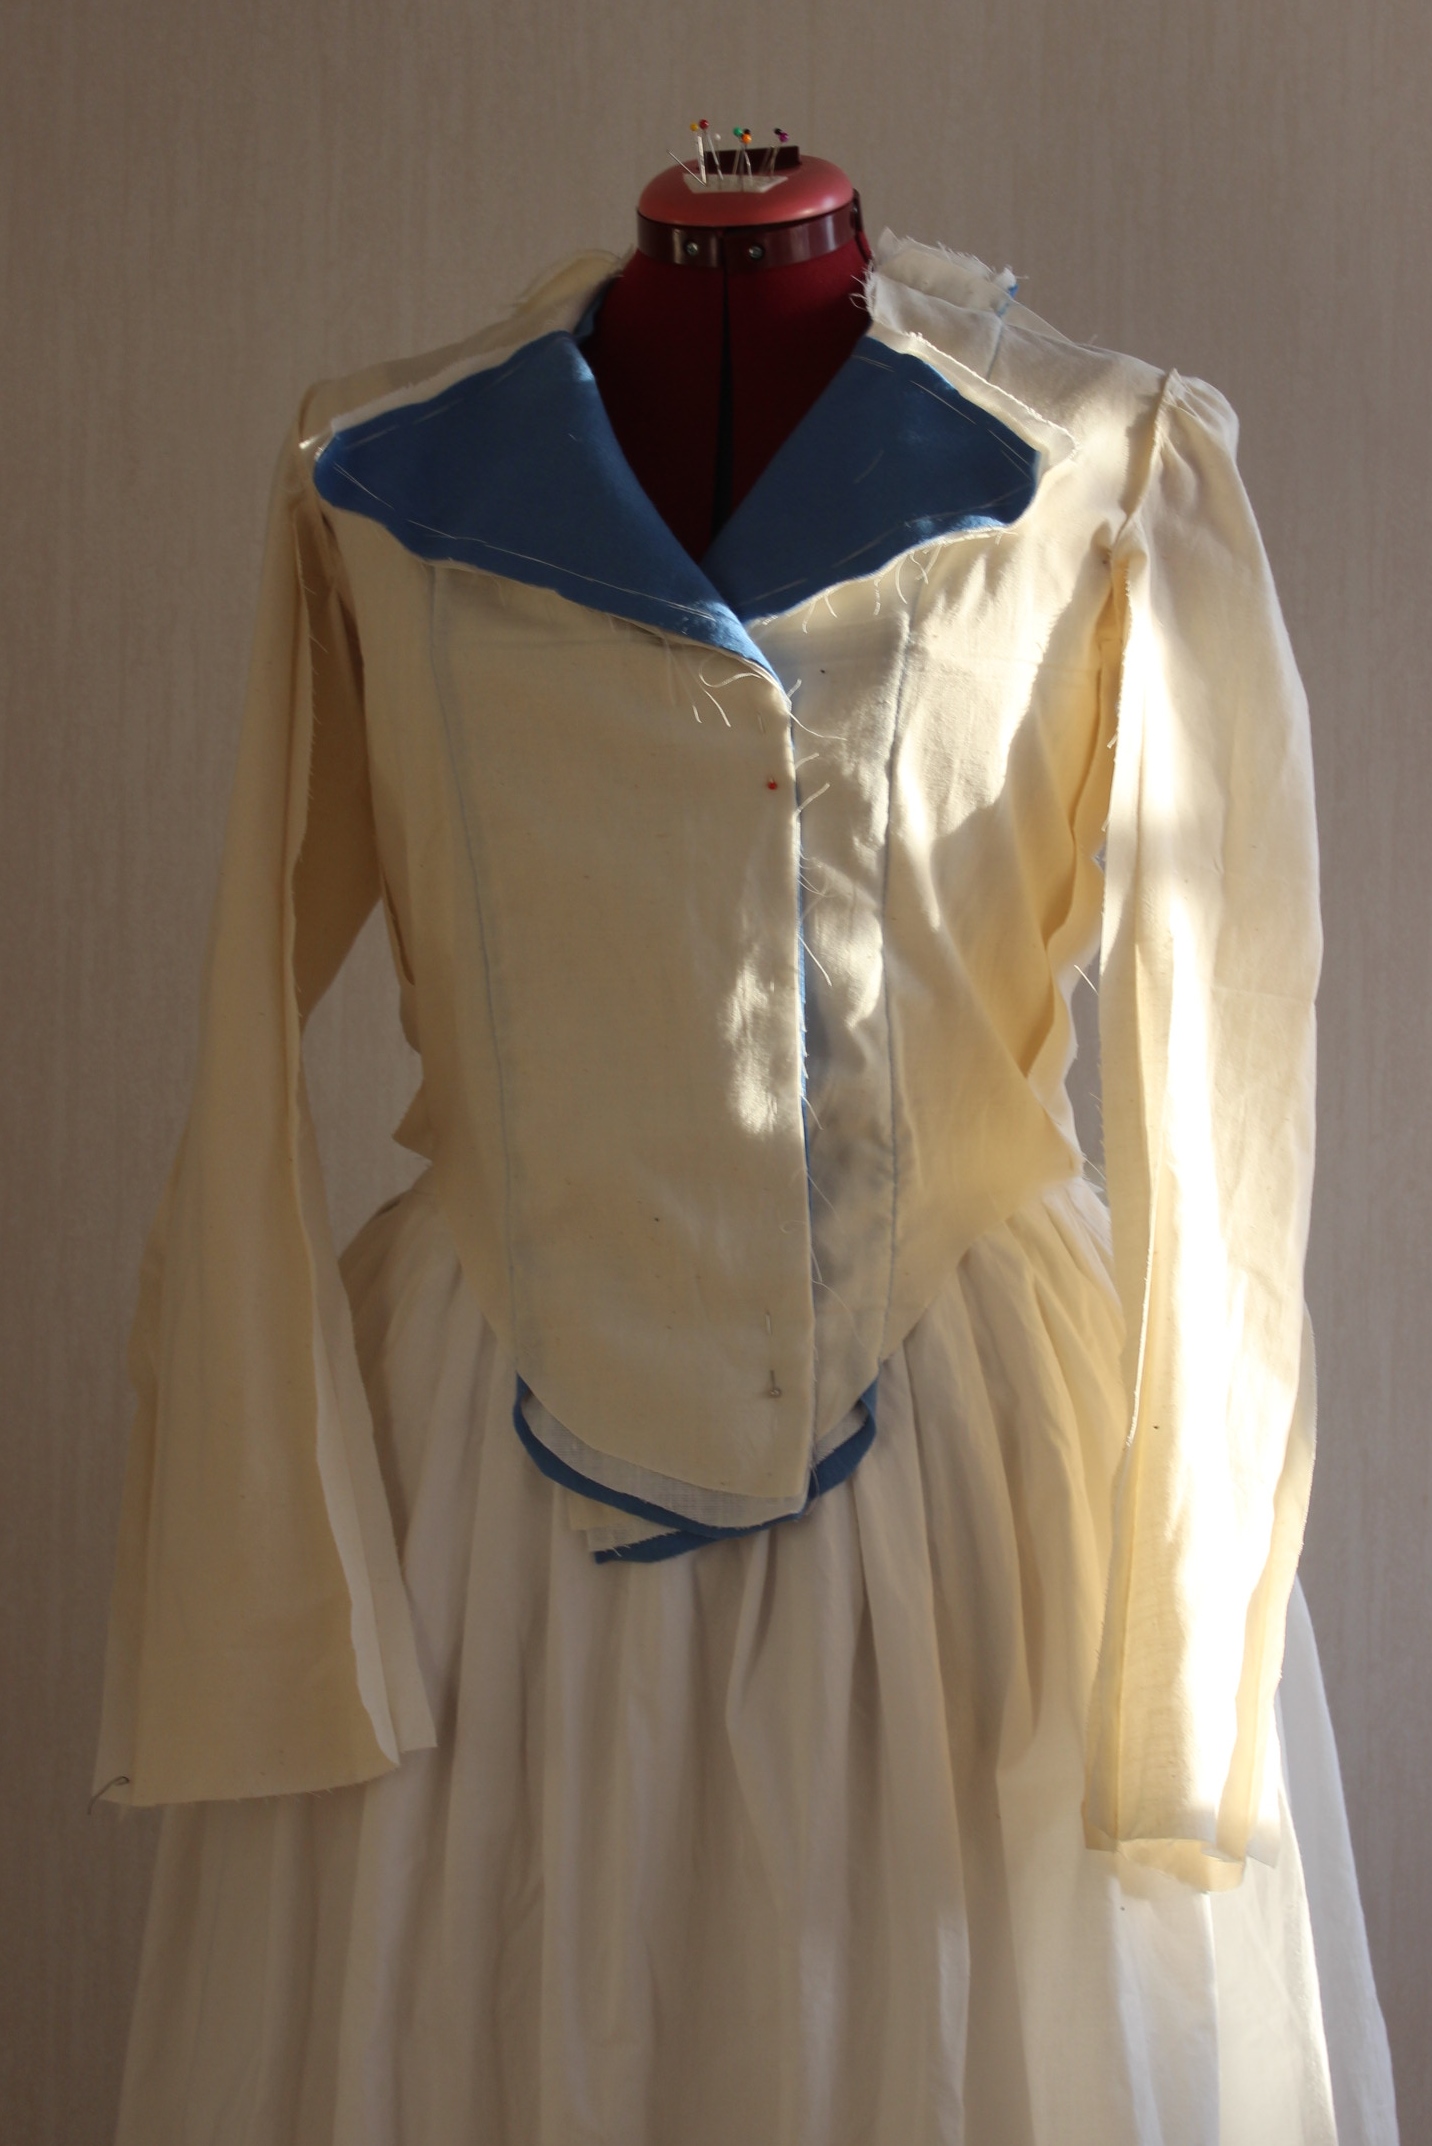
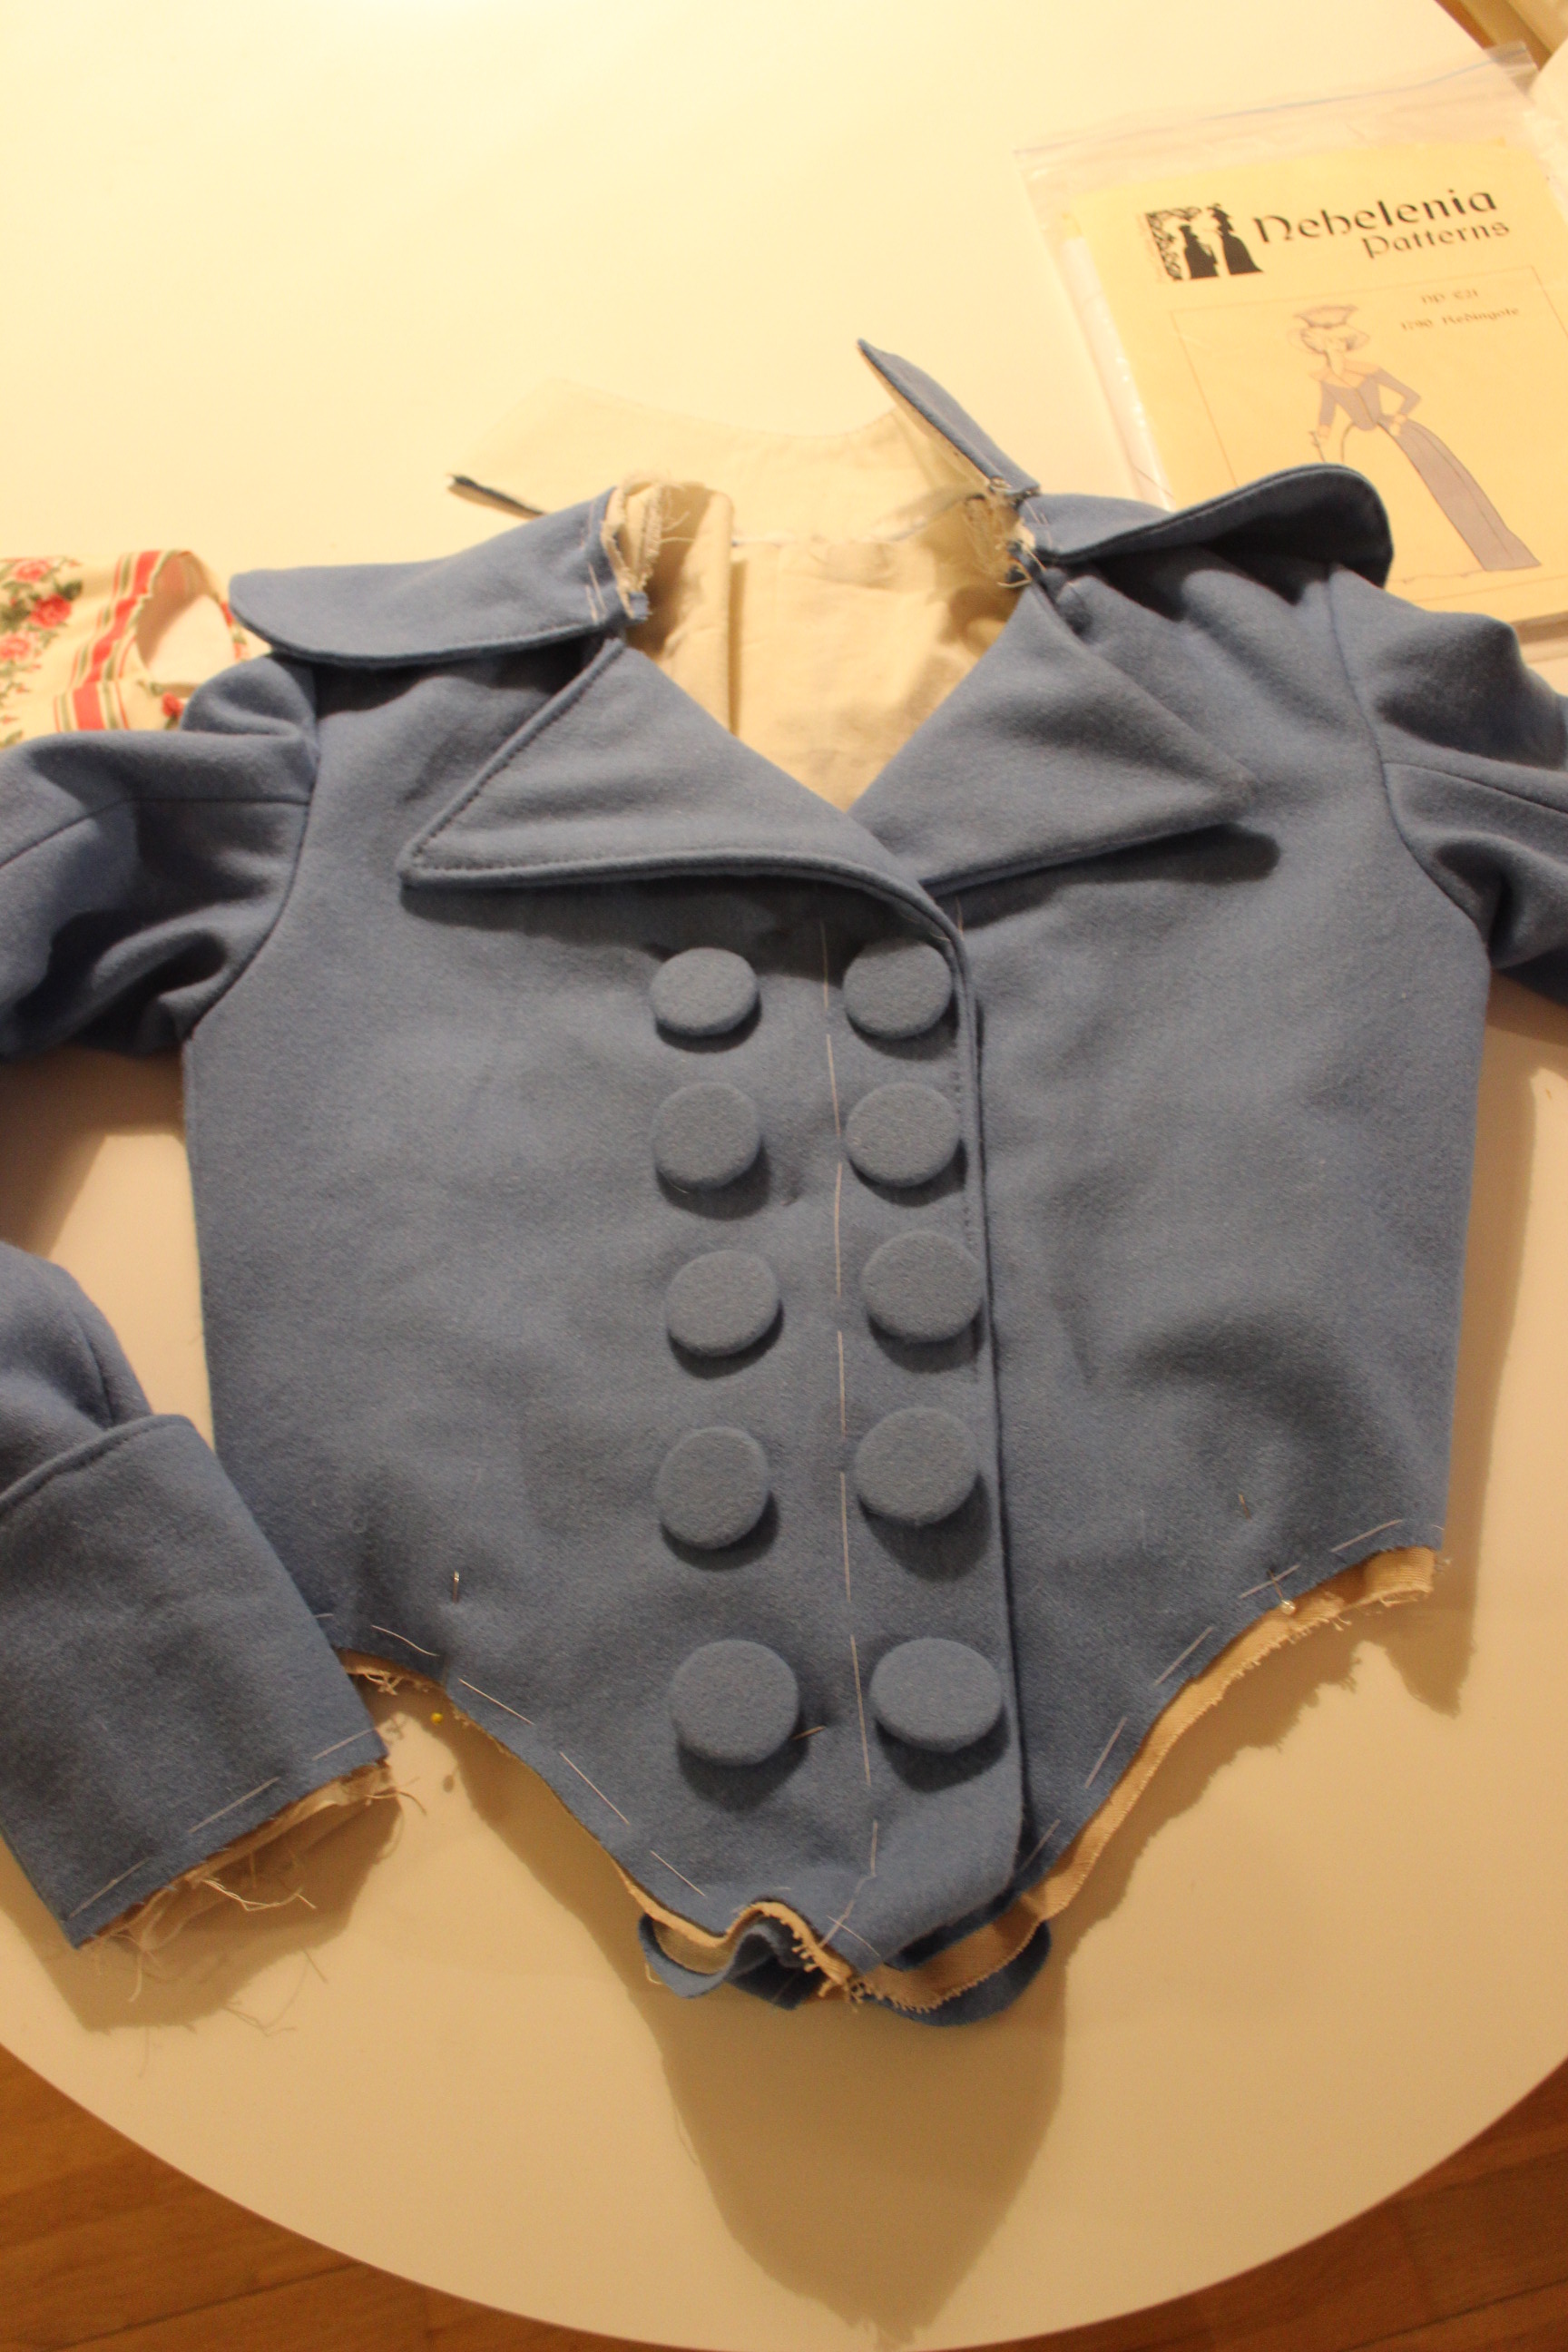
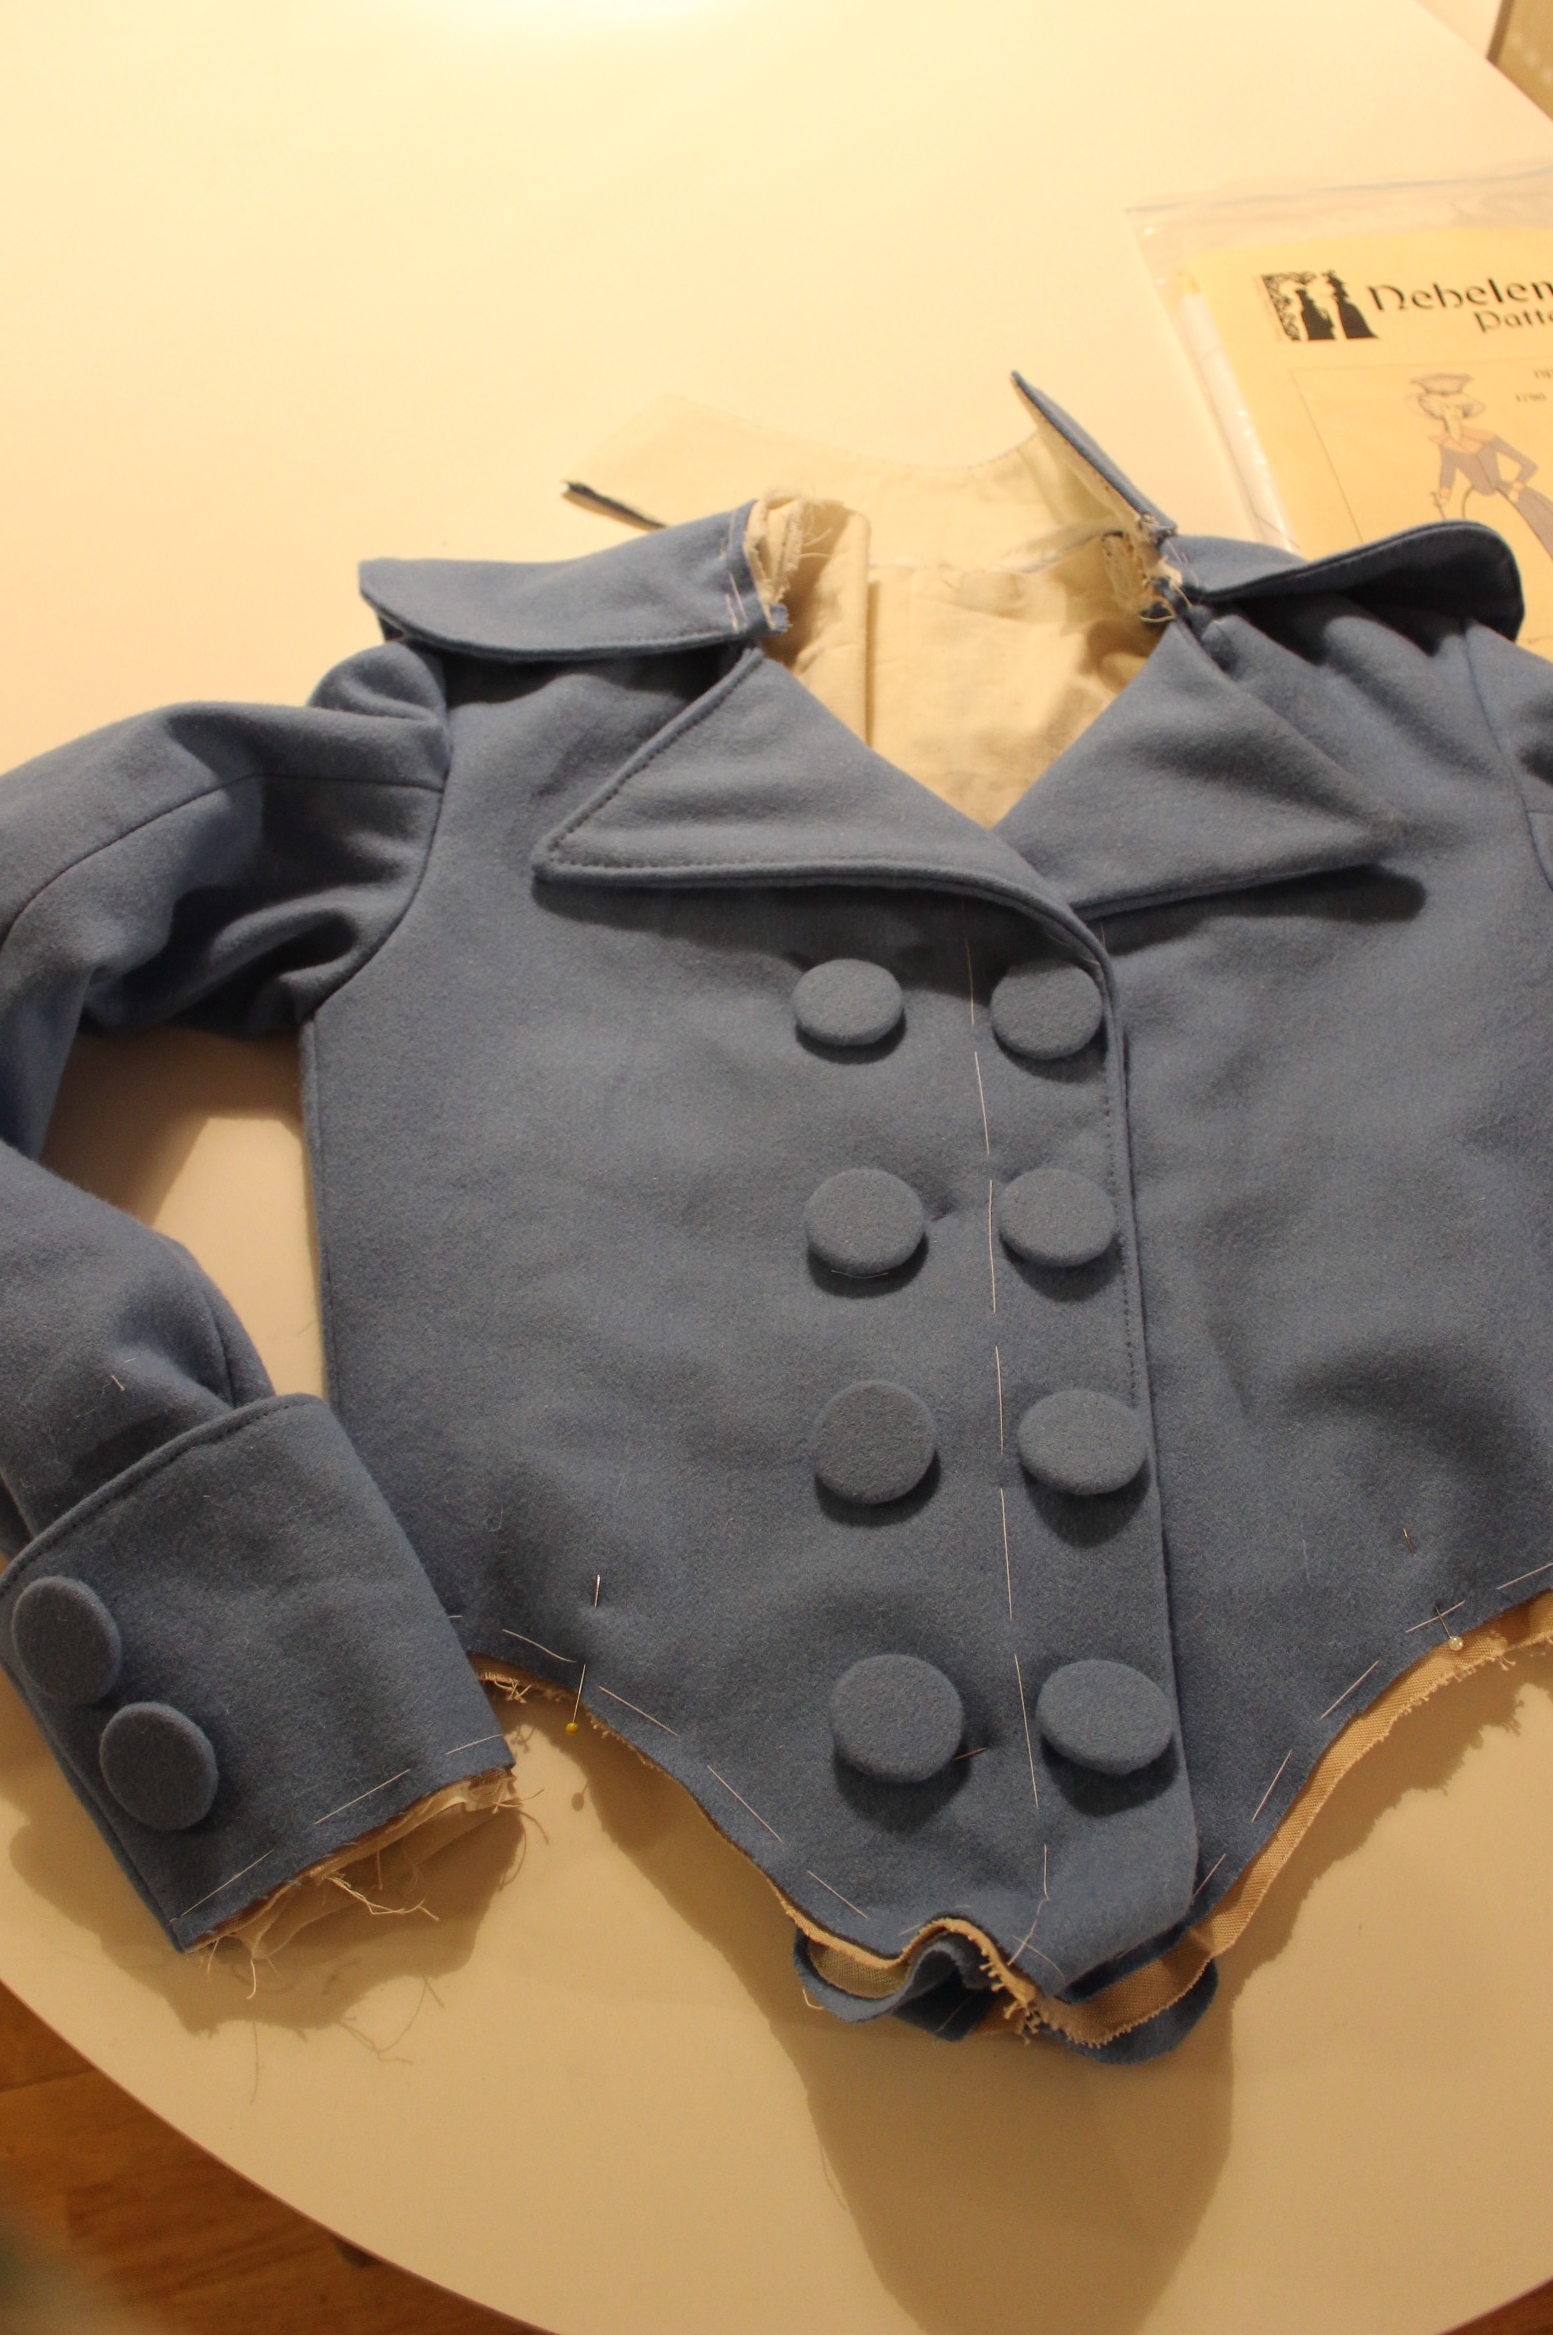
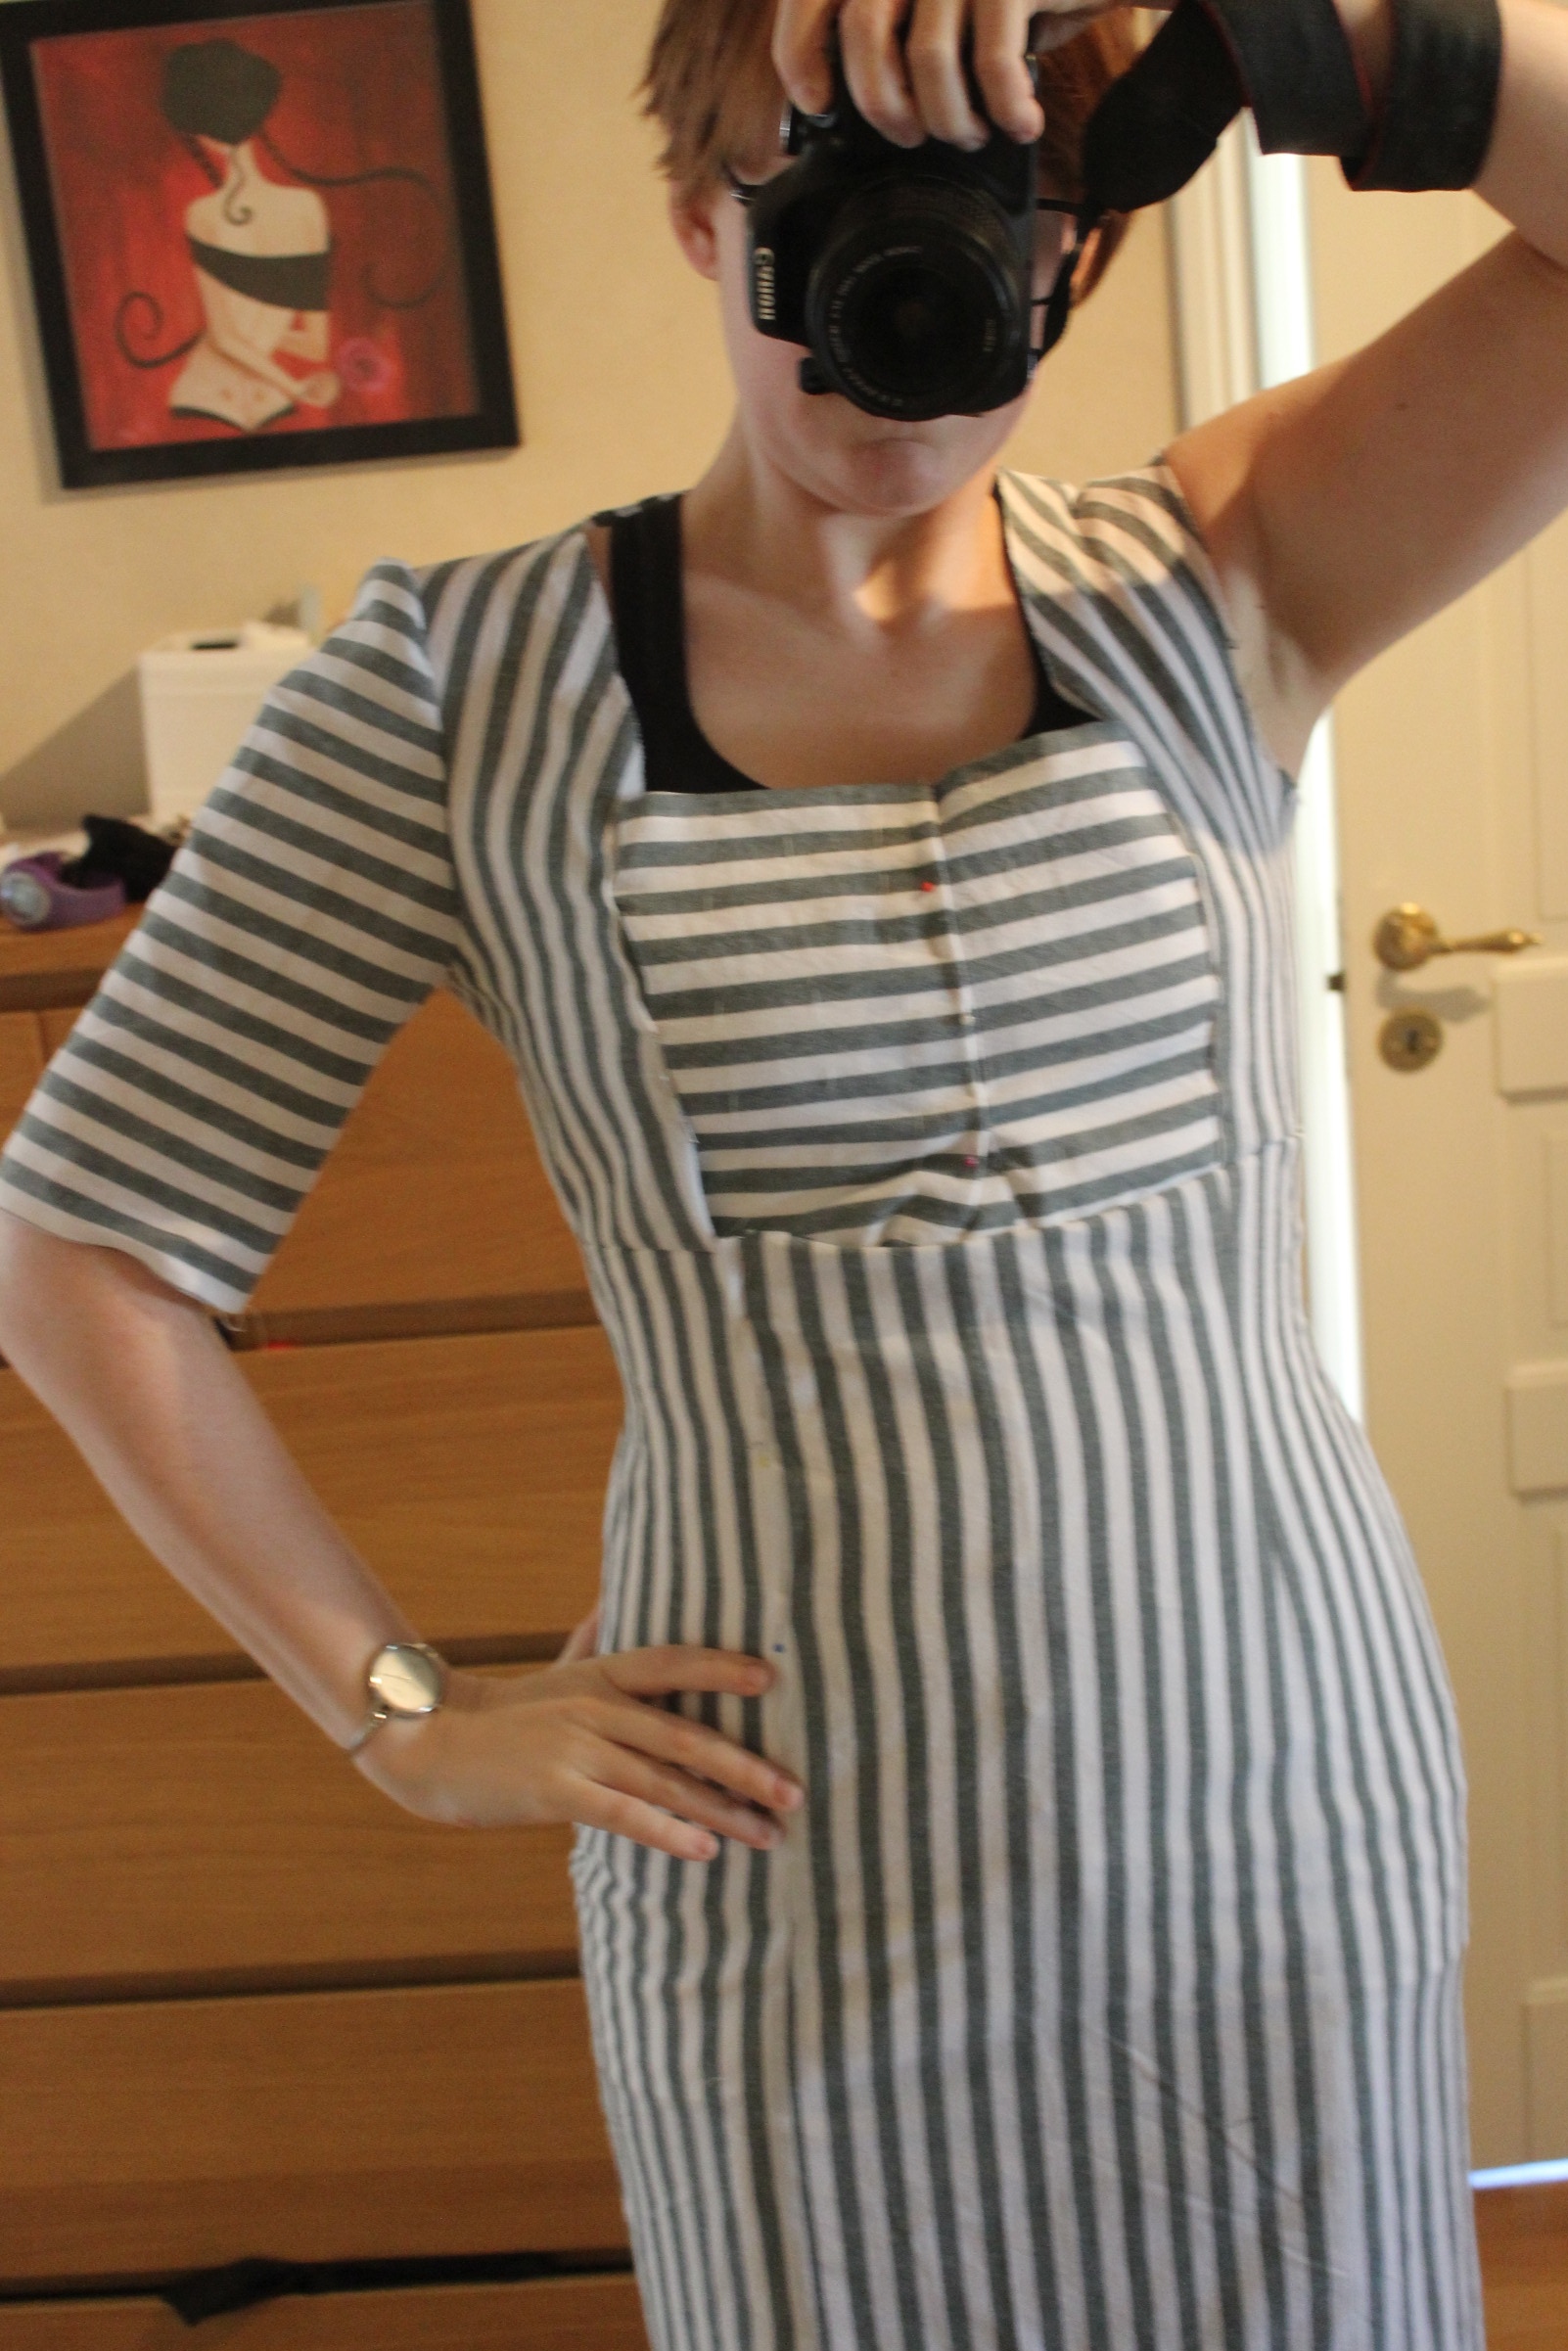
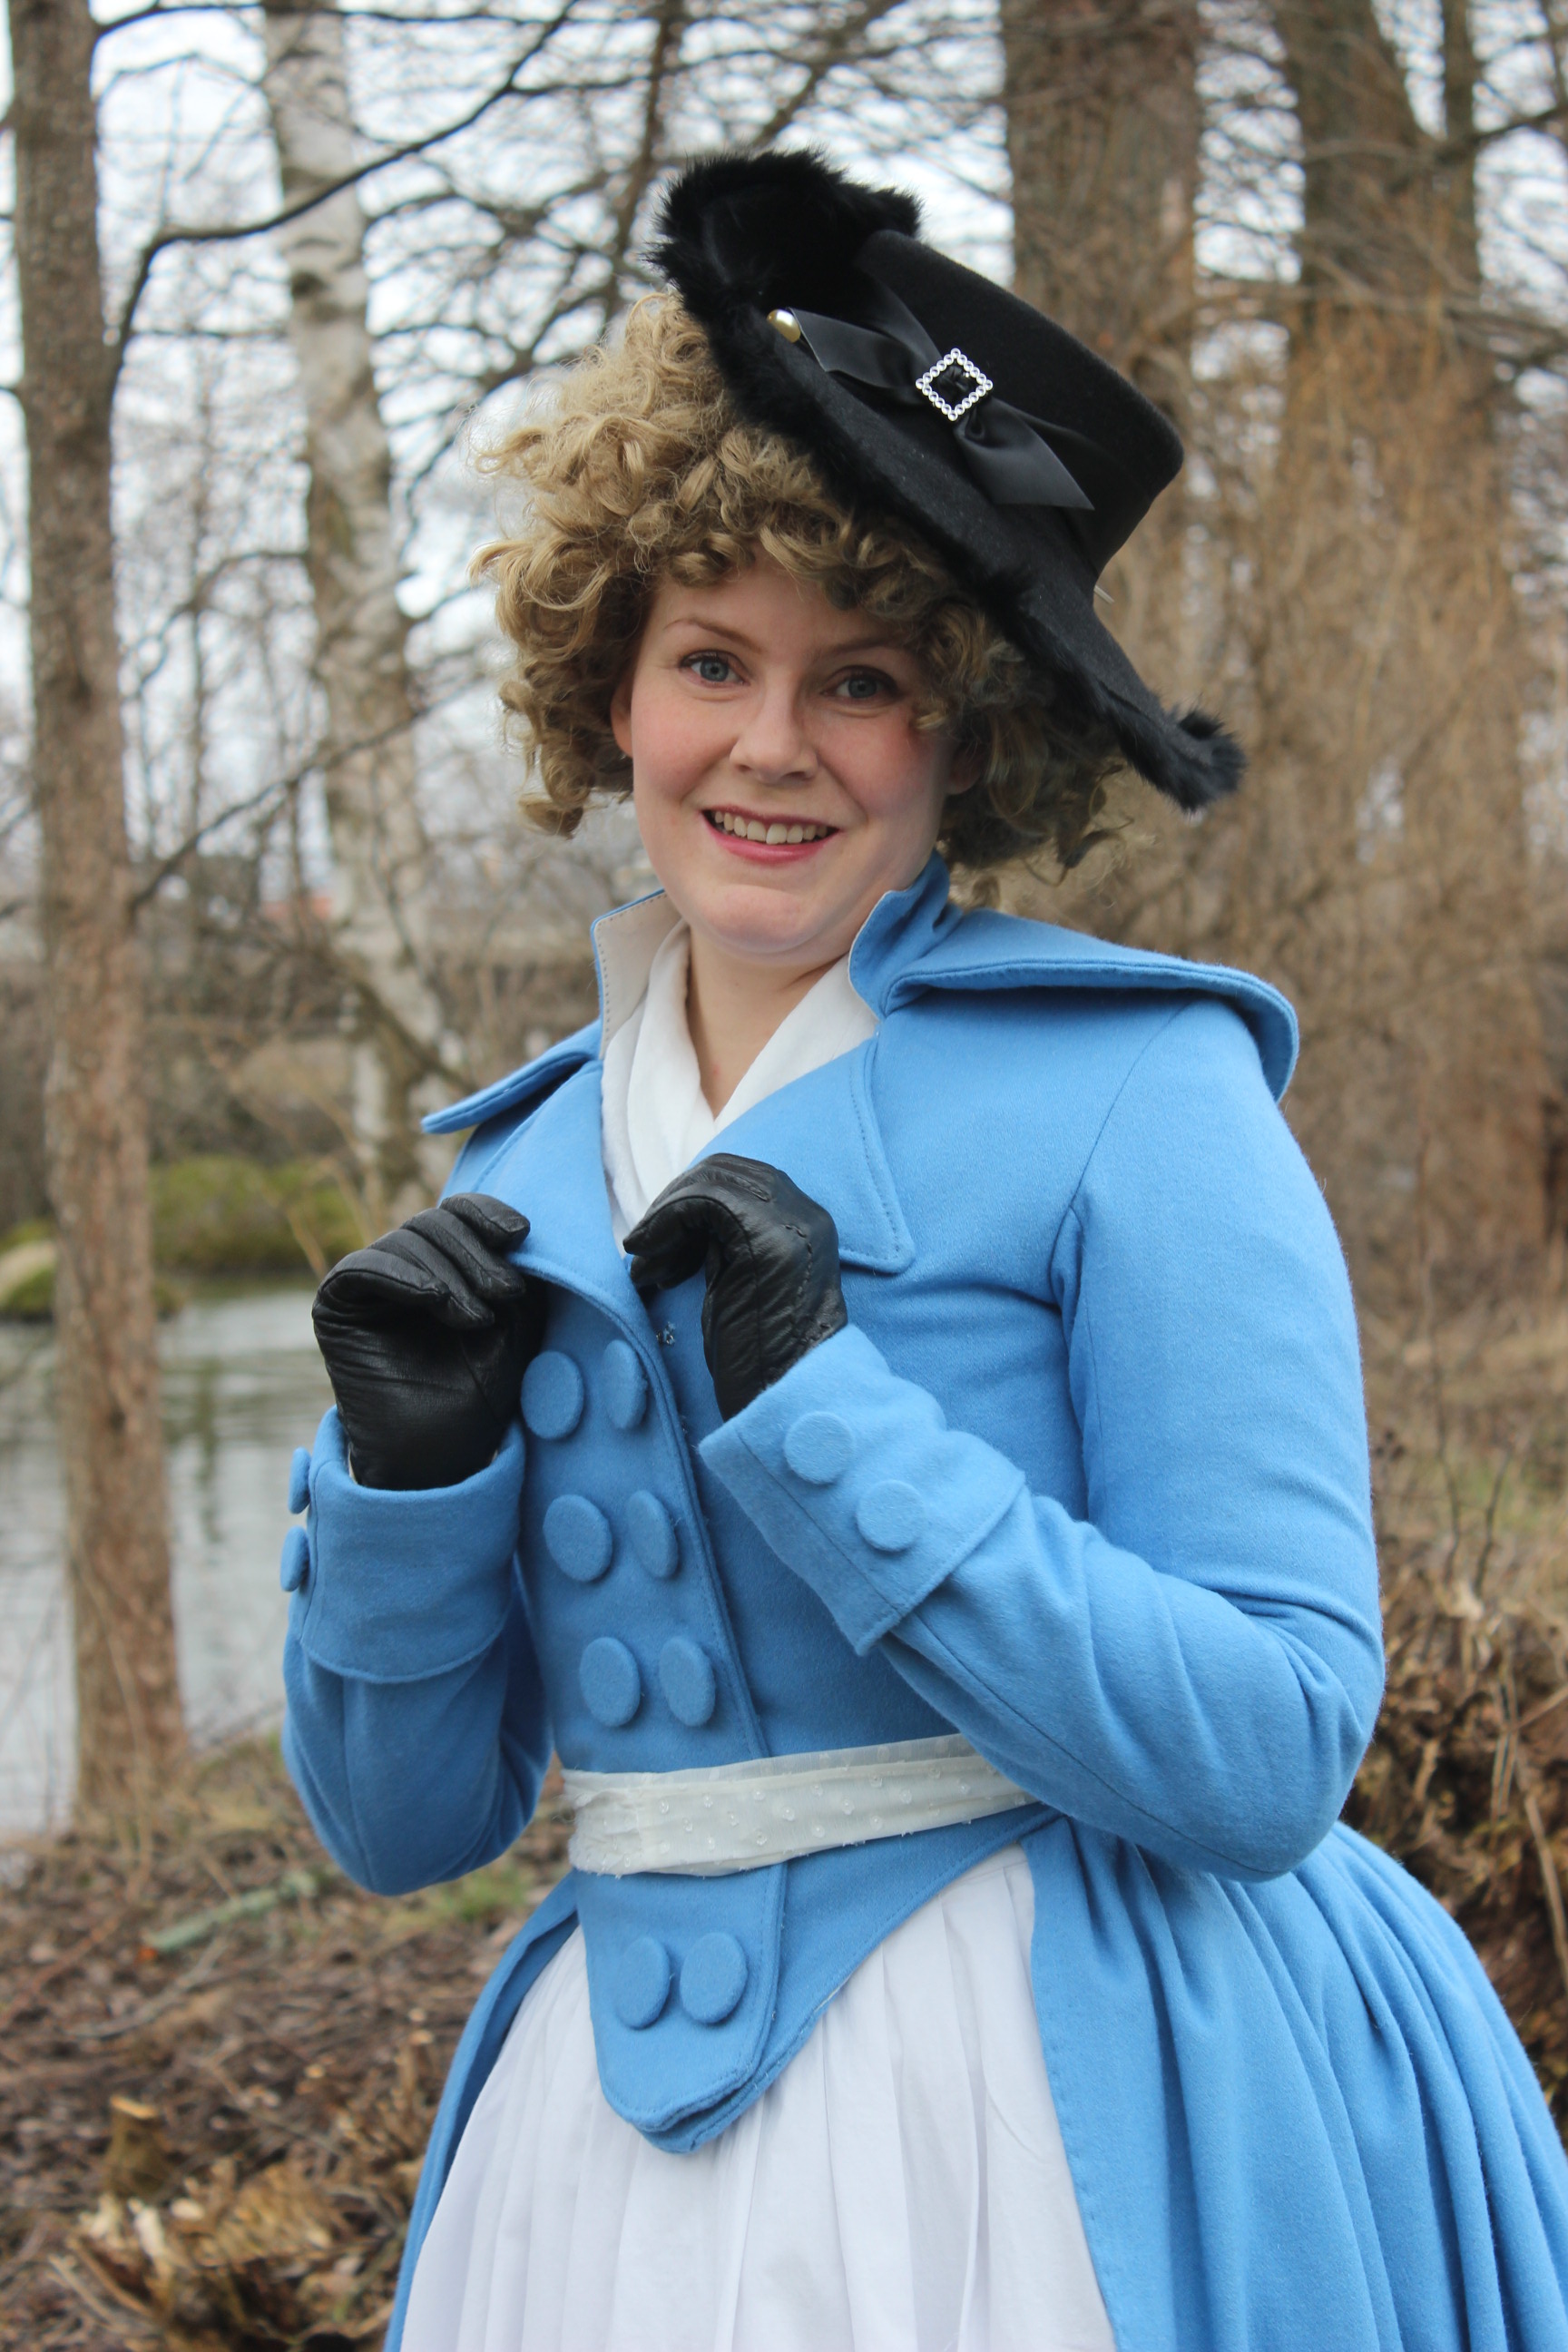
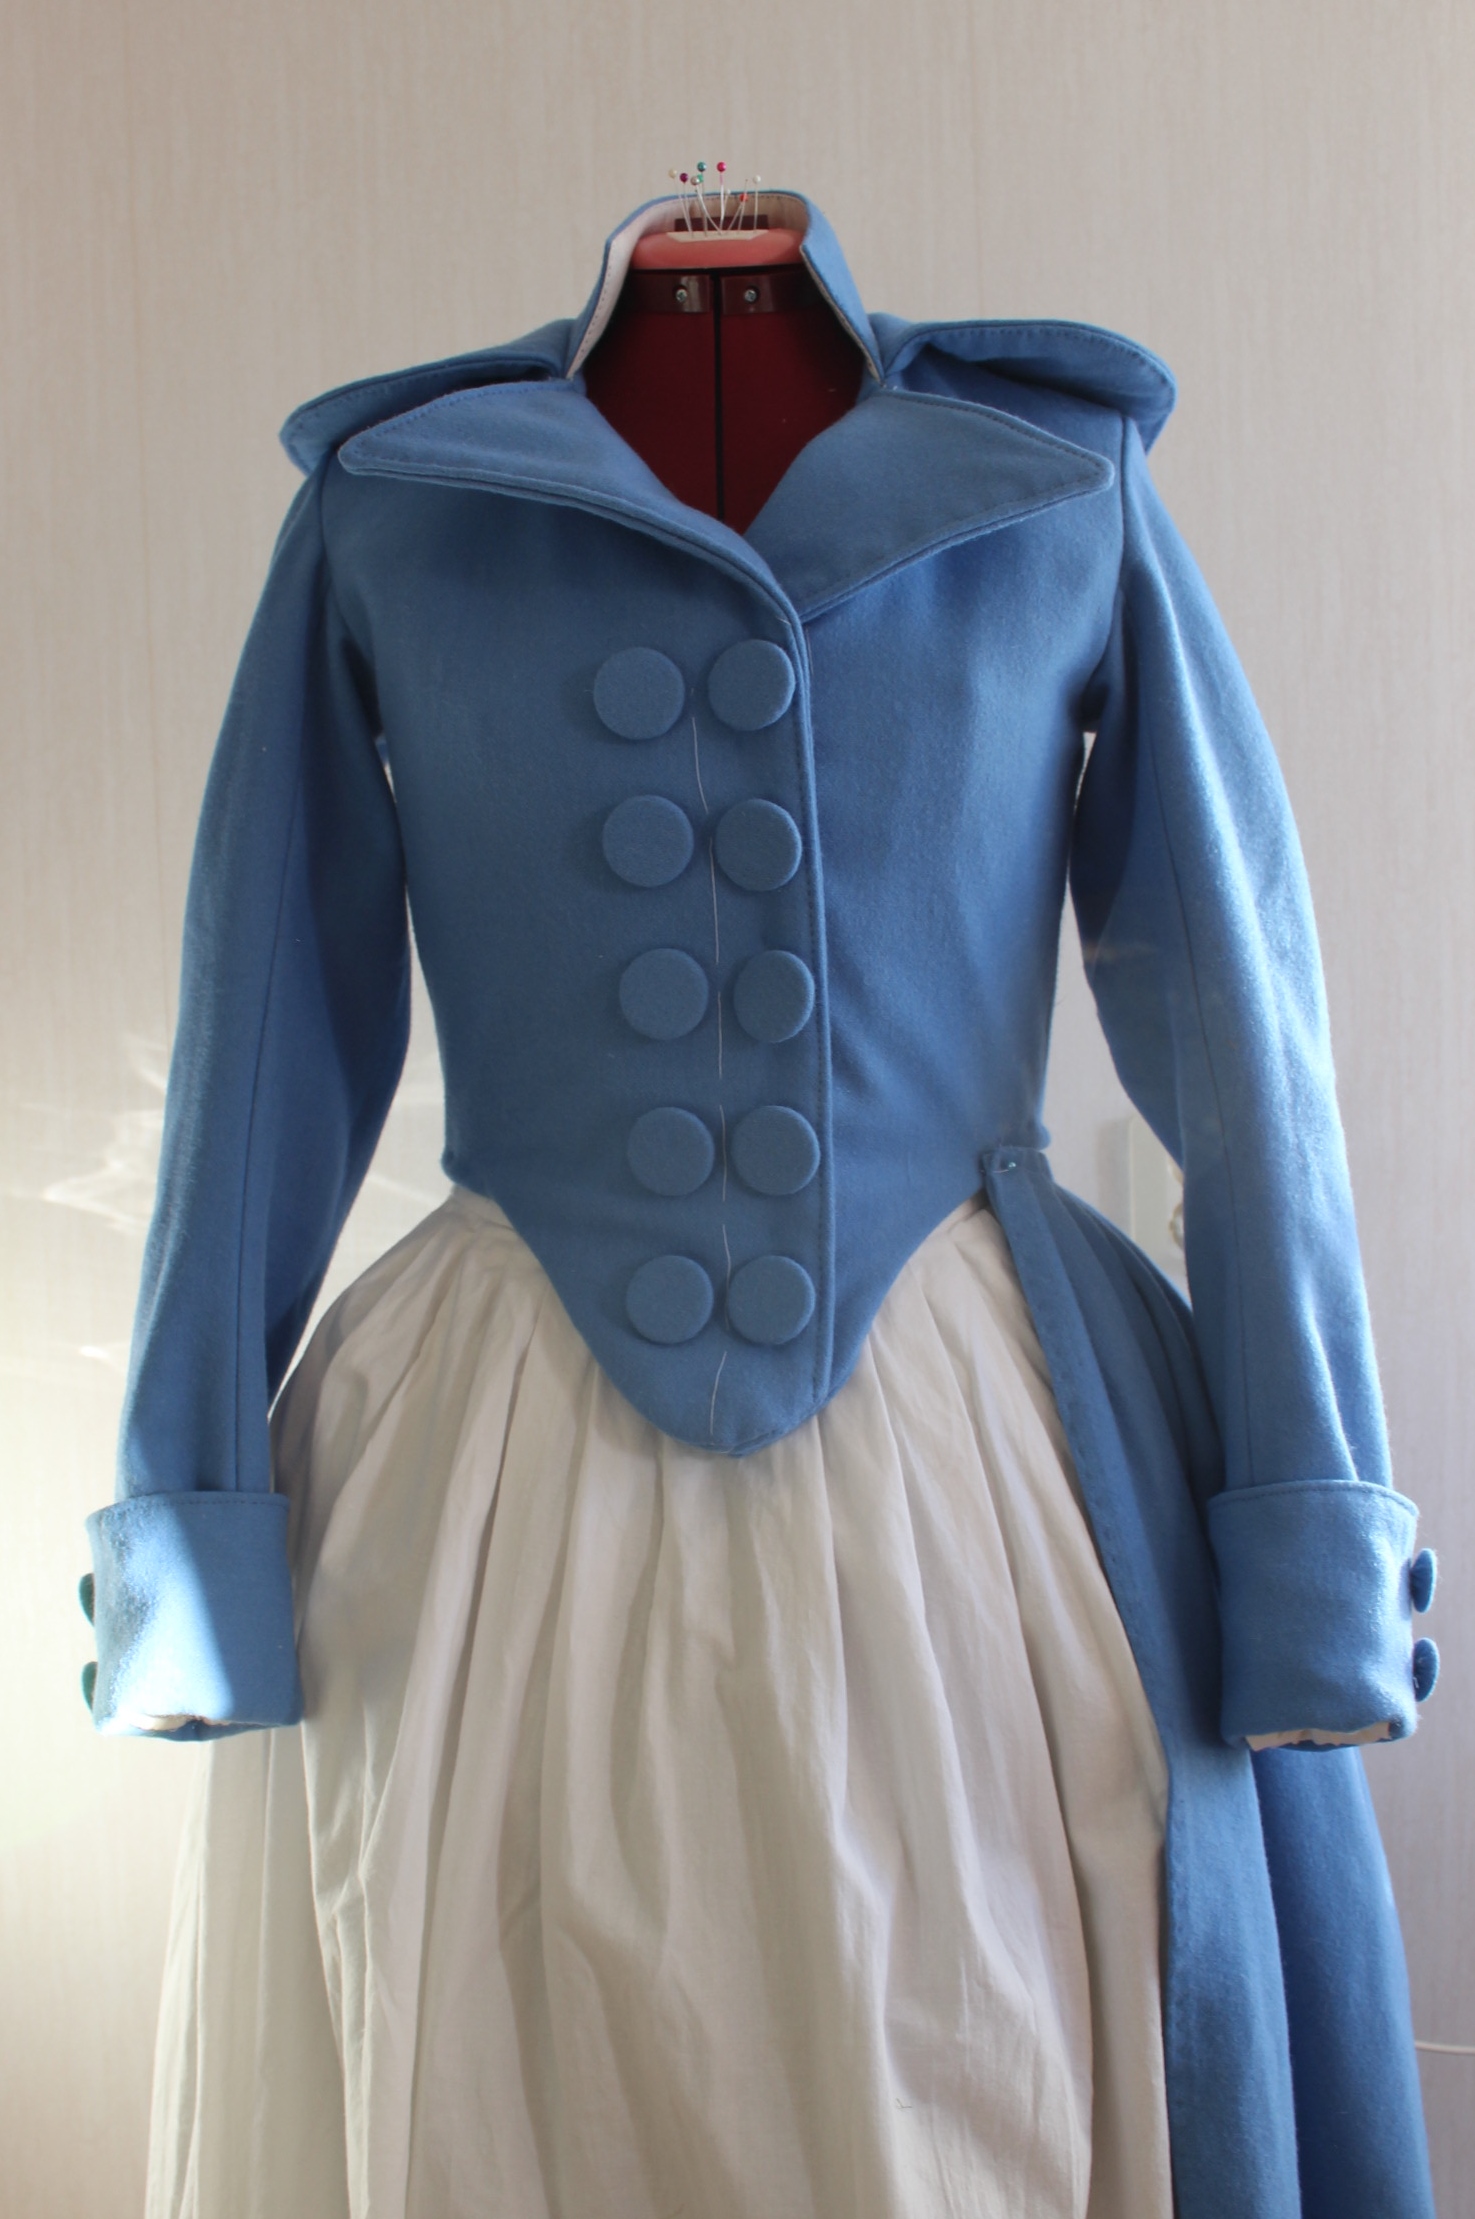
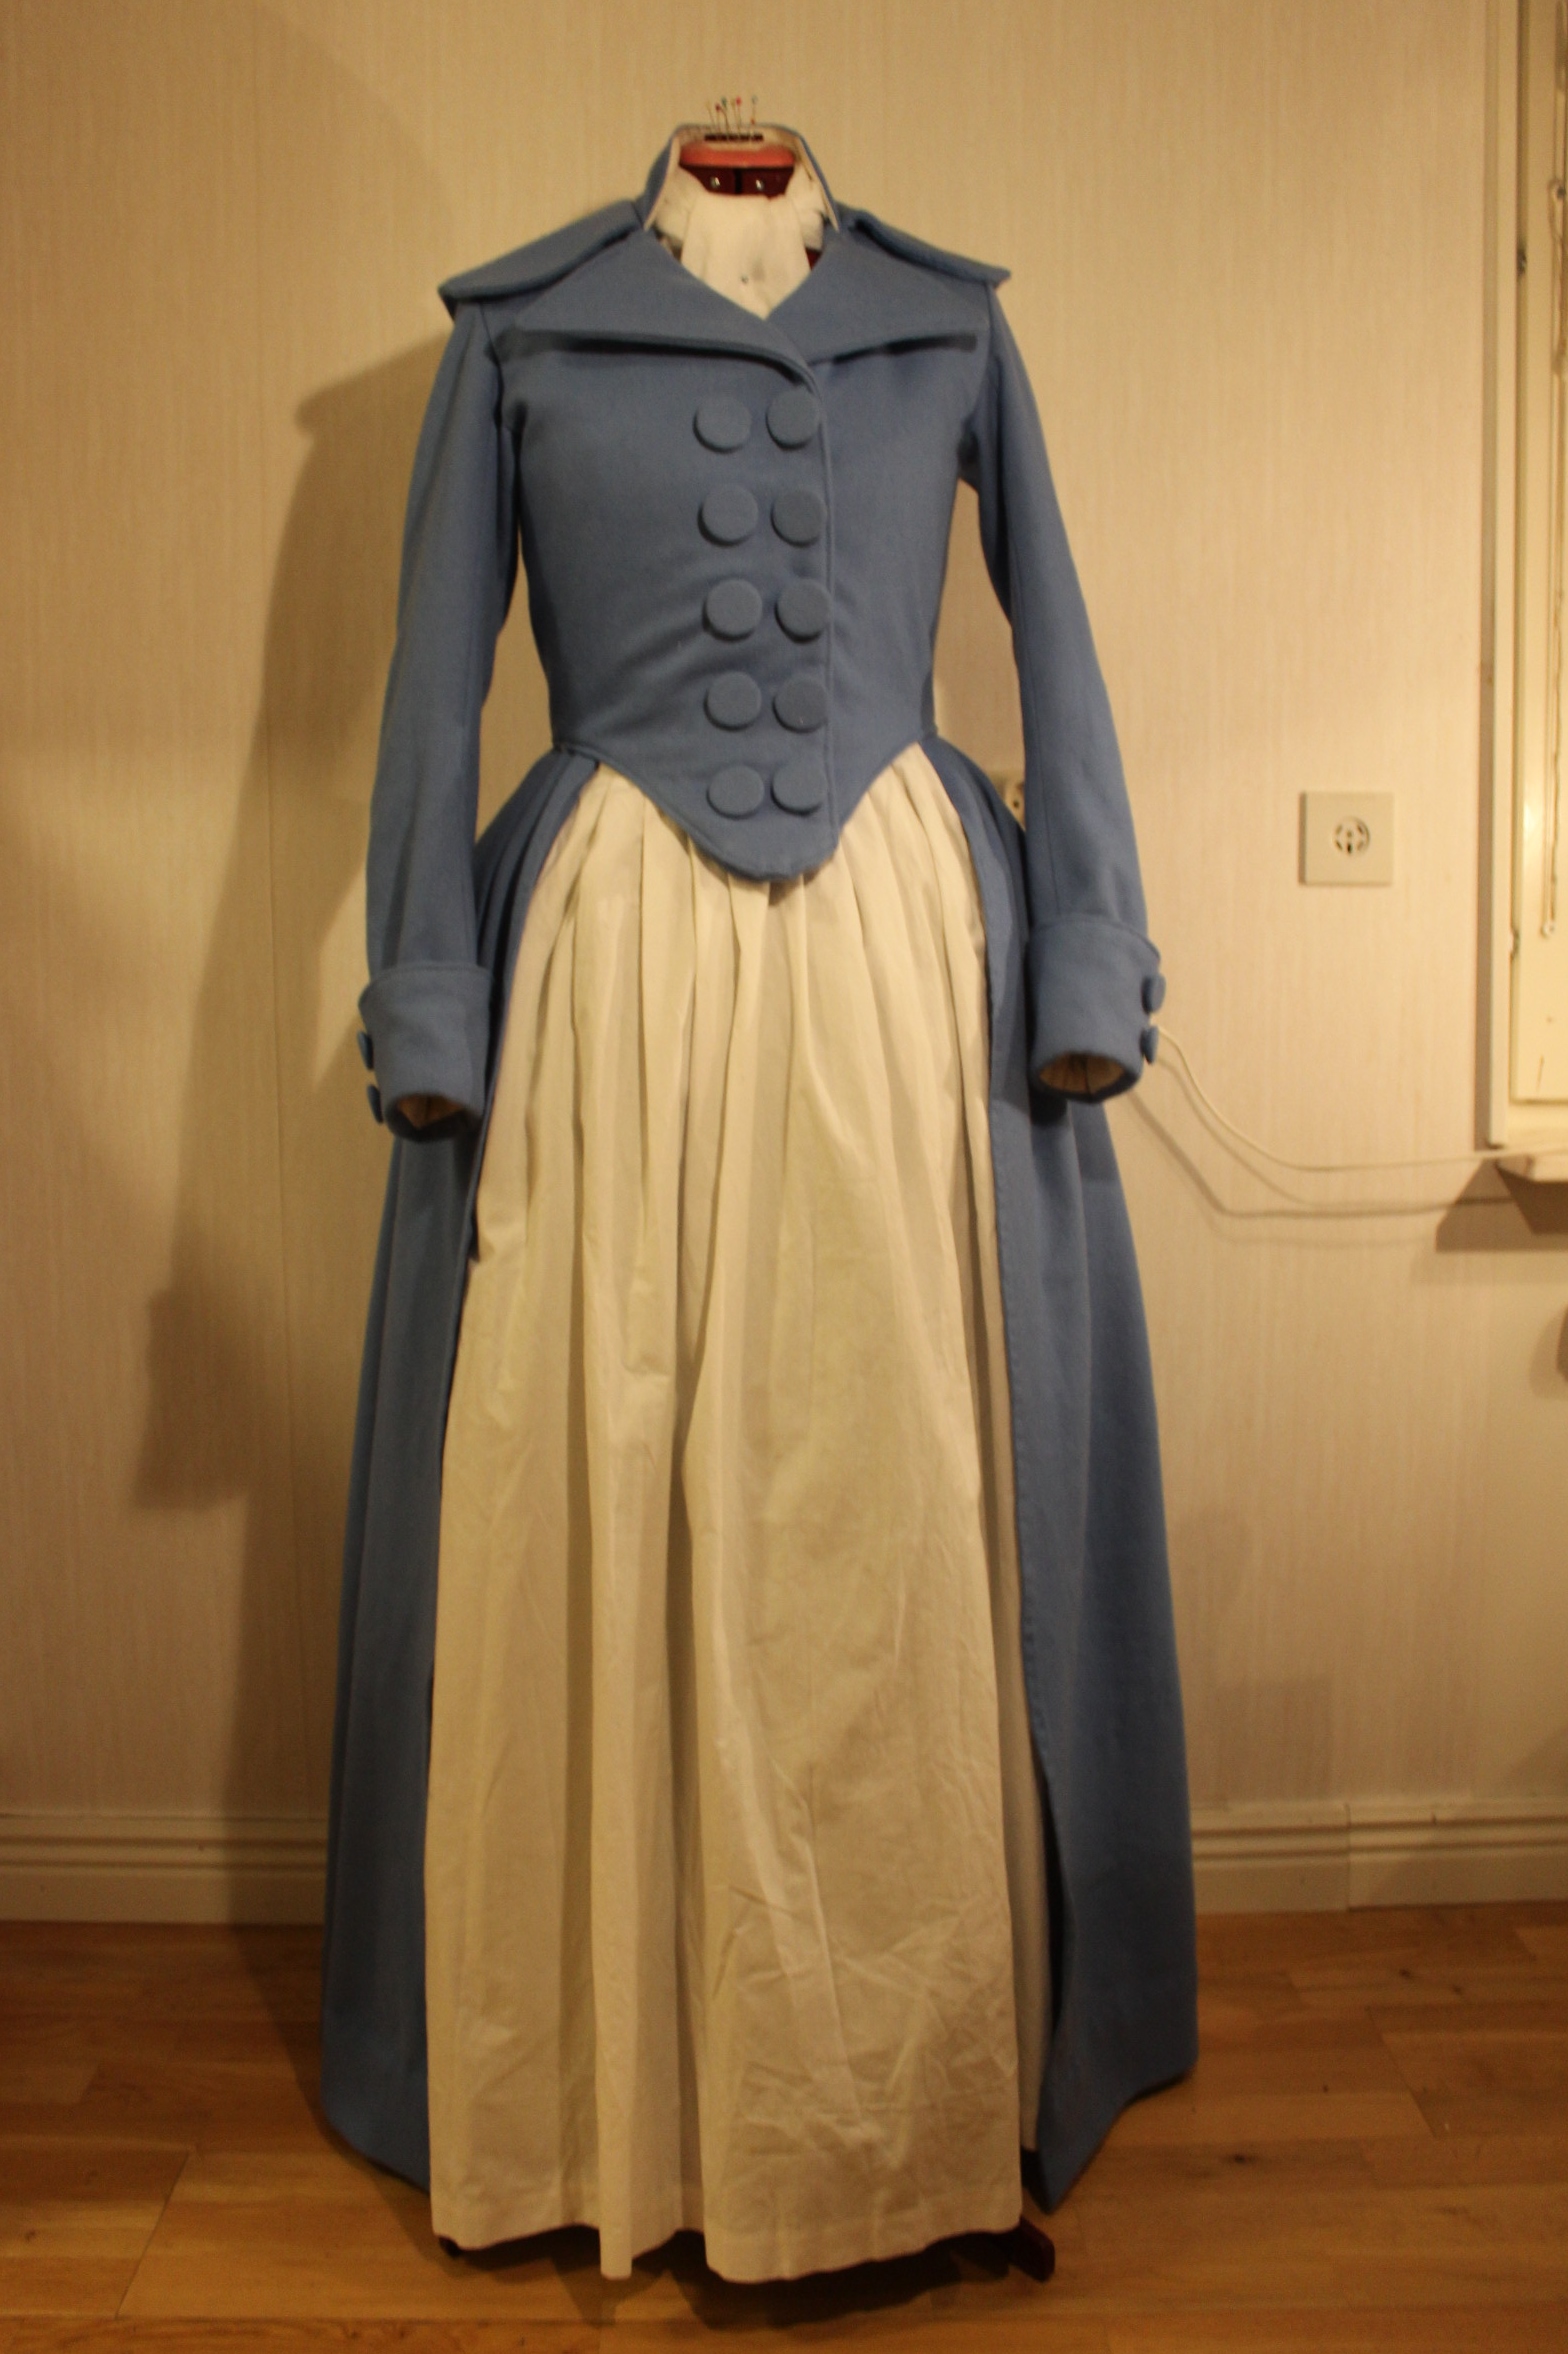
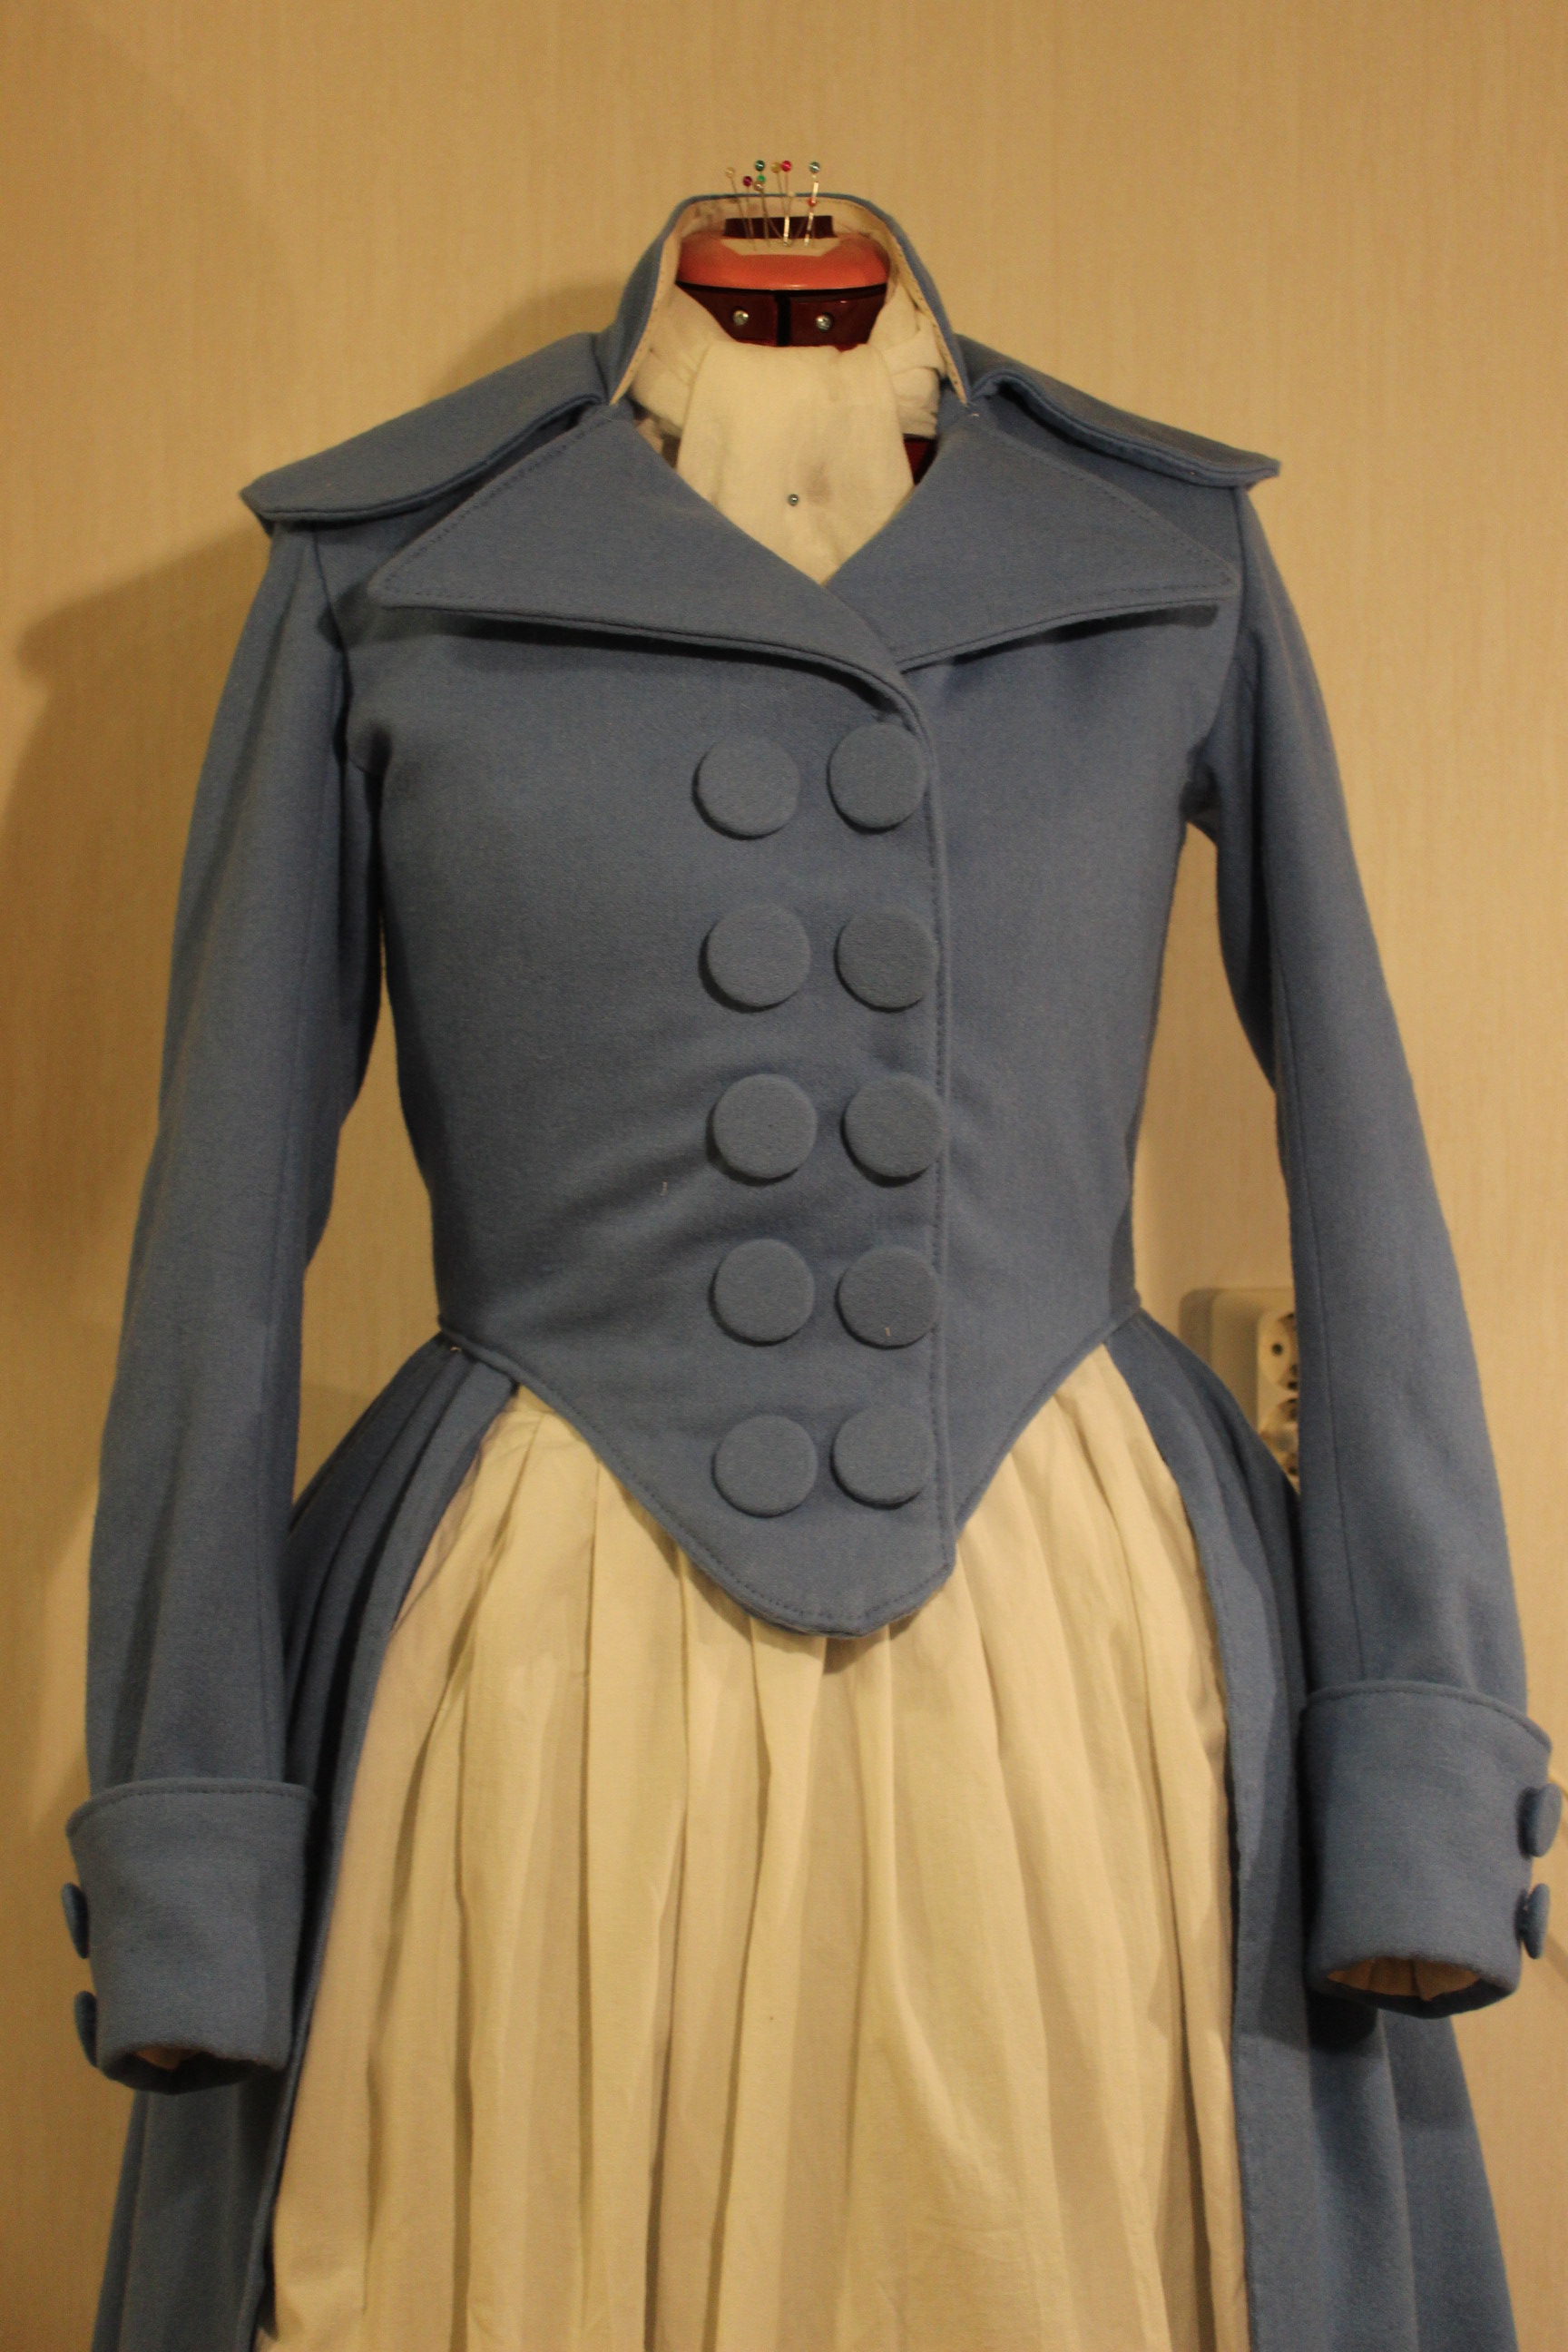
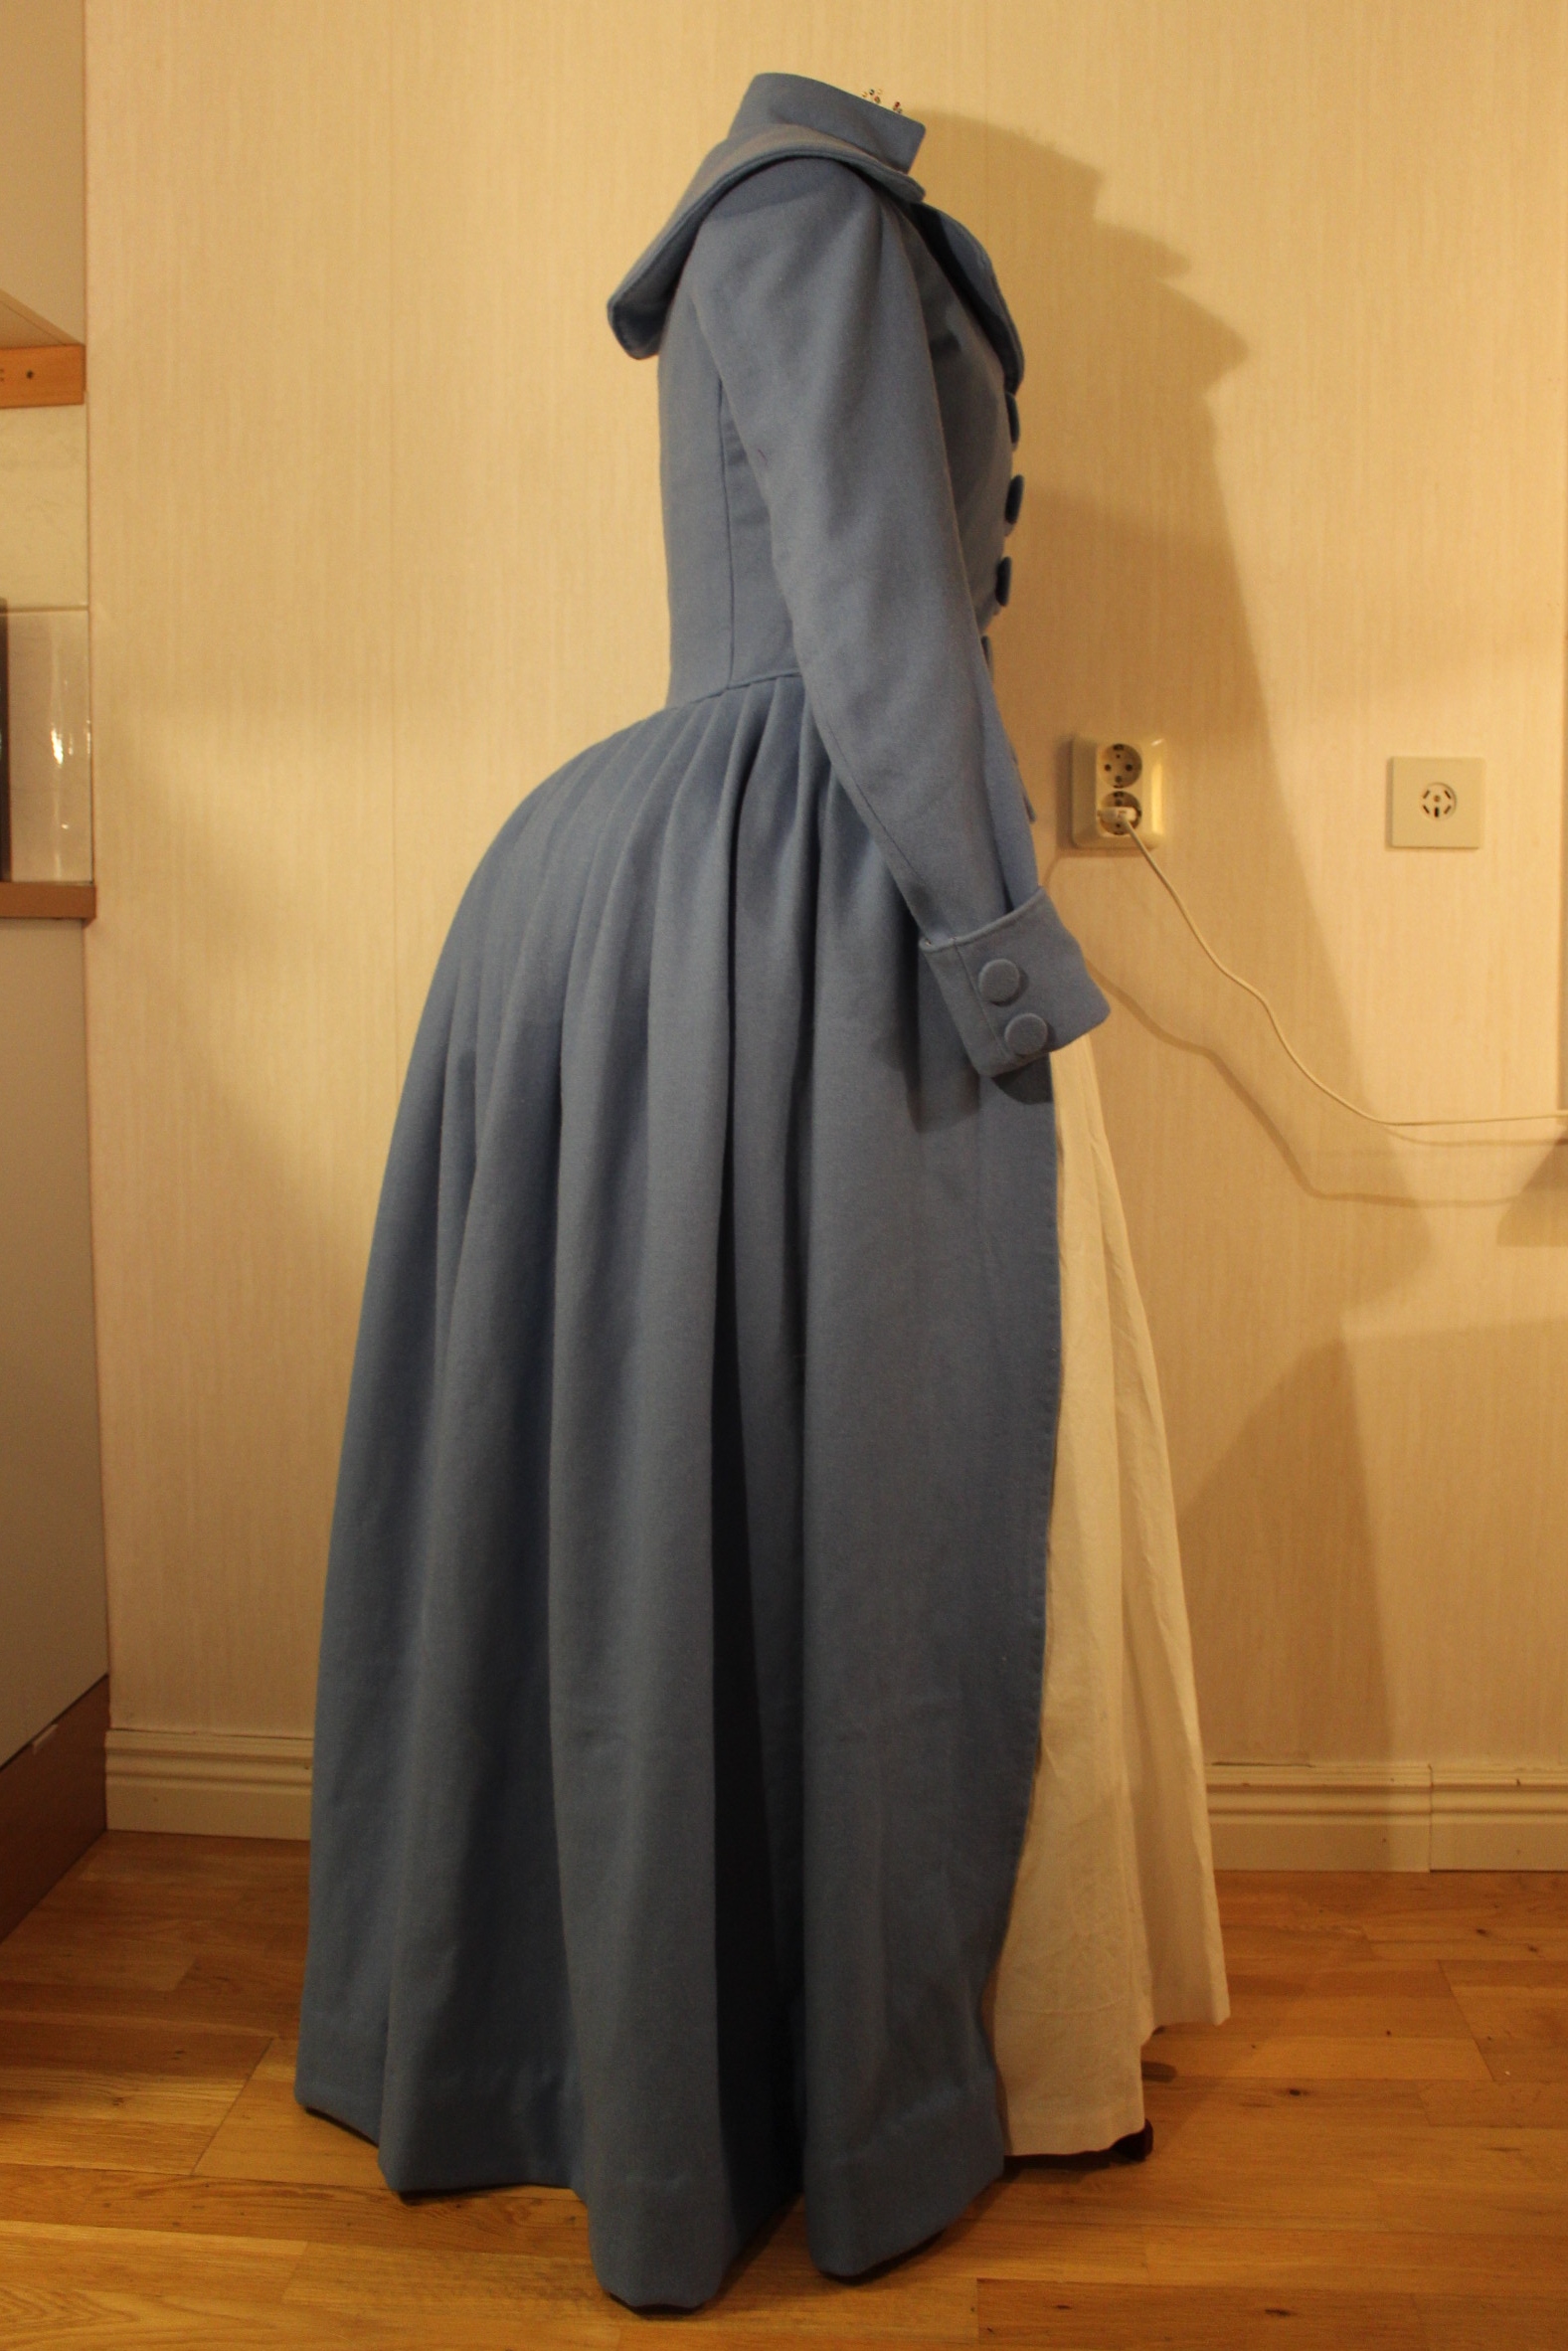
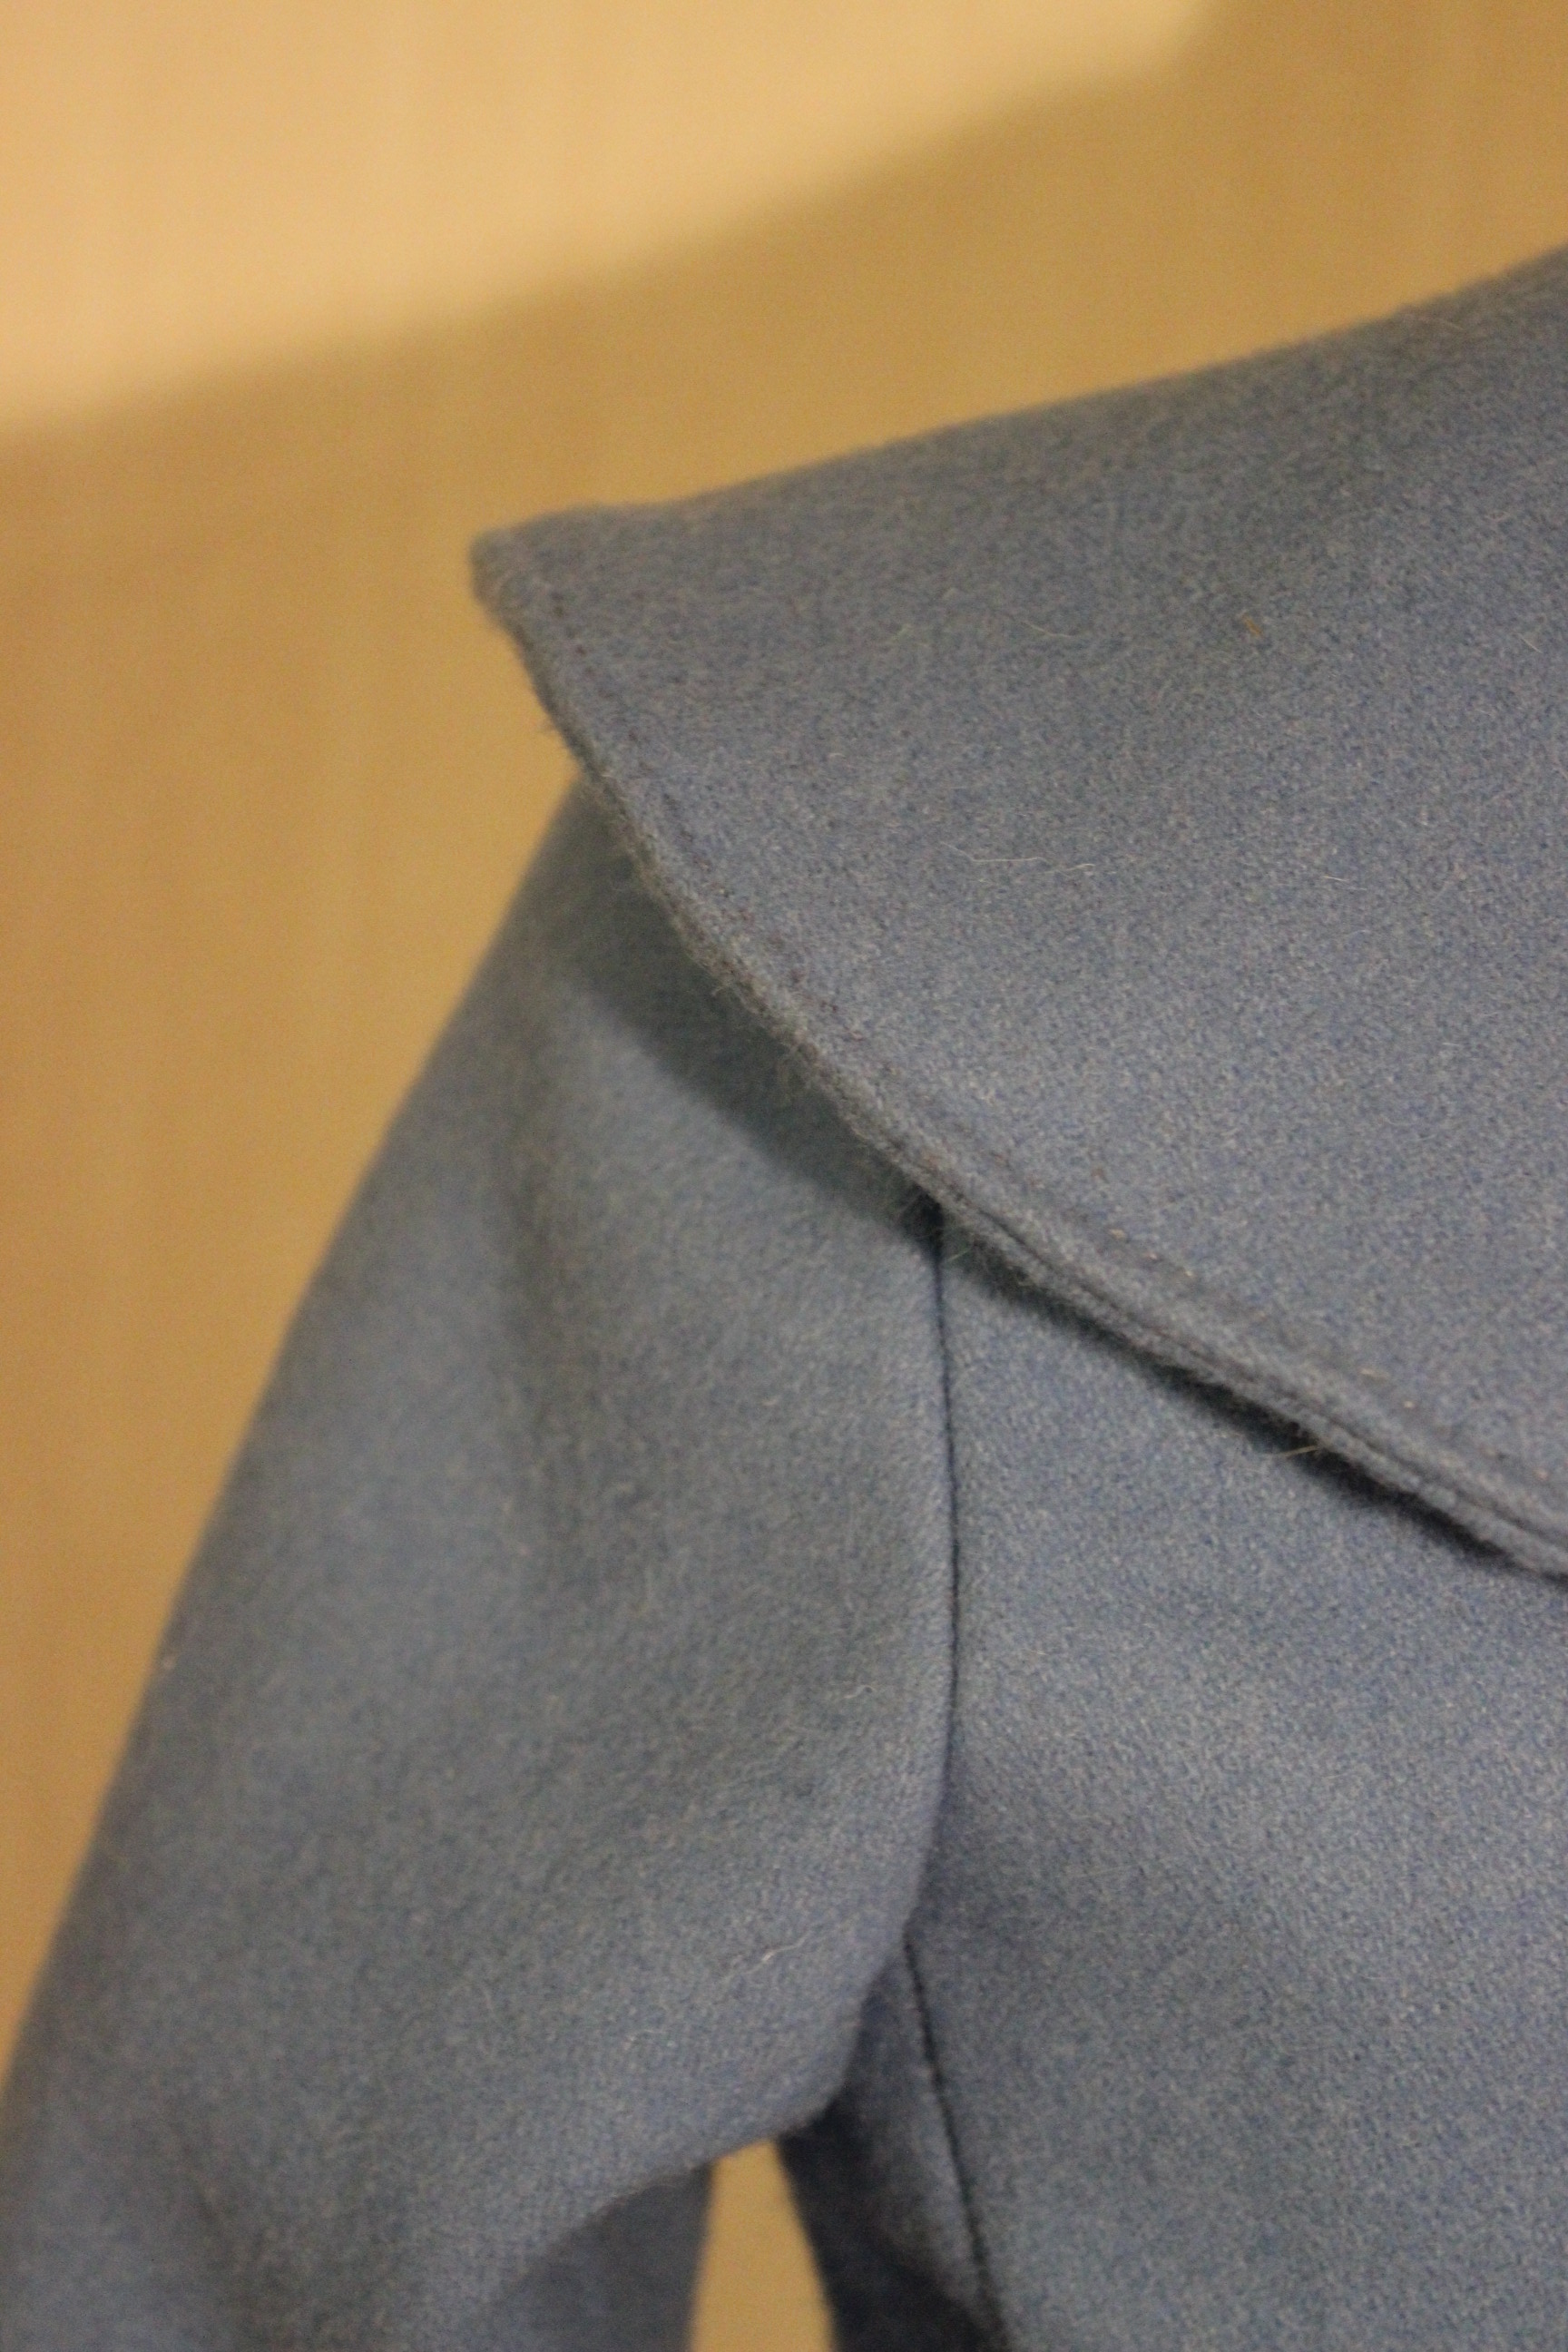
 I love the look of the bodice like this – perhaps I need to make a waistcoat from this pattern.
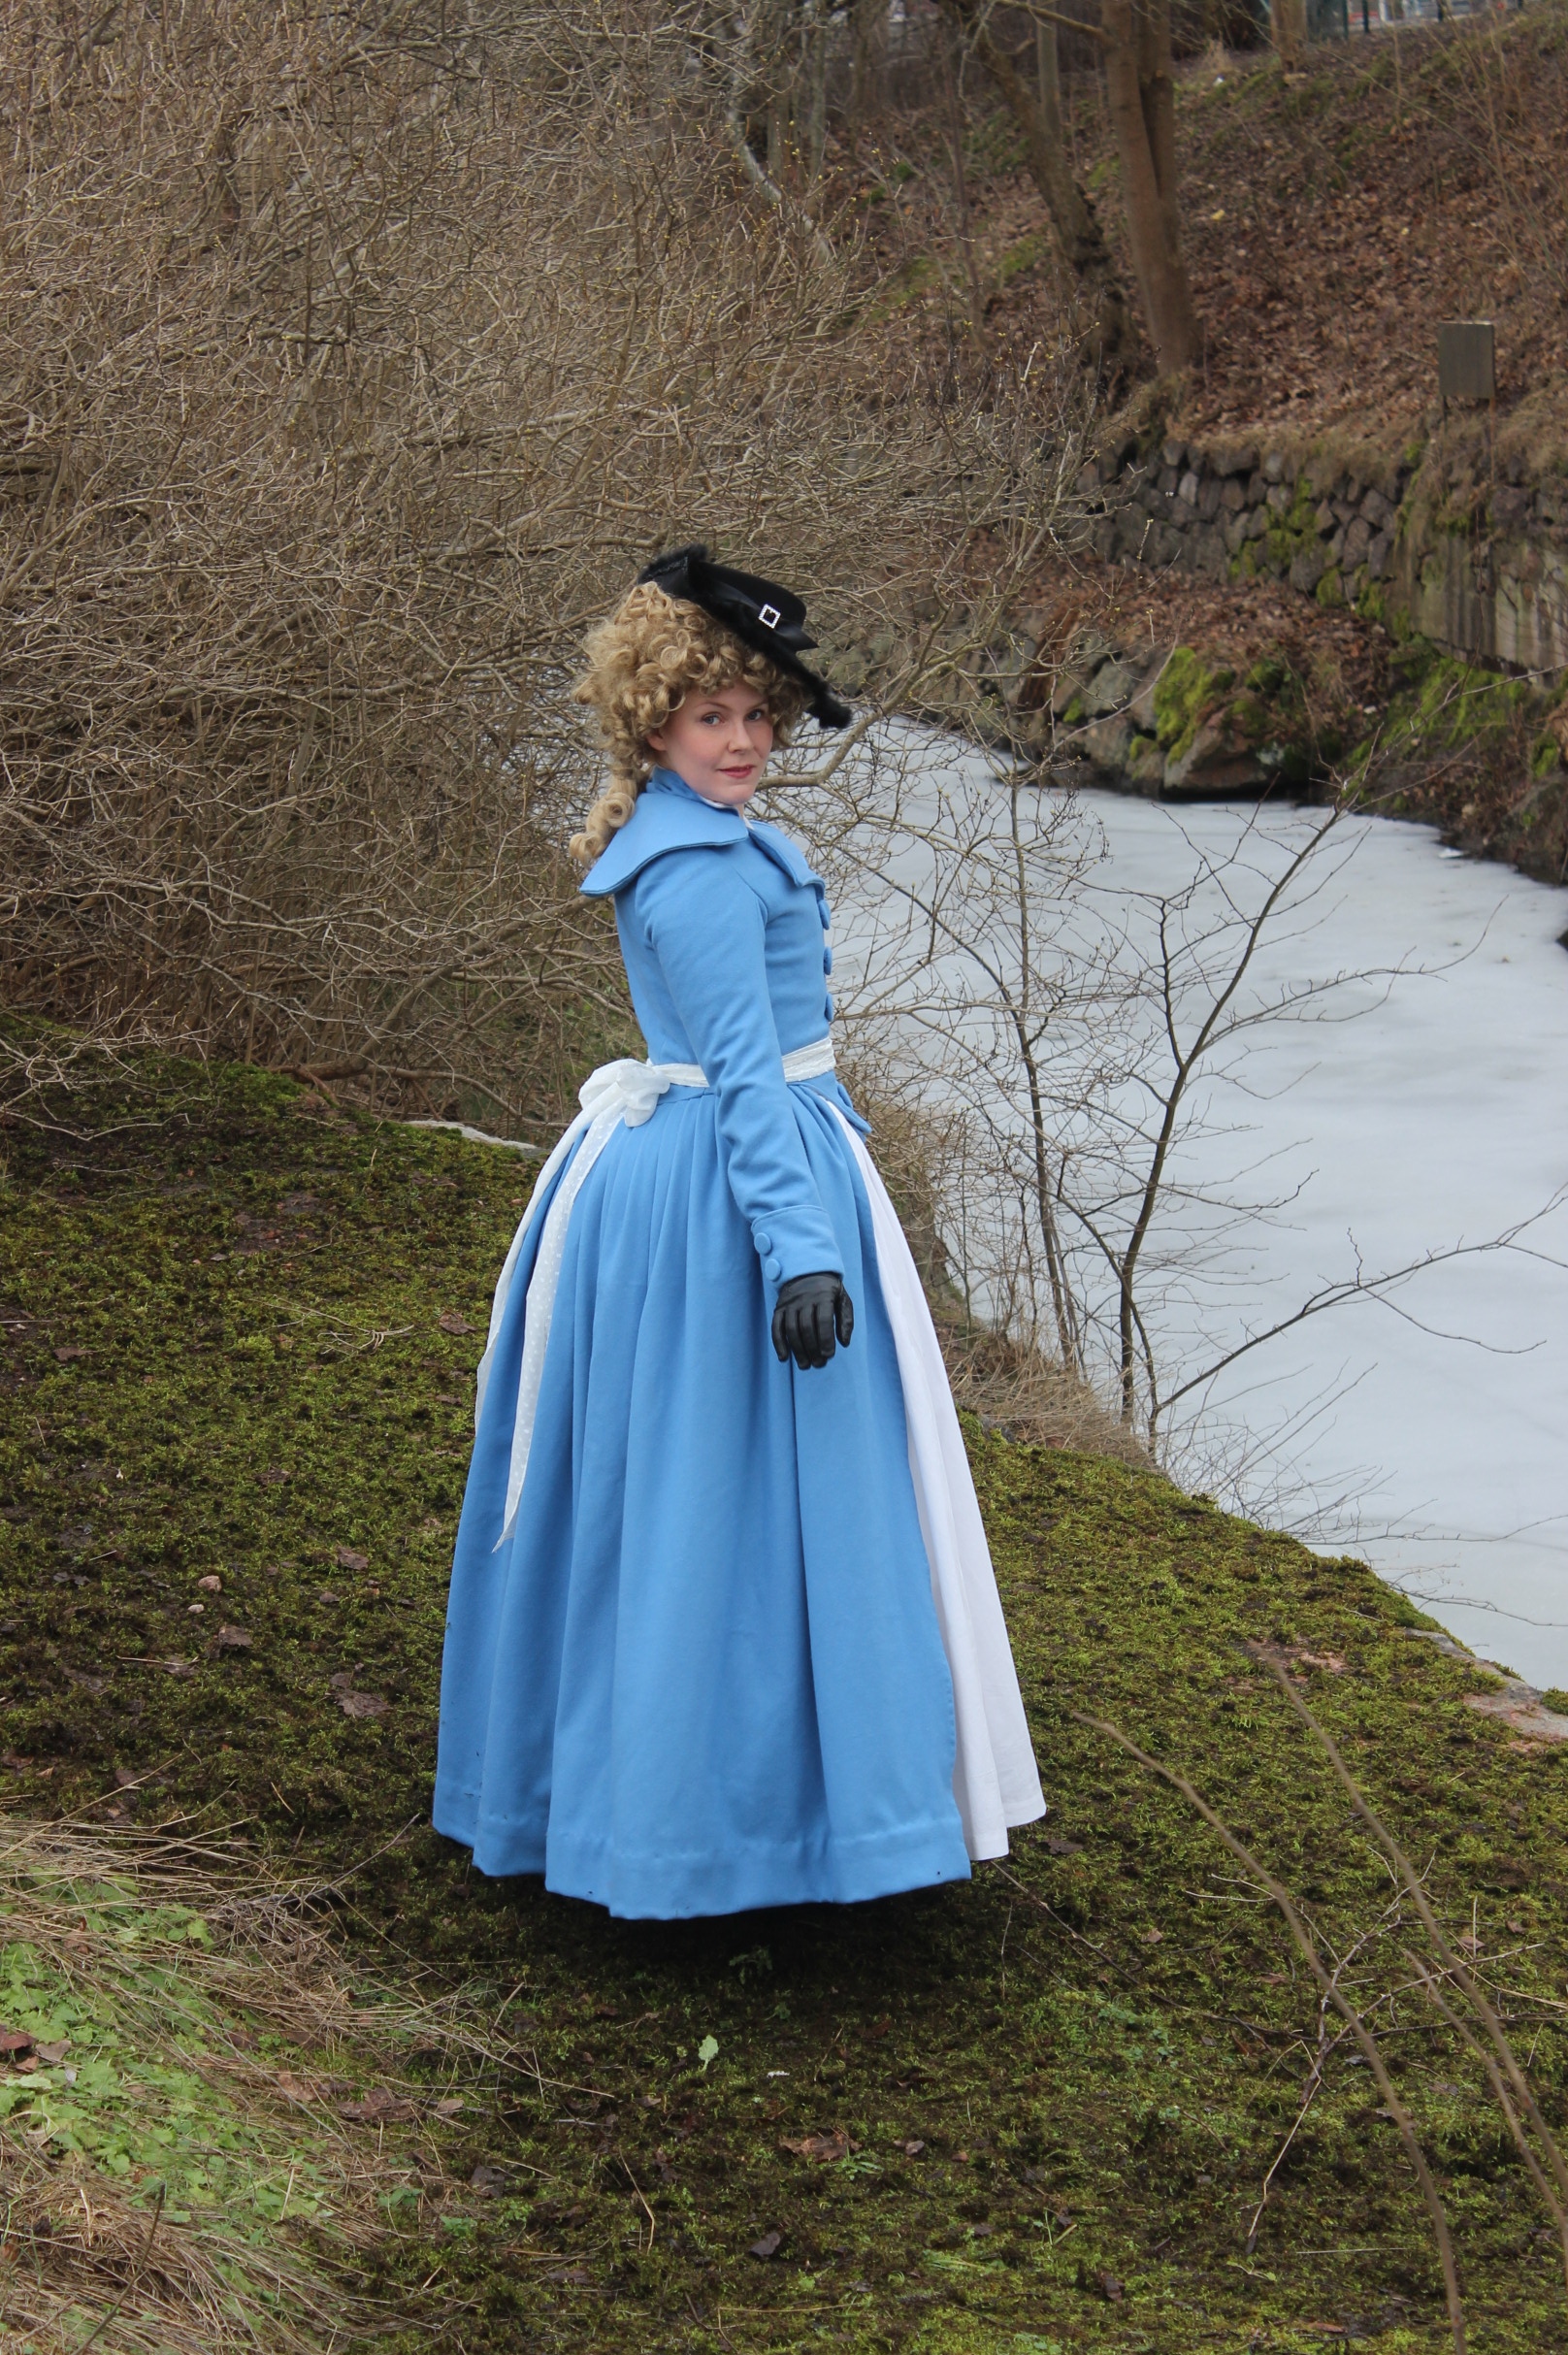

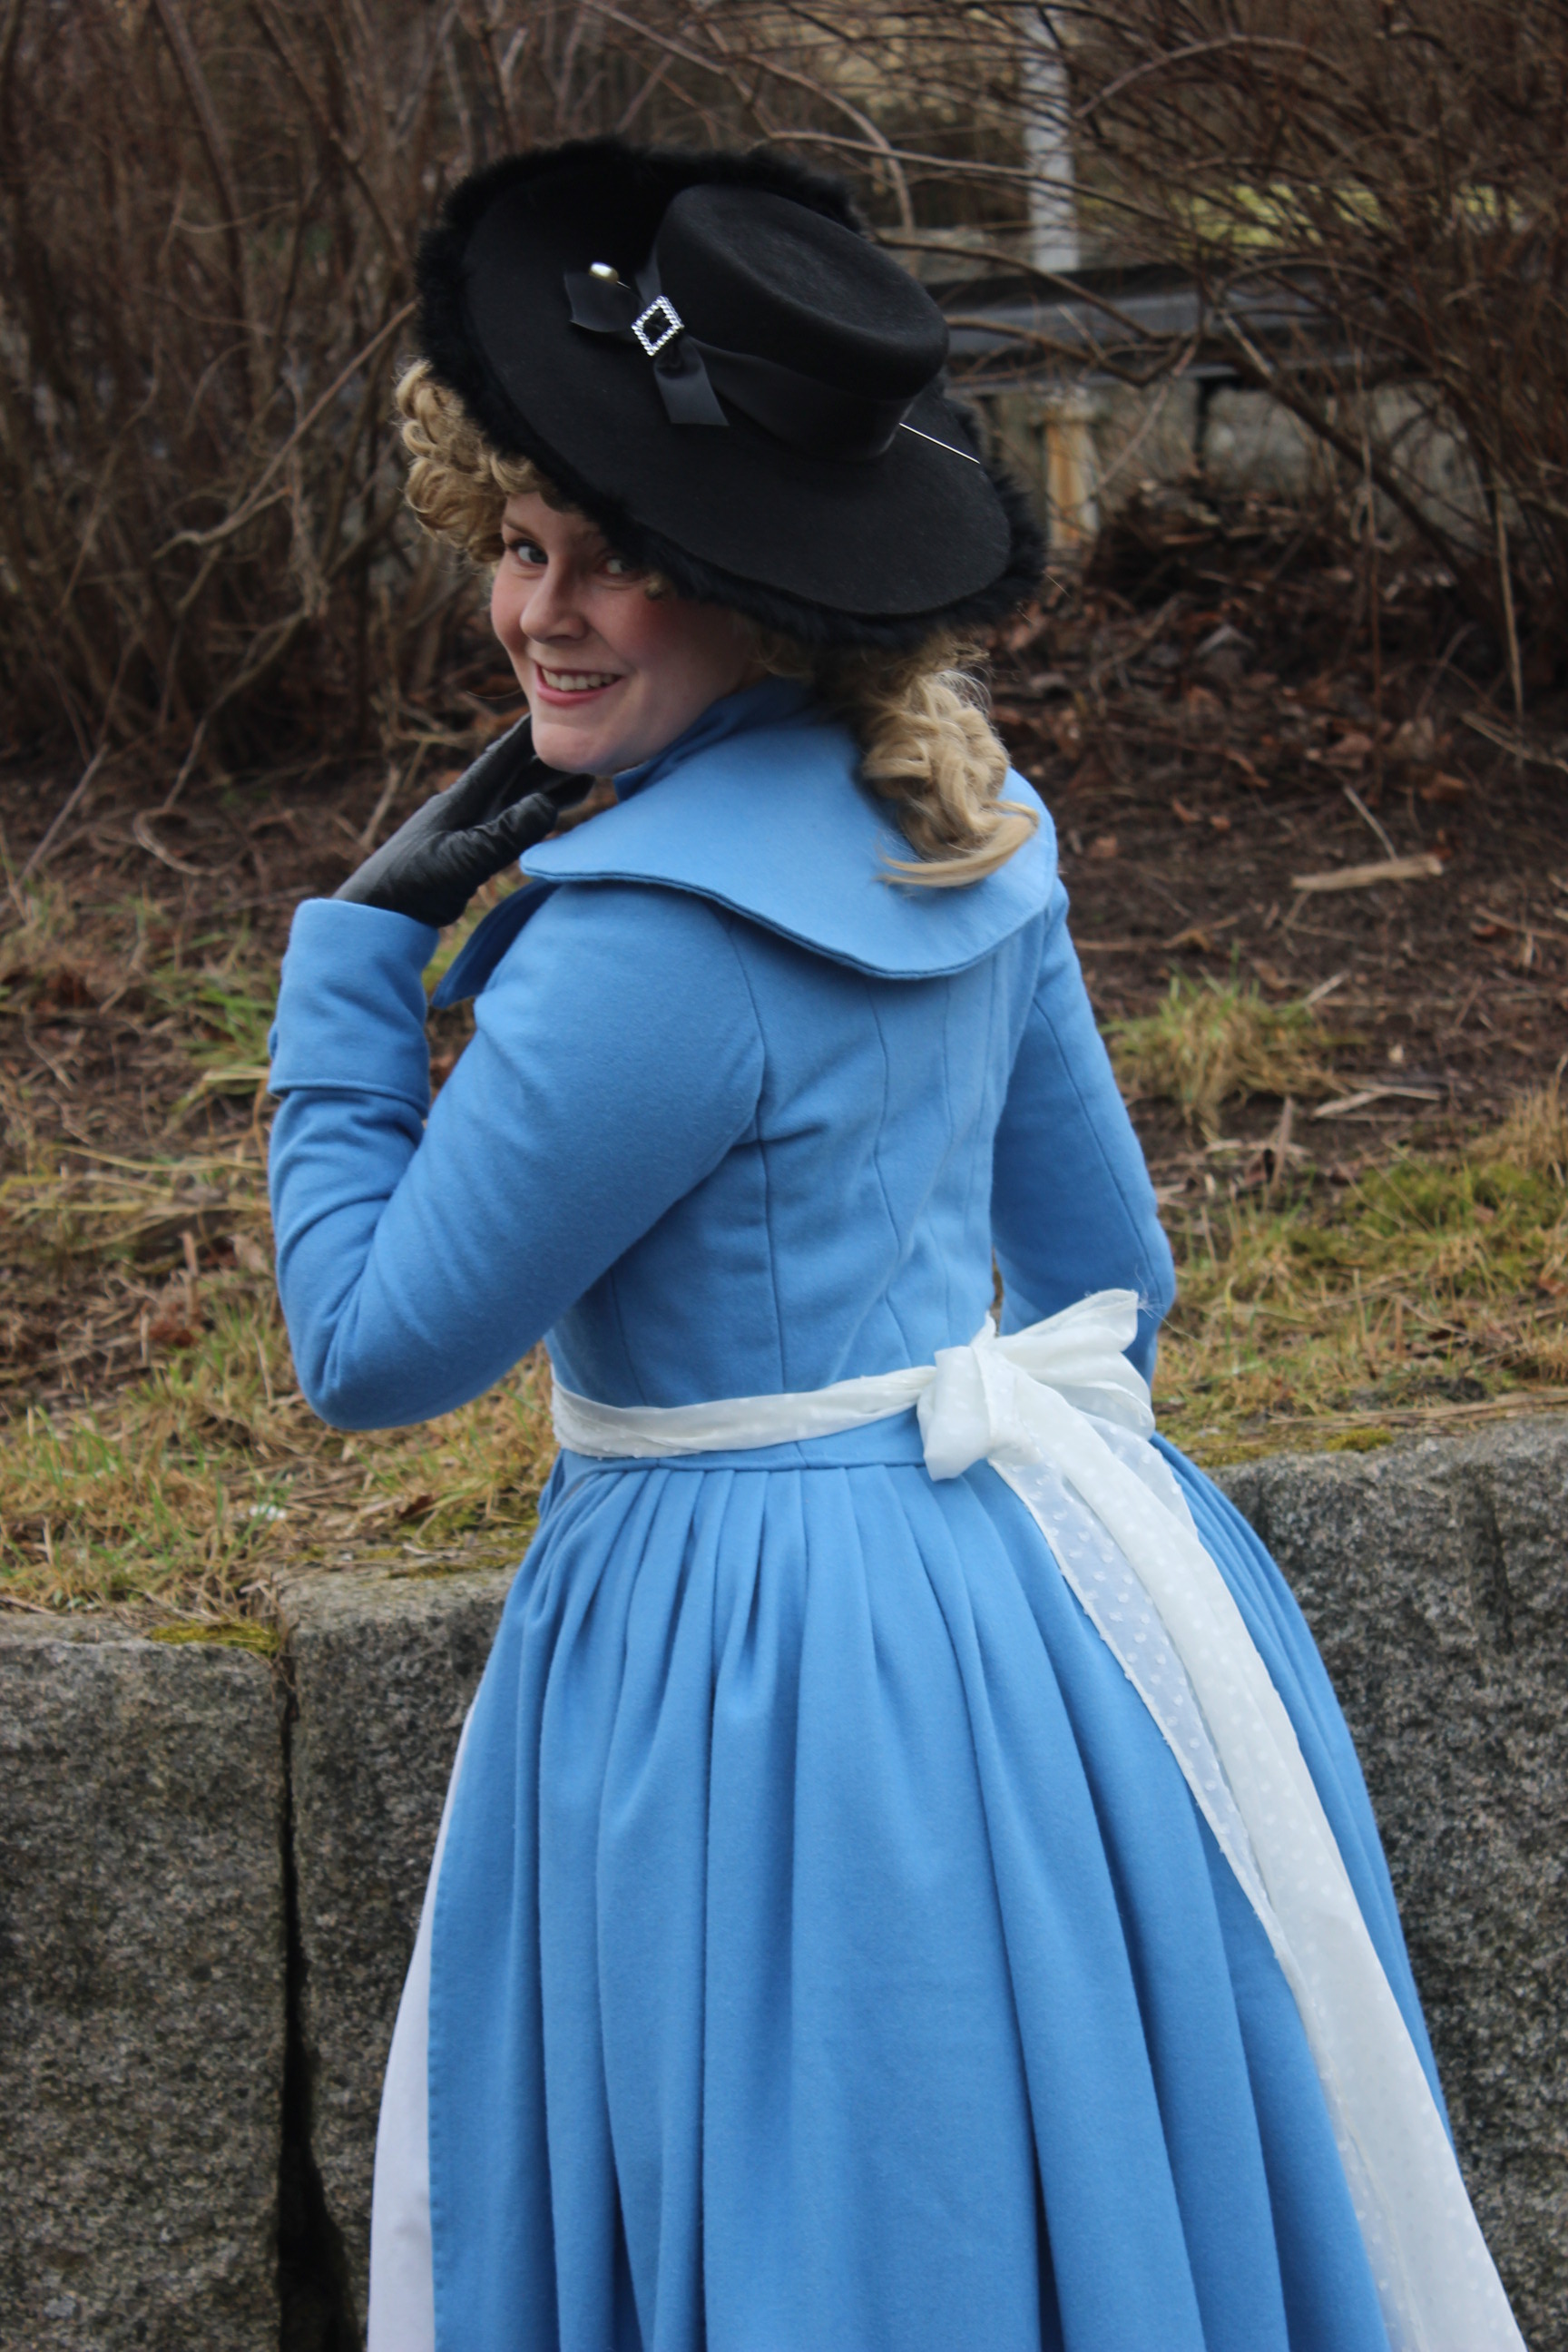


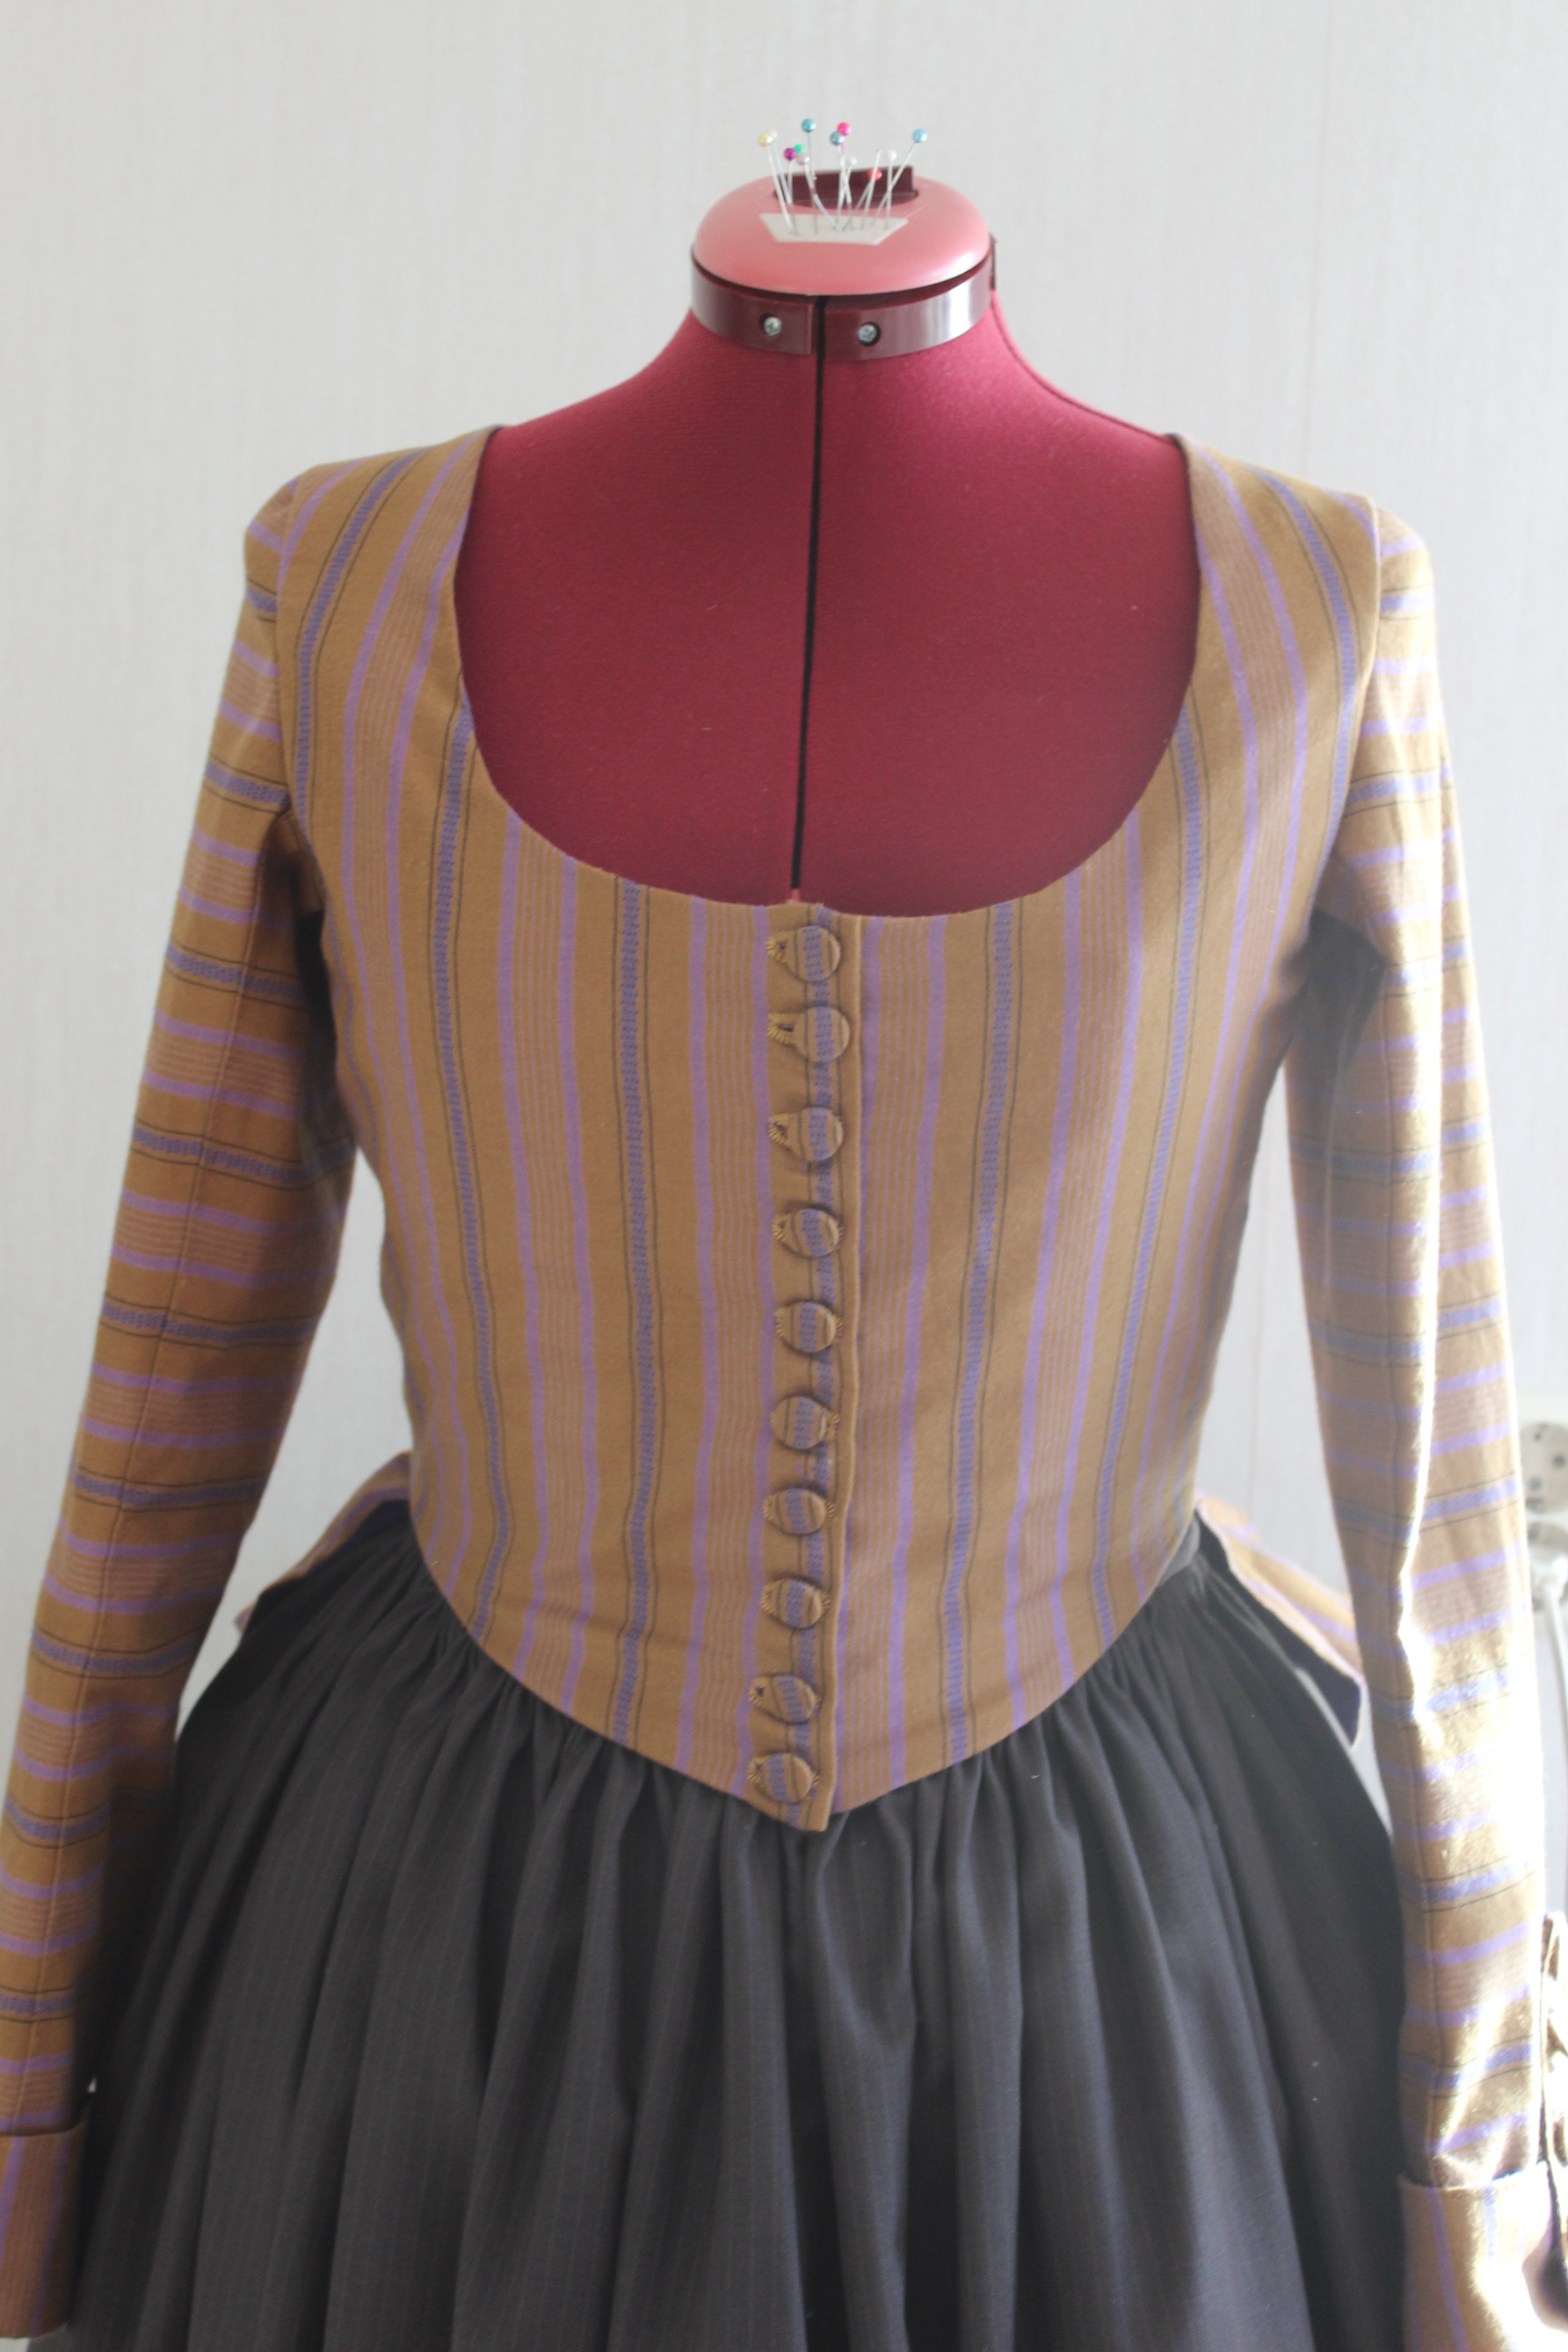
 But as work got really busy after summer that didn’t happened.