The “accessory” for my 1880s evening gown which caused my head to hurt most was the head itself. Who the h-l do you get a lovely opera style hairdo with my short and klingy hair.
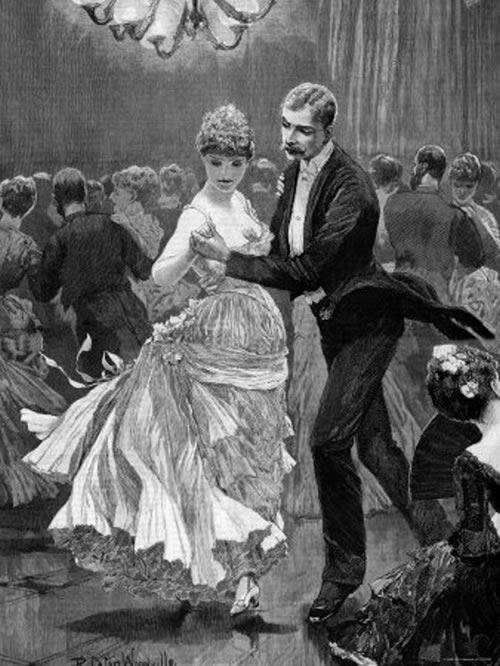
This was what I wanted
I tried a lots of different alternatives. Like faux hair and braids, curling and twisting but nothing got me even close to what I needed to achive. 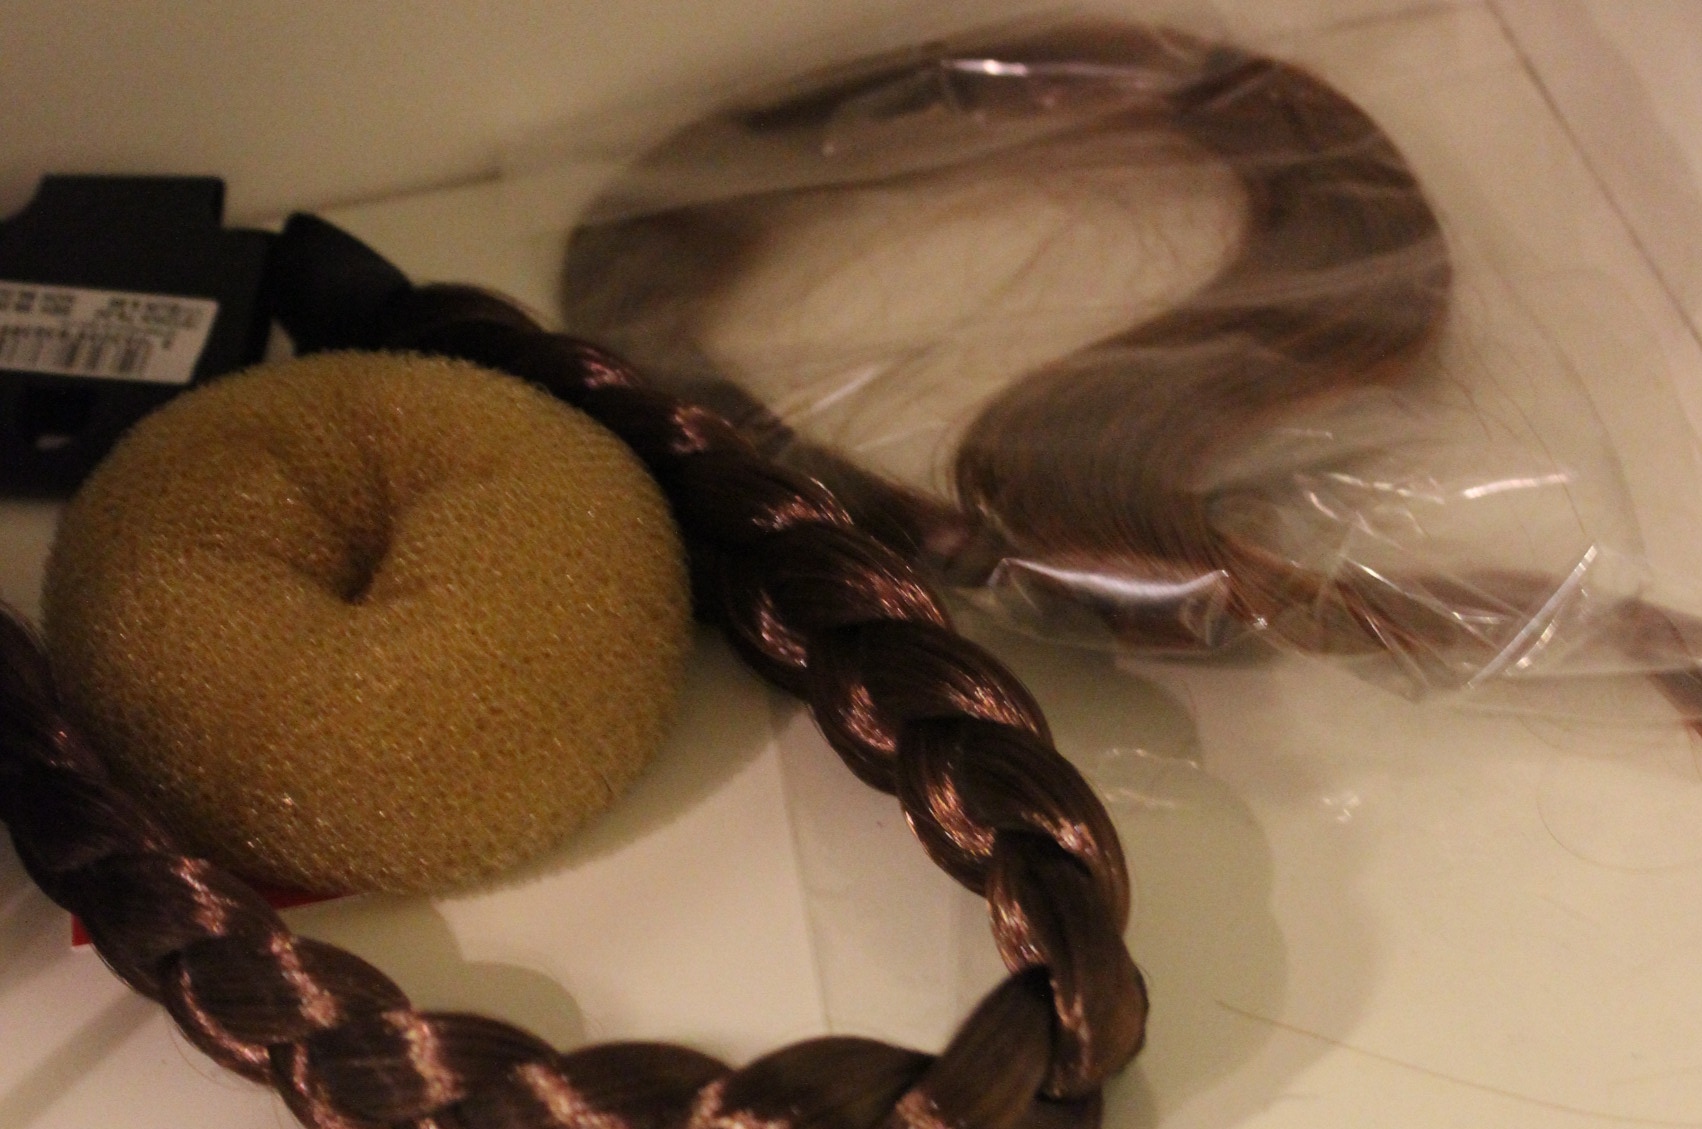
So I reluctantly pulled out my “new” wig. It is from the same company where I bought a lovely long haired wig for my medieval hairdo, but this one is just horrid.
Promo pic. 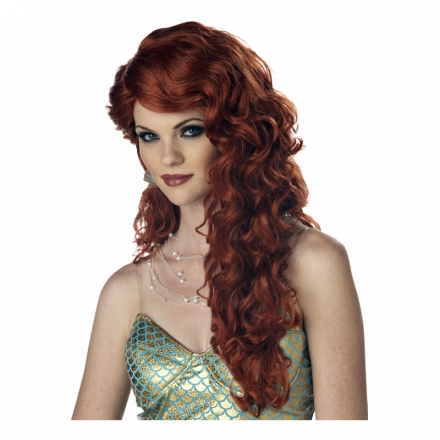
And in real life.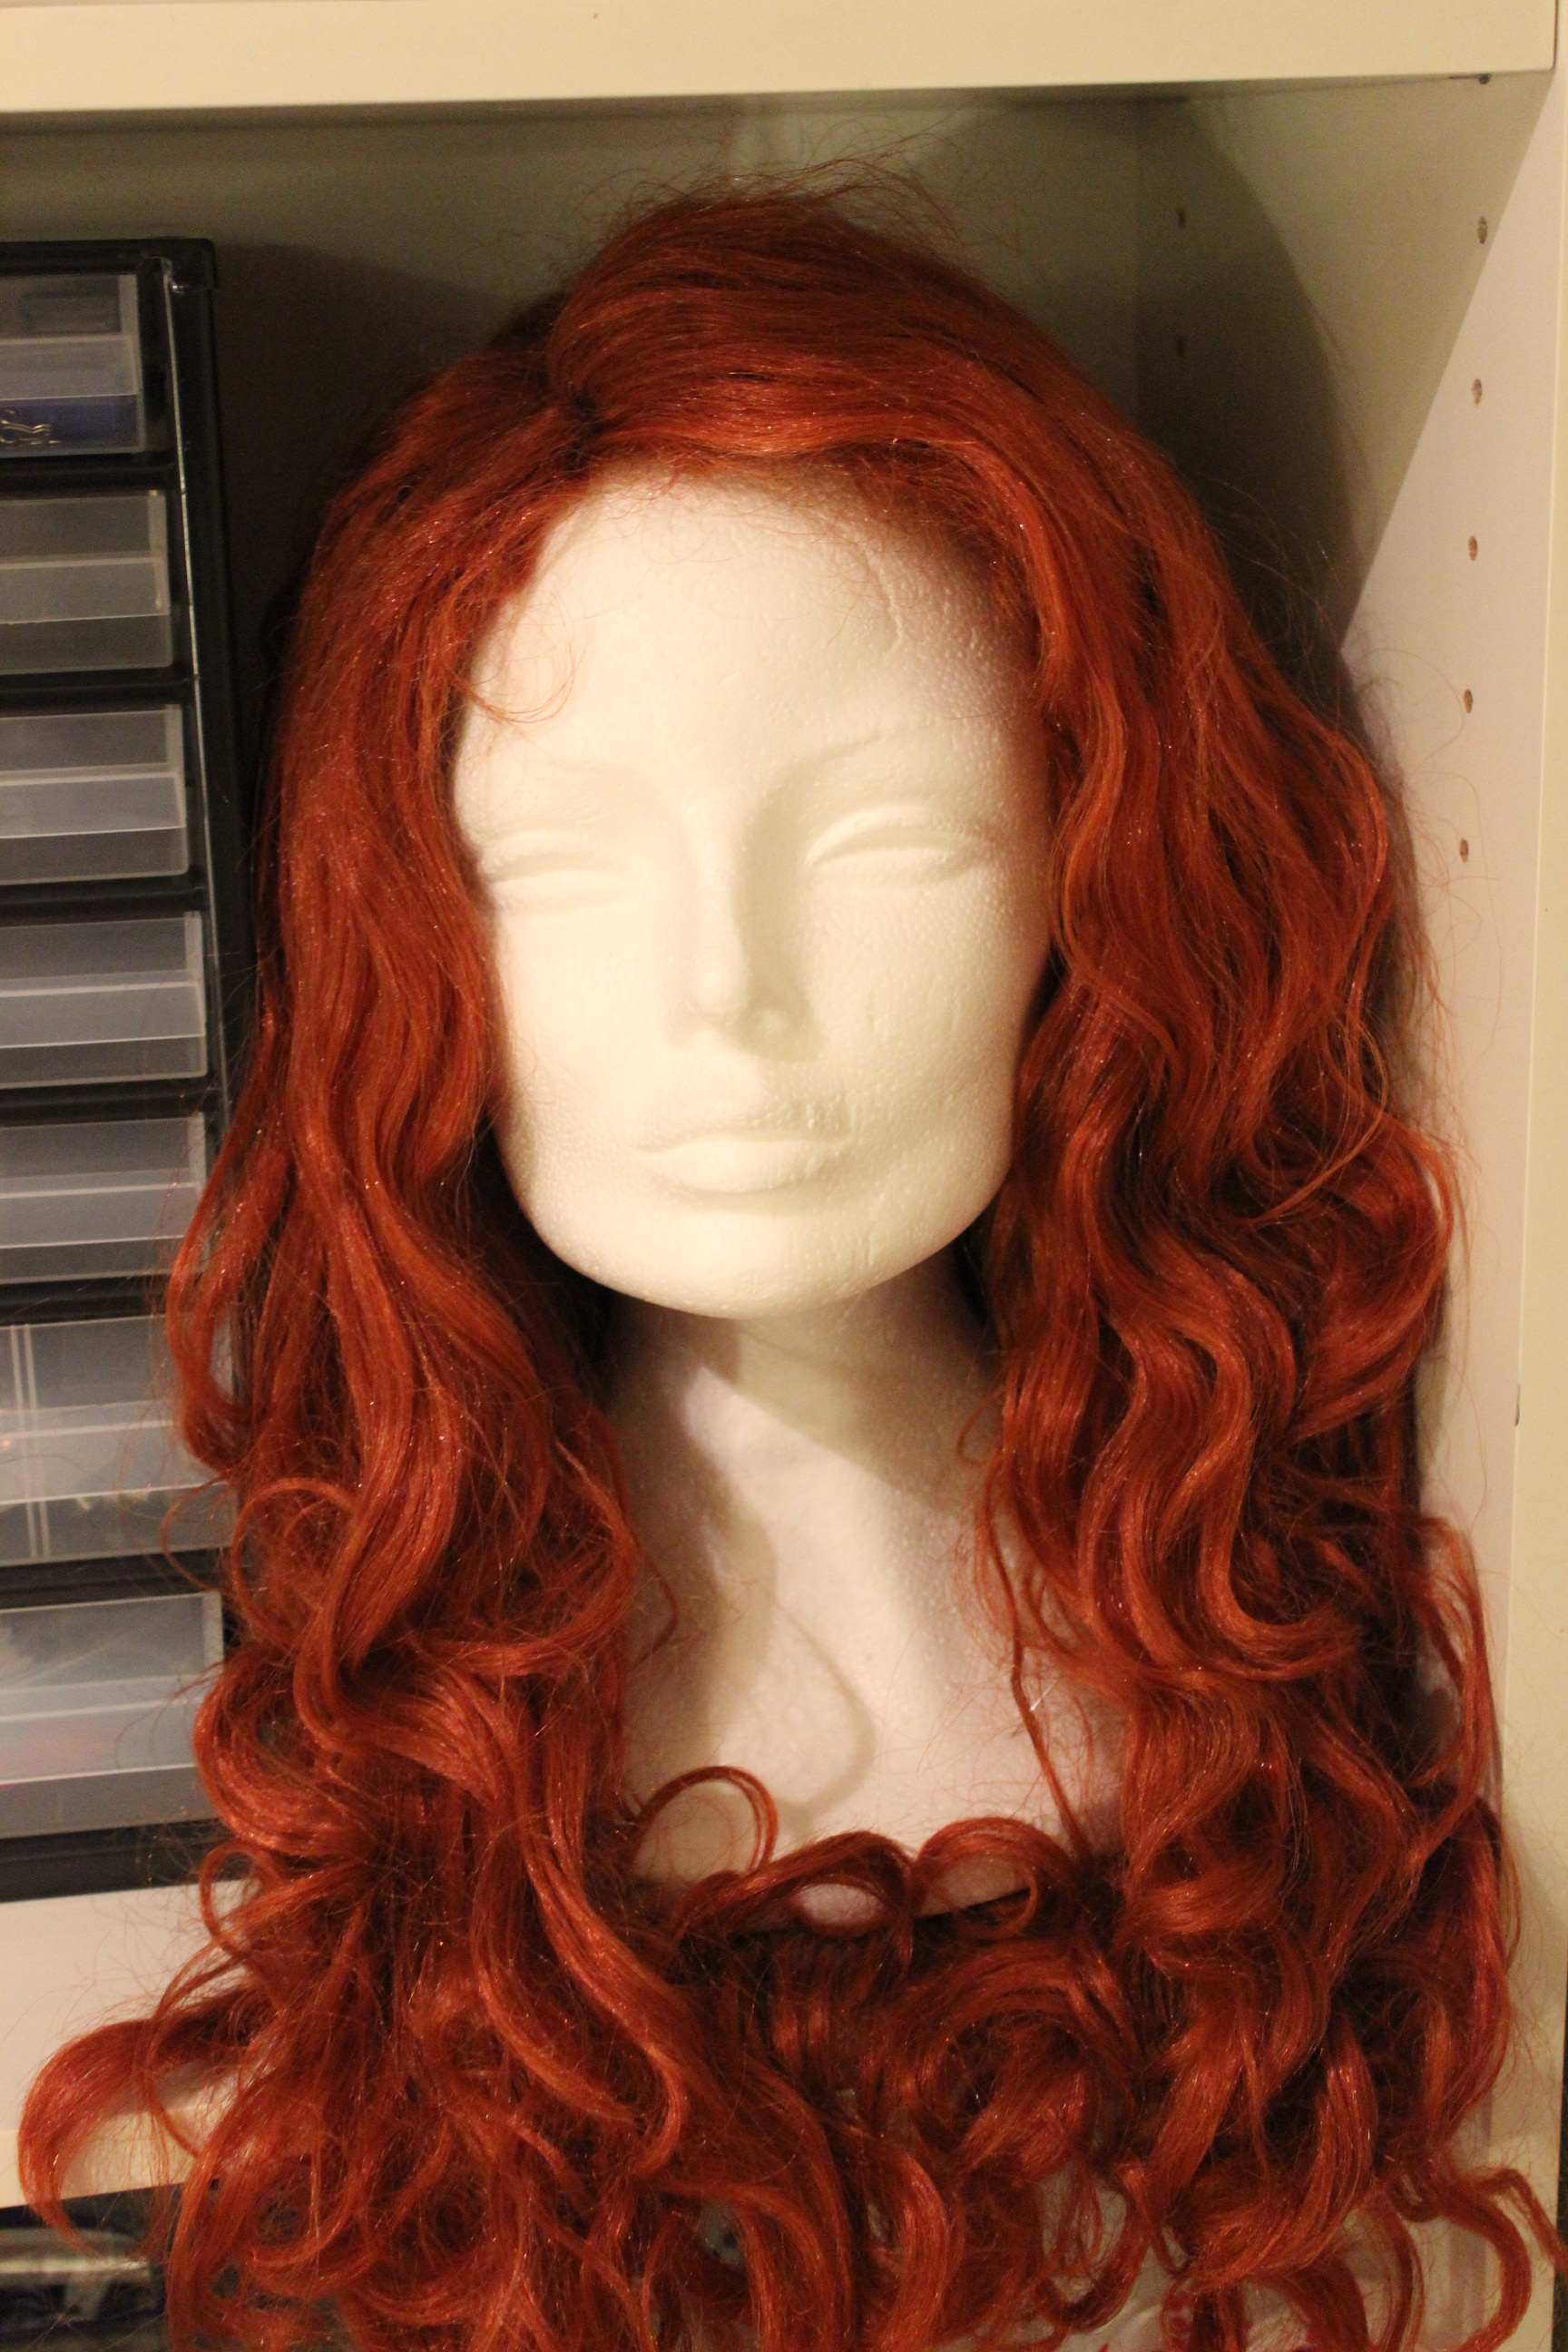
 It is so plasic looking in both the colour and the shine, it feels realy “costumy”. And besides it is way to big. The only “good” thing about it is the fact that it don’t have bangs. But with two days left to the bal, I needed to give it a try.
So I re-read the chapter on “late victorian hairstyles” in Historical Wigstyling, and got to work, testing the methods on a smal piece of the wig first.
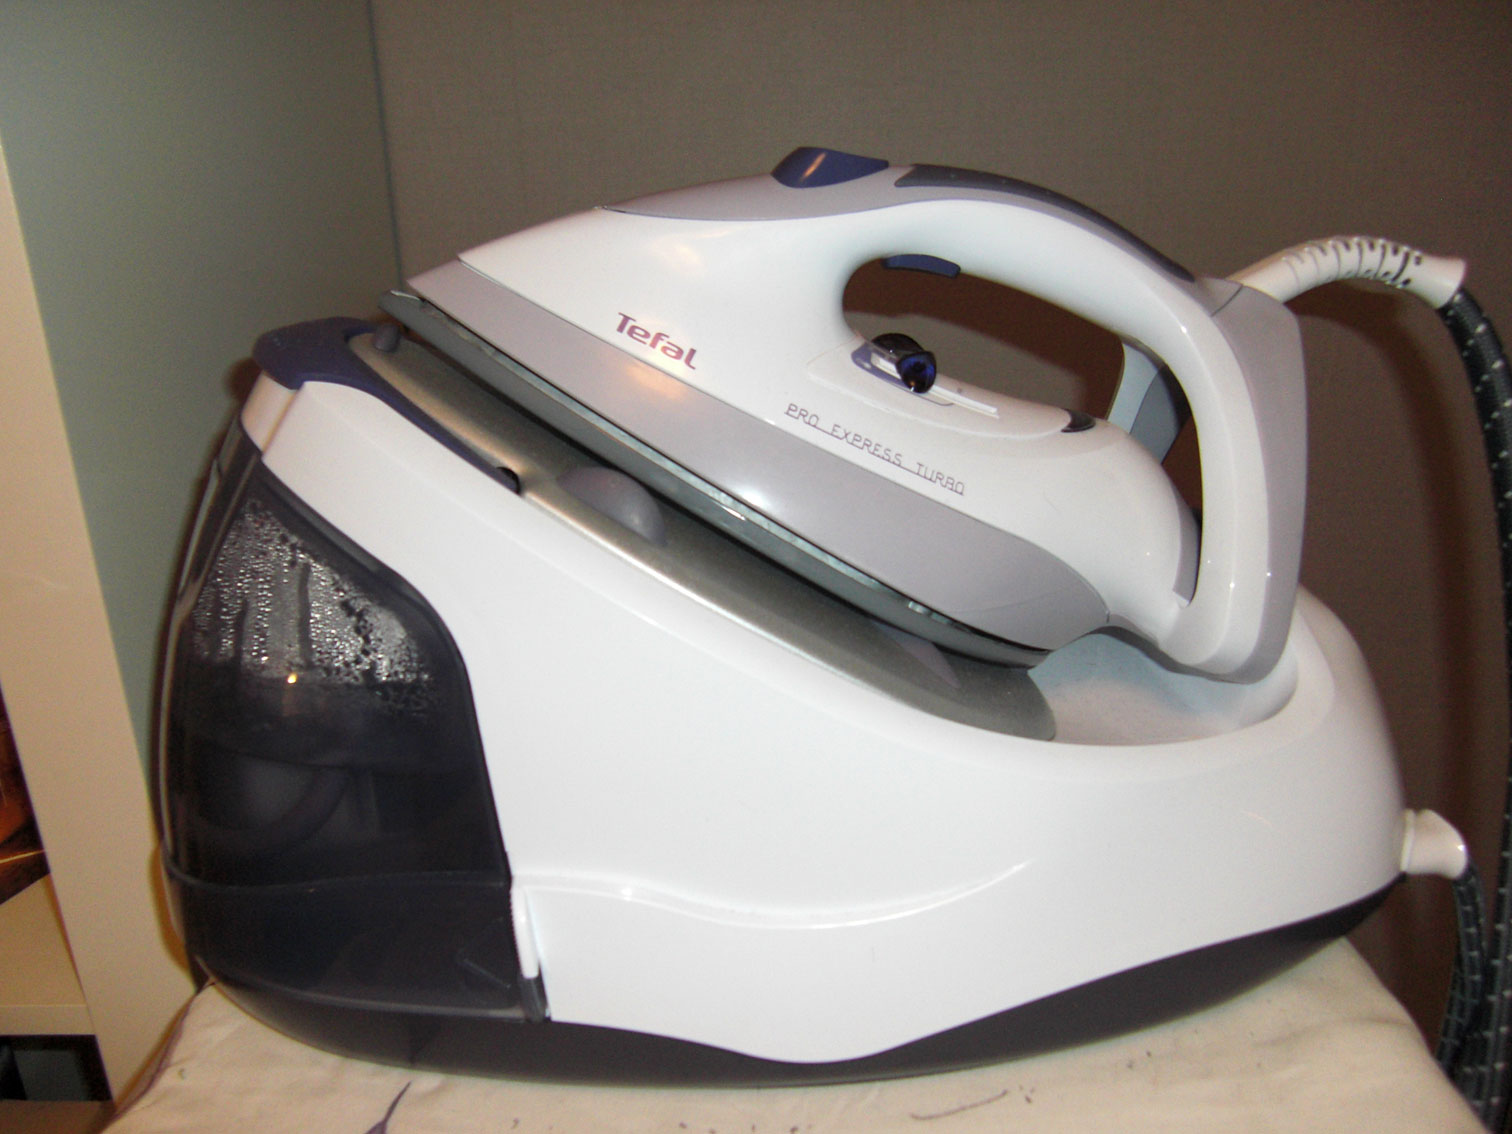
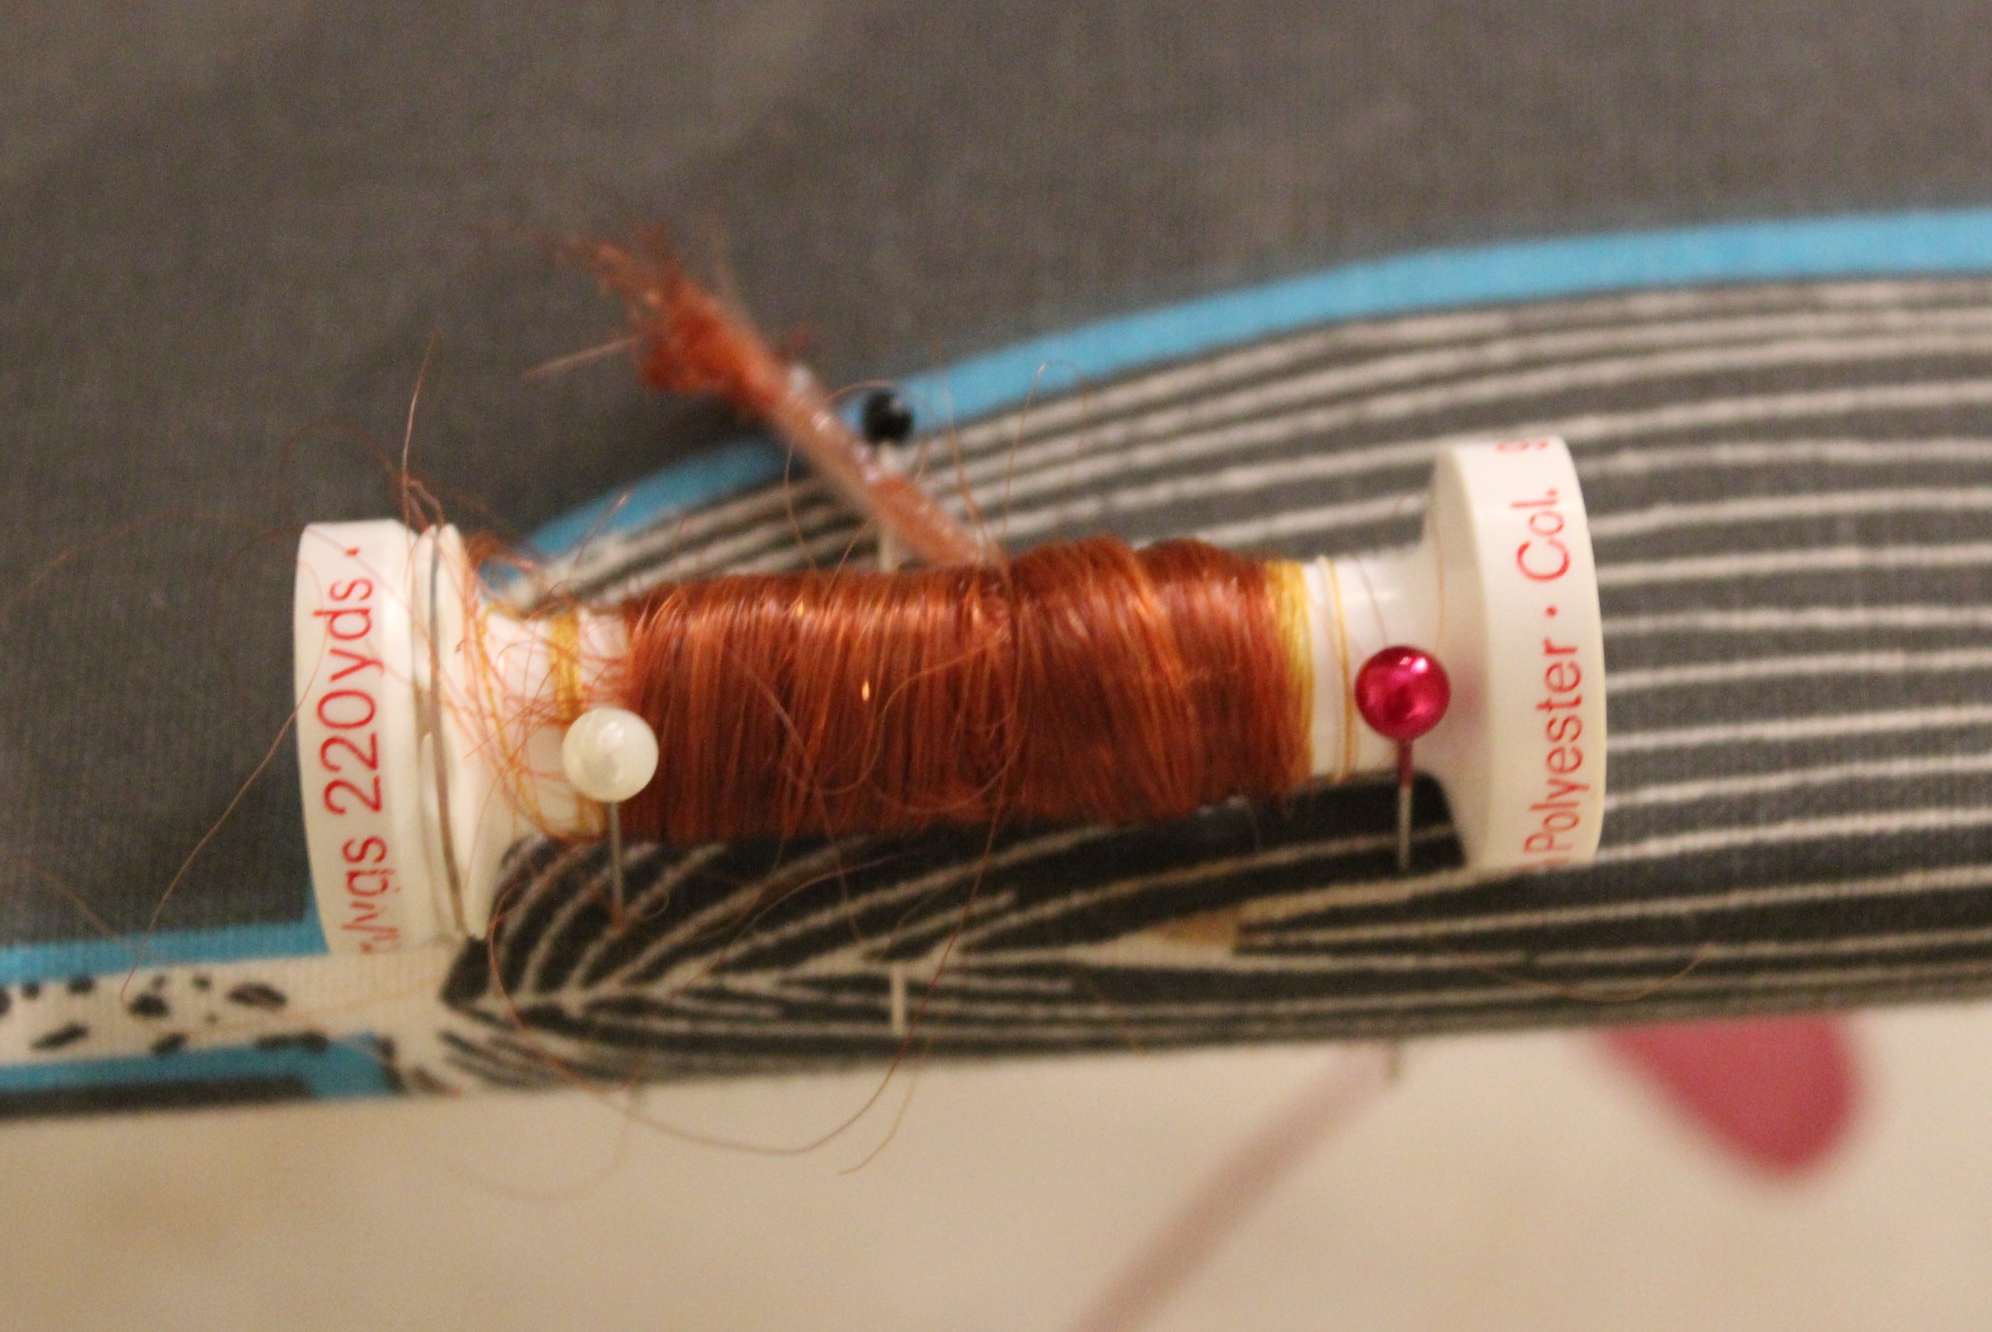 Roling a piece of “hair” to a thread spool (I curently don’t own real hair curlers), then setting it, using steam from my steam-iron.
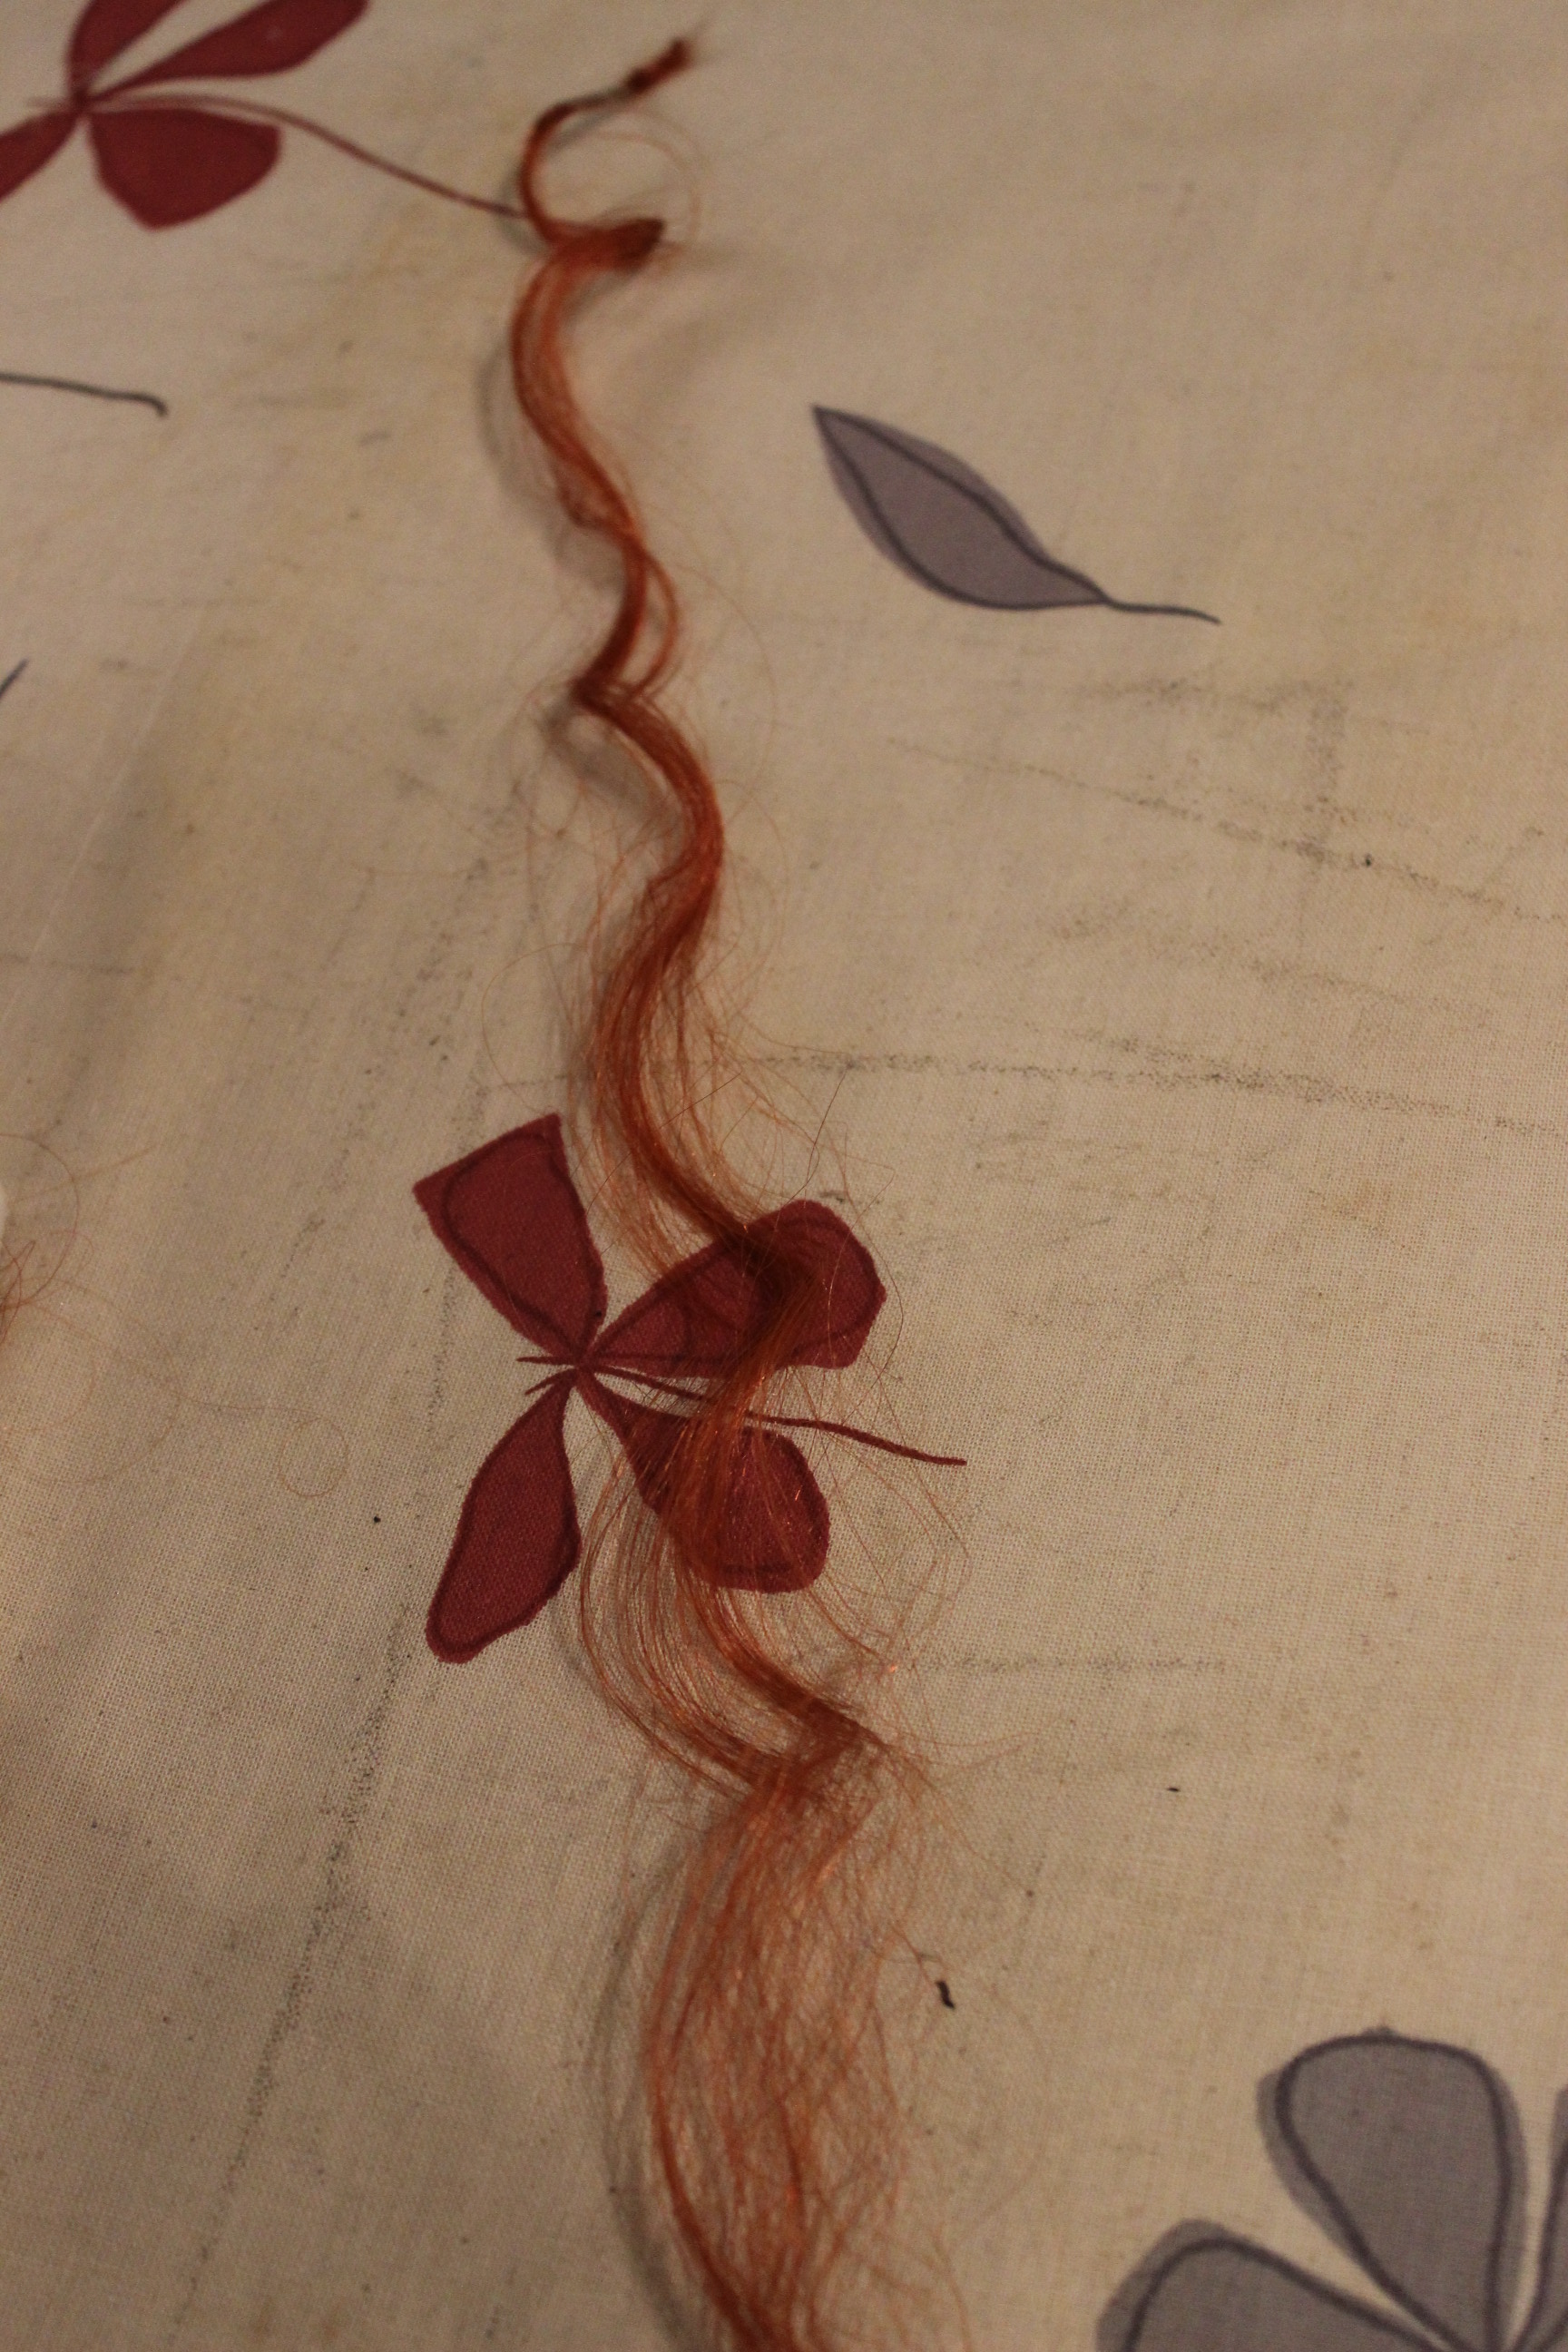
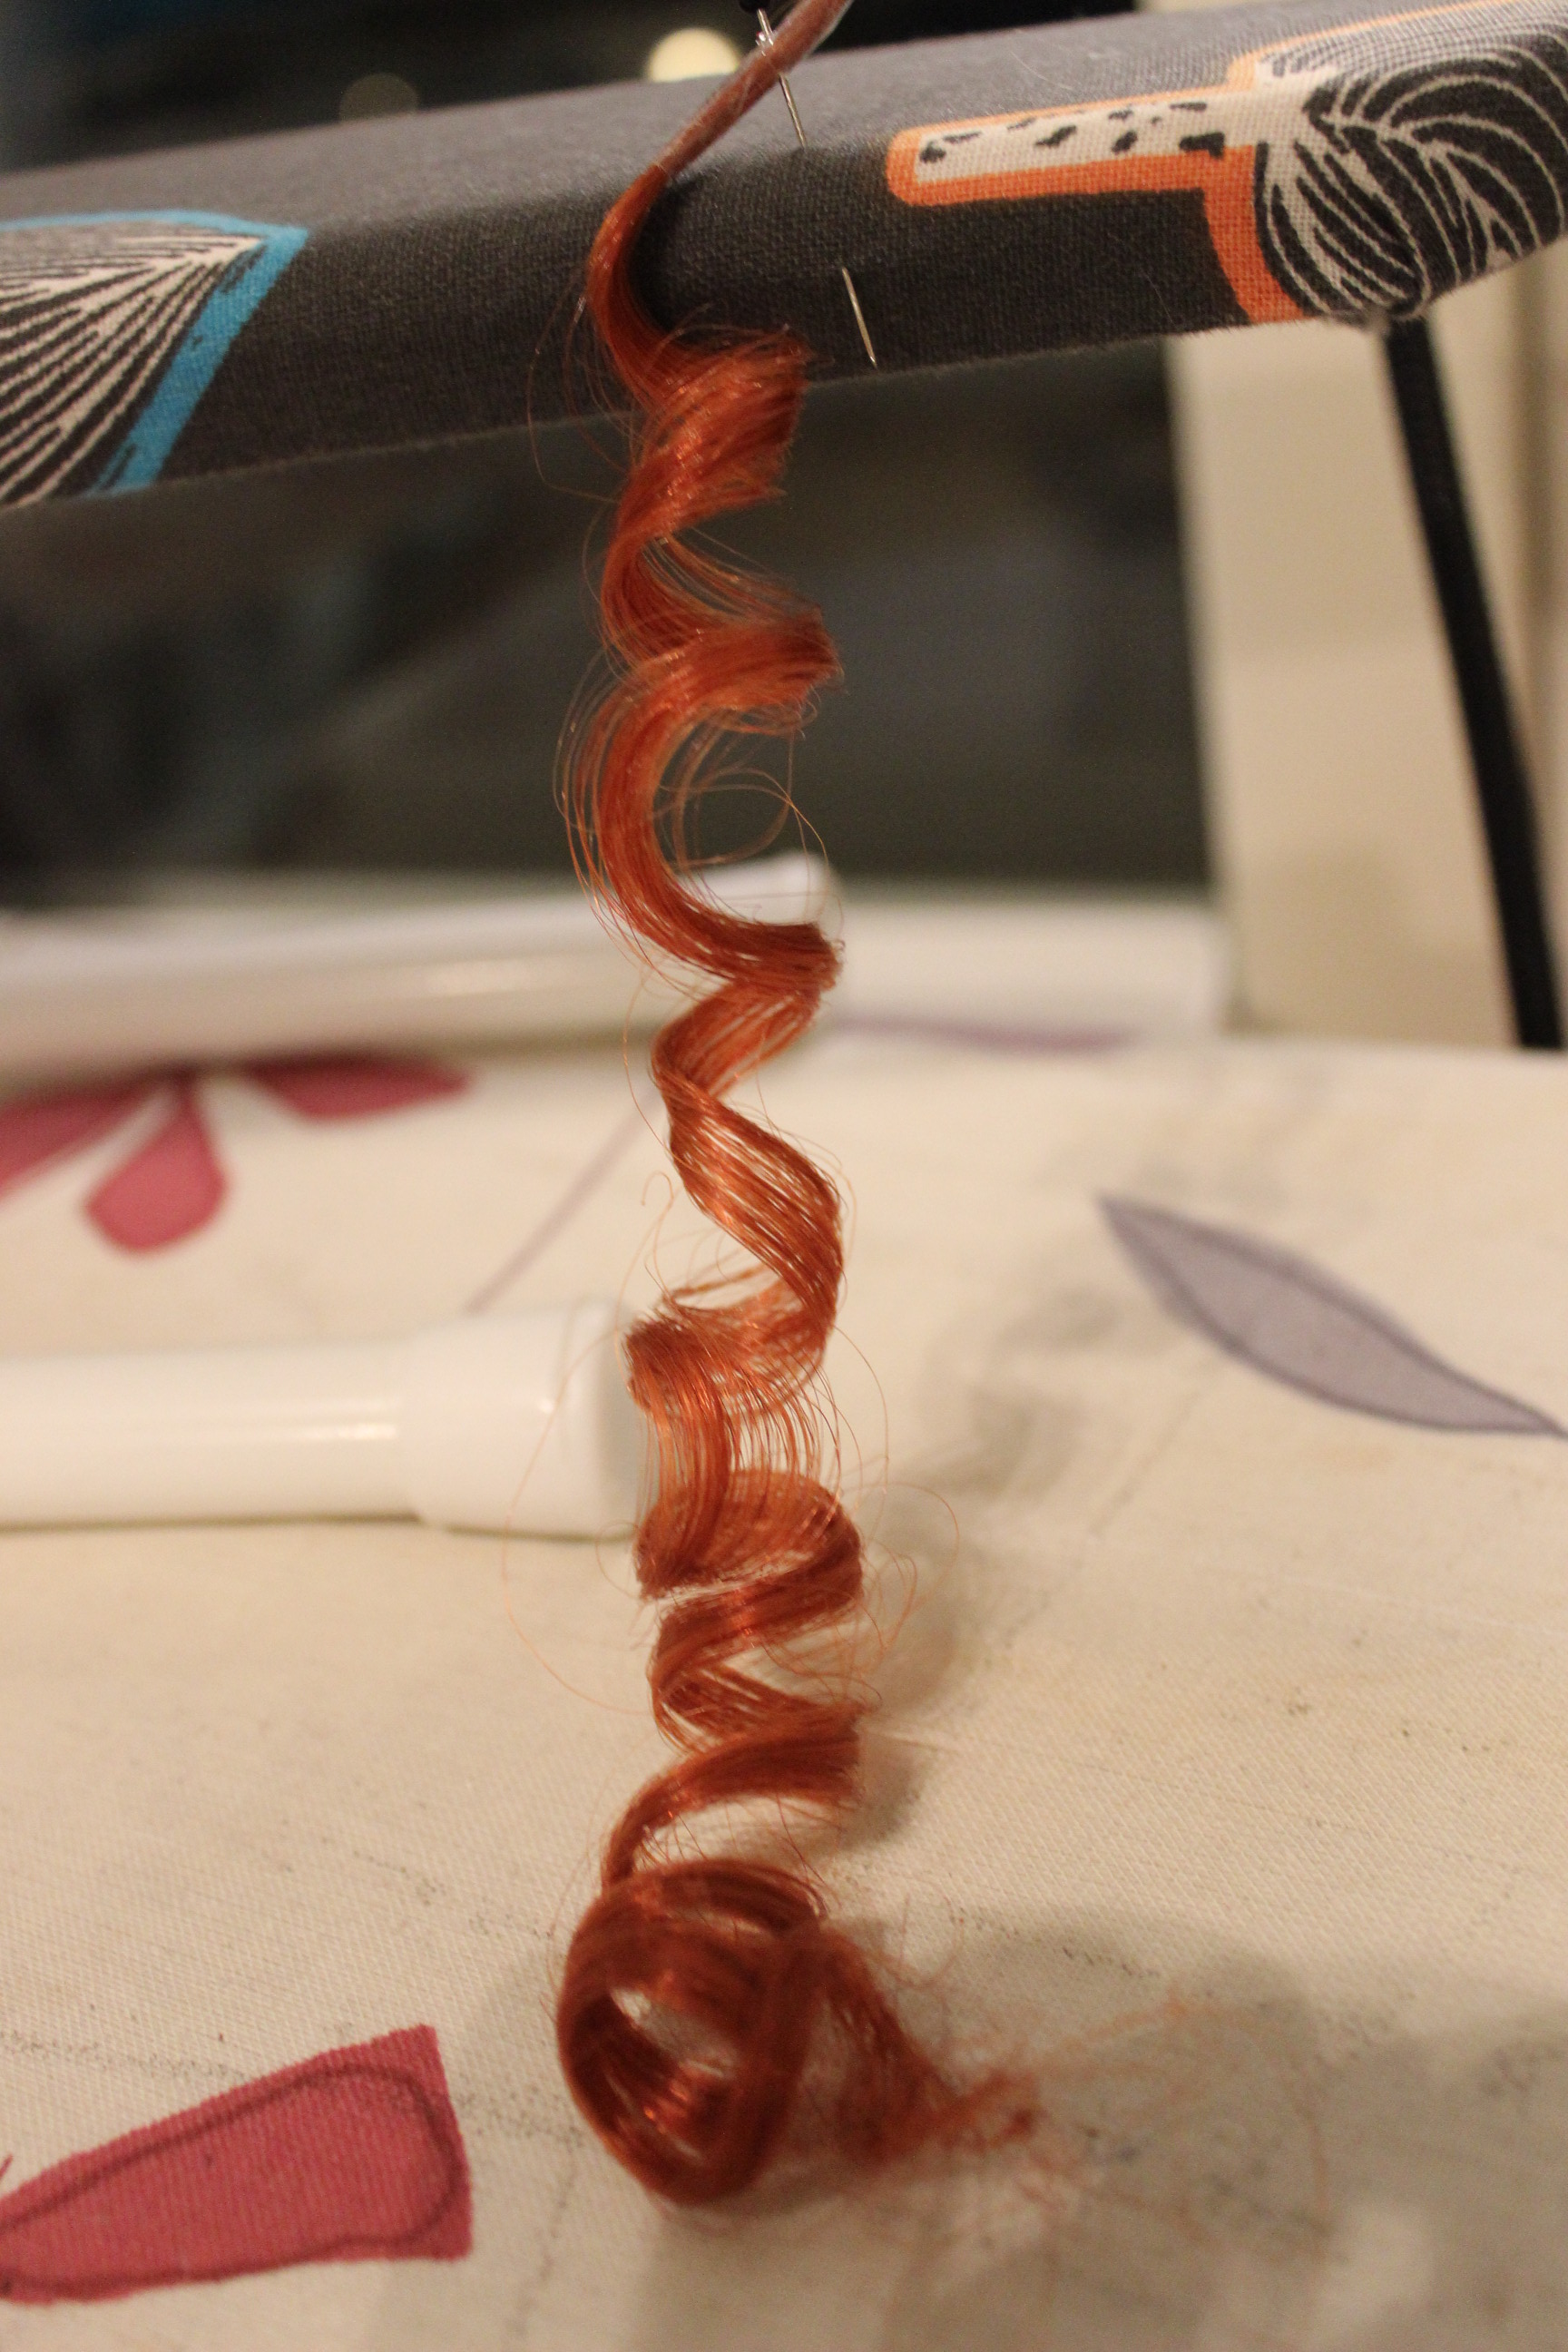
The result looked perfect.
Time to move on to the actual wig.
I started by separding and creating some bangs, which I curled on hairpins and and more spools of thread, and then secured with pins.
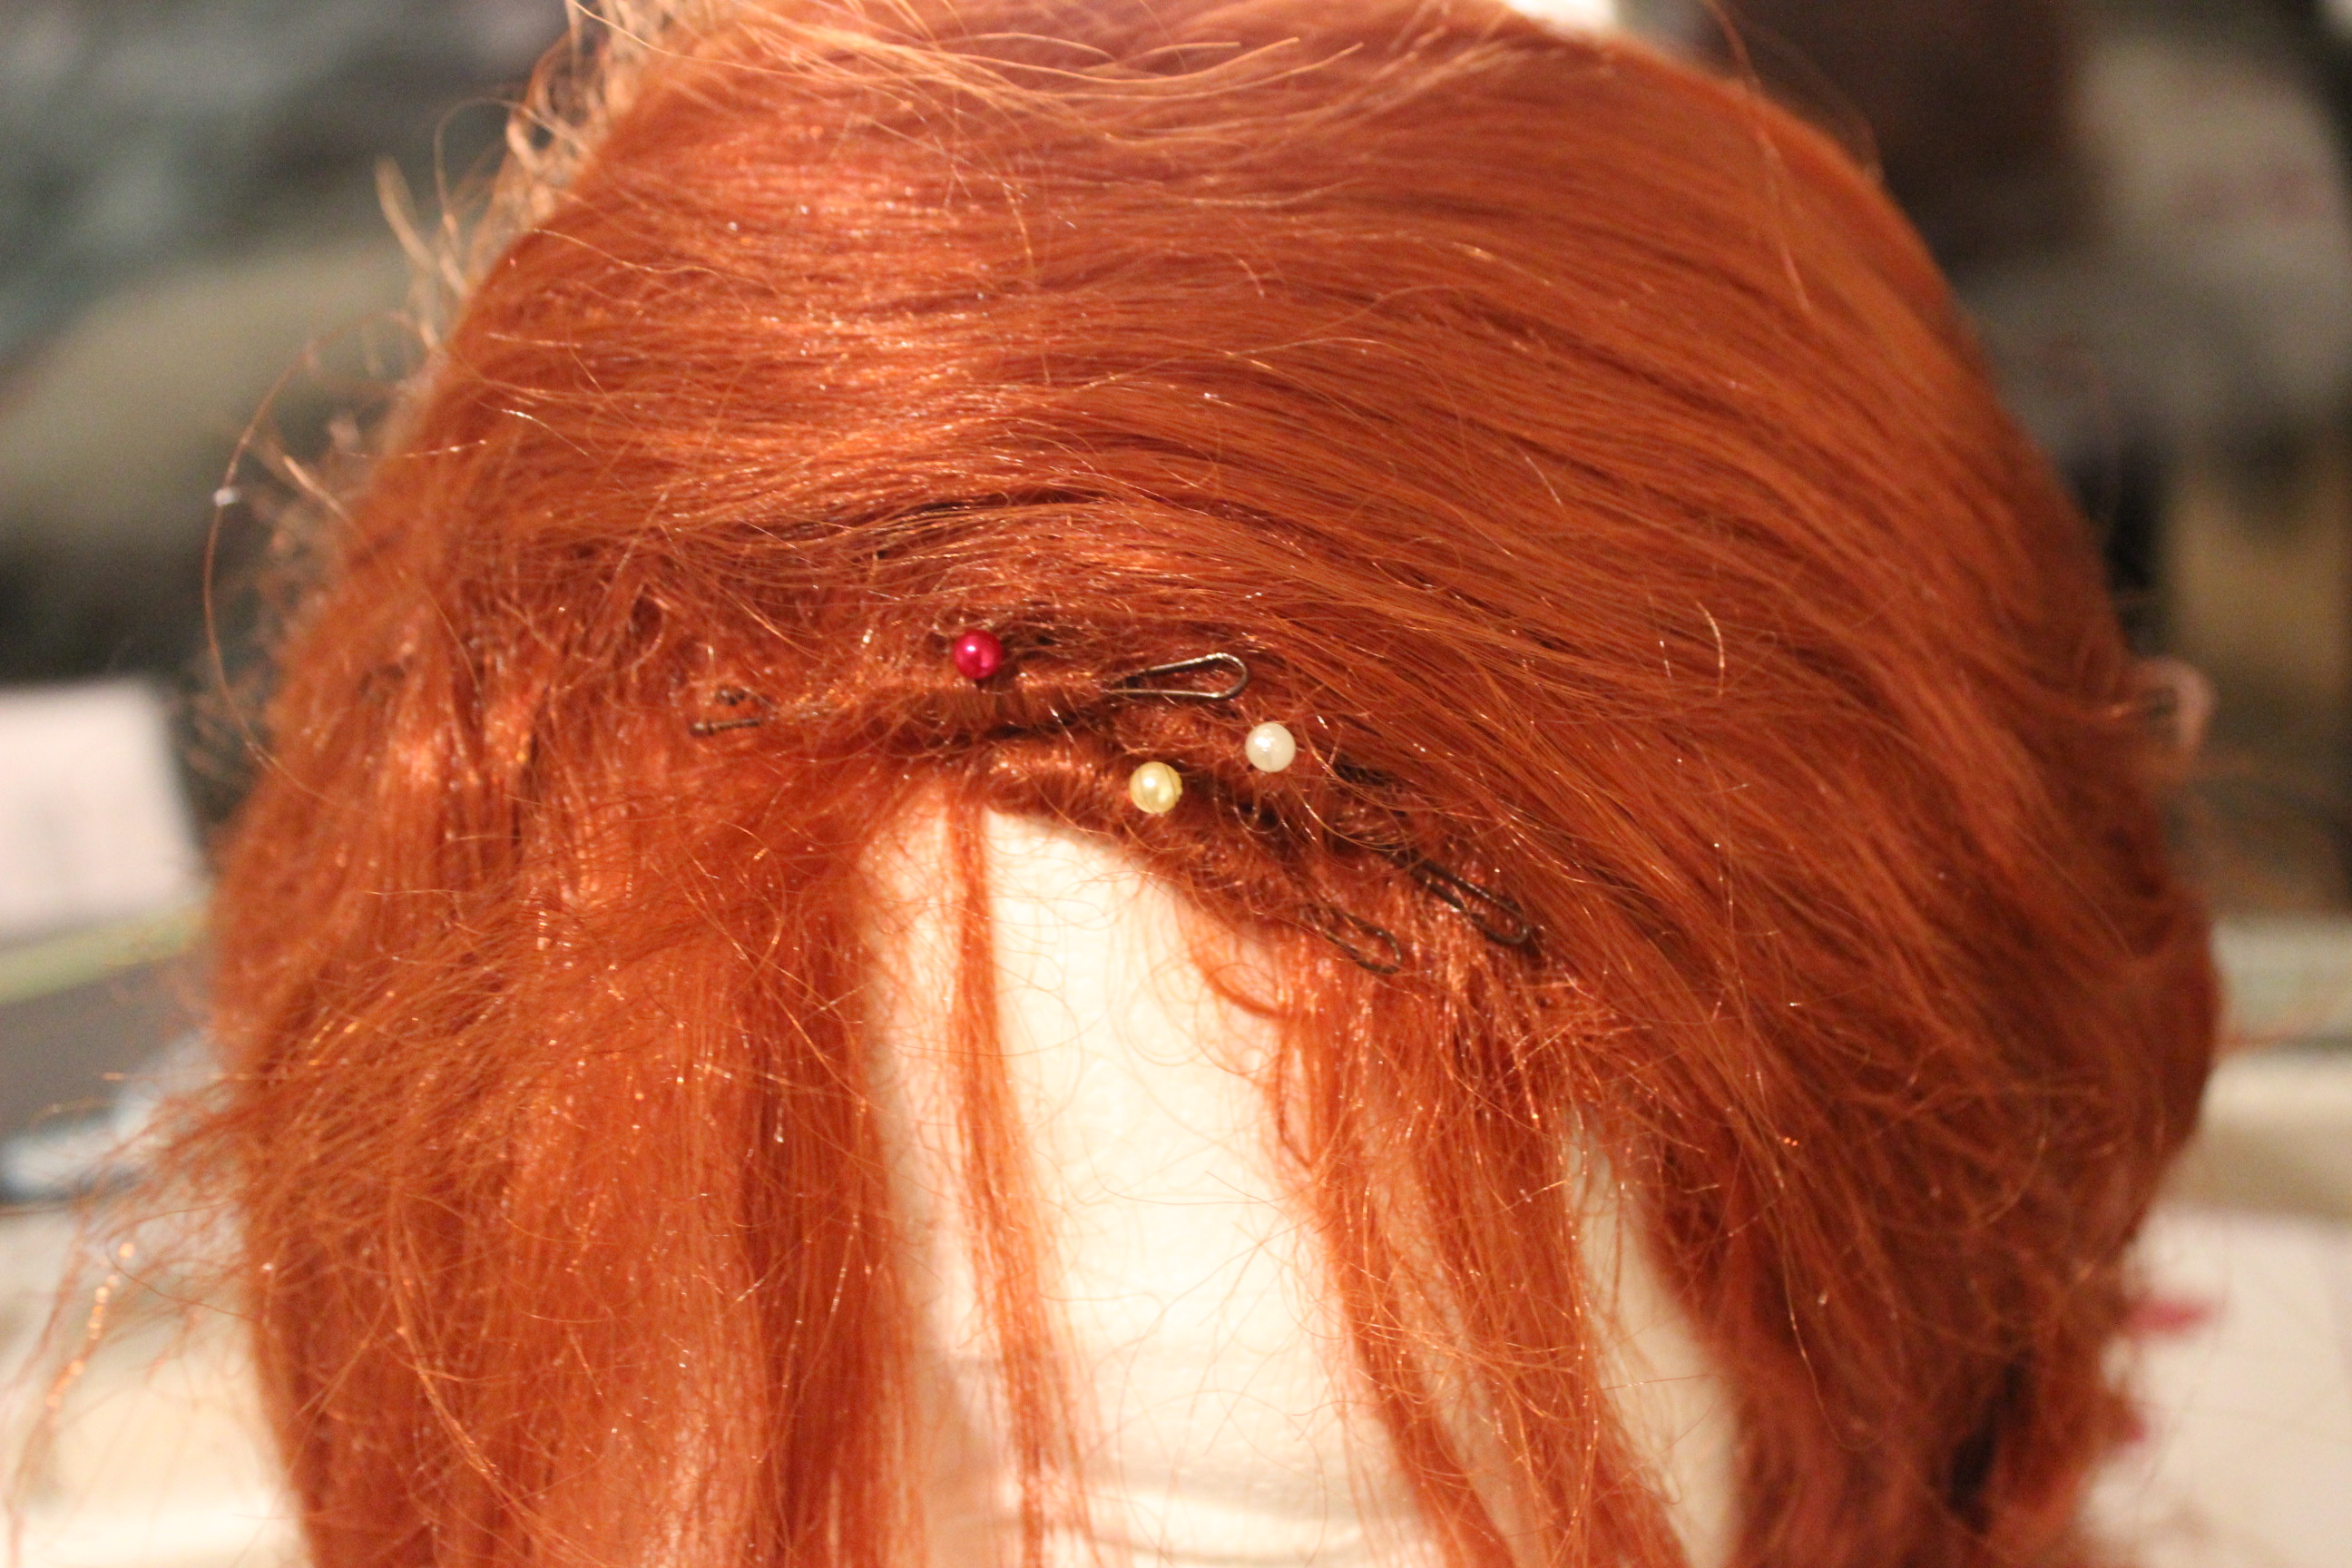
Then I covered the rest of the wig with a cotton sheat and steamed the bangs, letting it sett over night. 
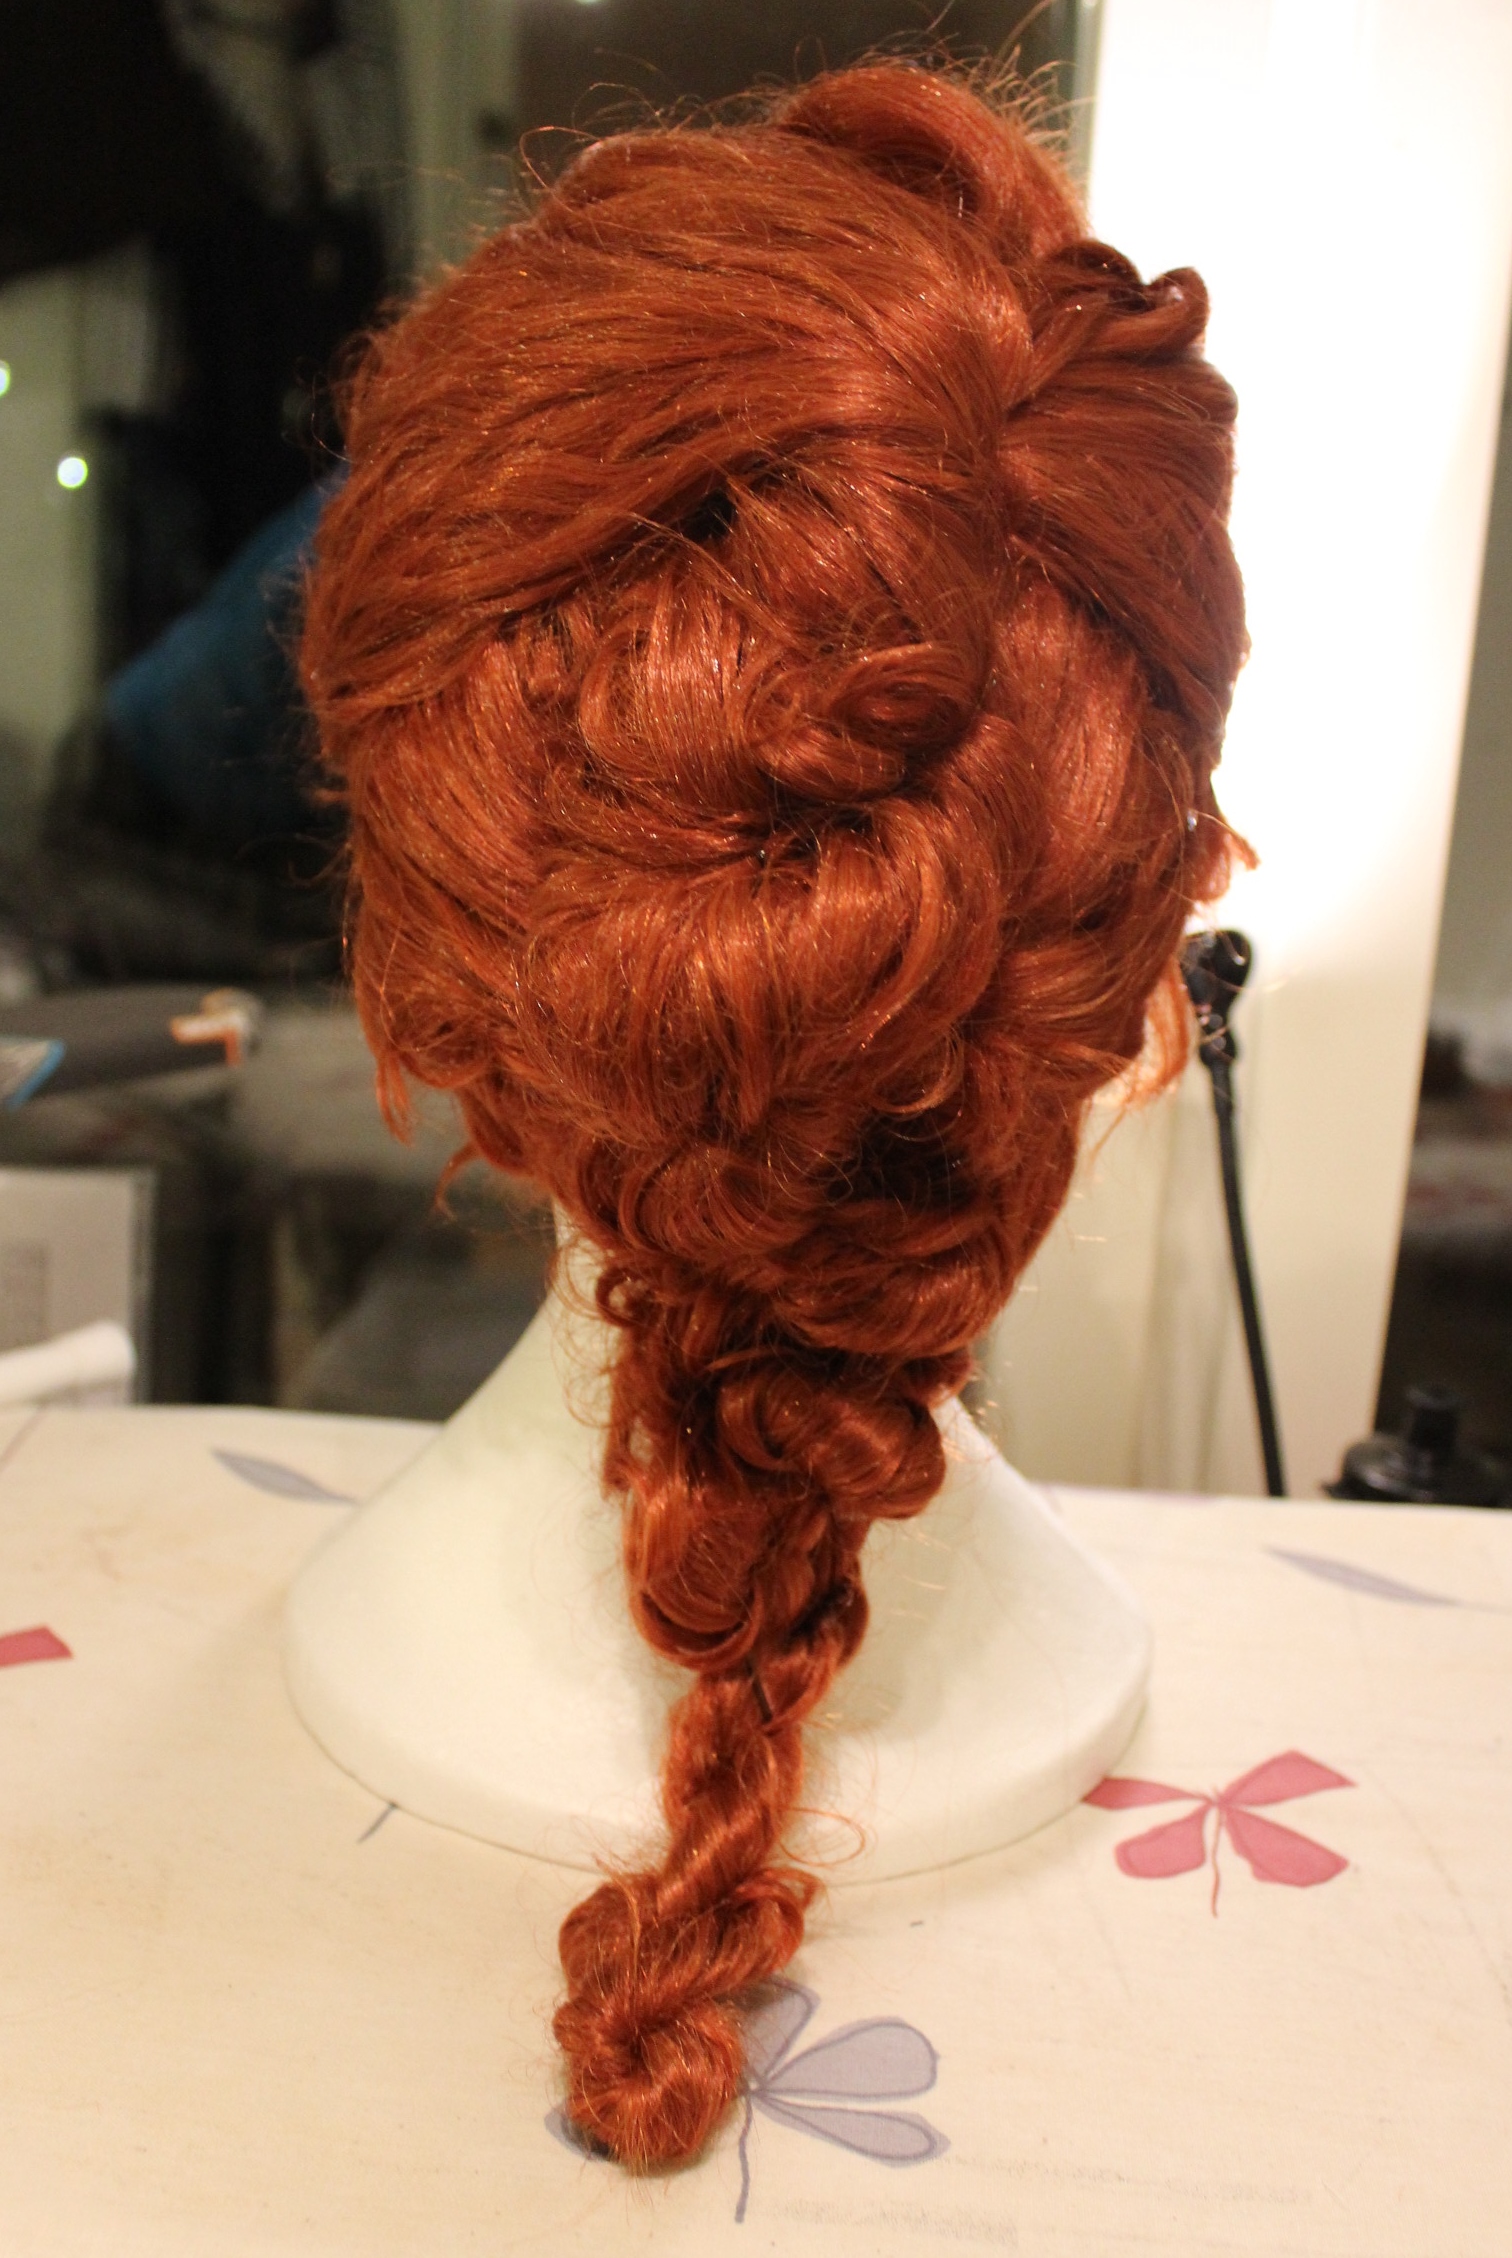
Then I just grabed pieces of hair, twisted, pinned and braided until I got a cool looking hairstyle.
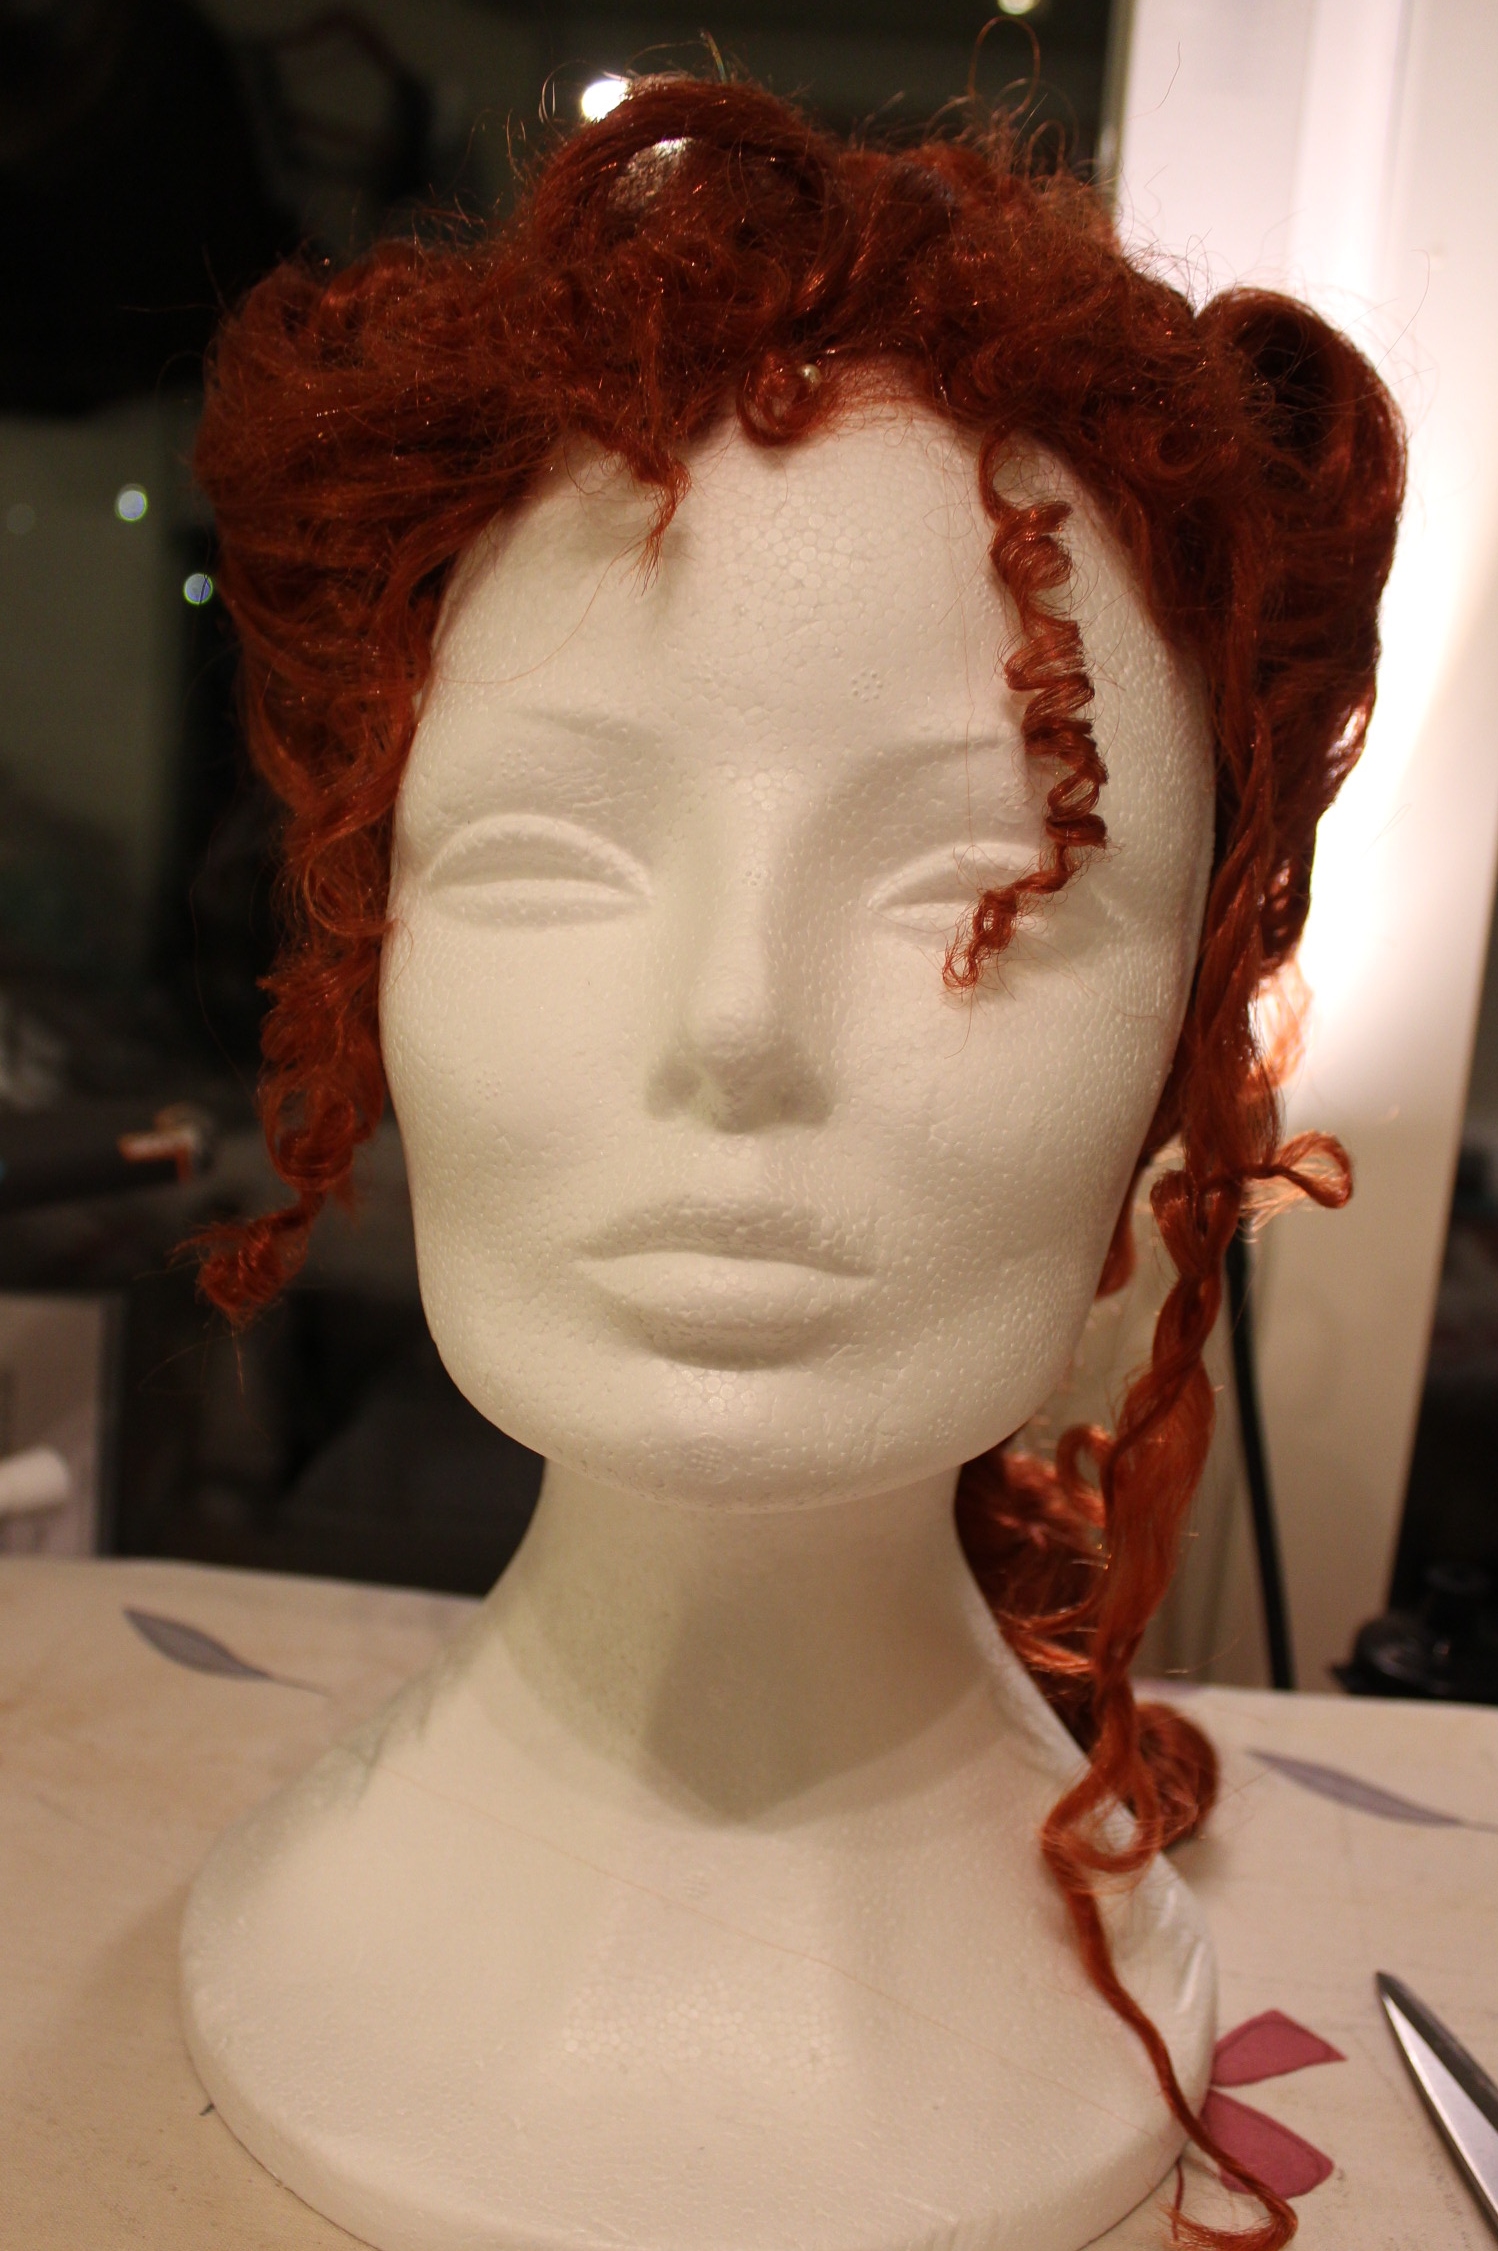
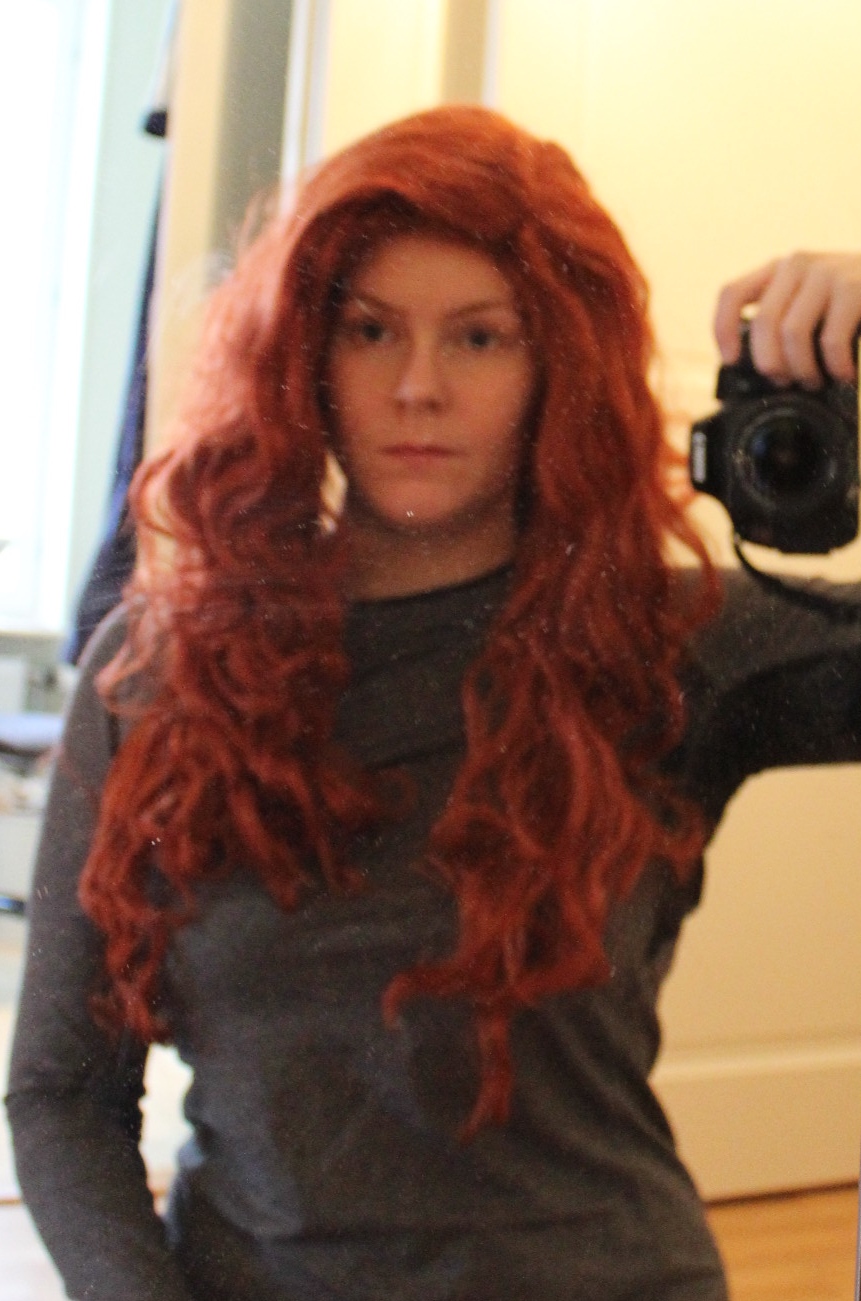
But when I put it on my head it looked ridiculus.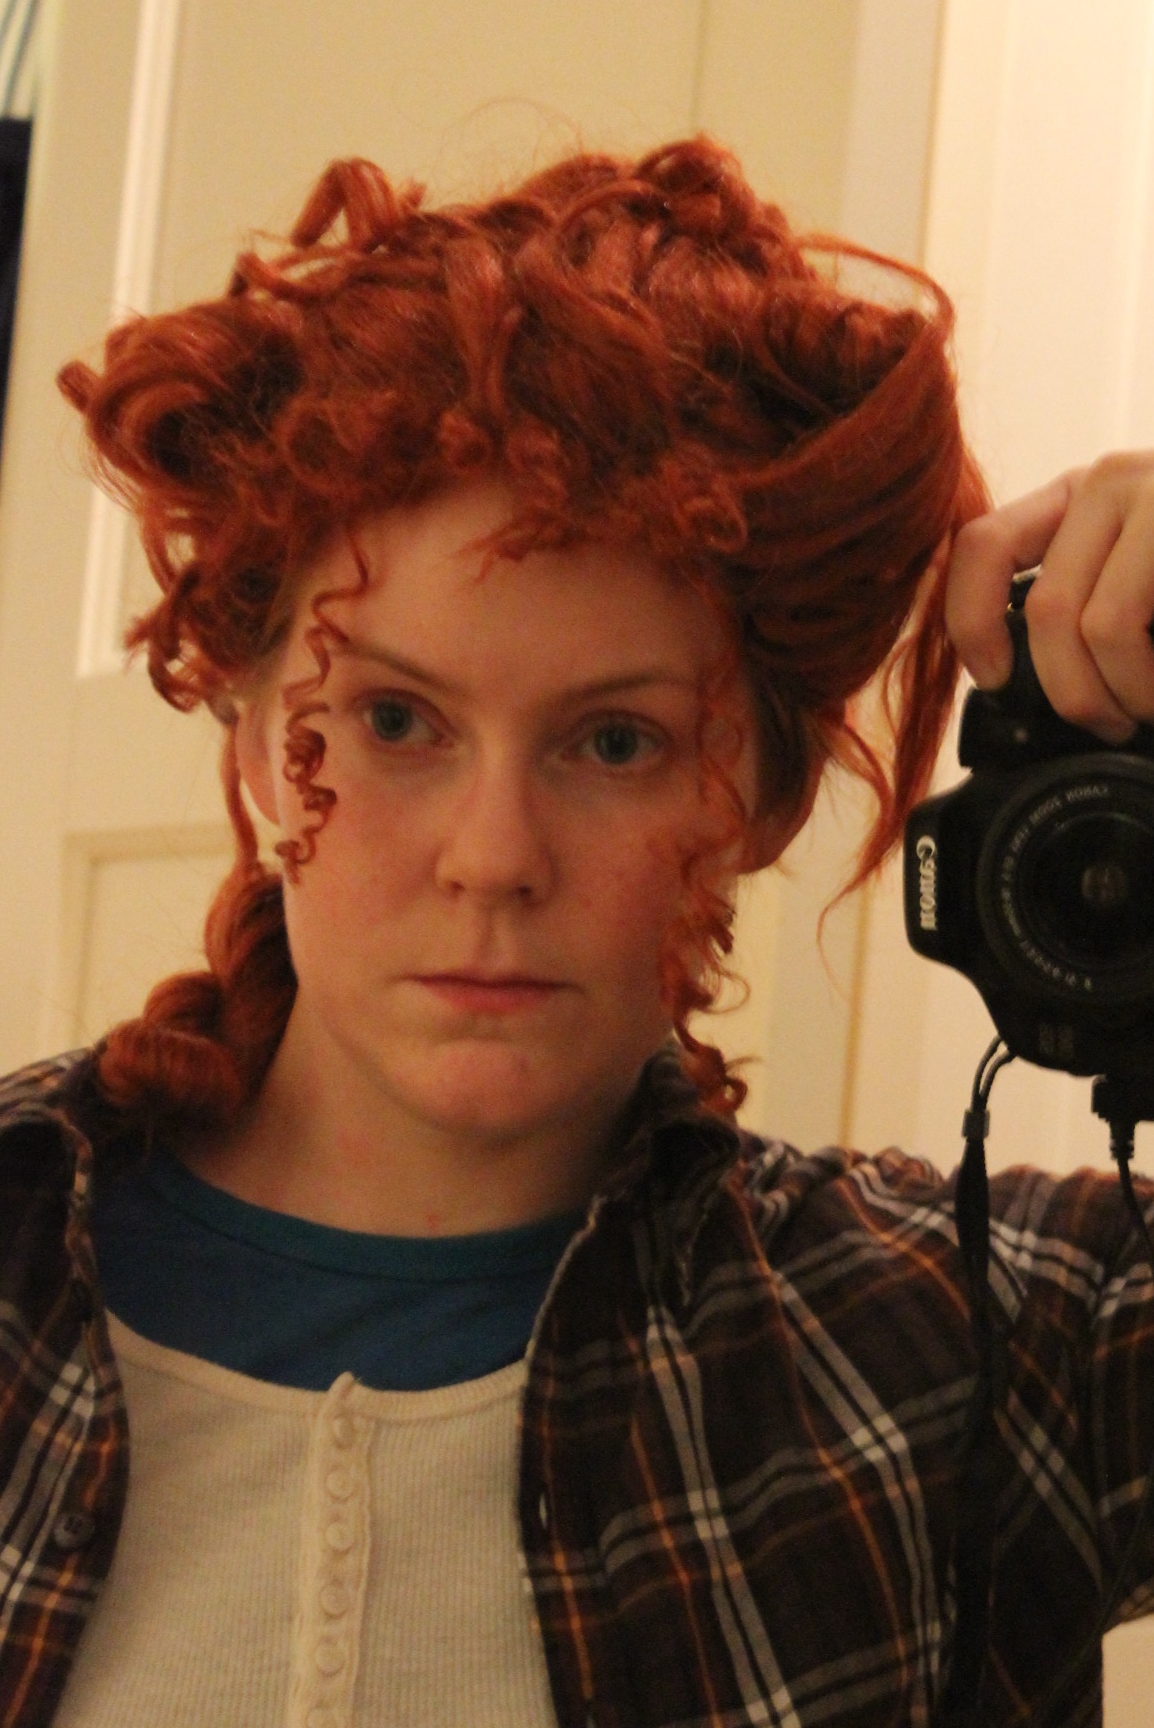 Like something from a Tim Burton movie.
No! Lets try again.
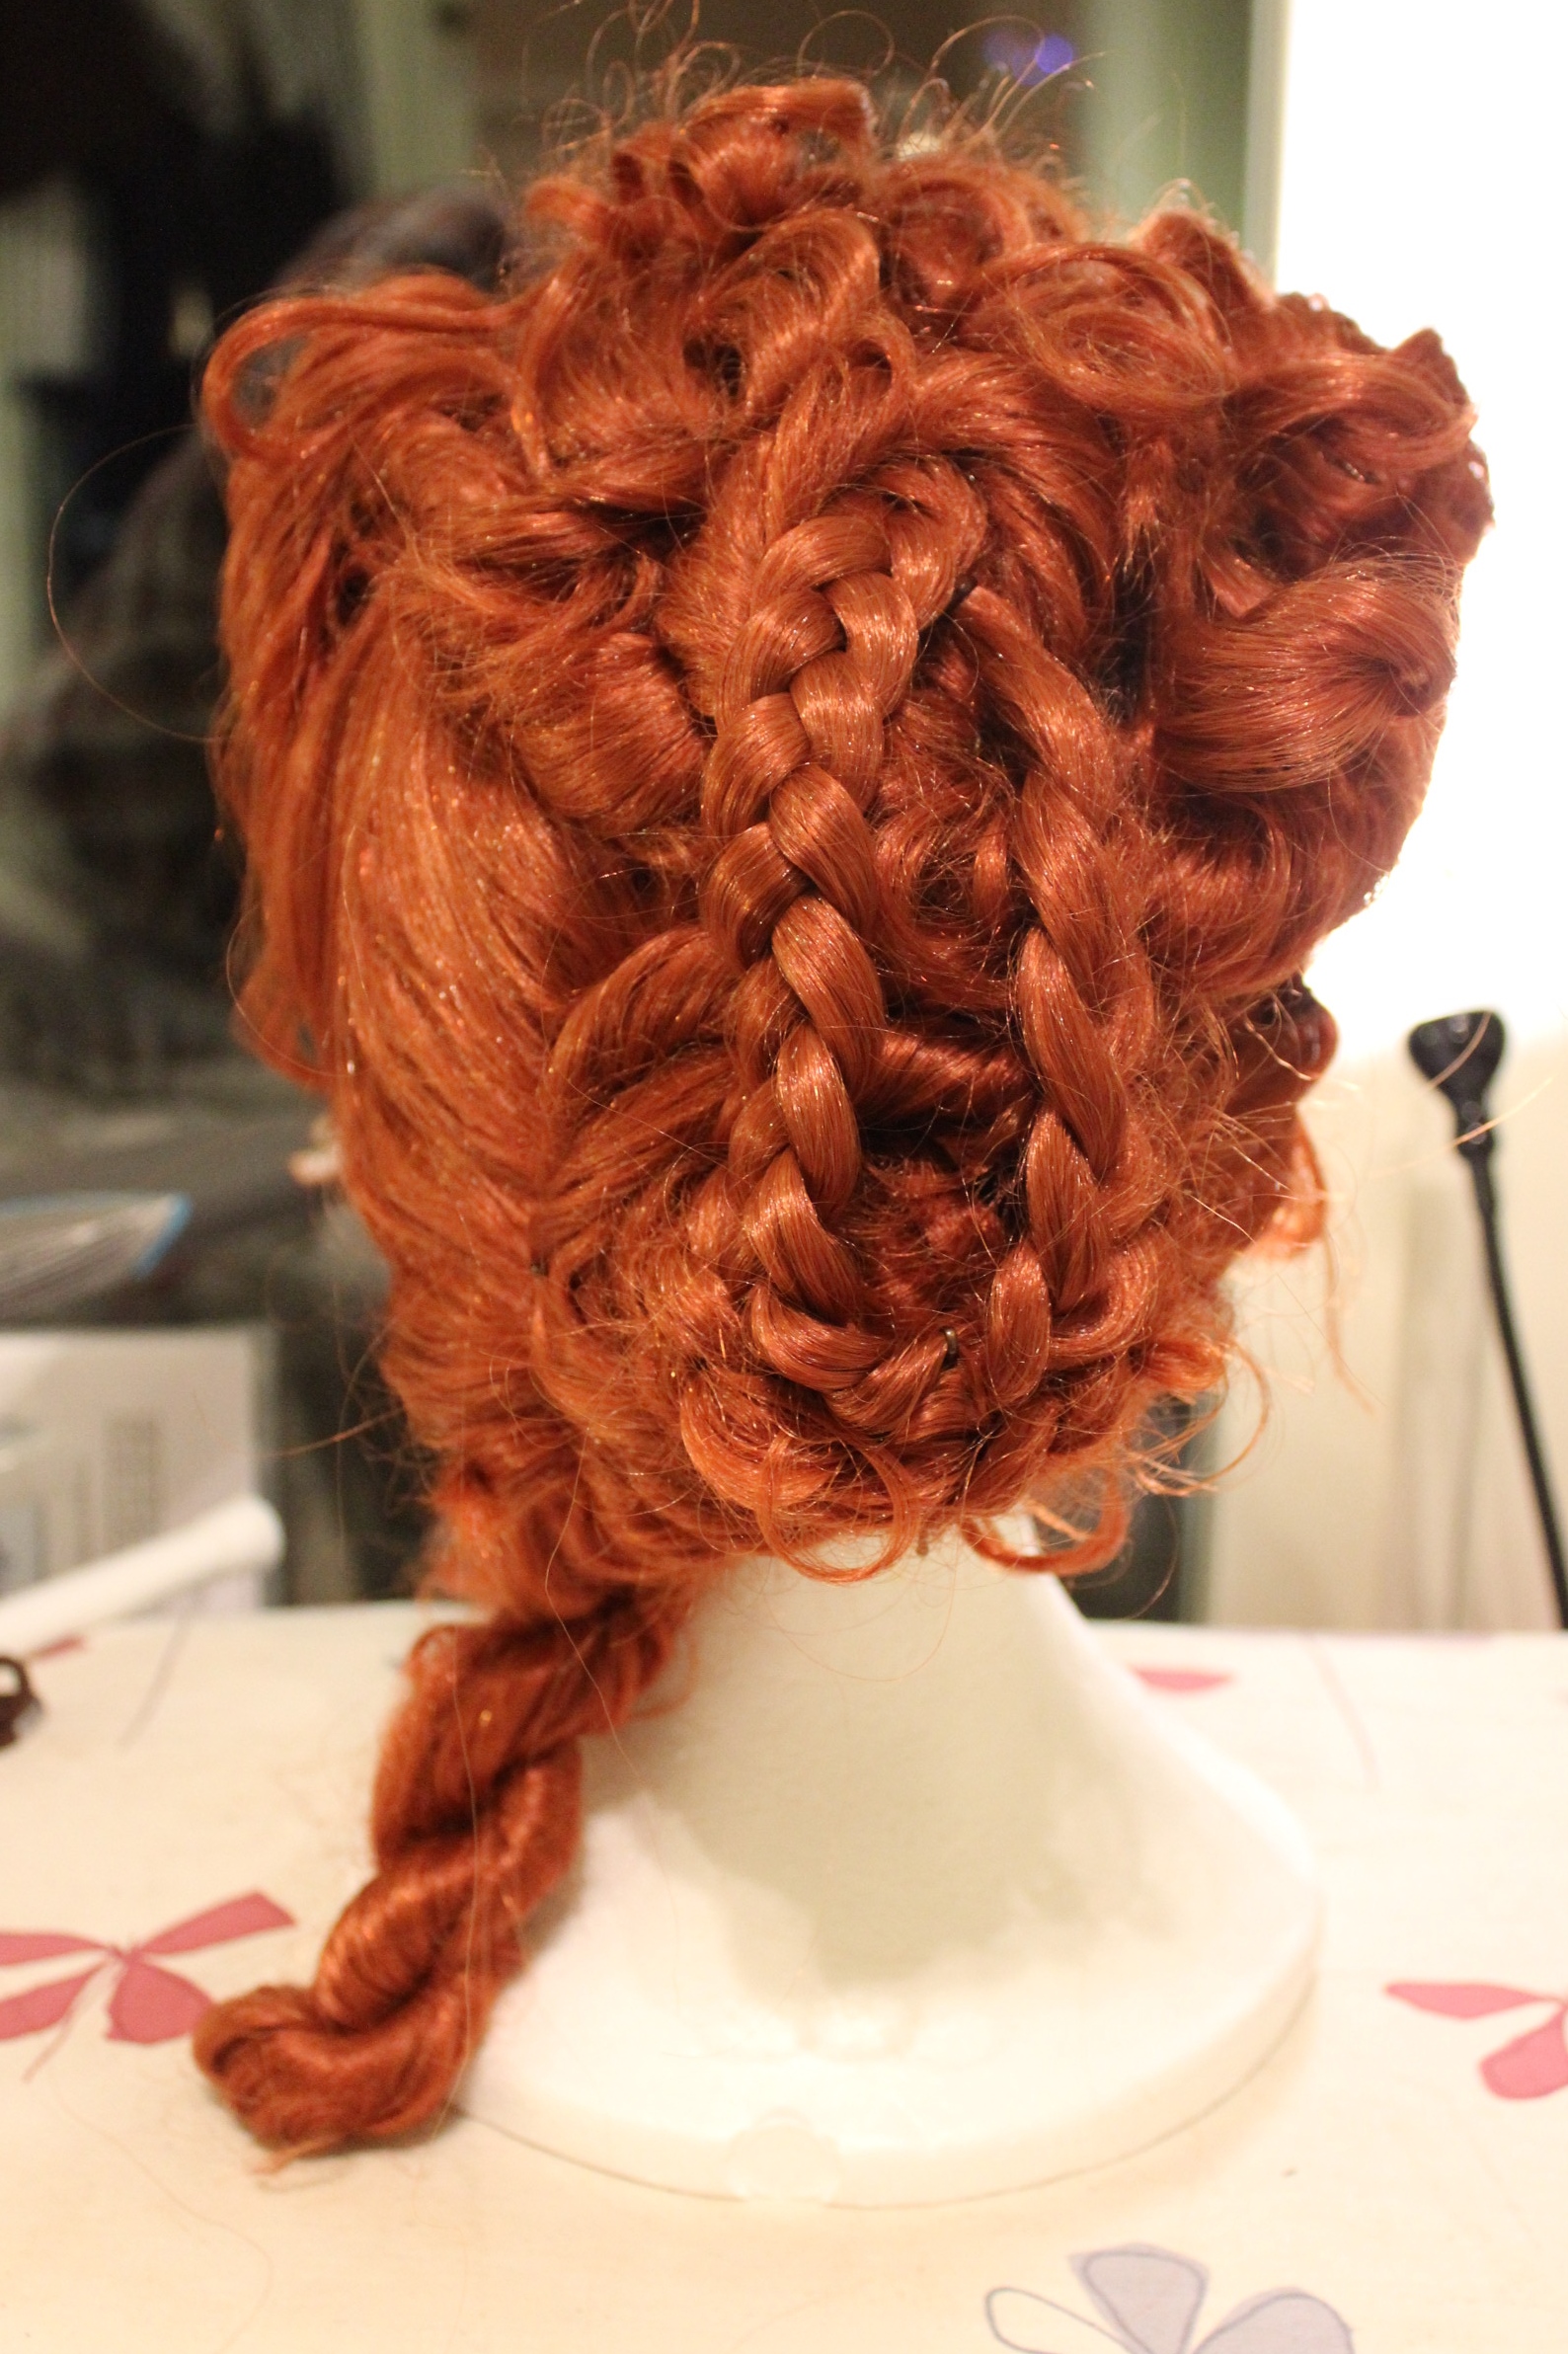
Trying to keep the hair a bit more to the back of the head, and not so much upwards proved to be a lot easier. So now I got a nice, elegant hairdo.


But once again: Nice on the dummy – Stupid on me.
I feelt like a ginger prostitute in some movie about Sparta. Not good.
Right about now I started to panic.
It was the evening before the bal and I was totaly lost.
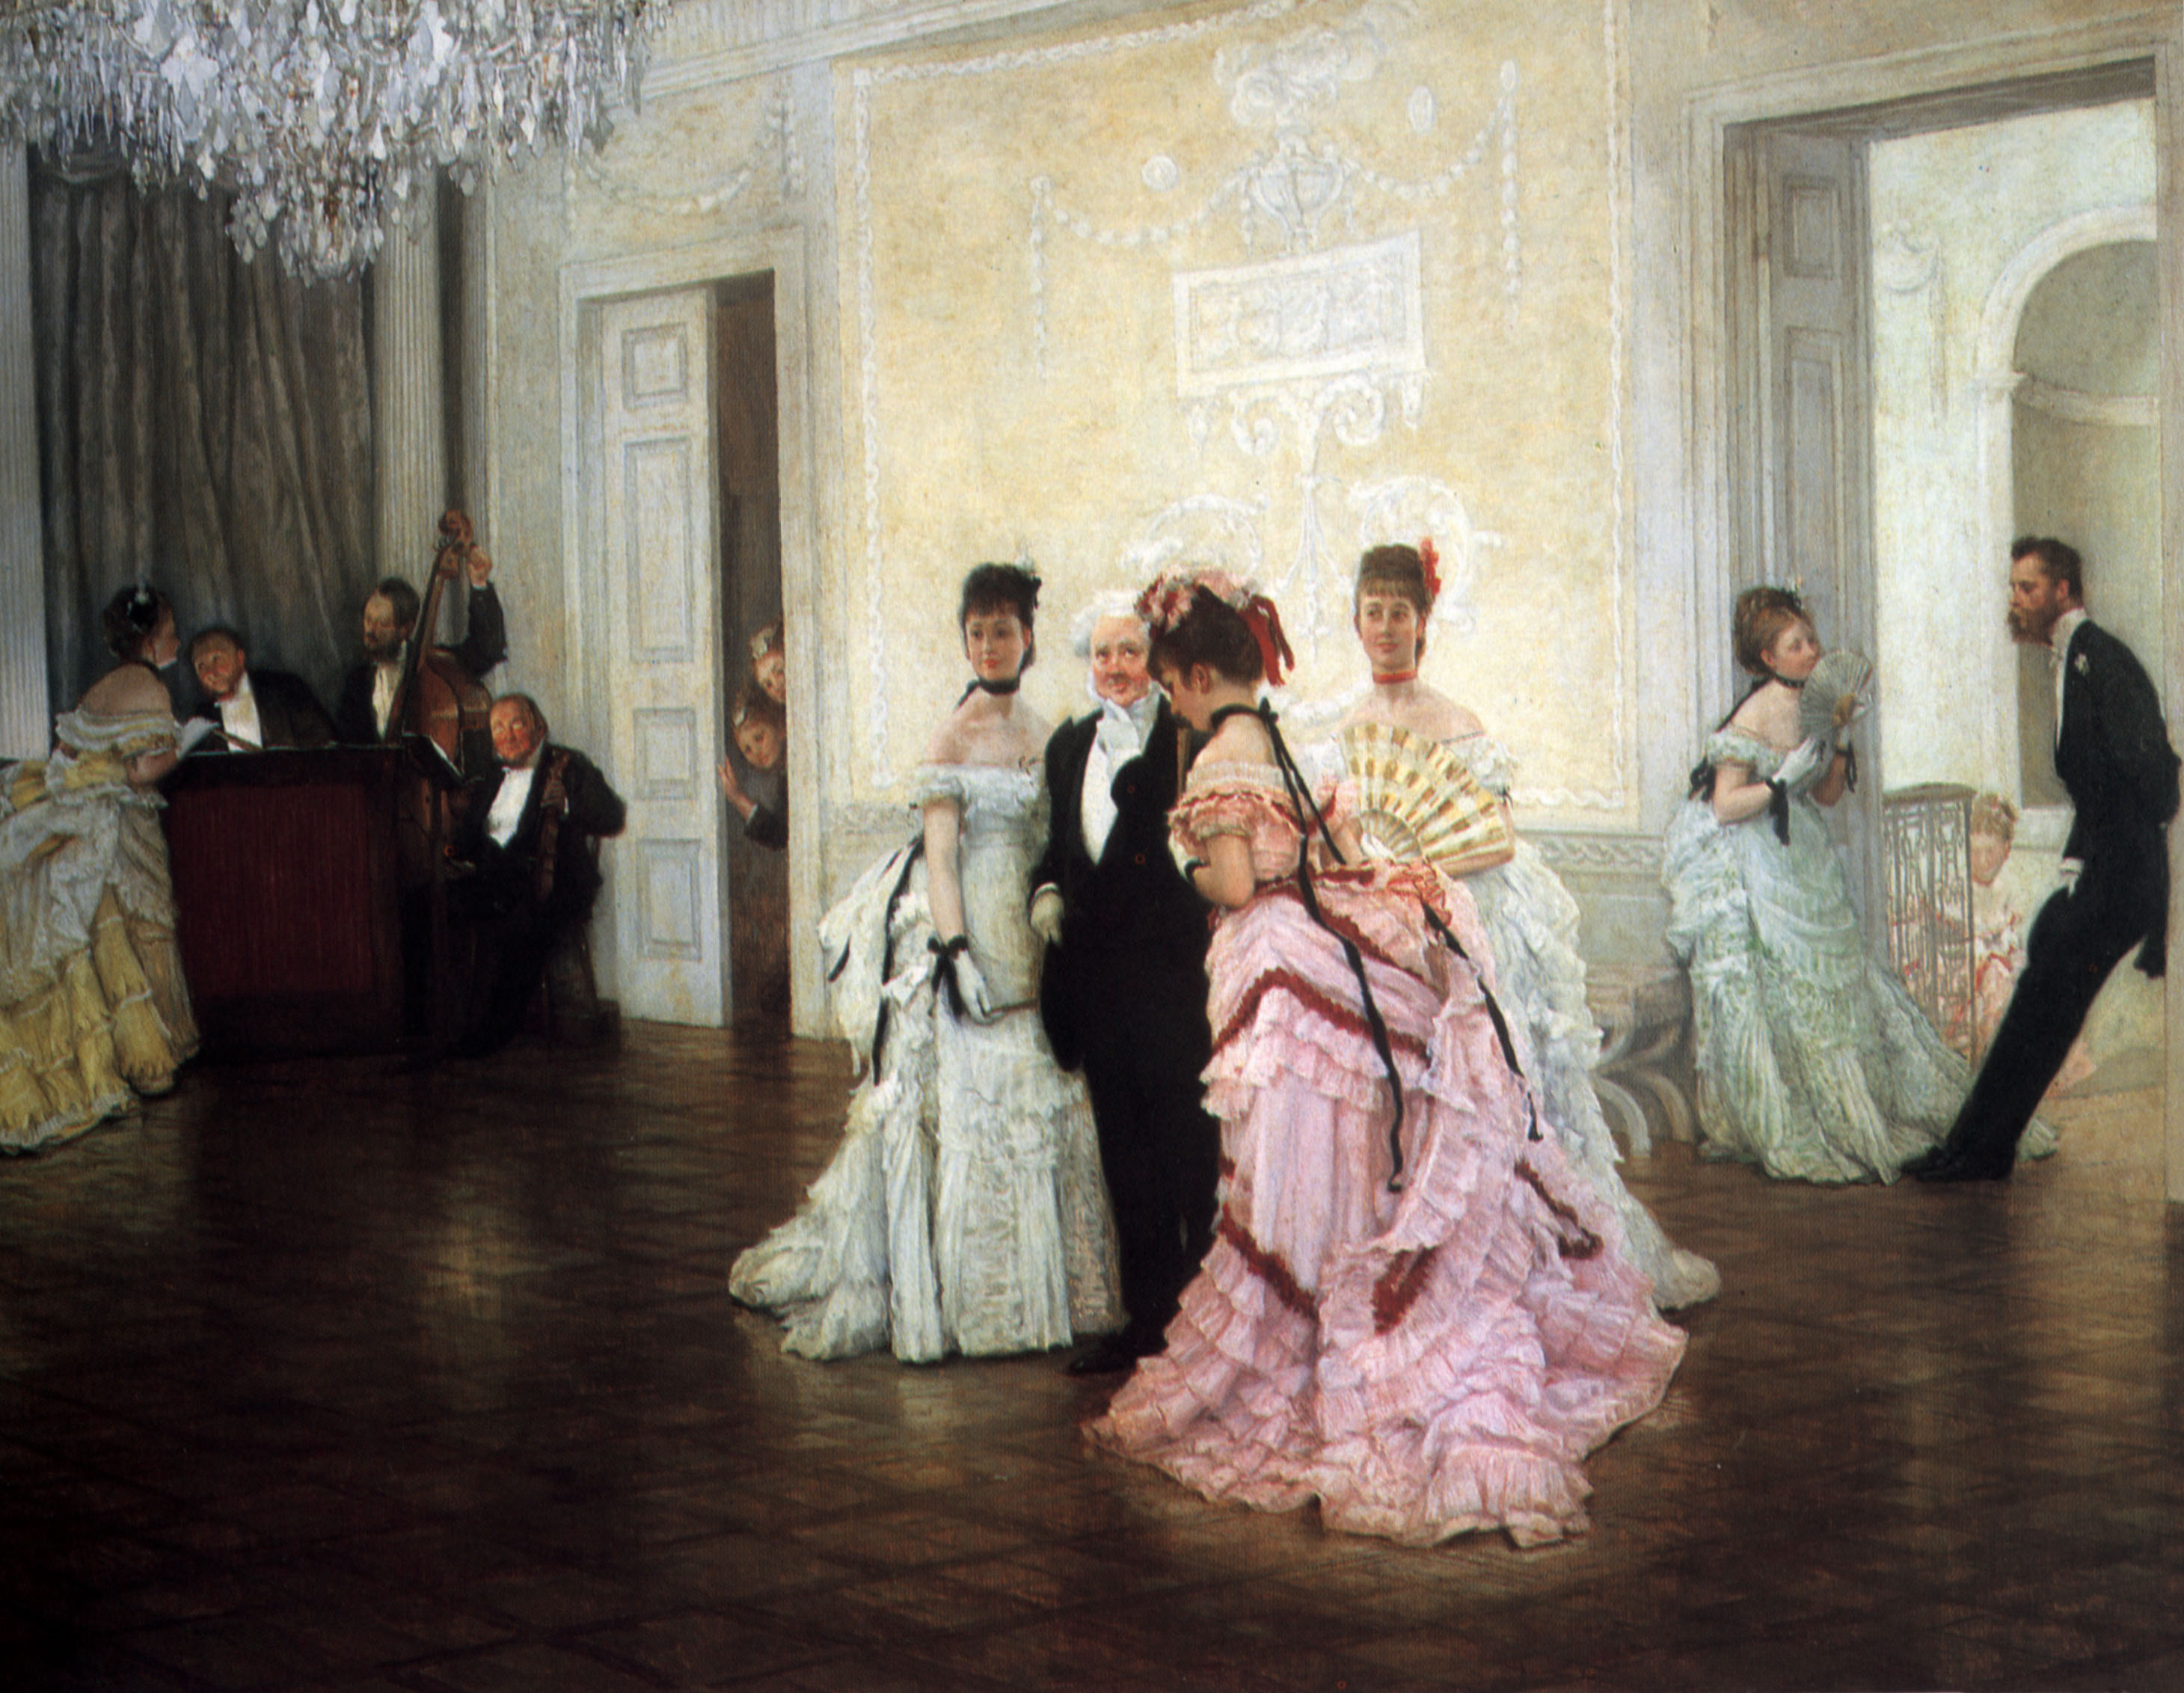
Thank good for internet, and lovely helpful people, who told me the hairstyle I was trying to build was not really 1880s (more 1870s) and that this is what I should be trying for instead.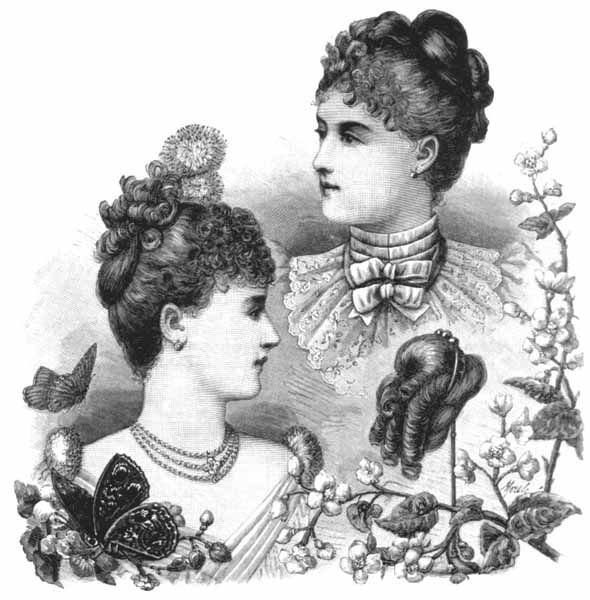 So after studing a few more pictures of simular hairstyles, I feelt it would be do-able using my own hair and some false hairpeces.
I also wanted to wear this tiara, since I wouldn’t wear any other juwelery.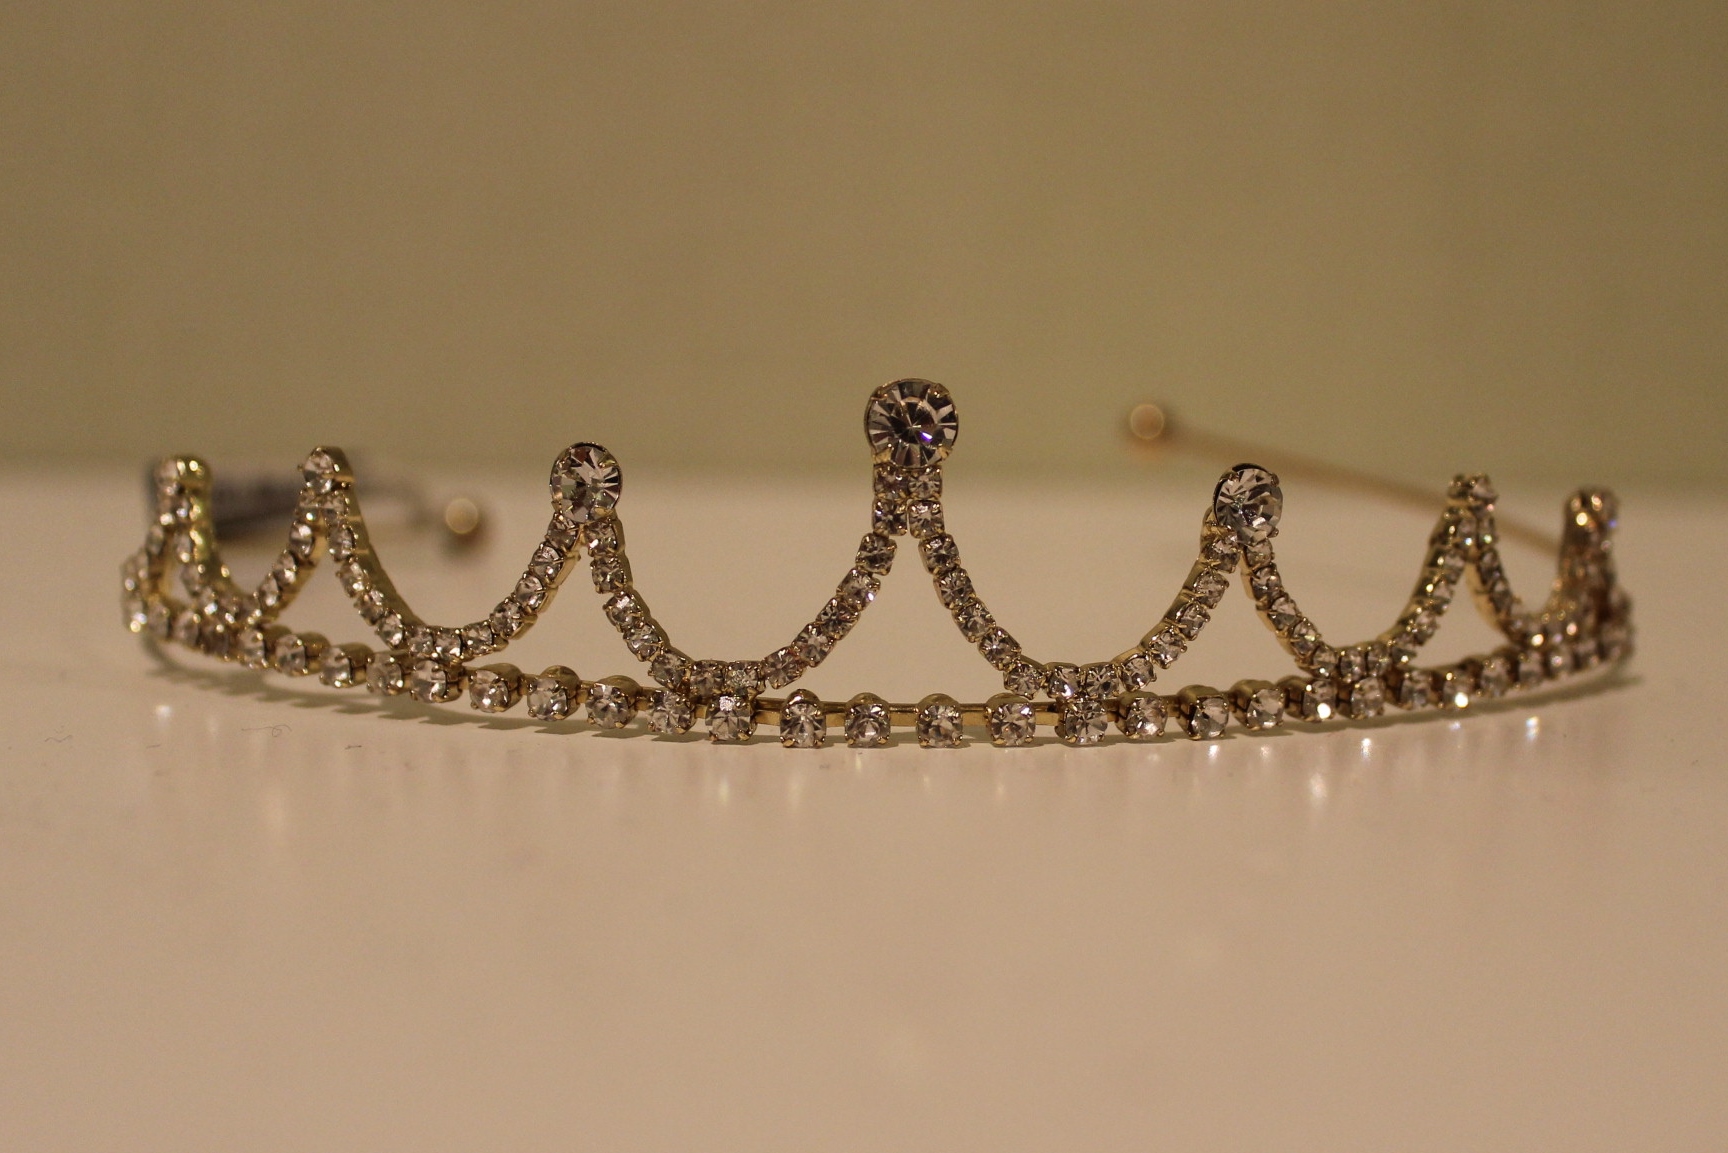
So, I grabbed my siccors and cut all the remaining hair of my old (lovey) wig.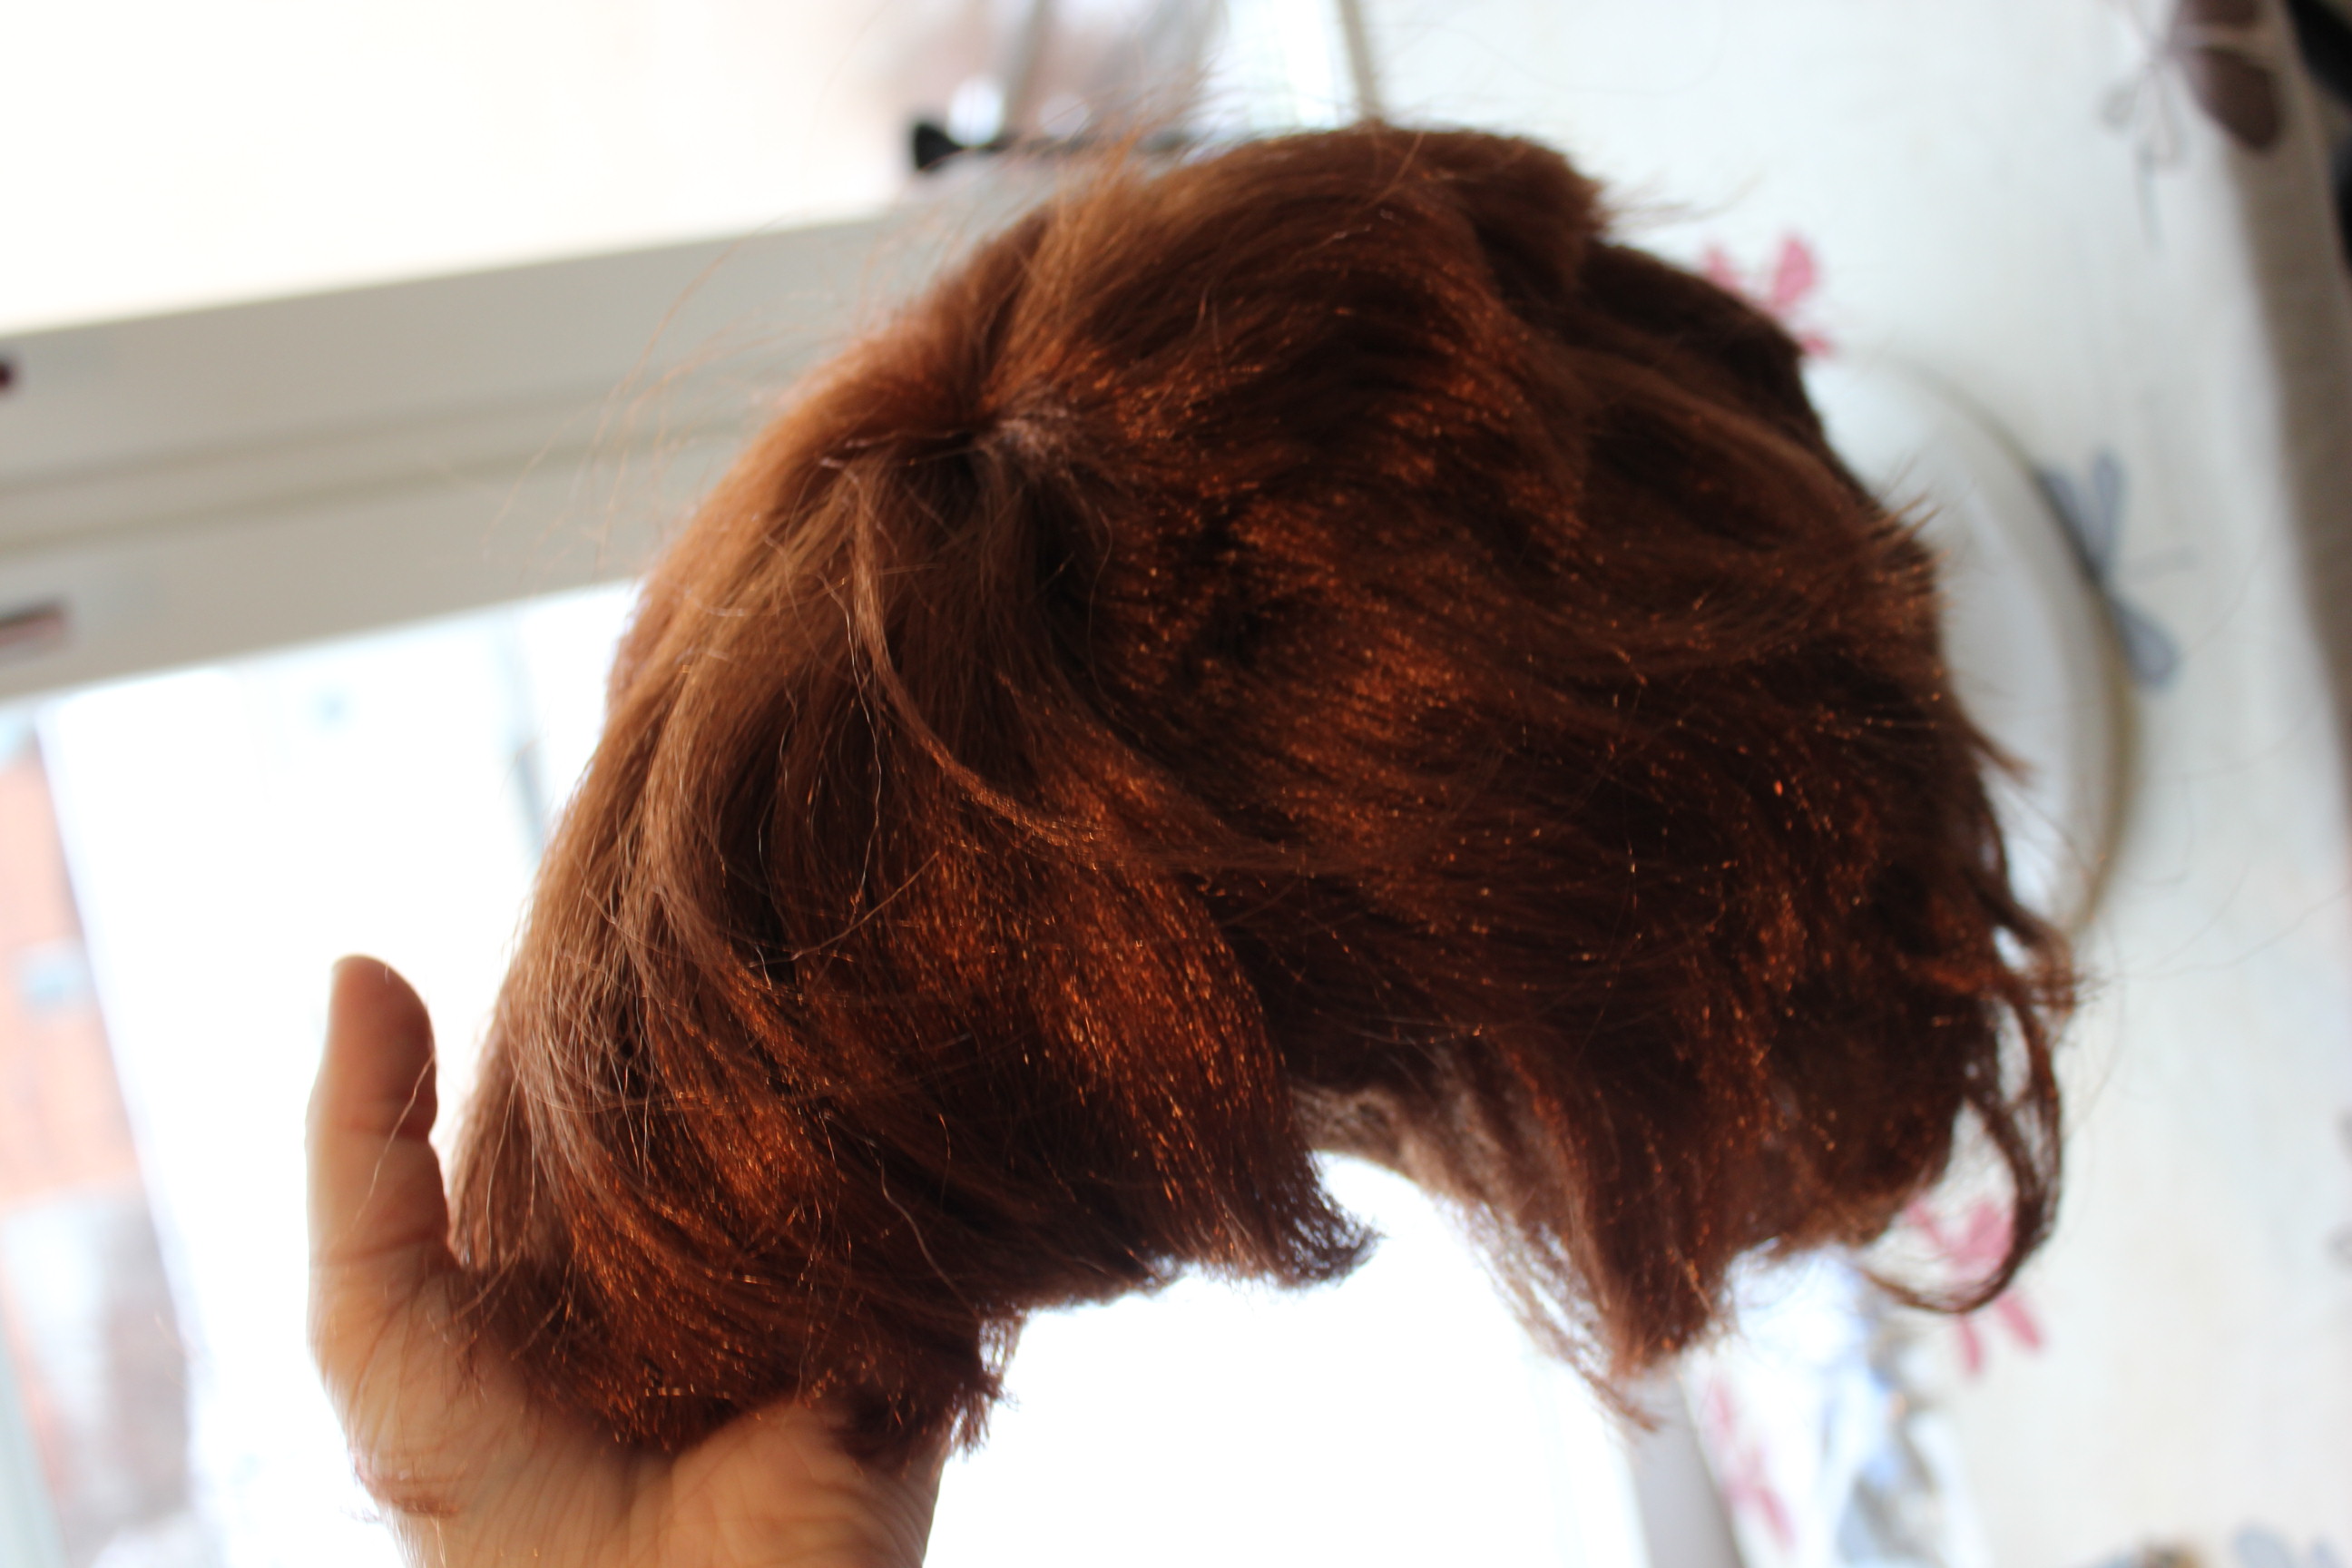
Buying some proper haircurlers. 
And got to work curling and steaming again.
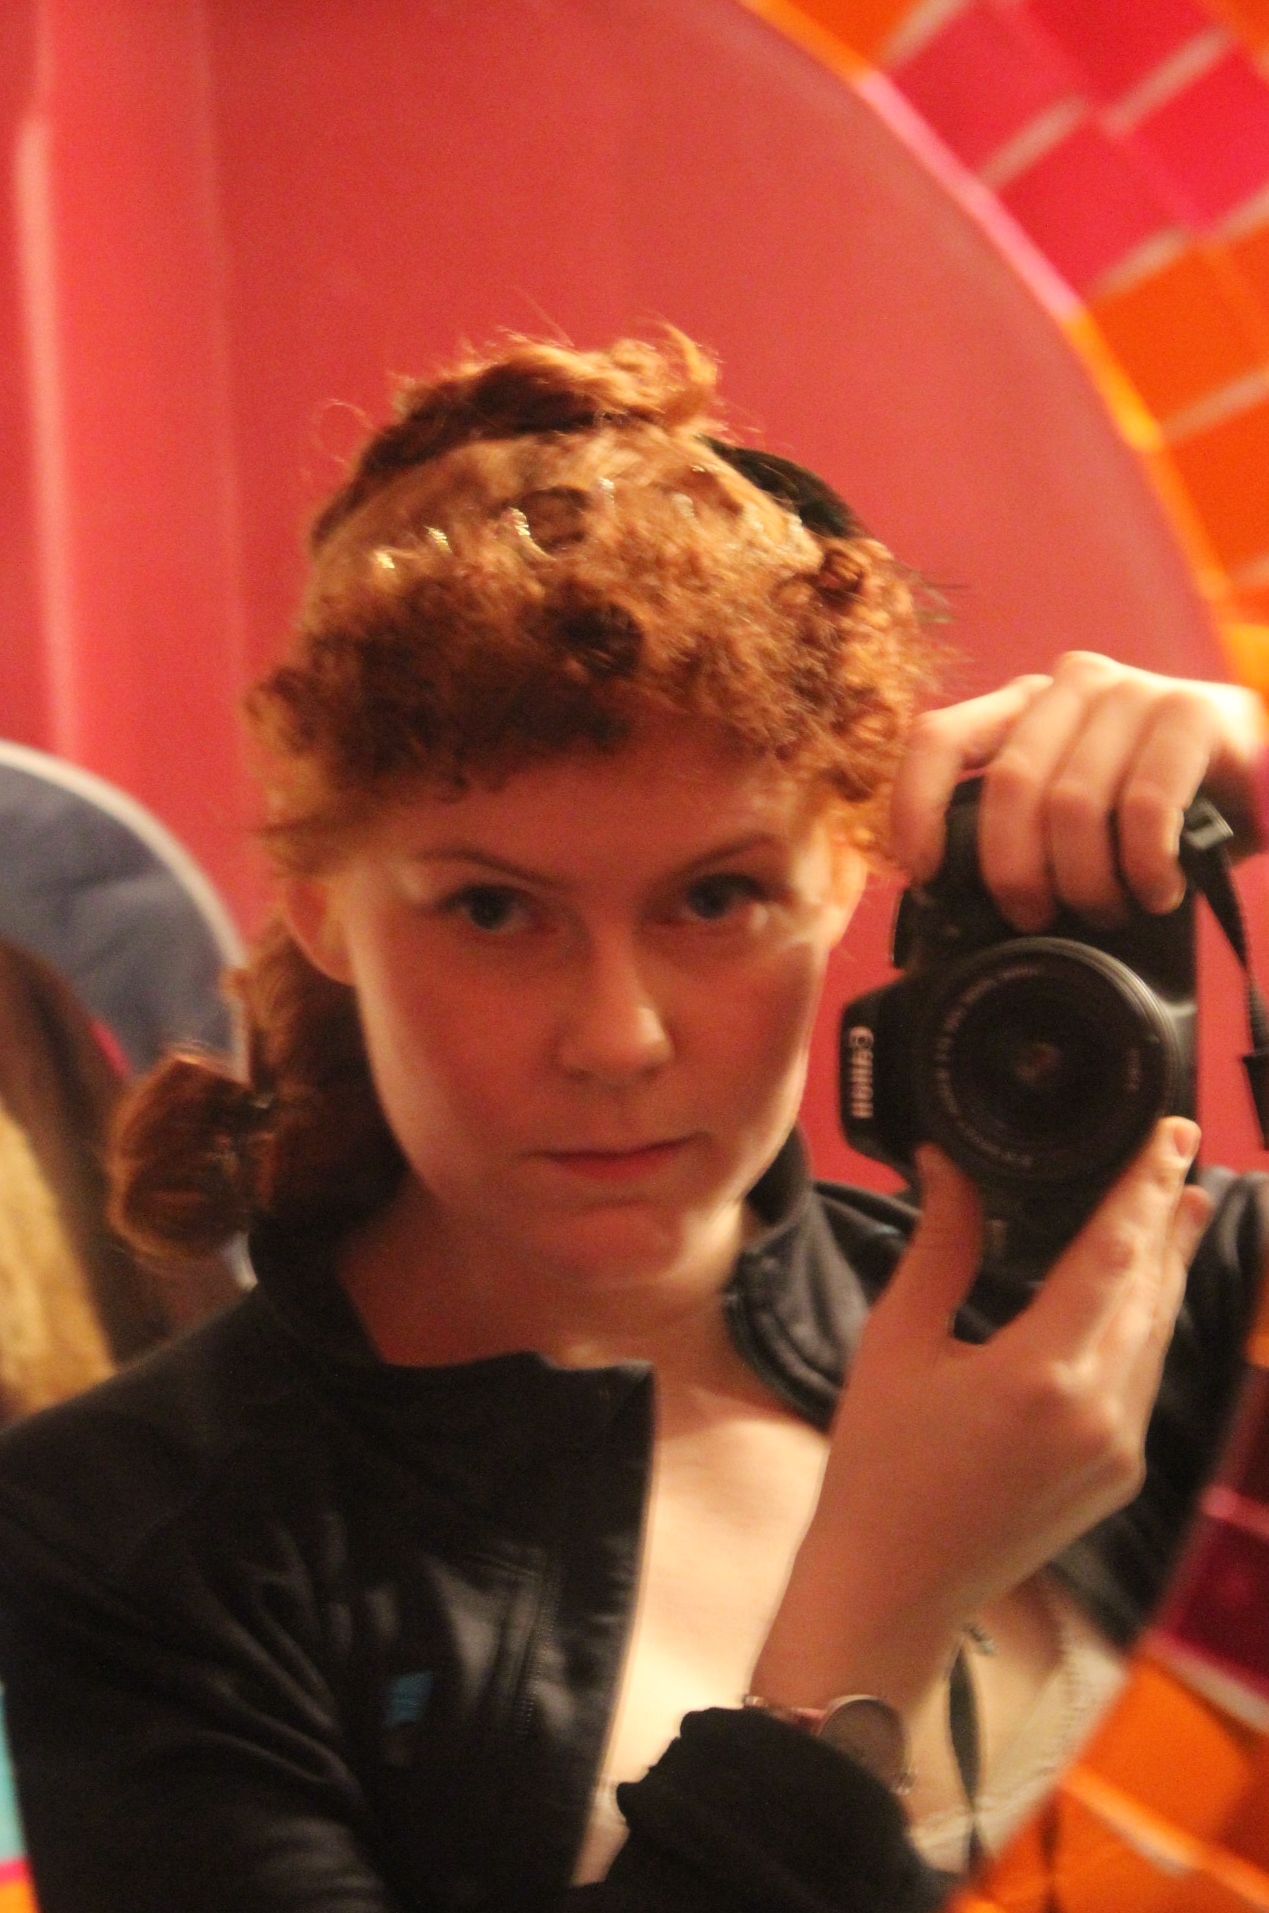
I then curled my own bangs on smal stripes of fabric, soaked them in wather and sleept on it.
The next morning I removed the curling strips.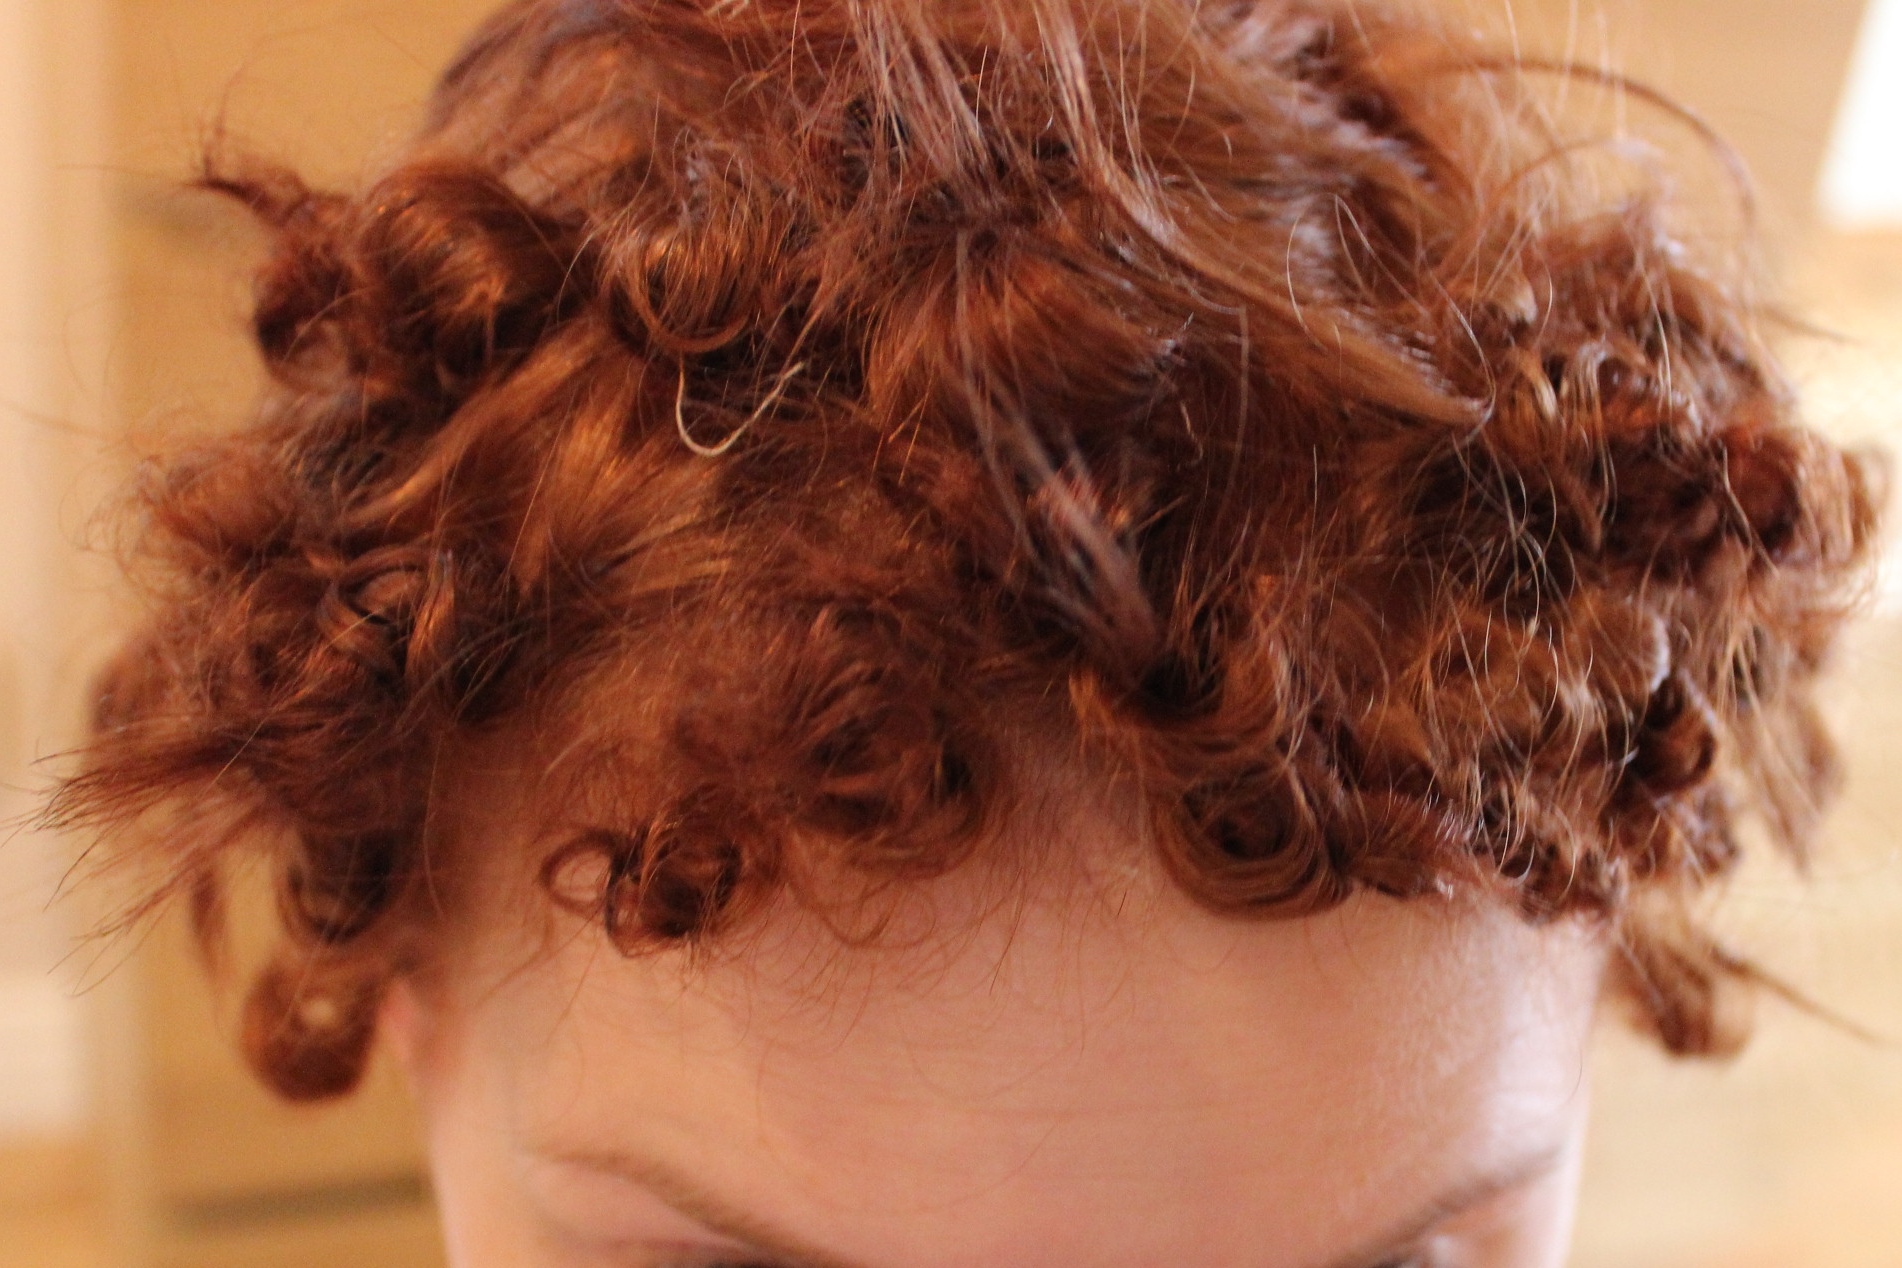 Then I put a cap on and got on the train to the capital, and the bal.
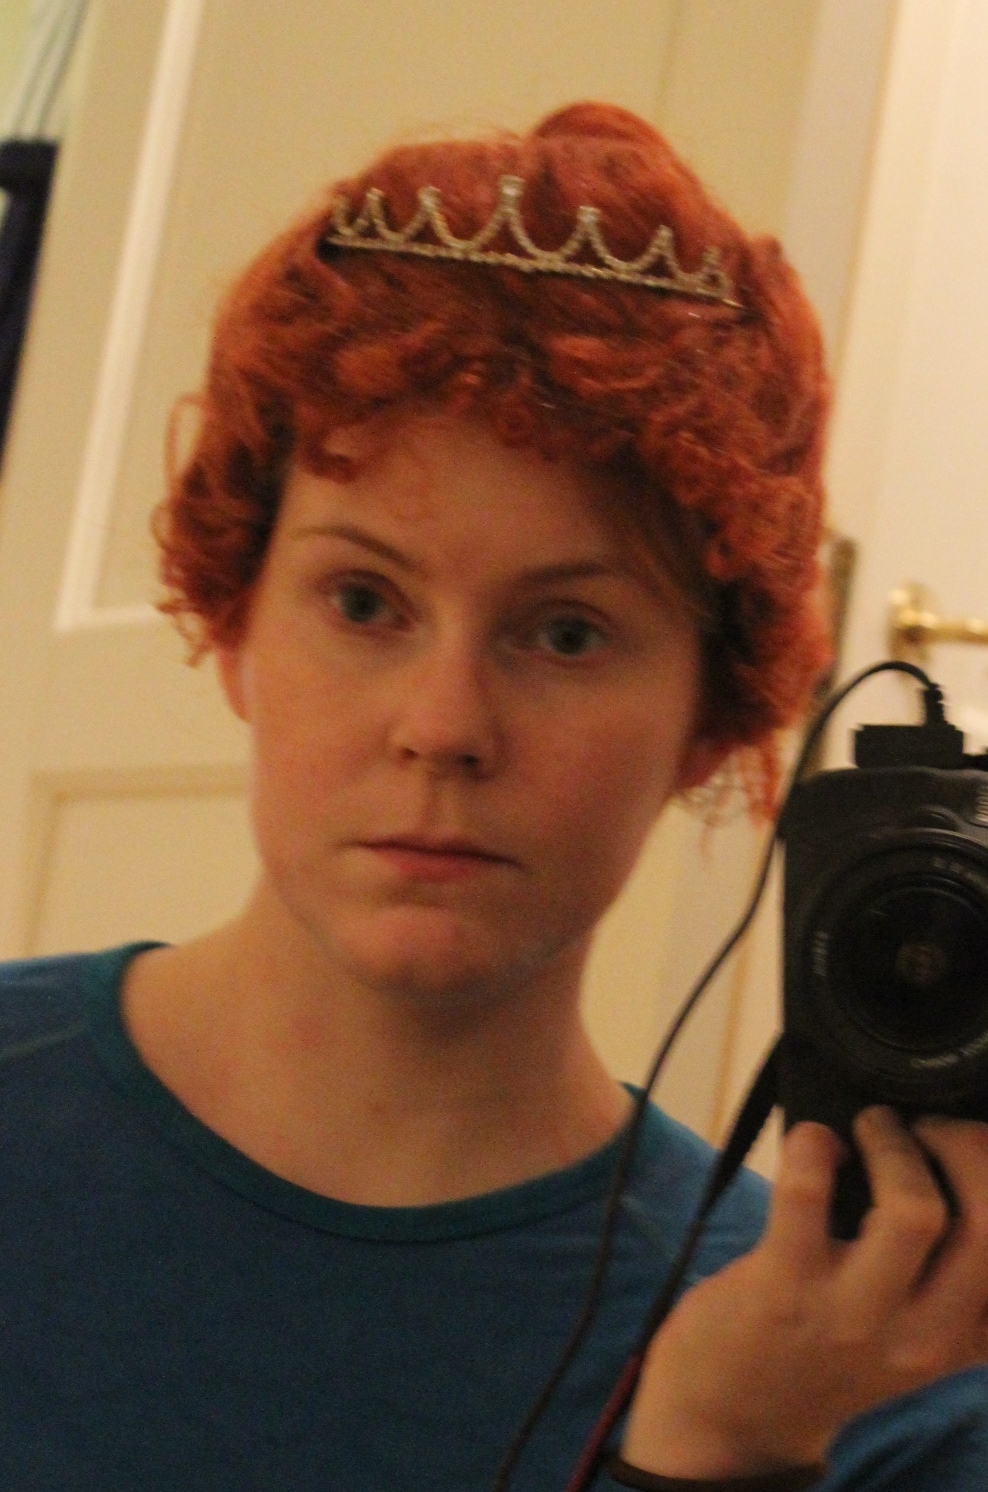
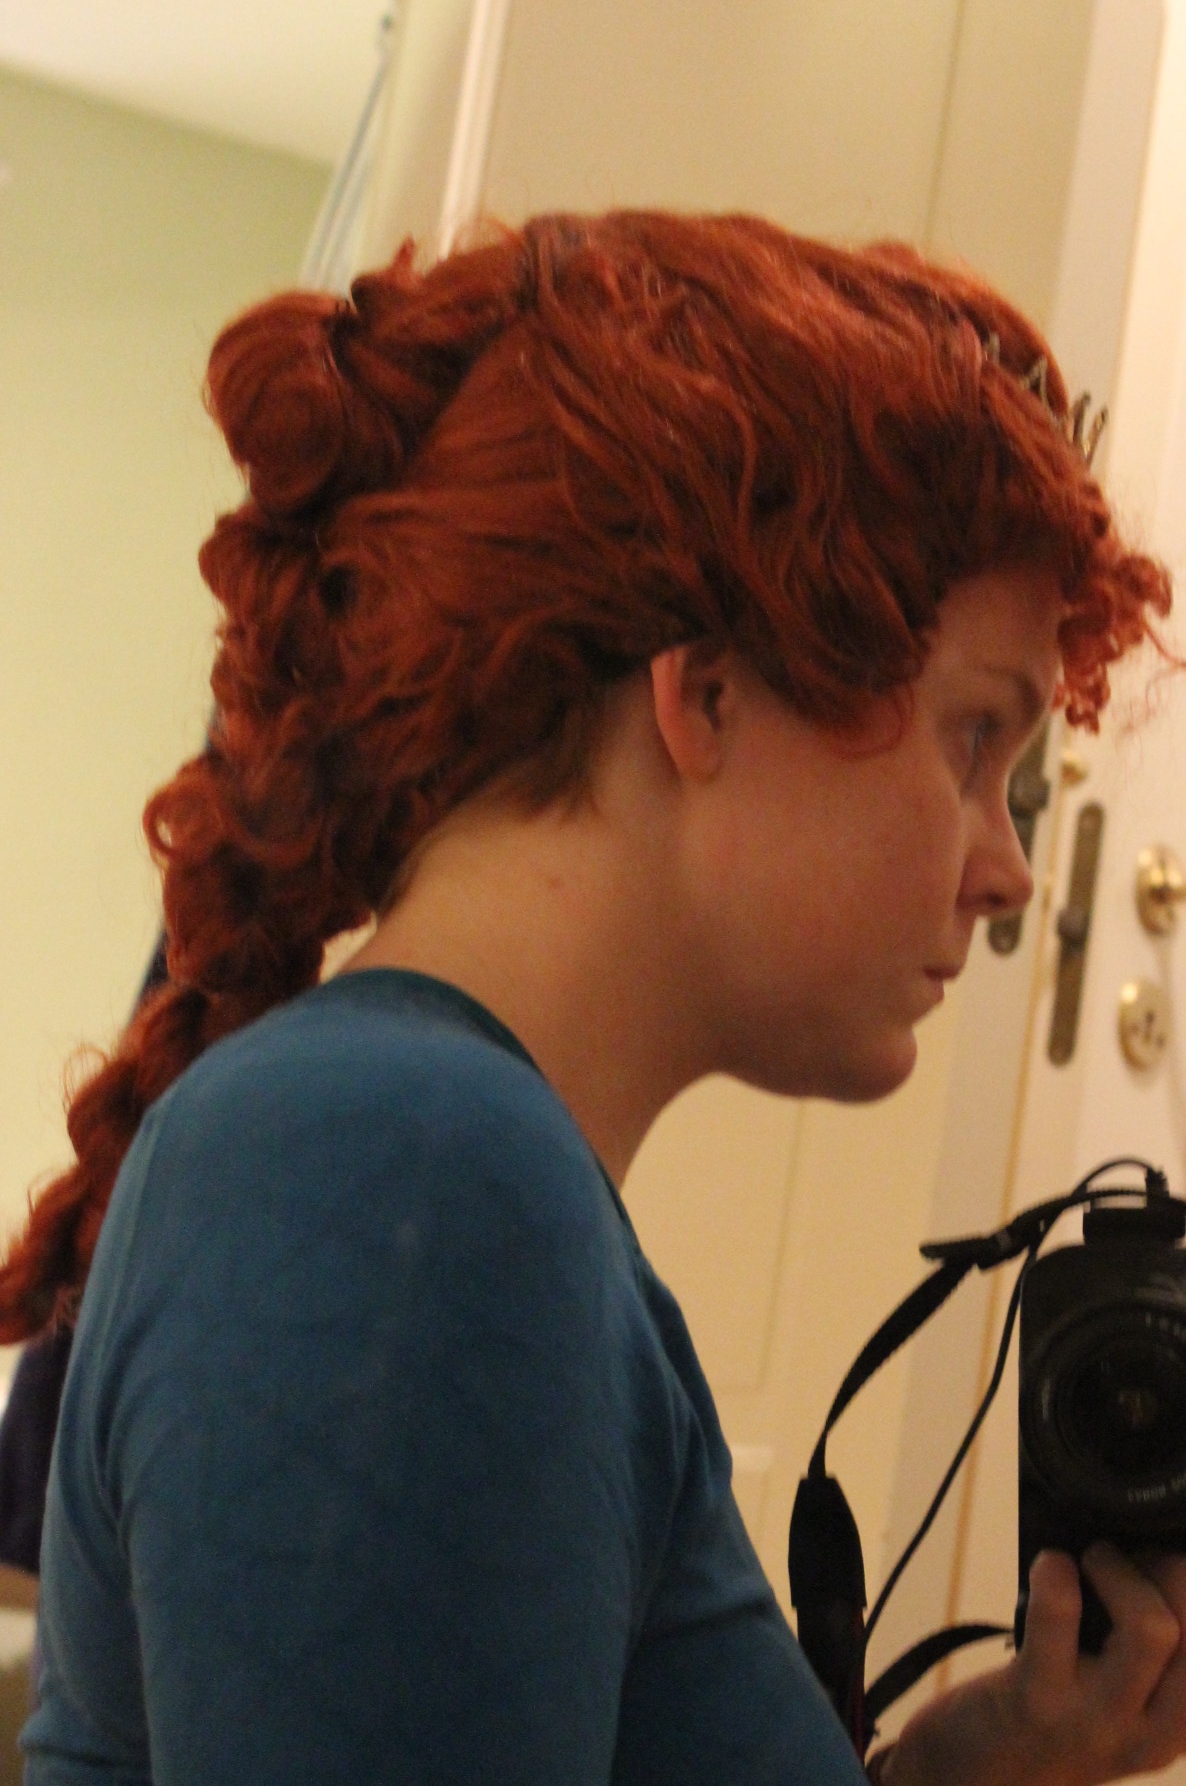
When arriving at my hotel I emedetly started working.
Begining to make smal tufts, in my own hair, to secure the faux bun onto. Cowering the back of my head with a hair net, to keep all the short flying hairs in place. Then I loosened the faux hair from the curlers and started pinning and winding them into a bun on the back of my head. I then frizzed the bangs some more, and attached the tiara with bobypins. The last step was to attach a few hanging curls on the back of the bun.
And the finished hairdo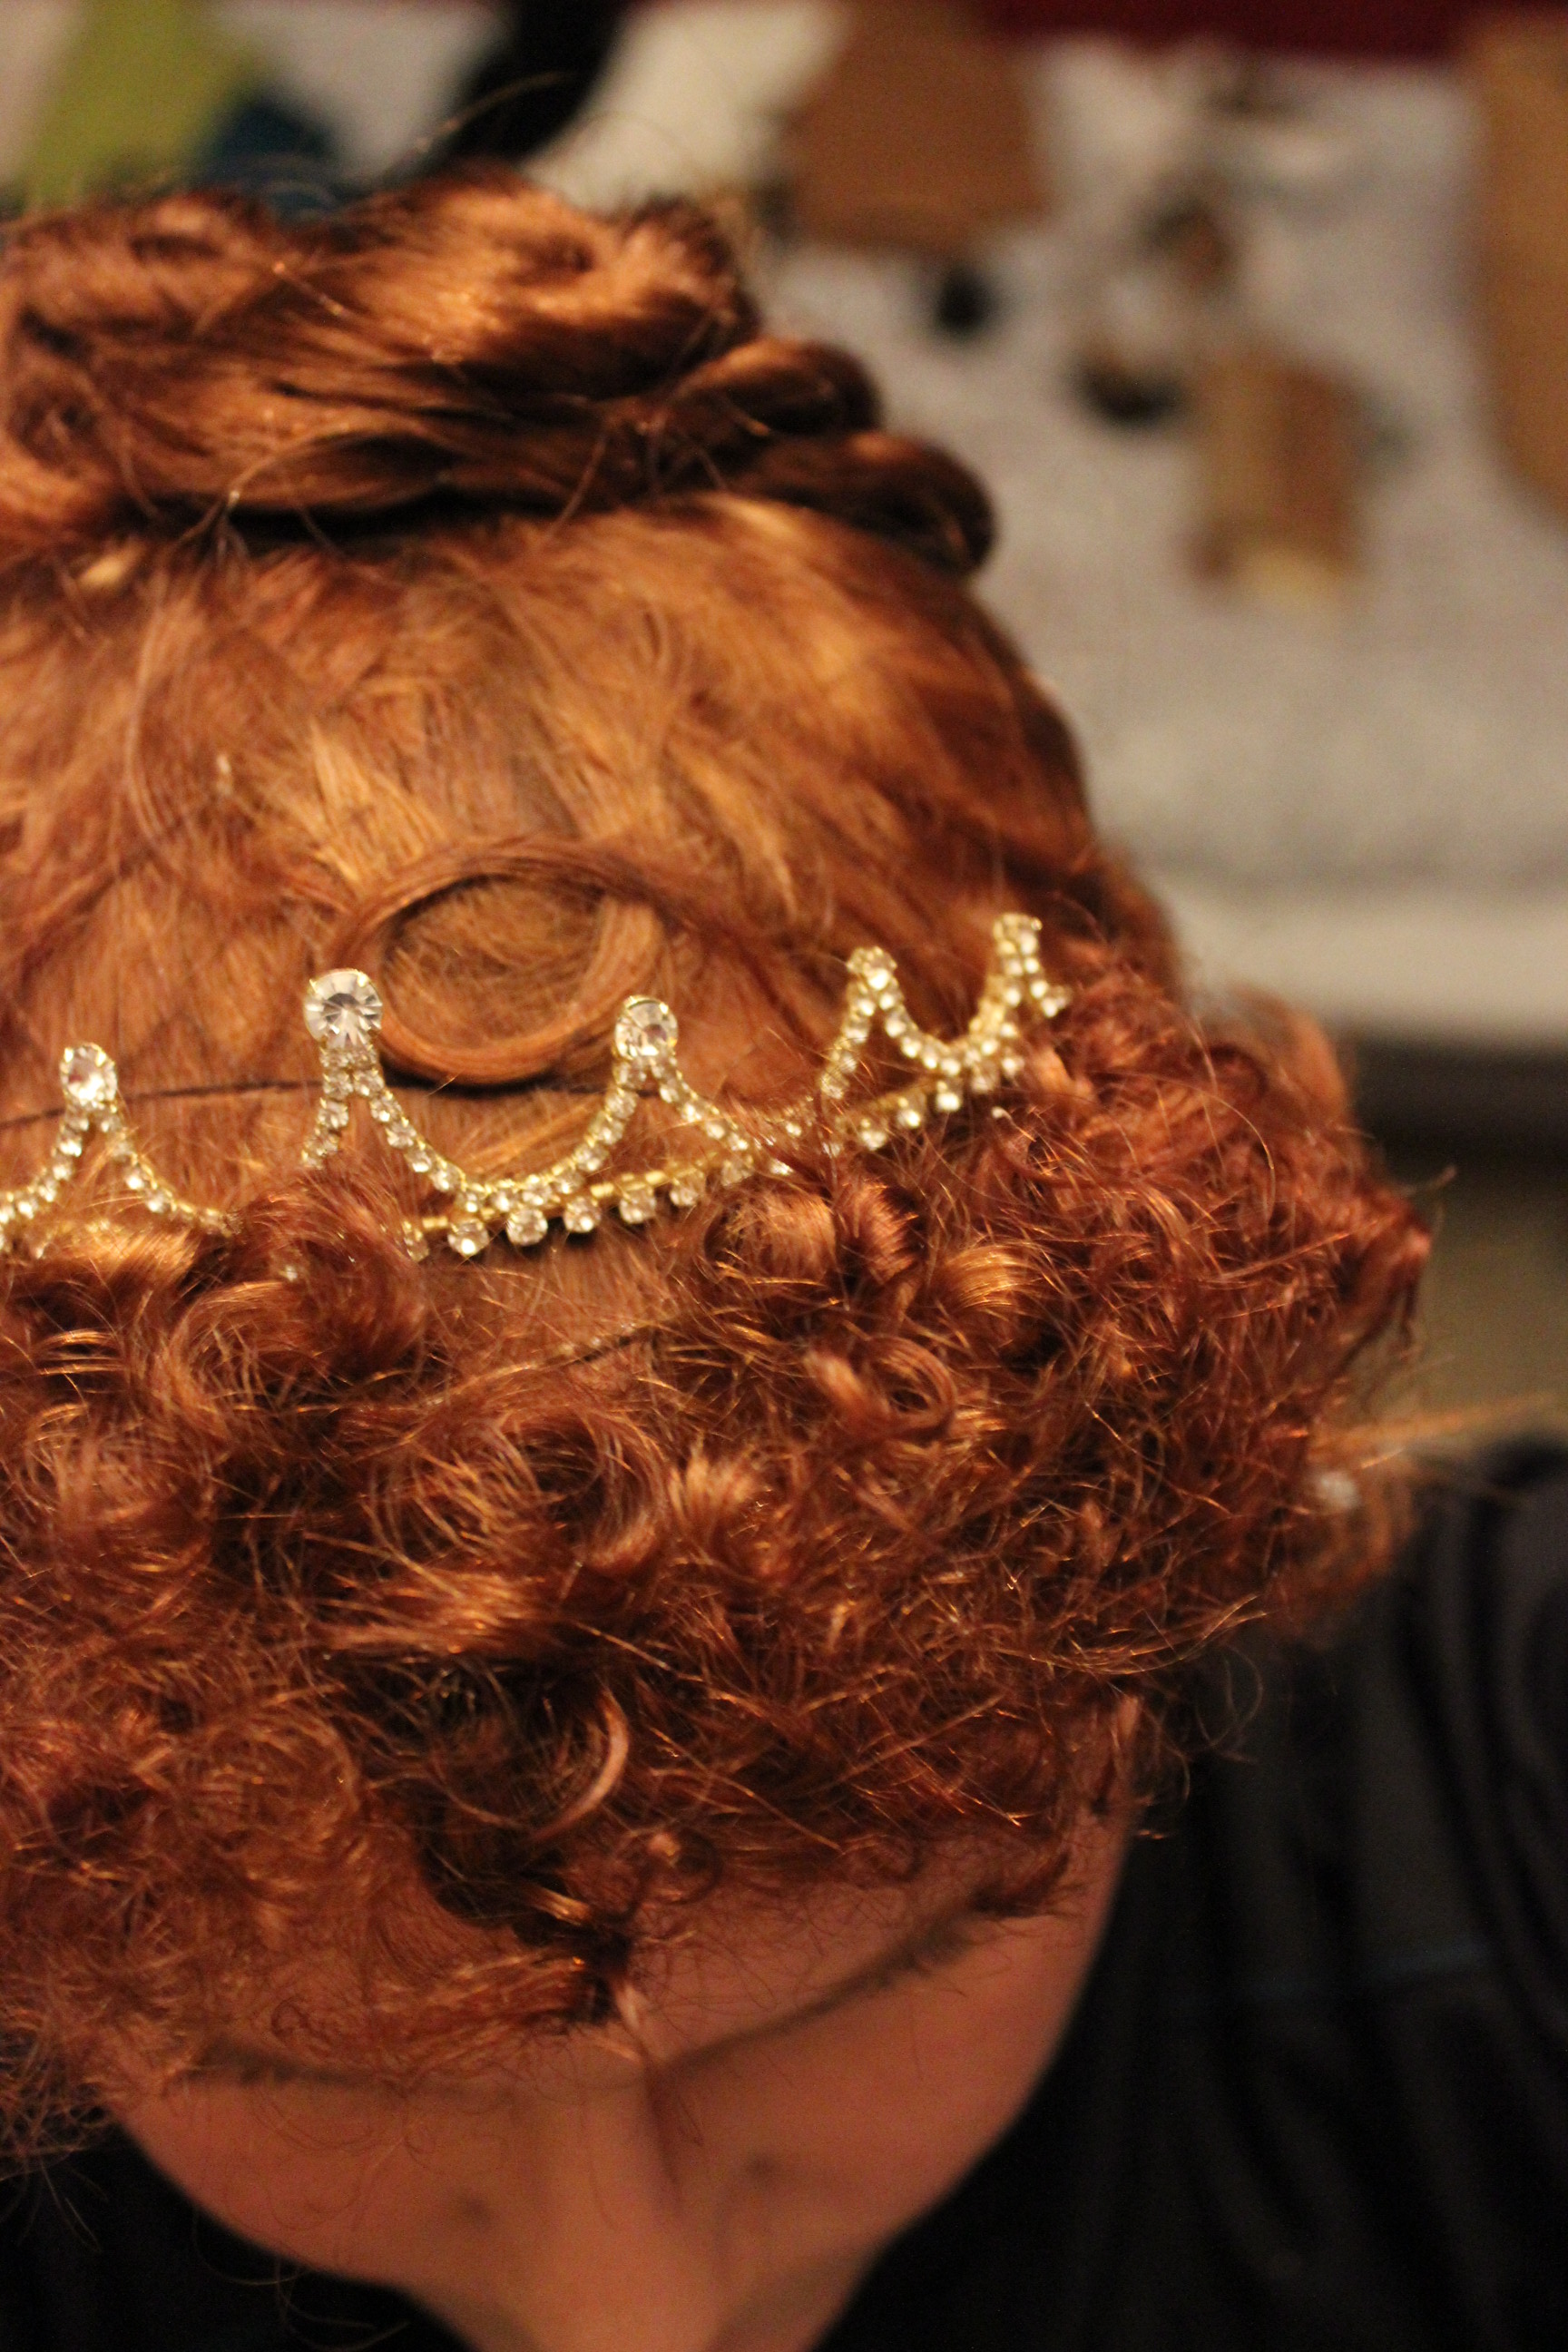
And it still looked pretty hours later.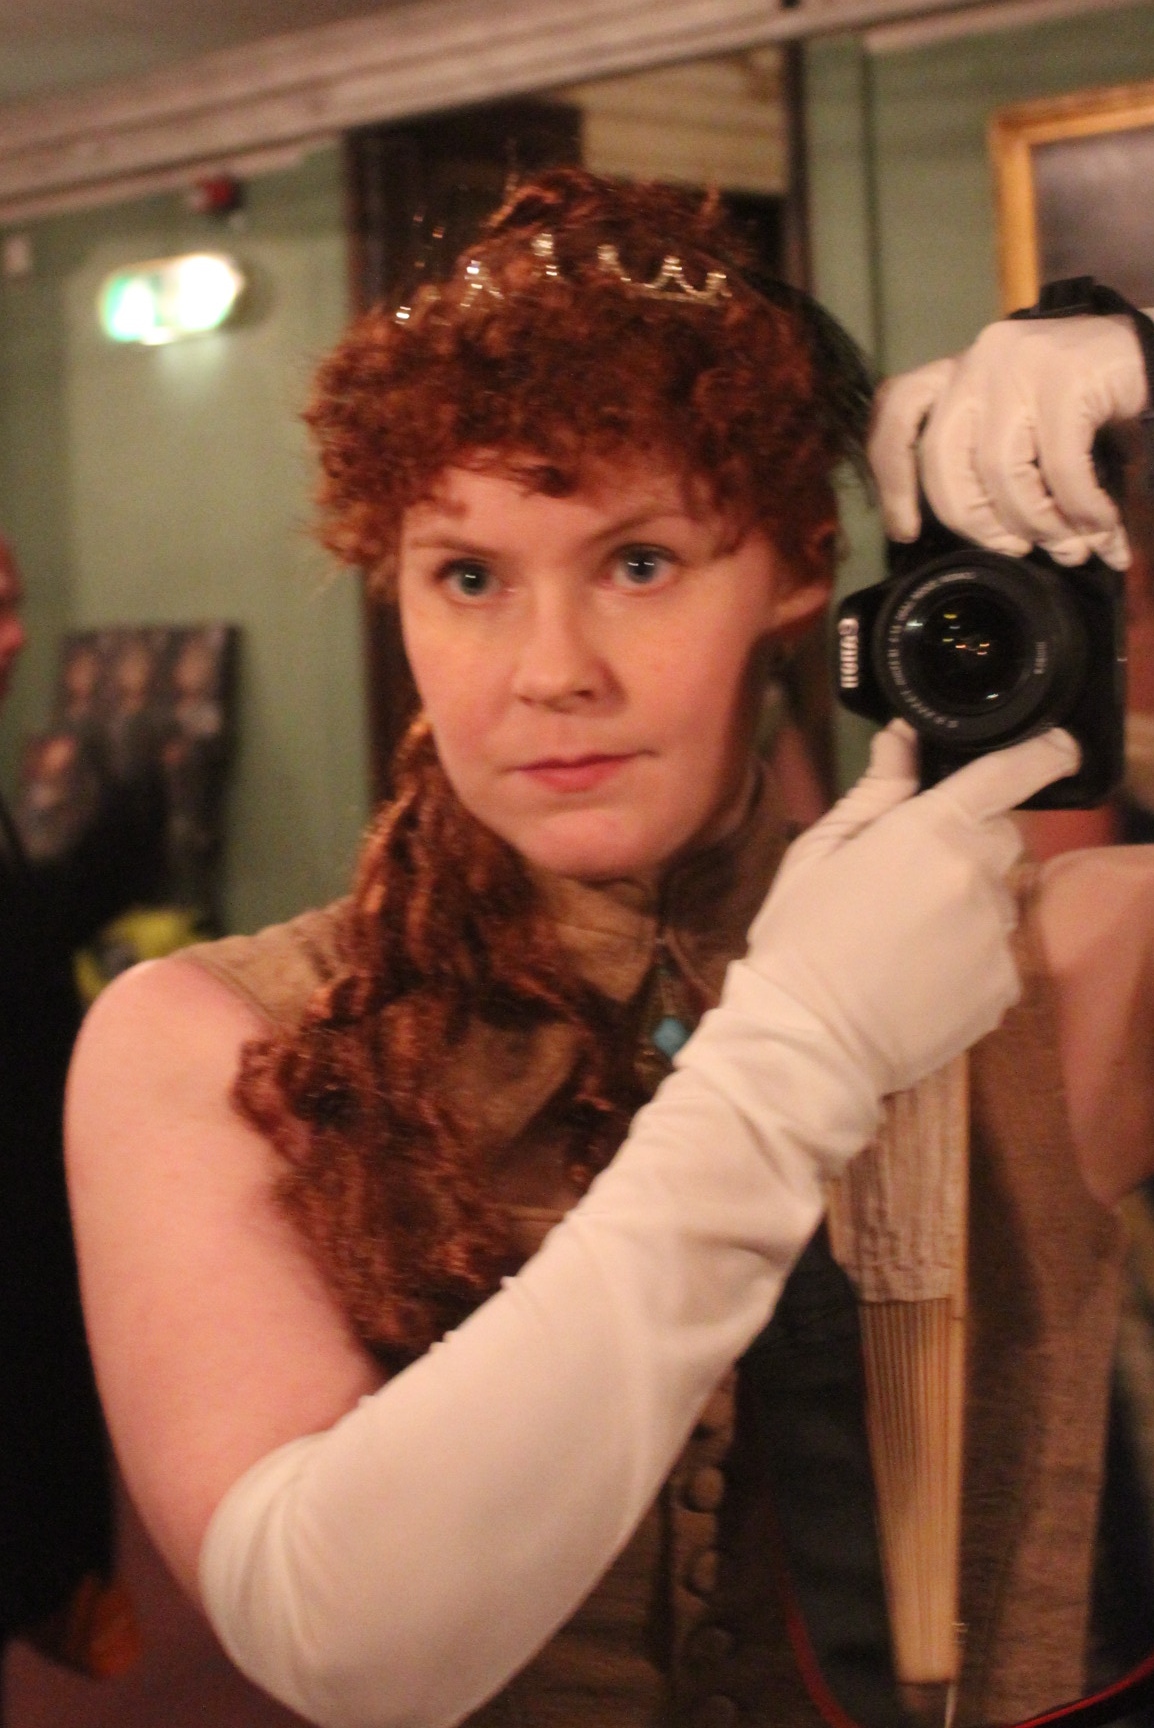 I’m so happy with how it turned out, and even got some nice copliments on it. Maybe next time I don’t have to worry so much.