When I first realised I needed to cut away the beautiful part of the back, i refused to listen to that part of my brain. But after tedius atempts to fix the back of the bodice and to pleat and re-pleat the skirt in the right way, I grabbed the sissors.
Two cuts and it was done, and I was relieved to find that the pleating of the skirt went so much easier.
I pleated the skirt to the bodice and left two pocket slits at the sides when I sewed the skirt together. Once again things seemed to run on wheels, so I decided to cut out the petticoat after all. The sewing and pleating went so fast and easy that I finished it in no time.
Then it was time for another try-on.
I got help from my sister Elin to put the sleeves in the right position and to check the lenght of the skirt and petticoat.

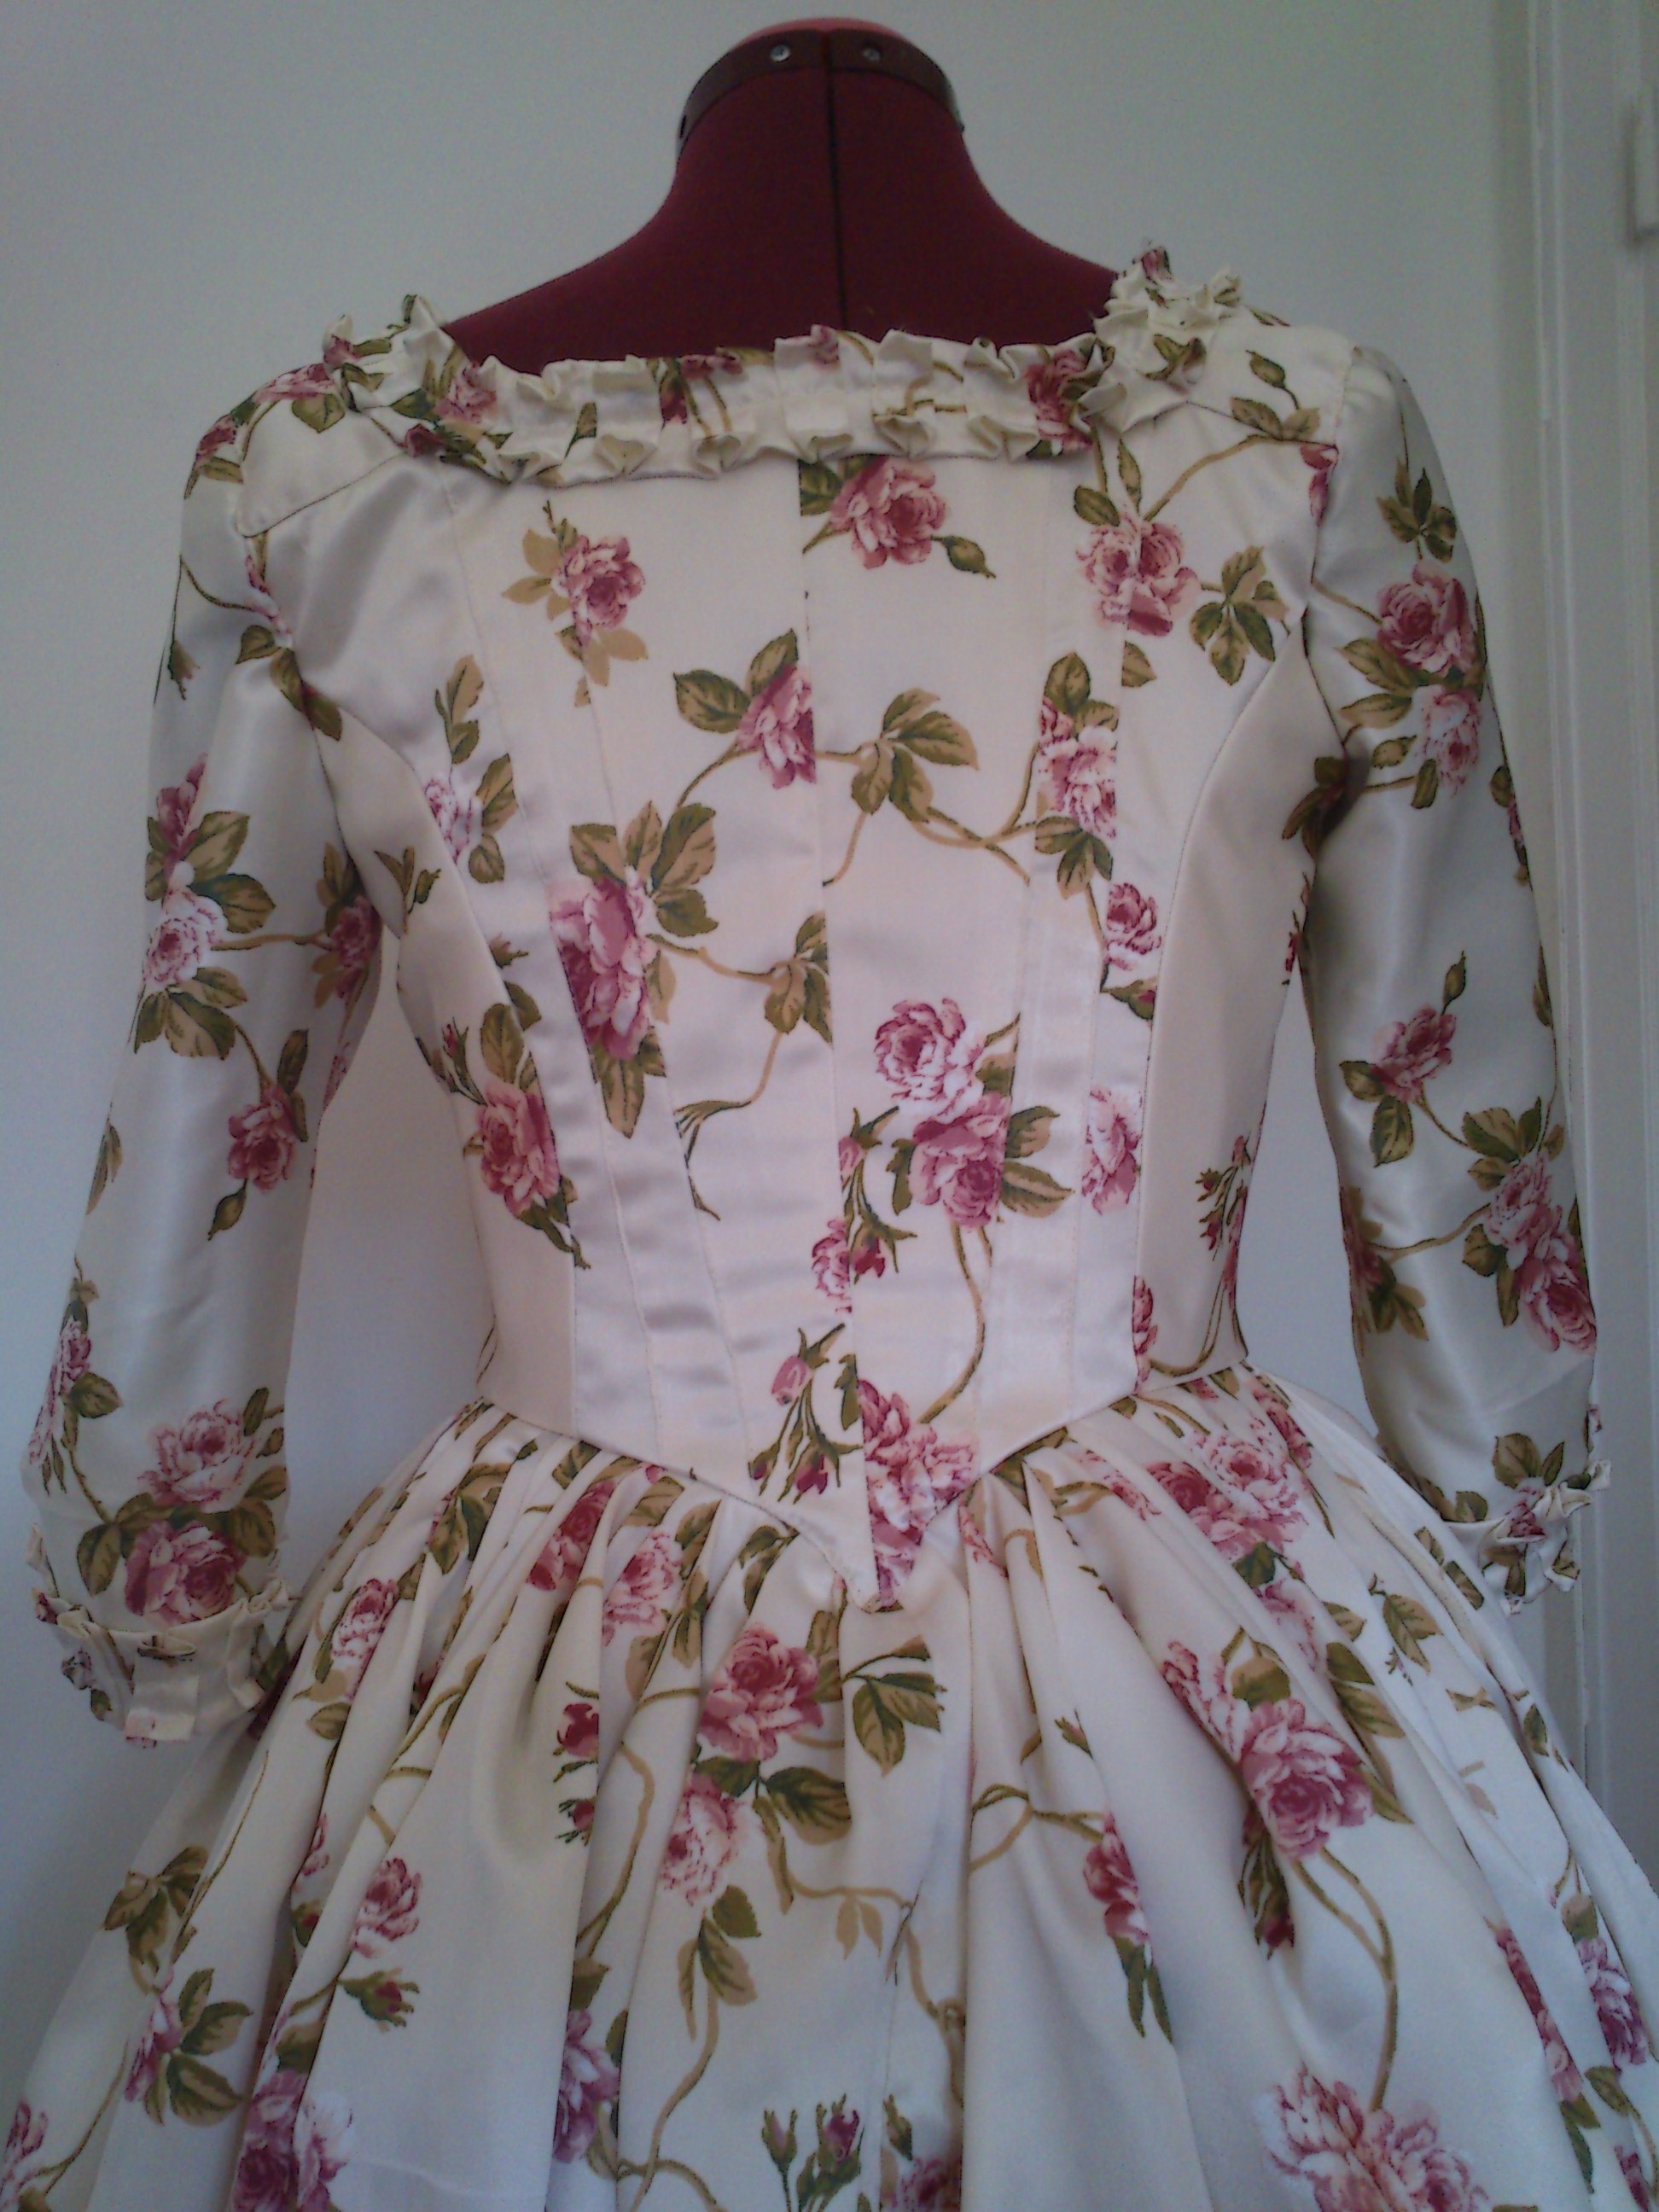
This time the back looked pretty good – I just needed to rise the waist a little more (I will have to live with the remaning wrinkles).
We decided that the skirt needed to be lengthen in the back – this meant I would have to piece the hem with stripes of fabric to get some extra length. And this was when the problem started again…
Of course I was out of fabric – all I had left was some small pieces for decoration and trimming.

The only way to fix the 8 centimeters too short skirt was to take some fabric from the petticoat. I already had a 50 cm “patch” in the back, due to lack of fabric. So this time I had to cut away two 10 cm pieces on the horisontal of the skirt, and then re-pleat the petticoat to the waistband.
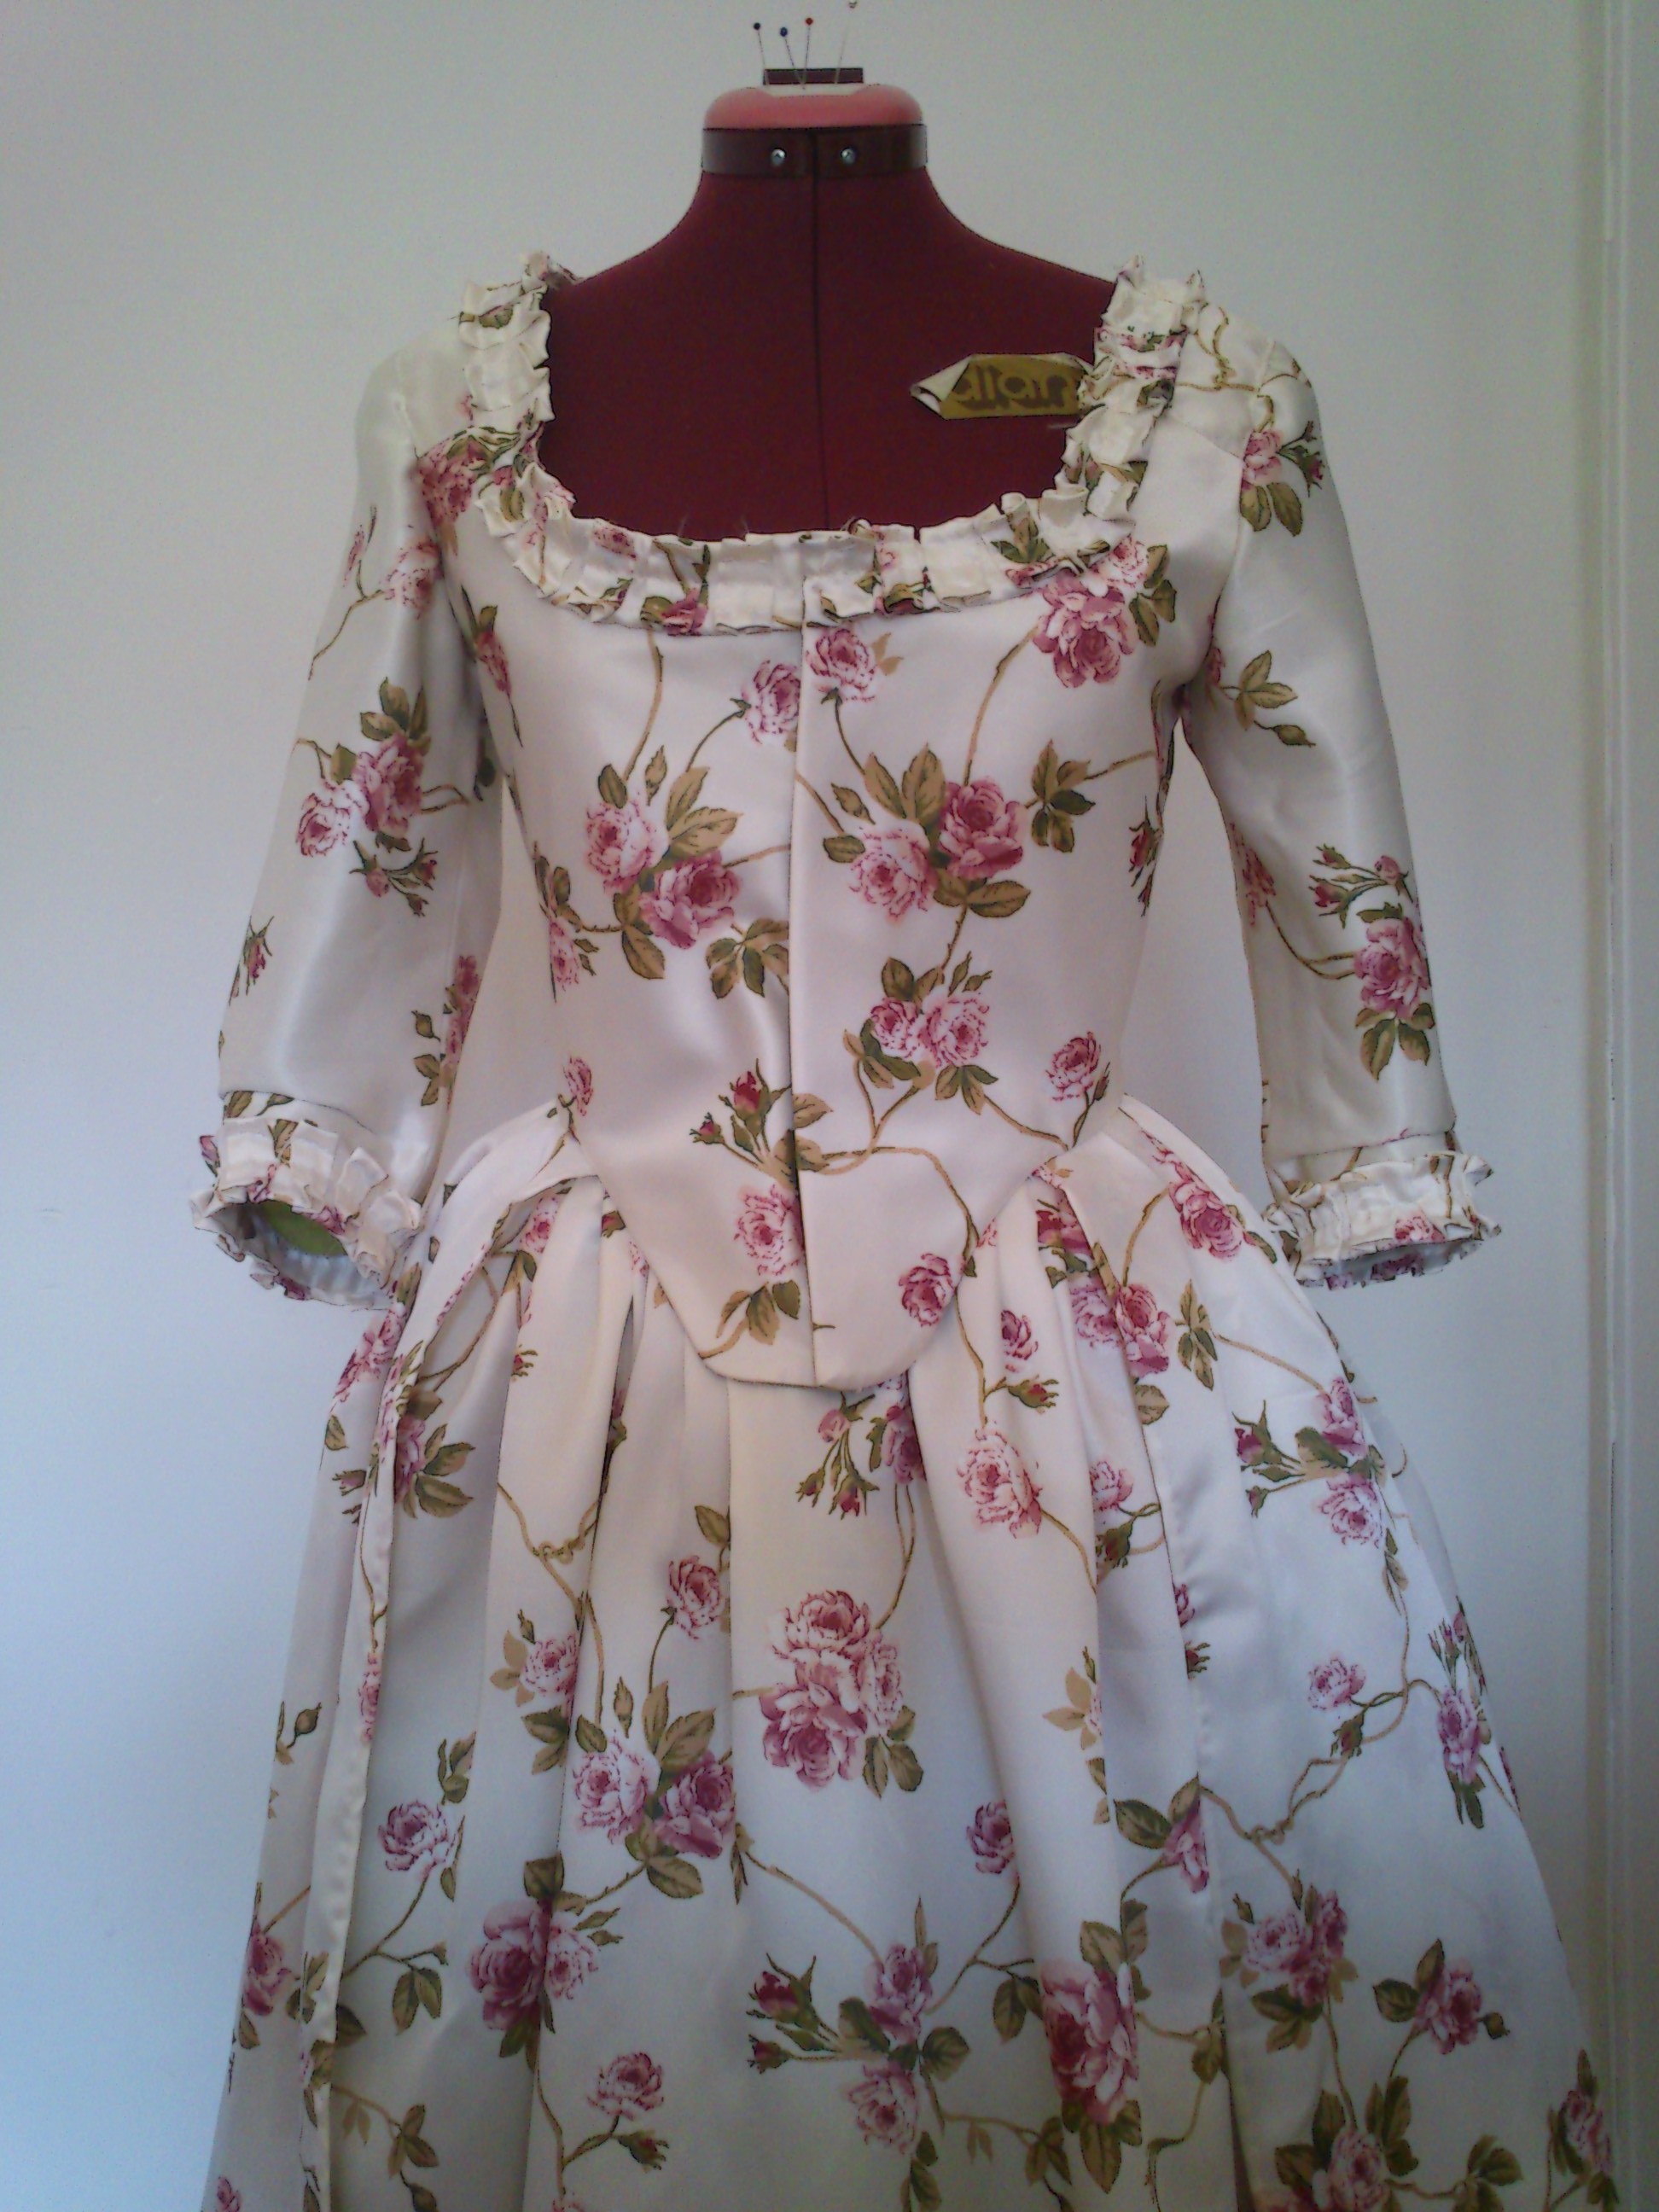
Then it was time to deal with the sleaves. To get the right 18th century look, and to save myself some trouble with getting the sleeve-cap in the sewing machine, I decided to handstitch the sleeves in place. When that was done all I needed to do was to put the shoulder piece over the sleeve-cap and hand stitch them down.
The only thing left to finish the dress was to put some trimming on it.
This proved more difficult and time consuming then I had anticipated. I cut stripes of the few pieces of fabric I had left and sewed them together in to one 4 m stripe. Then I had to hem the stripes both sides by hand (all 8 m), and then go on to pleat and baste it all down. Then at last I could attach the trim to the gown.
Well here it is – the finished dress. After all the trouble and setbacks I still really like this dress and feel pretty comfortable wearing it. I may even have to invent a reason to wear it.