The Dreamstress have decided to host yet another year of wonderful historical sewing challenges.
Only this year we will all (and most off all me) slow the paste down a bit and do the “Historical Sew Monthly“.
After some consideration I’ve decided to participate even this year – Oh, how am I kidding there was never any doubt…
But this year I will put up some ground rules for me to follow.
*Use stash first – I may need to buy notions and fabric such as buttons, cord or lining but I will use fabrics from my ever growing stash as much as possible.
* Don’t sweet it – If I can’t finish in time for a deadline, there’s no pressure, I will just post whenever I finish. – This also means I will not rush to complete thing in a slopy manner, but instead take my time and make everything as good as I can.
*Take time of from sewing – If the choice is between hanging out with friends/hubby/family or sewing, I will choose people every time.
Let’s present the challenges and what I intend to do with them for 2015.
January – Foundations:
Make something that is the foundation of a period outfit.
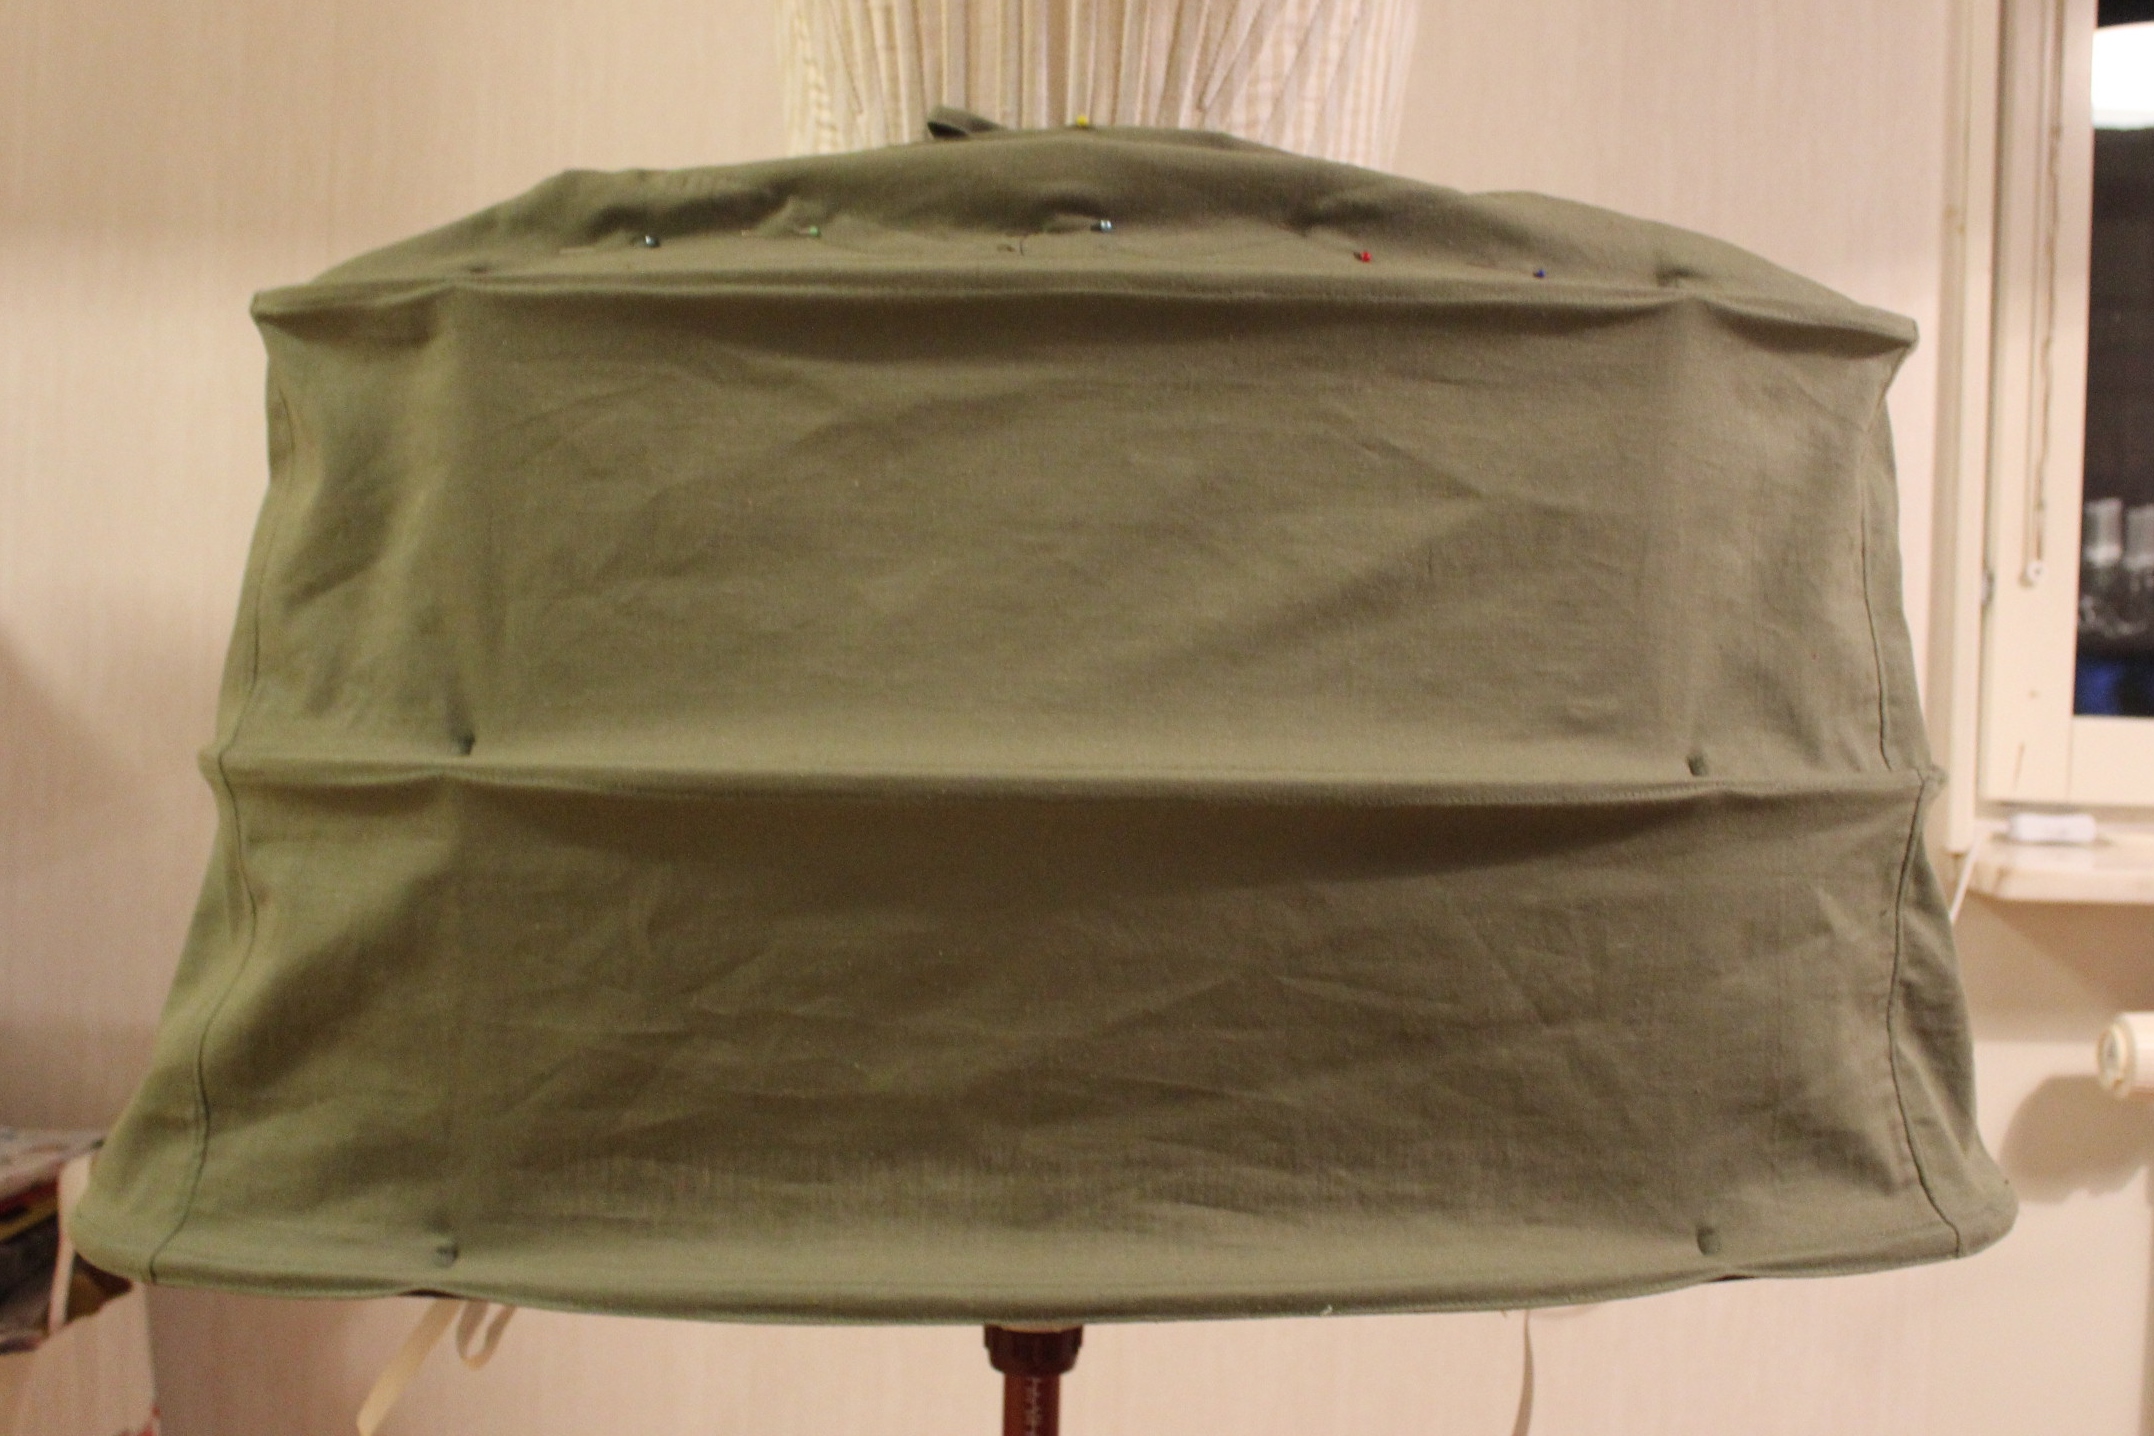
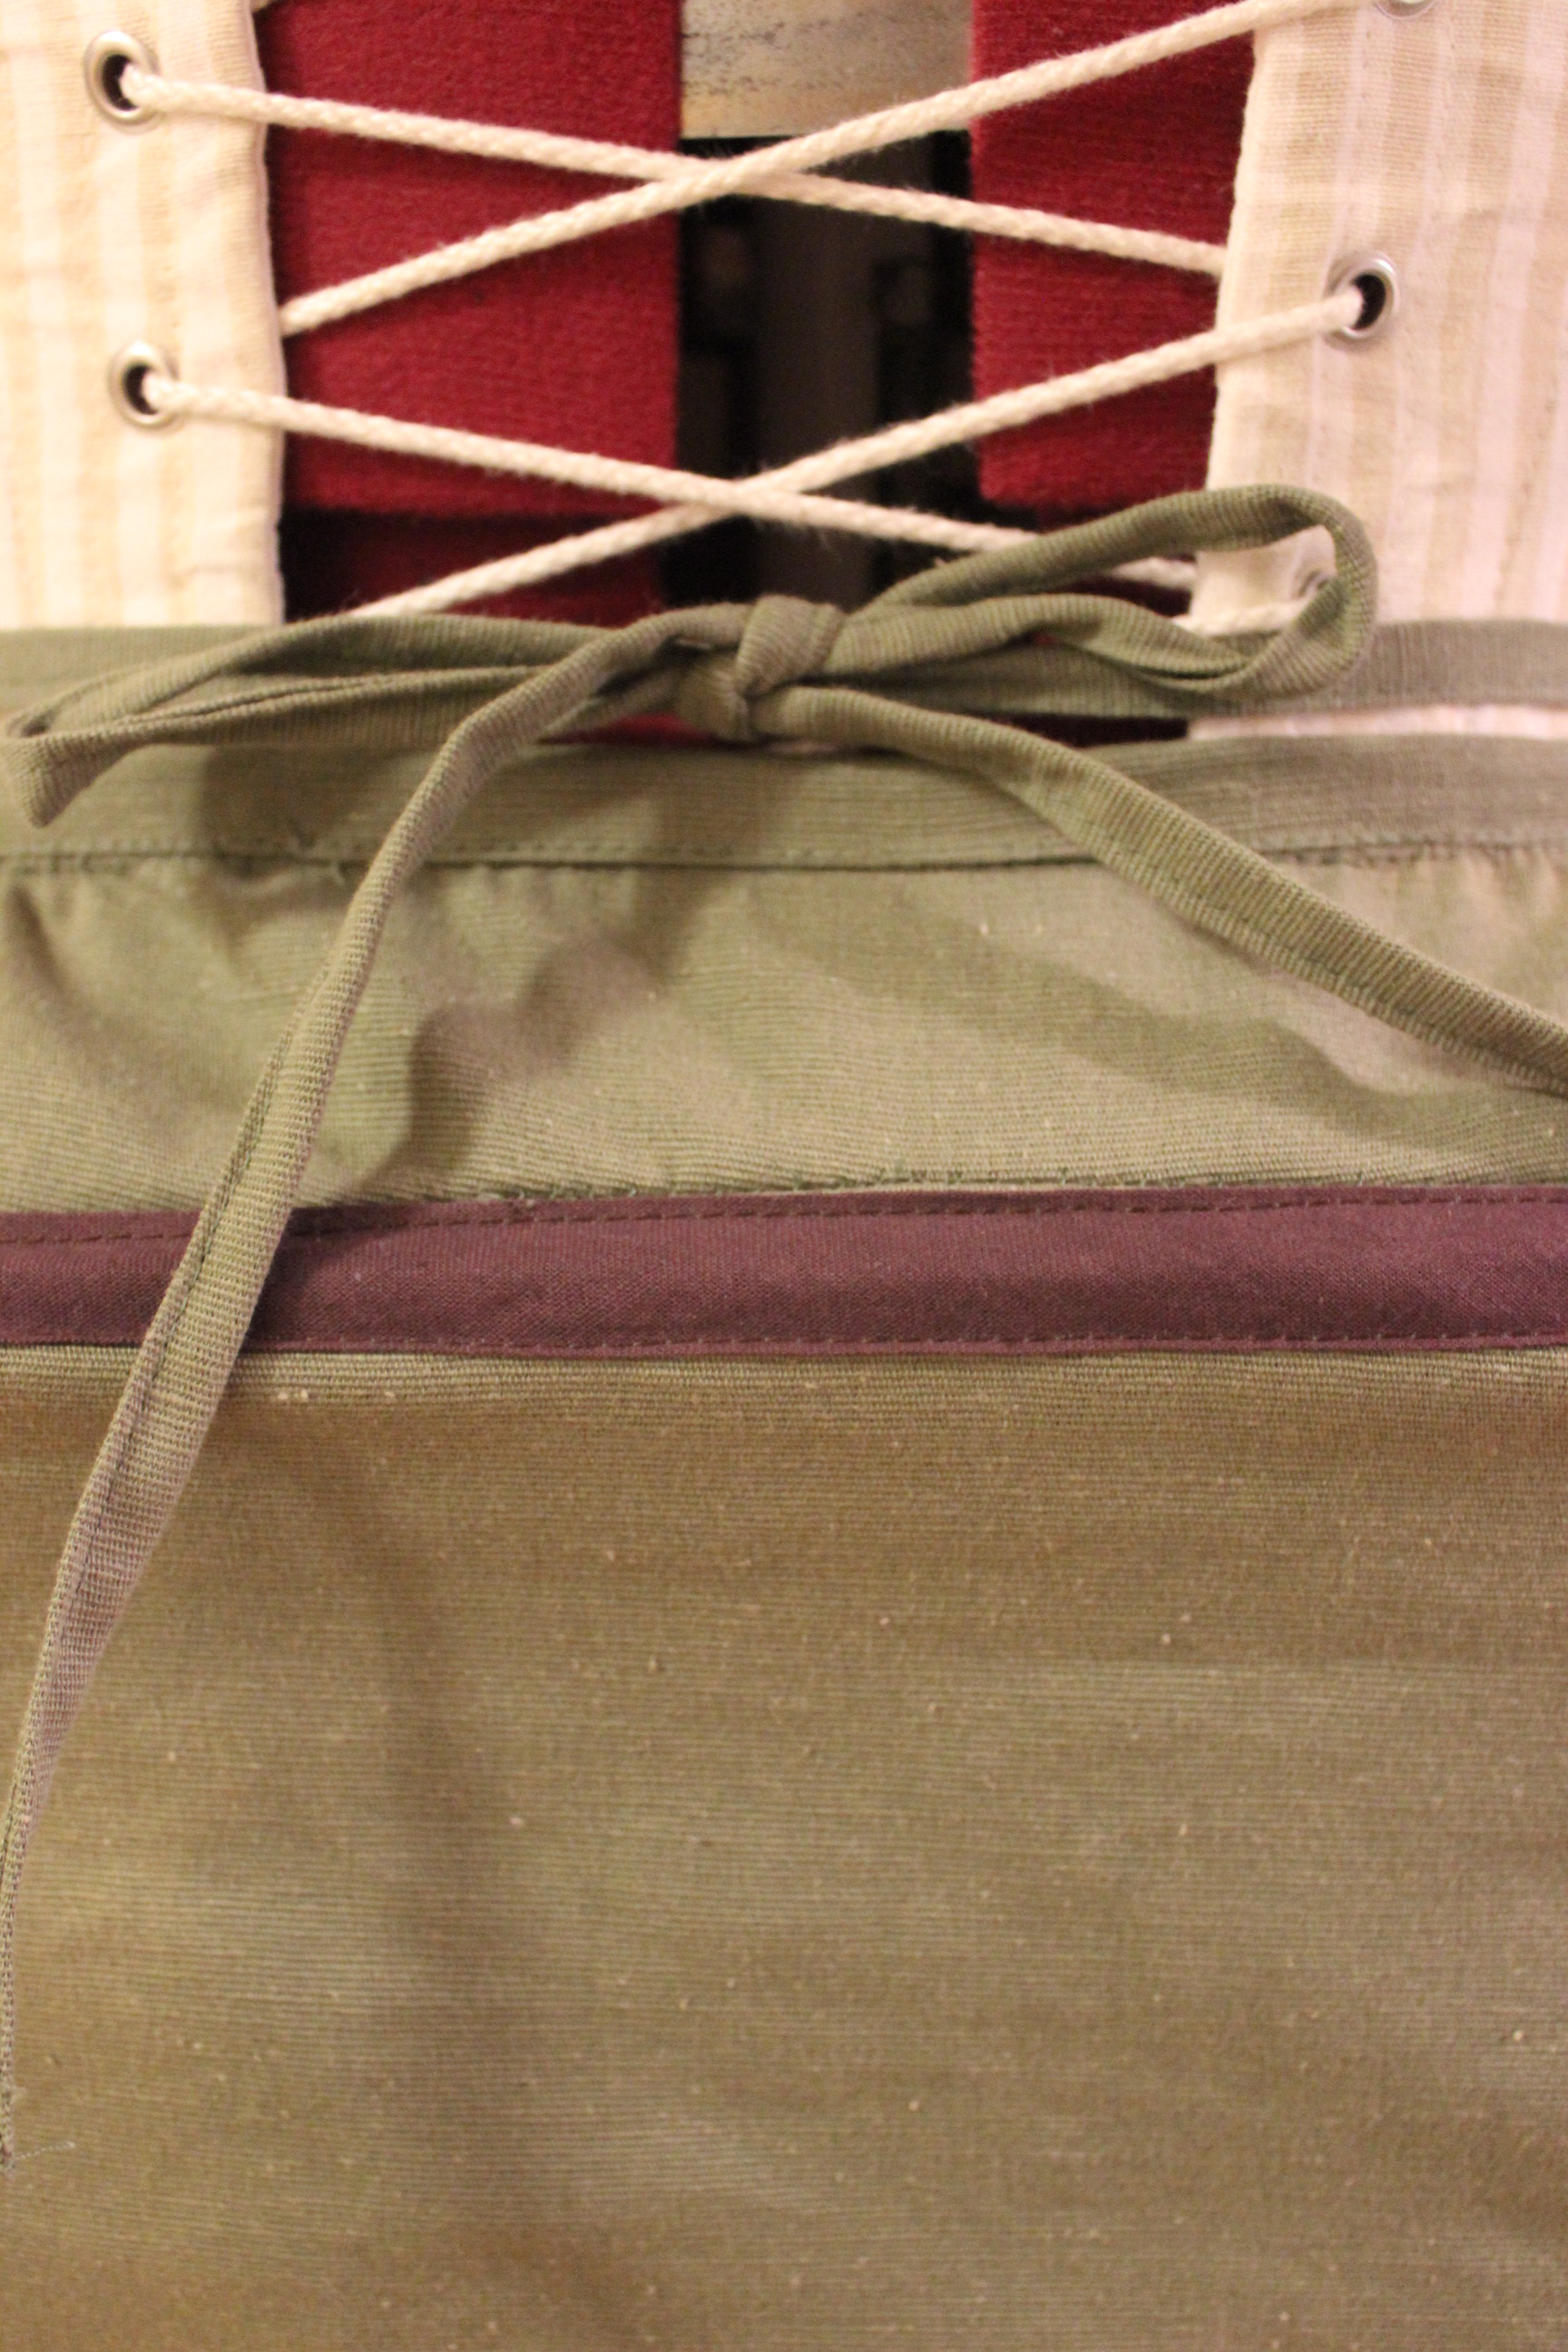
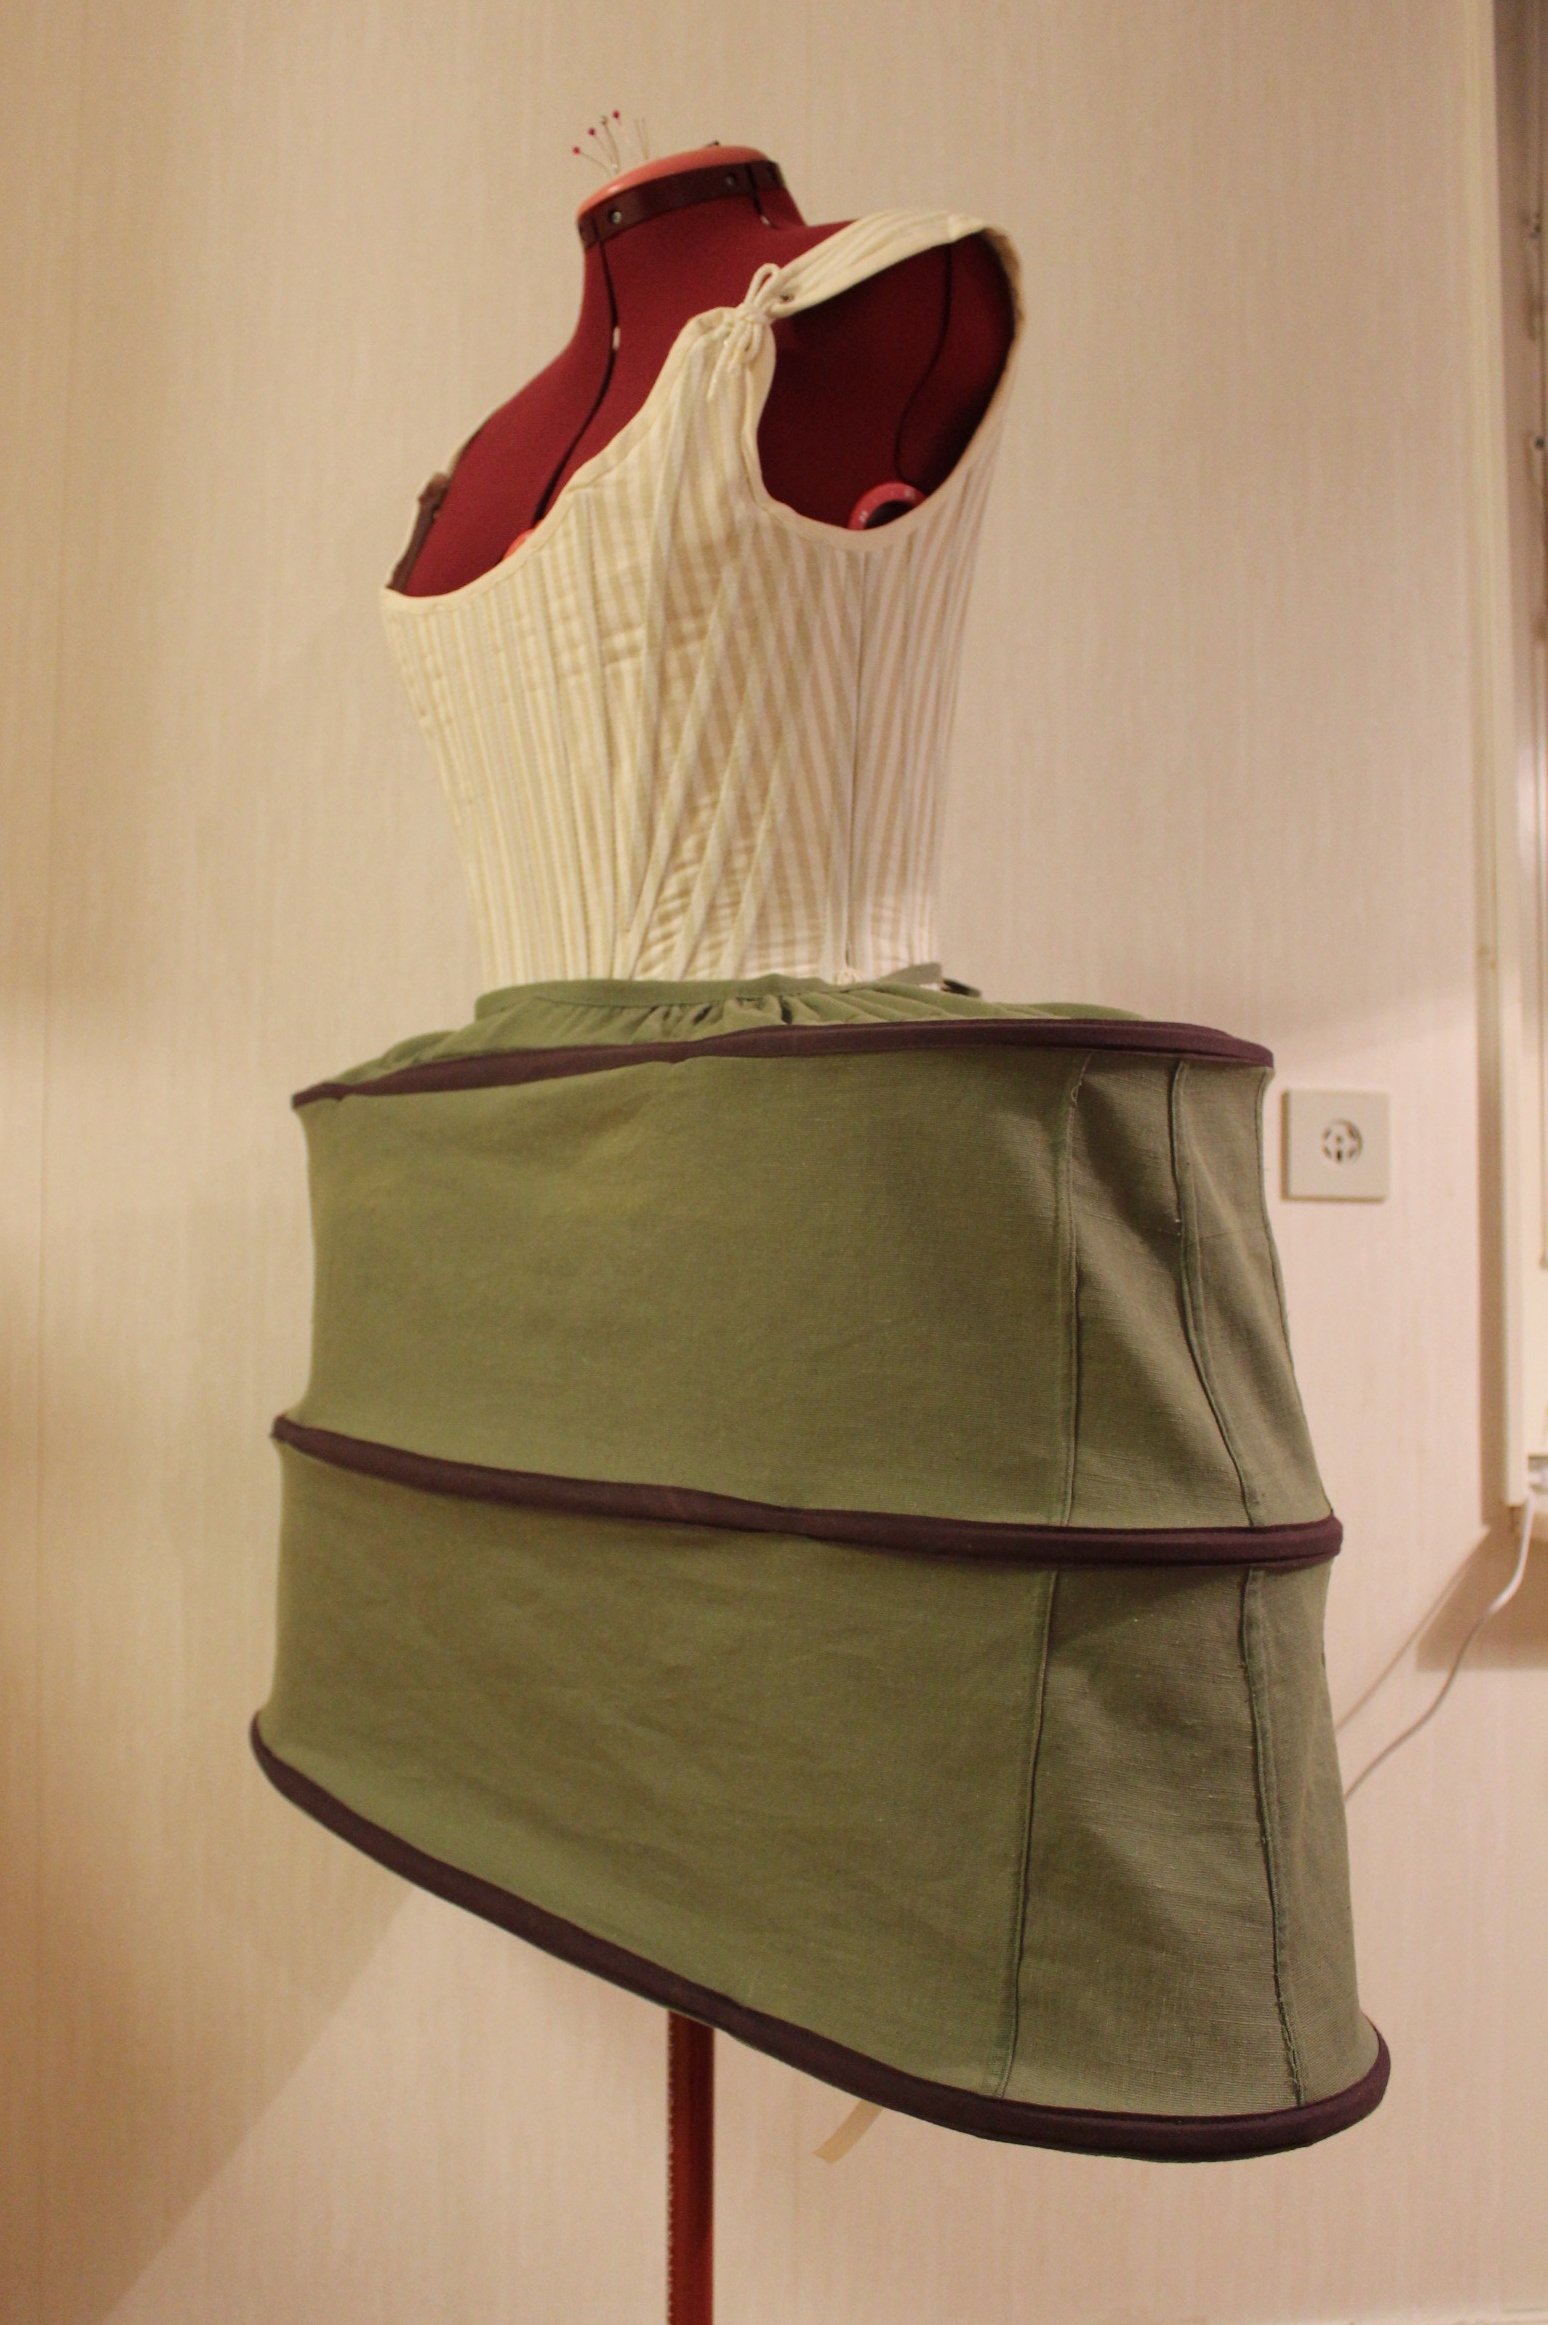
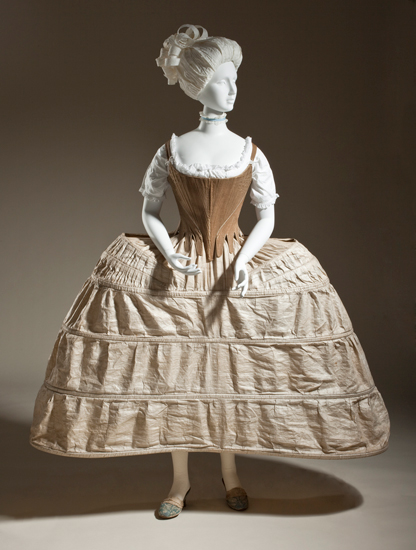
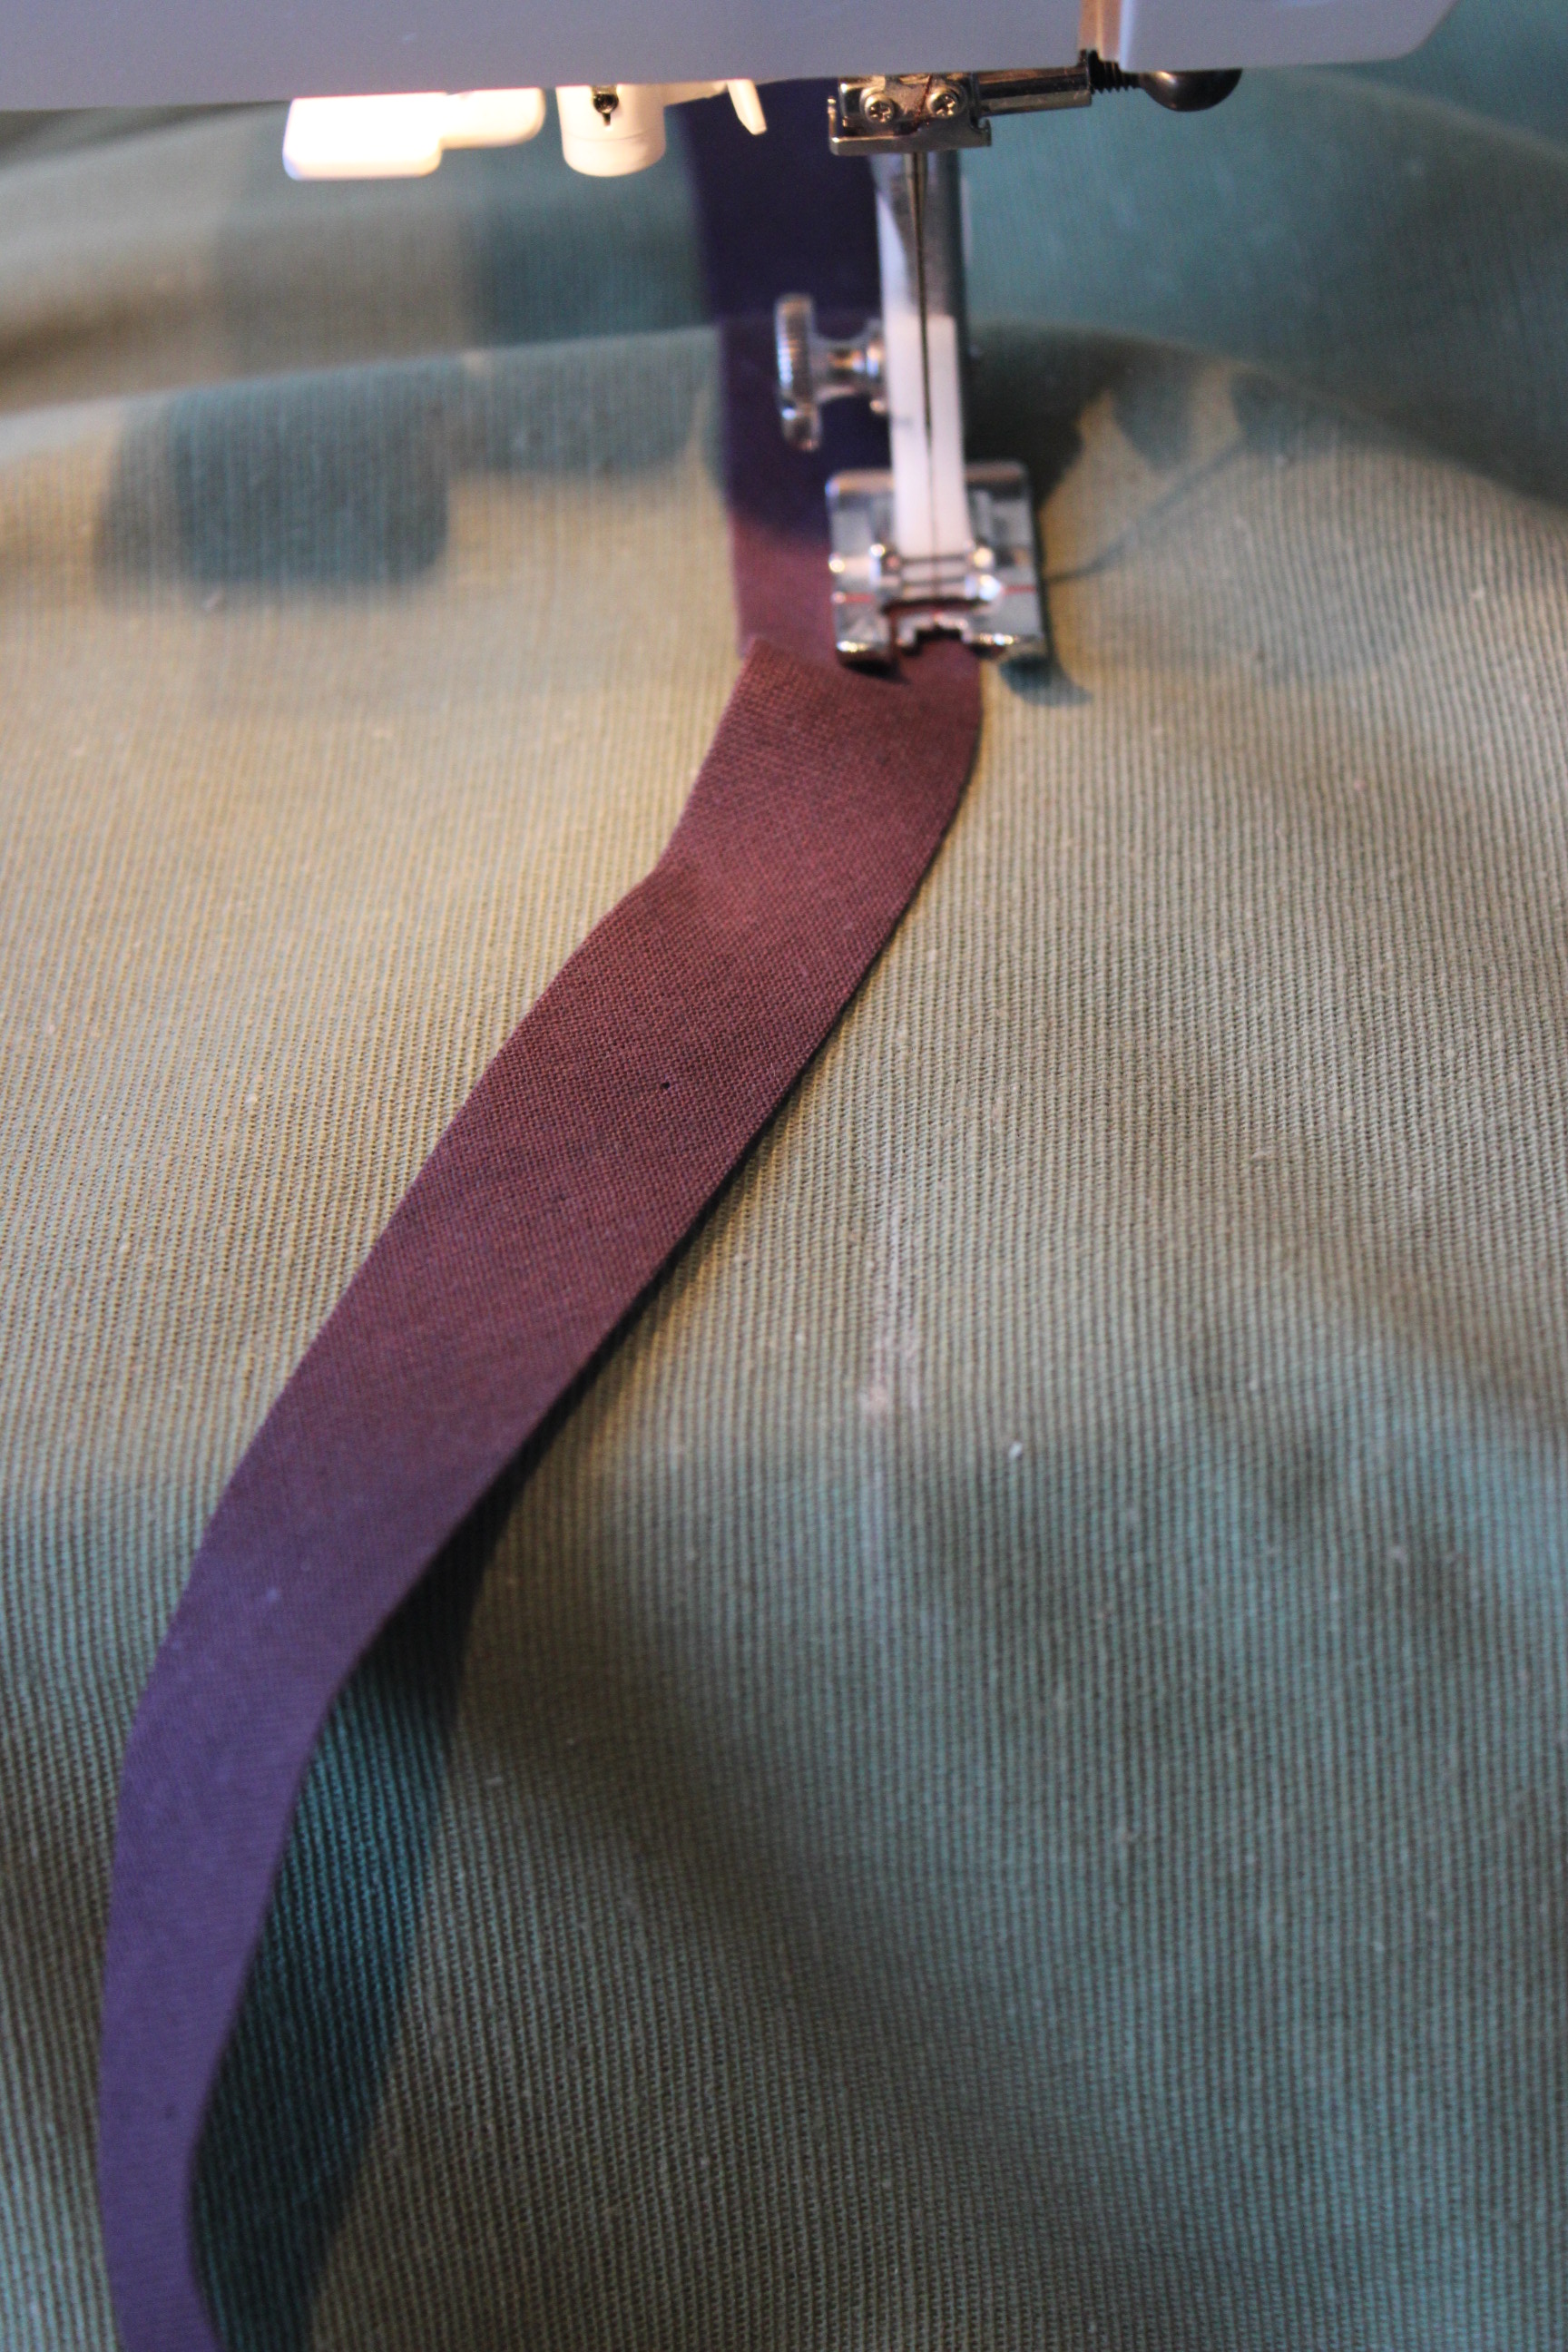
 I’m going for 18th century here and doing some panniers – probably a smaller version of the ones in the picture.
February – Blue:
Make an item that features blue, in any shade from azure to zaffre.
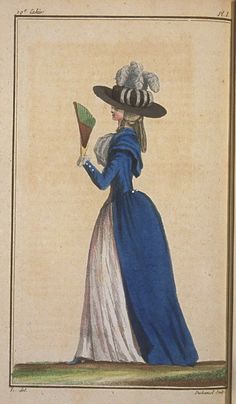
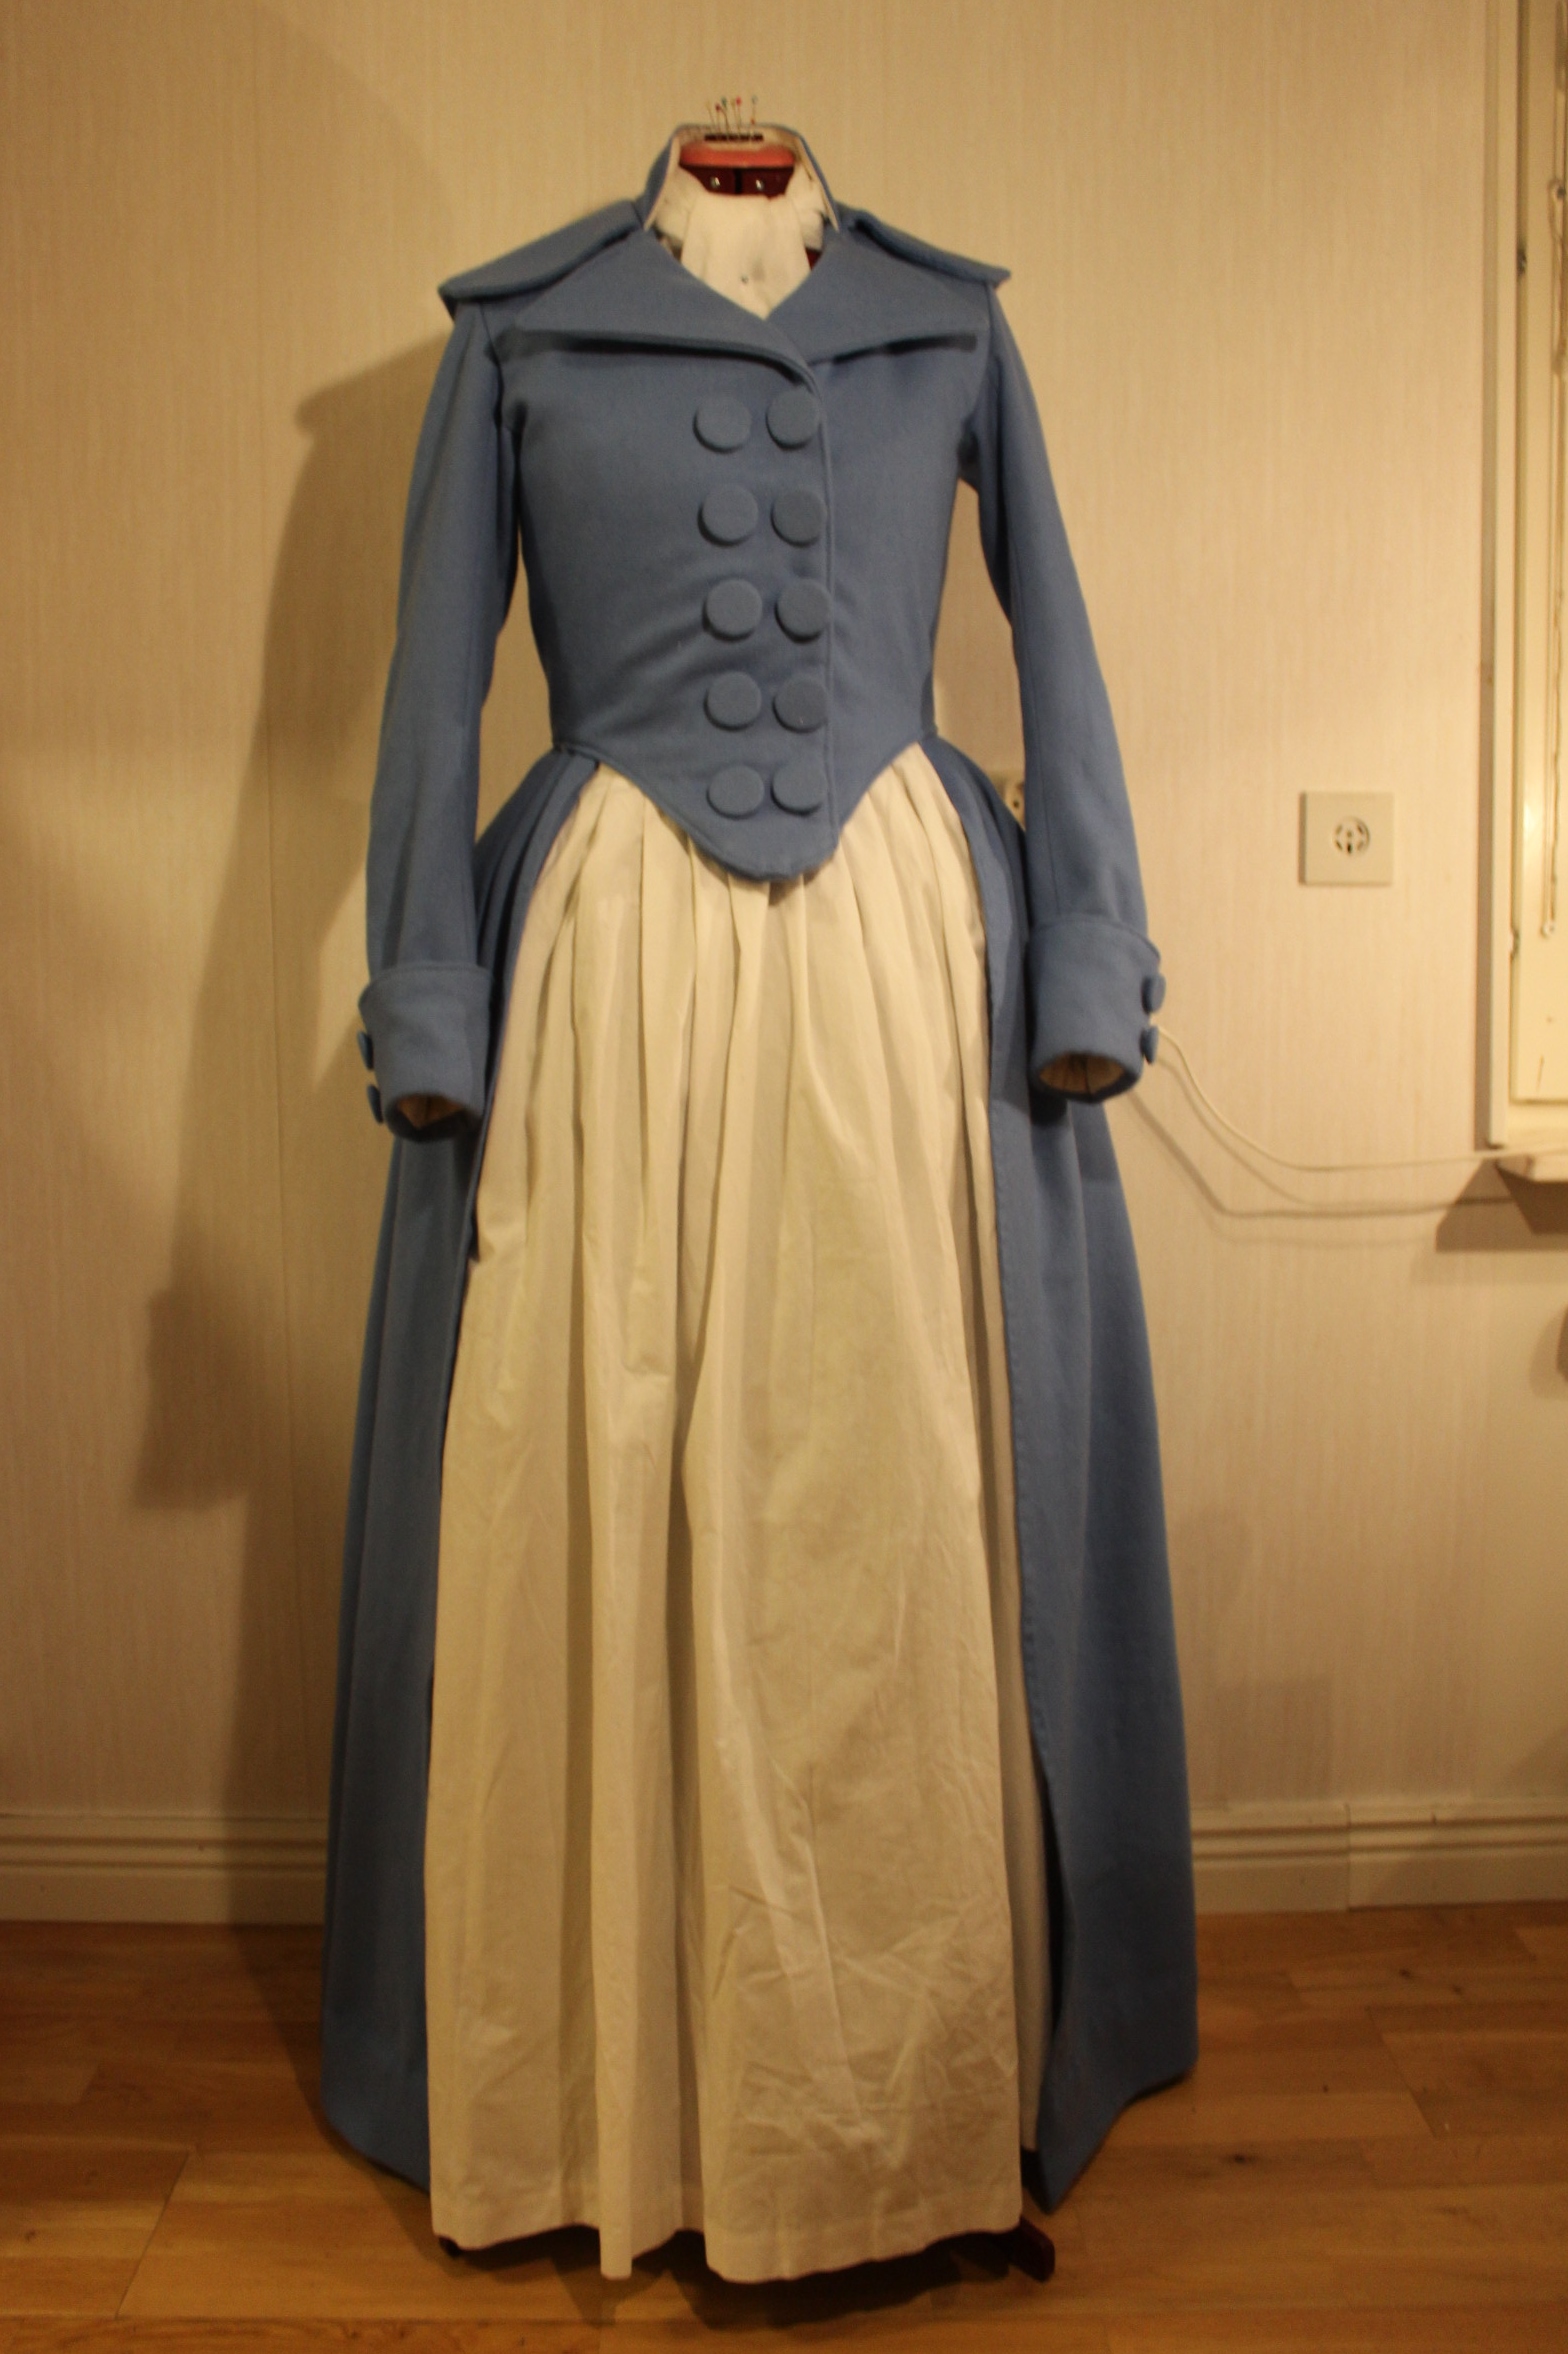
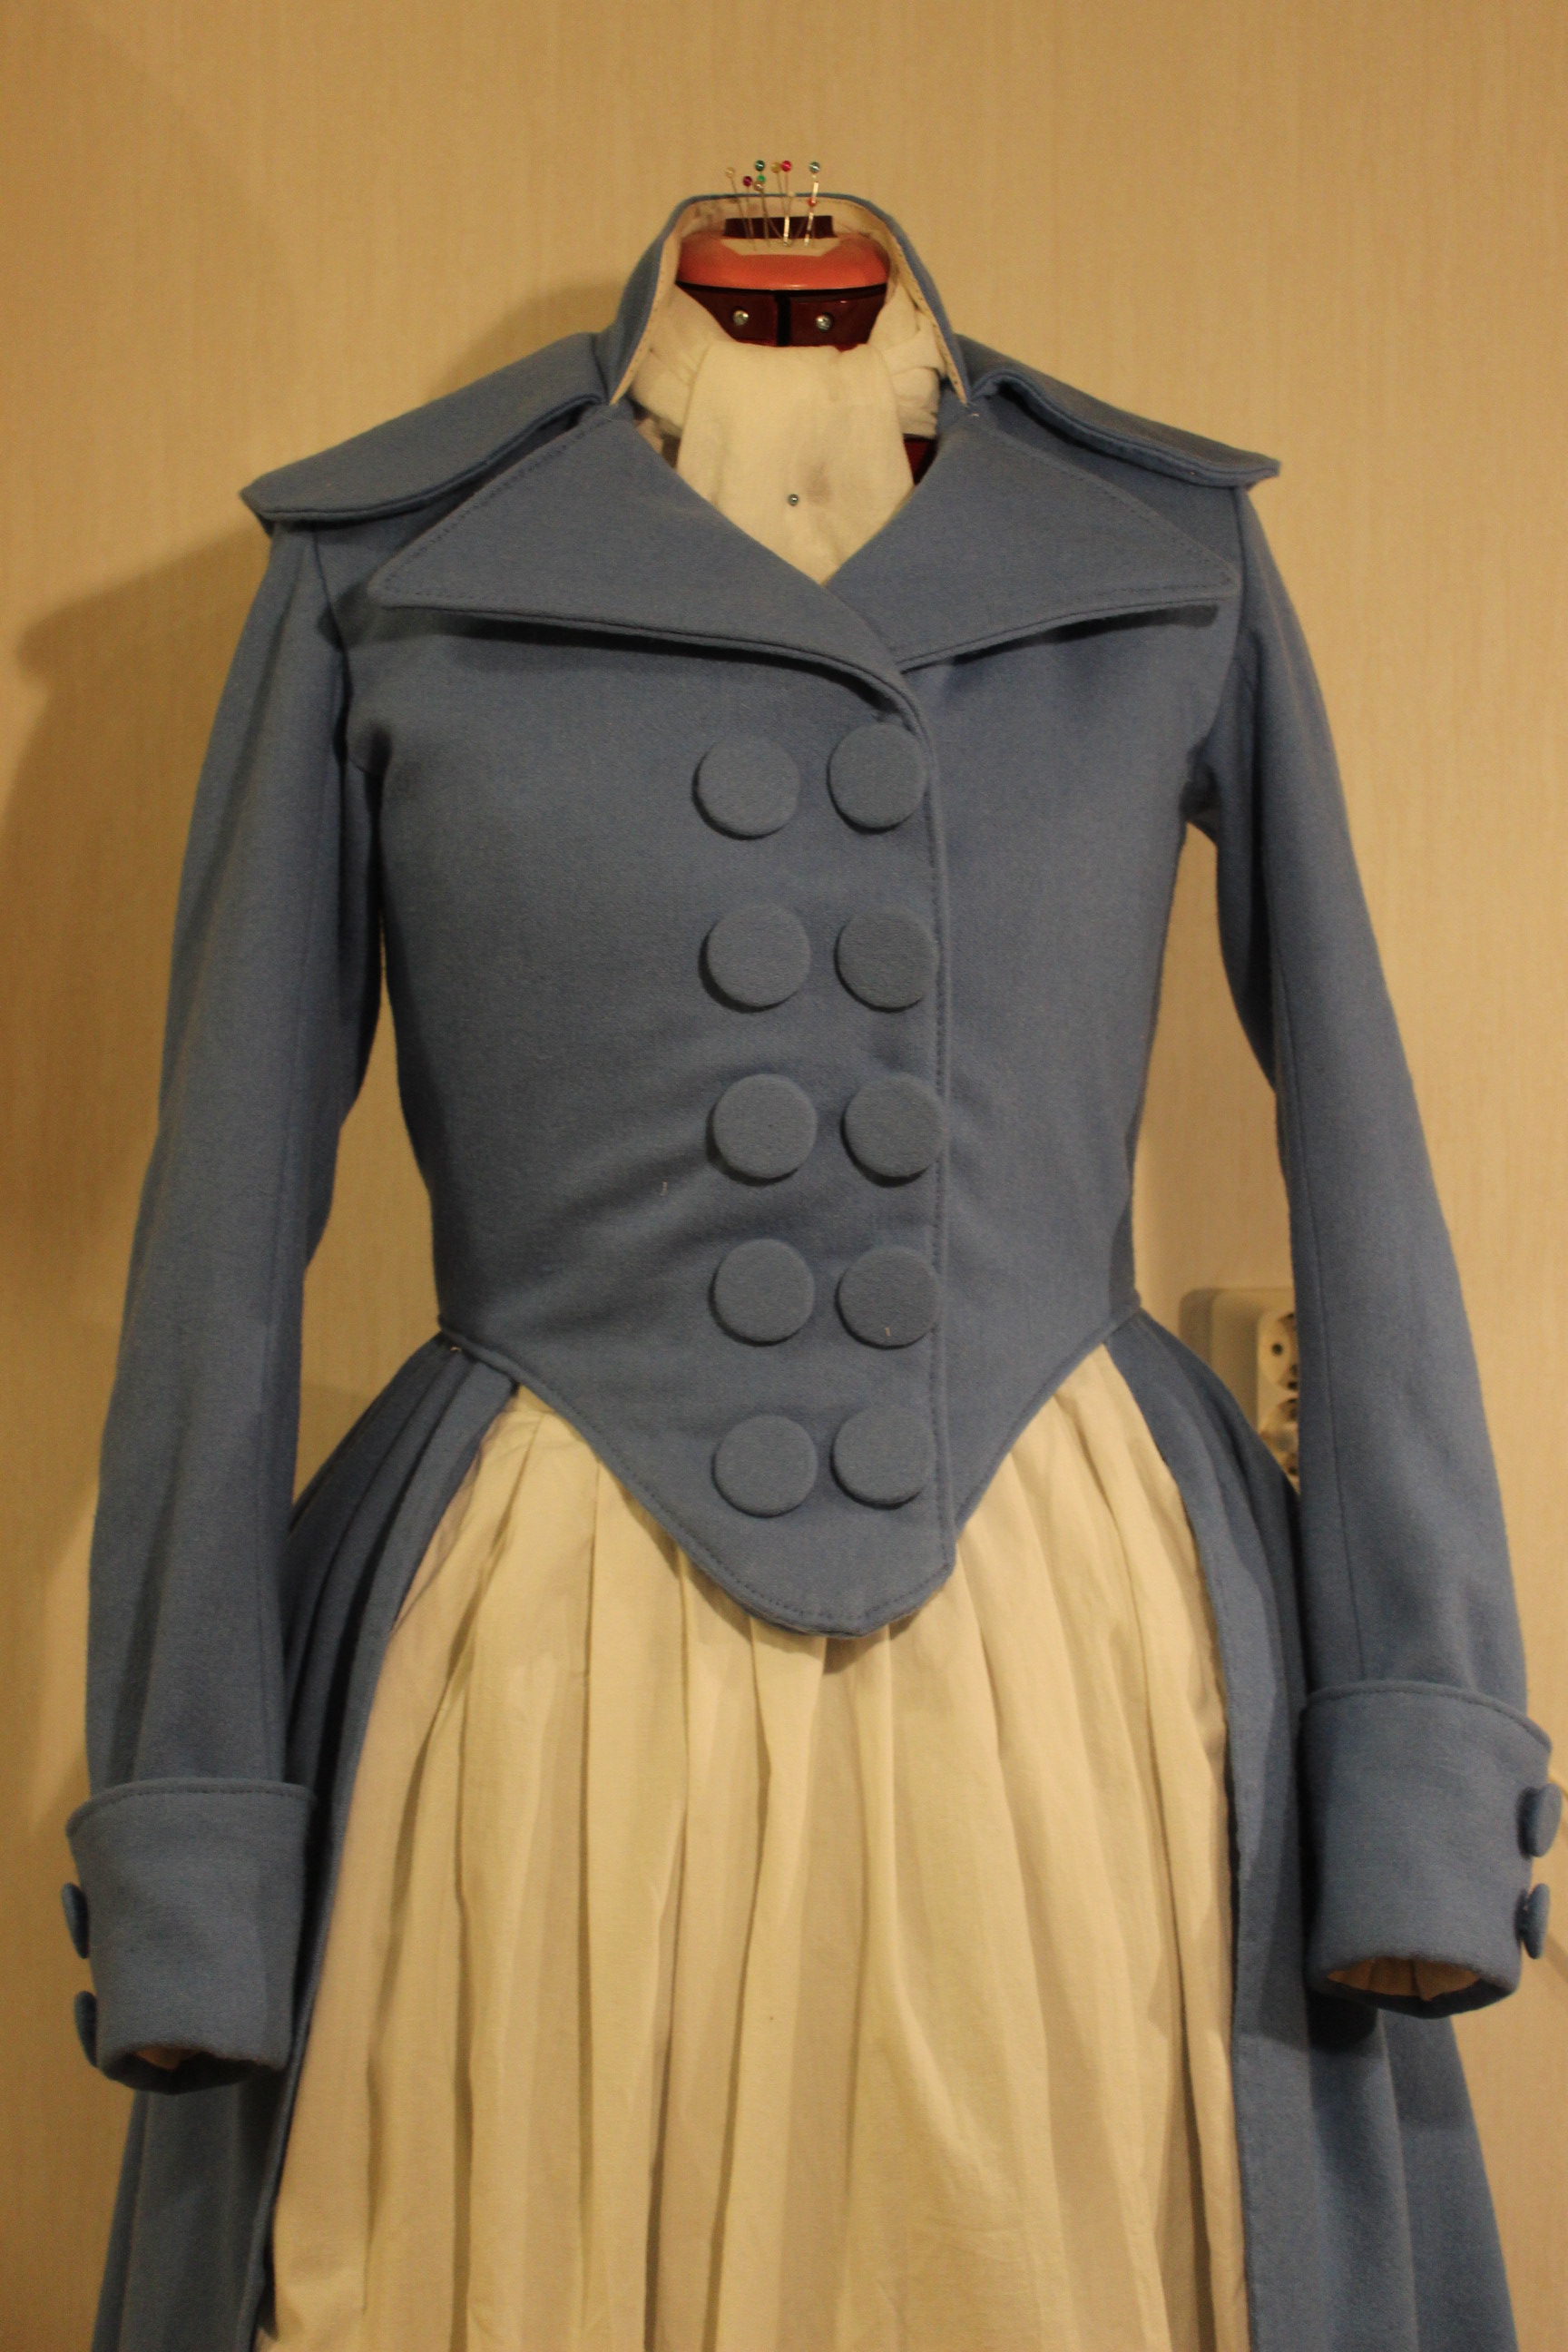
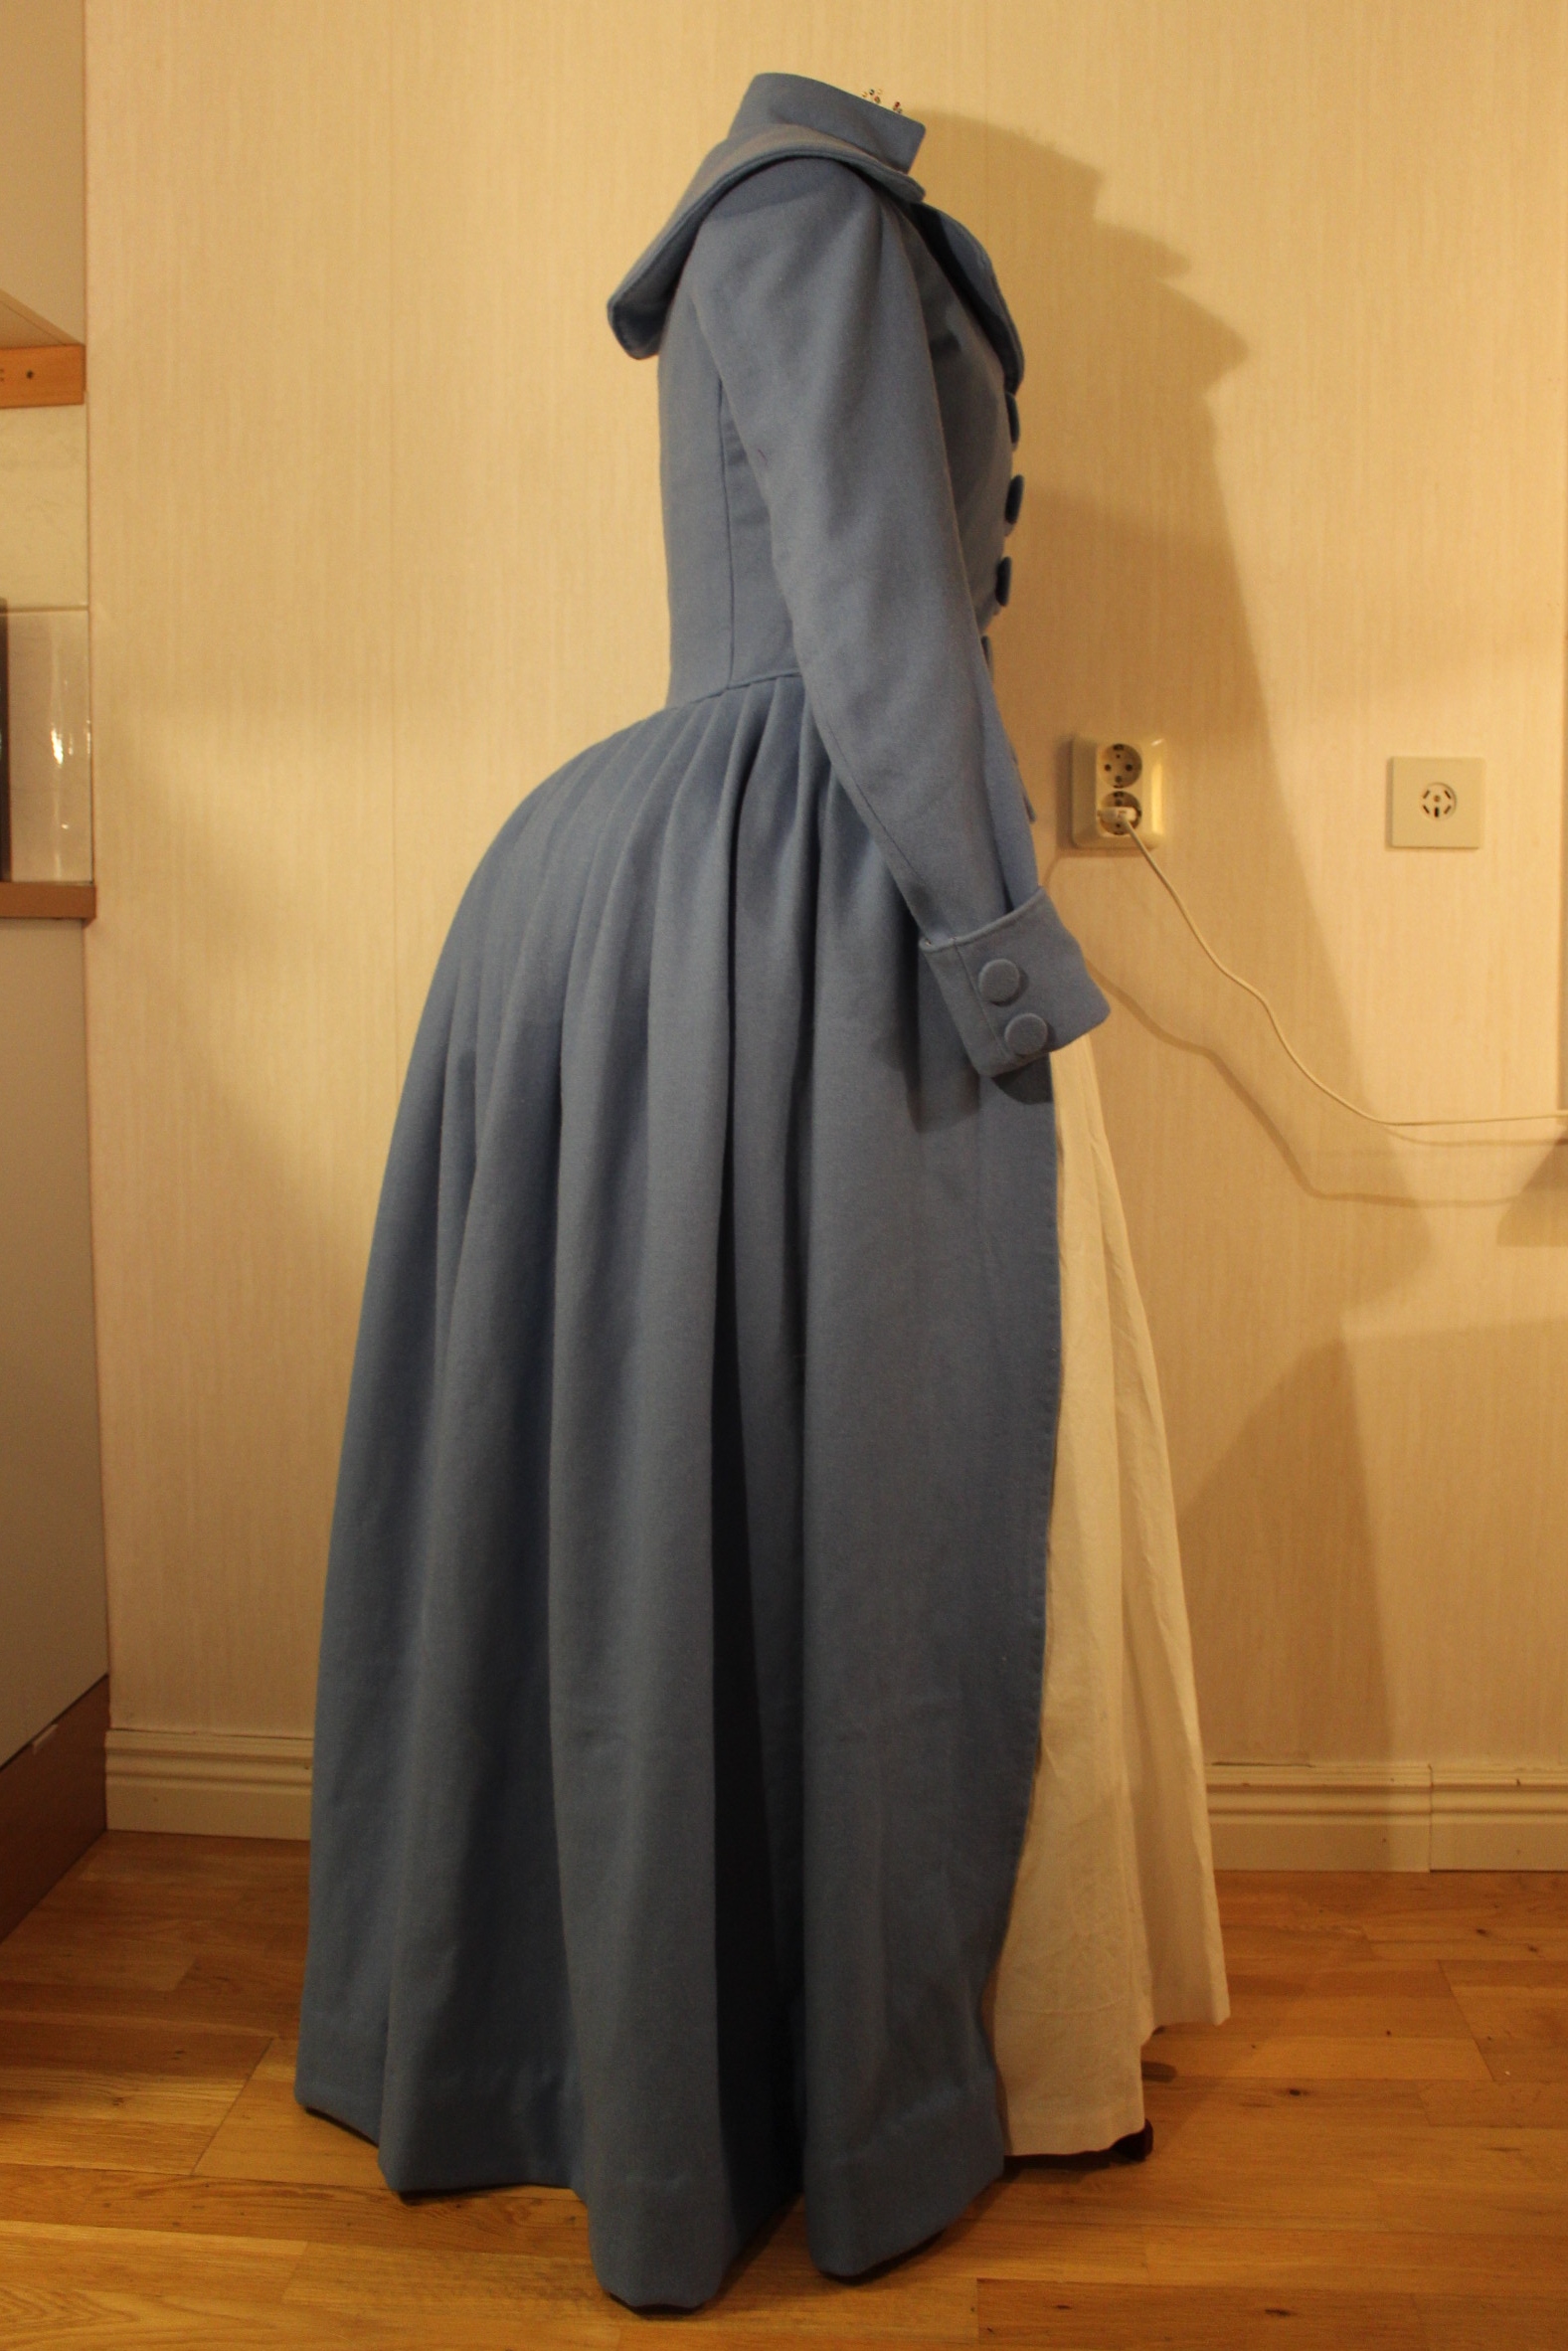
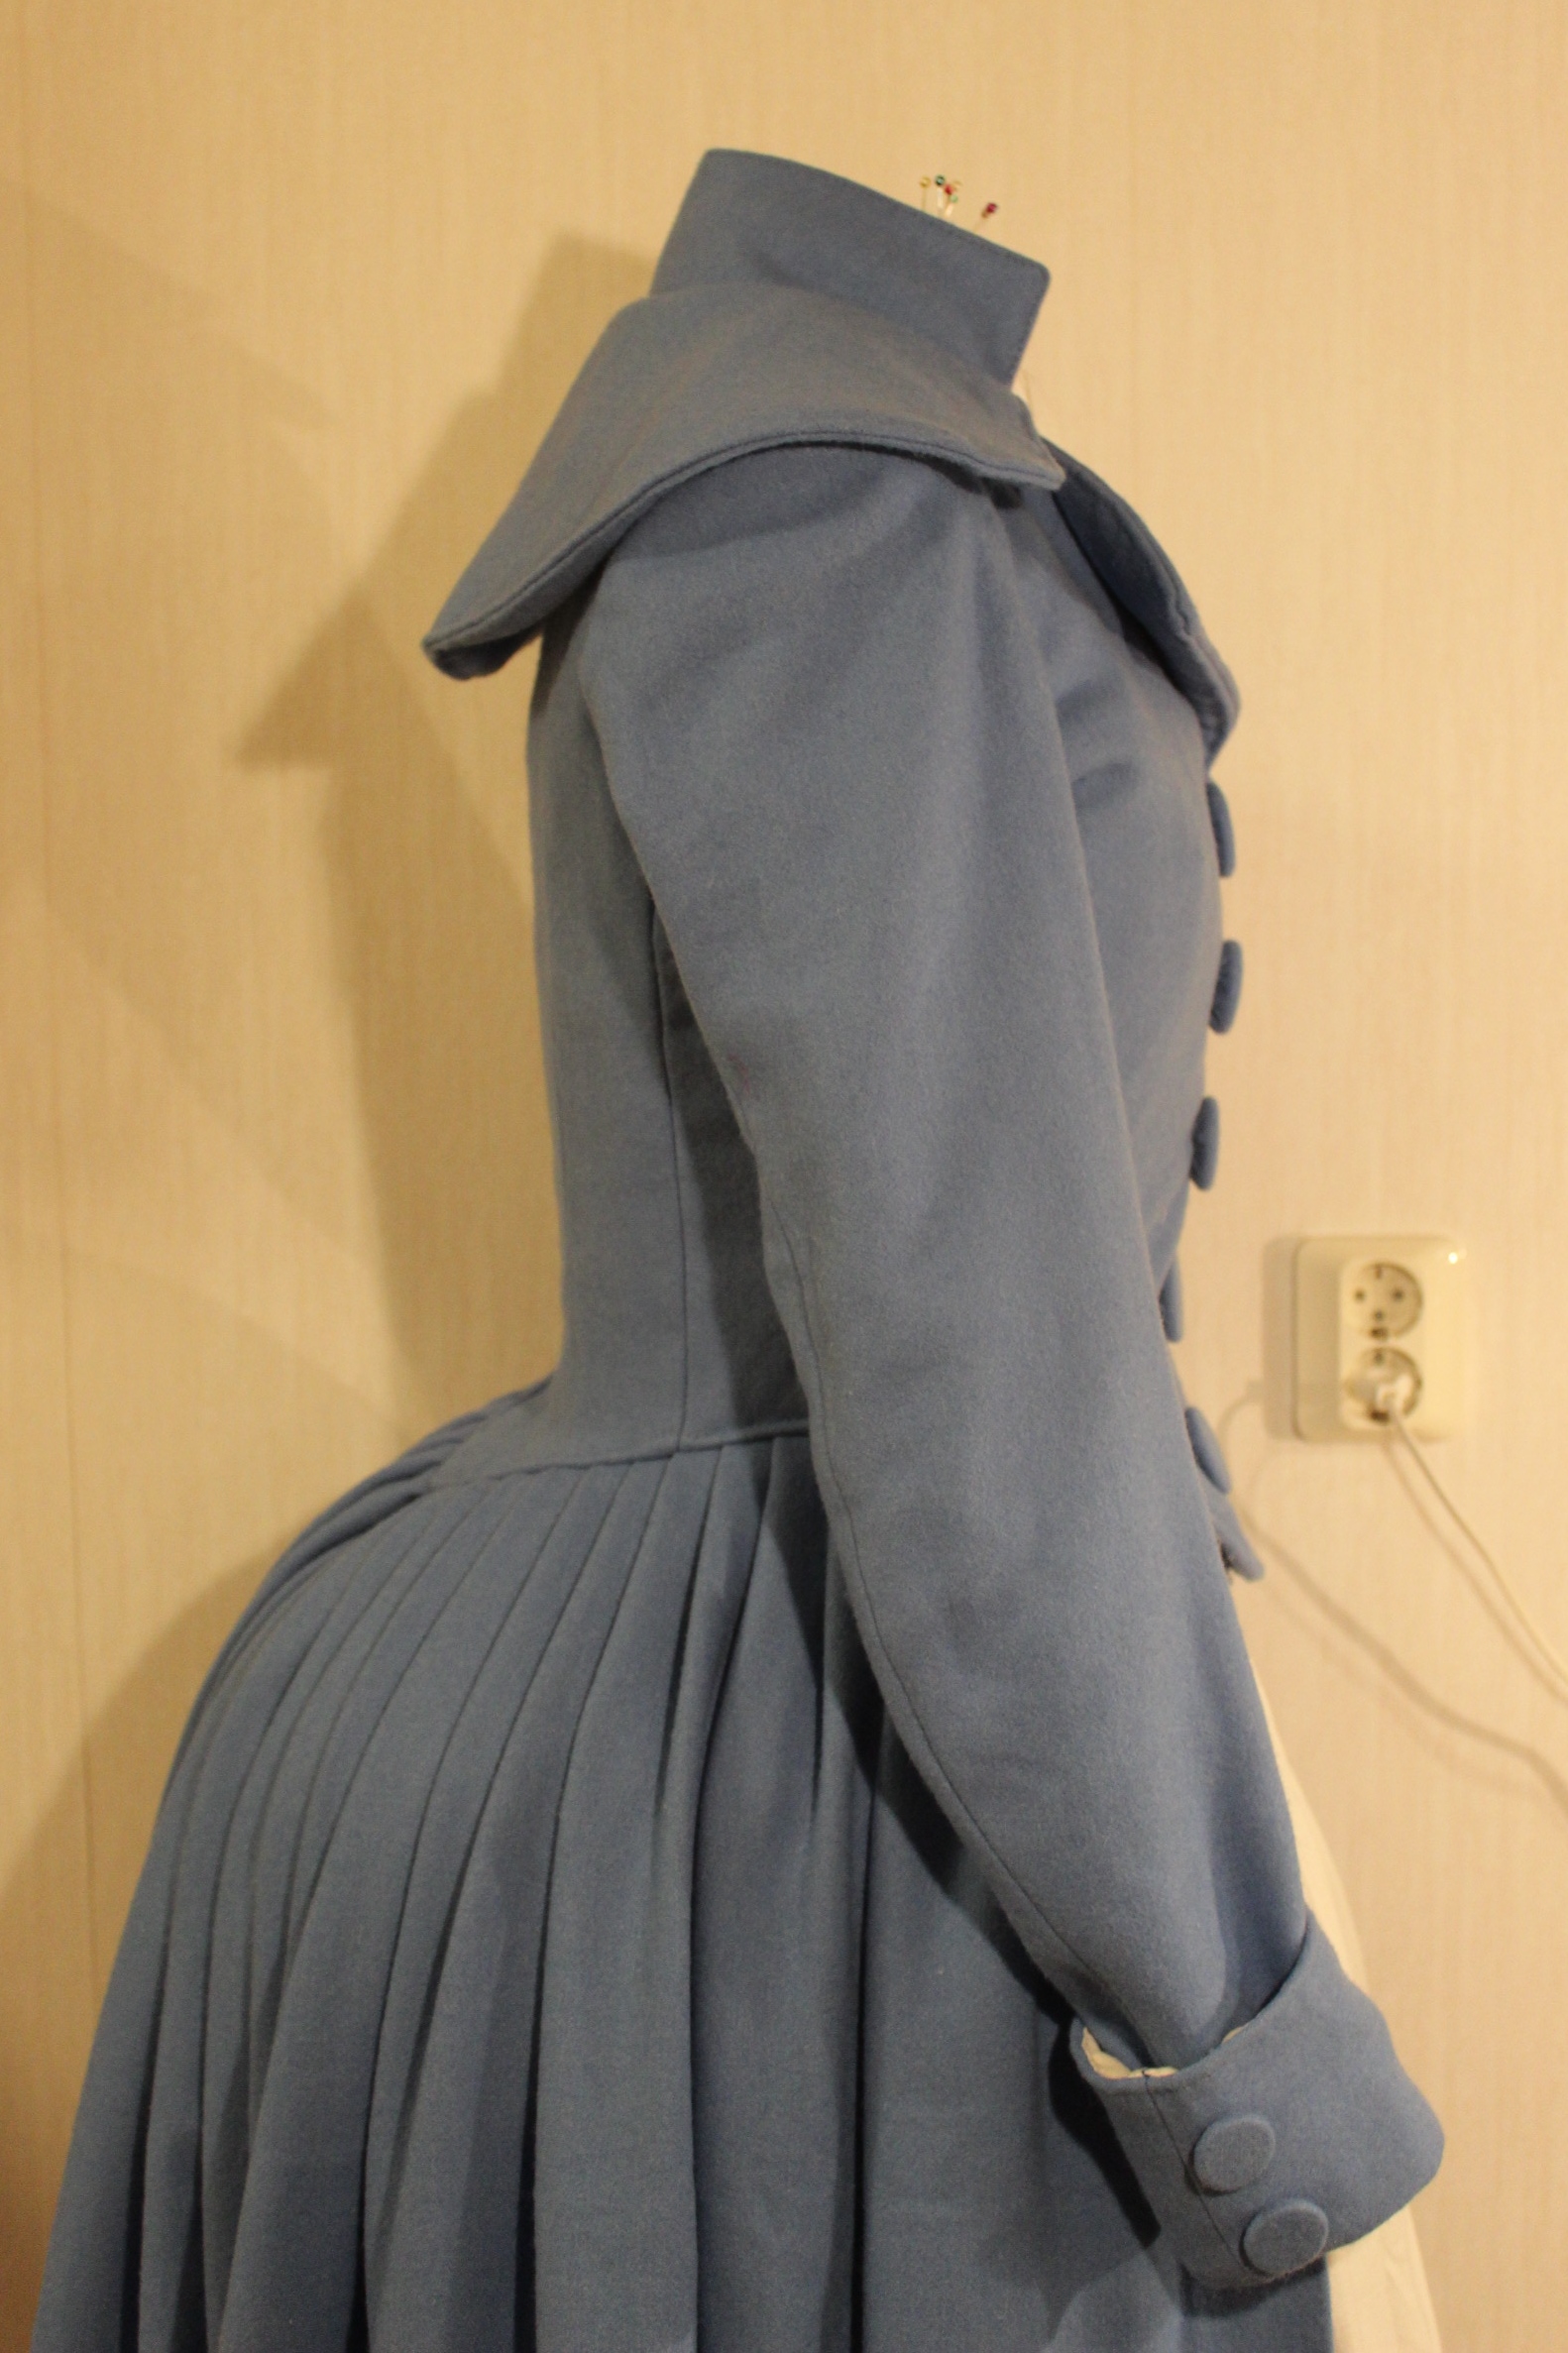
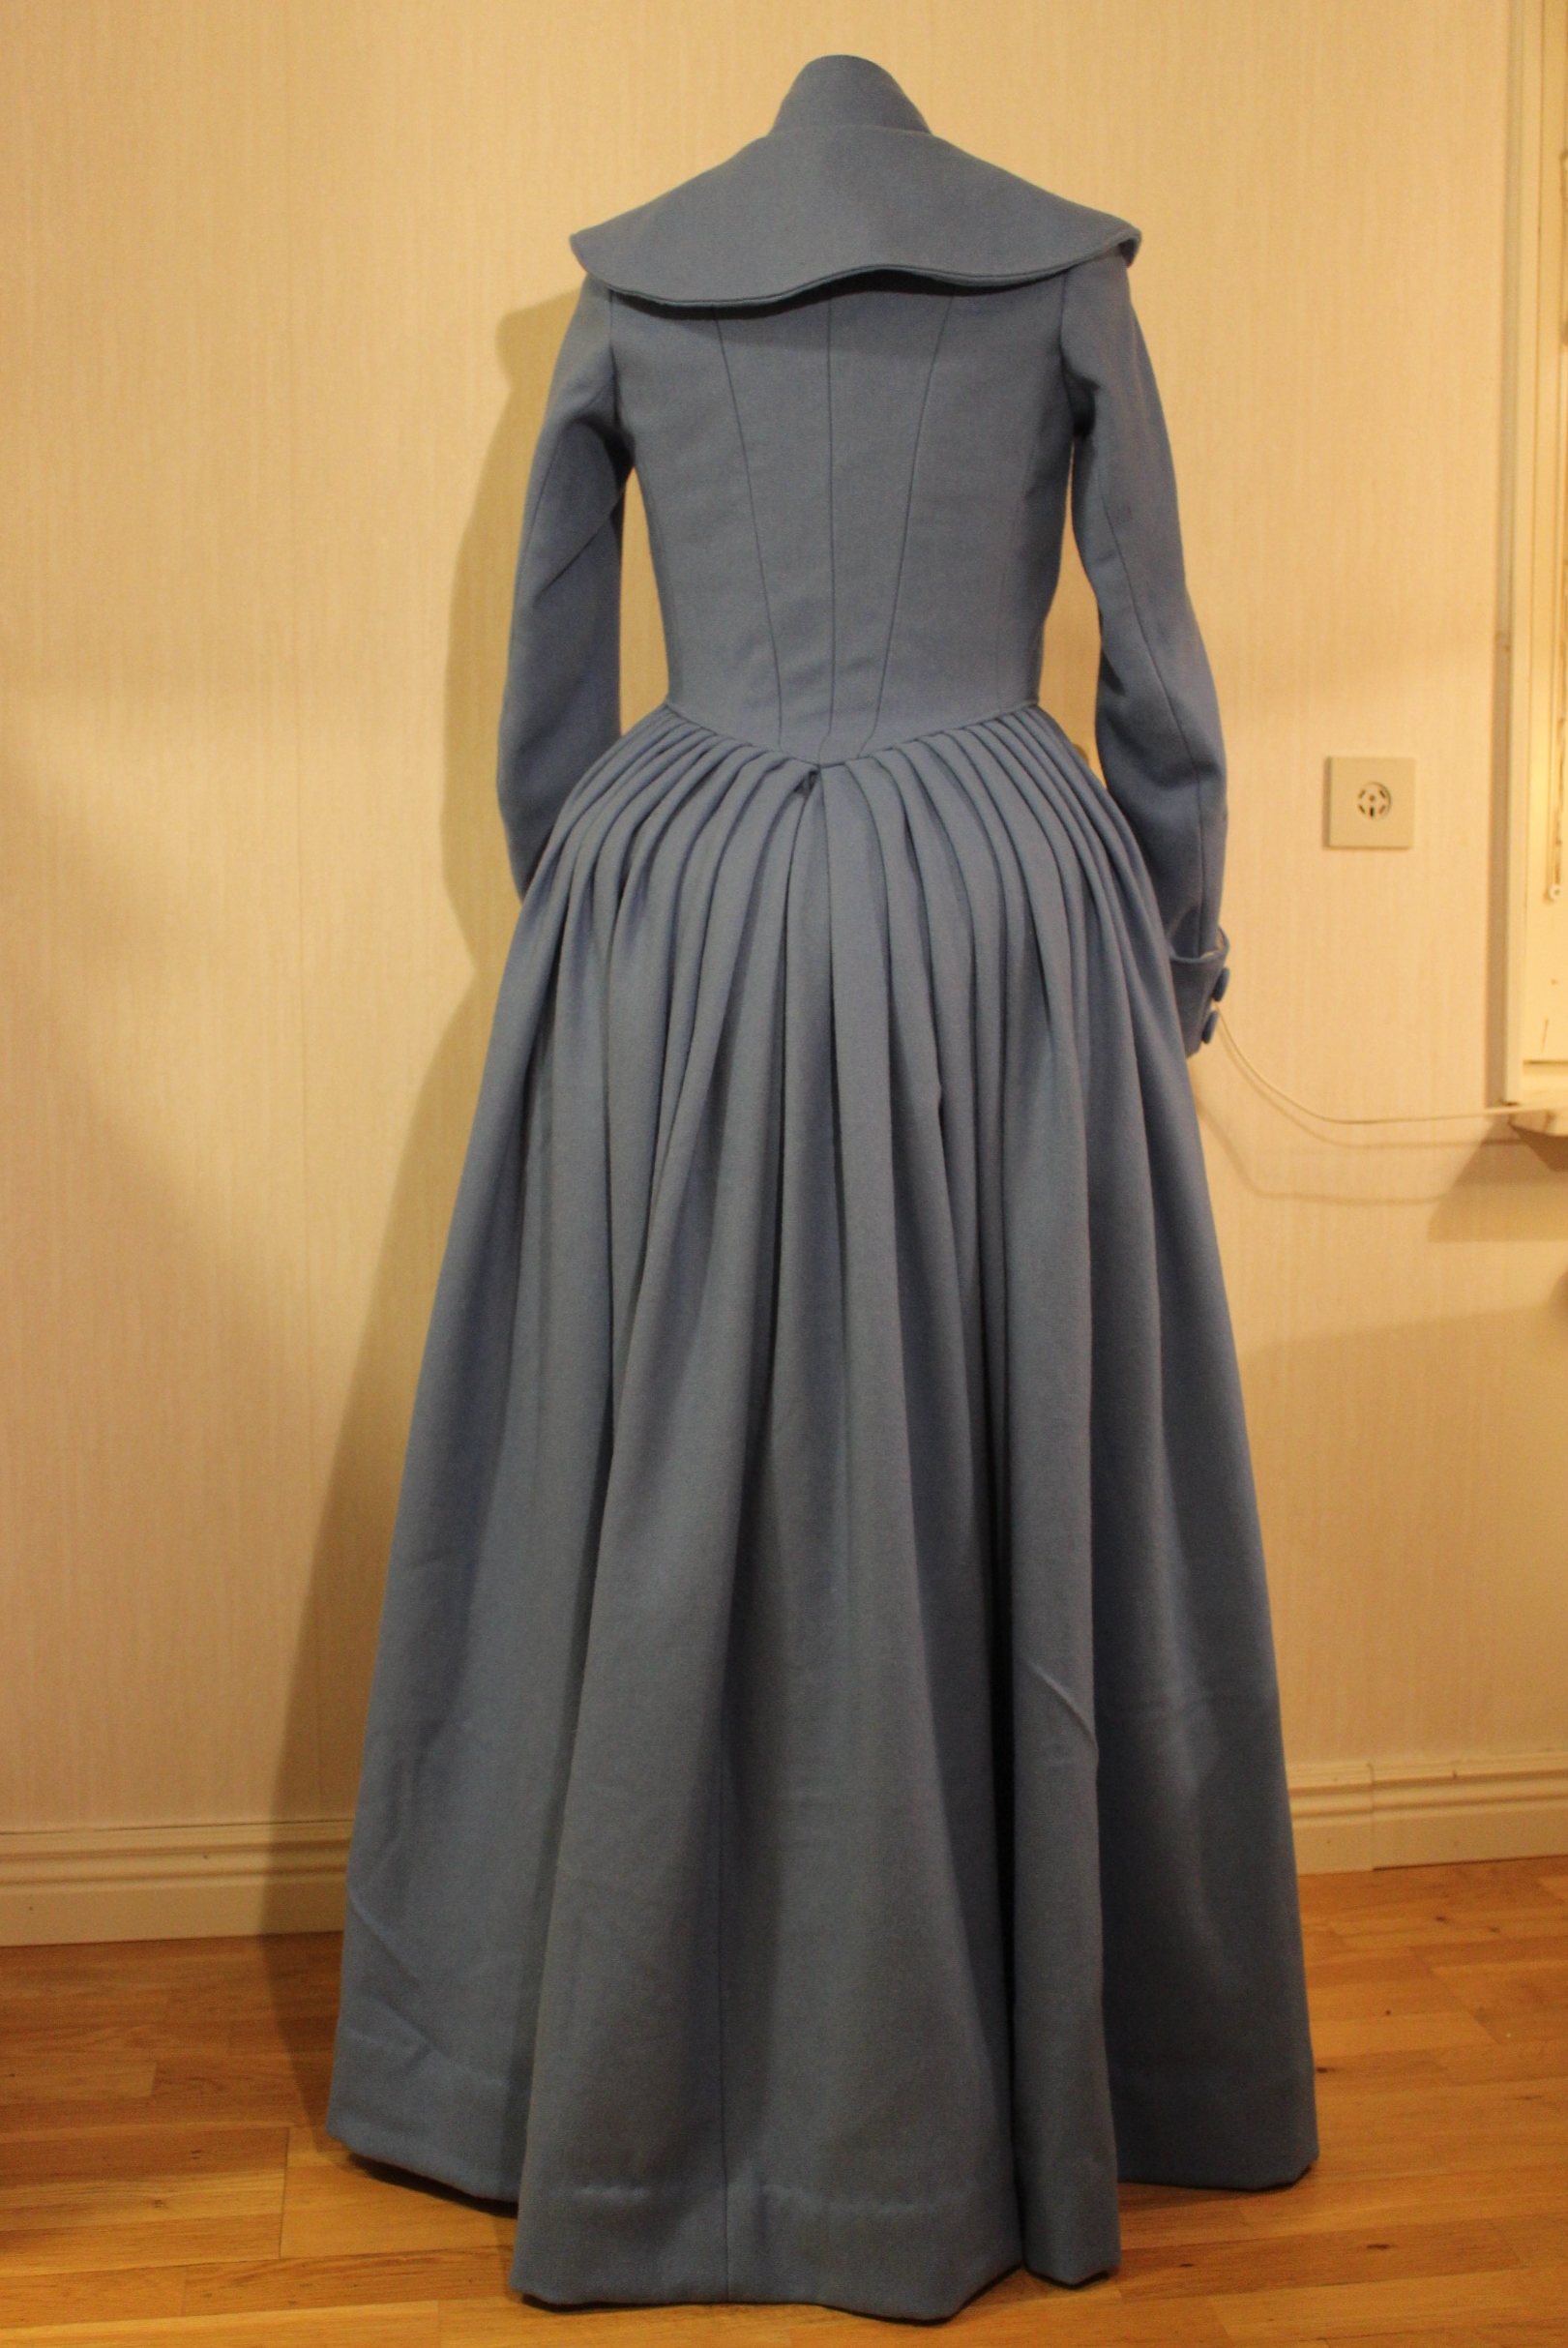
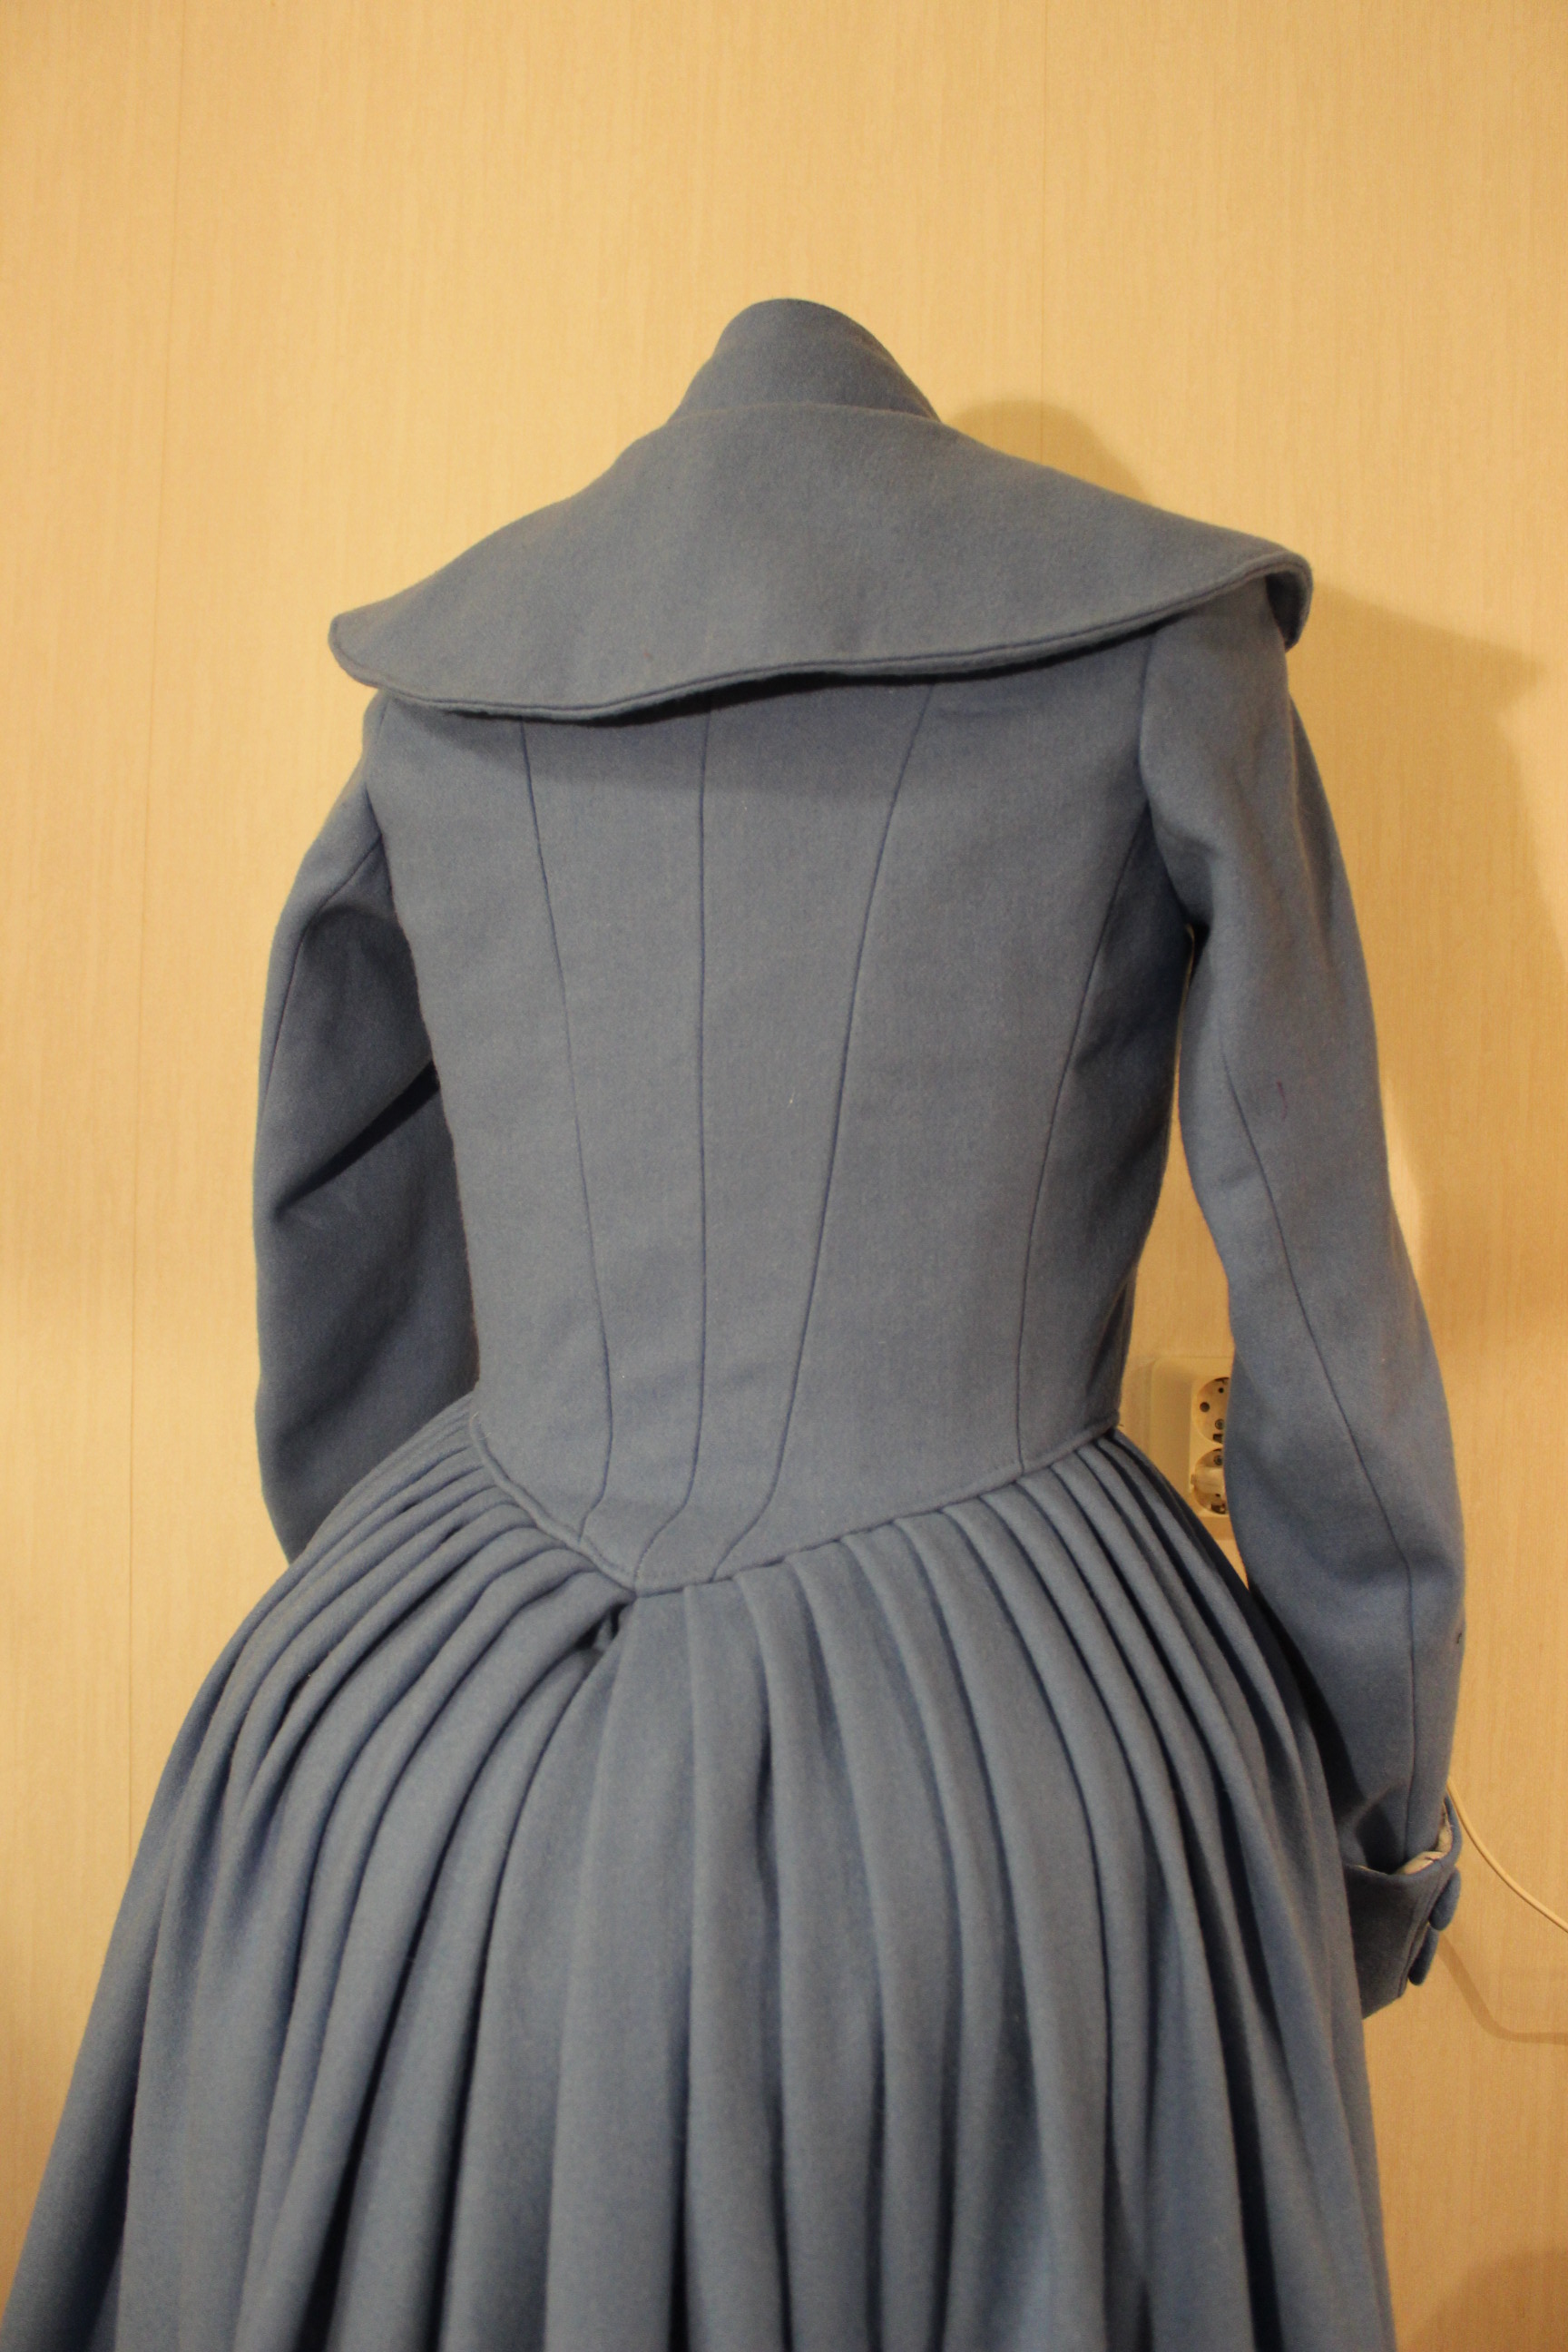
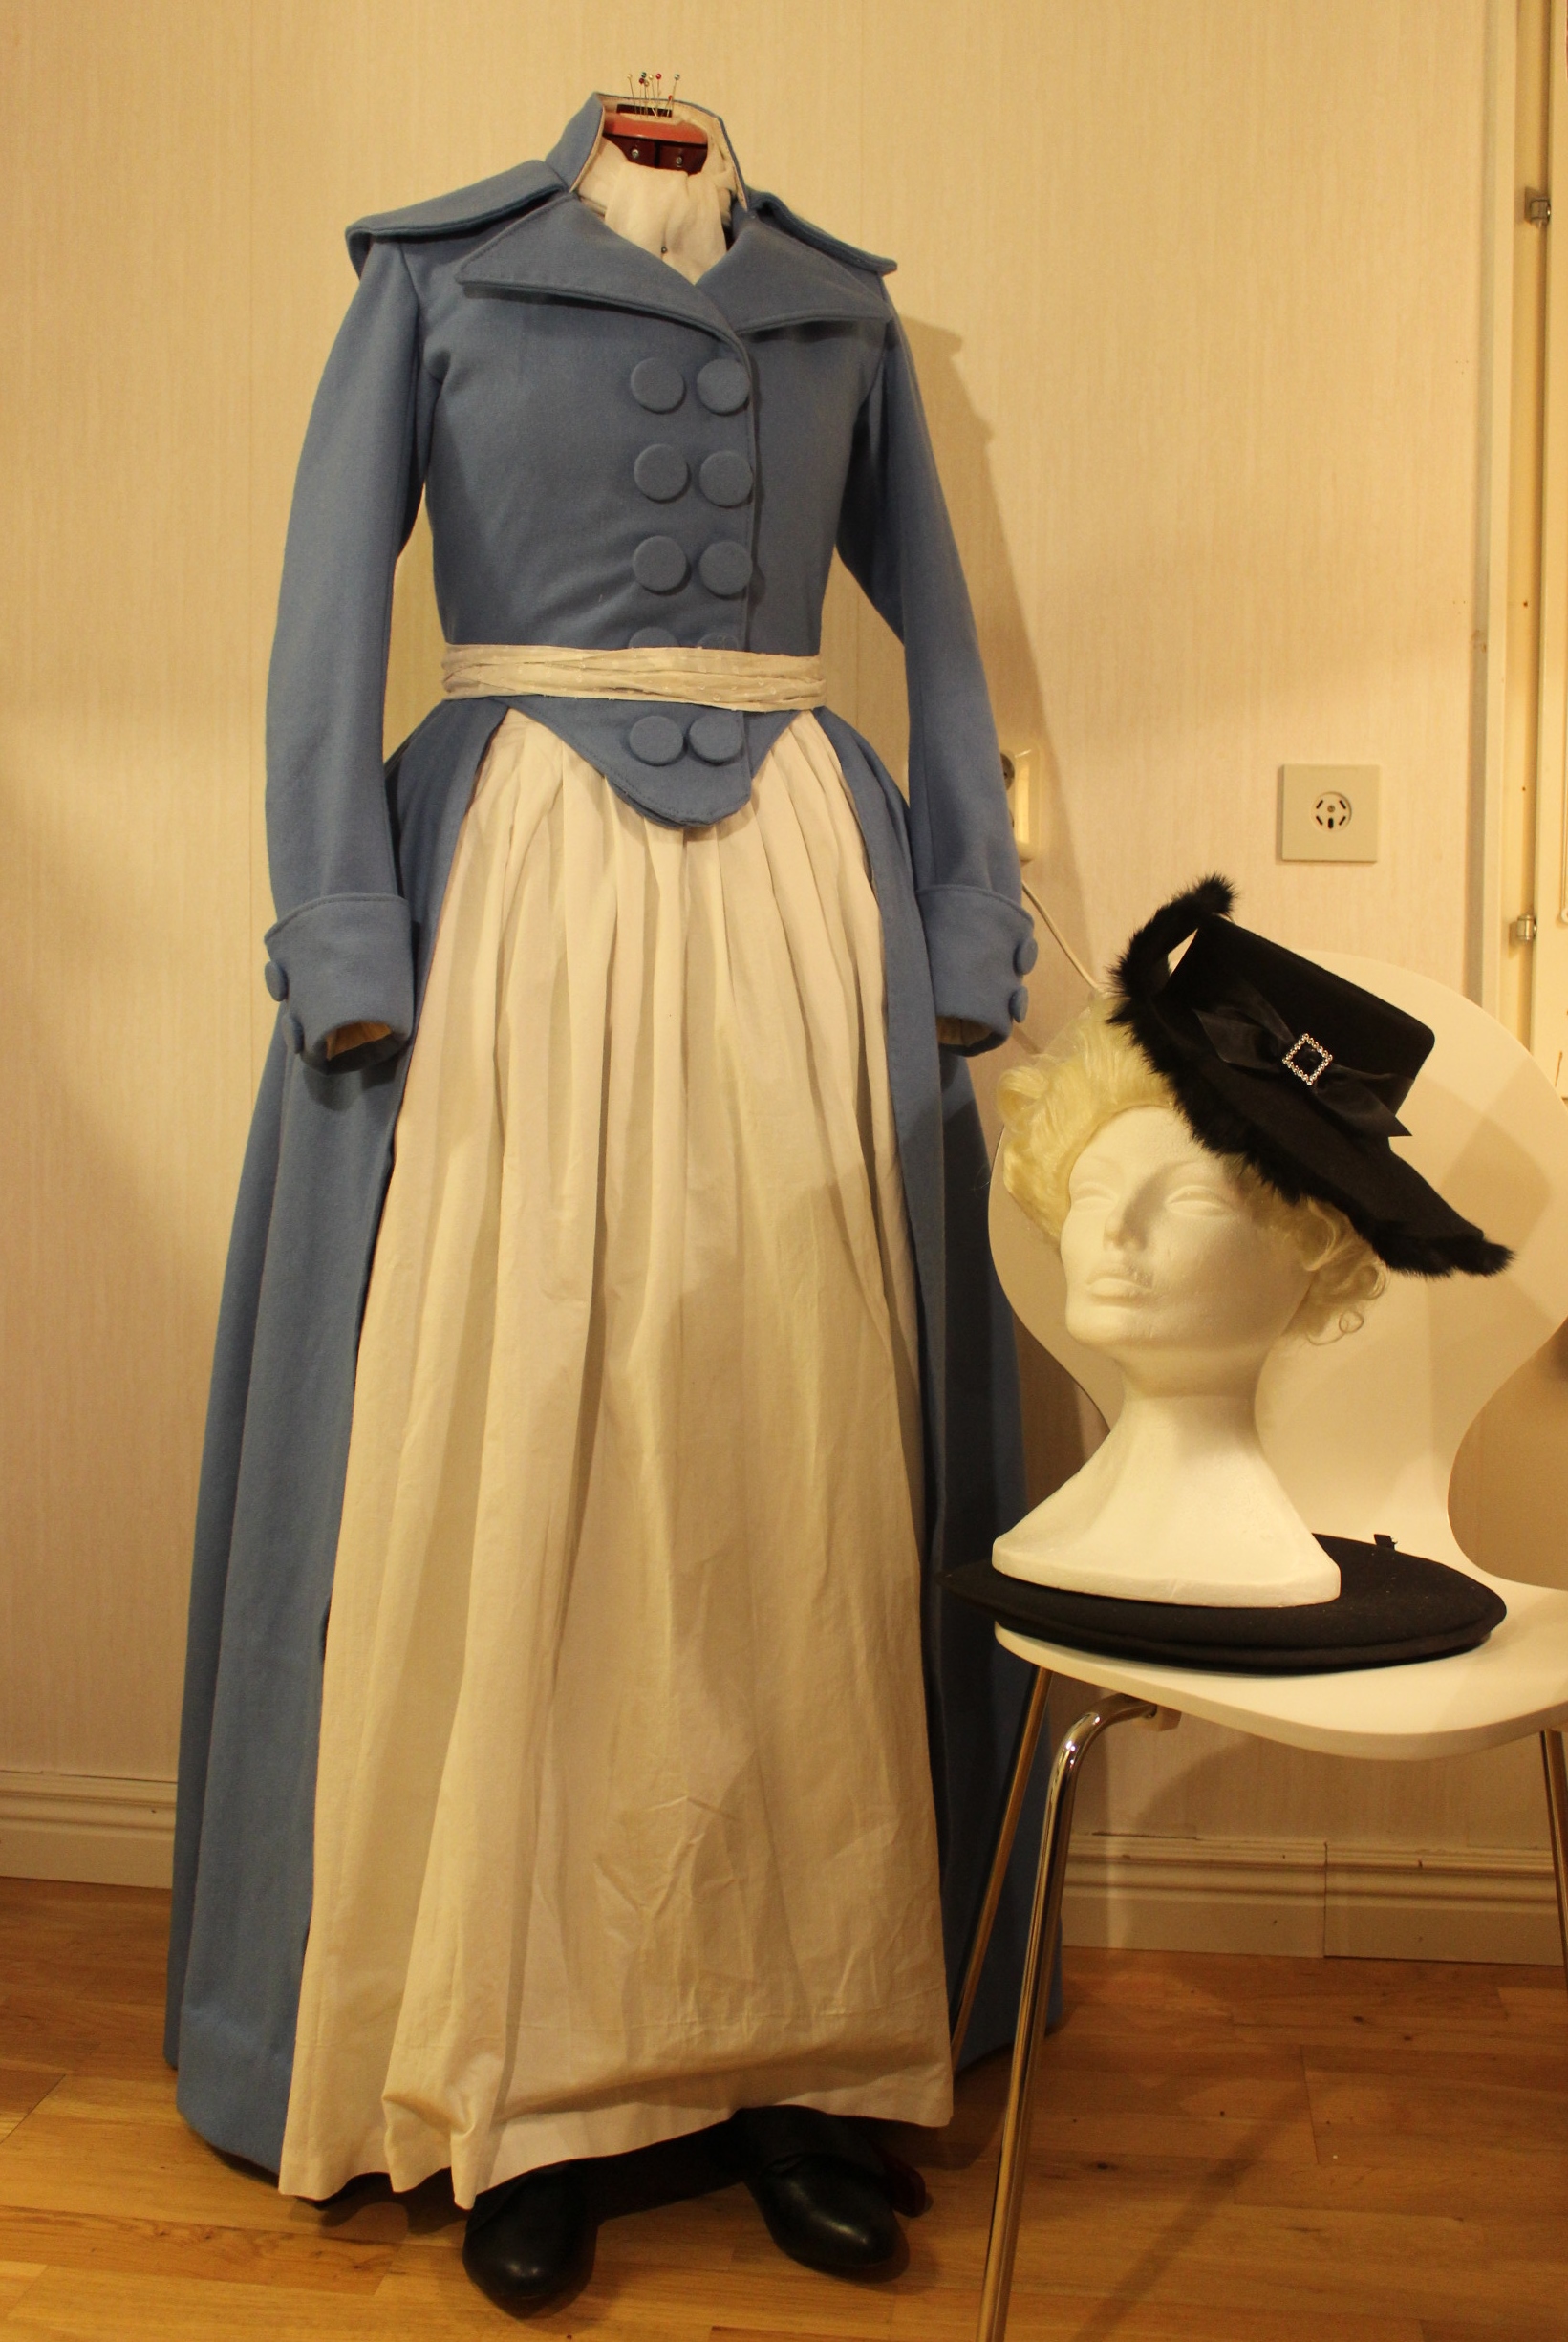
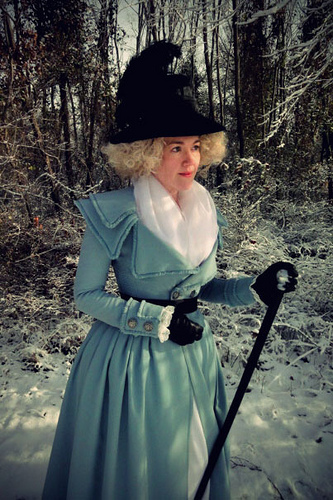
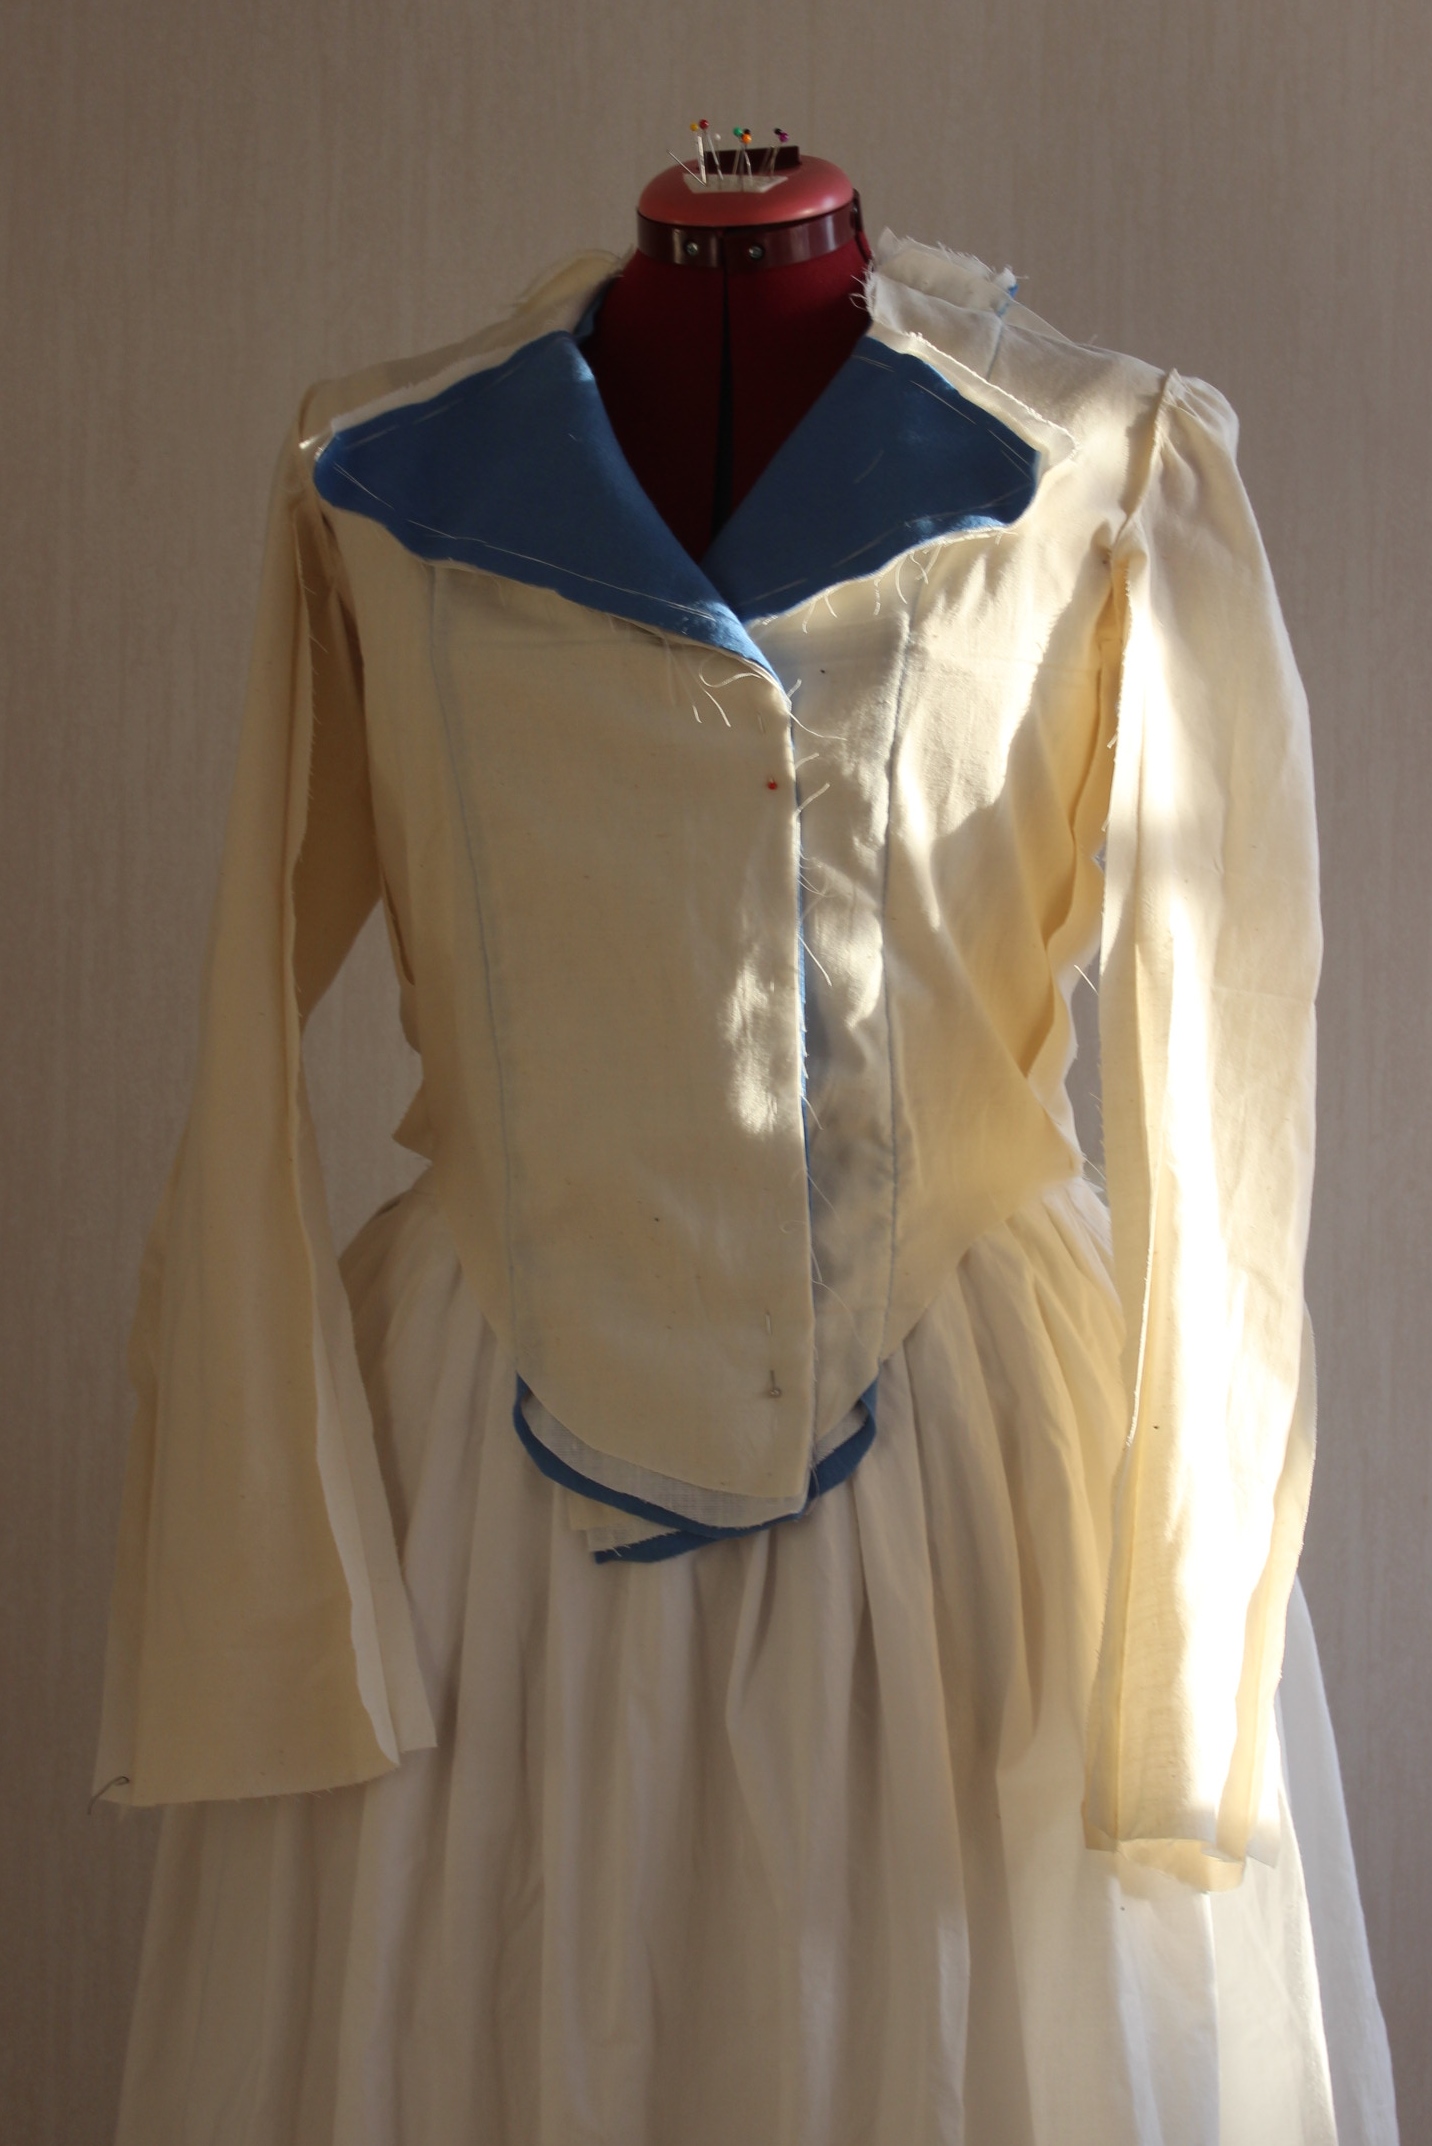
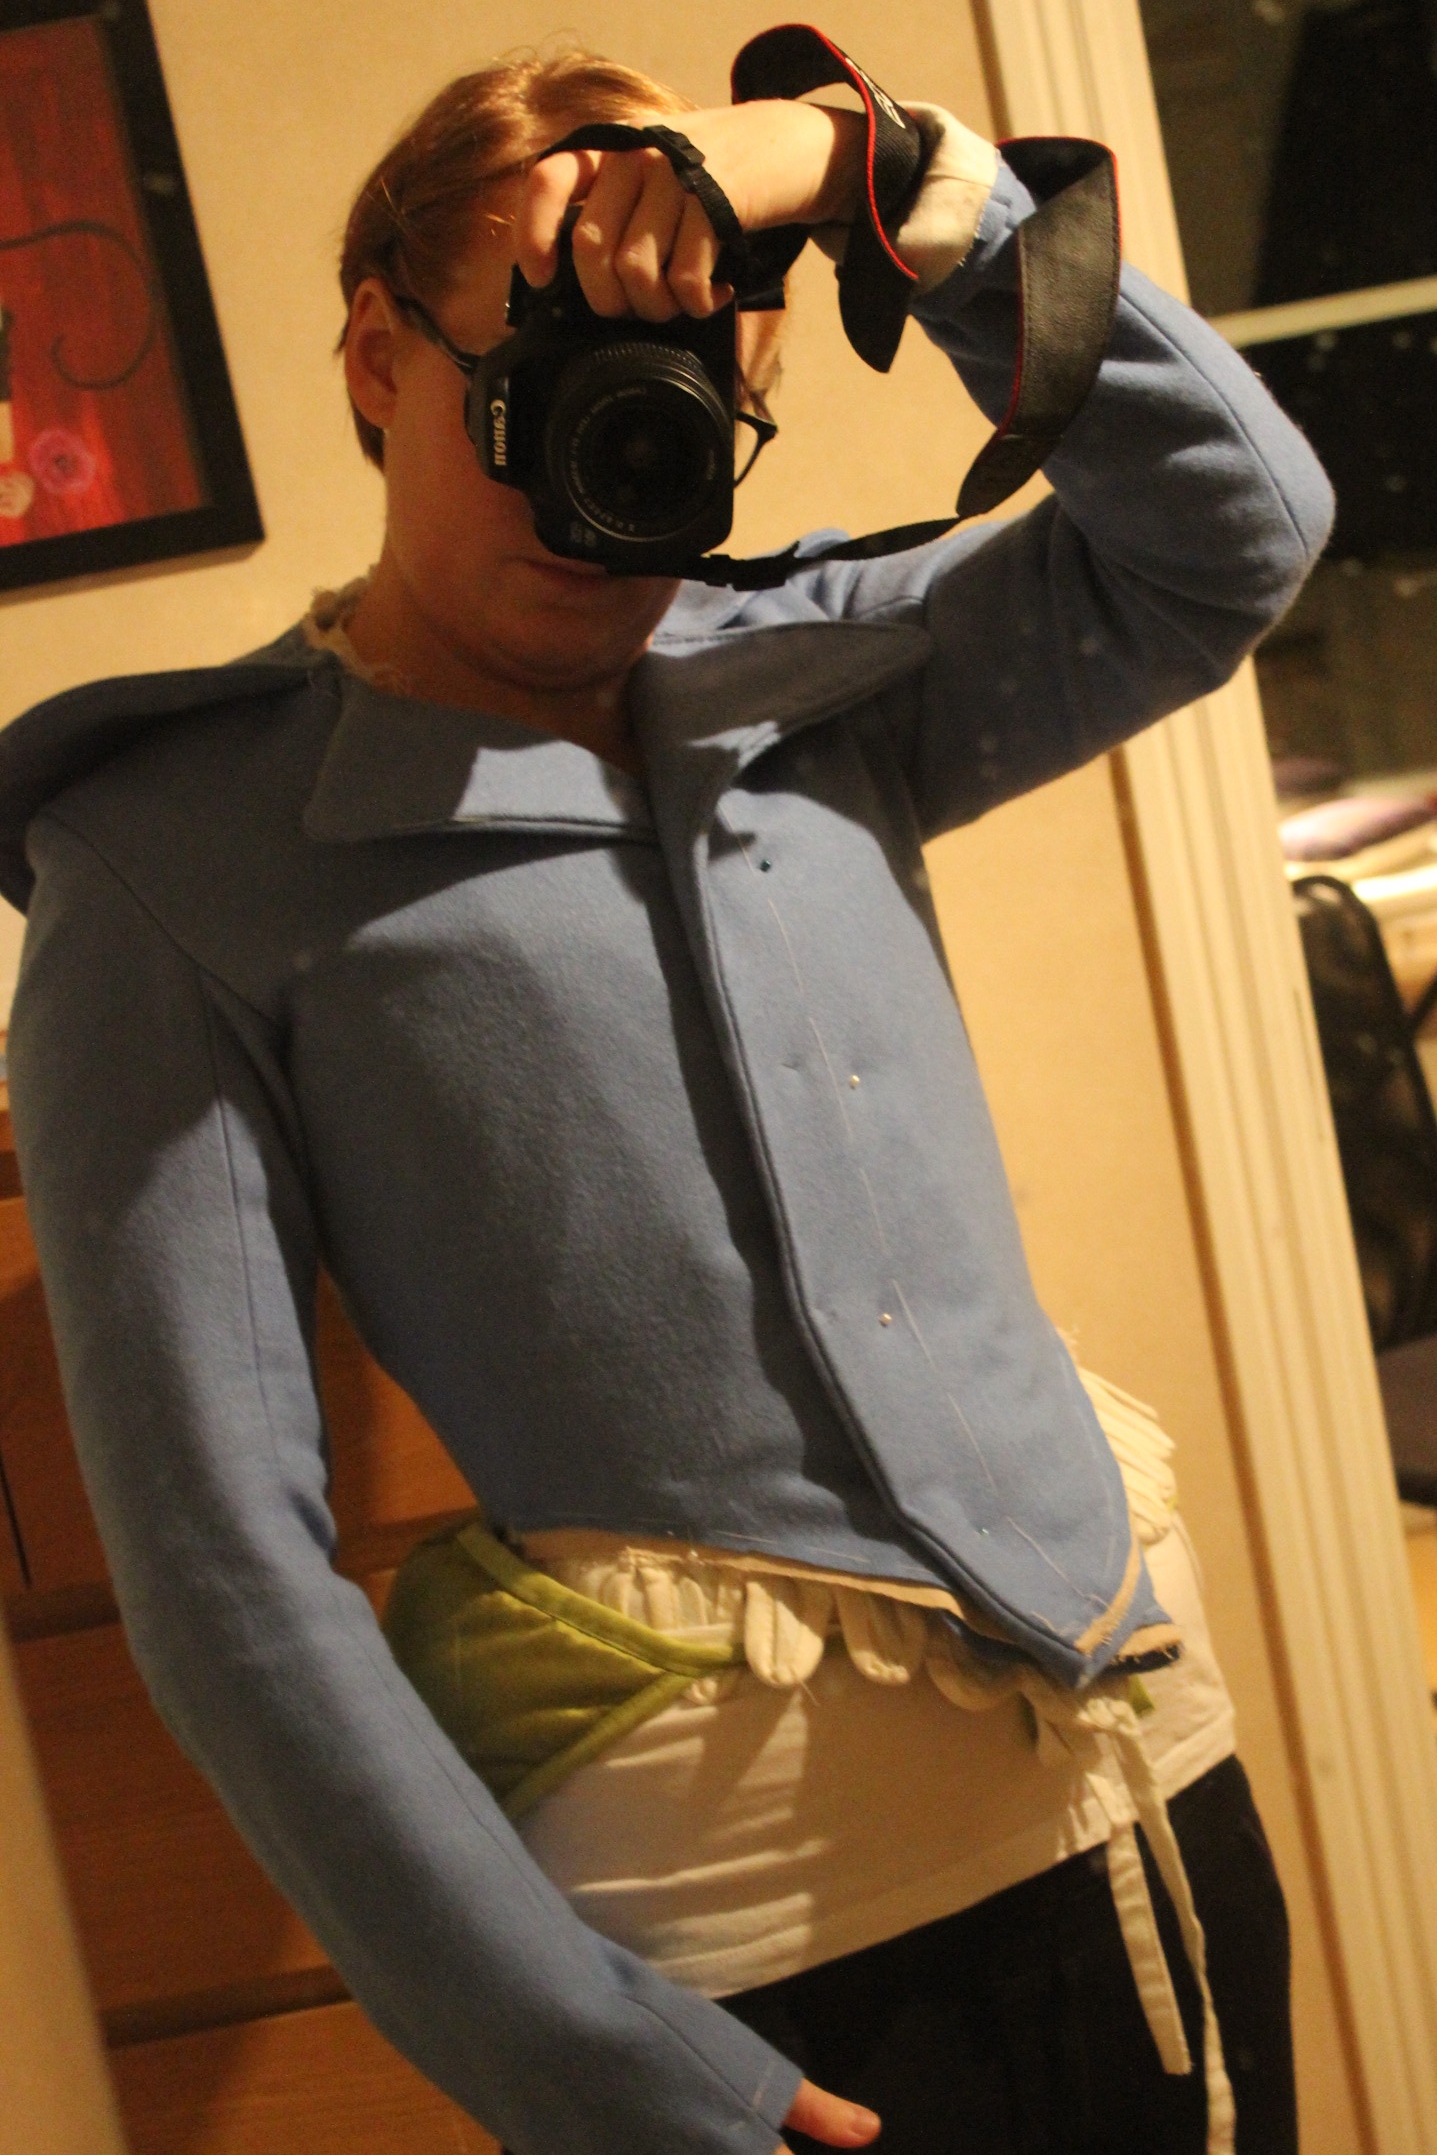
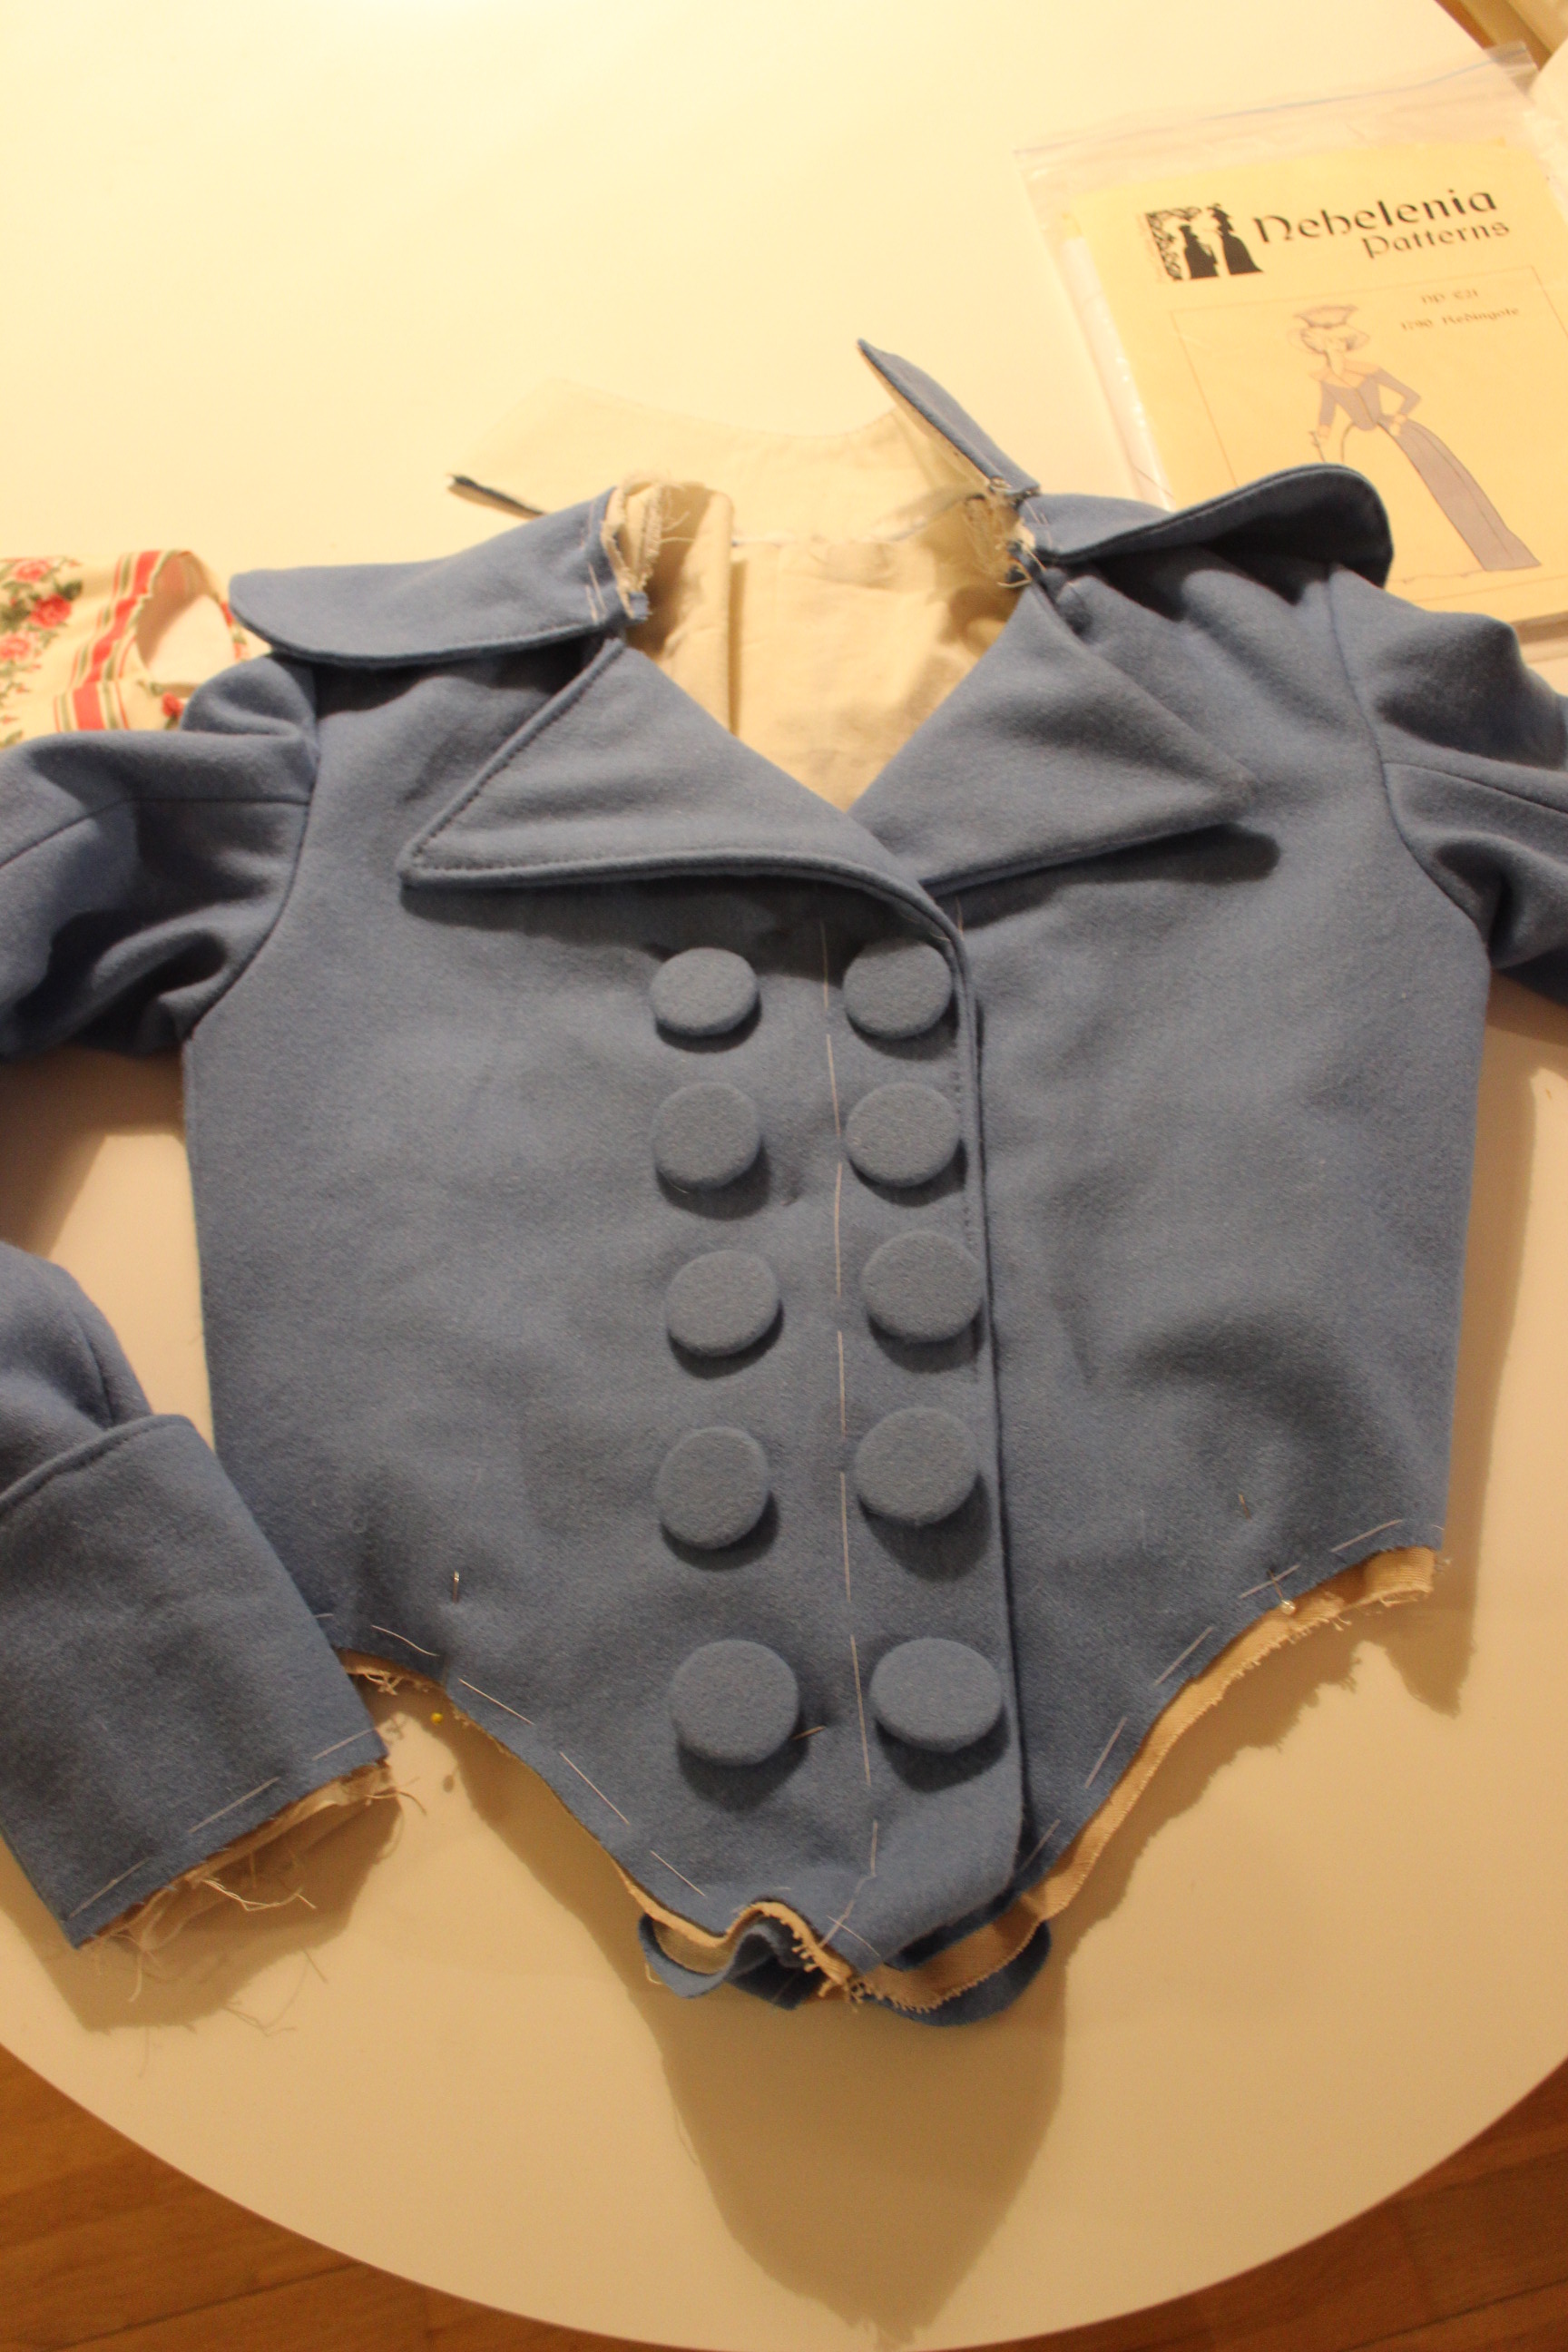
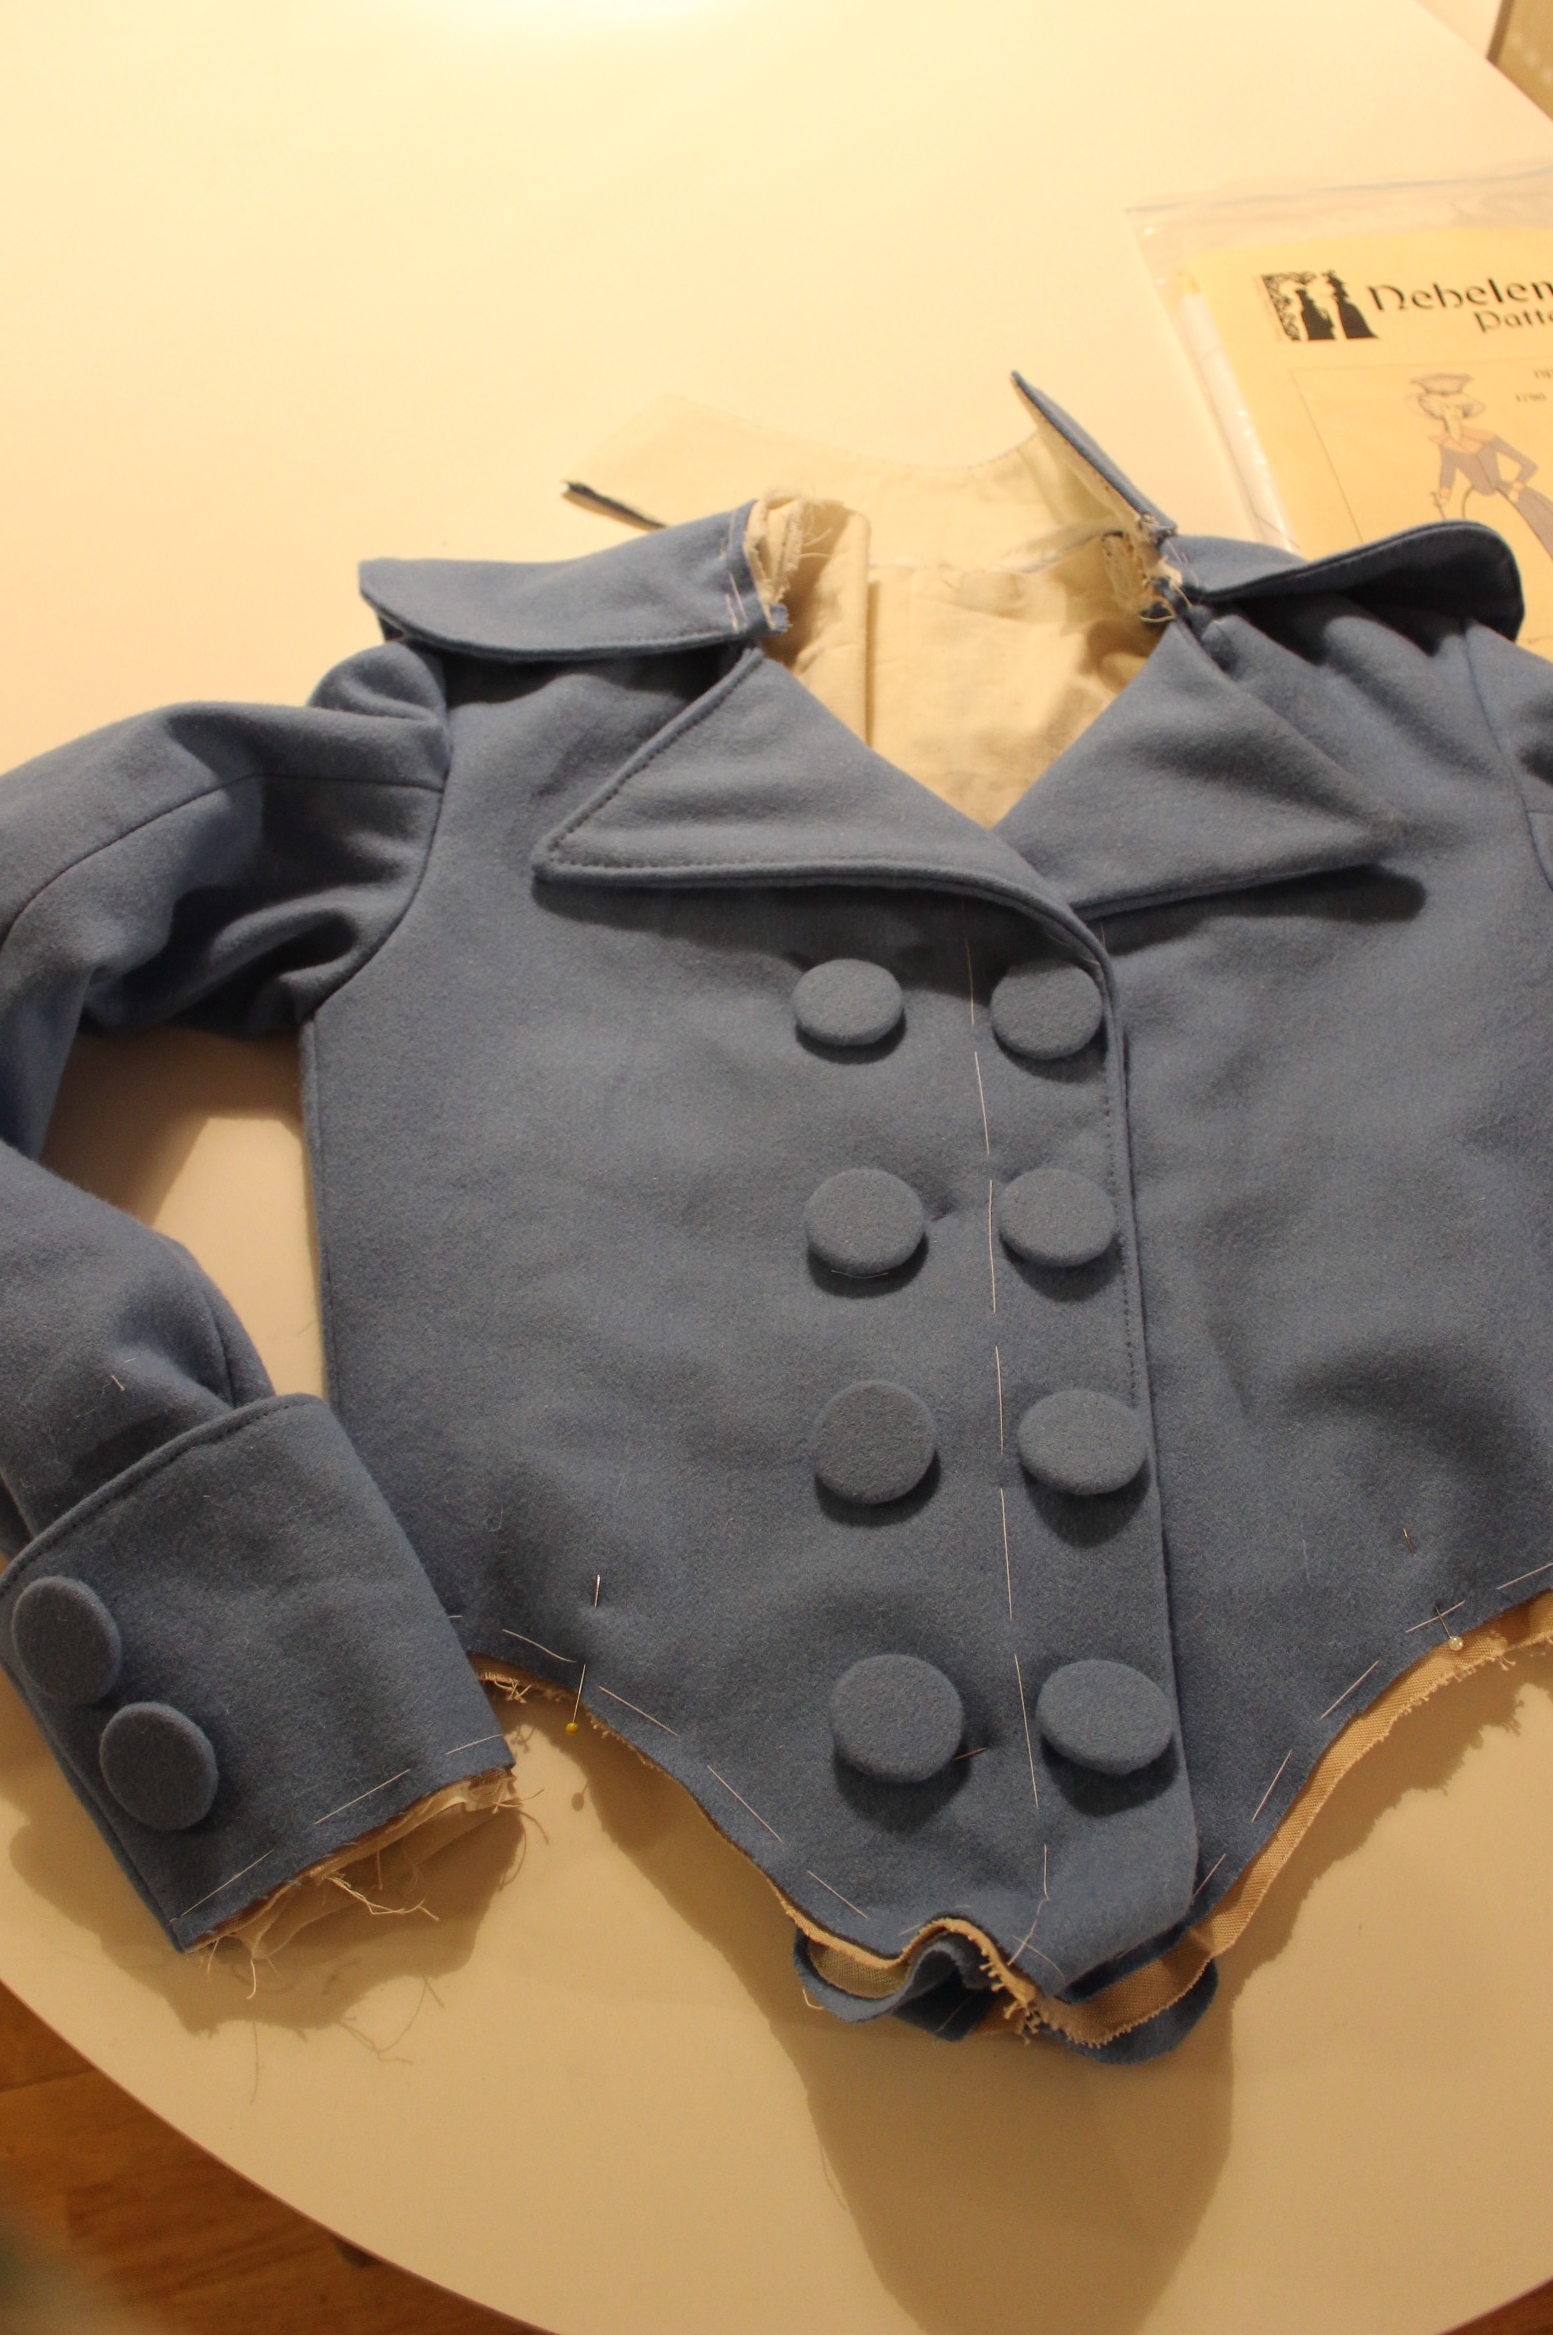
 I’ve started a 1790s Redingote in a light blue wool for the HSF 14 challenge 22: Menswear, but left it after some hard design decisions. This is the perfect excuse to finish it.
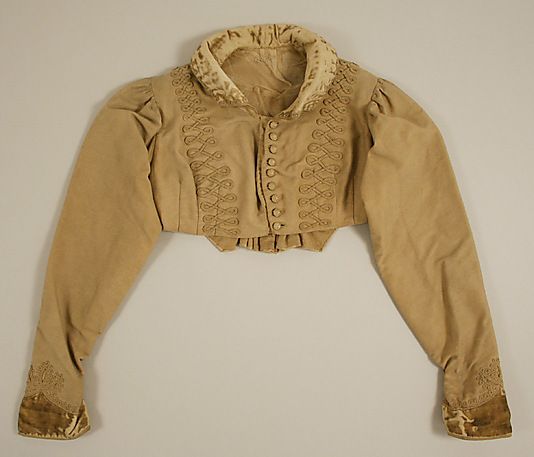
March – Stashbusting:
Make something using only fabric, patterns, trims & notions that you already have in stash.
 I’m not completely sure about this one, but I’m thinking of making a Spencer from a beige wool I’ve got laying around. There are really to less fabric for anything else, and I do need some more outerwear, but I might as well go in another direction with this one.
April – War & Peace:
The extremes of conflict and long periods of peacetime both influence what people wear. Make something that shows the effects of war, or of extended peace.
 I’m thinking of making the famous striped 1914s dress that Mary wears in Downton Abbey the day they get the news of the coming war.
I got some leftover striped white/green cotton that would be great for this project.
May – Practicality:
Fancy party frocks are all very well, but everyone,even princesses, sometimes needs a practical garment that you can DO things in. Create the jeans-and-T-Shirt-get-the-house-clean-and-garden-sorted outfit of your chosen period.
 I’ve long been thinking about making a everyday regency dress from some green cotton sheets I’ve got, and this seems like a perfect opportunity
June – Out of Your Comfort Zone:
Create a garment from a time period you haven’t done before, or that uses a new skill or technique that you’ve never tried before.
 A few fellow seamstresses here in Sweden are all getting their 17th century dresses finished this year, so why not join in. I love to make a boned bodice and skirt for this challenge.
July – Accessorize:
The final touch of the right accessory creates the perfect period look. Bring an outfit together by creating an accessory to go with your historical wardrobe.
 This challenge could be a lots of things. I’ve considered headwear, aprons, jewelry and shoes, but I think what I most need (and want) are some 1800-1860s chemisetts.
August – Heirlooms & Heritage:
Re-create a garment one of your ancestors wore or would have worn, or use an heirloom sewing supply to create a new heirloom to pass down to the next generations.
 This one is hard for me, since I don’t know anything about my ancestors, and there are none of my older relatives left to ask.
But considering most of the Swedish population heirs from farmers, I suppose that’s as good guess as any.
I will need some more research to determent what to make for this one.
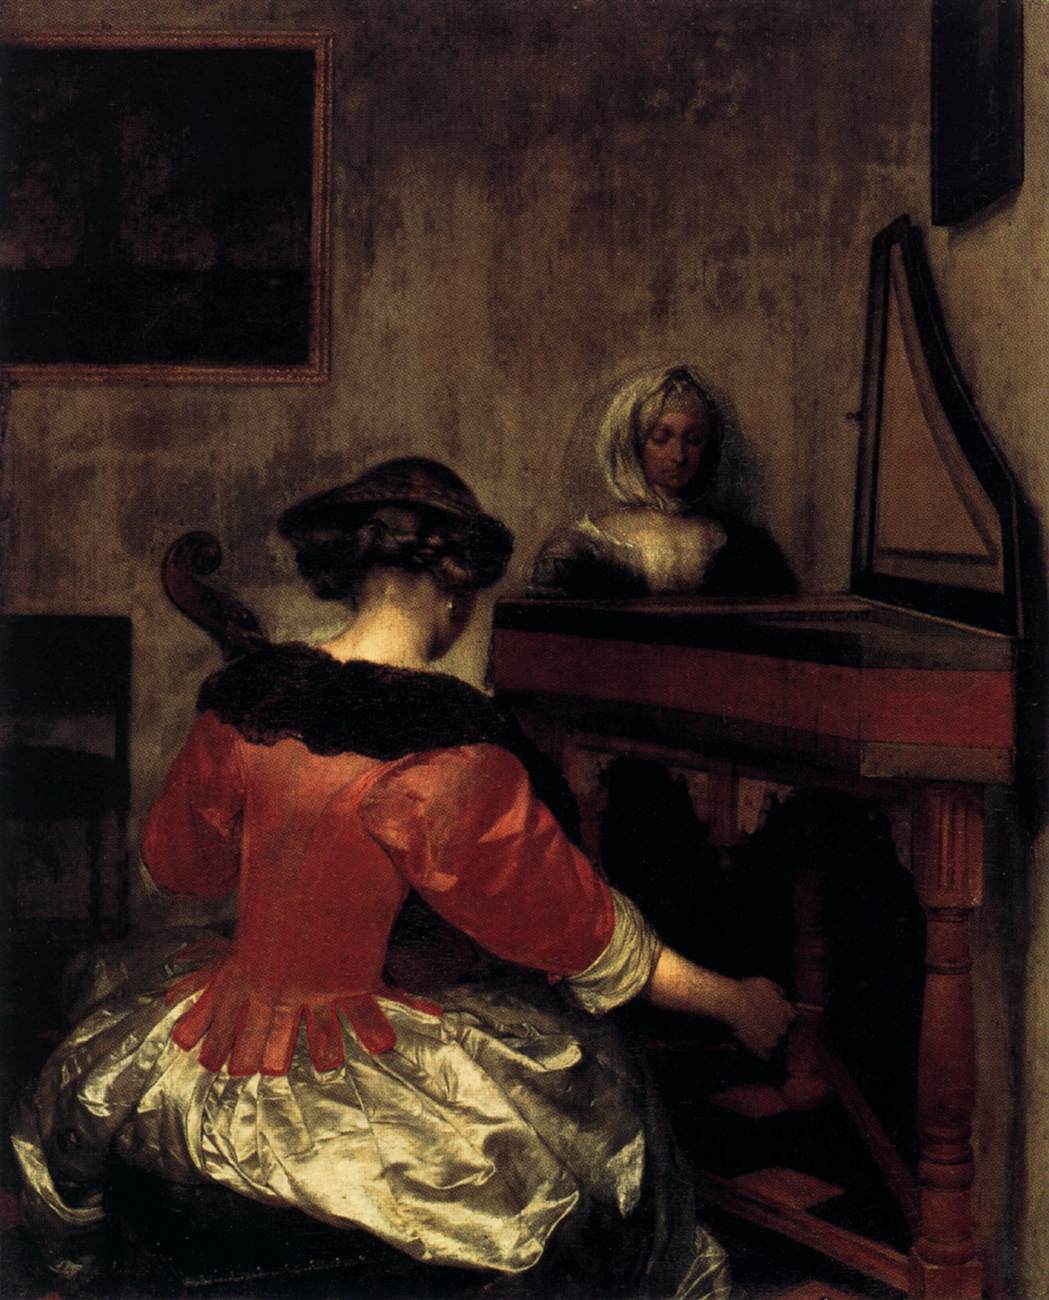
September – Brown:
It’s not the most exciting colour by modern standards, but brown has been one of the most common, and popular, colours throughout history. Make something brown.
 I got some brown wool/polyester blend that would look great as a late 19th century walking dress. Perhaps something along the lines of the suit Satin/Nicole Kidman wears in “Moulin Rouge”.
October – Sewing Secrets:
Hide something in your sewing, whether it is an almost invisible mend, a secret pocket, a false fastening or front, or a concealed message (such as a political or moral allegiance).
 Yet another one I’m not sure about. But I know I want to make a 18th century mourning dress this year, and this may be the chance to do so. And the secret?
You will just have to wait and see.
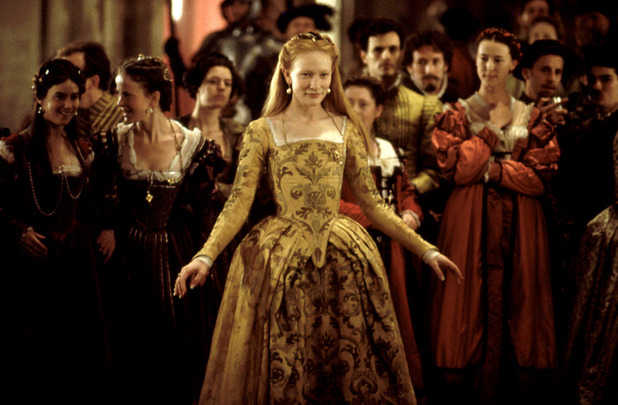
November – Silver Screen:
Be inspired by period fashions as shown onscreen (film or TV), and recreate your favourite historical costume as a historically accurate period piece.
 I’ve wanted to make this dress (worn by Cate Blanchett in “Elizabeth”) since I first saw it, I already got the fabric, the pattern and the period undergarments for it – so now is the time (If I can brace myself for so long).
December – Re-Do:
It’s the last challenge of the year, so let’s keep things simple by re-doing any of the previous 11 challenges.
?
I have honestly no idea on what to make for this challenge.
But since it is a whole year left until then, I’m sure I will figure something out.
After all, I got a pretty impressive list on “Want to make” this year…
(More on that in my next post)

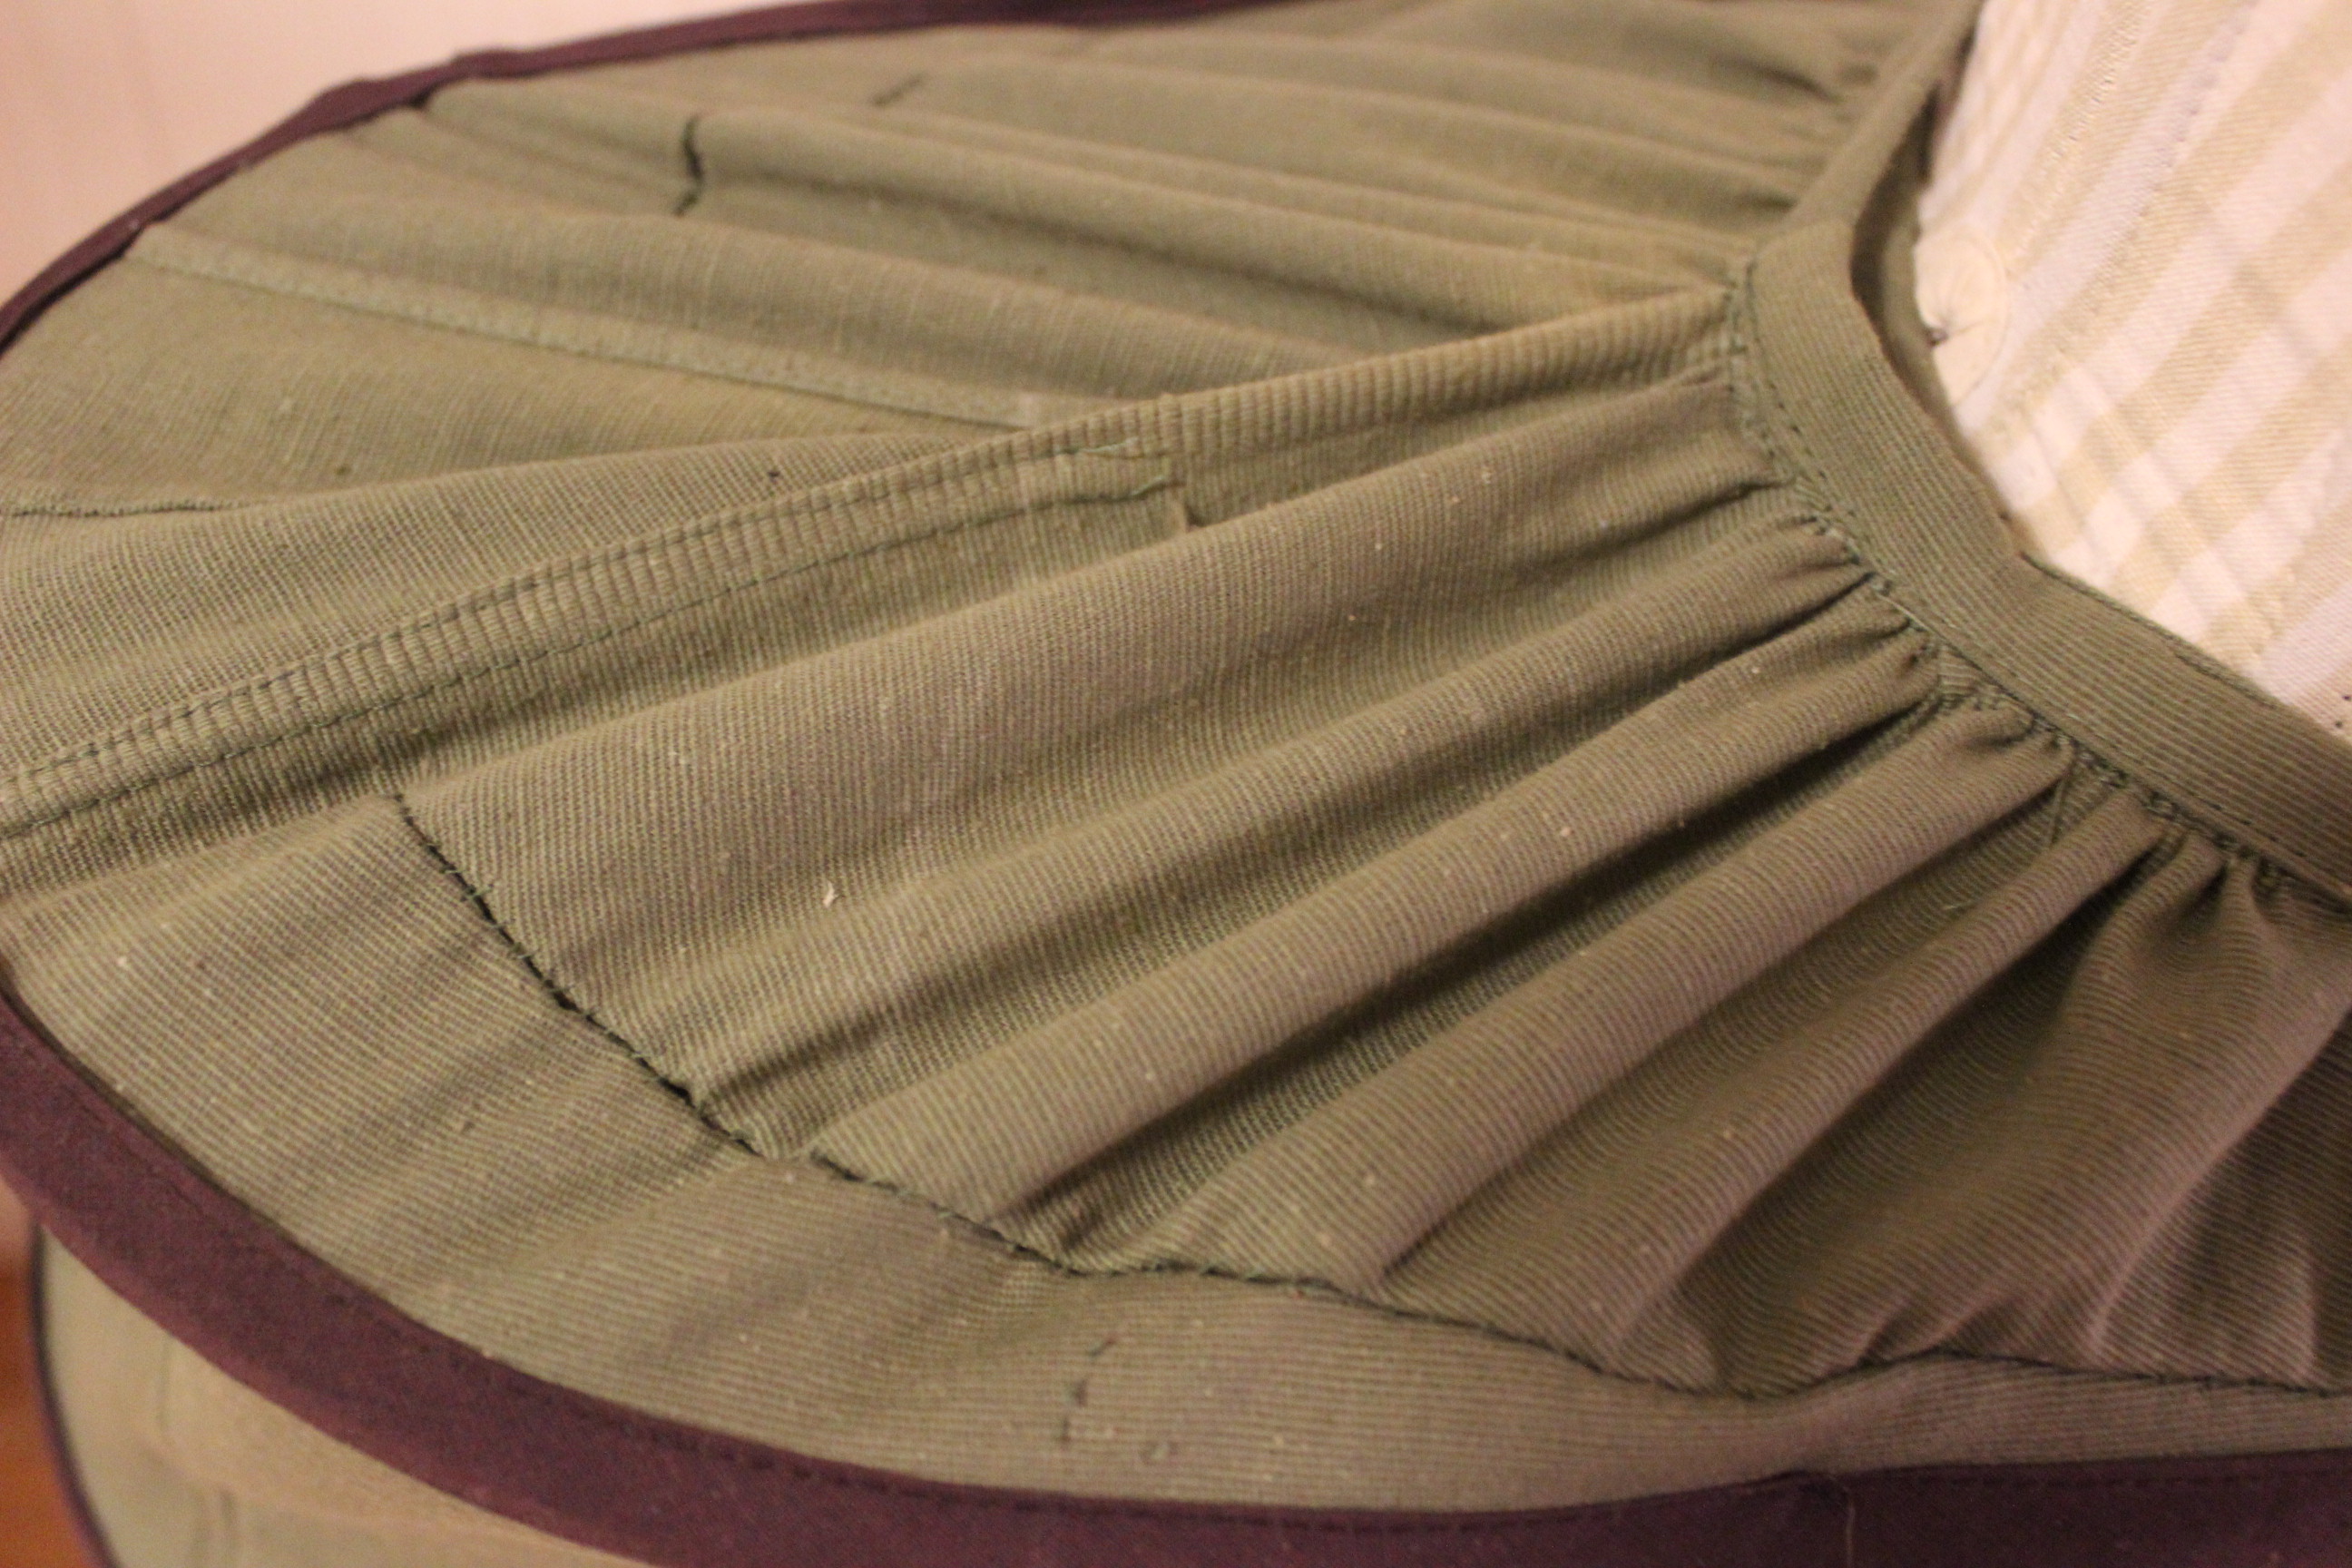
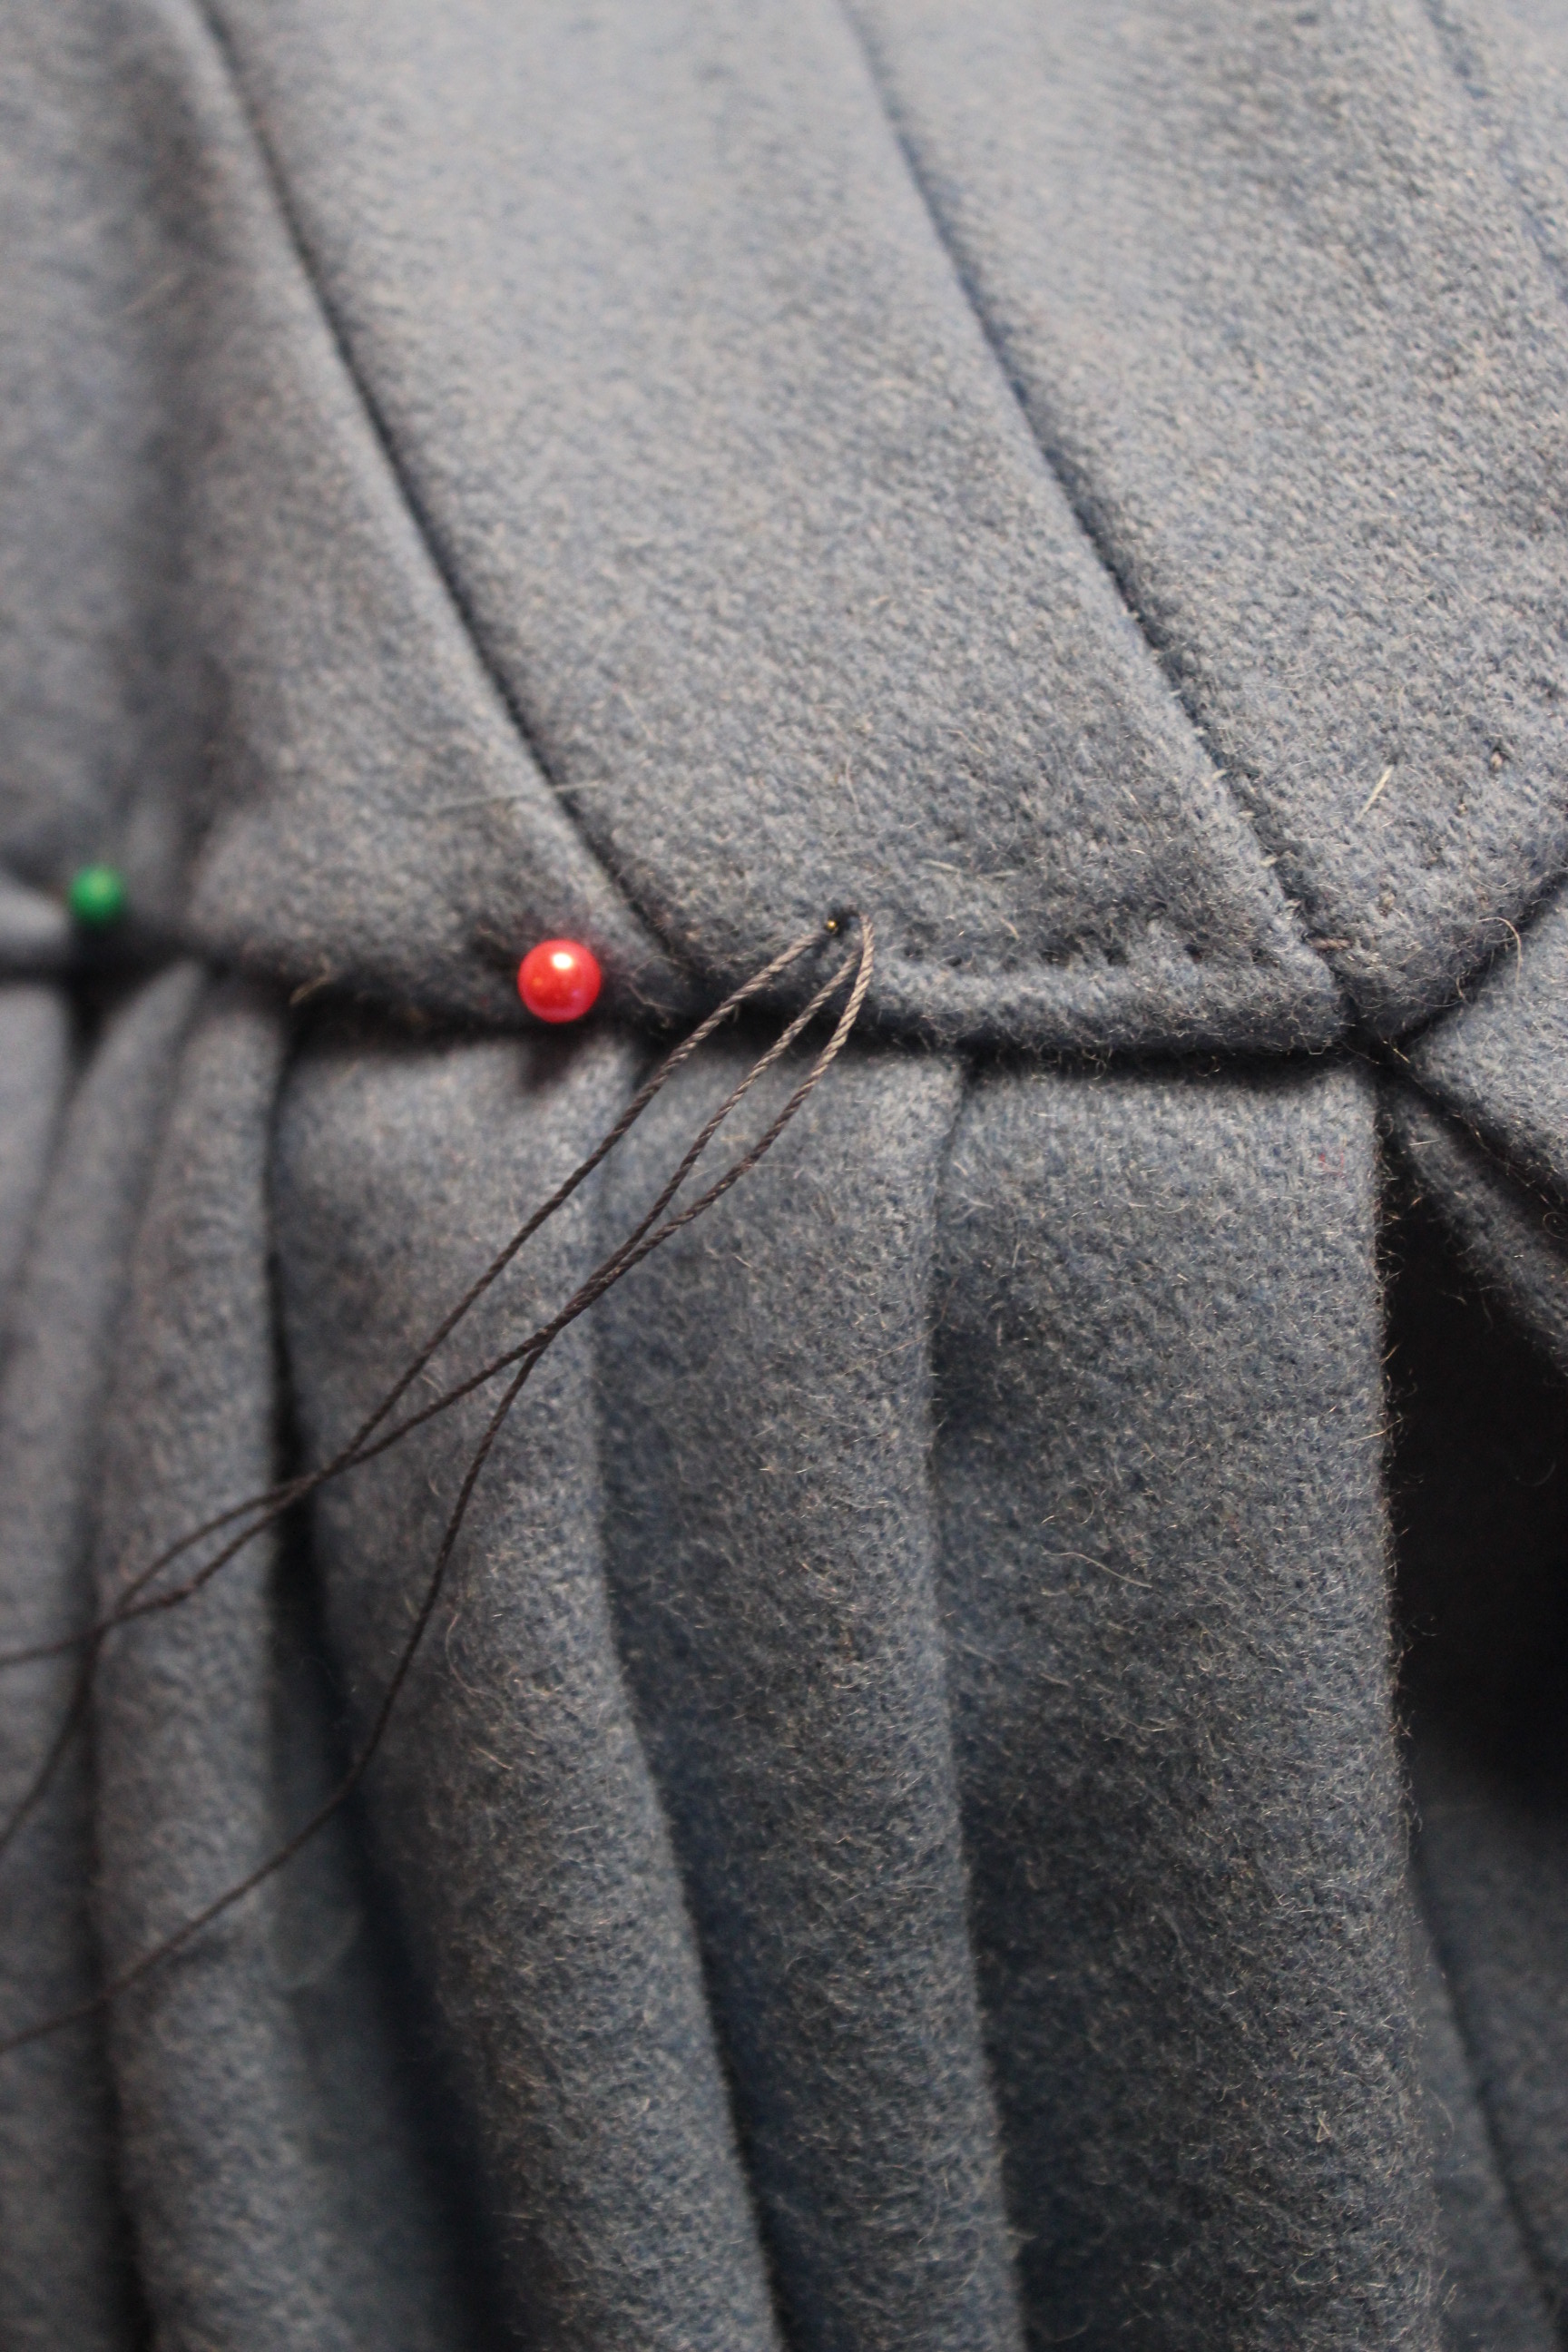
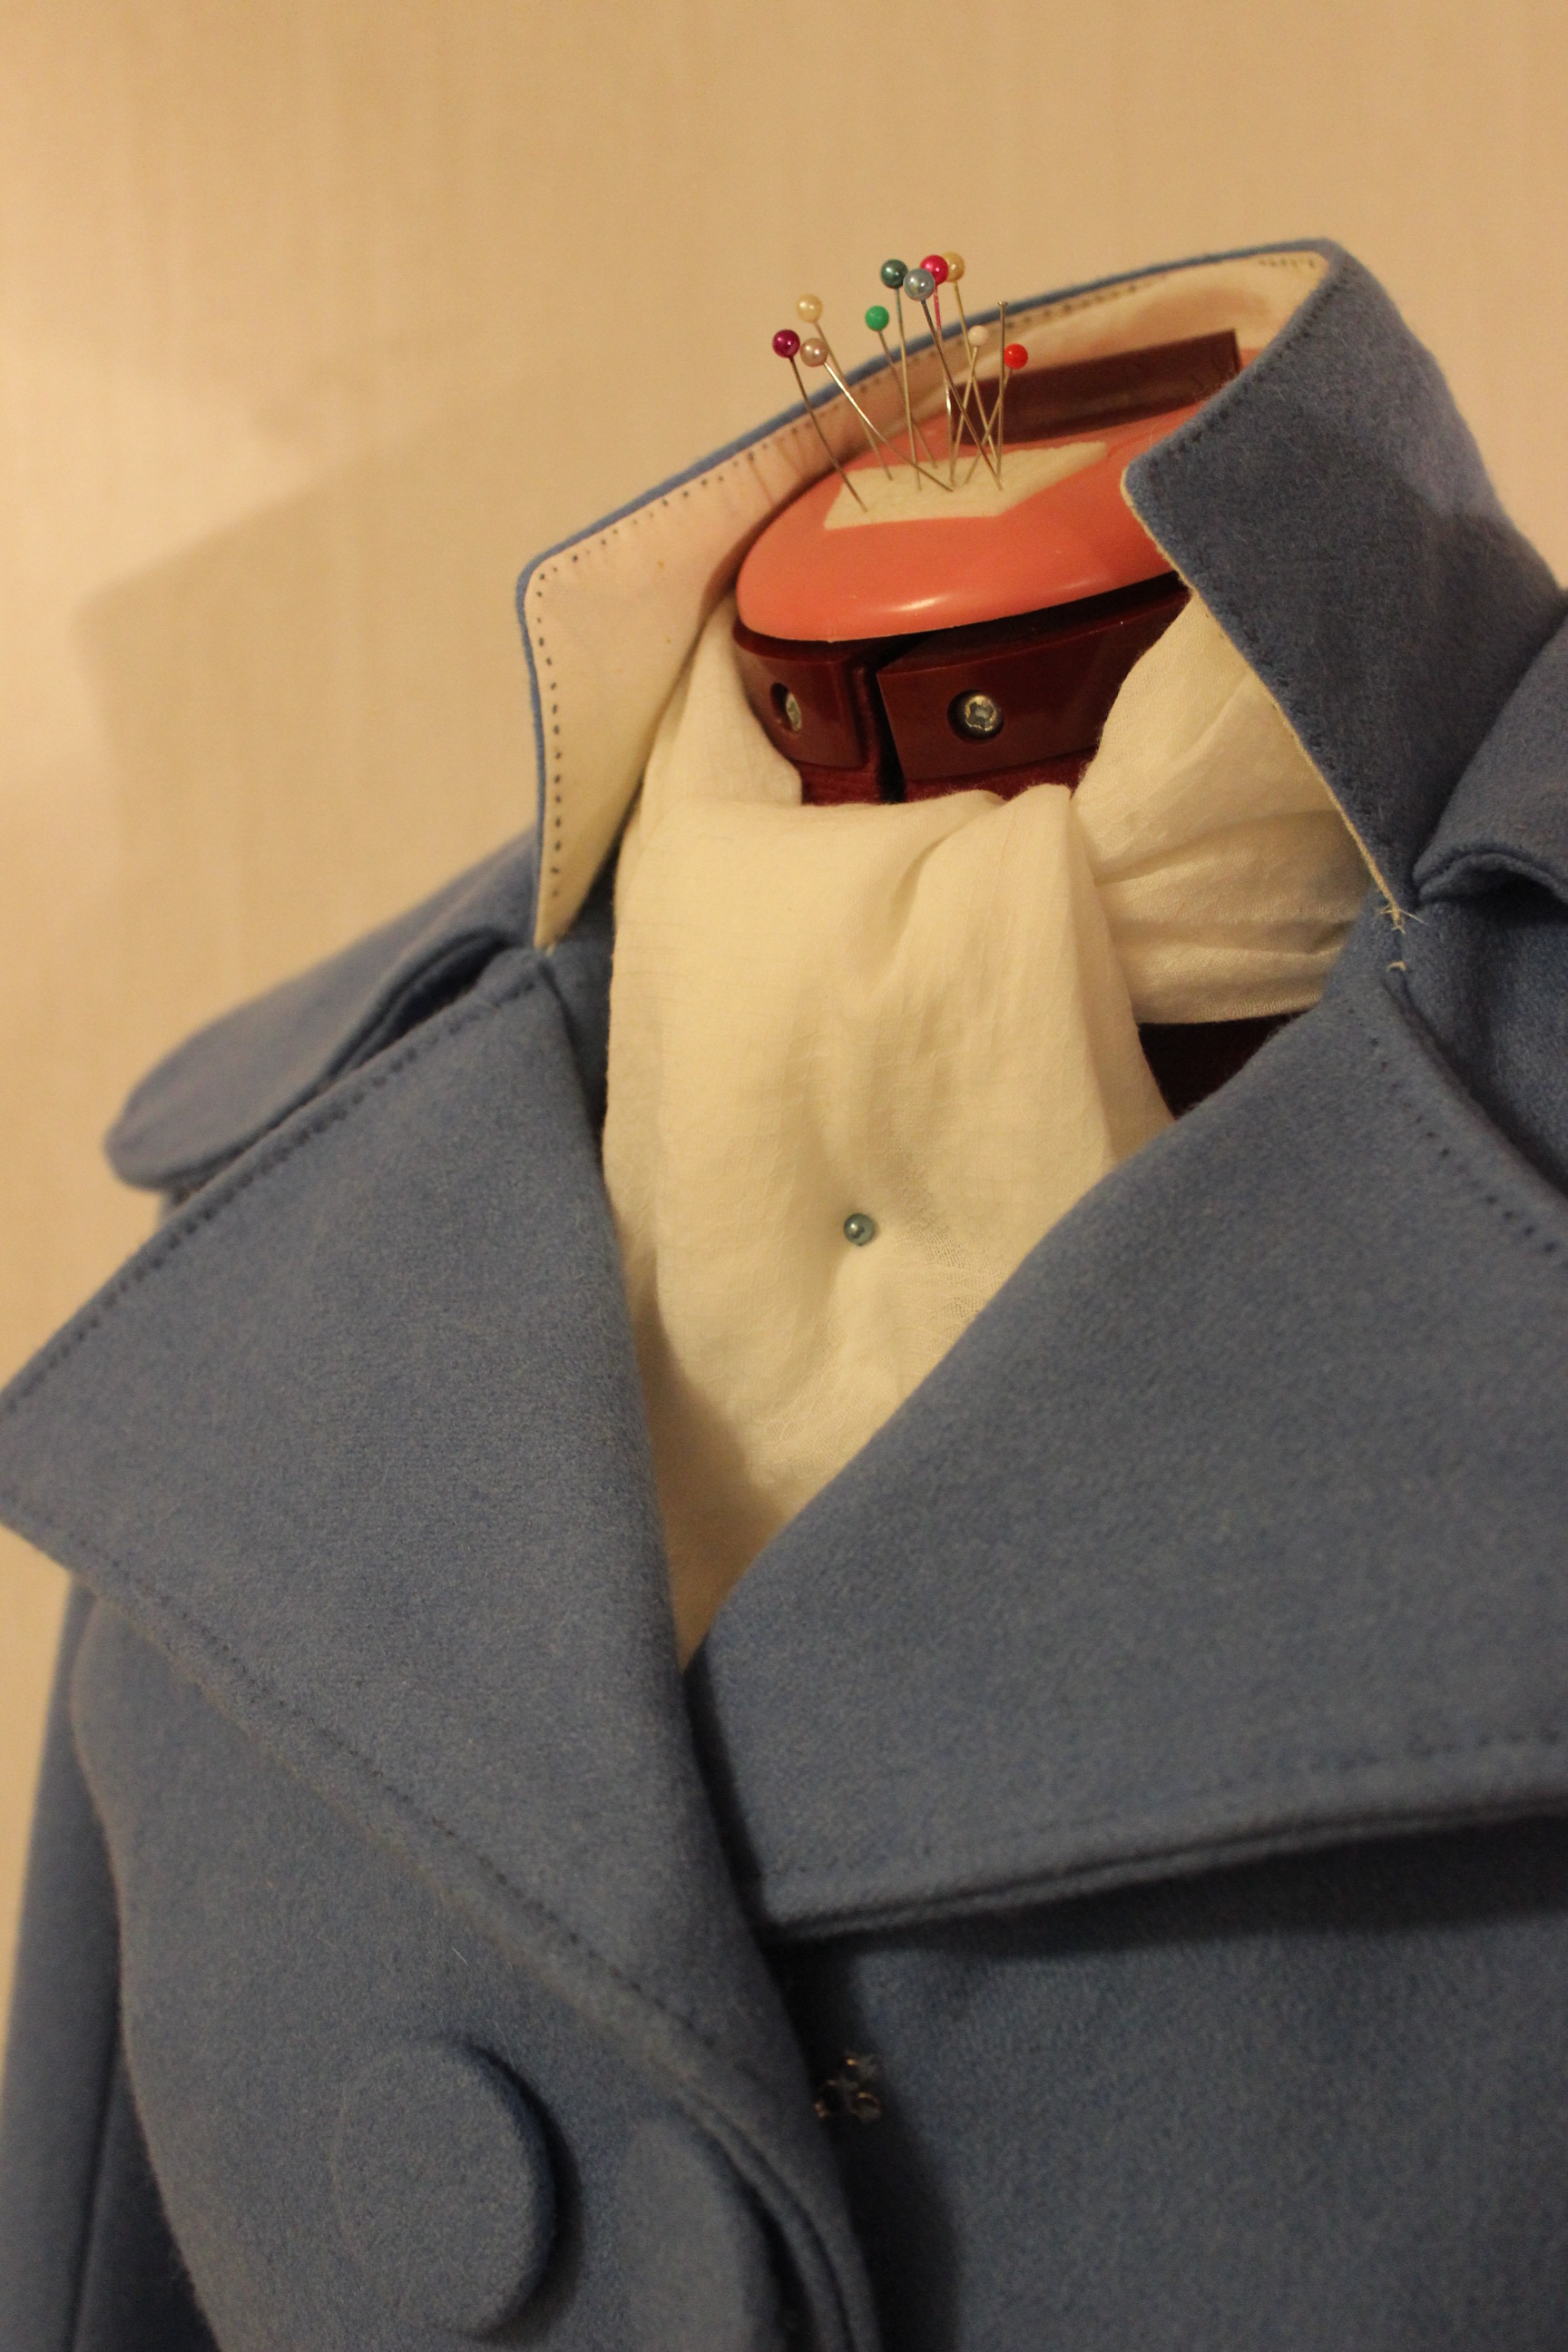
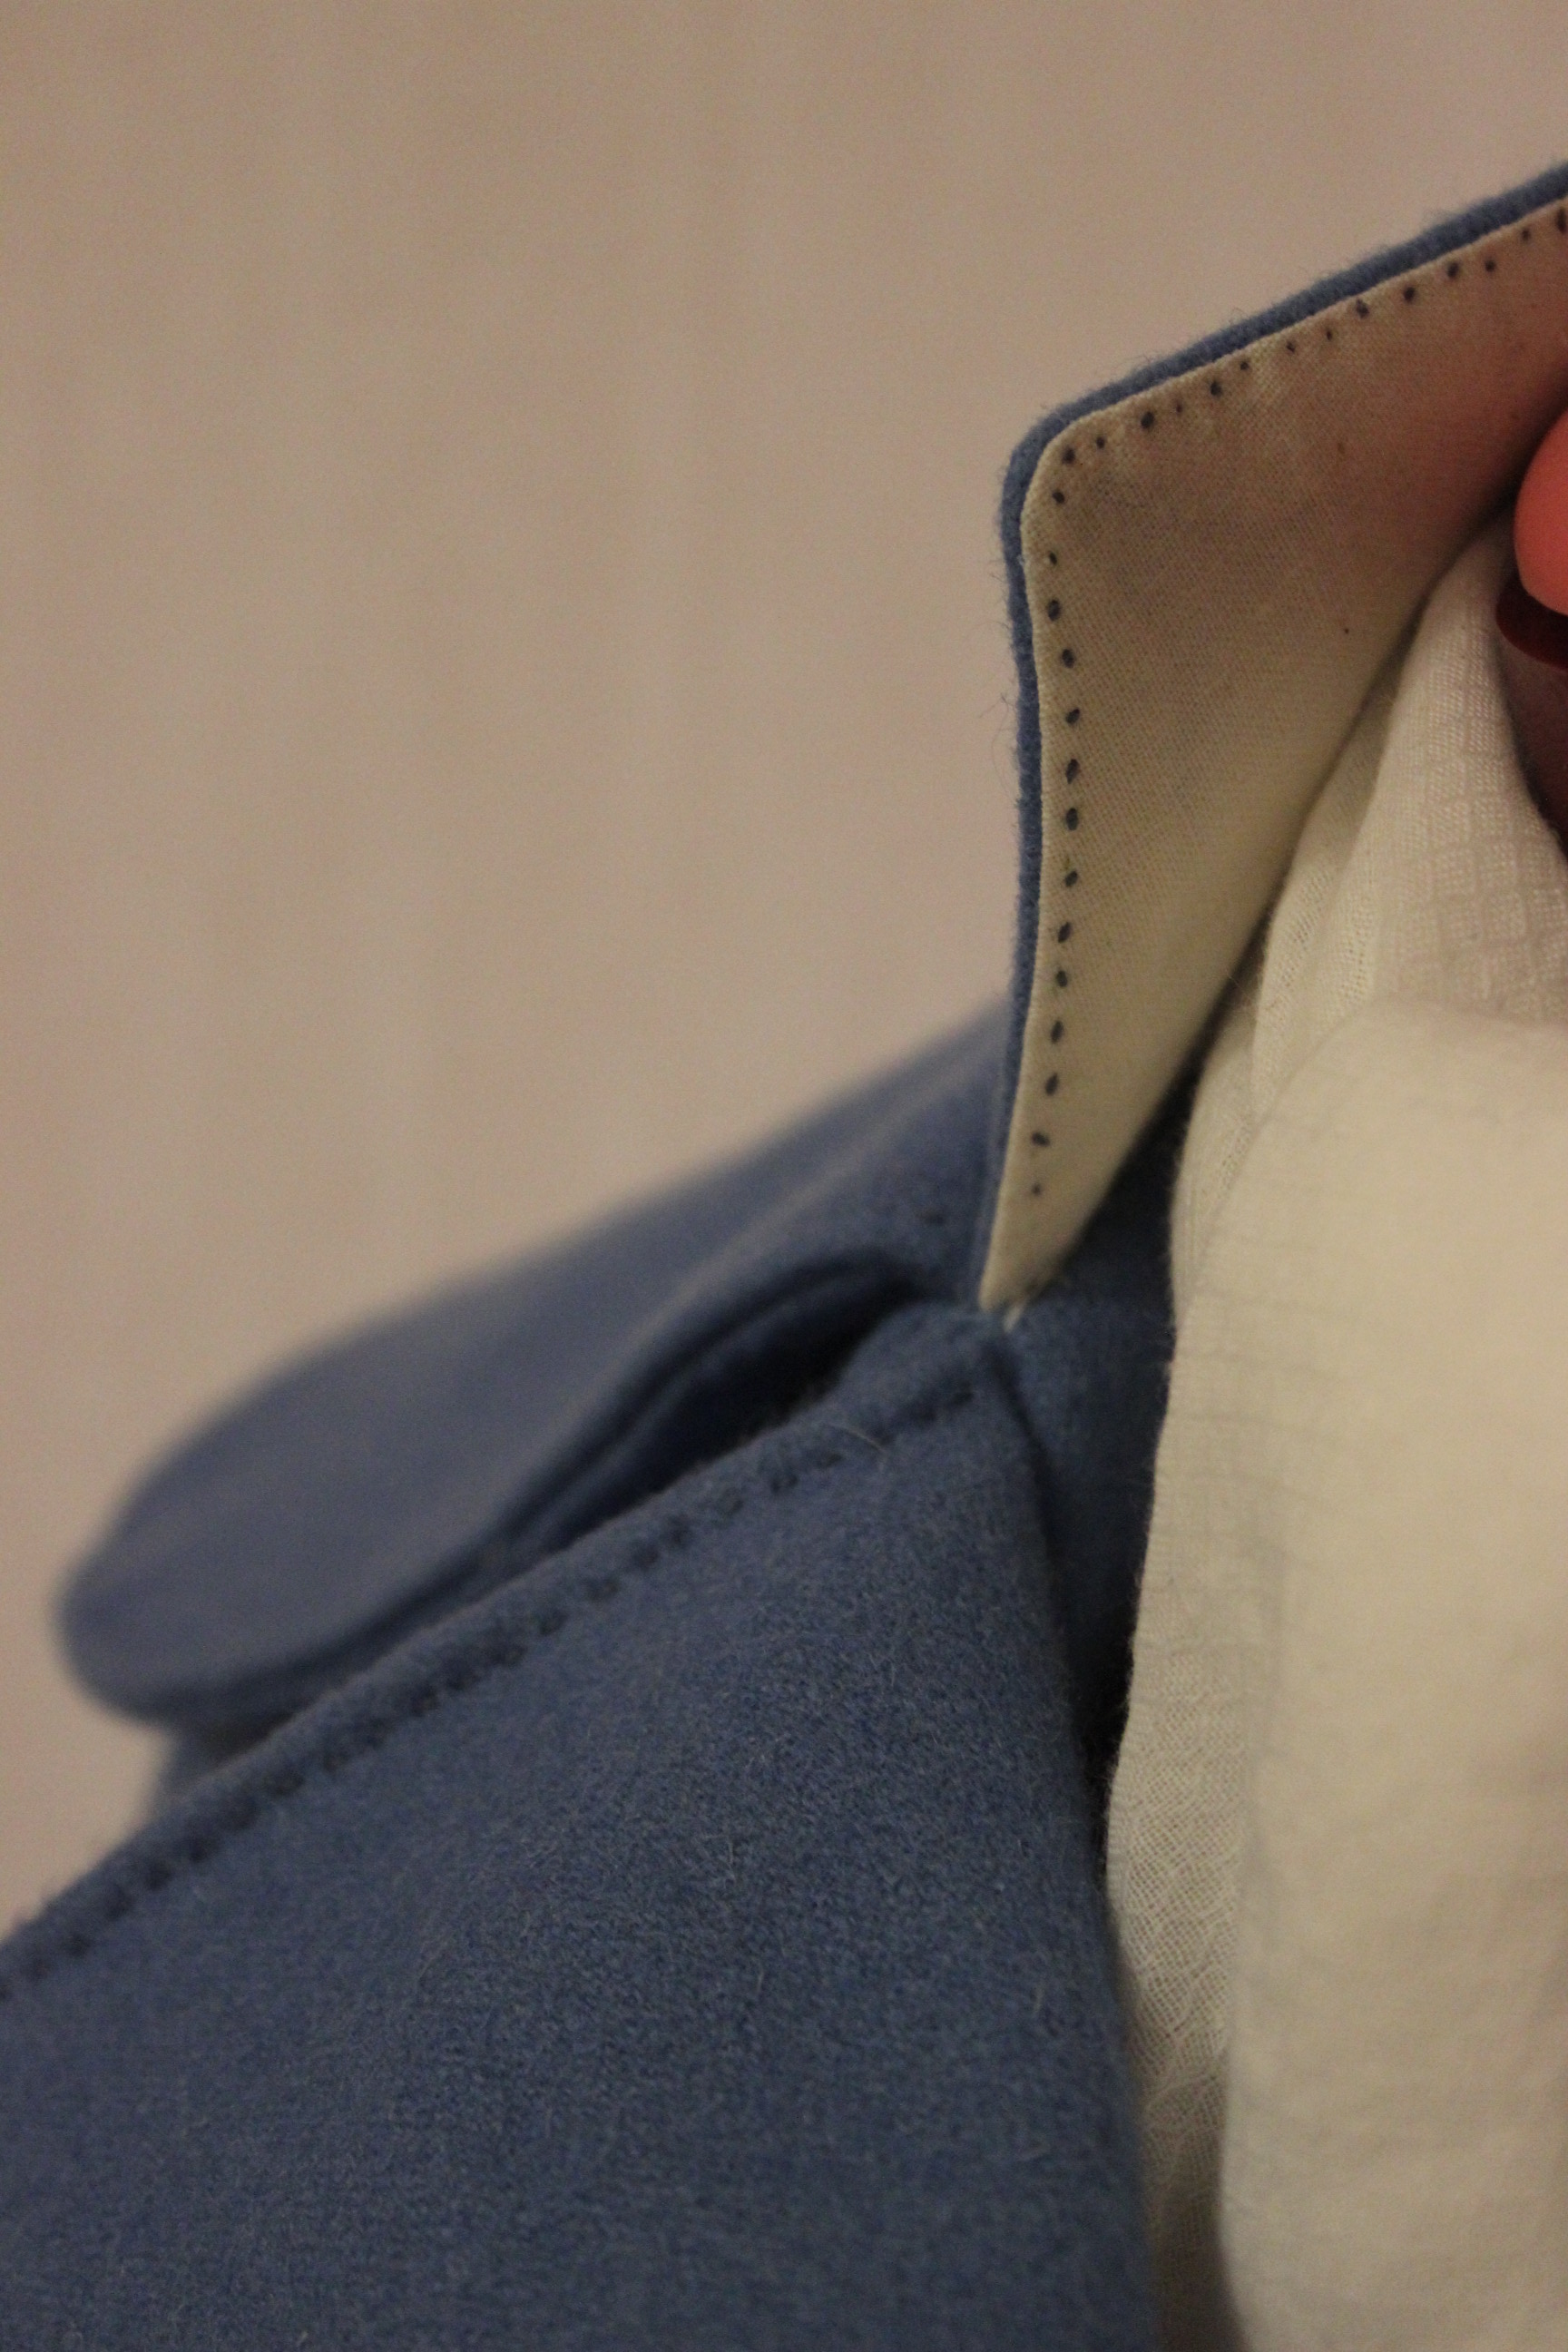
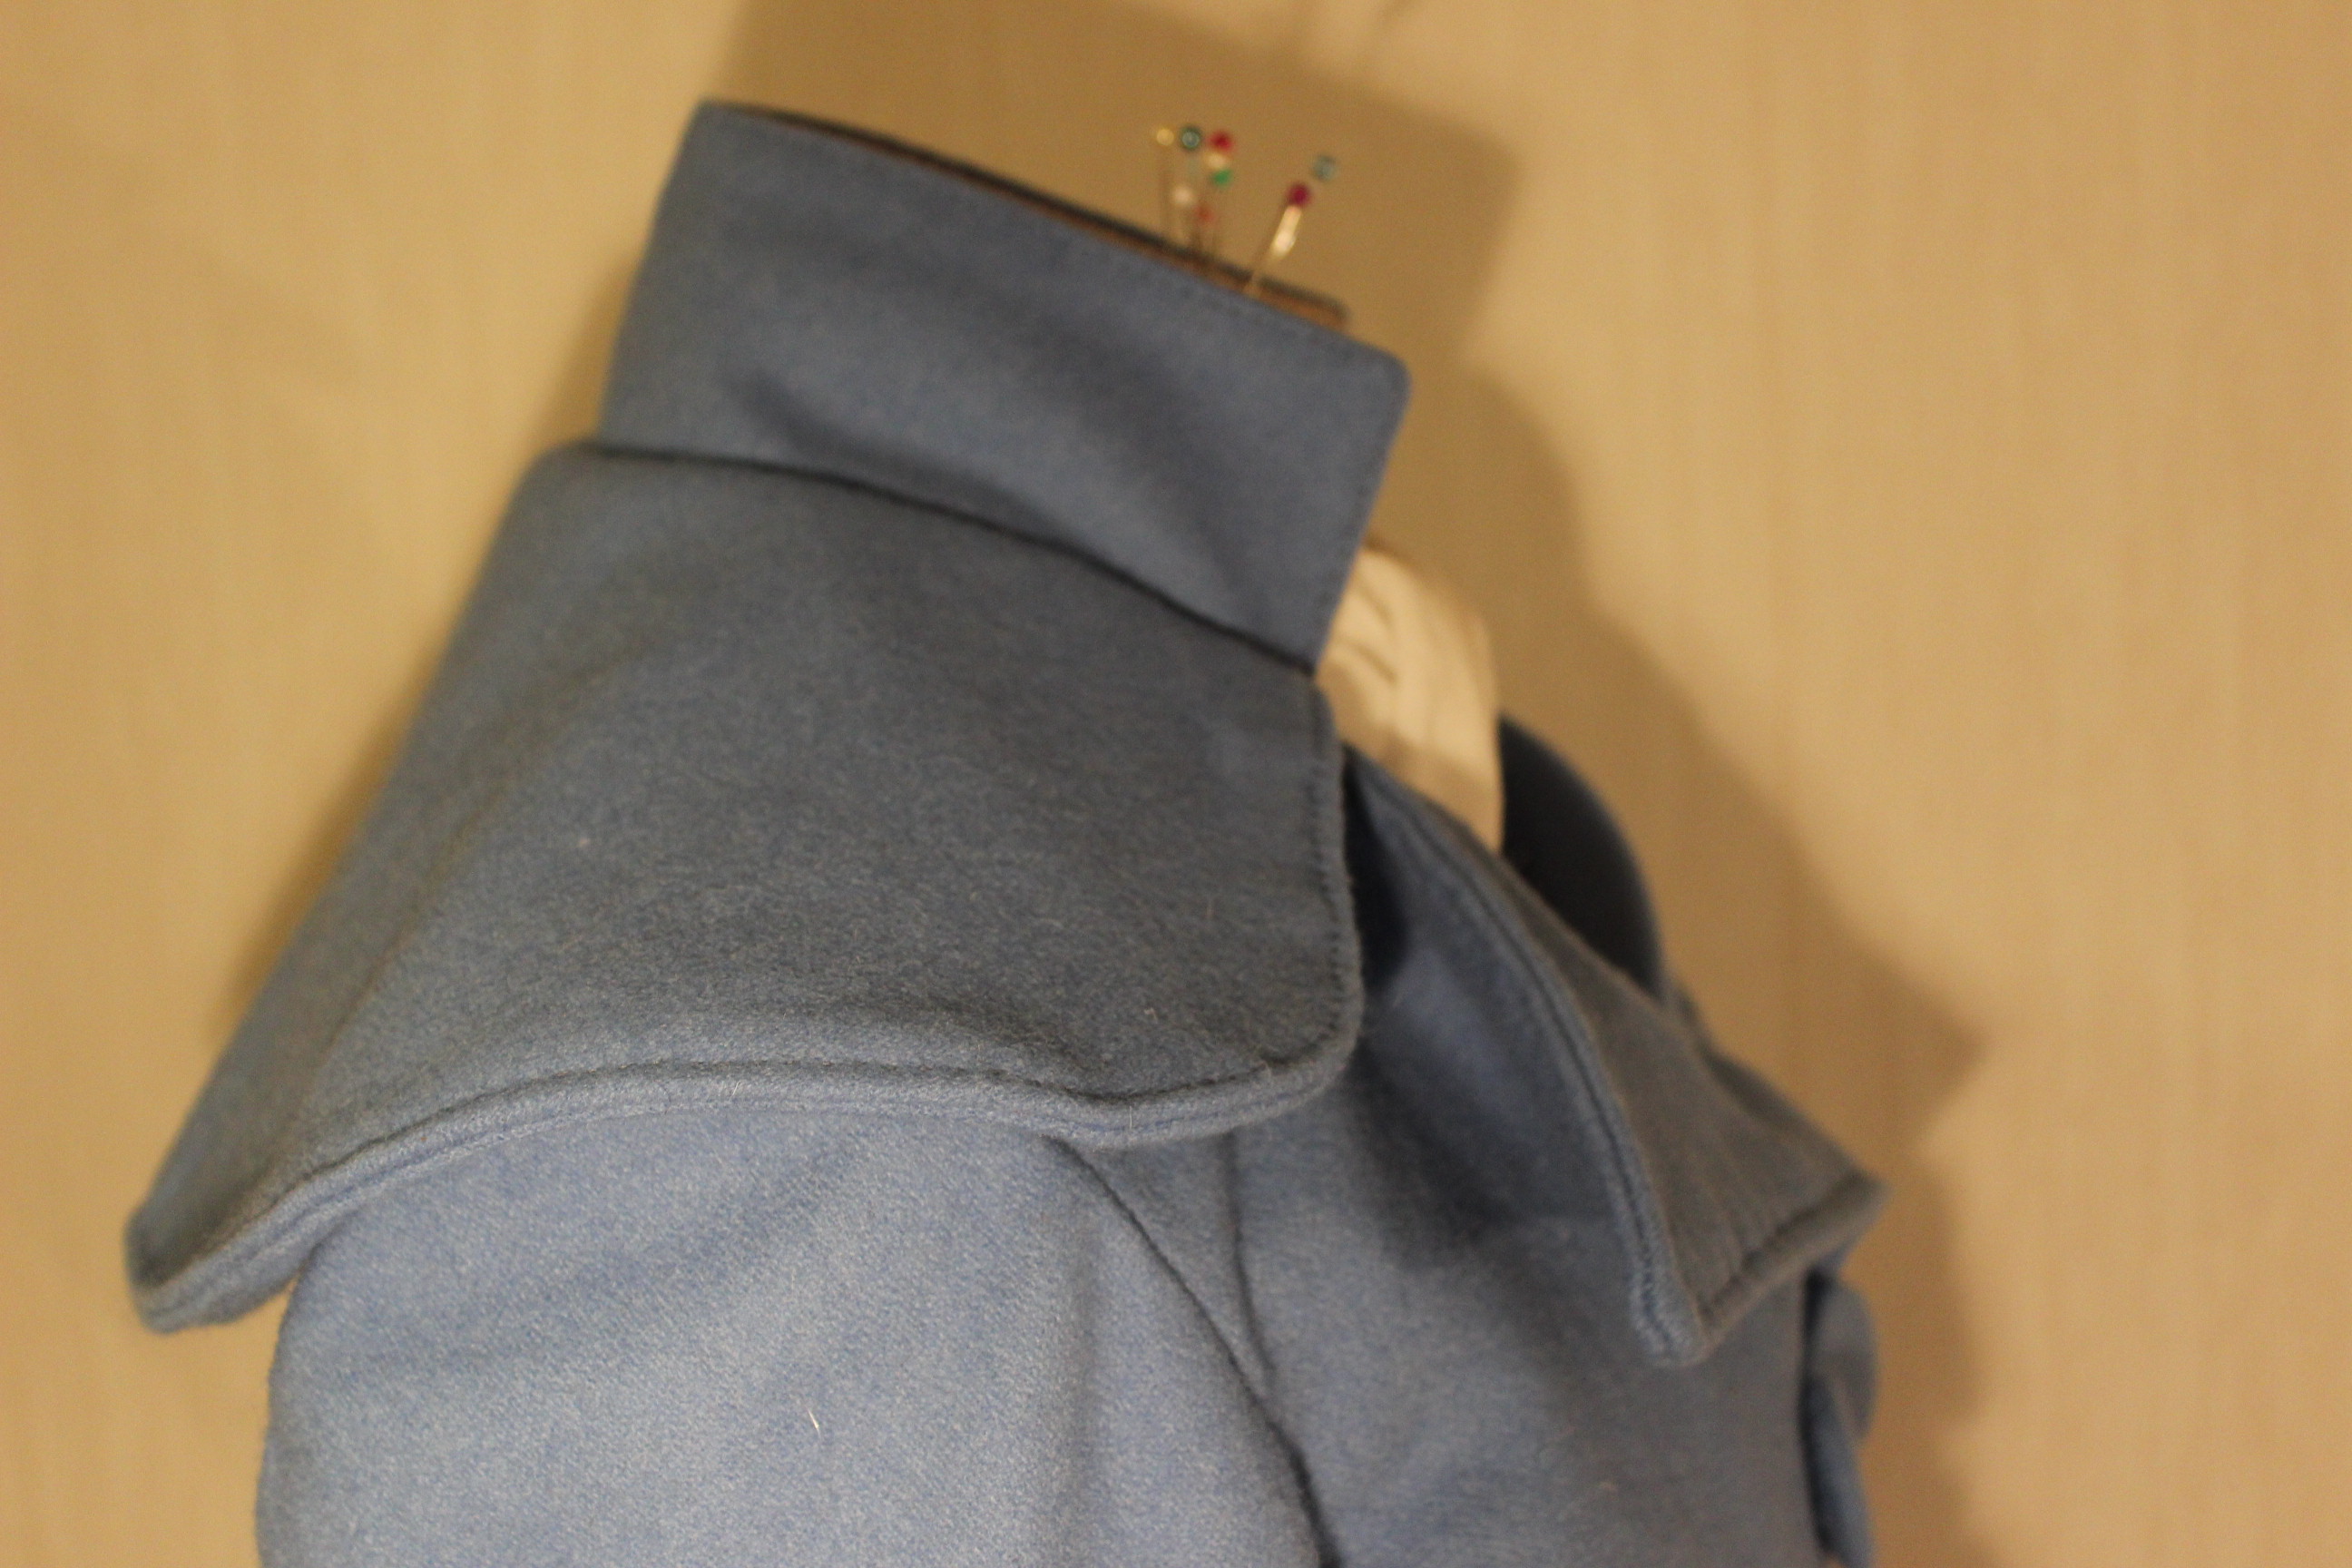
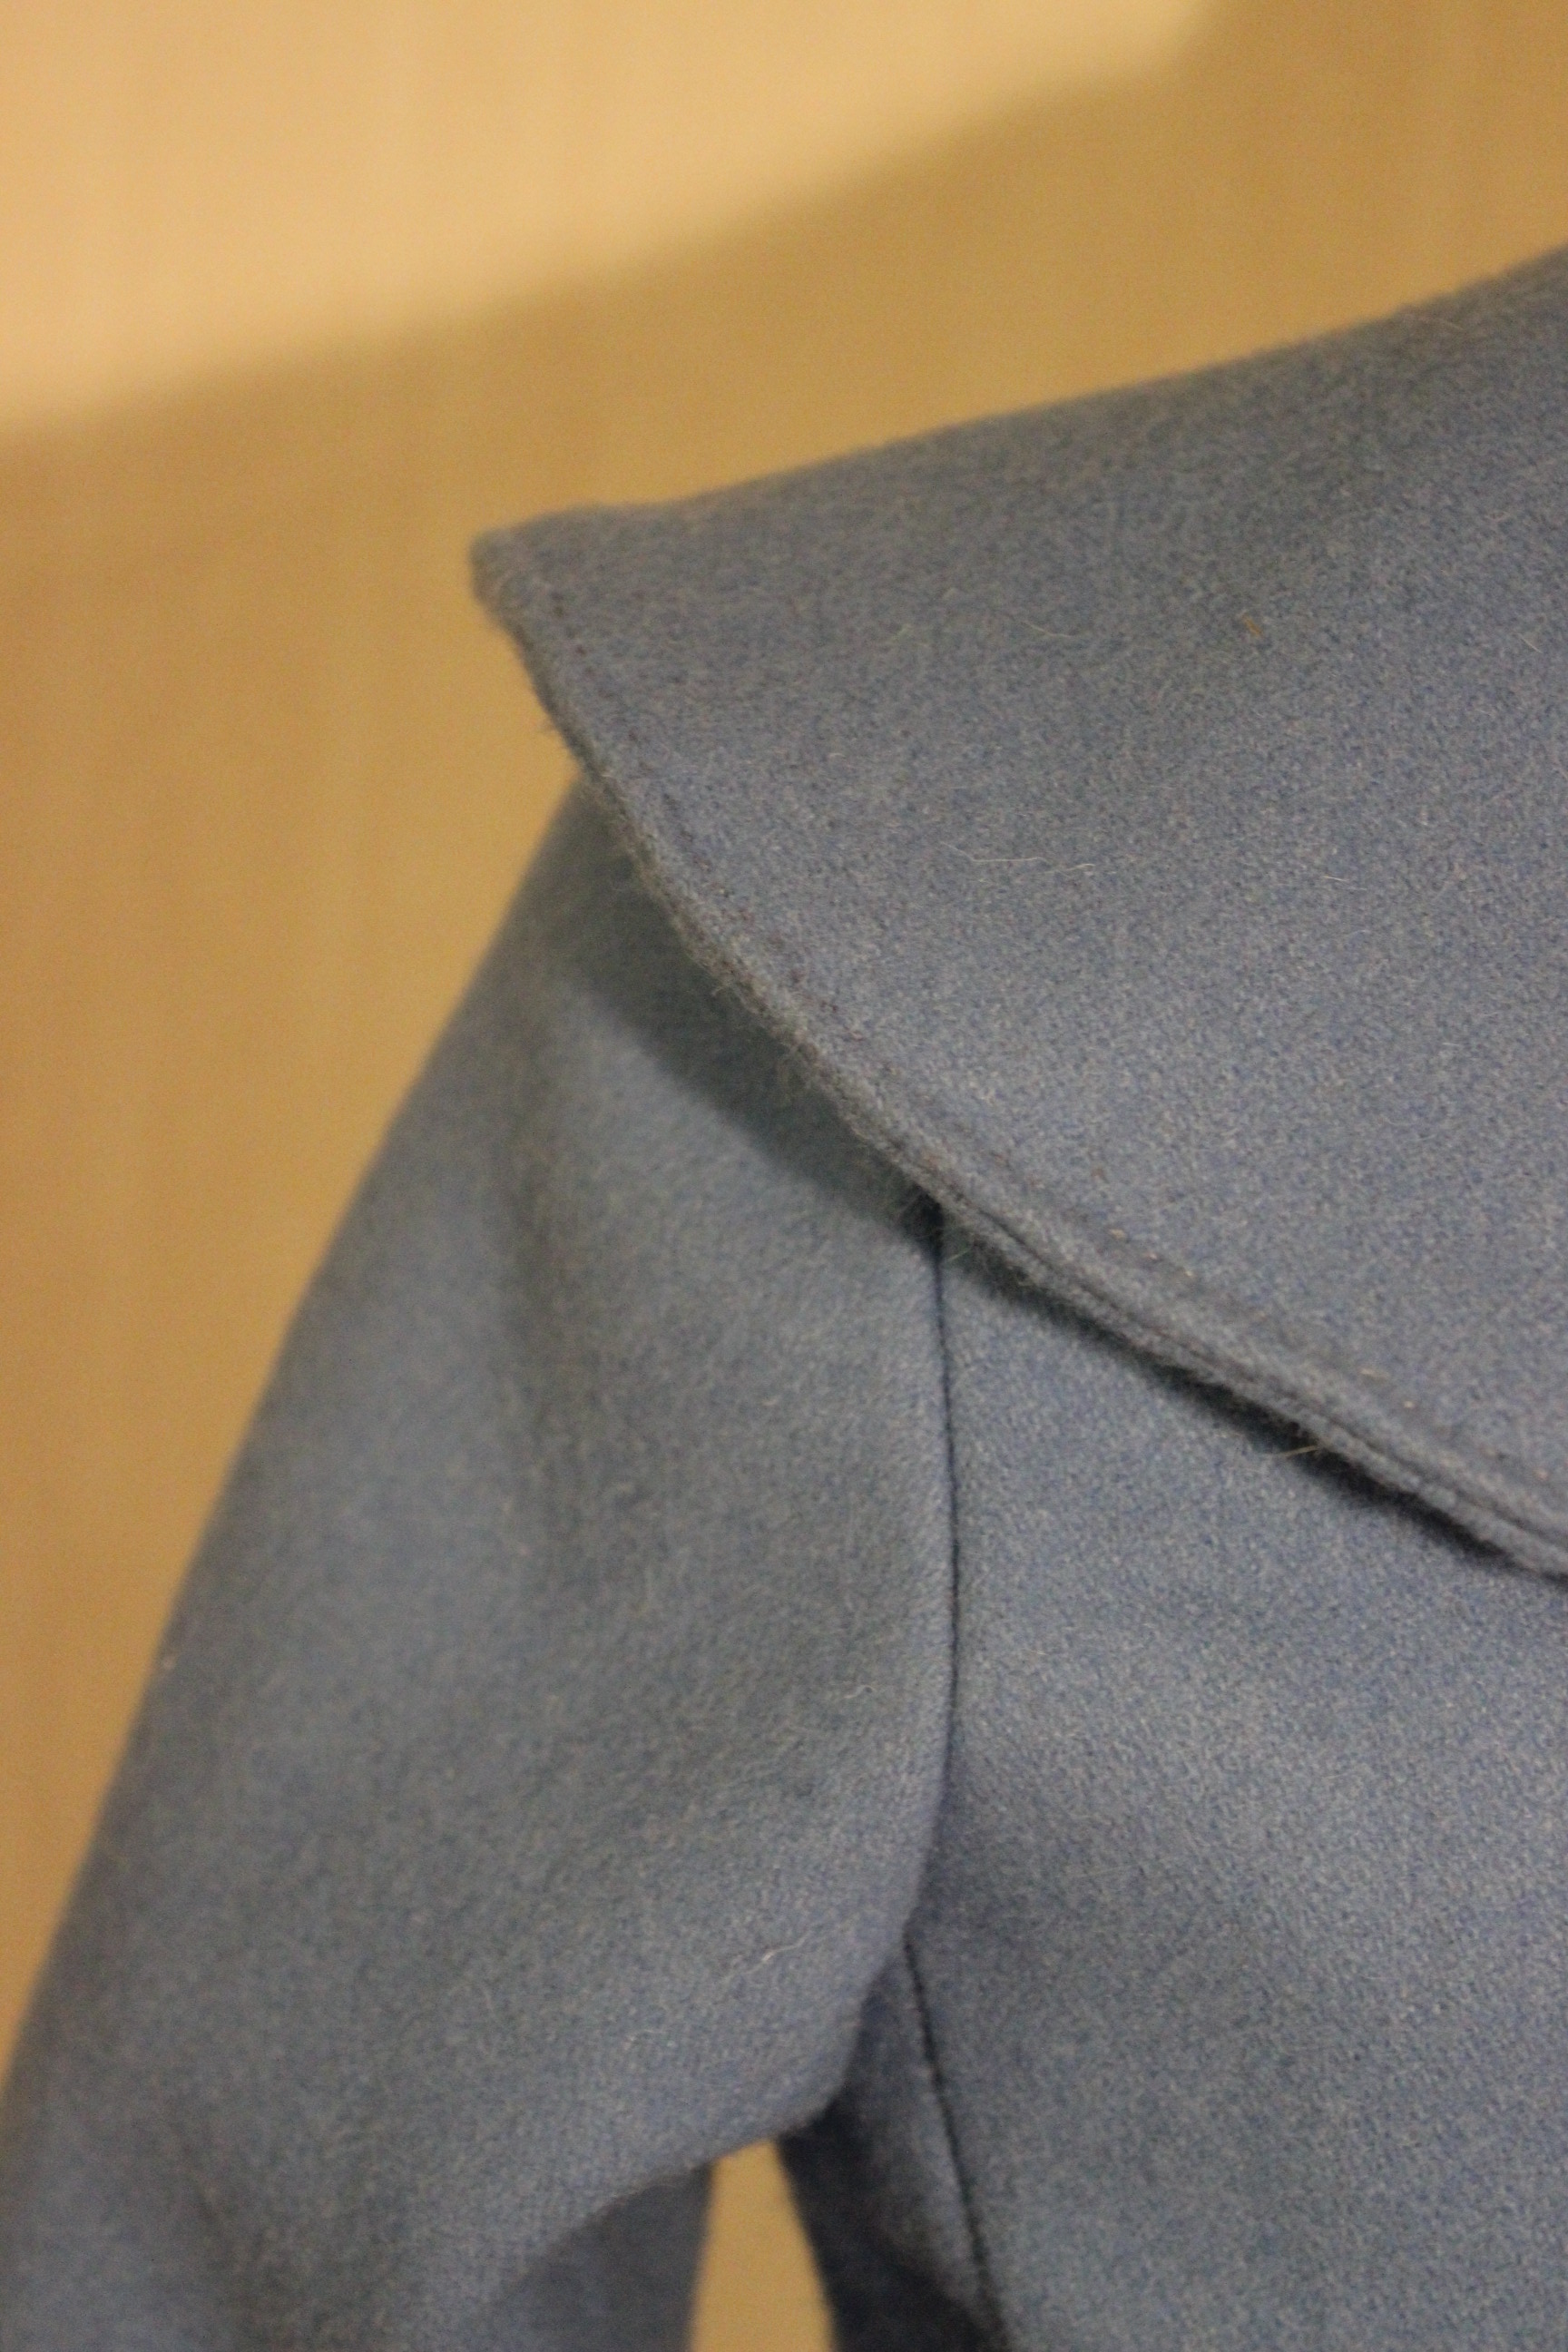
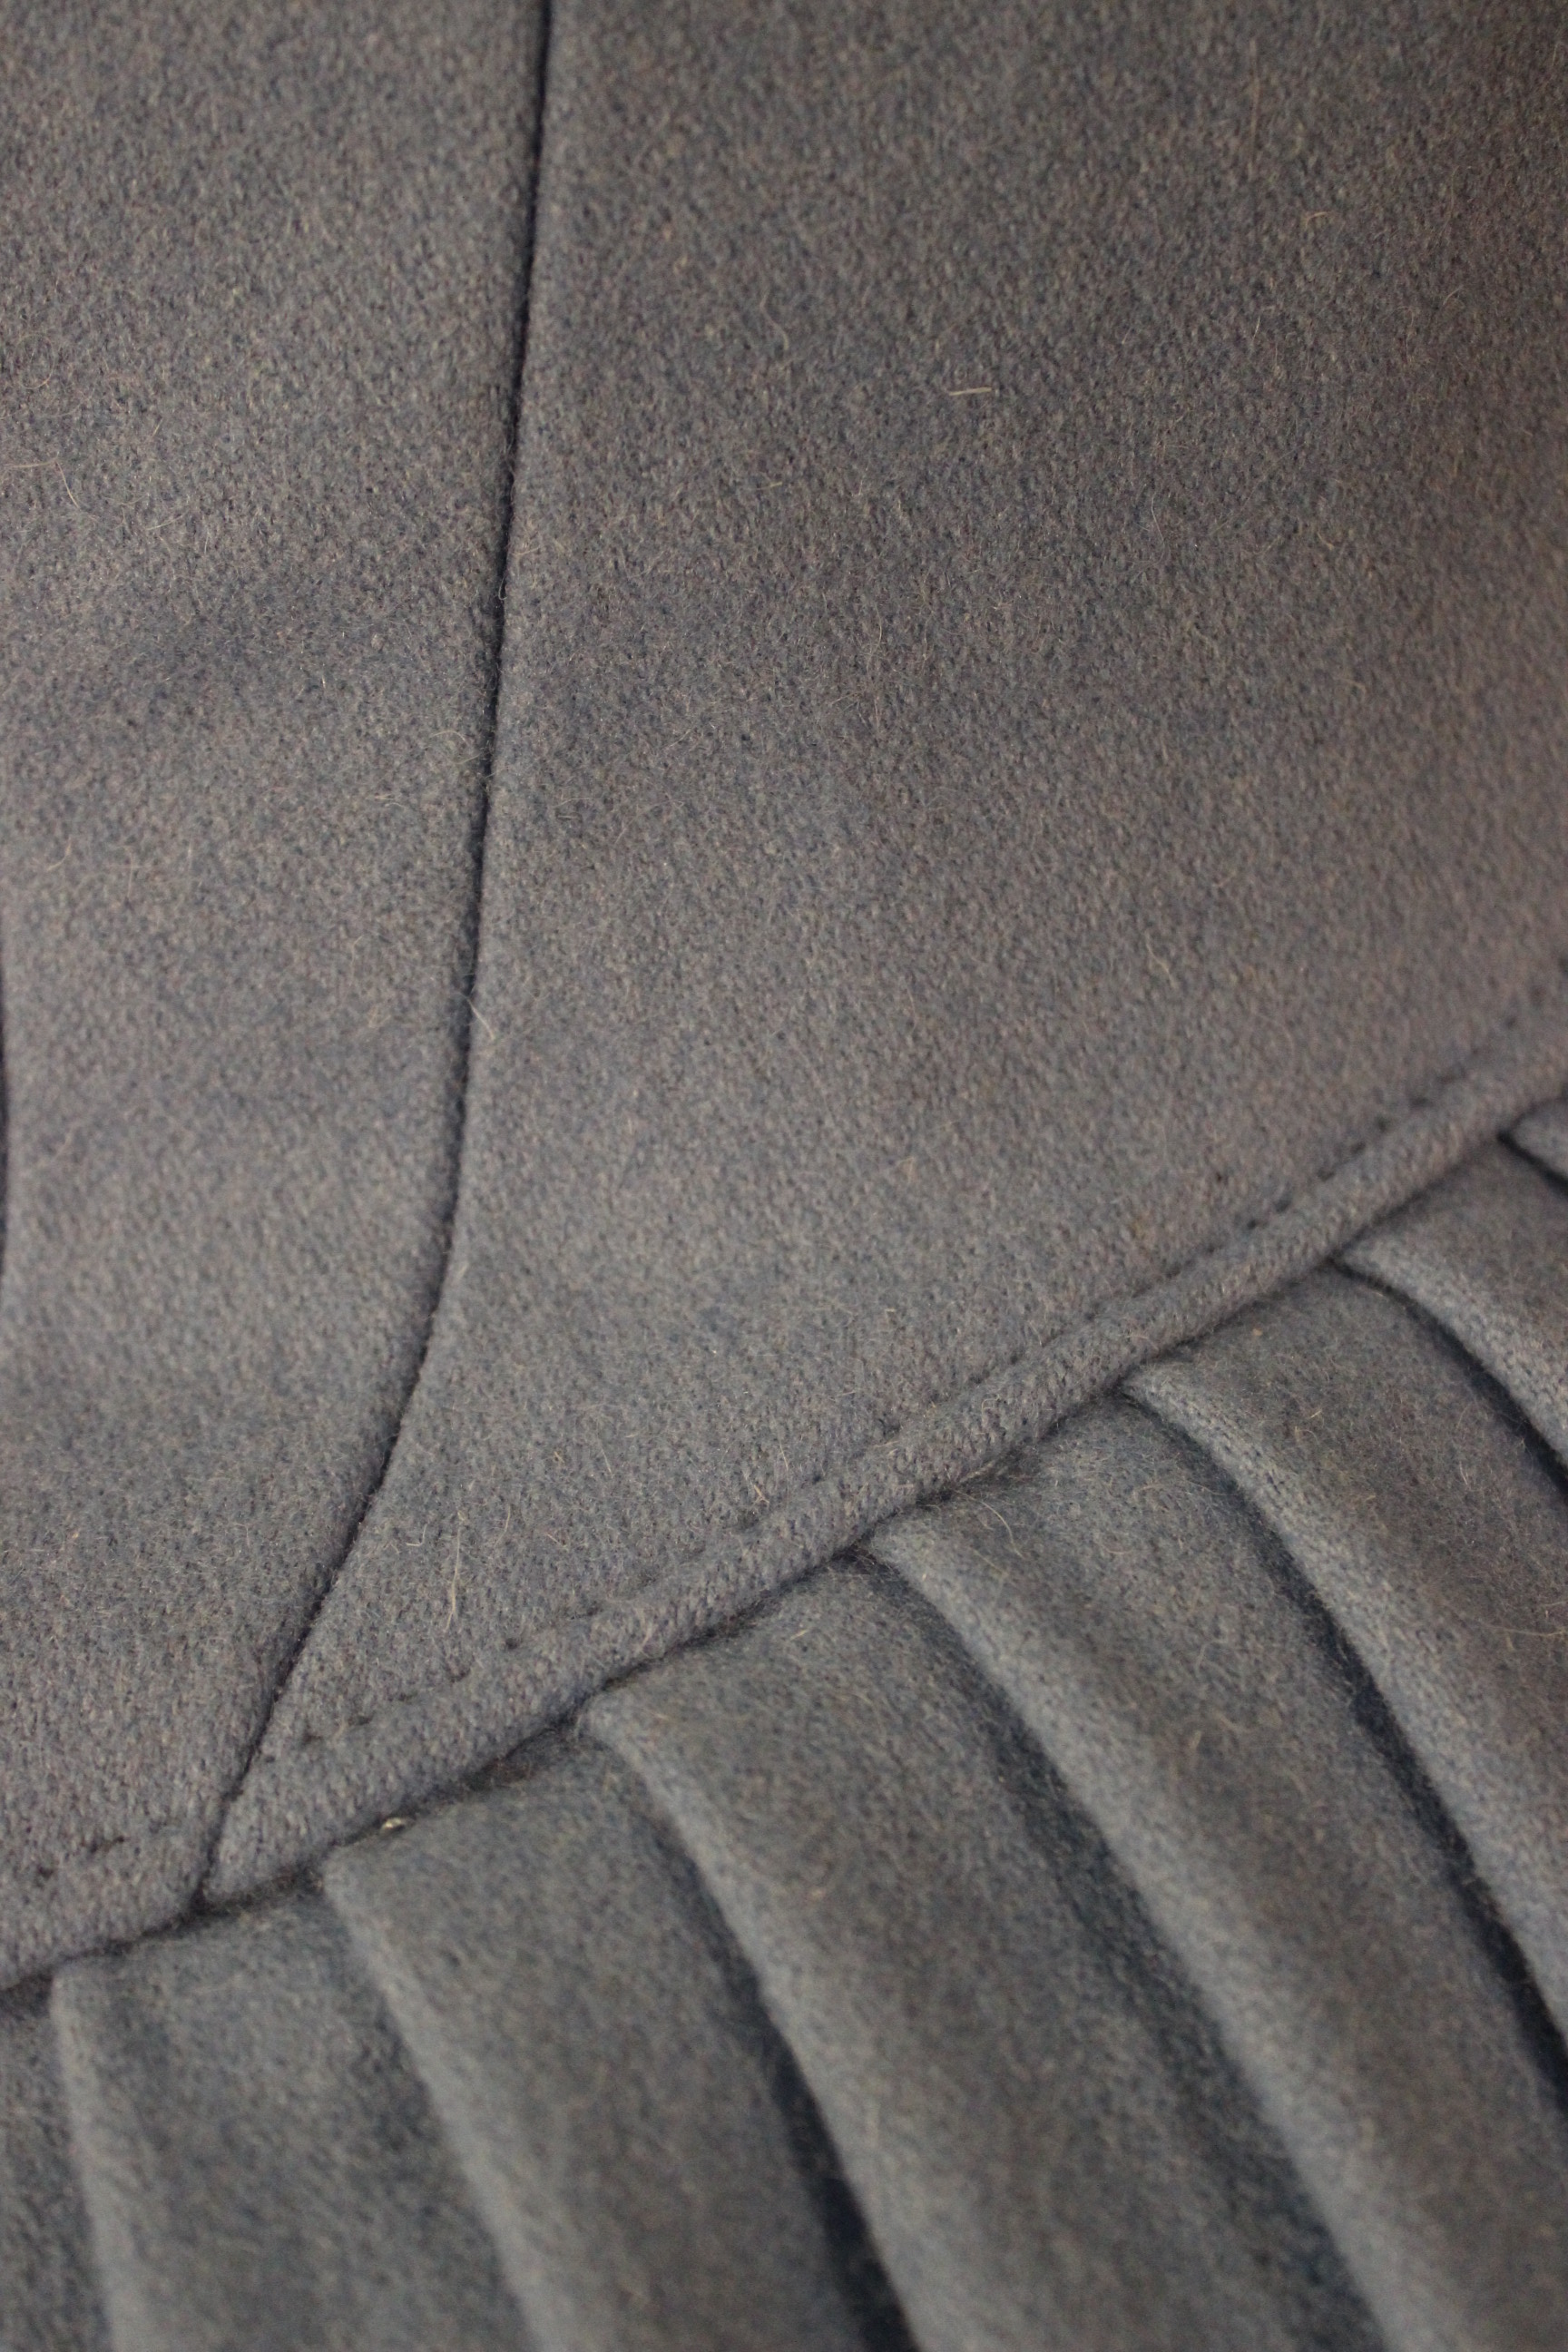
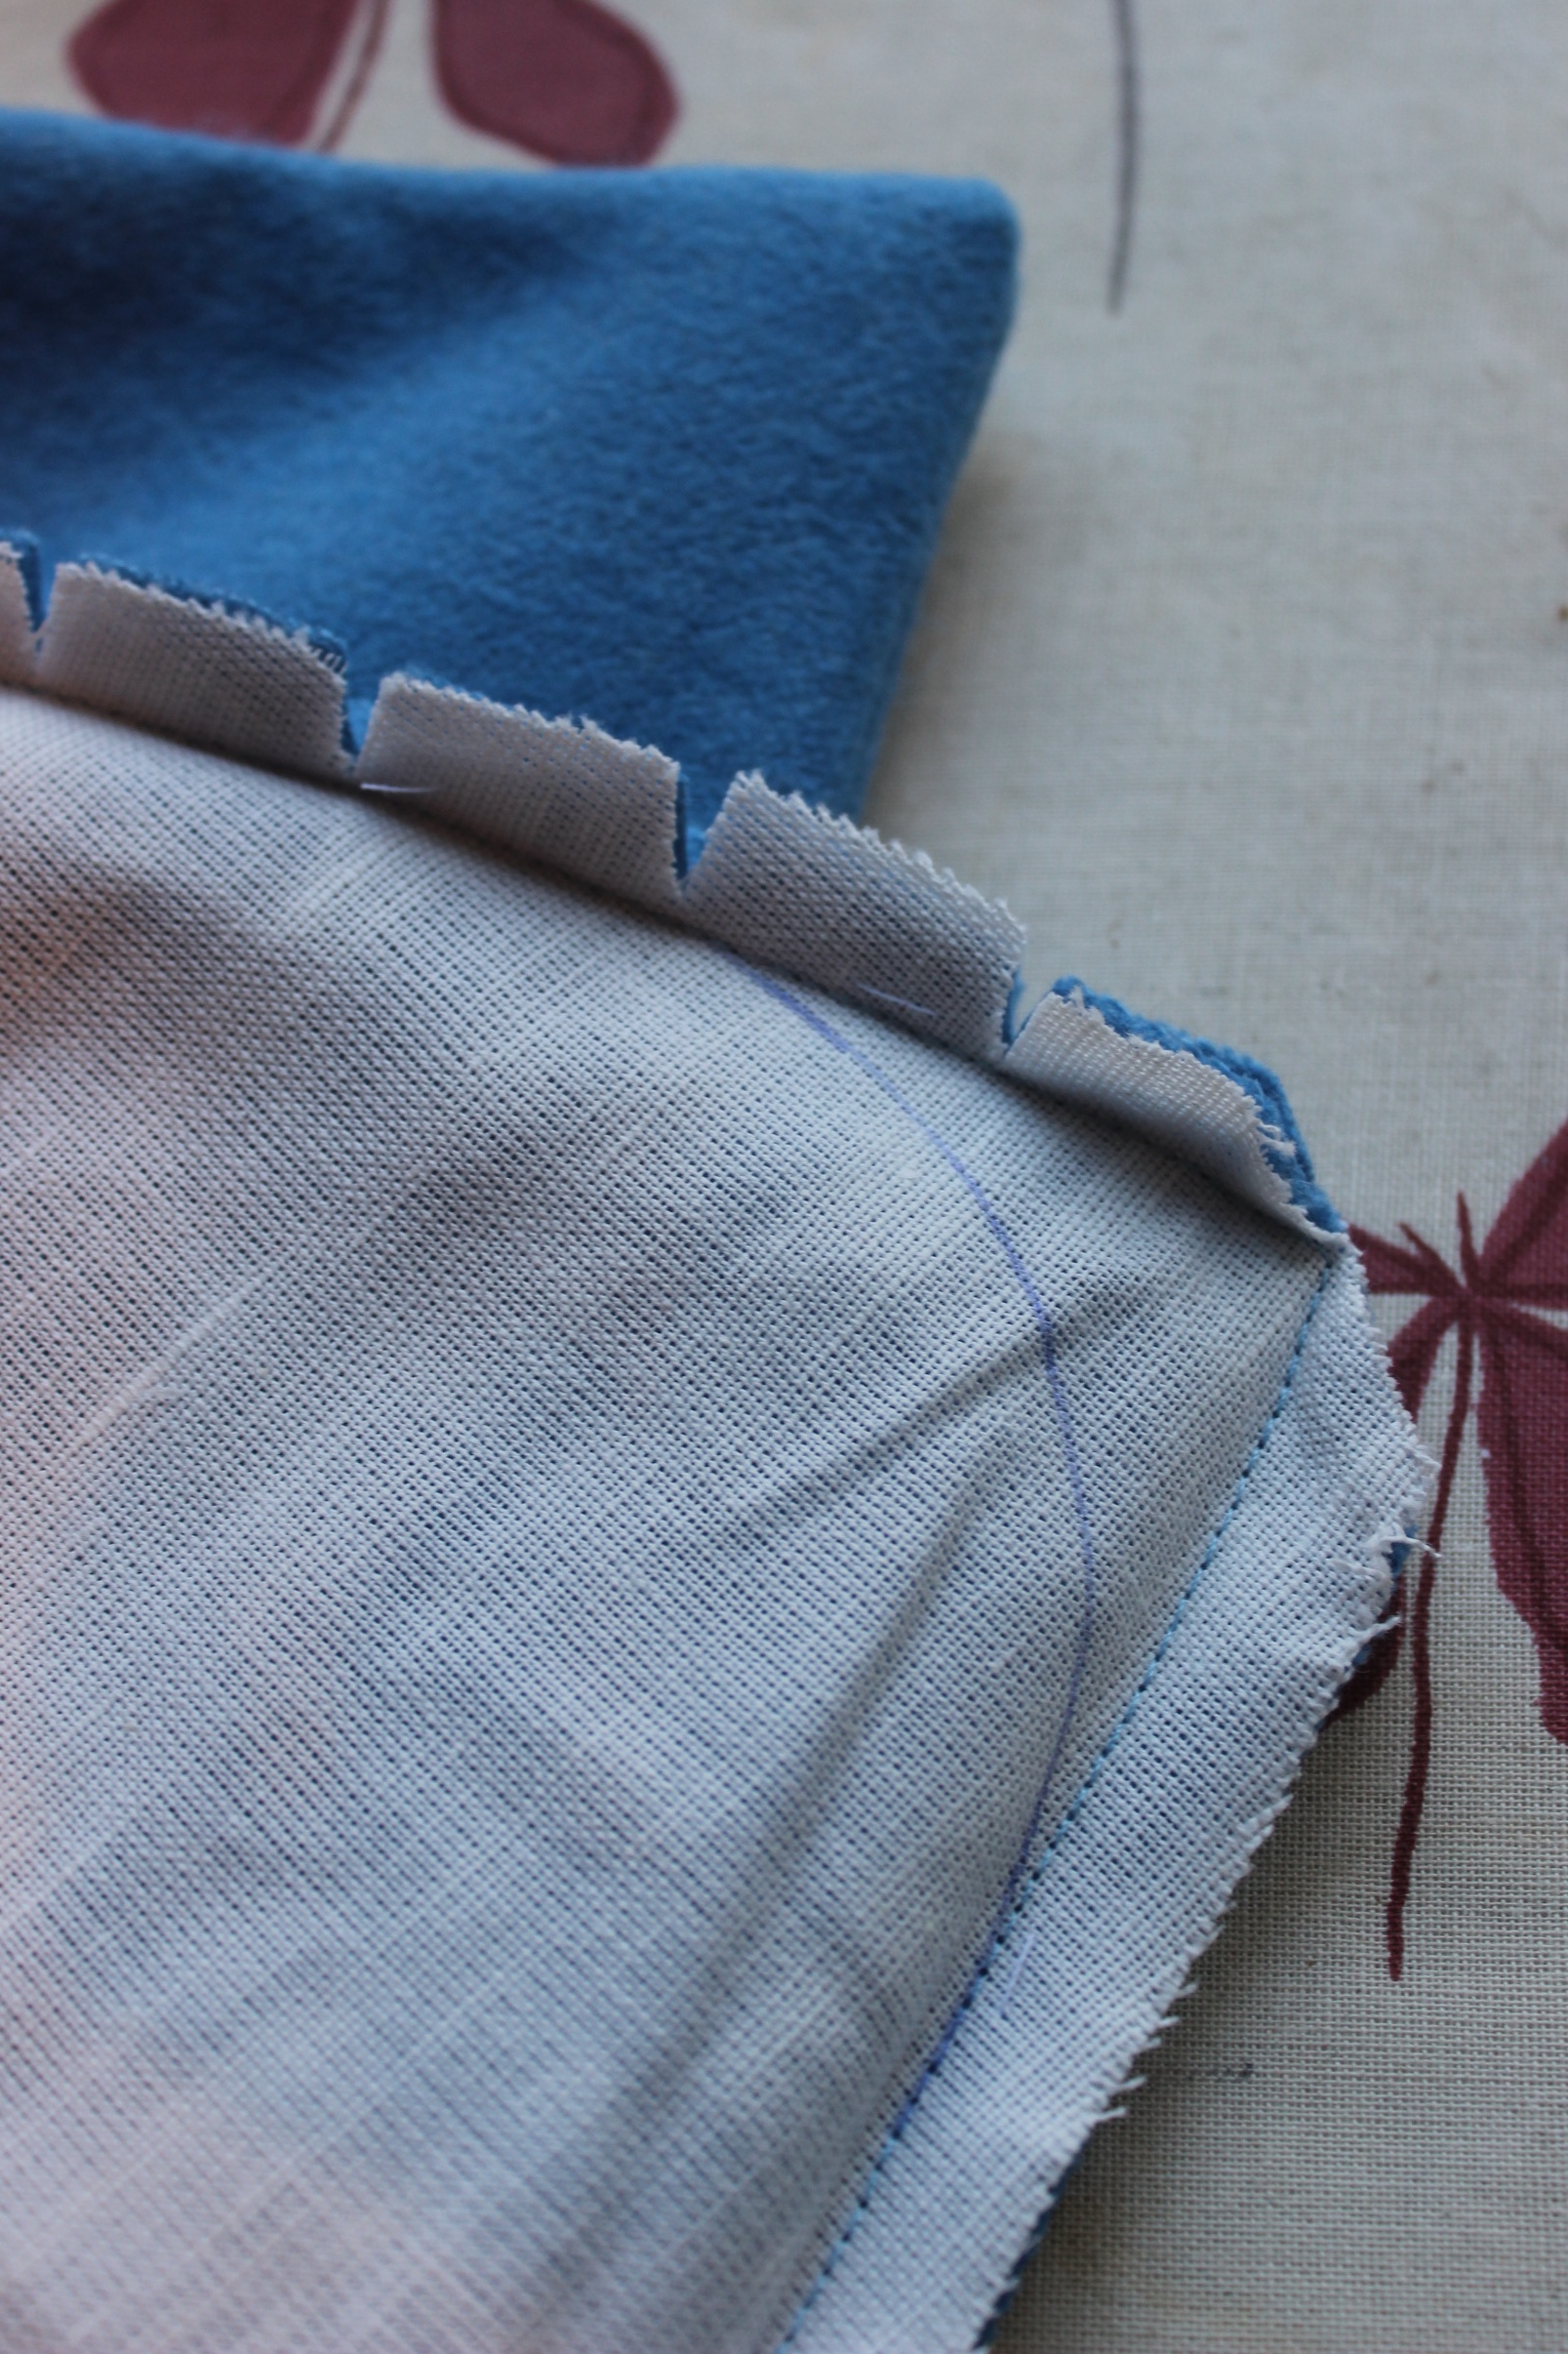
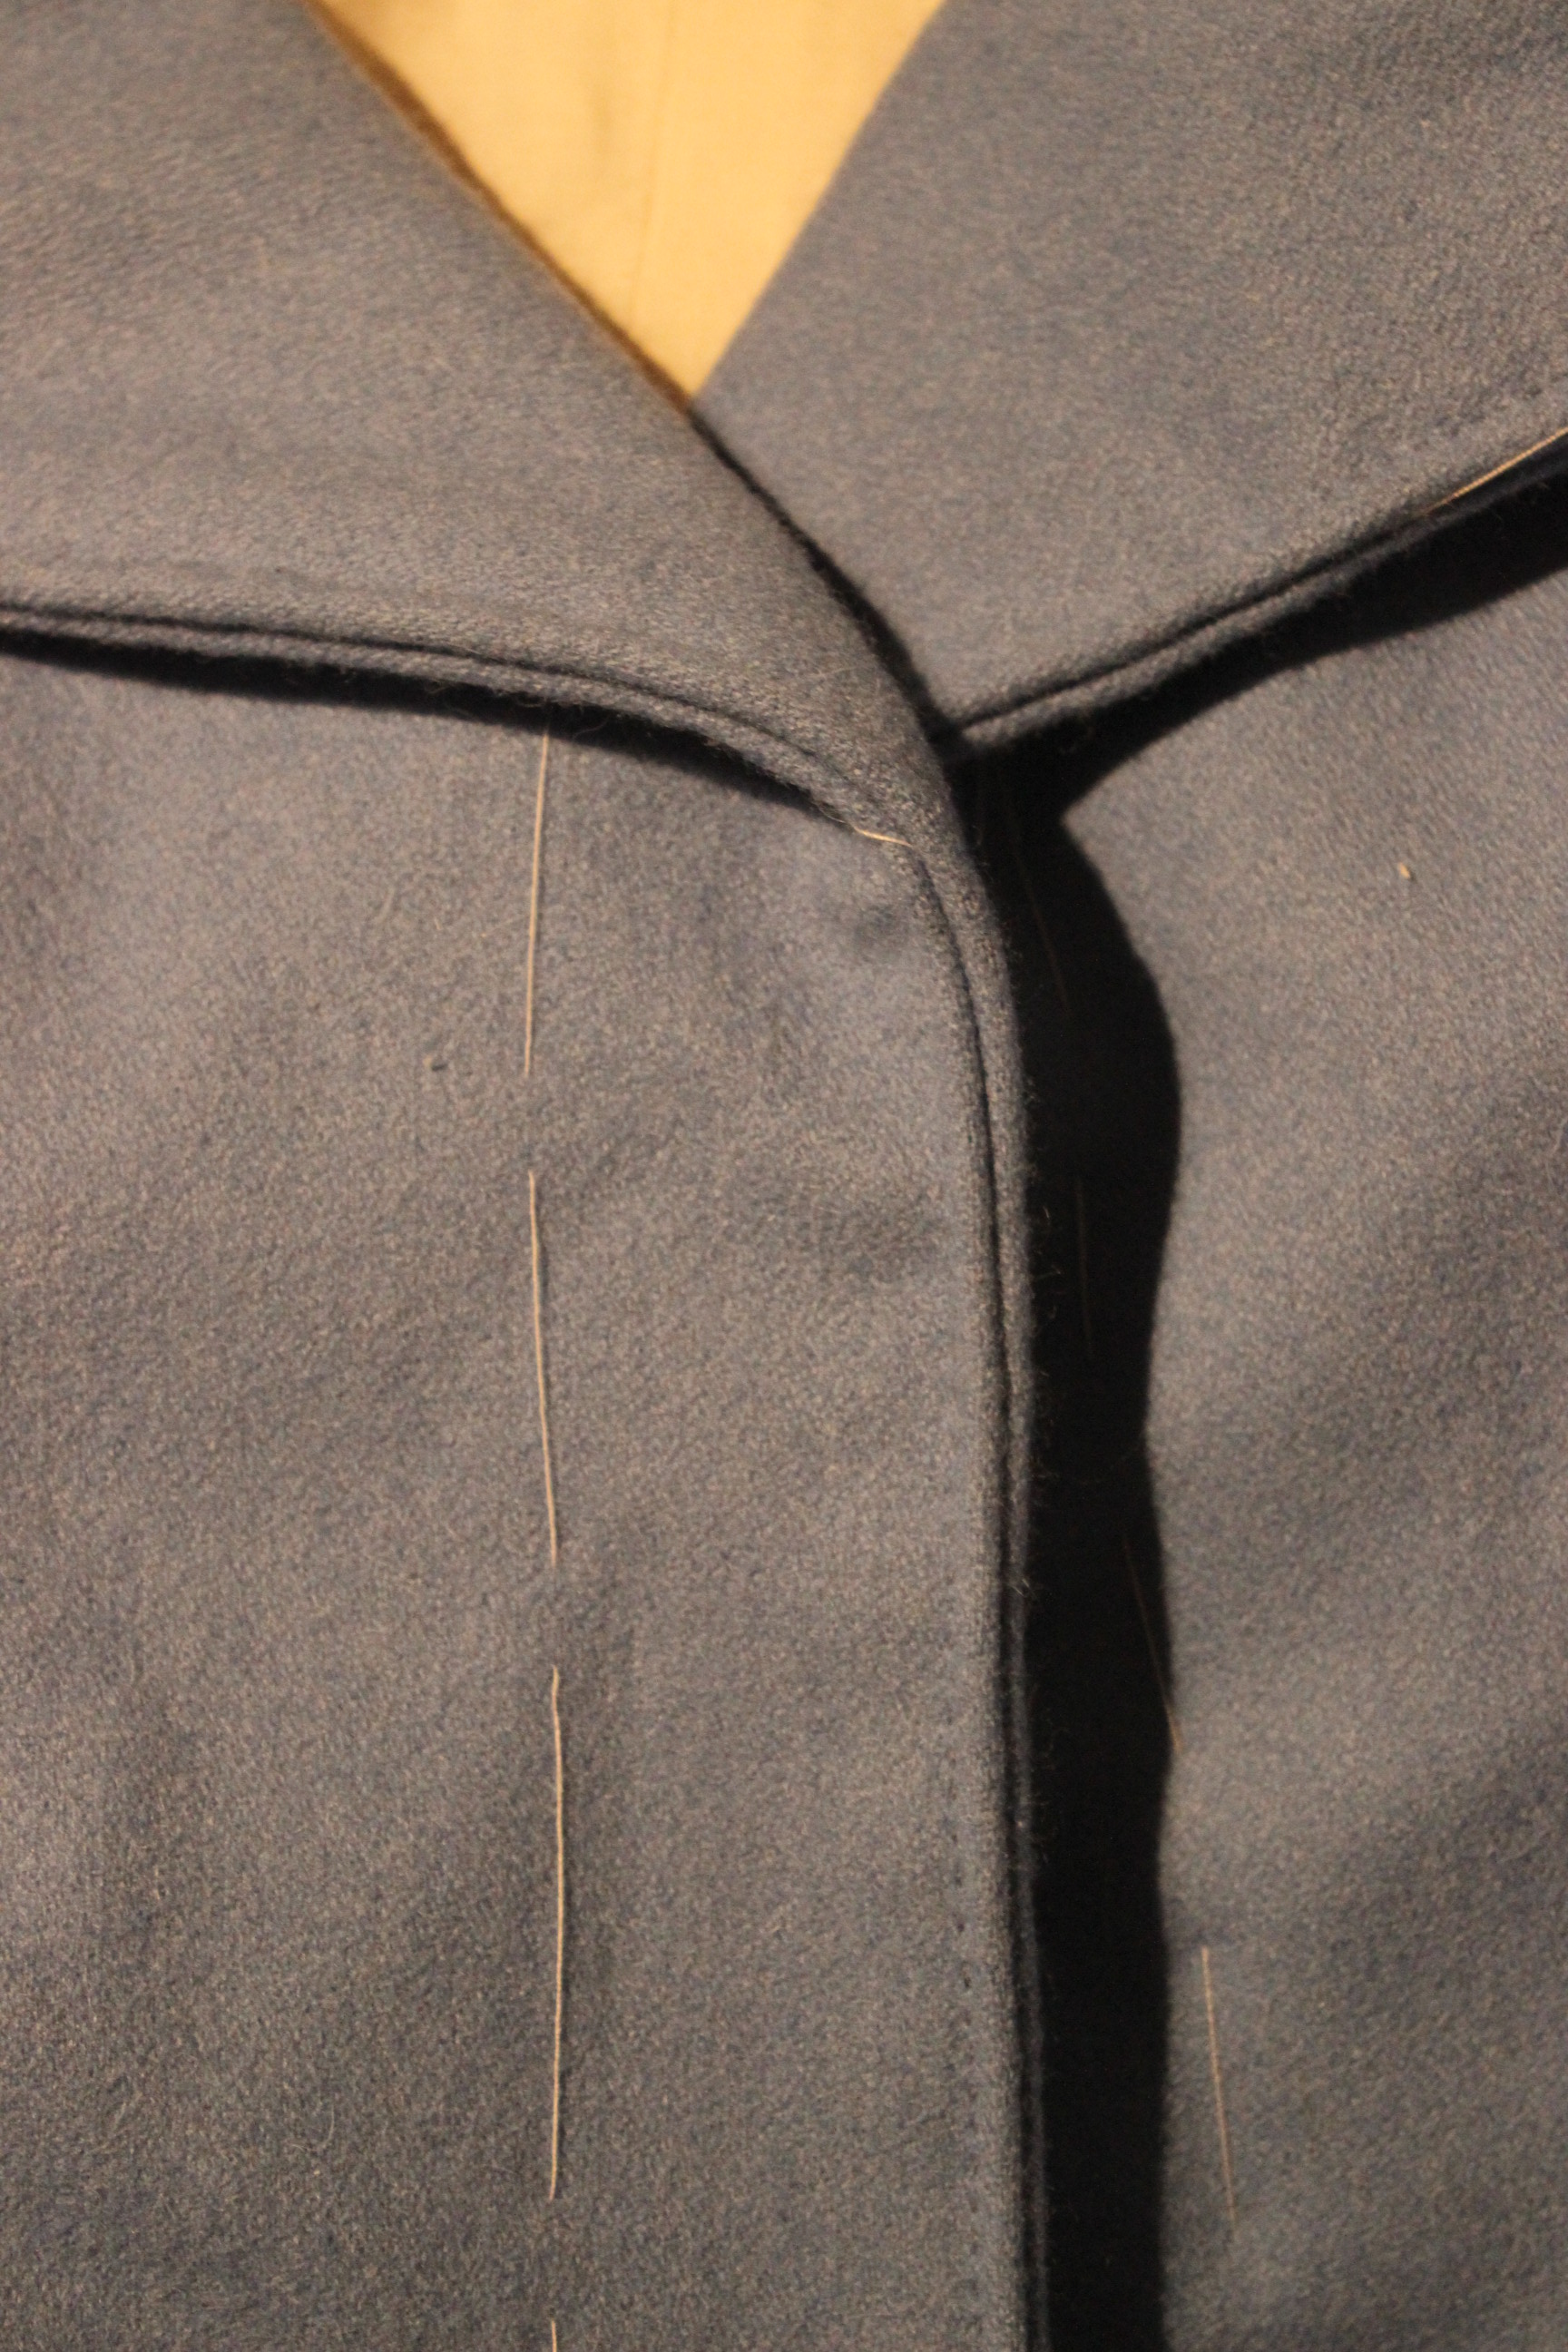
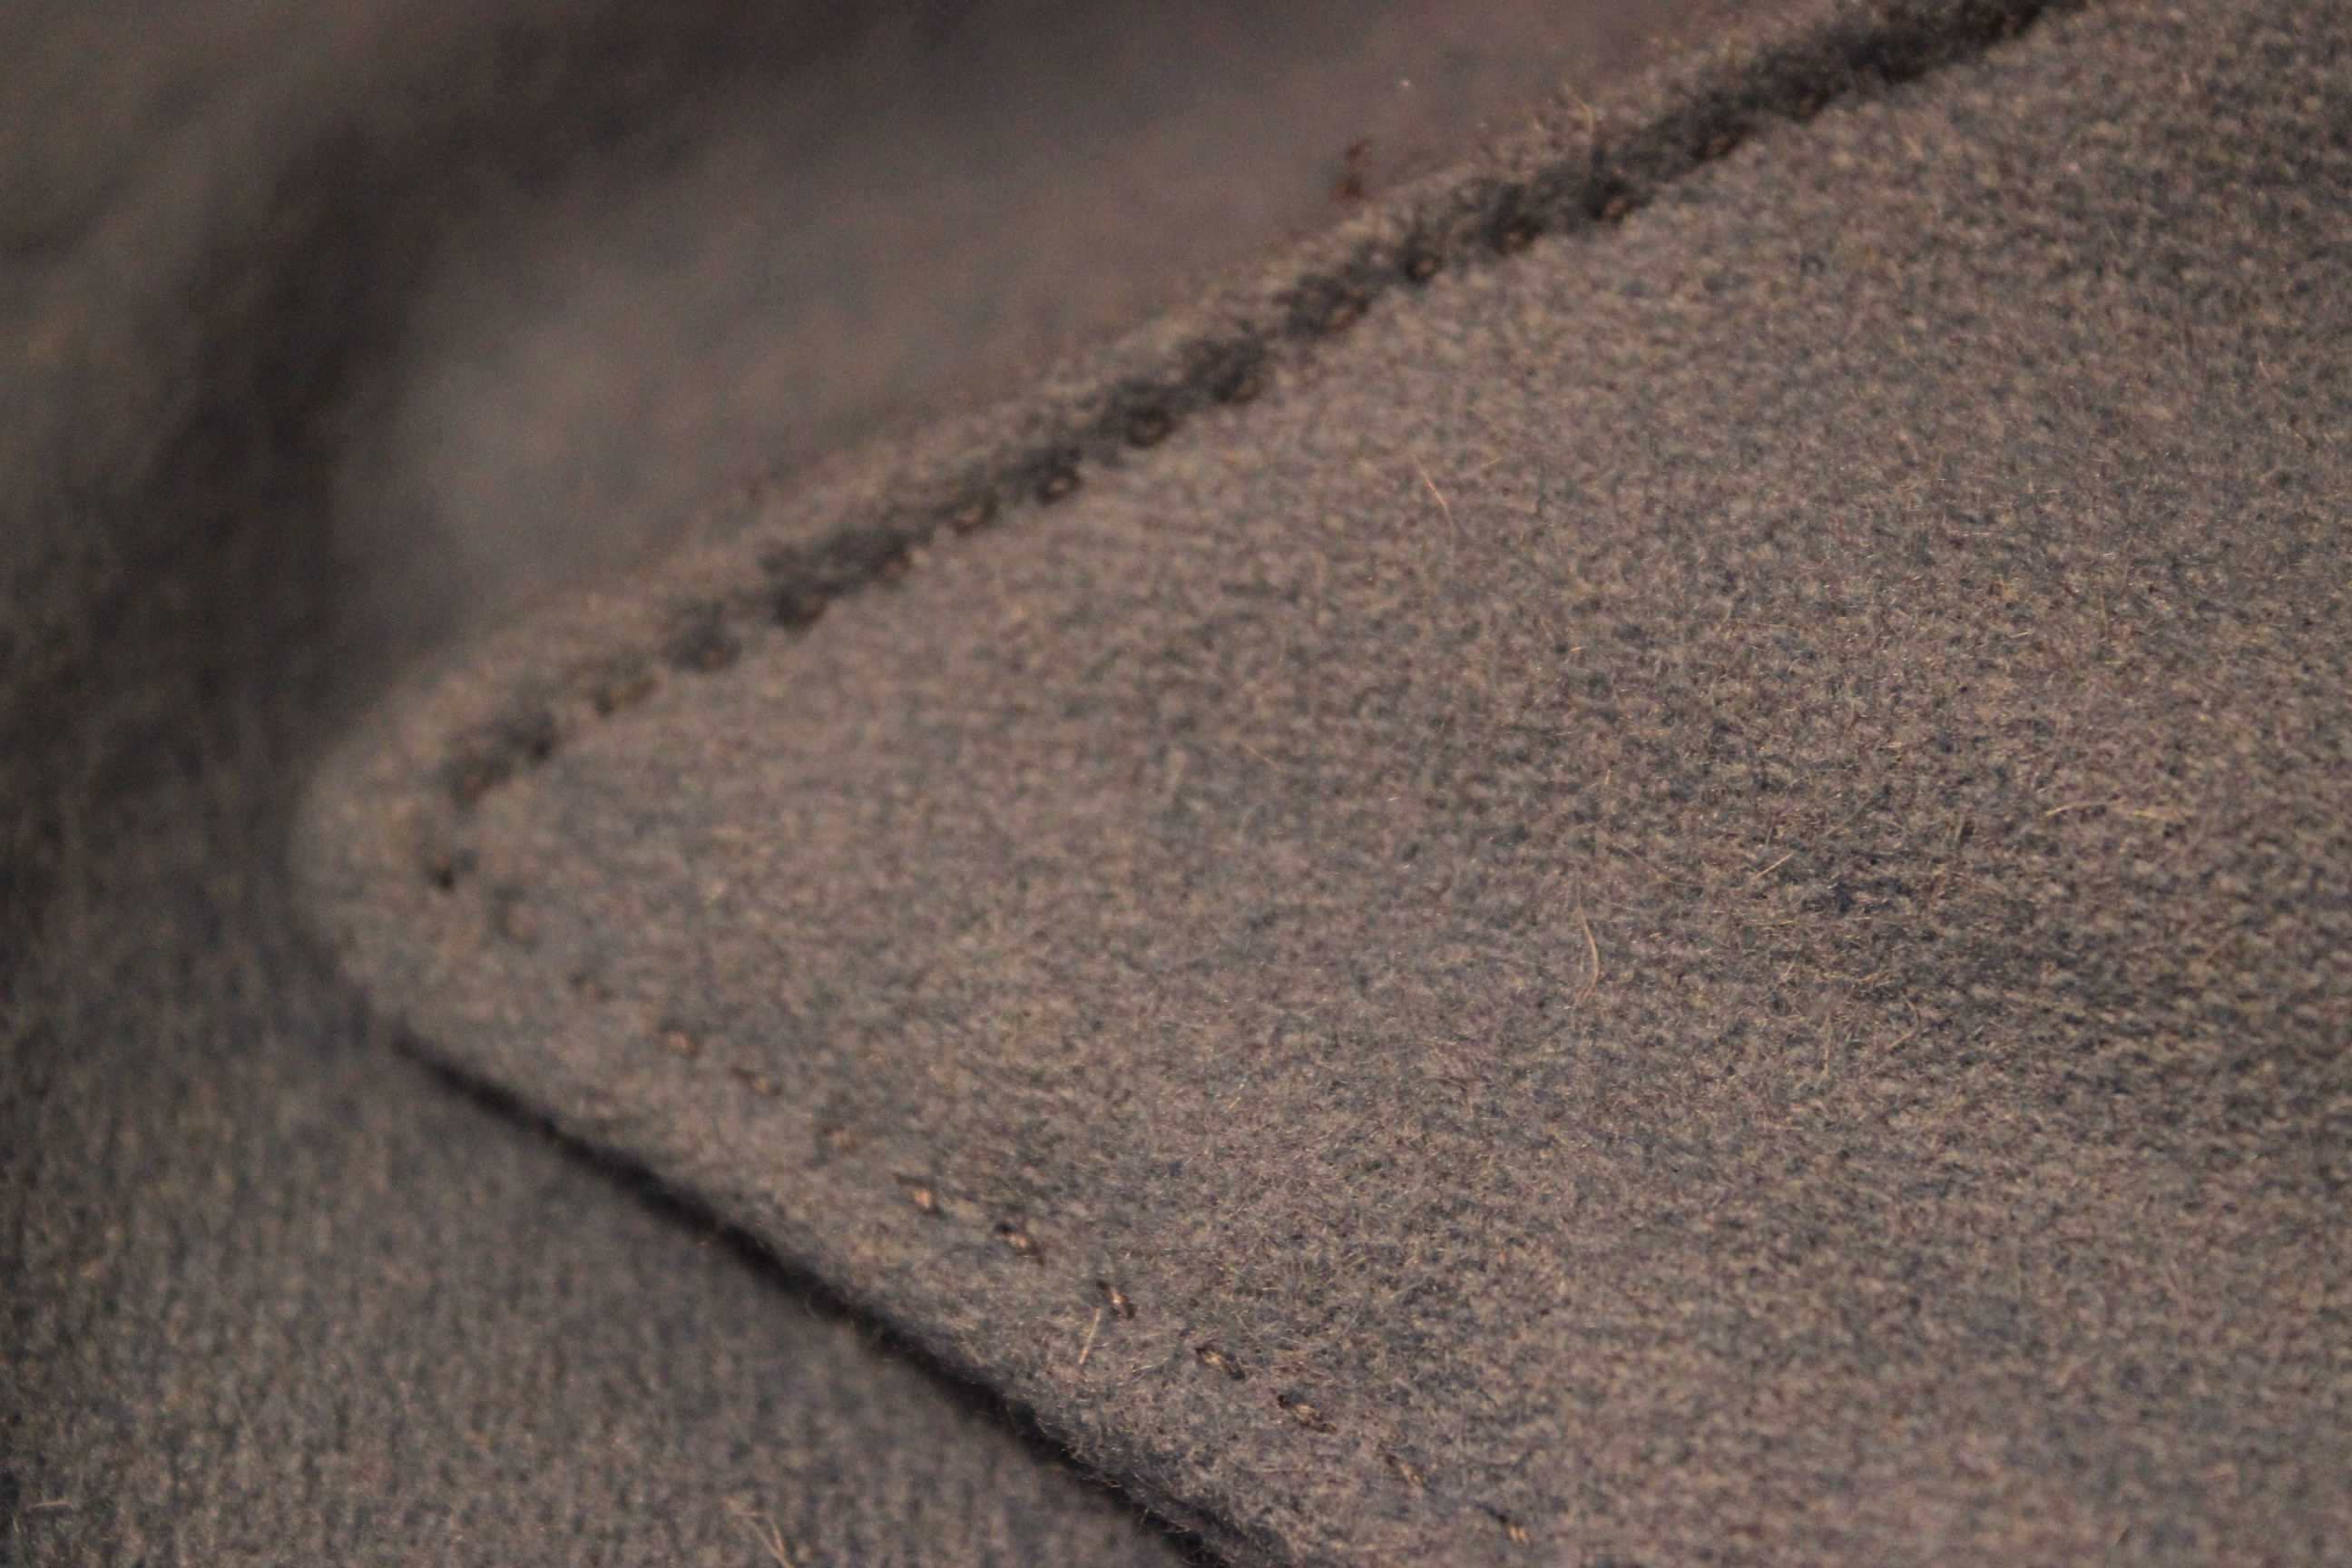
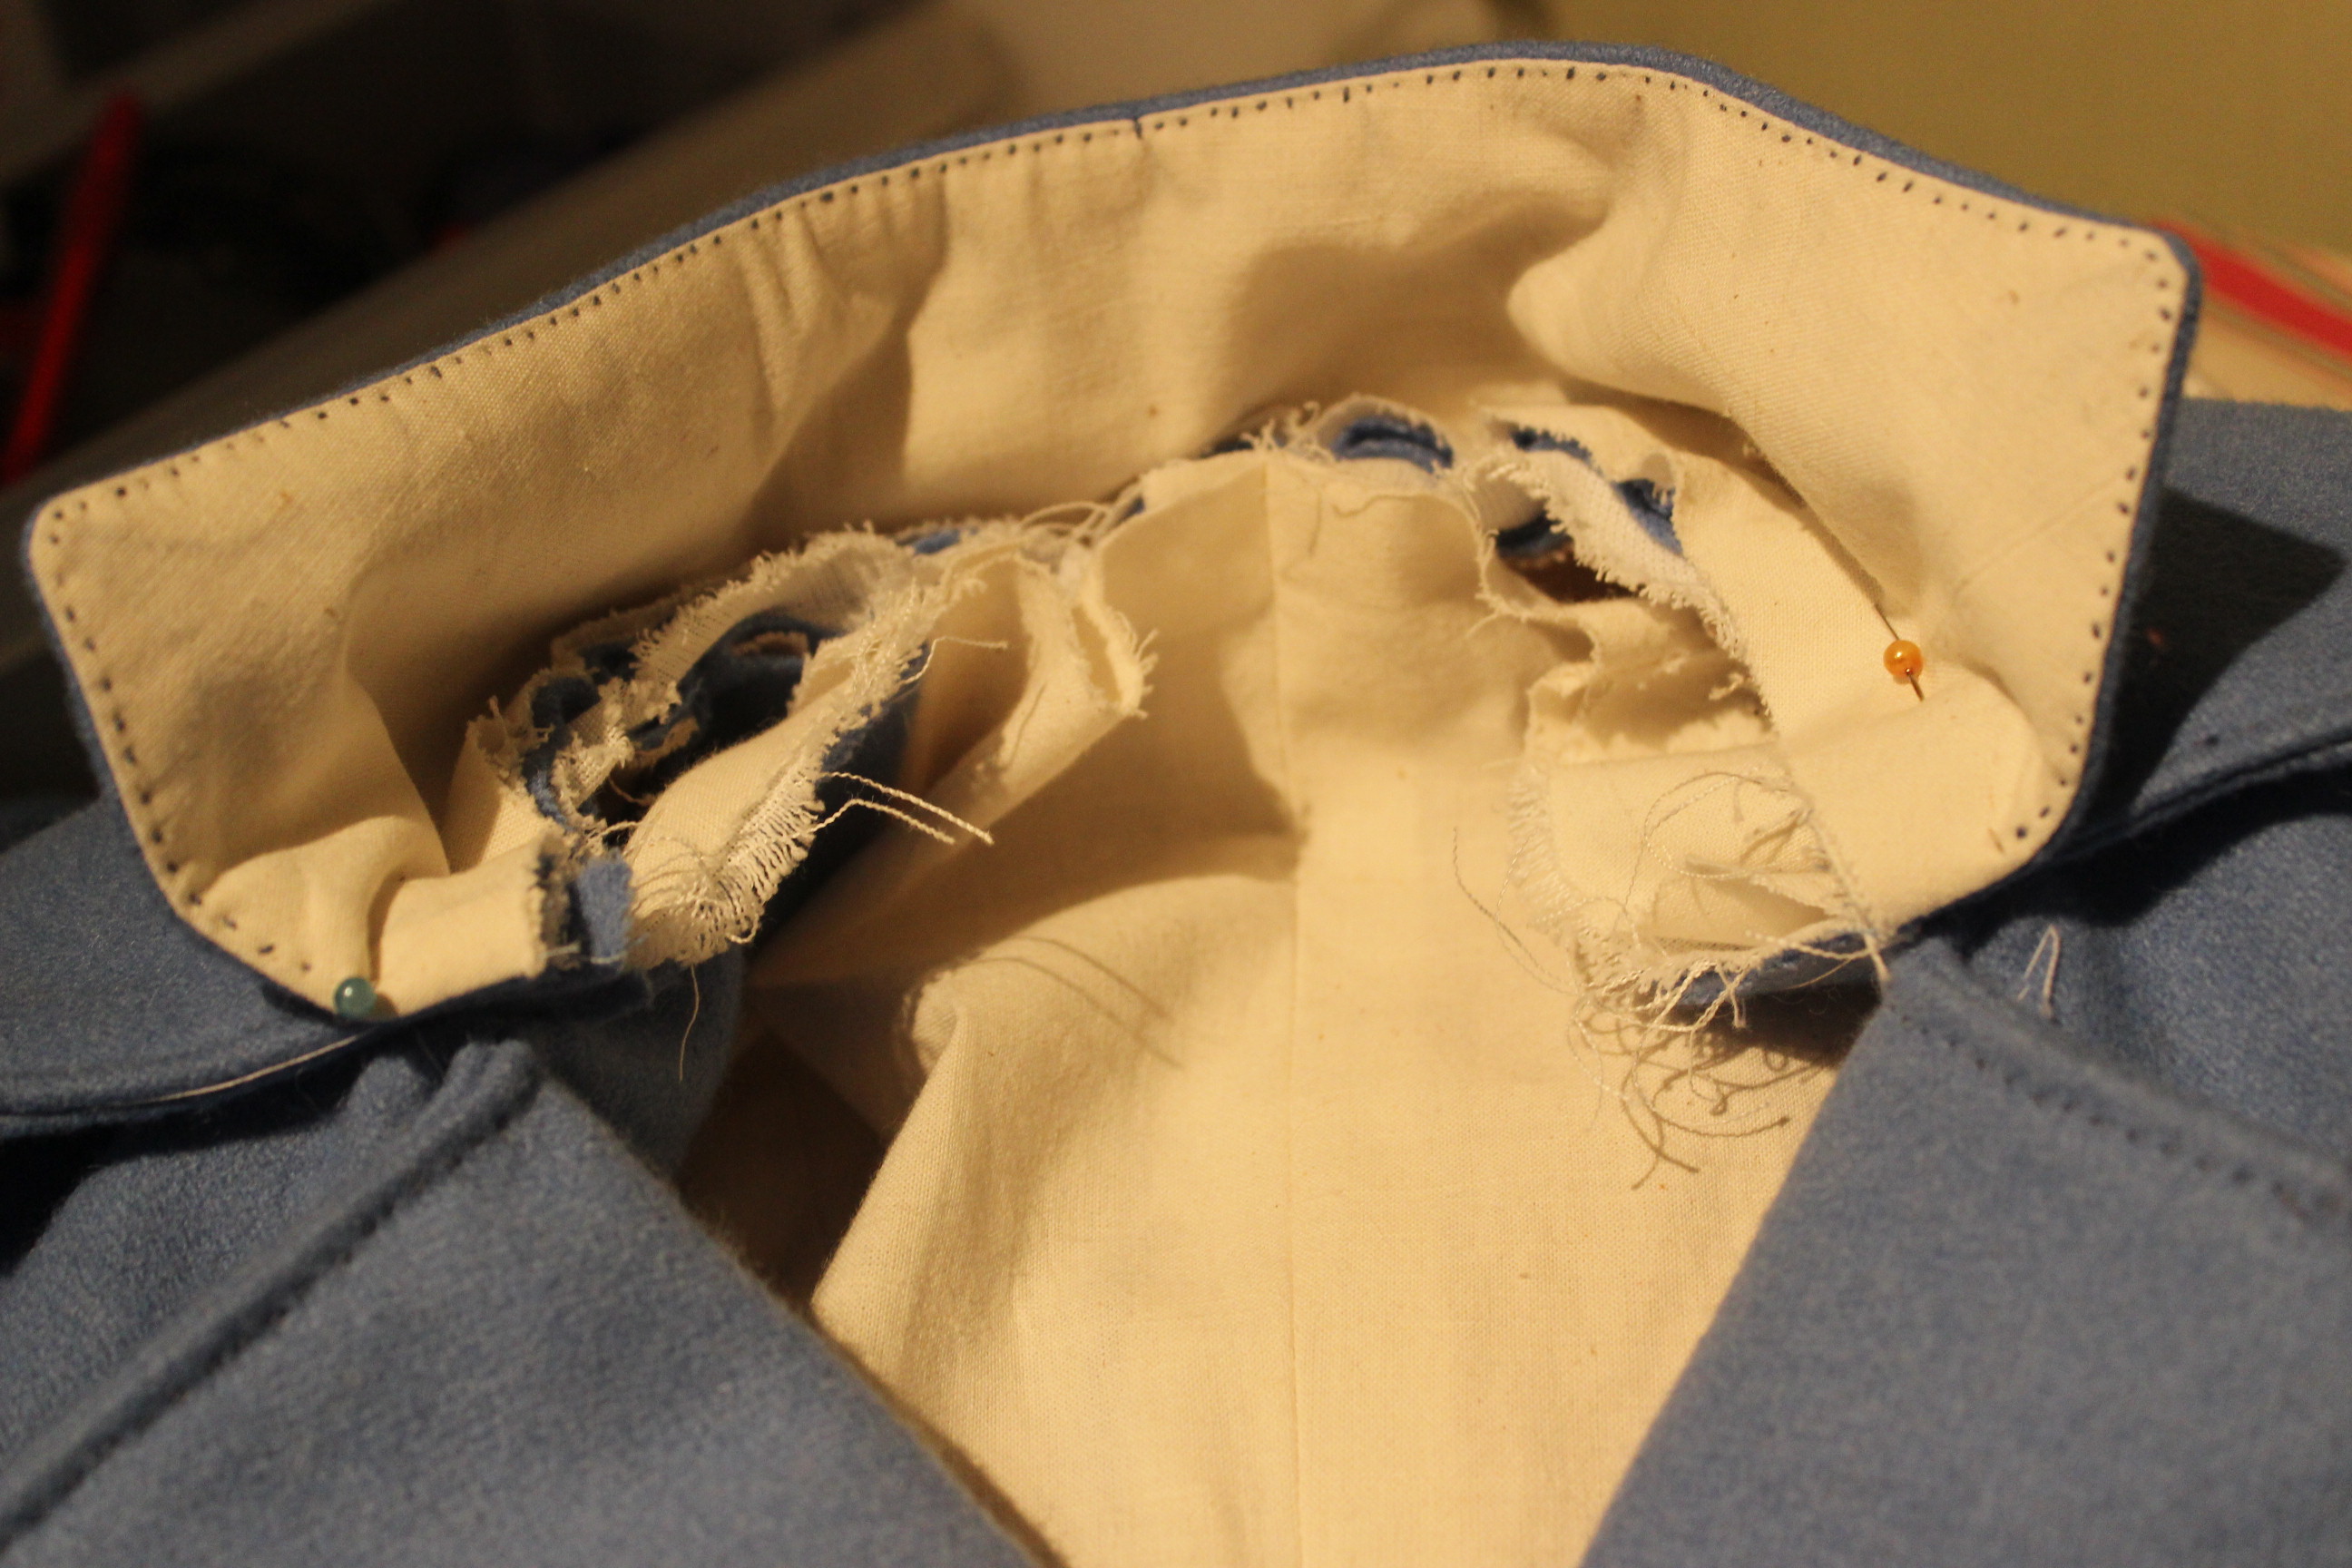
 But after lots of pining and folding (and some cutting of excess) I managed to get the edge to look like I wanted.
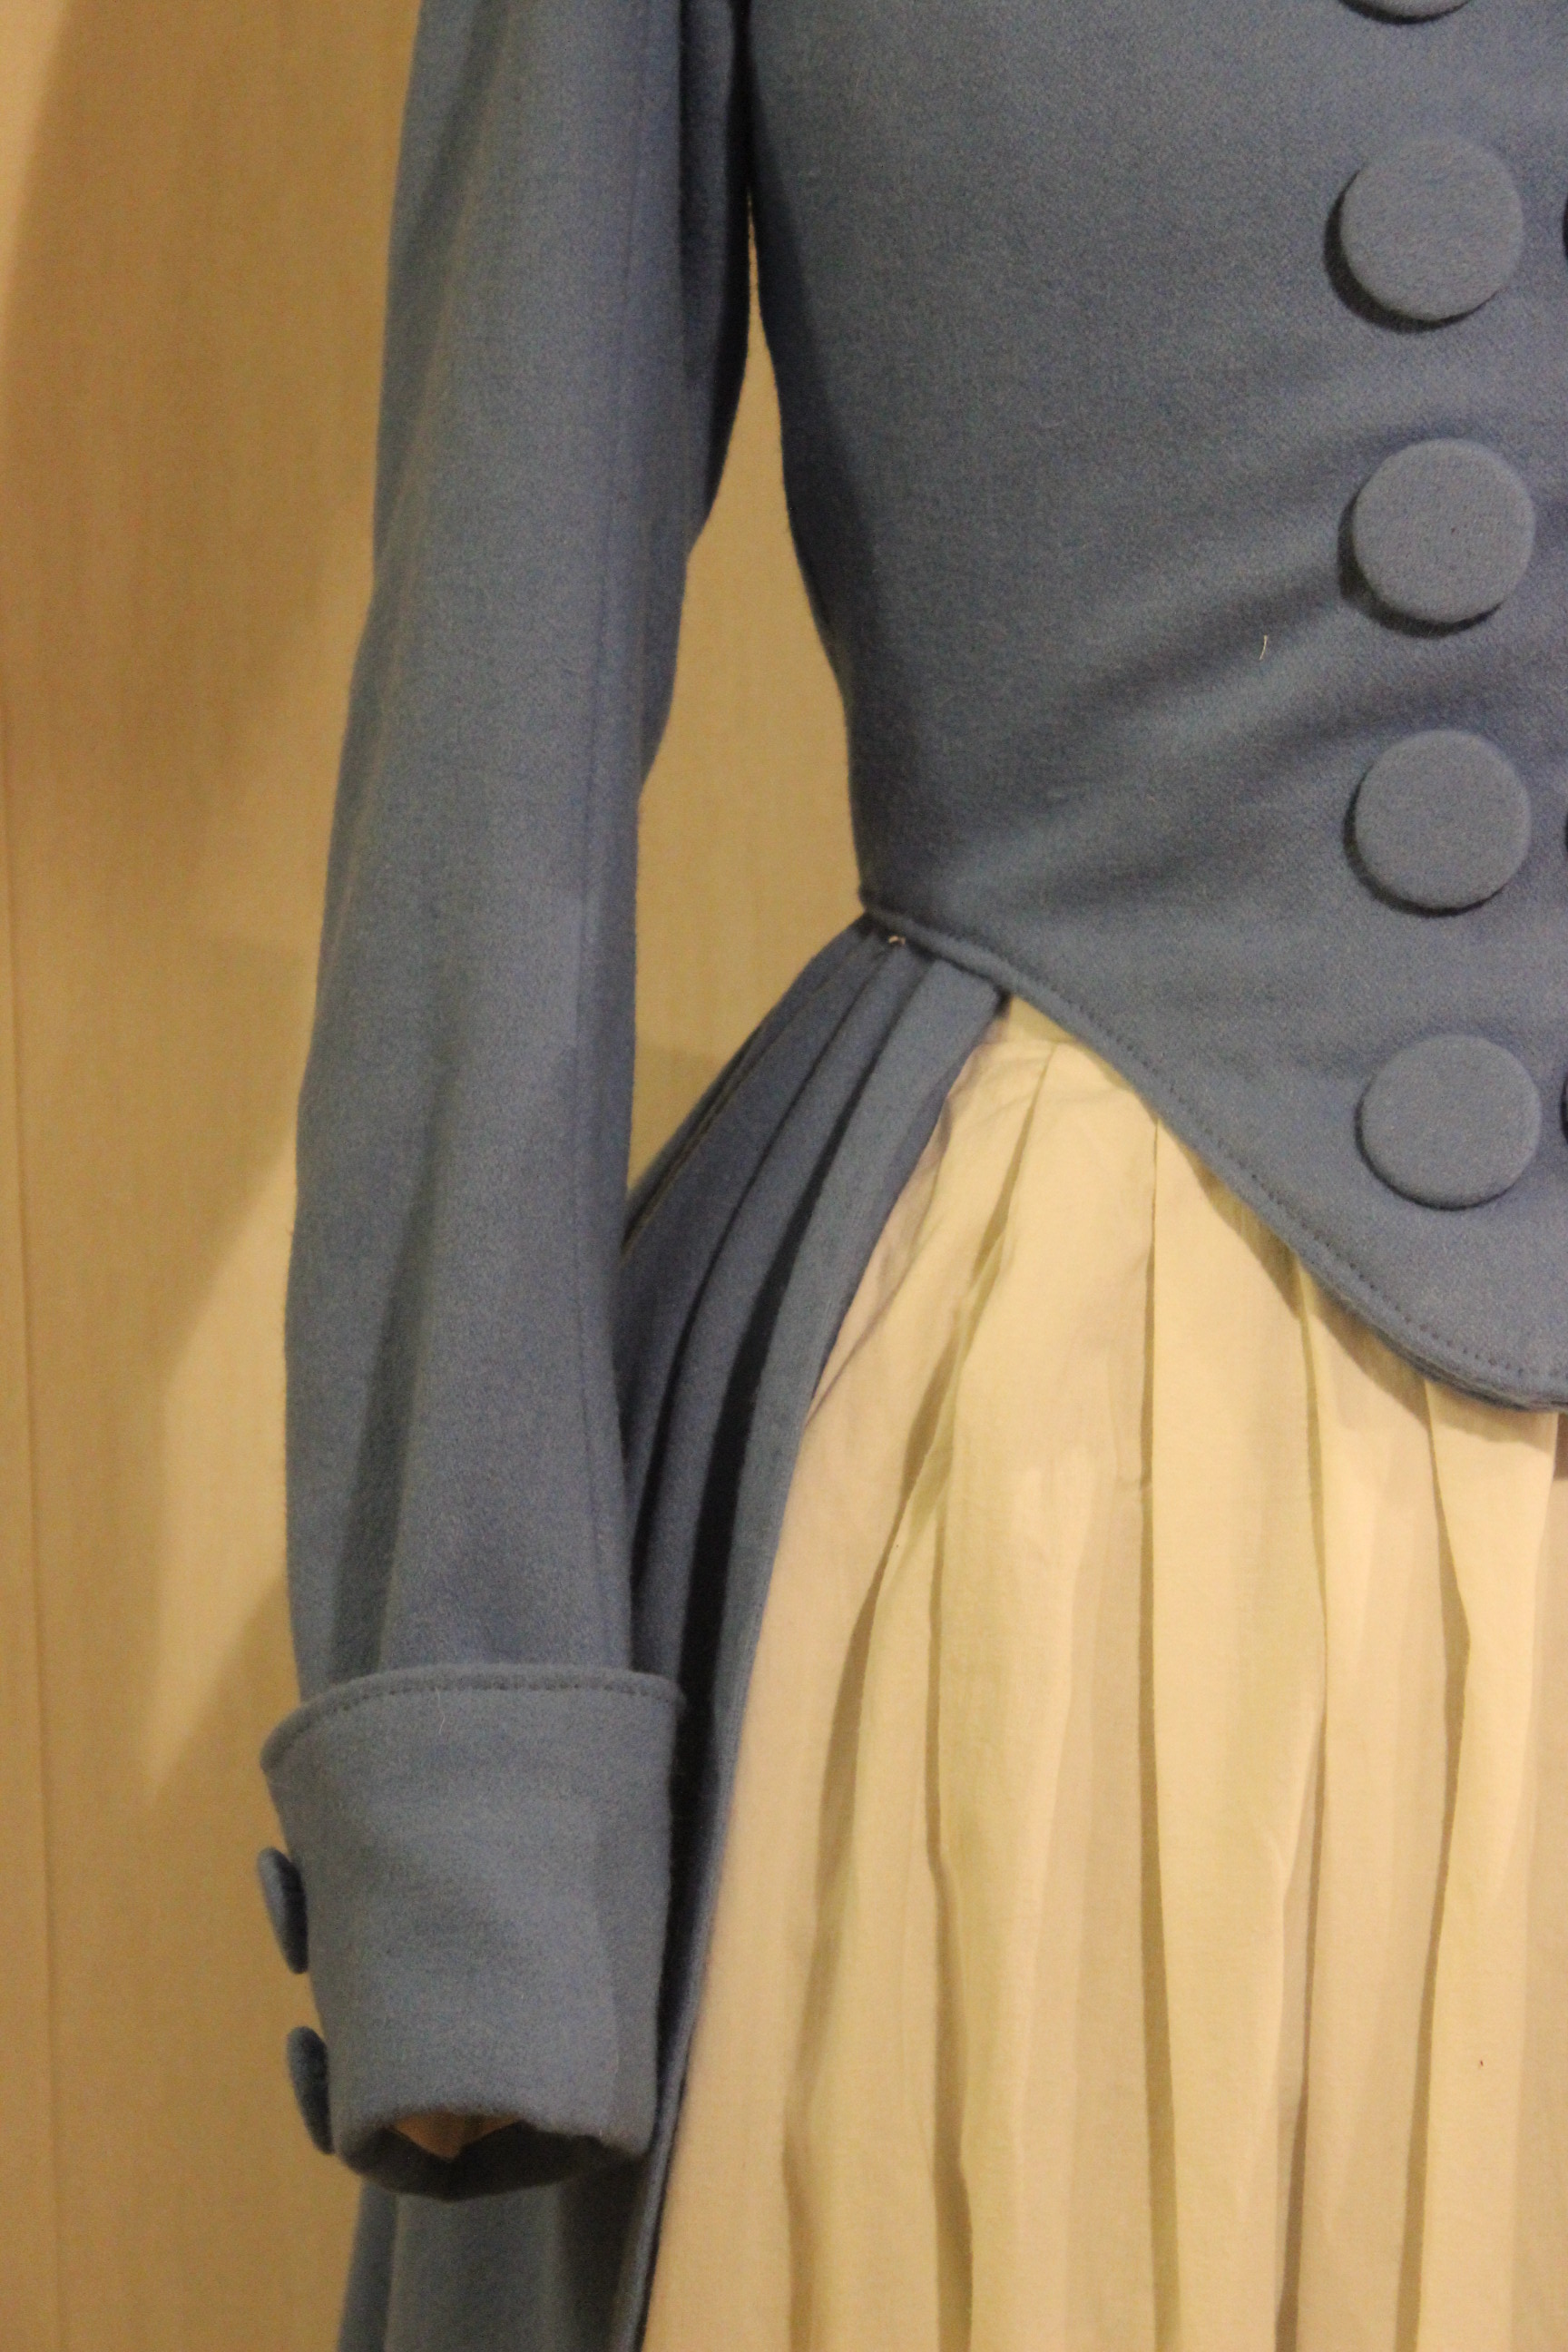
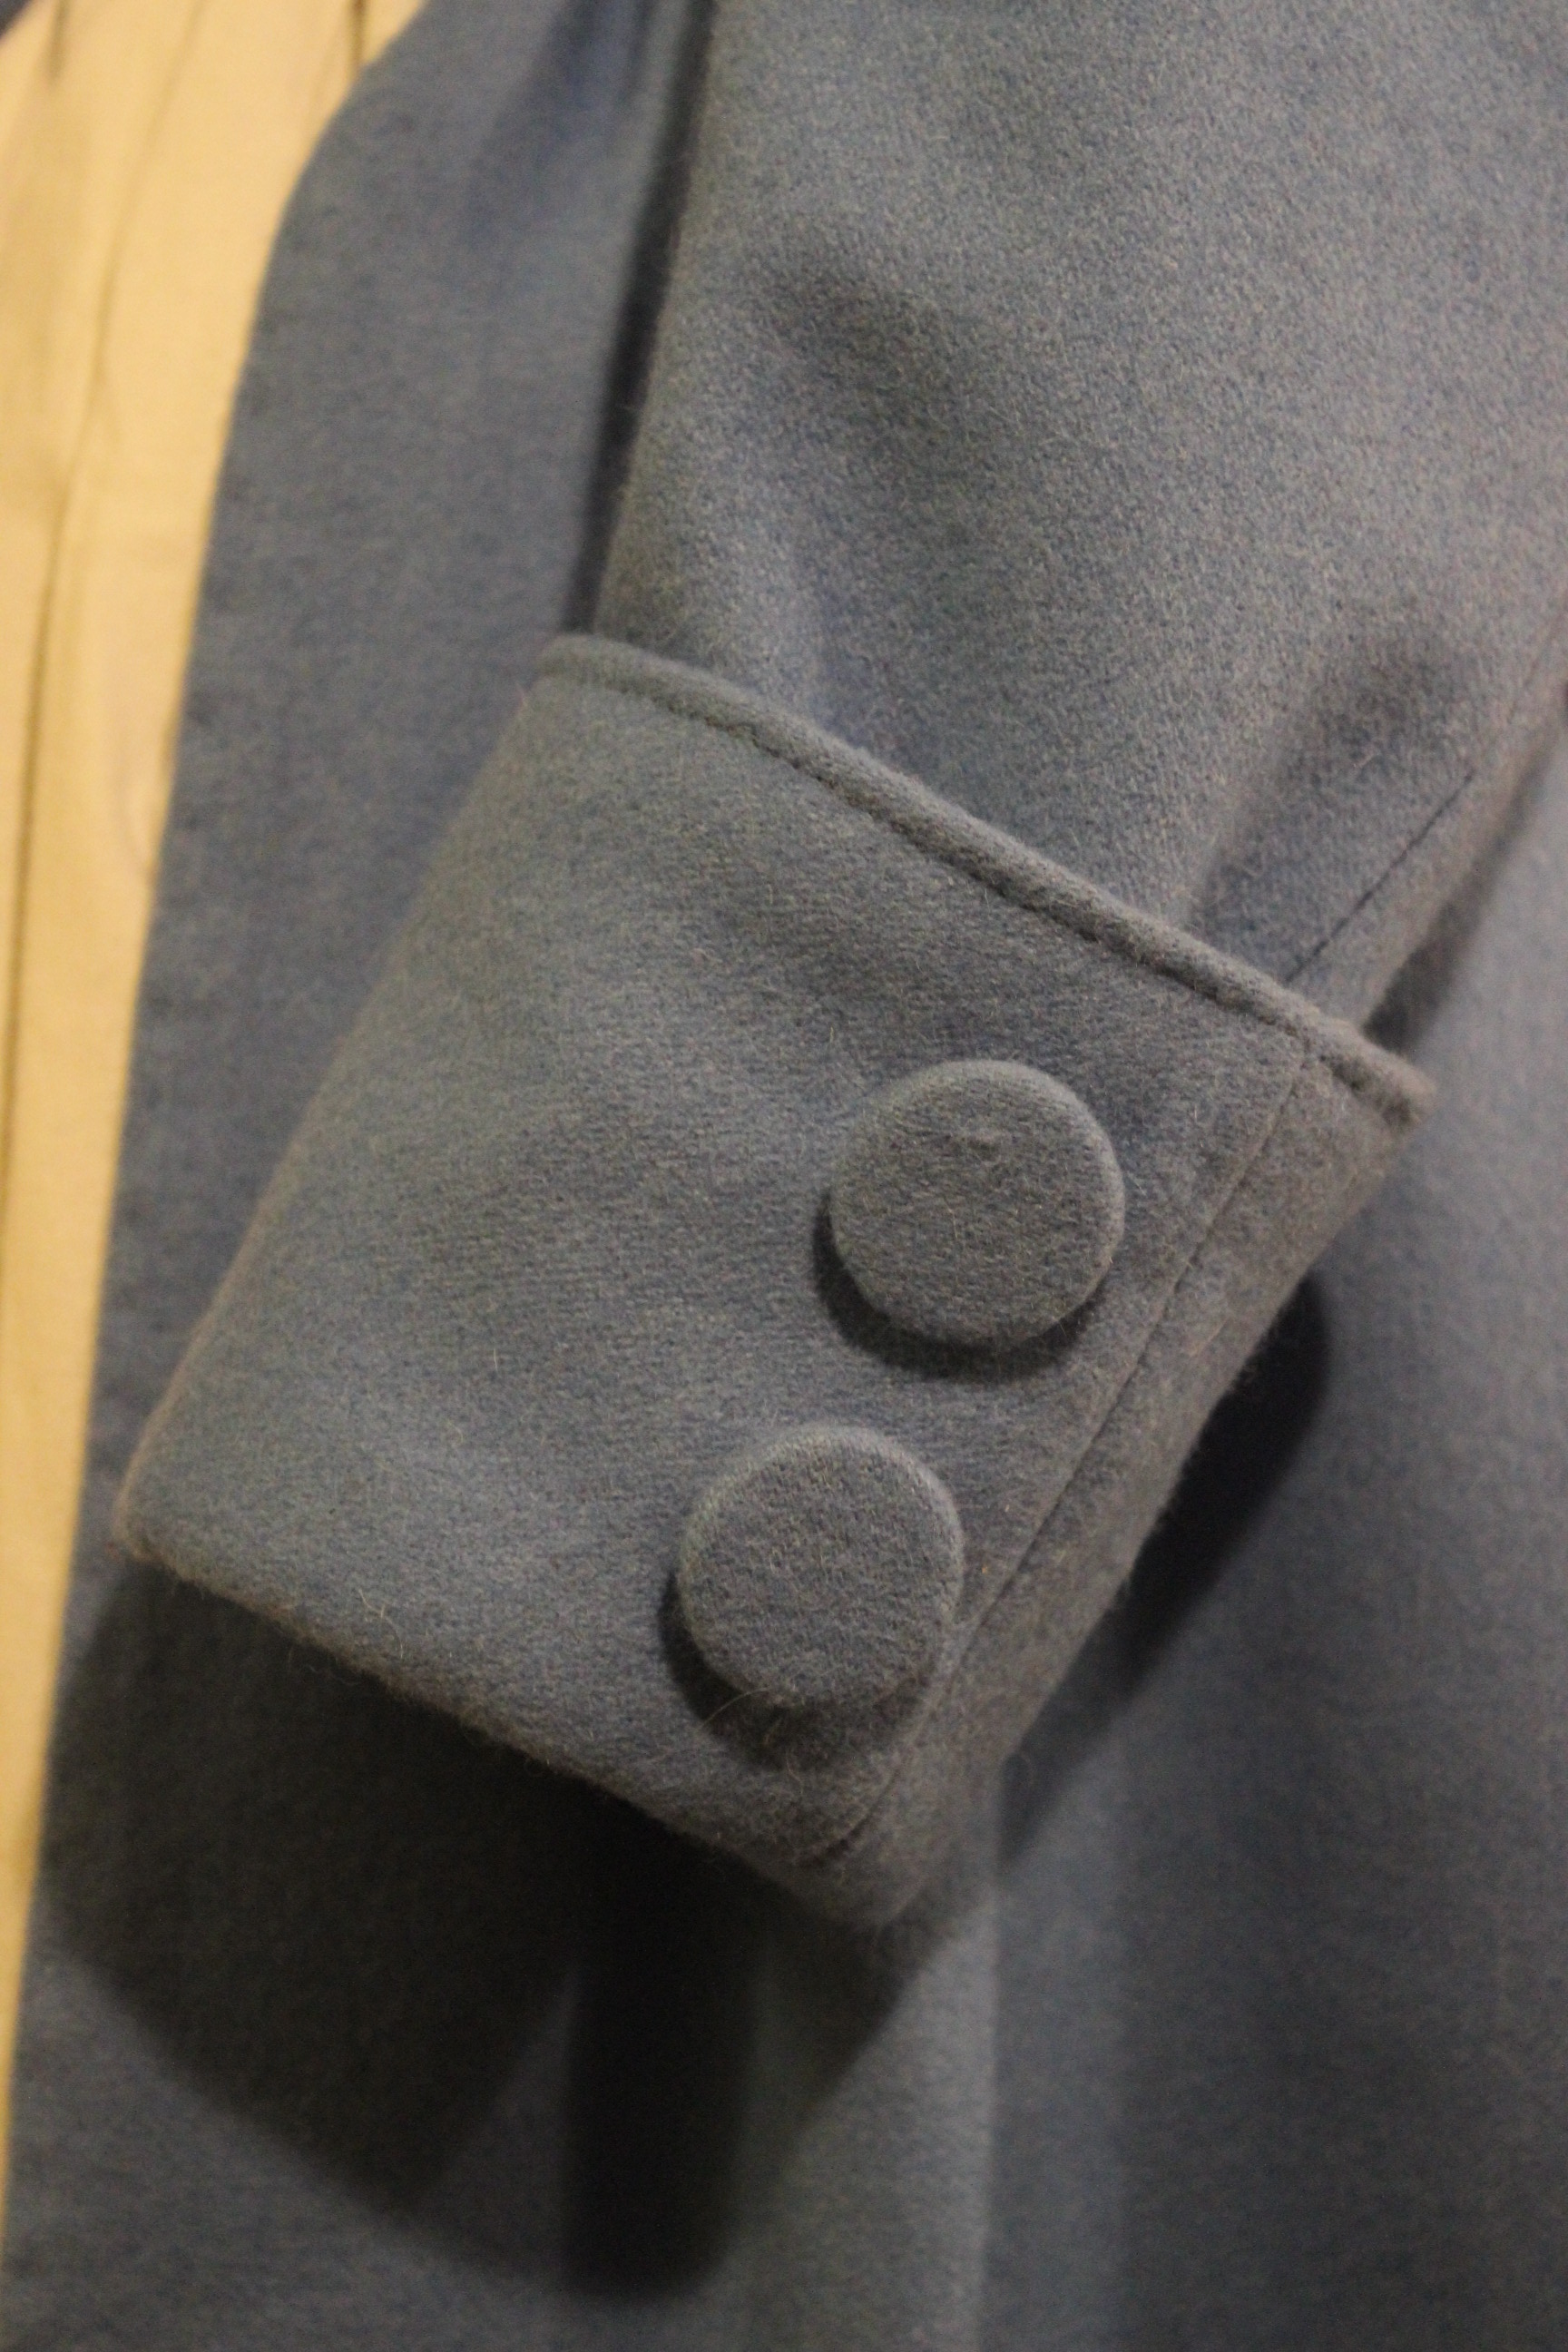
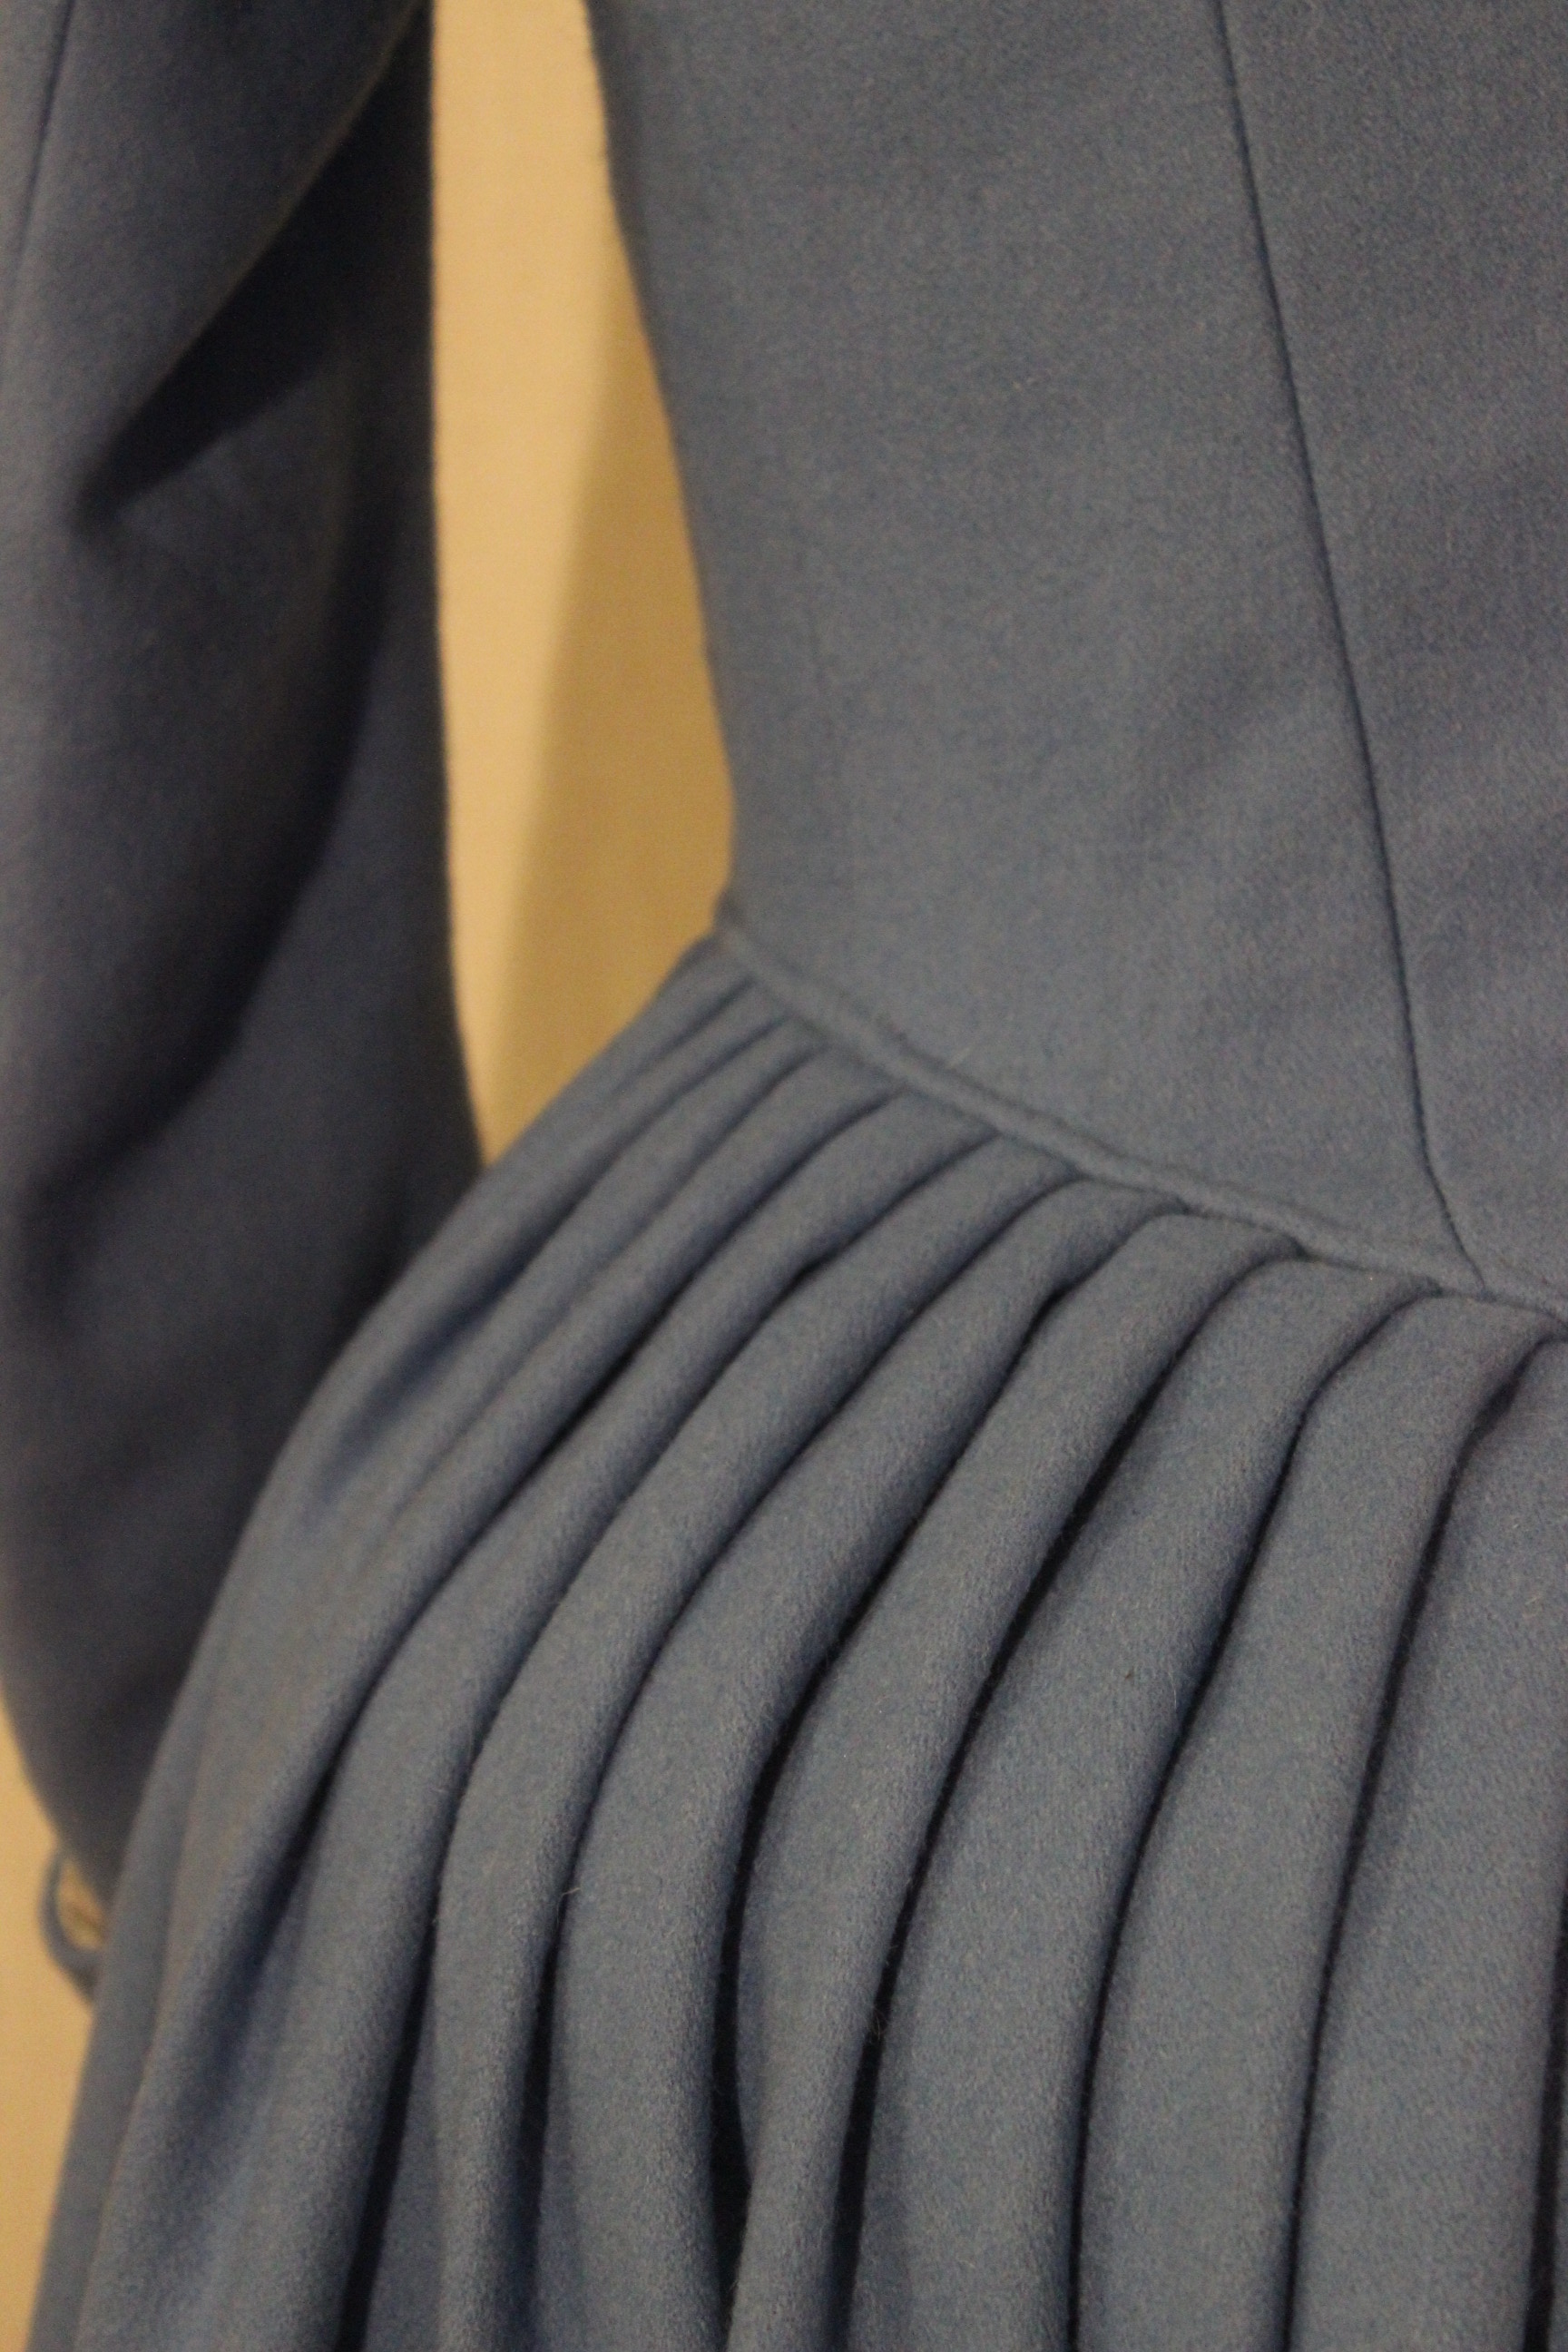
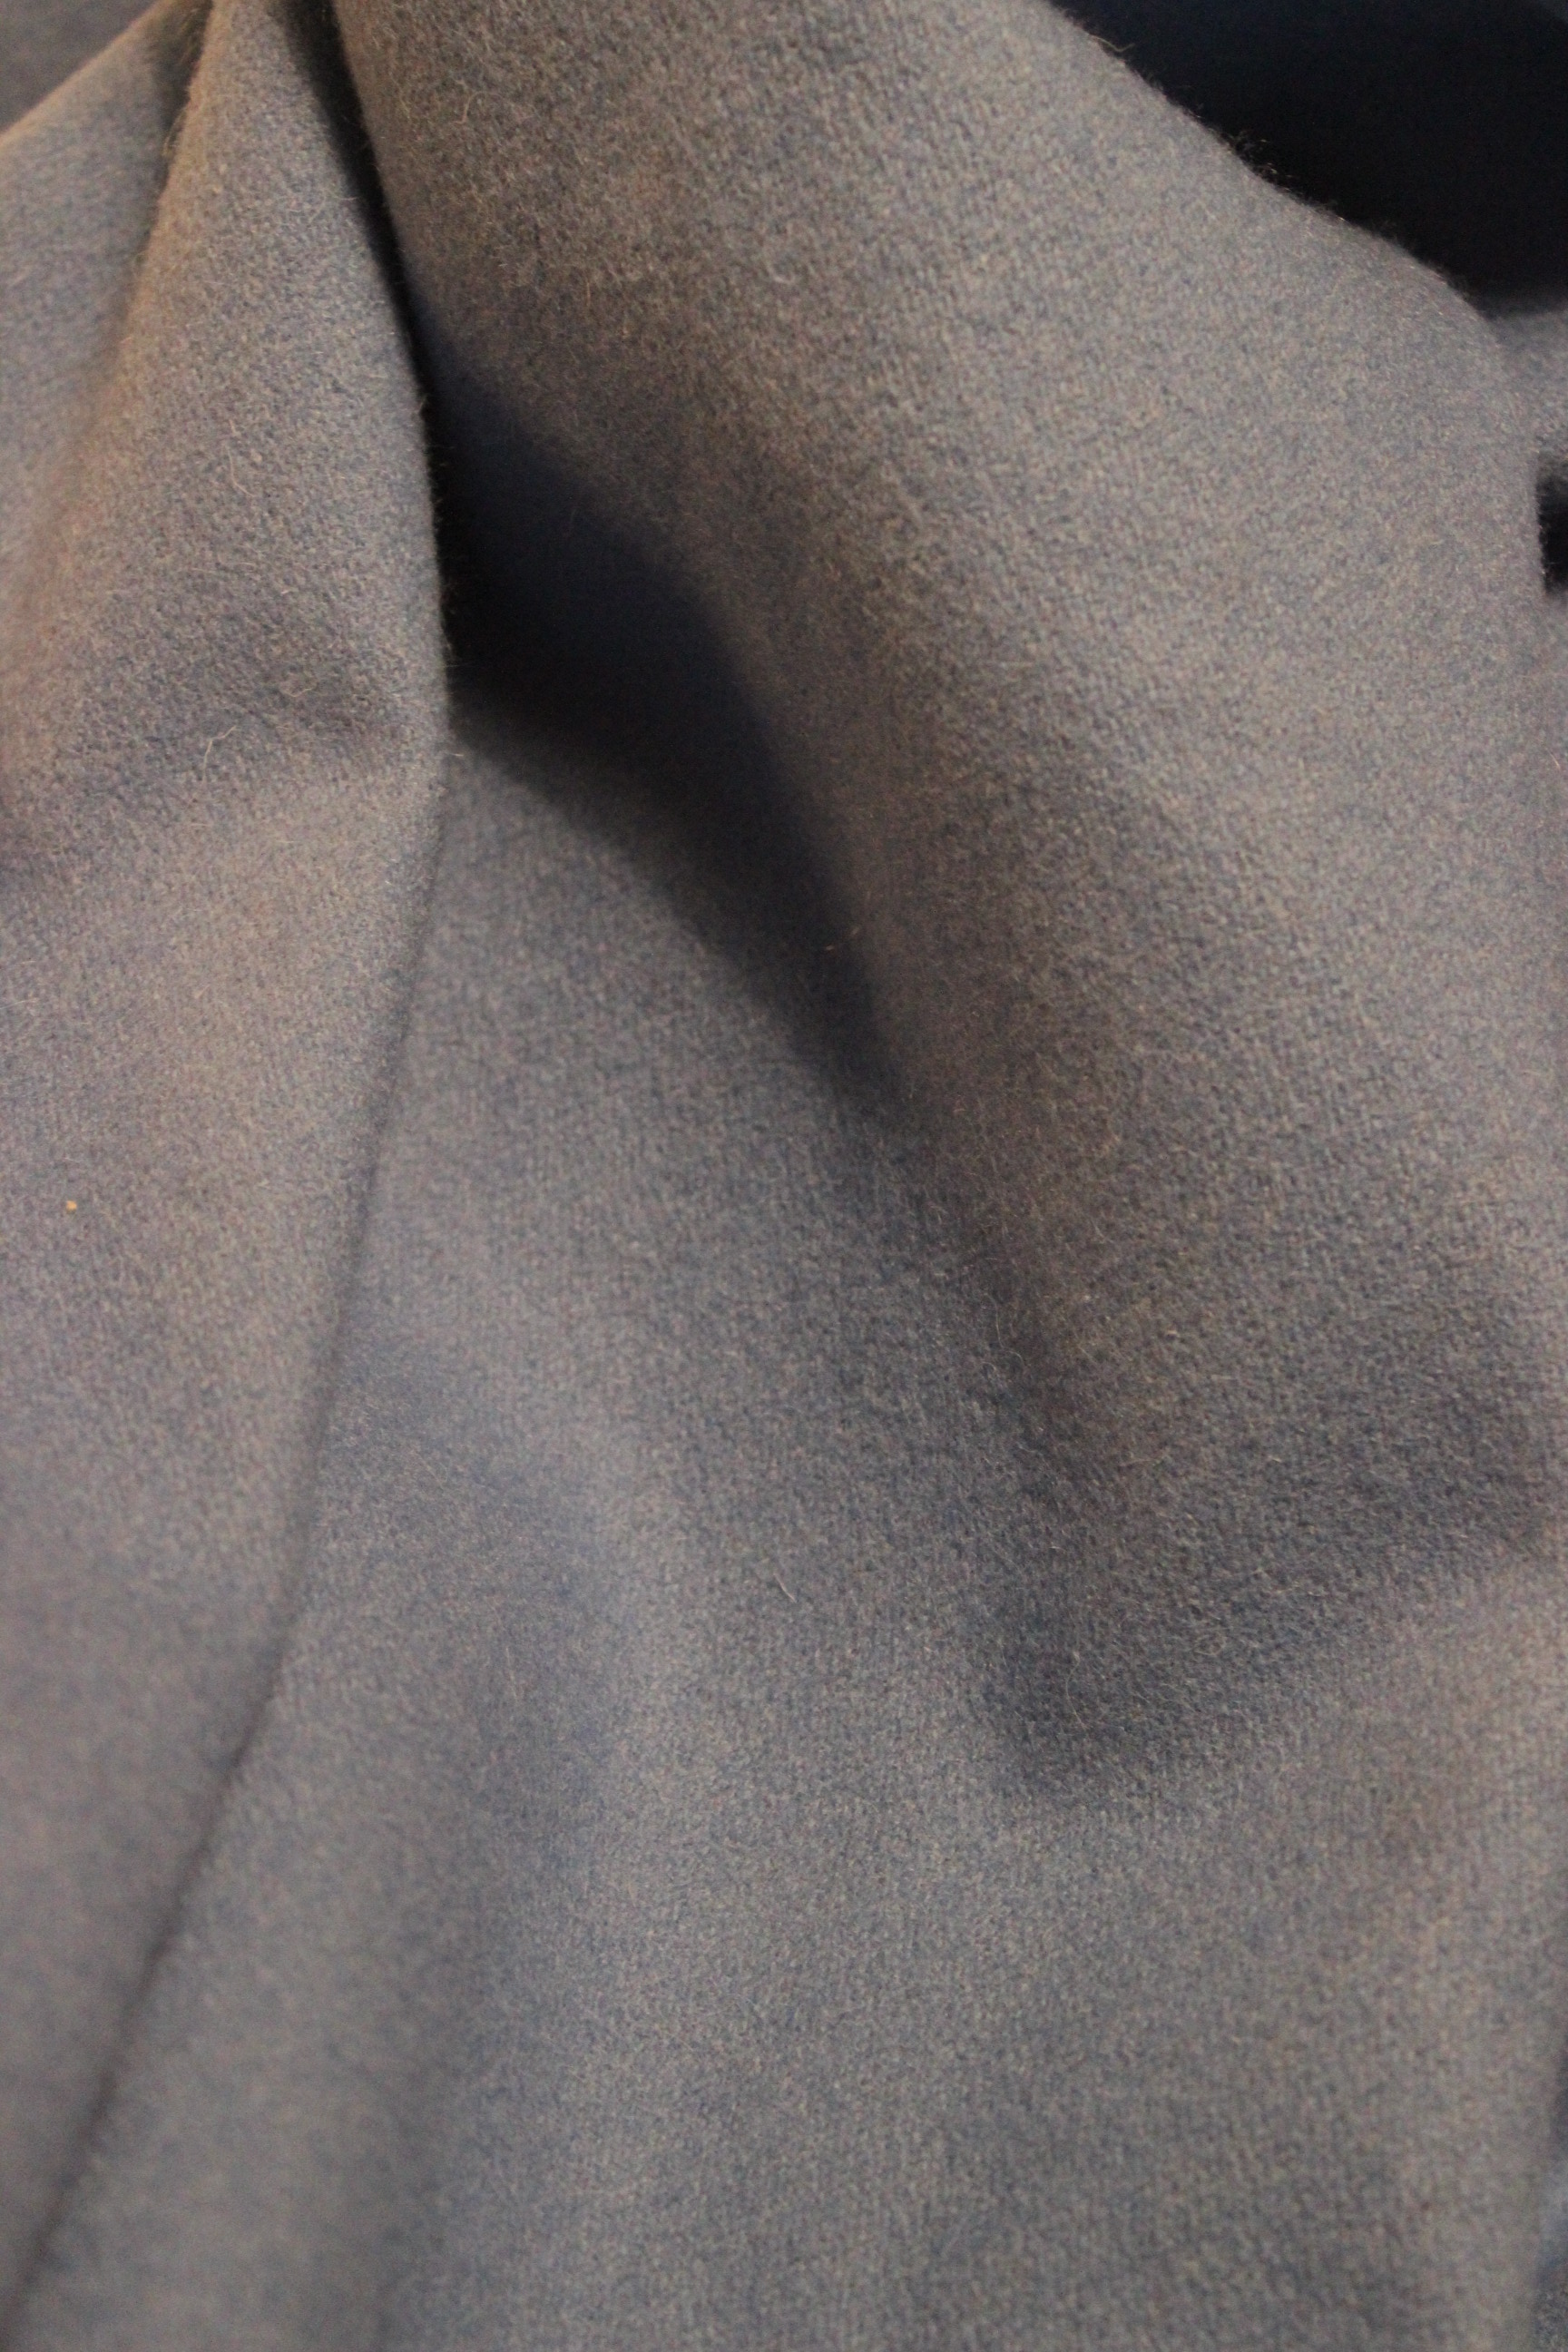
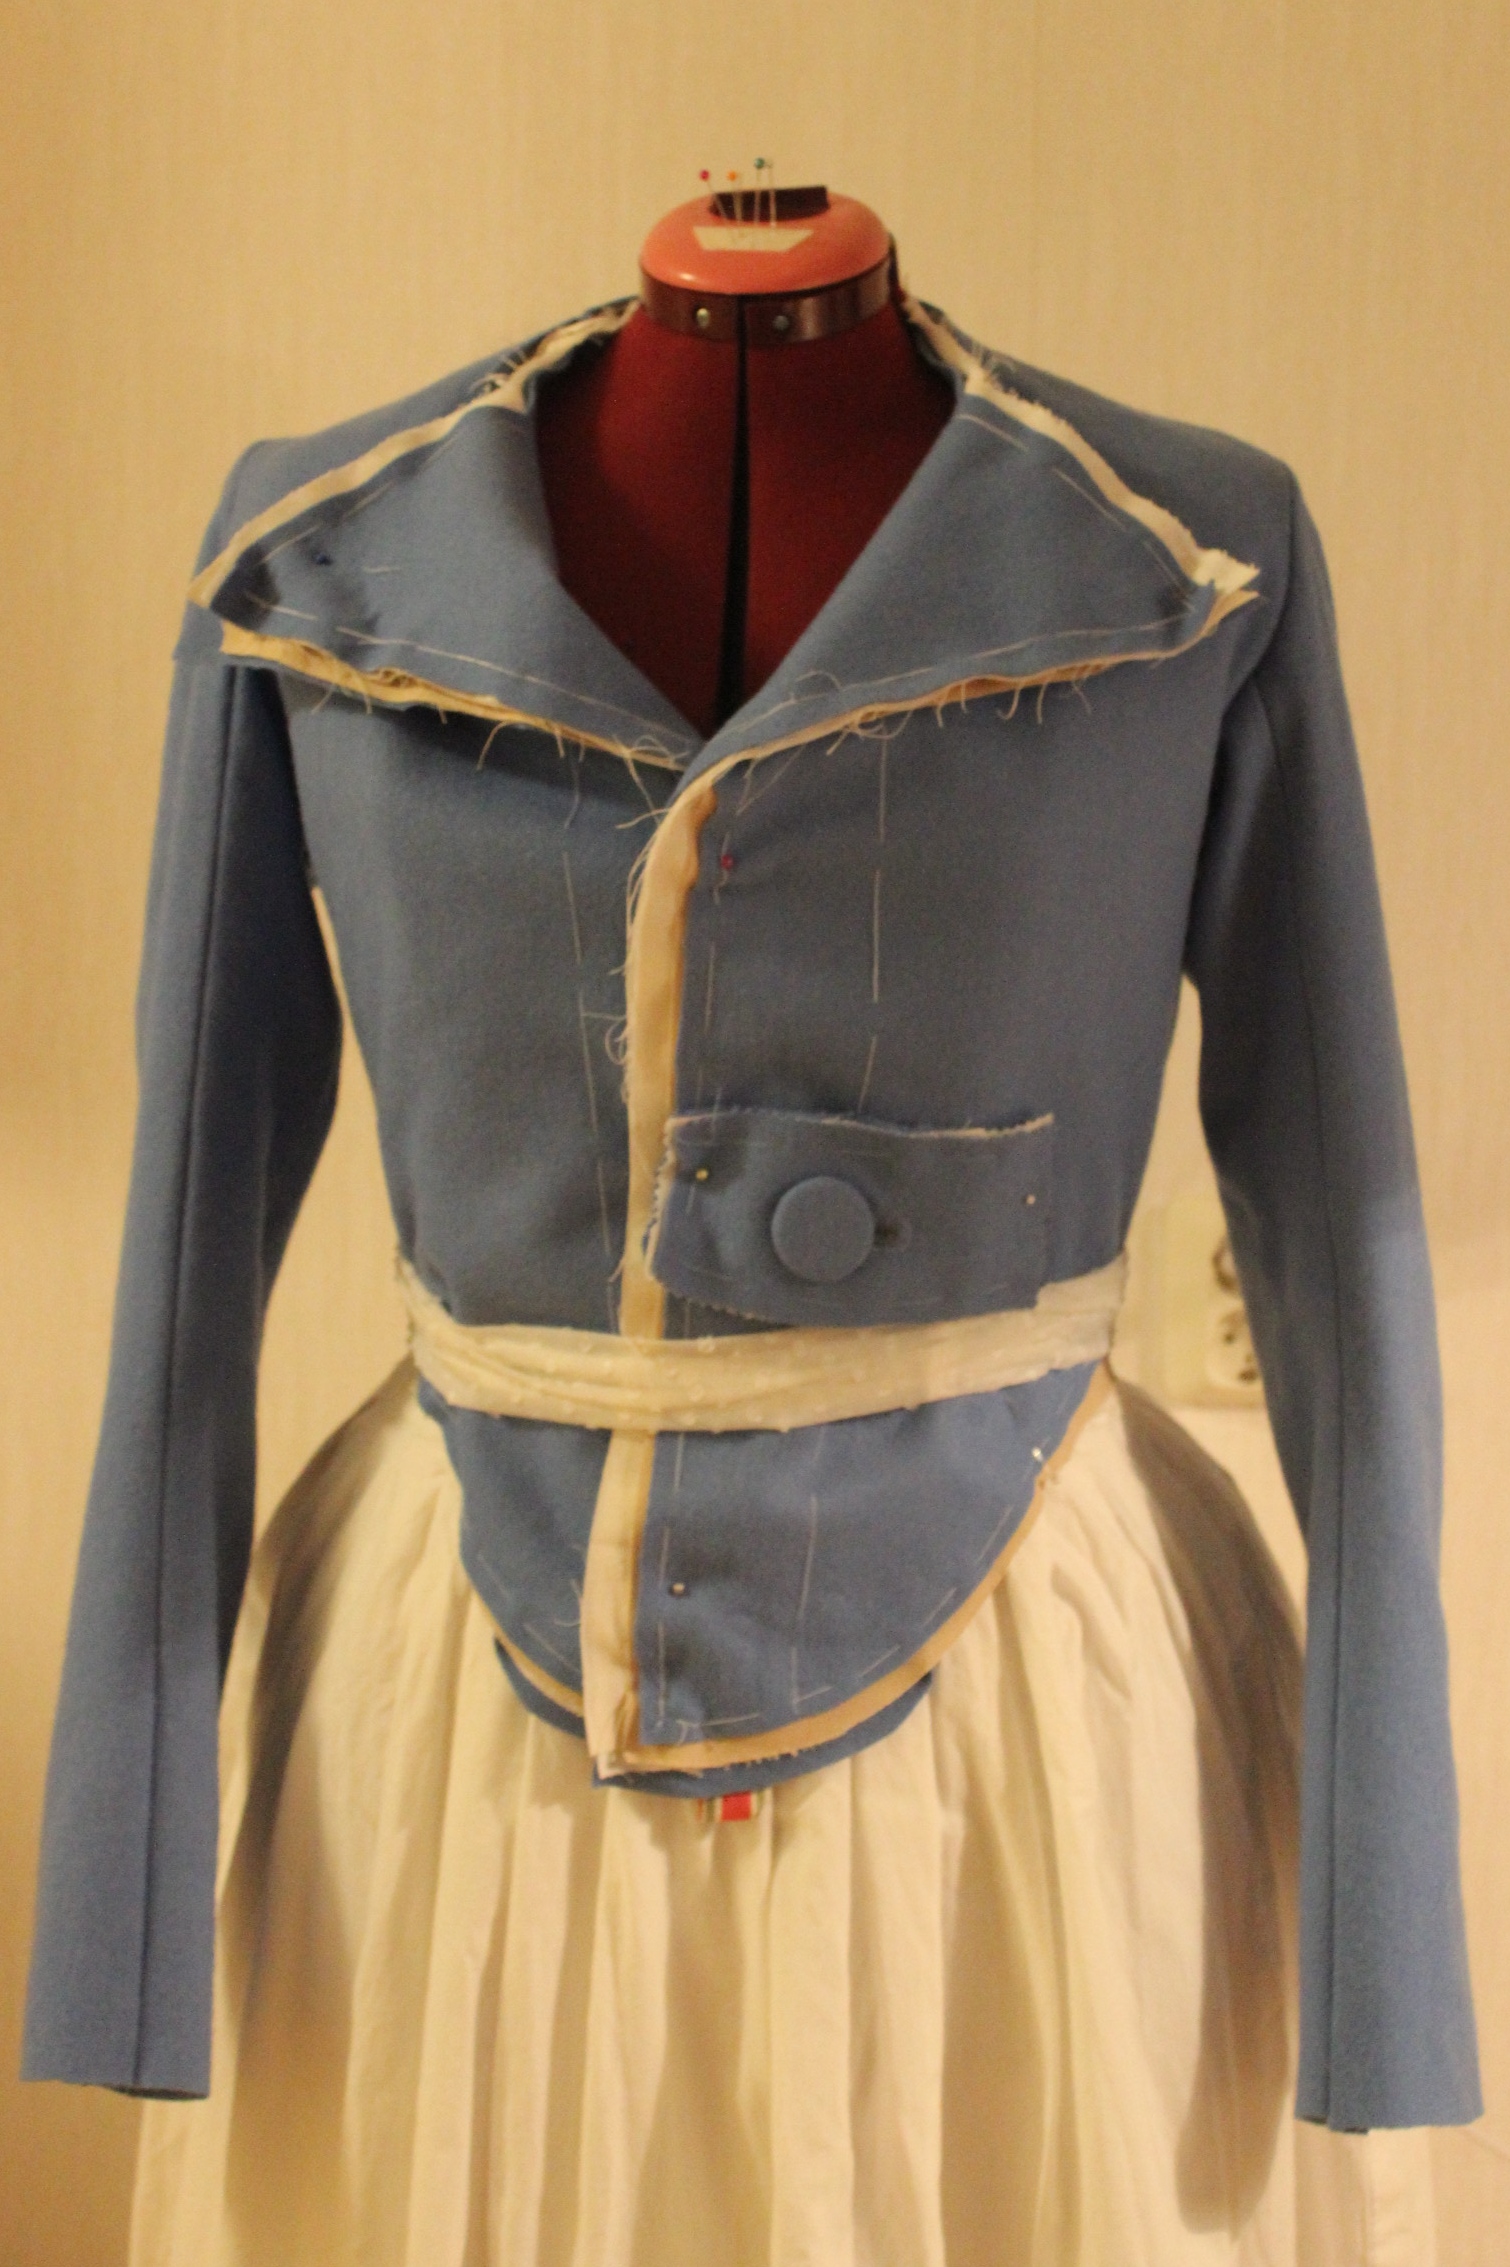
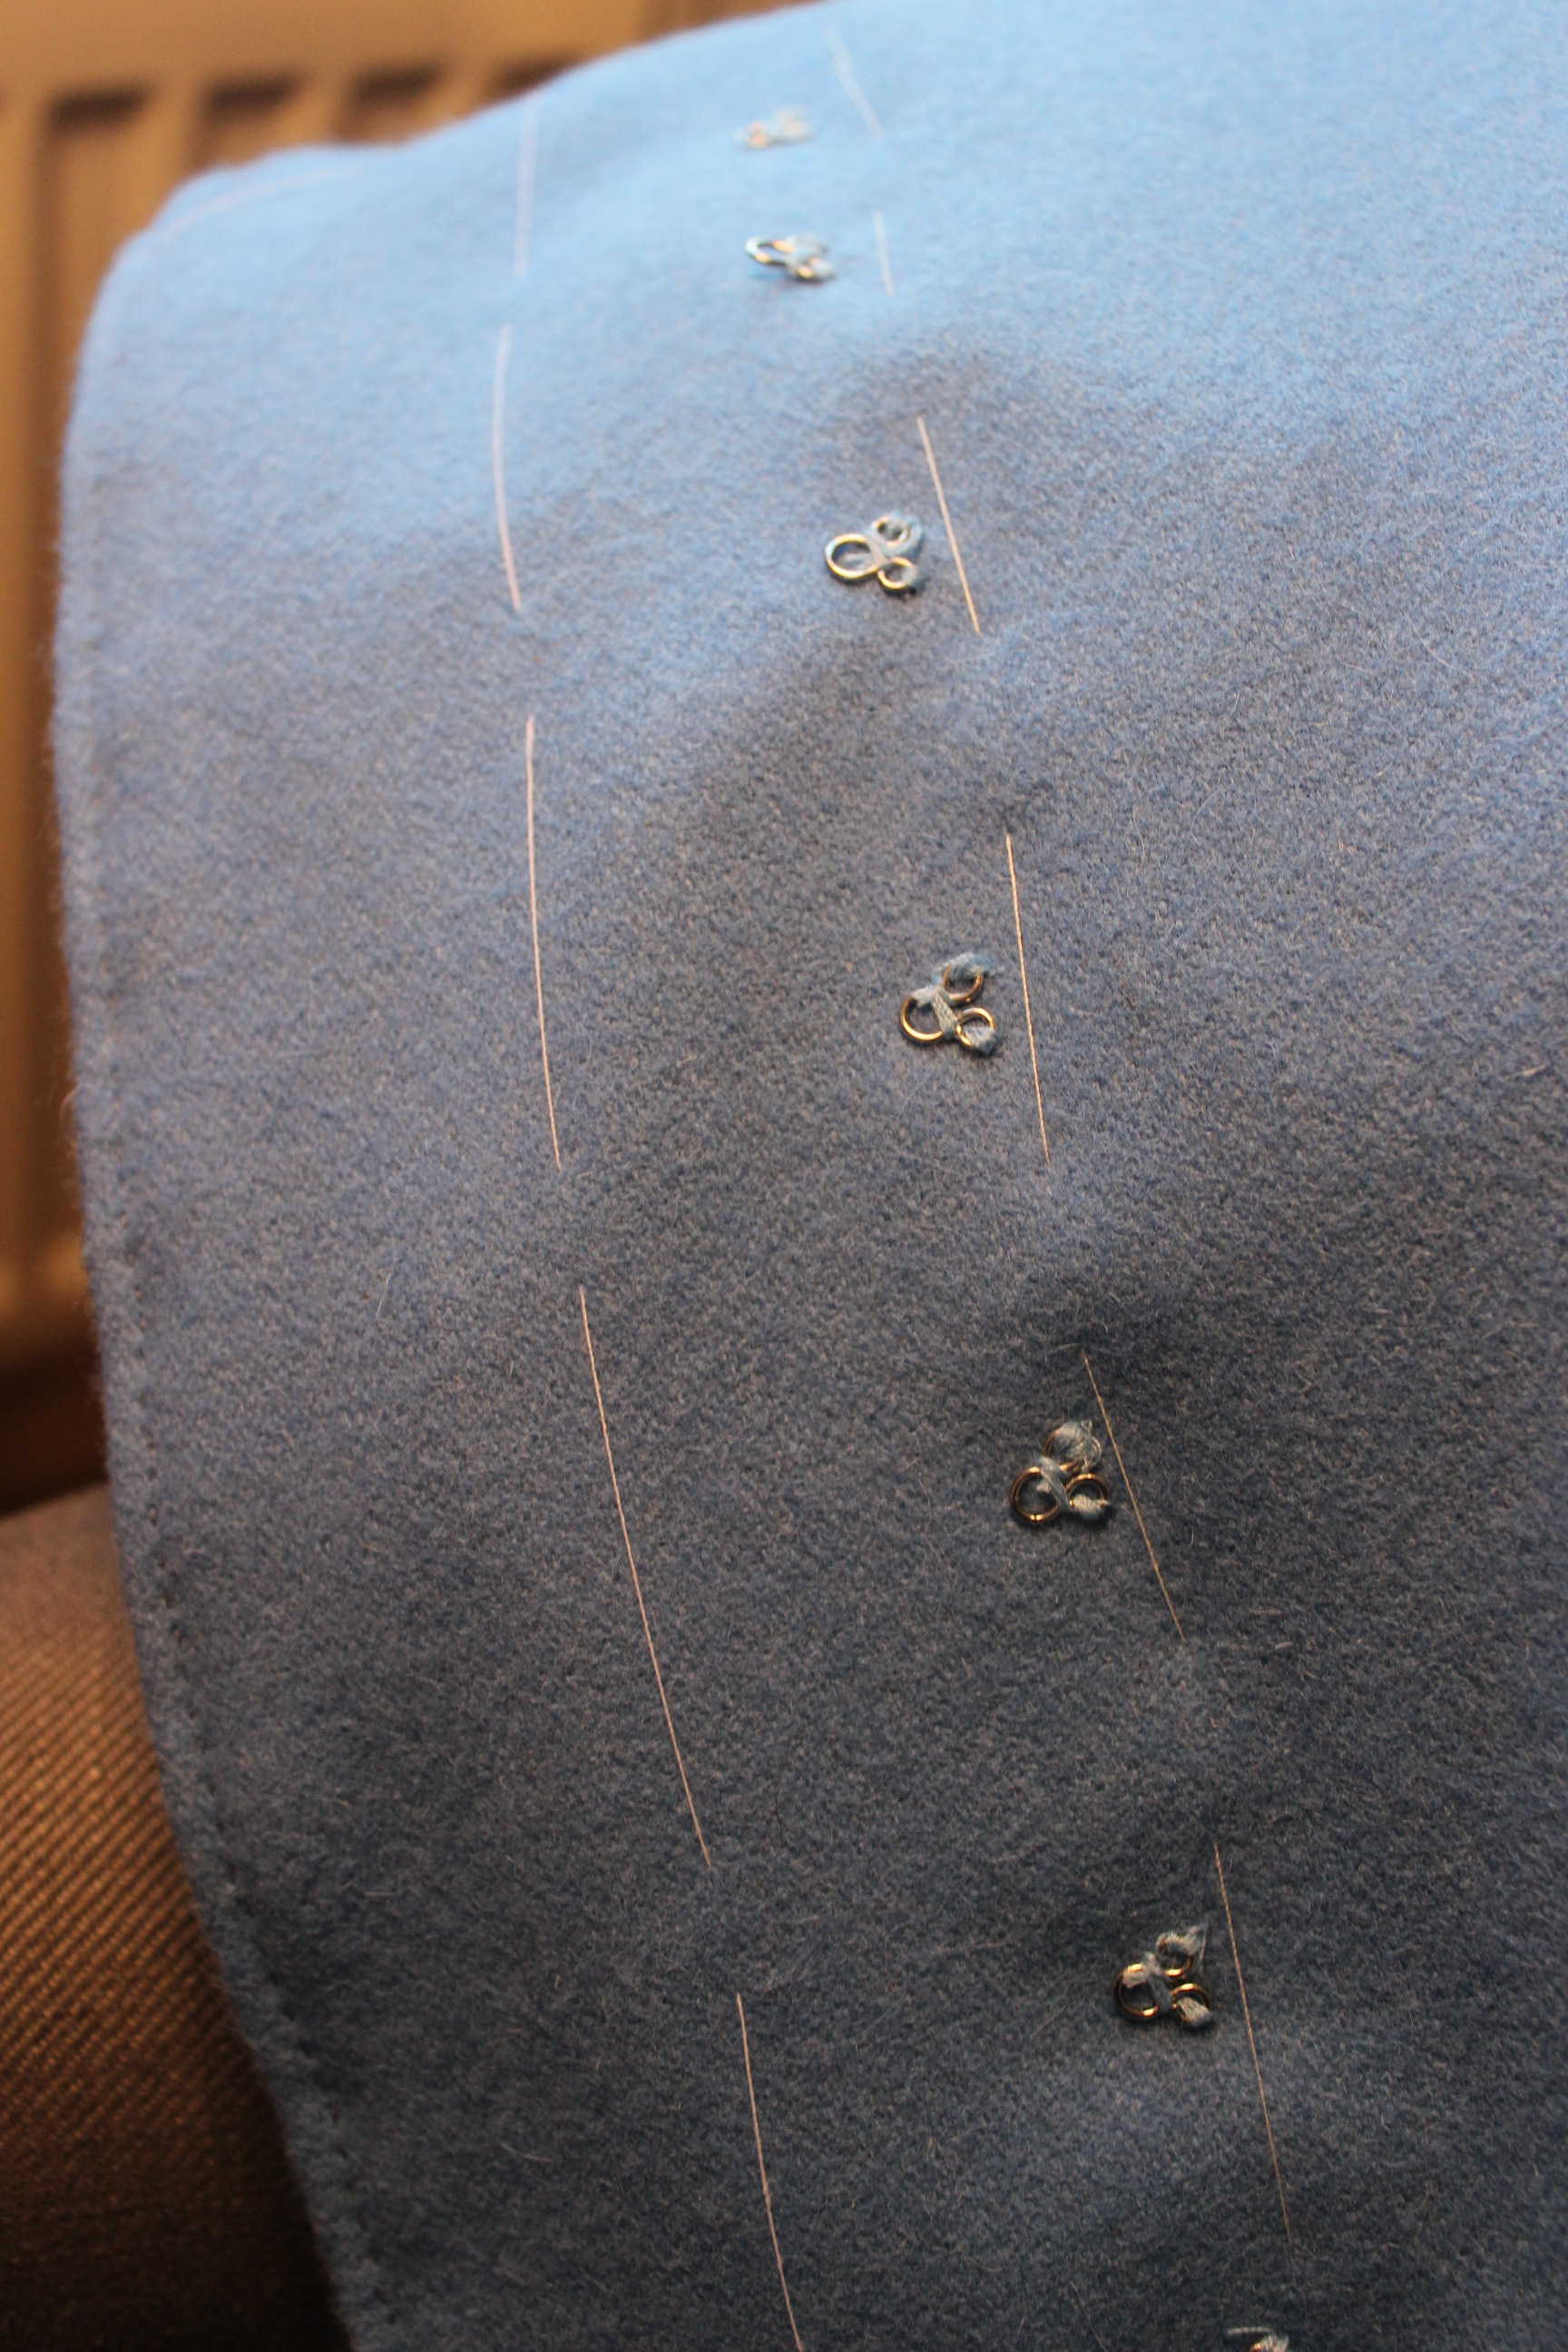 I could not decide on 10 or 8 buttons, so I wanted to postpone the decision to sometimes in the future. Without buttonholes the dress look a bit strange but I can still change my mind and make them at a later point.
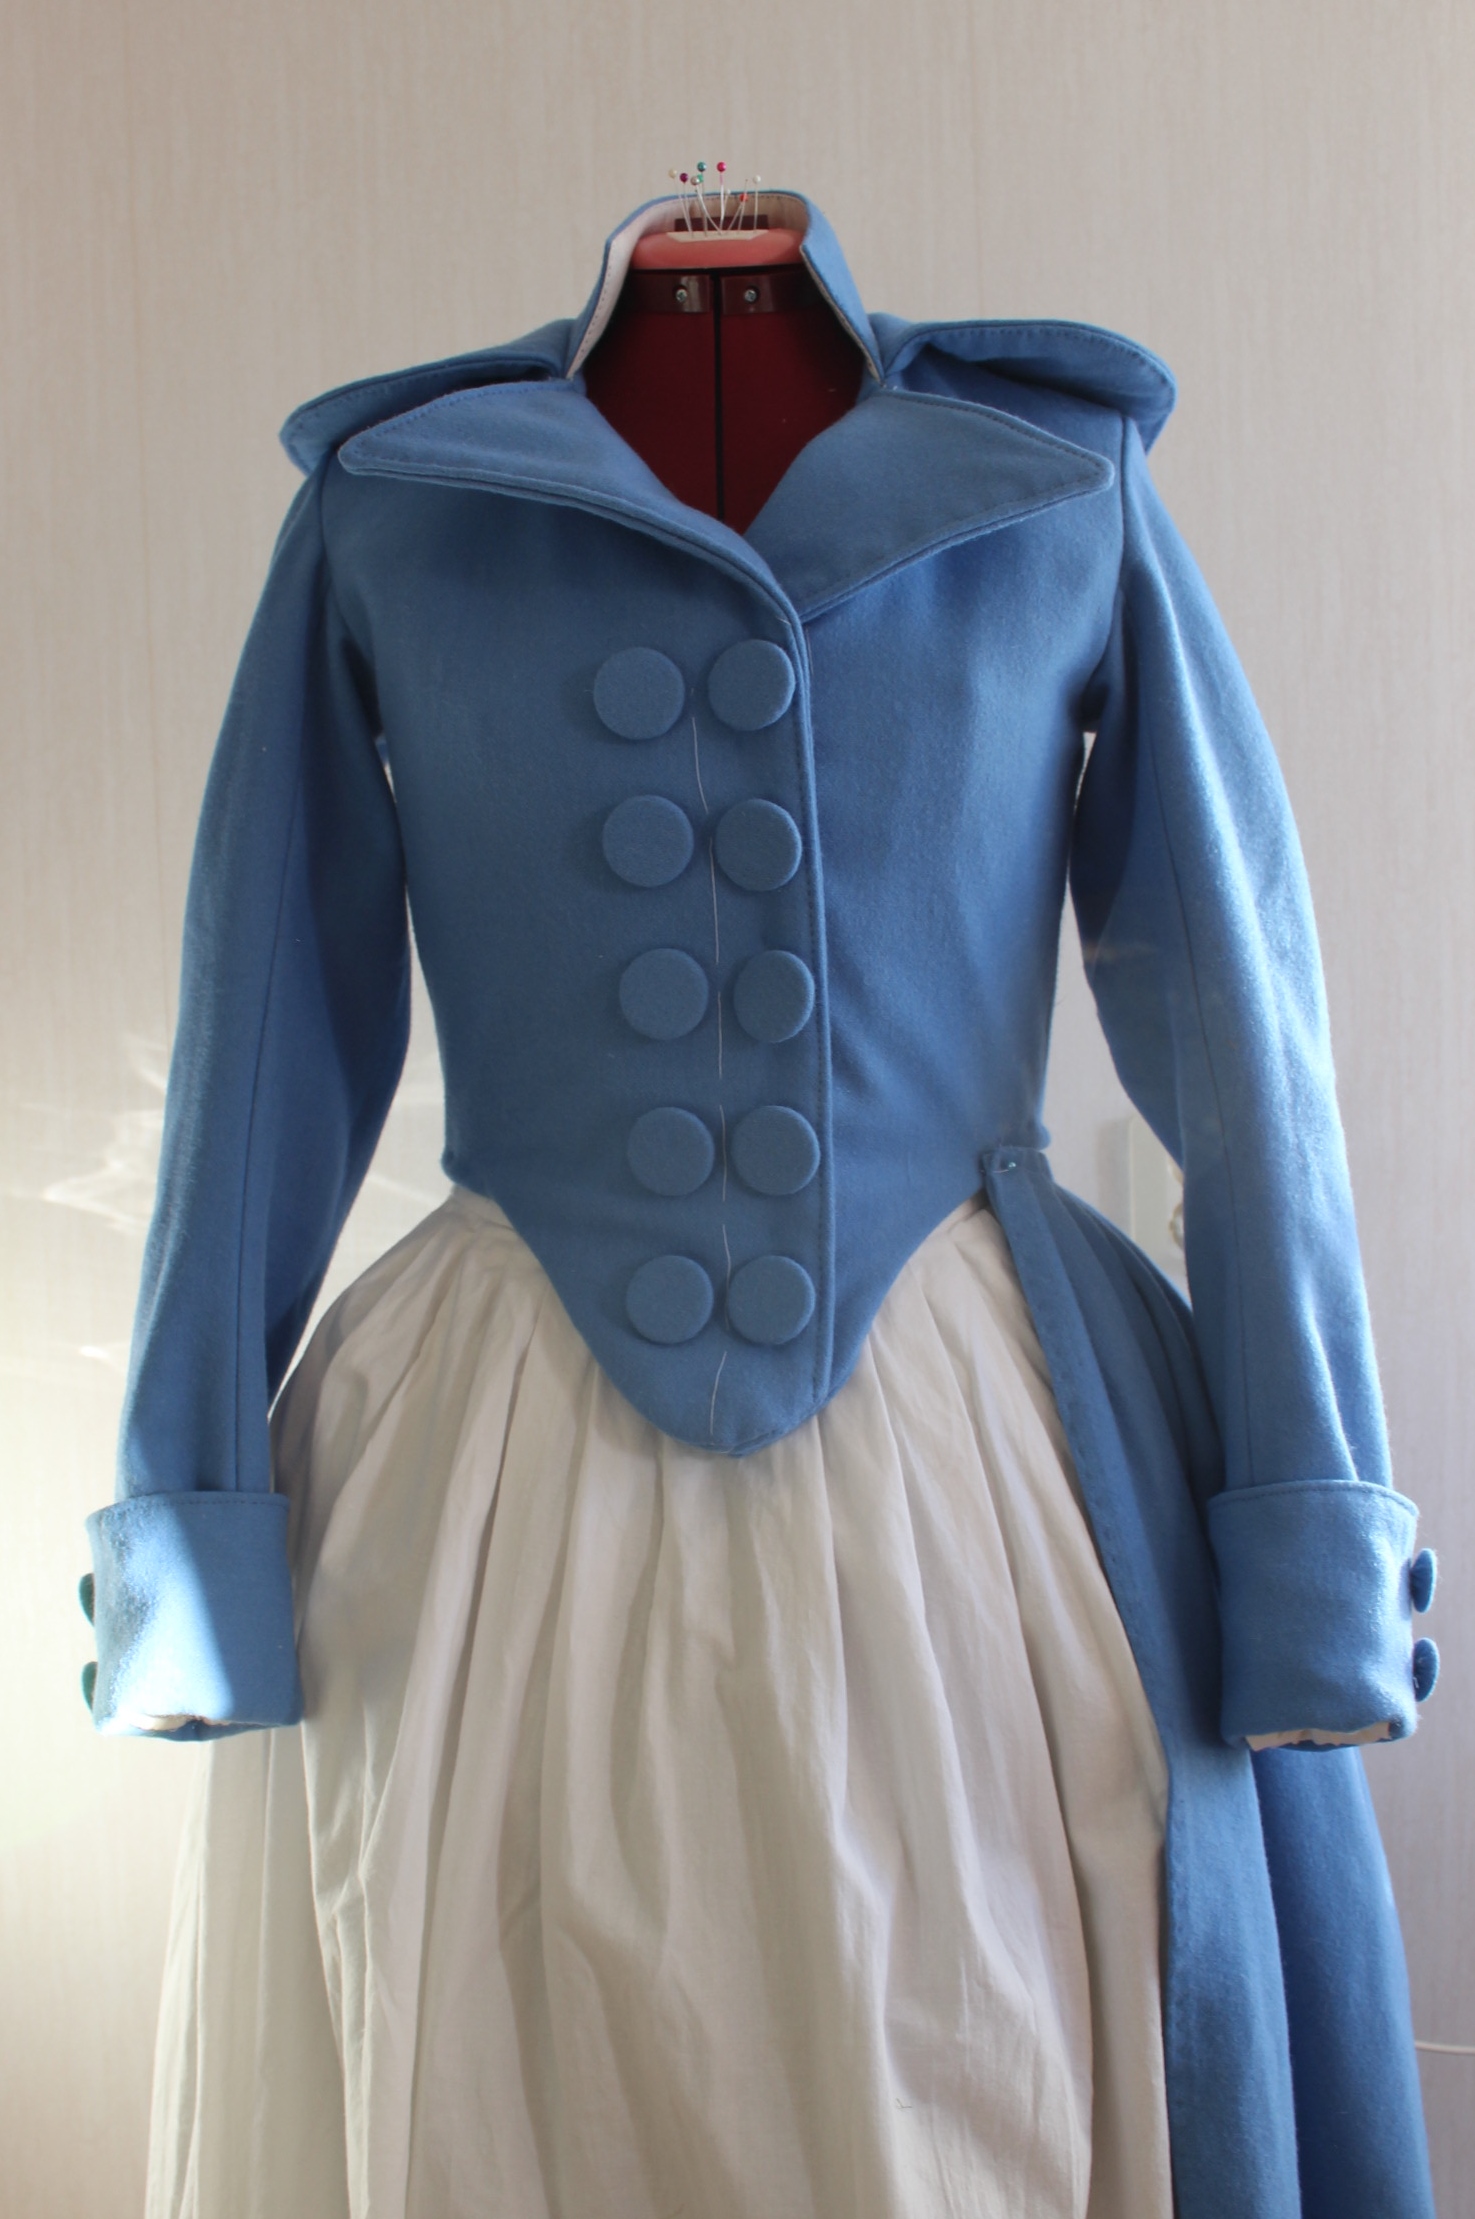 10 buttons and half a skirt.
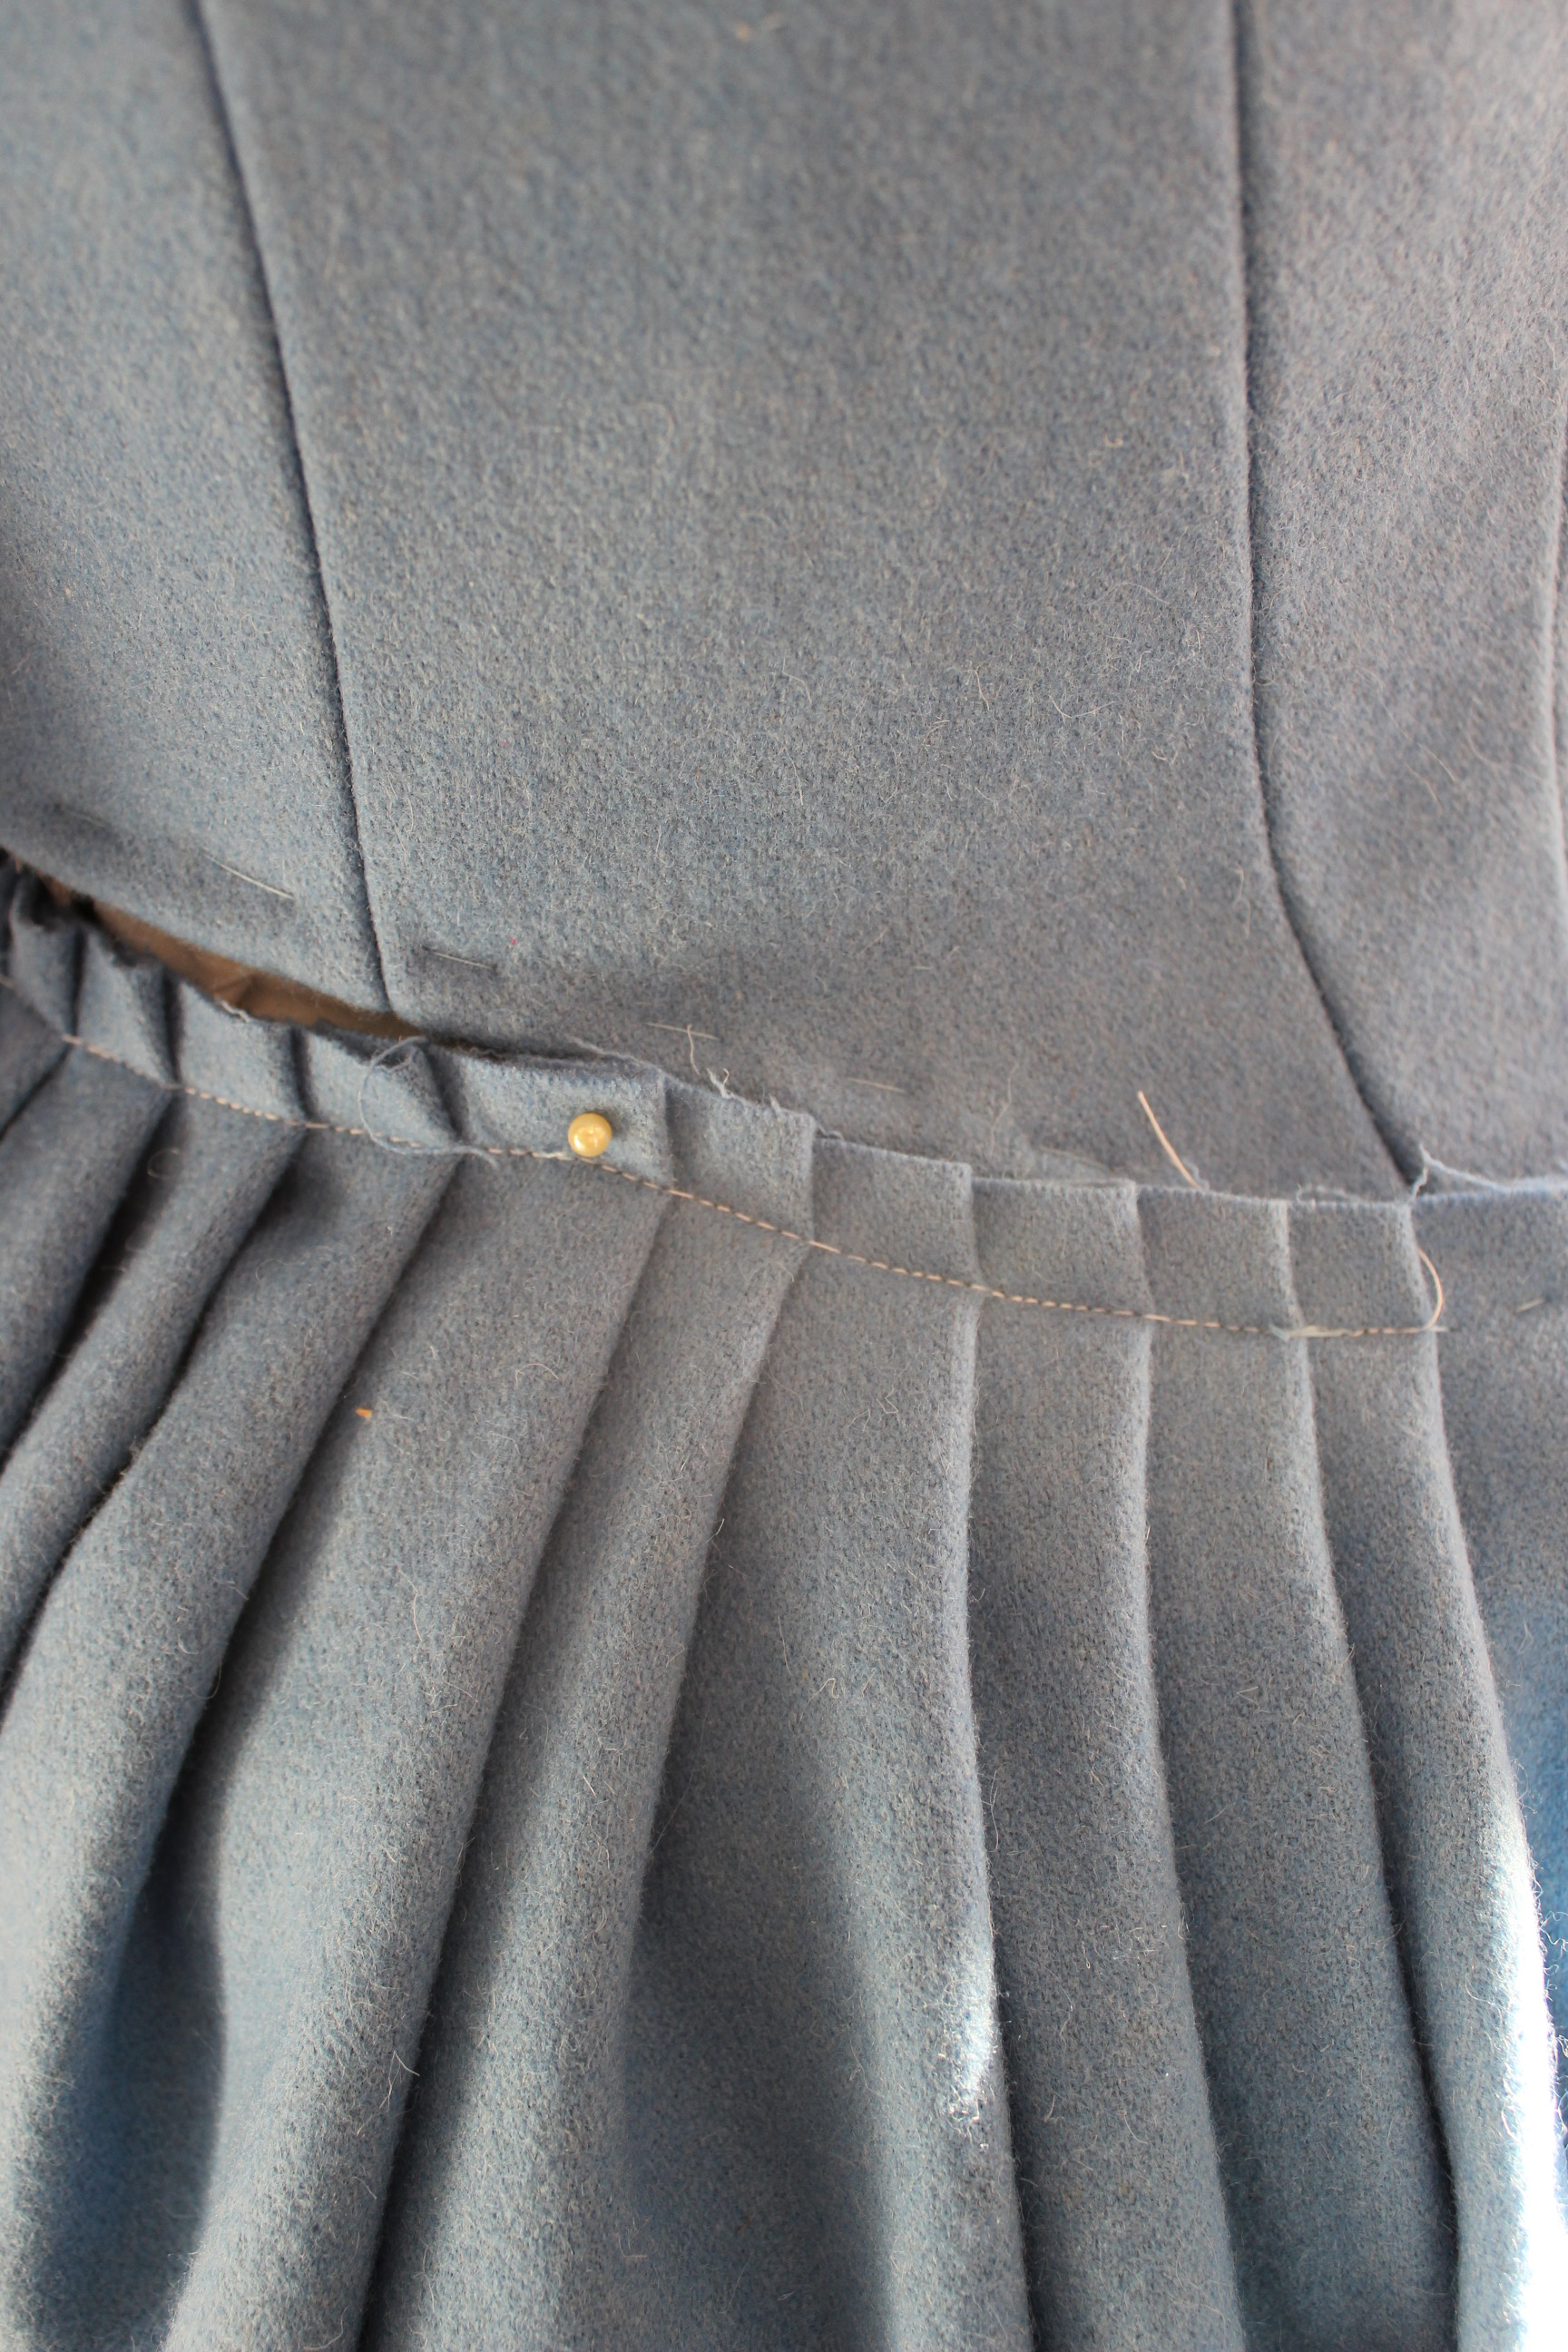


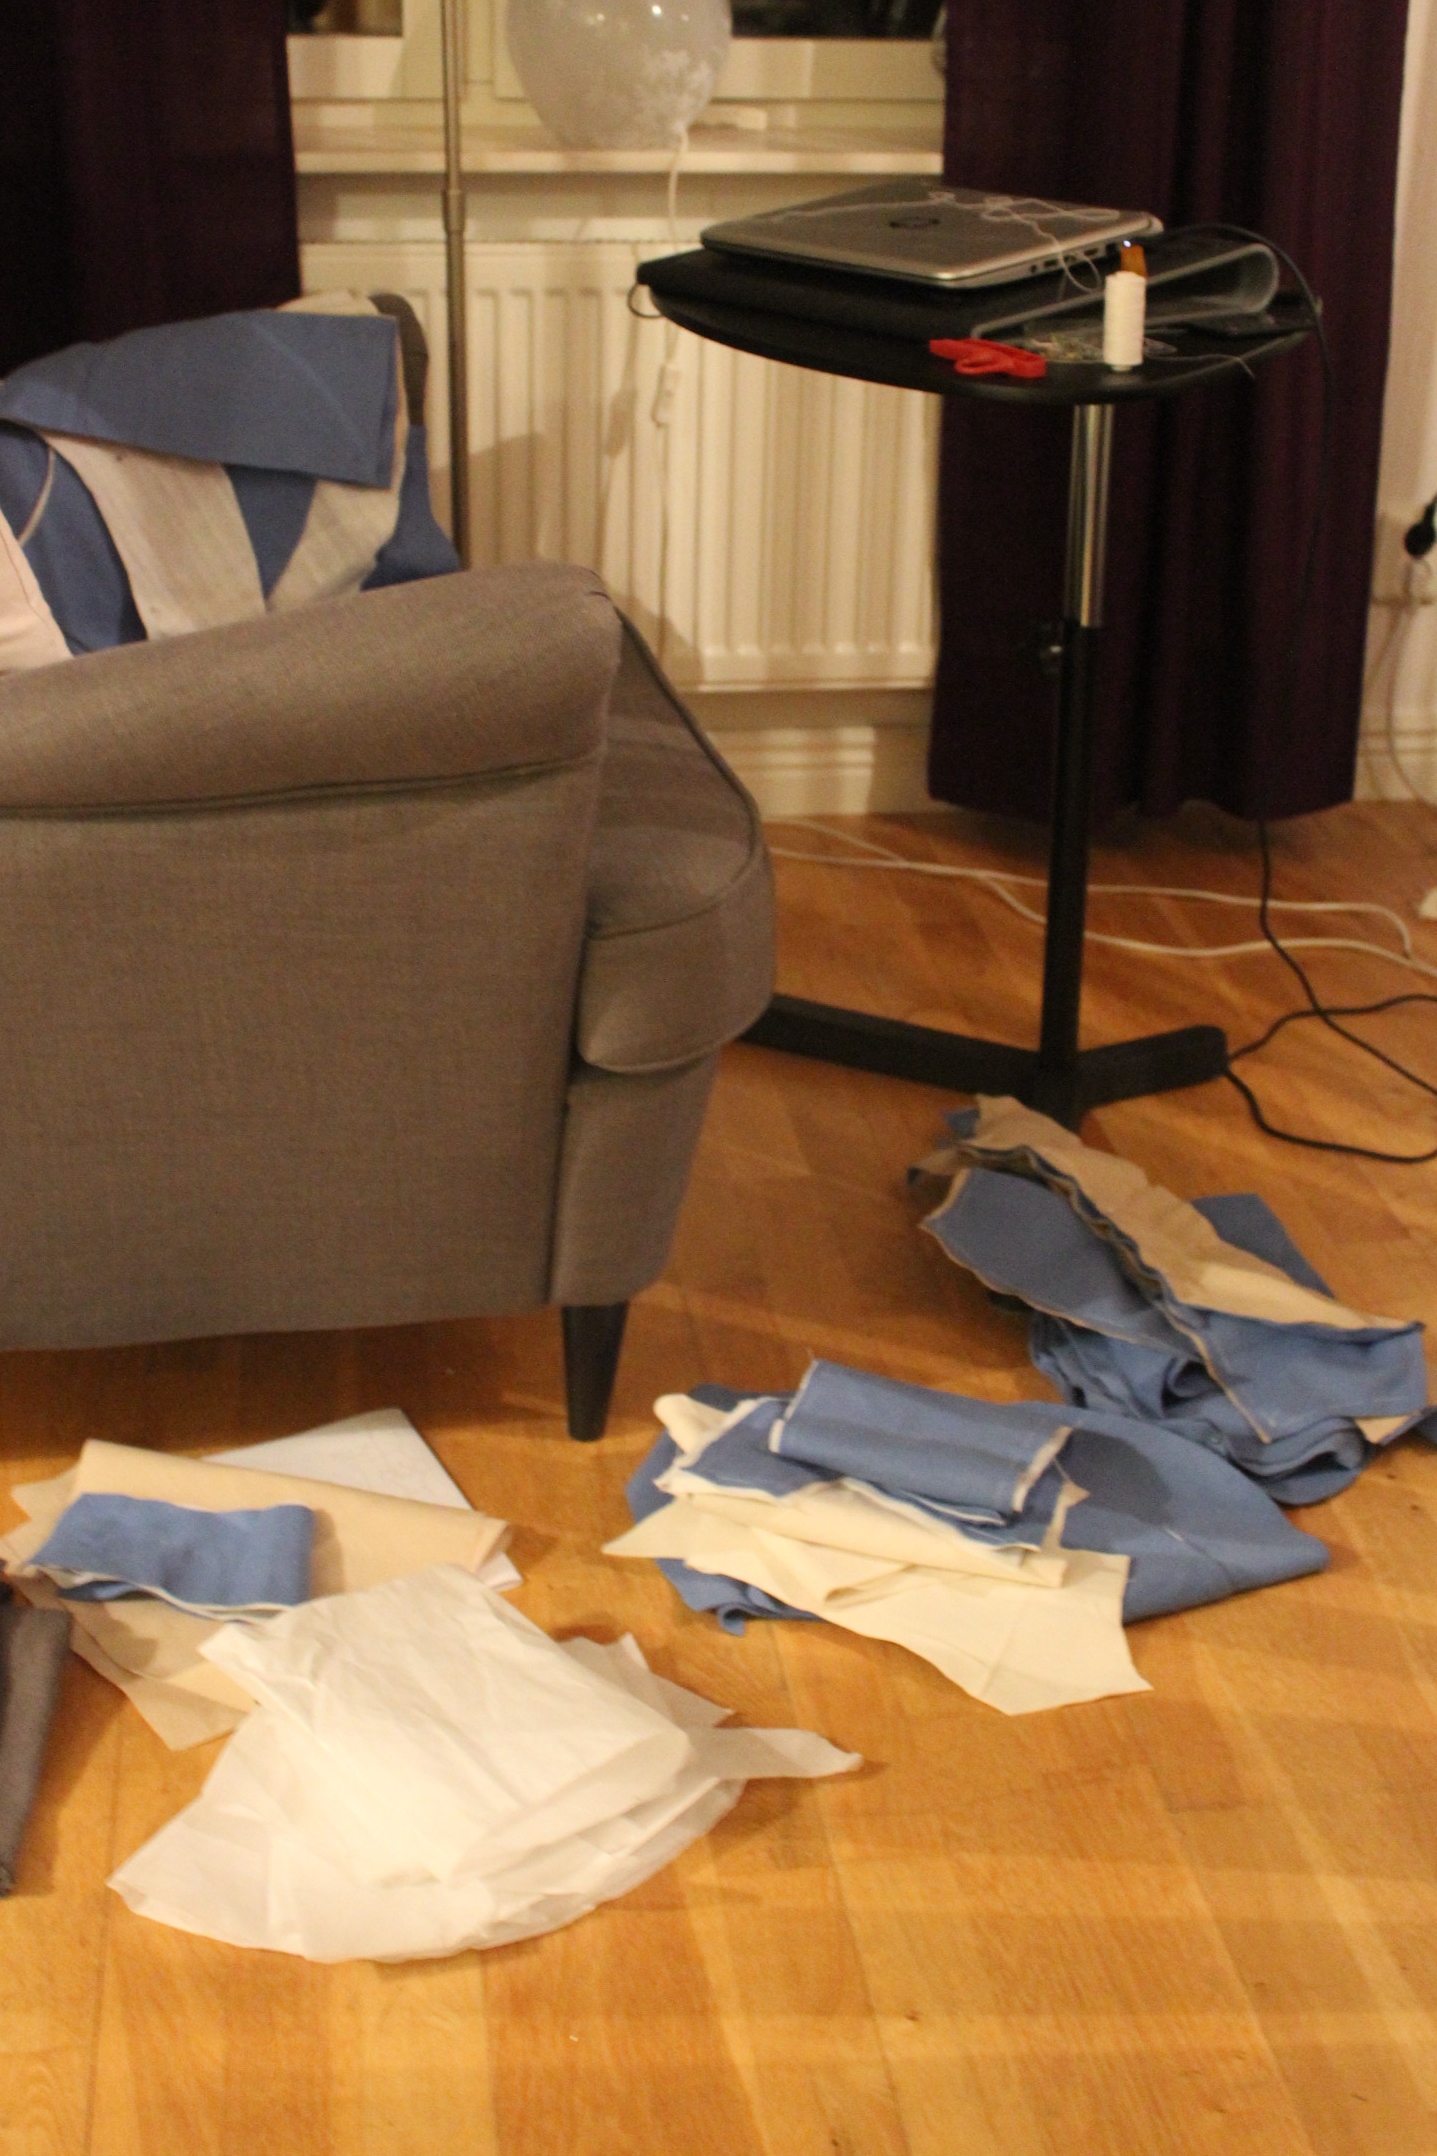
 But as work got really busy after summer that didn’t happened.
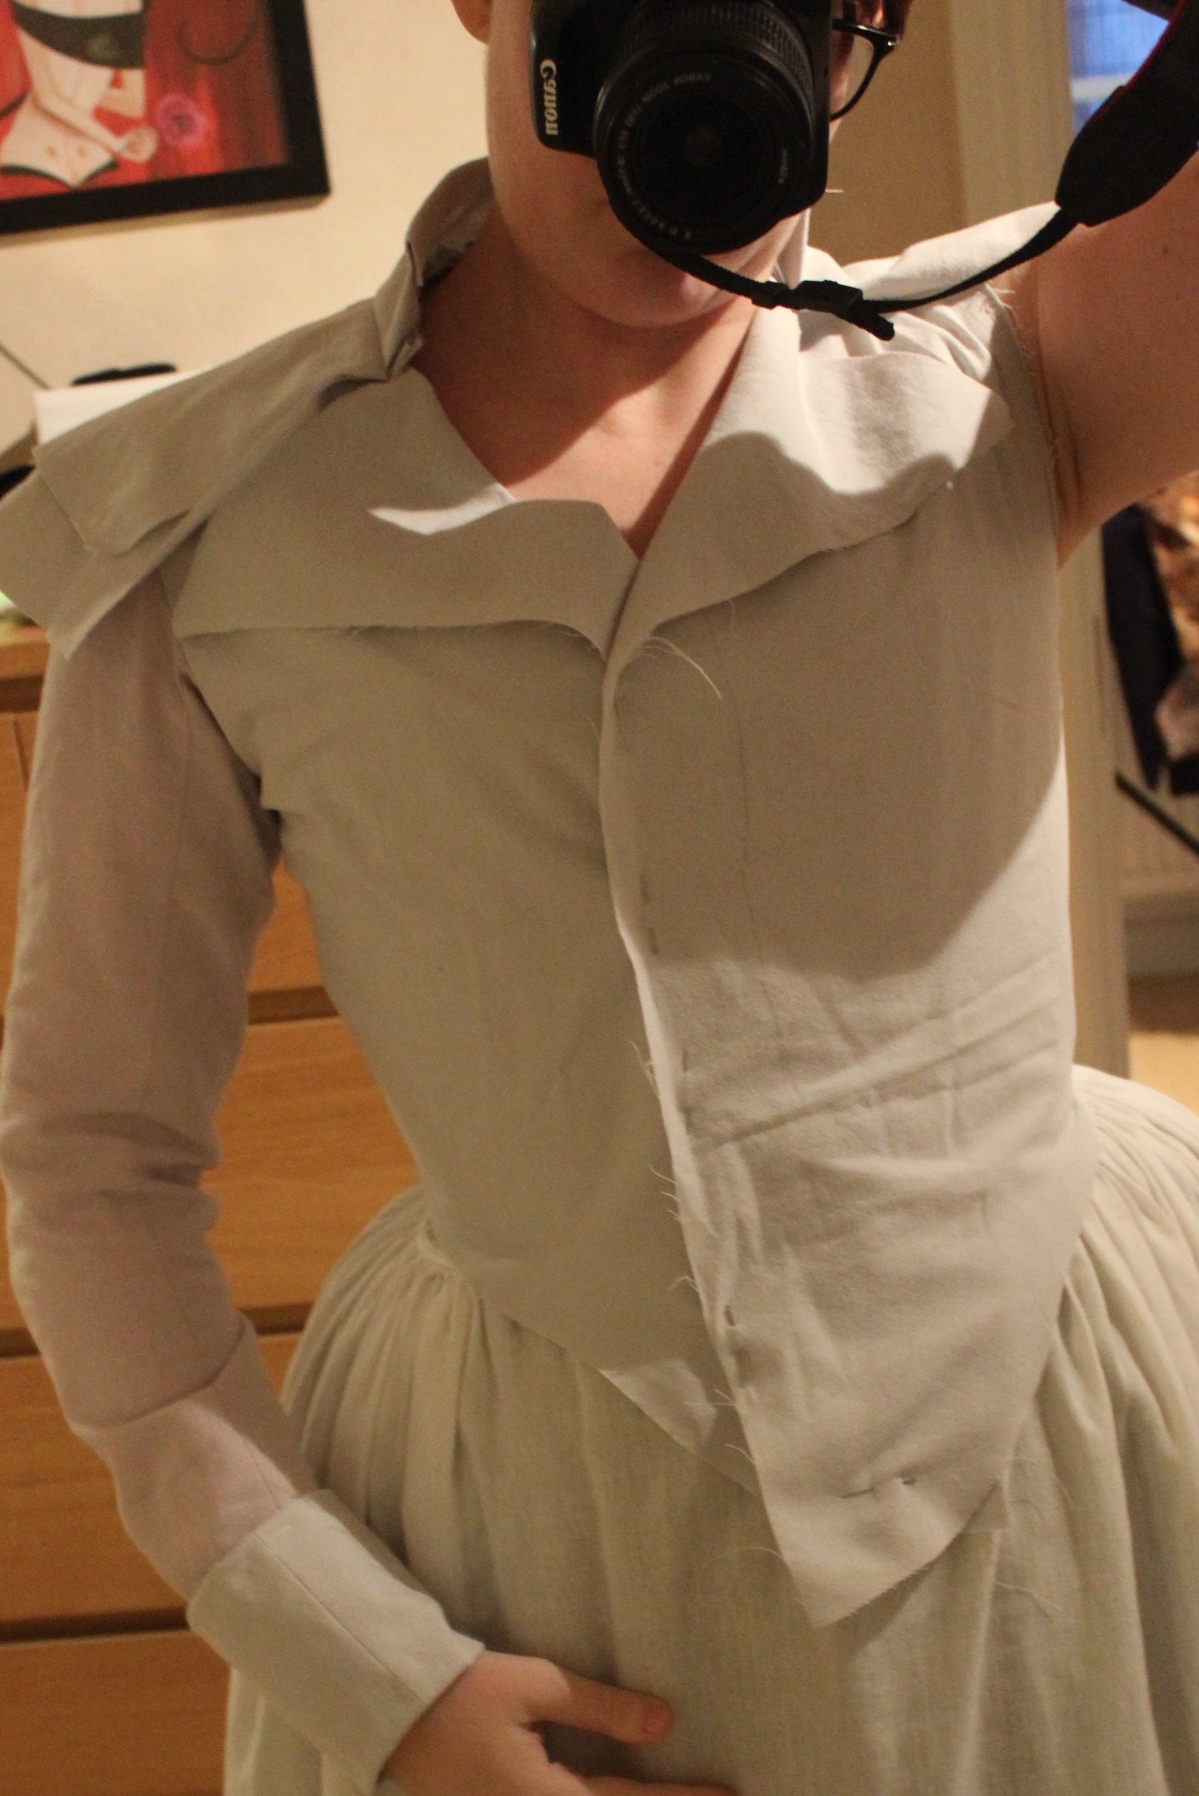
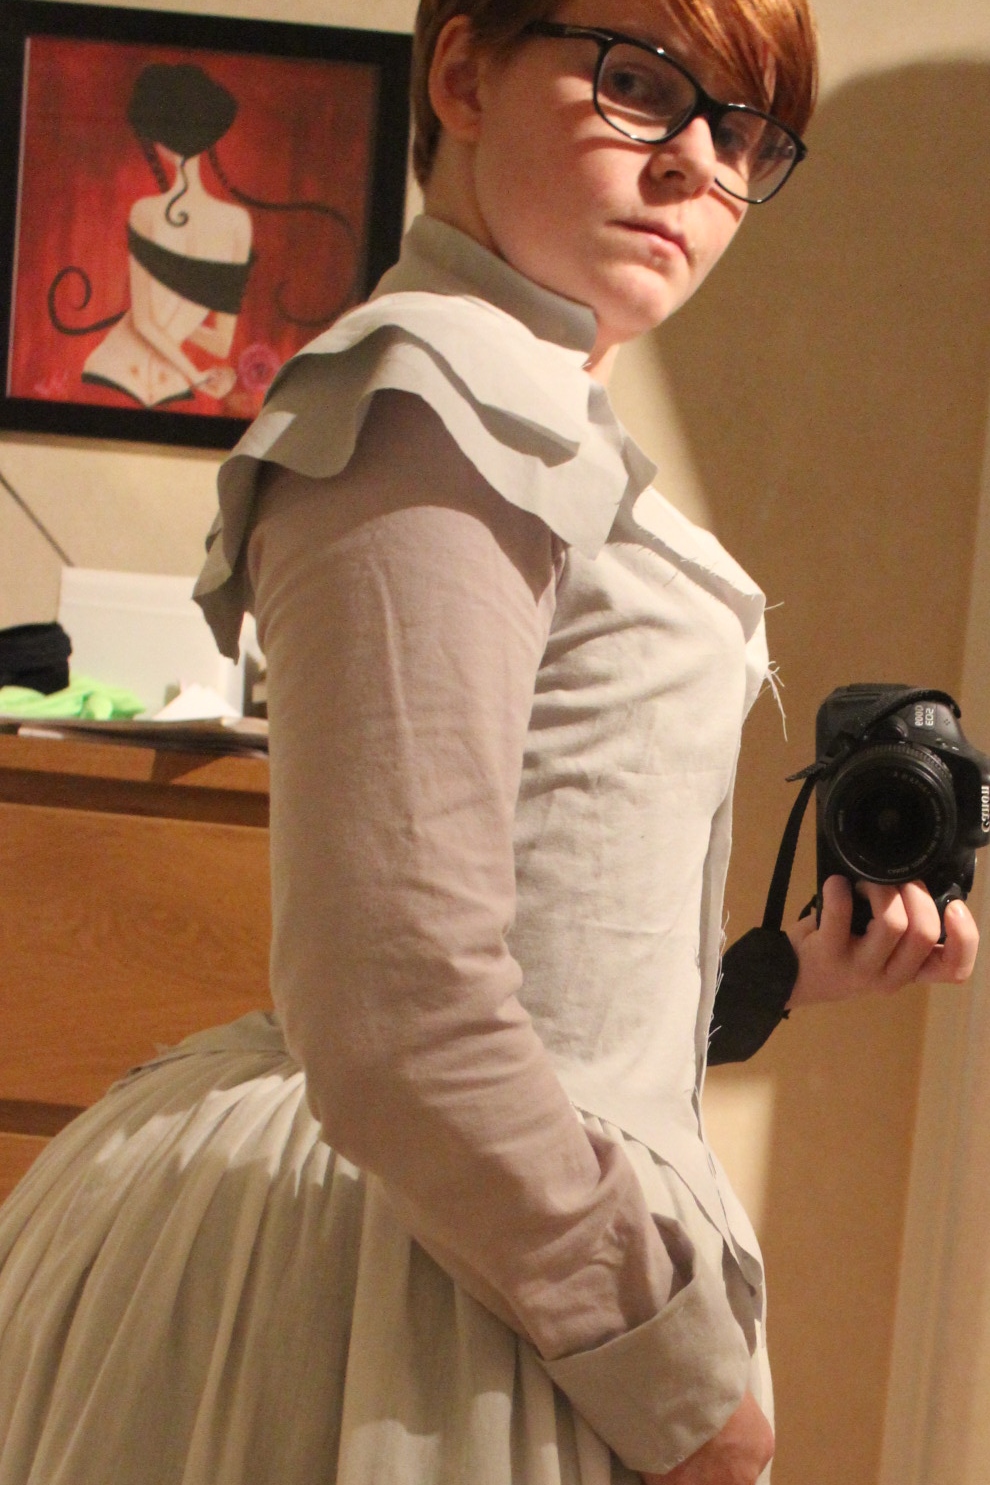
 This pattern from “Corsets and Crinolines” looked good but seemed to be much bigger then I needed.
 That seems easy enough. So I figured I didn’t need a pattern after all.


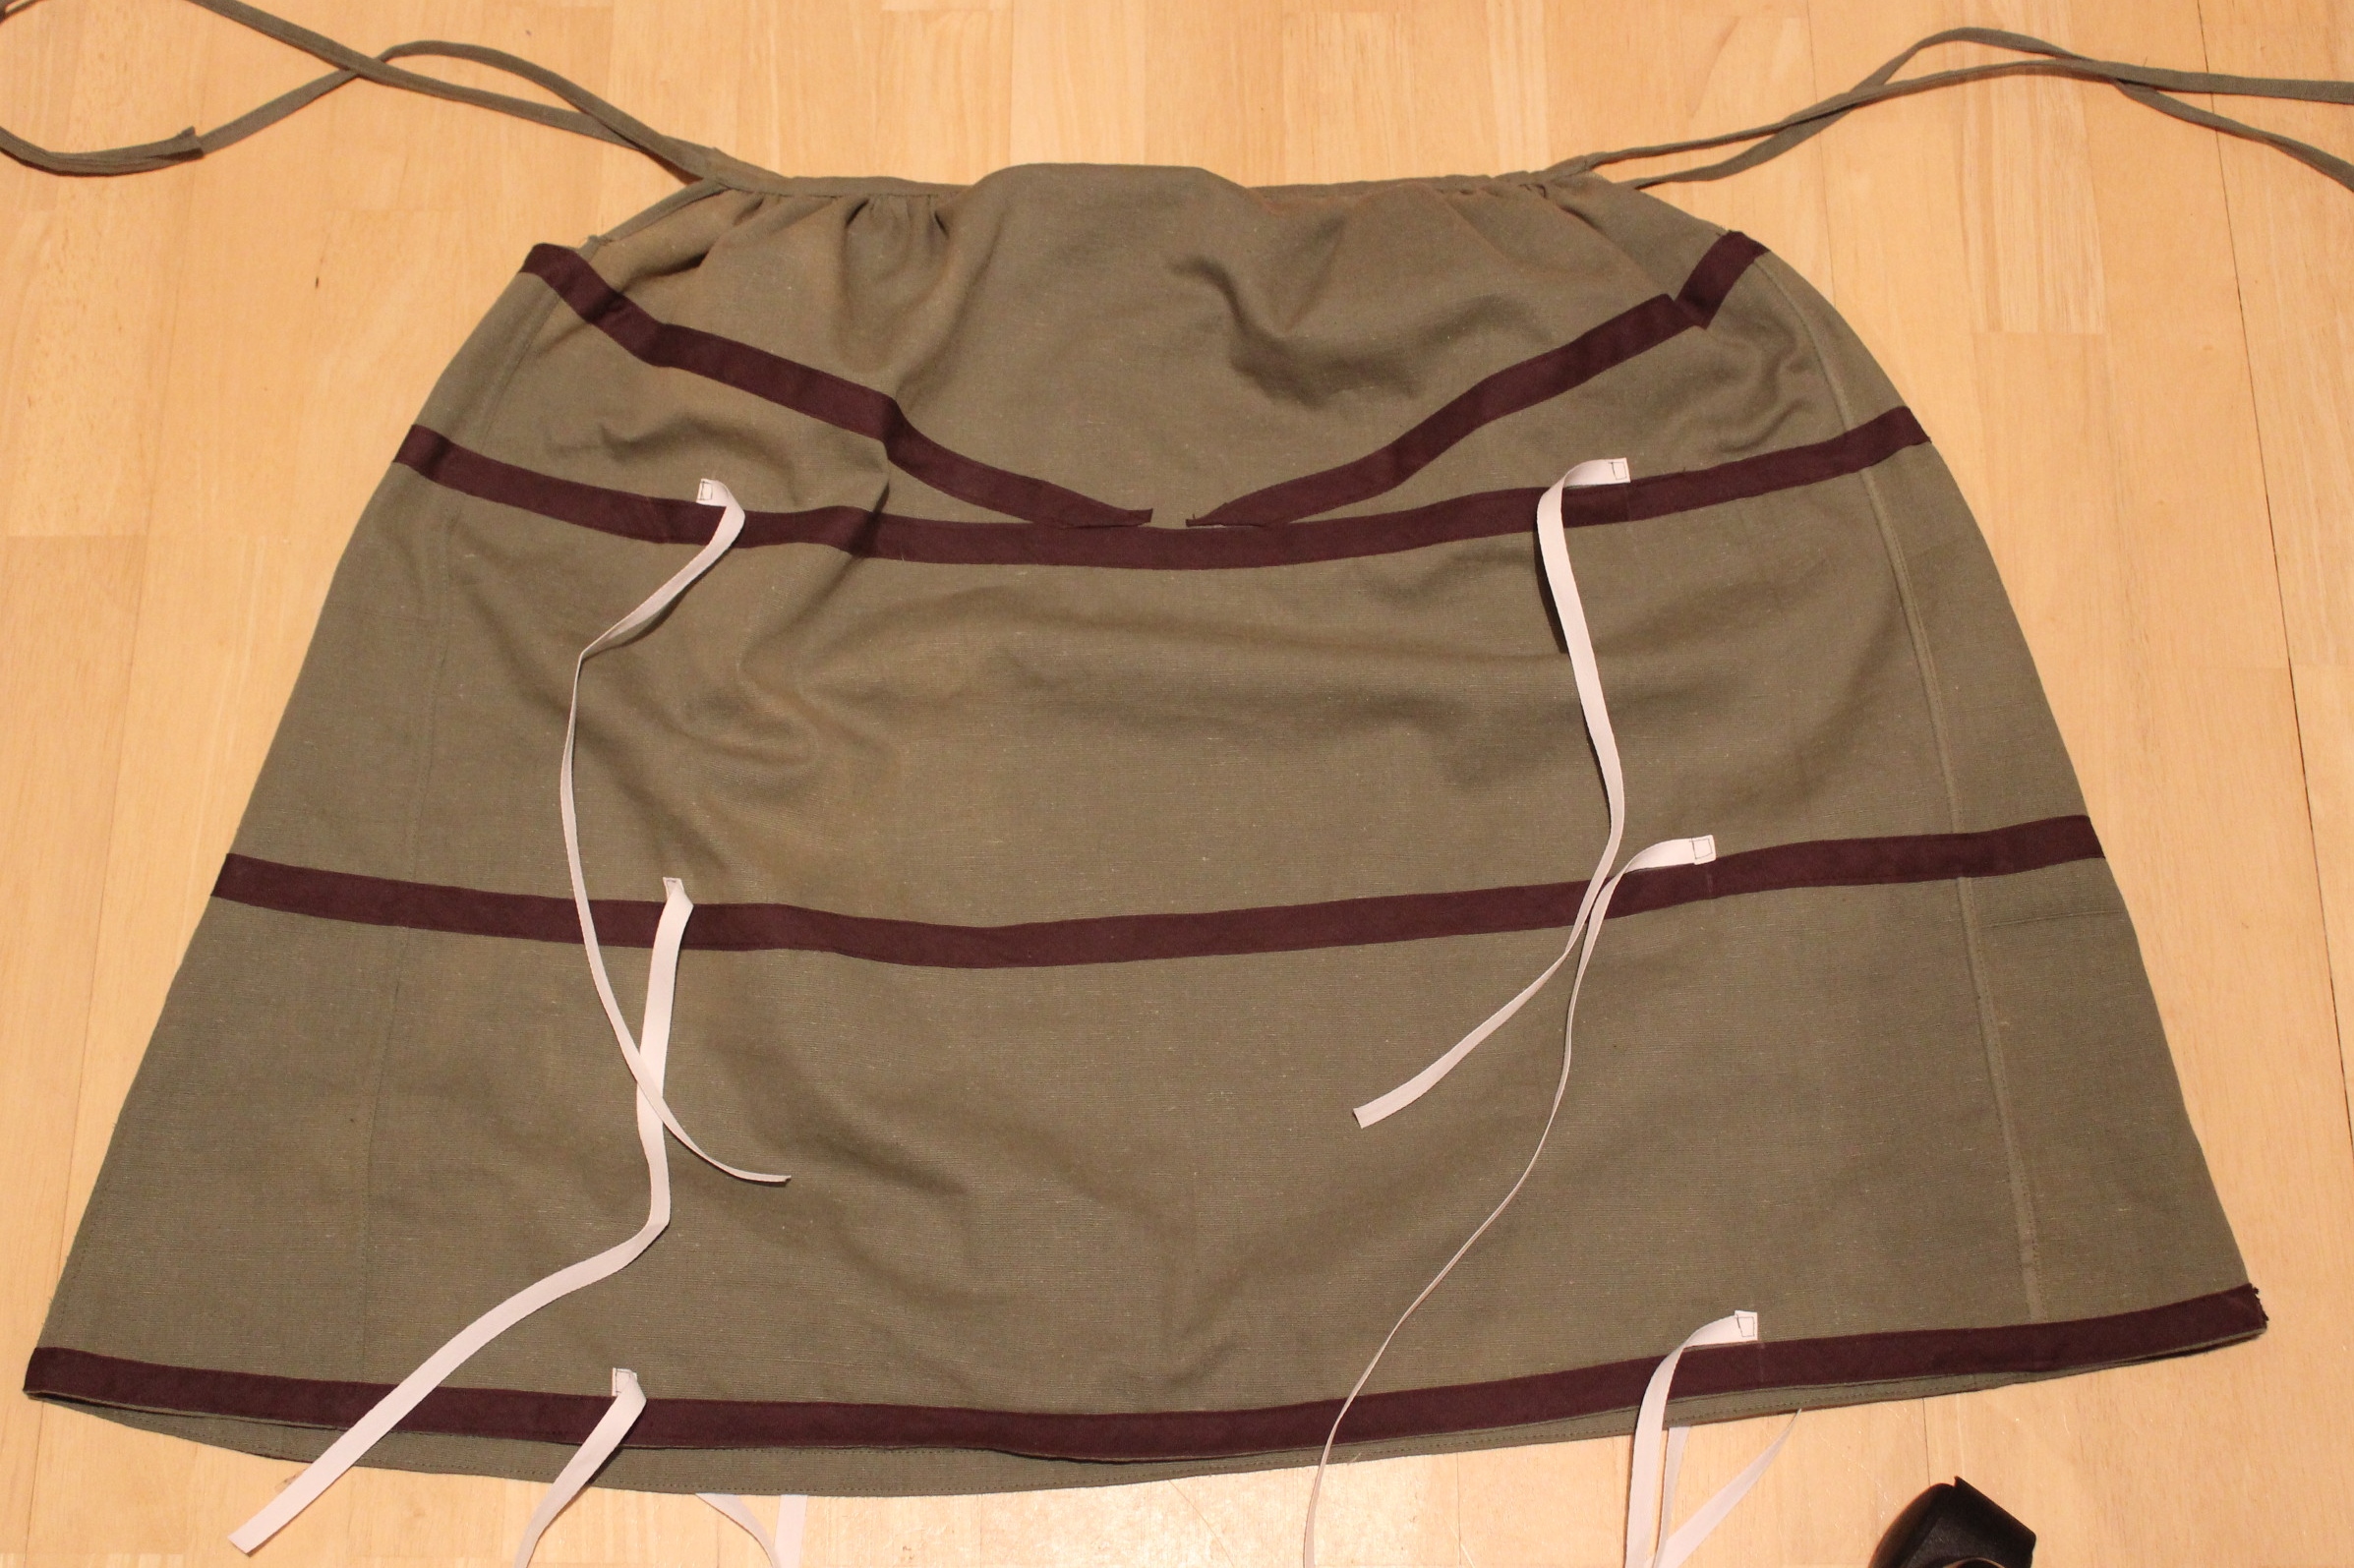
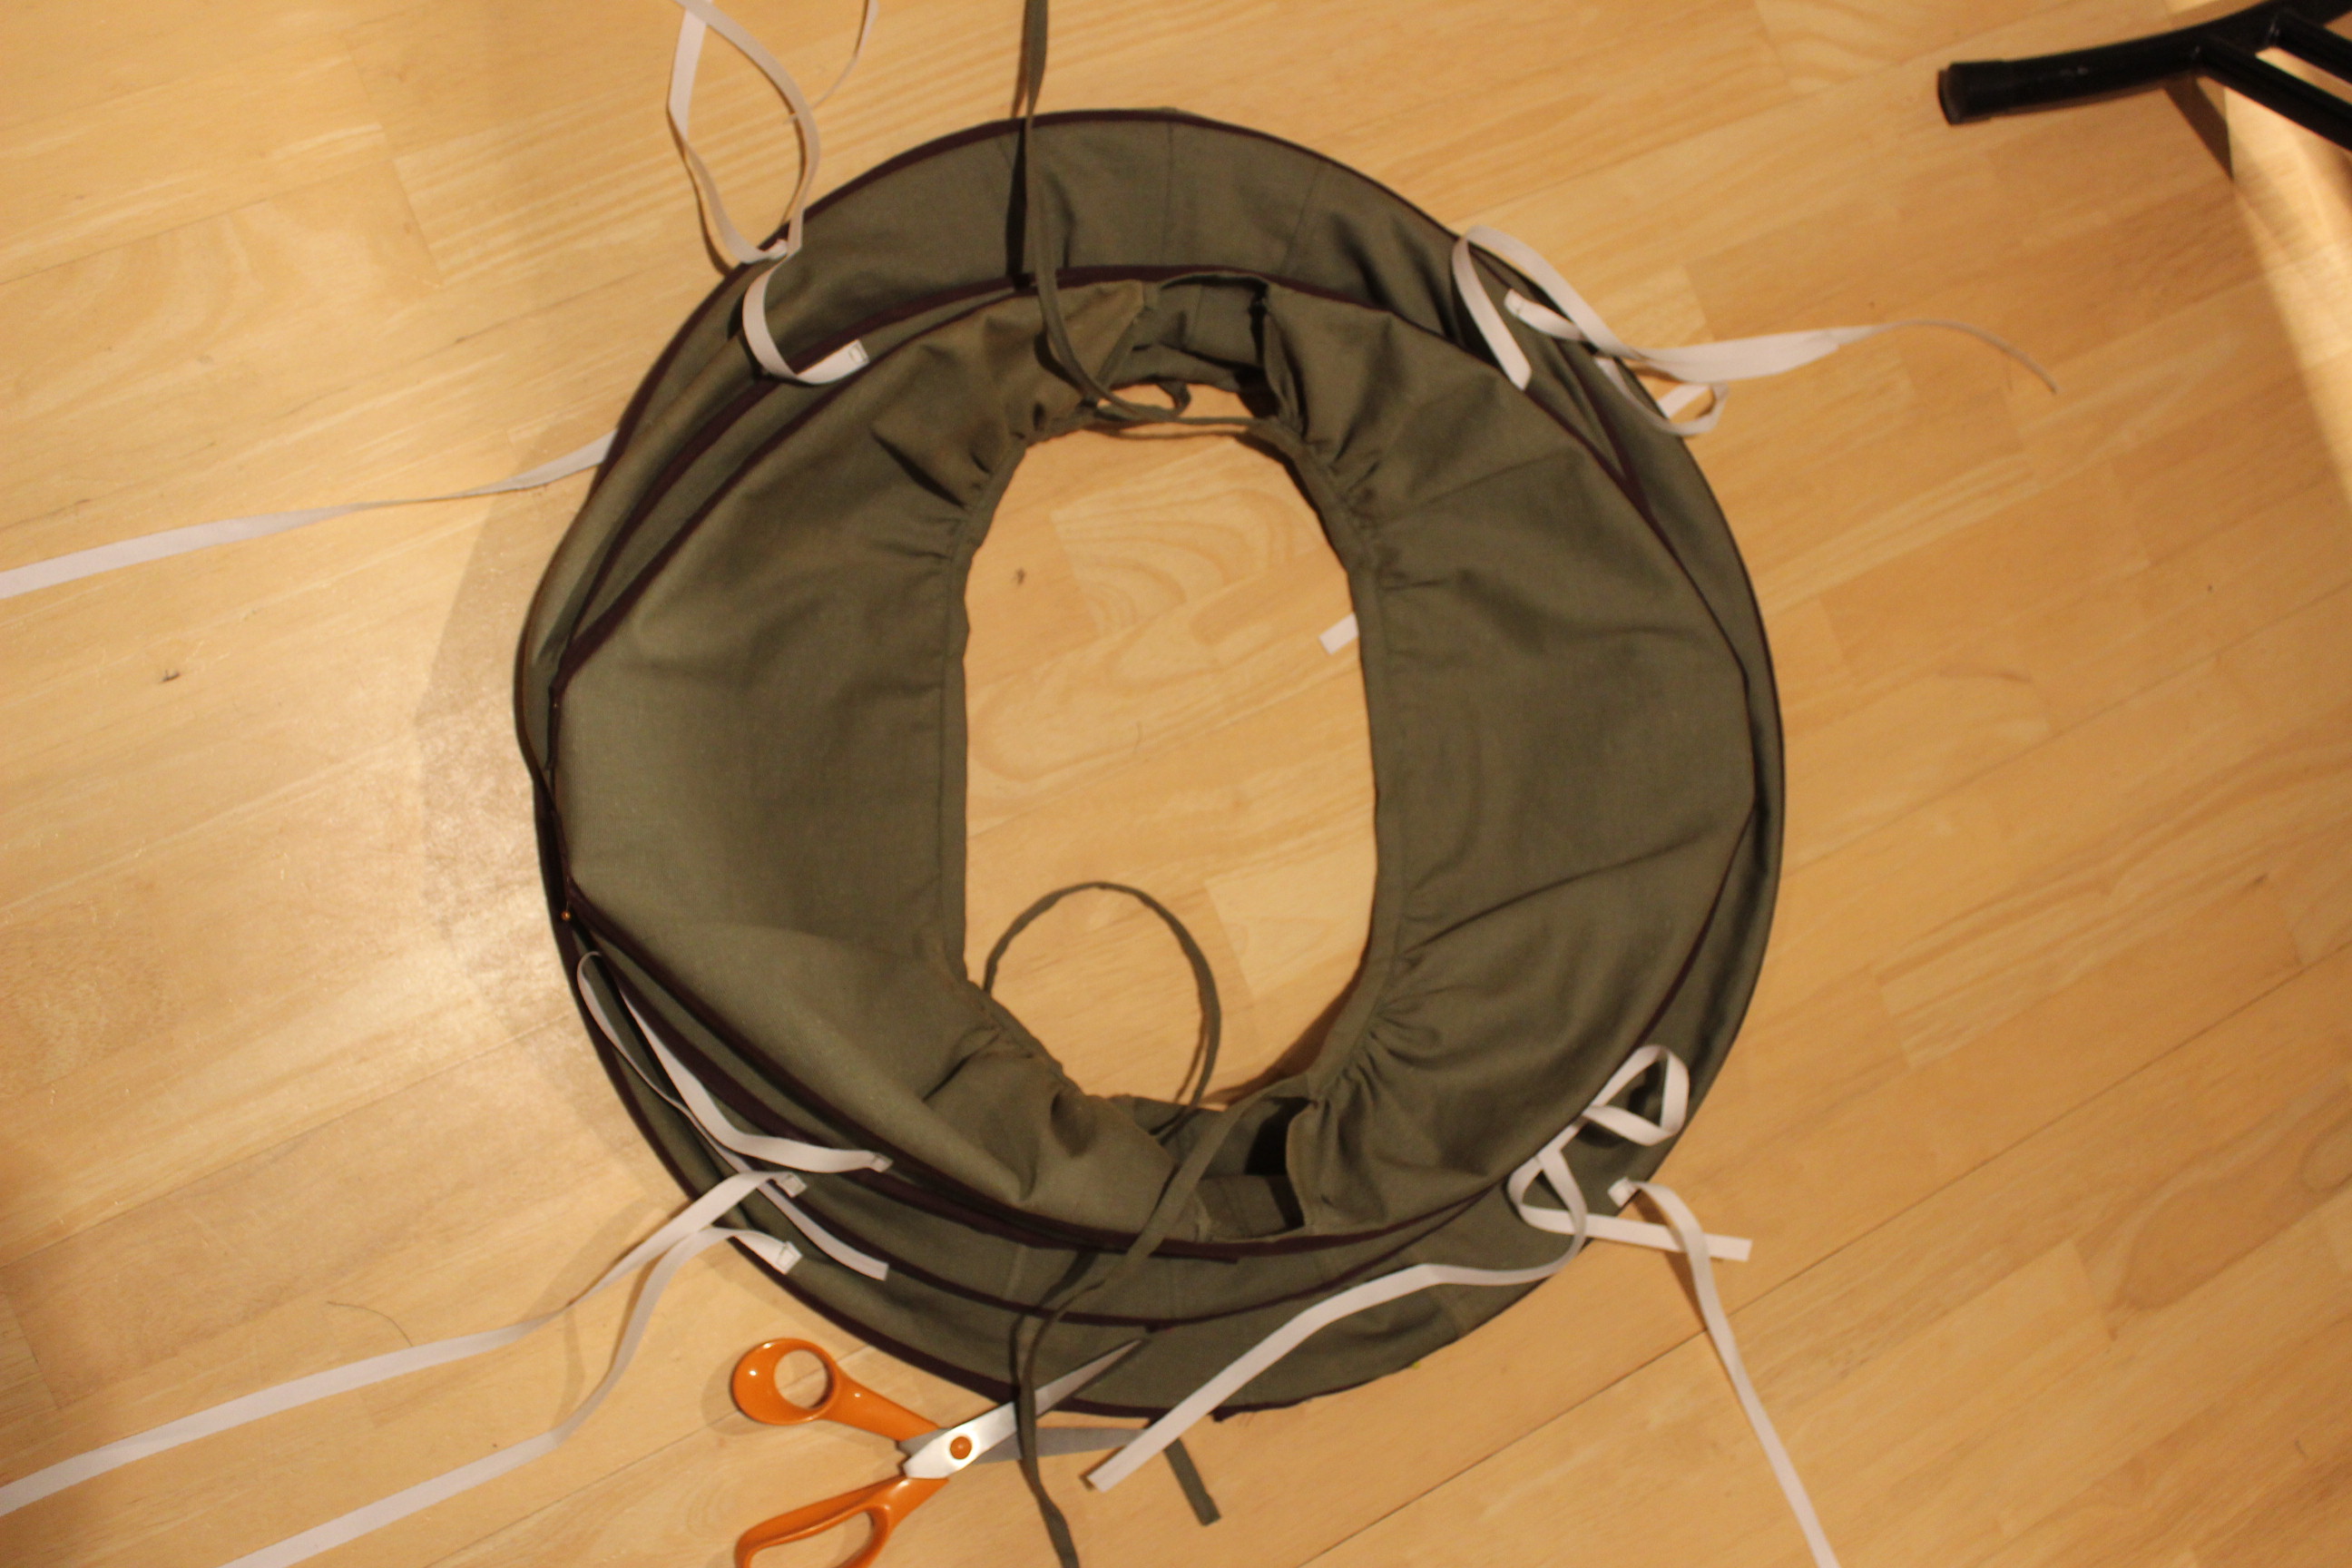


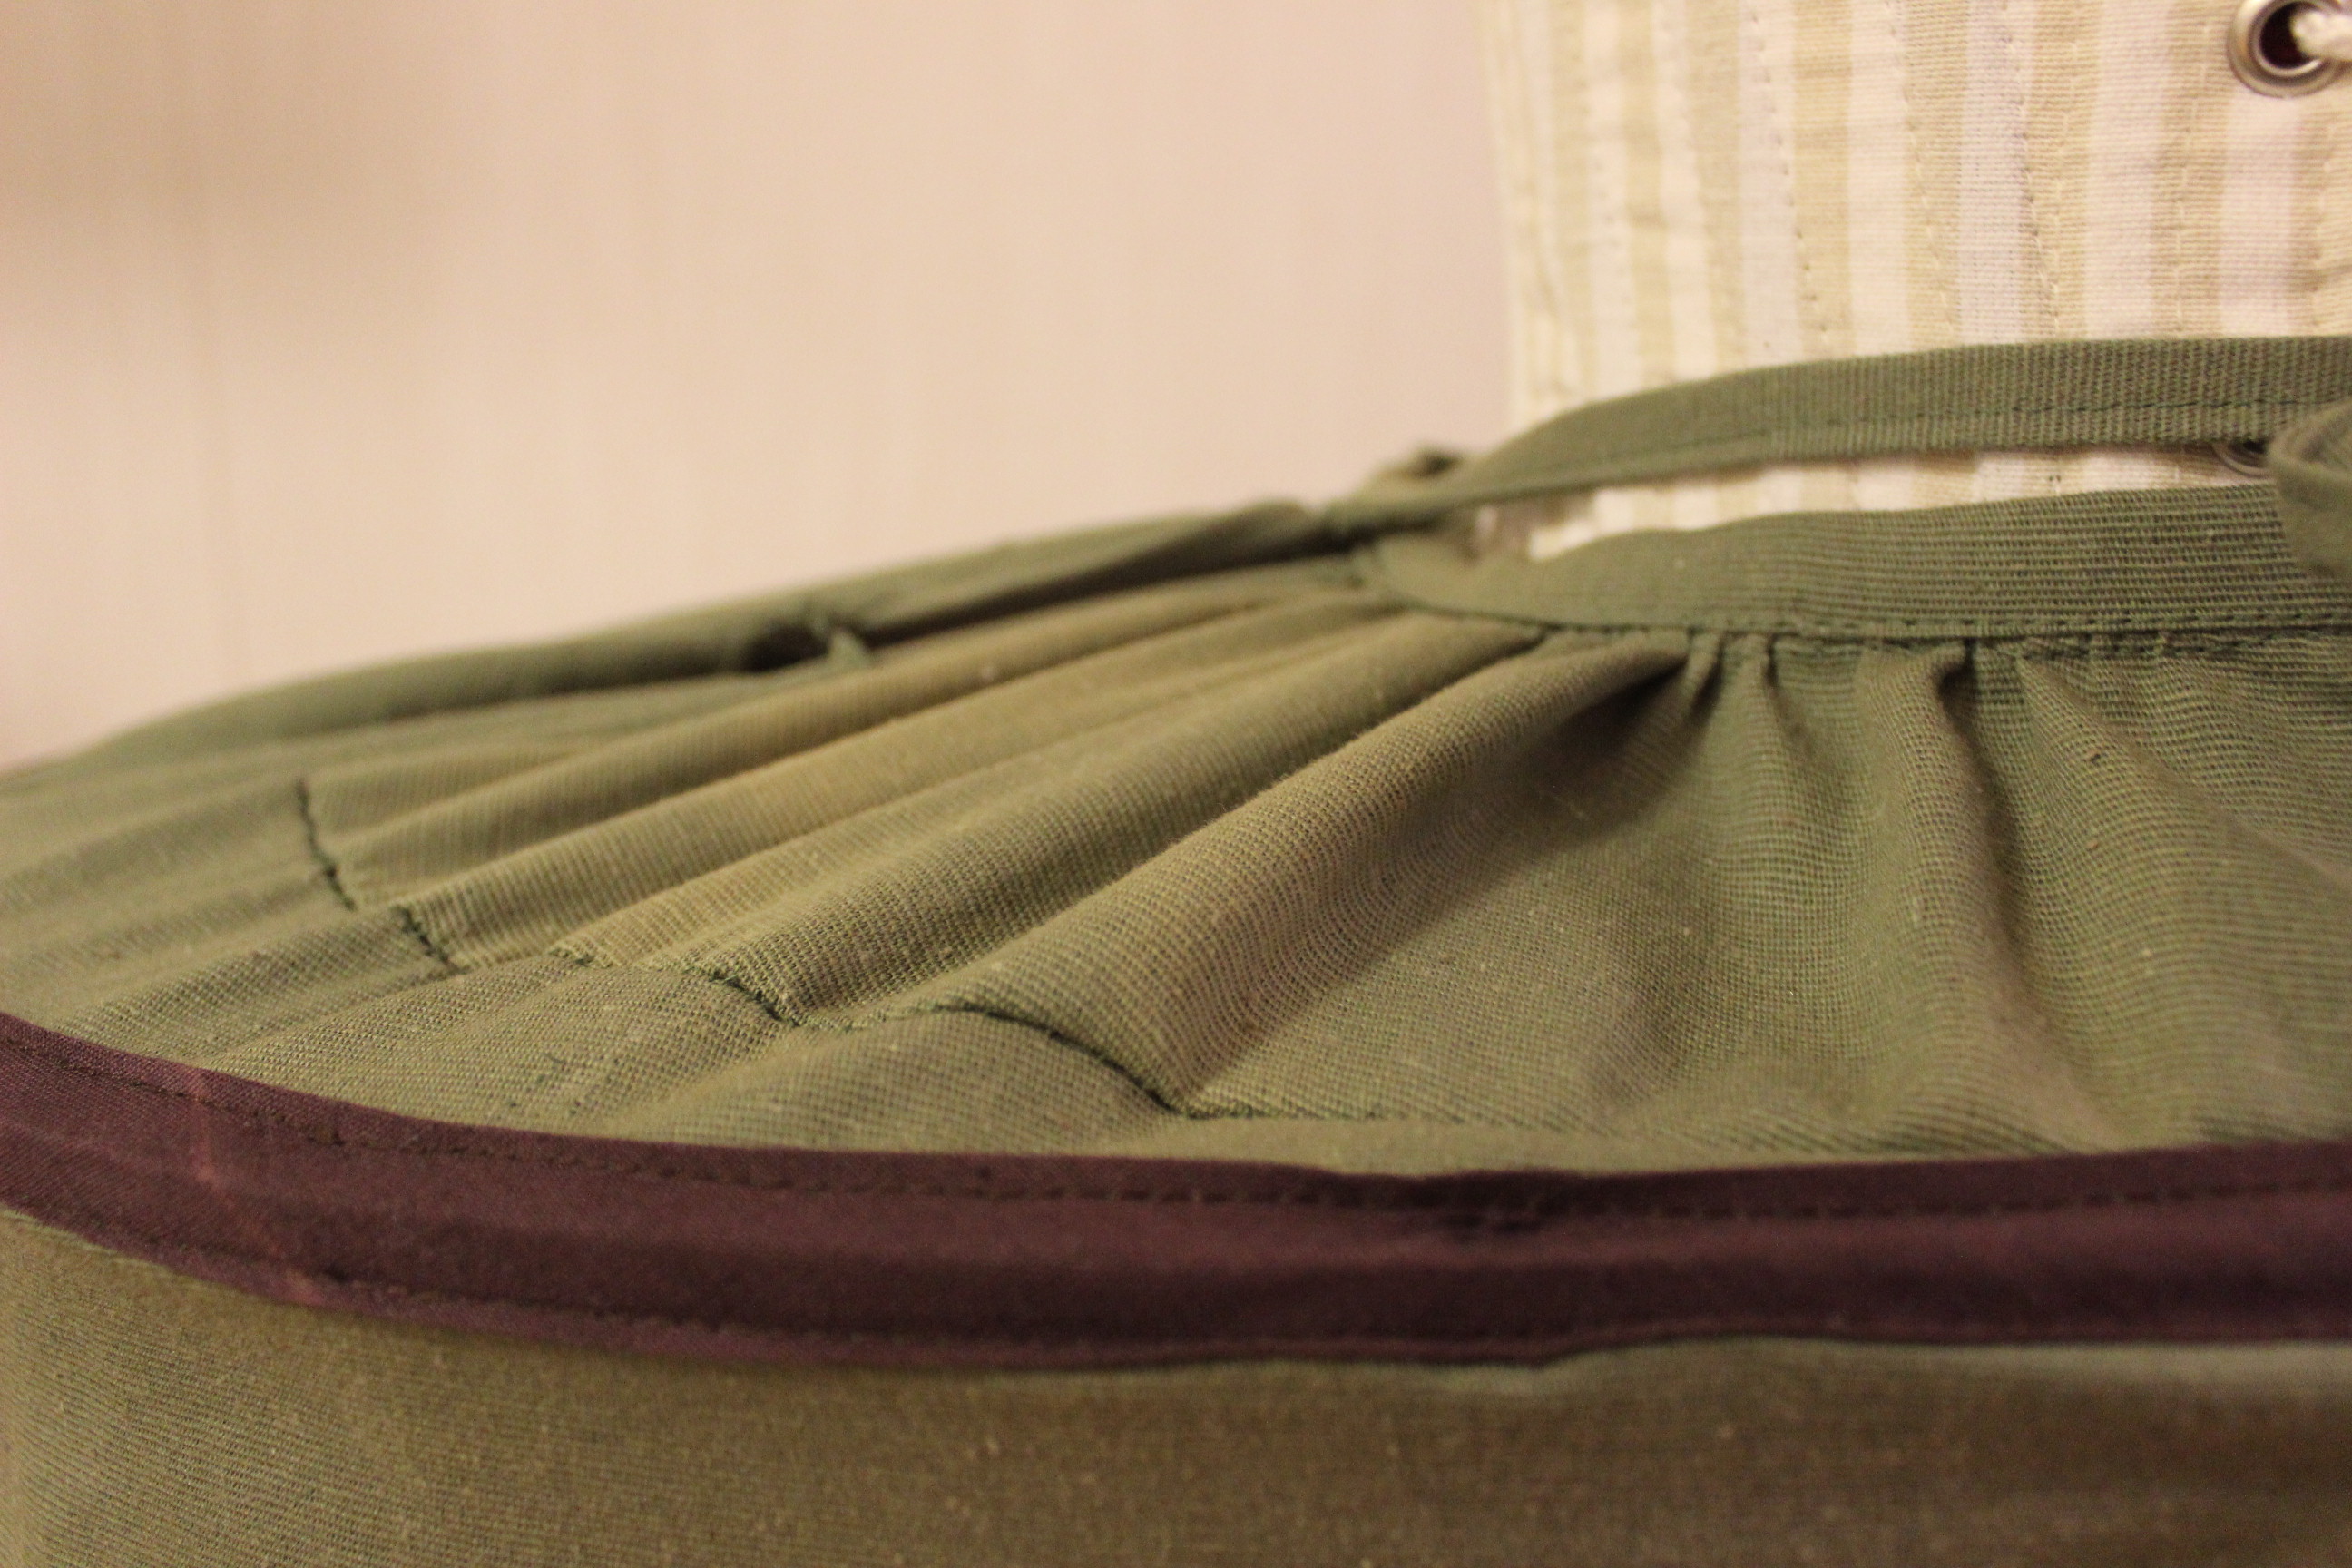
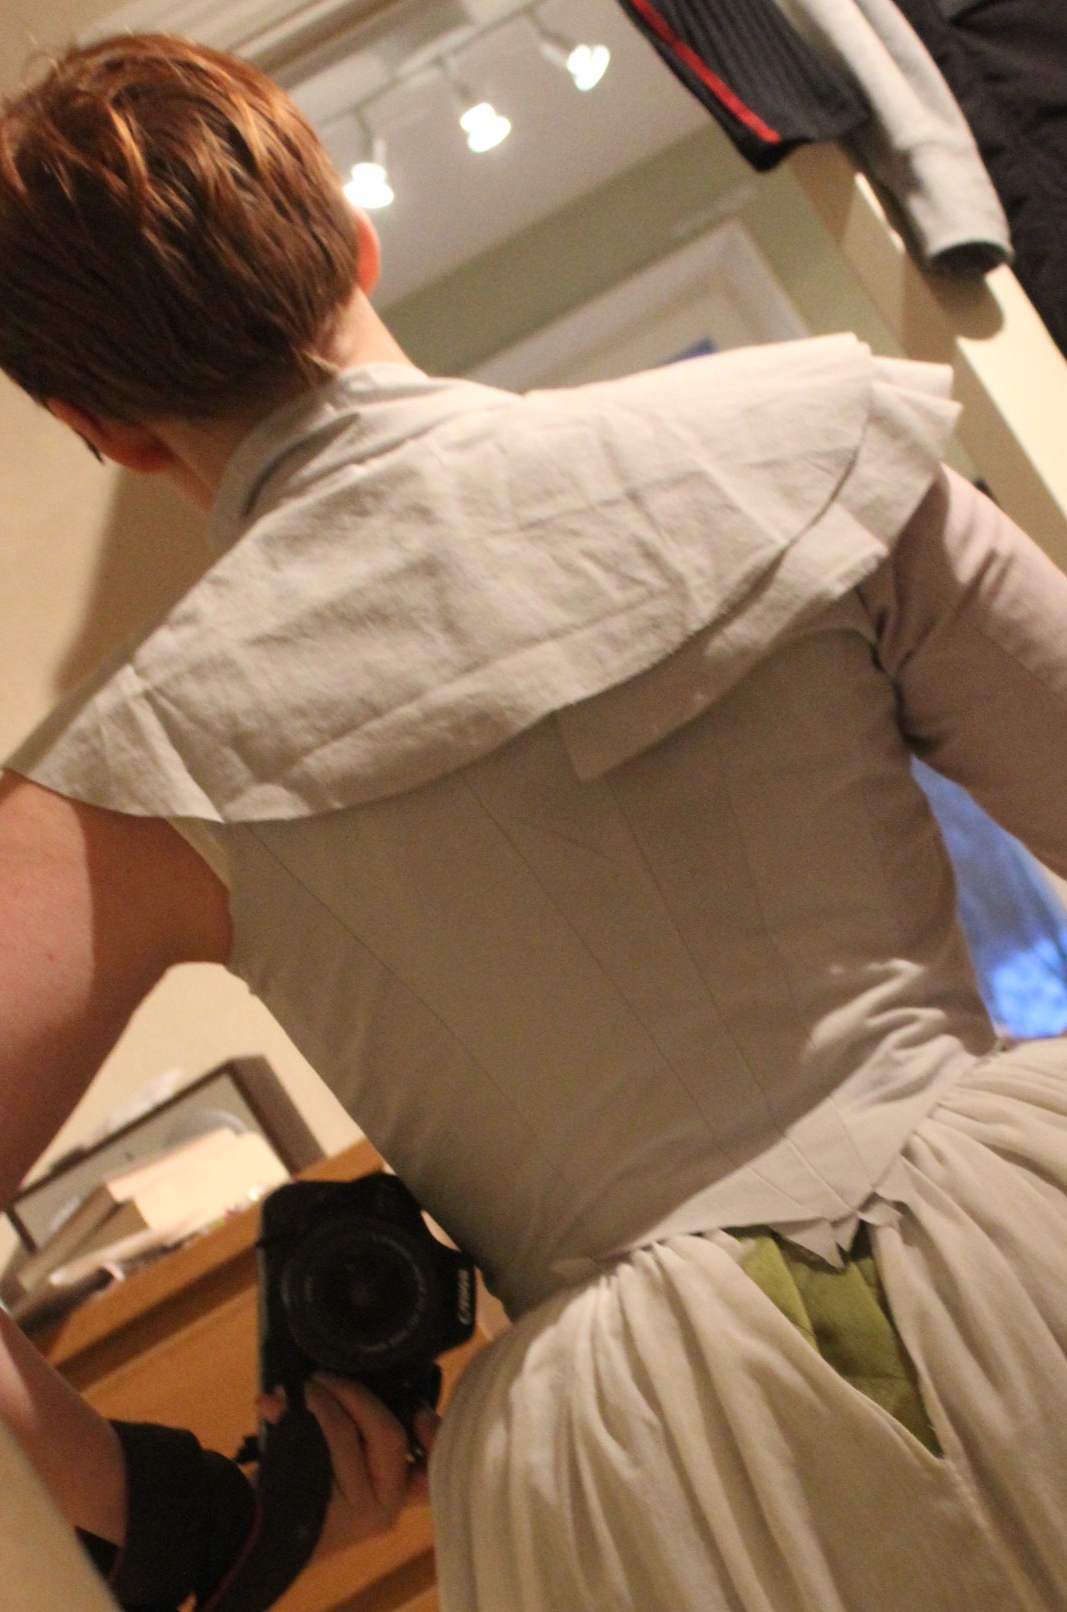
 Better, but a long way from perfect.