I decide early that I was going to make an Edwardian hat for the HSF ?: Tops and Toes. My original plan was to make a matching hat to wear together with the prevoulsly made edwardian “Farytale”gown, to a upcoming event.
But as you can guess my planes changed a bit once I decided I hated it, and would never wear the “Ariel/Farytale” gown again.
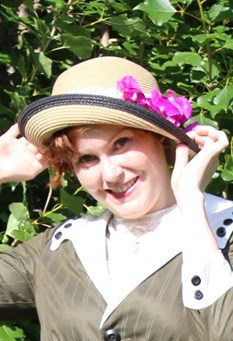
The new plan is to make a hat be-fitting of the faboulus Camille Clifford. And since the dress is now re-styled after one of her dresses, what would be better then to also make the awsome, gigantic hat to match.
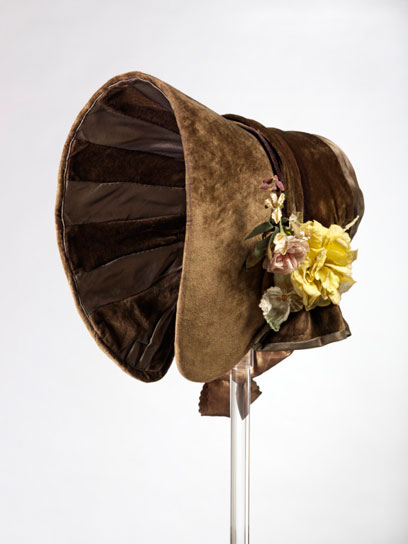
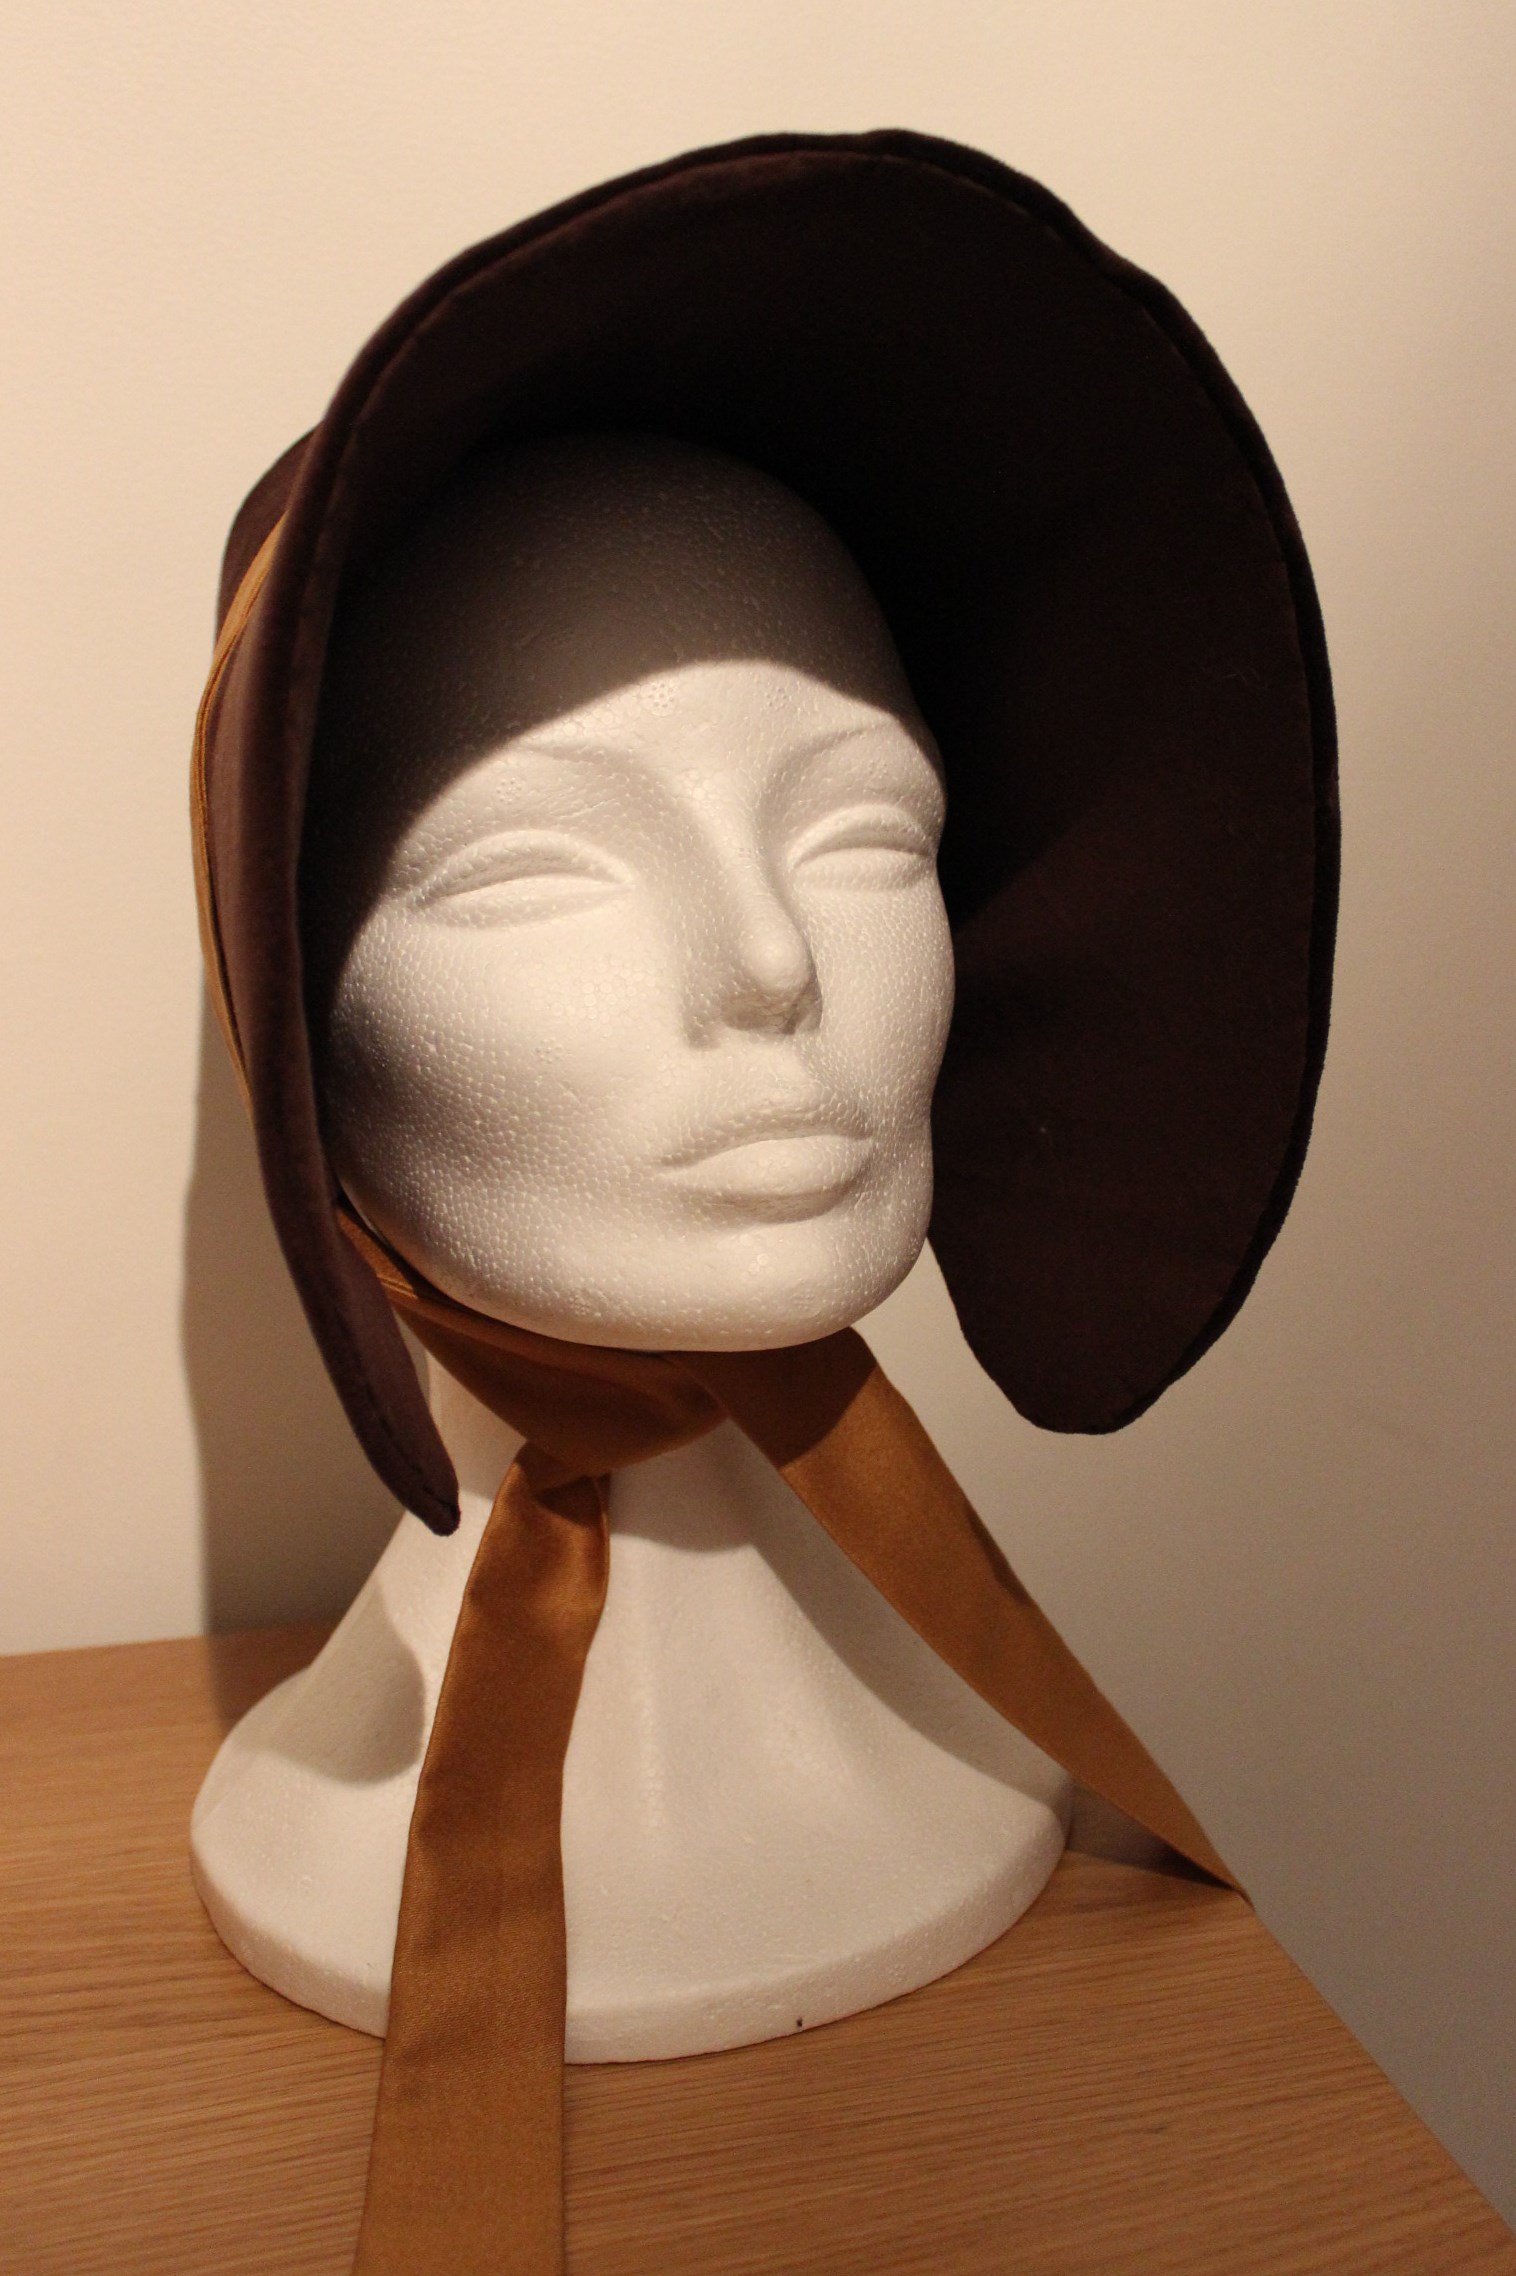
The only problem was – I’ve never made a hat from scratch before… Ok, I’ve made a 19th century bonnet, but nothing this complex, and huge.
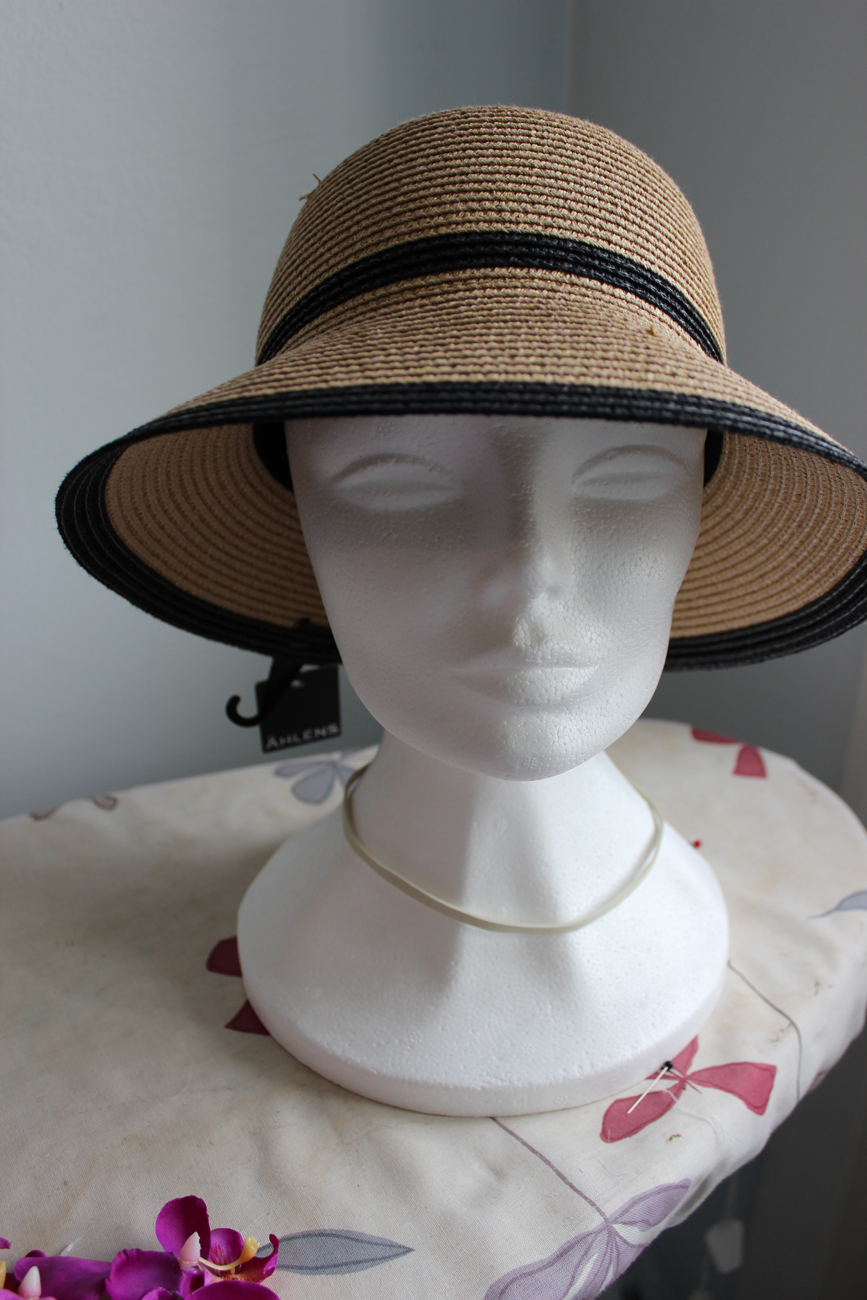
I started searching for some pattern layouts on the internet, and was just about to start the drafting, when I stumbeled on this hat hanging in a store. 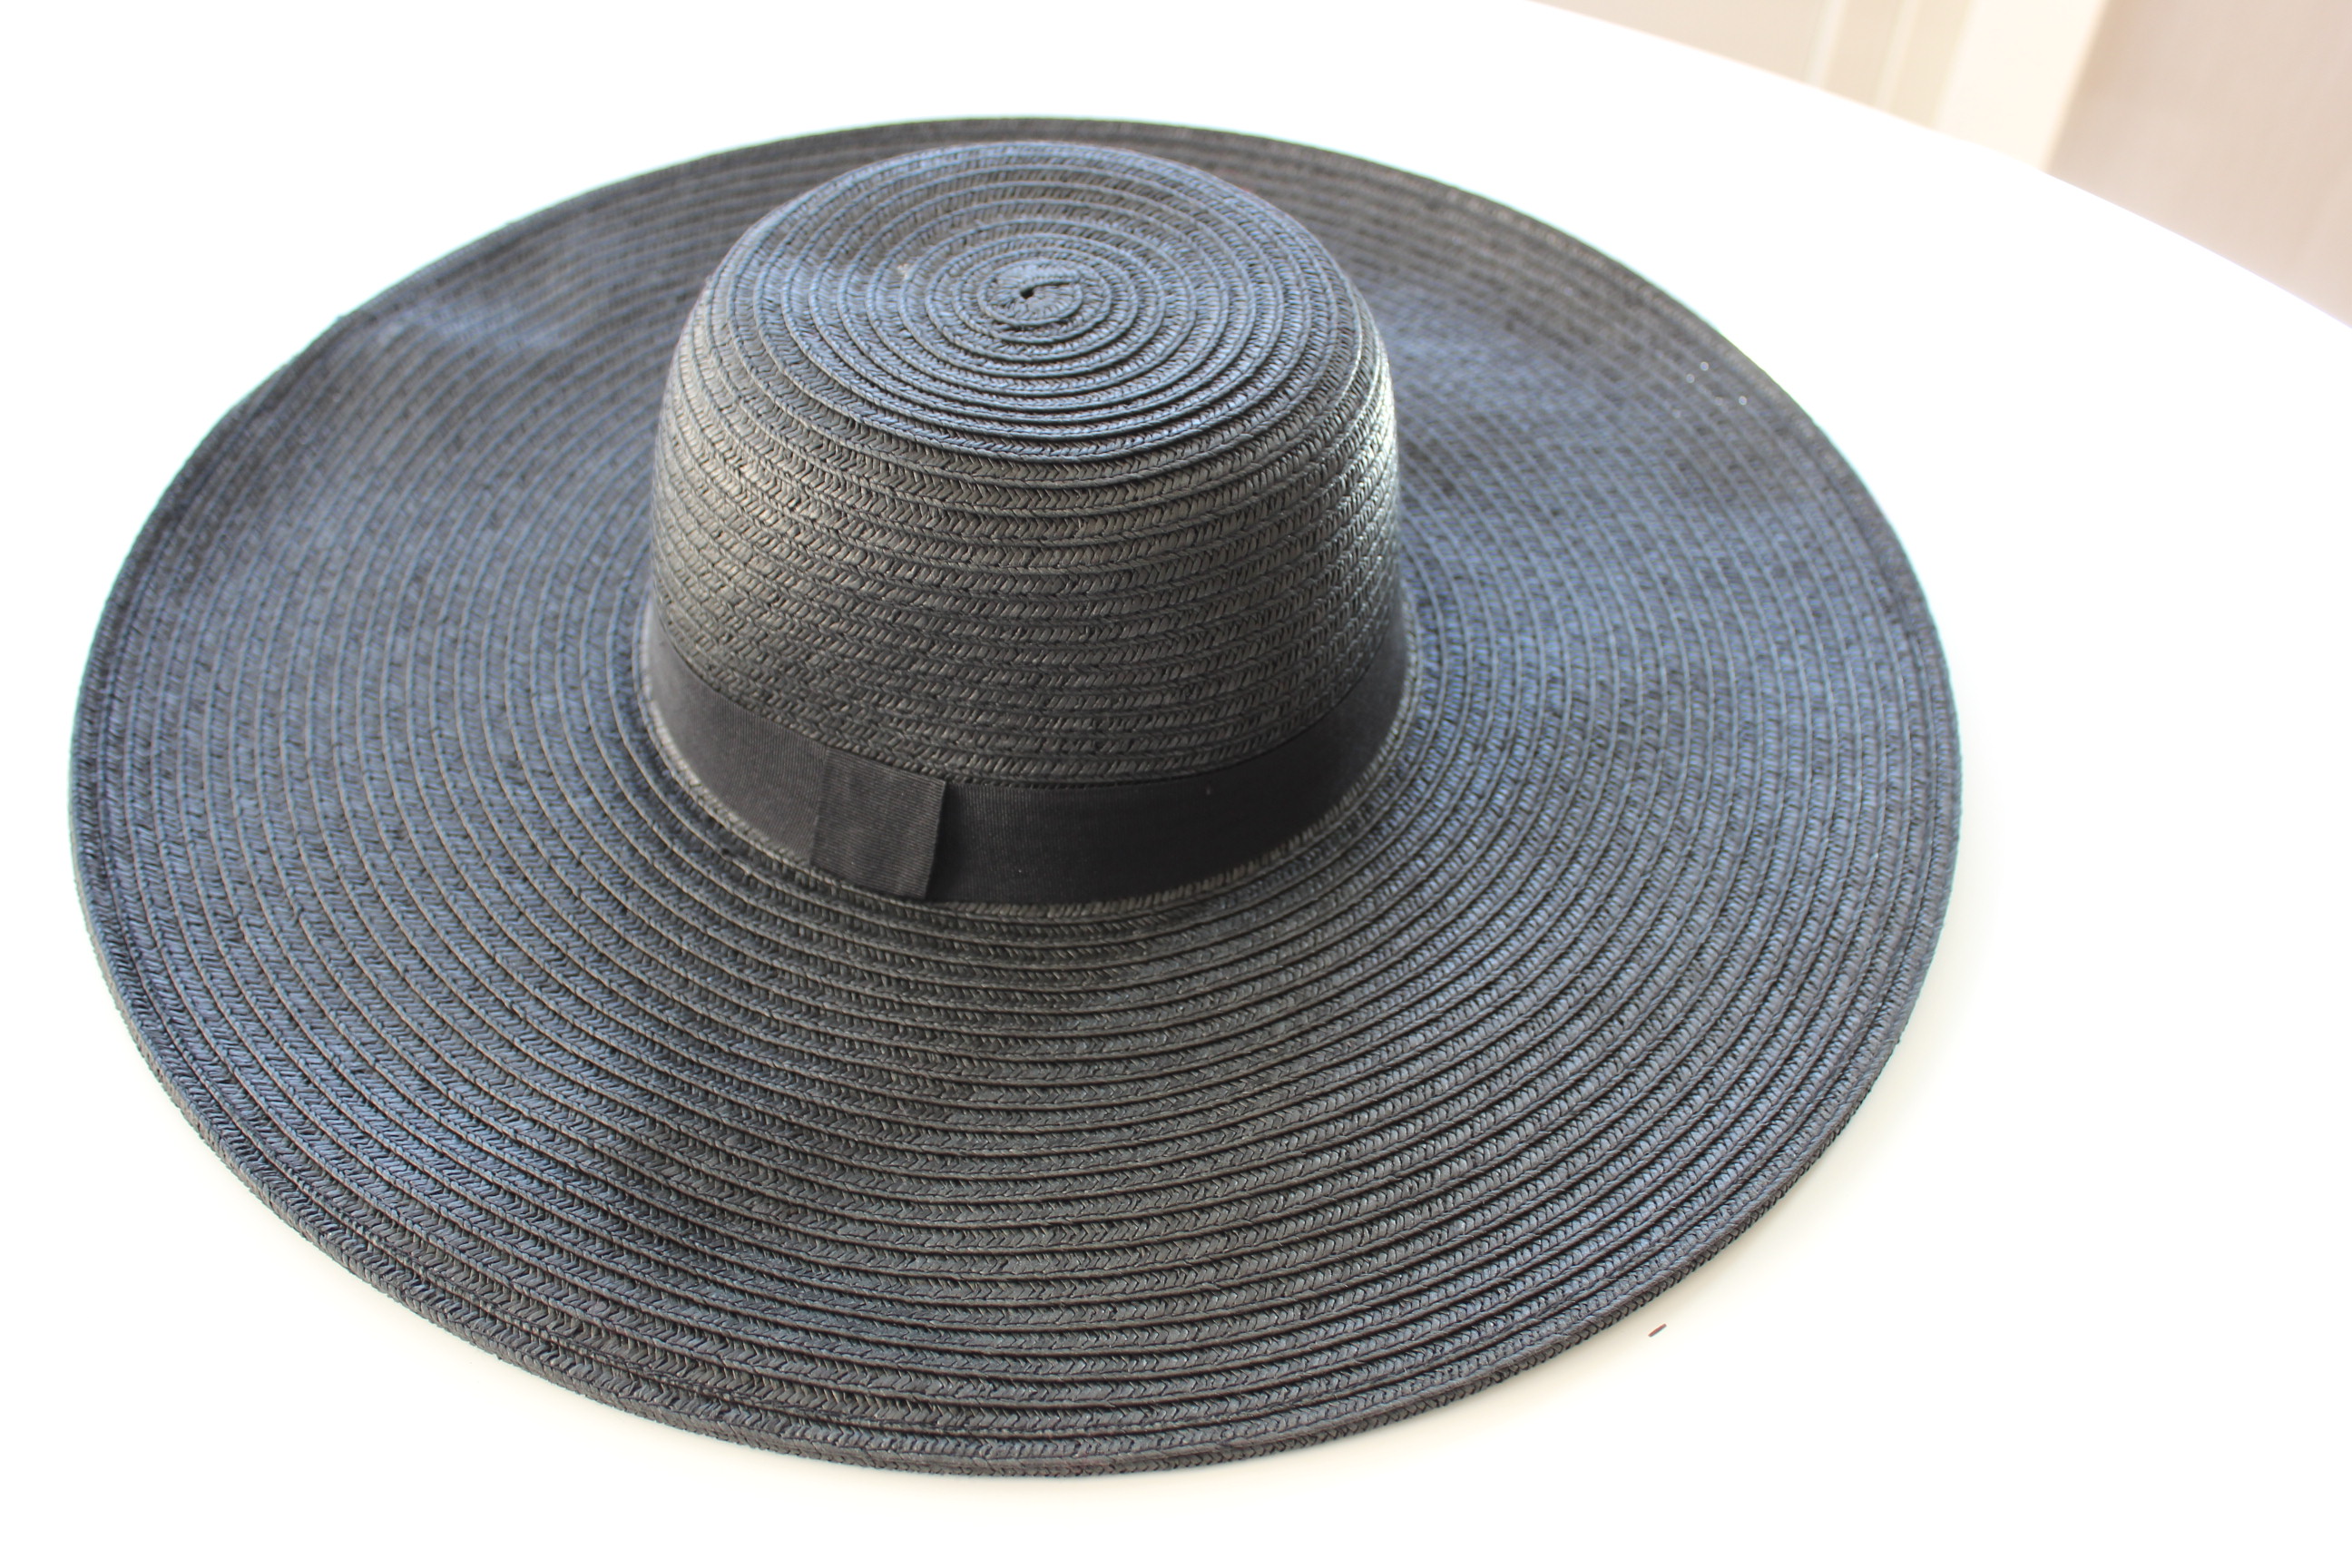 Since it was both the perfect size and colour, I took the easy way out and bought it.
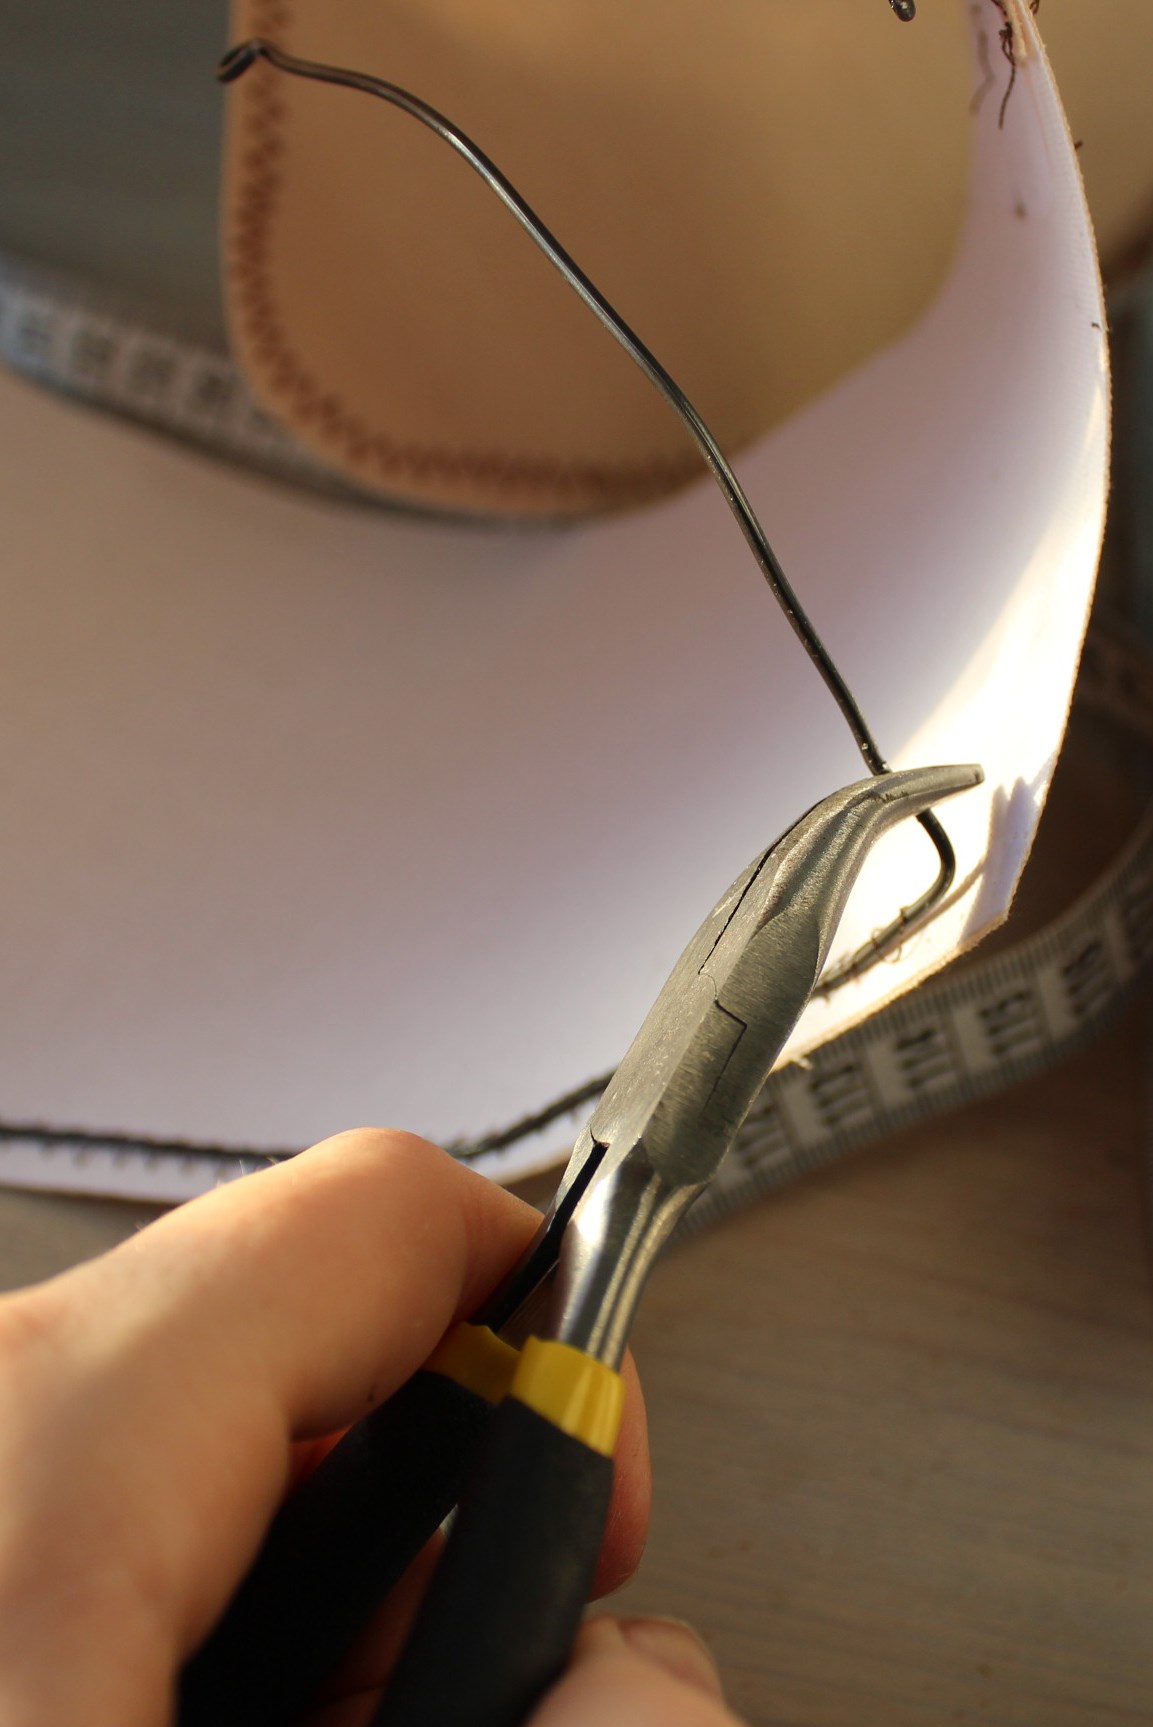
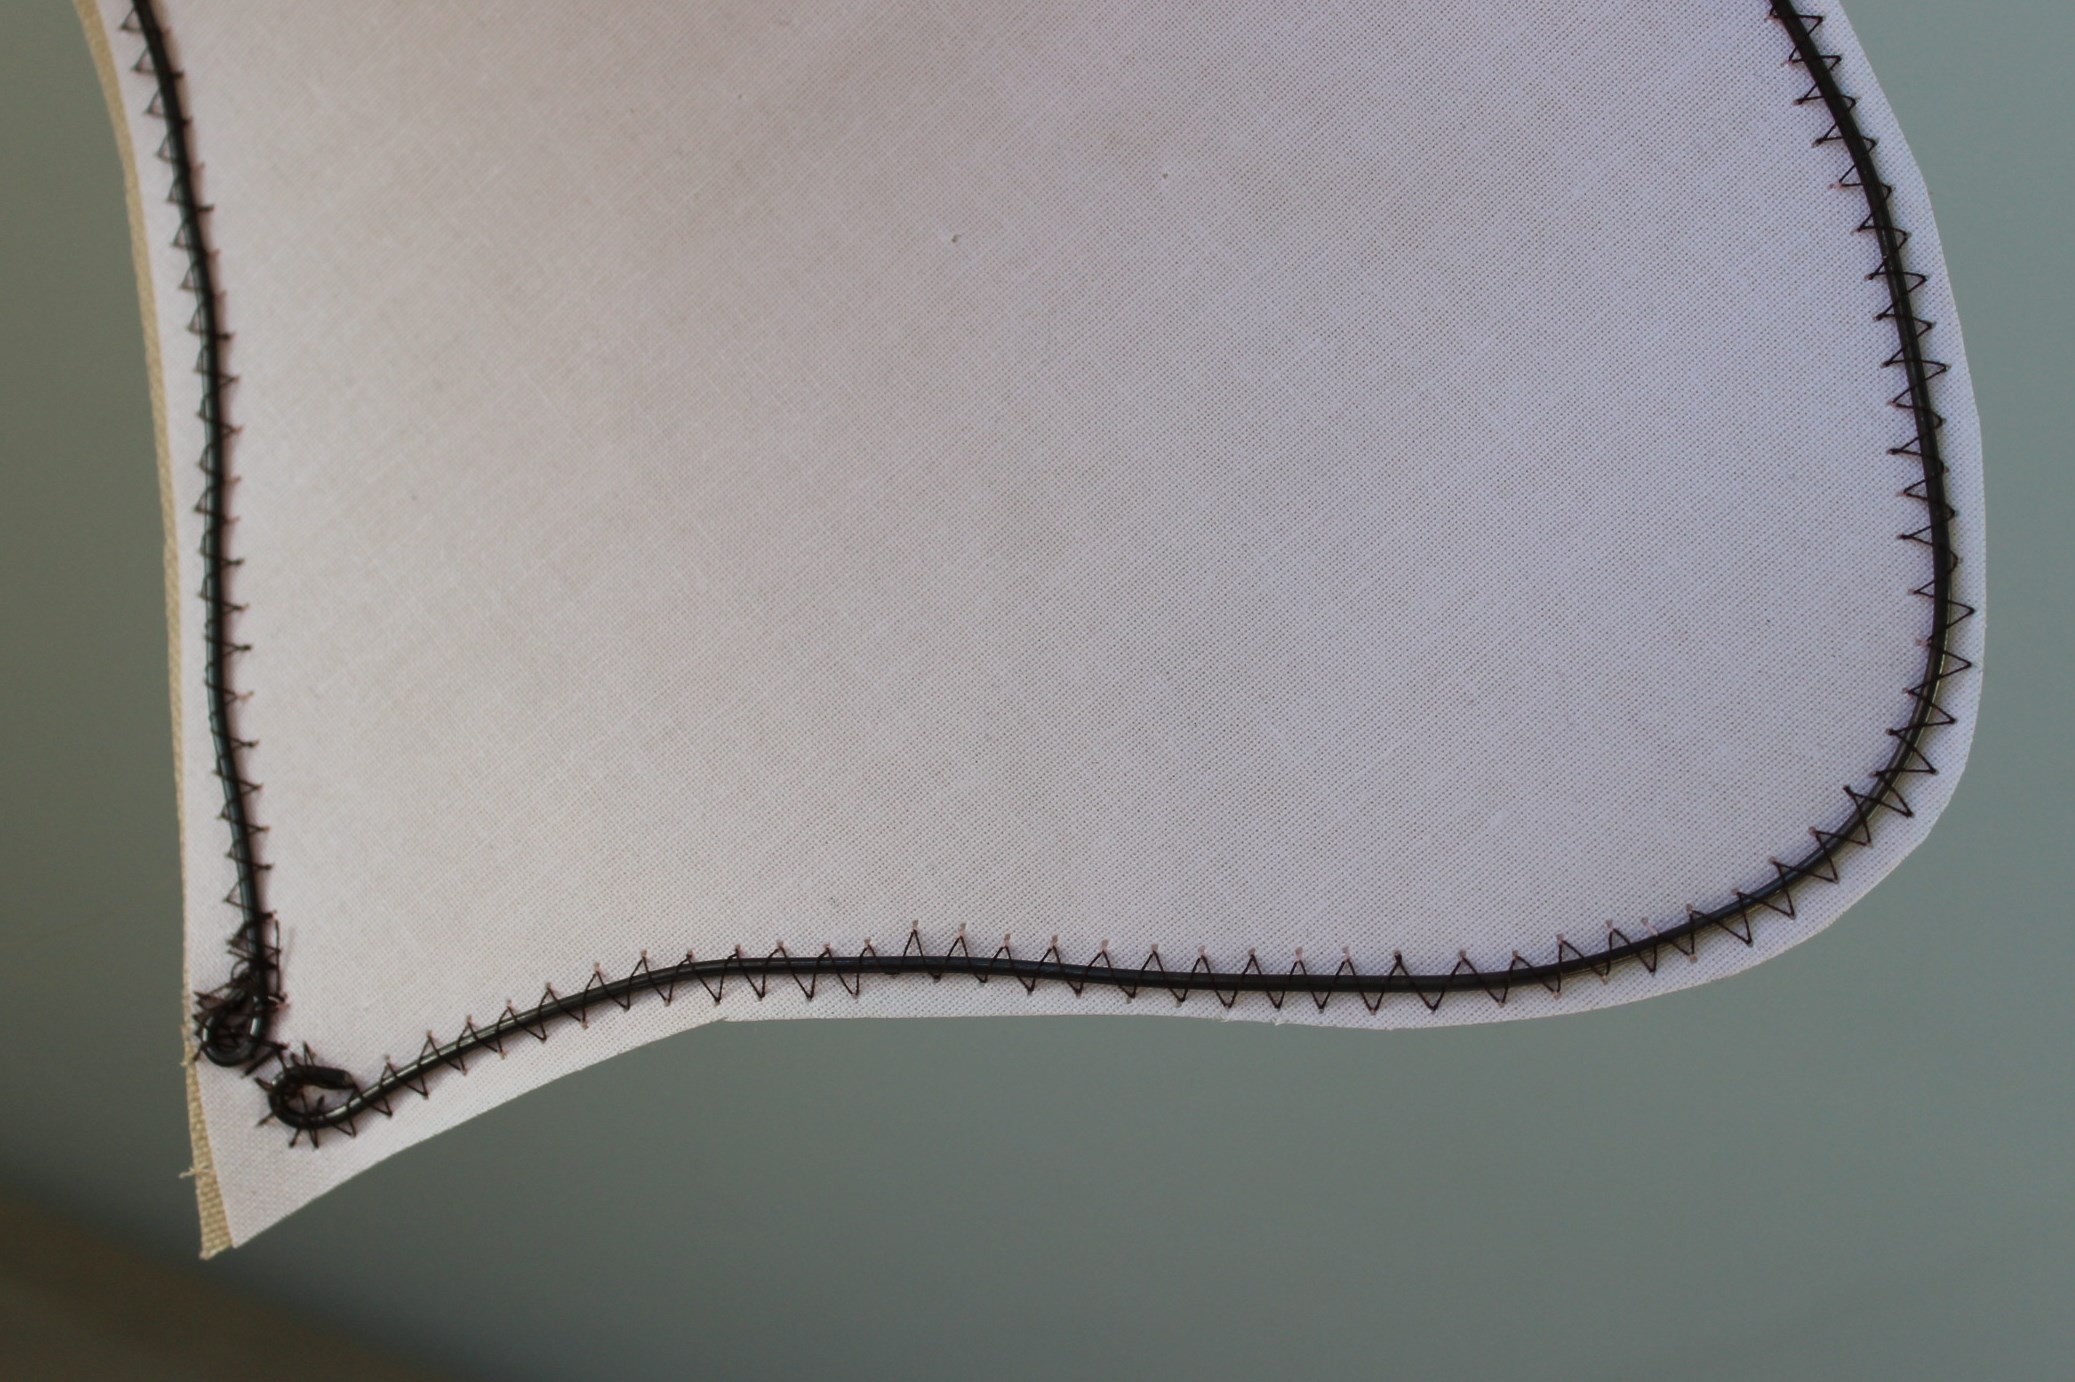
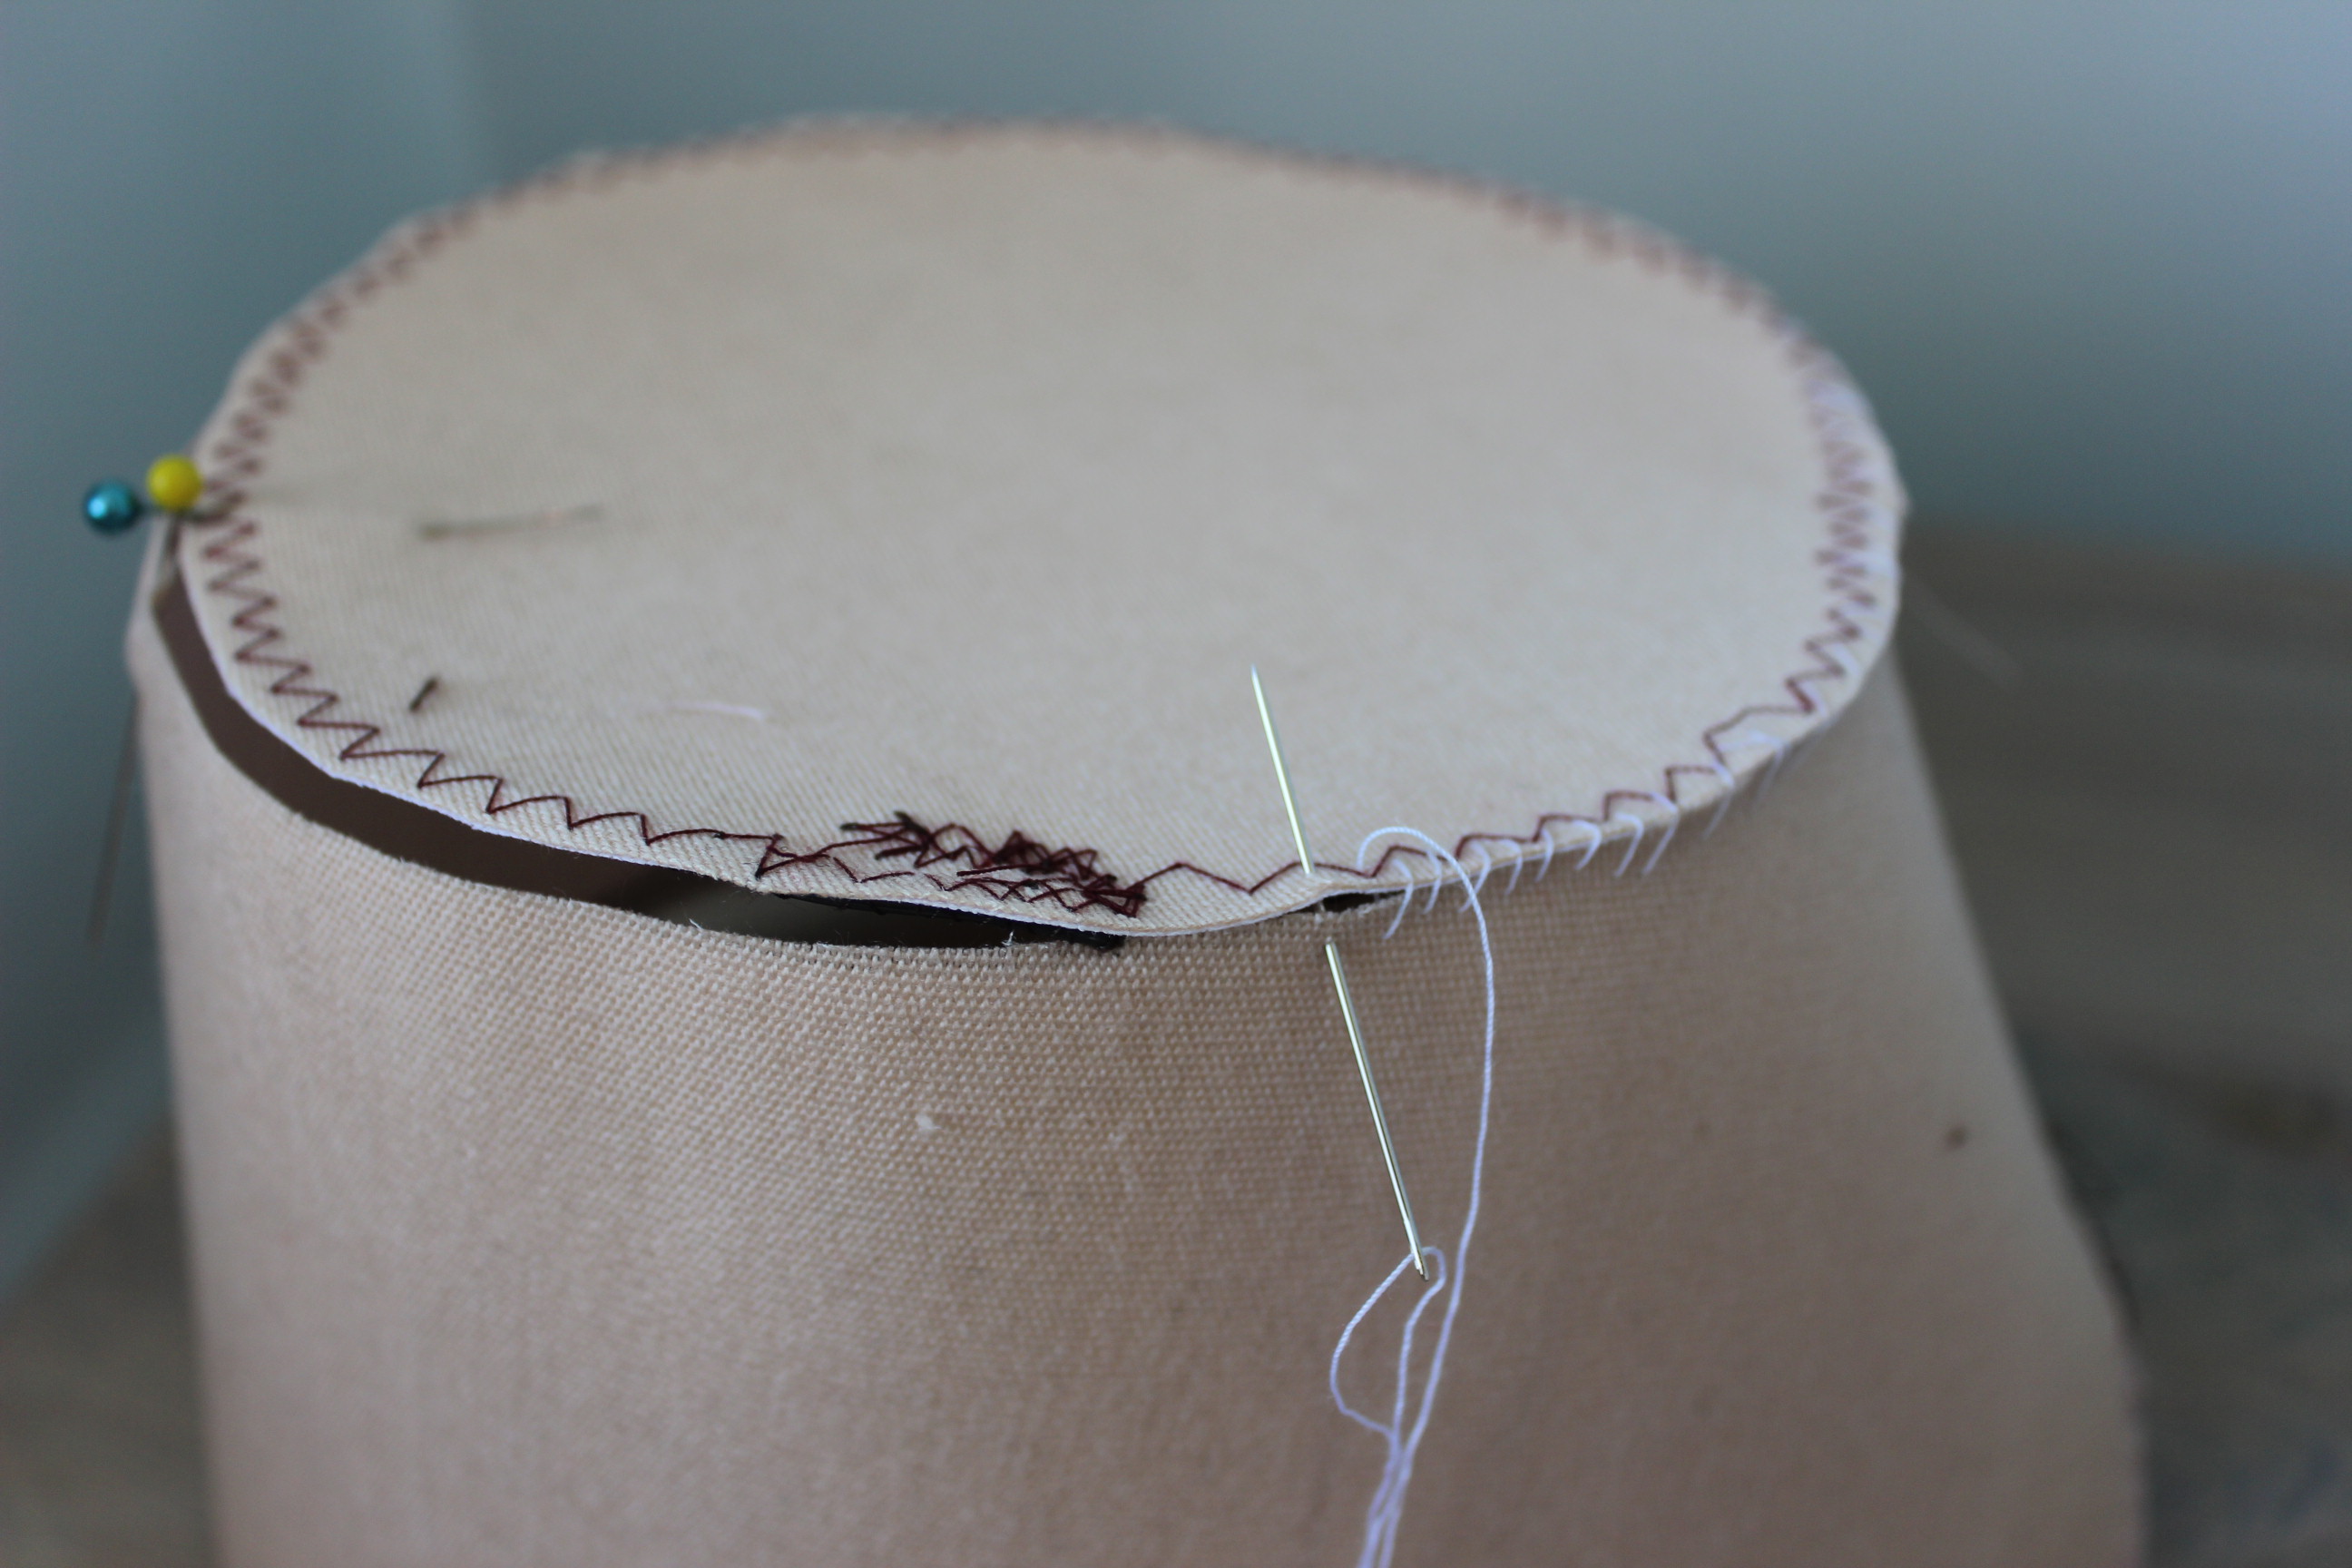
Since it was so big I decided it needed a bit of strenghtening to get the right shape. So I grabbed my metal wire and got to work, sewing it on to the brim.  Bending the edges of the wire so not to poke through the straw.
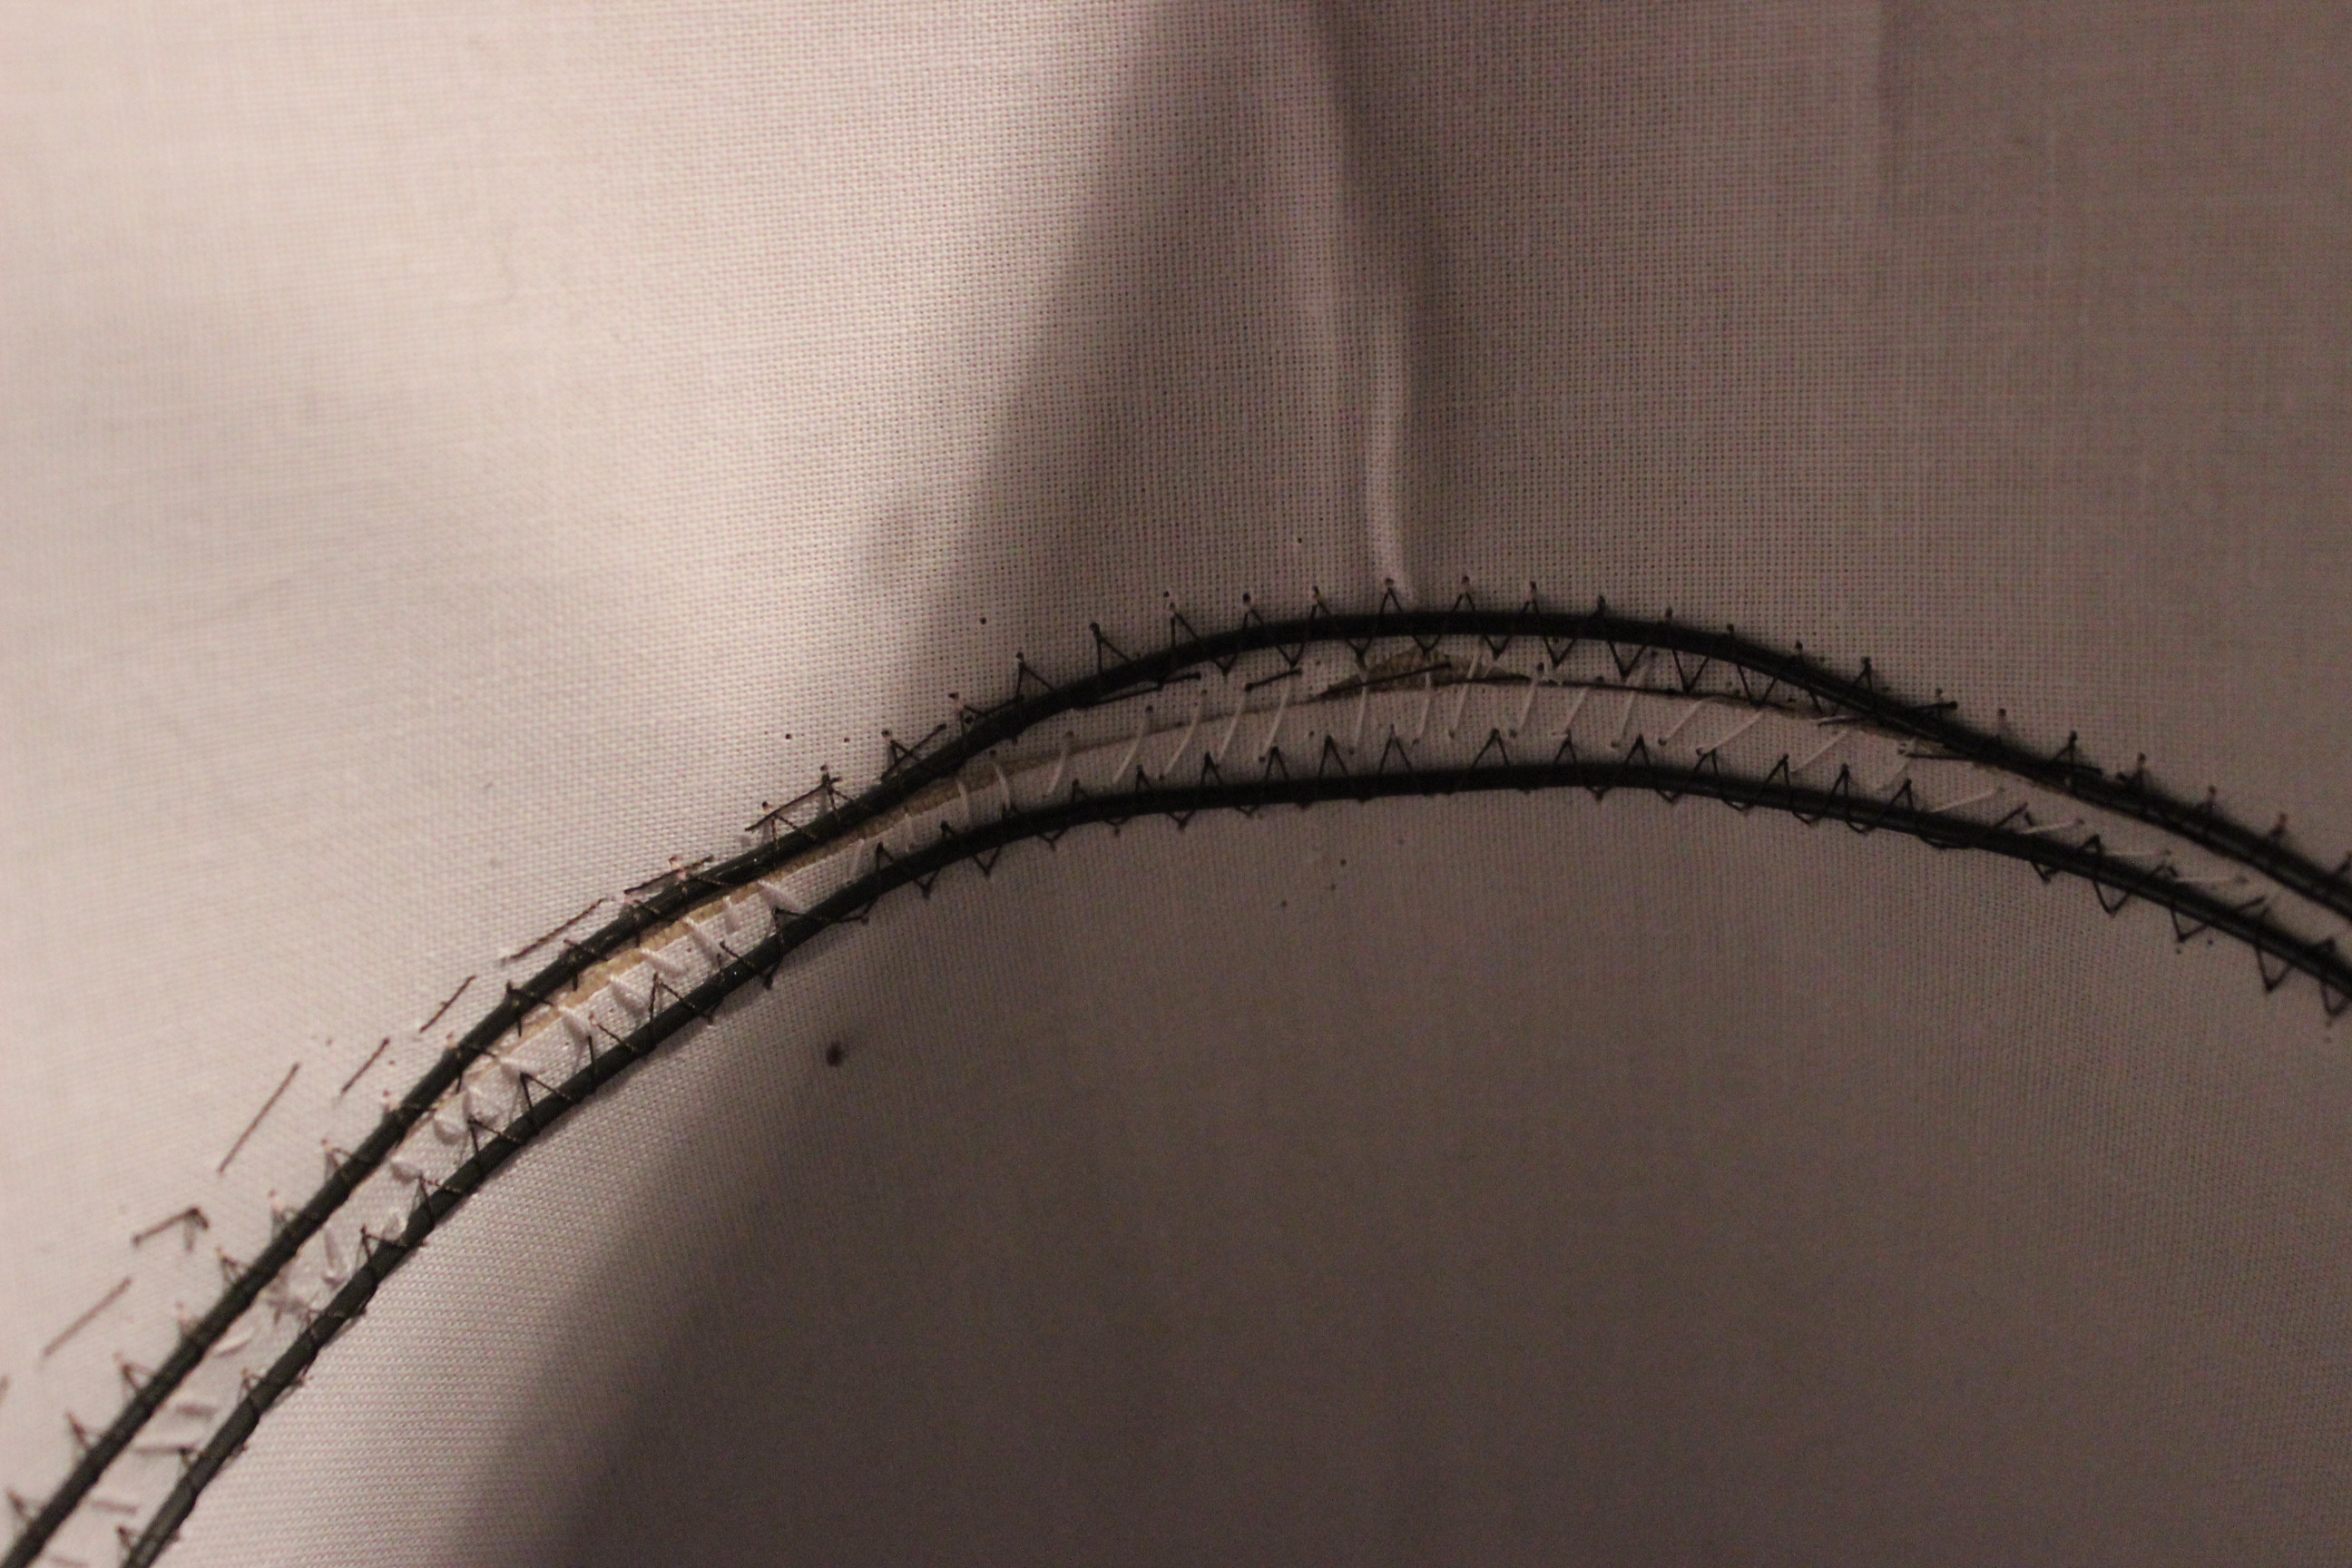
Then I did the same thing two more times. 
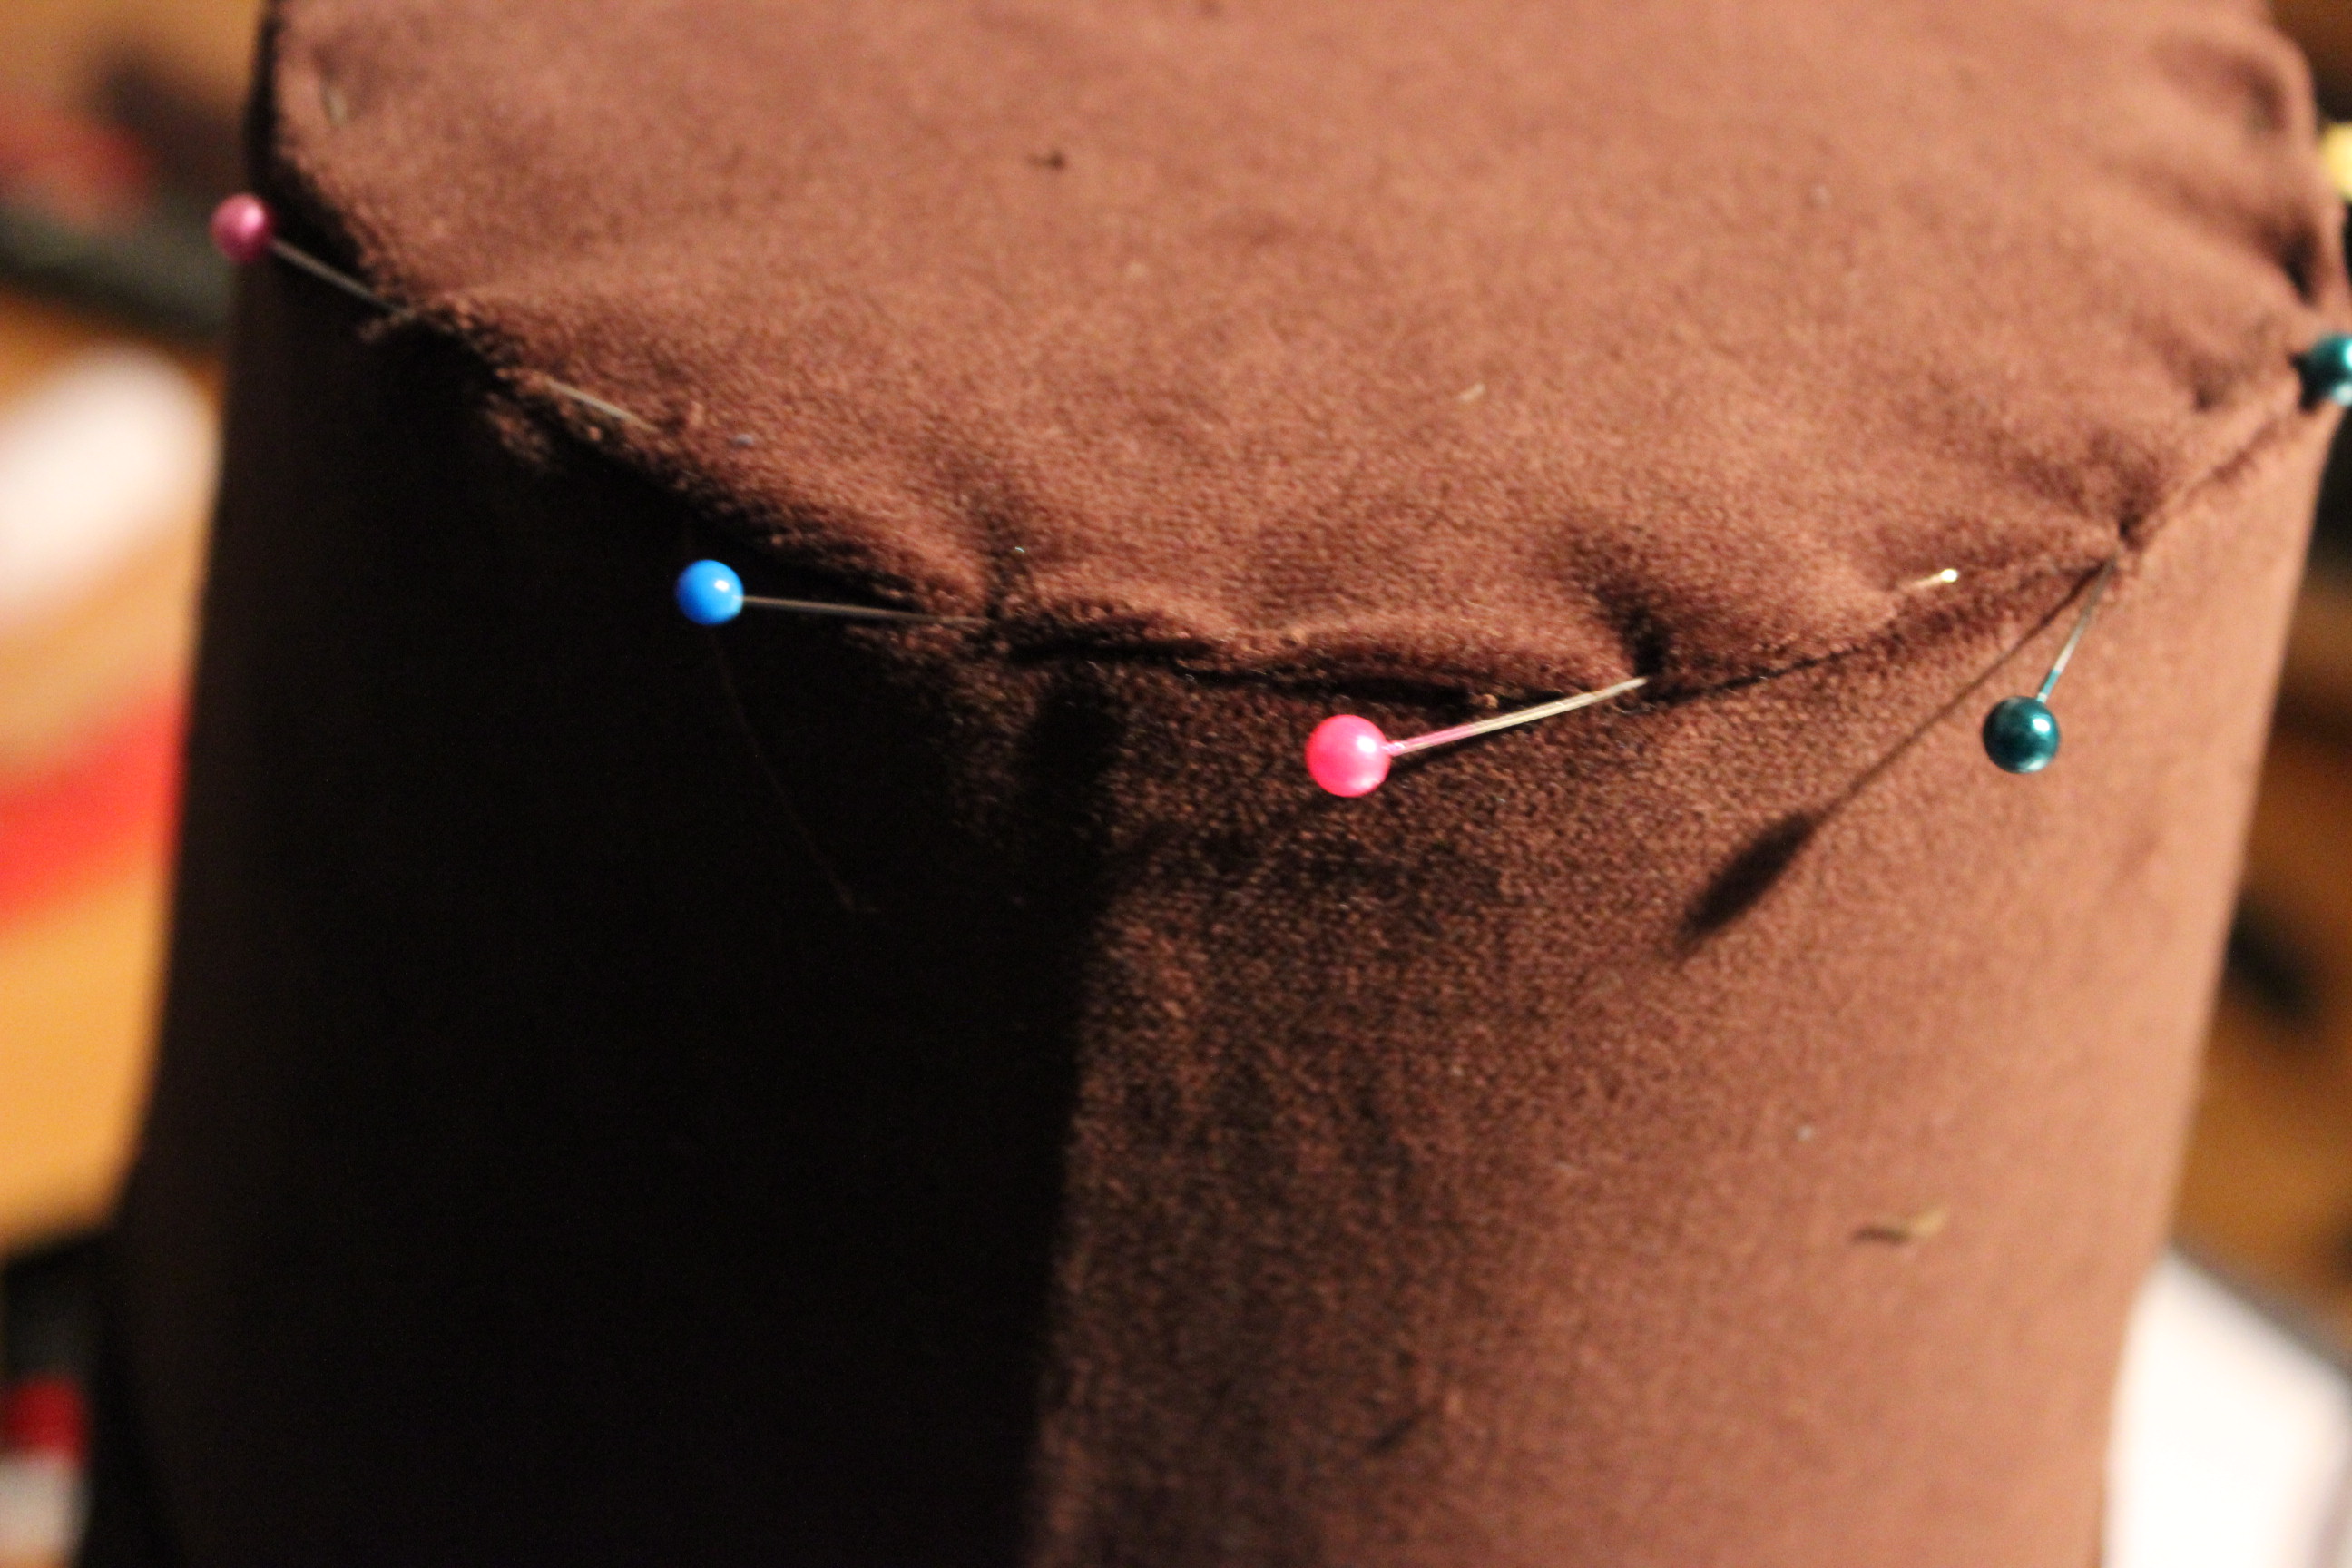
The high crown of the hat neded to be lovered to get the right look.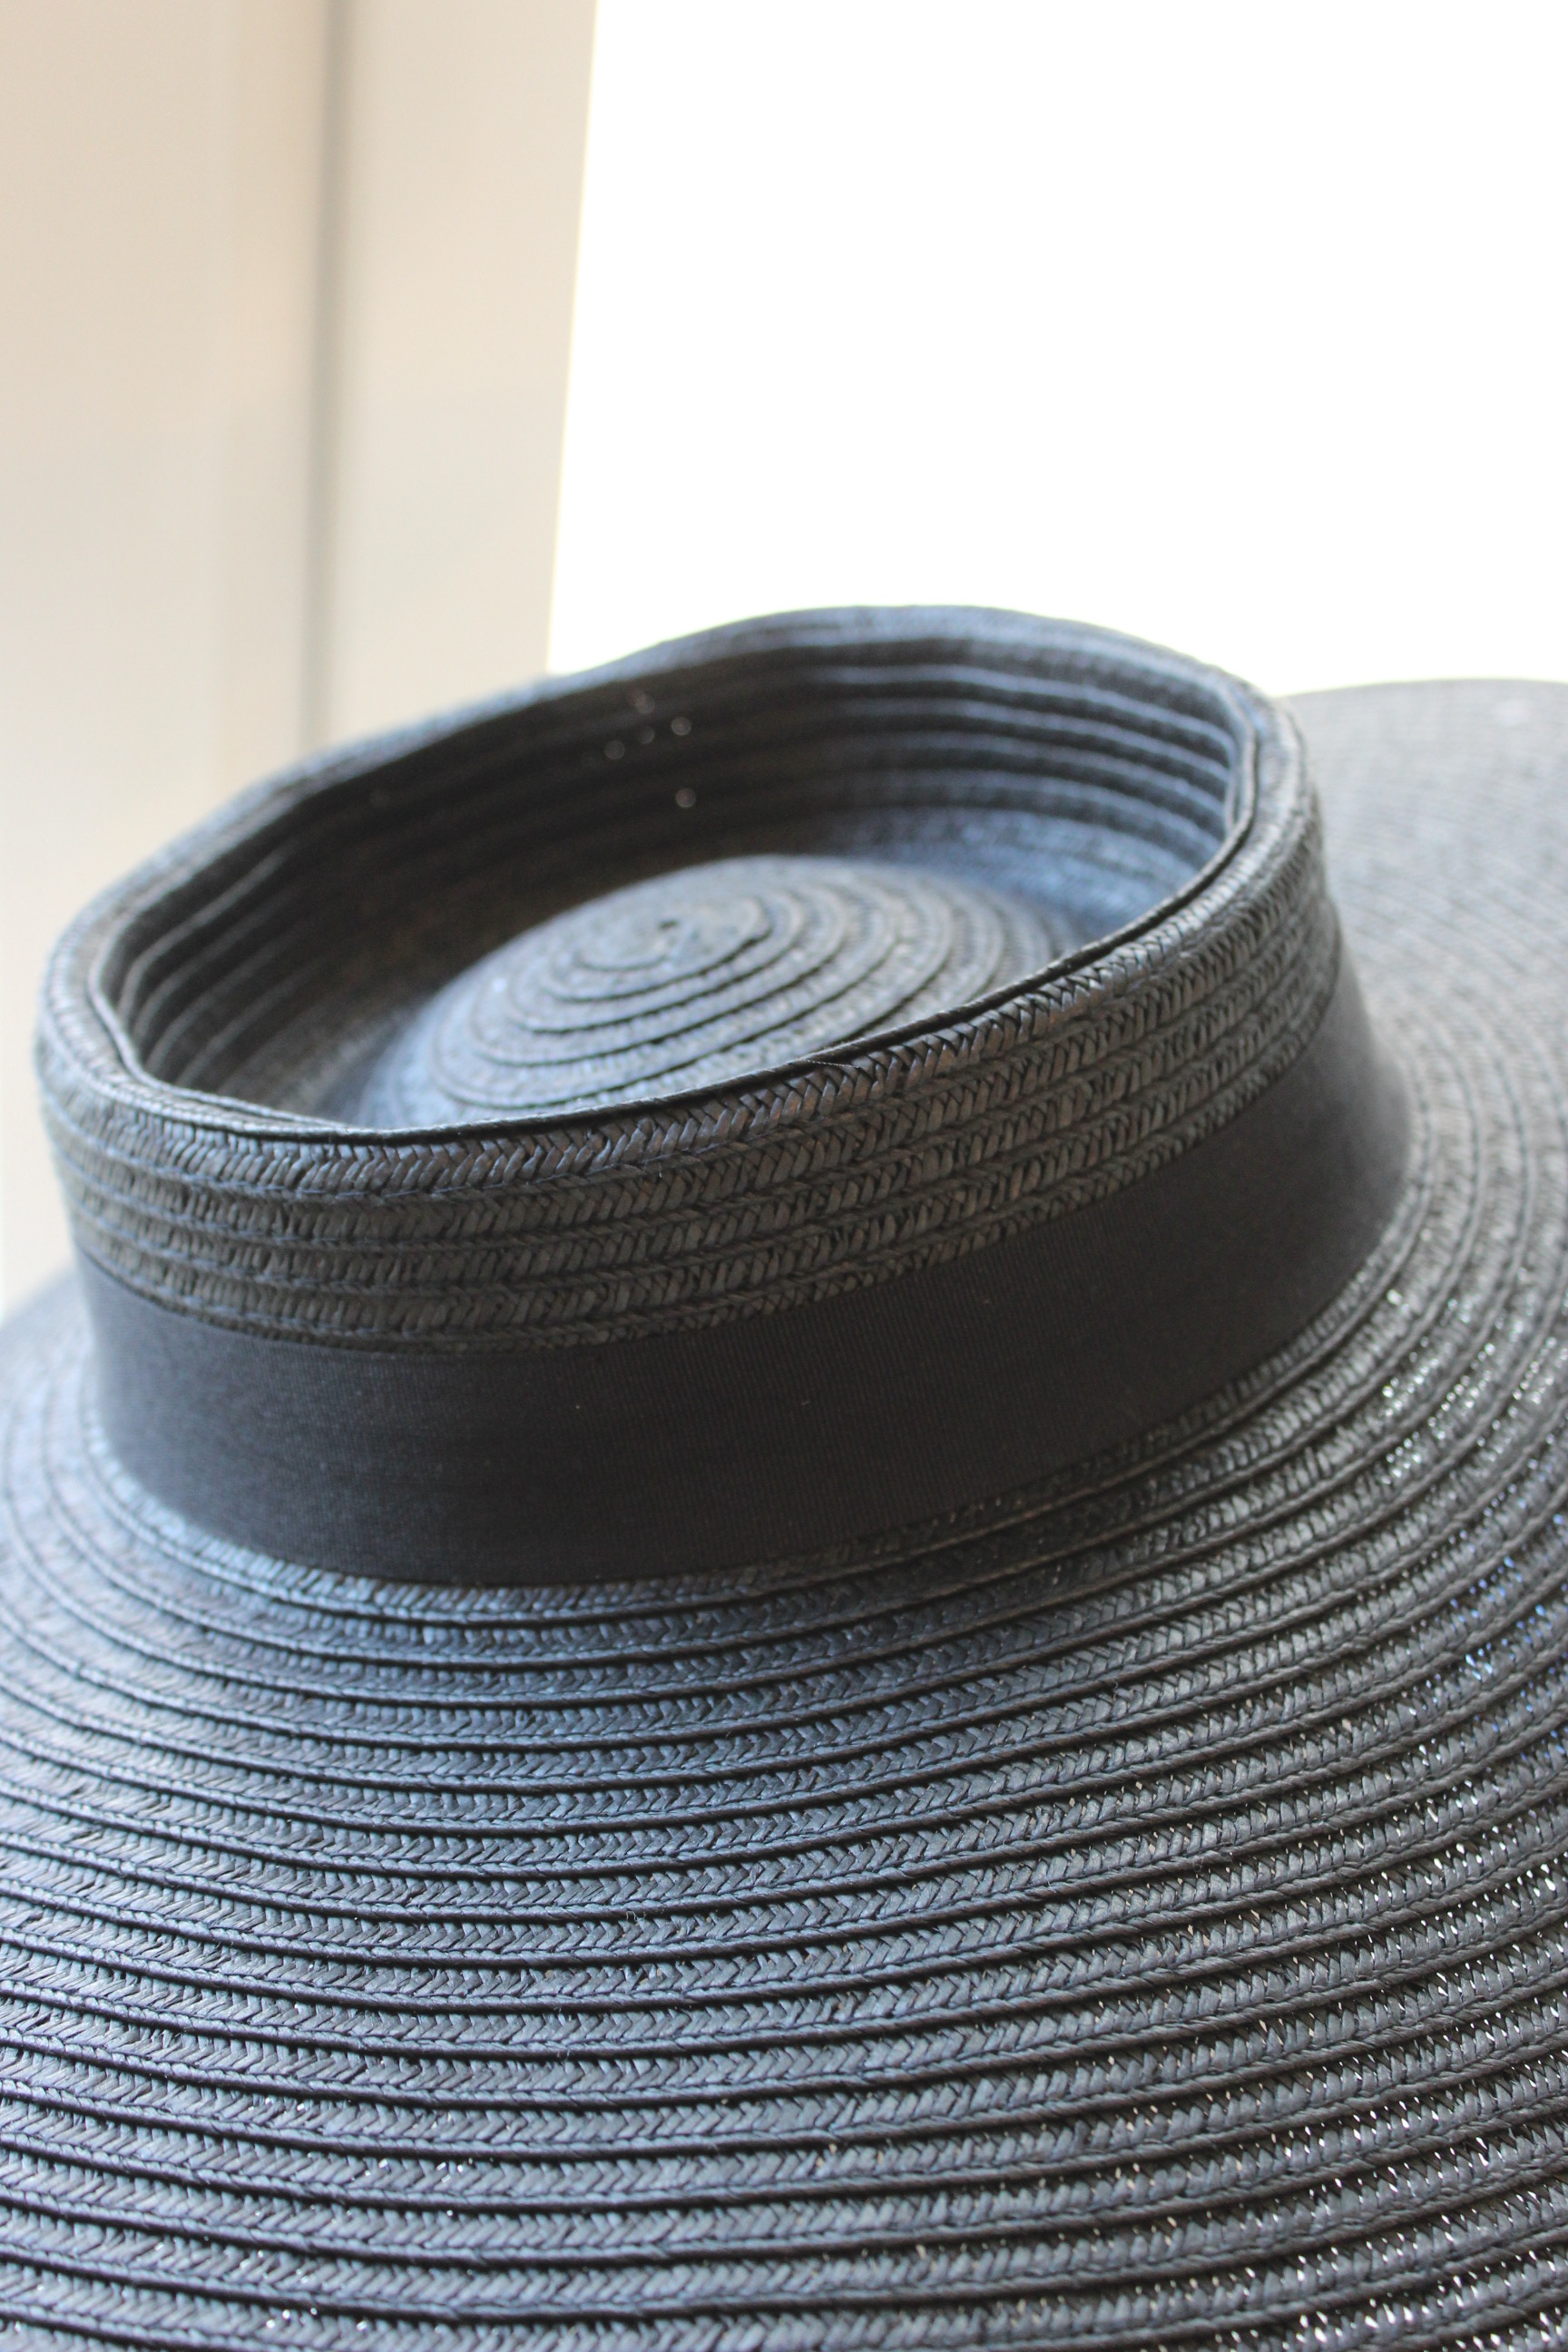 But instead of cutting, I decided to just poke it down on itself.
A few stiches and the crown are now les the half its original hight.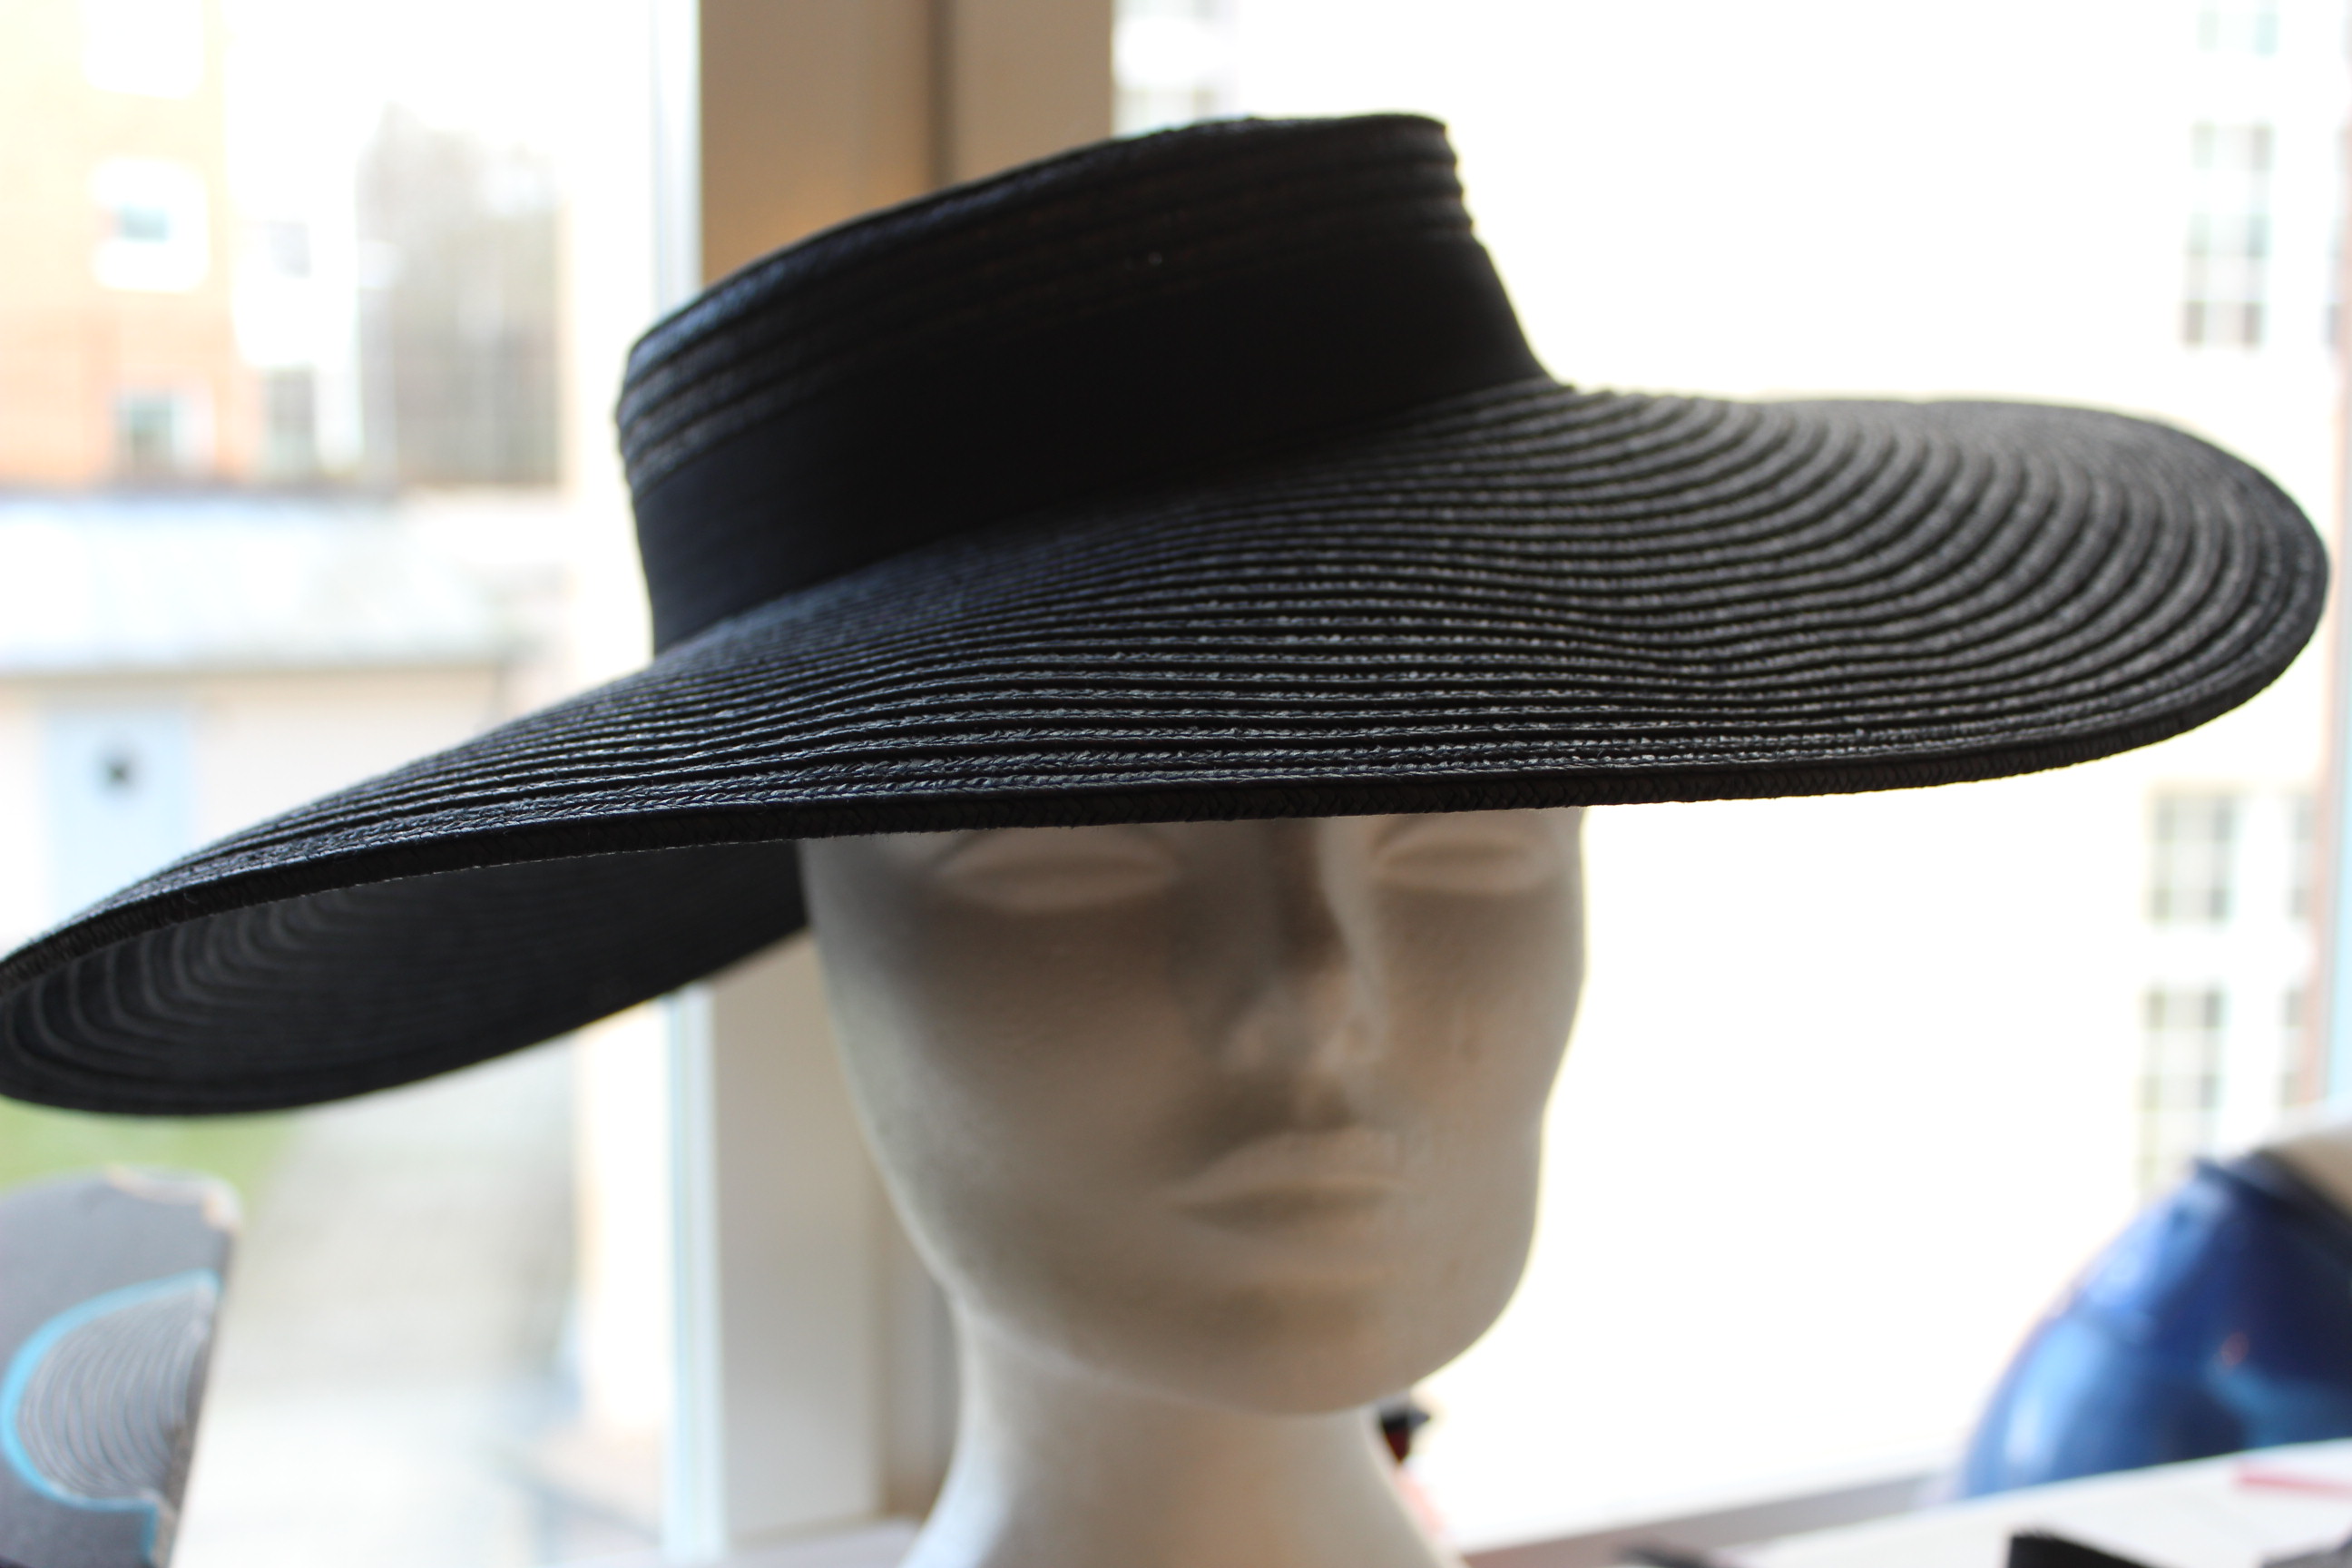 And since you will need a hatpin to keep it in place anyway, the low crown dosen’t bother me.
Time to deal with the dcorations. I strated by cuting shreads from some of my black fabric scraps.
Then I gathered them to litle “clusters”, and arranged them beneath the brim. 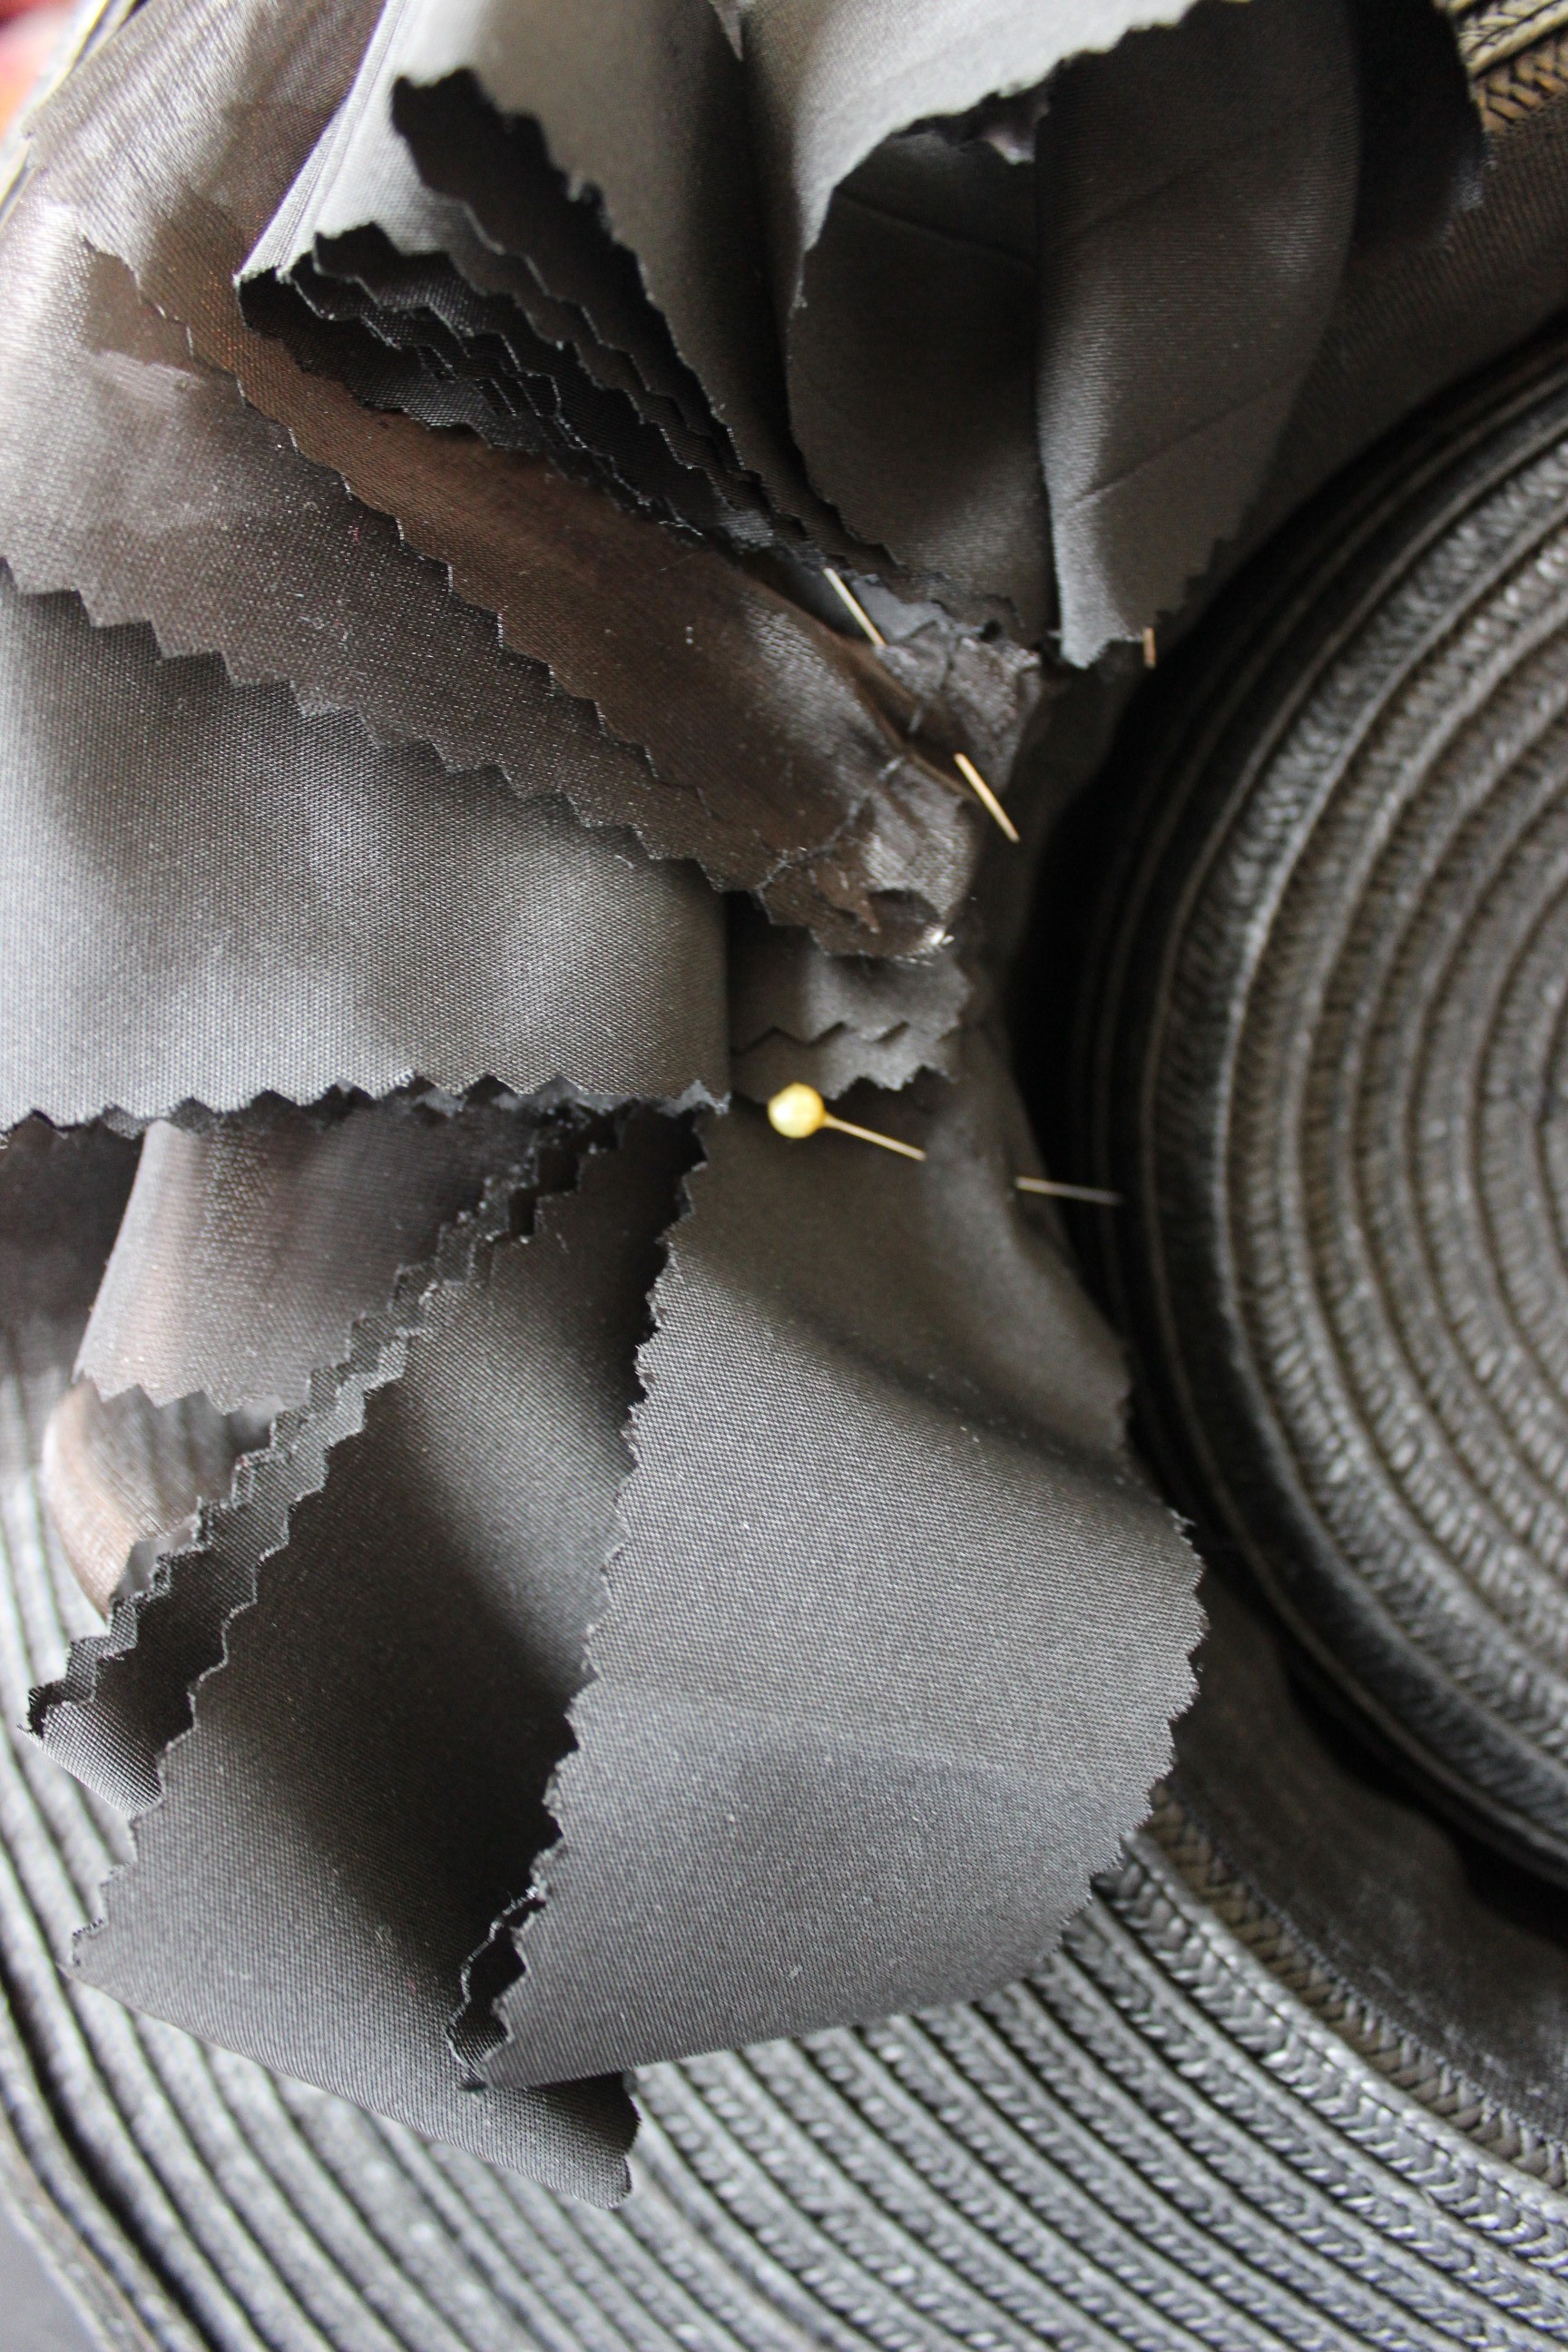
 They look kind of strange sitting on the inside/underside of the hat, but I just follow my inspirtiona picture.
 Hm a litle weard…
Then it was time for some feathers. I used a feather “boa” I bought for this pourpose.
Triming of those ugly ends.
And carefully stiching the feathers on, cirkeling the crown.
I then realised I didn’t had enough feathers to fill the hole in the crown. So I found some black fabric scraps and made a quick litle bundle.
Which I putt in the crown and attached by a few stiches.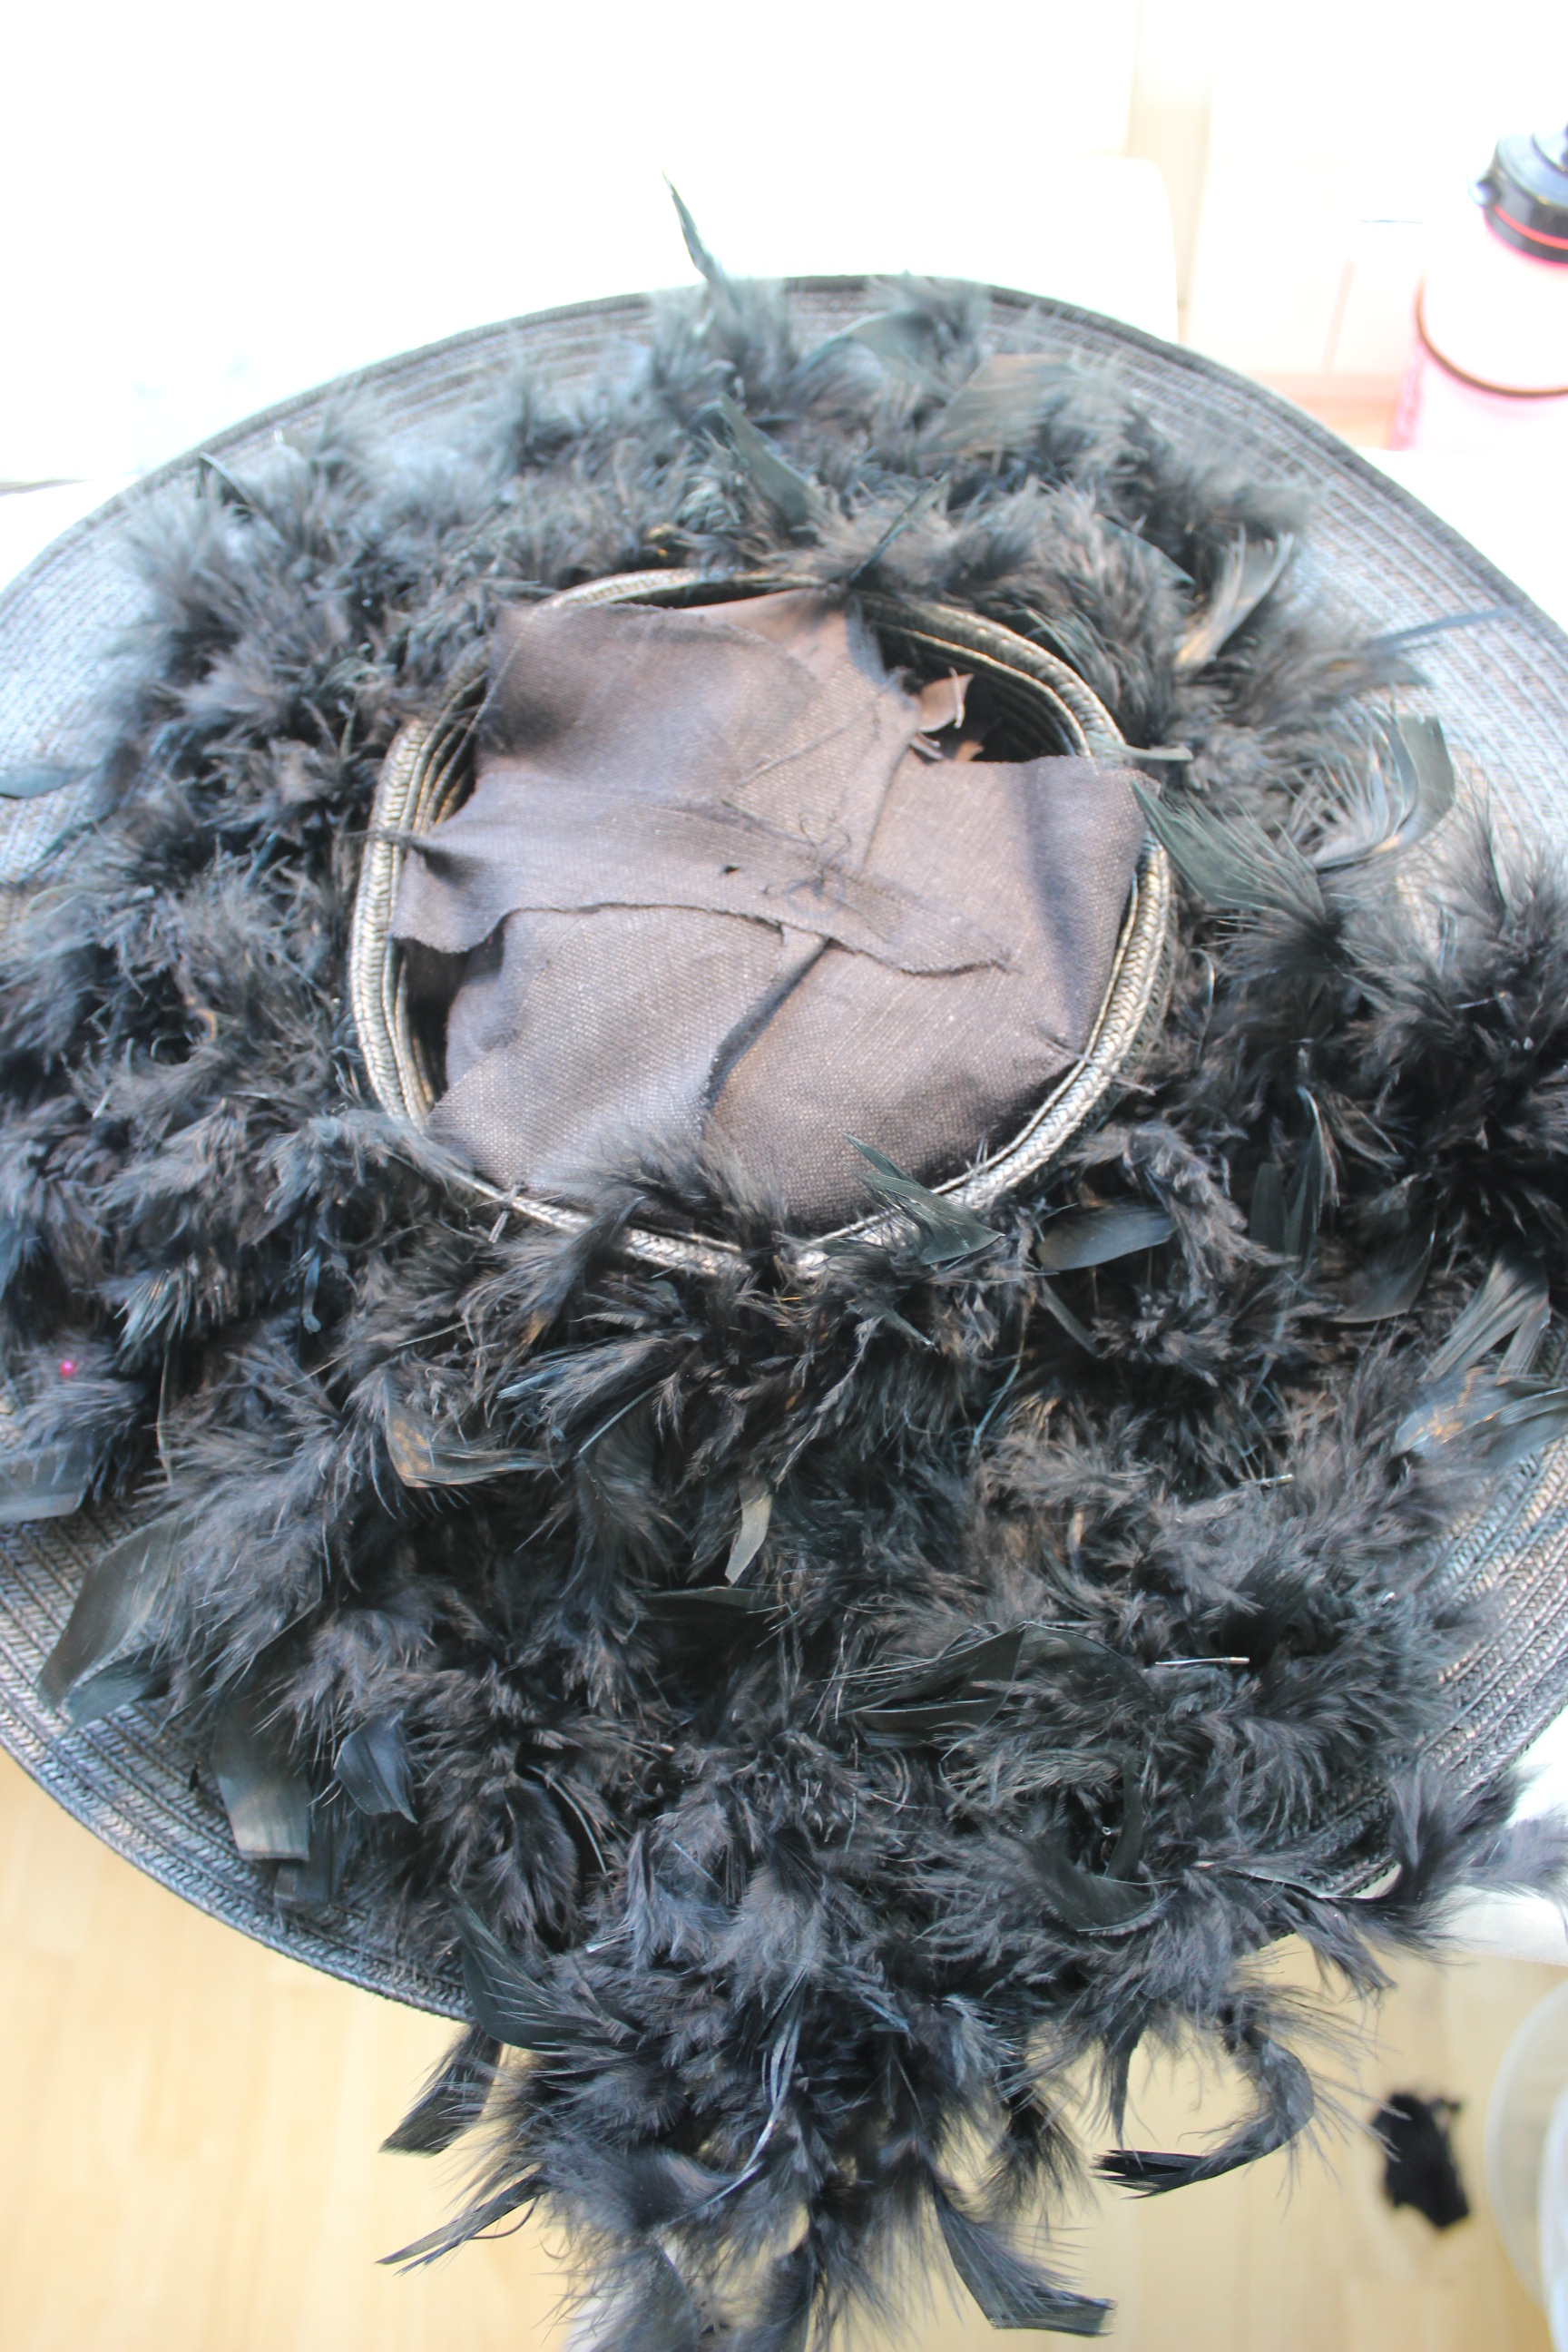
Then I could continue attaching the feathers on to the neewly created lower crown.
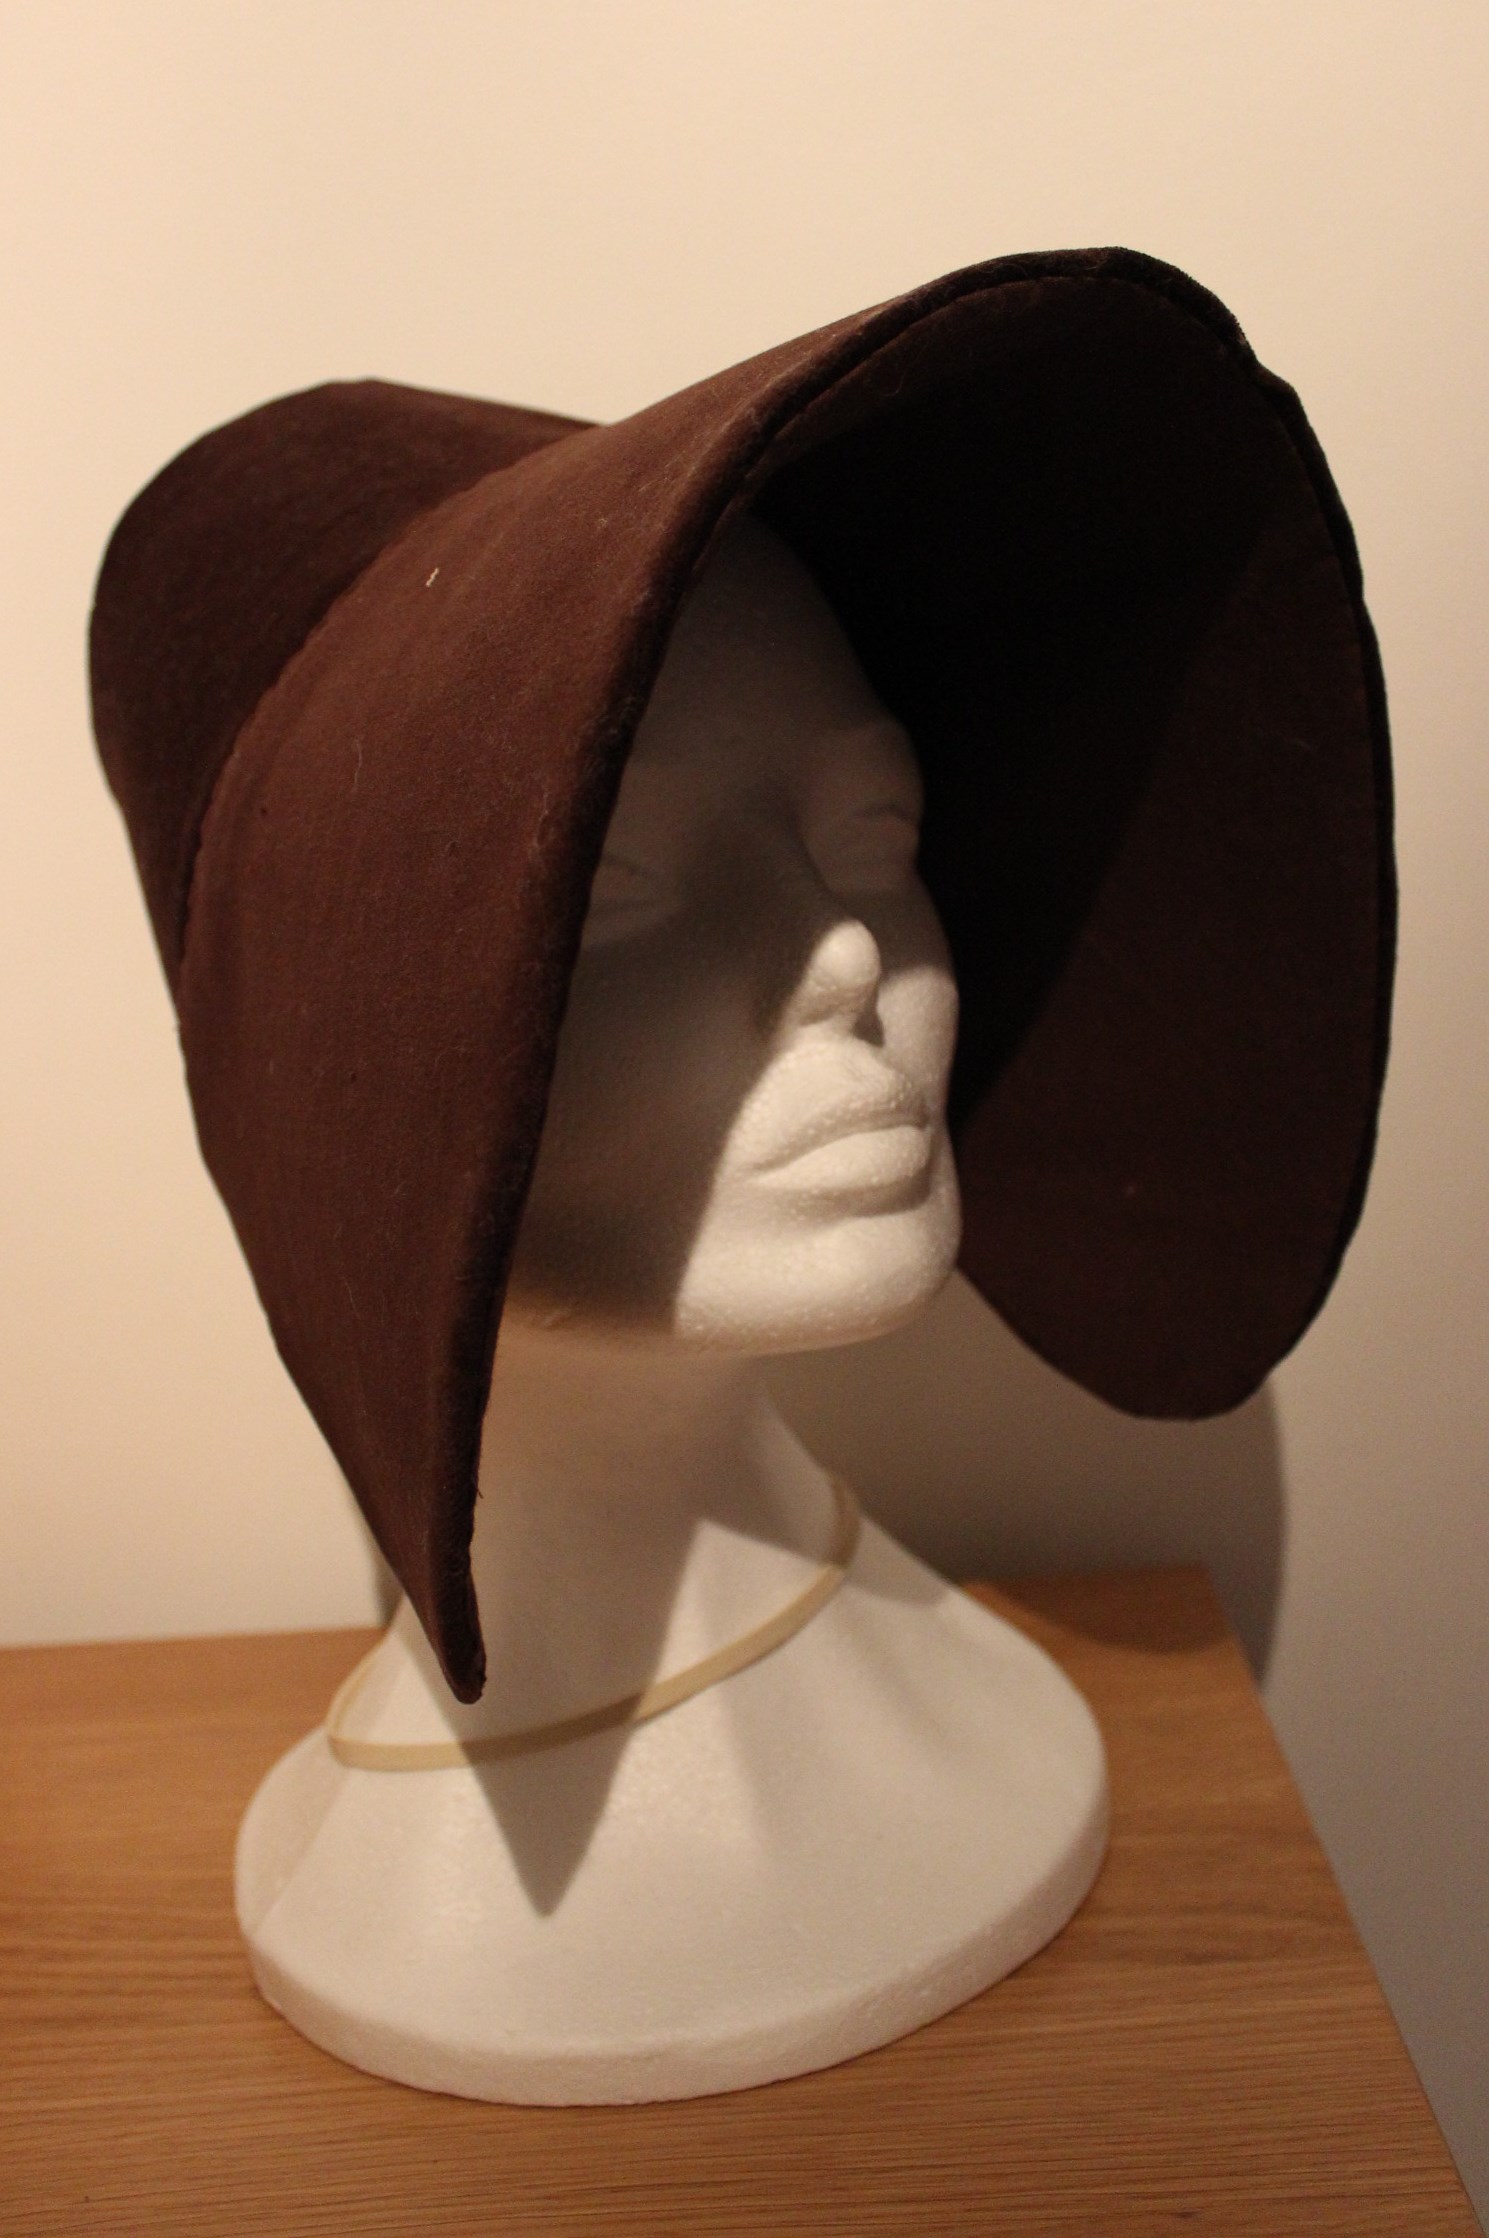
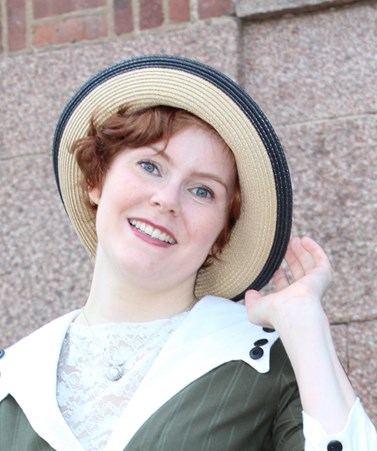
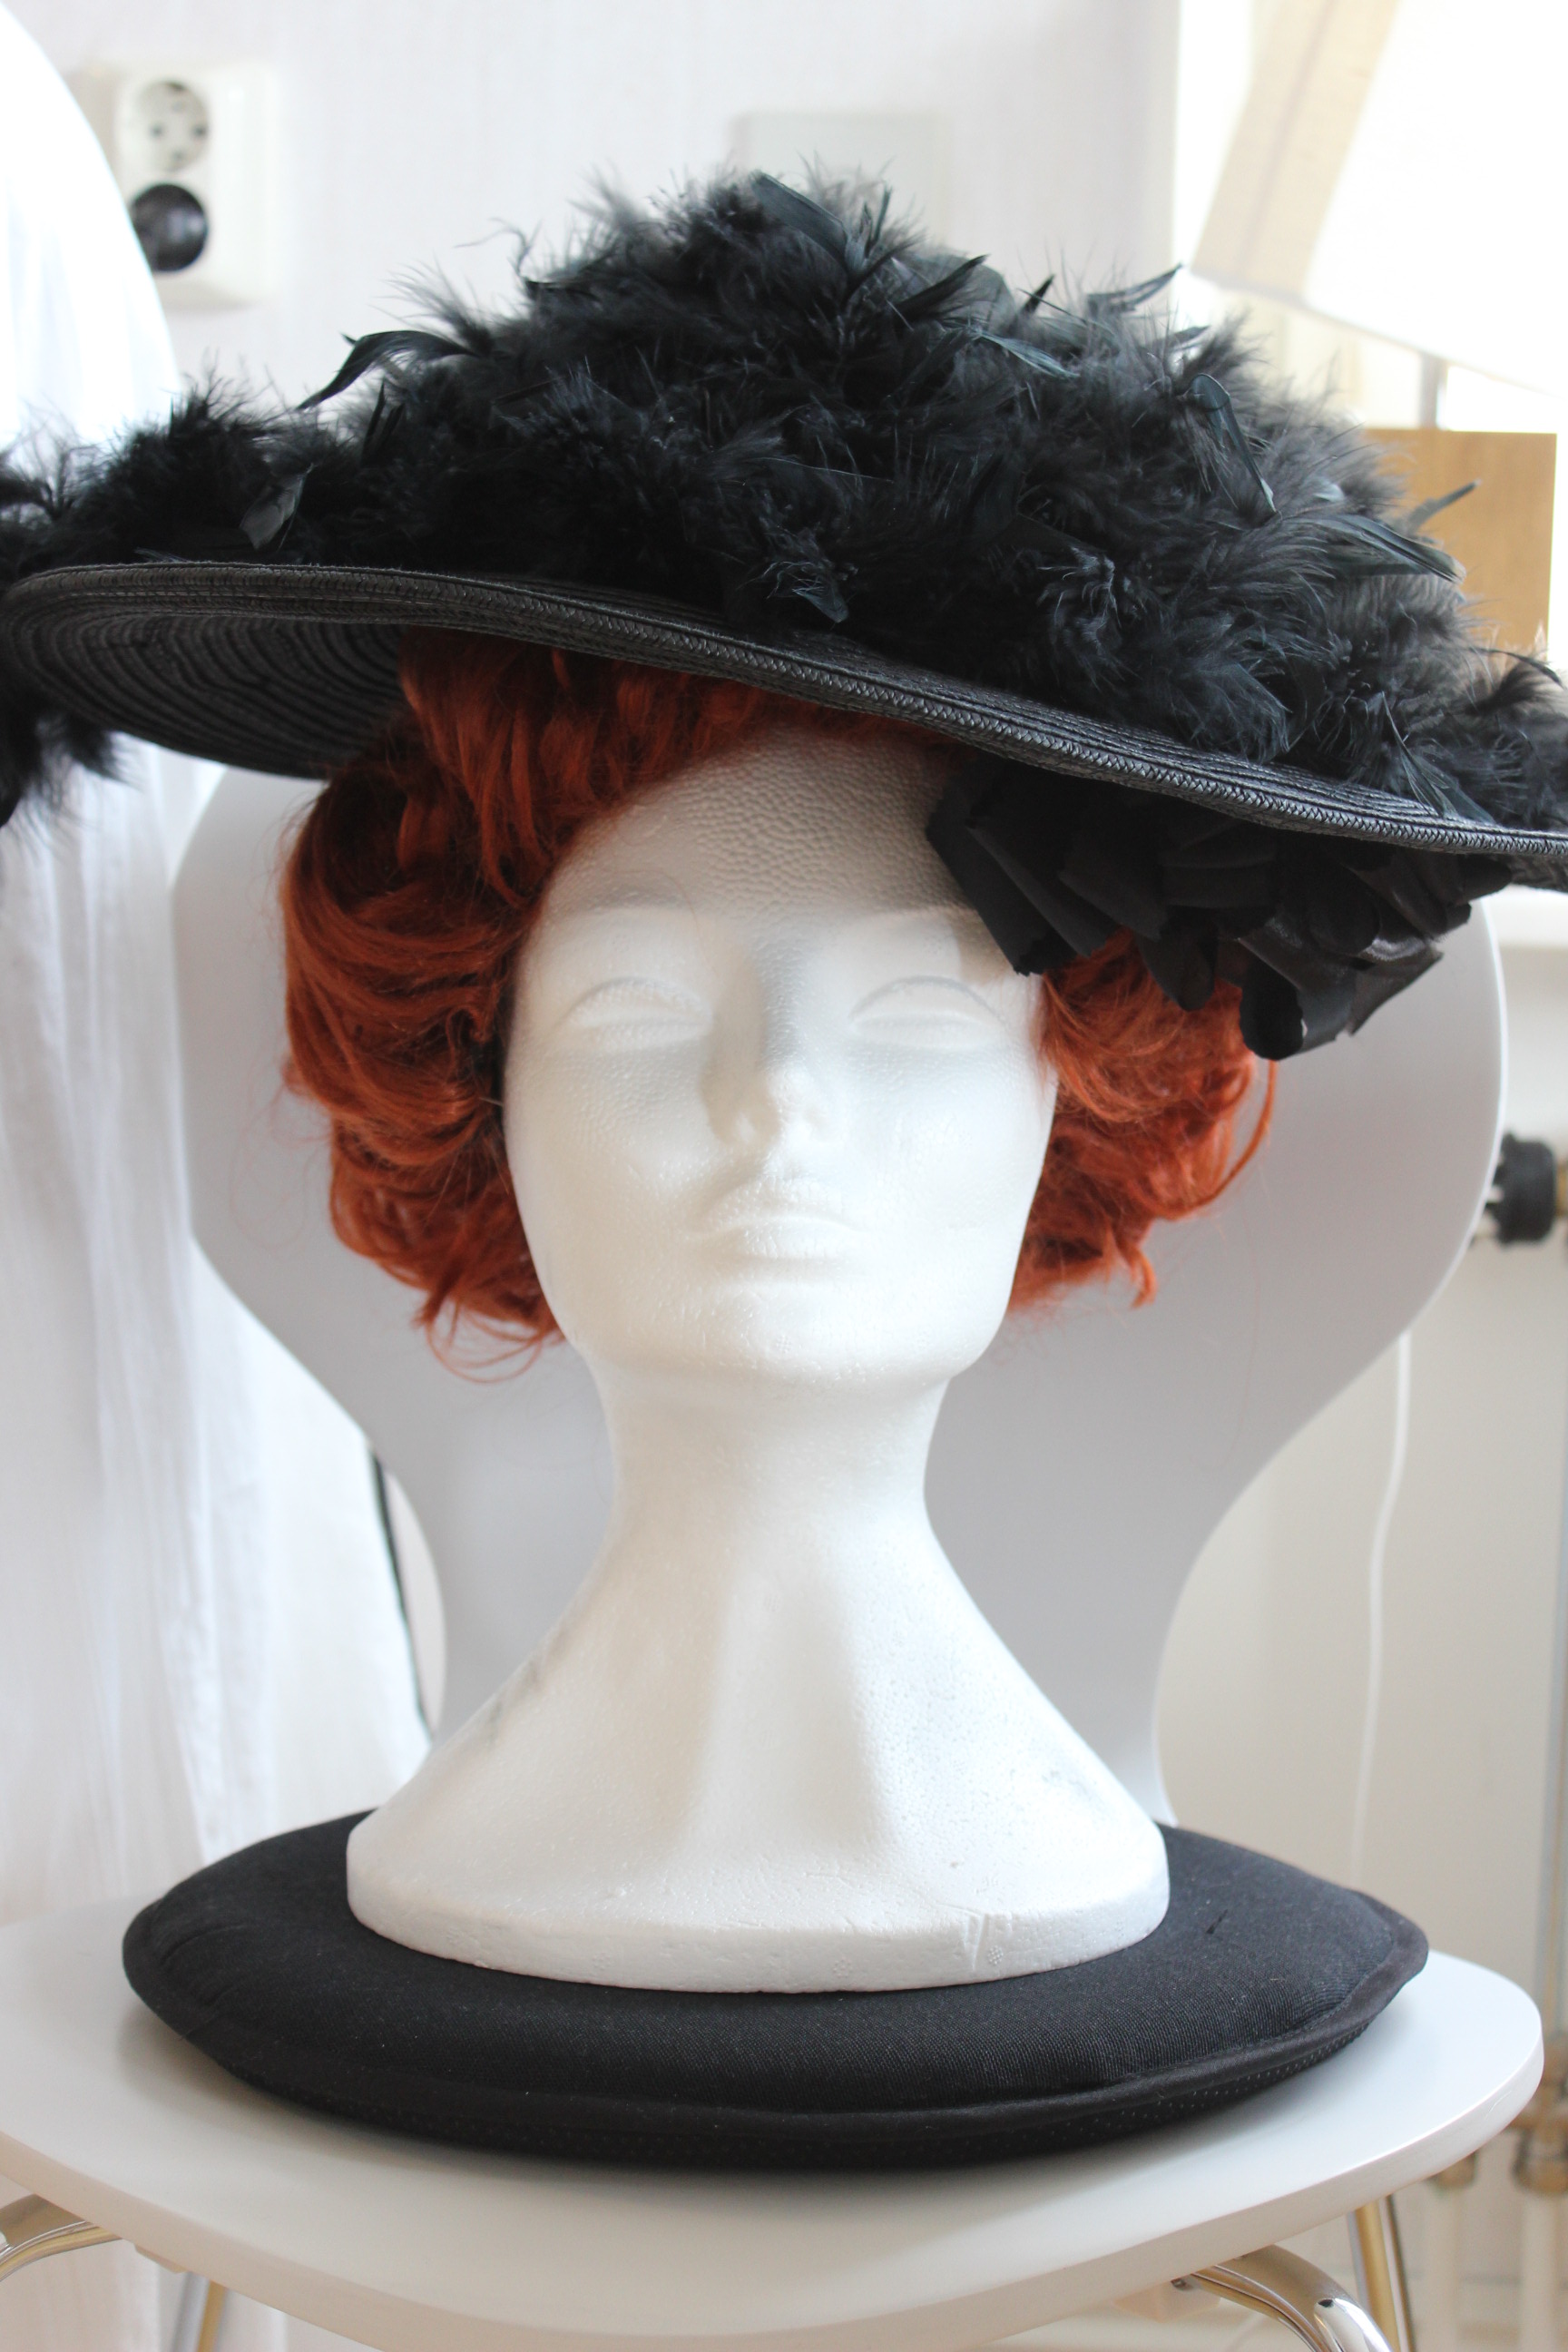
And Finished:


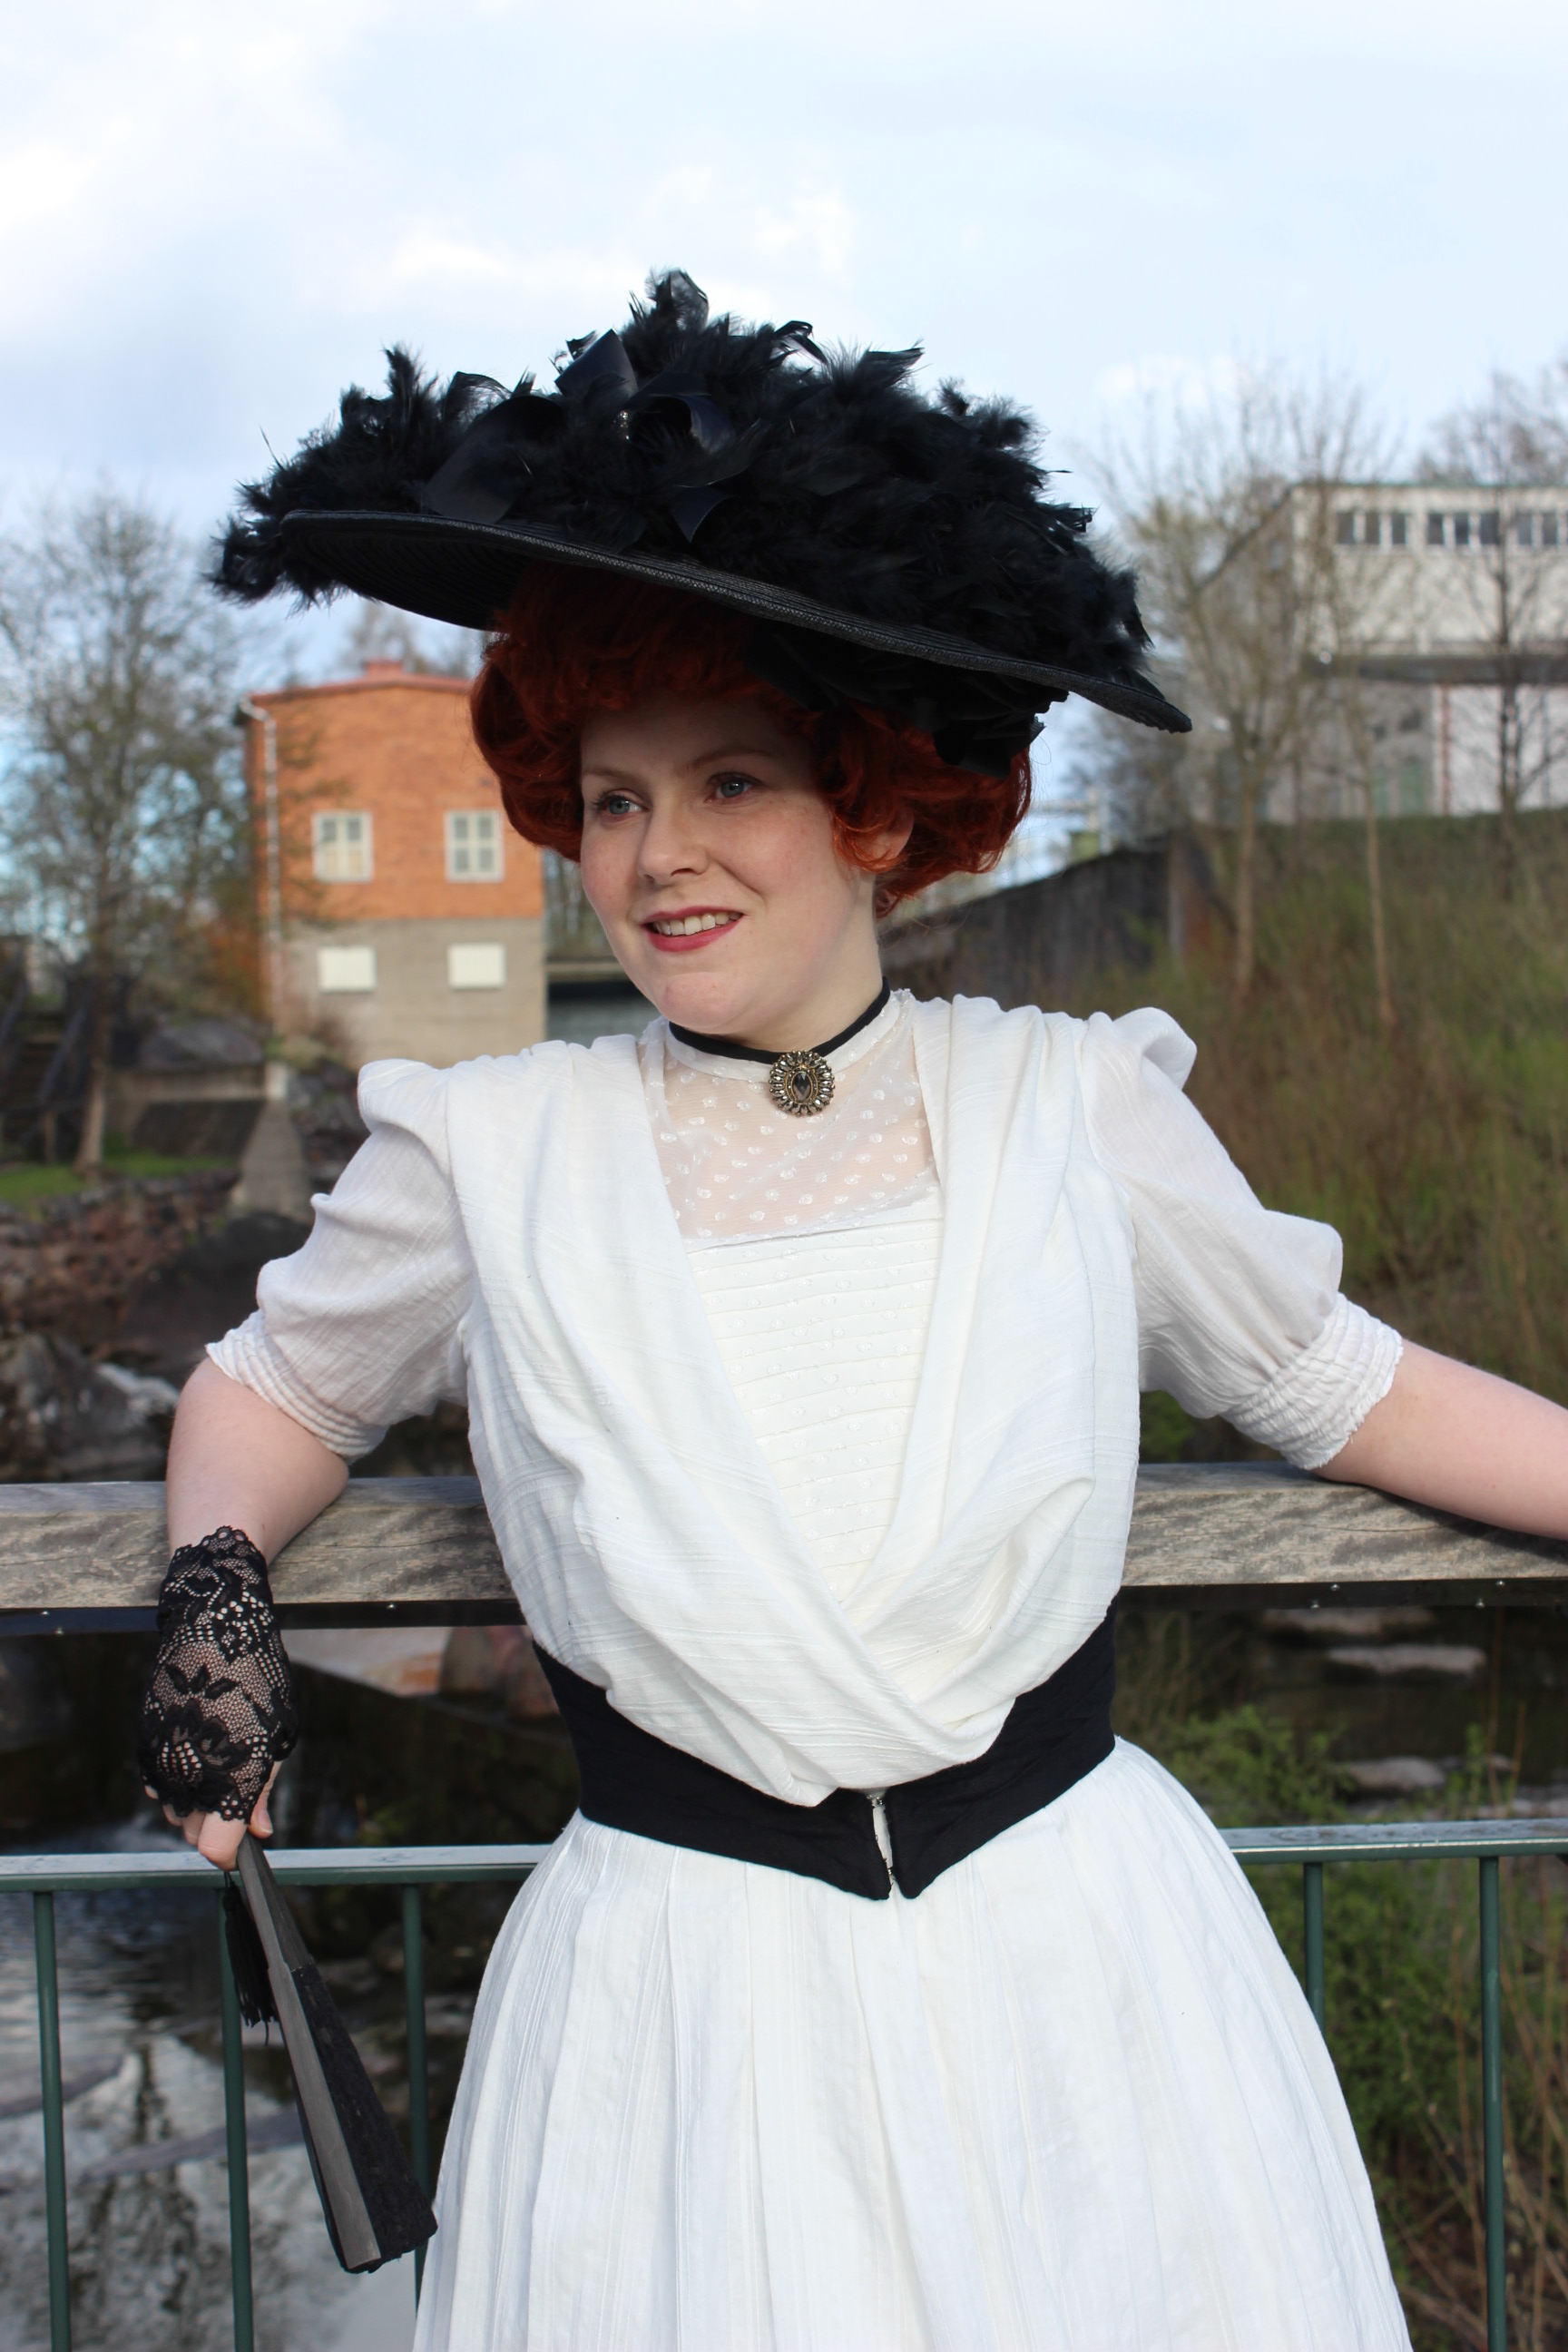 Sneak-a-peak of todays photoshoot…
Just the Facts:
Challenge: nr 7 – Tops and Toes.
What: An Edwardian “Picture hat” (ca 1905s).
Pattern: None
Fabric: Nope
Notions: a black straw hat, thread, steel wire, feathers 1,5m, fabric scraps and ribbons.
Historical accuracy: Not at all. Totaly modern construction. It may pas for edwardian but I doubt the laydy of the day would ever consider wearing it.
Time: 2 hours.
Cost: 150Sek (22Usd)
First worn: At easter for a photoshoot. Maybe I will wear it mid may for an event.
Final thougts: I’m pretty happy about it. And it looks even better since I pinned a satin ribbon and broch to it, to break up all those feathers. I just need to get my hands on some hatpins to keep it more firmly on my head.