
For the HSM June challenge – Metallics, I wanted to make something easy and fast, an using fabric from my stash, so I decided to make a 1920s “1-hour dress” from the remnant of the slinky (devilish) Rayon charmouse I used for my Greek dress a few months back. 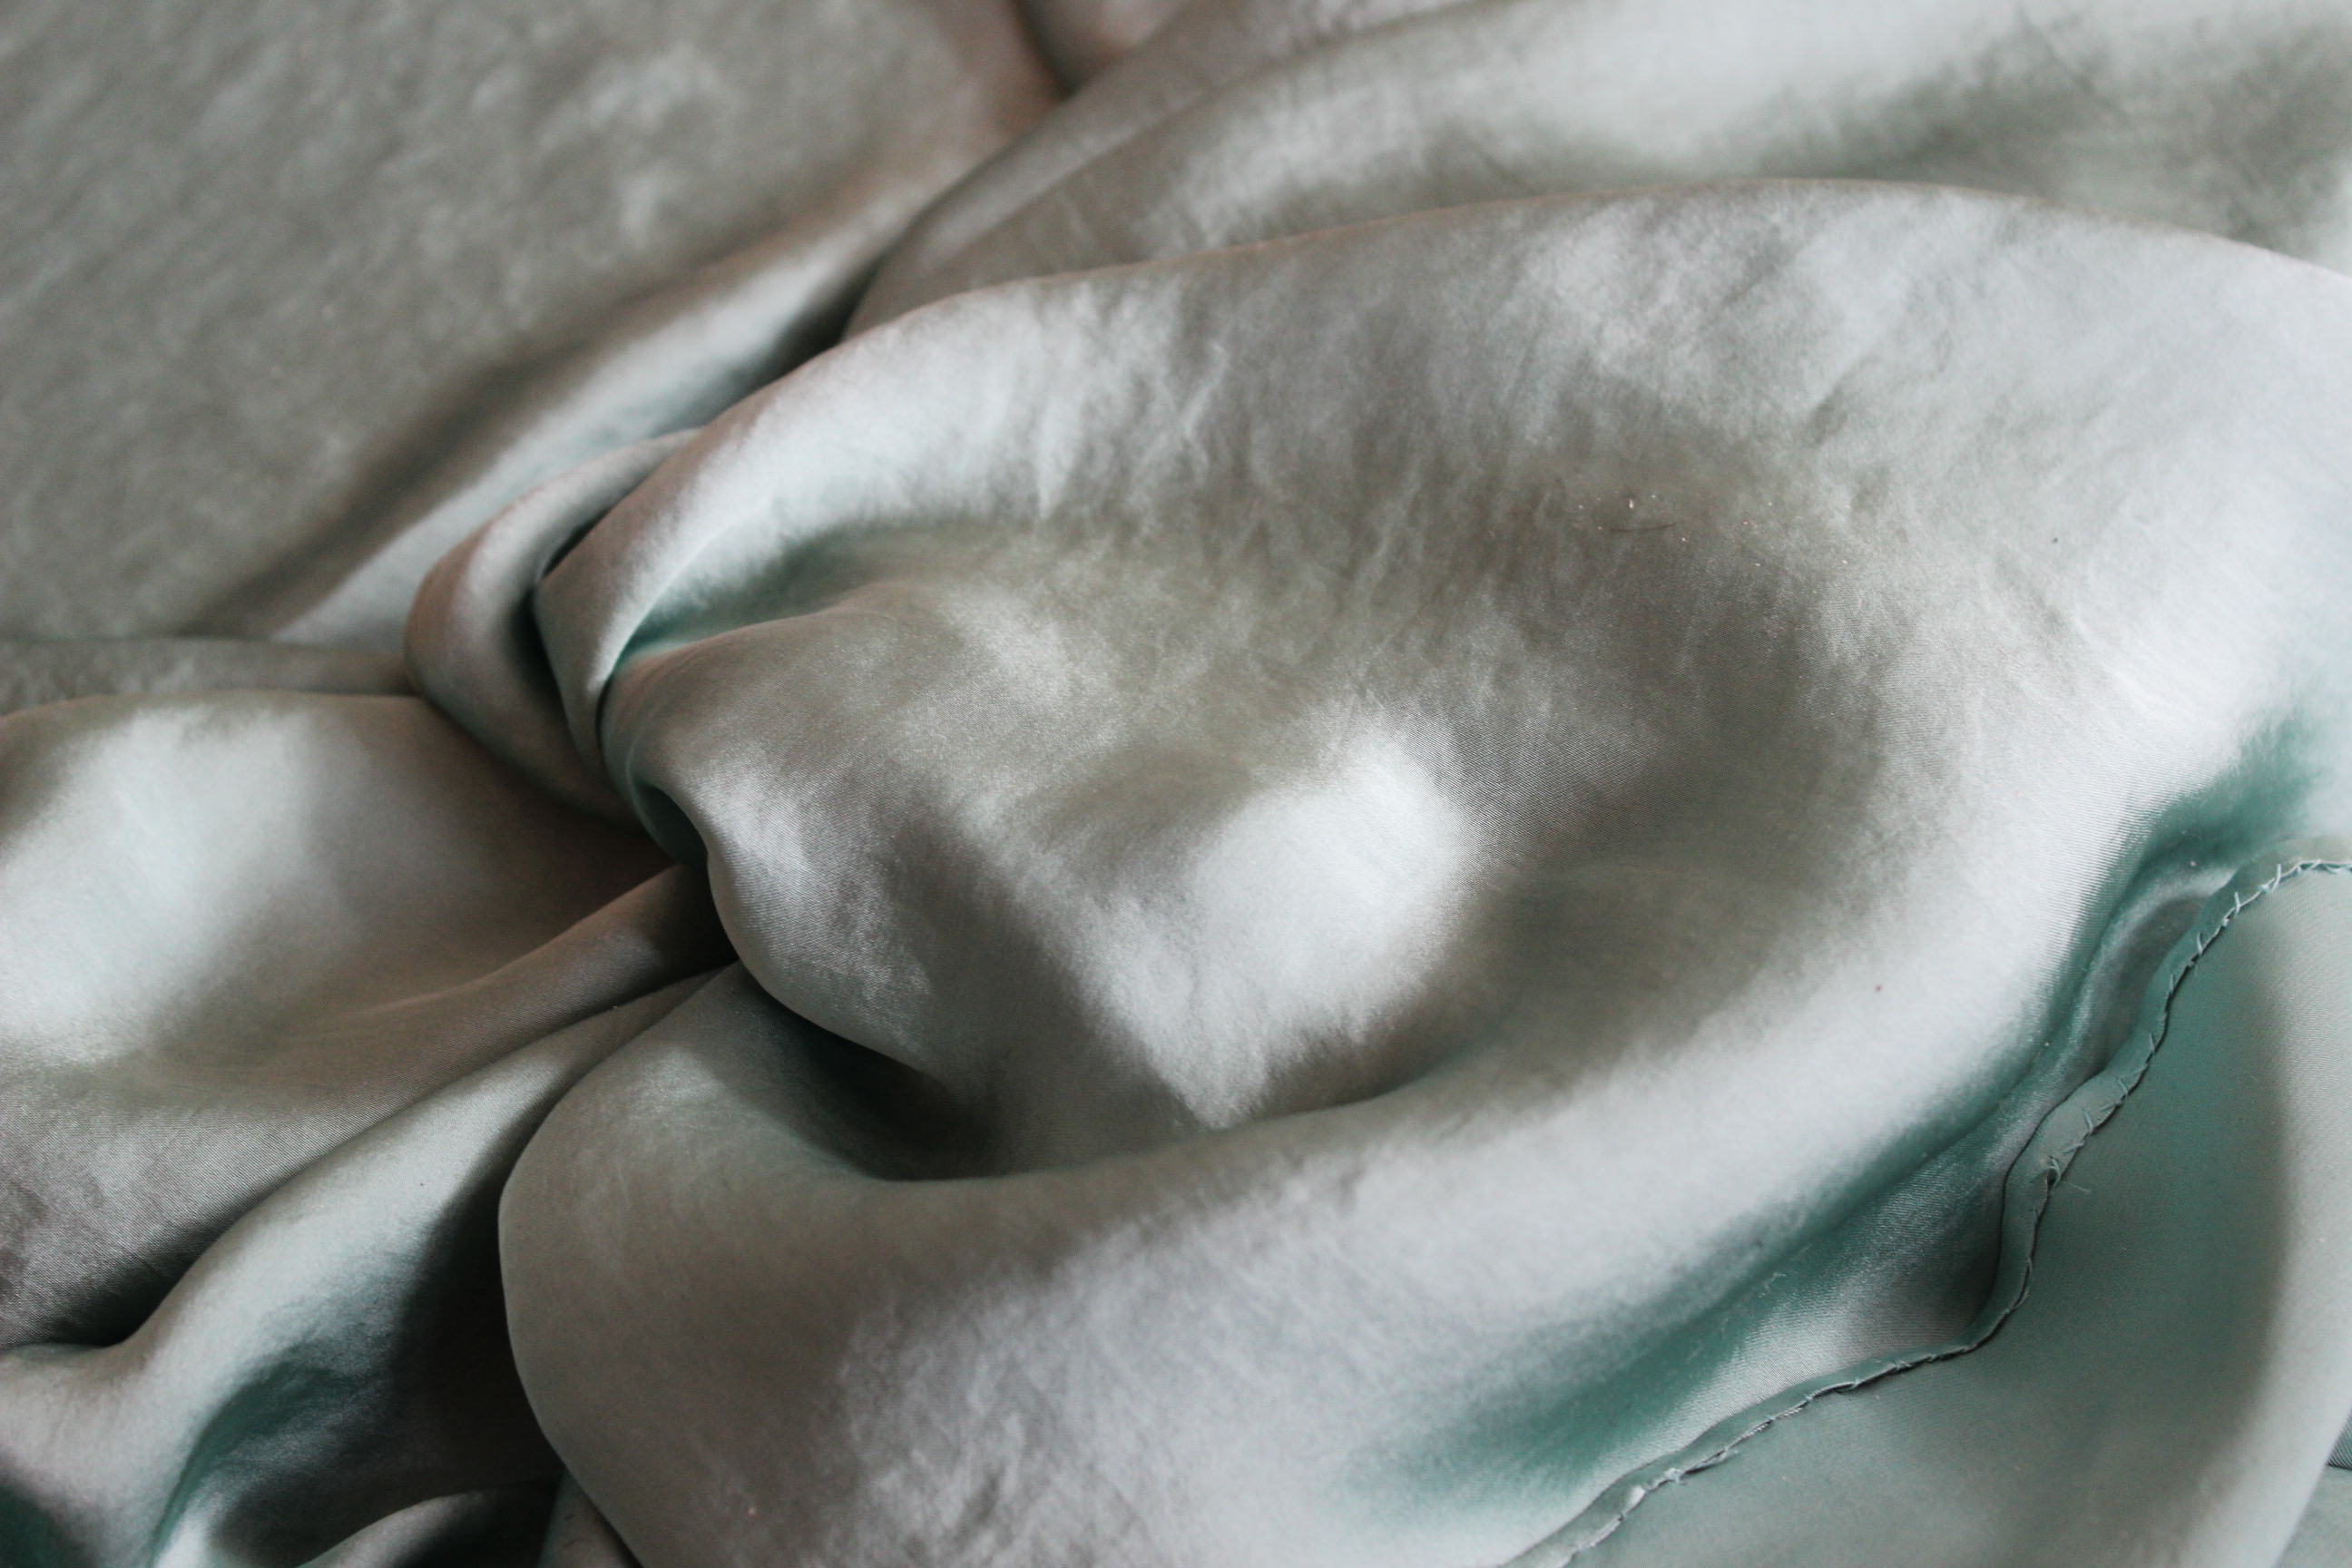
I used the pattern layout guide from “The Closet Historian“, and got cracking.
 The cut fabric
 And the stitched dress (and Yup, I used the serger…)
After stitching the sides together, I put it on the dressform to see the over all look. Looks ok 🙂
Then I hemmed the neckline, sleeves and bottom and made a belt of the remaining fabric scraps.
While debating what to make for the challenge I realized that the word “Metallic’s” didn’t, as I first though, equals “Jewel-tone”, so my Turquoise dress did in fact not qualify for this one.
So I made planes to bling it out with some pretty beads or trimmings, and got as far as buying a nice silvery trim, before I realized I couldn’t find any nice way to attach it.
I tried a lot of different variations and didn’t feel happy with anyone.
 It does look pretty in this picture, but I’m telling you, it didn’t in real life.
So I decided to scrap the whole “bling it out” idea, and just call it a day.
So without further ado here is the (Not HSM worthy entry) finished dress.
The finished dress:


The facts:
What: A 1920s daydress
Pattern: Made my own based on 1-hour dress layouts from the internet.
Fabric & Notions: 1,5 m of turquoise rayon charmouse and thread
Time & Cost: About 6 hours (1 hour my ass…), and 100 Sek (10Usd) for the fabric.
Final thoughts: It is a tad small over my hips but otherwise it turned out better then imagined. The making of took a lot linger then expected though and the fabric was the devil to work with:-(

I love the one-hour dress concept– made a few myself, though they never turn out as flattering as one might hope!
Beautiful! I love the soft color, good on you for working with slippery silky rayon, just thinking about fabric like that makes me nervous 🙂
Absolutely perfect! From the hundreds of pictures I looked at for my research, your rendition of the 1-hour-dress is the best one. The dress looks sleek and very elegant. As for the hip problem, I believe that instead of a straight line coming down from the sleeves to the hip, you should widen the line, opening it to the side, so you end up with a wider his–which will fit better.