
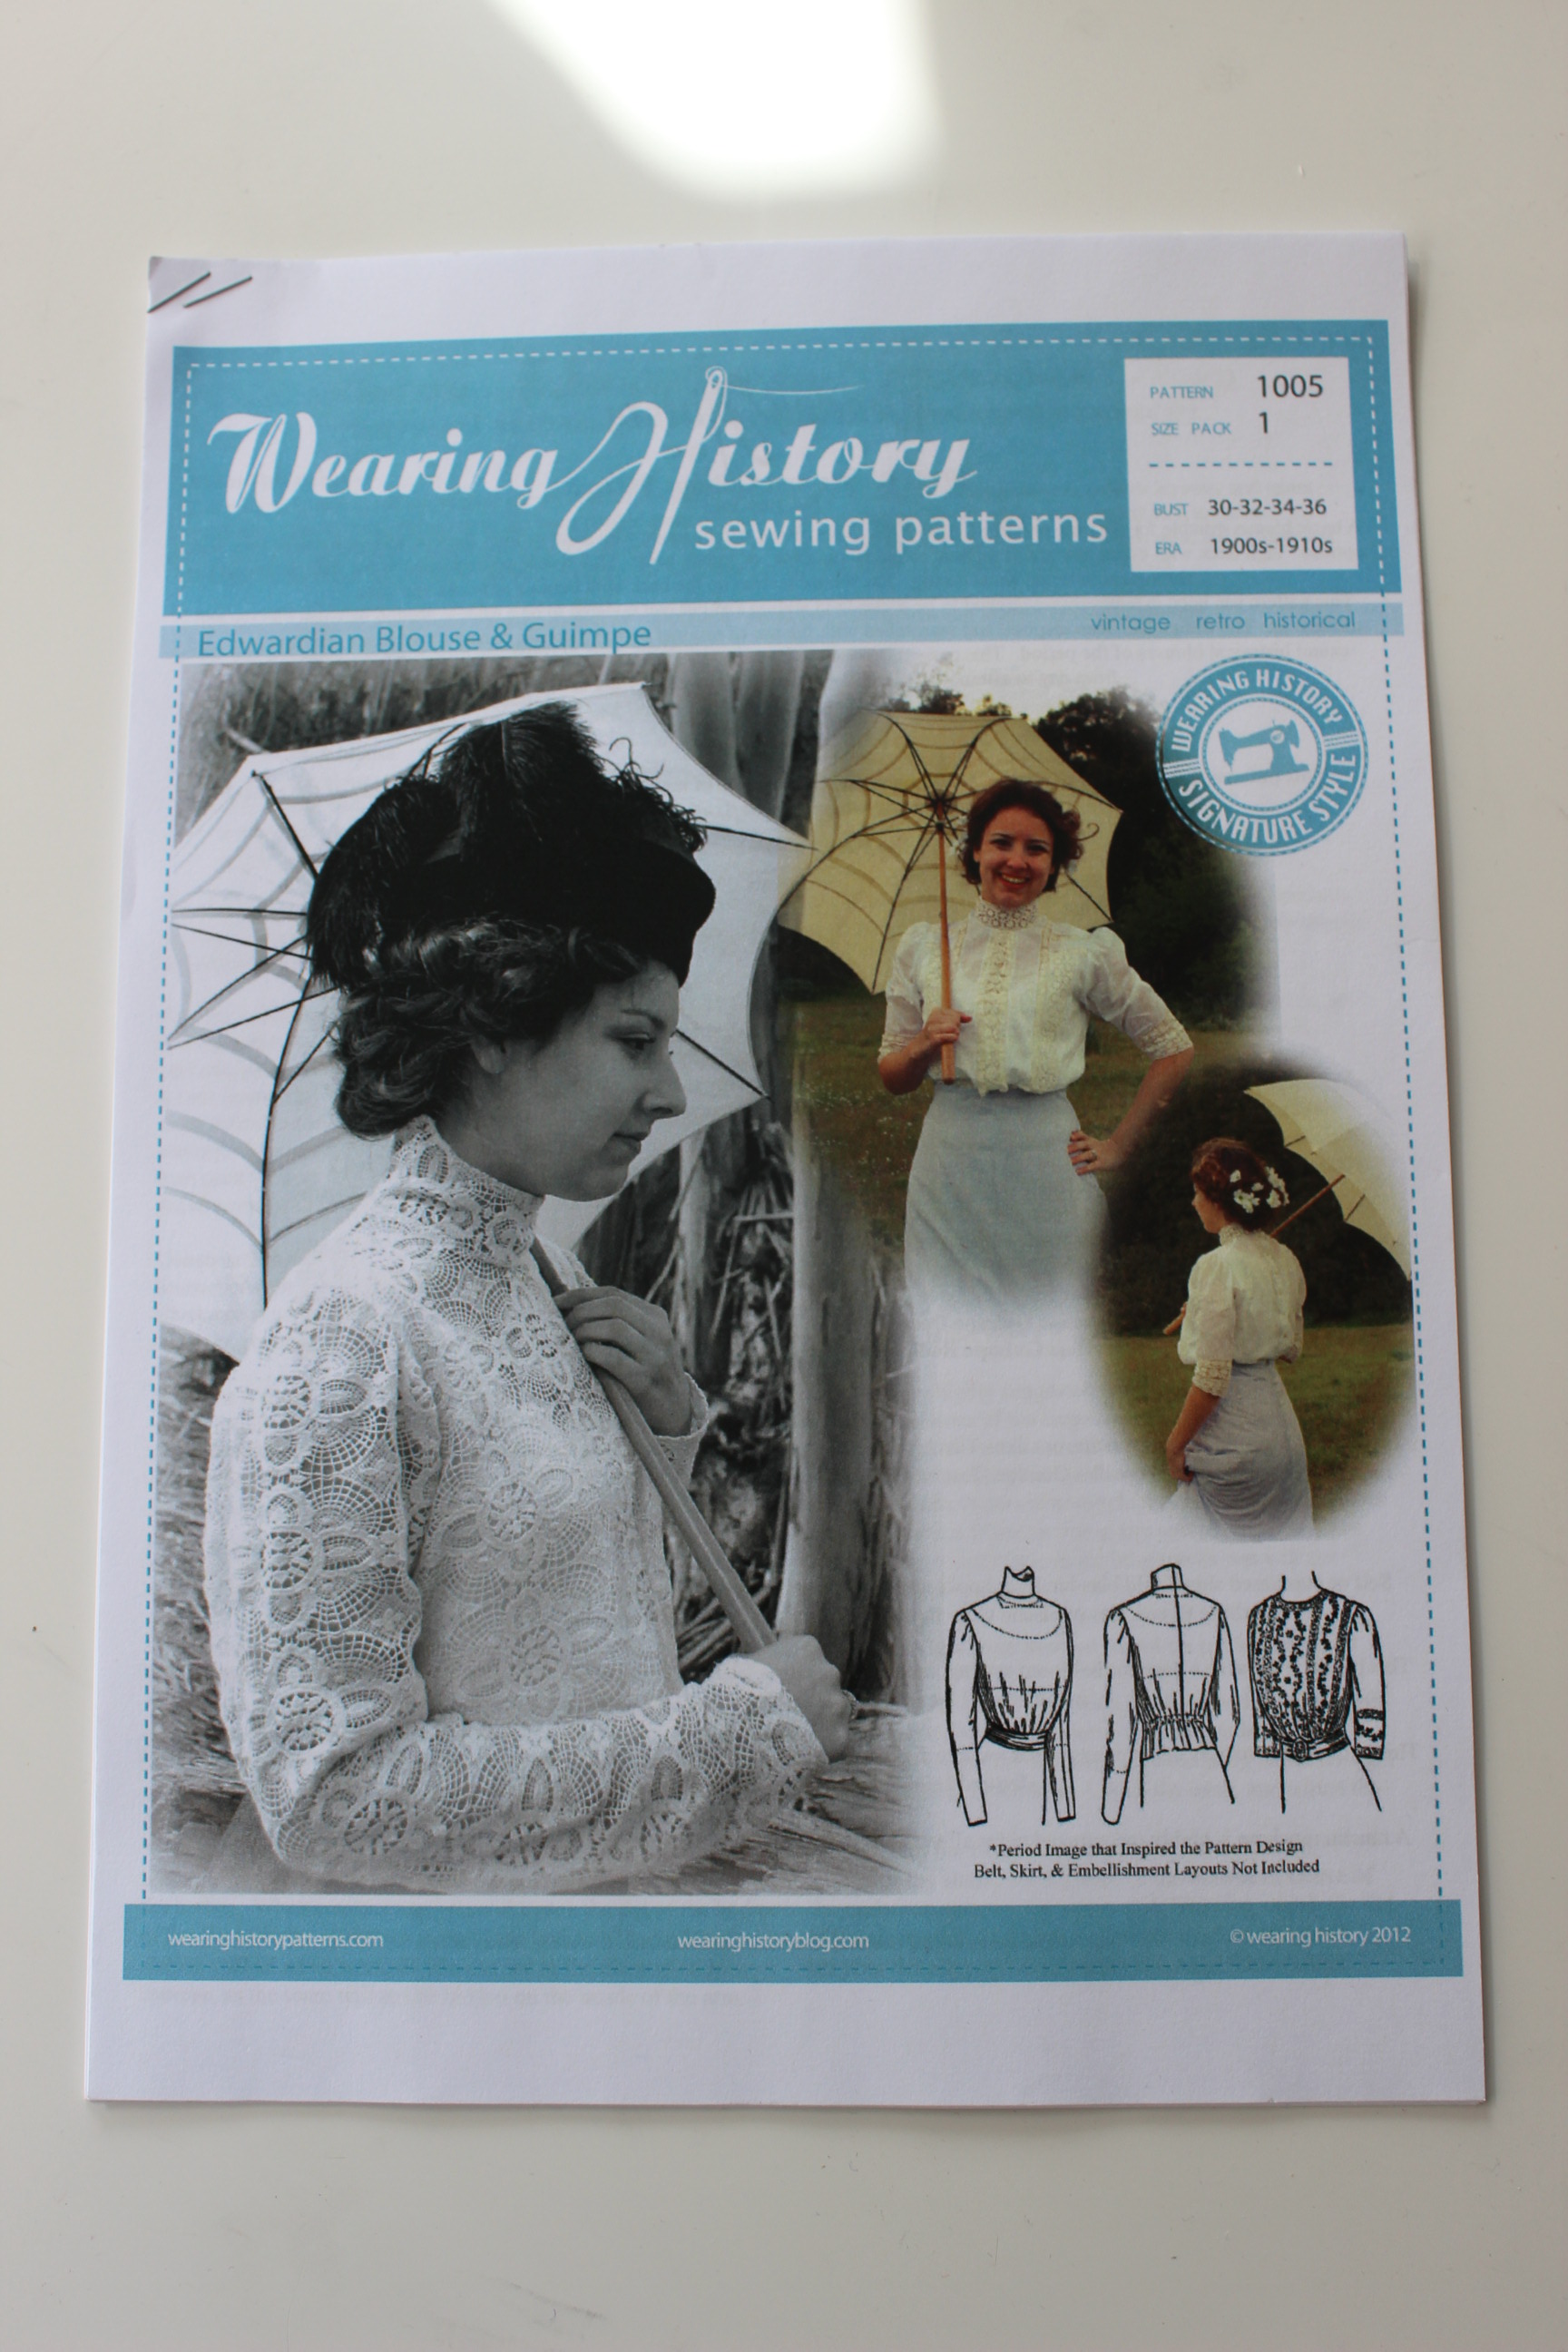
To have something to wear with my new plaid 1900s skirt, I wanted to make a new shirtwaist (I do love my old one but sometimes (ok, always) you want something new).
And in my stash I found this lovely pattern from “Wearing History” which I bought half a year ago when she had a Sale, and I’ve been dying to try it out.
As the pattern comes as a “print at home” version, the first thing I needed to do was to cut and assemble the pieces. 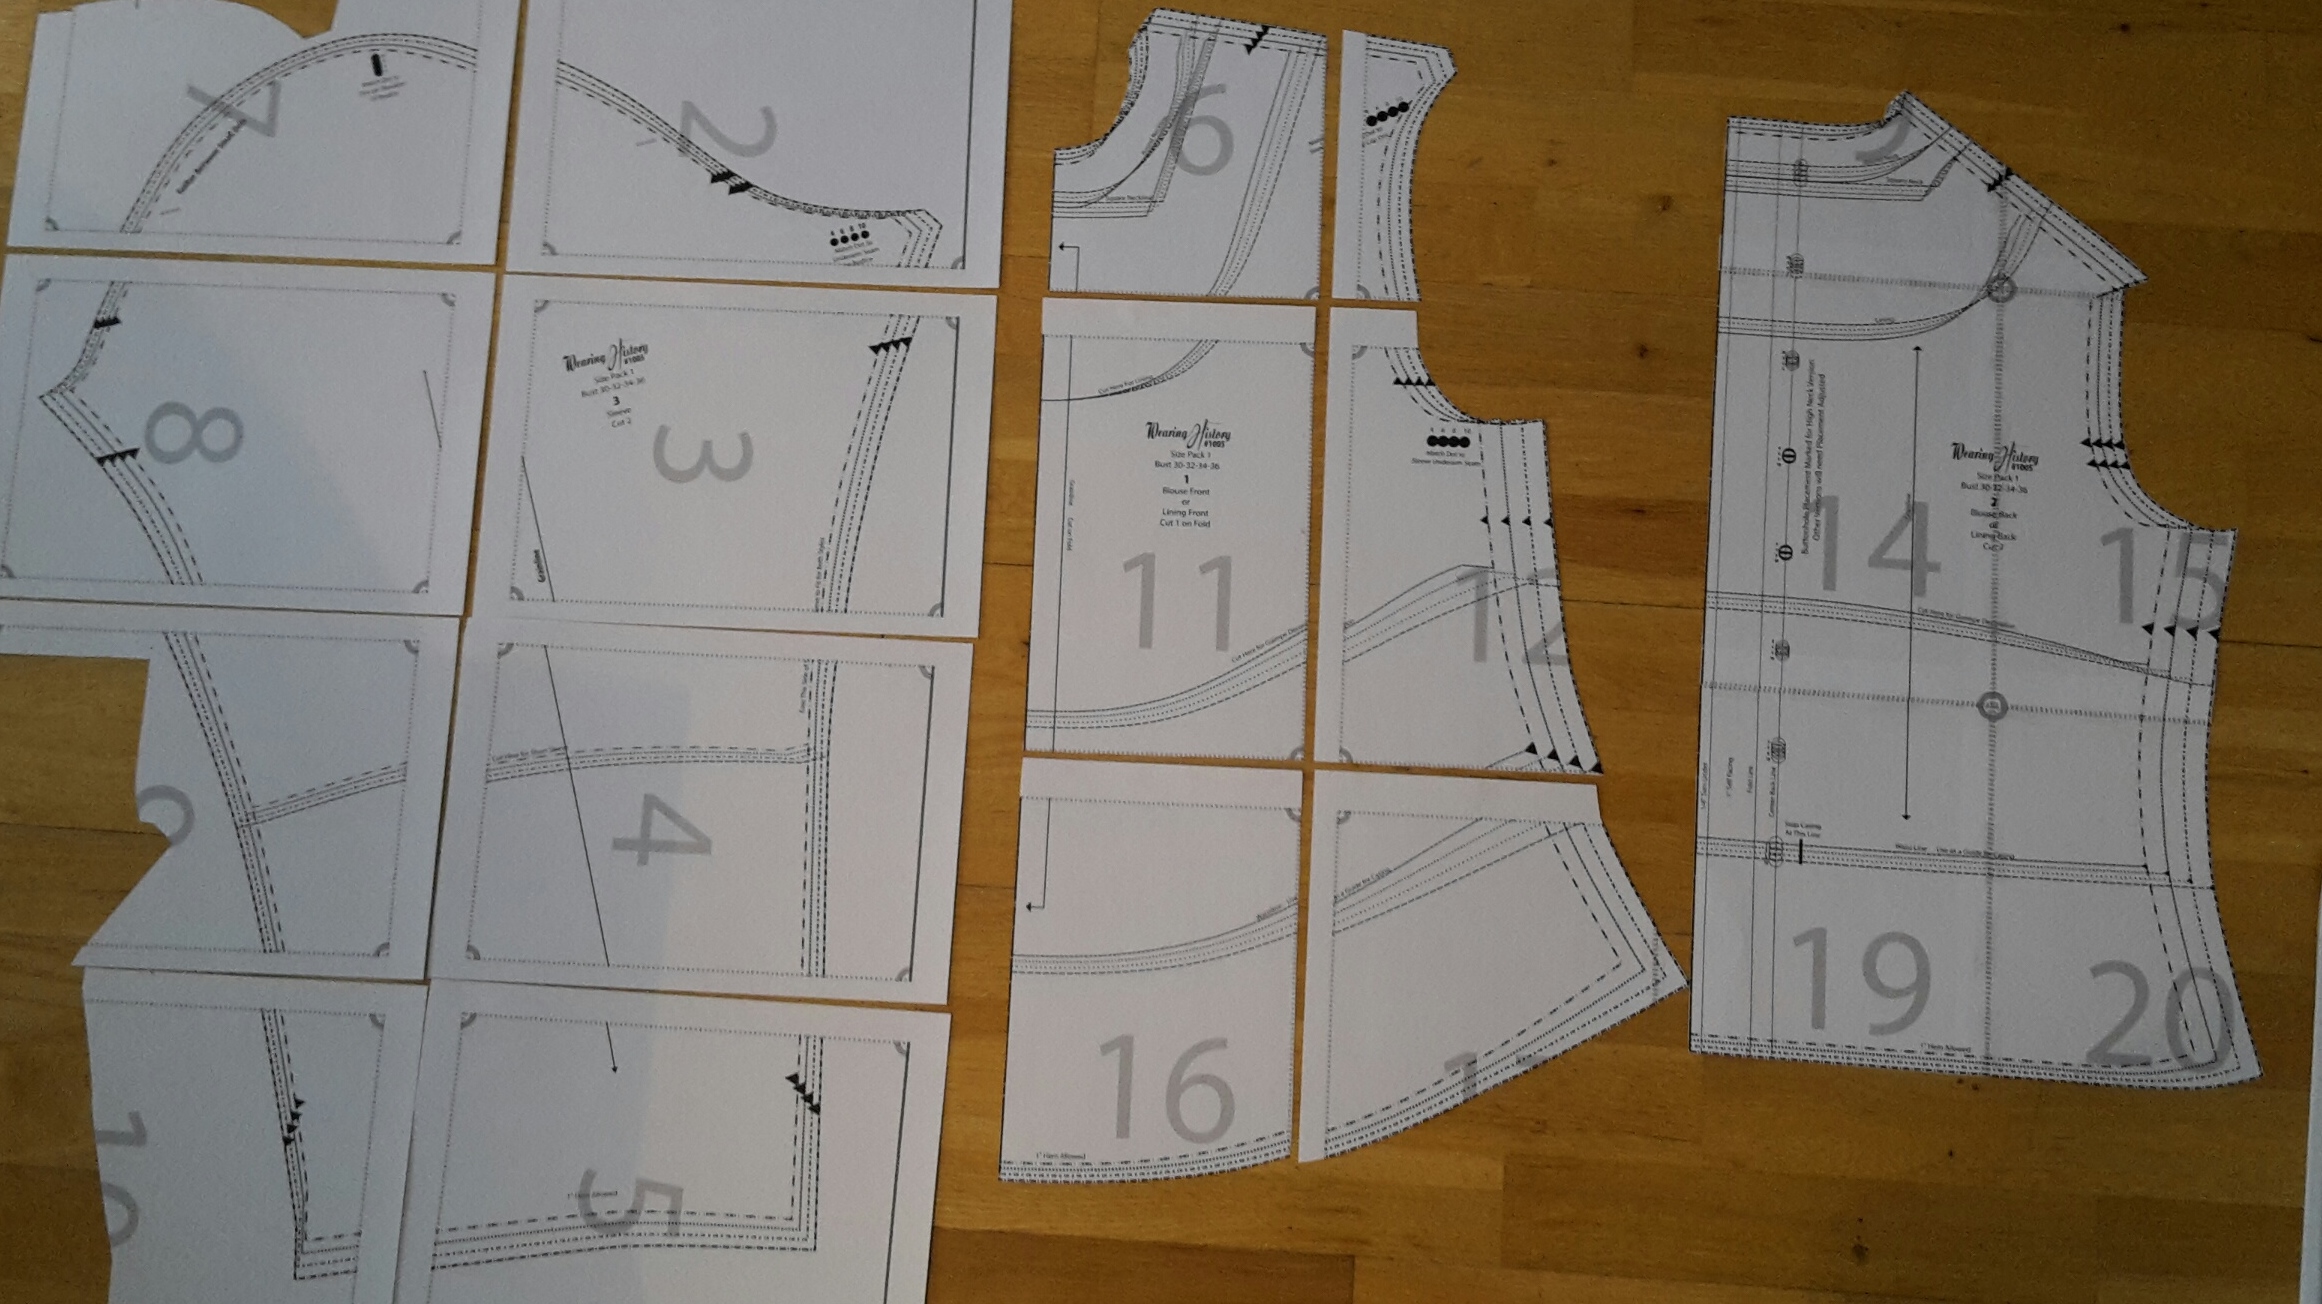
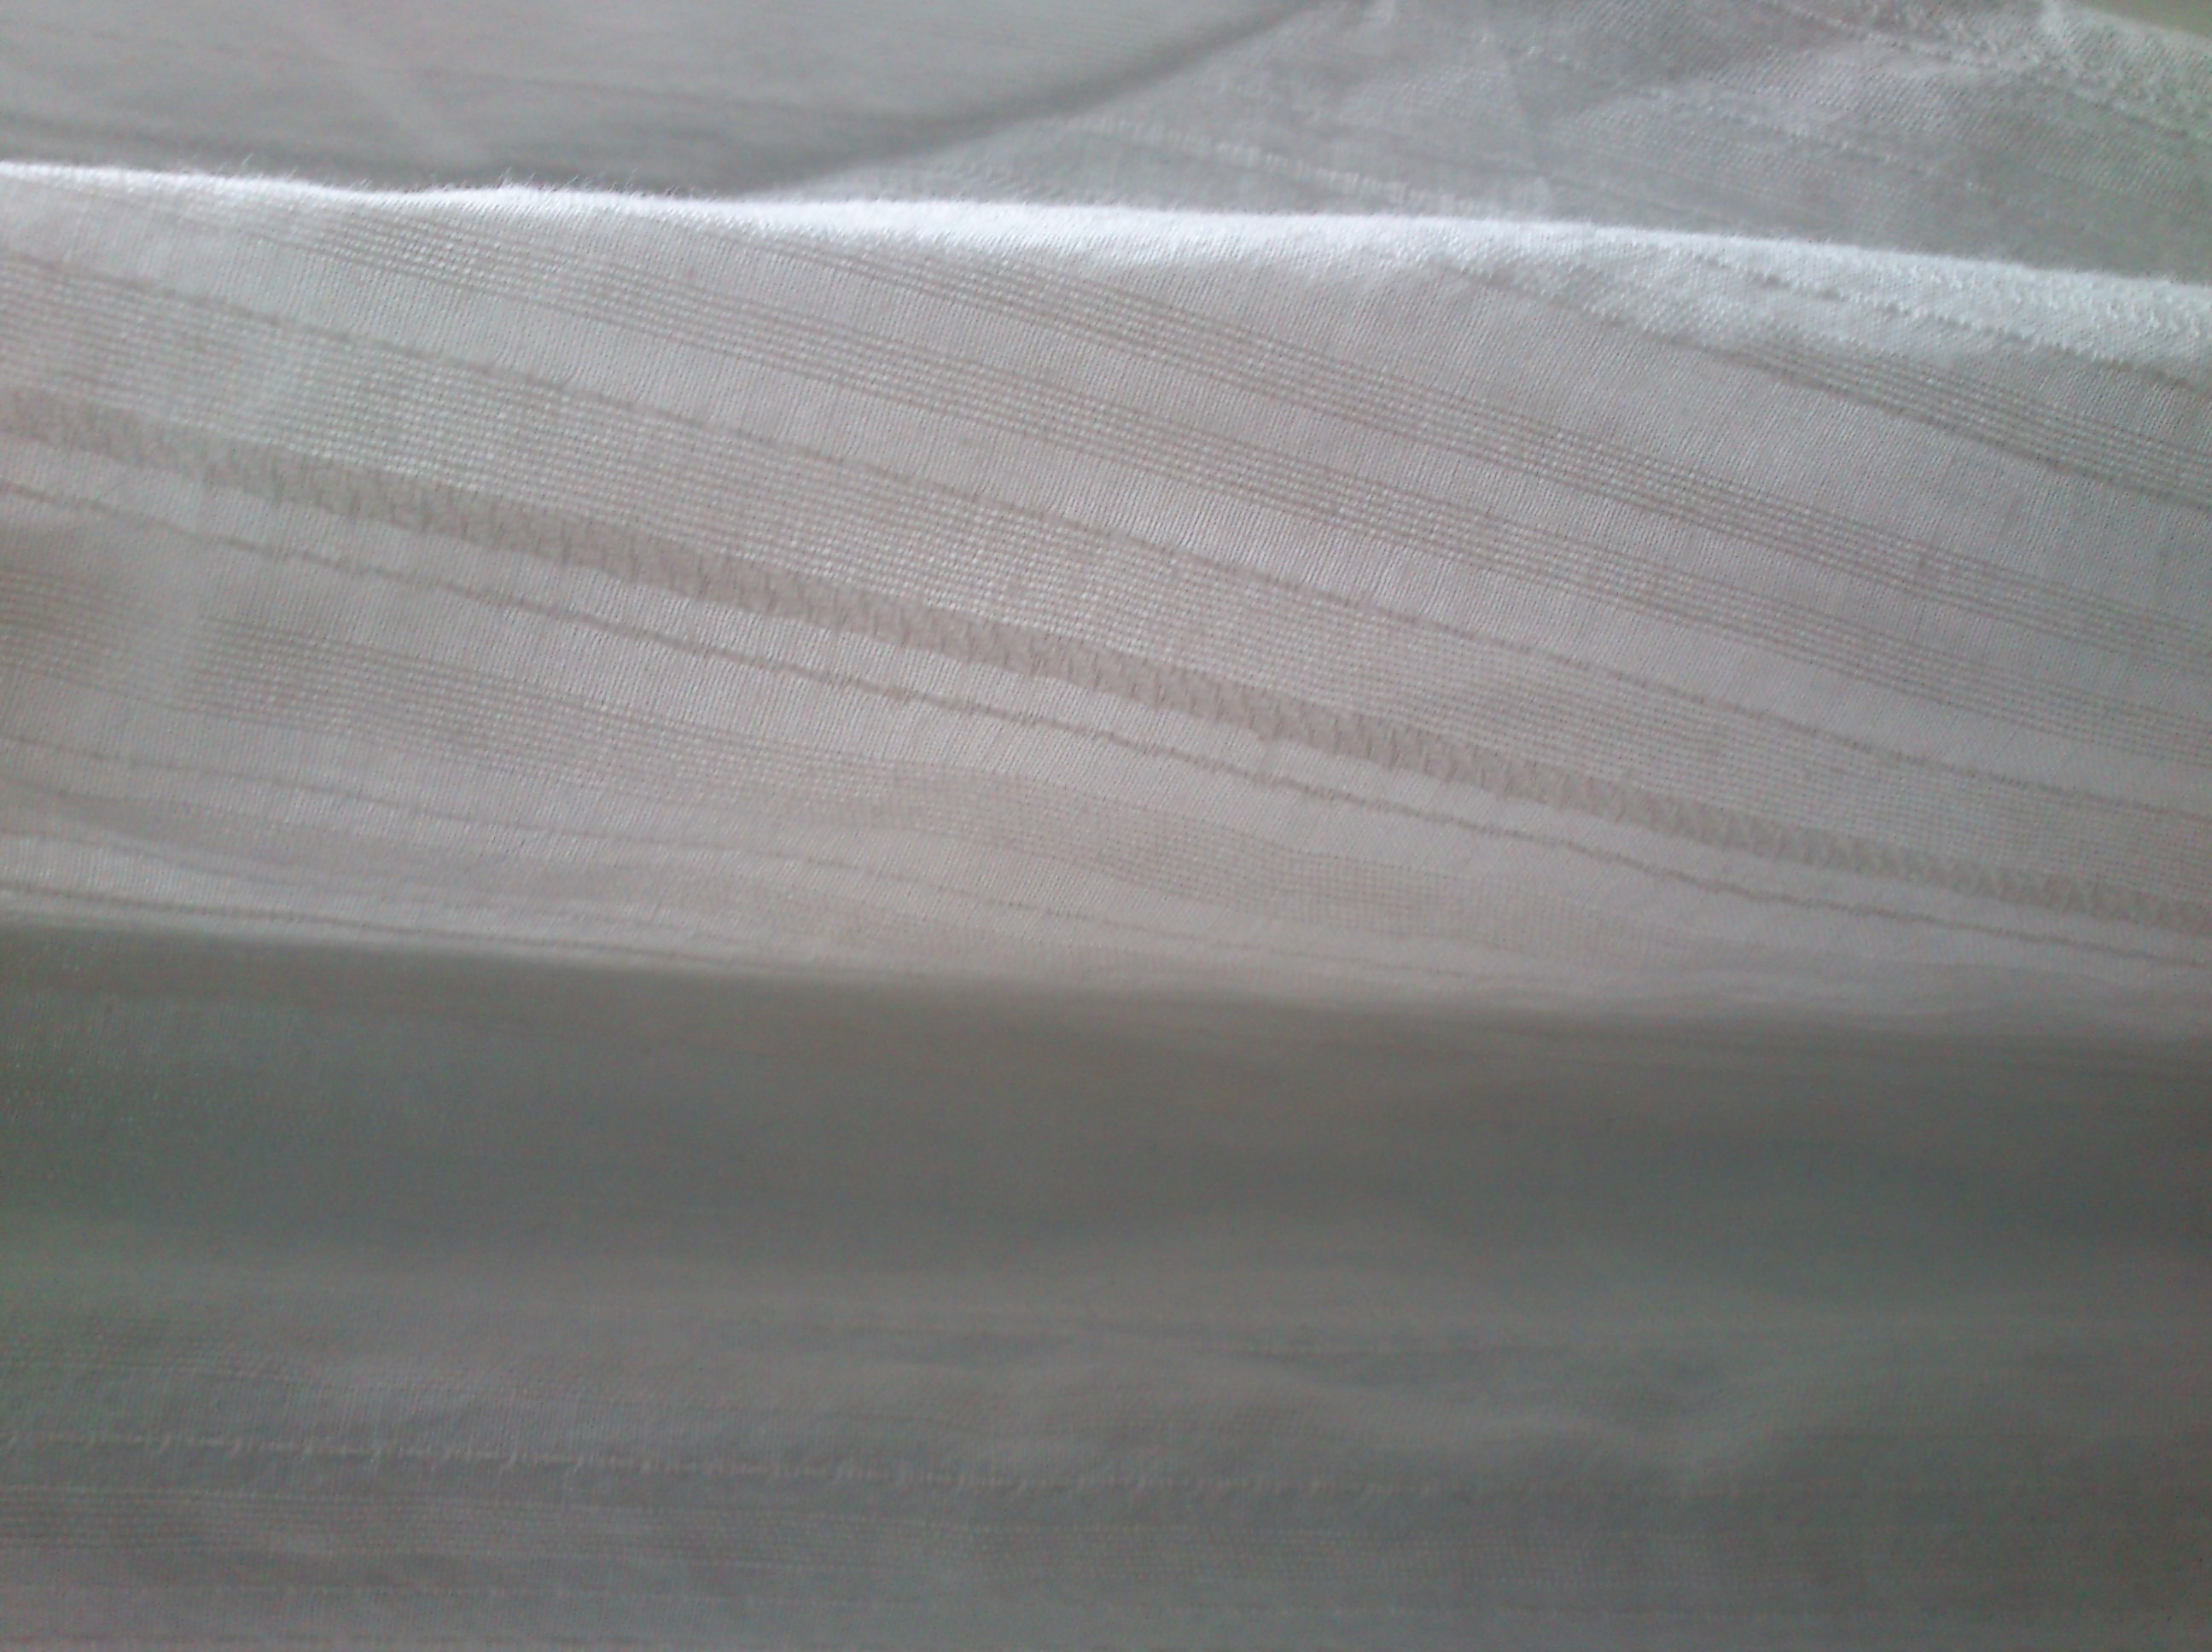
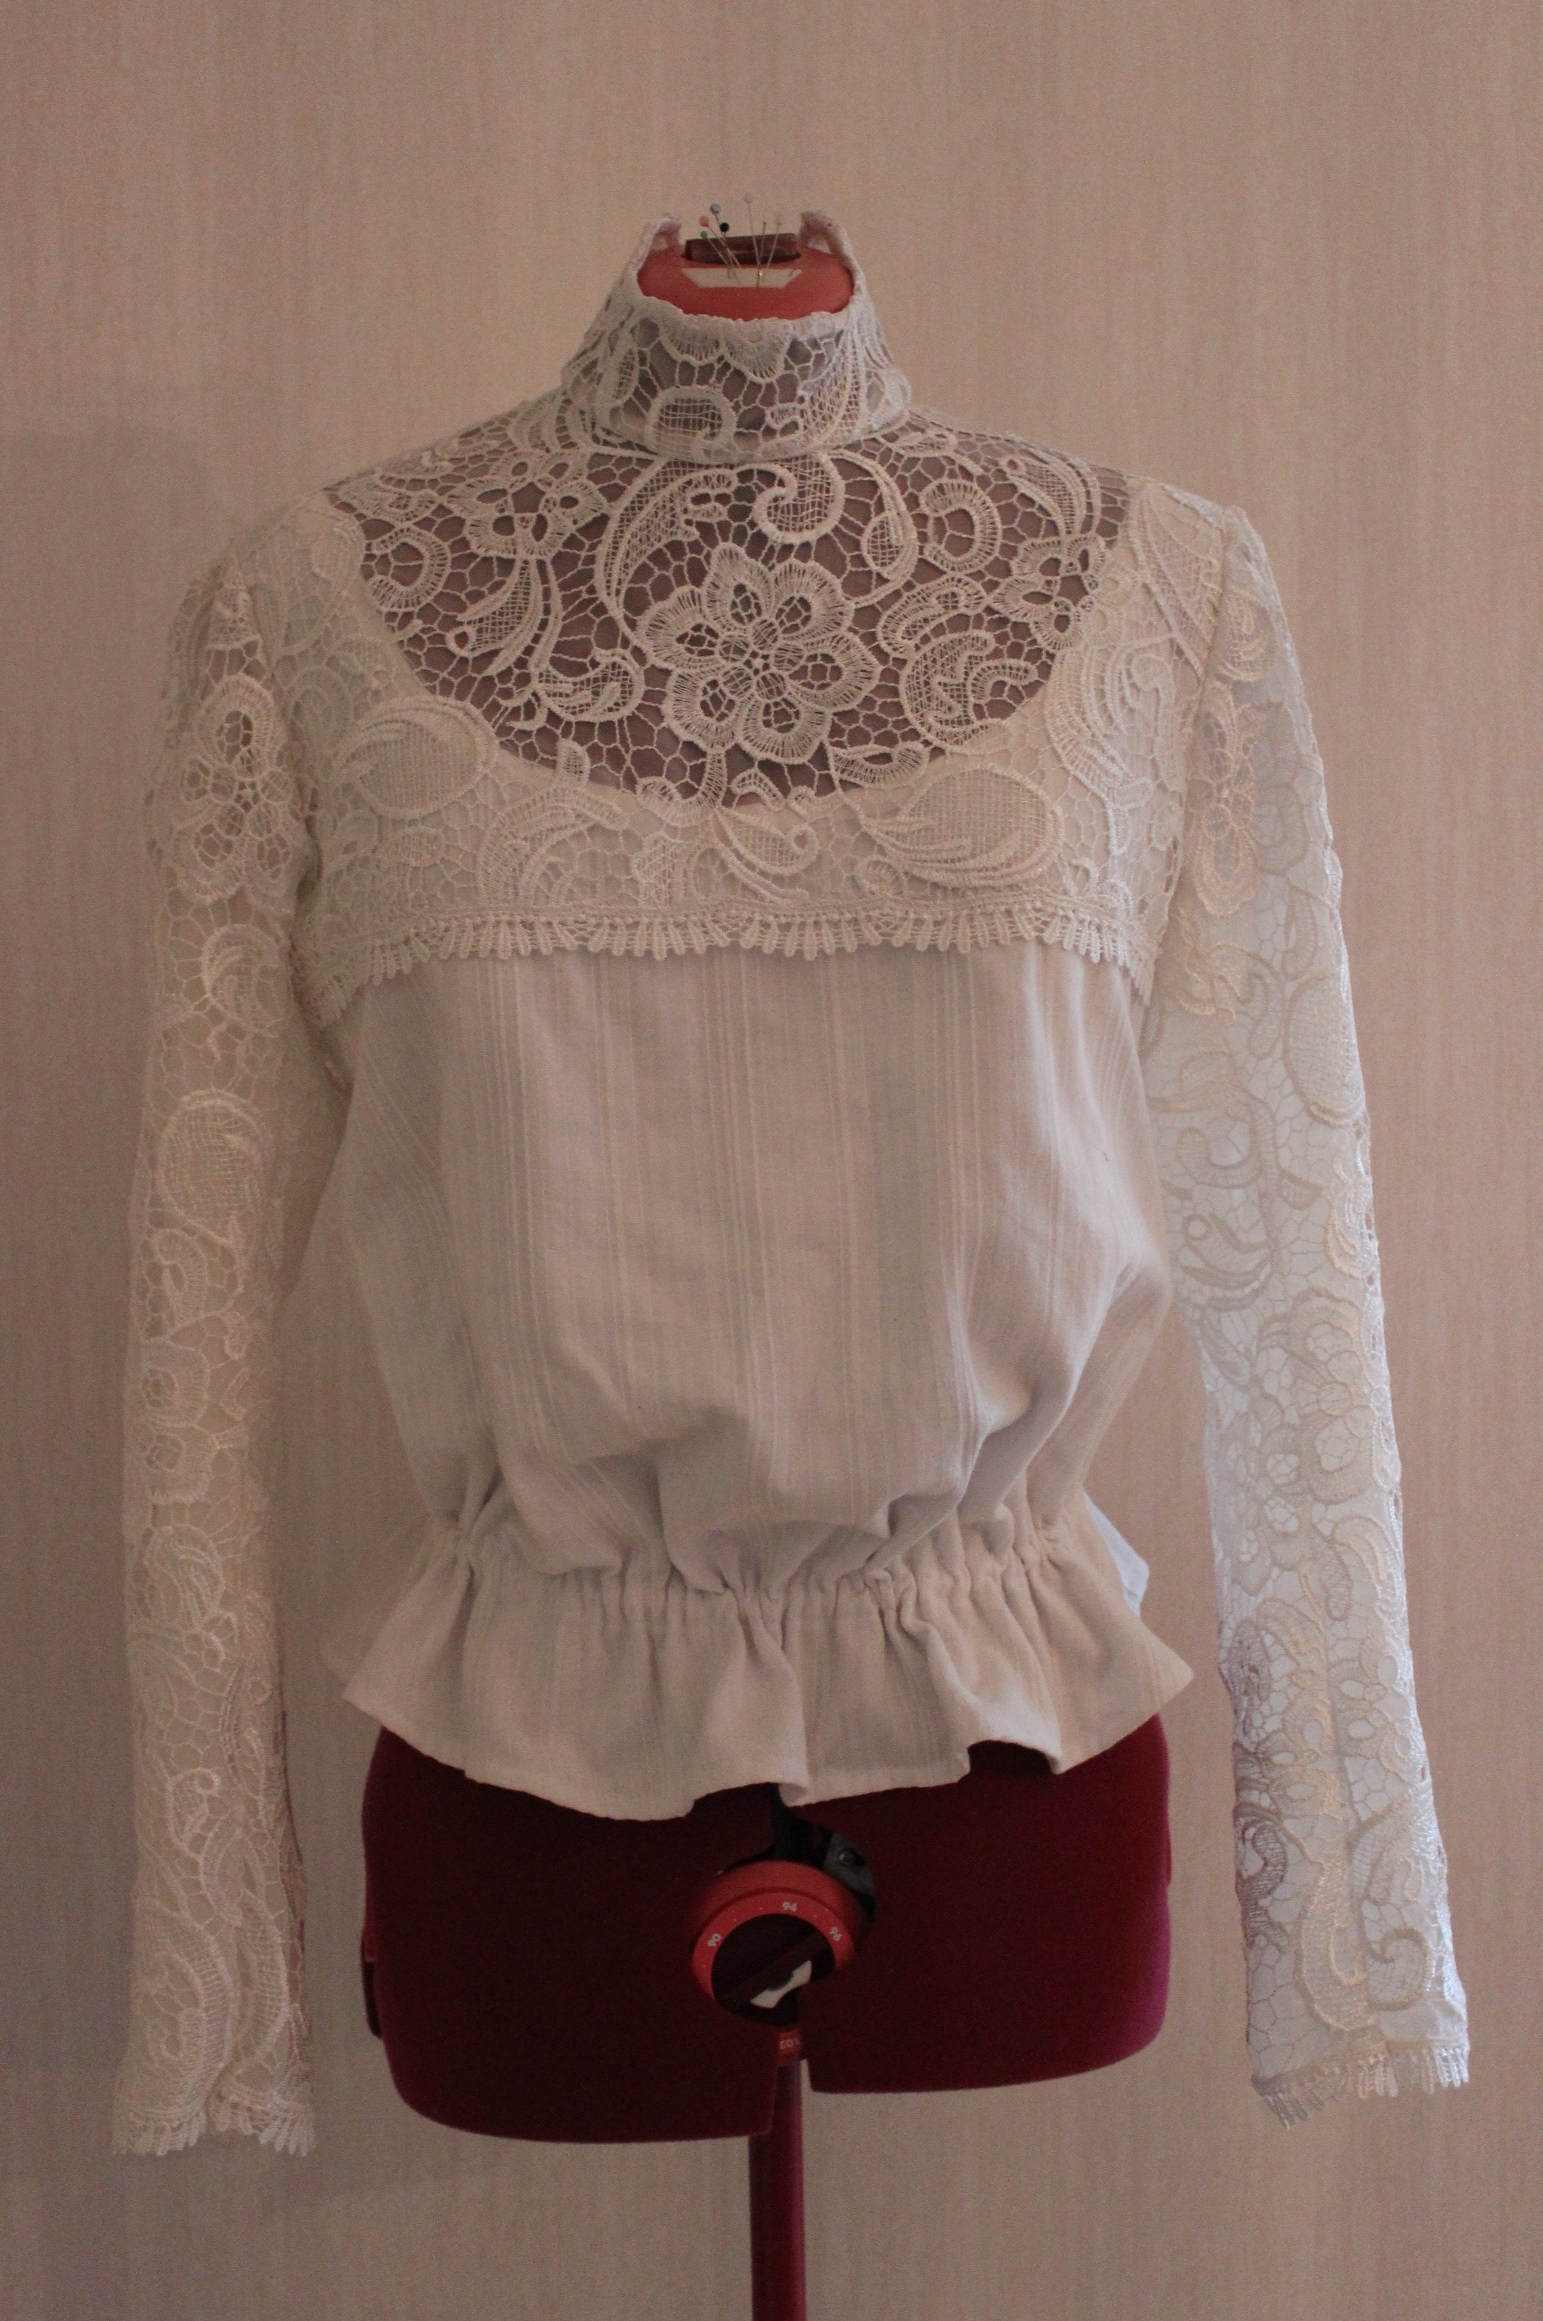
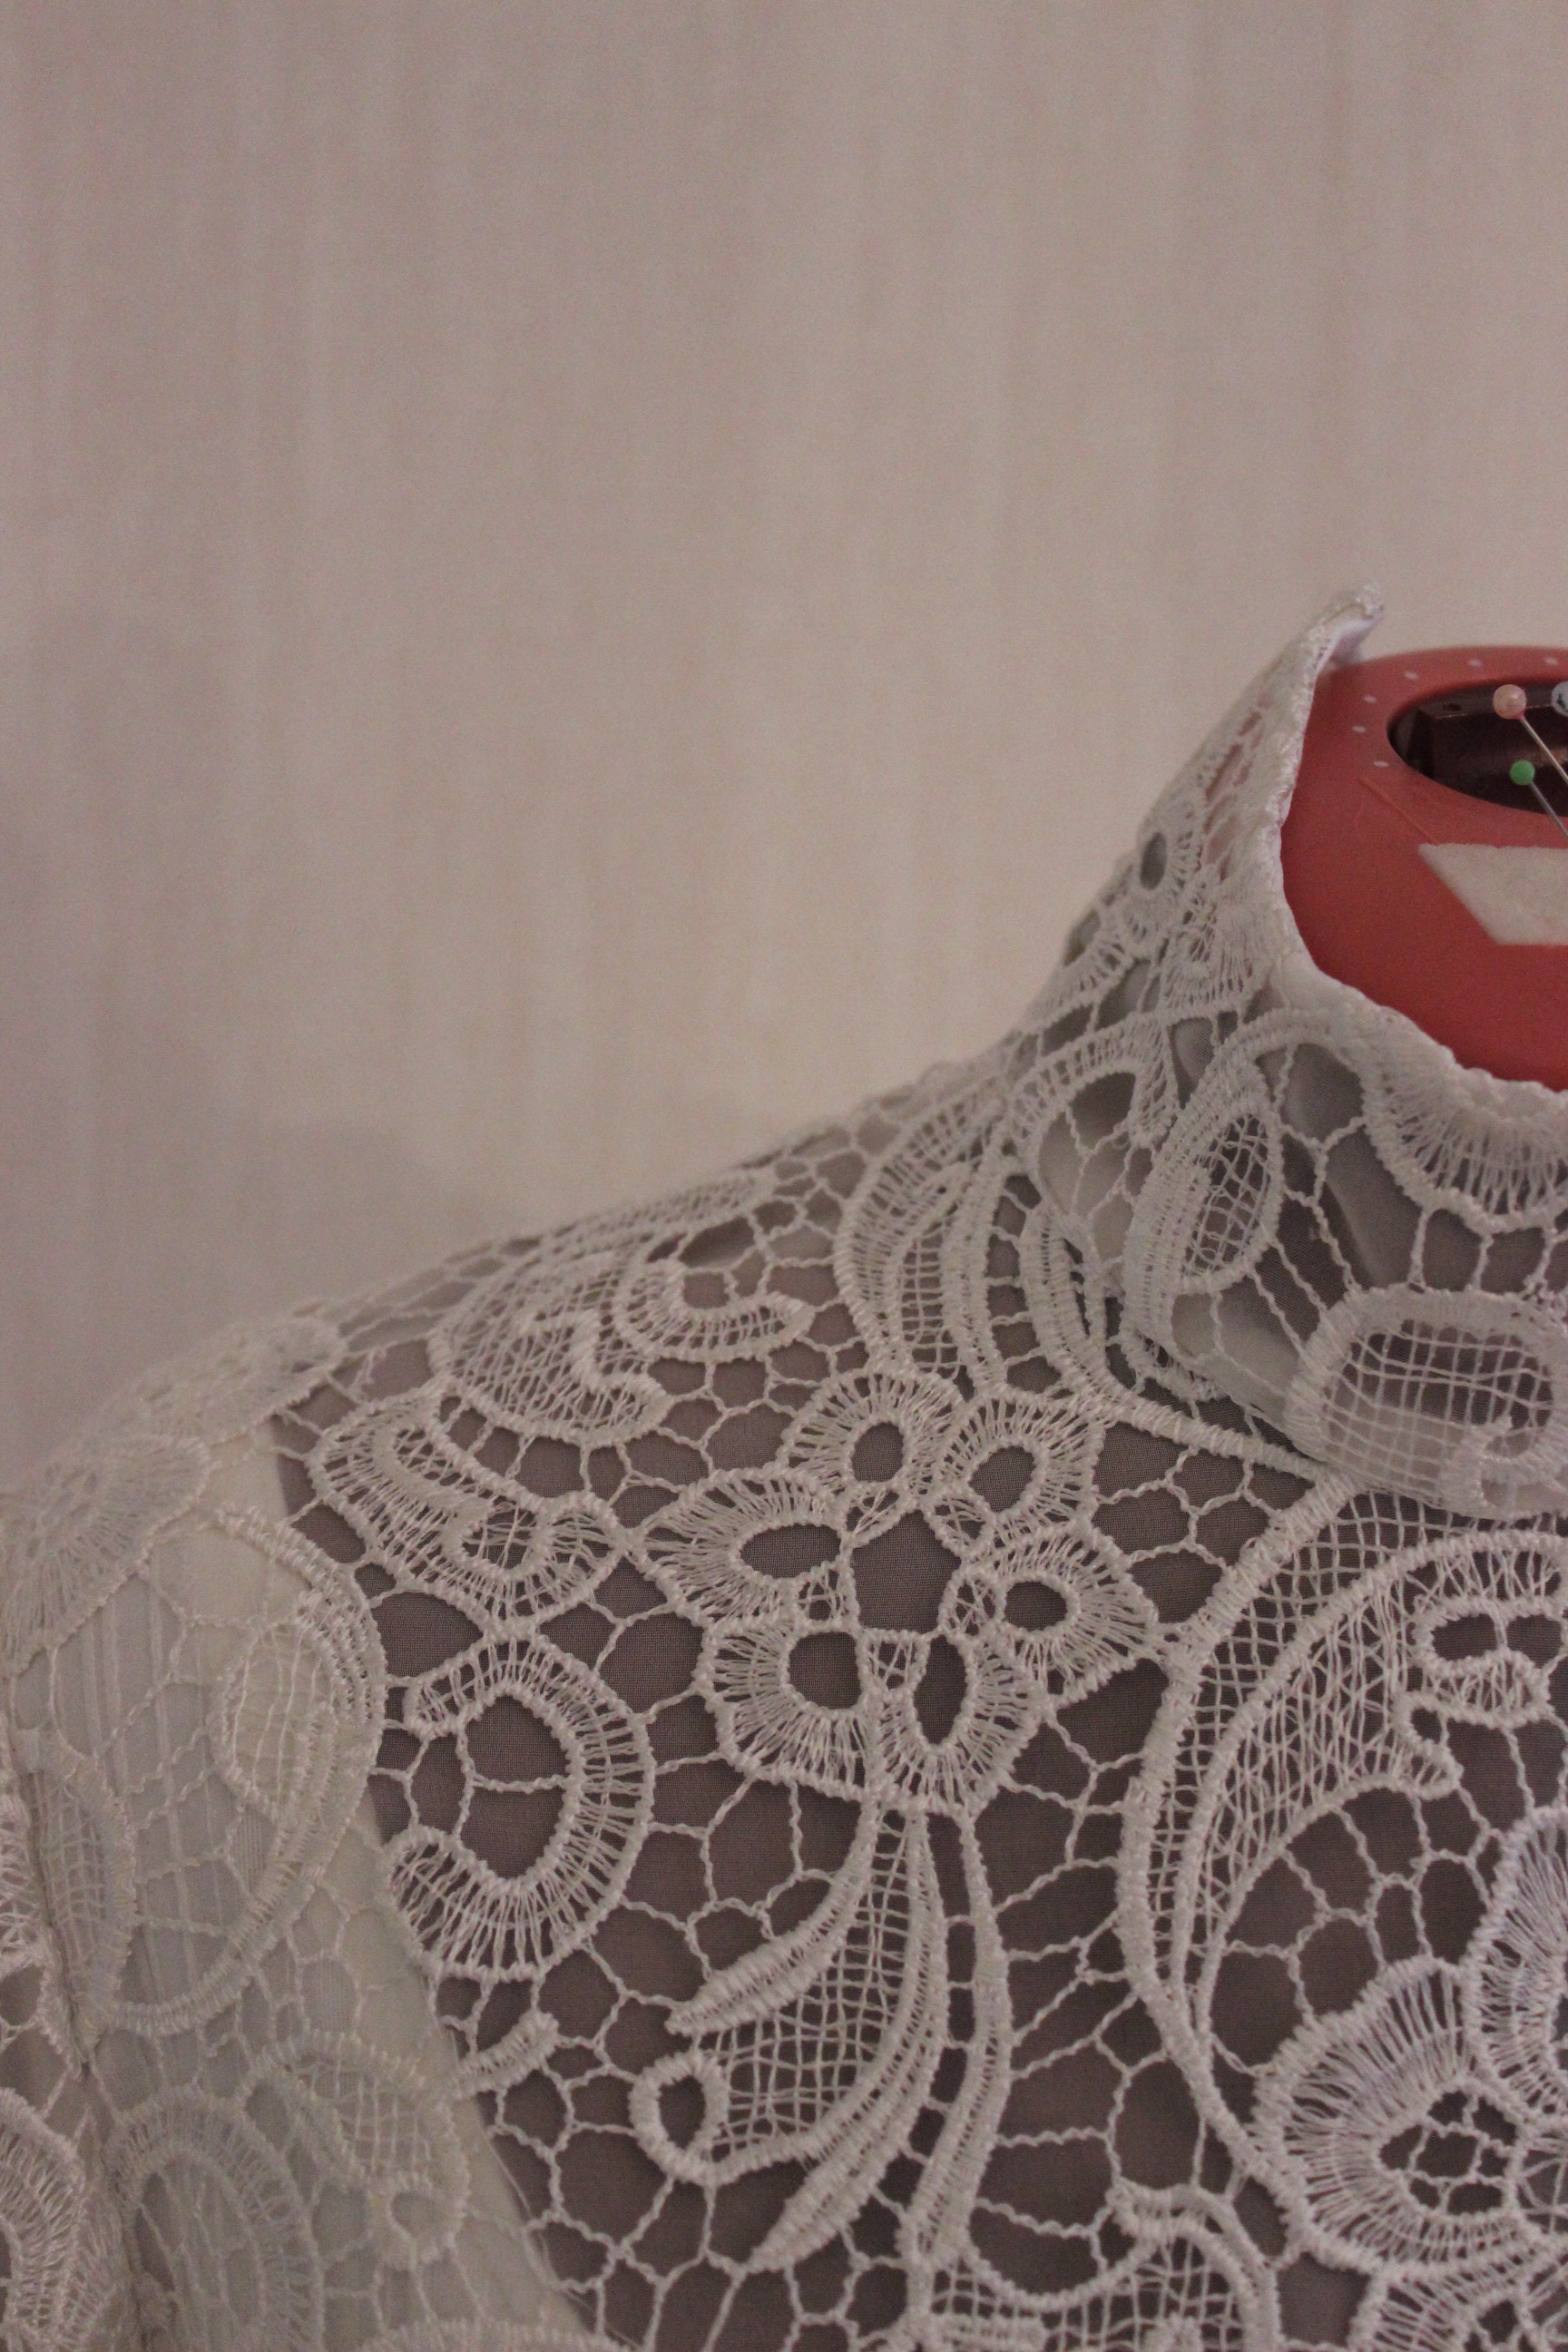
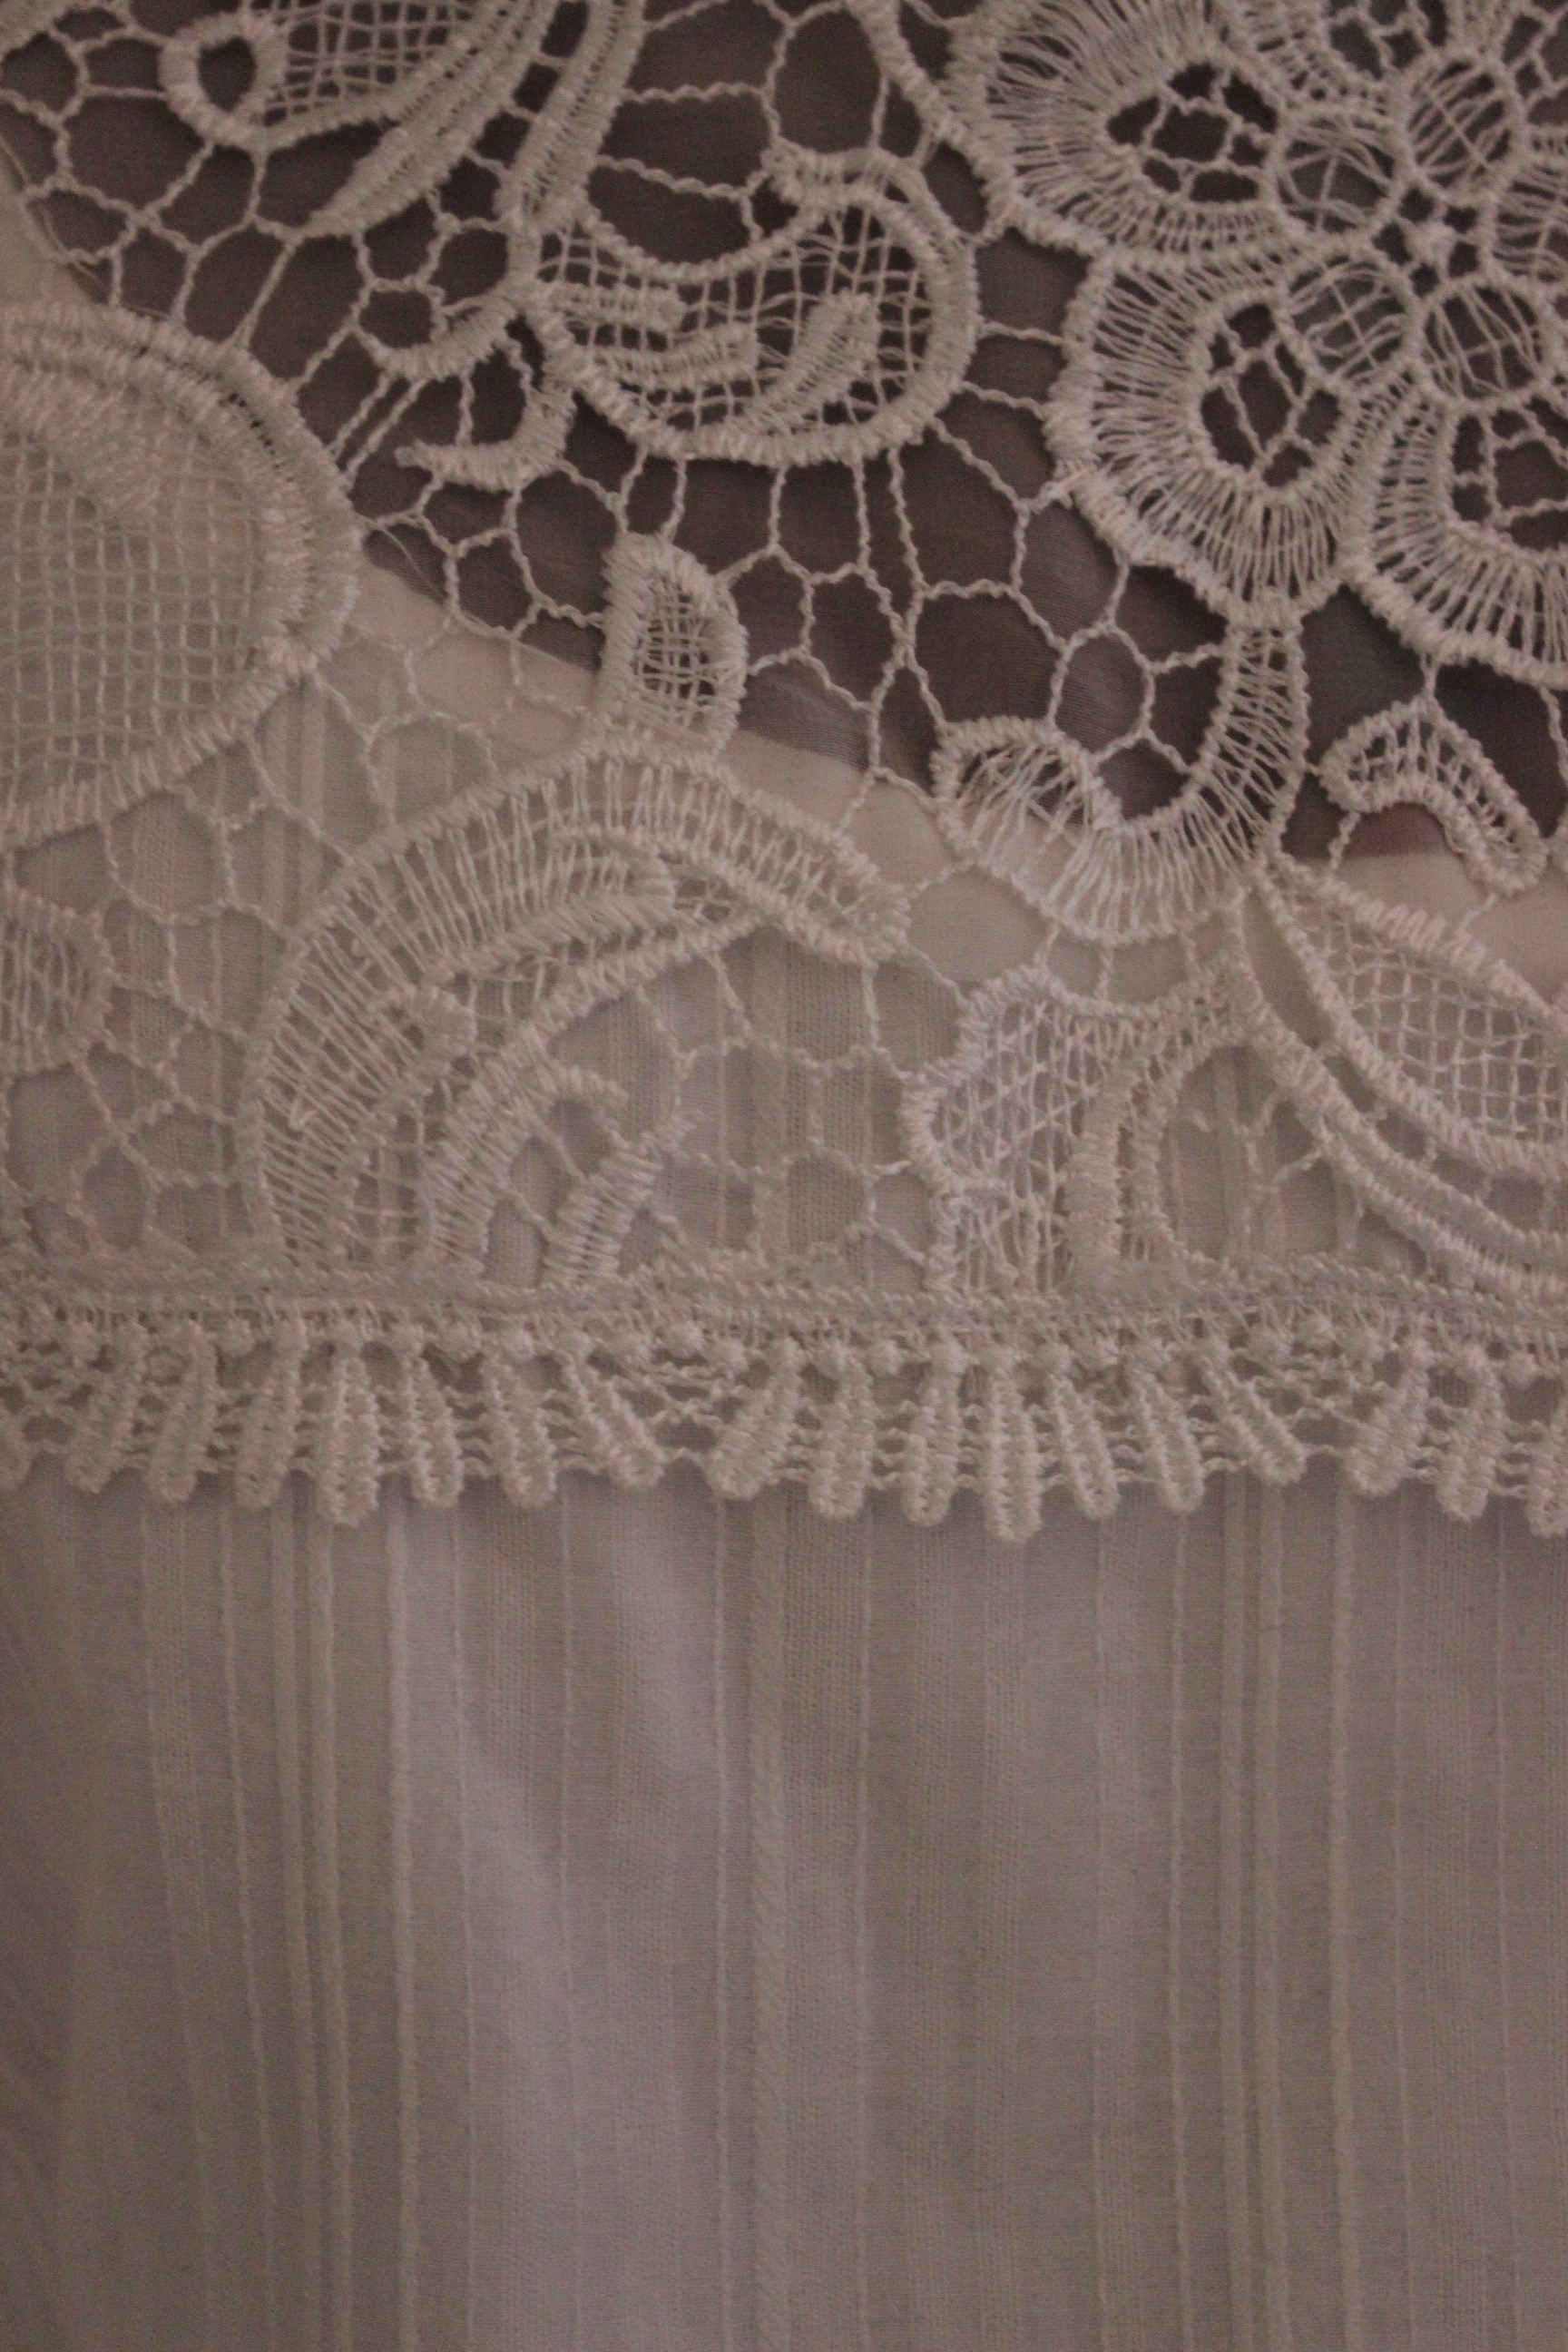
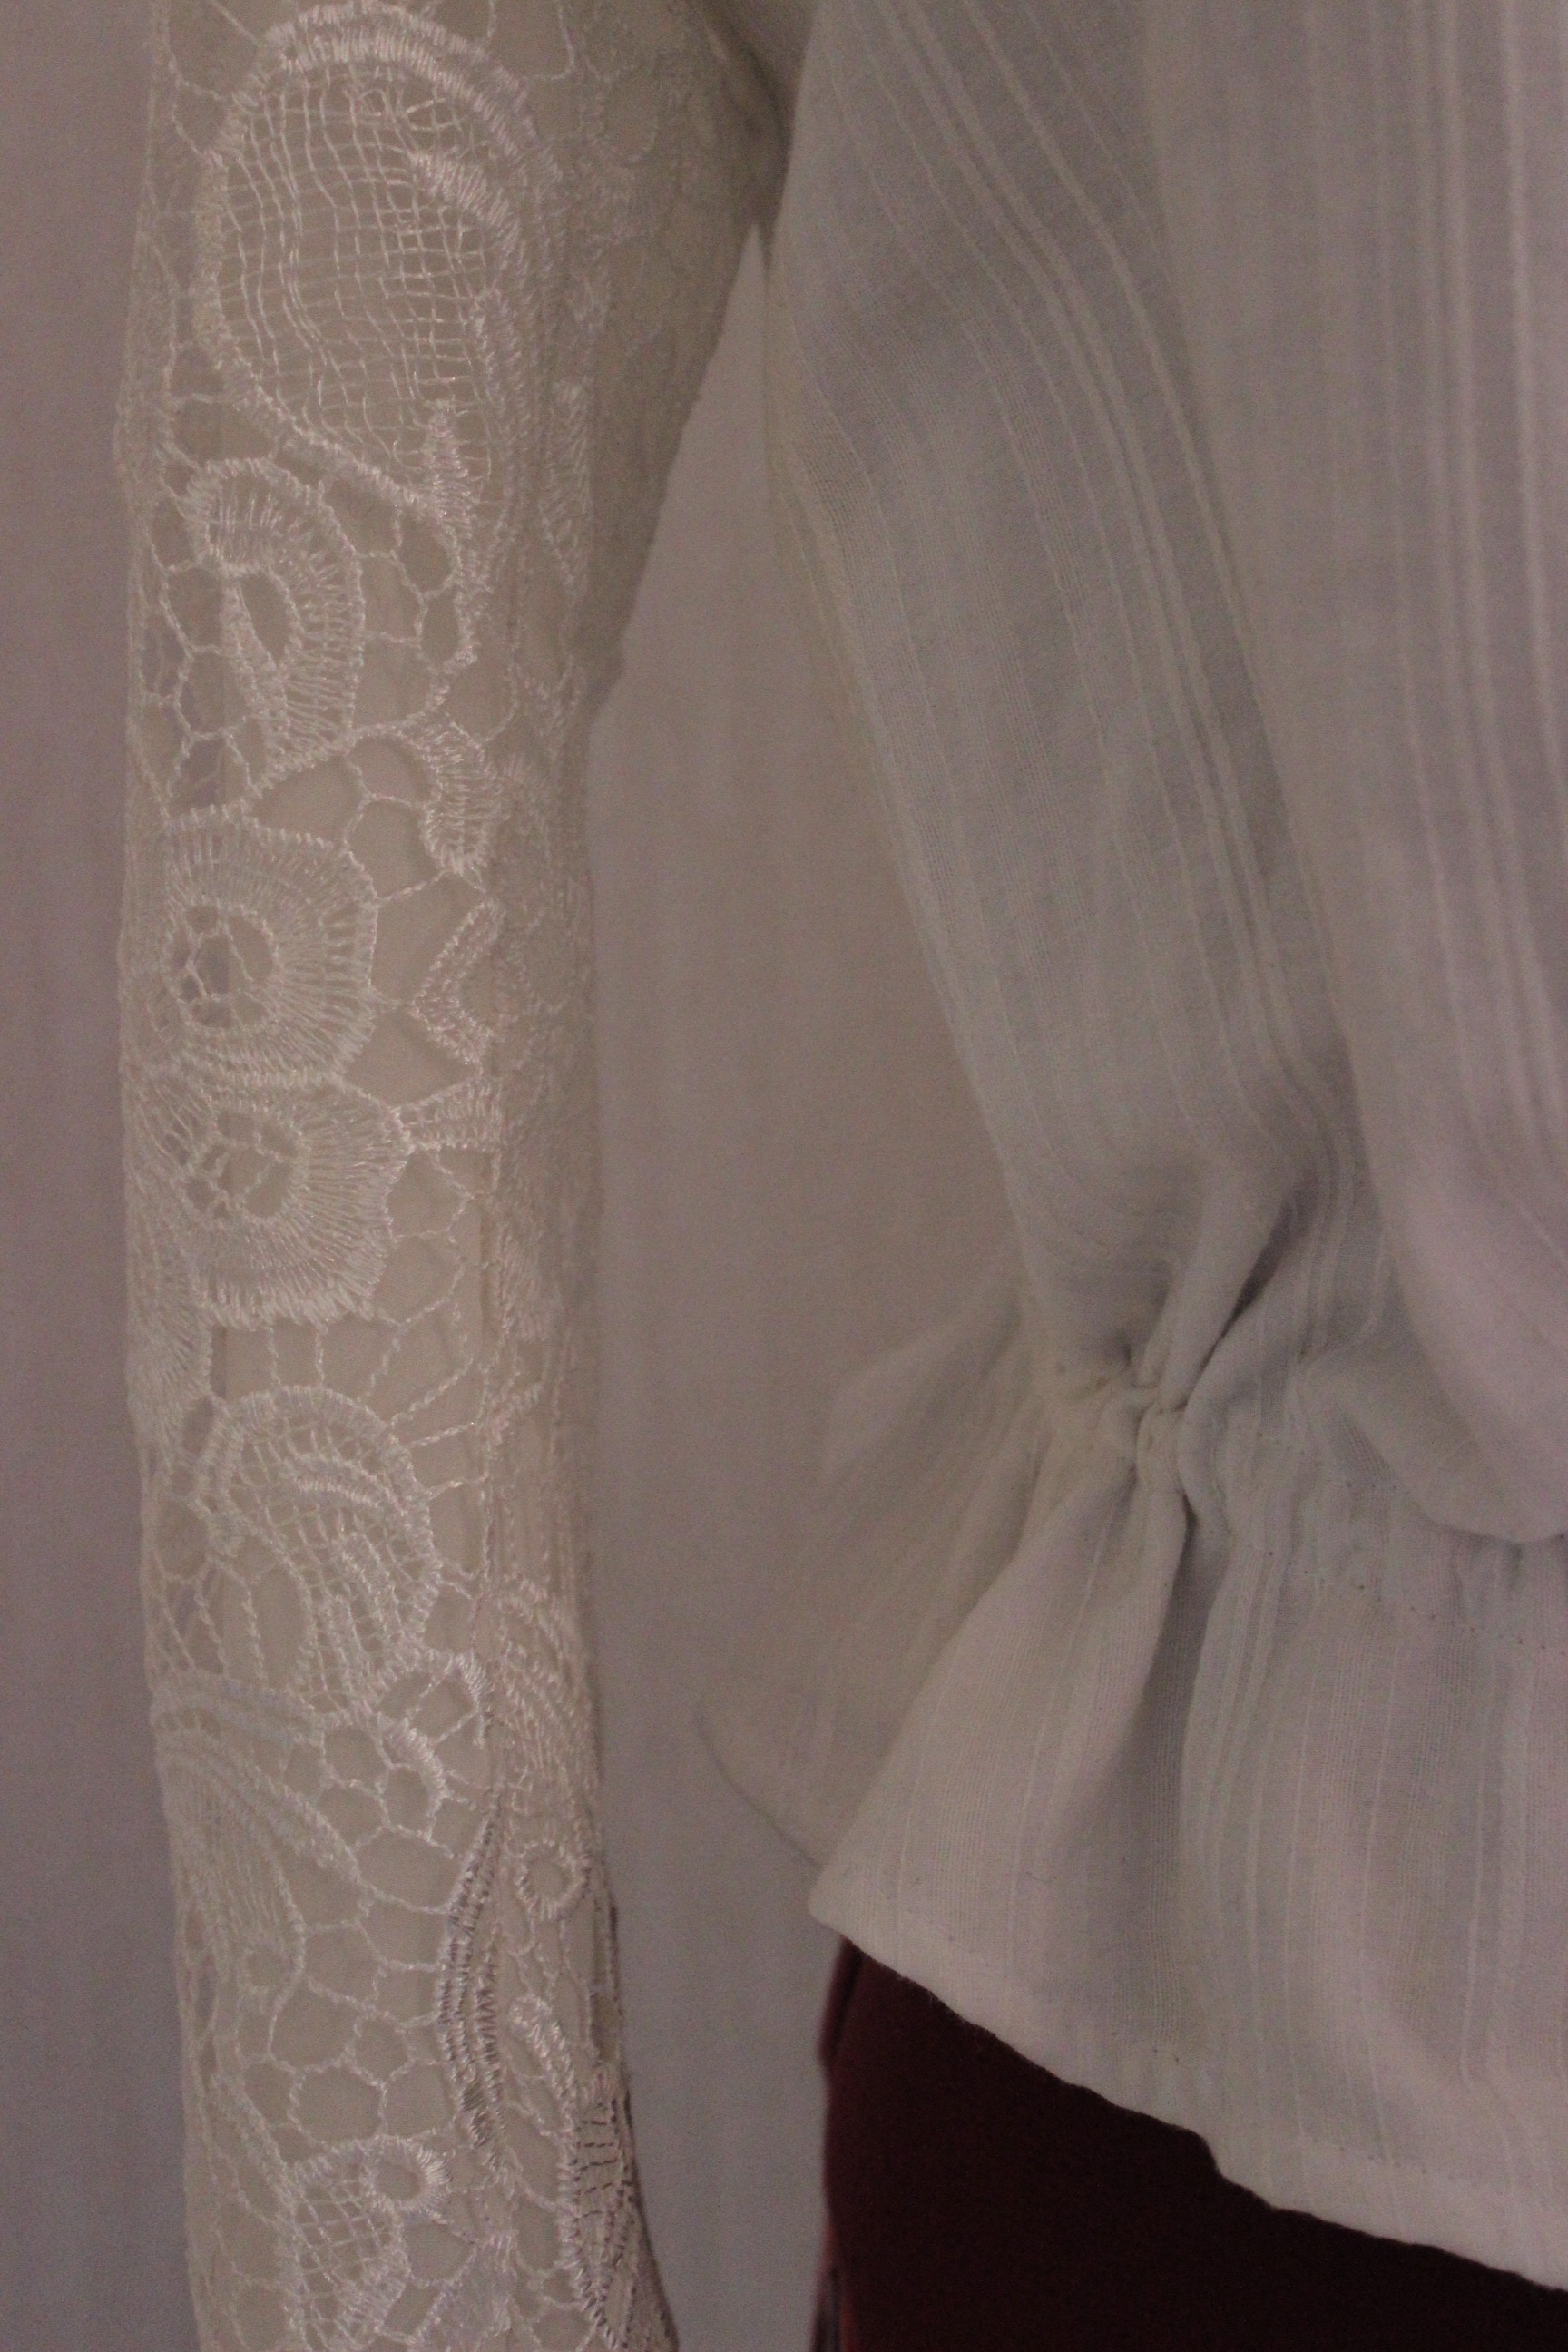
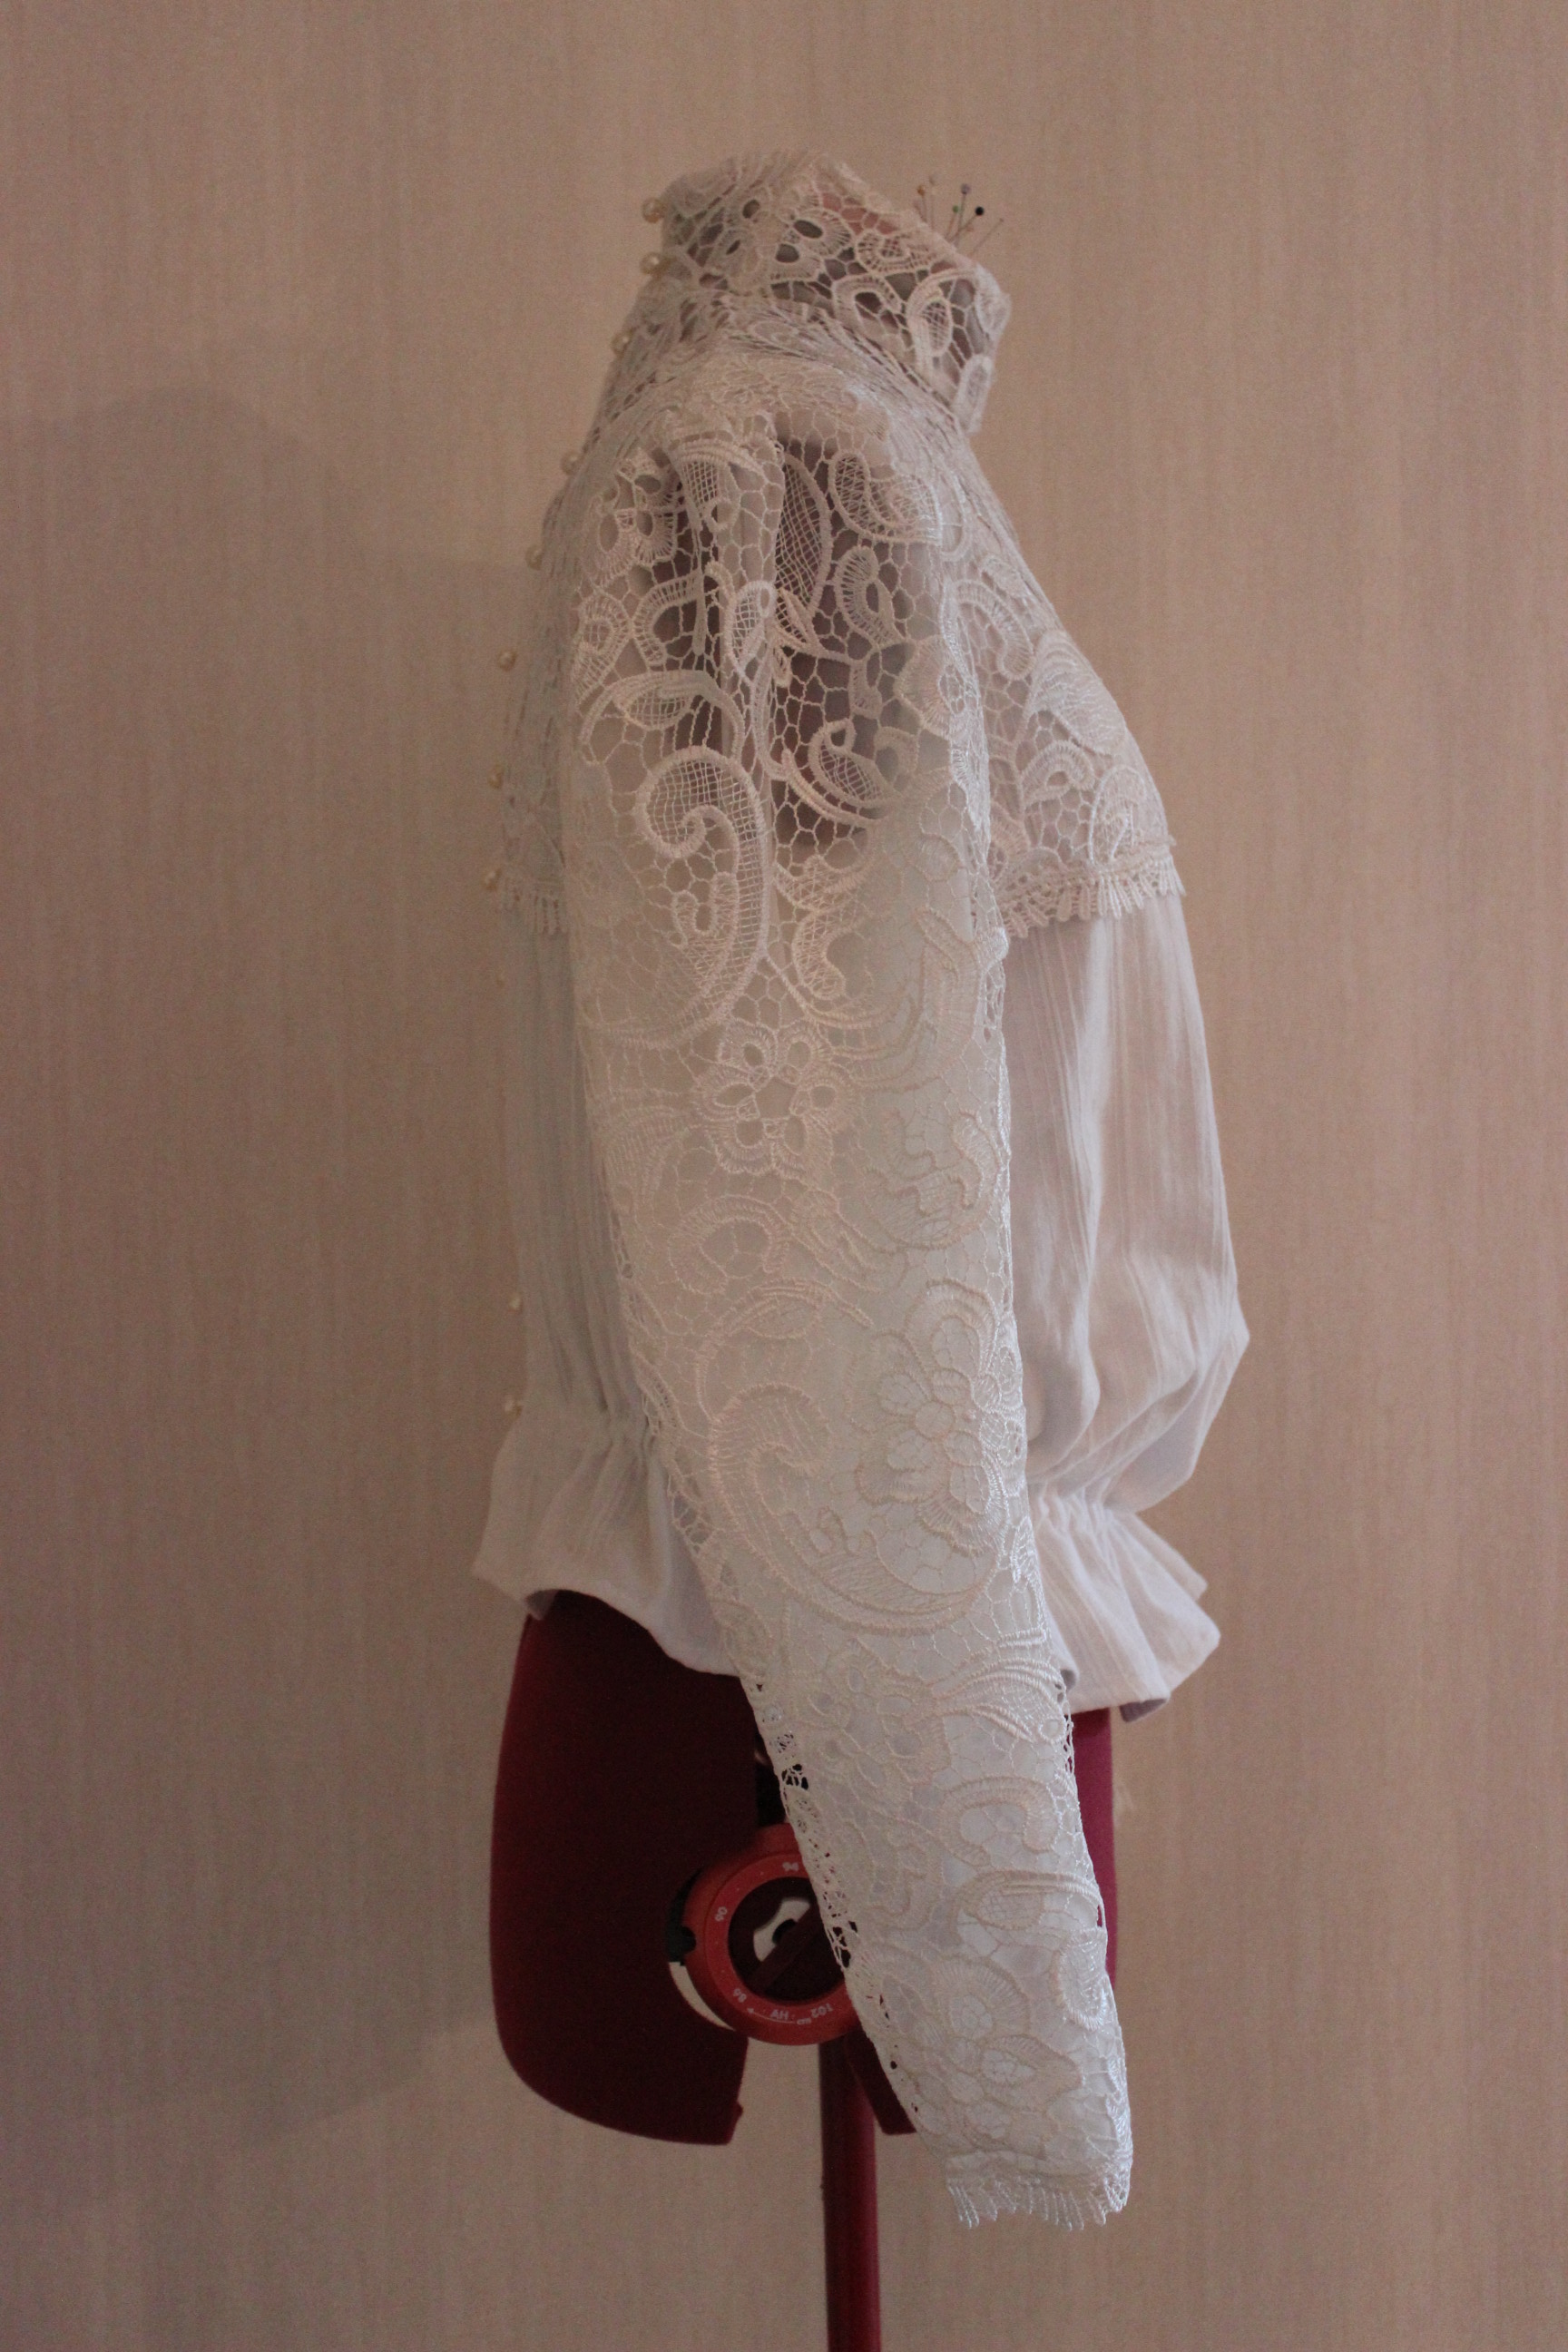
Not sure what fabric to use, I searched through my stash and found the last piece of white striped cotton voile (from which I’ve previously made: A Chemise a la Rein, a 1900s pigeon front dress and a 1850s working woman’s shirt/waist), and a newly required of white cotton lace decorated in lovely flowers.
 Unfortunately I hadn’t enough lace to cover the whole shirt – I could either use it on the bodice and make short sleeves, or I could use it to make long/full sleeves and ad a bit of lace around the collar and shoulders.
After some thinking and experimenting with the pattern layout I decided to go with the full sleeves and then try to get as much of the upper bodice out of it as possible.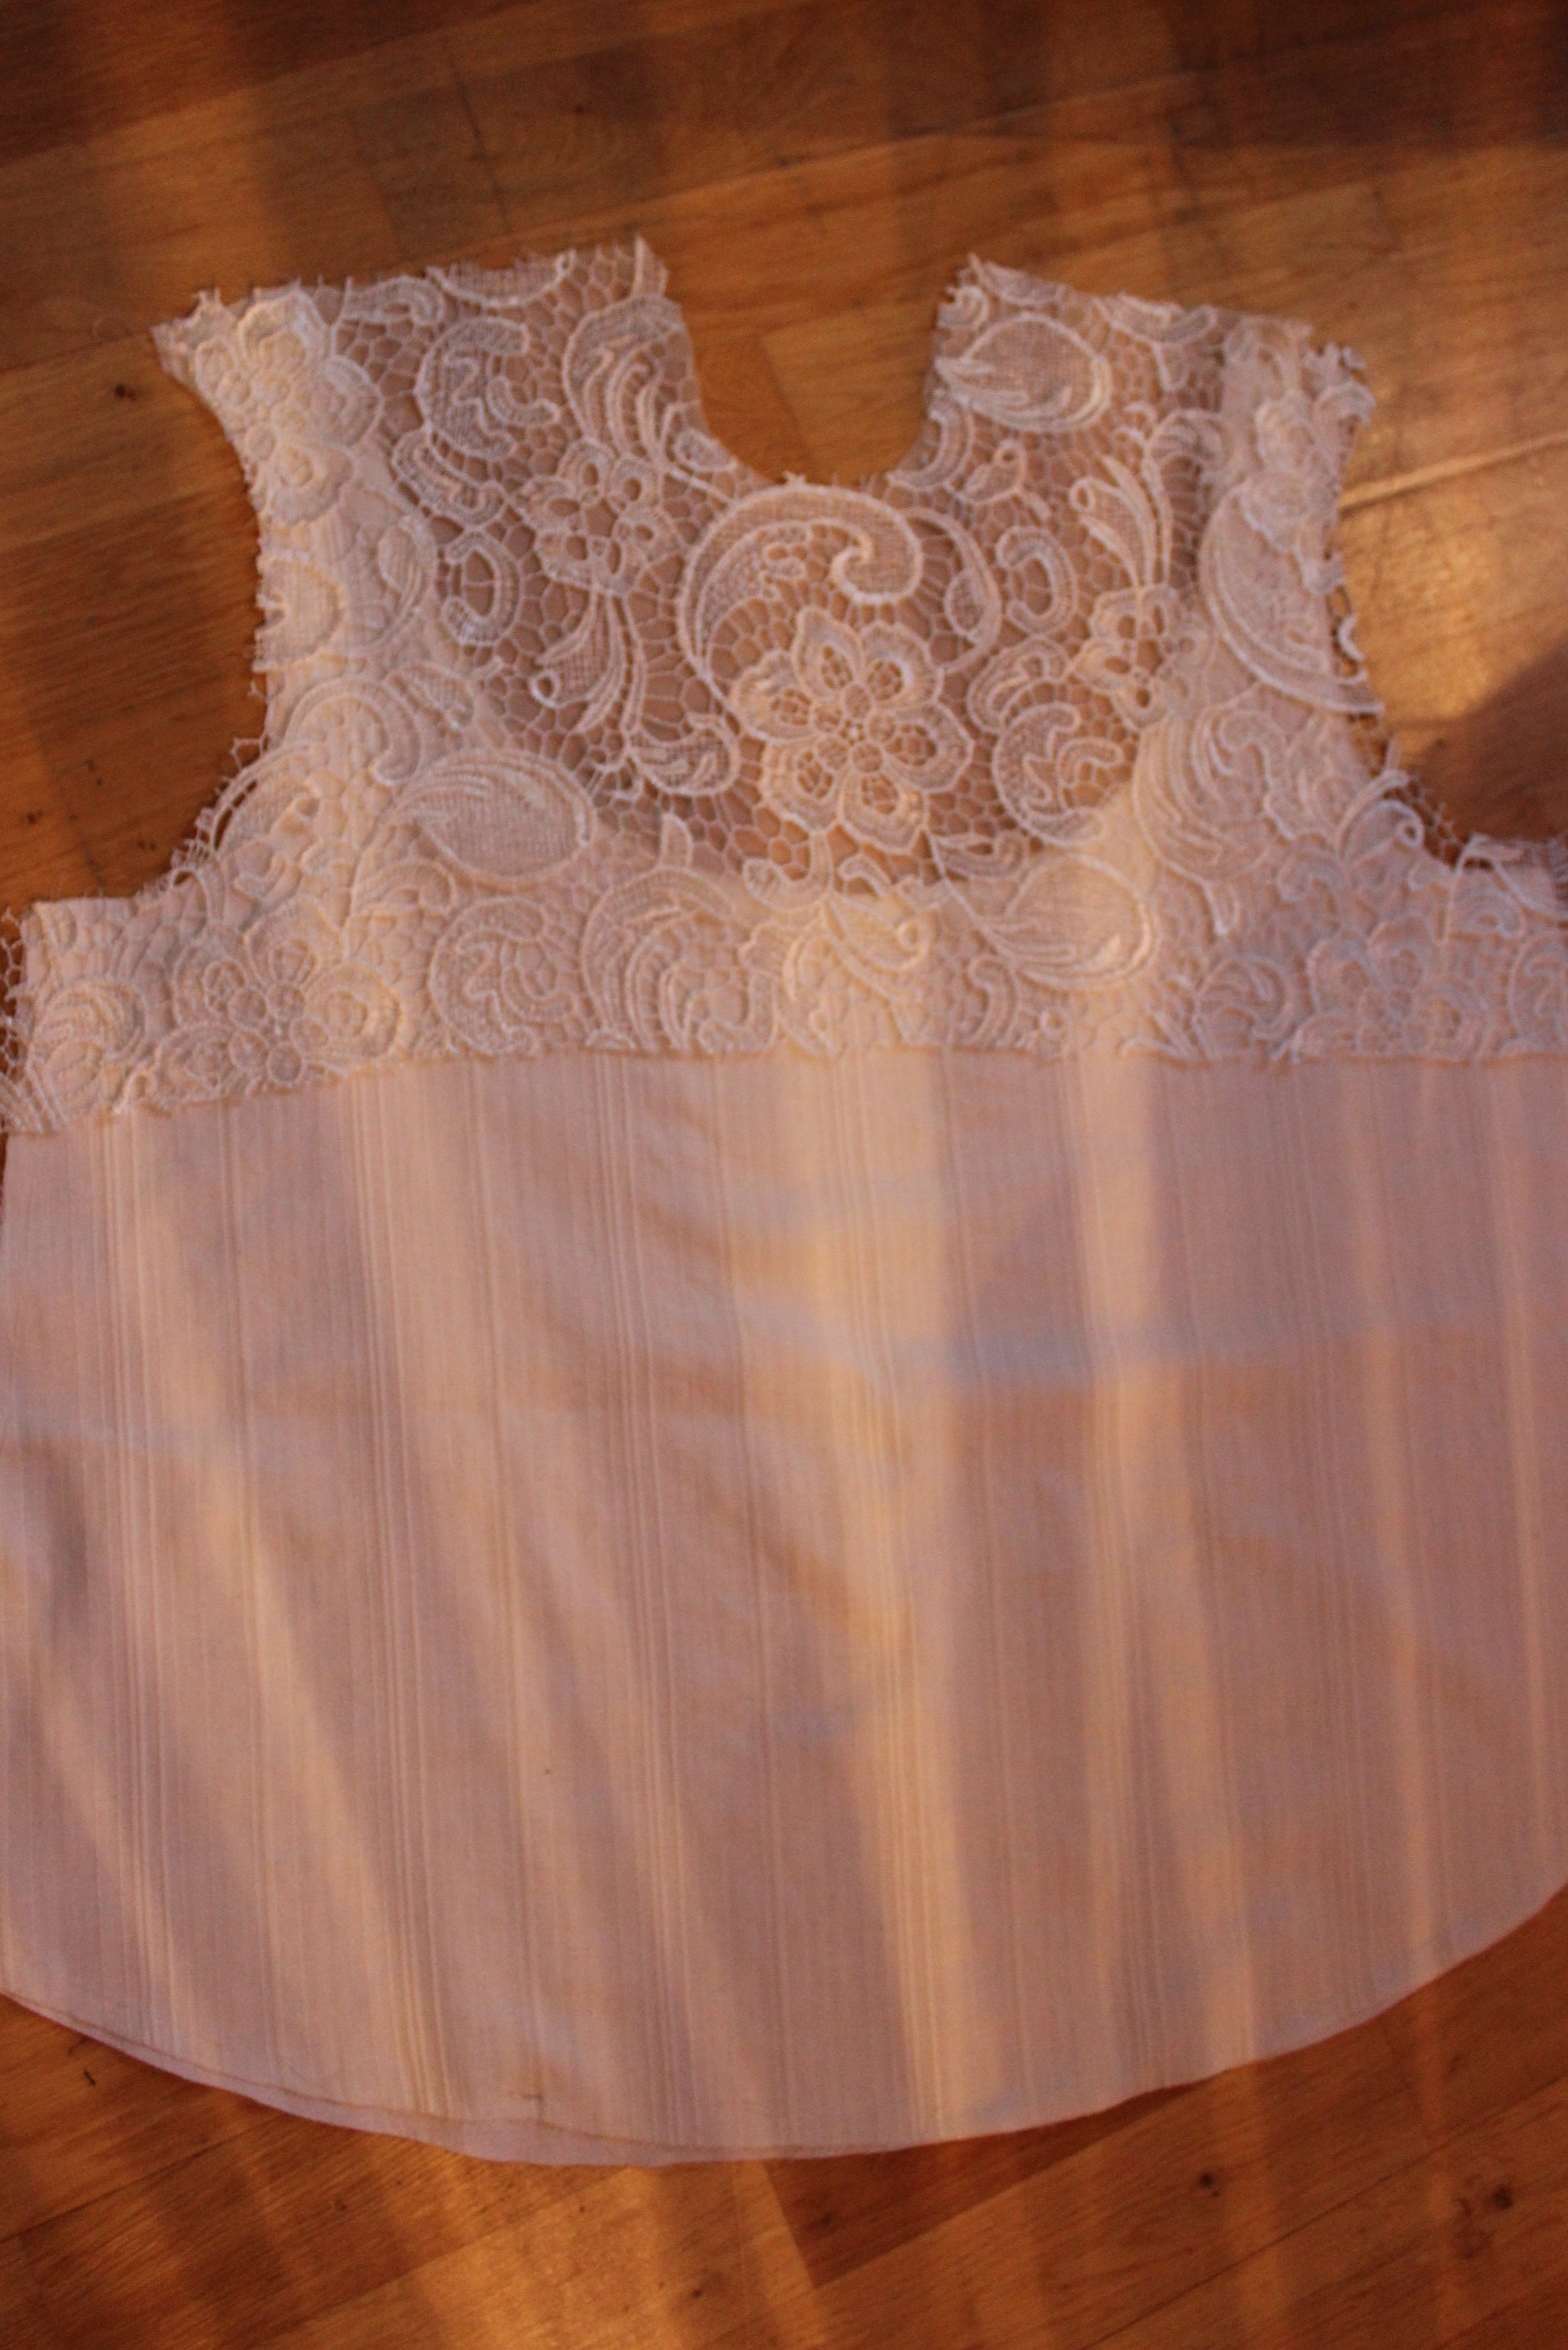
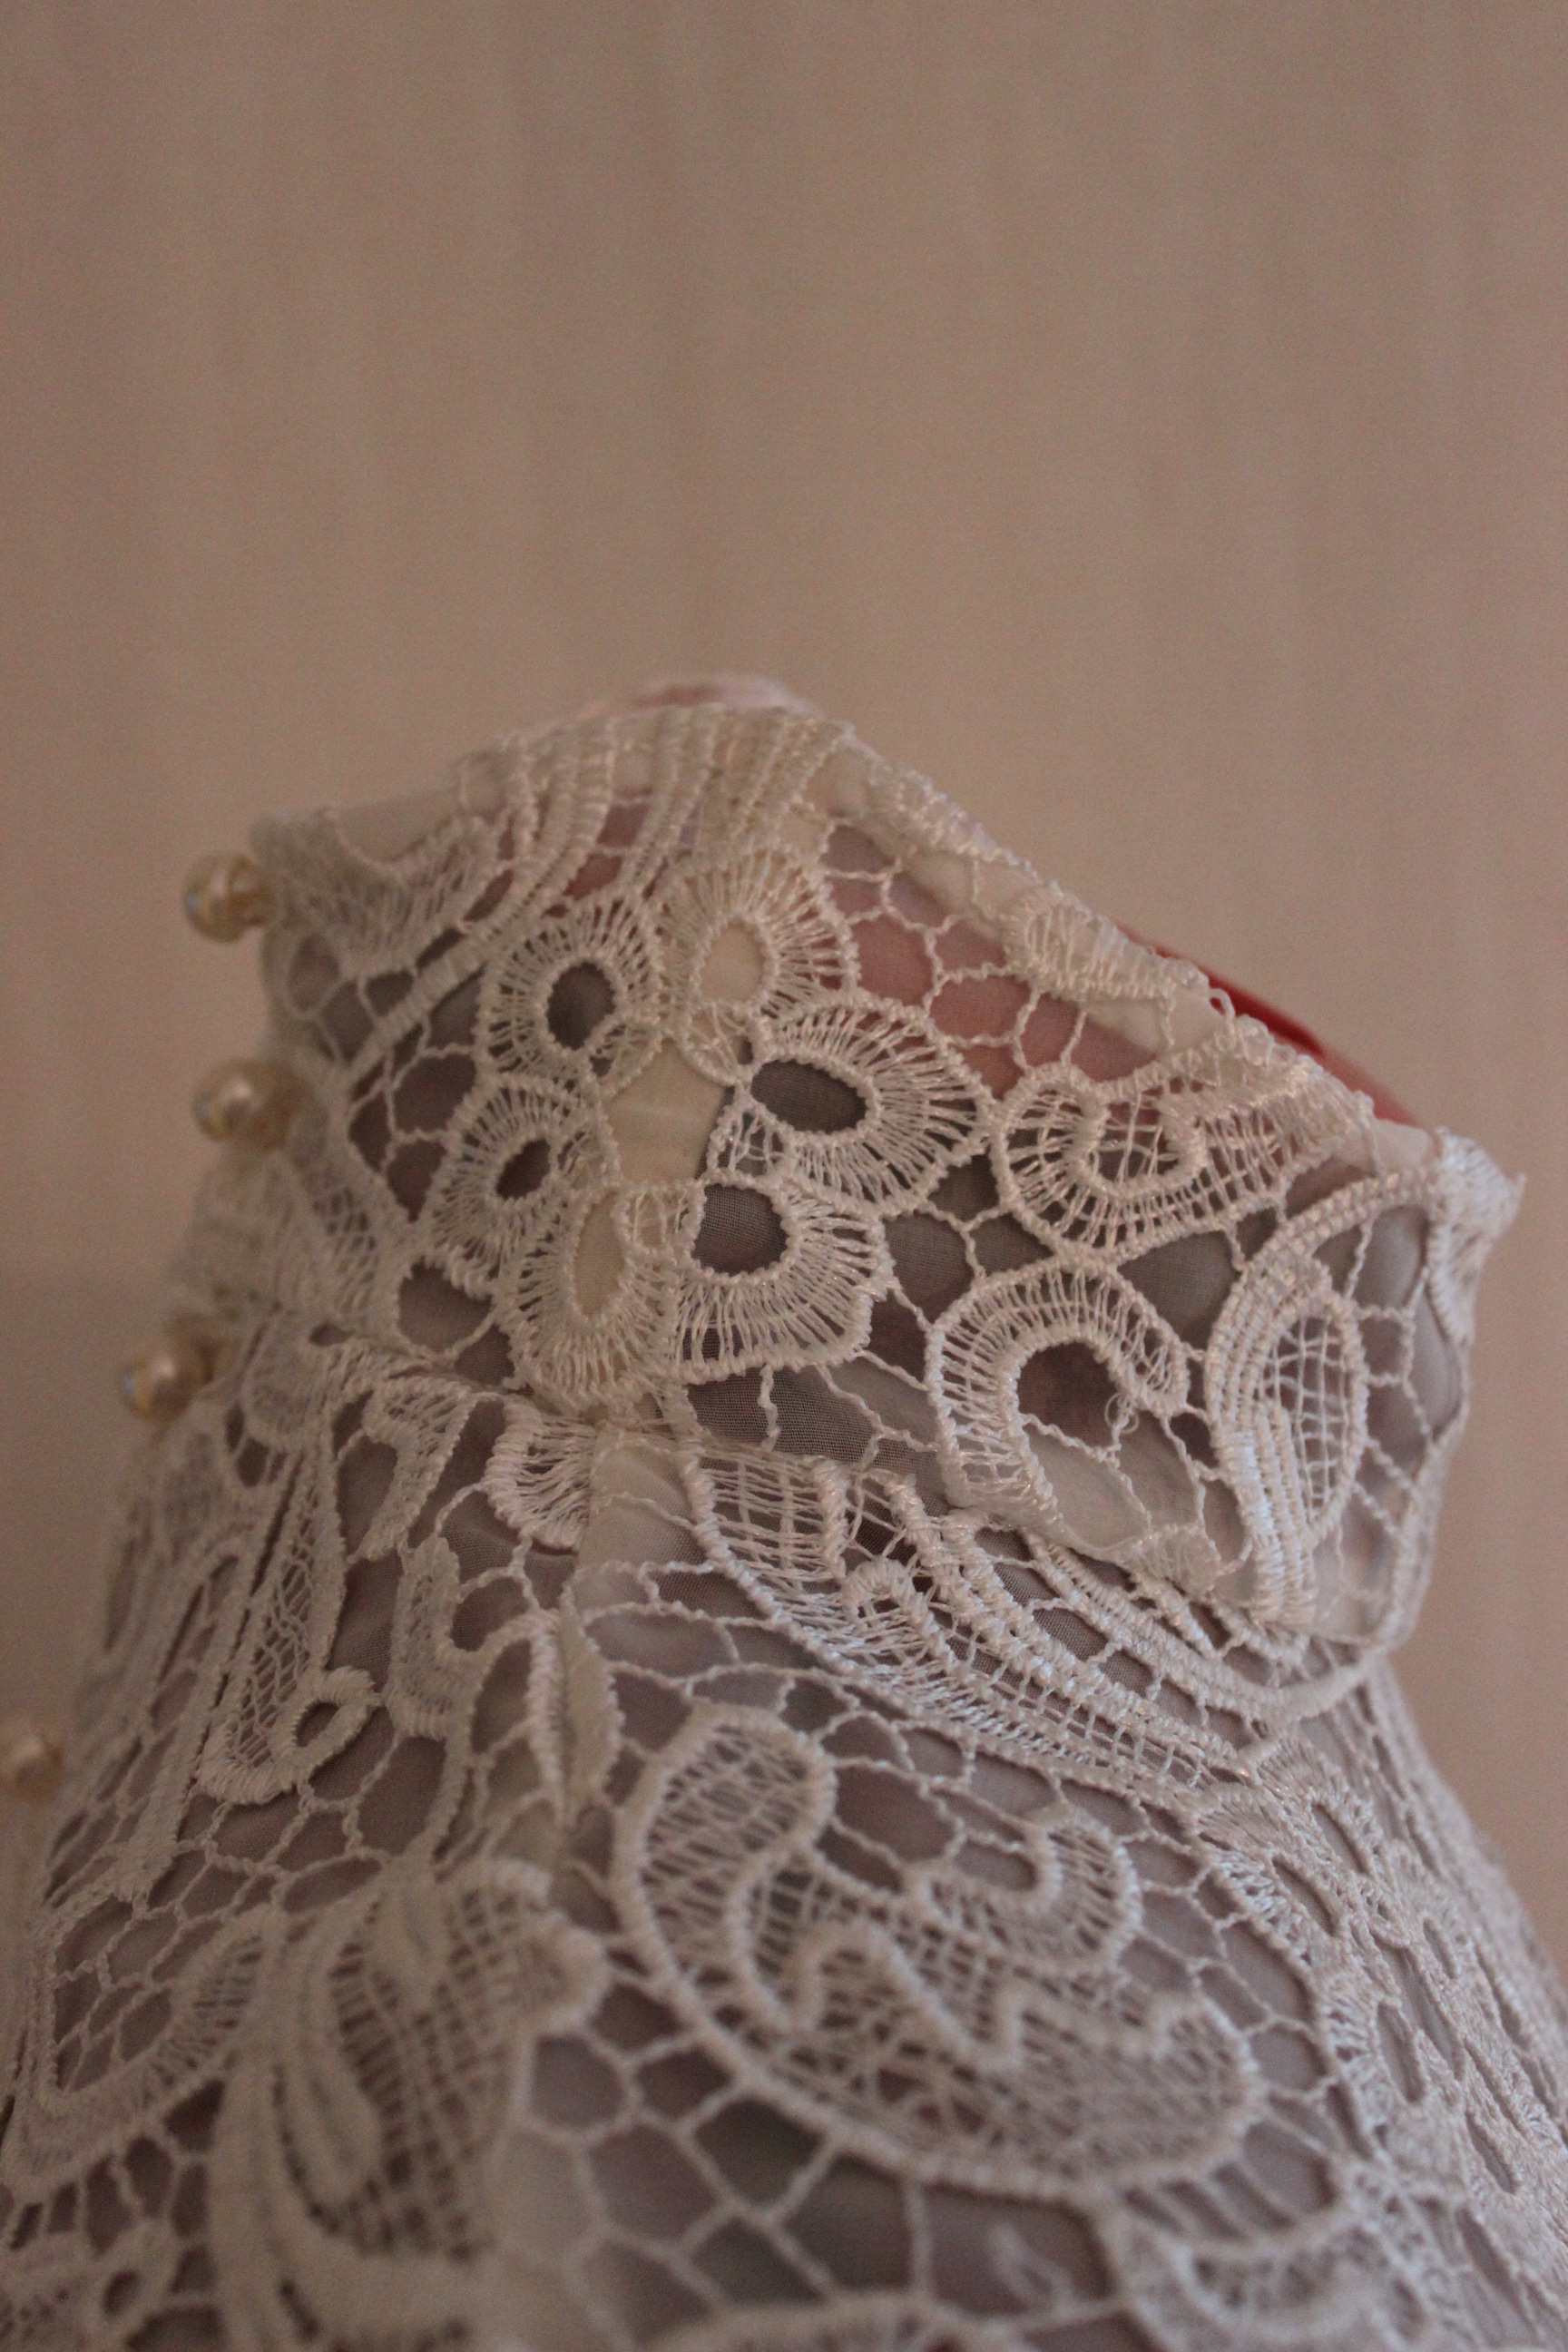
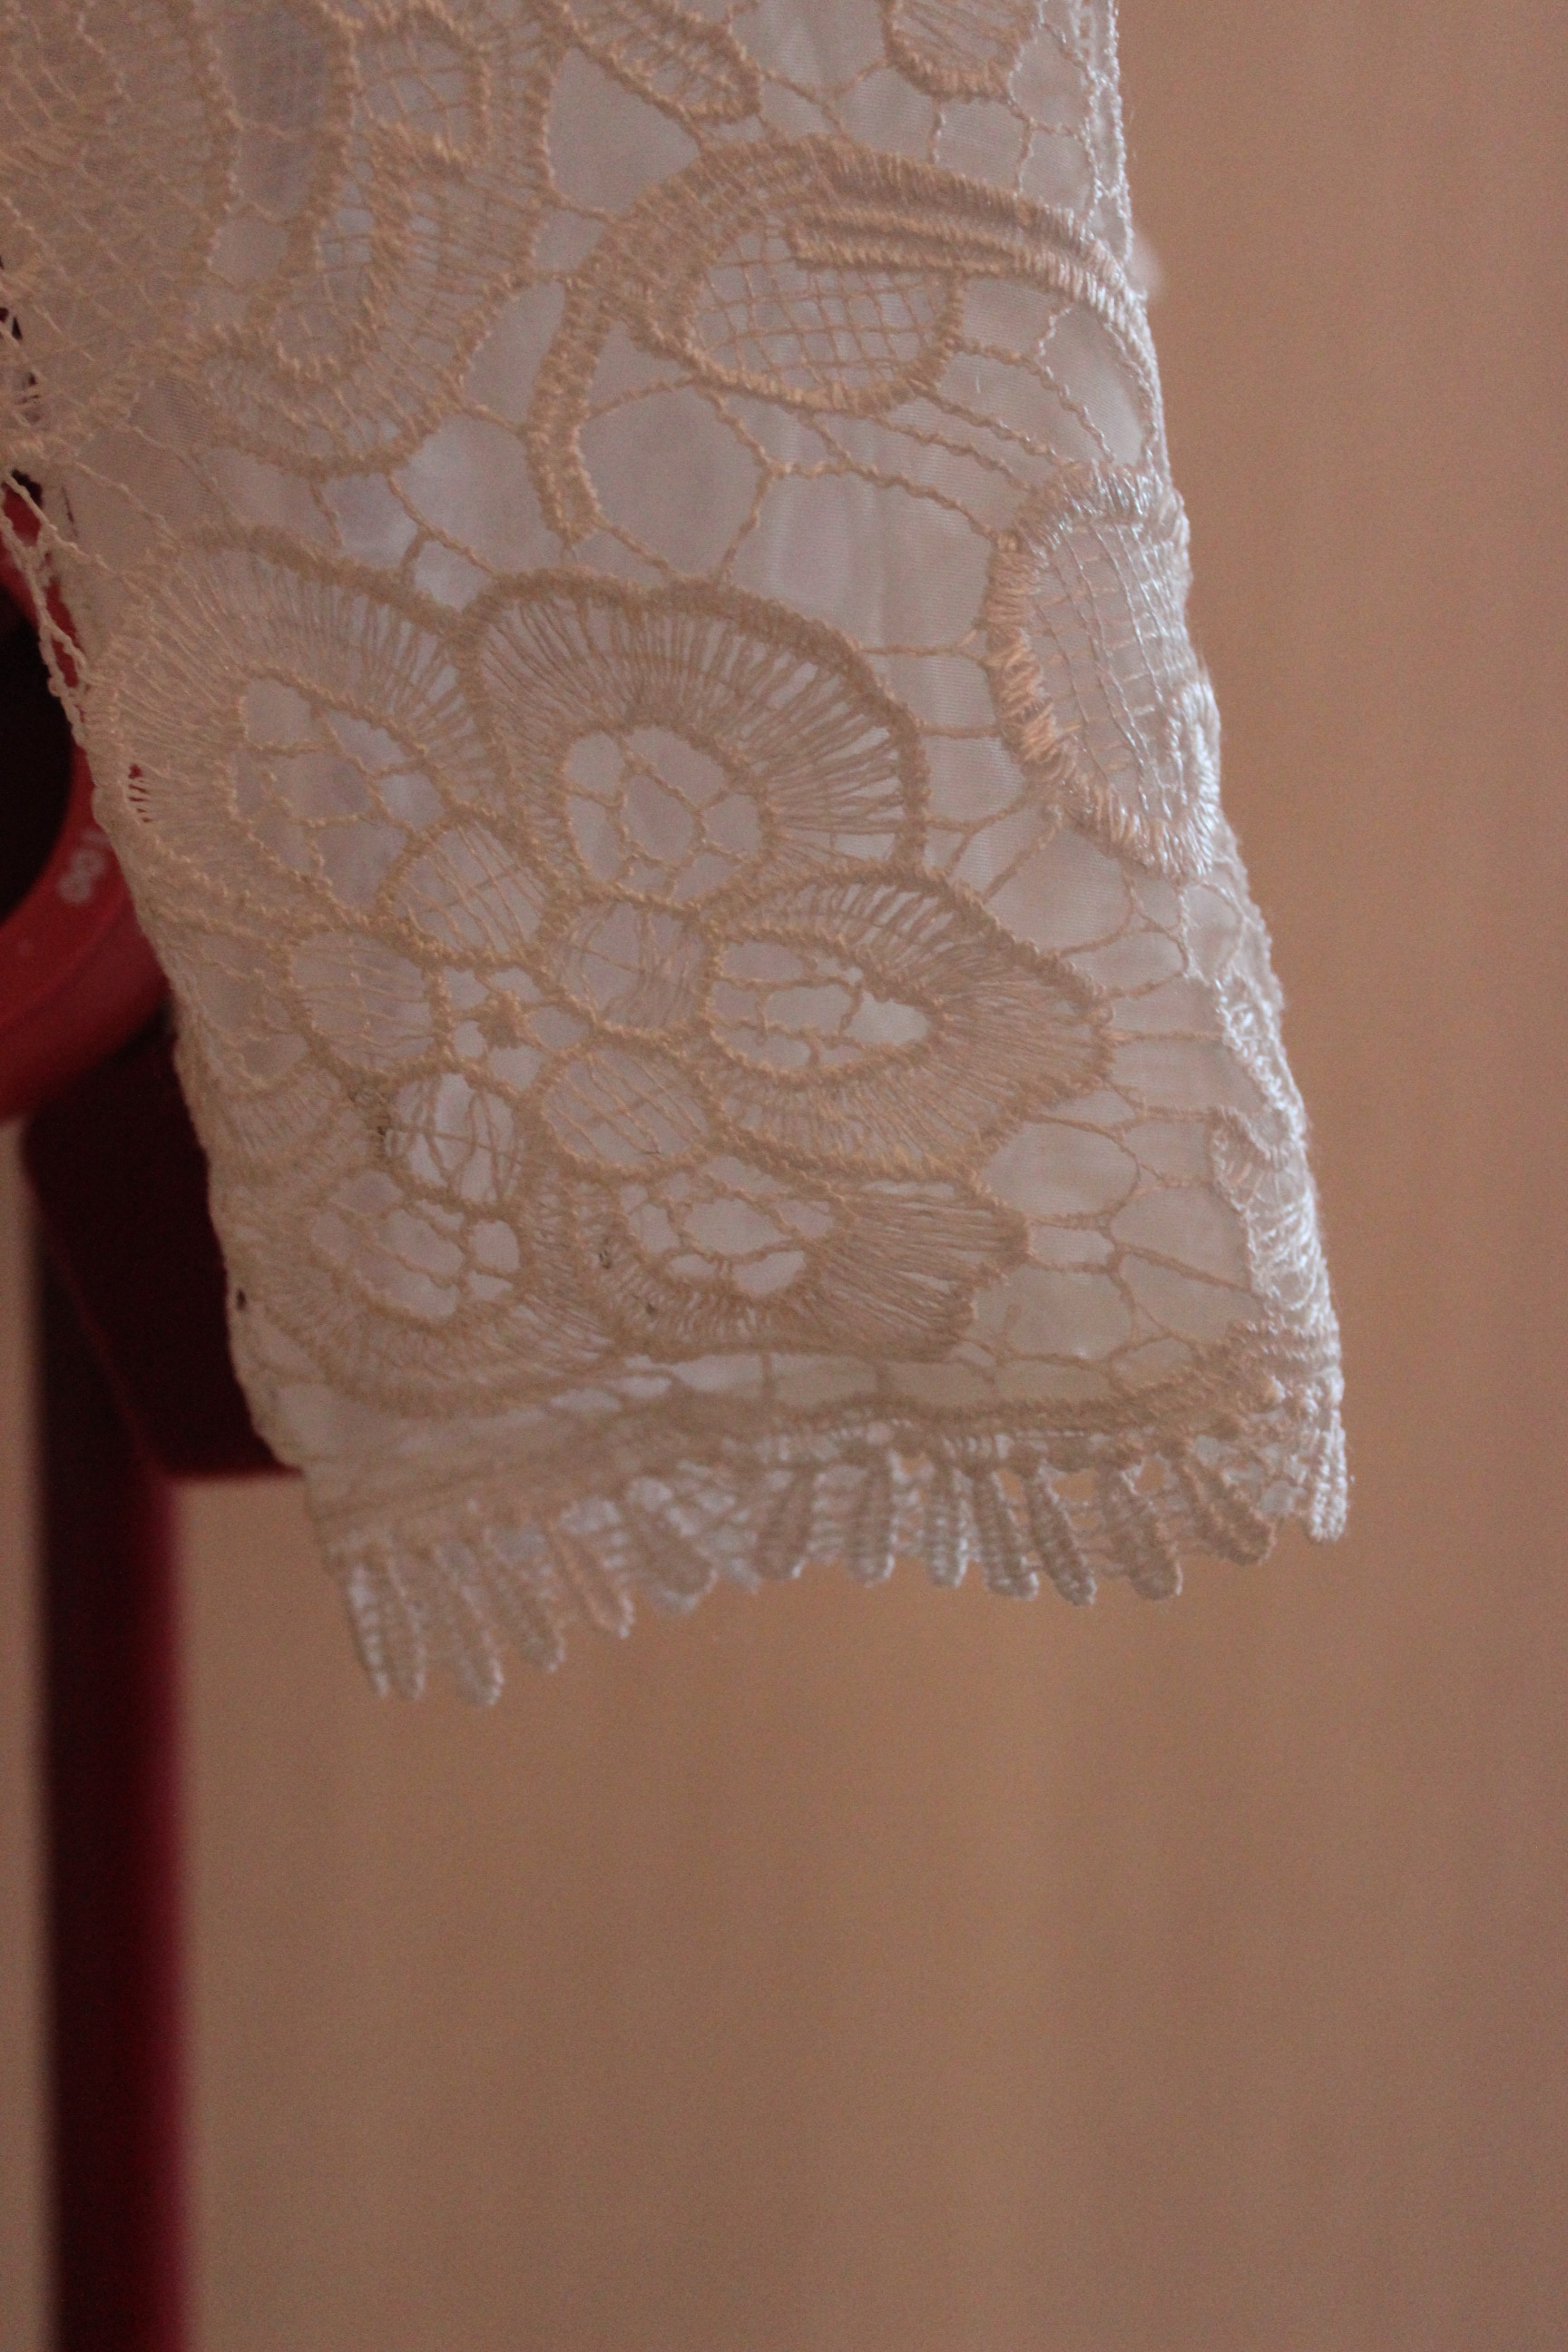
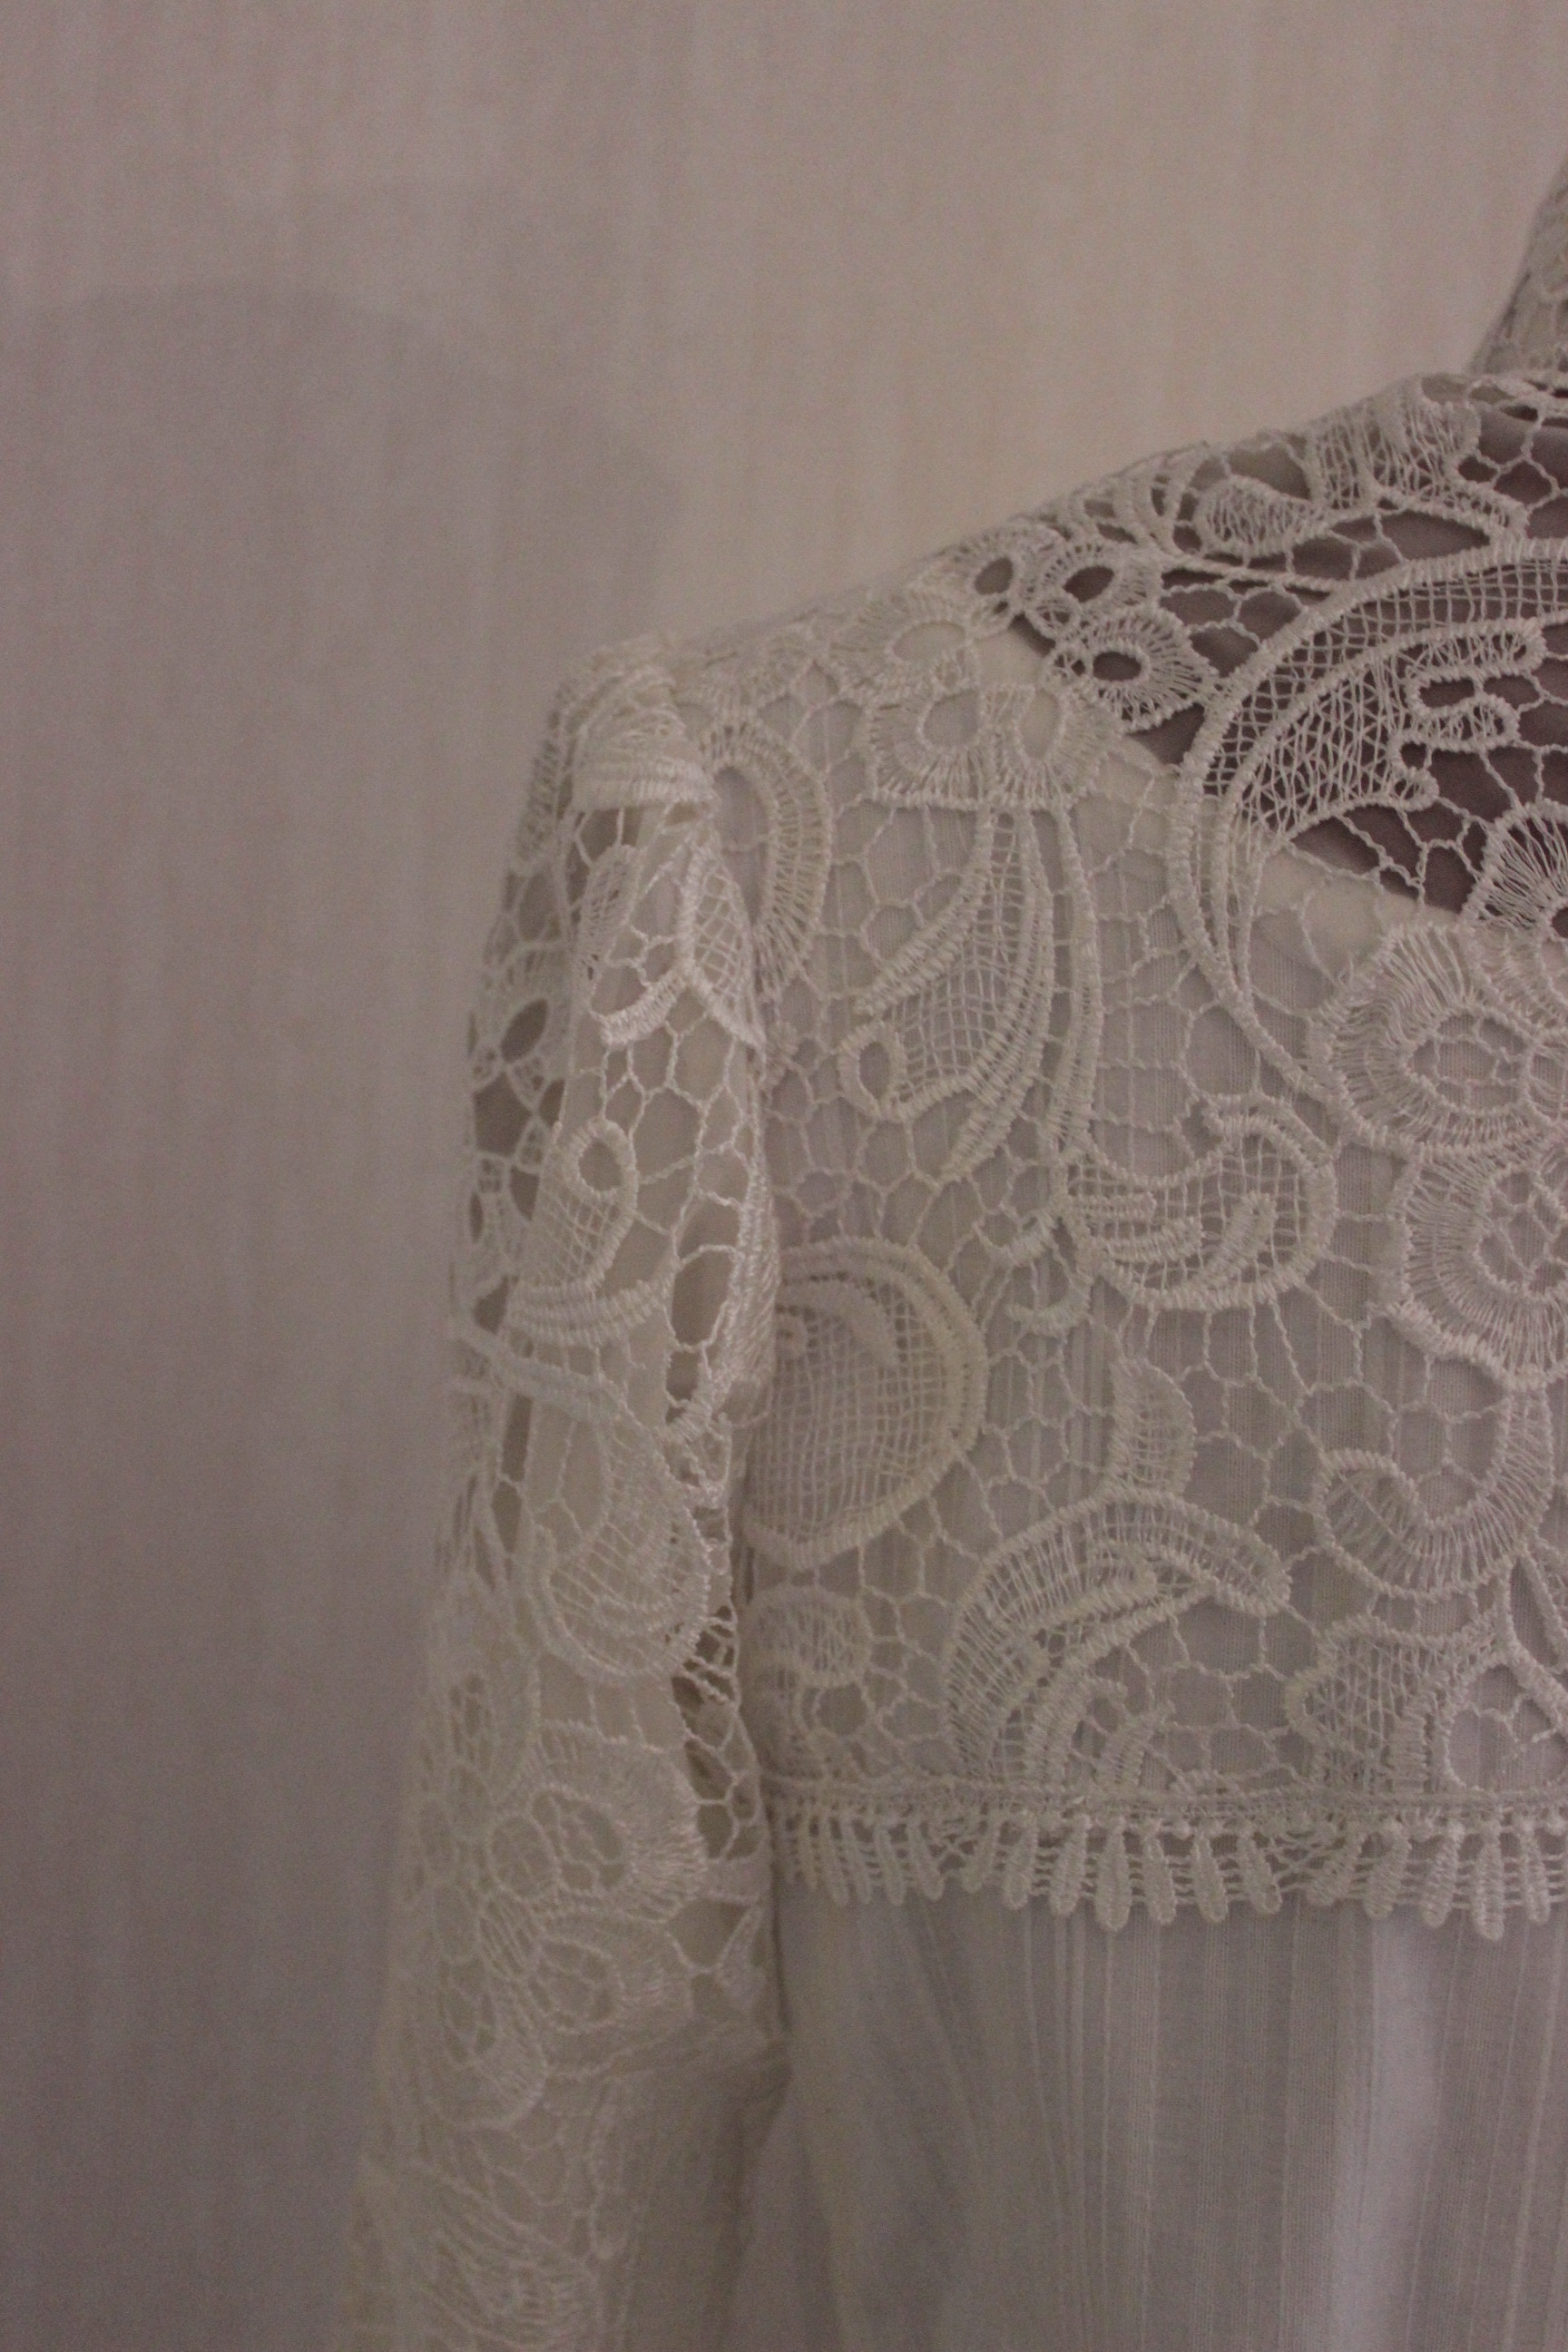
I realized pretty soon the lace was way to fragile and “open” for the garment I wanted to make. So I dug out some ivory chiffon from my stash and used it to back all the lacy pieces.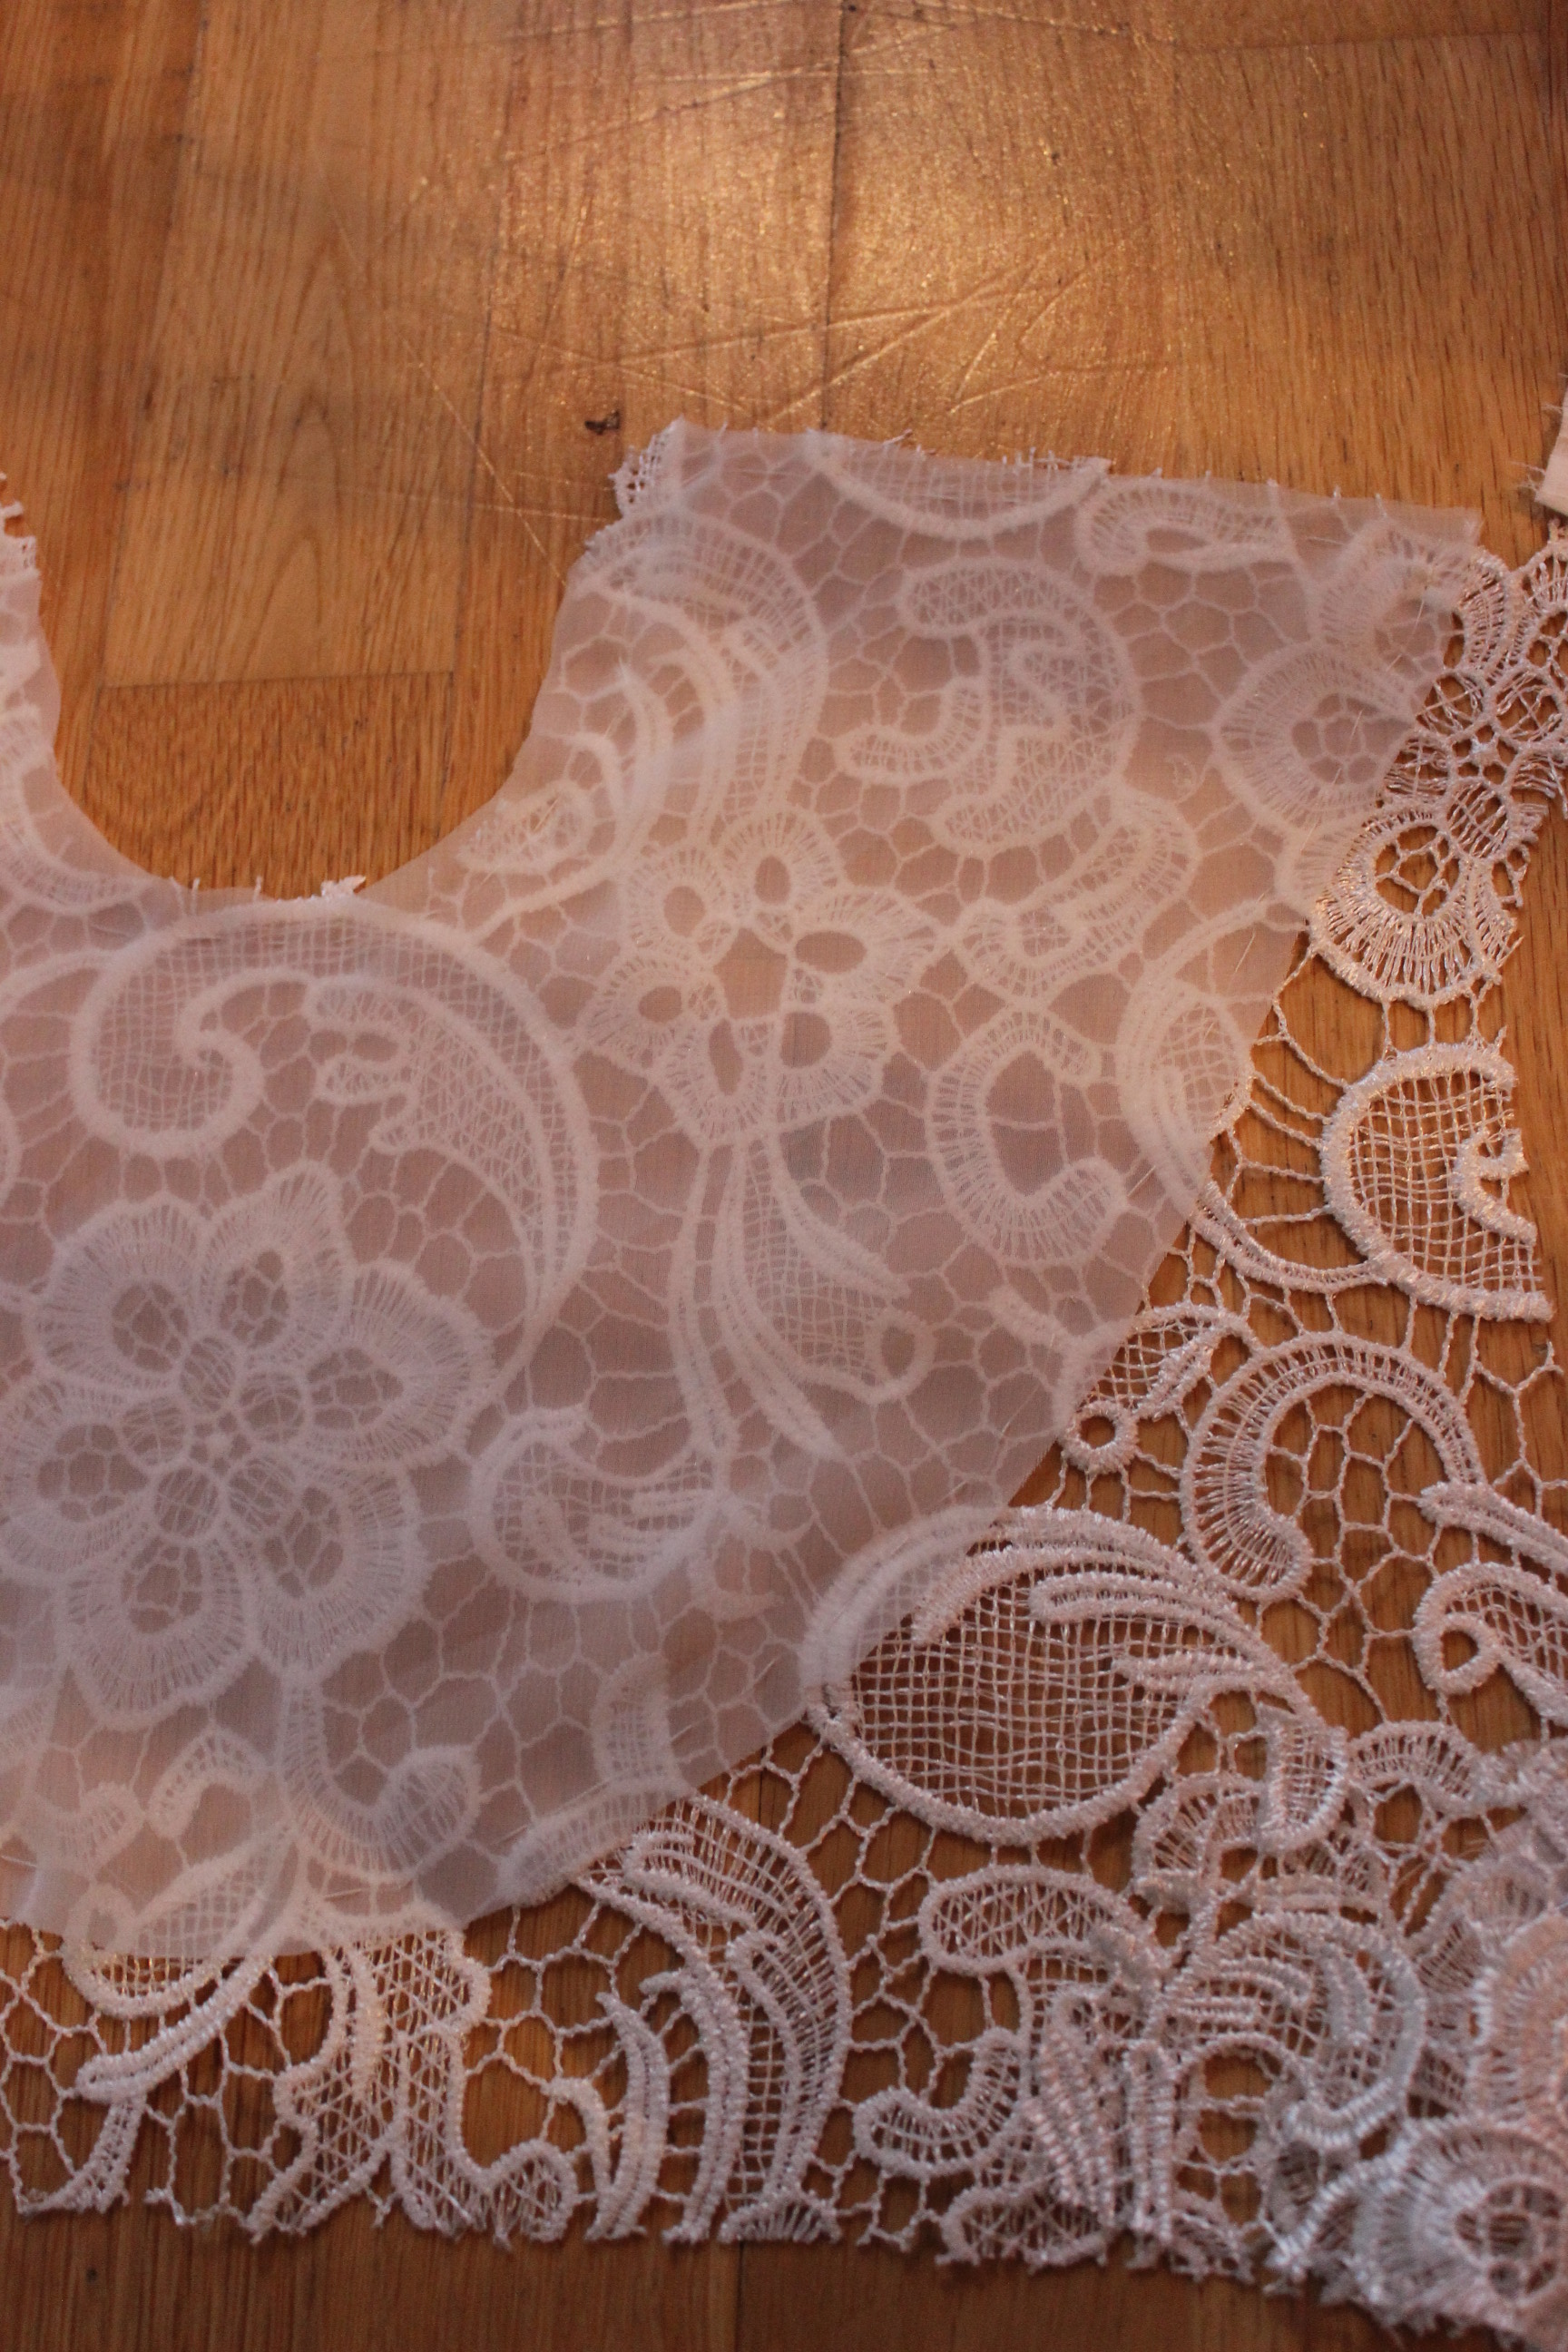
The result was perfect. The sleeves kept their lightness, while the see-thoroughness was dampened and strengthened all at the same time.
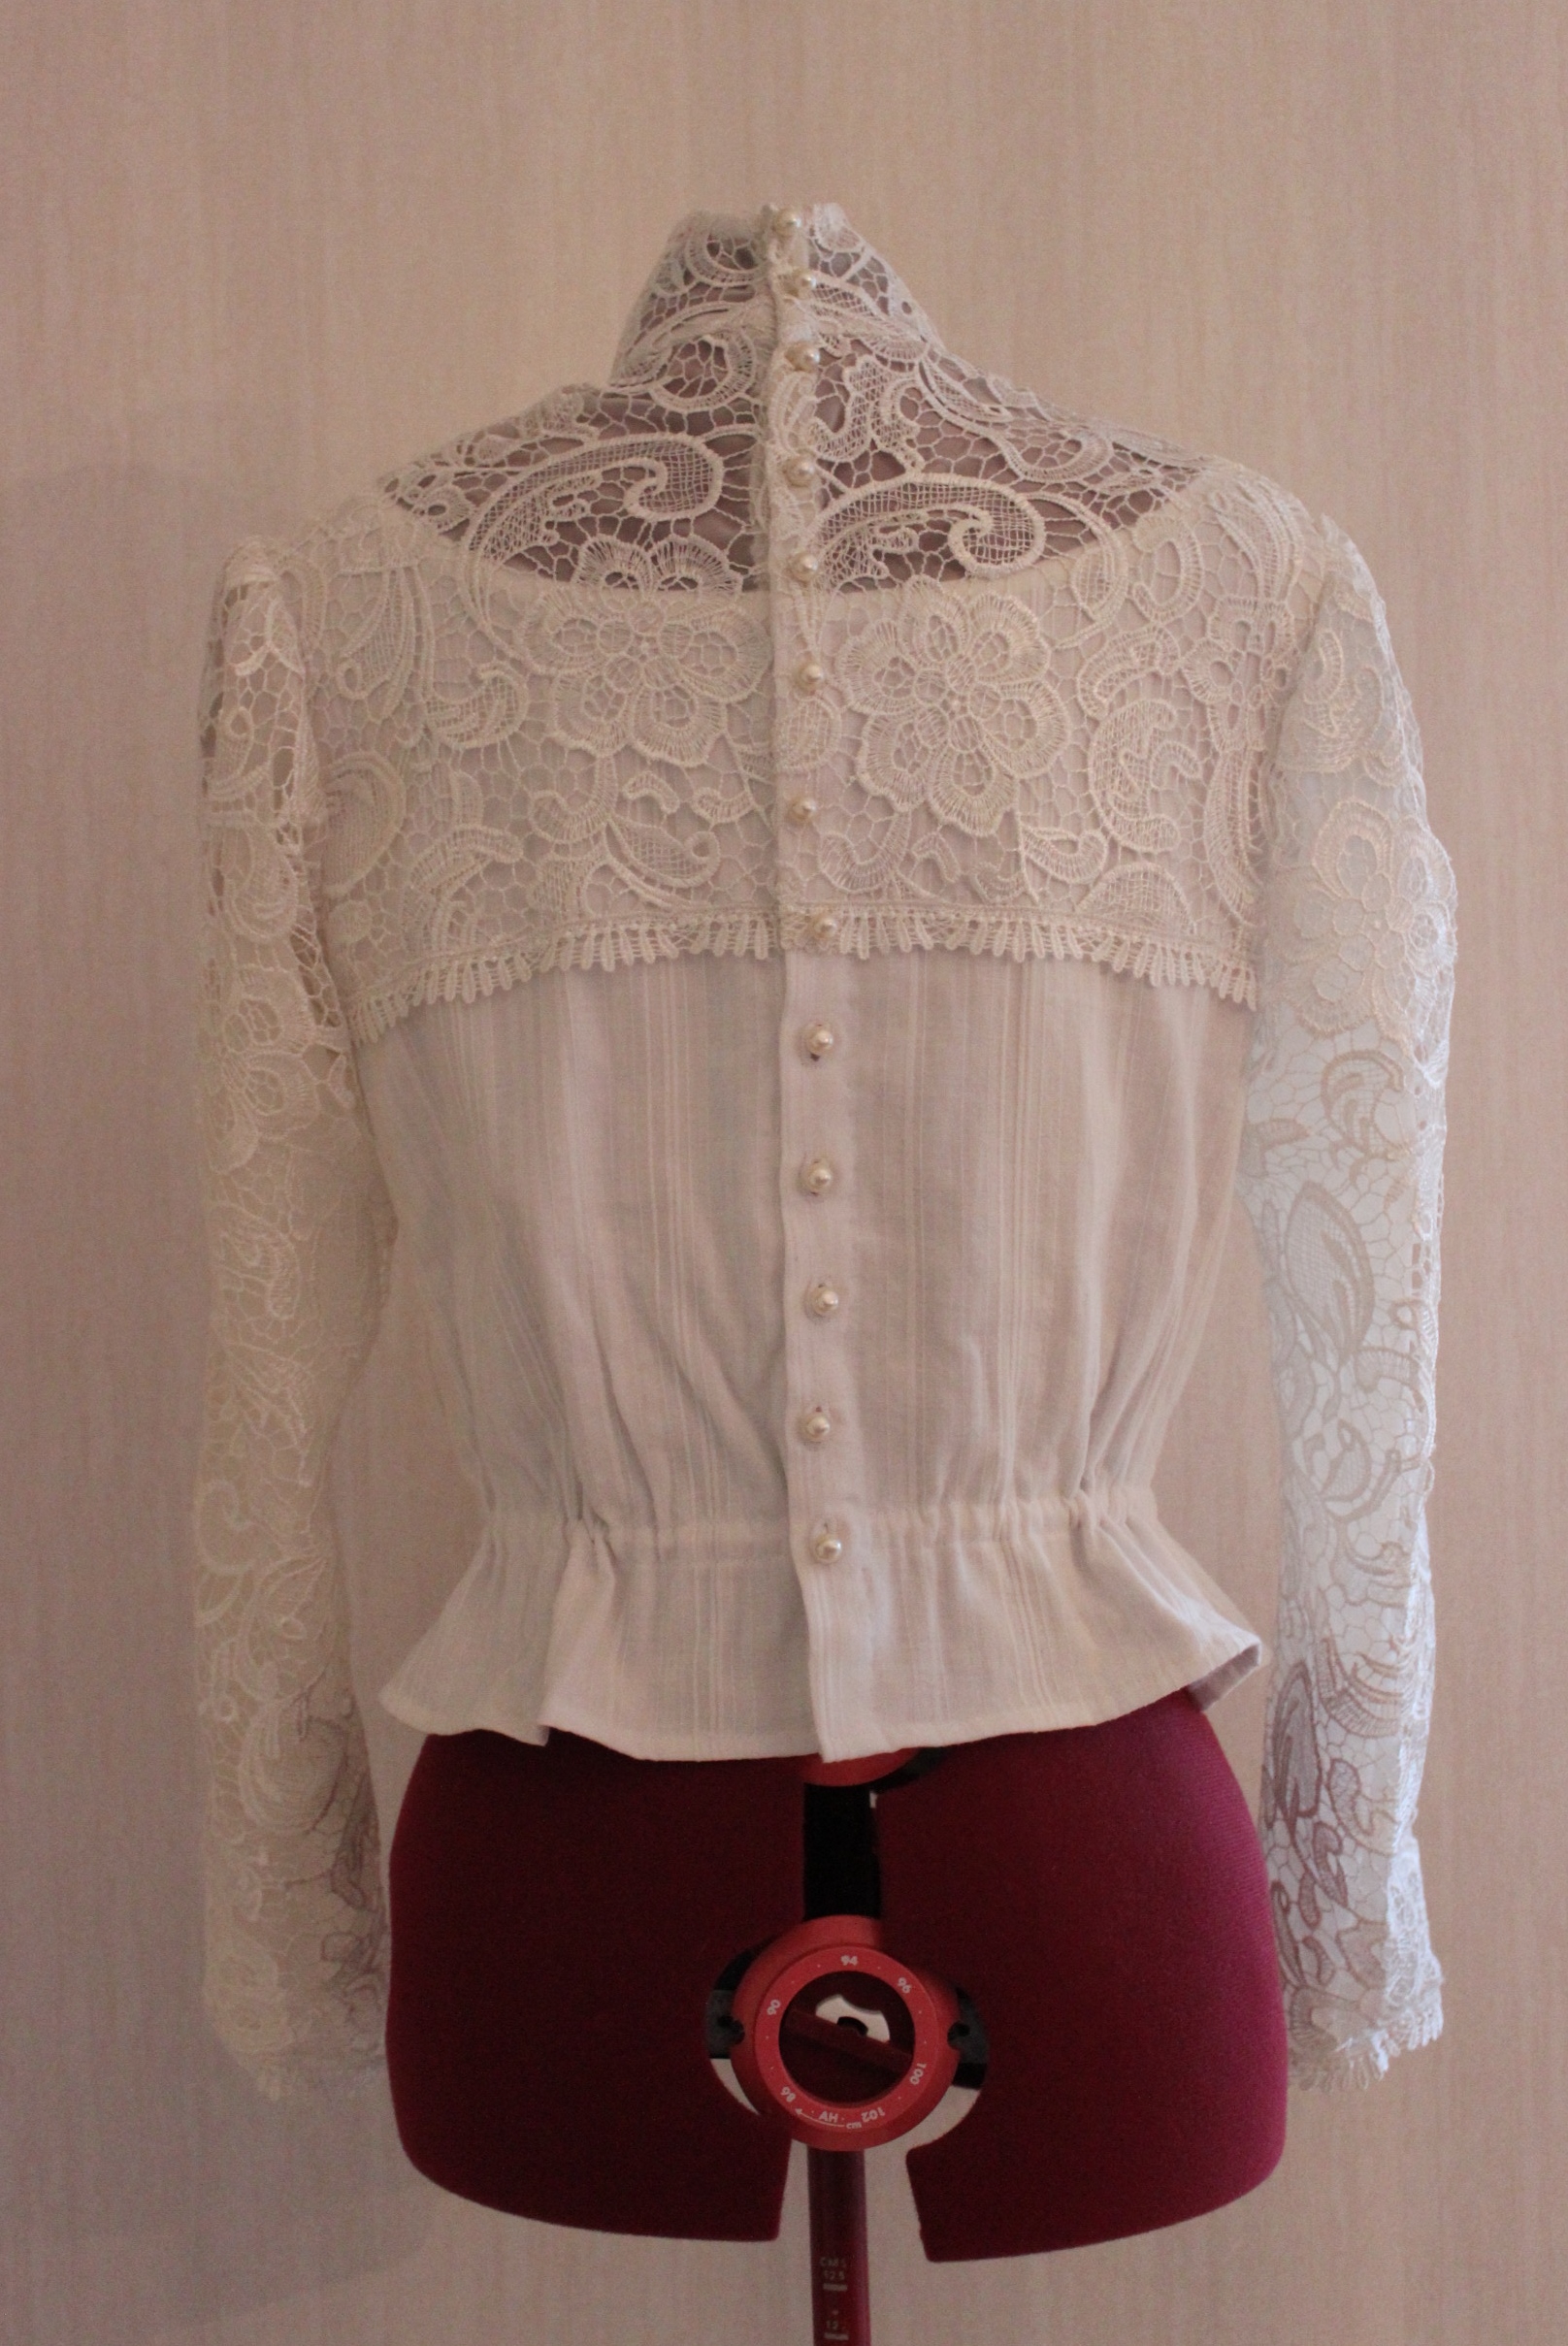
I stitched most of the blouse on machine, but all the work with the lace needed to be made by hand.
Unfortunately I’ve been really bad at taking pictures lately but besides from the fiddling to get the lace right, the construction is pretty simple.
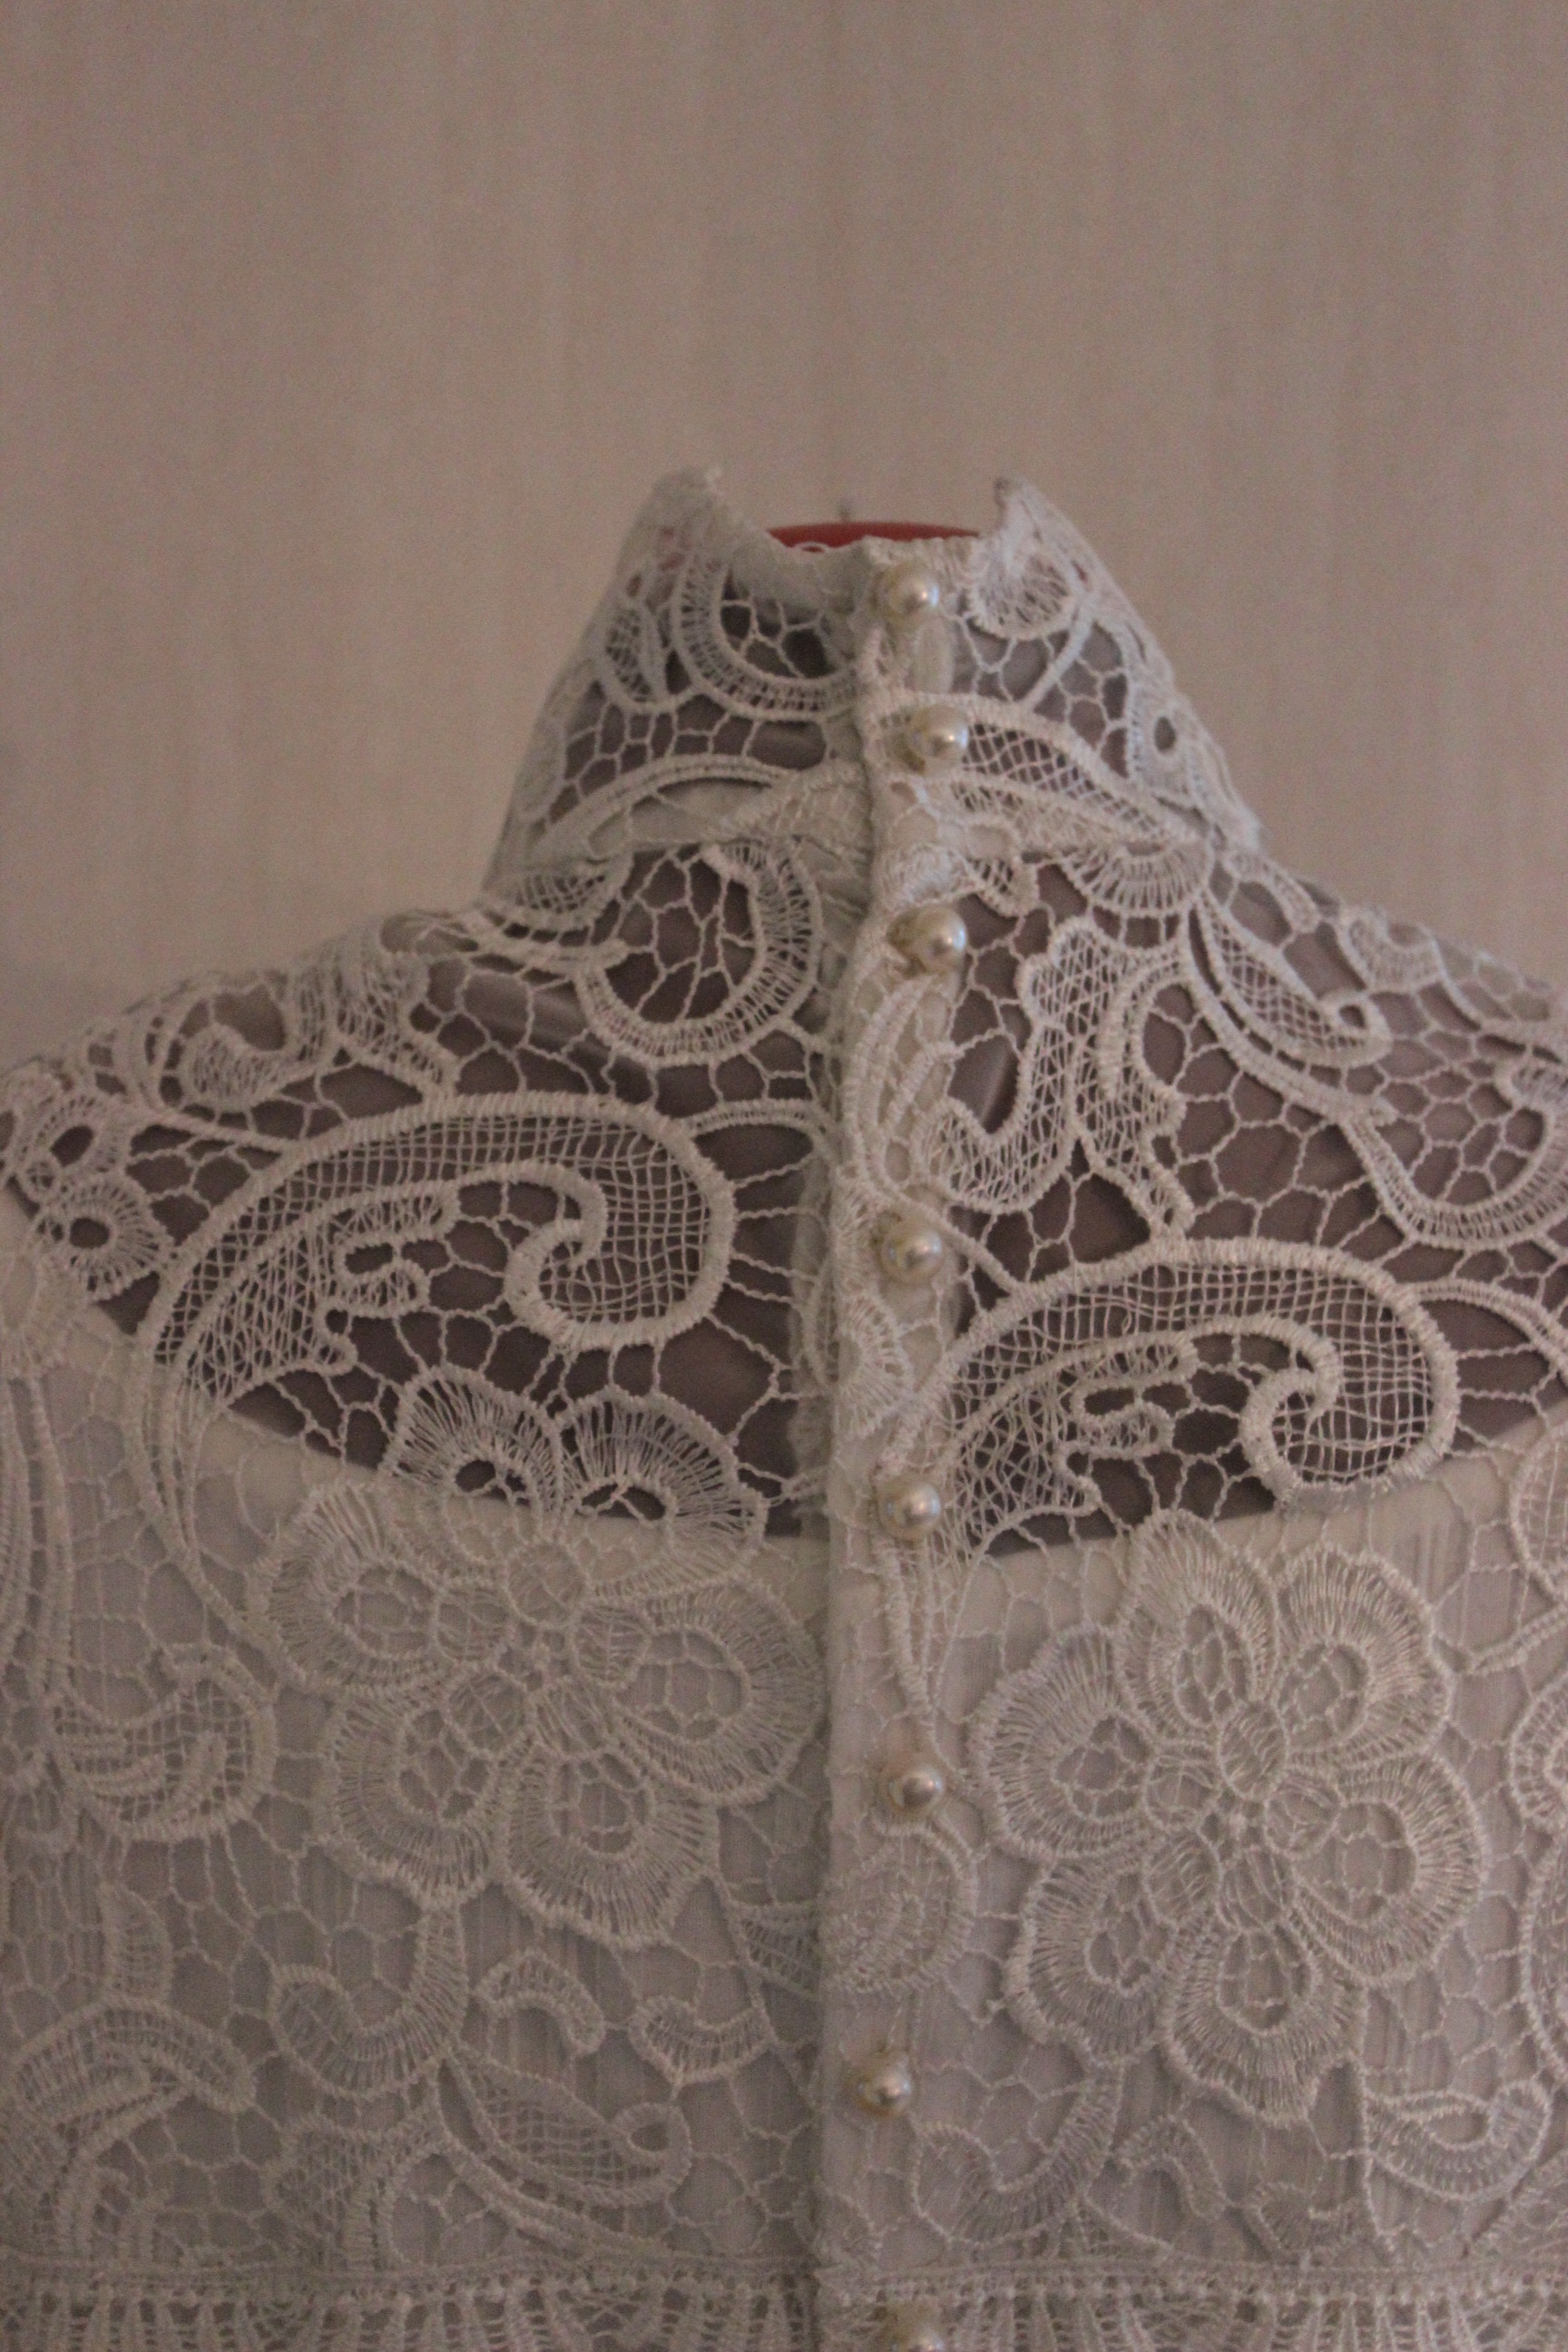
Before finishing I did needed to make a decision about how to end the lace on the bodice.
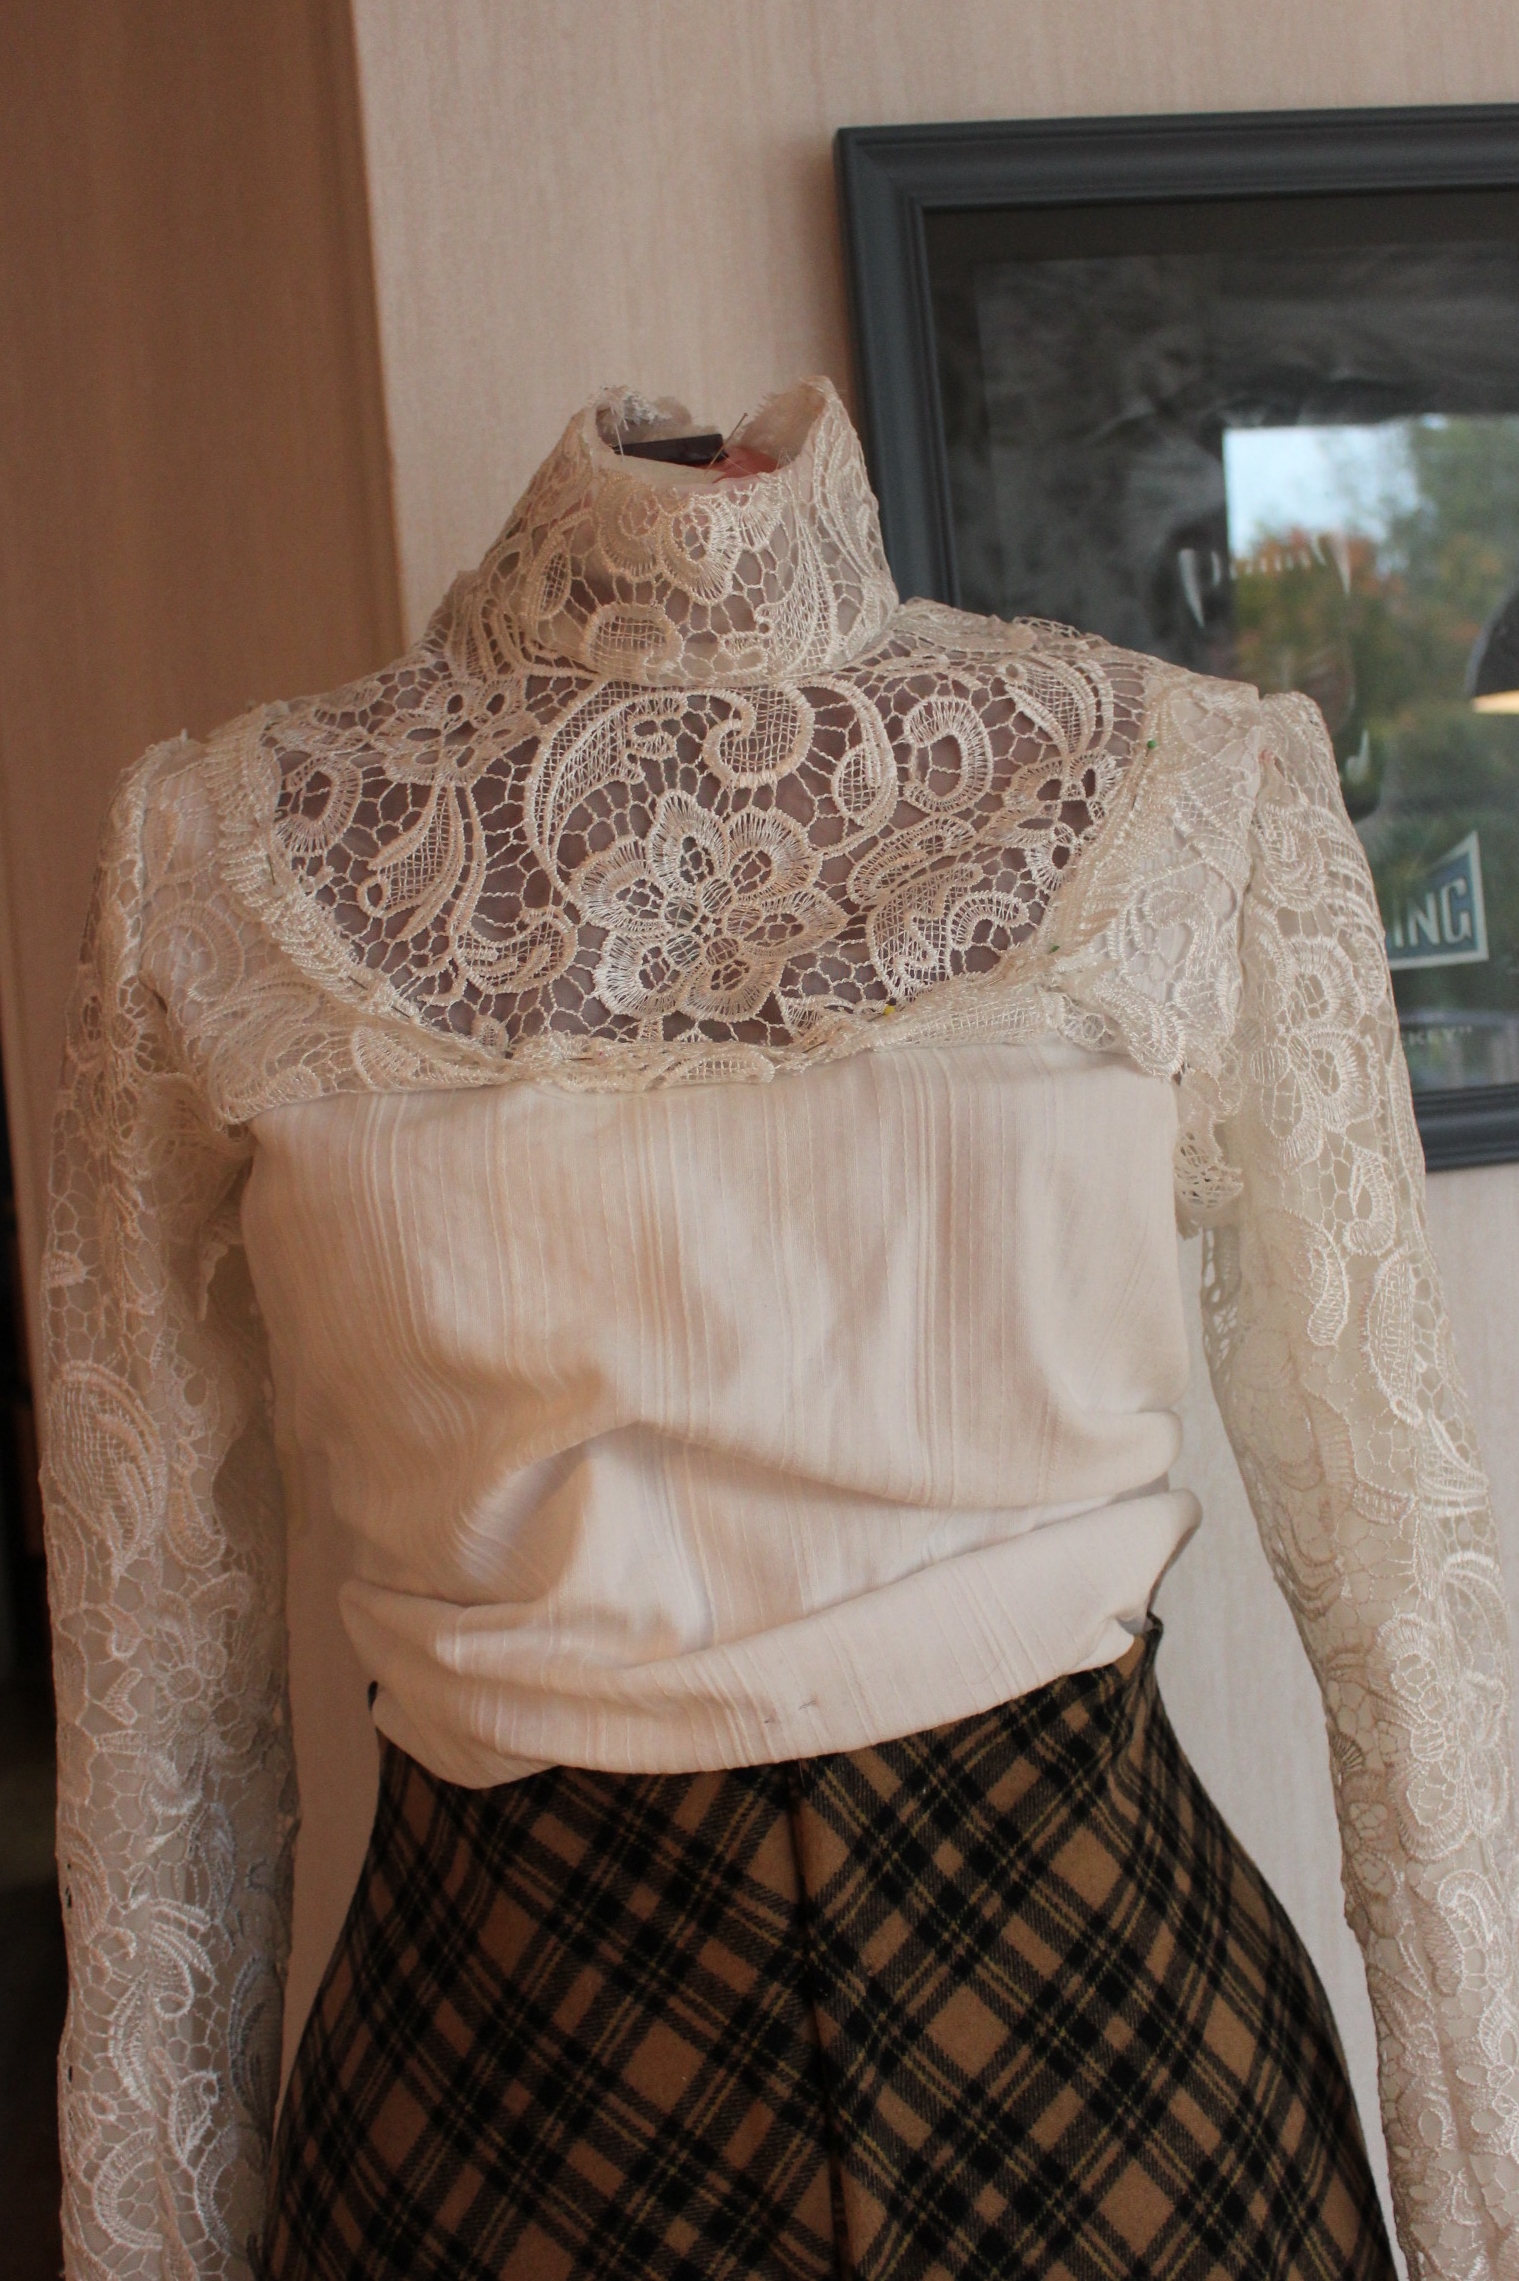

I could either cut it to the neckline and trim it with lace edgings, or I could save as much as possible of the lace and trim the bottom edge across the back and bust.
In the end I opted for the later, thinking I could always go back and change it at a later date if I want to.
To get that nice pigeon “breast effect” I used bias-tape and a cotton cord to gather the waist.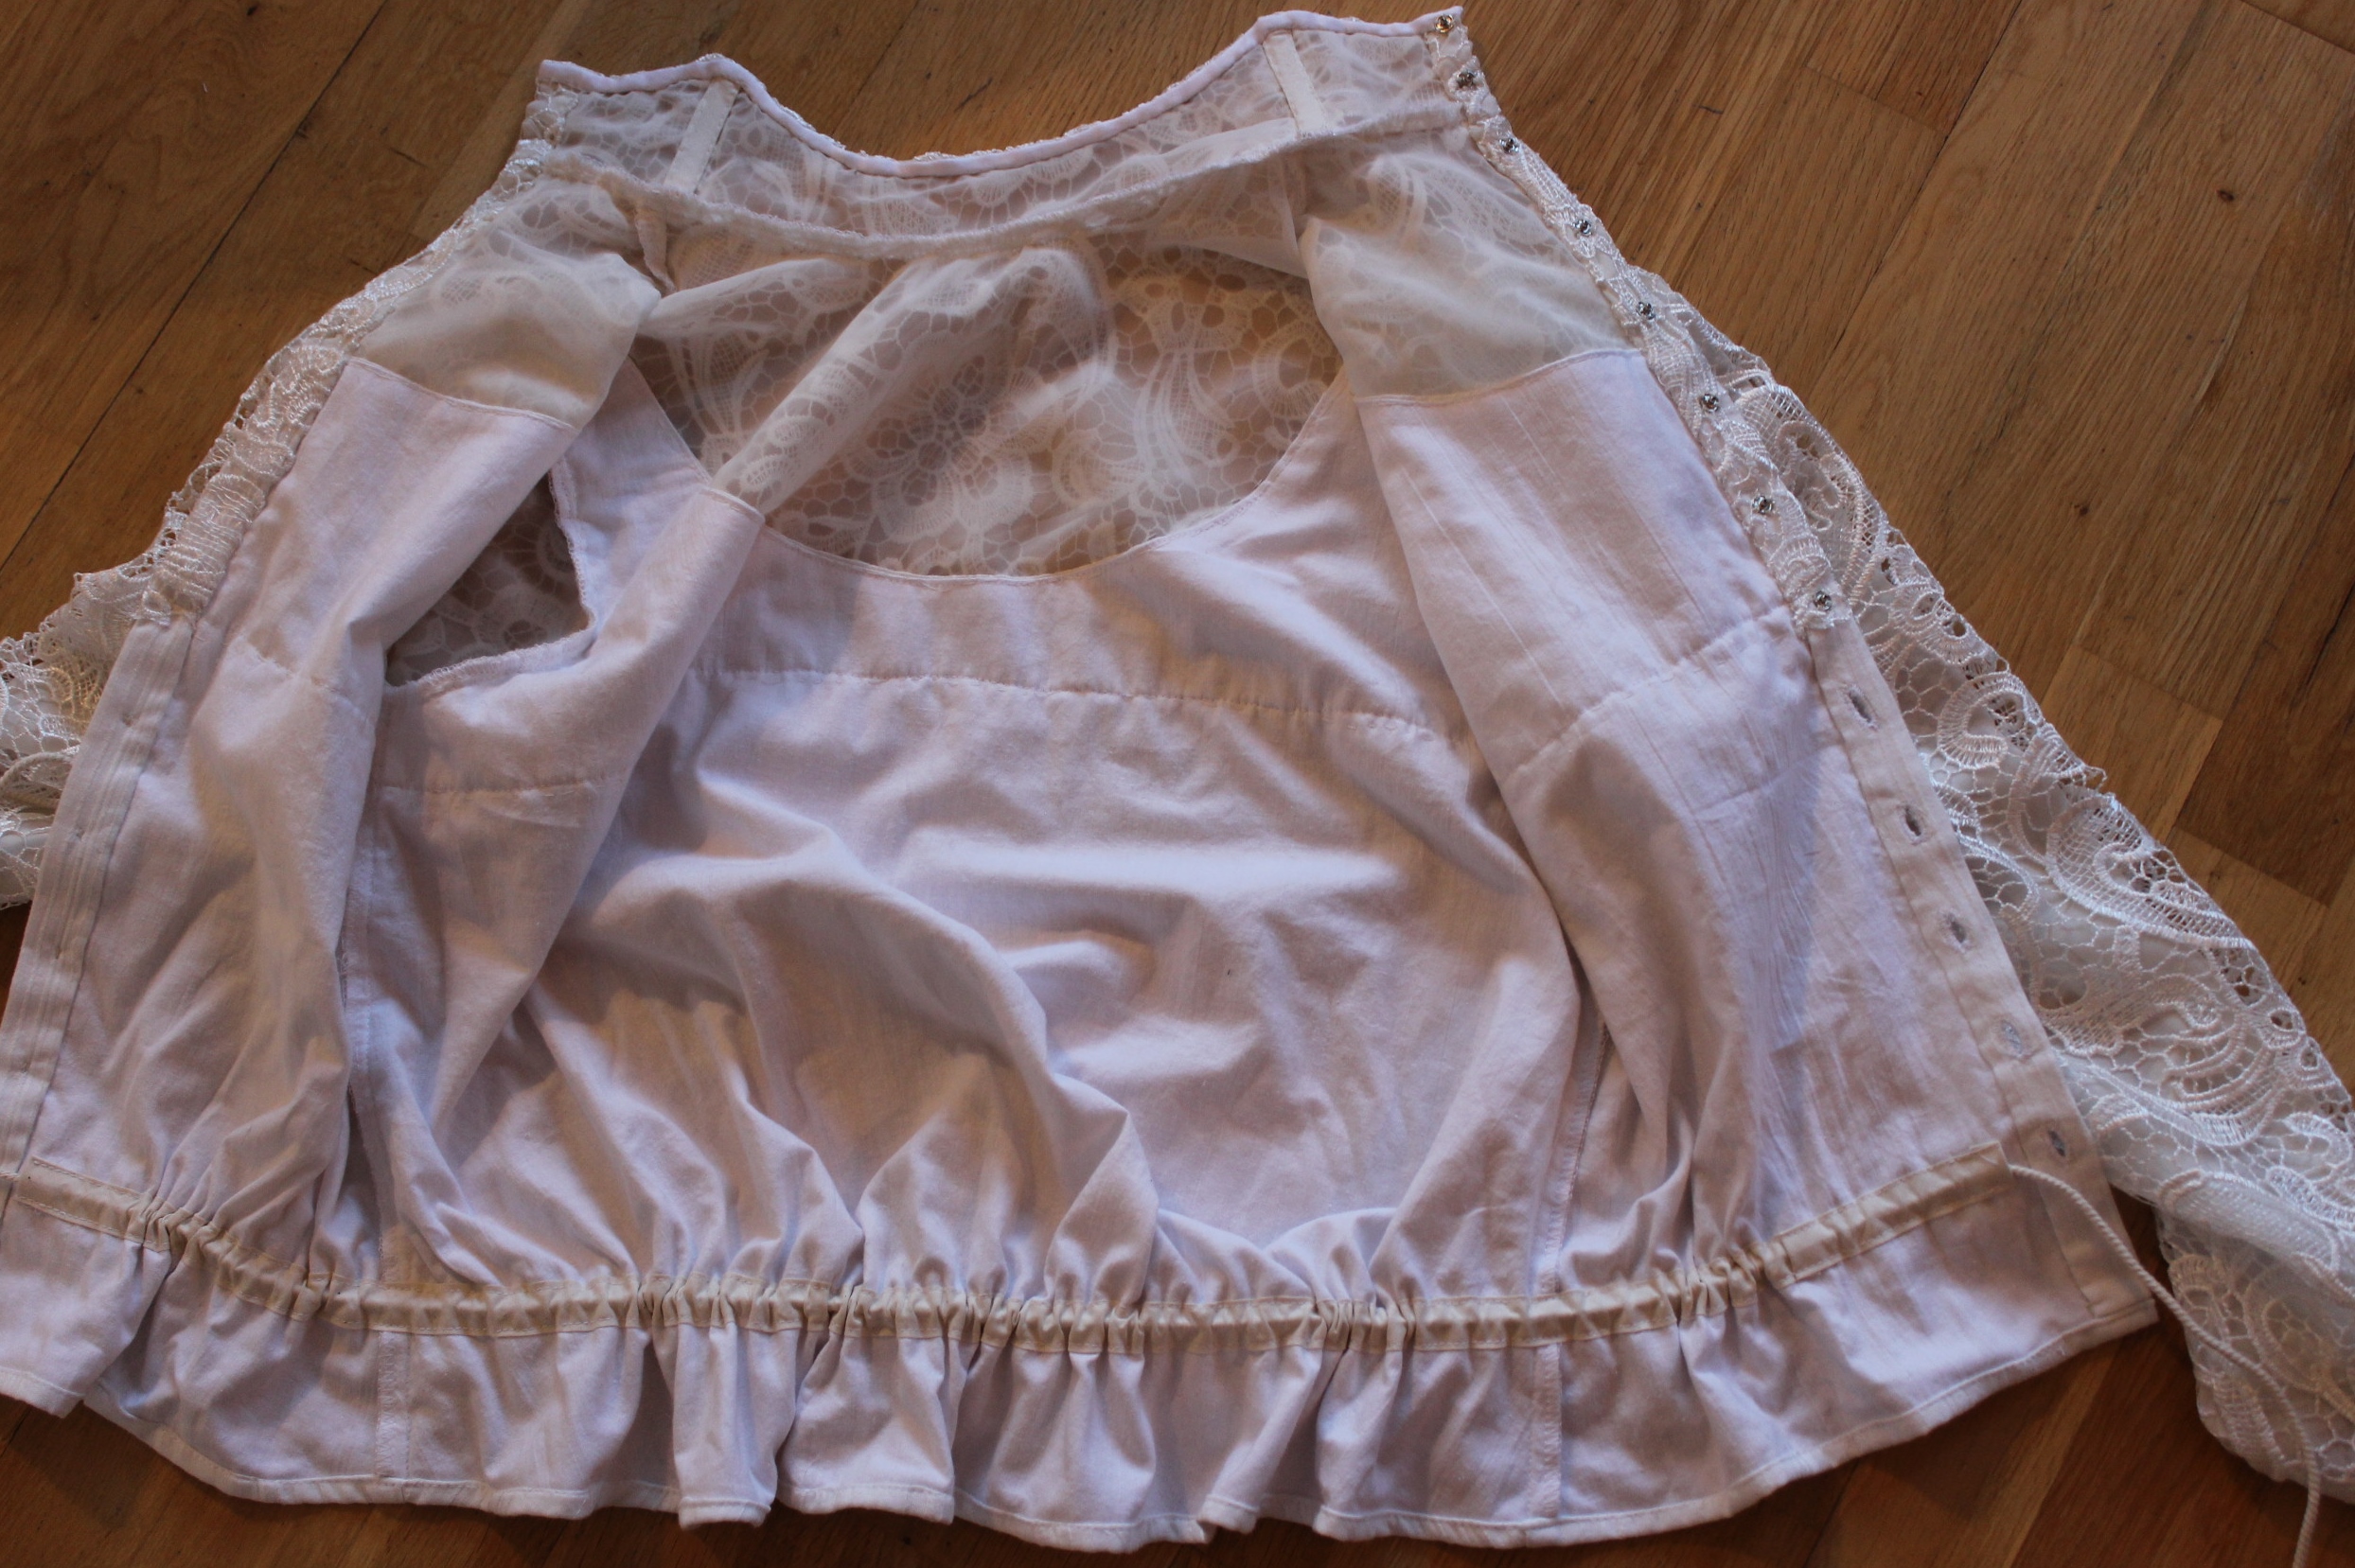 The inside of the blouse.
I made a combination of buttons, buttonholes and metal snaps for the back clouser. 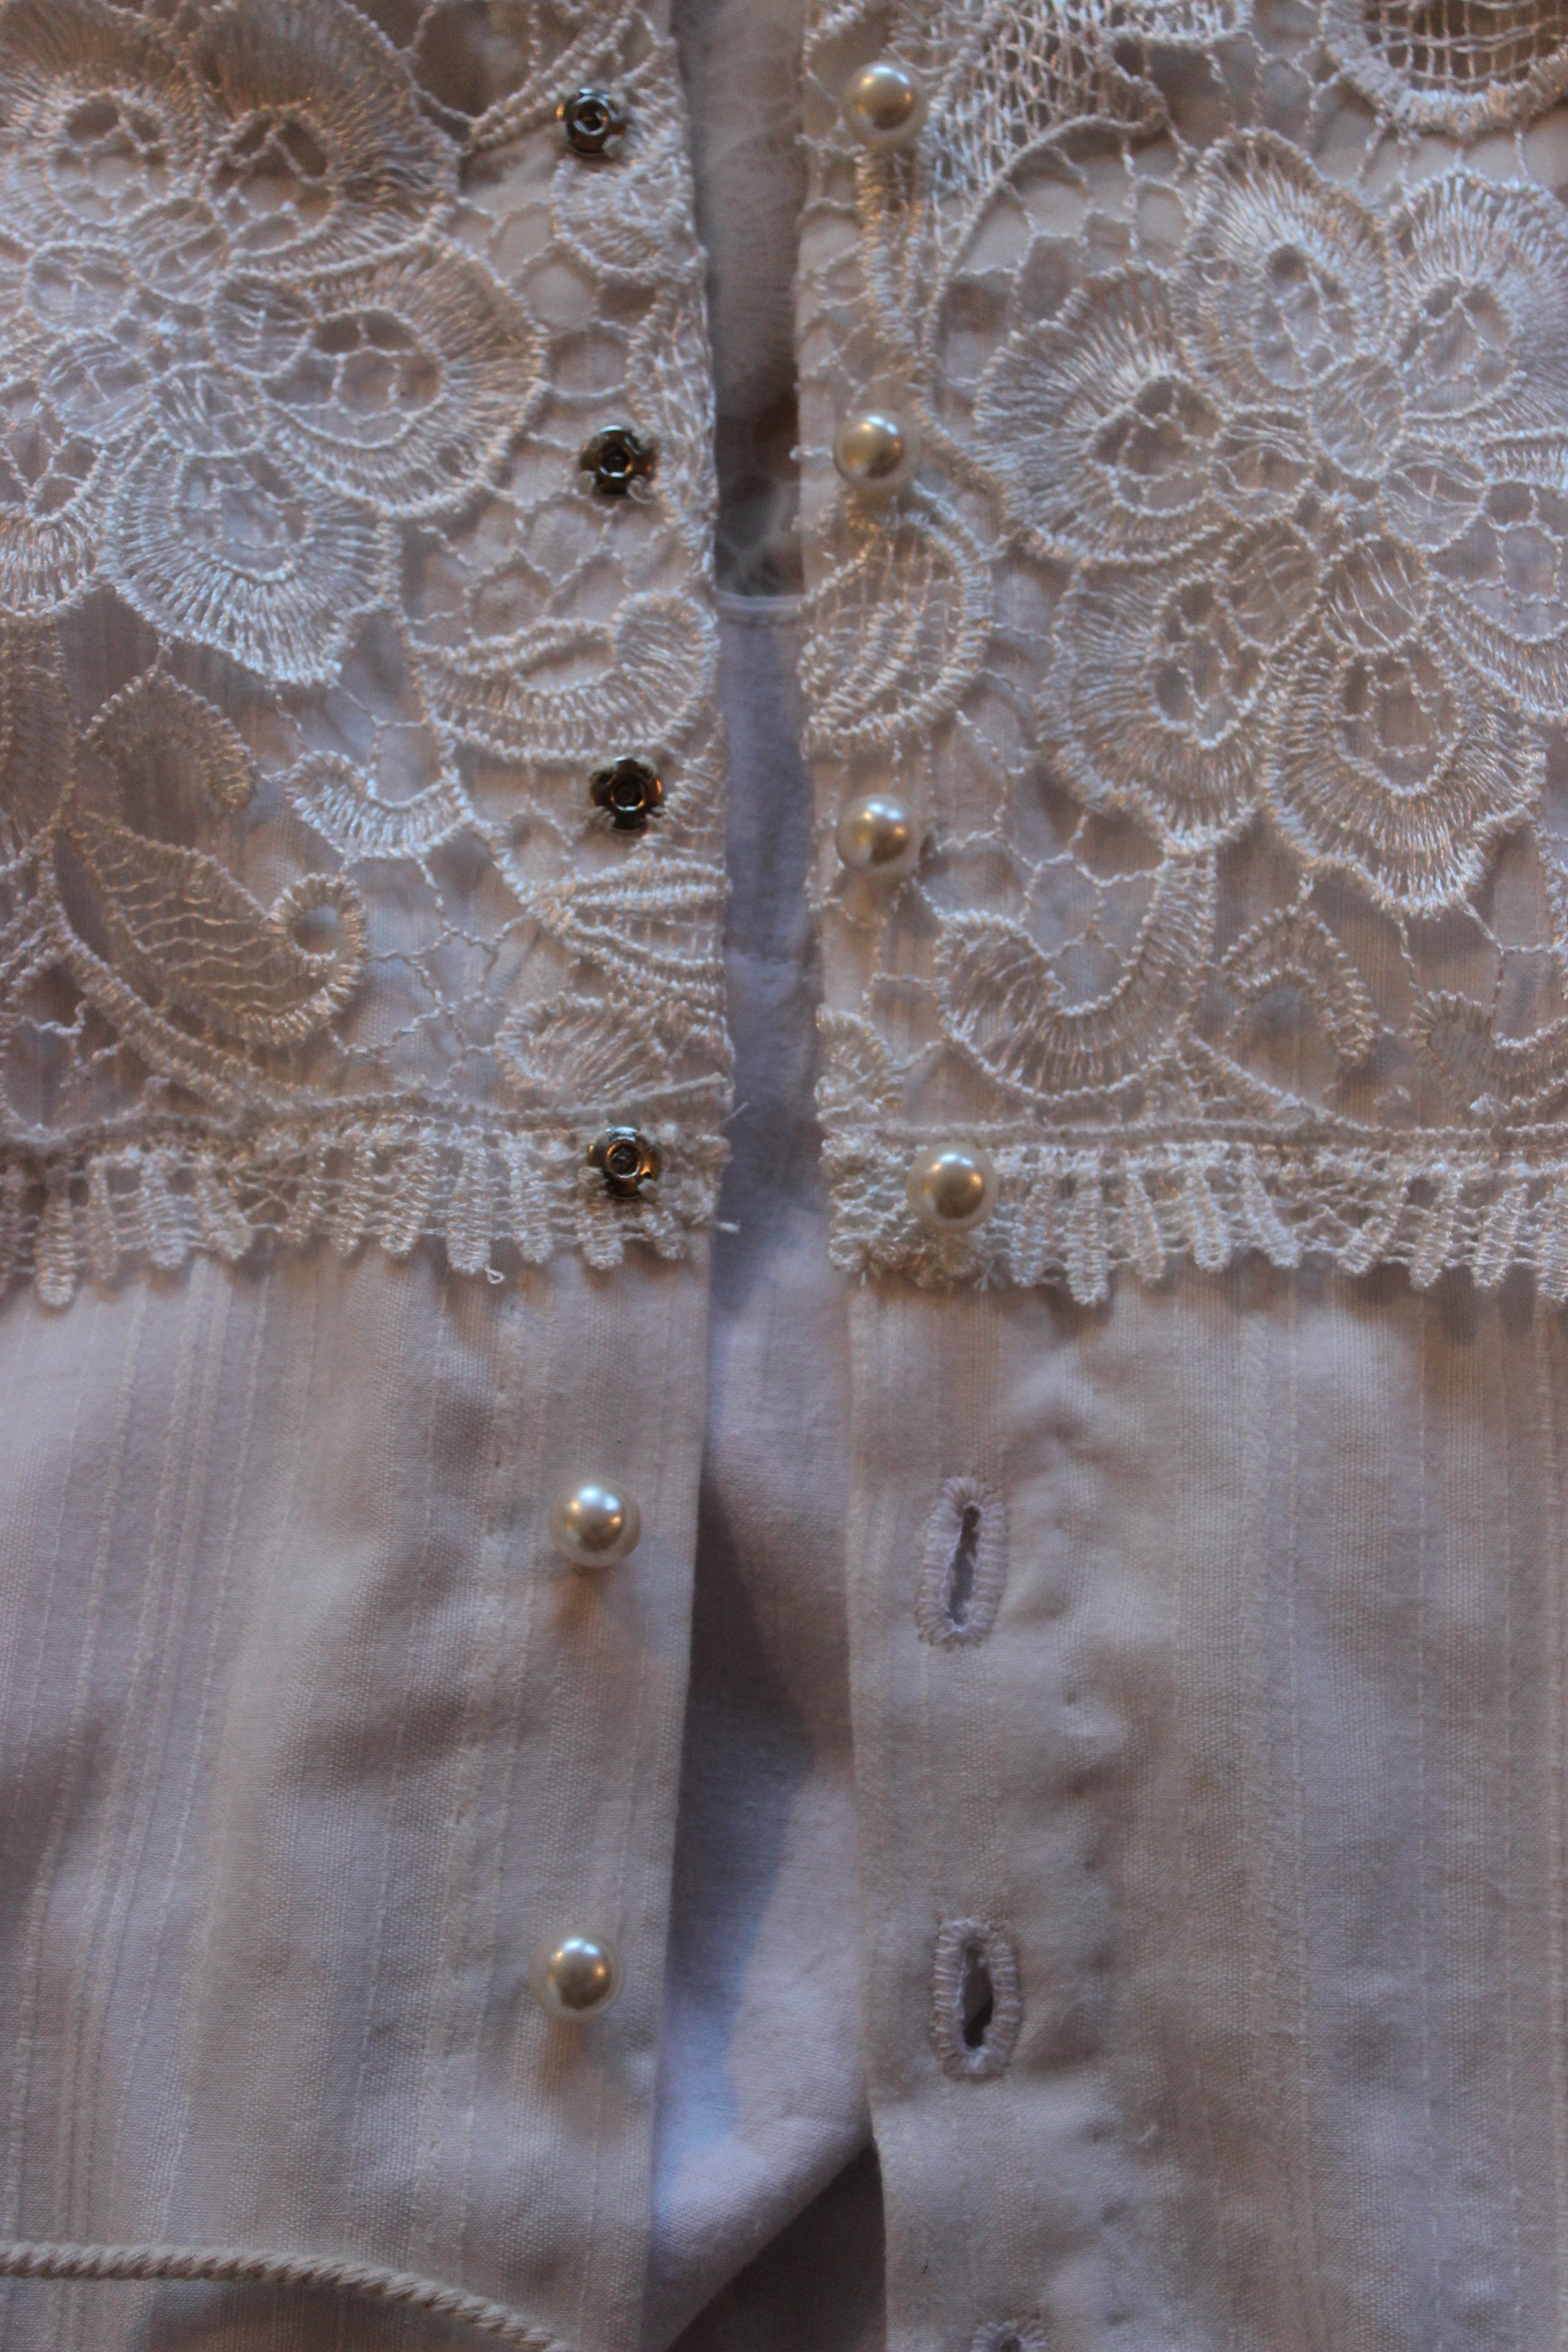
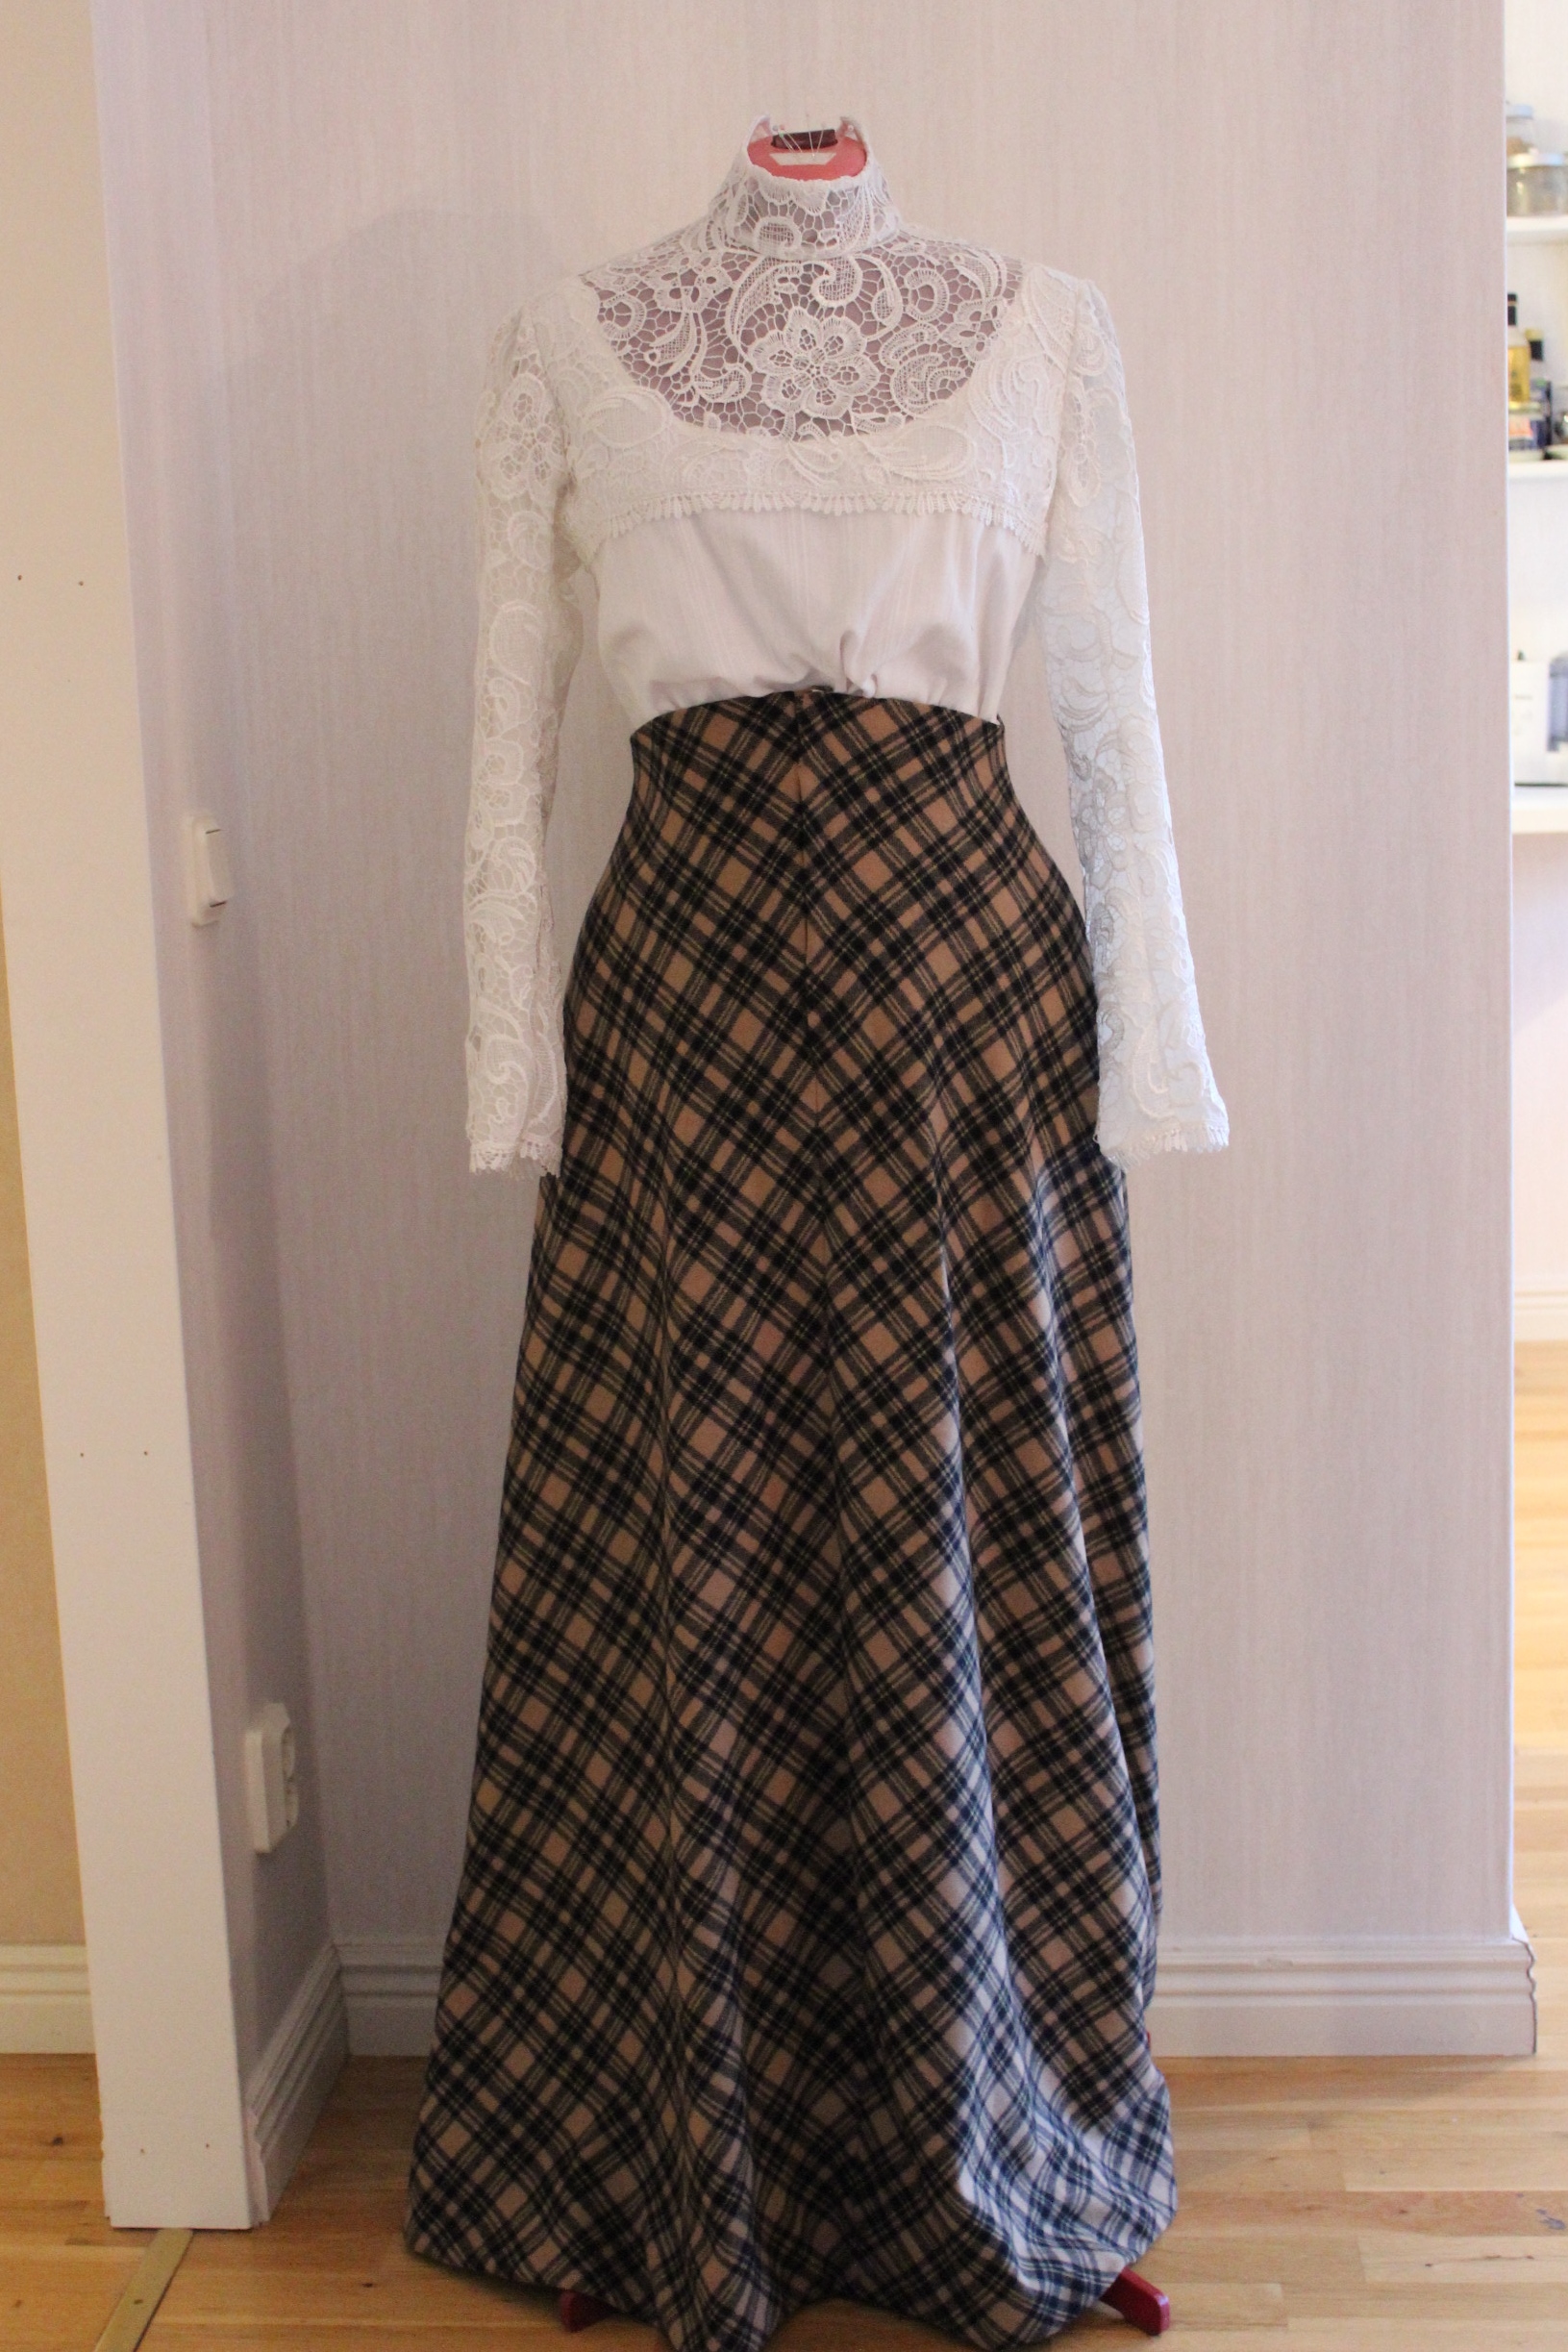
The finished Blouse:
 The facts:
What: A 1905s shirtwaist
Pattern: “Wearing history” 1900s shirtwaist pattern
Fabric: 1 m of striped cotton voile, 0,5 m of cotton lace, 0,5 m of cotton lining for the bodice and 0,3 m of polyester chiffon for backing of the lace.
Notions: Thread, Buttonhole-thread, bias-tape, cotton cord, 10 cm plastic boning, 13 buttons, 7 snaps.
Time: 10-15 hours.
Cost: 400 Sek if everything been bought new, but since everything came from stash and most of the fabrics was leftovers I wouldn’t say even half.
Final thought: I loved working with this pattern, and I have only myself to blame for not making a mock-up since i had a bit trouble getting the collar to fit properly. And I maybe should have skipped out on adding the second layer cotton to the bodice – It may have looked a bit nicer and softer. I also may have to reset the sleeves without the pleats at the shoulders.
But all in all, I’m pretty pleased with the blouse.
Worn with the skirt:

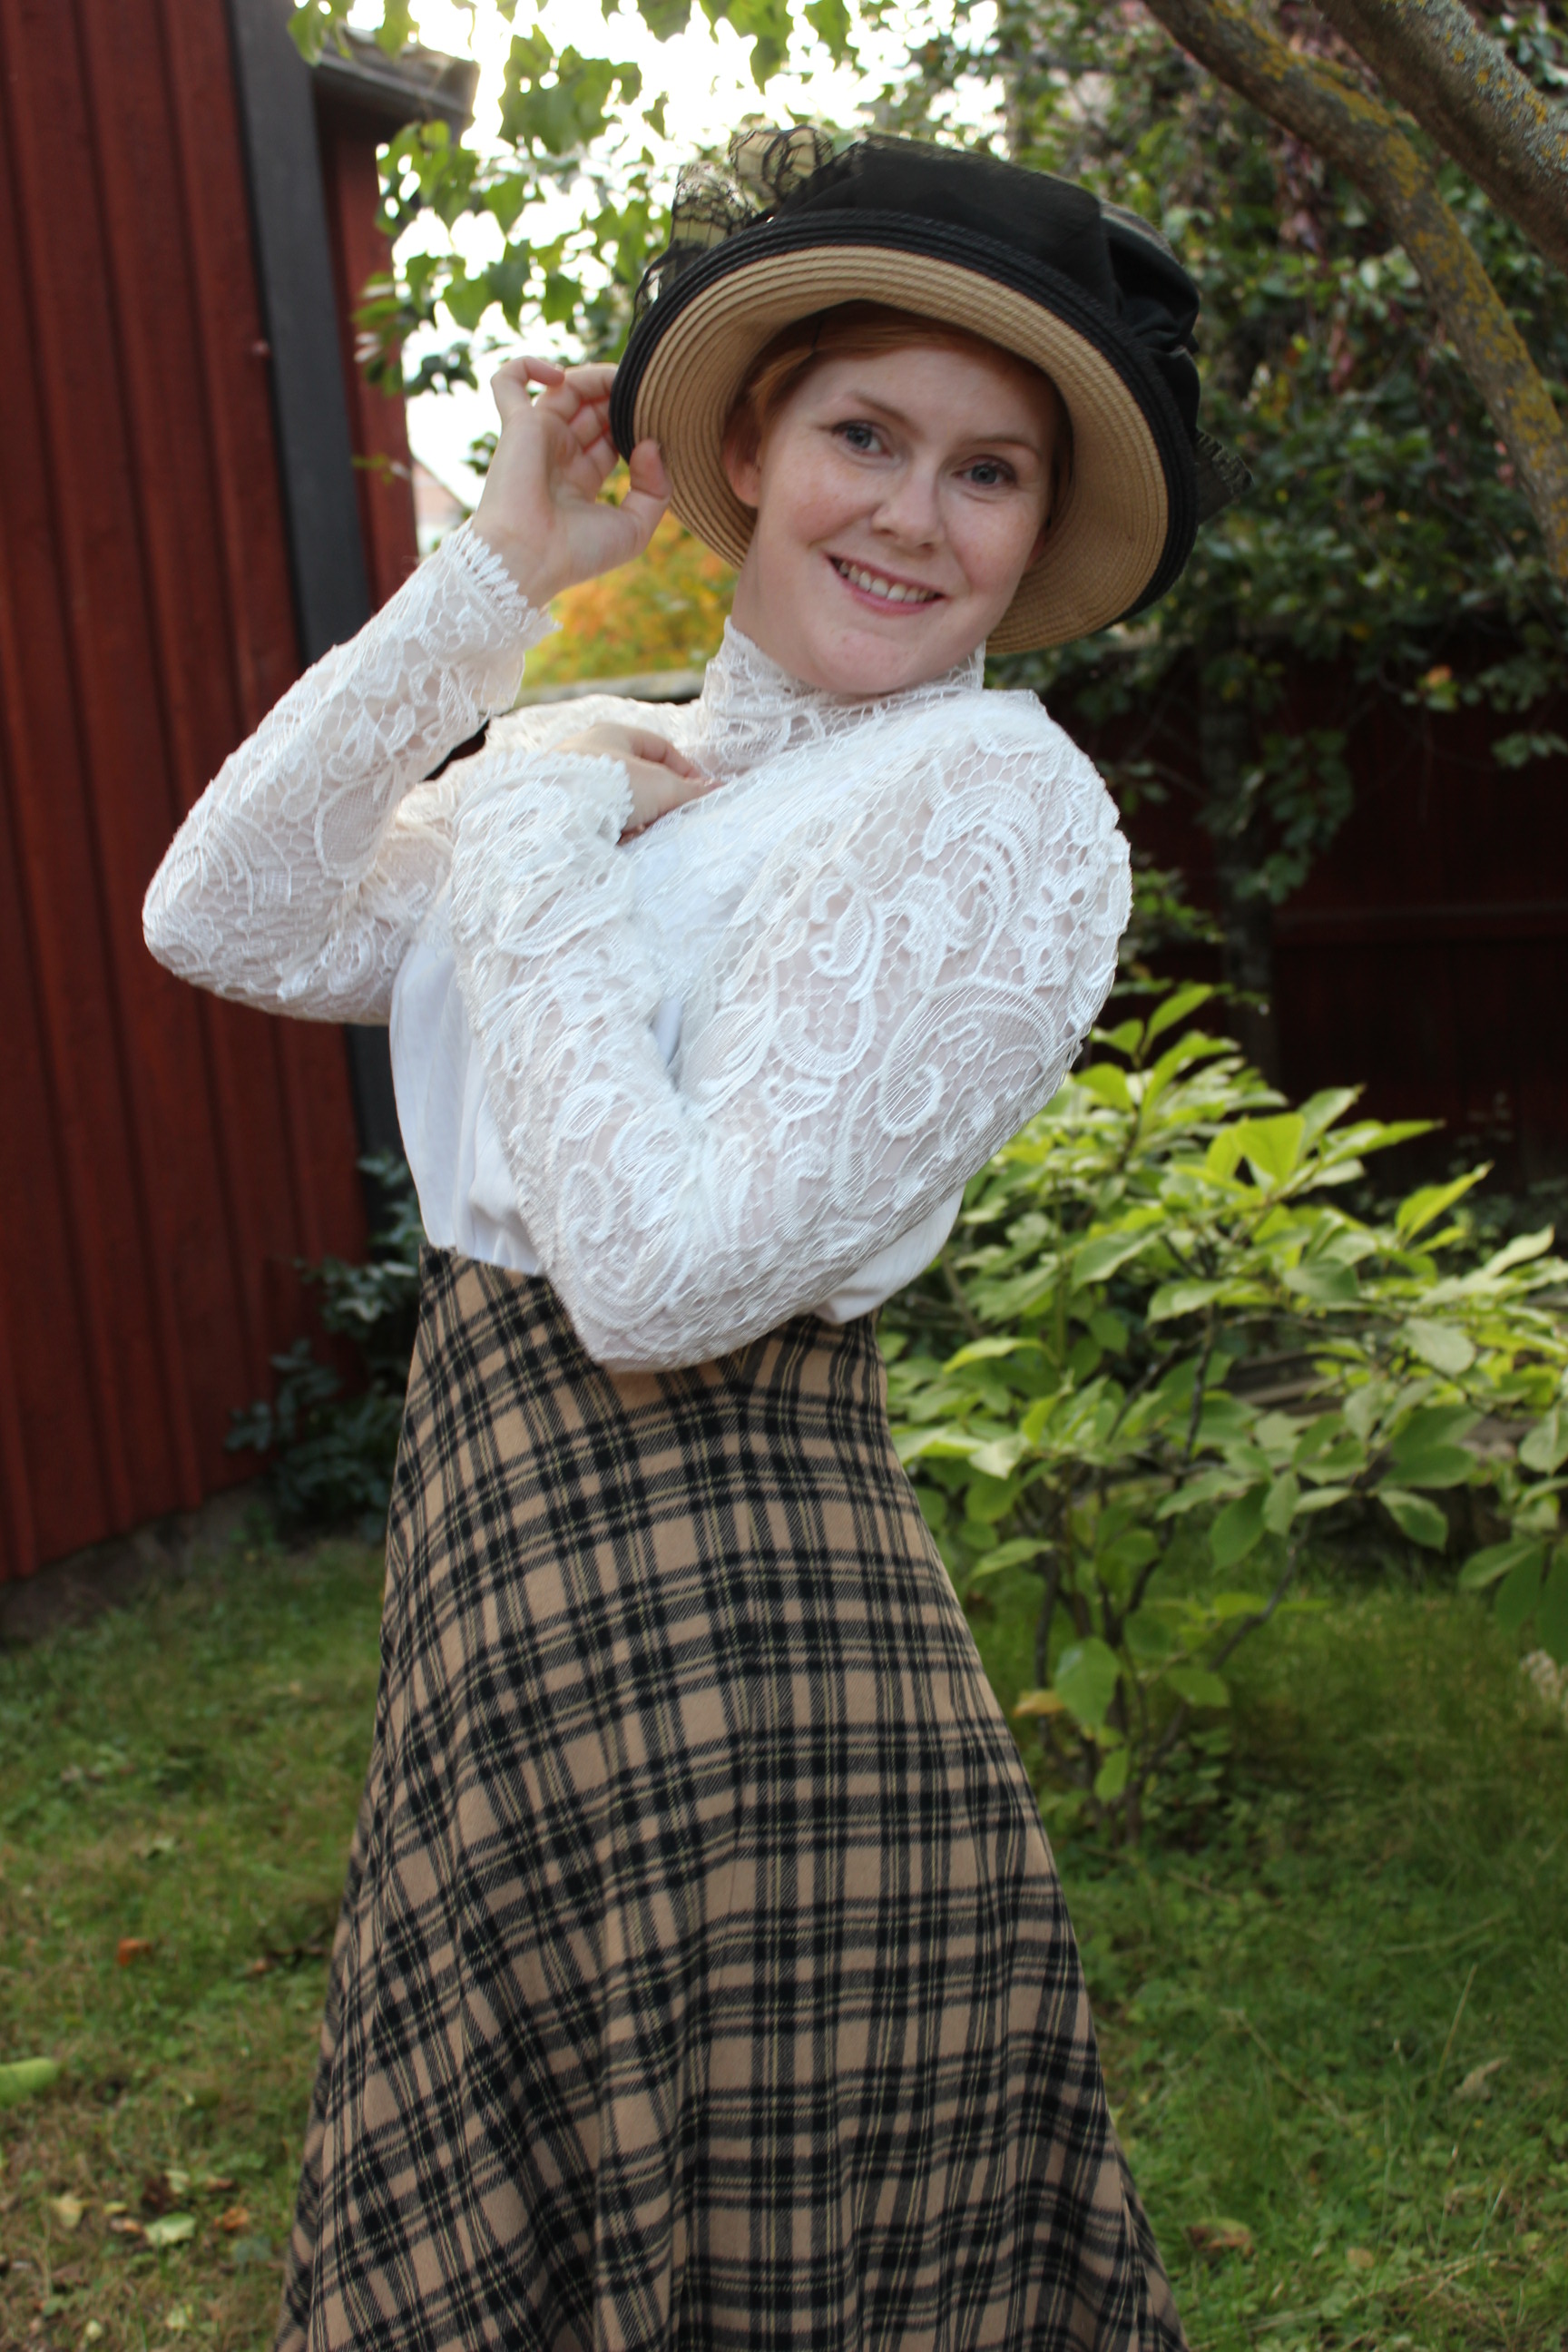
And a preview from the photoshoot:

What a stunningly gorgeous blouse!!!! Beautiful job! It goes so perfectly with your skirt. I can’t wait to see more pictures!! 🙂
Thank you!
And don’t worry – I got plenty of pictures;-)
It’s lovely! I really like what you did with the lace, perfect use of a limited amount of fabric.
Thanks! Yeah, I think it came out pretty well considering 🙂
You never cease to amaze me with your thrifty use of your stash – if I didn’t know better I would think you were old and experienced instead of a brilliant young woman!
Wow! Thank you so much!
He He, I might still be pretty young, but I have been collecting fabric fro 10 years and just recently started to use it 🙂